
How to Create and Post Receipts in the Backend Module
Step-by-step guide on creating and posting receipts in the backend module, including selecting receipt type, searching loan accounts, entering payment details, and verifying GL codes.
By P&A Solutions Services
In this guide, we'll learn how to create and post a new receipt for a loan account using the task menu. This process includes selecting the correct receipt type, finding the loan account, entering payment details, and verifying accounting information.
These steps help ensure that payments are recorded accurately and linked to the right accounts.
Let's get started
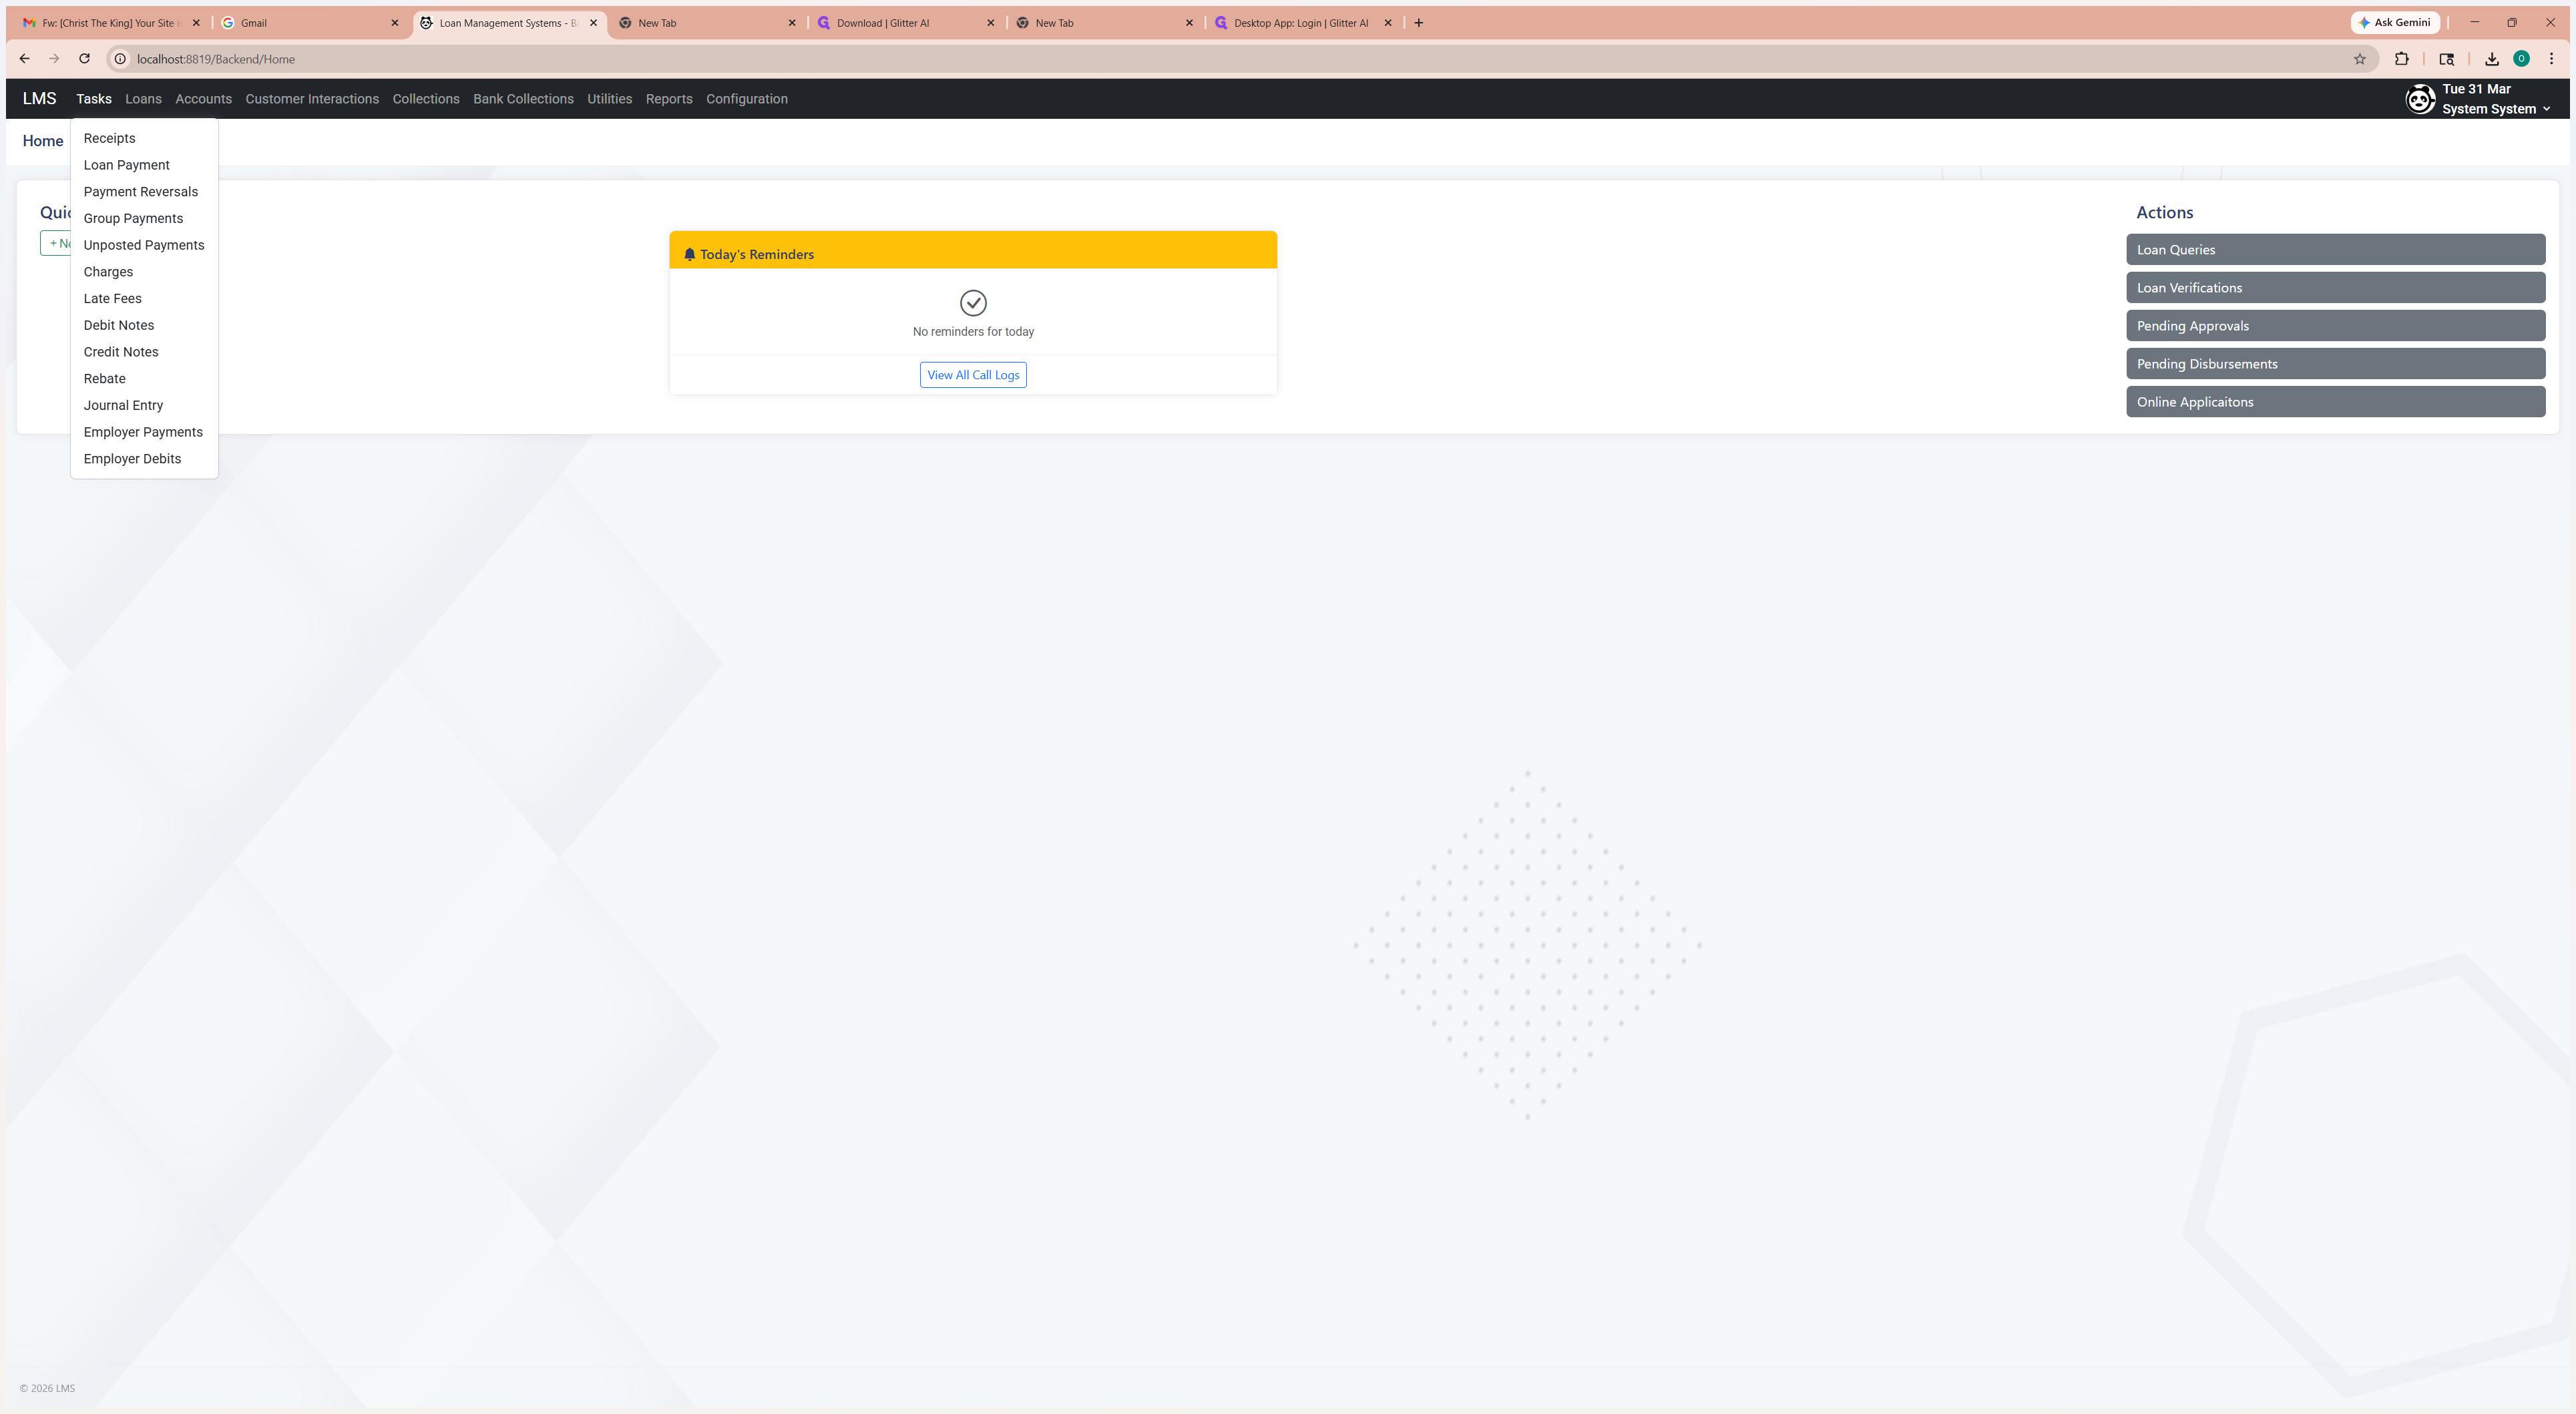
From the task menu, click Receipts.
1
Click on "Tasks"
2
Click here
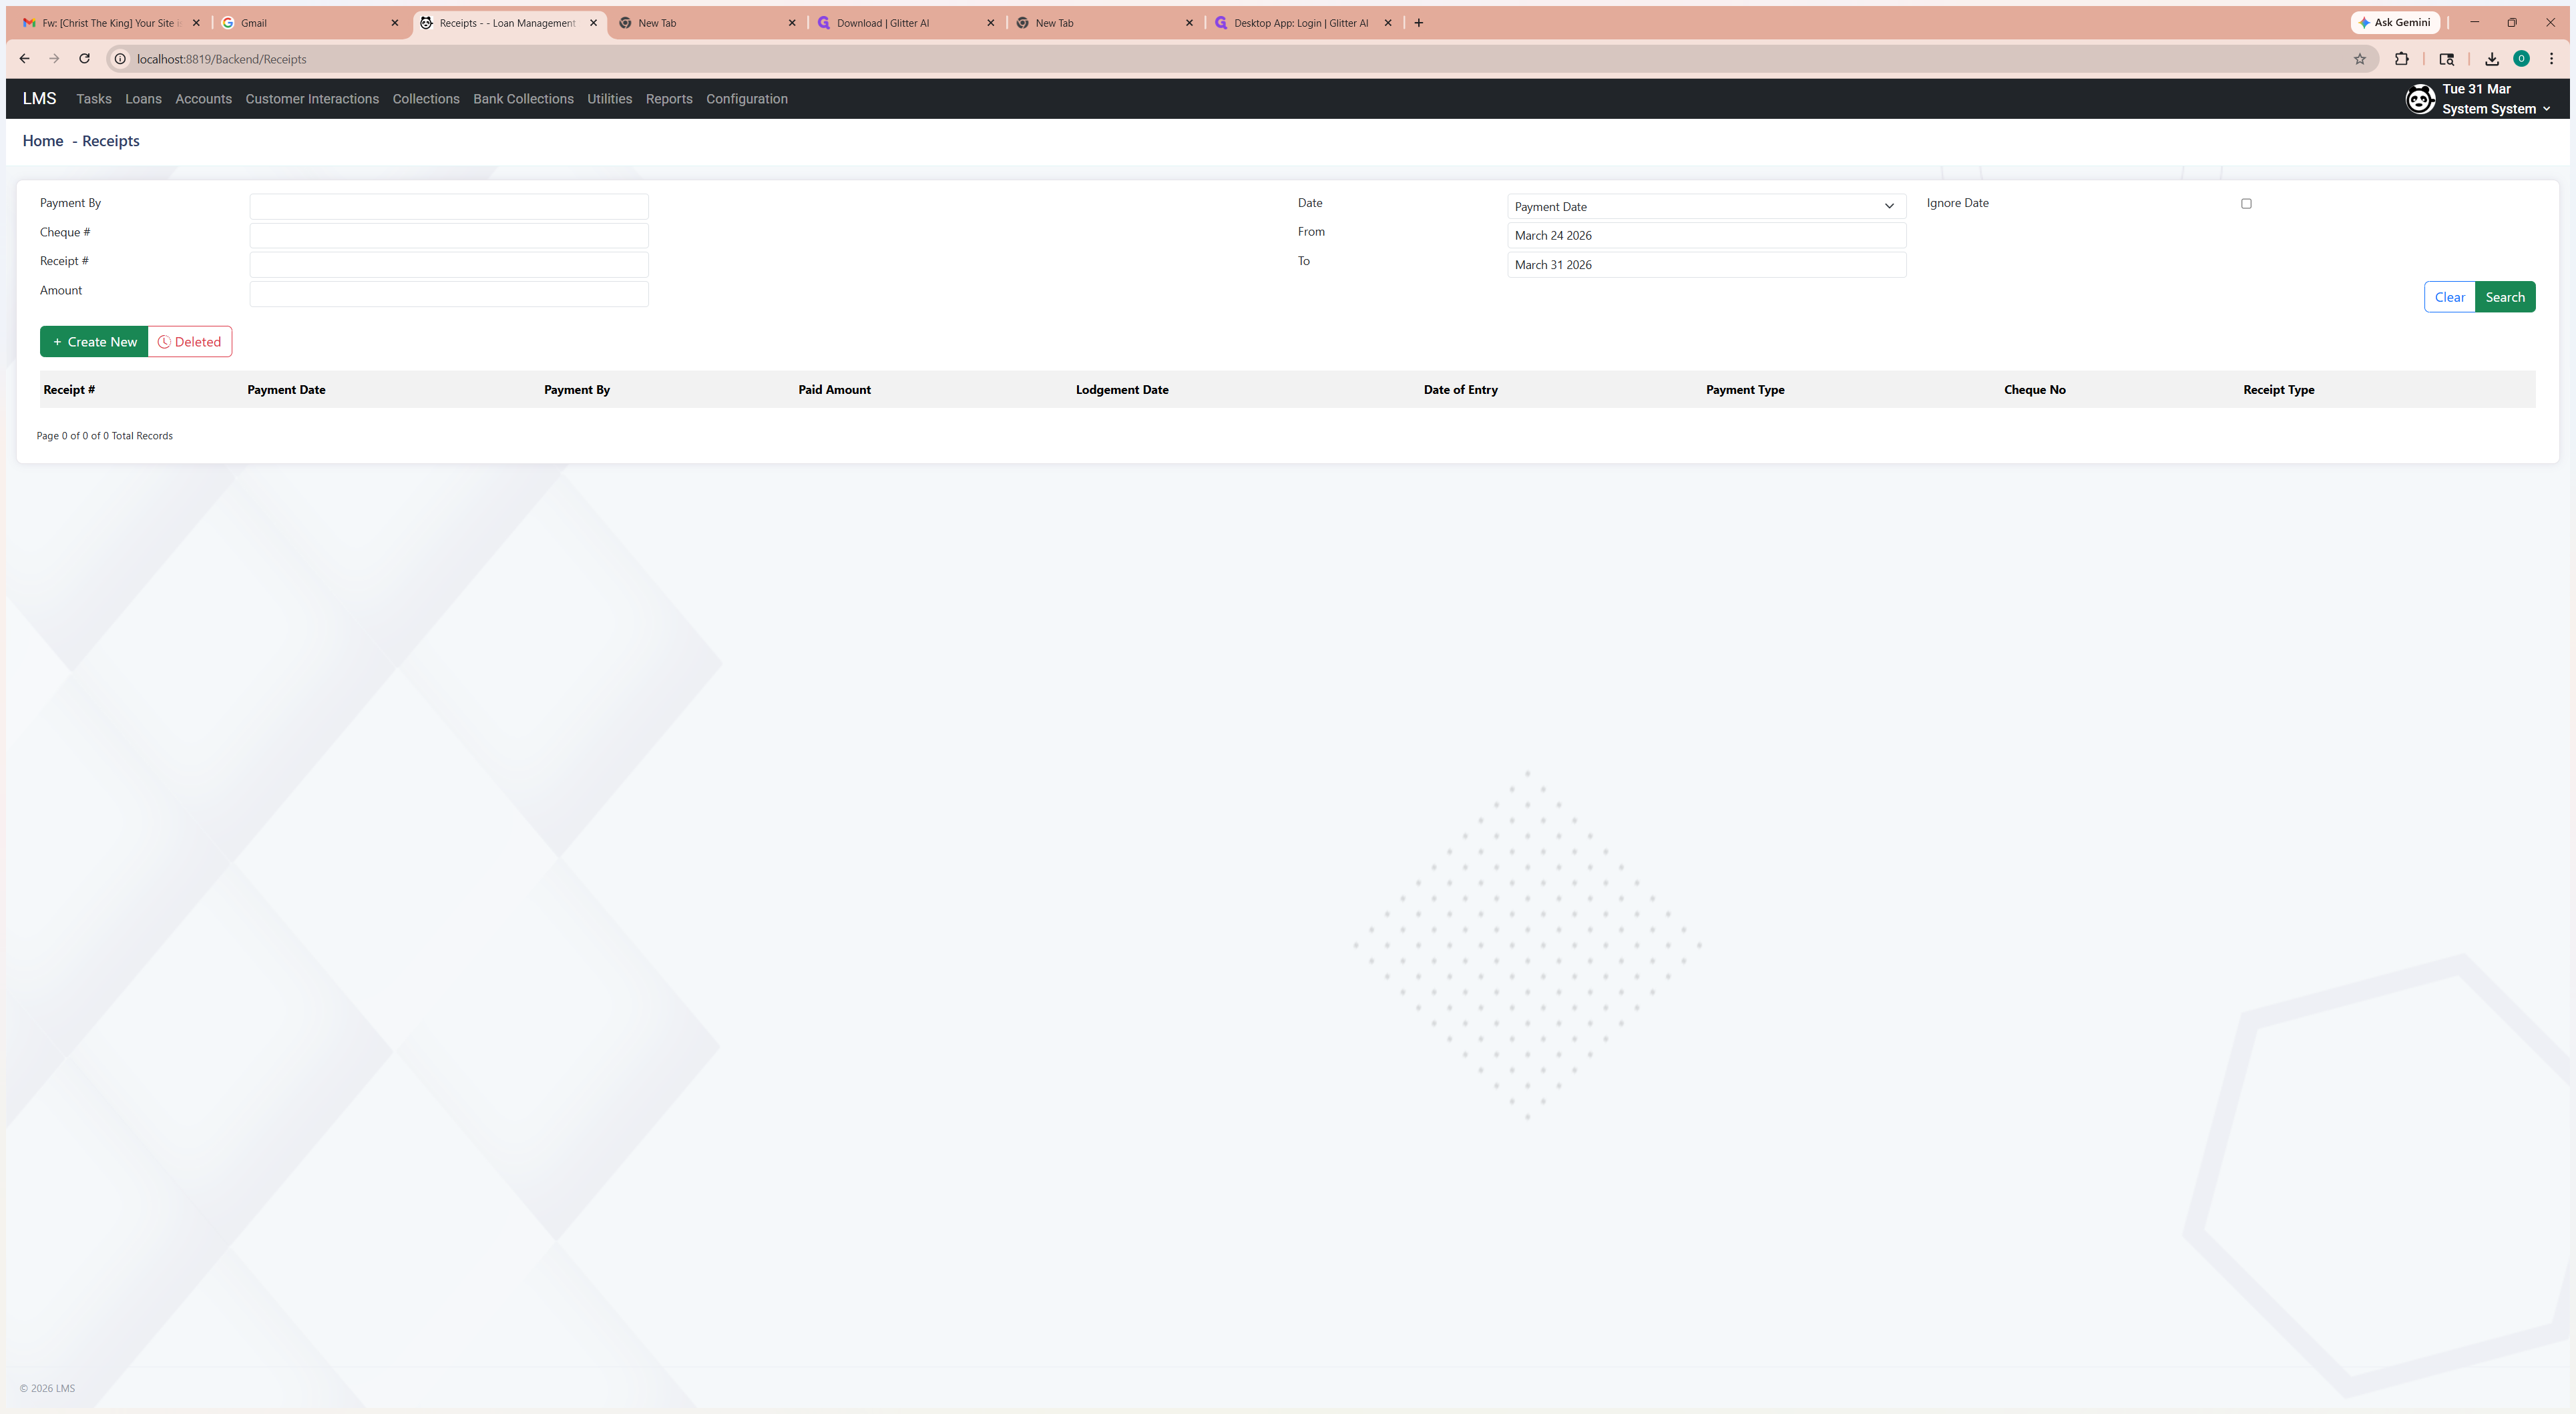
Click Create New.
3
Click on "+ Create New"
Select the type of receipt or payment you are posting.
4
Click on "Client / Single"
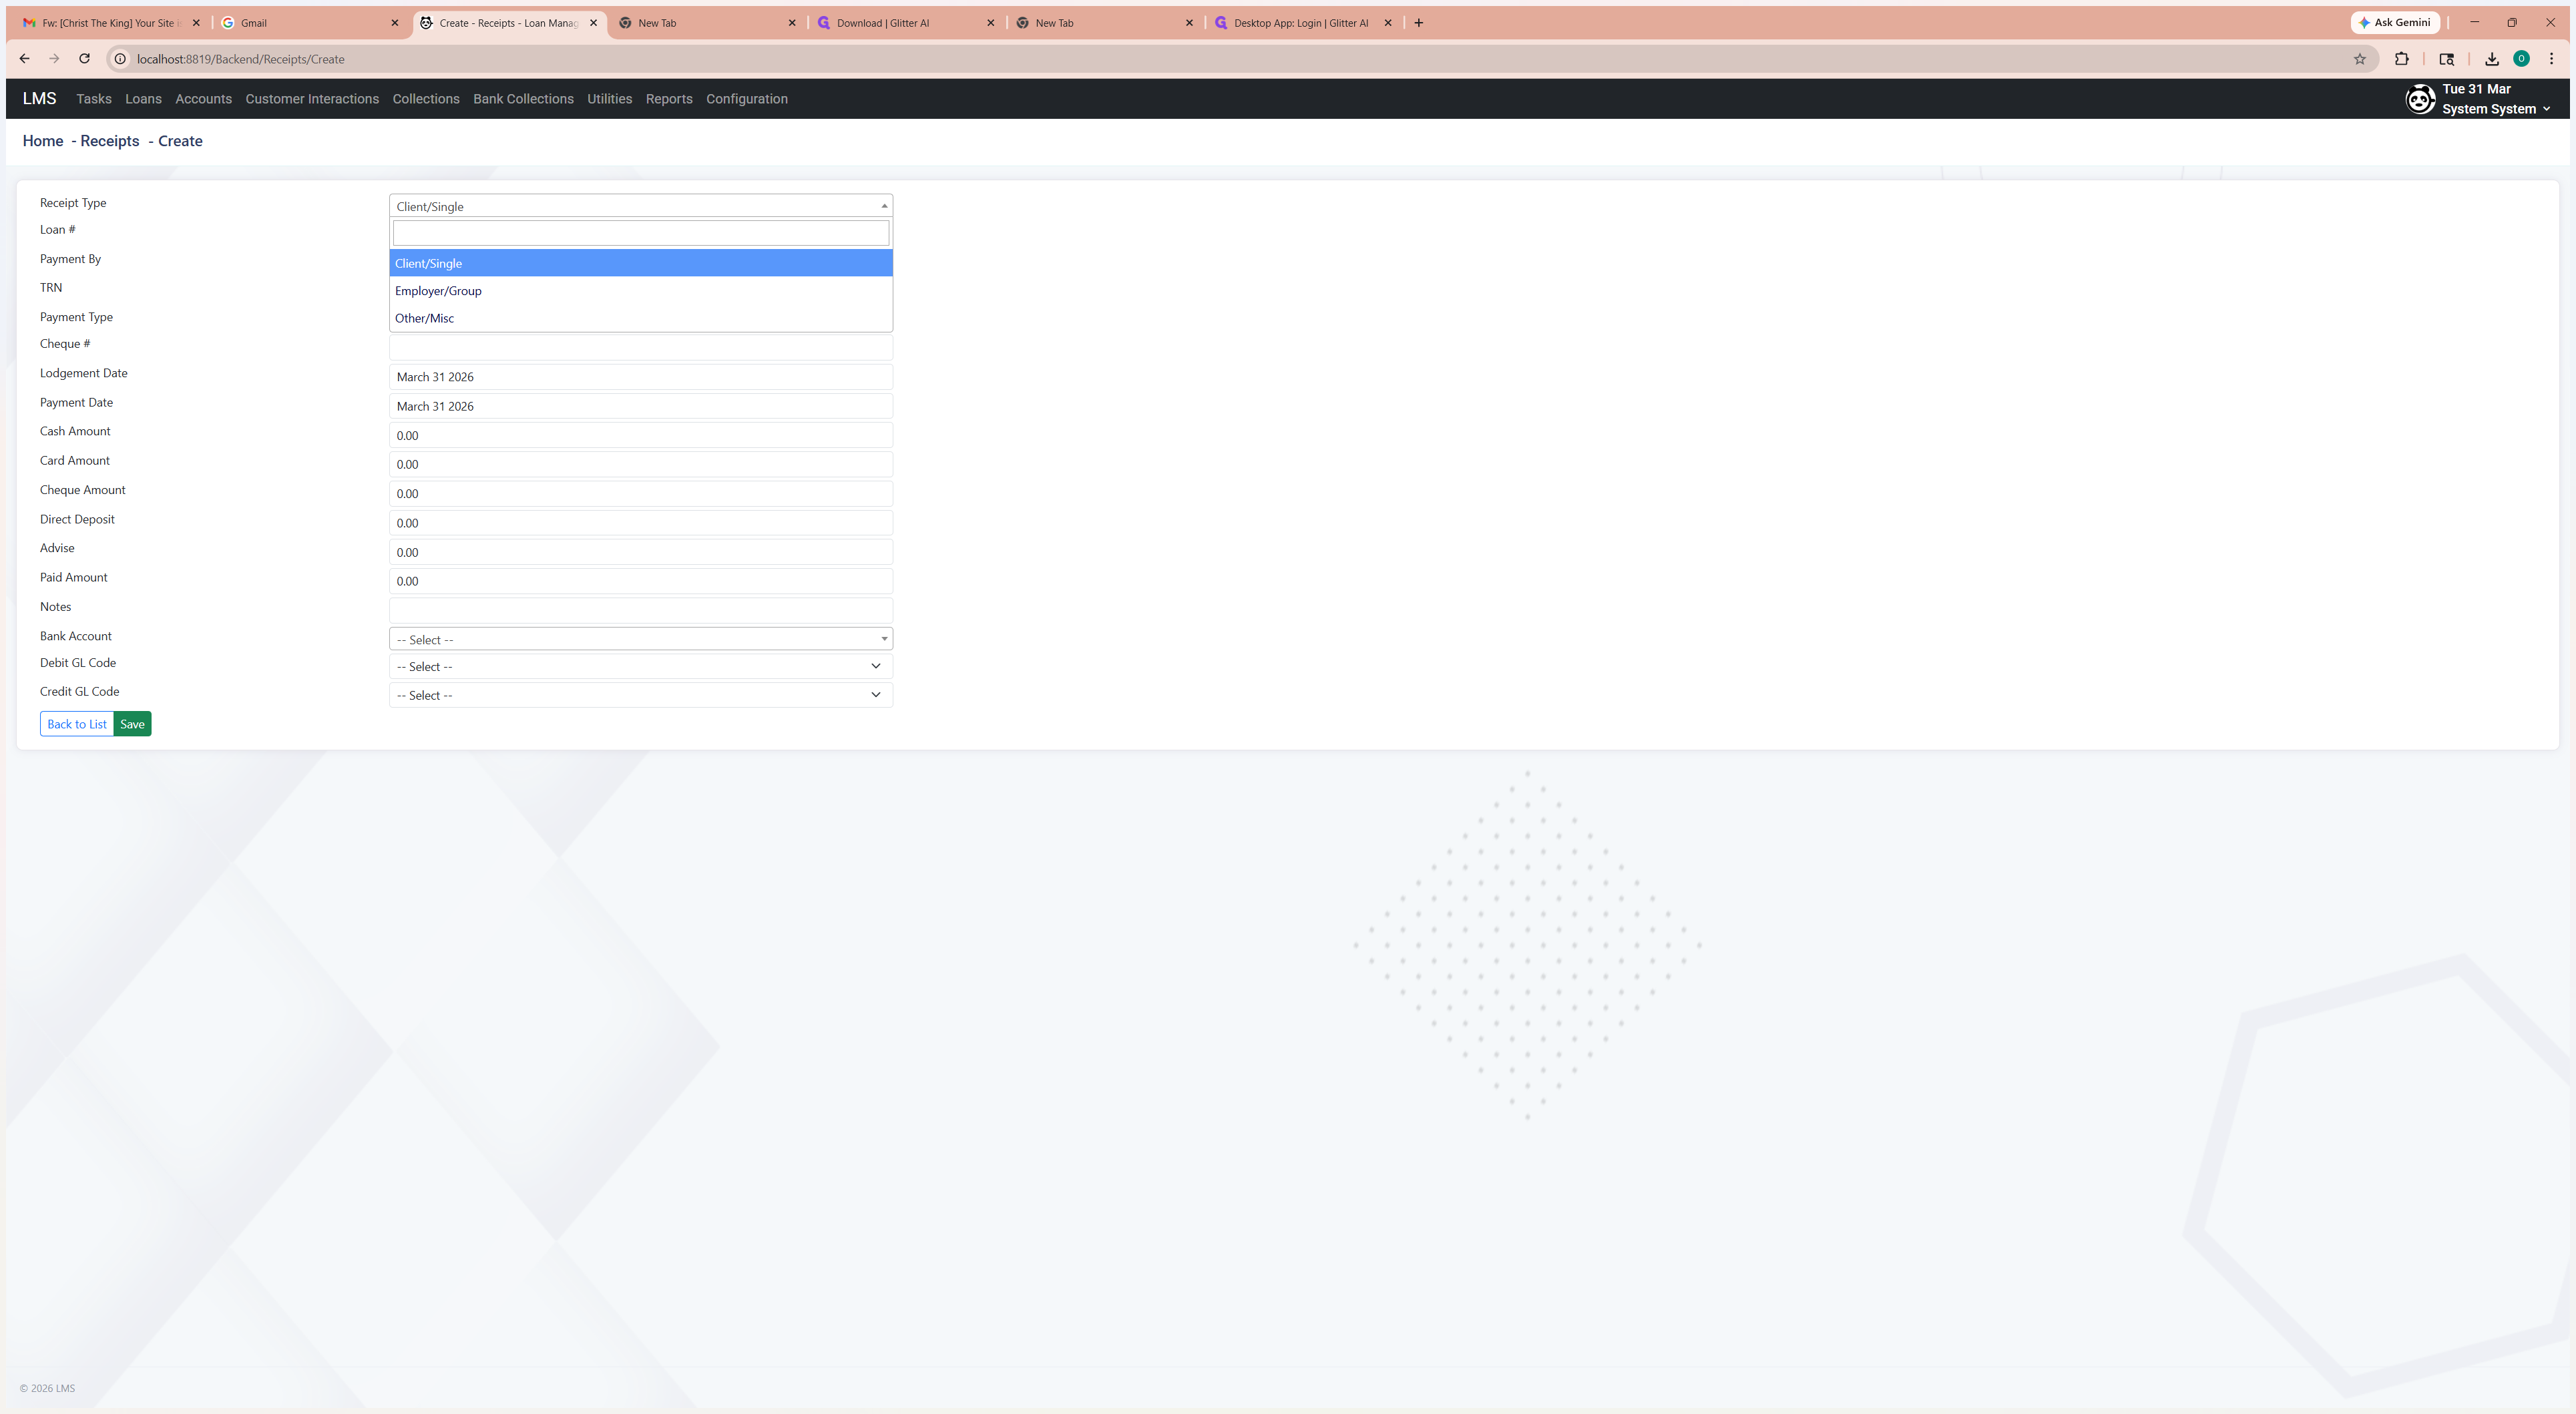
Look up the loan account.
5
Click search icon

You can search using any of the available fields.
6
Click here
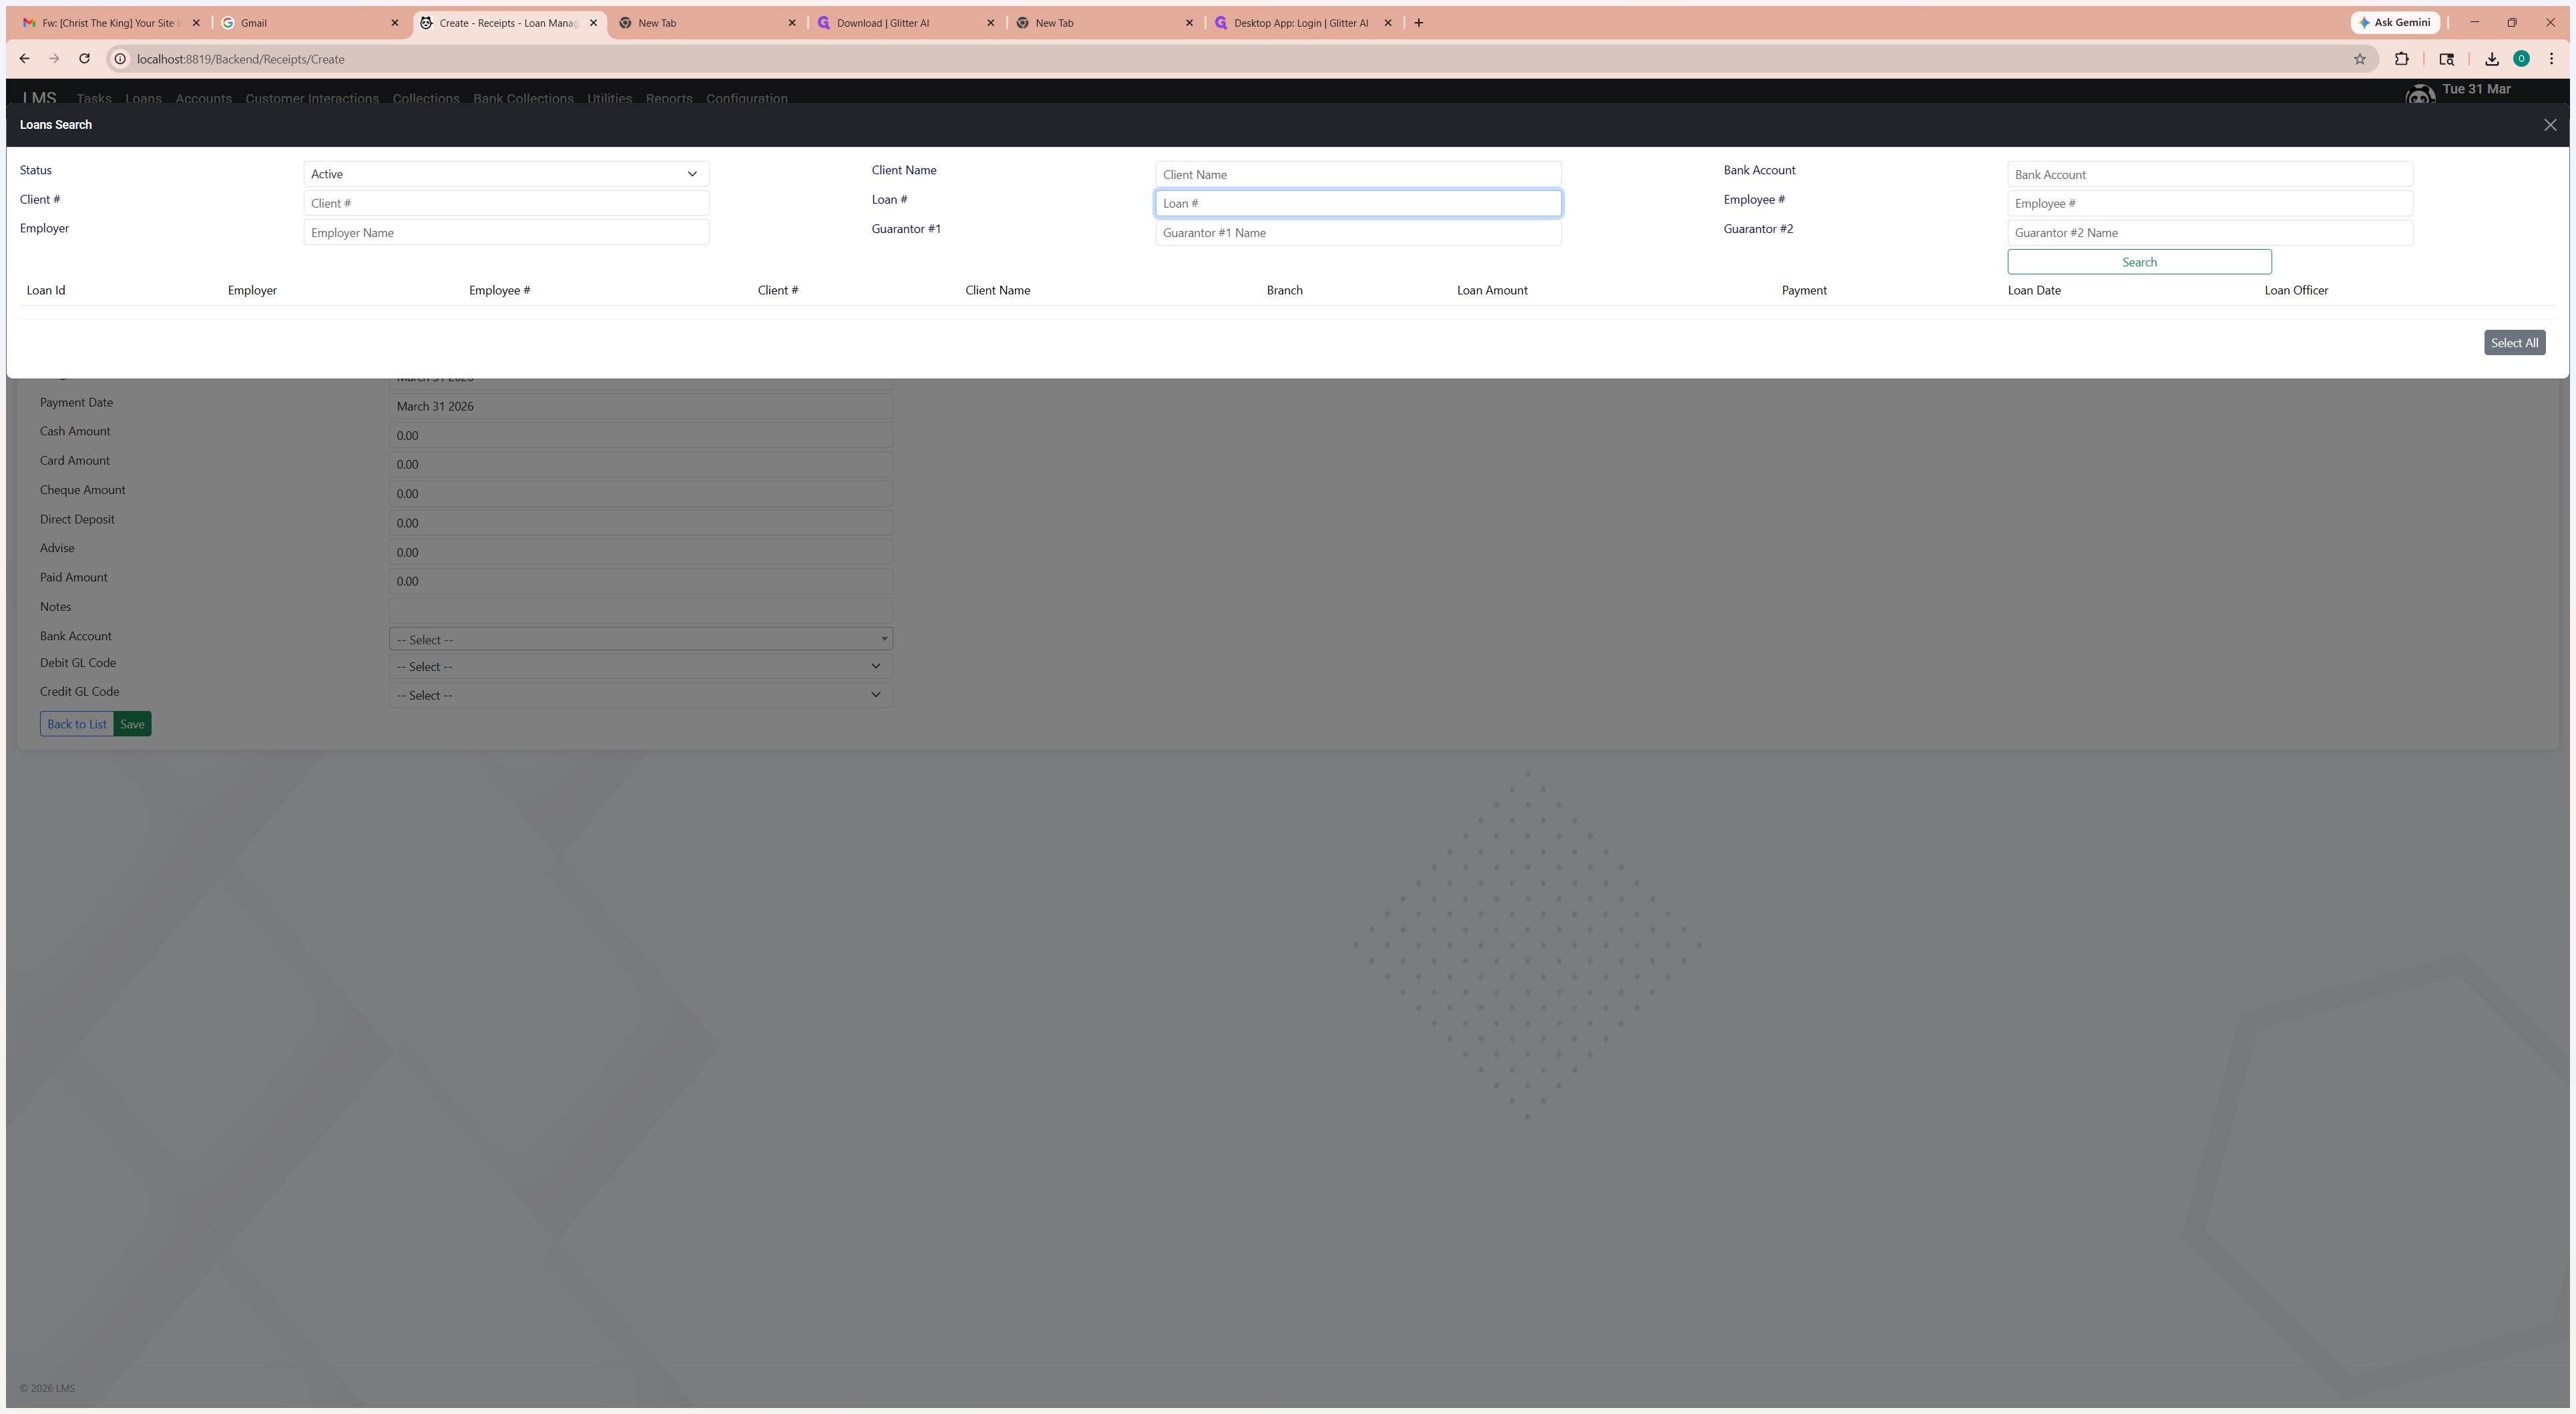
Select the loan account.
7
Click on "Search" and Select the account from the result list

Select the payment type.
8
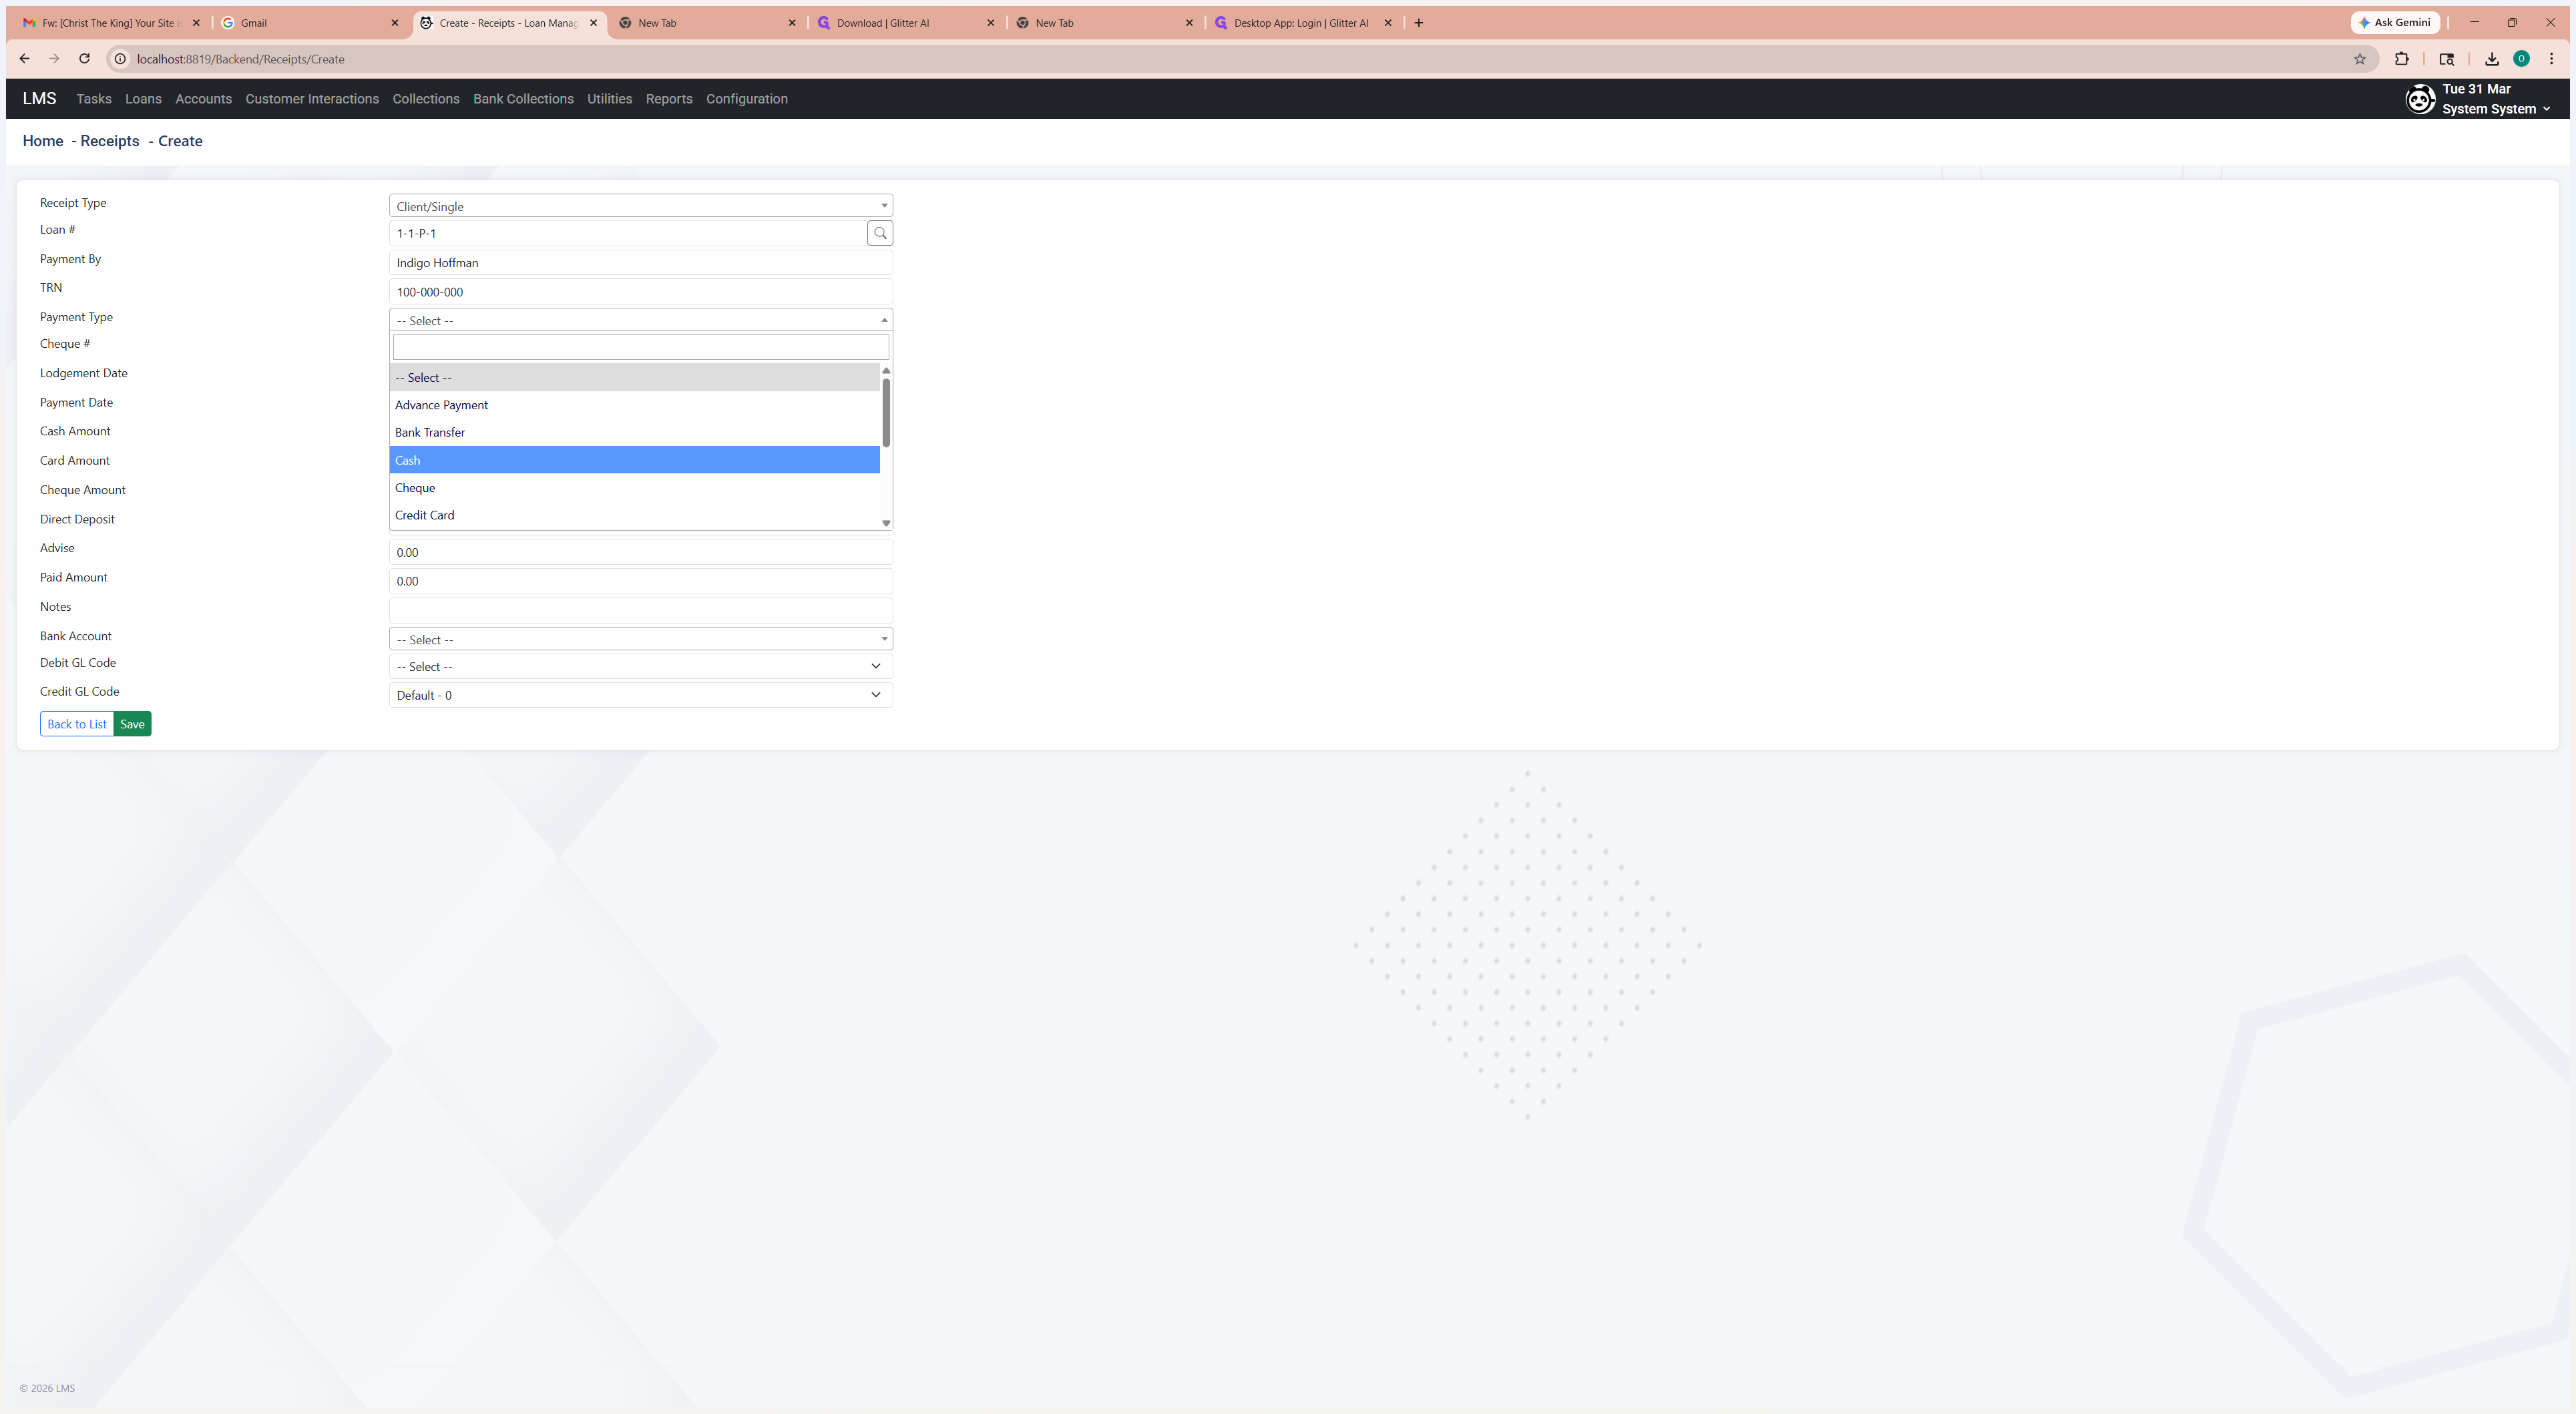
Enter the amount paid in the correct field
9
Click here
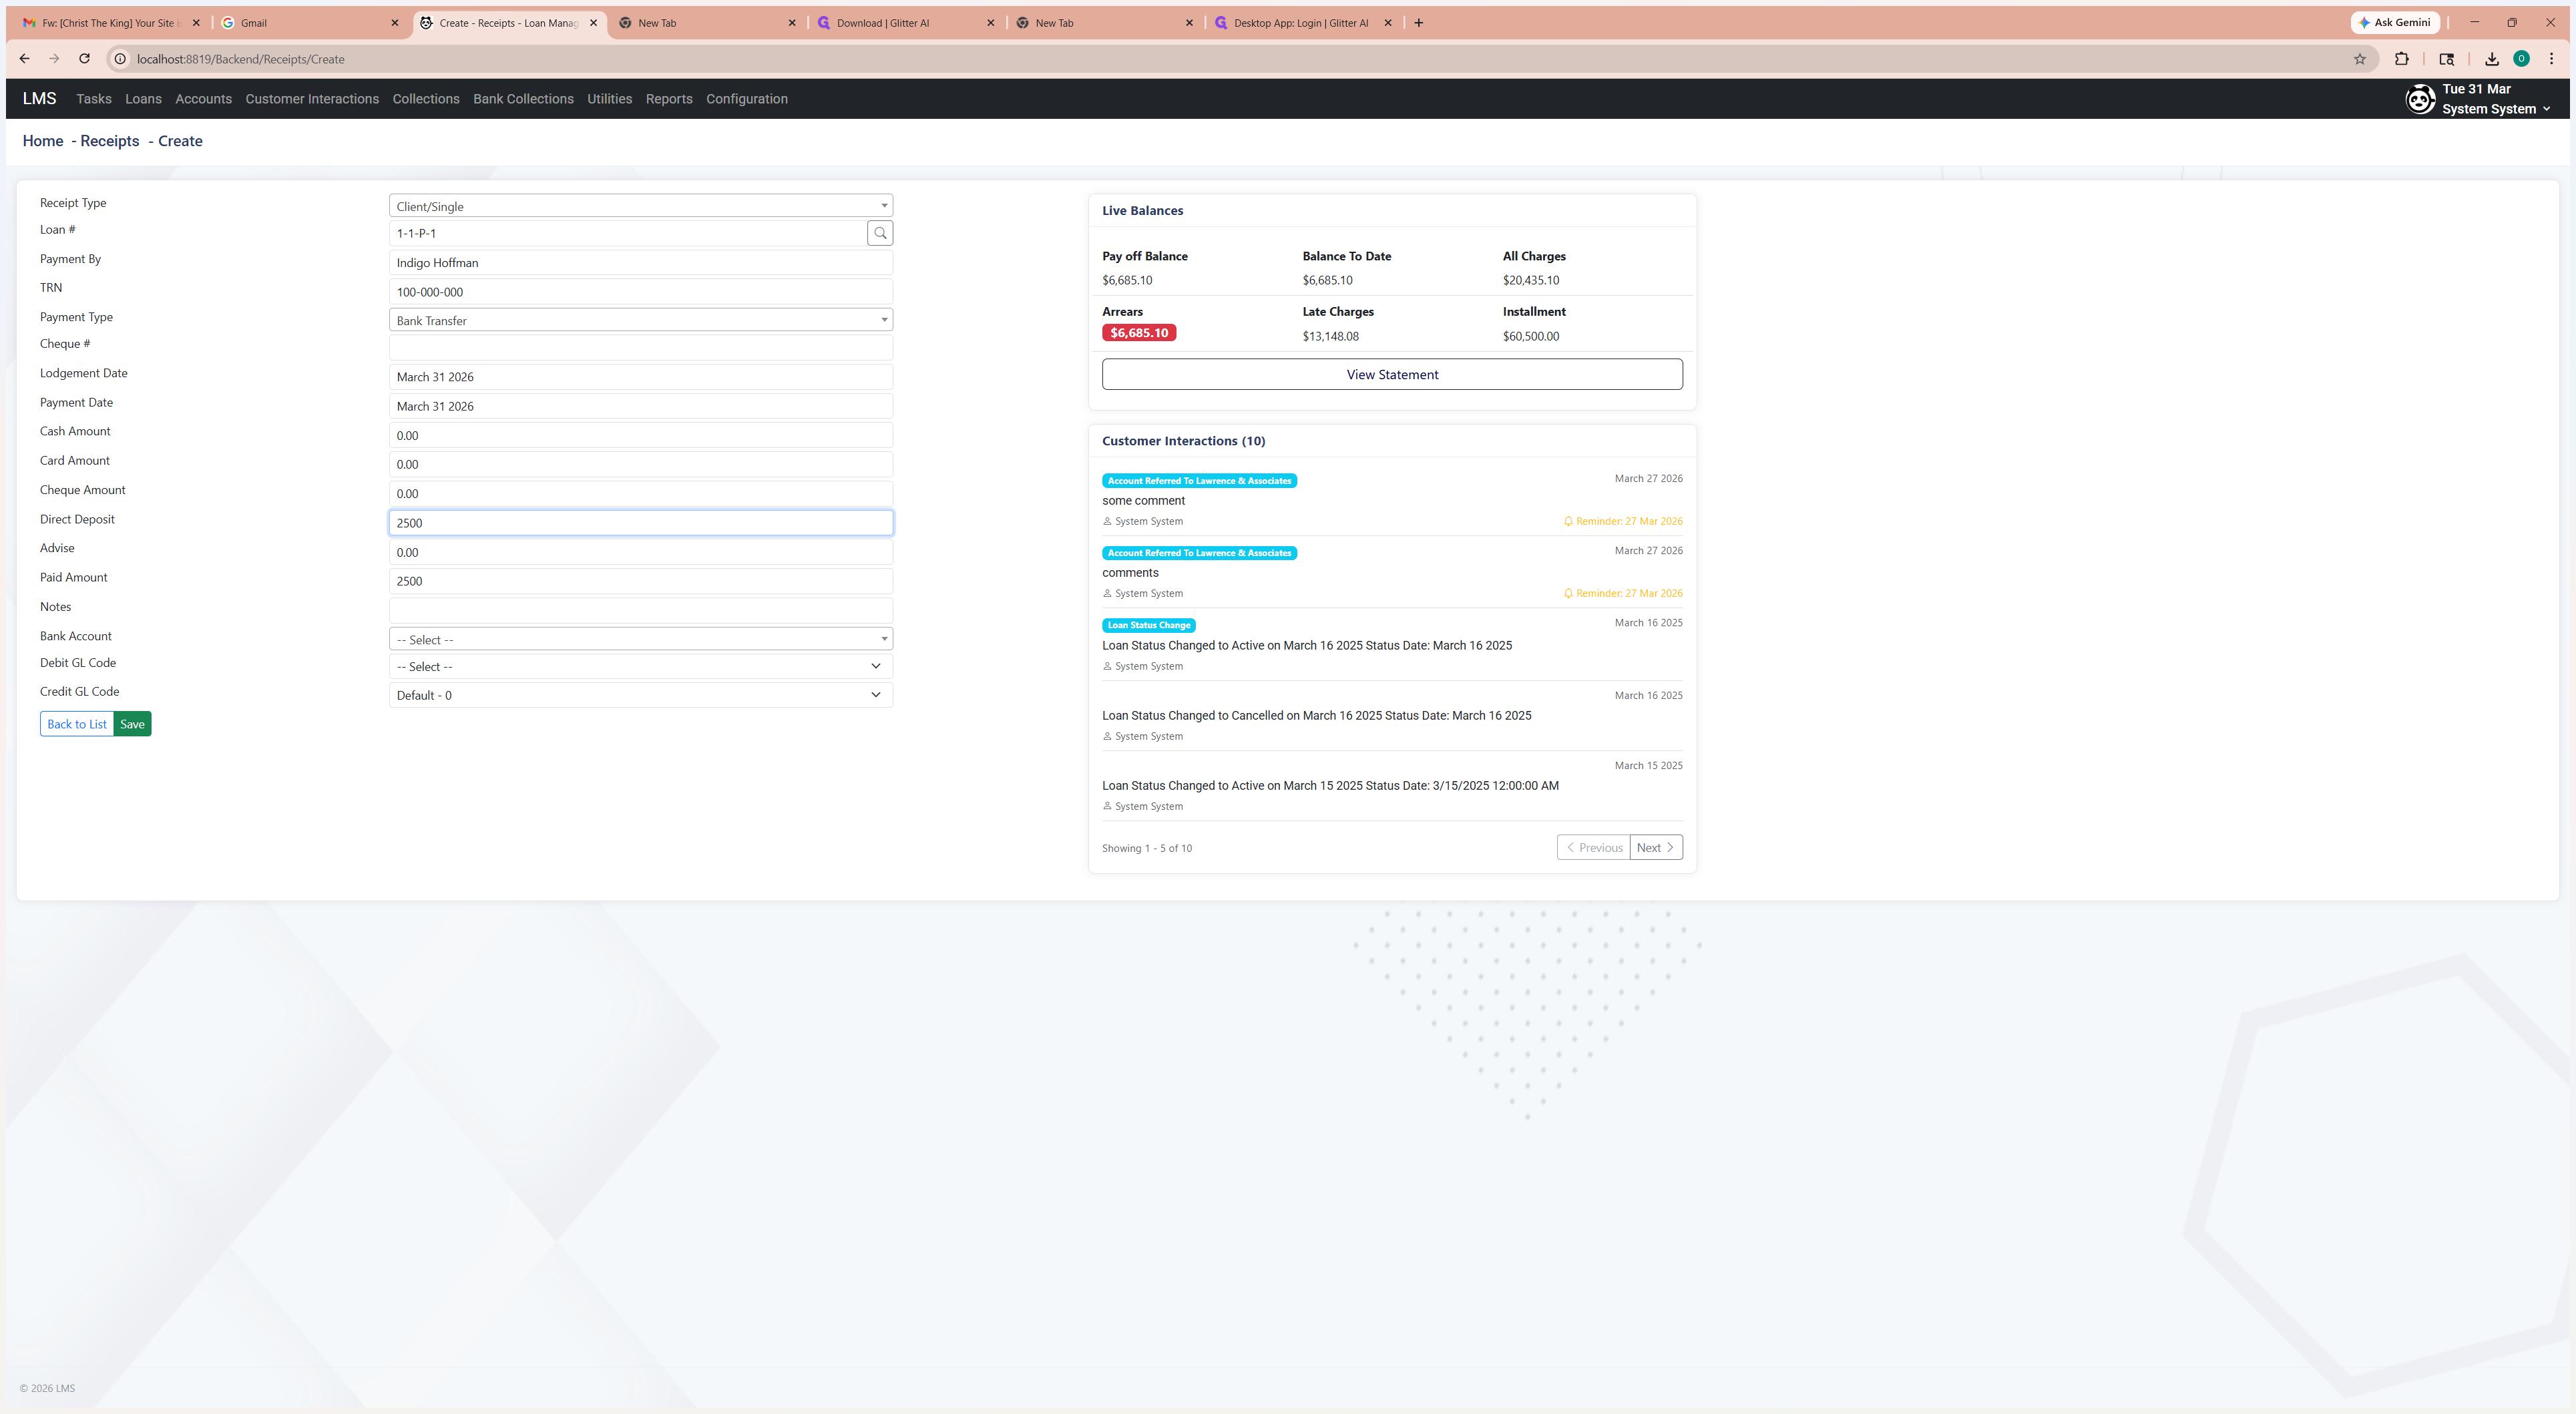
For the accounting module, select the bank account if it is not already selected.
10
Click here
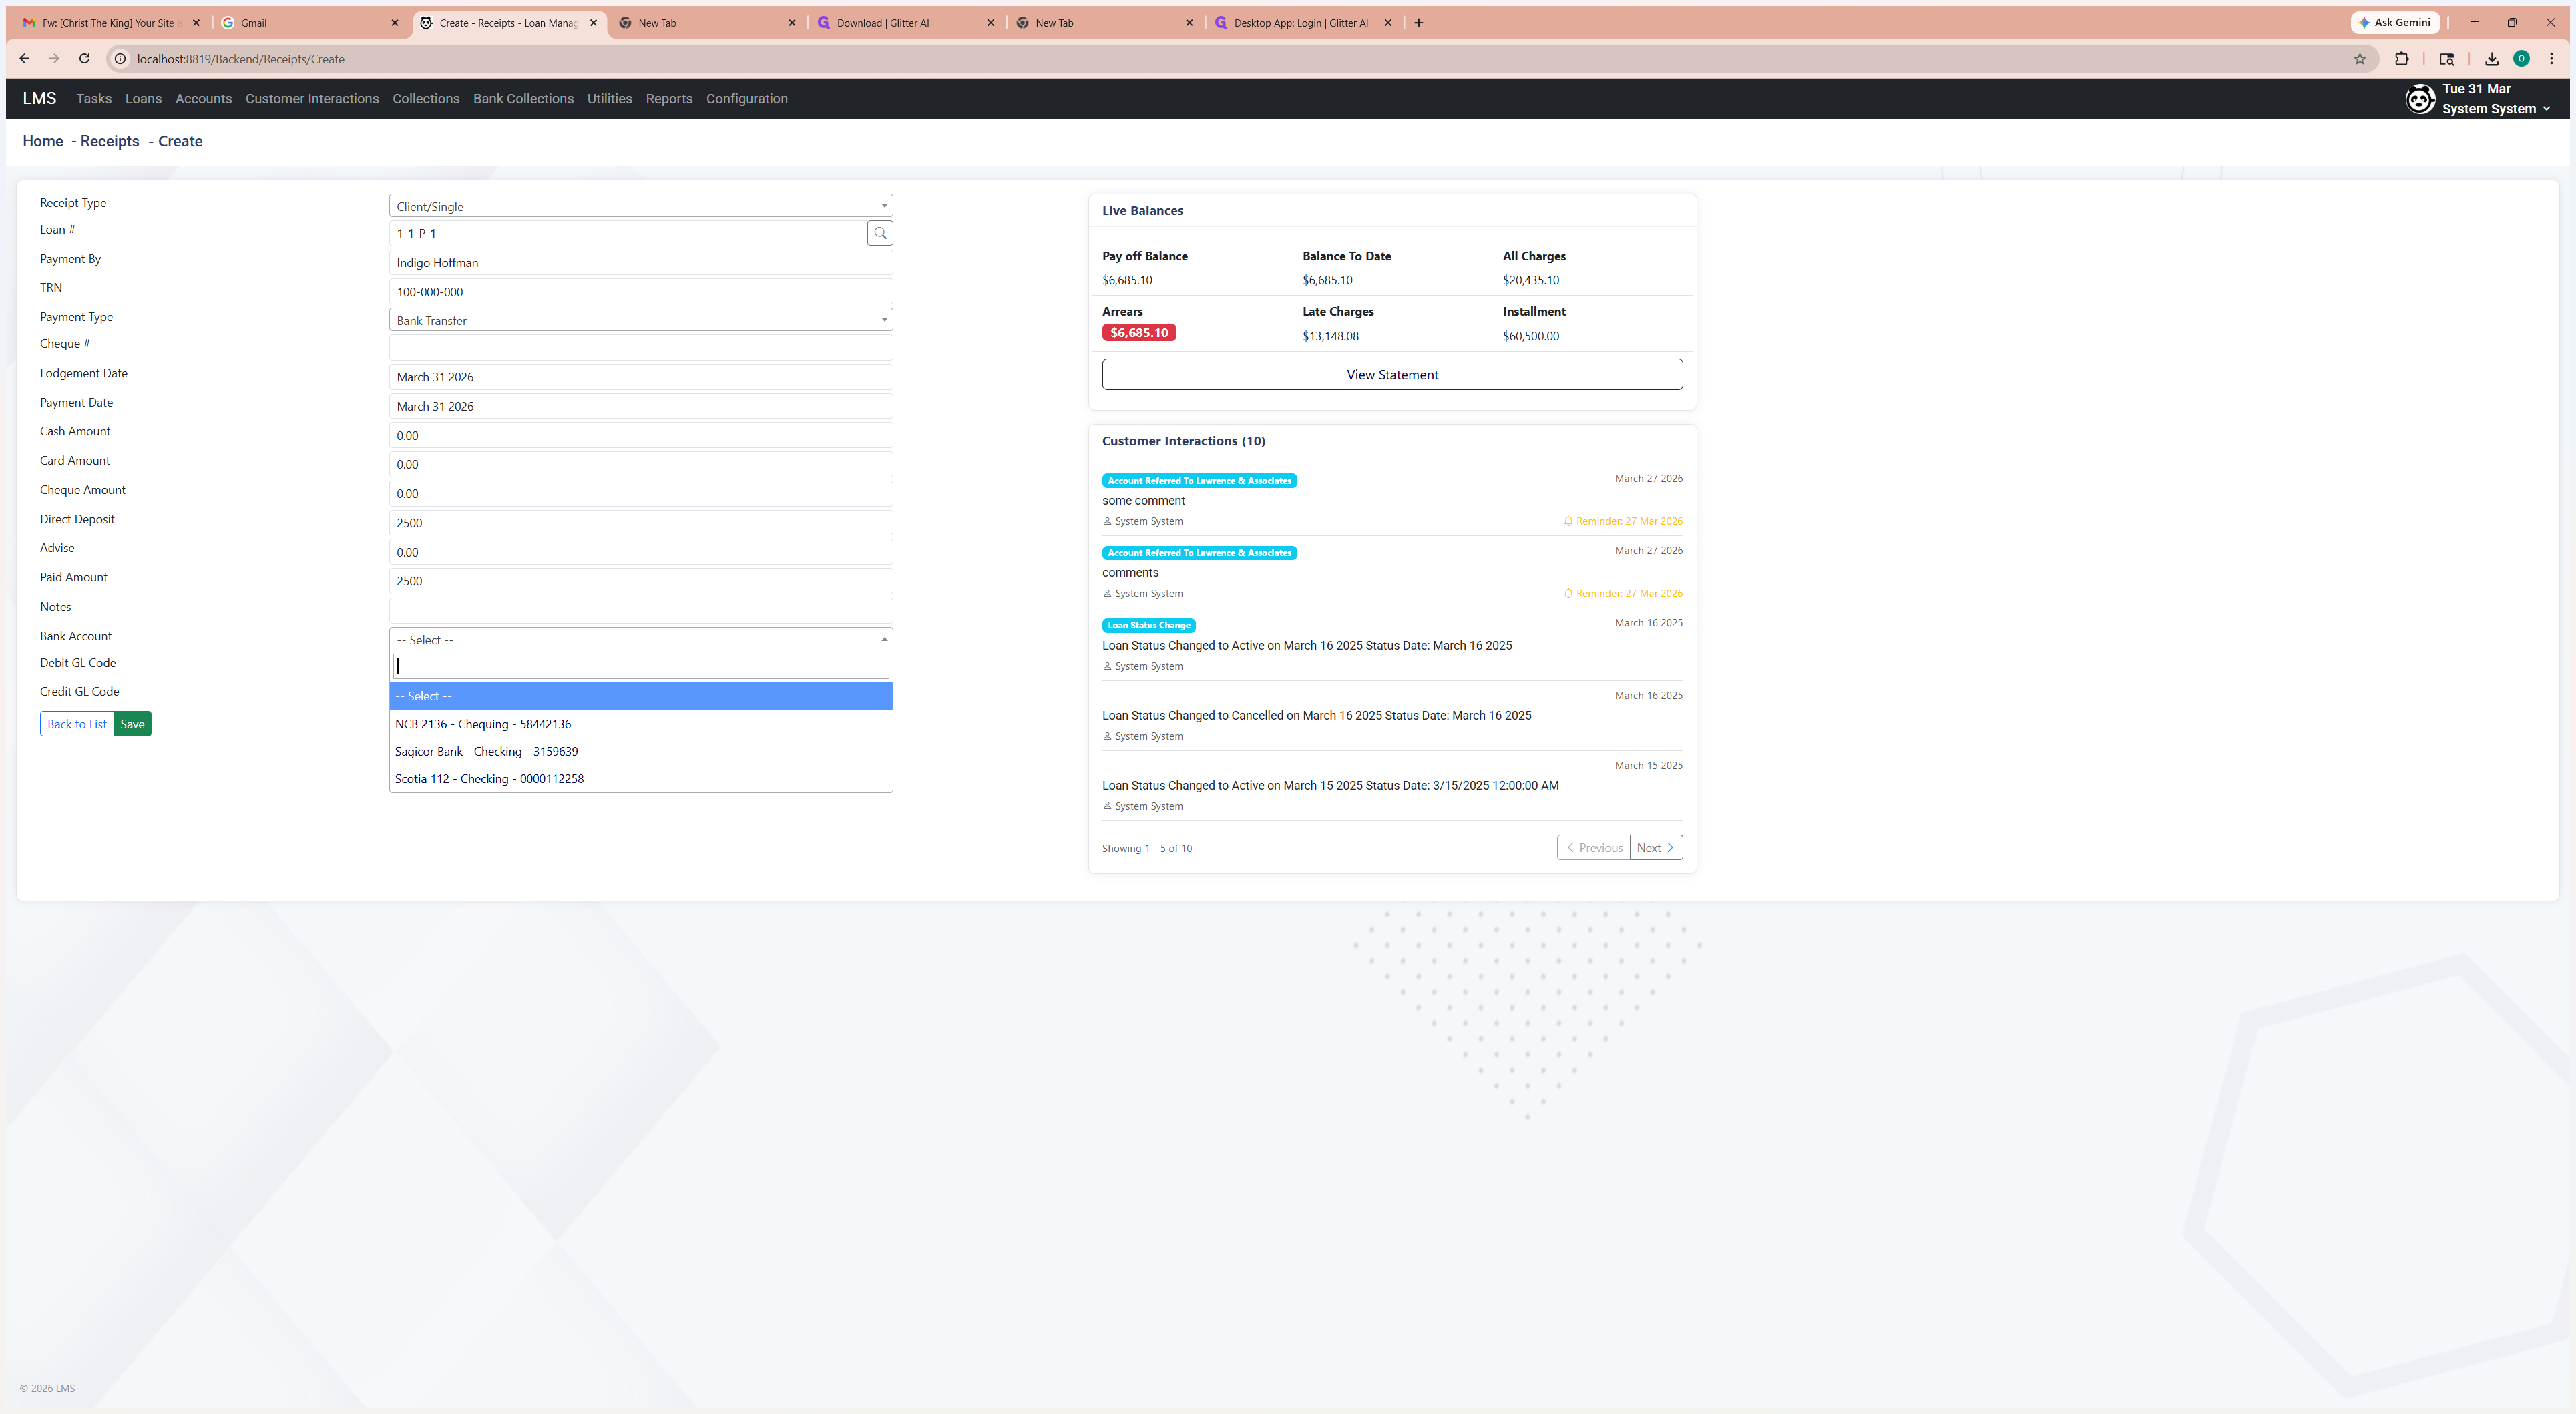
11
Click here
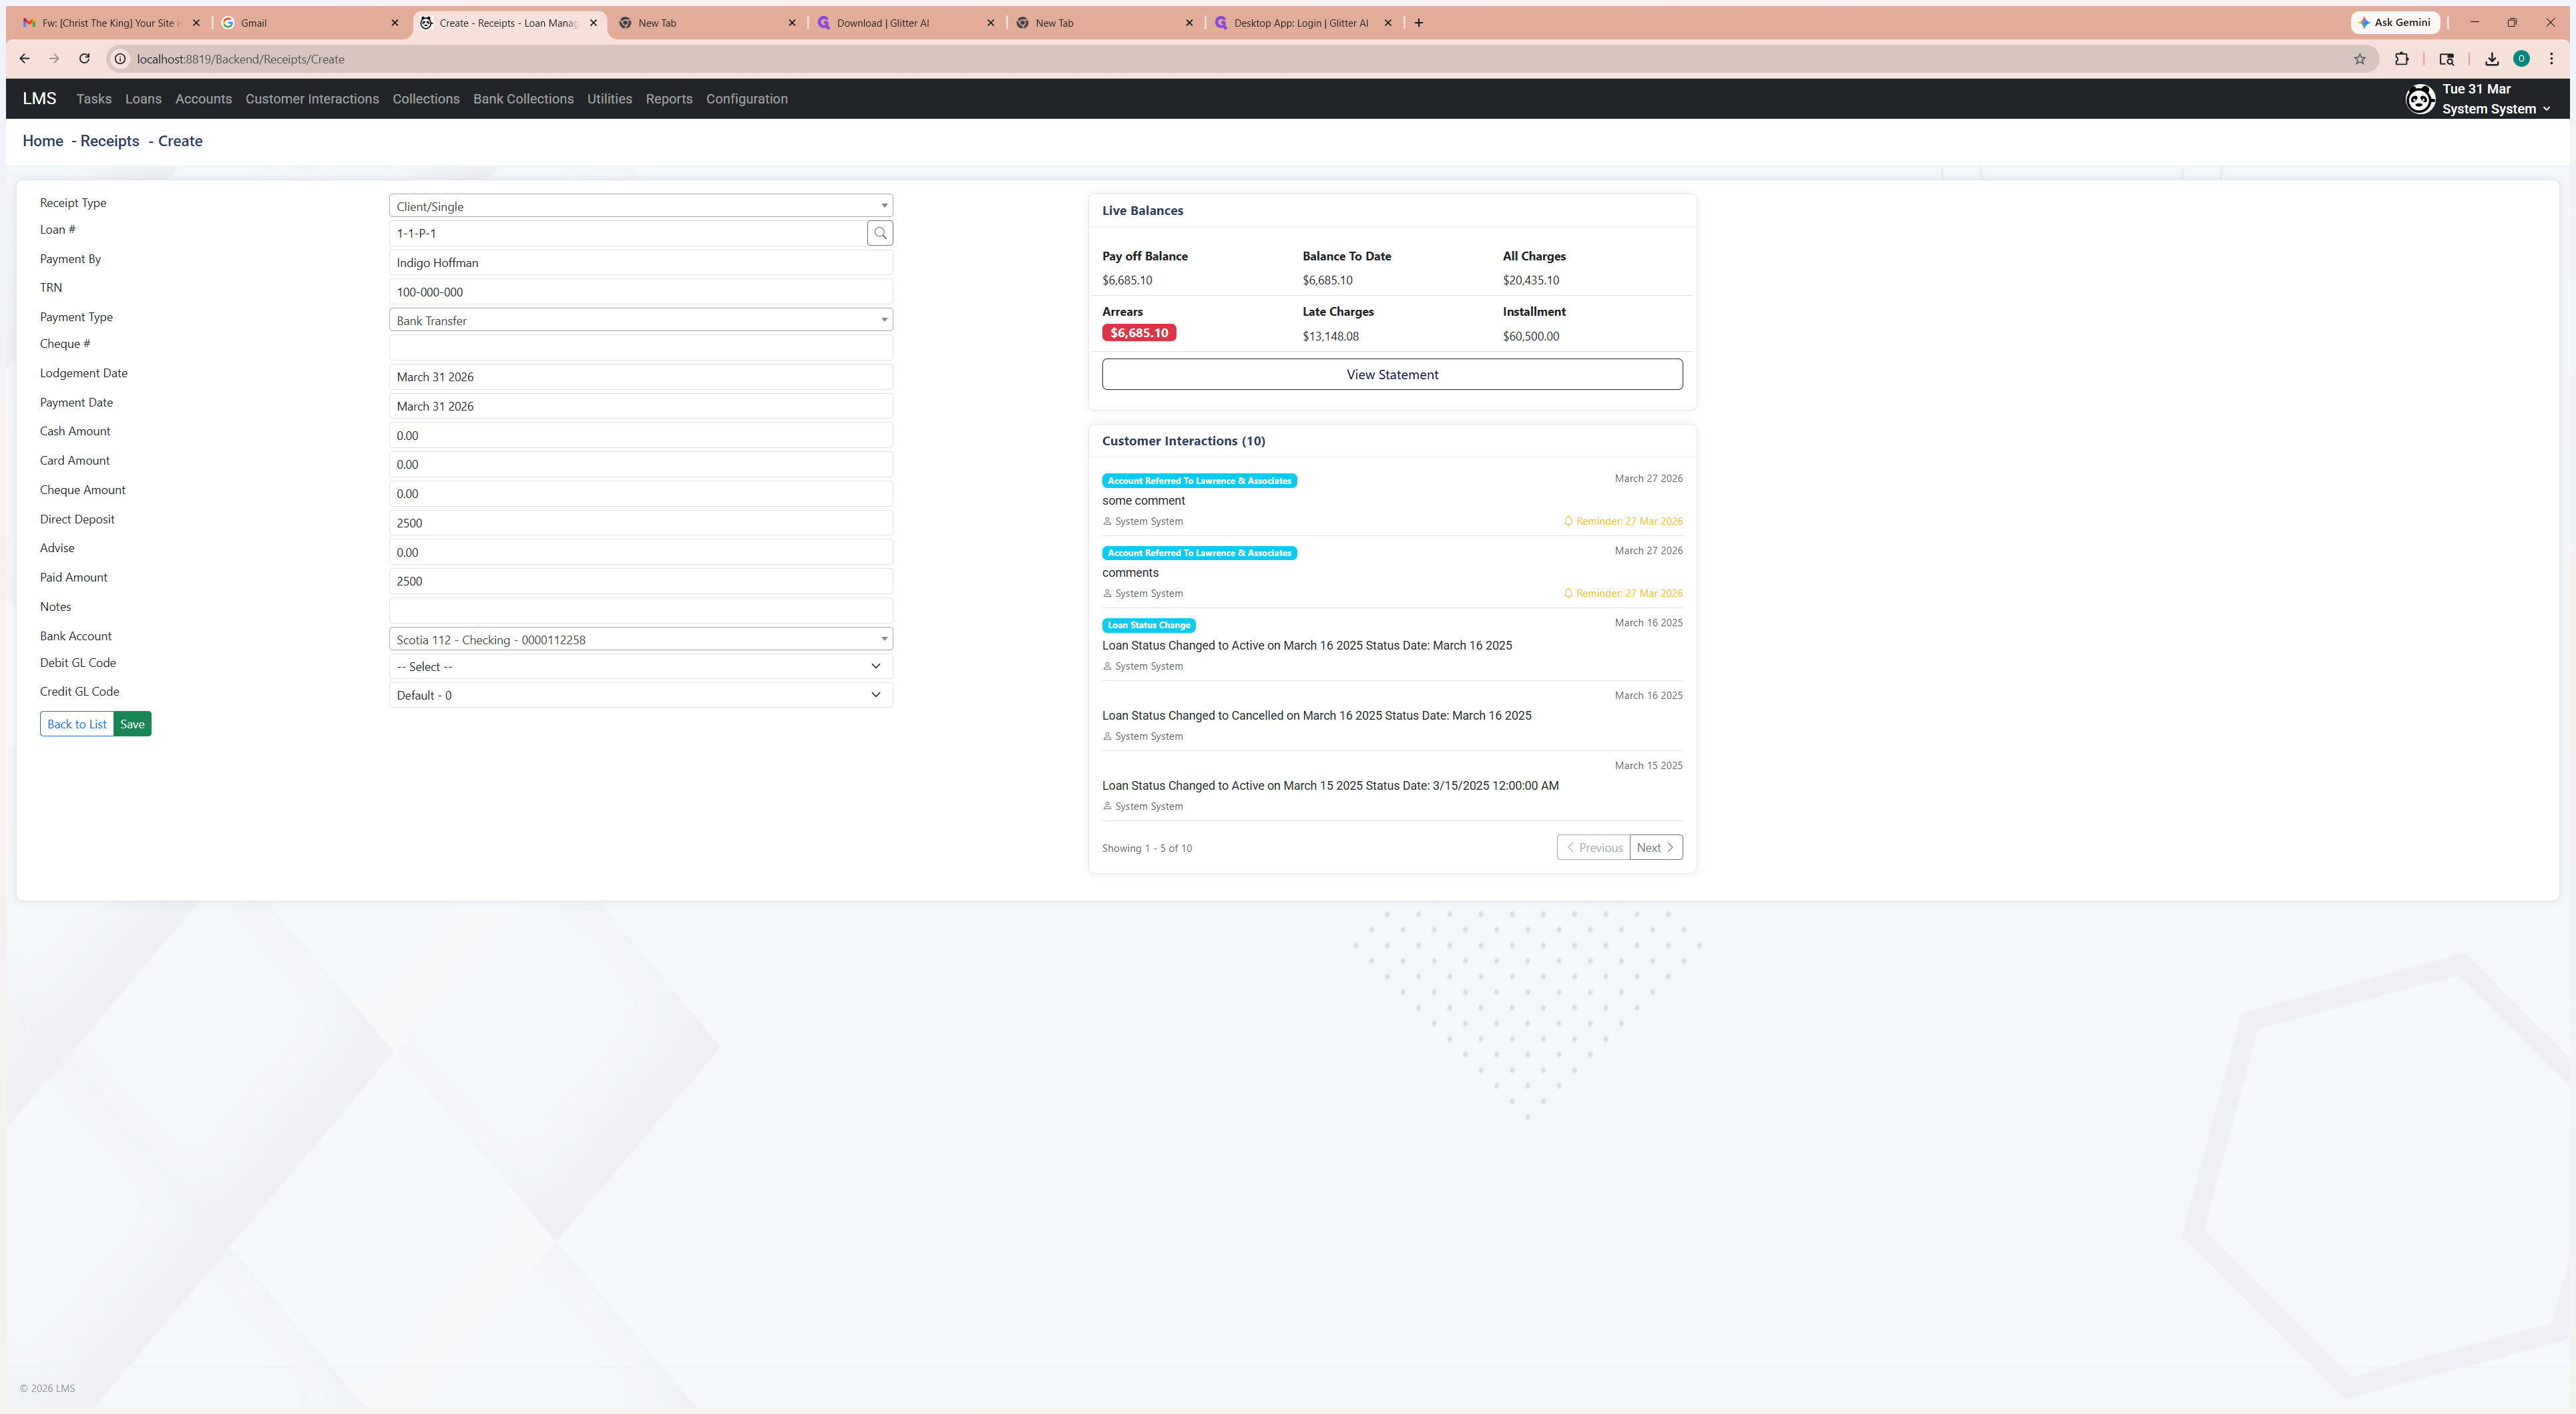
Verify the GL codes and save.
12
Click on "Save"
