
How to Create a Free Power BI Account Part 2
In Part 1, we created a Power bi account. In Part 2, we will add that account to your Power BI dashboard application, set up Microsoft Authenticator for added security, and reset your password easily. Follow this step-by-step guide for a smooth account setup experience.
In this guide, we'll learn how to set up secure sign-in using your email and Microsoft Authenticator. We will also cover how to add a recovery email for password resets and complete the verification process.
This process helps protect your account and ensures you can access it if you forget your password.
Let's get started
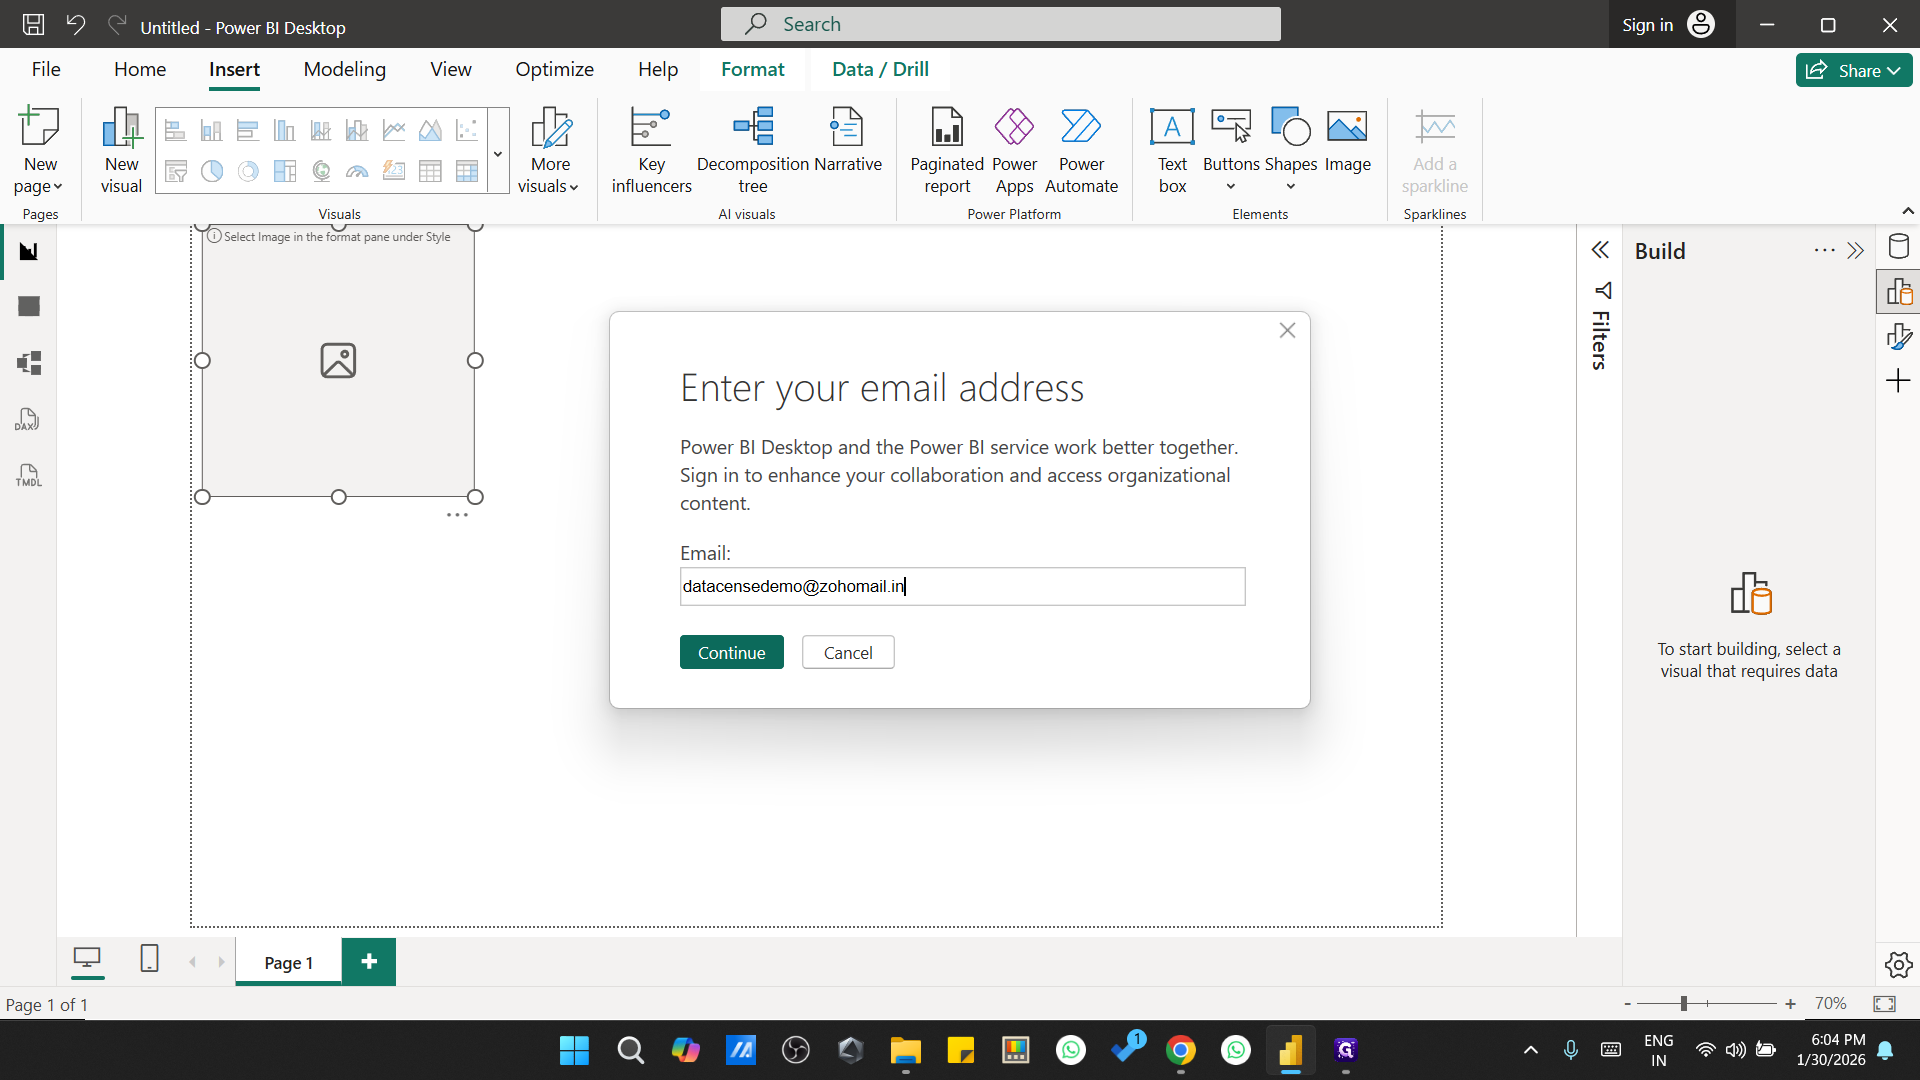
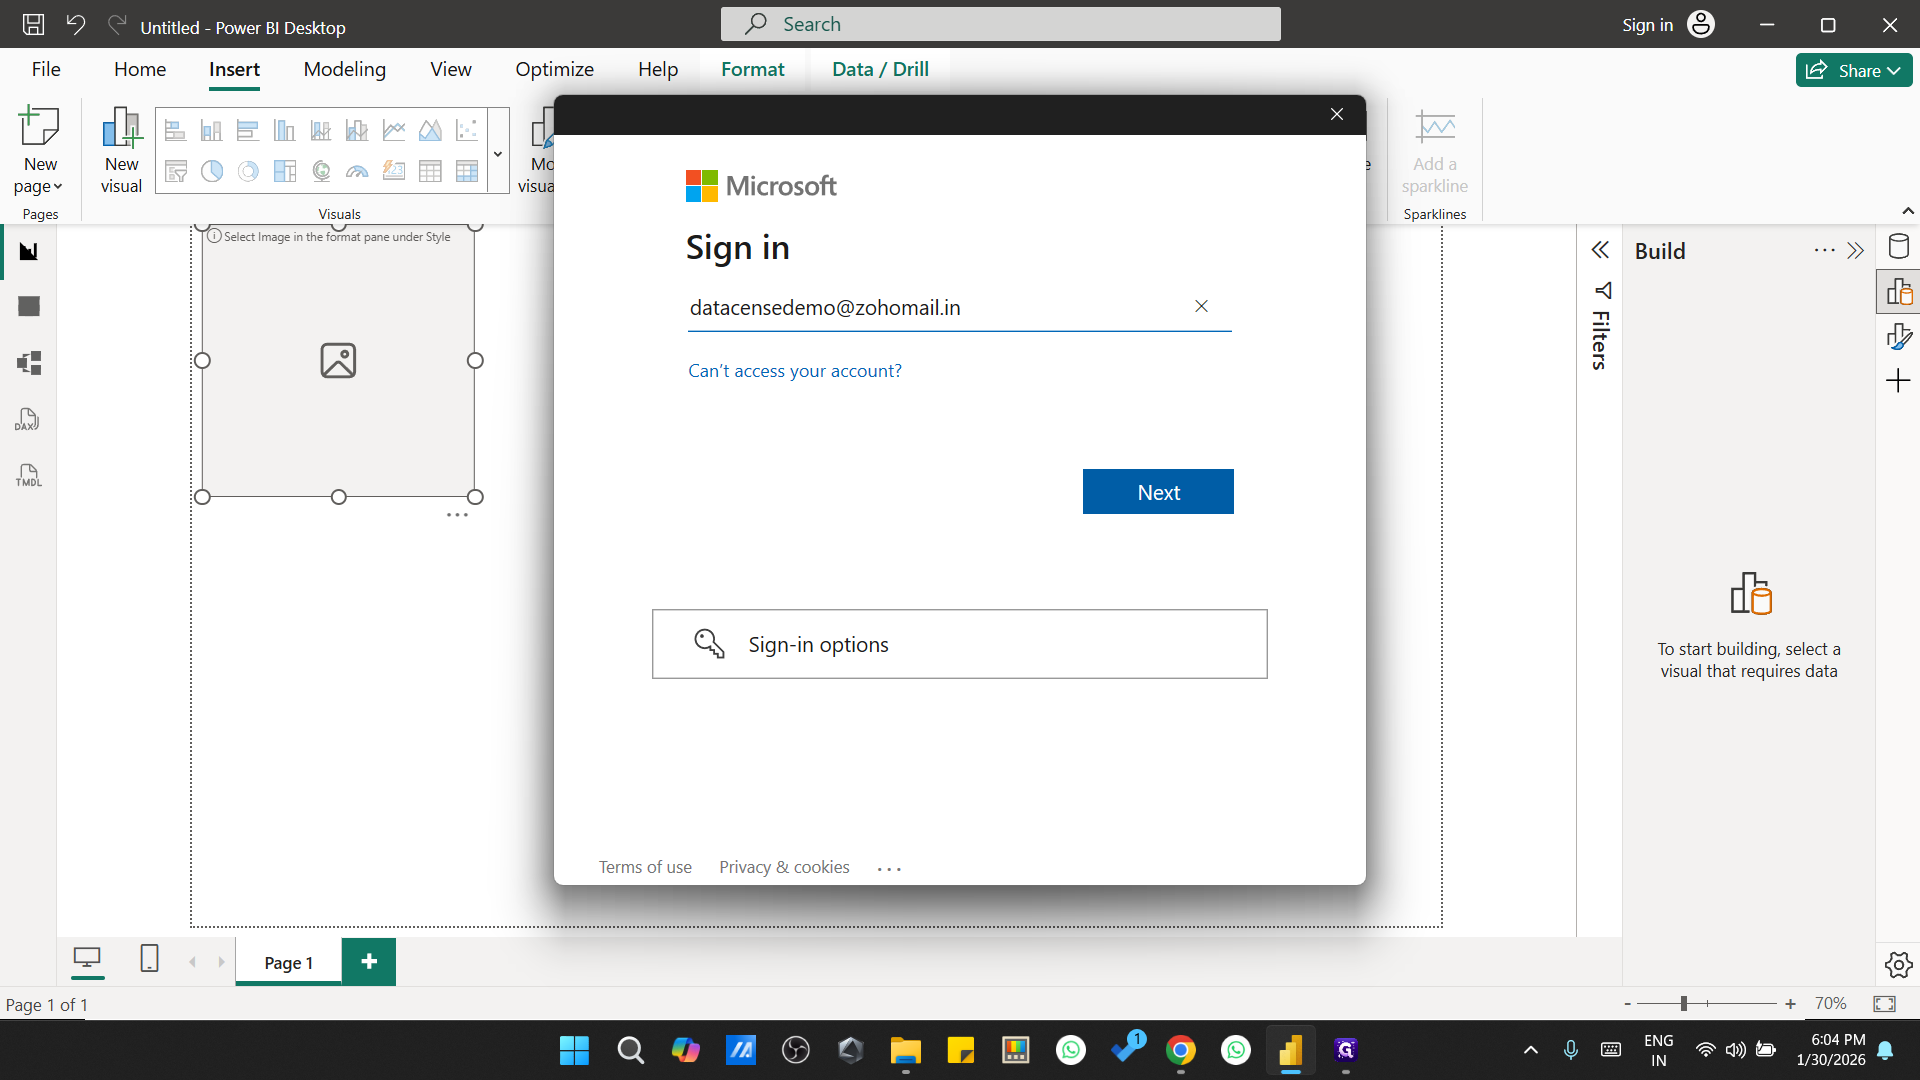
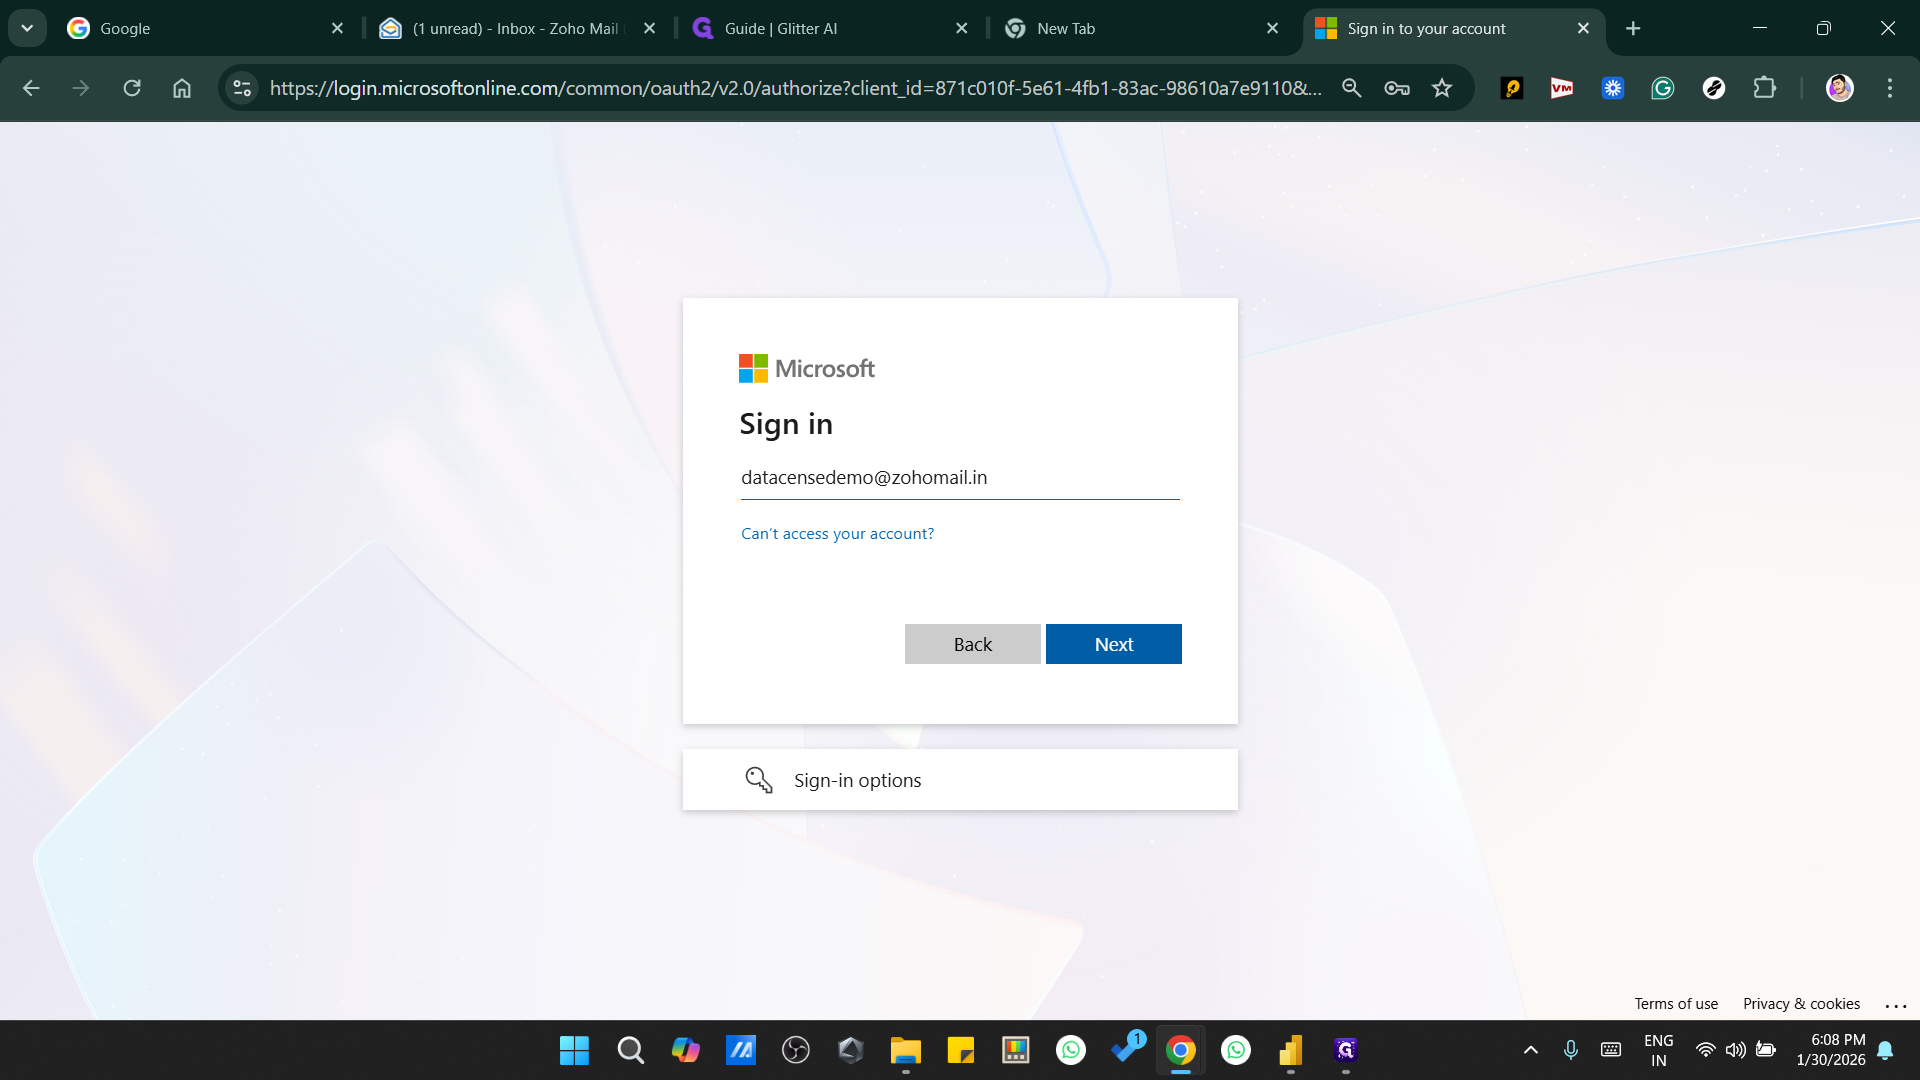
After creating your account, click the sign-in button and enter your email ID.
Enter your email address here. (Zoho email address)
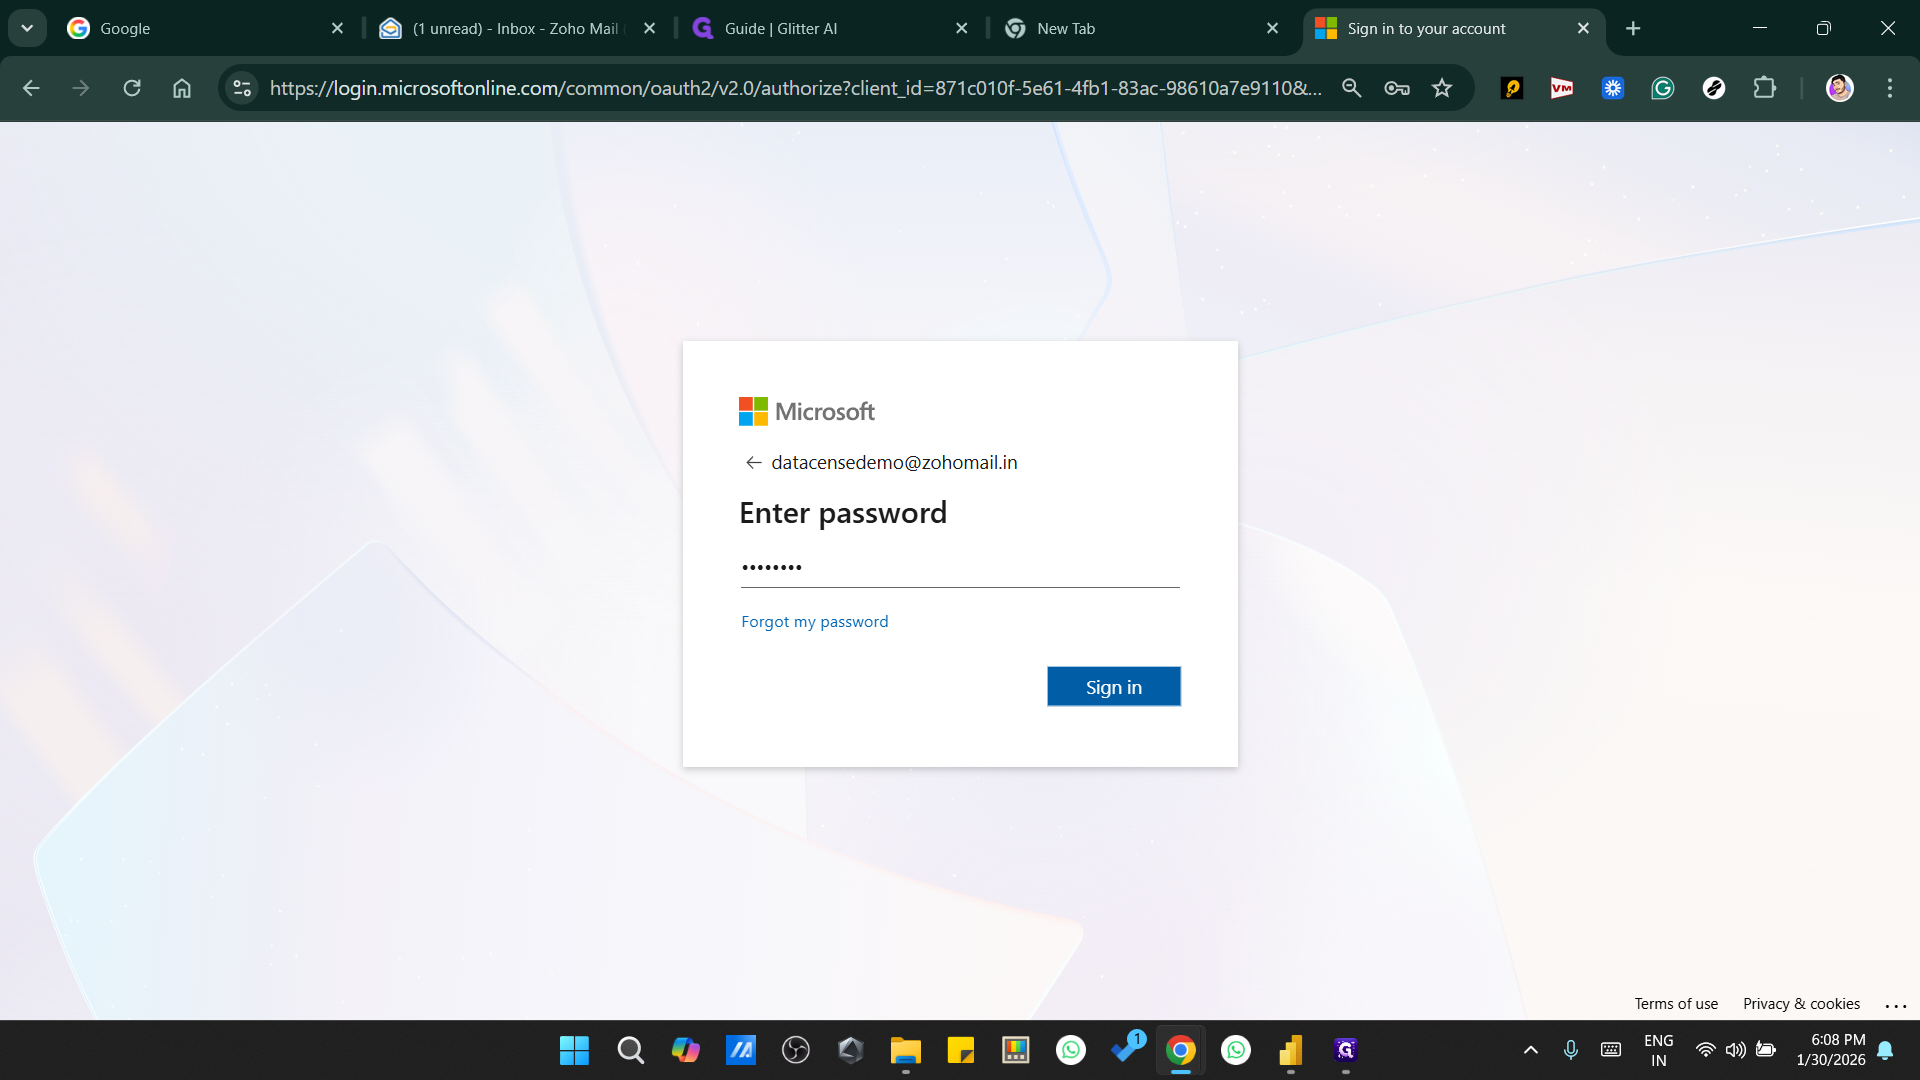
Enter the password you created.
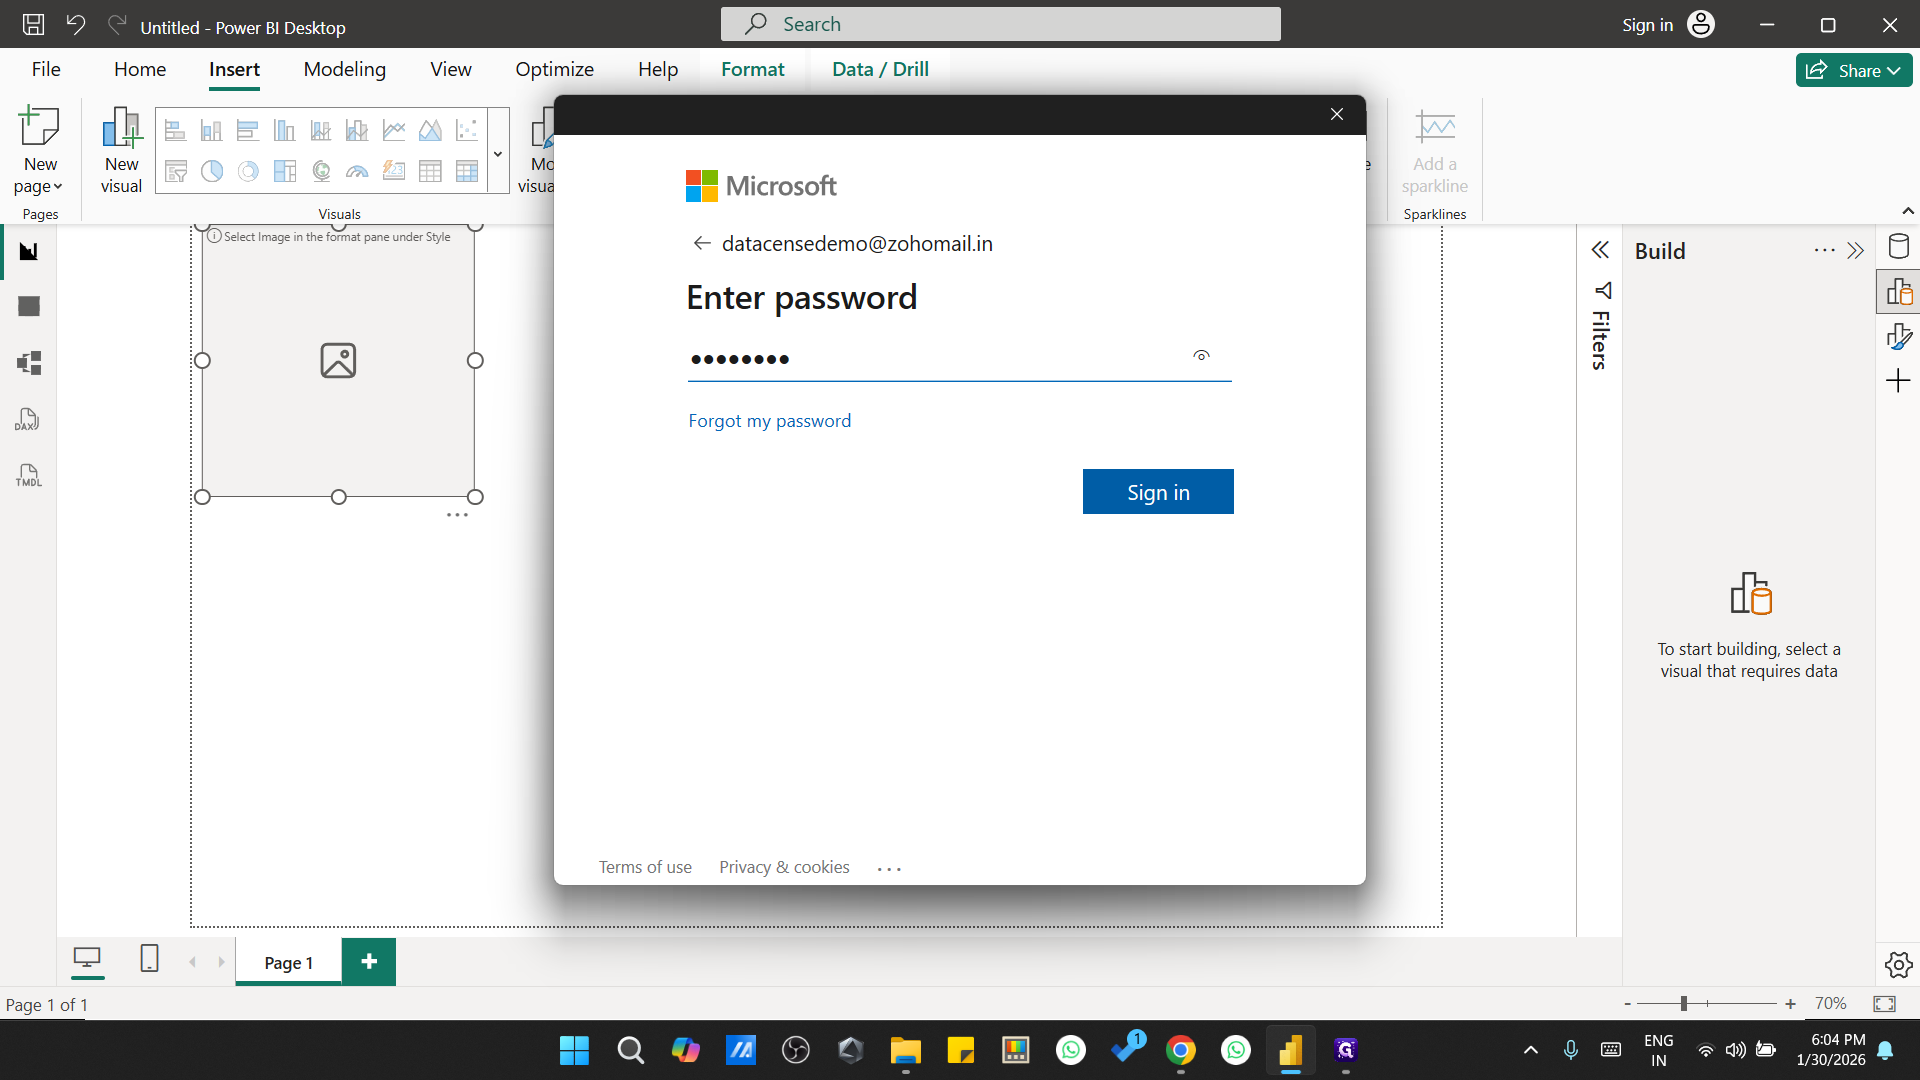
Click Next.

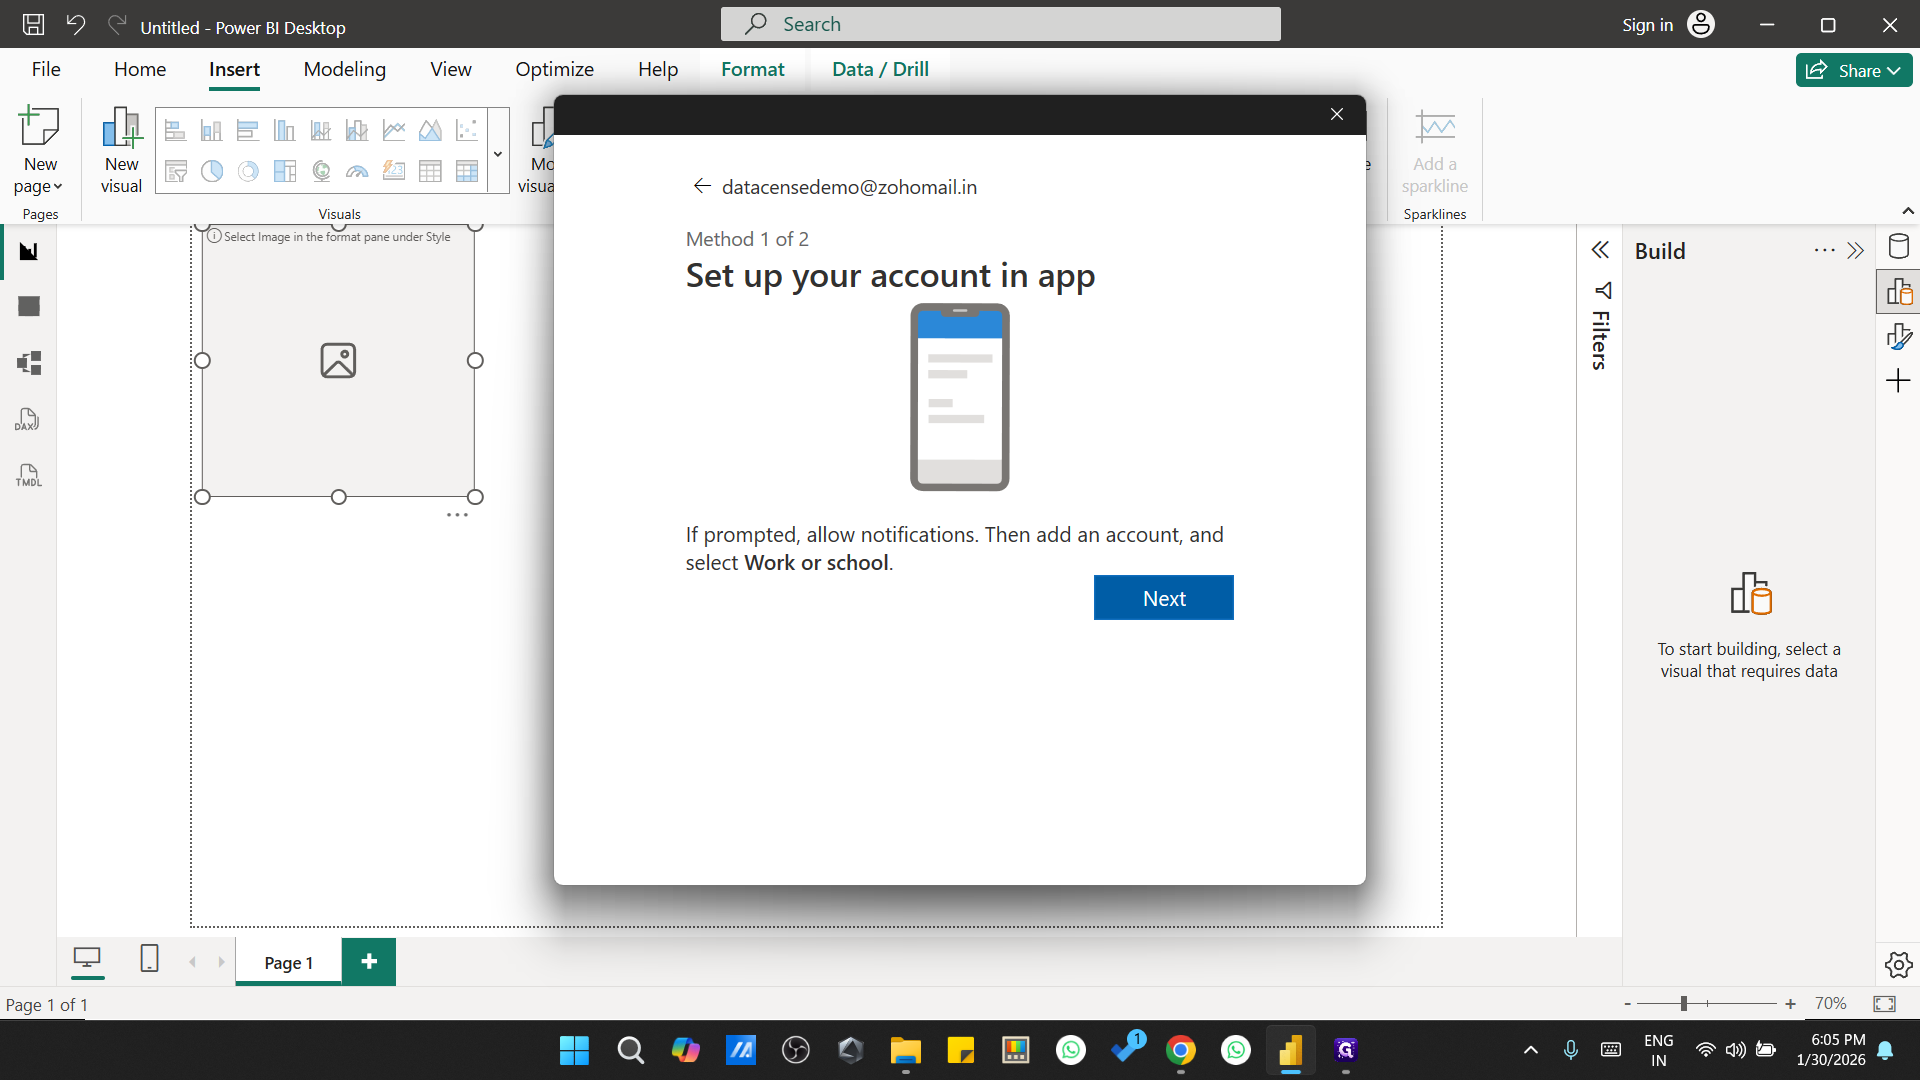
It will prompt you to install Microsoft Authenticator for your security.

Click Next. On your mobile device, install the authenticator app, and we will add this account.
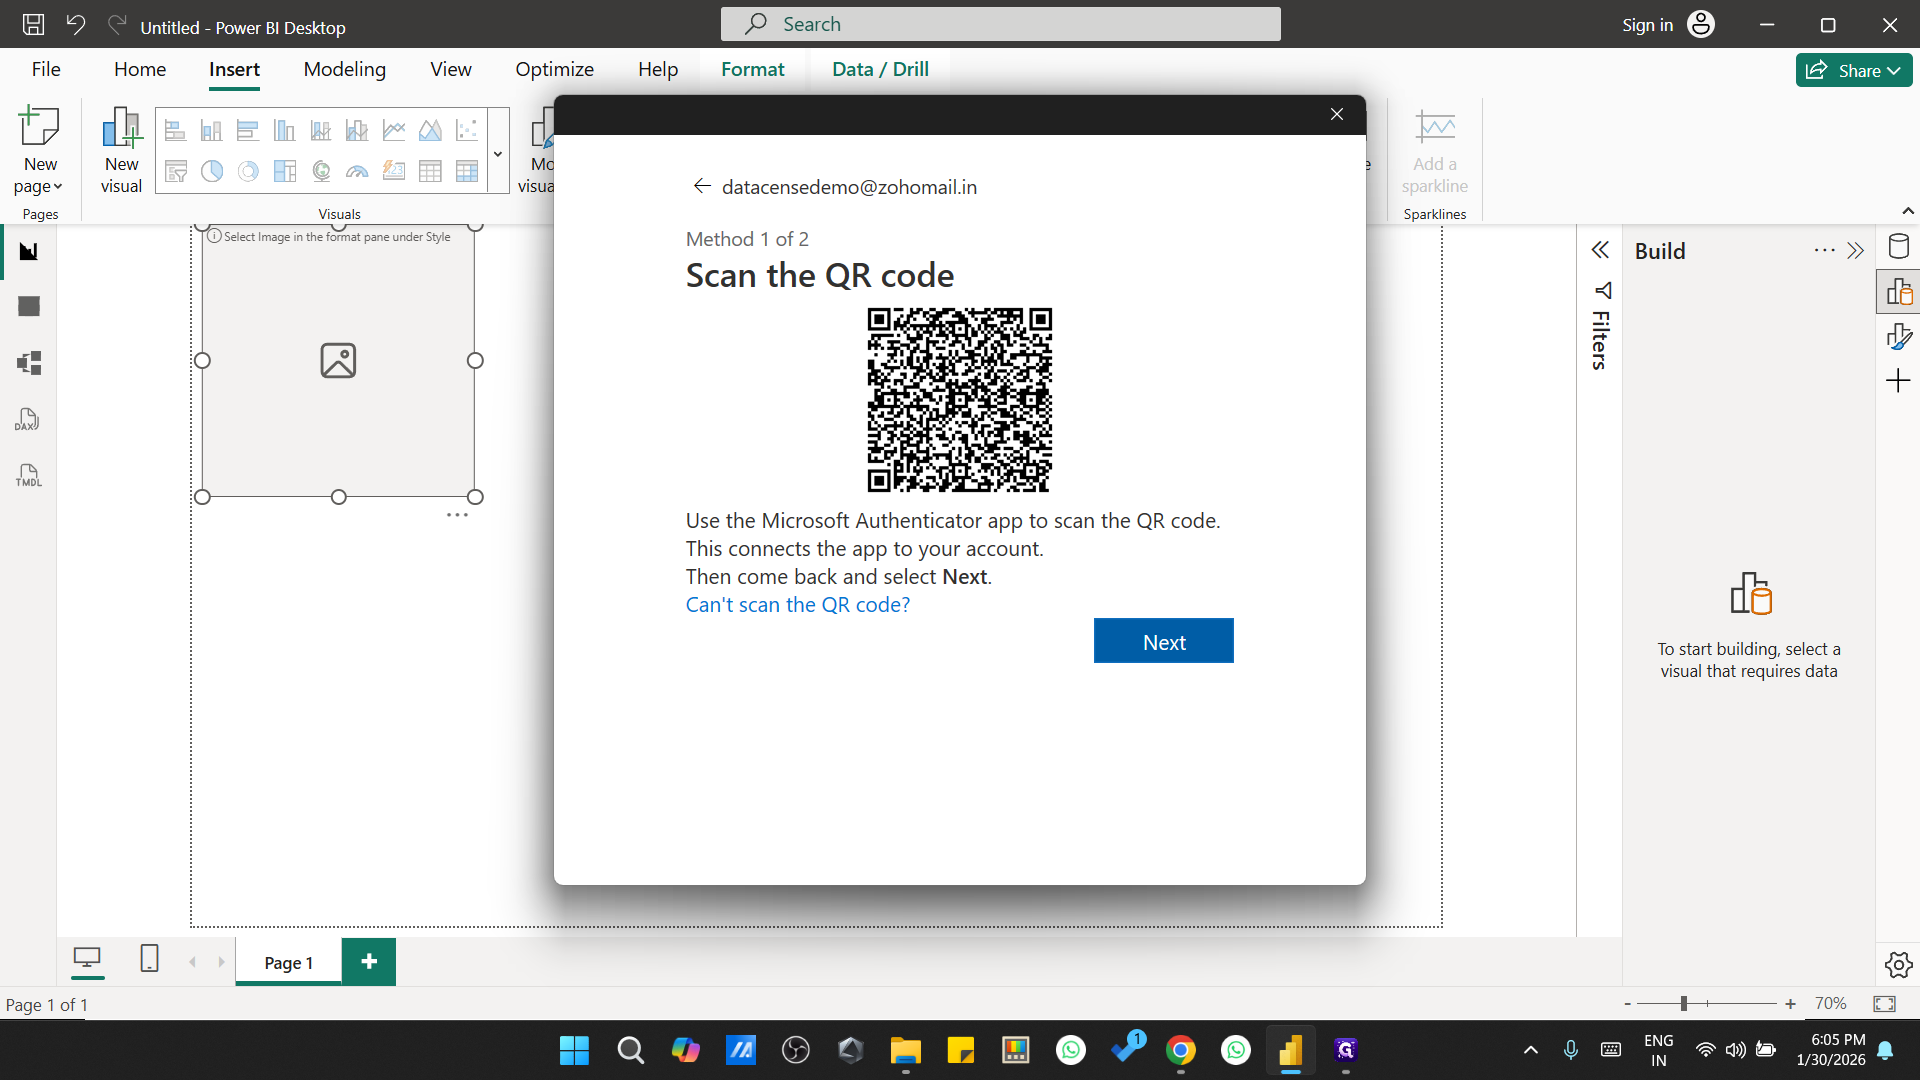
Scan this QR code using the Authenticator app.
After scanning the QR code & once the account is created Click on next
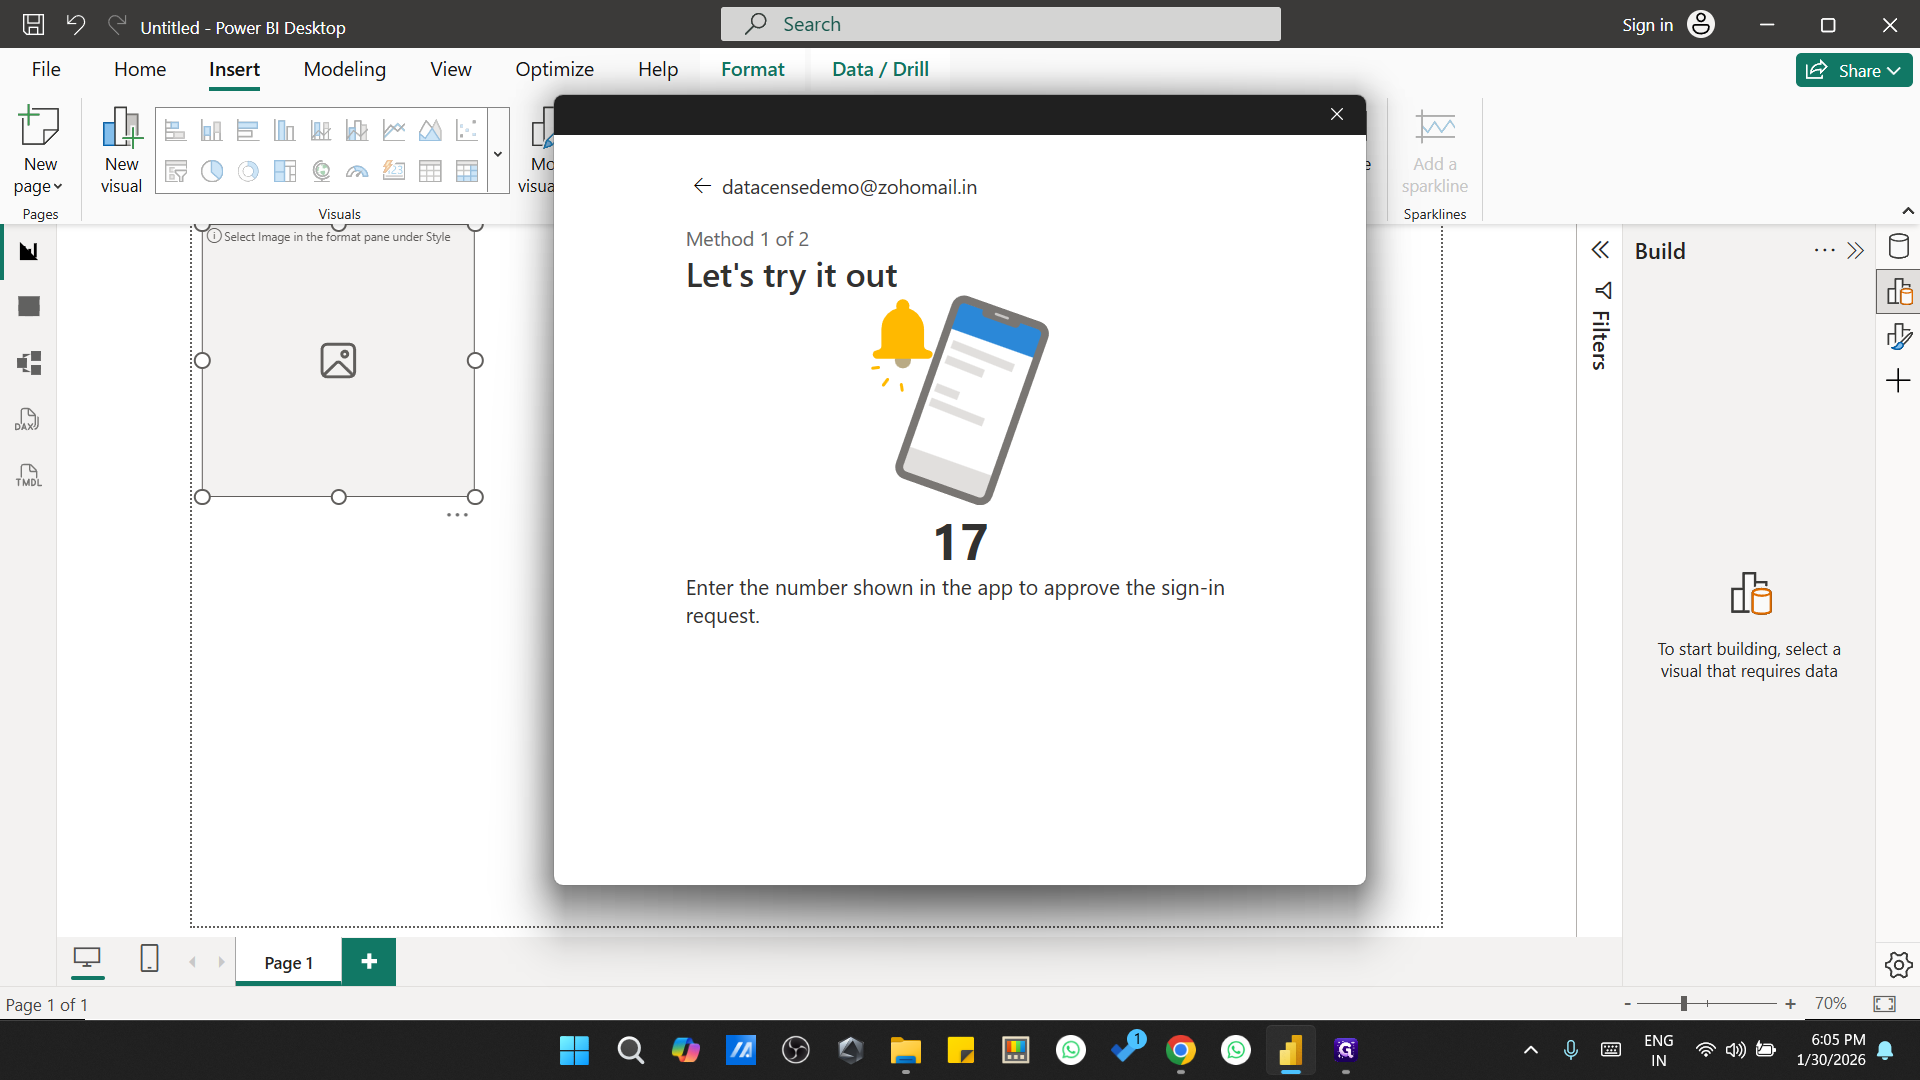
On your phone will ask for this number. Enter it into the pop-up.
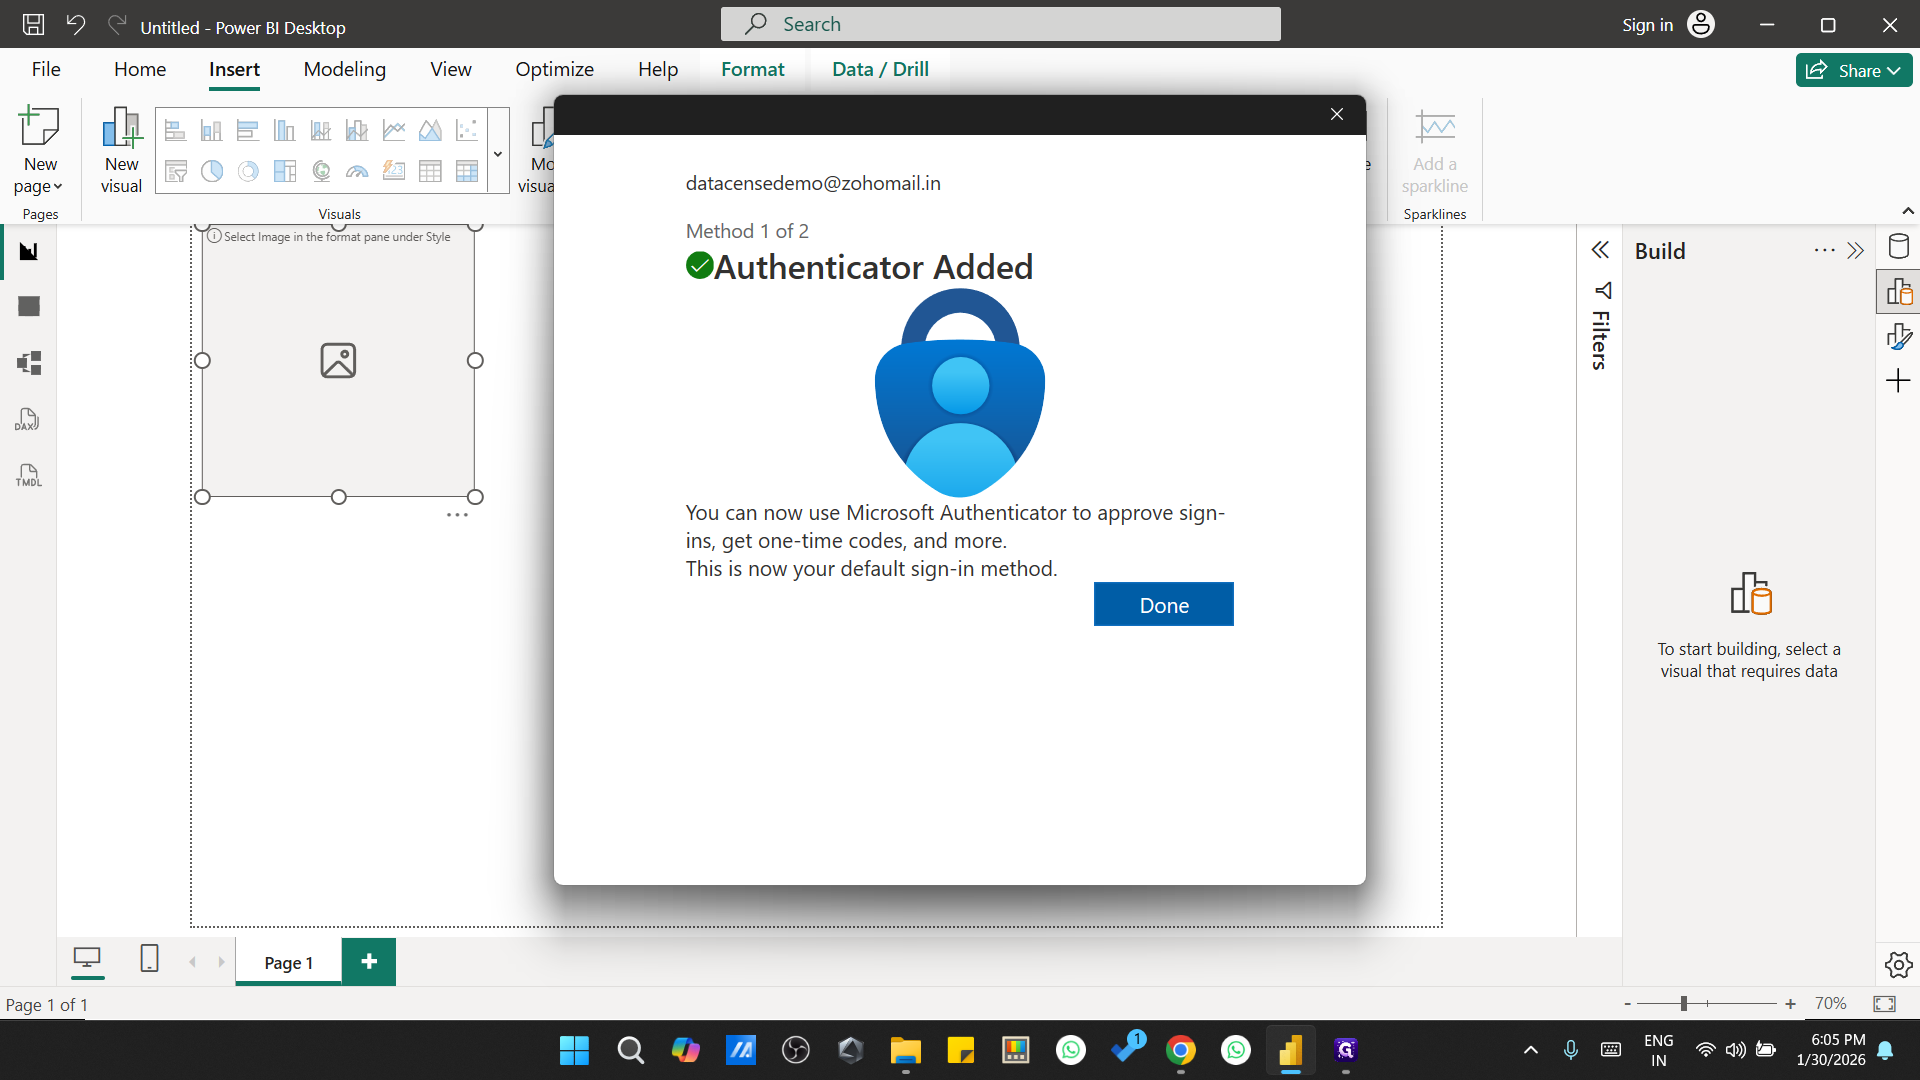
That is done.
To reset your password, provide another email address for the reset process.
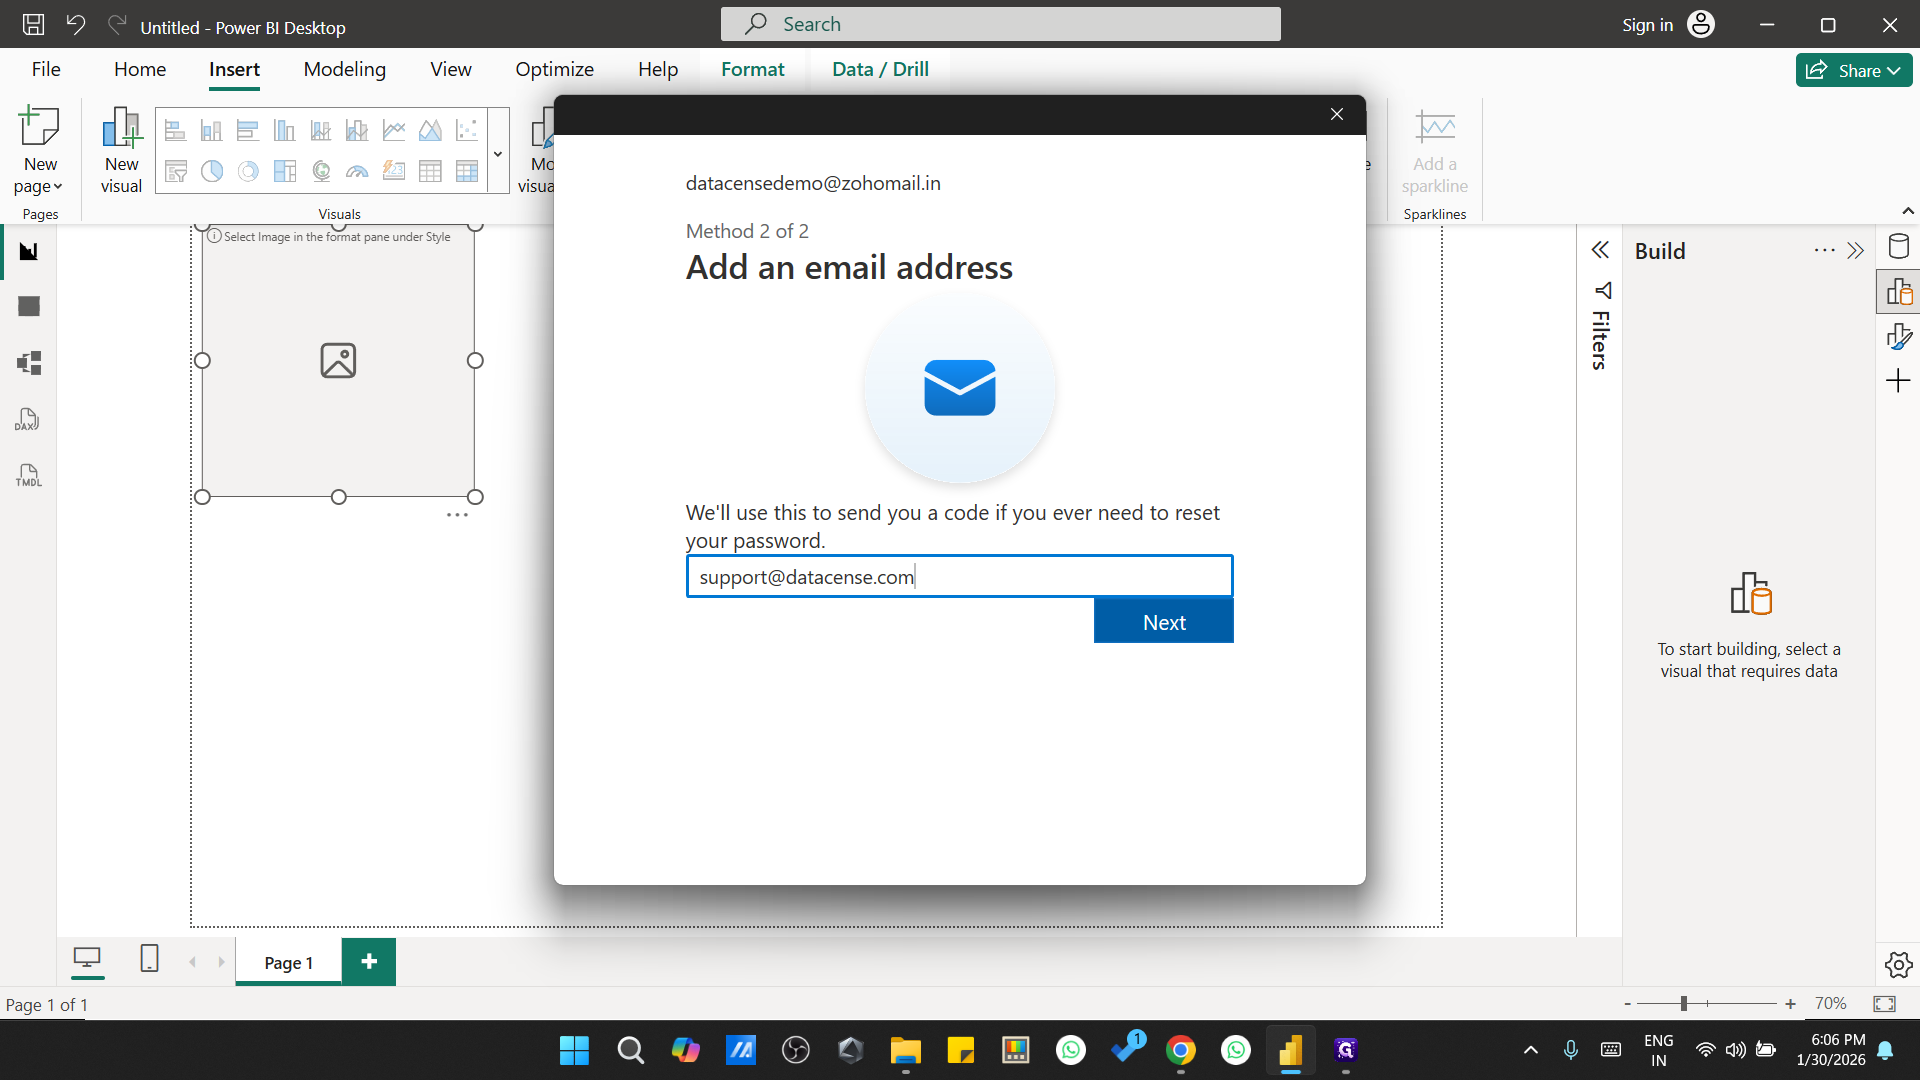
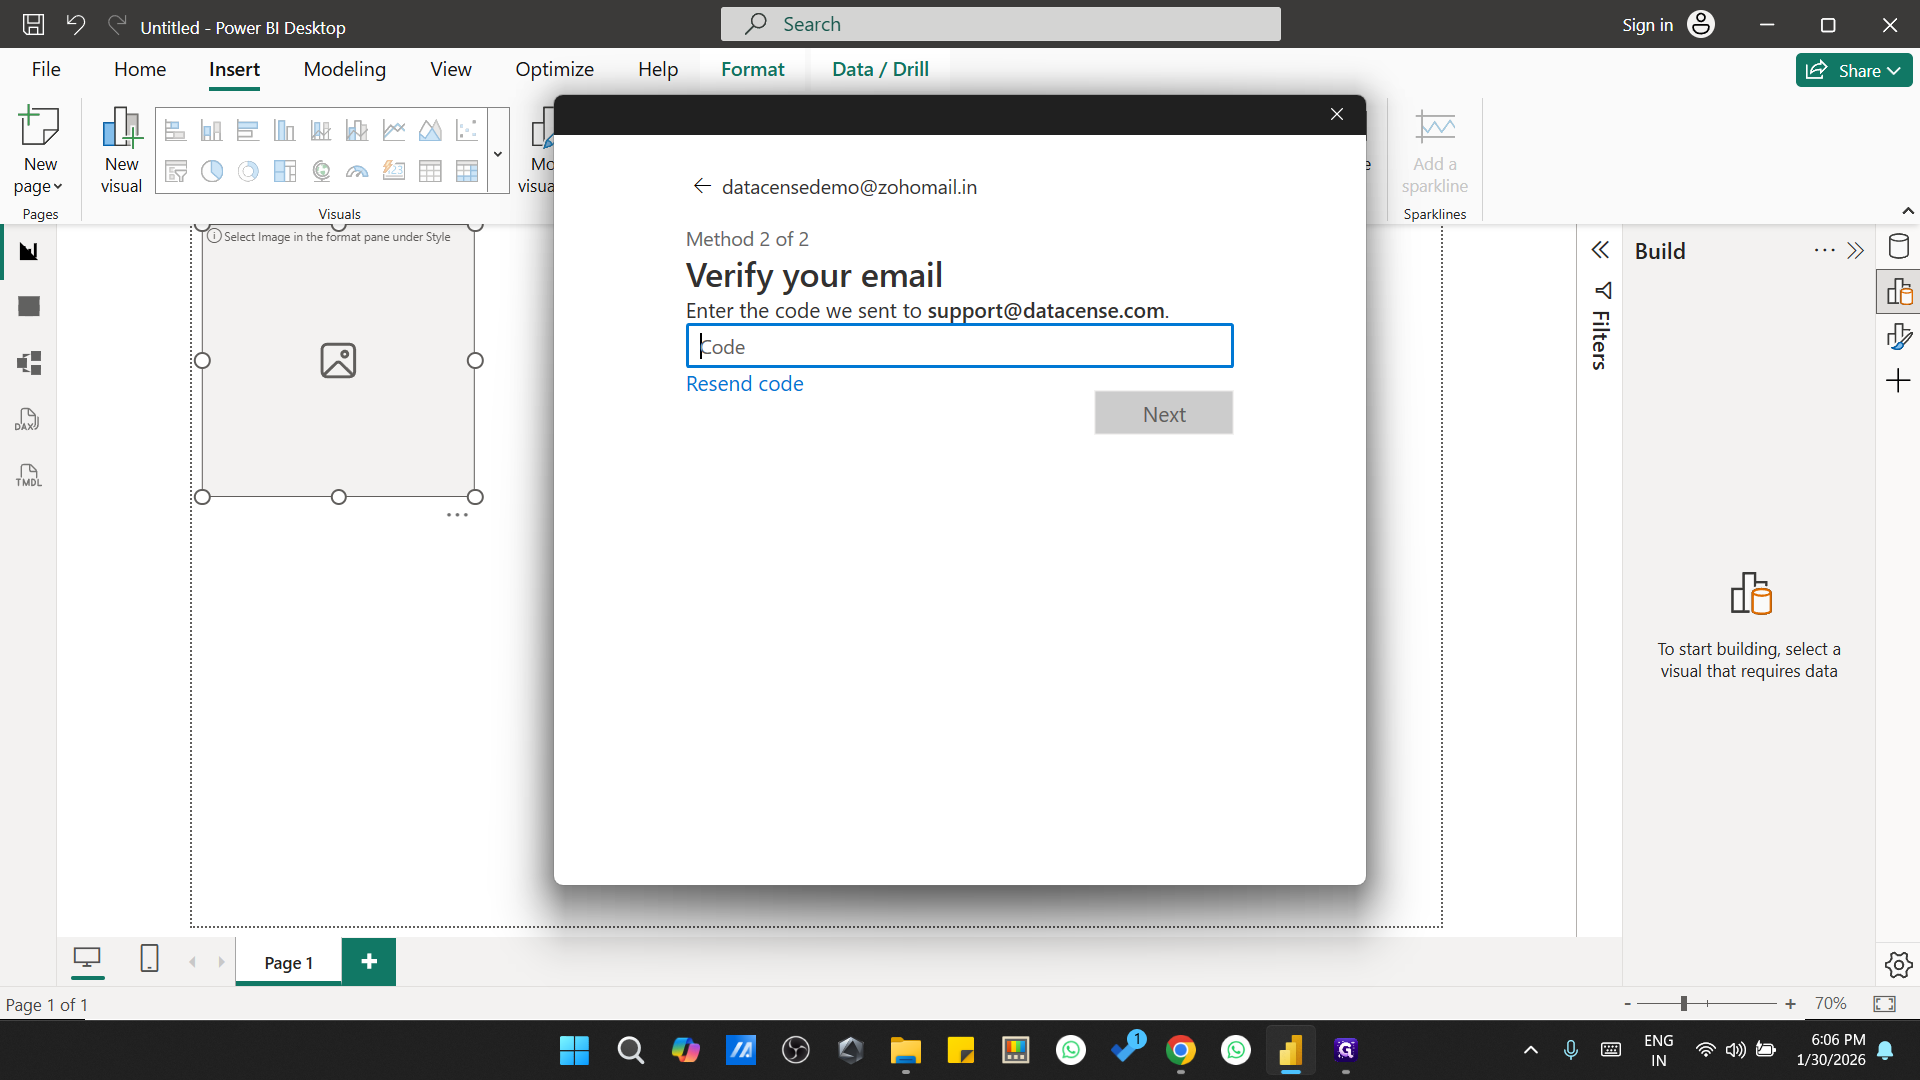
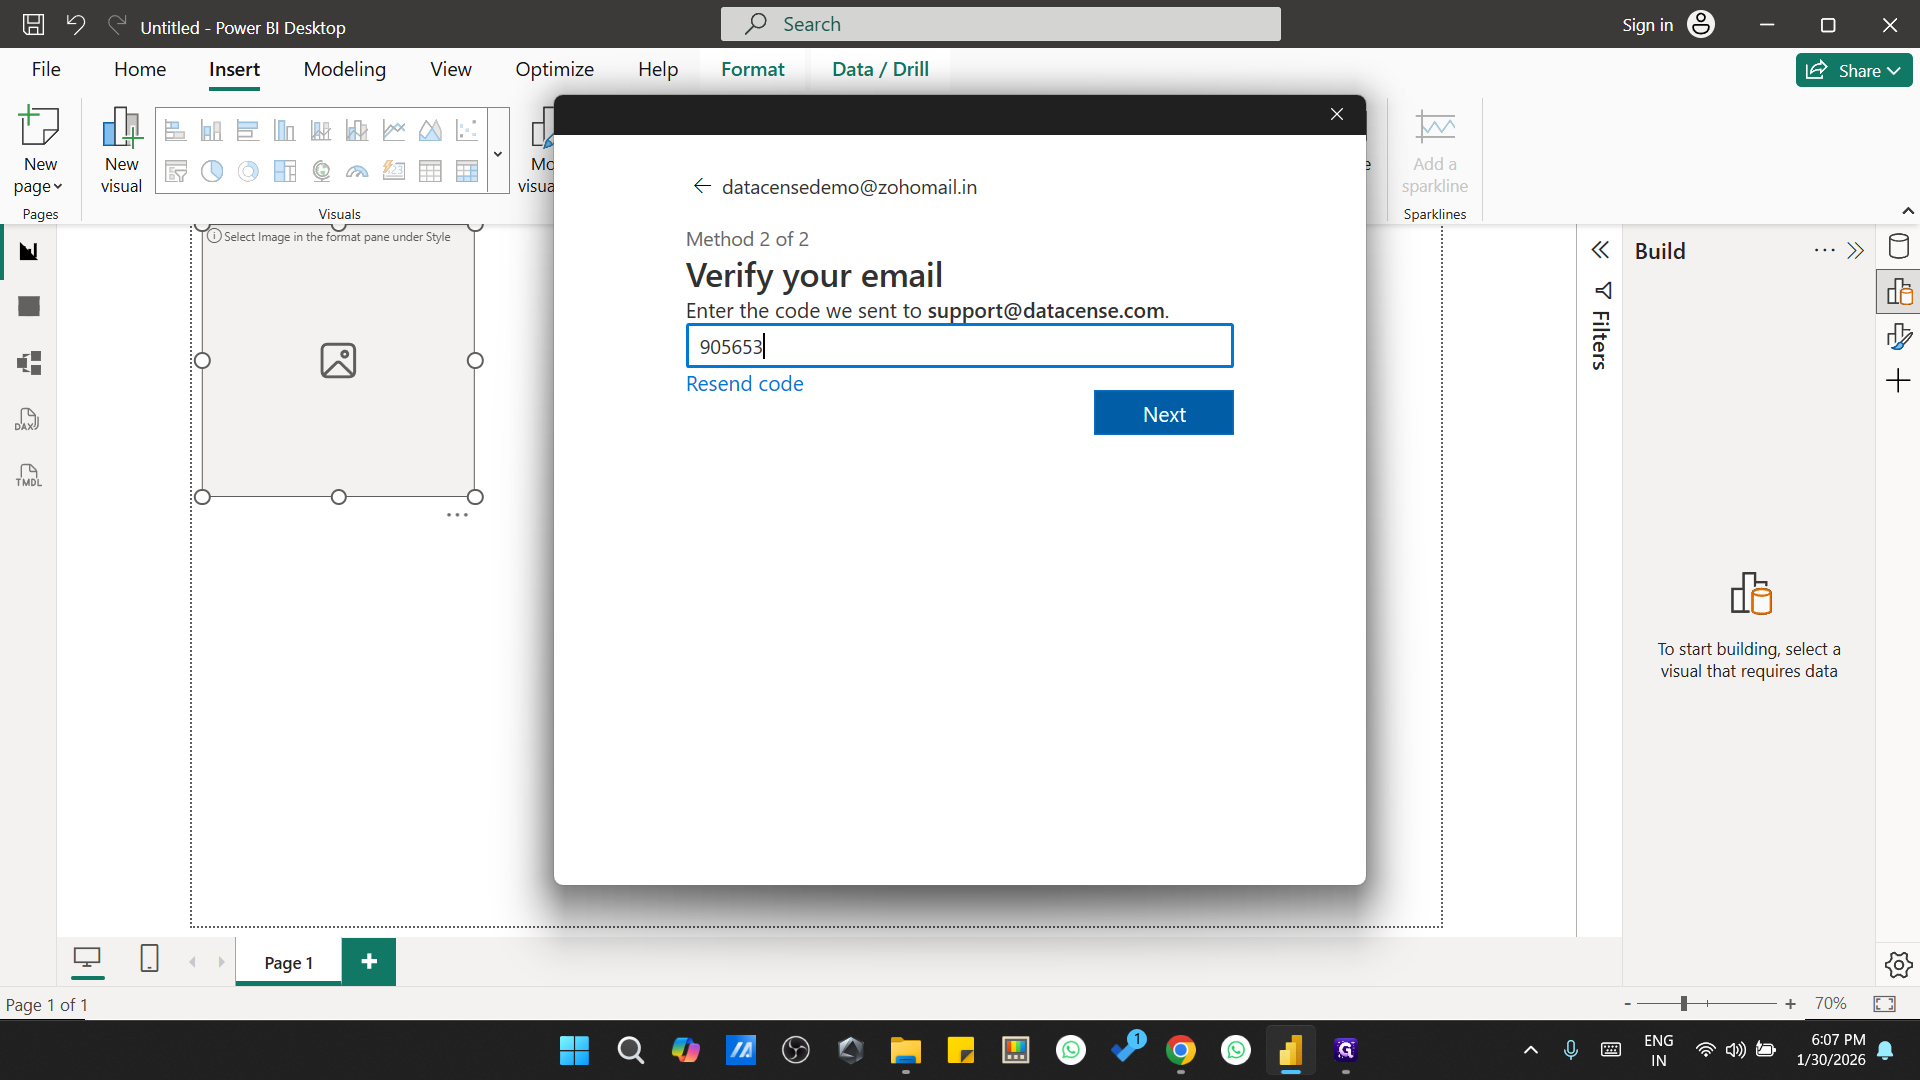
I have provided my other email ID. It may require verification. I have received the code.
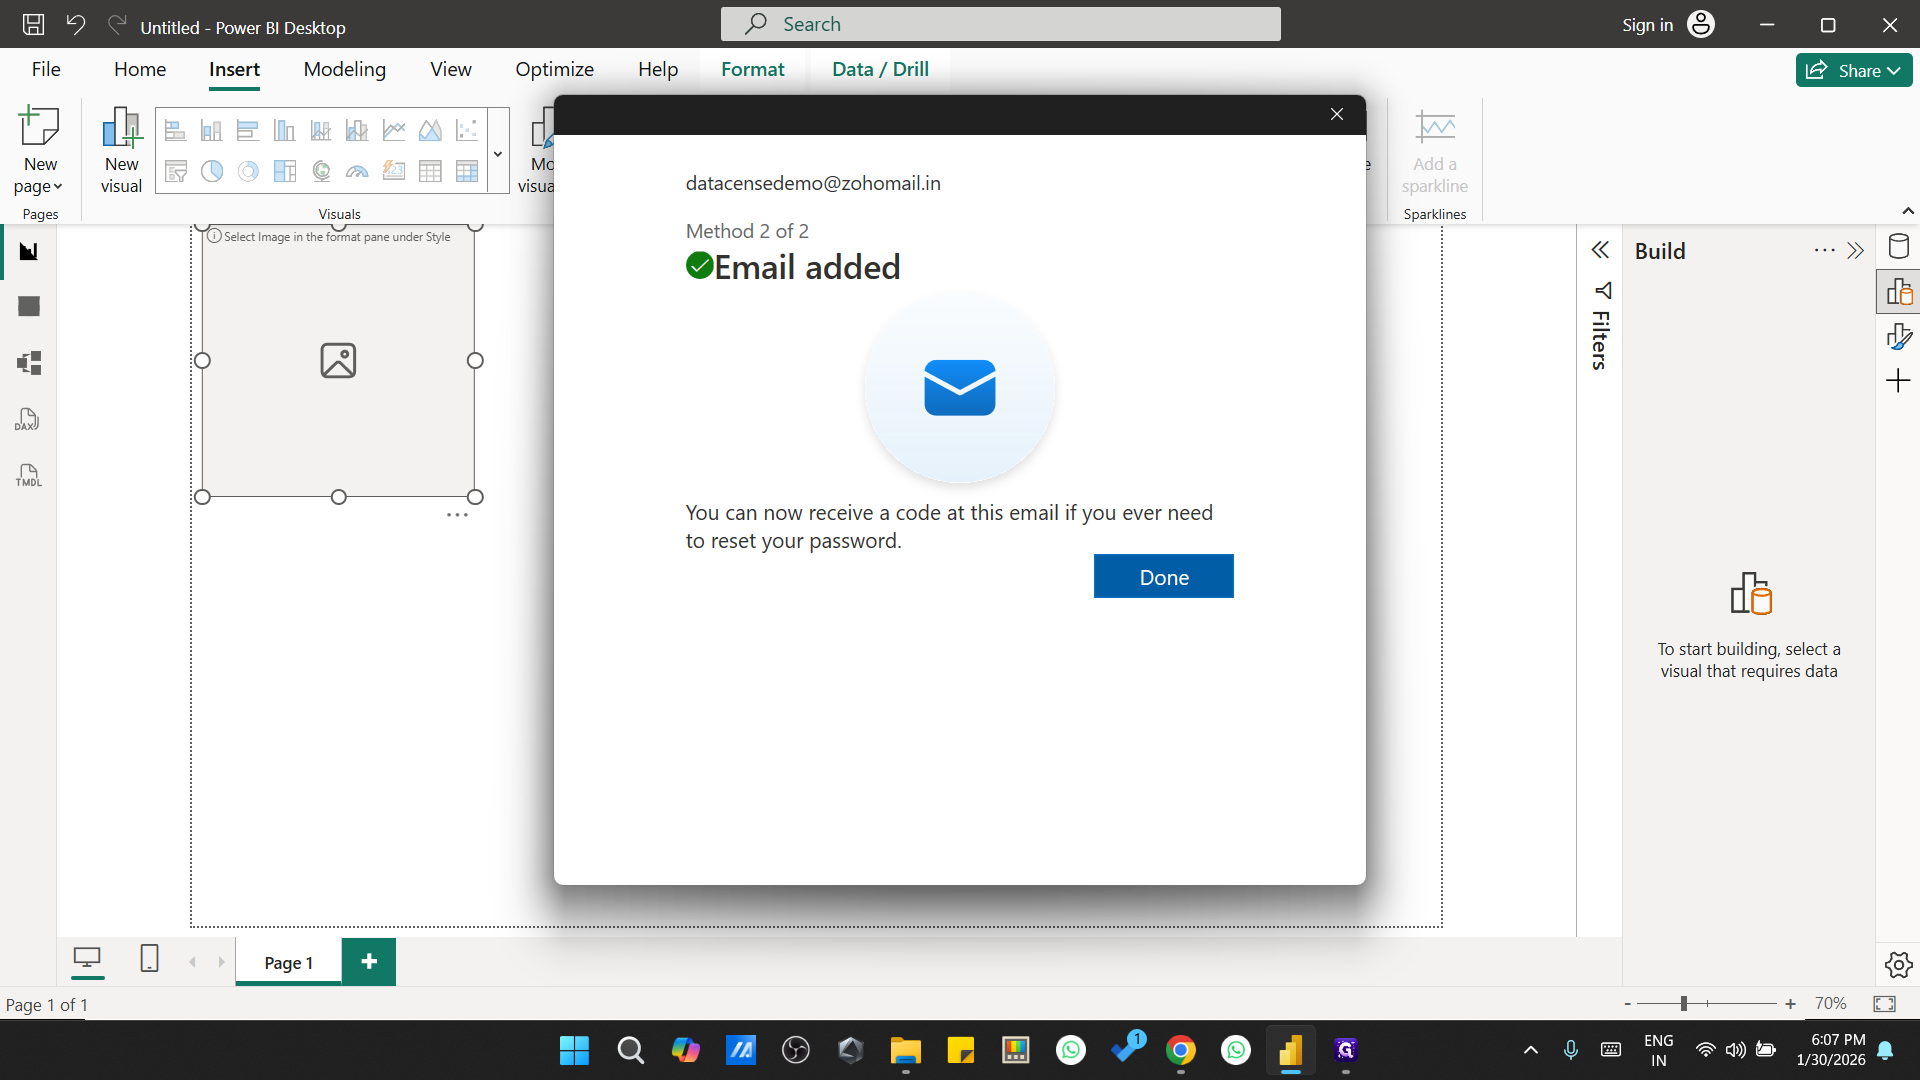
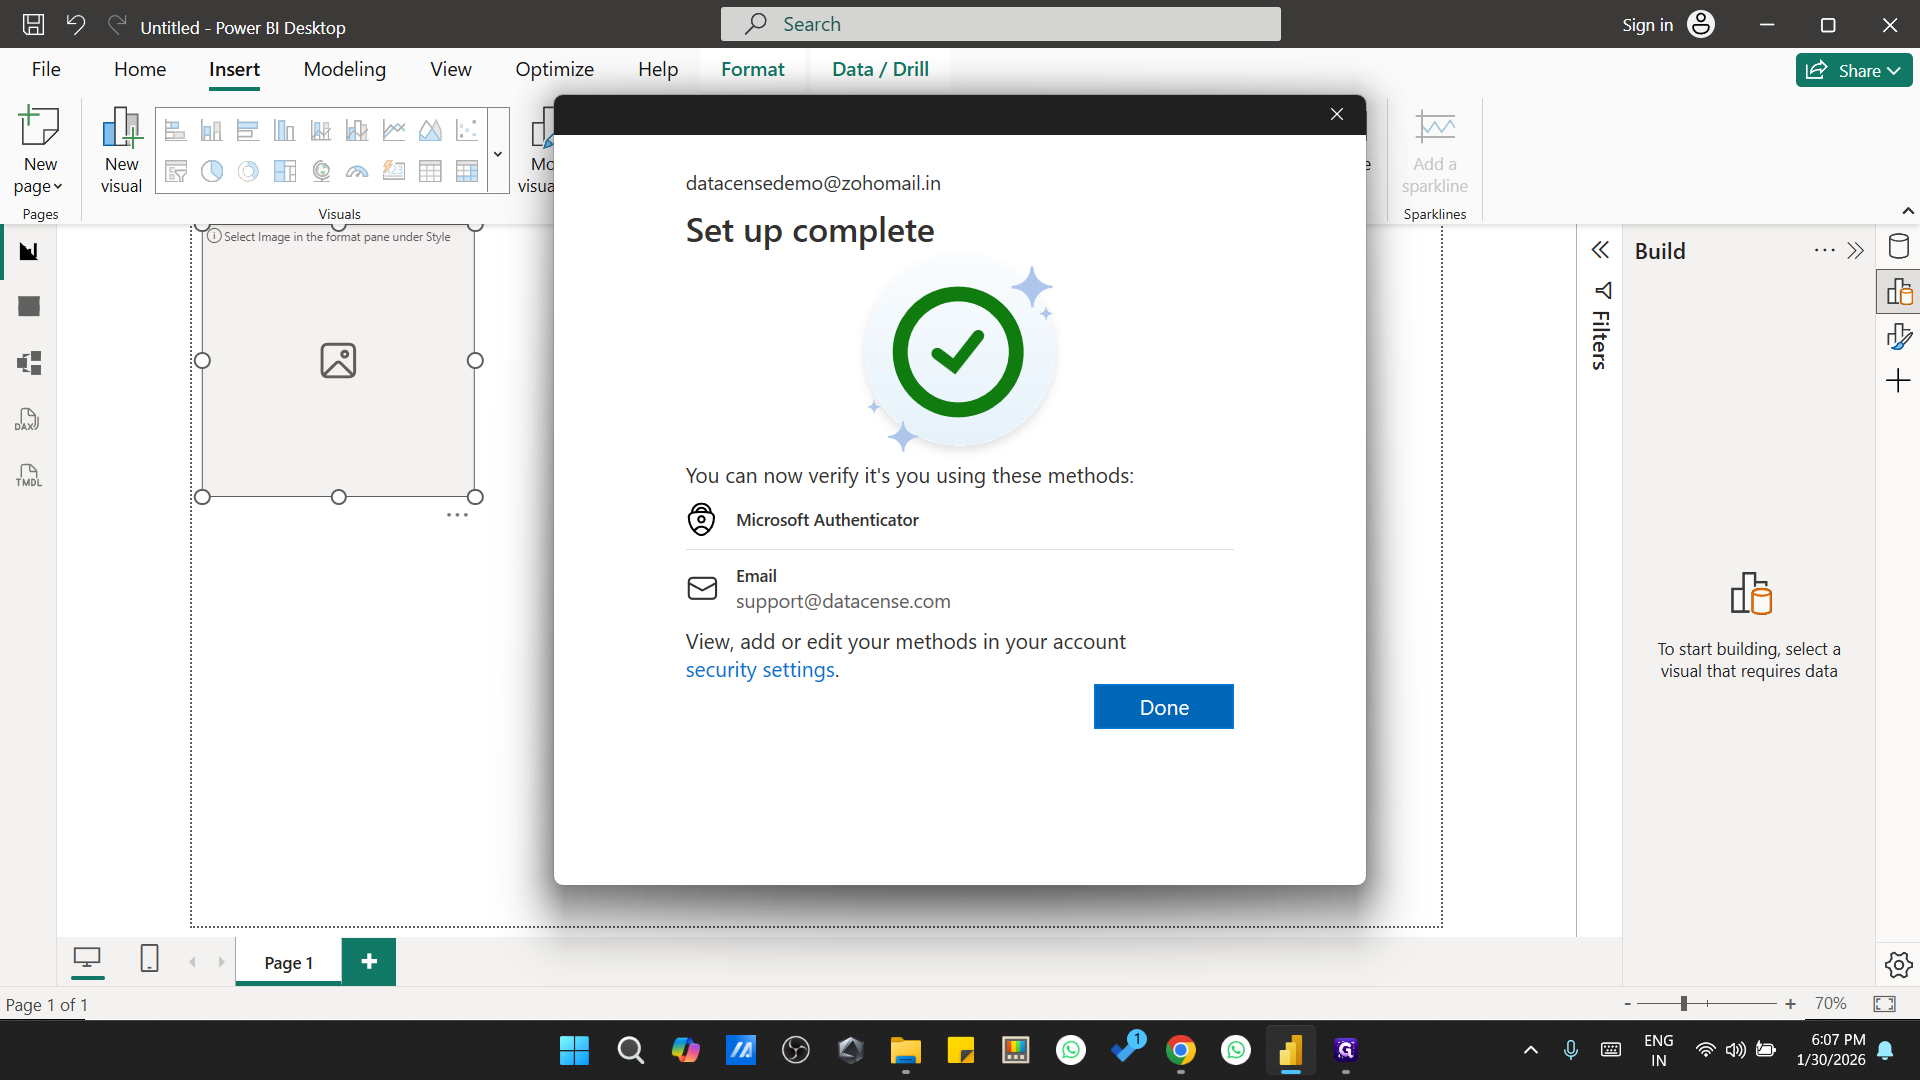
Setup is complete.

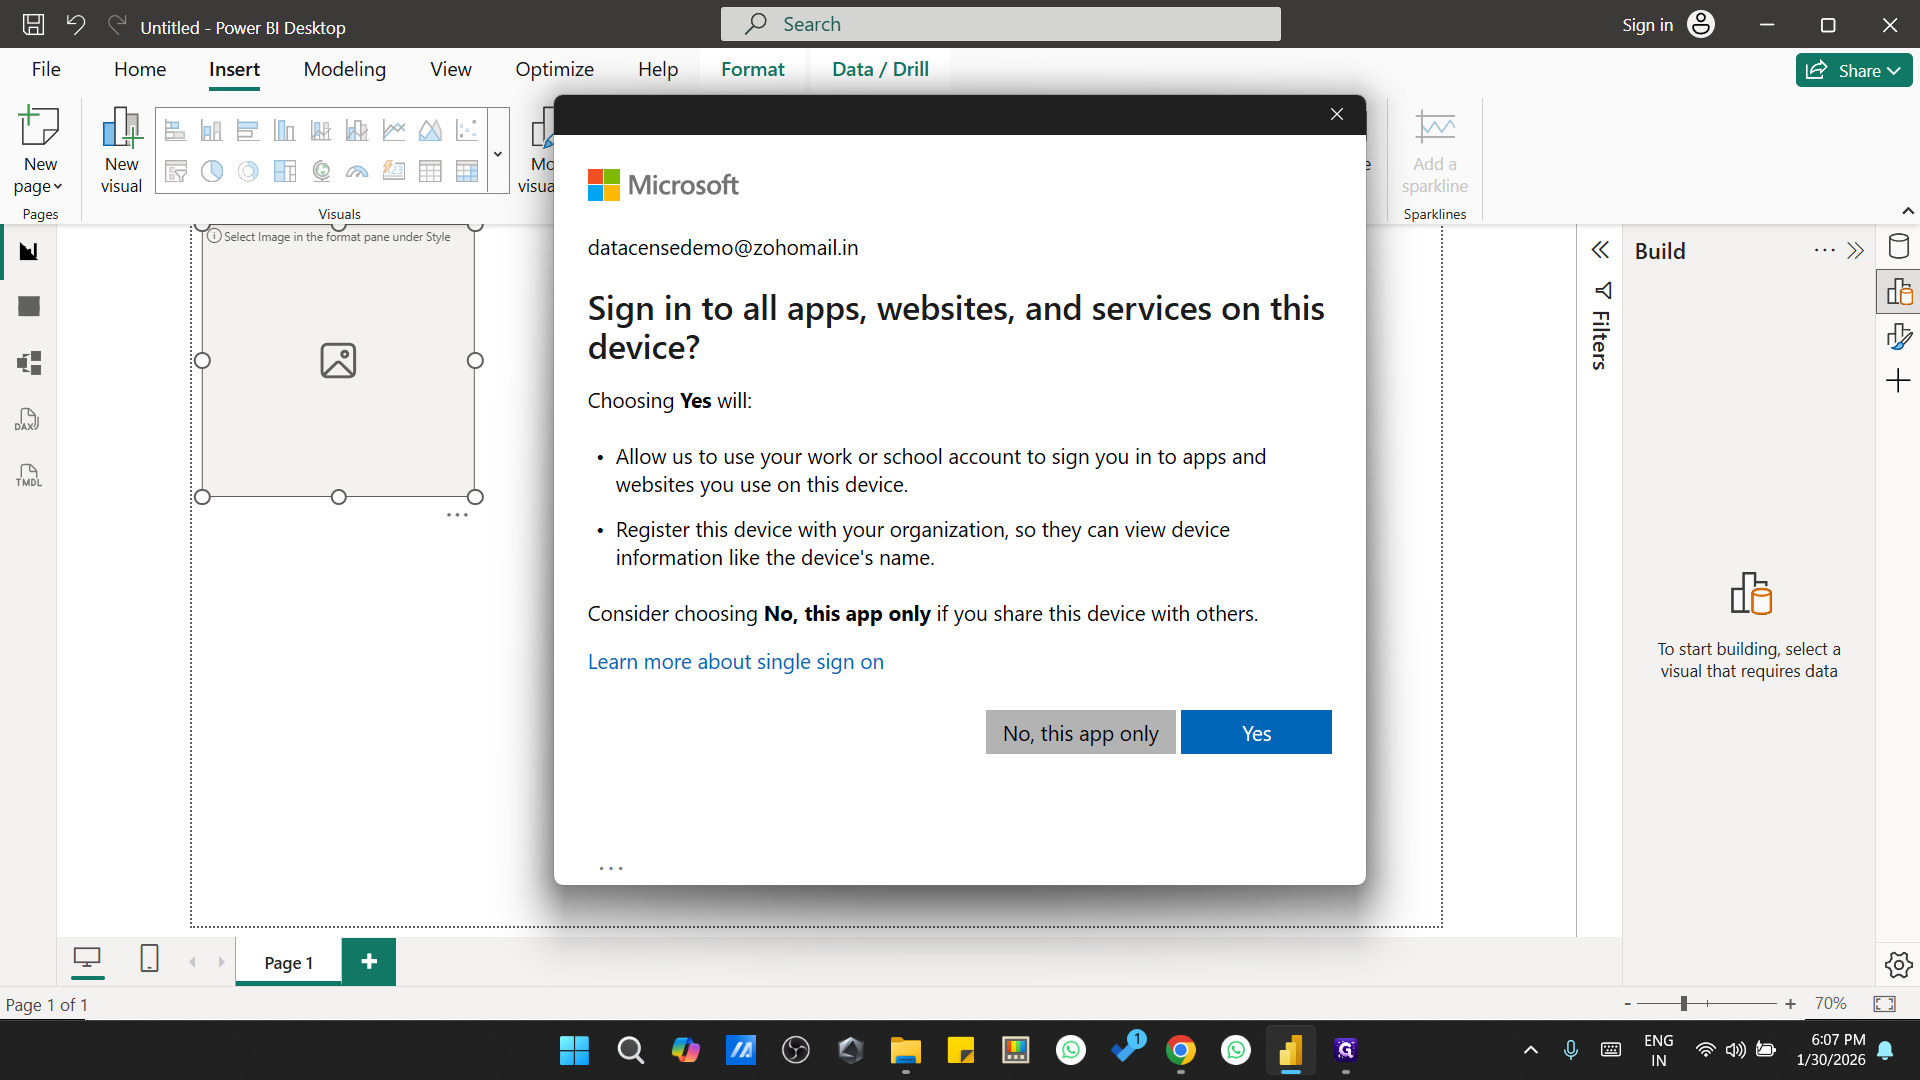
Click "No, This App Only" if you don't want to use this email ID to log in to your other applications.
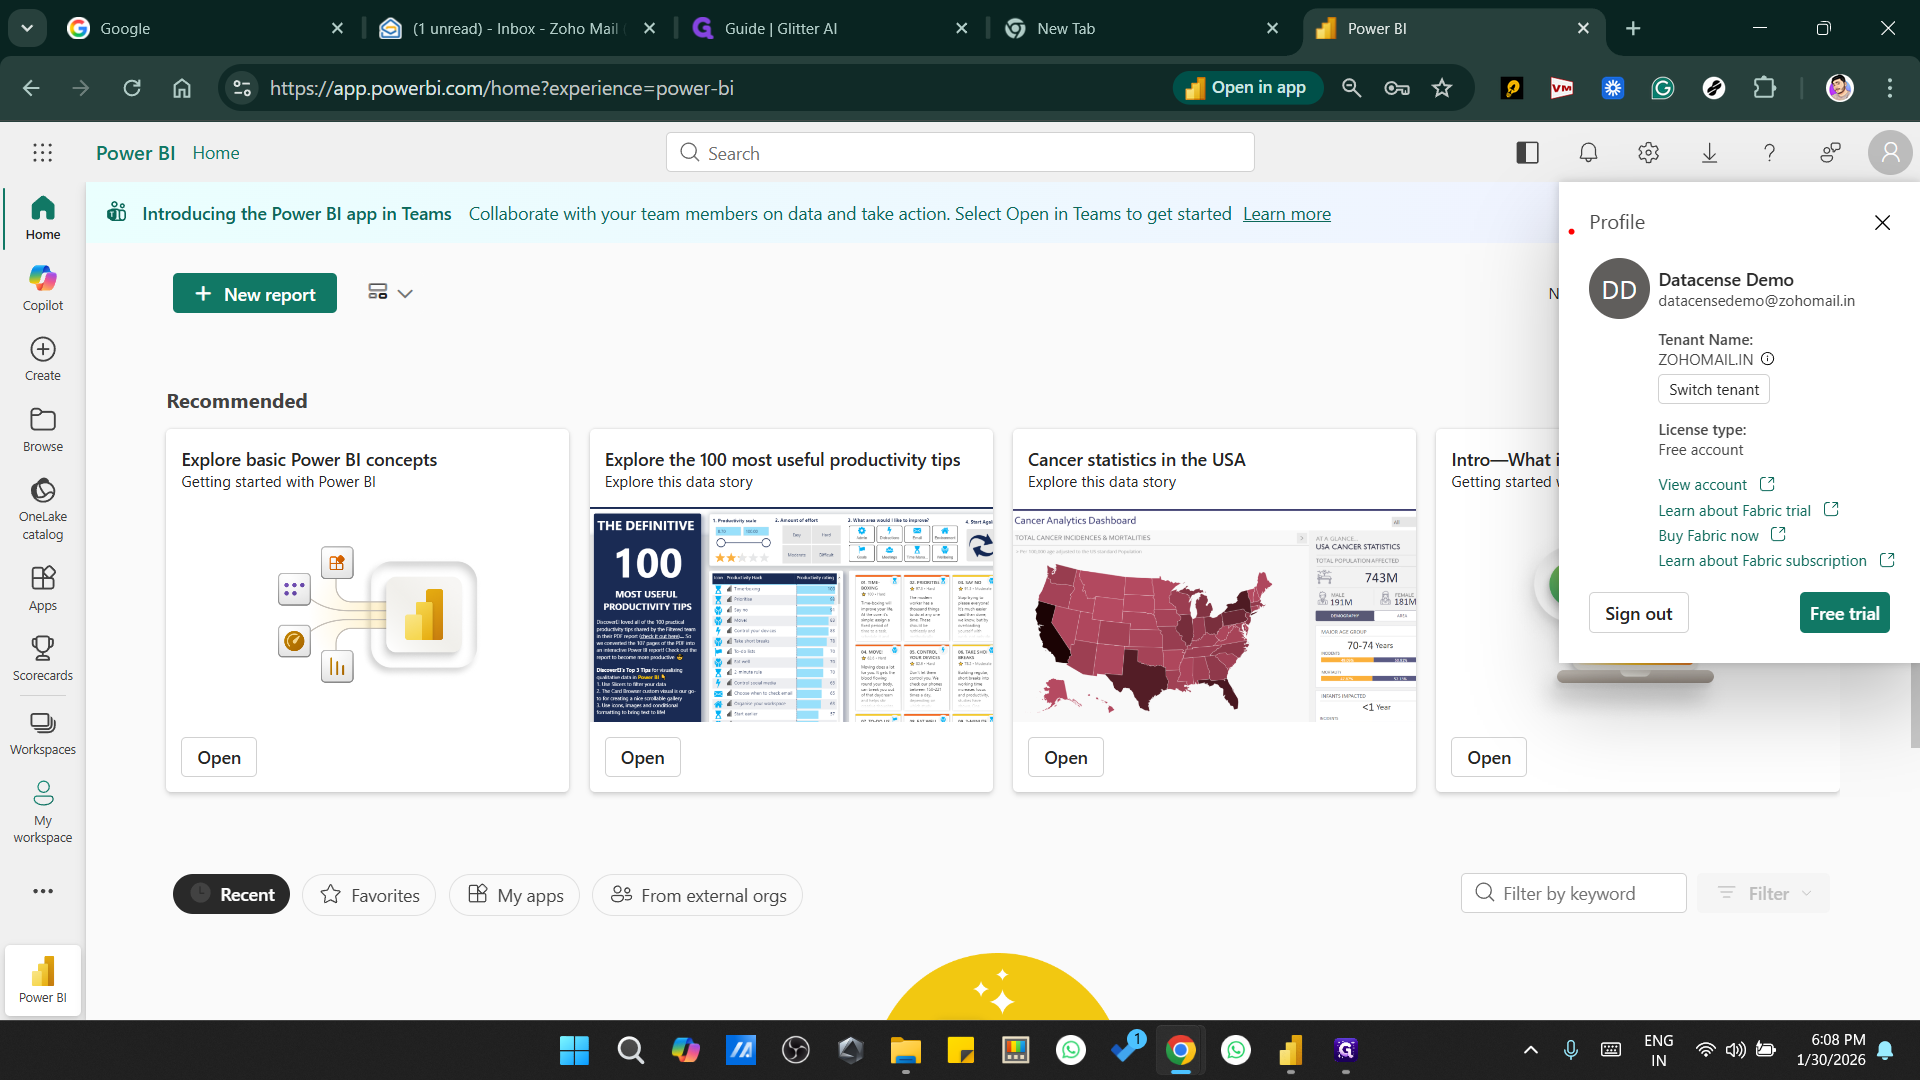
As you can see, a Datacense demo account has been created using my personal email. If I click on View Account, it will...

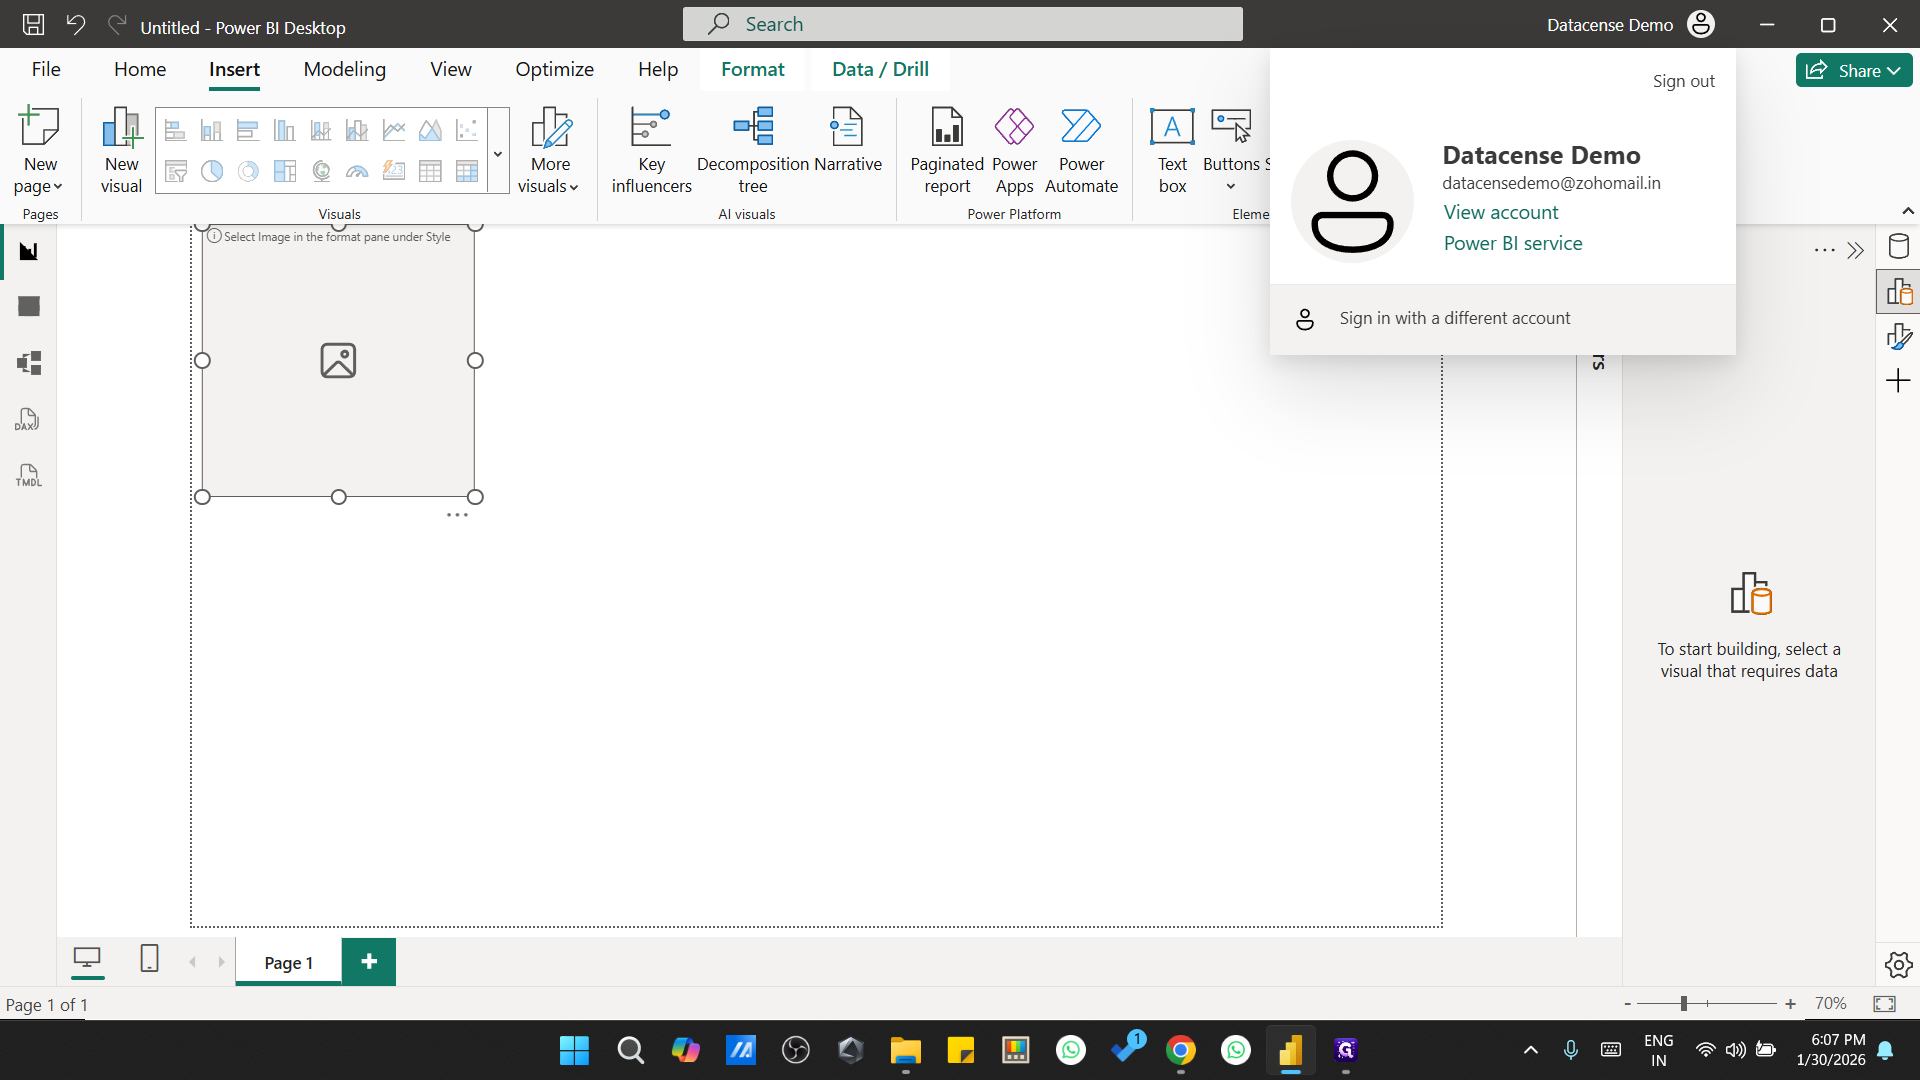


Here, you can see it's a free account.
Thank you.