
How to Create and Send a Quote to Your Customer
Learn how to create a quote, add discounts, accessories, fees, and send it to your customer via email. Follow this step-by-step guide for efficient quoting and customer communication.
By Dominik Black
In this guide, we'll learn how to create a quote for a customer and send it by email. This process includes selecting the customer, adding inventory or parts, adjusting prices, and including any necessary fees. By following these steps, you can prepare and deliver a complete quote to your customer efficiently.
Let's get started
In this article, we will explain how to create a quote and send it to your customer.
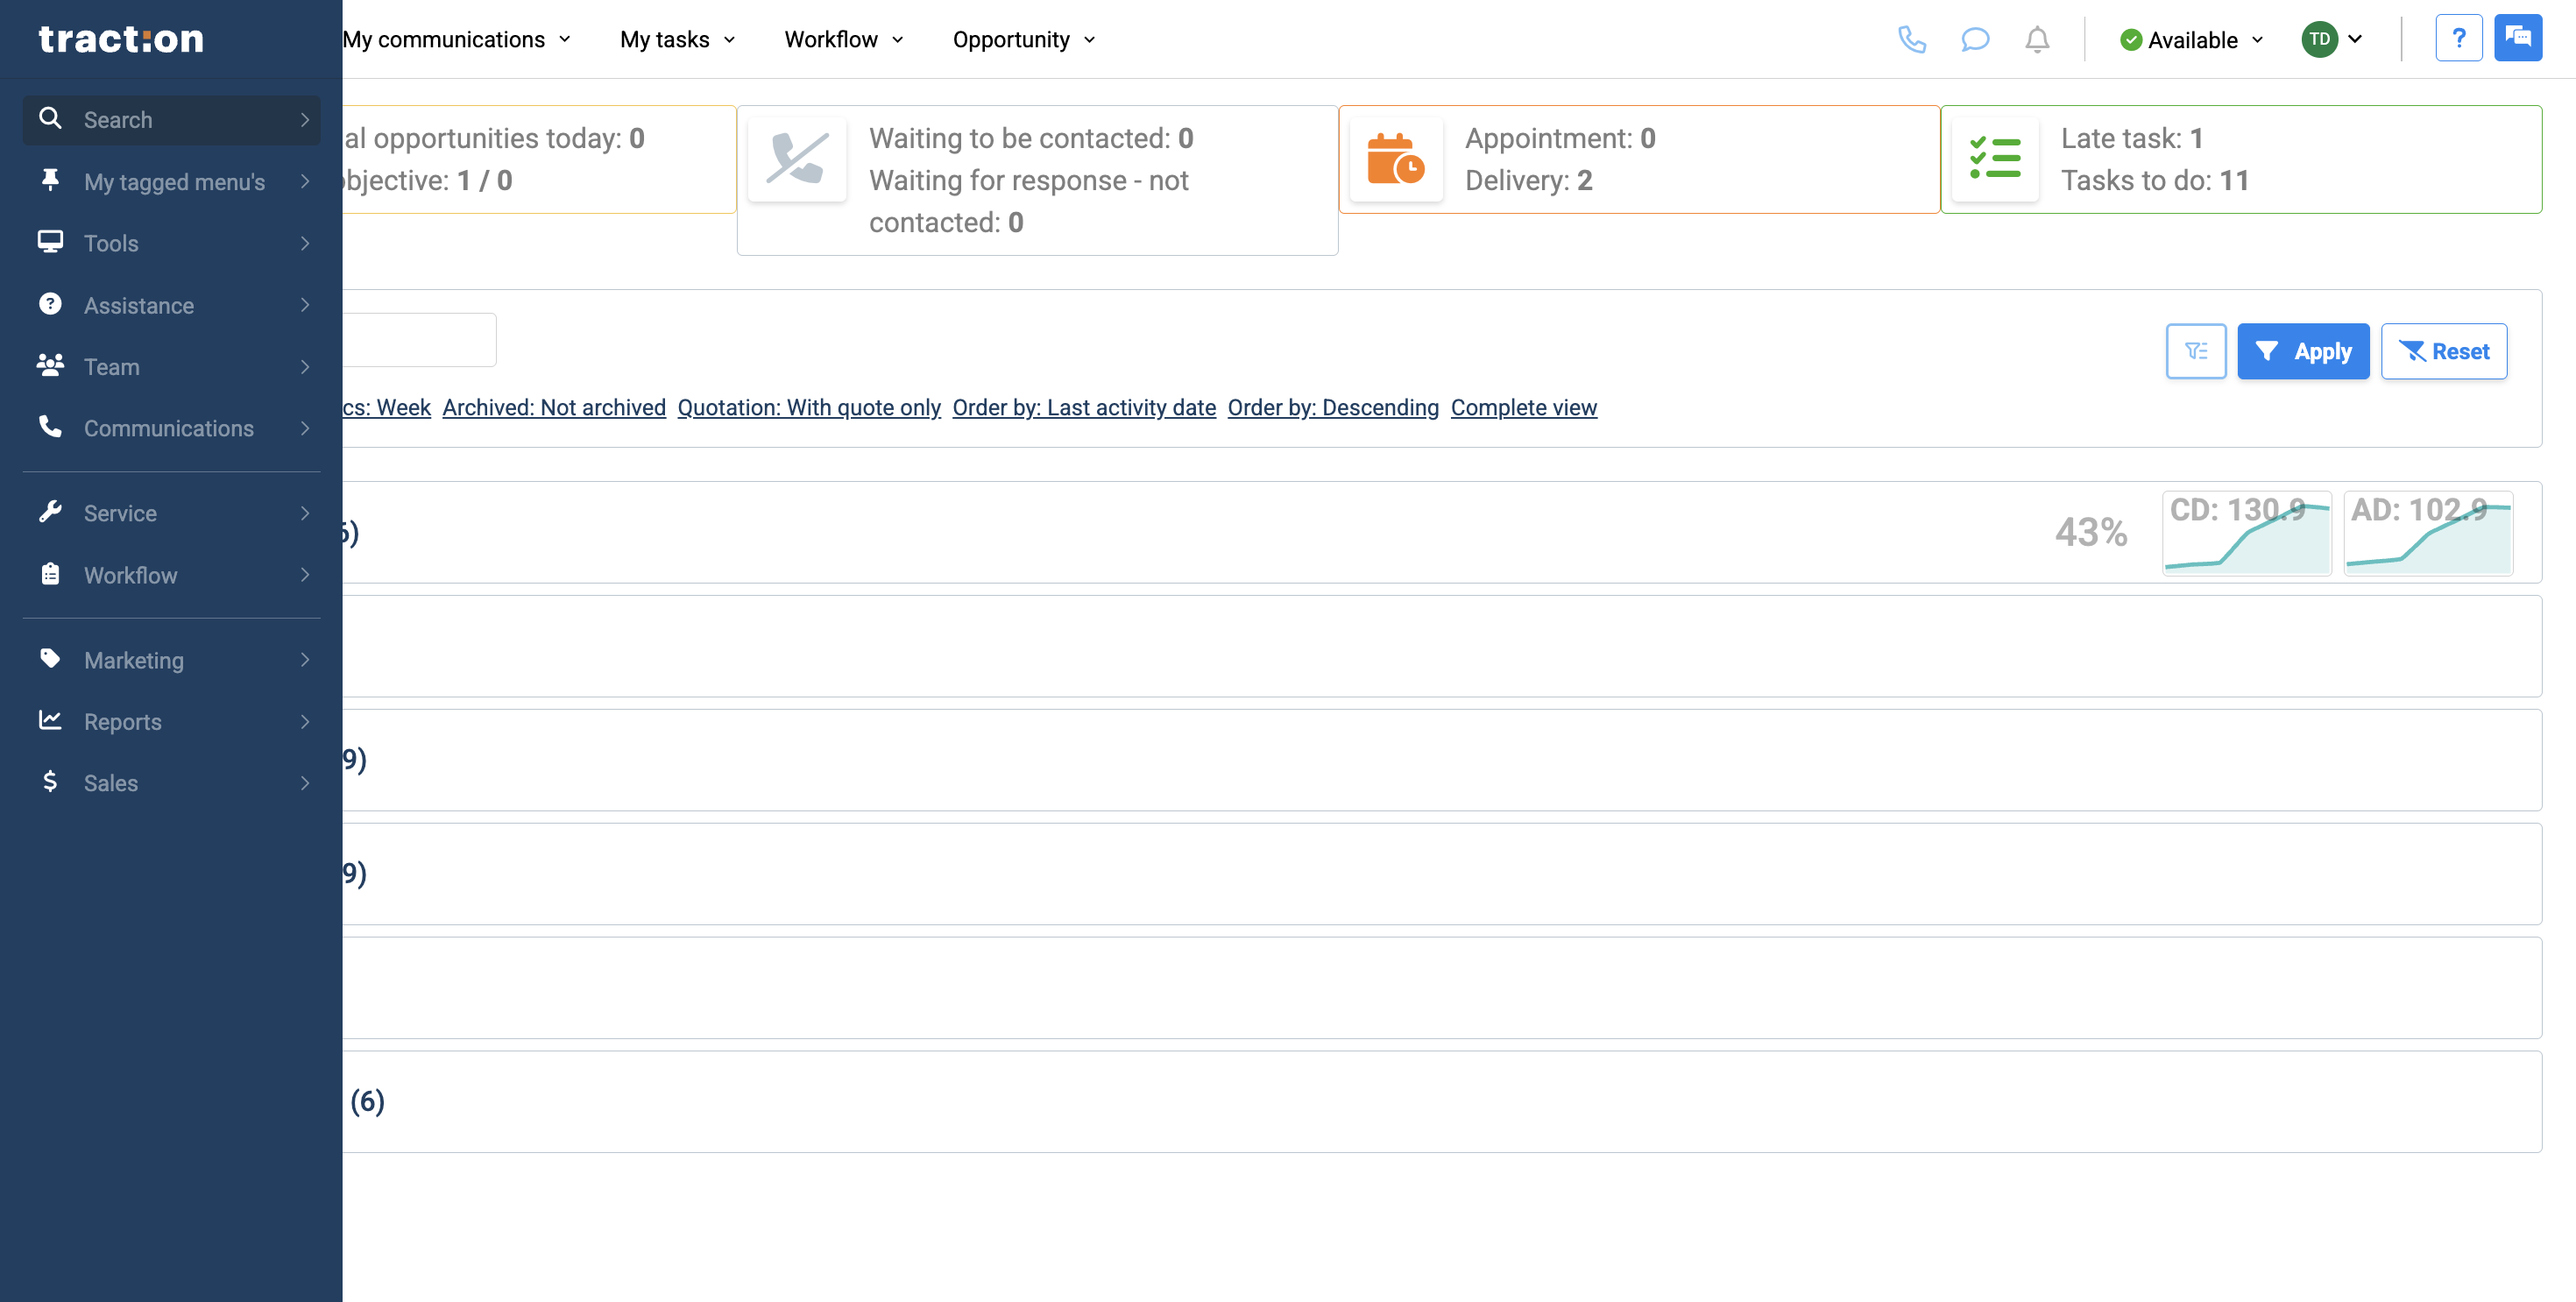
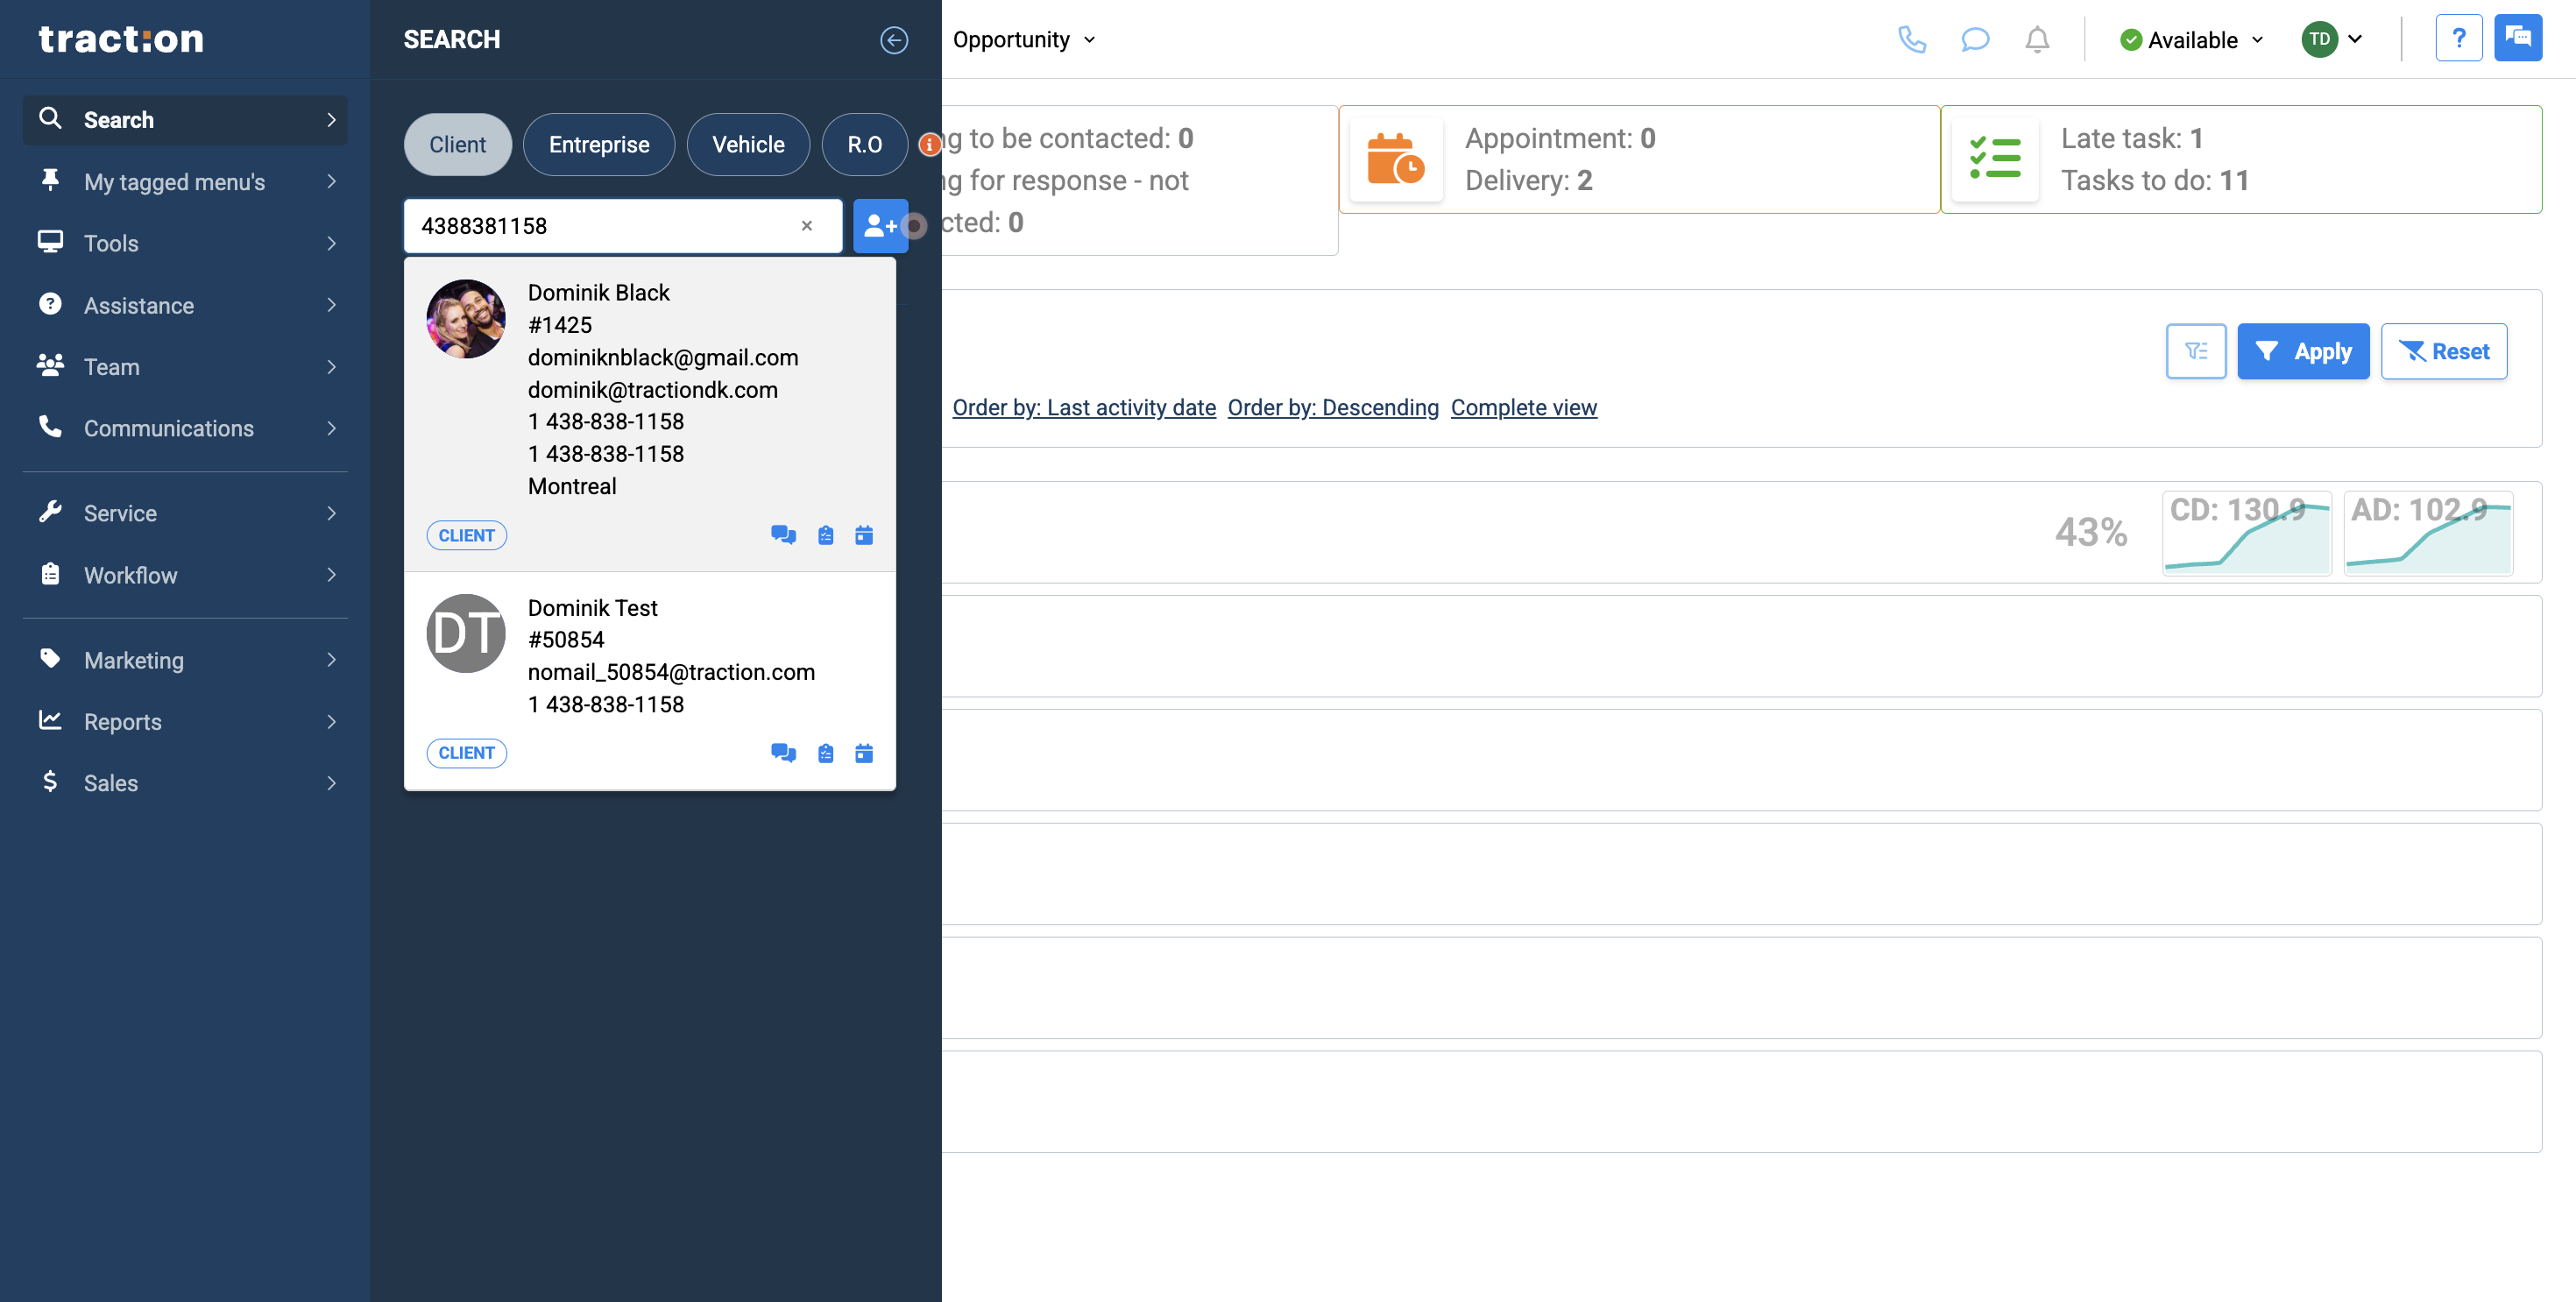
1
First, start by searching for your customer.
2
Select the customer file.
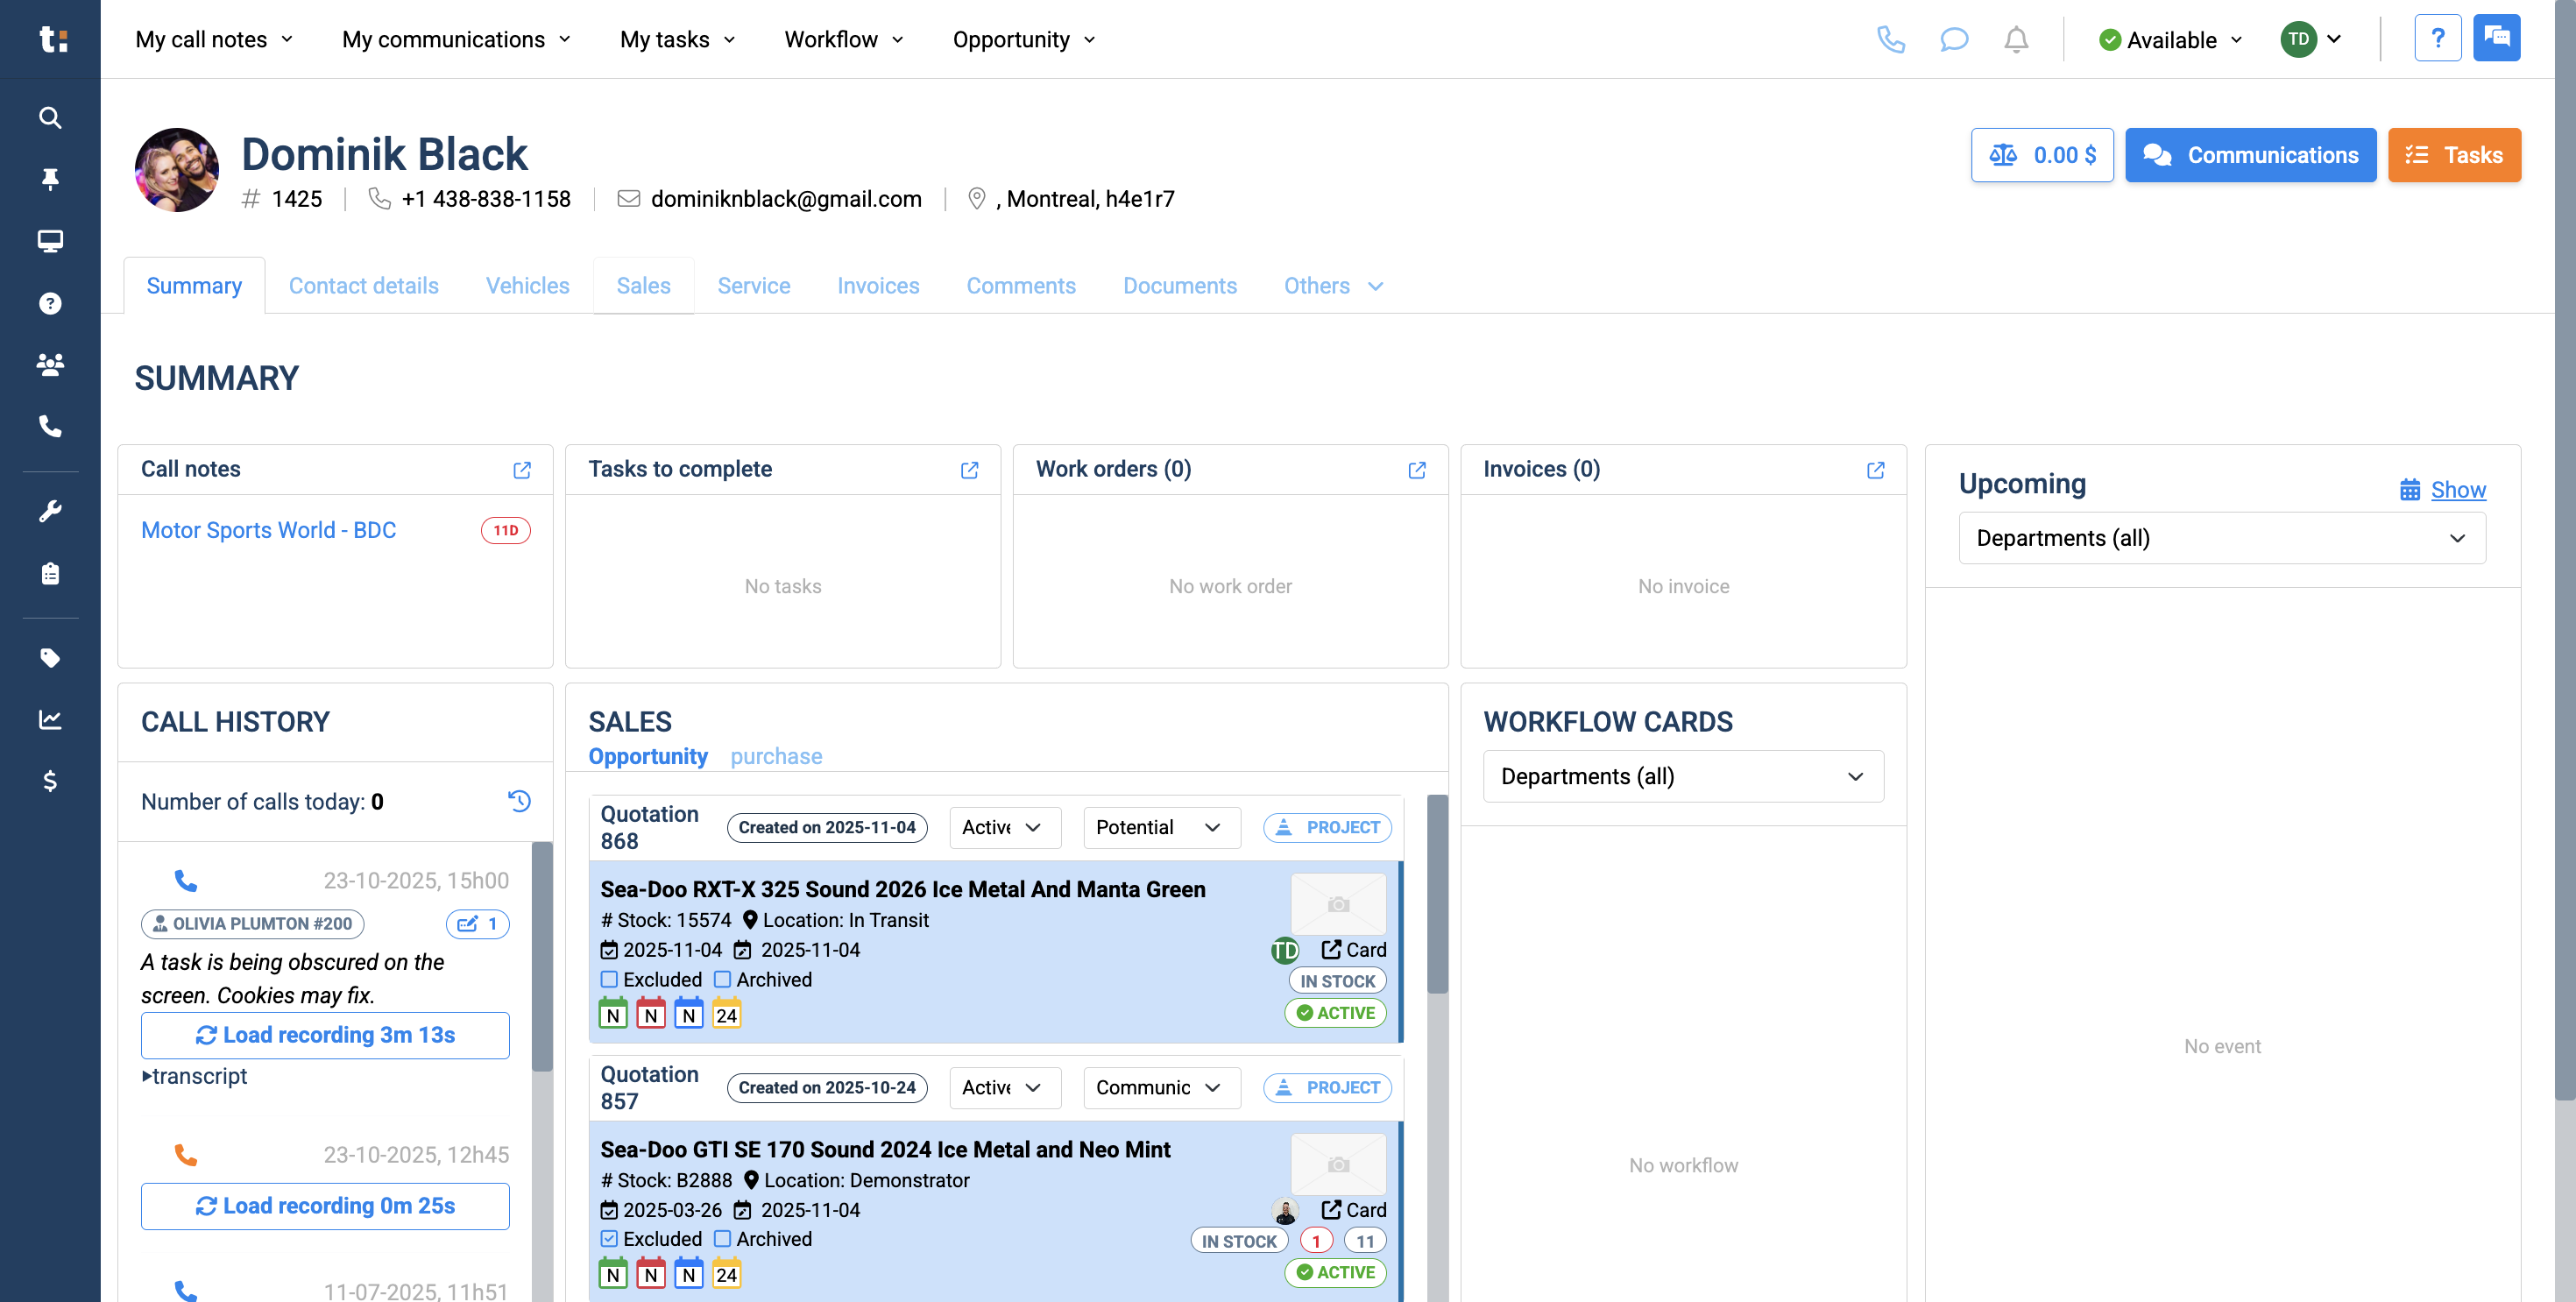
3
Once you are here, click the Sales tab.
4
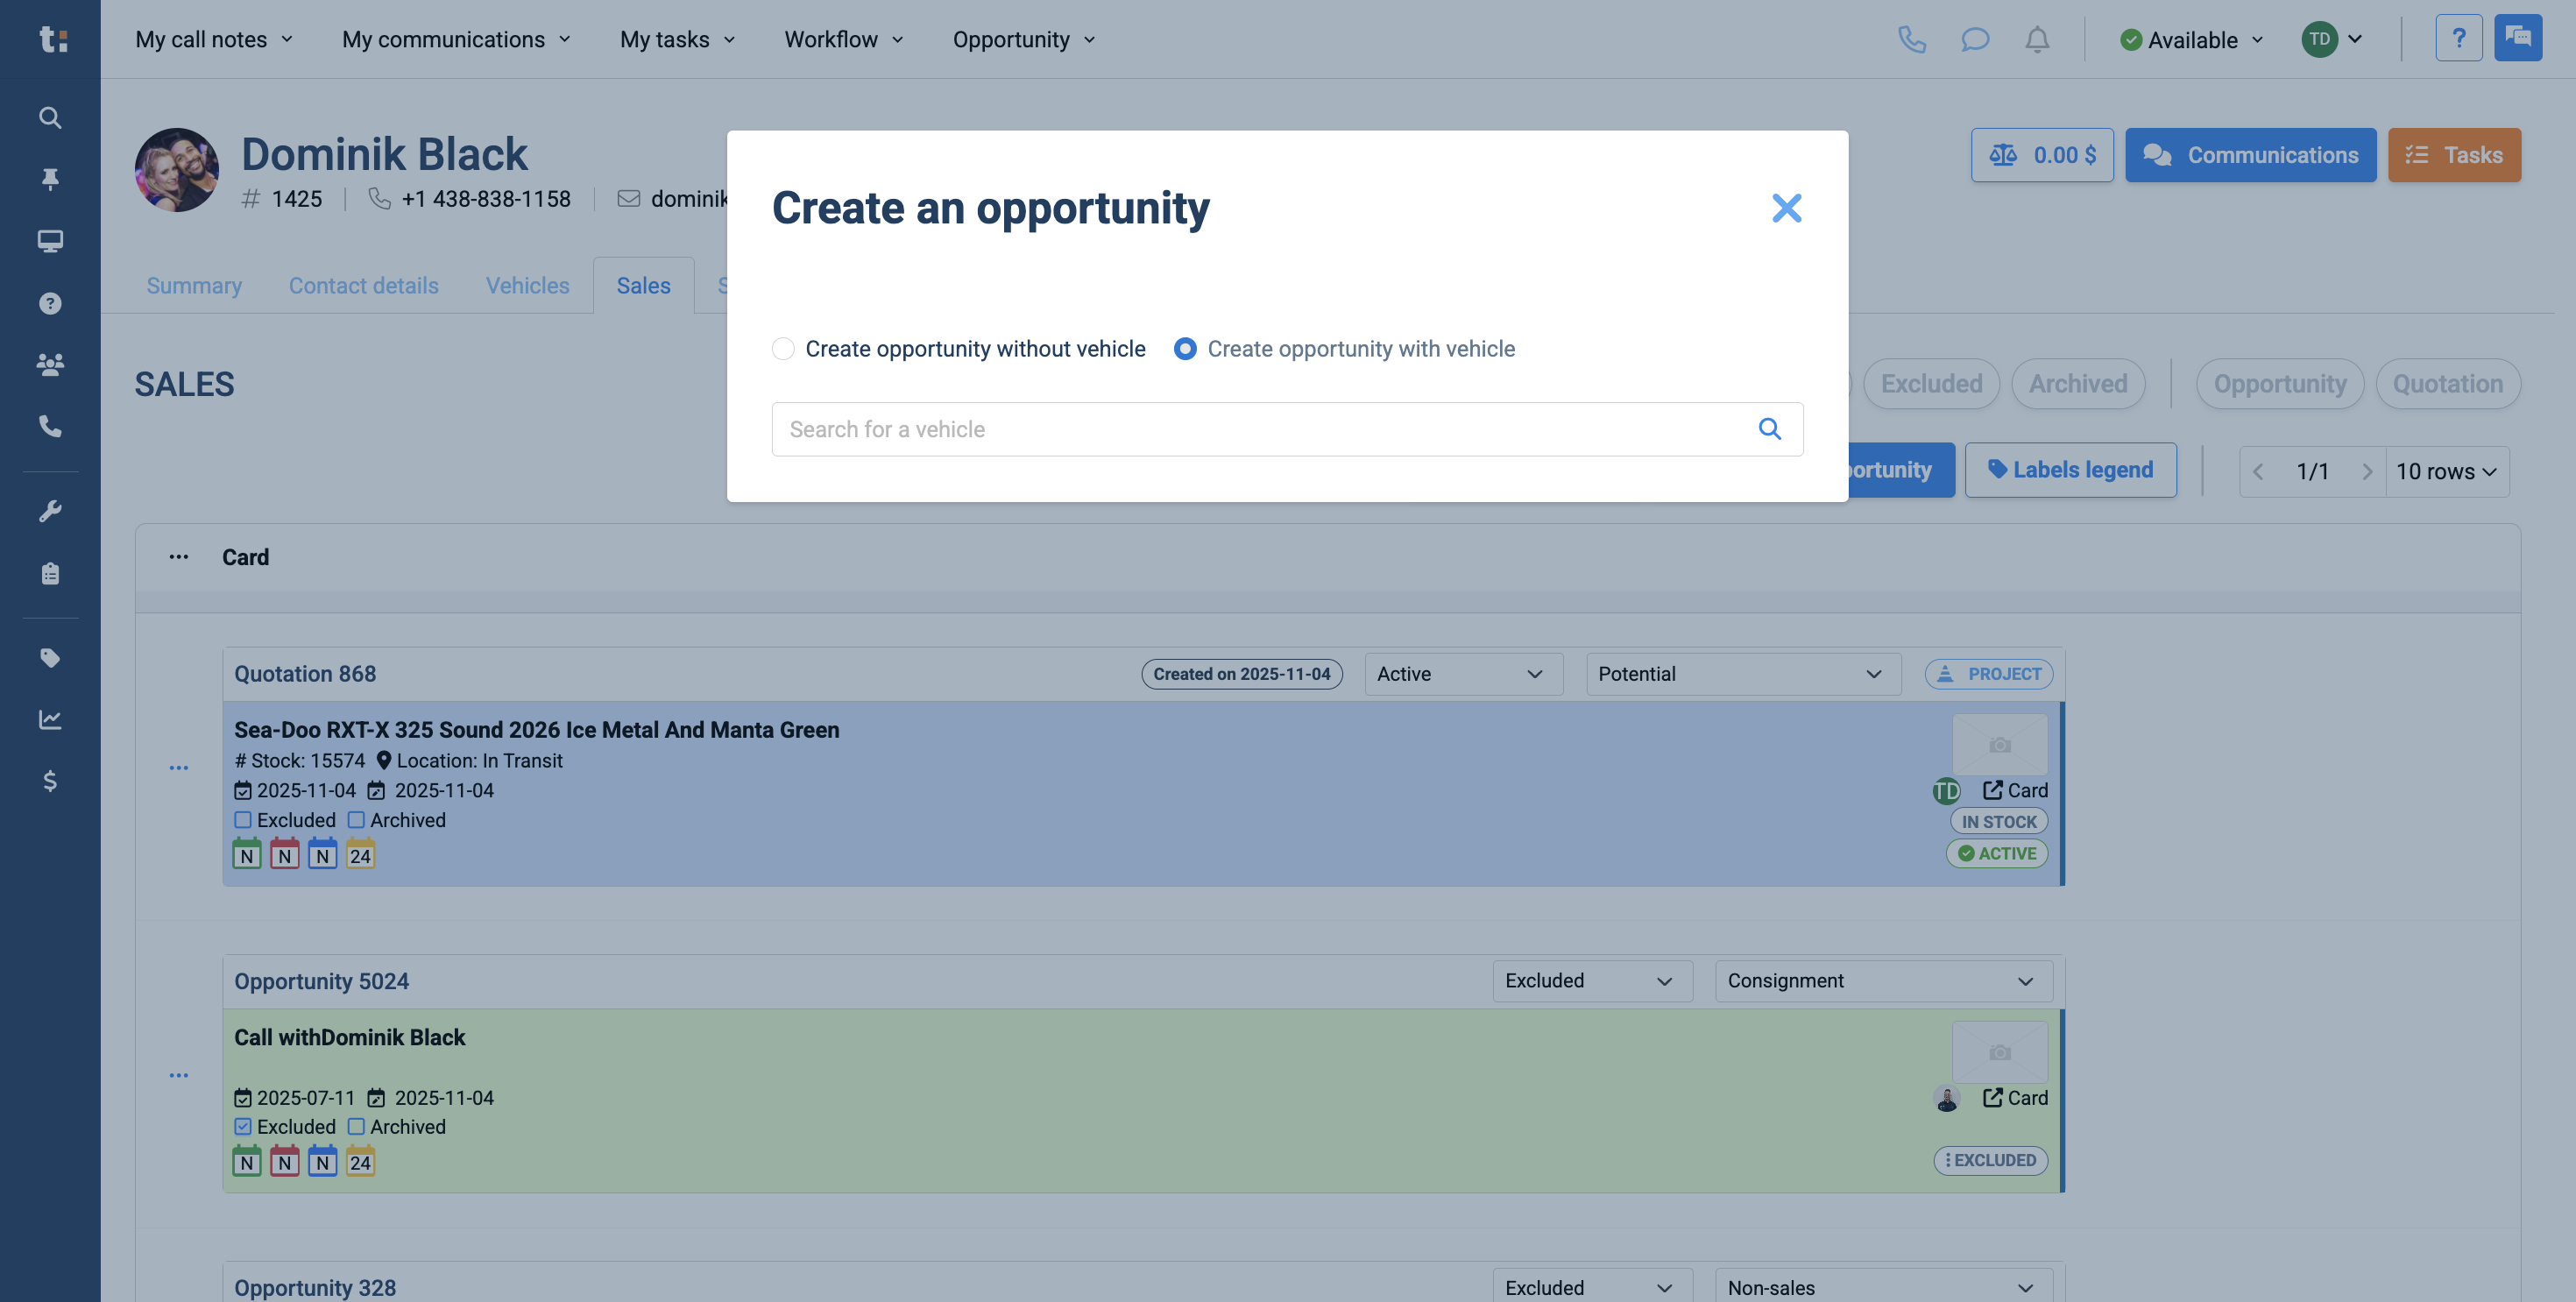
Now, you can create an opportunity.
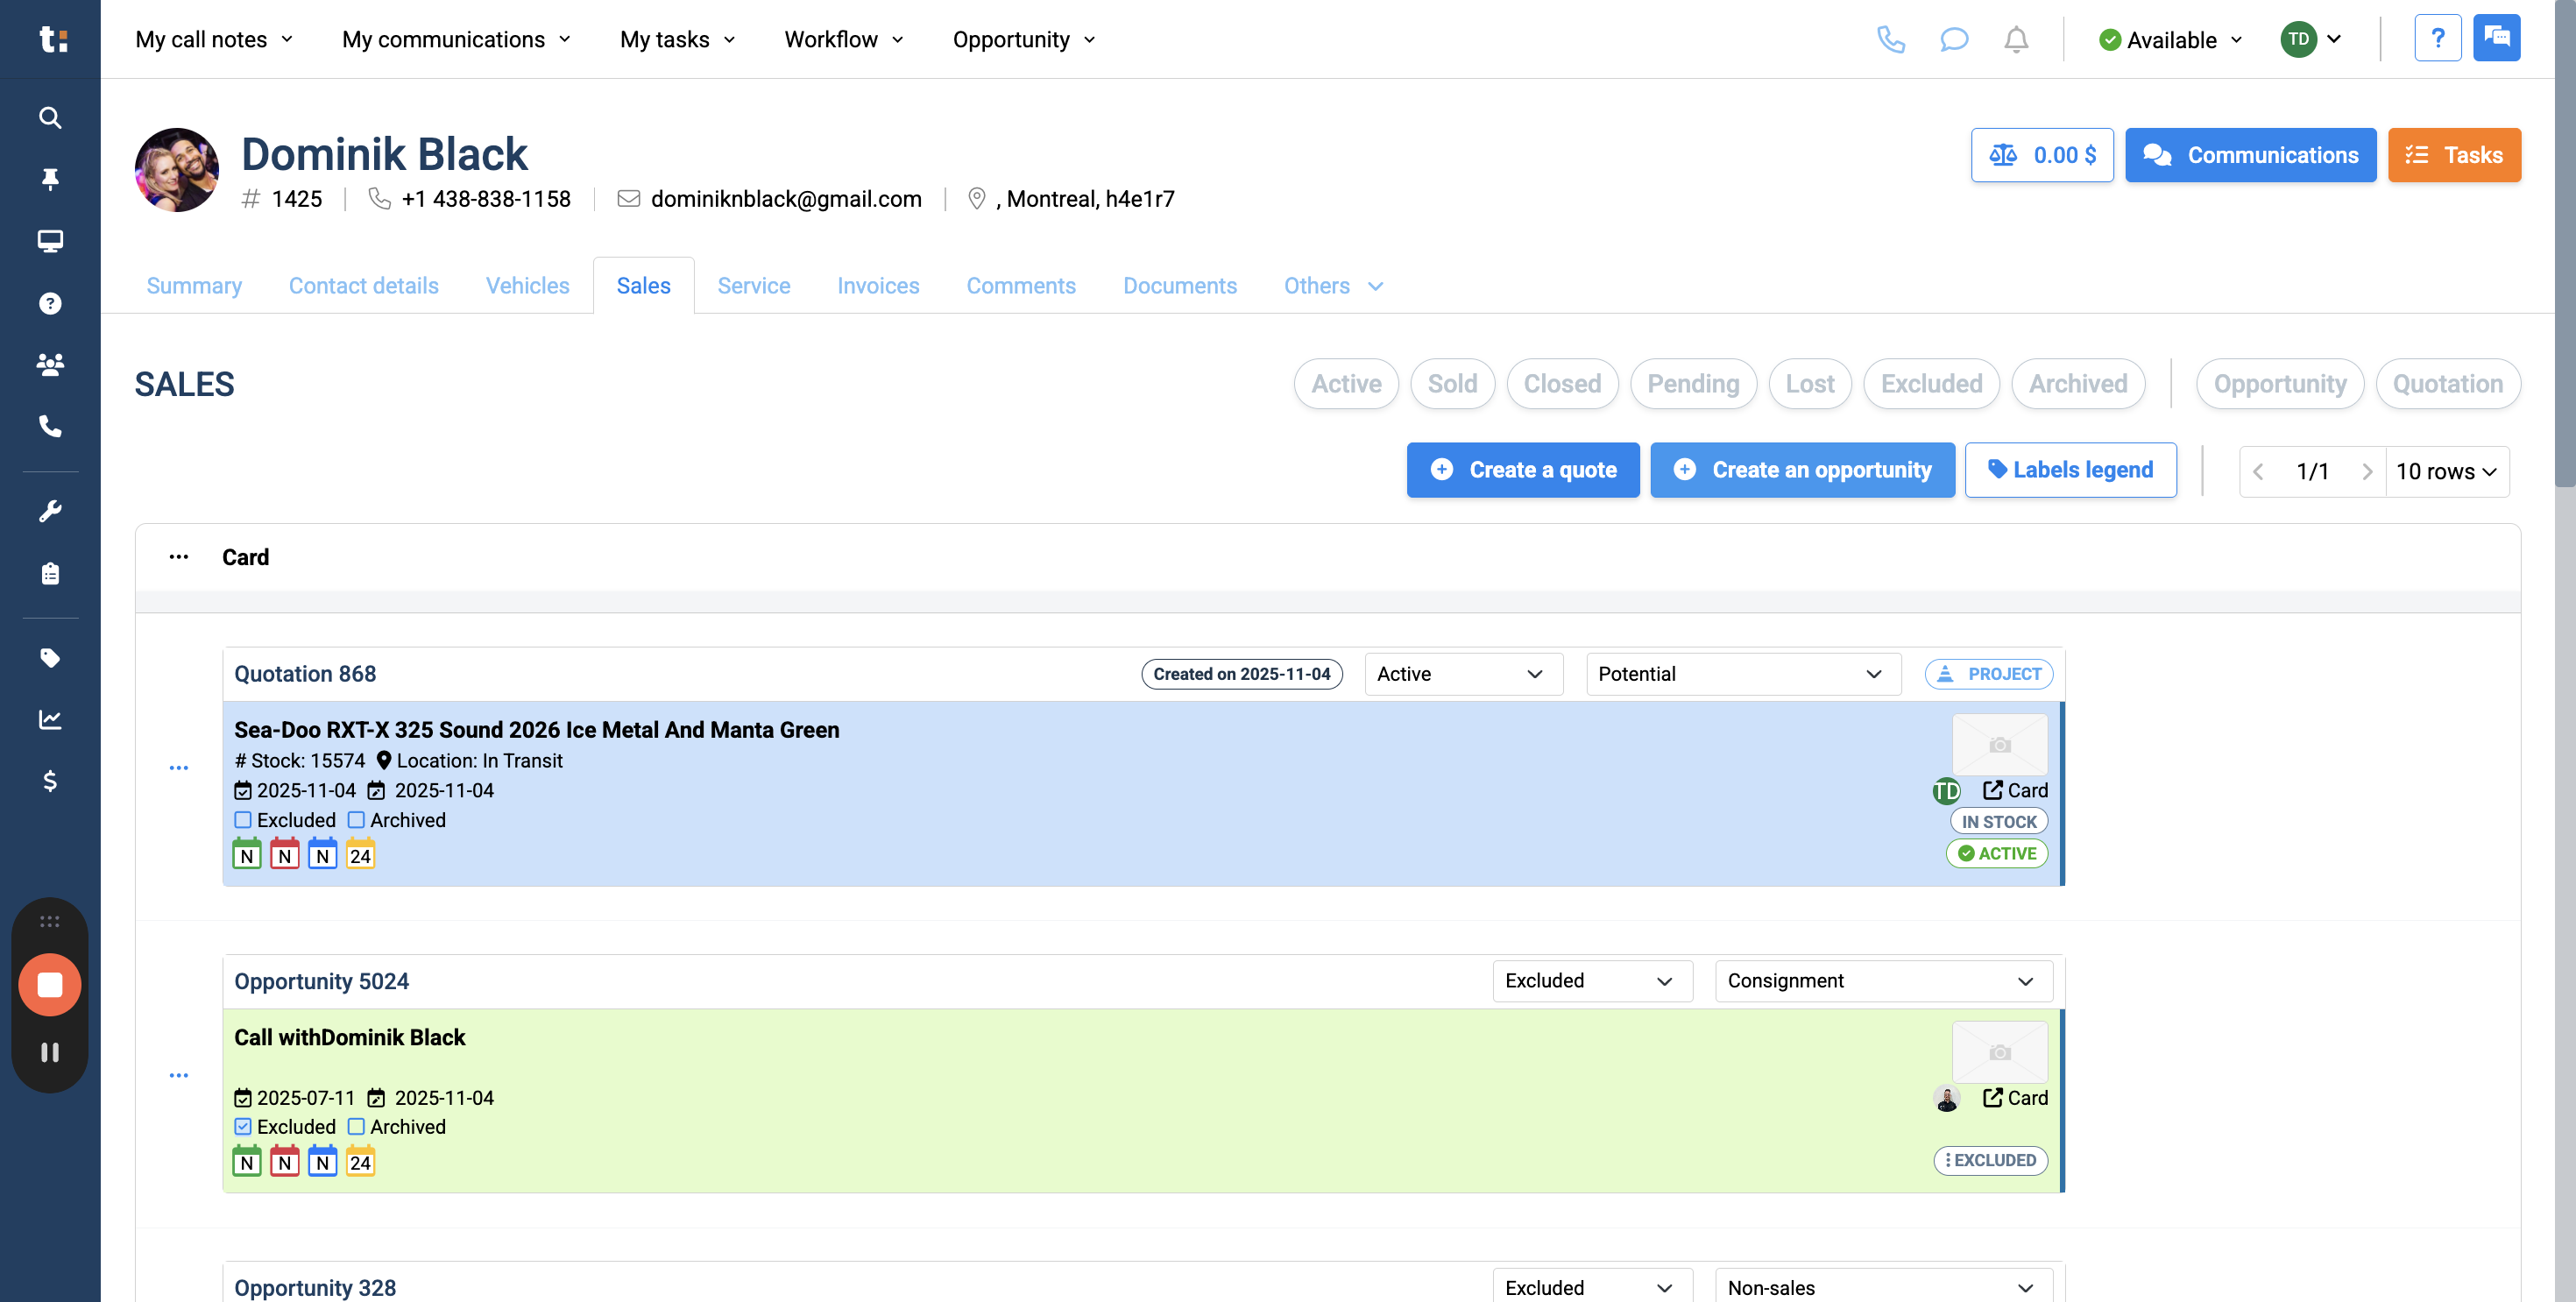
5
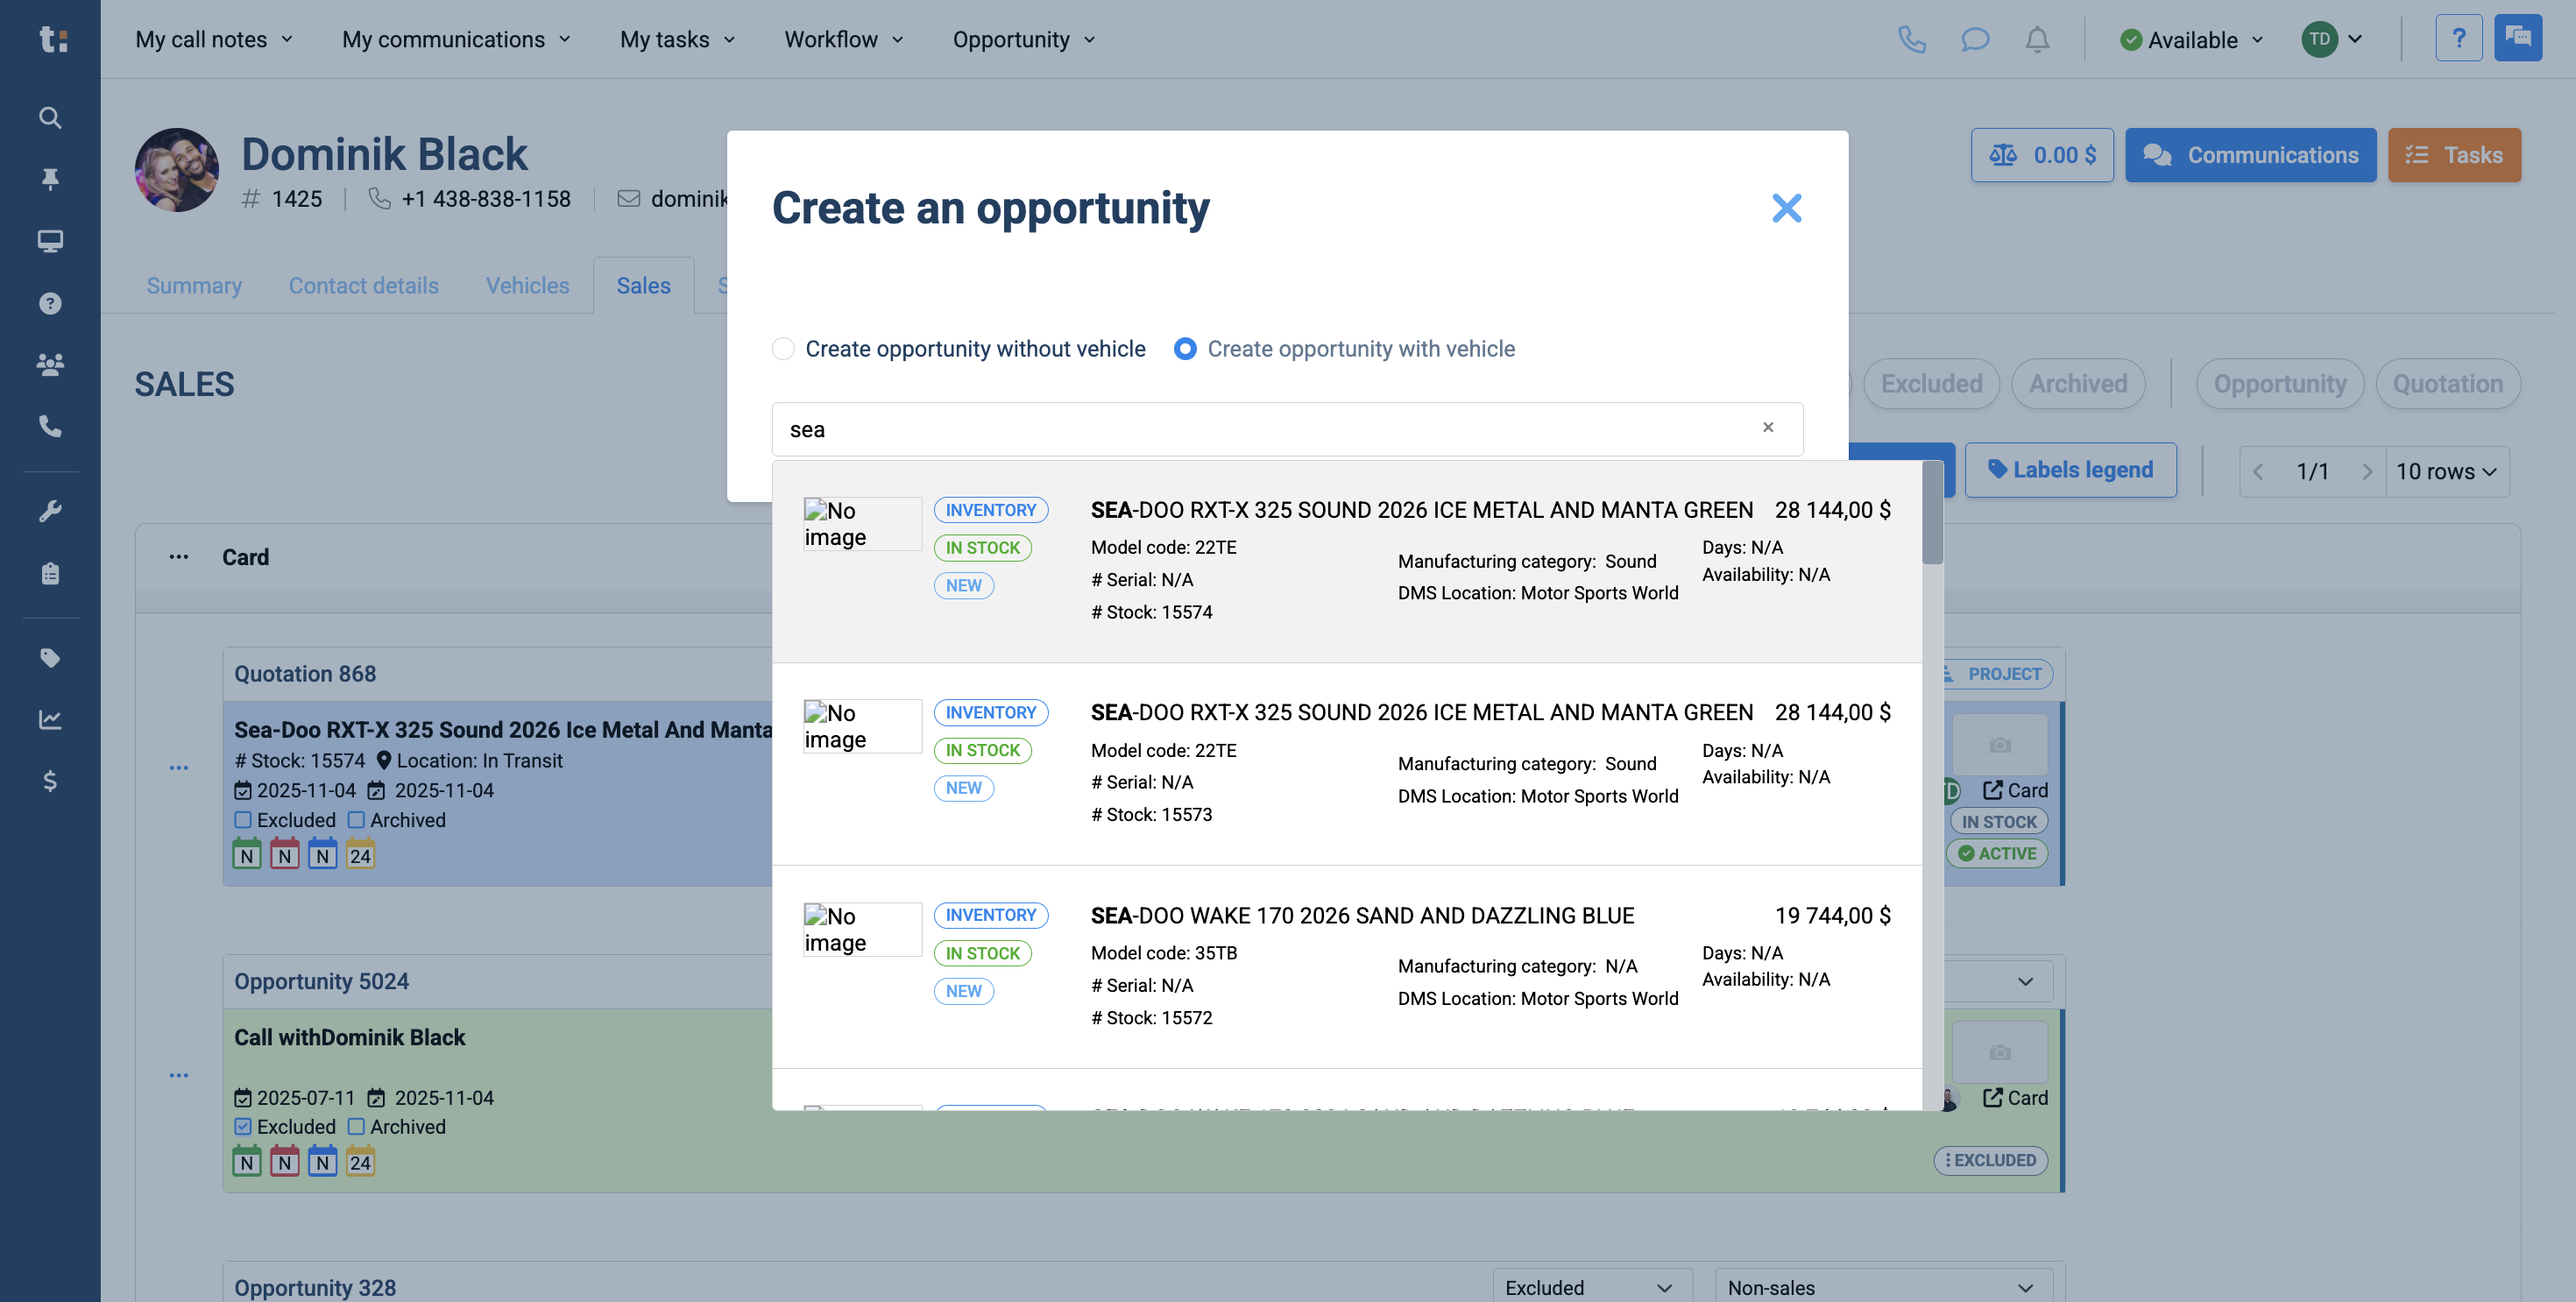
You can create an opportunity using your existing inventory,
6
or you can create one without a vehicle currently in your inventory.

7
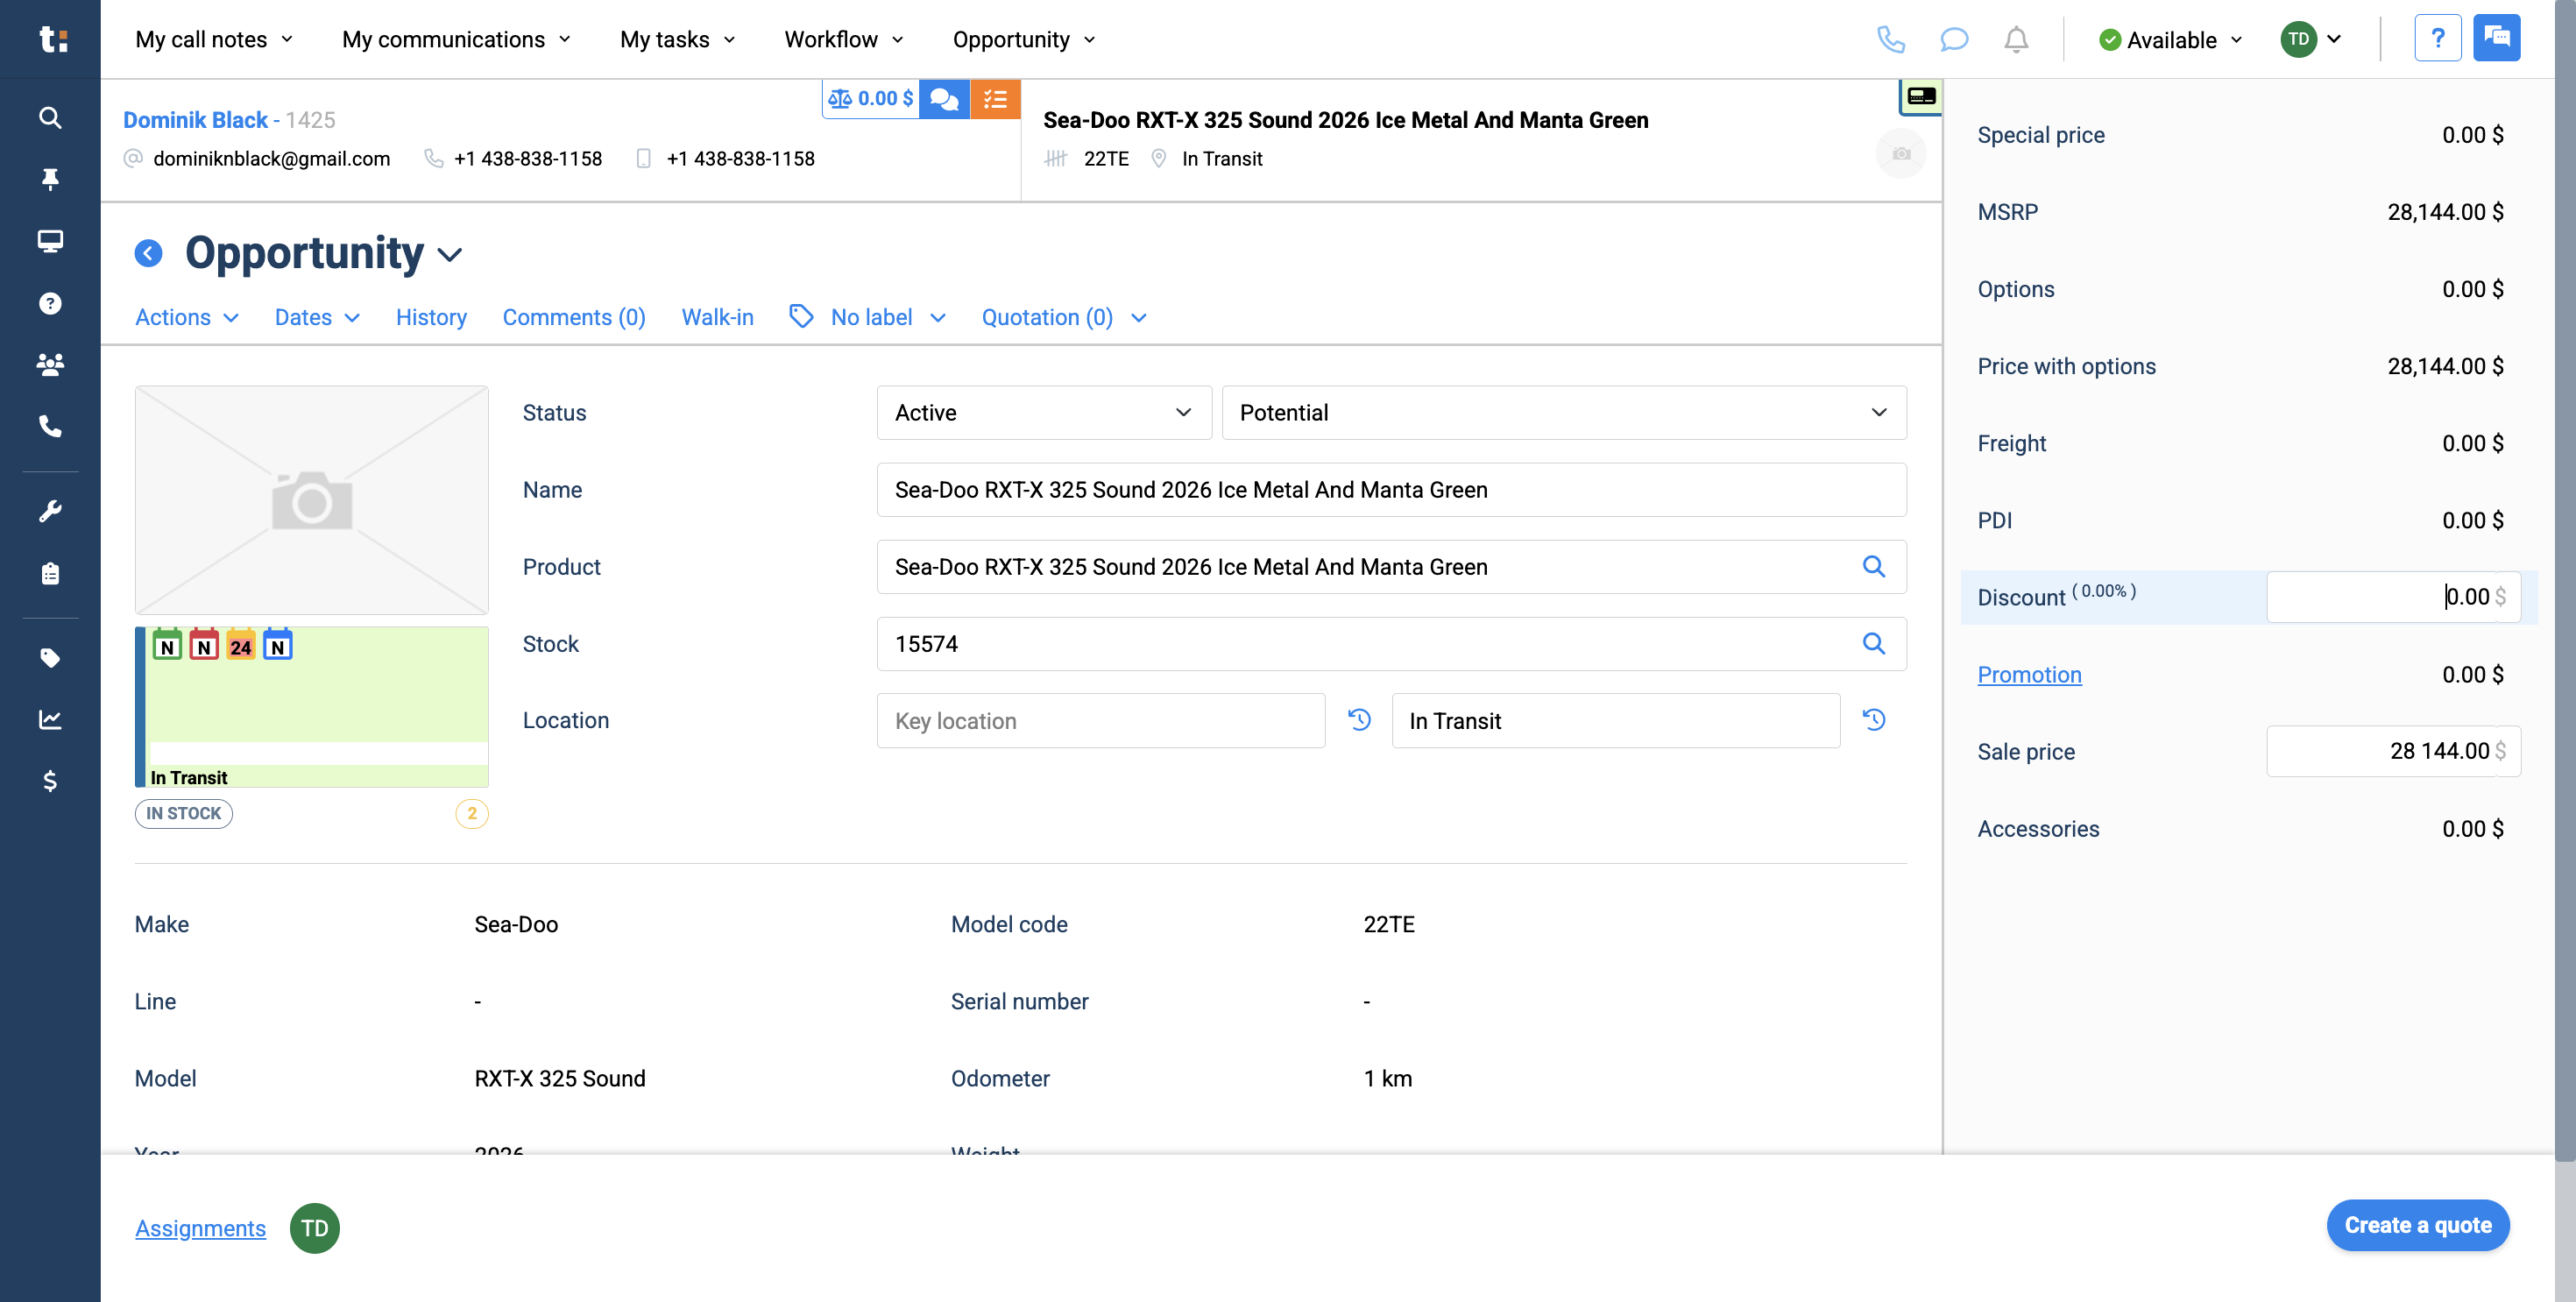
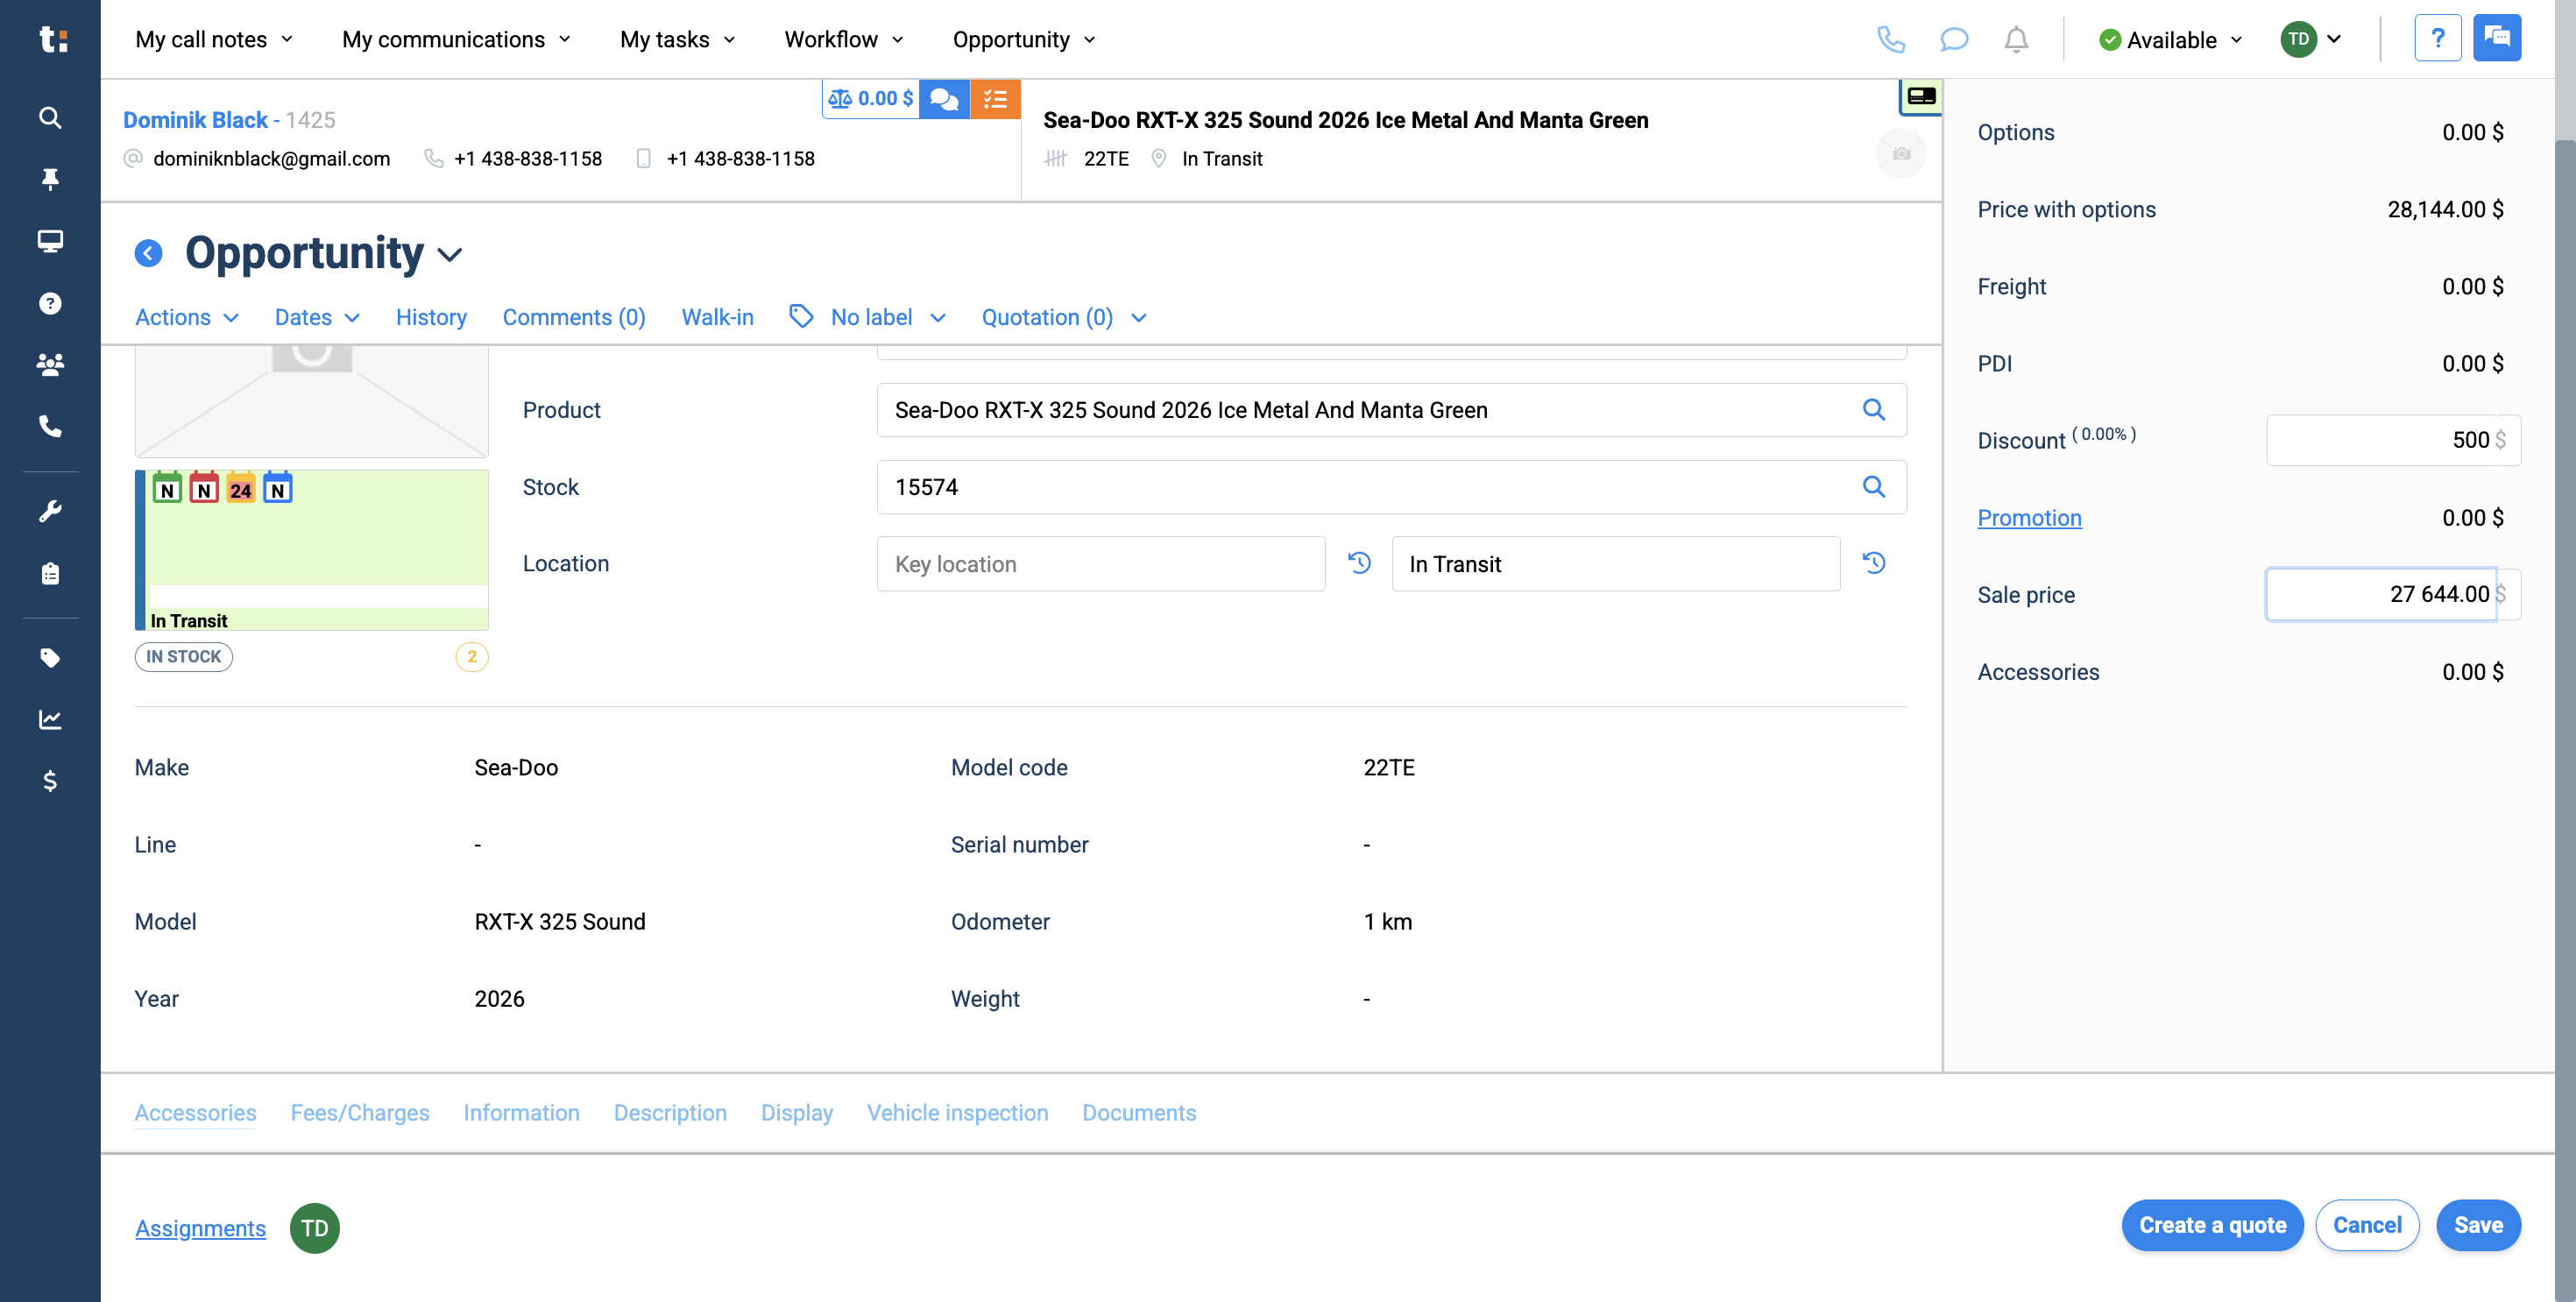
Select your unit.
8
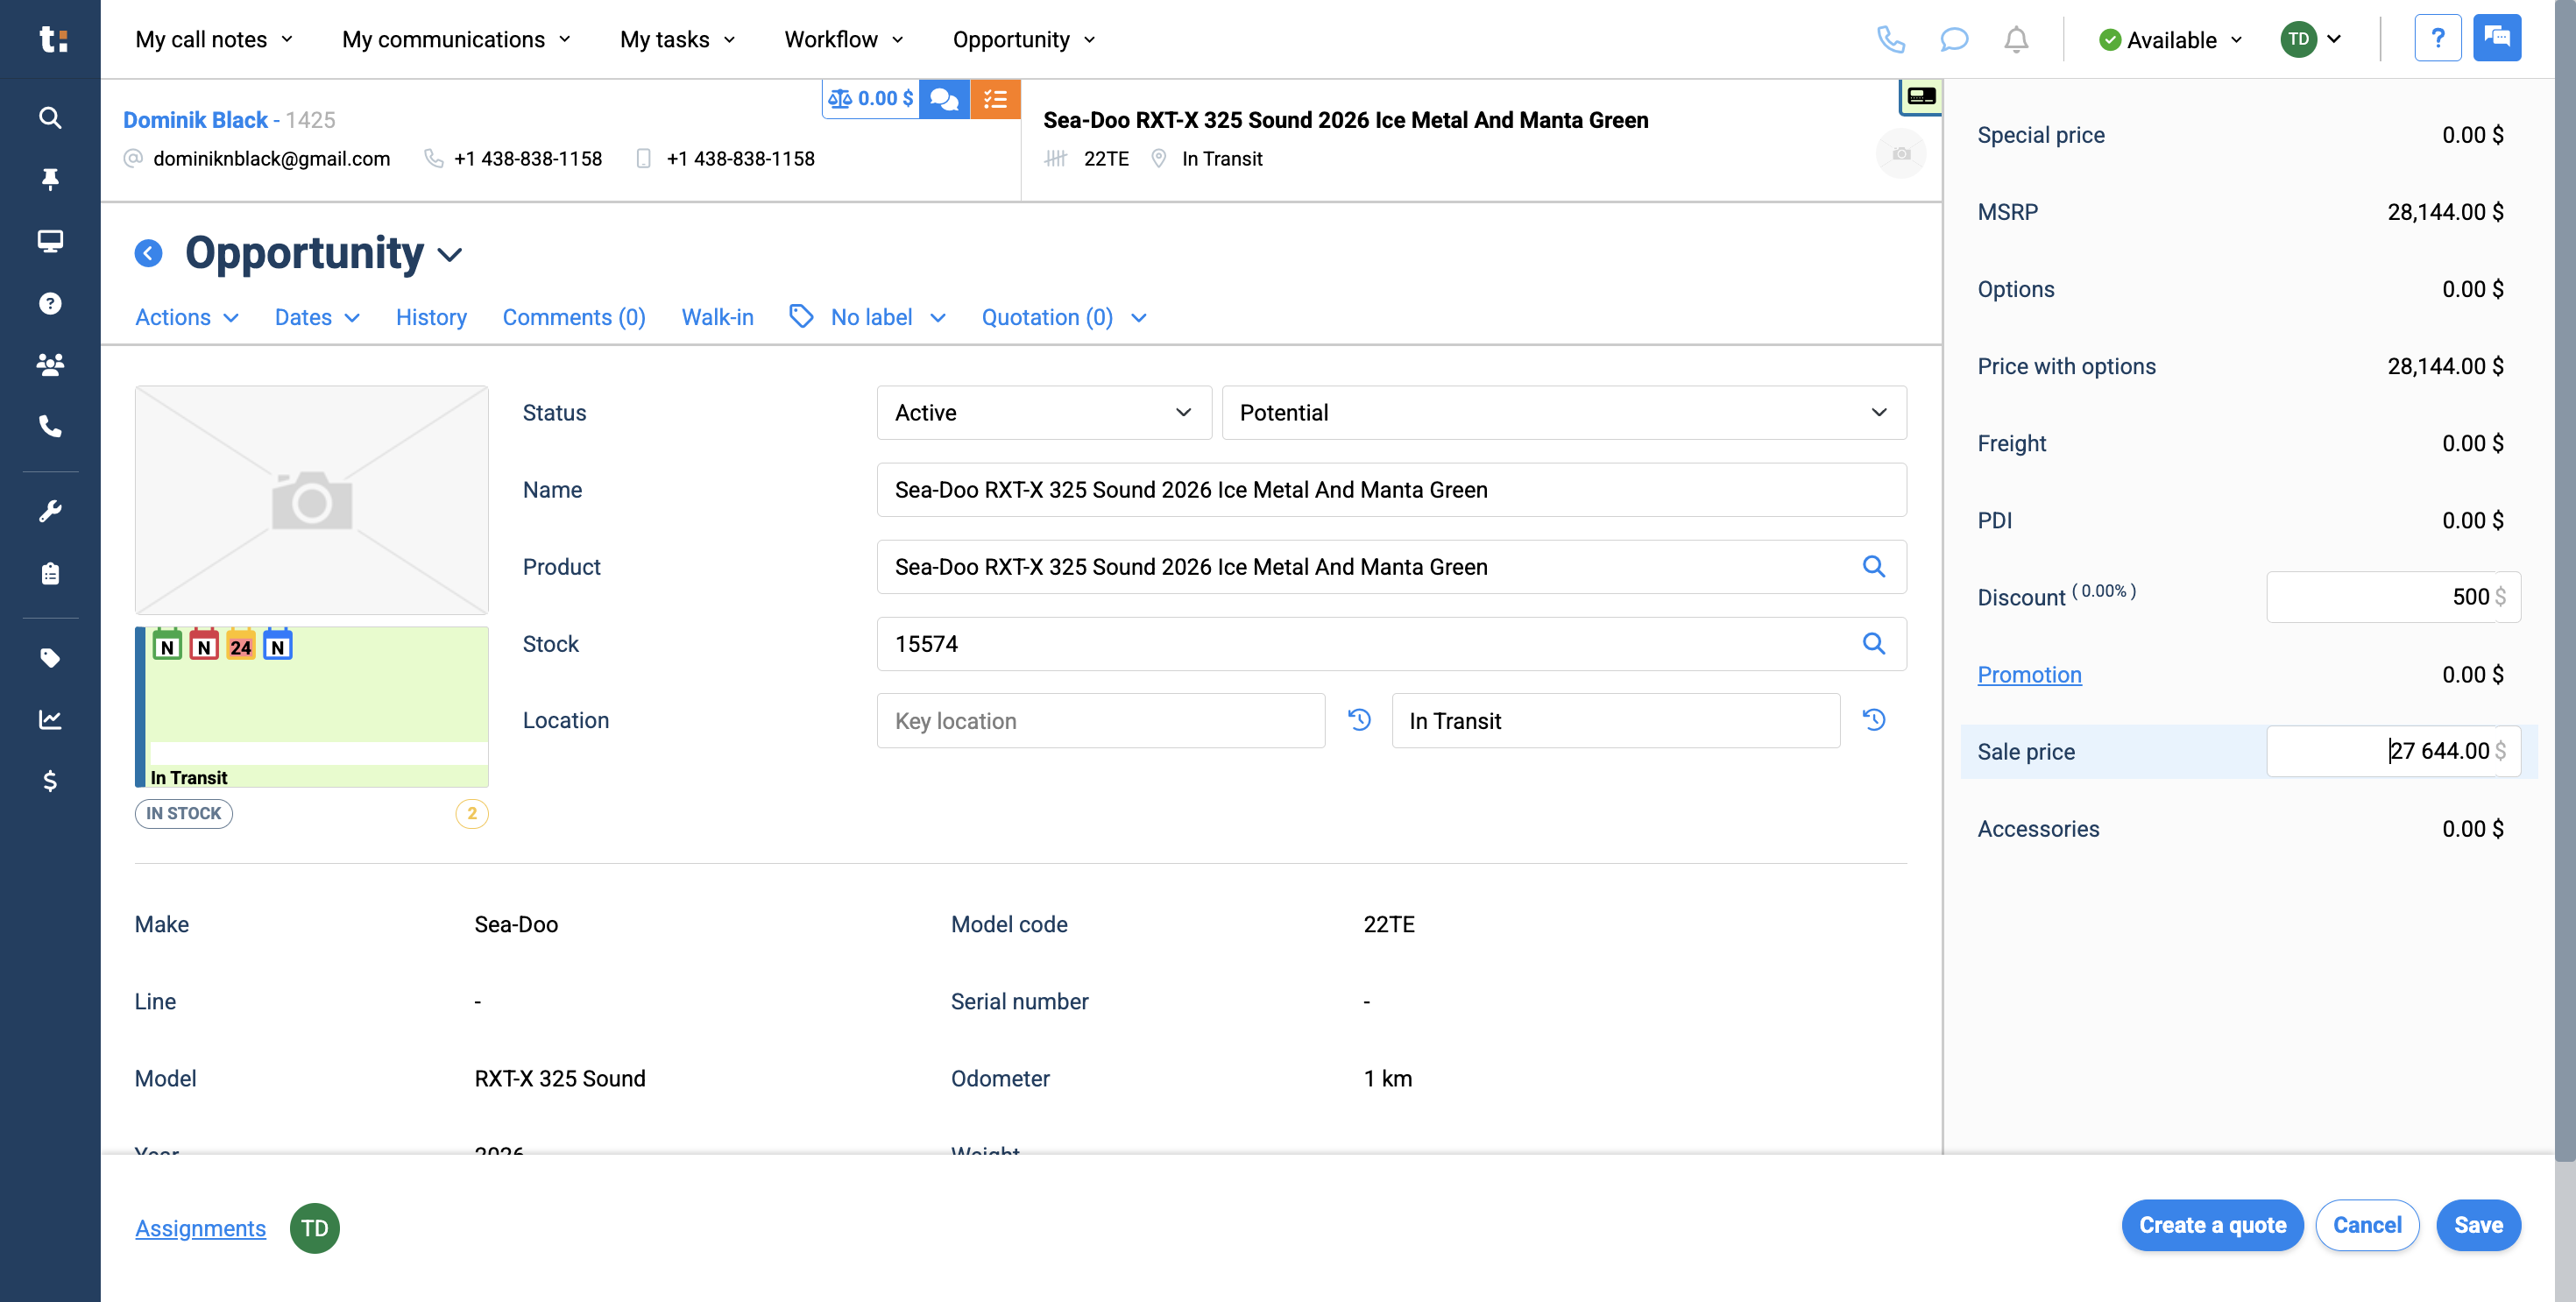
You may add a discount to this opportunity if you wish.
9
You are also free to change the sales price.
10
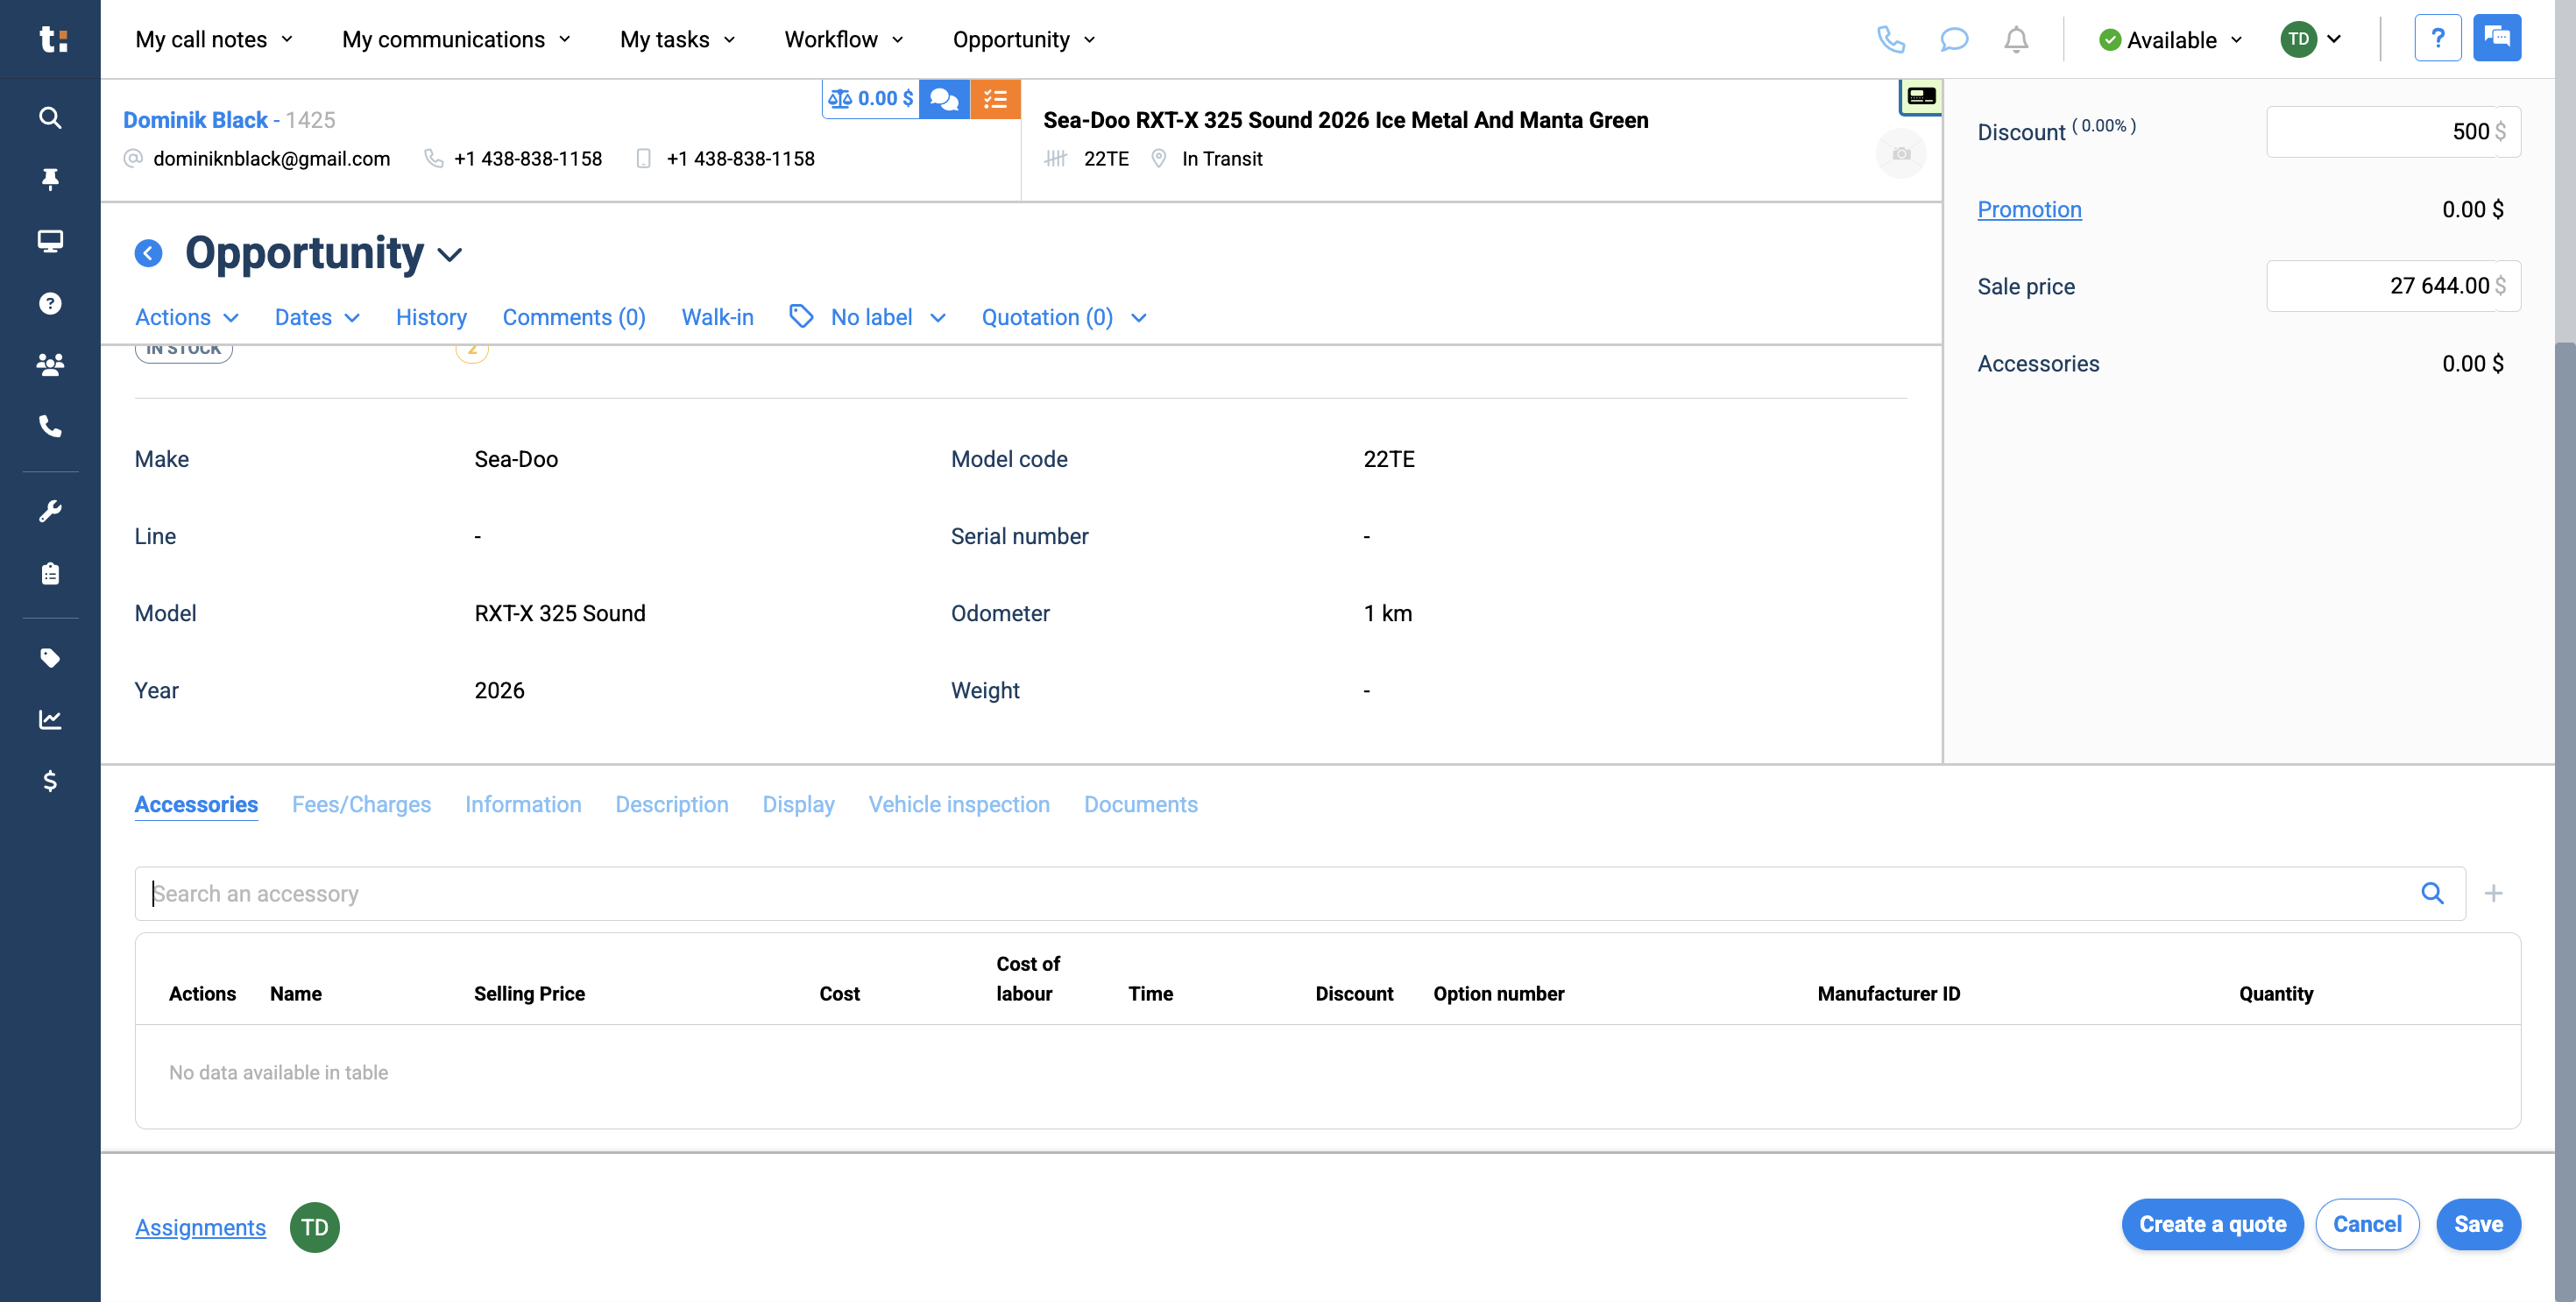
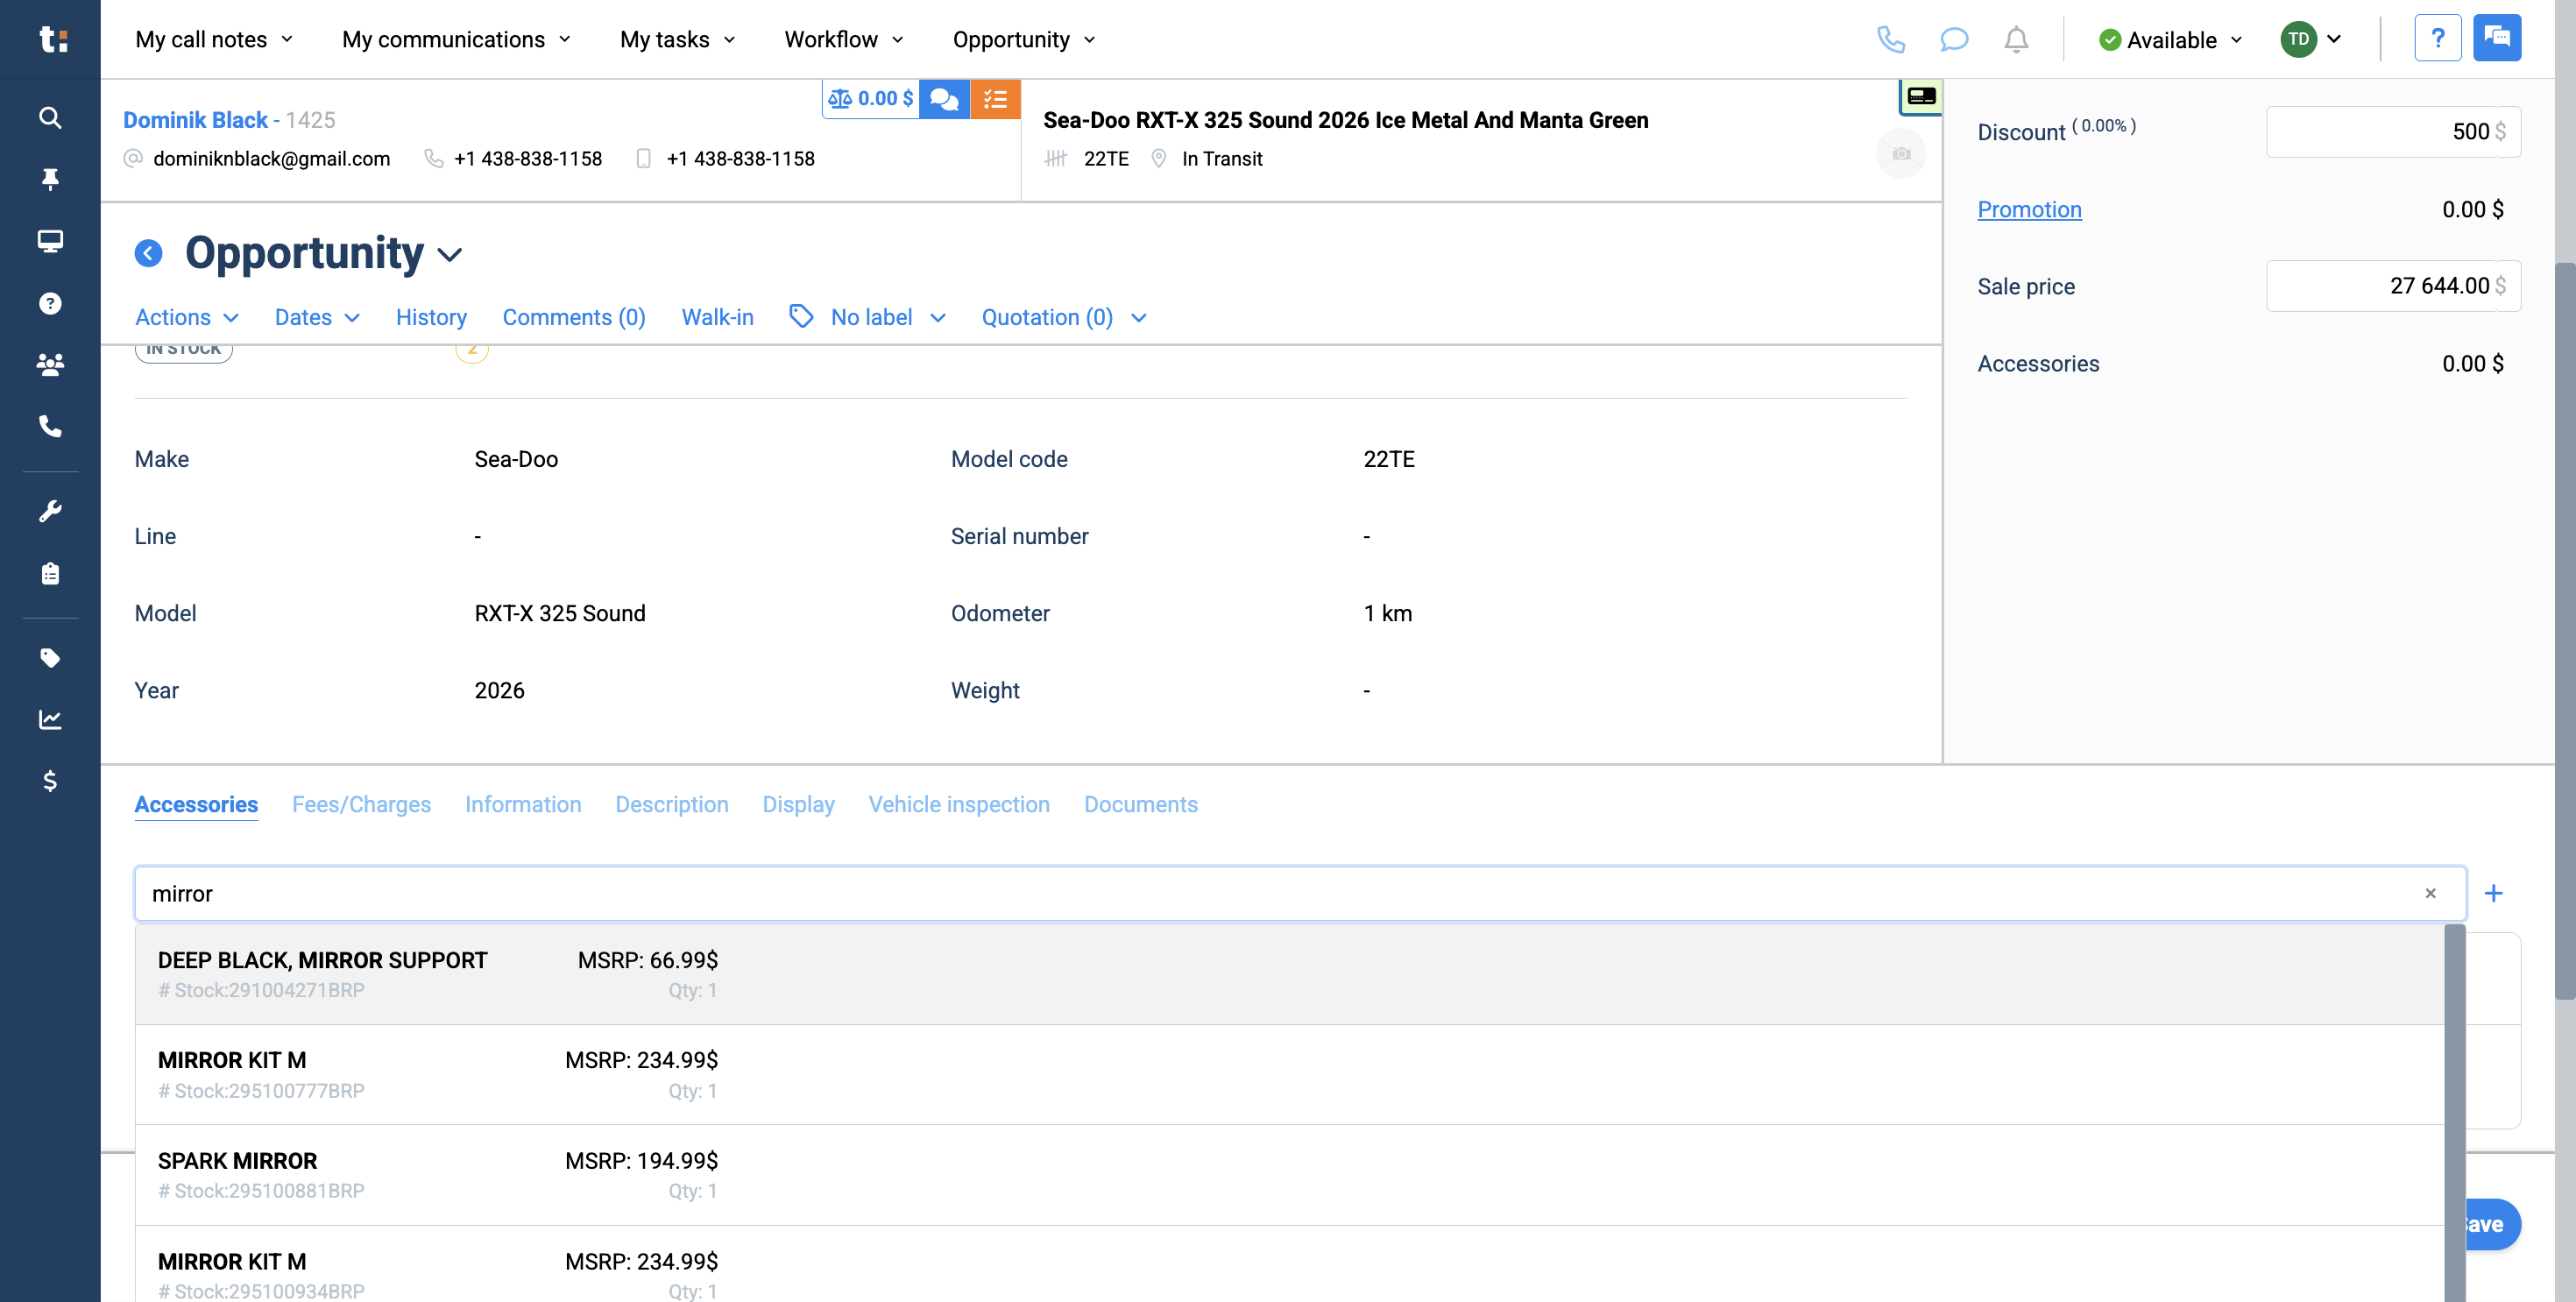
Next, if you wish, you can add accessories or parts by entering the name or part number in this field.
11
Type name or part number
12
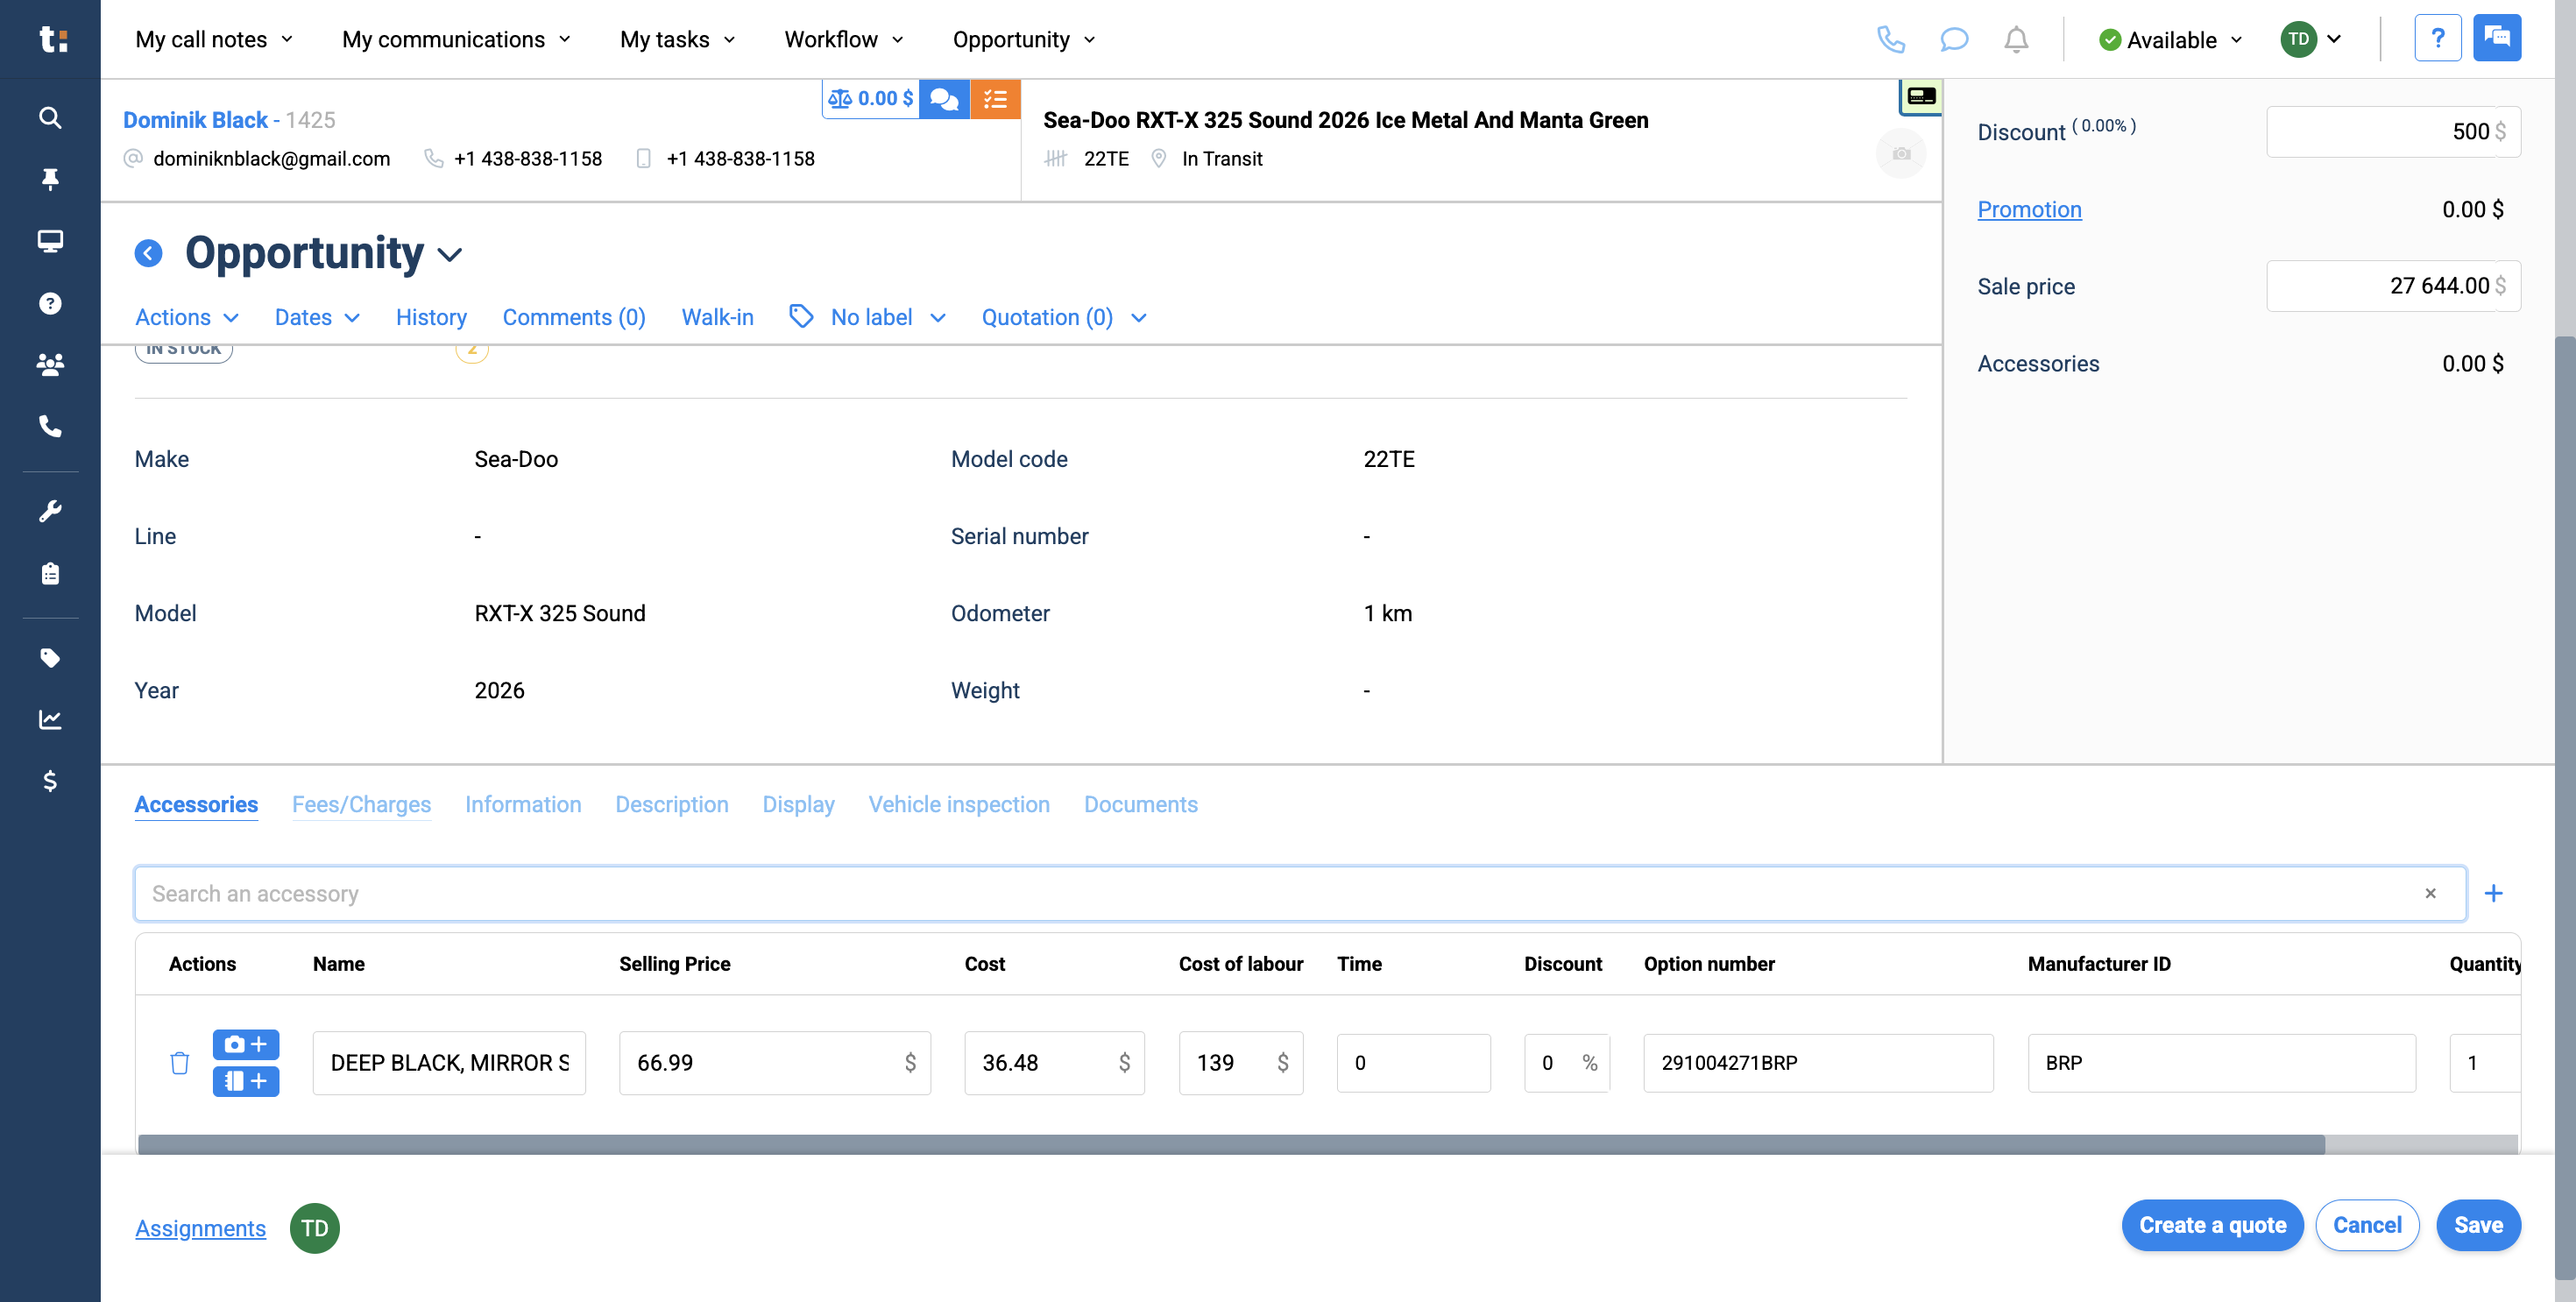
This will automatically pull the item from your parts inventory.
13
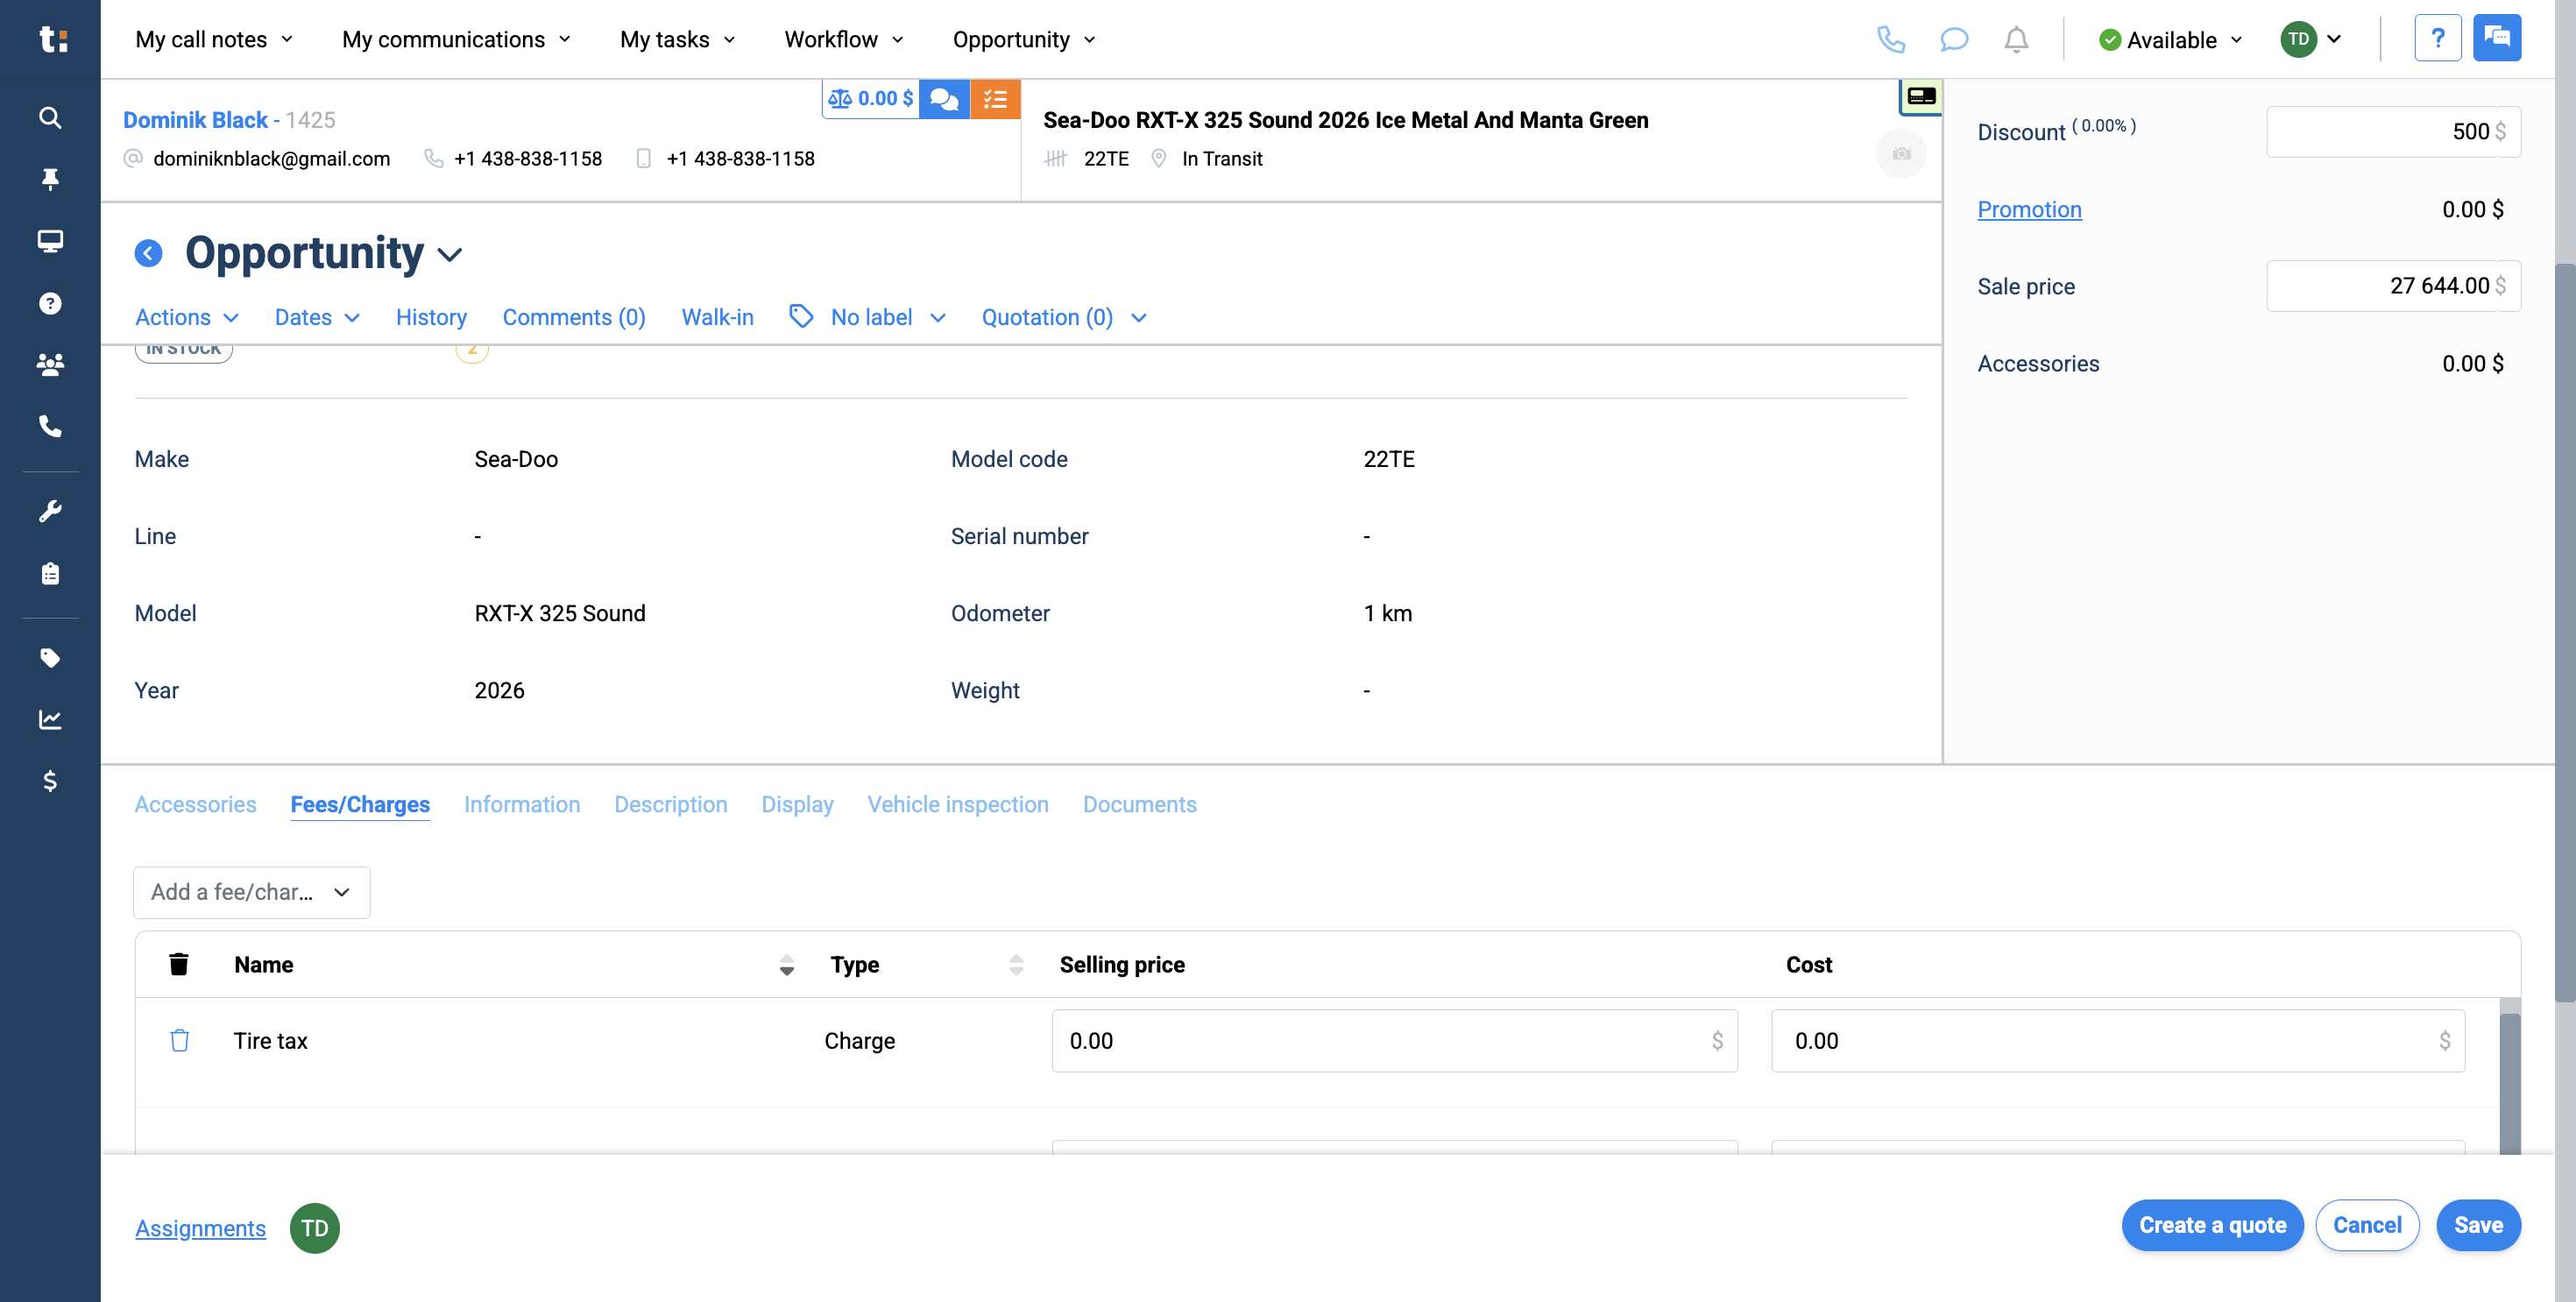
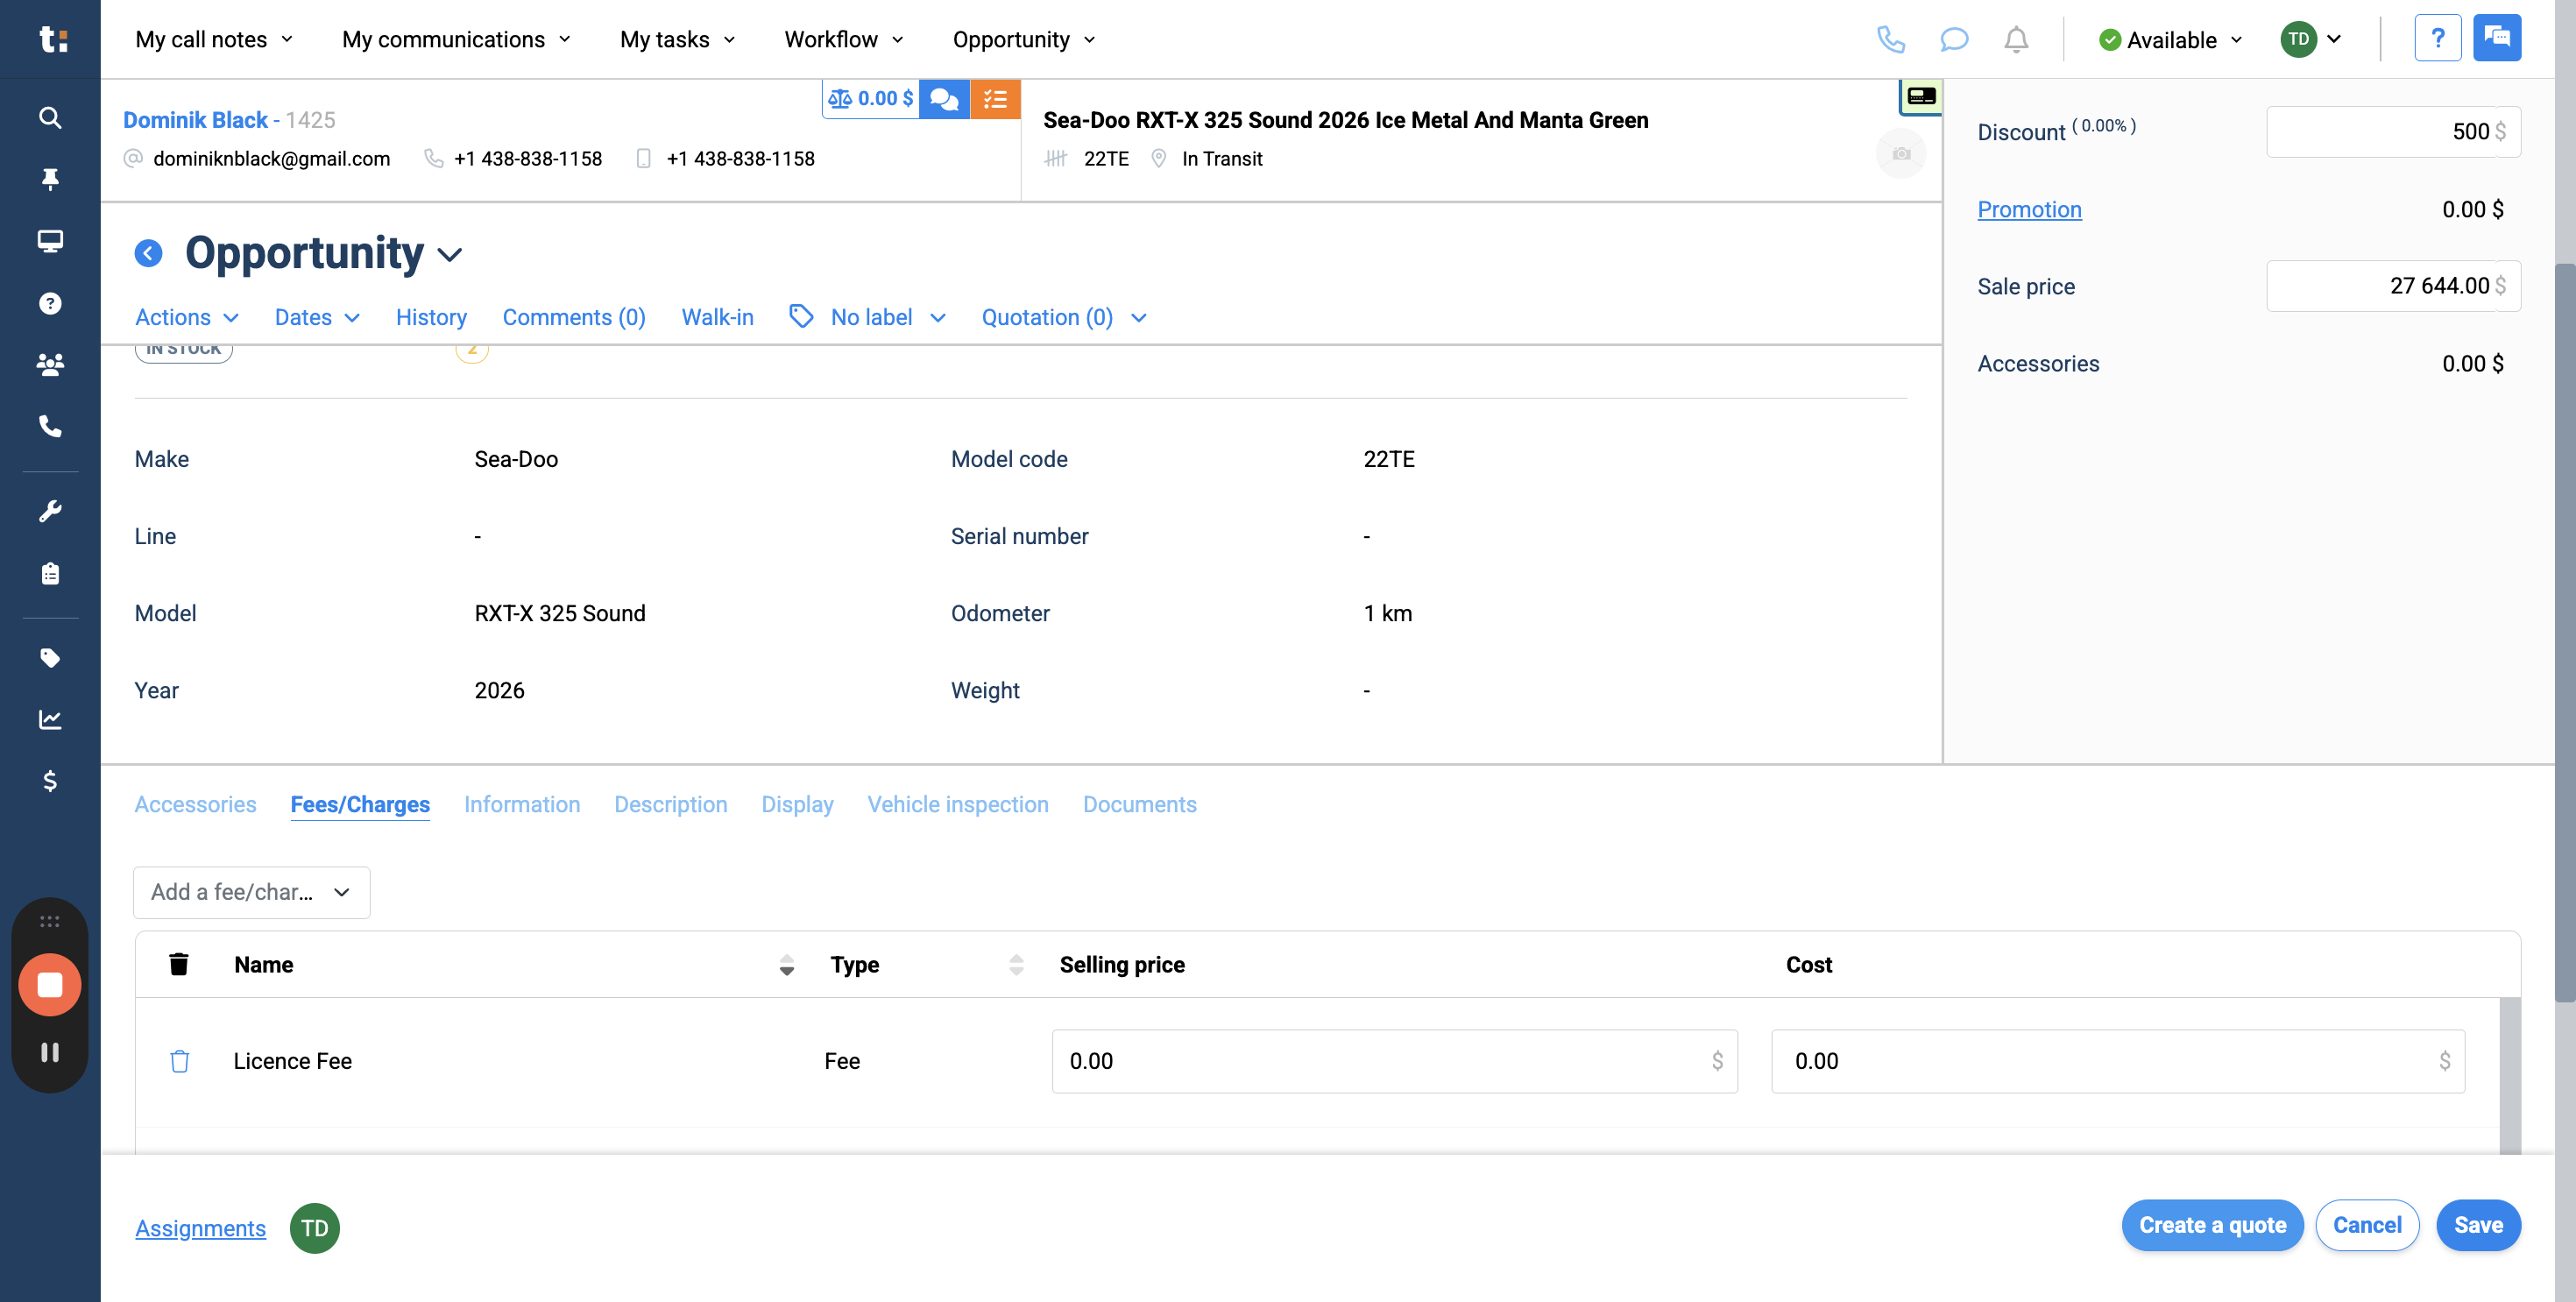
All prices will be included in the quote afterward. Next, go to Fees & Charges if you need to add tire tax, licensing fee, admin fee, or similar charges.
14
Add fees/charges
15
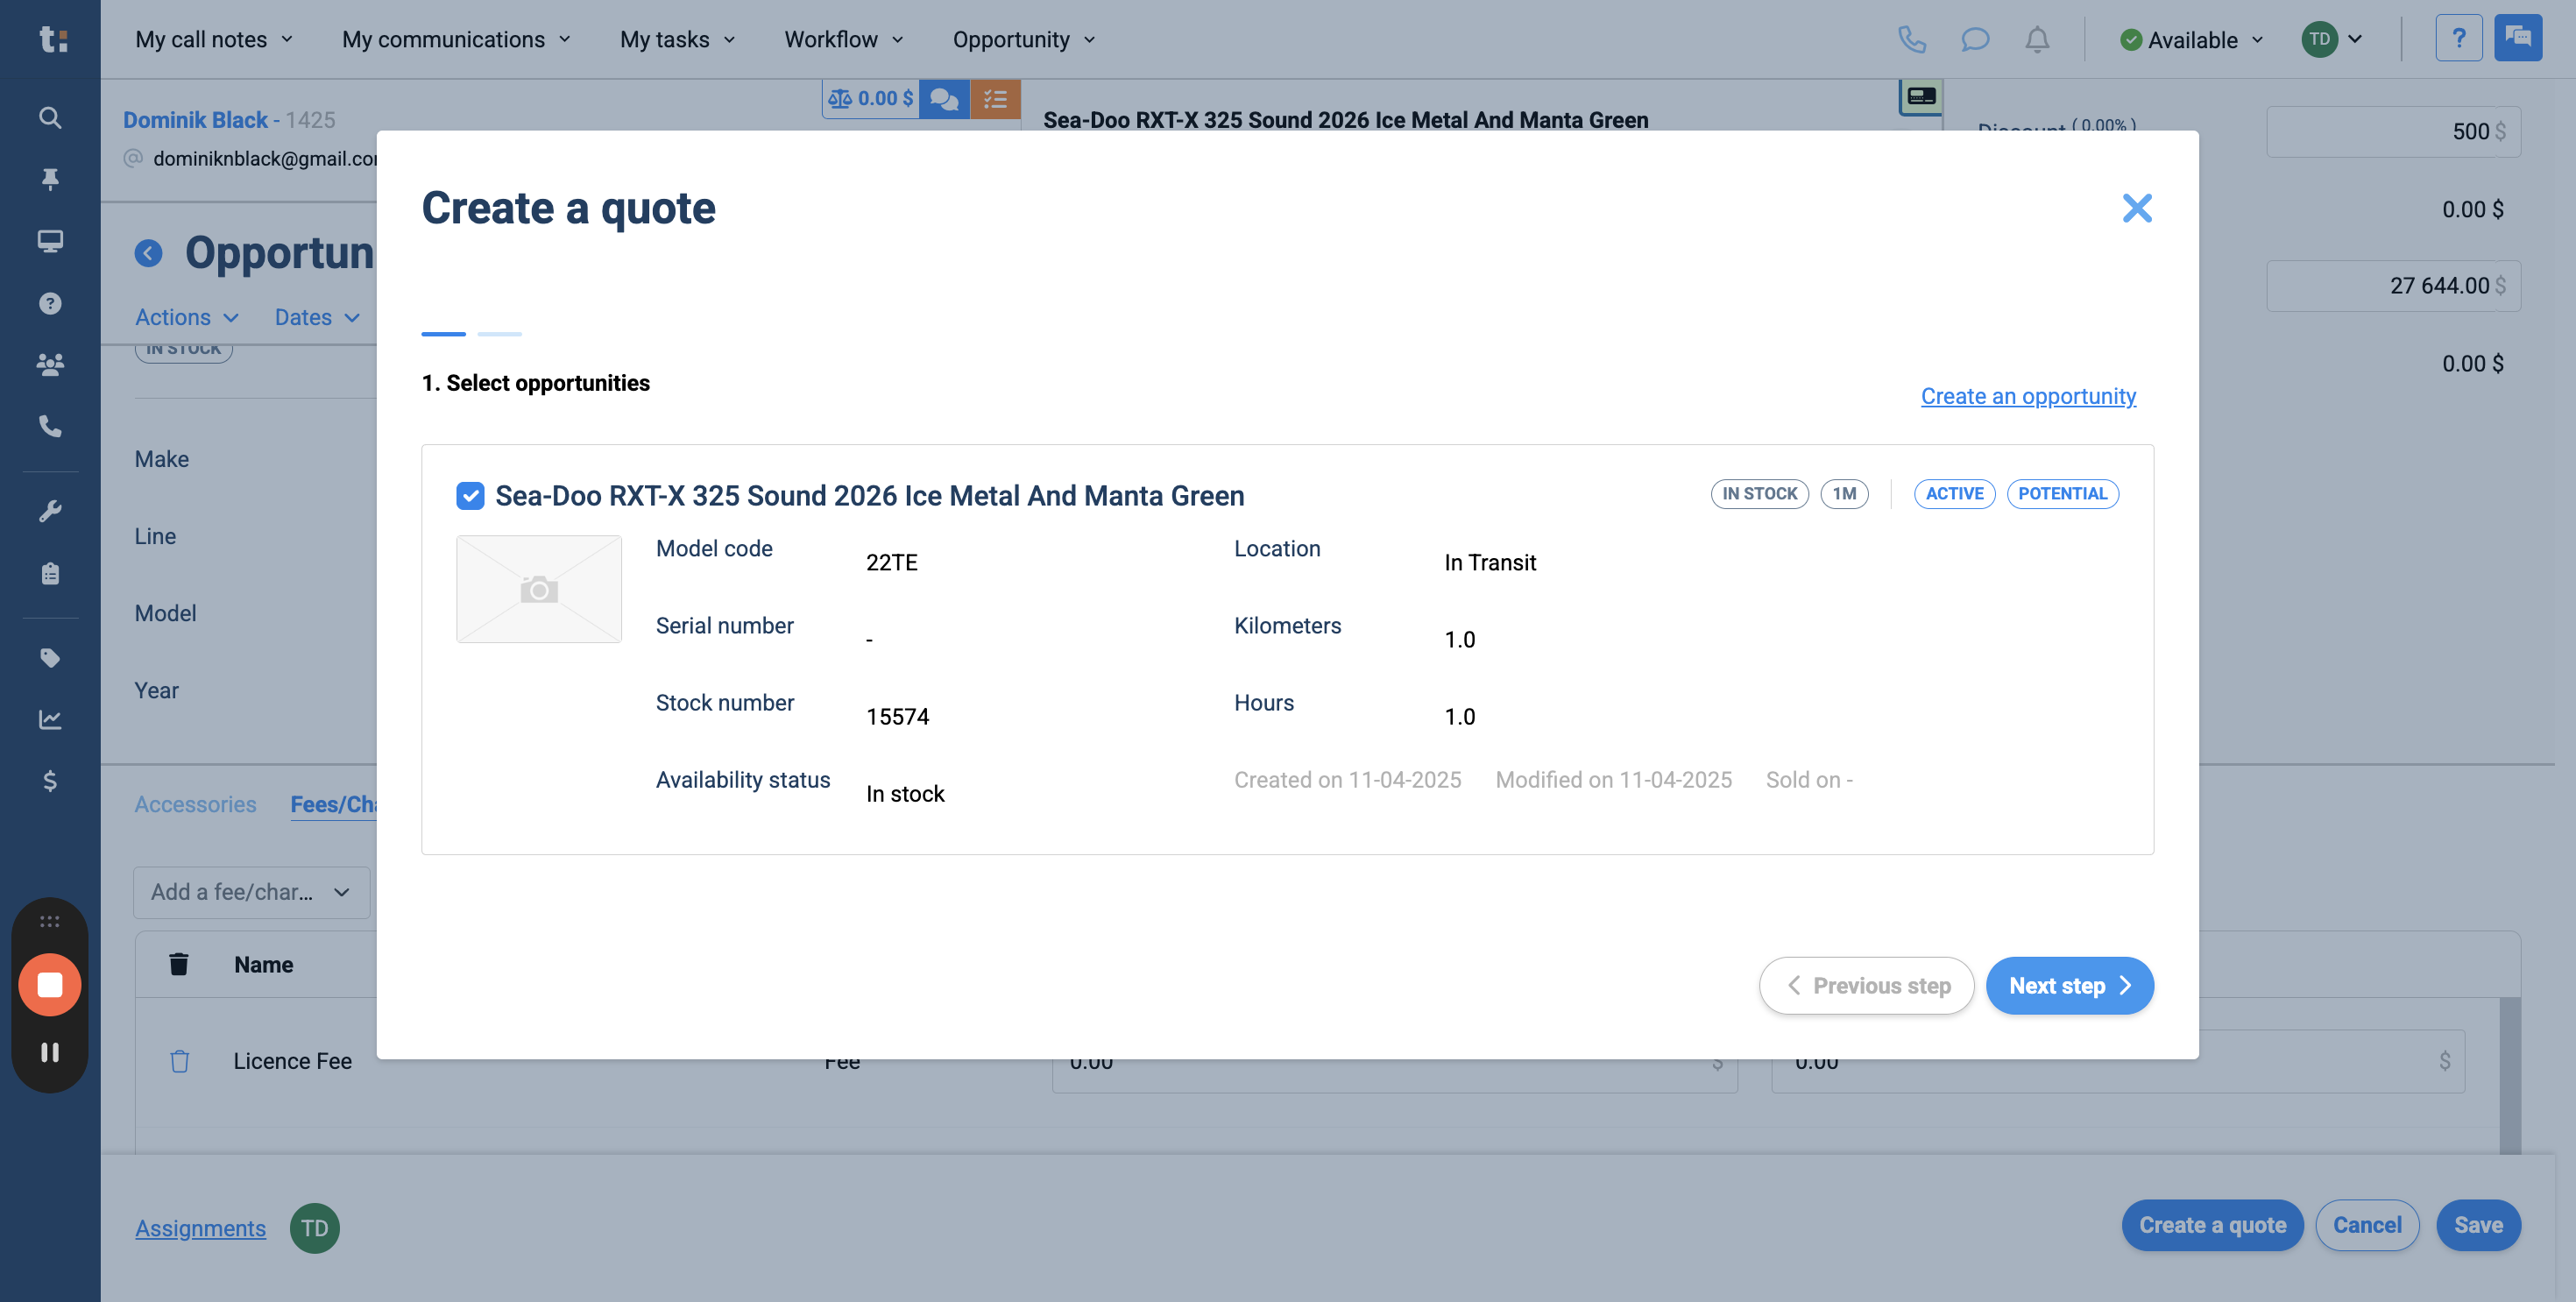
After completing these steps, click Create a Quote.
16
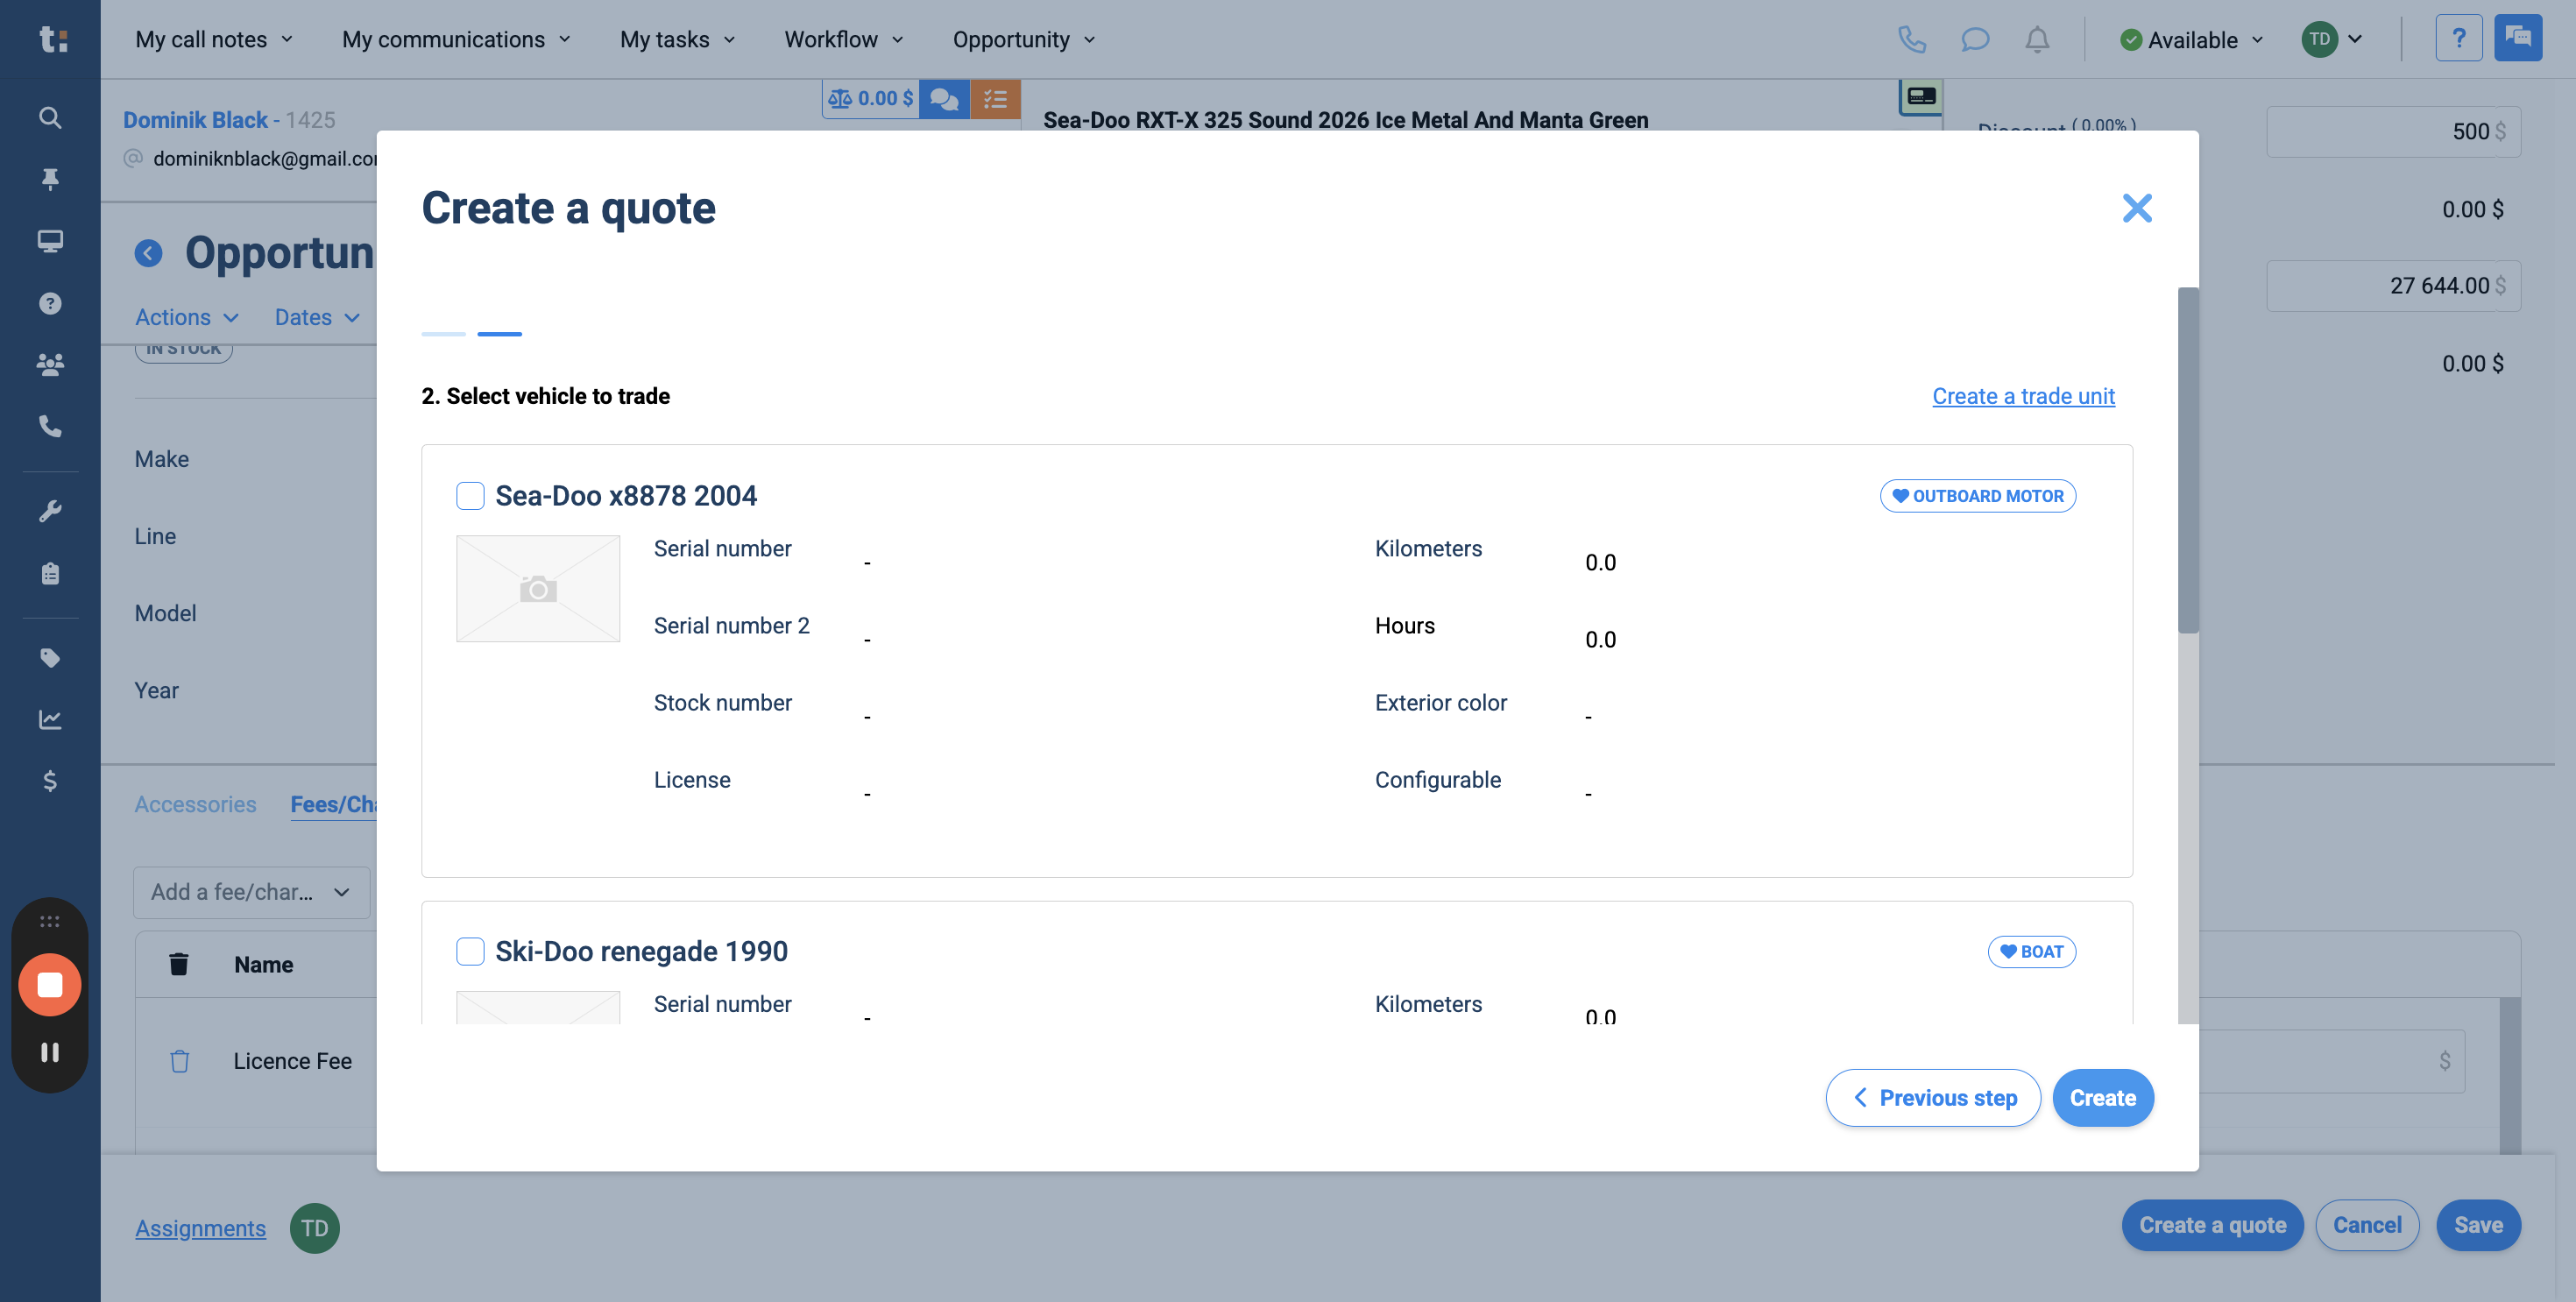
Click Next Step,
17
then select Create.
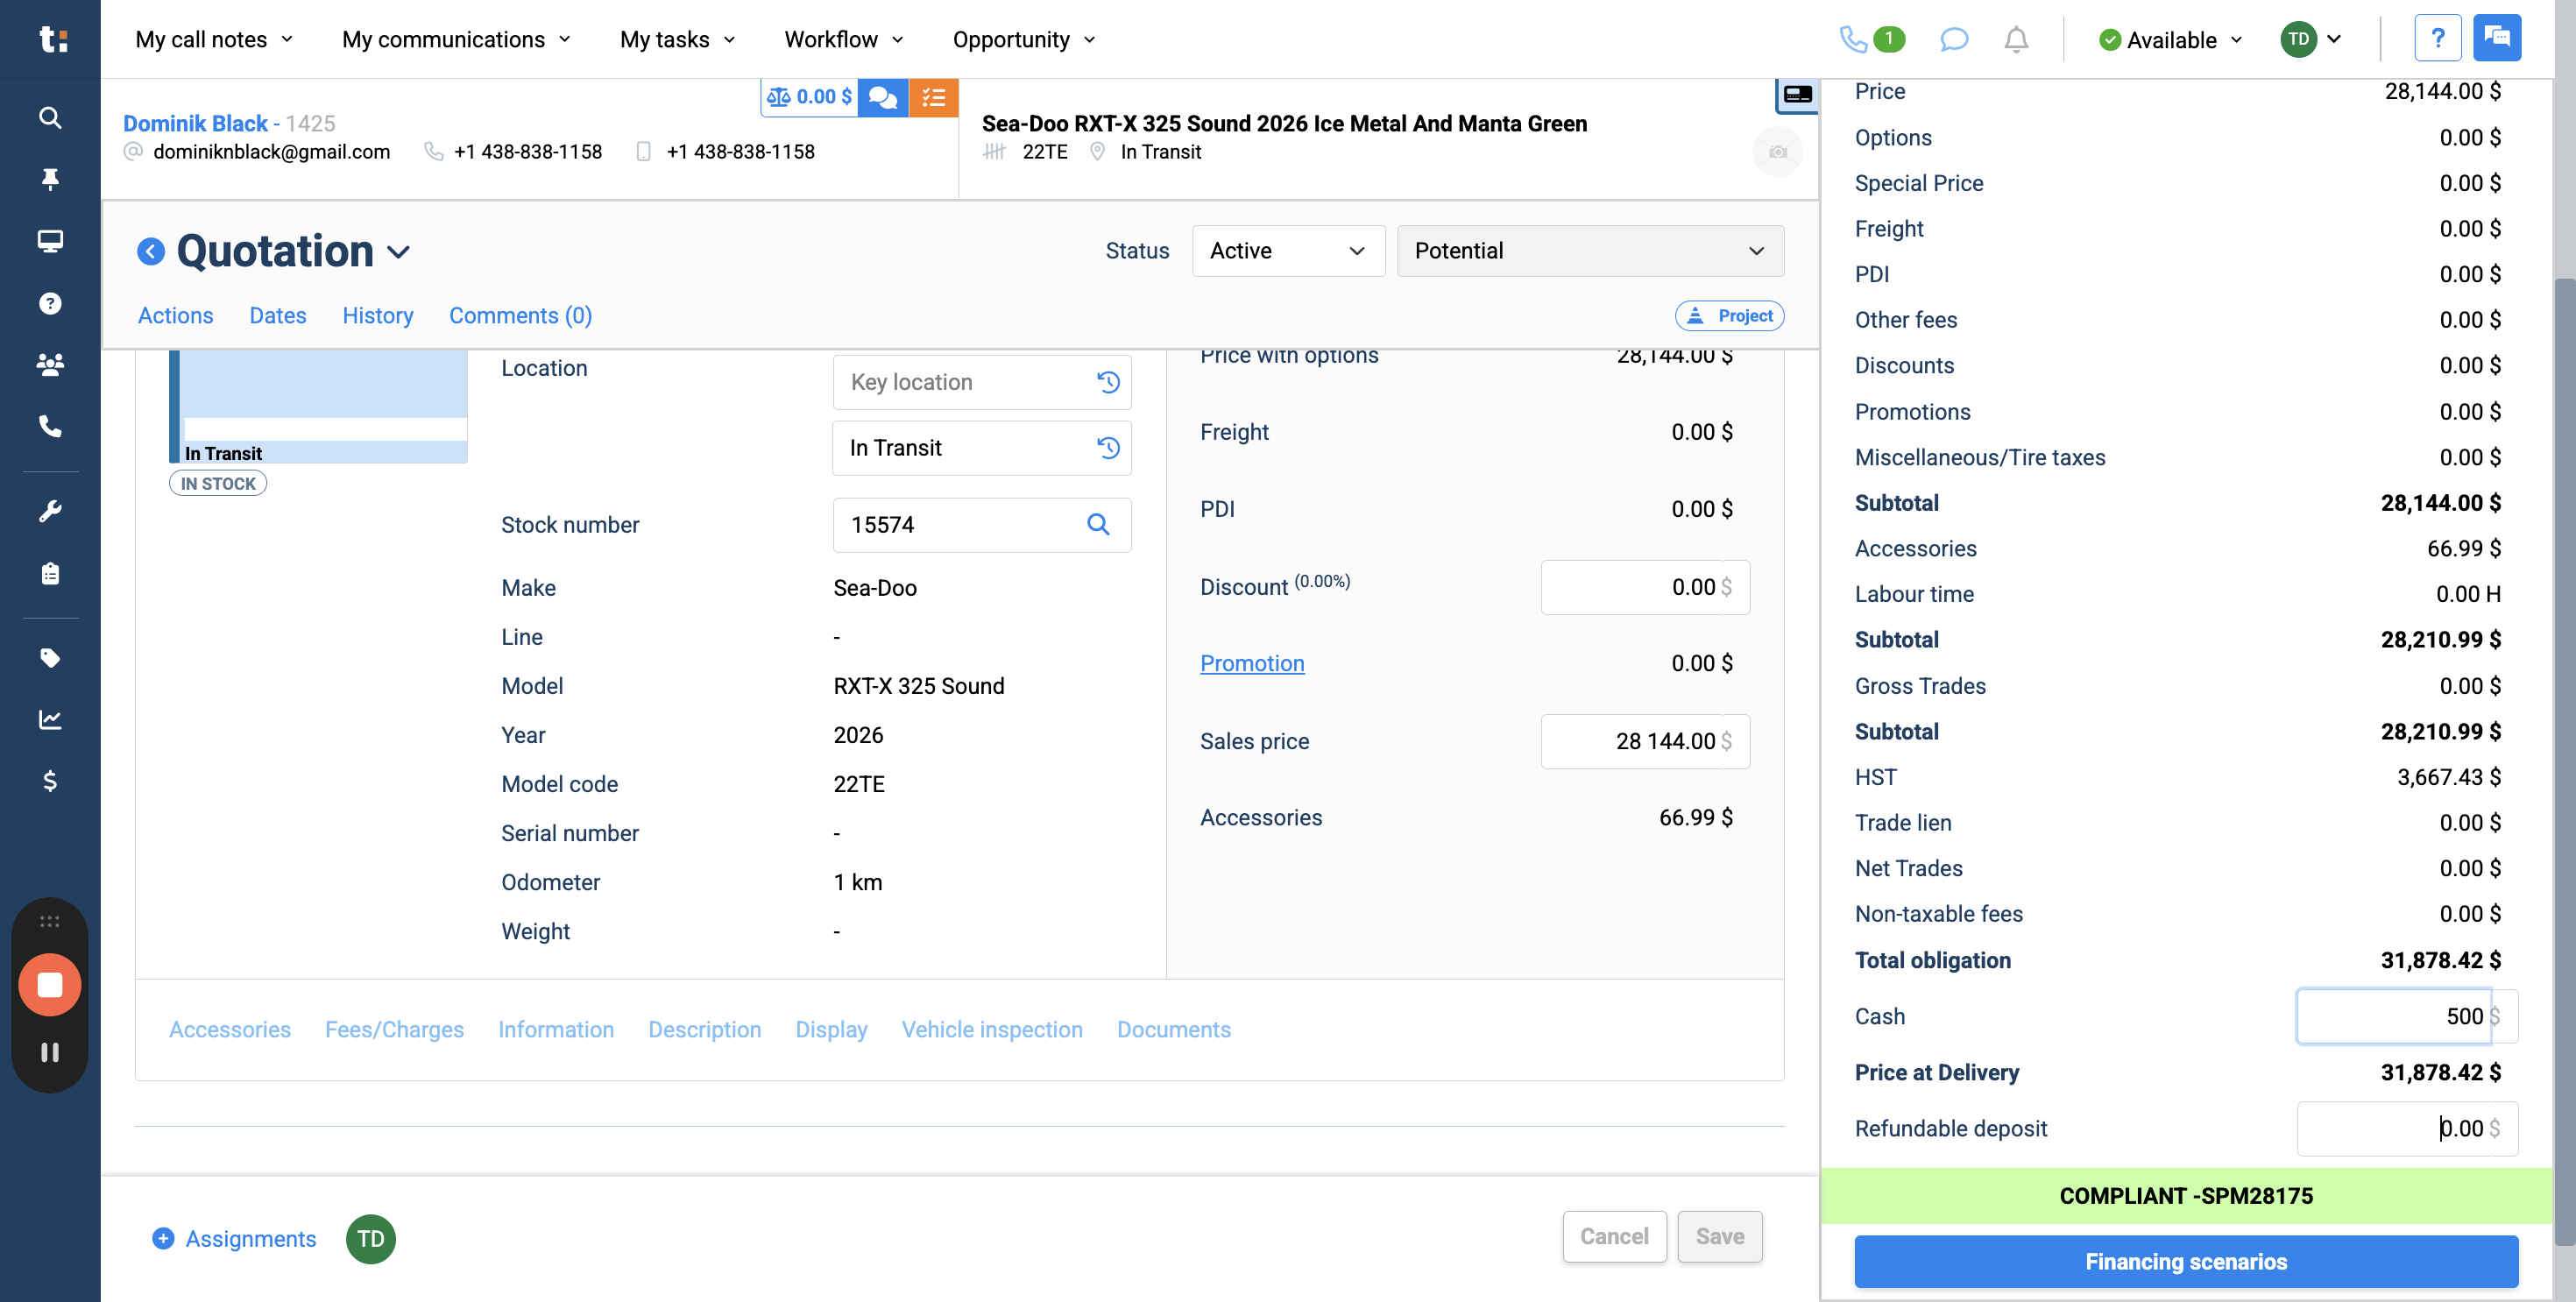
18
Now, you have created your quote. If you want, you can enter a cash deposit here.
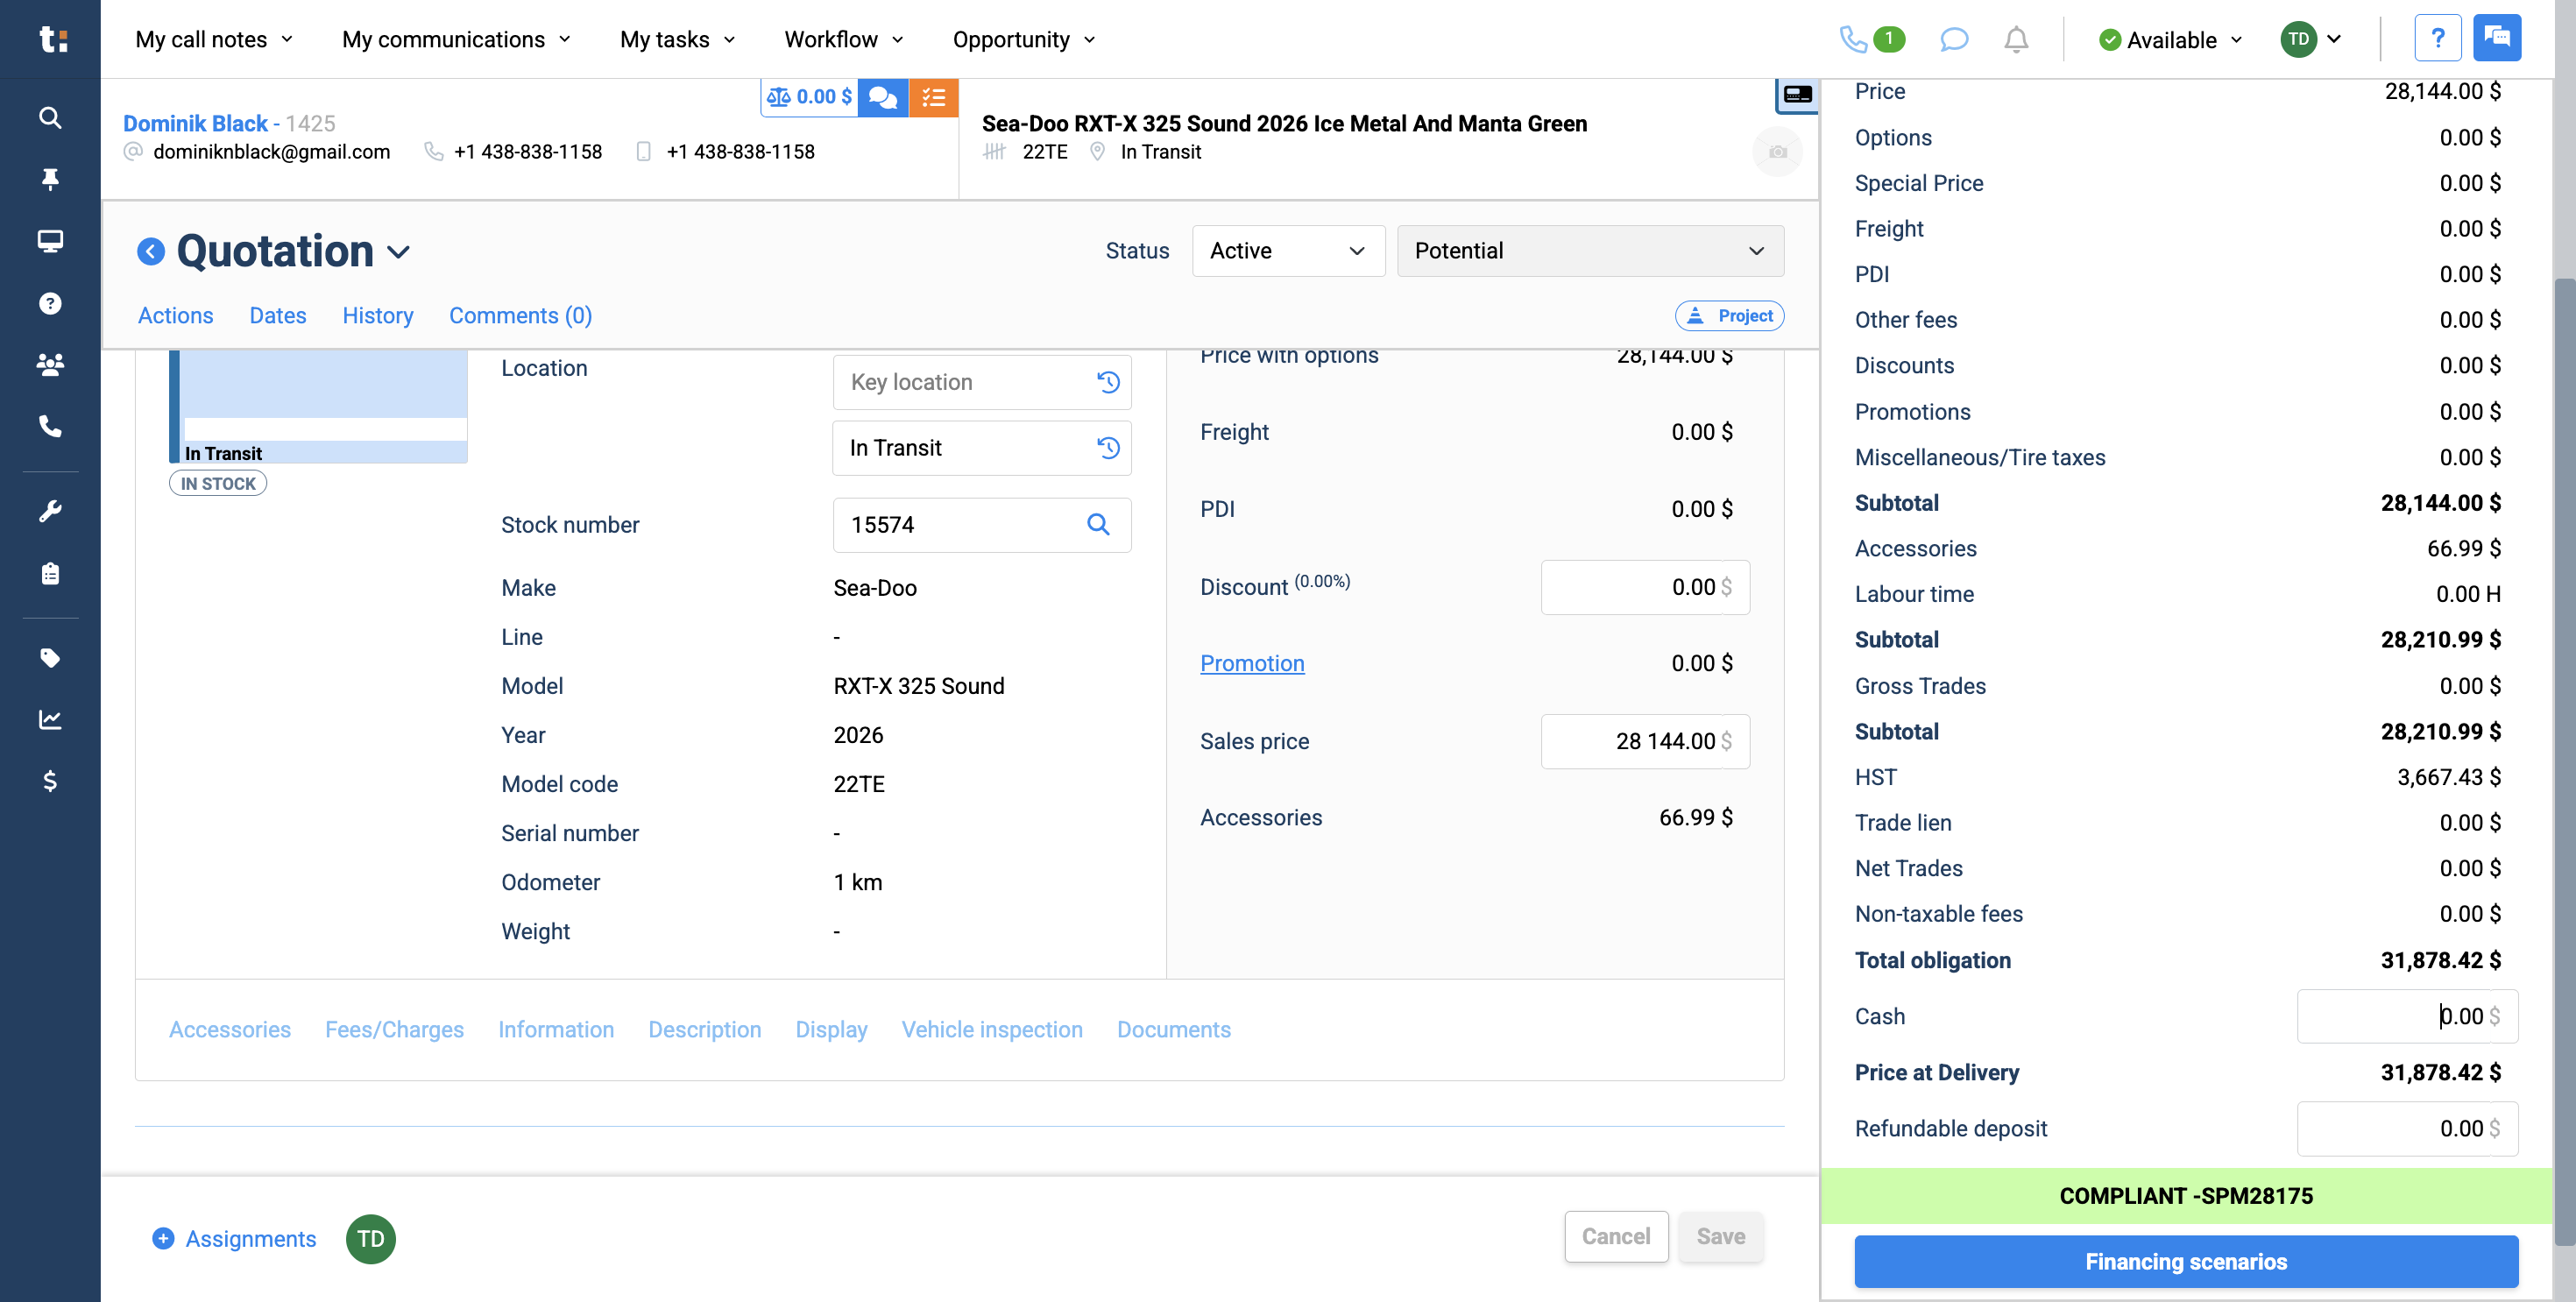
19
If the client wants to leave a refundable deposit, enter it in this field.
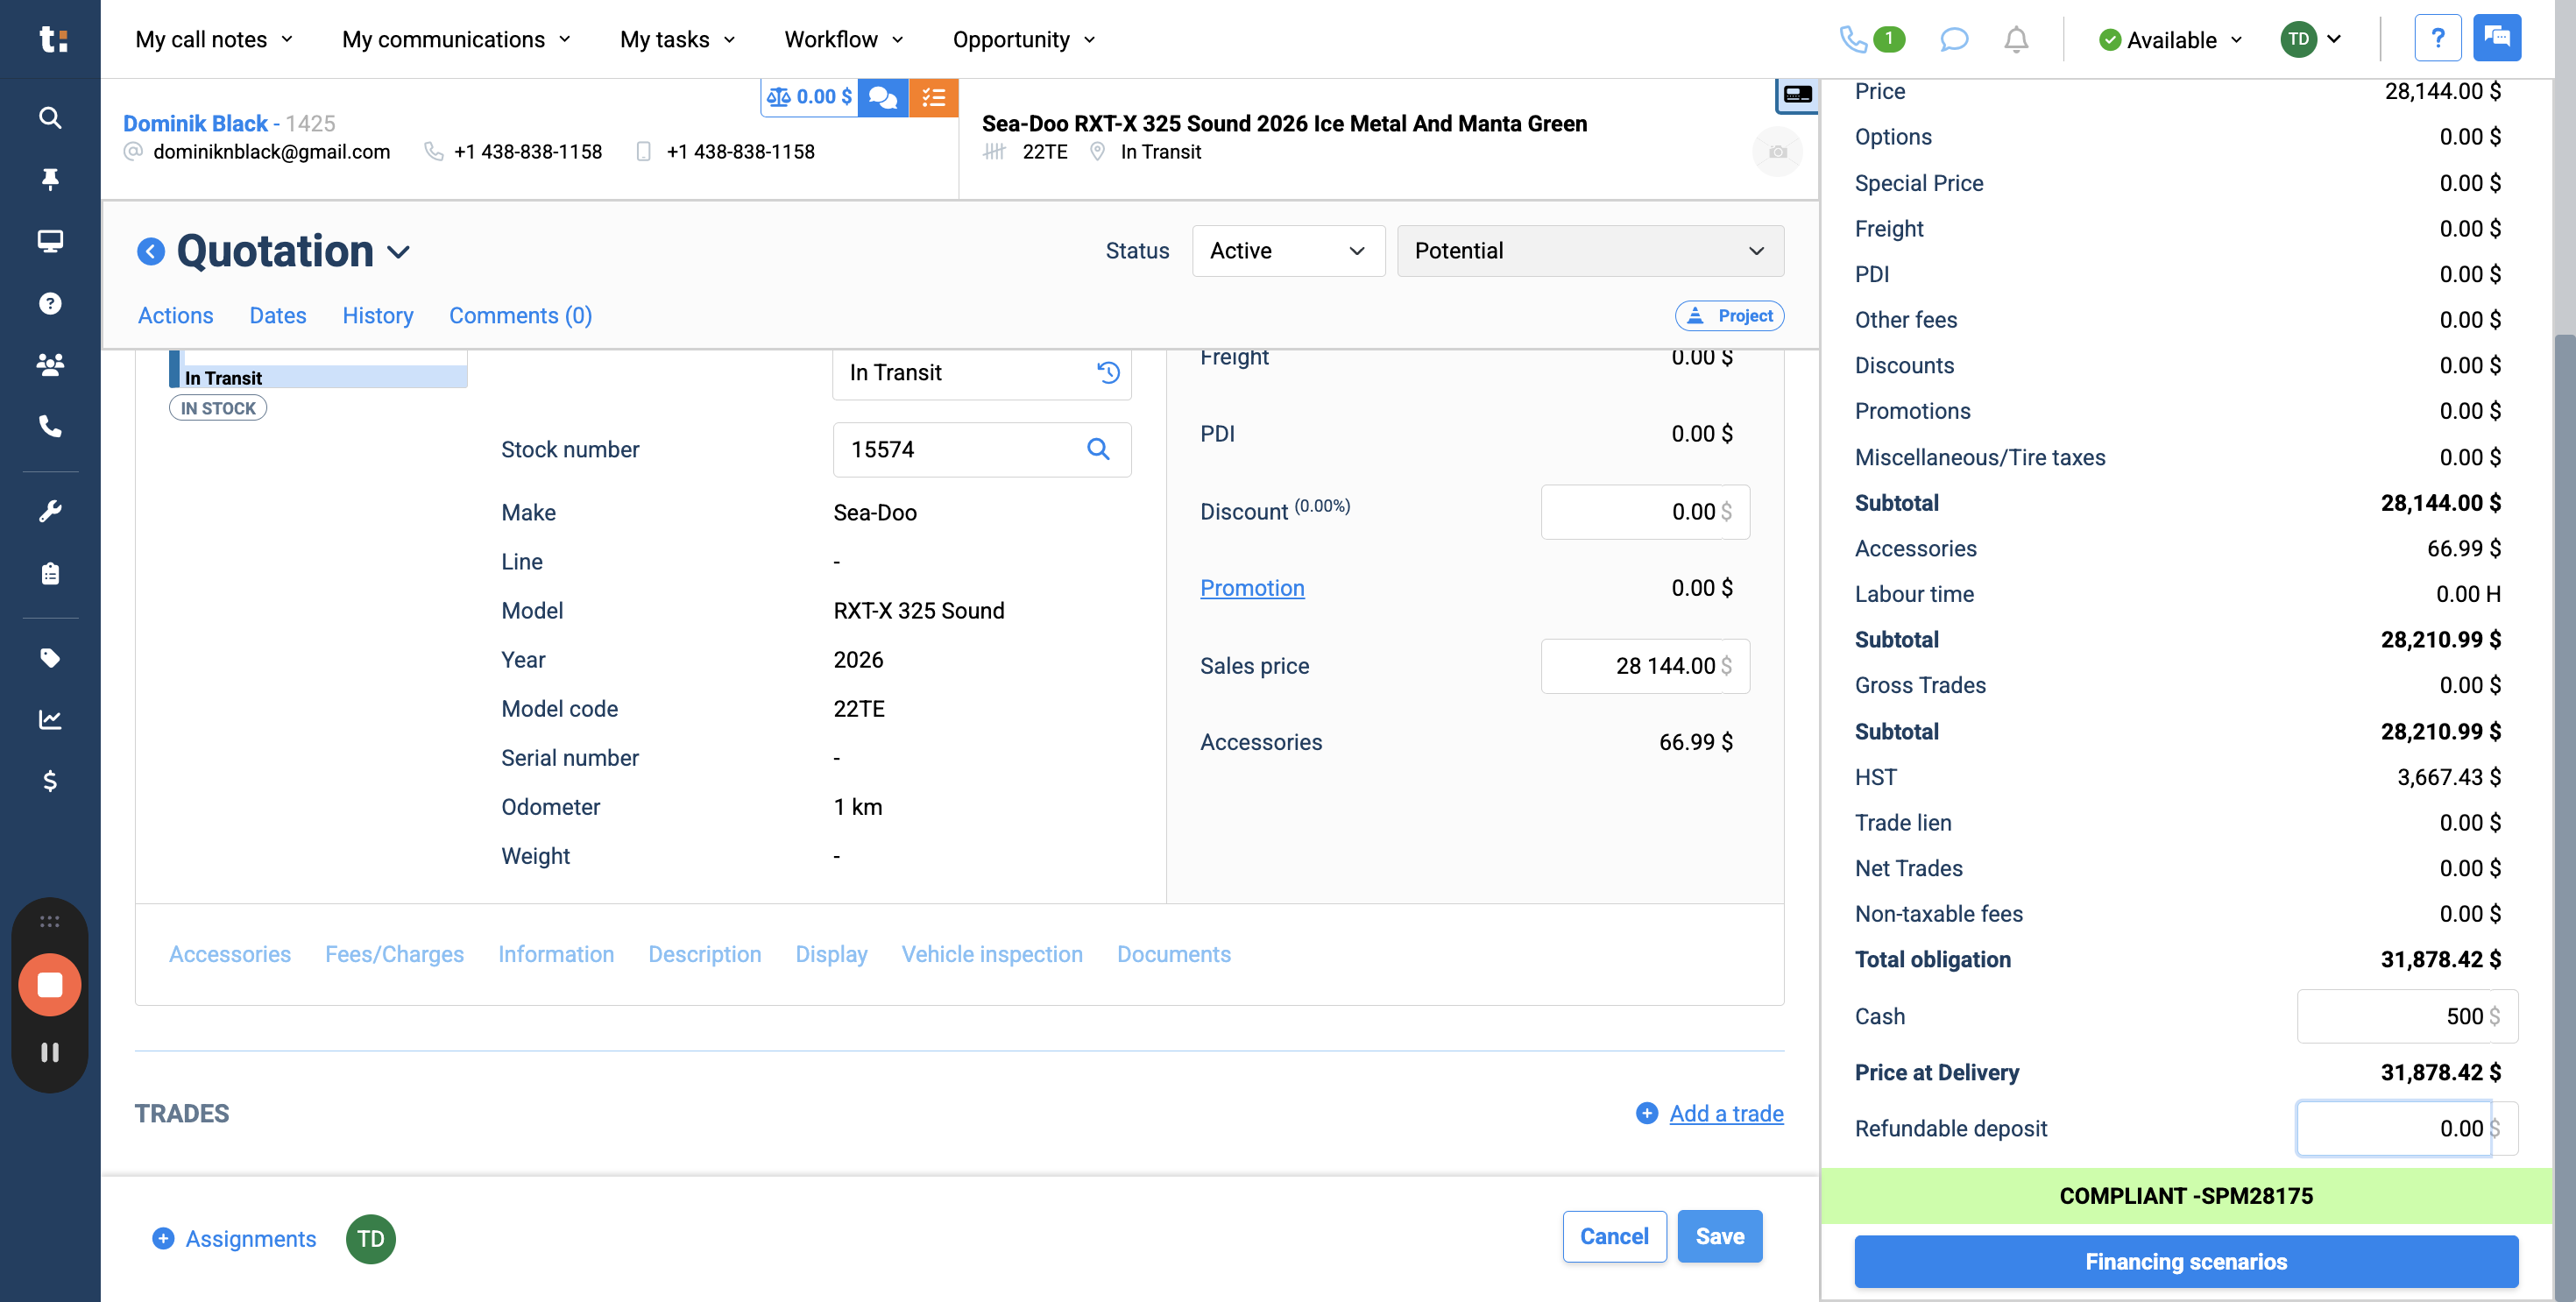
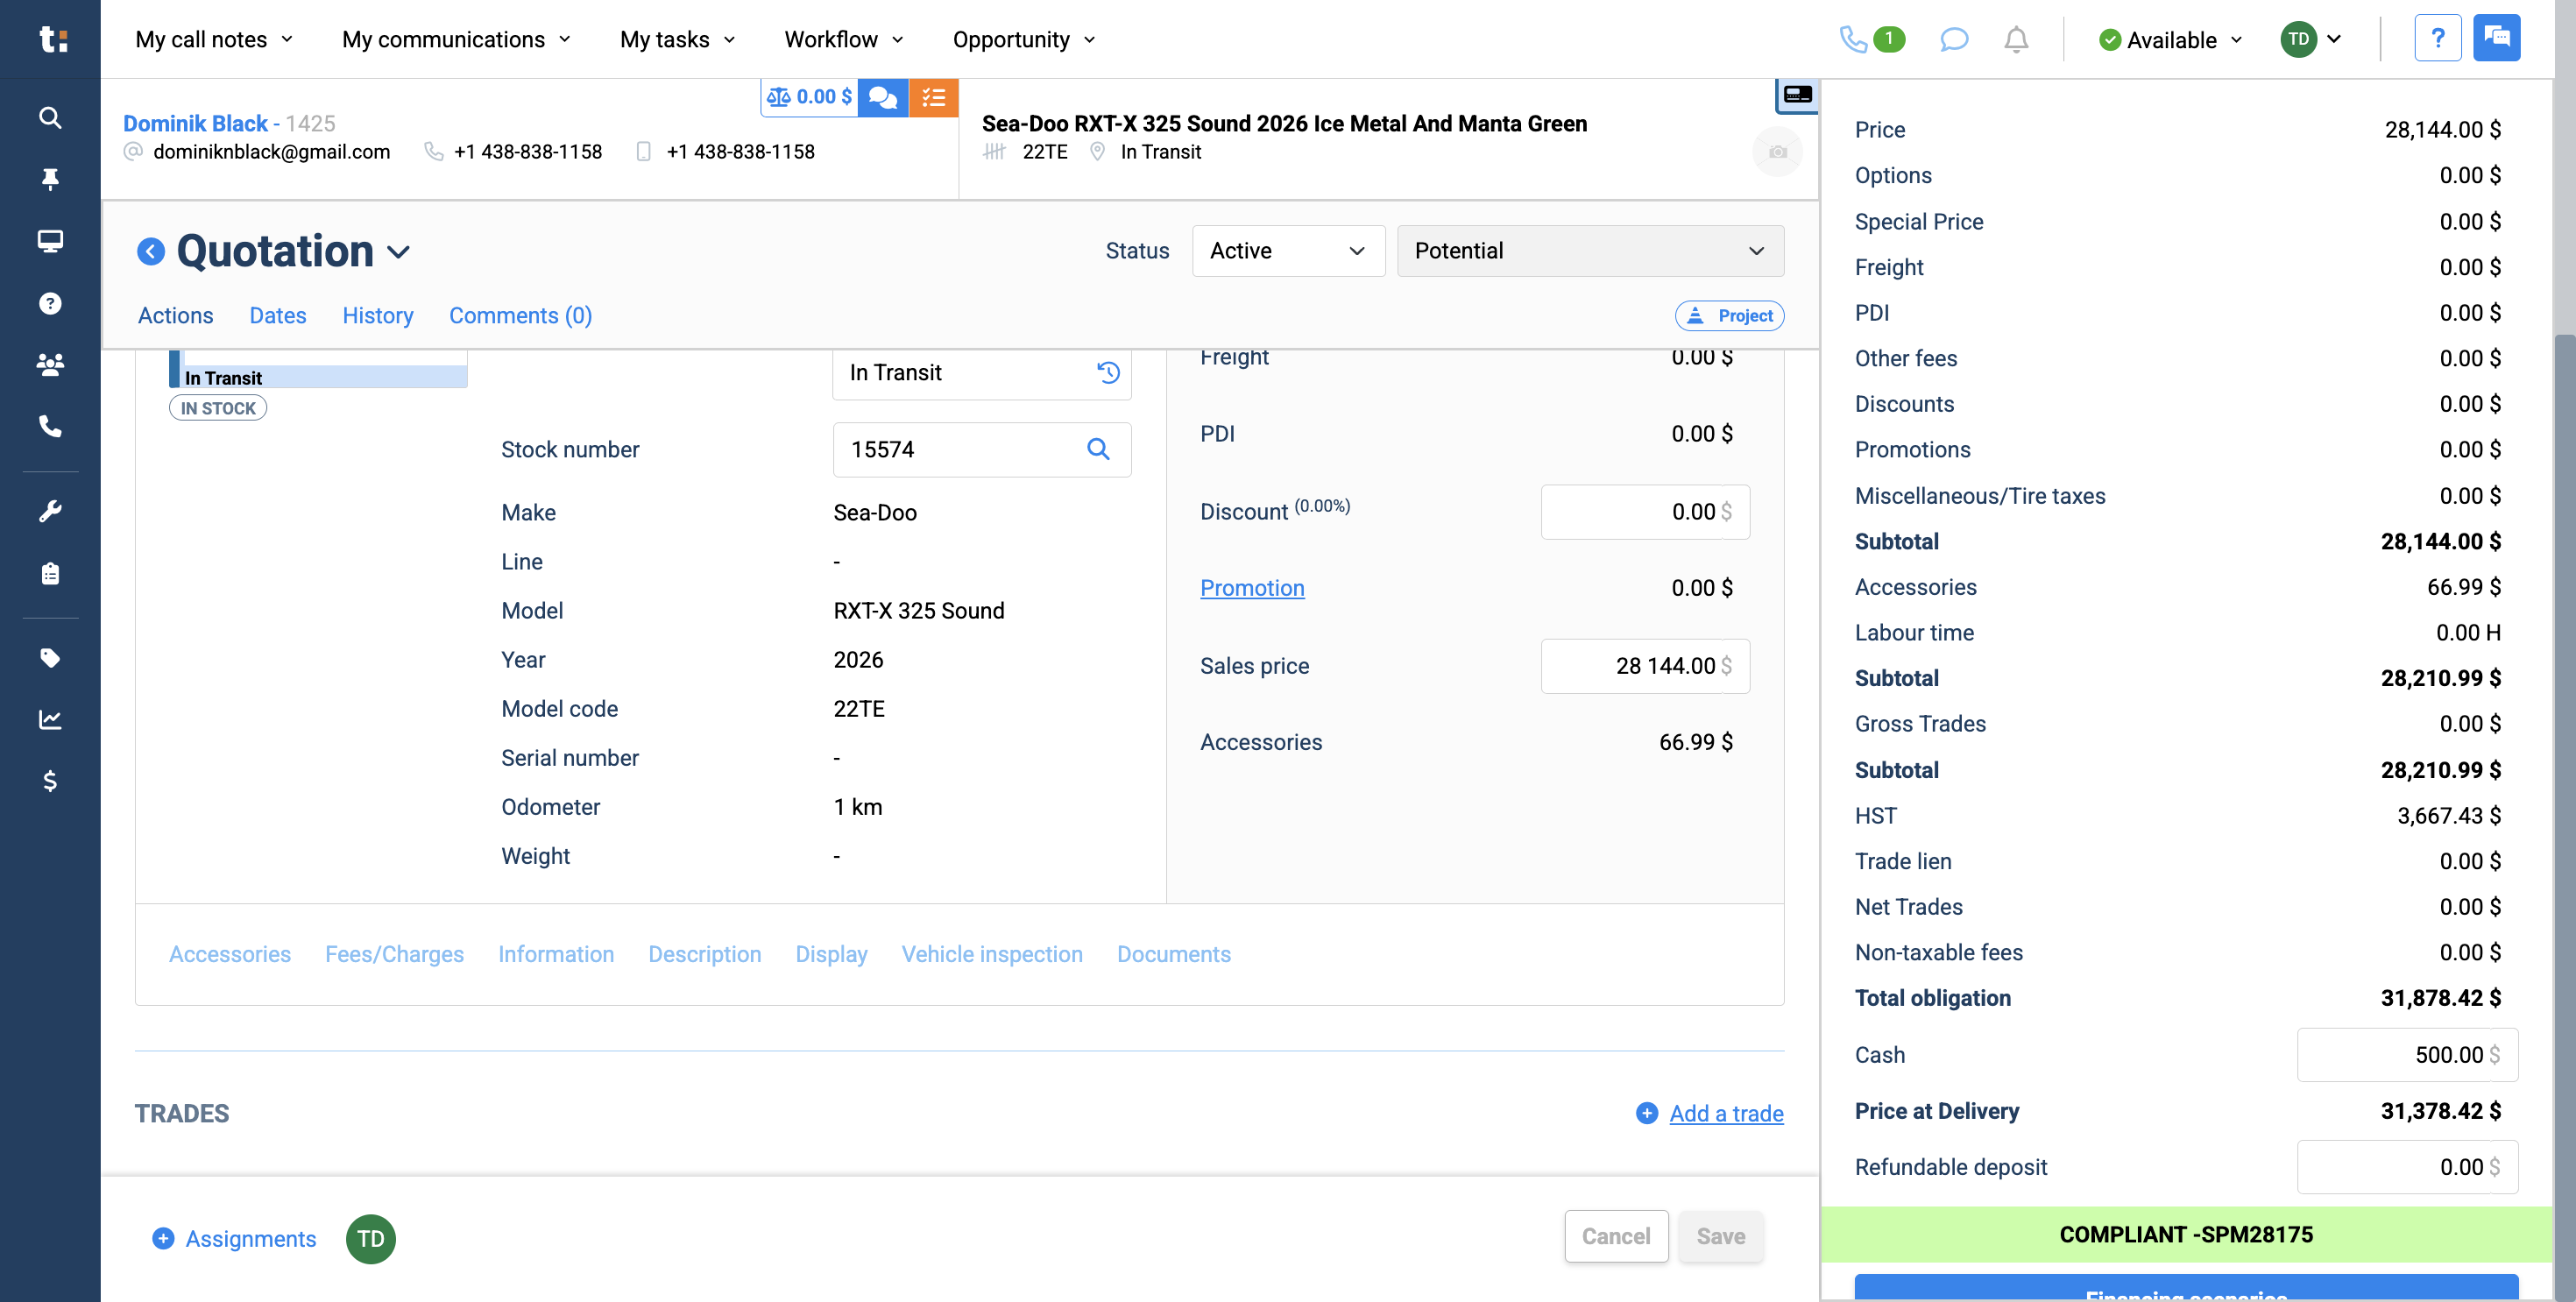
20
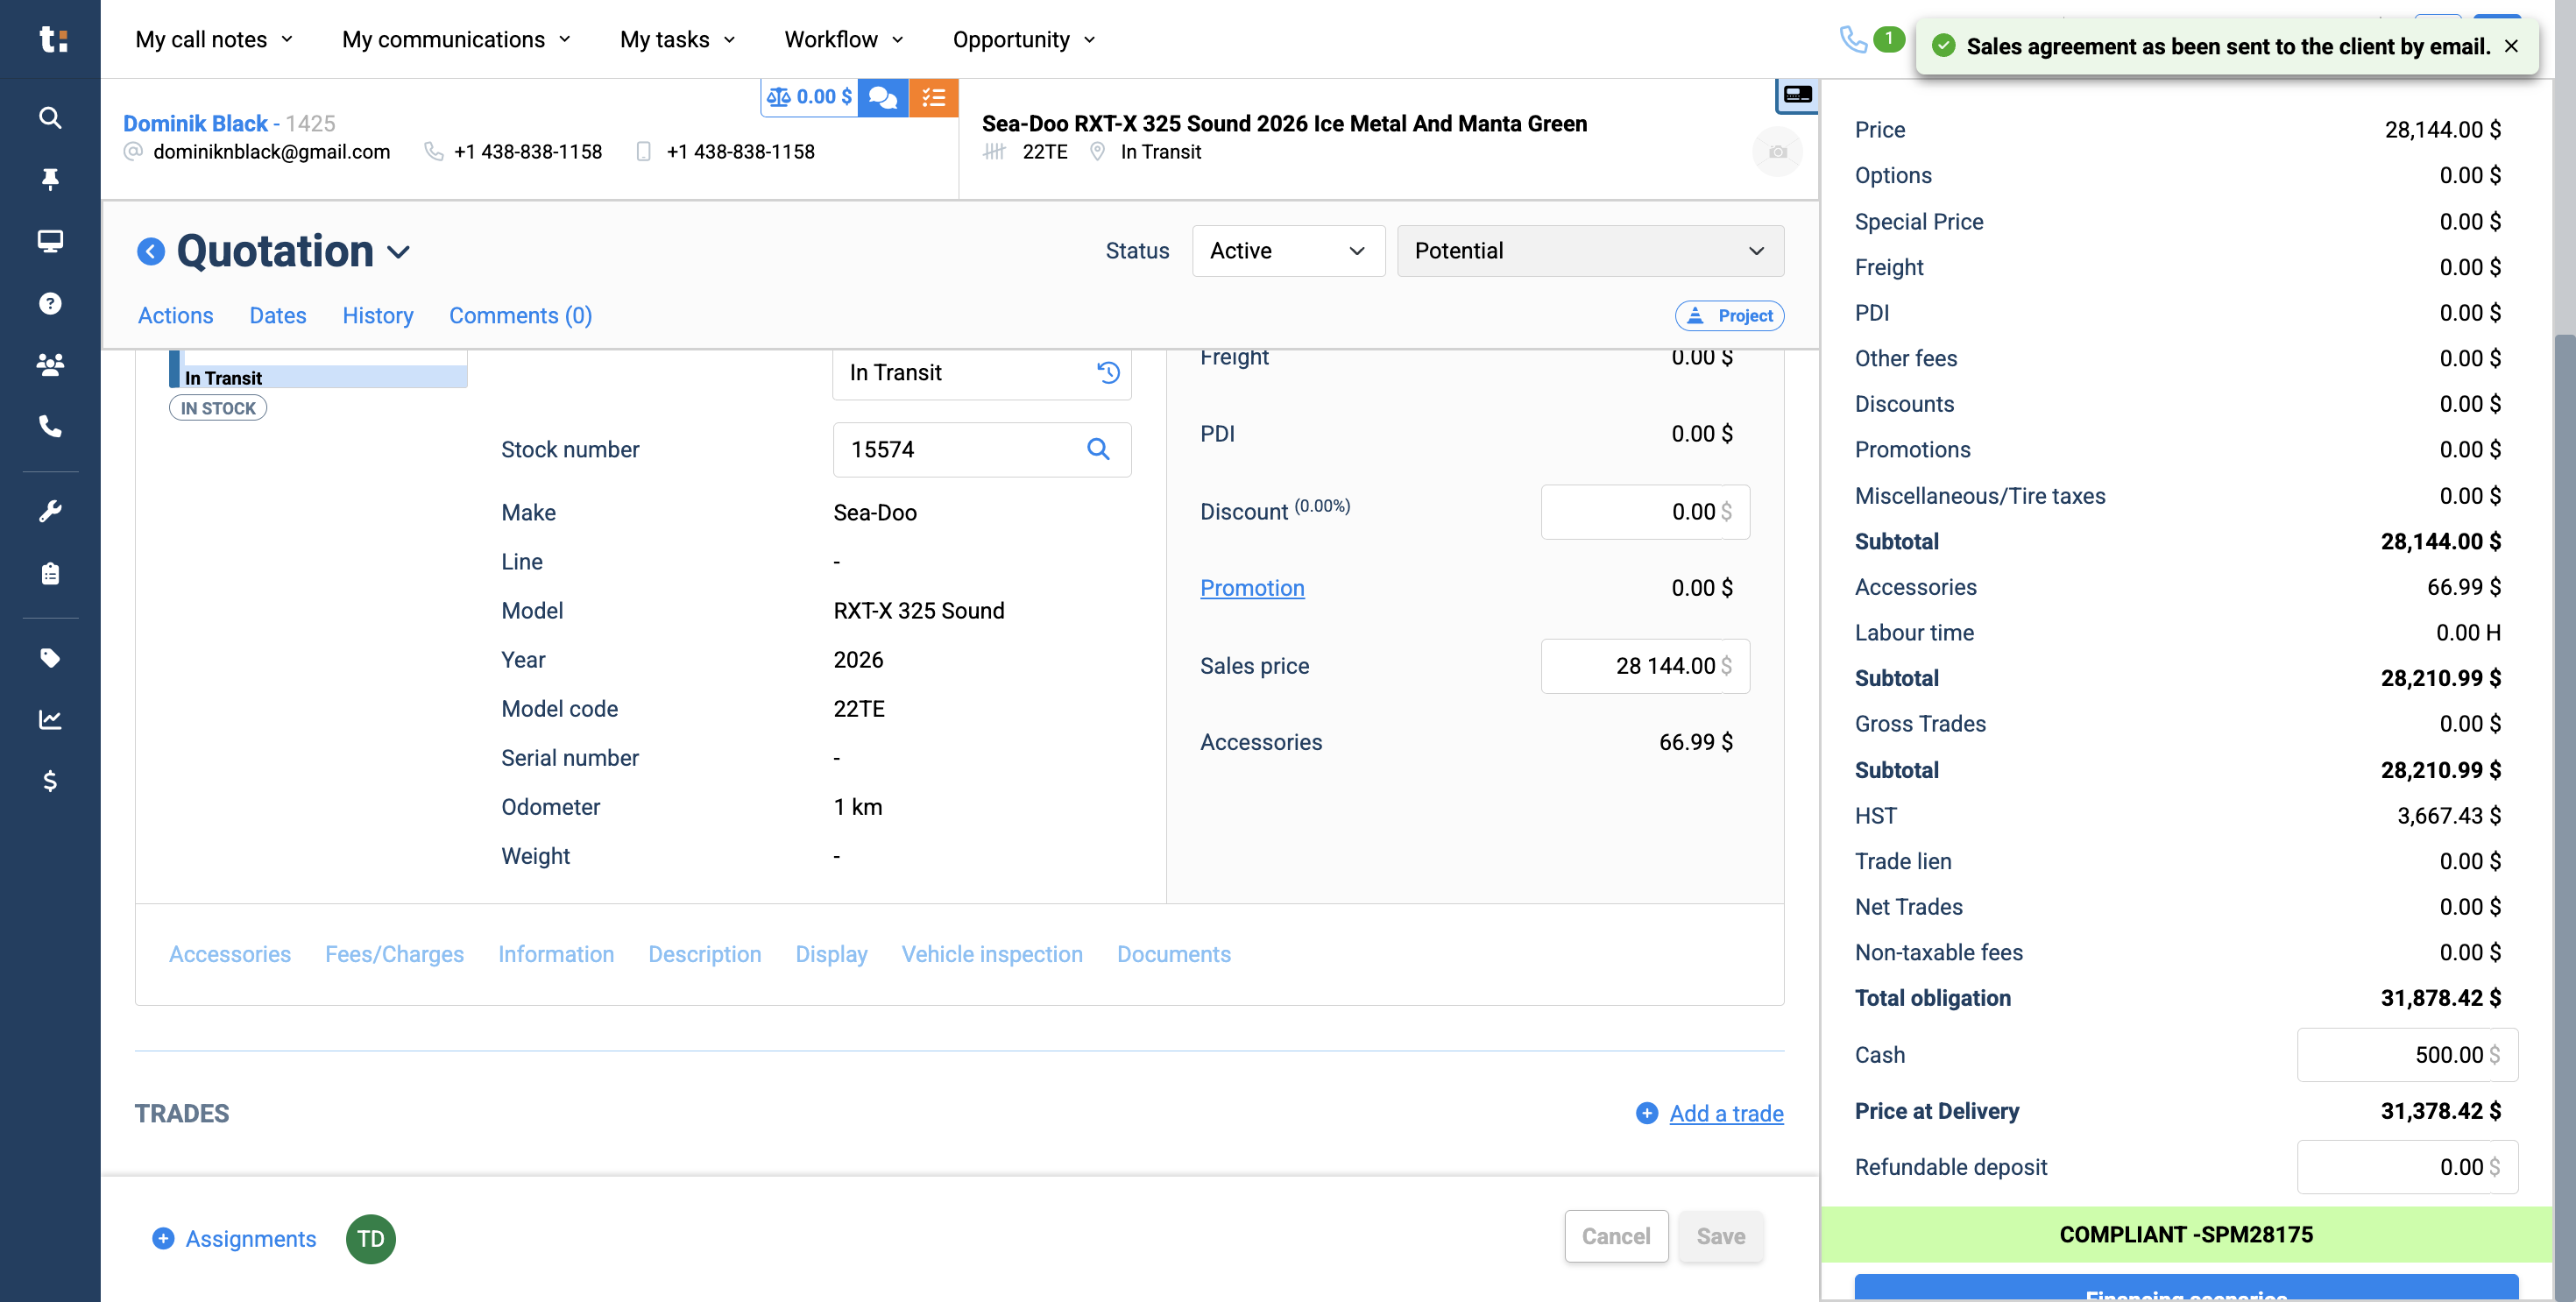
After entering all the changes, click Save.
21
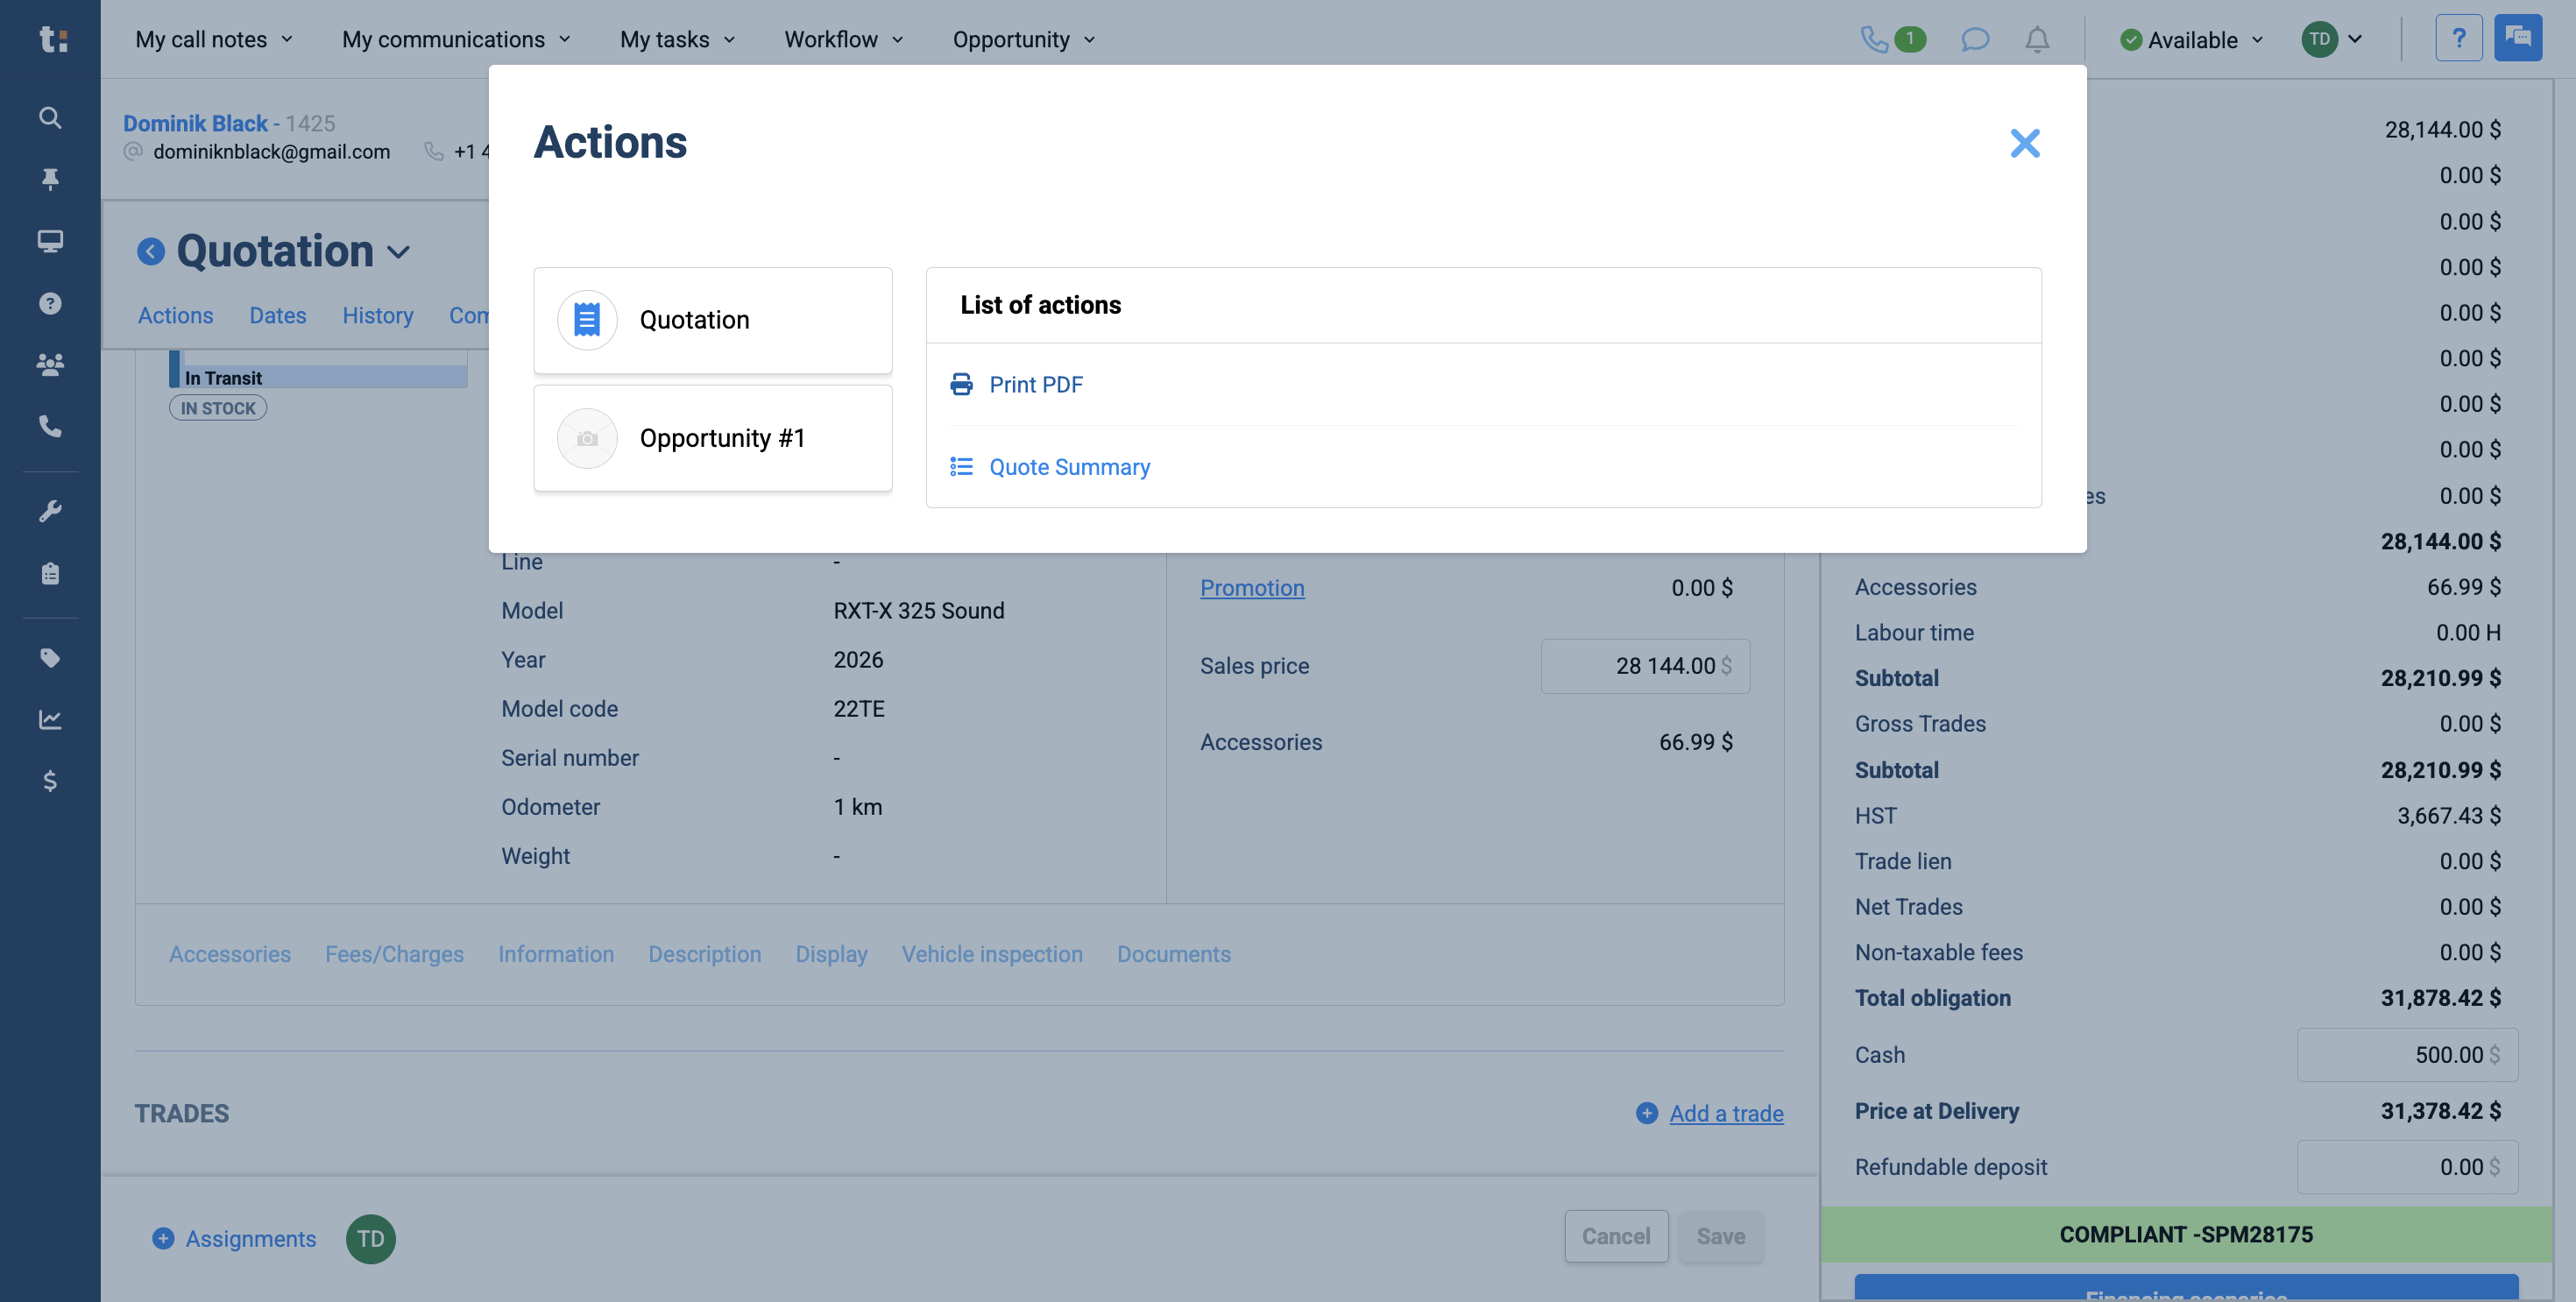
Now you're ready to send your quote to the customer. Go to Actions
22
and click Print PDF.
23
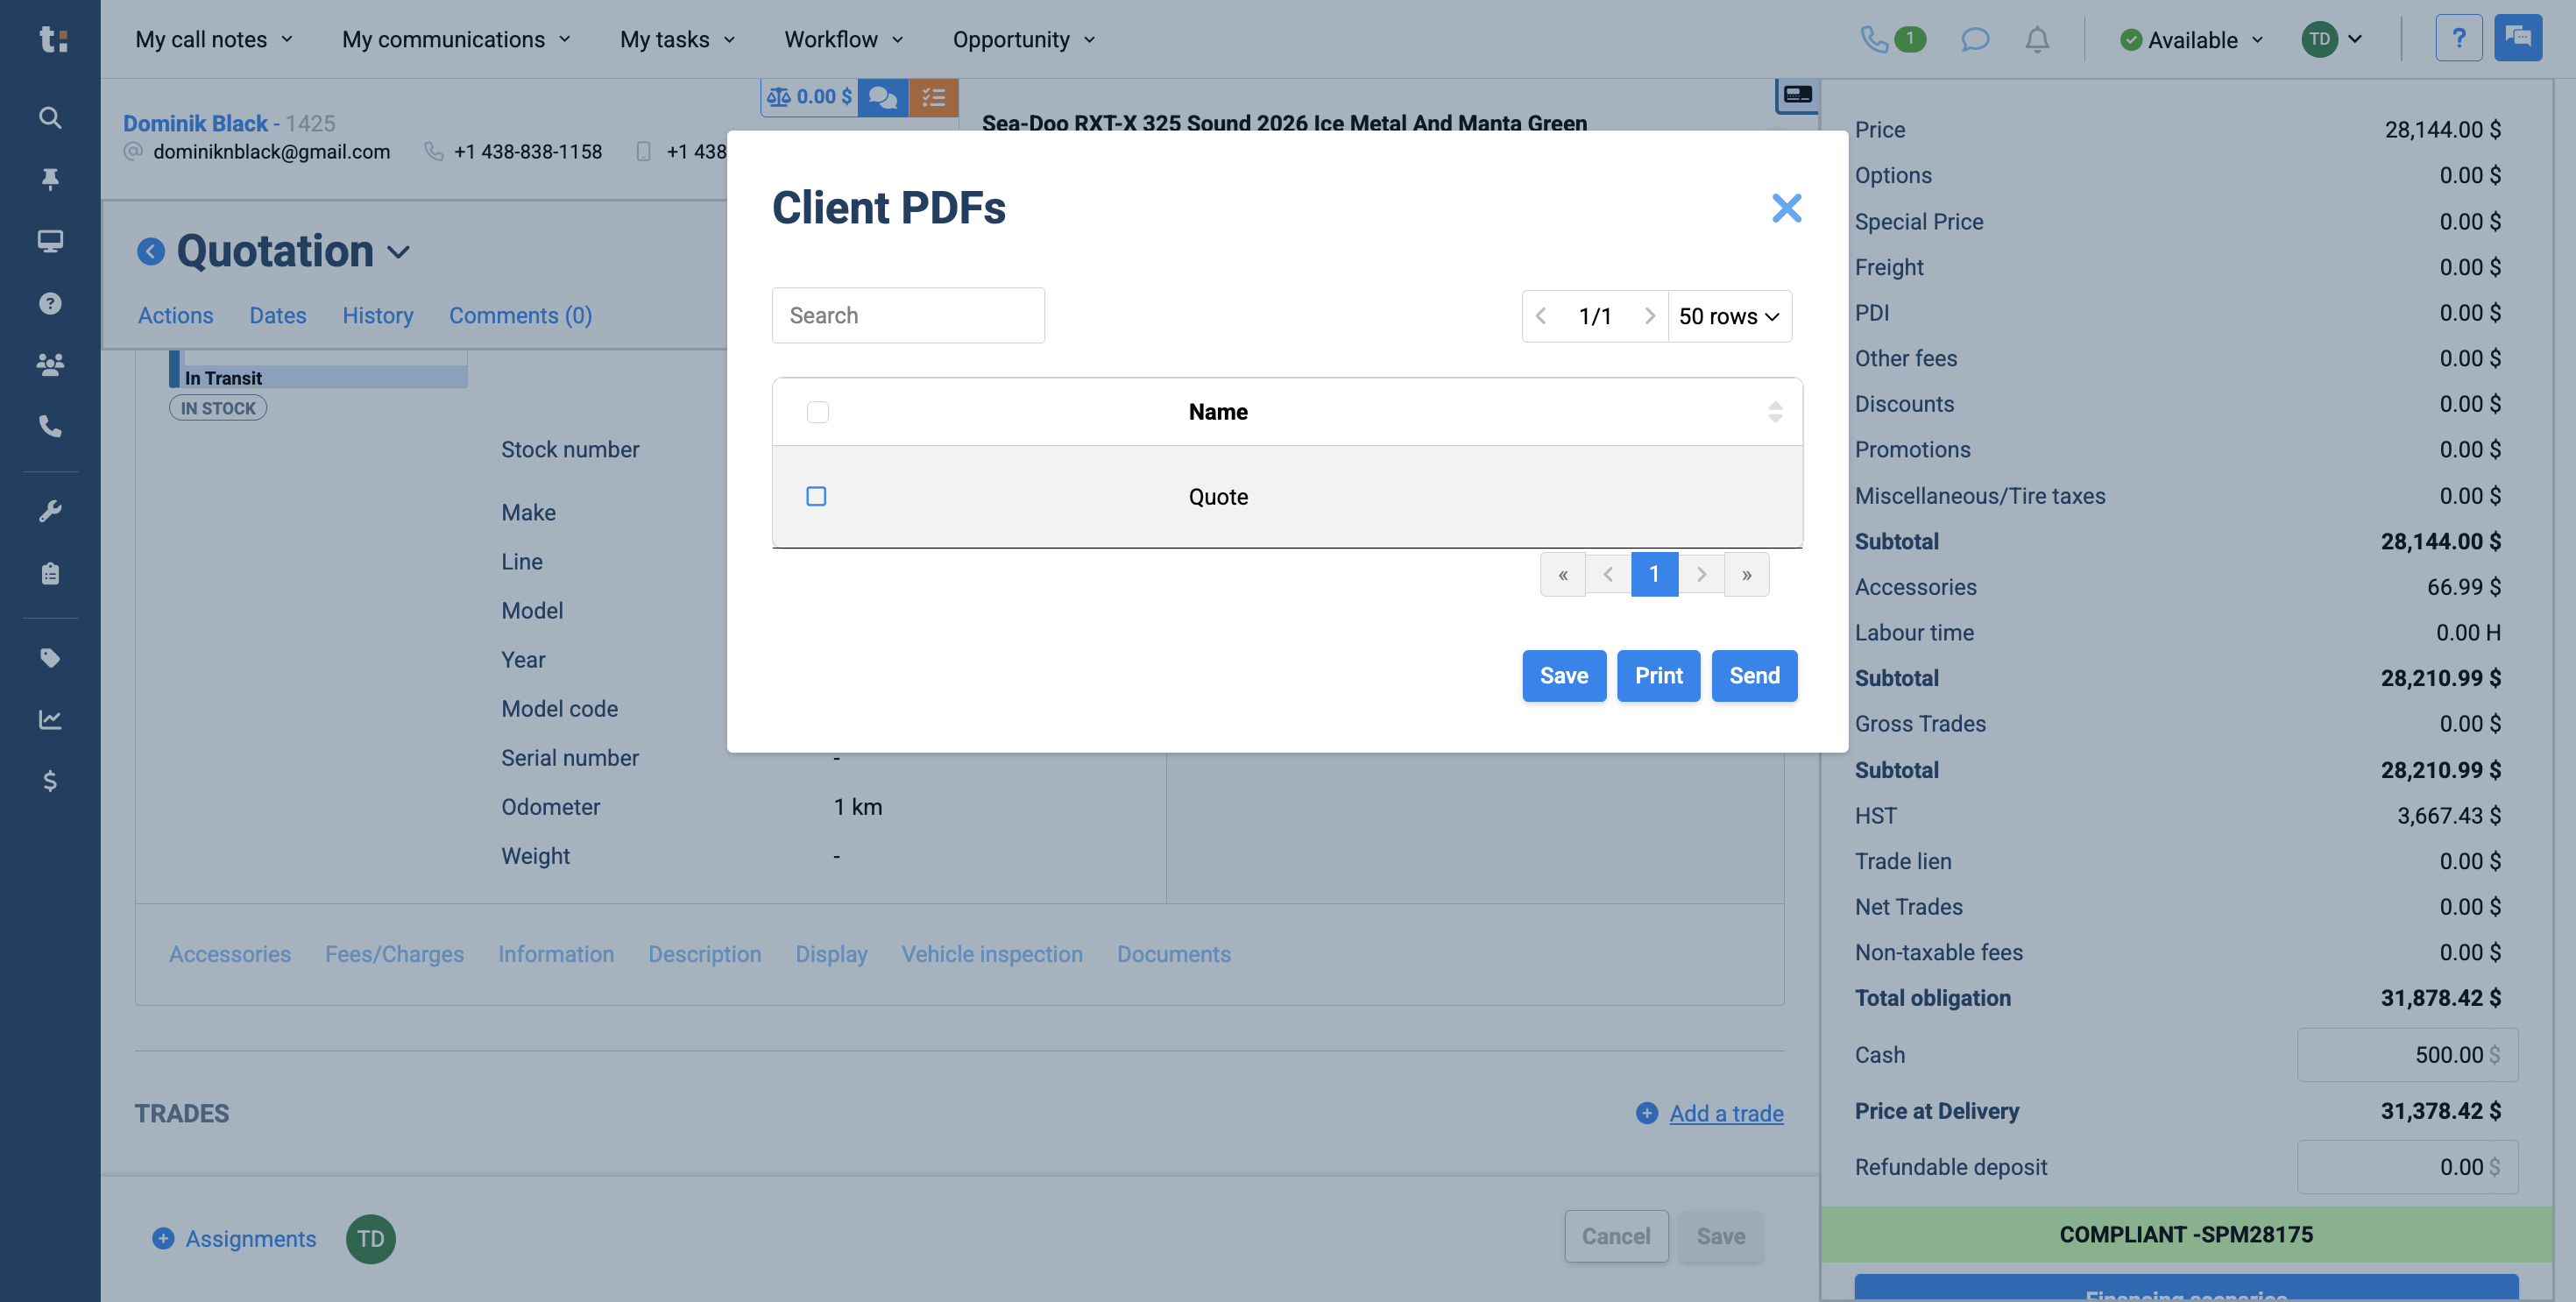
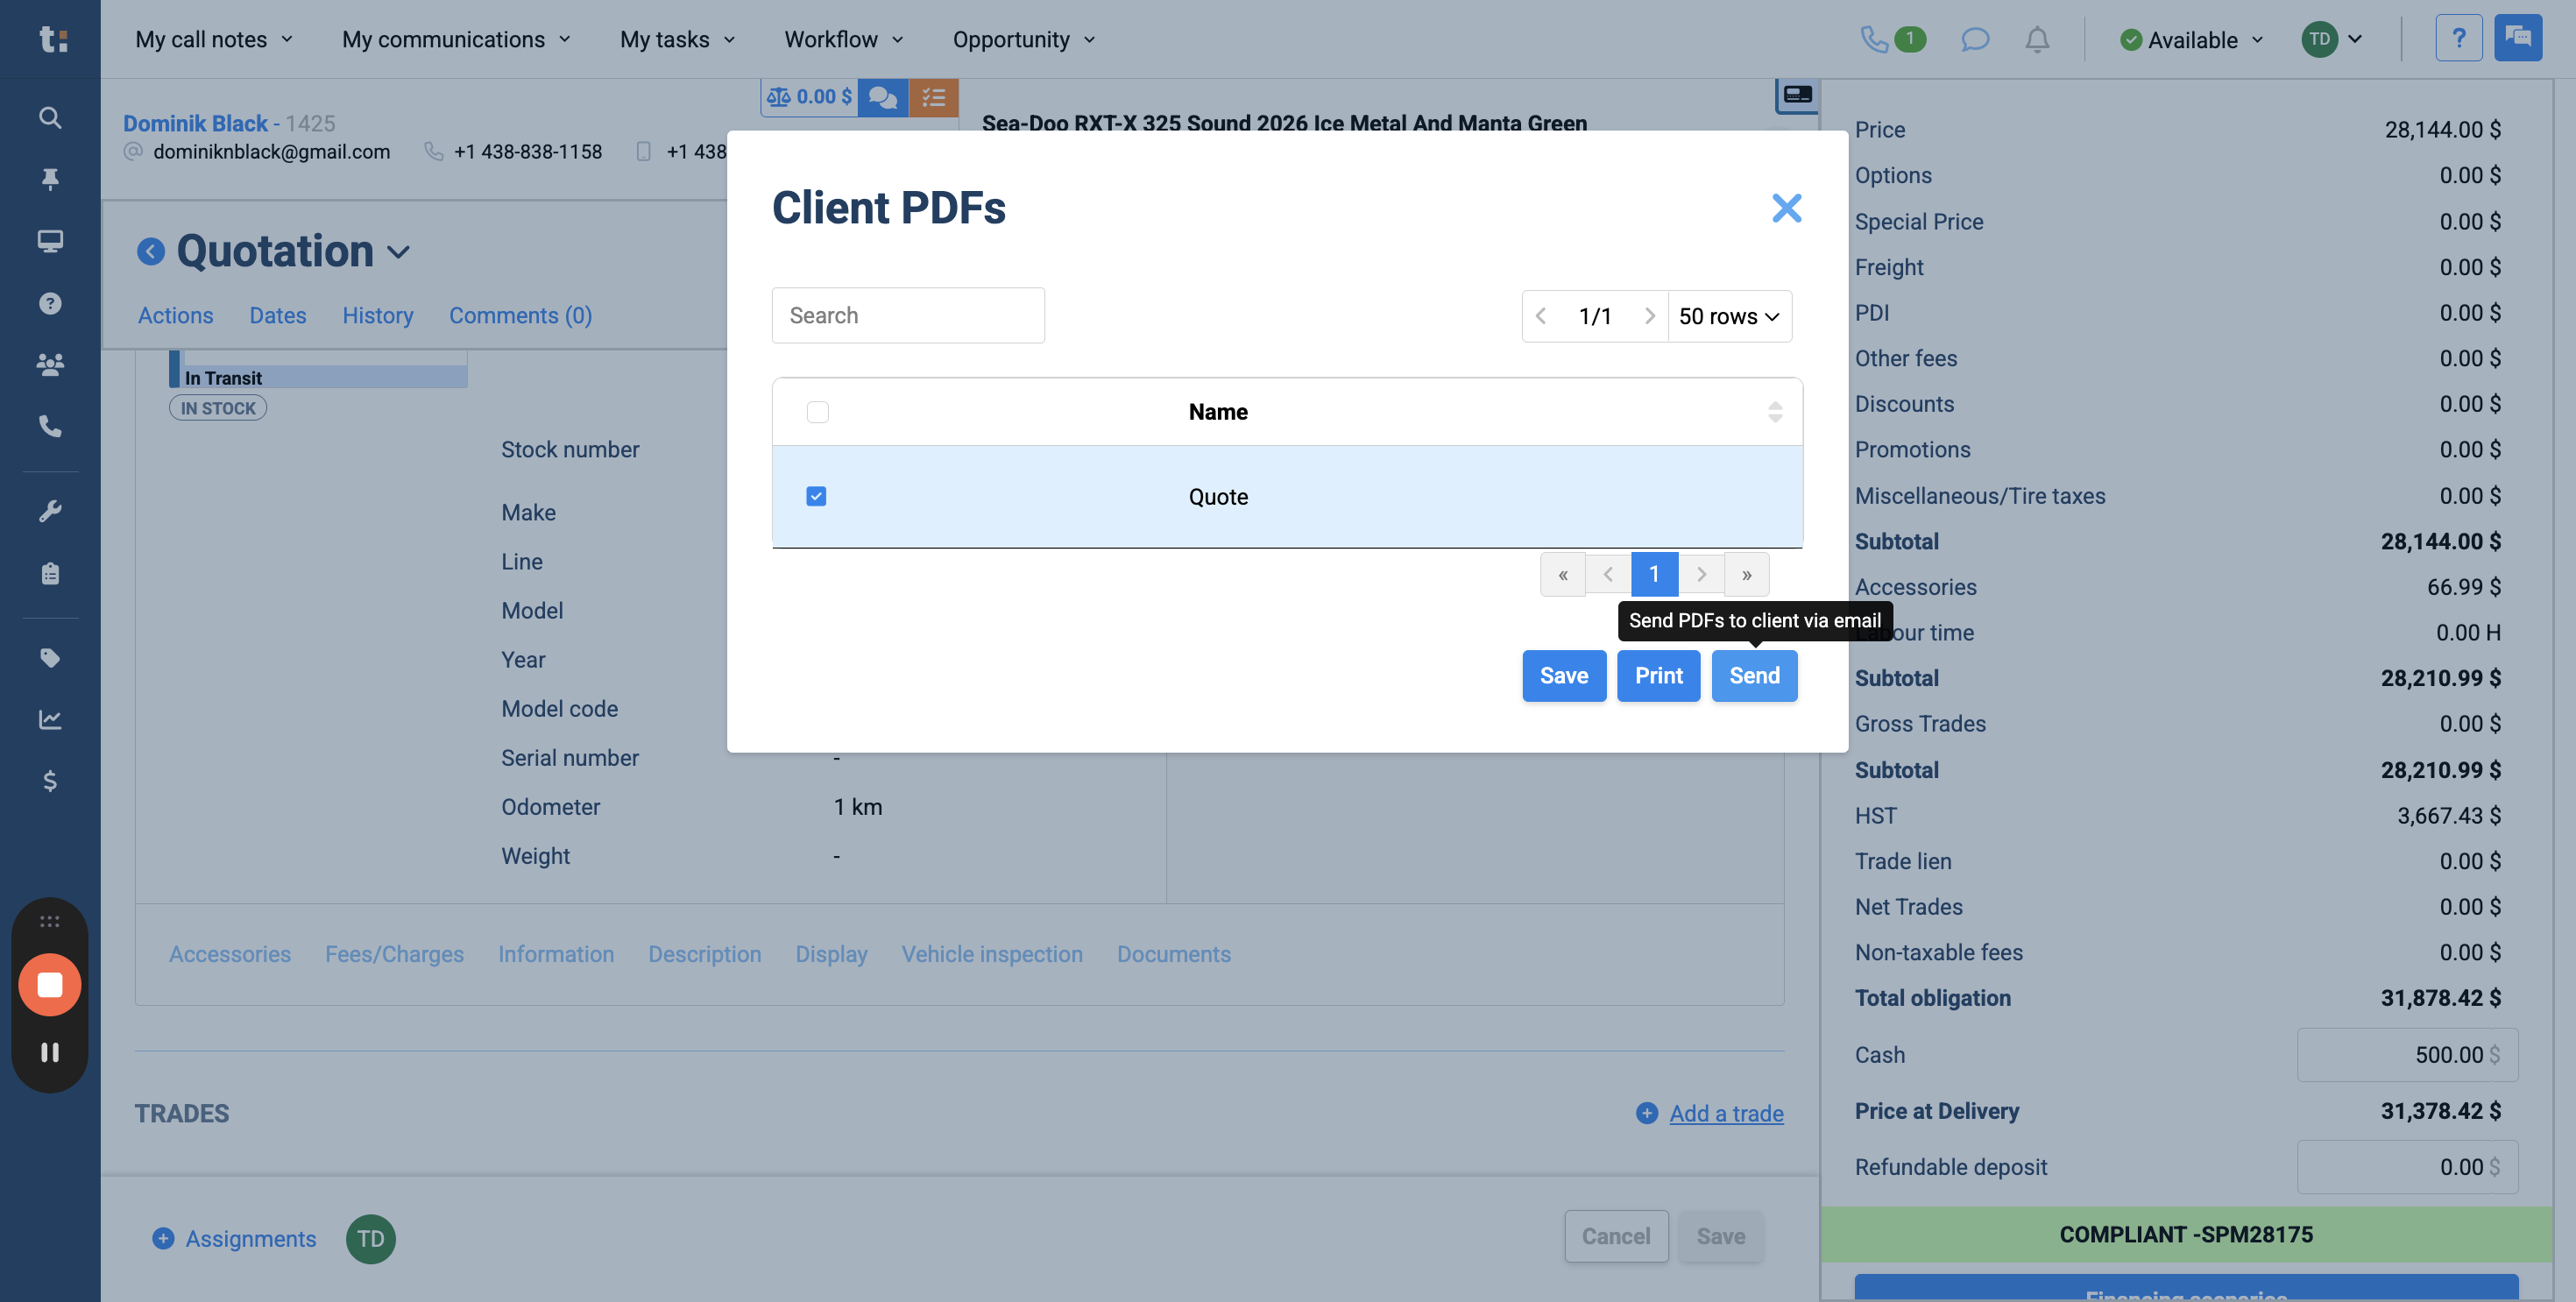
Select the PDF you want to send,
24
then click the Send button. This will automatically email the quote to your customer.
25
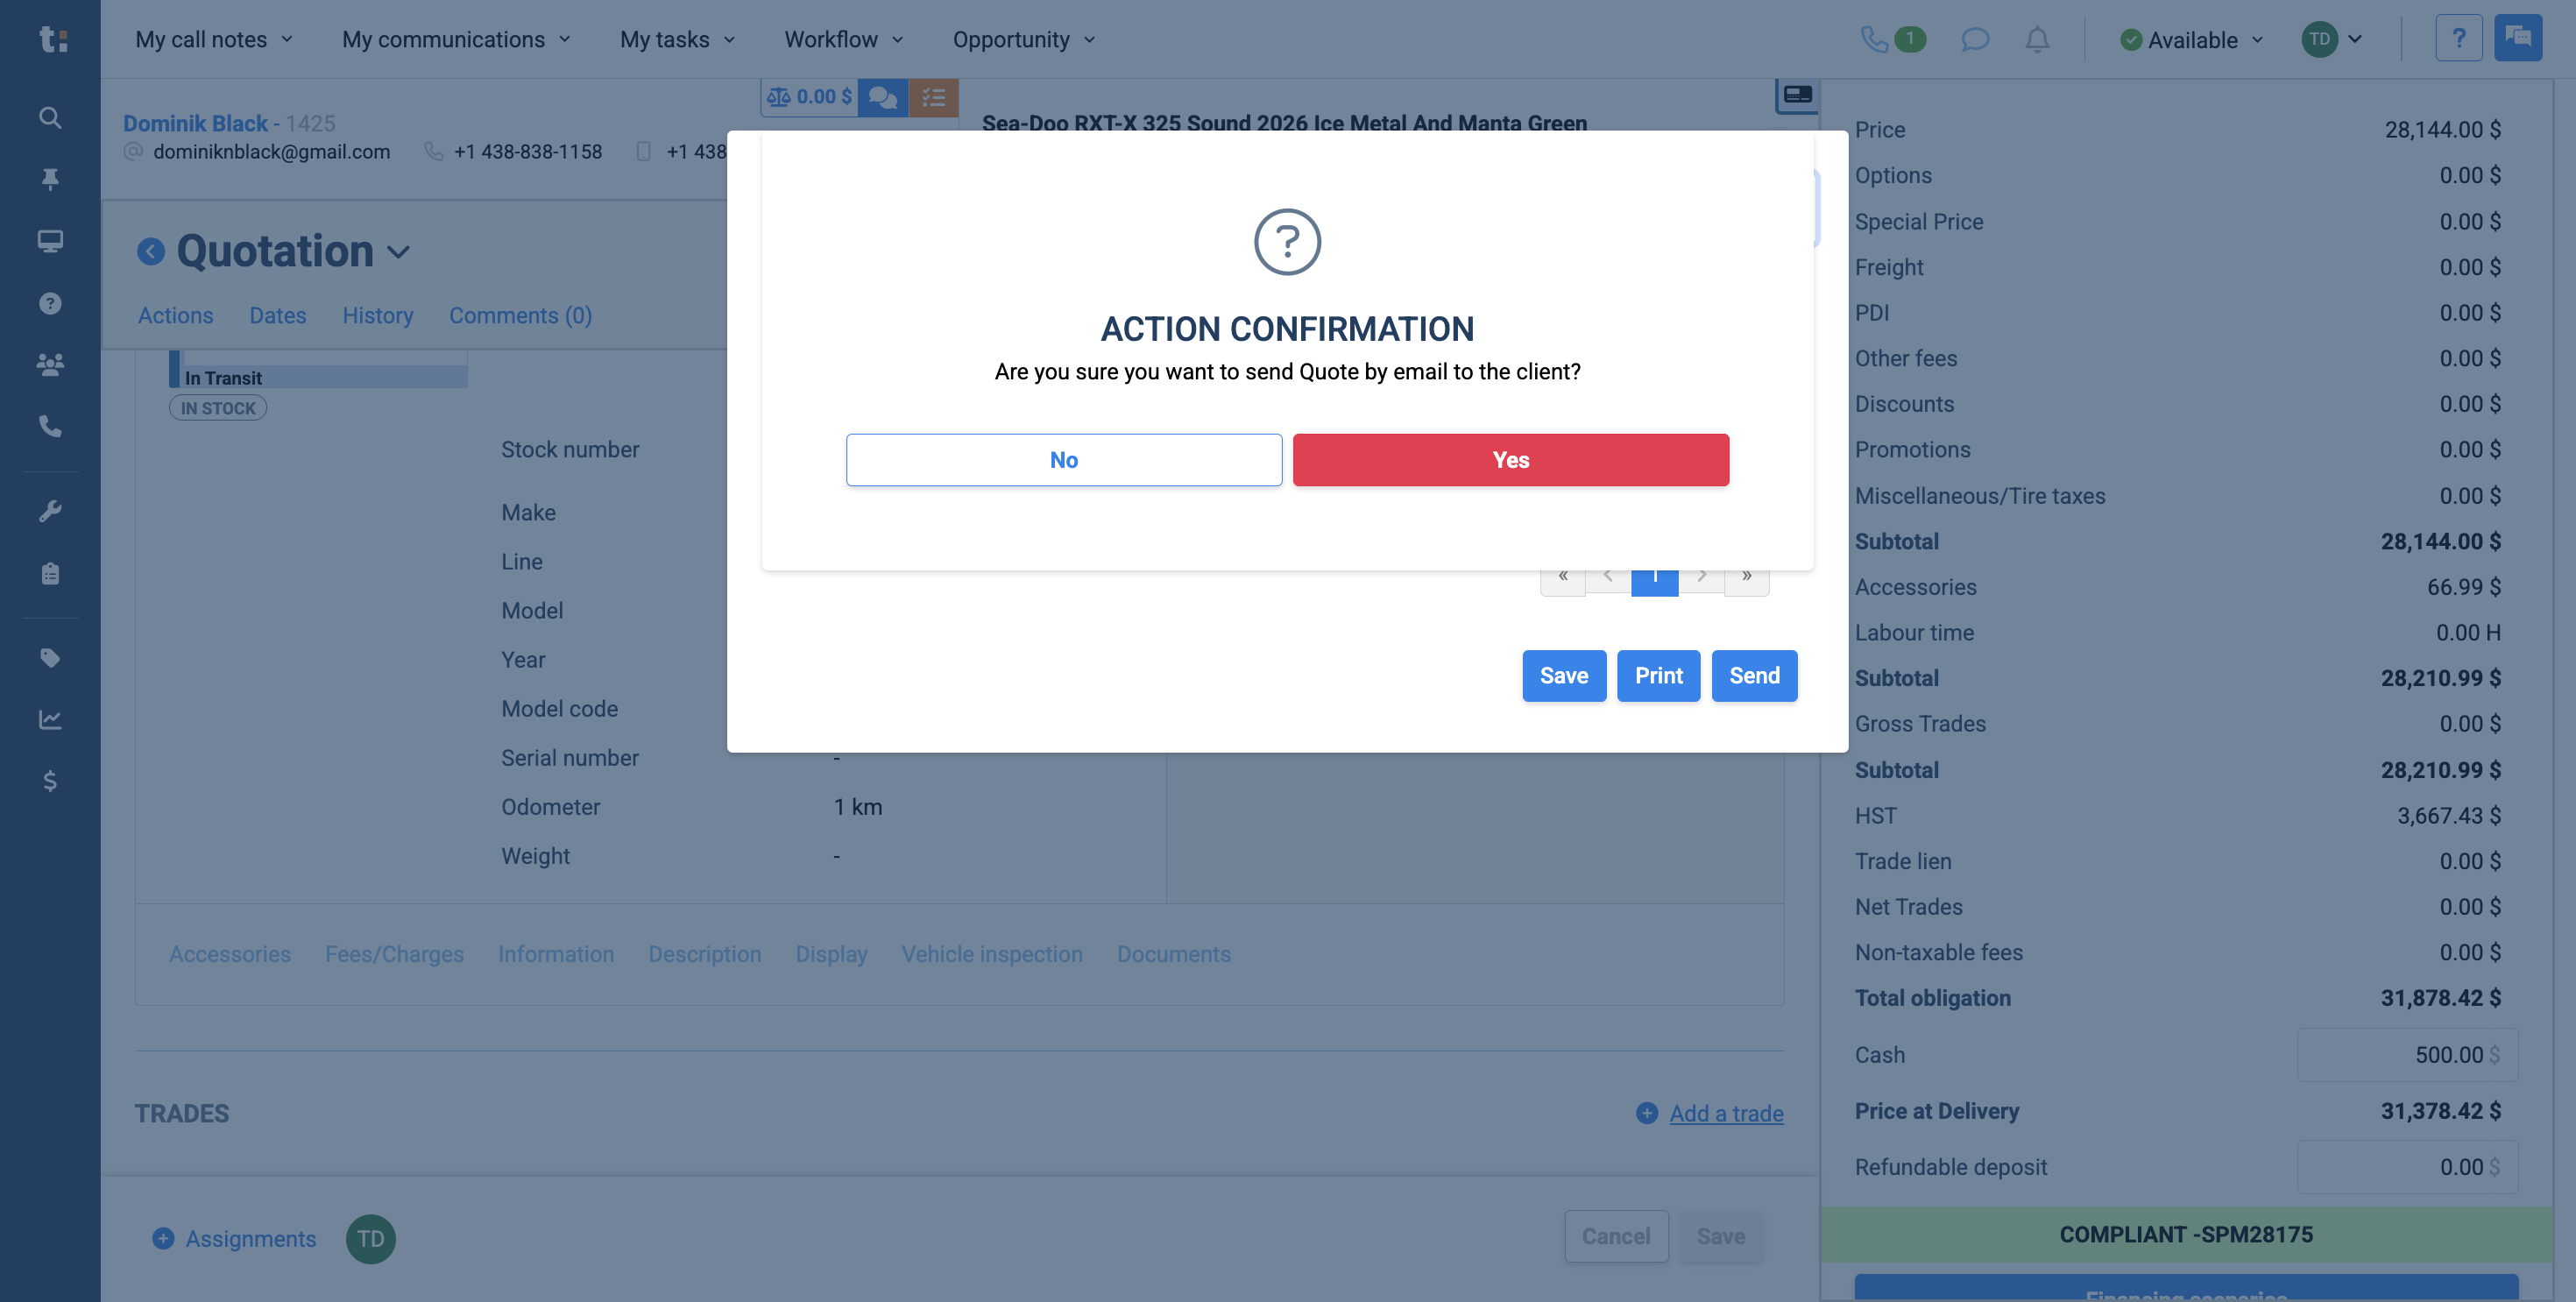
Click Yes.
26
If you still have questions after consulting this article, please feel free to contact our support team at: support@tractiondk.zohodesk.com