How to Create a Quote with and Exchange and Send it to Your Customer
Learn step-by-step how to create a quote with an exchange, add discounts, accessories, fees, and send it to your customer efficiently. Perfect for sales teams managing vehicle opportunities.
By Dominik Black
In this guide, we'll learn how to create a quote with an exchange and send it to your customer. This process includes searching for the customer, creating an opportunity, adding vehicles, accessories, and fees, and finalizing the quote. You will also see how to send the completed quote to your customer by email.
Let's get started
In this tutorial, we'll show you how to create a quote with an exchange and send it to your customer.
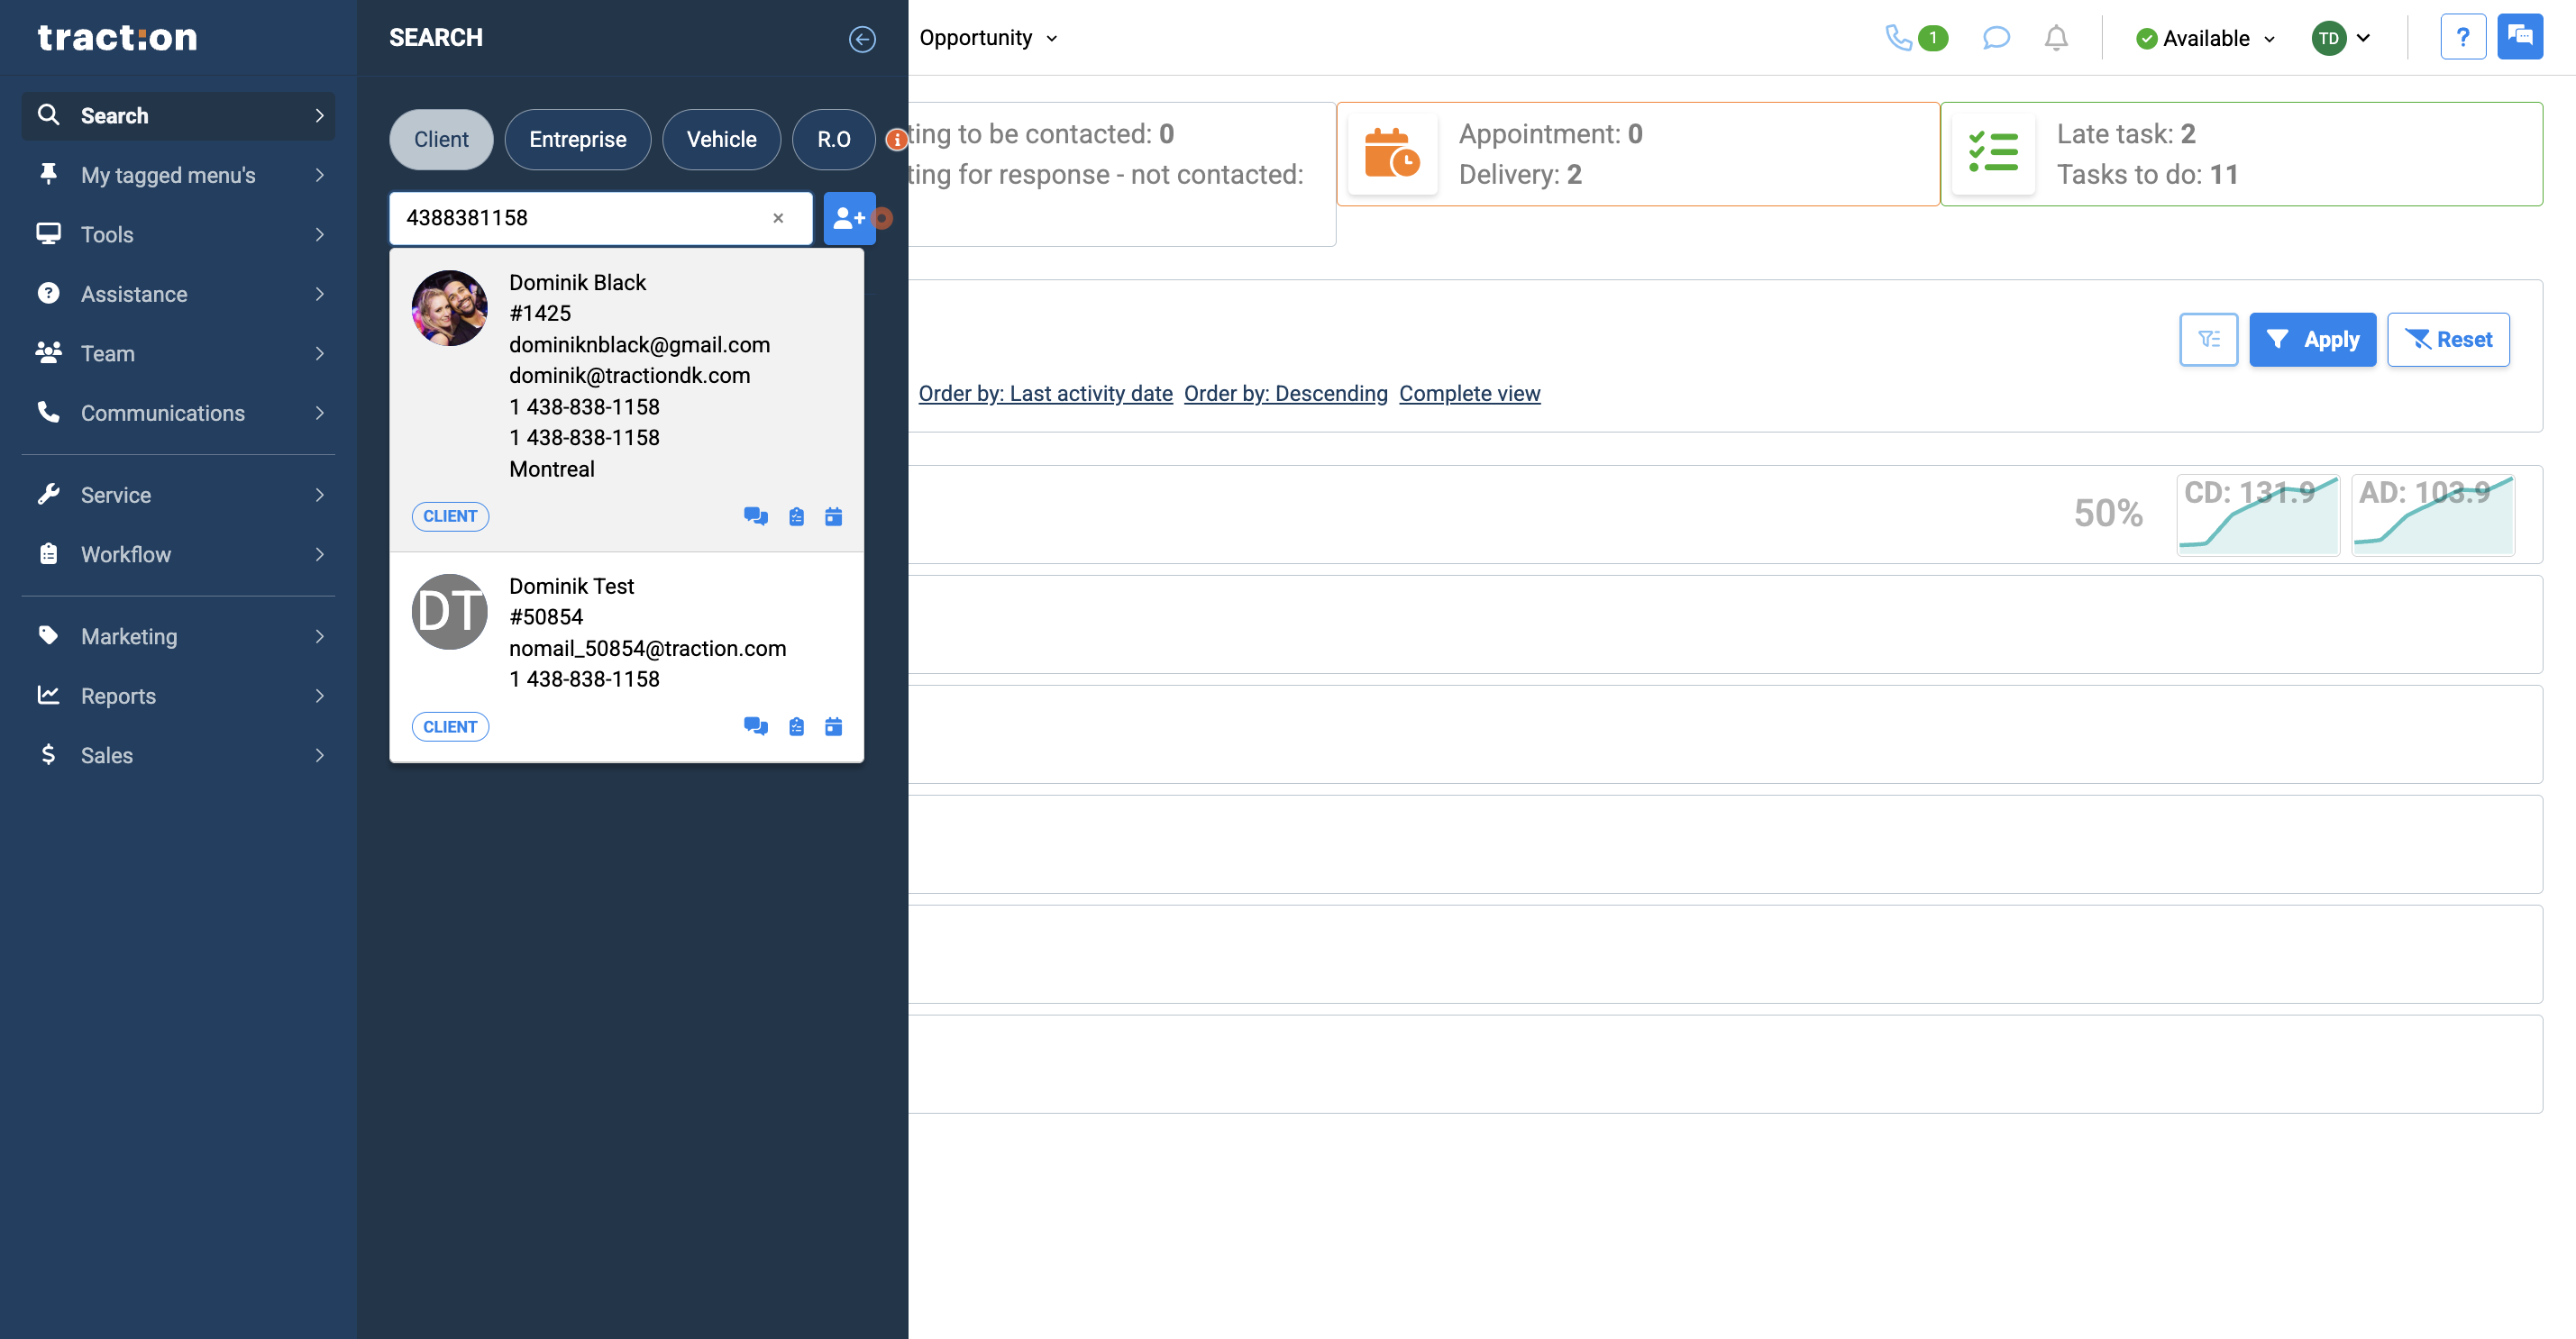
1
Start by searching for the customer.
2
Access the customer's file.
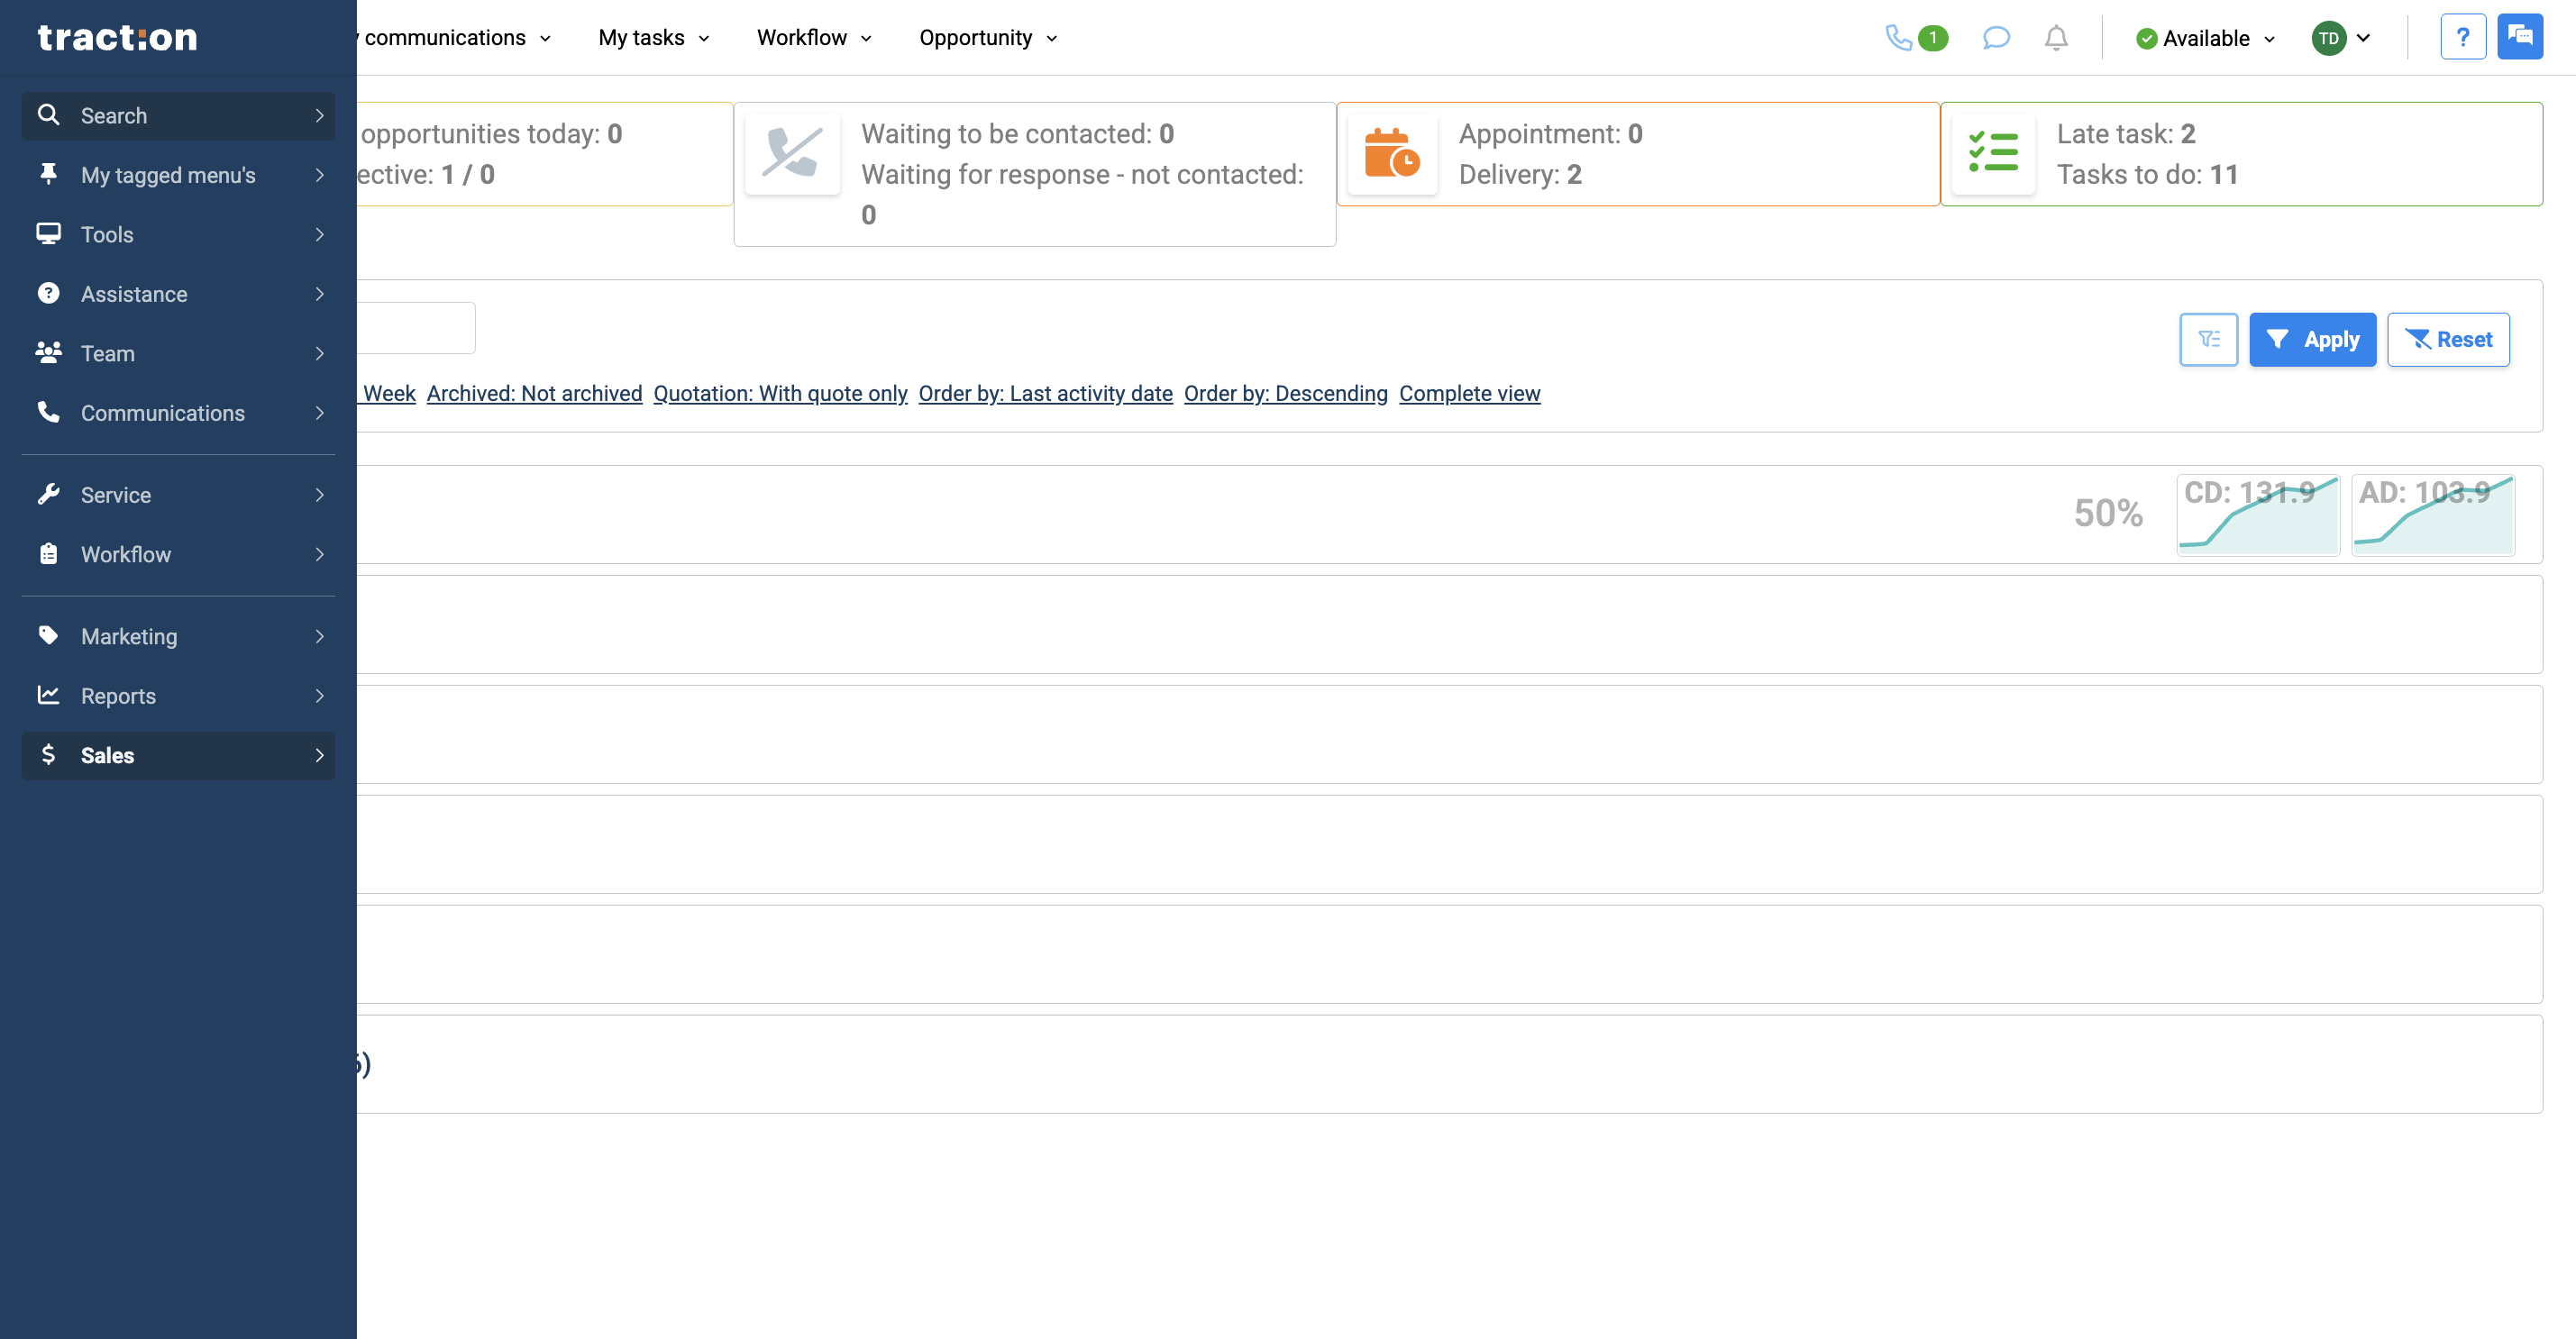
3
Click the Sales tab.

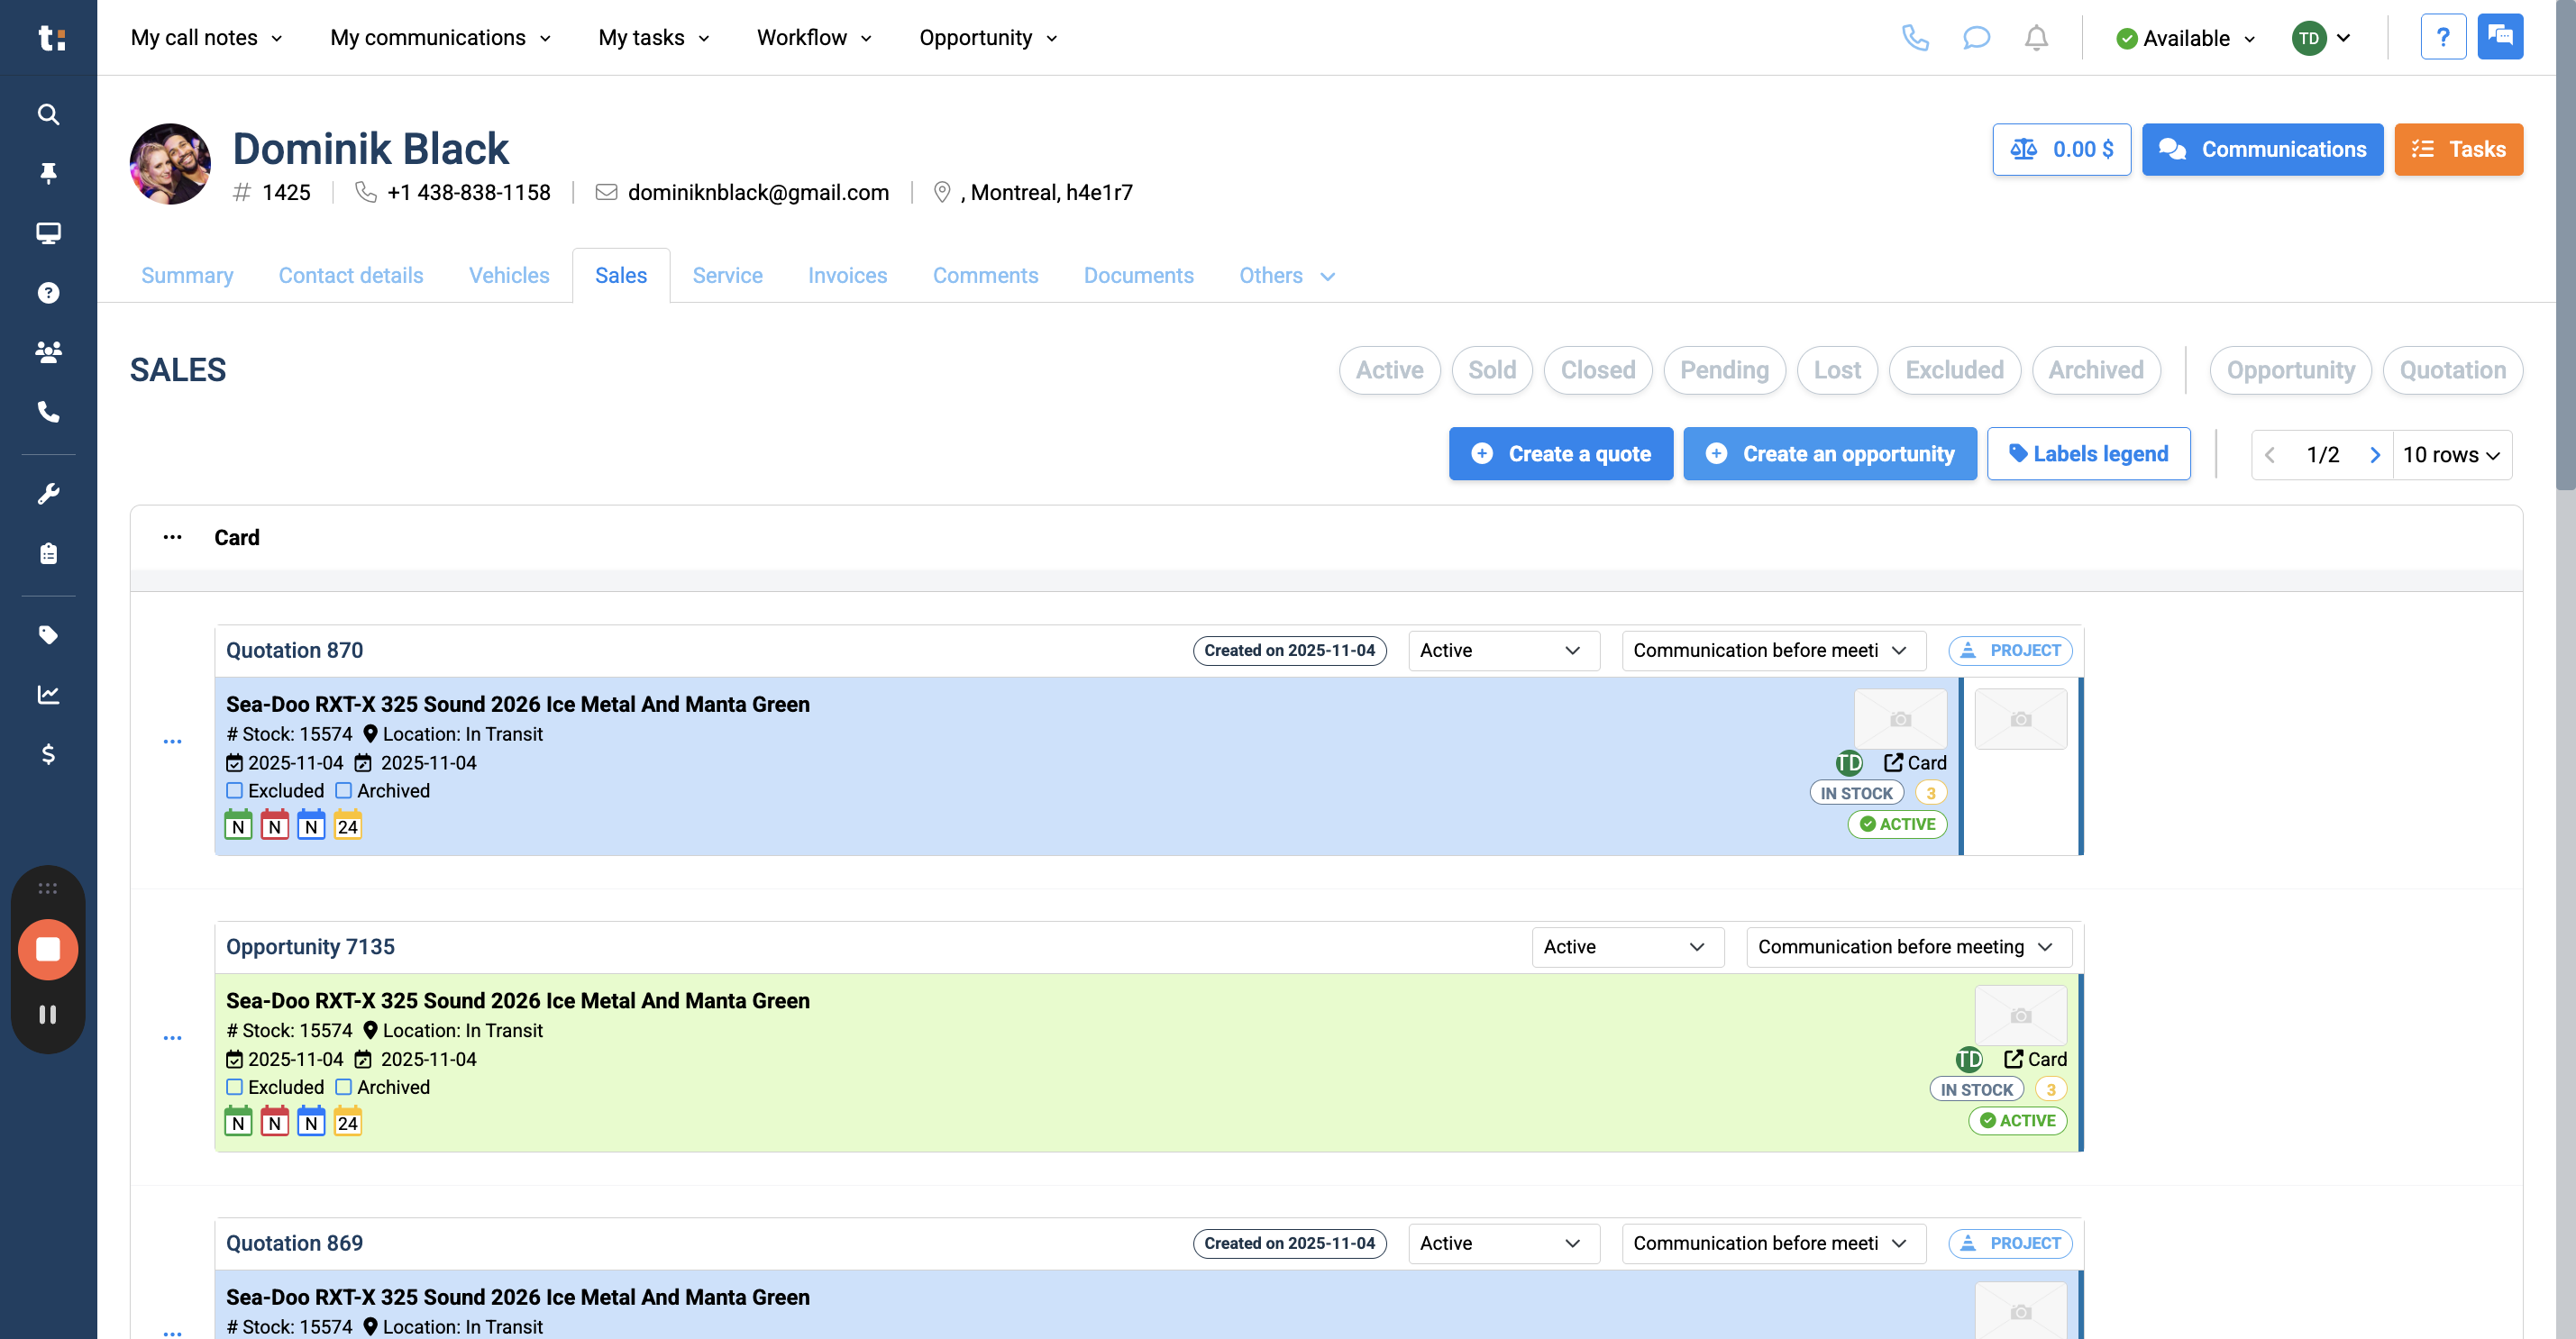
4
Once you're here, create an opportunity.
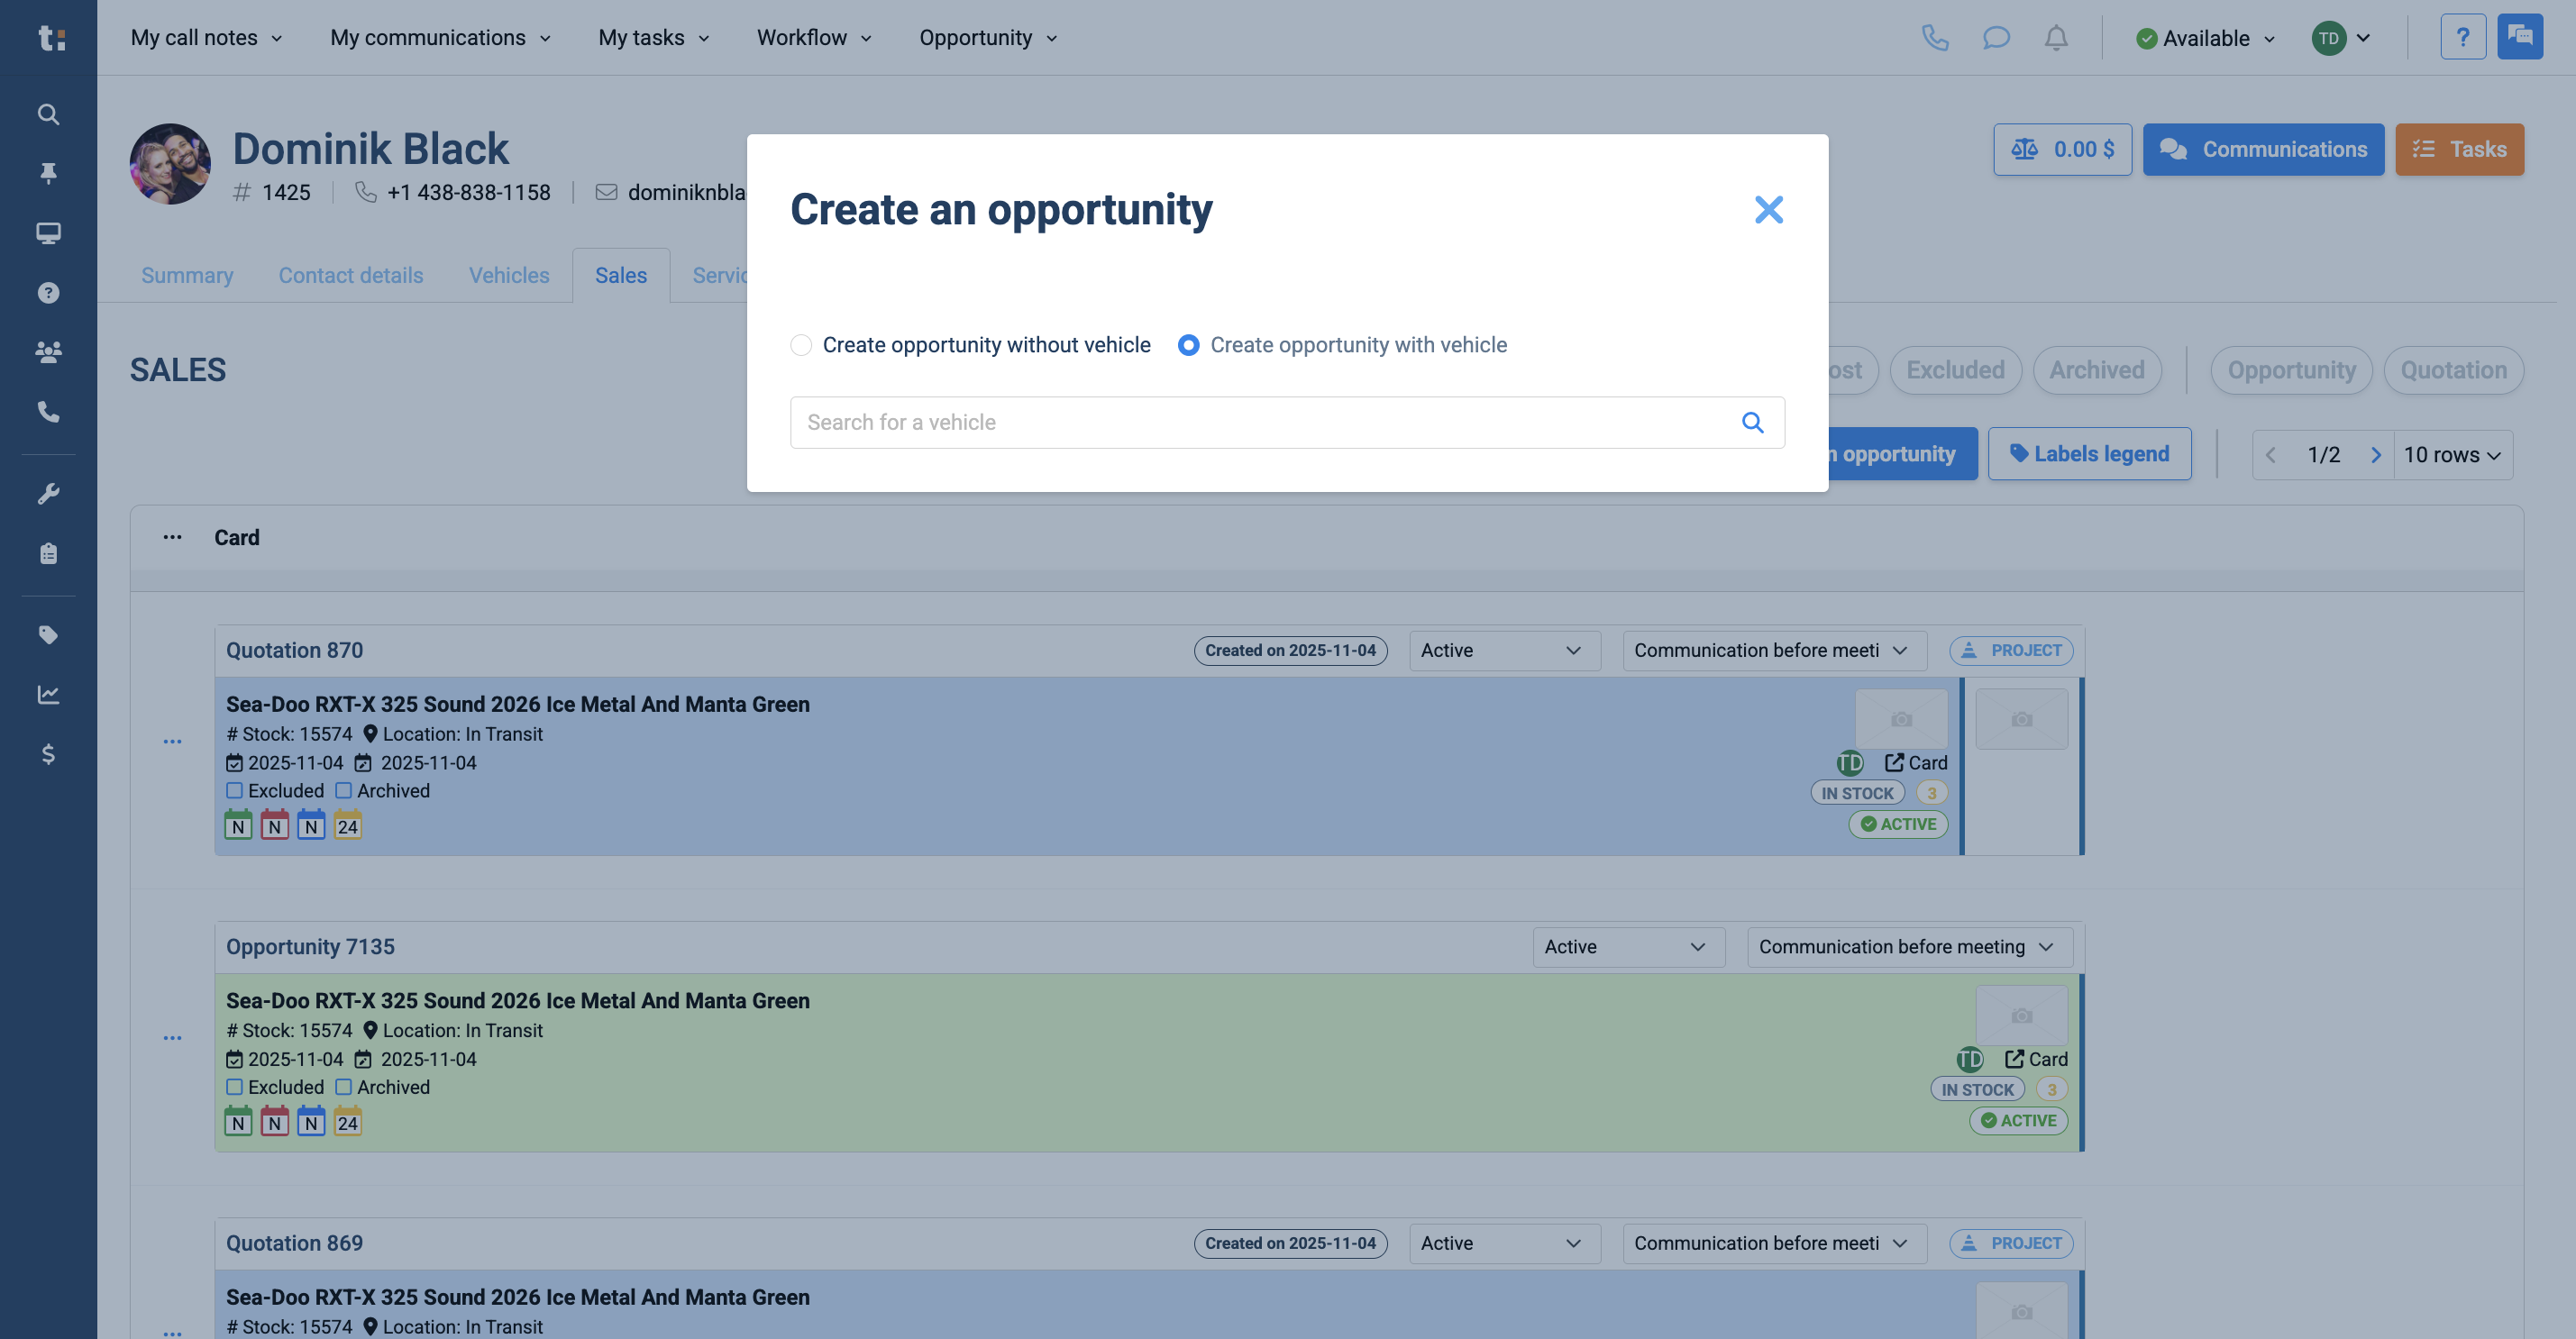
5
You can create an opportunity using a vehicle from your inventory,

6
or you can create one without a vehicle.
7
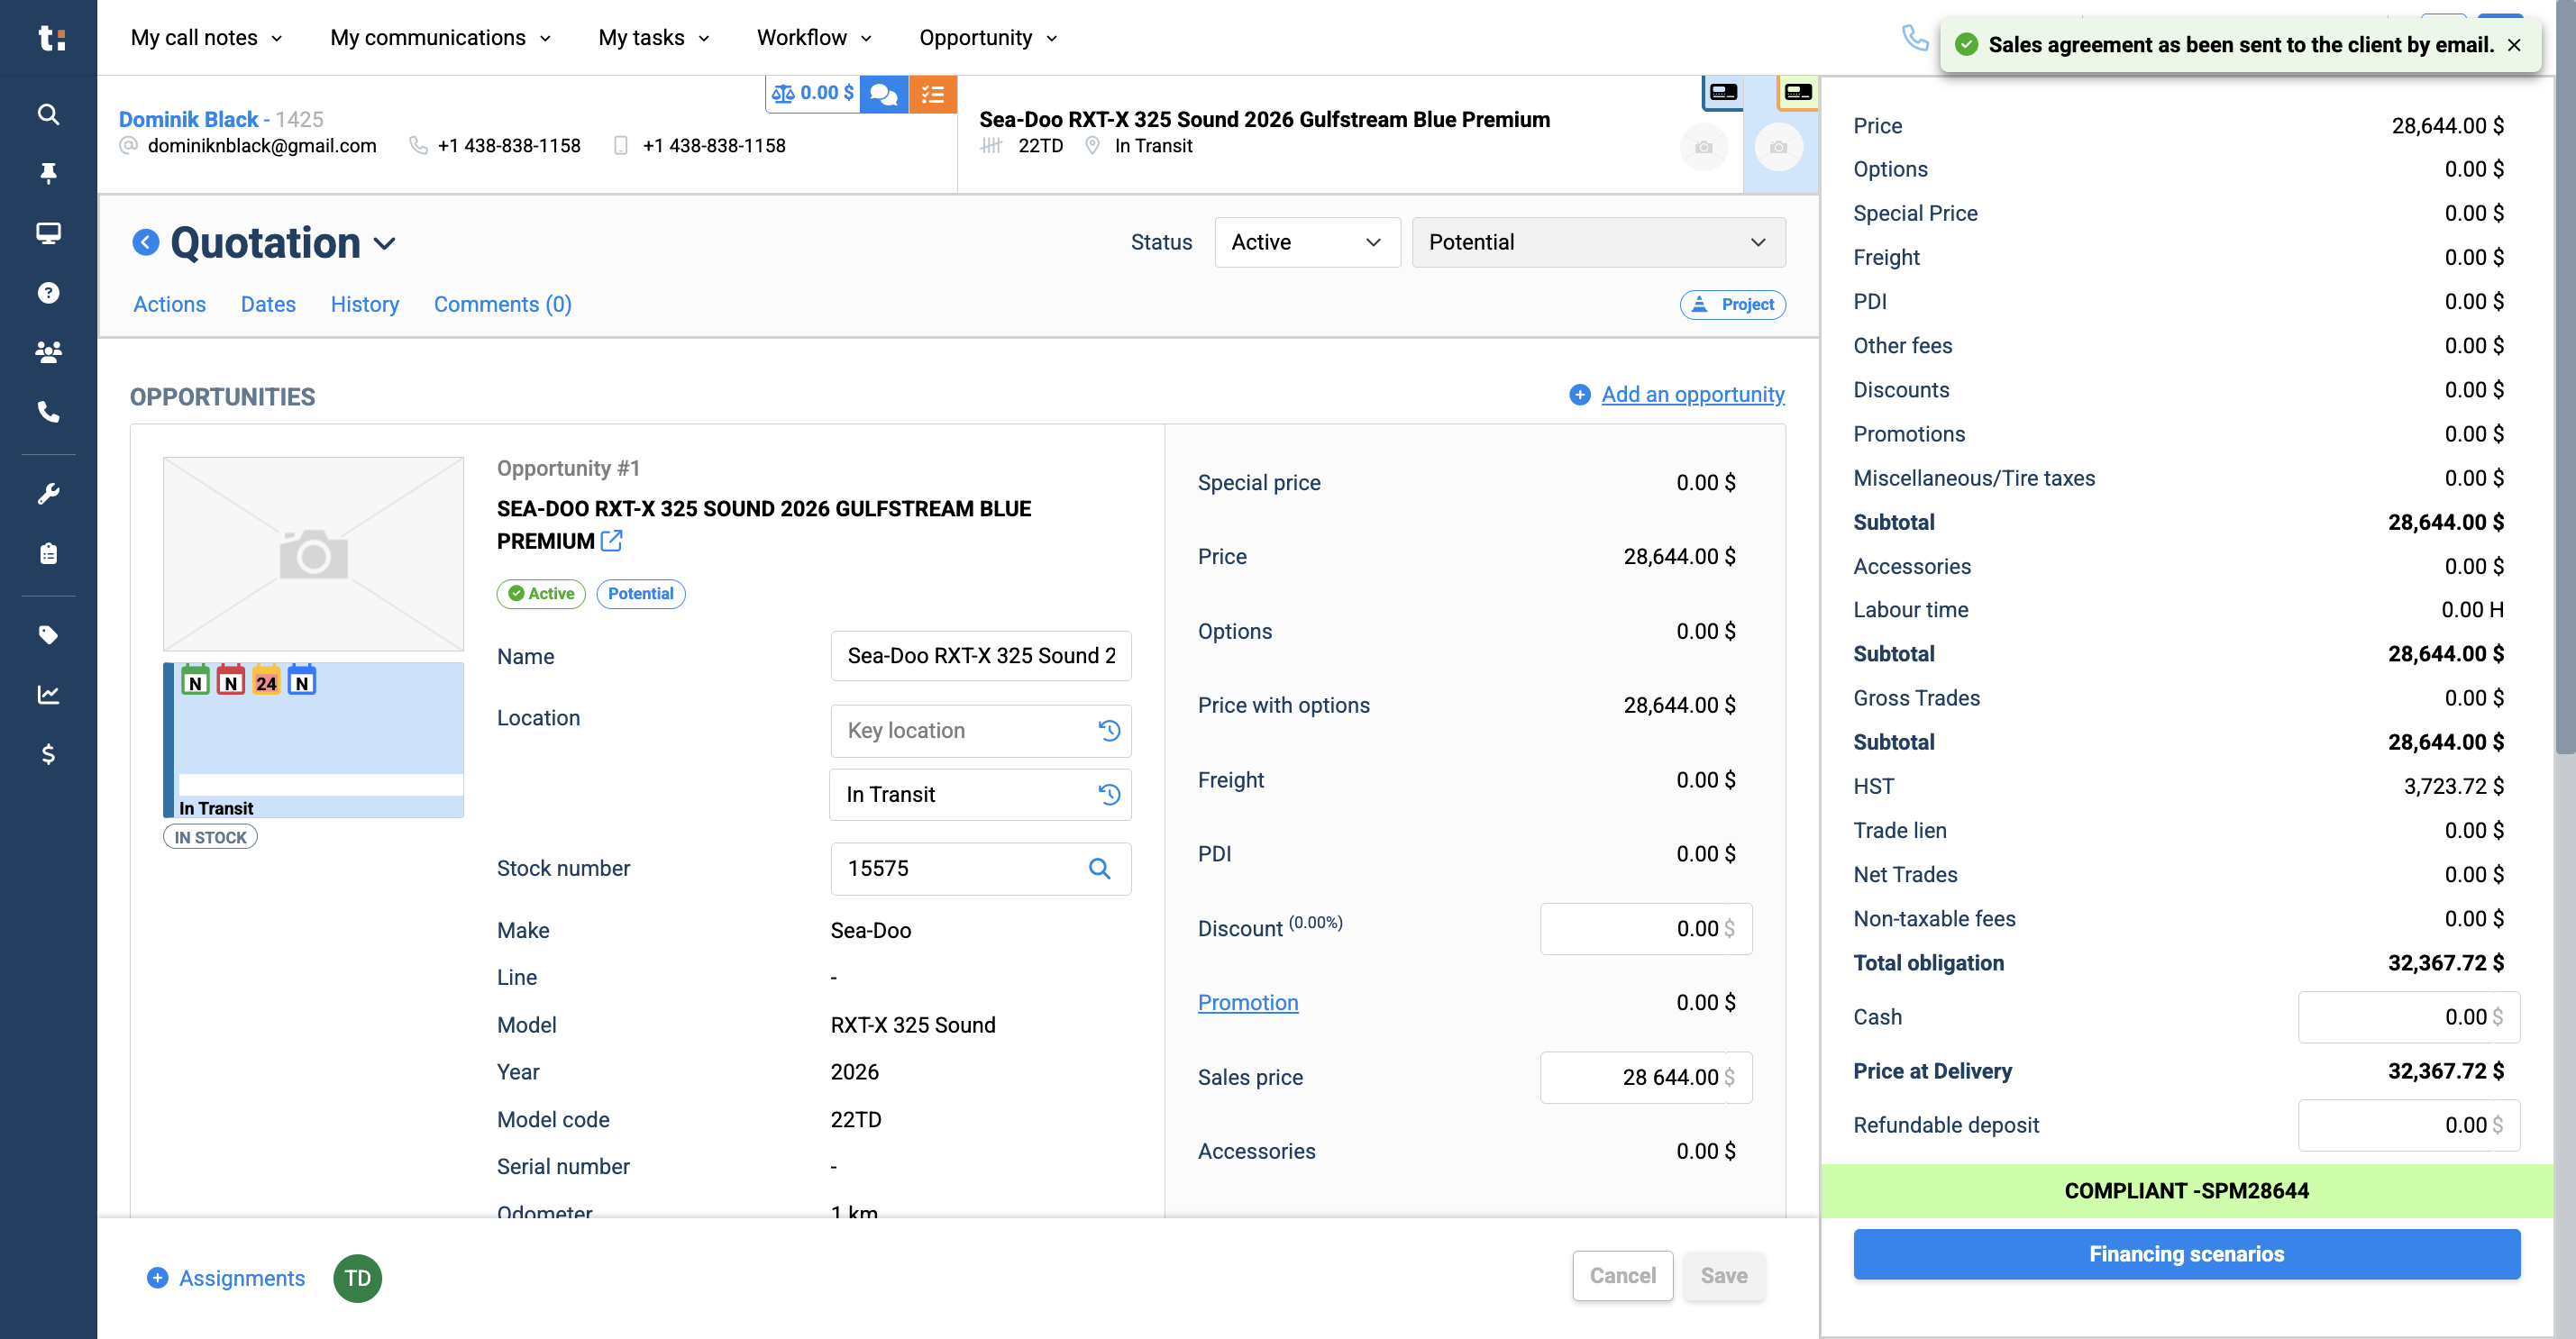
From here, you have several options. You can enter a discount.
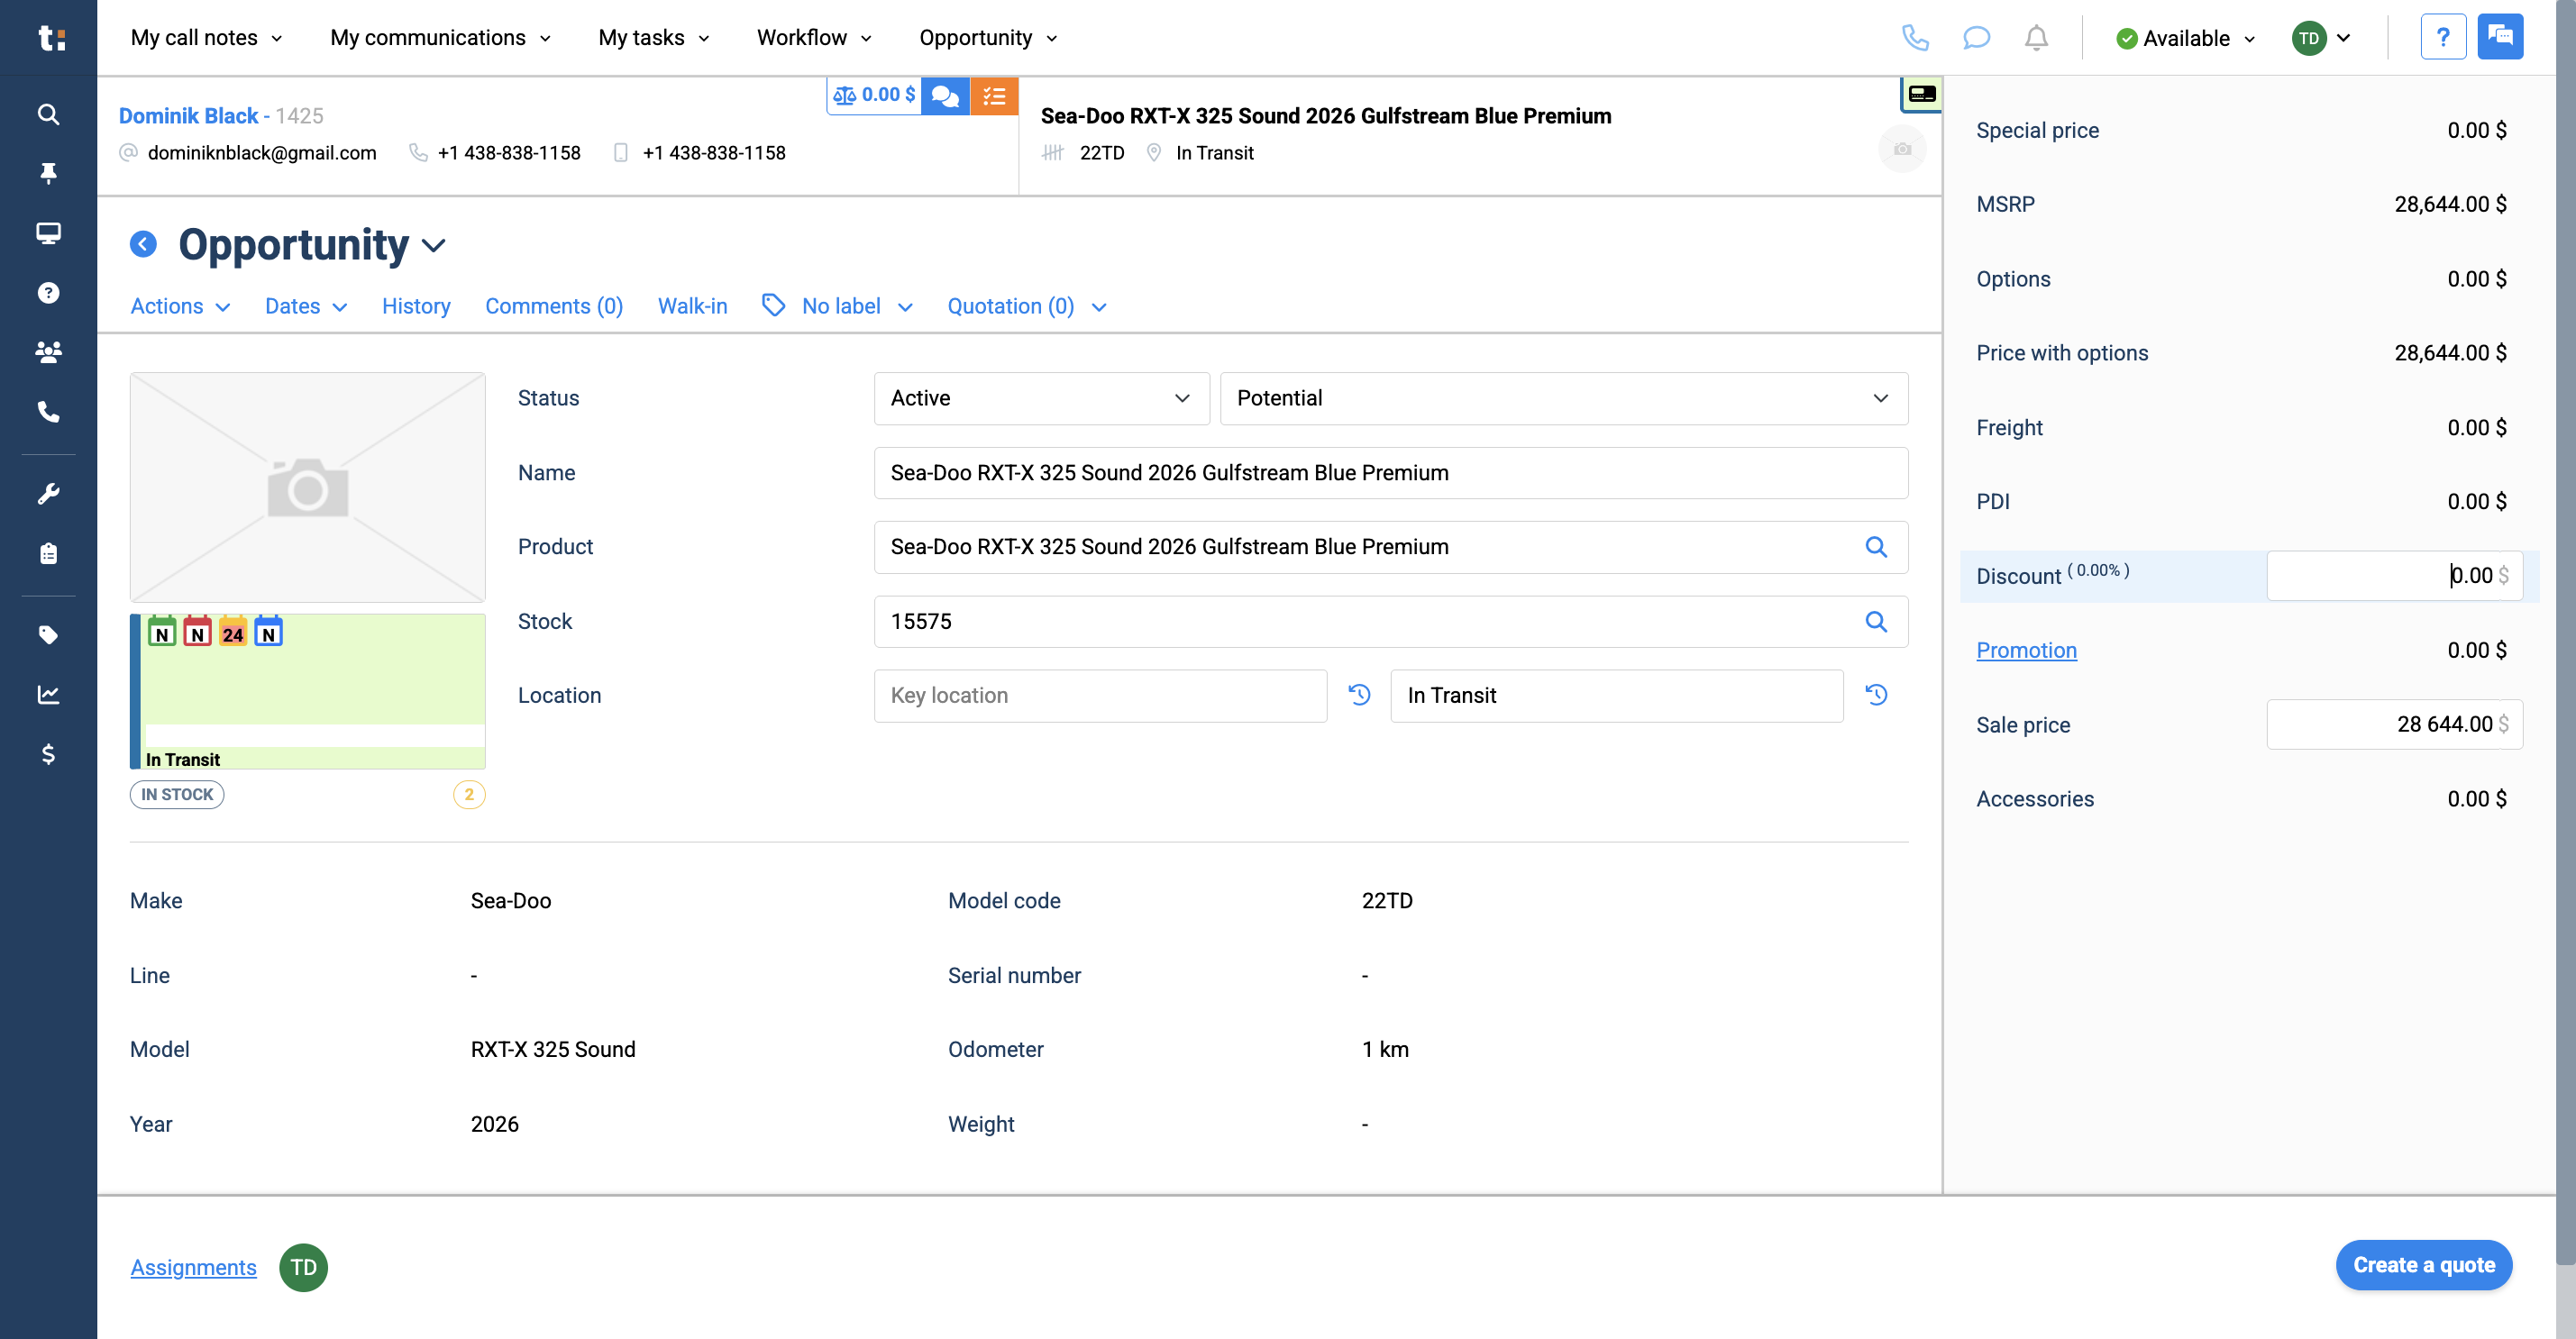
8
You can also adjust the sales price.
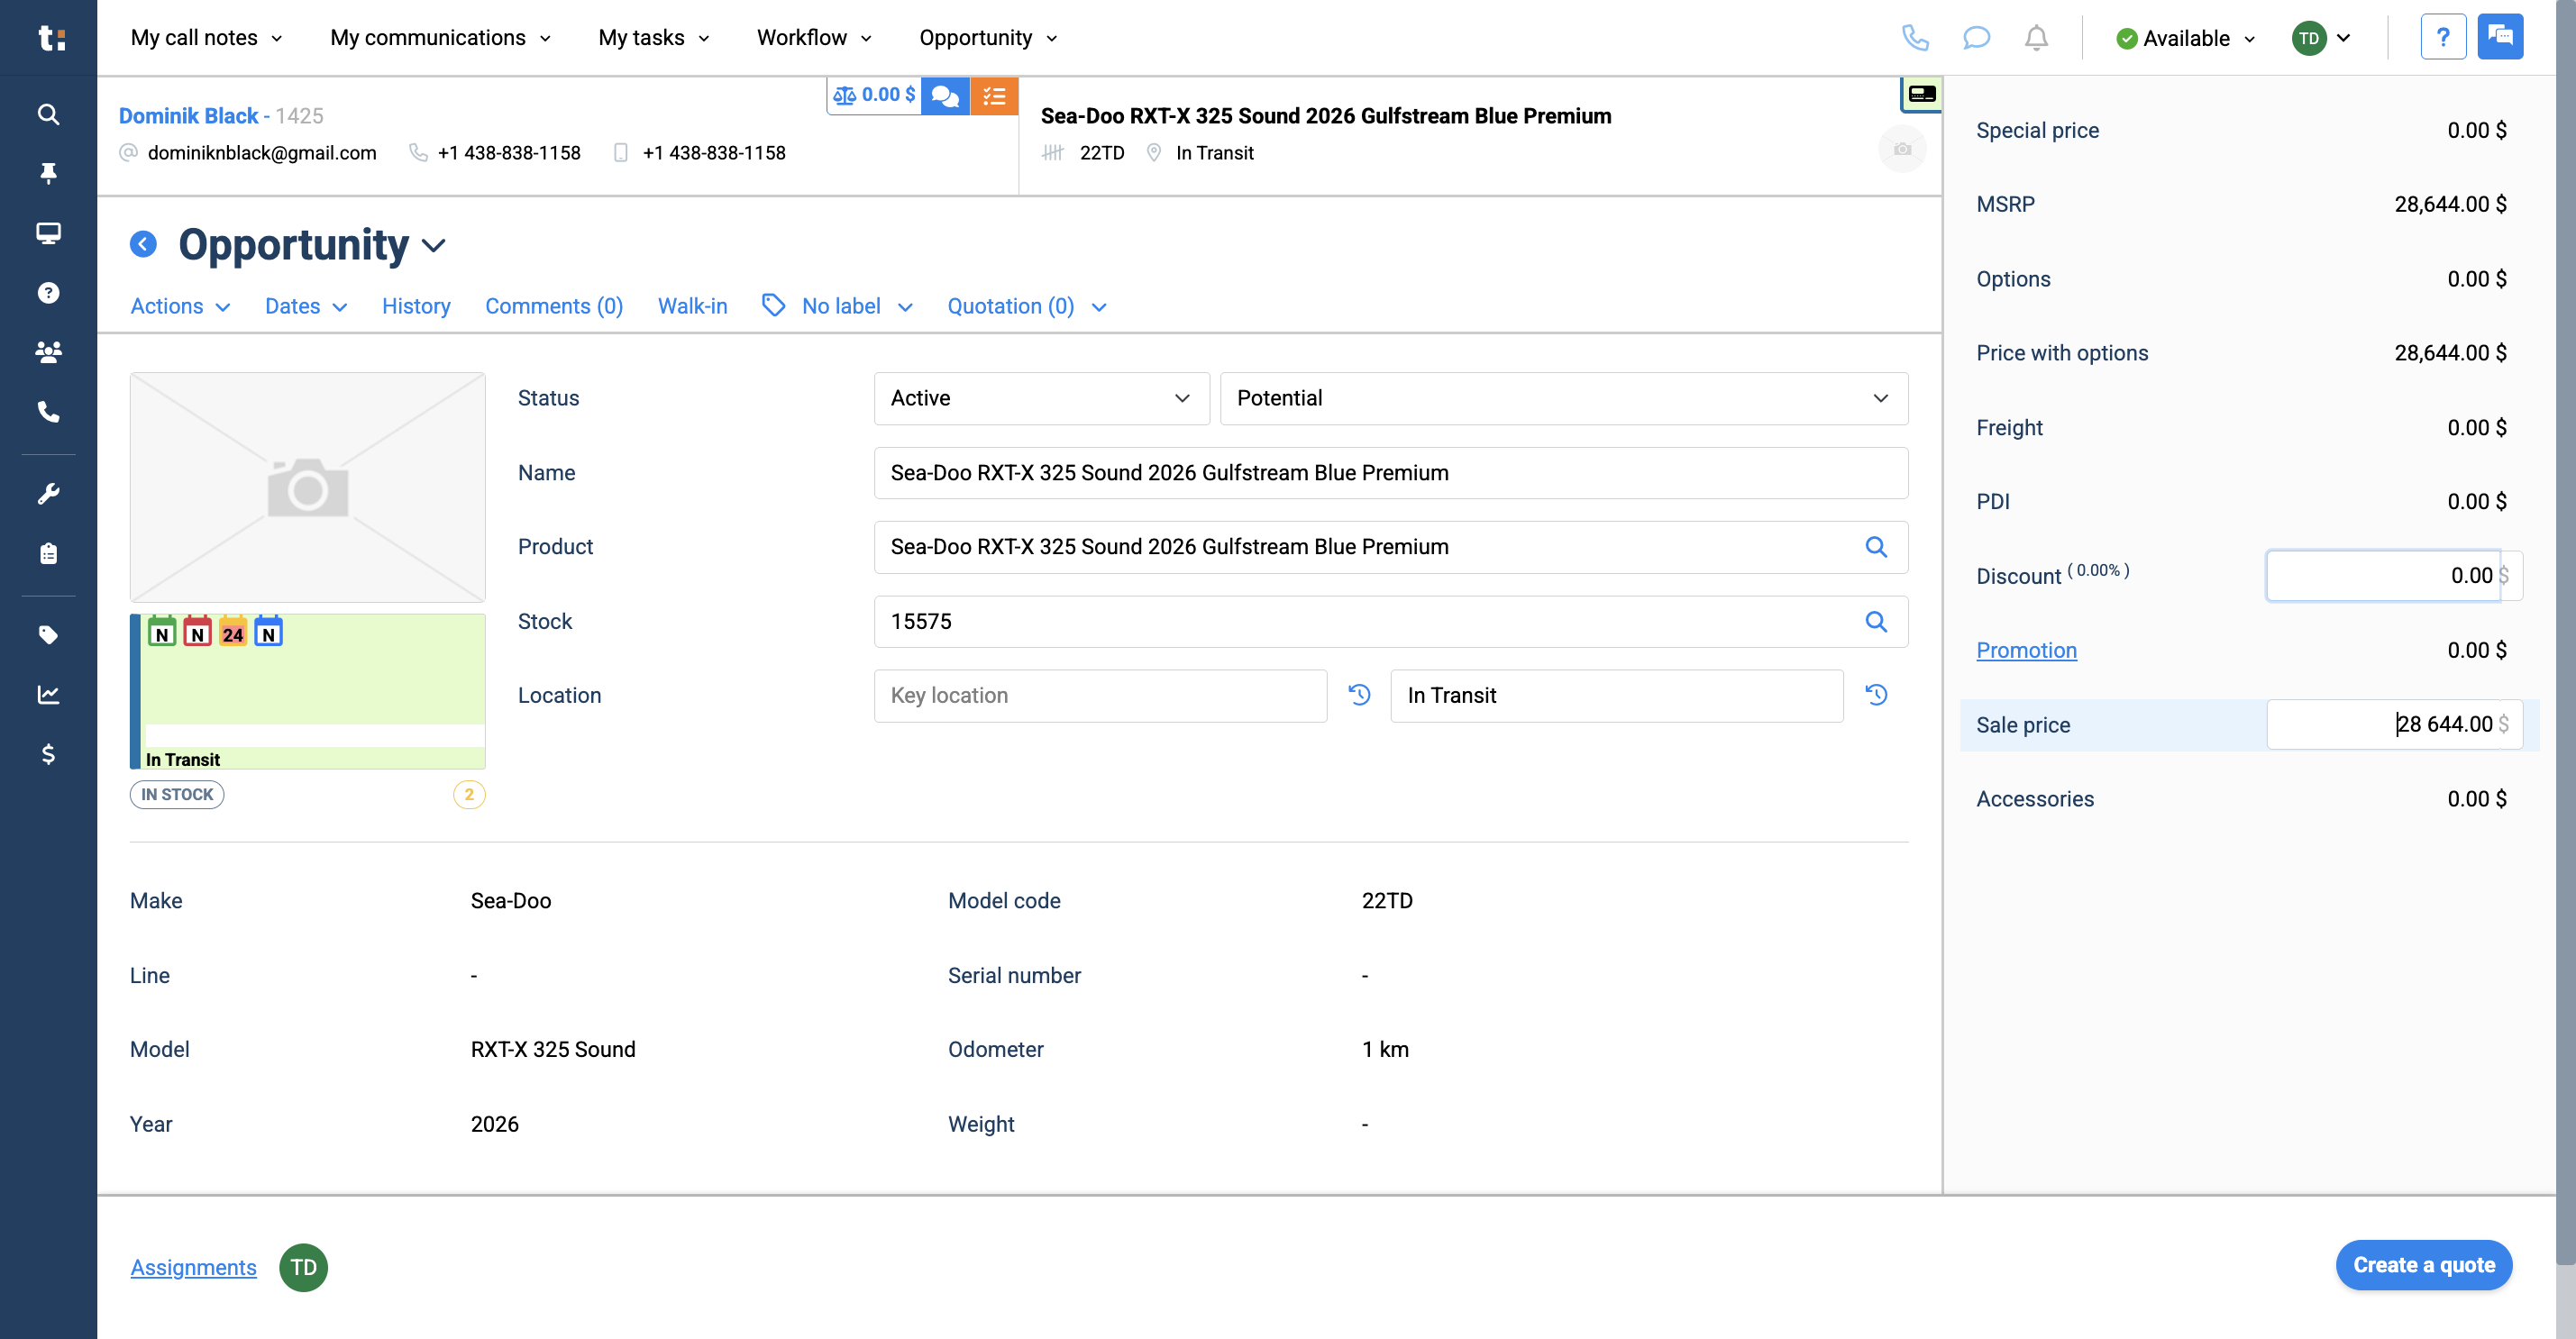
9
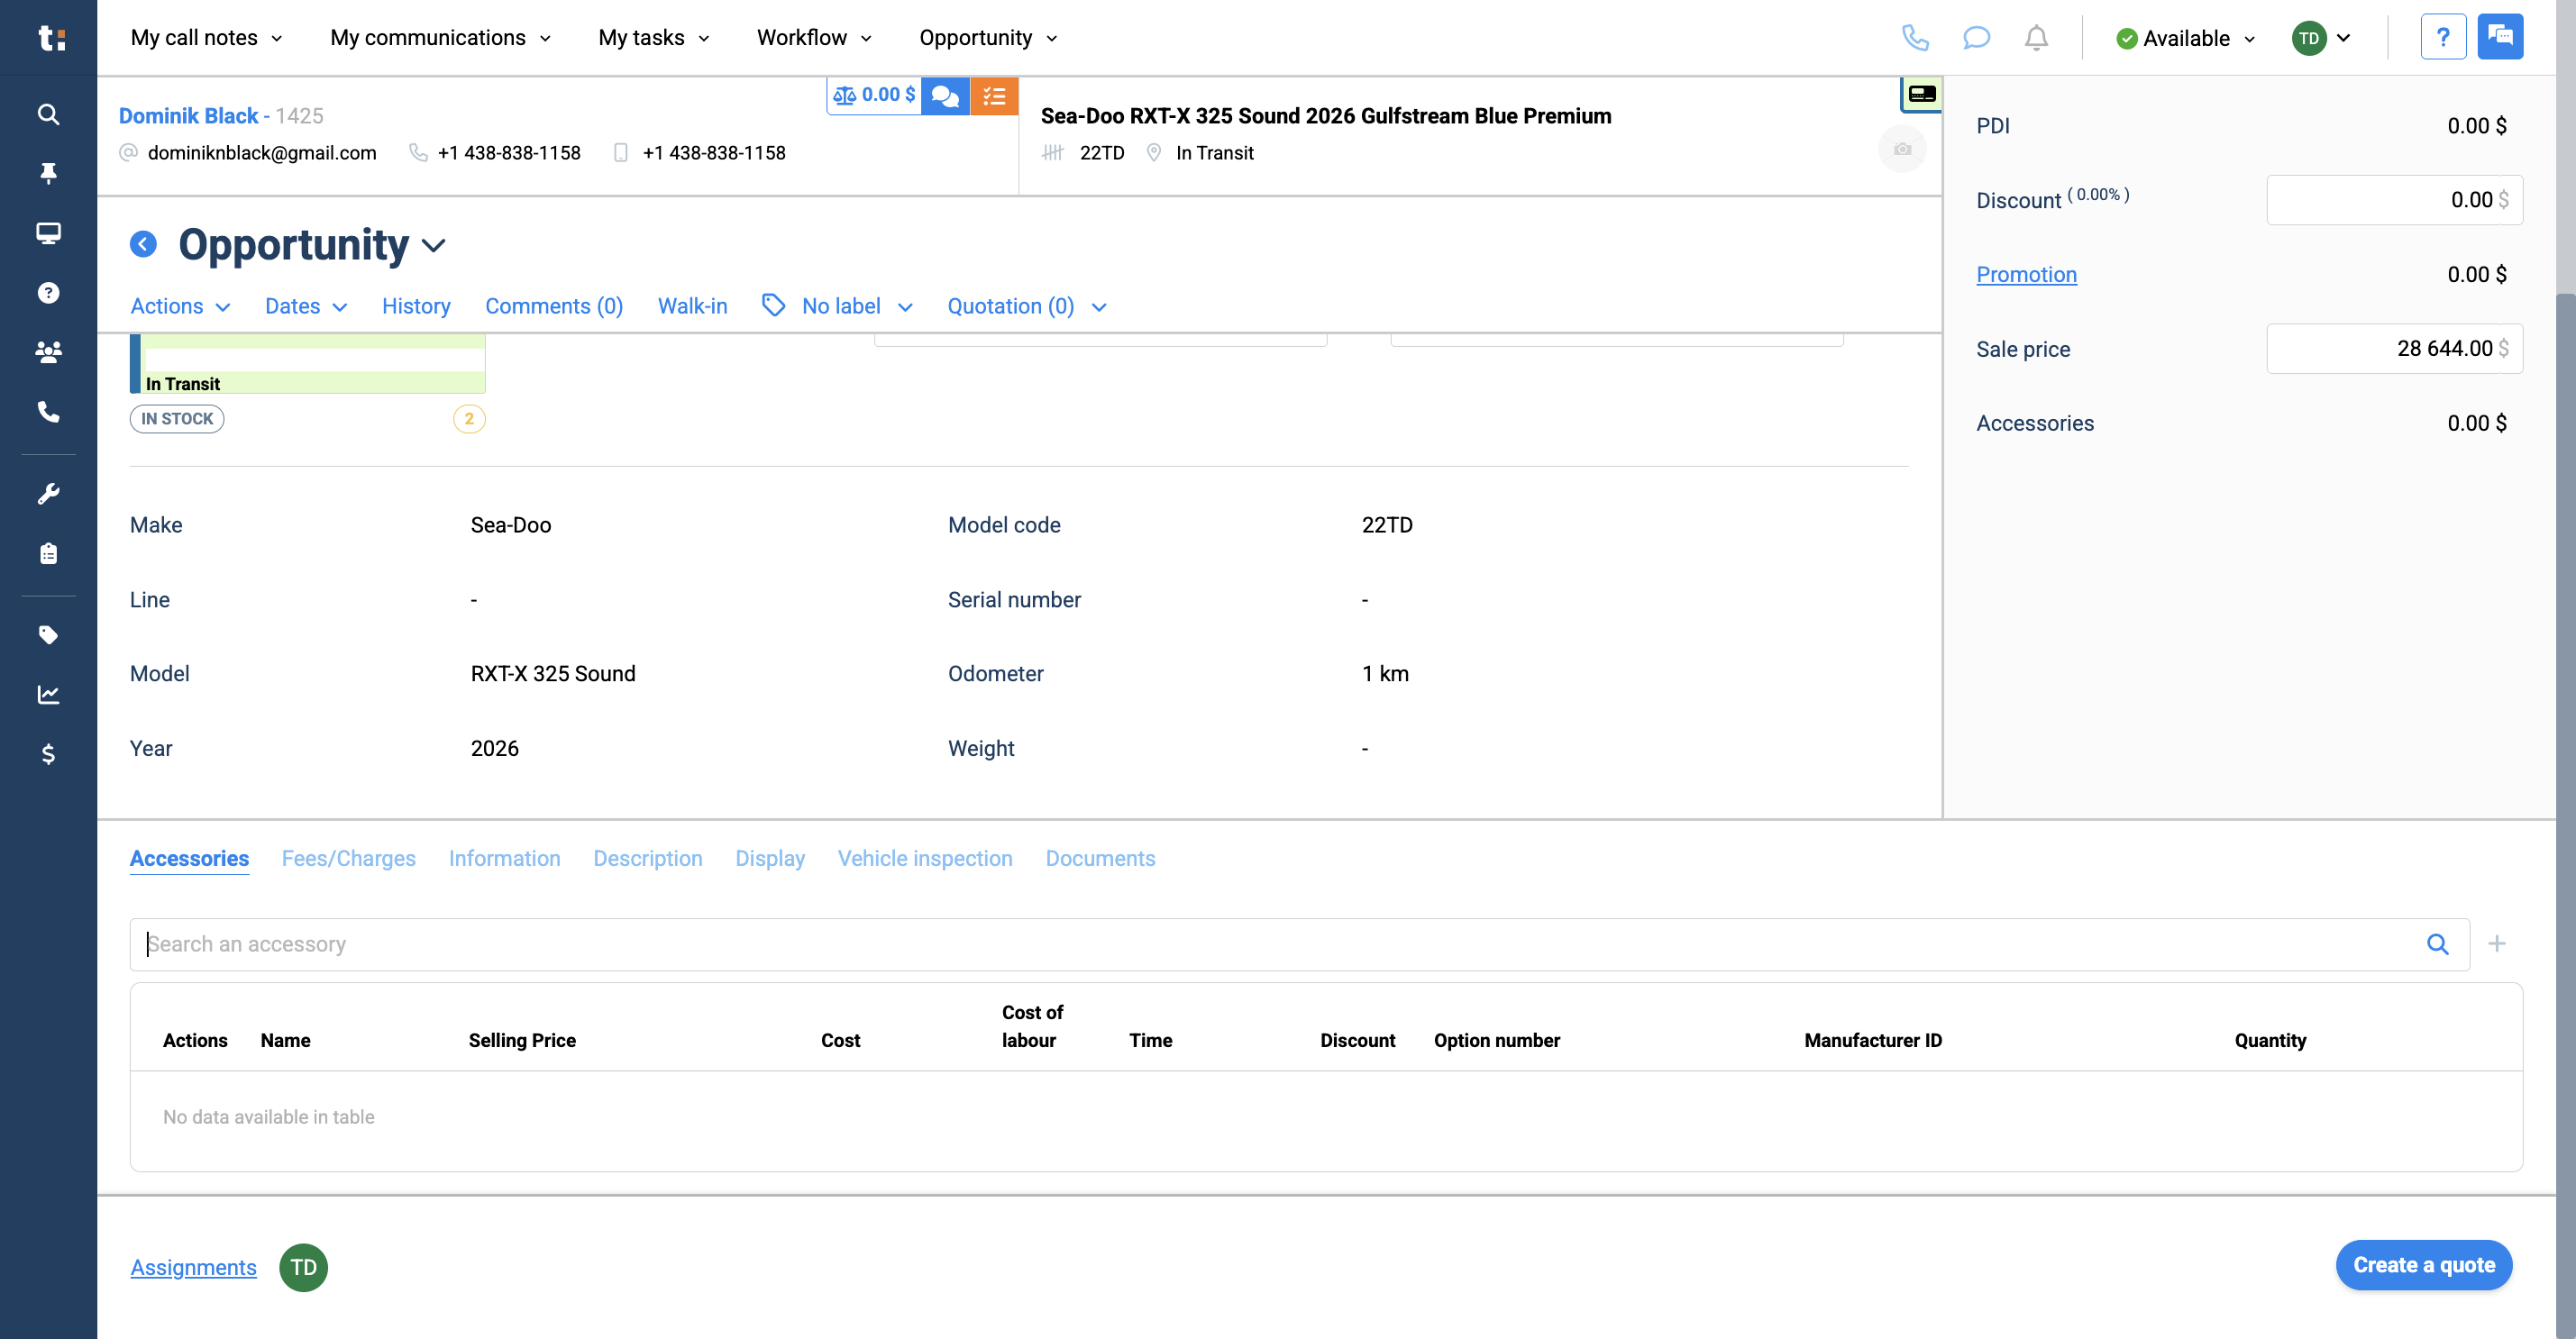
Scroll down slightly to the Accessories tab at the bottom.
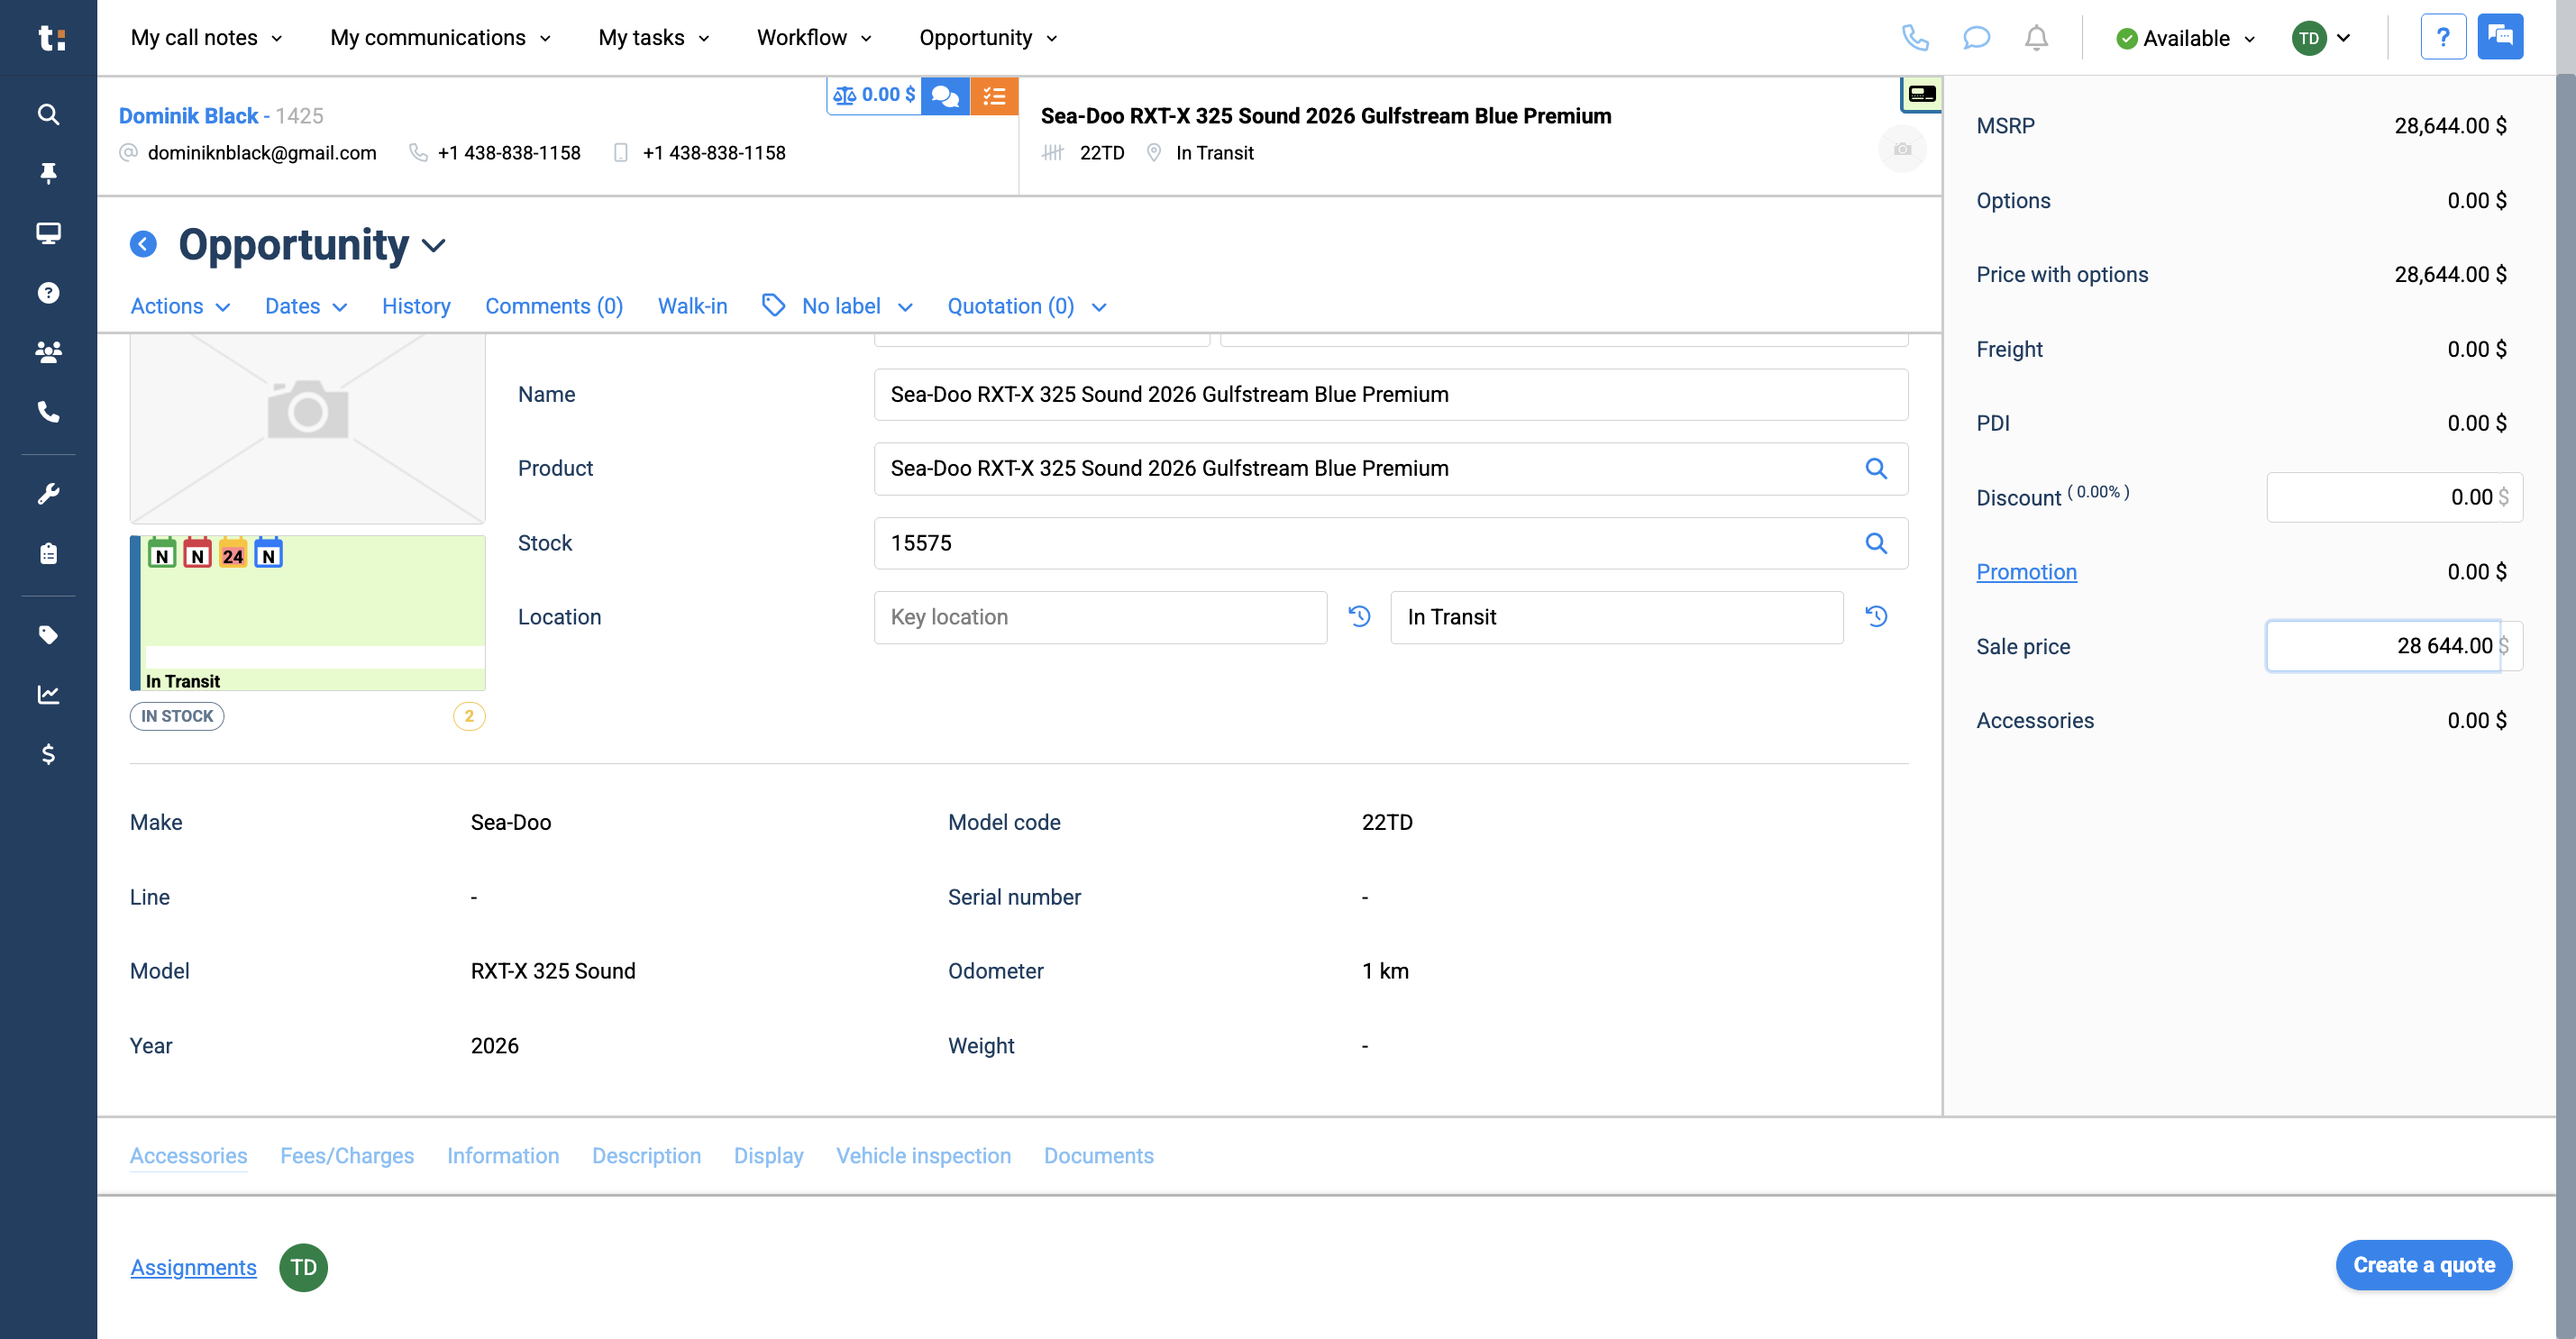
10
Here, you can enter any part name or number, and it will search the parts inventory. Any accessory you select will have its cost added at the end.
11
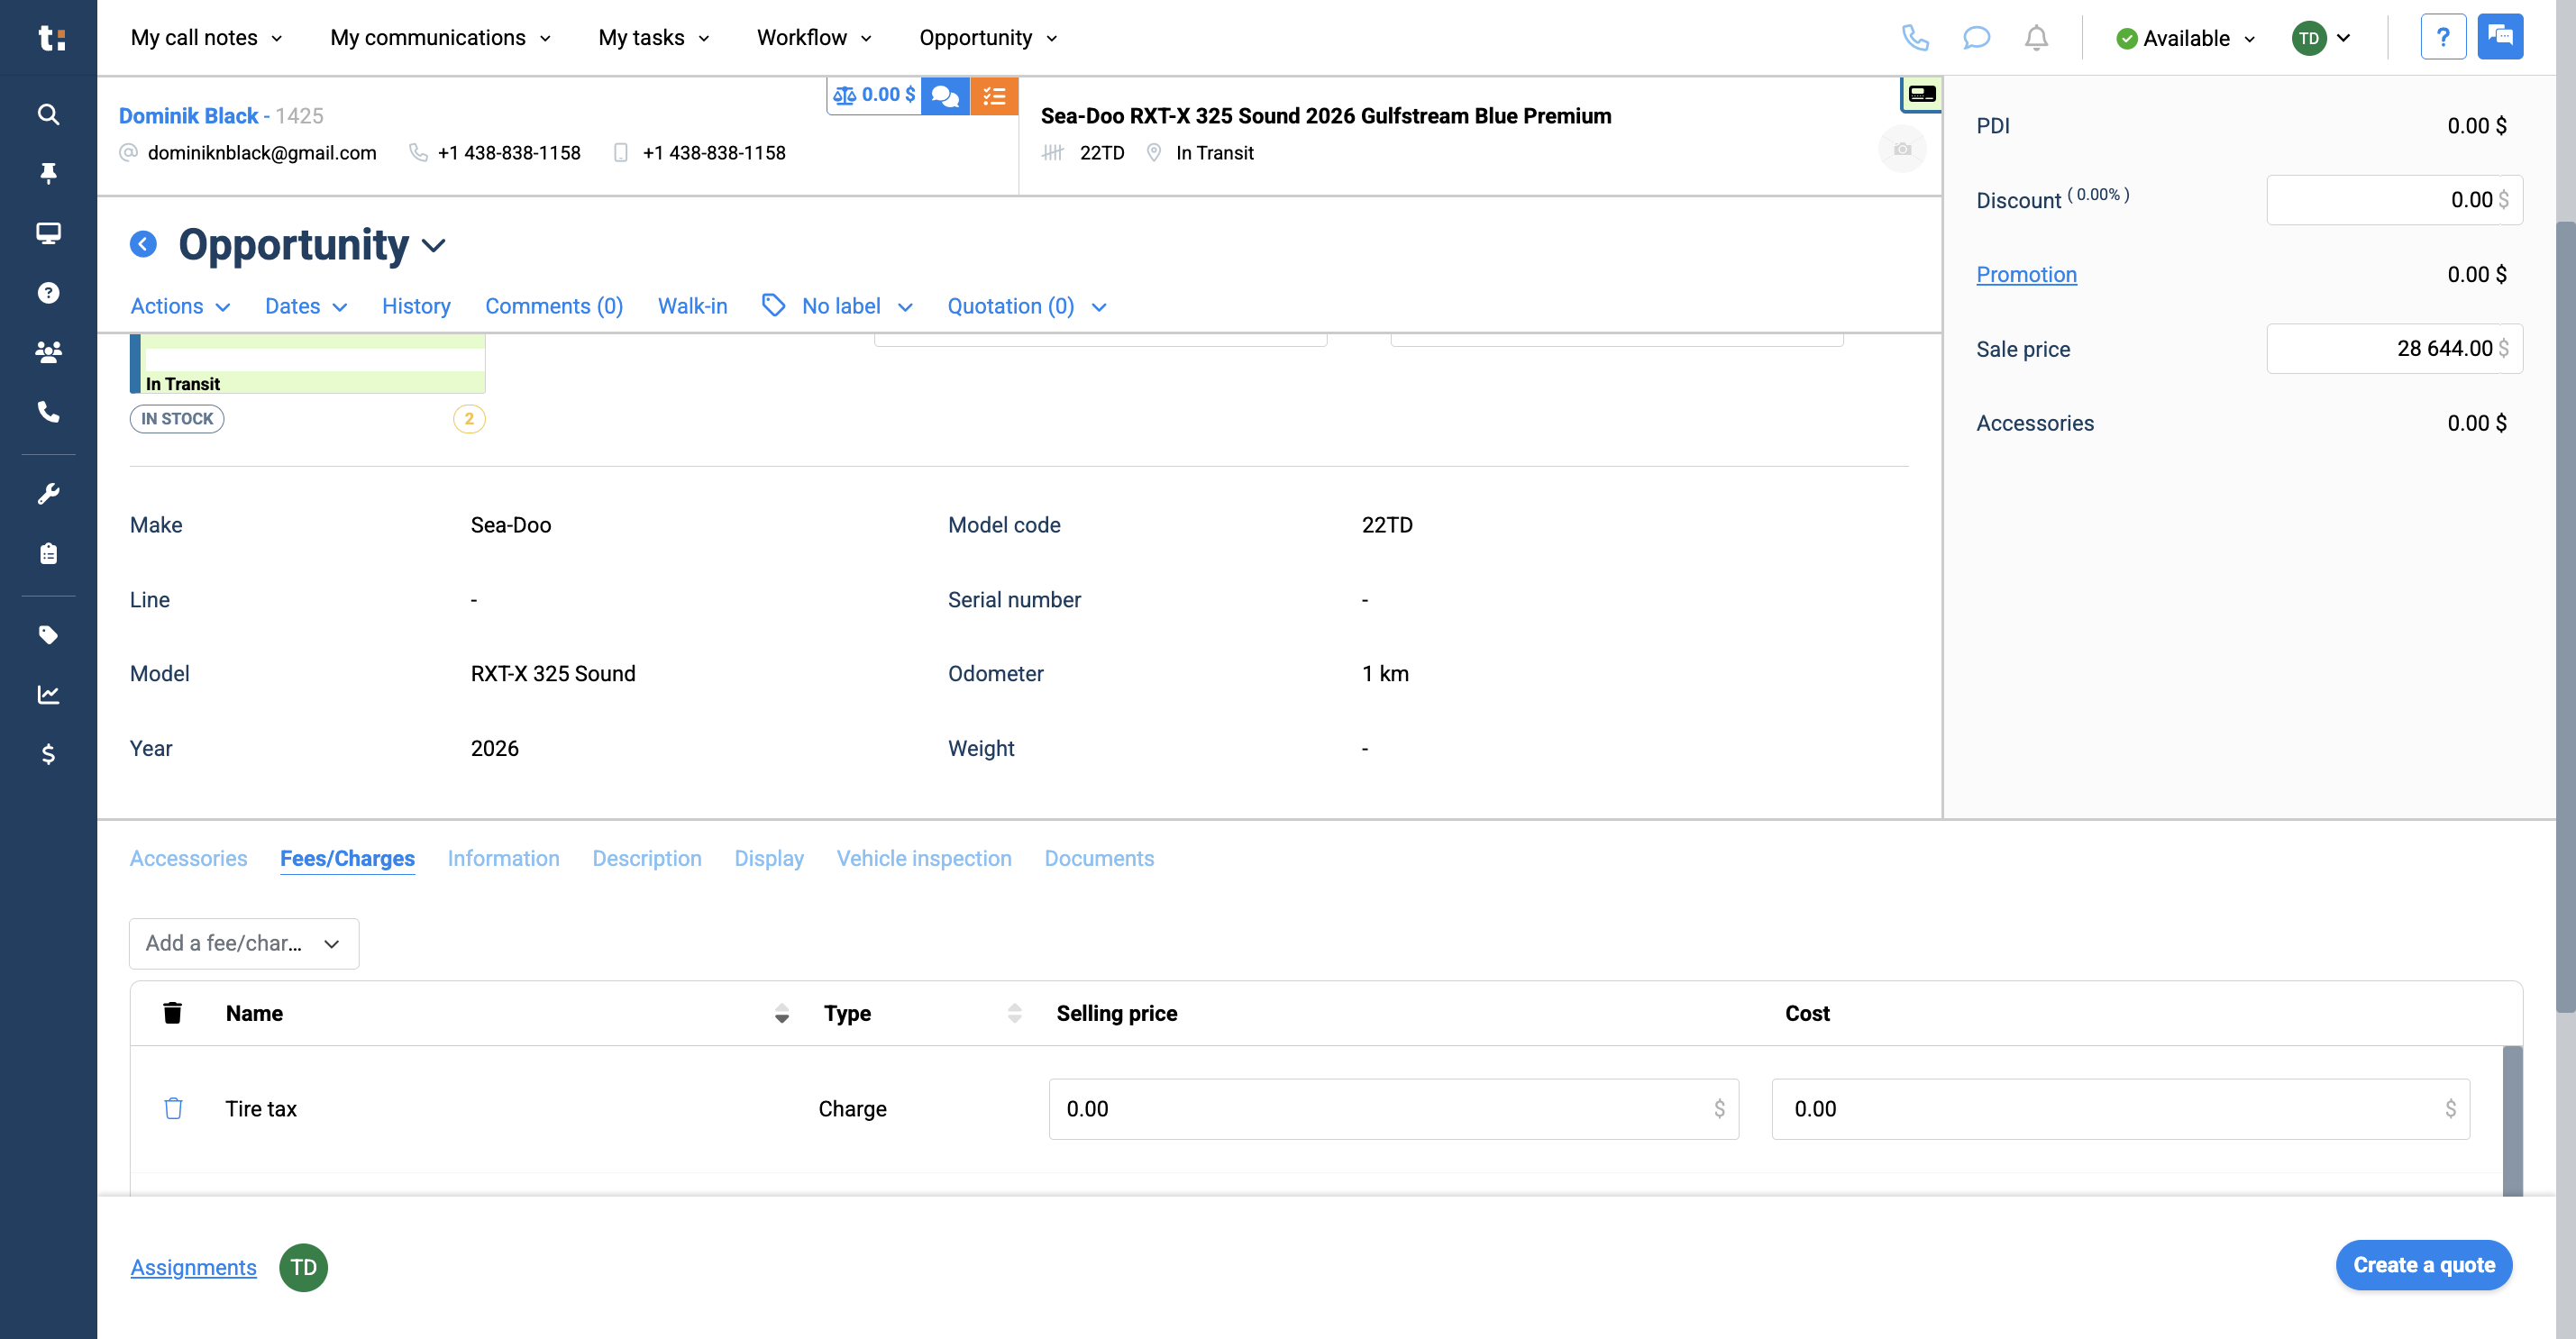
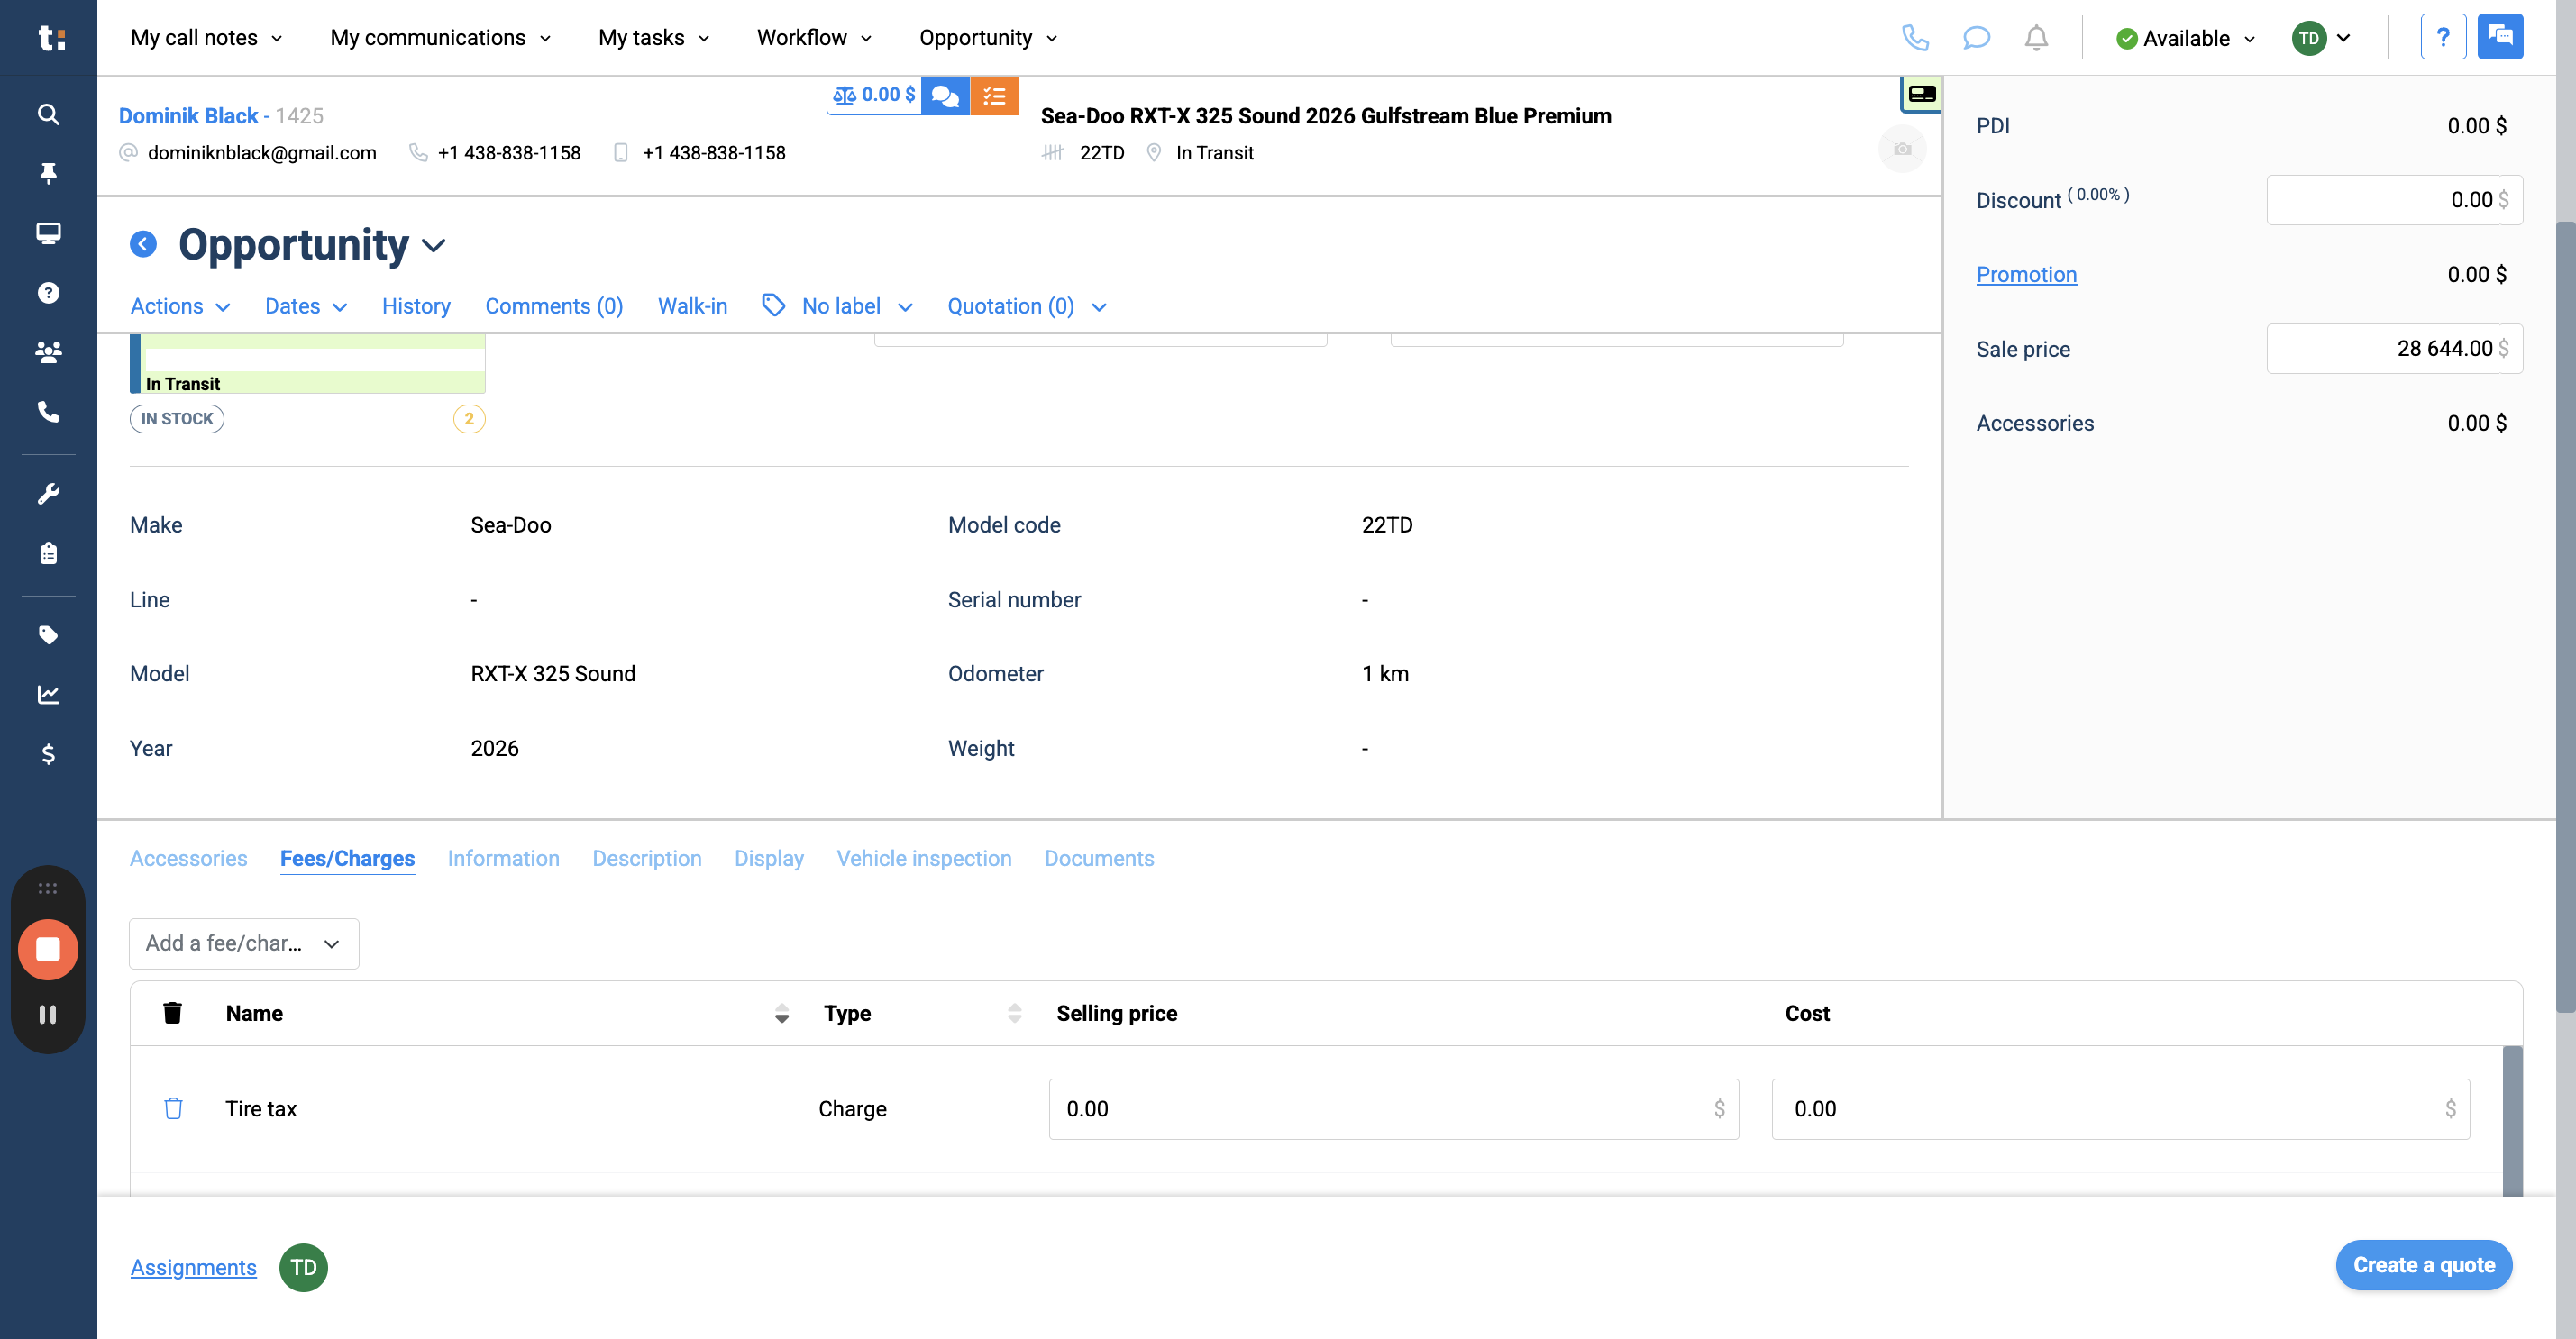
Next, you can add any desired fees and charges, such as tire taxes or admin fees.
12
When you're finished, click Create a Quote.
13
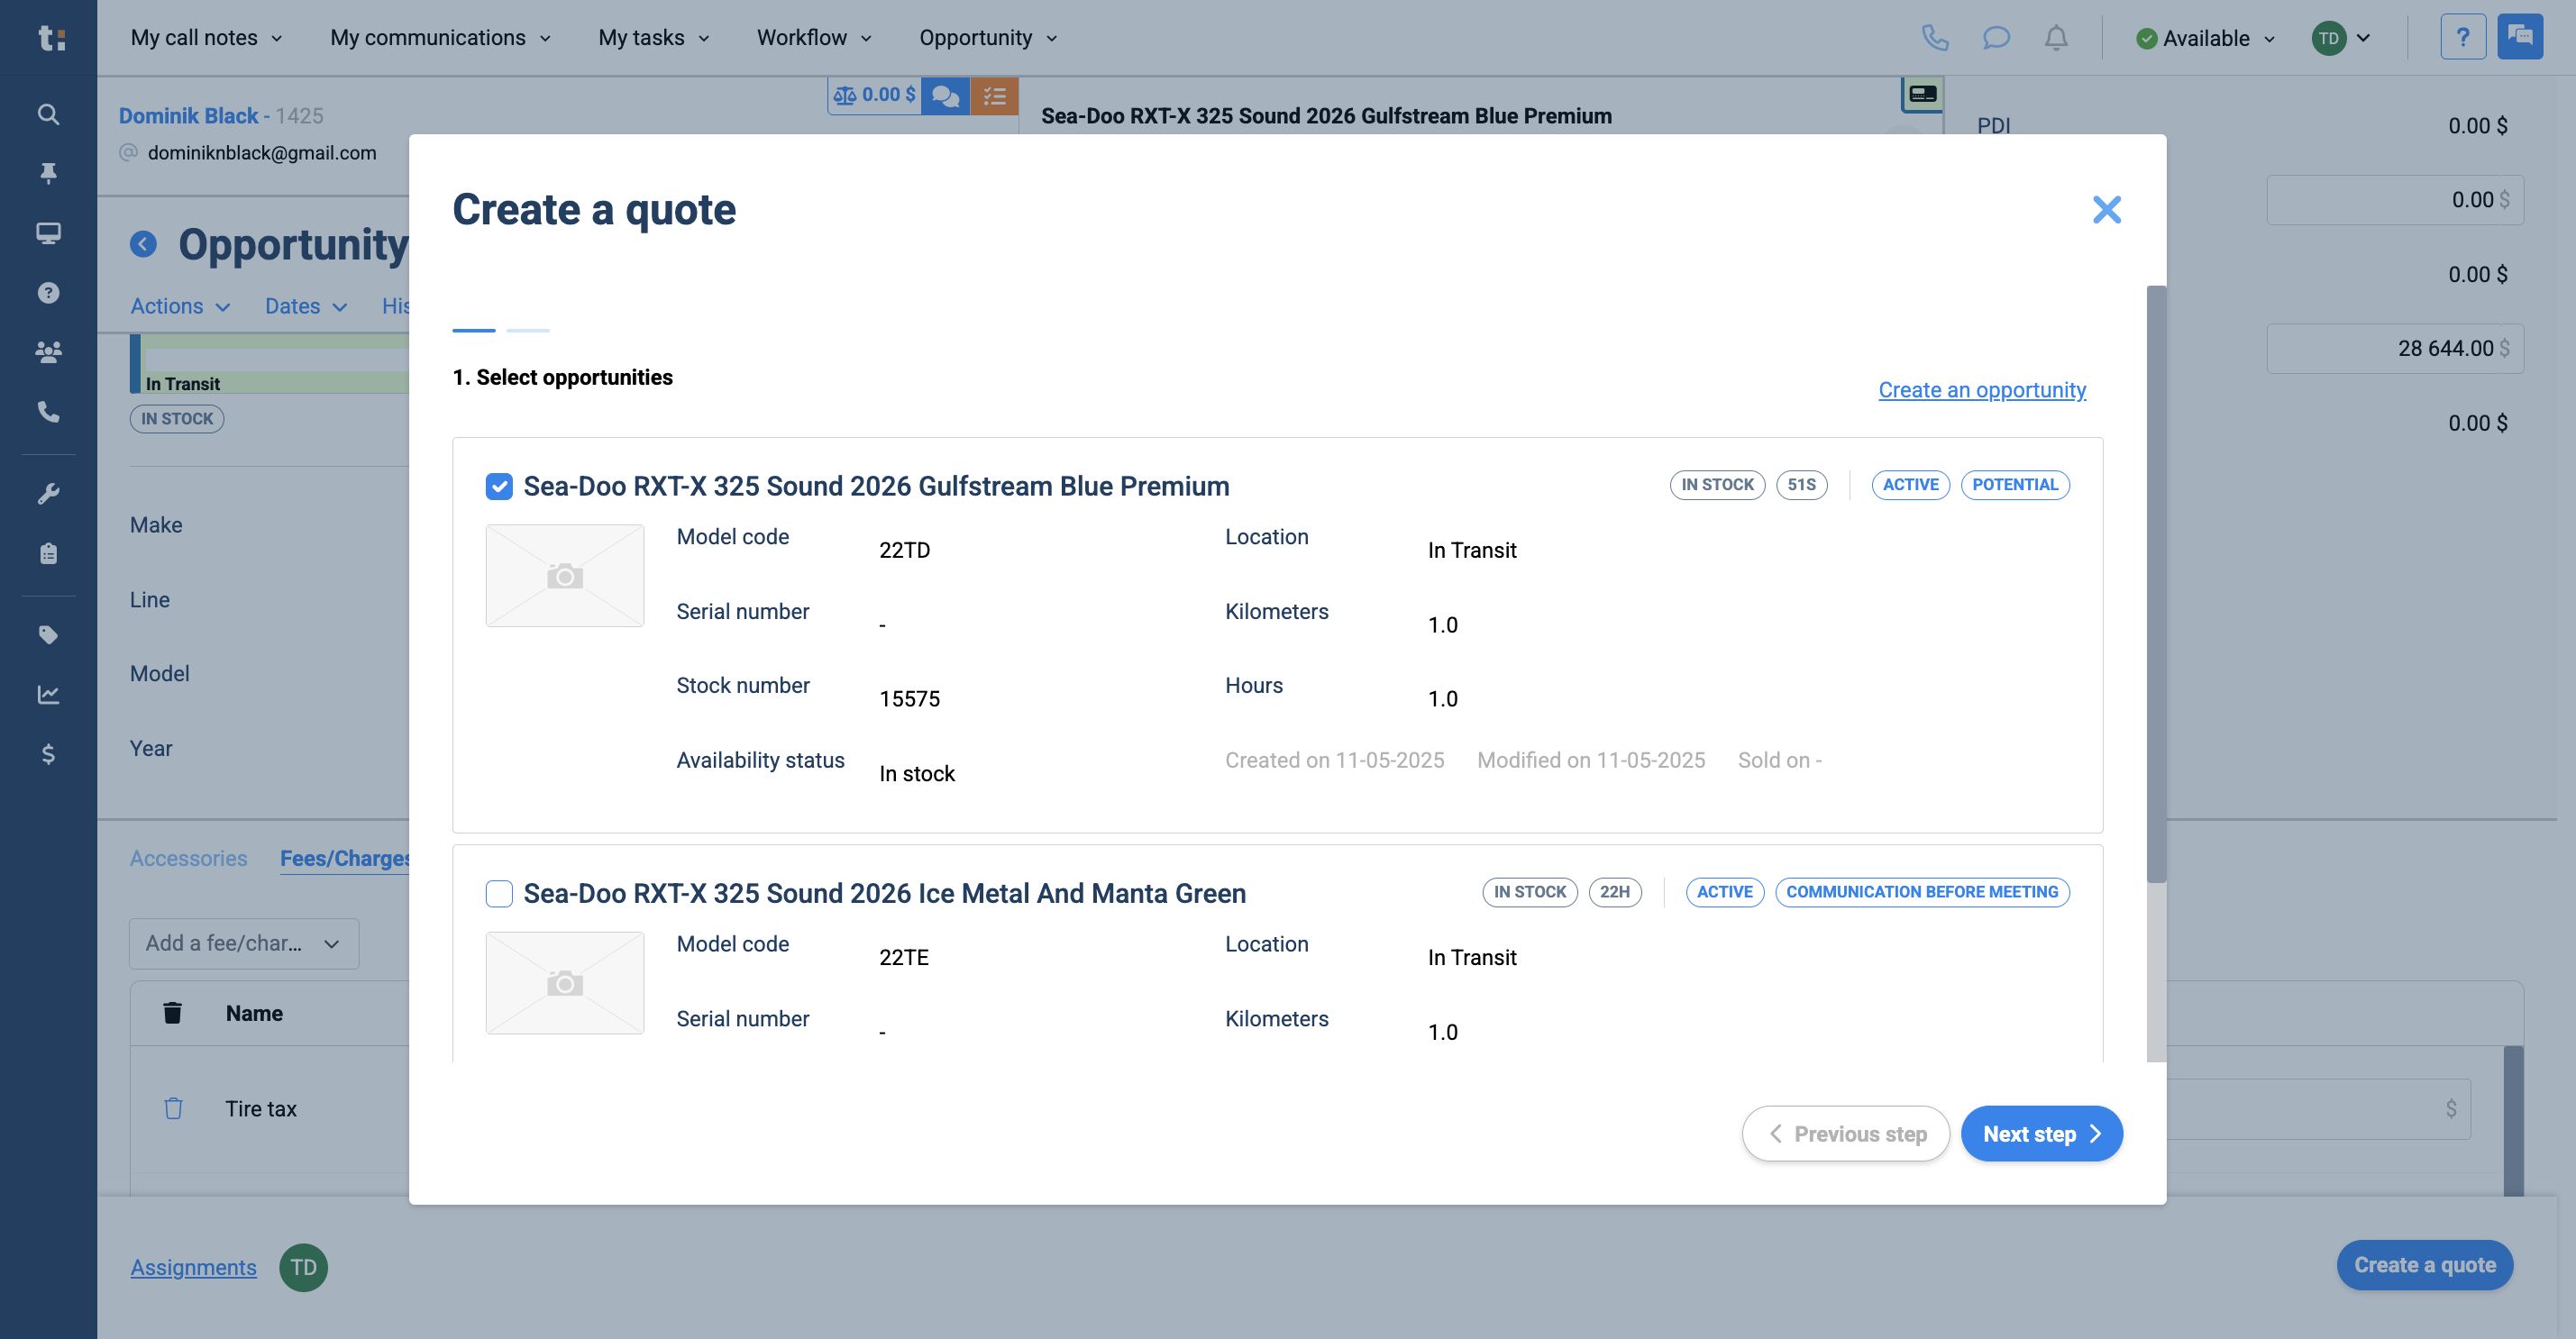
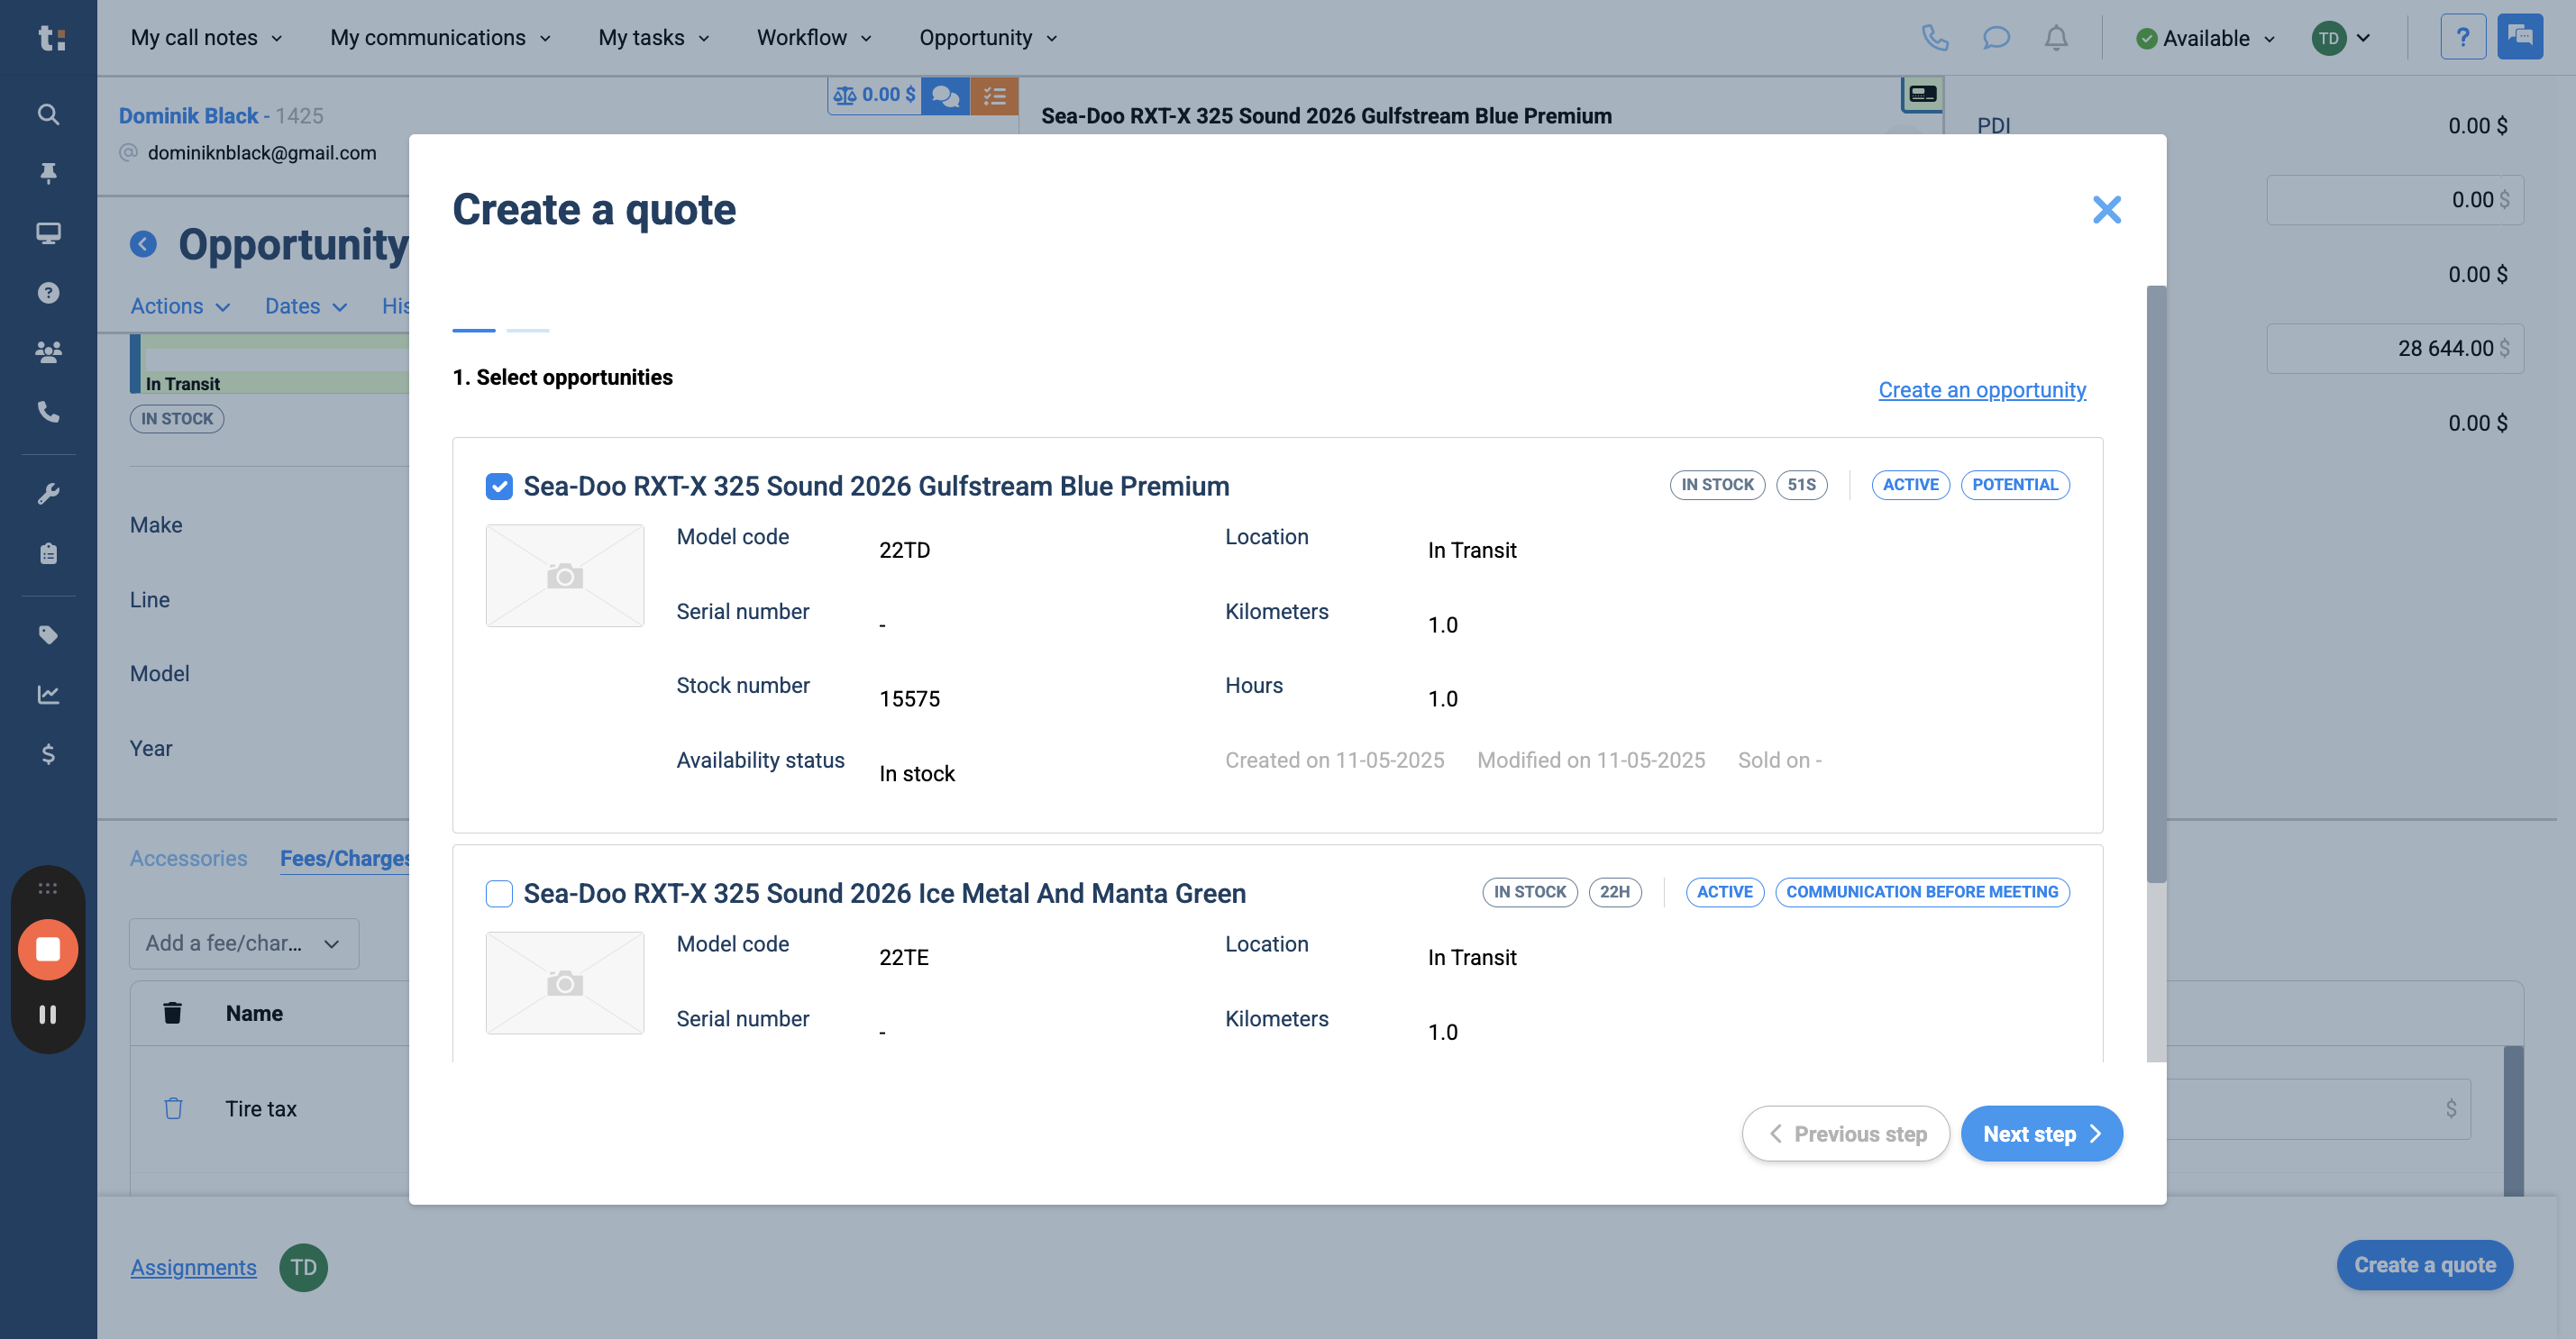
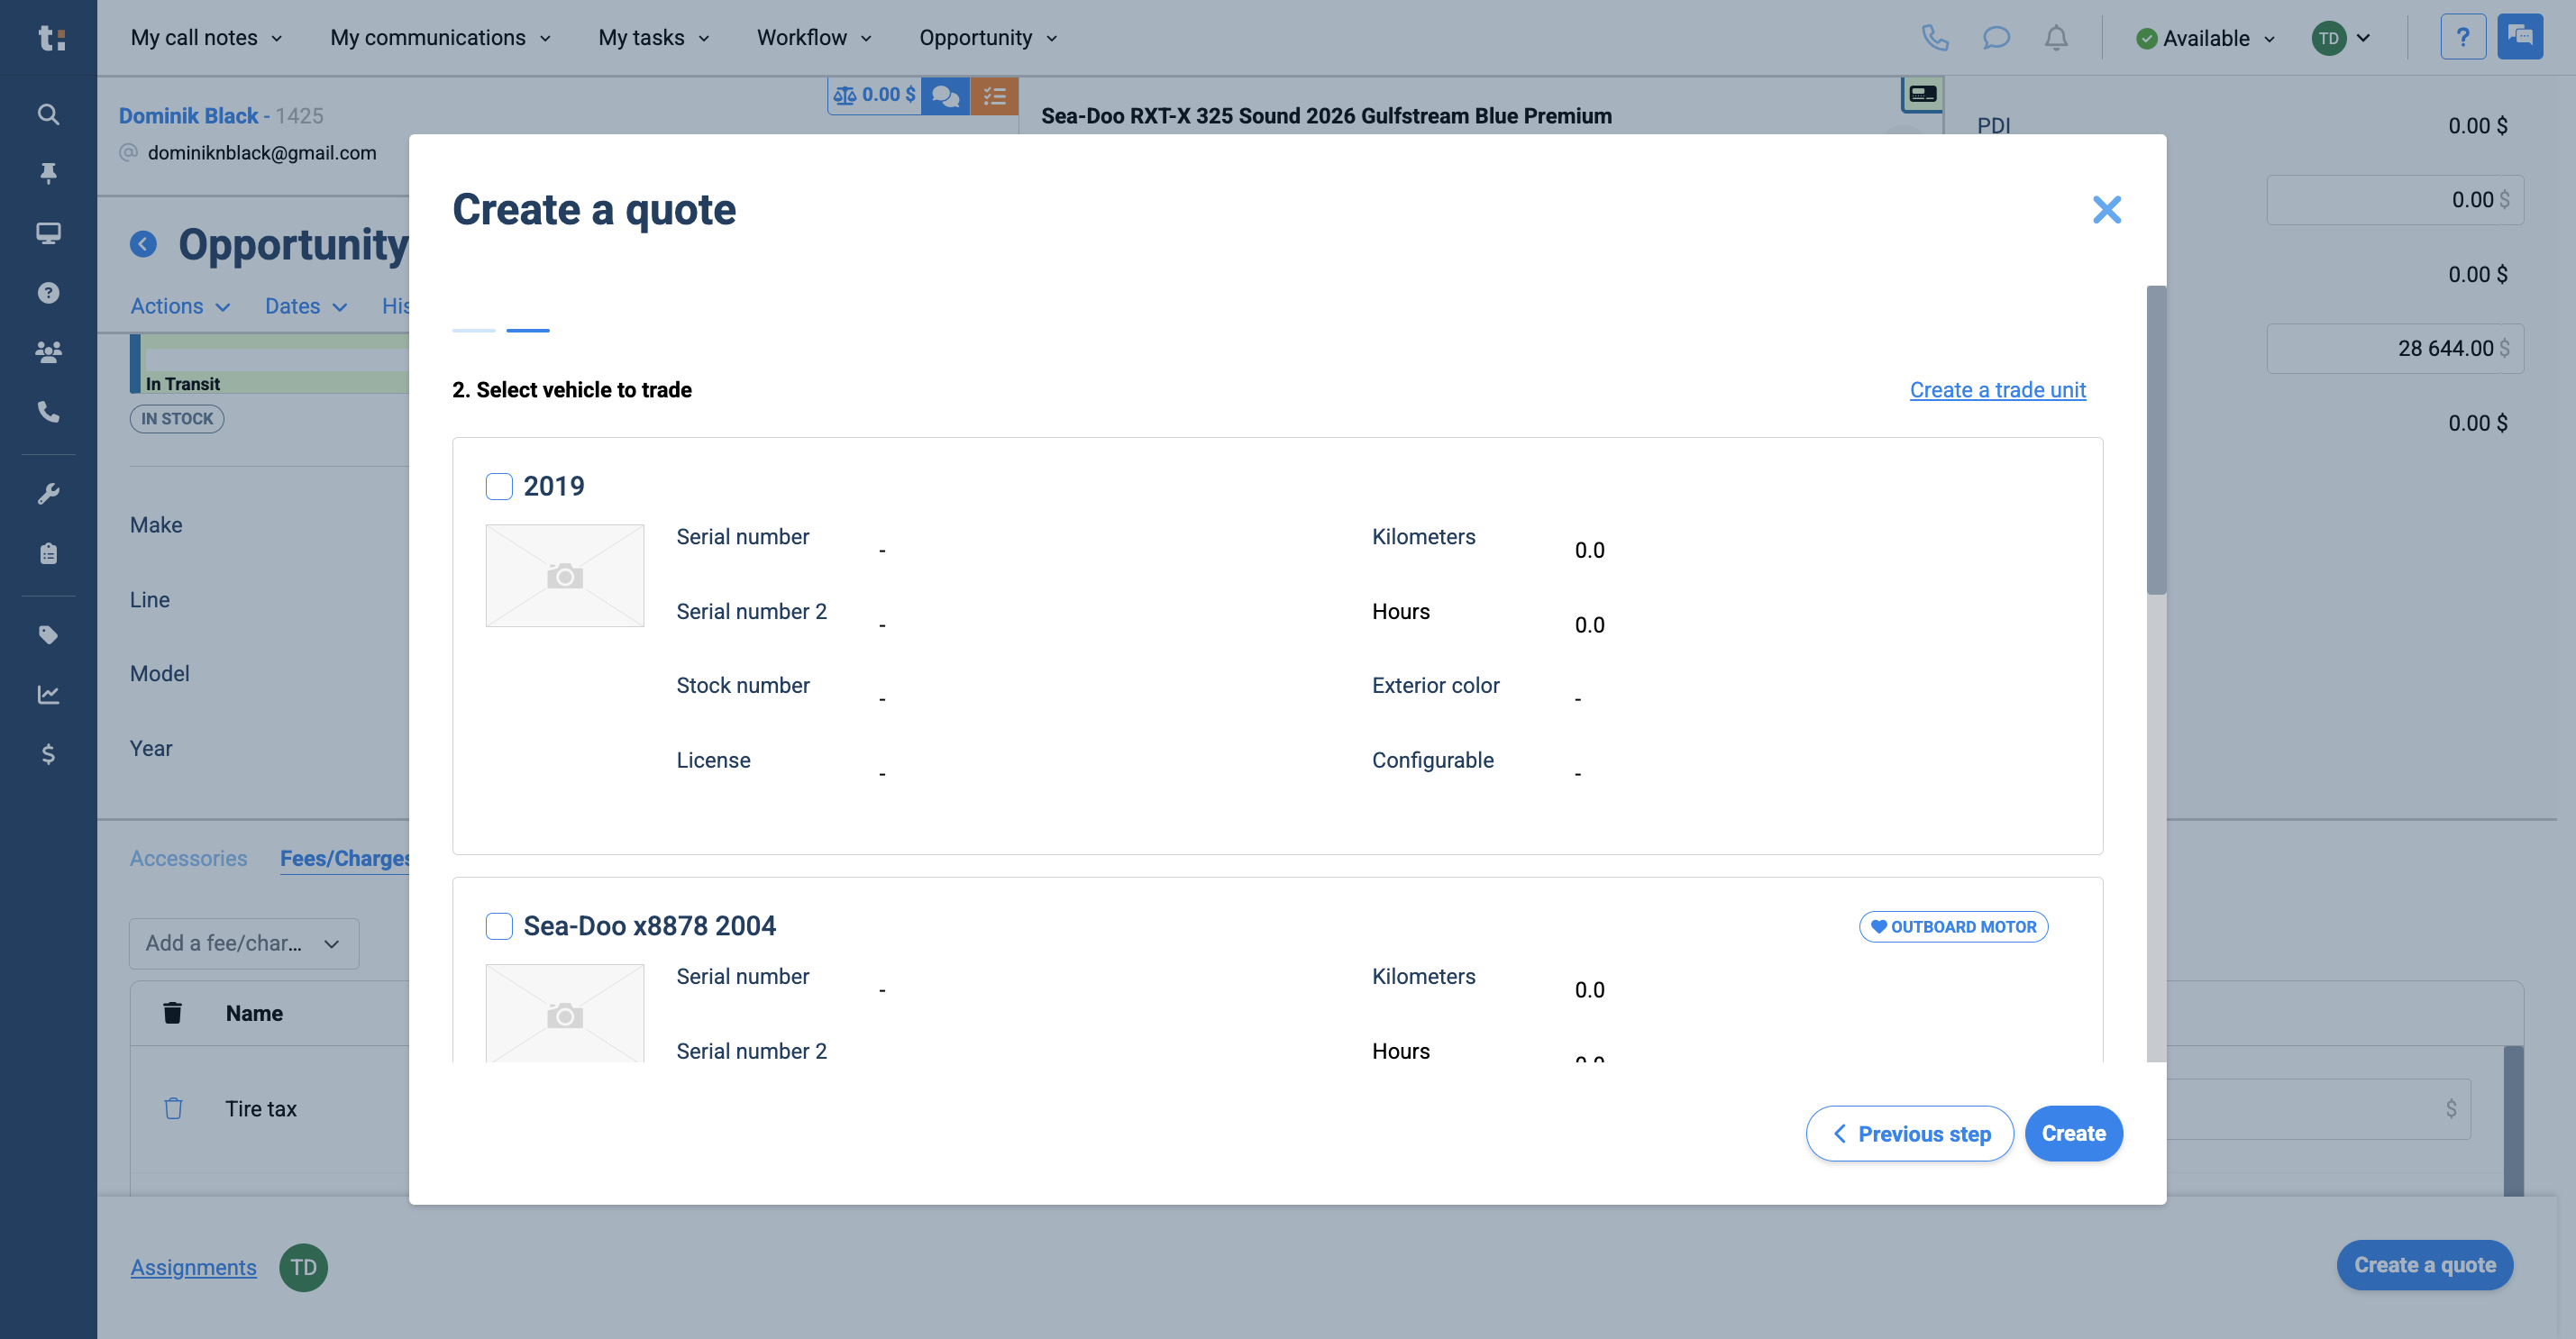
When the Create a Quote box opens, you can select multiple opportunities or keep only the one you just created.
14
Click Next Step.
15
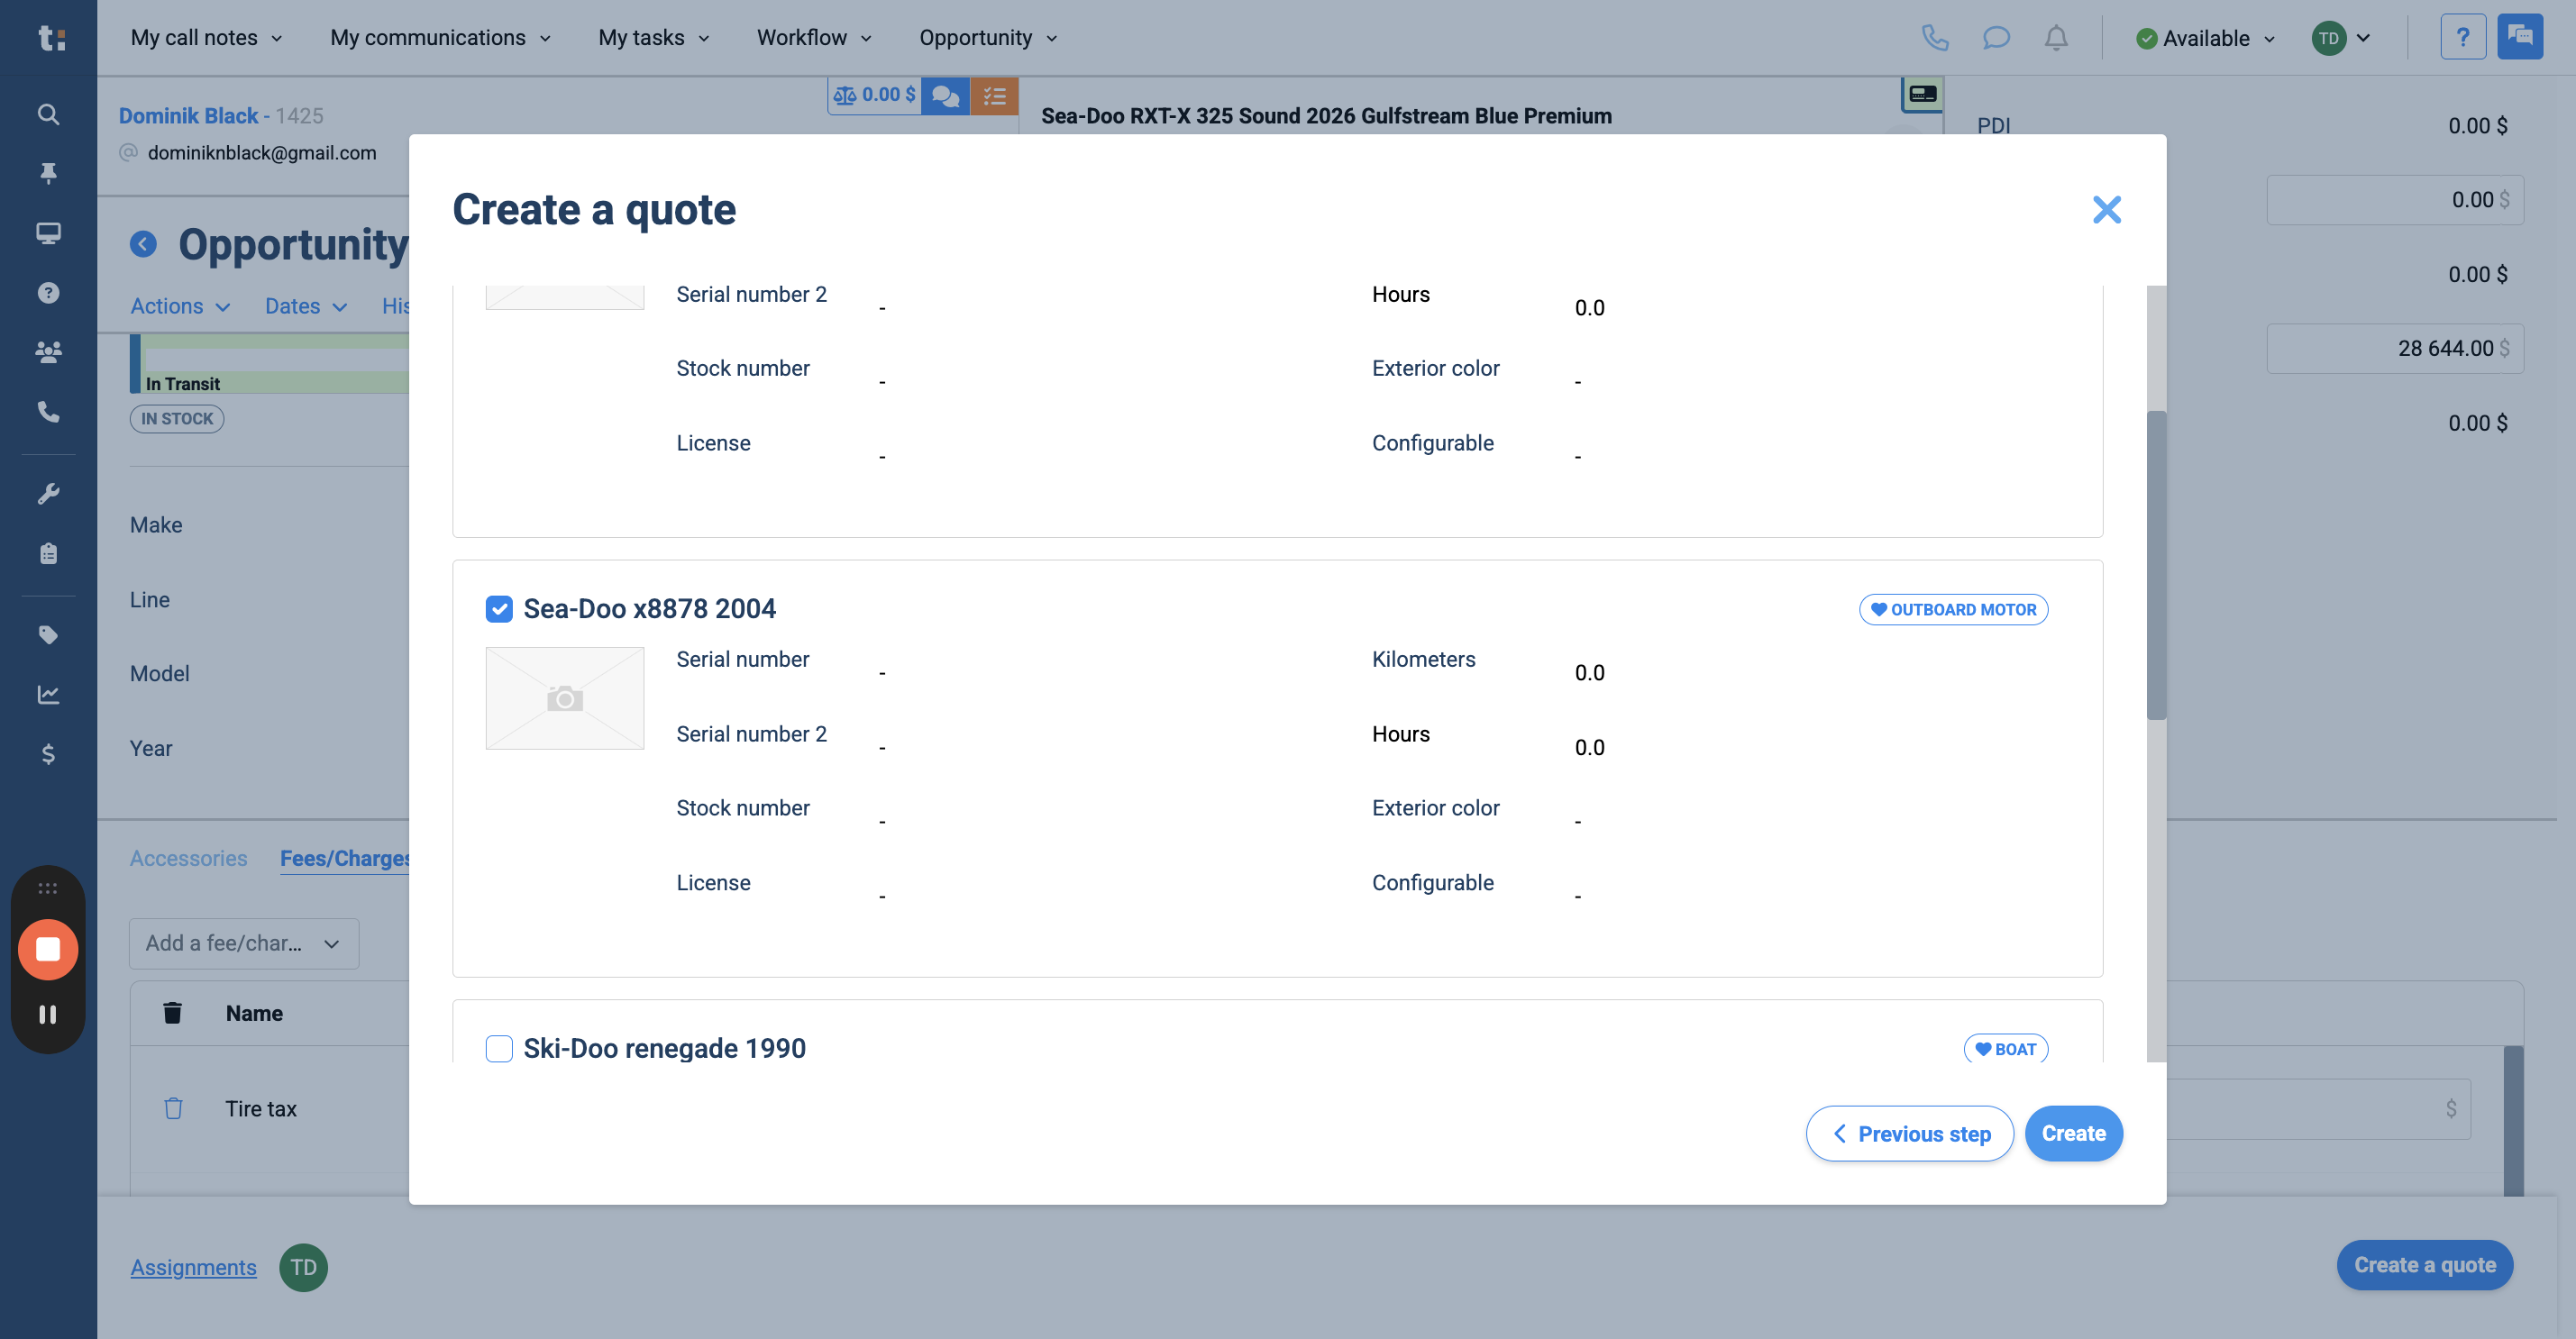
Now you can add a vehicle to trade. You can choose from the list in your Vehicle tab in the customer profile,
16
or create a new trade unit.

17
After completing this step, click Create.
18
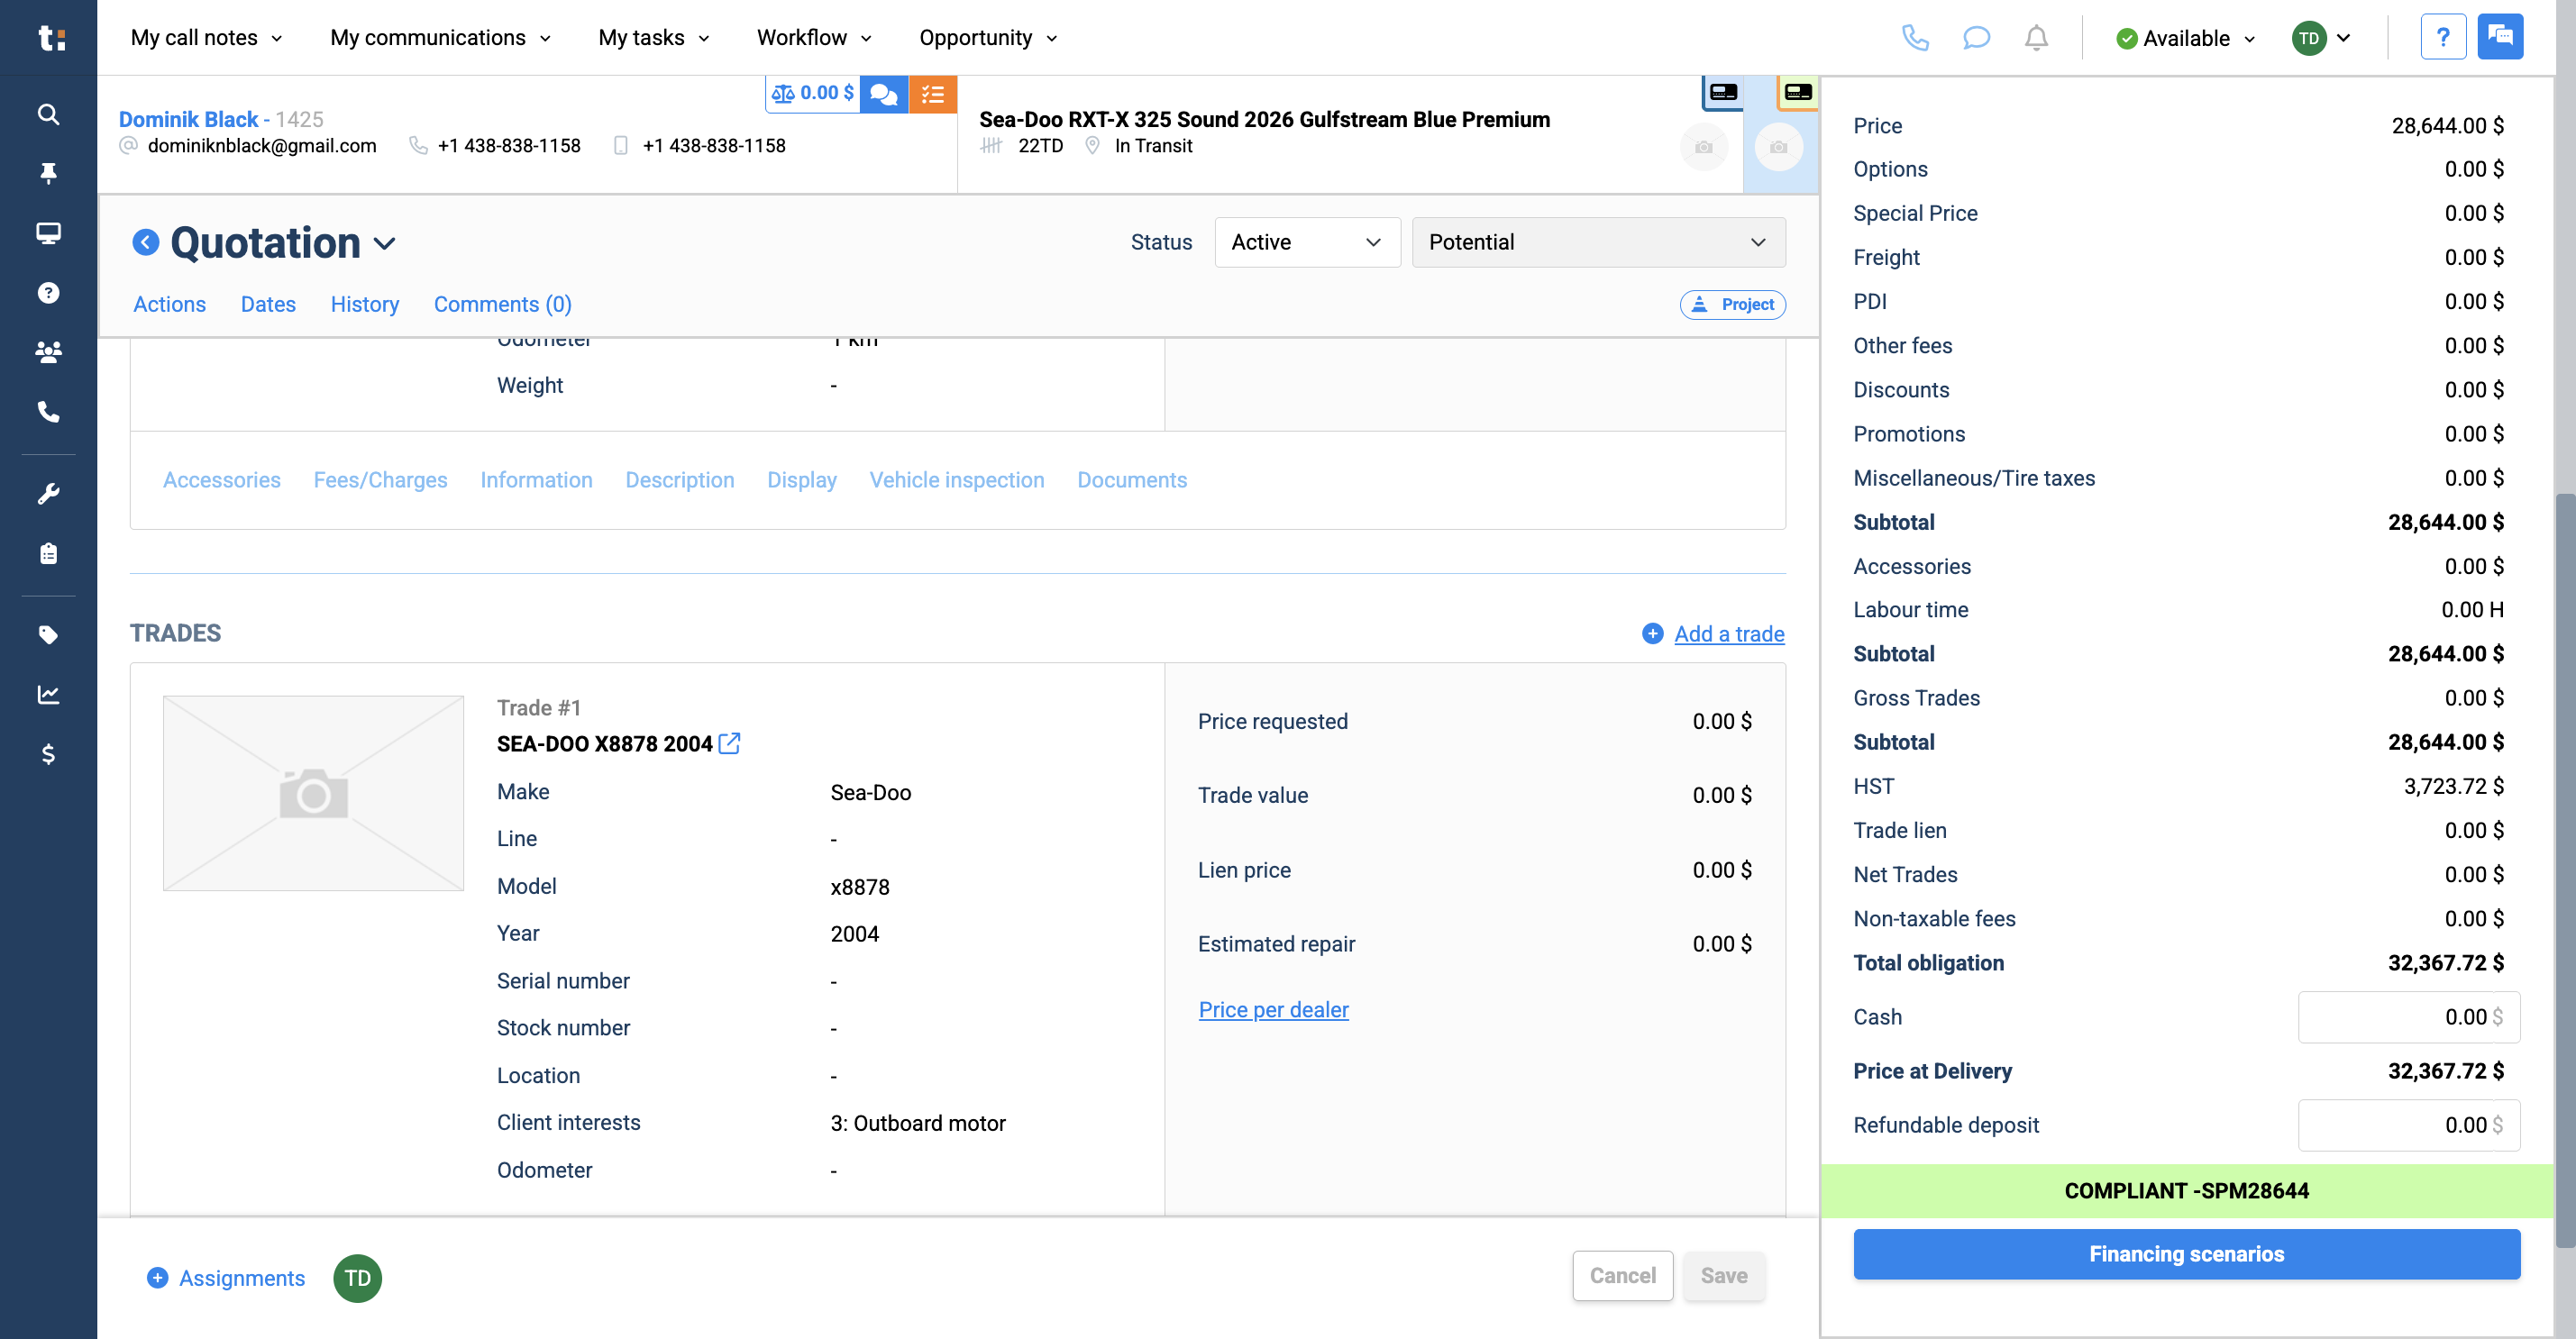
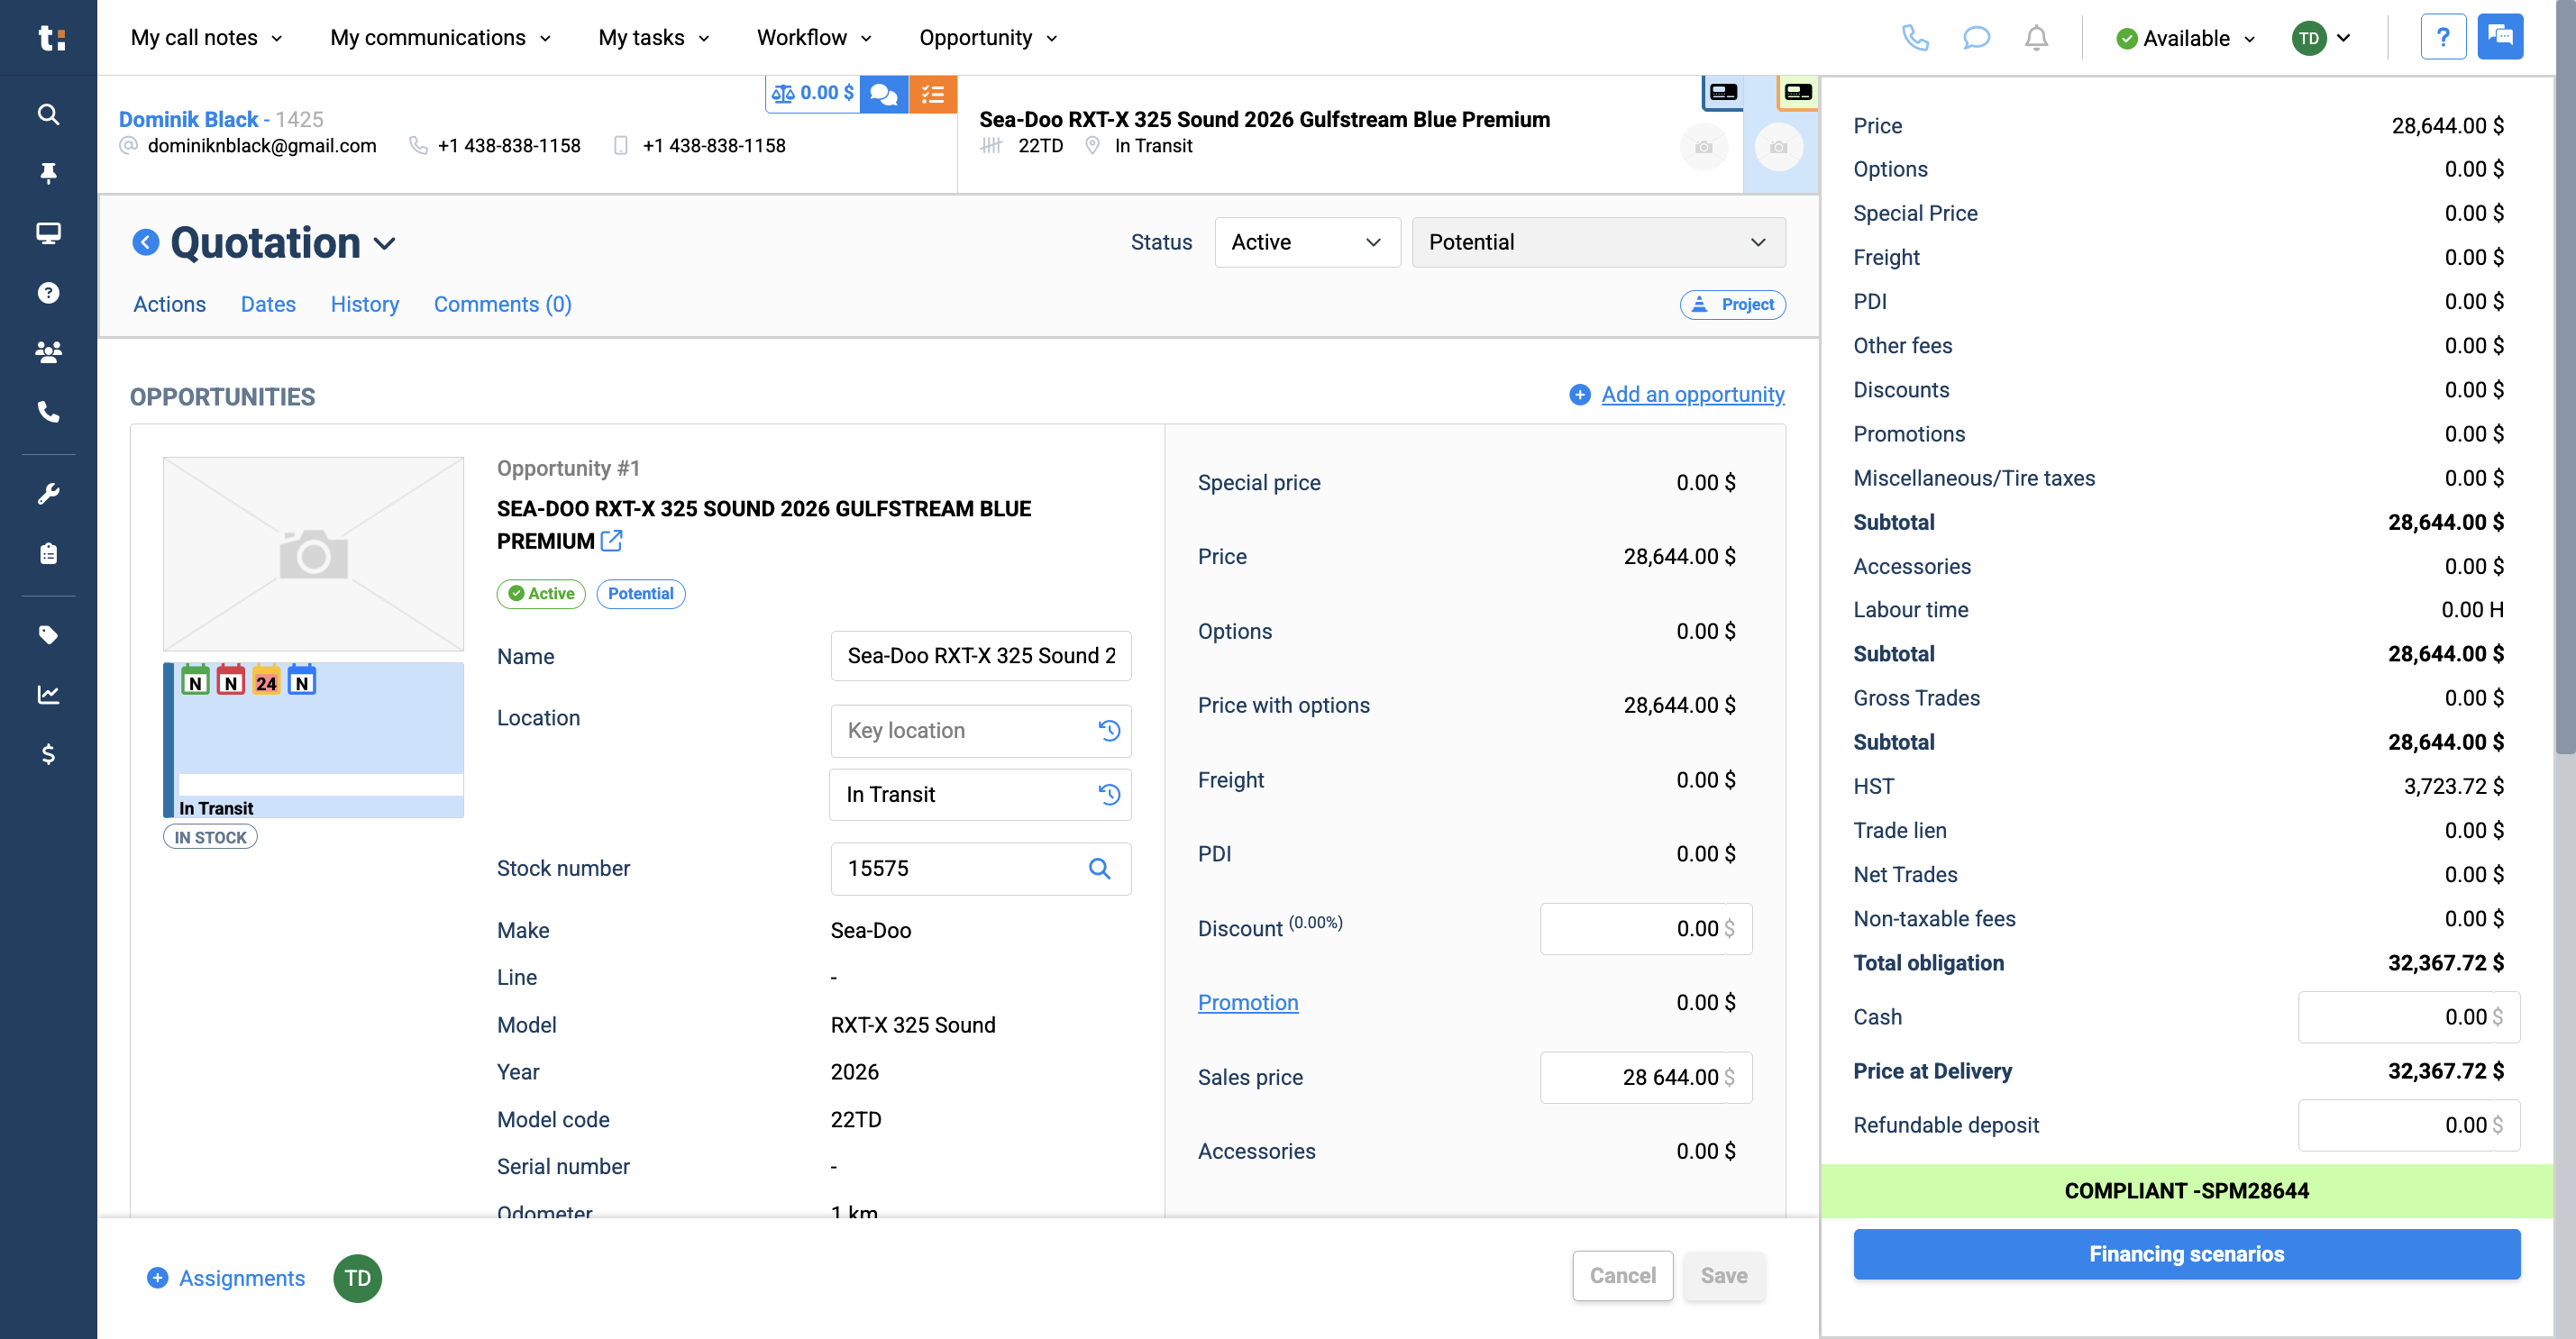
Your quote is now created, with your opportunity at the top.

19
Scroll down to see your trade at the bottom.
20
To send this to your customer, click Actions,
21
select Print PDF,
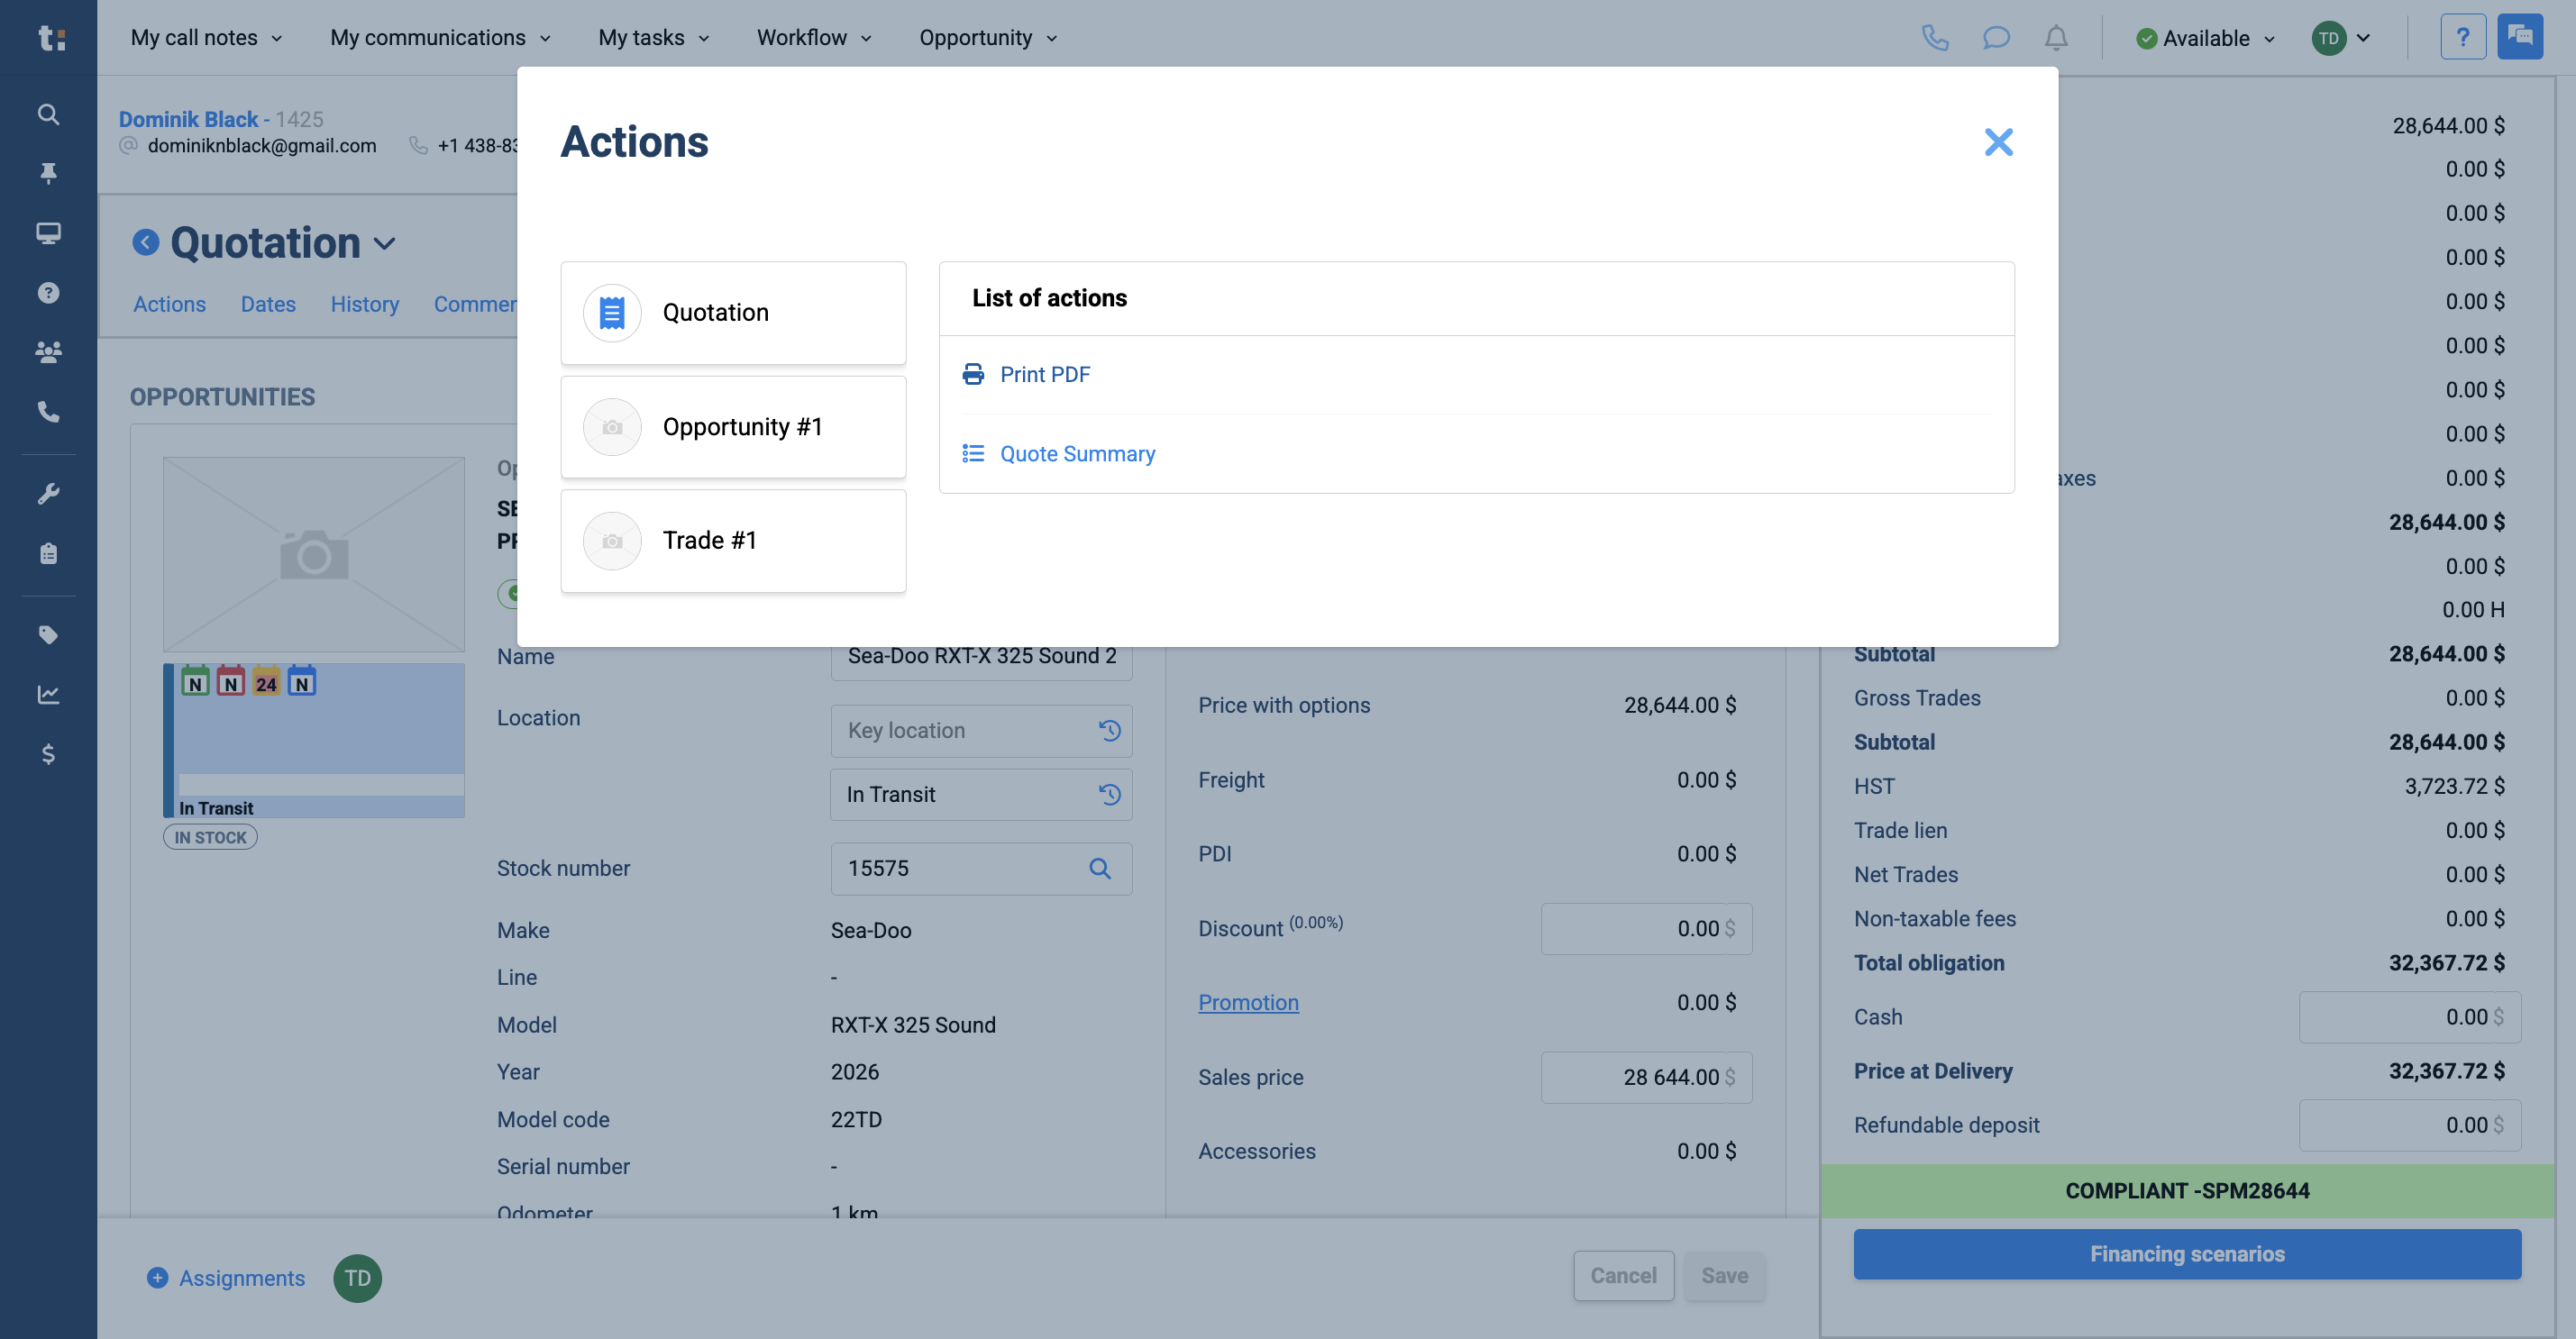
22
choose your quote,
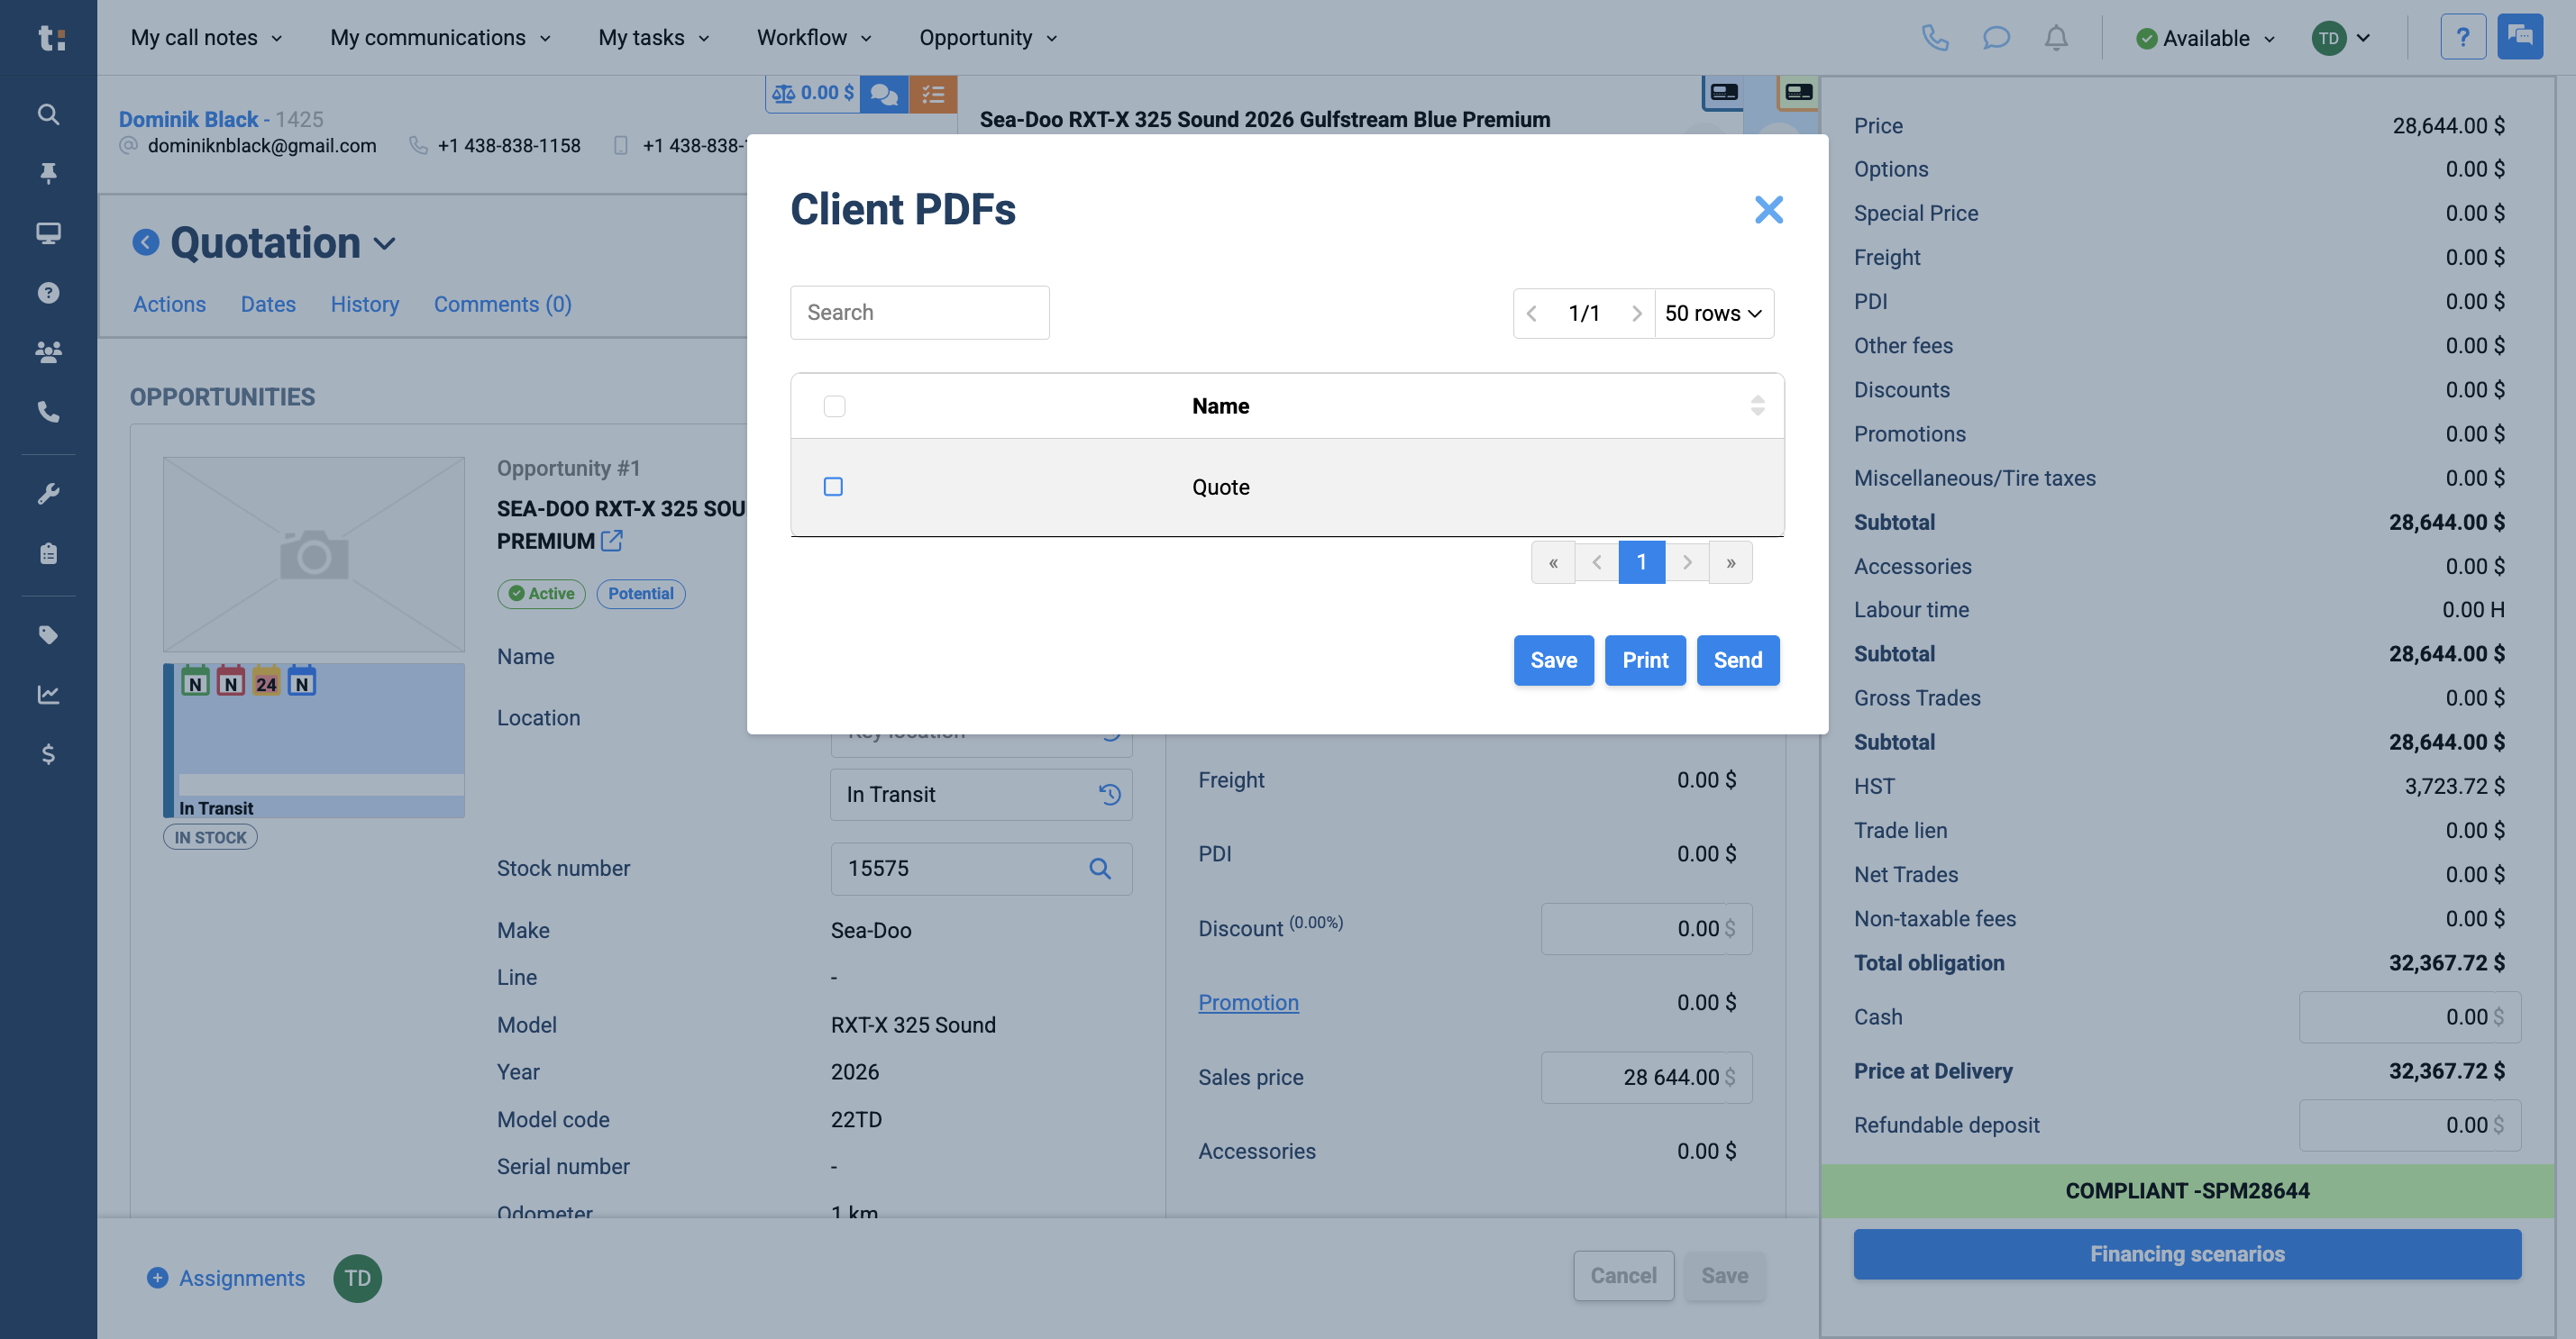
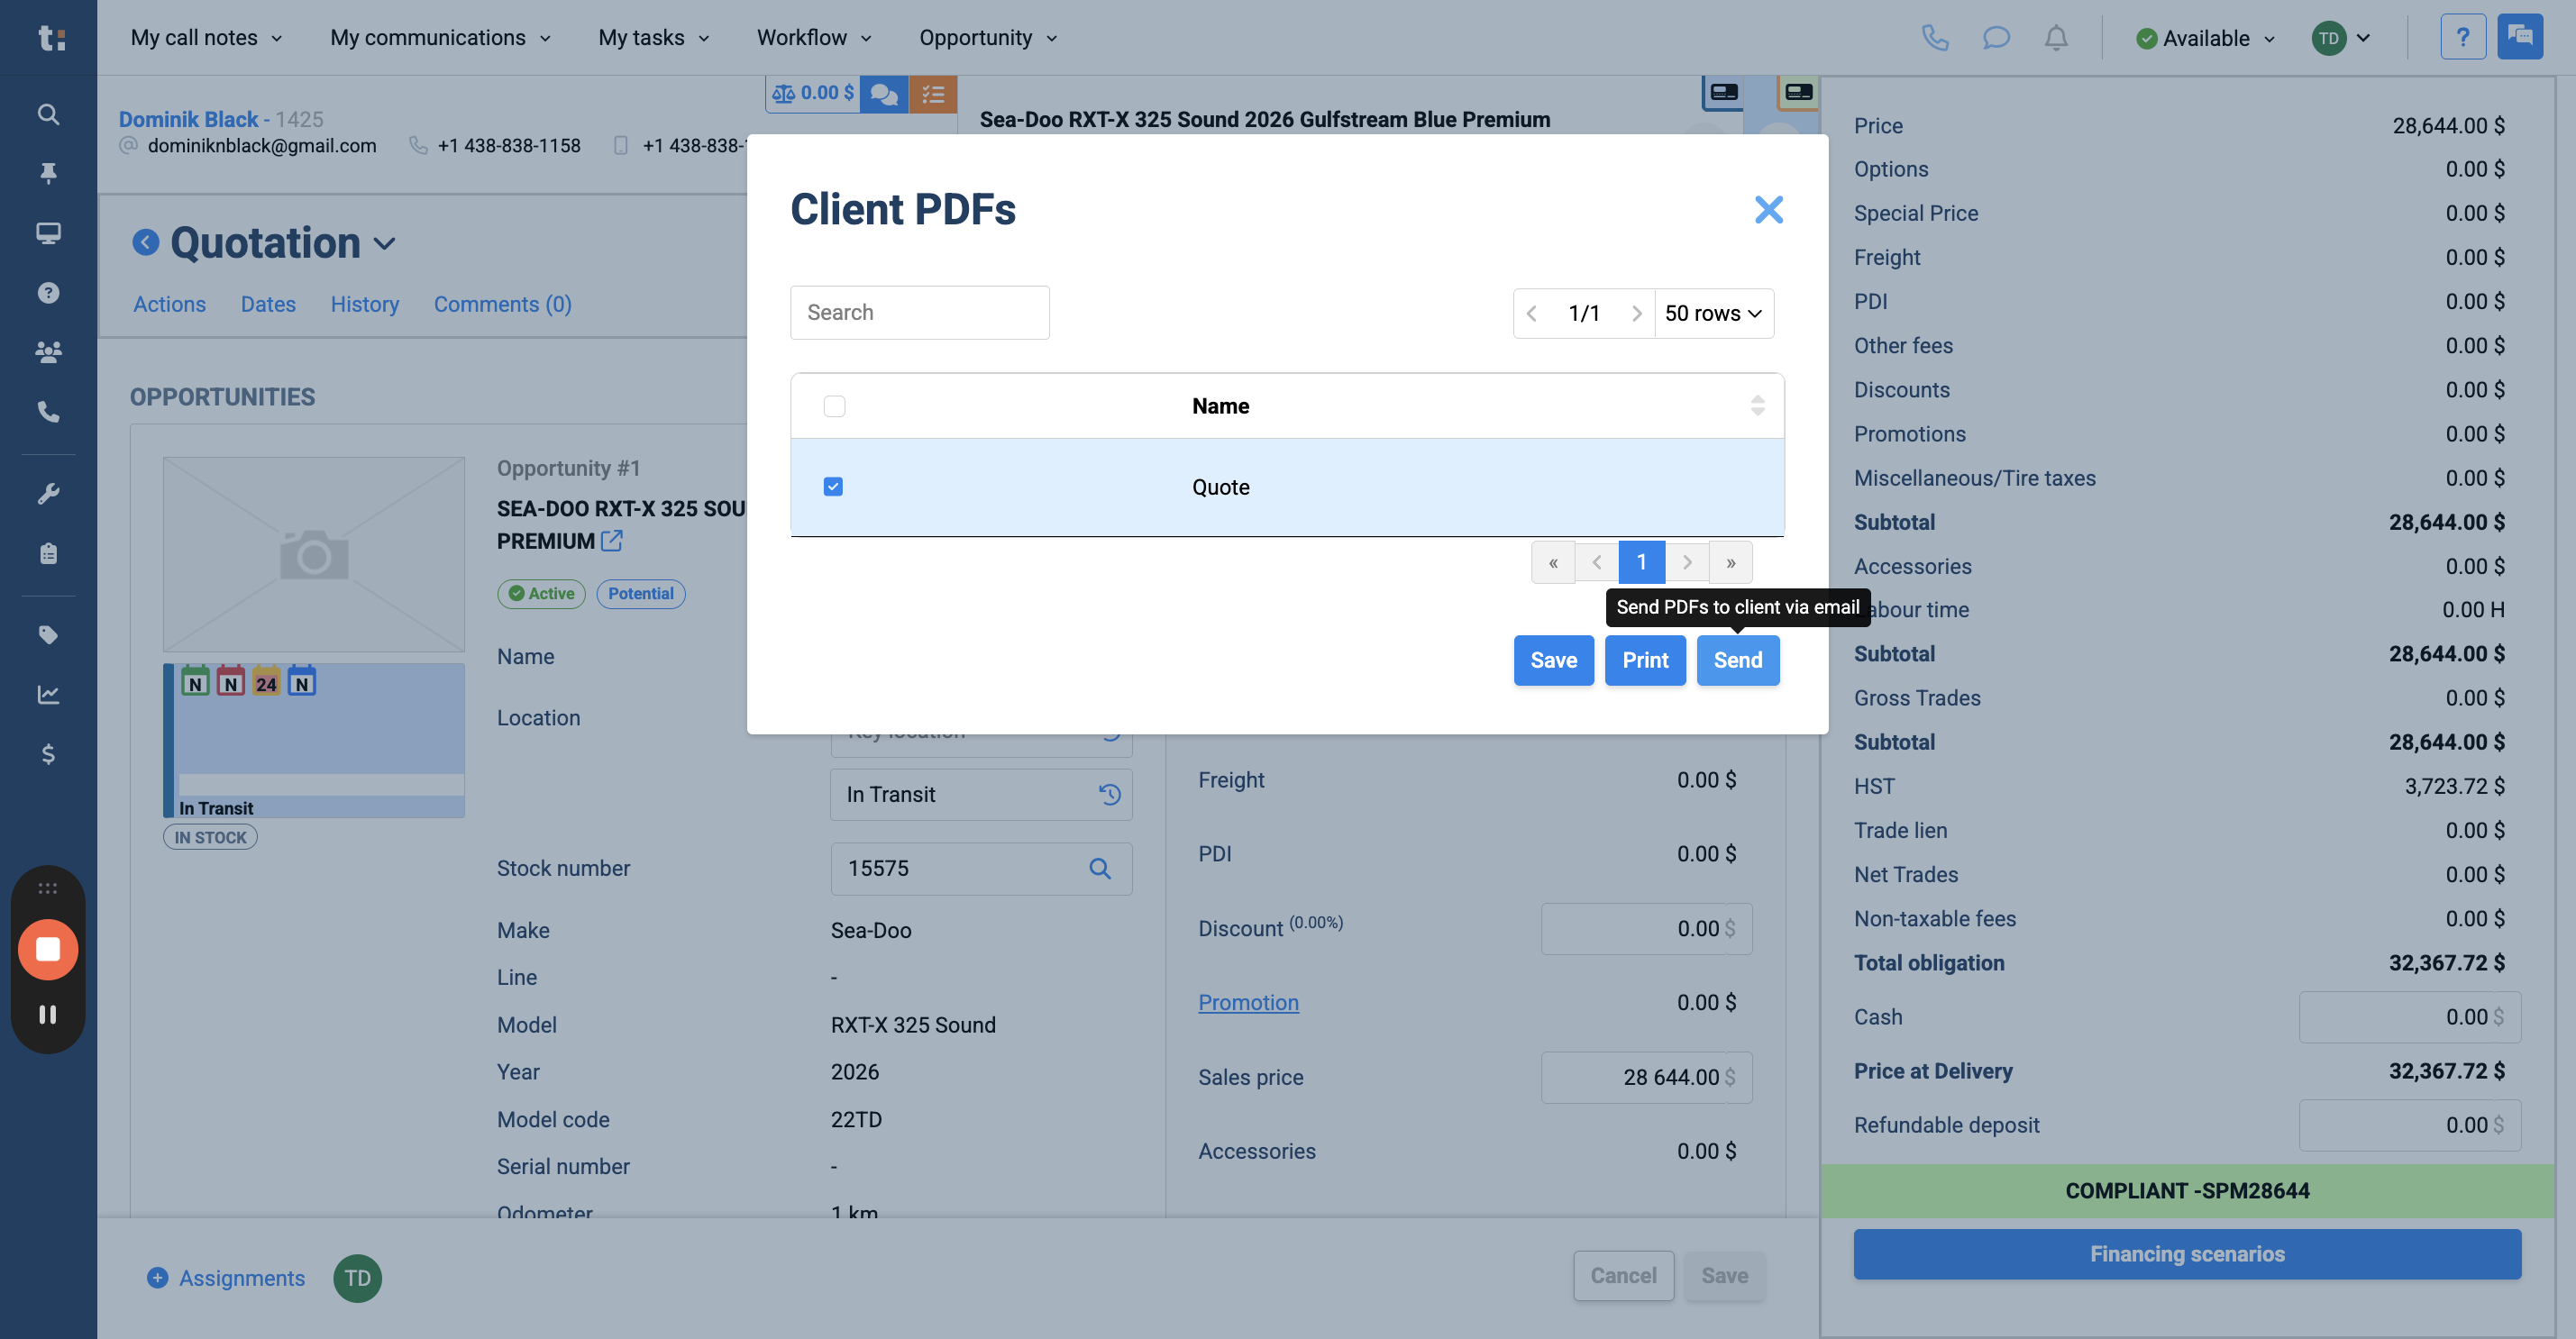
23
and click Send. That will email the PDF to the client.
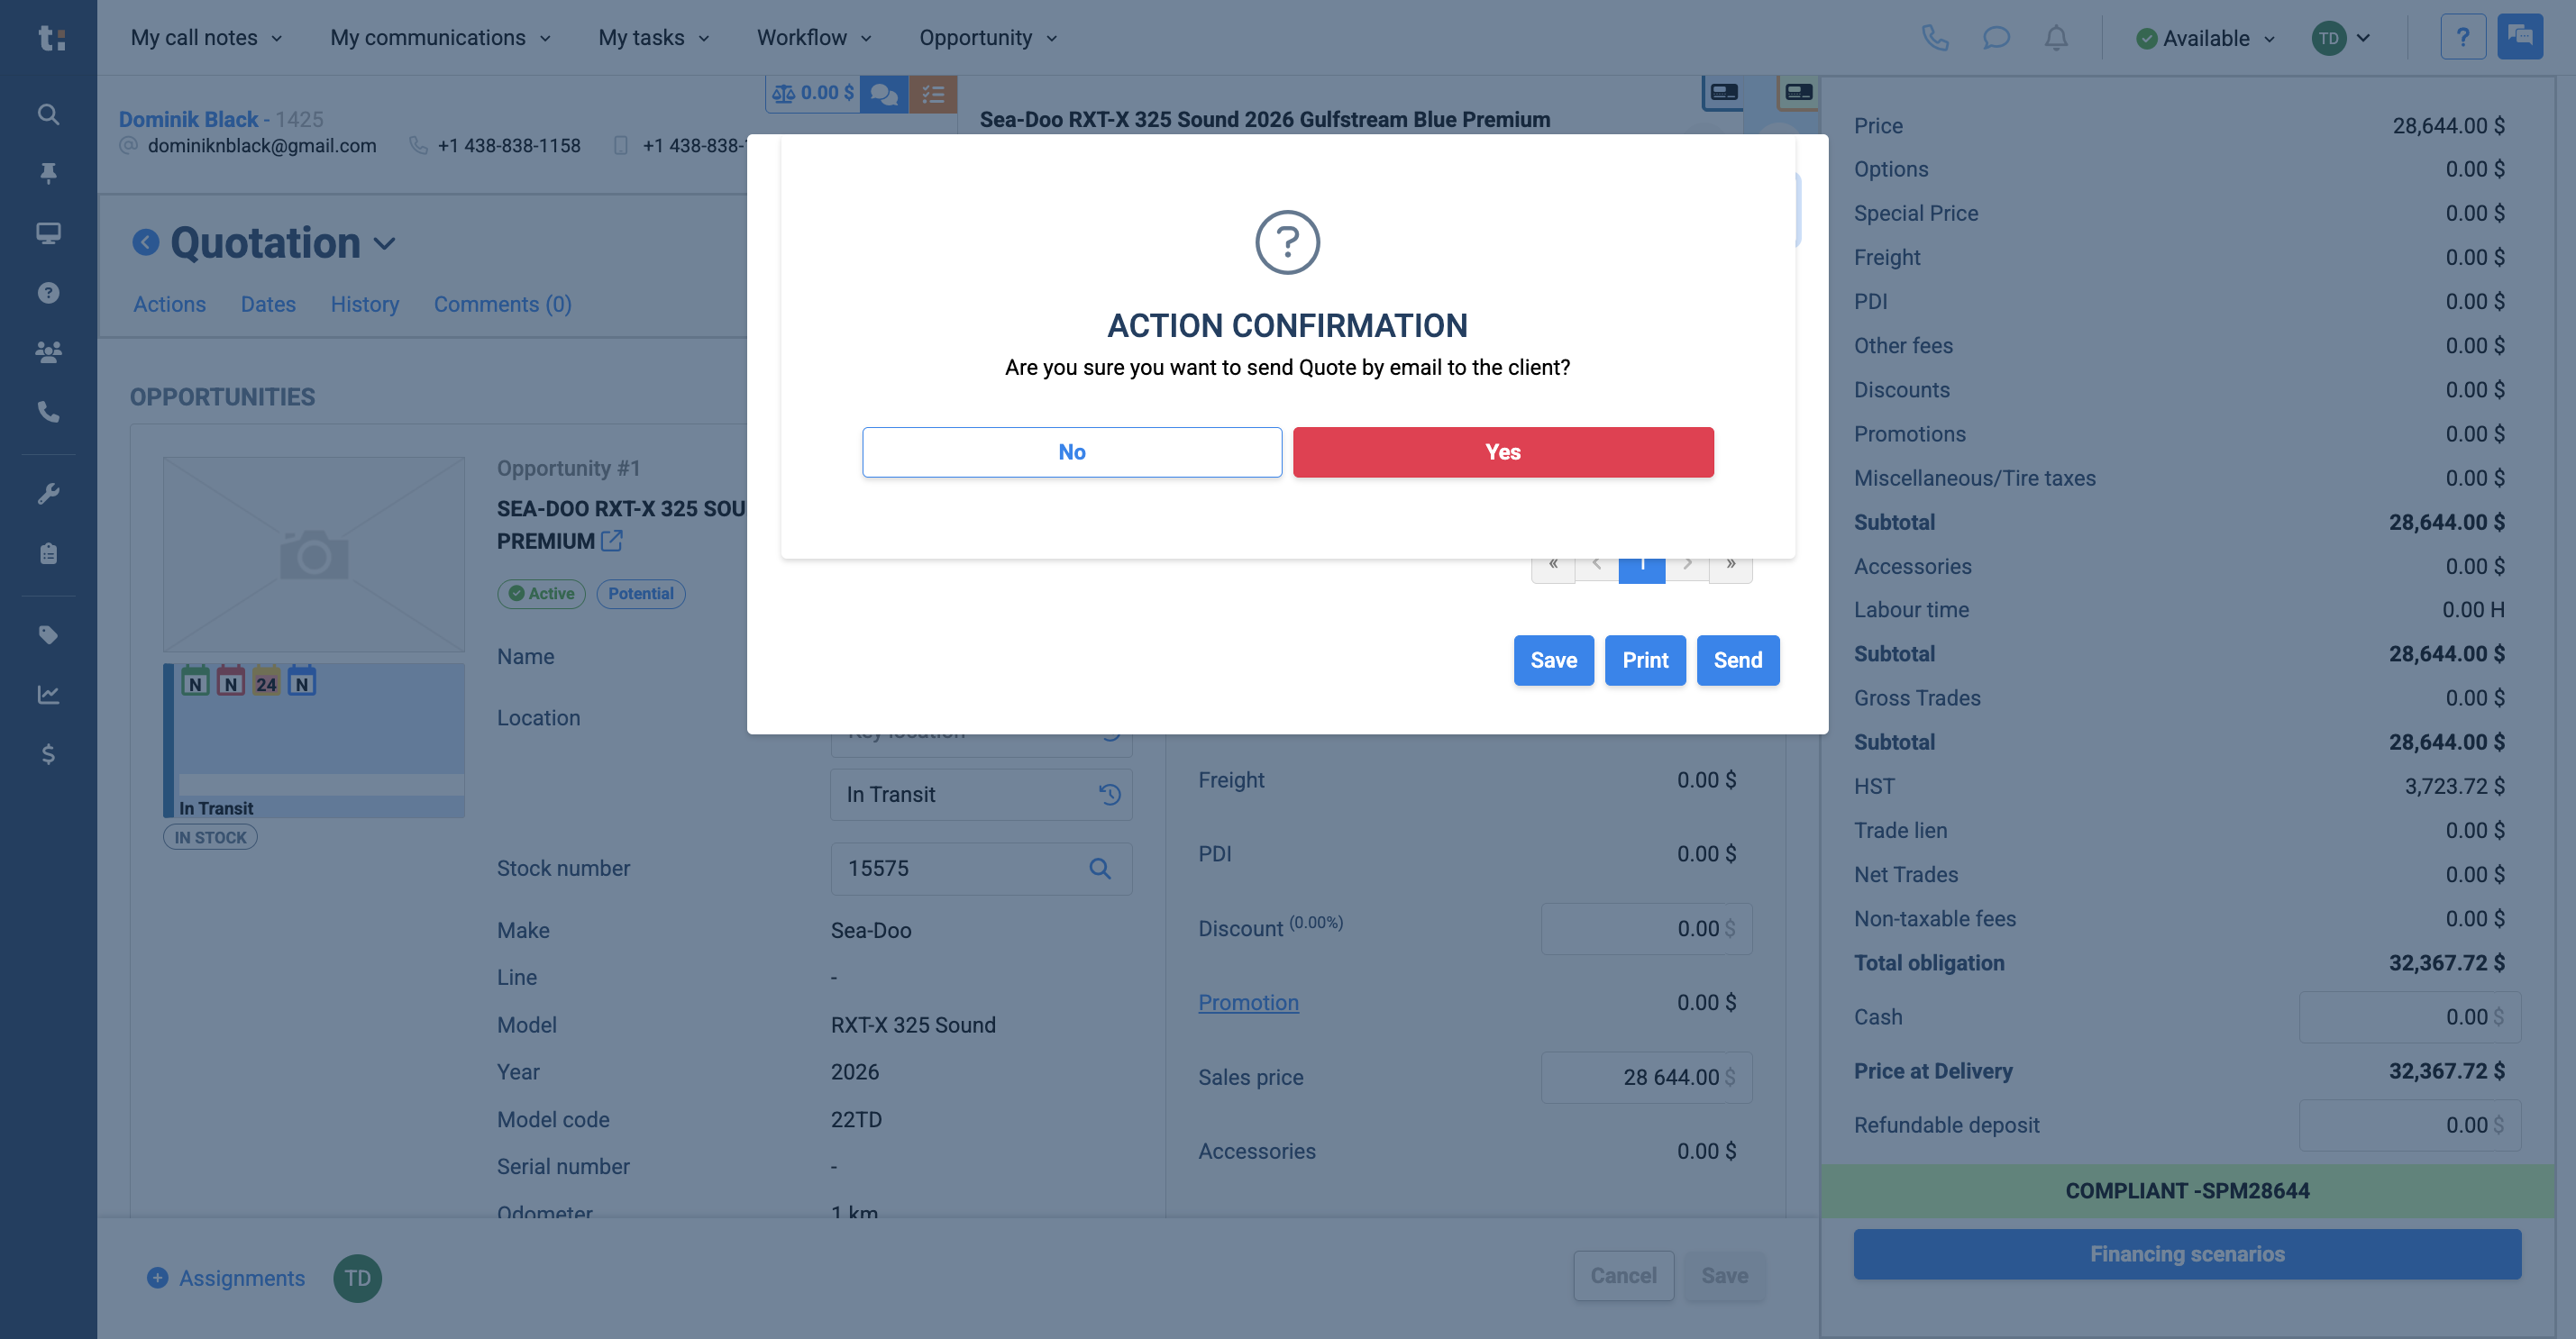
24
Select Yes.
25
If you still have questions after consulting this article, please feel free to contact our support team at: support@tractiondk.zohodesk.com