How to Create and Submit a Rolling Stocktake
Learn how to create, assign, and manually complete a daily or weekly stocktake using the inventory management software.
By Ben Fotheringham
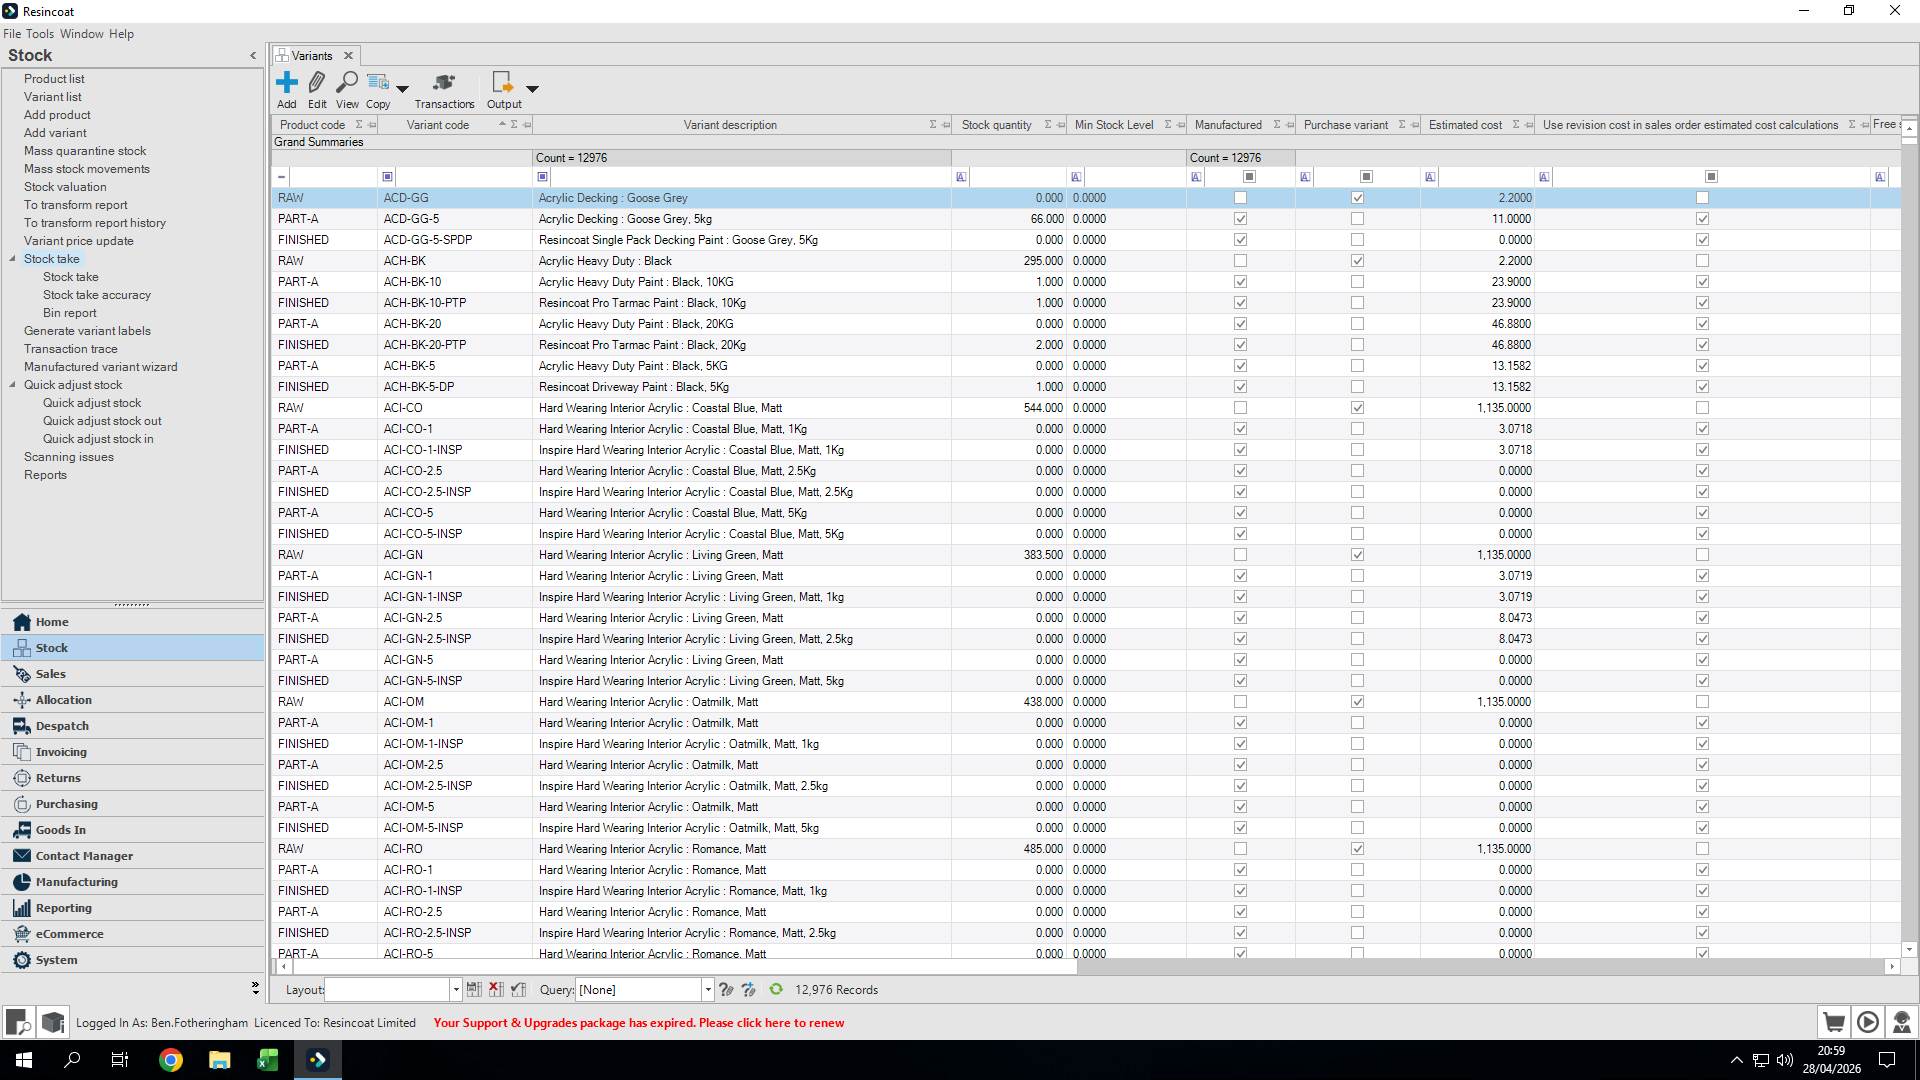
Creating a Stocktake
1
Click Stock take in the navigation menu.
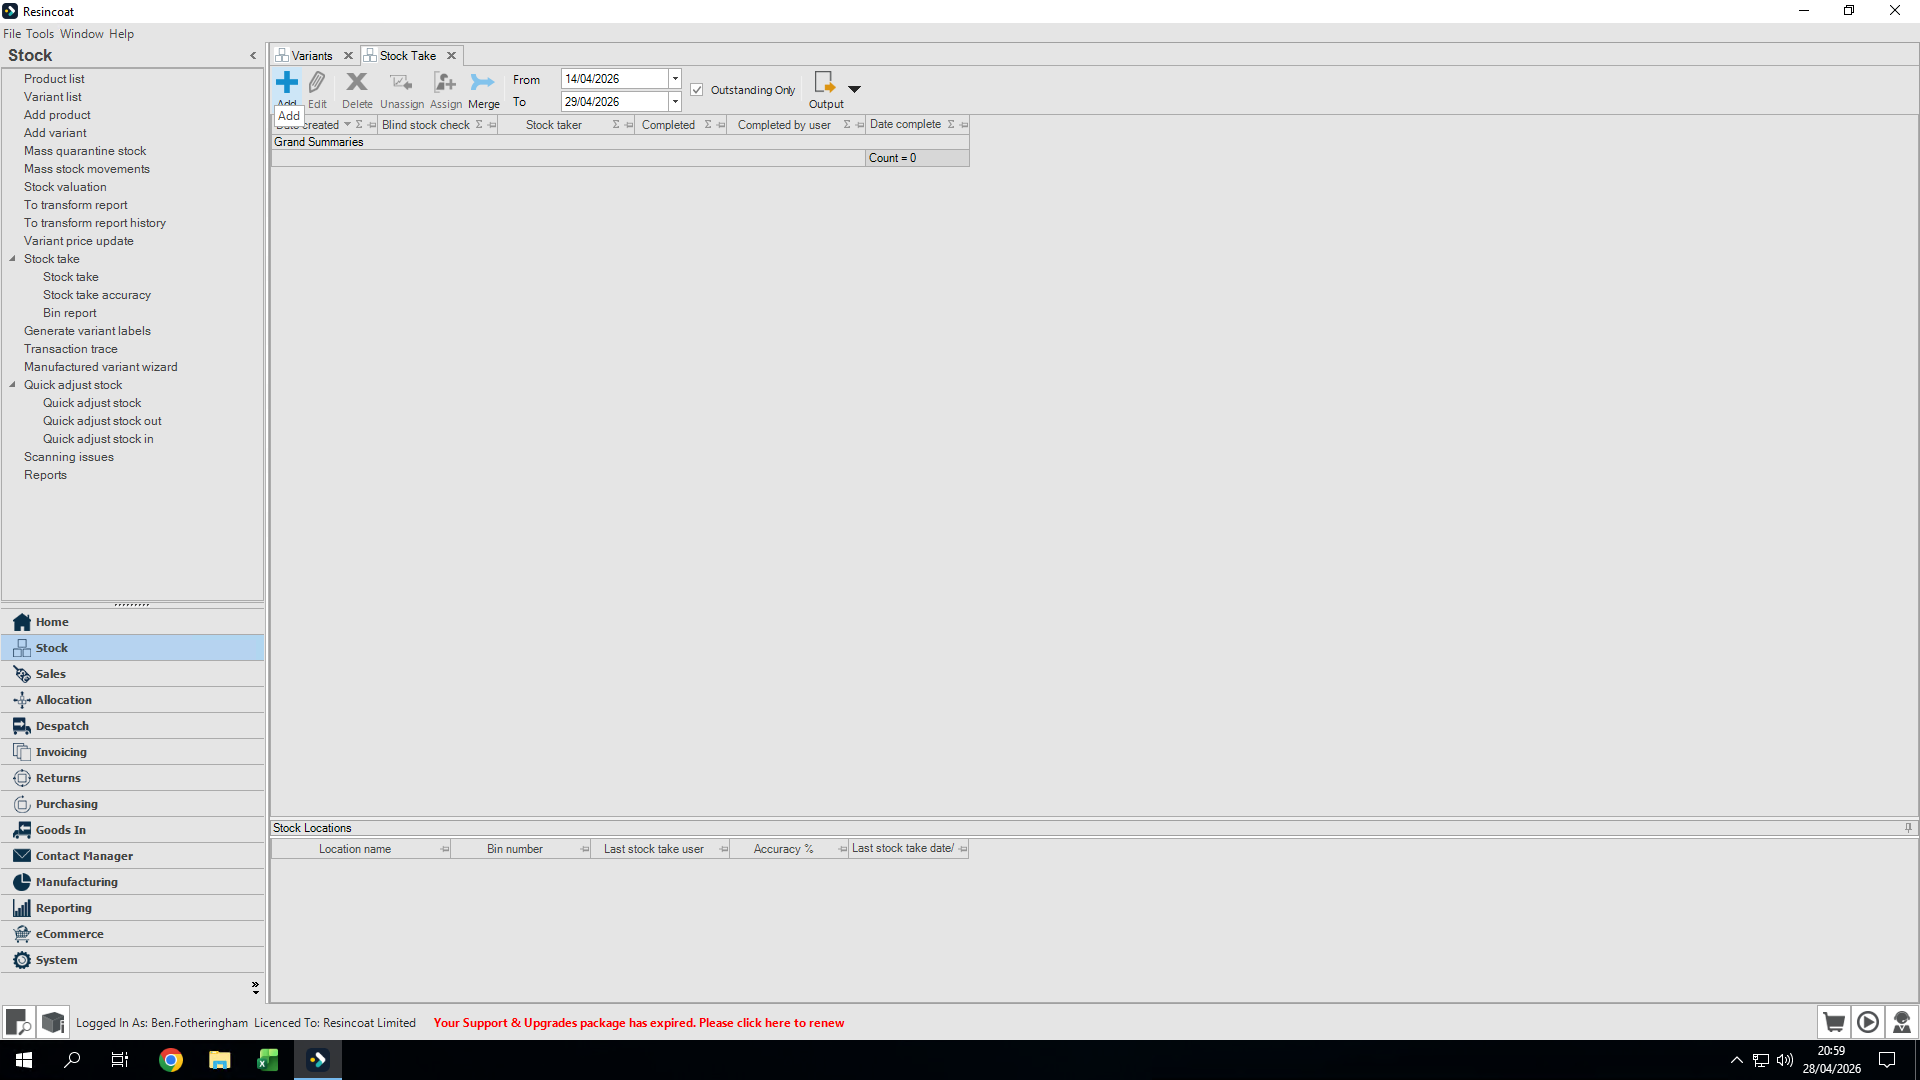
2
Click Add in the toolbar to create a new stocktake.
3
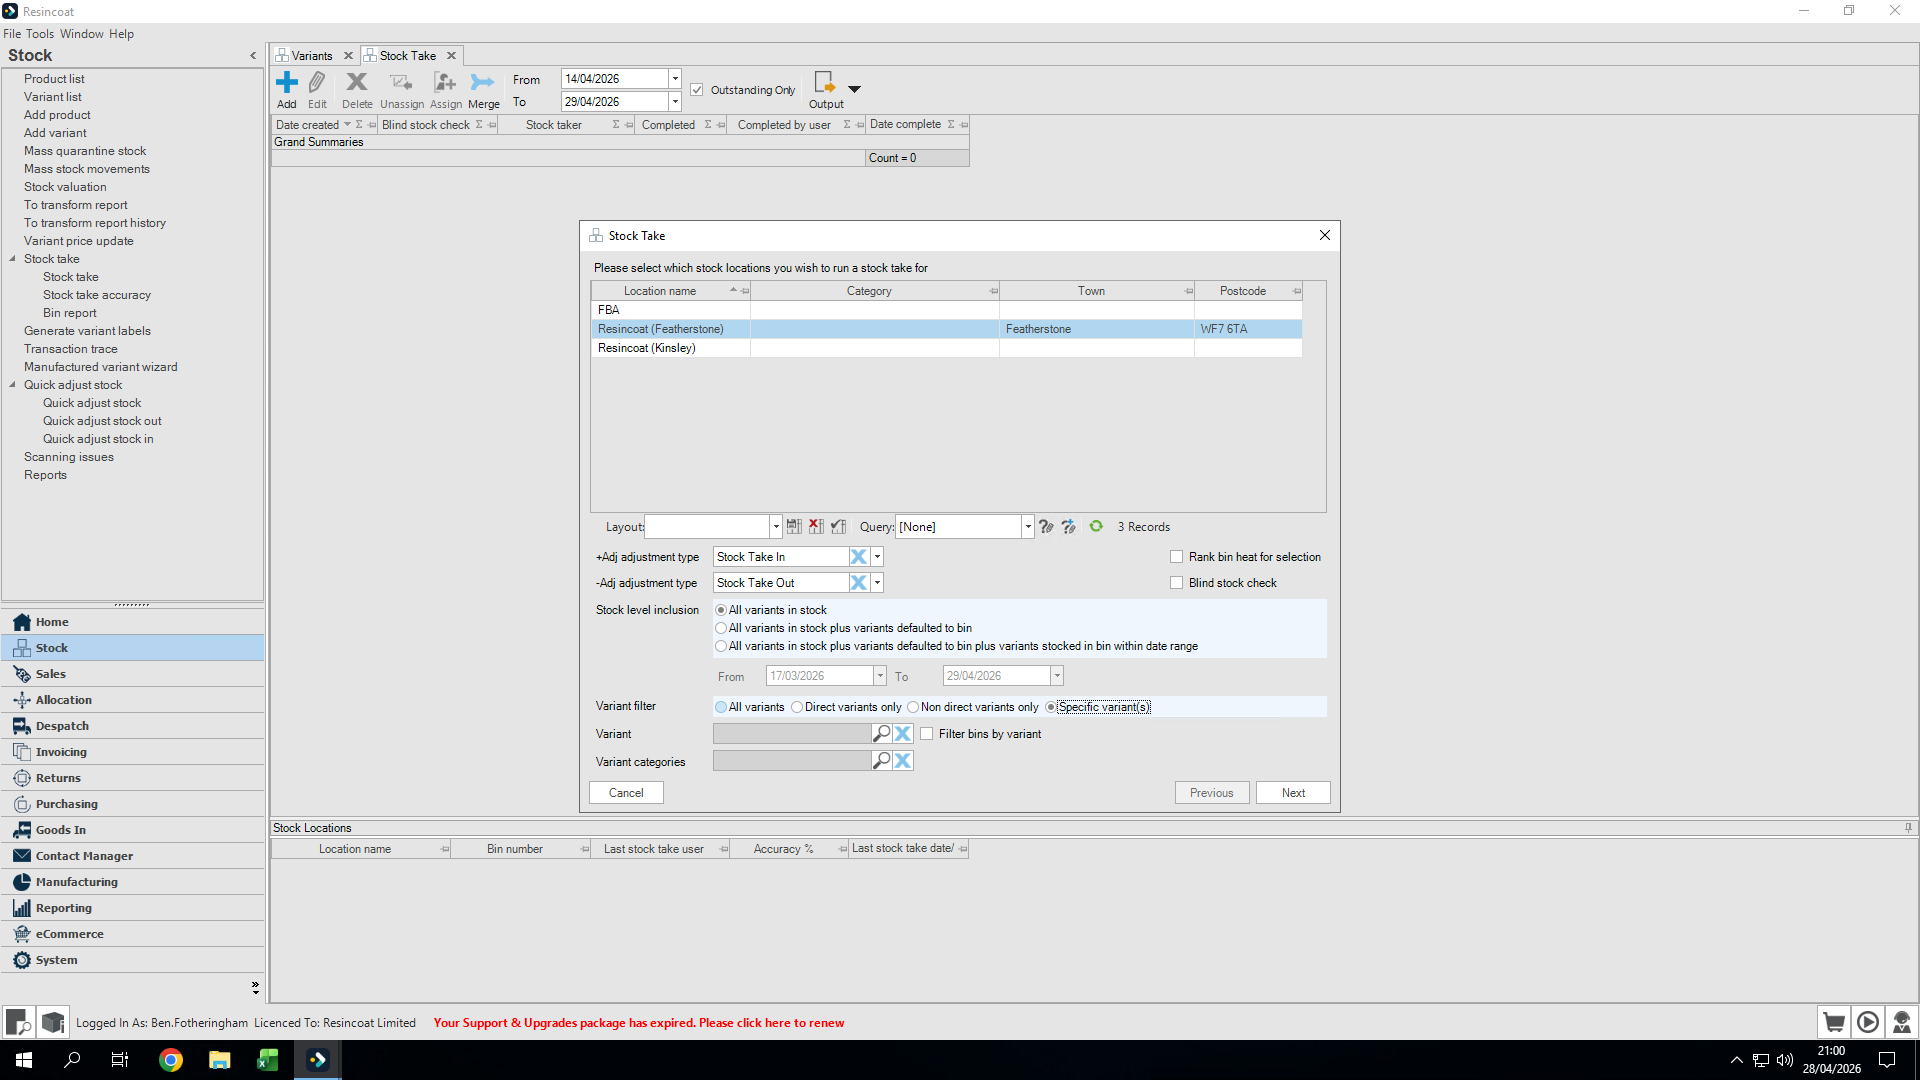
Select the branch or location for the stocktake (e.g., Featherstone).
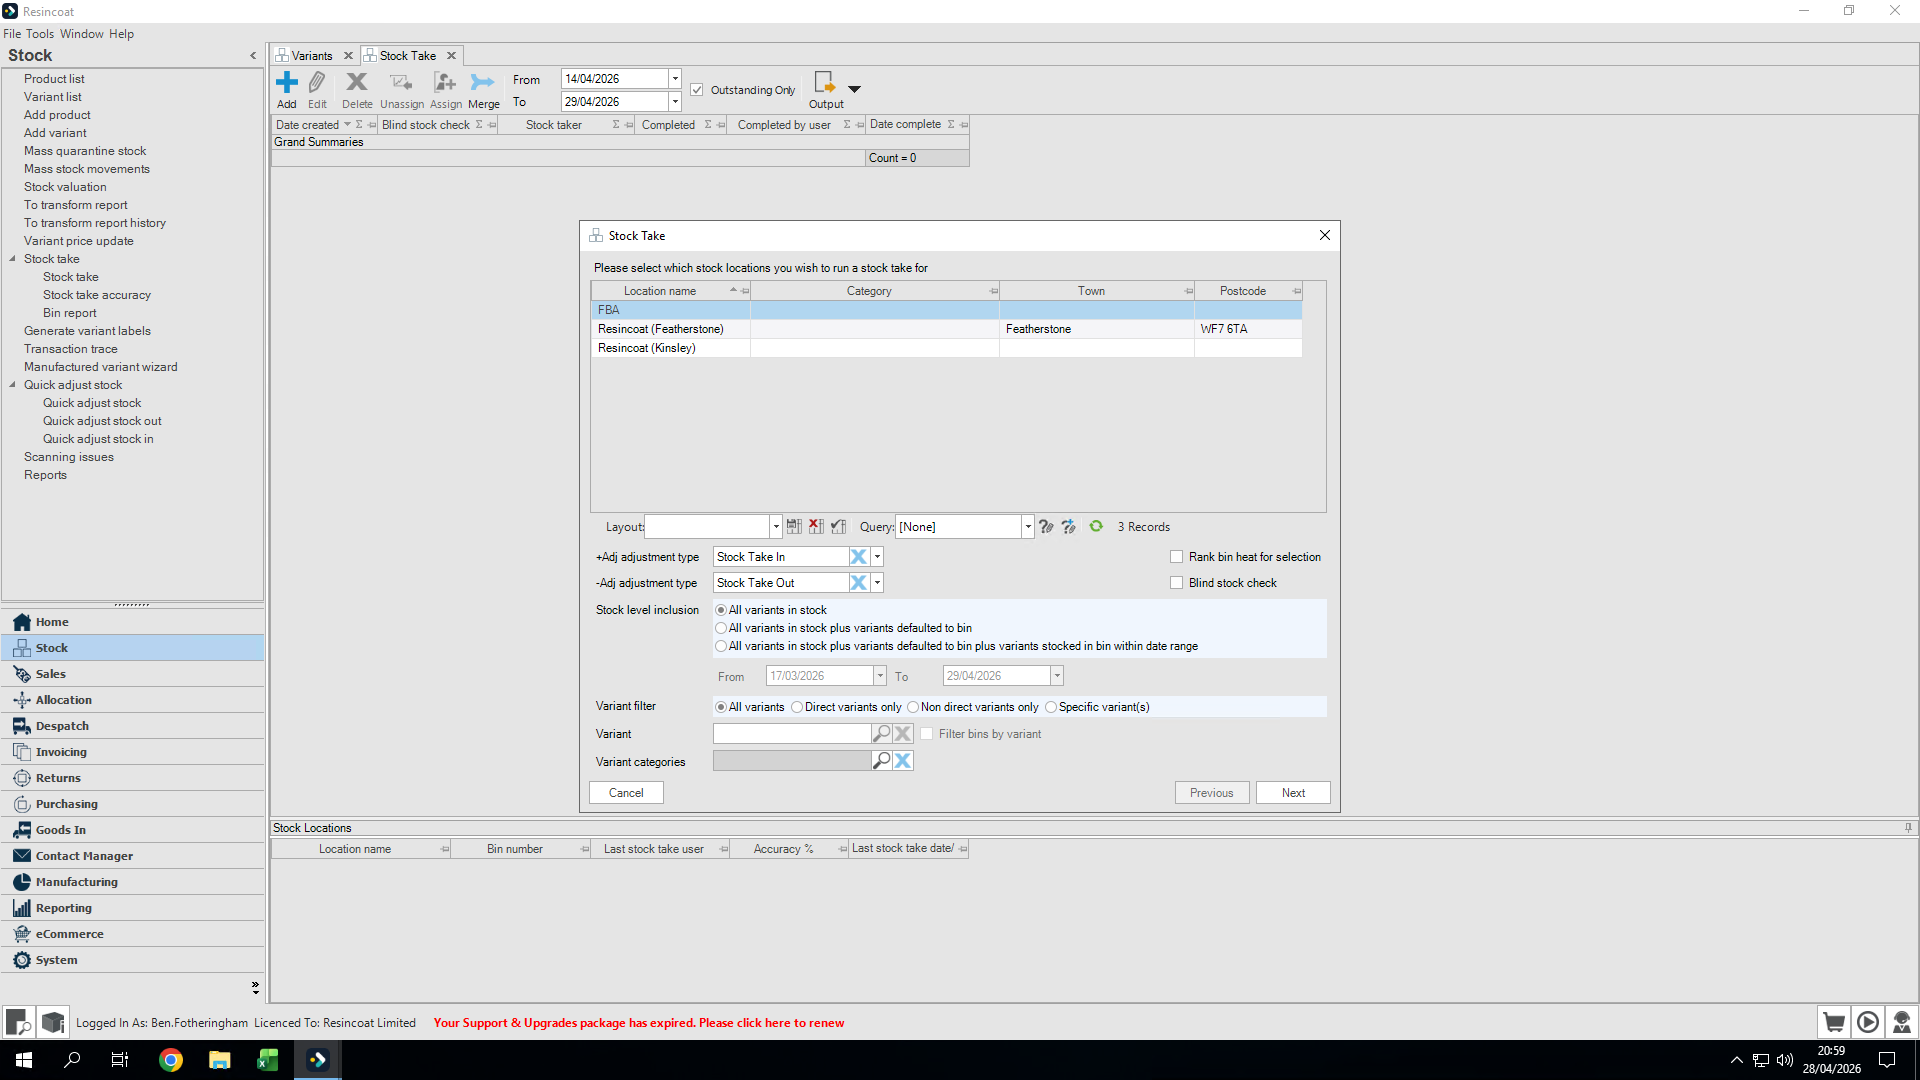
4
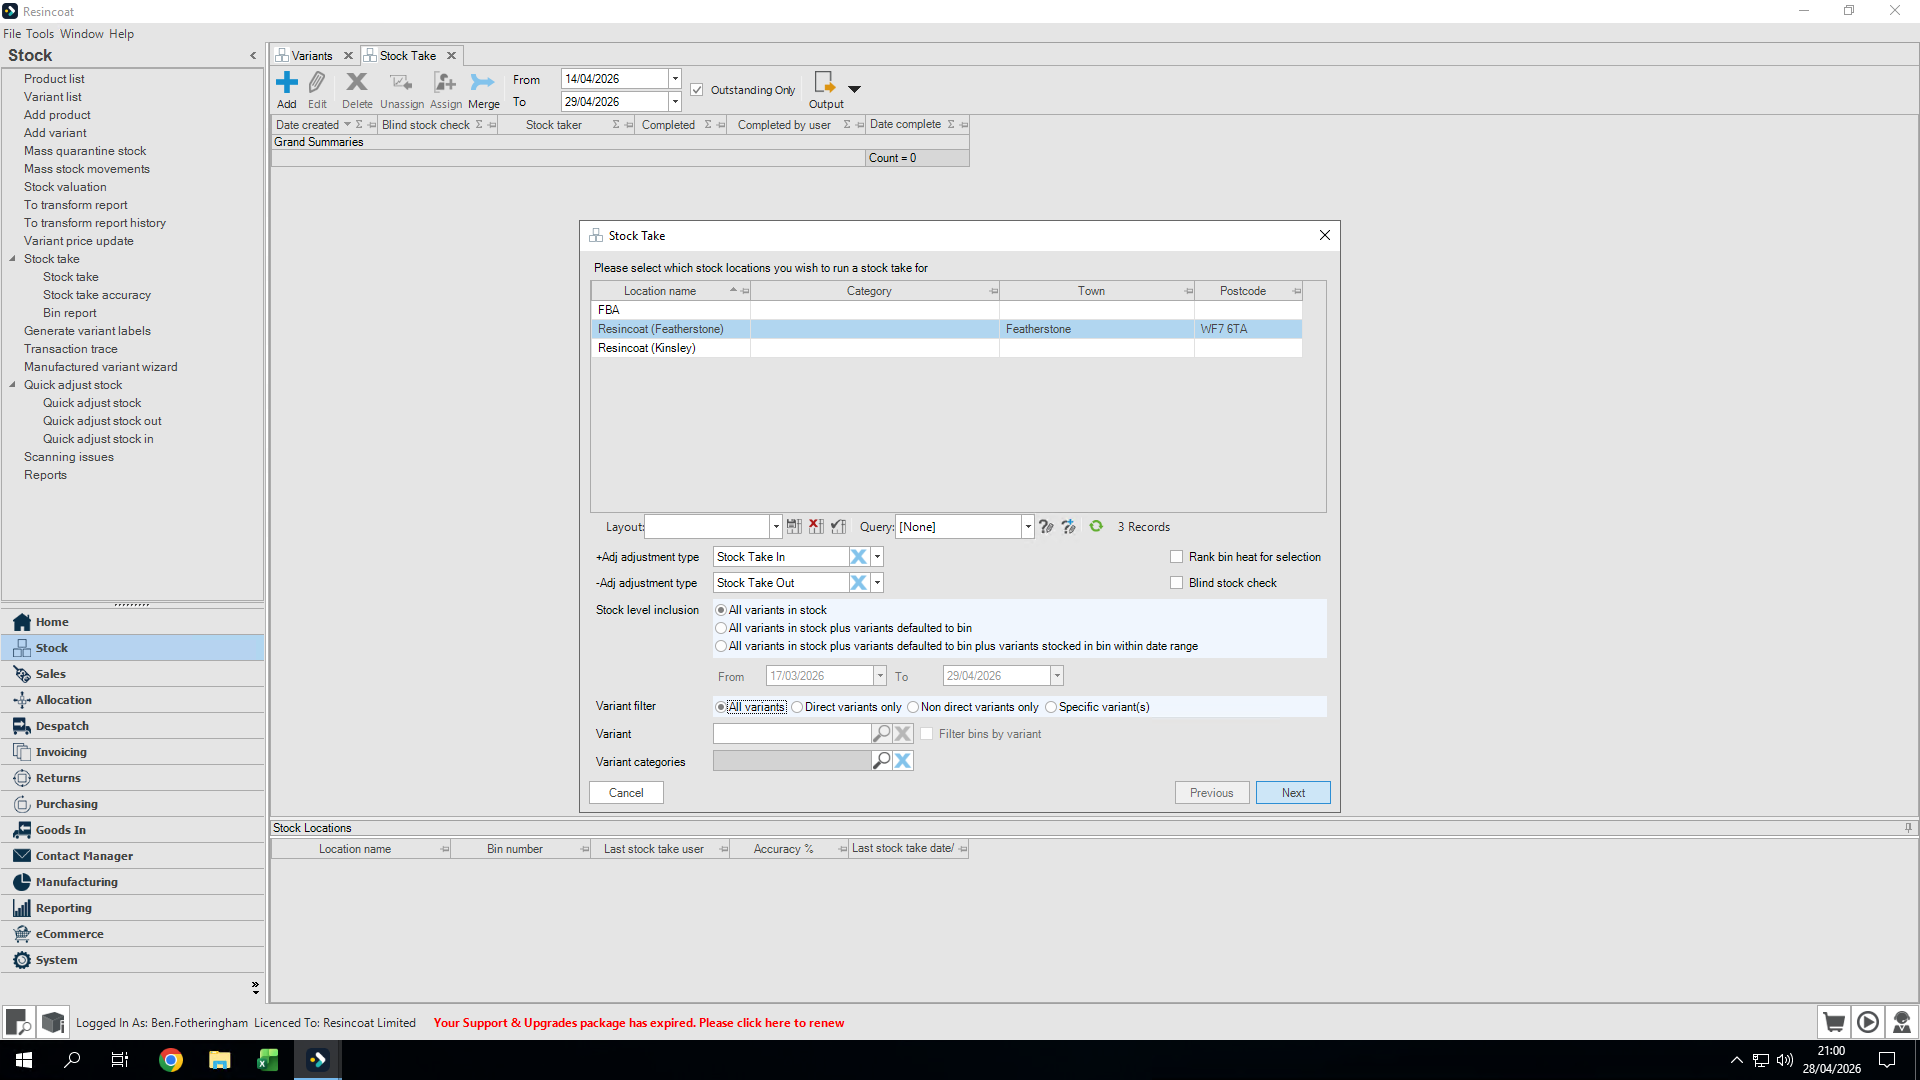
Choose your variant inclusion preference. To include all inventory items, select All variants.
5
Click Next.
Selecting Bins and Assigning
6
Type a bin number into the search field to filter the location list.
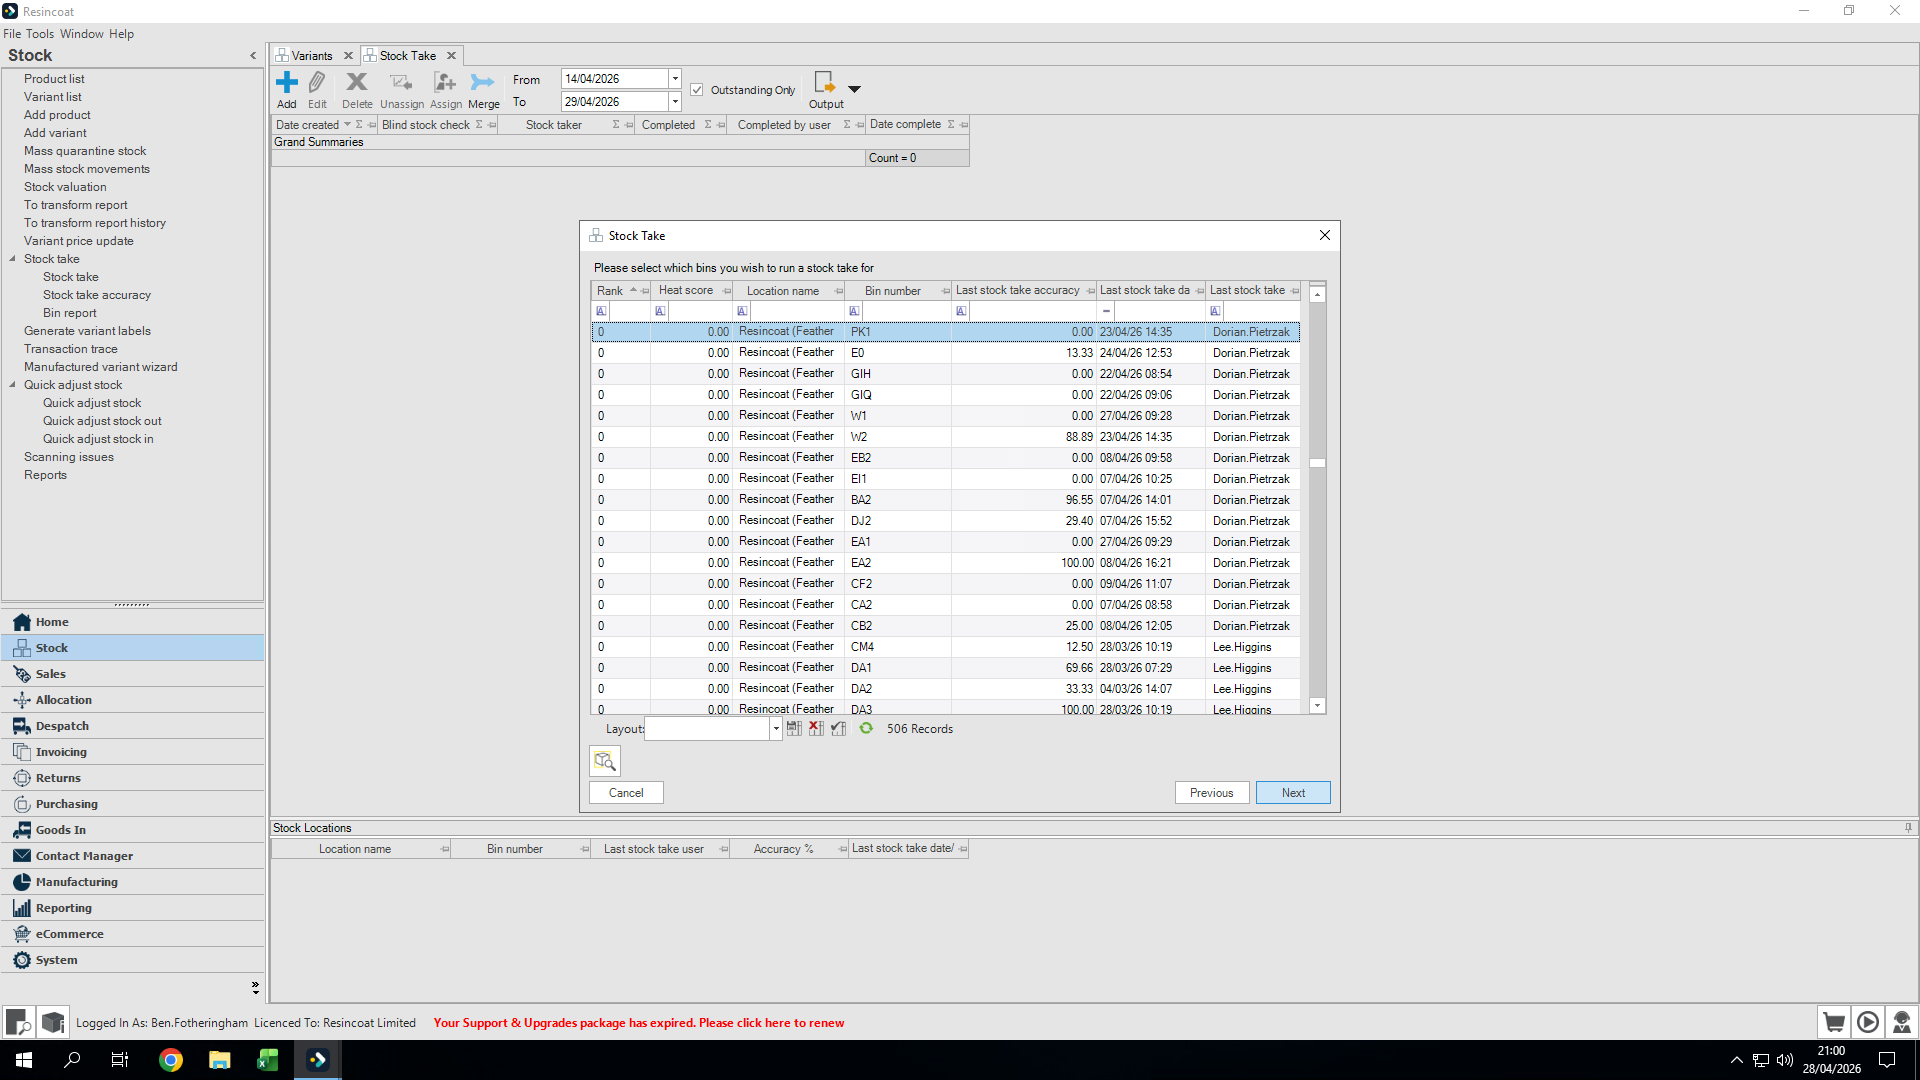
7
Select the desired bin from the list.
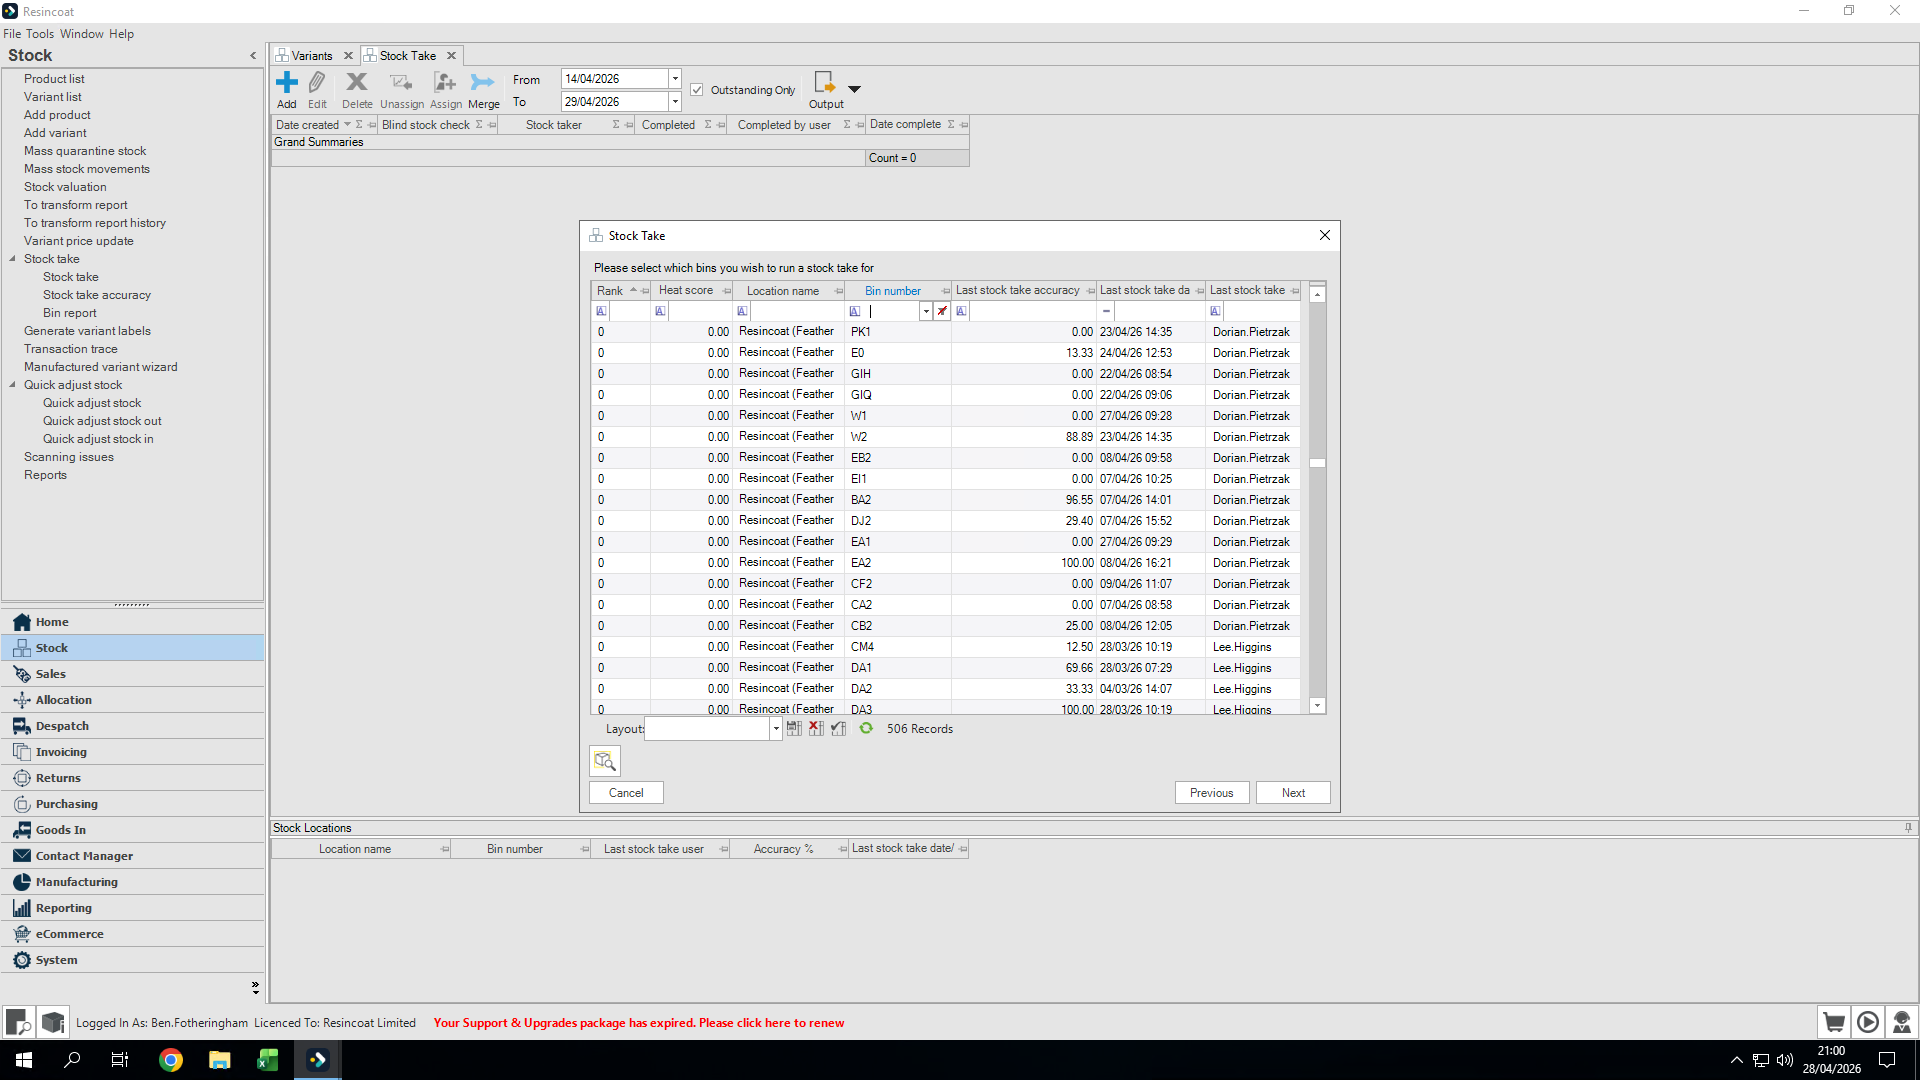
8
Click Next.
9
Click on a user tile to assign the stocktake to them.

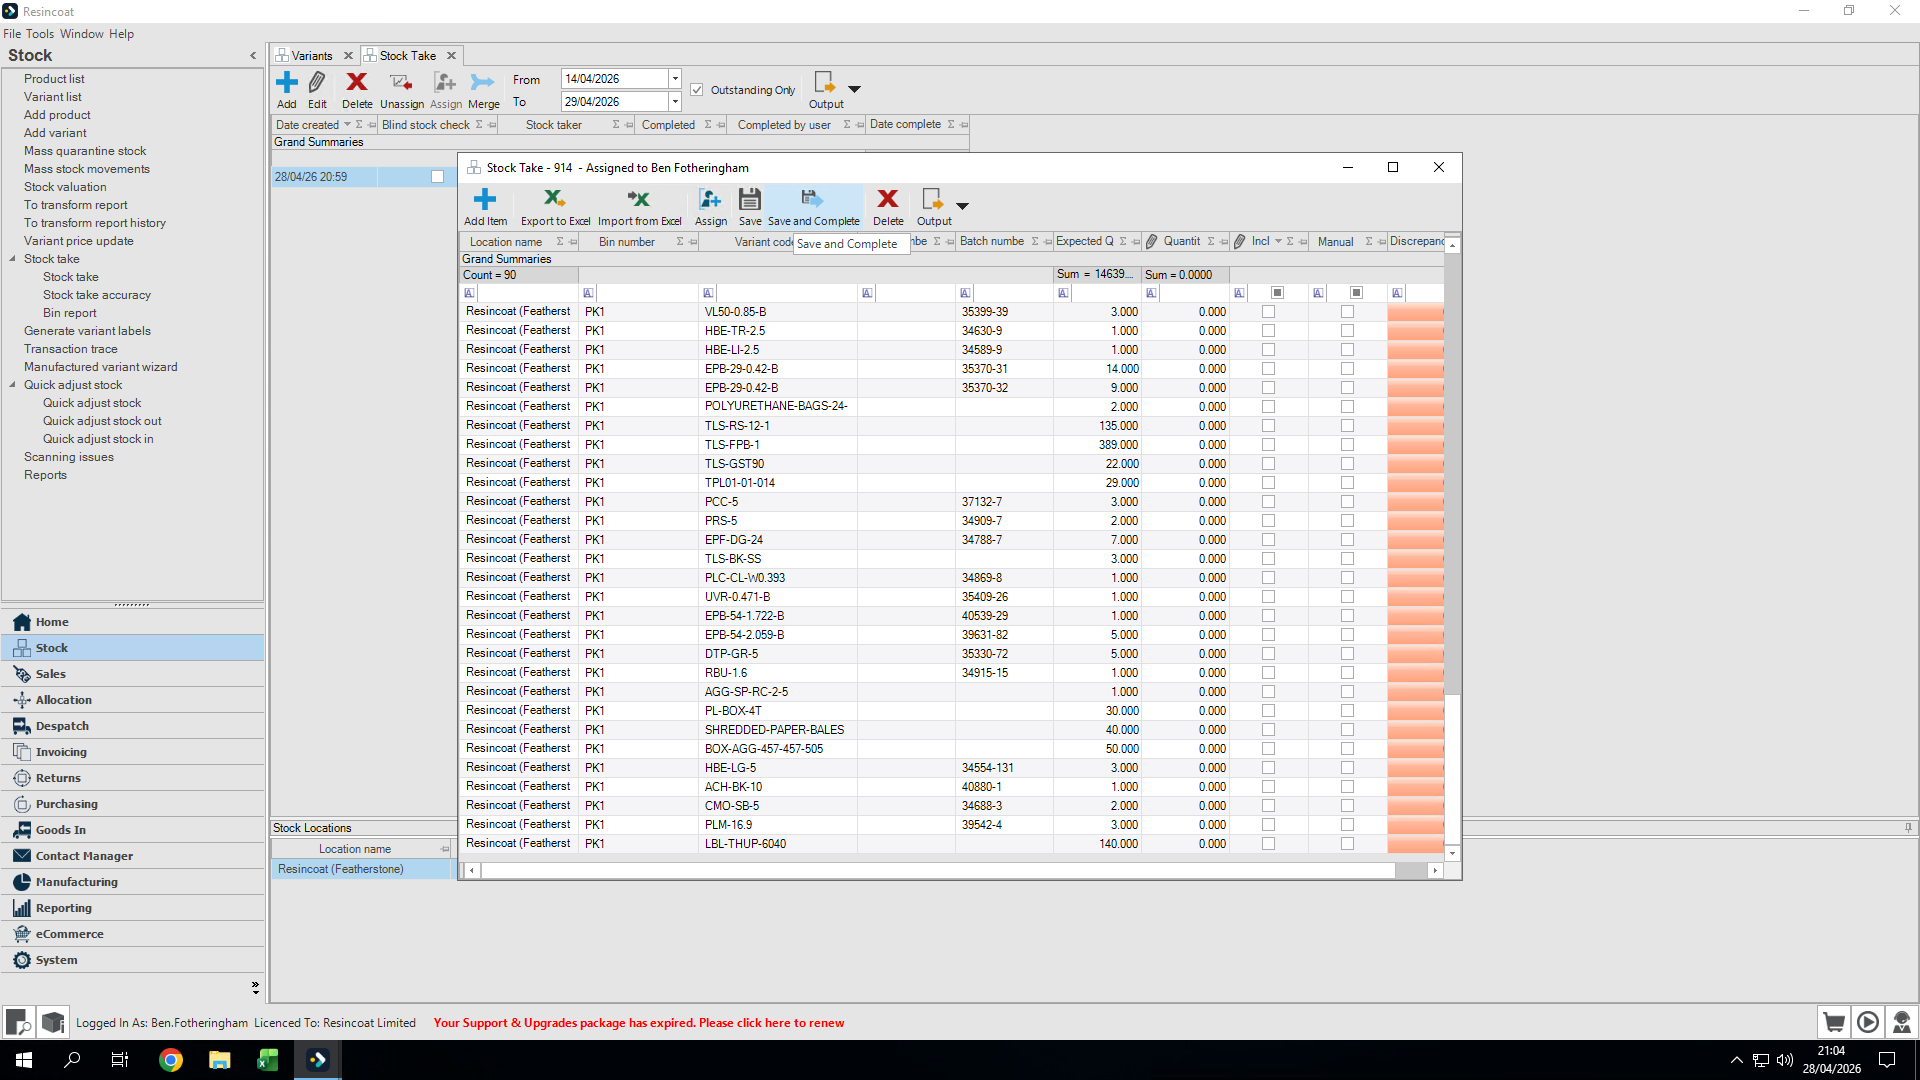
Performing the Stocktake
10
Use the output button to generate a printable sheet to record quantities on.
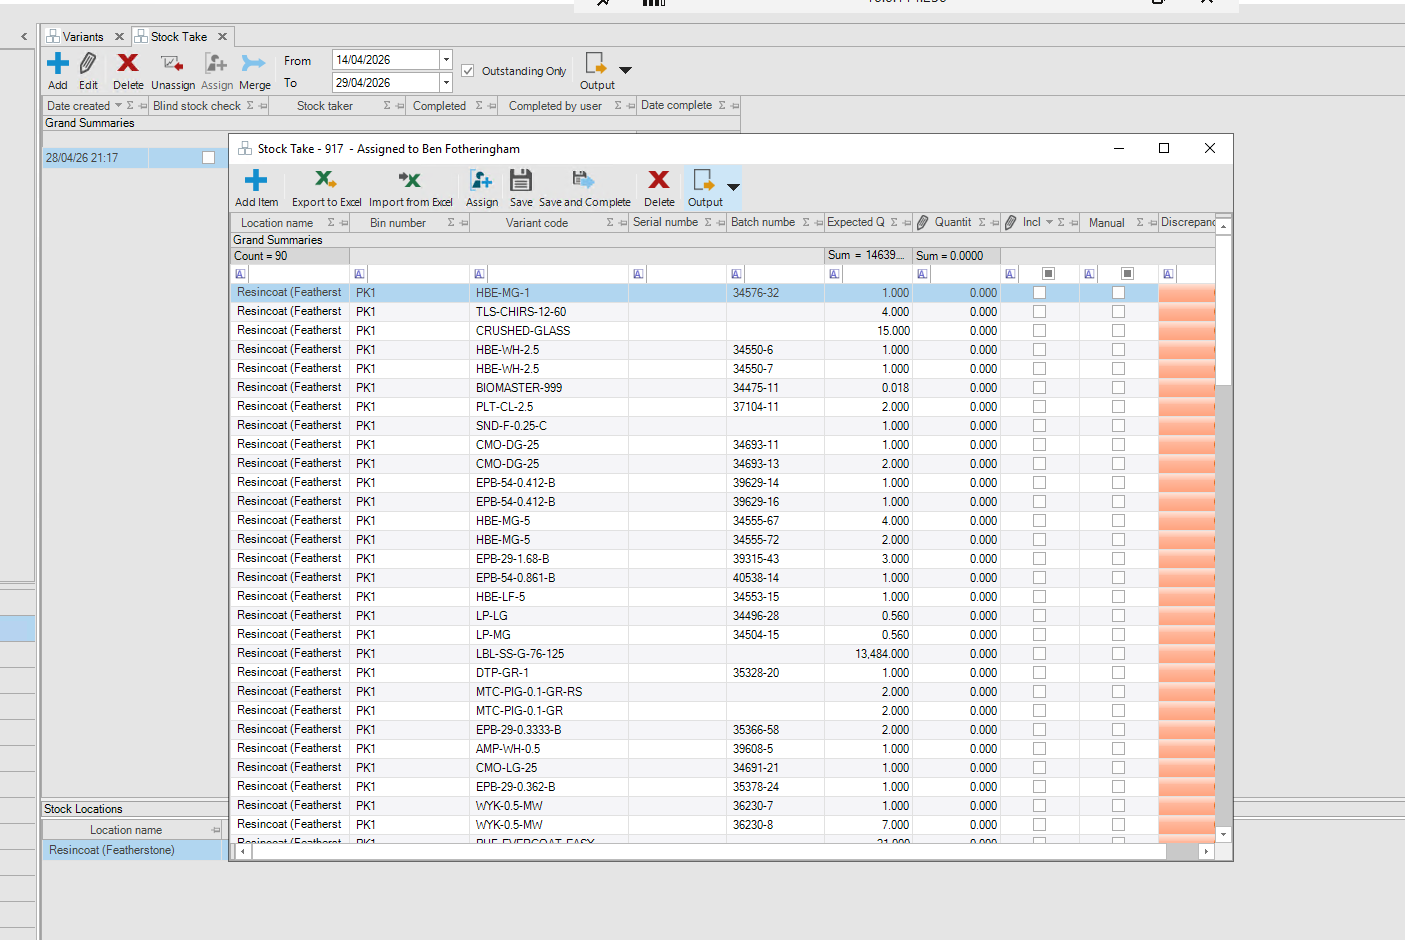
If you have recorded your stock counts on a physical sheet, you can then manually enter them directly into the system
11
In the active stocktake window, click into the quantity column, type the counted amount, and press
Tab to move to the next row.As you enter quantities, the item is automatically marked as included. The Discrepancy column updates dynamically with color-coded indicators:
Green: Zero discrepancy (actual count matches expected quantity).
Amber: Stock overage.
Red: Stock shortage.
12
To exclude an item from the stocktake entirely, uncheck the box in the Incl column. This resets its discrepancy back to zero.
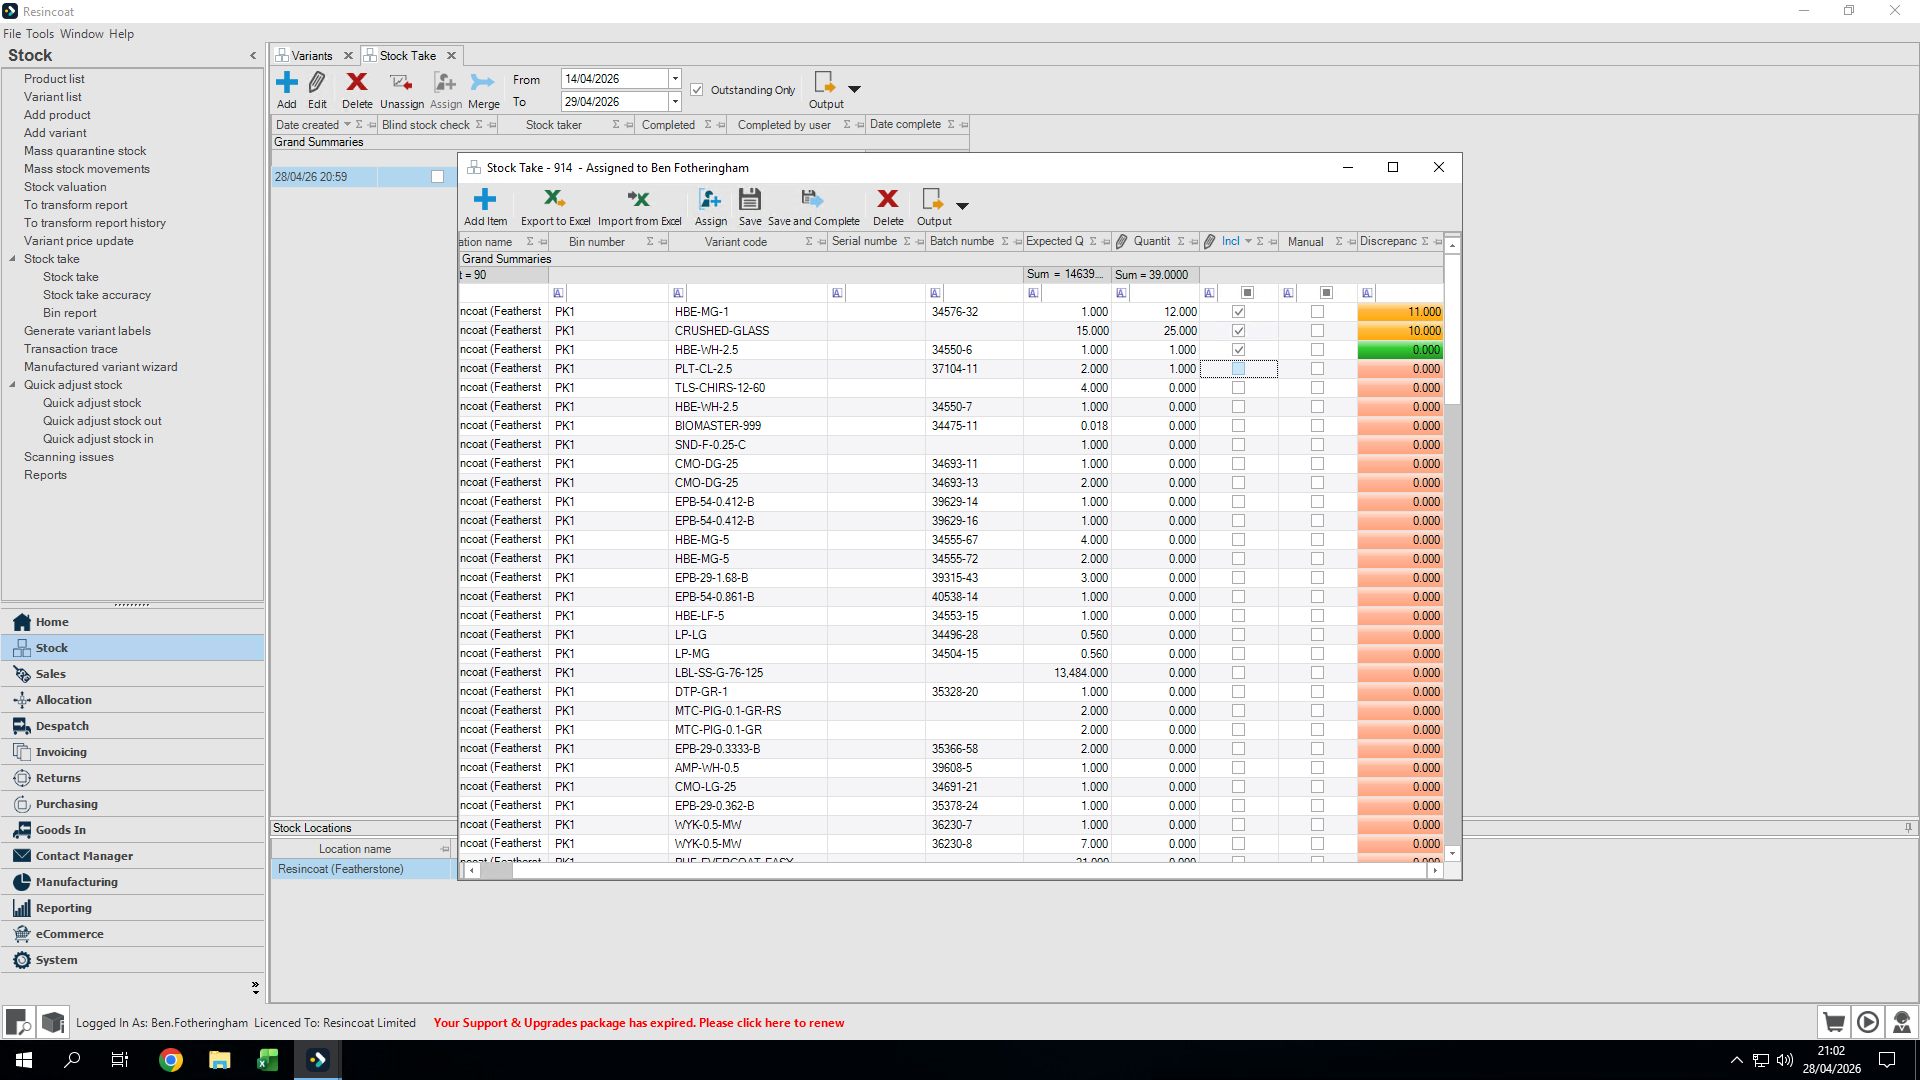
13
Once you have verified all quantities and resolved any unwanted lines, click Save and Complete.