Icon

How to Create and Use Checklist Templates in Sales and Marketing

Learn how to define, customize, and share checklist templates for sales and marketing processes. Step-by-step guide on creating templates, pre-filling checklists, and making them available to your team.

By Bernd Kracht

In this guide, we'll learn how to create and use checklist templates in sales and marketing. You will see how to define a template for a specific item, assign a unique code, and add a description. We will also cover how to prefill checklist fields, use the template in a new offer, and share the template with colleagues.

Let's get started

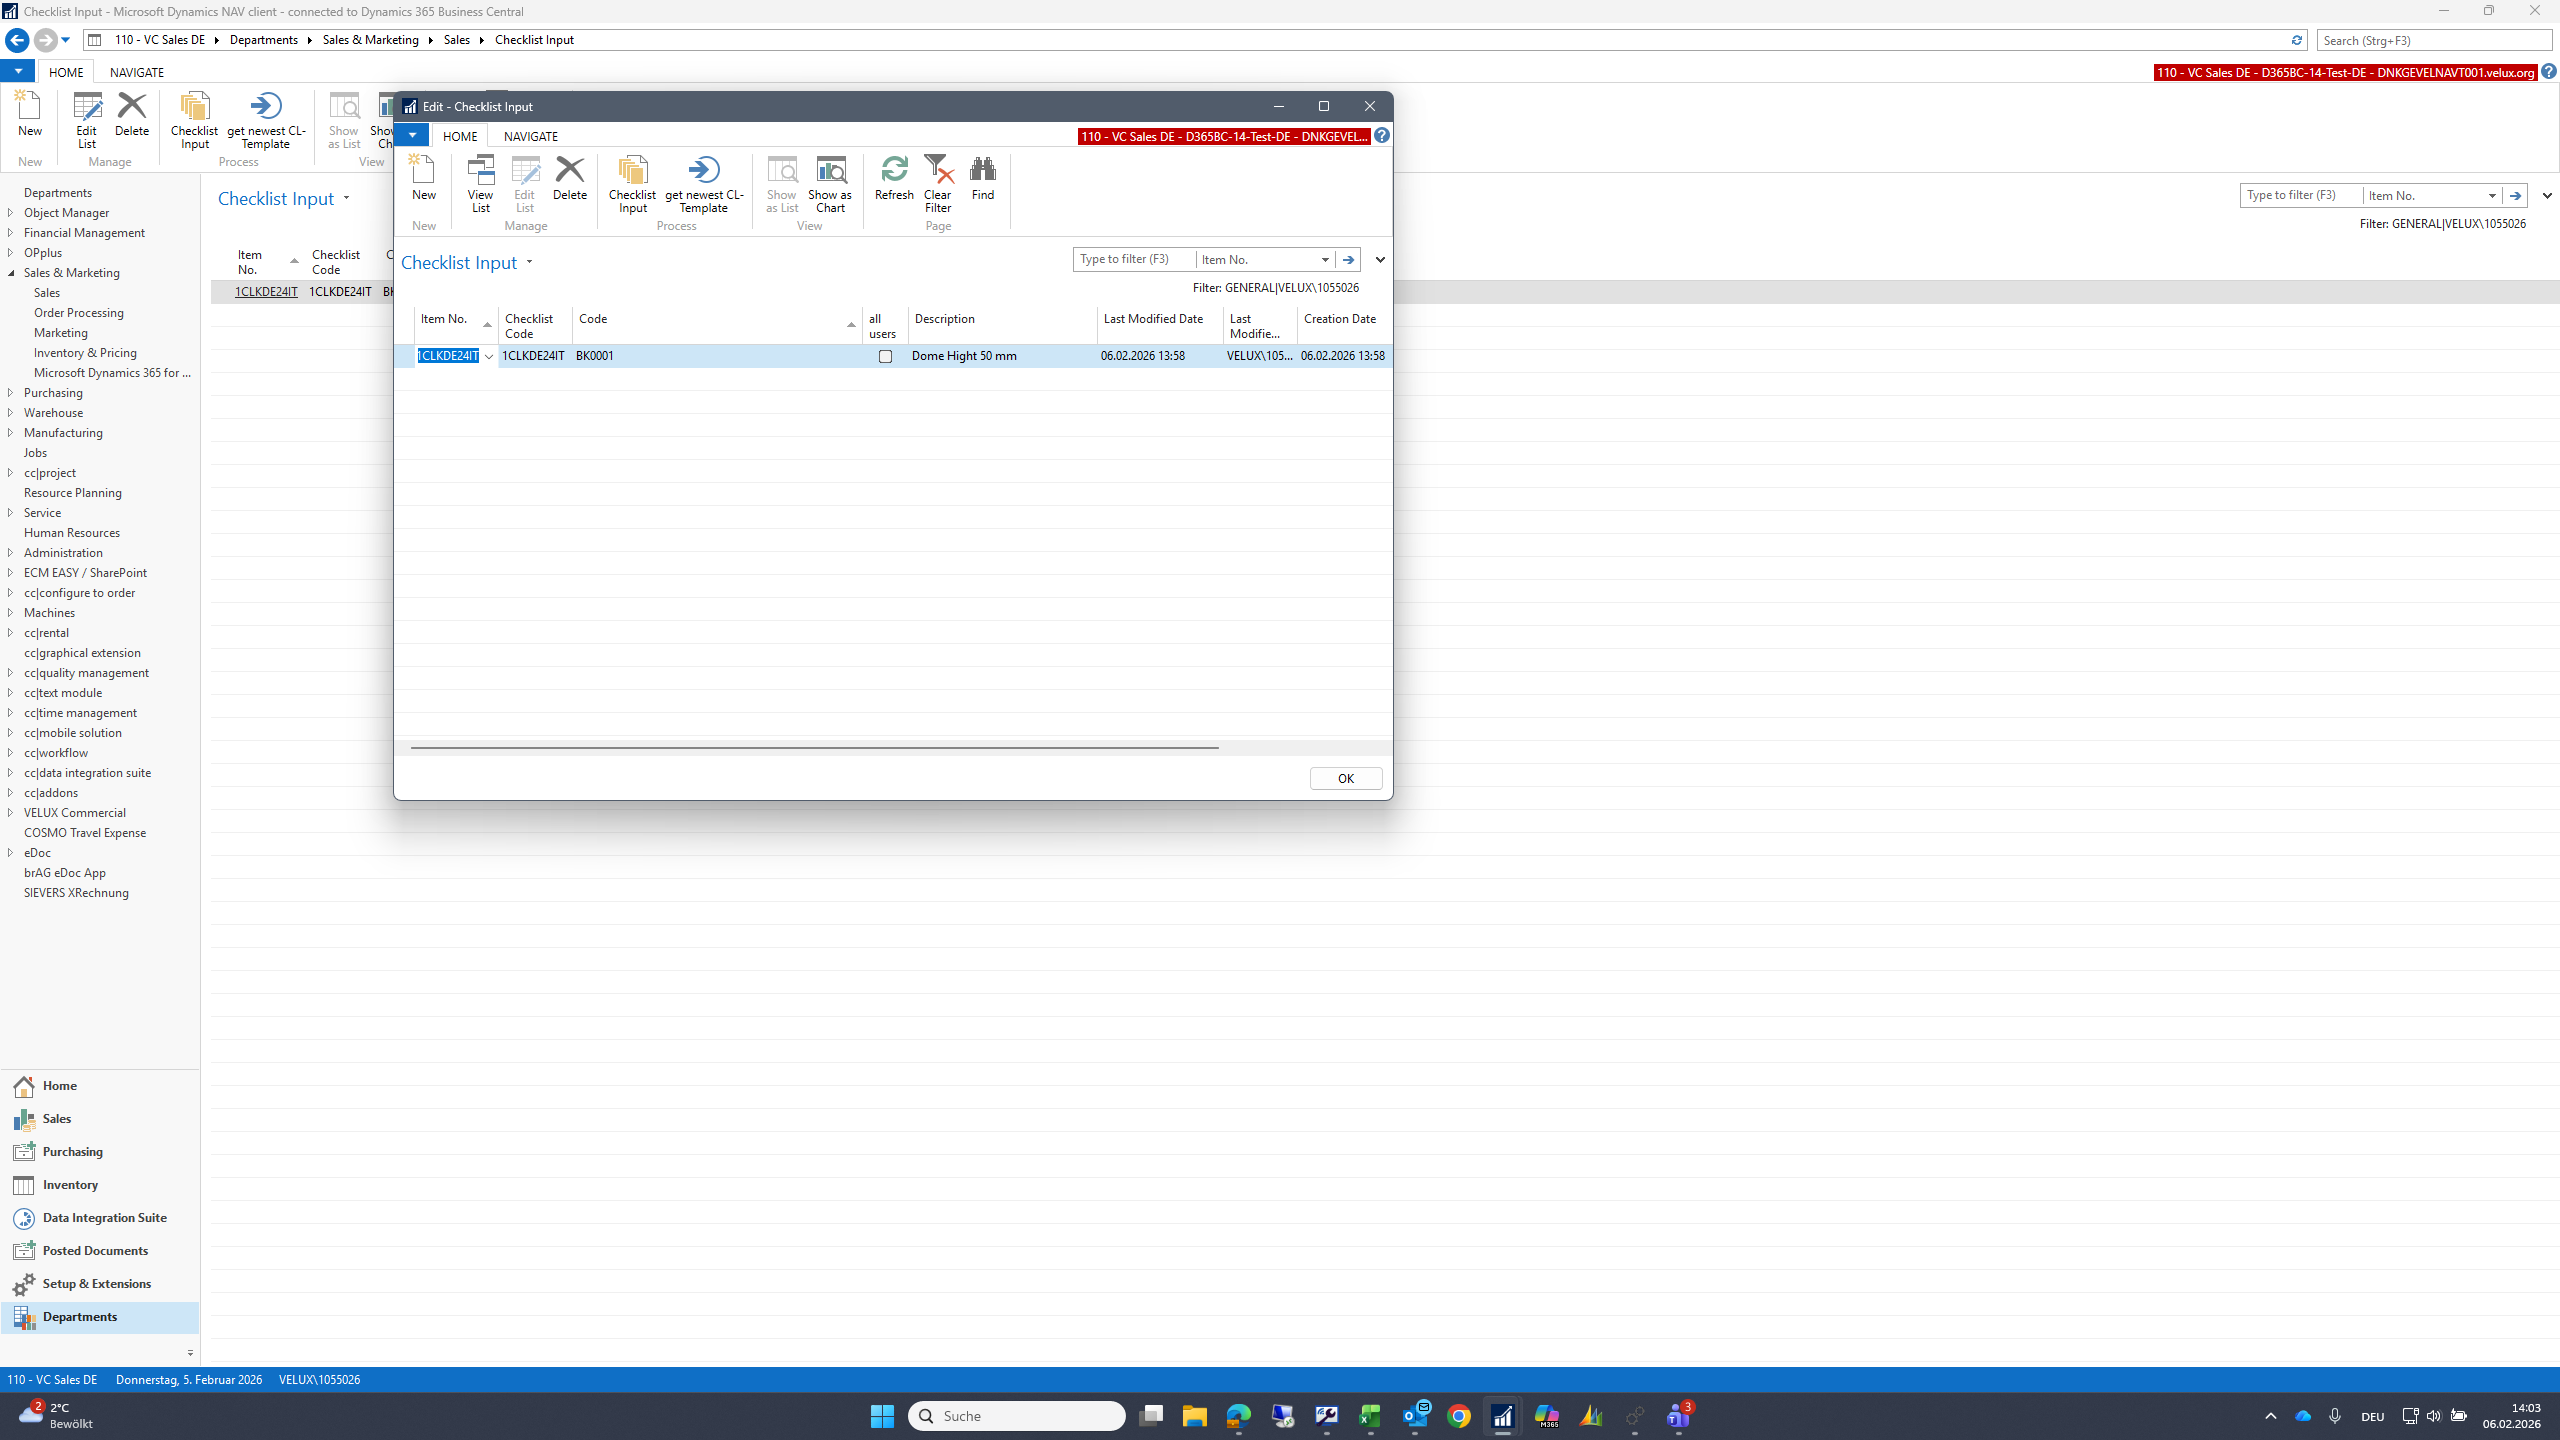
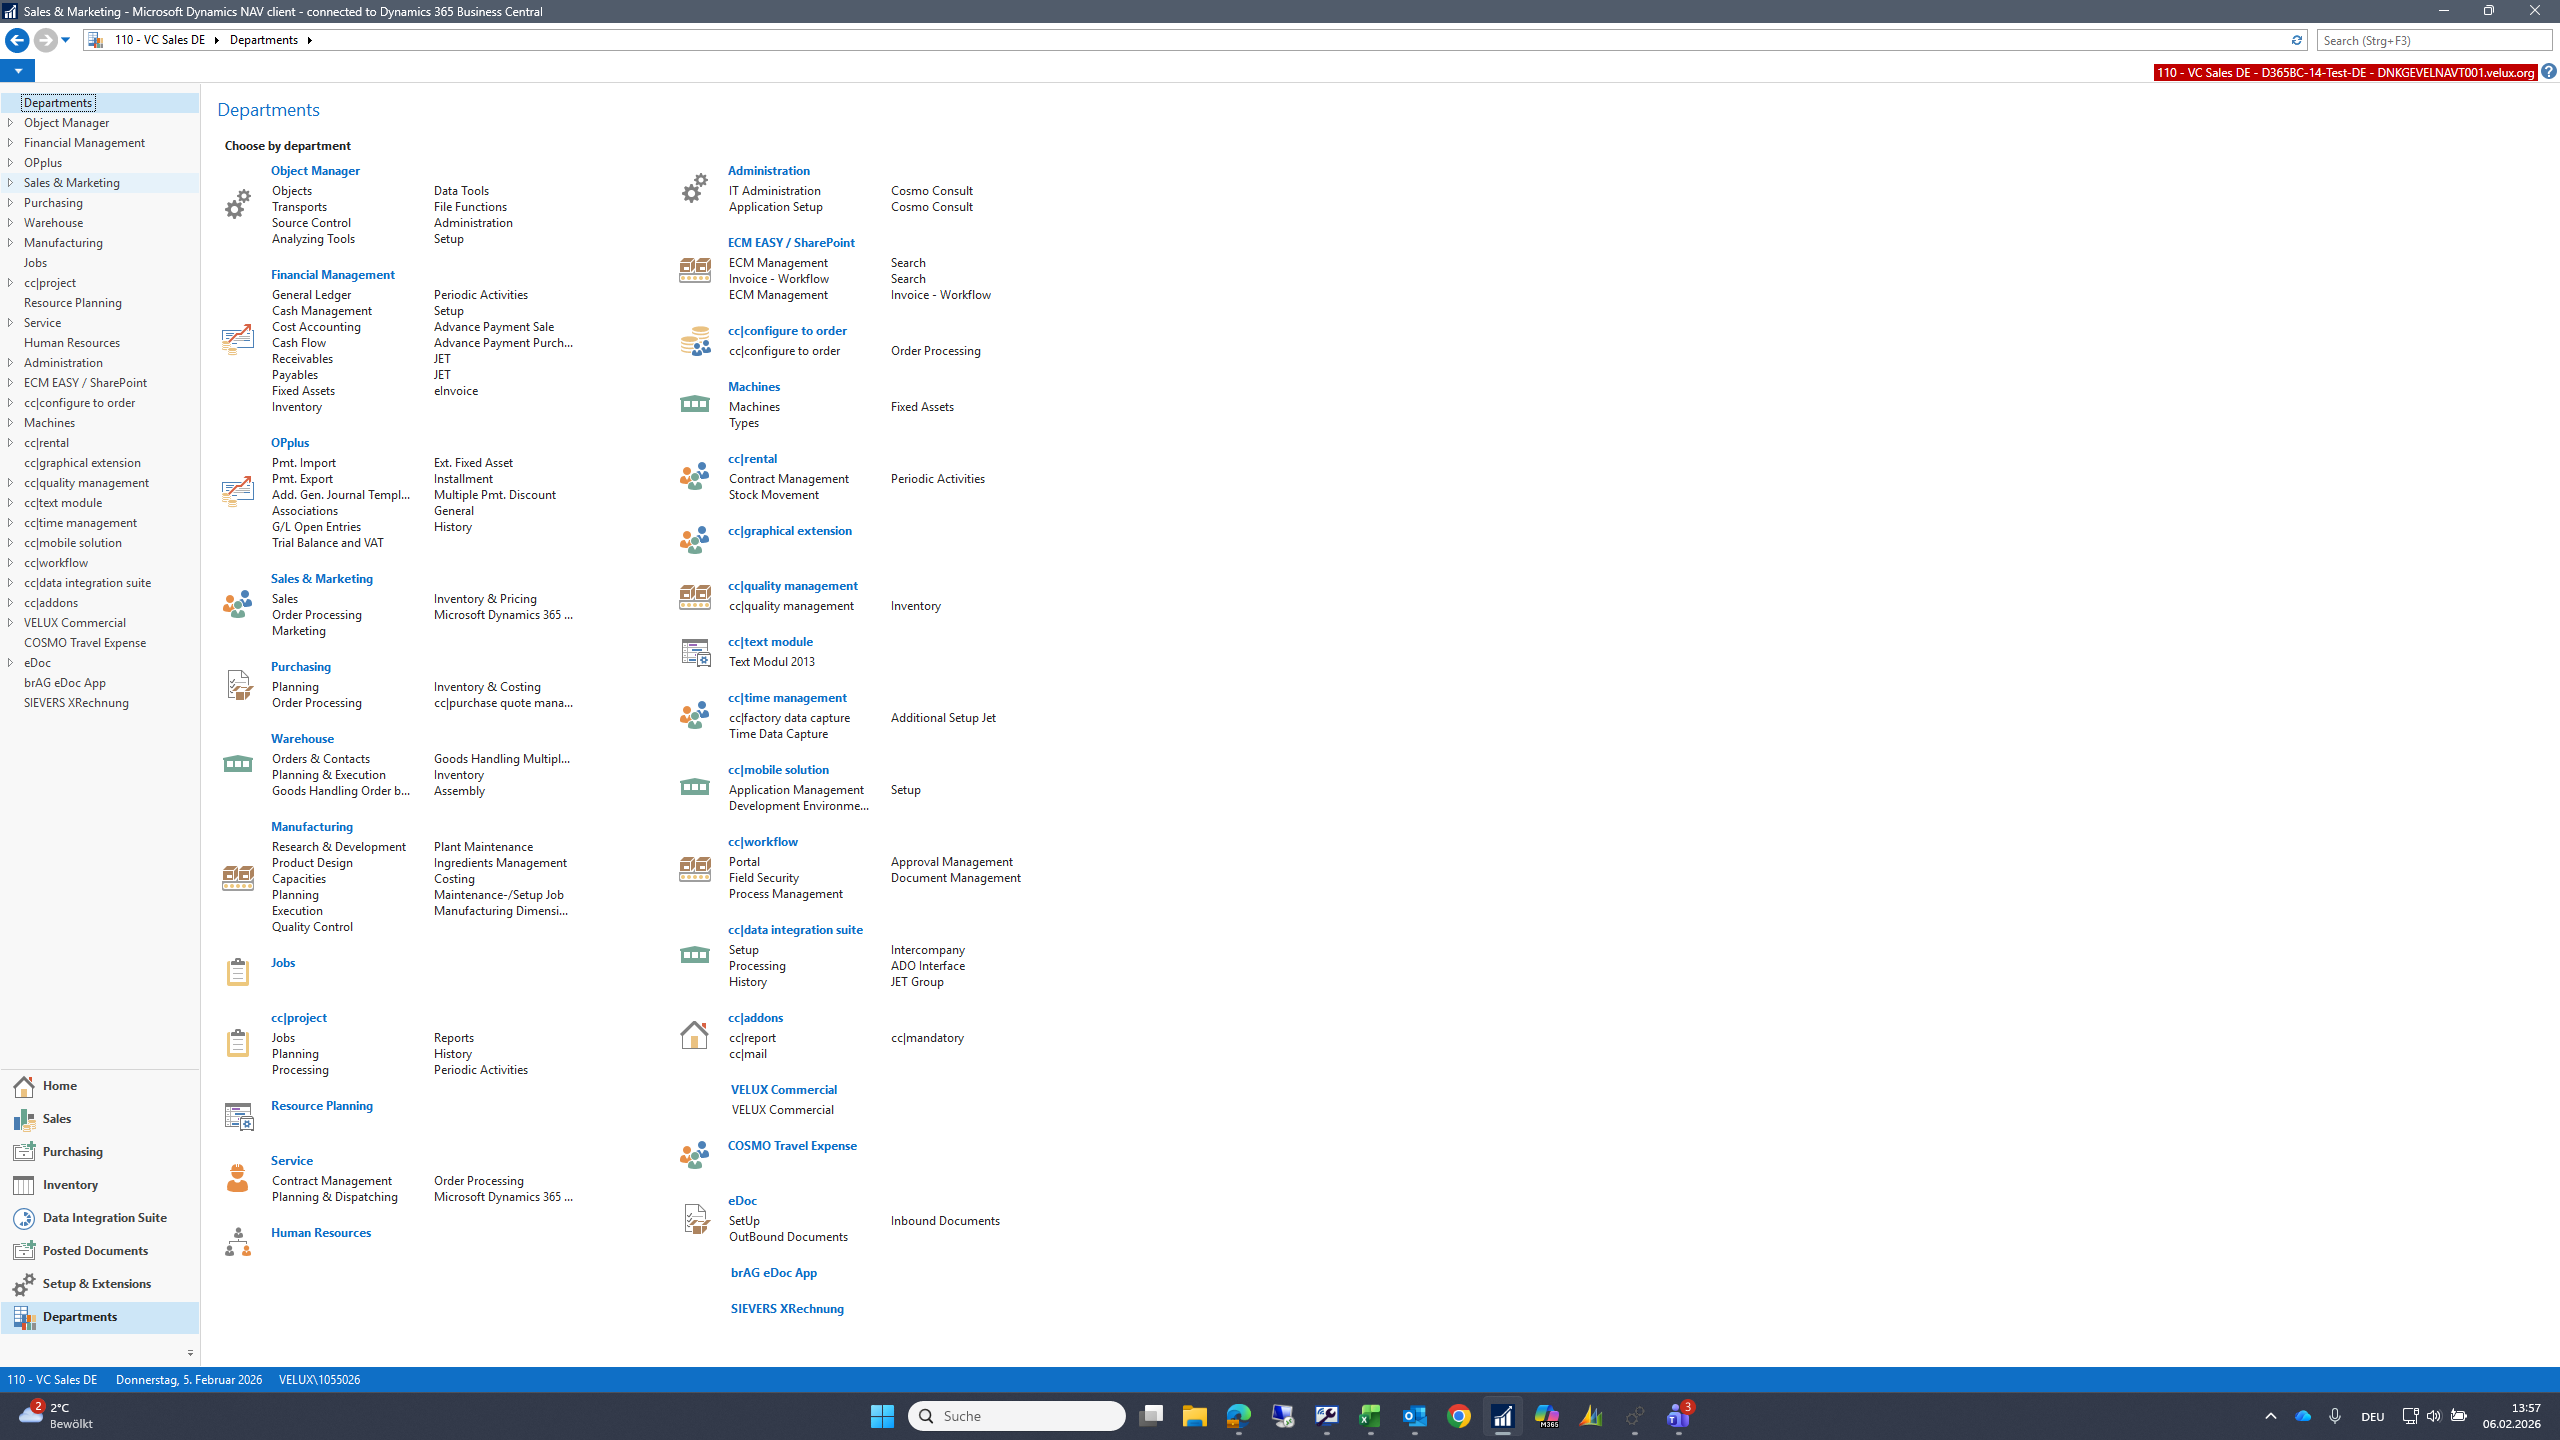
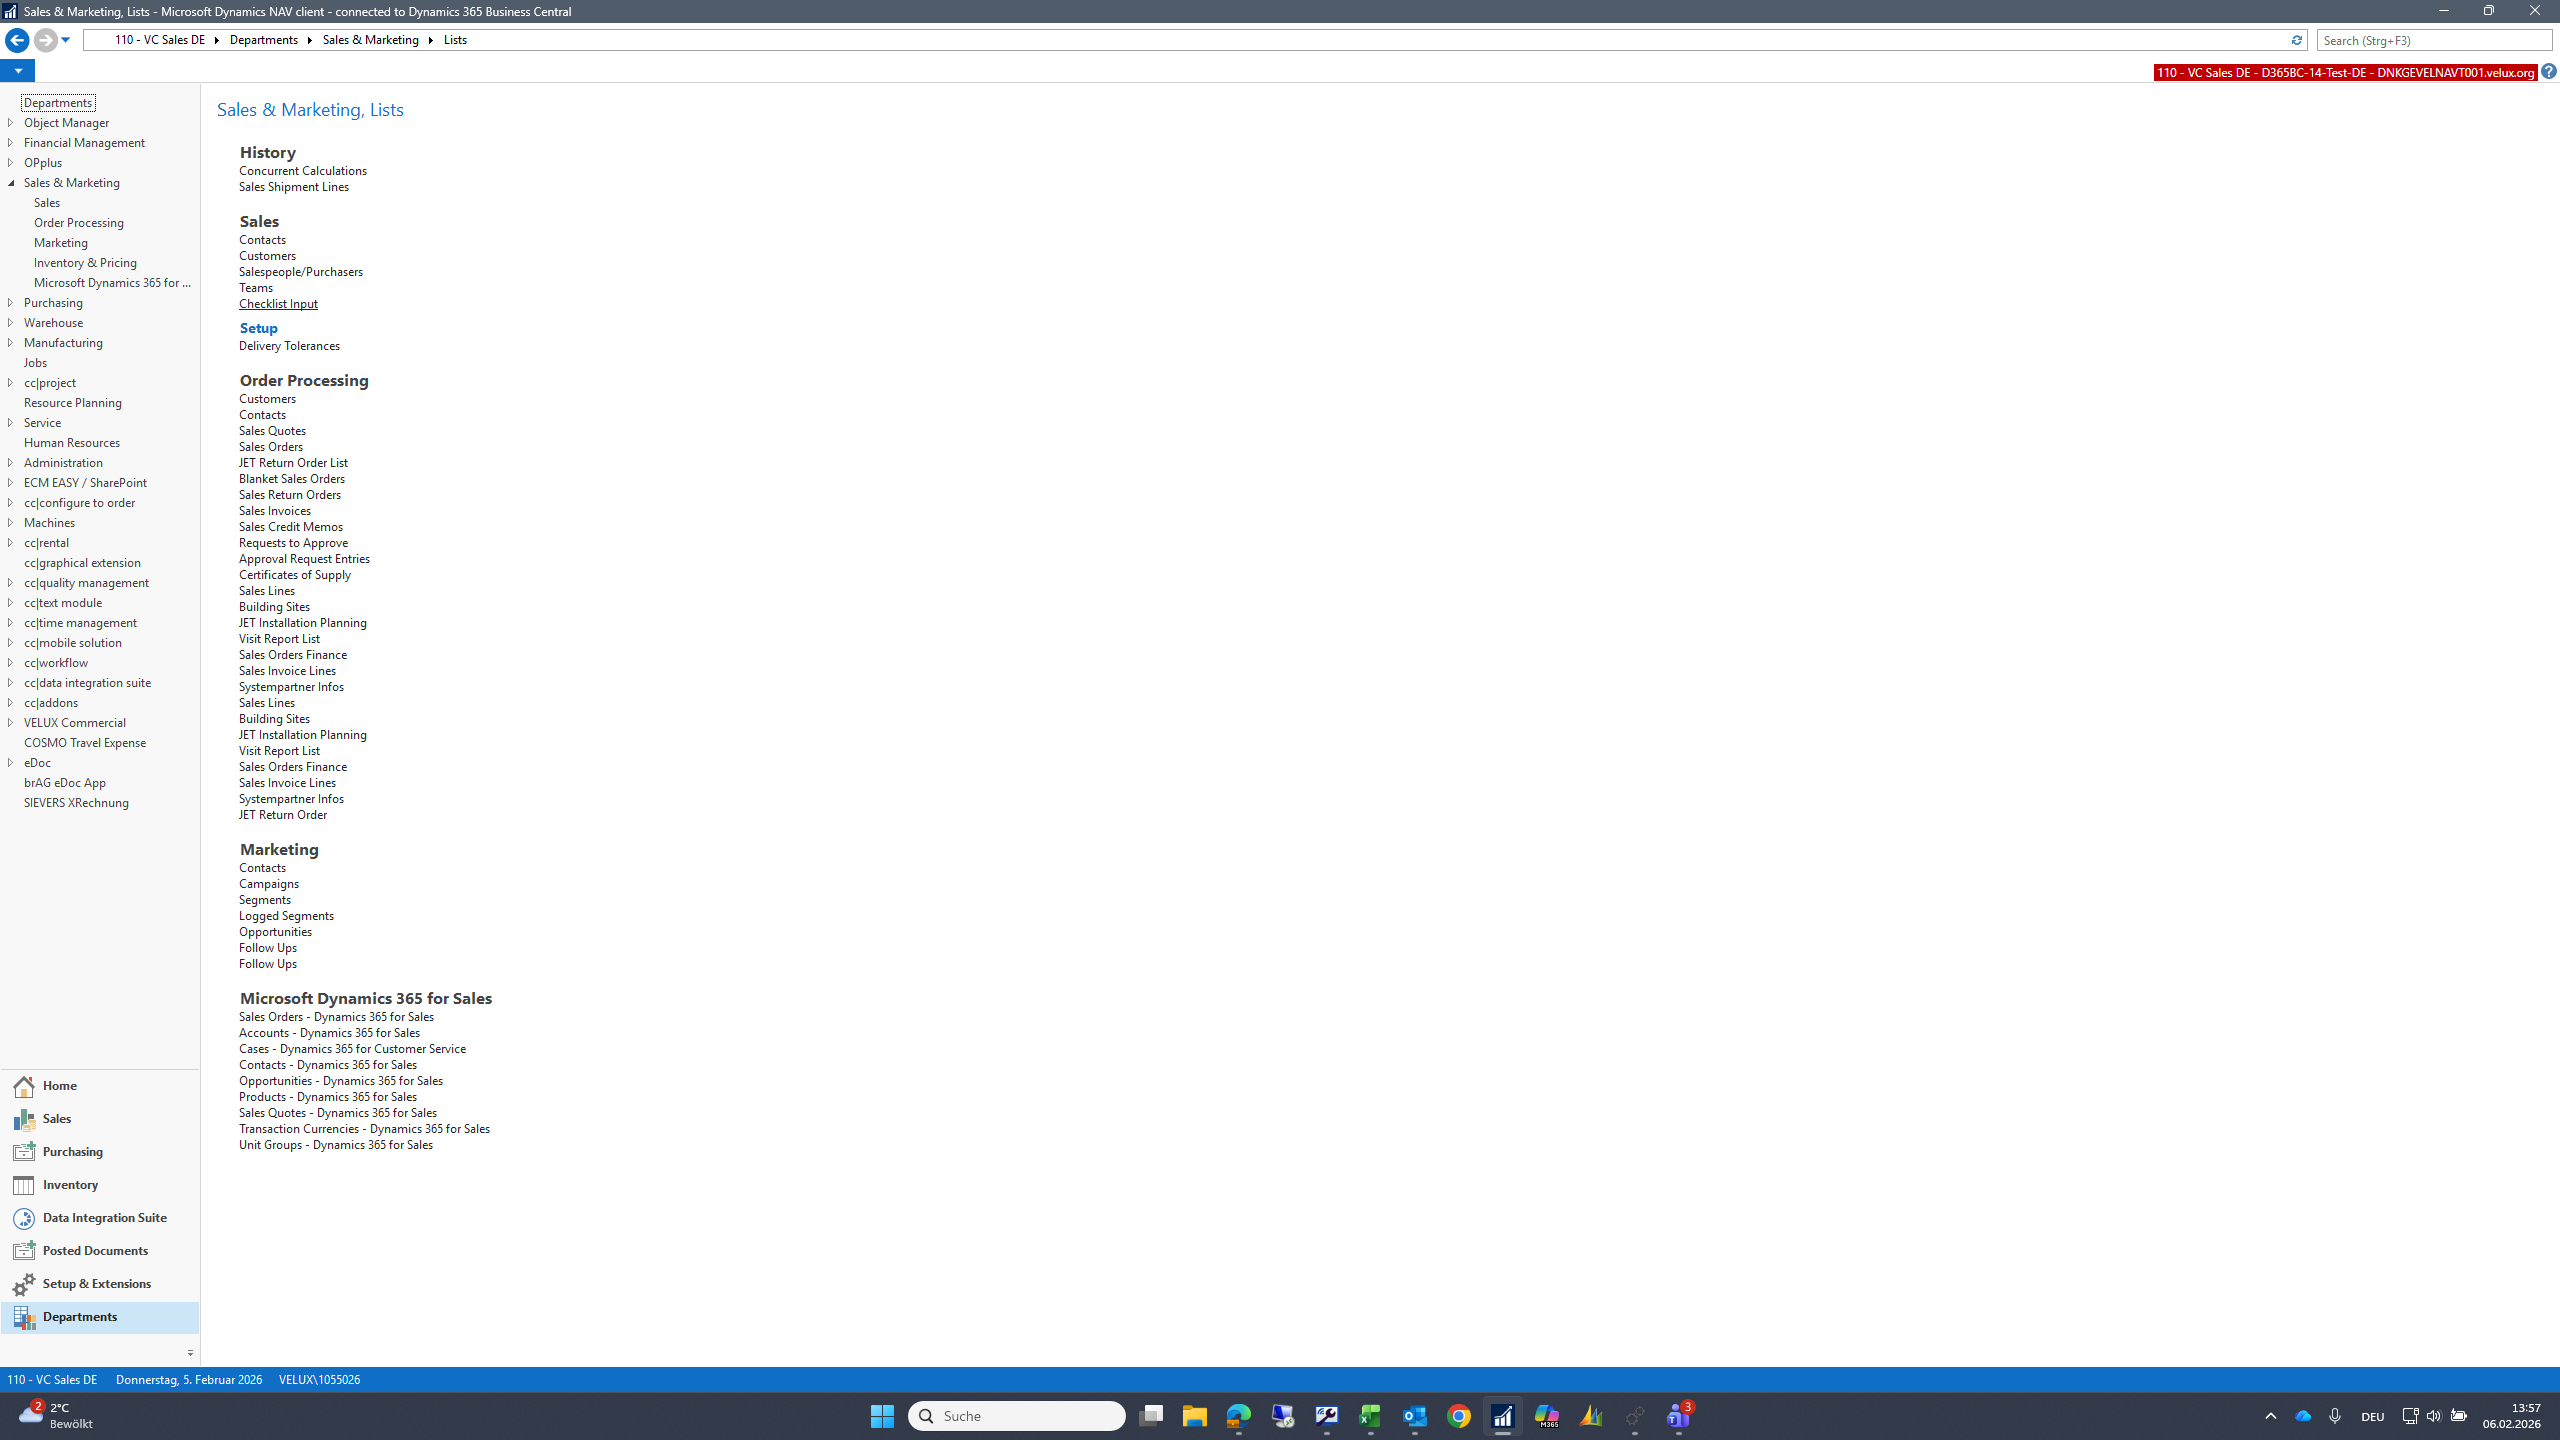
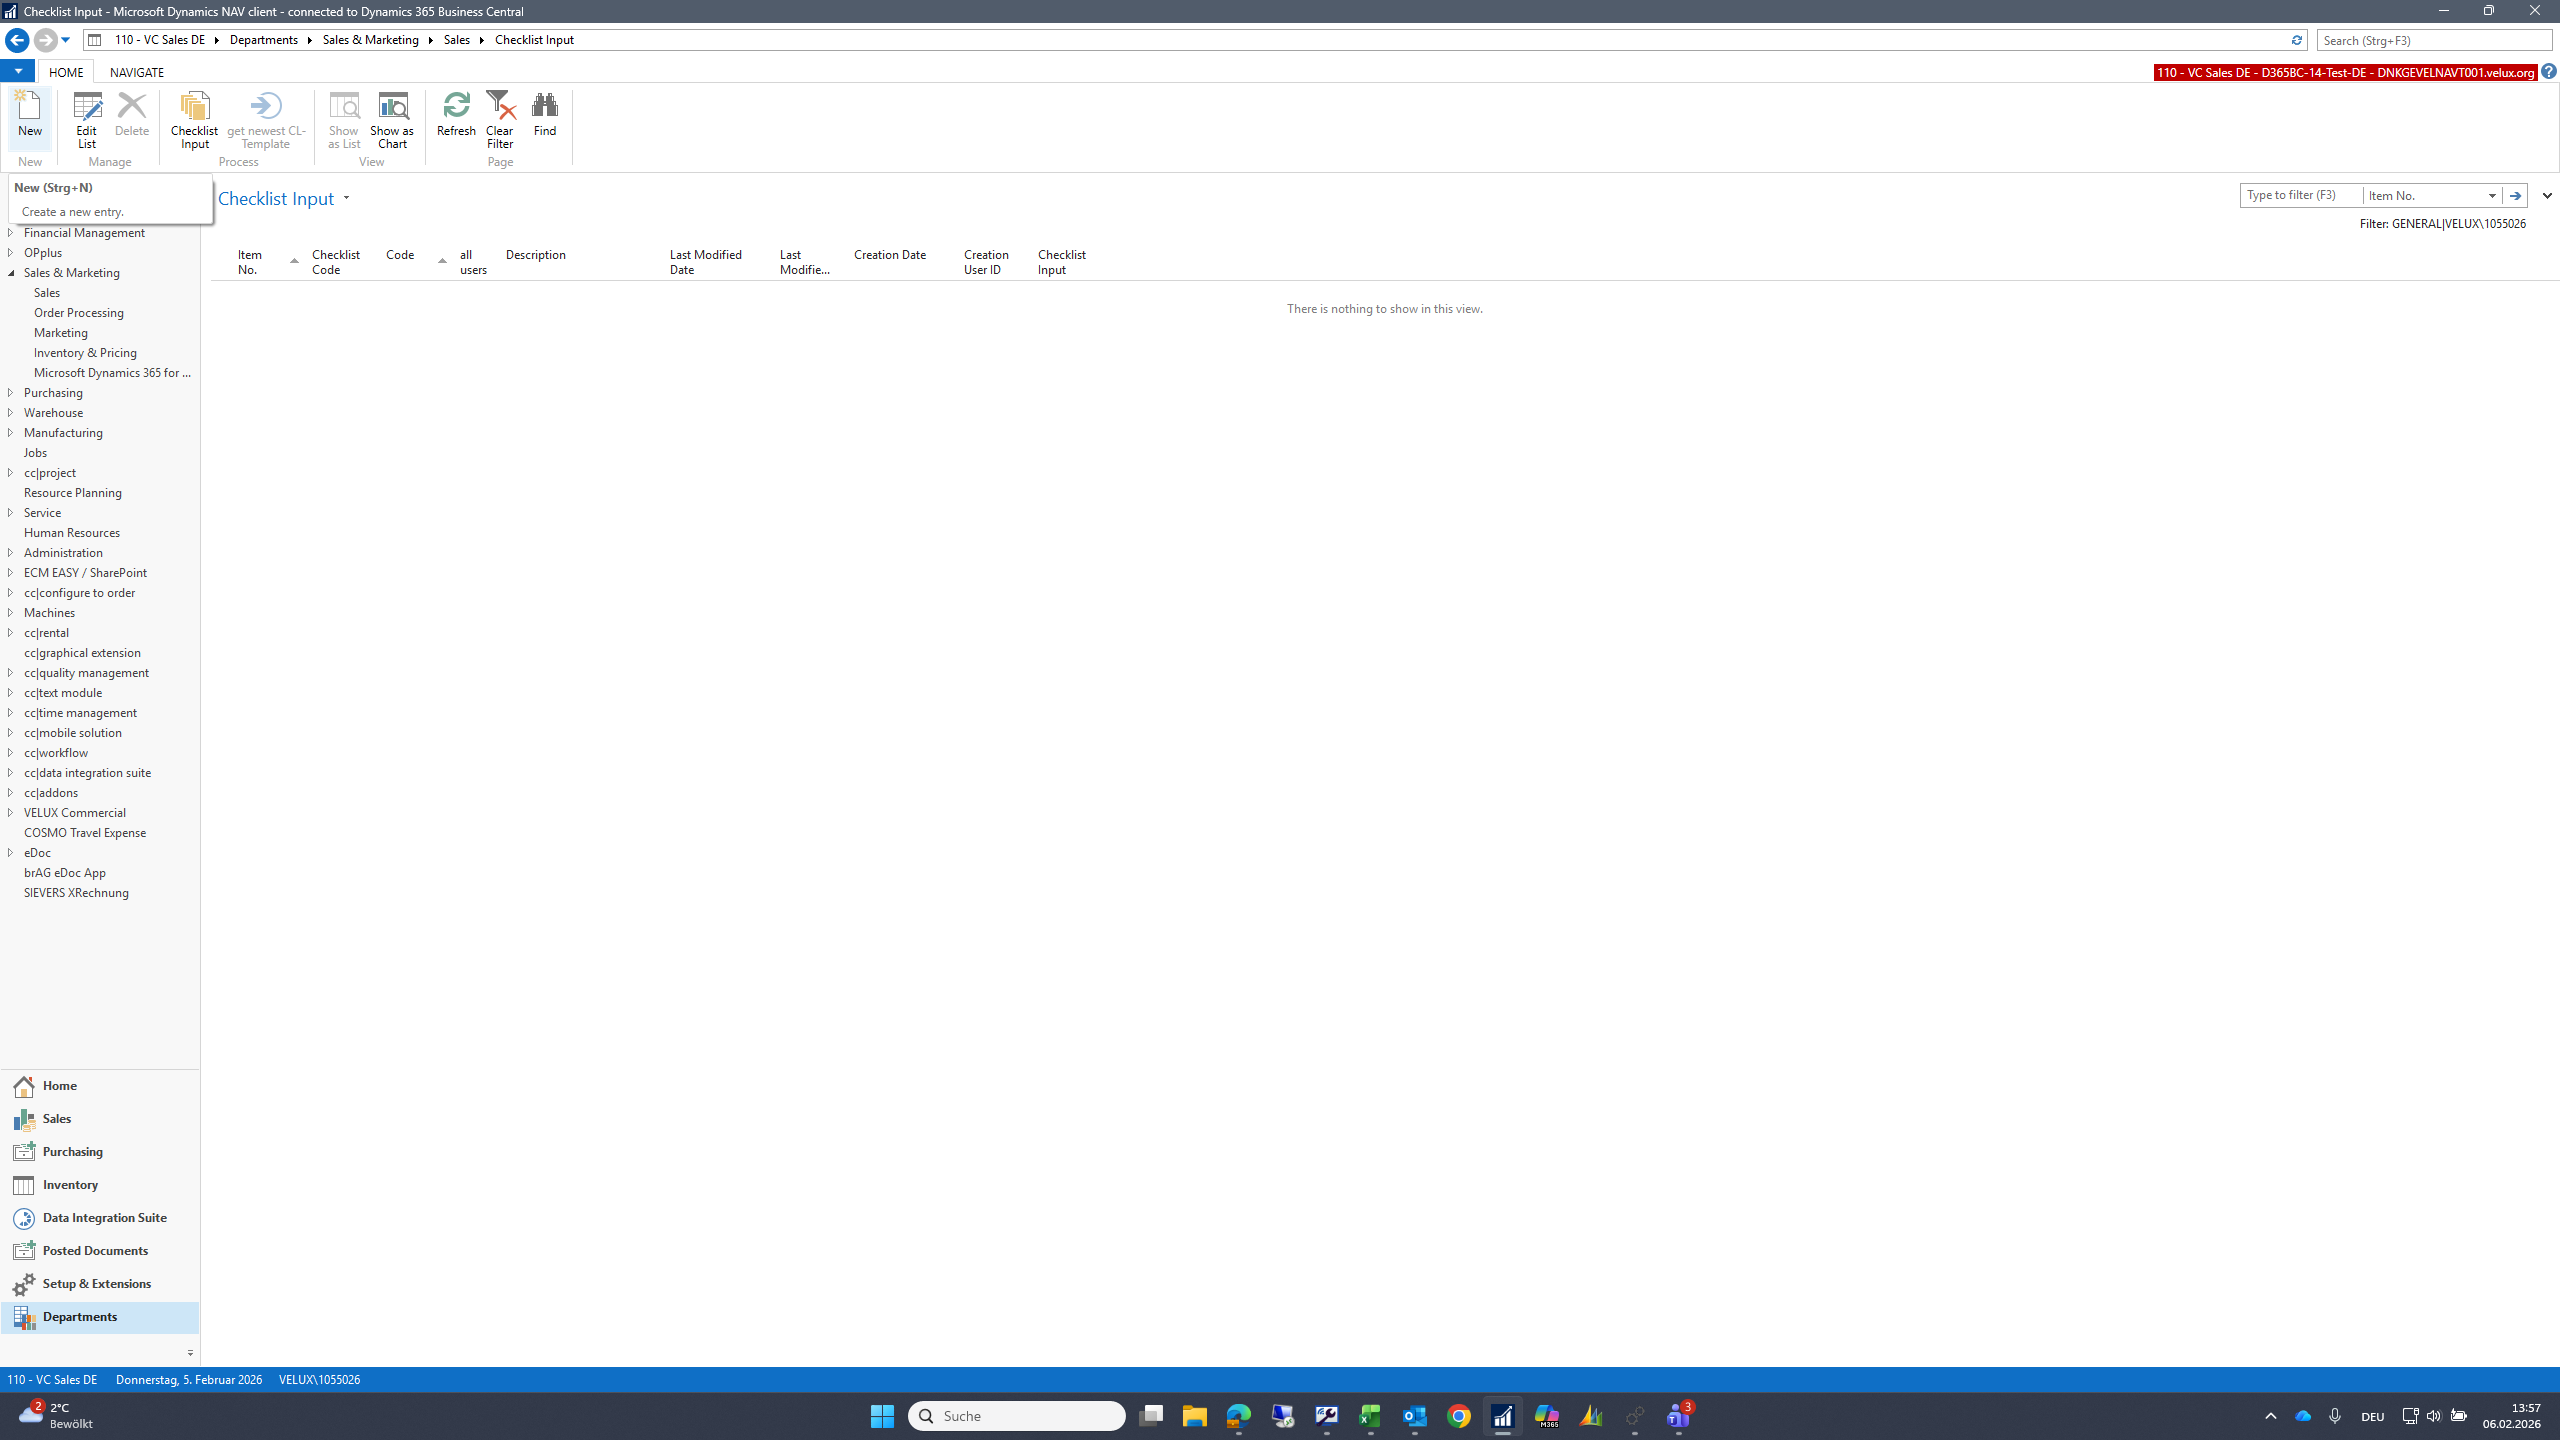
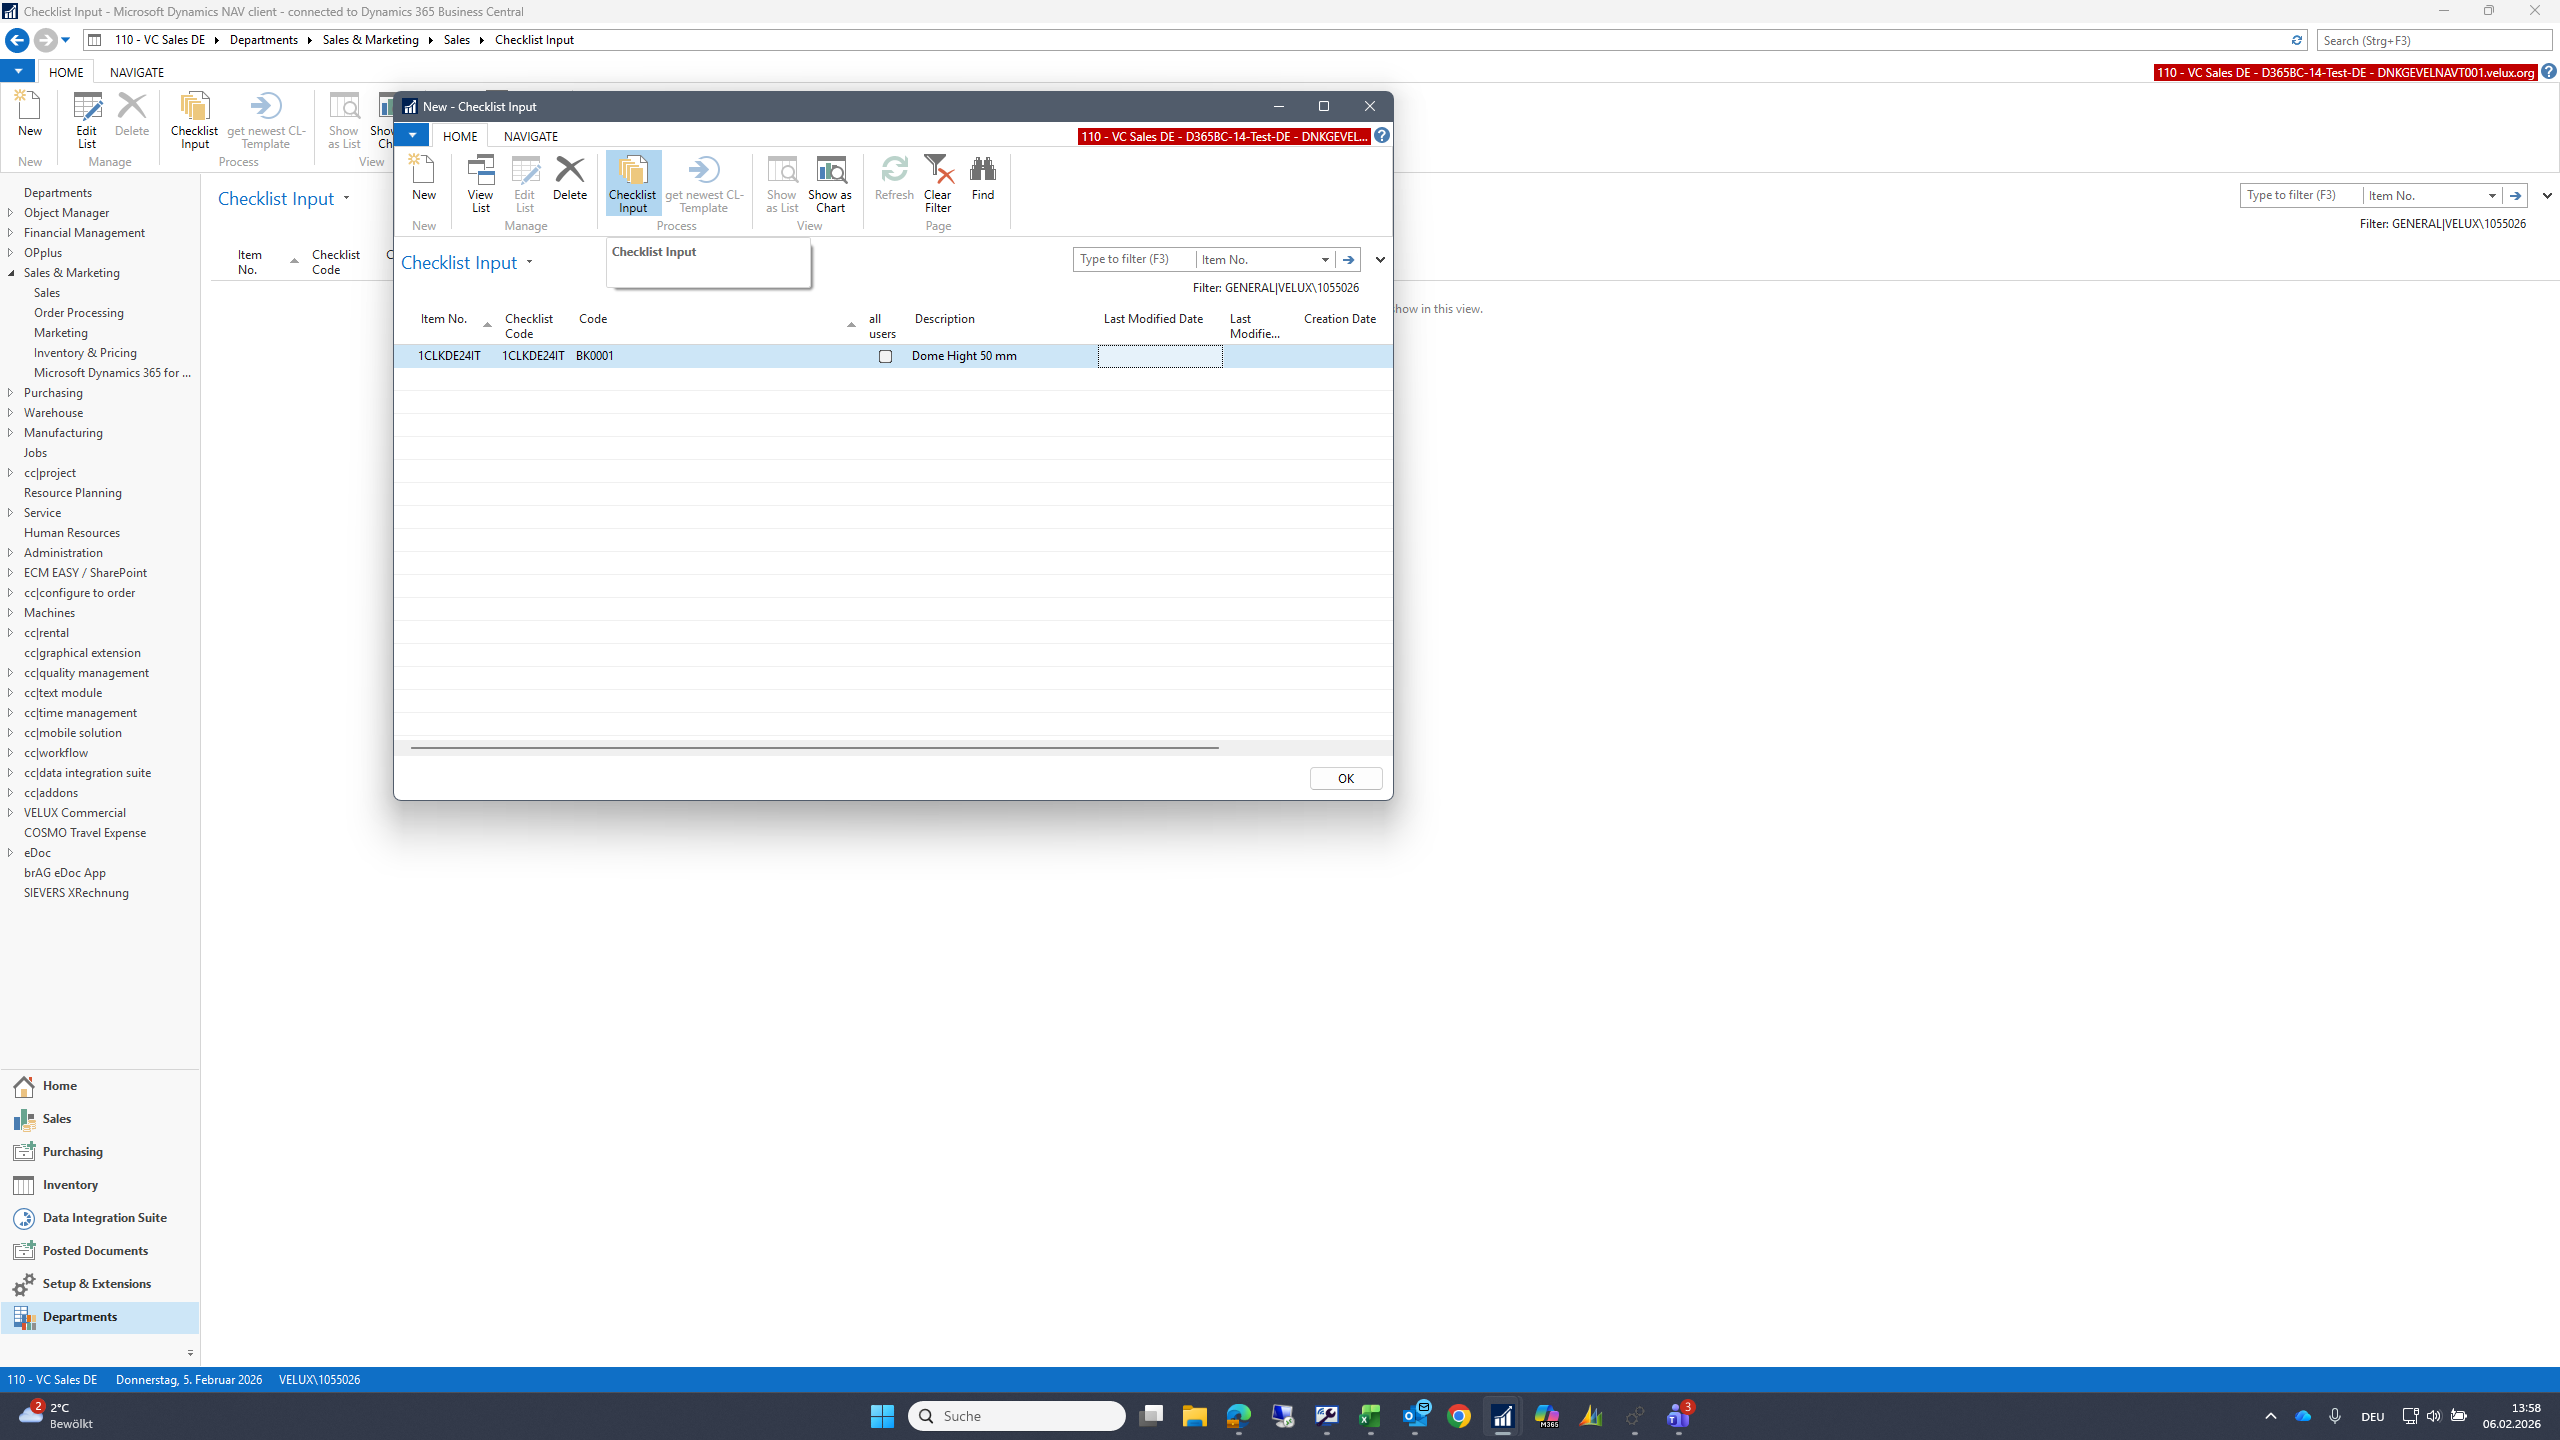
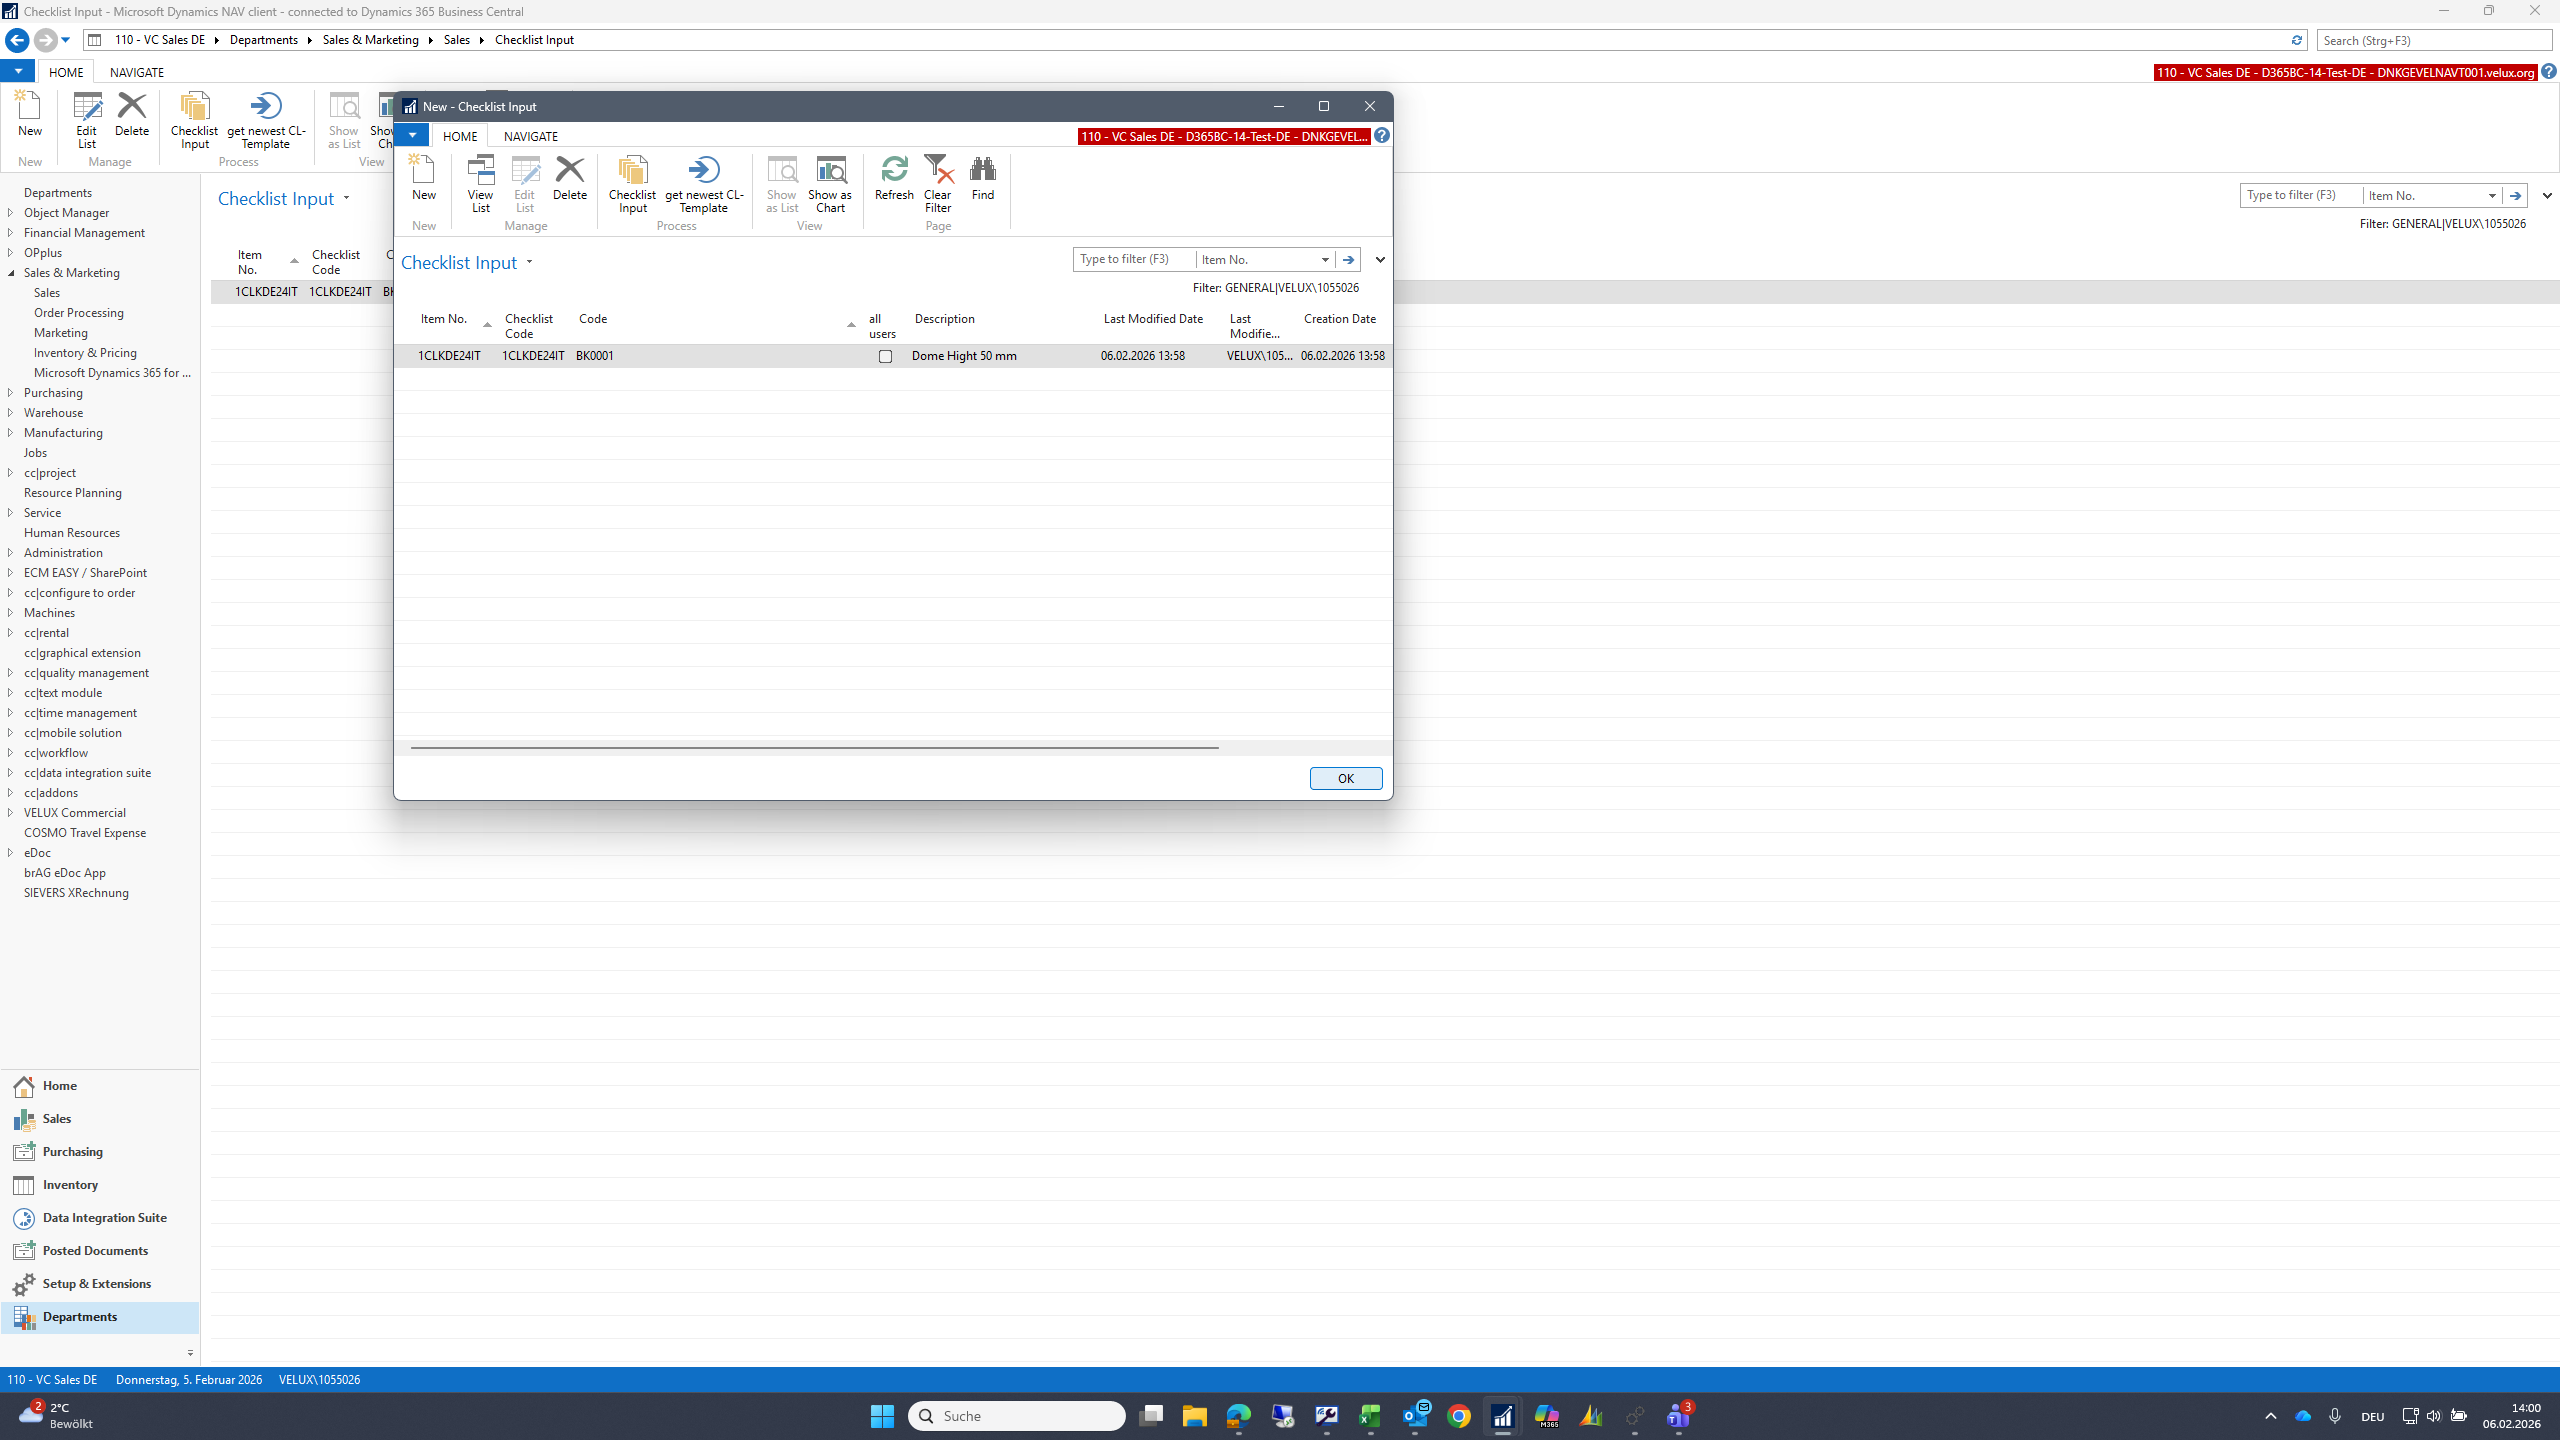
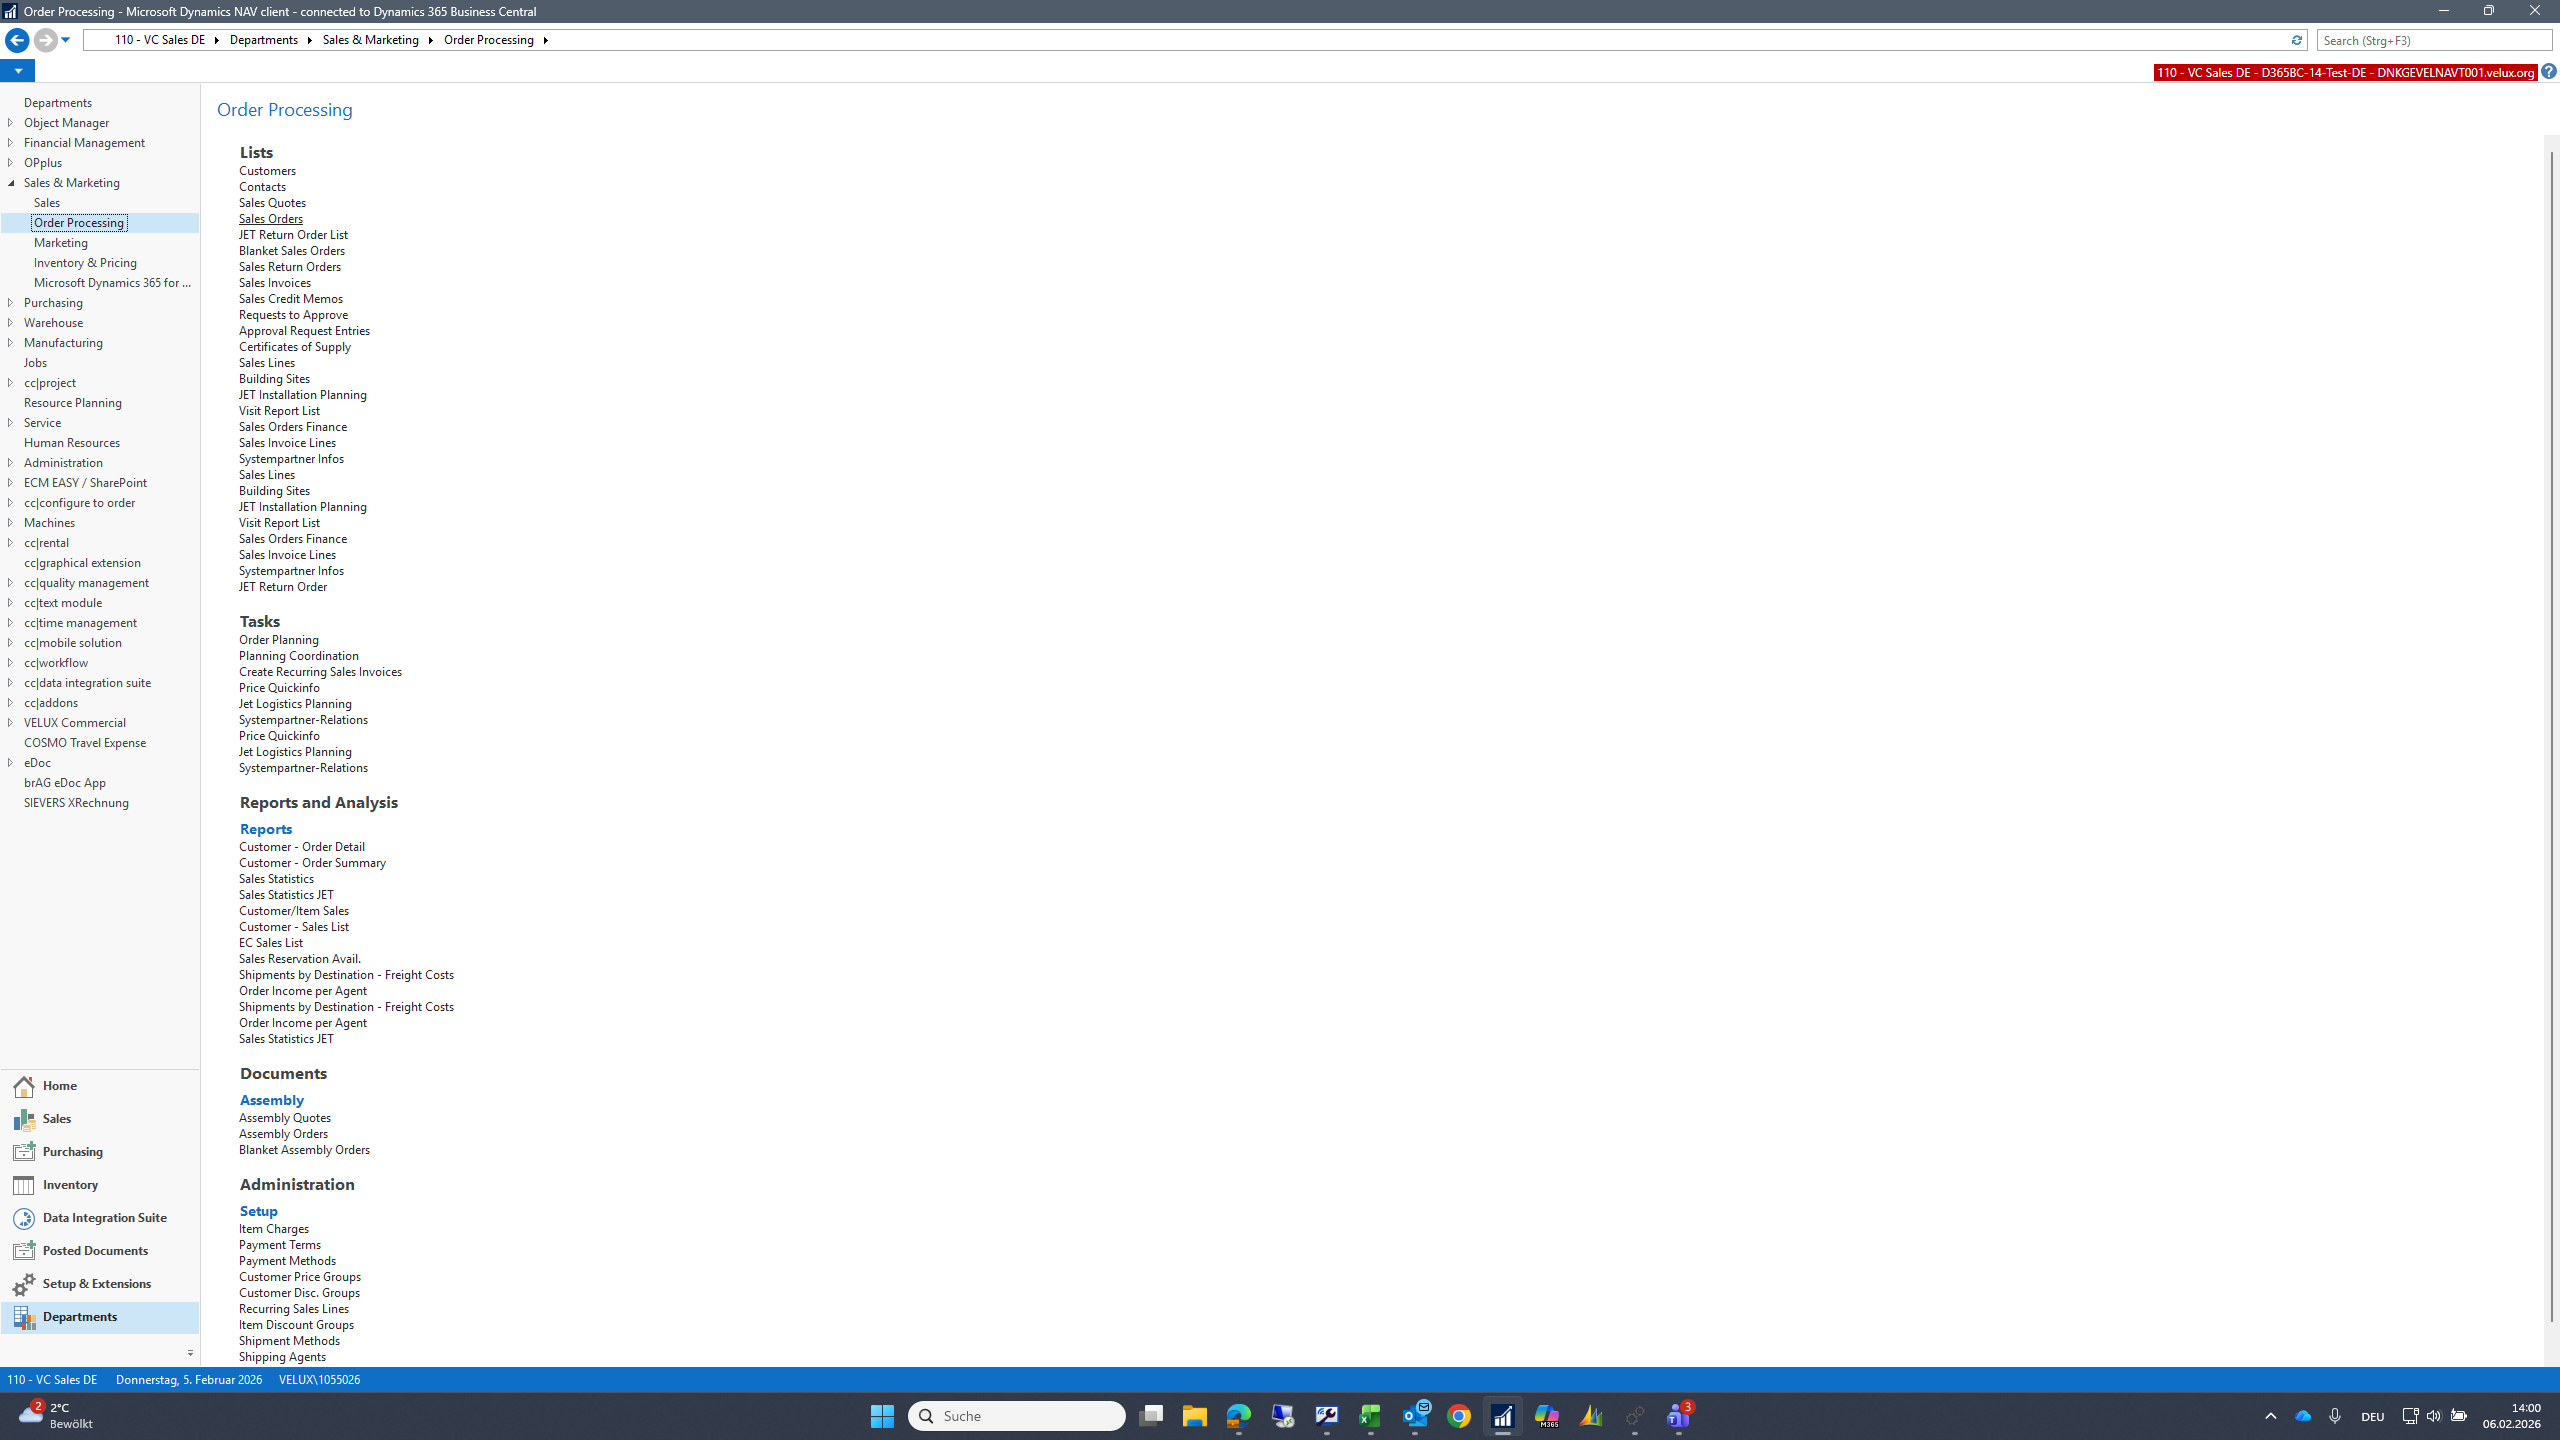
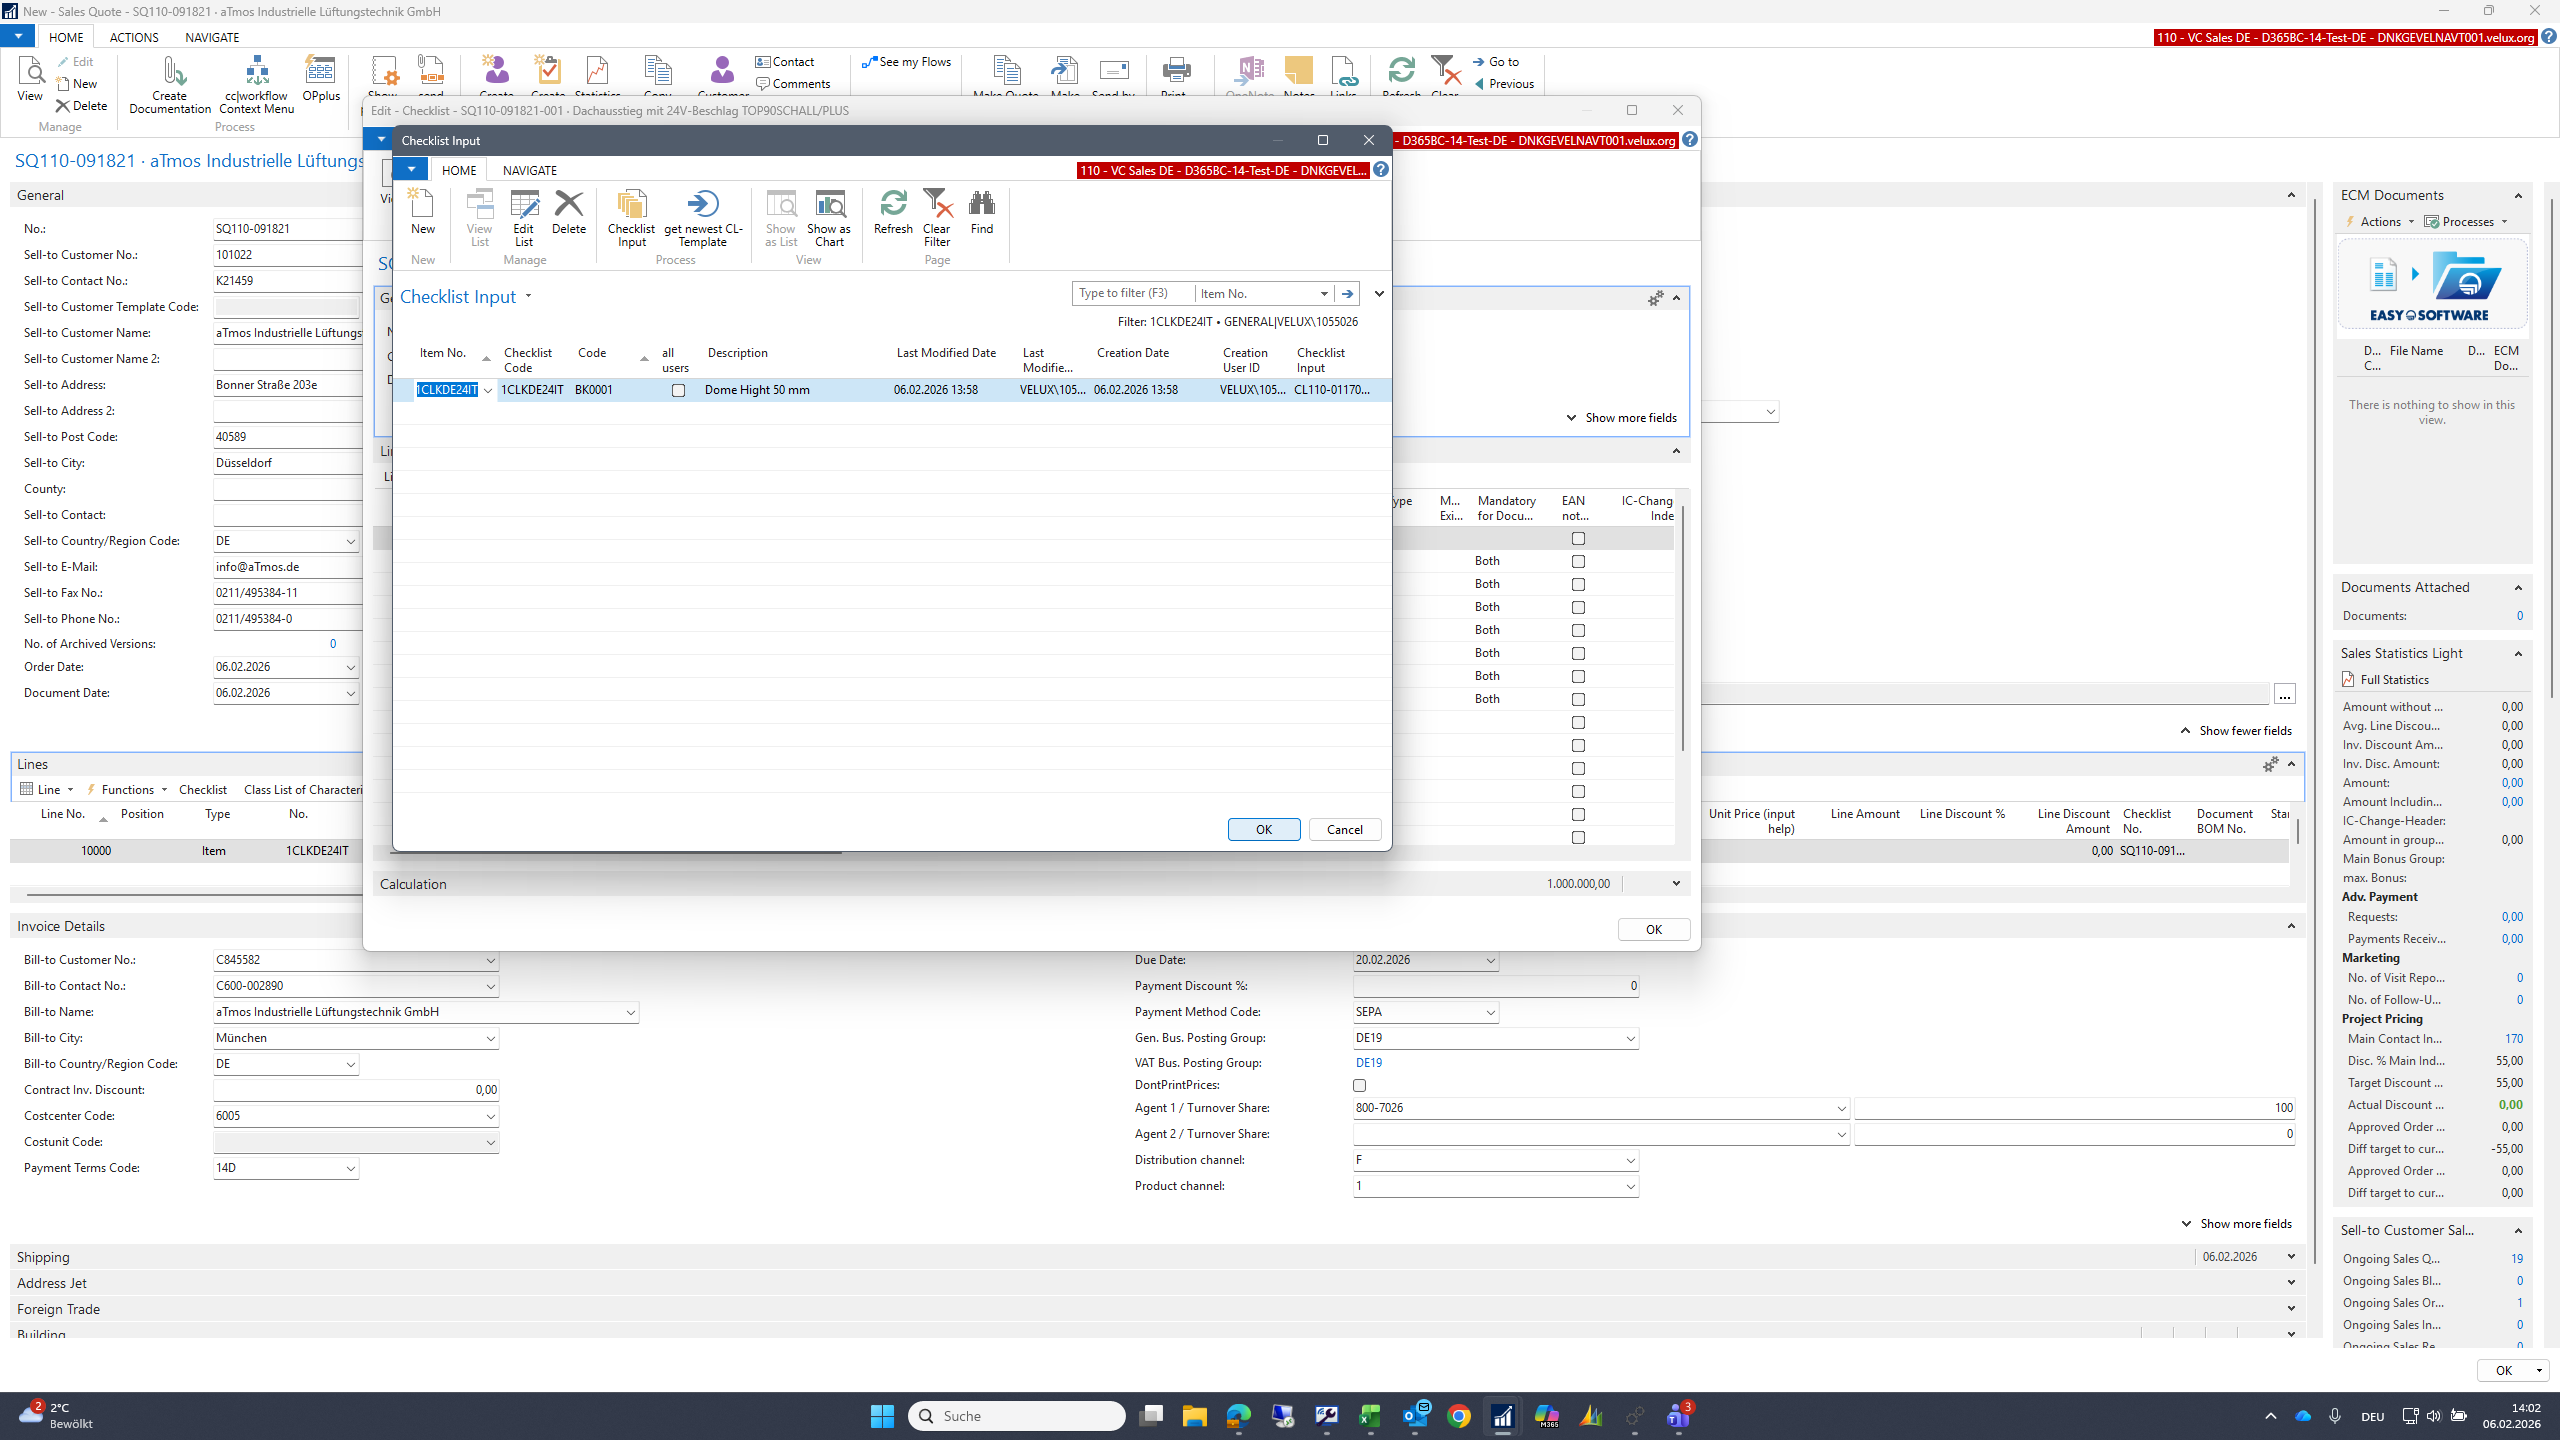
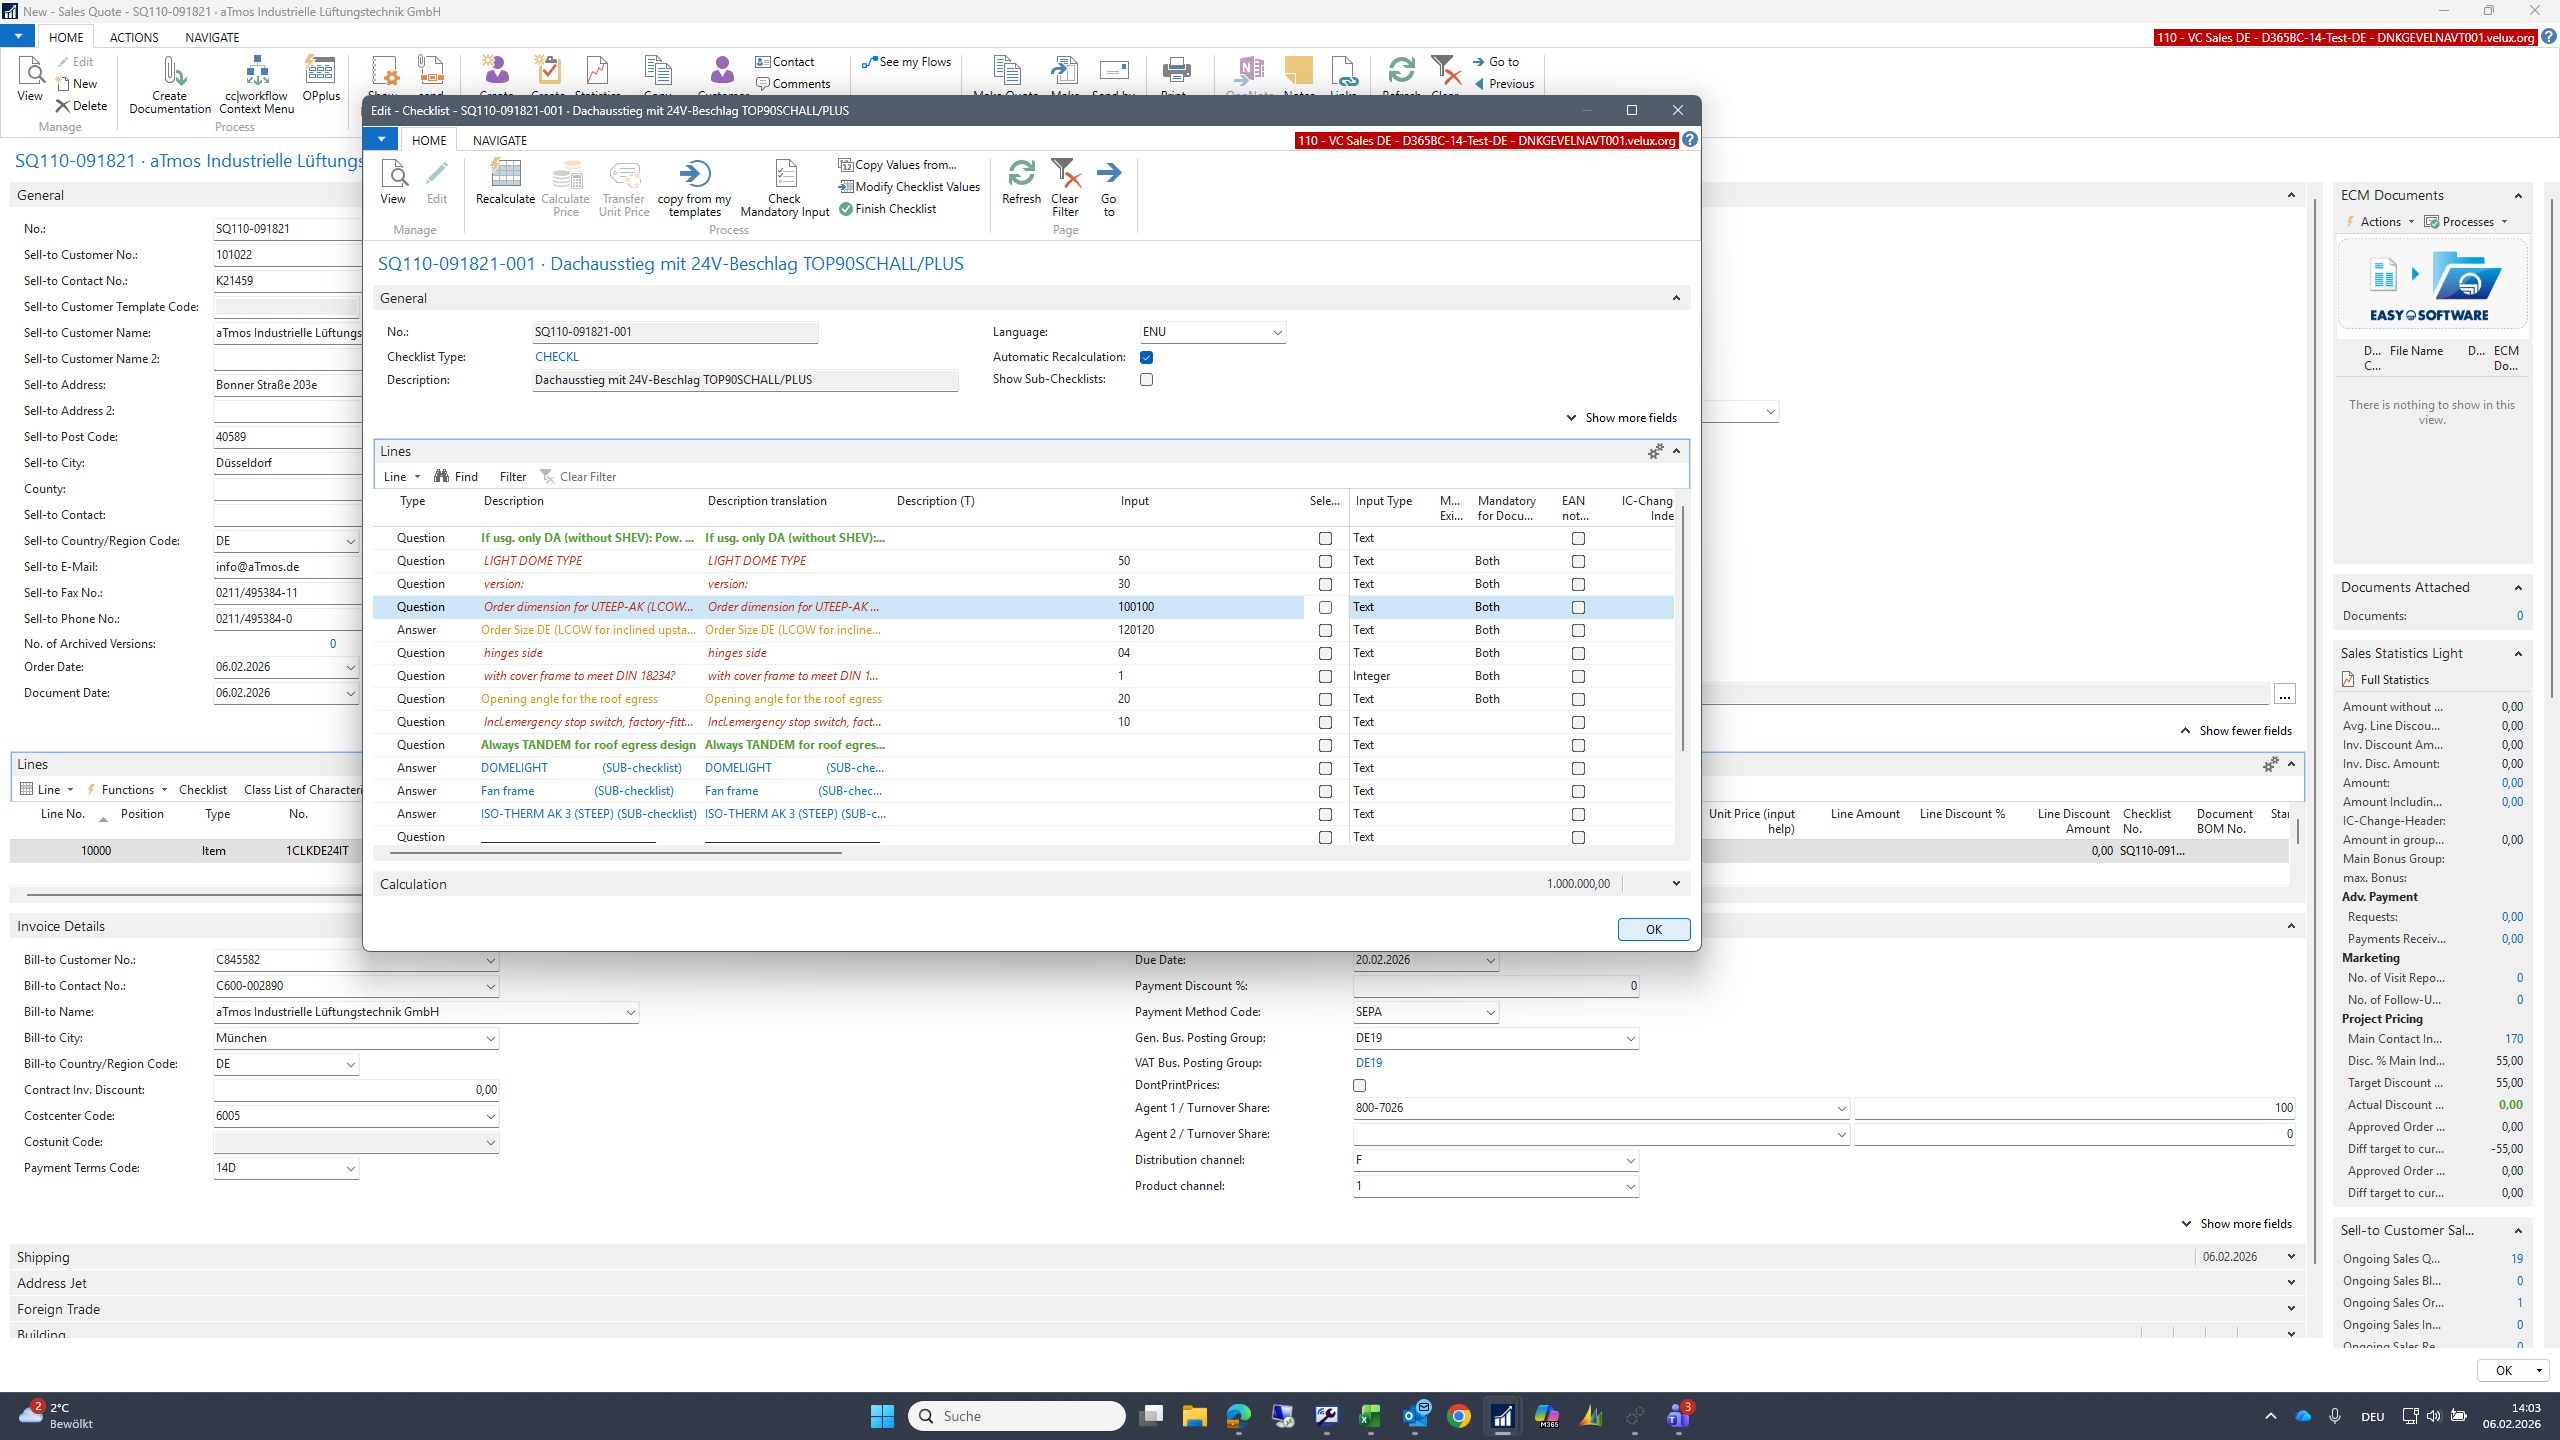
Checklist templates. In sales and marketing, there is a list for checklist input.

1
Click on "Sales & Marketing"
Step #1: Click on "Sales & Marketing"
2
Click on "Lists"
Step #2: Click on "Lists"
3
Click on "Checklist Input"
Step #3: Click on "Checklist Input"

Here you can define checklist templates. You start with a new entry.

4
Click on "New"
Step #4: Click on "New"

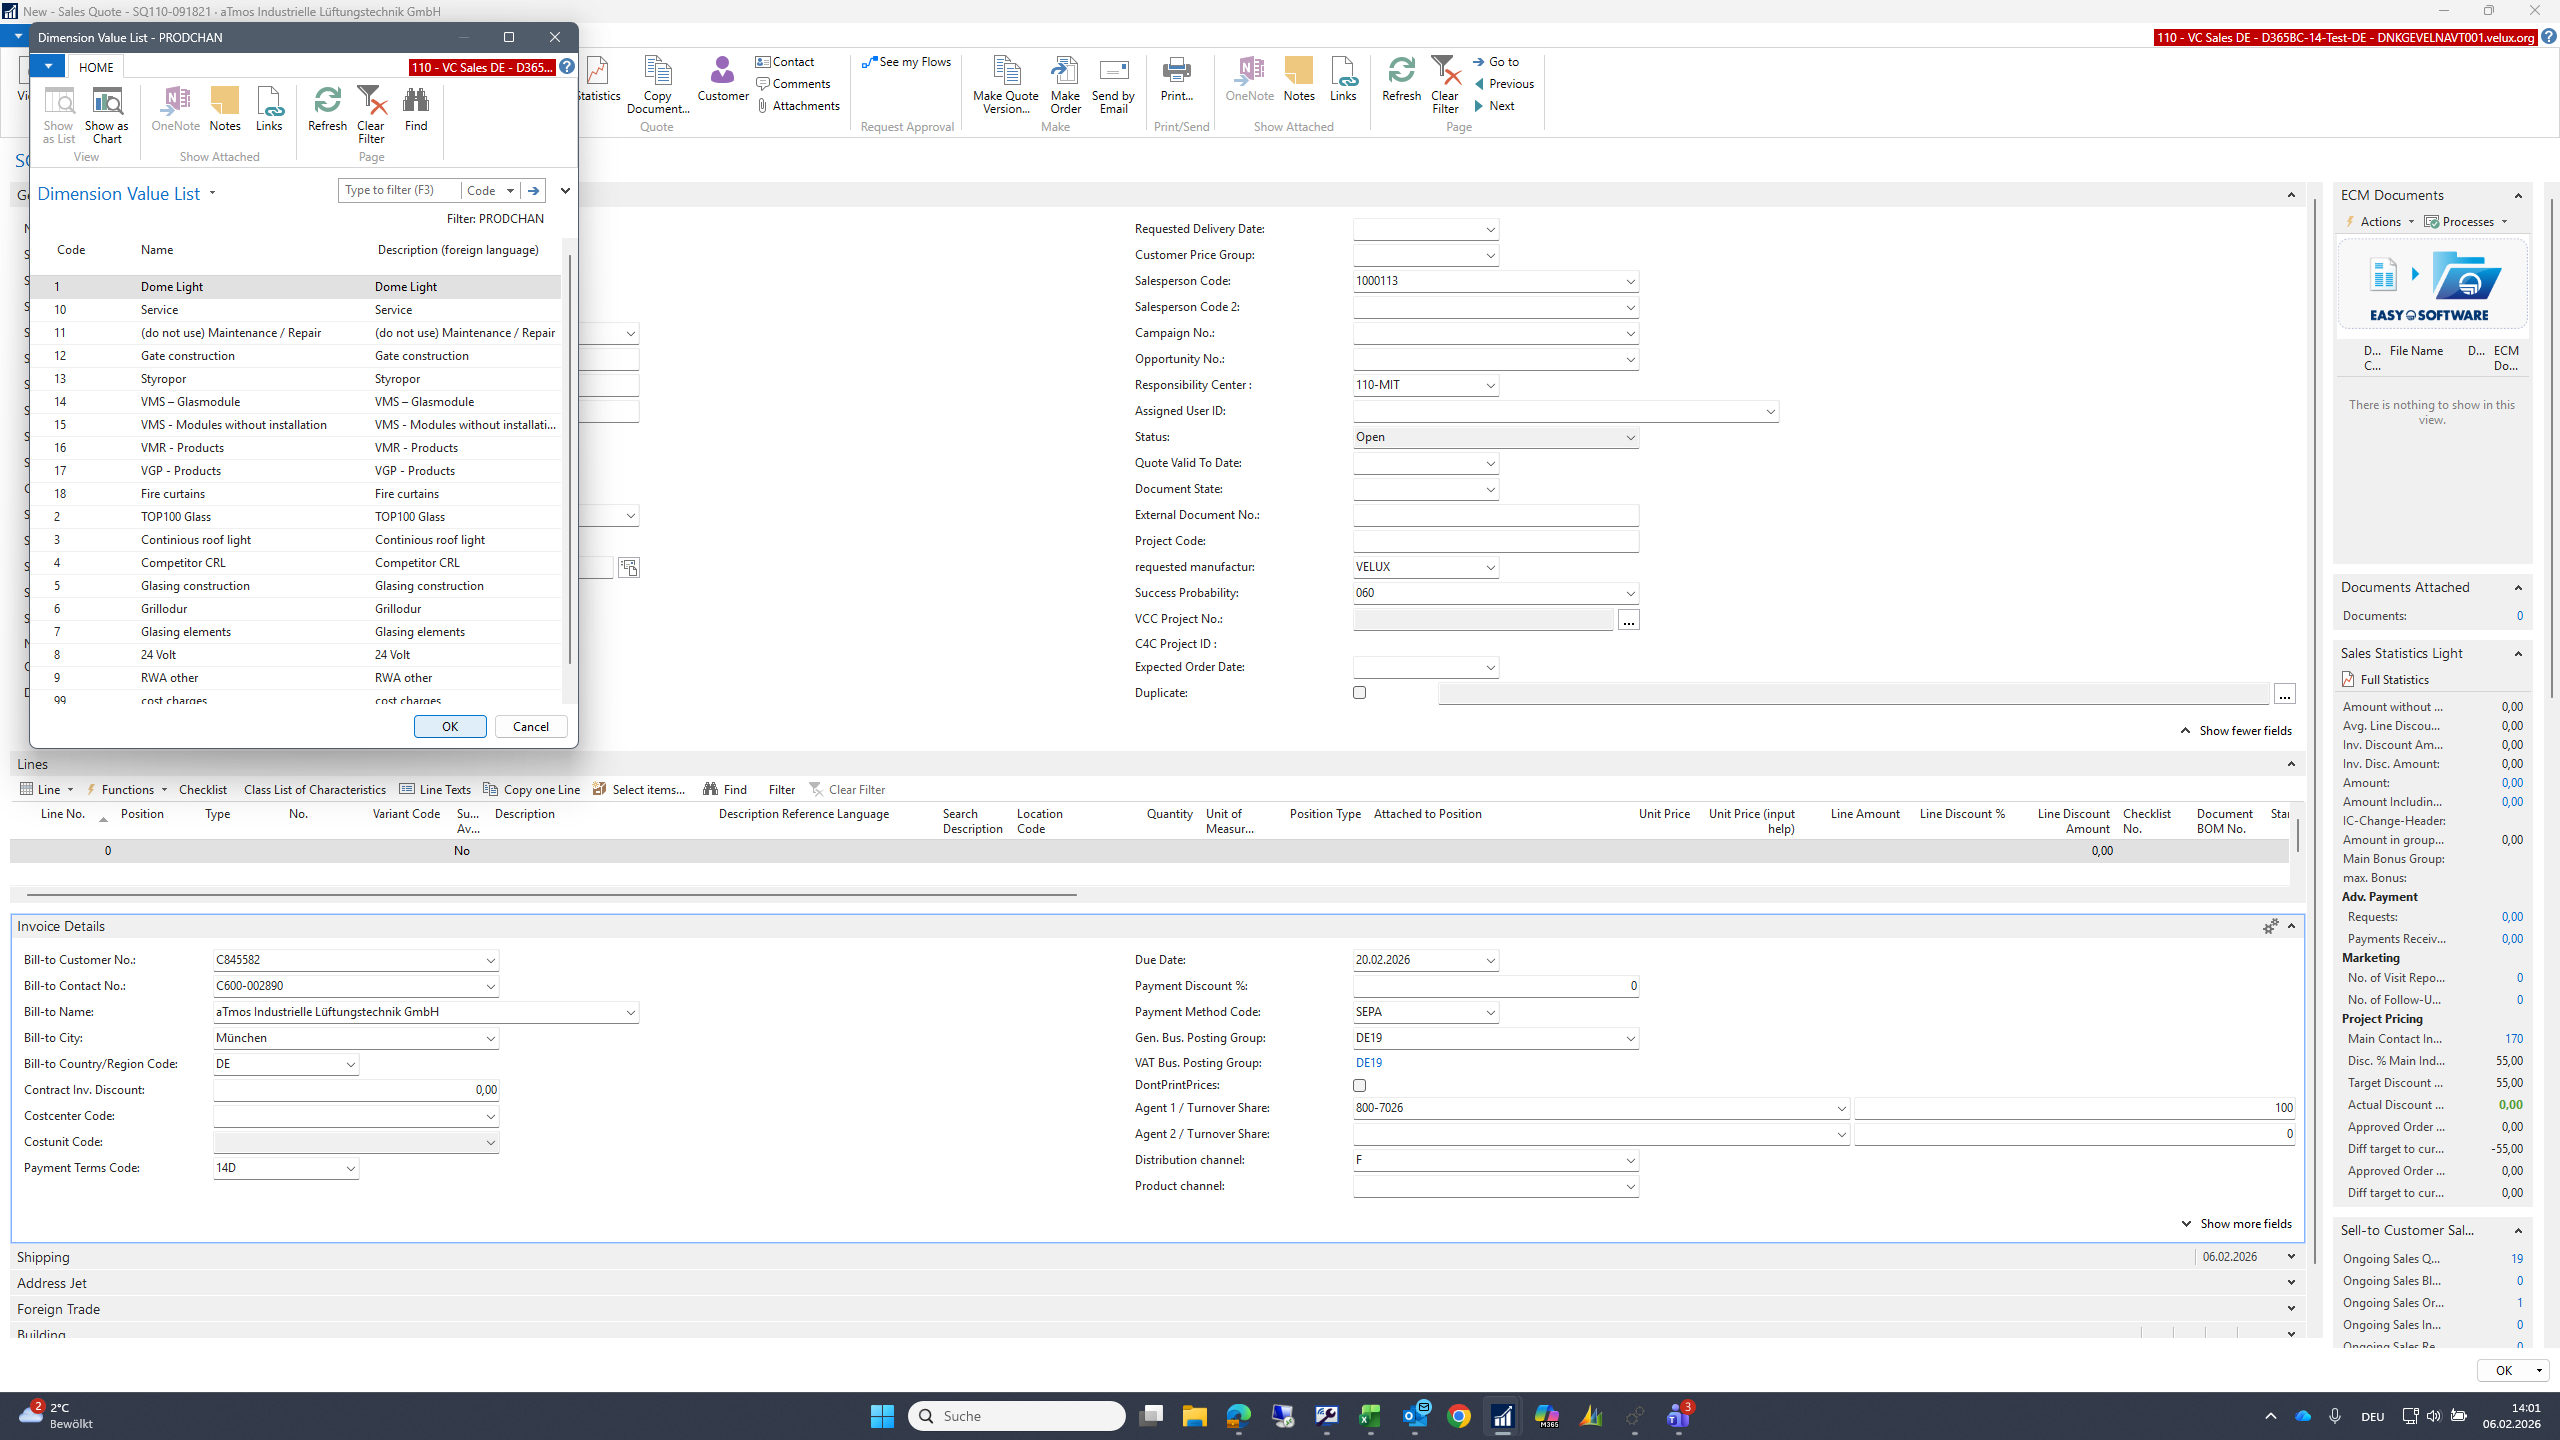
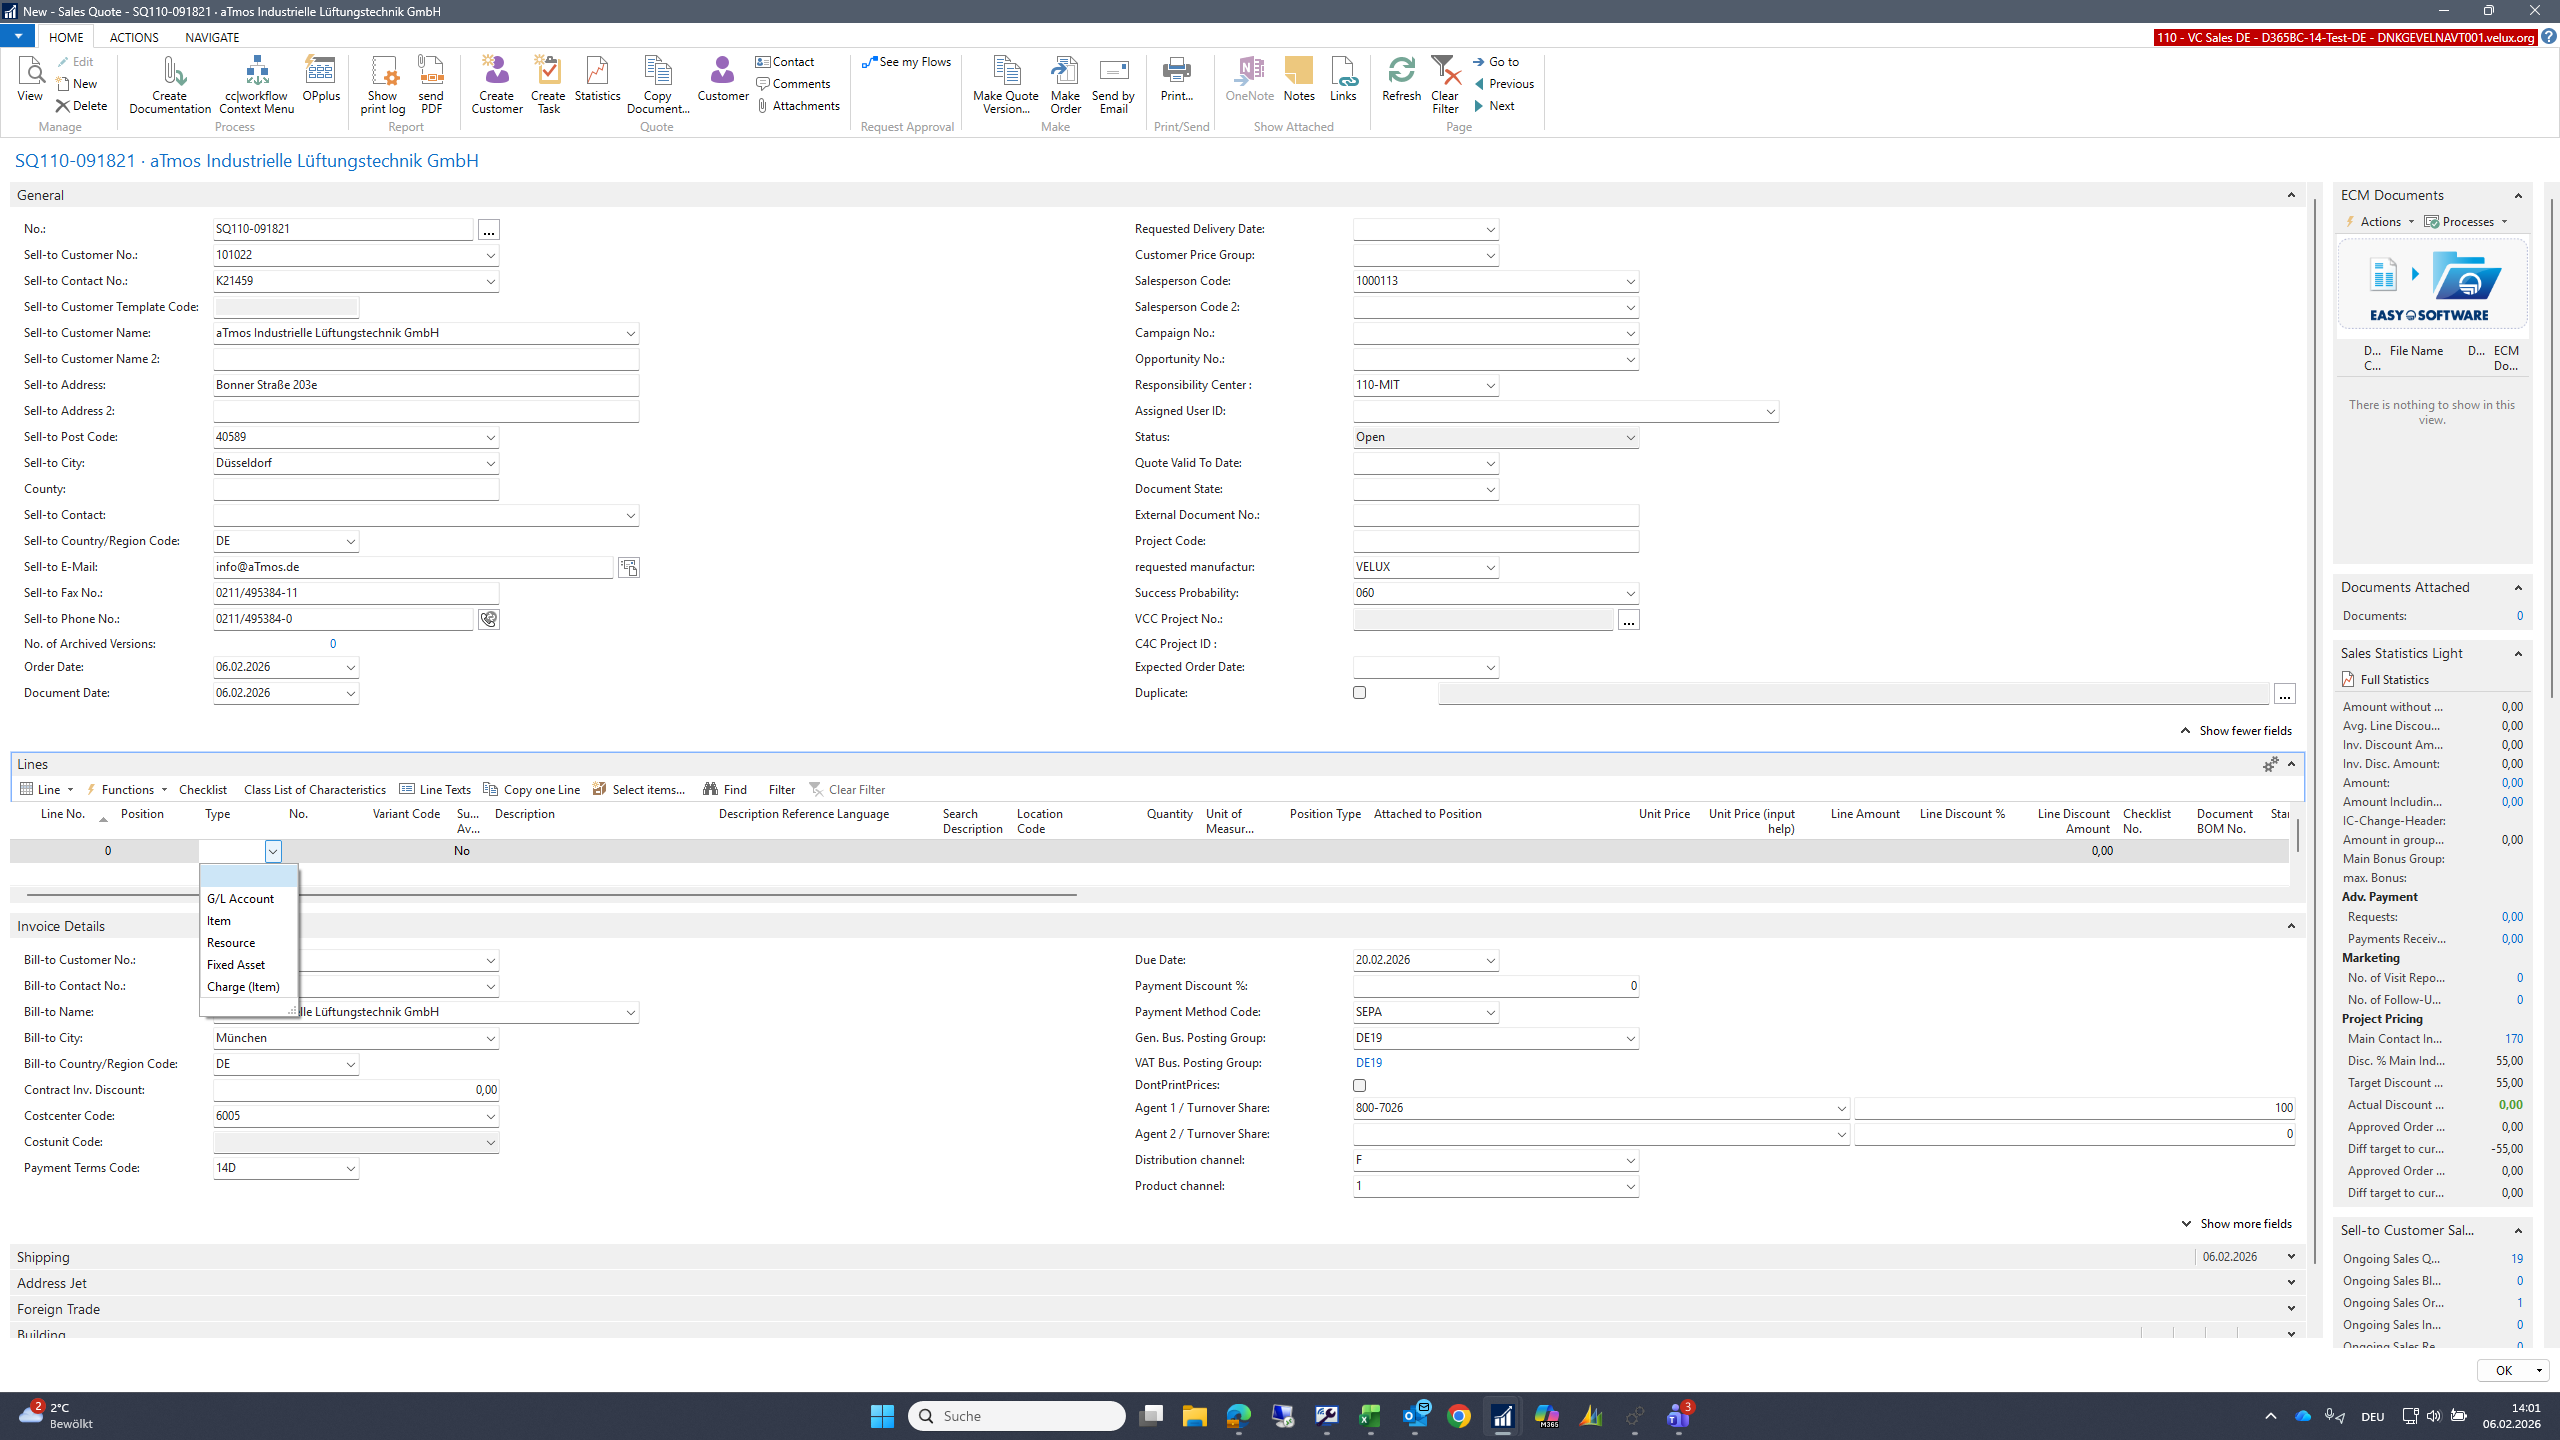
Here, you select the item for which you want to create the checklist template.

5
Click here
Step #5: Click here
6
Type "1clkde2"
7
Click on "1CLKDE24IT"
Step #7: Click on "1CLKDE24IT"
8
Click here
Step #8: Click here
9
Double-click here
Step #9: Double-click here

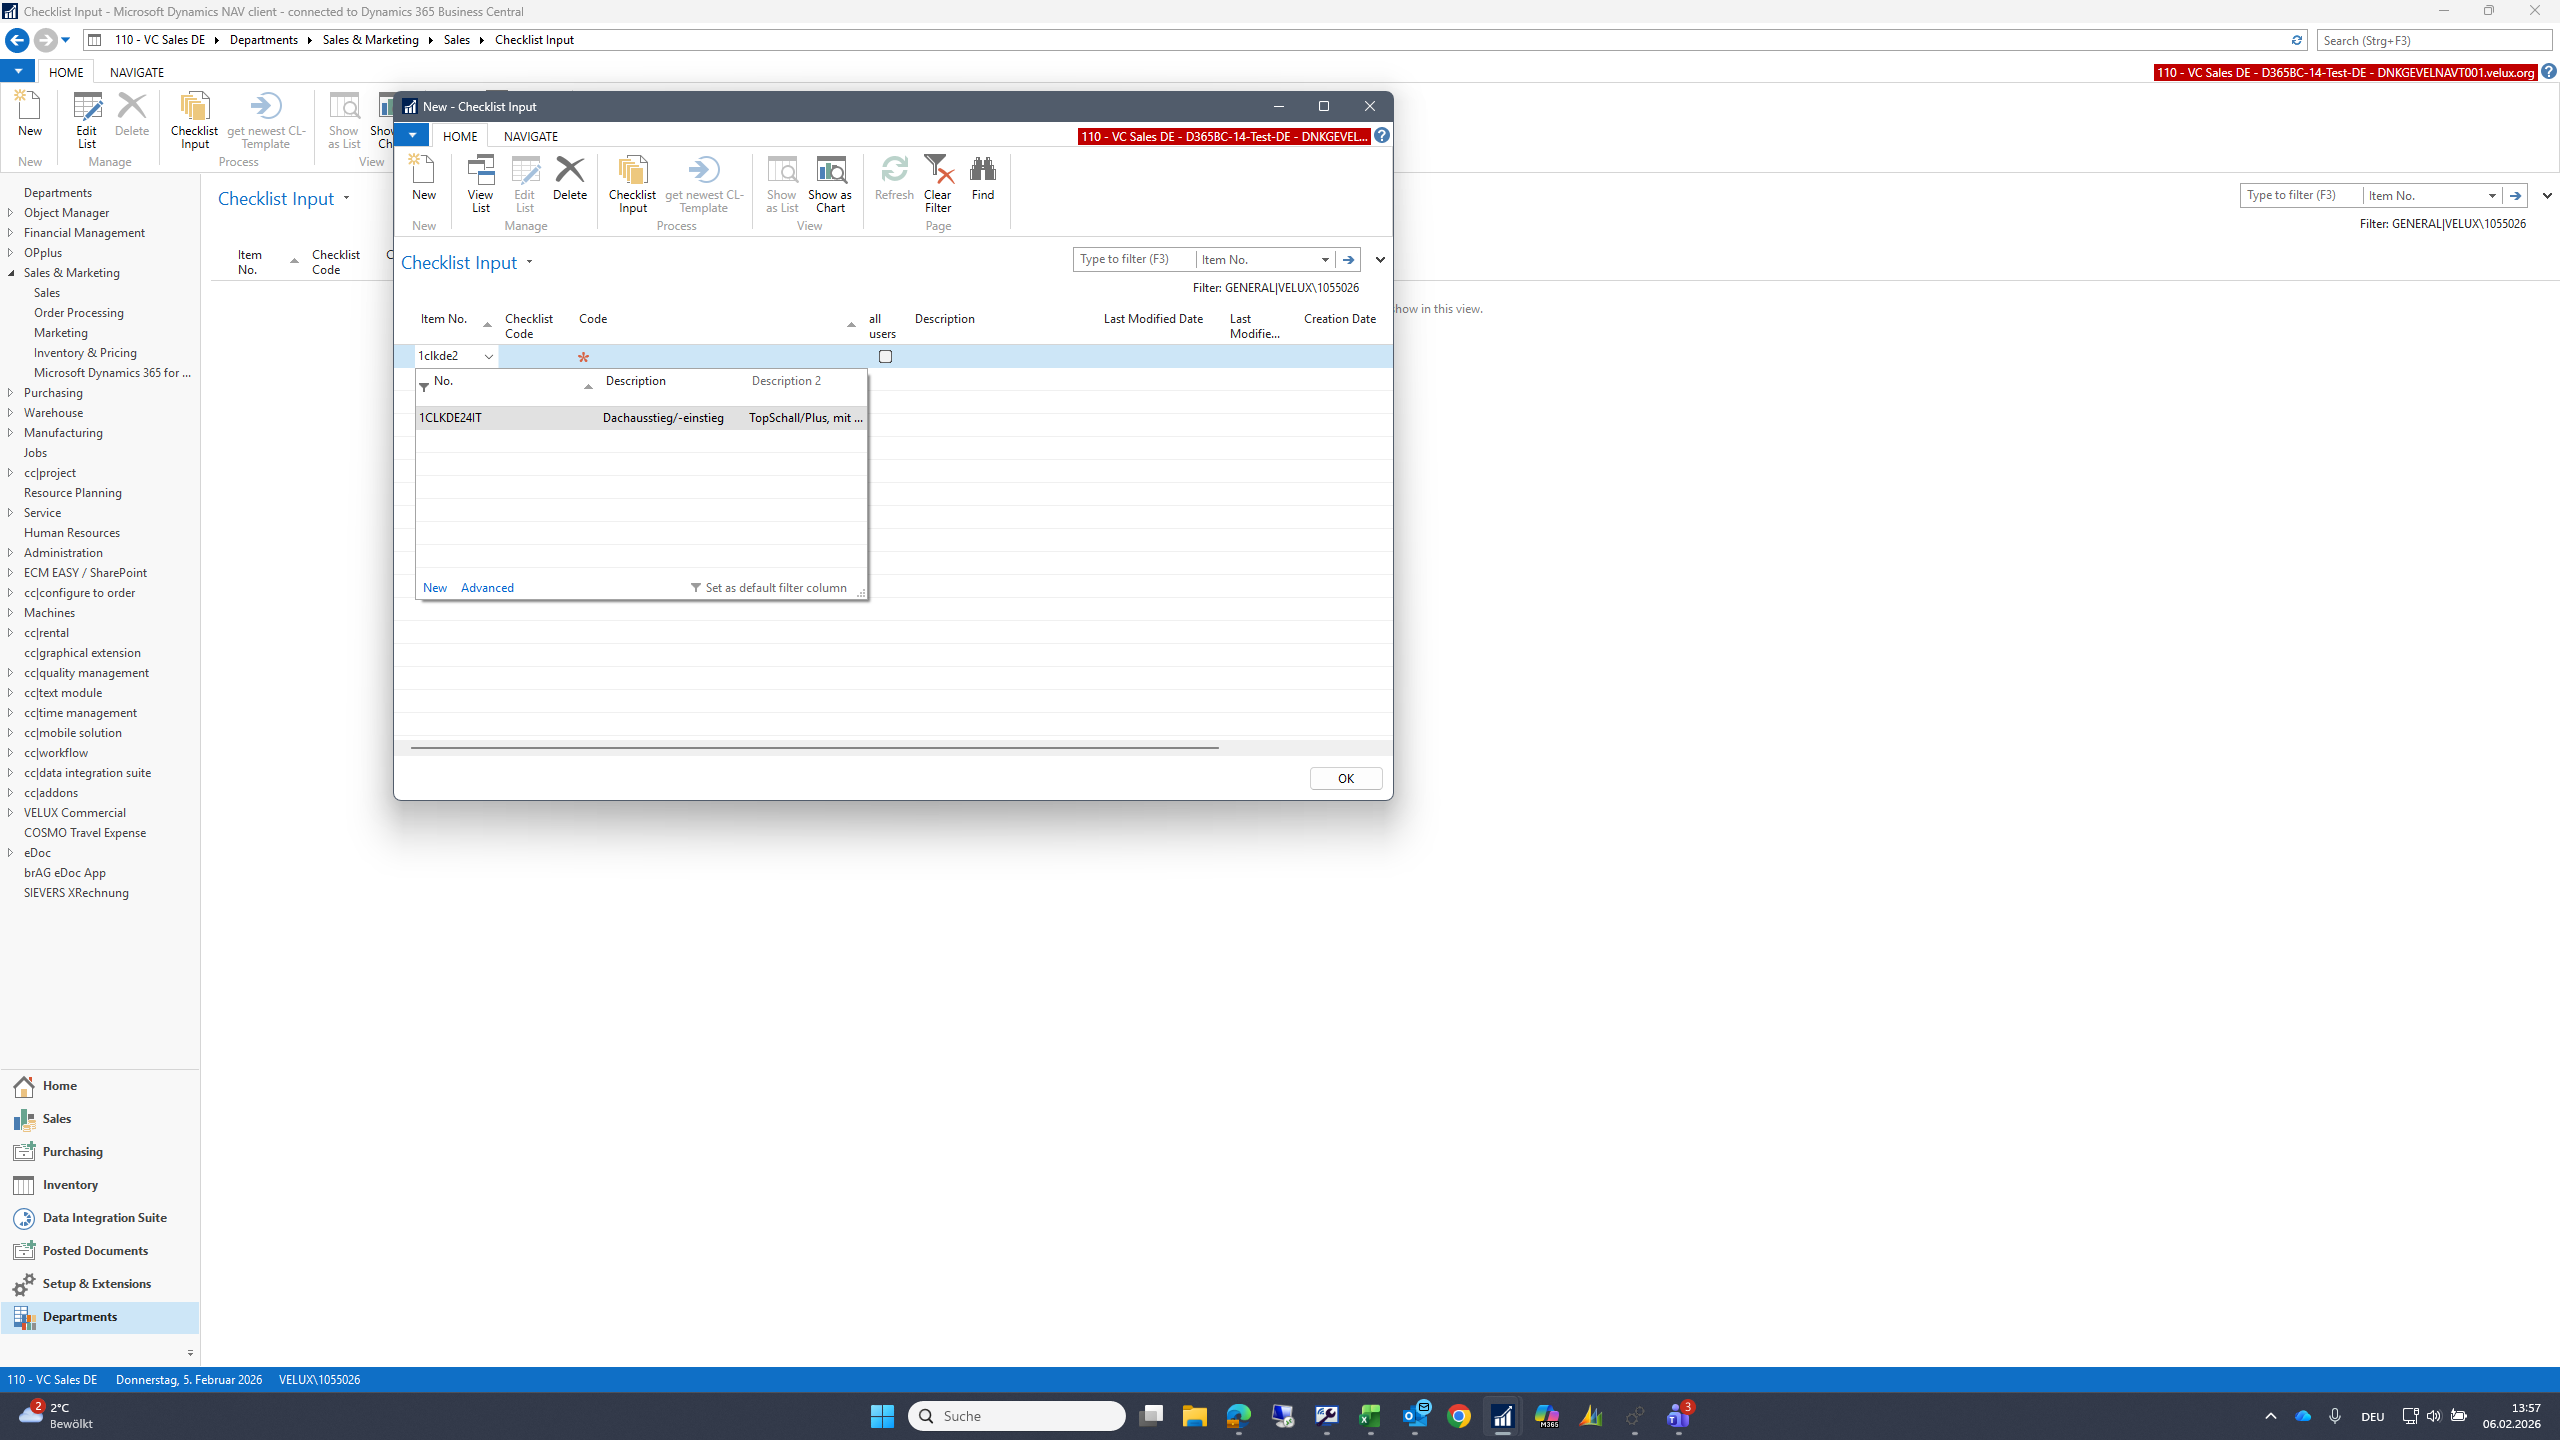
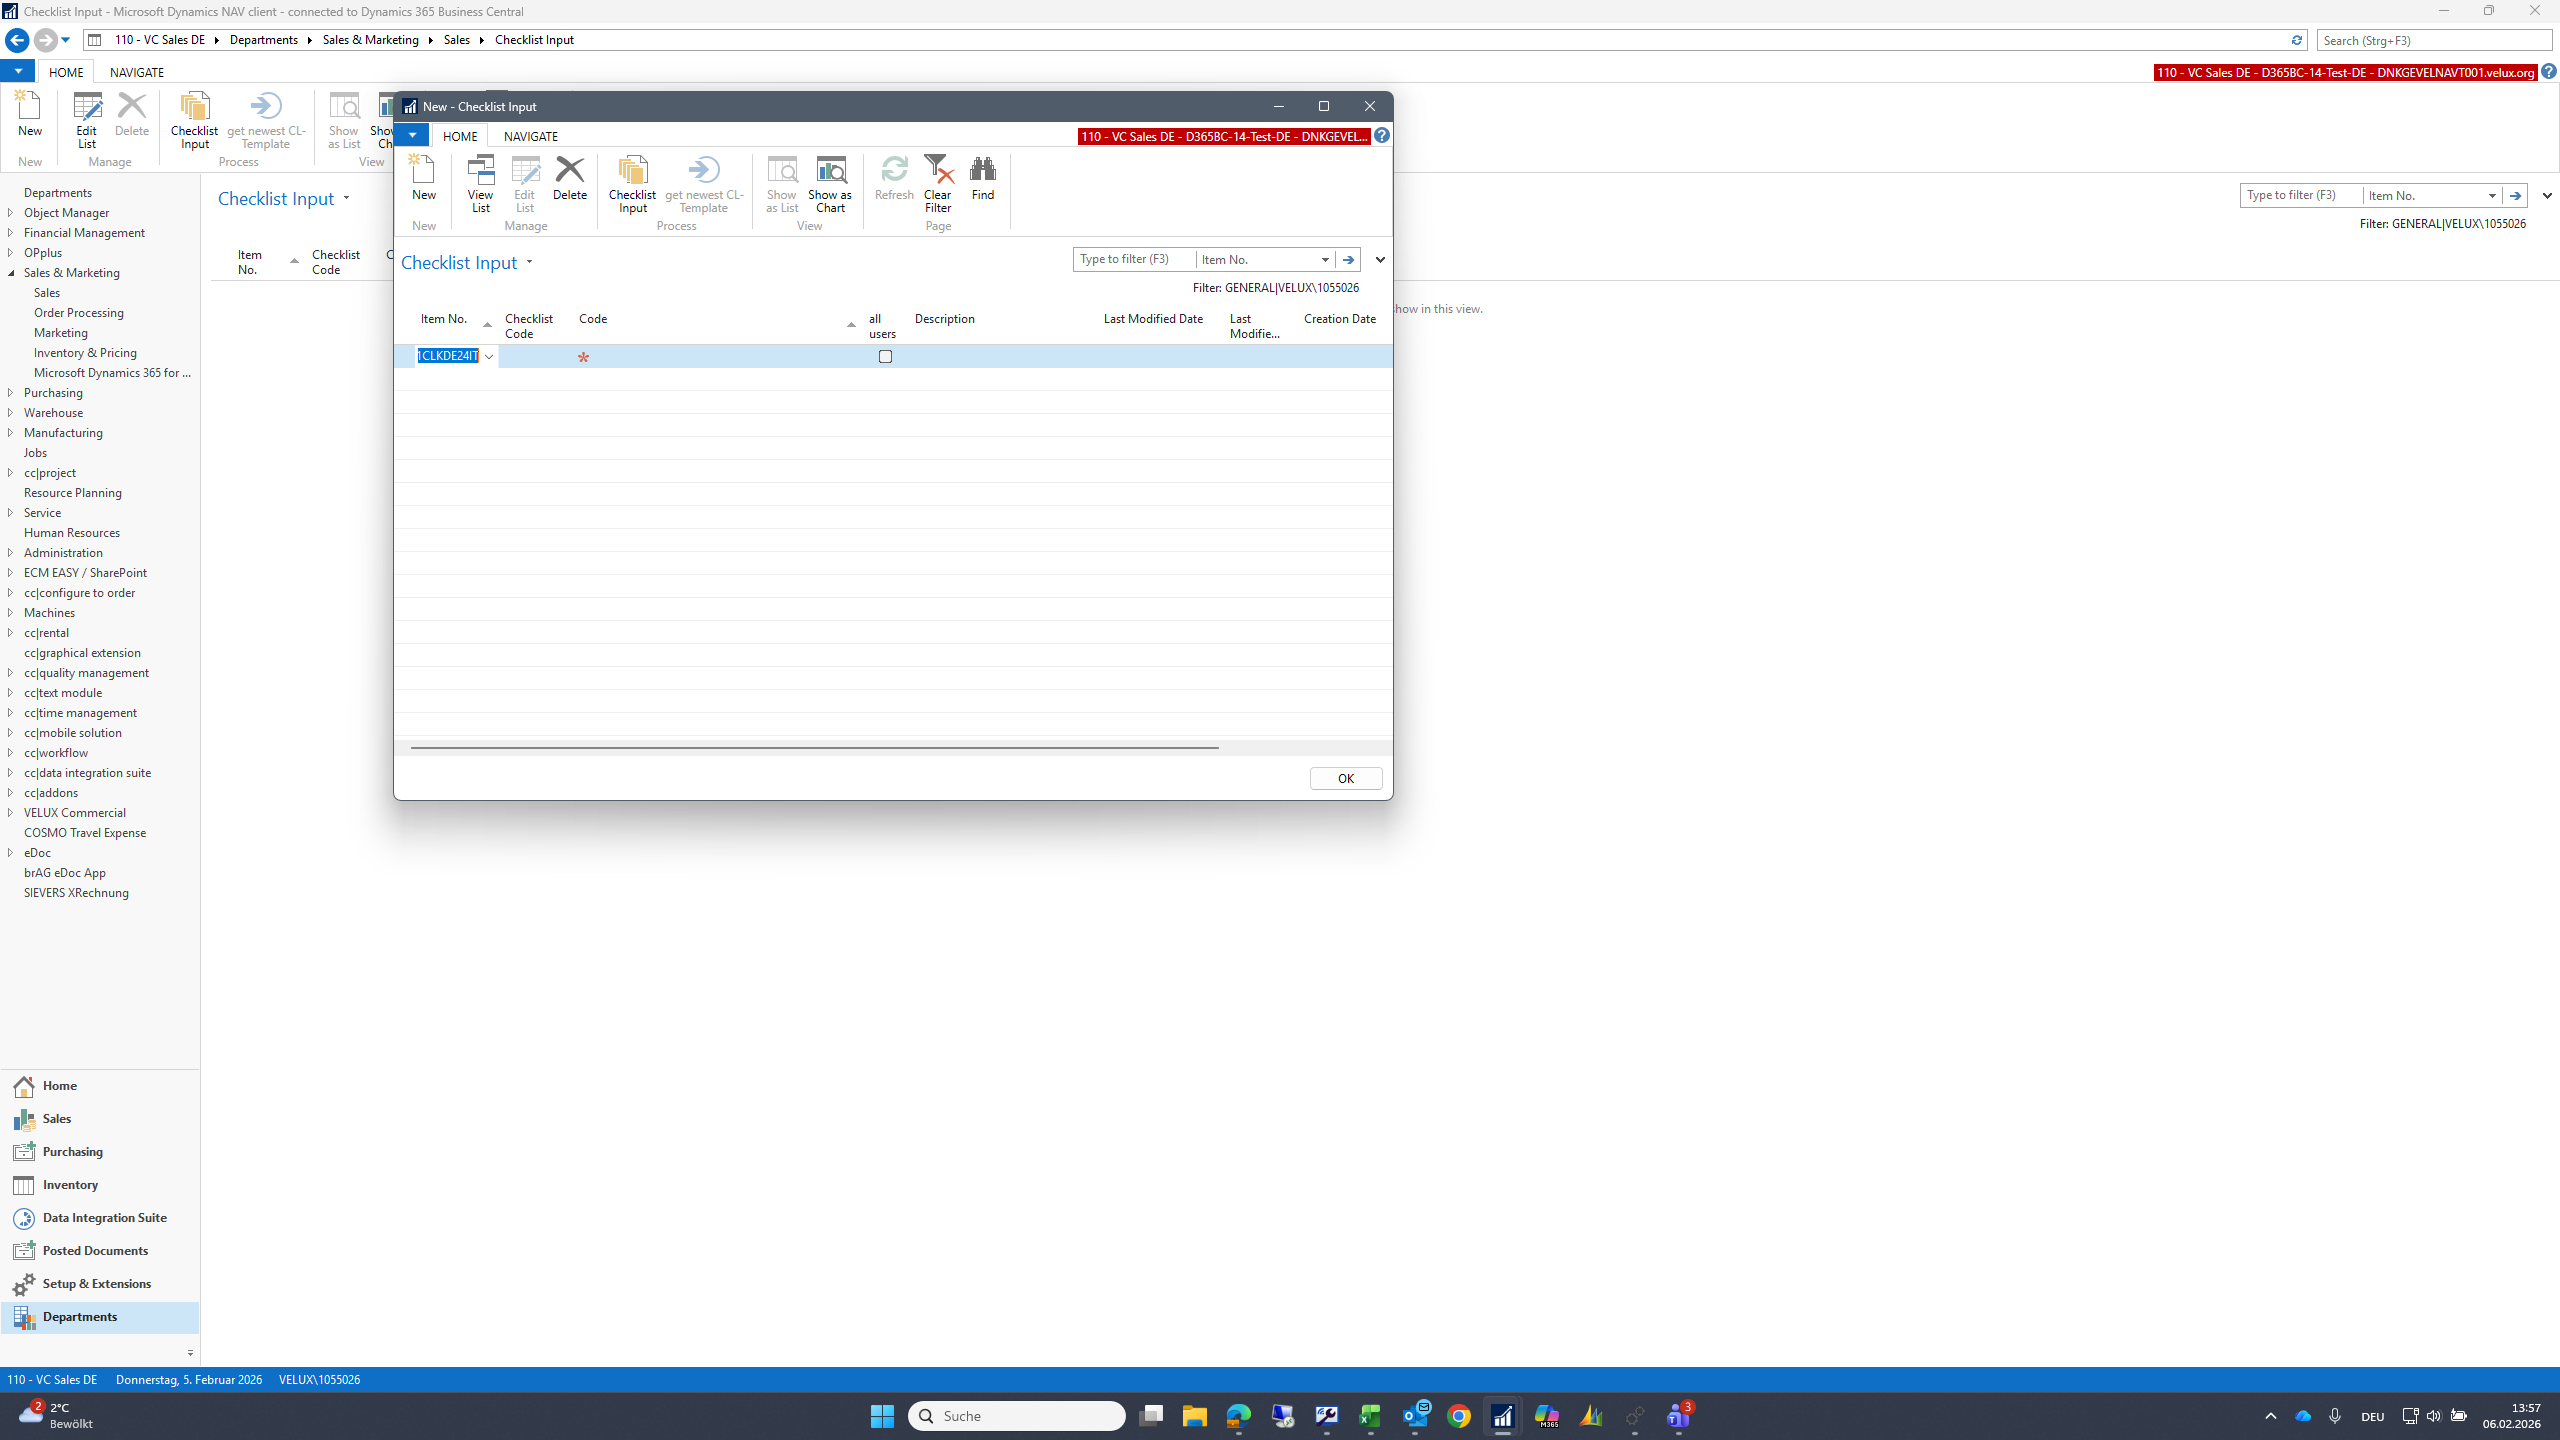
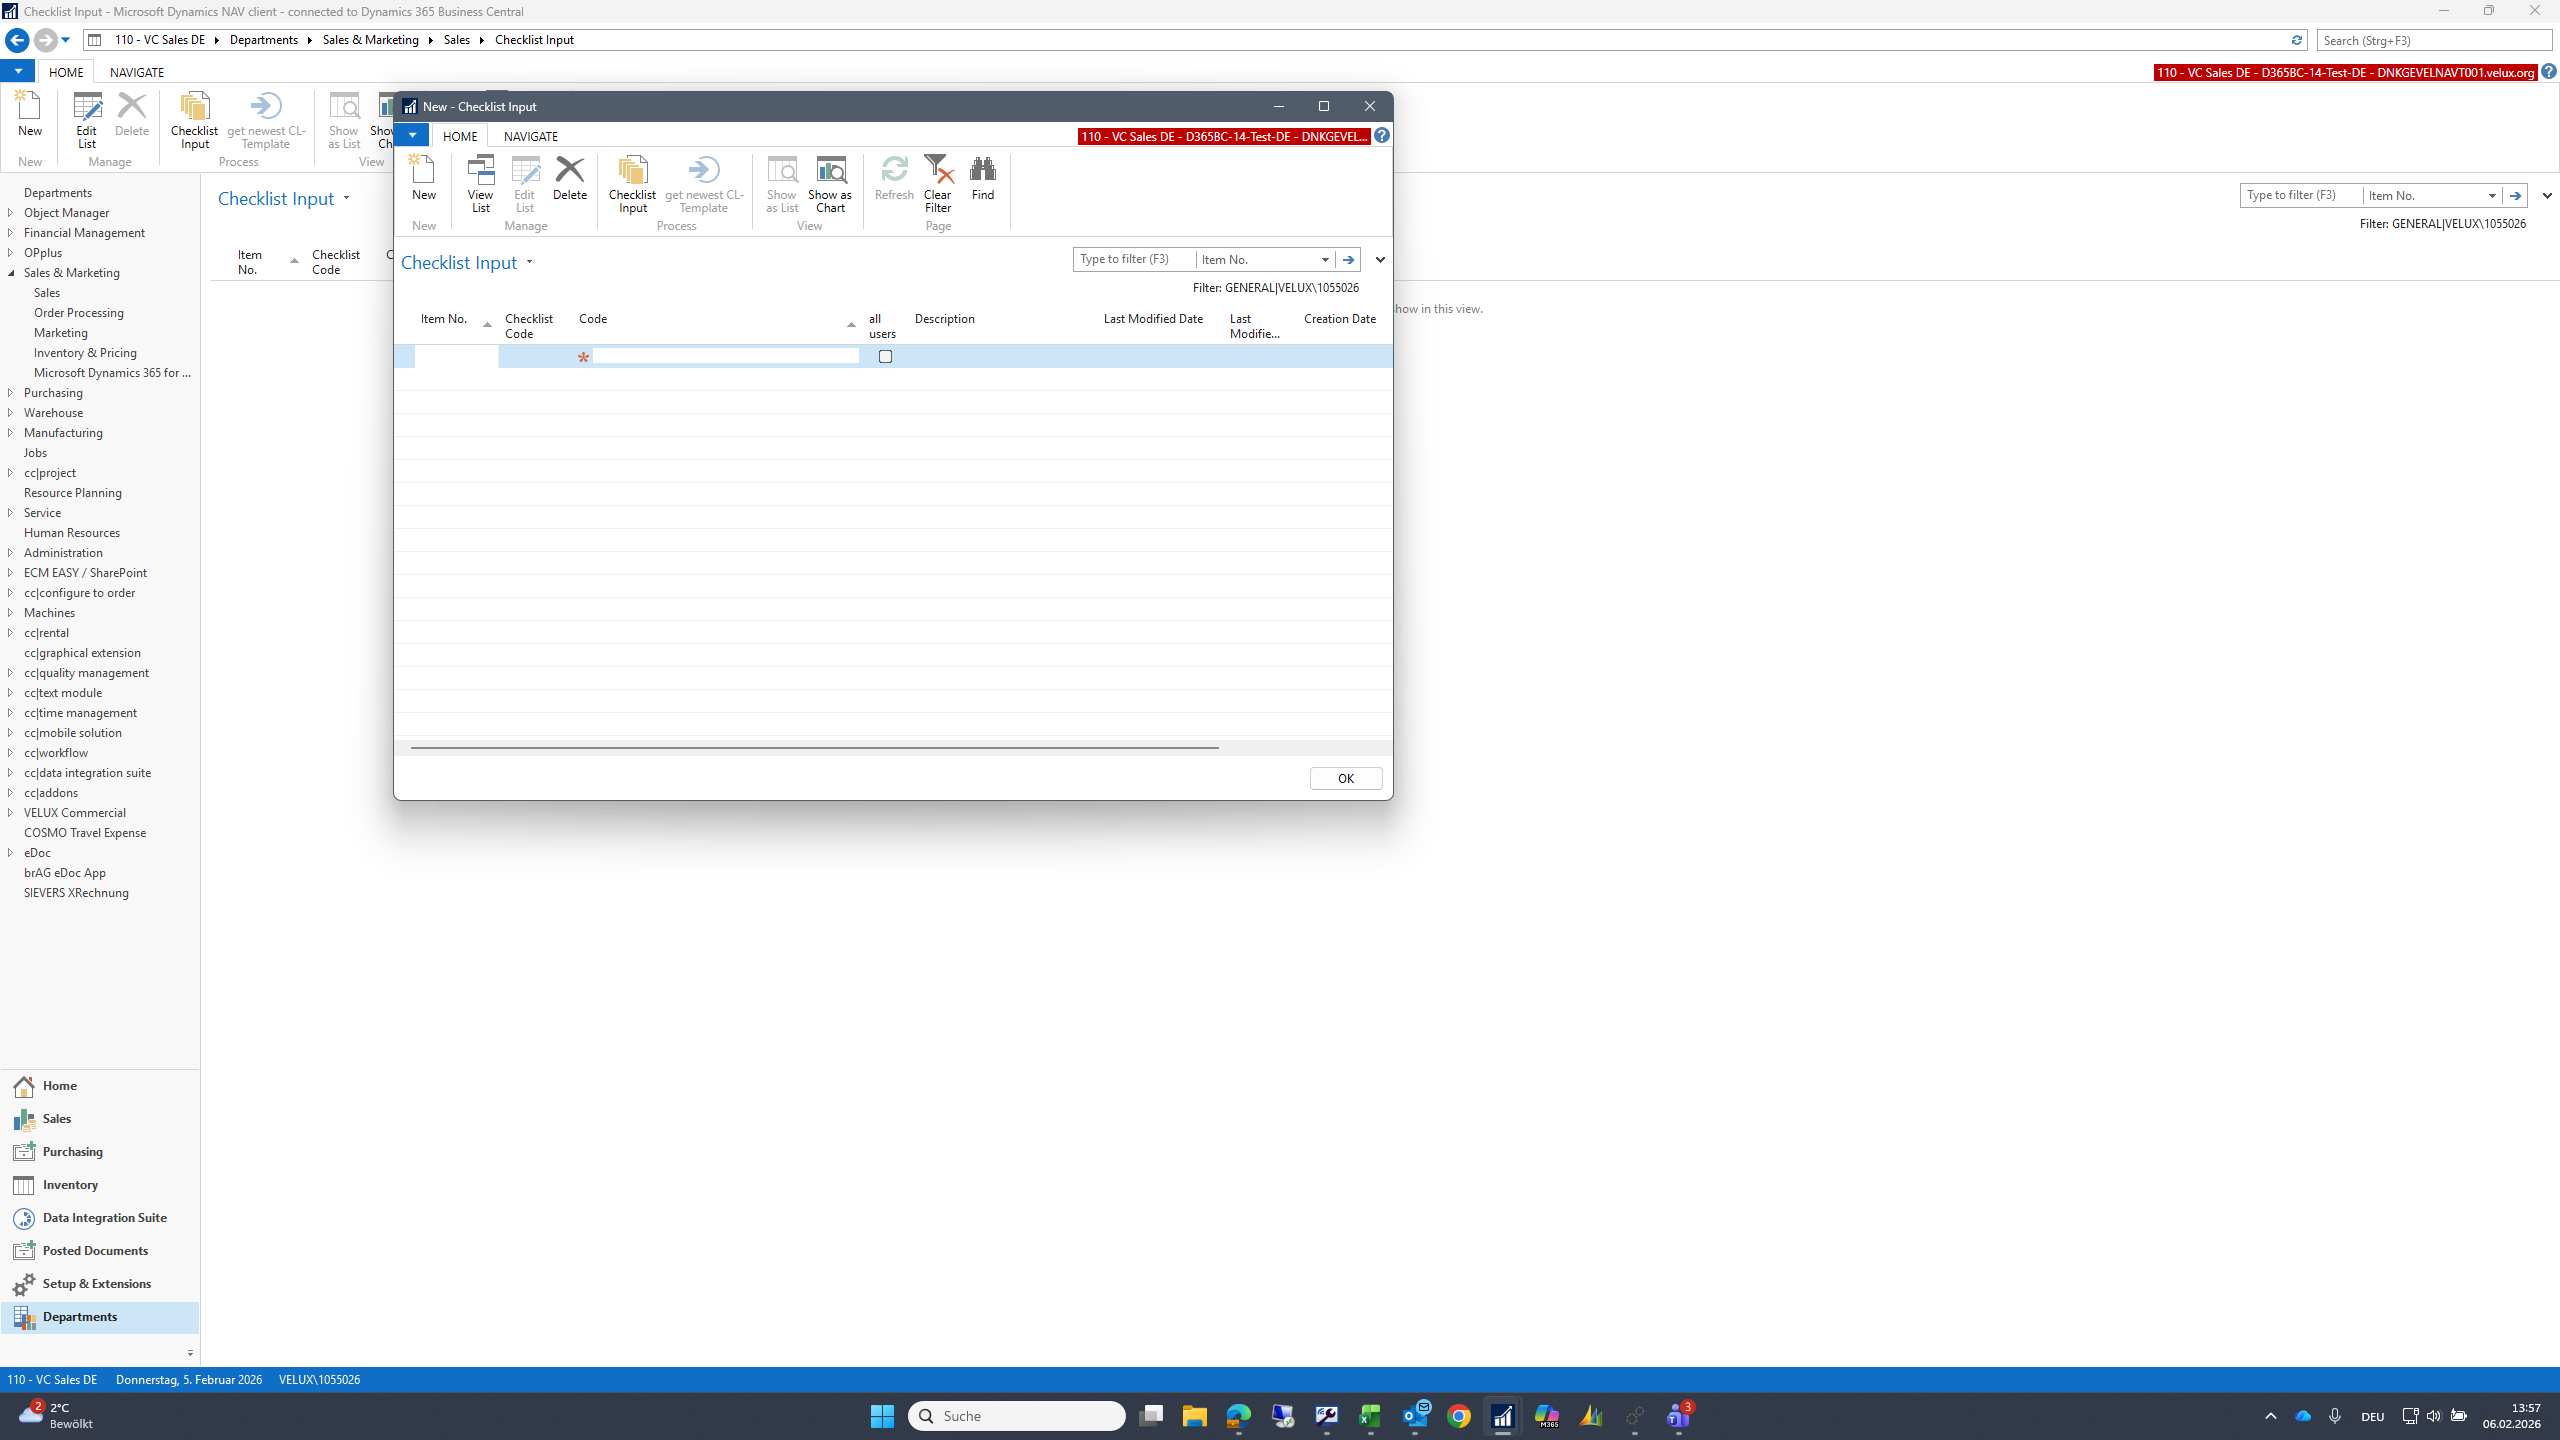
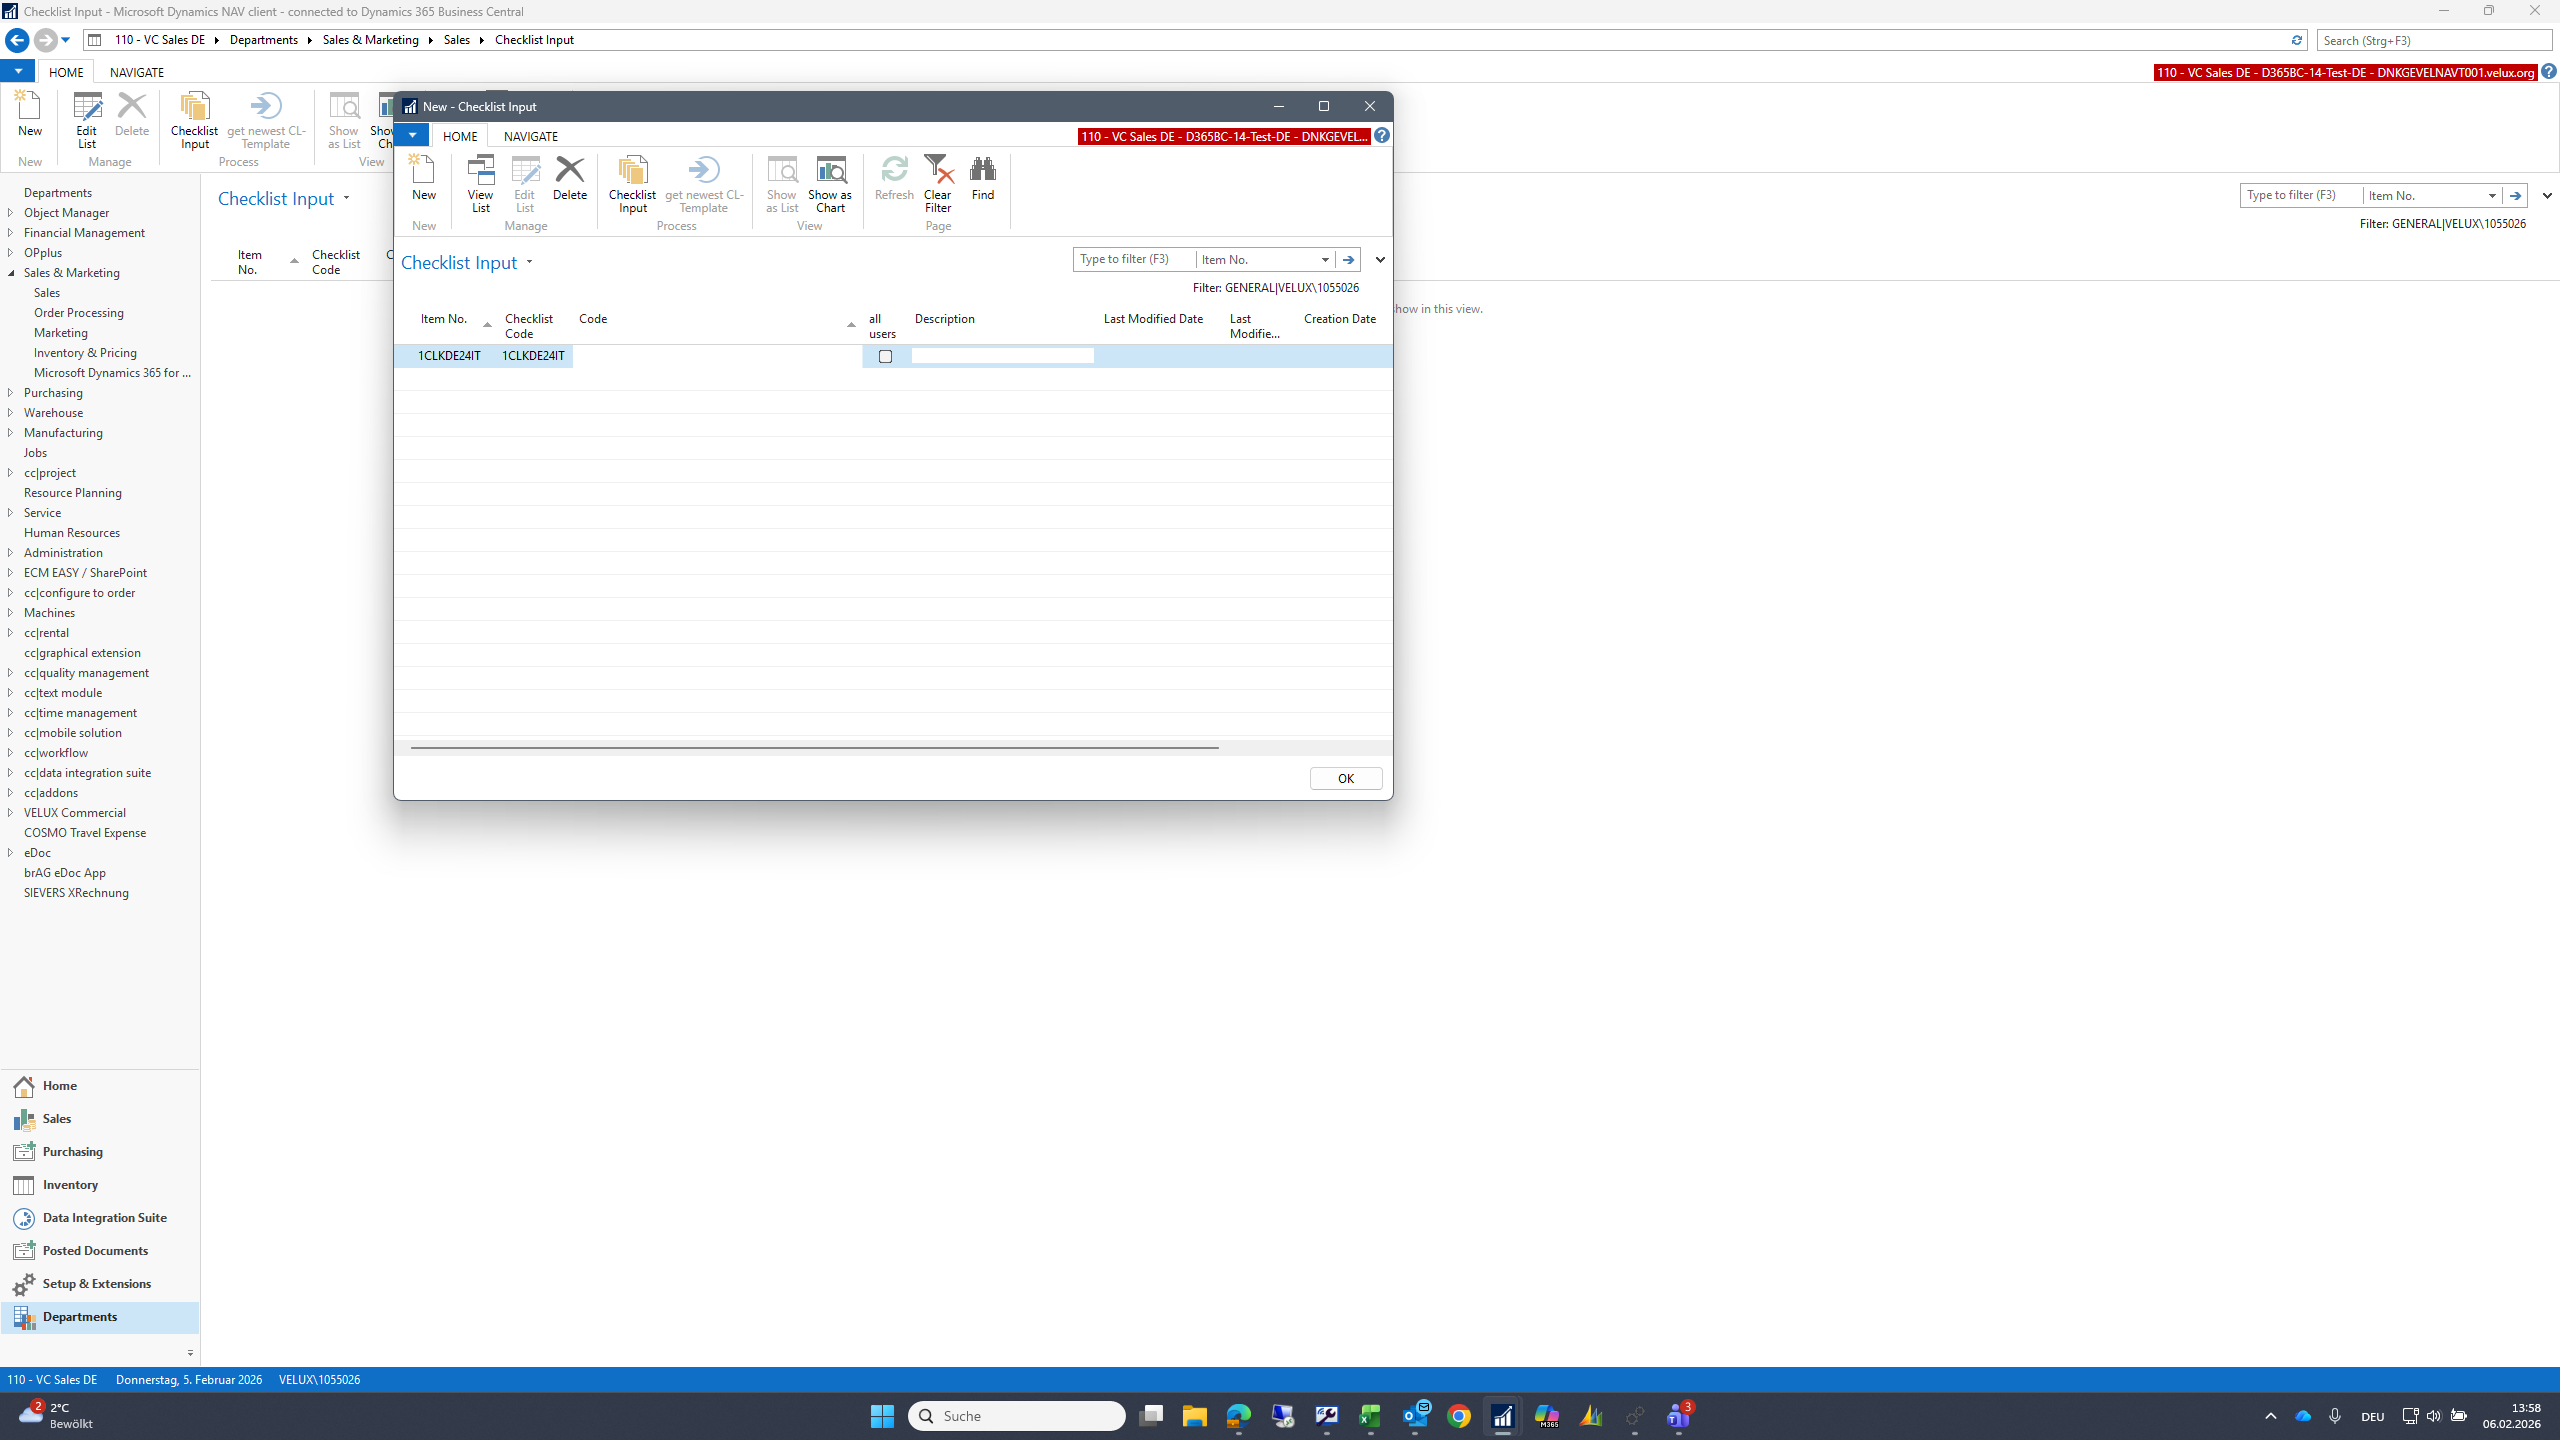
Assign a unique code to the template you want to create. And a description.

10
Type "BK0001"
11
Type "BK0001"
12
click here
Step #12: click here

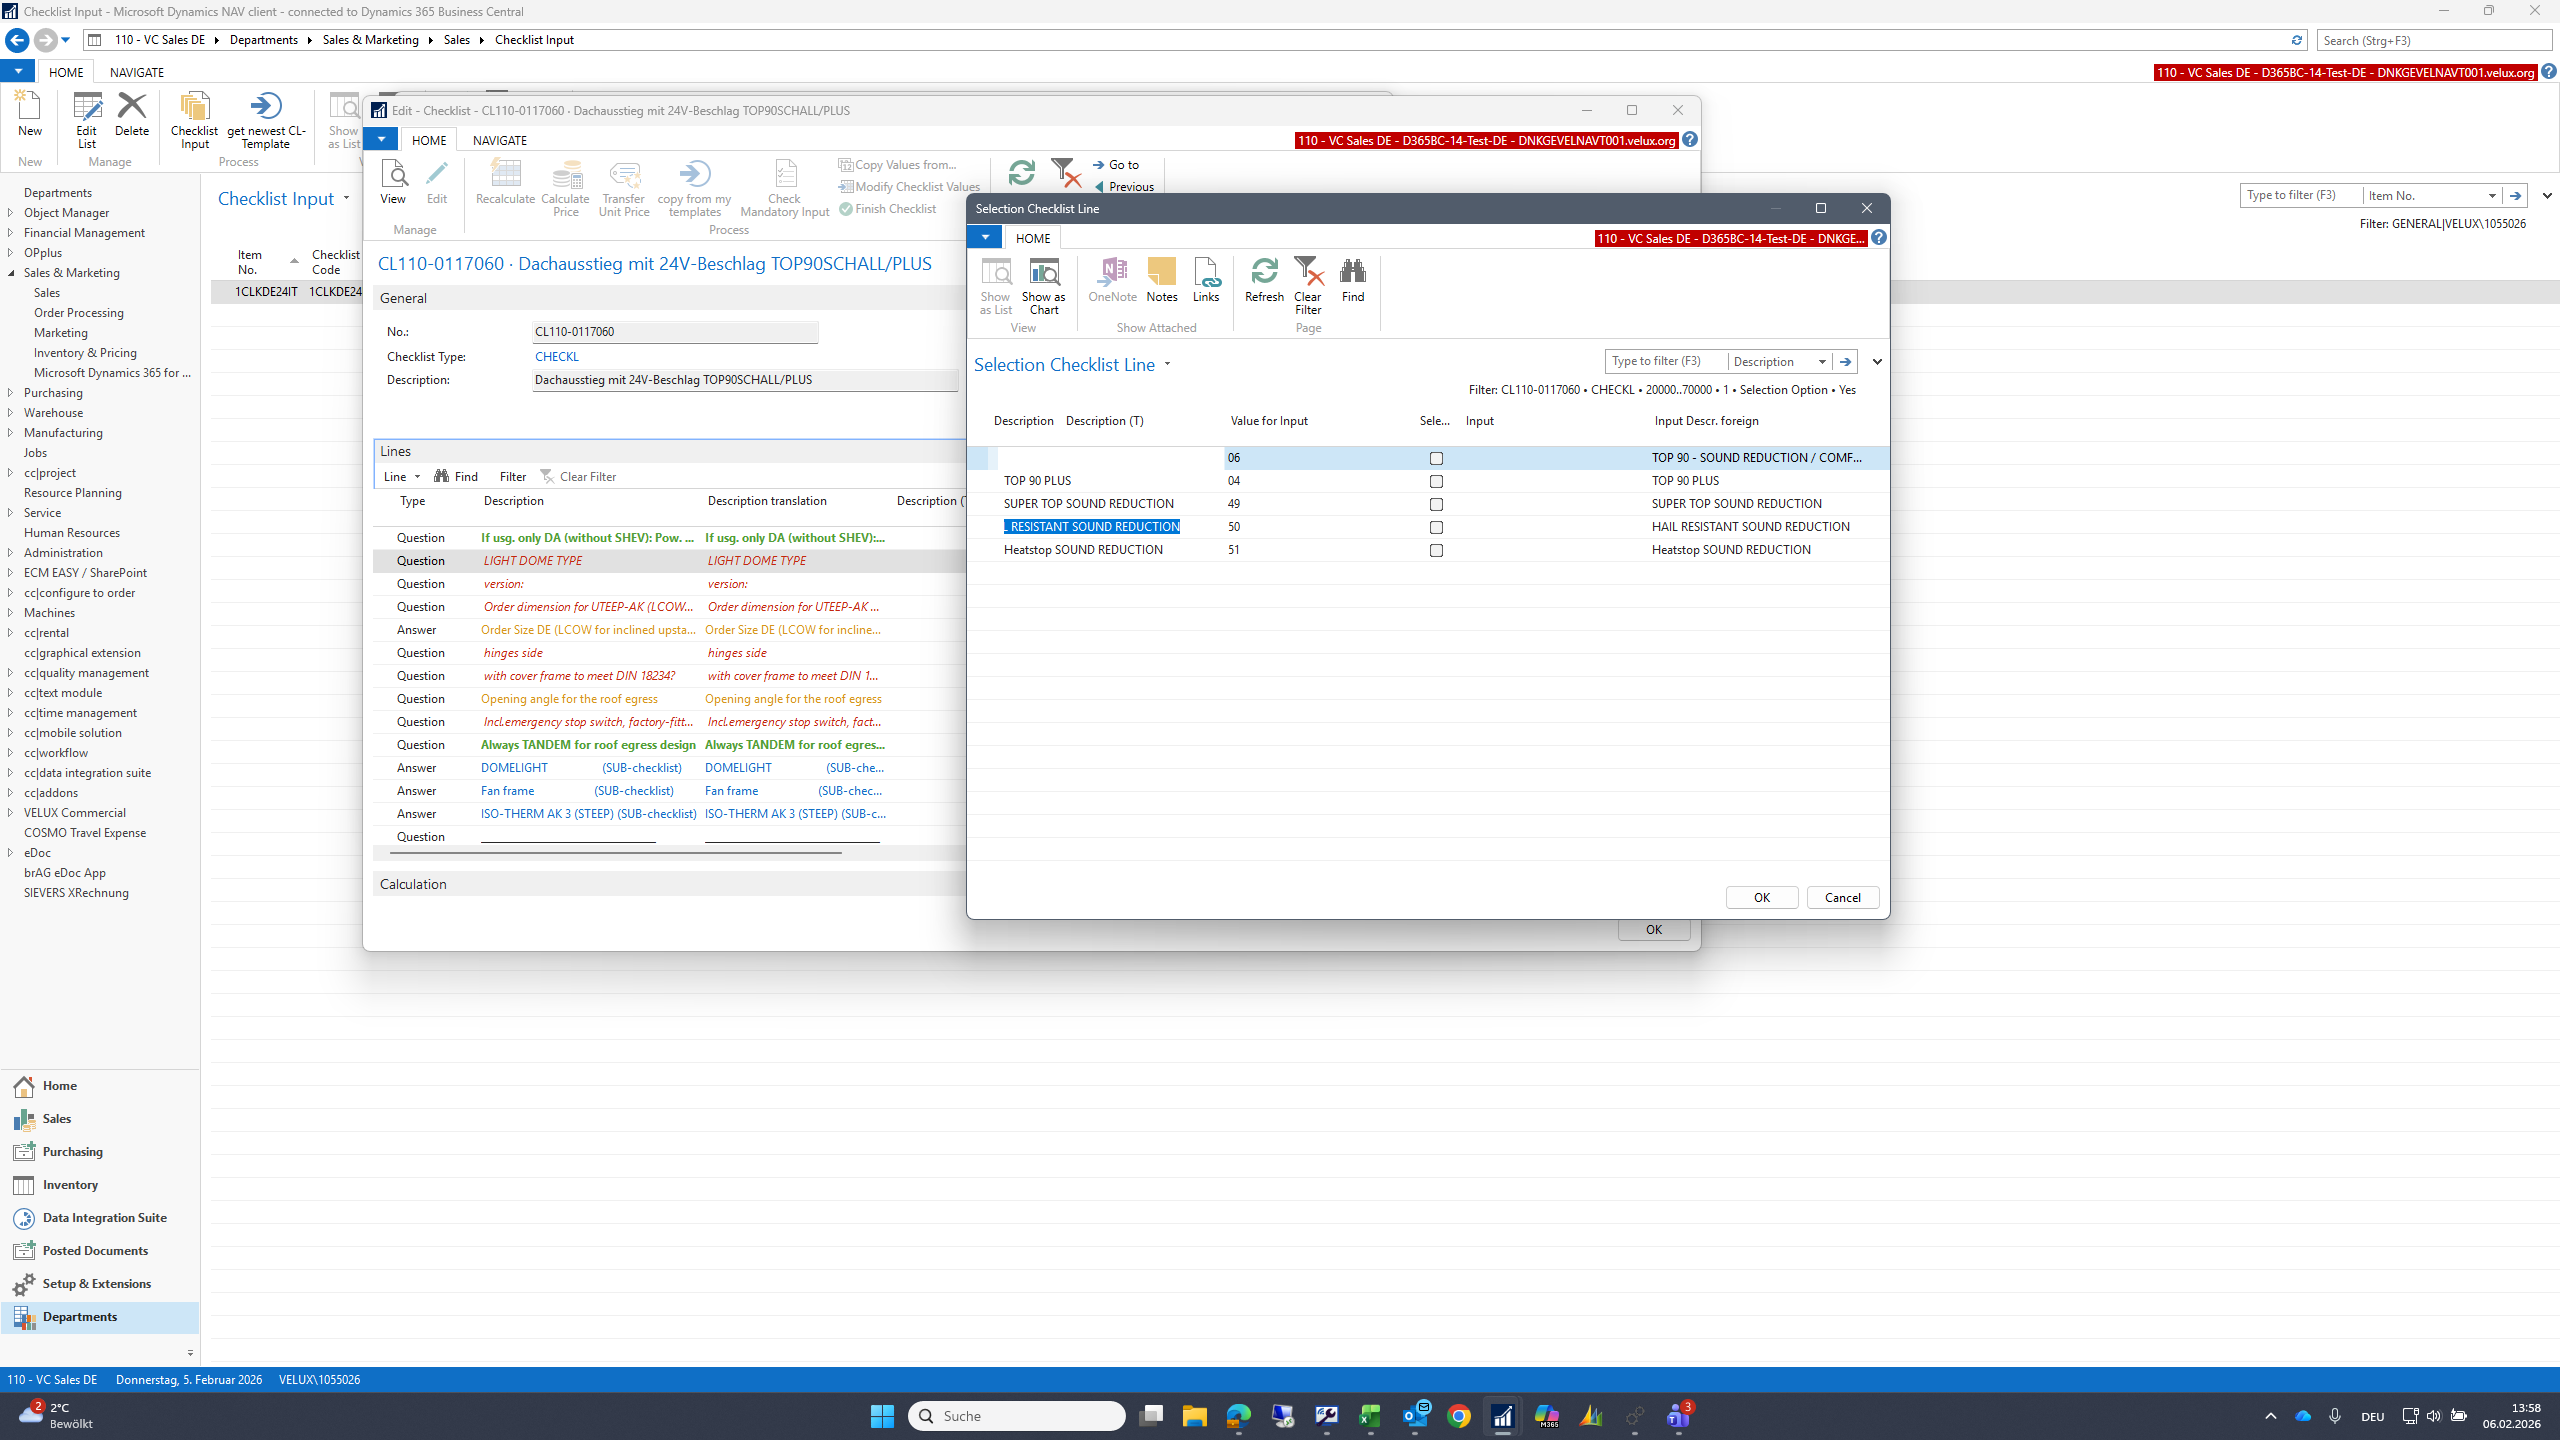
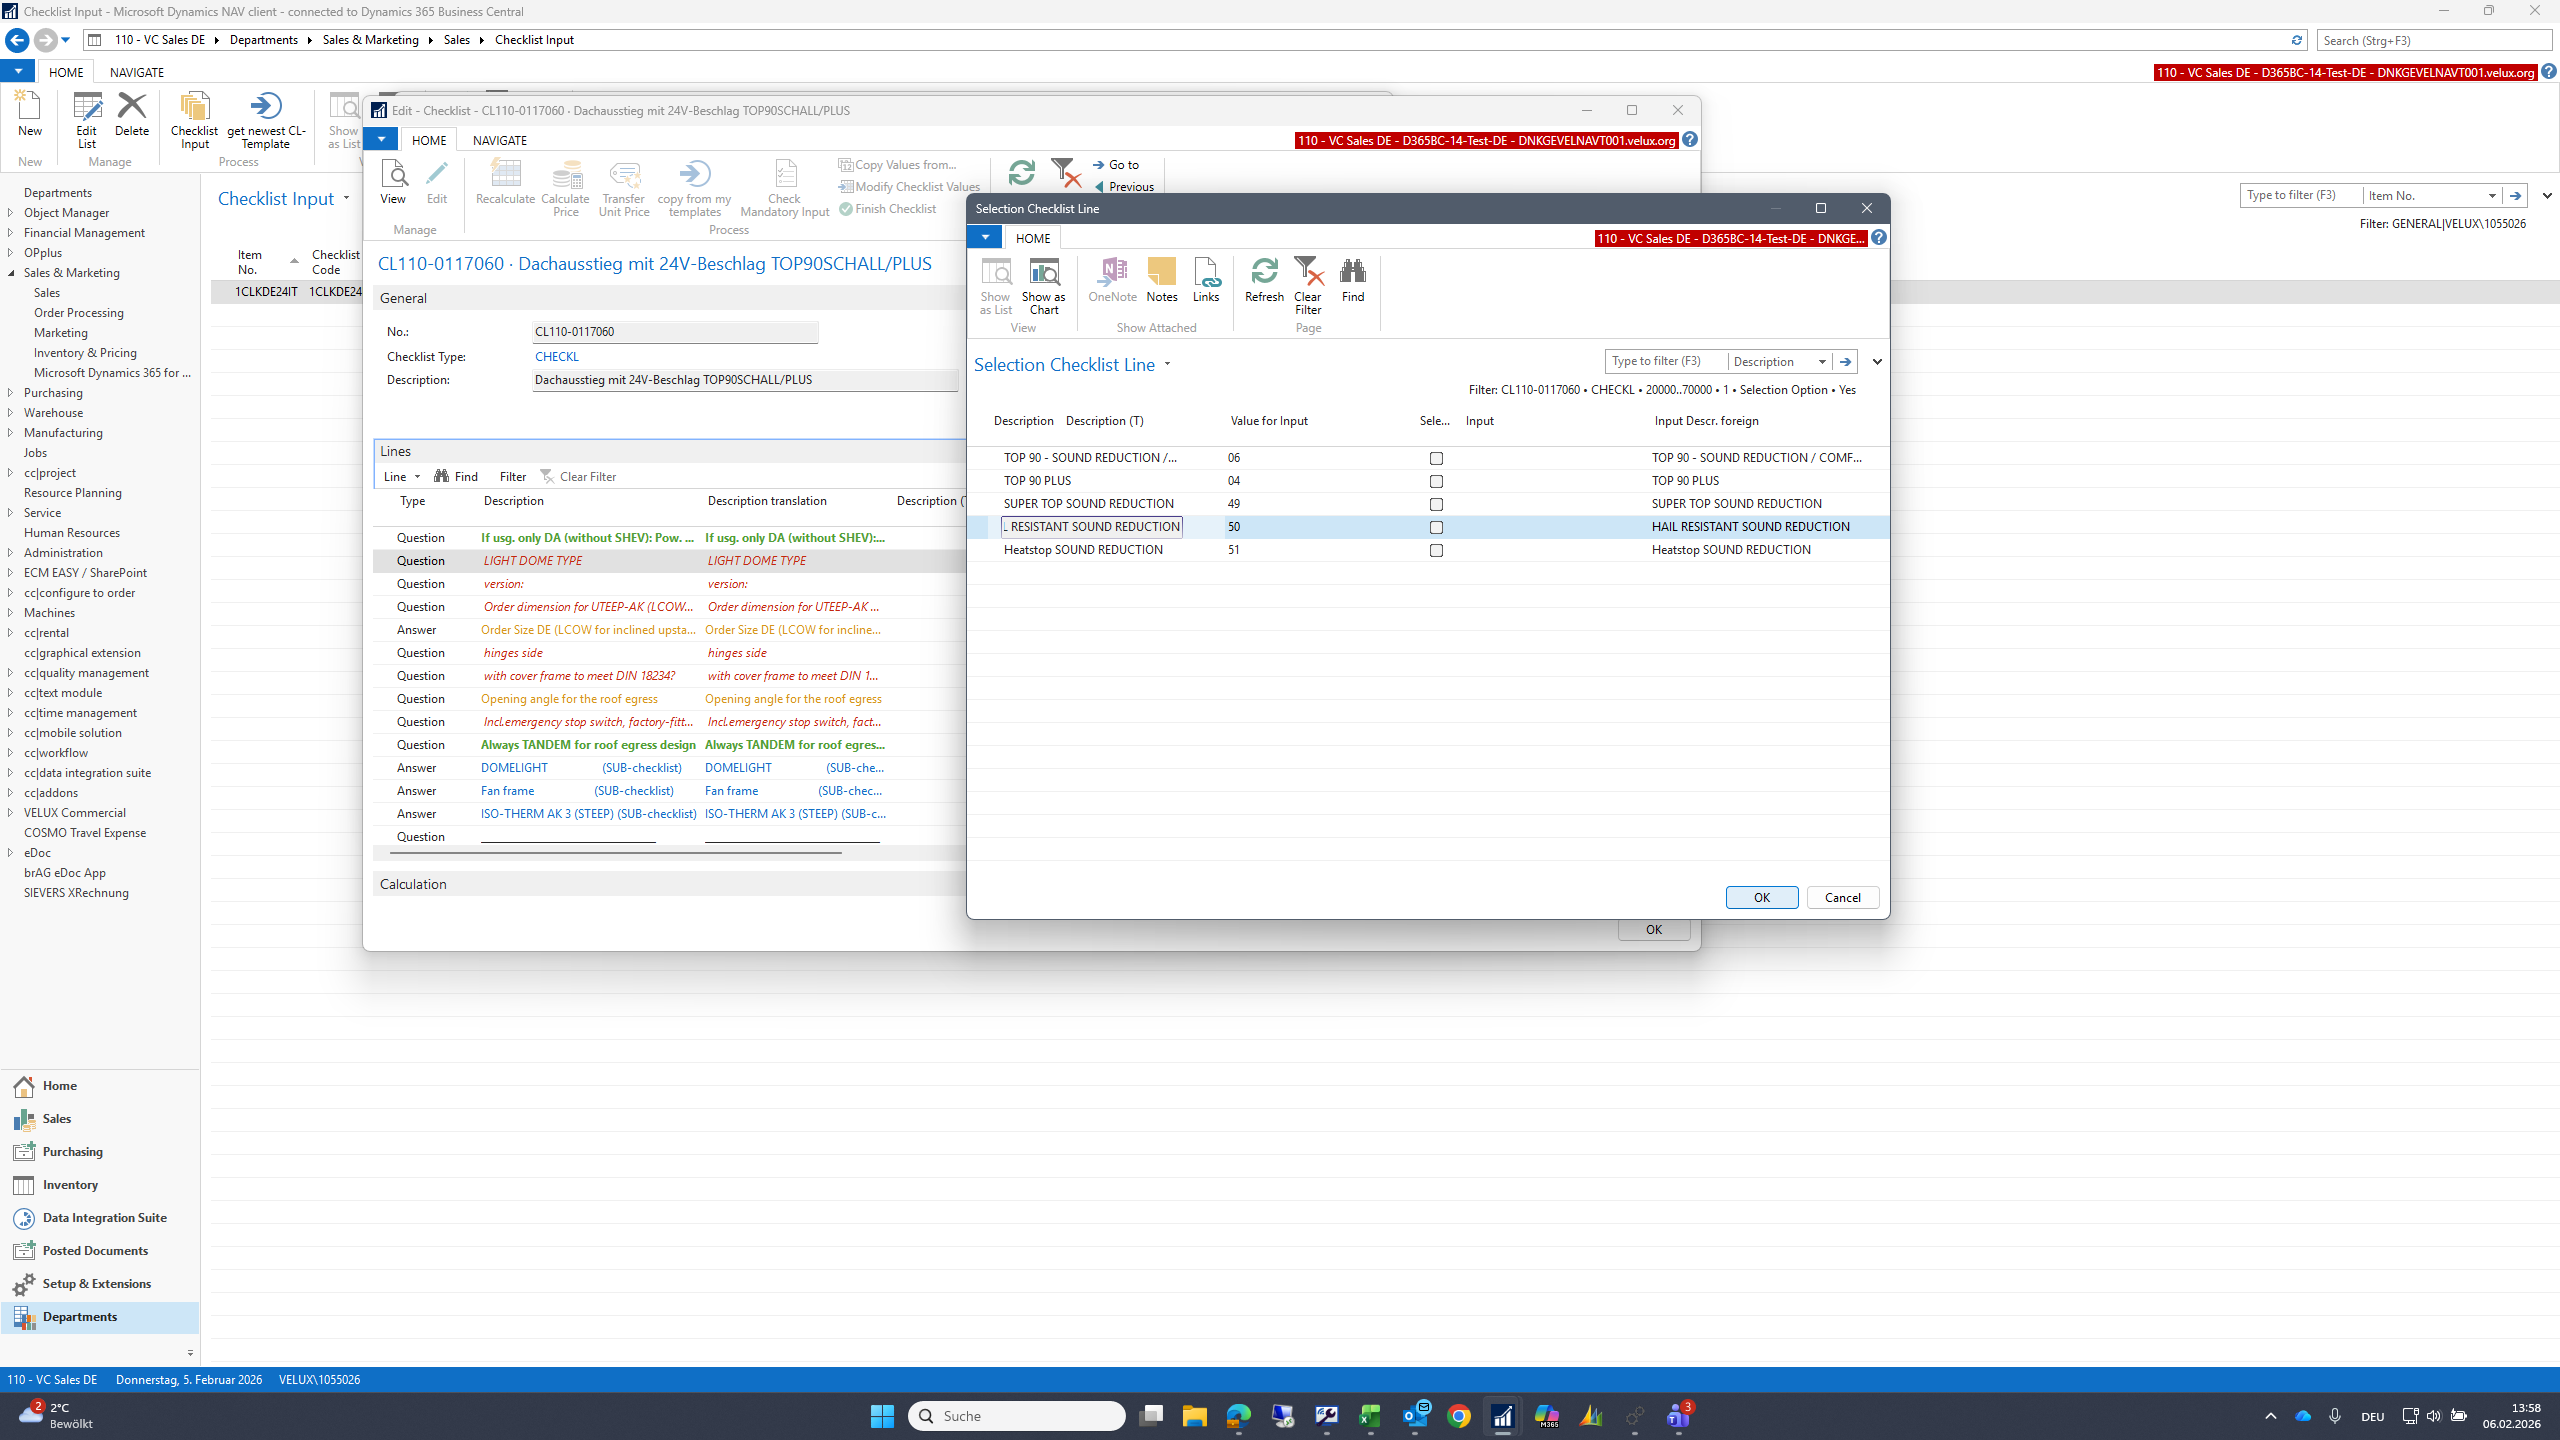
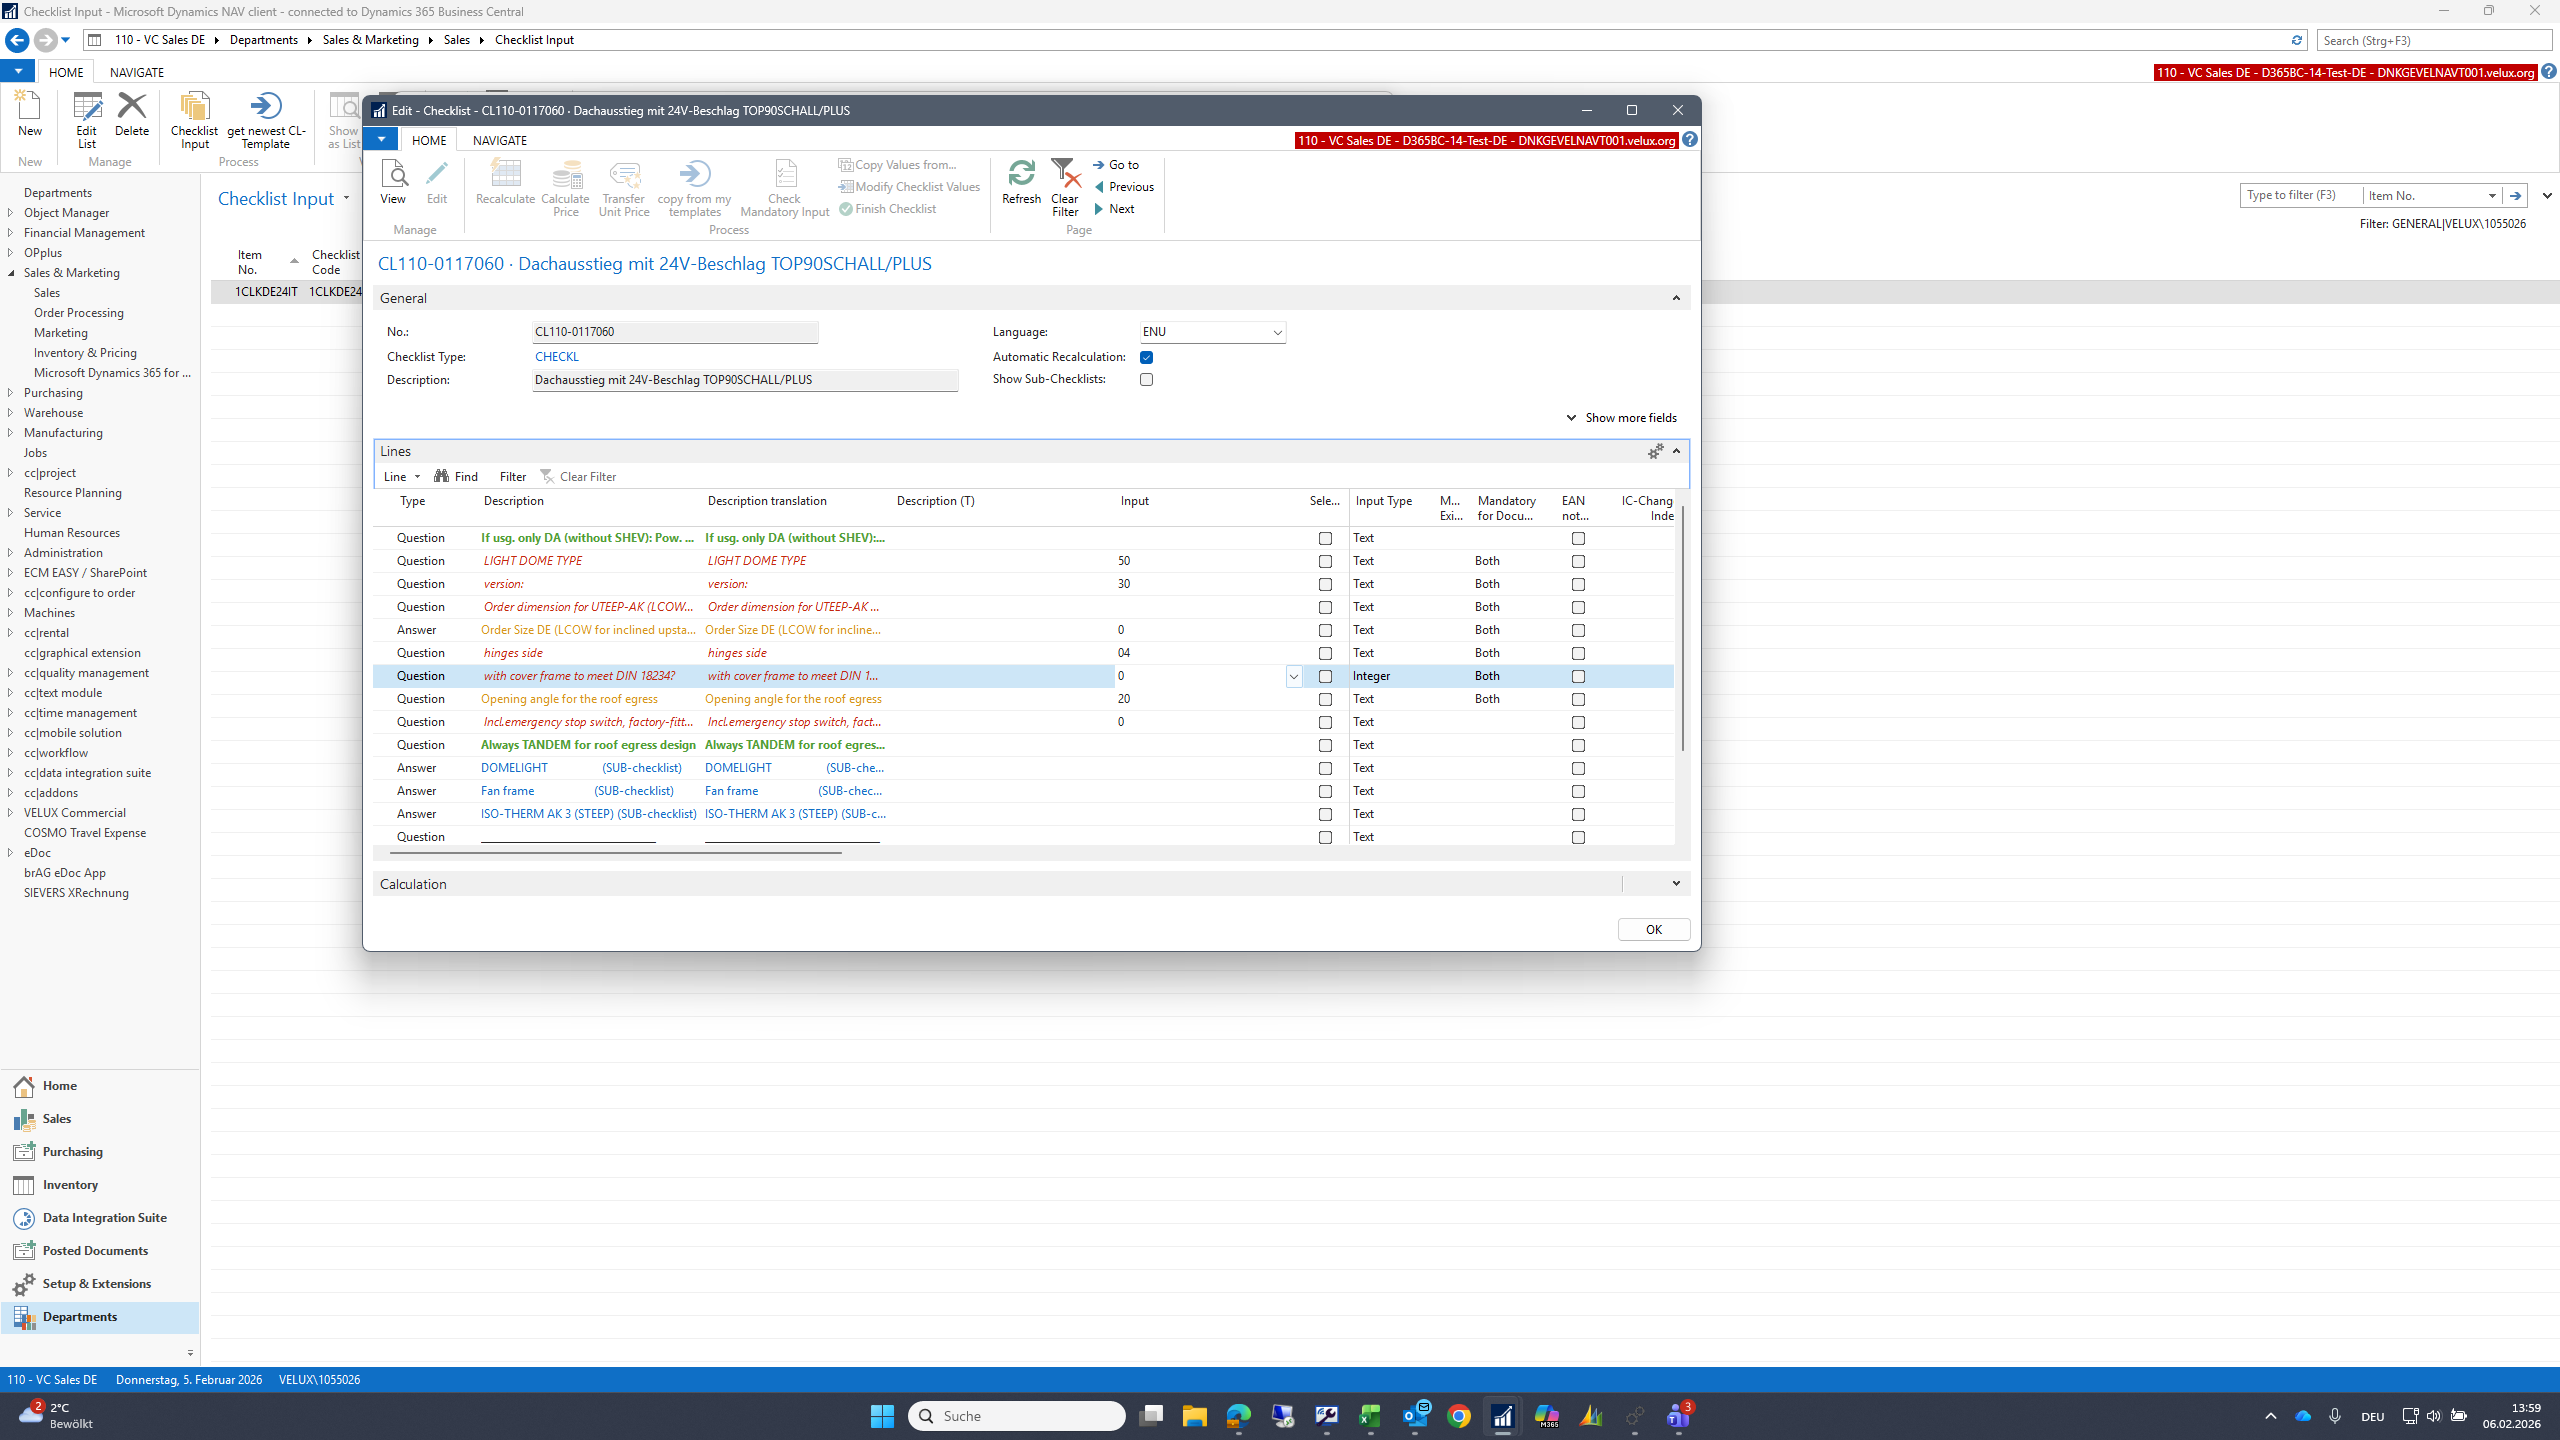
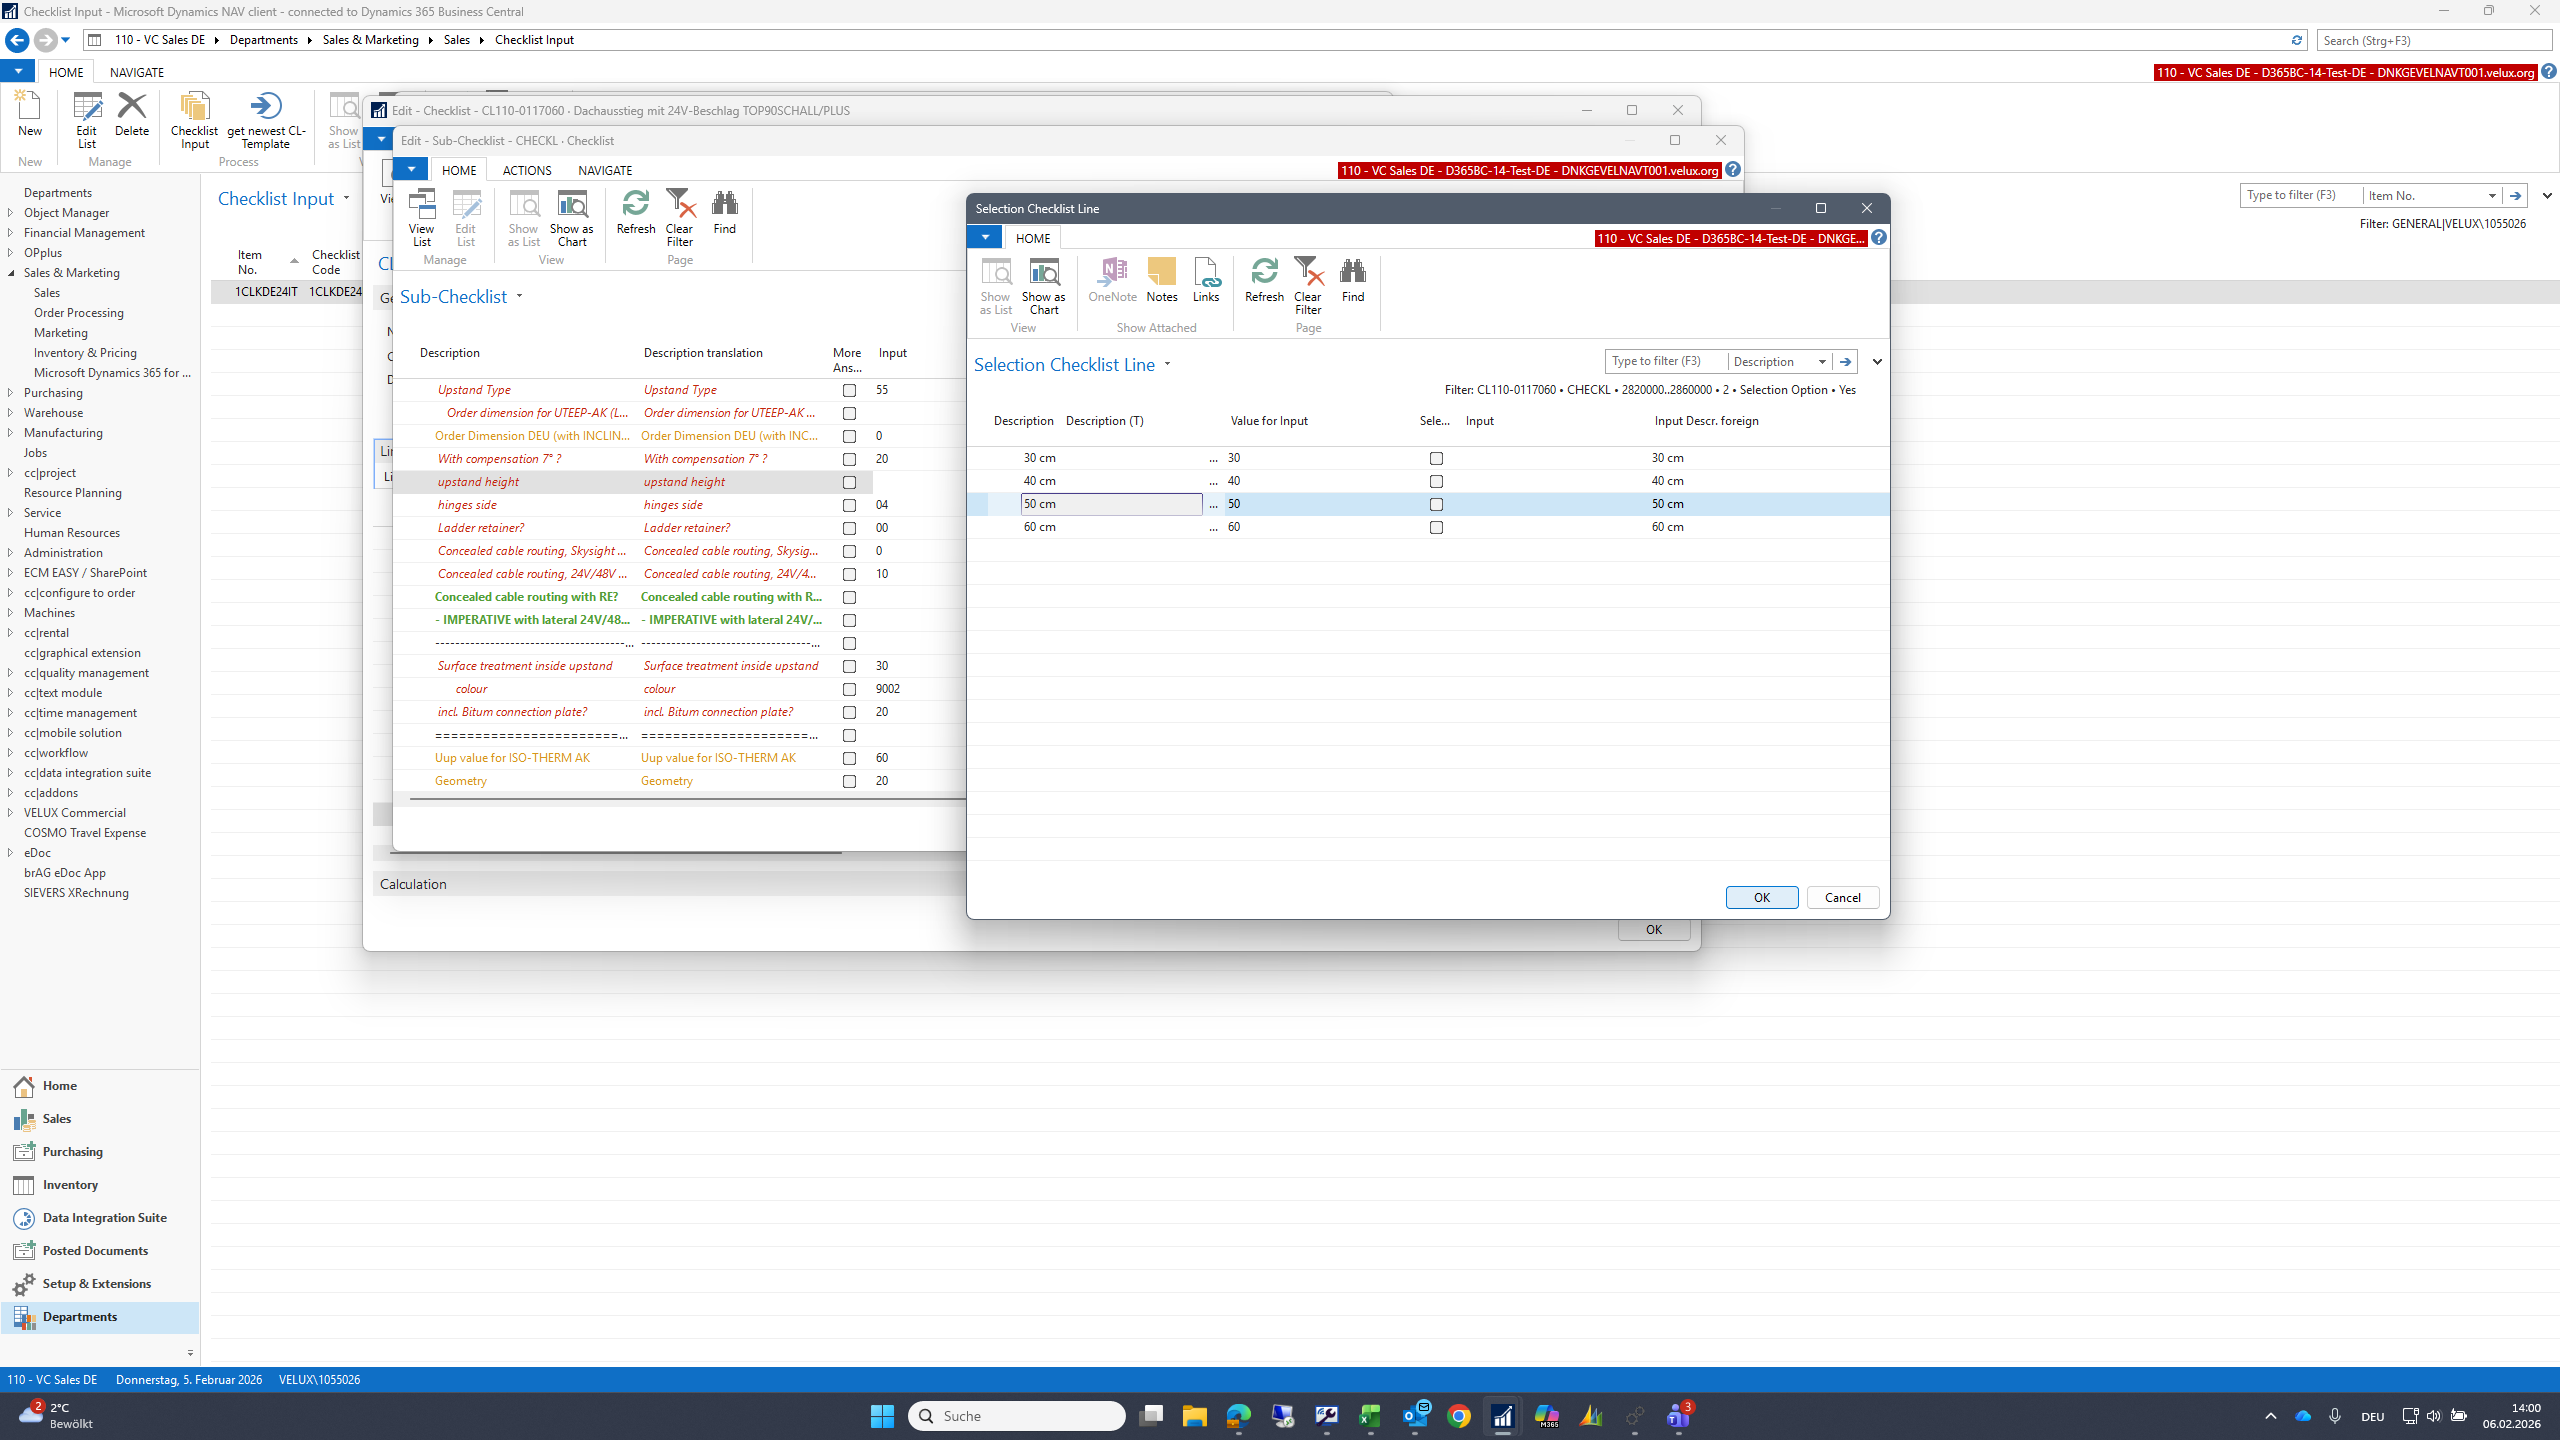
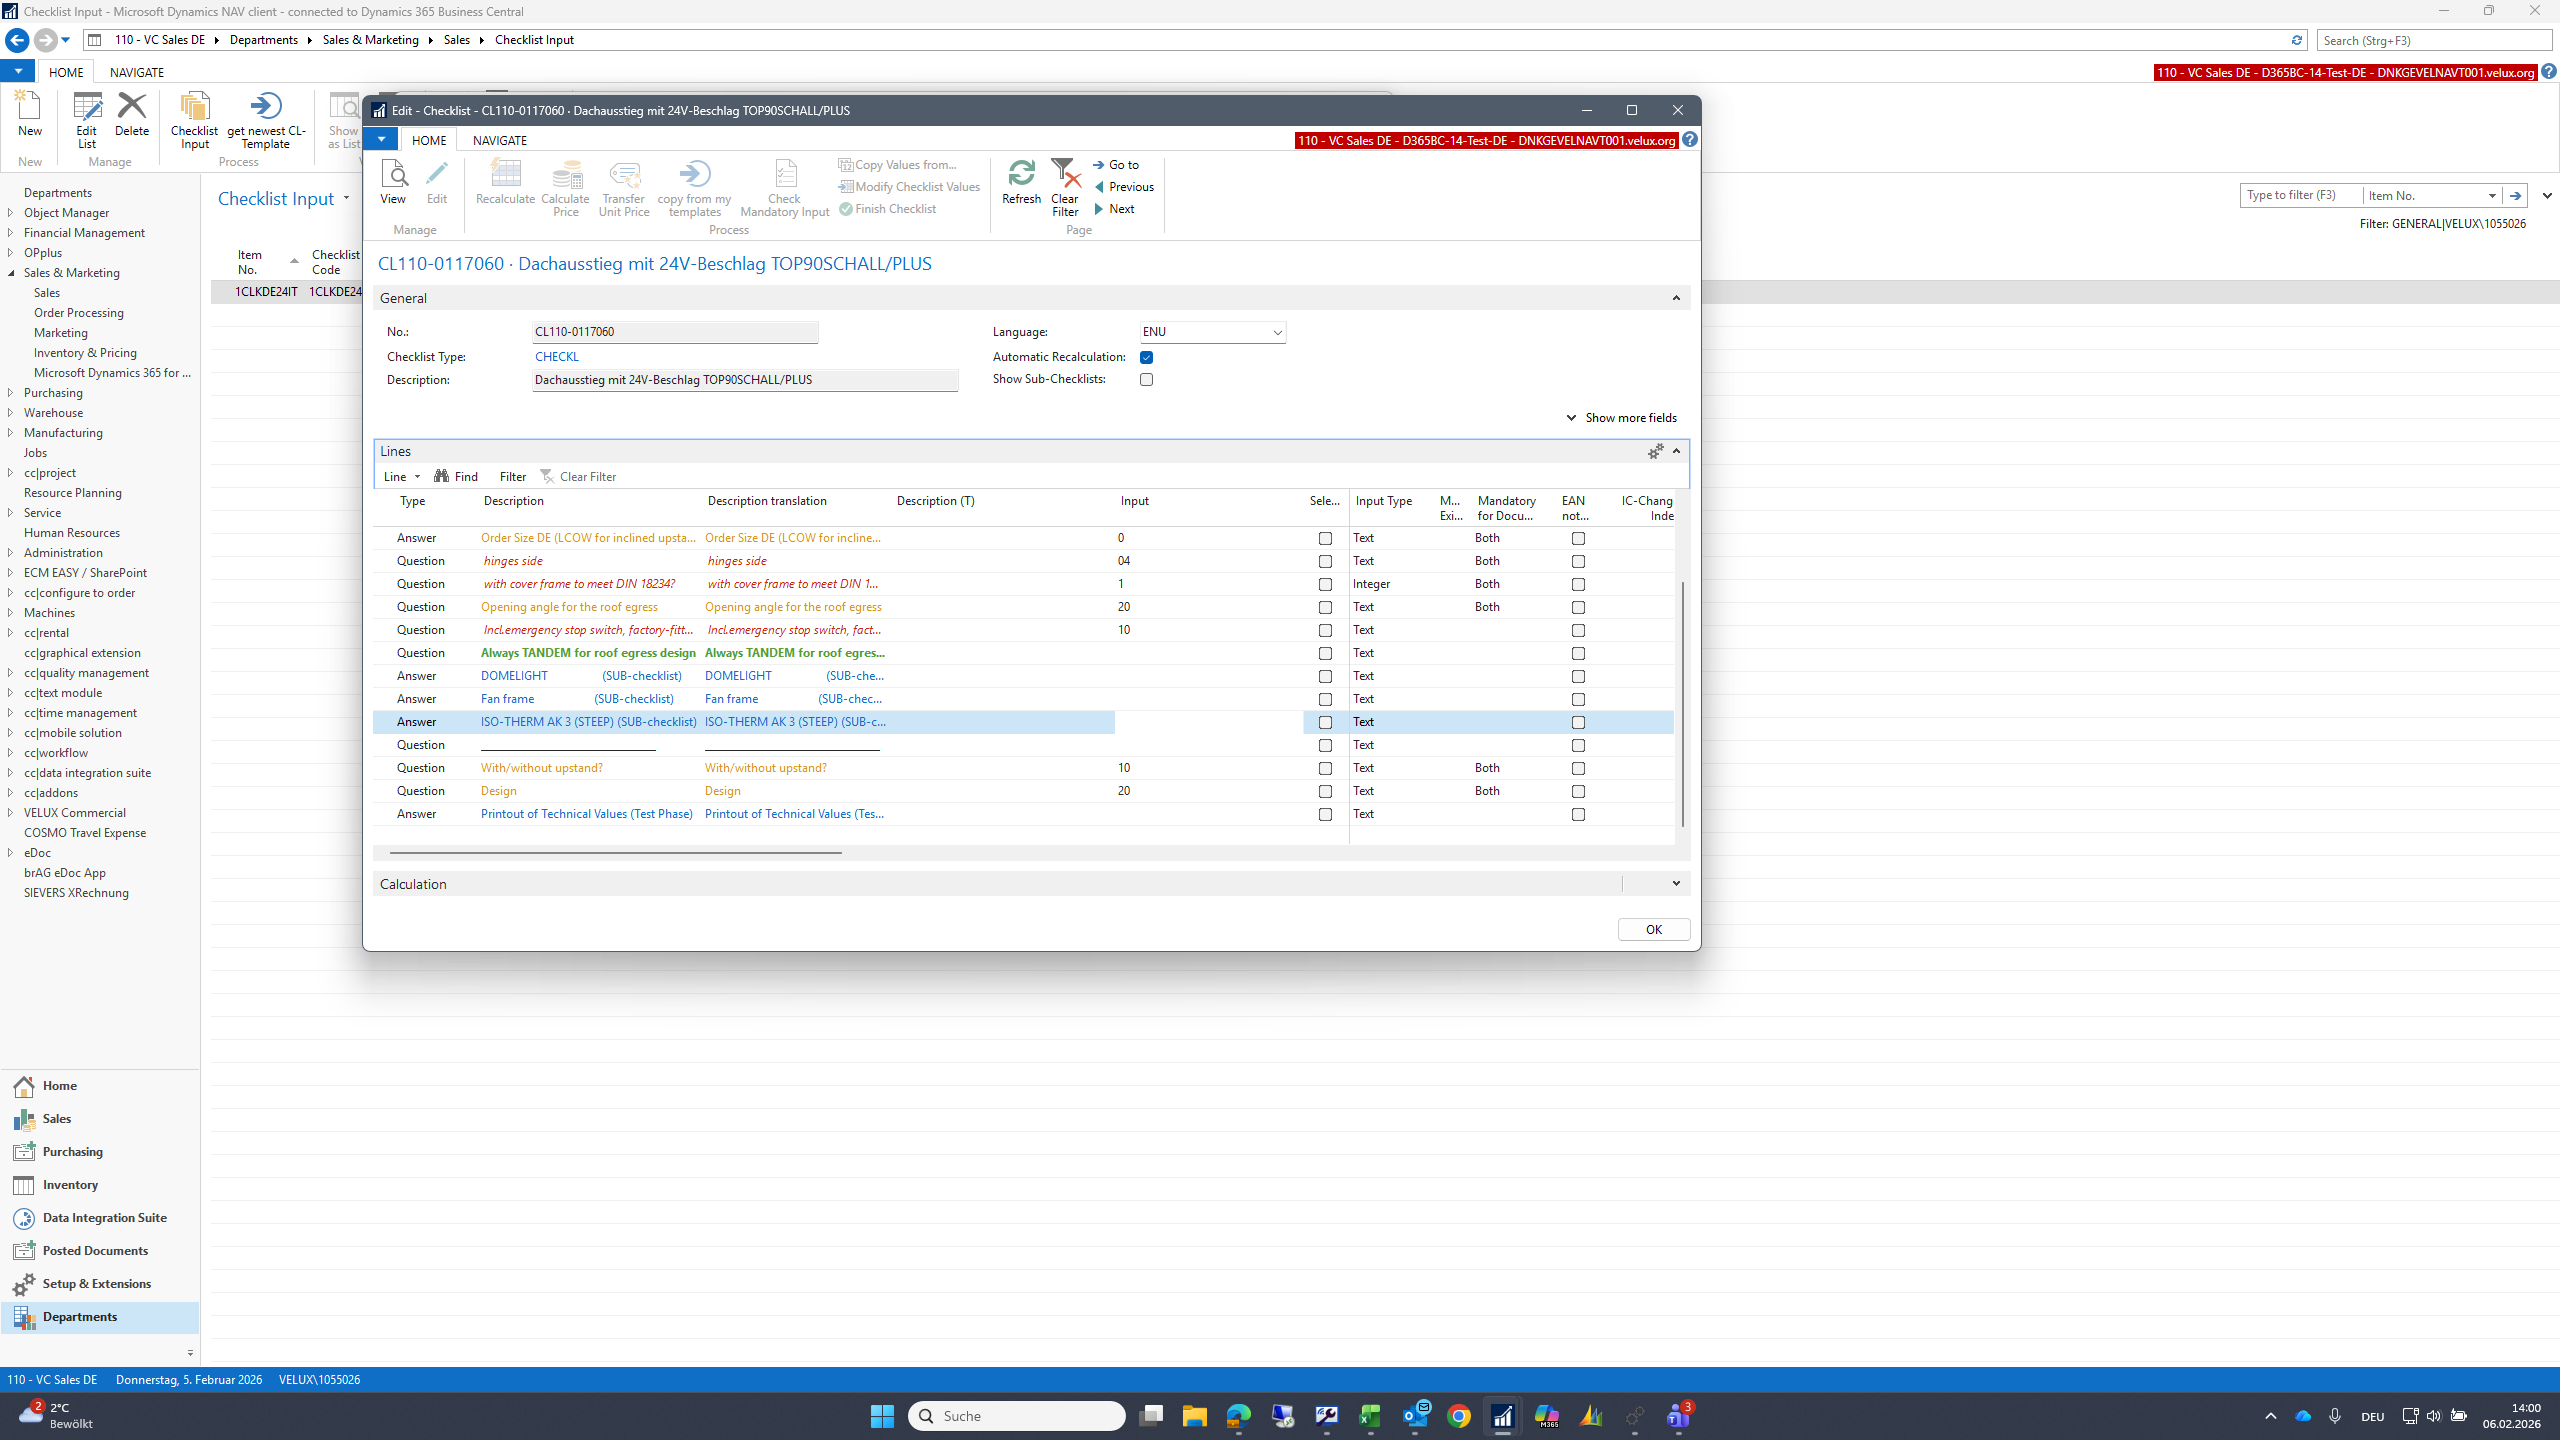
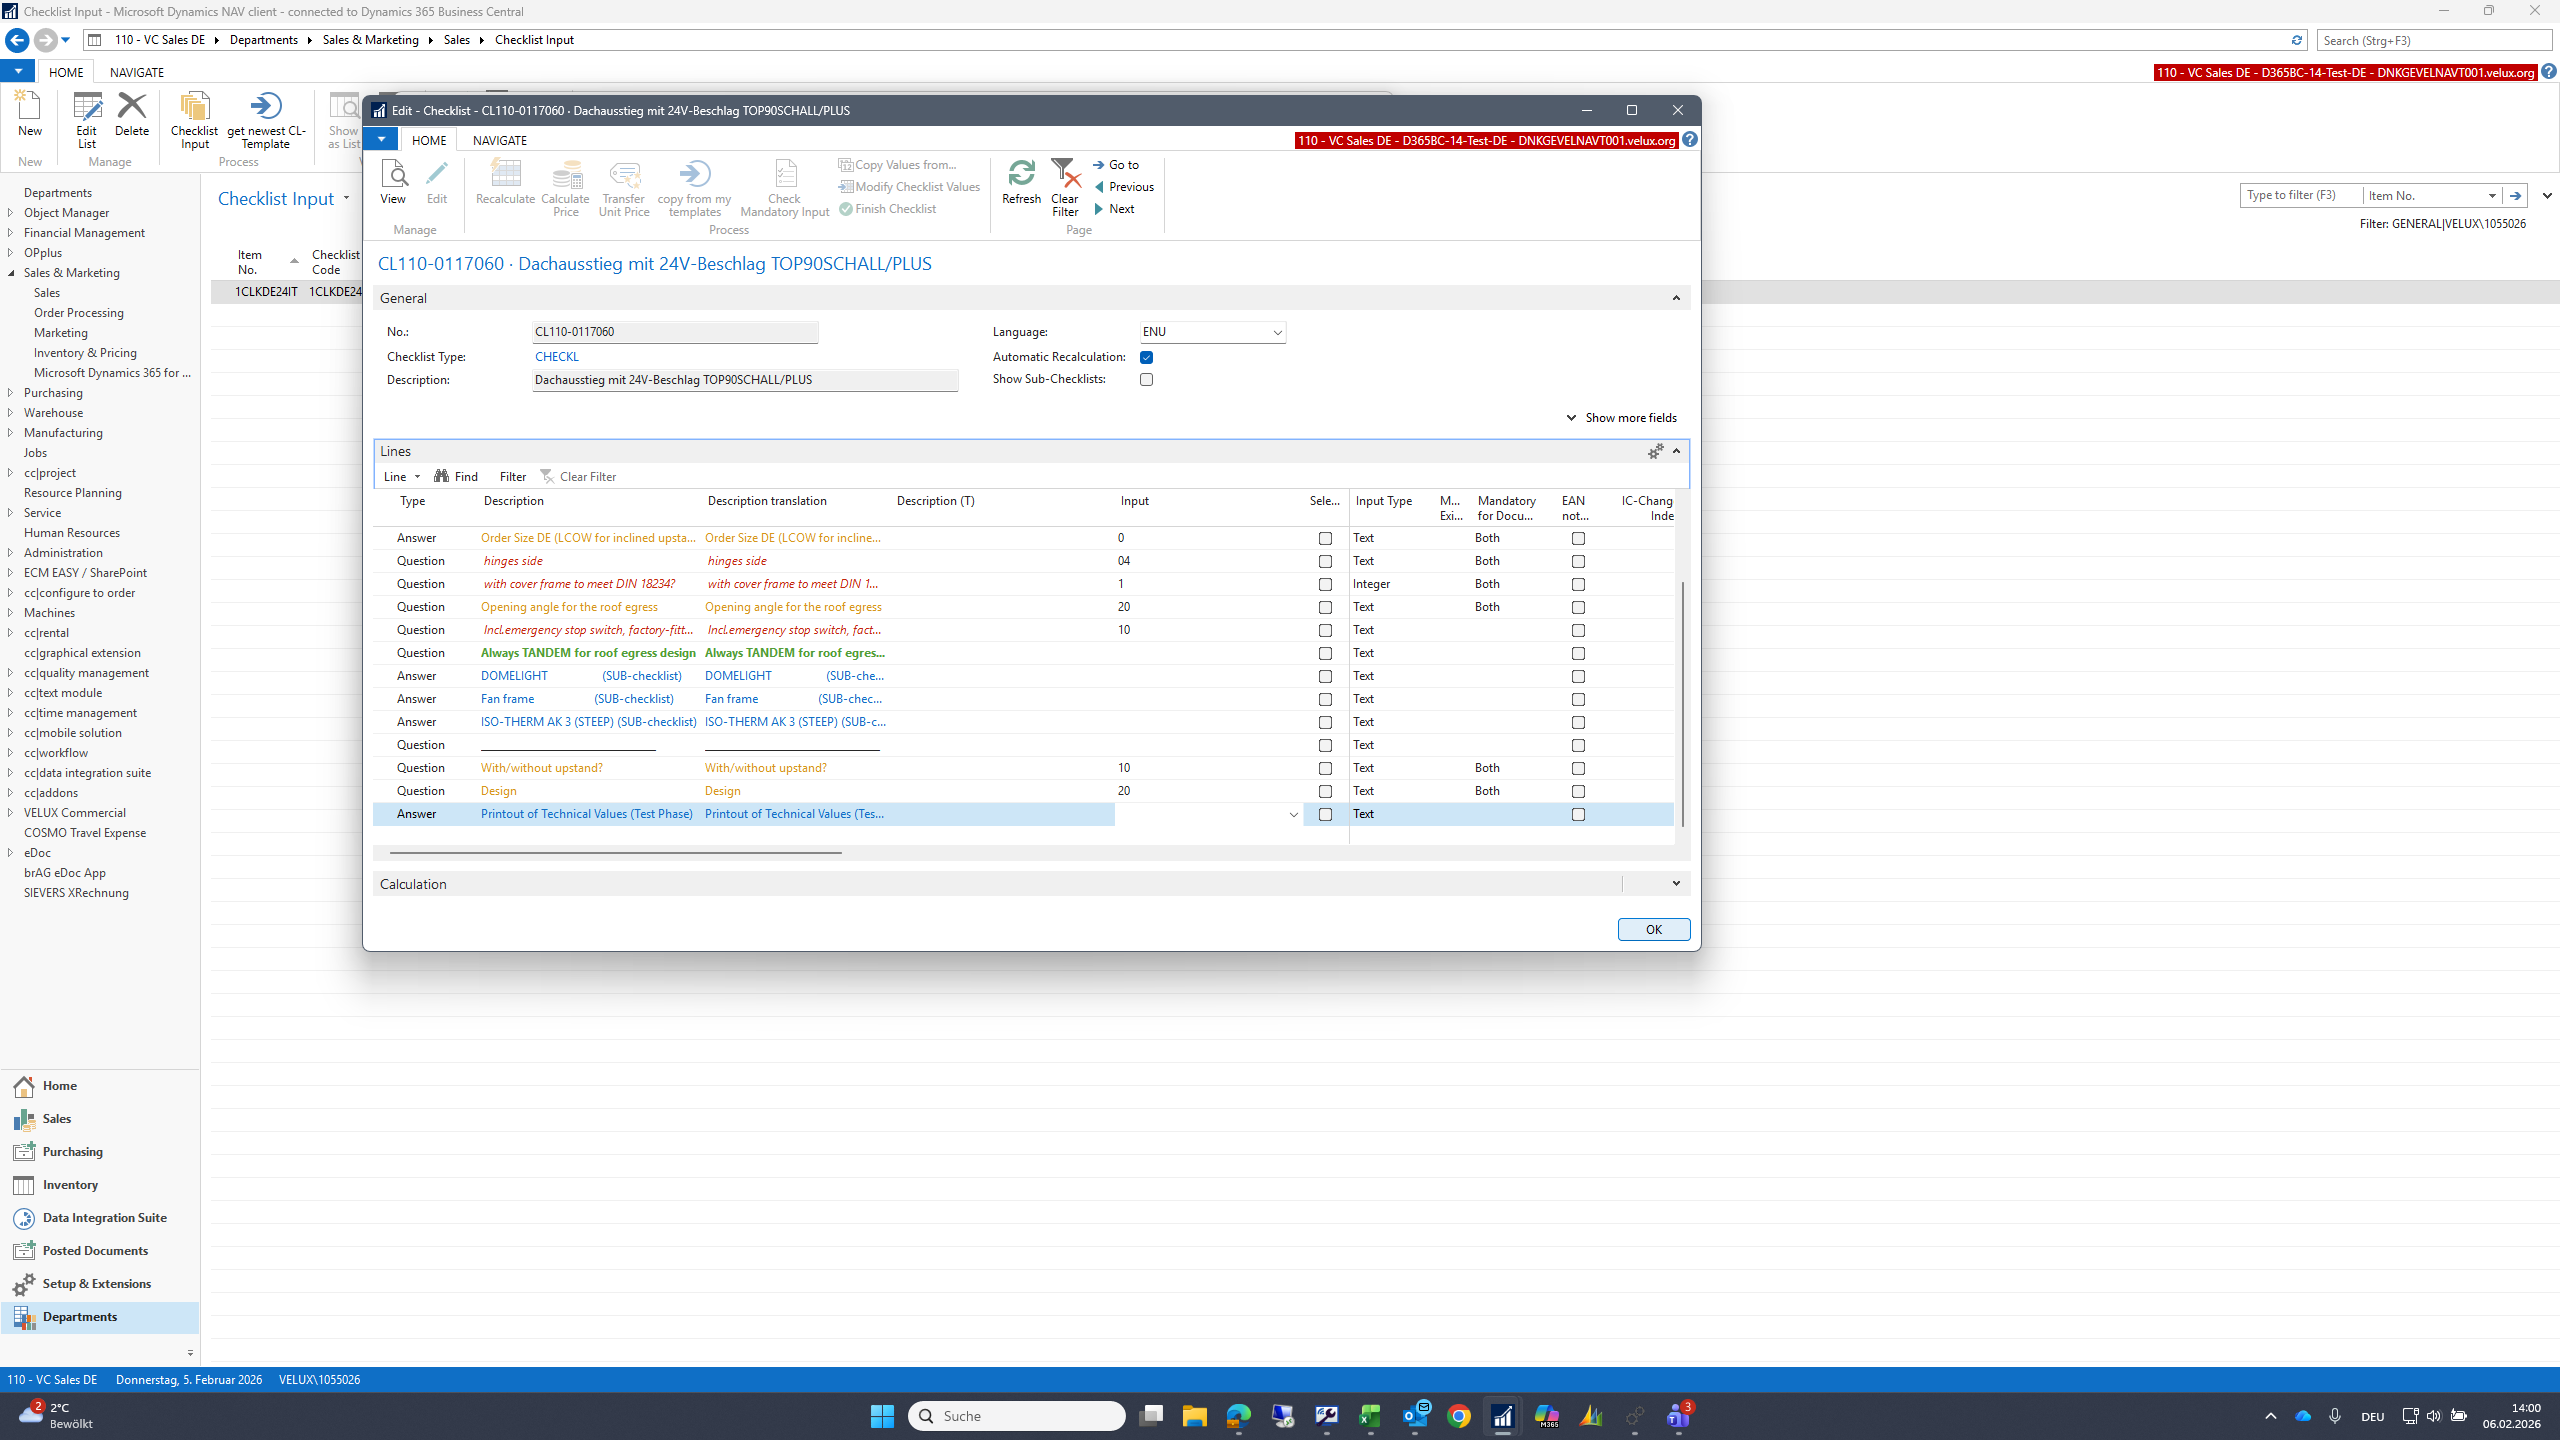
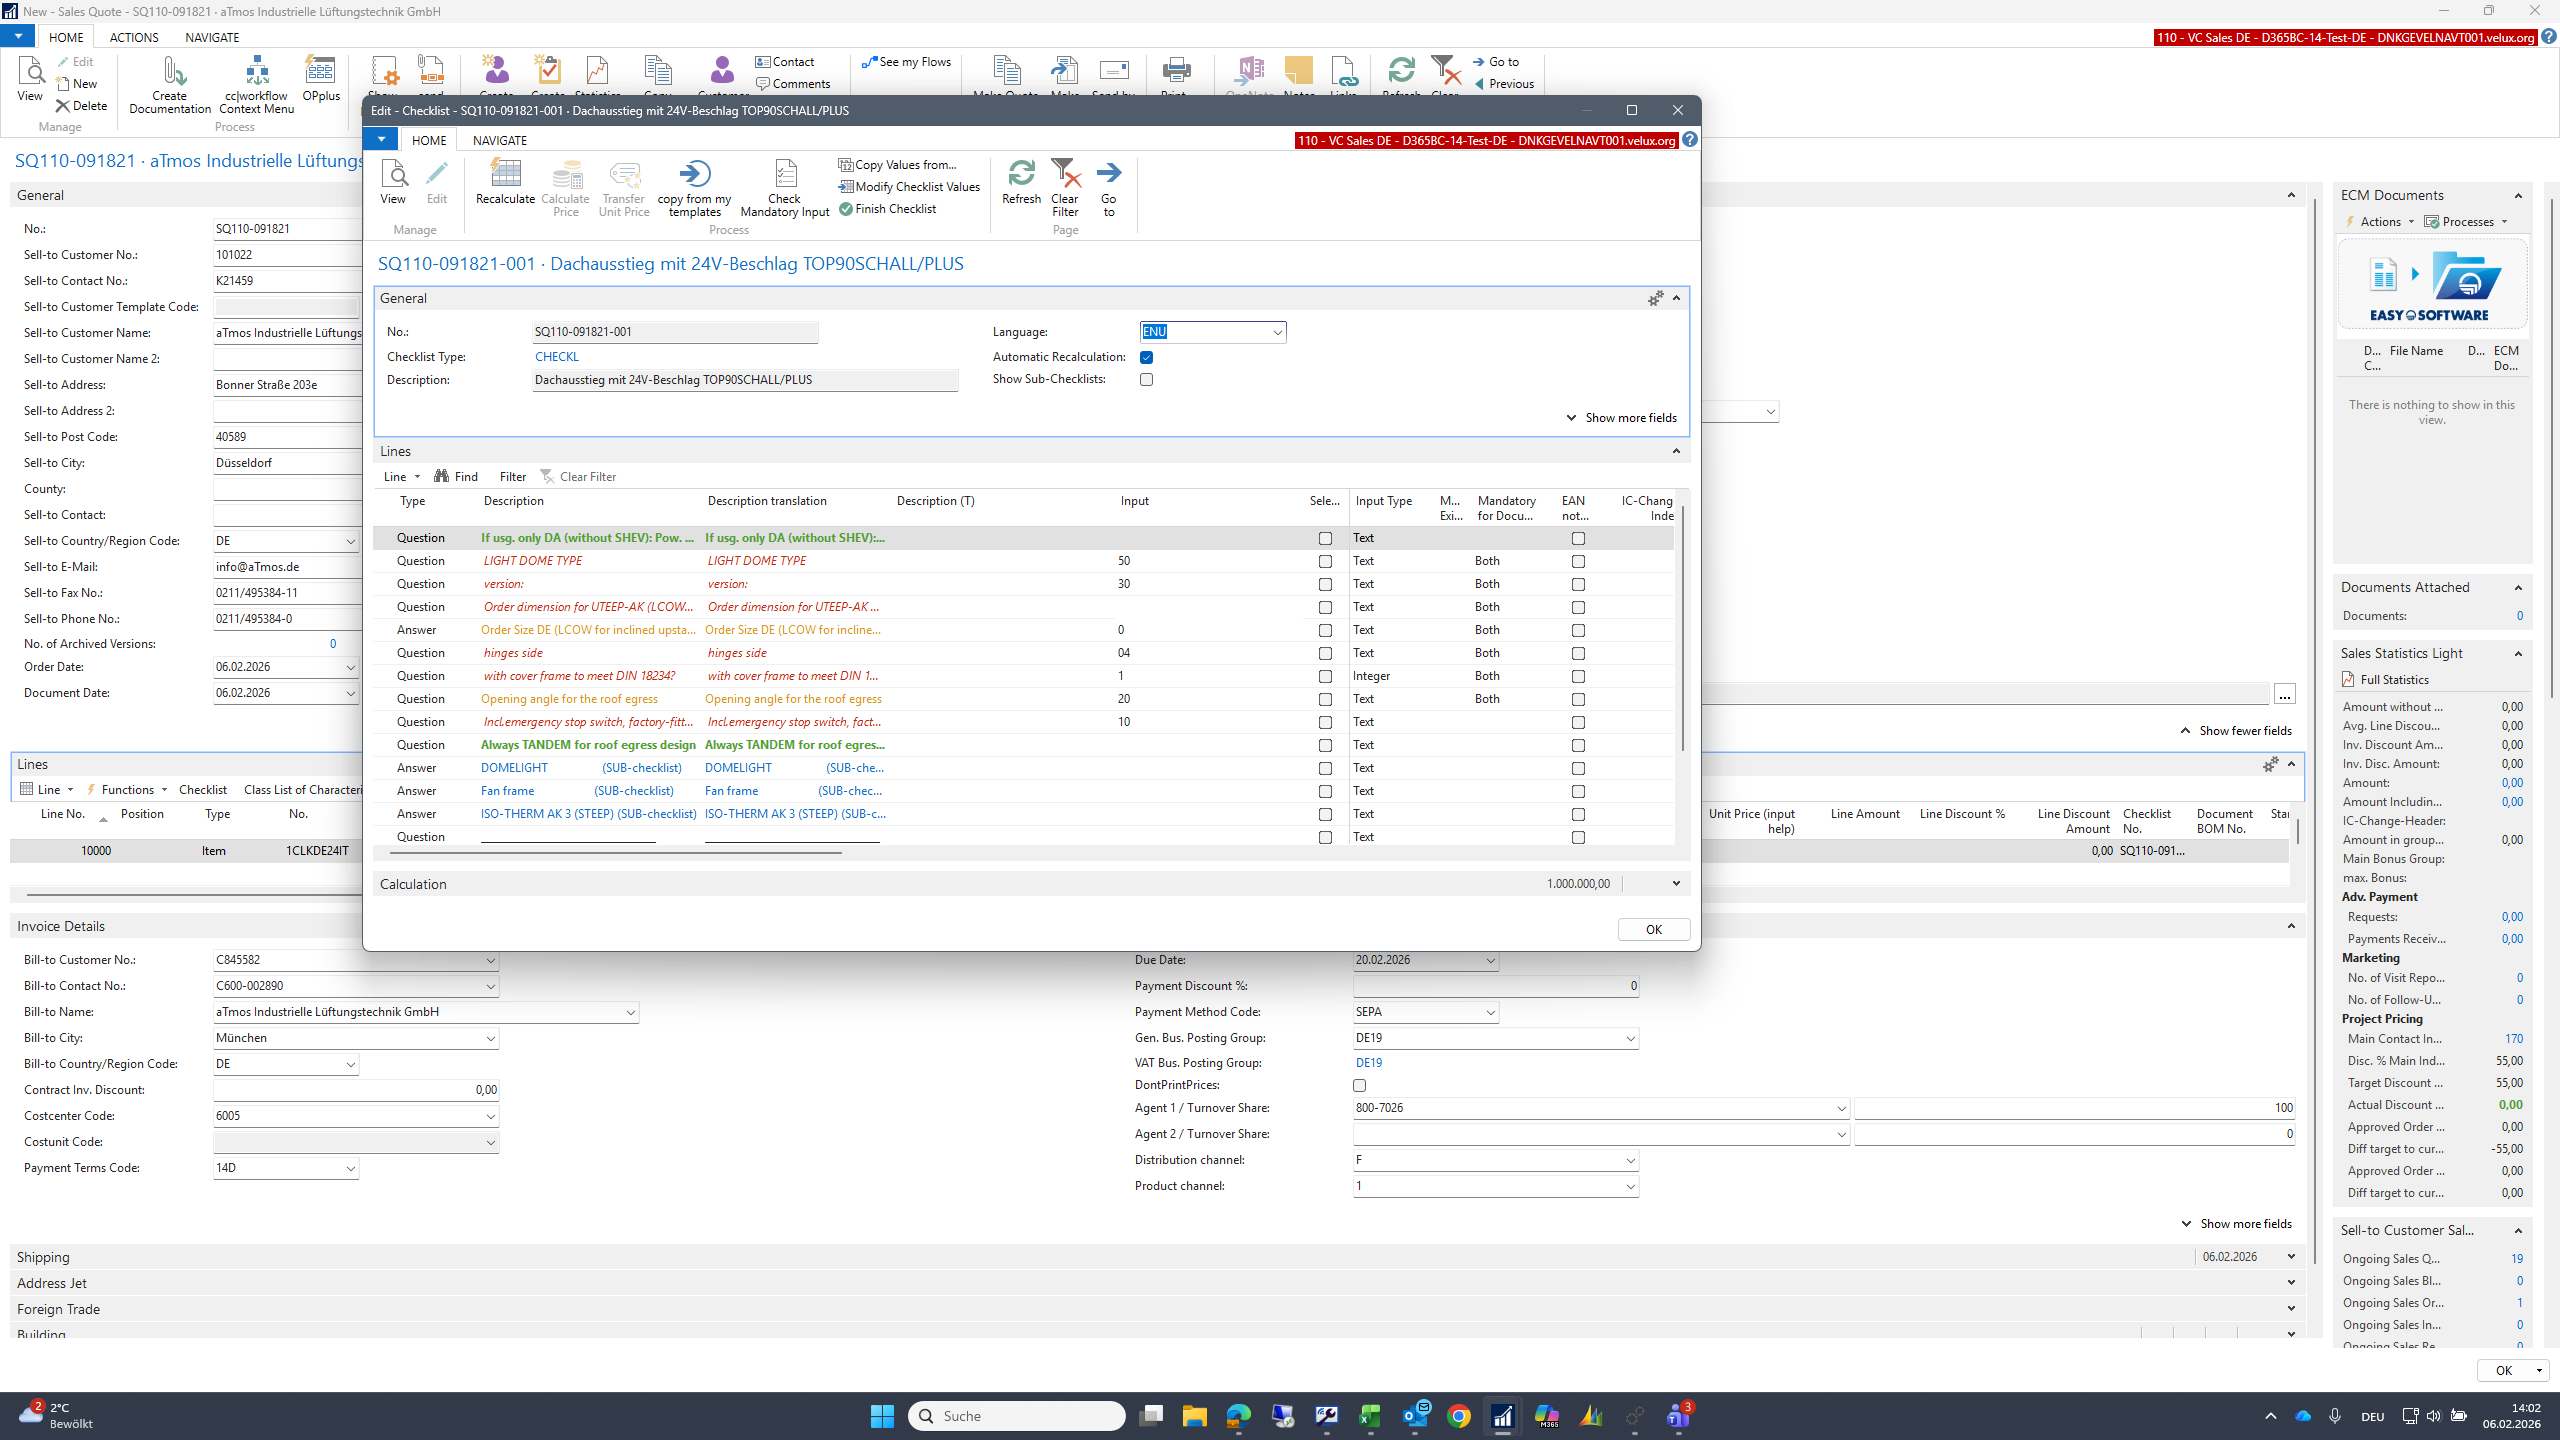
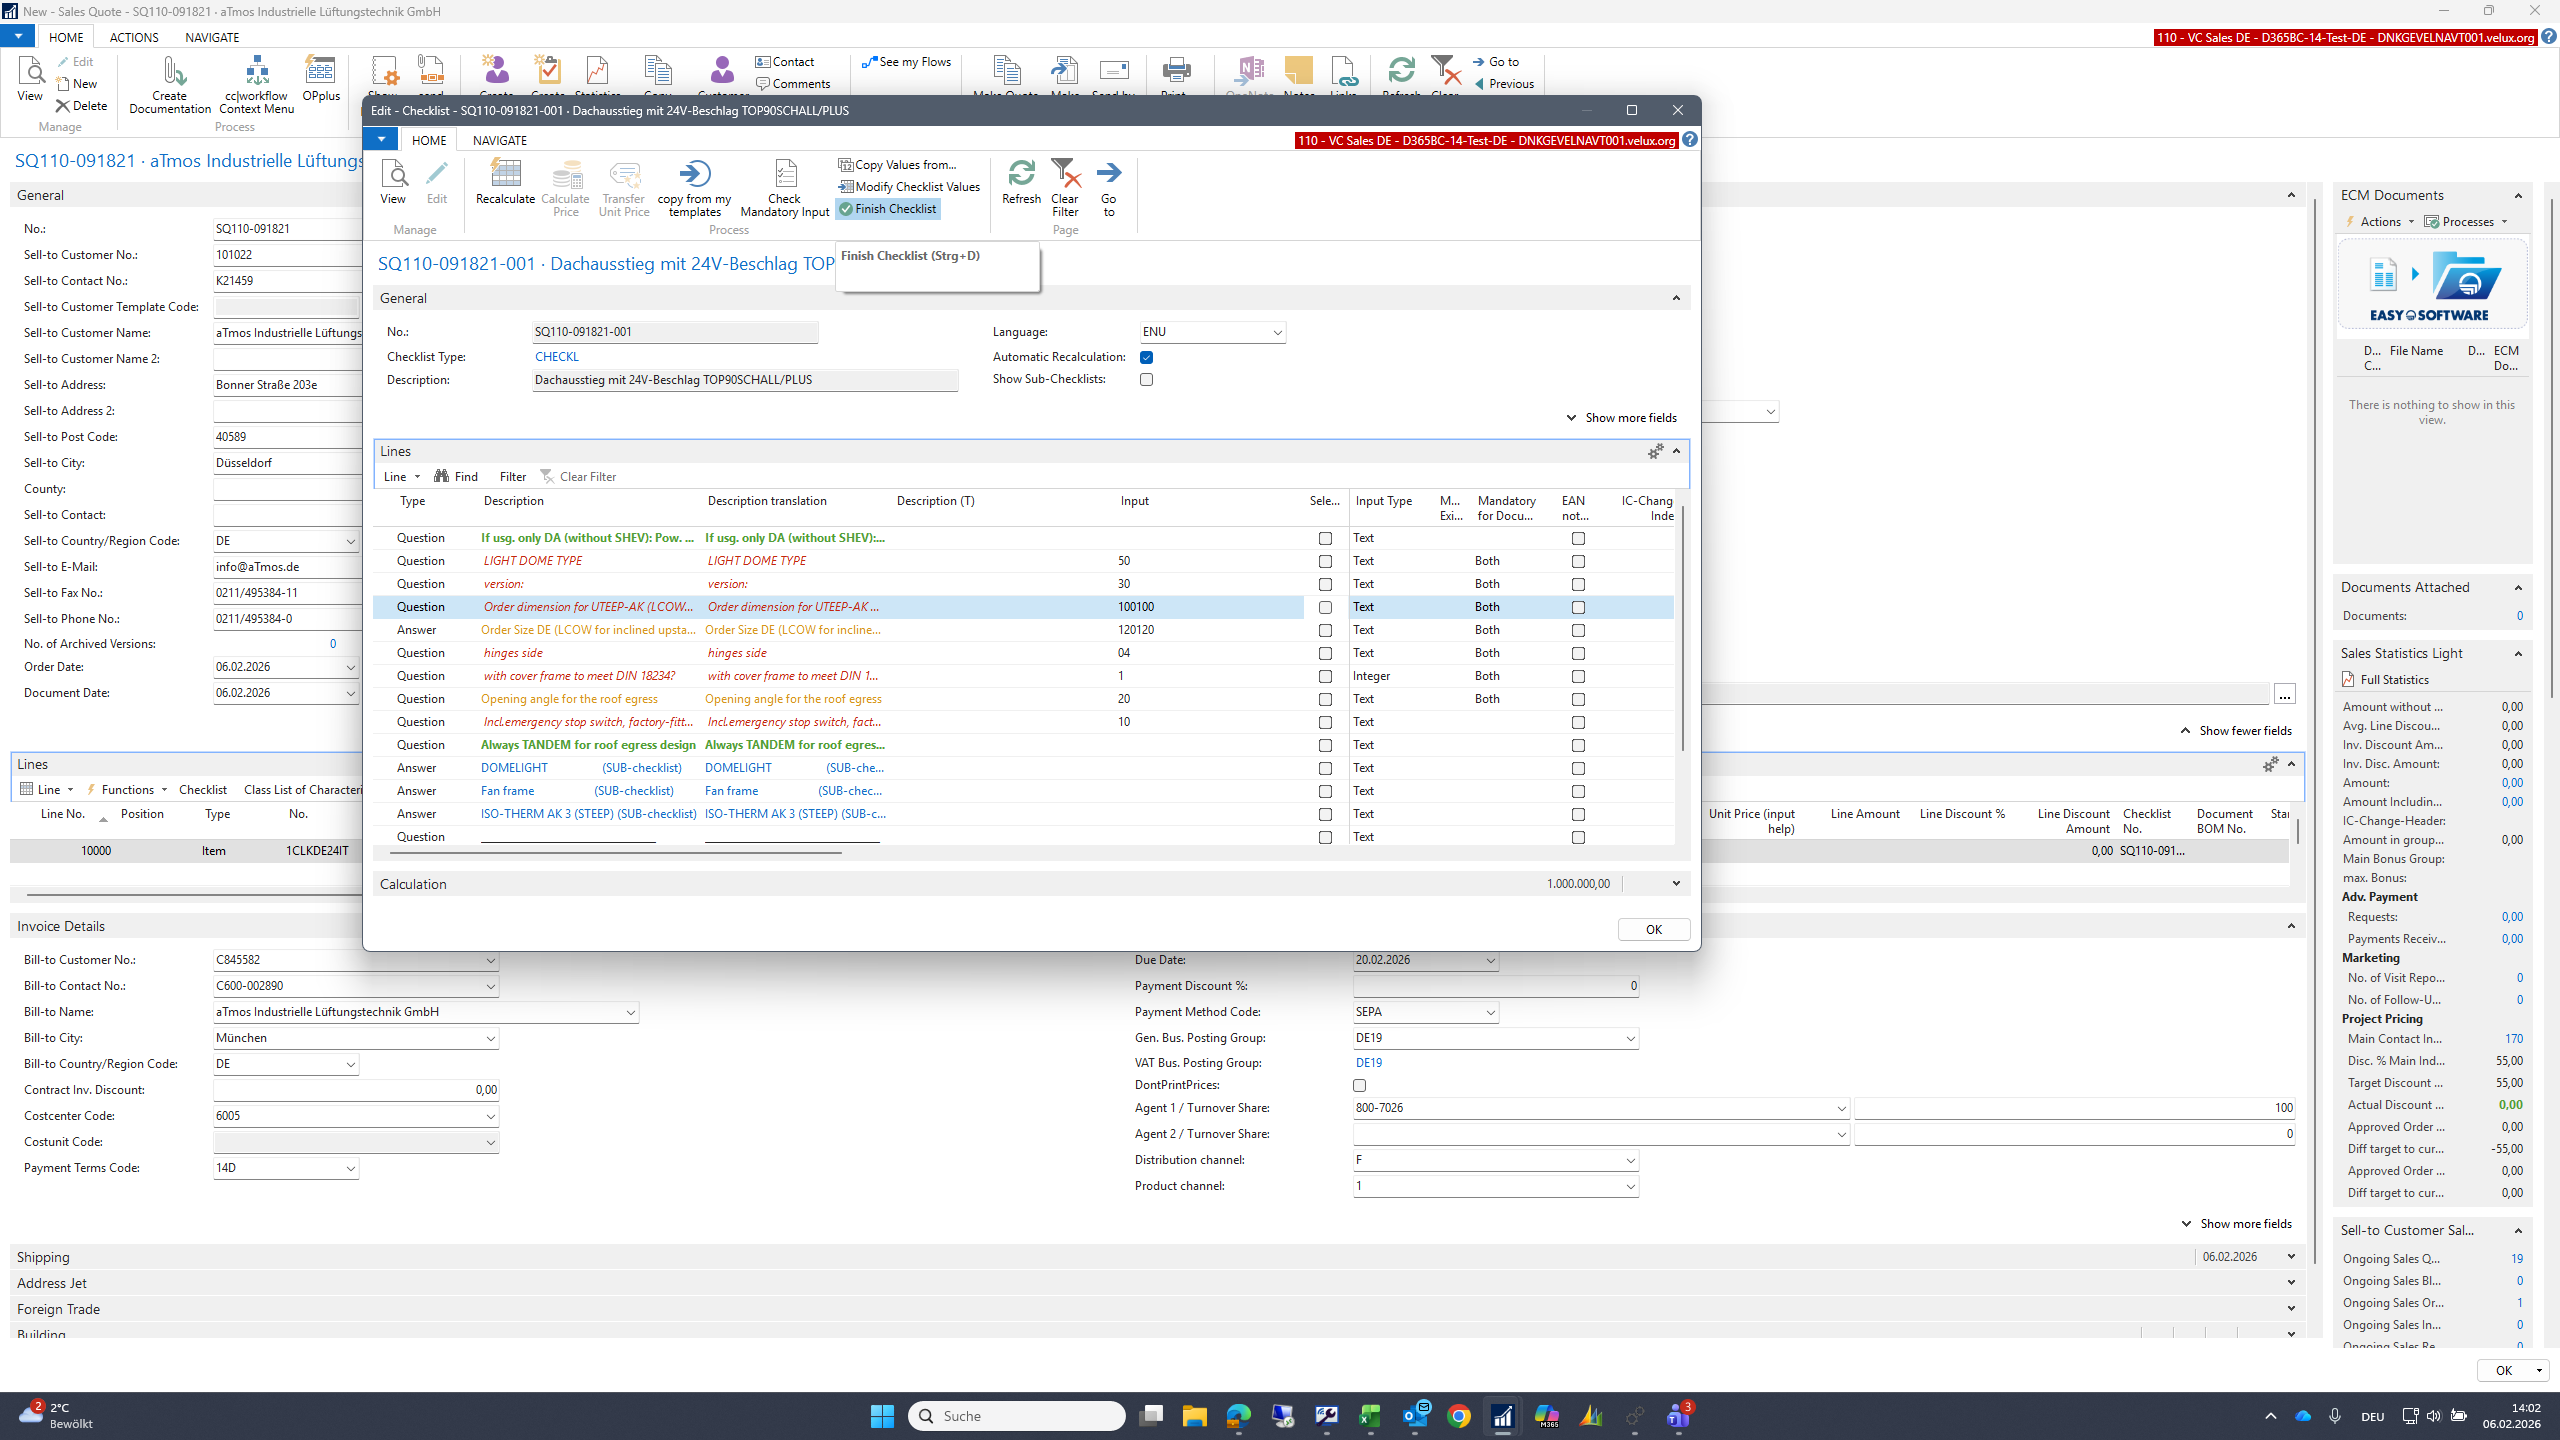
Click the "Checklist Input" button to open the checklist. The checklist can then be pre-filled.

13
Type "Dome Hight 50 mm + Tab"
14
Click here
Step #14: Click here
15
Double-click here
Step #15: Double-click here
16
Click here
Step #16: Click here
17
Double-click on "RESISTANT SOUND REDUCTION"
Step #17: Double-click on "RESISTANT SOUND REDUCTION"
18
Click on "OK"
Step #18: Click on "OK"
19
Double-click here
Step #19: Double-click here
20
Click here
Step #20: Click here
21
Click on "OK"
Step #21: Click on "OK"

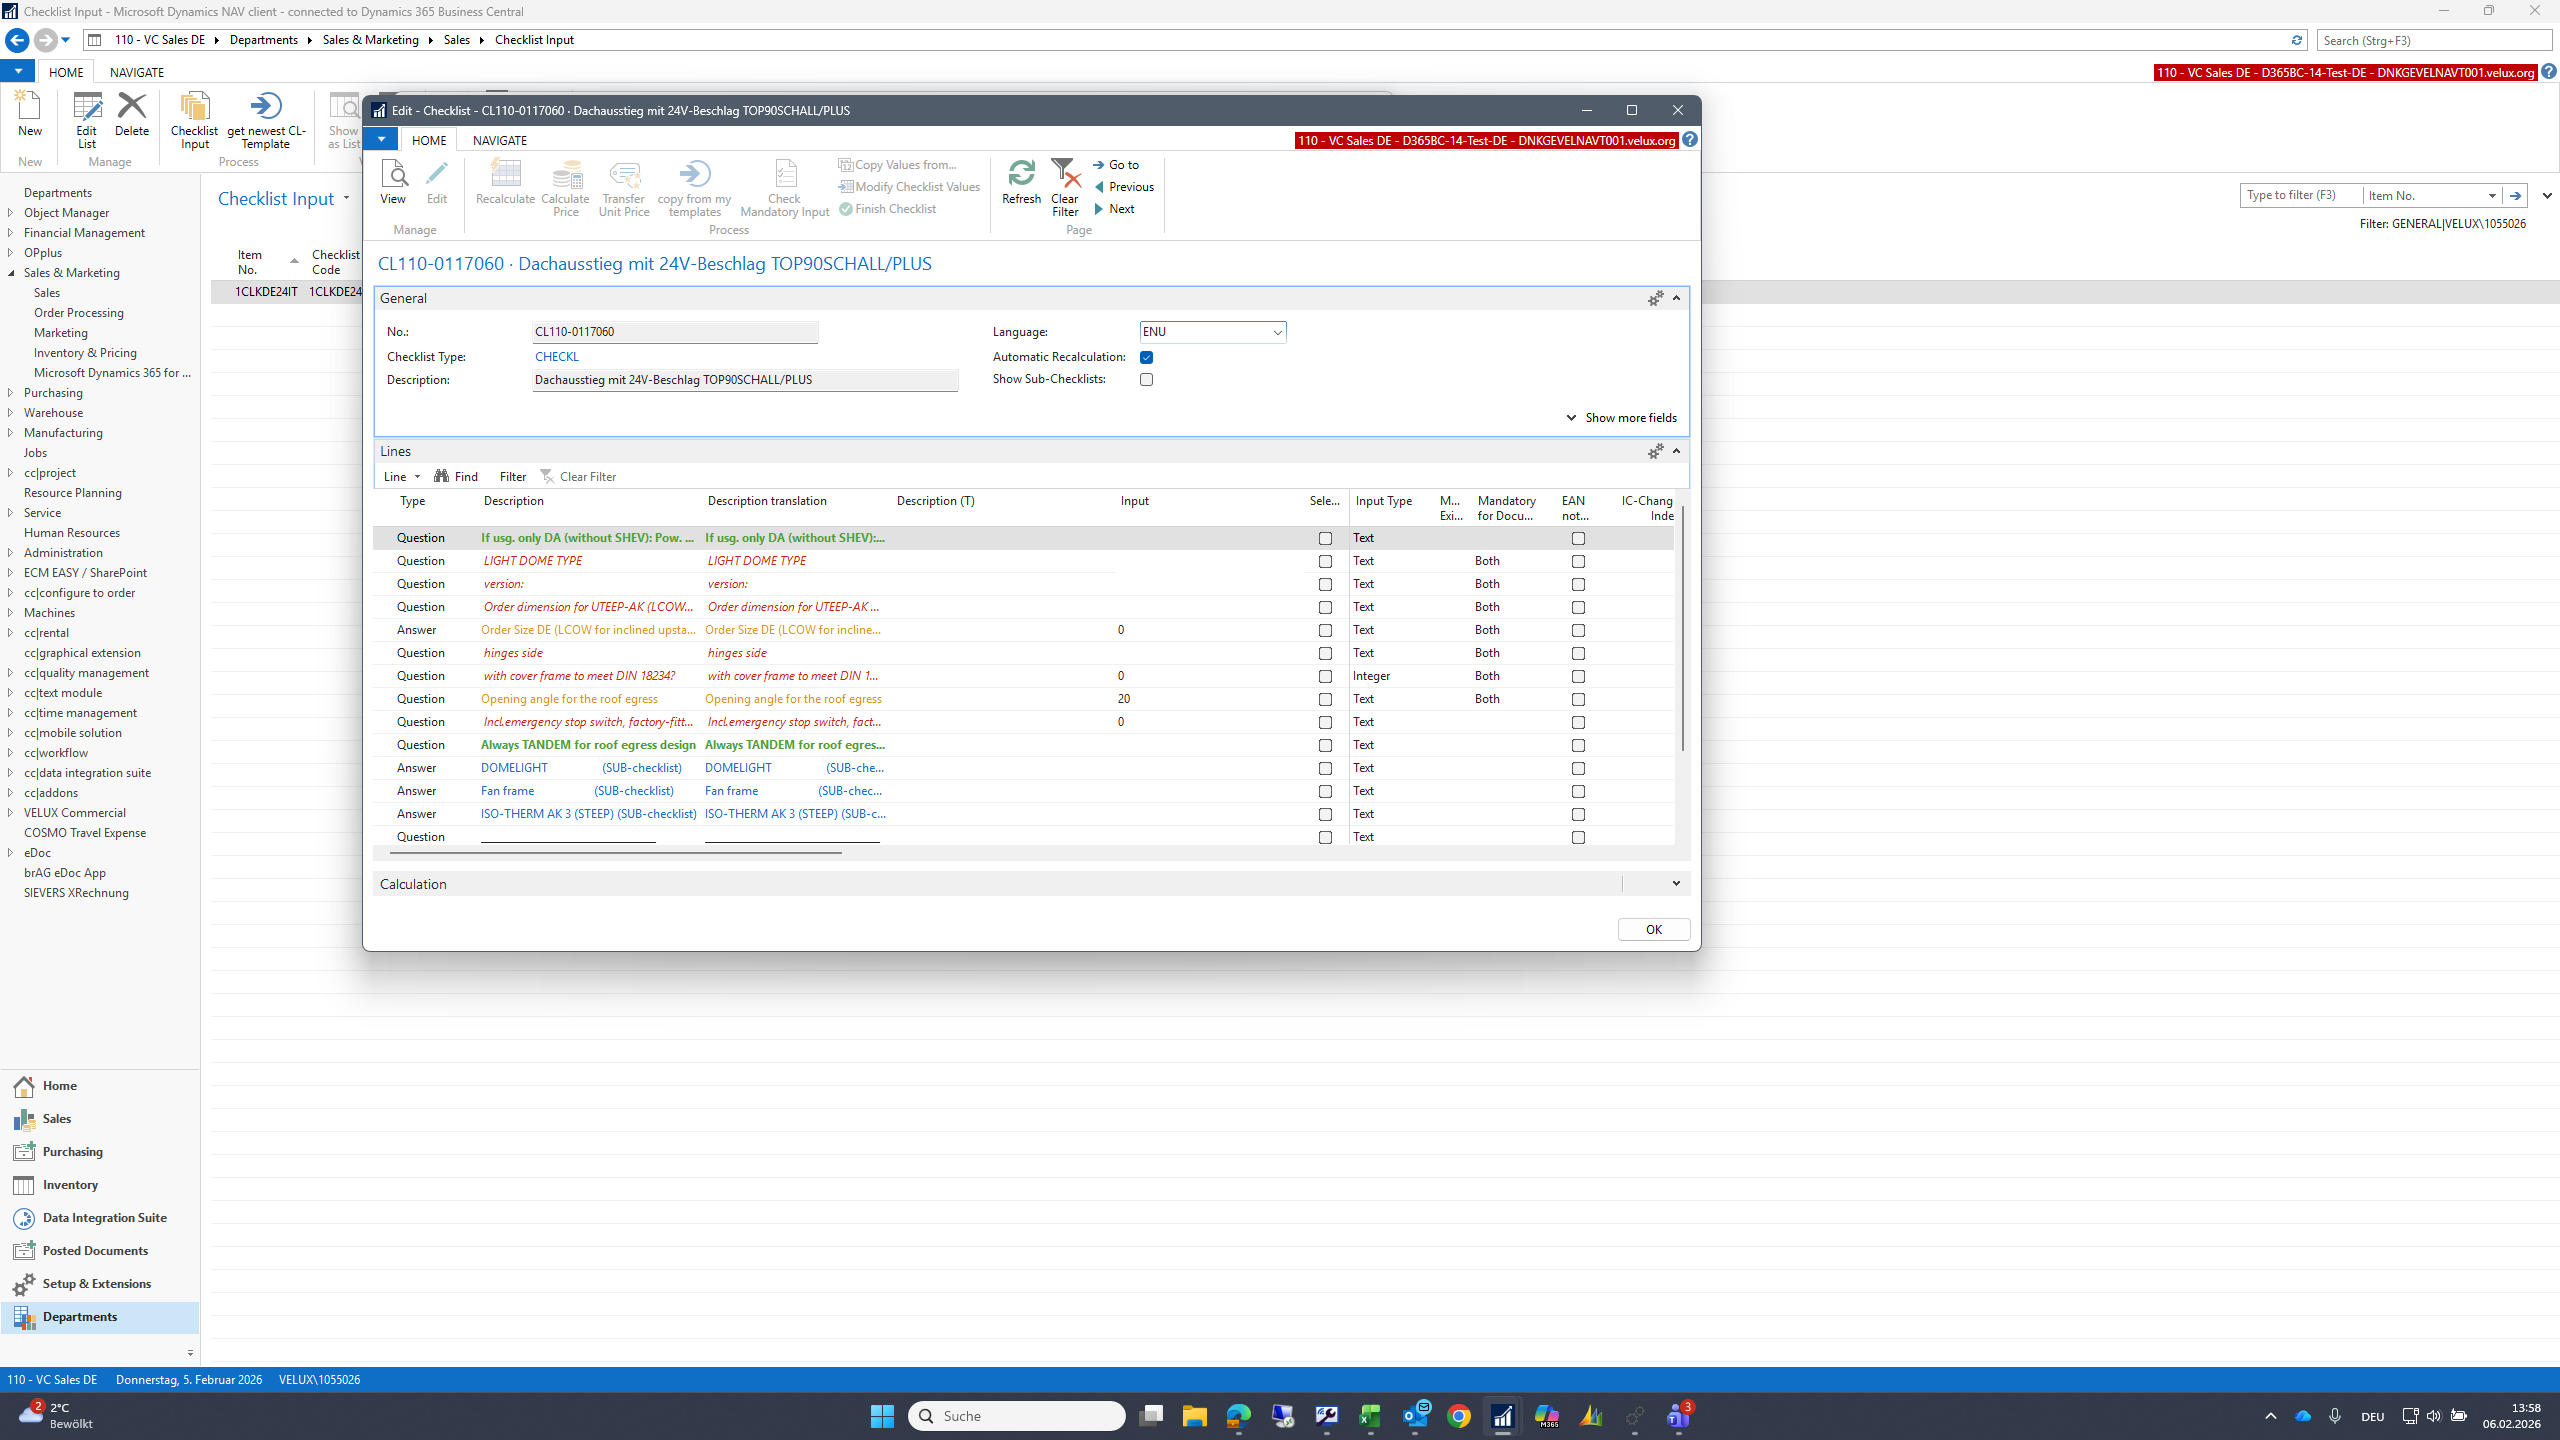
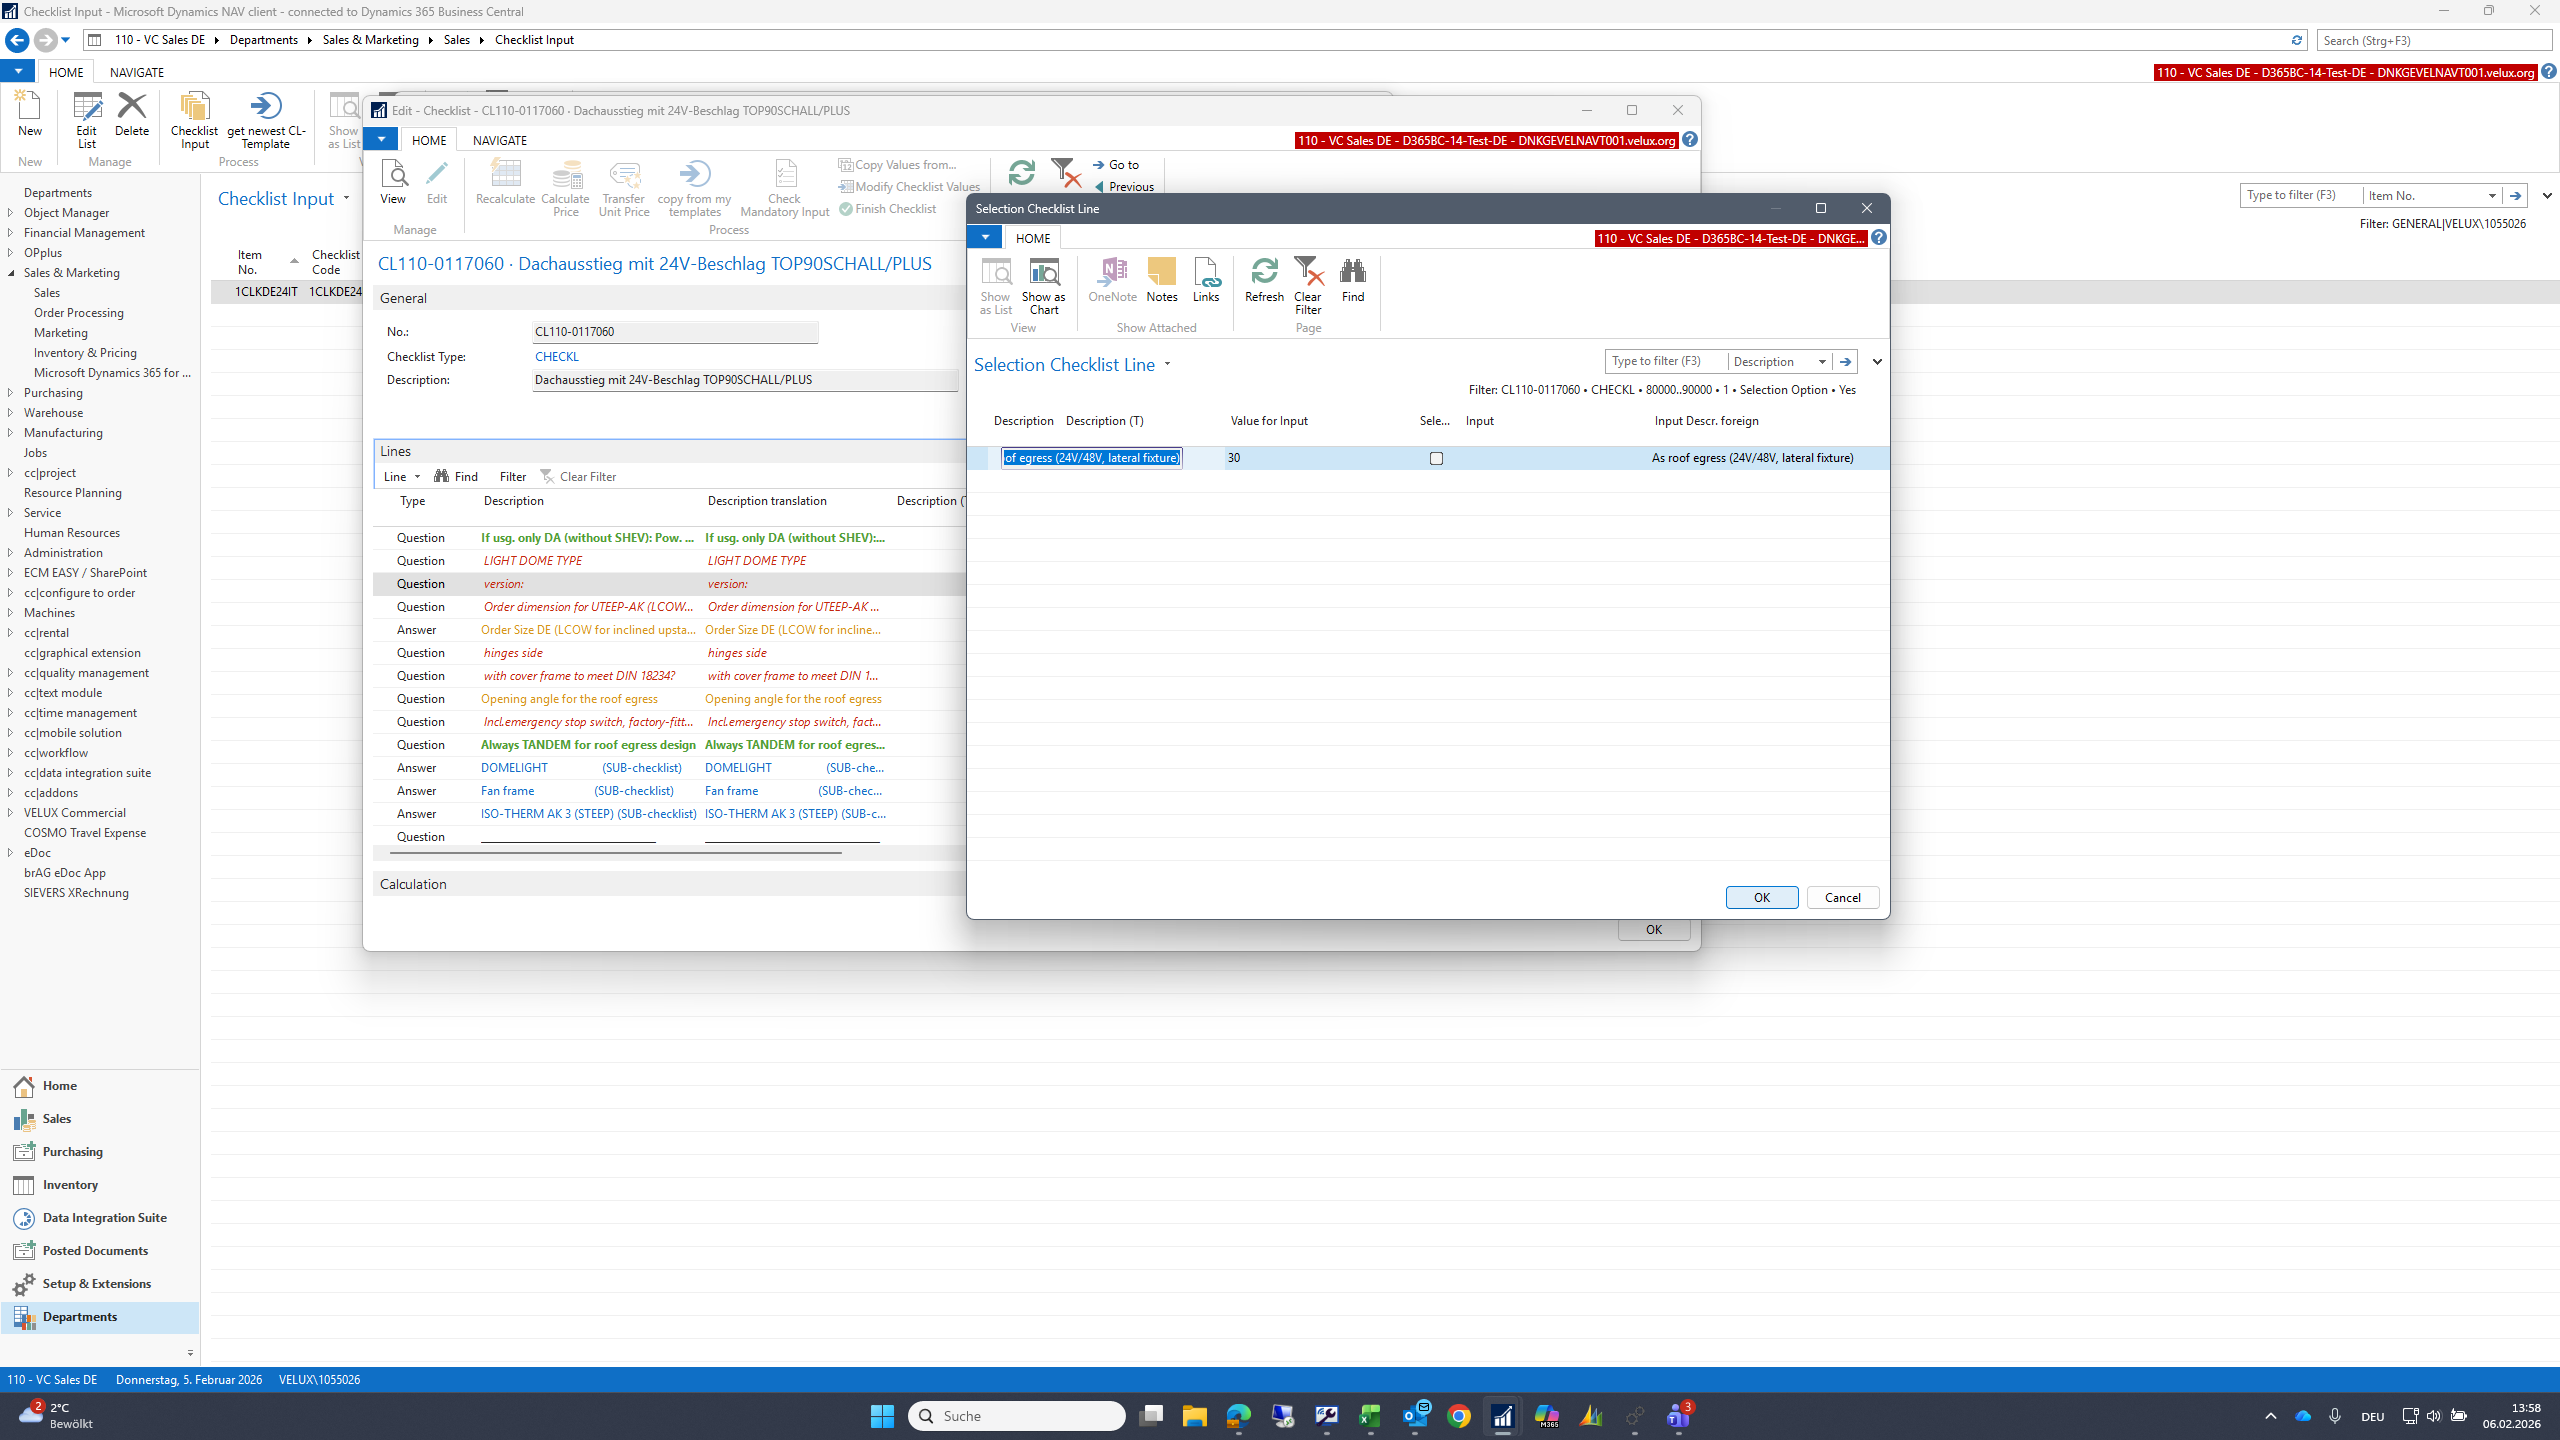
In this example, I leave the dimensions blank.

22
Double-click here
Step #22: Double-click here

So later, when I use this template, I need to fill in the dimensions on the document.

23
Double-click here
Step #23: Double-click here
24
Click on "✓"
Step #24: Click on "✓"
25
Click on "OK"
Step #25: Click on "OK"
26
Click on "000000000"
Step #26: Click on "000000000"
27
Double-click on "with covering frame"
Step #27: Double-click on "with covering frame"
28
Click on "OK"
Step #28: Click on "OK"
29
Double-click here
Step #29: Double-click here
30
Click on "✓"
Step #30: Click on "✓"
31
Double-click here
Step #31: Double-click here
32
Click on "OK"
Step #32: Click on "OK"
33
Double-click here
Step #33: Double-click here

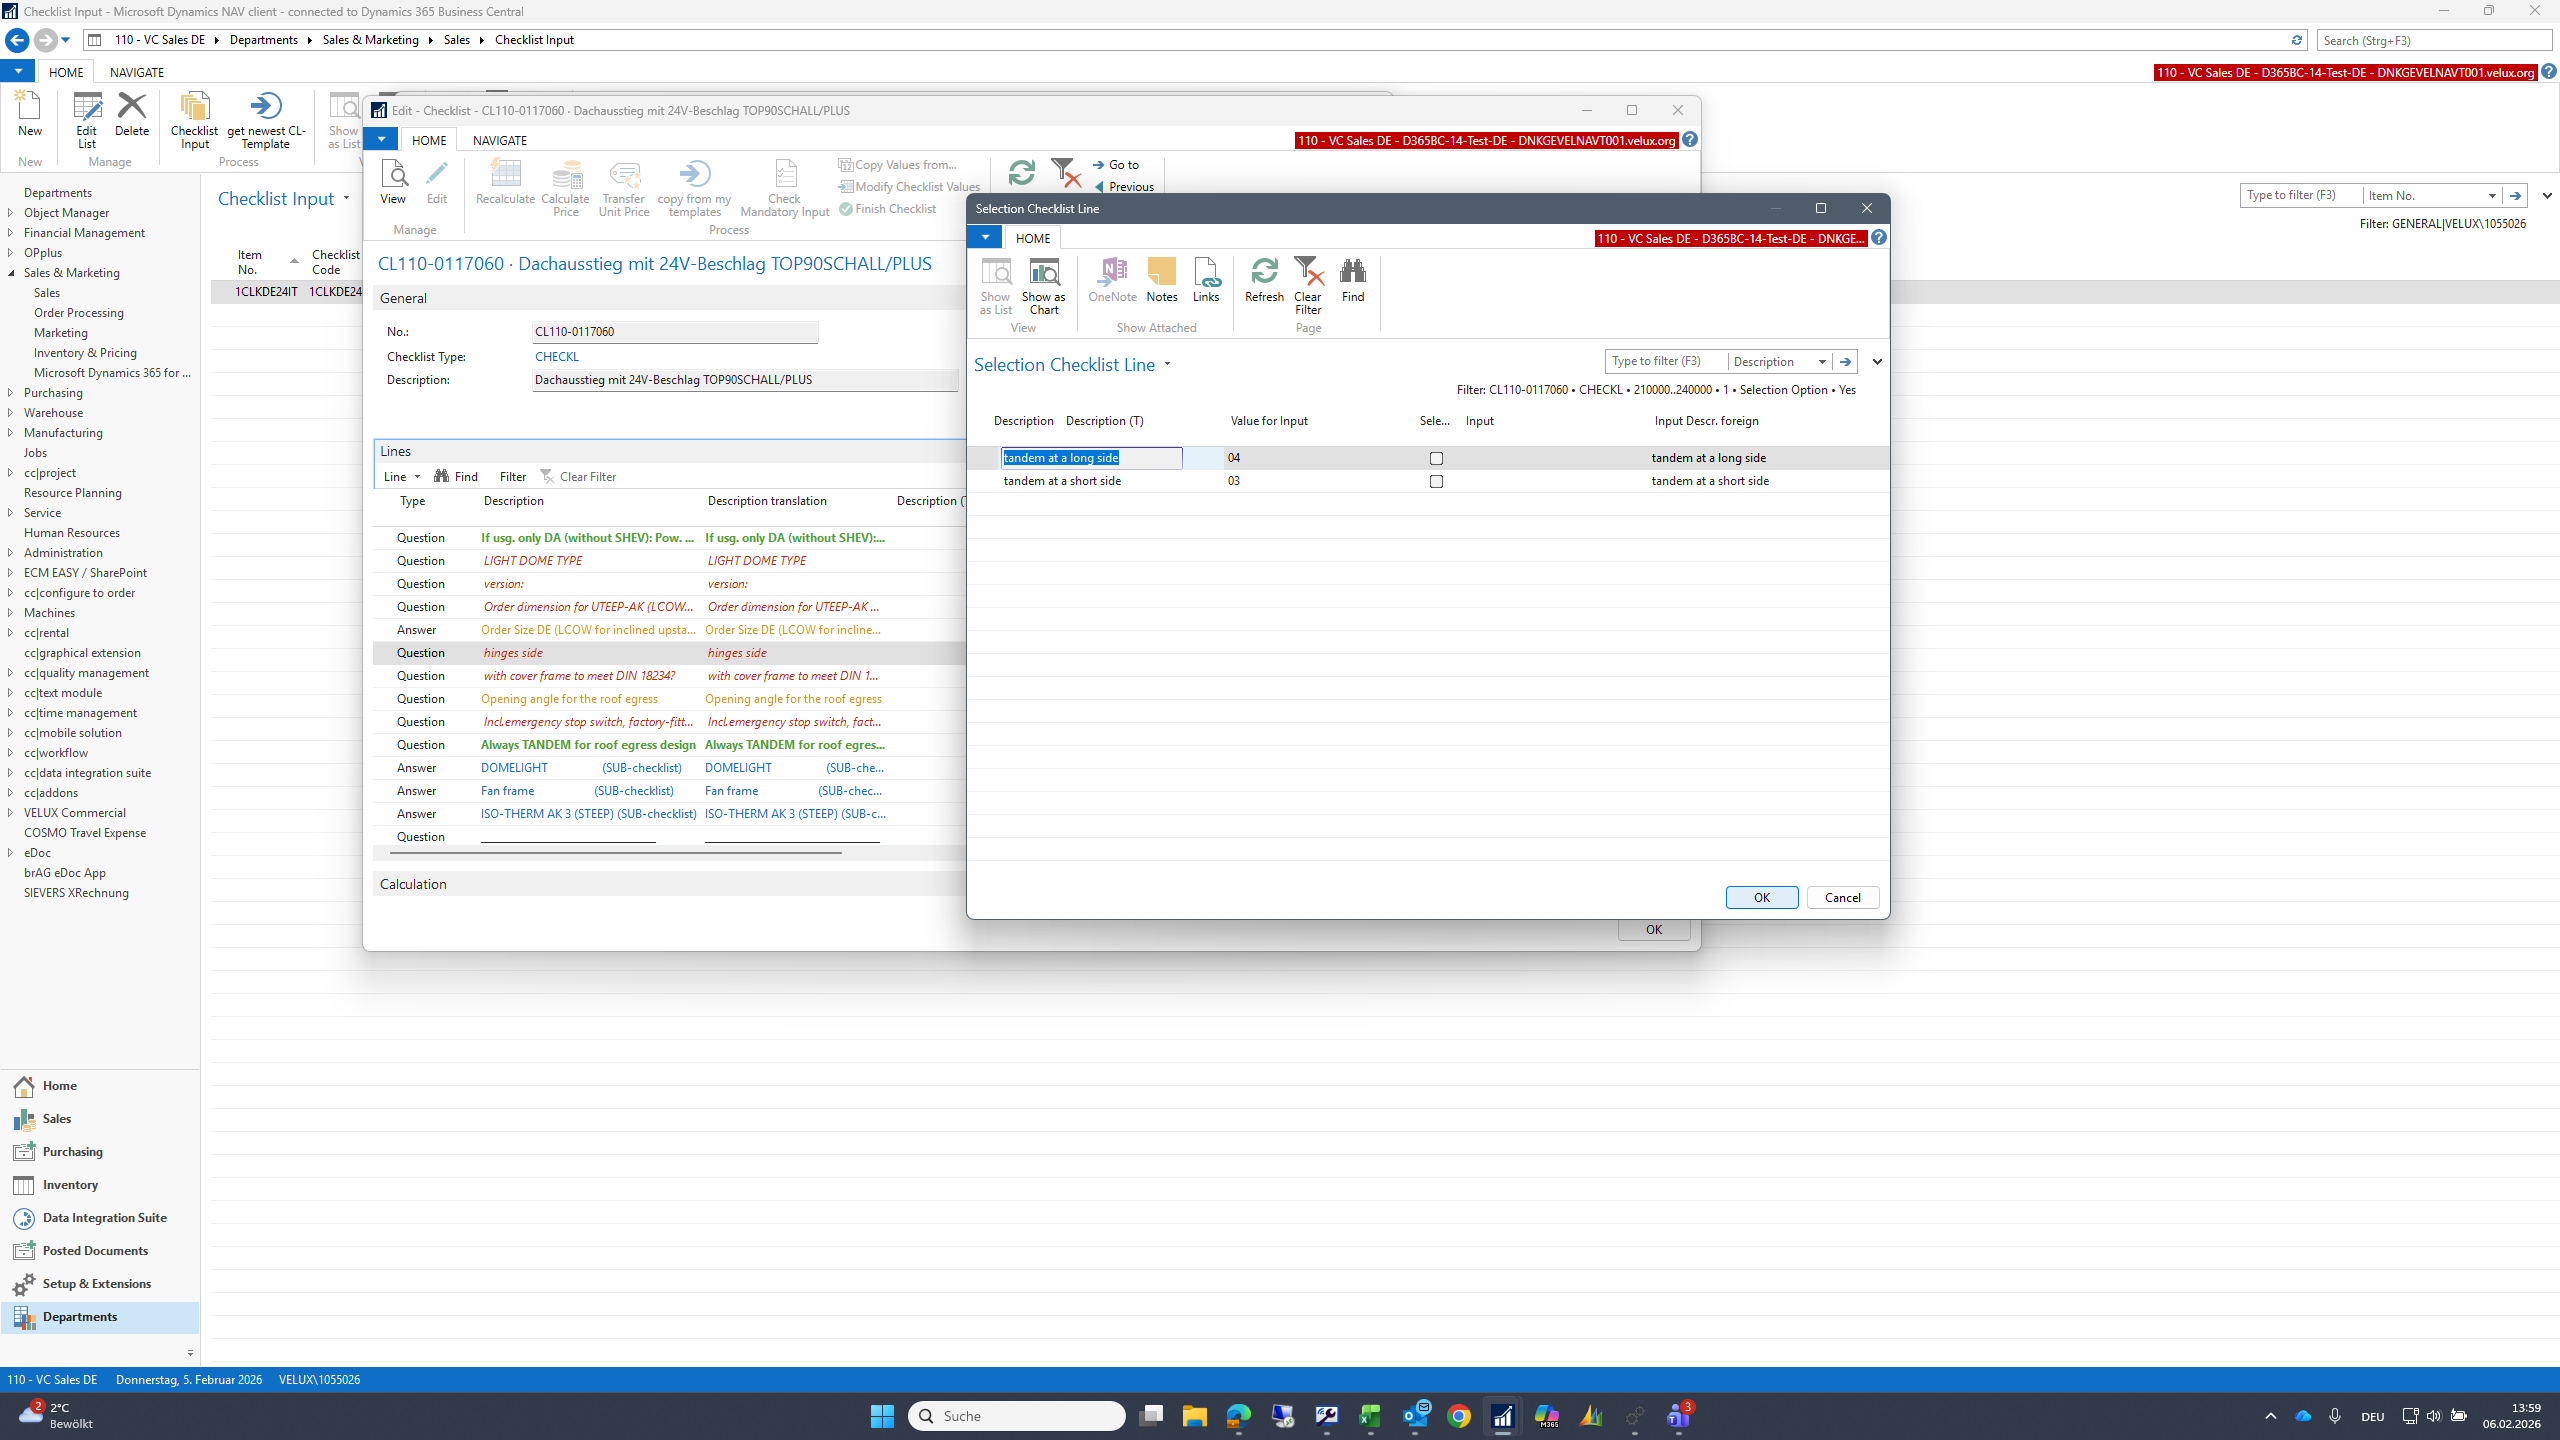
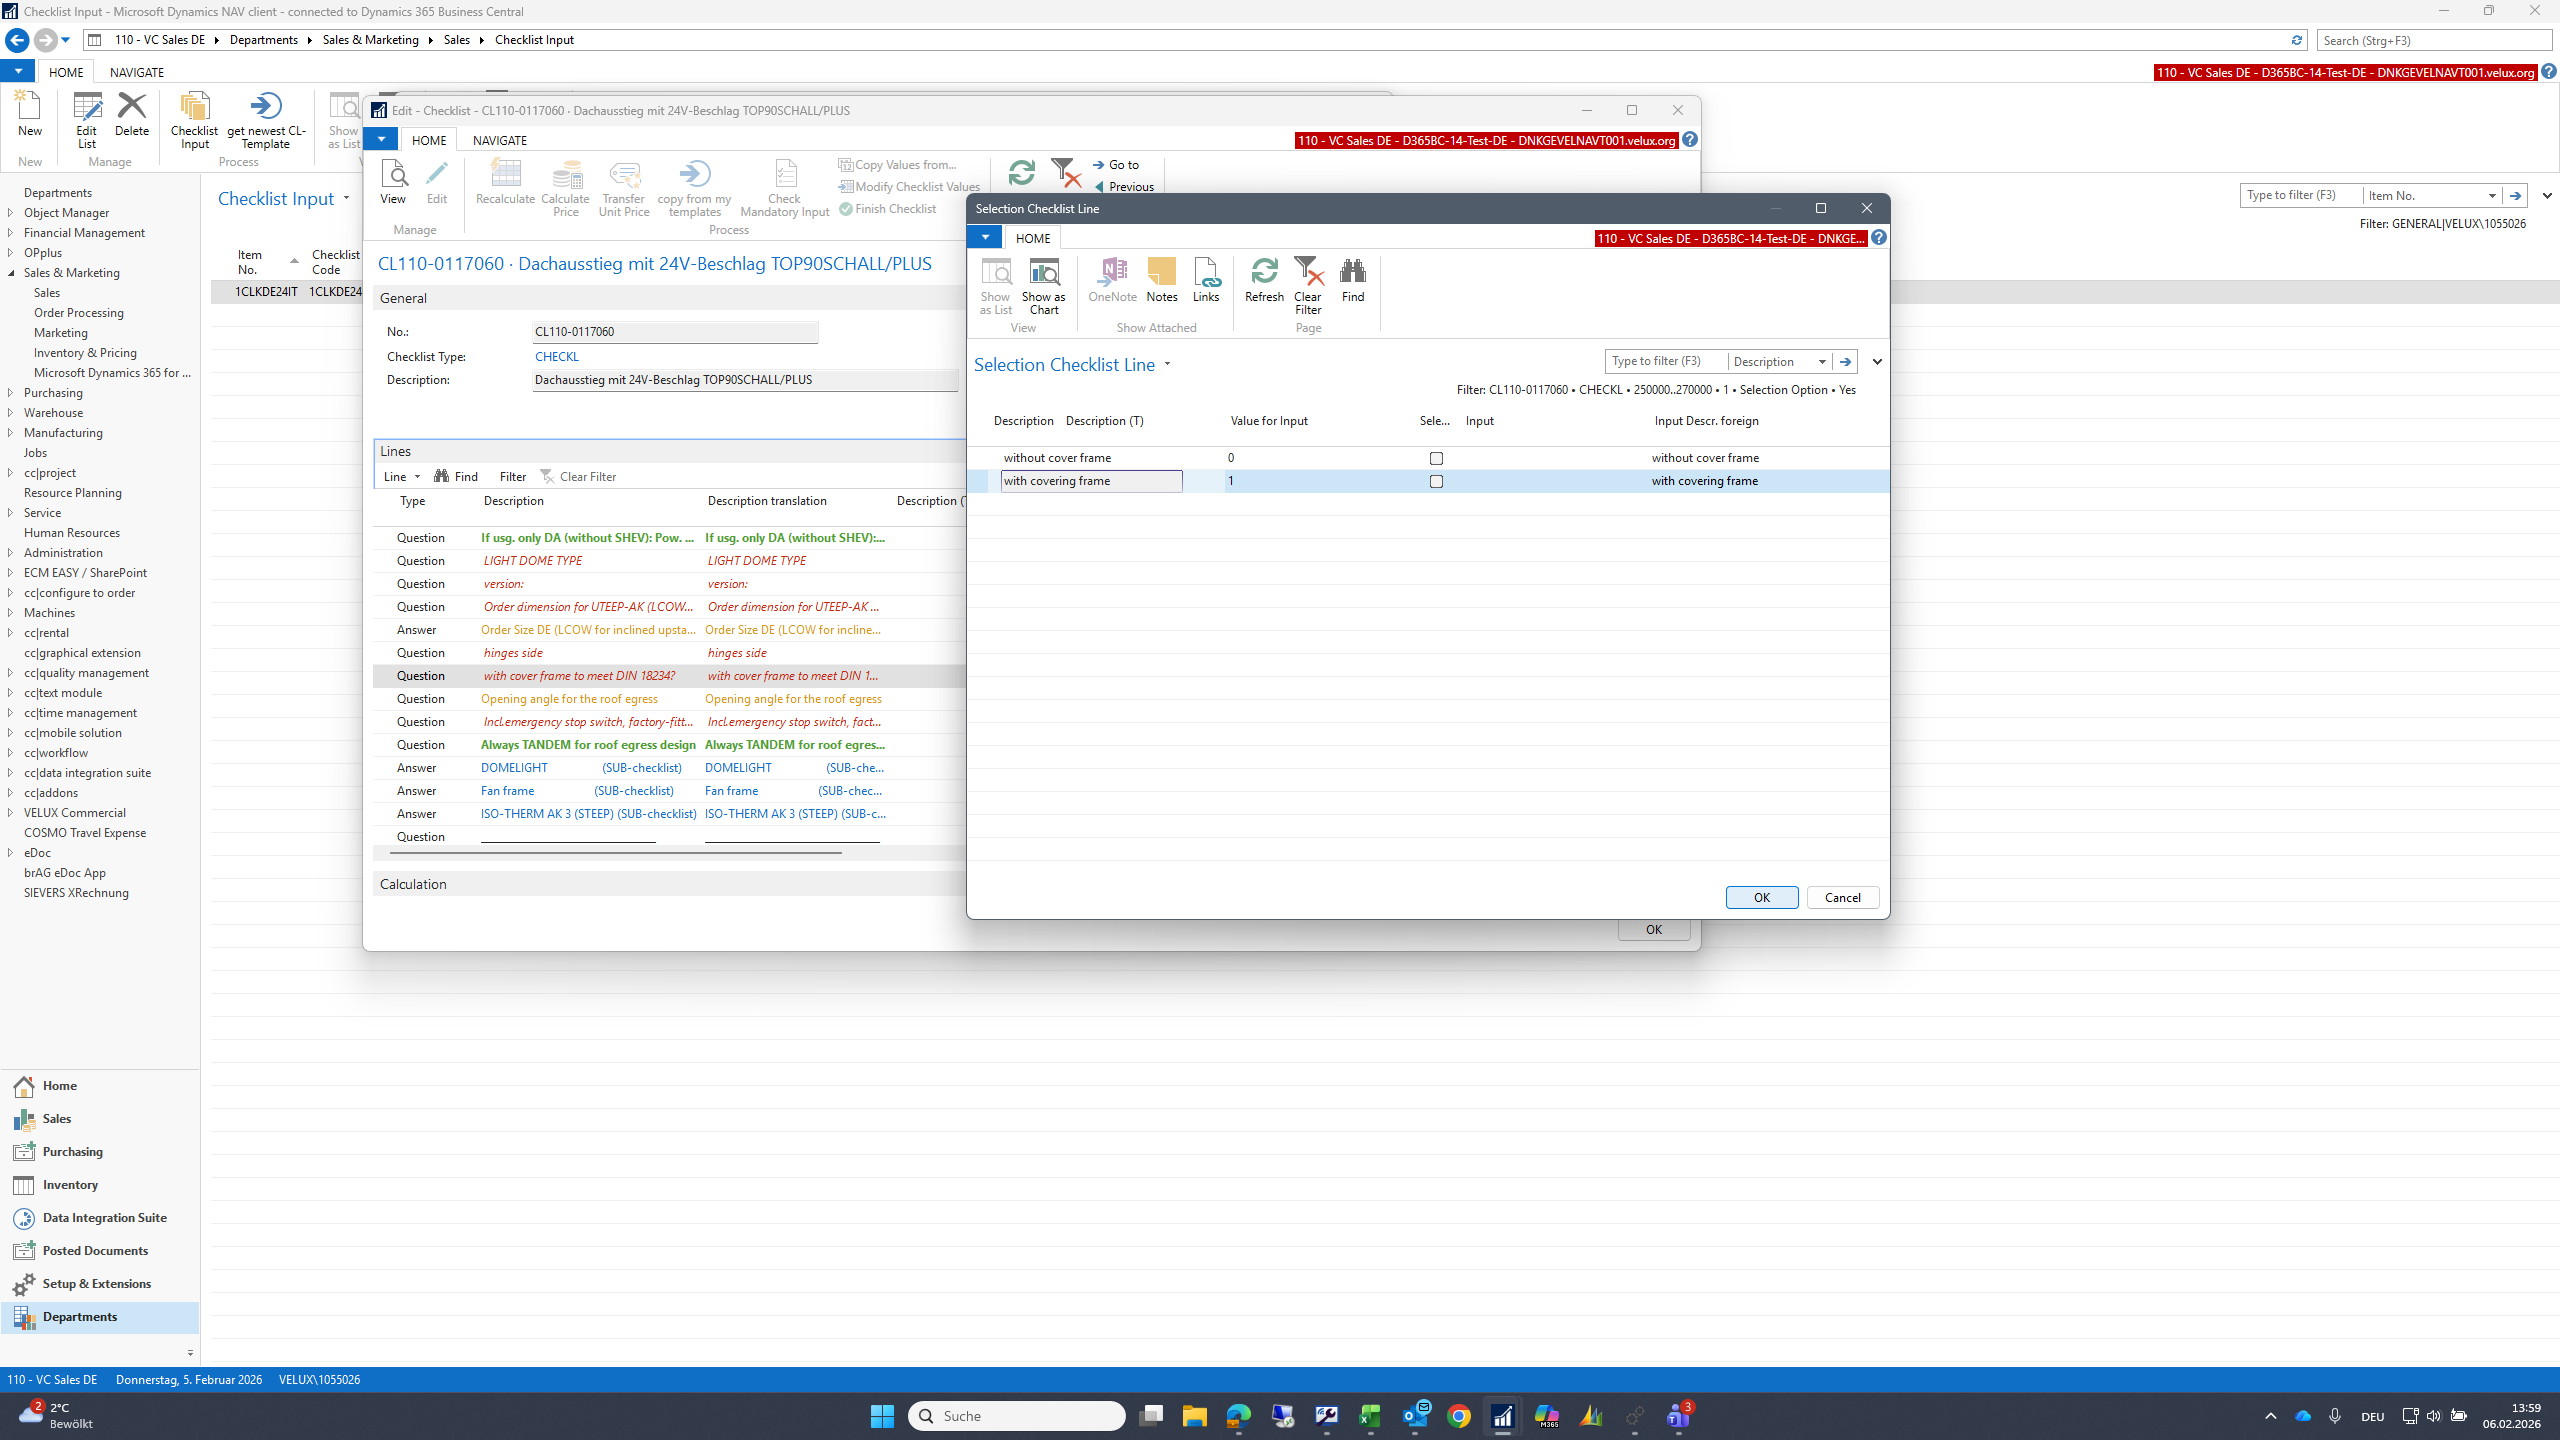
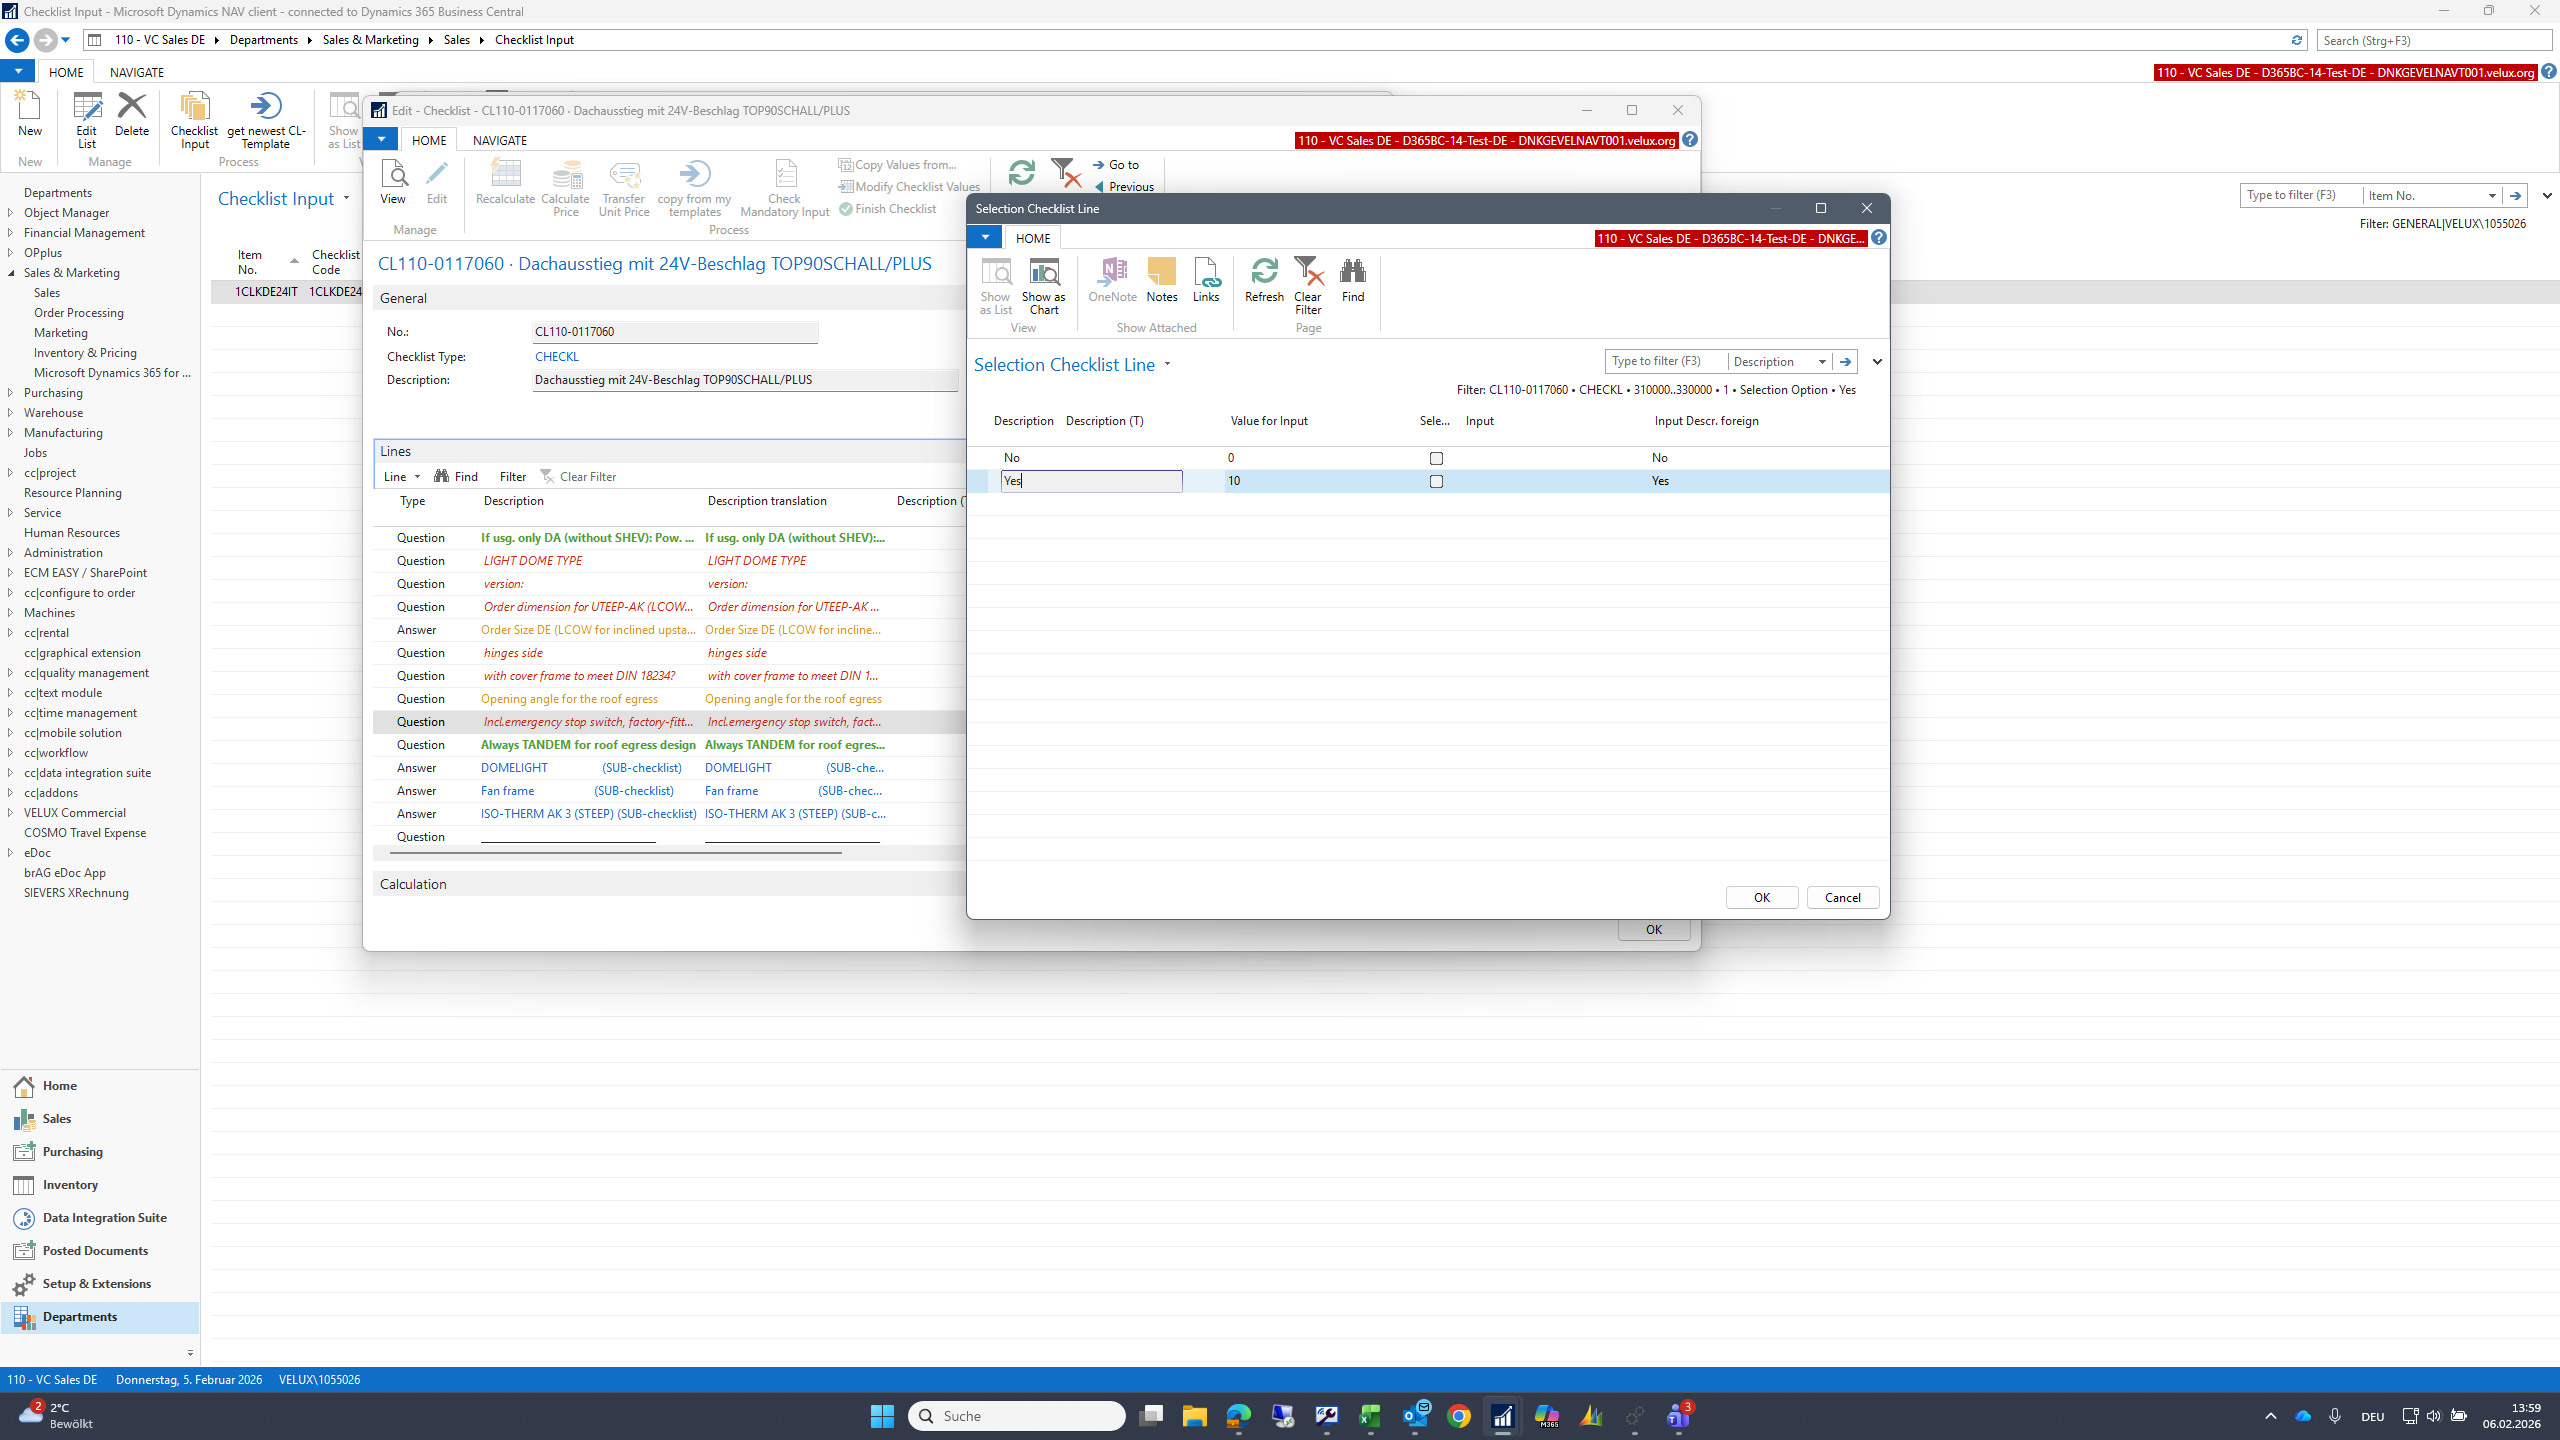
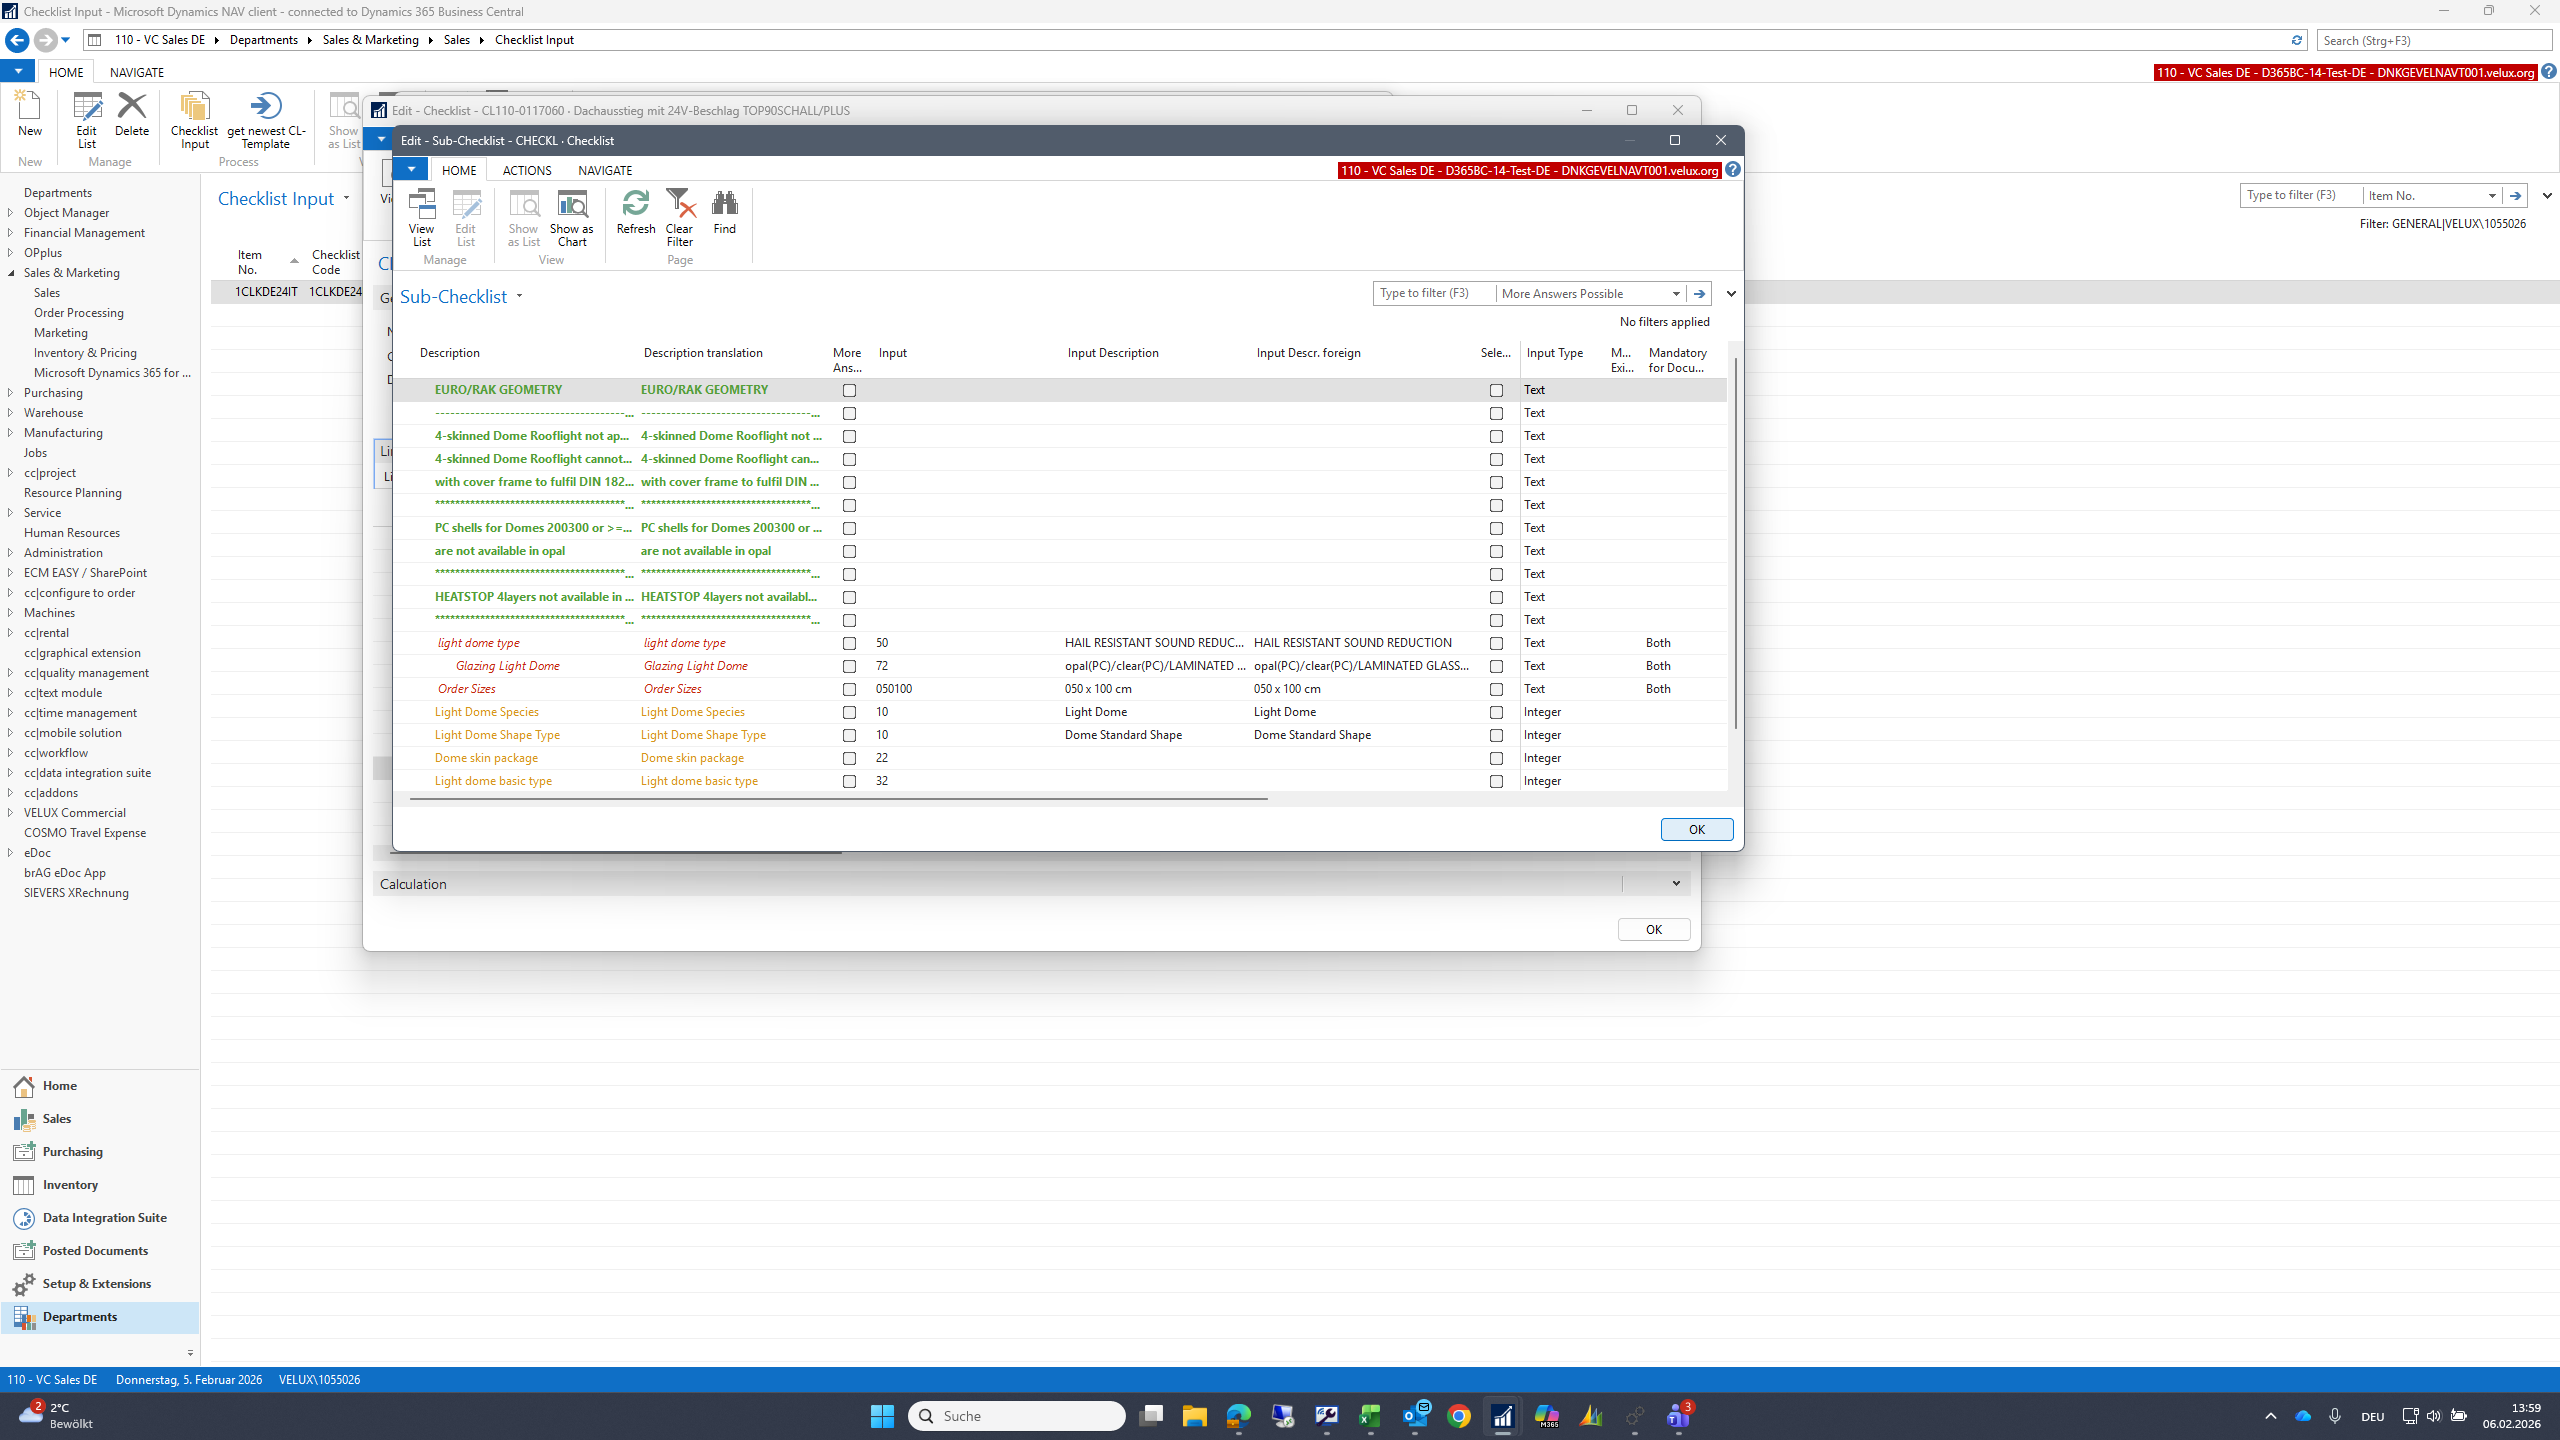
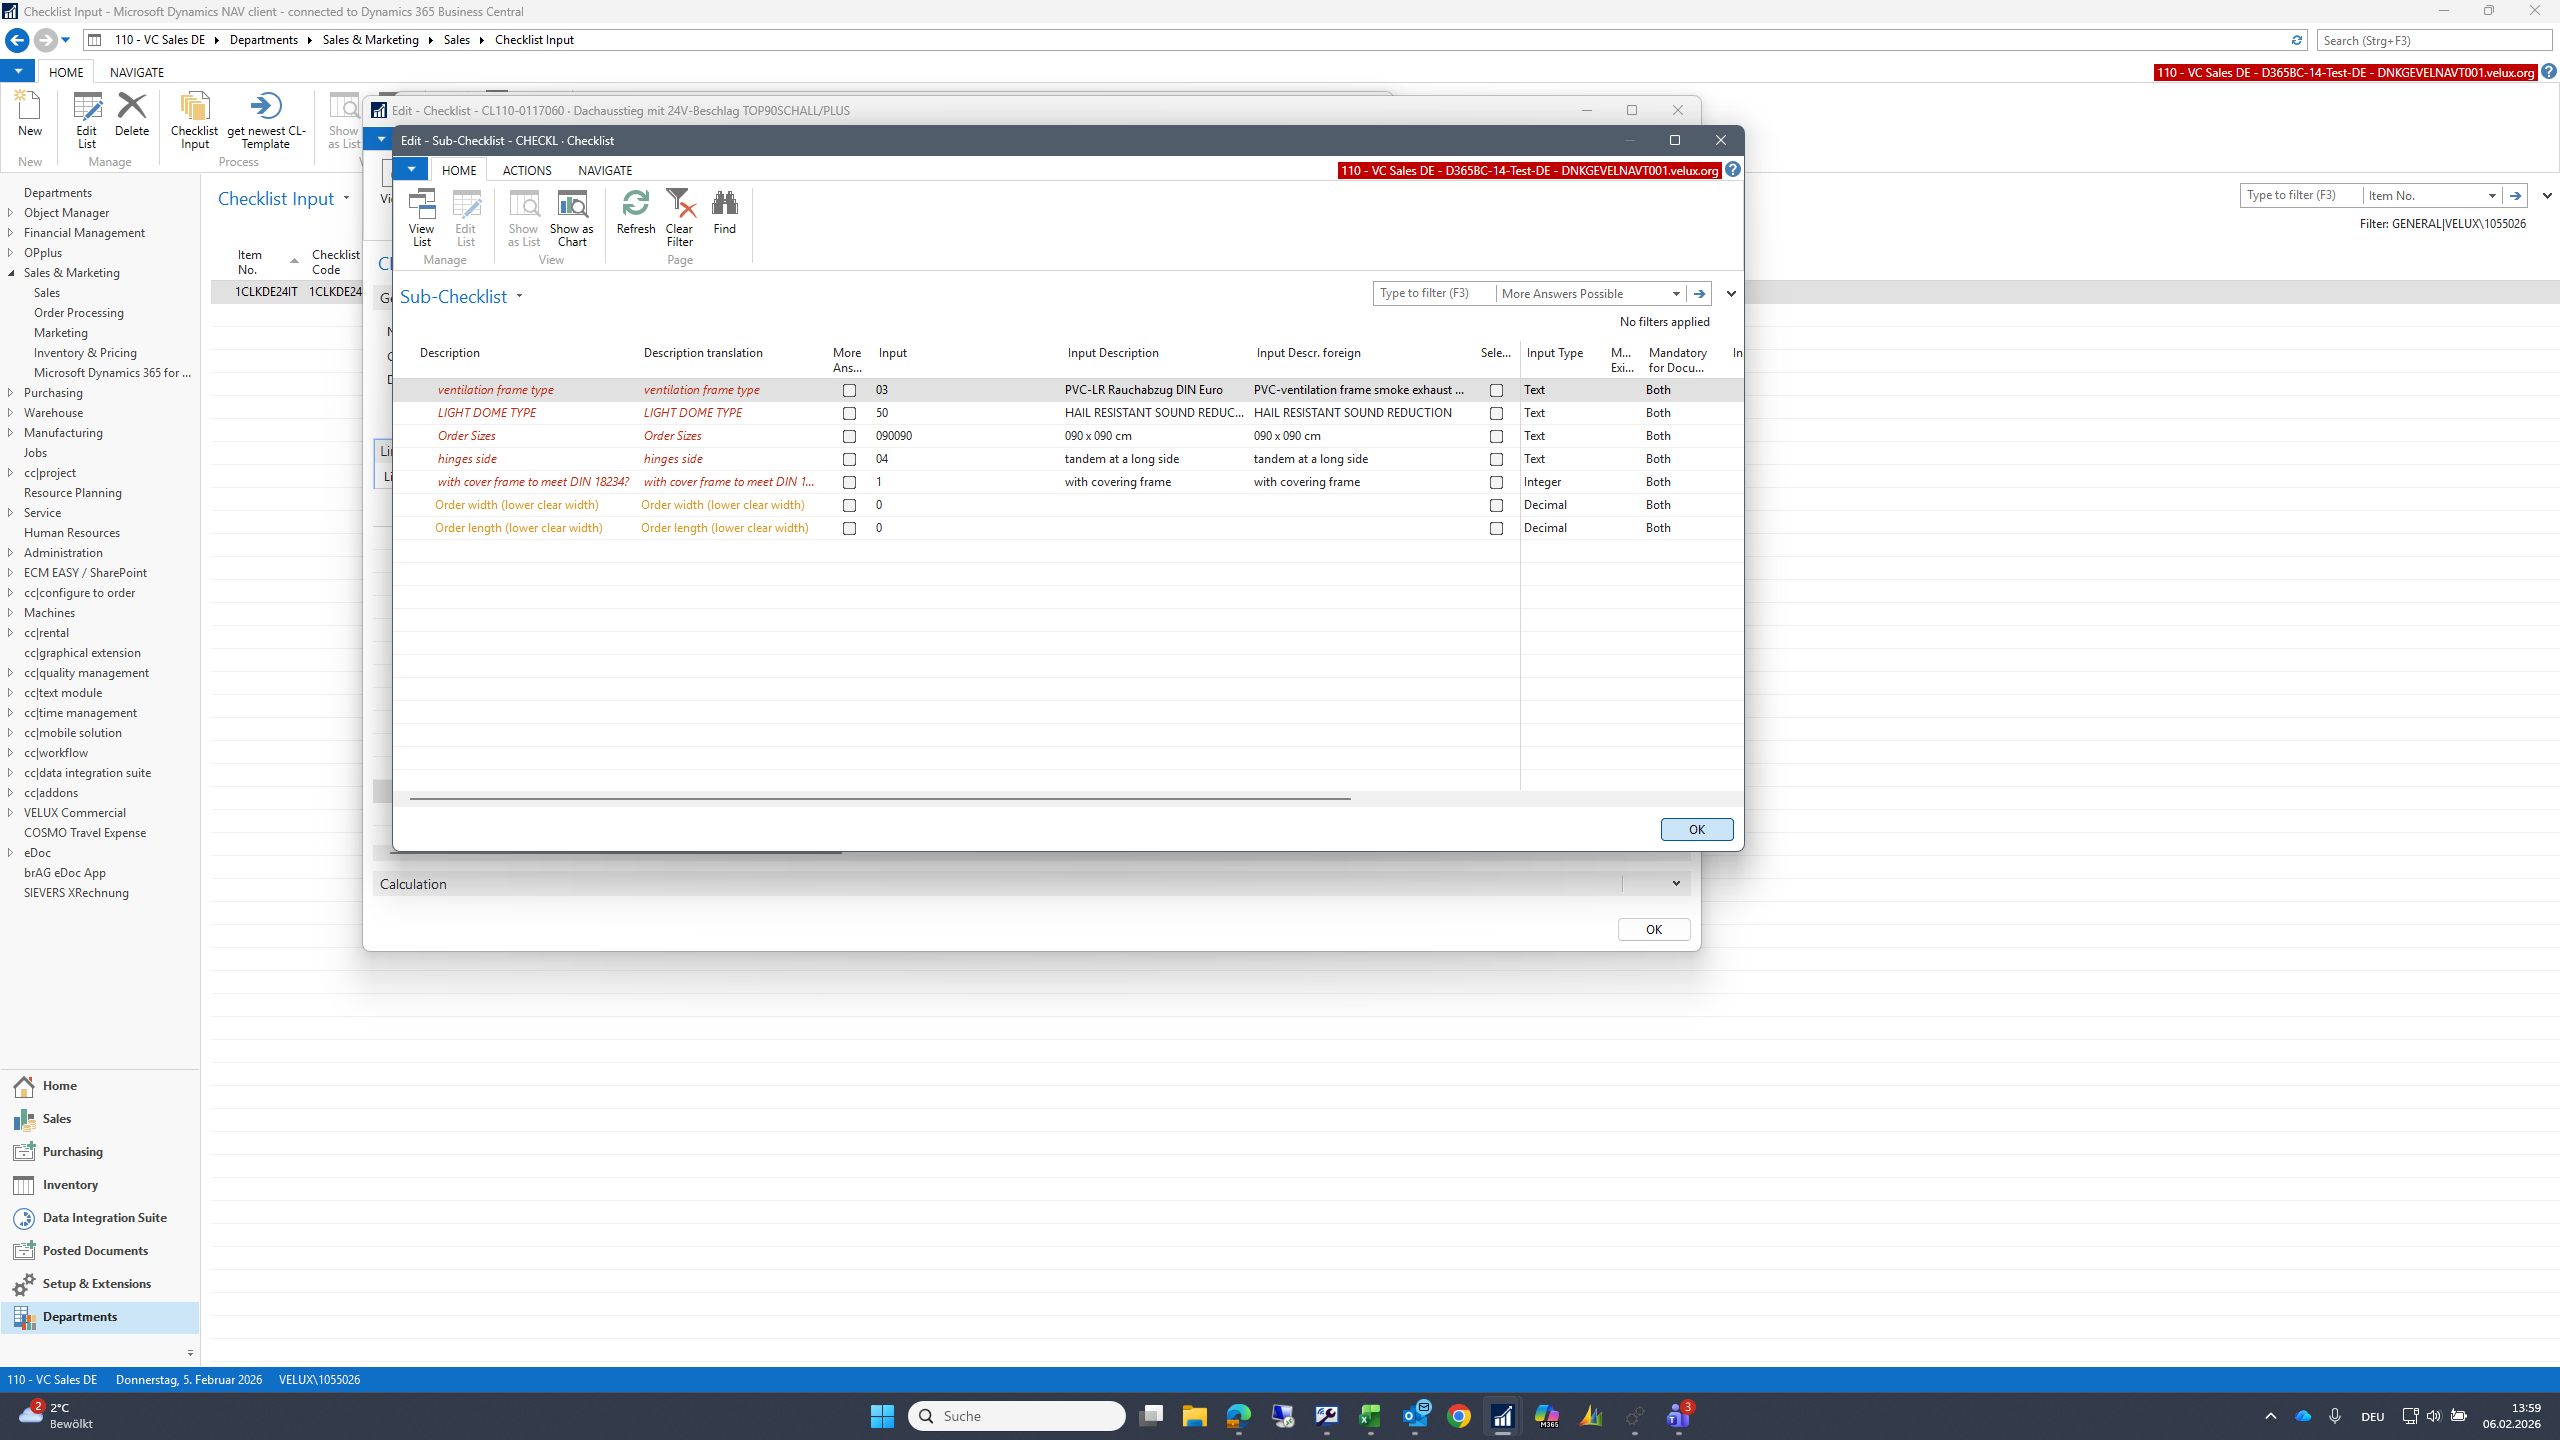
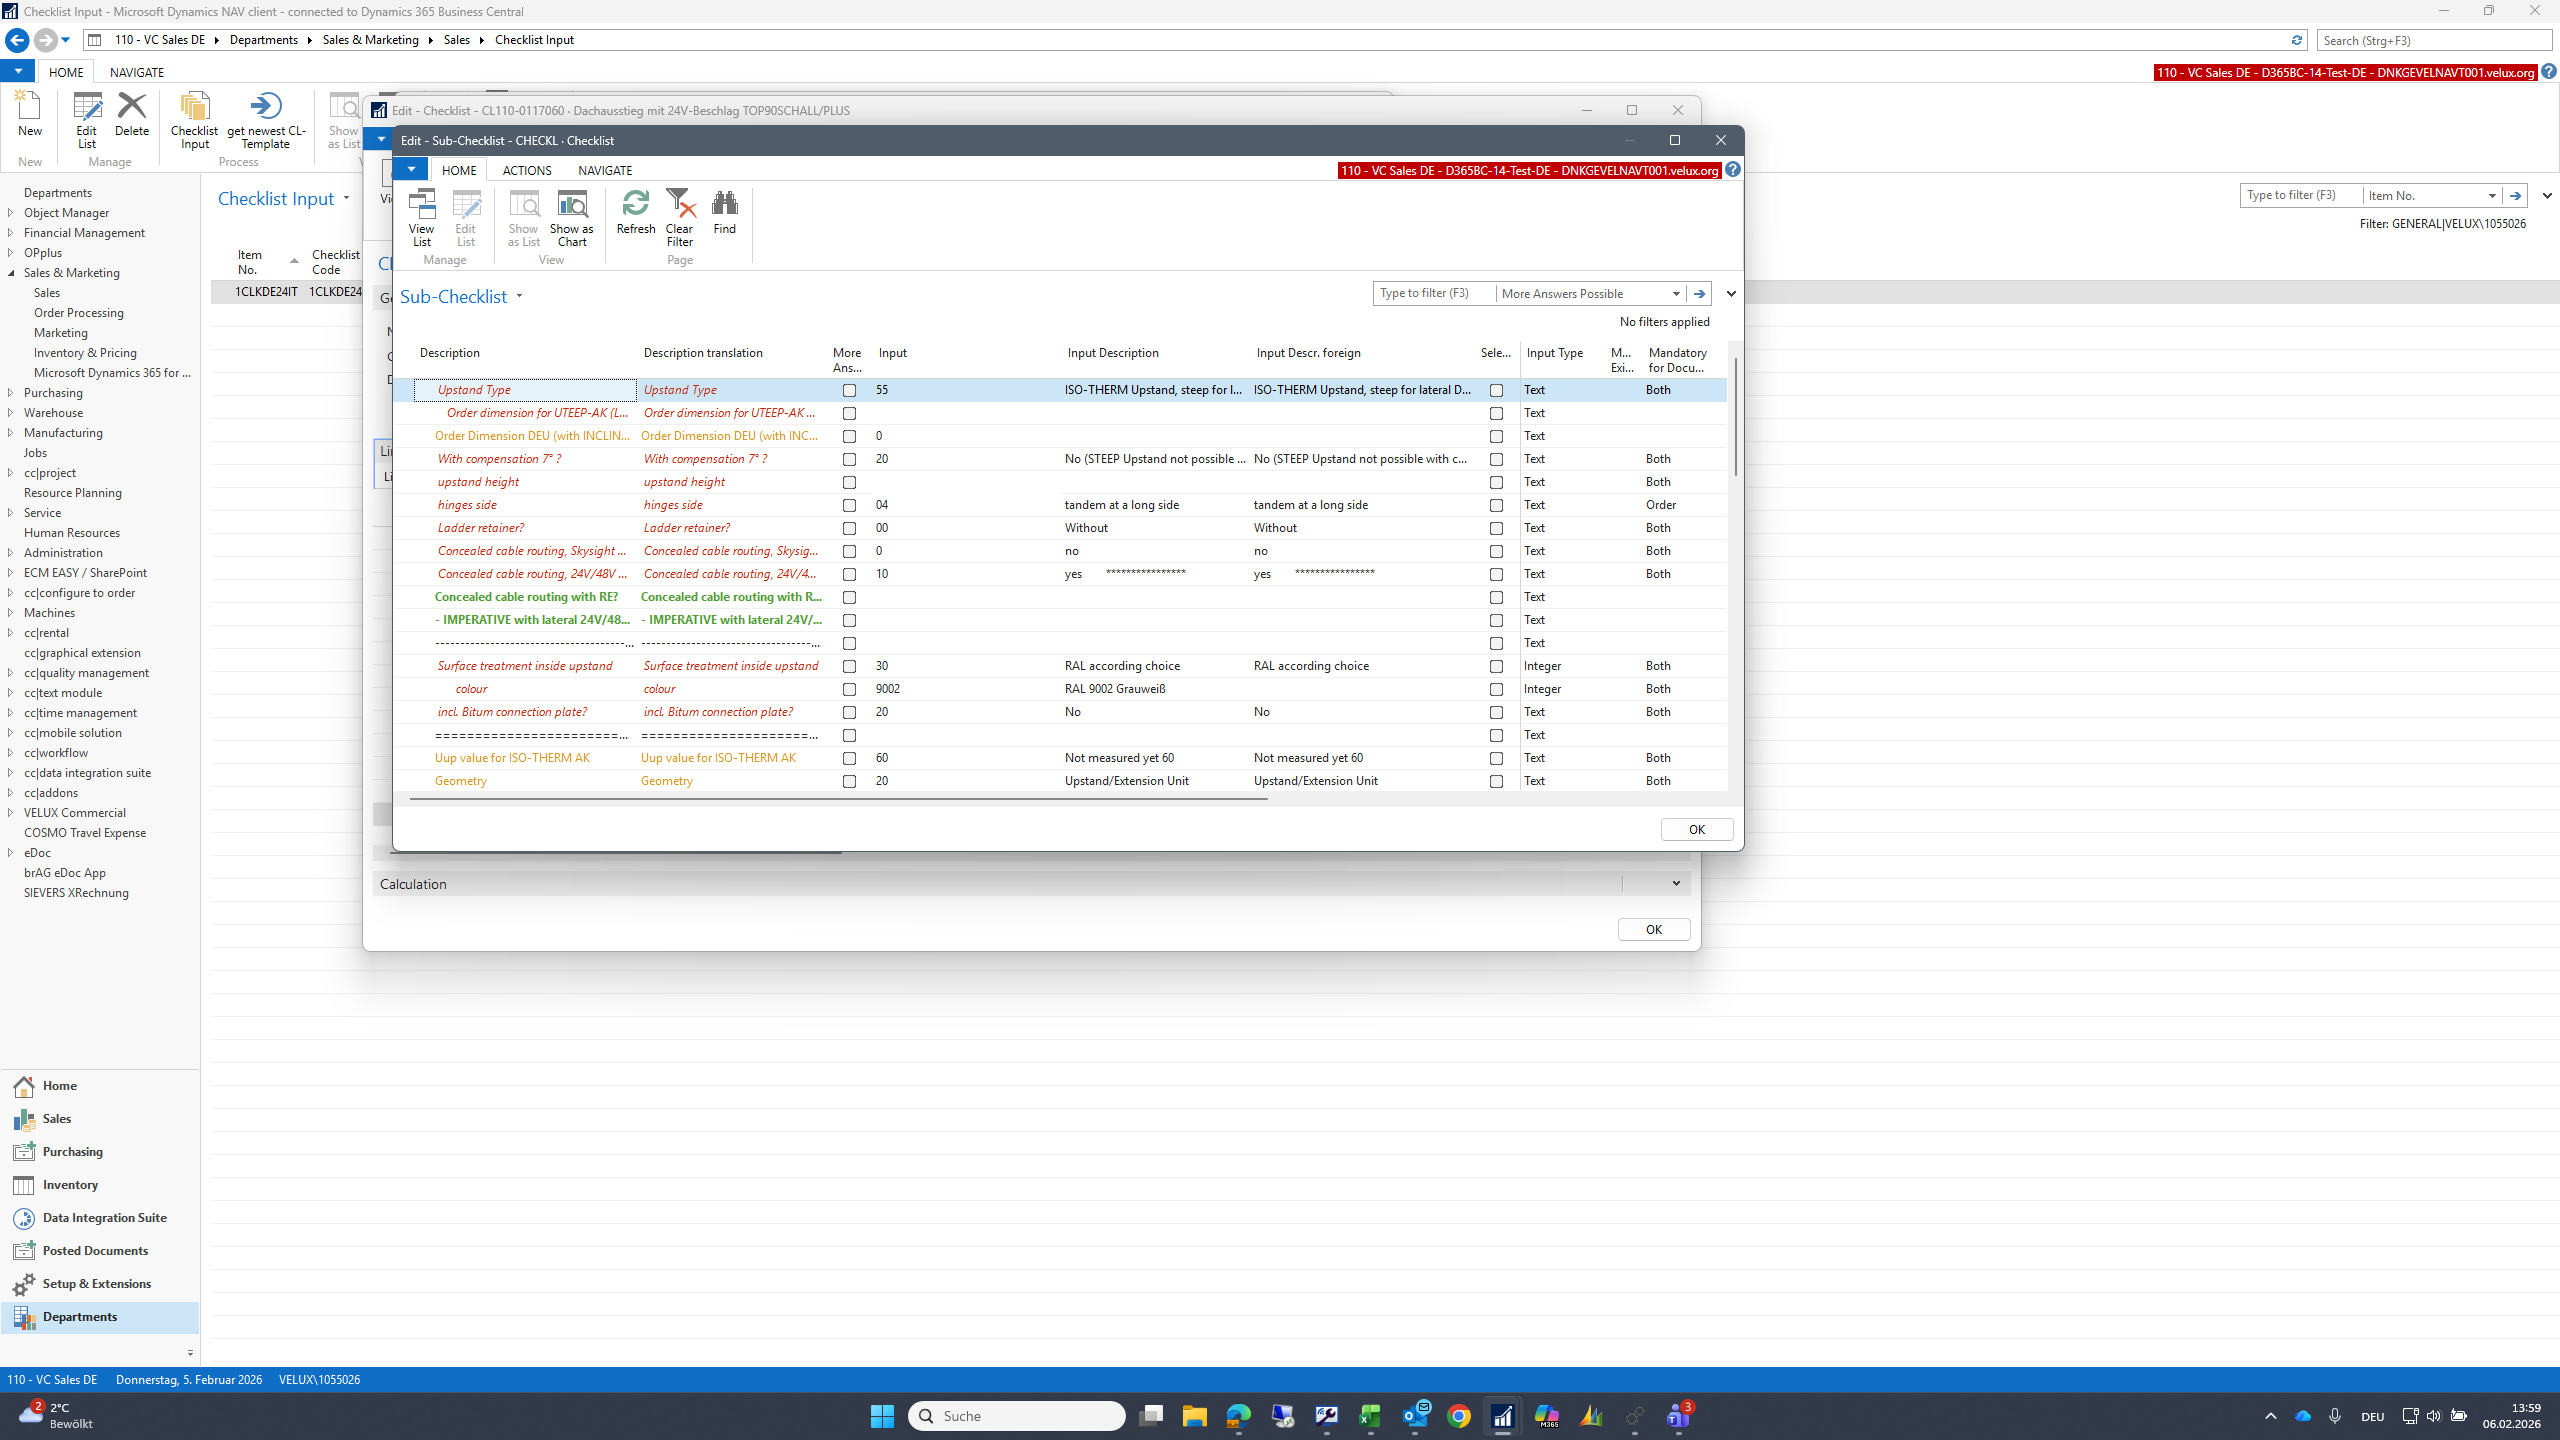
I also check the sub-checklists in the same way.

34
Click here
Step #34: Click here
35
Double-click here
Step #35: Double-click here
36
Click on "OK"
Step #36: Click on "OK"
37
Double-click here
Step #37: Double-click here
38
Double-click here
Step #38: Double-click here
39
Click here
Step #39: Click here
40
Double-click on "50 cm"
Step #40: Double-click on "50 cm"
41
Click on "OK"
Step #41: Click on "OK"
42
Click on "OK"
Step #42: Click on "OK"
43
Double-click here
Step #43: Double-click here
44
Click on "OK"
Step #44: Click on "OK"

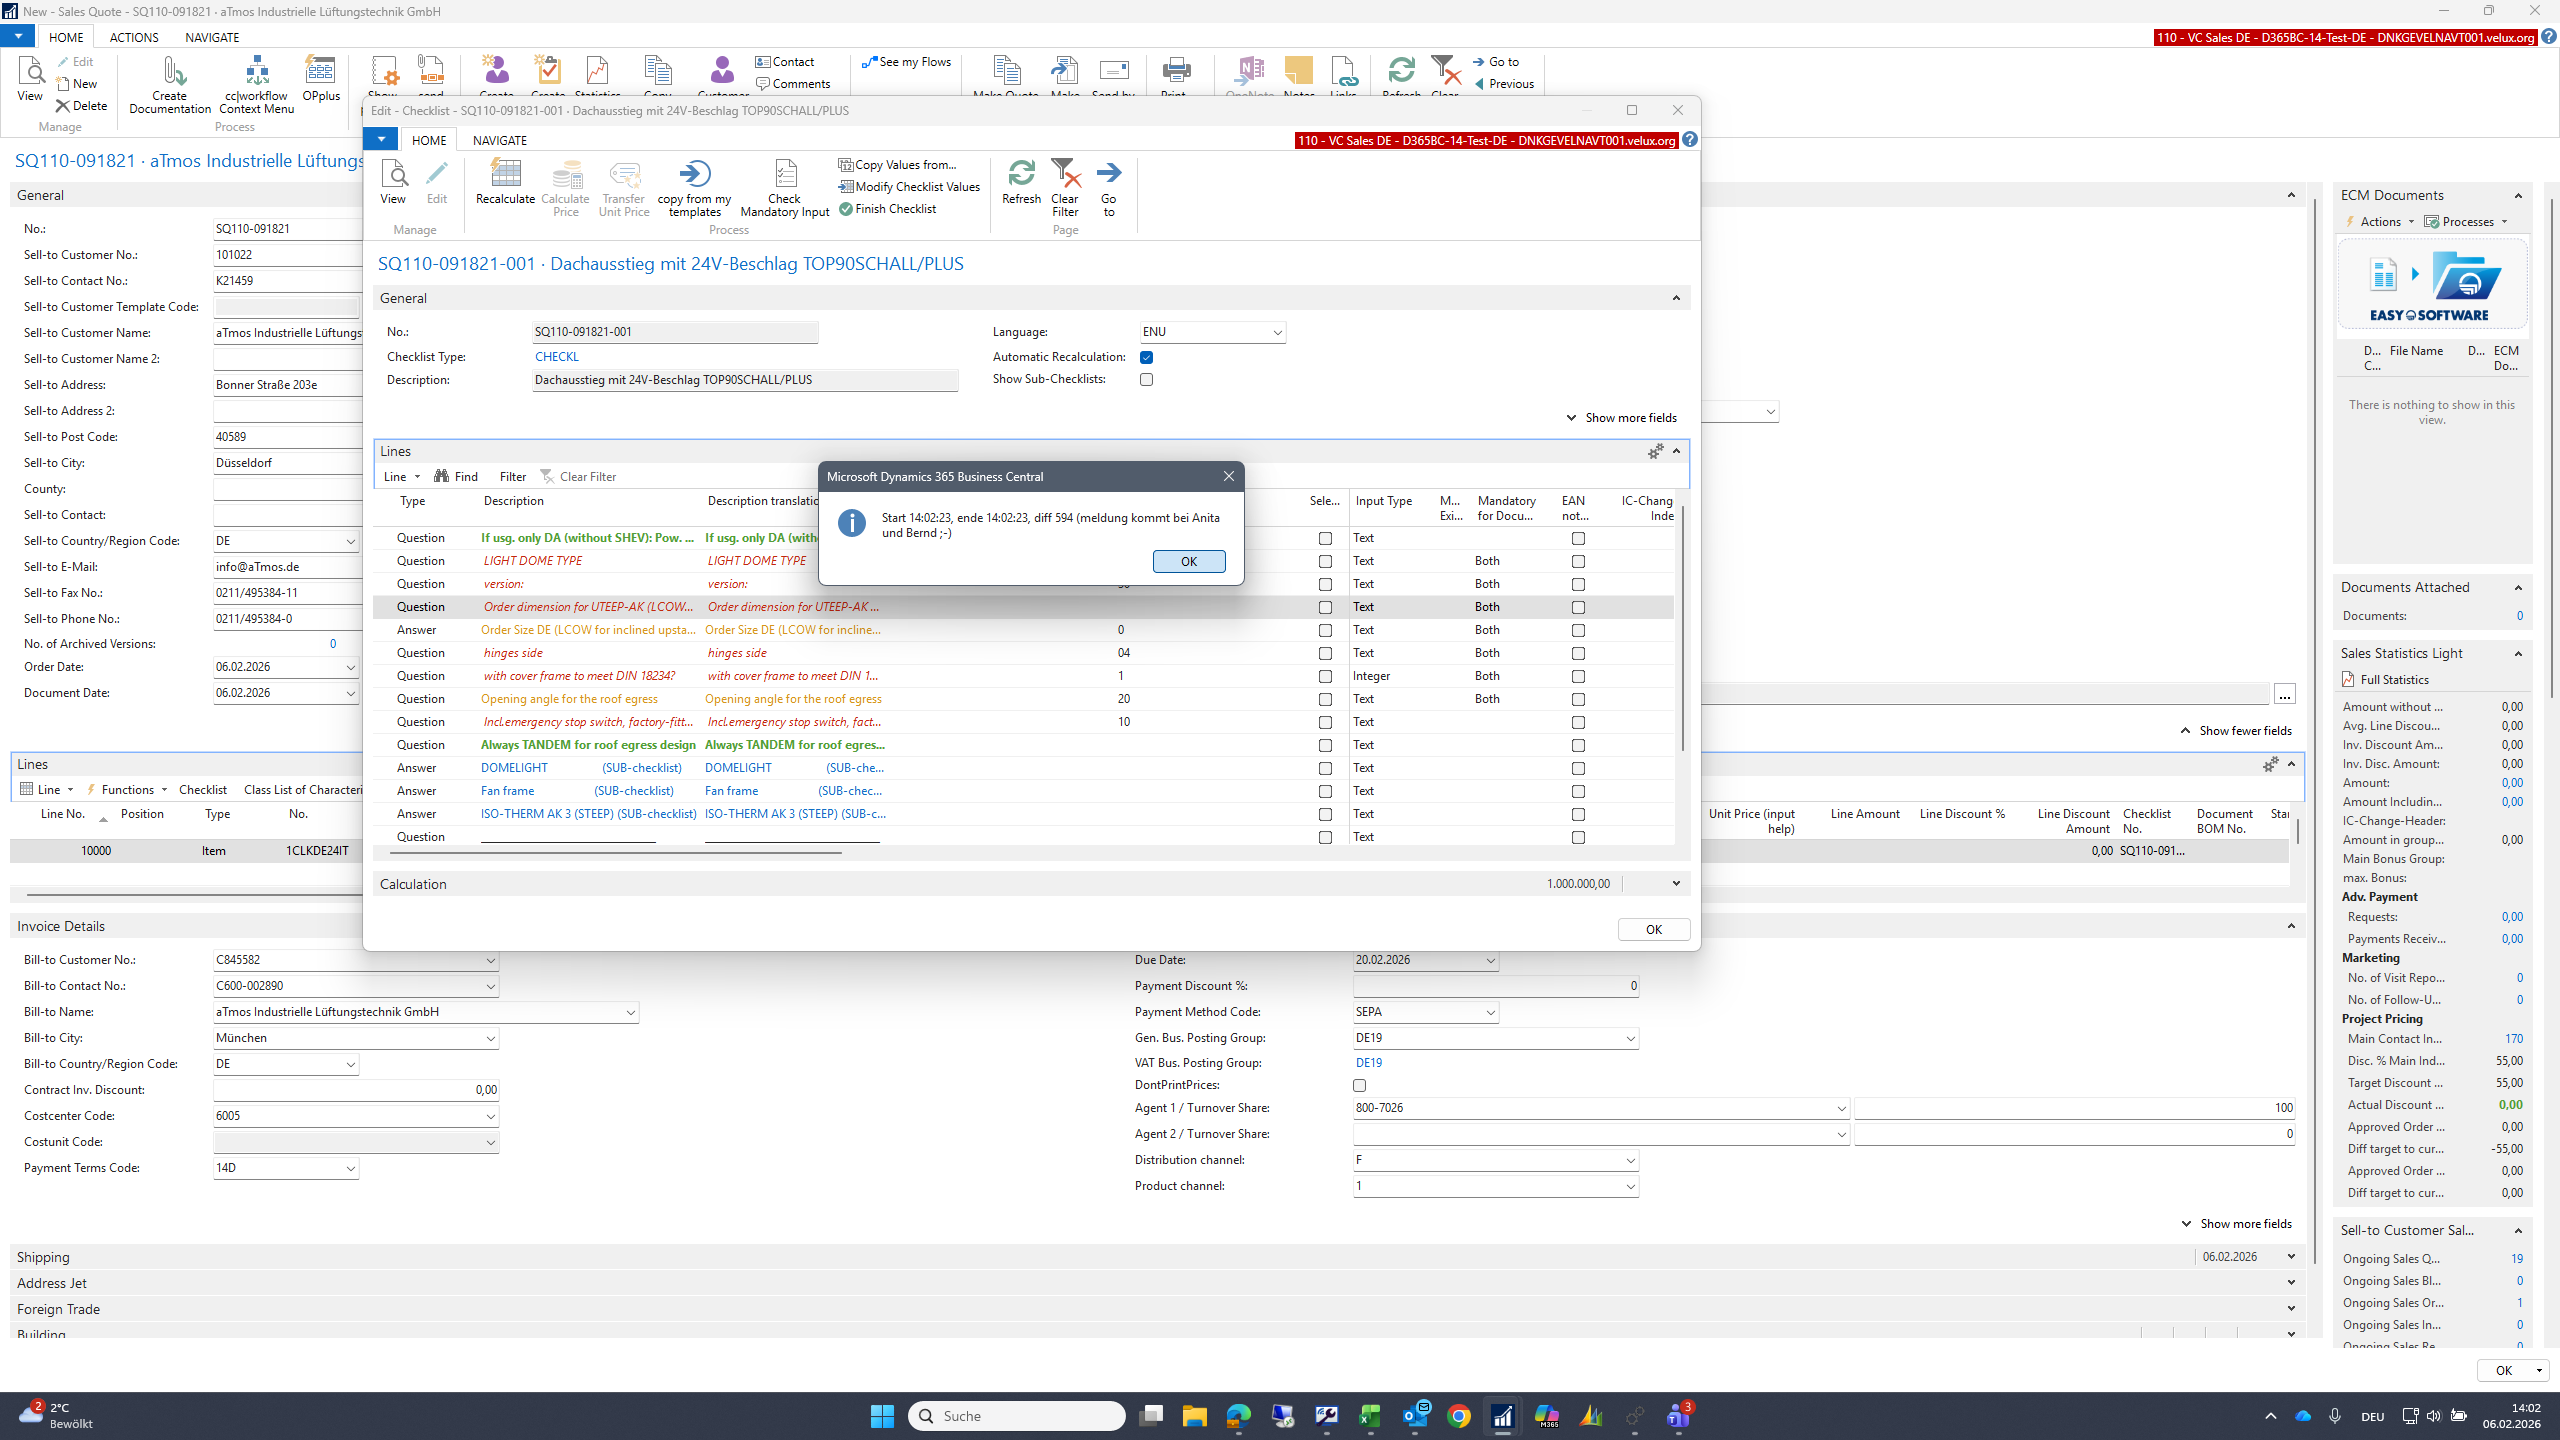
When I am finished, I exit the checklist by pressing the confirmation button.

45
Click on "OK"
Step #45: Click on "OK"
46
Click on "OK"
Step #46: Click on "OK"
47
Click on "Order Processing"
Step #47: Click on "Order Processing"
48
Click on "Sales Orders"
Step #48: Click on "Sales Orders"
49
Click on "Order Processing"
Step #49: Click on "Order Processing"

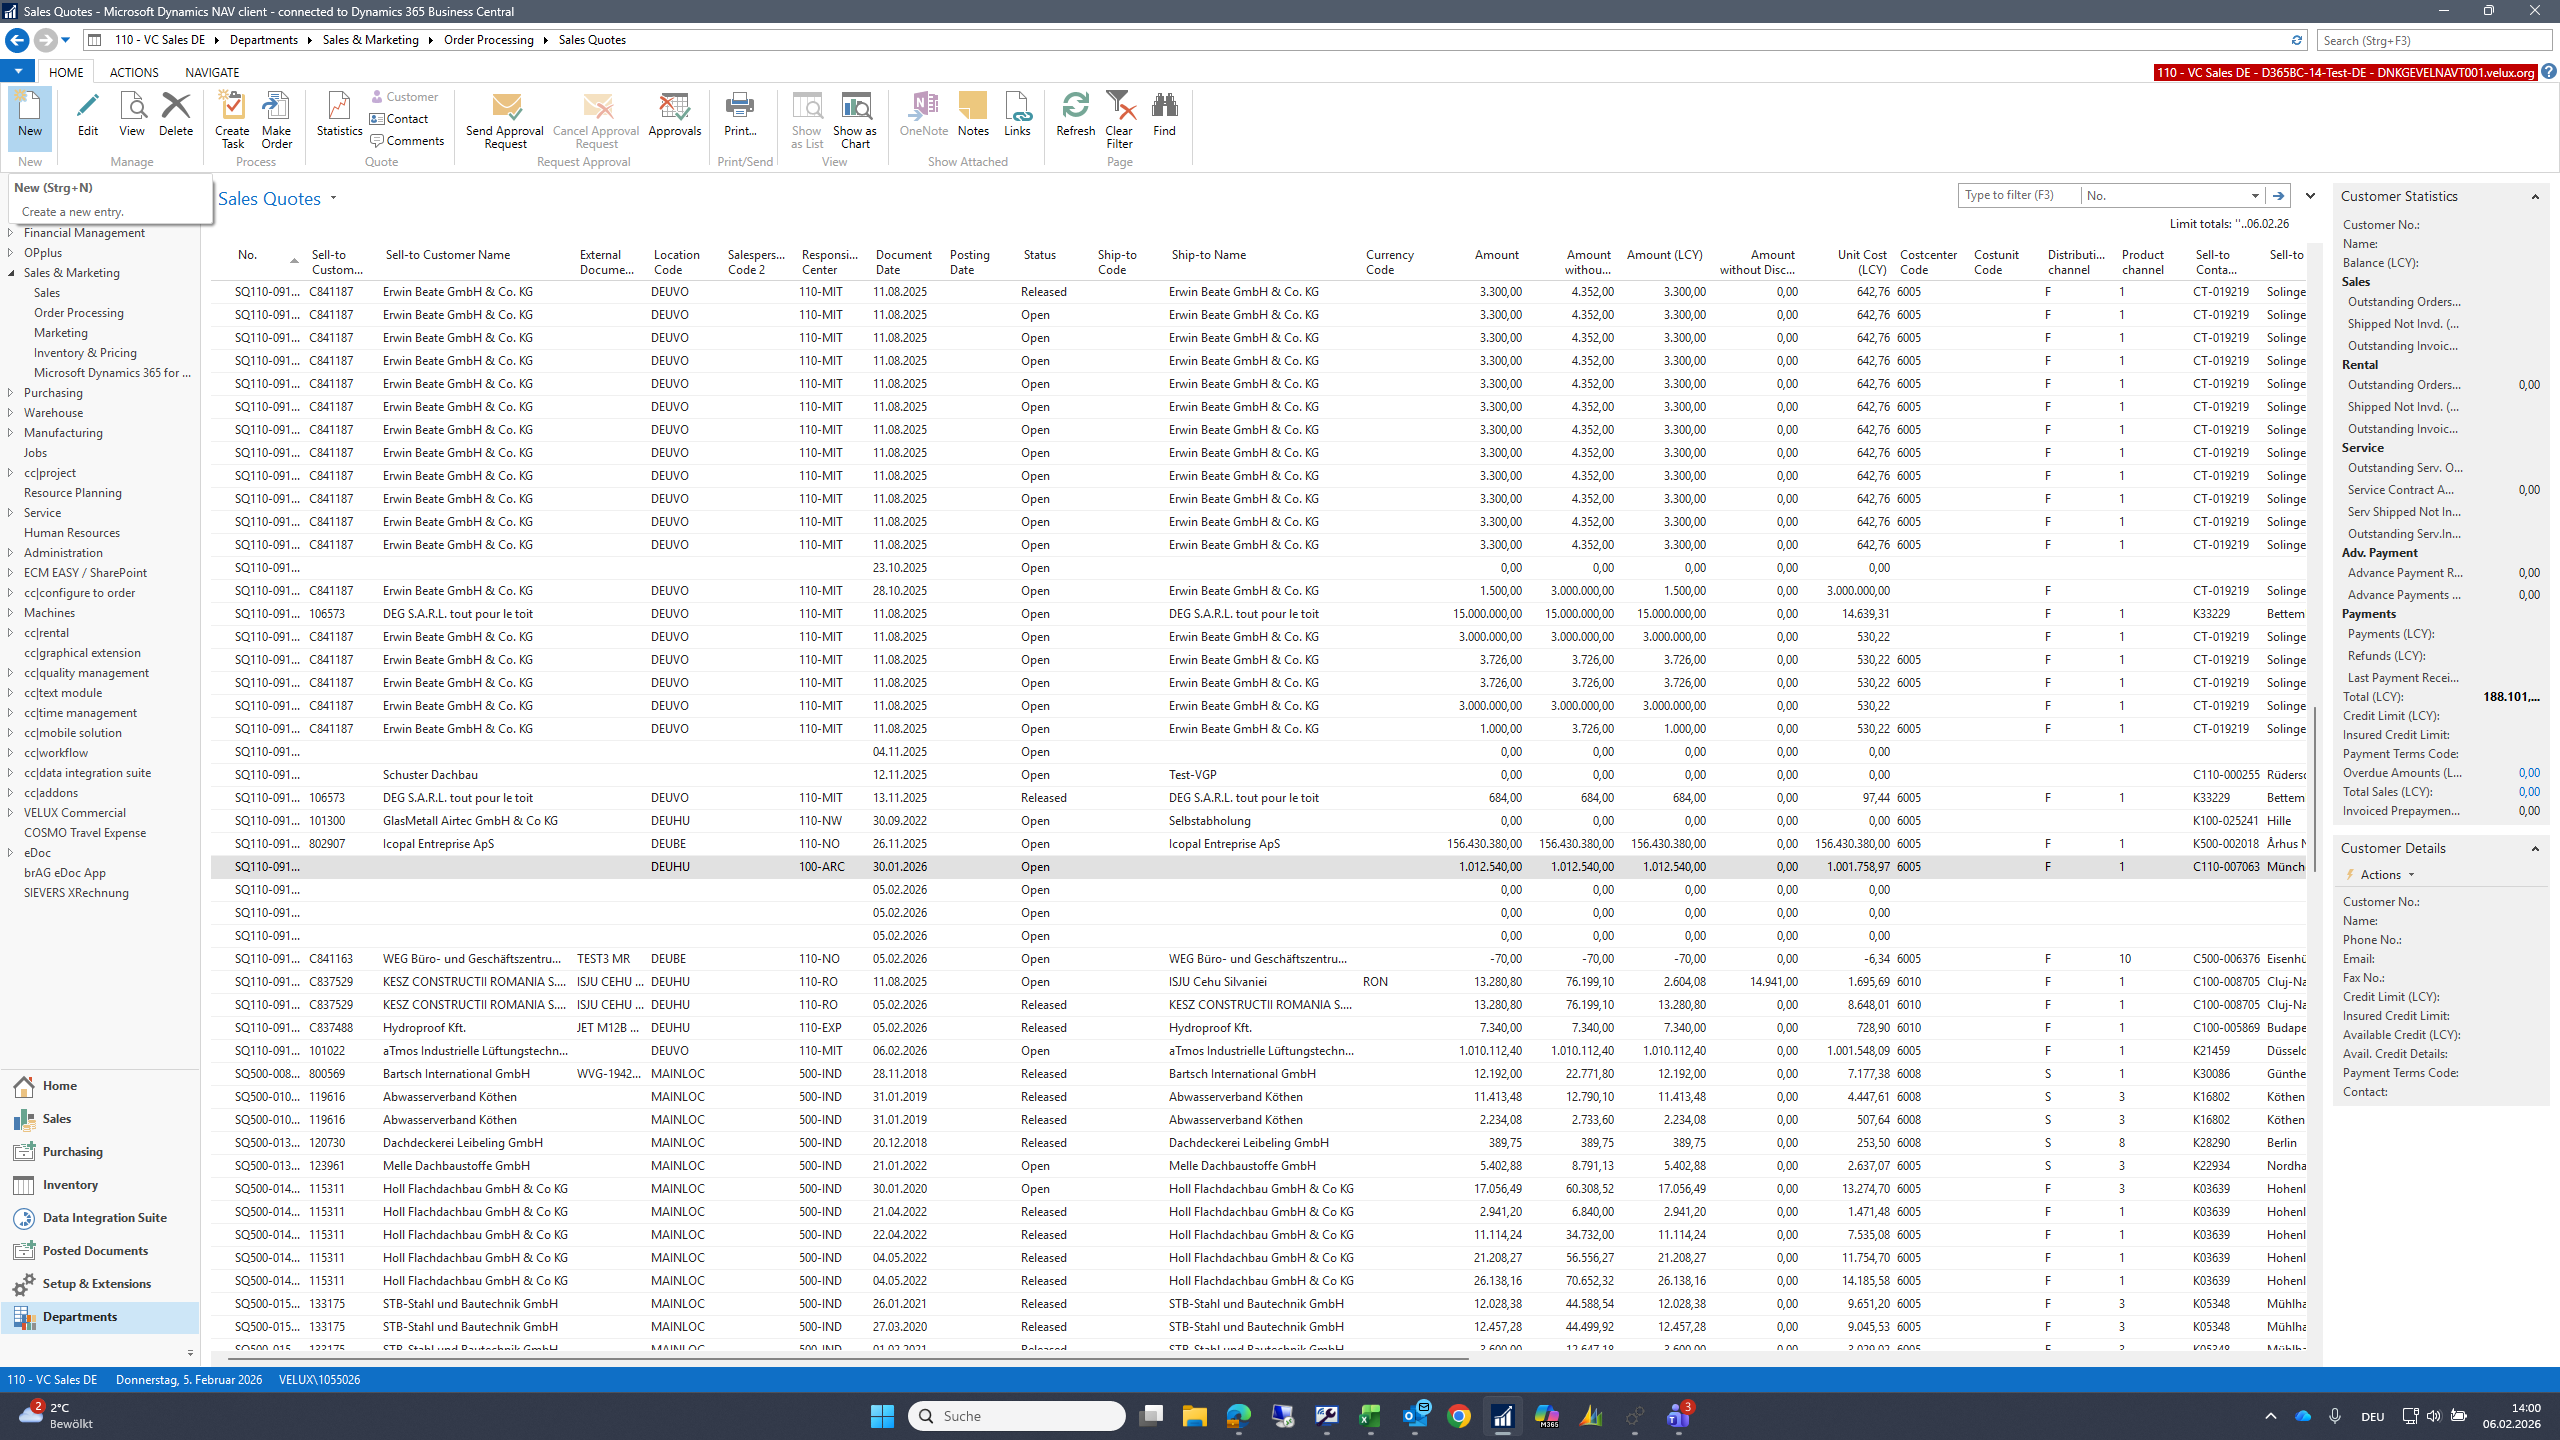
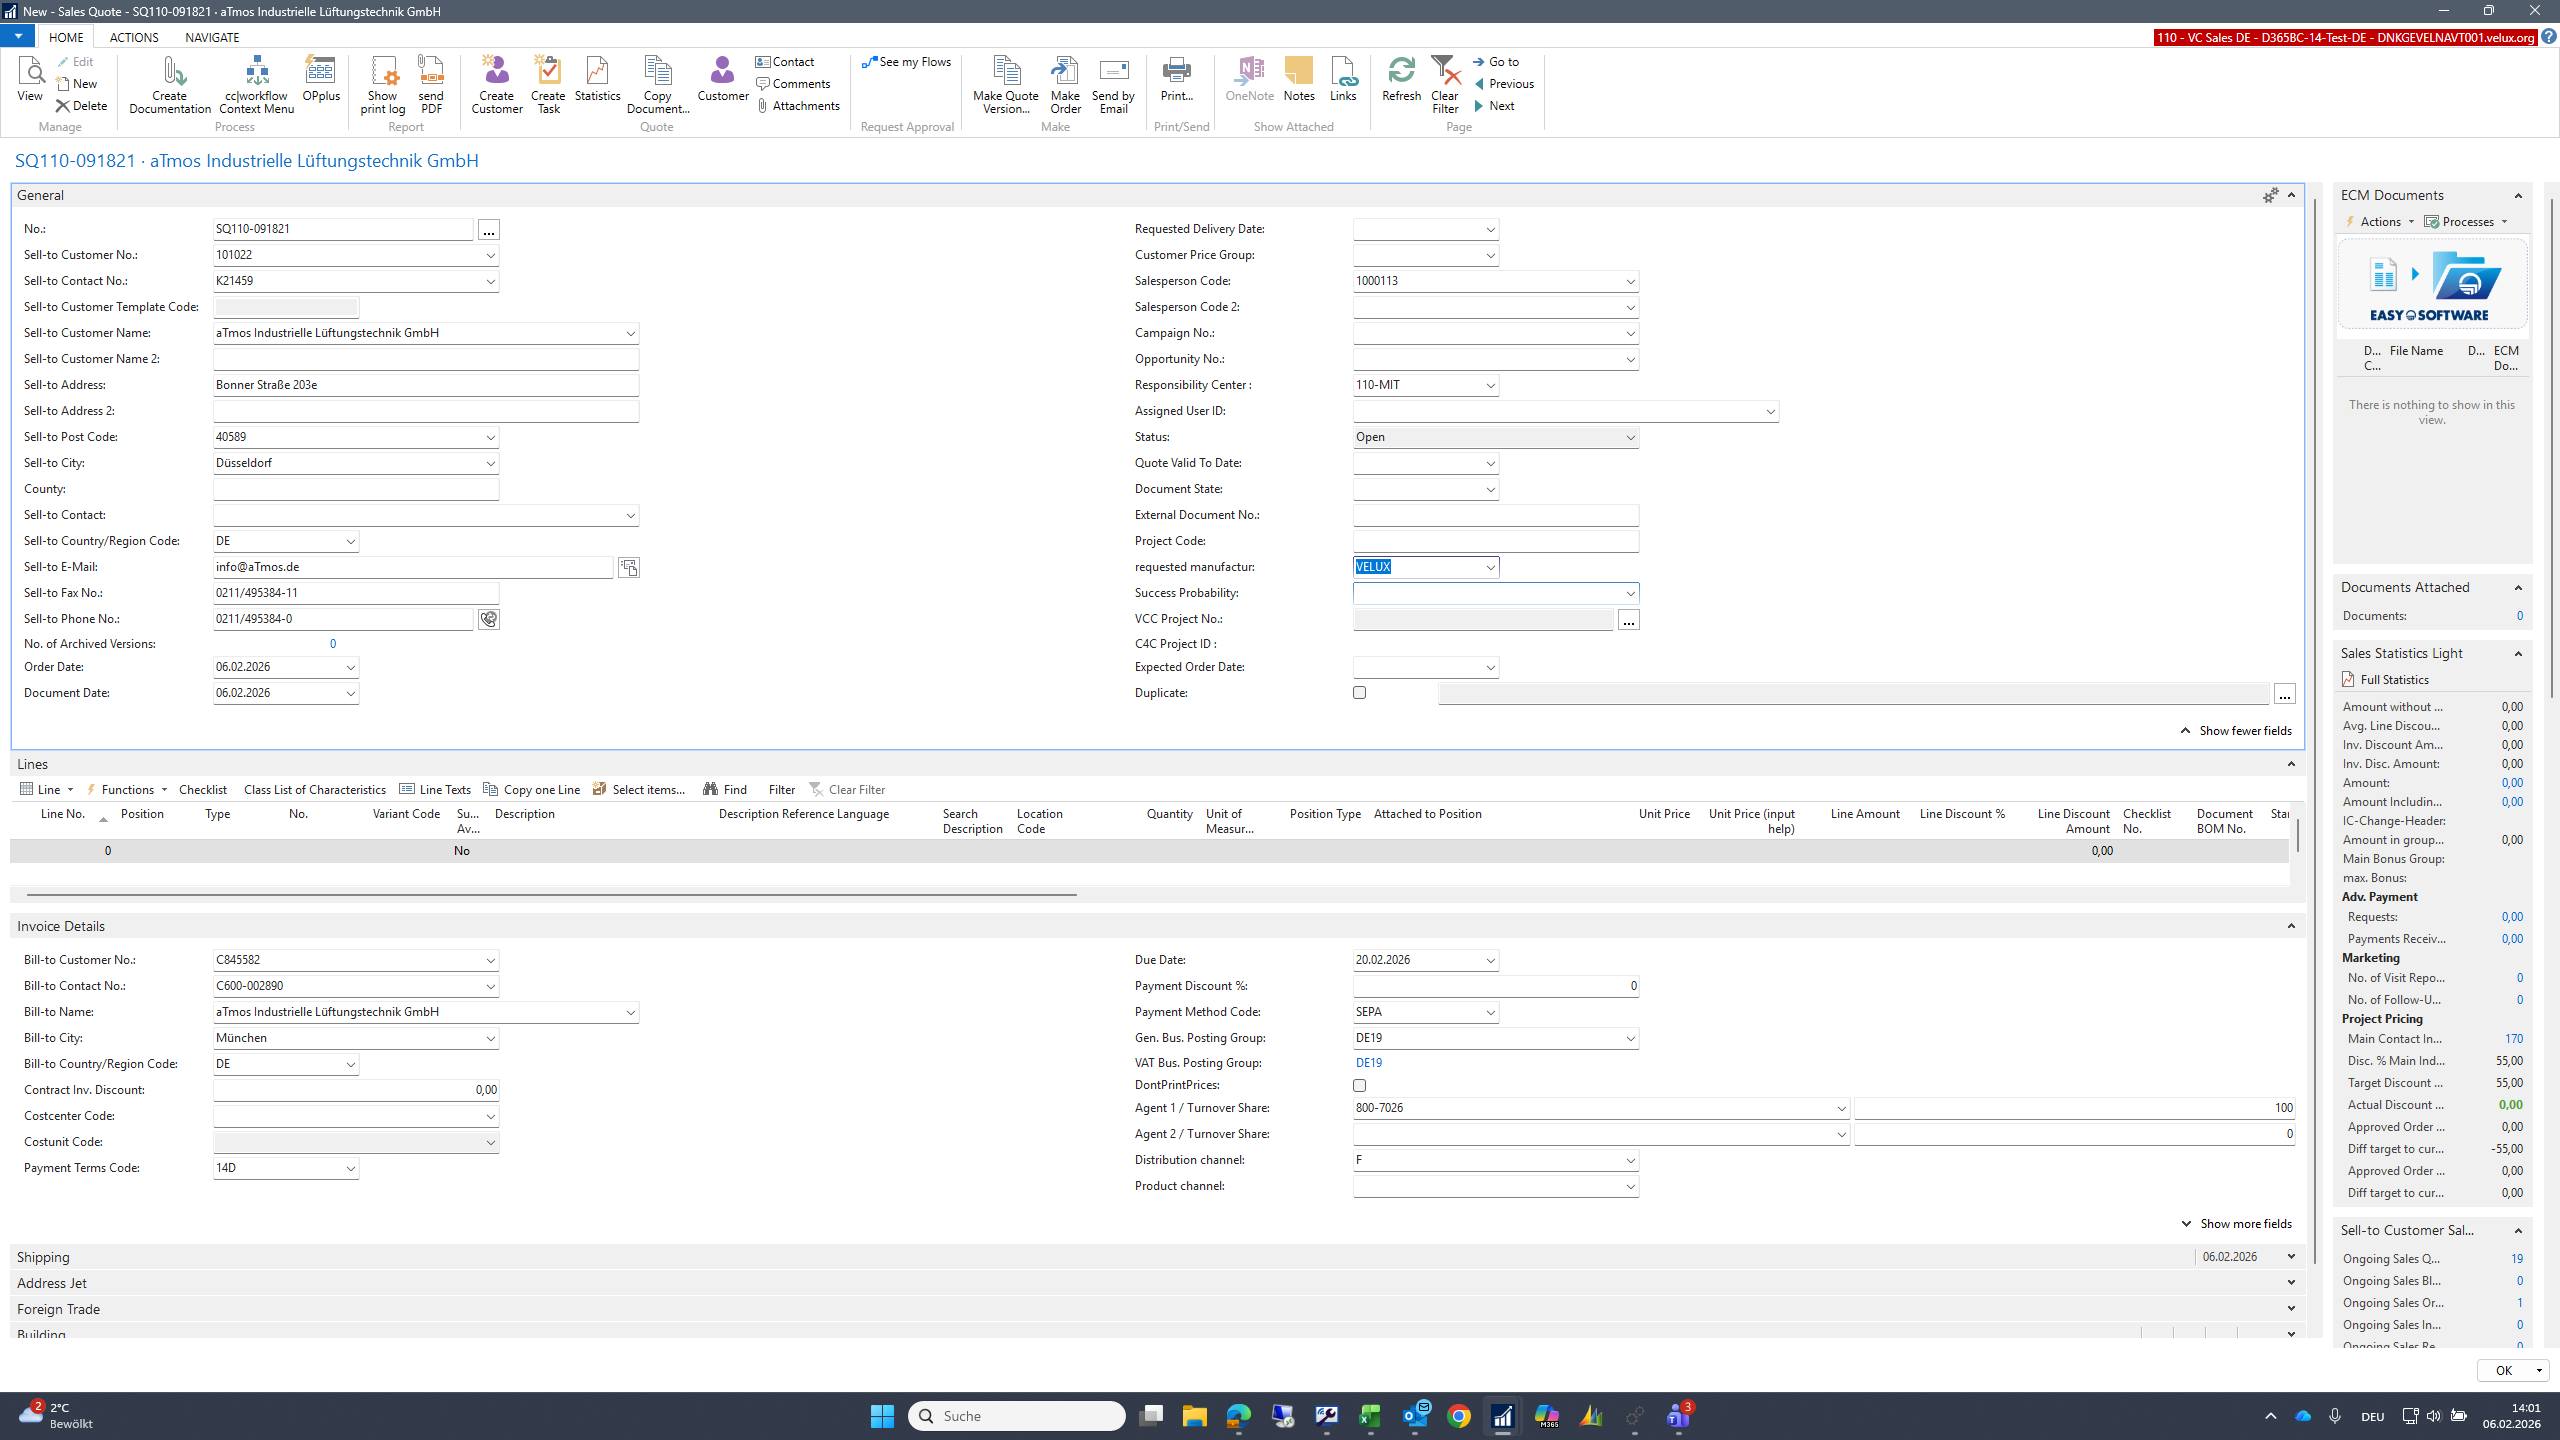
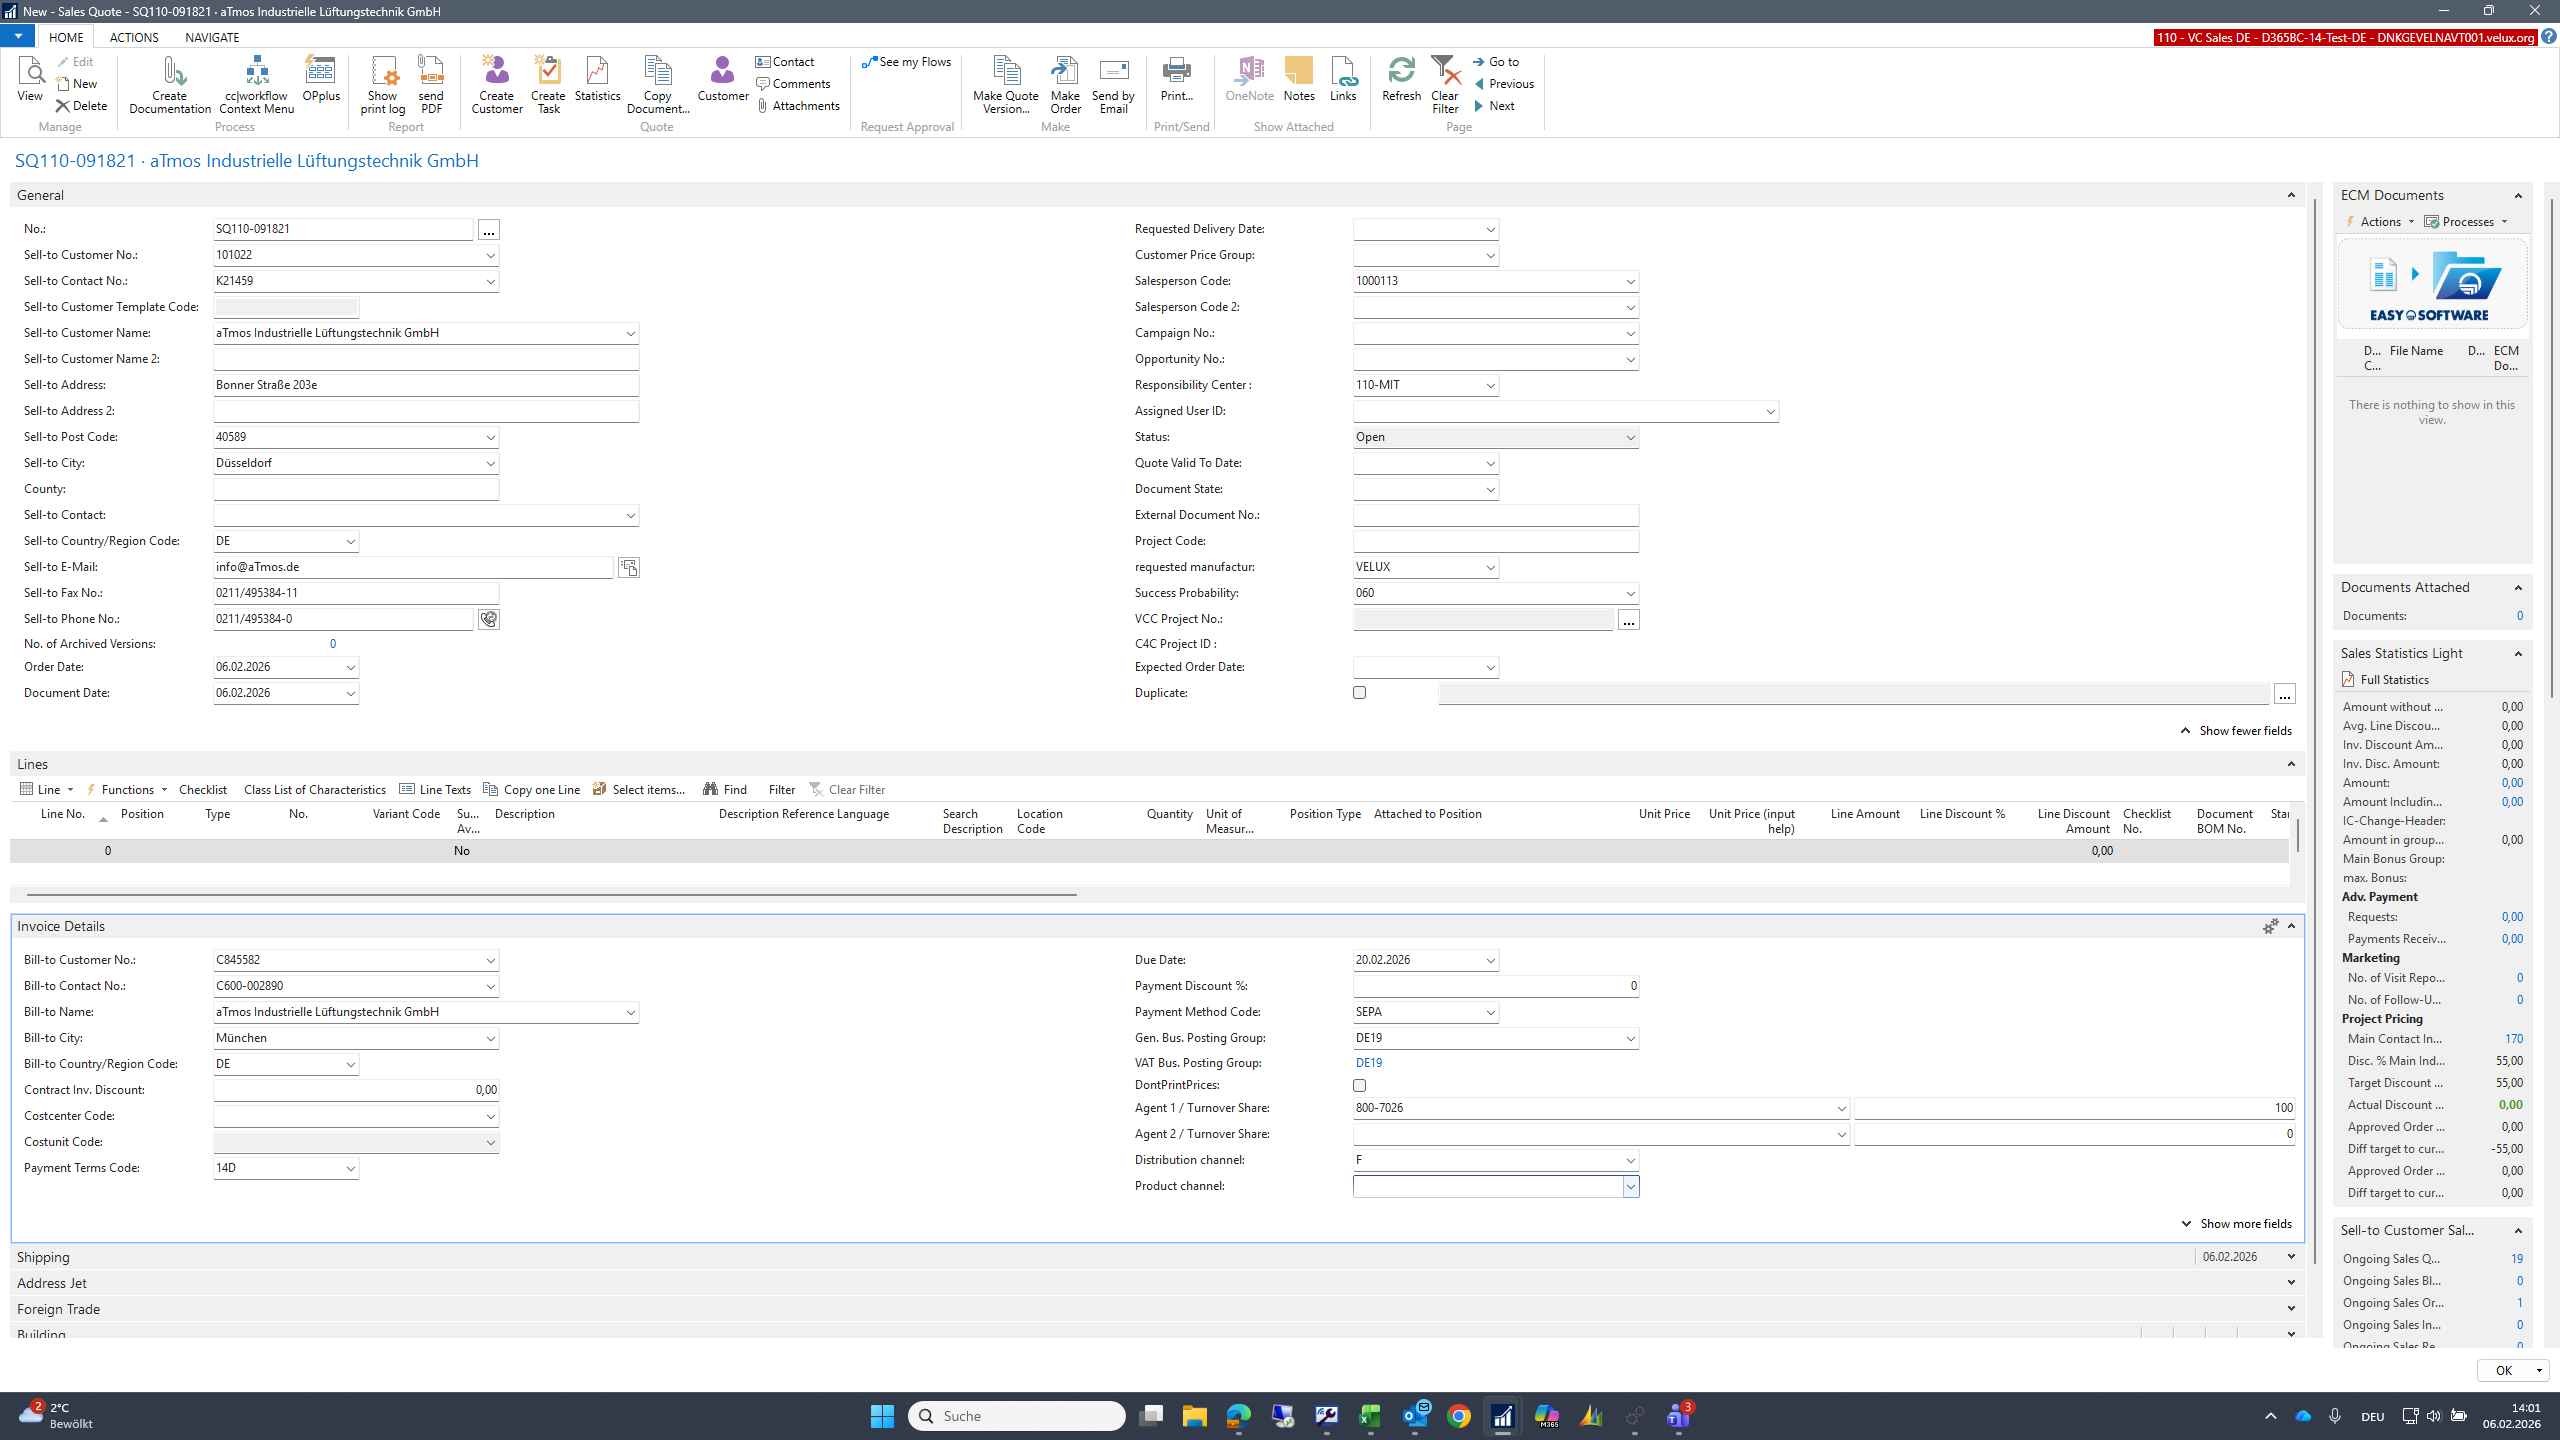
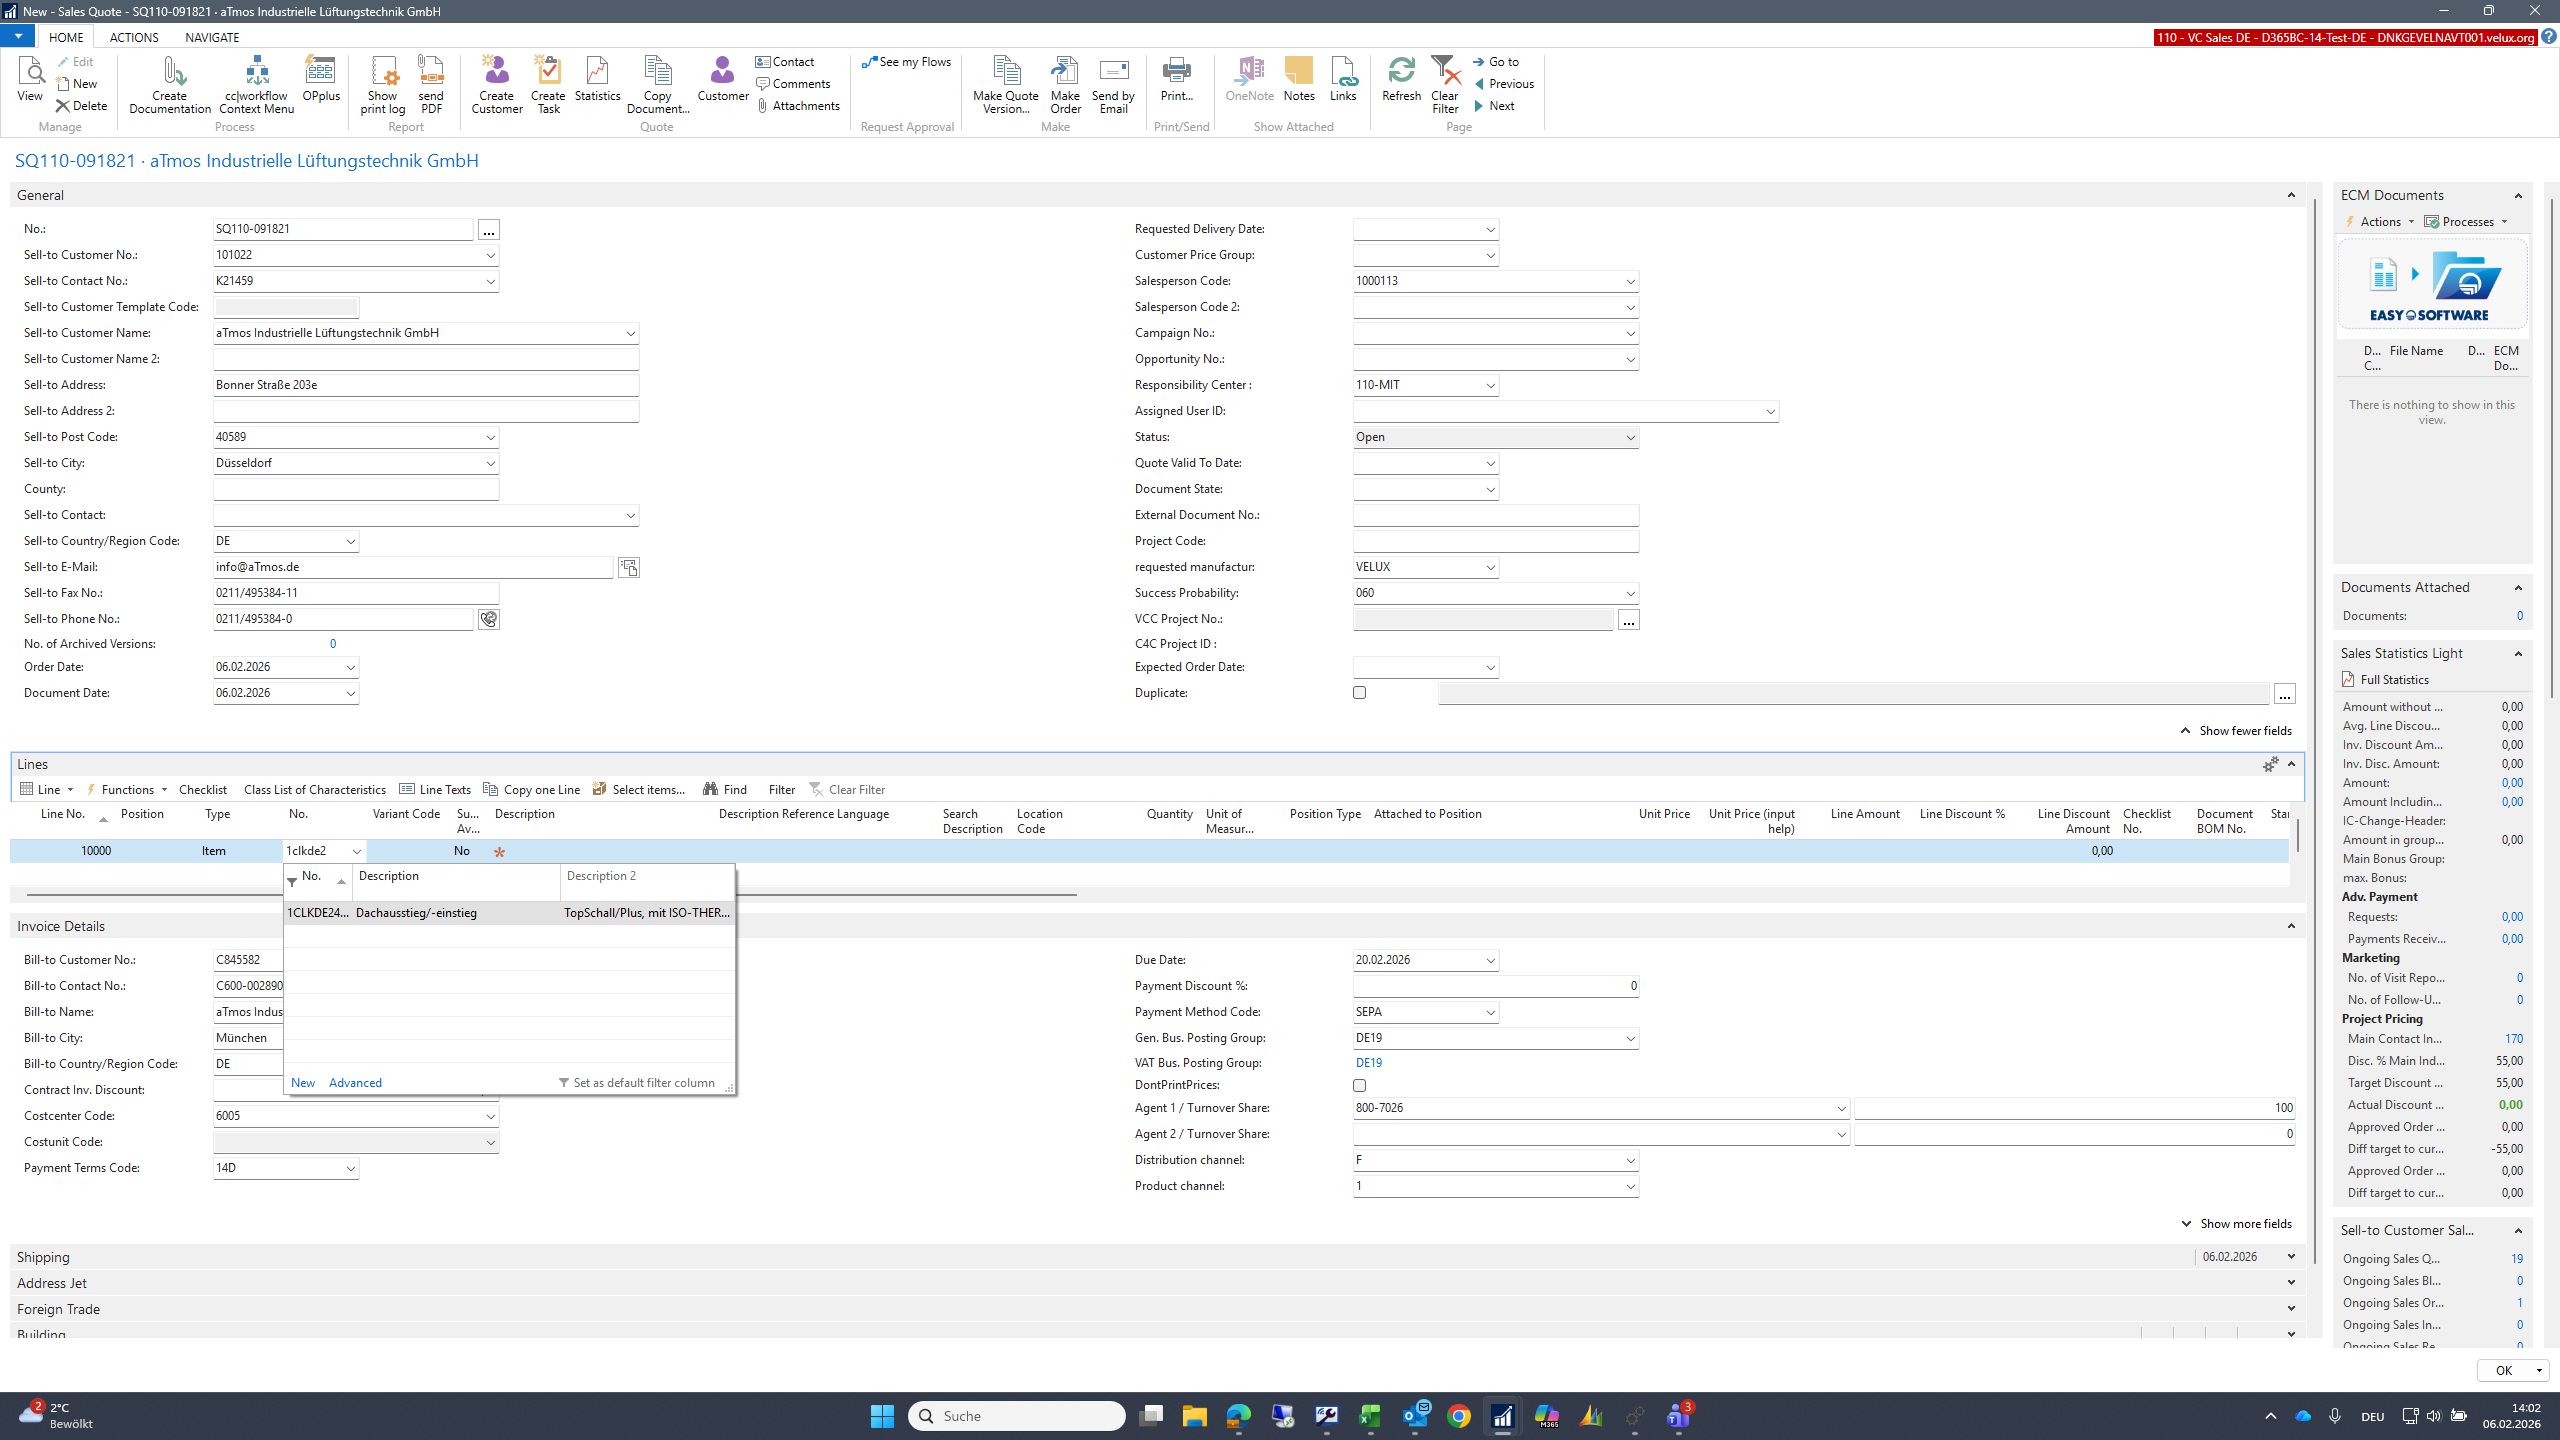
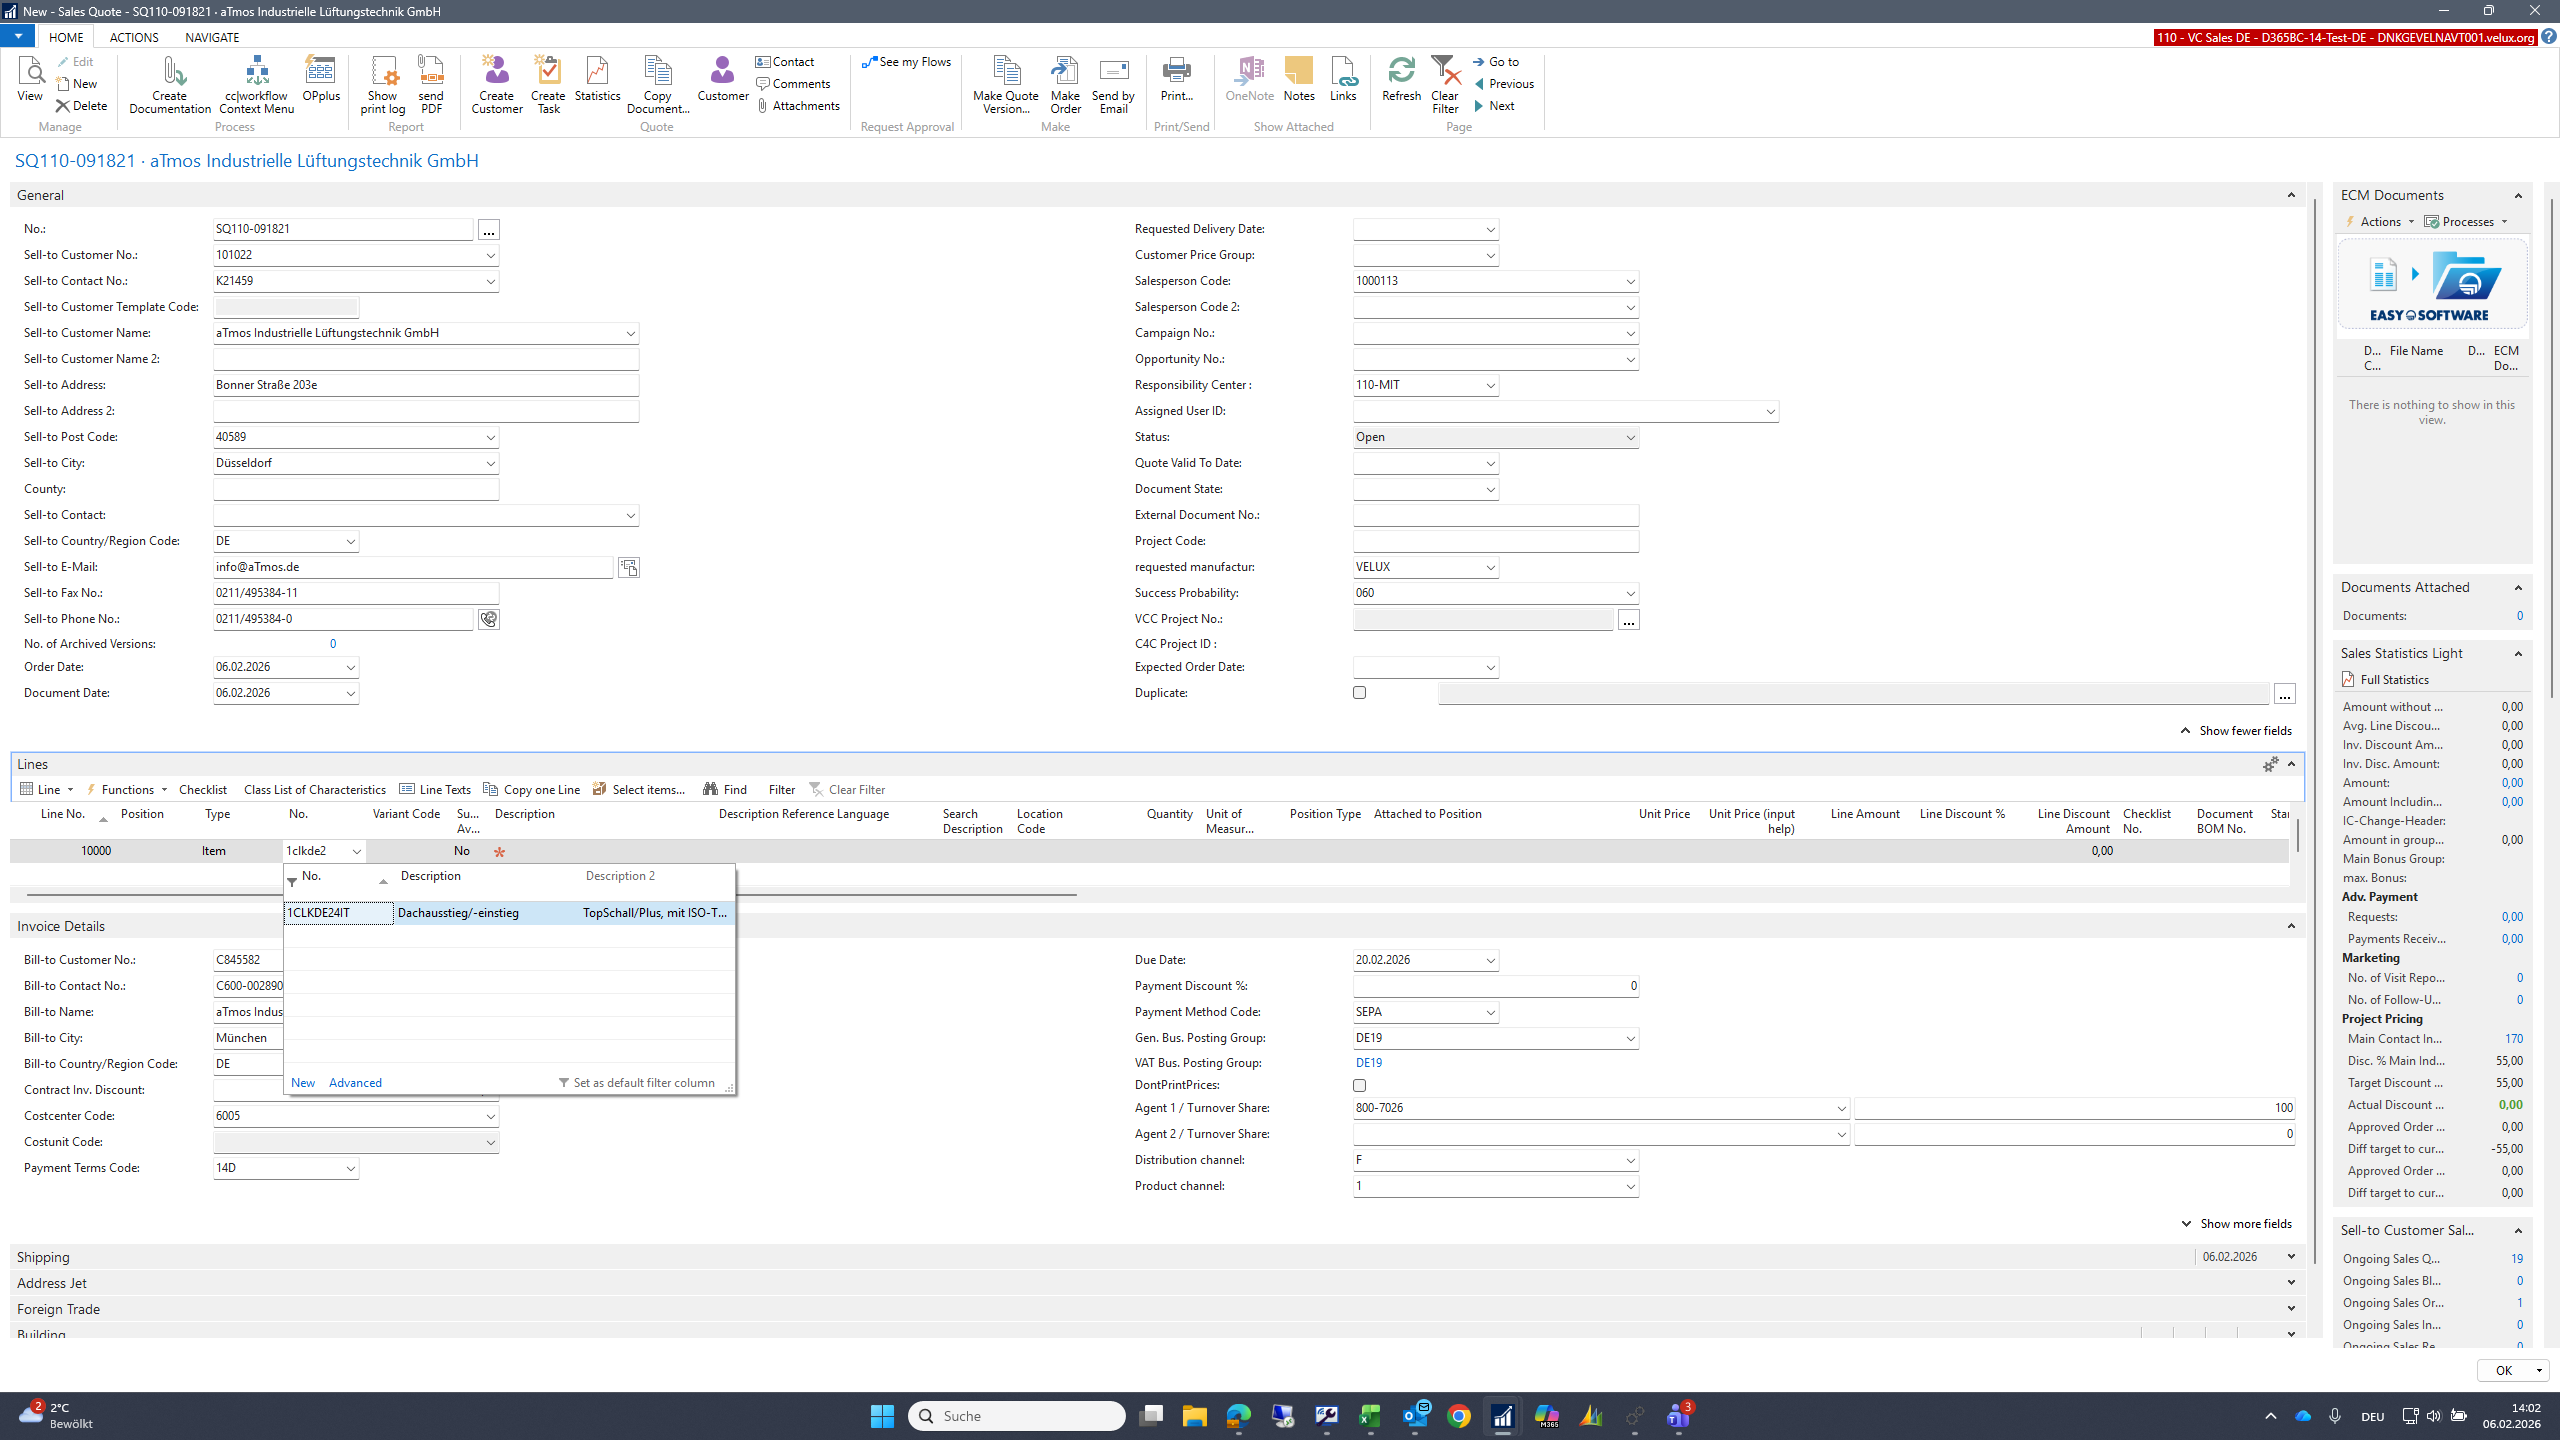
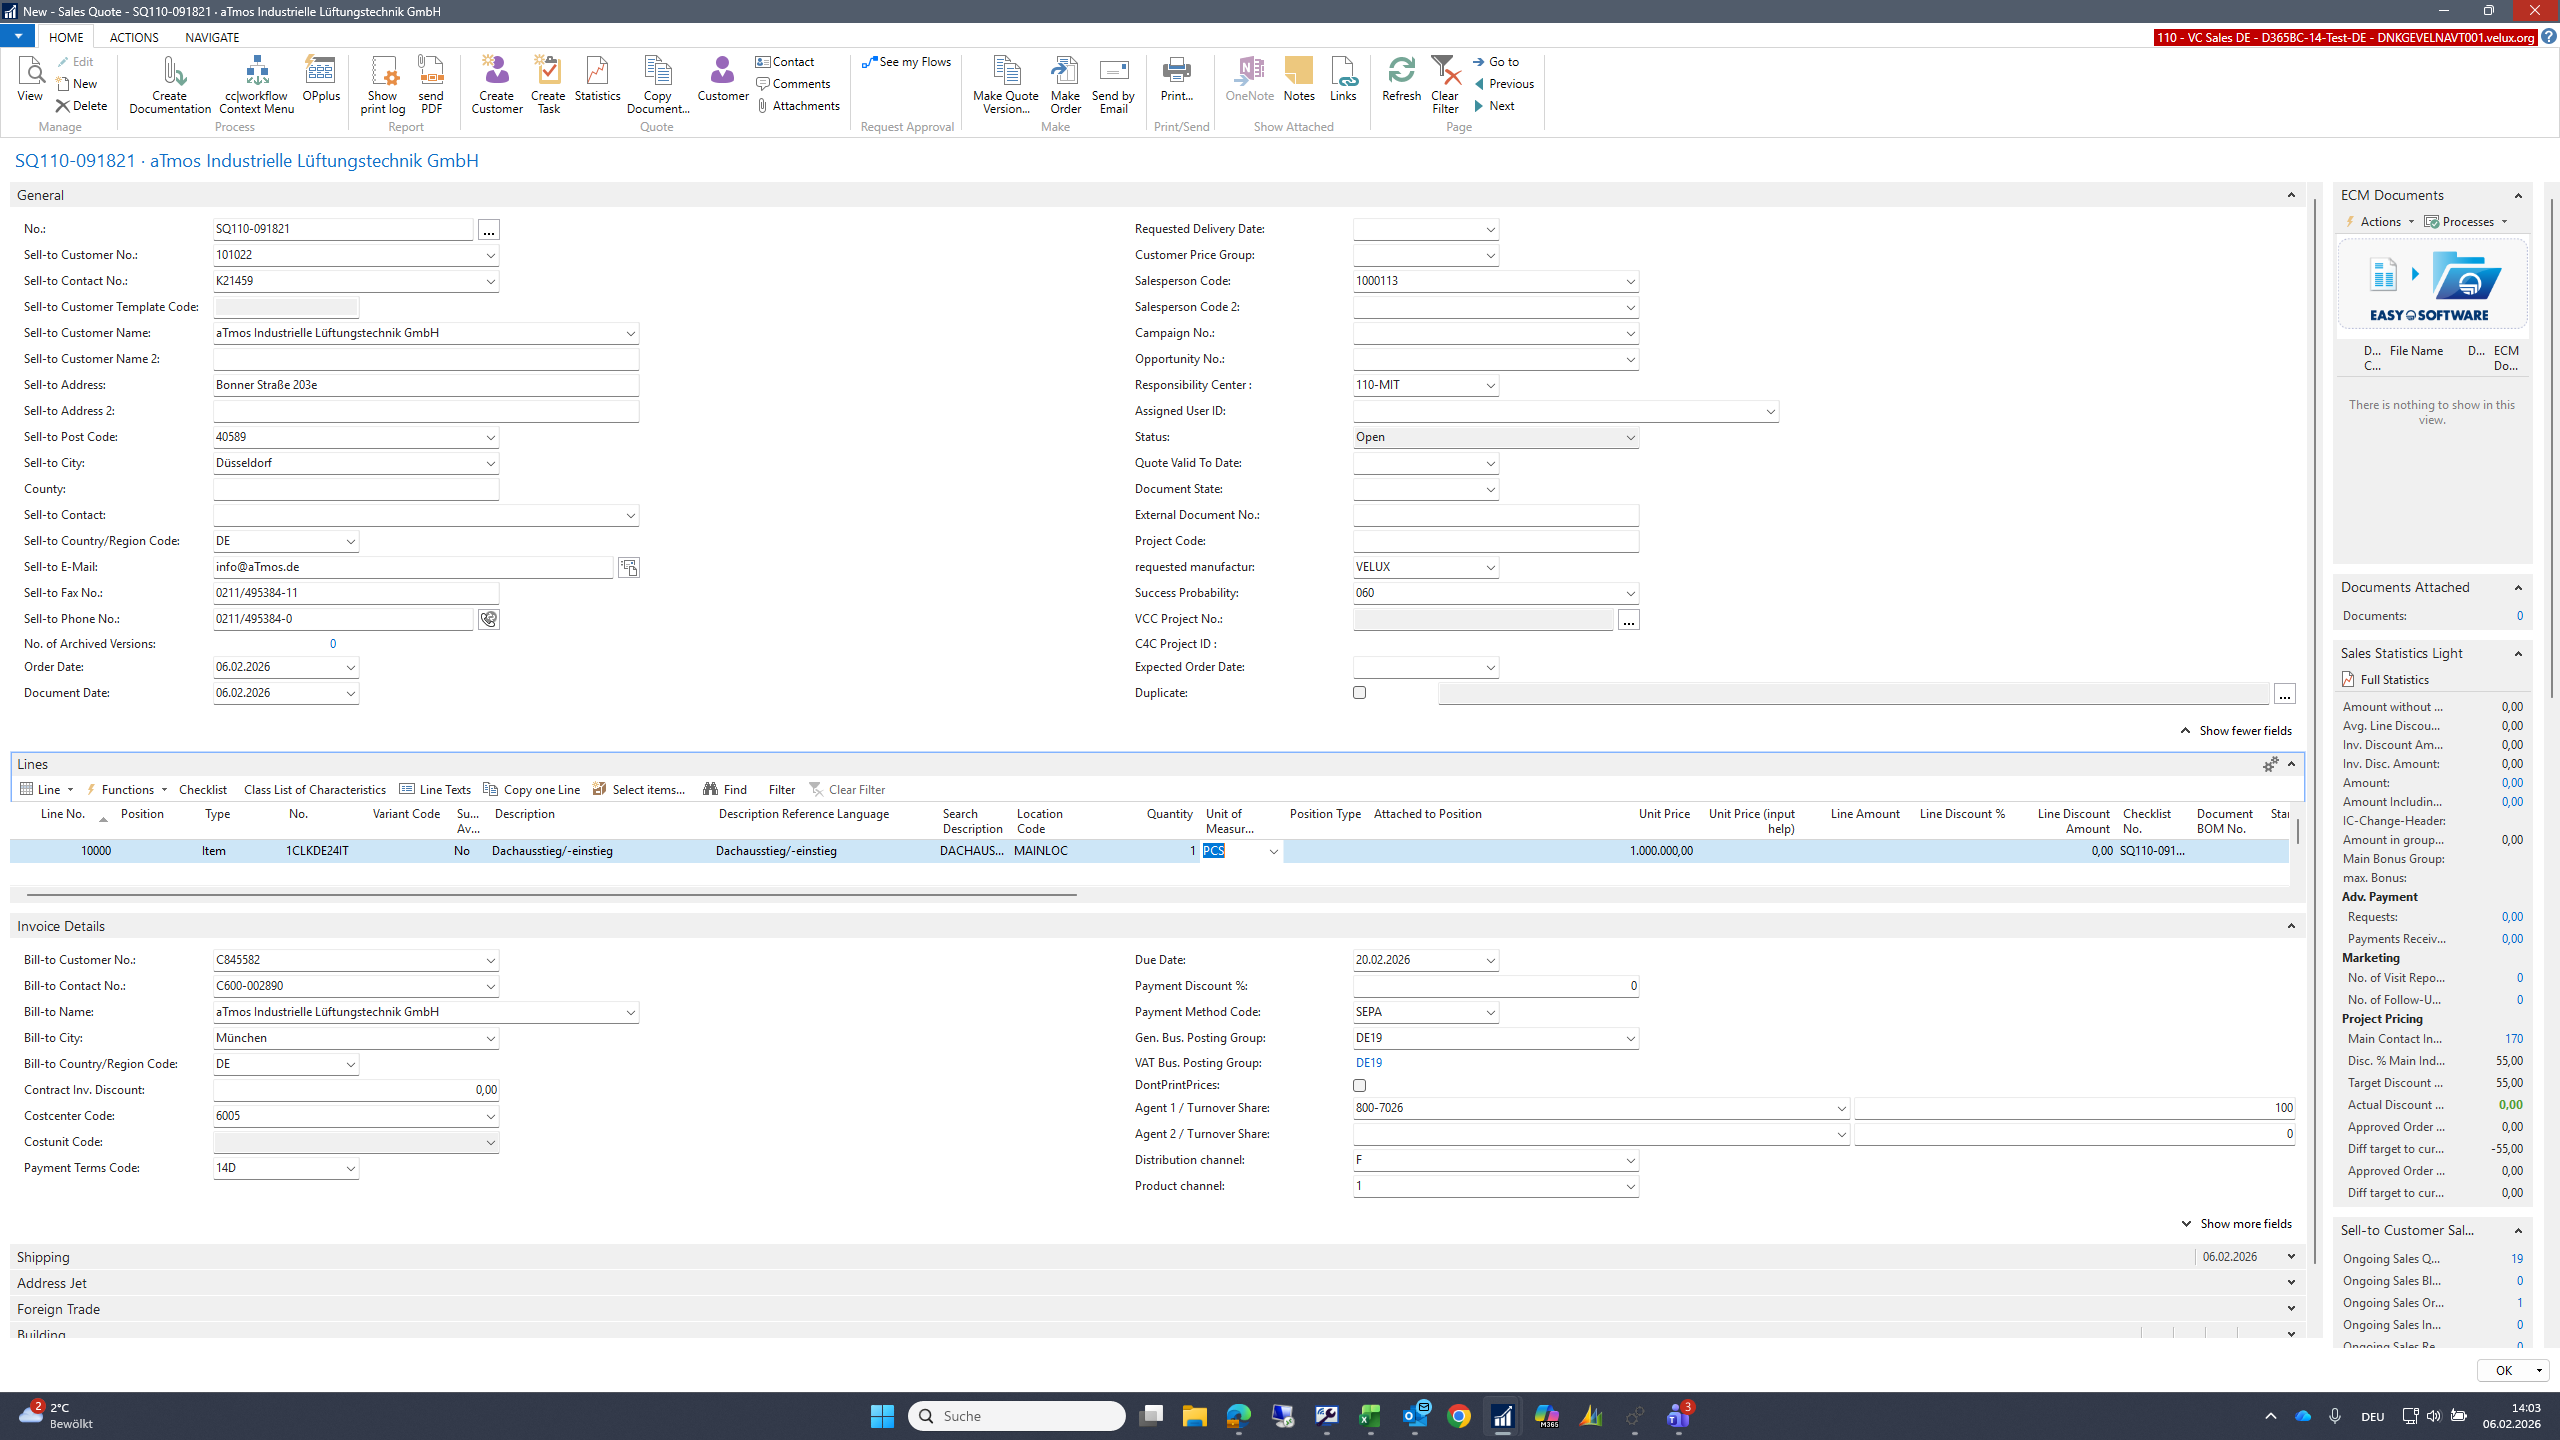
I am creating a new offer.

50
Click on "Sales Quotes"
Step #50: Click on "Sales Quotes"
51
Click on "D"
Step #51: Click on "D"
52
Click here
Step #52: Click here
53
Type "101022 + Tab"
54
Click here
Step #54: Click here
55
Click here
Step #55: Click here

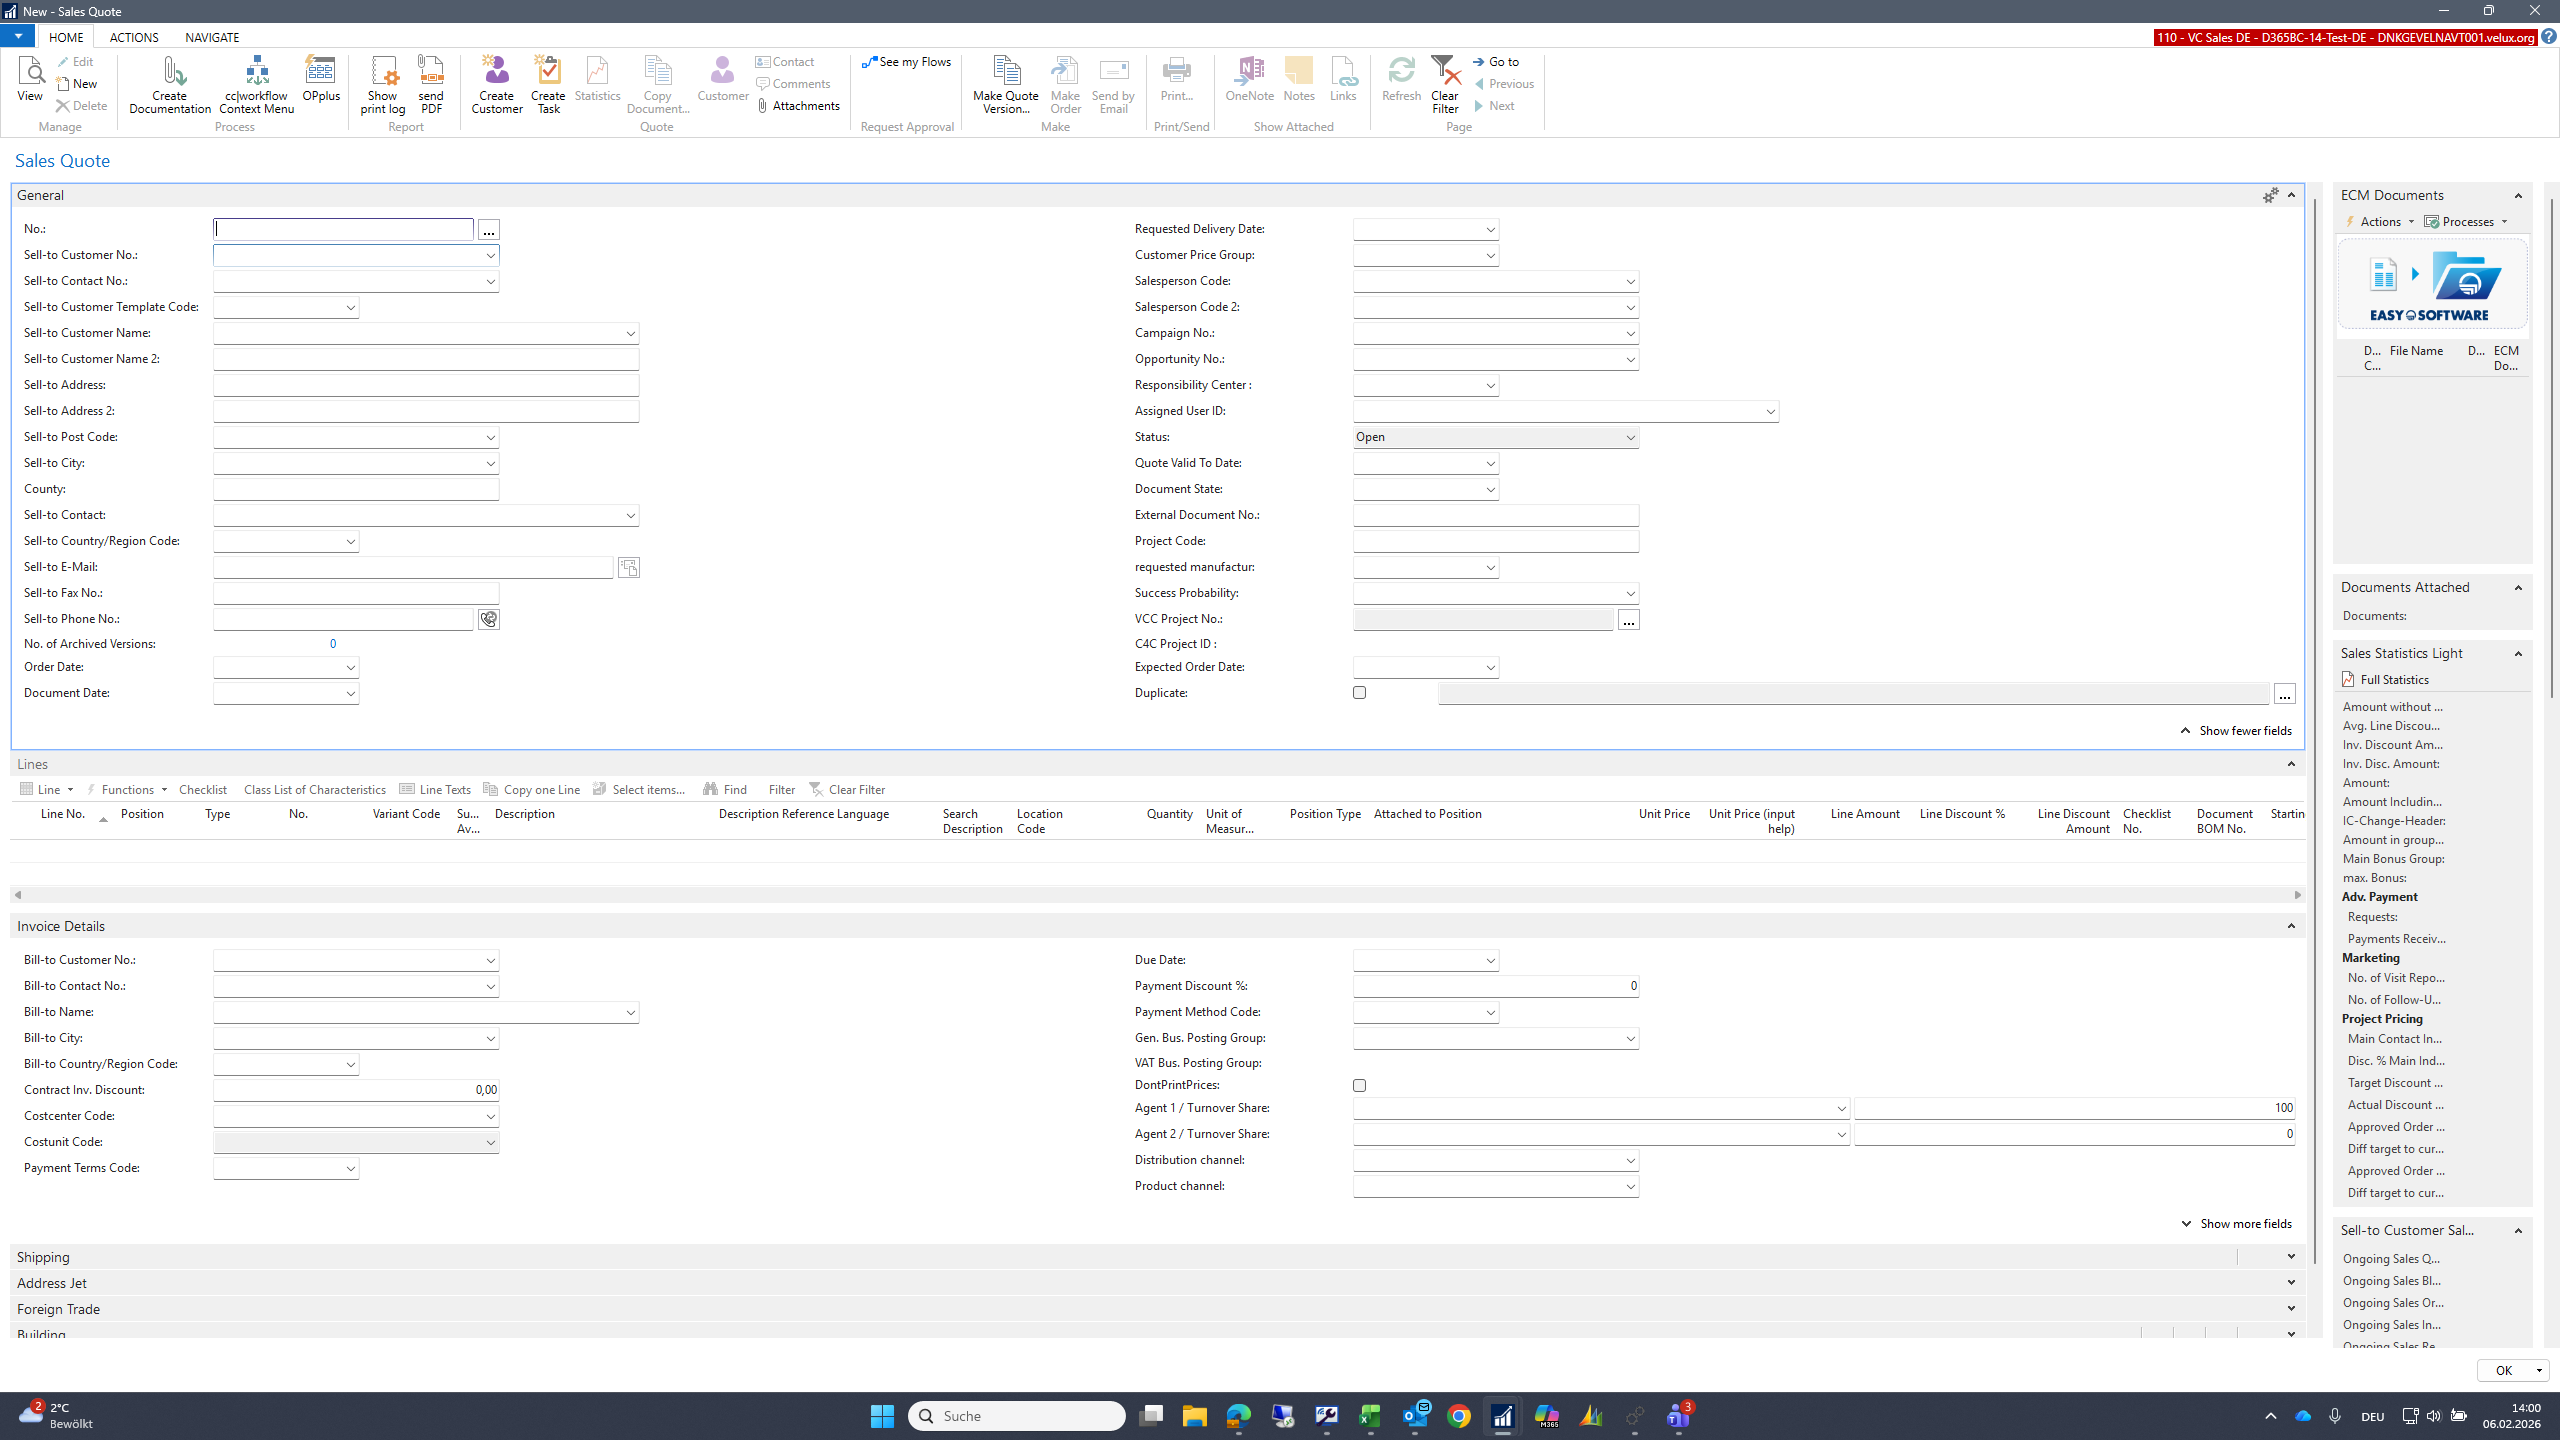
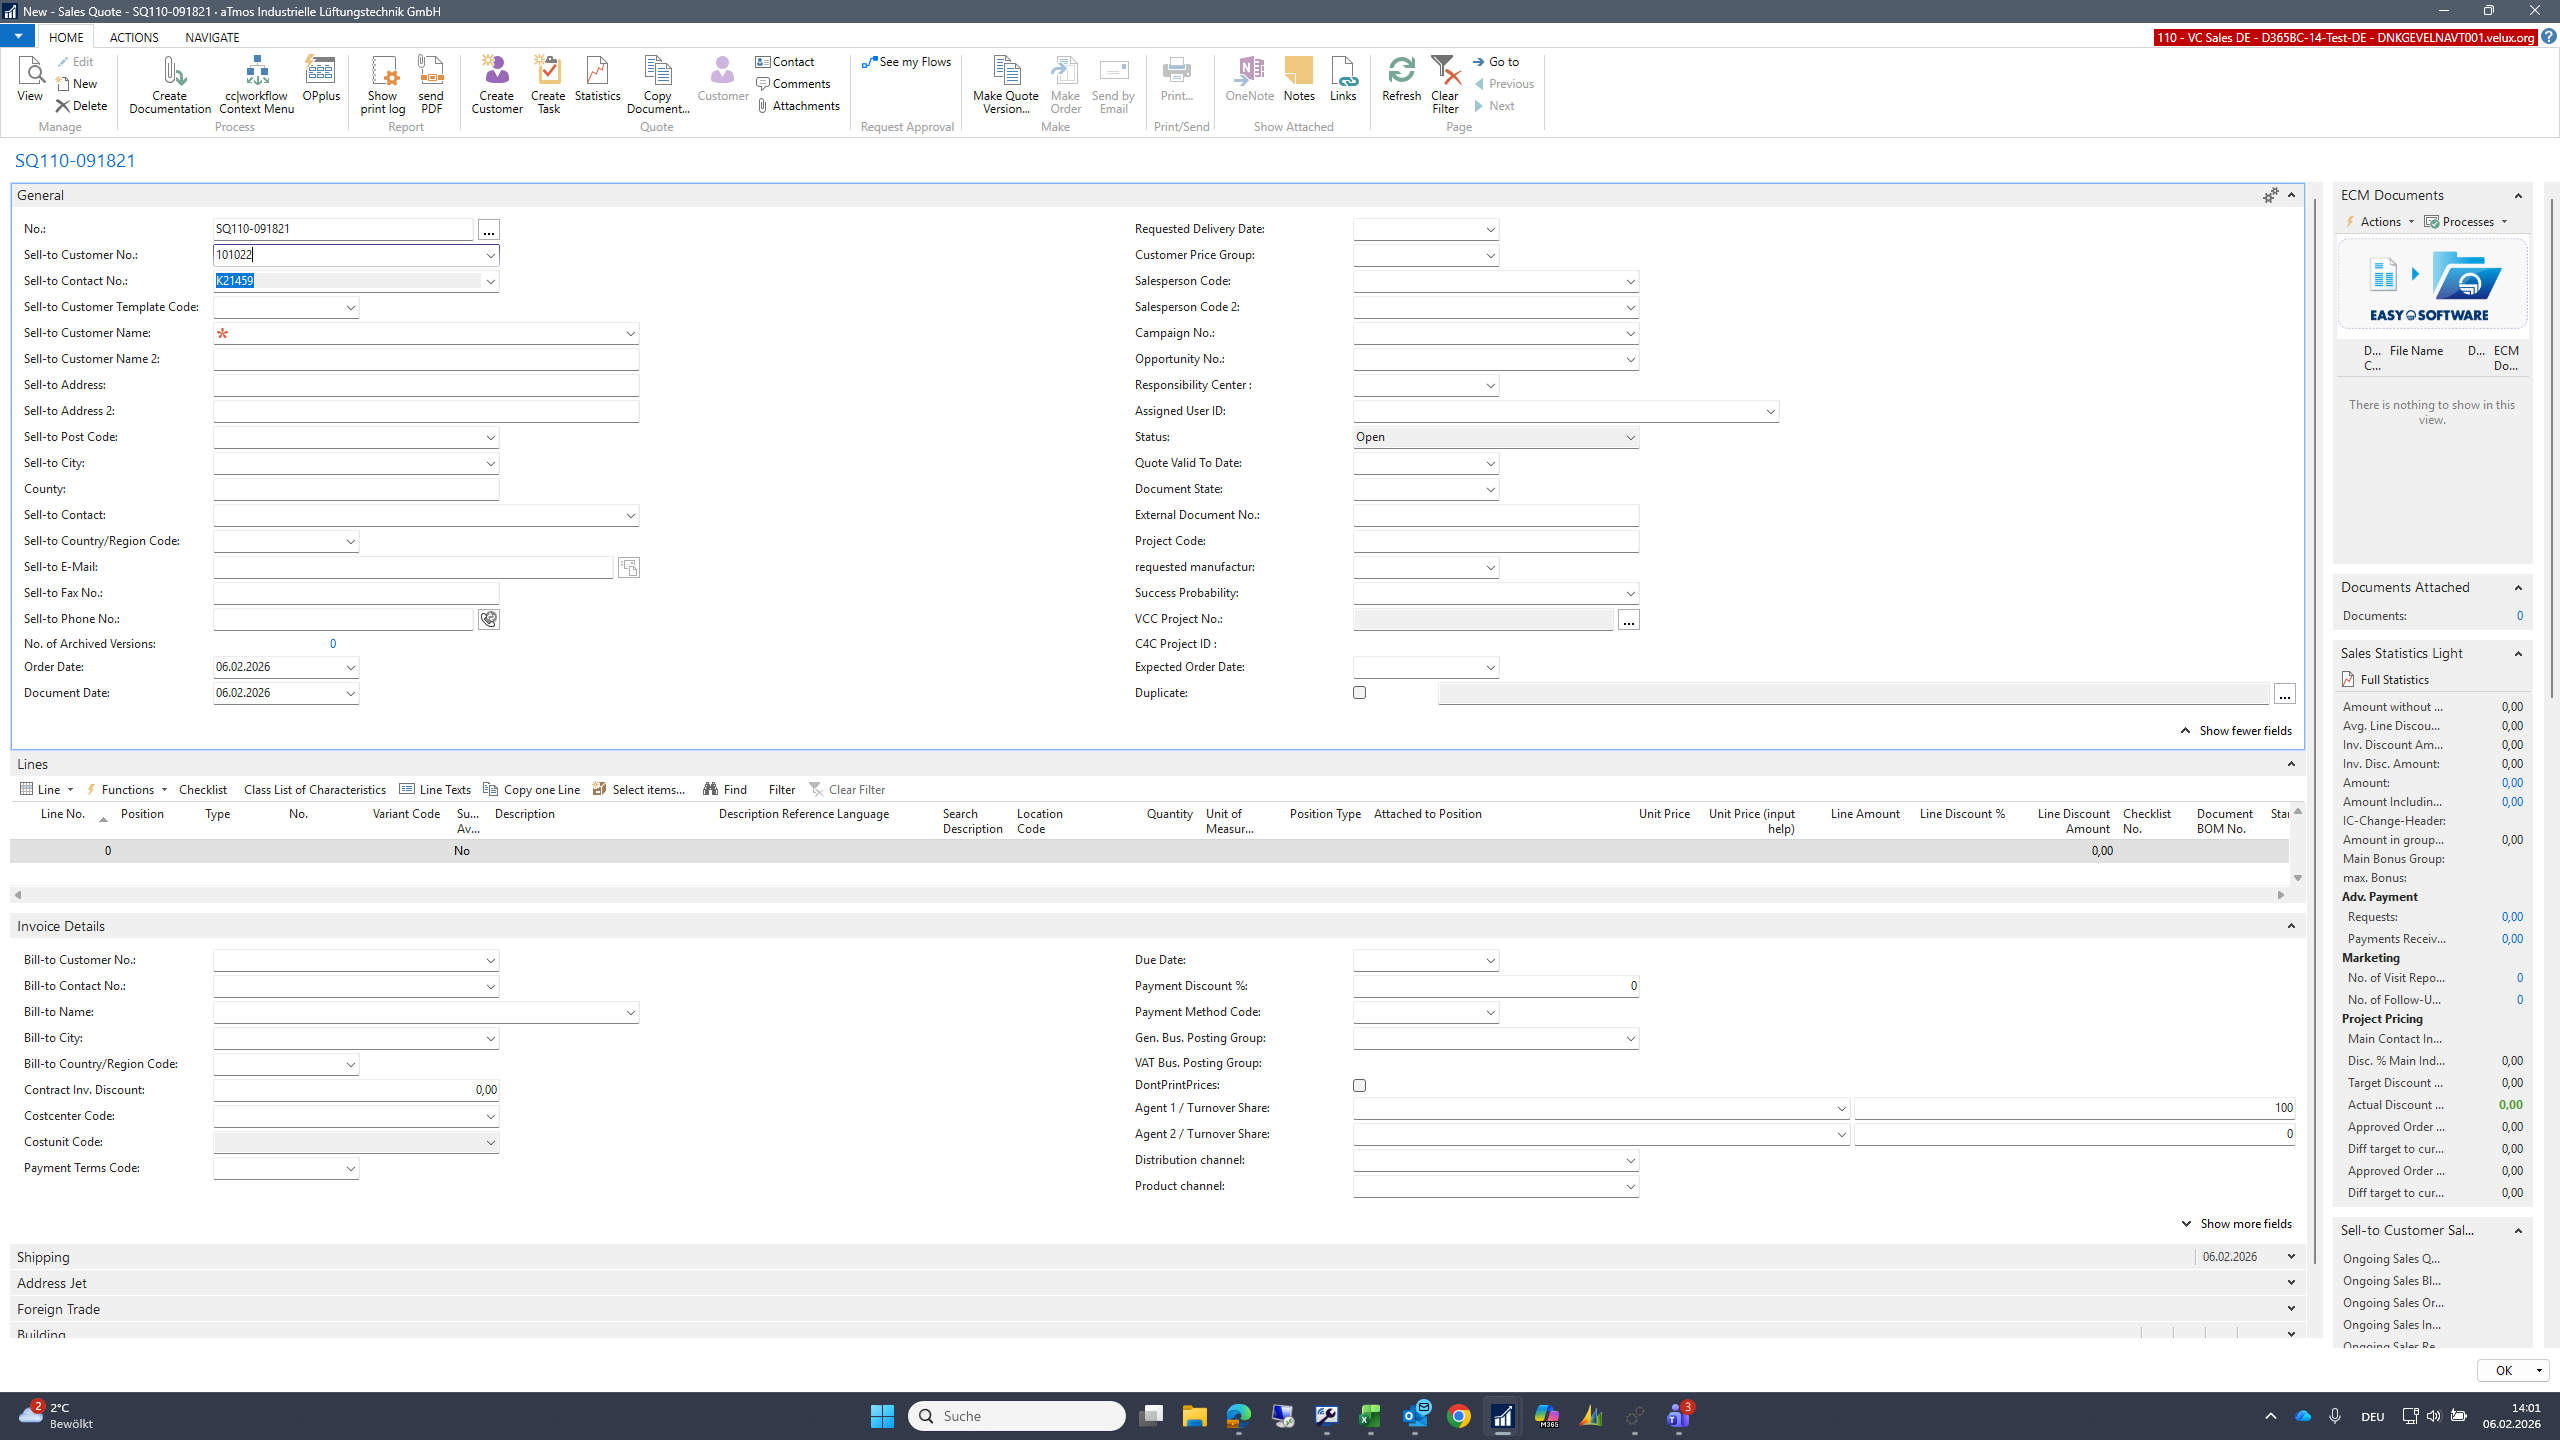
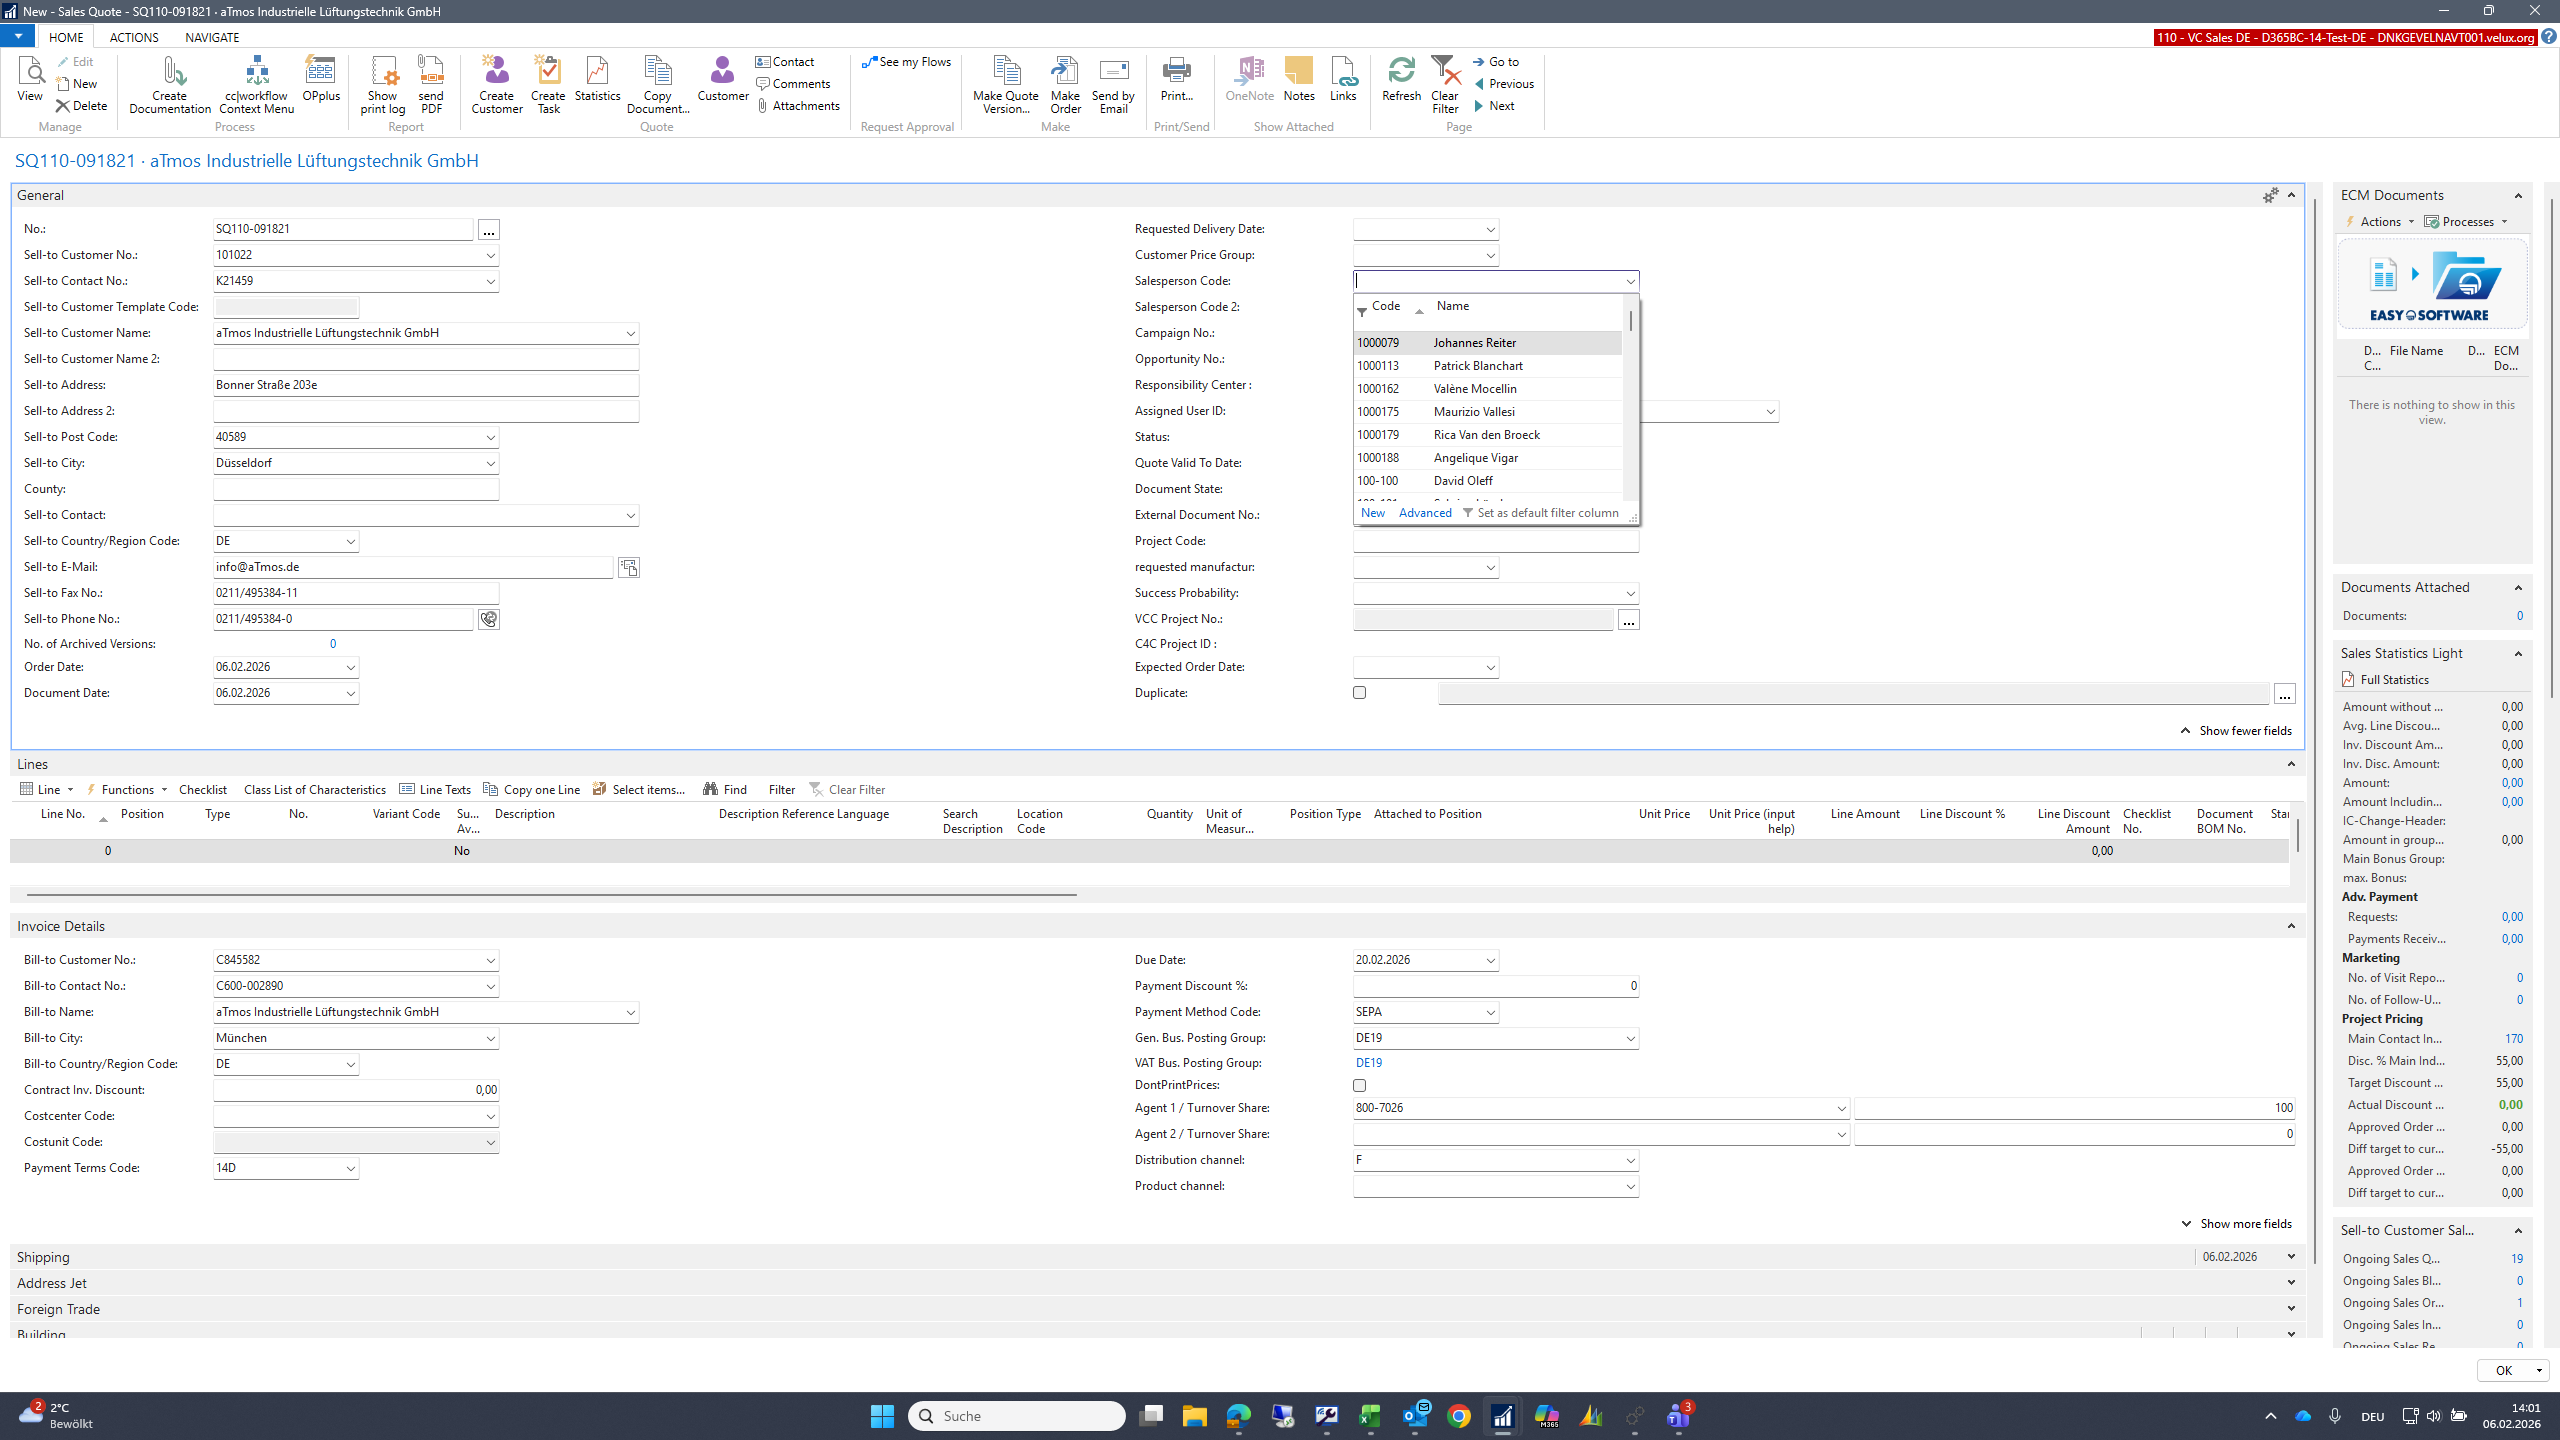
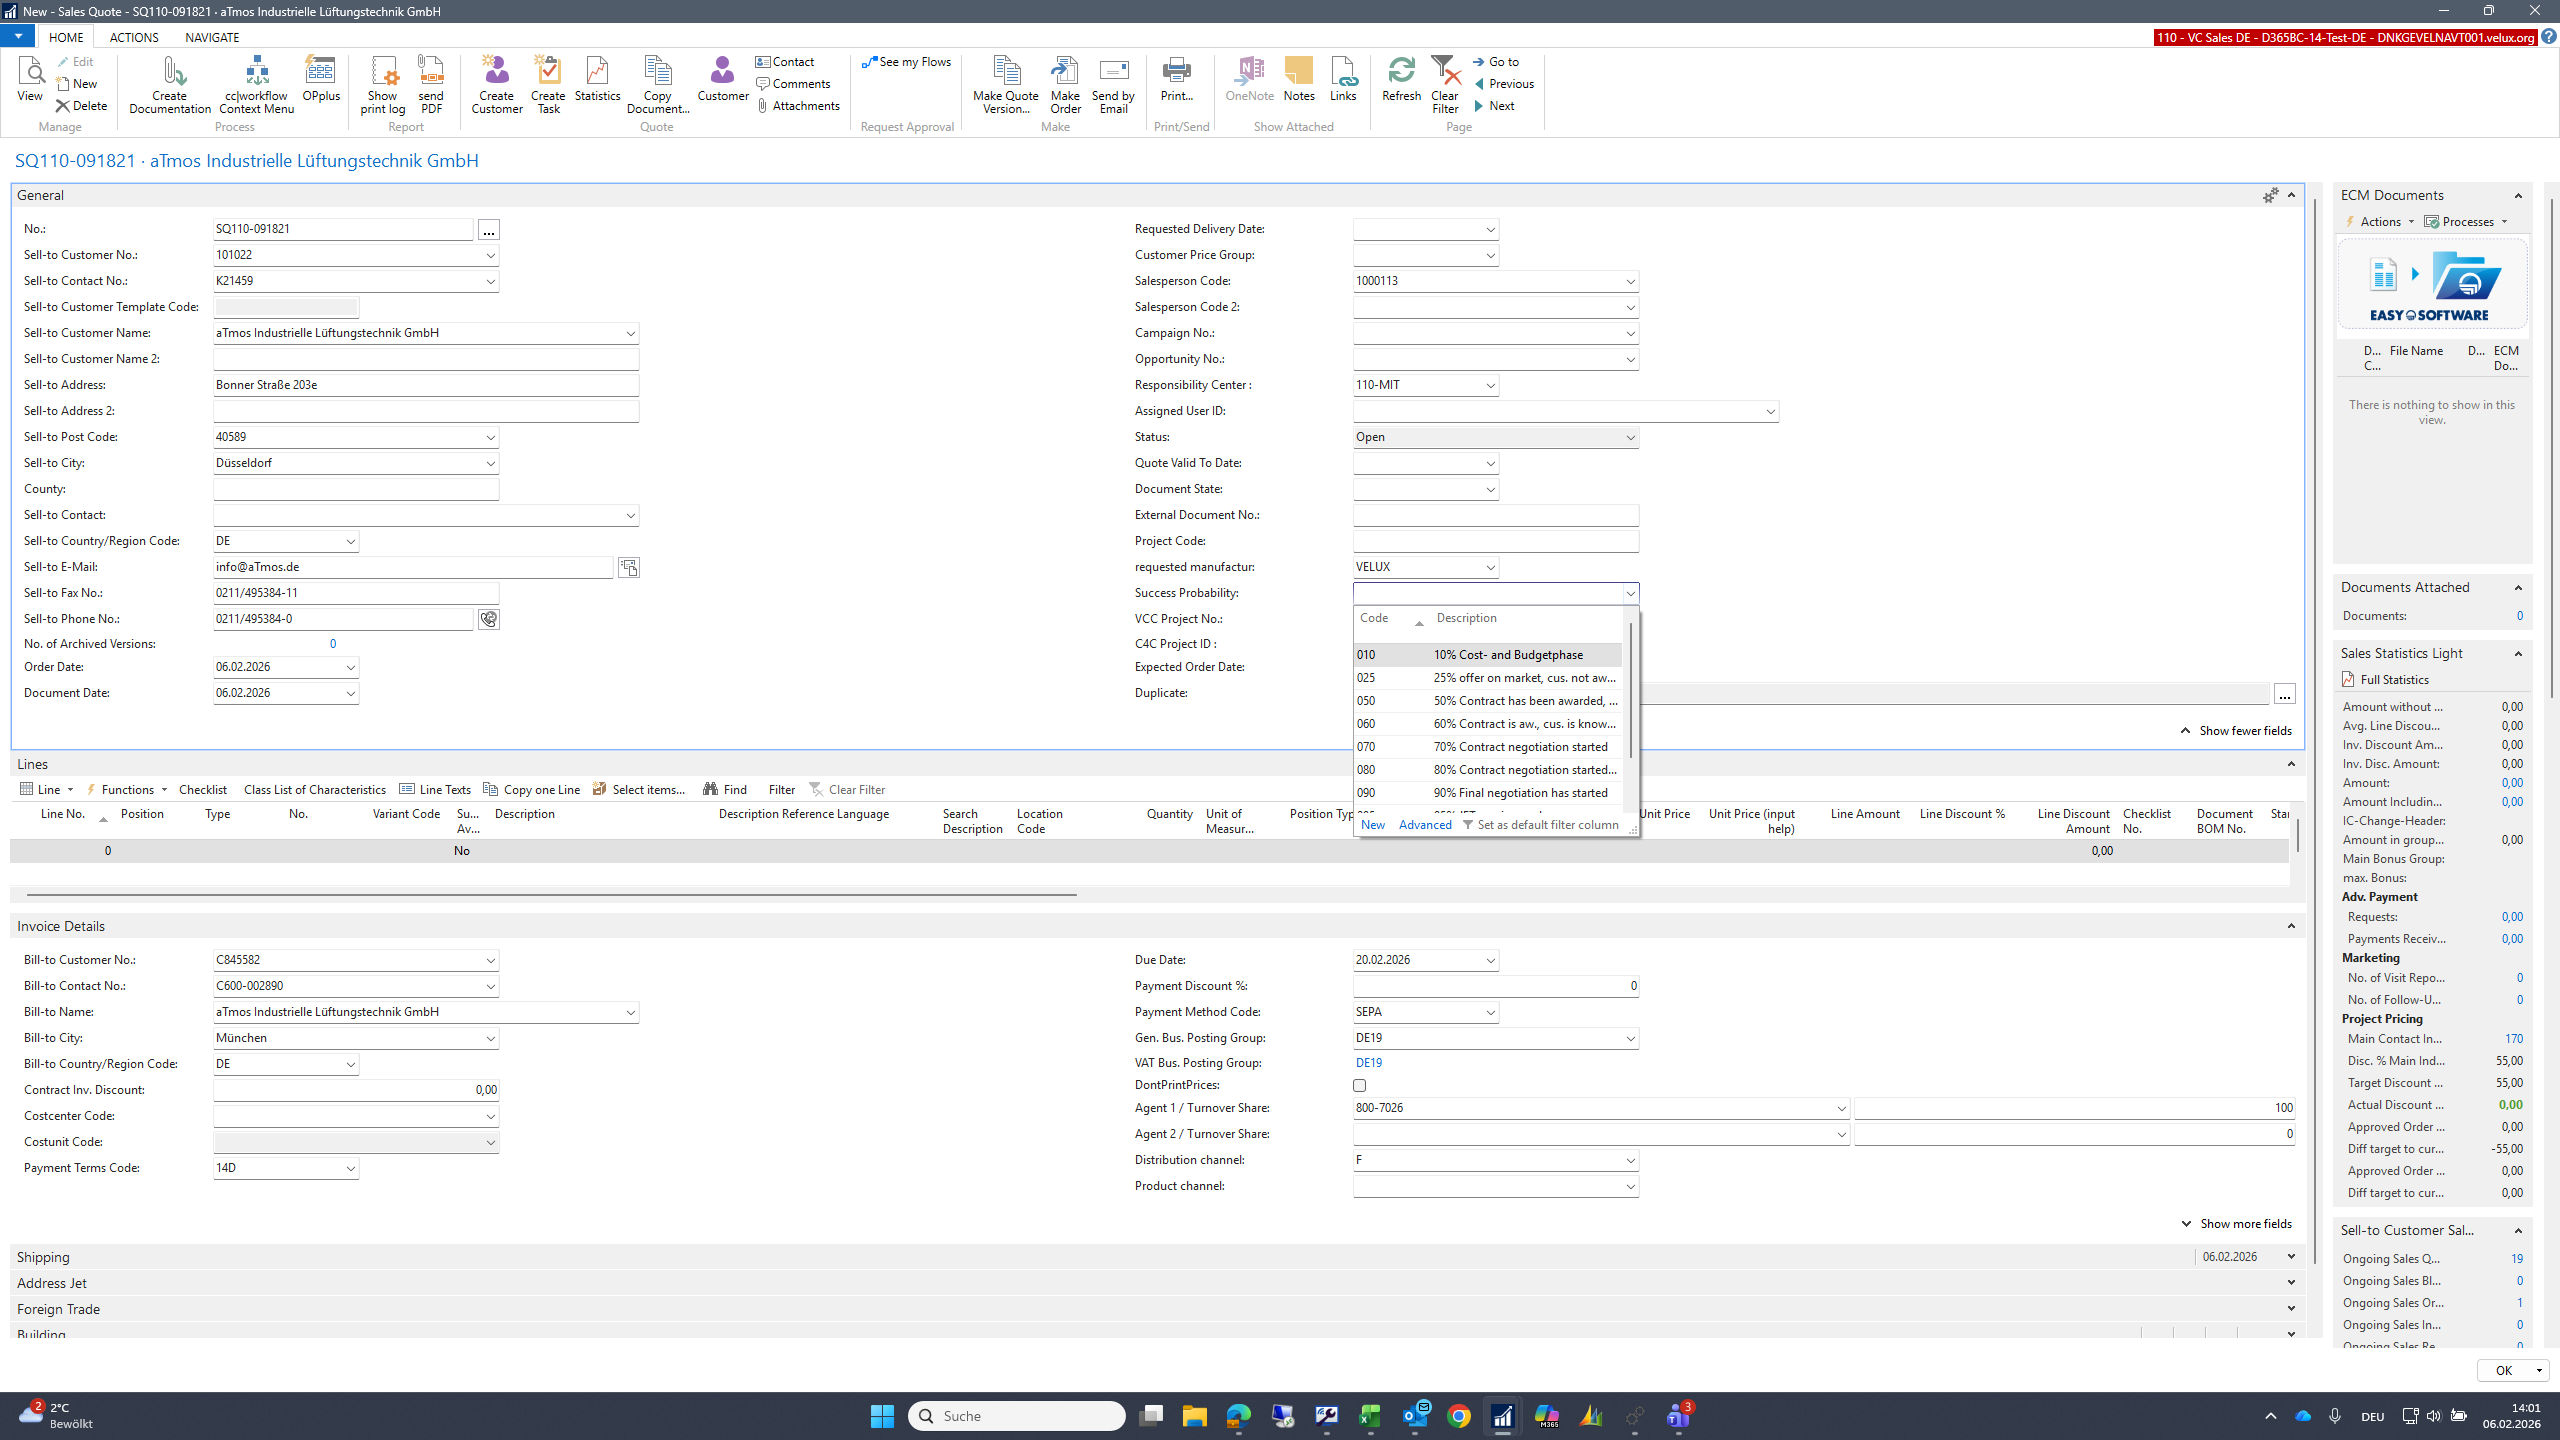
I fill in all the required fields.

56
Click on "1000113"
Step #56: Click on "1000113"
57
Click here
Step #57: Click here
58
Click on "..."
Step #58: Click on "..."
59
Click here
Step #59: Click here
60
Click here
Step #60: Click here
61
Click here
Step #61: Click here
62
Click here
Step #62: Click here
63
Click on "060"
Step #63: Click on "060"
64
Click here
Step #64: Click here
65
Click here
Step #65: Click here
66
Click on "OK"
Step #66: Click on "OK"
67
Click here
Step #67: Click here
68
Type "6005 + Enter"
69
Click here
Step #69: Click here
70
Click here
Step #70: Click here
71
Click on "Item"
Step #71: Click on "Item"
72
Double-click here
Step #72: Double-click here

Now I select the item in the row for which I defined the template. I enter my quantity, and then an empty checklist opens. Using the "Copy from template" function, I can apply the template I created for it.

73
Type "1clkde2"
74
Click on "Description"
Step #74: Click on "Description"
75
Click on "1CLKDE24IT"
Step #75: Click on "1CLKDE24IT"
76
Type "Tab"
77
Click here
Step #77: Click here
78
Click here
Step #78: Click here
79
Type "1 + Tab"
80
Click on "templates"
Step #80: Click on "templates"
81
Click on "OK"
Step #81: Click on "OK"
82
Double-click here
Step #82: Double-click here

I enter the dimensions and complete the checklist.

83
Type "100100 + Tab"
84
Click on "OK"
Step #84: Click on "OK"
85
Click on "Finish"
Step #85: Click on "Finish"
86
Click on "OK"
Step #86: Click on "OK"
87
Click on "OK"
Step #87: Click on "OK"
88
Click on "х"
Step #88: Click on "х"

Another feature is that I can share the template I created with my colleagues.

89
Click on "Sales & Marketing"
Step #89: Click on "Sales & Marketing"
90
Click on "Lists"
Step #90: Click on "Lists"
91
Click on "Checklist Input"
Step #91: Click on "Checklist Input"

I use my template and there is an option to mark it as universal for all users via the checkbox, making it available to everyone.

92
Double-click here
Step #92: Double-click here
93
Click on "users"
Step #93: Click on "users"
94
Double-click here
Step #94: Double-click here
95
Click on "OK"
Step #95: Click on "OK"