How to Create a Template for SMS and Email
Learn step-by-step how to create, activate, and manage templates for SMS and email communications. Discover how to insert variables, assign users, and streamline your messaging process.
By Dominik Black
In this guide, we'll learn how to create and manage message templates for SMS and email. Using templates helps you save time and keep your communication consistent. You will also see how to add variables to personalize each message and how to share templates with other users if needed.
We'll cover how to activate, edit, and use your templates when sending messages.
Let's get started
1
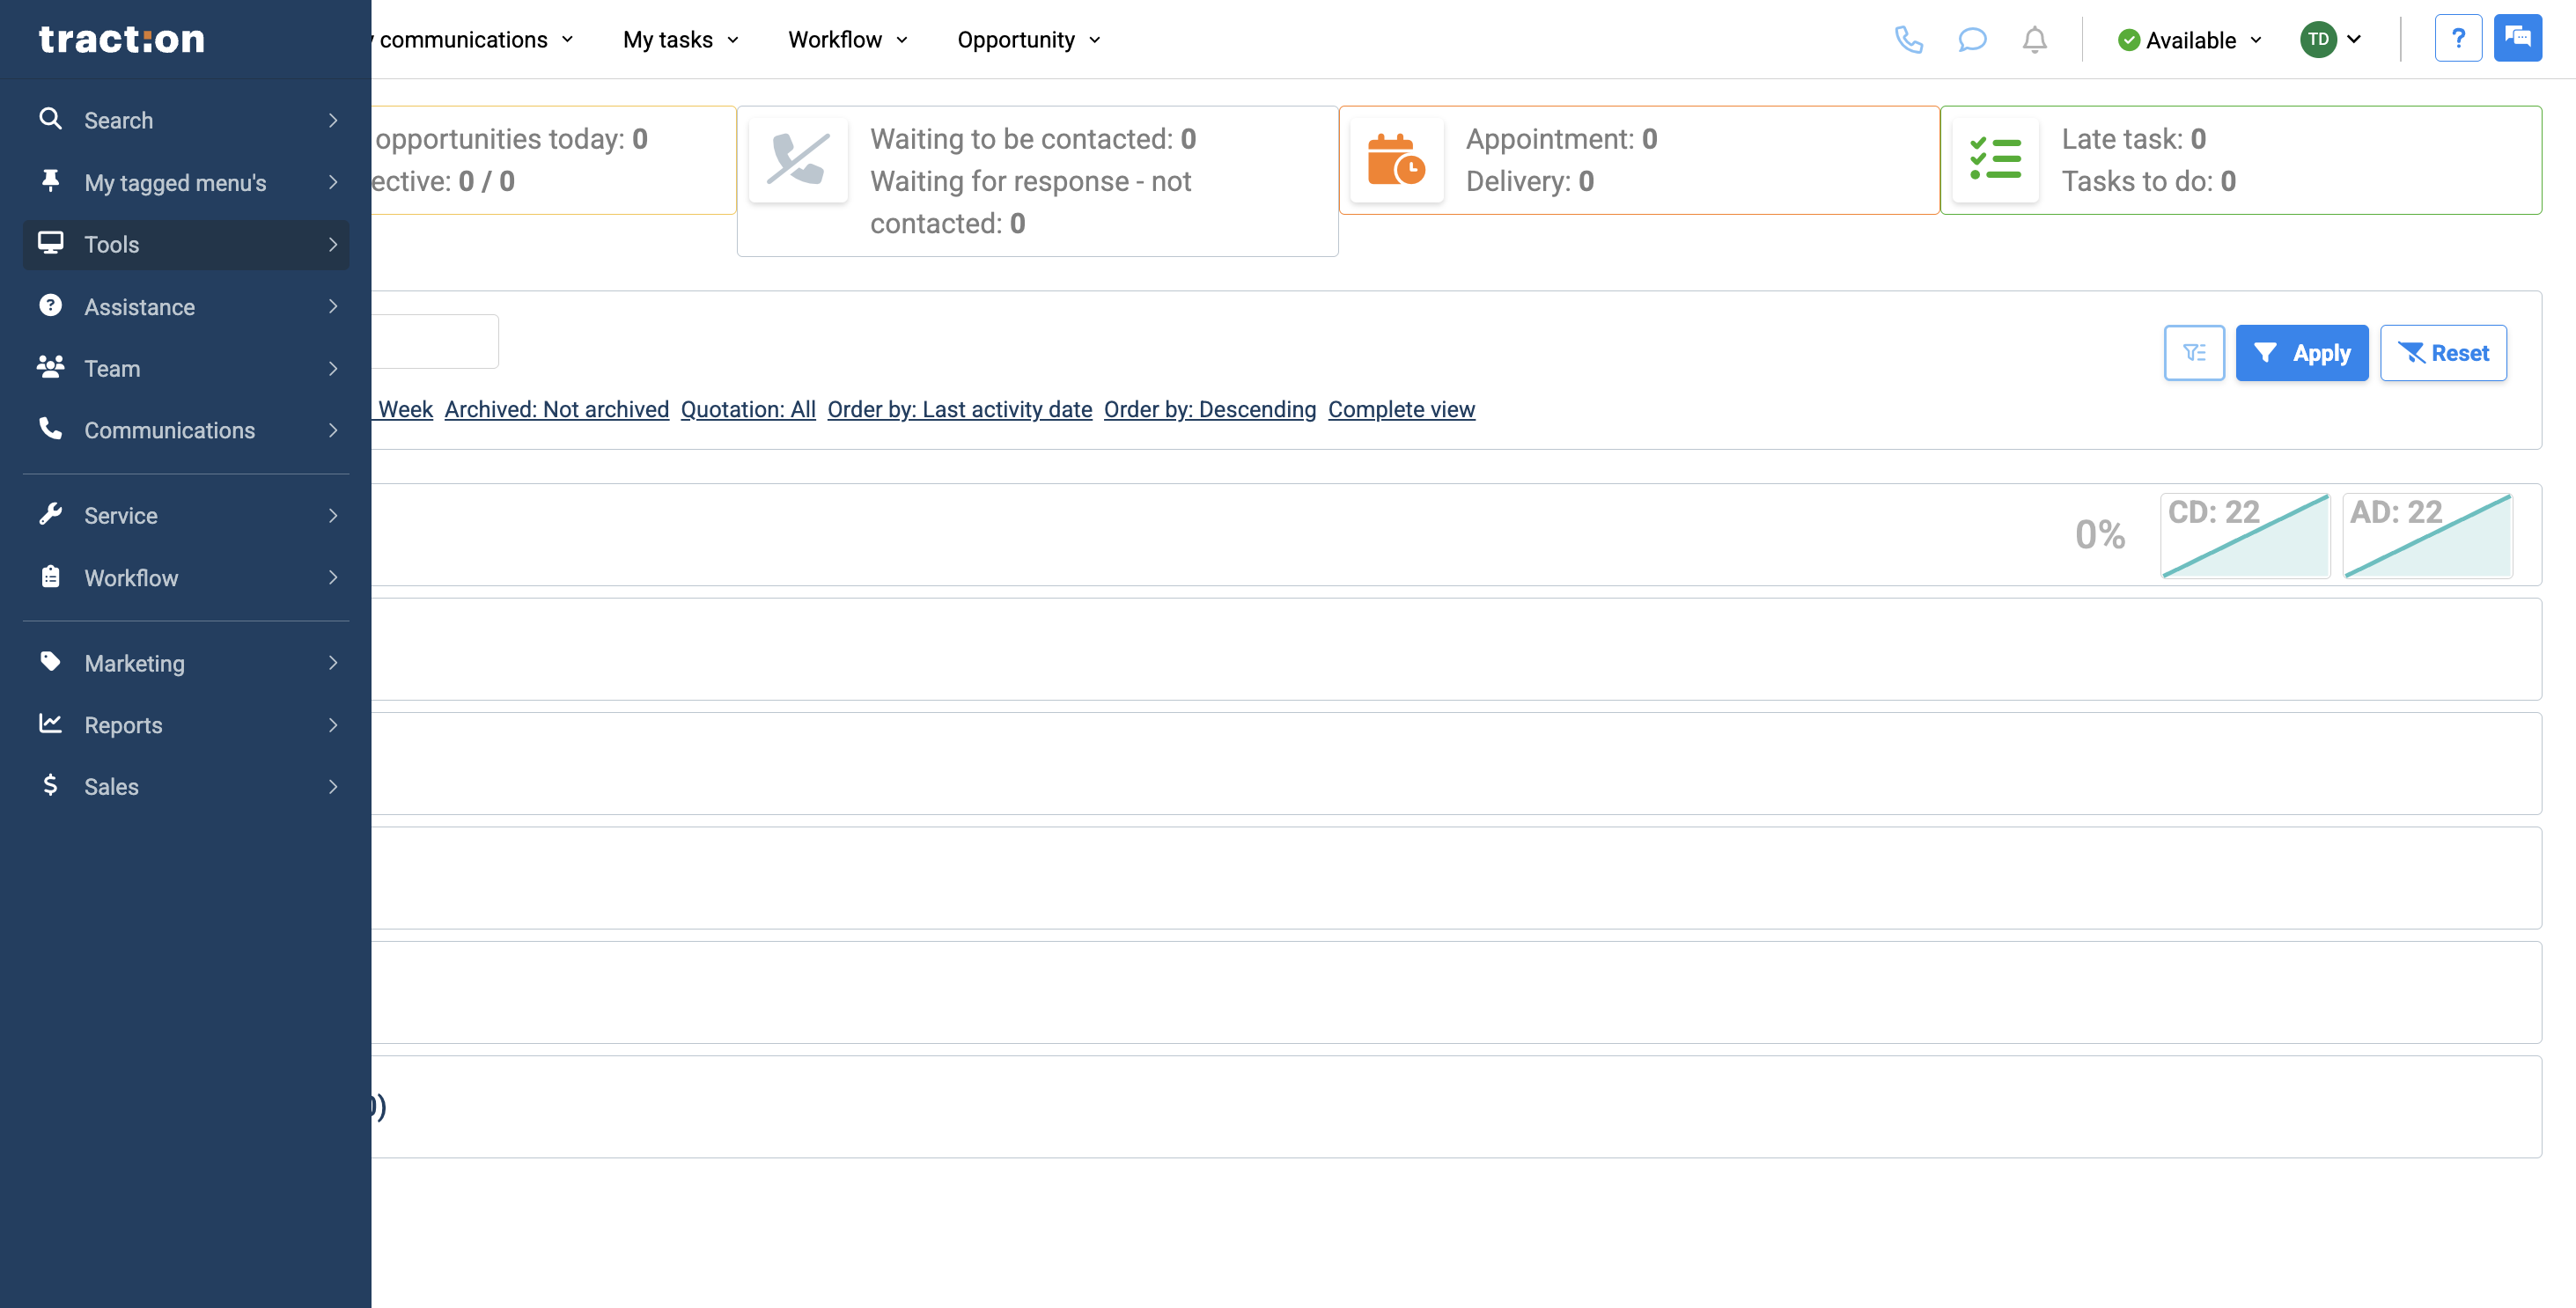
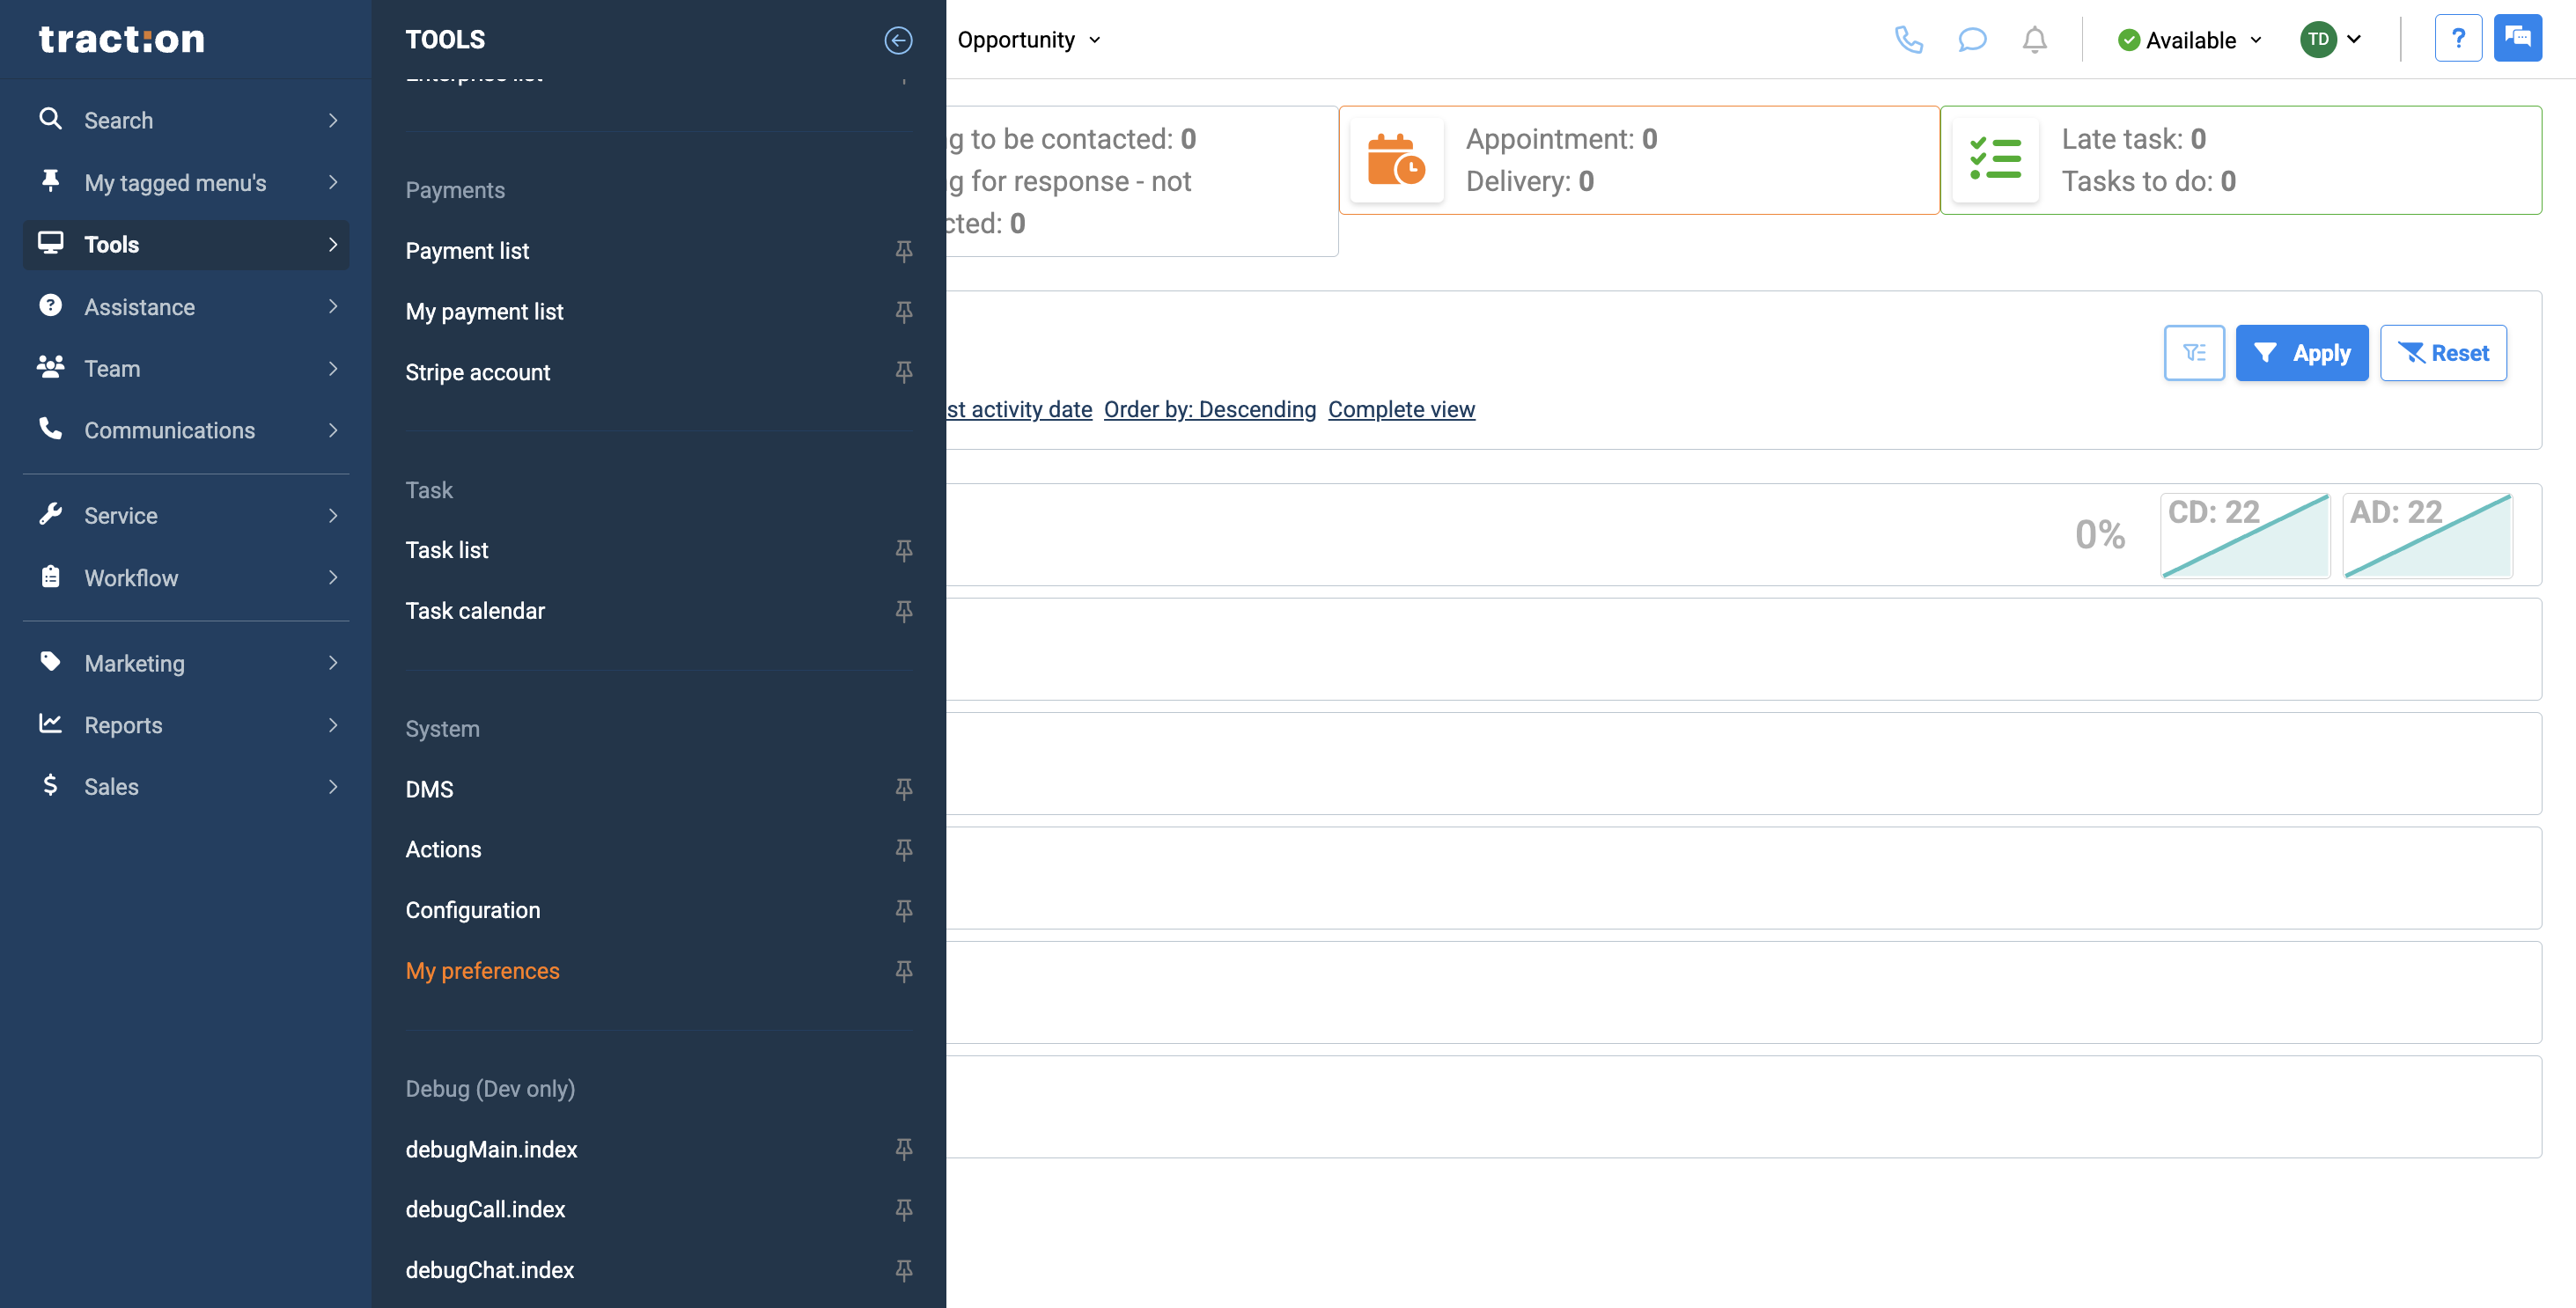
In this article, we will show you how to create templates. You can use these templates later via SMS or email. To begin, go to Tools.
2
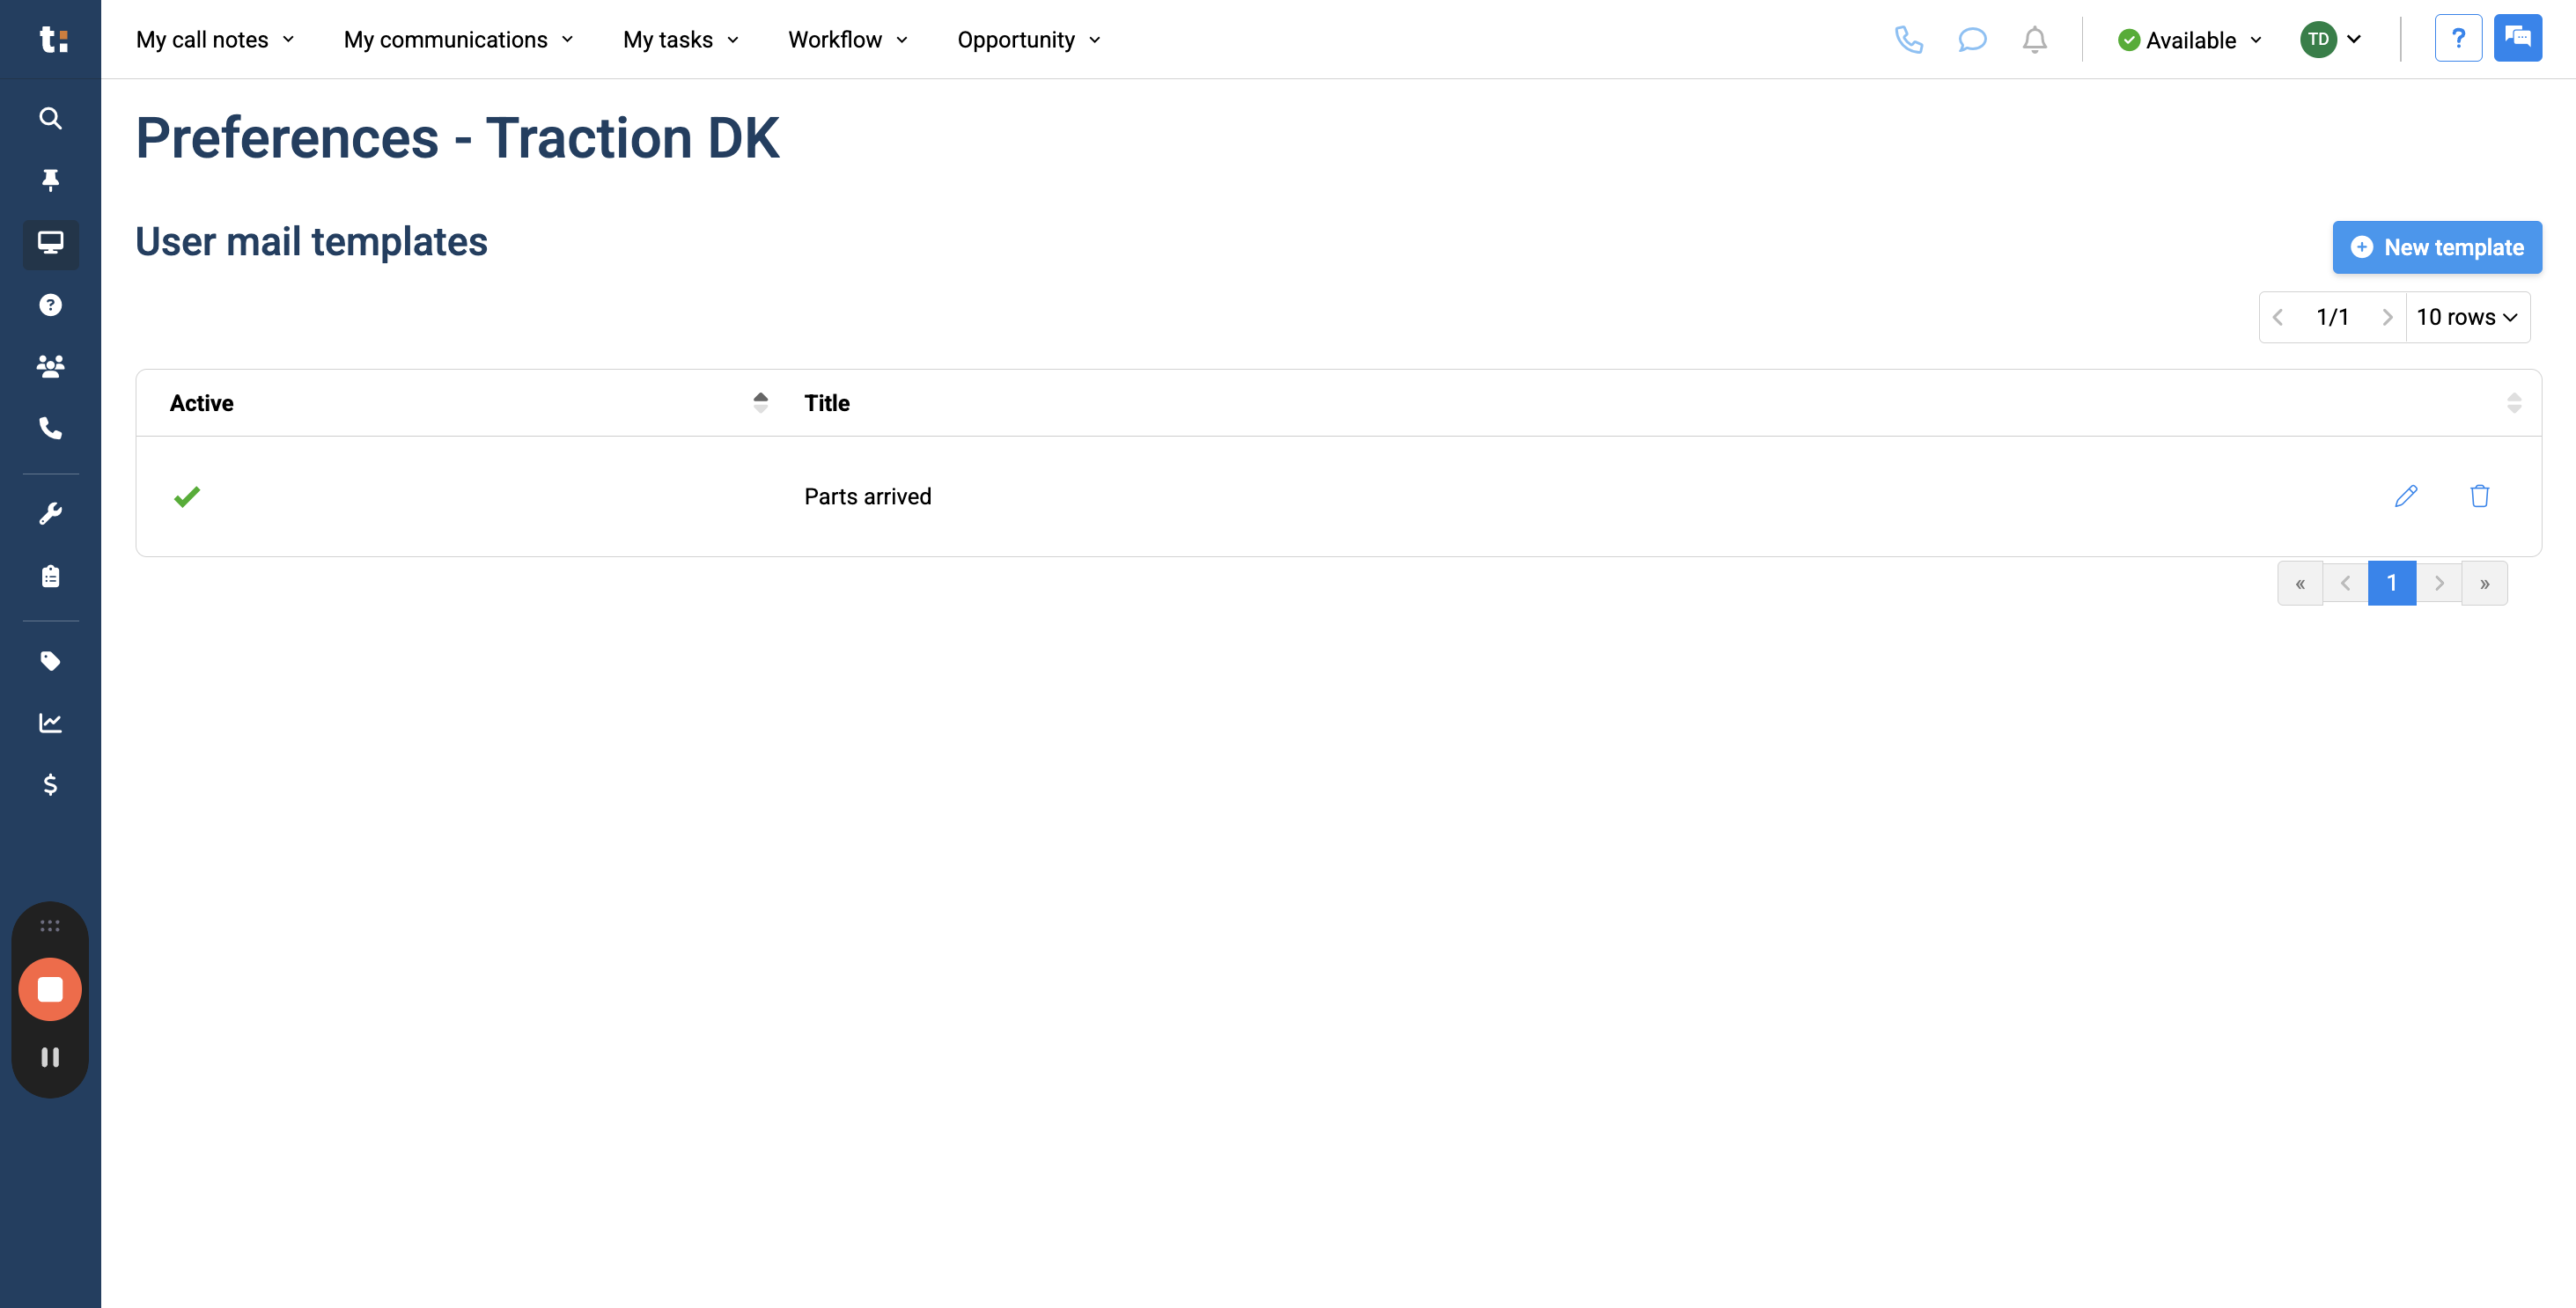
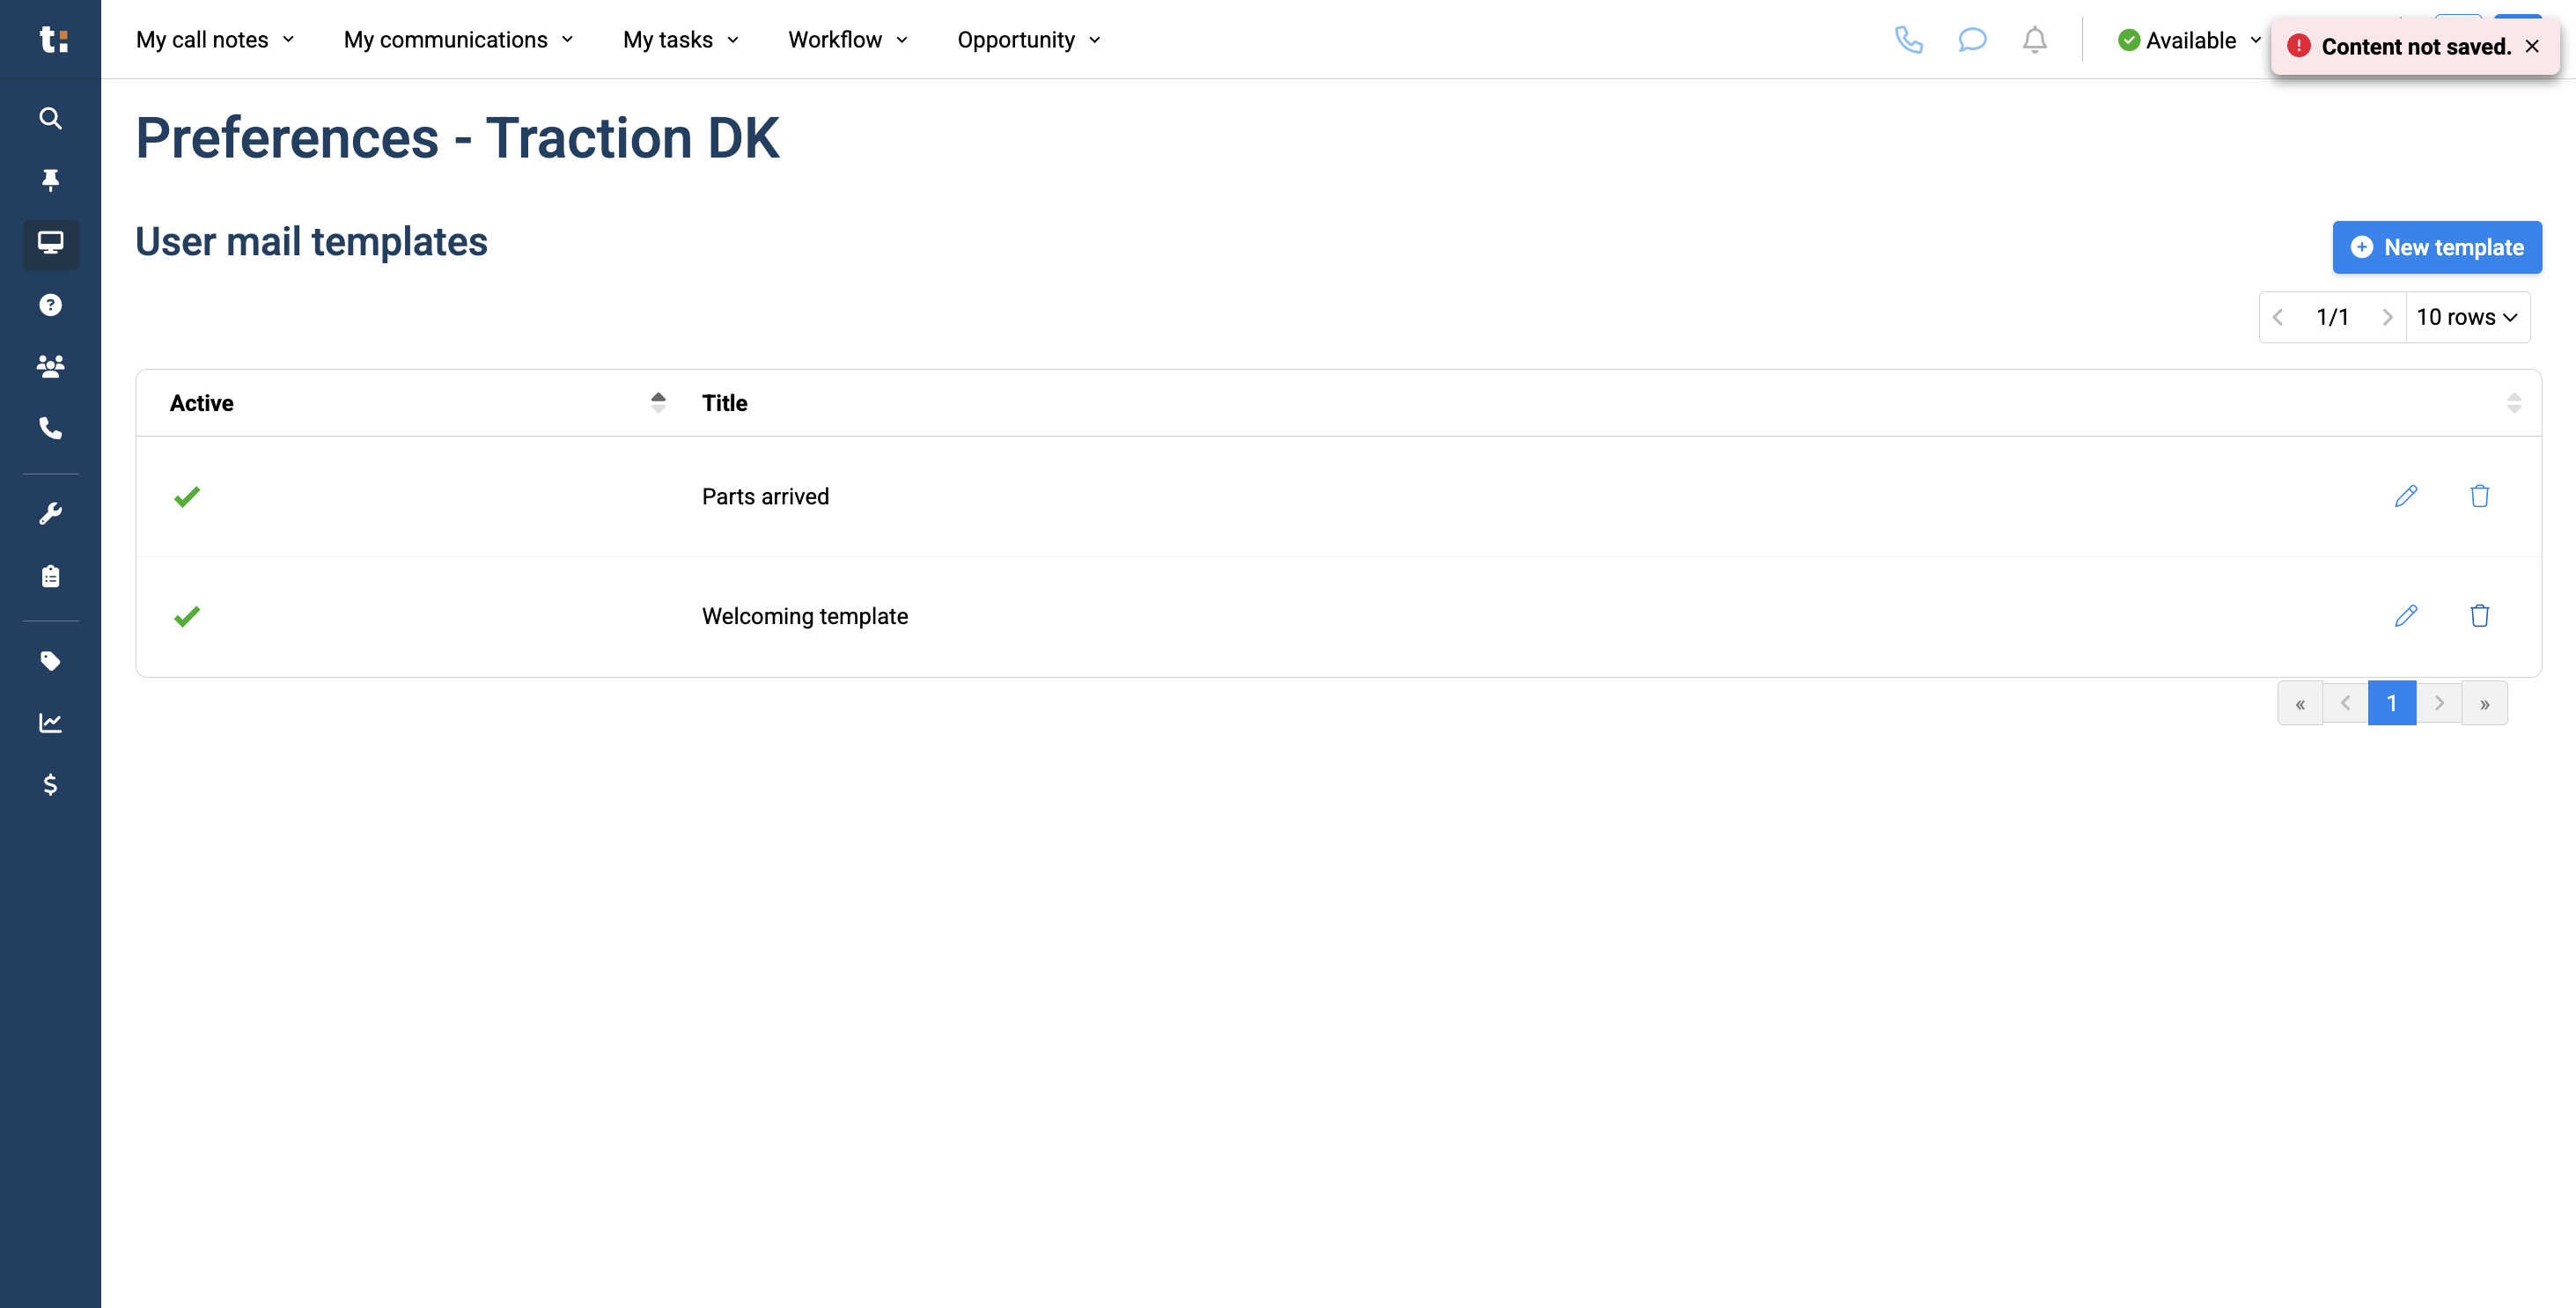
Scroll down and click on My Preferences.
3
In My Preferences, you see a list of existing templates. To create a new template, click the New Template button.
4
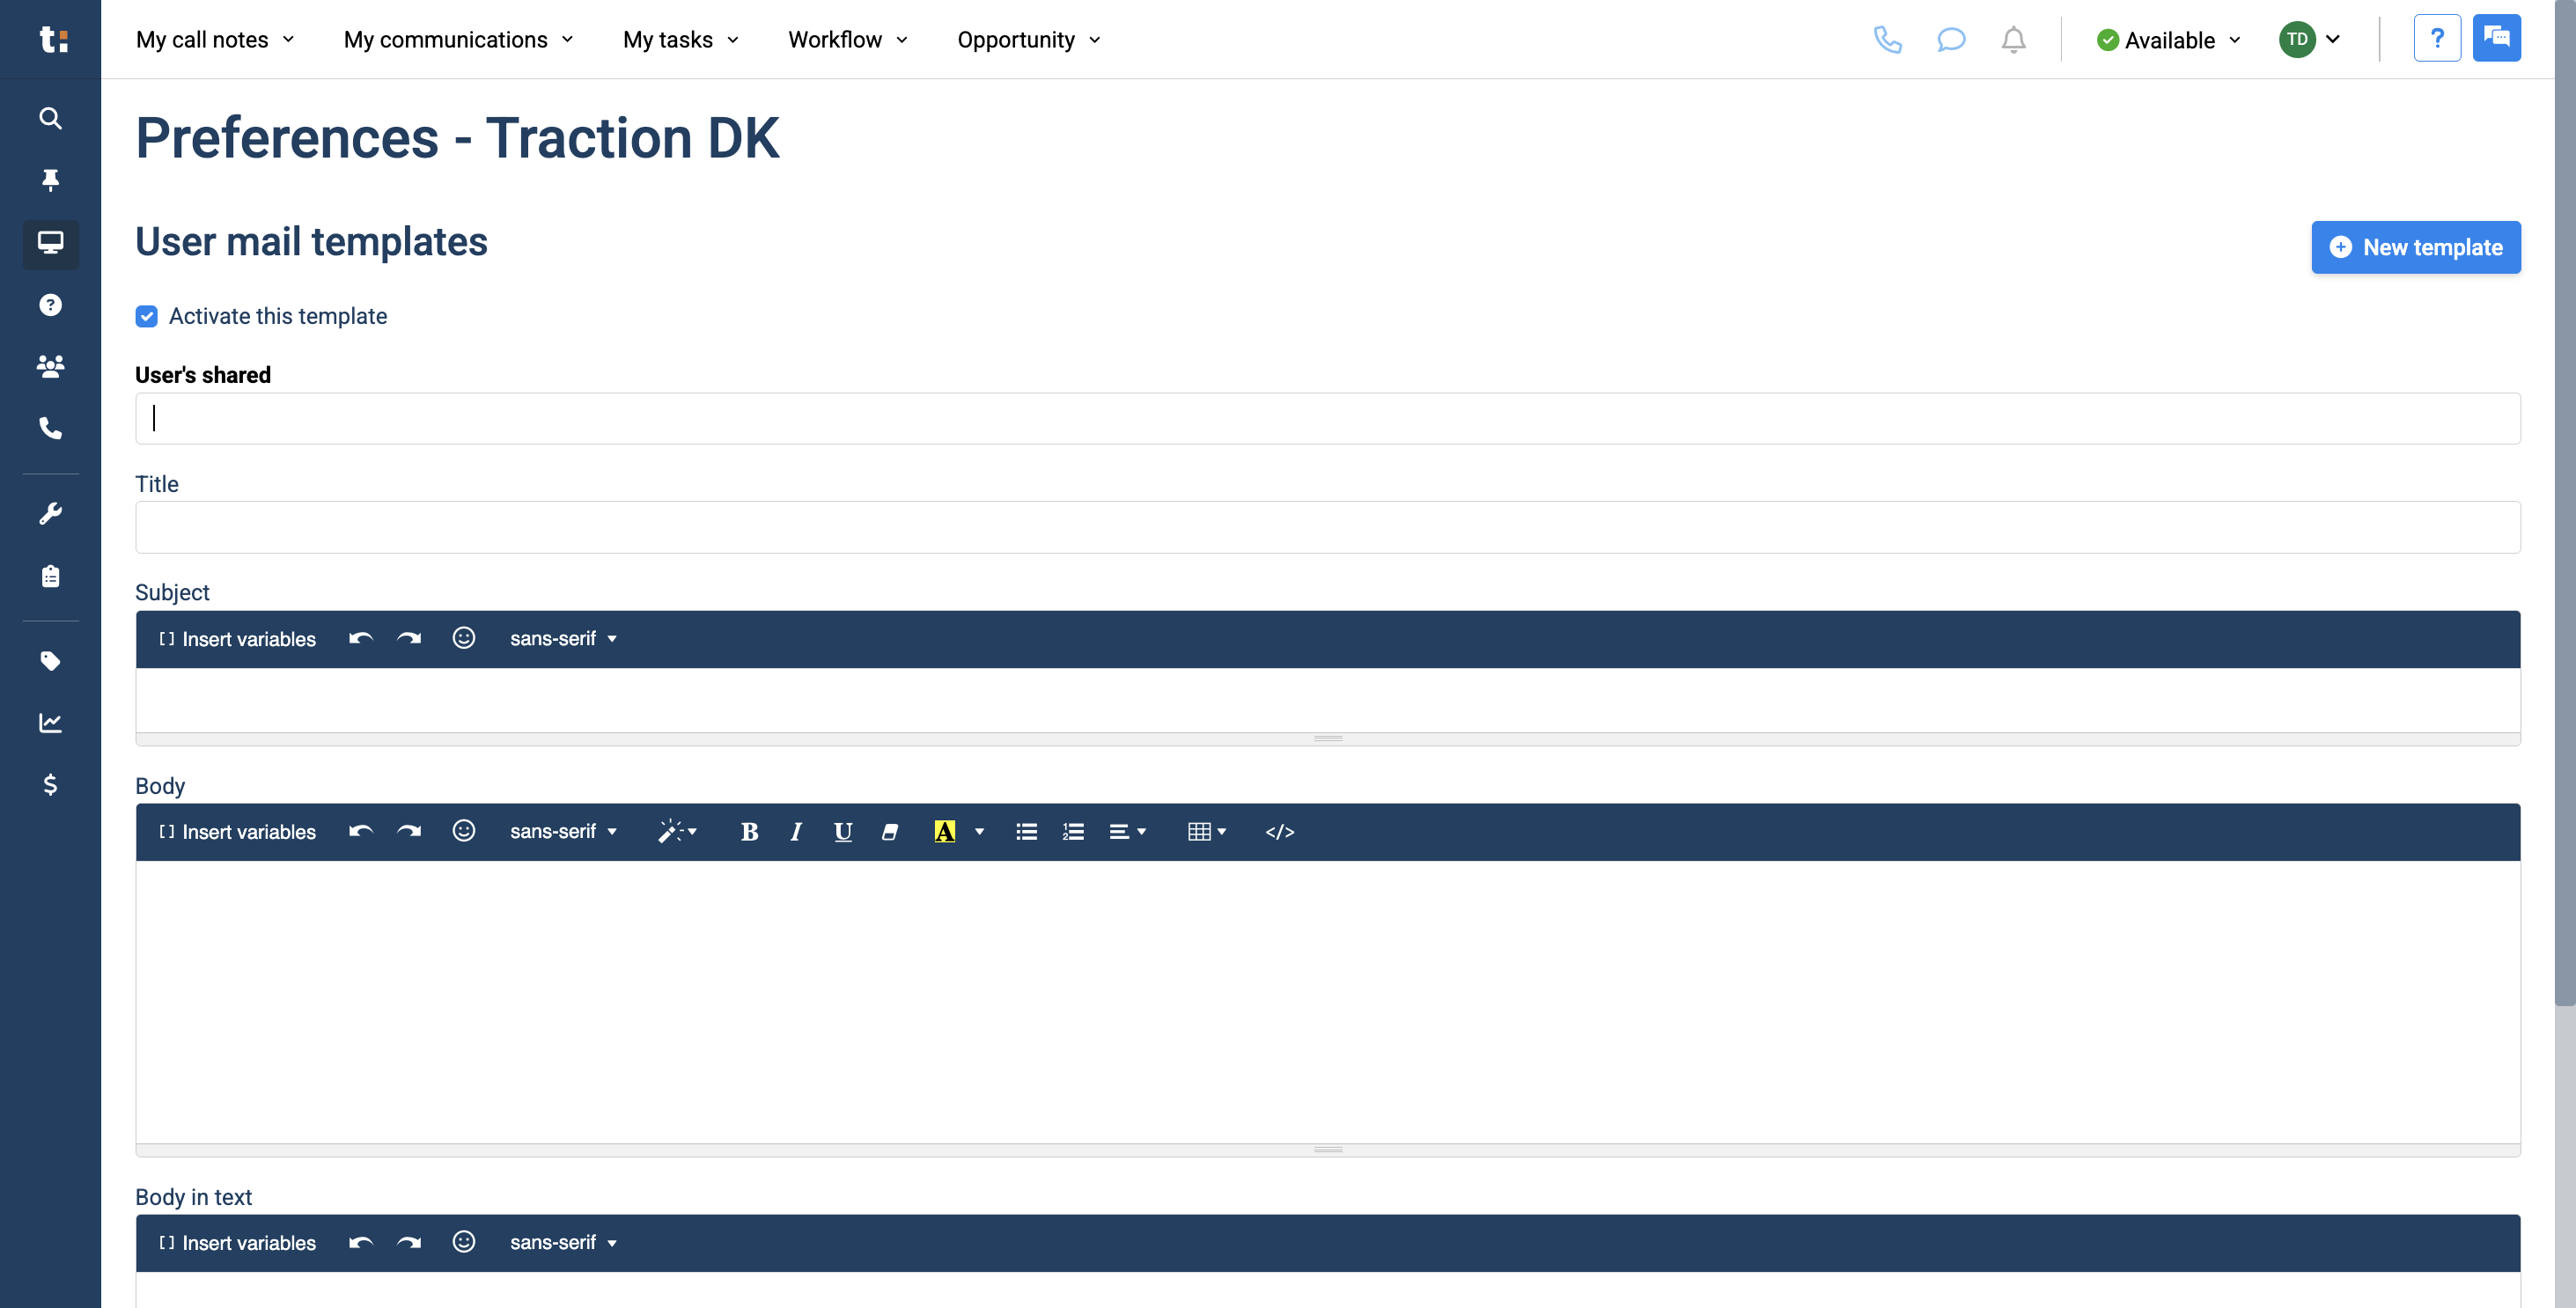
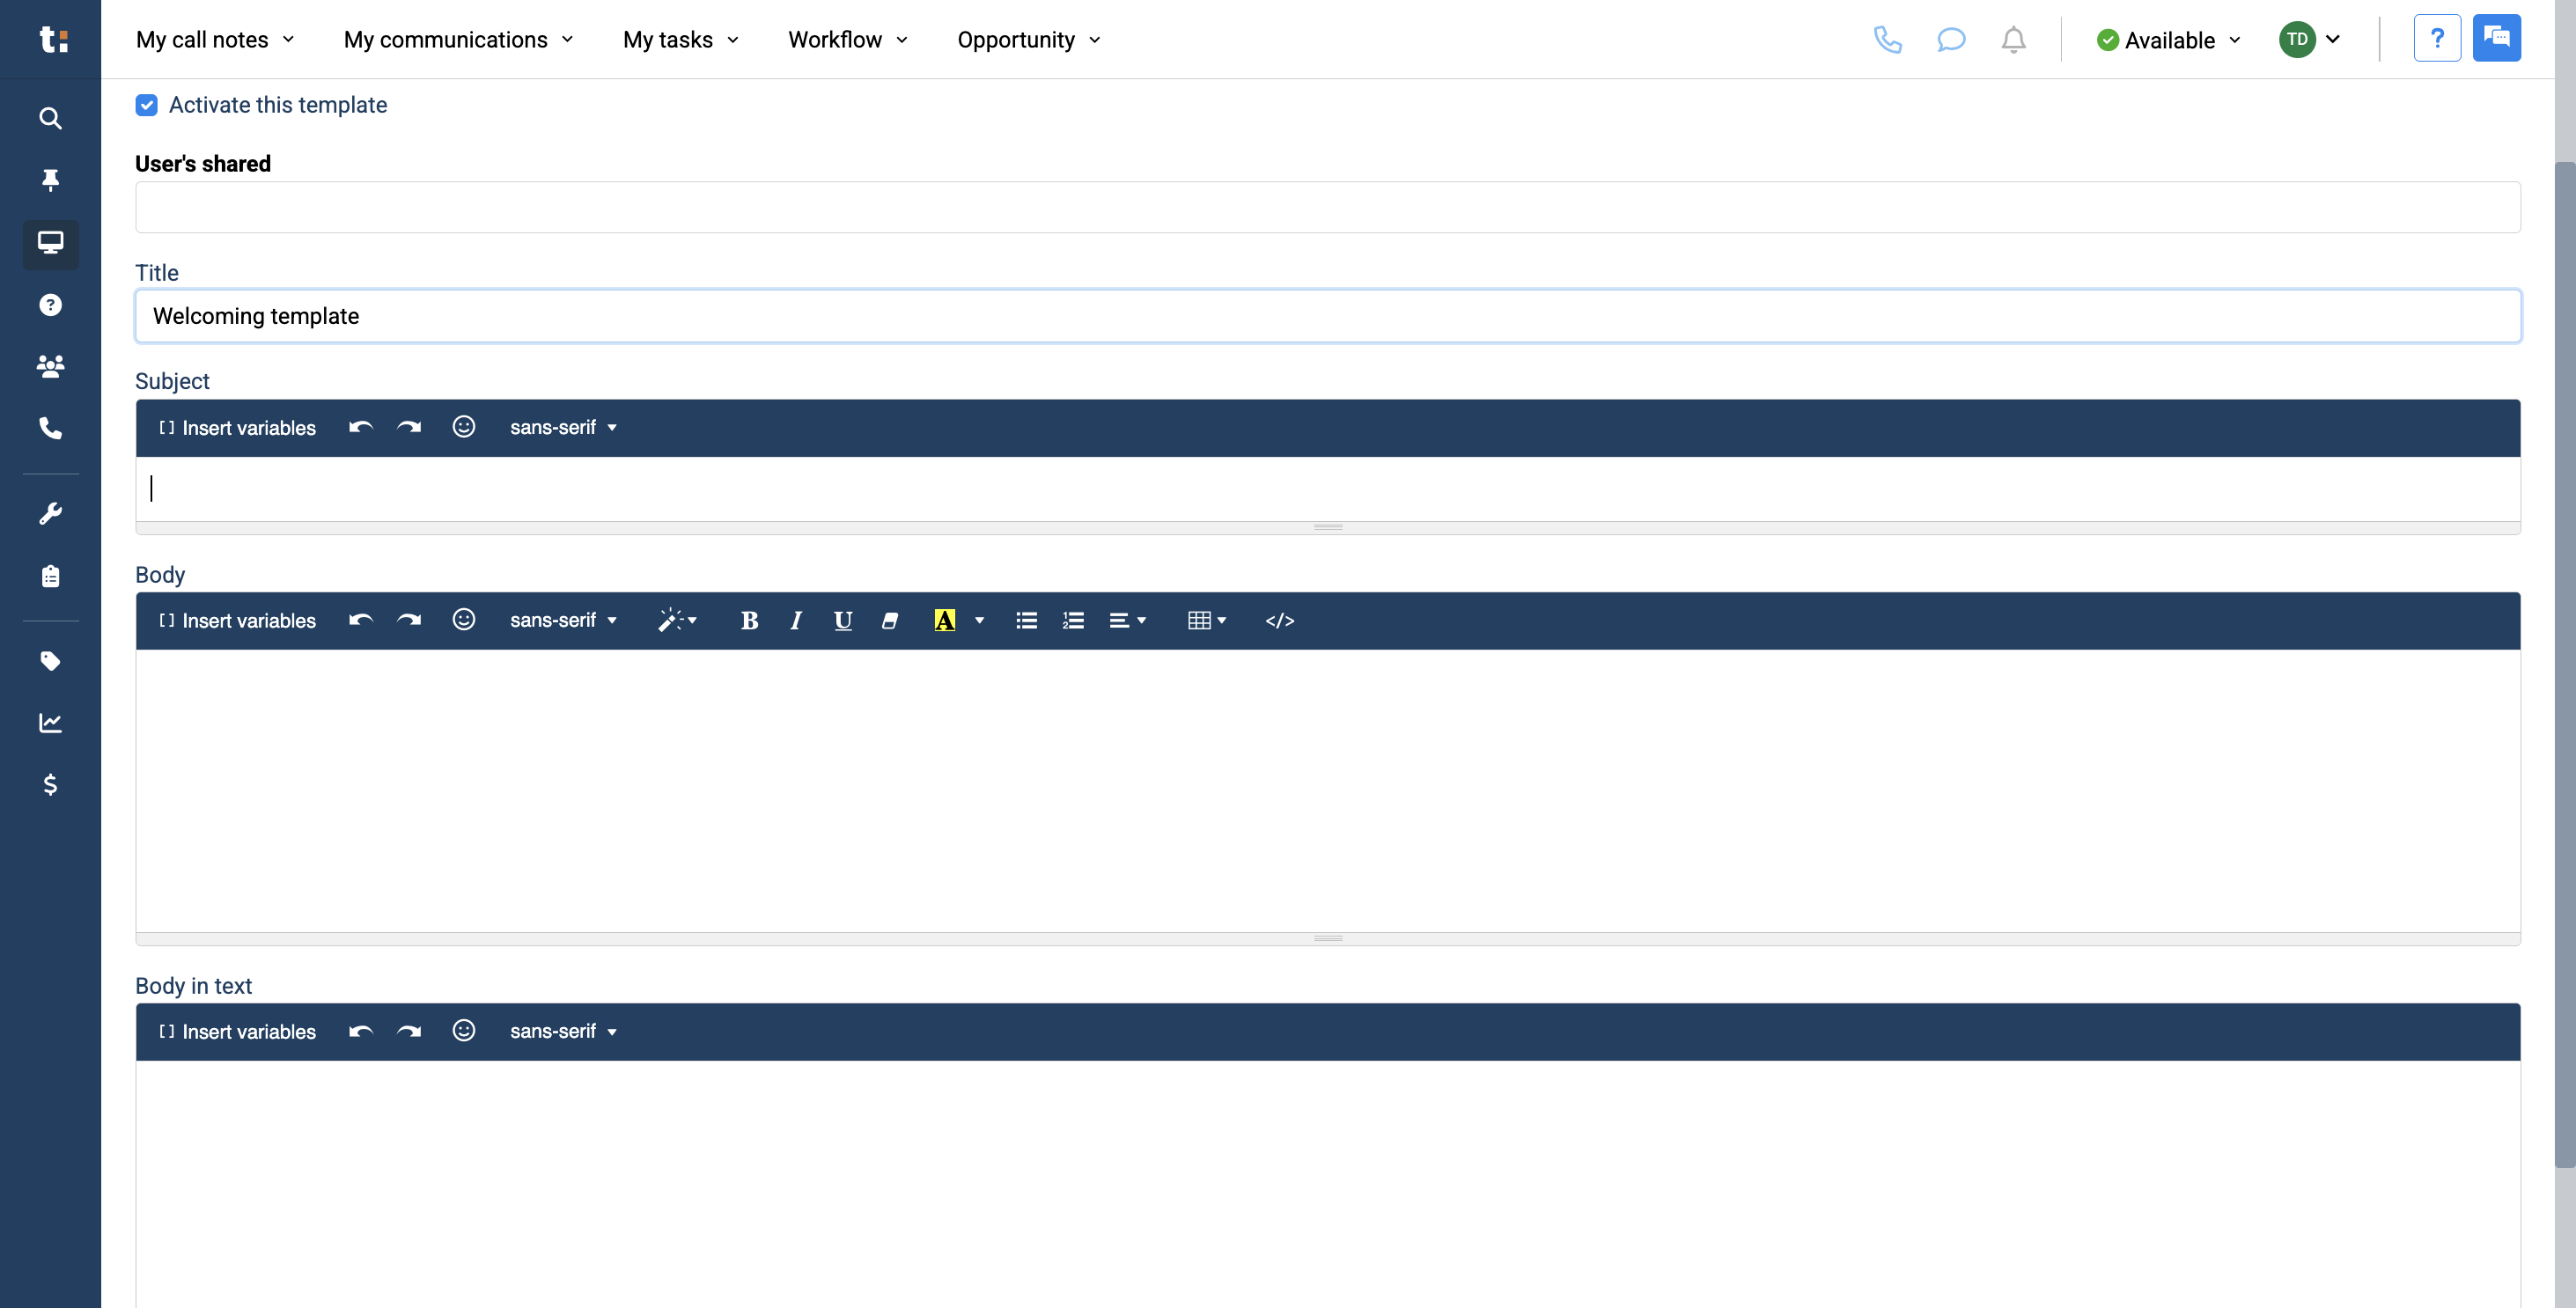
When you create a new template, be sure to click the "Activate This Template" button. Otherwise, you will not be able to use it.

5
Afterwards, you can add any users in the dealership who need access to this template. If you don't add users, the template will be used only by you.
6
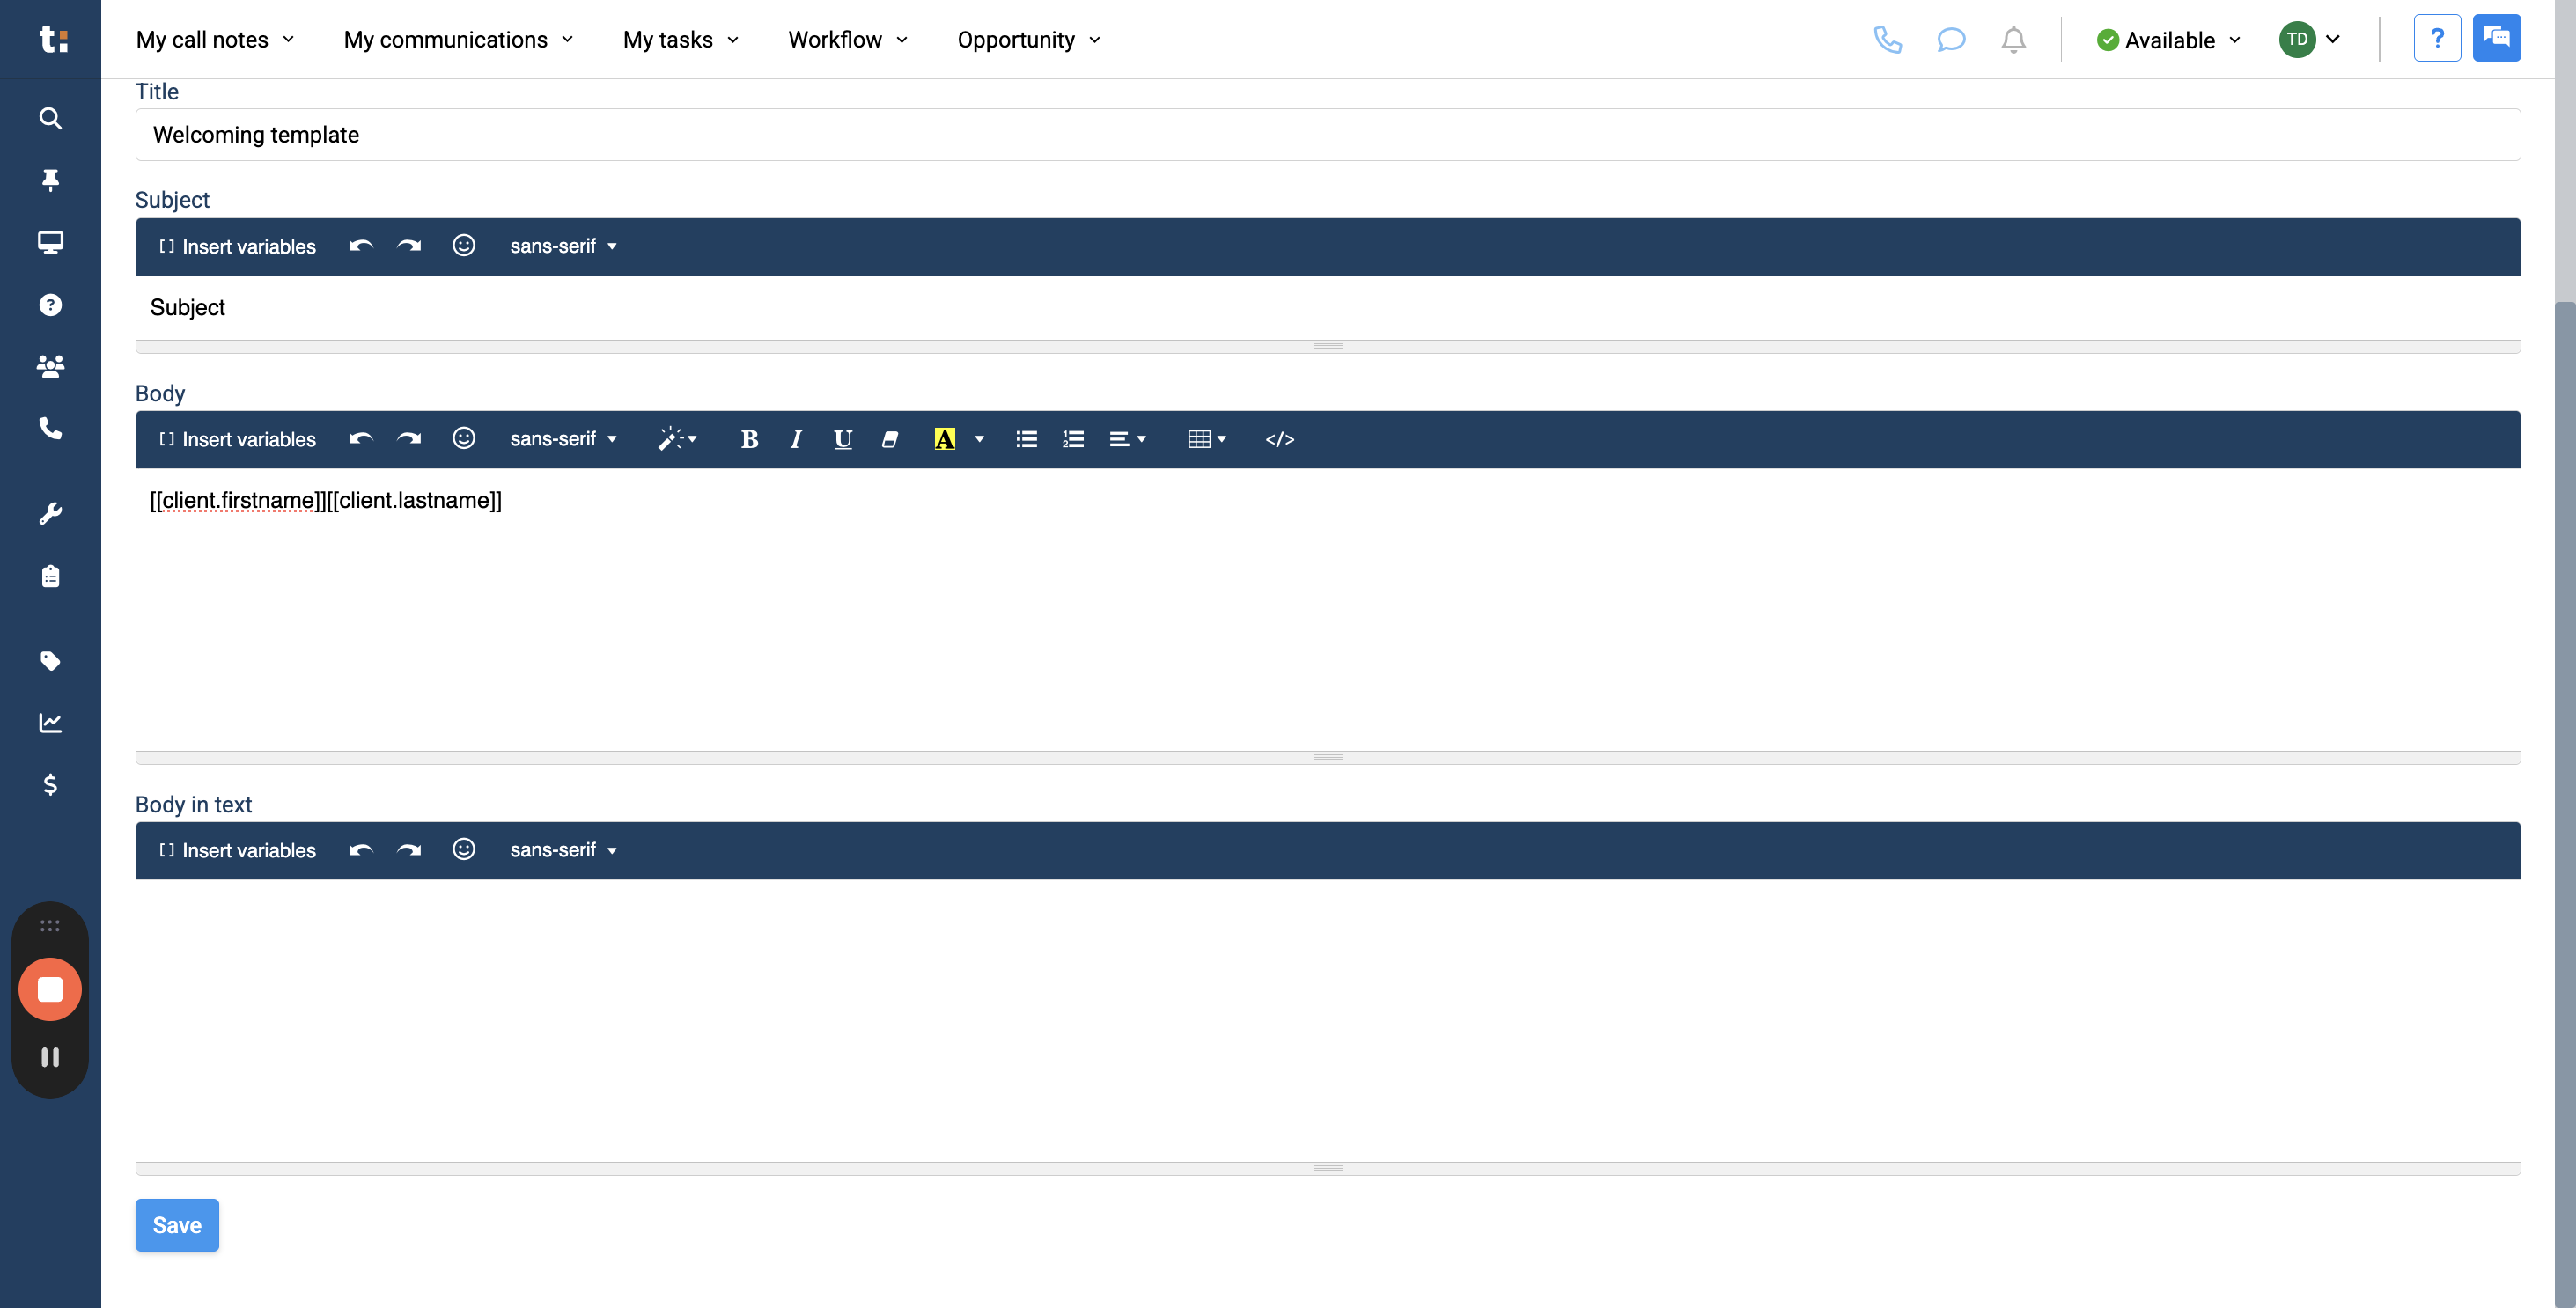
Name your template in the Title field. This title is only for internal use, the client will not be able to view it.

7
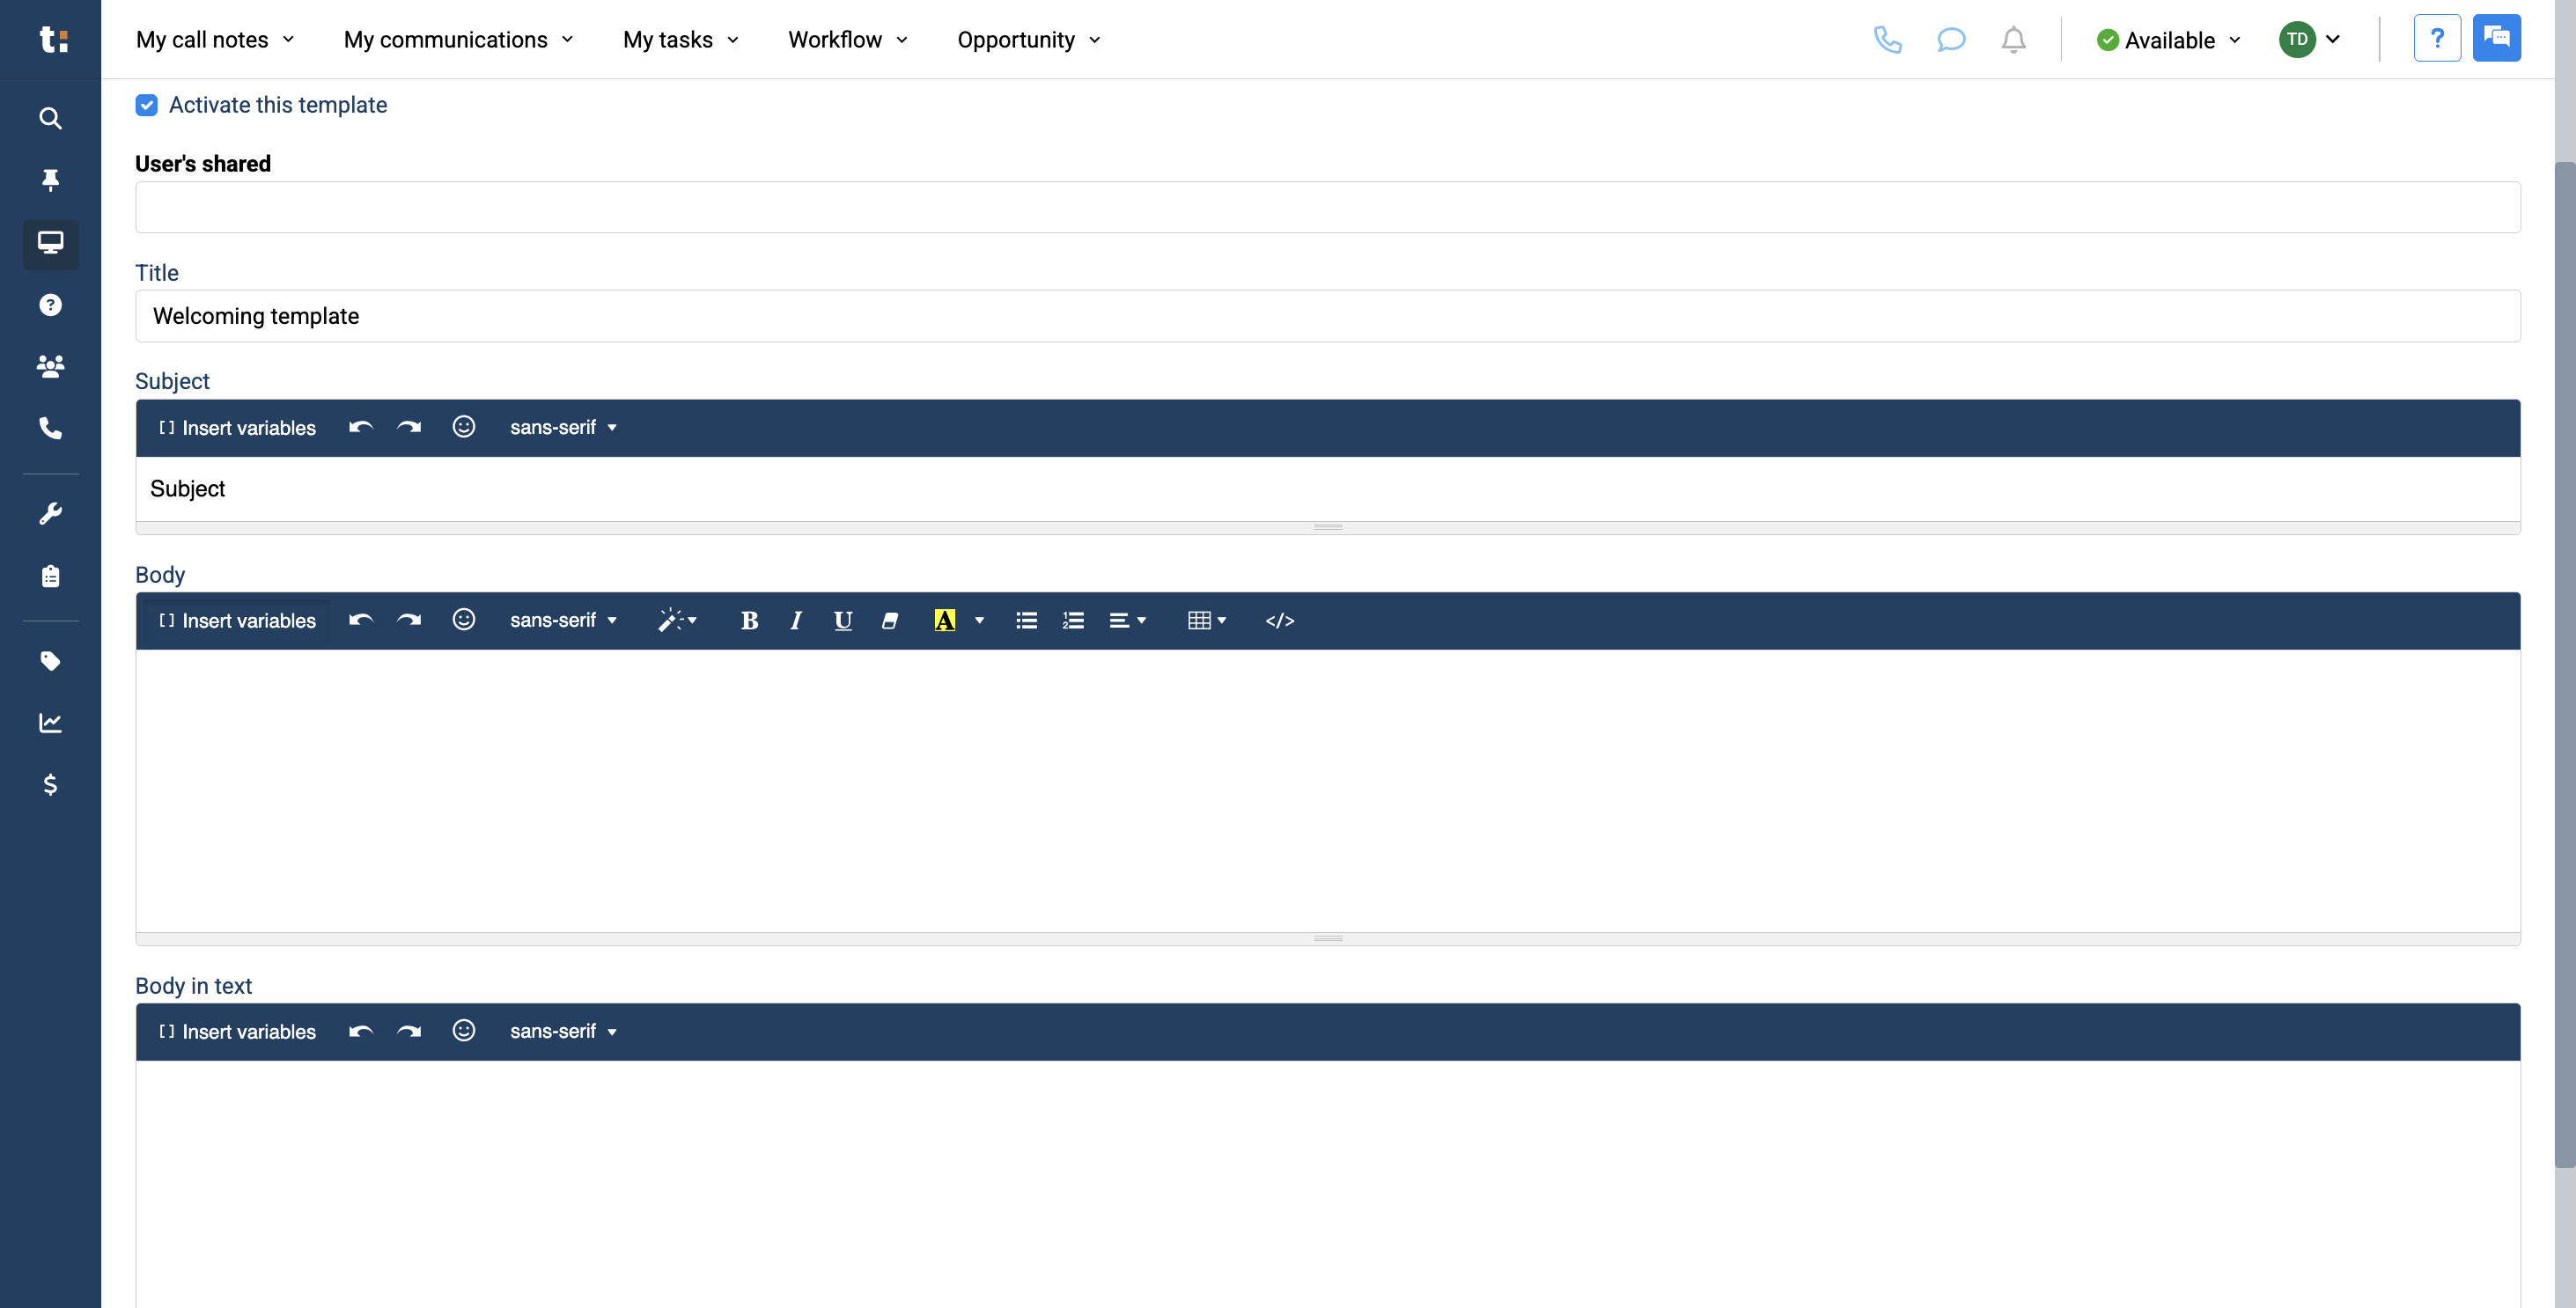
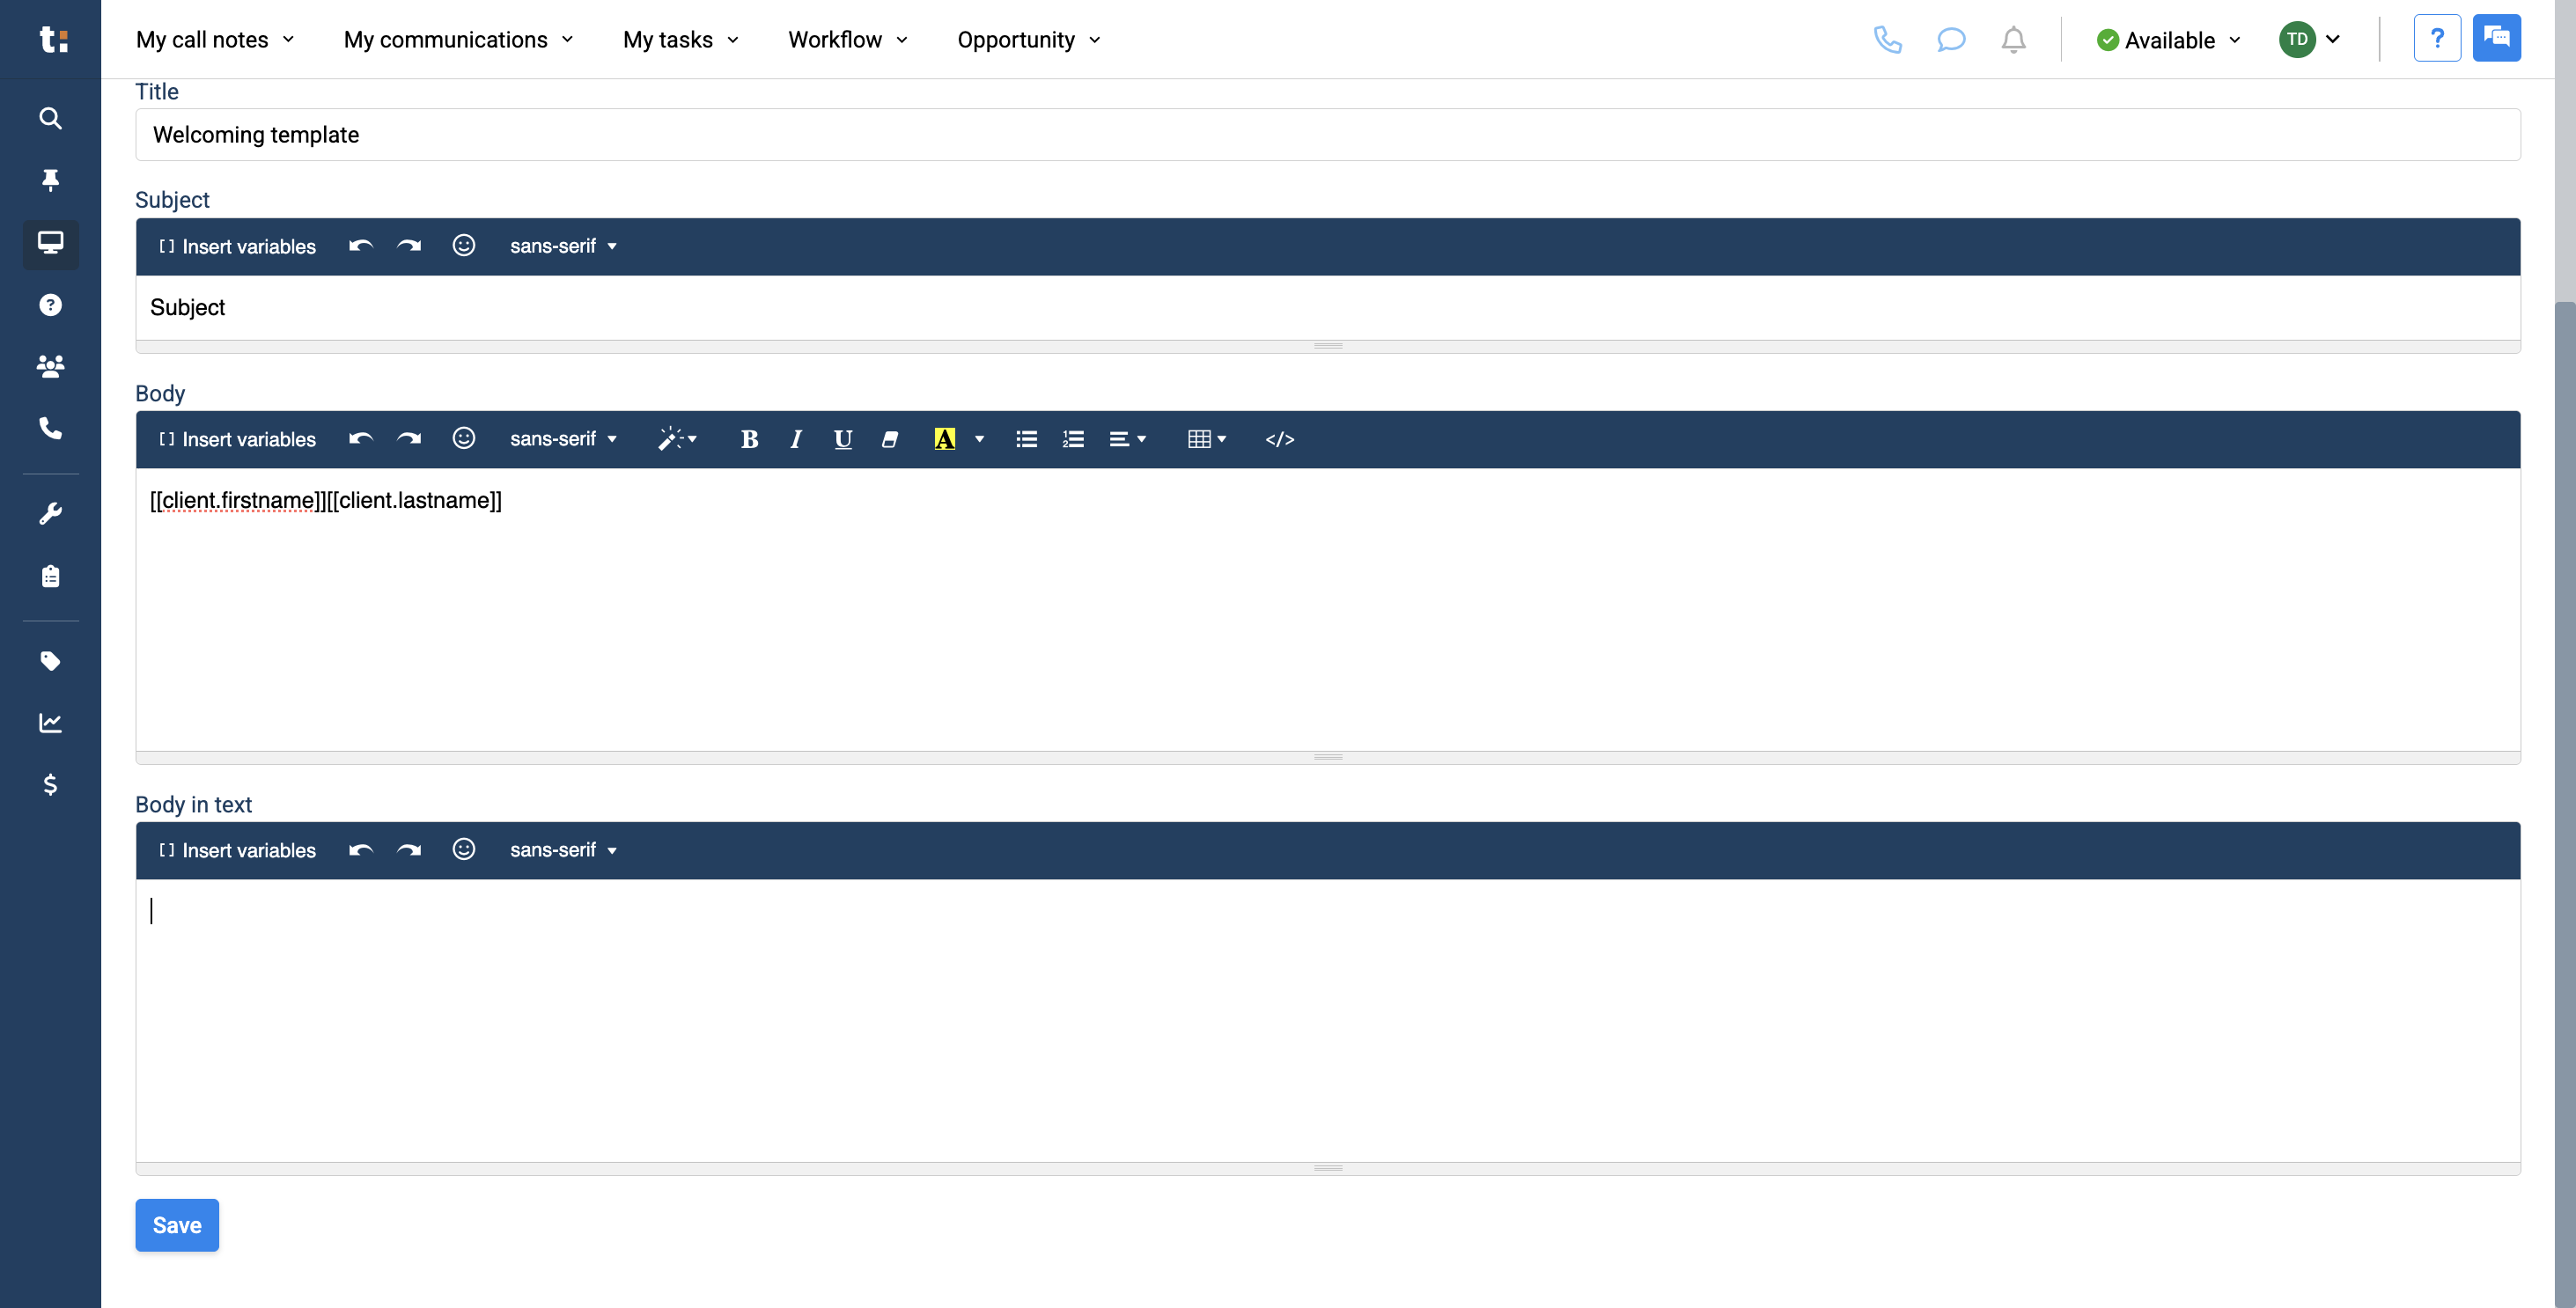
Next, you have the email section of the template. You can add a subject in the subject line.
8
Just below that, you'll find the body of the email where you can write your message.

9
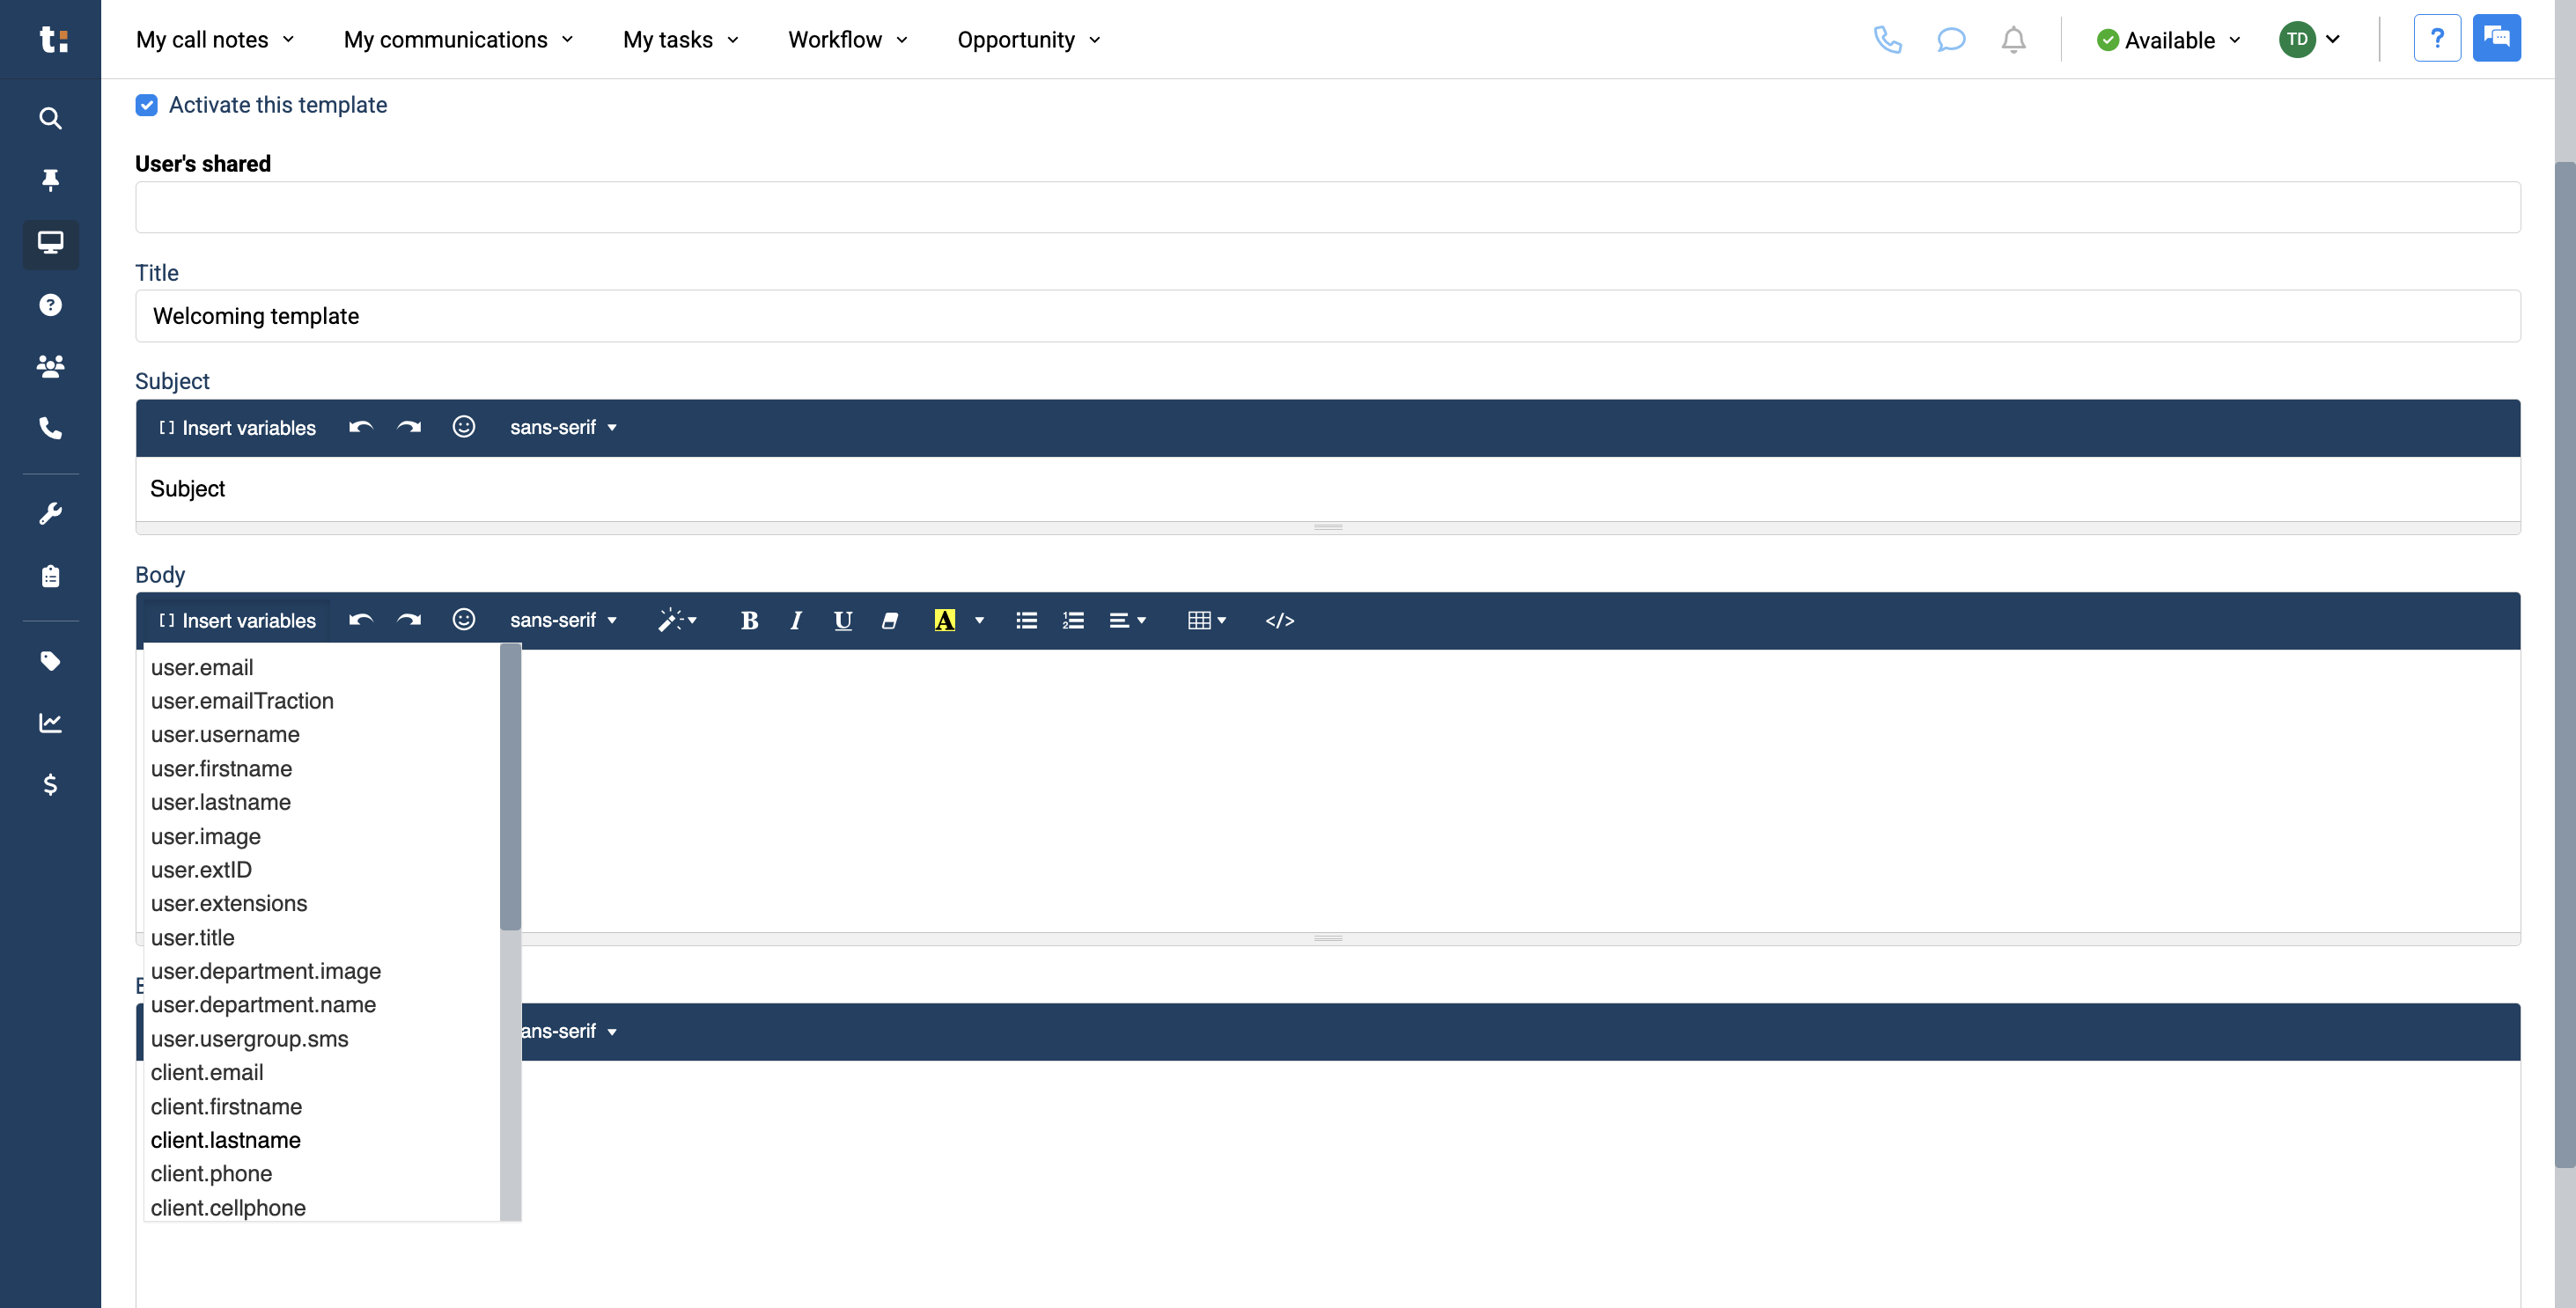
In the body, you will see an Insert Variable section. Here, you can insert any type of variable to automatically enter the required information. For example, you can enter the clients first name and last name.
10
This will automatically enter your client's first and last name, so you don't need to type anything or do any research. Afterward, if you wish, you can modify and edit your text using the available tools, such as changing the font.
11
Underneath is the body in text.
12
This will be sent via SMS. This message can be shortened to be more concise than your email. You can insert variables, add emojis, and change the font as you like. After creating your template, click the Save button.
13
Afterward, you will see the template you created in the list of templates.

14
To modify your template, click the pencil icon on the right.

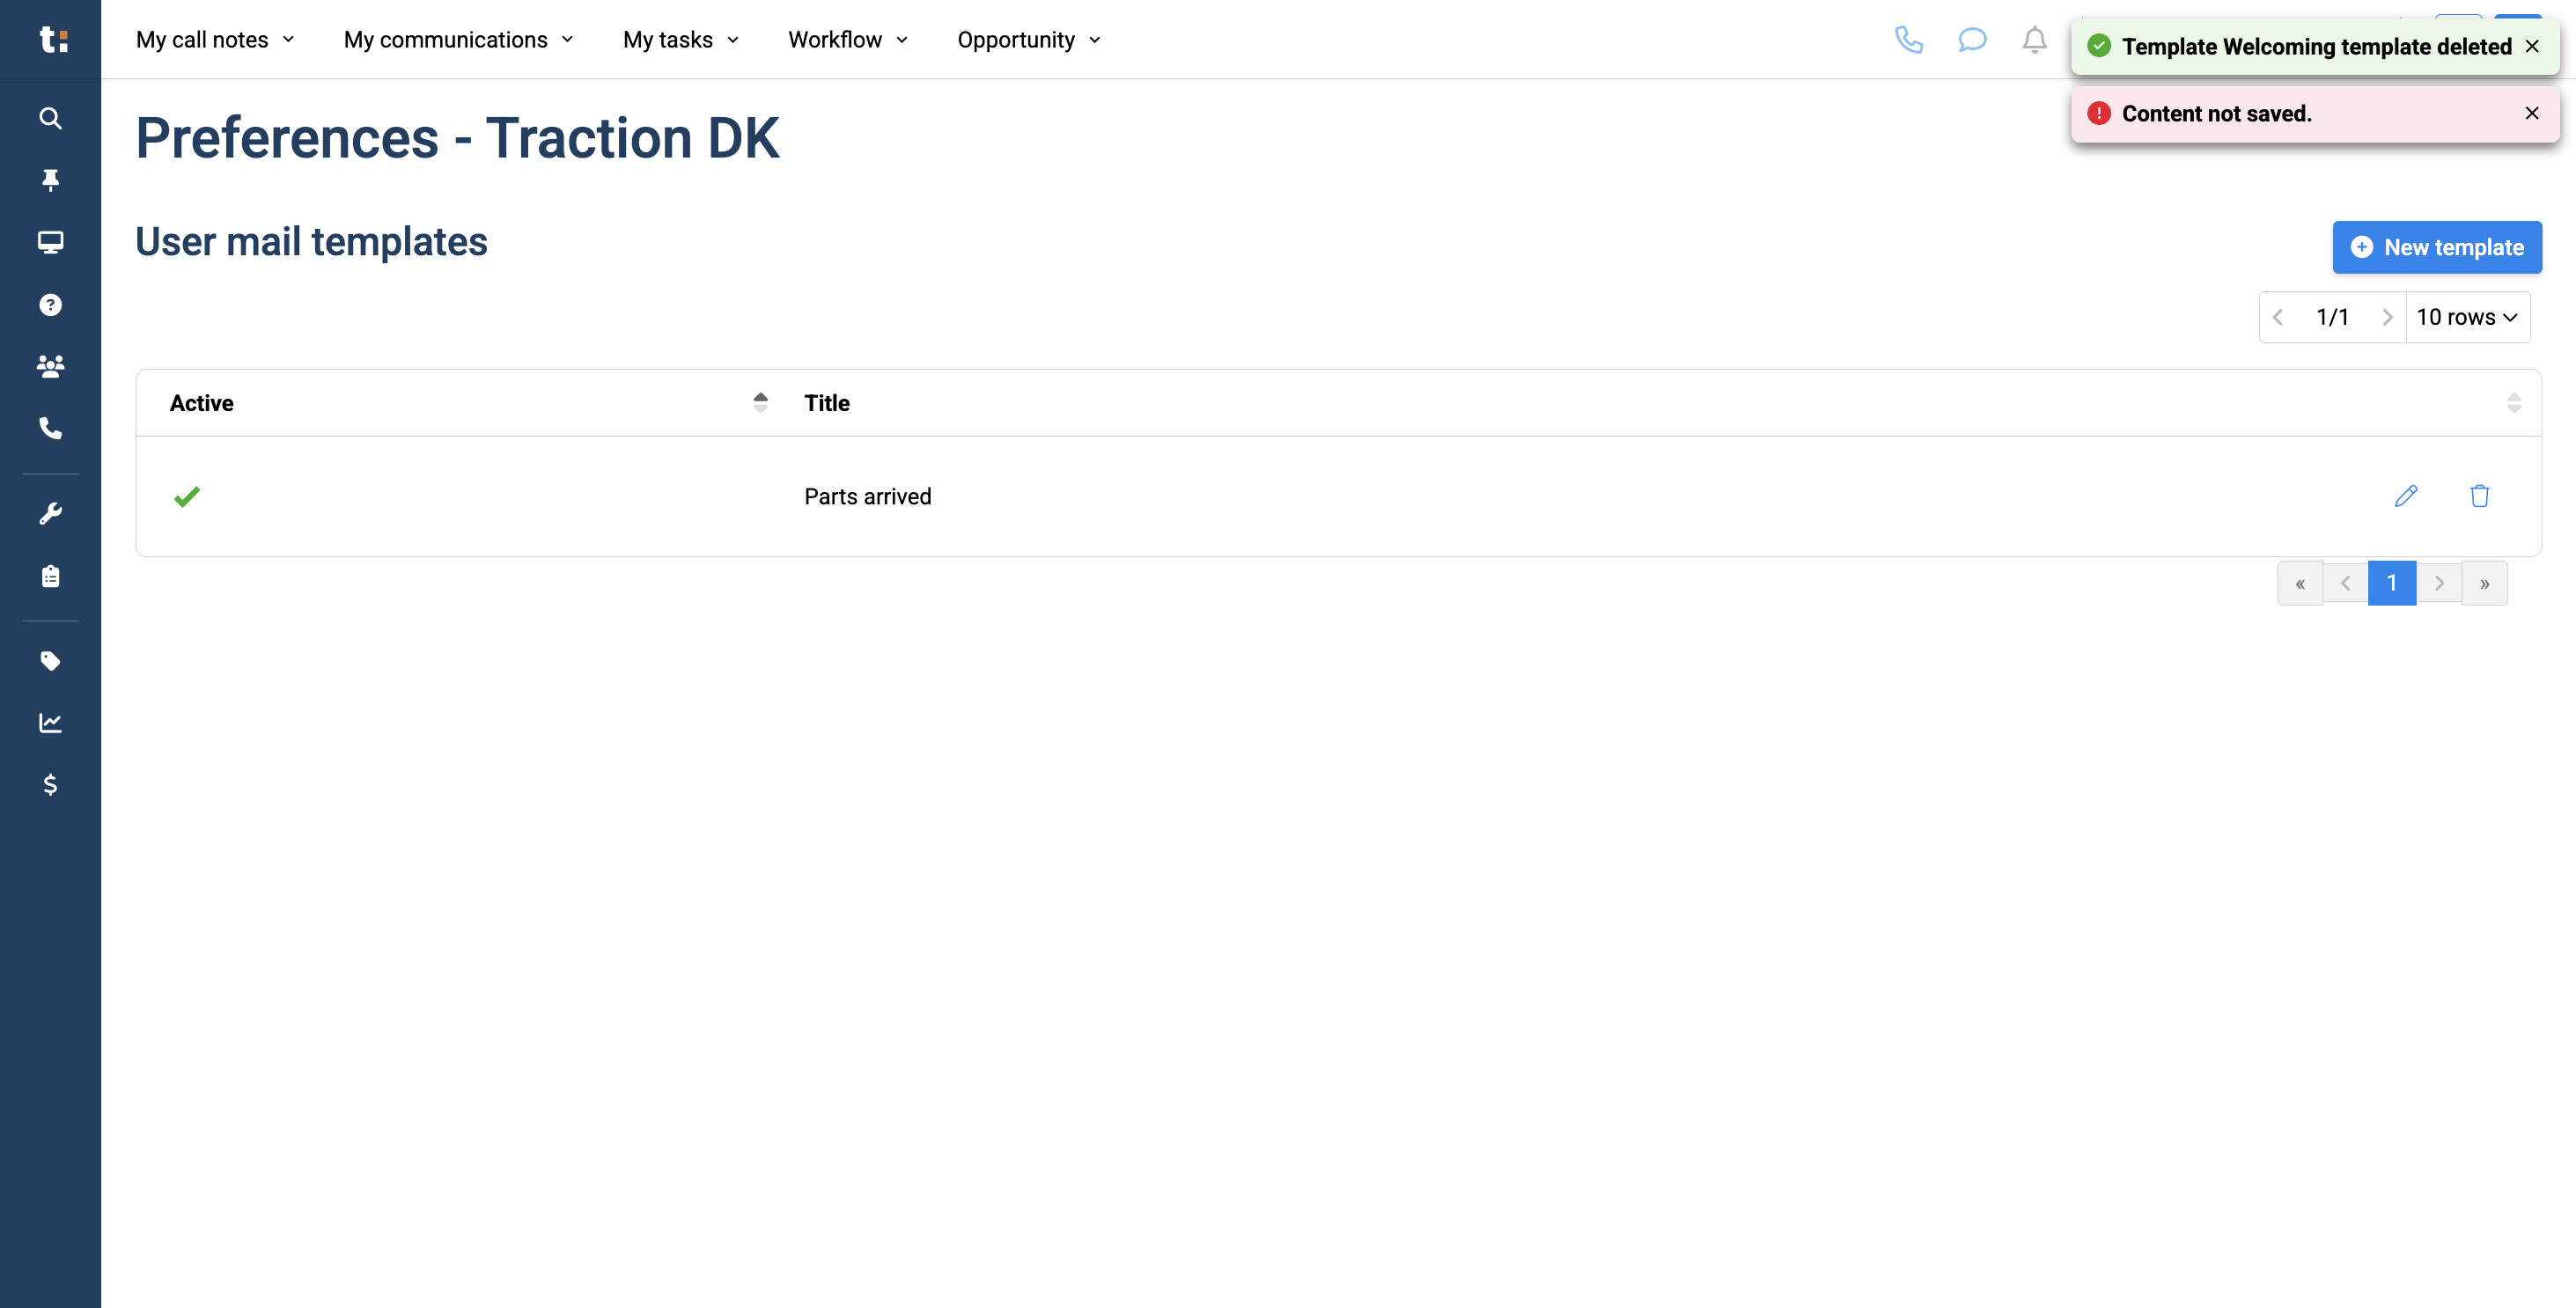
15
If you want to delete it, click the trash can icon on the right.
16
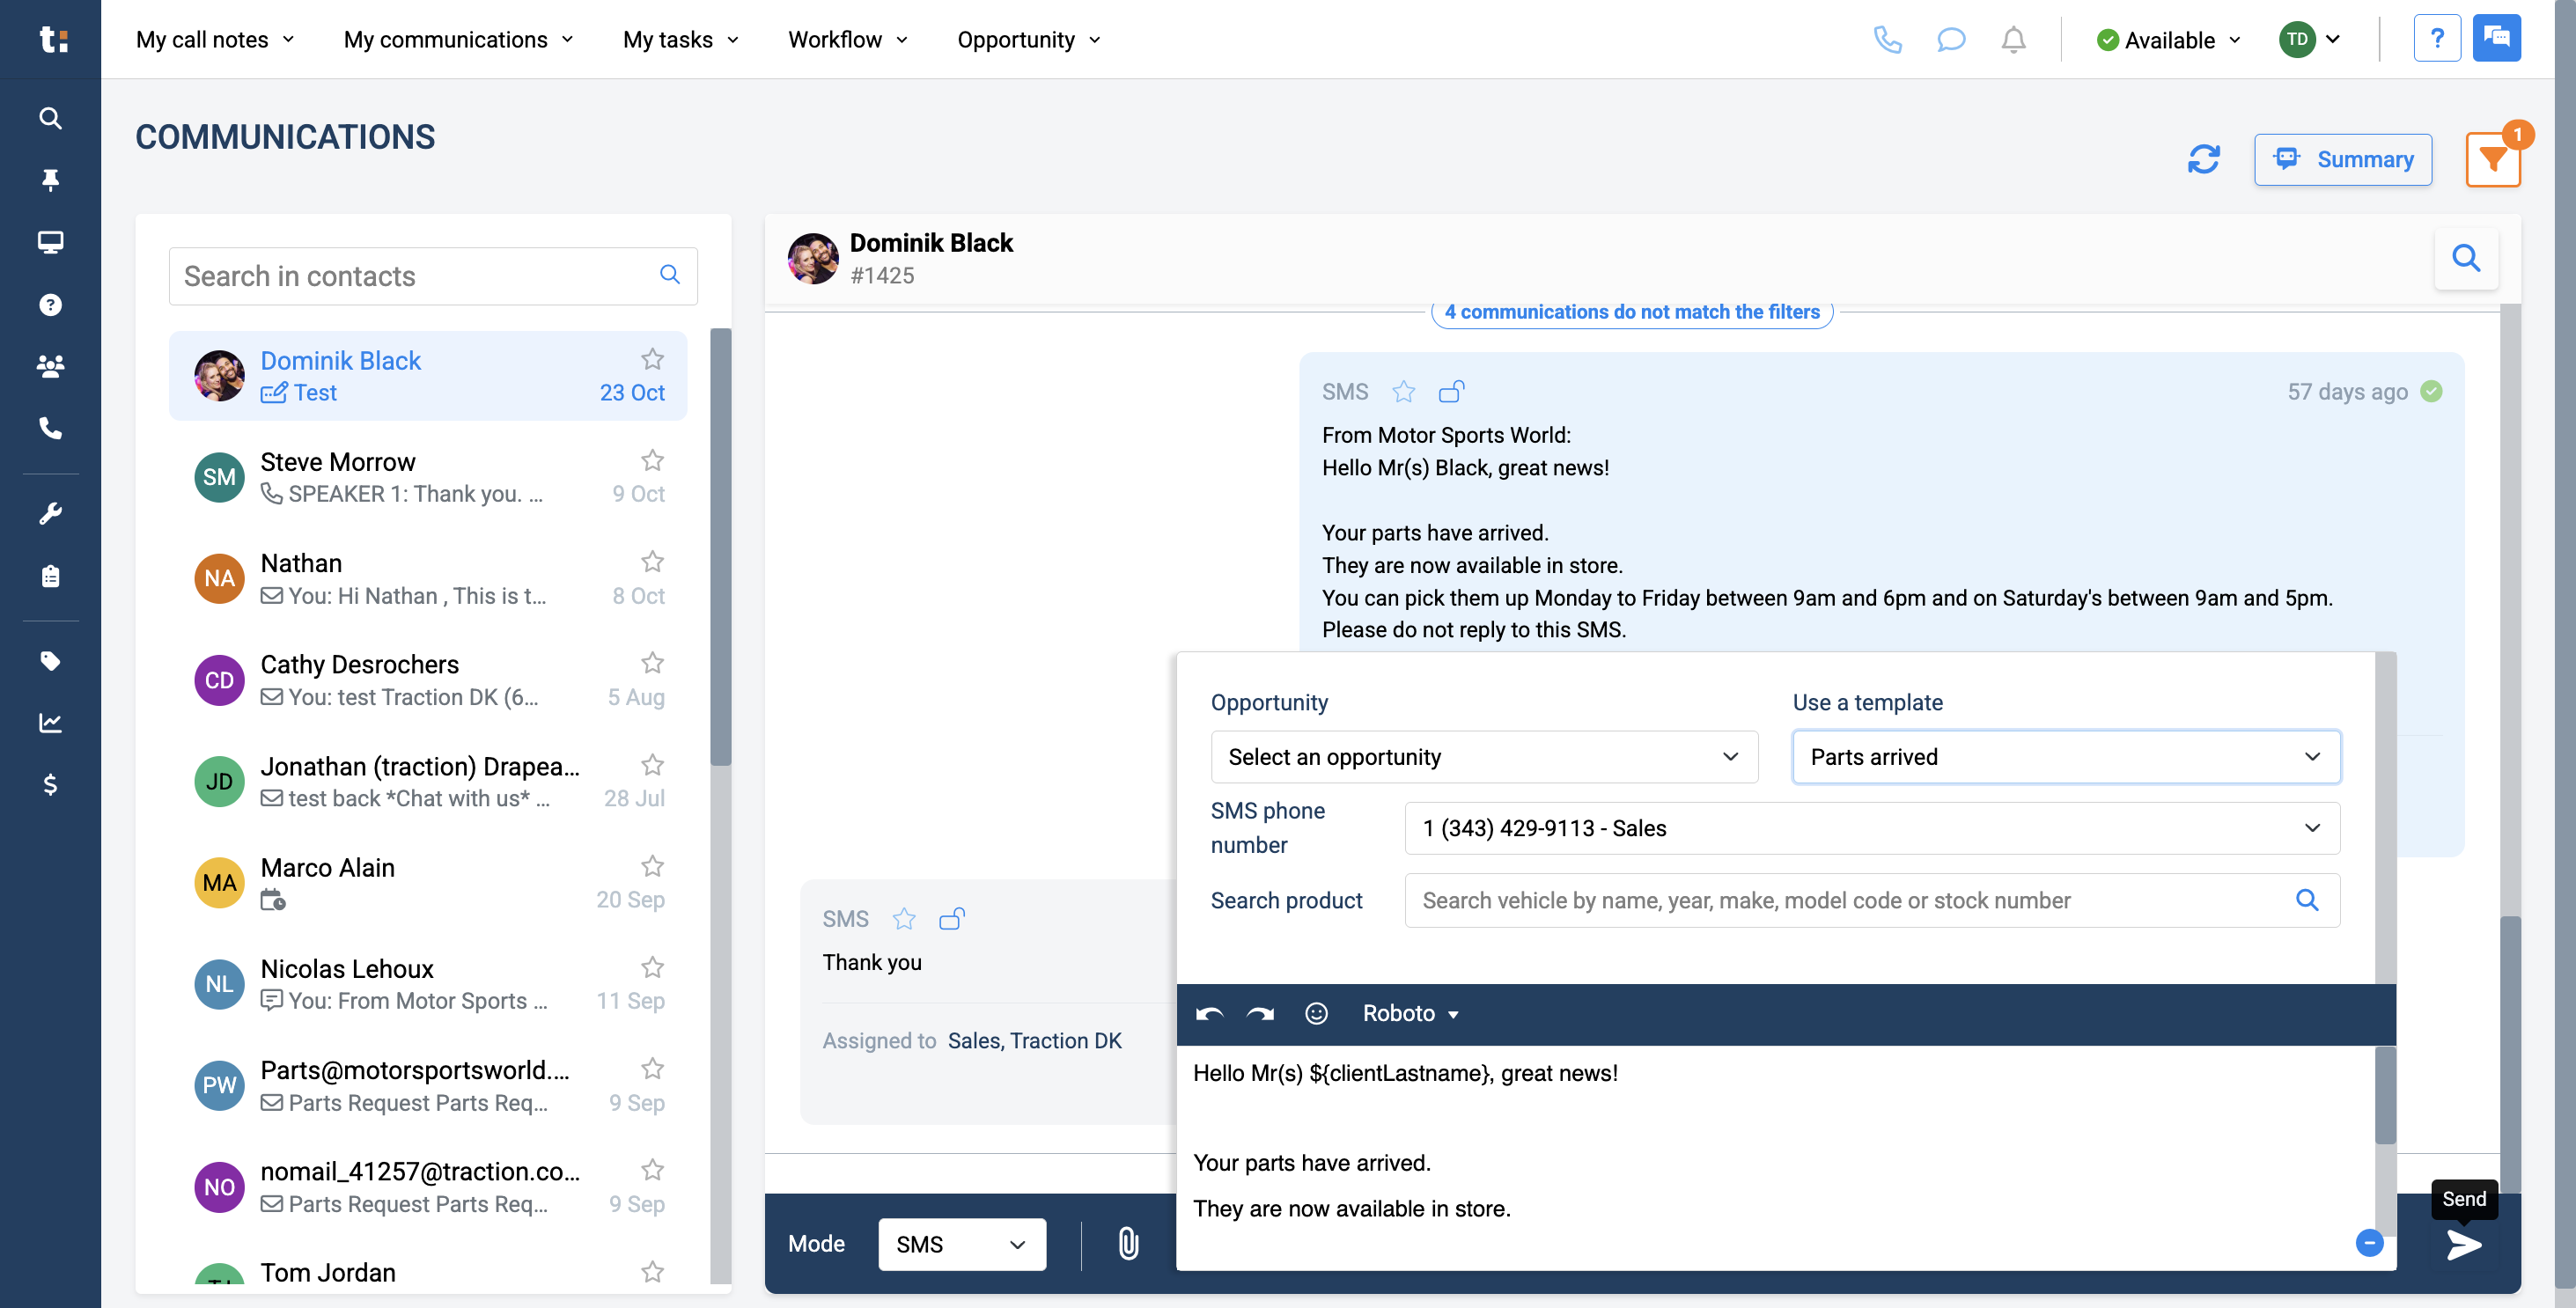
When finished, go to Your Communications.....
17
and click the blue plus button to expand your Advanced Send.
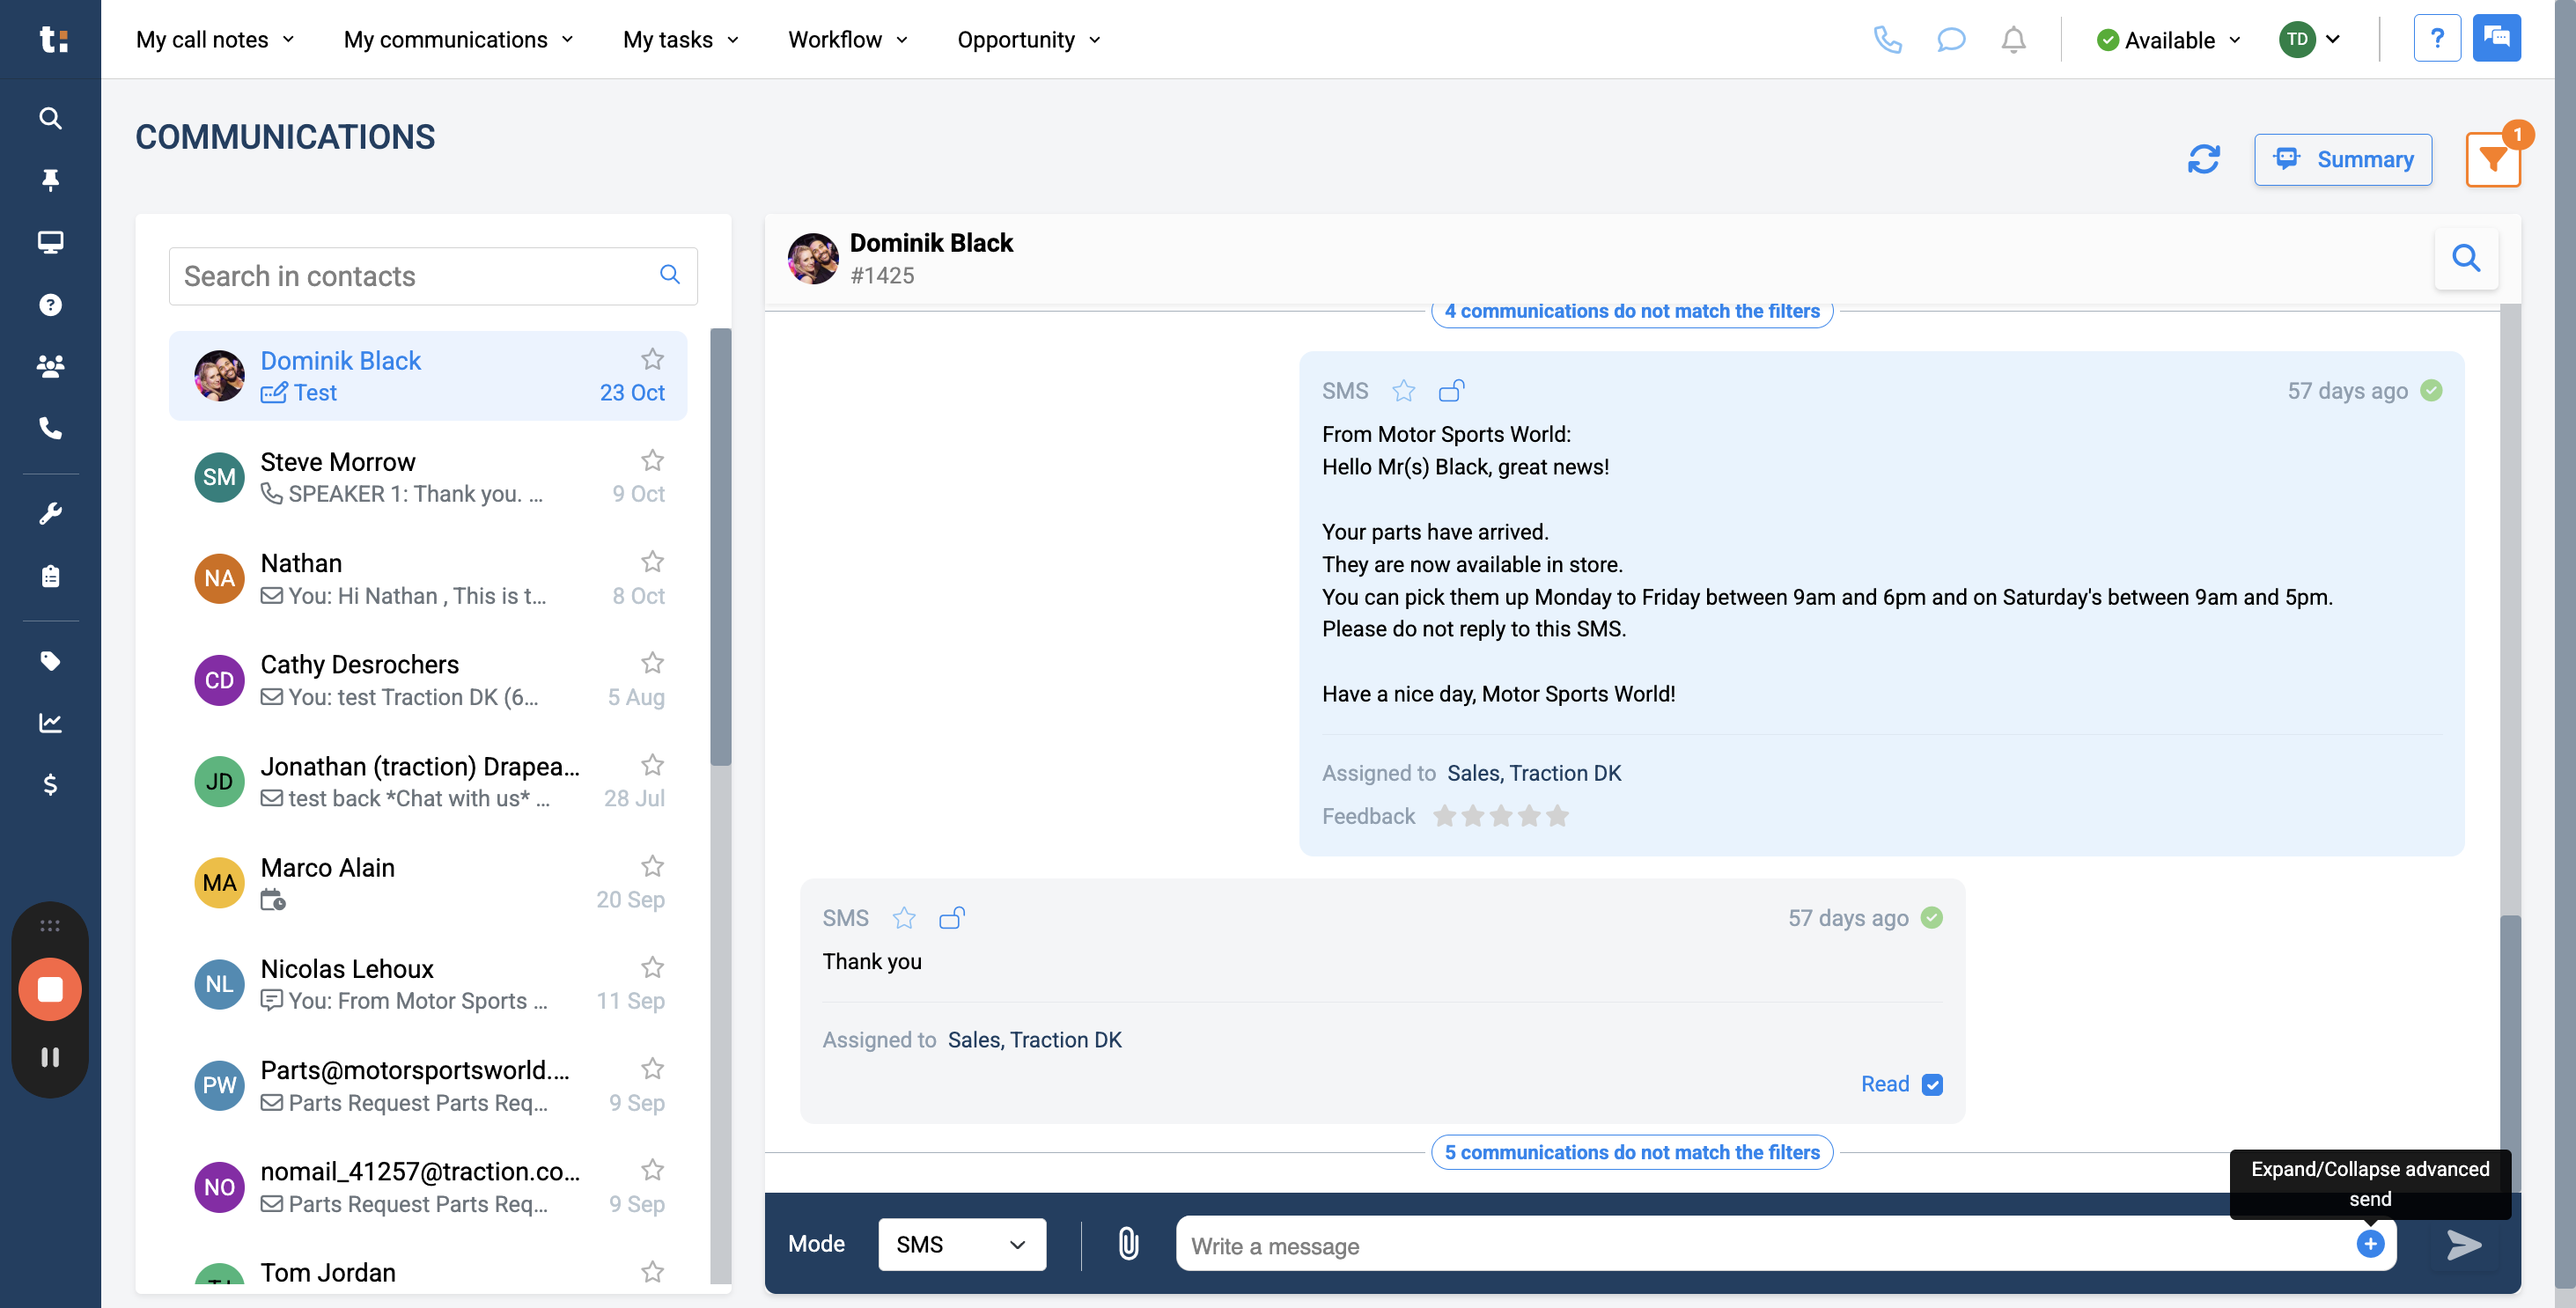
18
In this section, it says, "Use a template." Here, you can select the template you just created and send your message with one click.

19
After selecting your template, click Send to send your message.
If you still have questions after consulting this article, please feel free to contact our support team at: support@tractiondk.zohodesk.com