
How to Create Categories in Outlook for Better Email Management
Learn how to create and manage categories in your Outlook inbox to improve your email organization and efficiency.
By Reese Gomez
In this guide, we'll learn how to create categories in your Outlook inbox for better email management. Categorizing emails helps you prioritize and organize your messages efficiently. We'll walk through the steps to set up a new category, assign a name and color, and apply it to your emails.
Let's get started
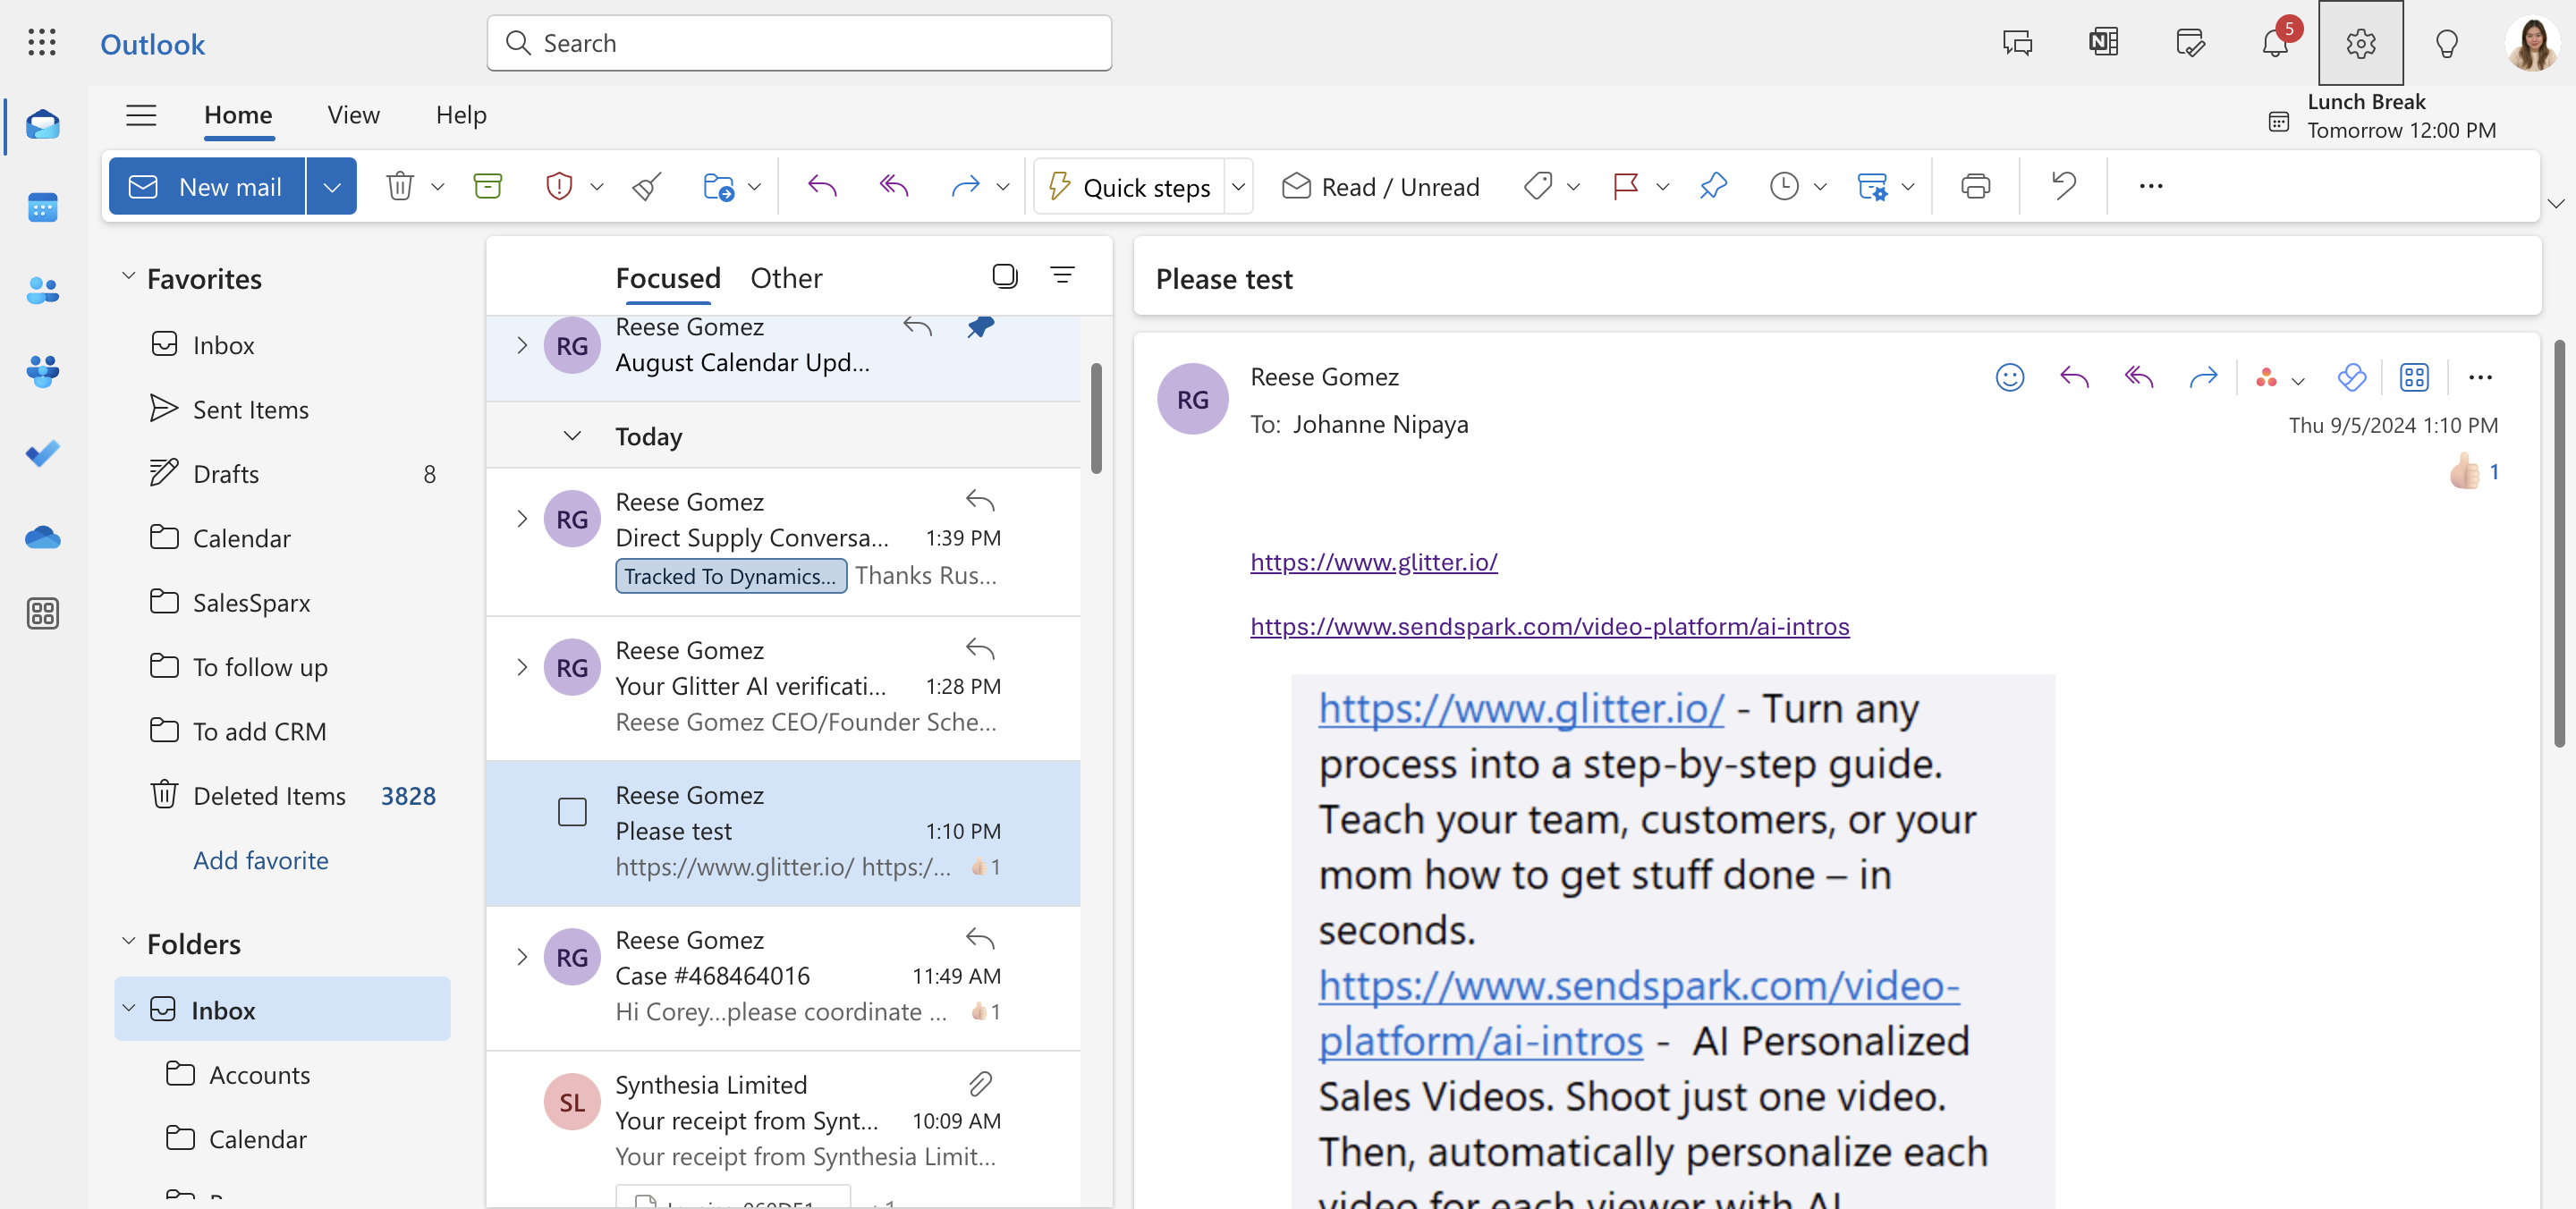
Hi, today I'll show you how to create categories in your Outlook inbox for better email management.
1
Go to Mail - Outlook
2
Click the gear icon on the upper right corner to display the Settings menu.
3
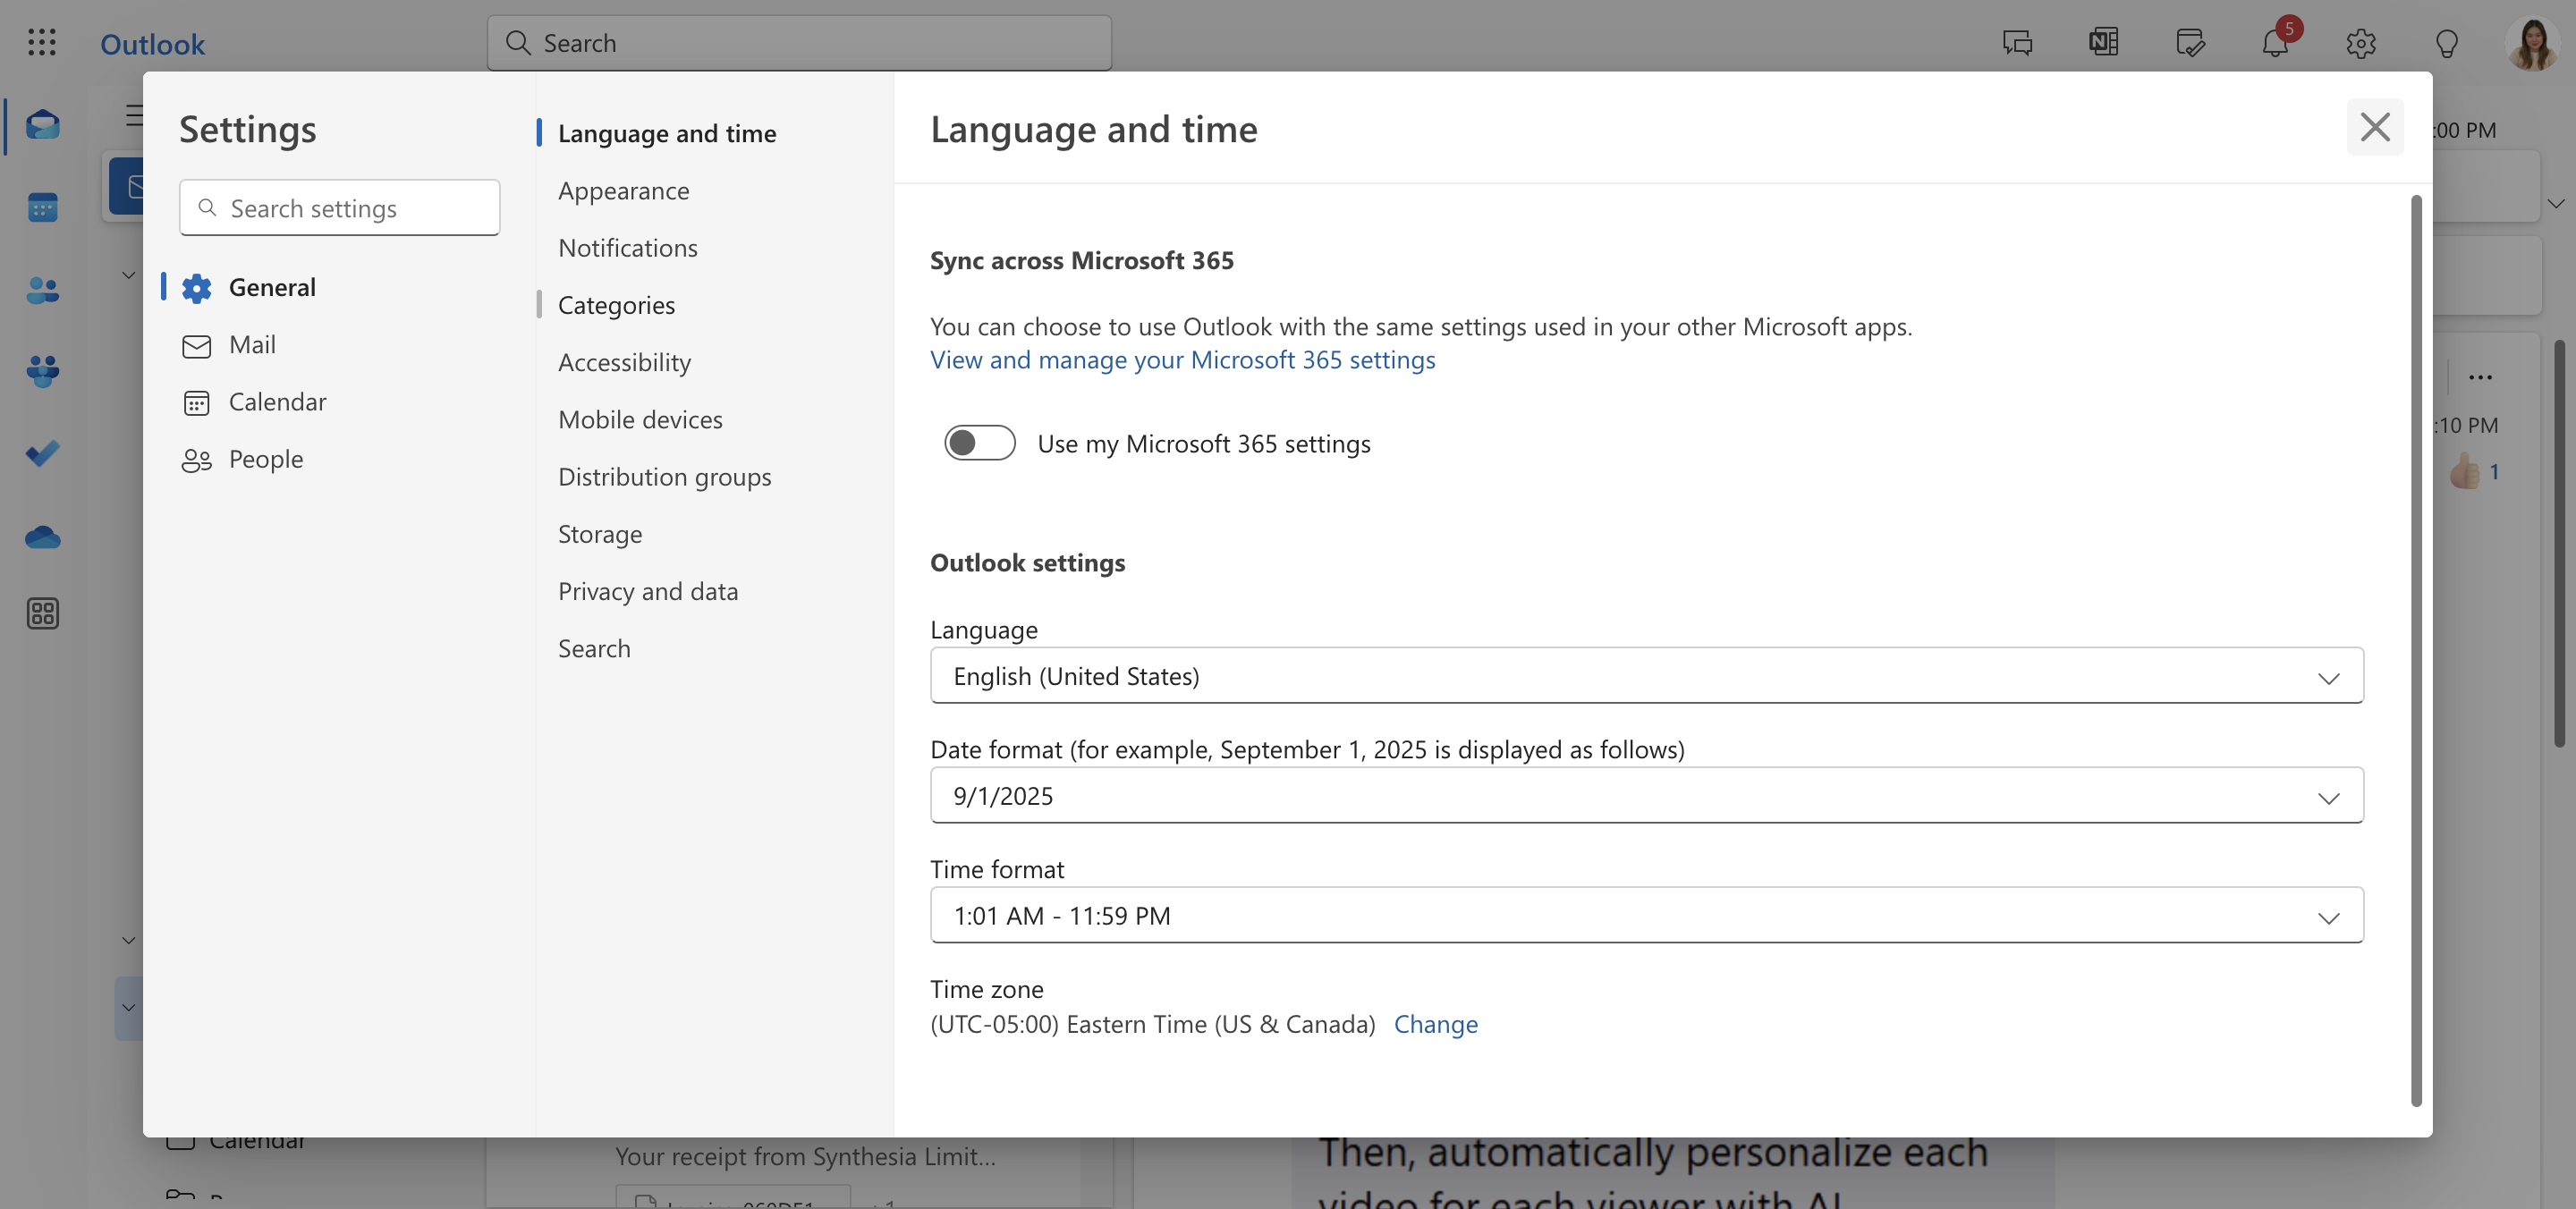
Click on "General"

4
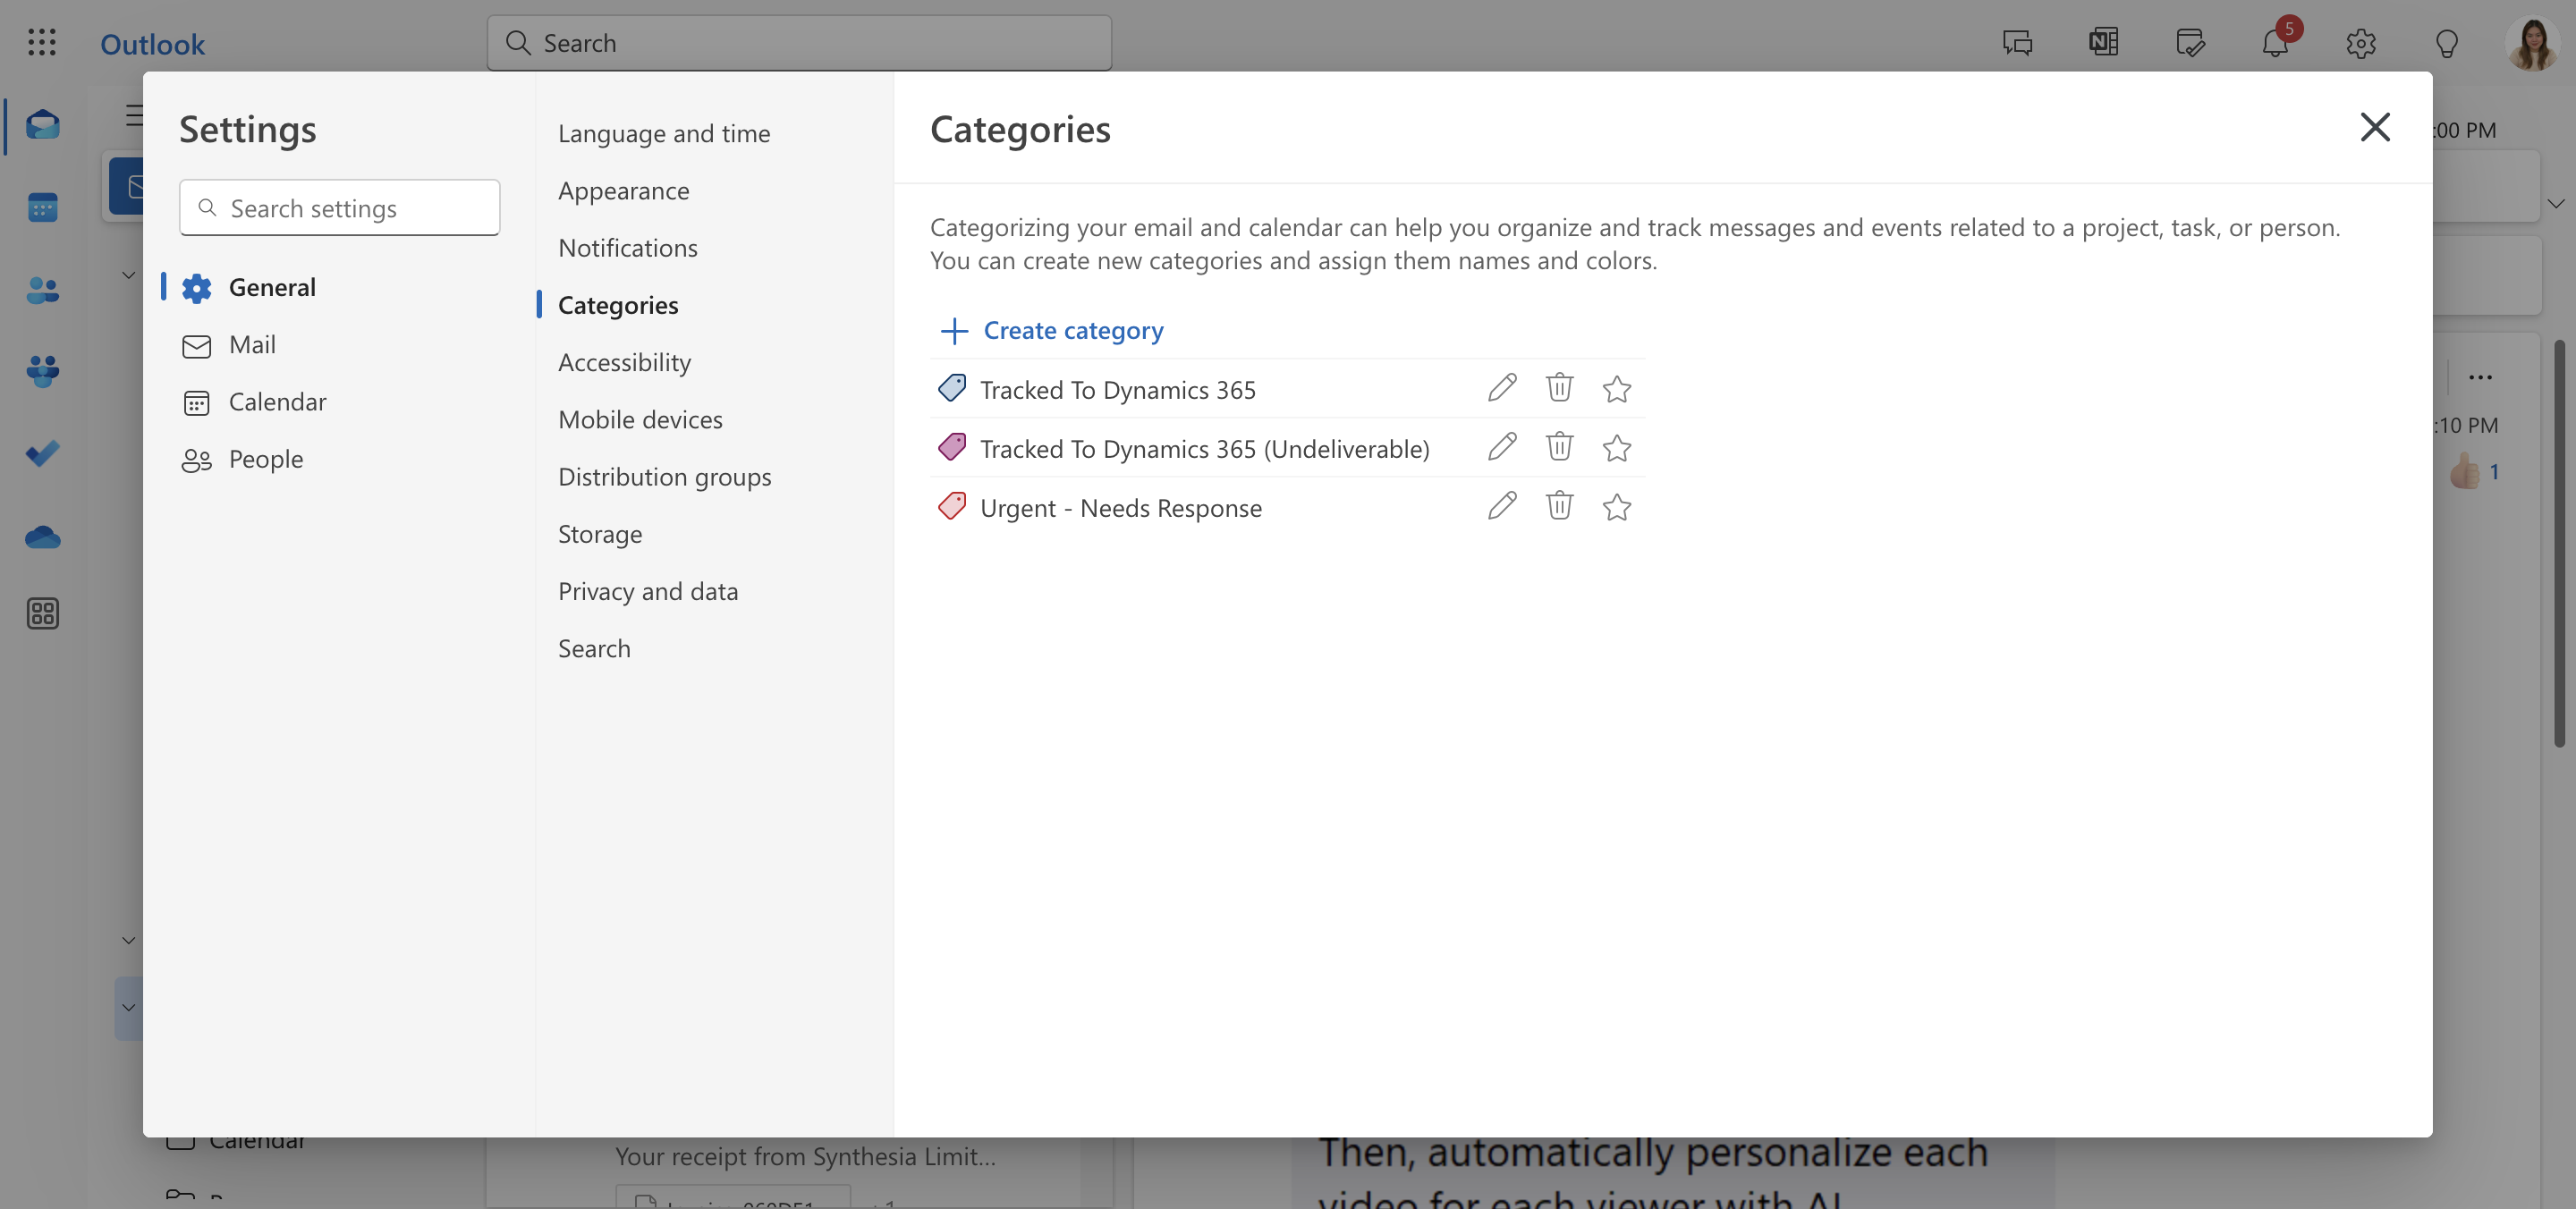
Choose "Categories"
5
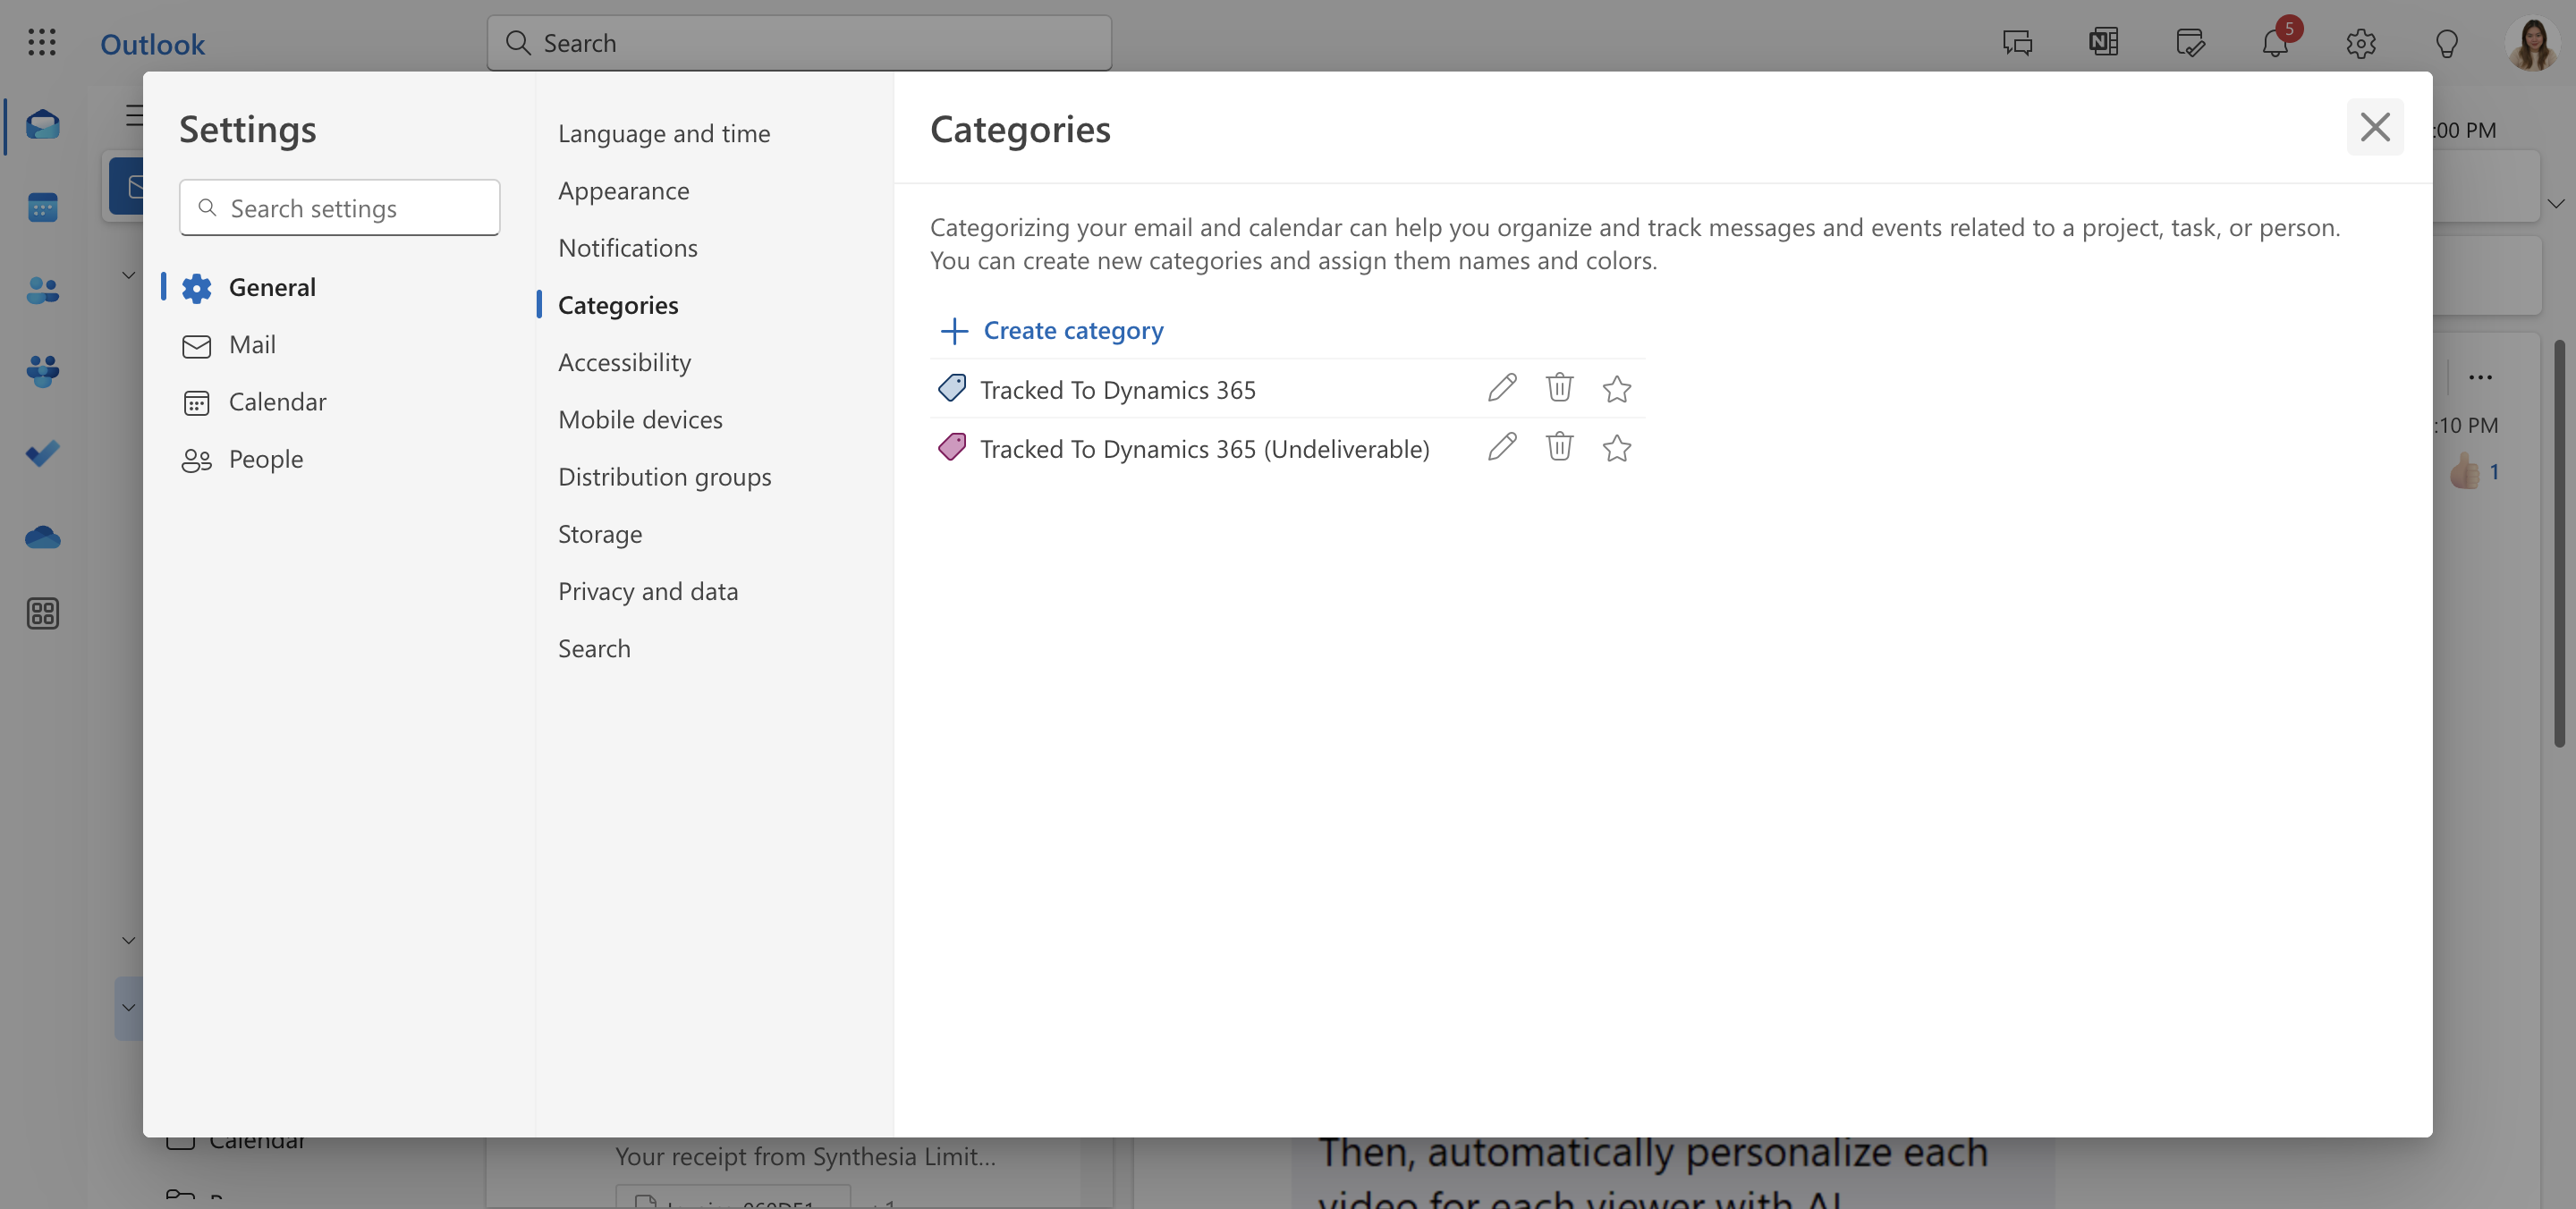
Click on "+ Create category"
6
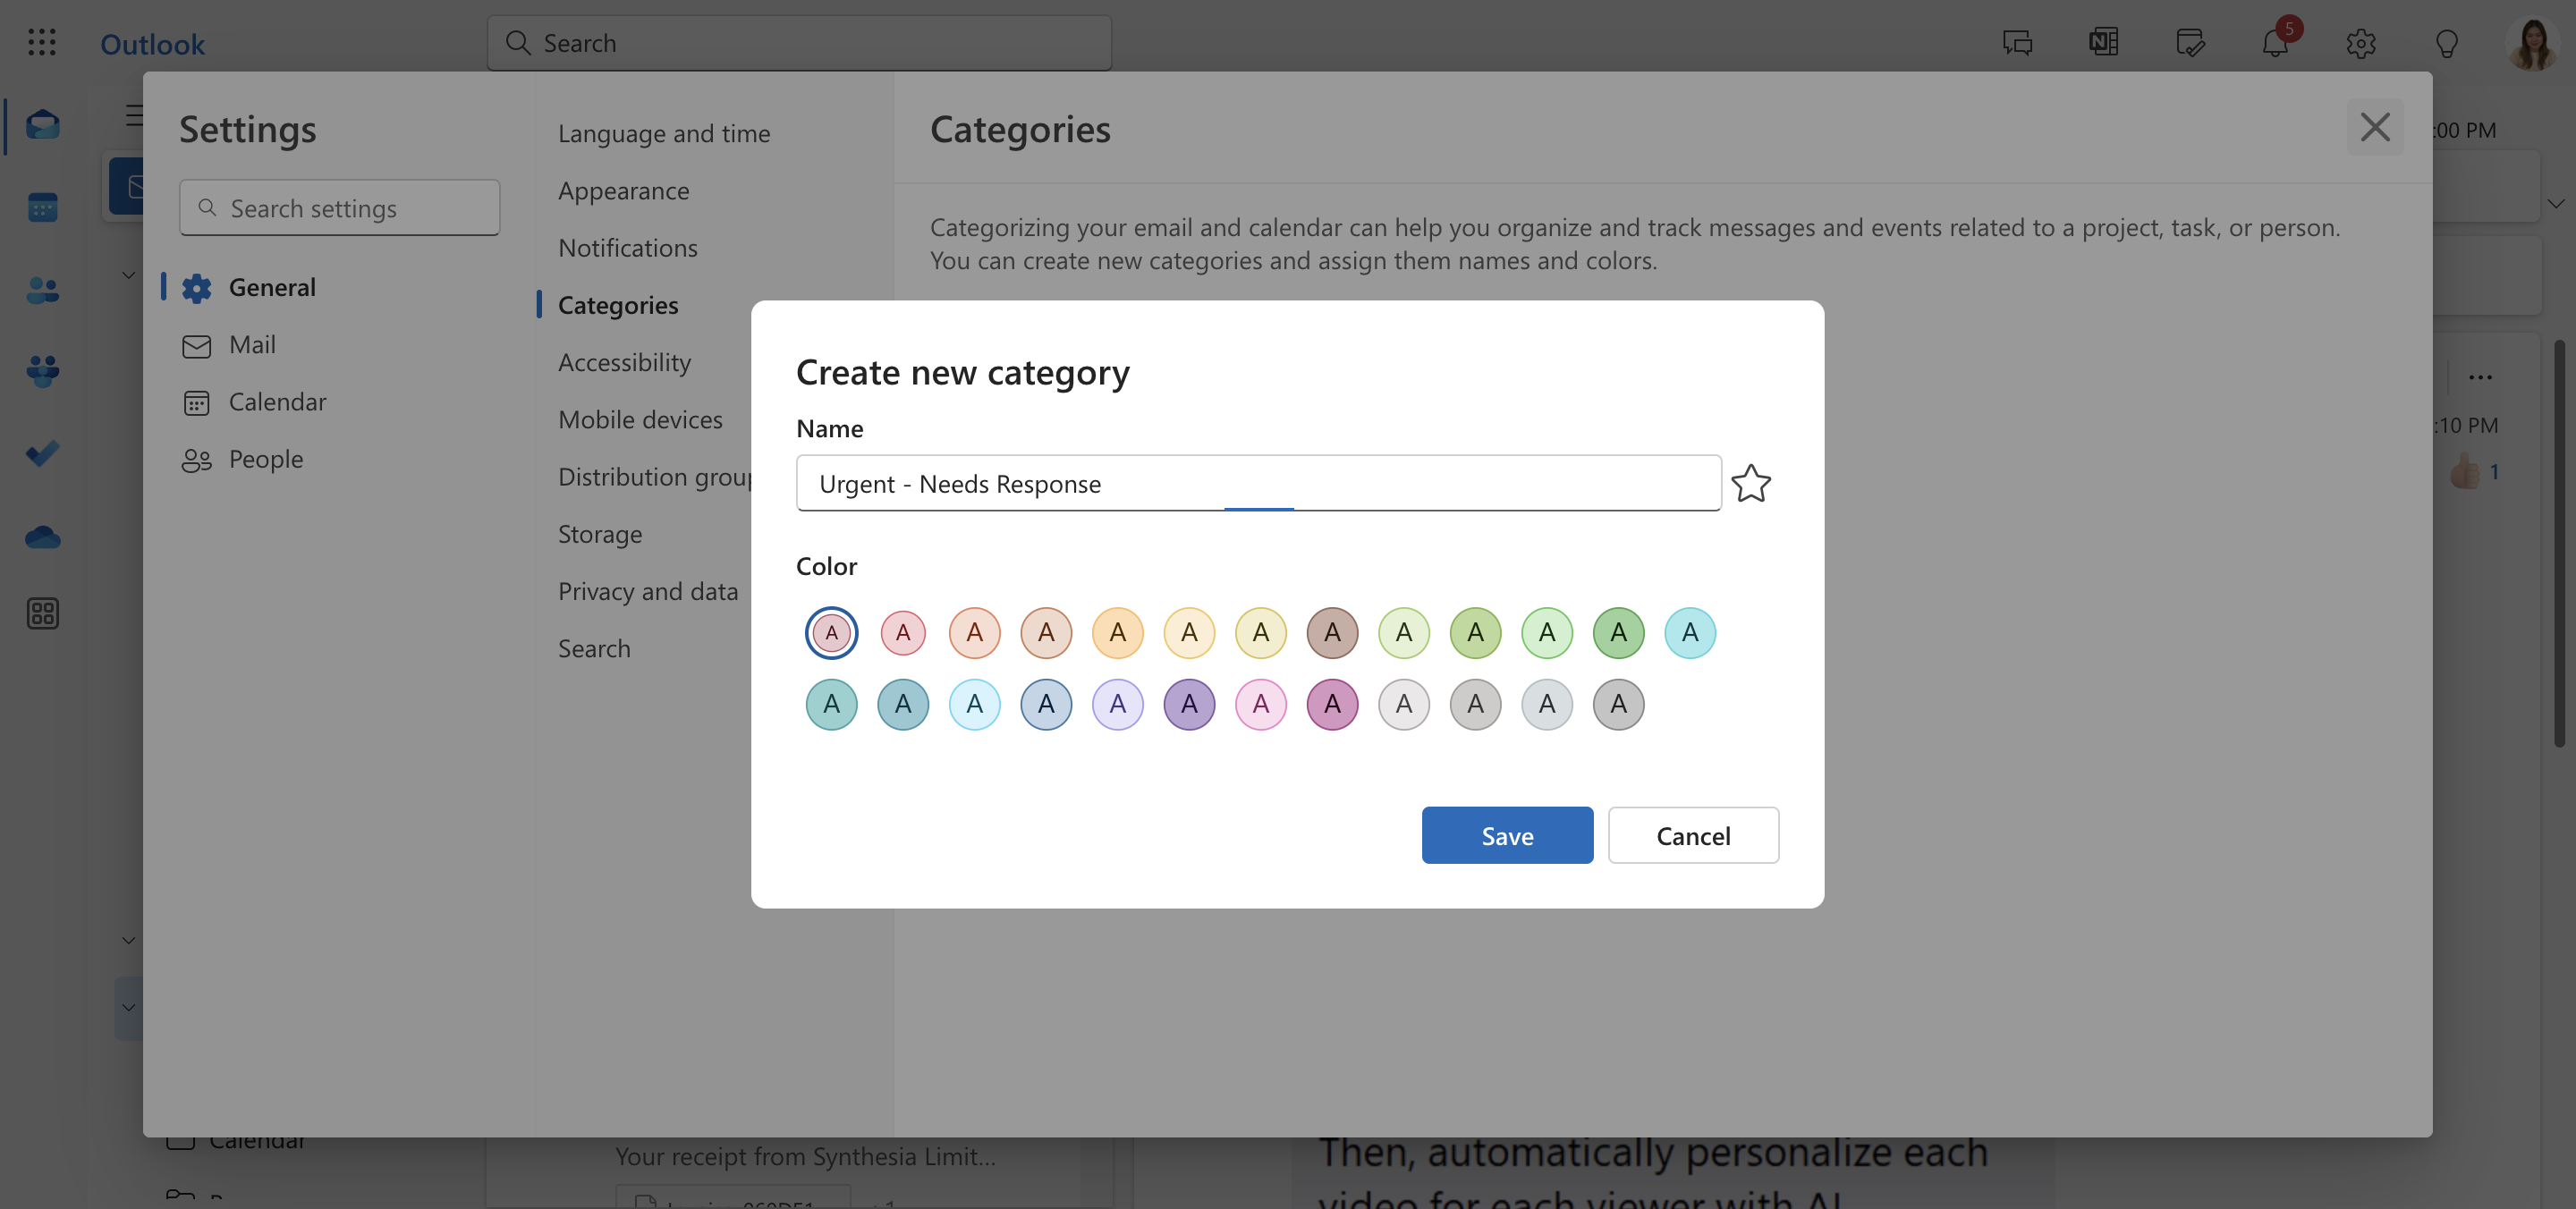
Enter a name for your new category.
7
Choose a color.
8
Hit on "Save"

9
Let's close this window.
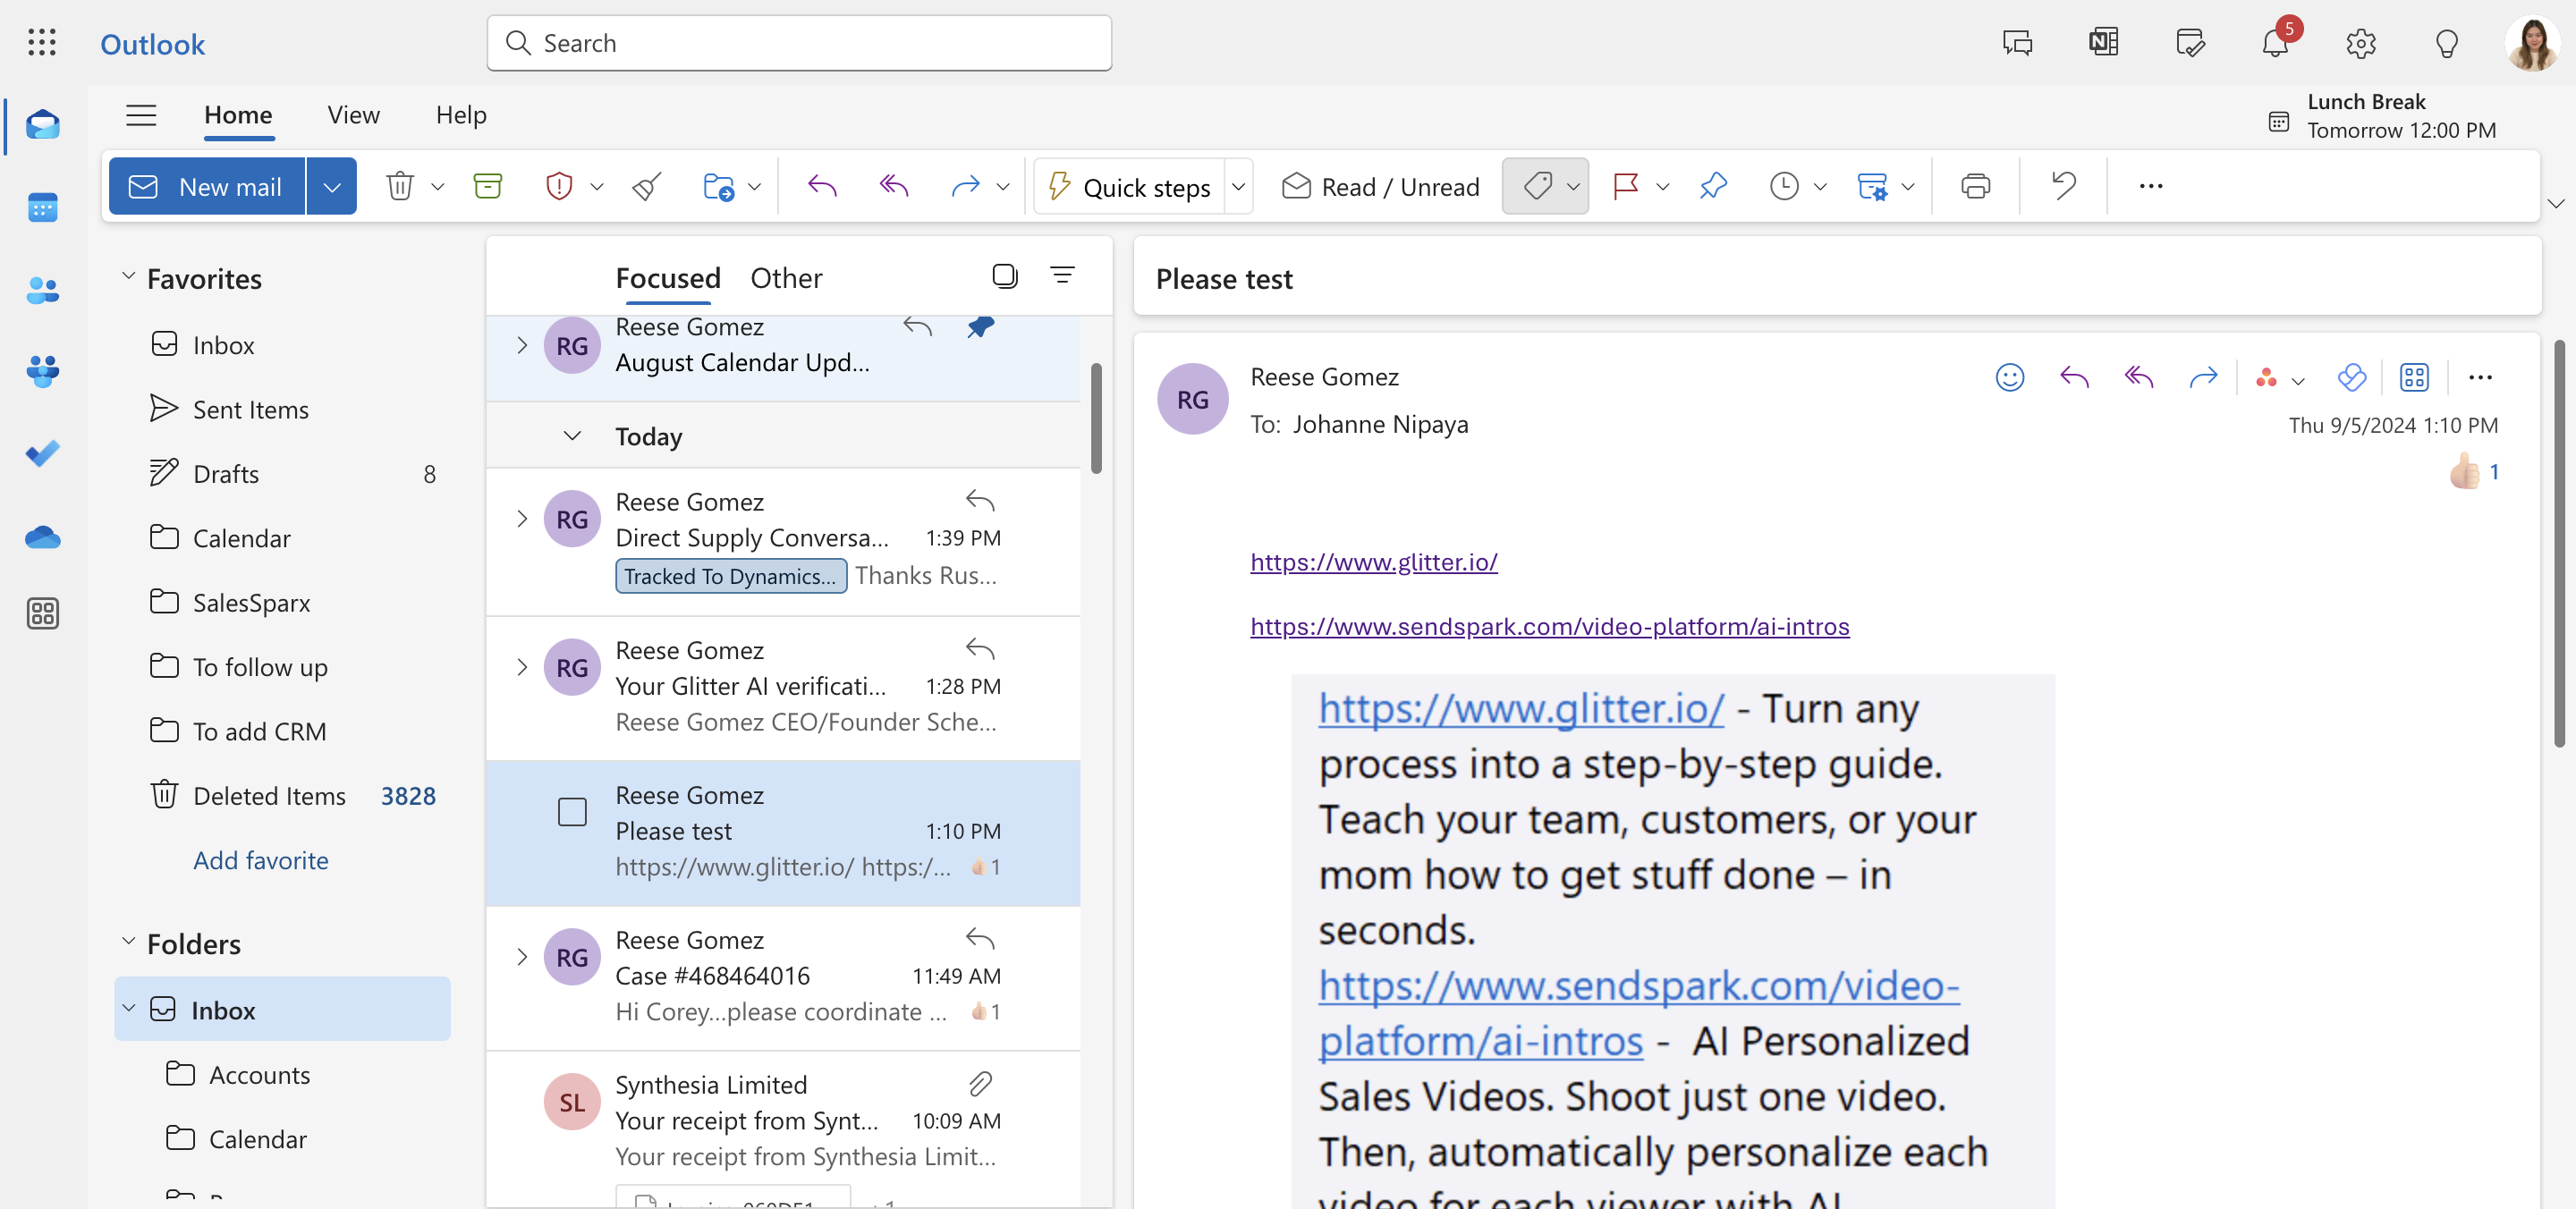
10
To use the category, click the categorize button or icon. For the web version, the icon is right here. Then, choose your new category.
11
Click on "Urgent - Needs Response"
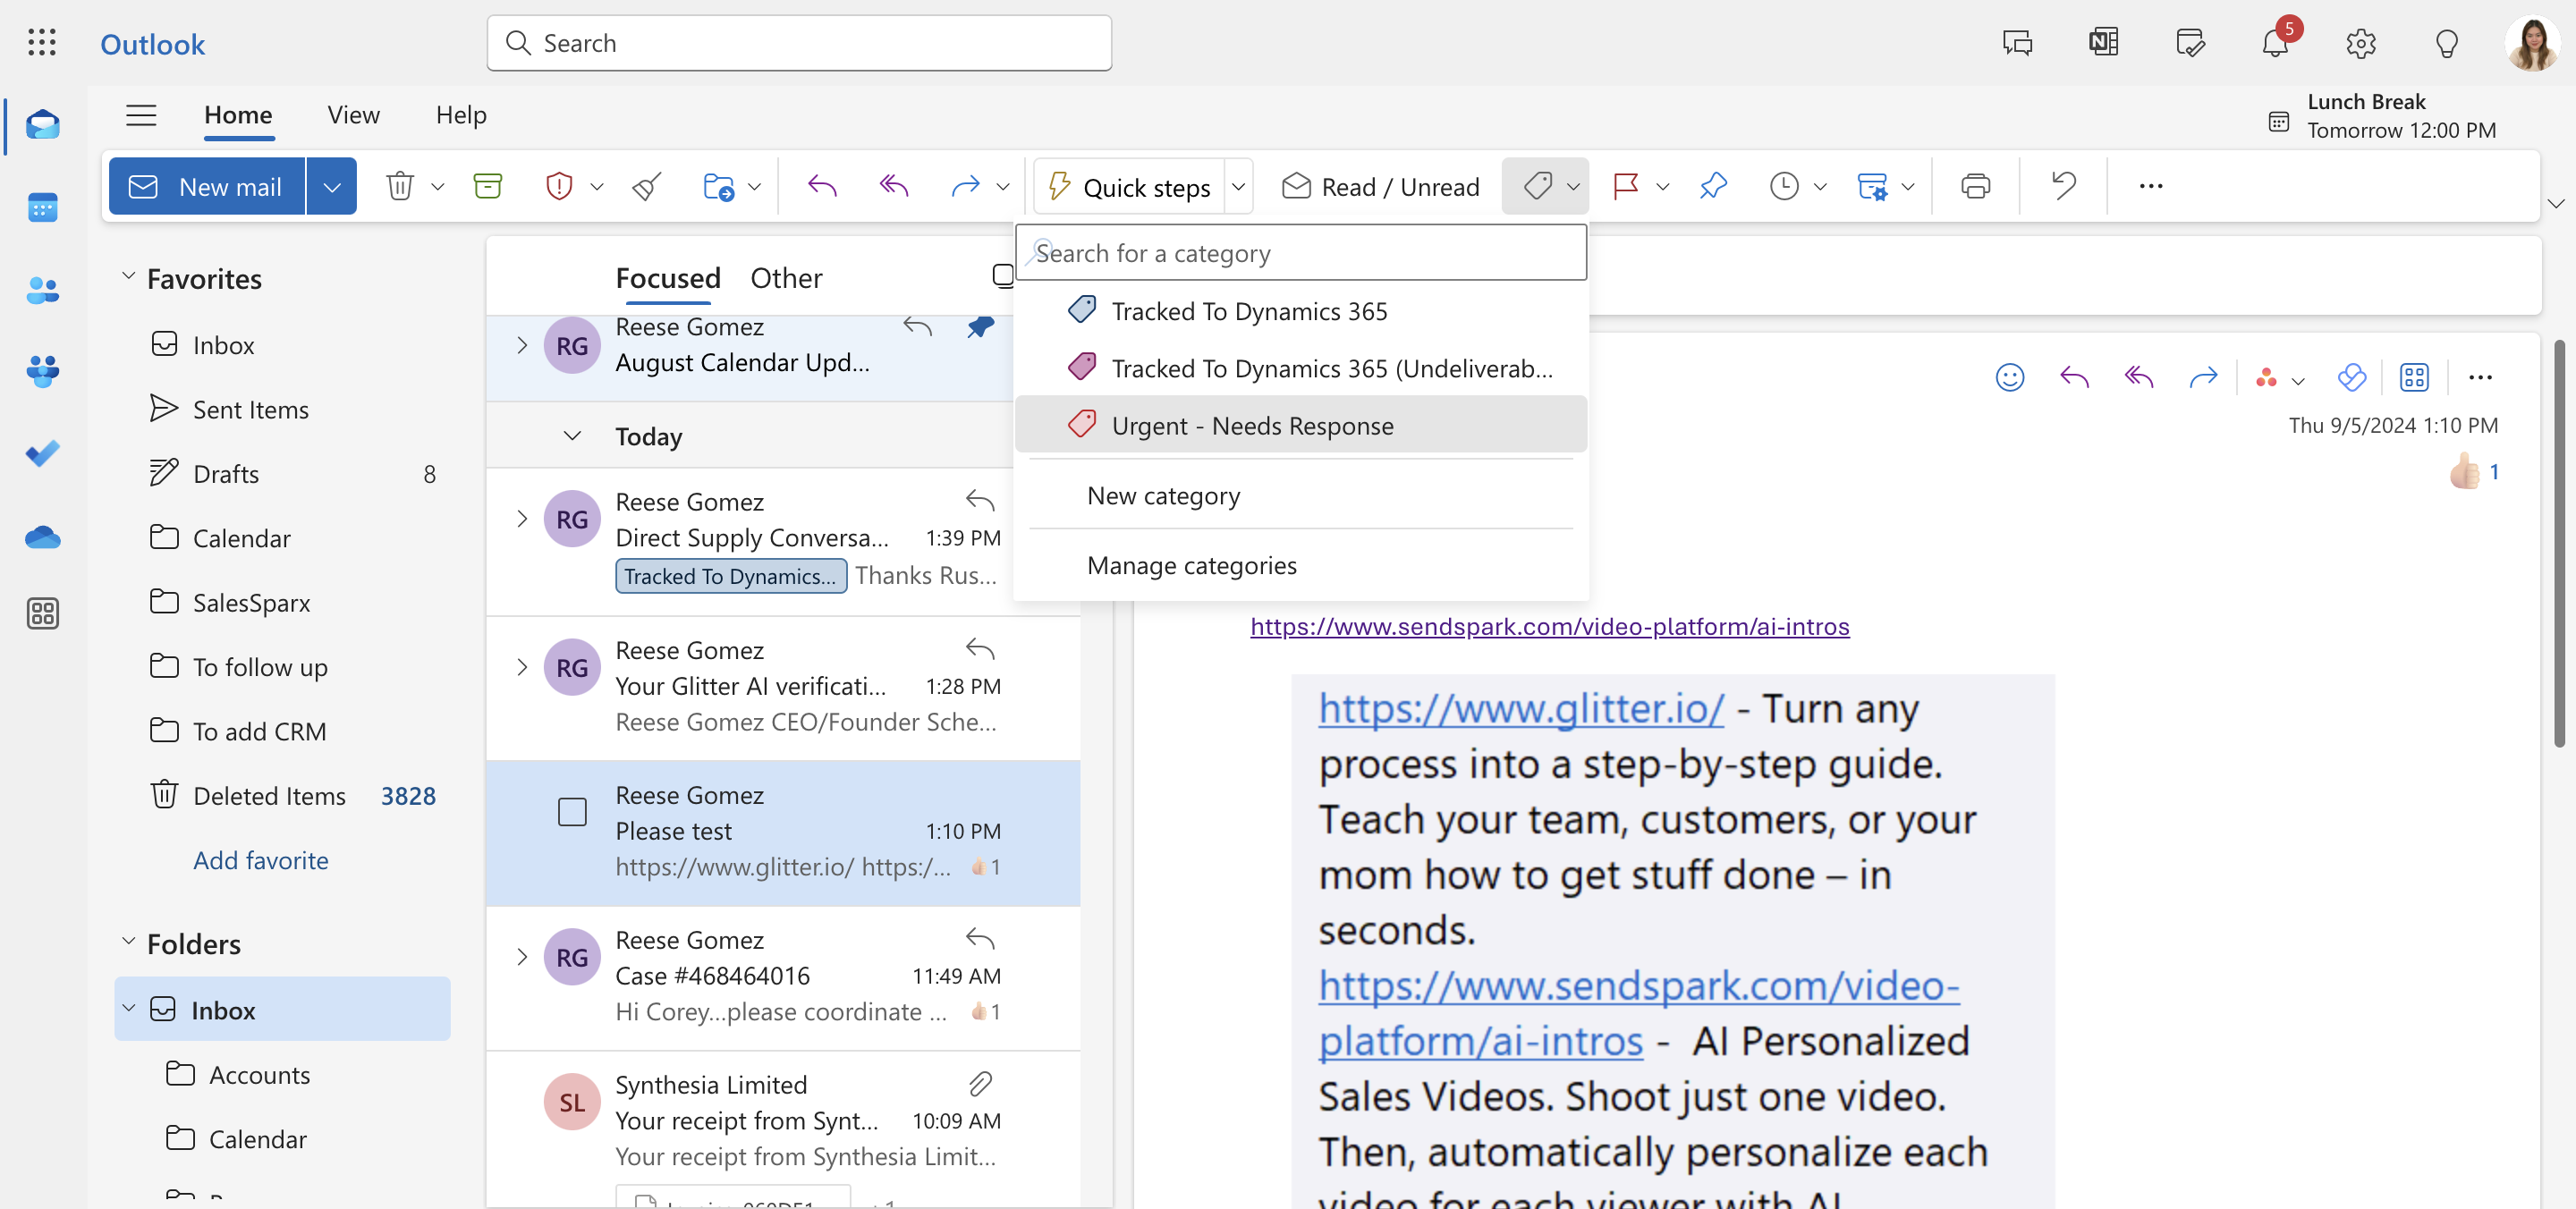
And you're good to go.