How to Create Signature Layouts (CPS Strata Seller) on Authentisigns @ CREA Web Forms -
Learn step-by-step how to create signature layouts in Authentisigns, including adding seller initials, signatures, and managing document layouts efficiently.
In this guide, we'll learn how to create and organize signature layouts for CPS strata seller document using Authentisign. You will see how to add initials and signatures for multiple sellers across different pages, and how to use copy and paste to speed up the process. The goal is to ensure all required fields are completed.
Let's get started
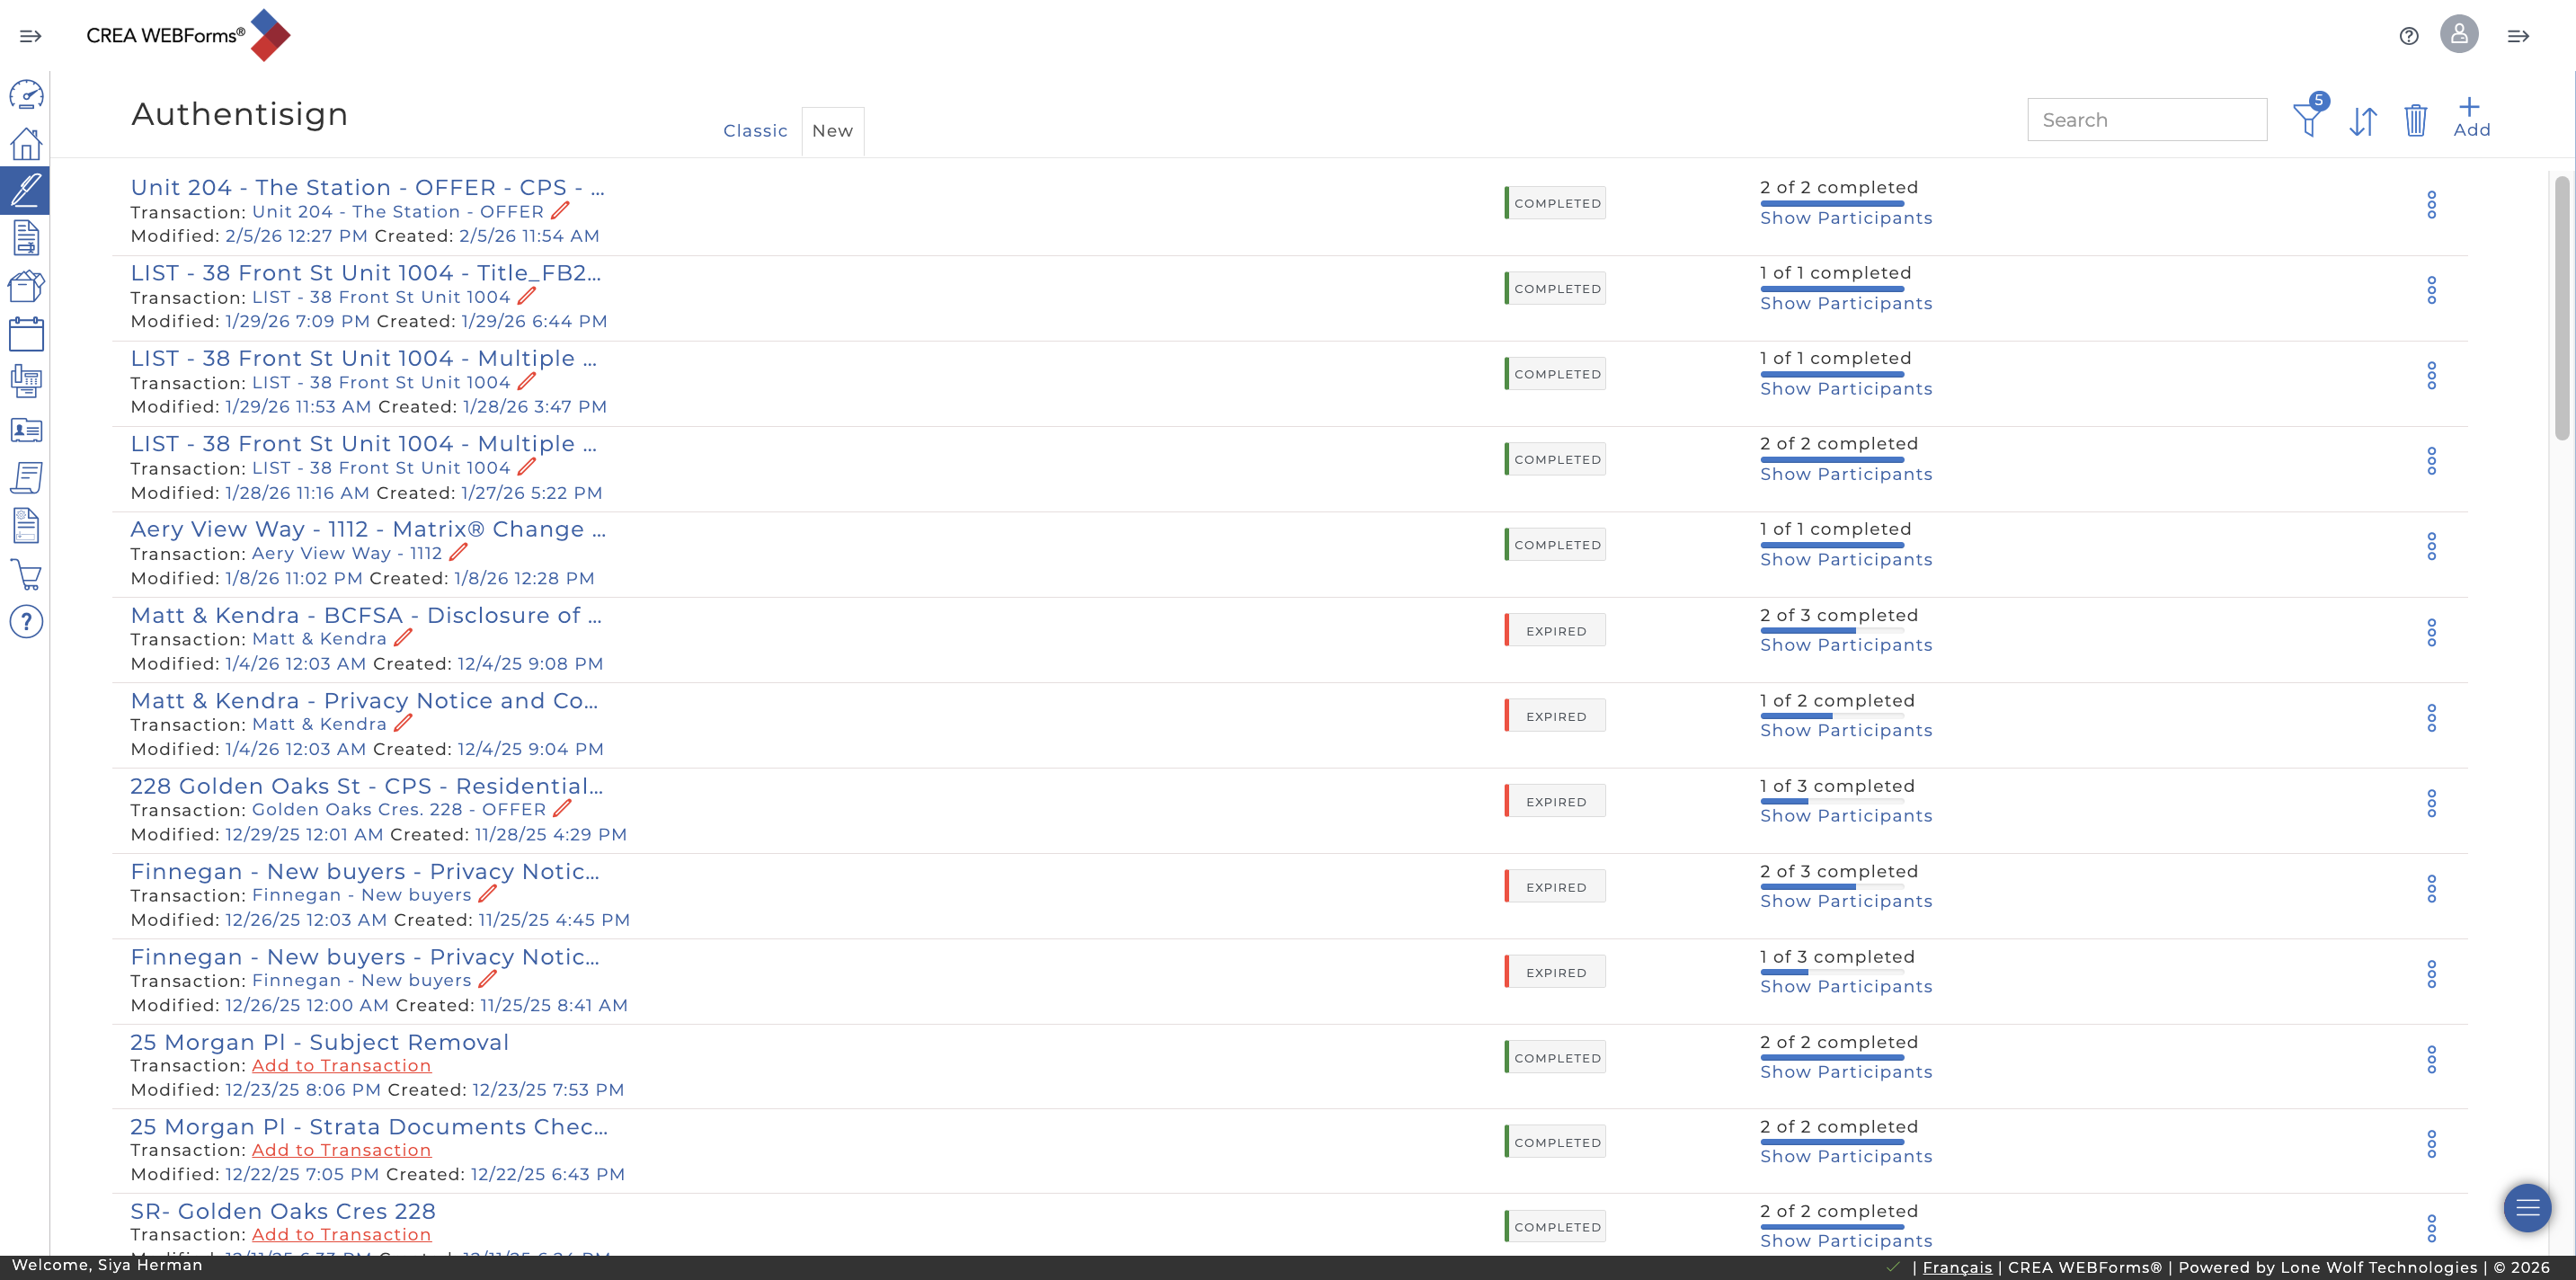
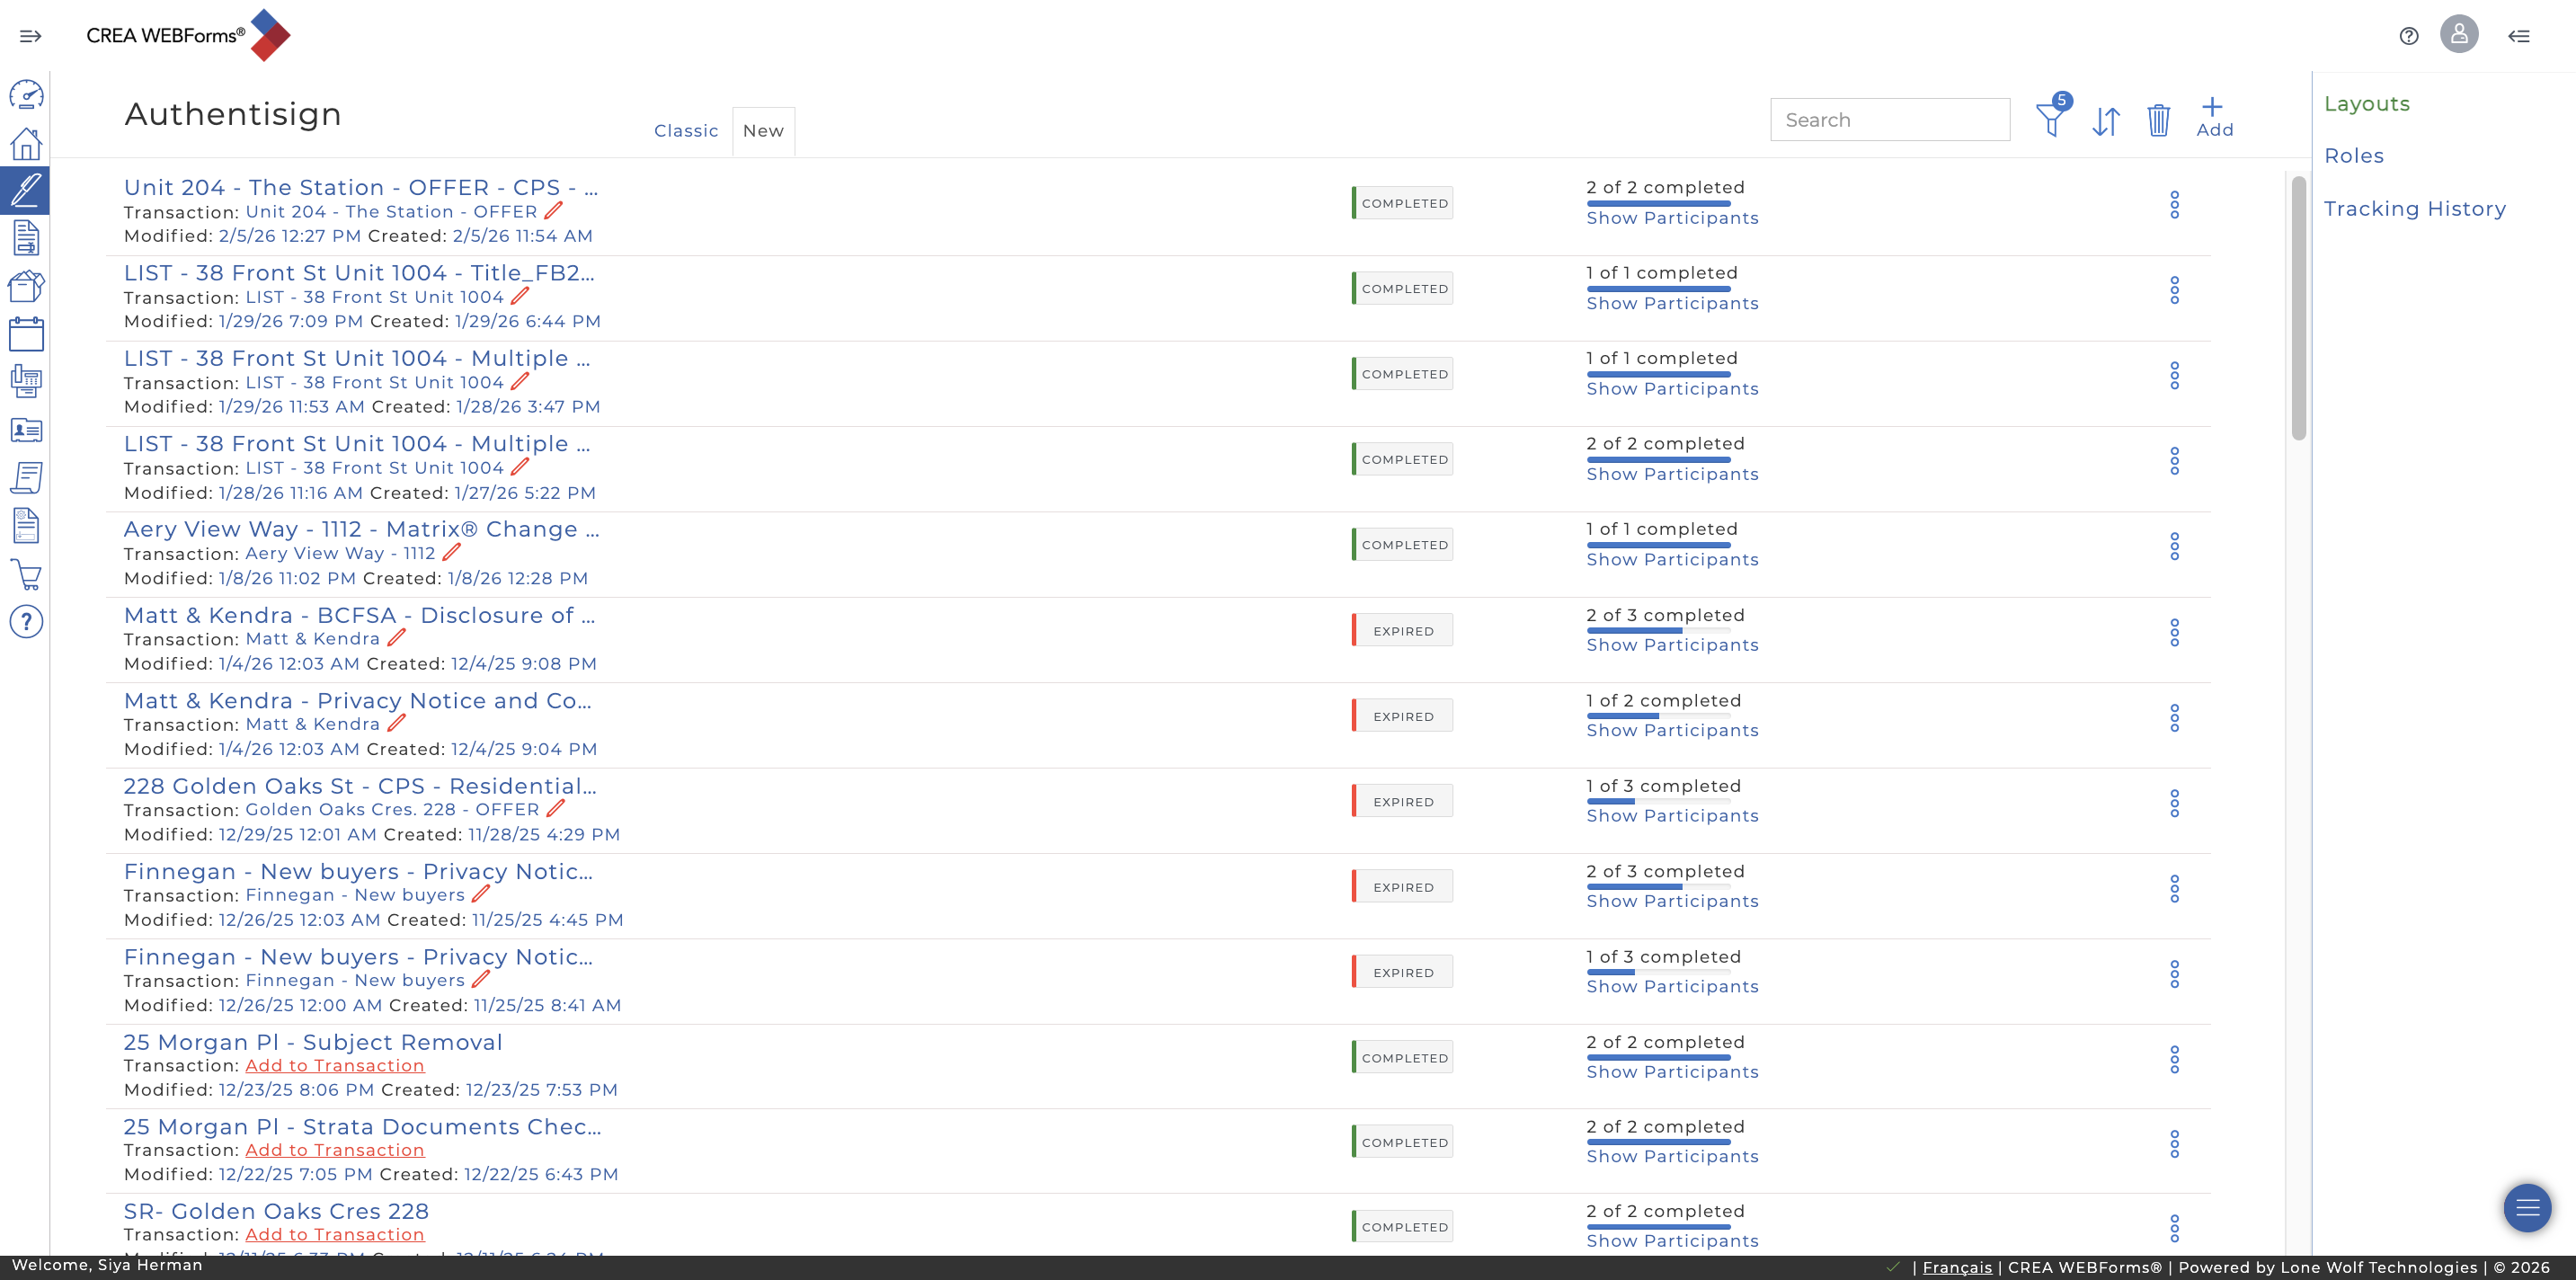
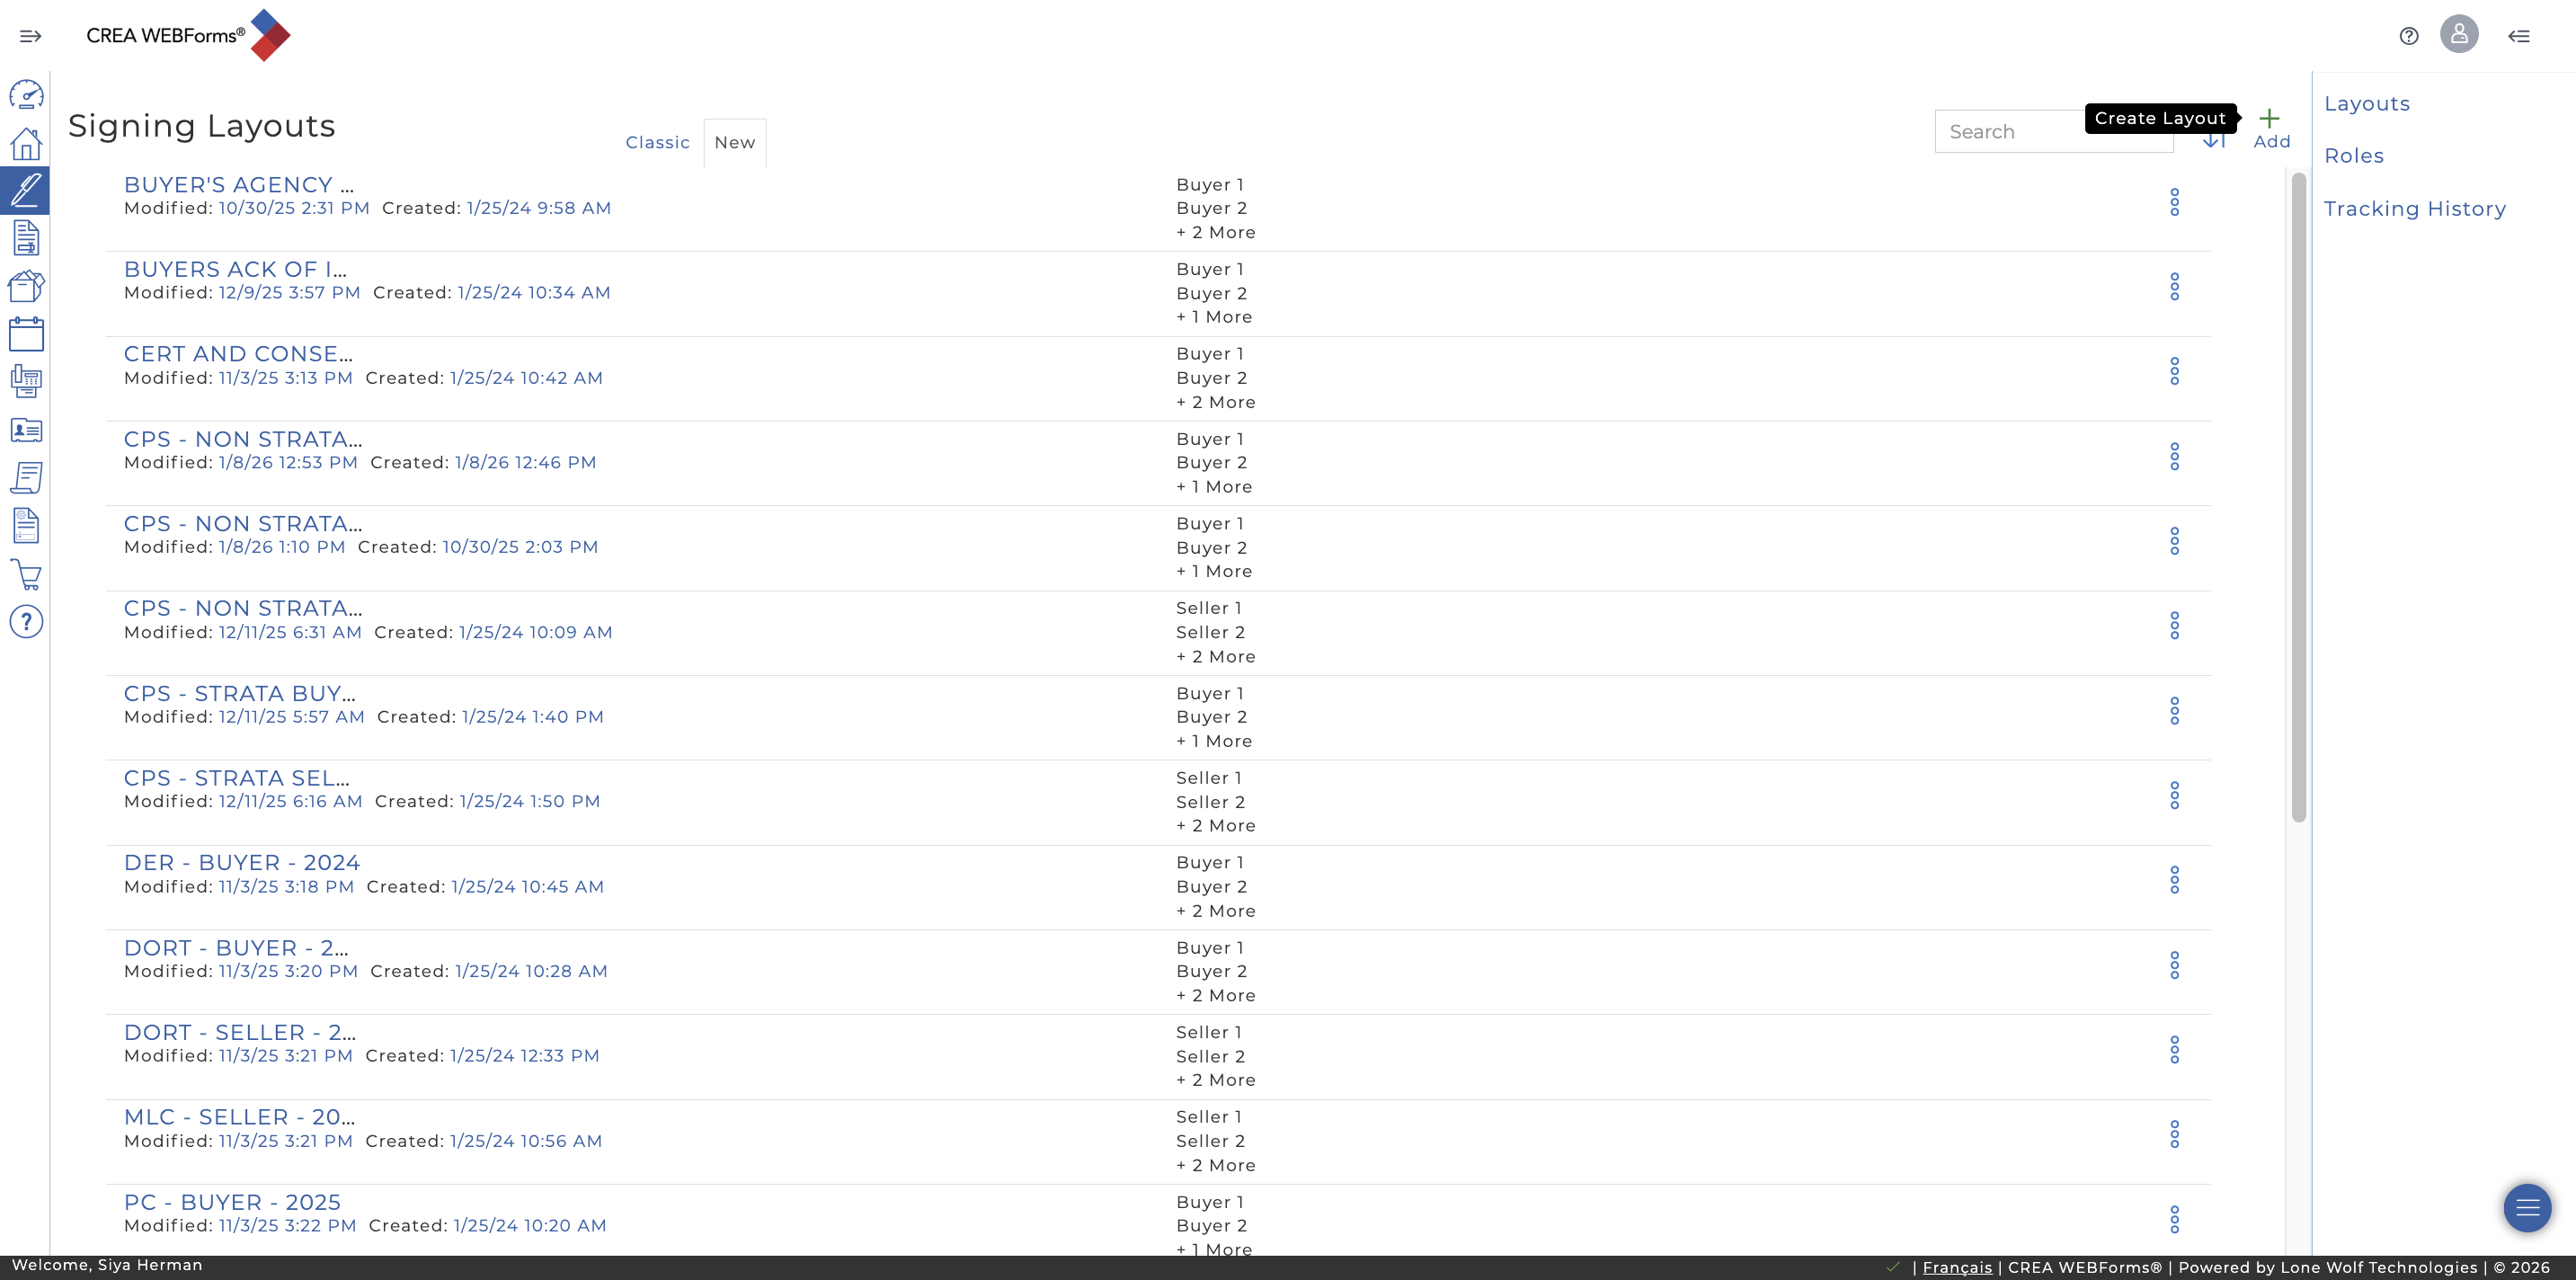
Click this icon.
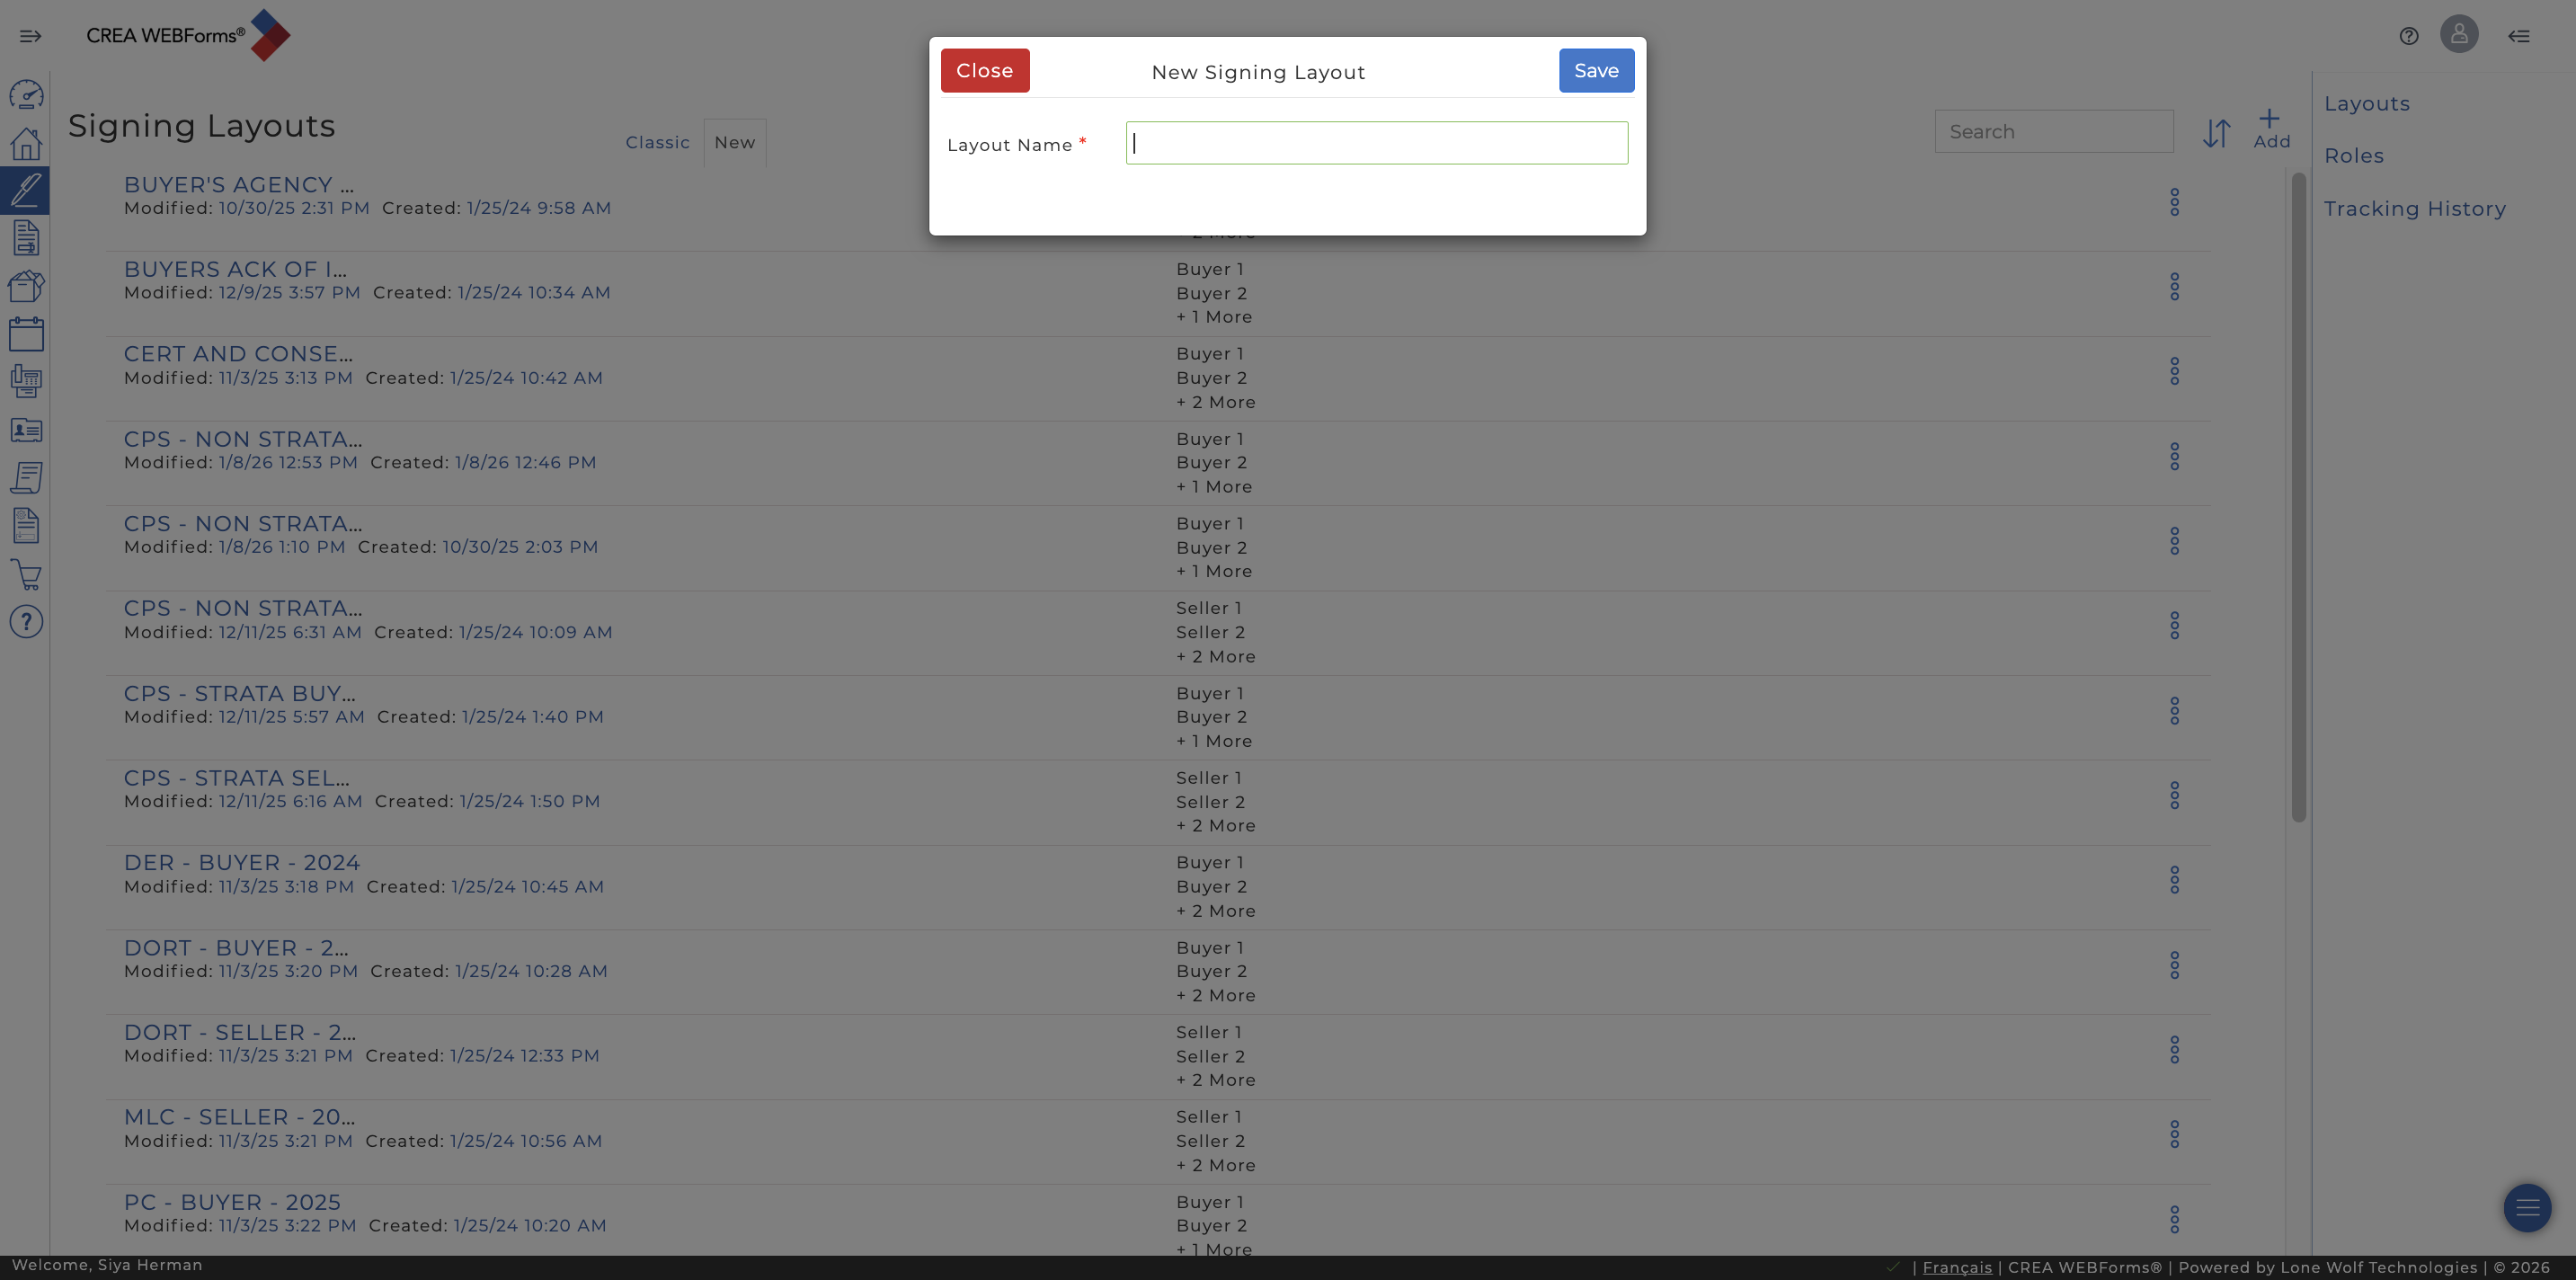
Enter the layout name, "CPS Strata Seller"

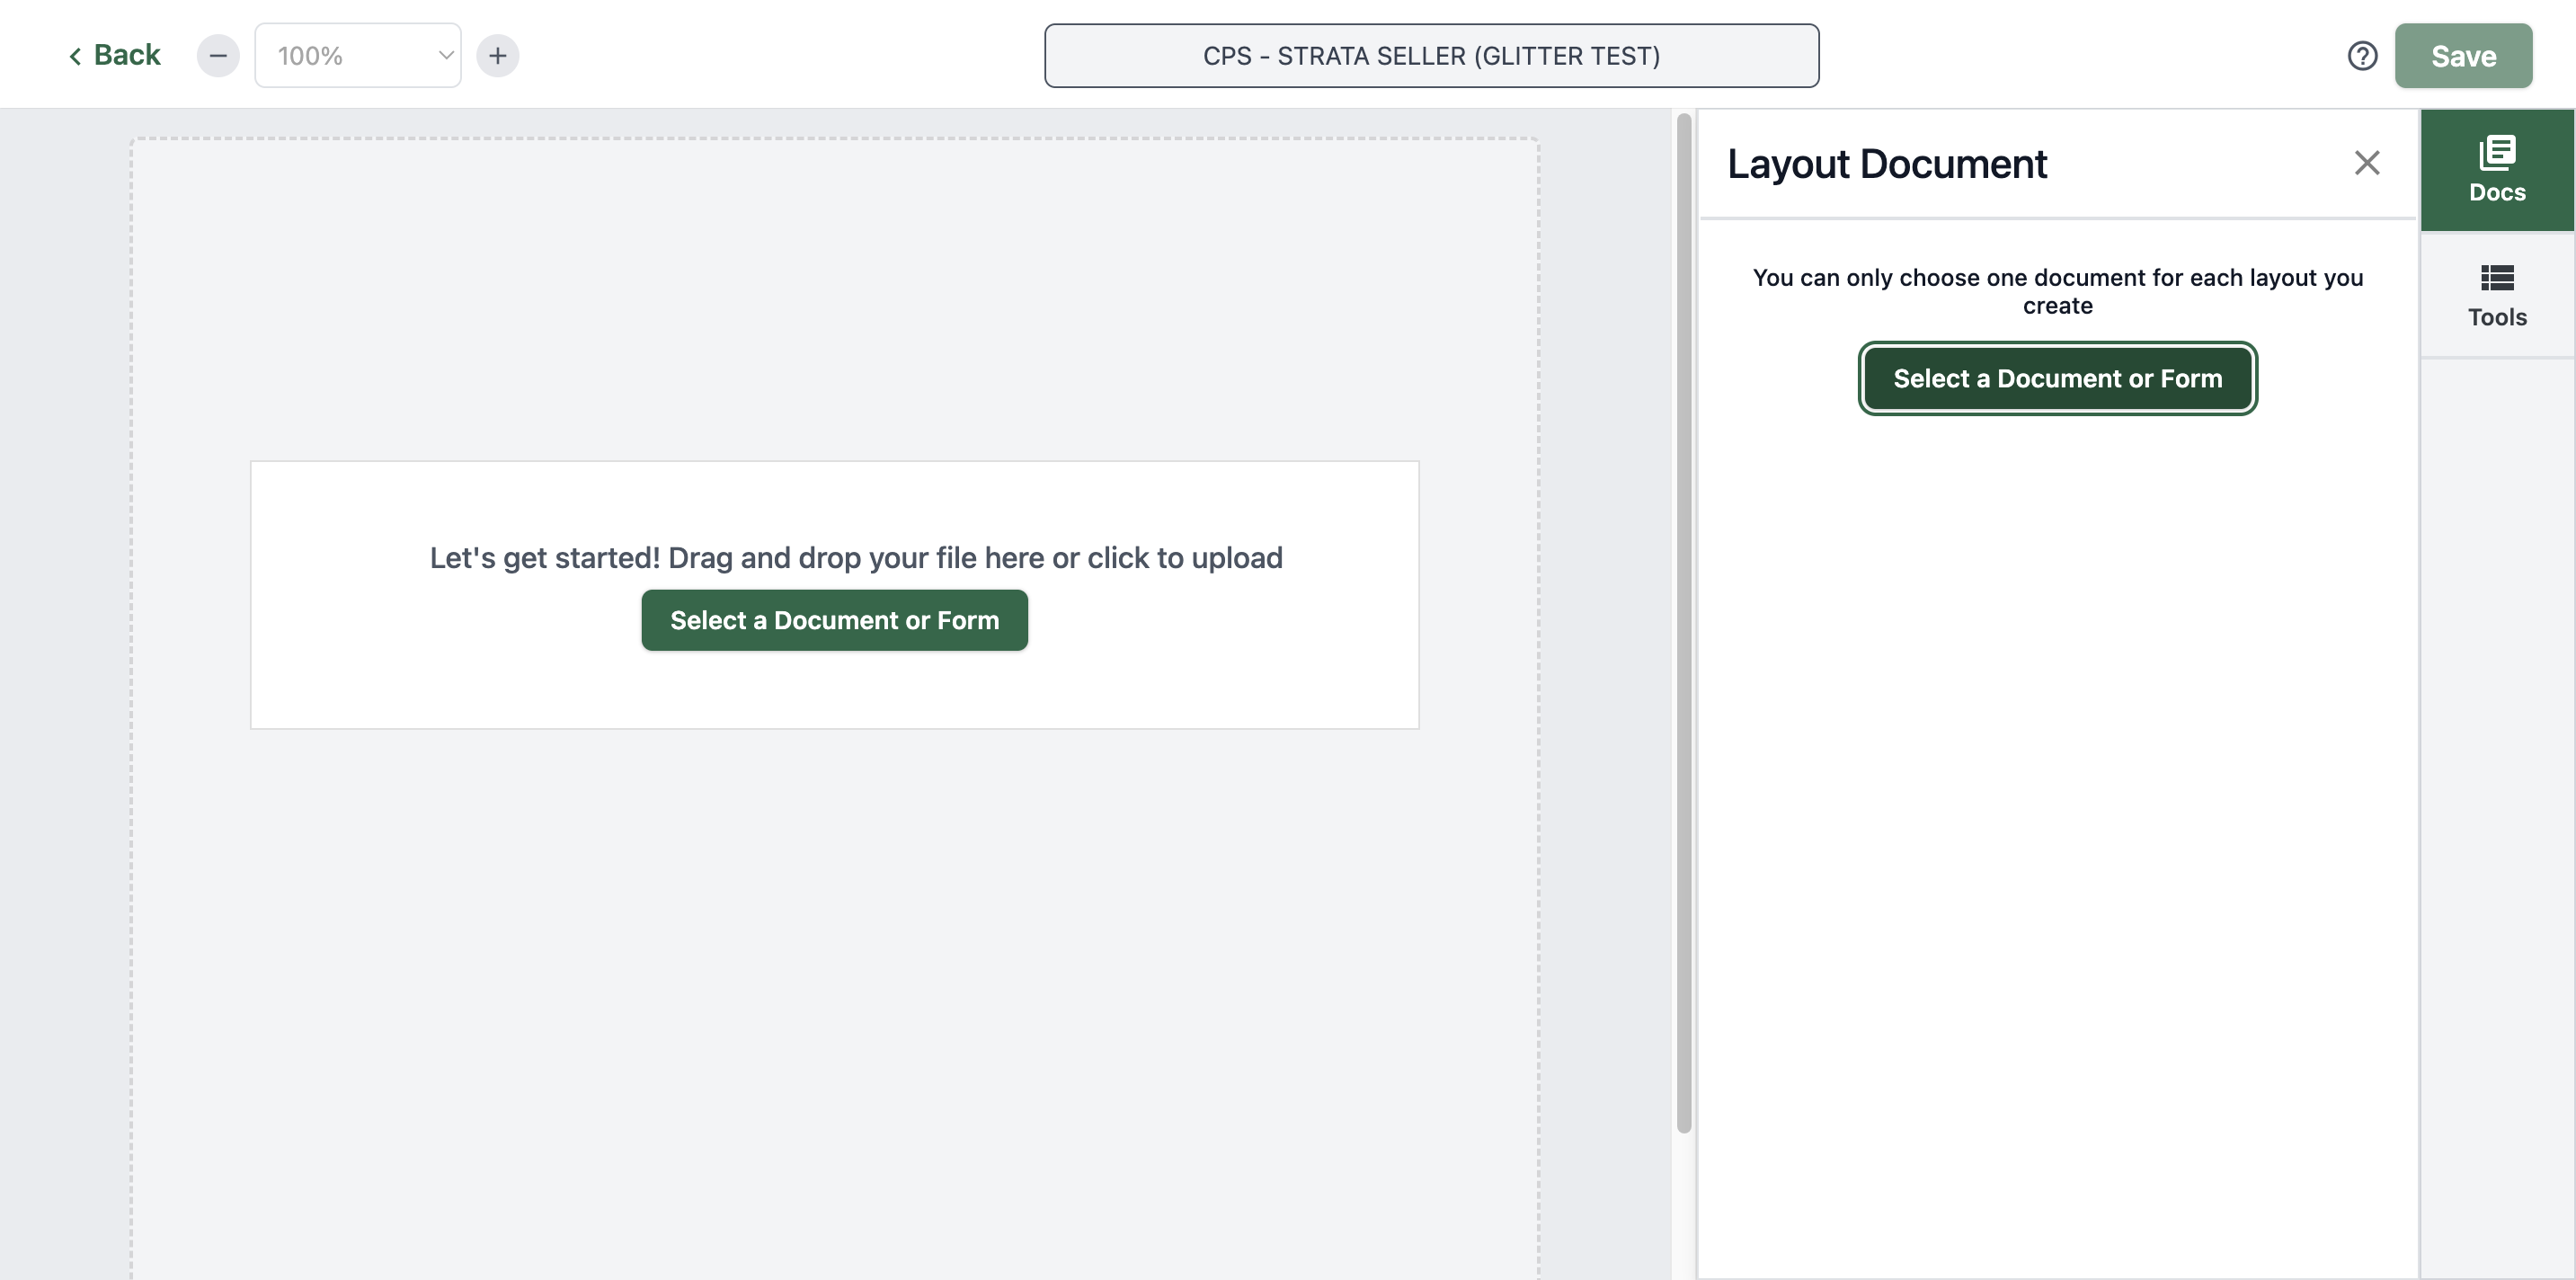
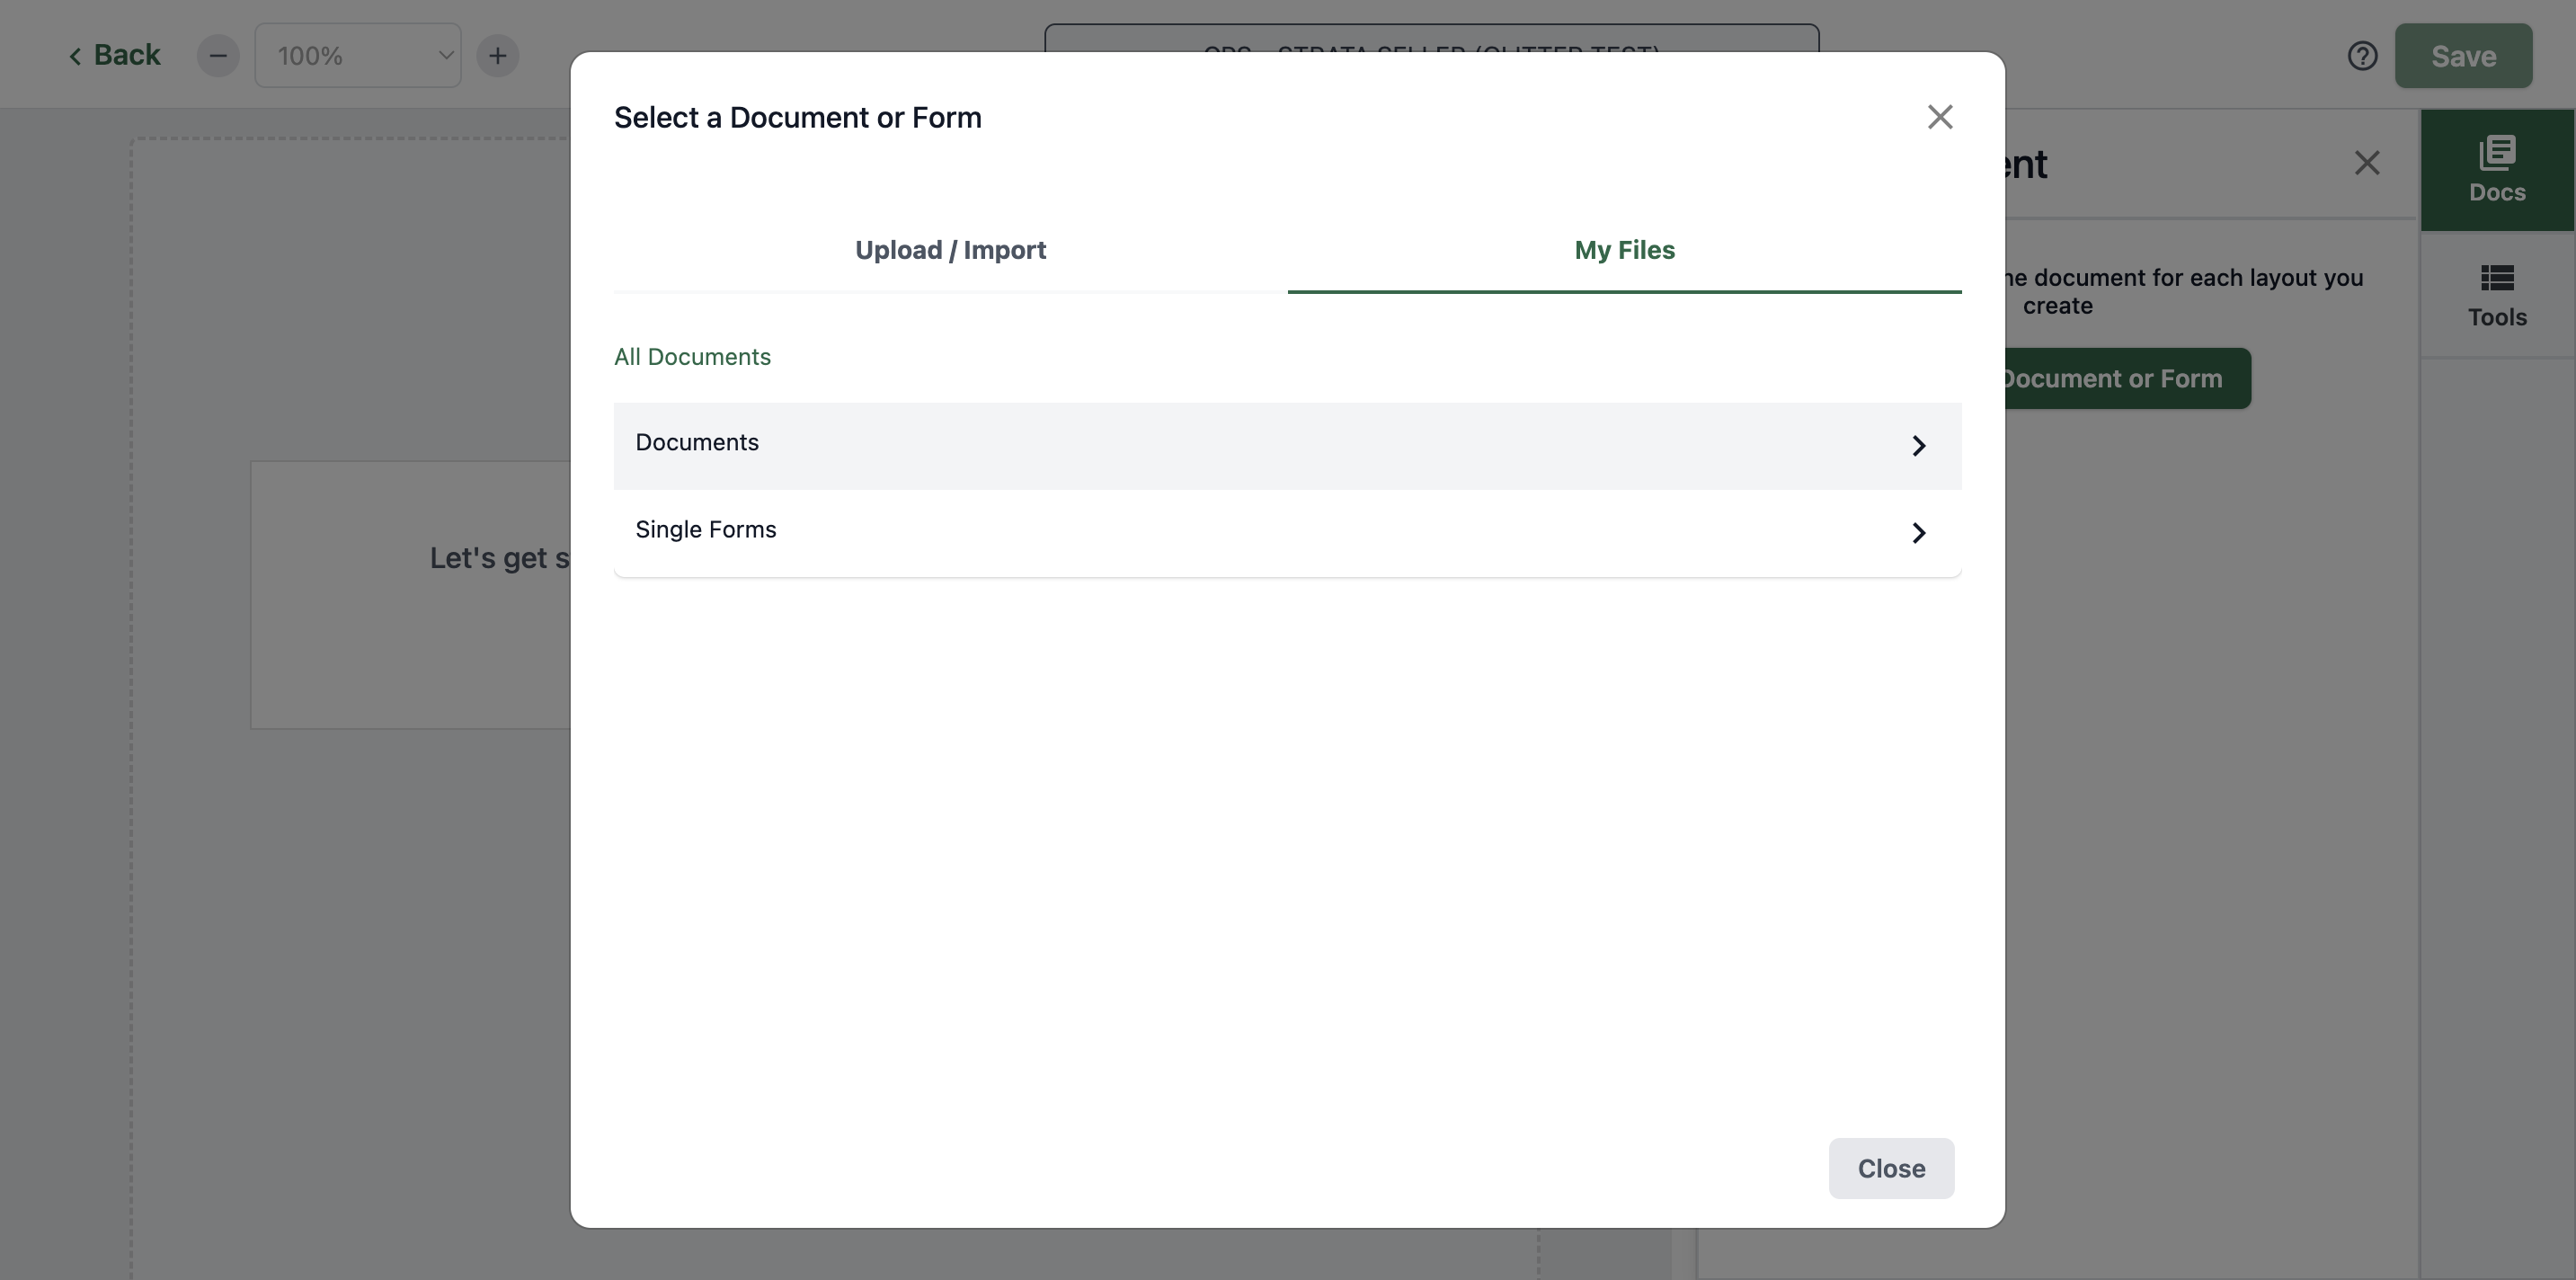
Next, select a document or form.
Go to My Files.
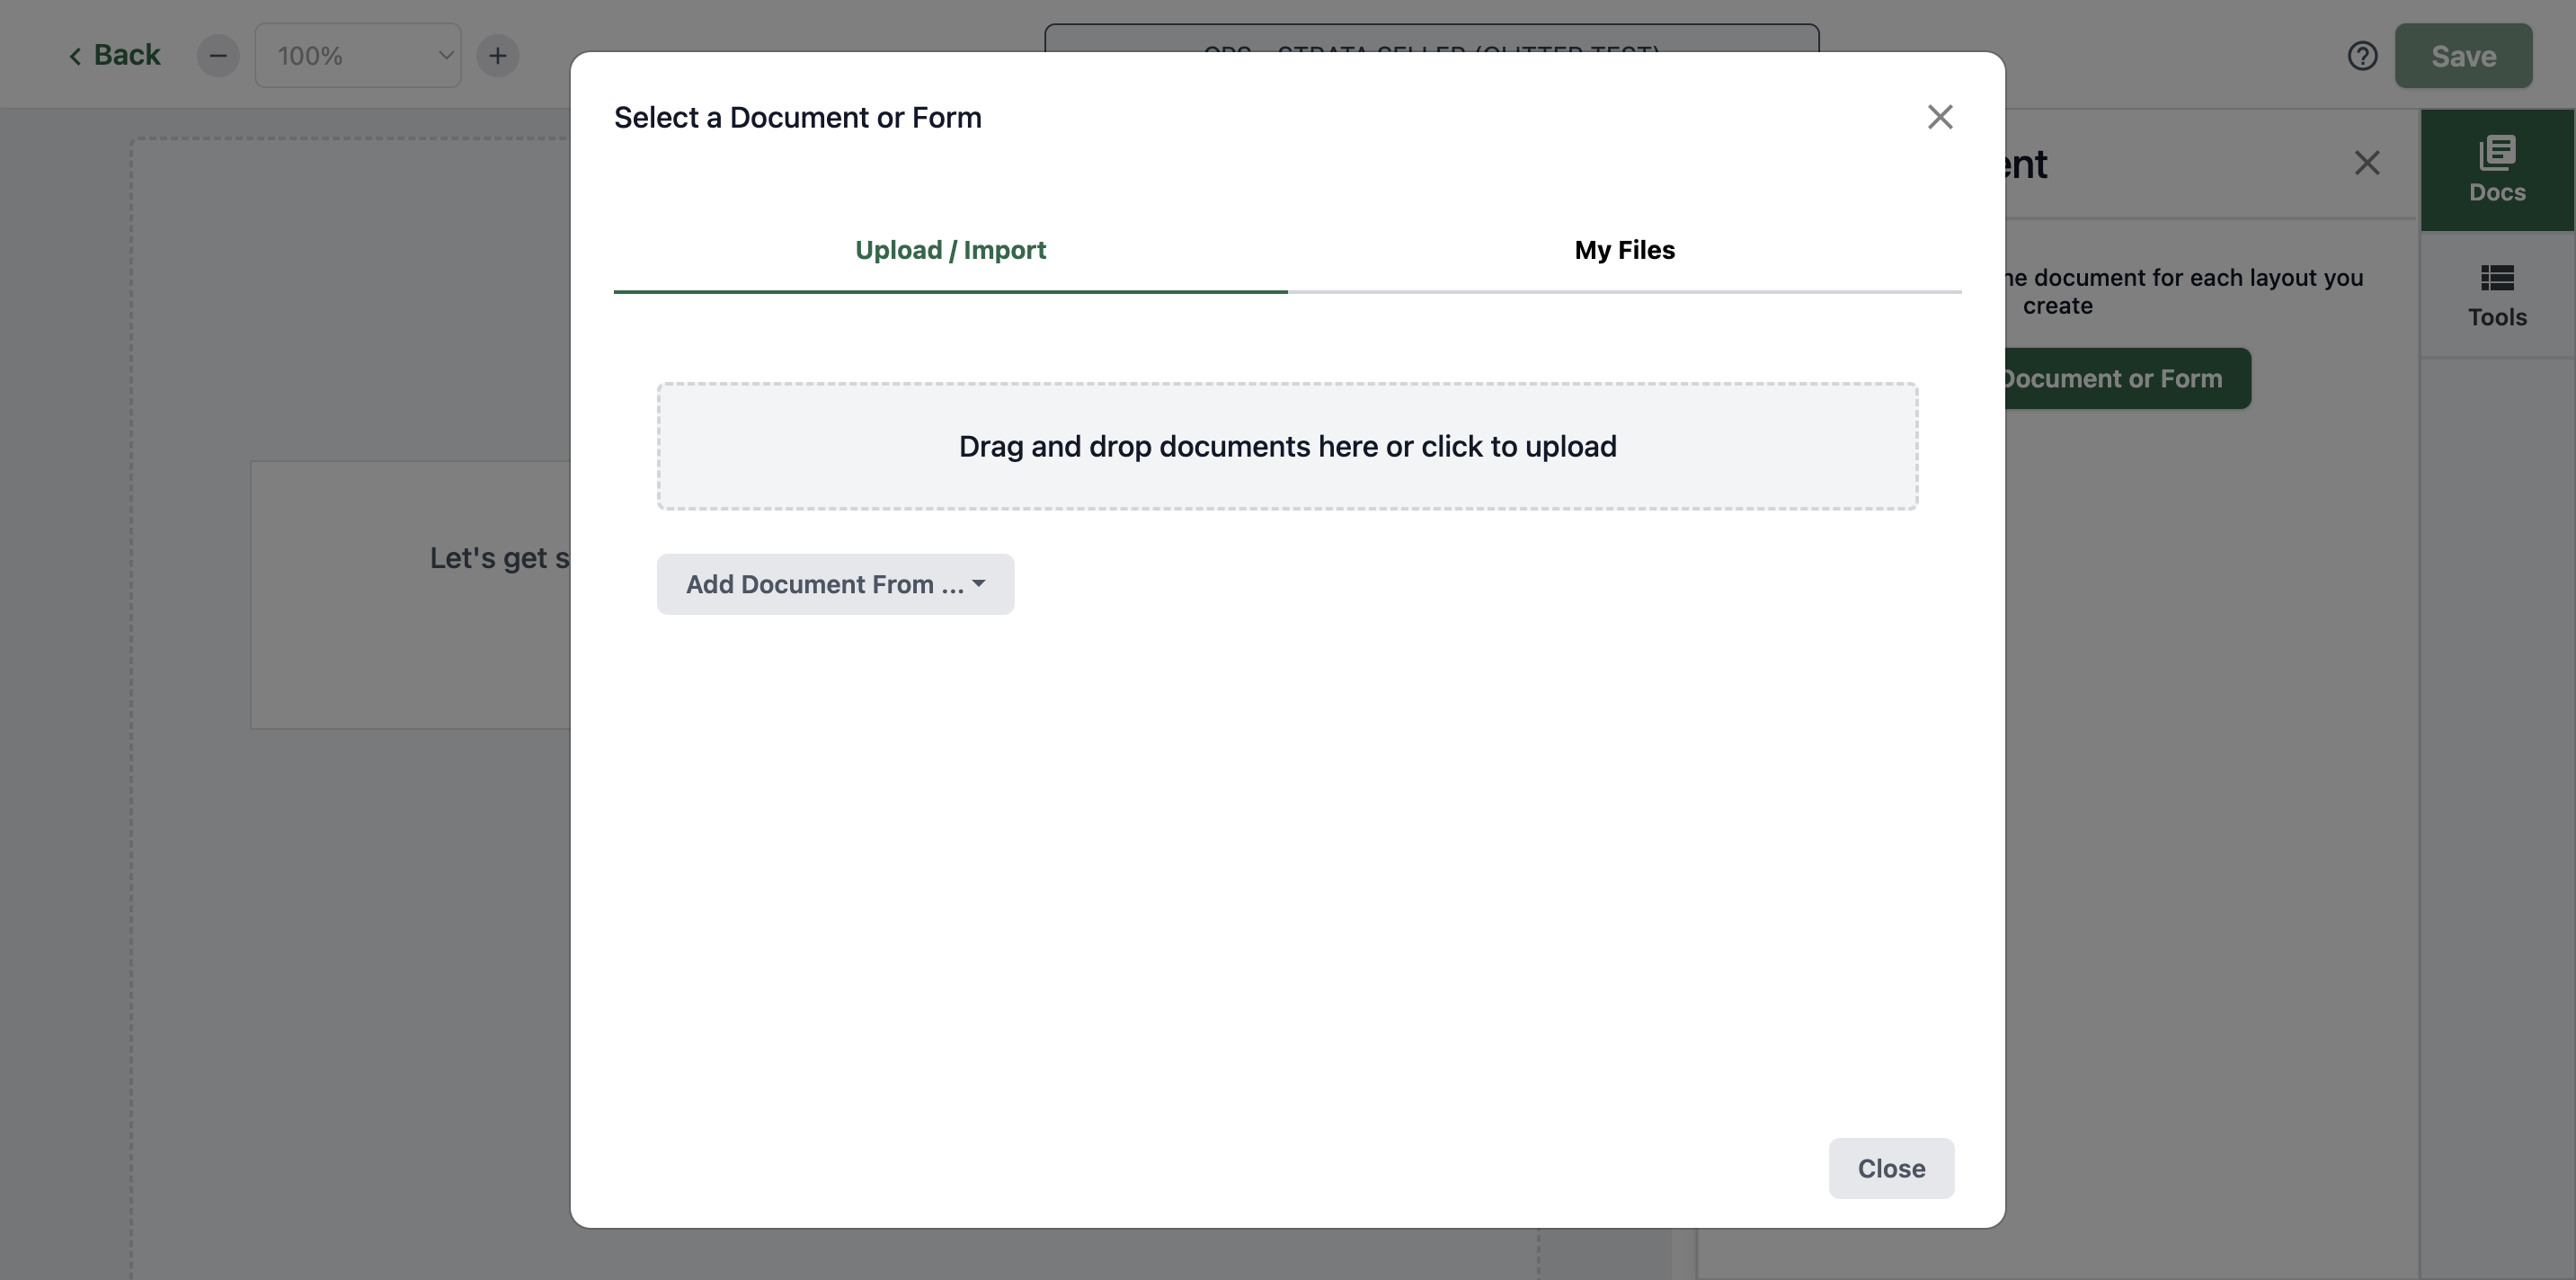
Click Single Forms.
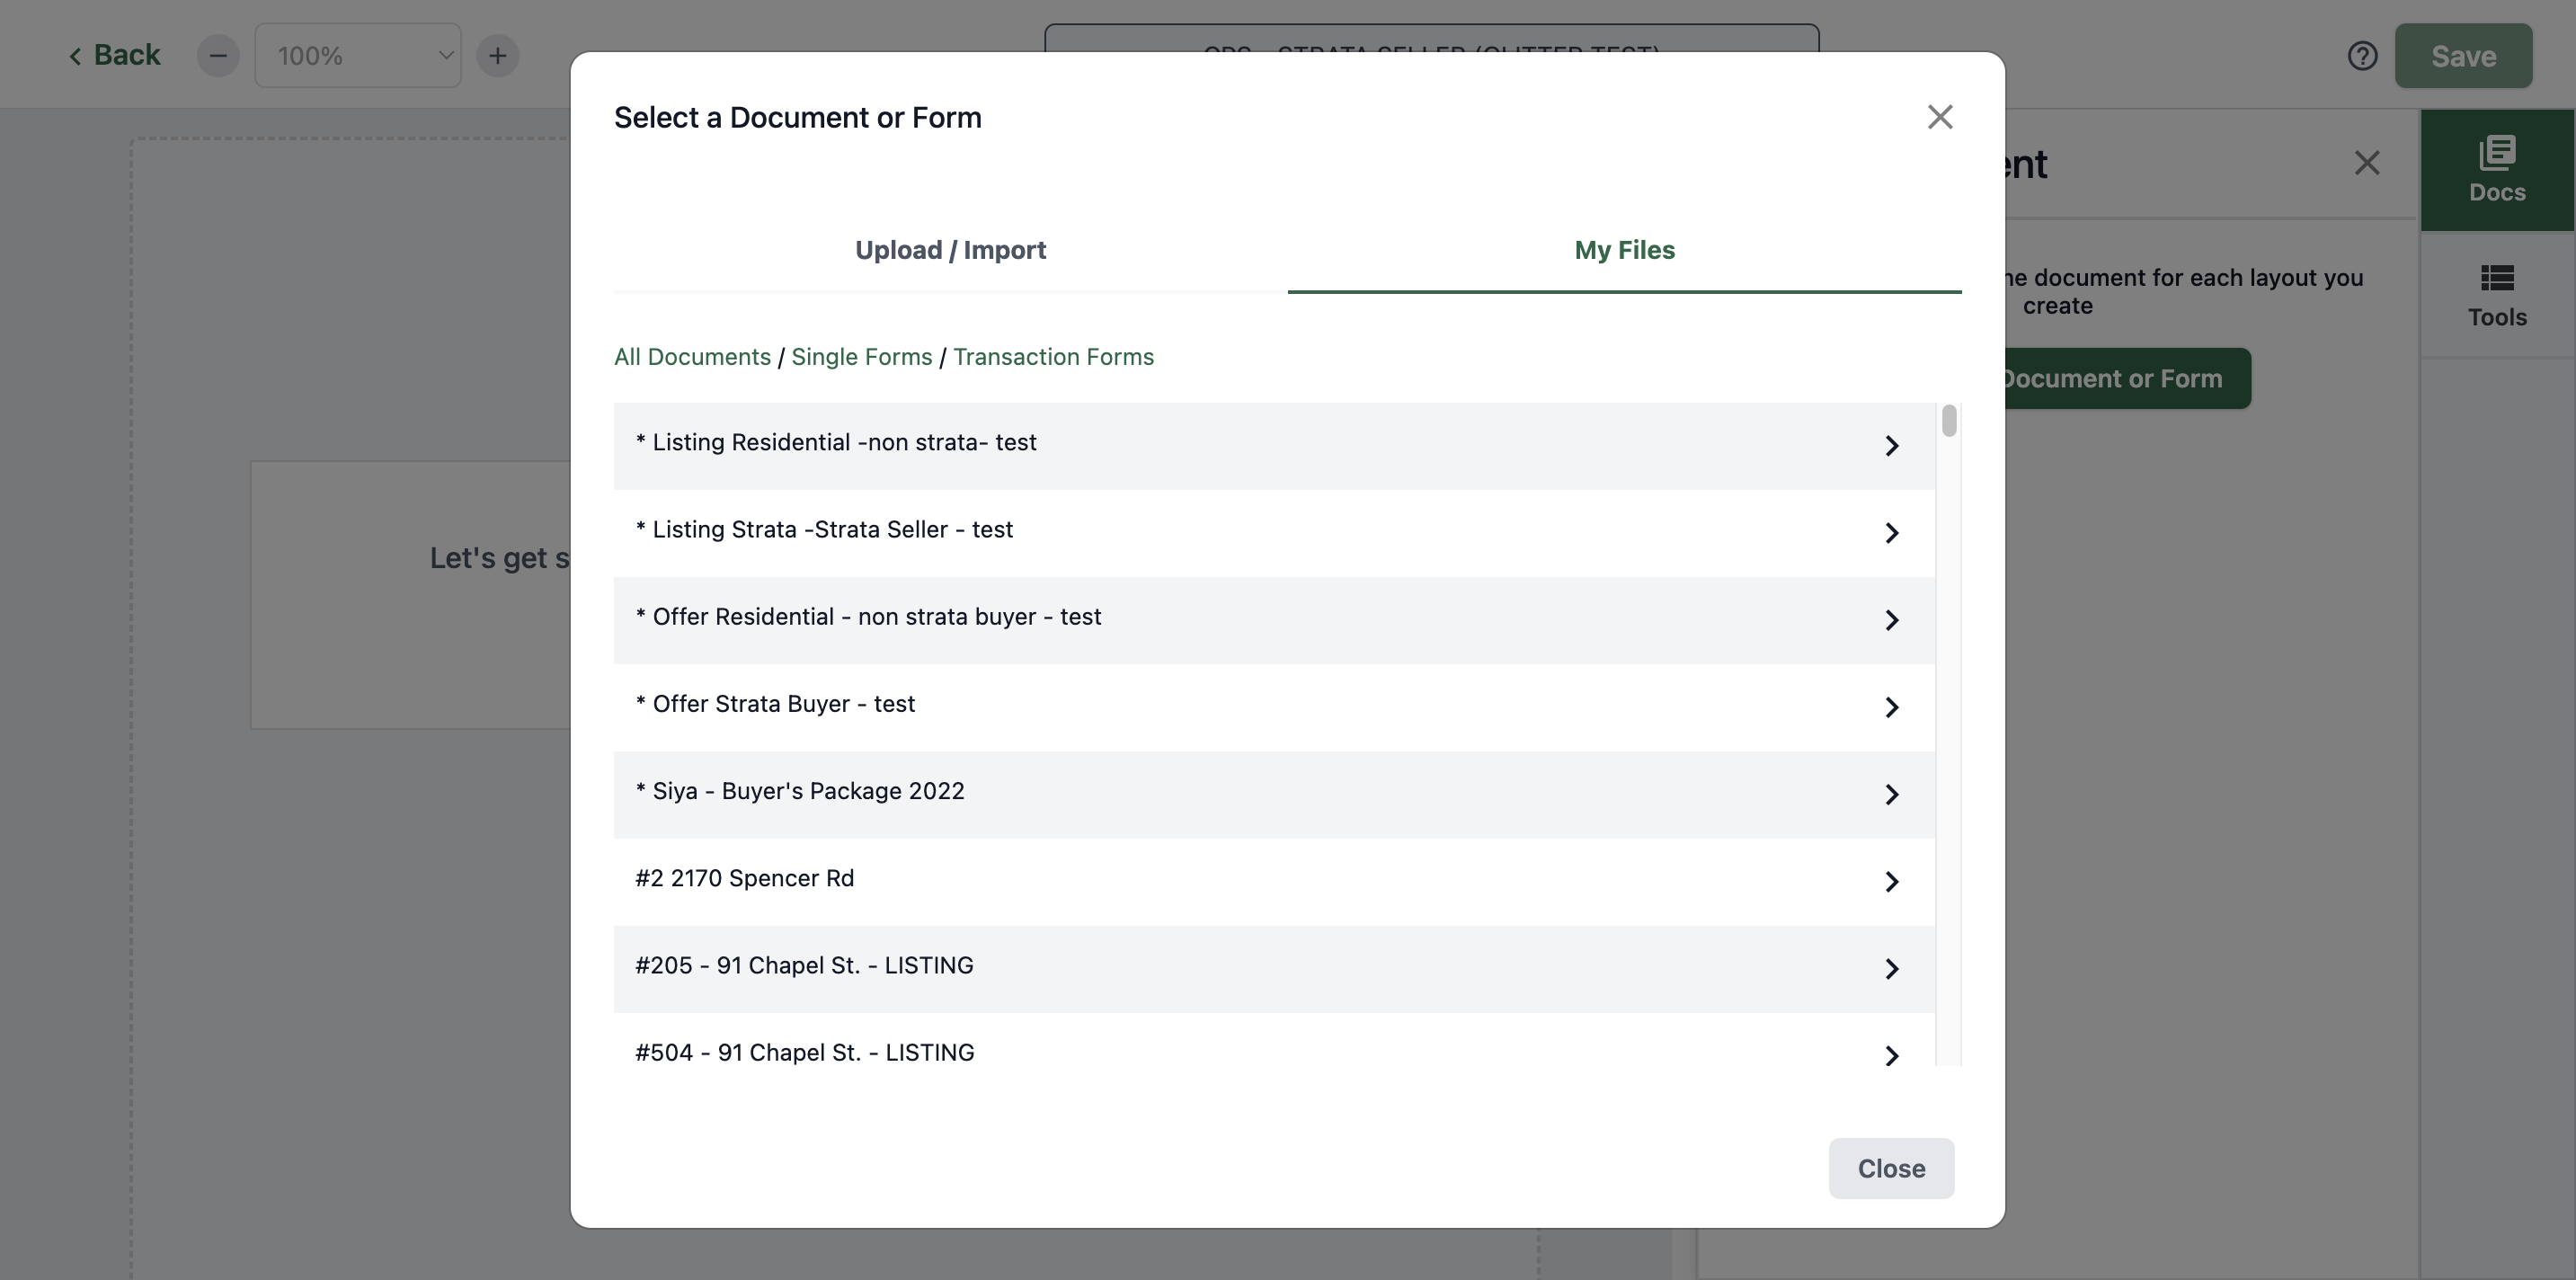
Click Transaction Forms.

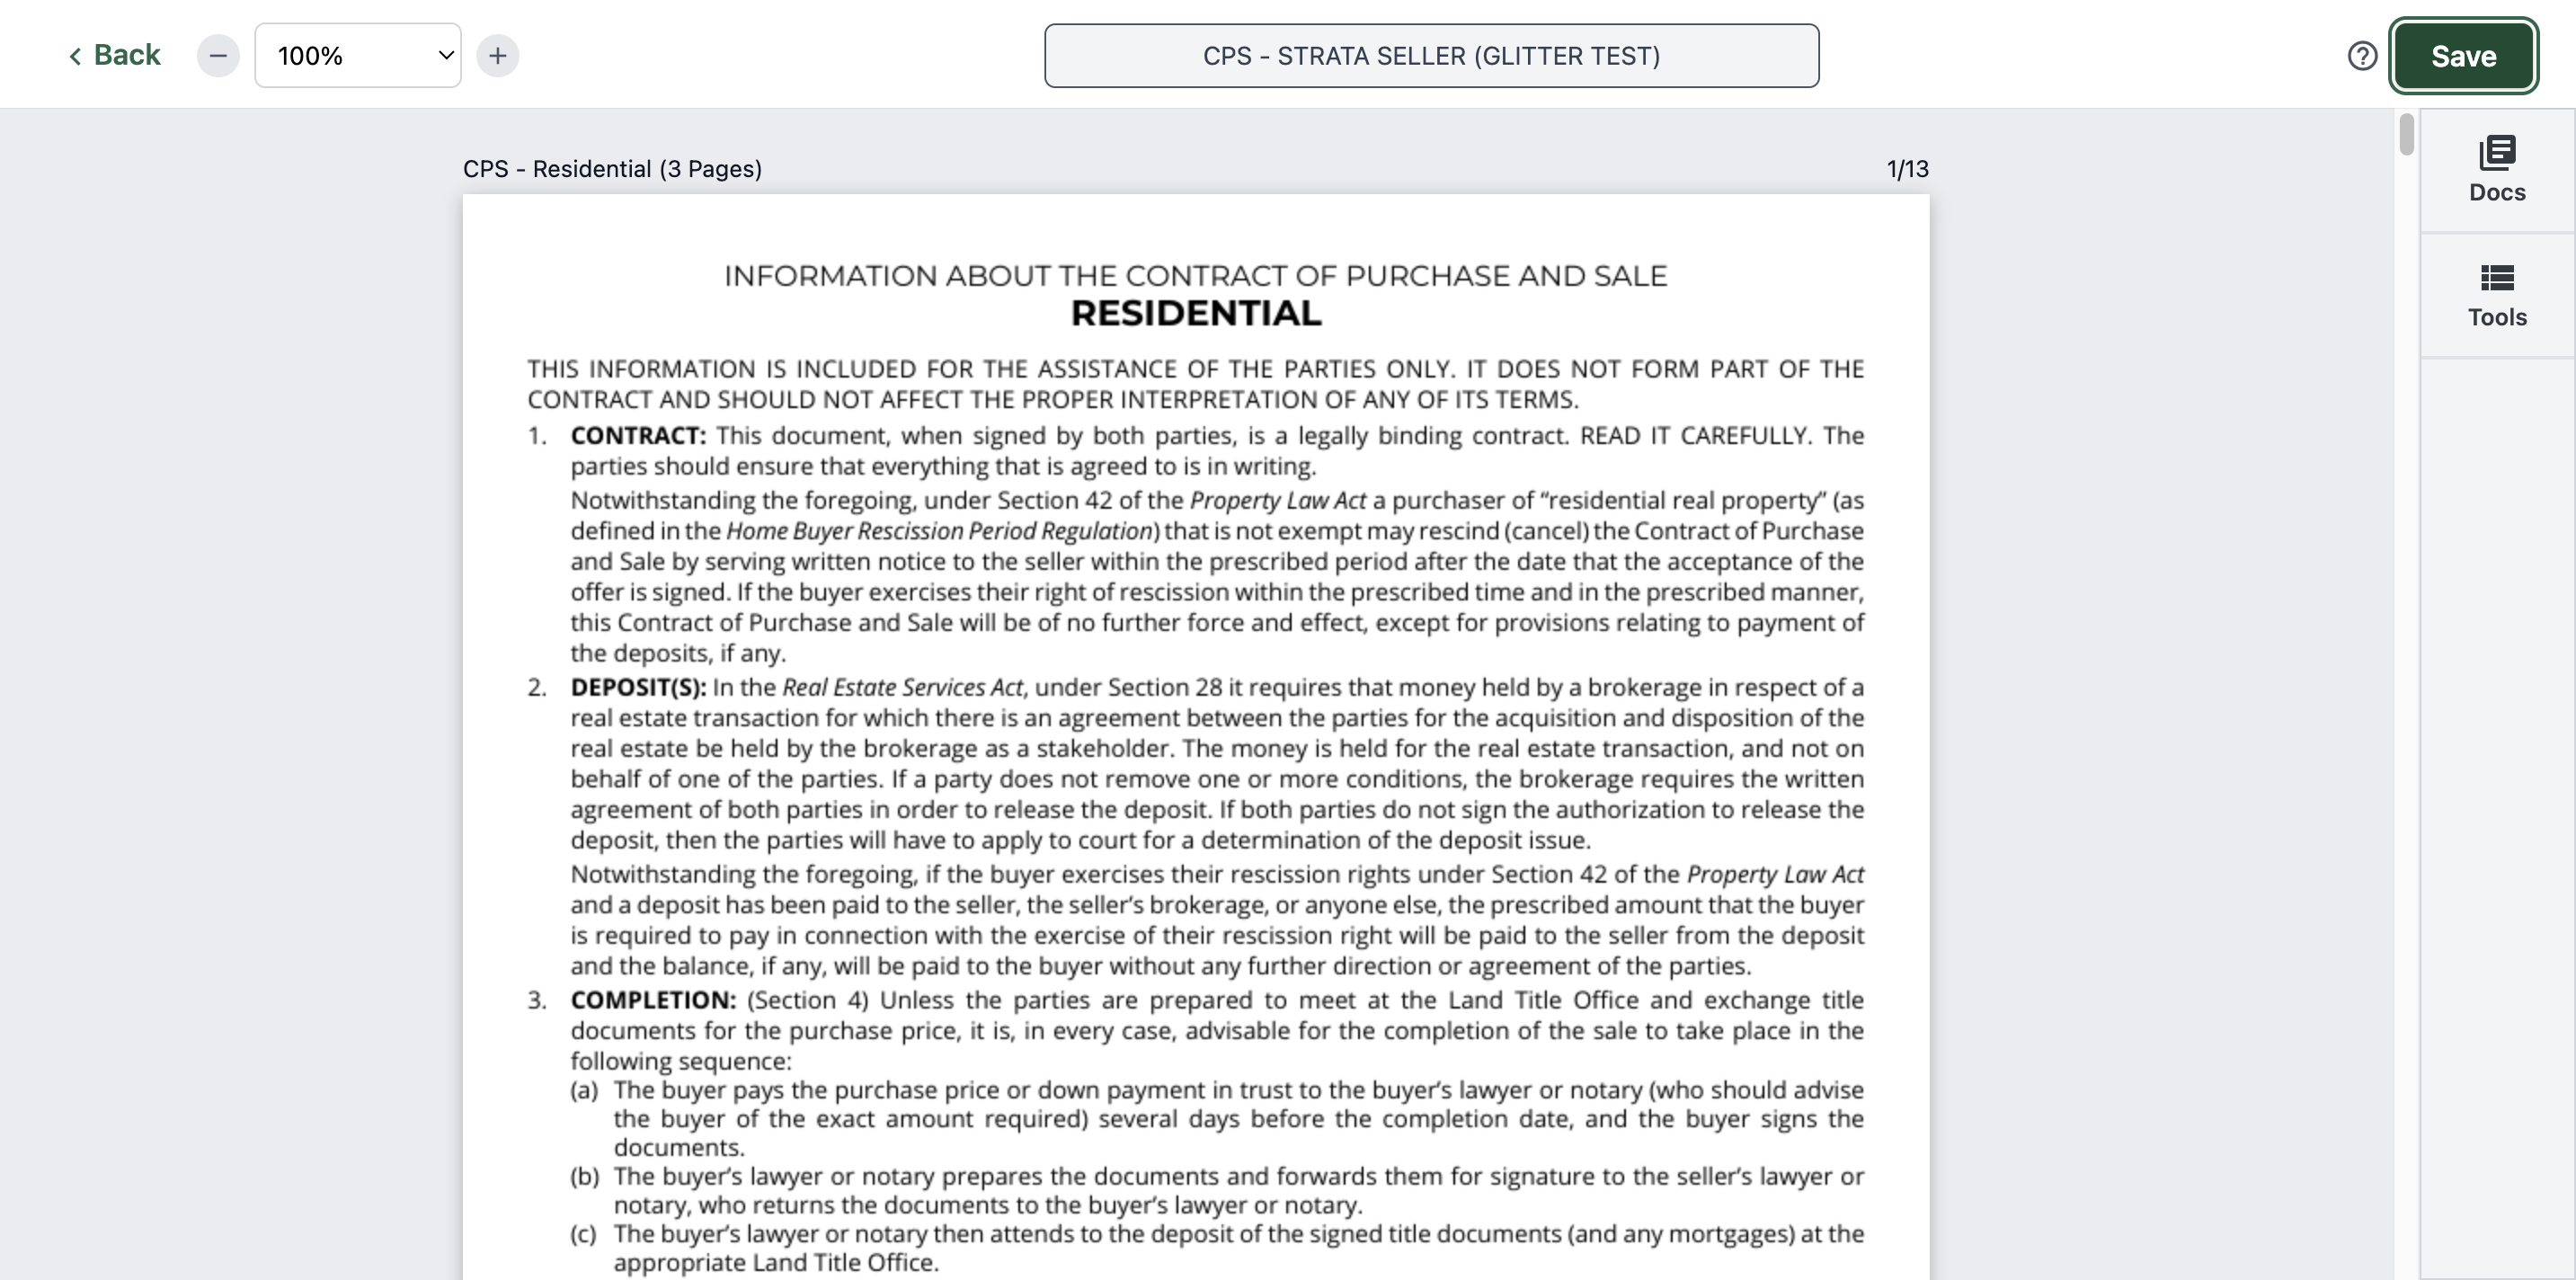
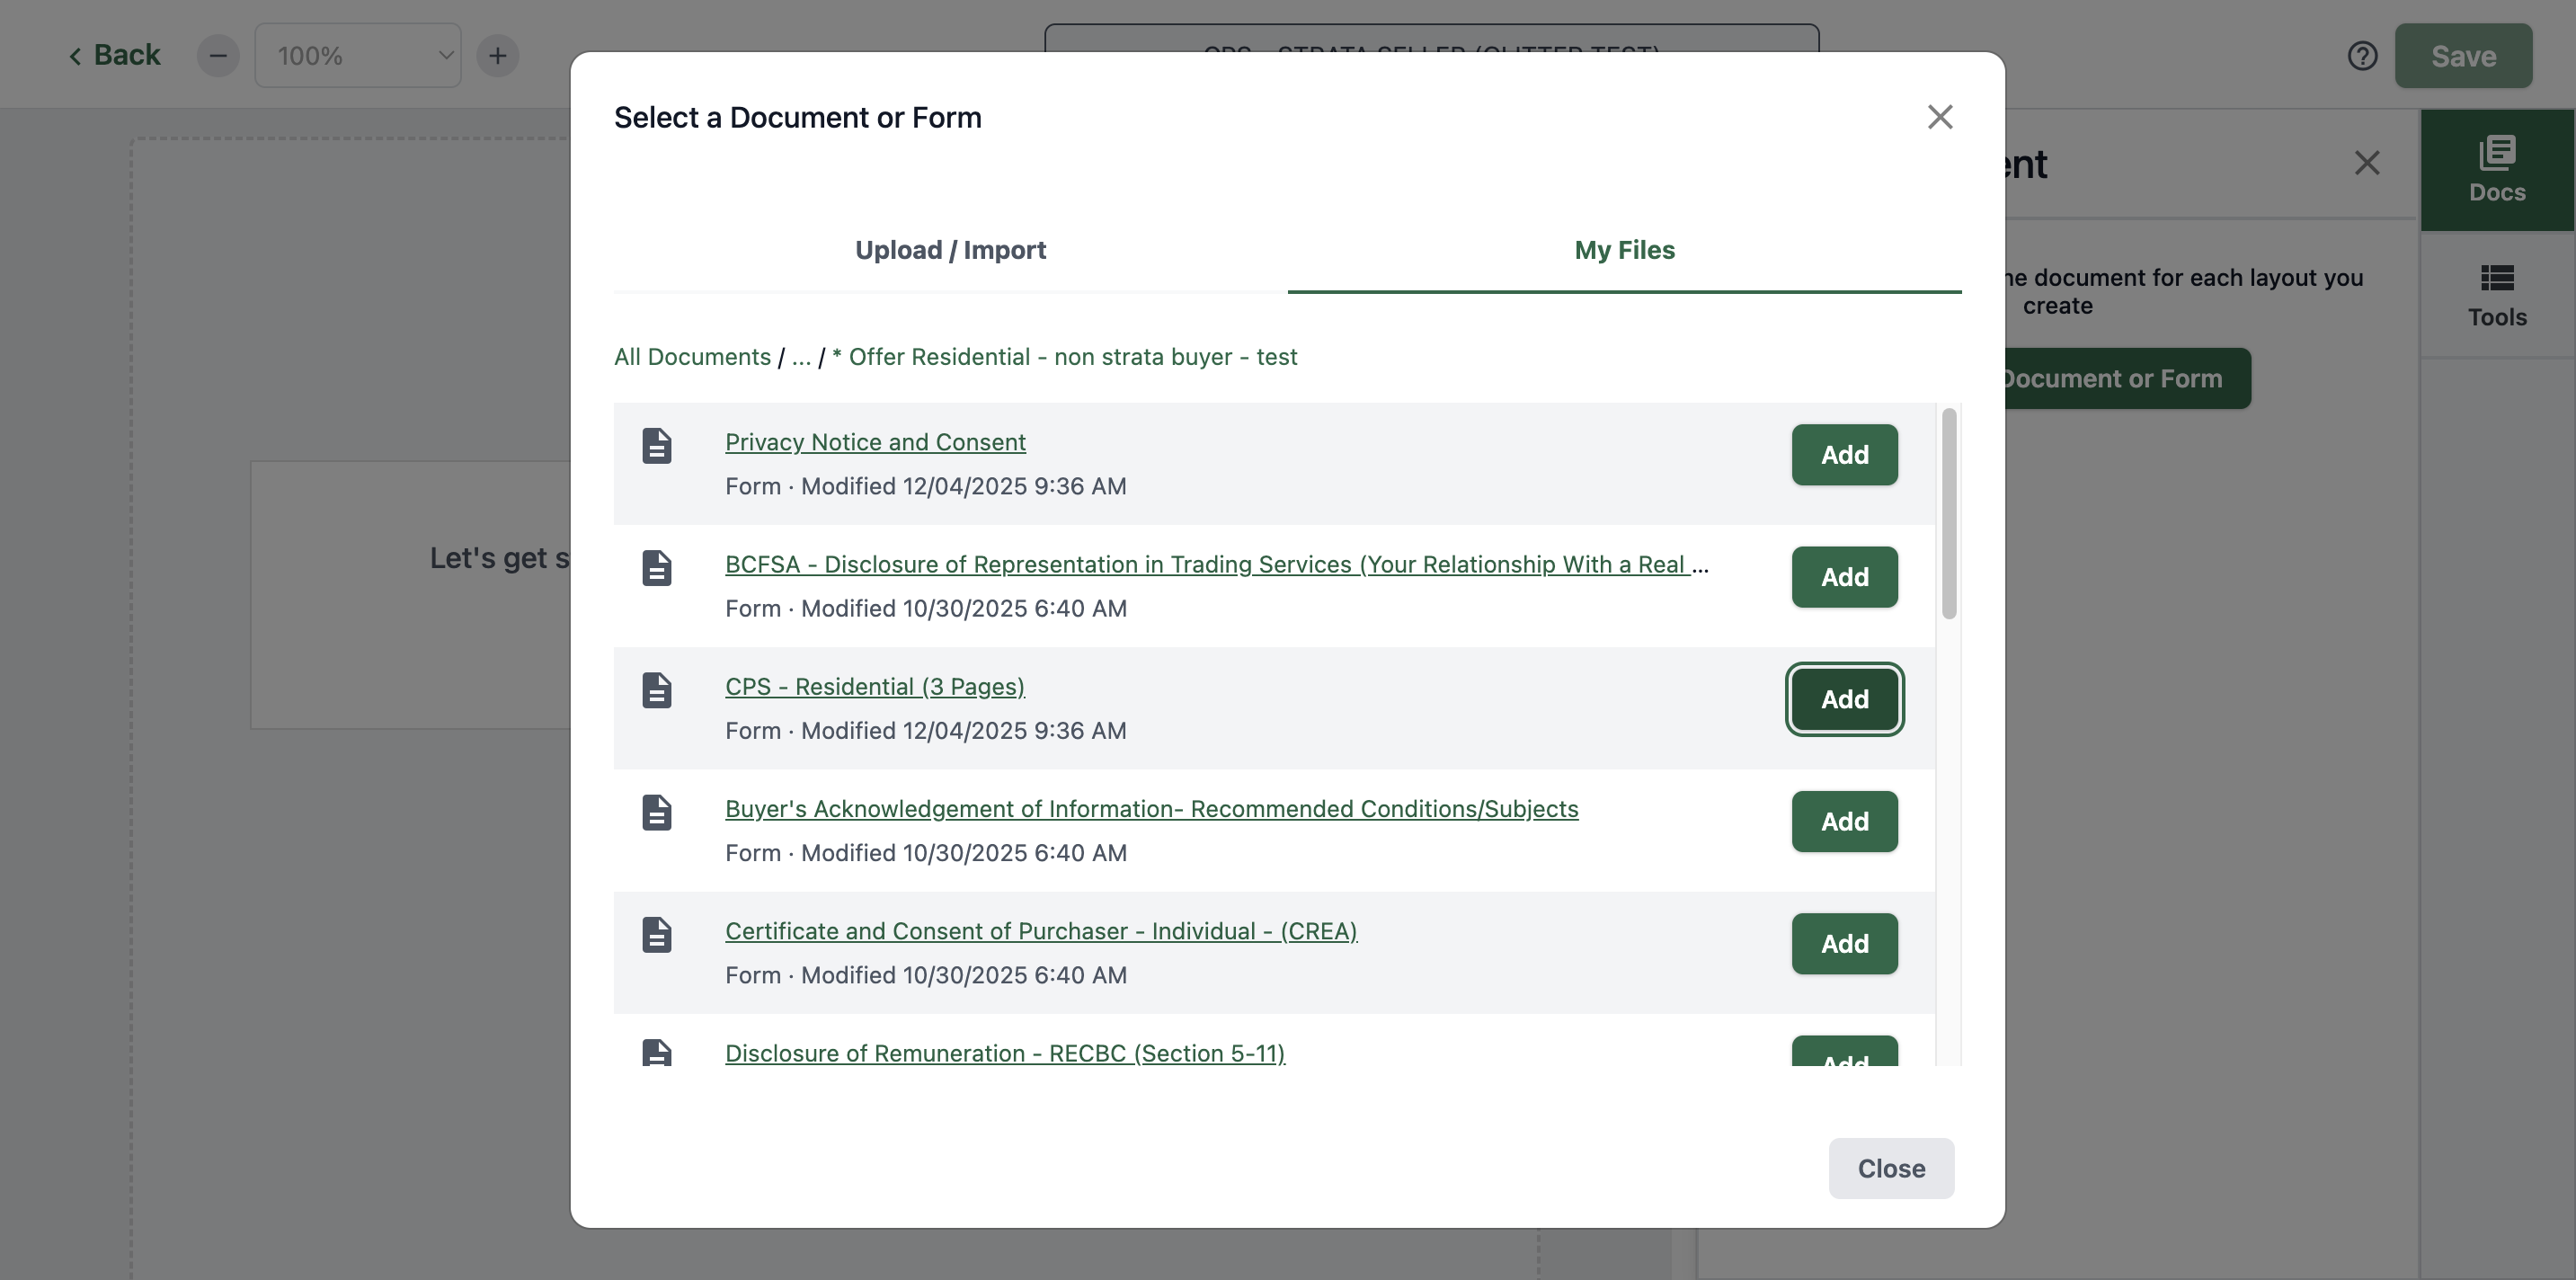
Click "Offer Residential Non-Strata Buyer." Click the cps-residential-3-pages.
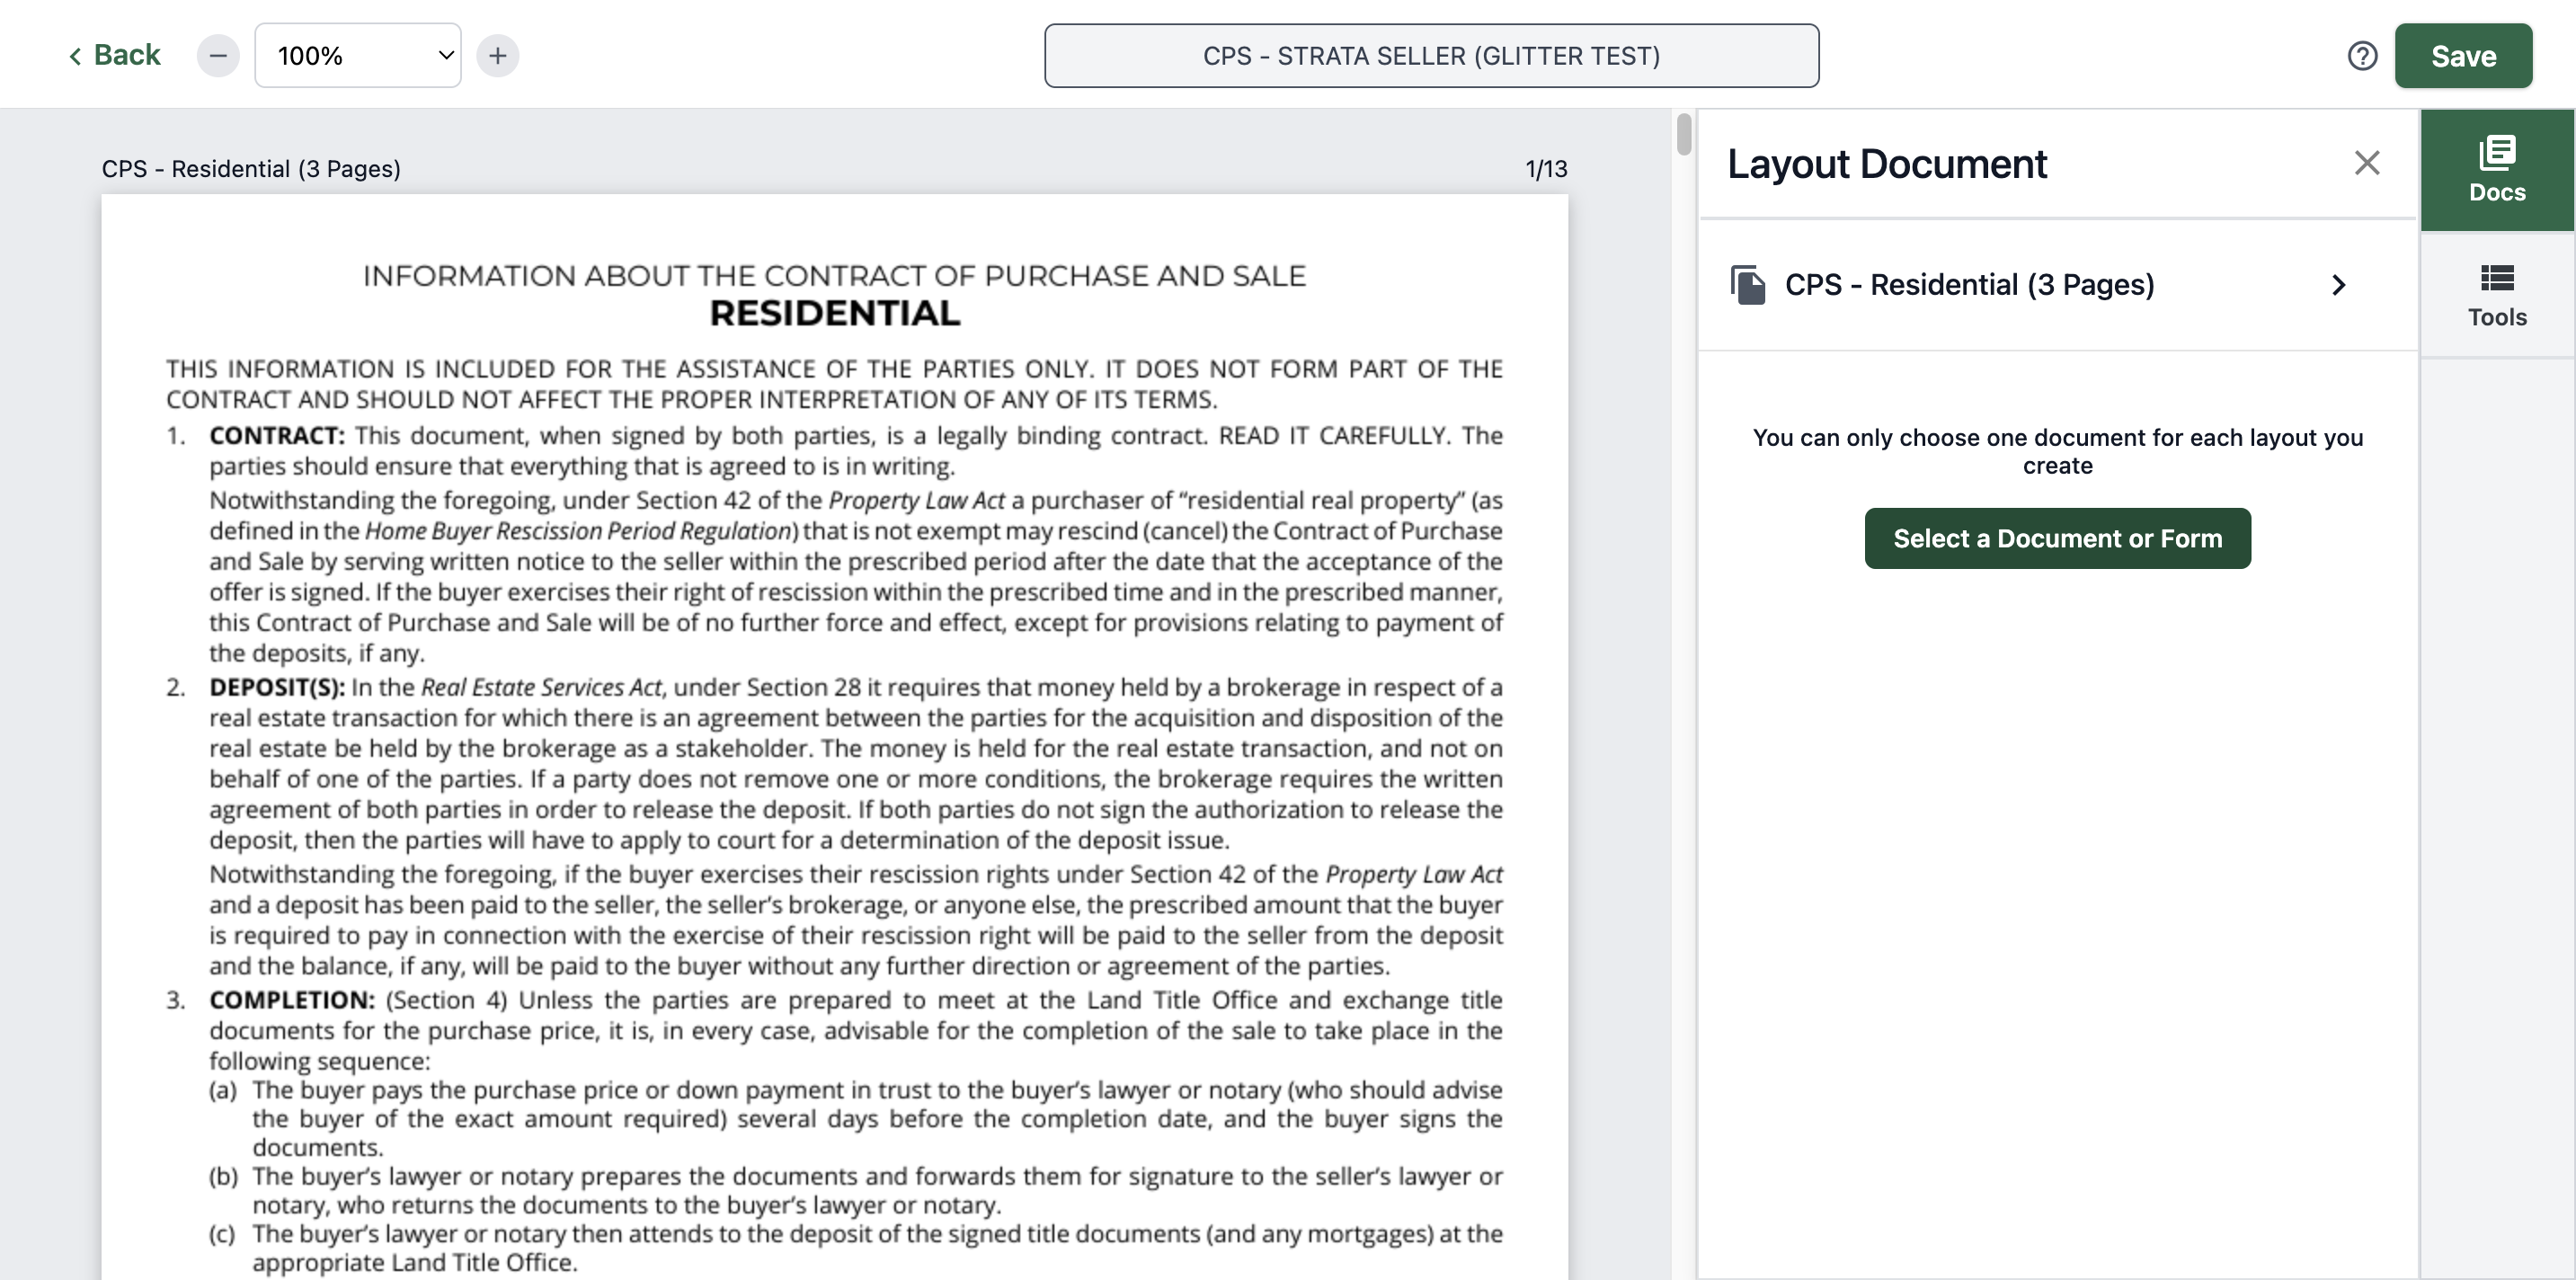
Add that.
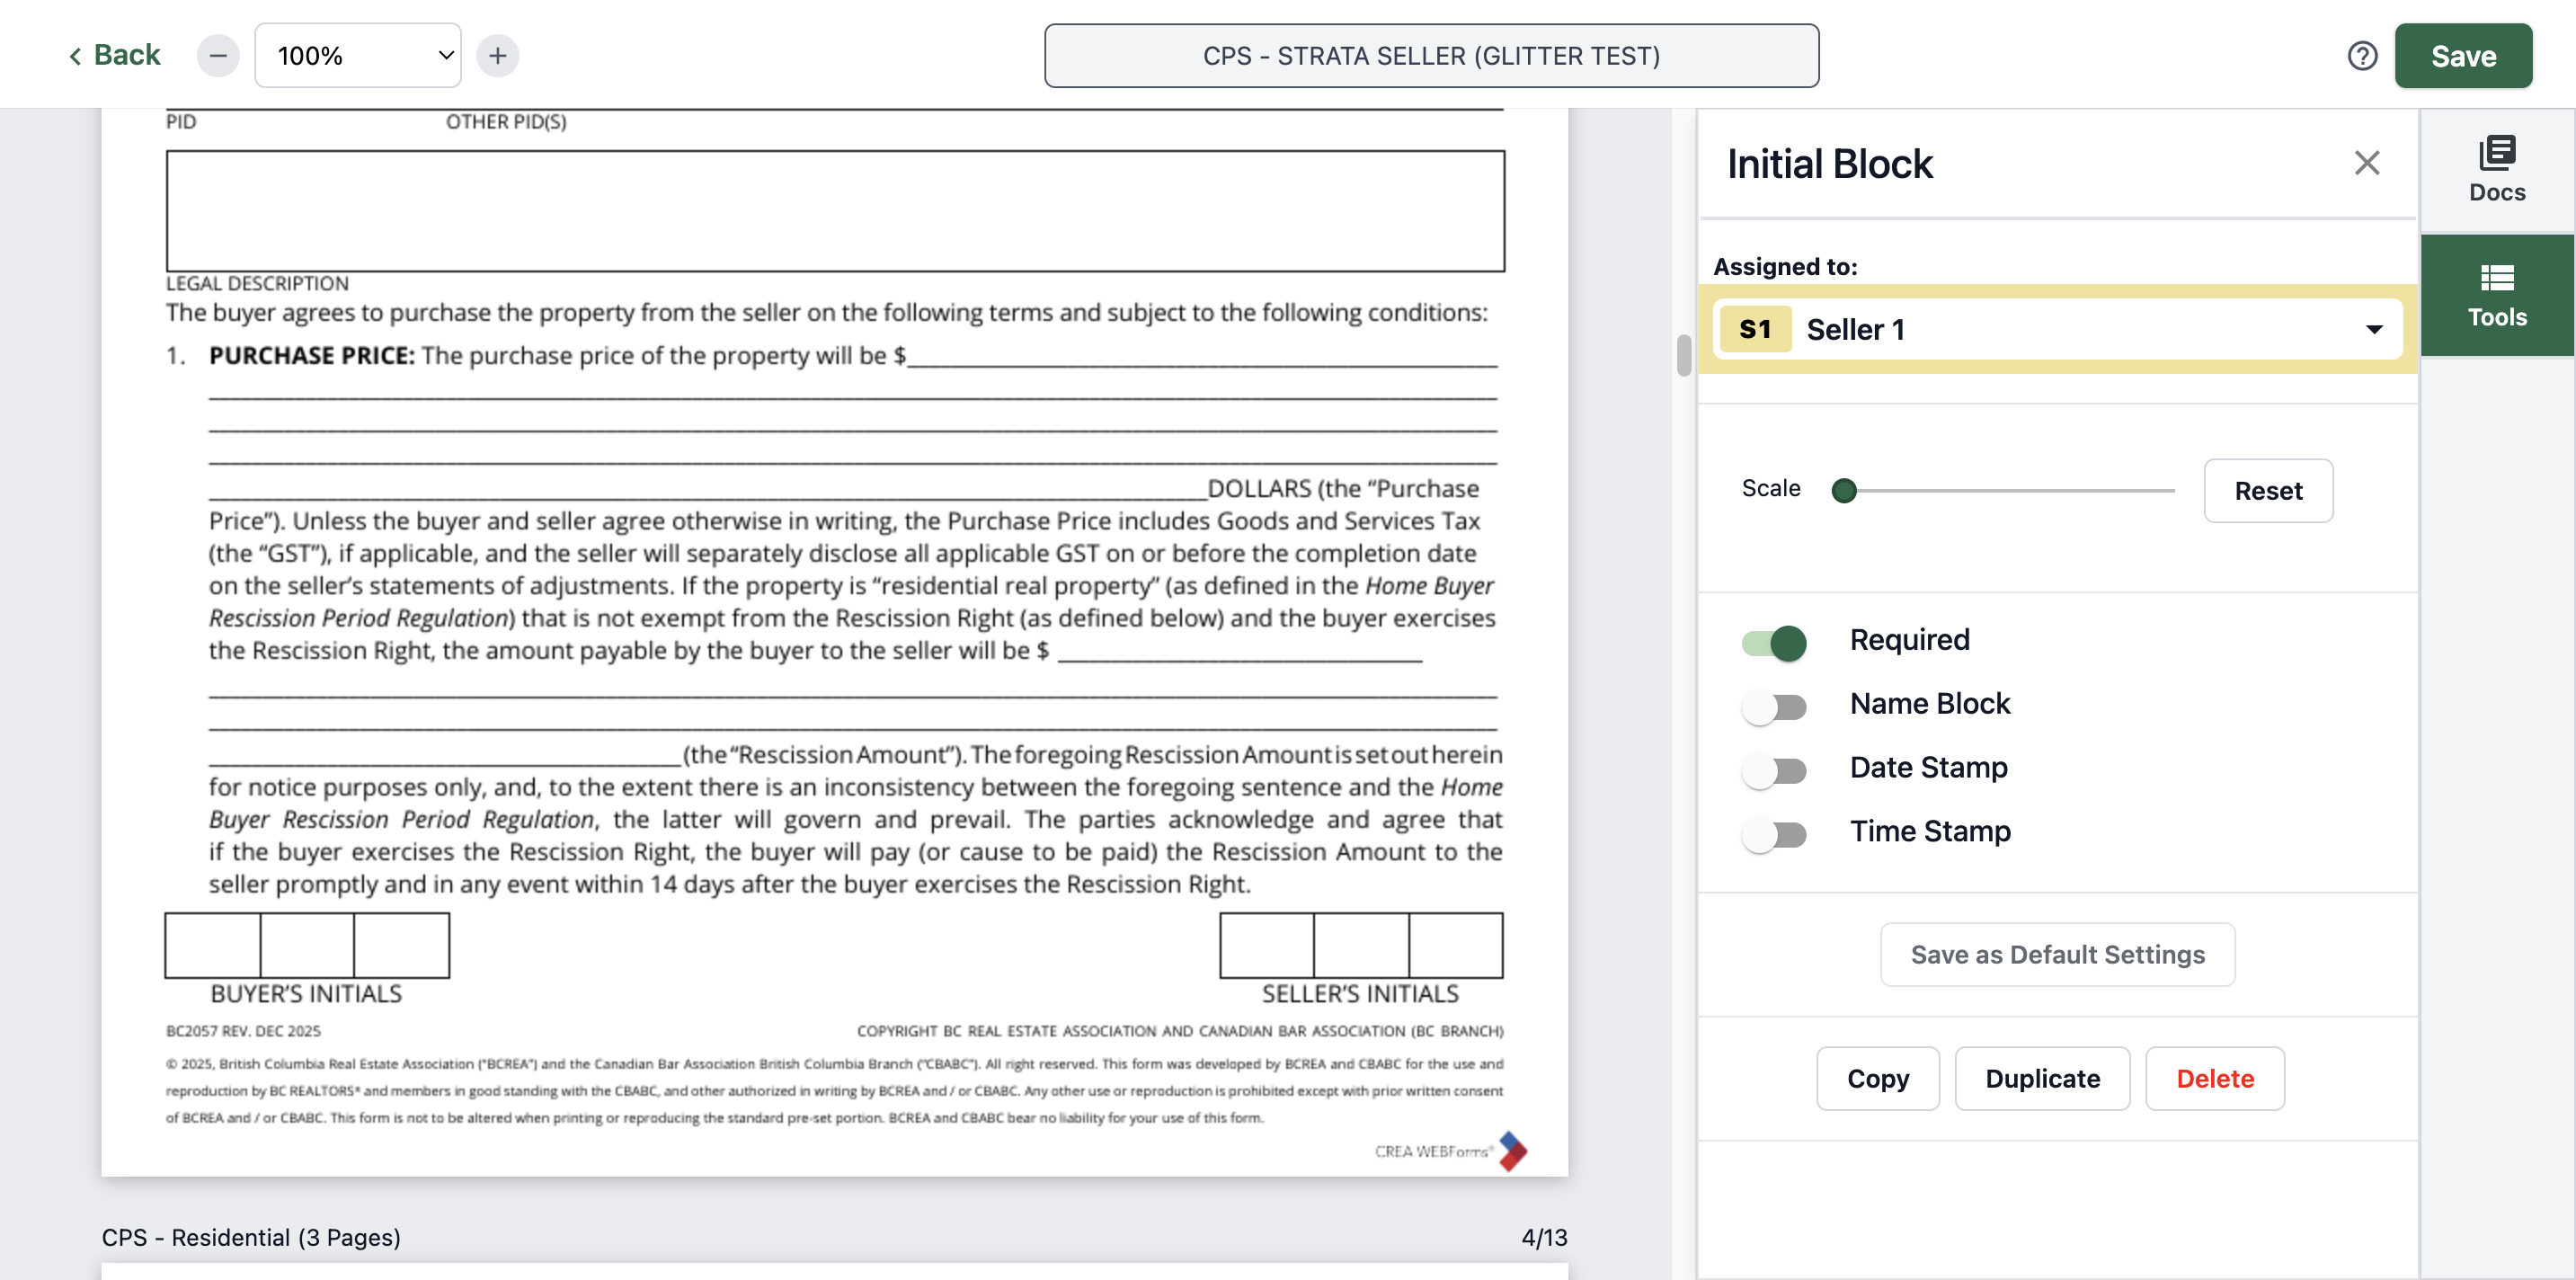
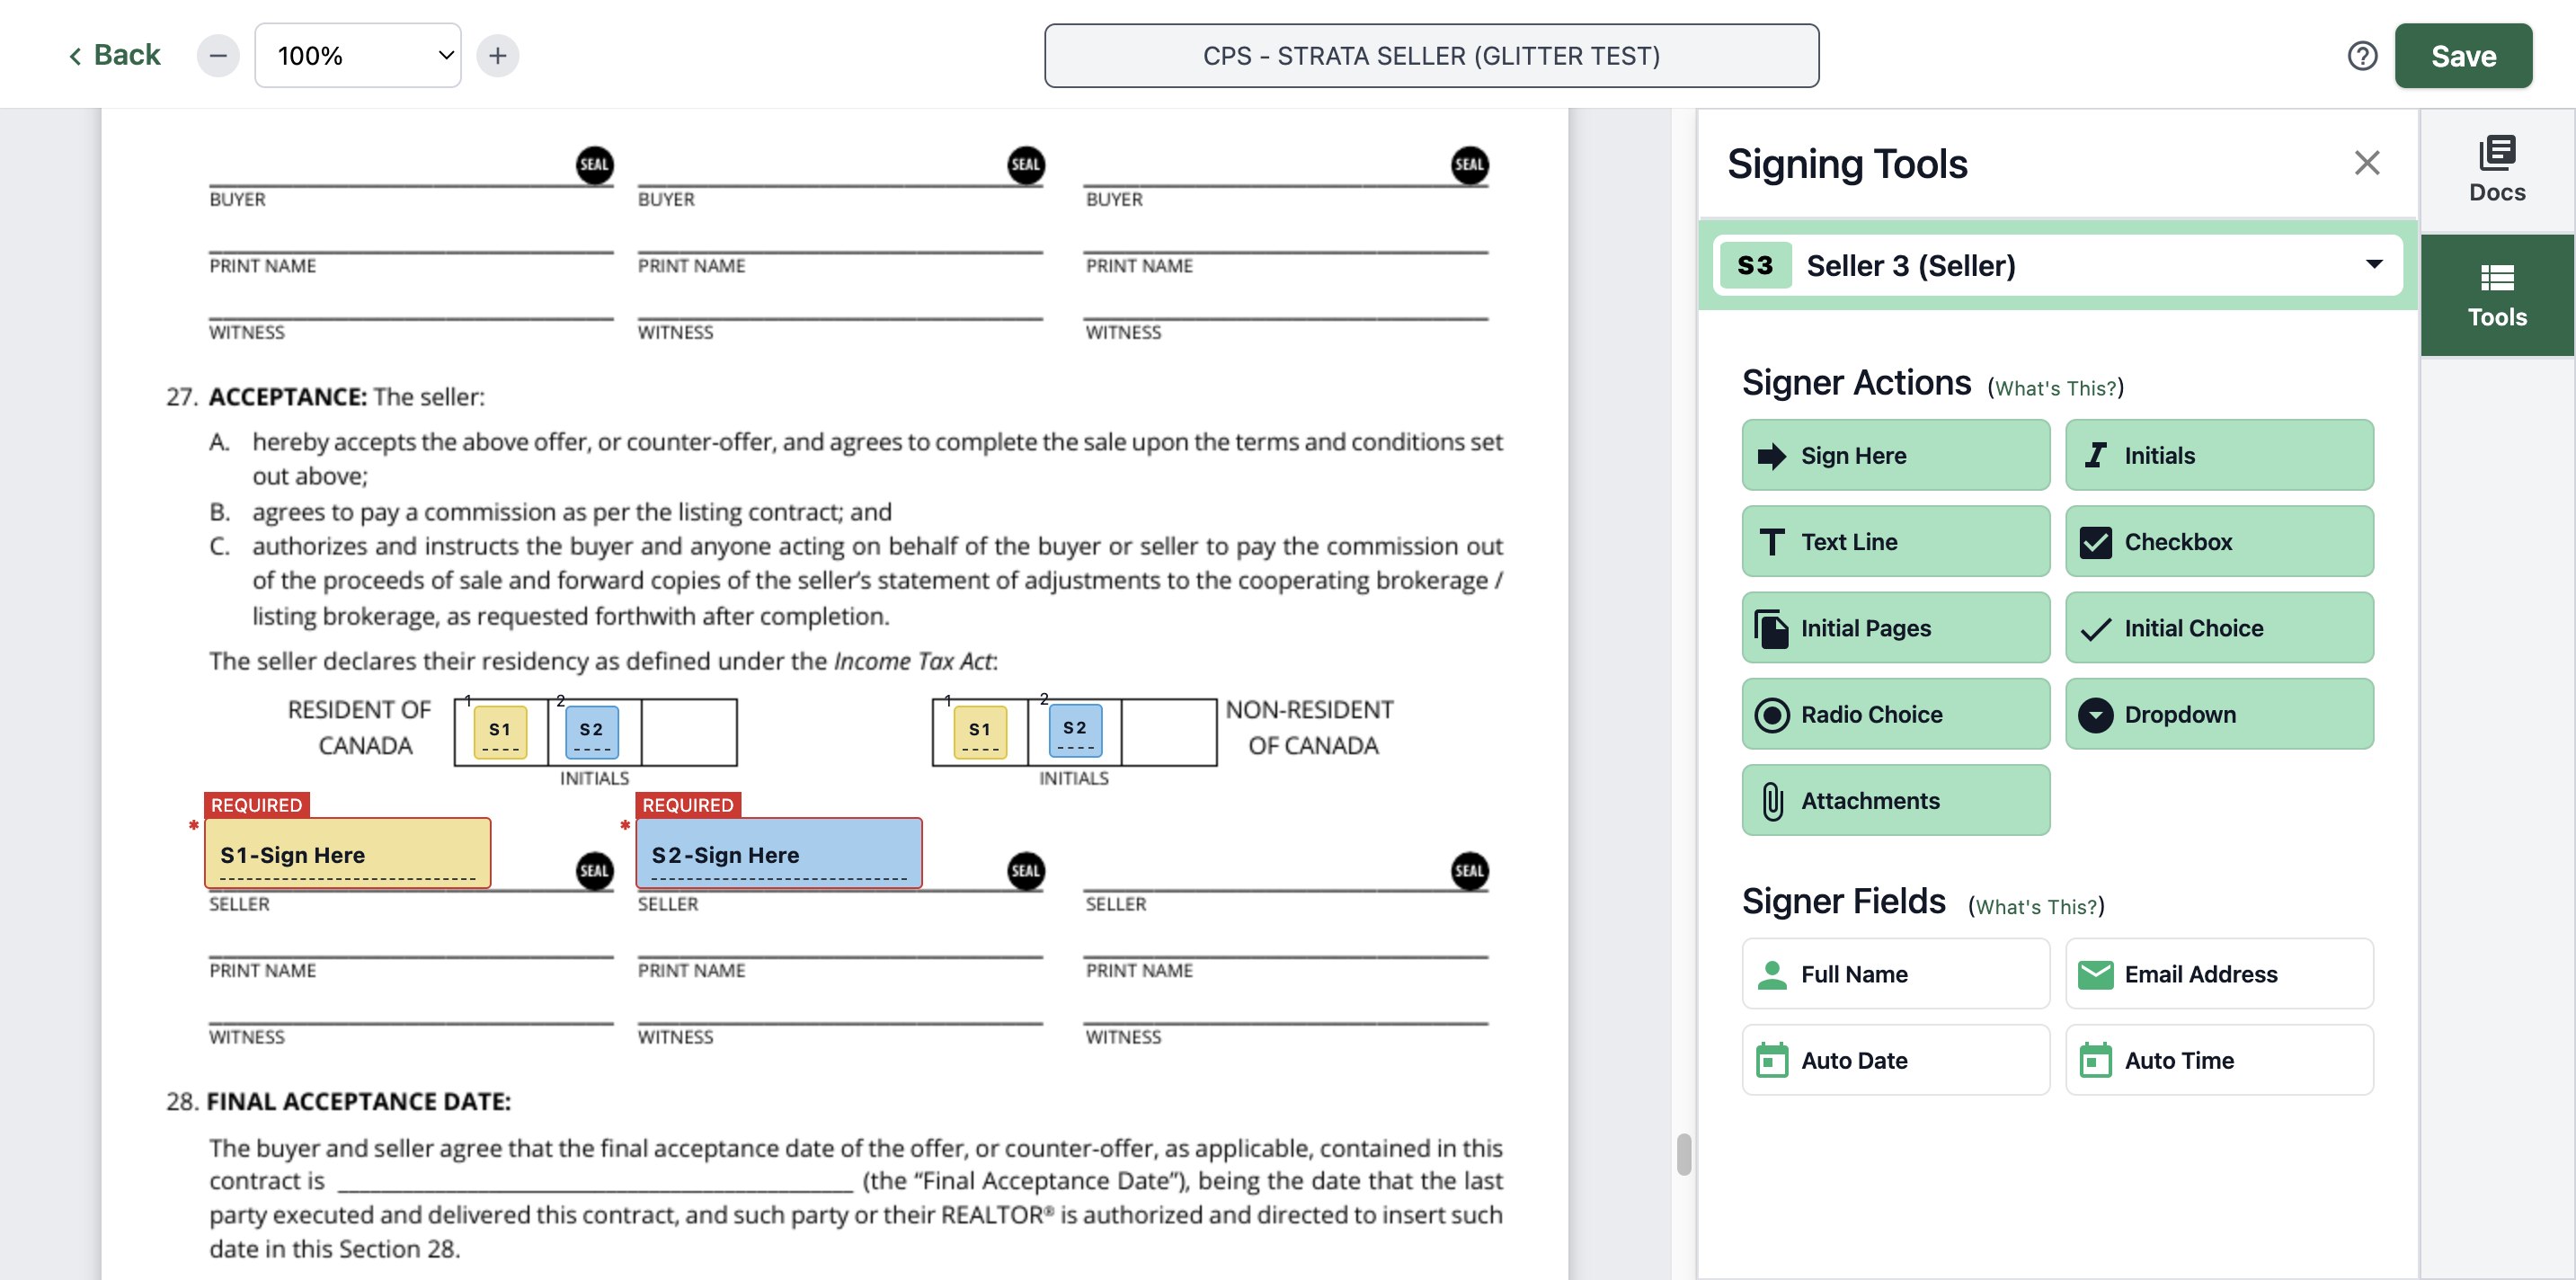
Then, go to Tools.
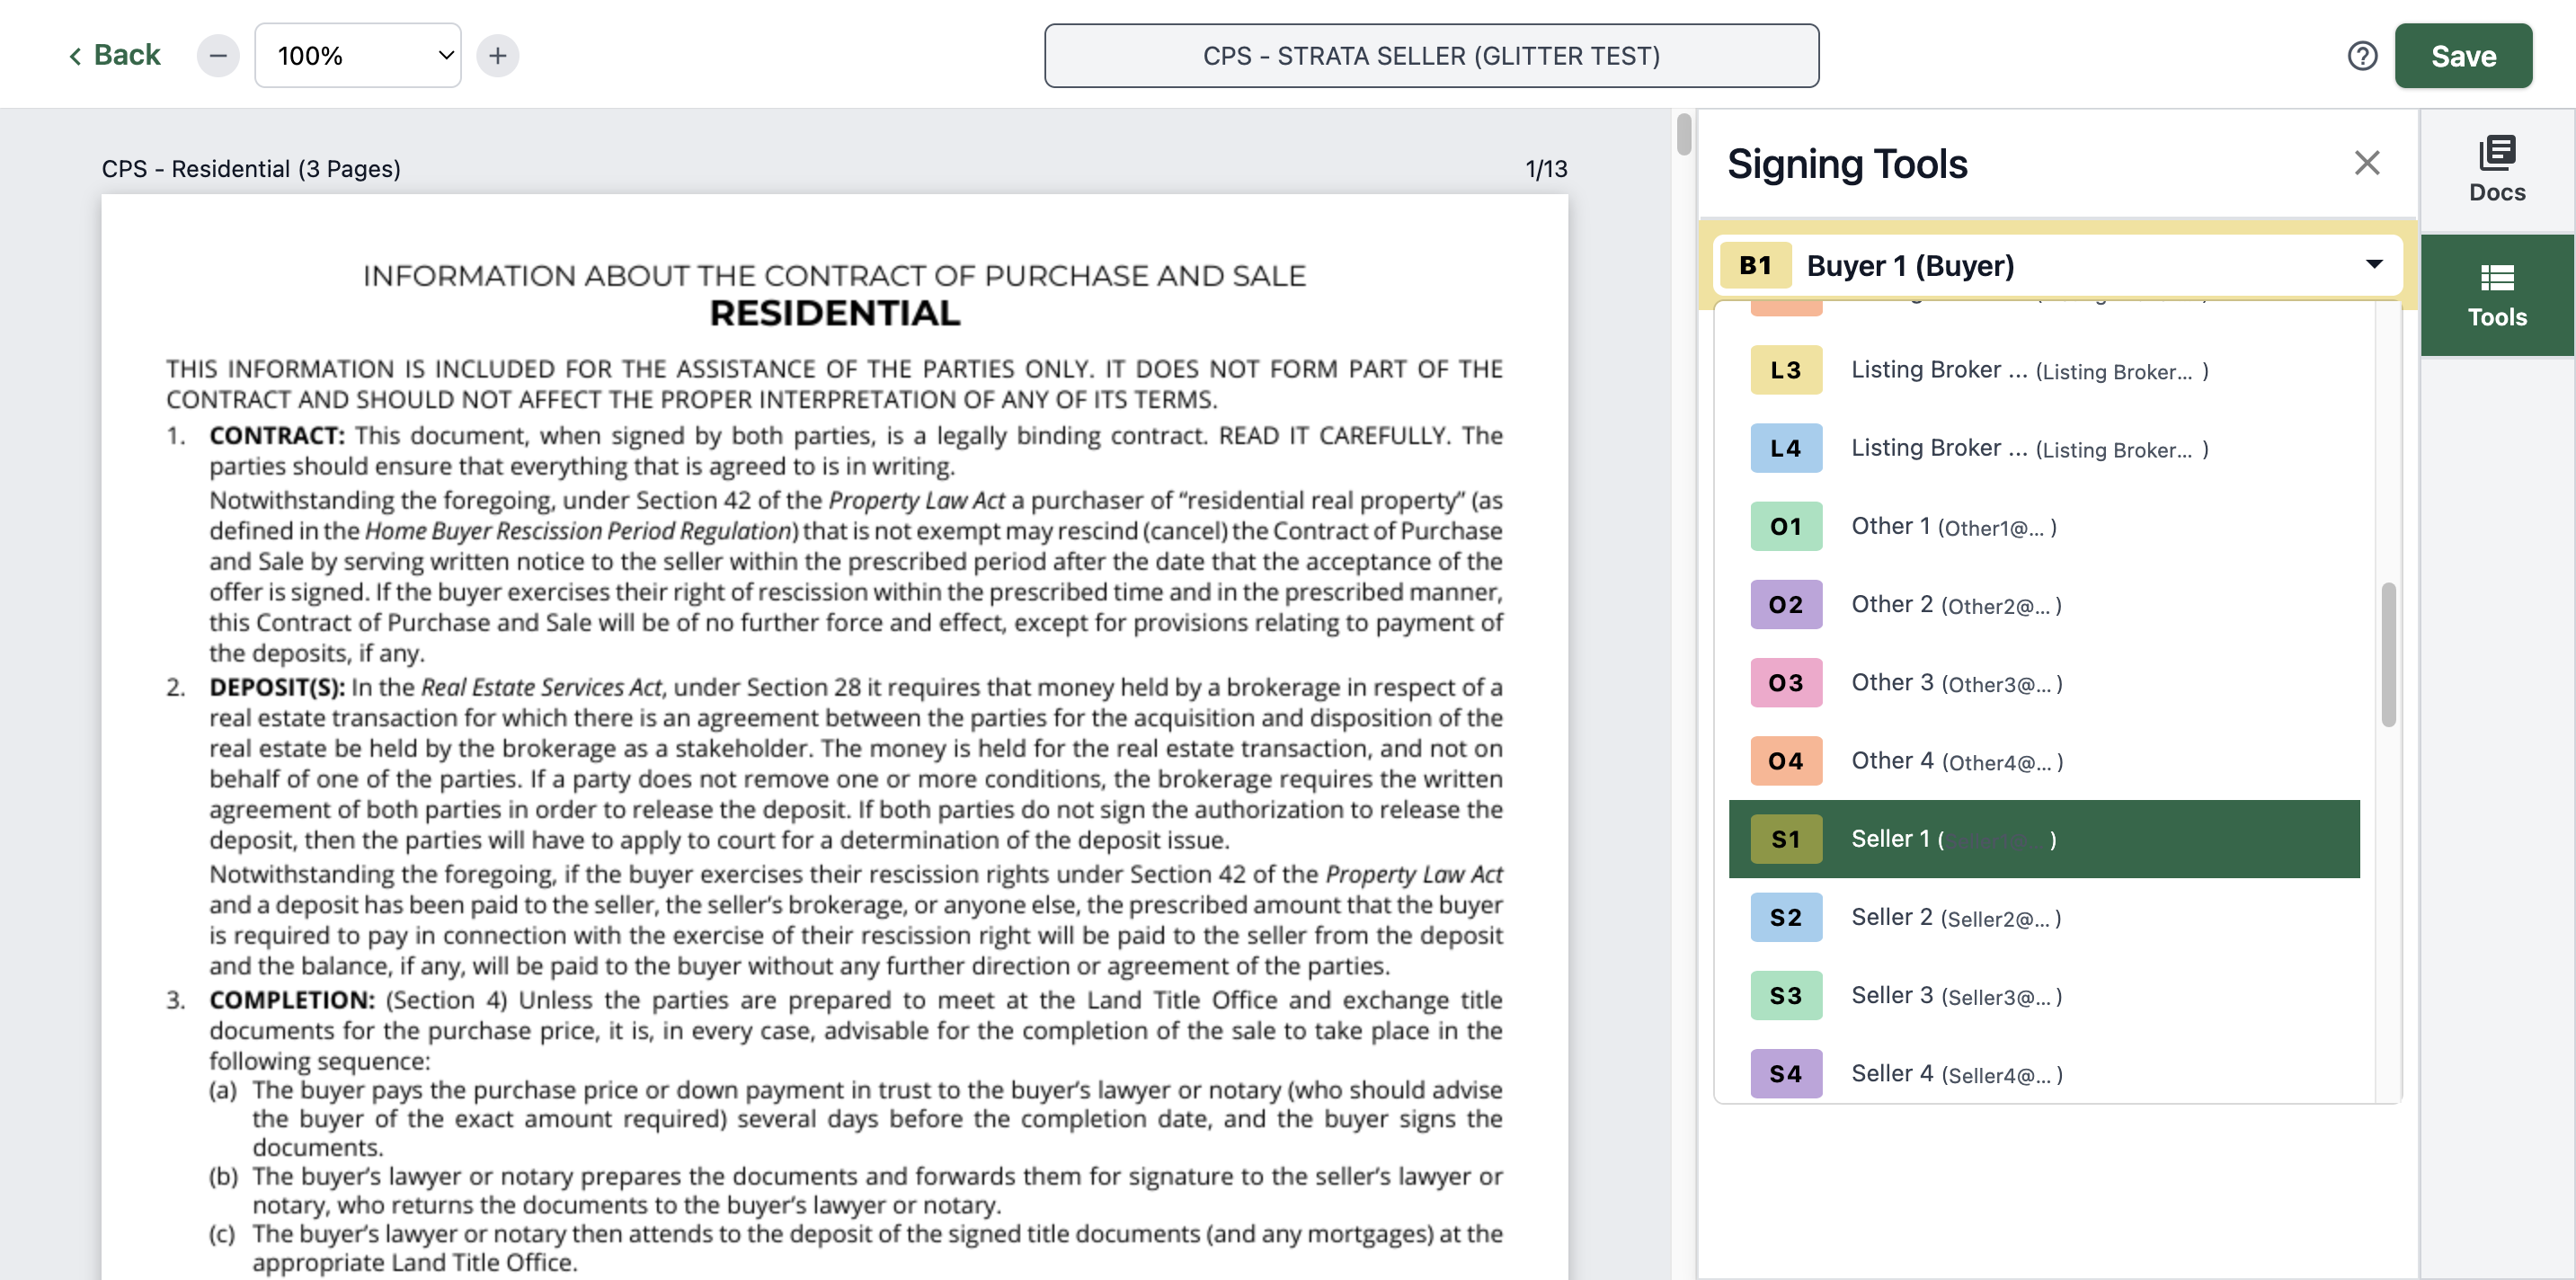
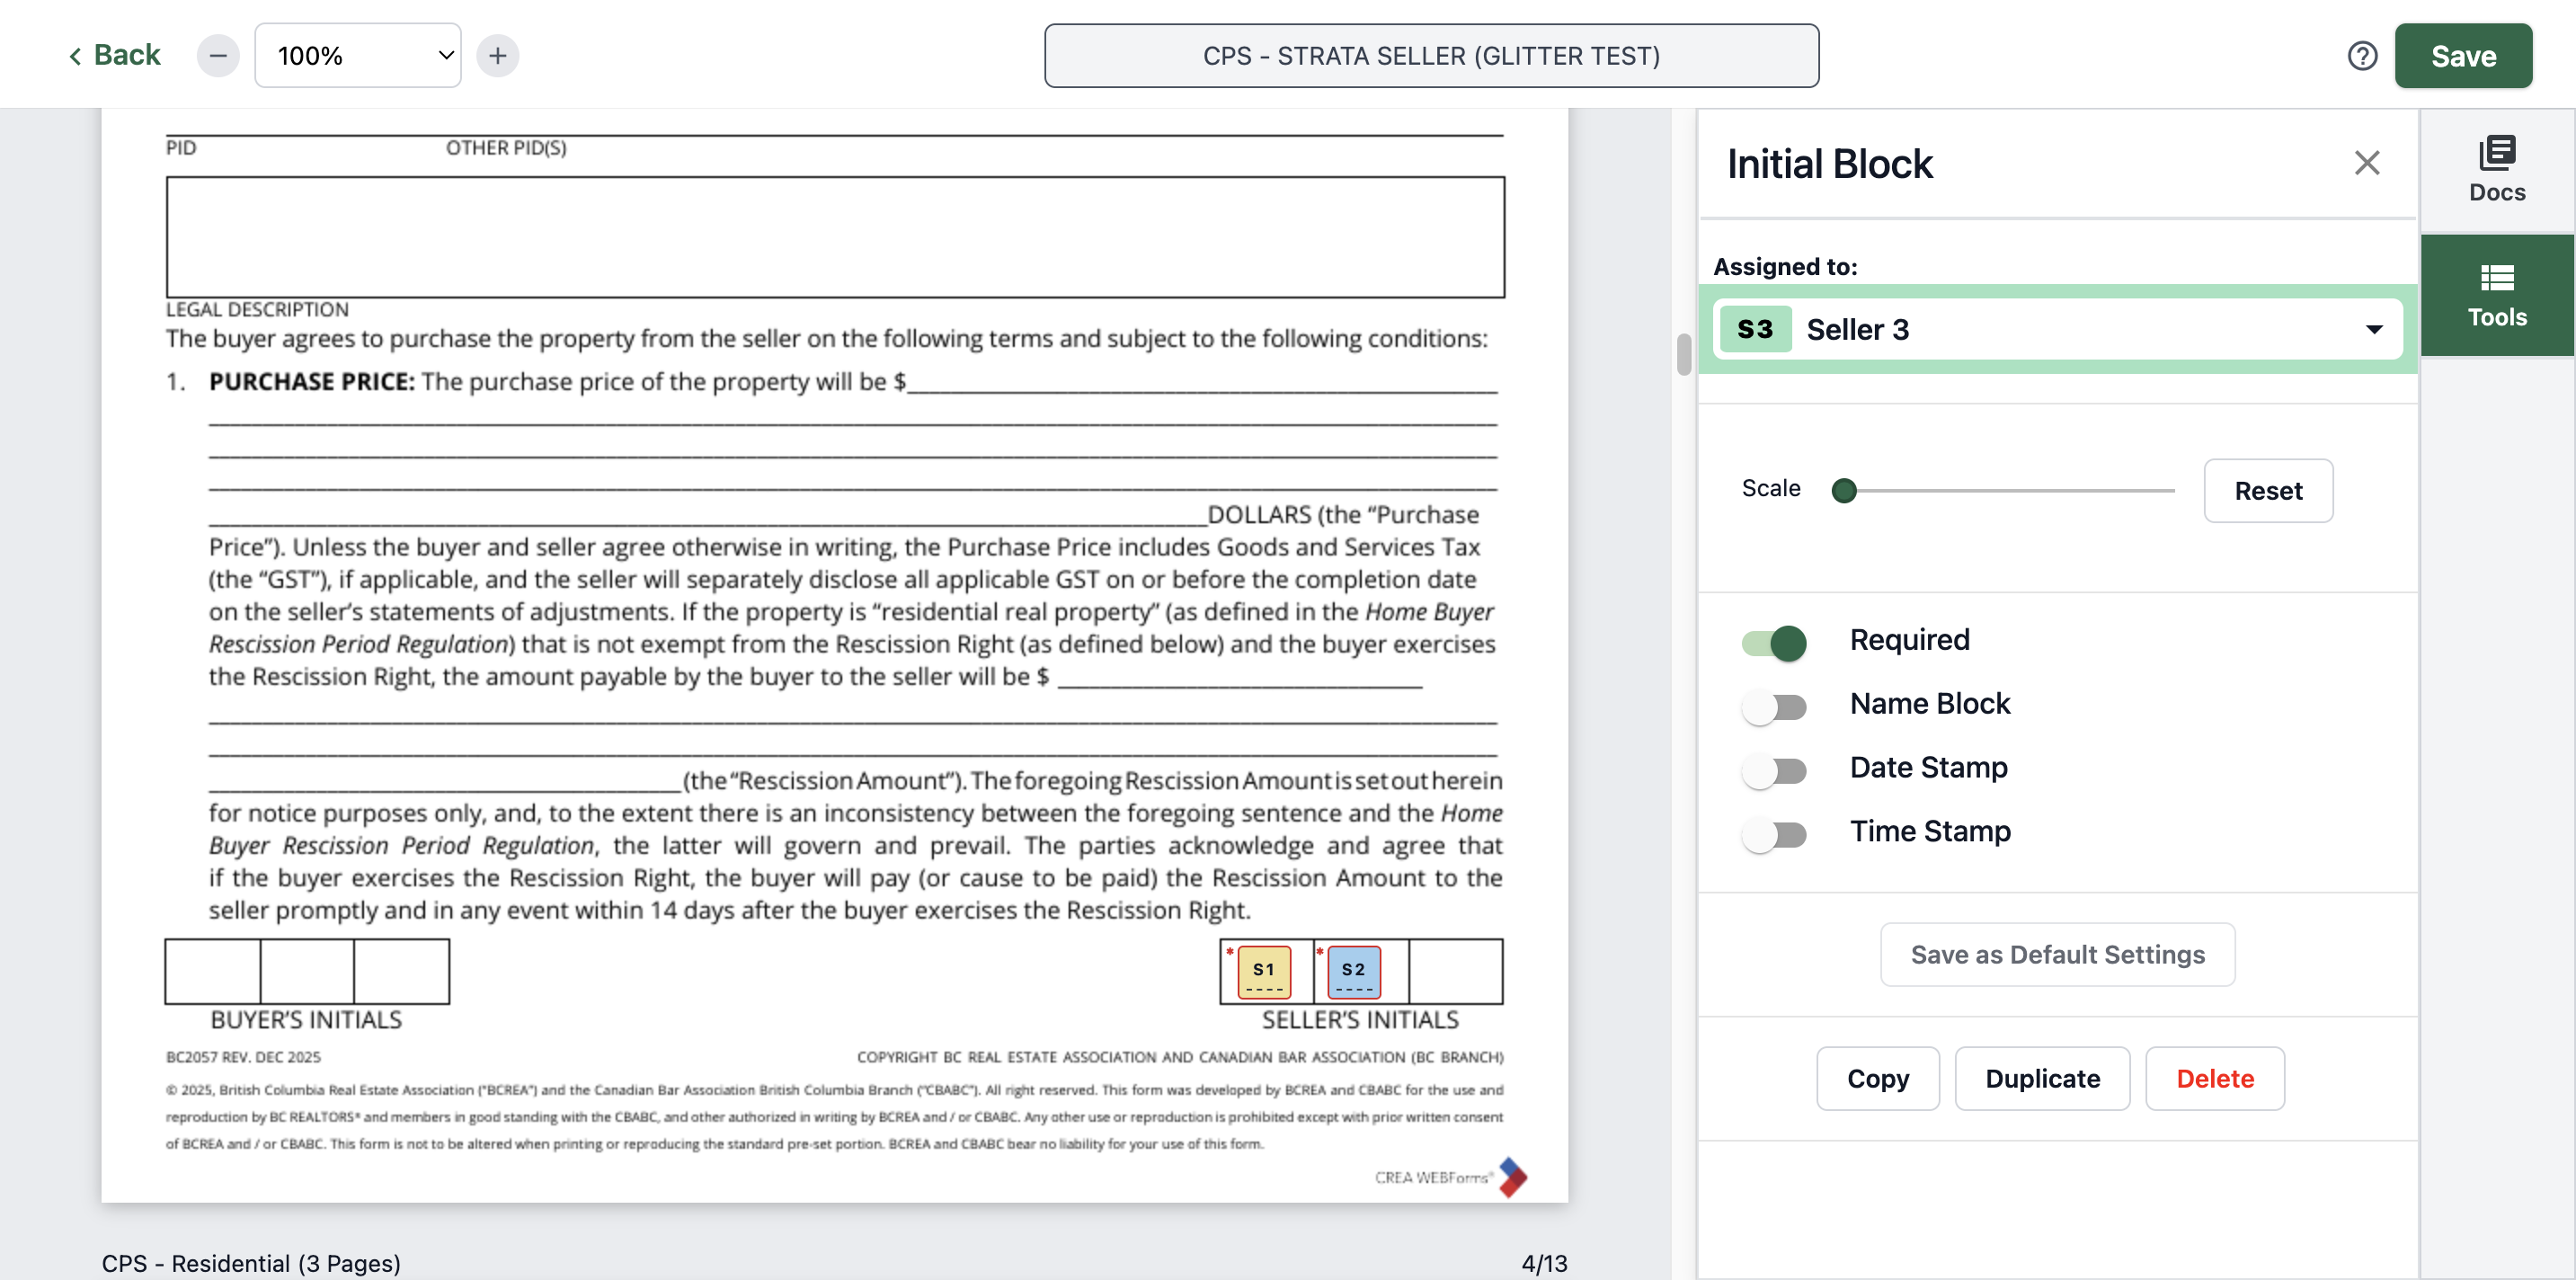
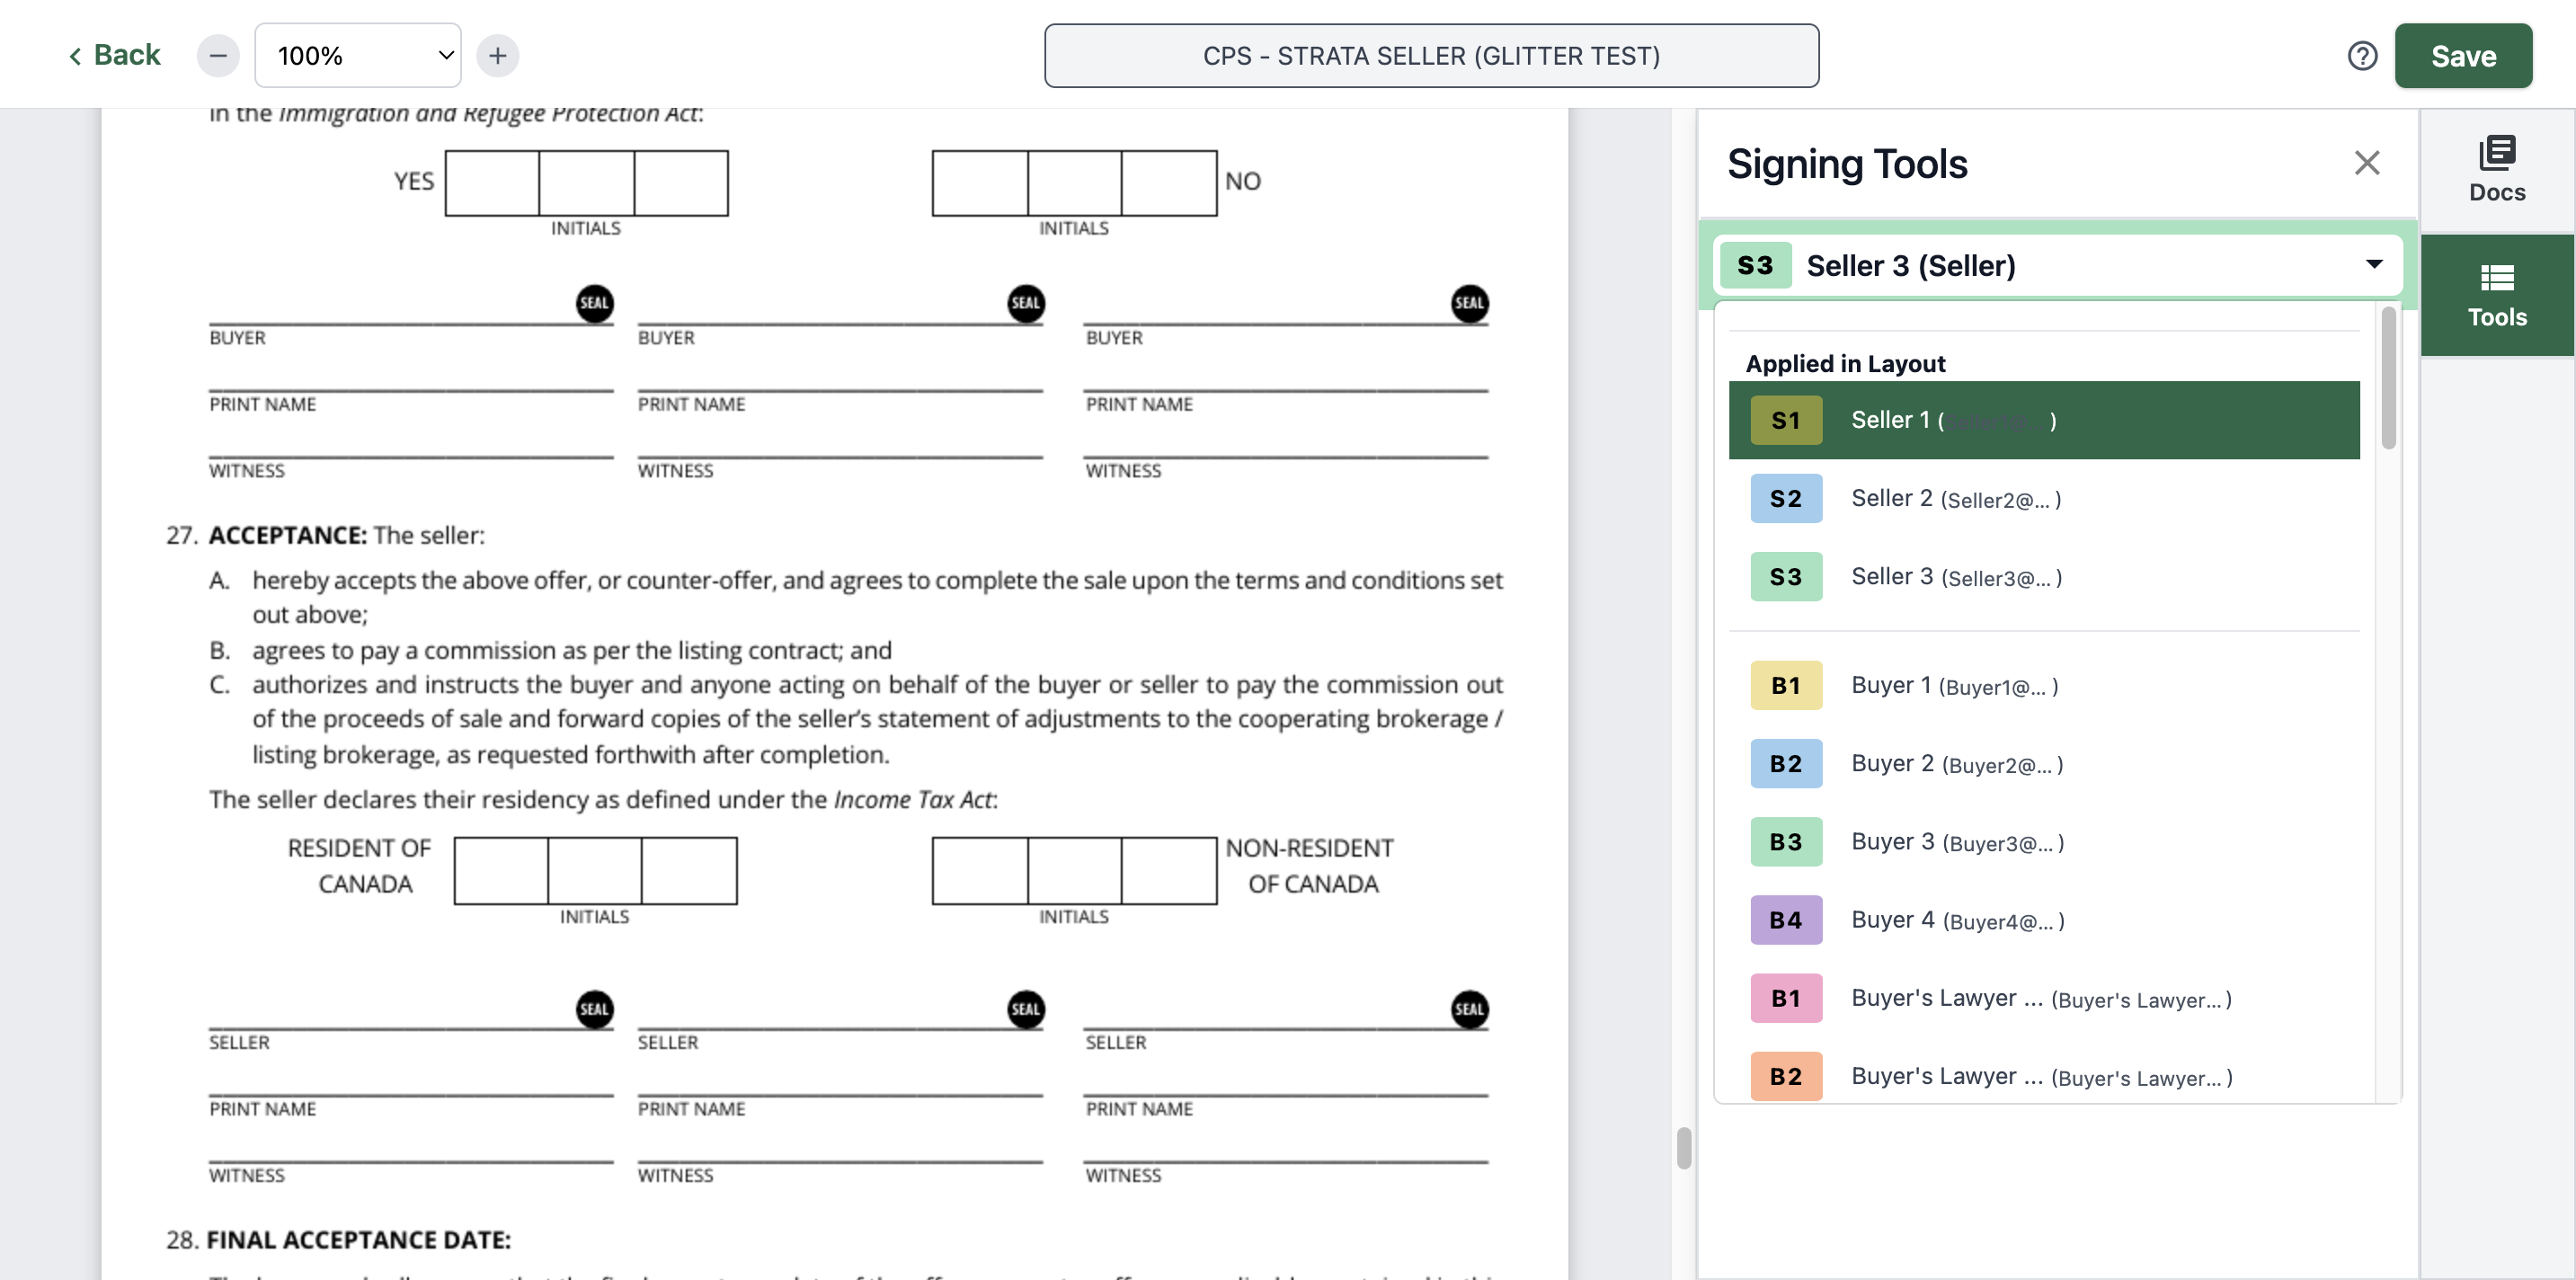
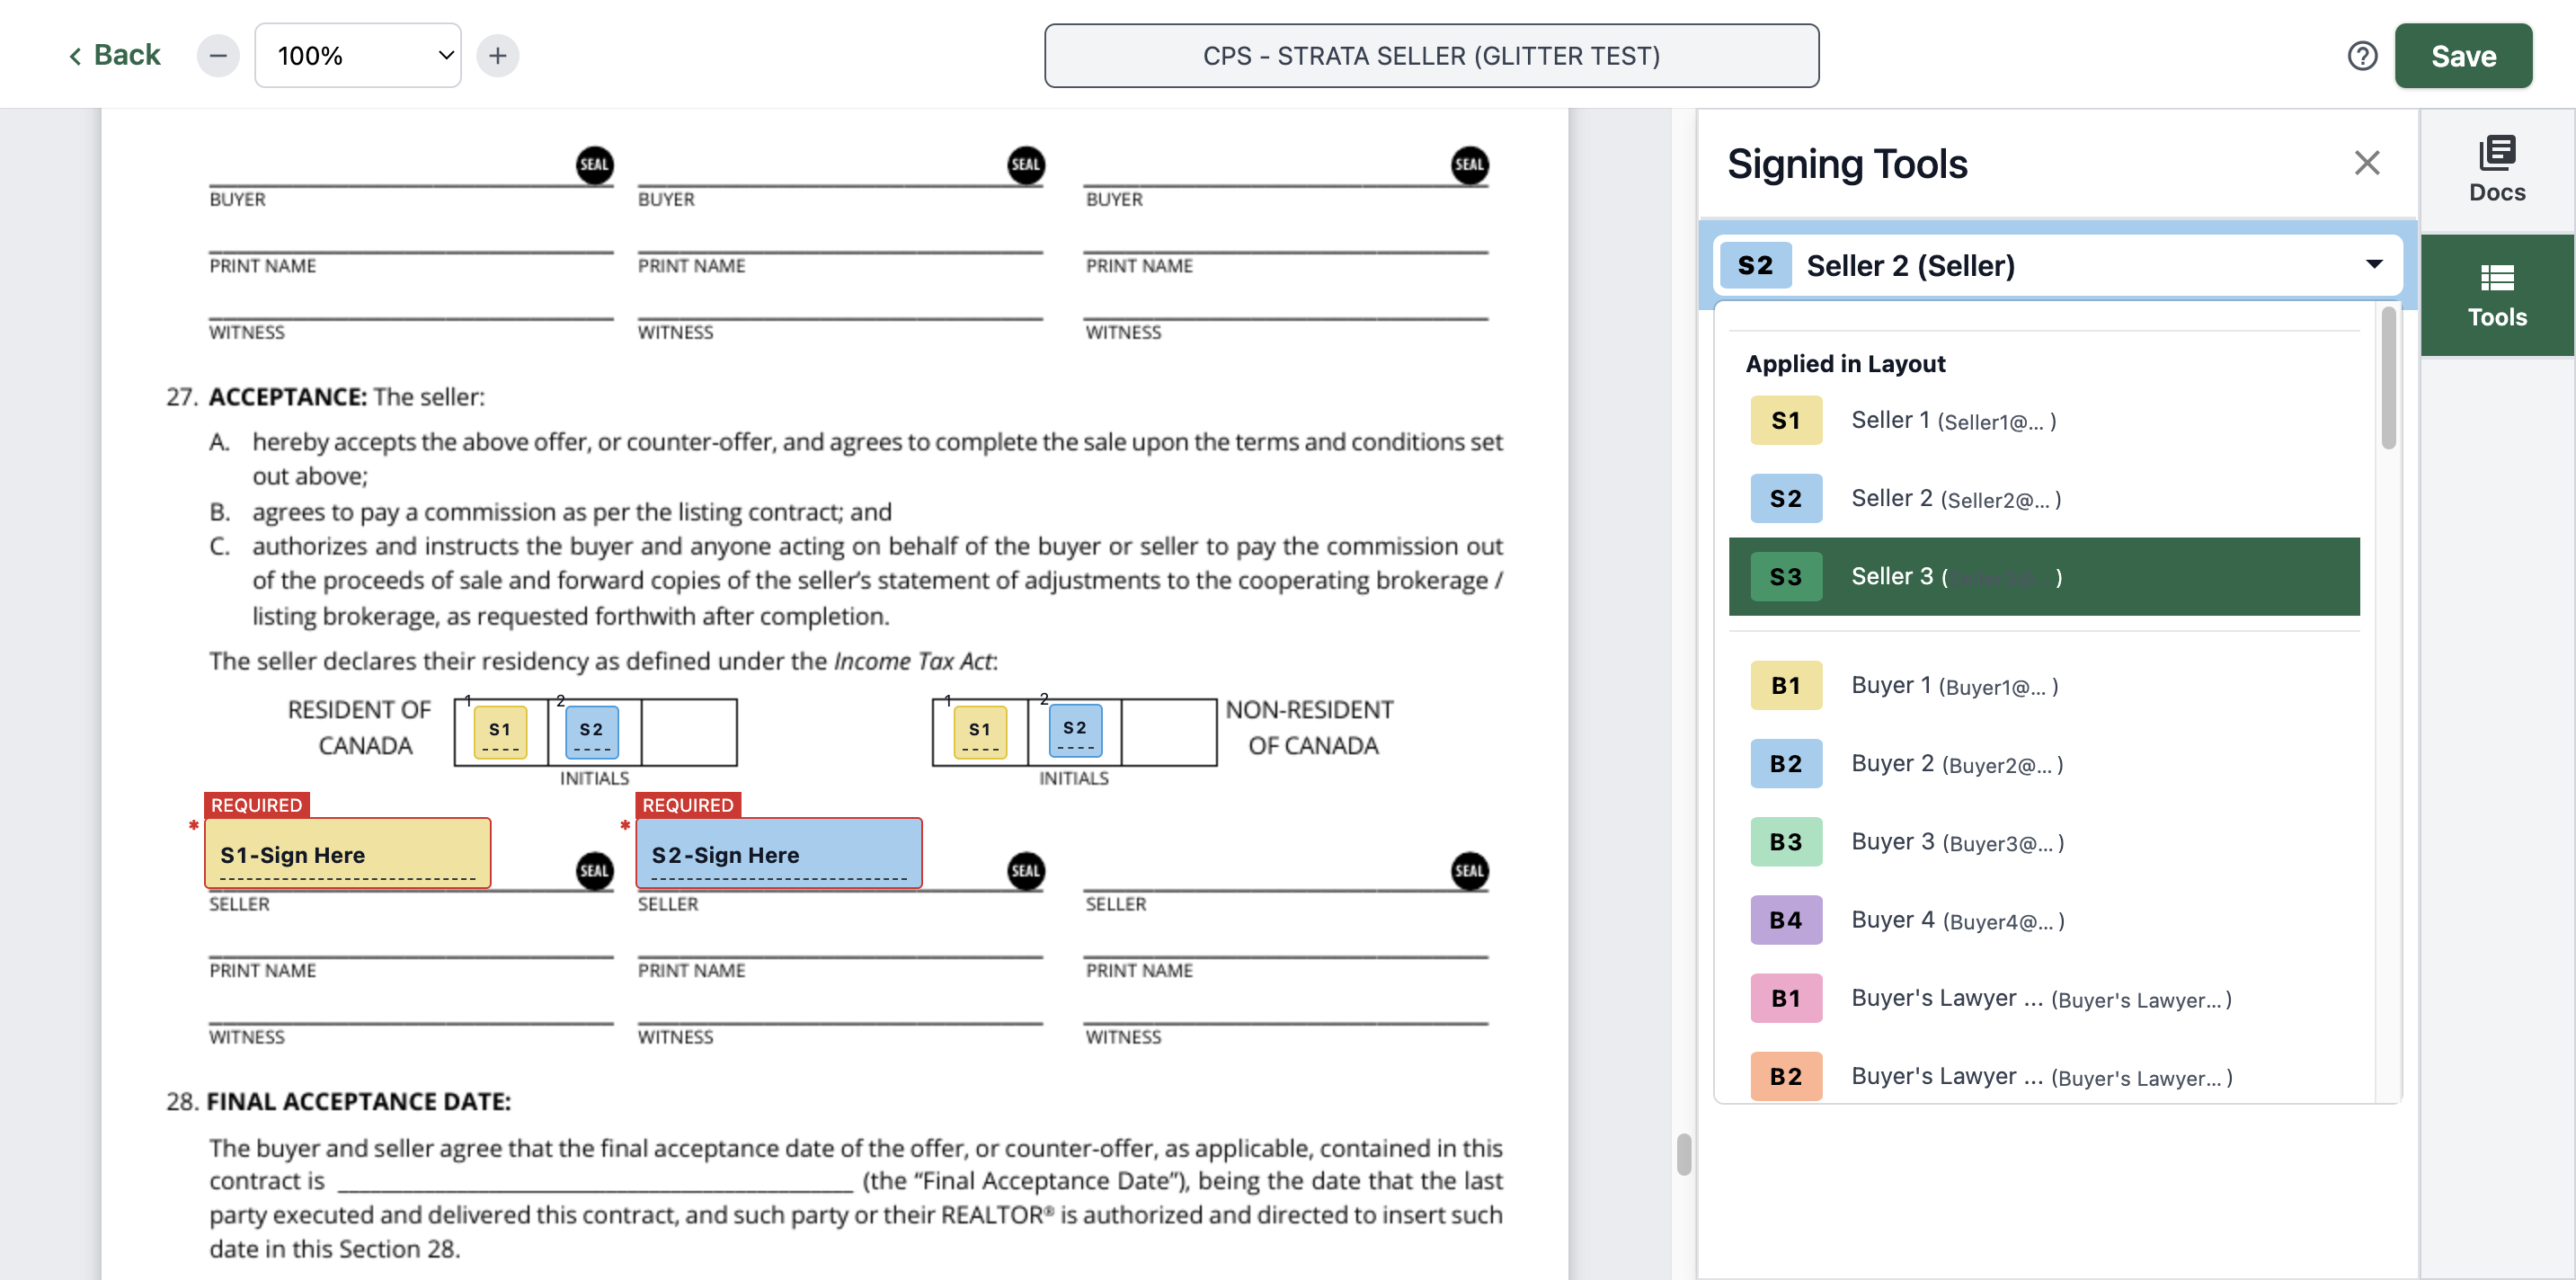
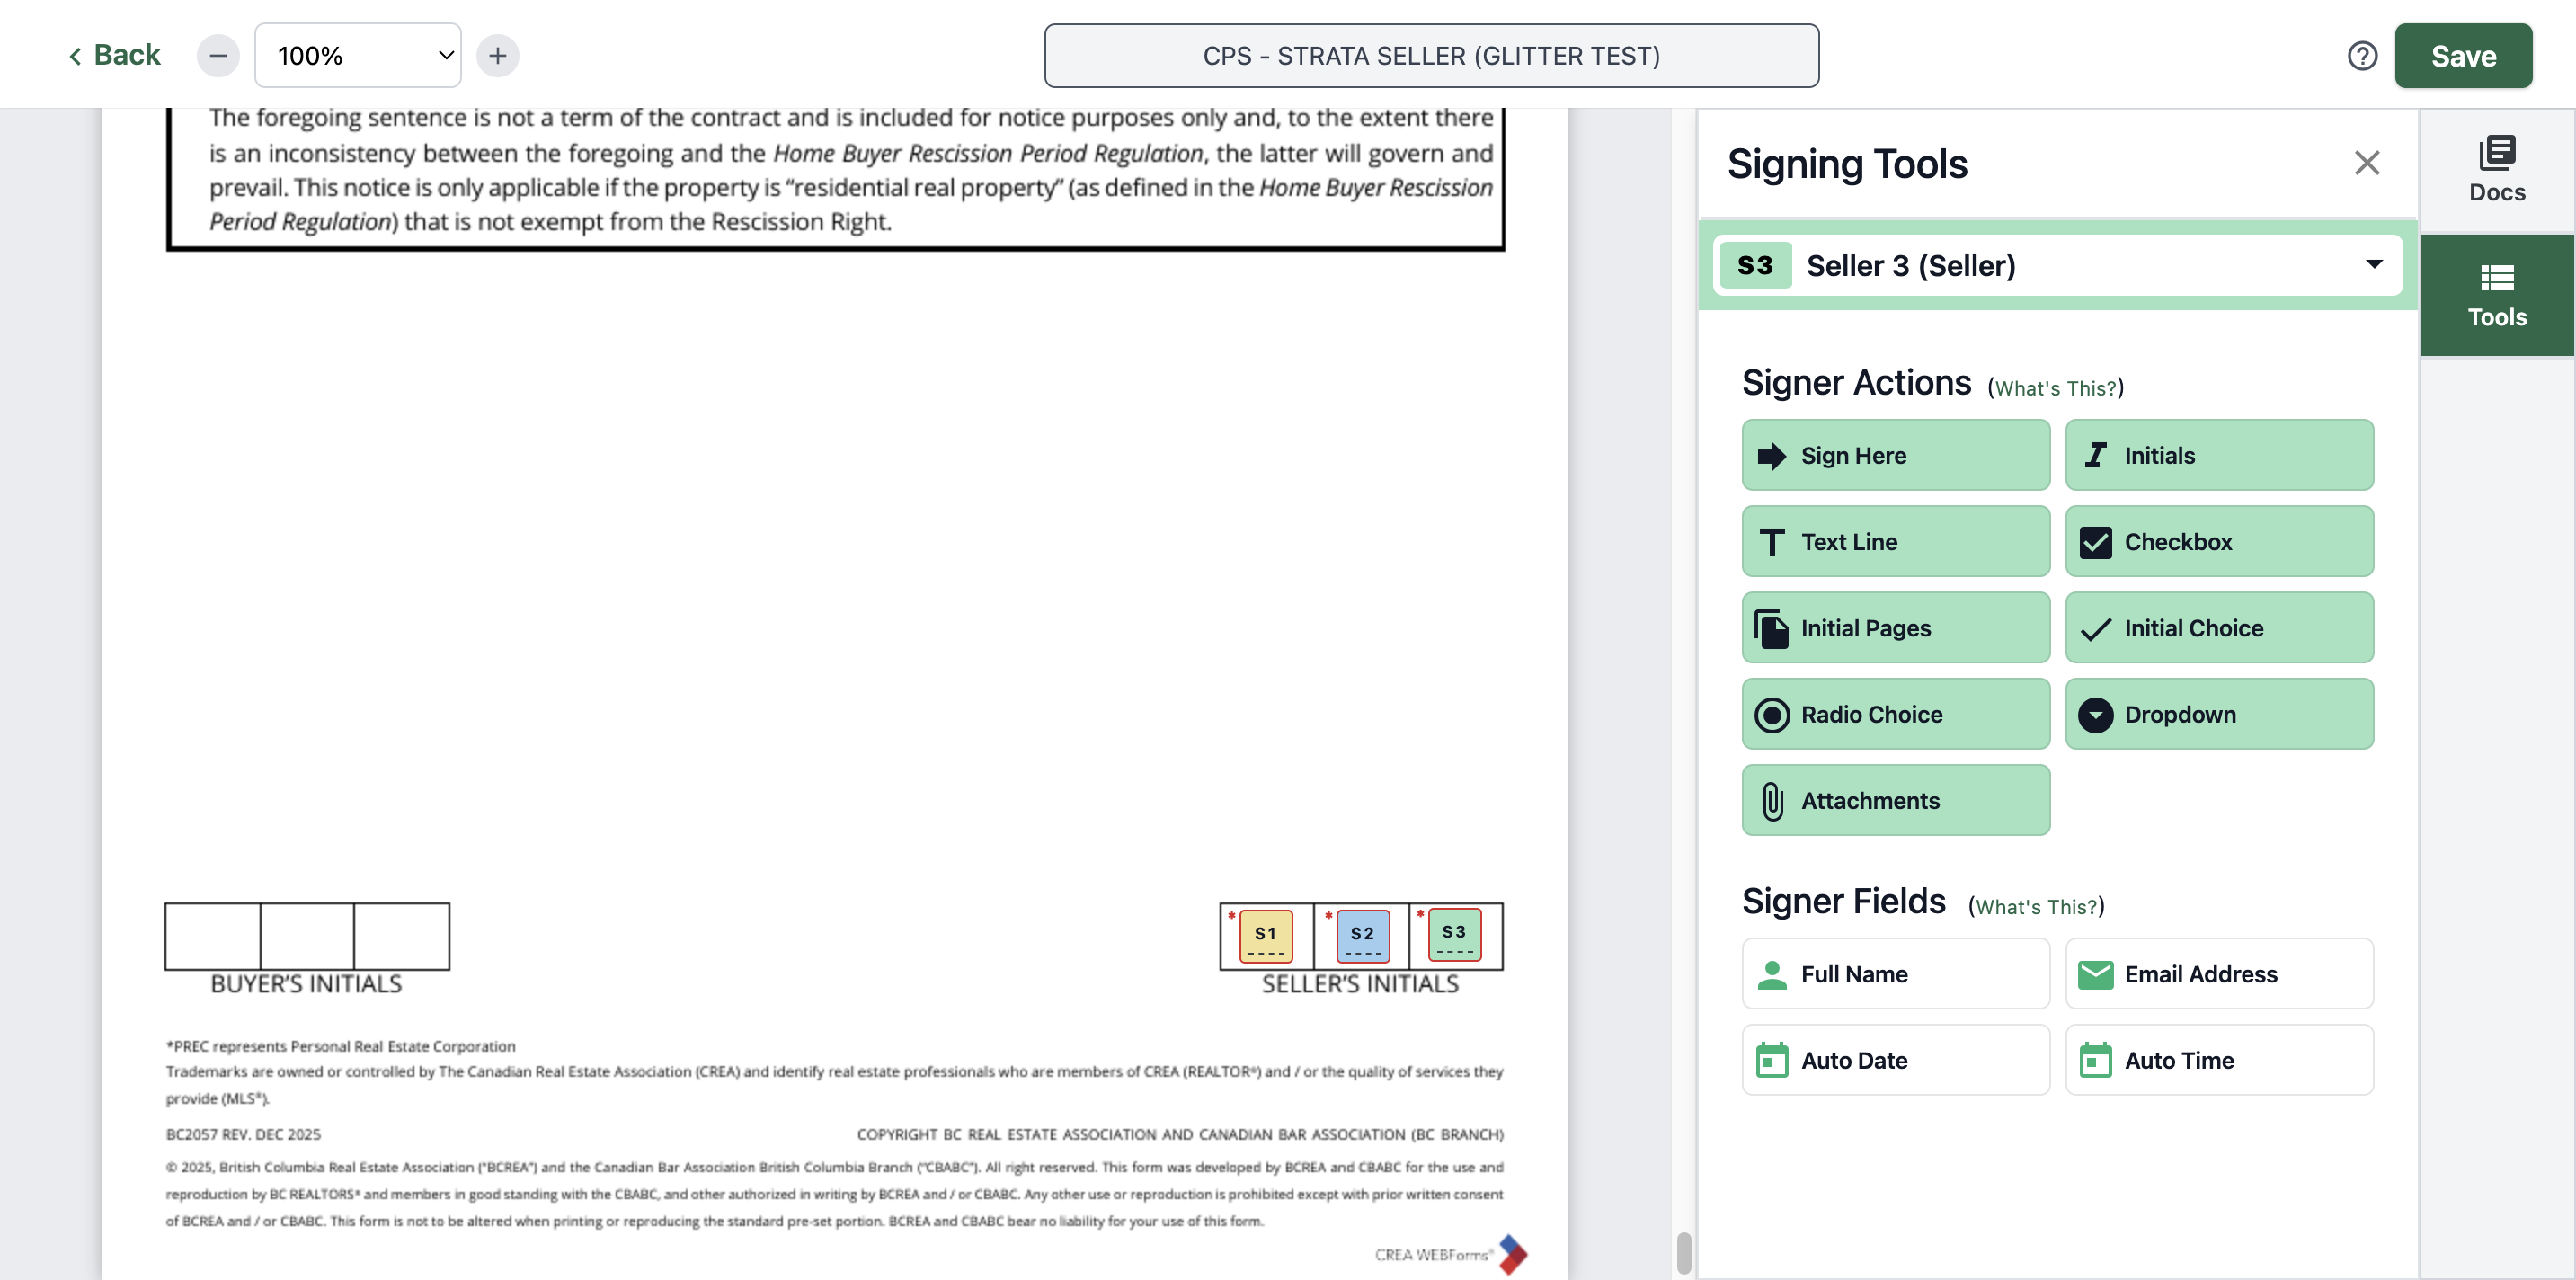
Find the seller.
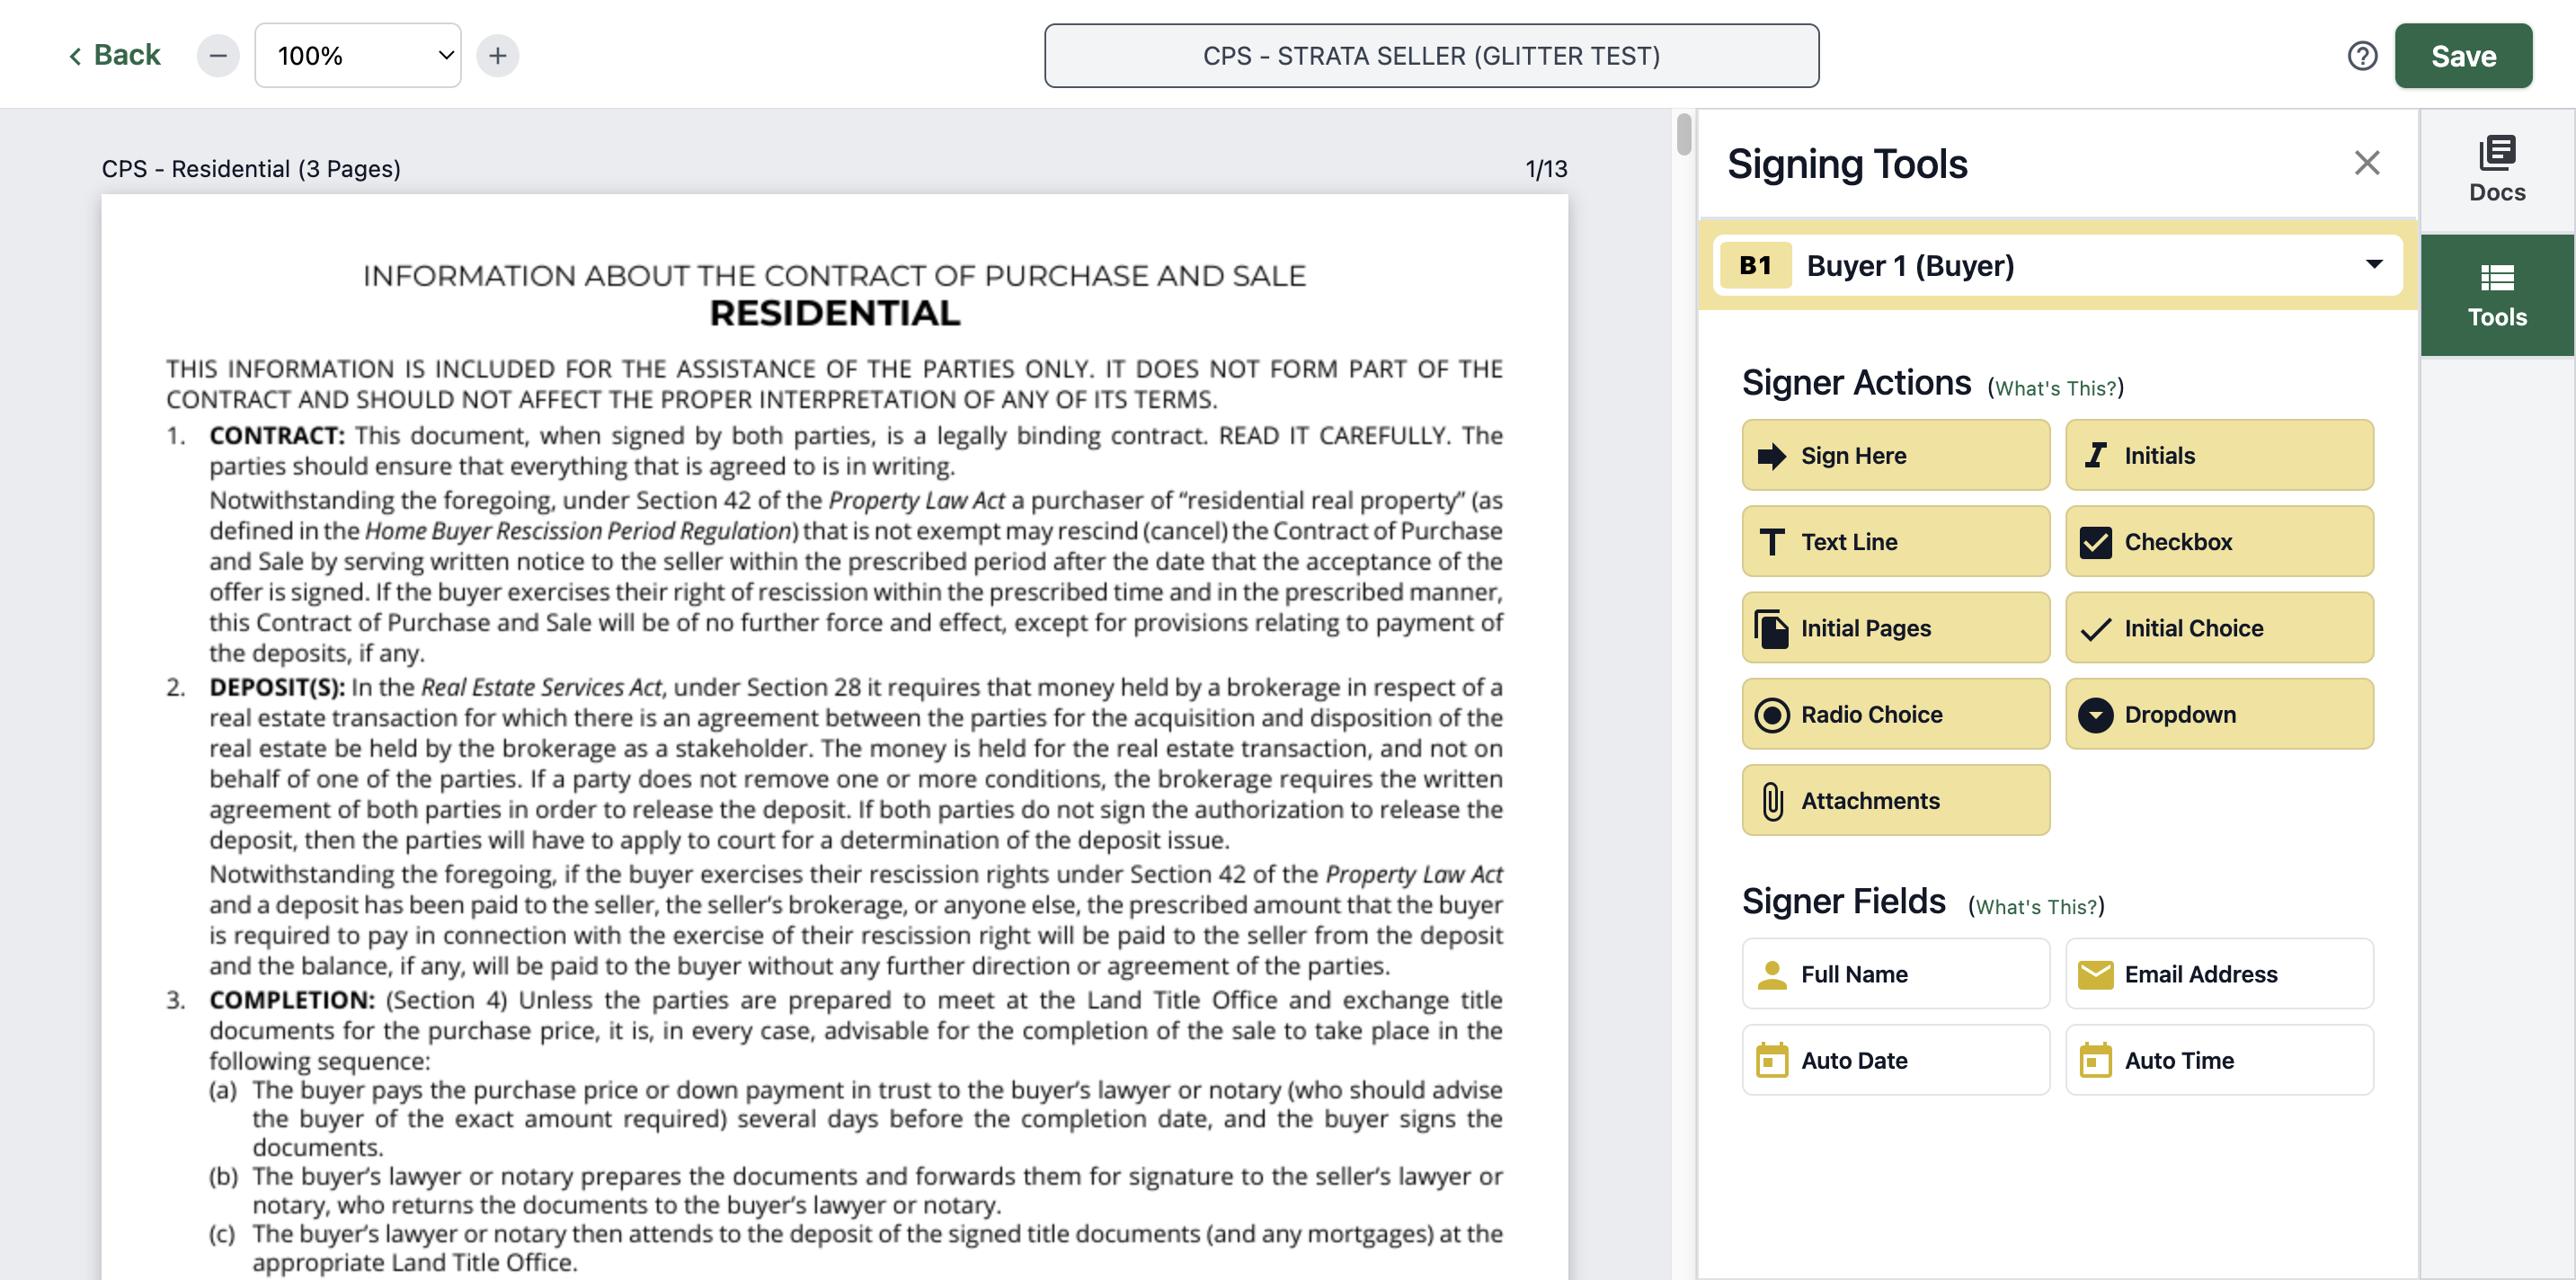
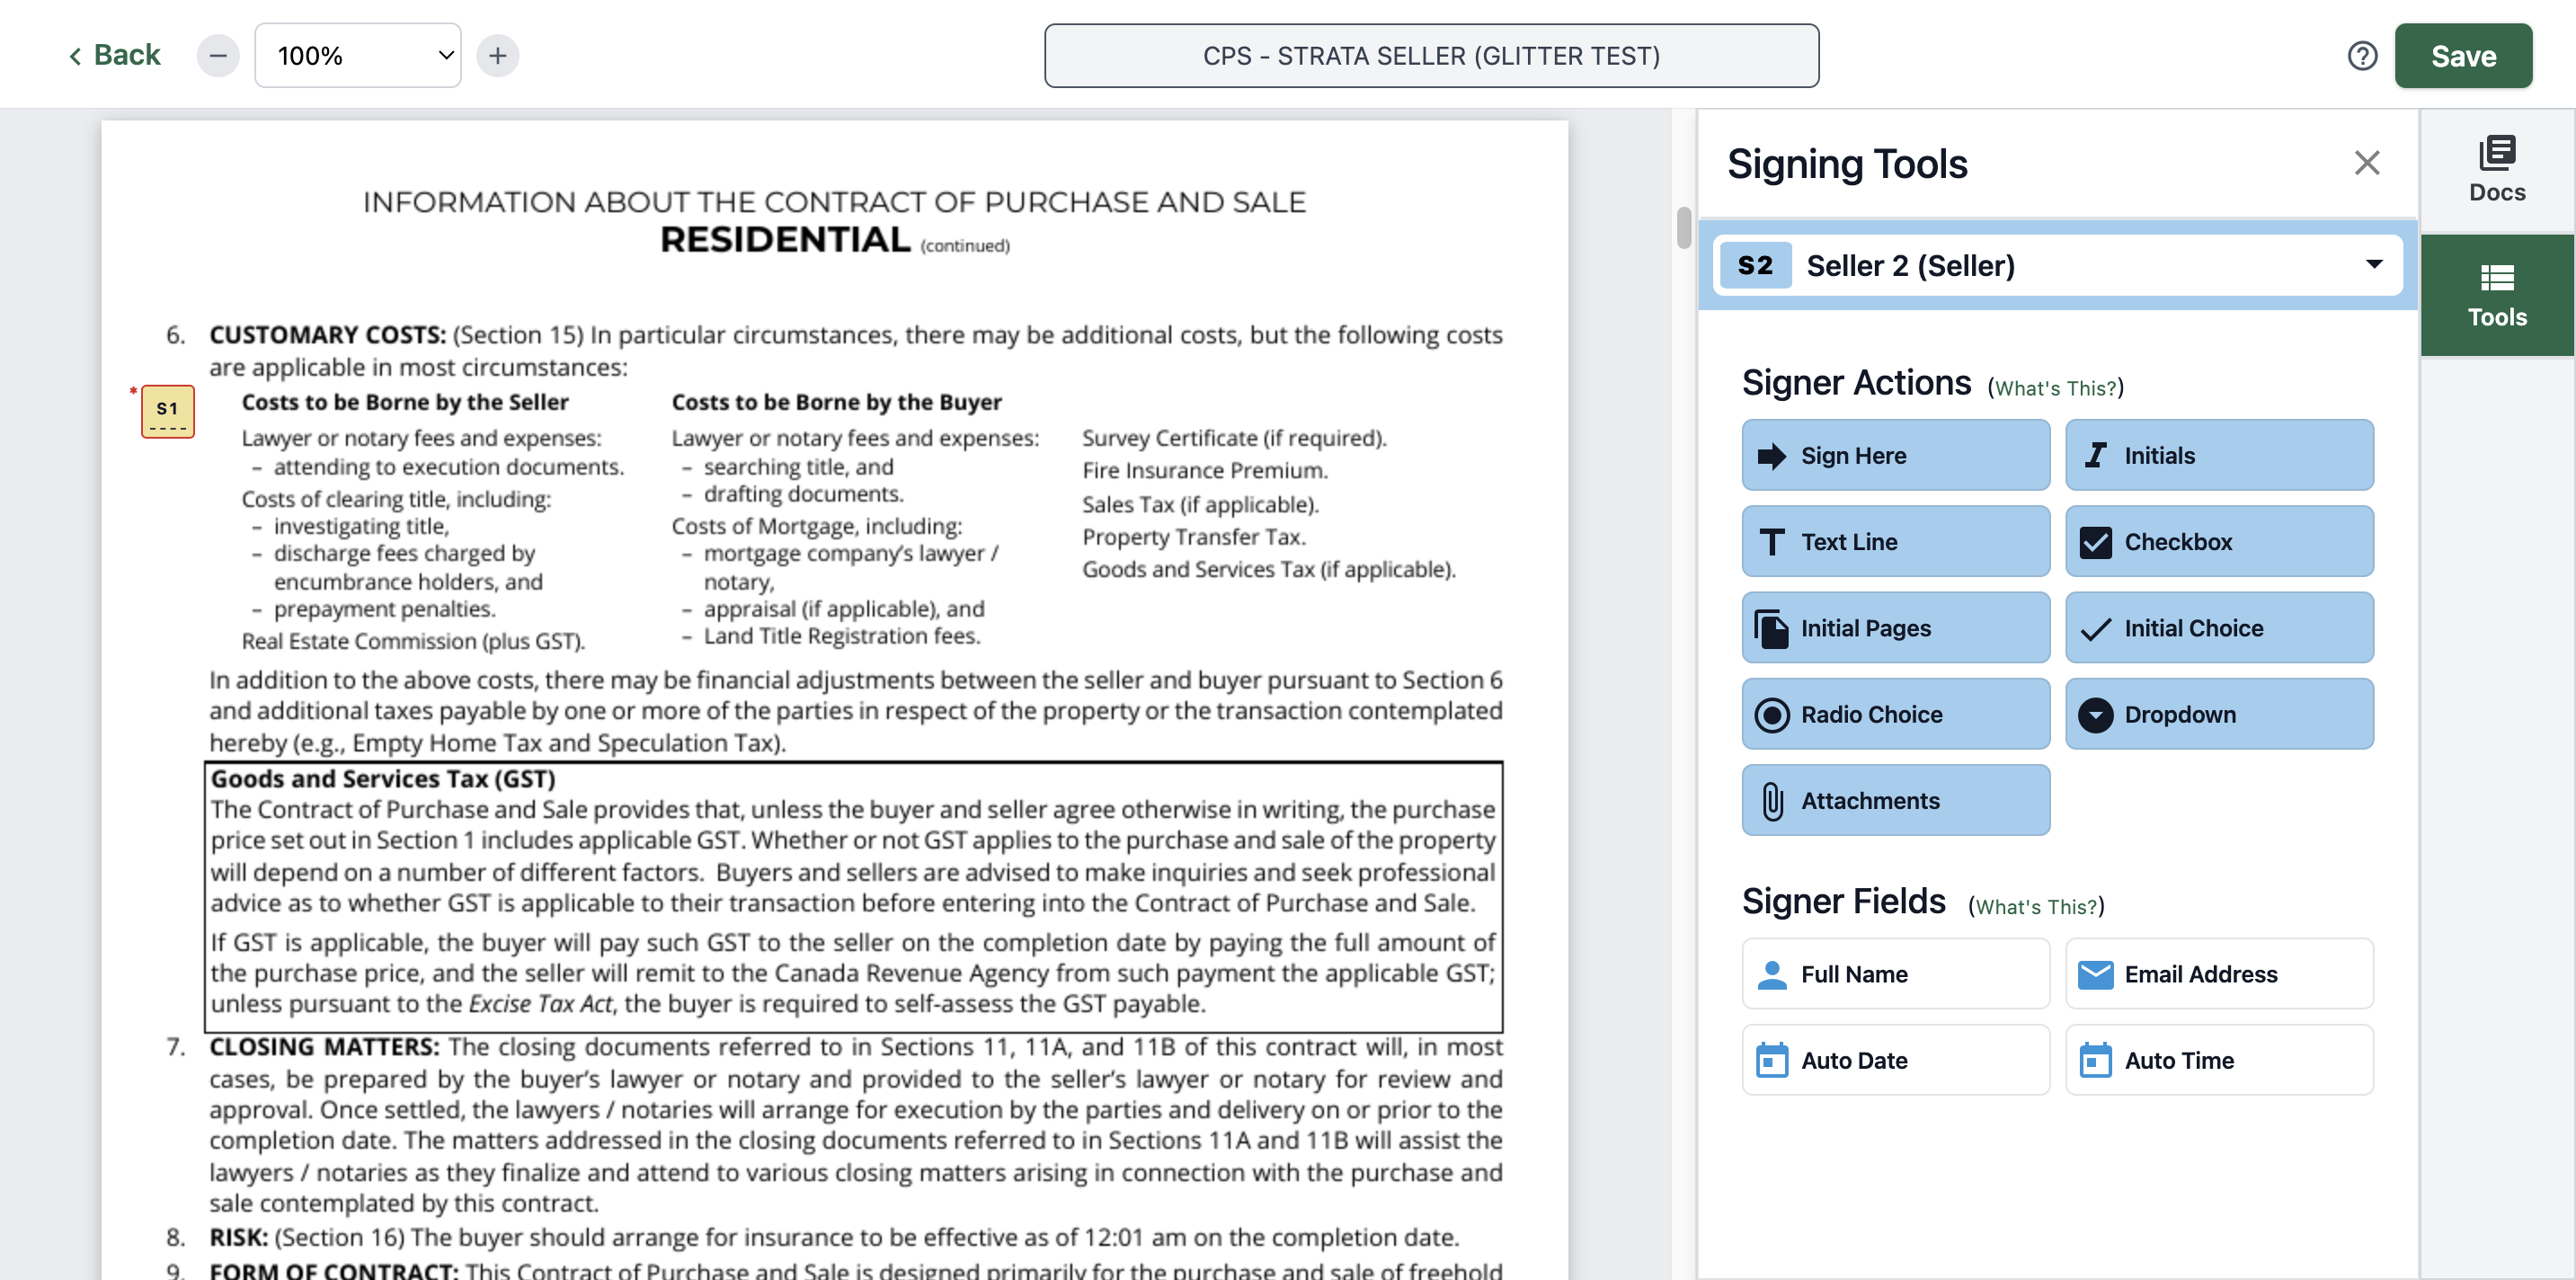
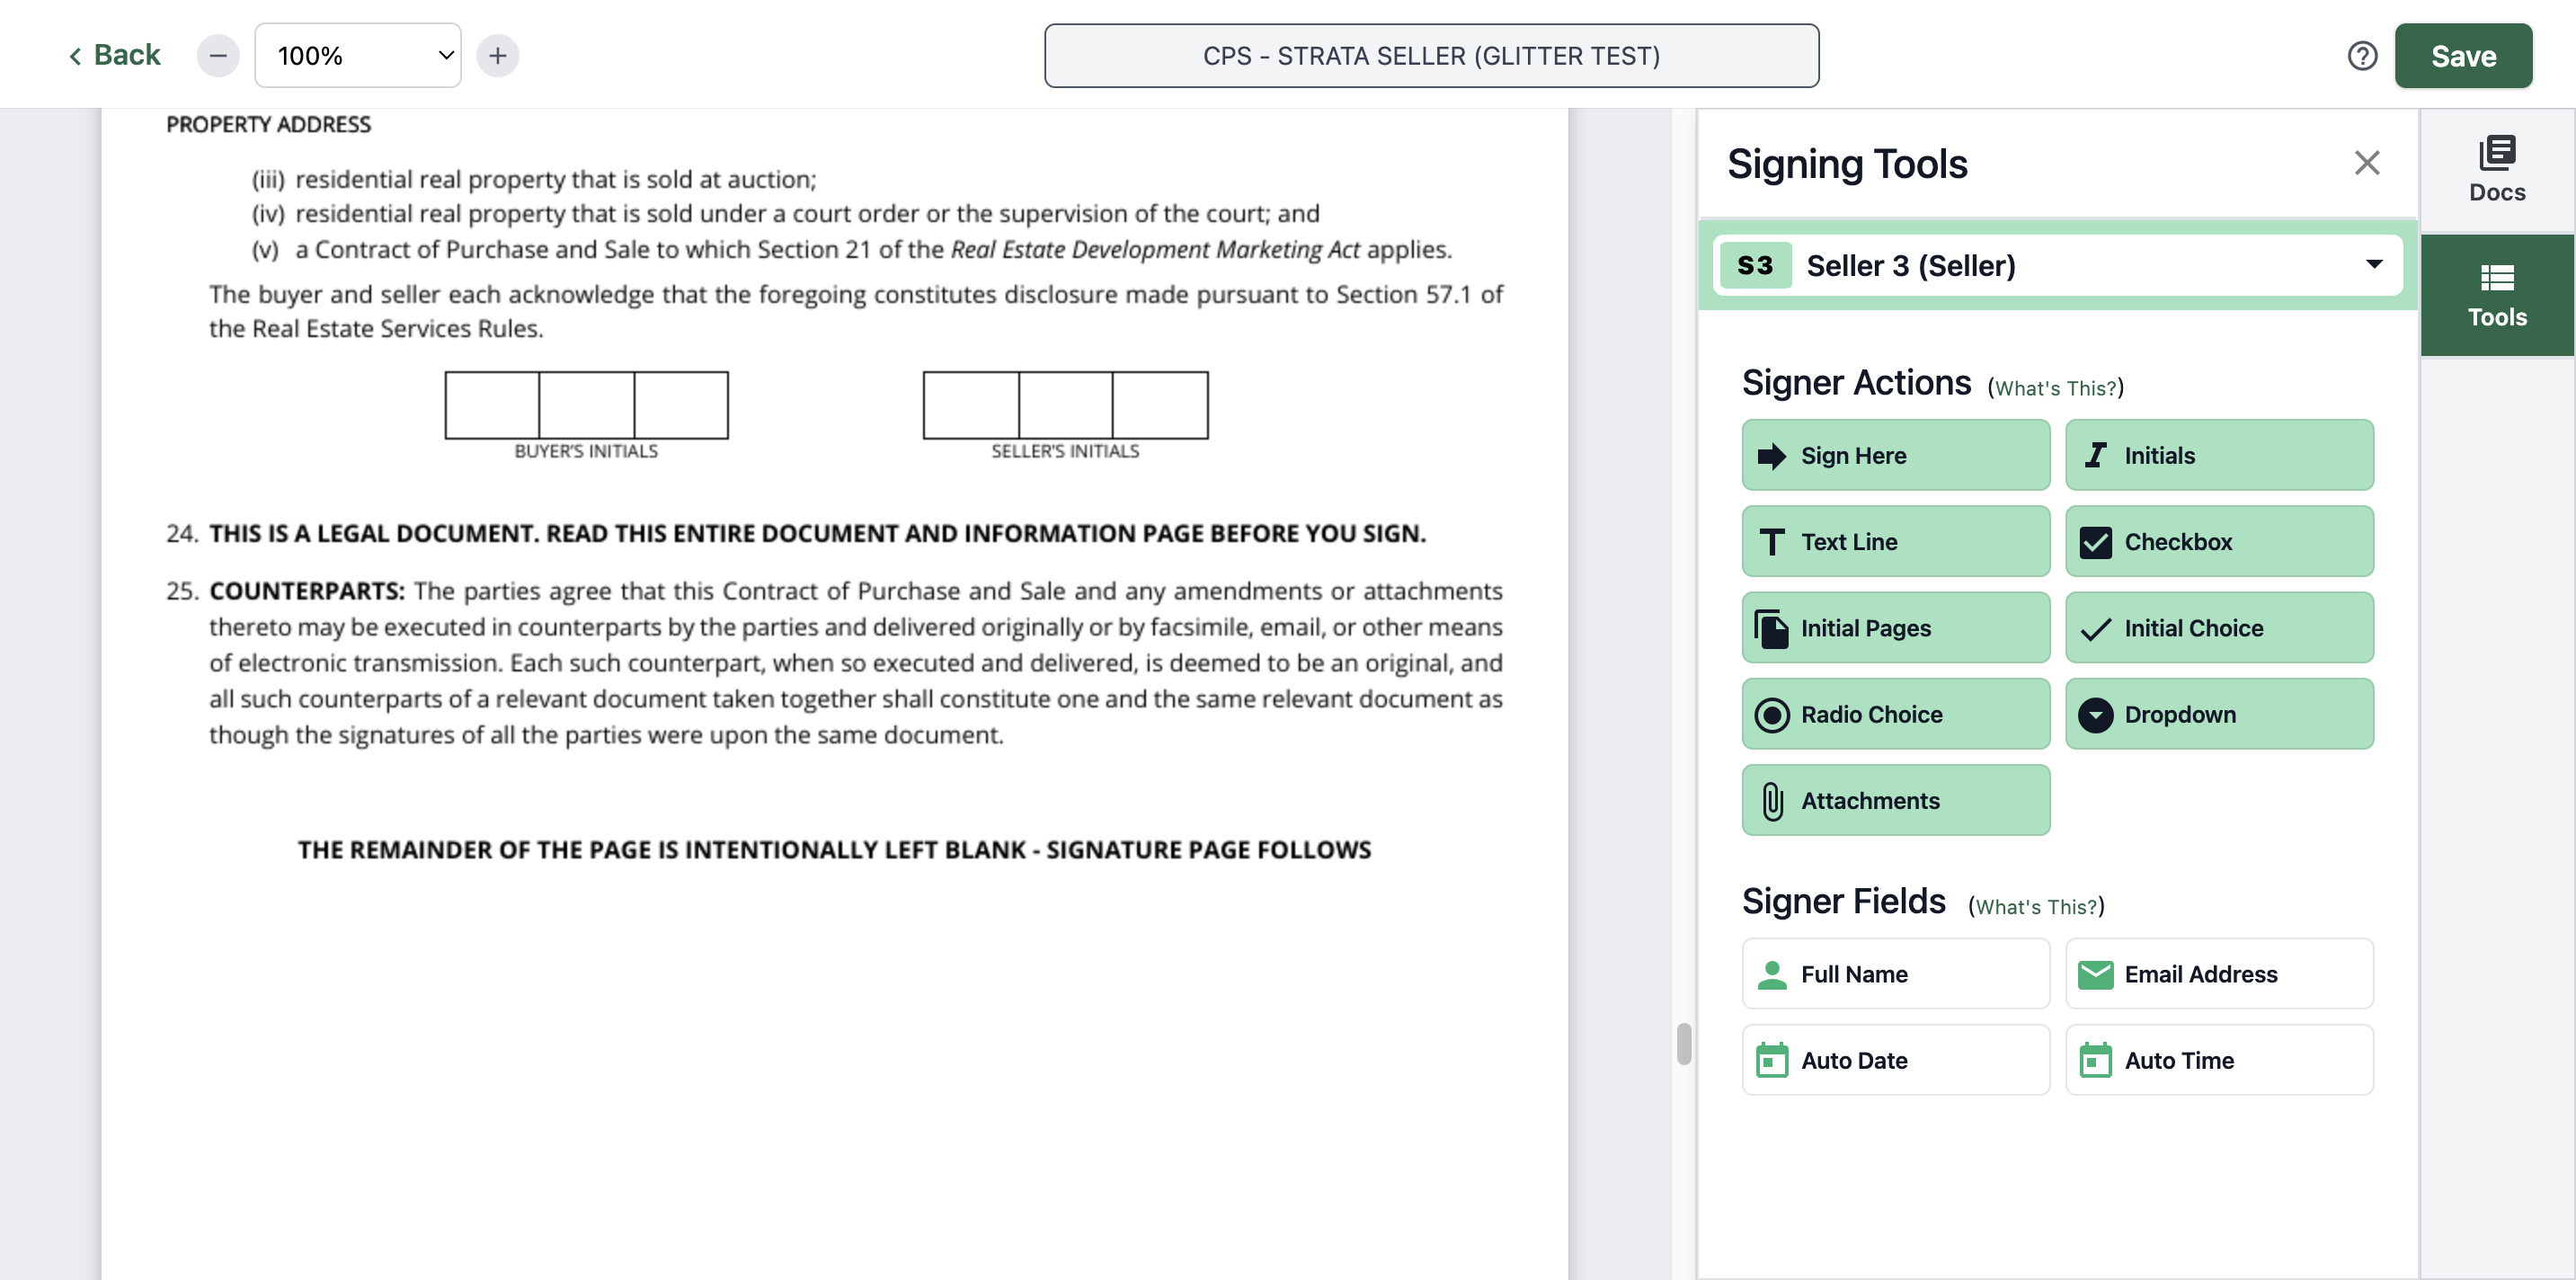
Start adding the initials on the second page in this section.
Click Initials.

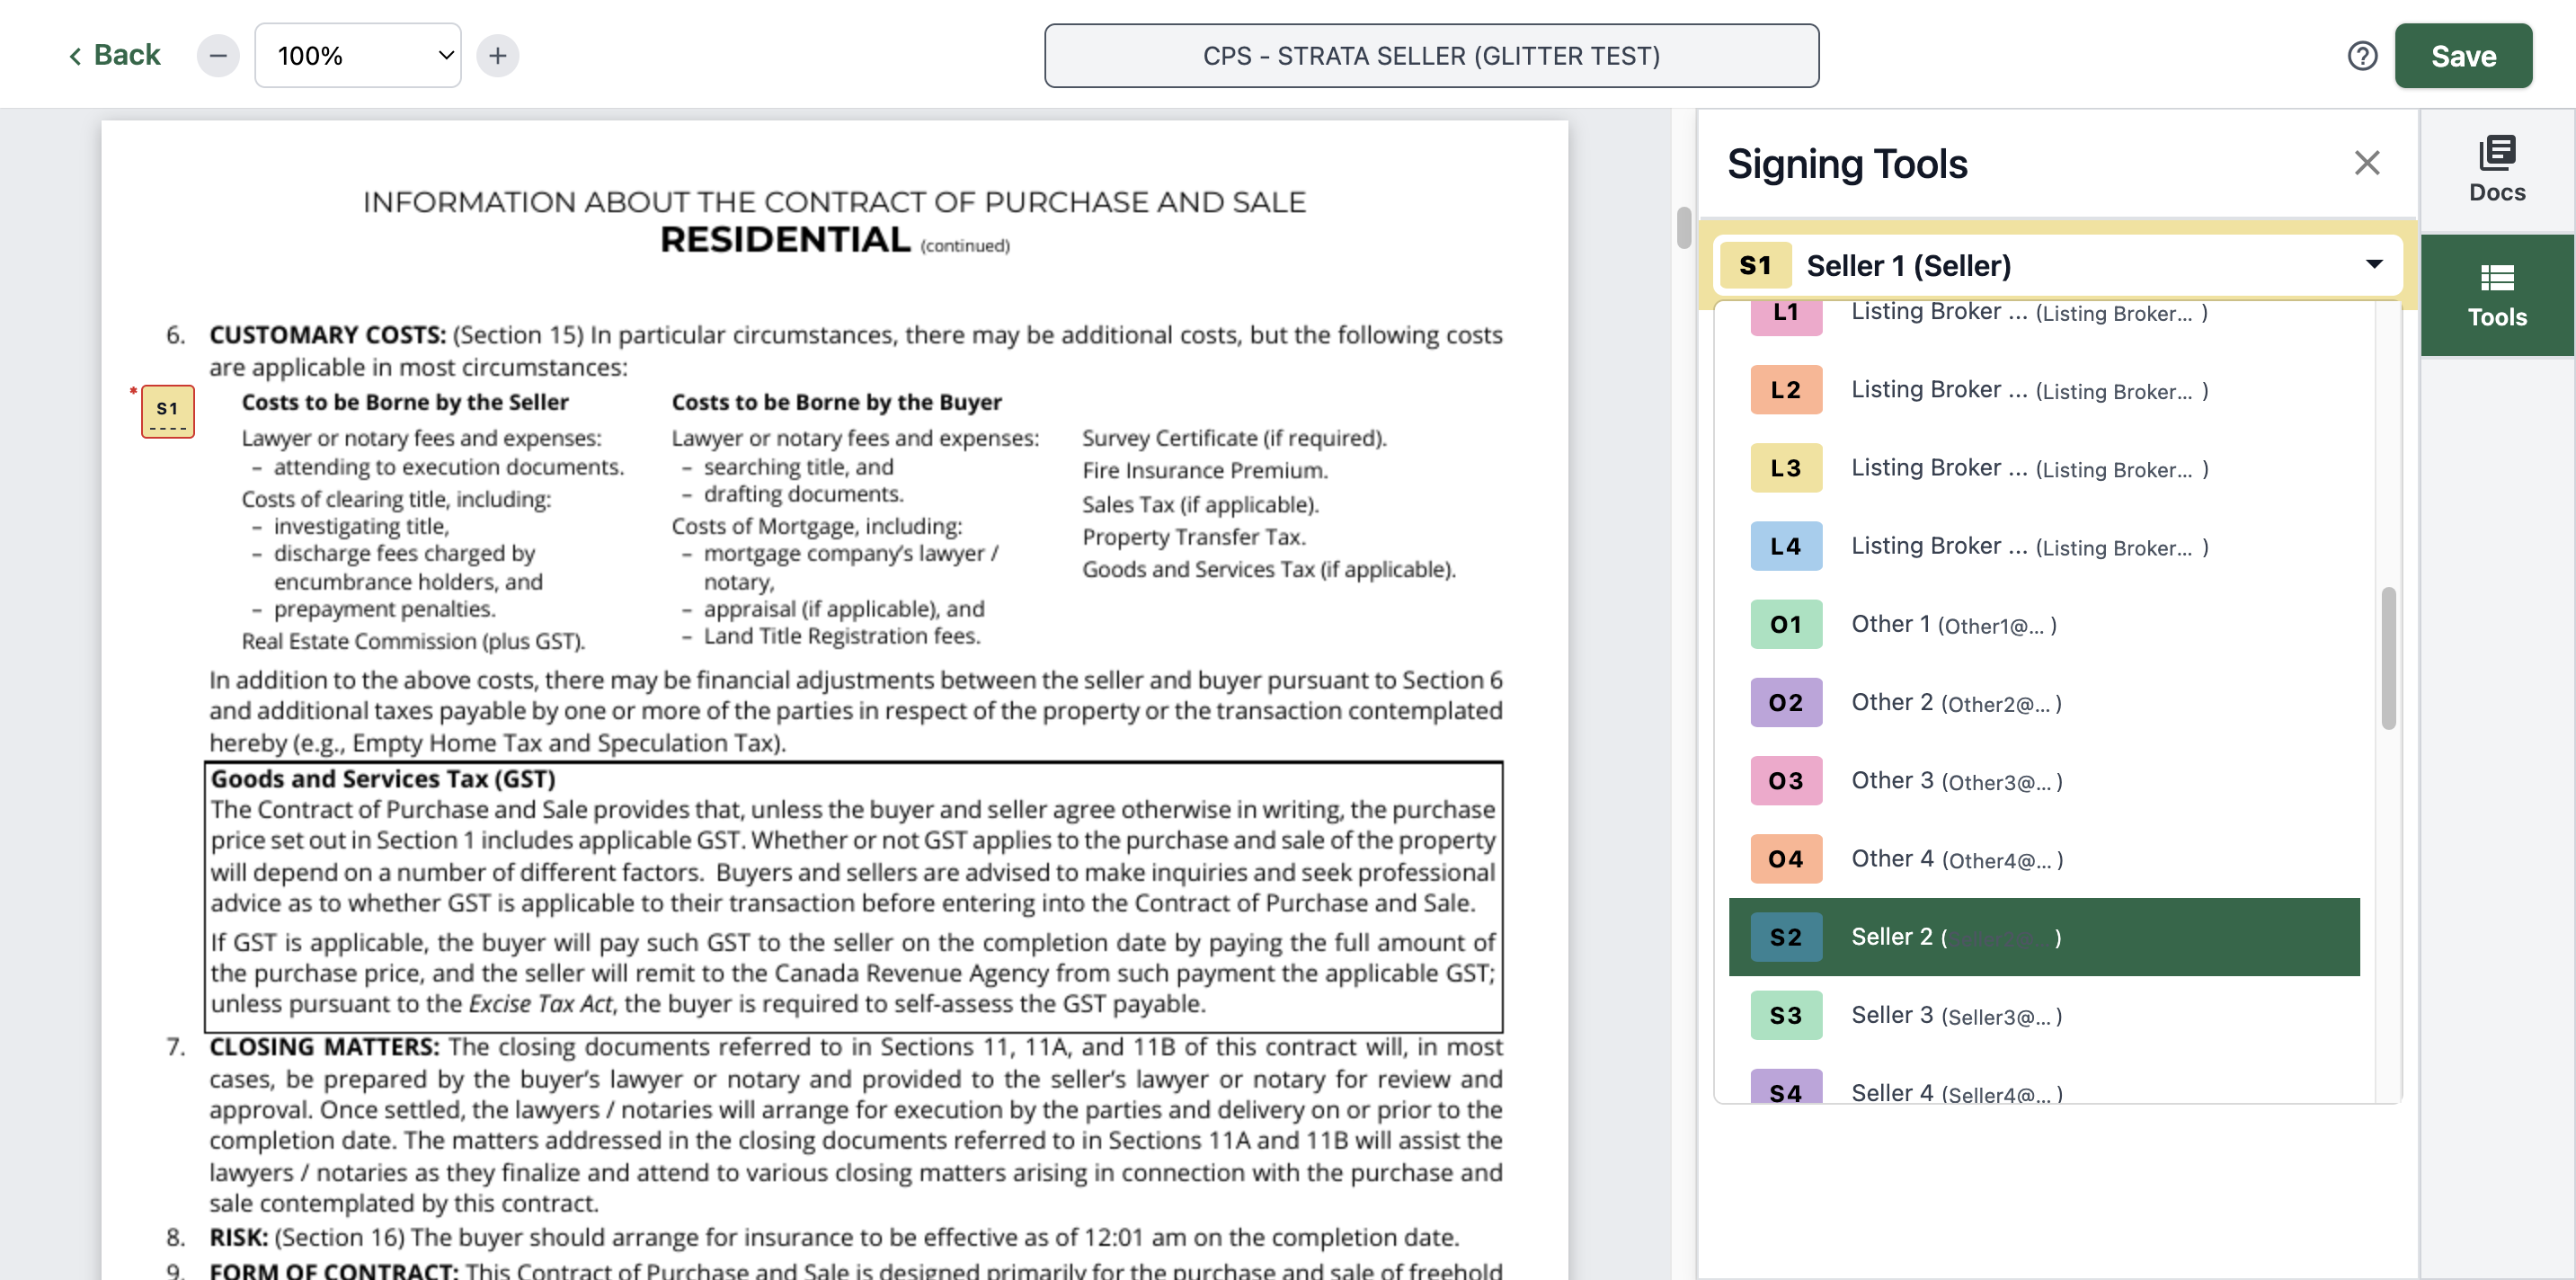
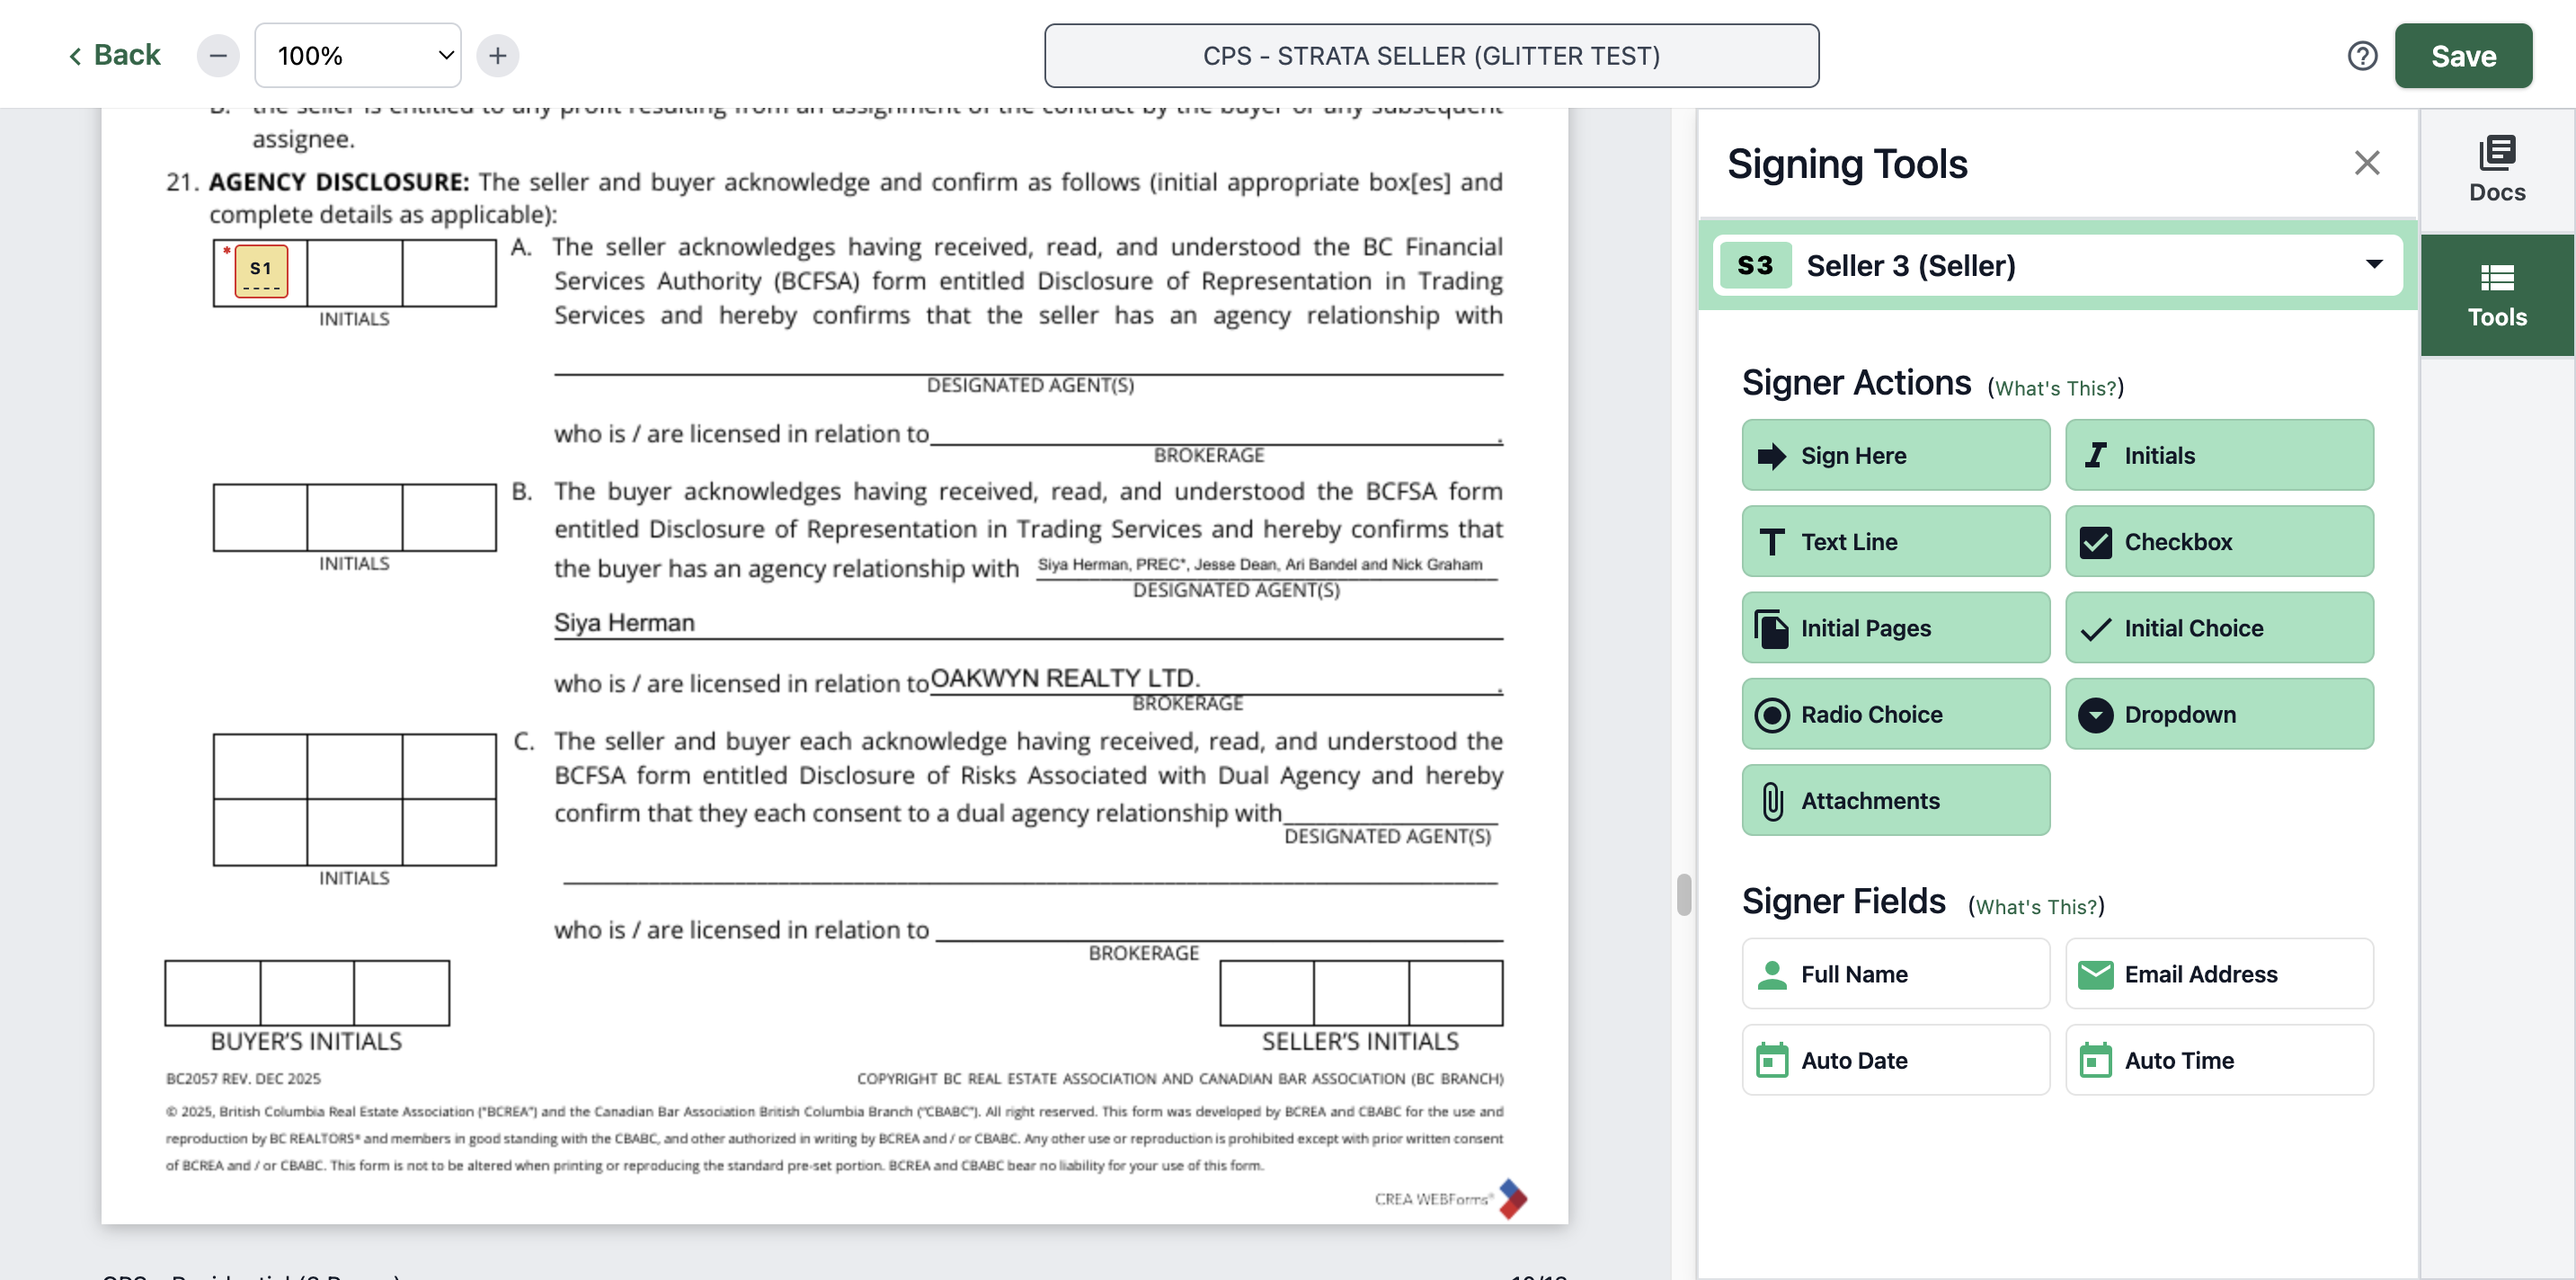
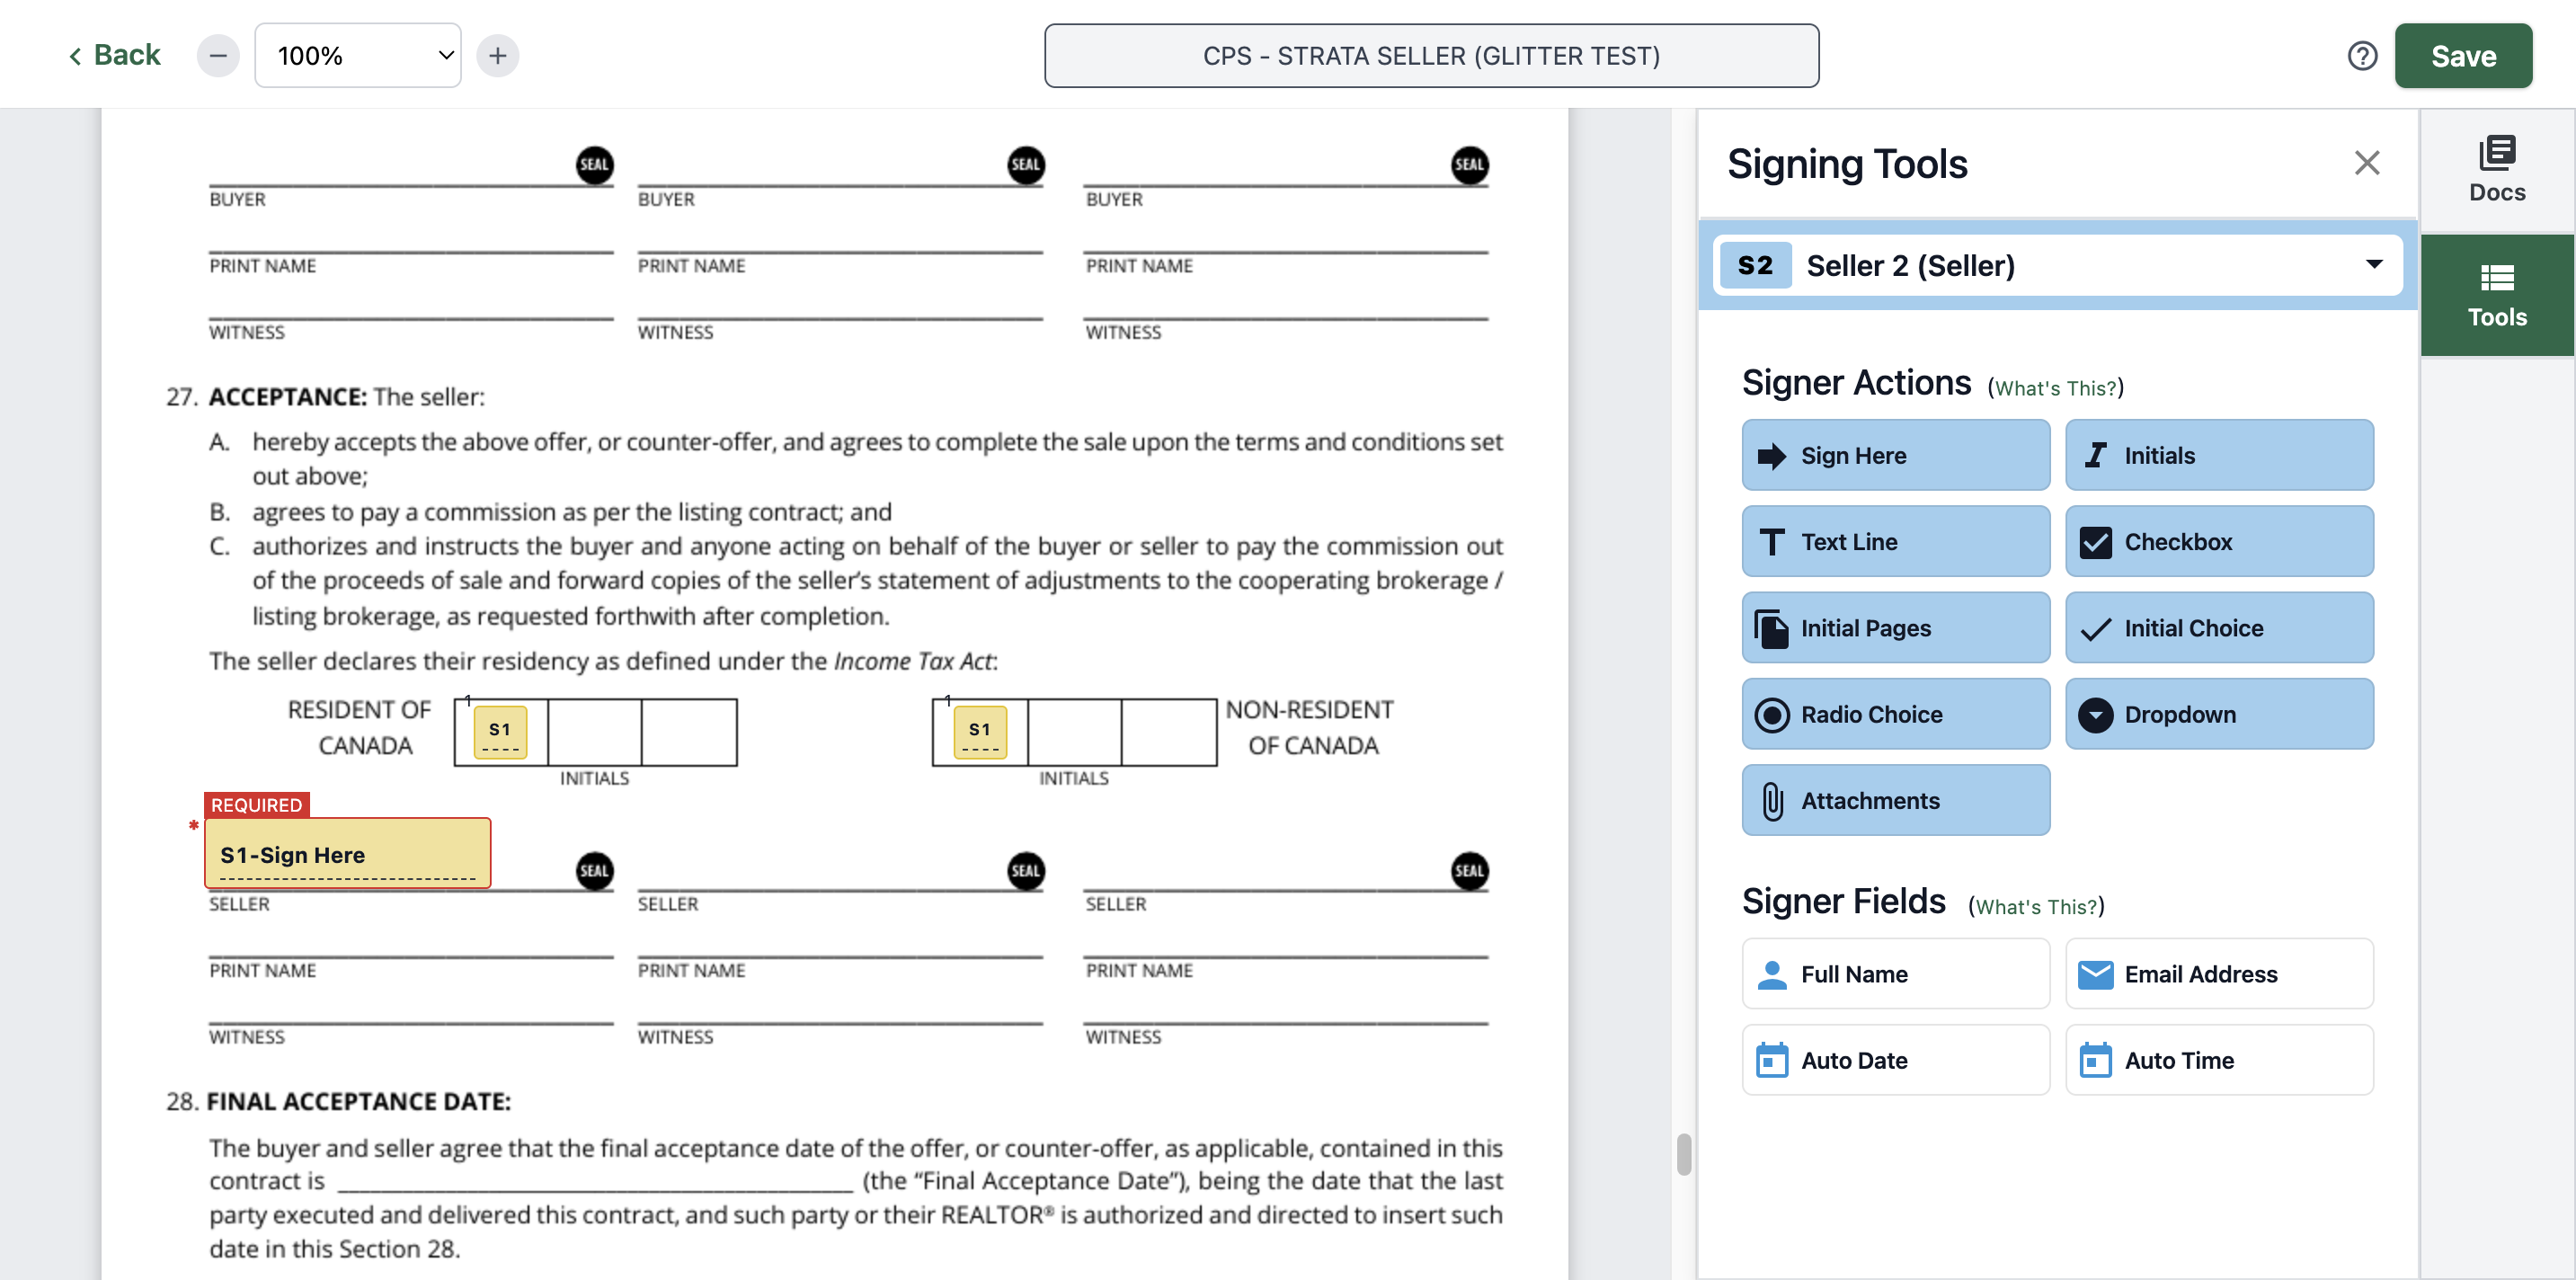
Then find Seller 2.
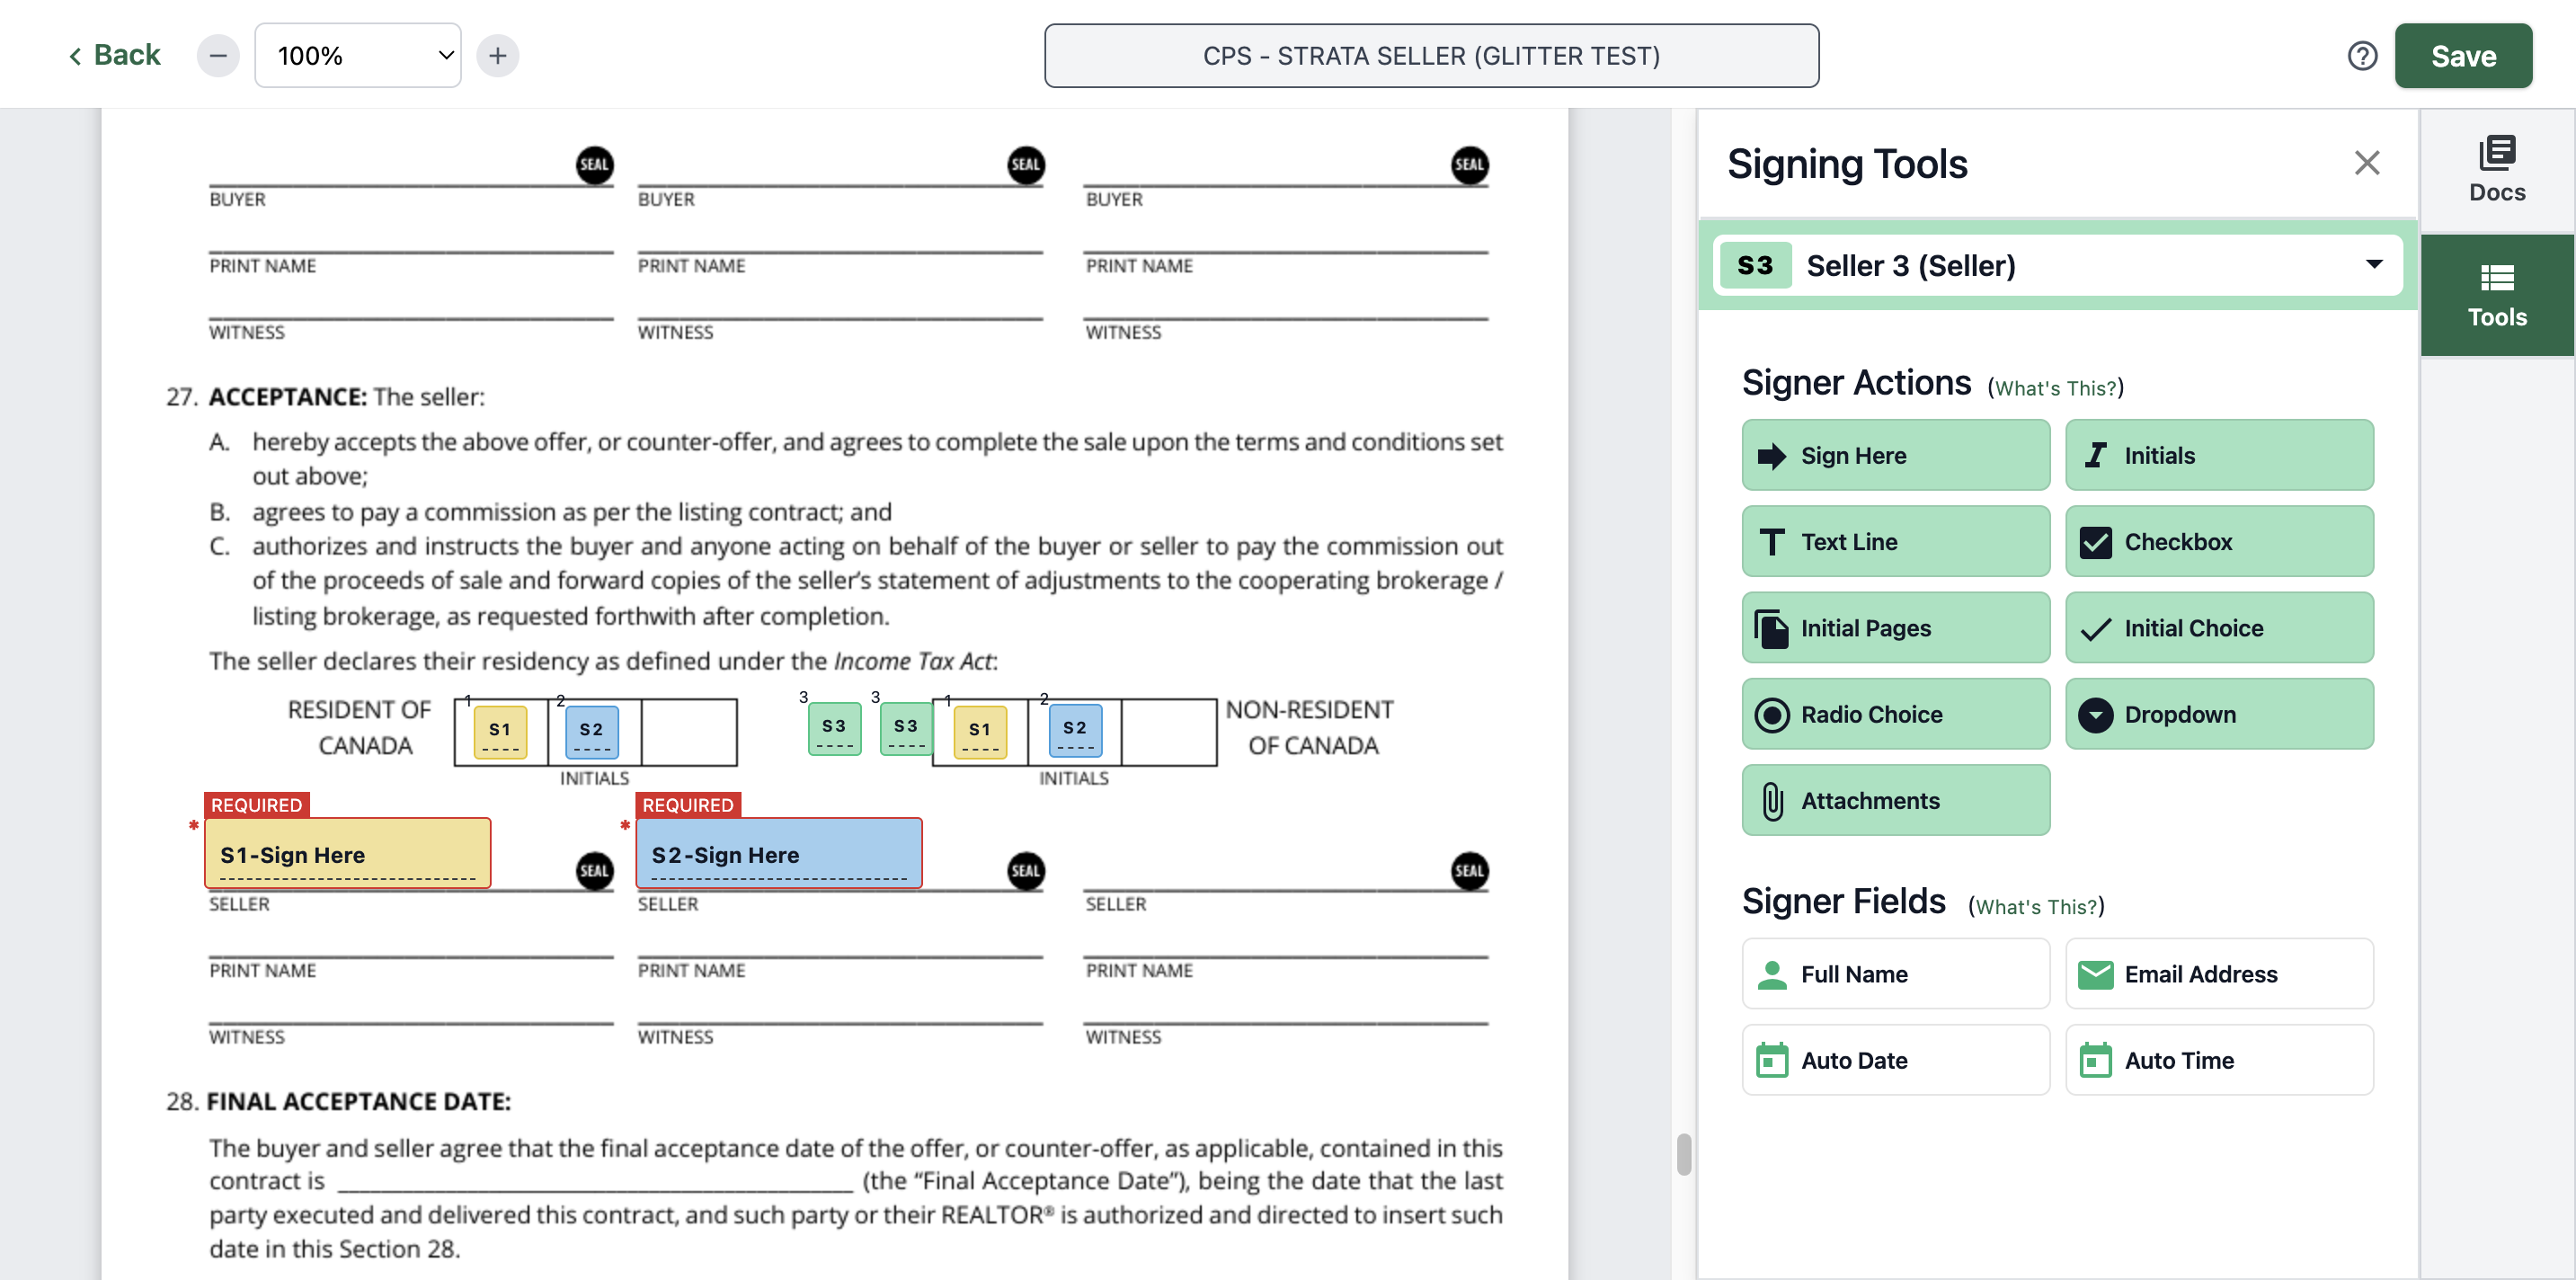
Find Seller 3.
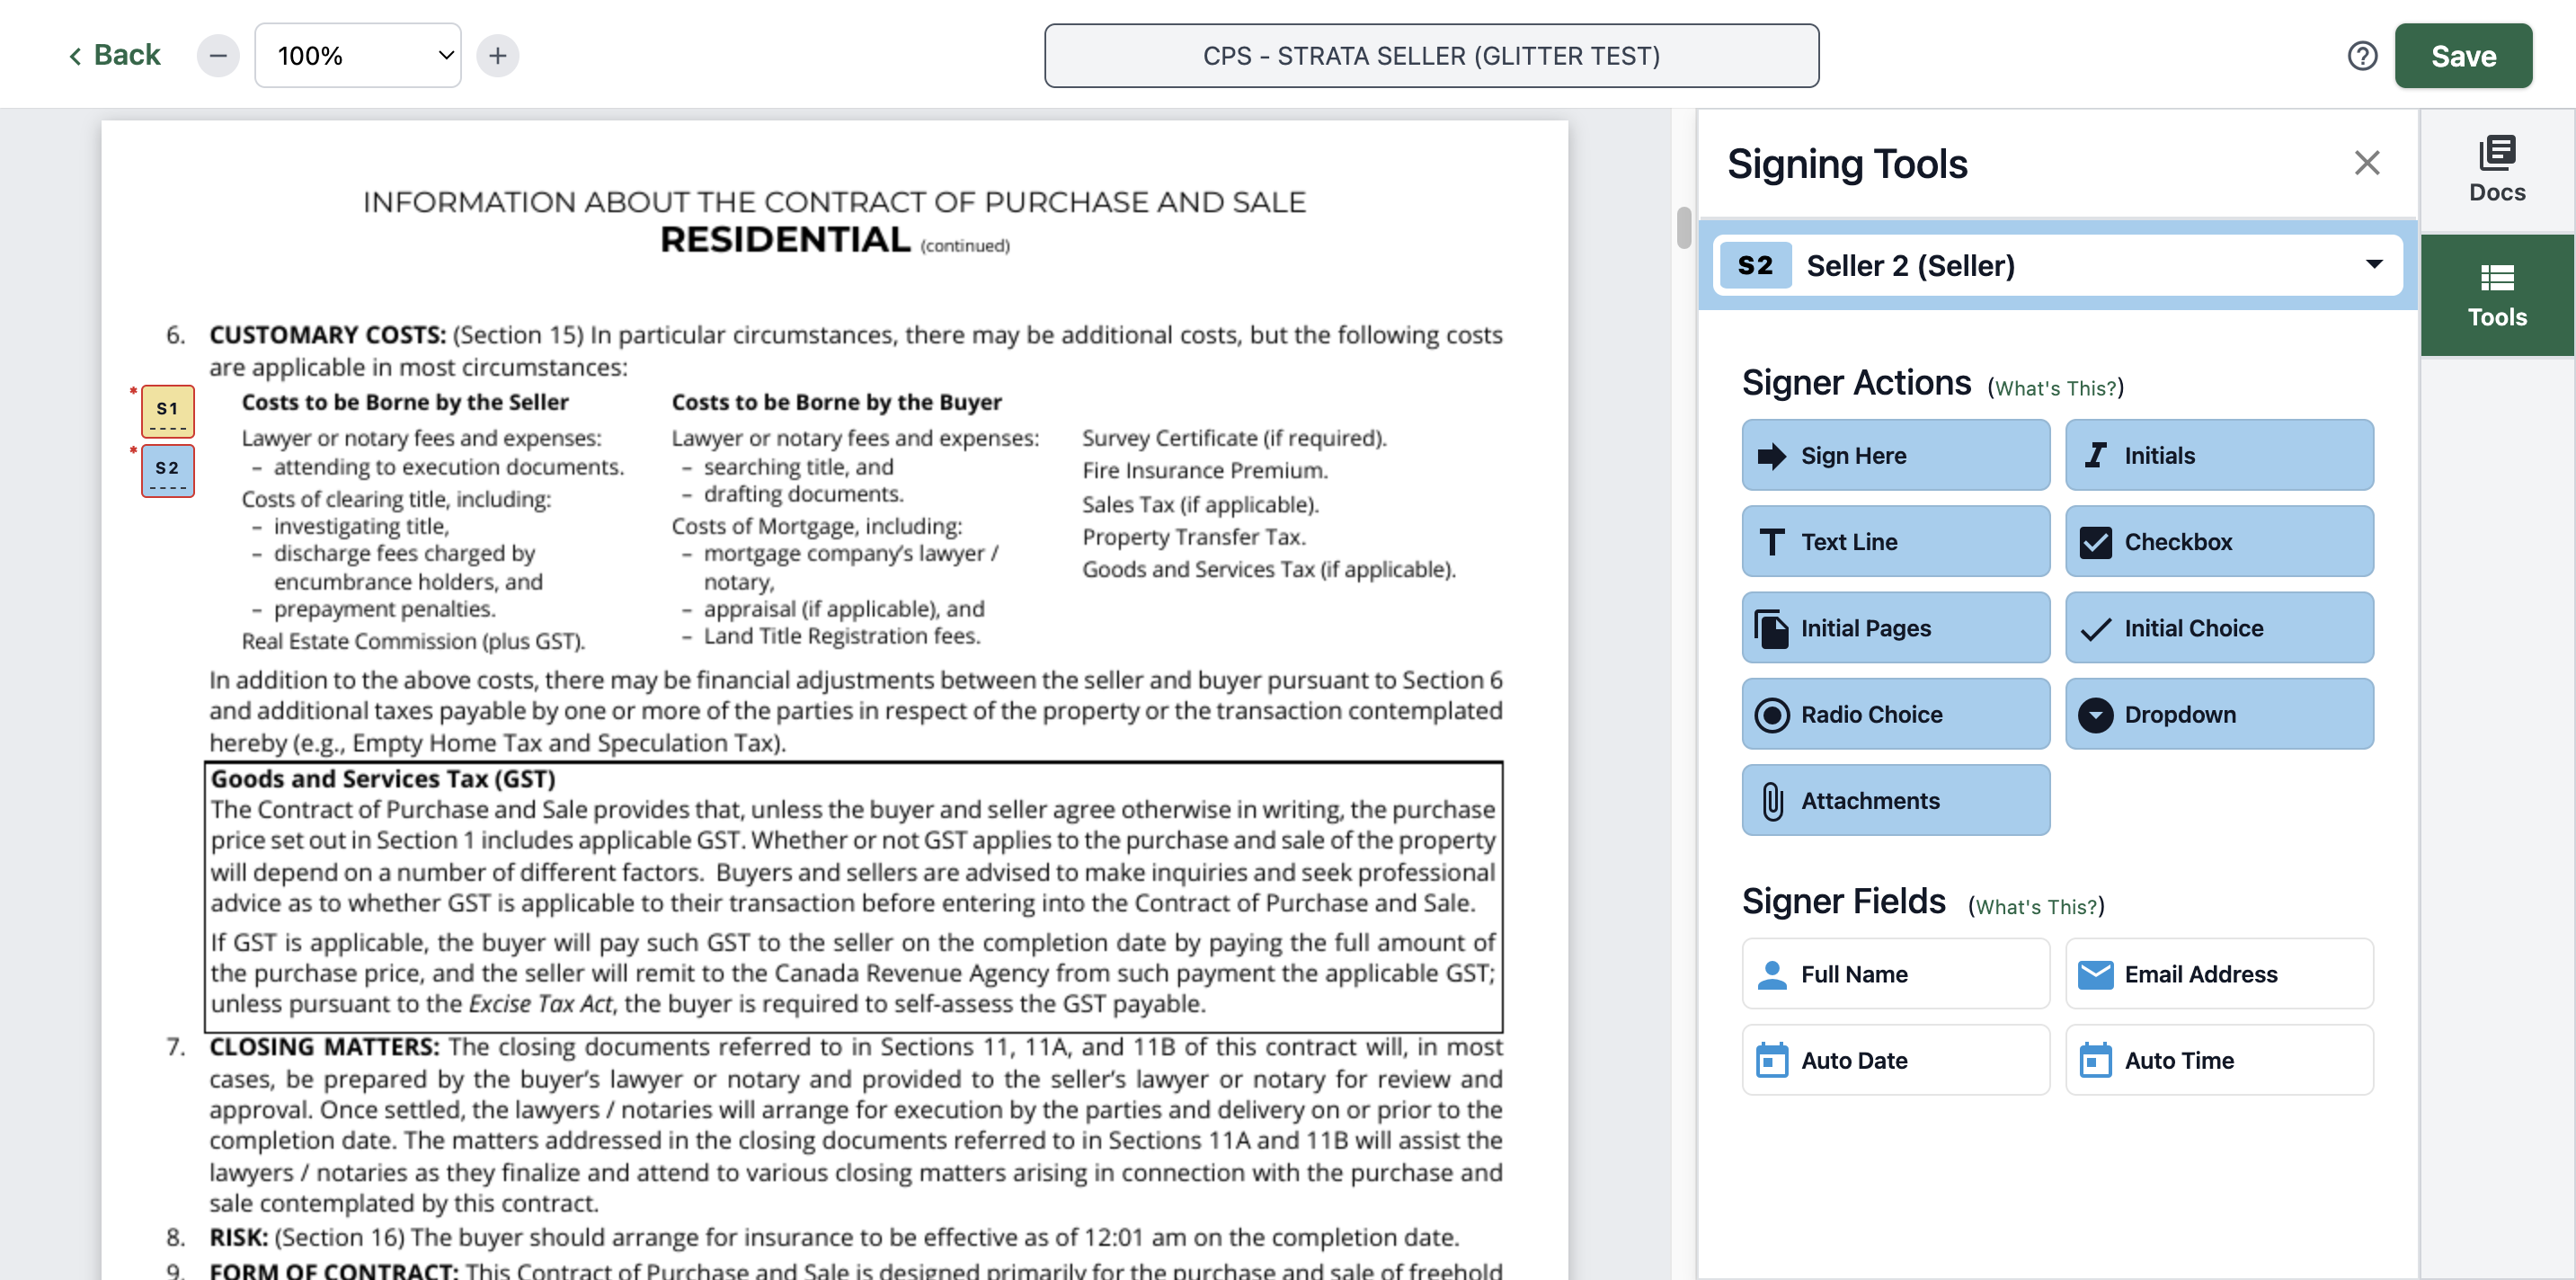
Initials again.
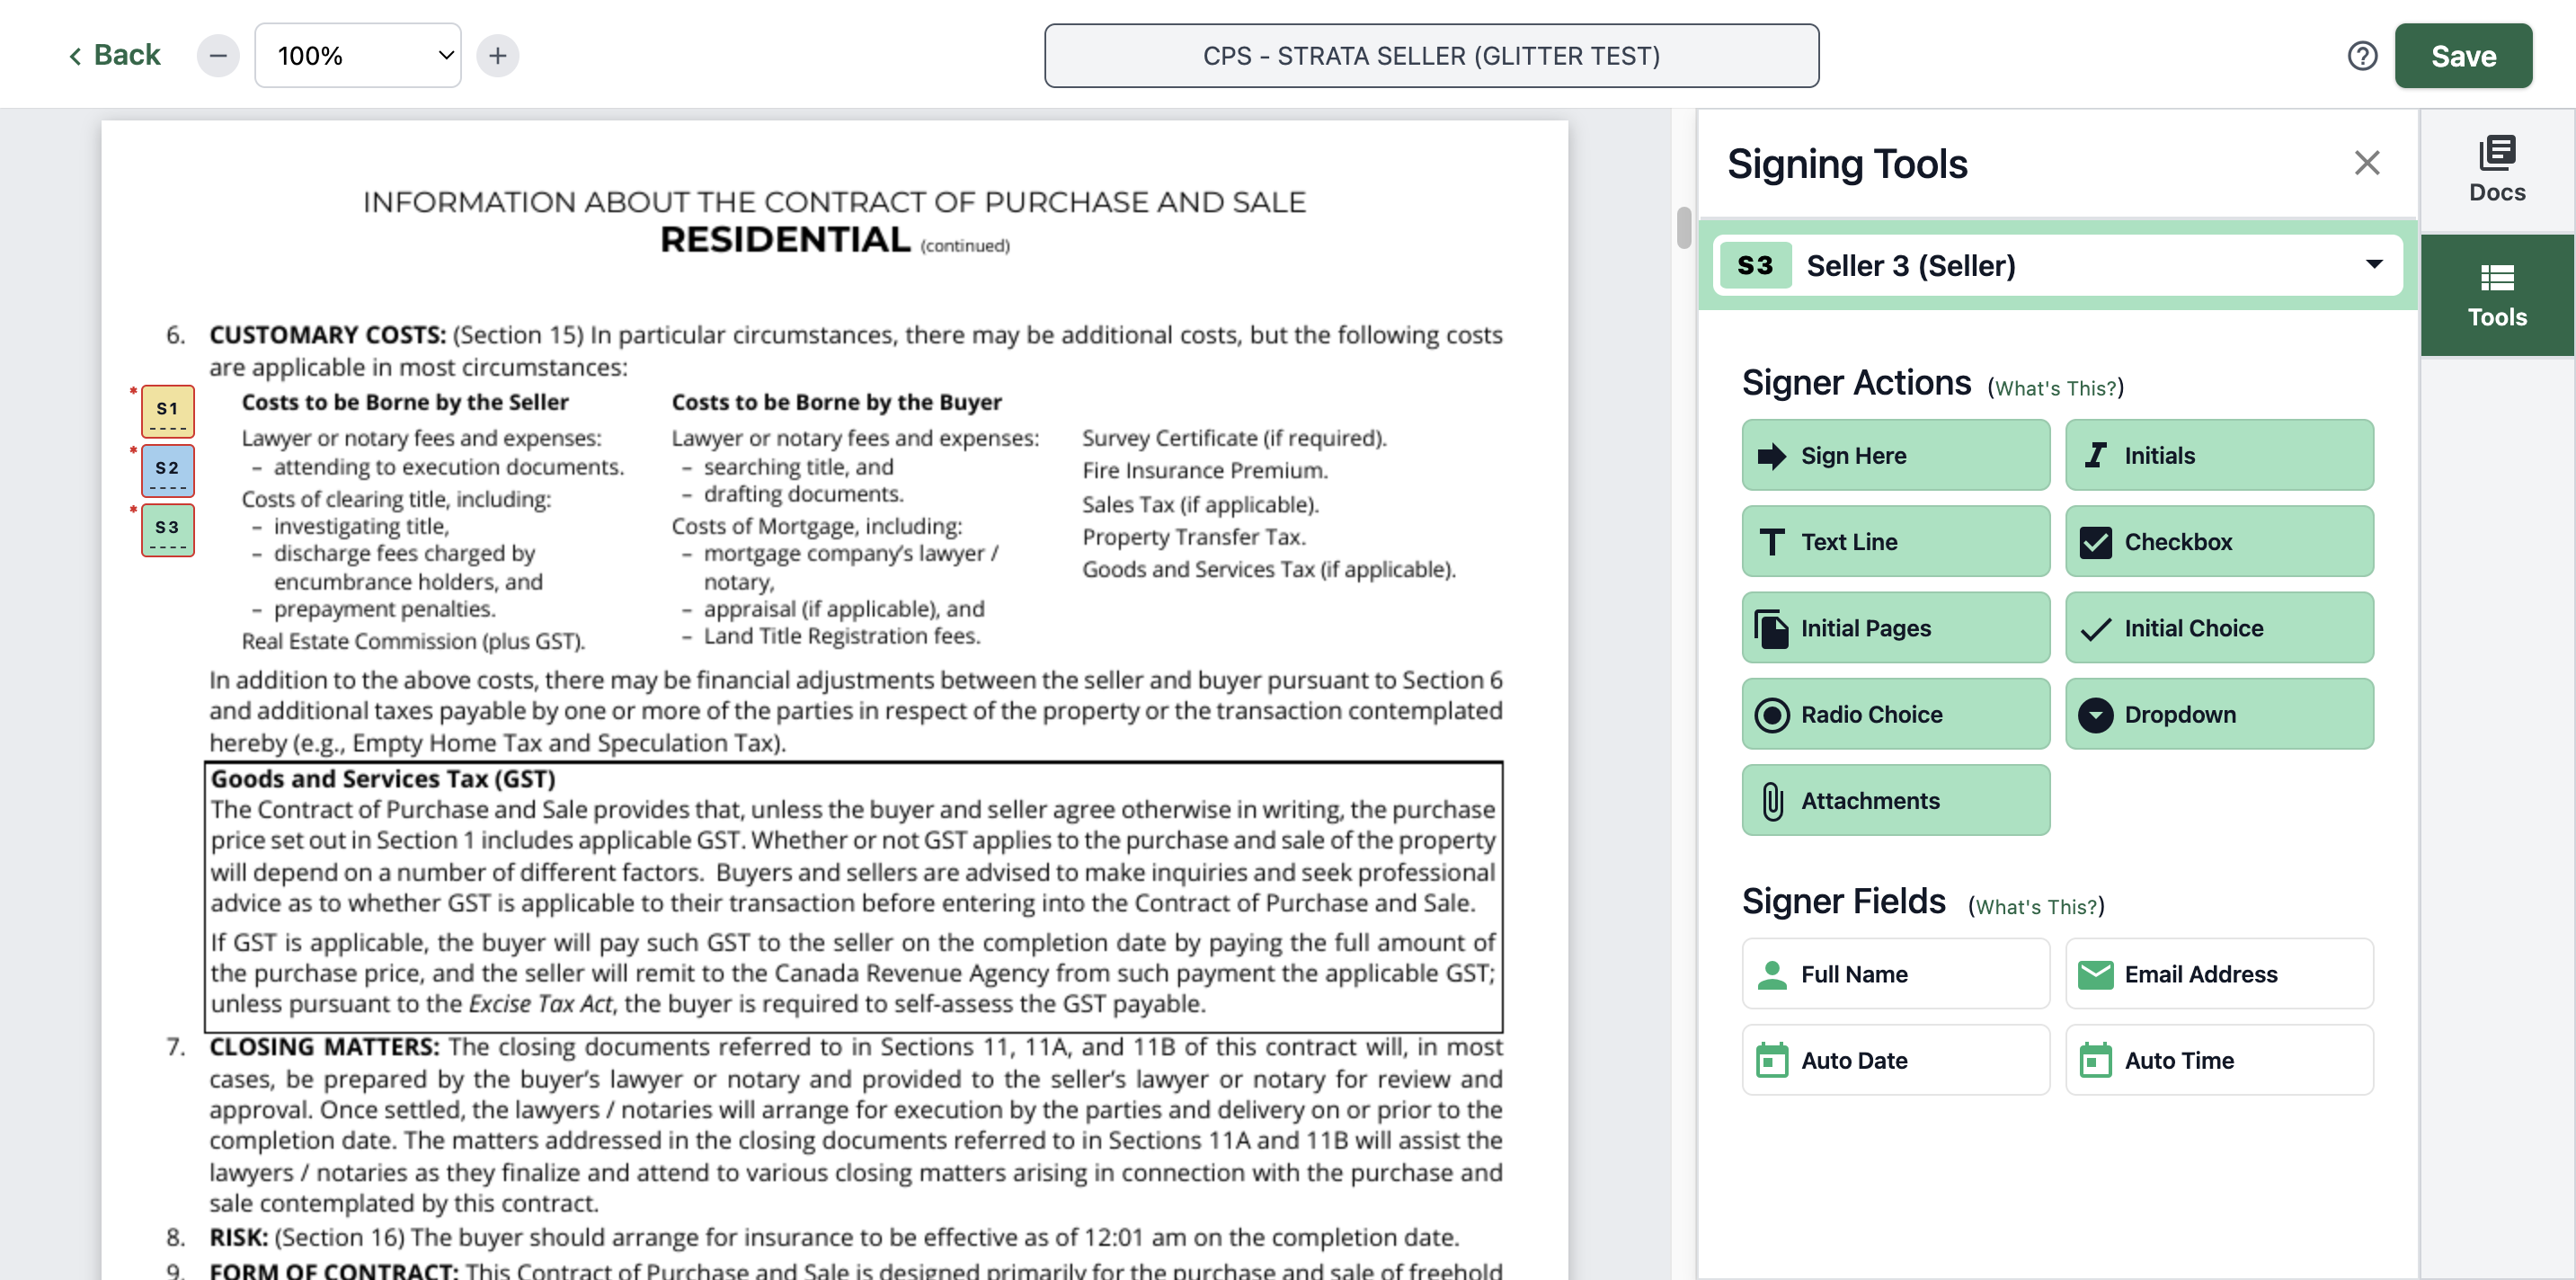
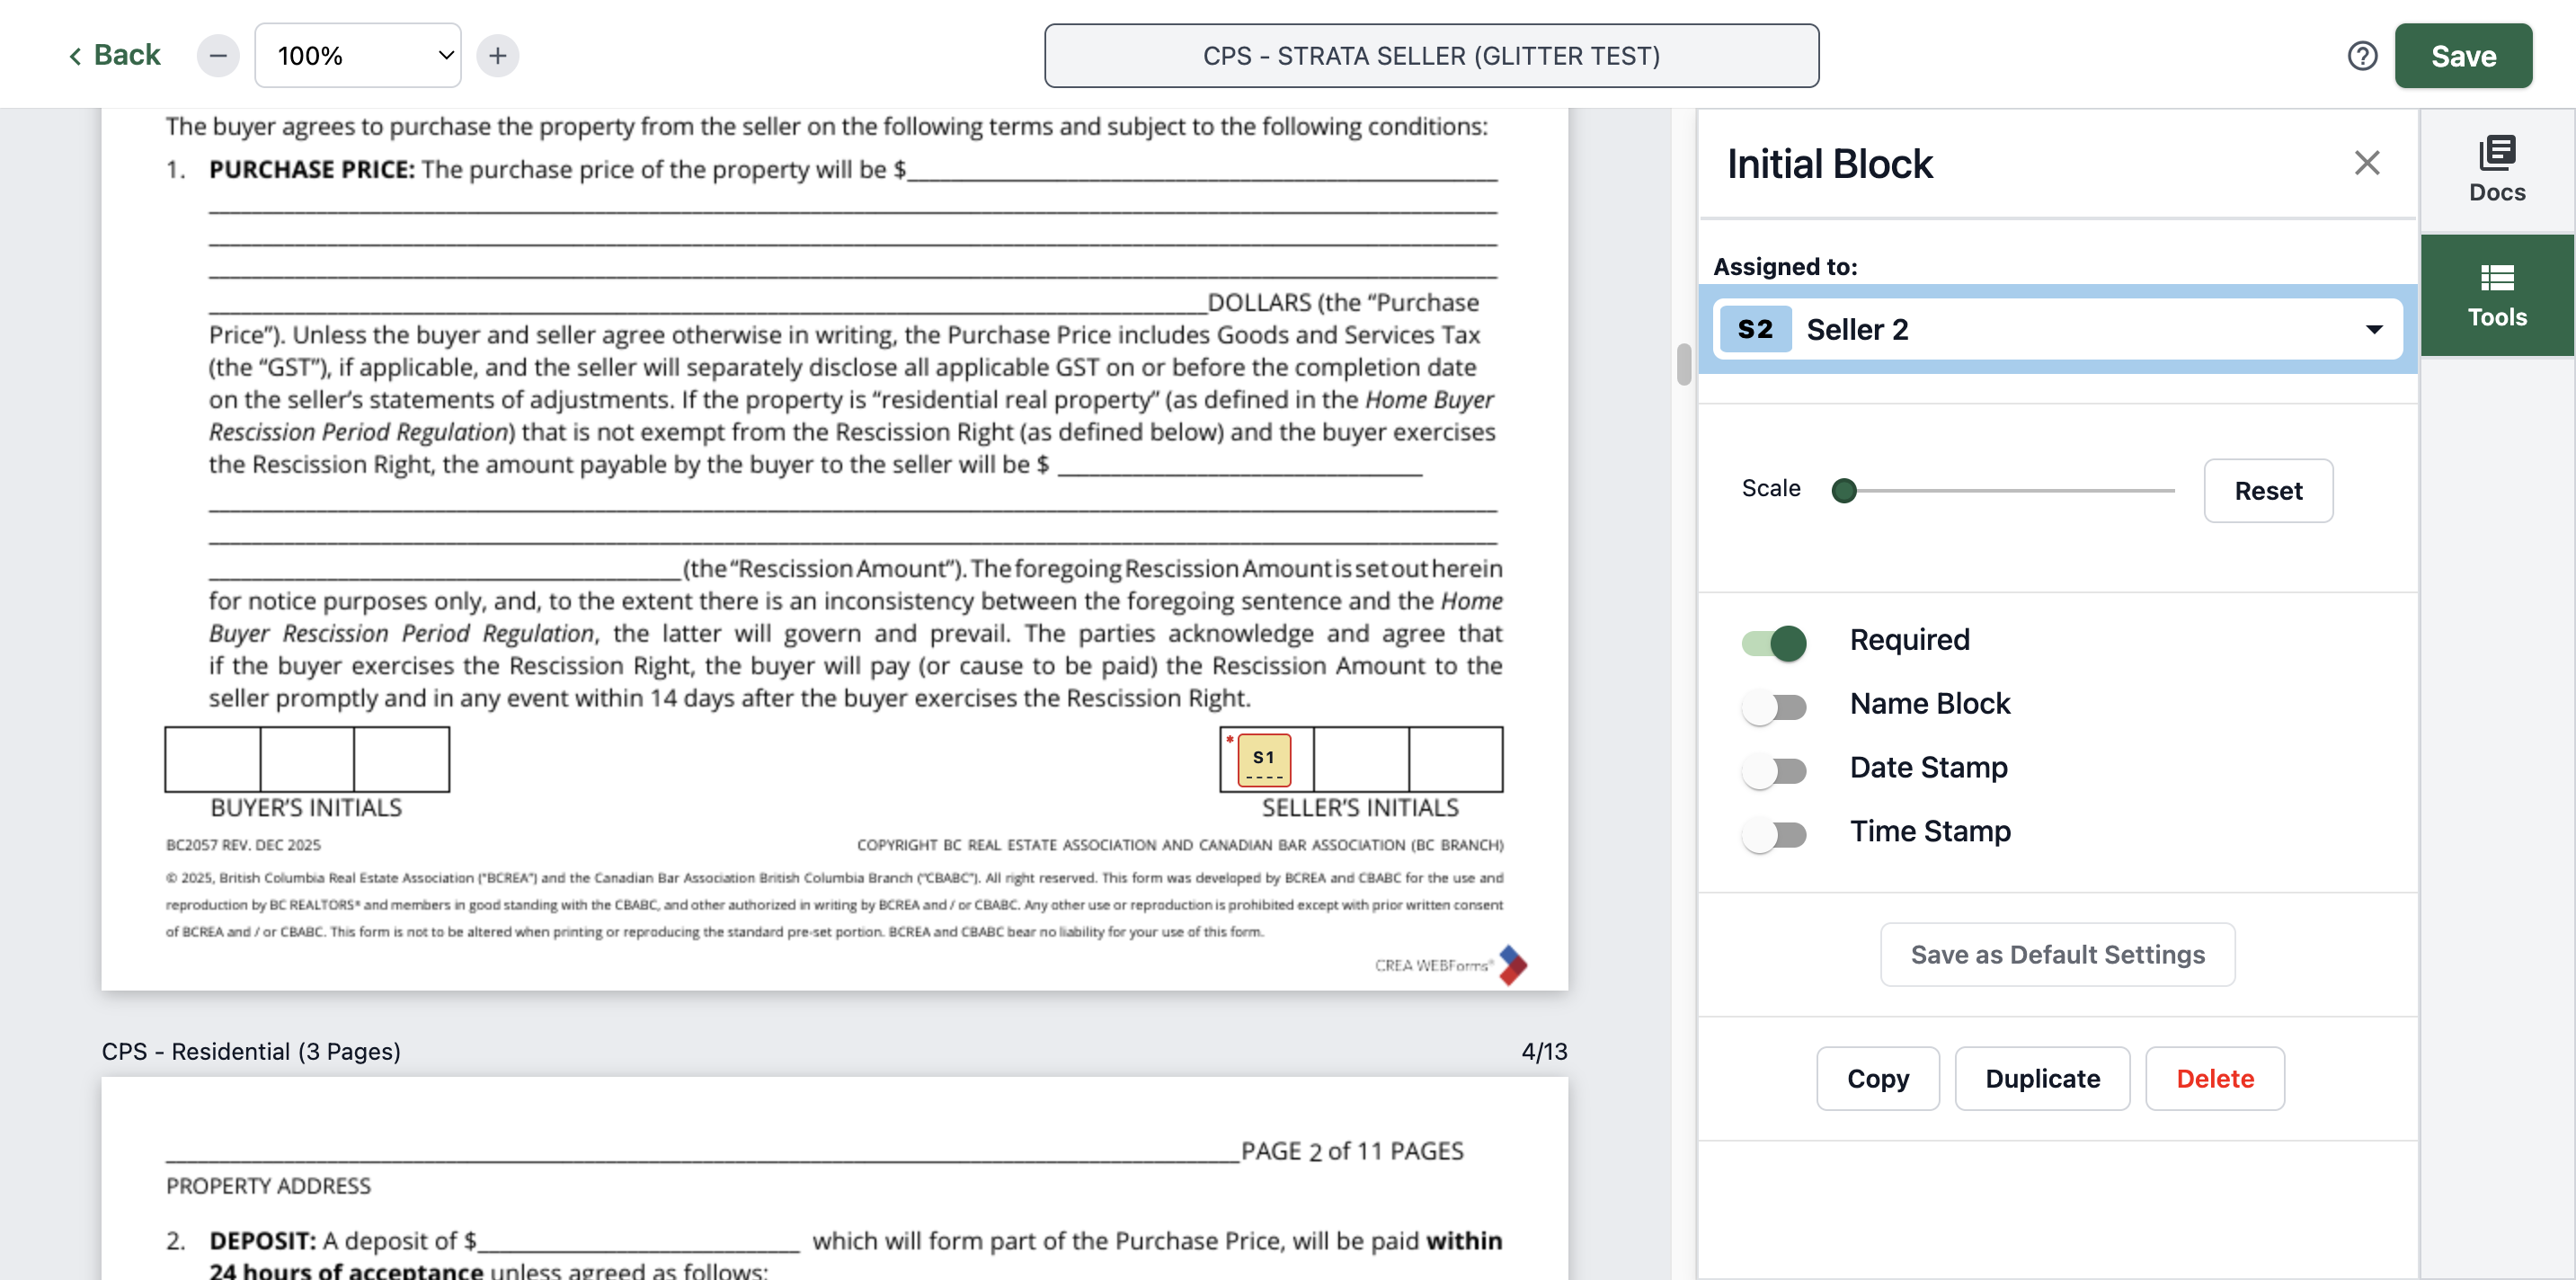
For the next page, you also need to add the initials. For convenience, simply click, copy, and paste.
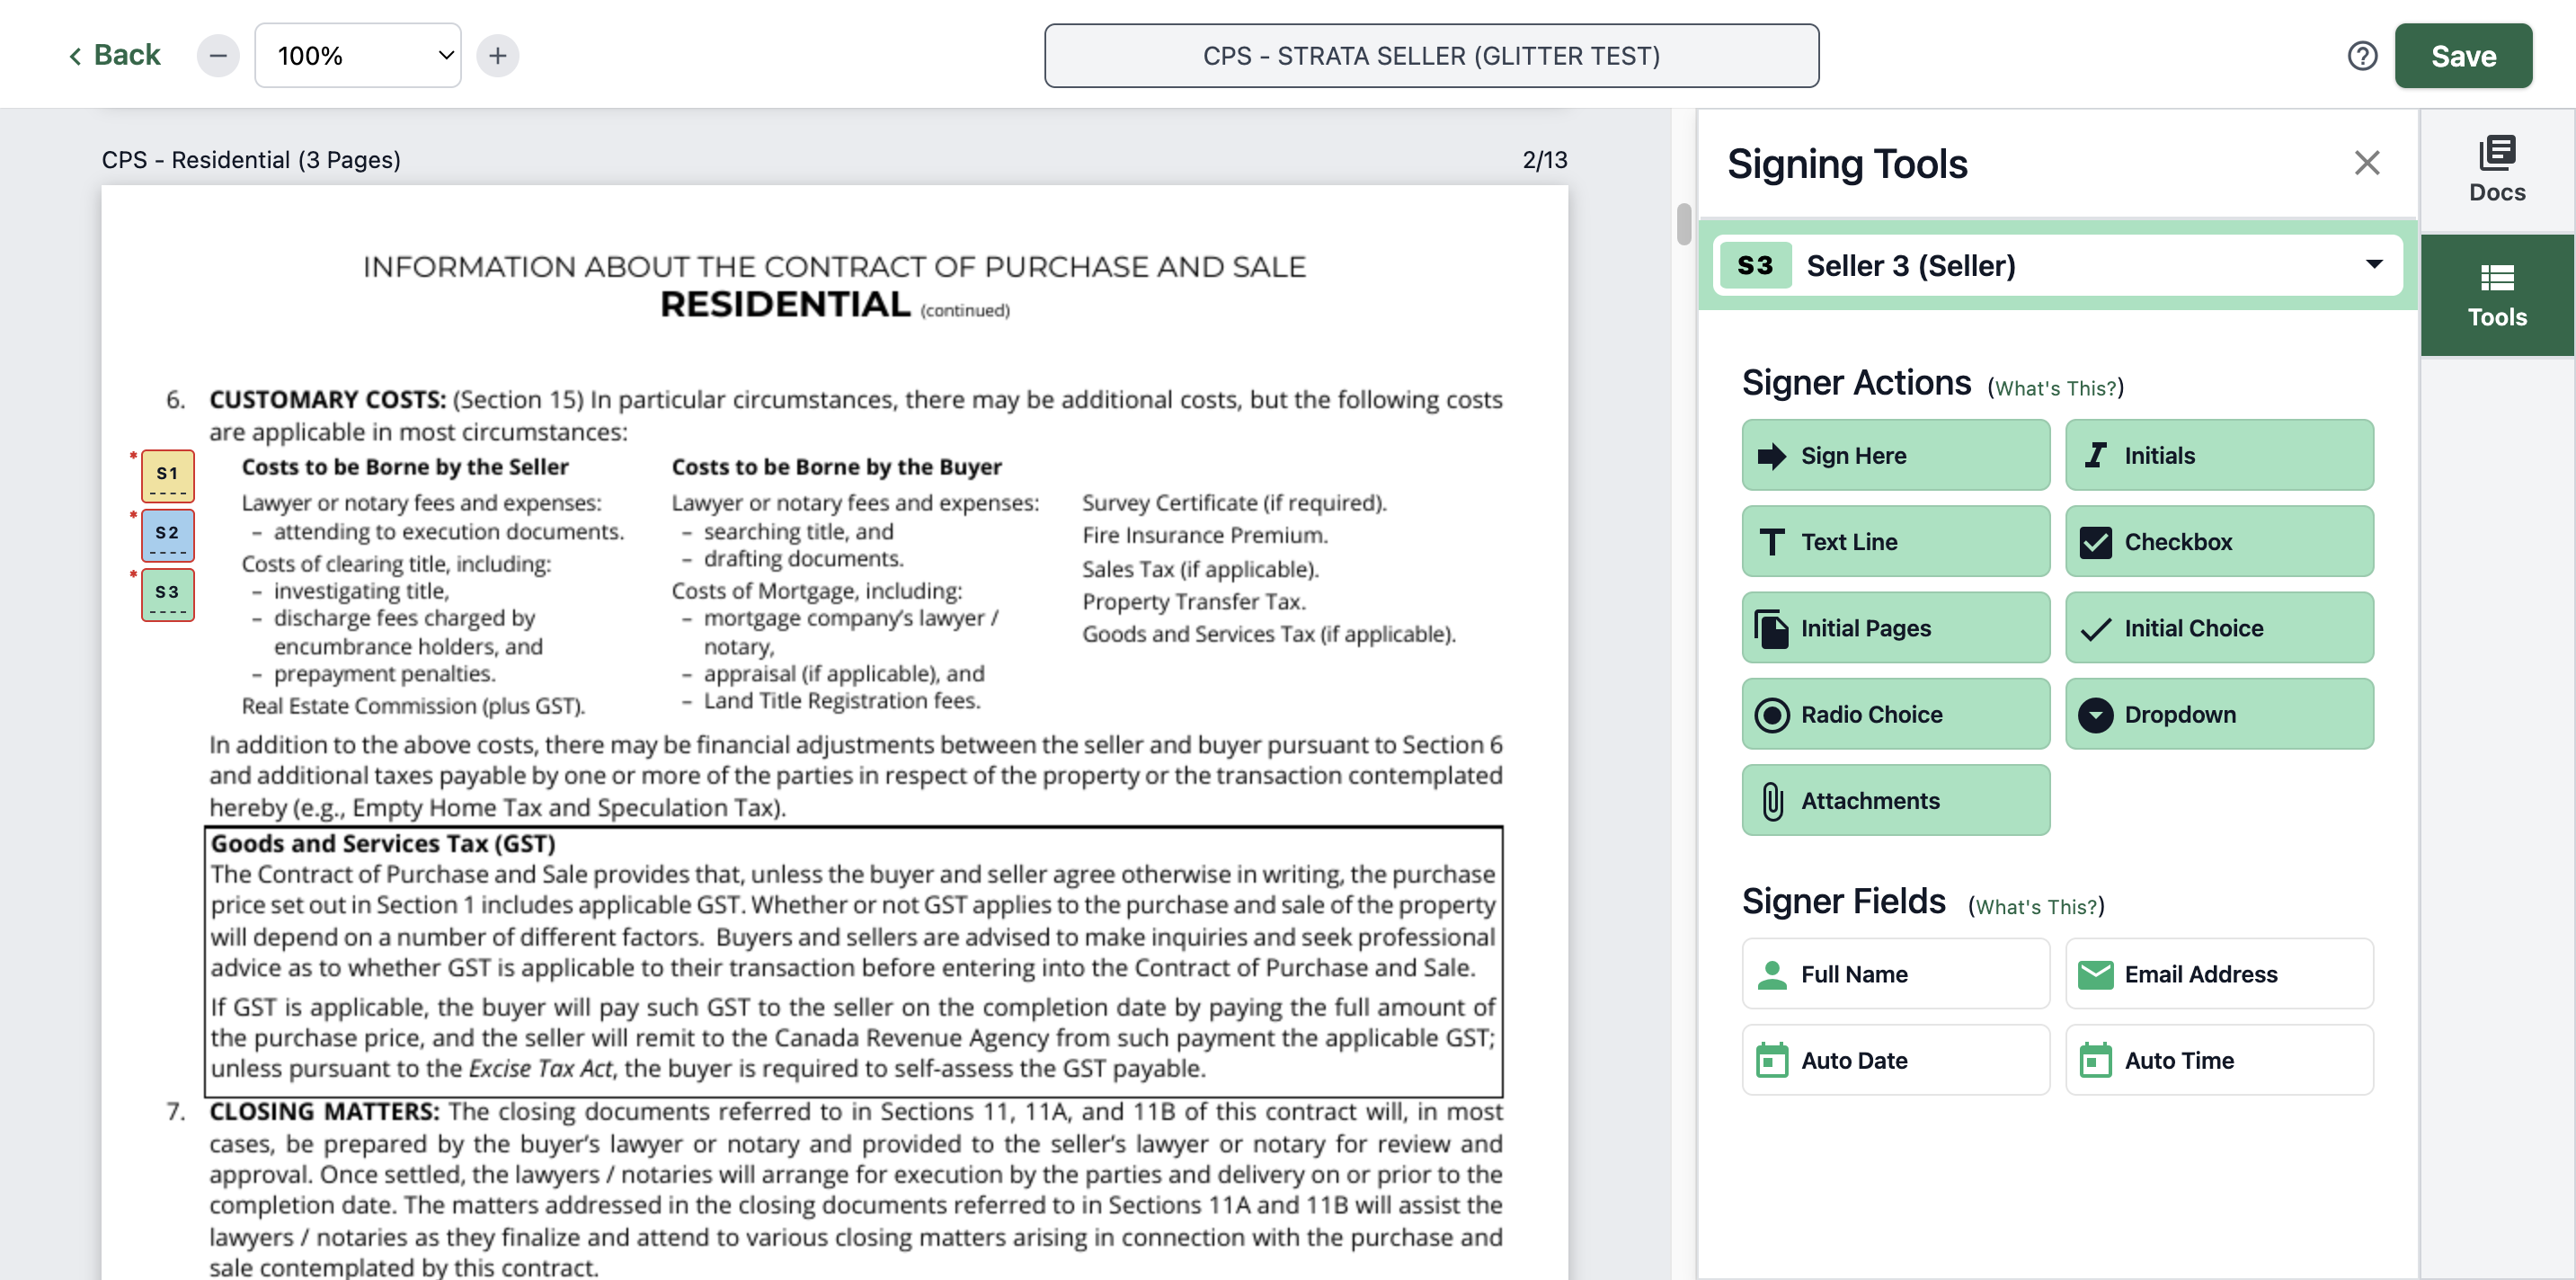
Then paste it on other pages.
In this page you only need to put initials here

For this page, simply add your initials in these two places.
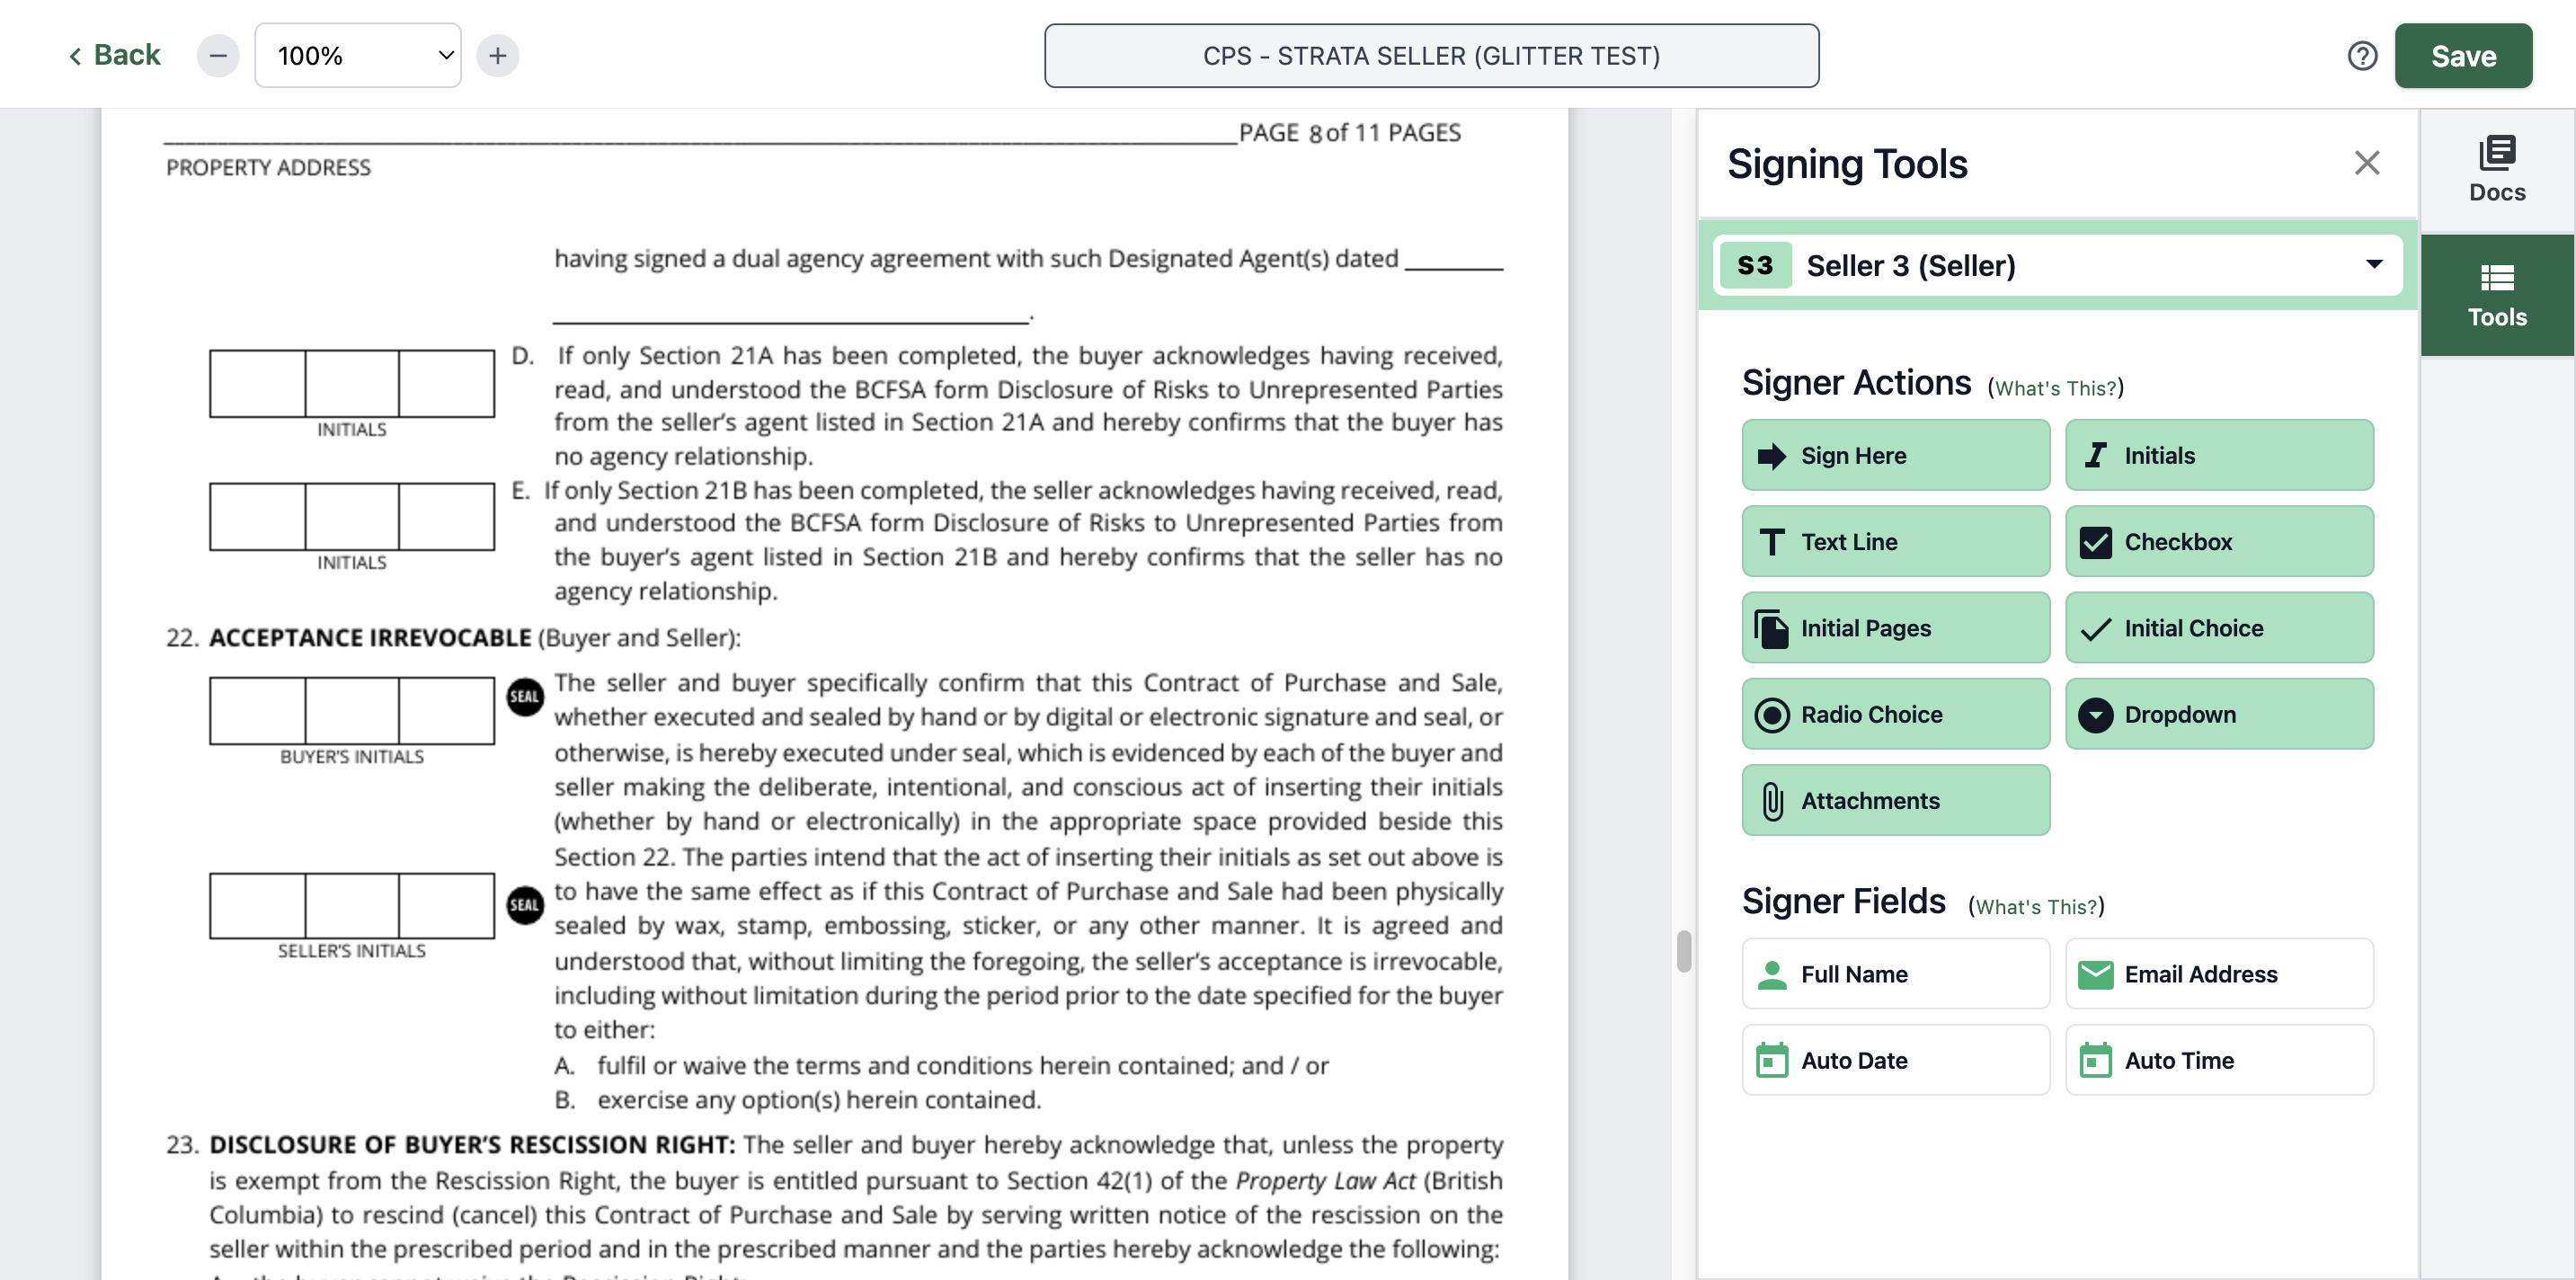
For this page, and for the last two pages, we will add initials later. Let's add the initials for Seller 2 and Seller 3 first.
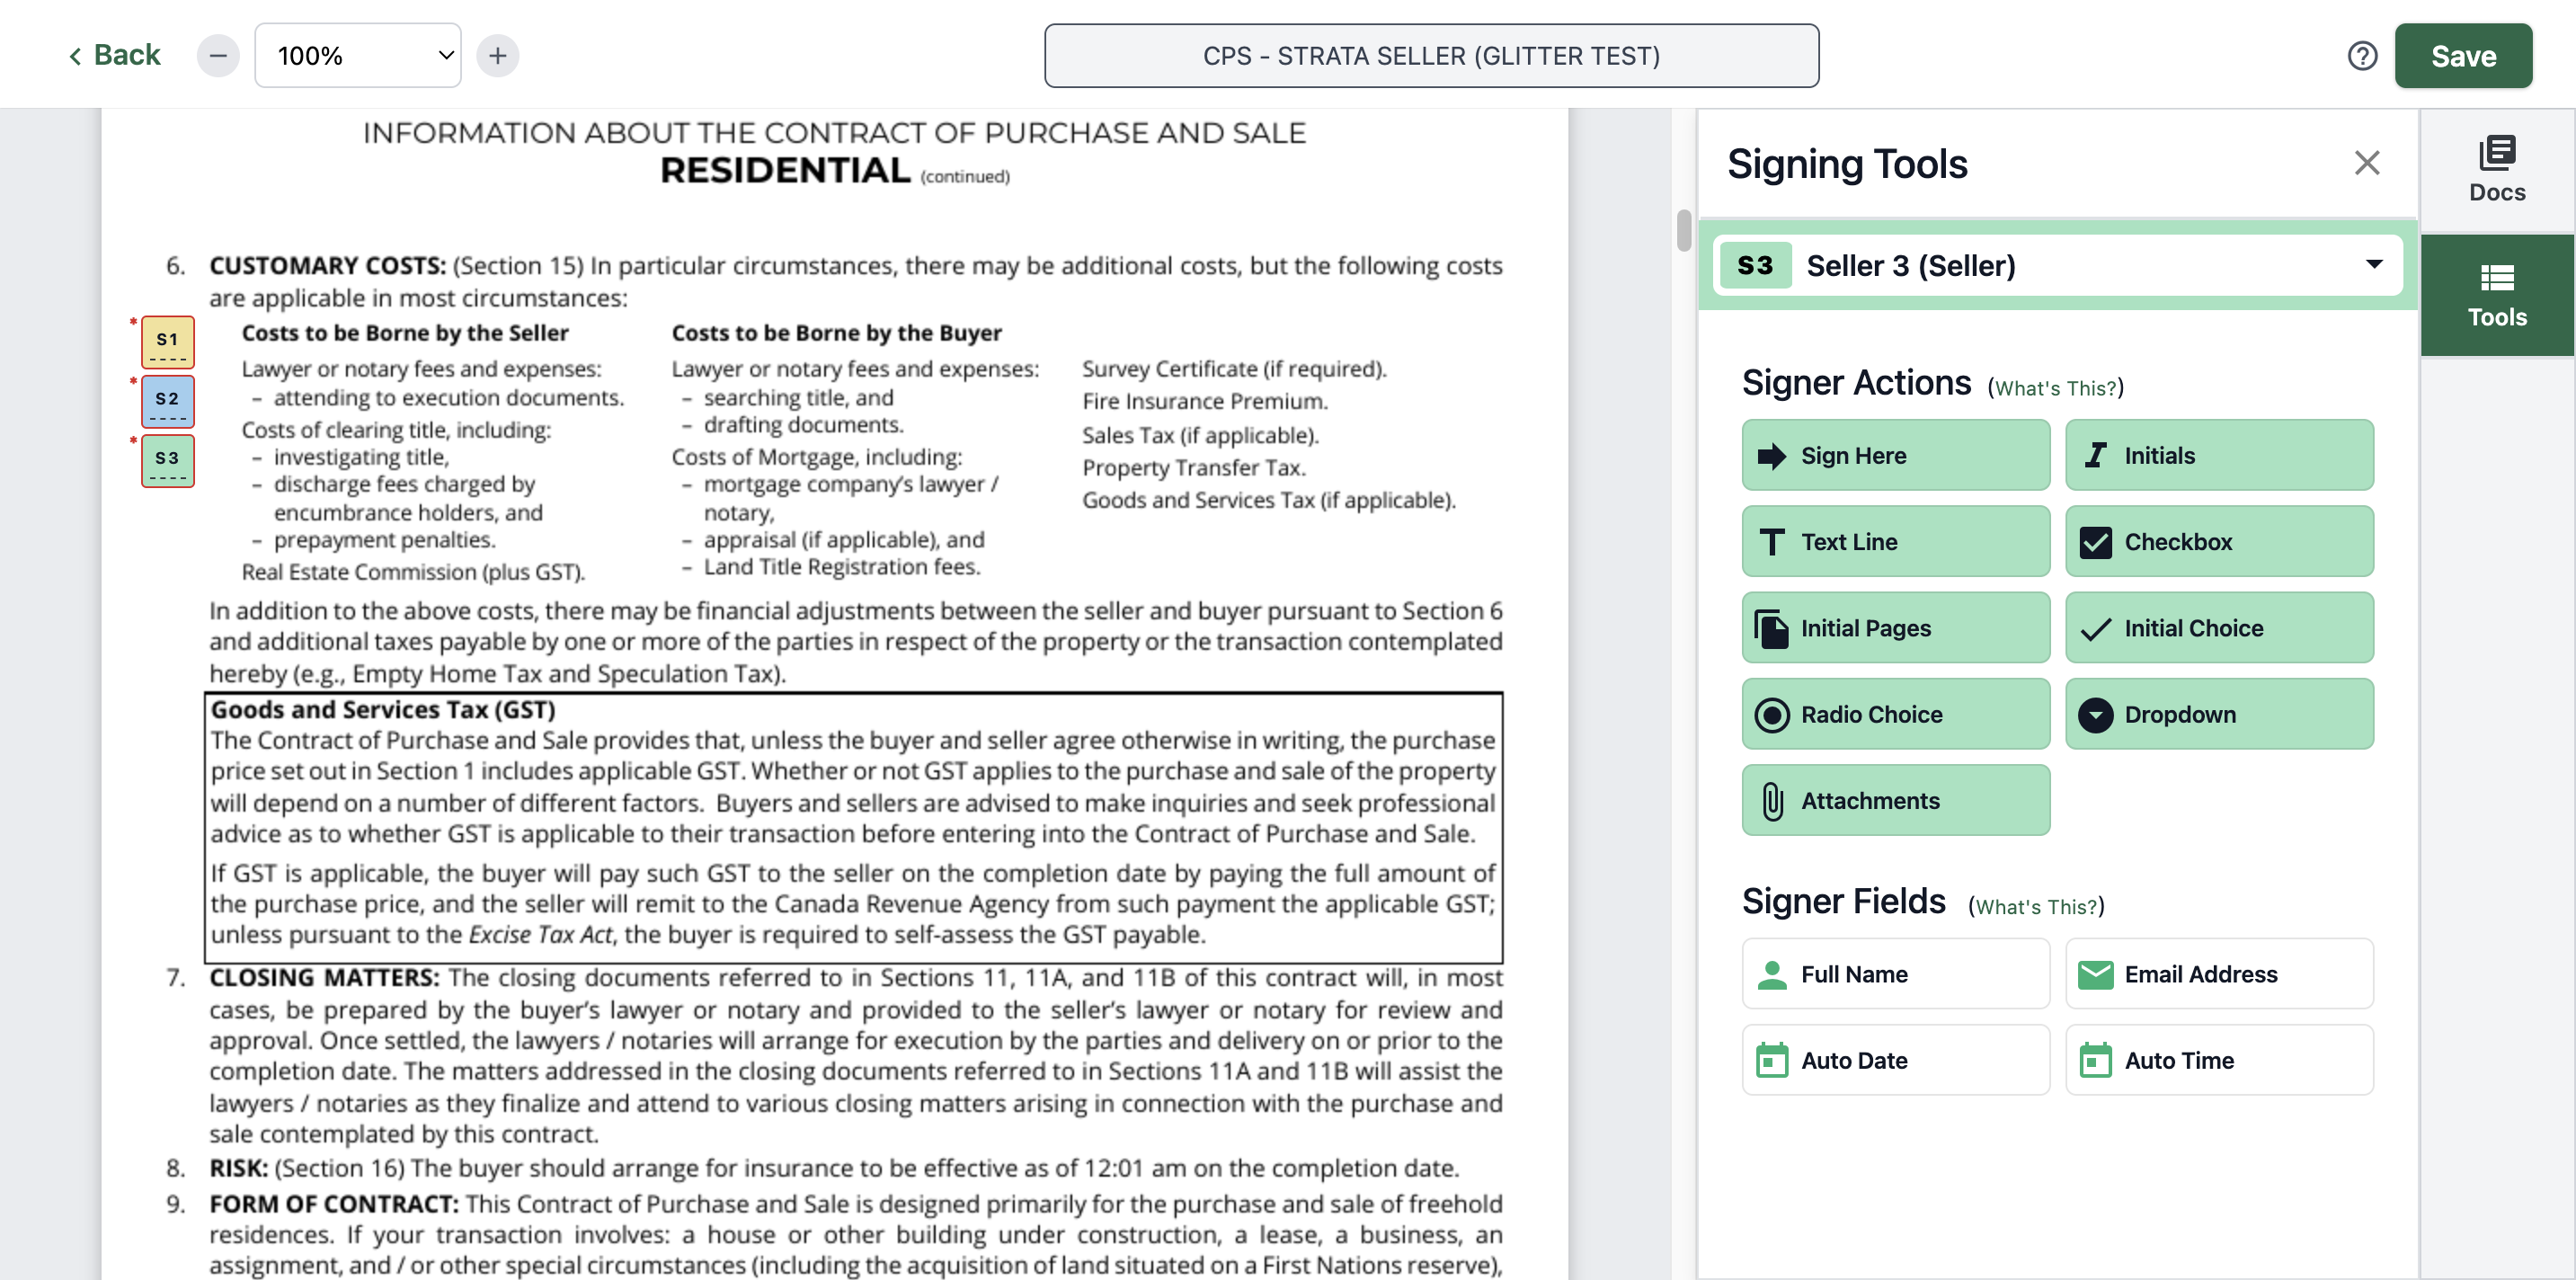
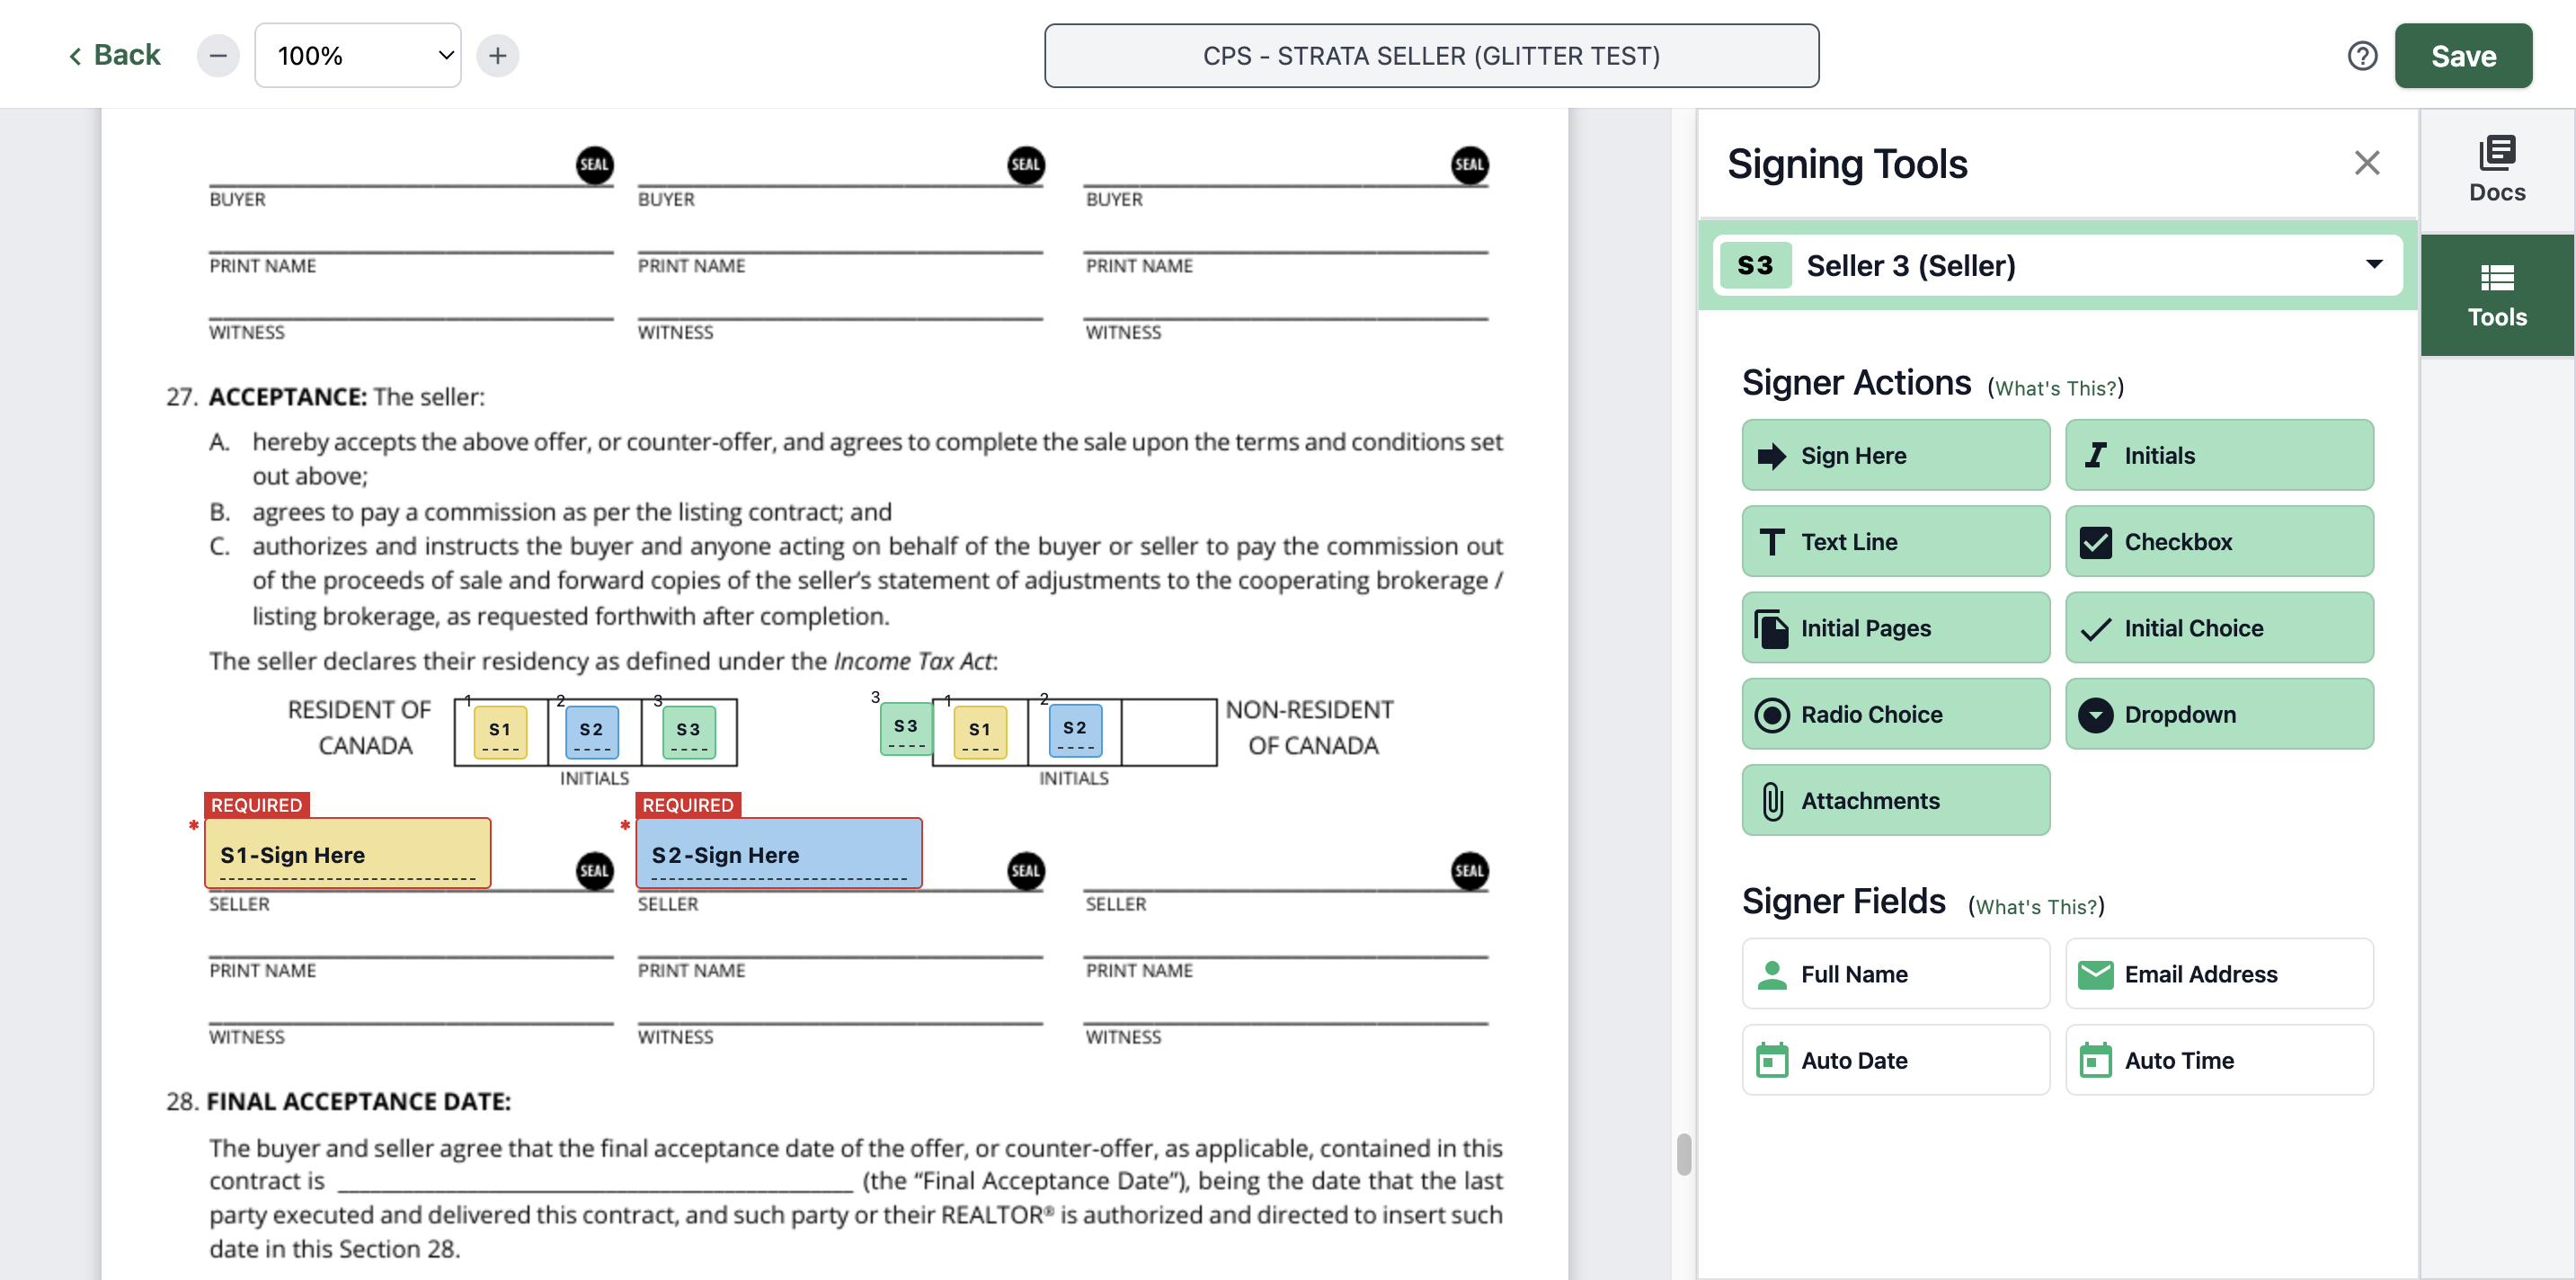
Click, copy, then paste repeatedly.
Copy the Seller 3 initial

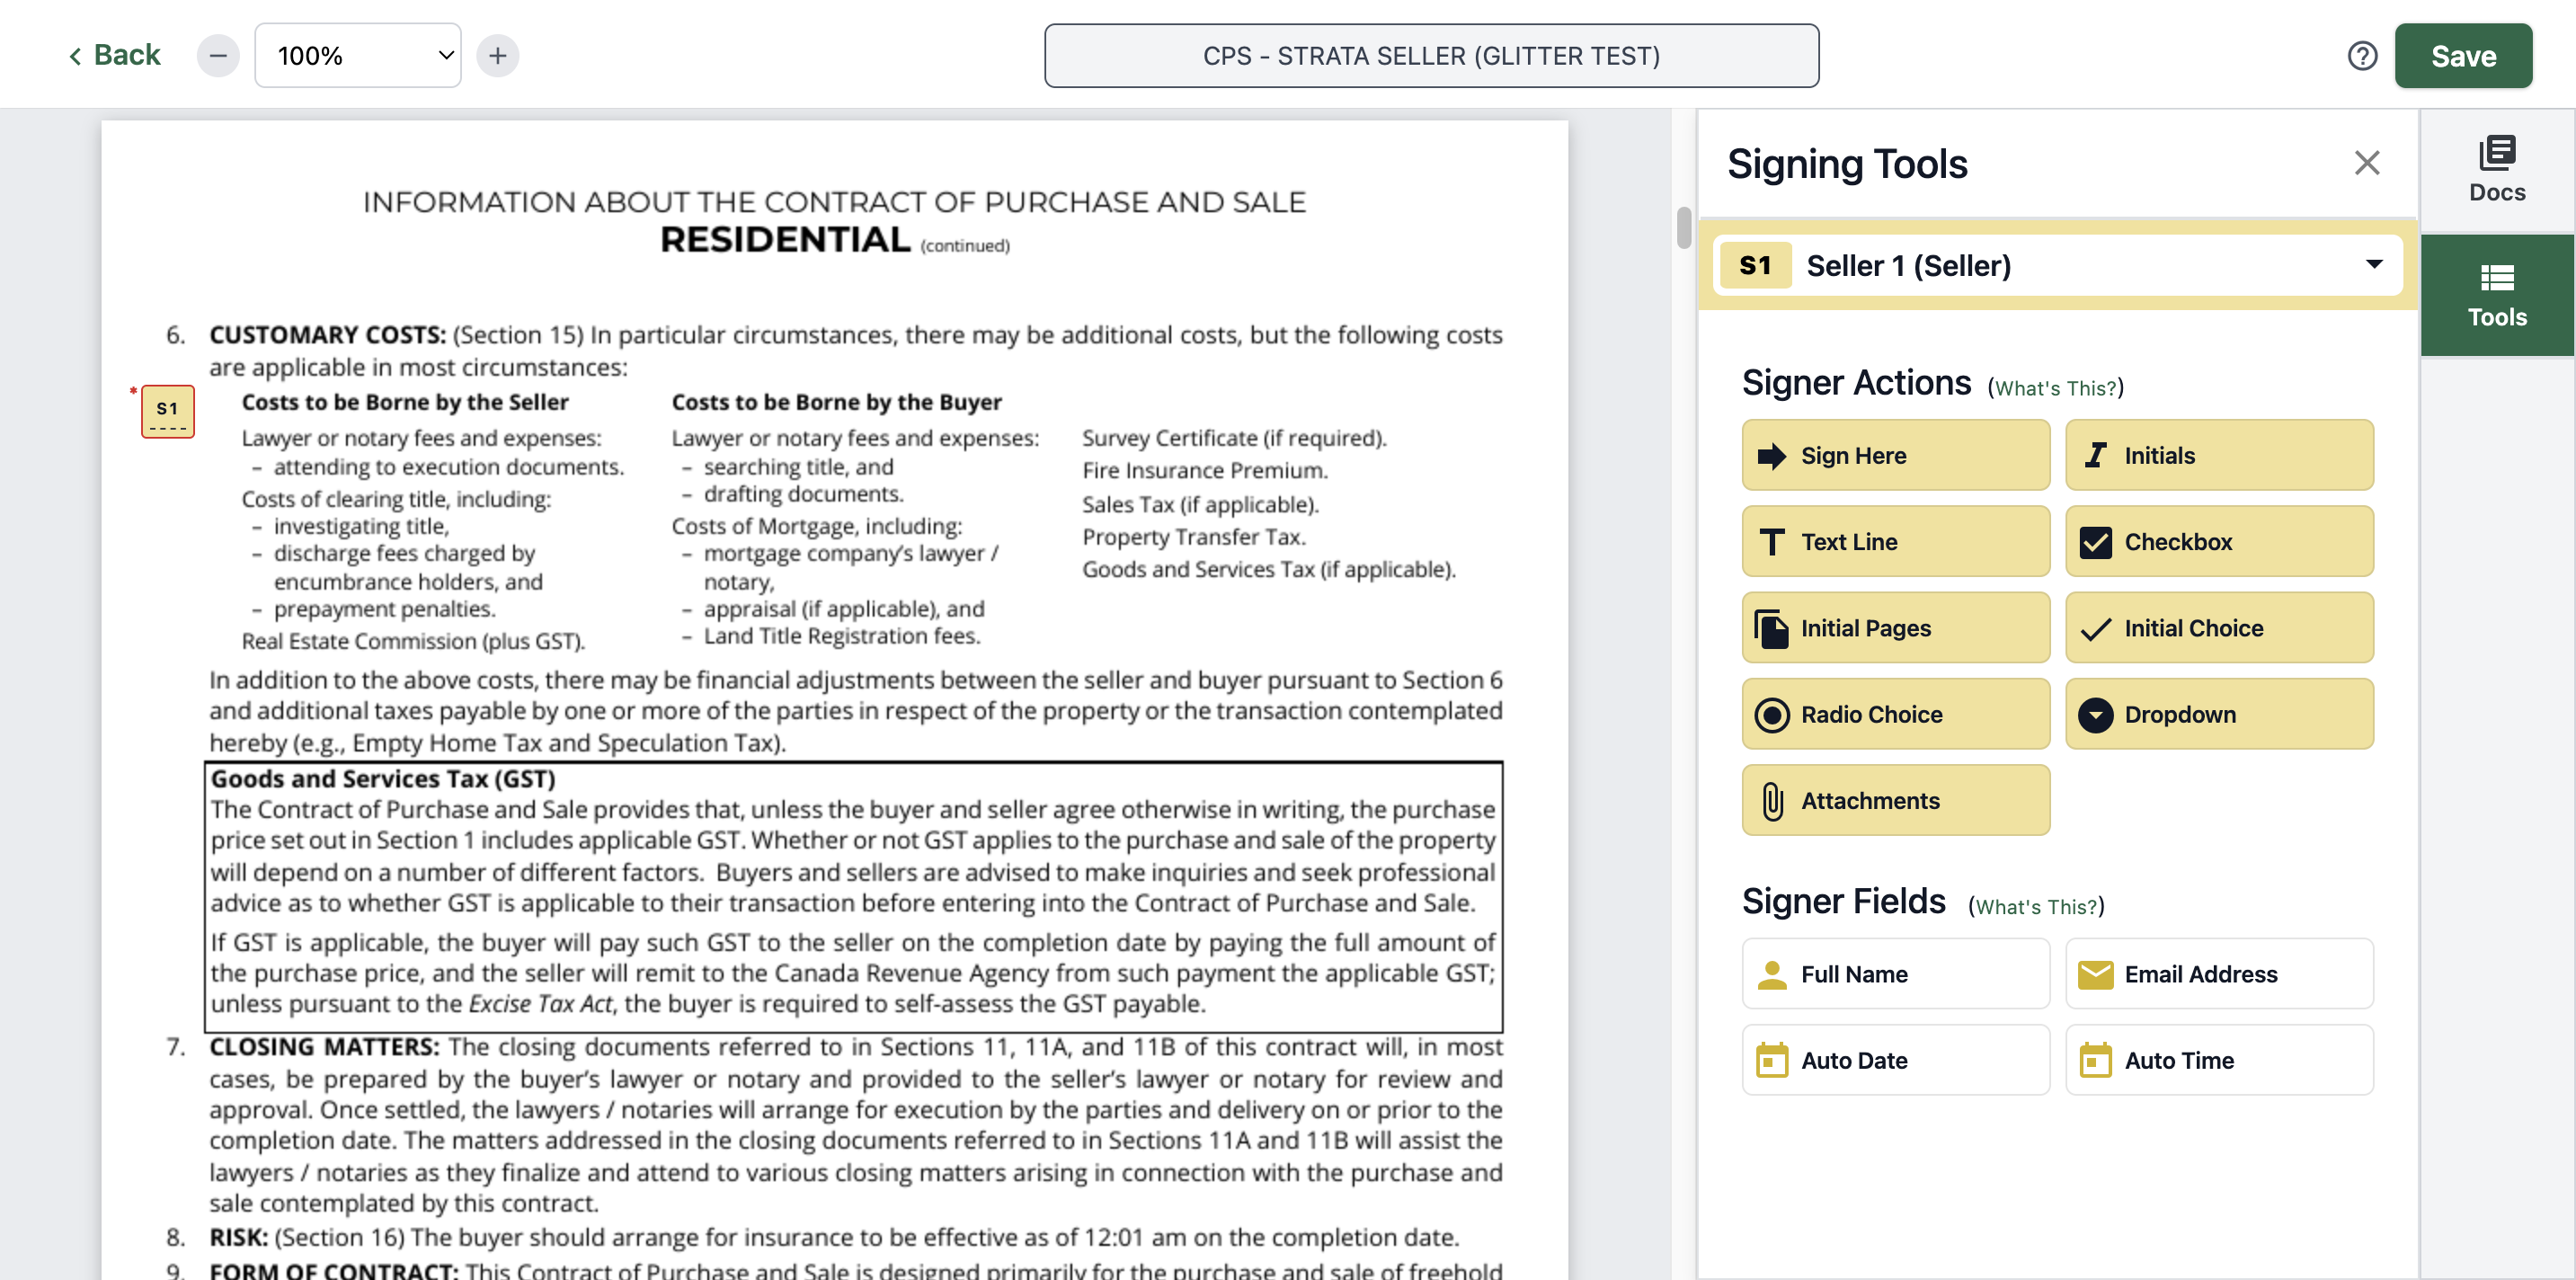
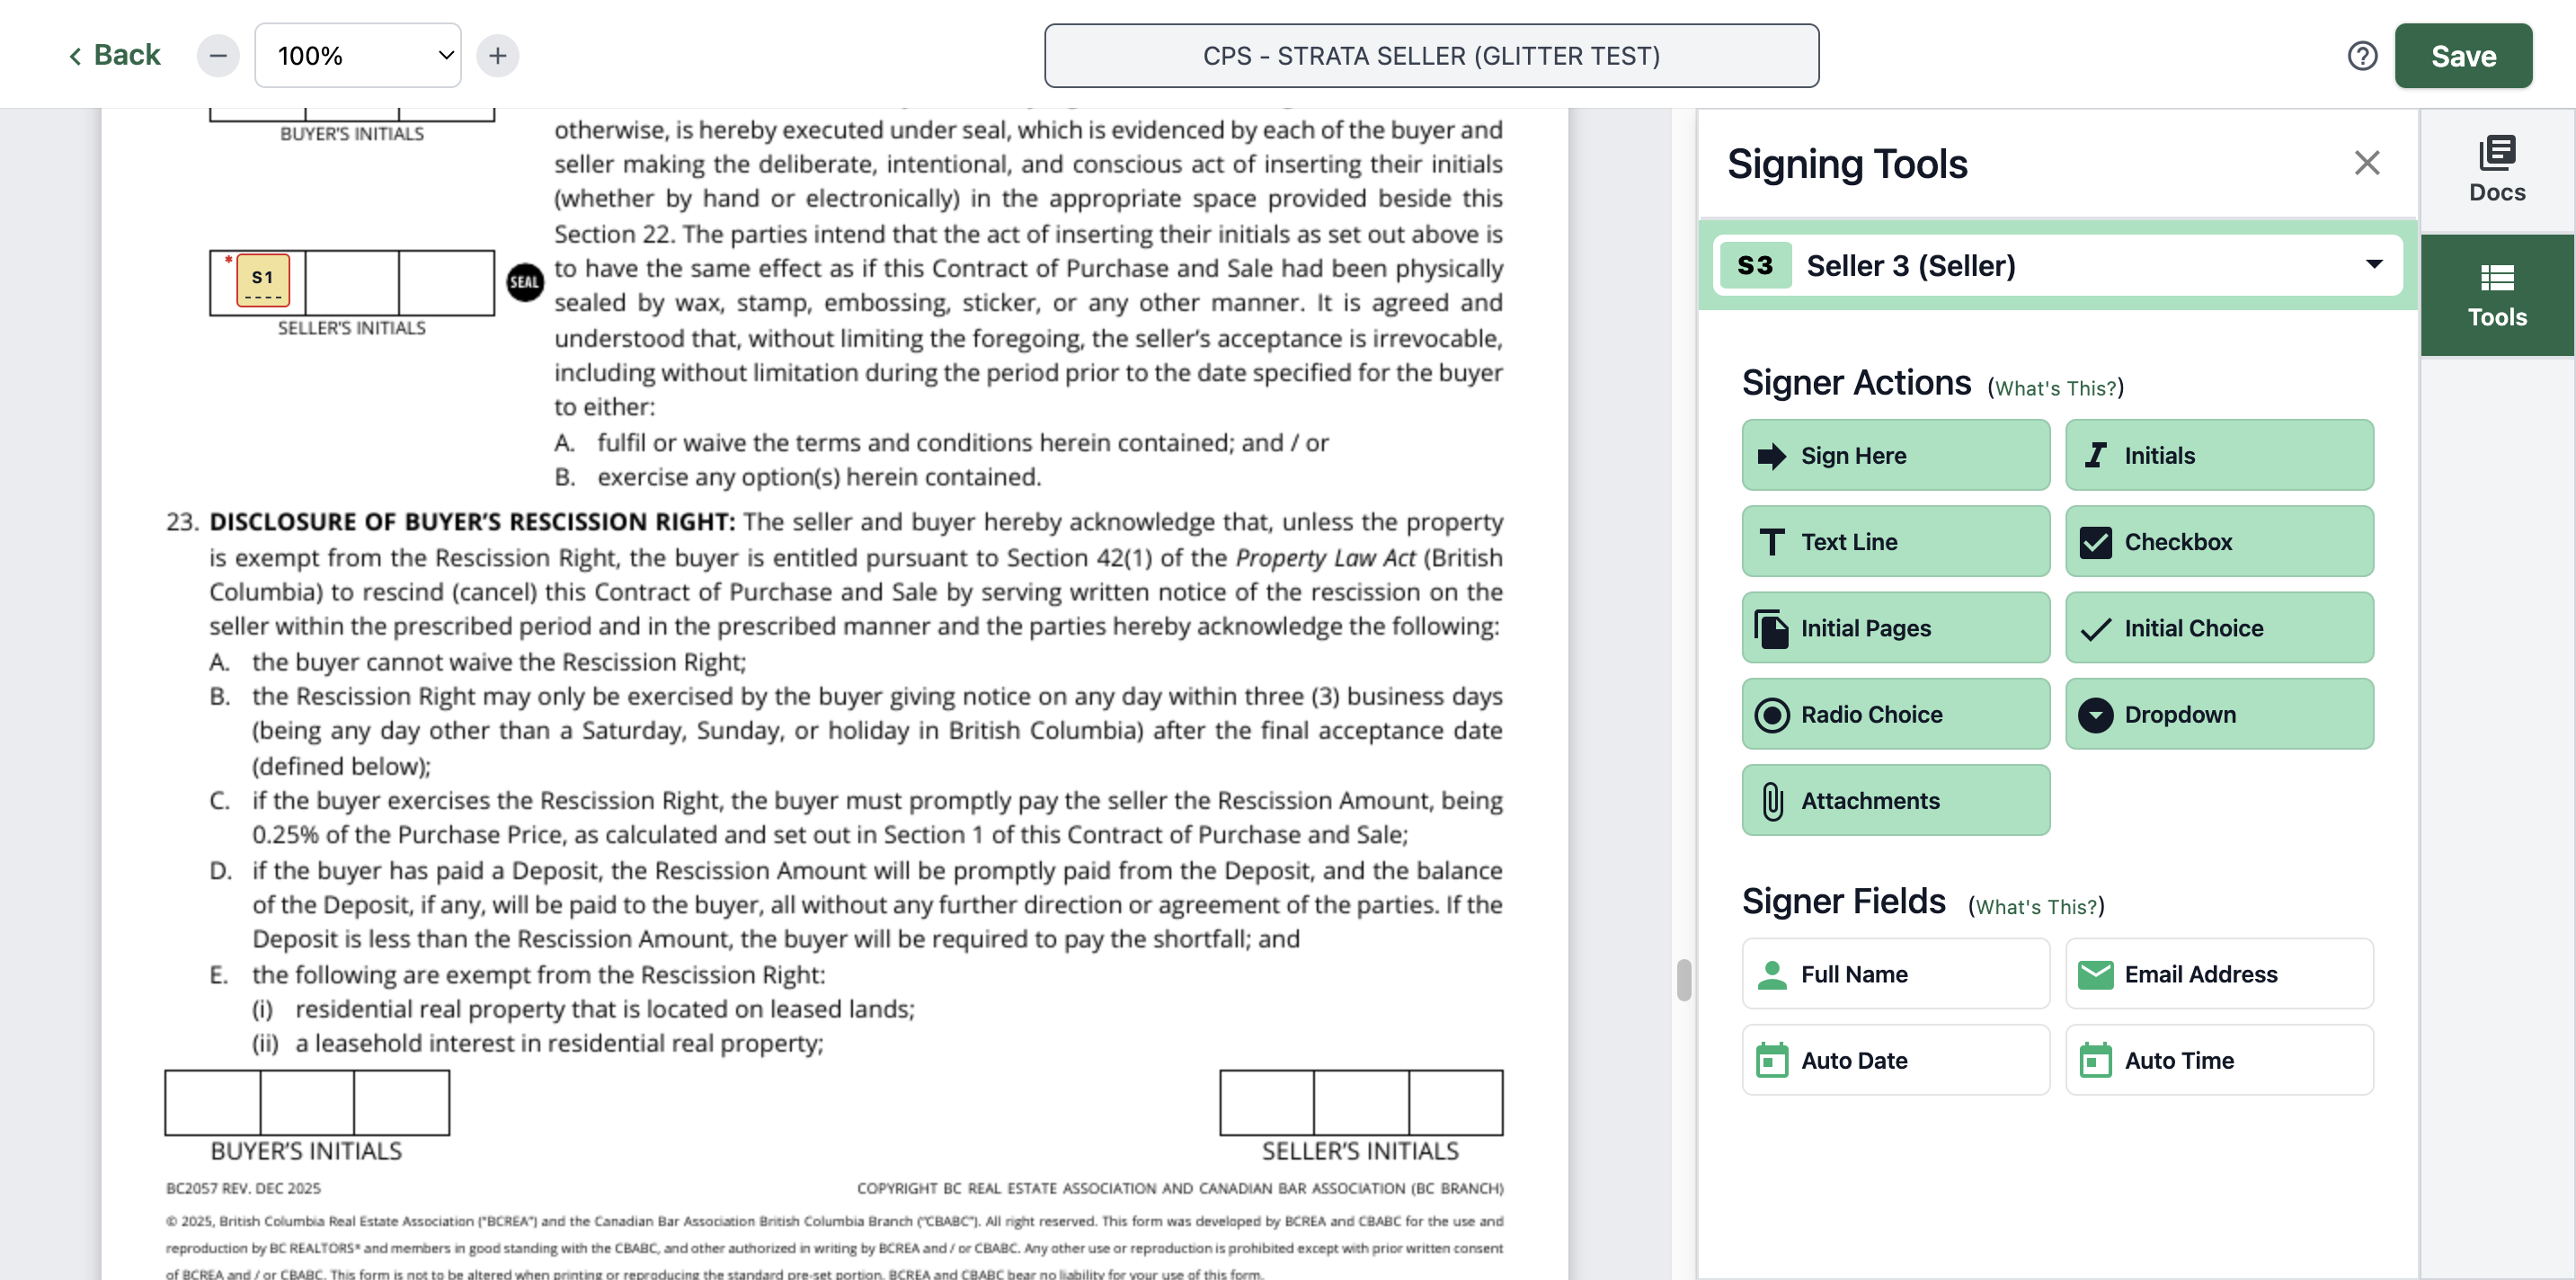
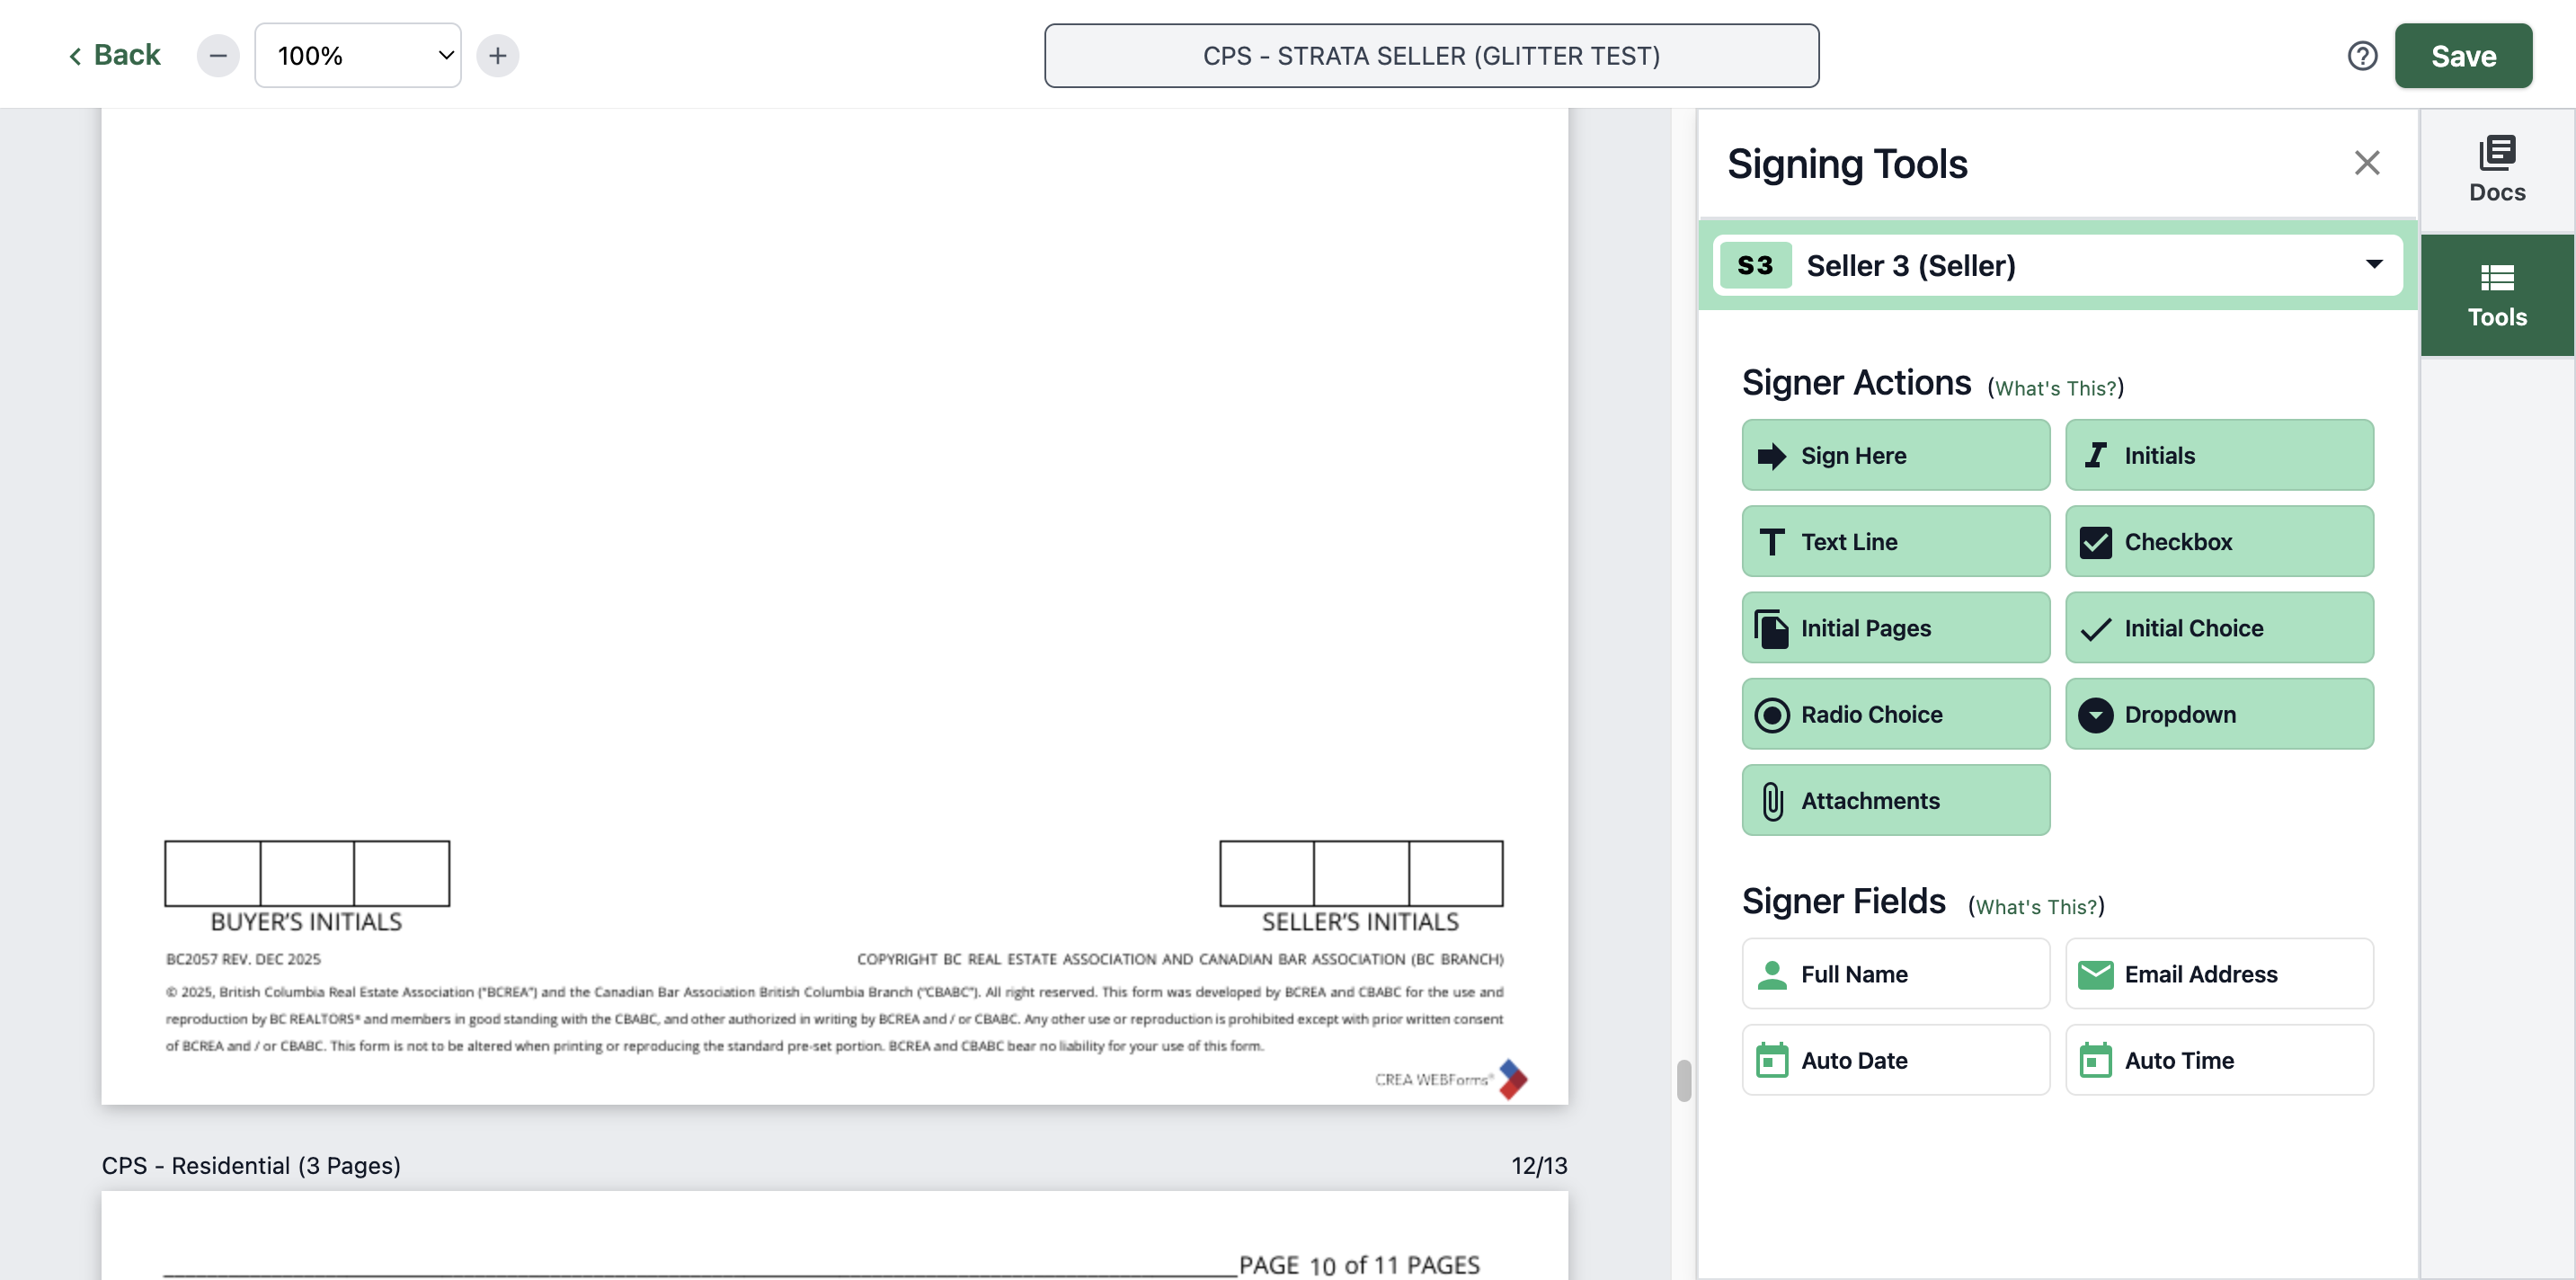
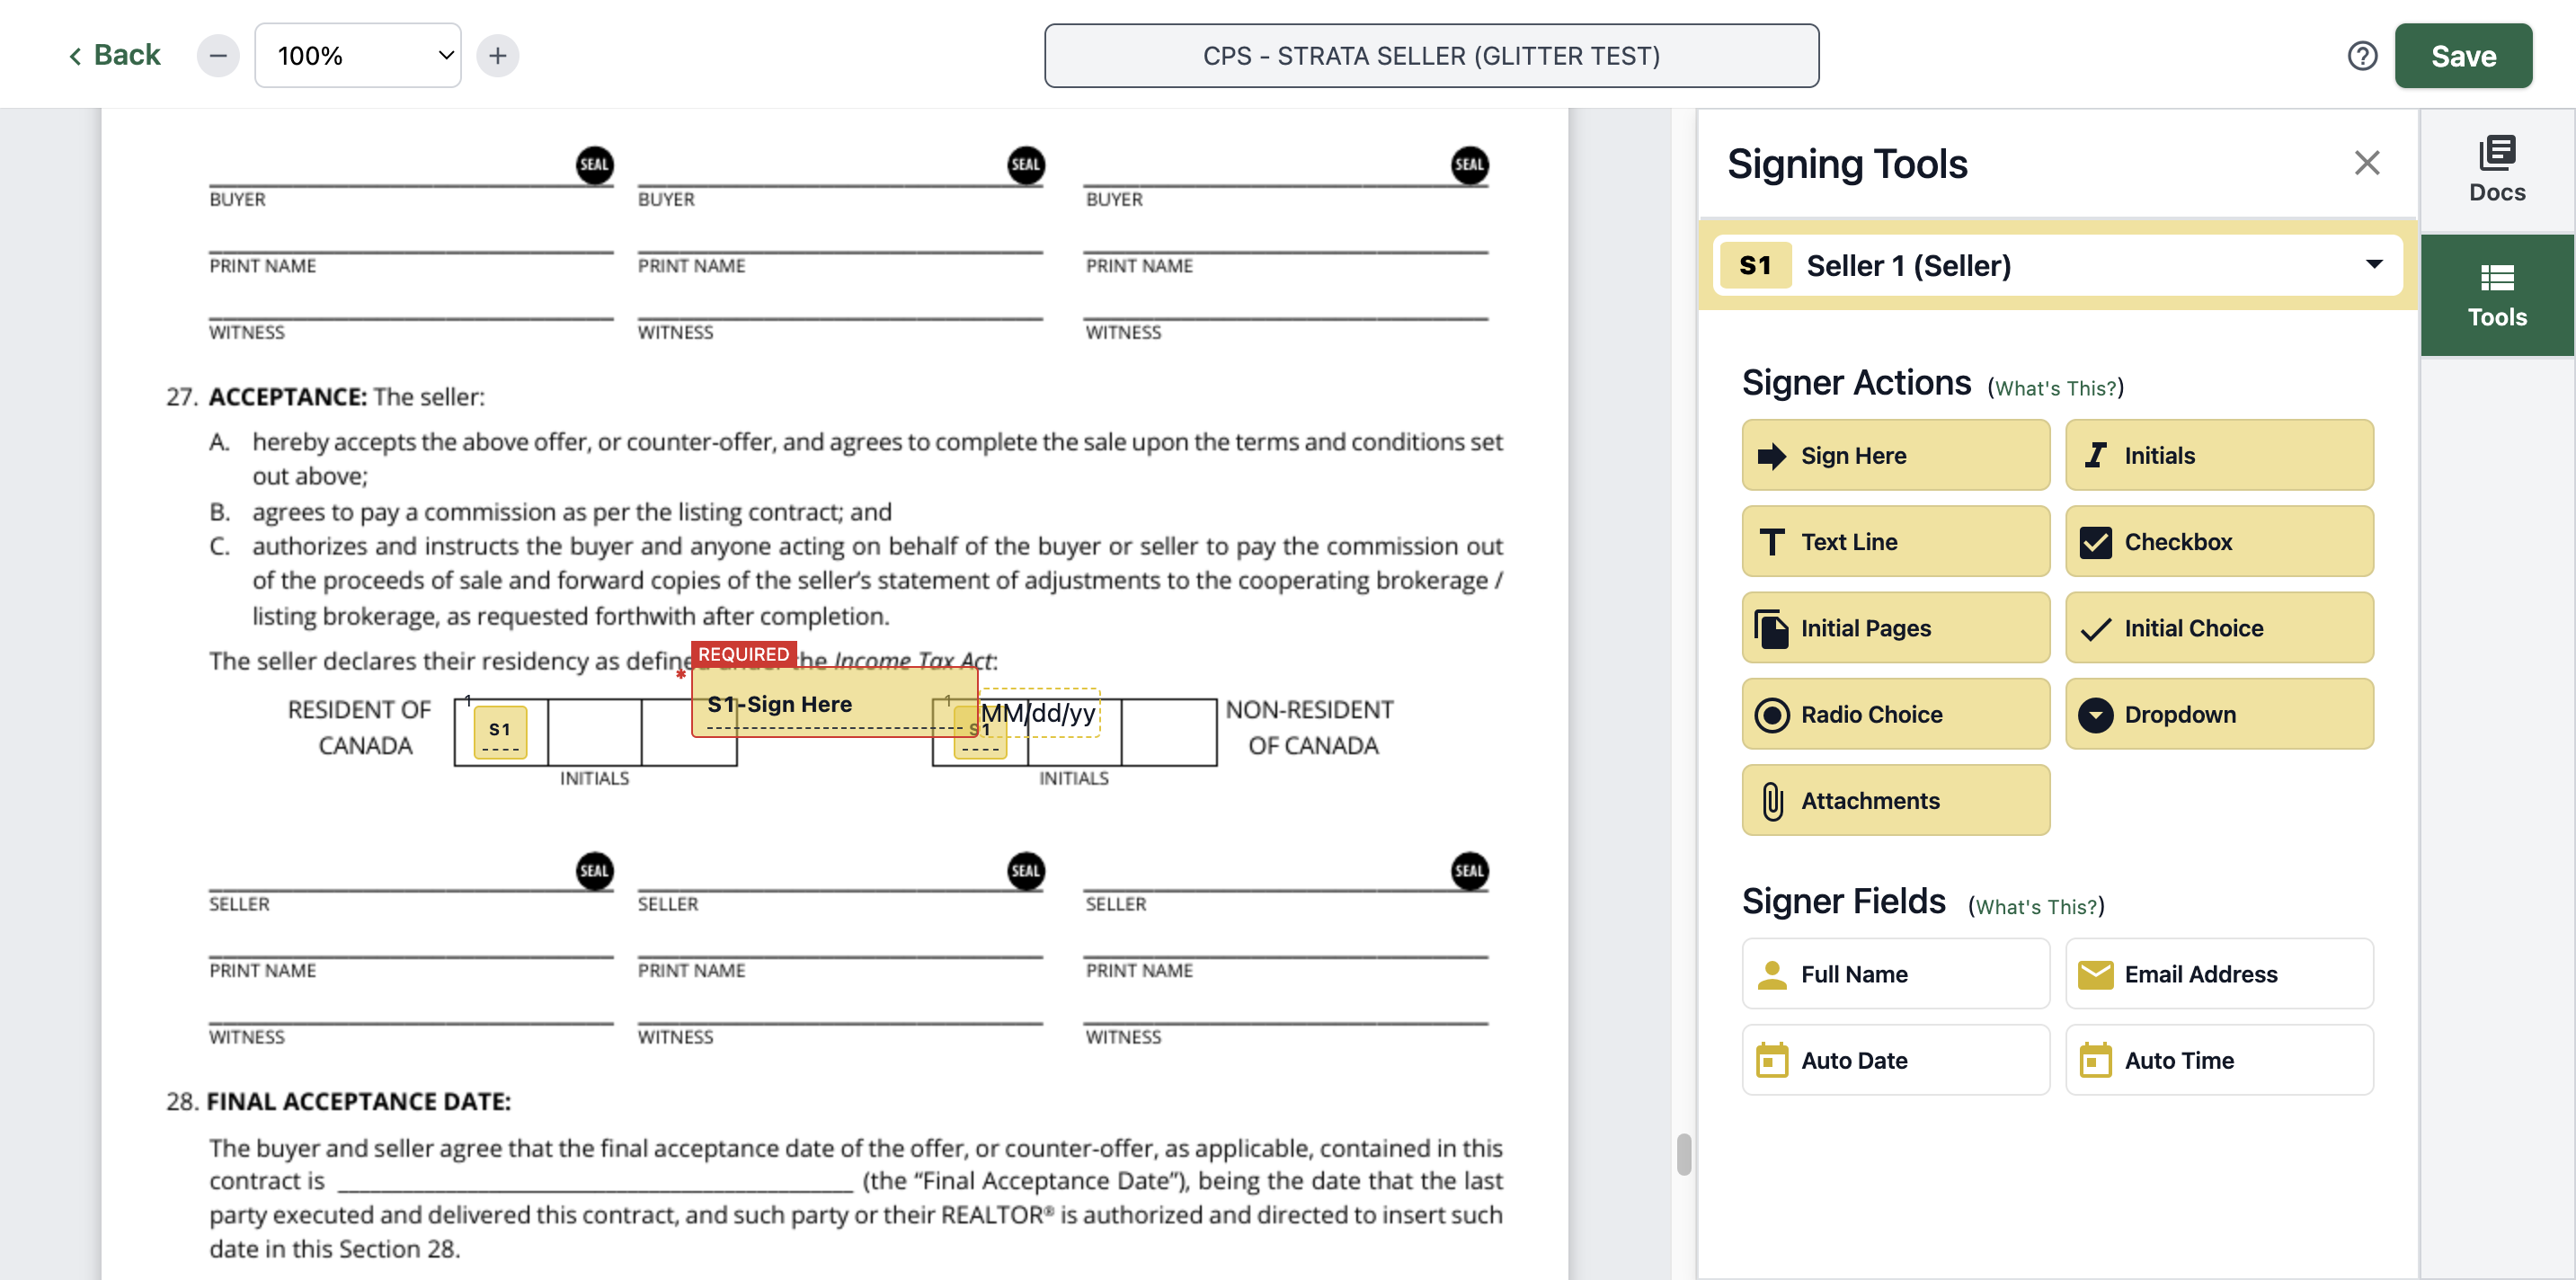
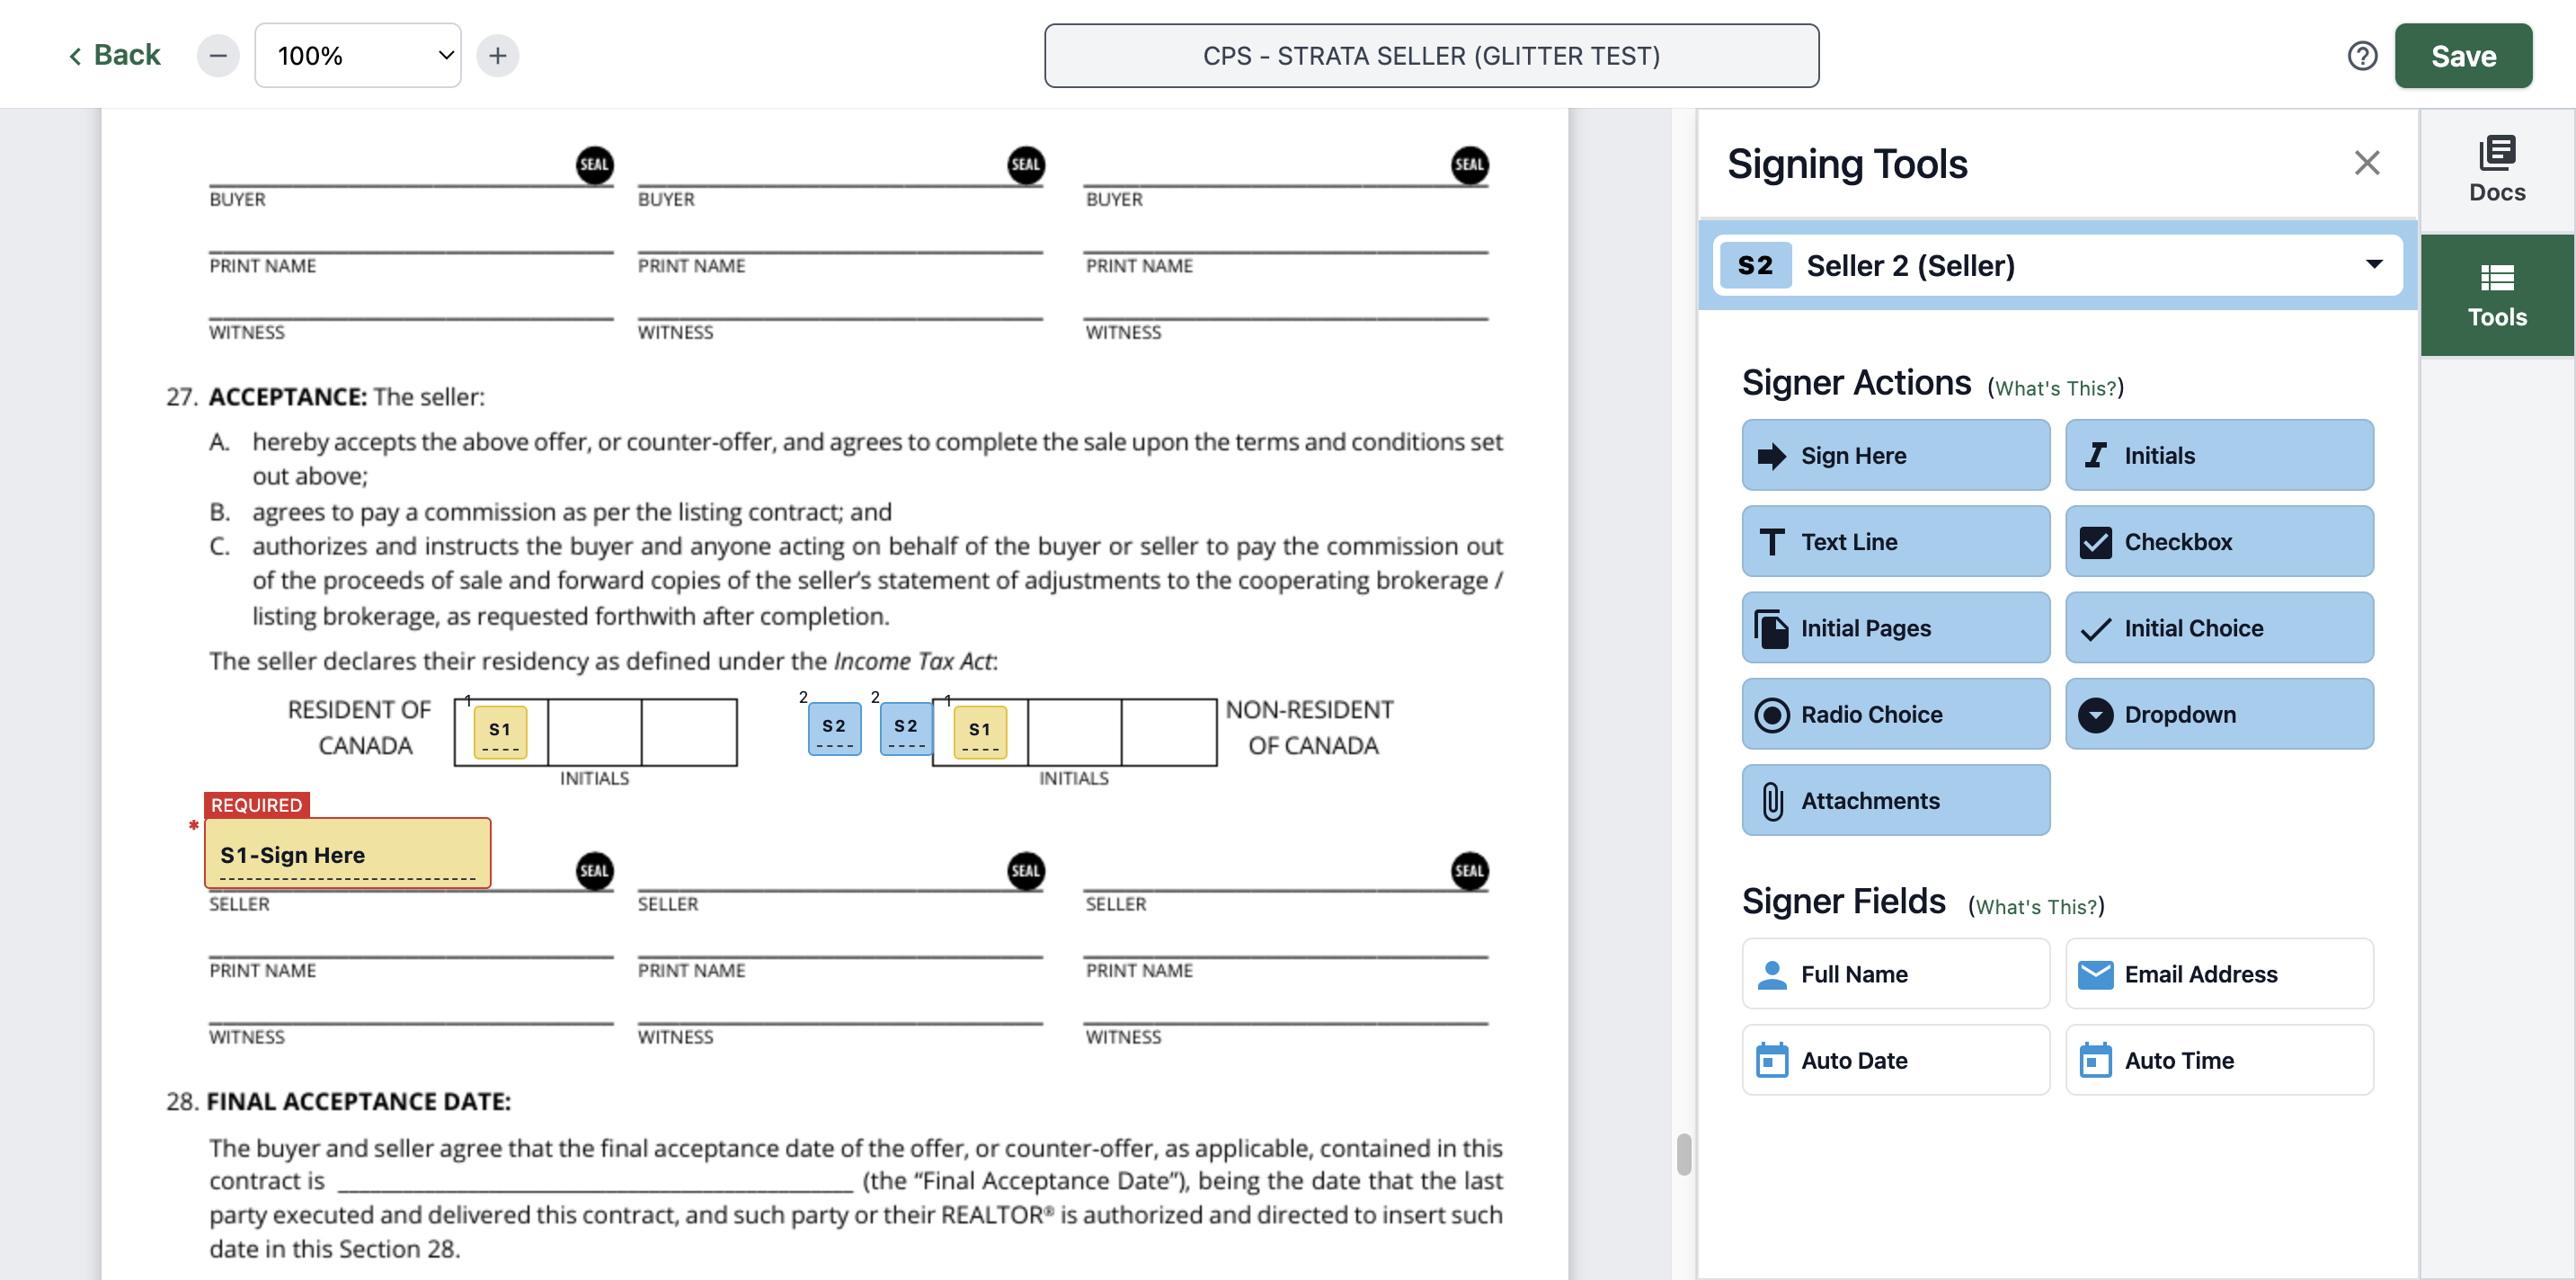
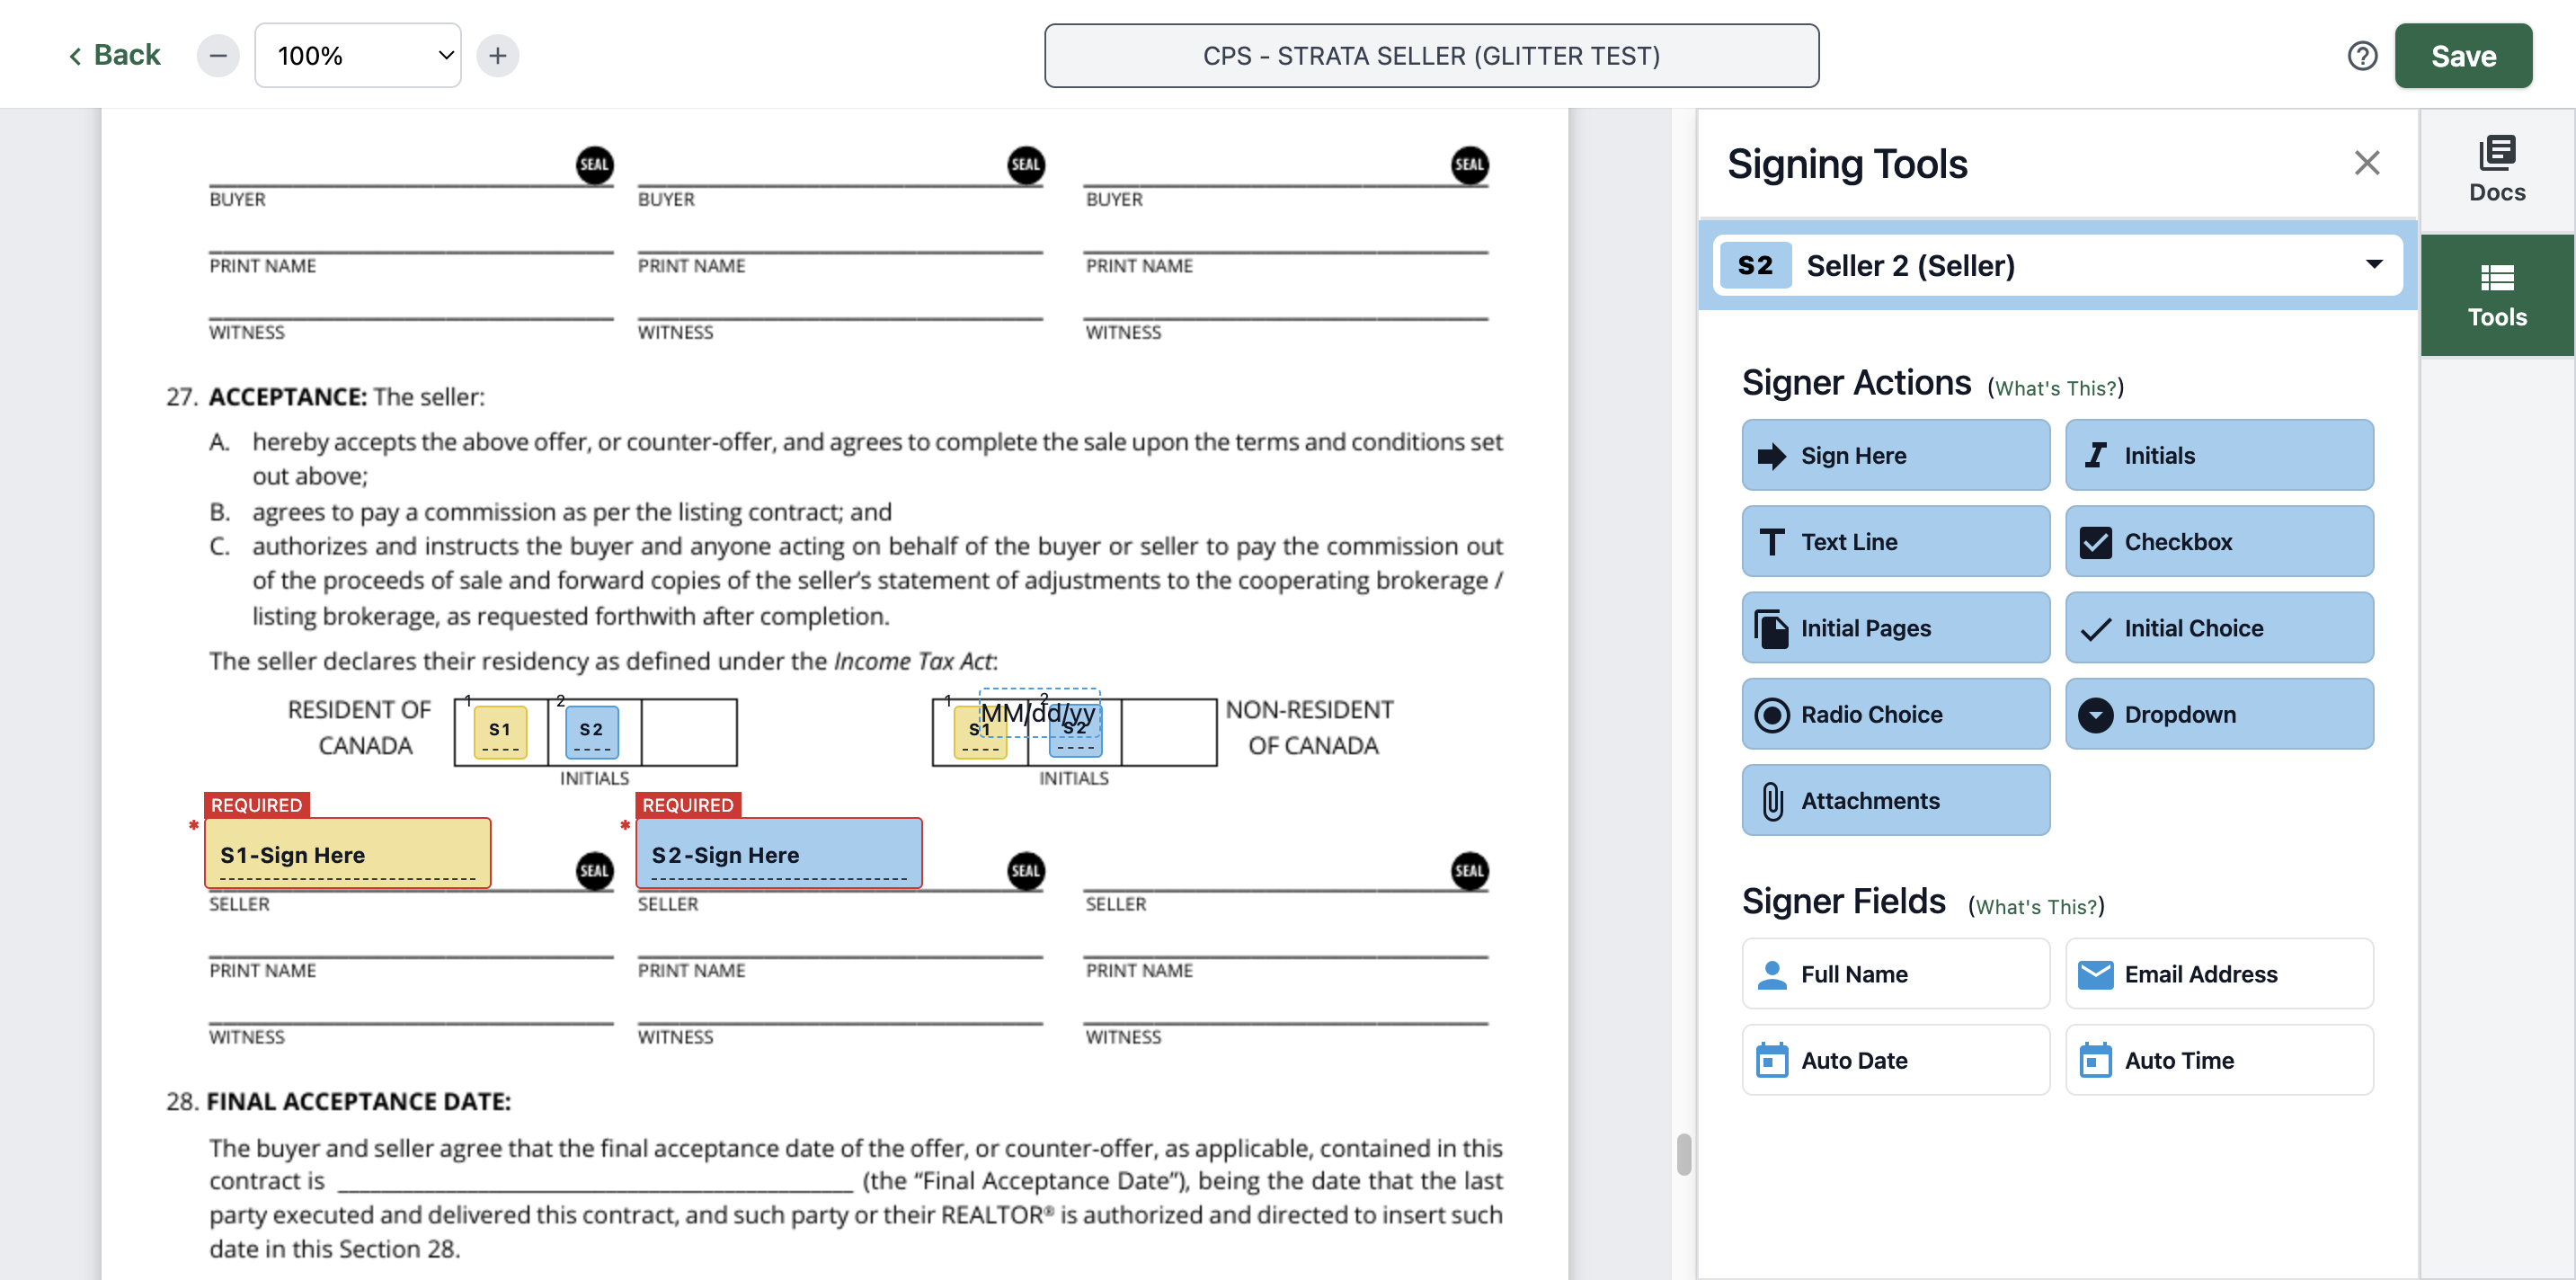
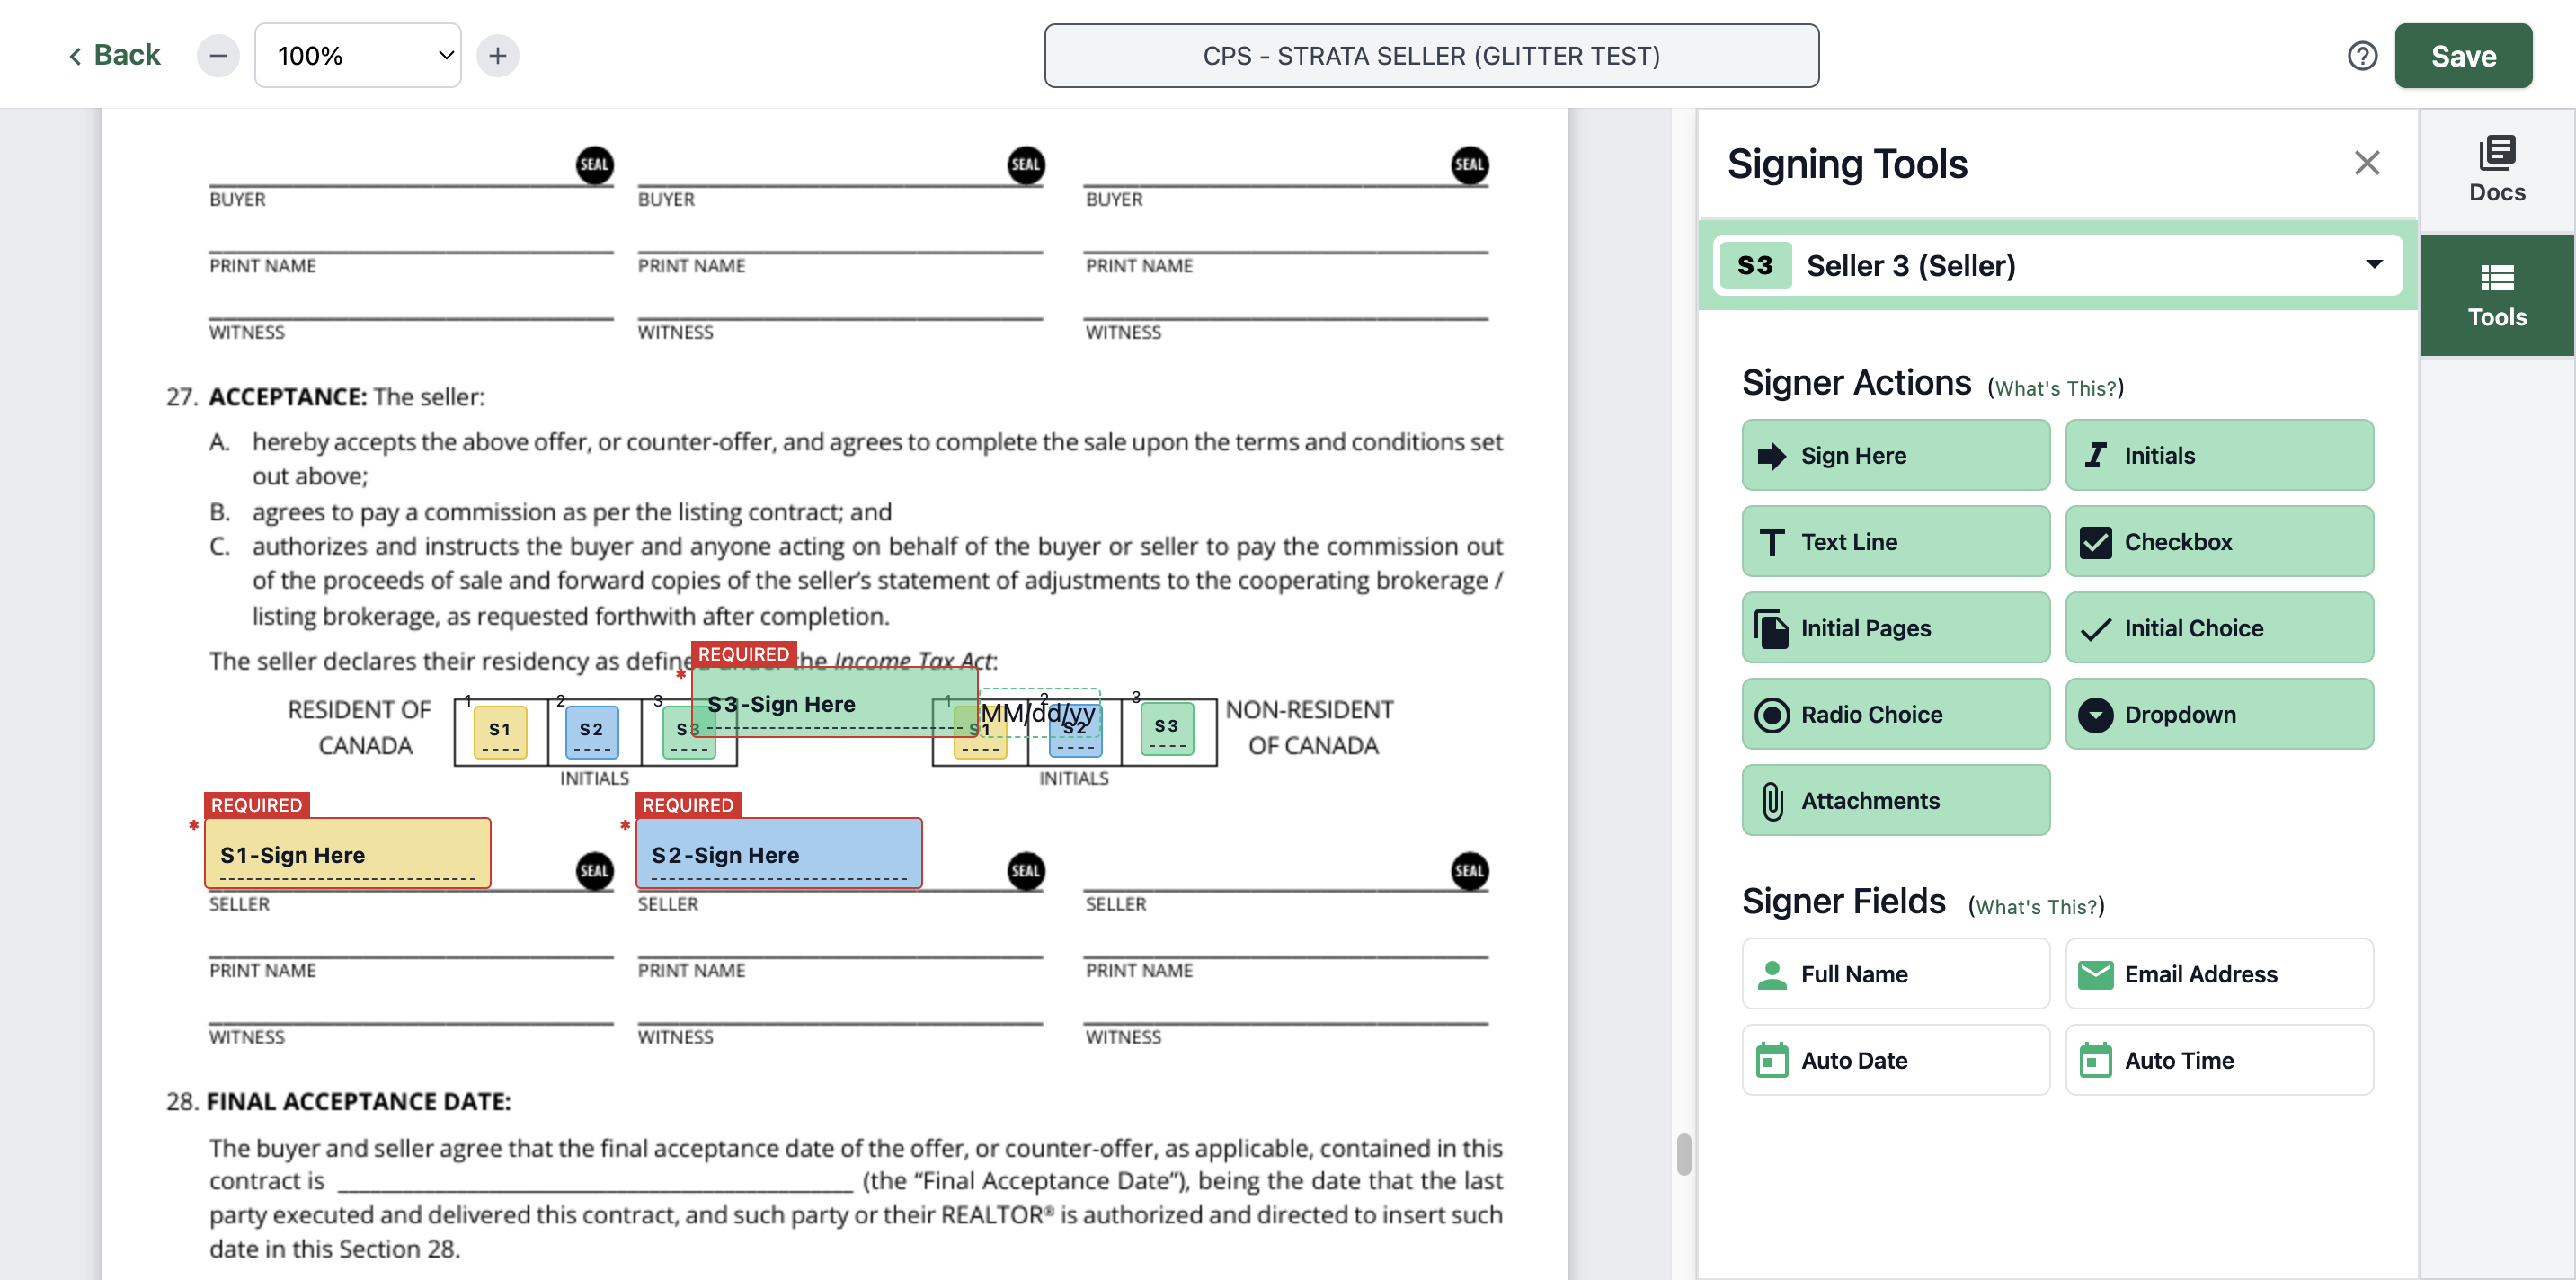
For the second-to-last page, add the initials and the signature here. Let's put Seller 1 first. We also need to select the initial choice.
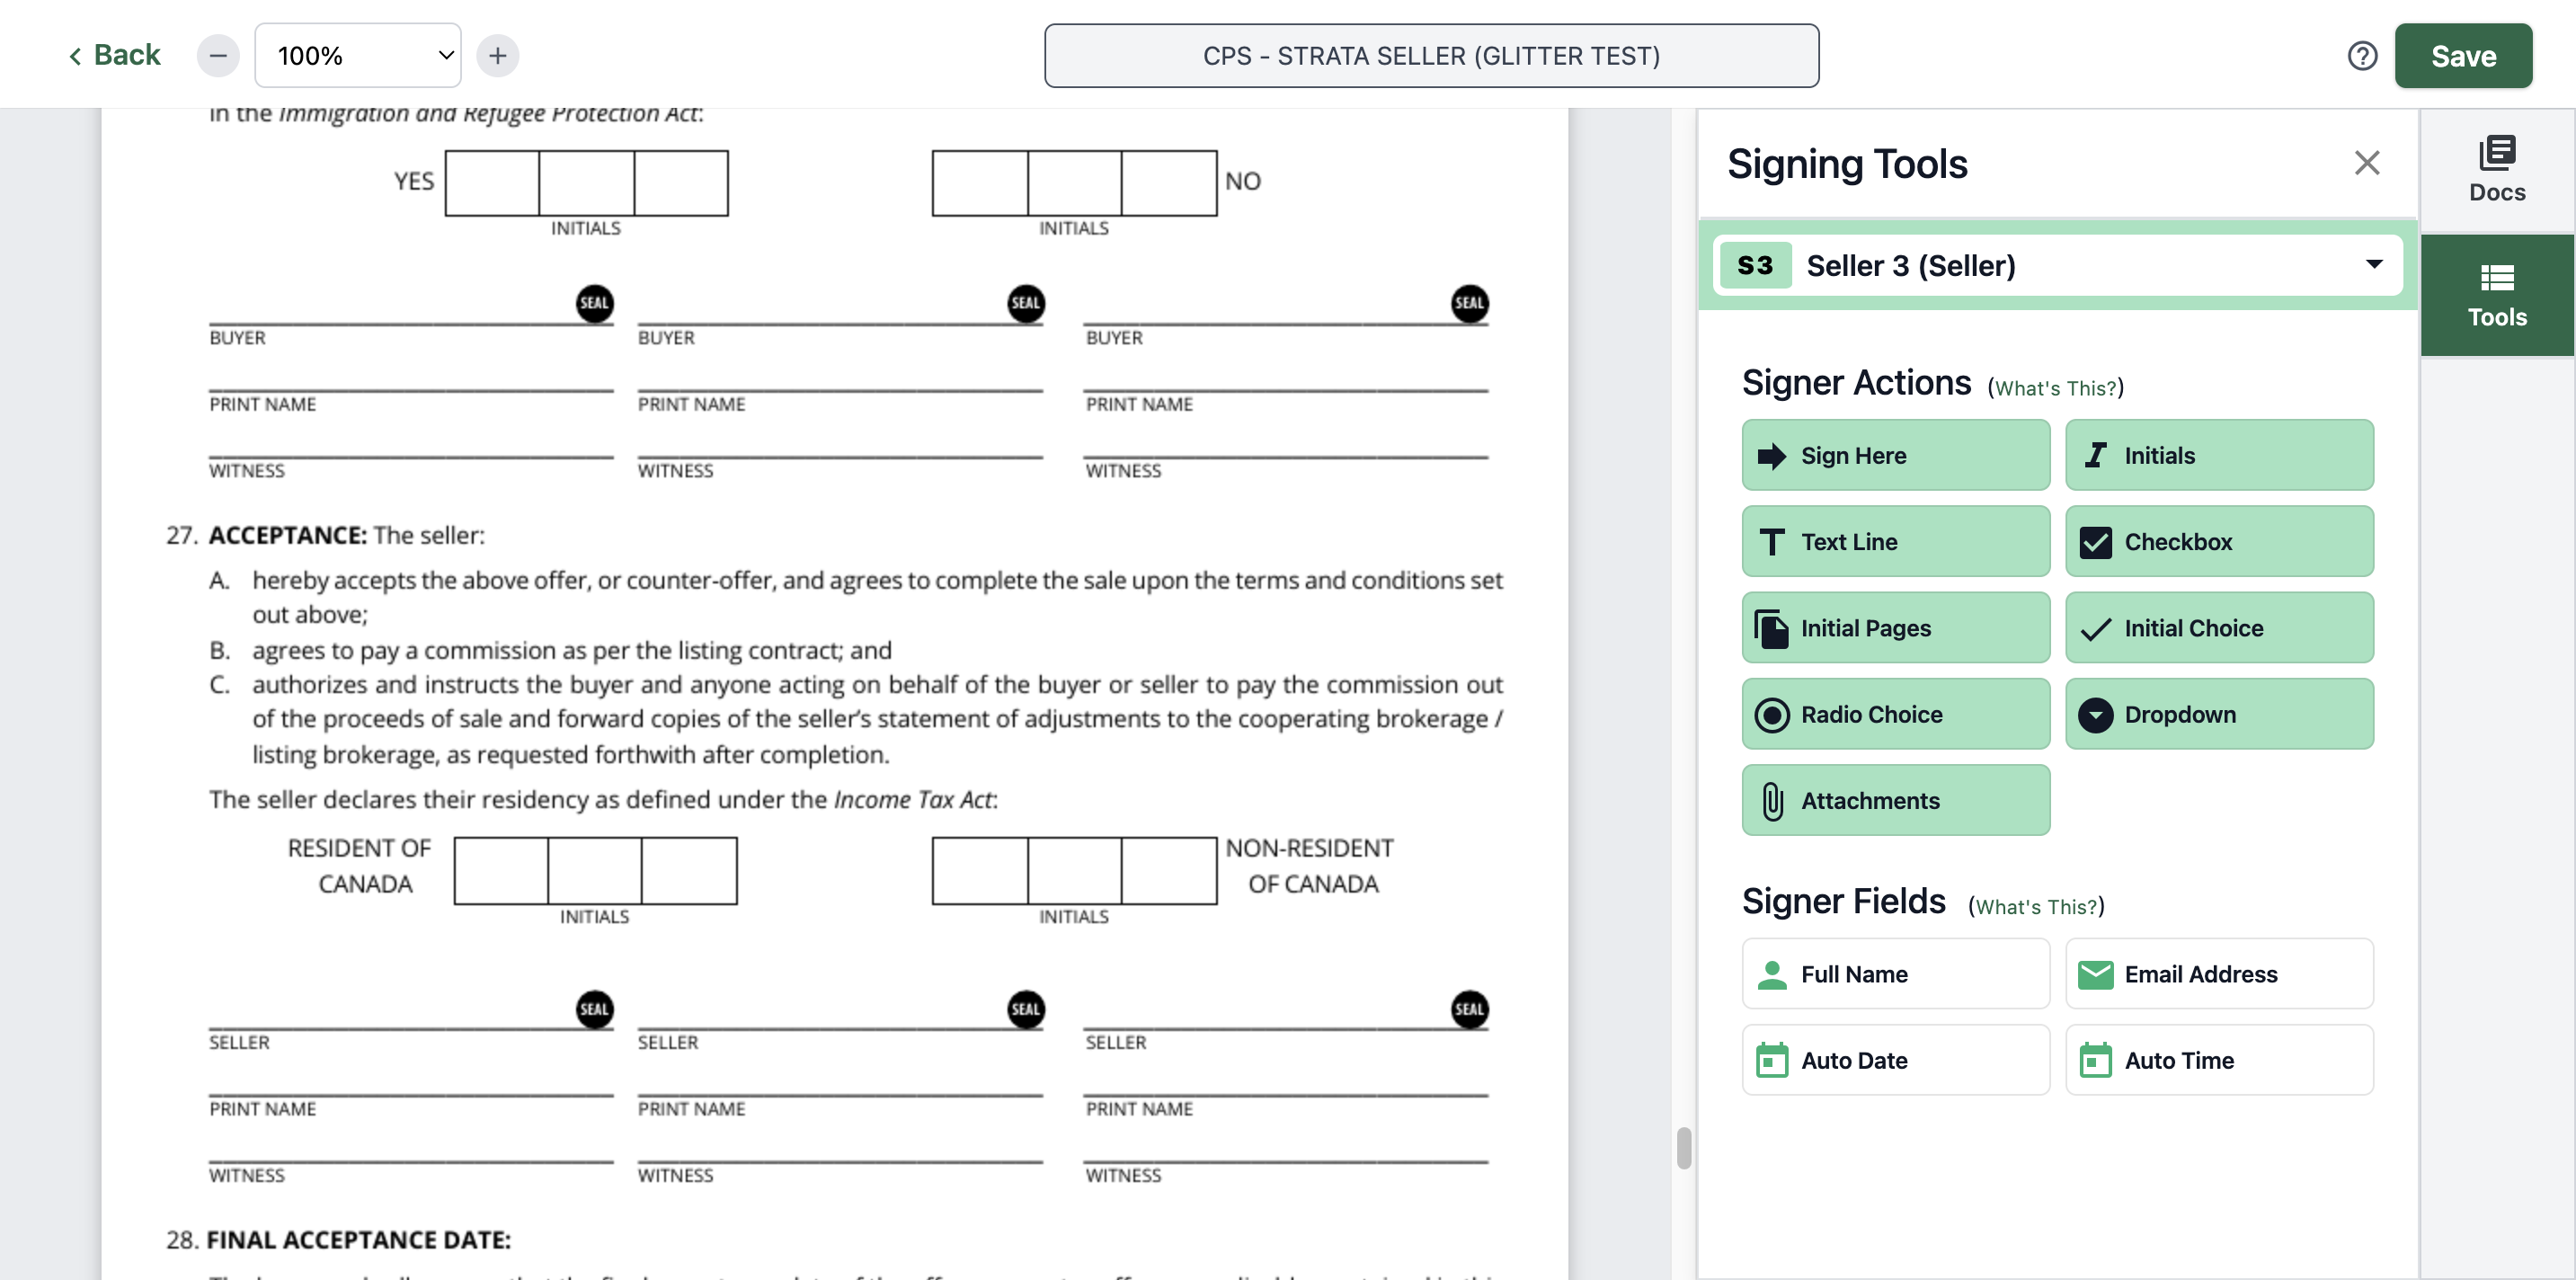

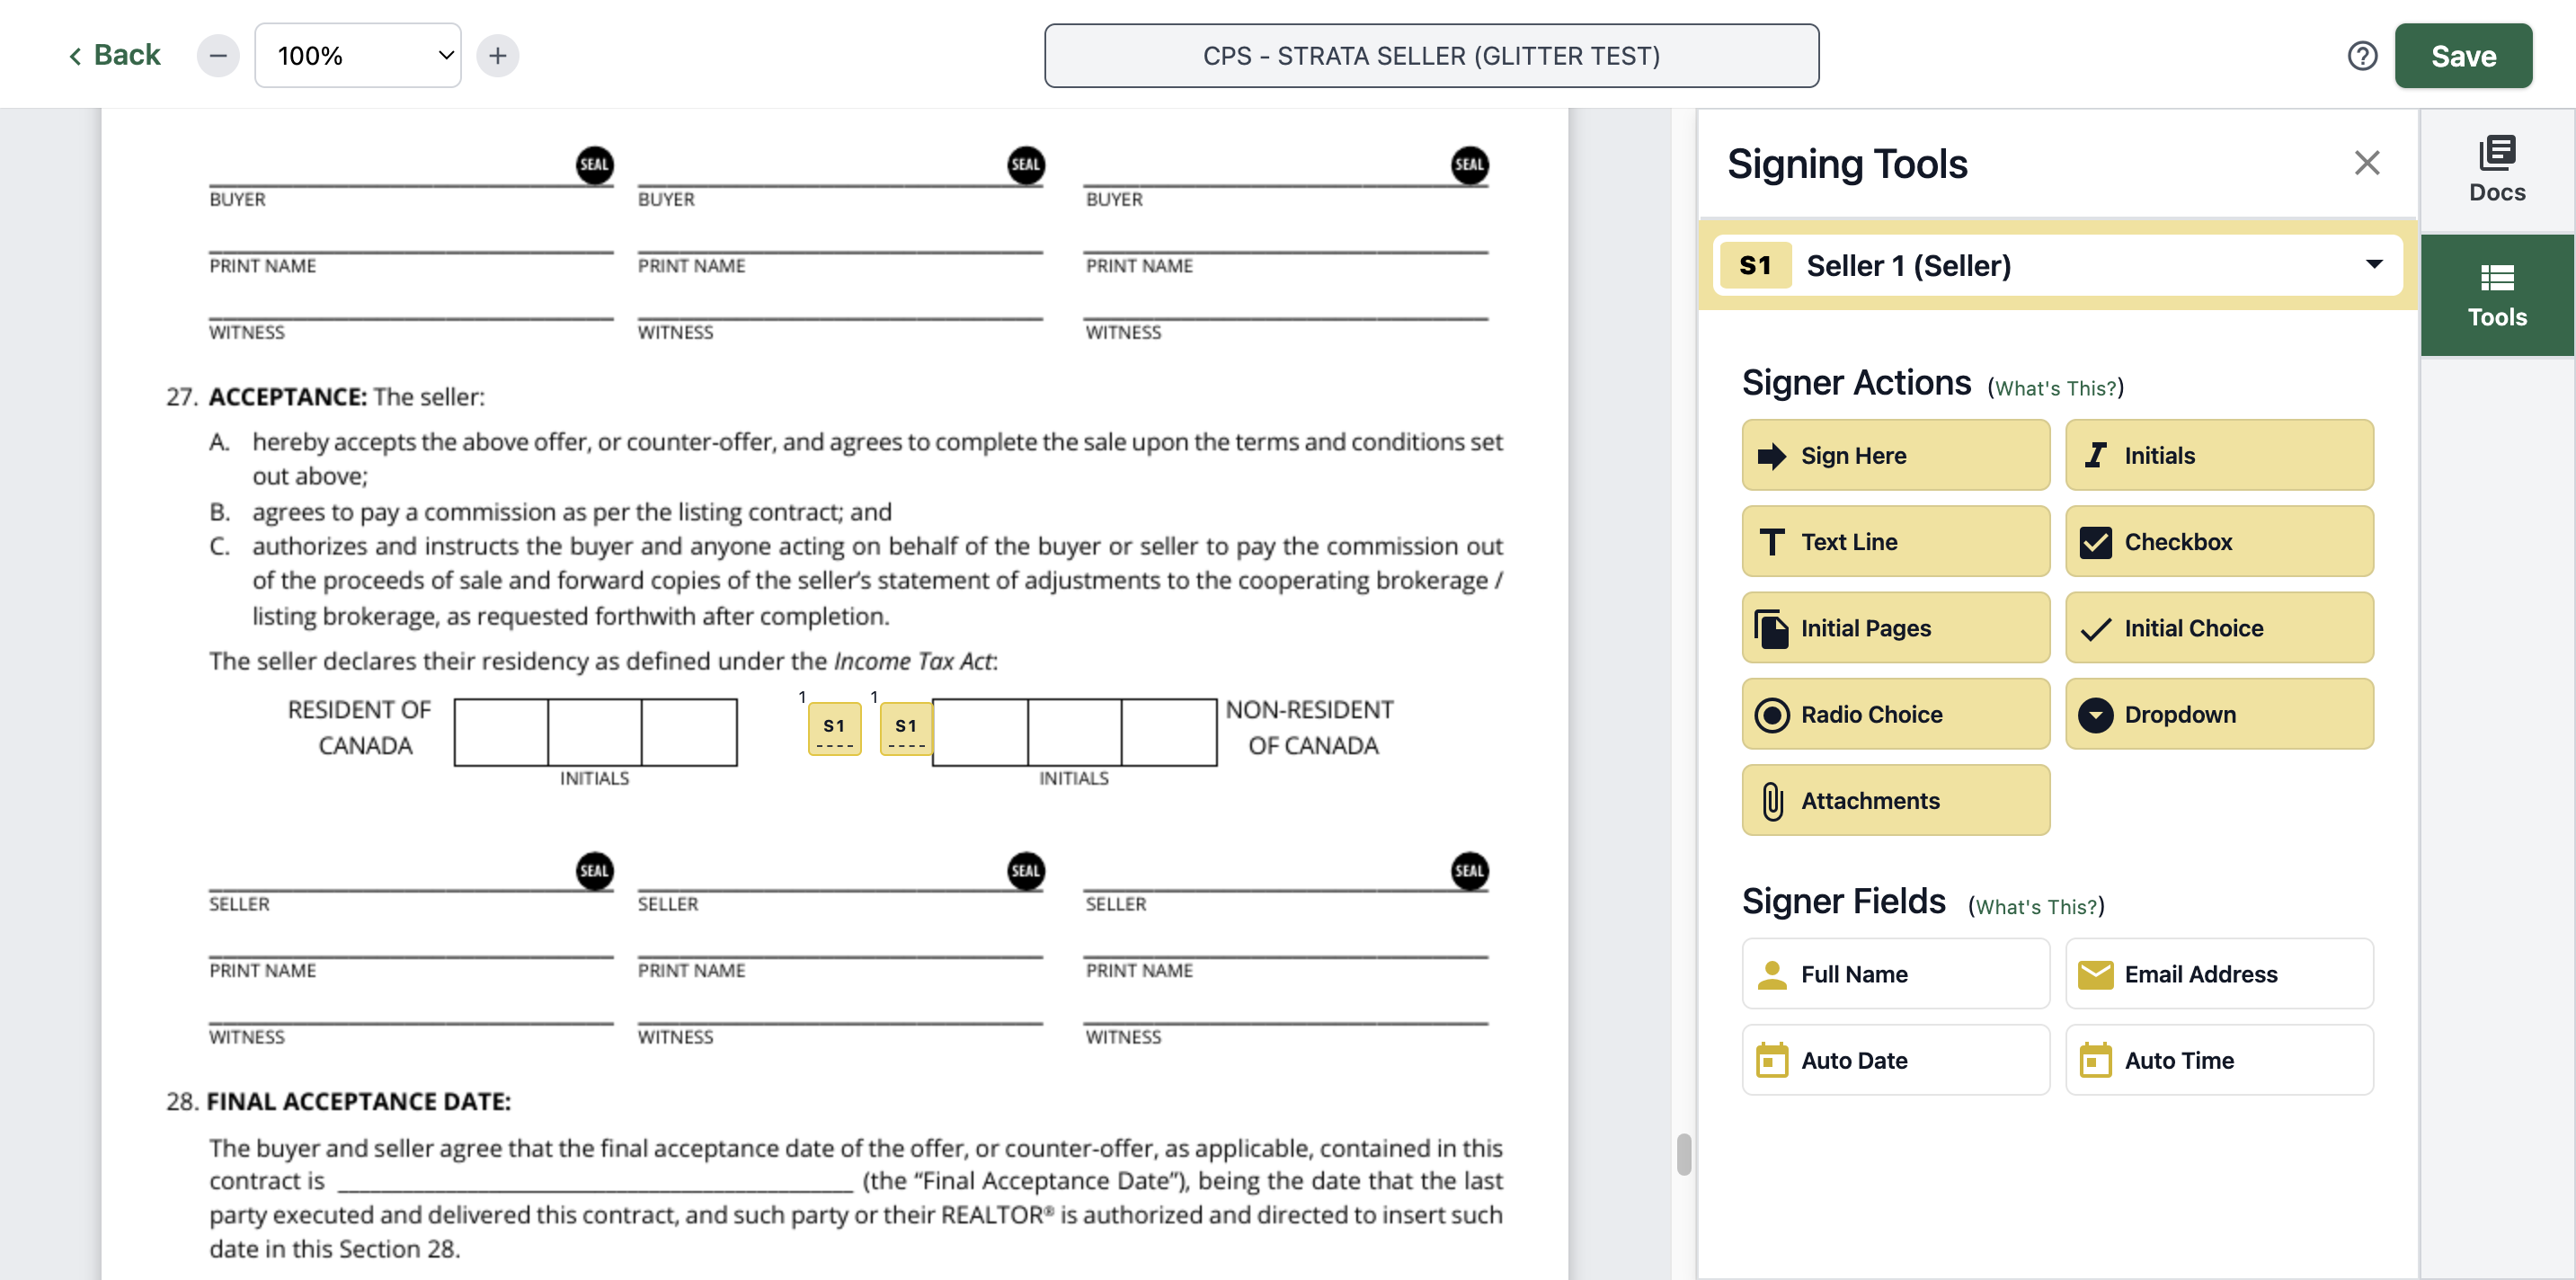
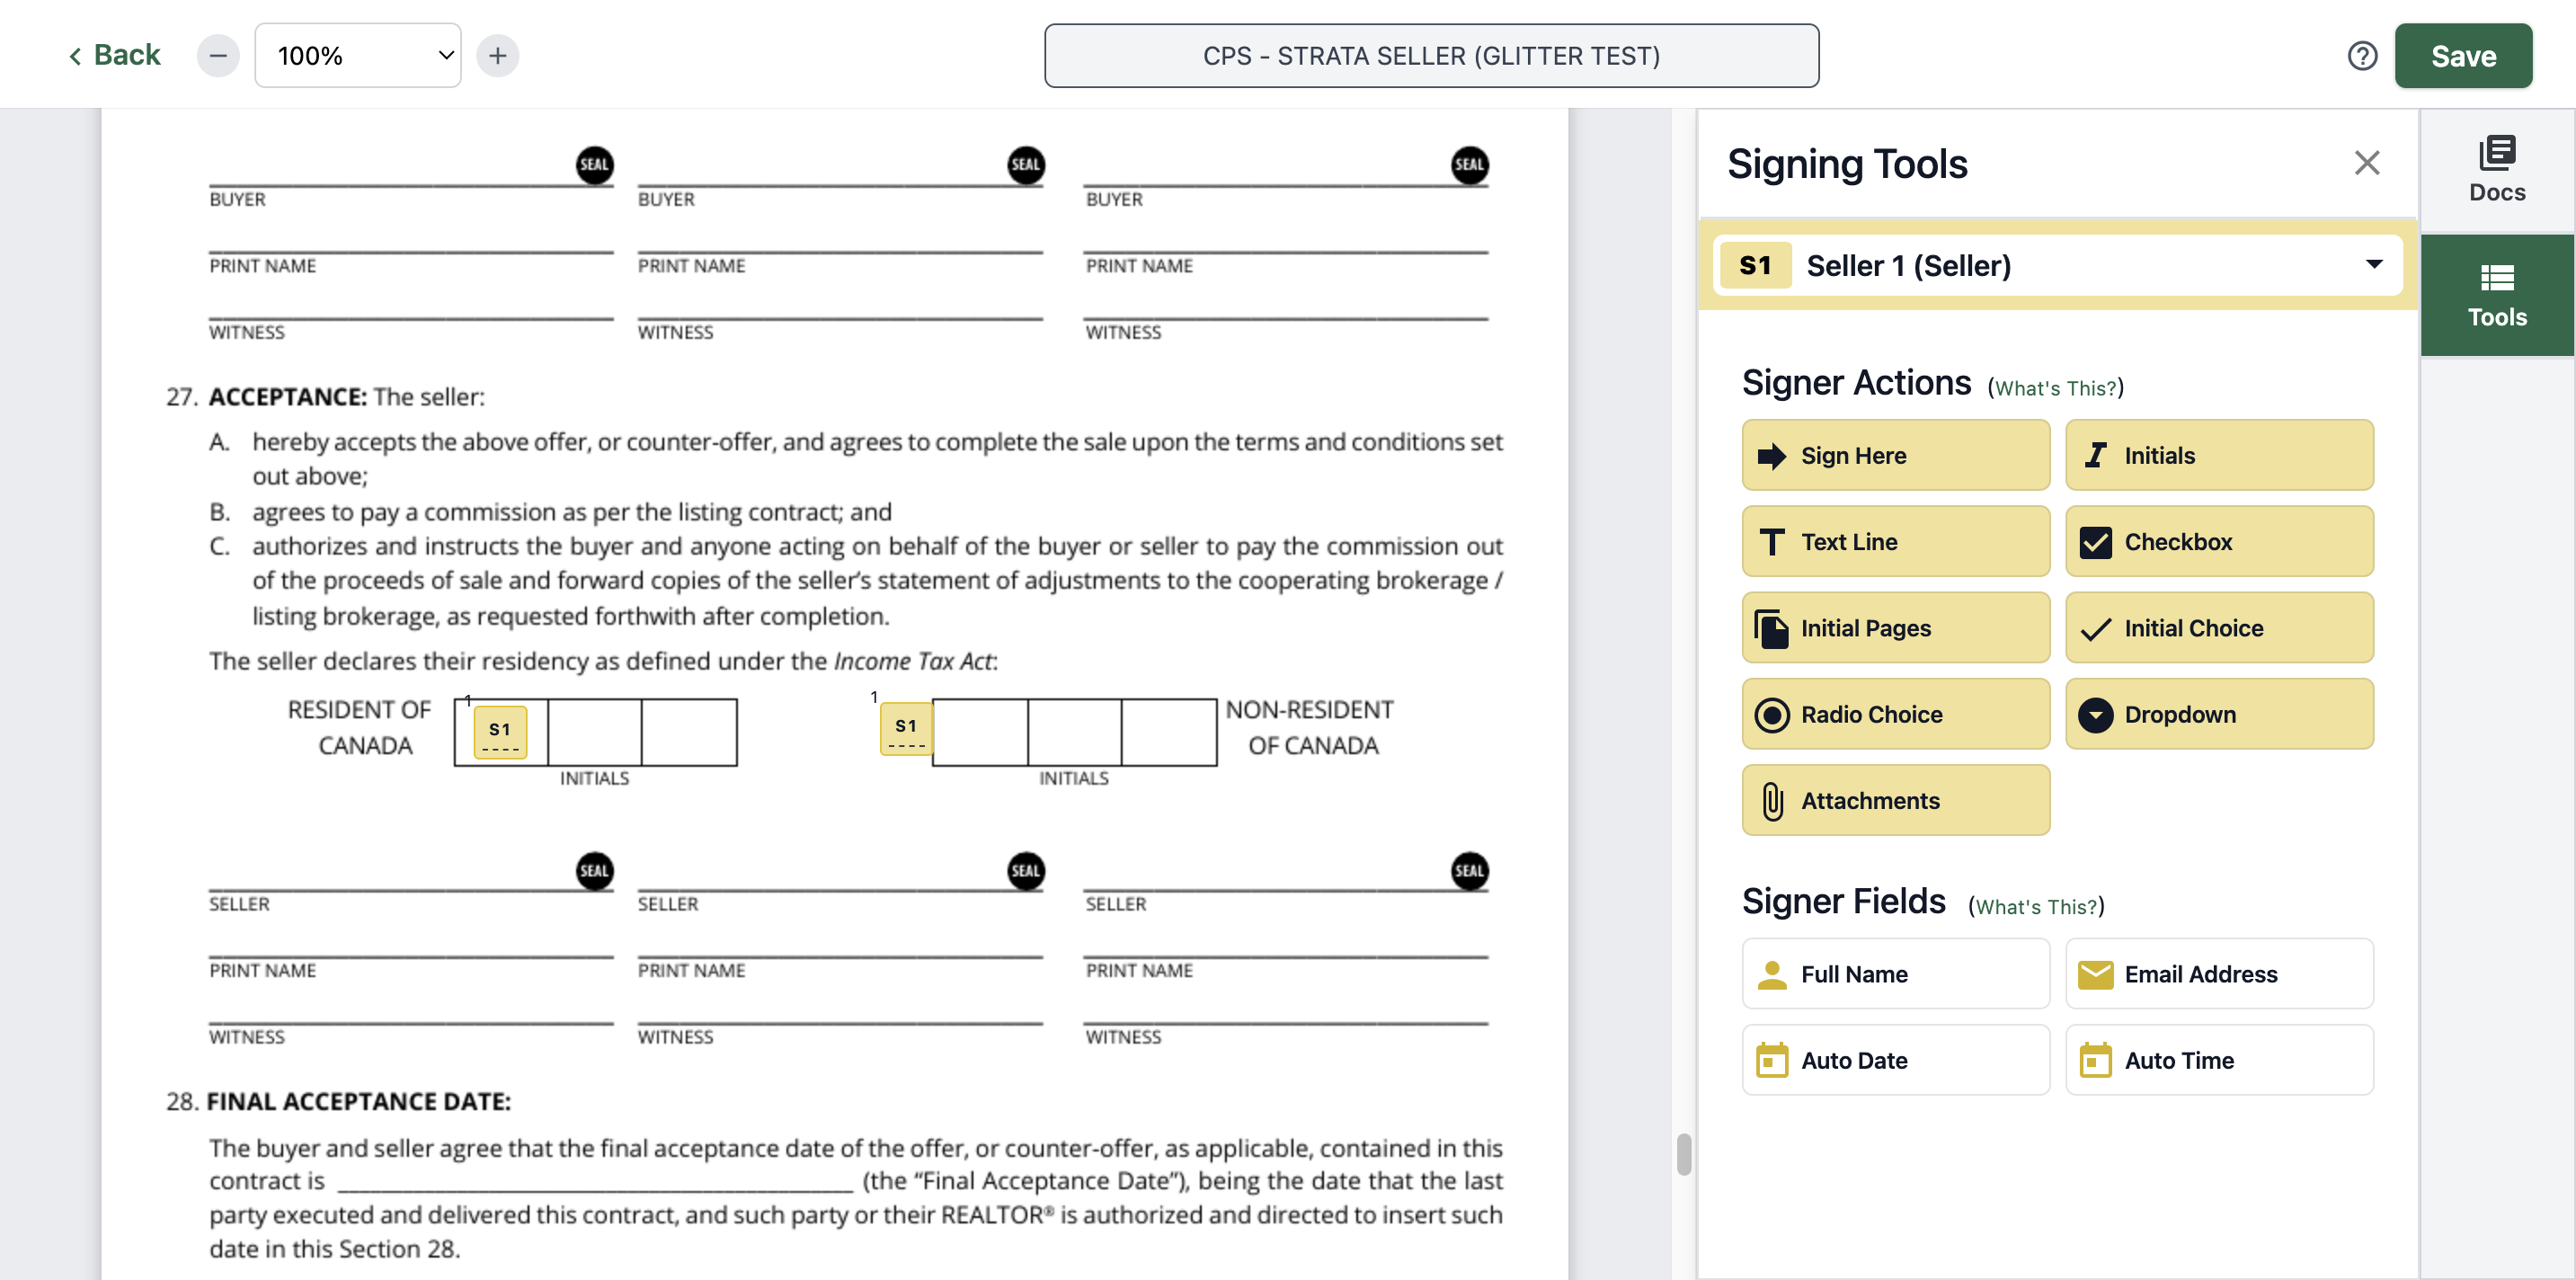
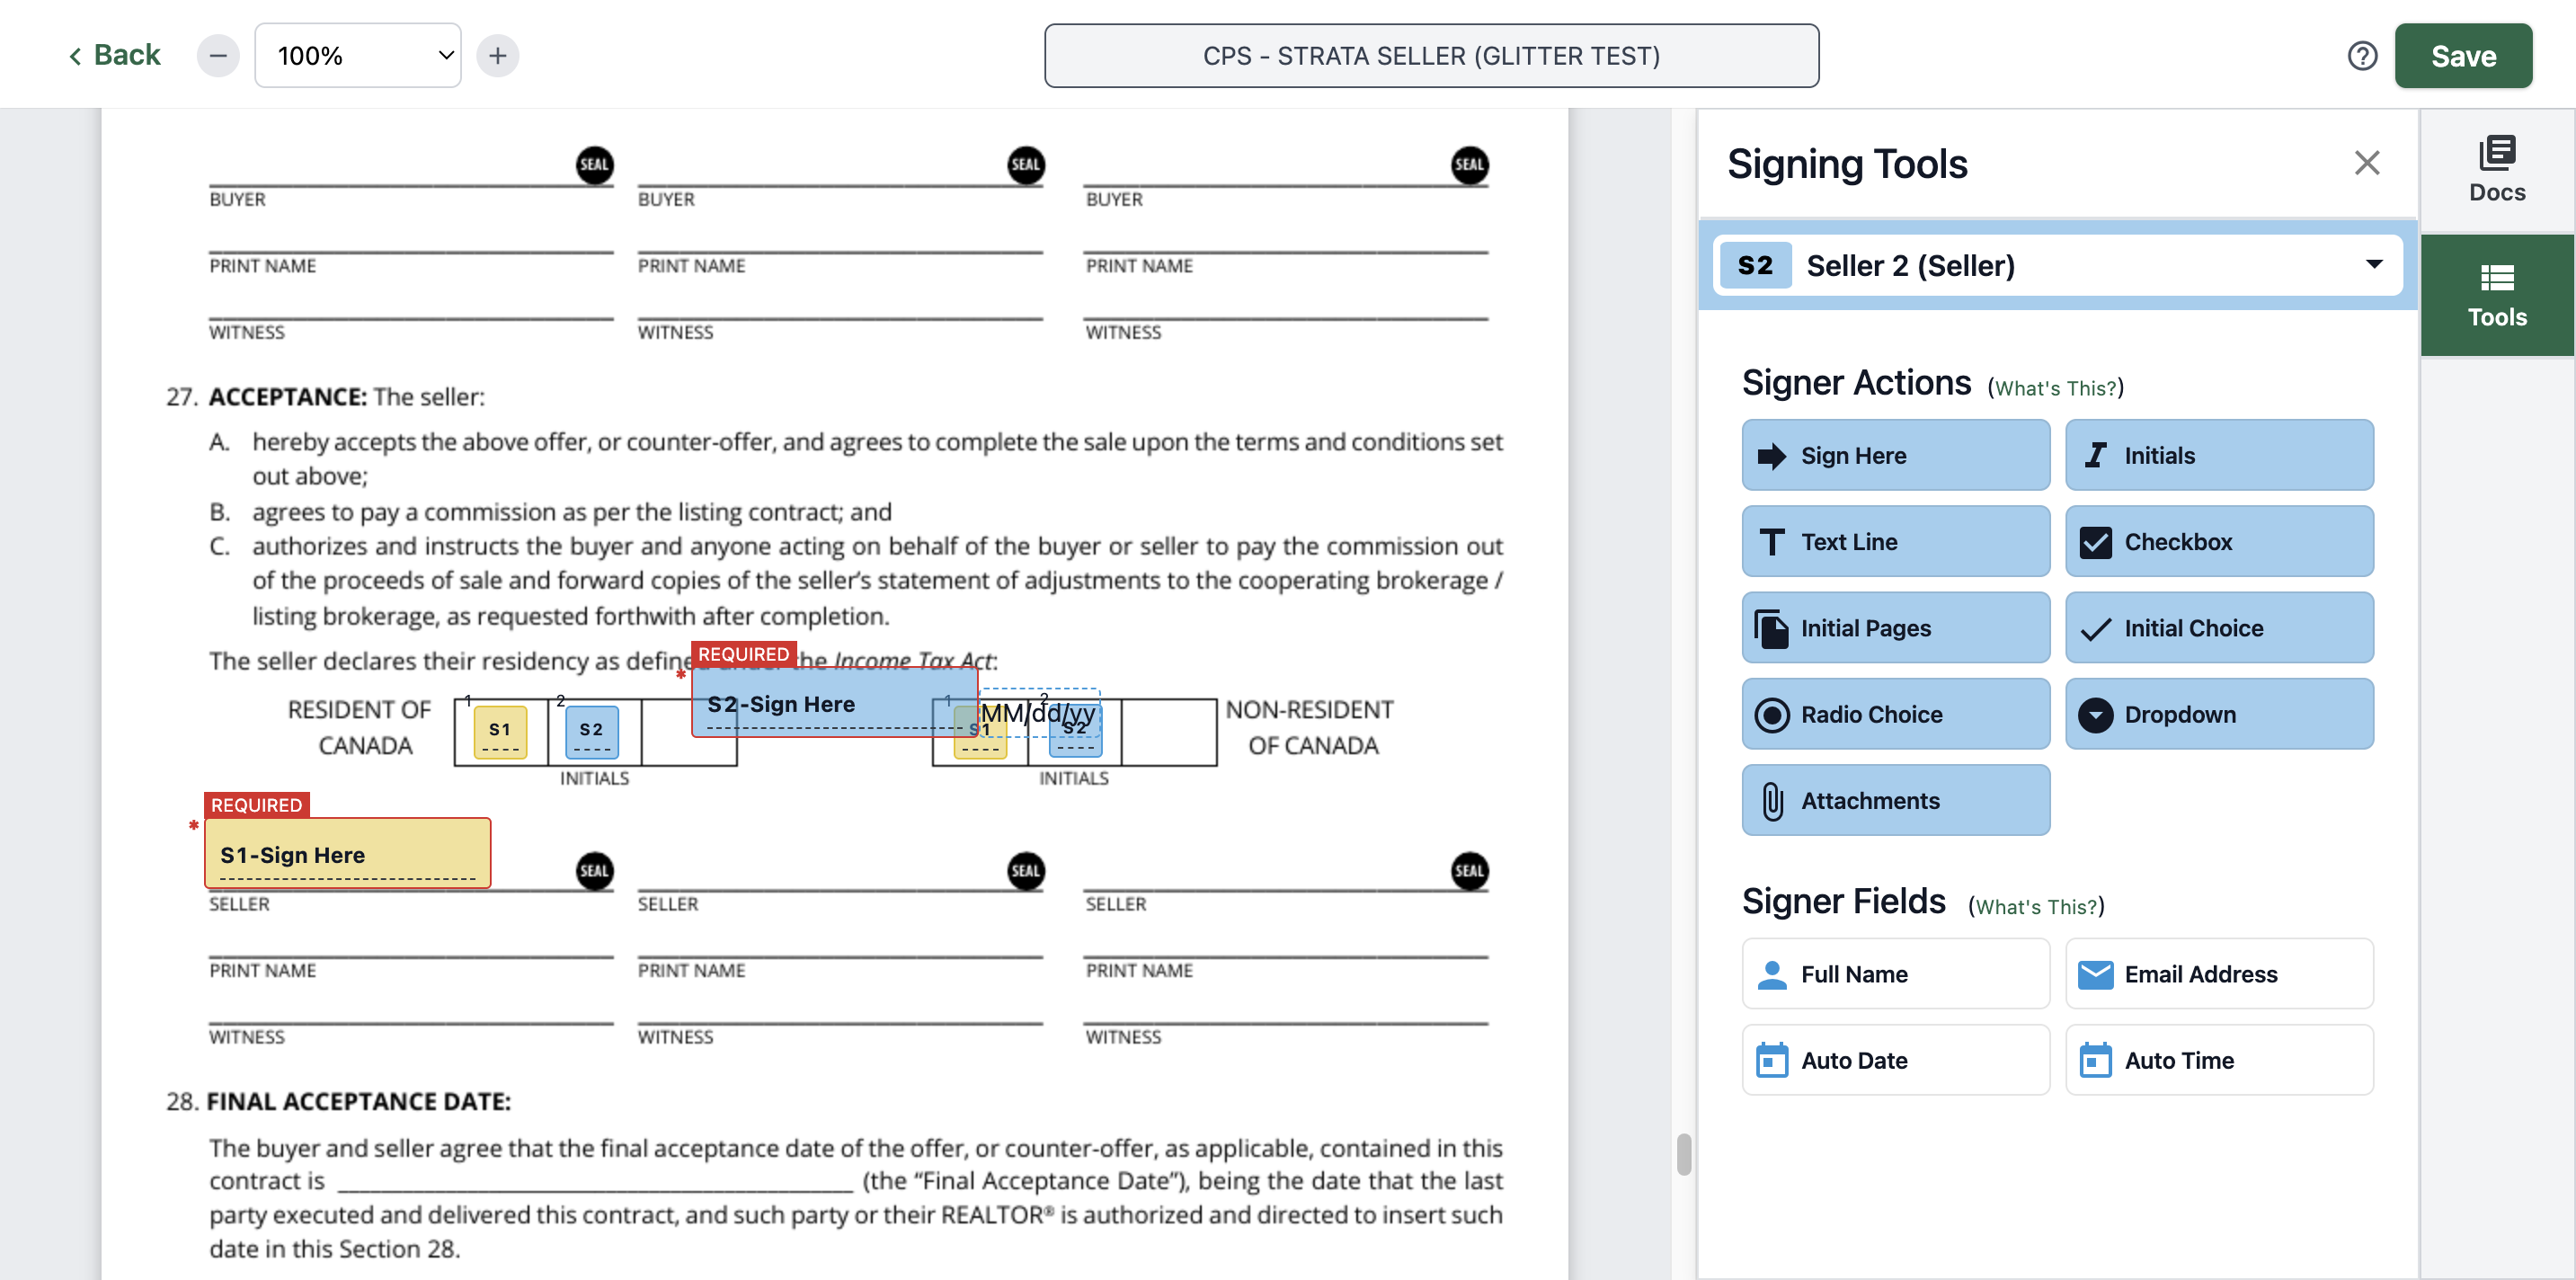
Then select "Sign Here" for the signature

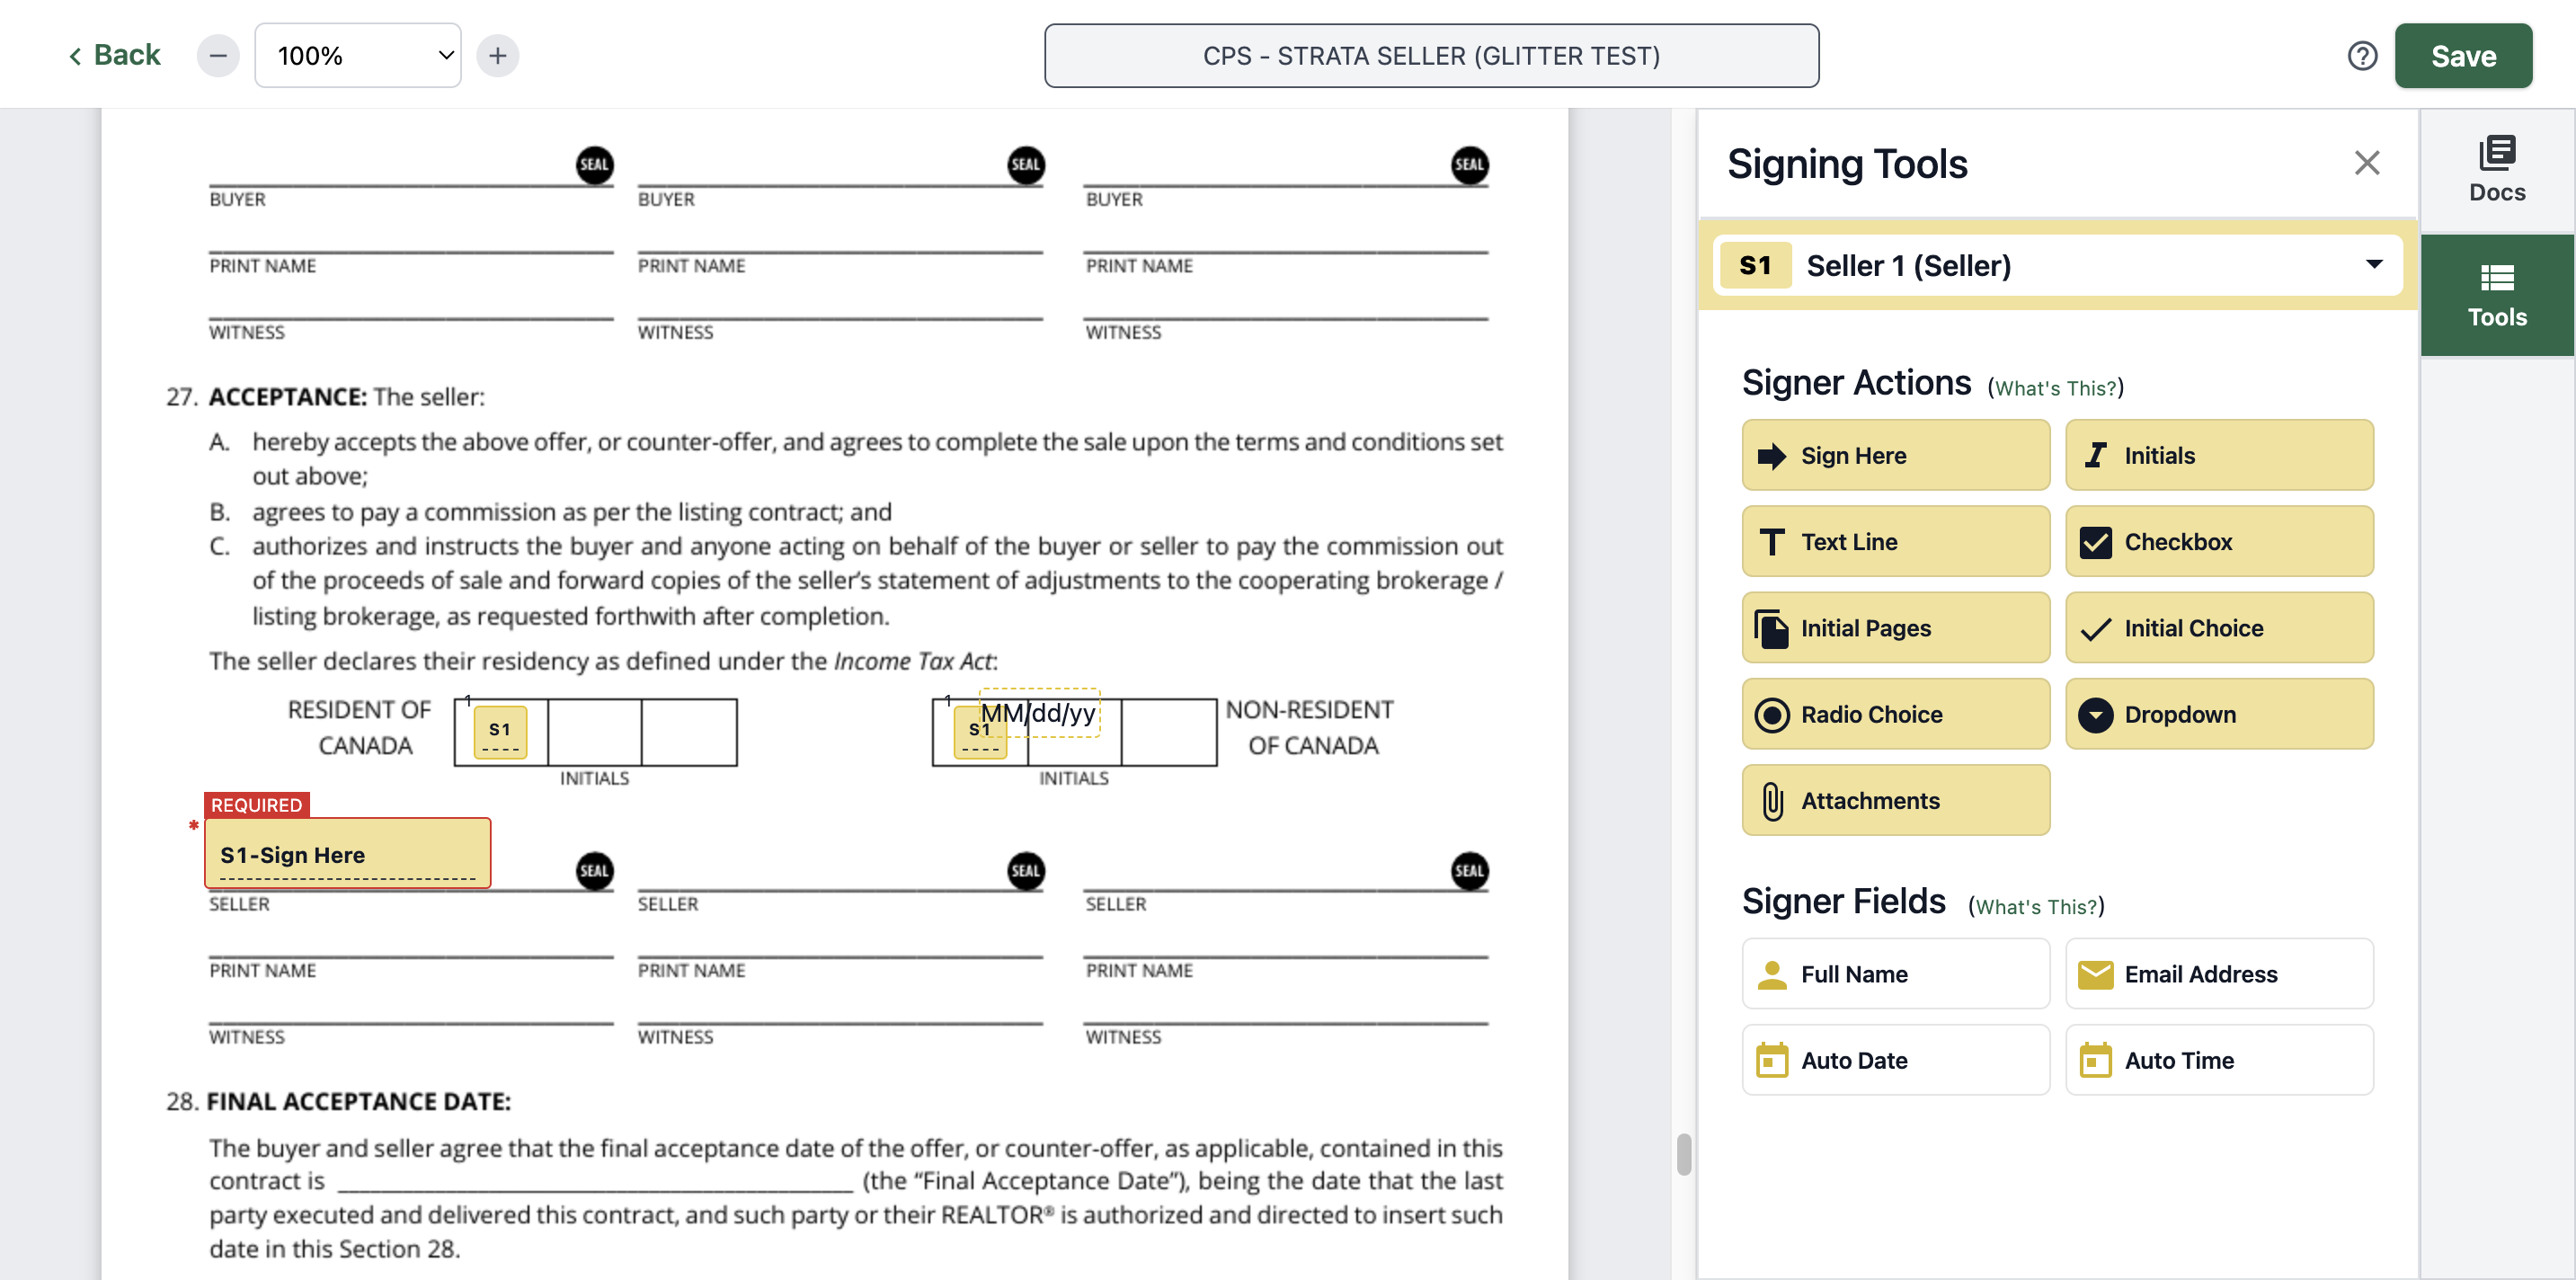
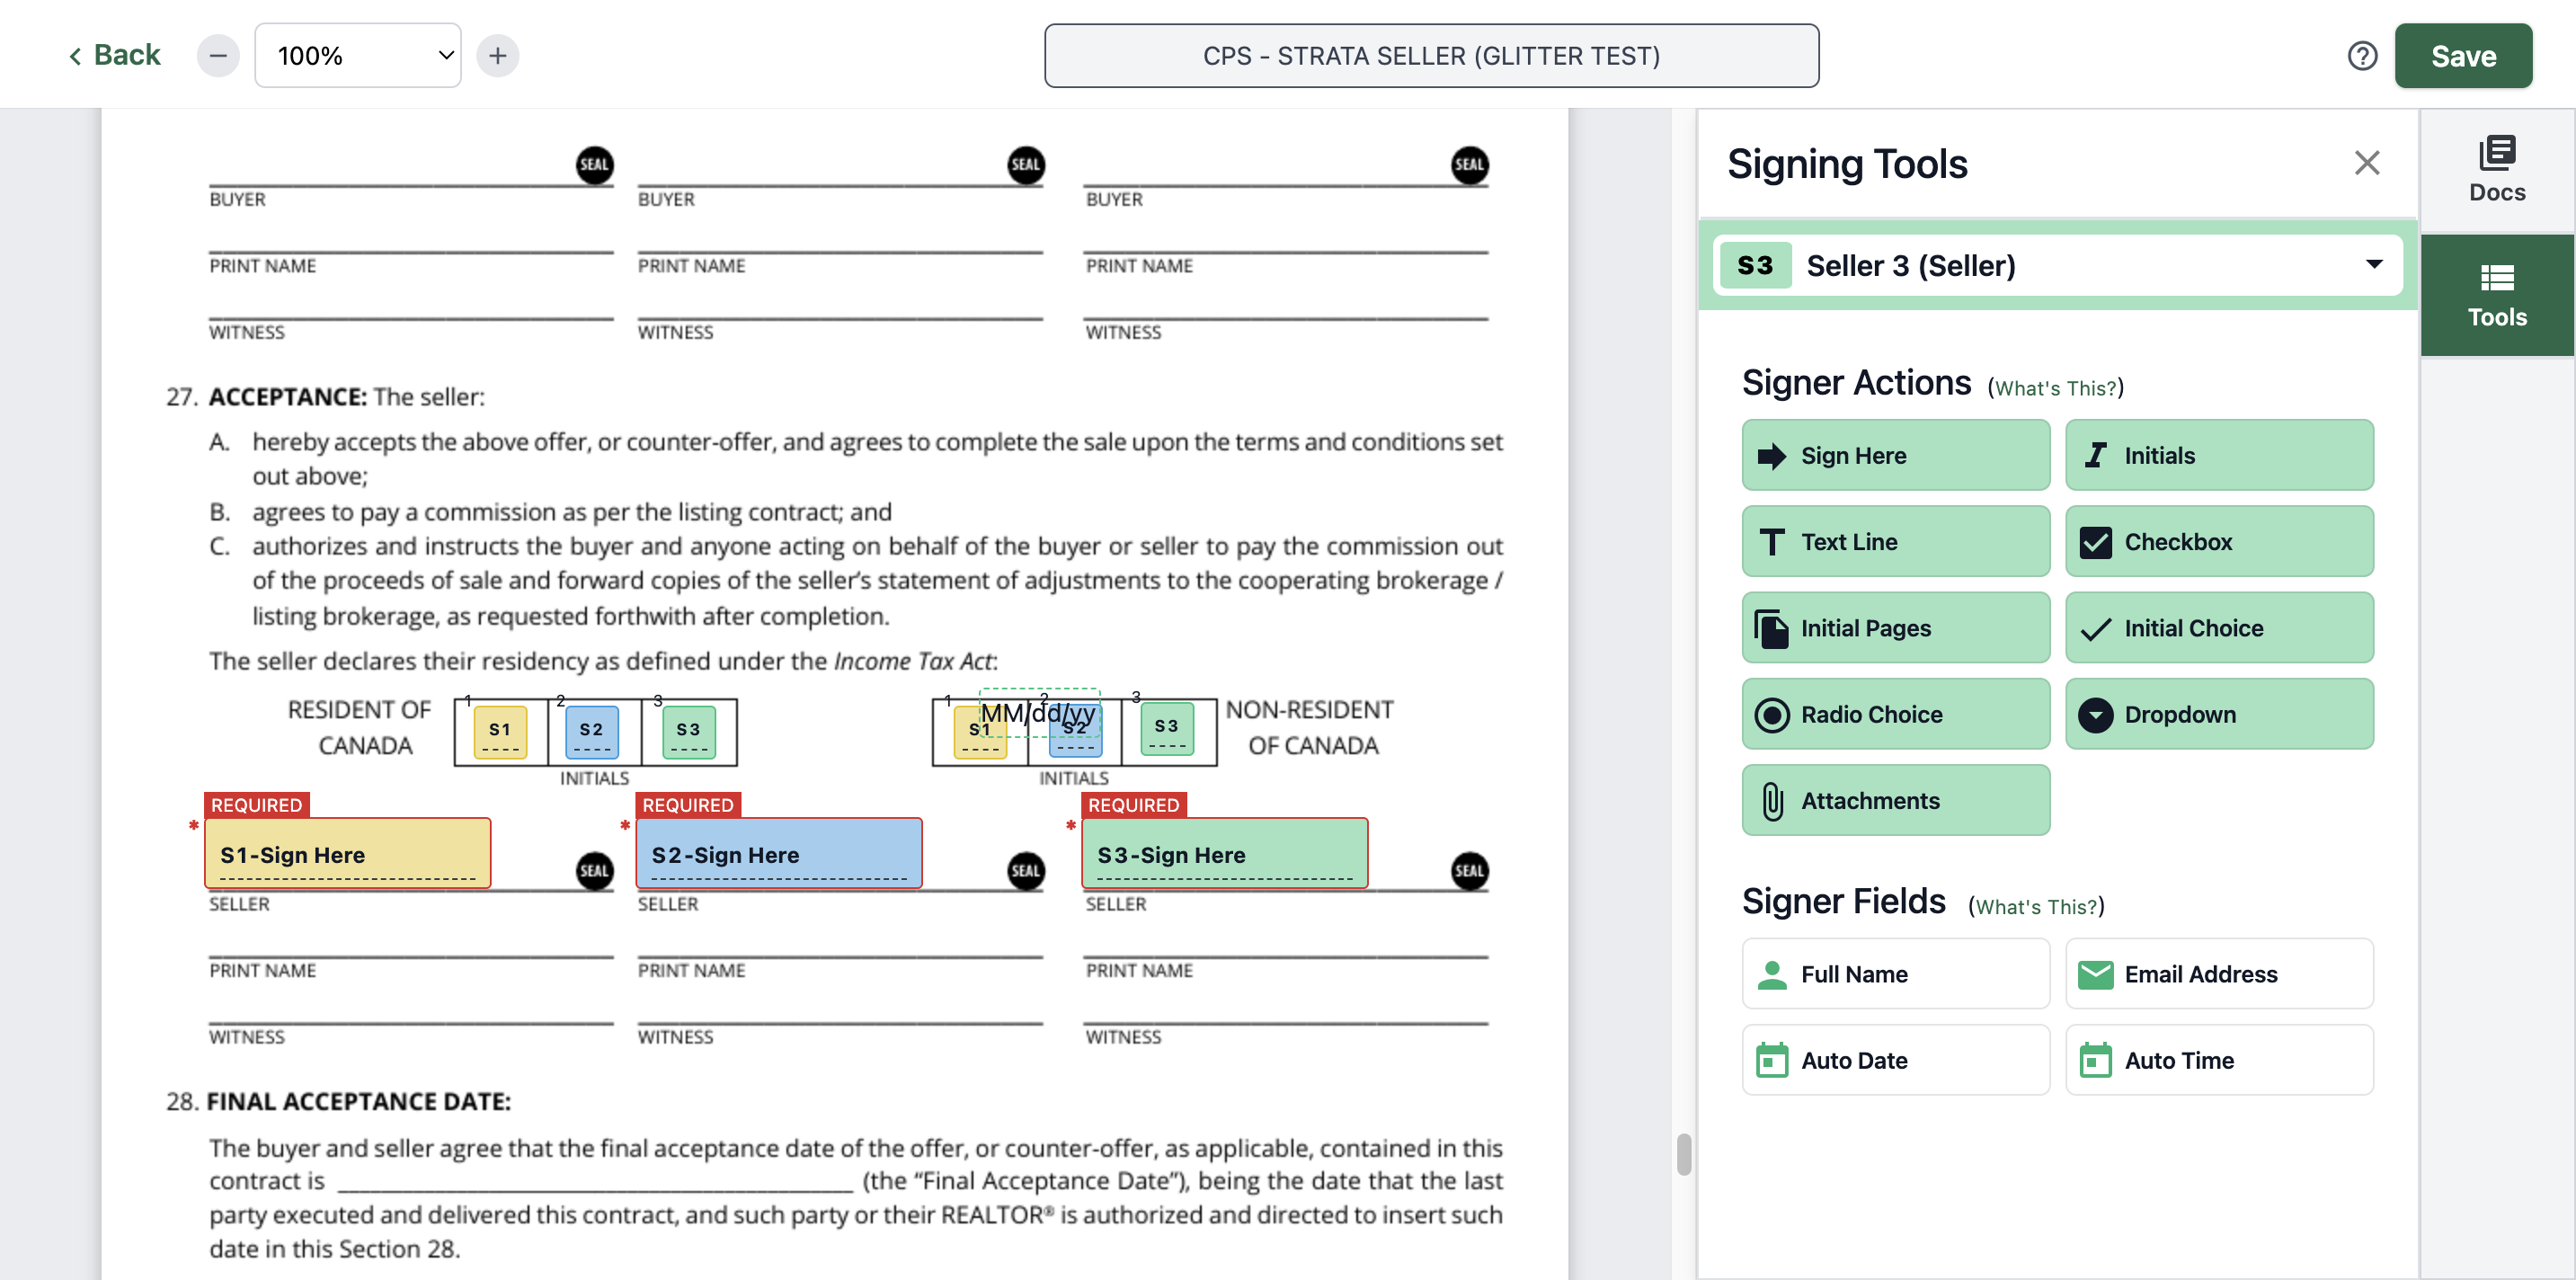
Add the two more initials

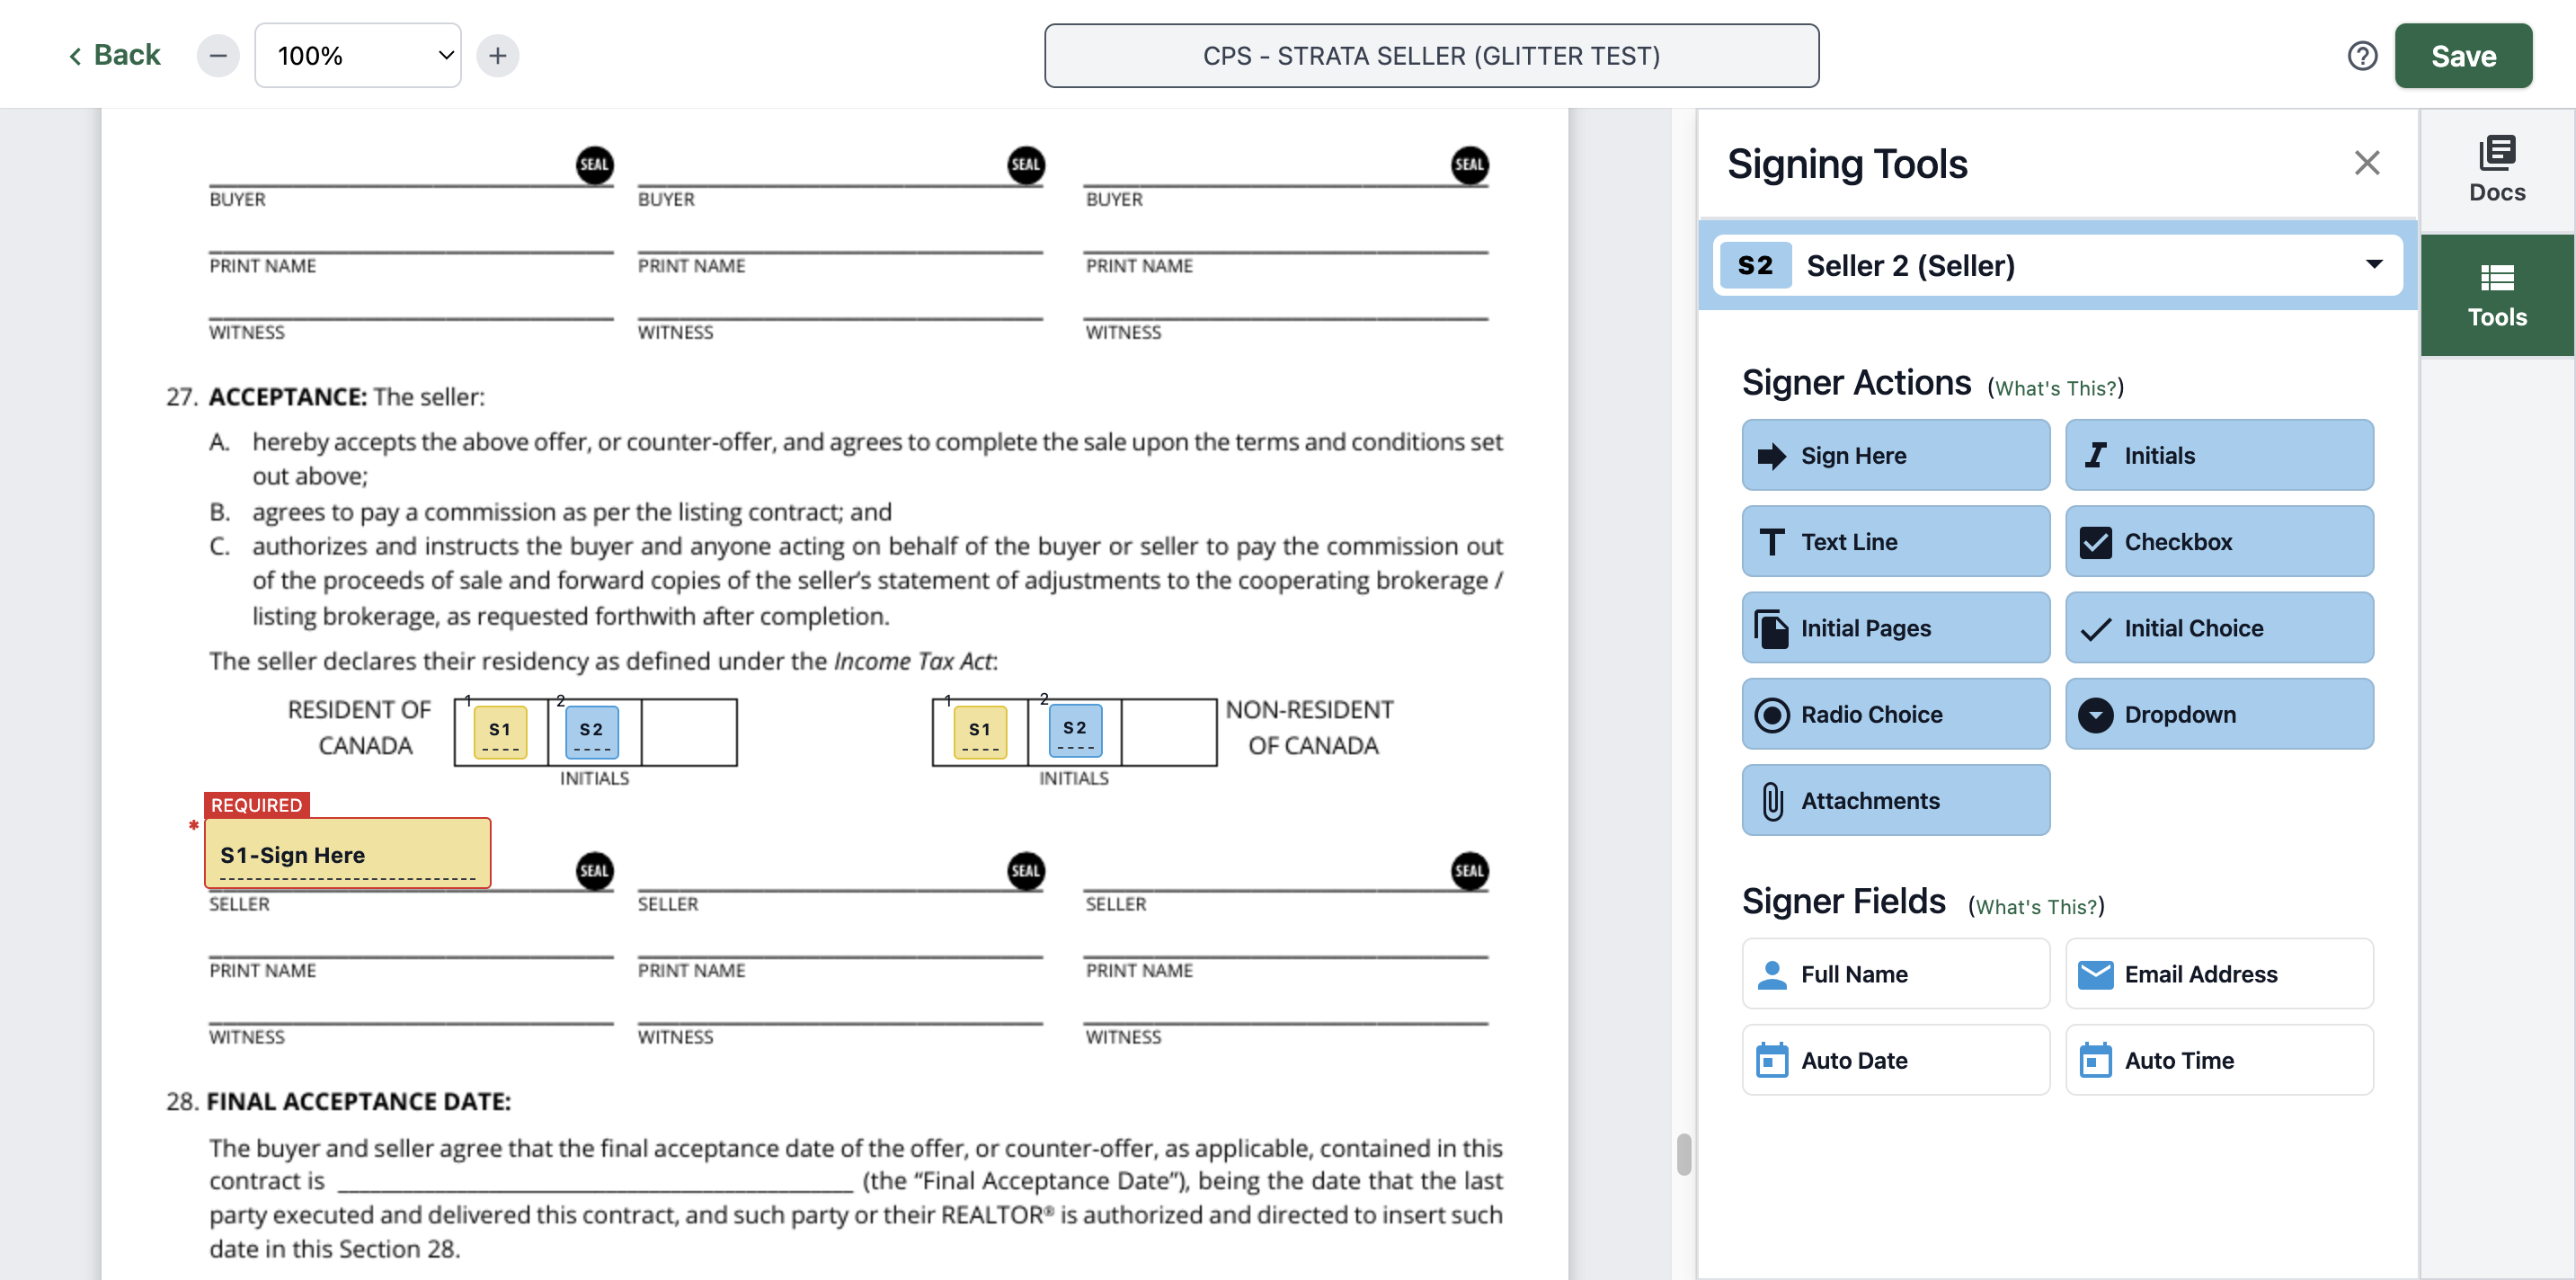
Add the last initial

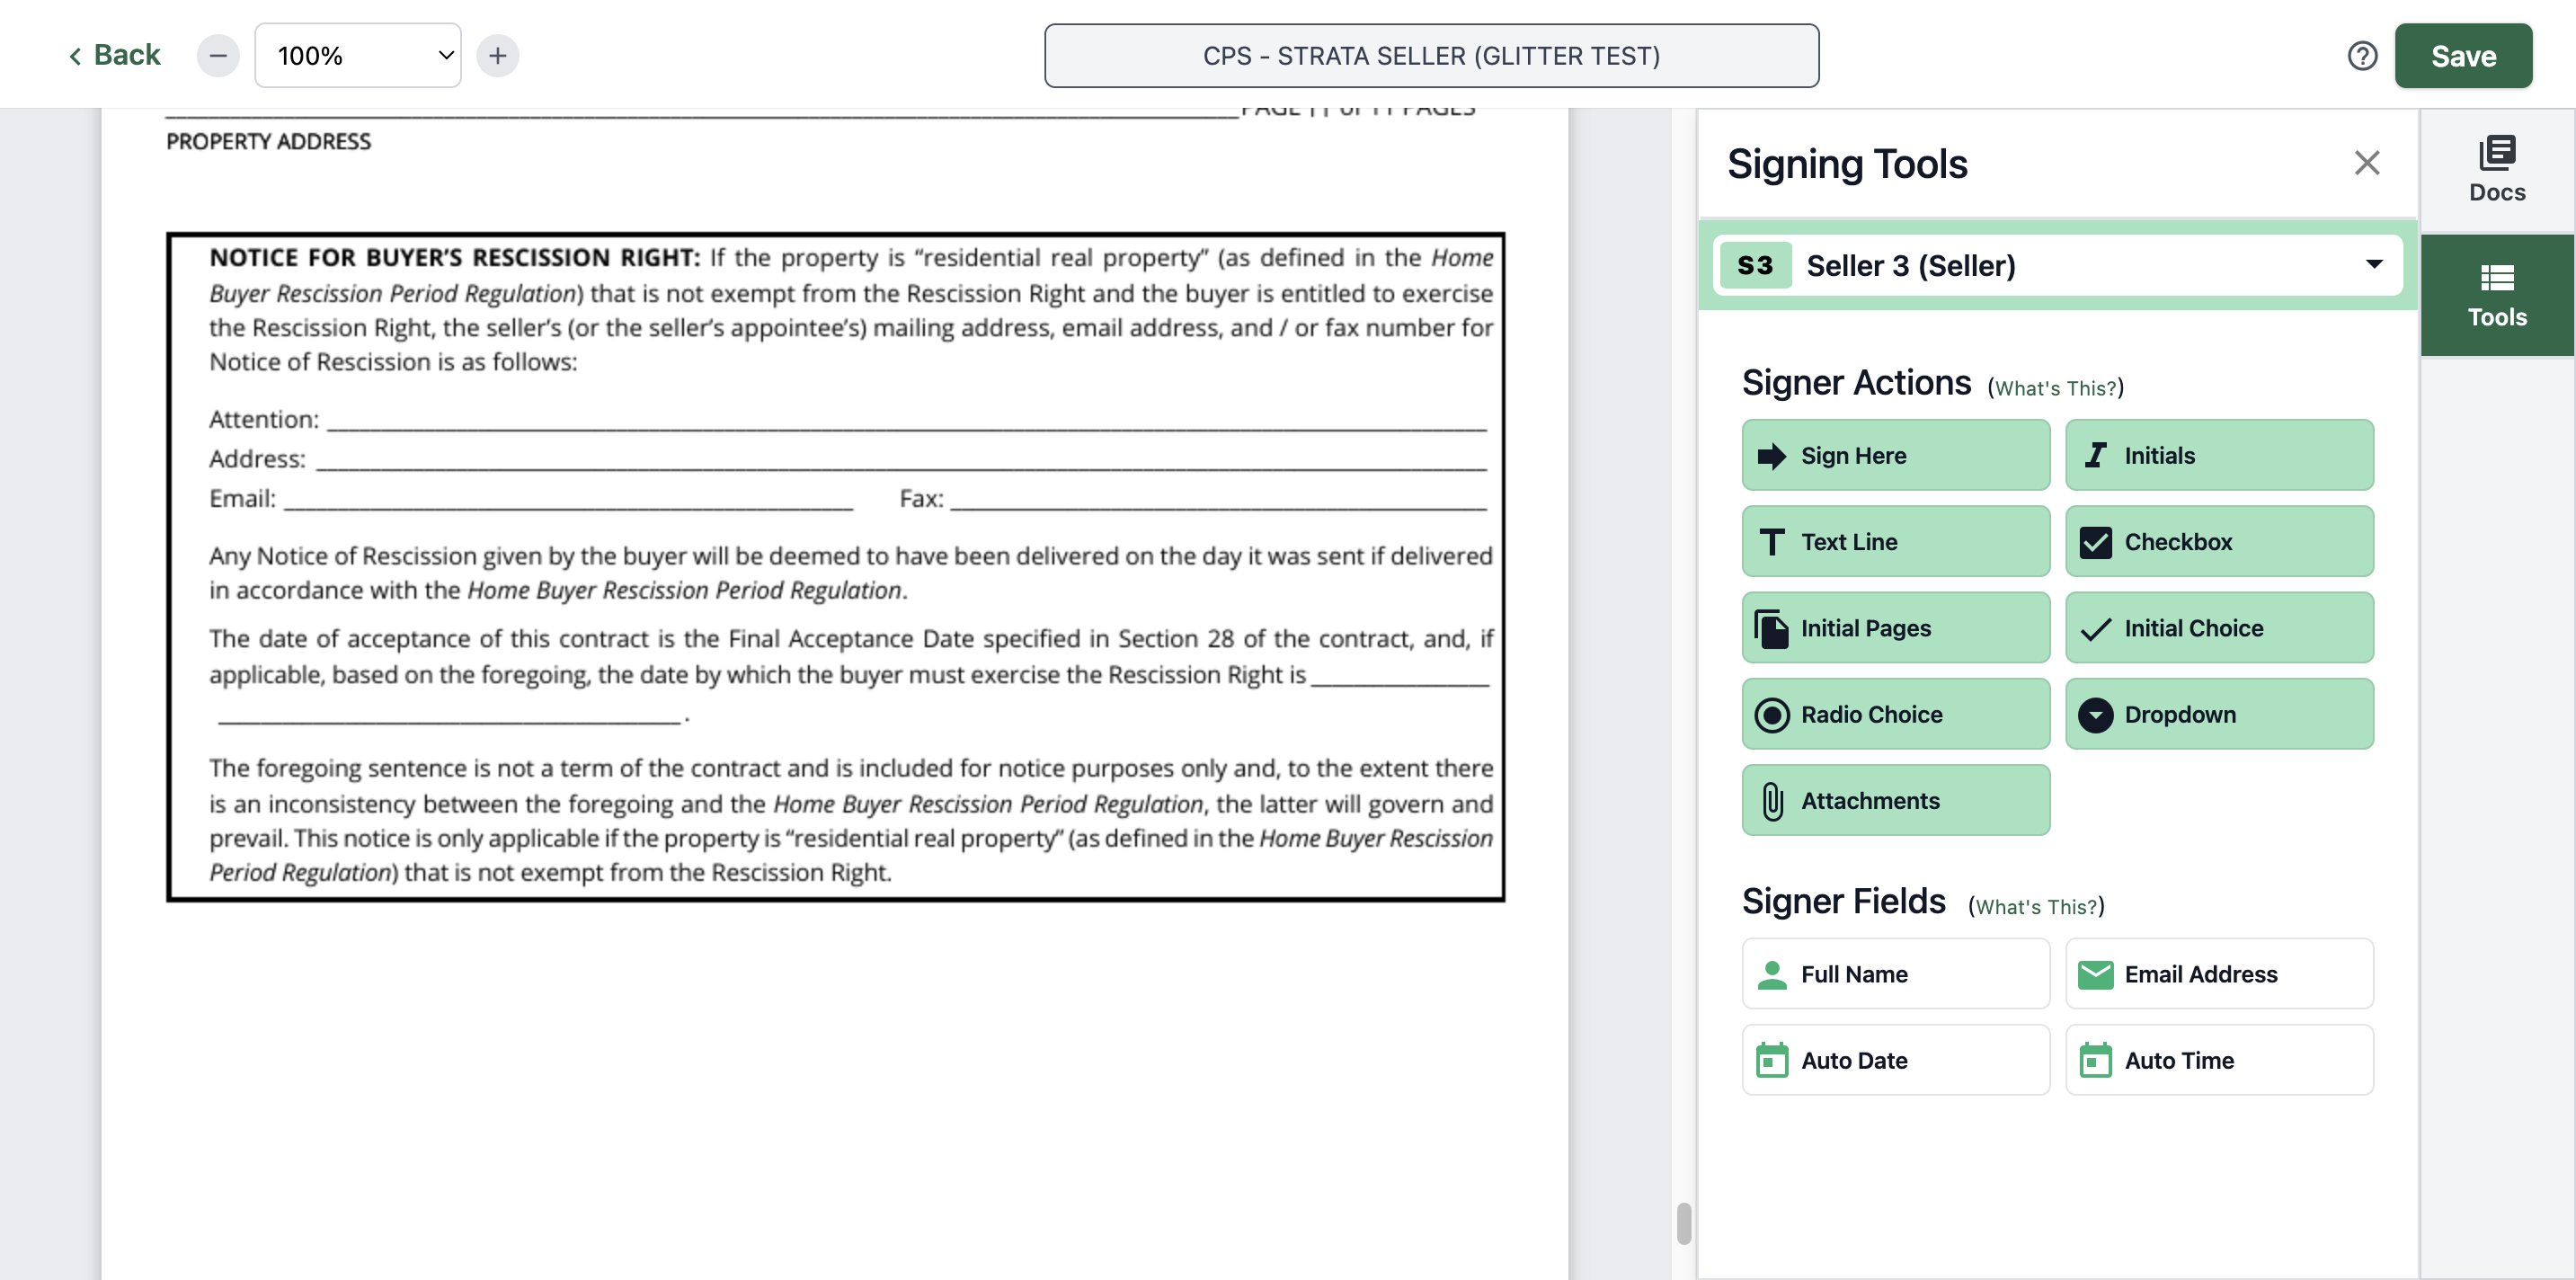
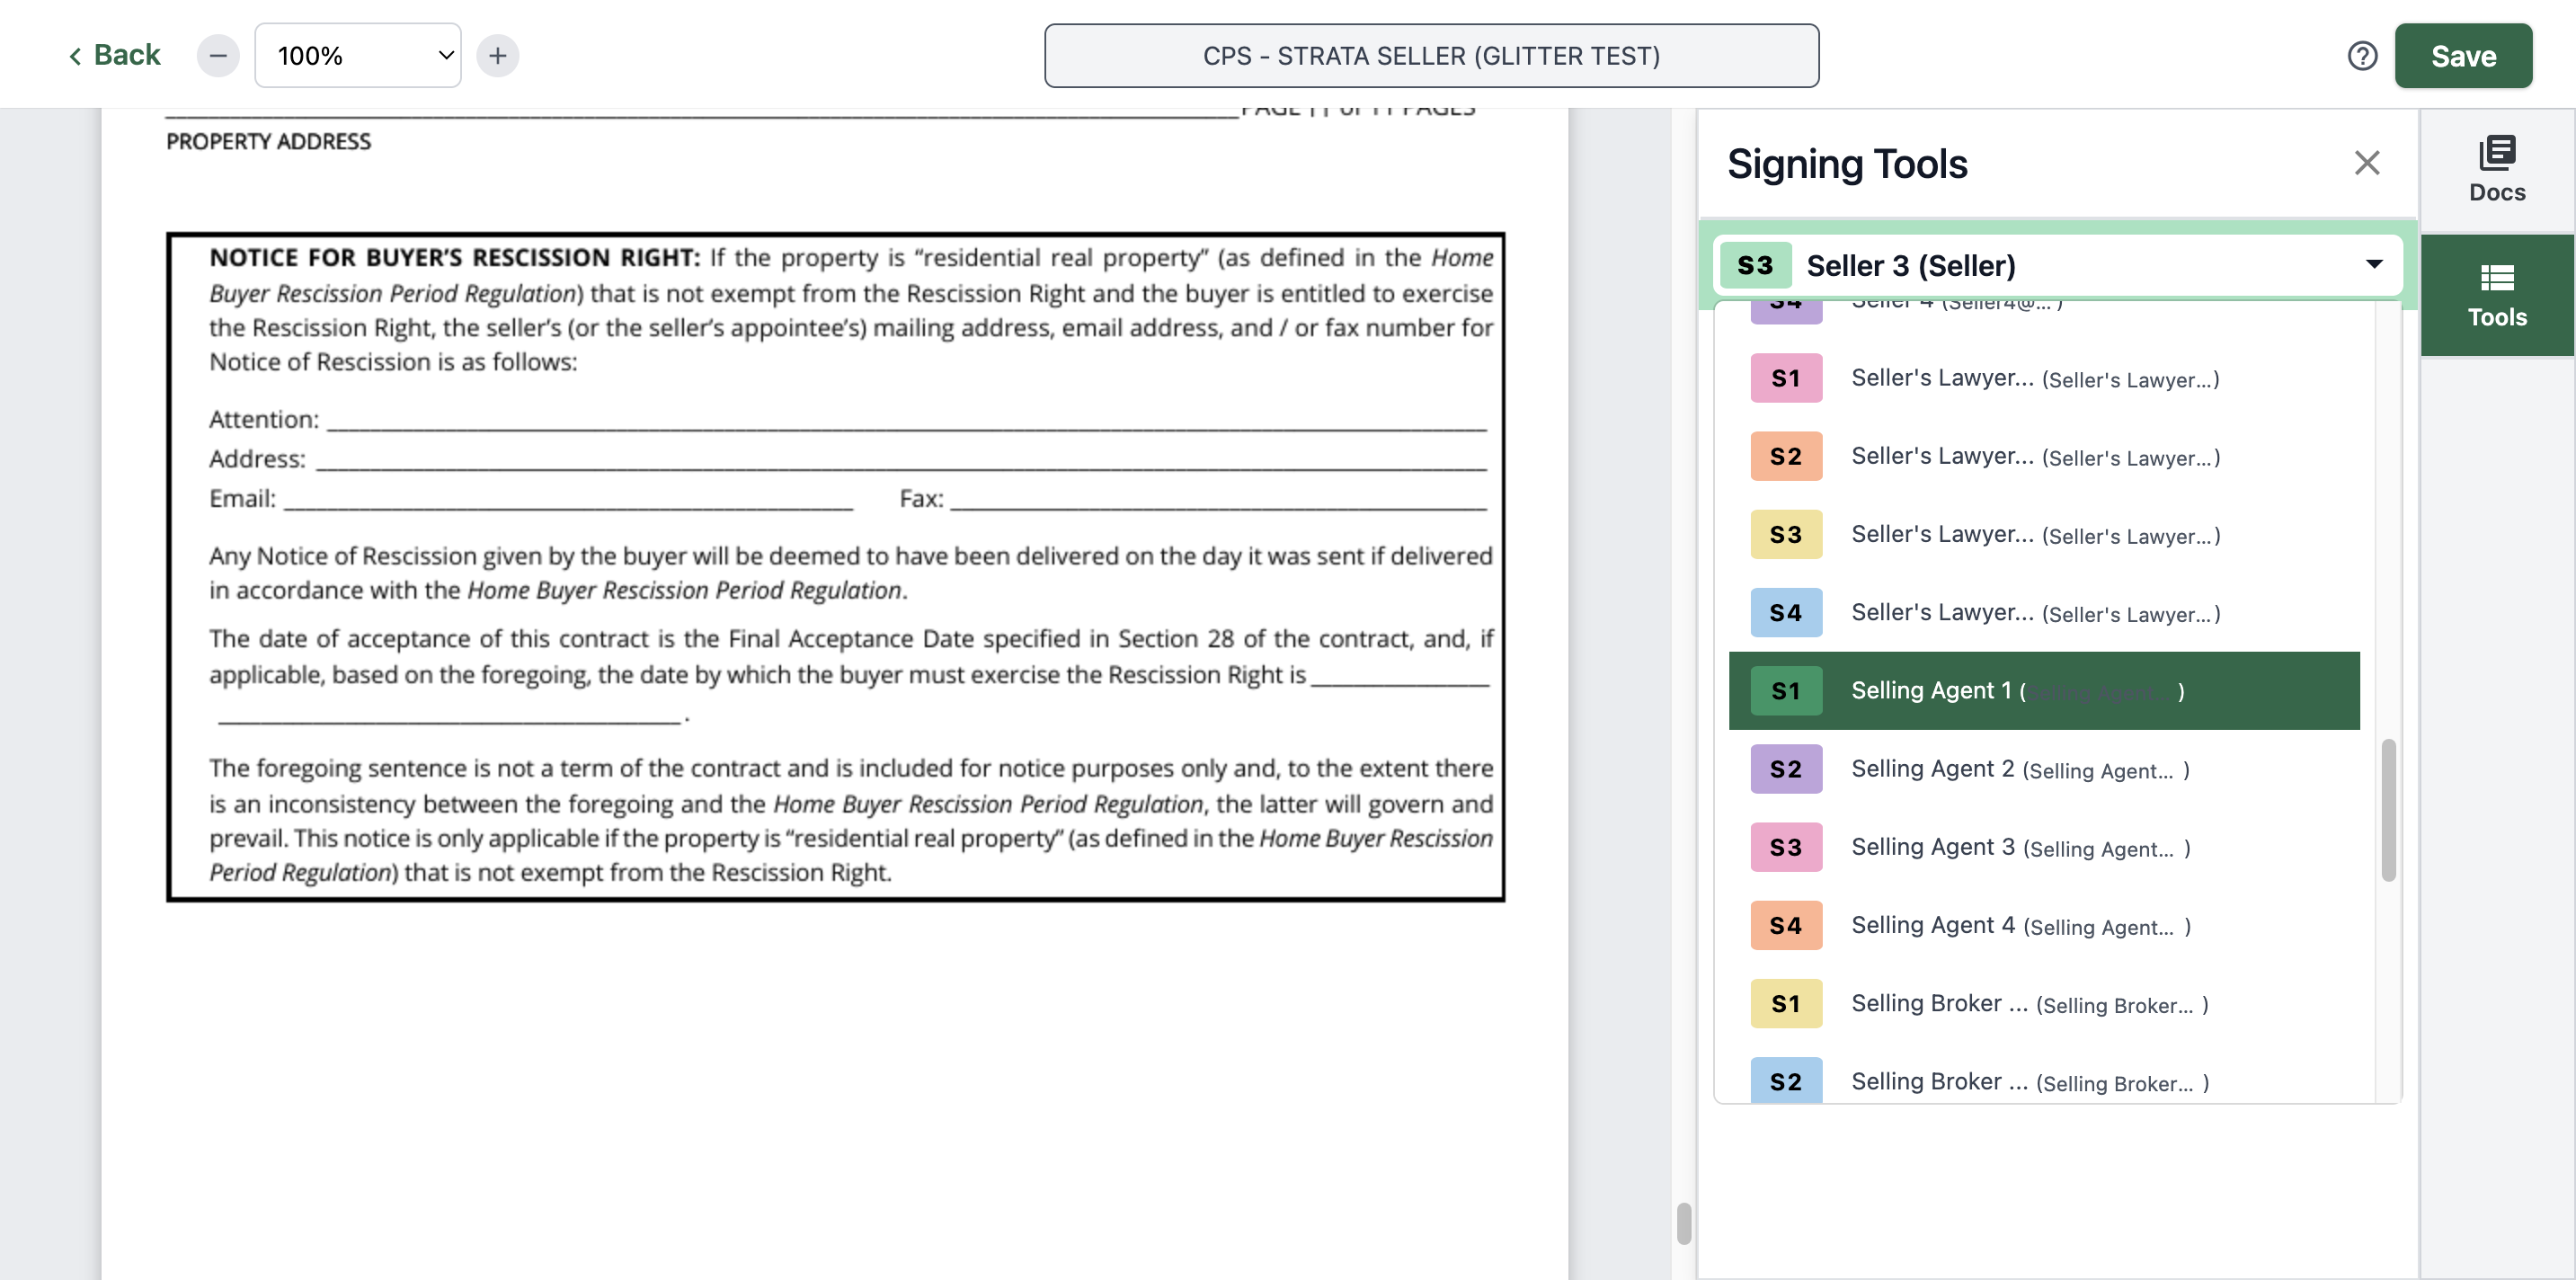
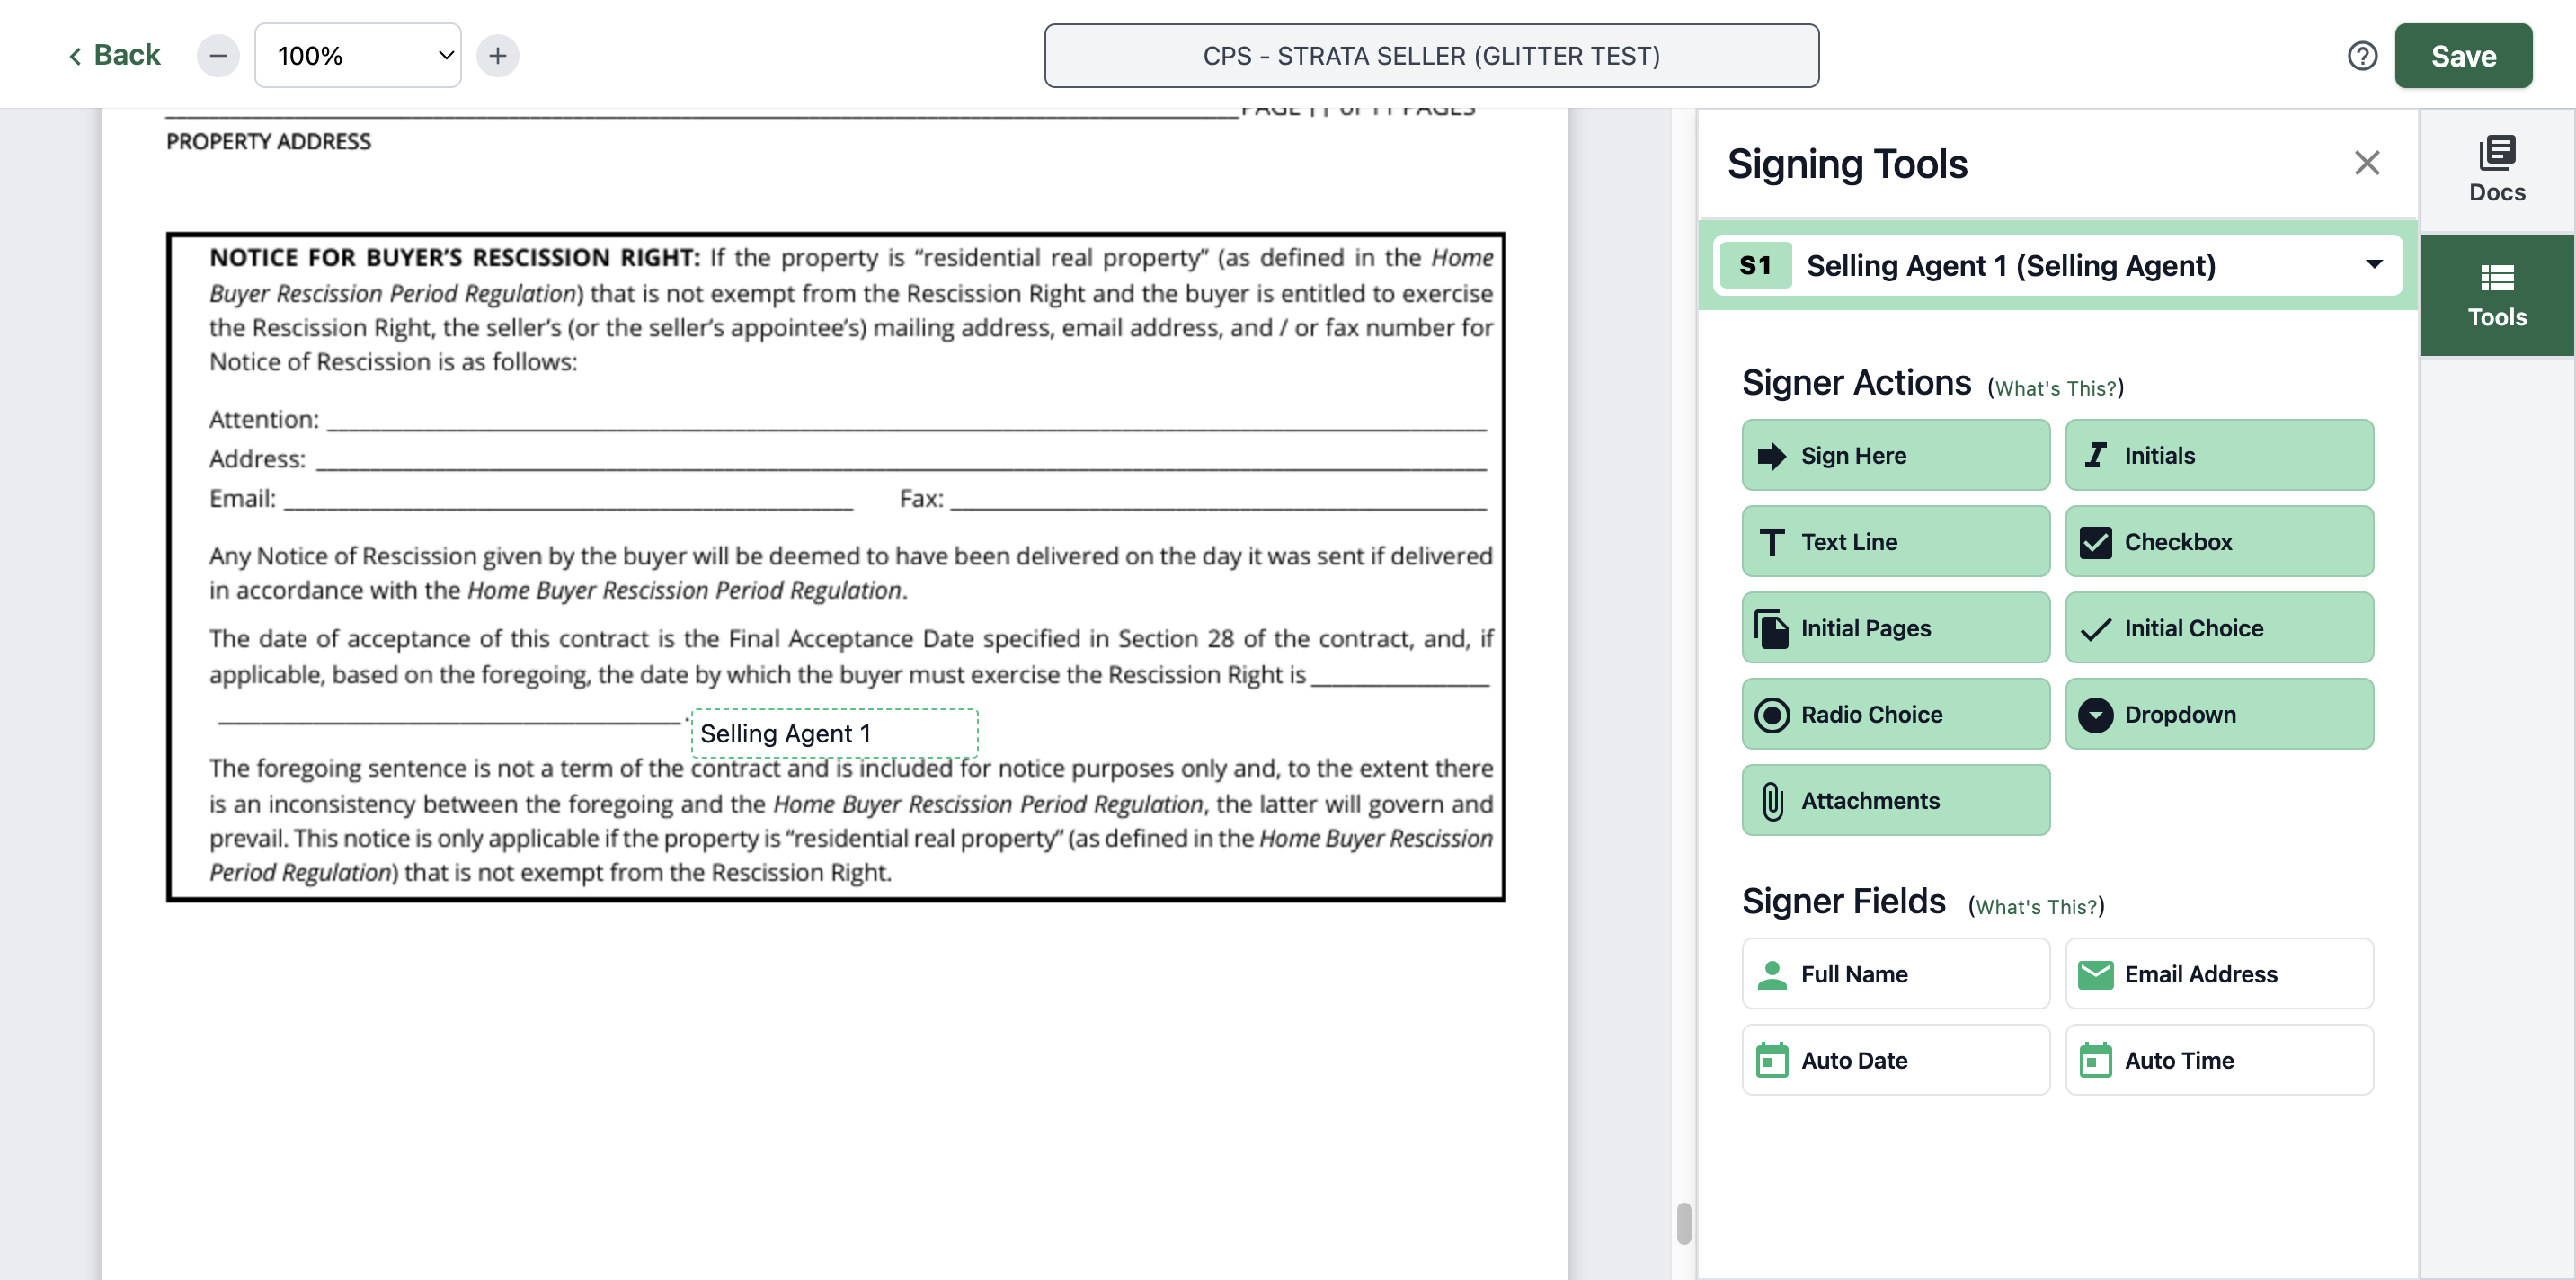
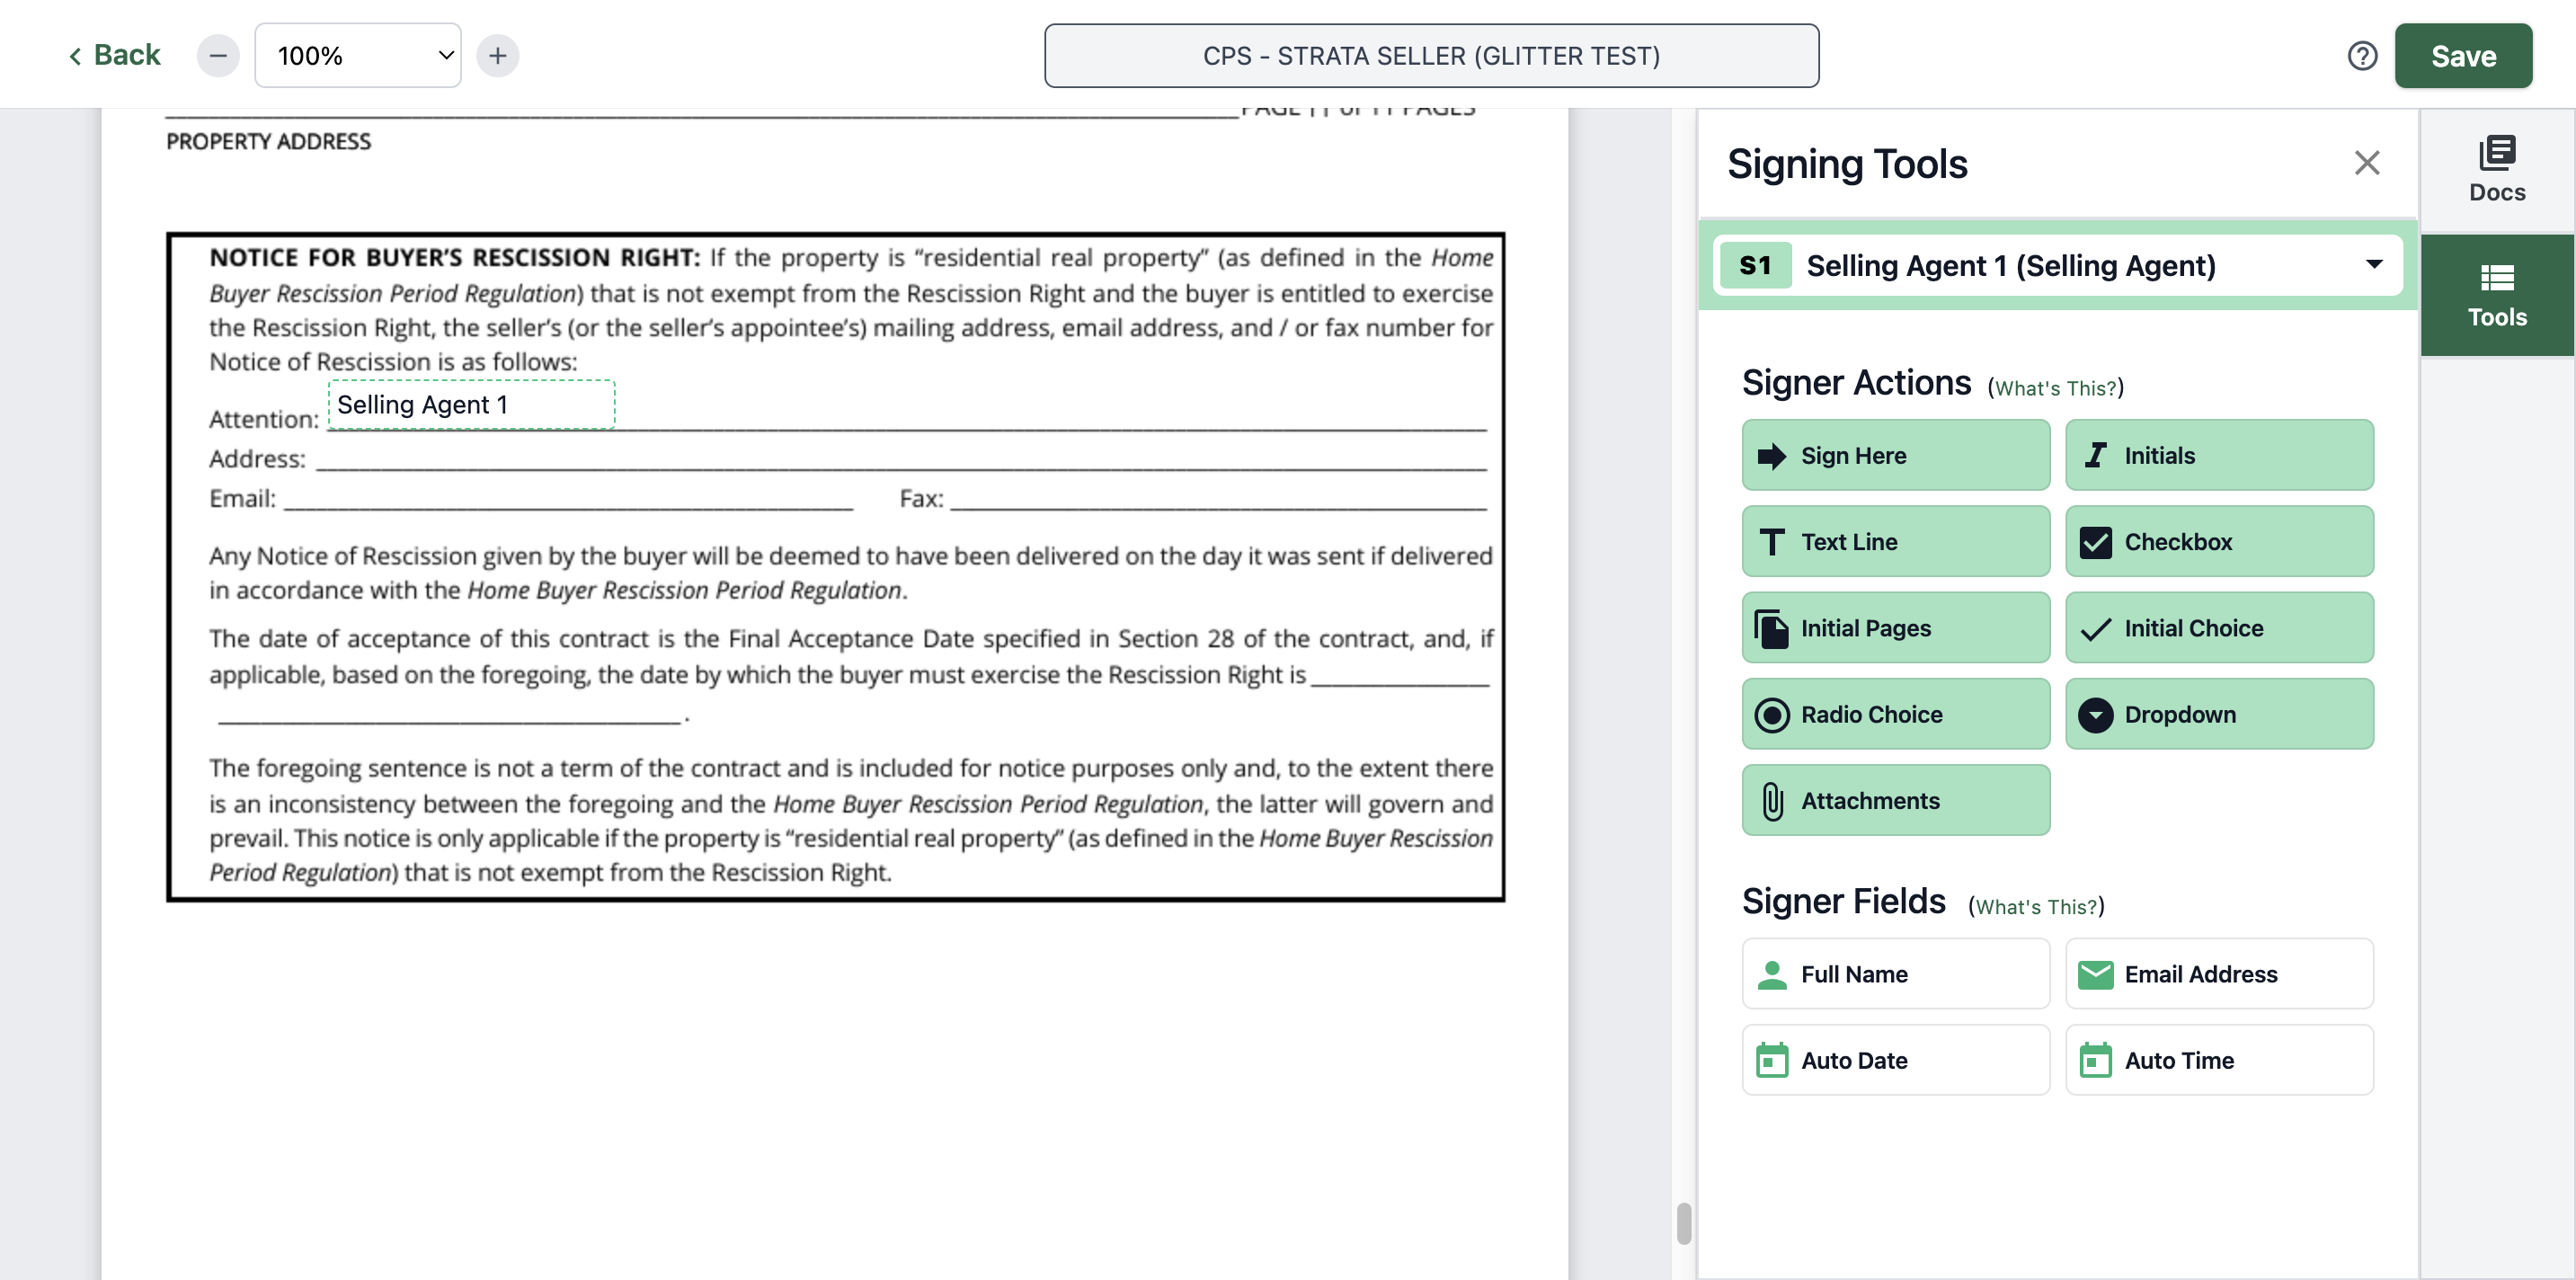
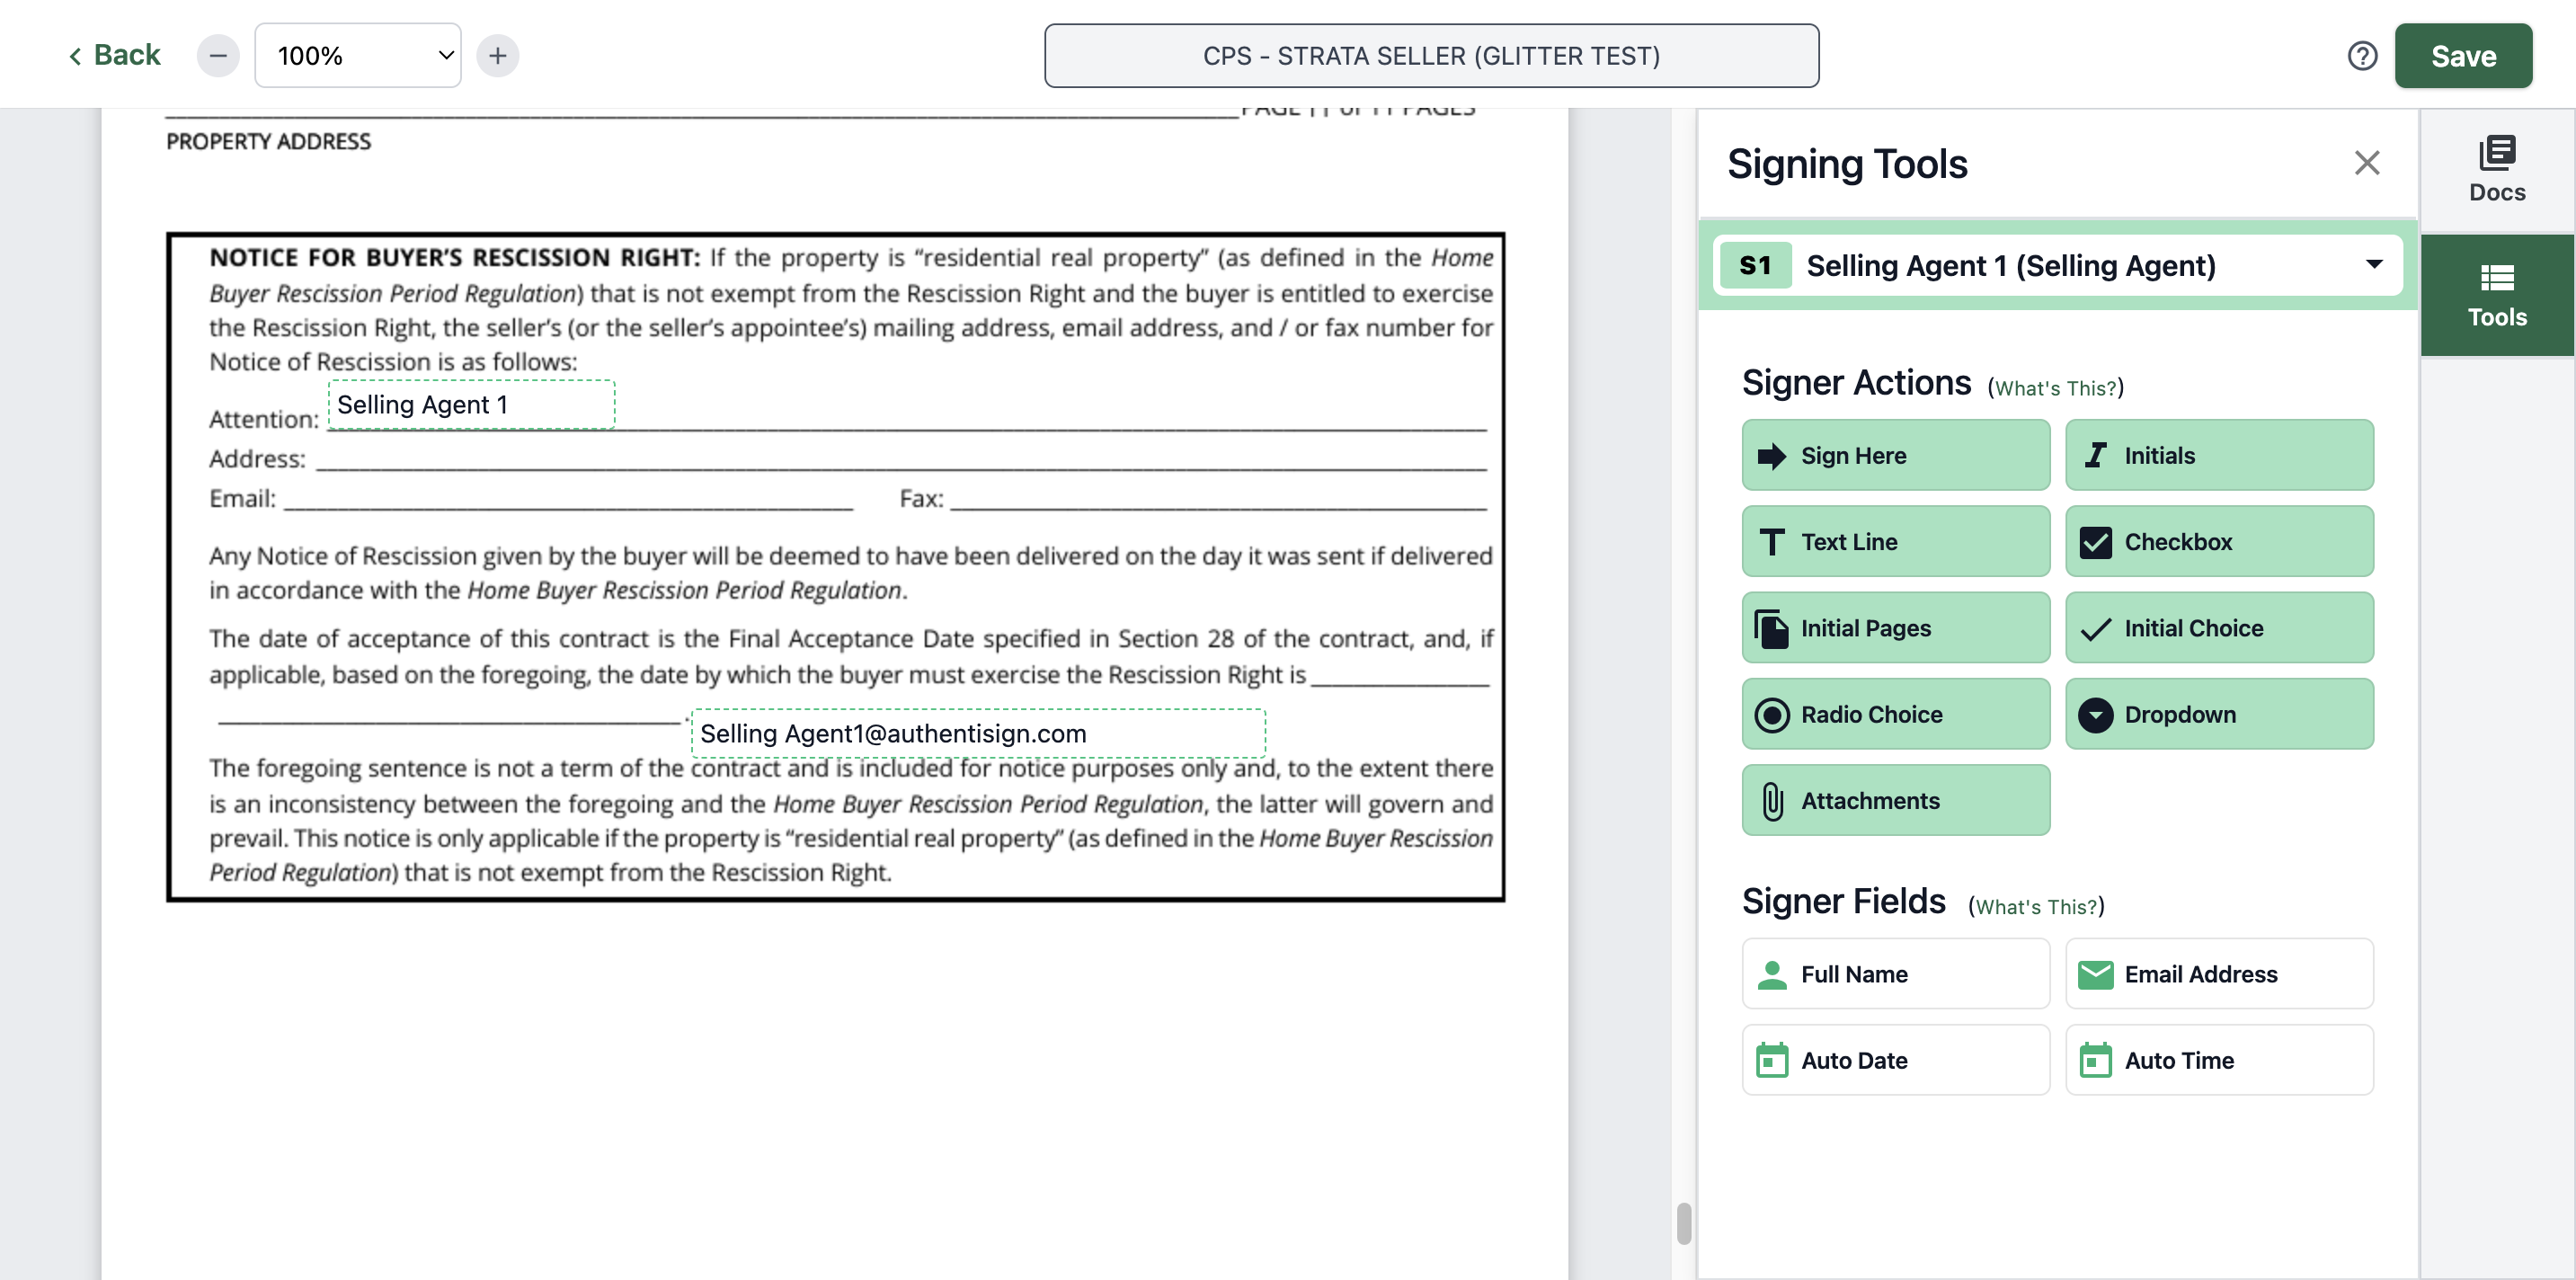
For the last page, enter the selling agent's name and email.
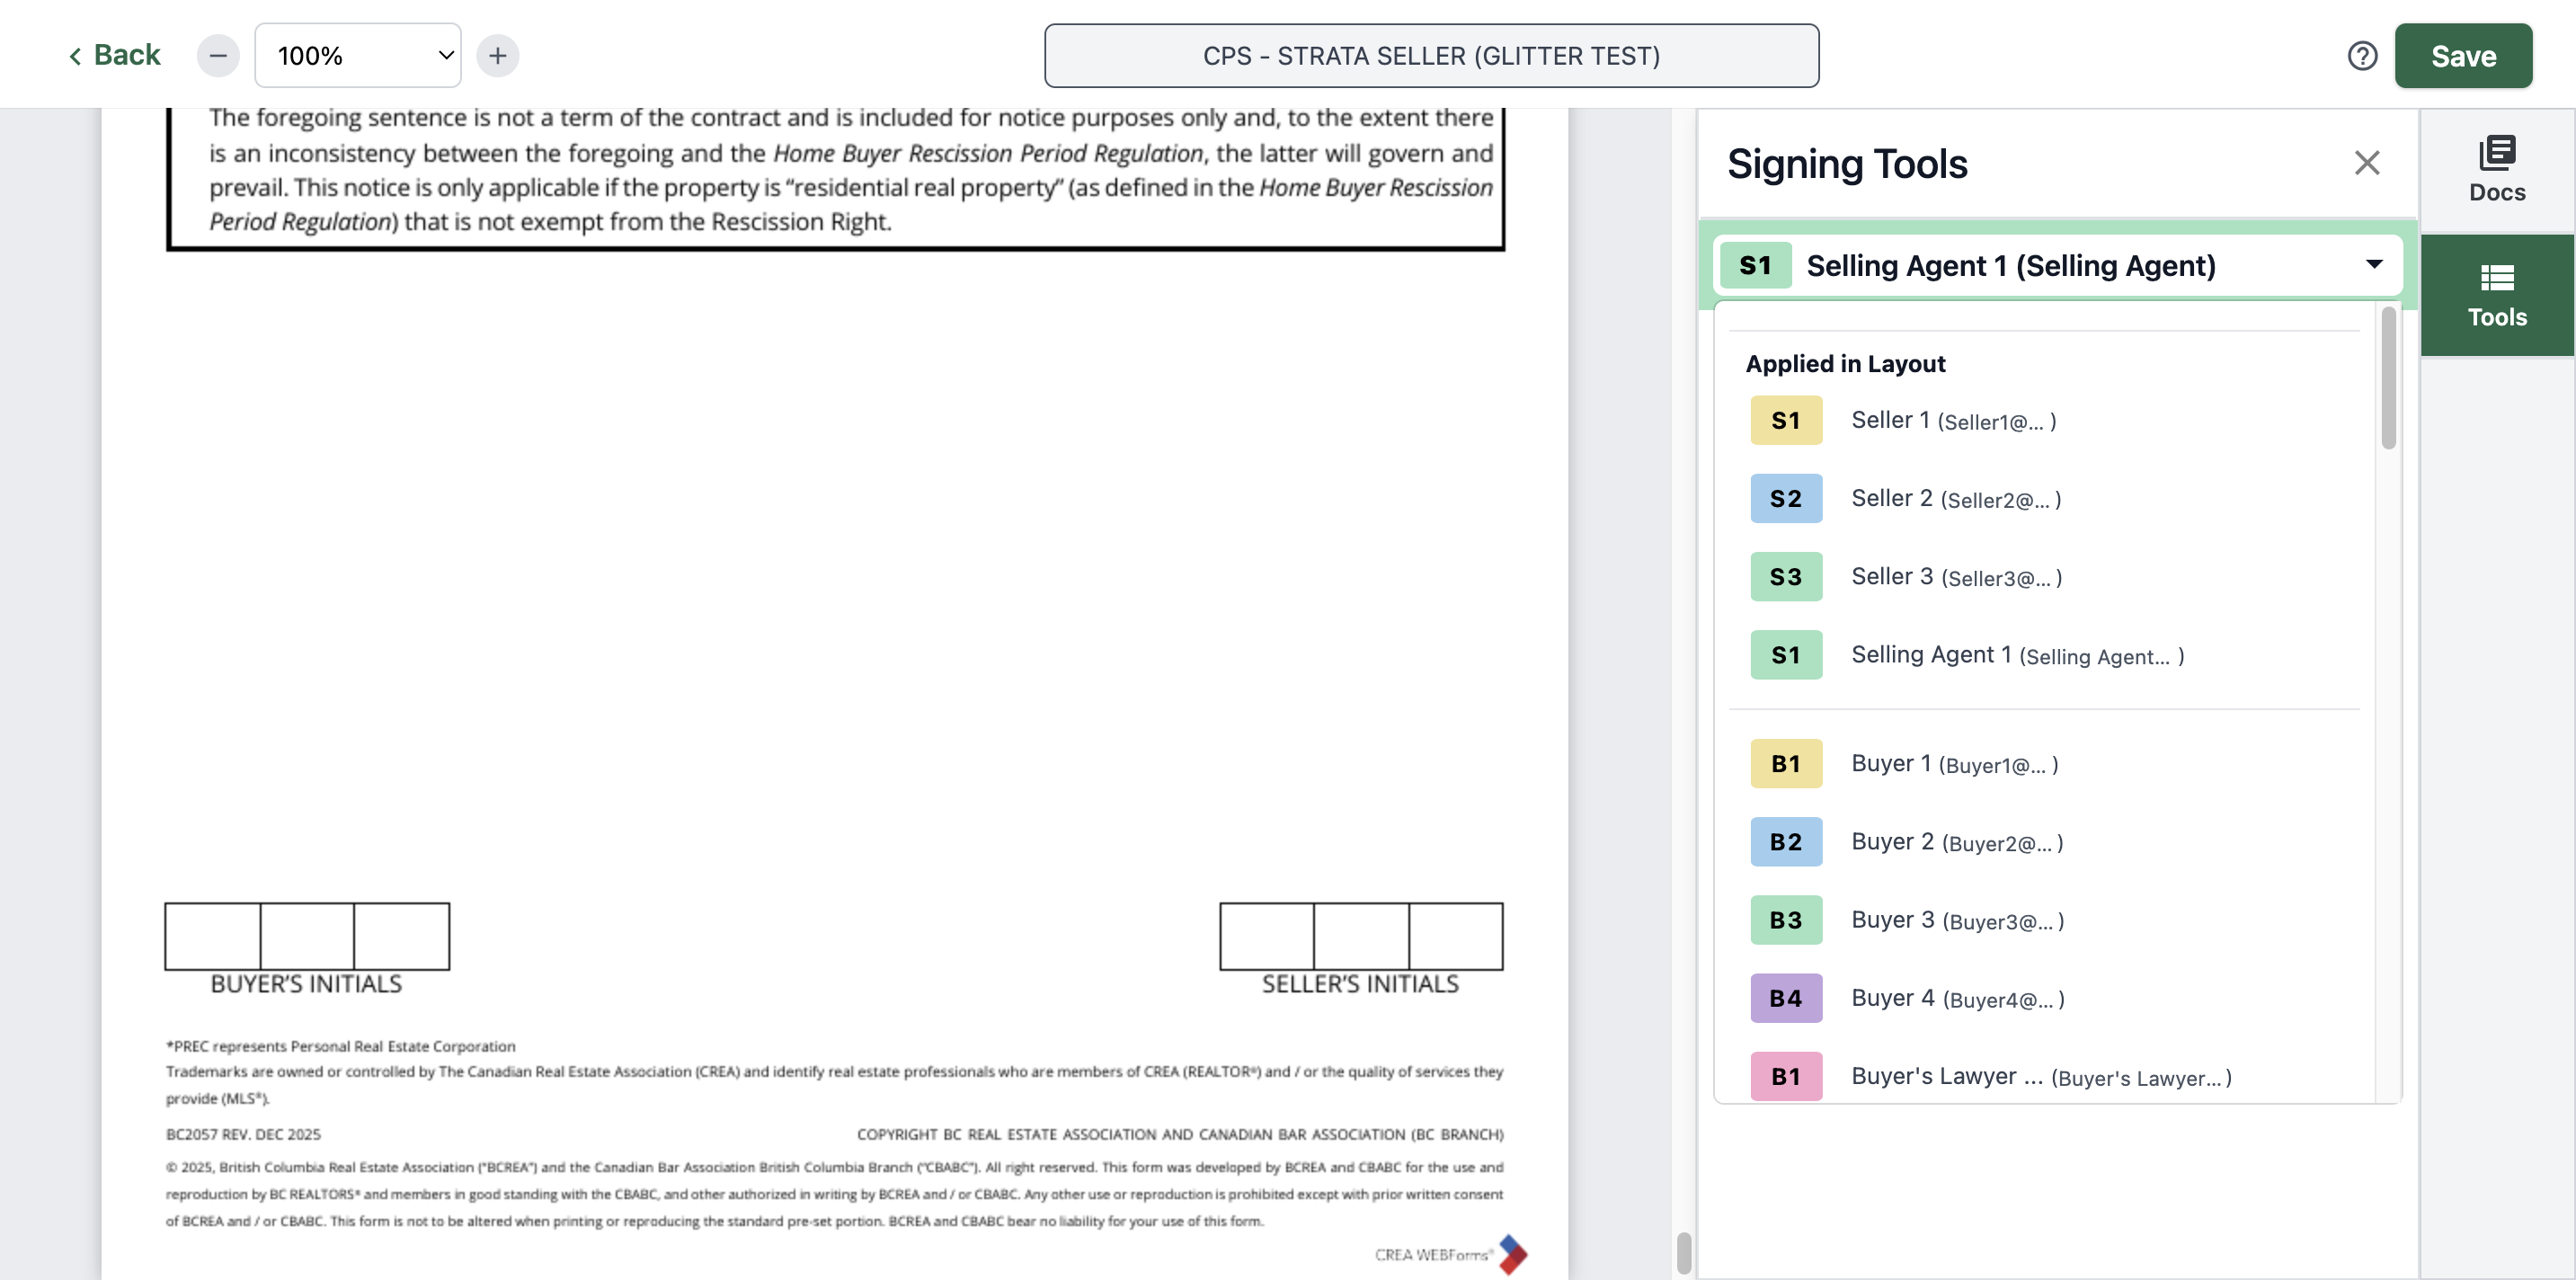
Let's select selling agent one.

Lastly, put the initials for seller one, seller two, and seller three.
And that's it.
You just need to double-check each page to see if it has the initials correctly. Then click Save.