How to Create Custom Pop-Ups with Banners and Discounts on Your Rental Website
Learn how to build, customize, and trigger engaging pop-ups and notification banners on your website. Includes instructions for generating HTML banners using AI.
By Reservety
Pop-ups and notification banners are excellent tools for promoting special offers, capturing leads, or sharing important announcements. In this guide, you will learn how to create a custom notification box, enhance it with visual effects, generate an HTML coupon banner using AI, and set up display triggers.
Let's get started.
1
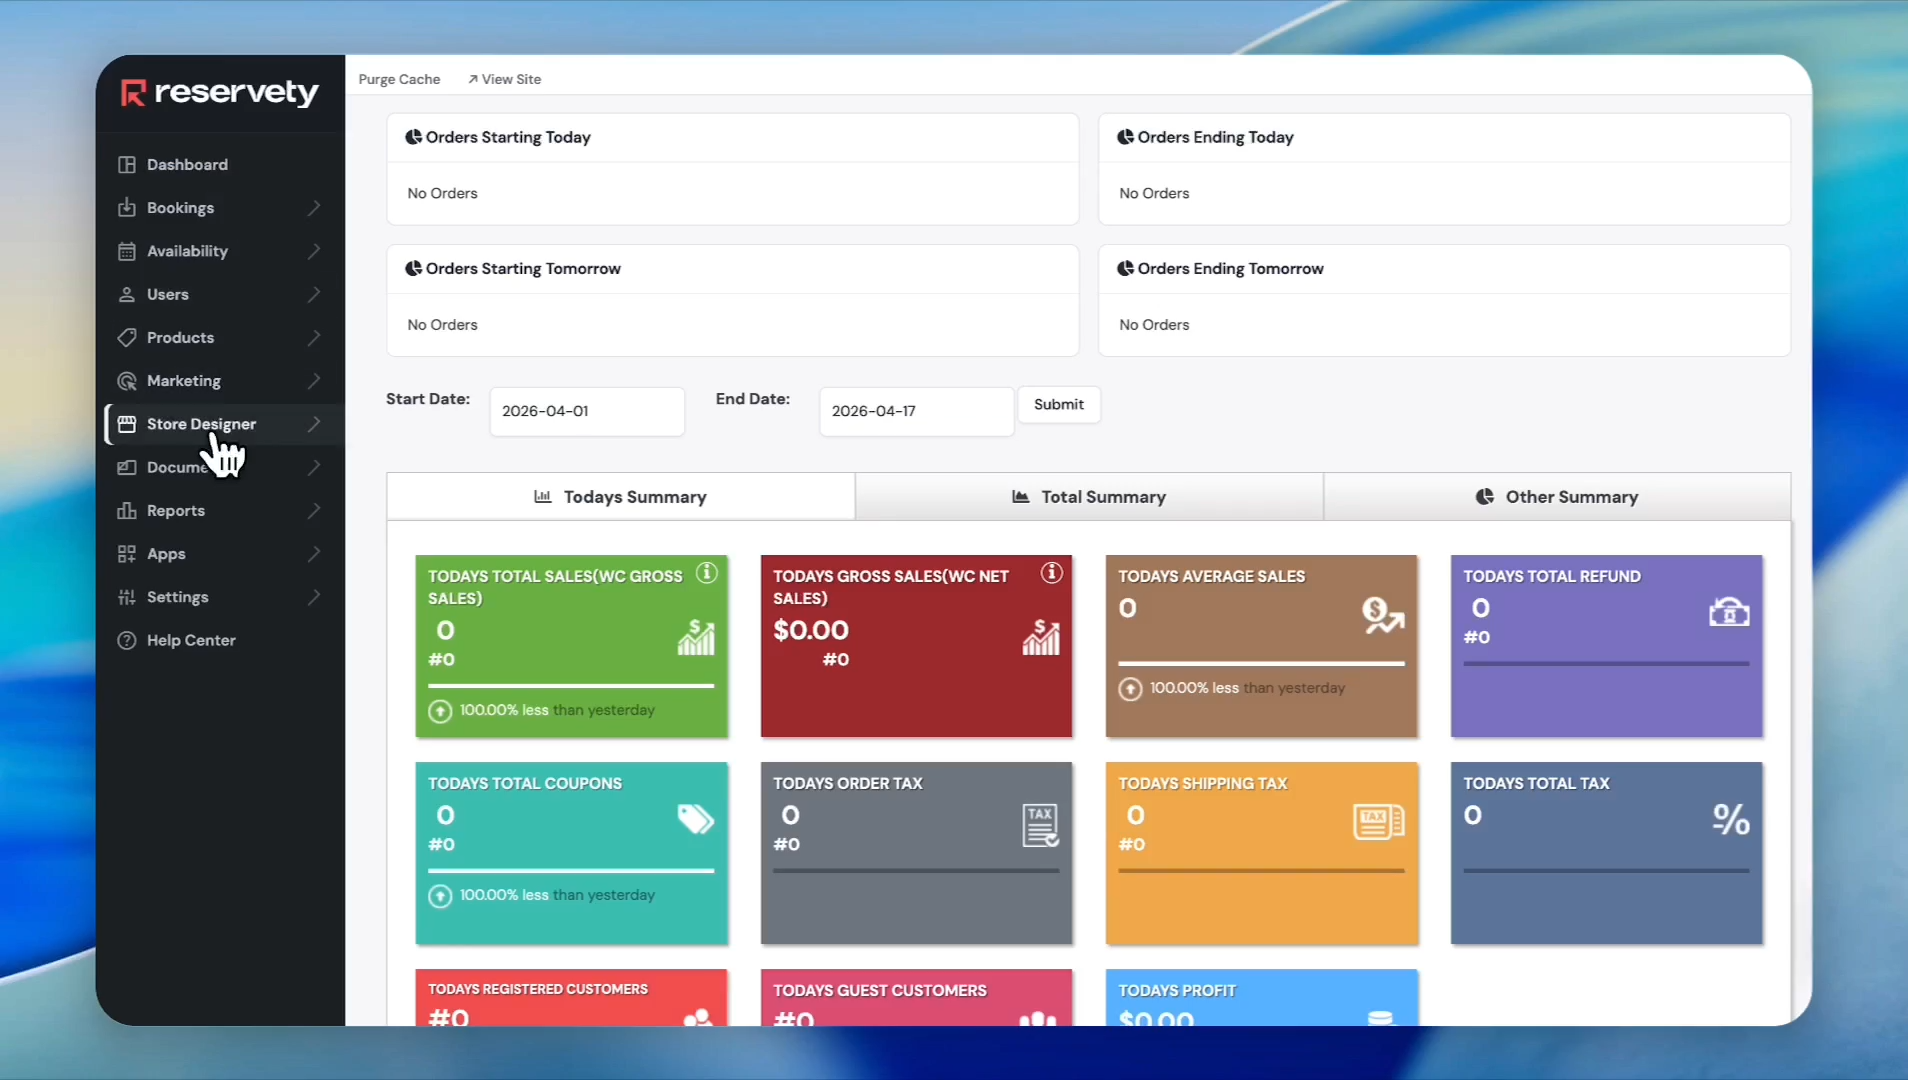
From your dashboard, click View Admin

2
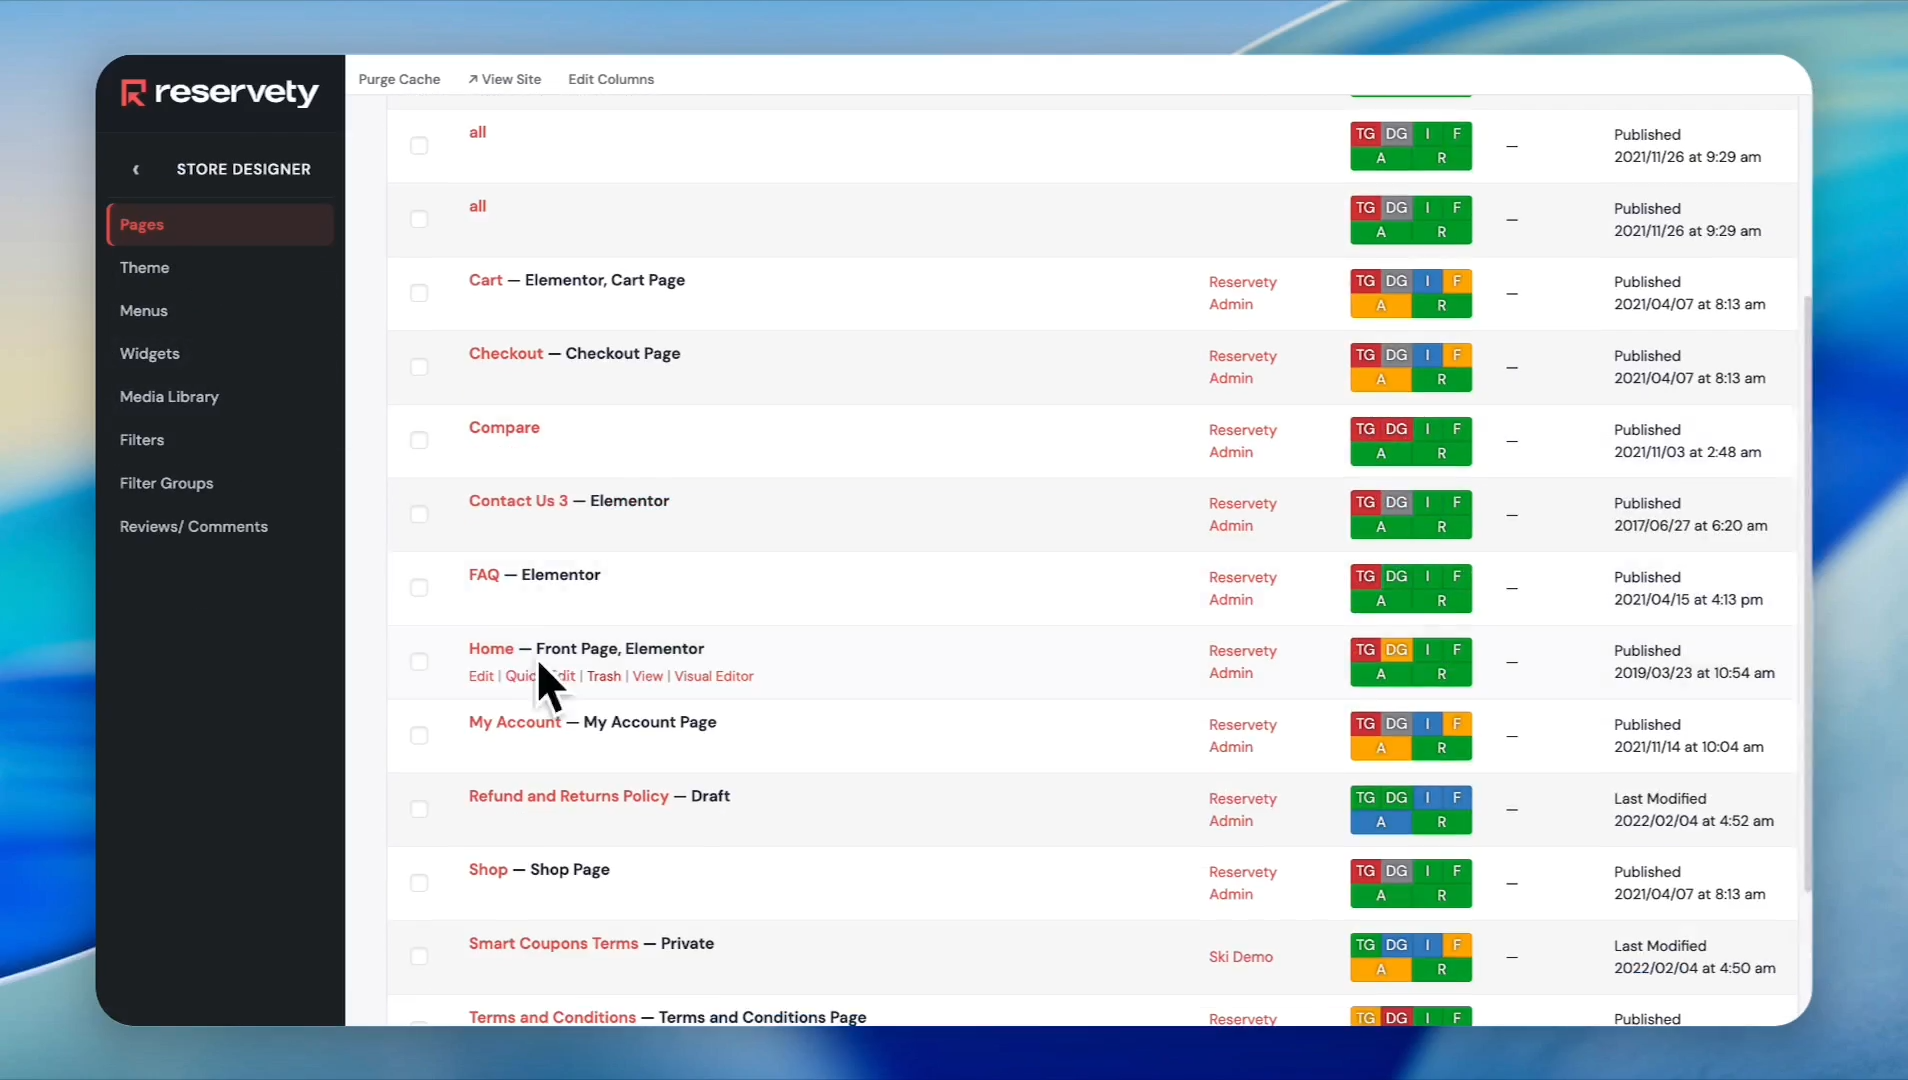
Navigate to Store Designer, then click Pages
3
Select the page where you want the pop-up to appear (e.g., Home)
4
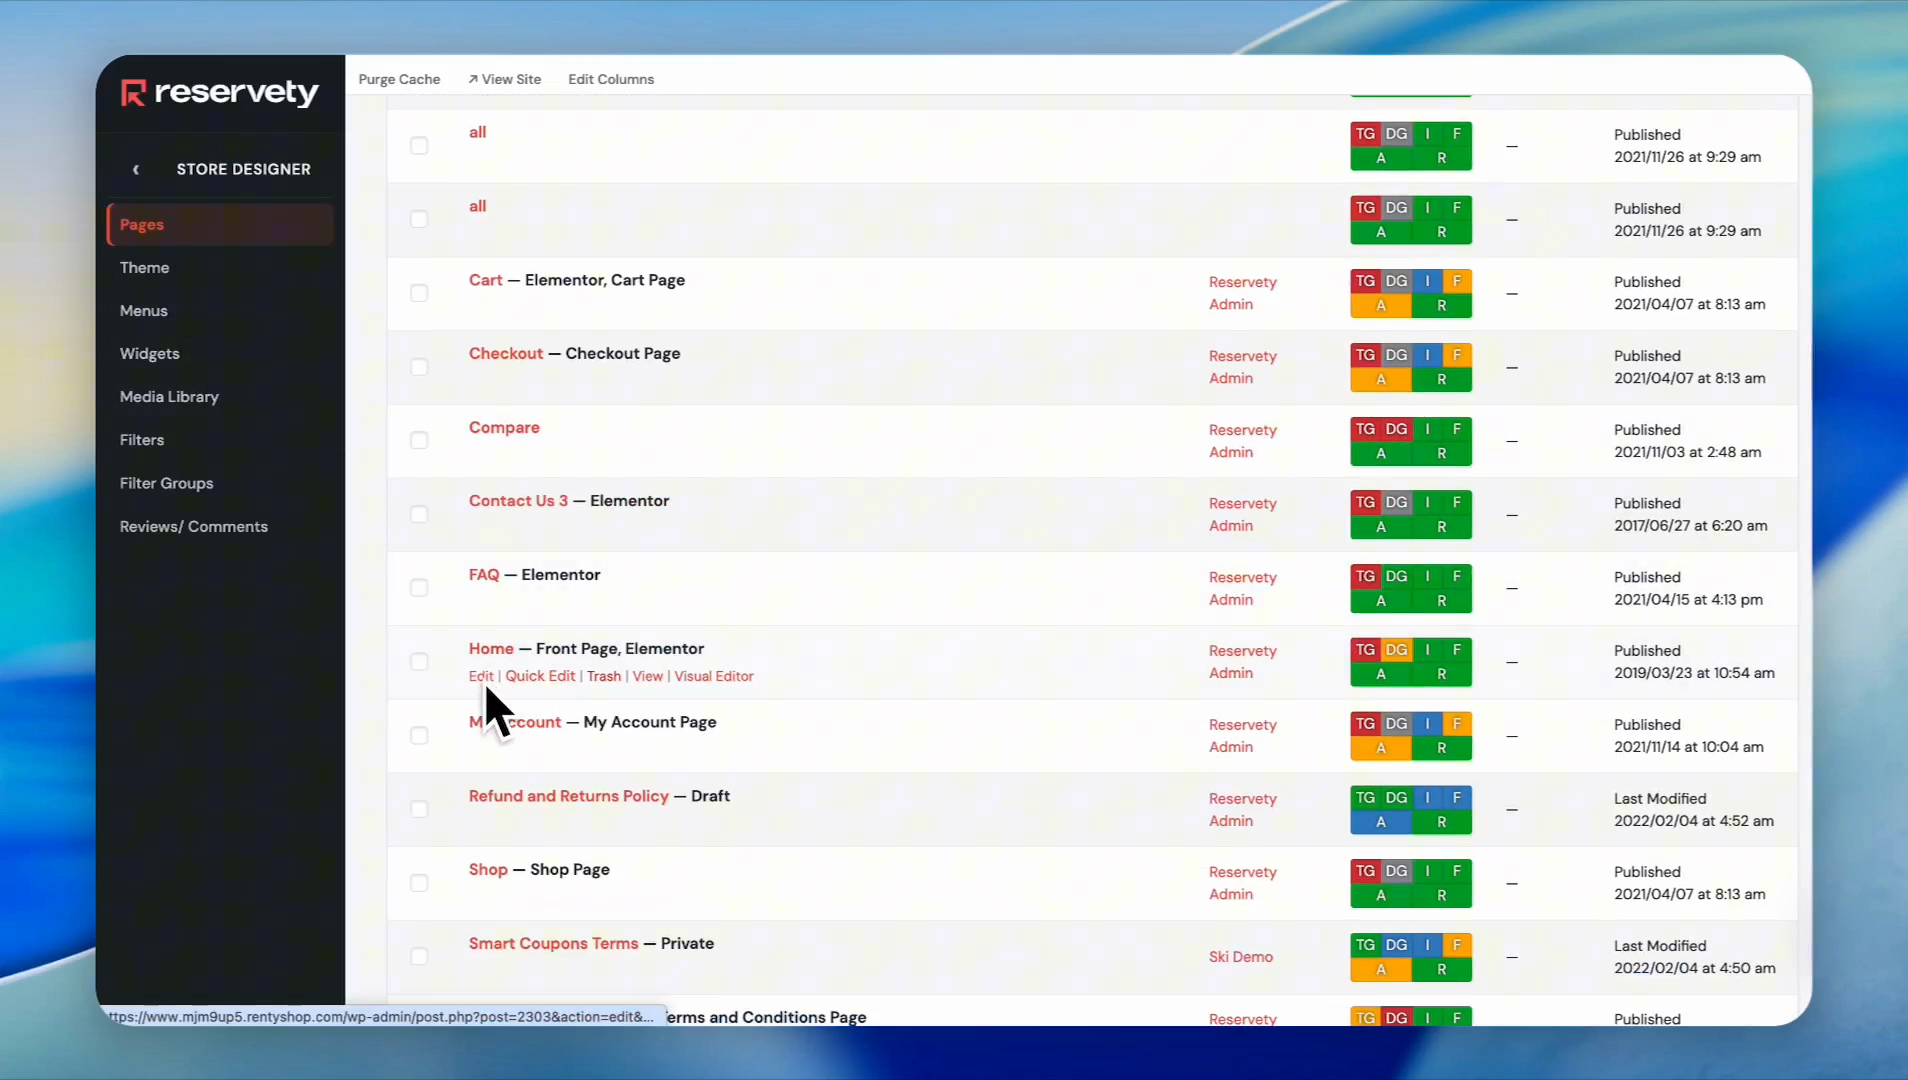
Click Visual Editor to launch the site builder
.
Add and Style a Basic Notification Box
You can create pop-ups either as standalone windows or styled notification boxes. Here, we'll start with the notification box.
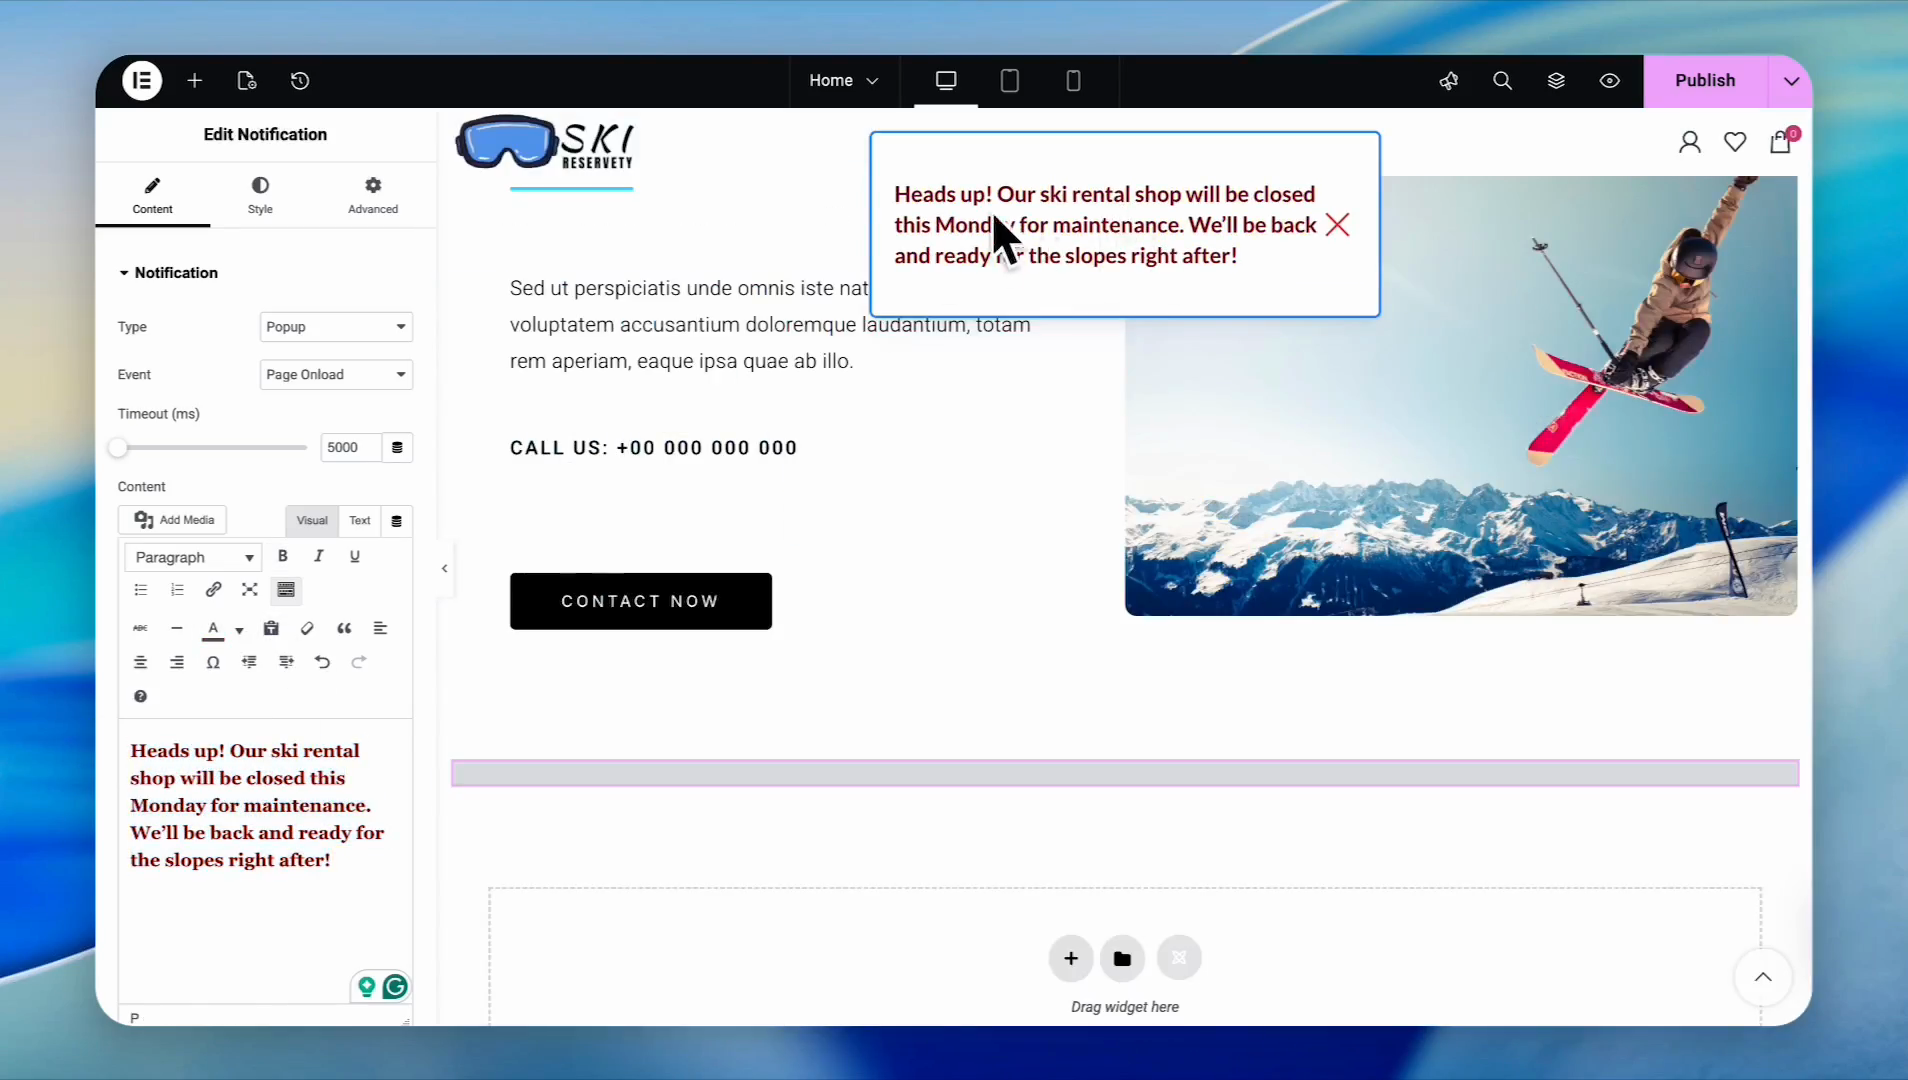
5
Type
popup into the widgets search bar. Click and drag the Notification widget onto your page canvas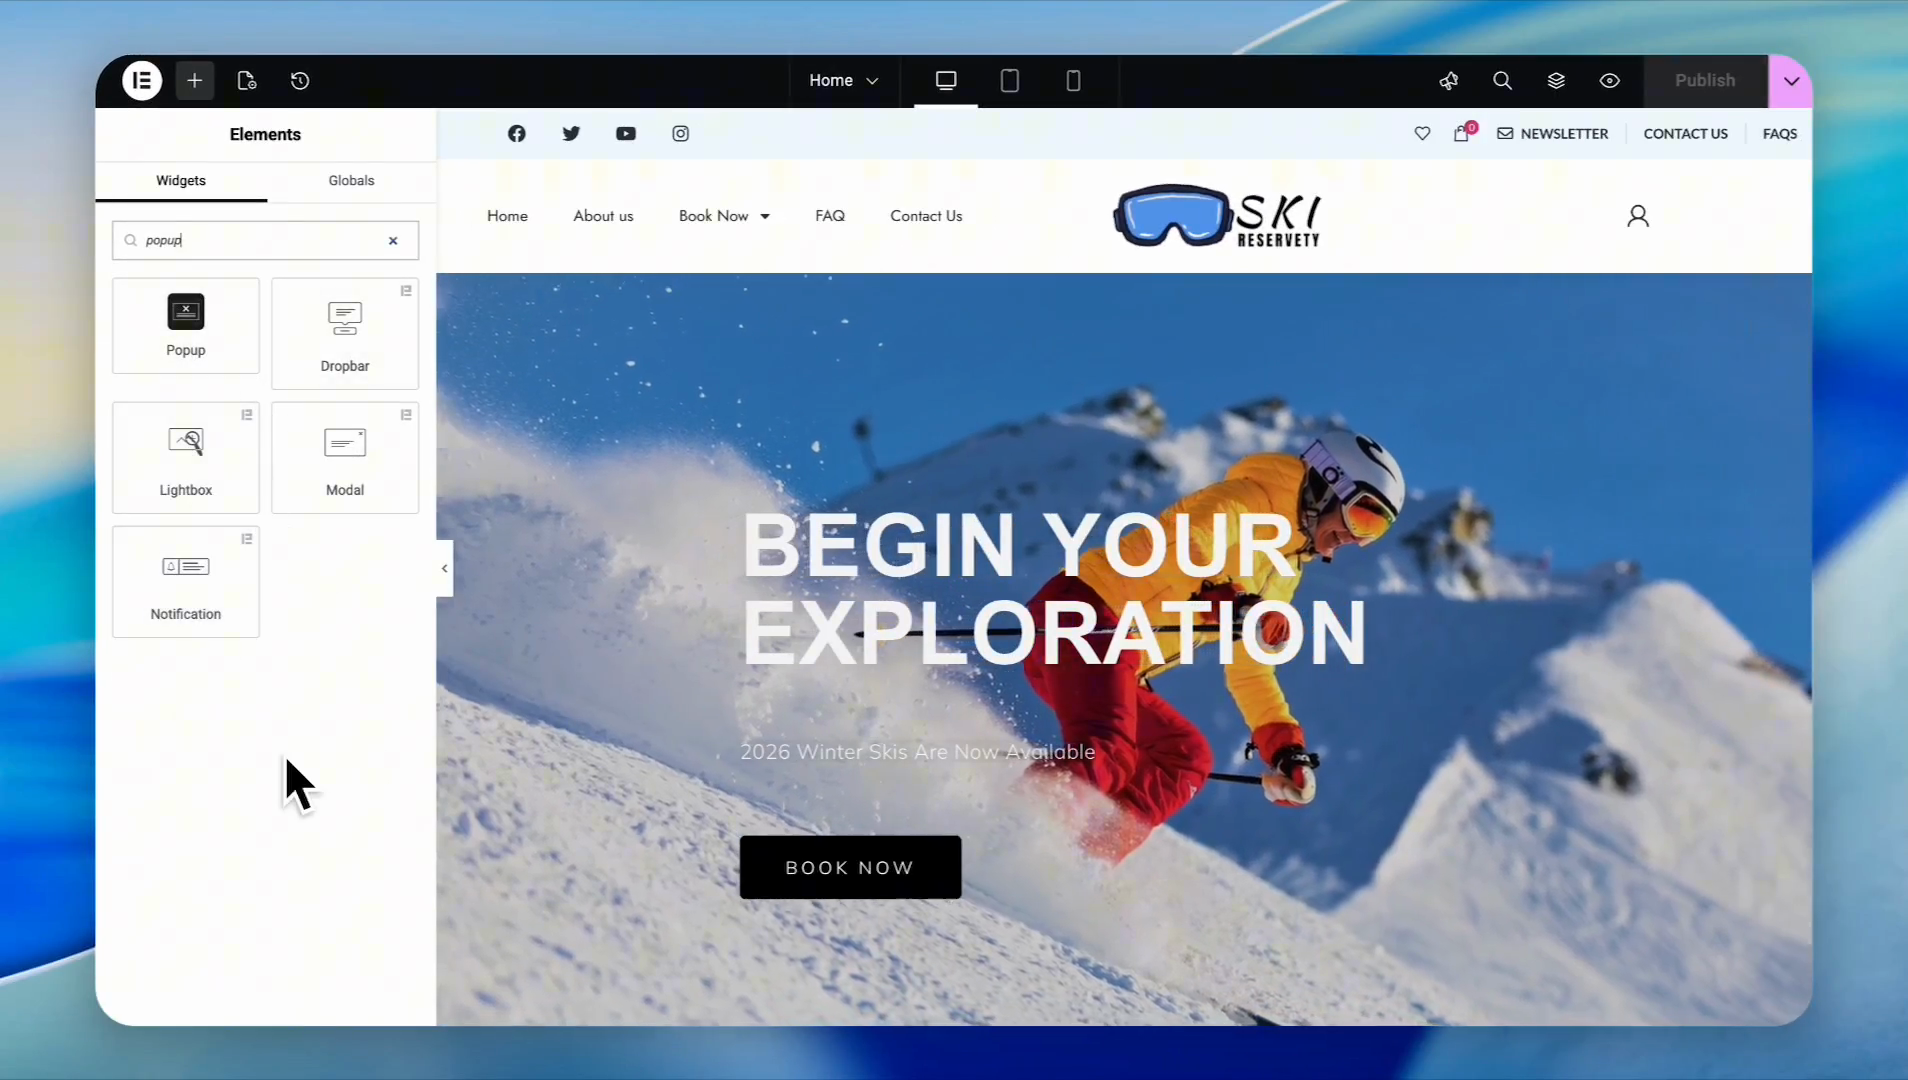
6
In the sidebar, type your message in the text editor (e.g., "We will be closed Monday for scheduled maintenance.")
7
Highlight your text and use the toolbar to adjust formatting or text color
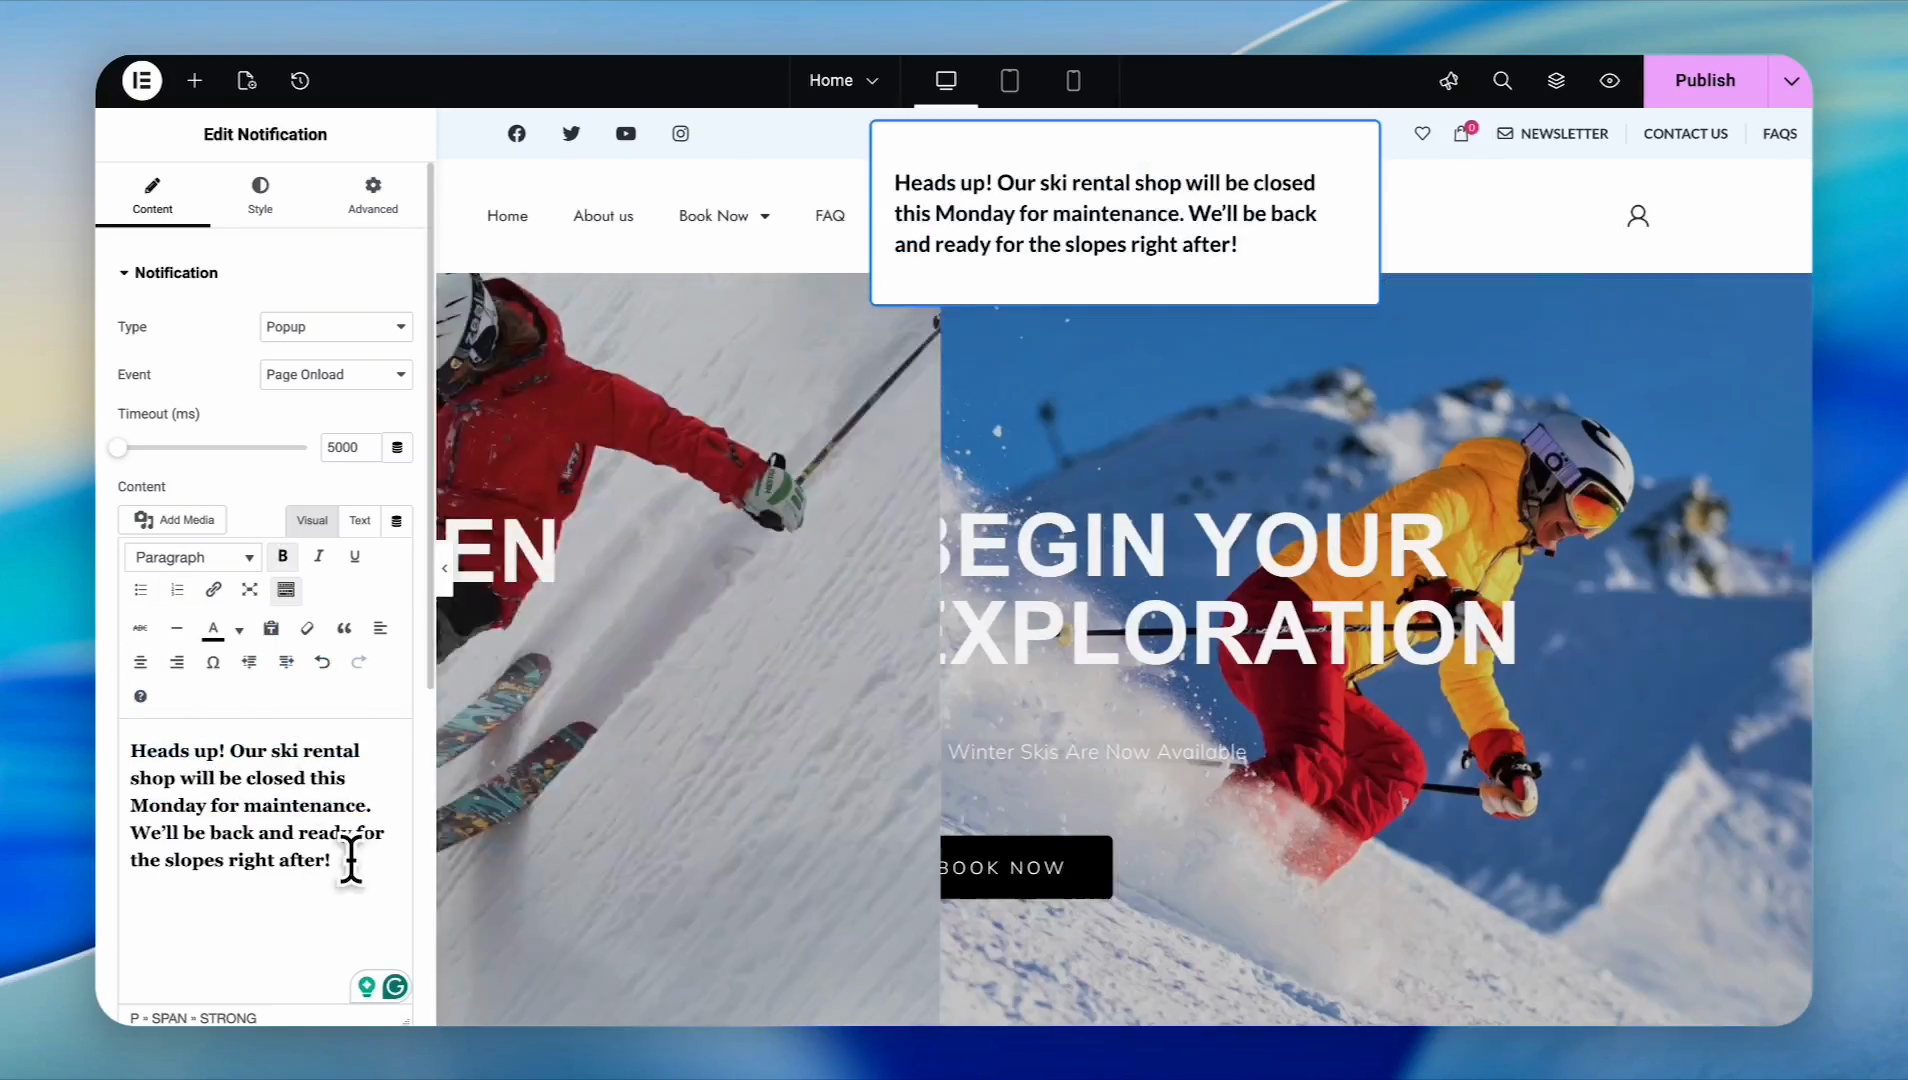
8
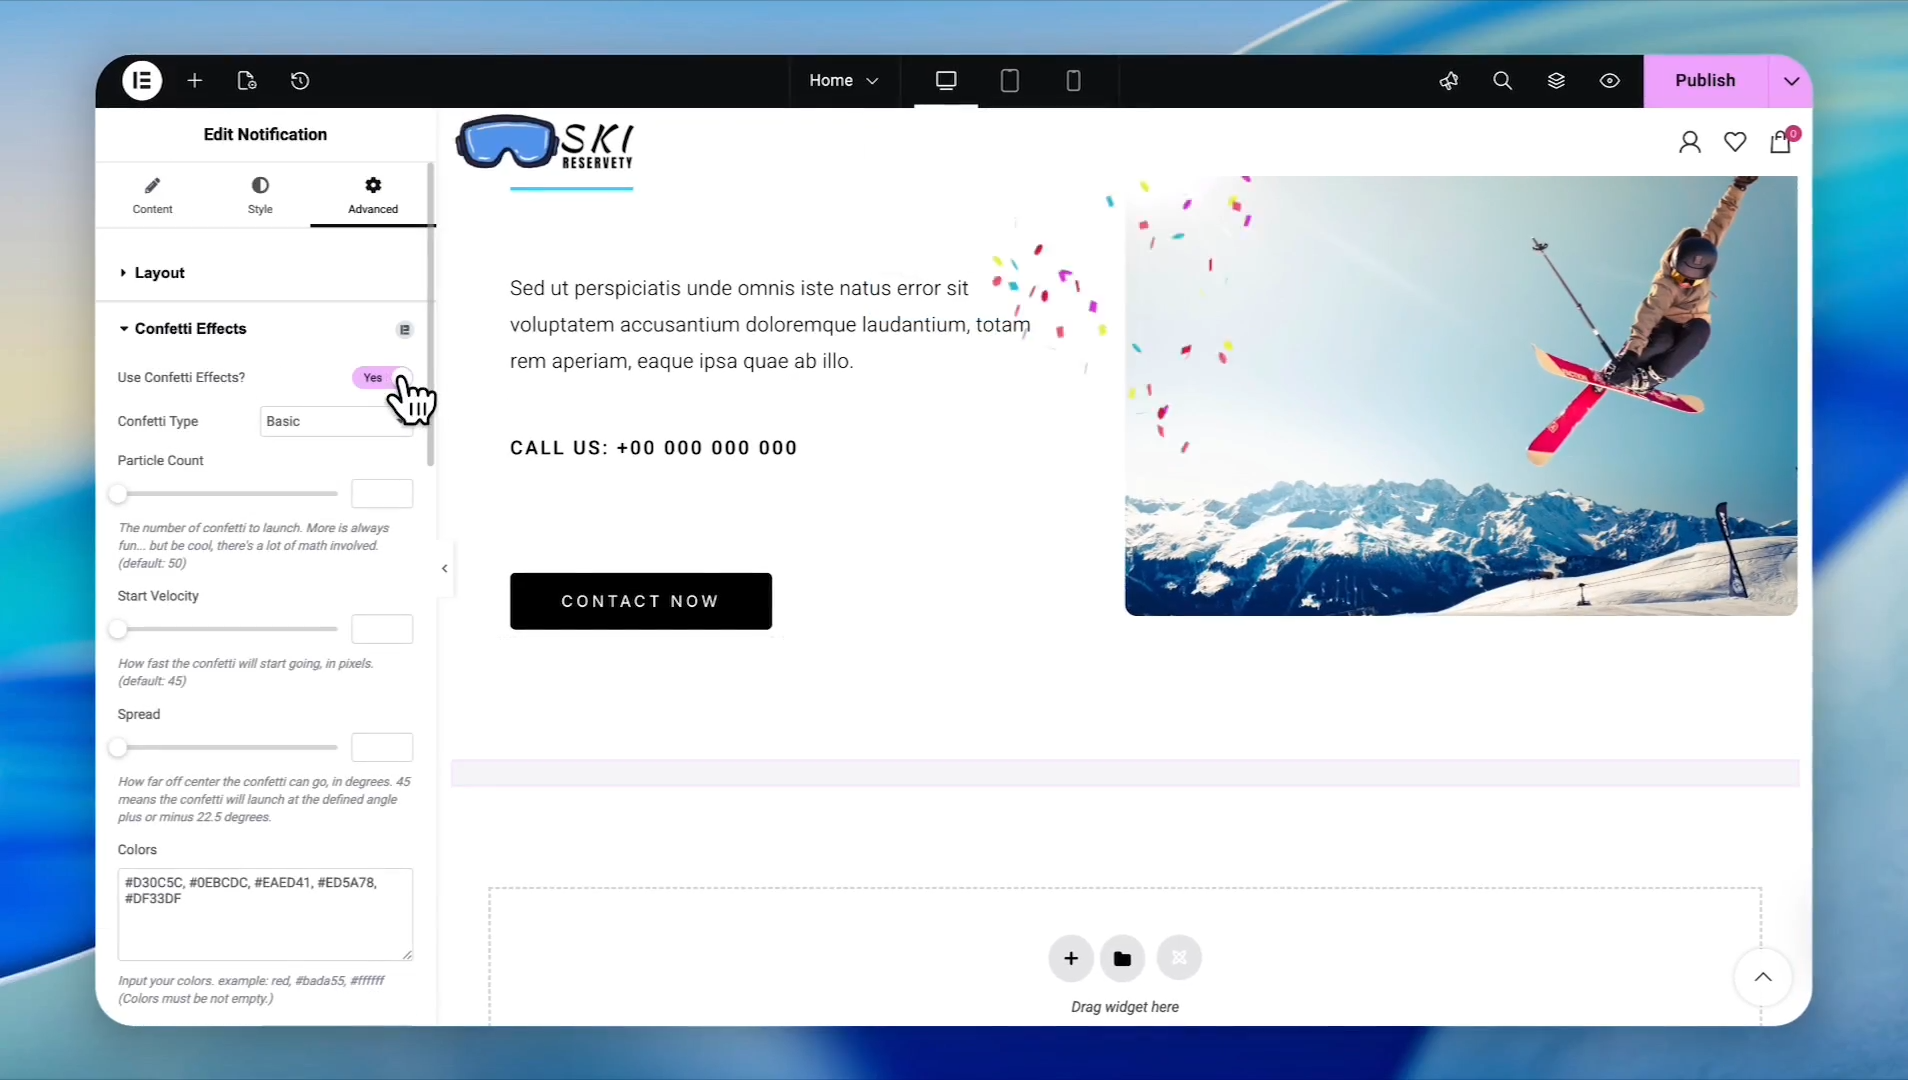
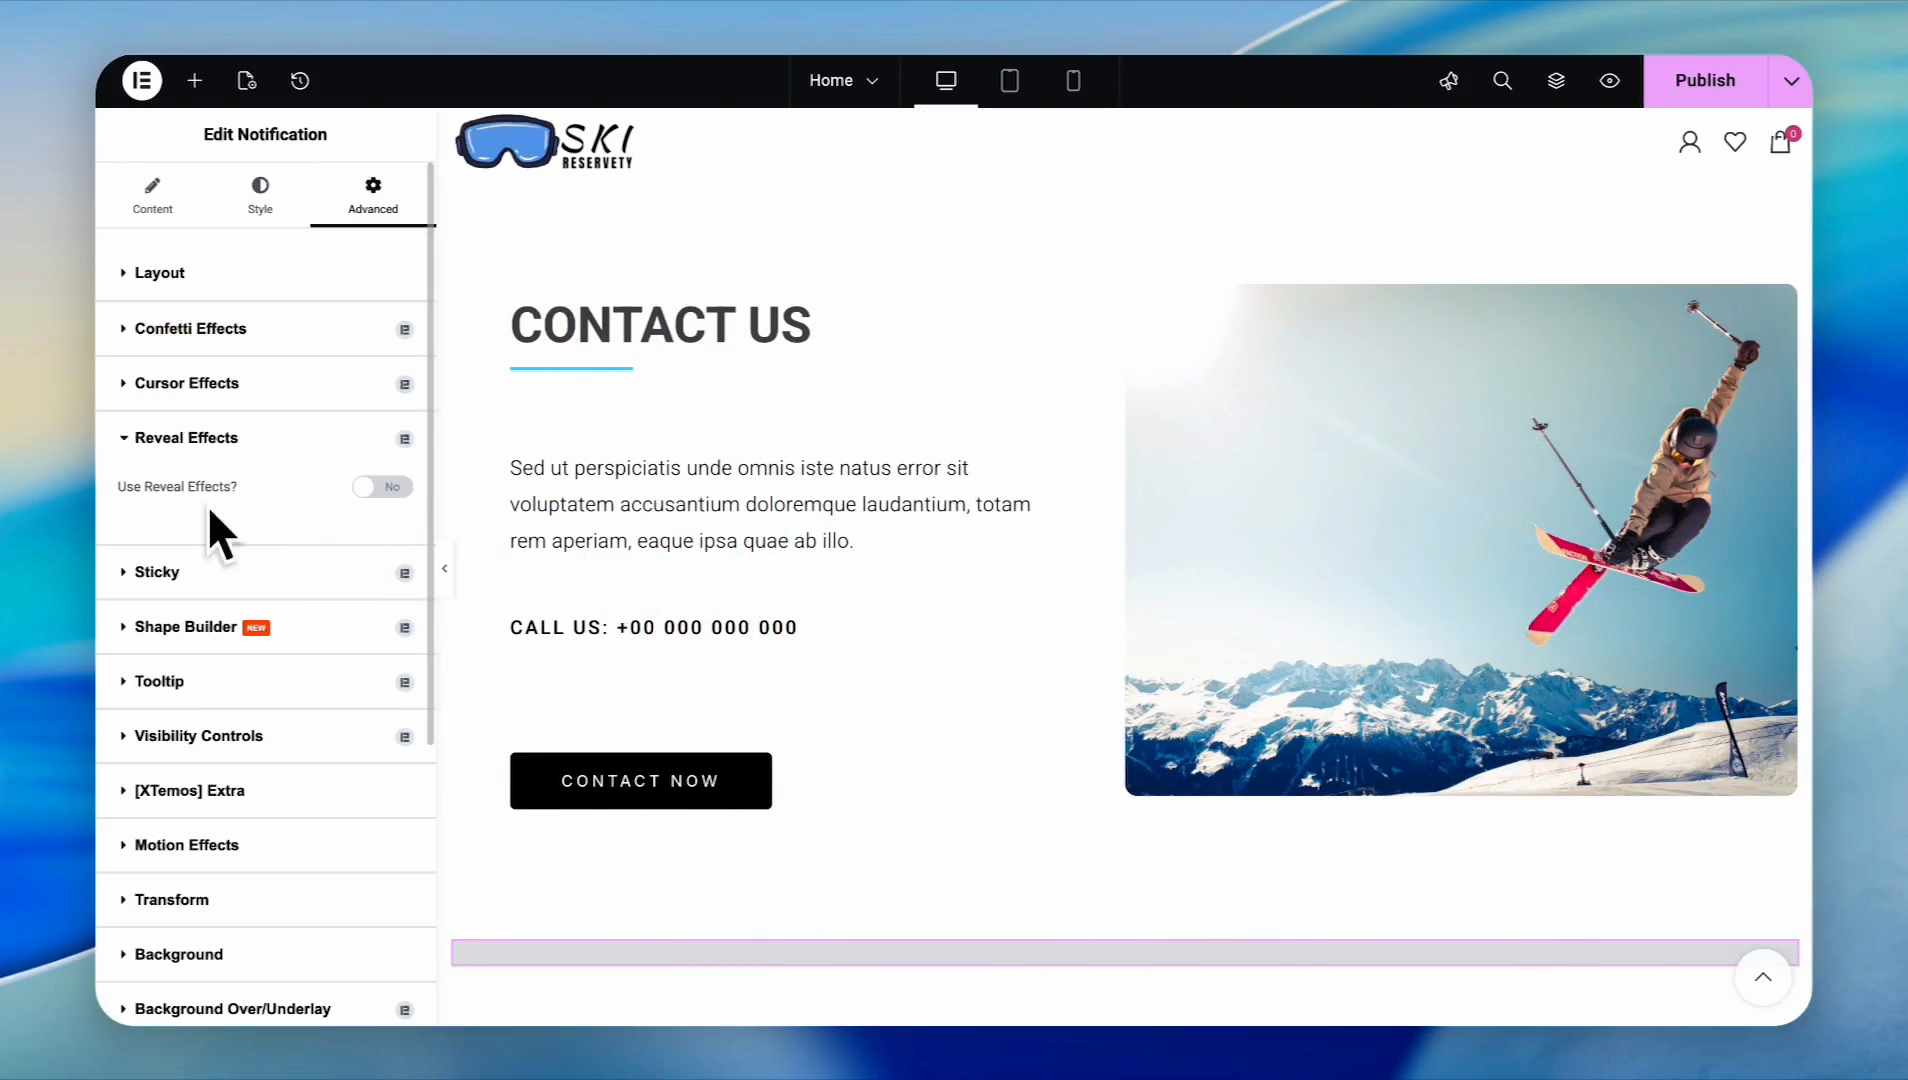
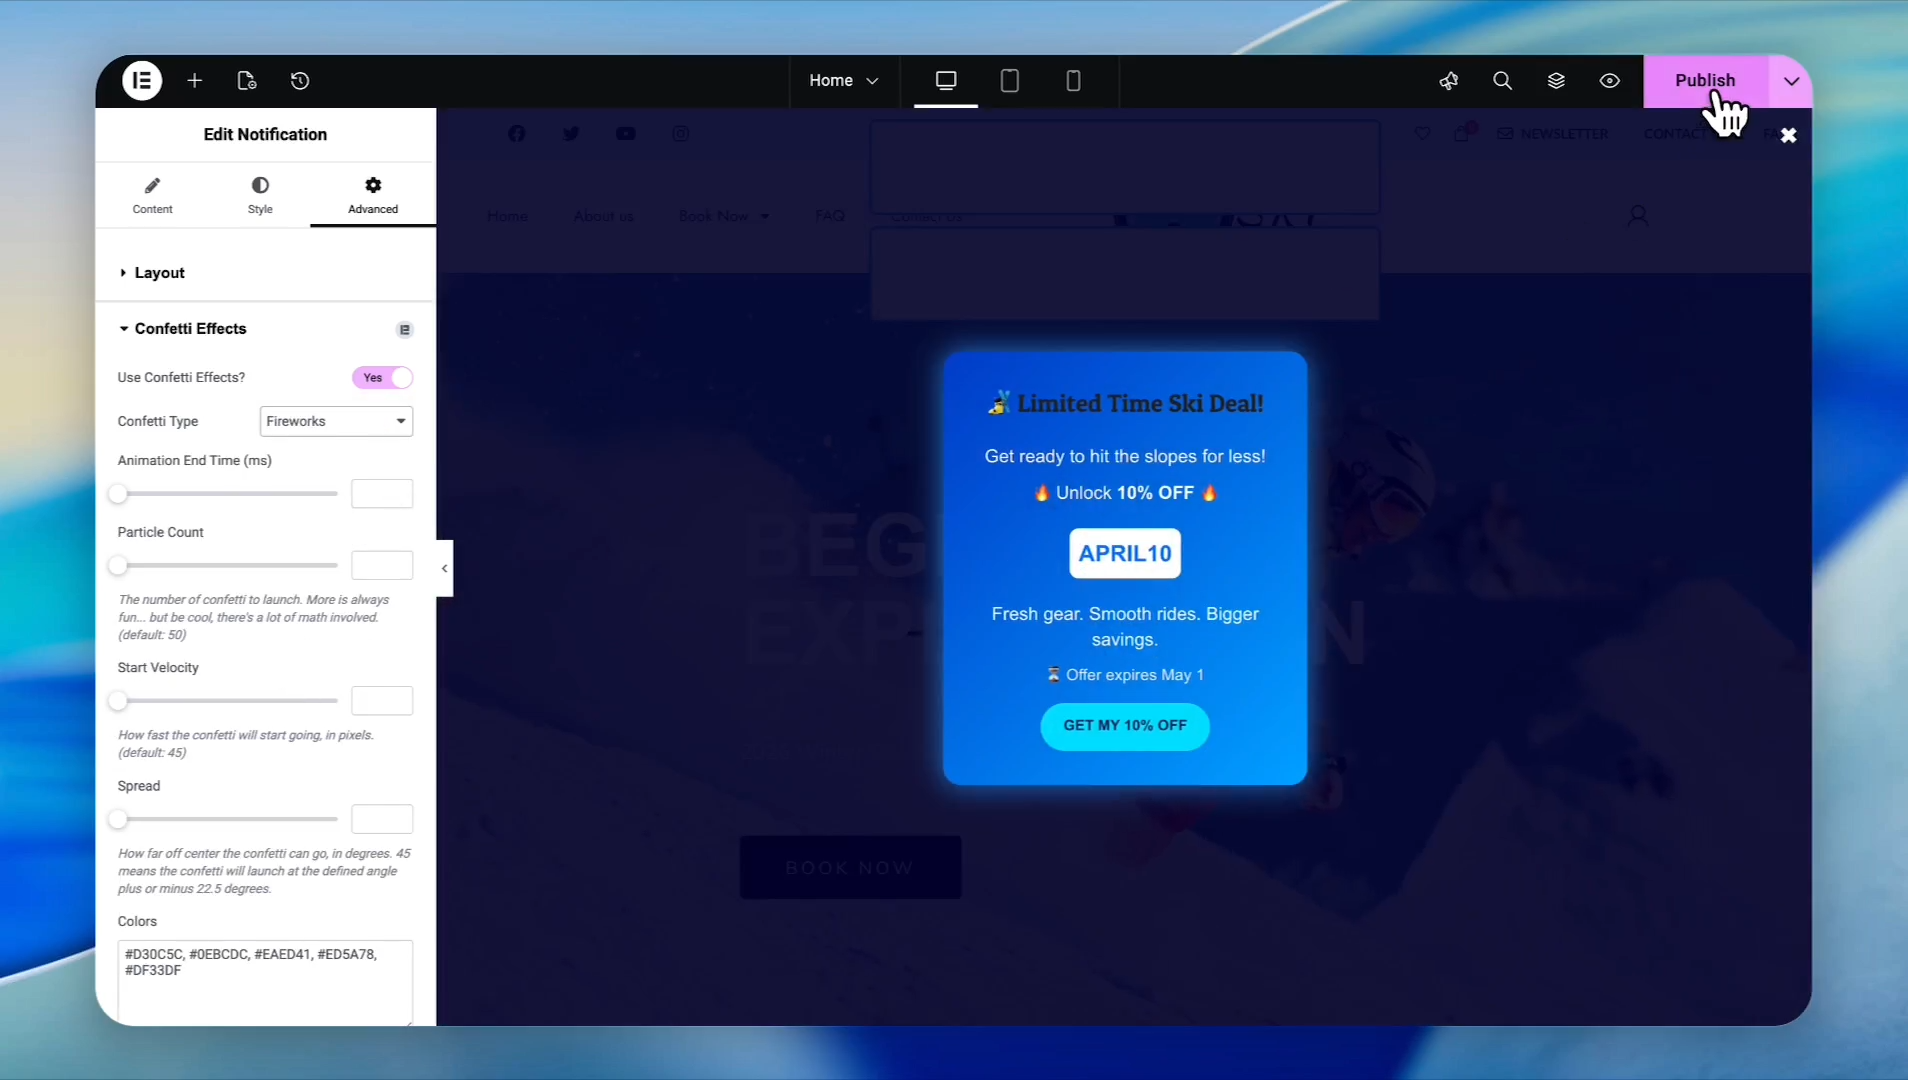
Click on the Advanced tab in the sidebar to add a special effect to the pop-up.
9
Toggle the Confetti Effects to activate background animations
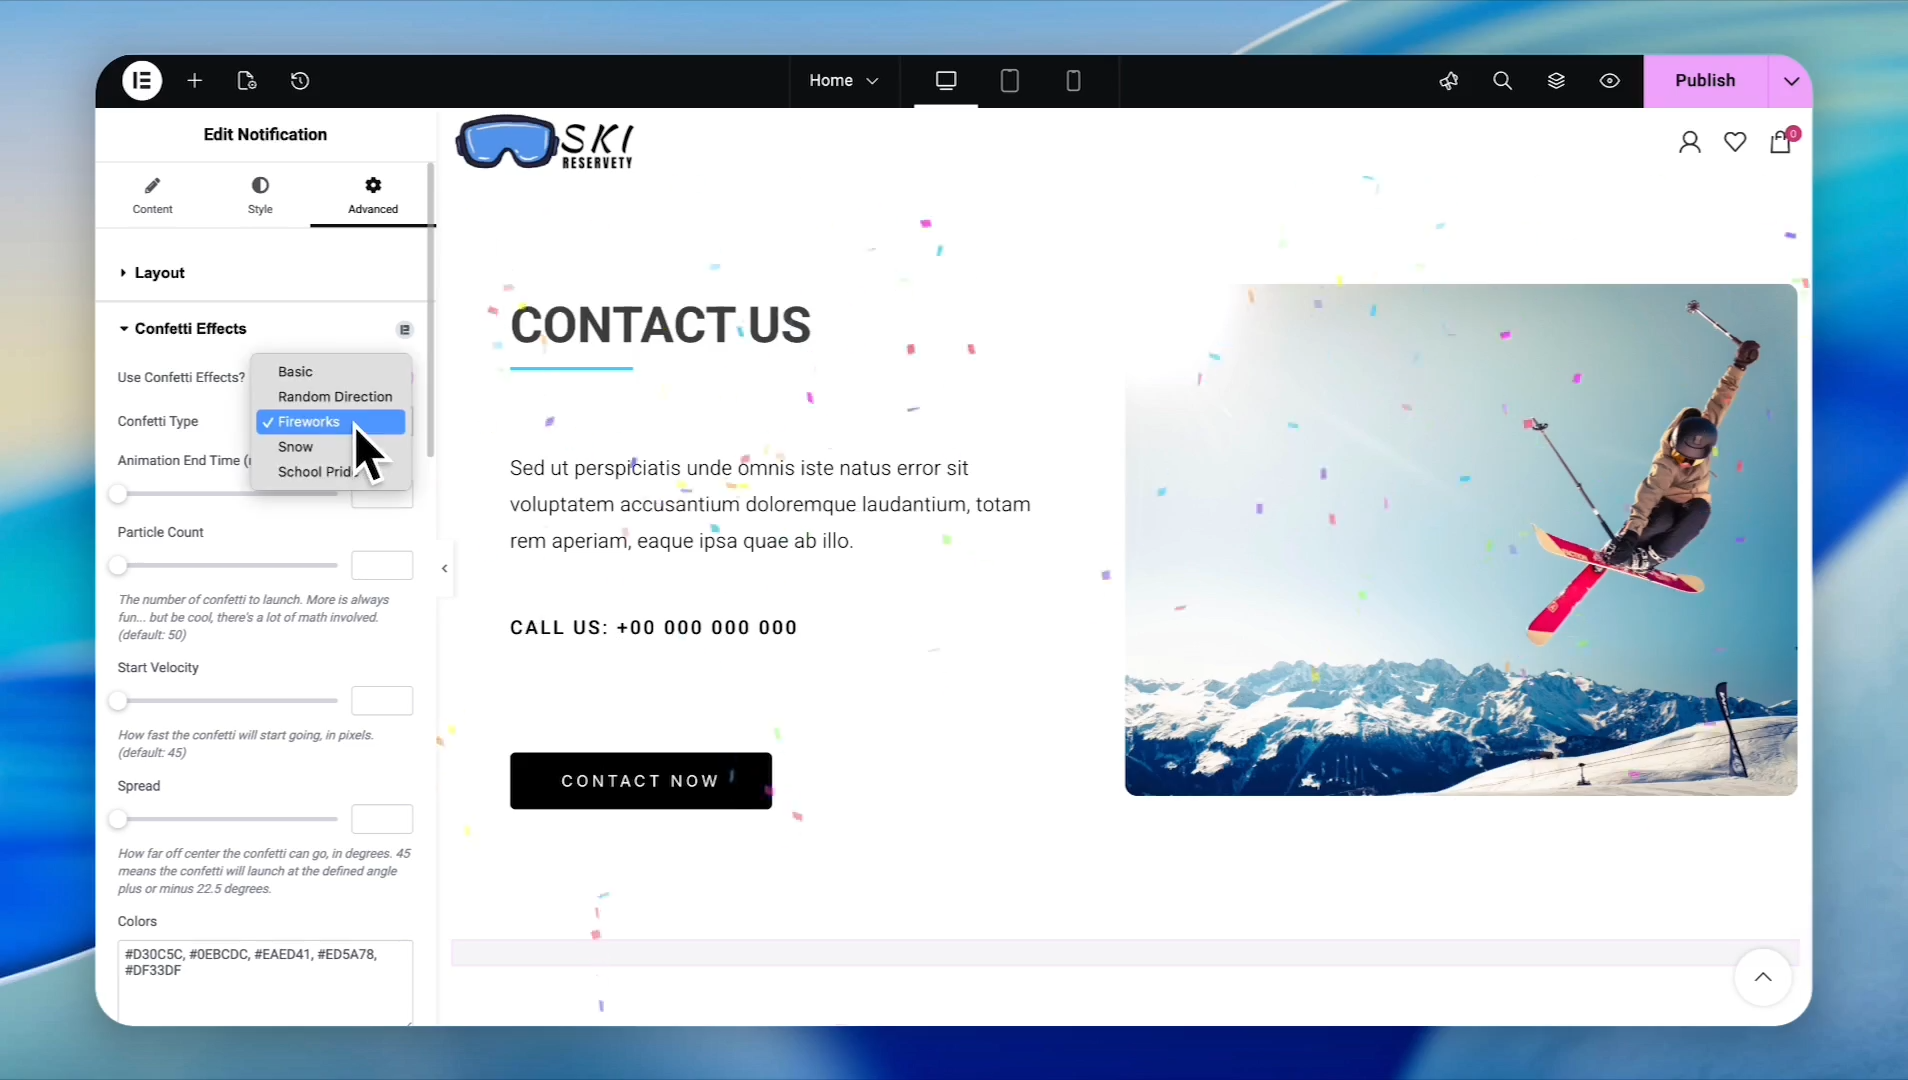
10
Choose a style like Fireworks or Snow from the dropdown menu
11
Enable Reveal Effects to control how the box animates into view (e.g., sliding from right to left or bottom to top)
12
Under Sound Effects, choose whether the sound triggers on Hover or Click
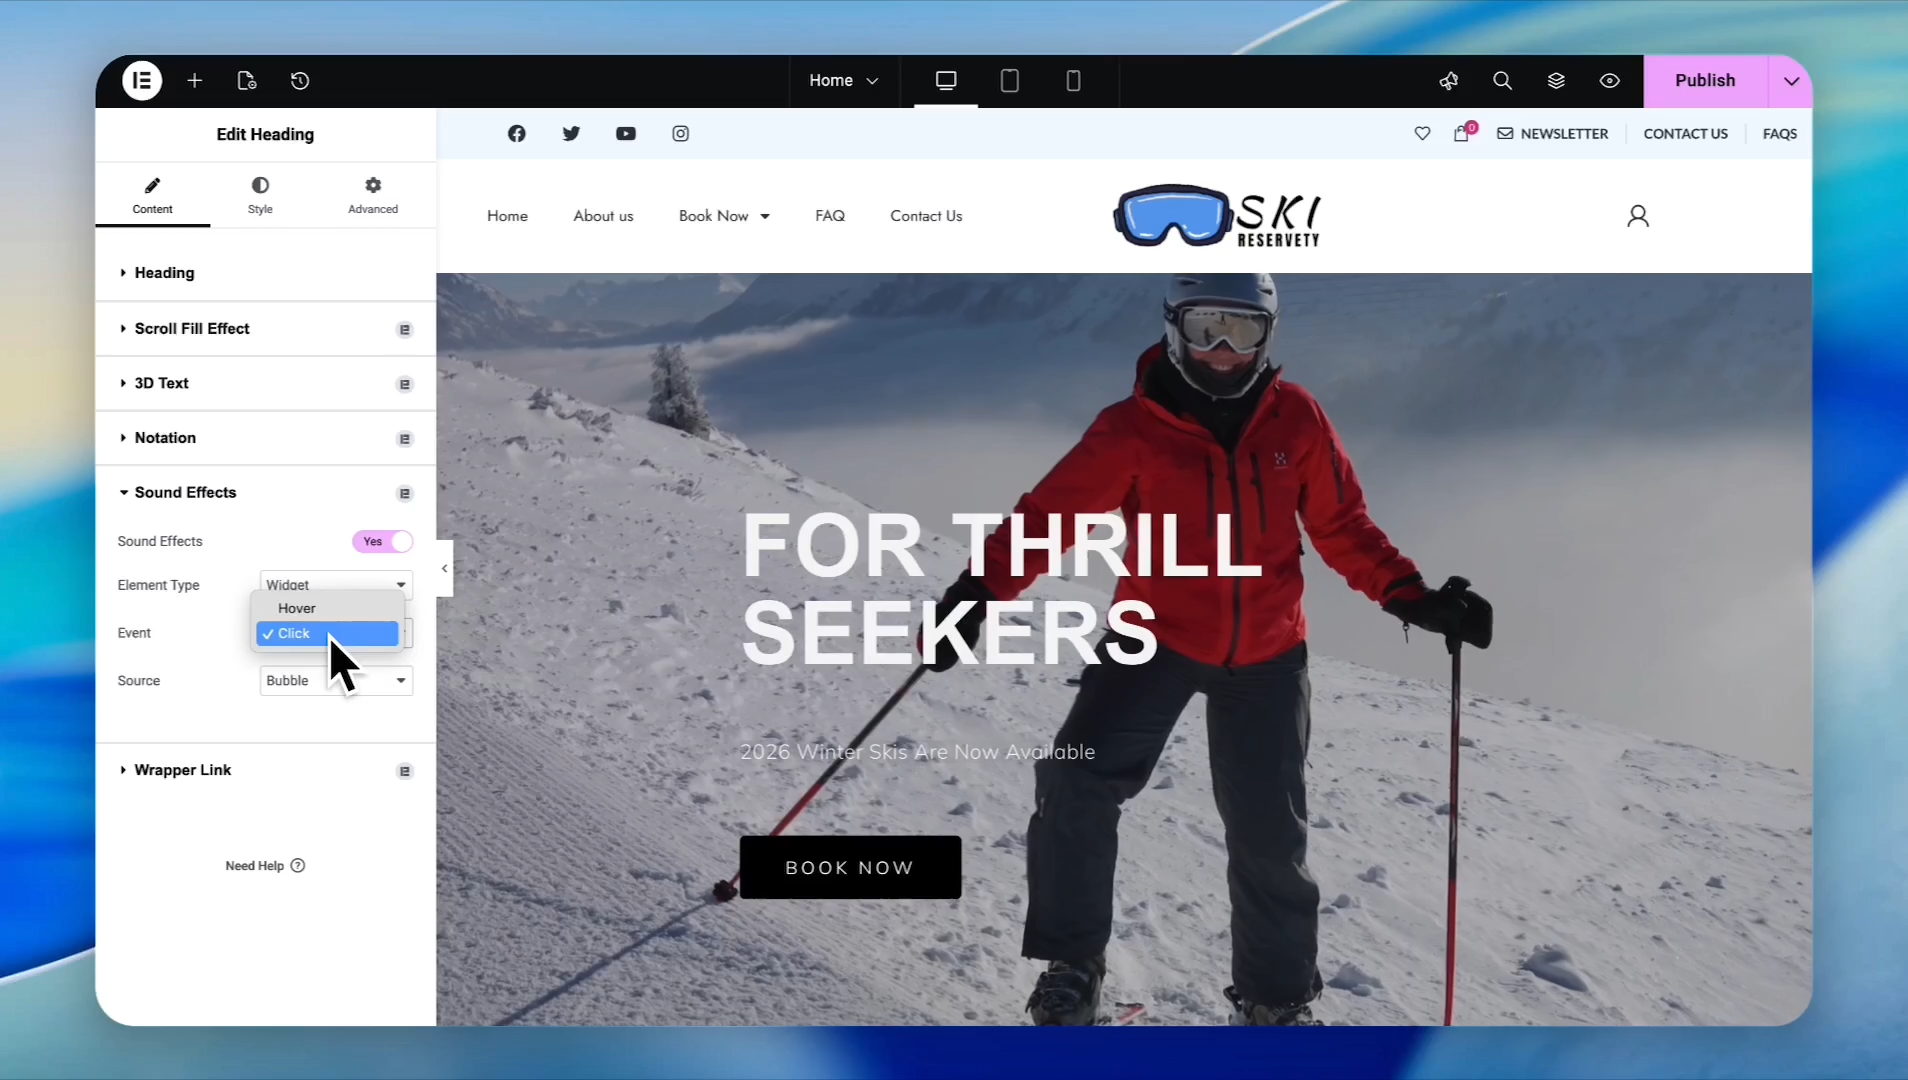
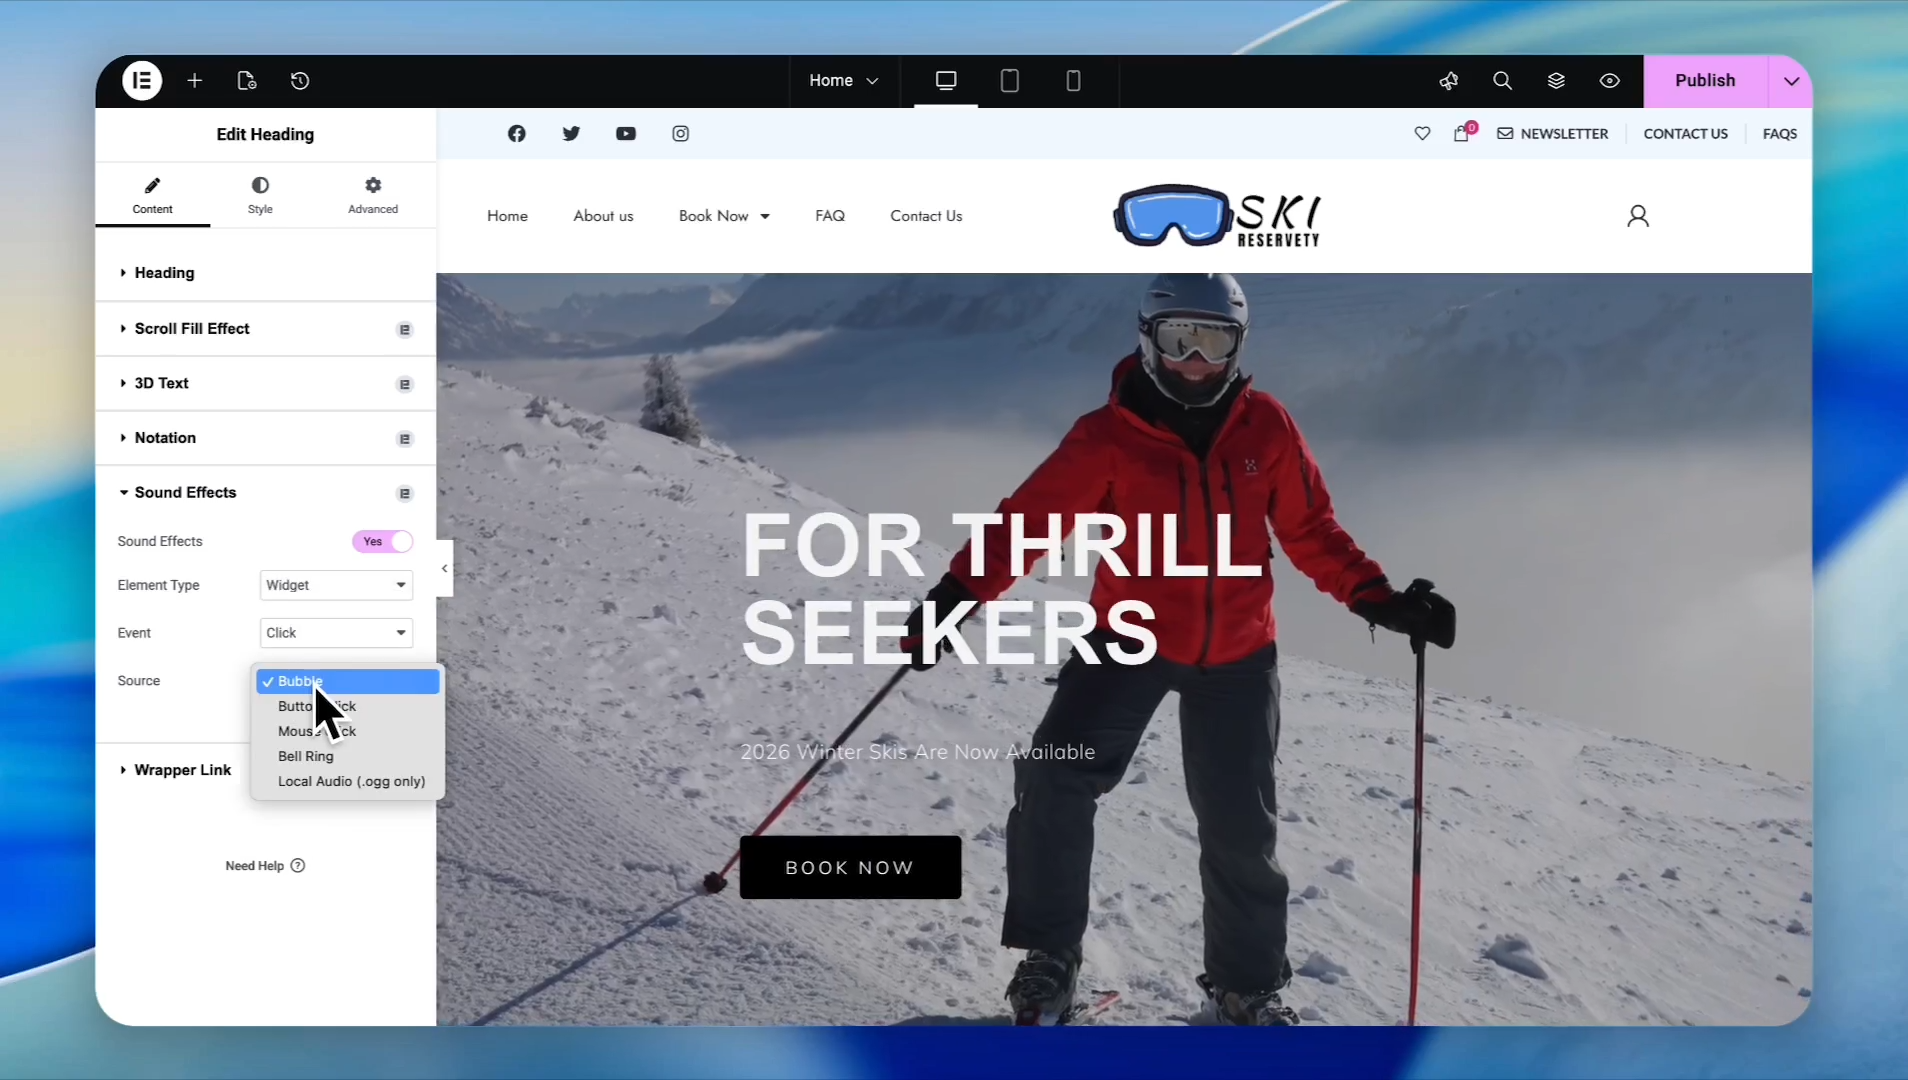
13
Select a sound type (like a button click or bell ring) from the dropdown list
.
Create an HTML Banner with AI
Instead of a plain text box, you can use AI to instantly design a fully styled HTML promotional banner.
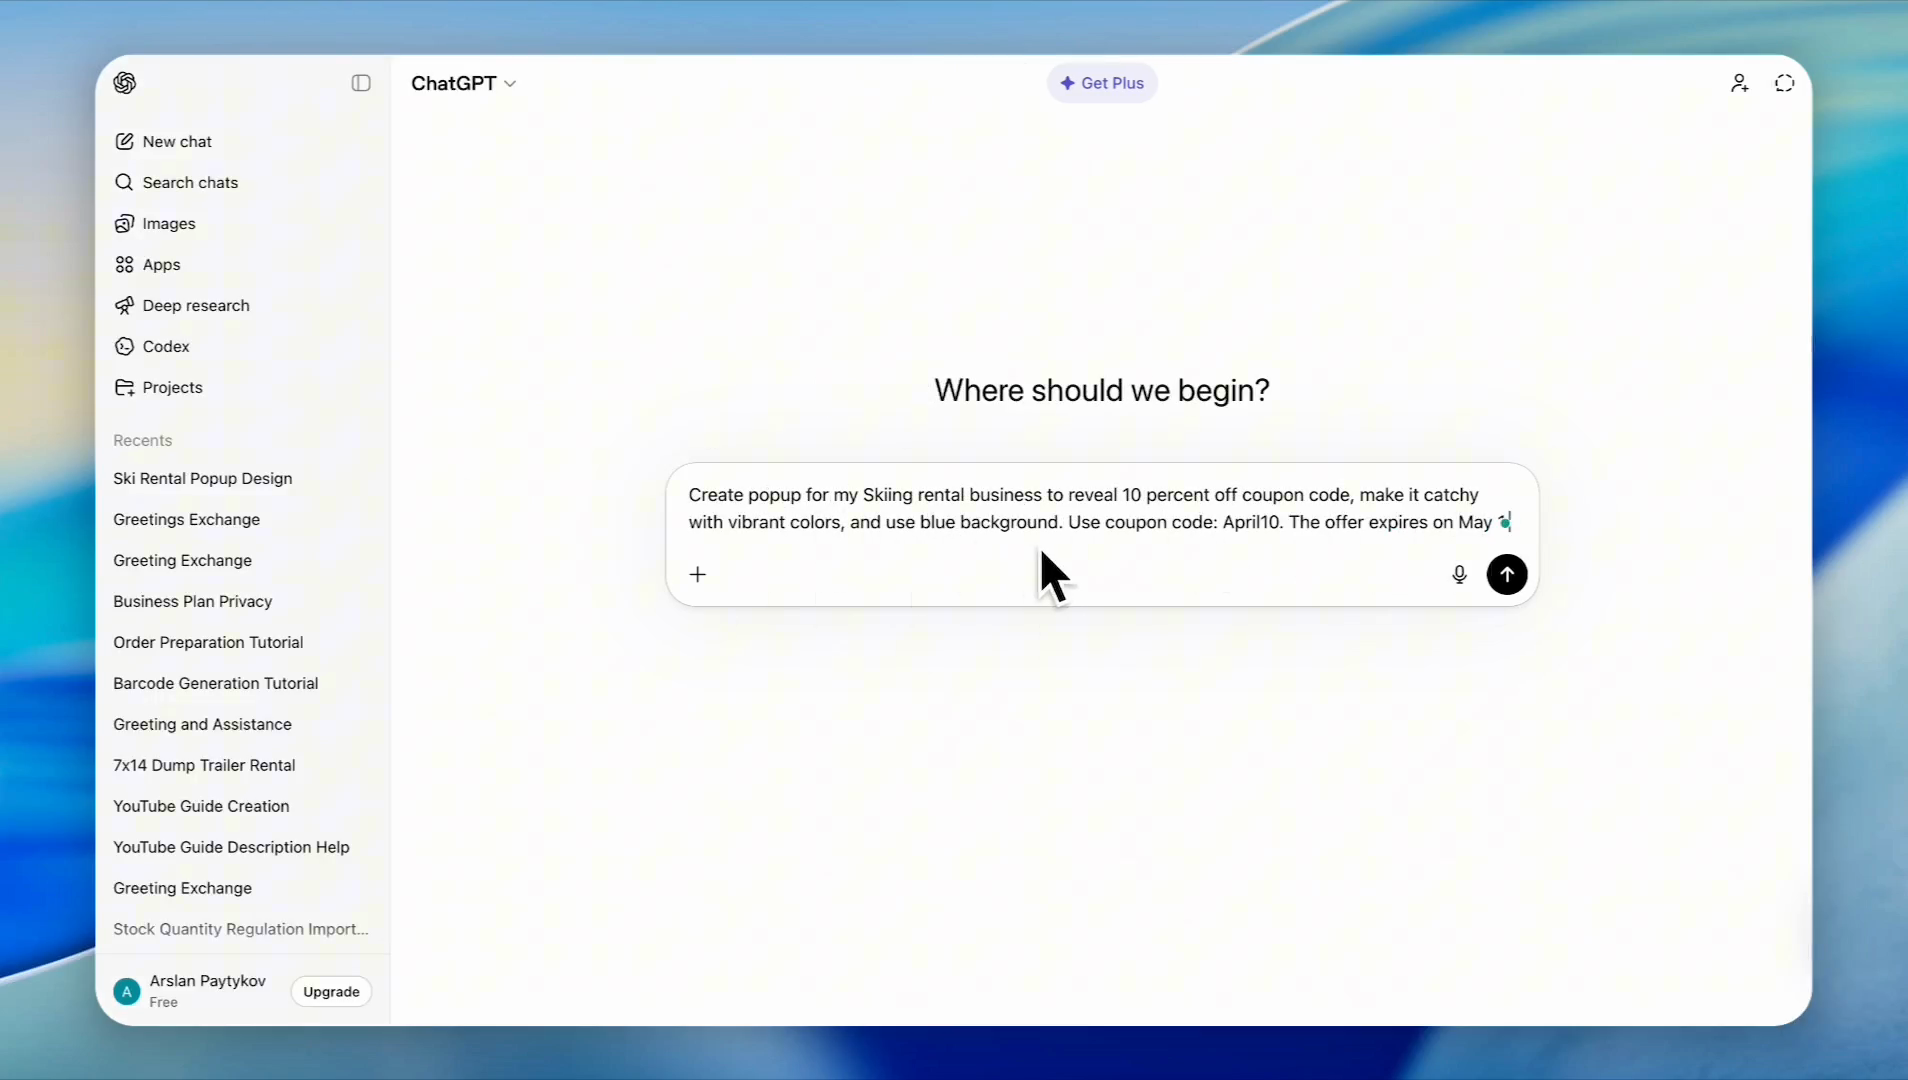
14
In ChatGPT, enter a prompt describing your ideal banner and submit it (e.g., "Create a pop-up for my ski rental business to reveal a 10% off coupon. Make it catchy, use vibrant colors with a blue background, and include the code APRIL 10 expiring May 1st.")
15
Once it provides the text version, type
Turn it into HTML and press Enter. Click Copy code on the generated snippet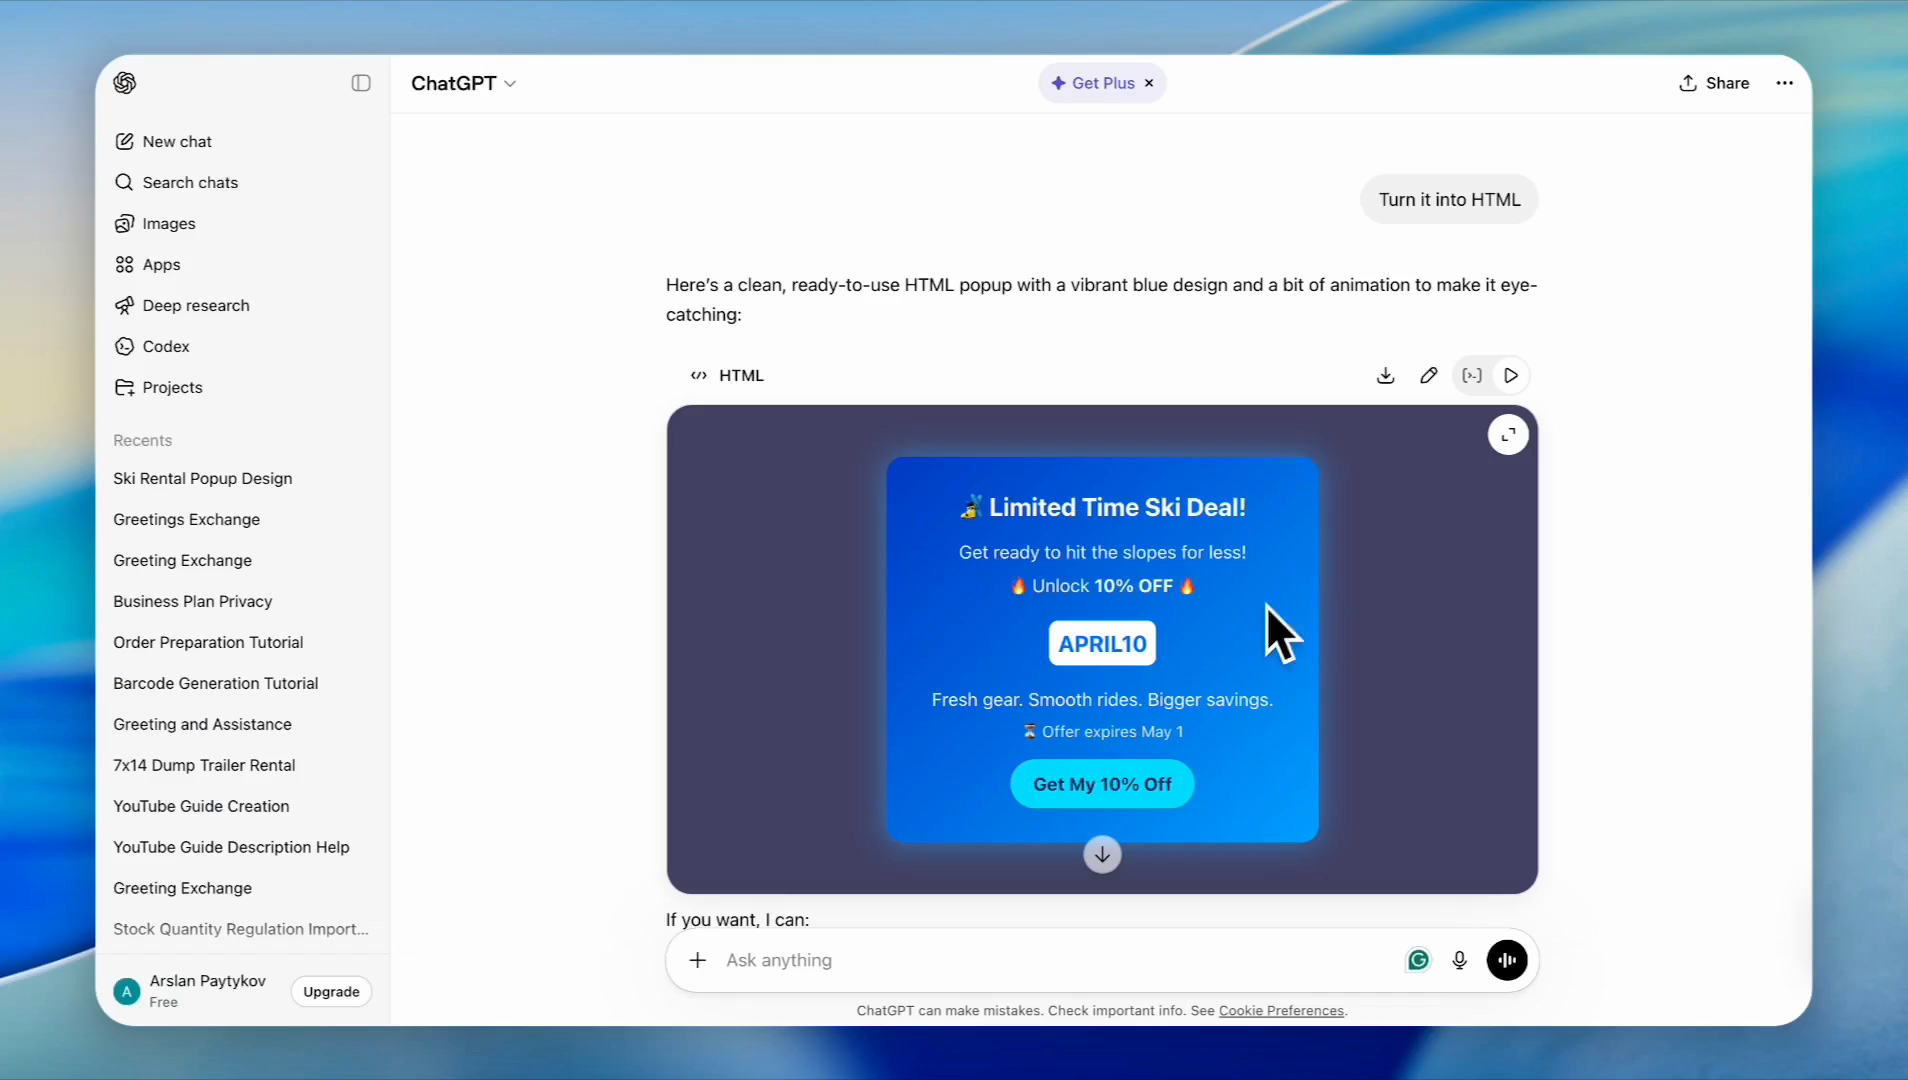
16
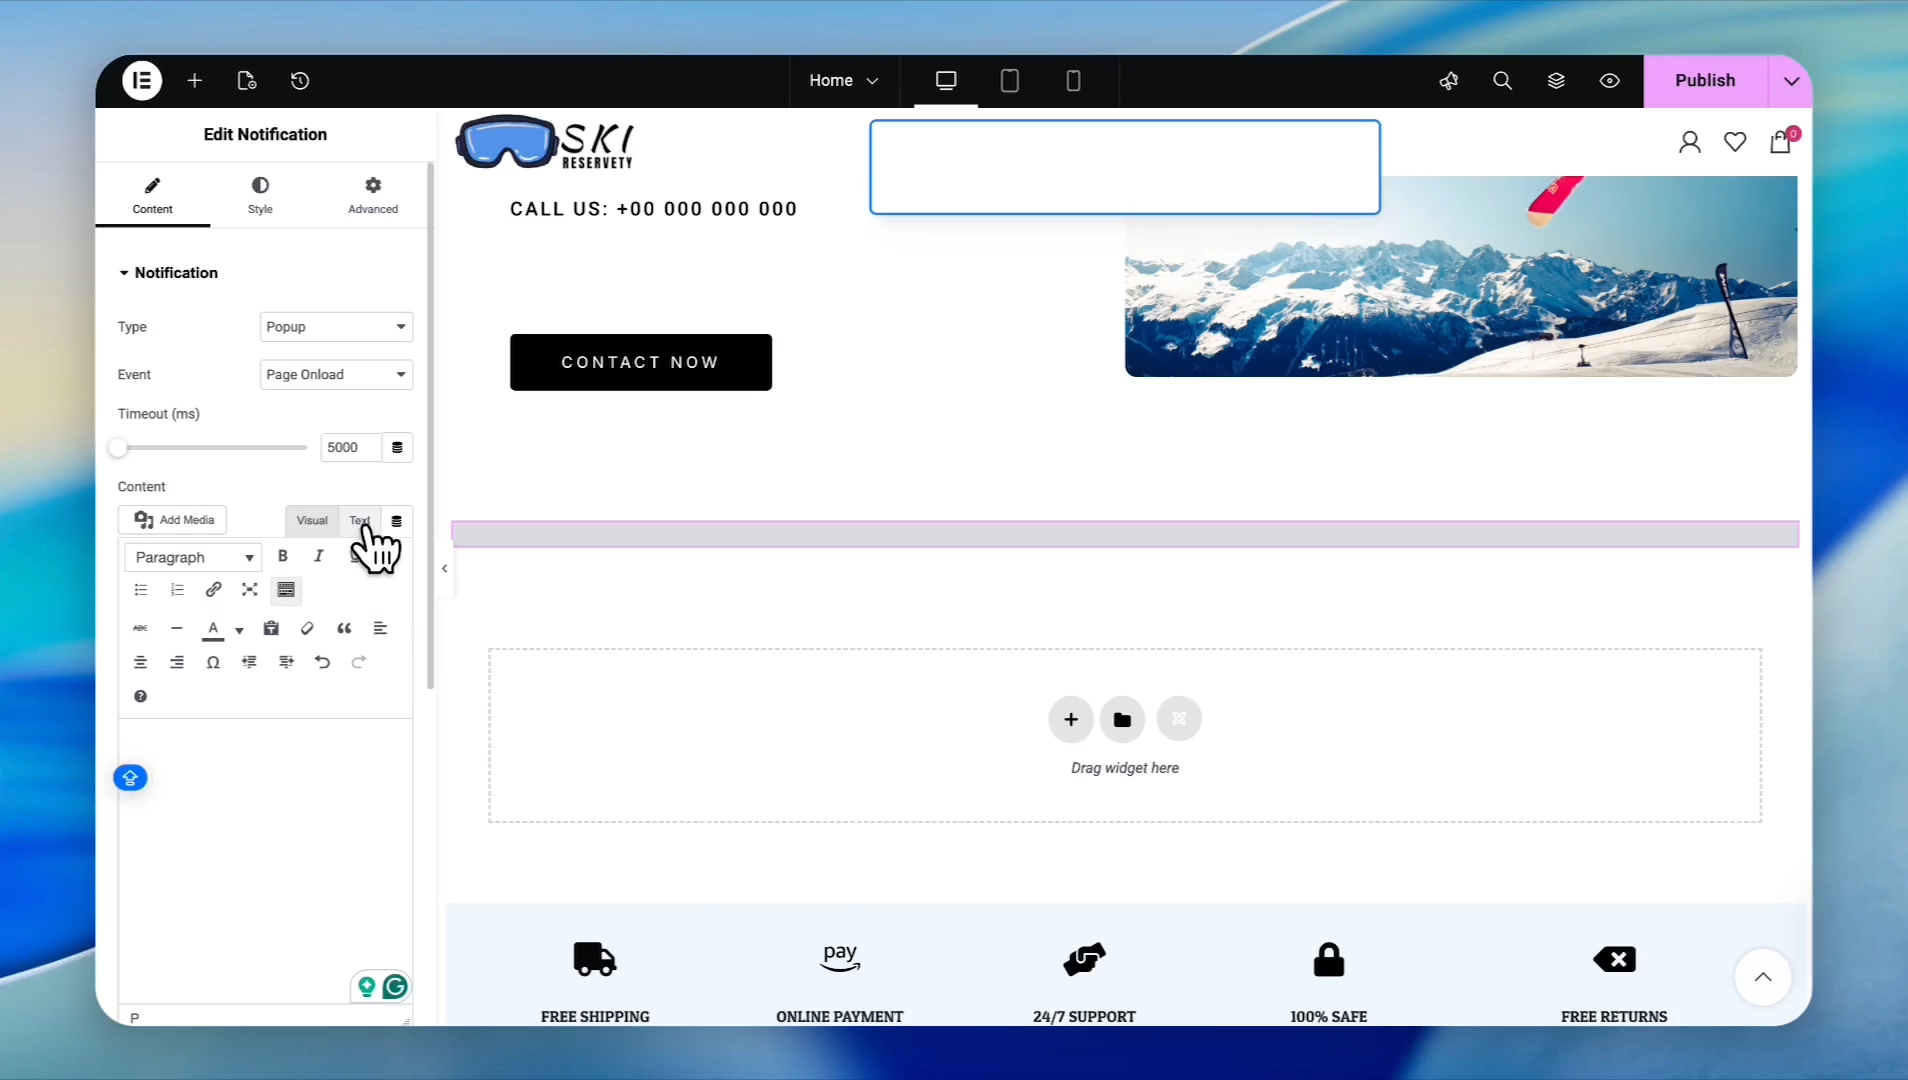
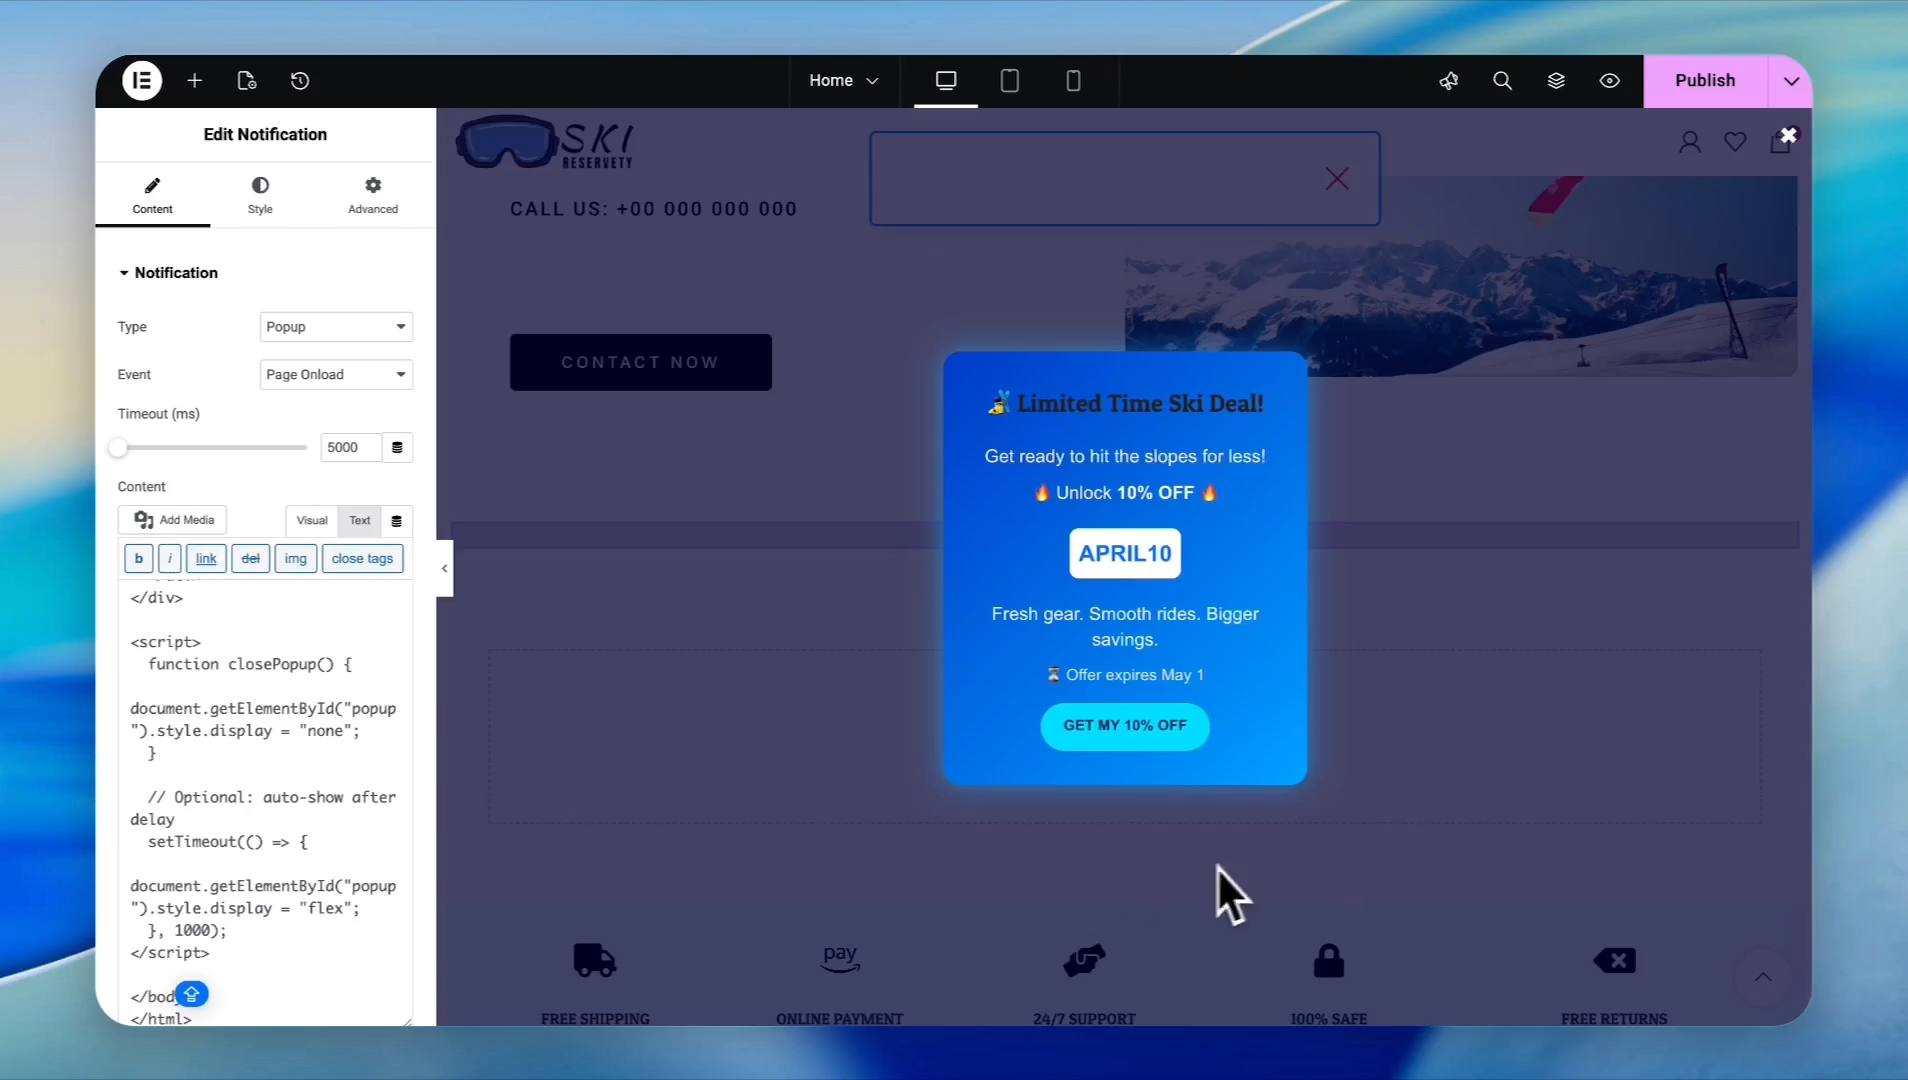
Back in the Visual Editor, select your notification box again to open the sidebar settings. Click the Text tab in the message editor to view the source code mode.
17
Clear out the old text and paste your copied HTML code. Your custom AI banner will immediately render in the preview.
.
Configure Pop-up Triggers & Publish
Finally, control precisely when and how often visitors see your banner.
18
In the notification settings, click the Type dropdown and select Popup
19
Click the Event dropdown to determine when the pop-up triggers
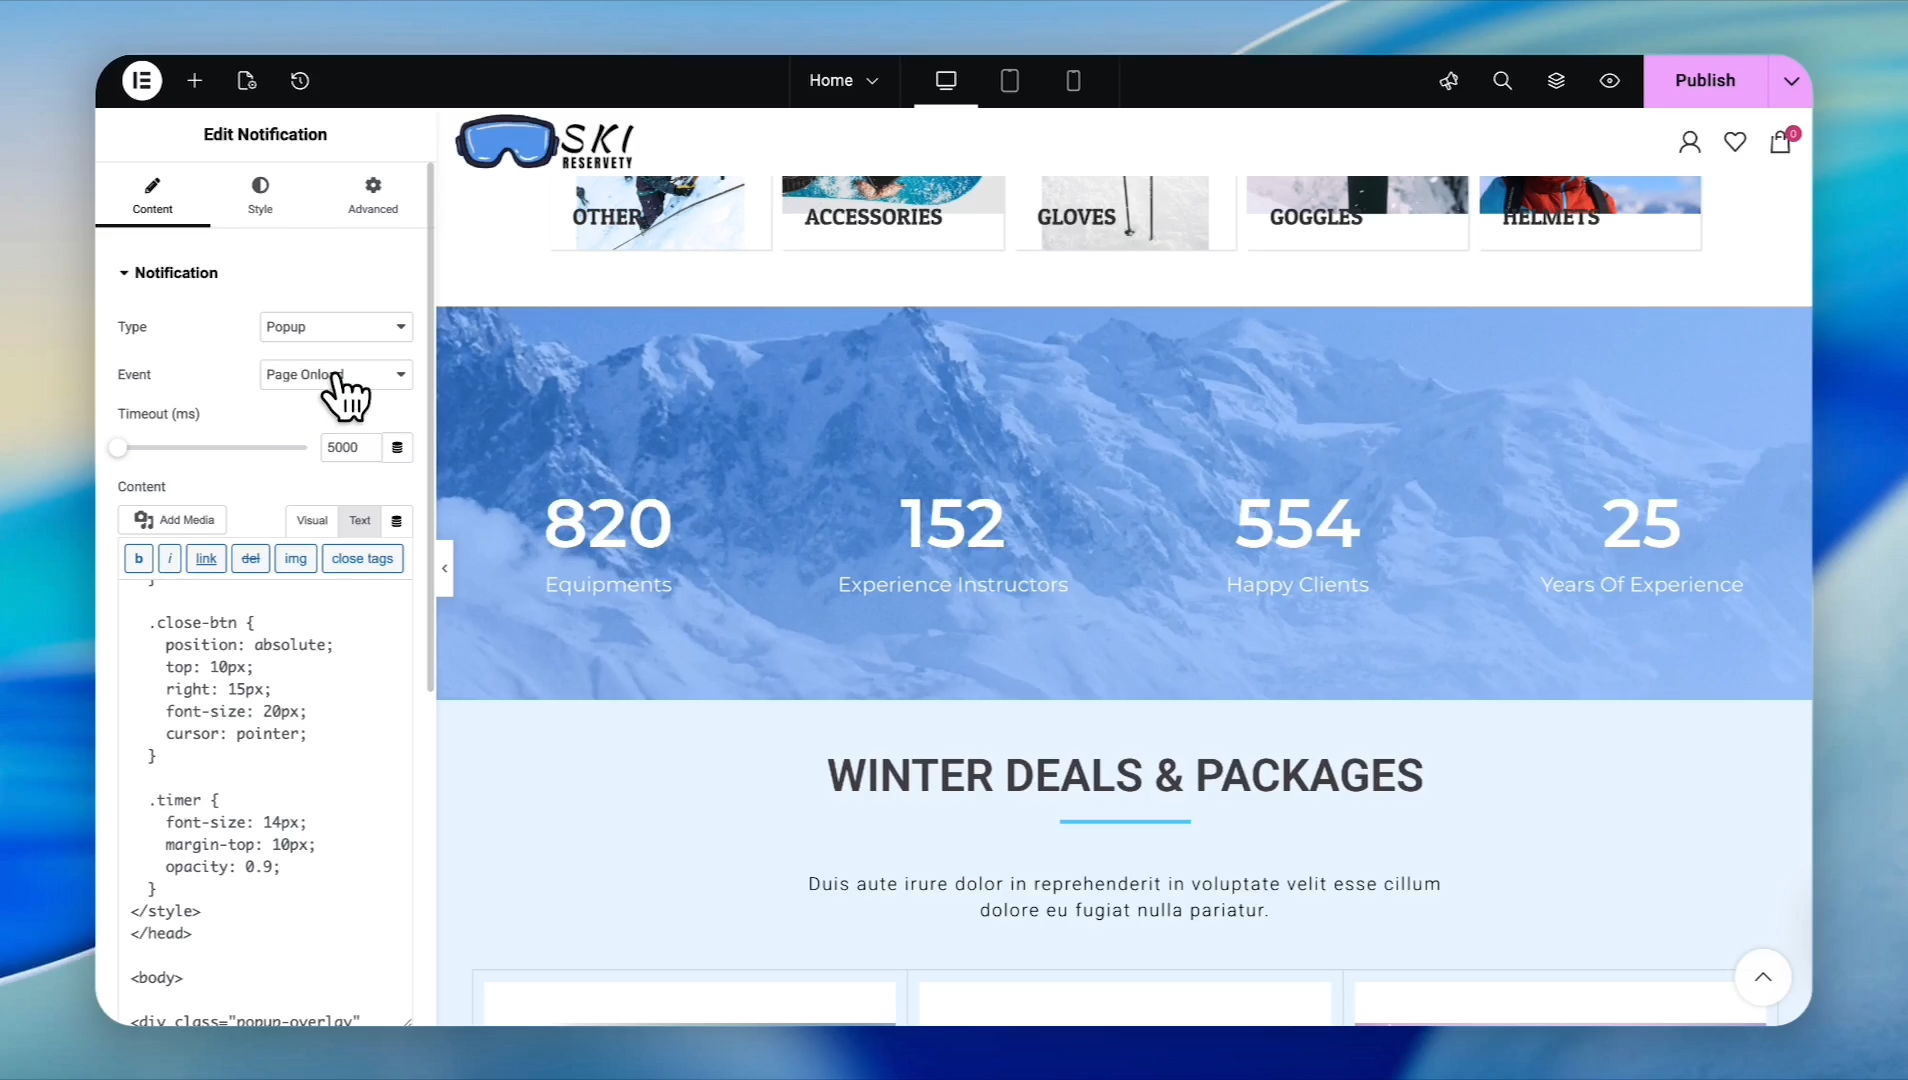
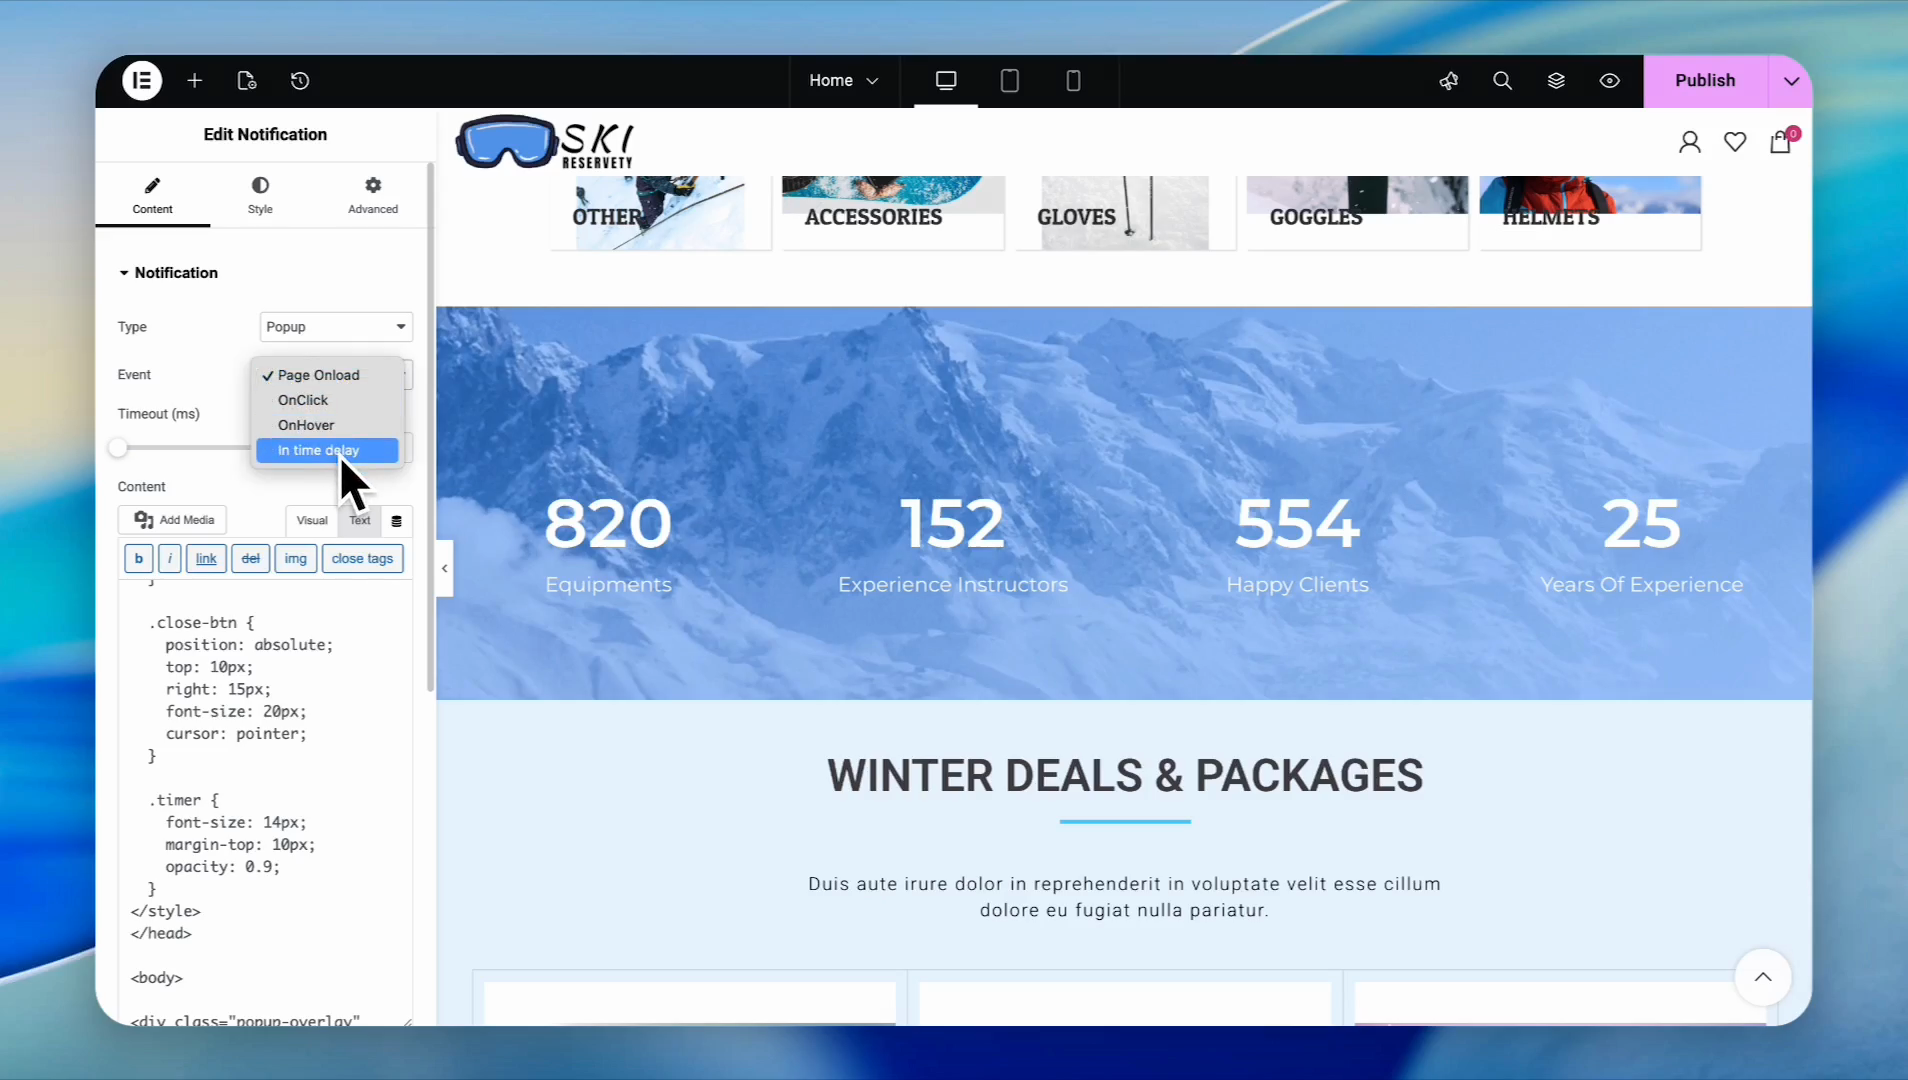
20
Select an event behavior, like in-time delay (shows after a set period) or Page Unload (exit intent)
21
If using a delay, enter the delay value (e.g.,
4000 milliseconds)22
Enter the display time value to control how long the pop-up stays on the screen
23
Expand the Additional settings

24
Set a display limit to avoid annoying visitors by entering a maximum number of views (e.g.,
4)25
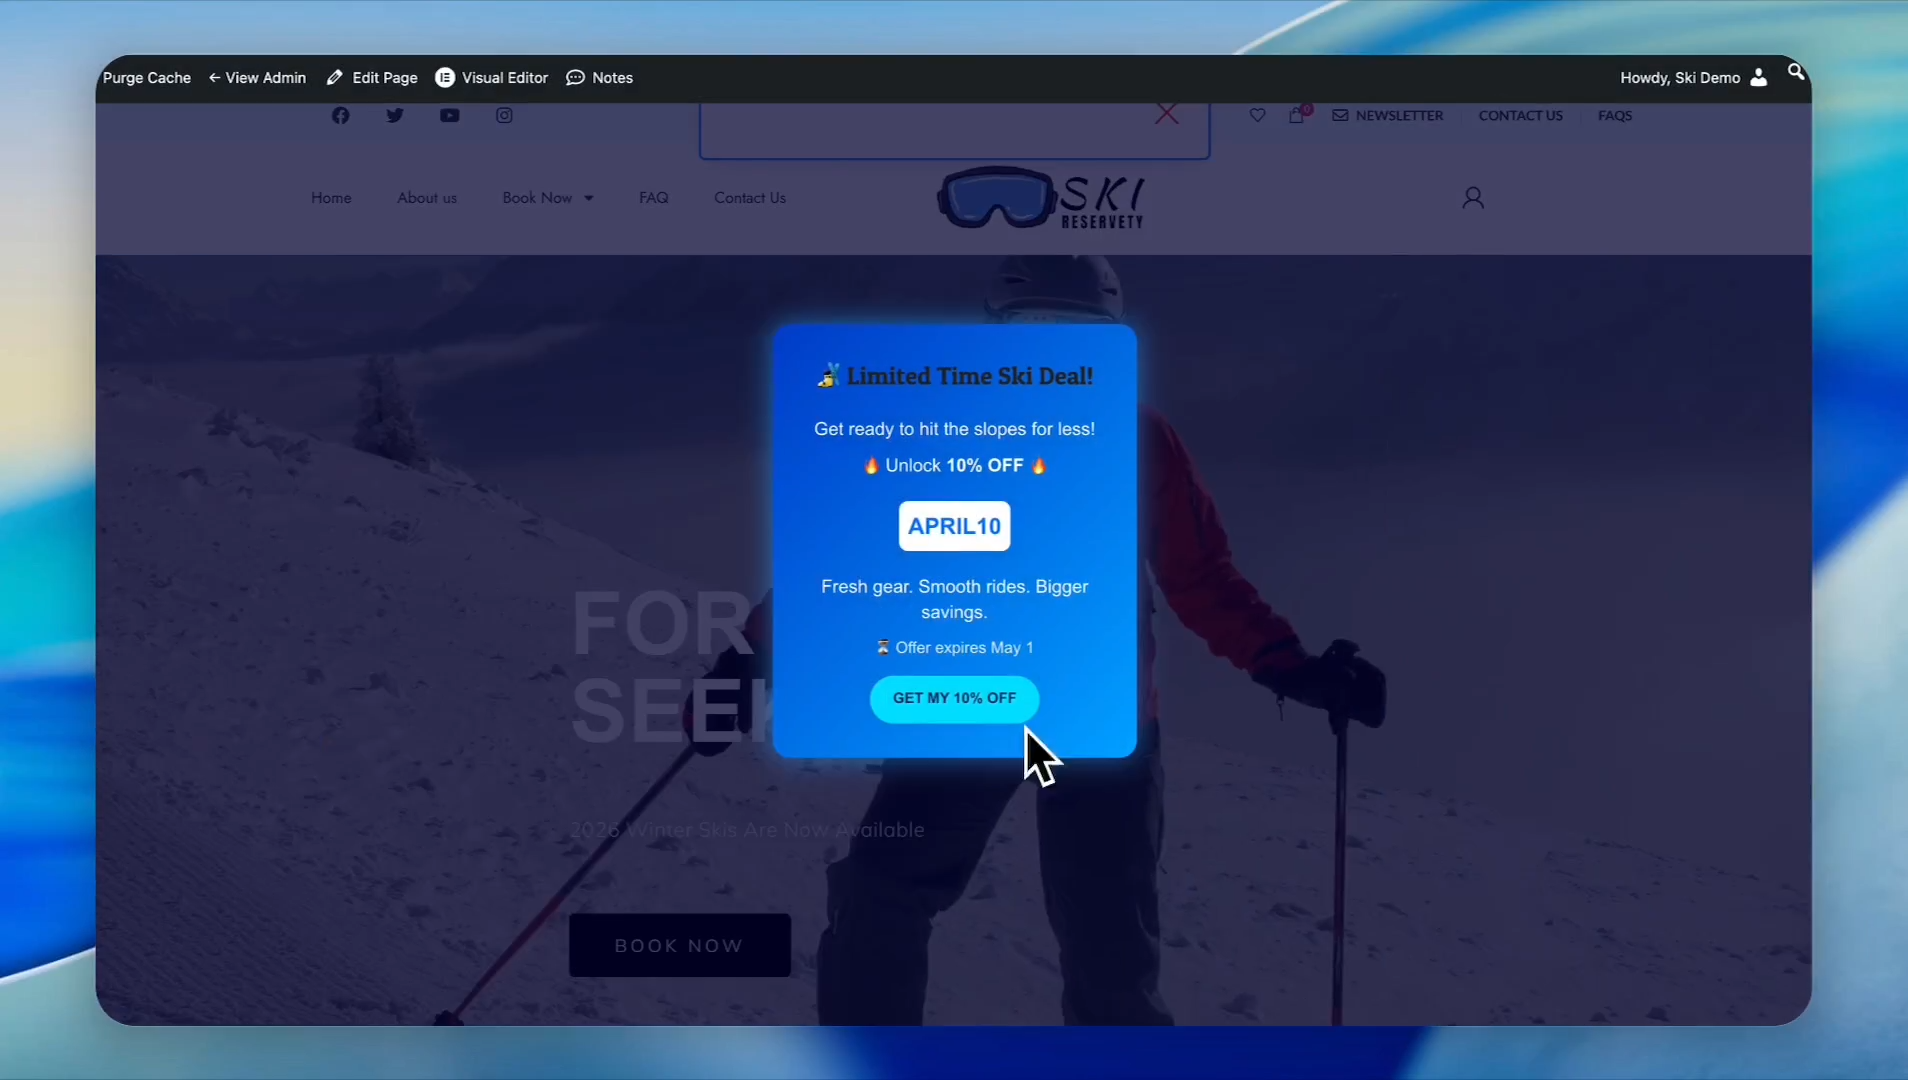
When you're happy with your new pop-up, click Publish
26
Click View page to test the banner live on your website
.