How to Create and Manage Memberships in Reservety
Learn how to enable memberships, create user groups, configure subscription plans, and set up checkout rules in Reservety.
By Reservety
Setting up memberships allows you to offer subscription-based benefits to your customers, such as free rentals or discounted rates. In this guide, you will learn how to enable memberships, create user groups, set up subscription products, and configure checkout rules in Reservety.
Enable Memberships
1
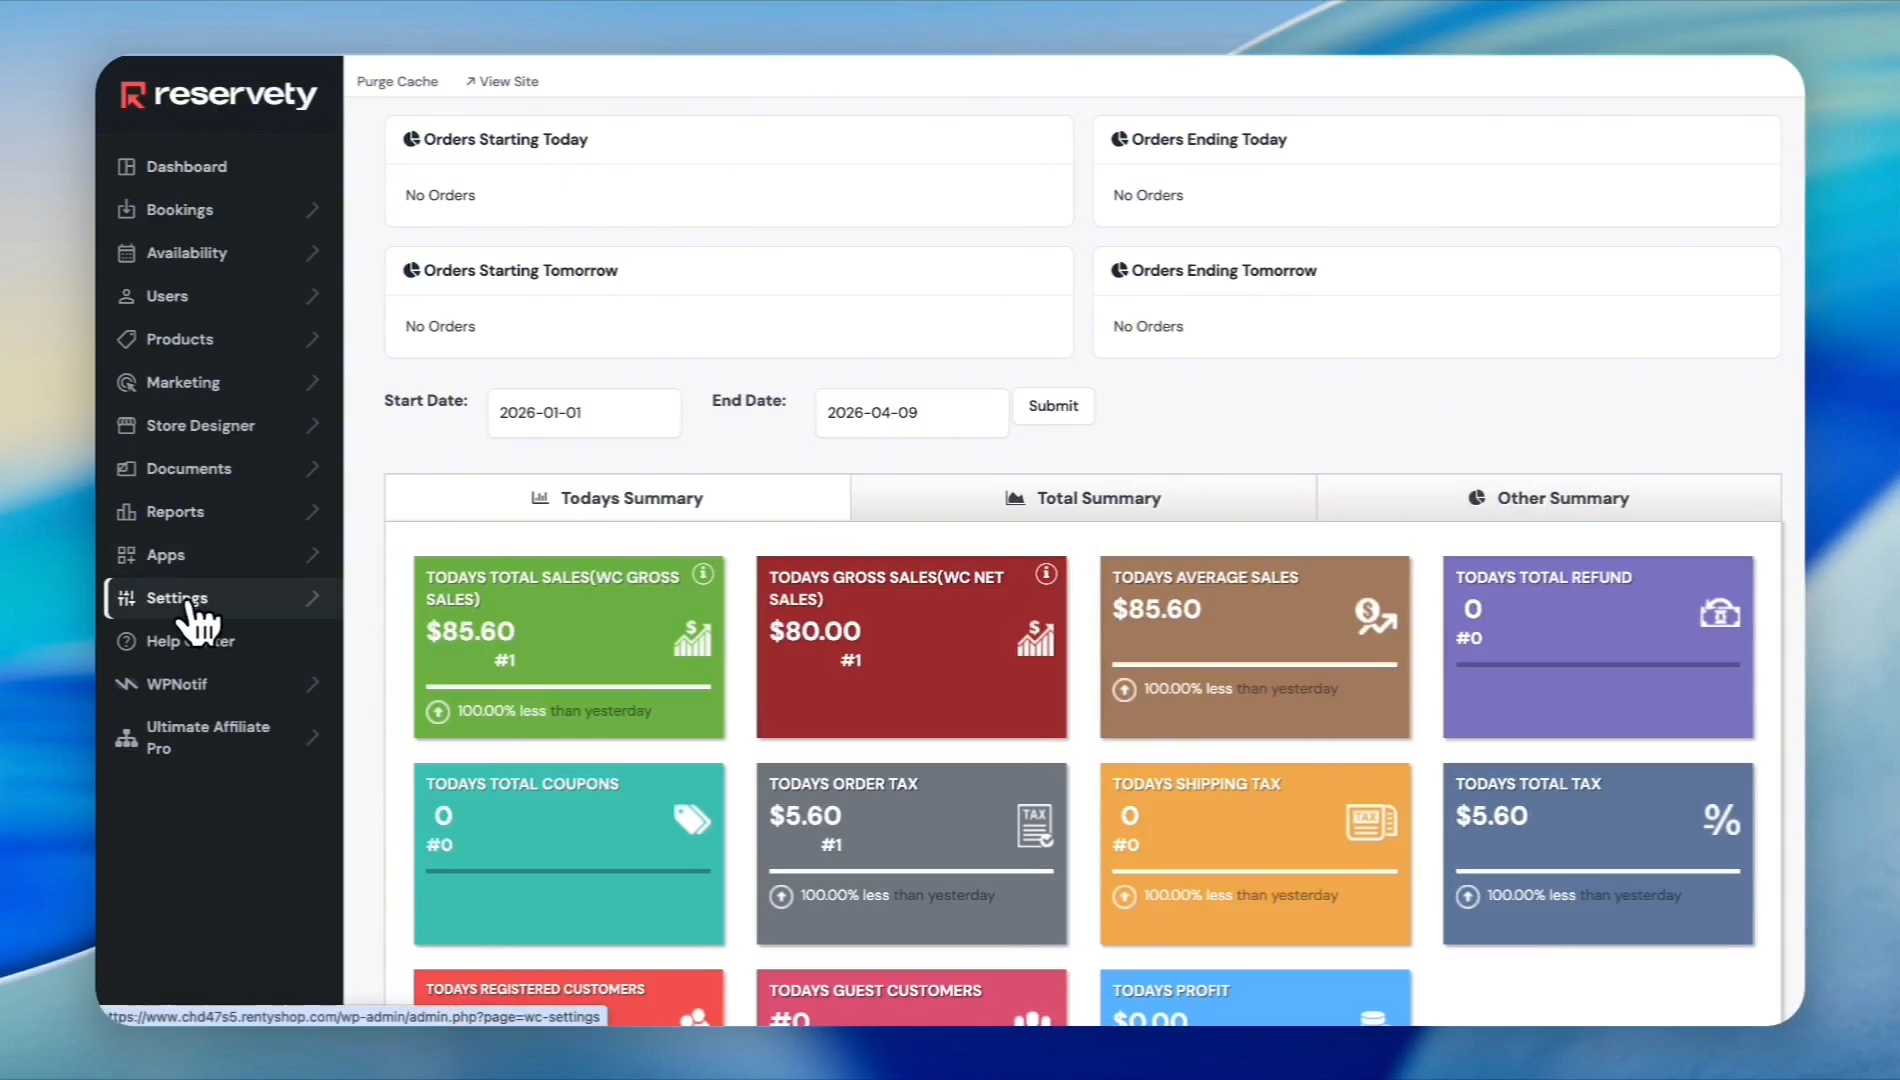
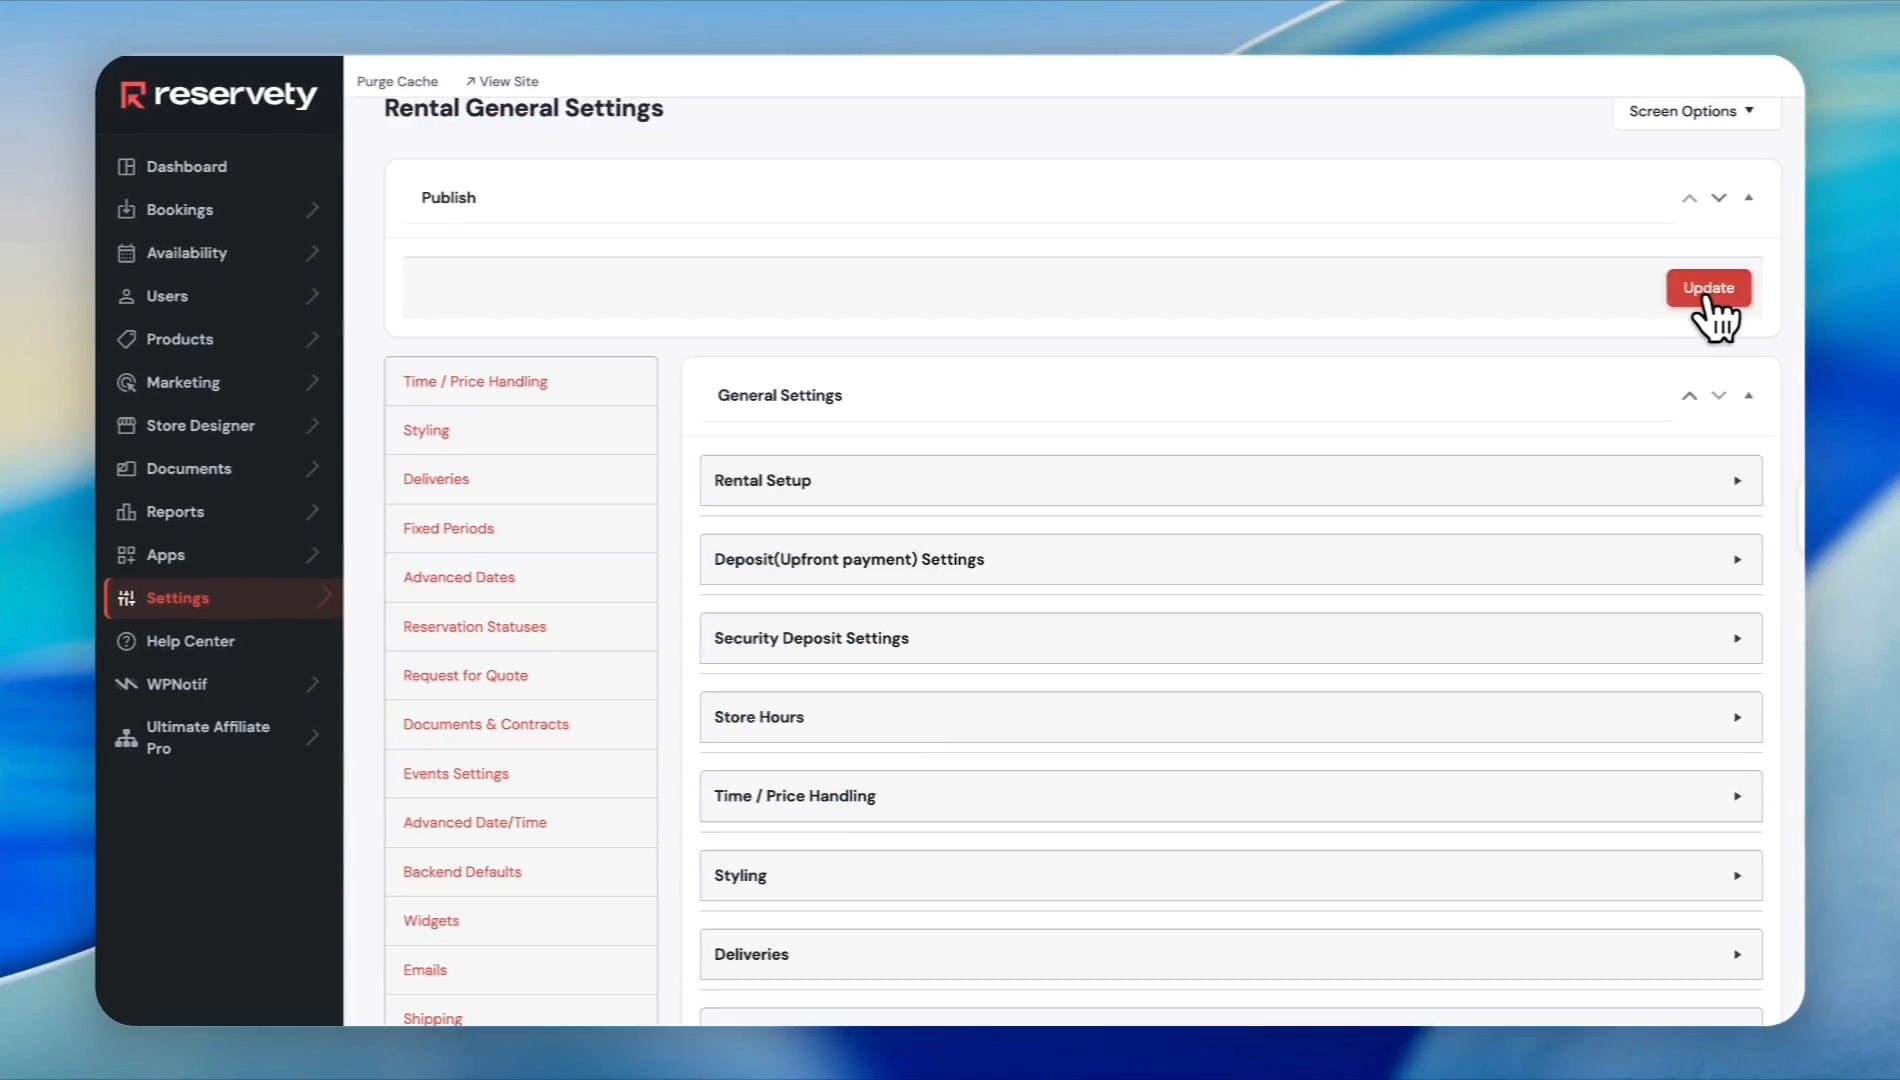
Click View Admin in the top navigation bar to access your dashboard.
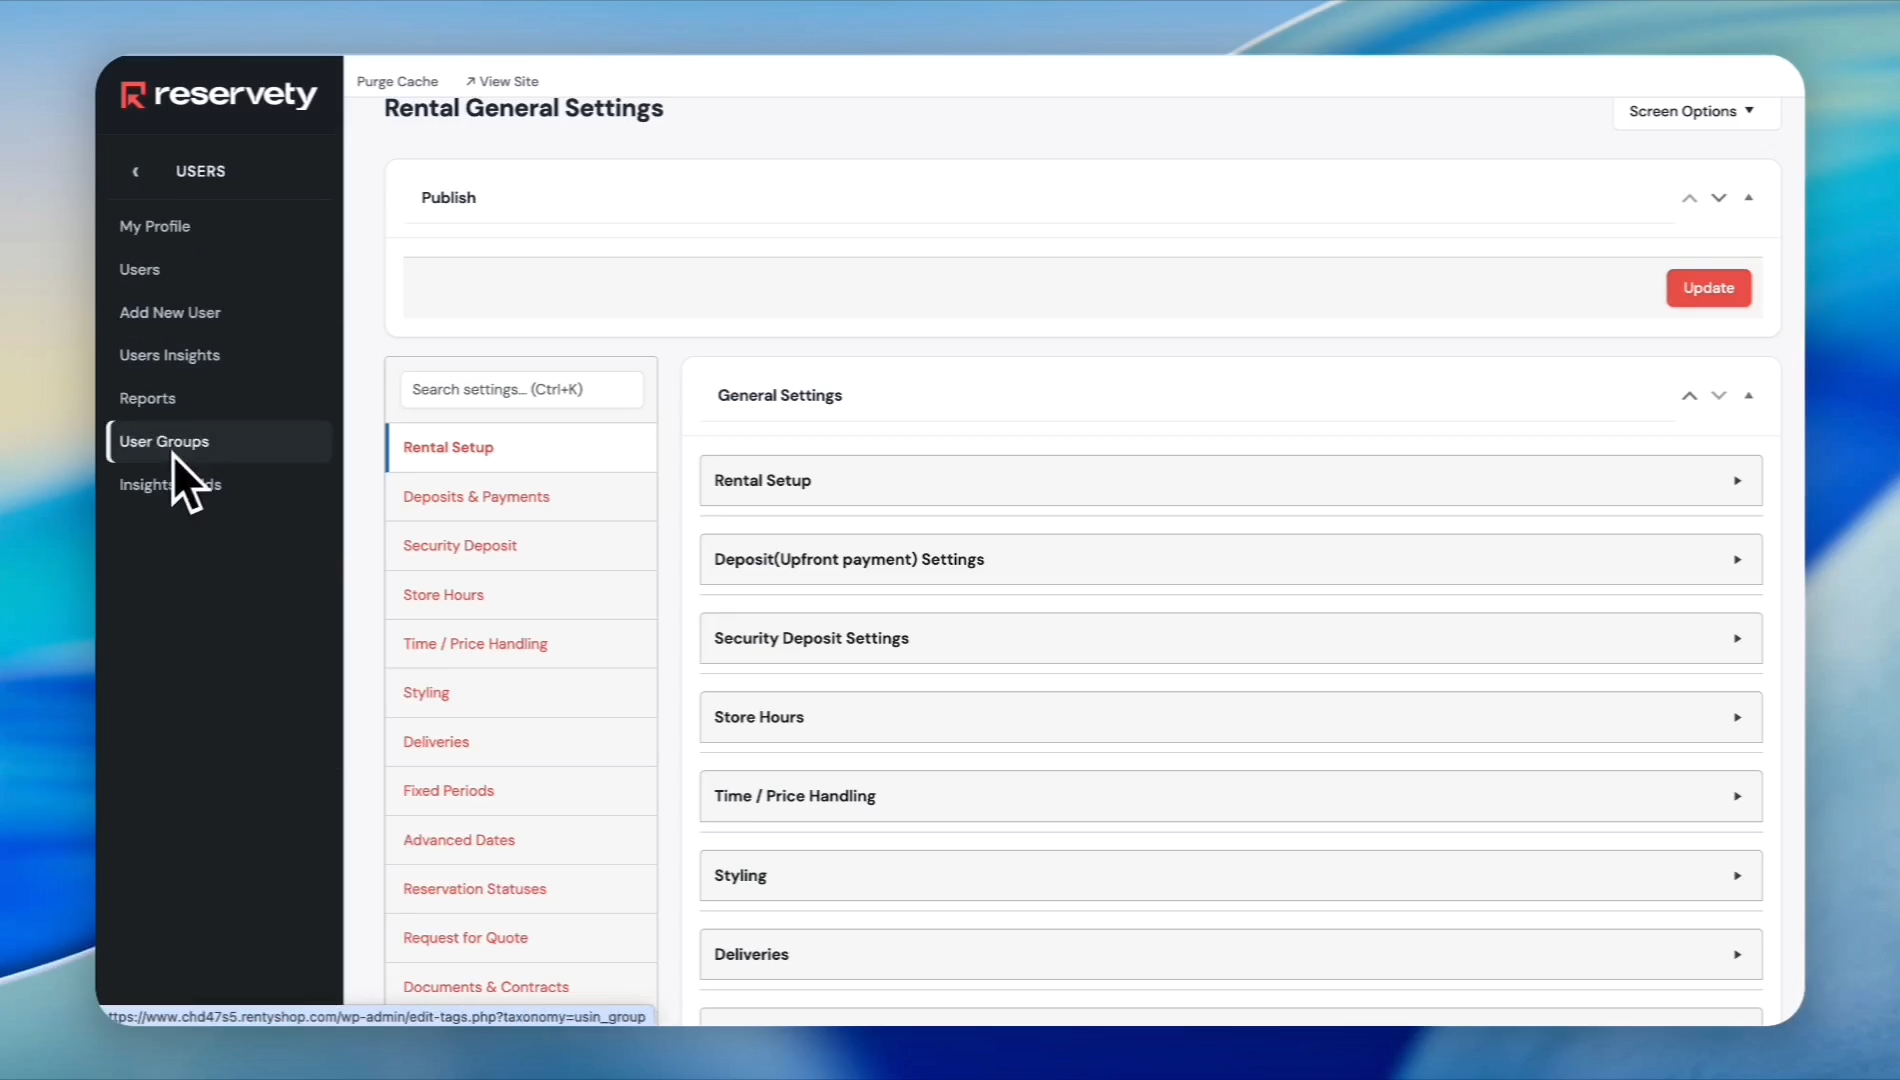
2
Navigate to Settings.
3
Select Rentals from the sidebar.
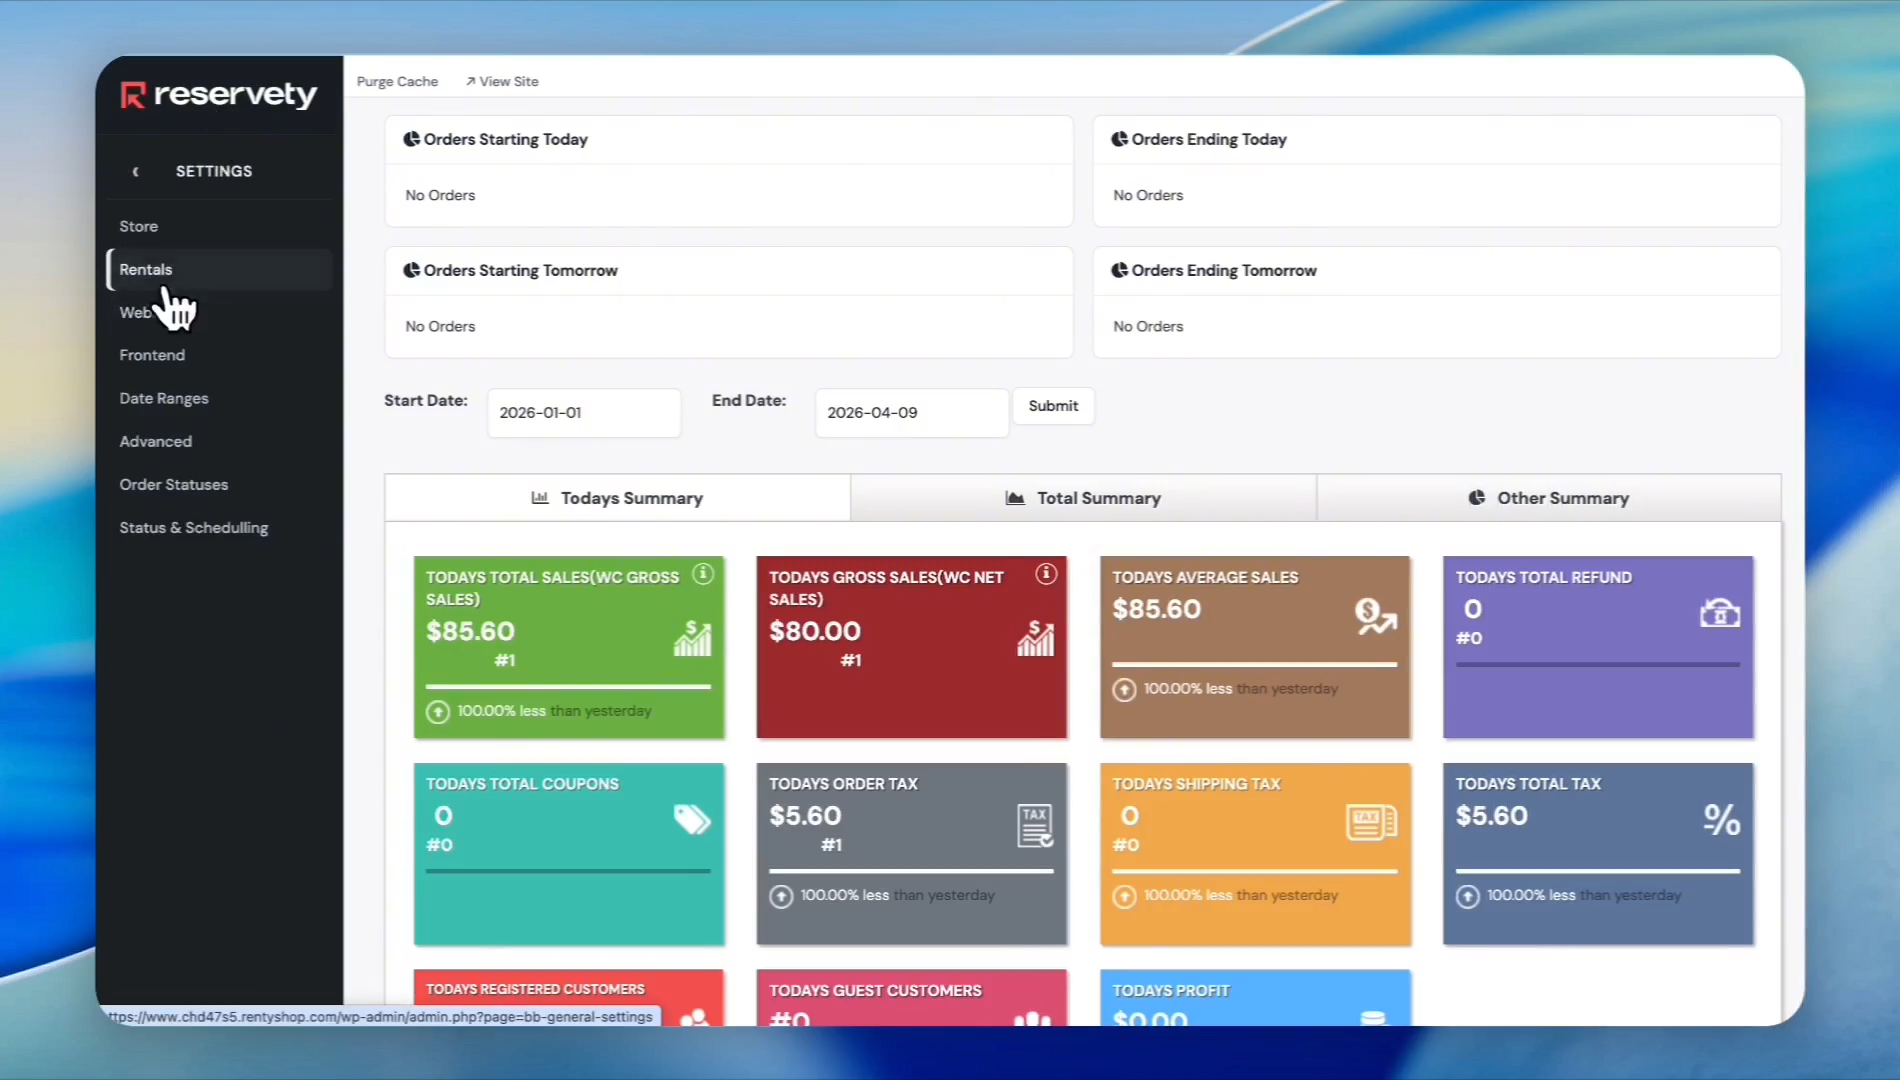
4
Scroll down and click on Memberships.
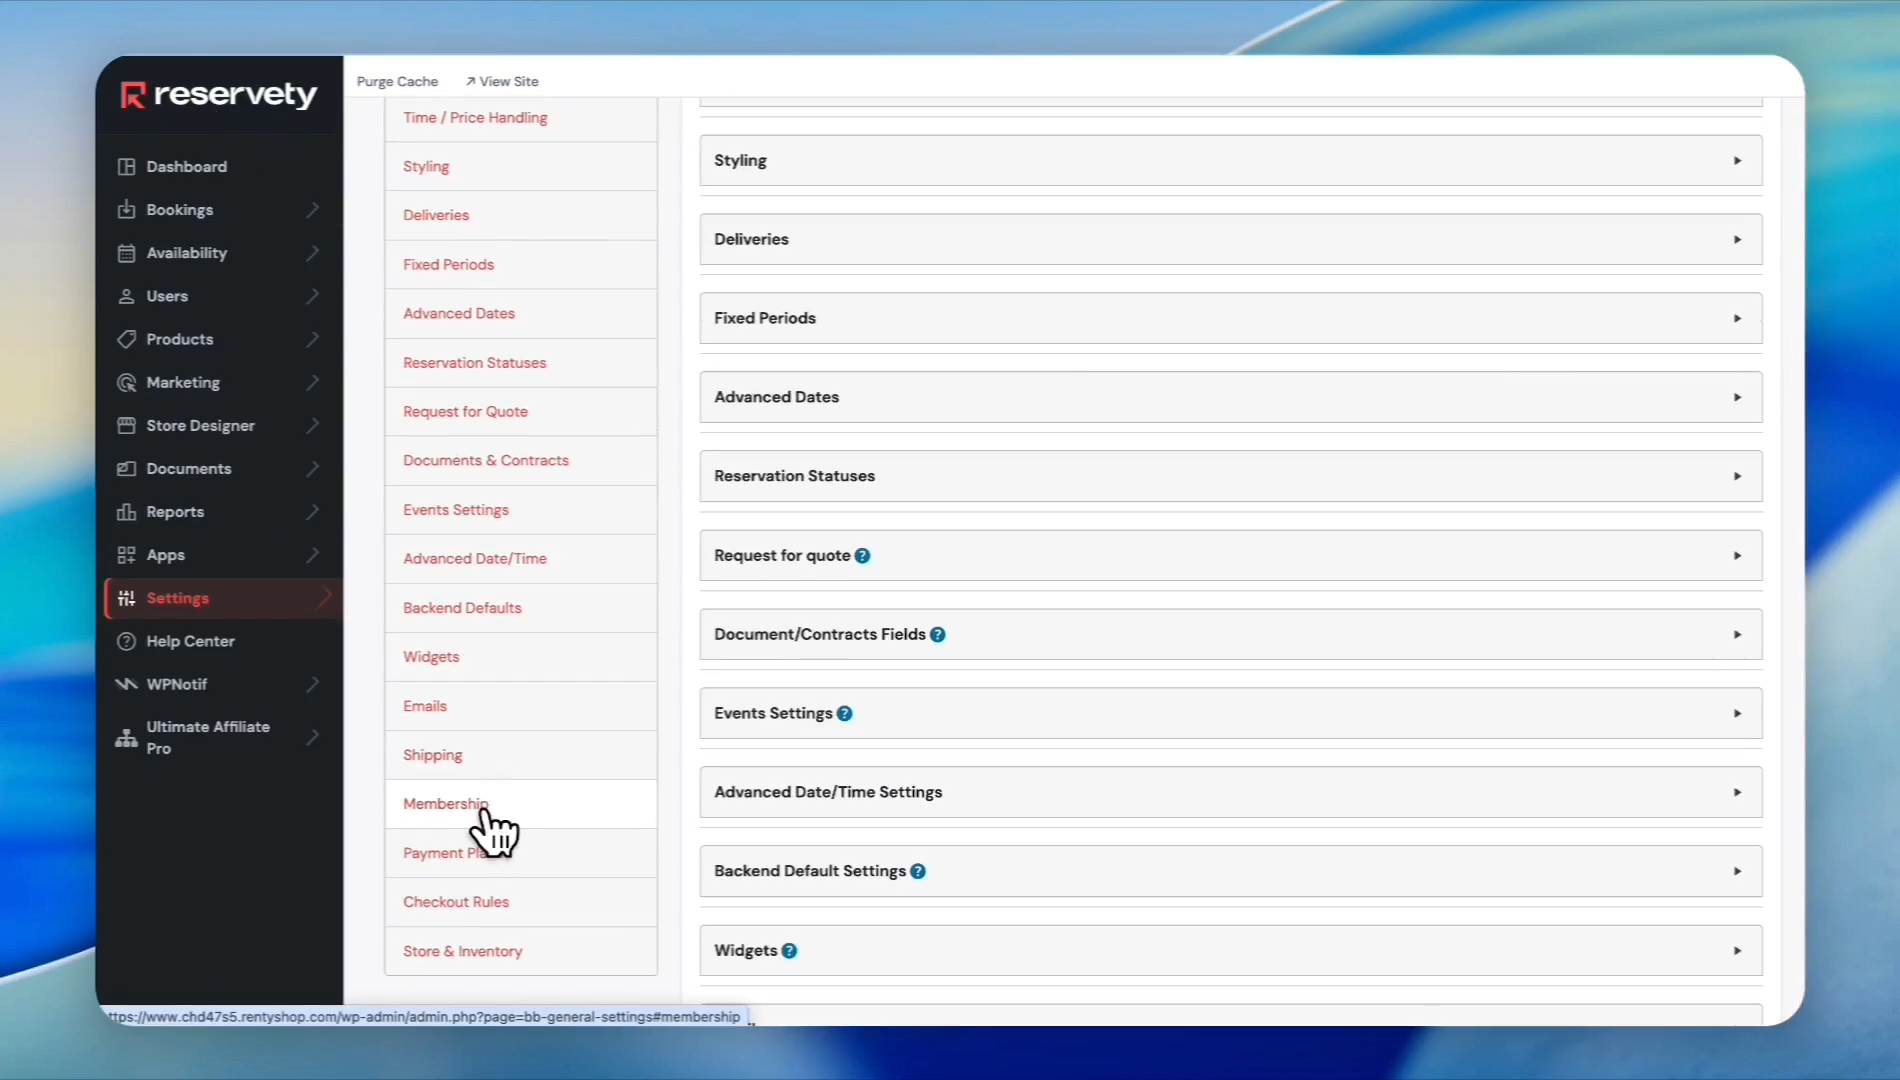
5
Select Enable Memberships.
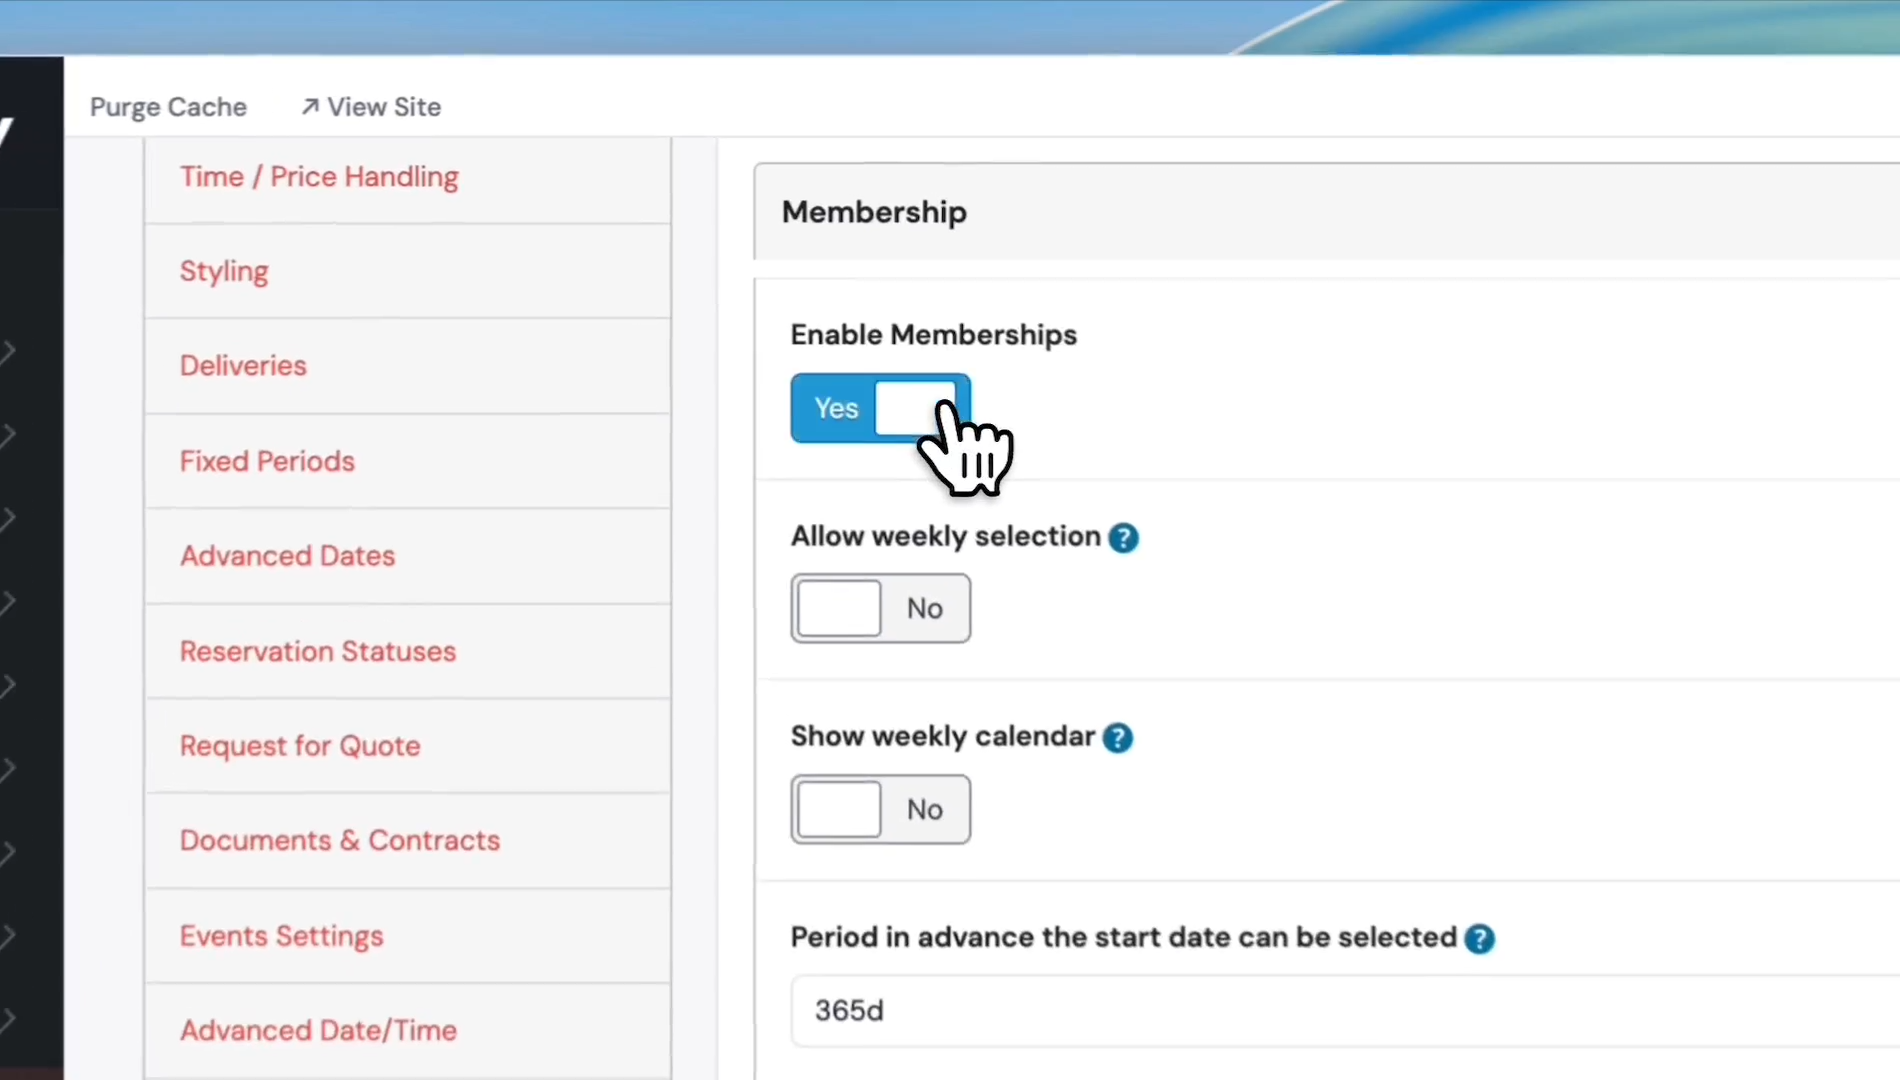
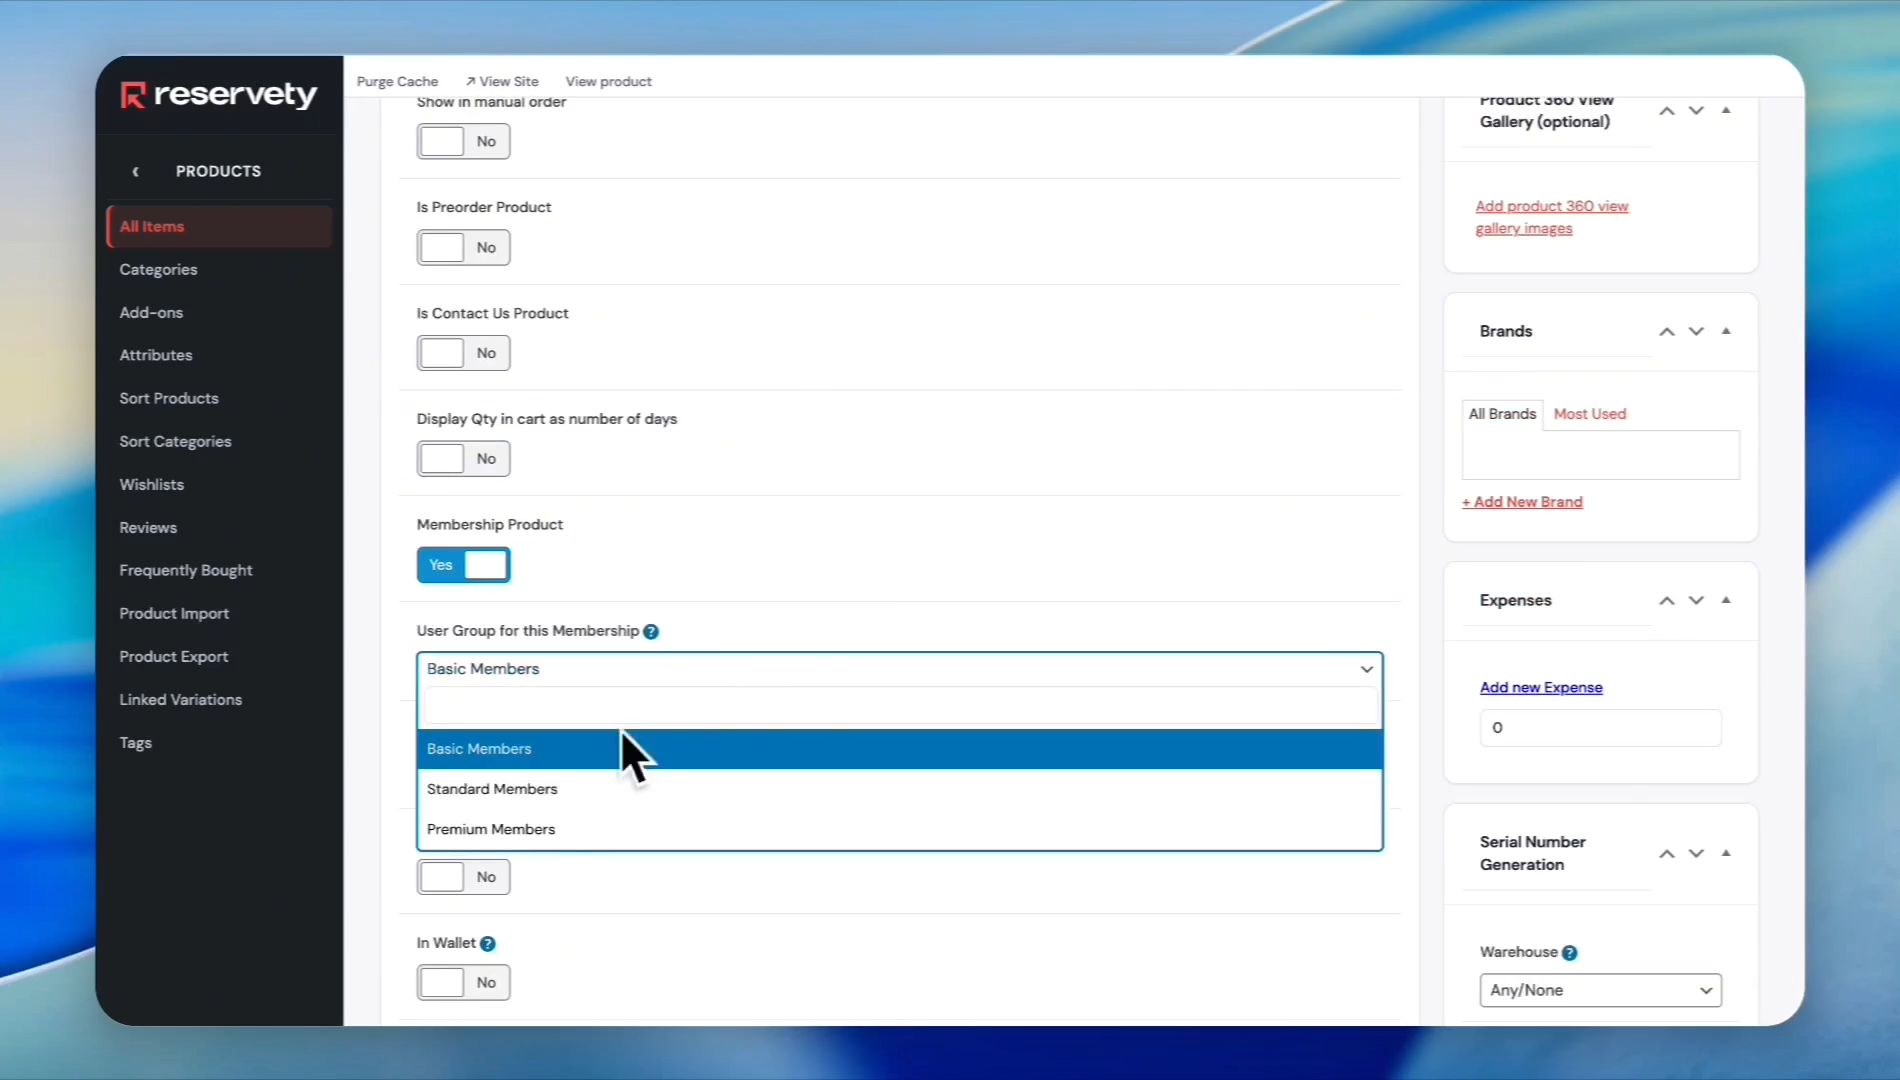
6
Click Update to save your changes.
Create User Groups
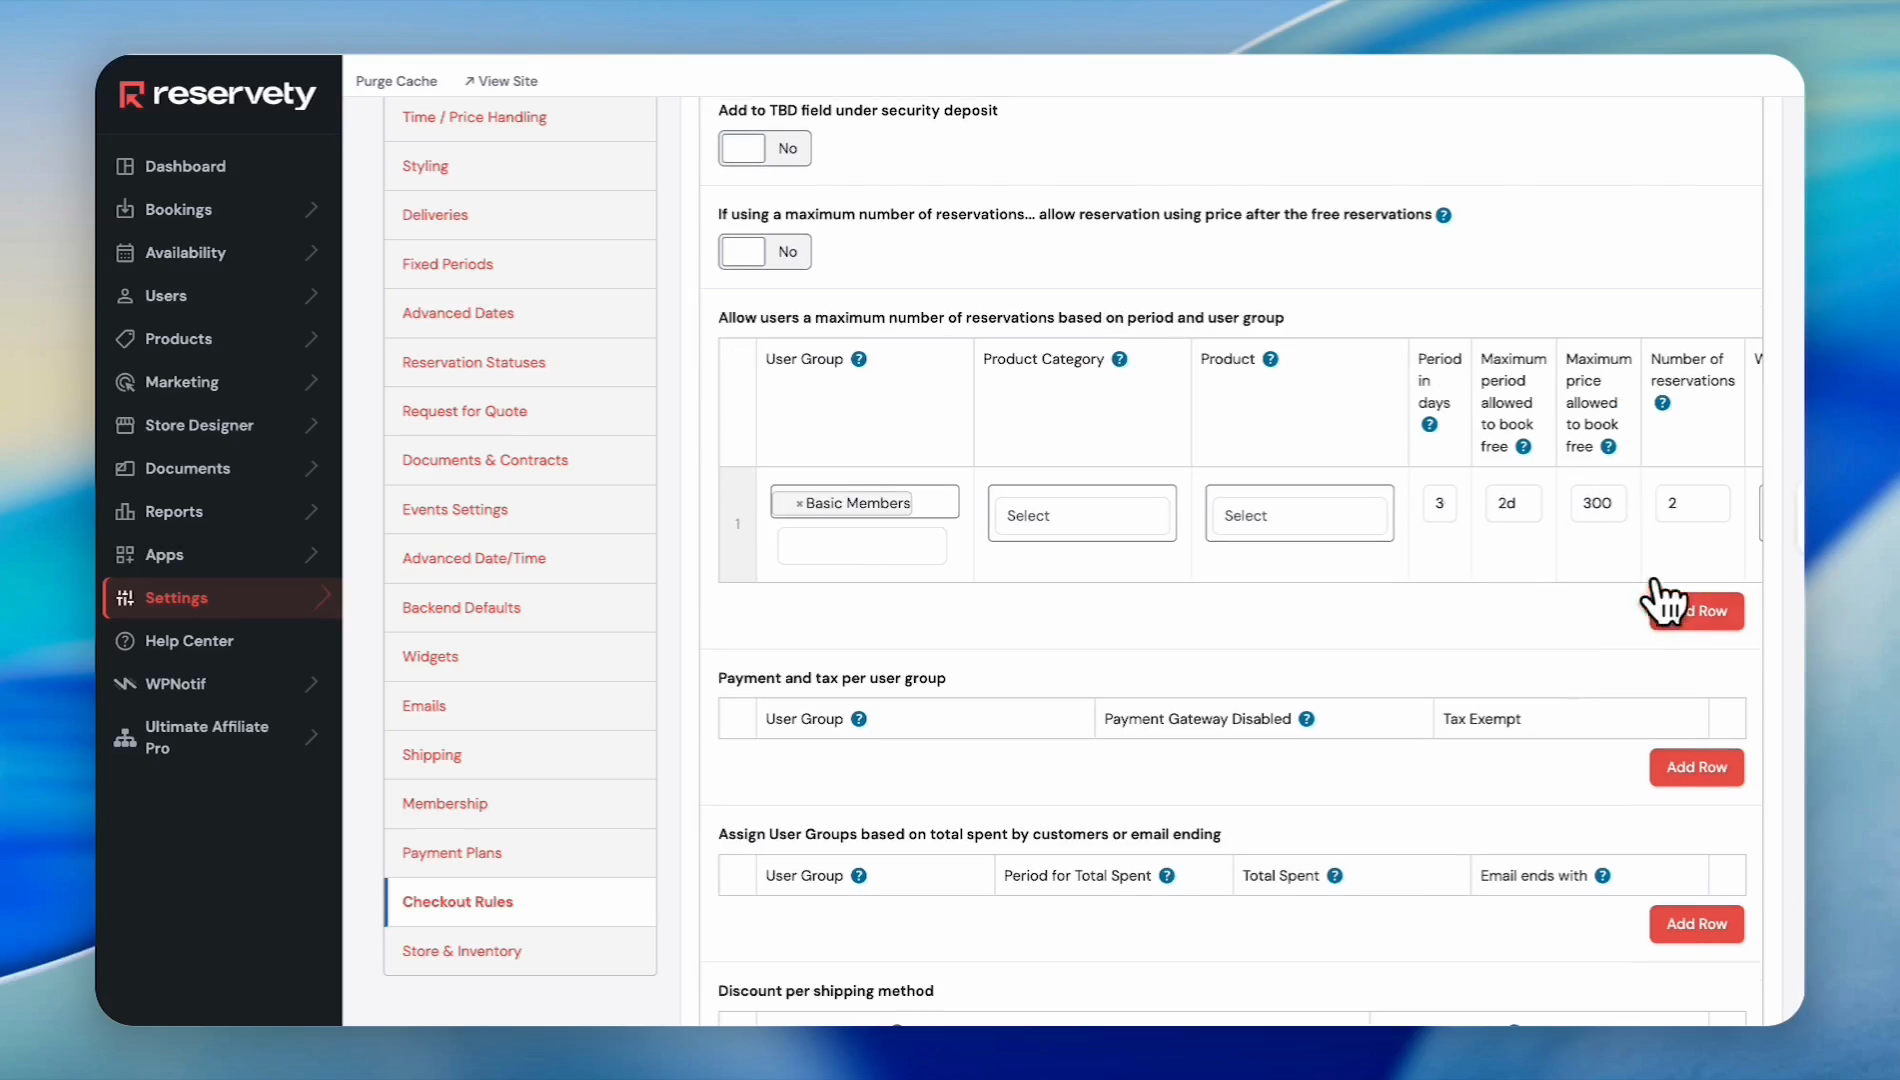
You need user groups (e.g., Basic Members, Premium Members) to assign specific membership rules to different customer tiers.
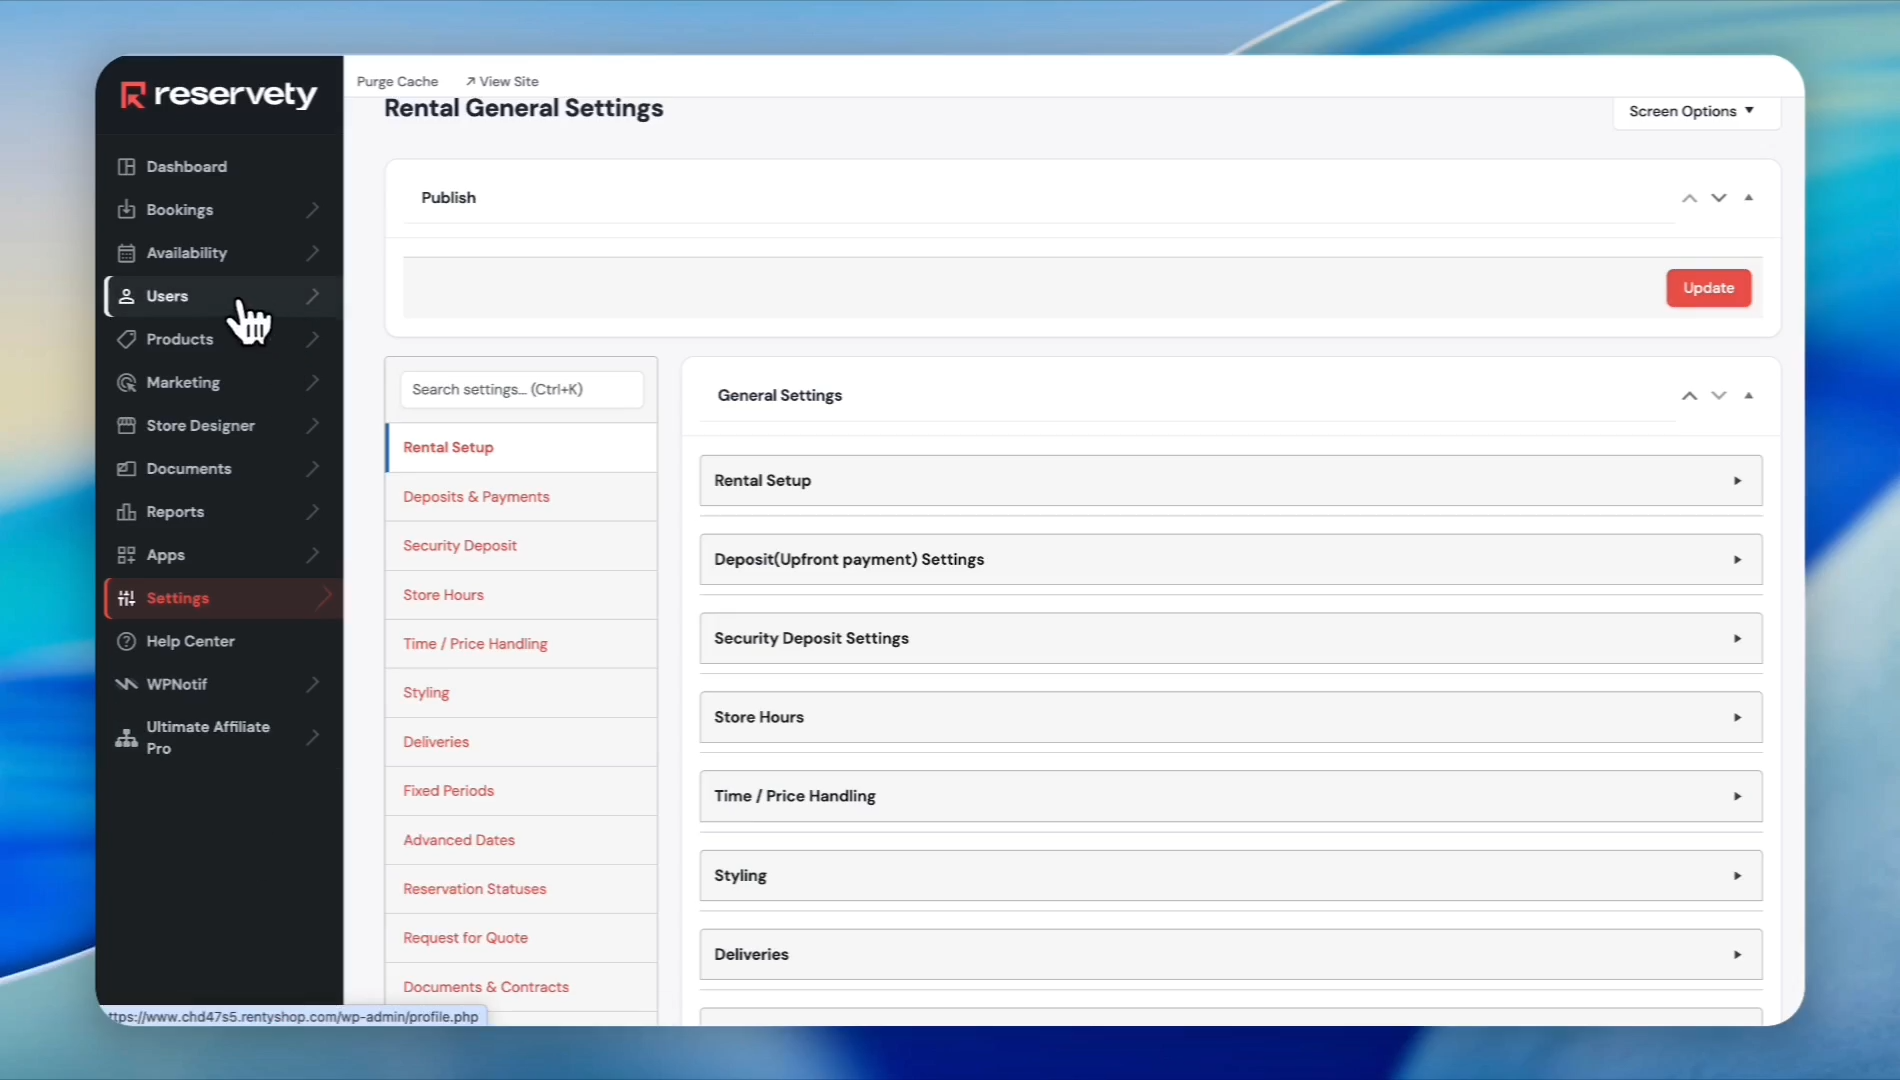
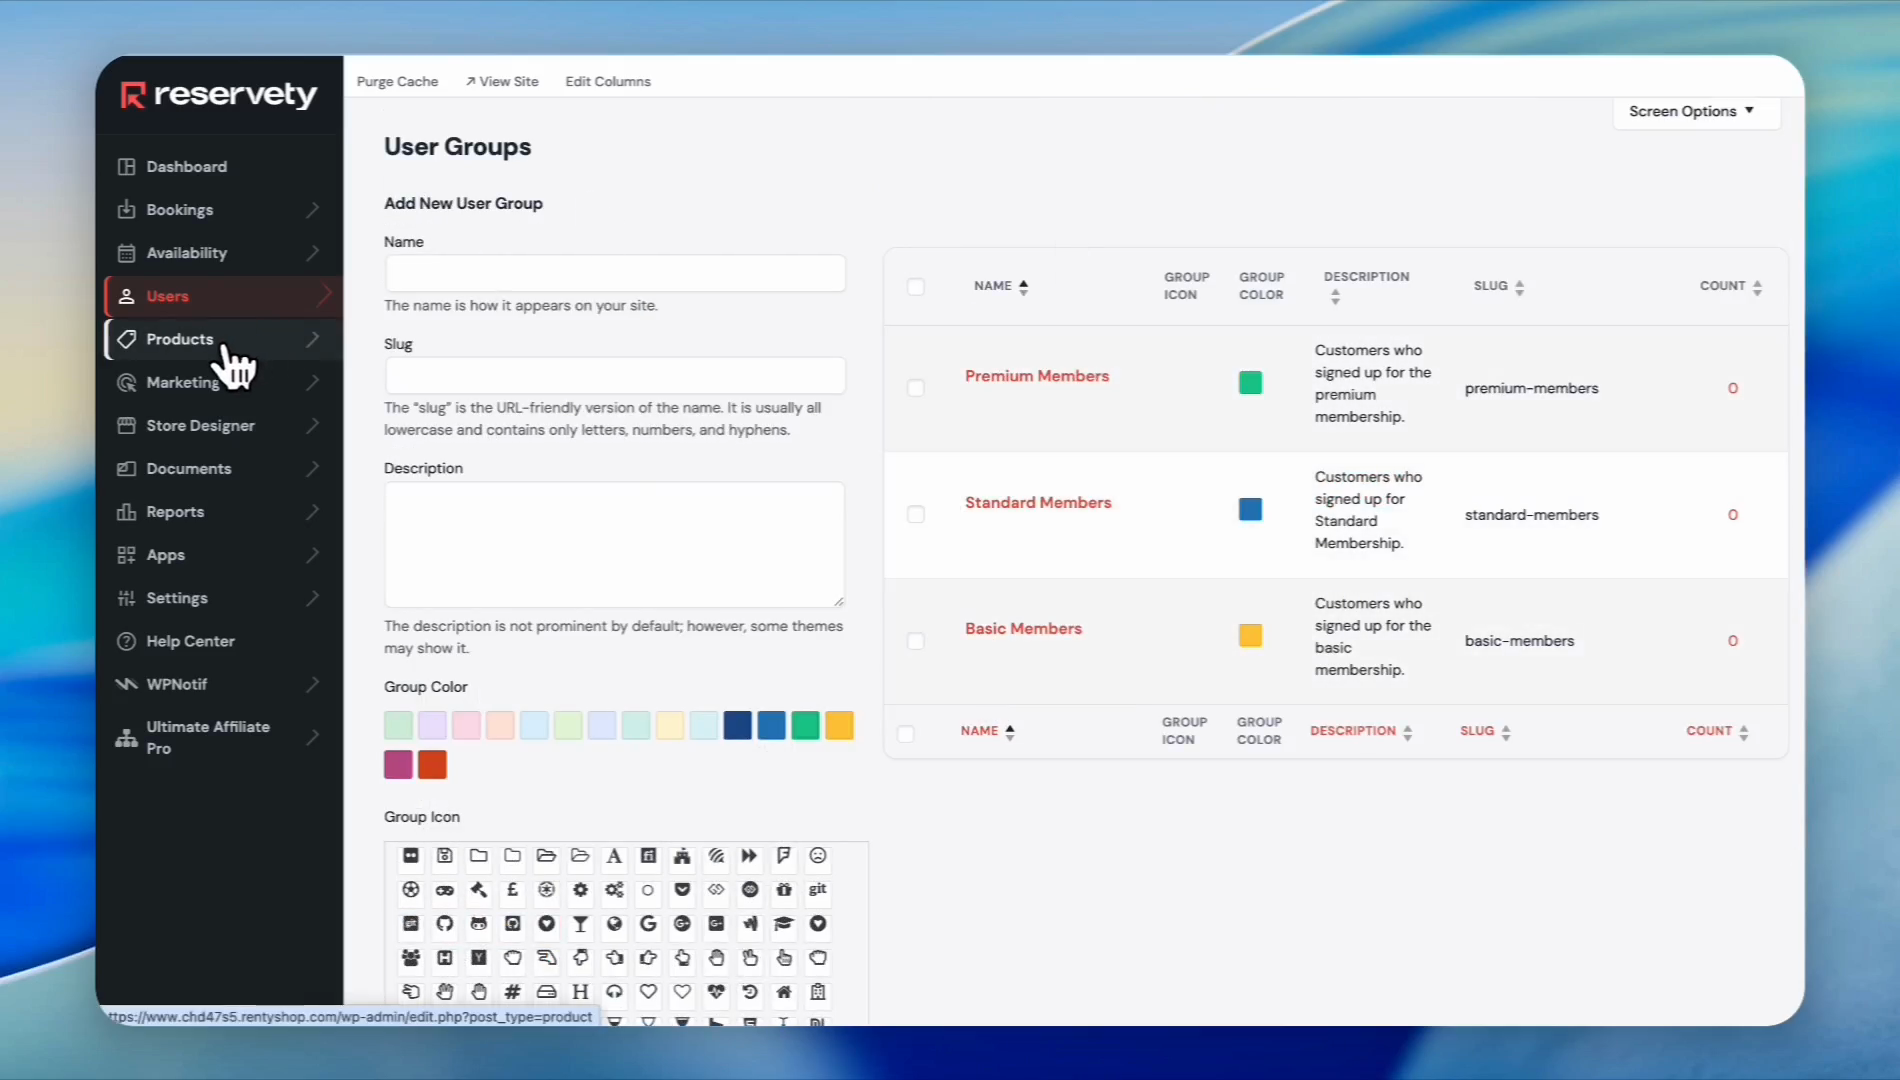
7
In the left sidebar, click Users.
8
Select User Groups.
9
Enter a name for your group, such as
Basic Members. Enter a corresponding slug, like basic-members. Click Add New User Group.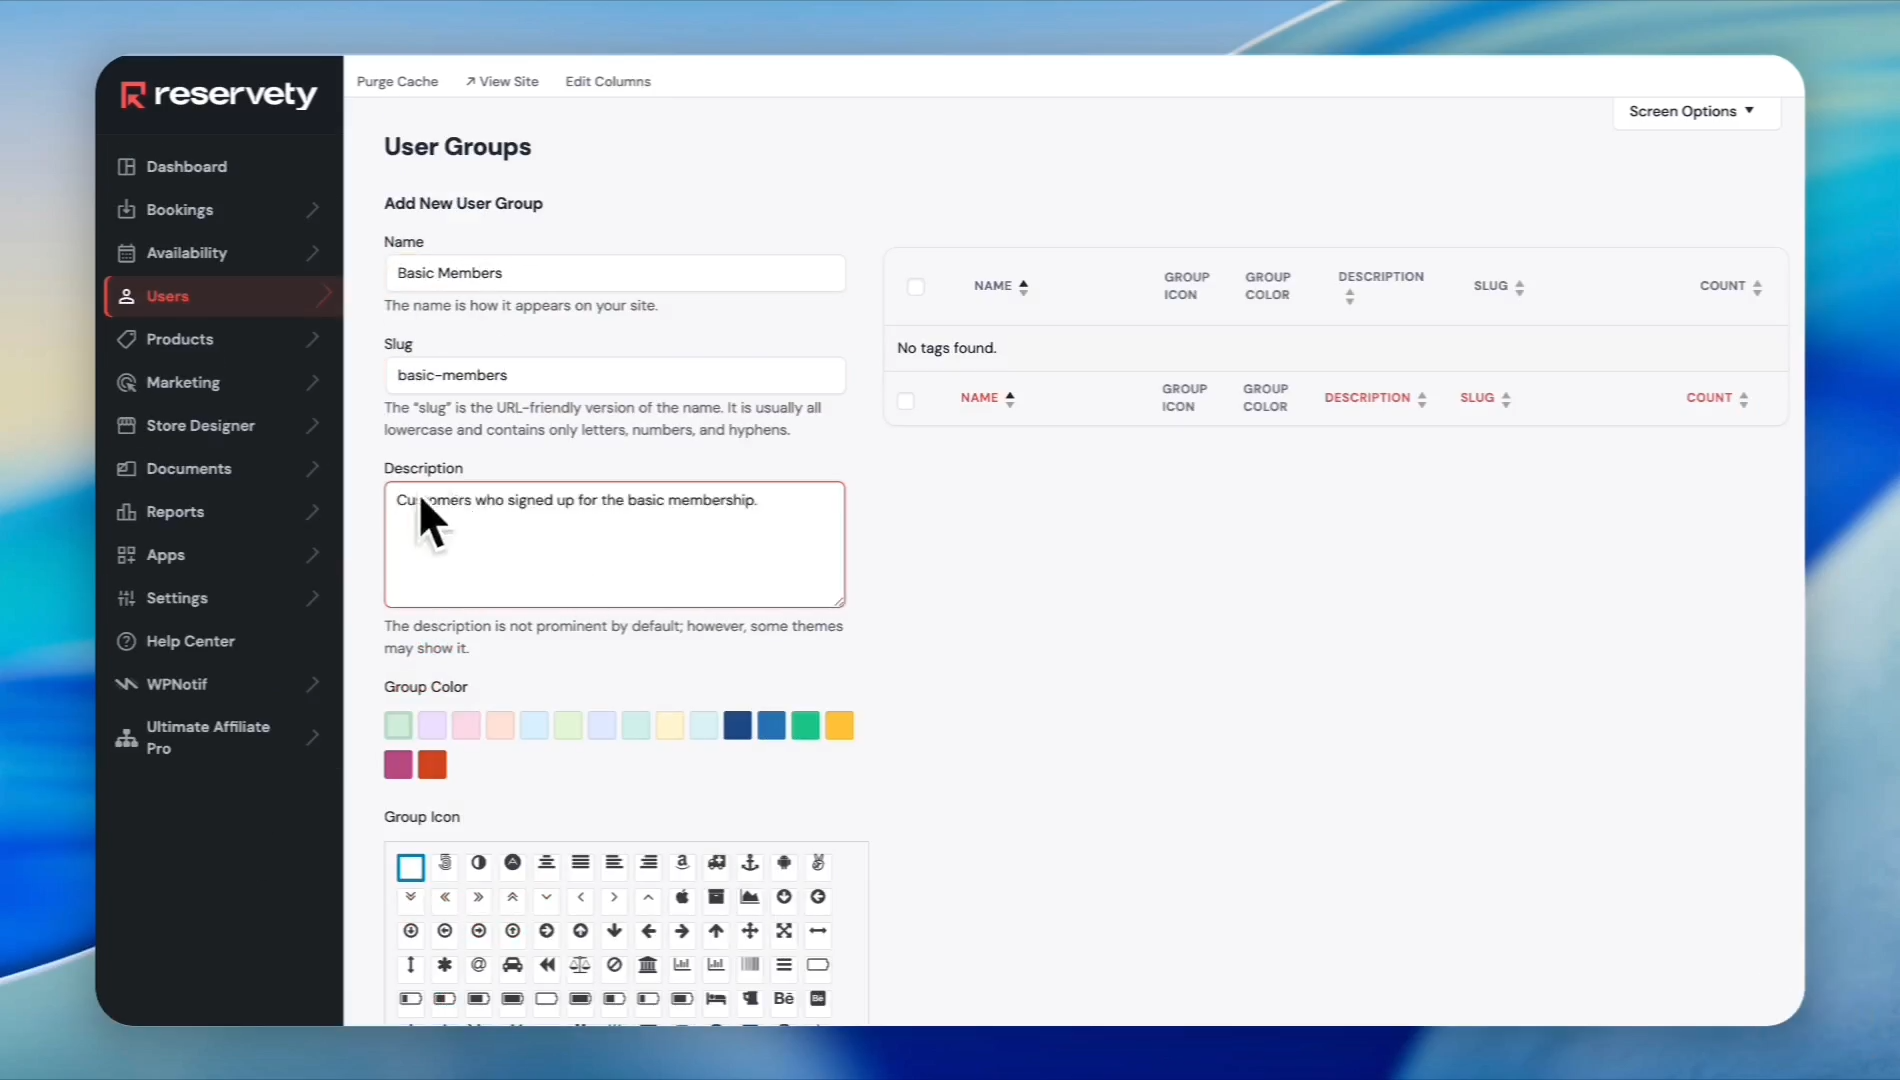
Create Membership Subscription Plans
Next, create the actual membership products that customers will purchase.
10
Navigate to Products and click All Items.
11
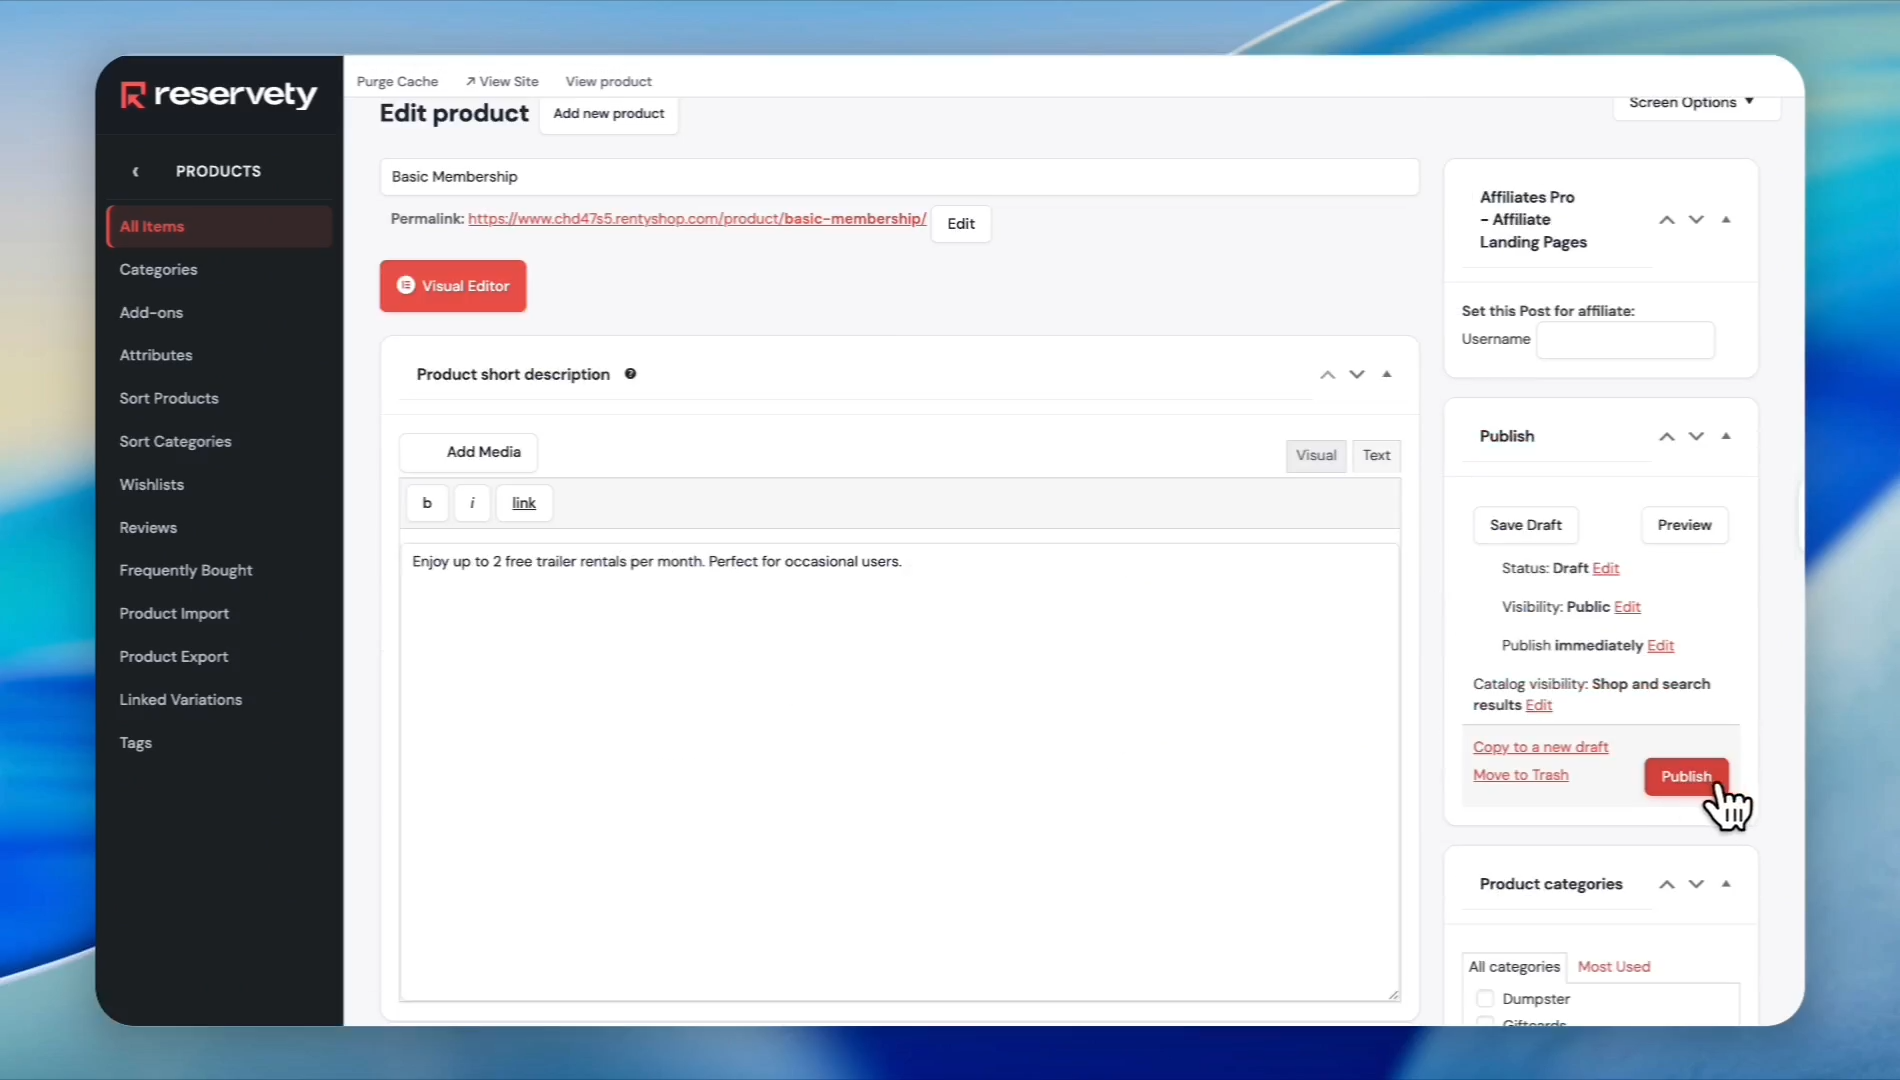
Click Add New Product. Enter your membership's name, such as
Basic Membership. And add description.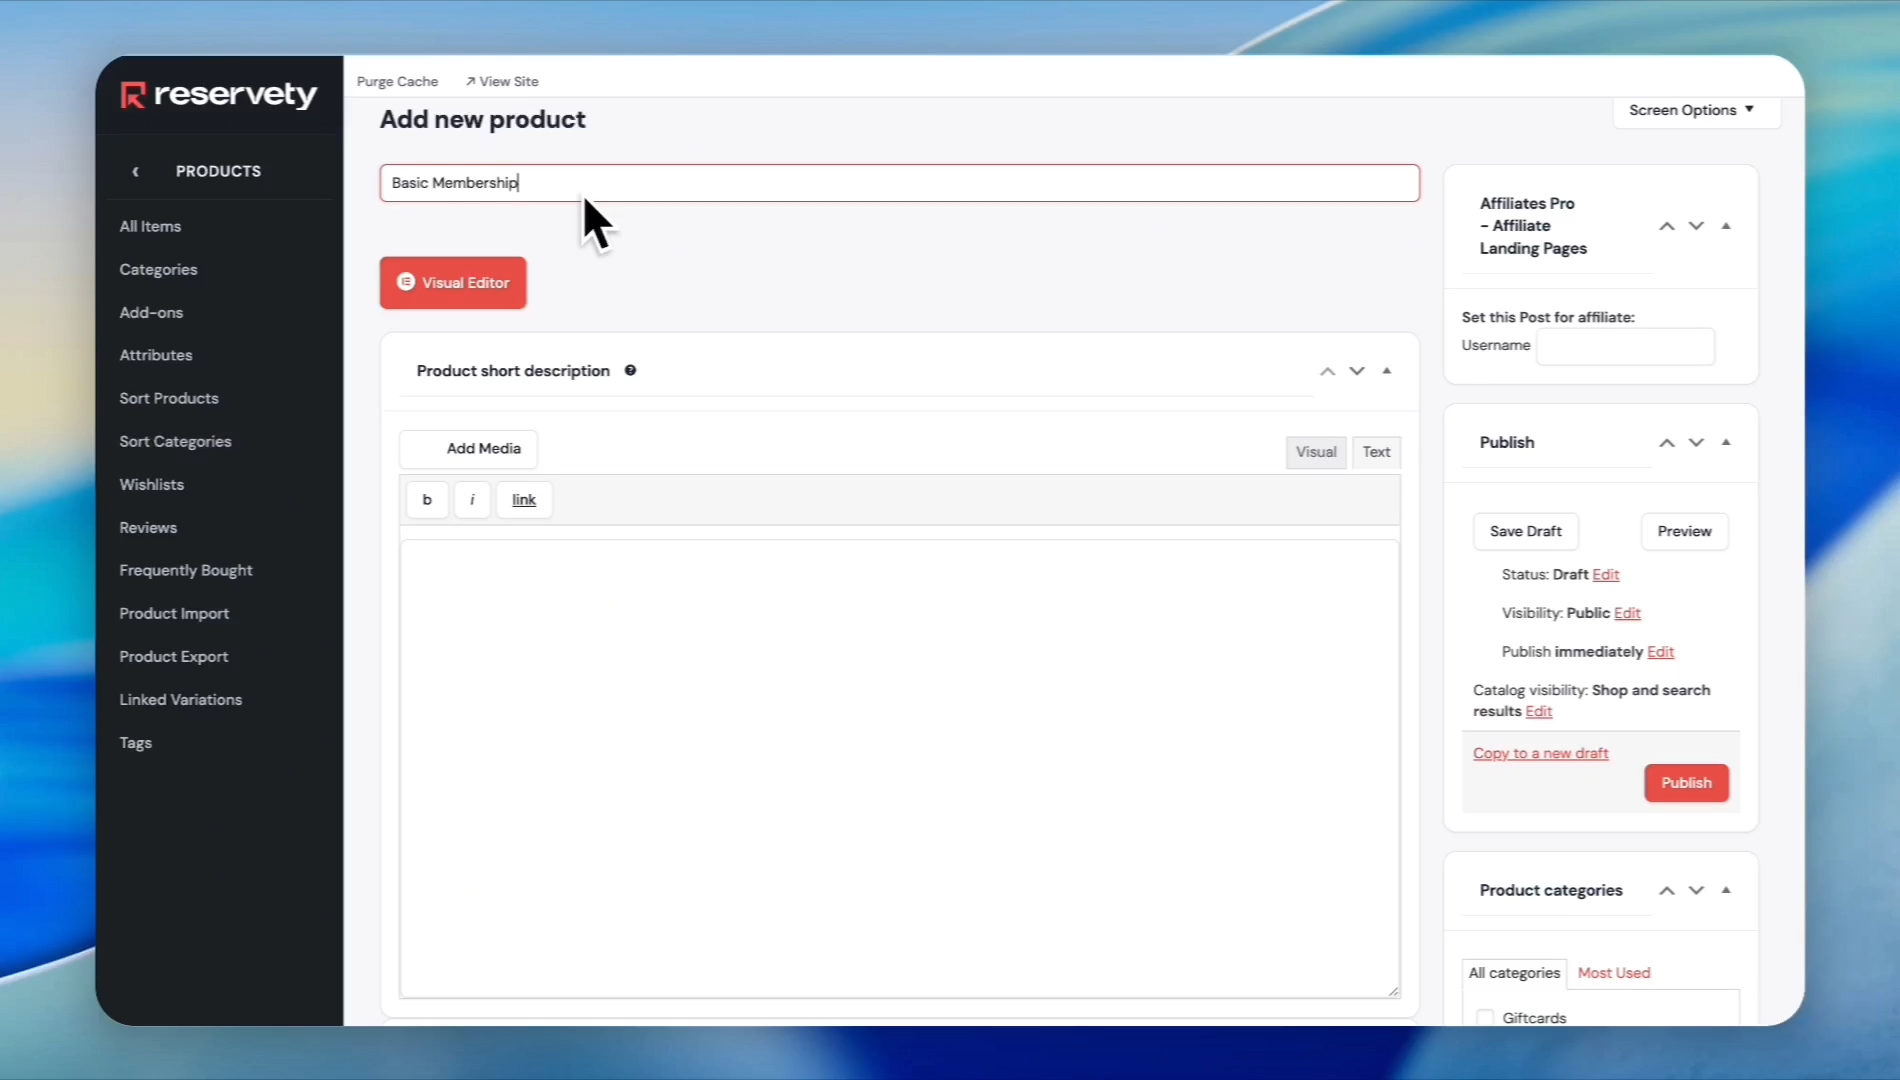
12
In the Product data section, change the product type to Simple subscription.
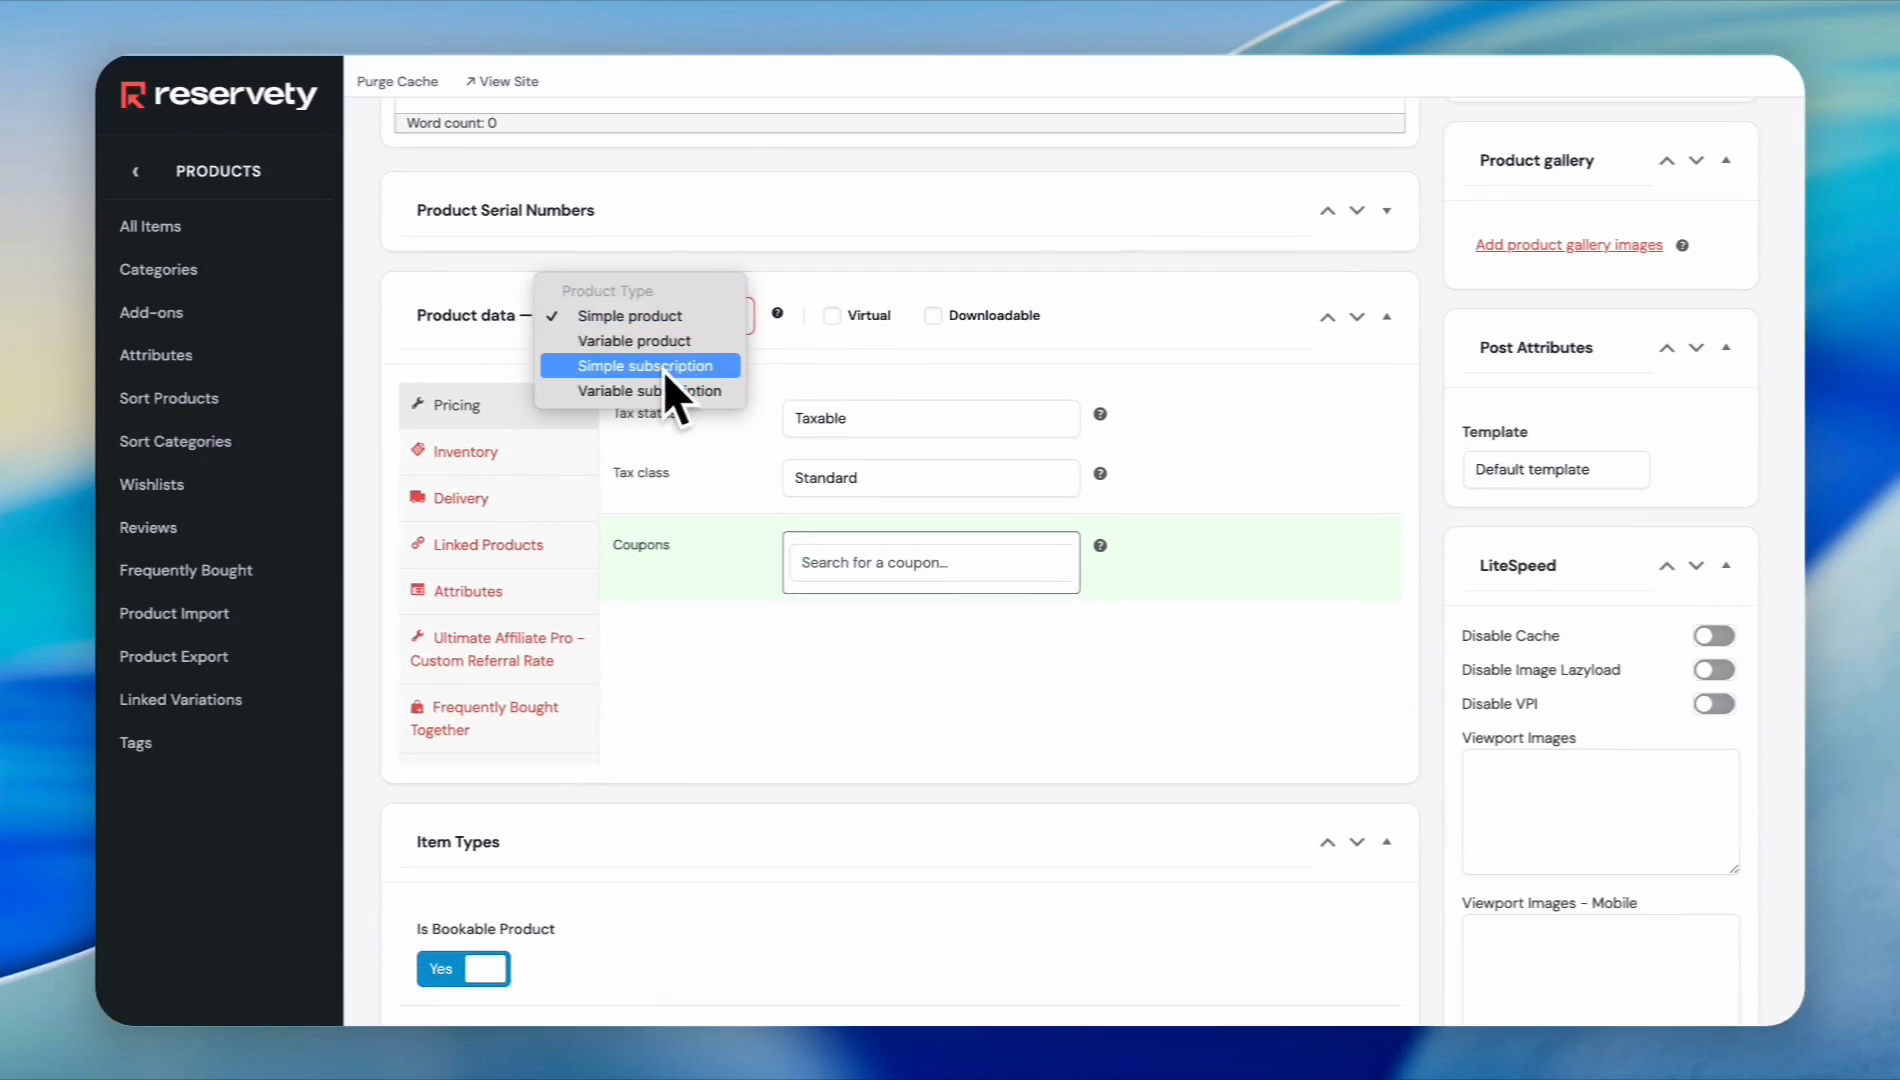
13
Check the Virtual so no physical shipping is required.
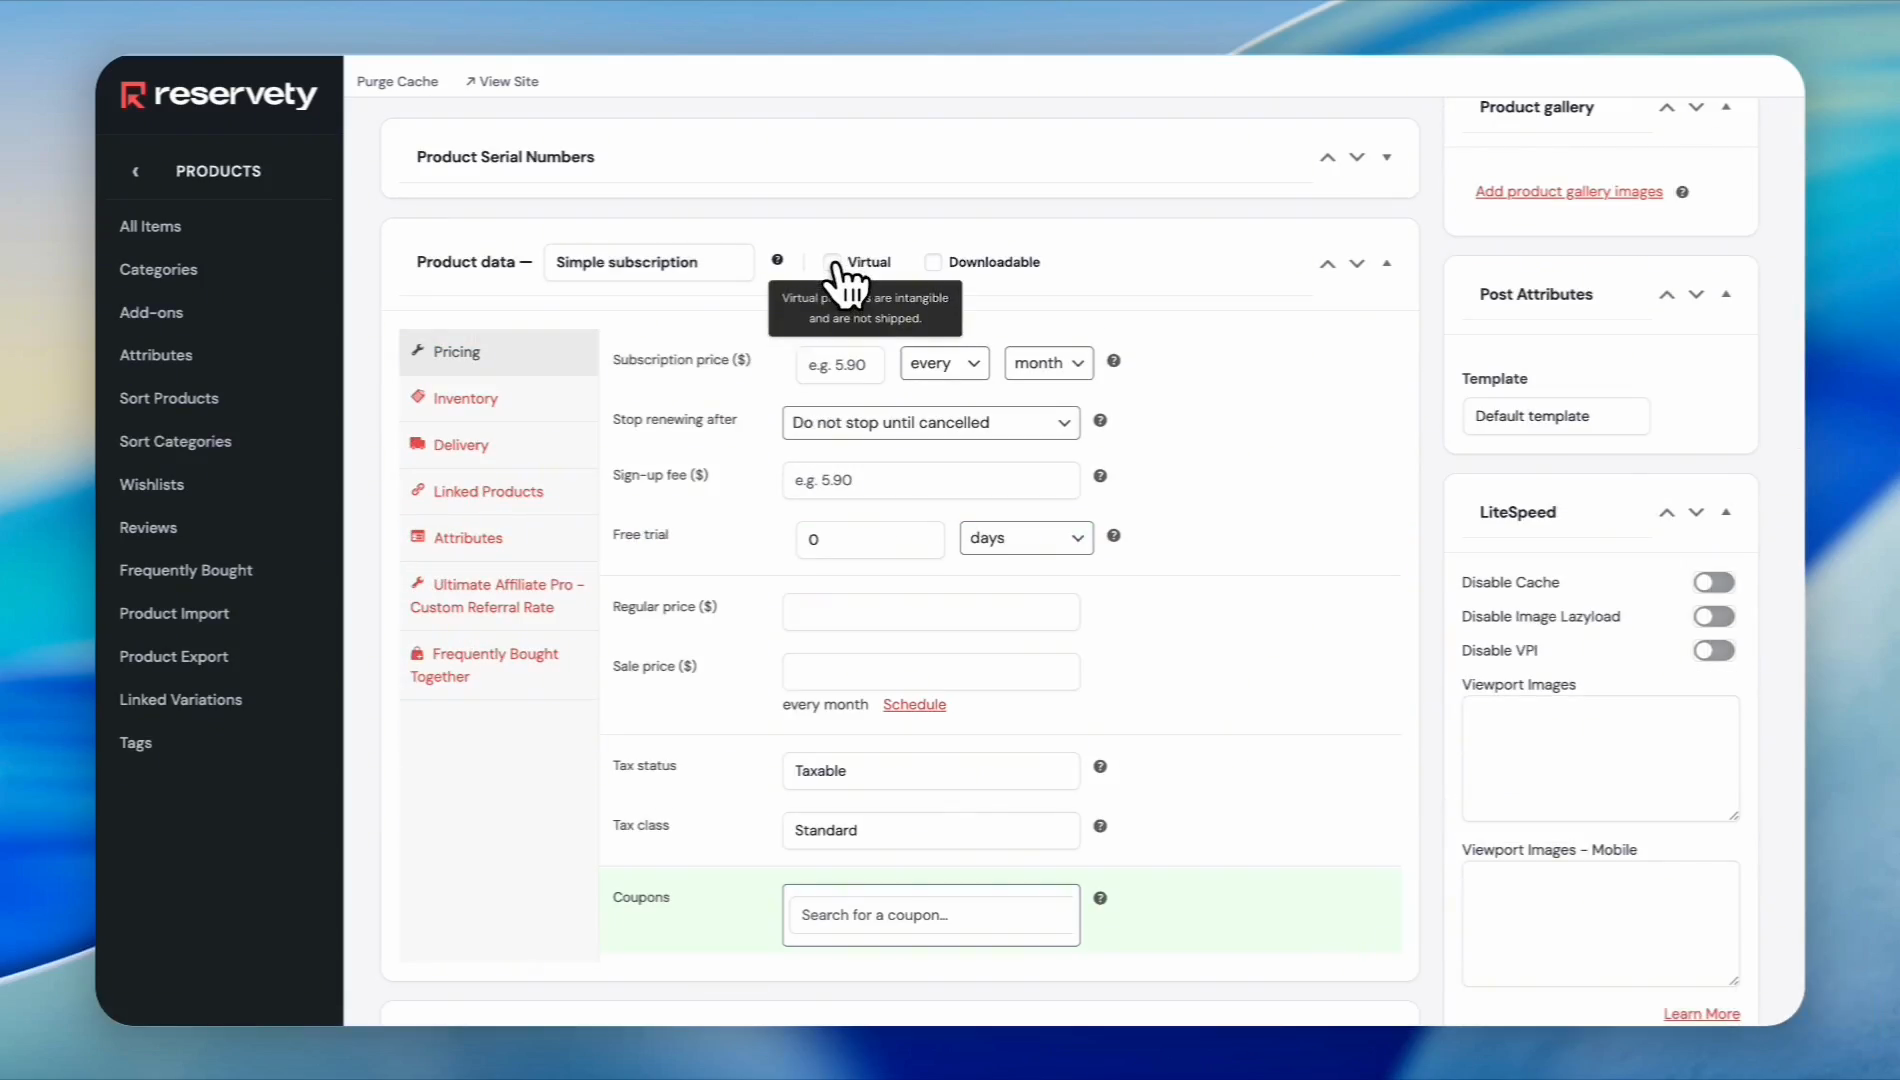
14
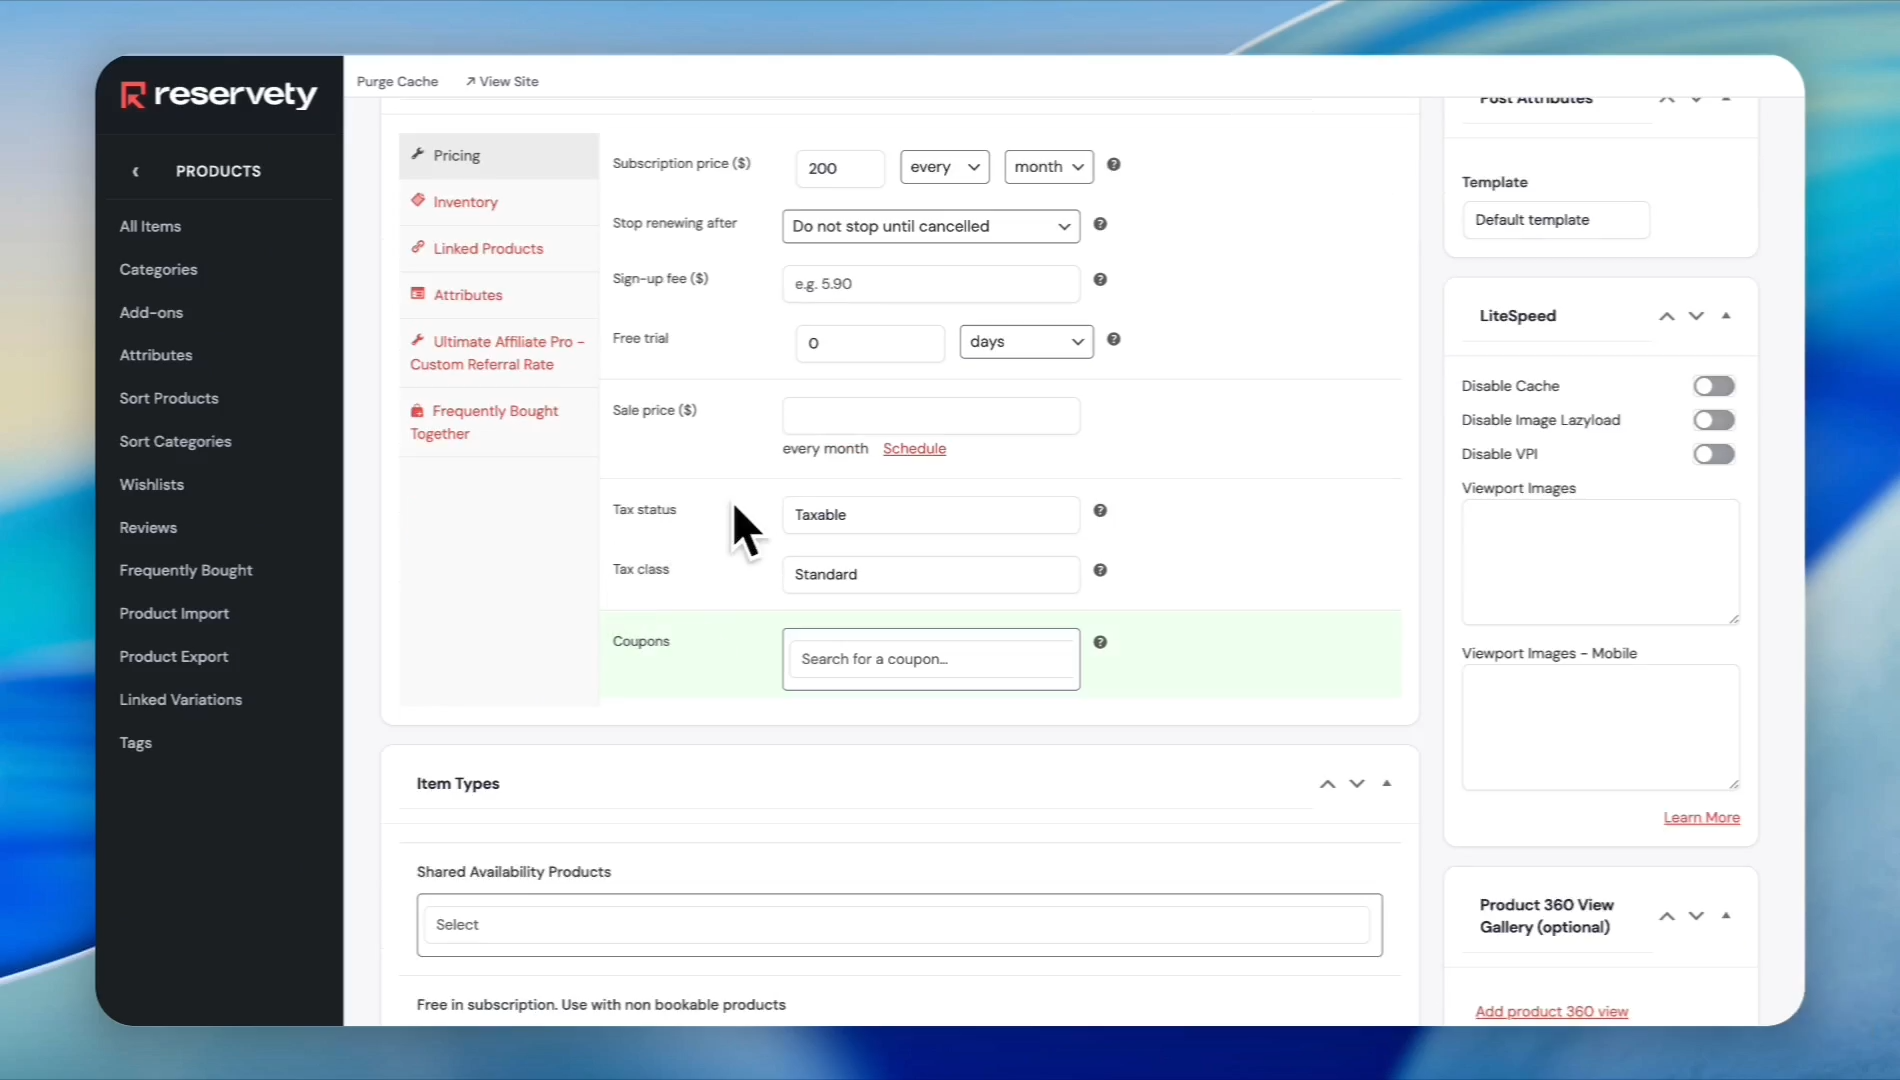
Enter your recurring monthly subscription price in the Subscription price field. Optionally, enter a Sign-up fee and set a Free trial period if you offer one. Set the Tax status to None if you don't charge tax on membership fees.
15
Check the Membership Product box to activate membership properties for this product.
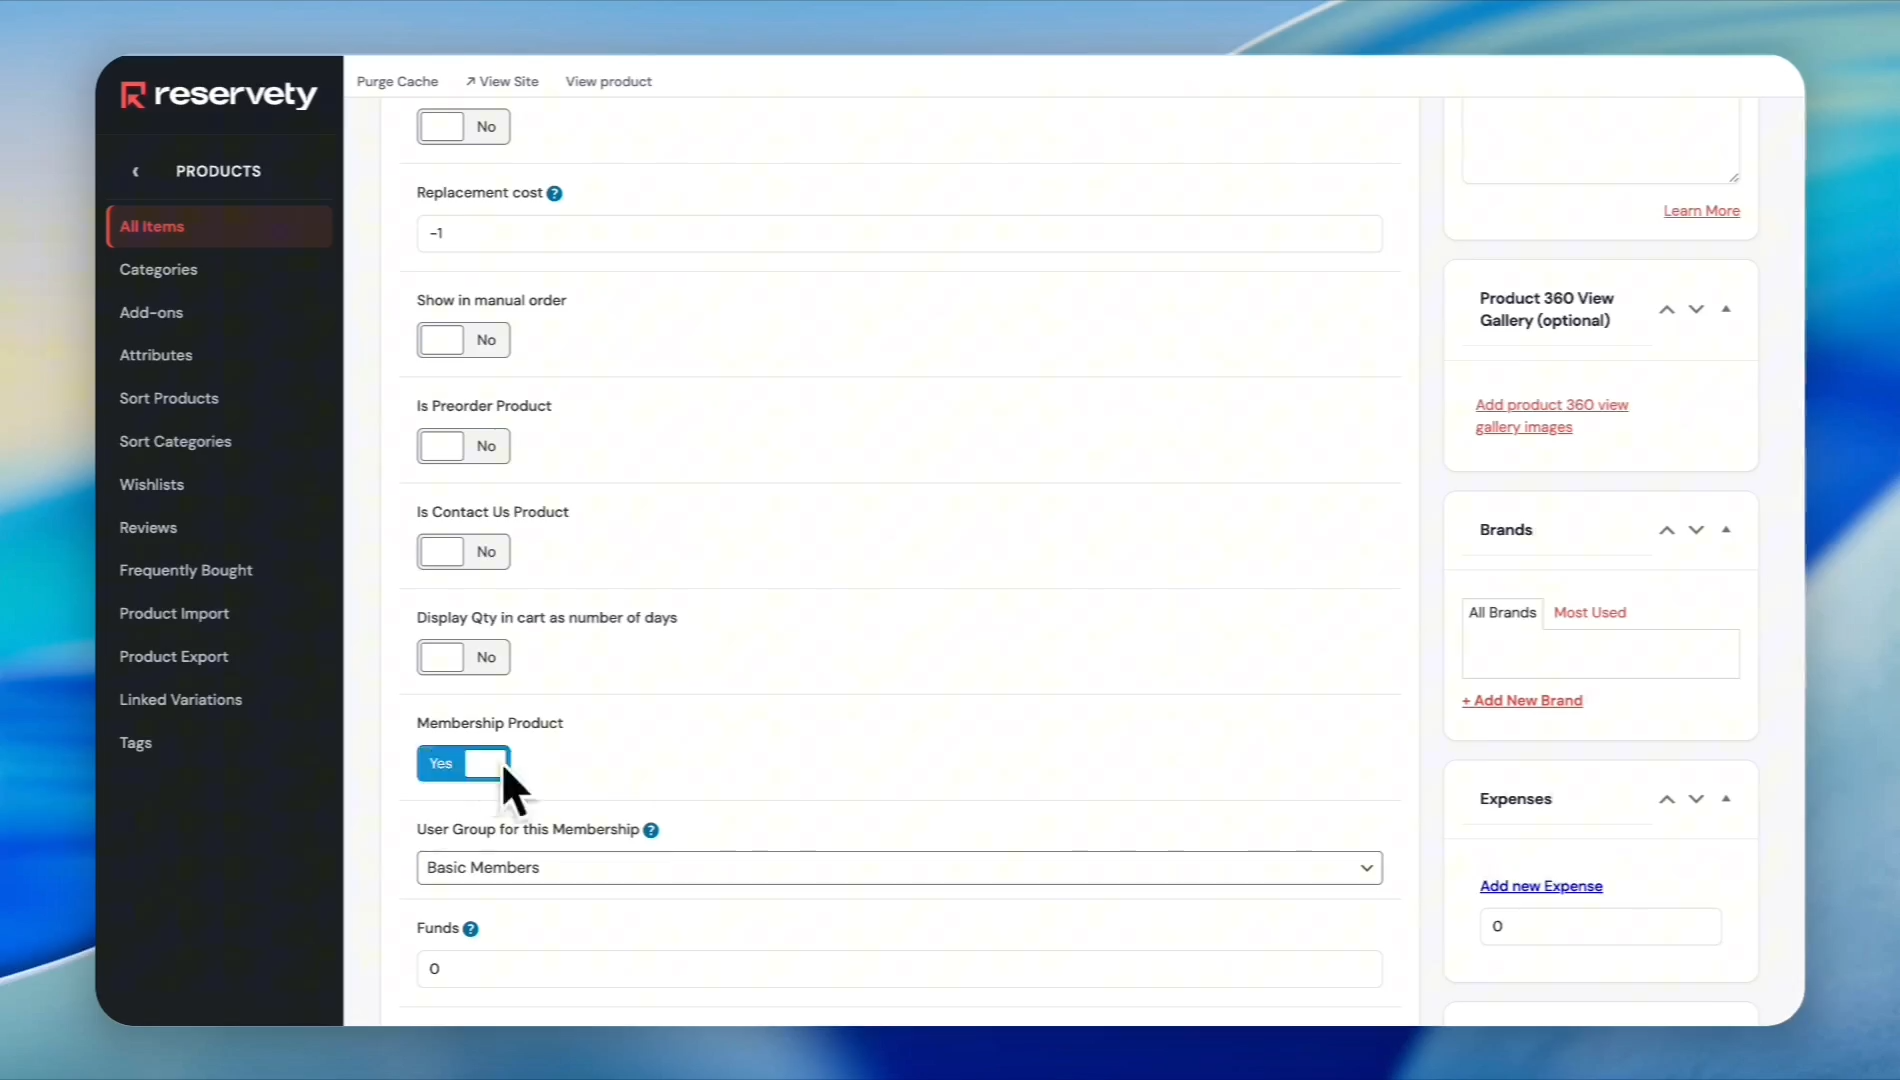
16
From the dropdown menu, assign the appropriate User Group (e.g., Basic Members).
17
Click Publish to make your membership live.
Configure Checkout Rules for Memberships
Finally, define the rental benefits and restrictions for your membership tiers.
18
Go back to Settings > Rentals, then click Checkout Rules.

19
In the rules section, find the section that says: "Allow users a maximum number of reservations based on period and user group". click Add Row, then select your target group from the User Group dropdown.

20
Set the Period in days
30 to reflect a monthly billing cycle.21
Set the Maximum period allowed to book free to specify the length of each free rental (e.g.,
2d for two days).22
Enter the Maximum price allowed to book for free to cap the value of complimentary rentals.
23
Enter the Number of reservations this group is allowed to make per period.
24
Click Add Row to create additional rules for other groups, then click Update to save your checkout rules.