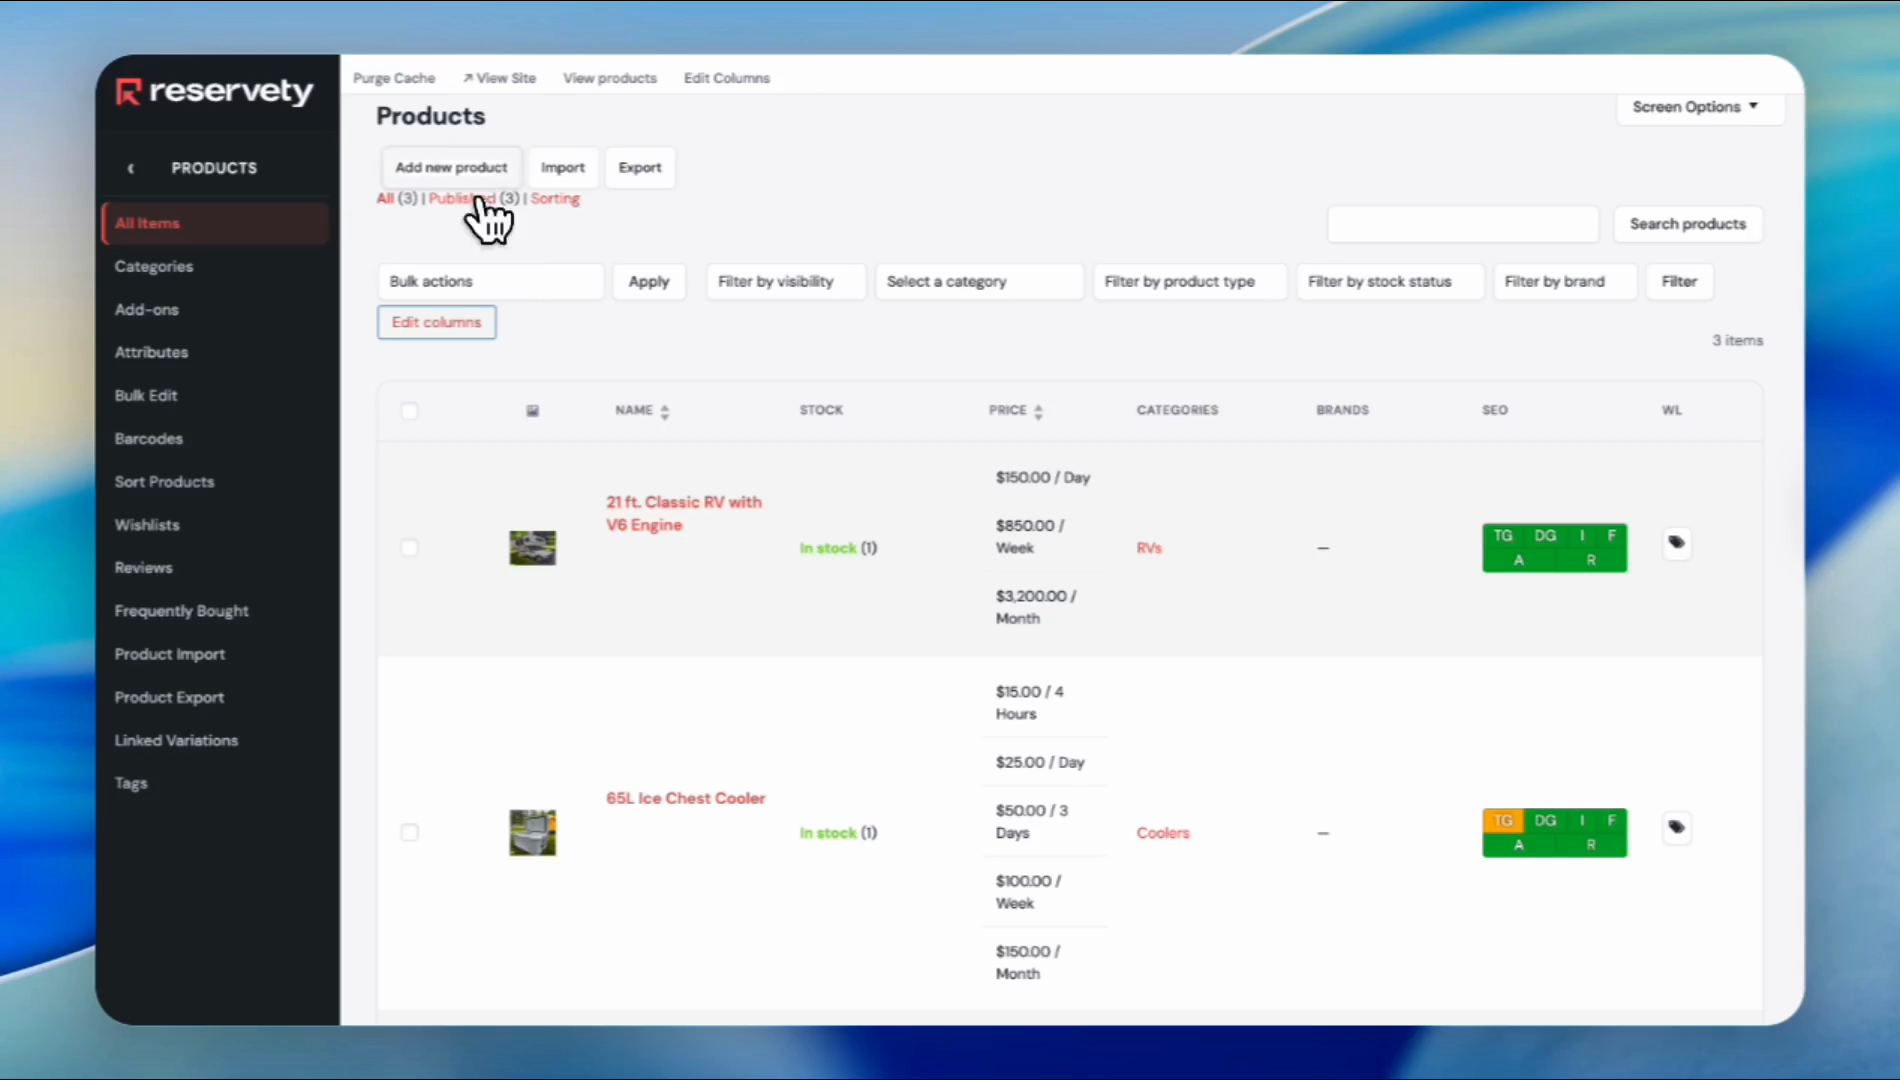
How to Create Variable Products for Rental Websites
Learn step-by-step how to create variable products with different sizes, images, stock, and pricing in Reservety. This tutorial covers adding attributes, setting up variations, managing stock, and configuring pricing for rental products like tents.
In this guide, we'll learn how to create variable products for a rental website using Reservety.
Setting up products with variables allows your customers to choose options like size or capacity, making the rental process more flexible. We will use a tent with different sizes as an example and cover how to add attributes, set up variations, assign images, manage stock, and set pricing for each option.
Let's get started
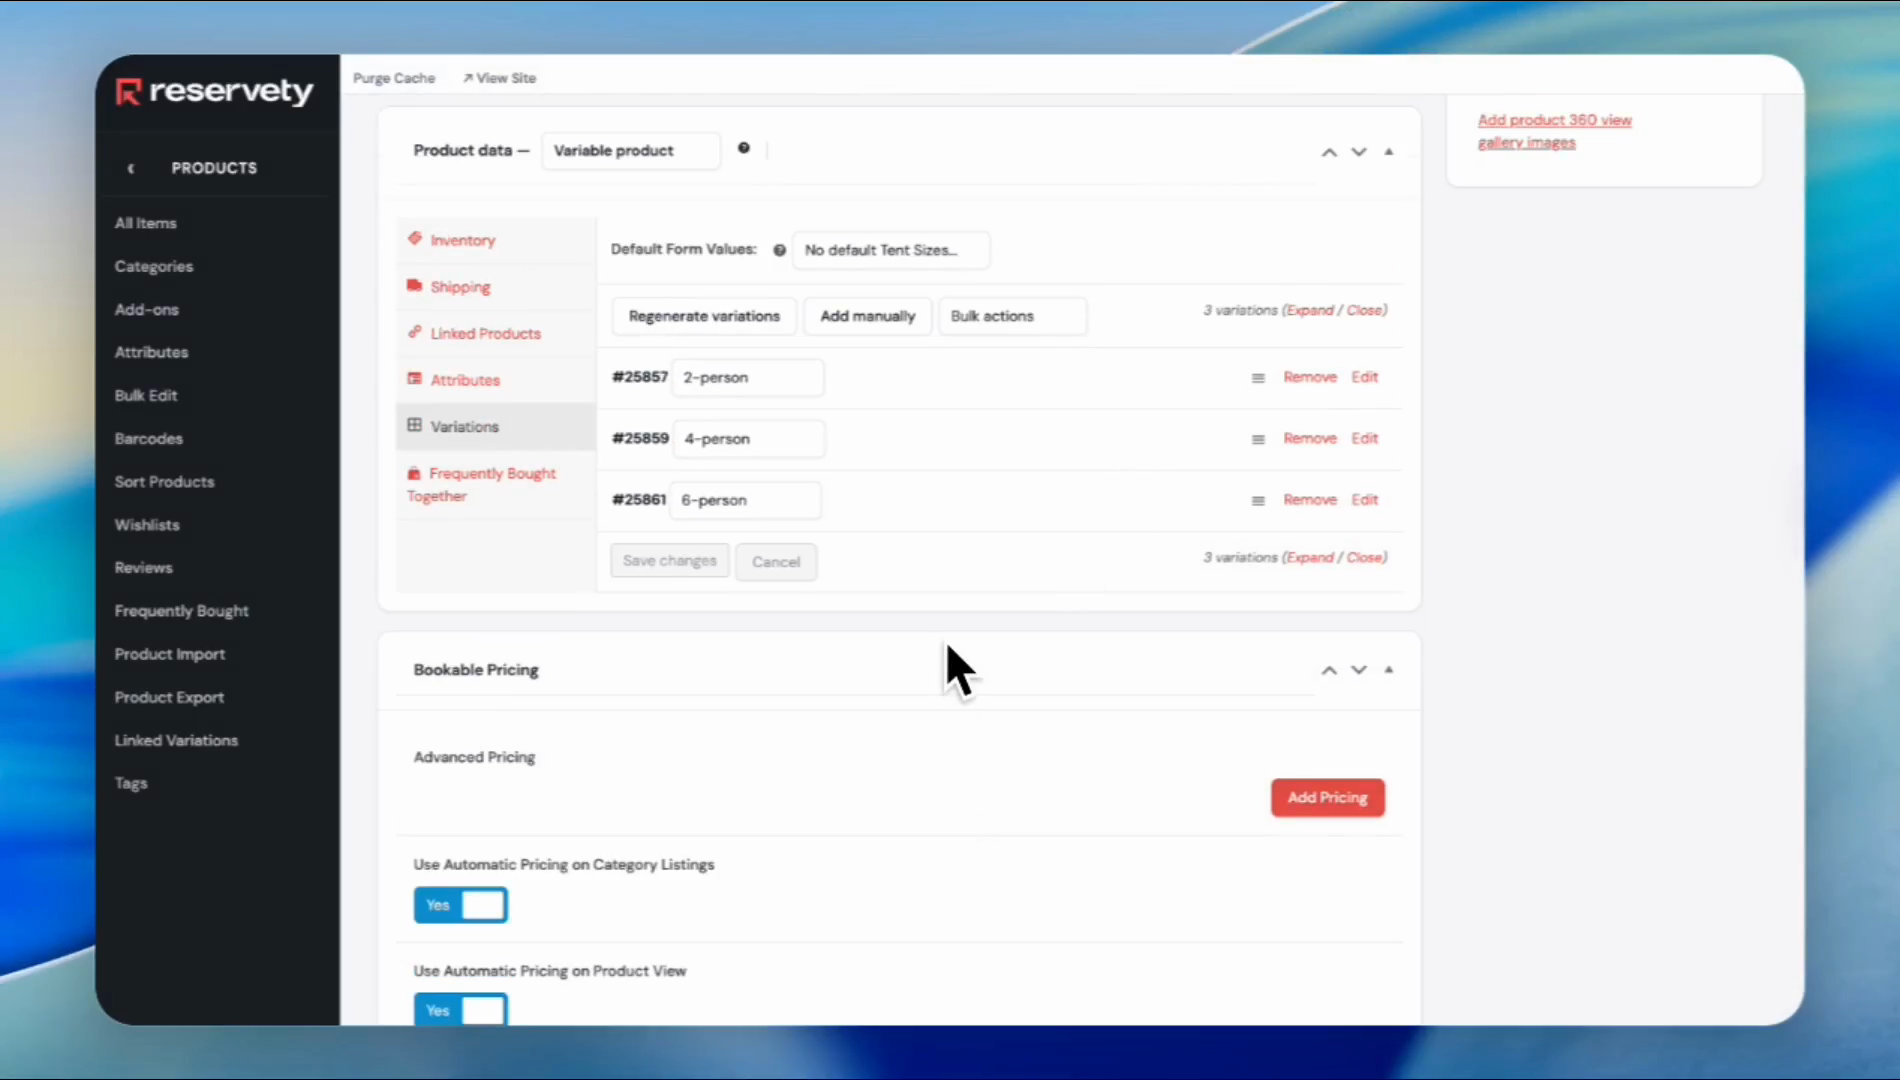
In this episode, we will show you how to create variable products, or products with variations.
Offering rental products with variable options allows customers to easily choose their preferred size, color, and other specifications.
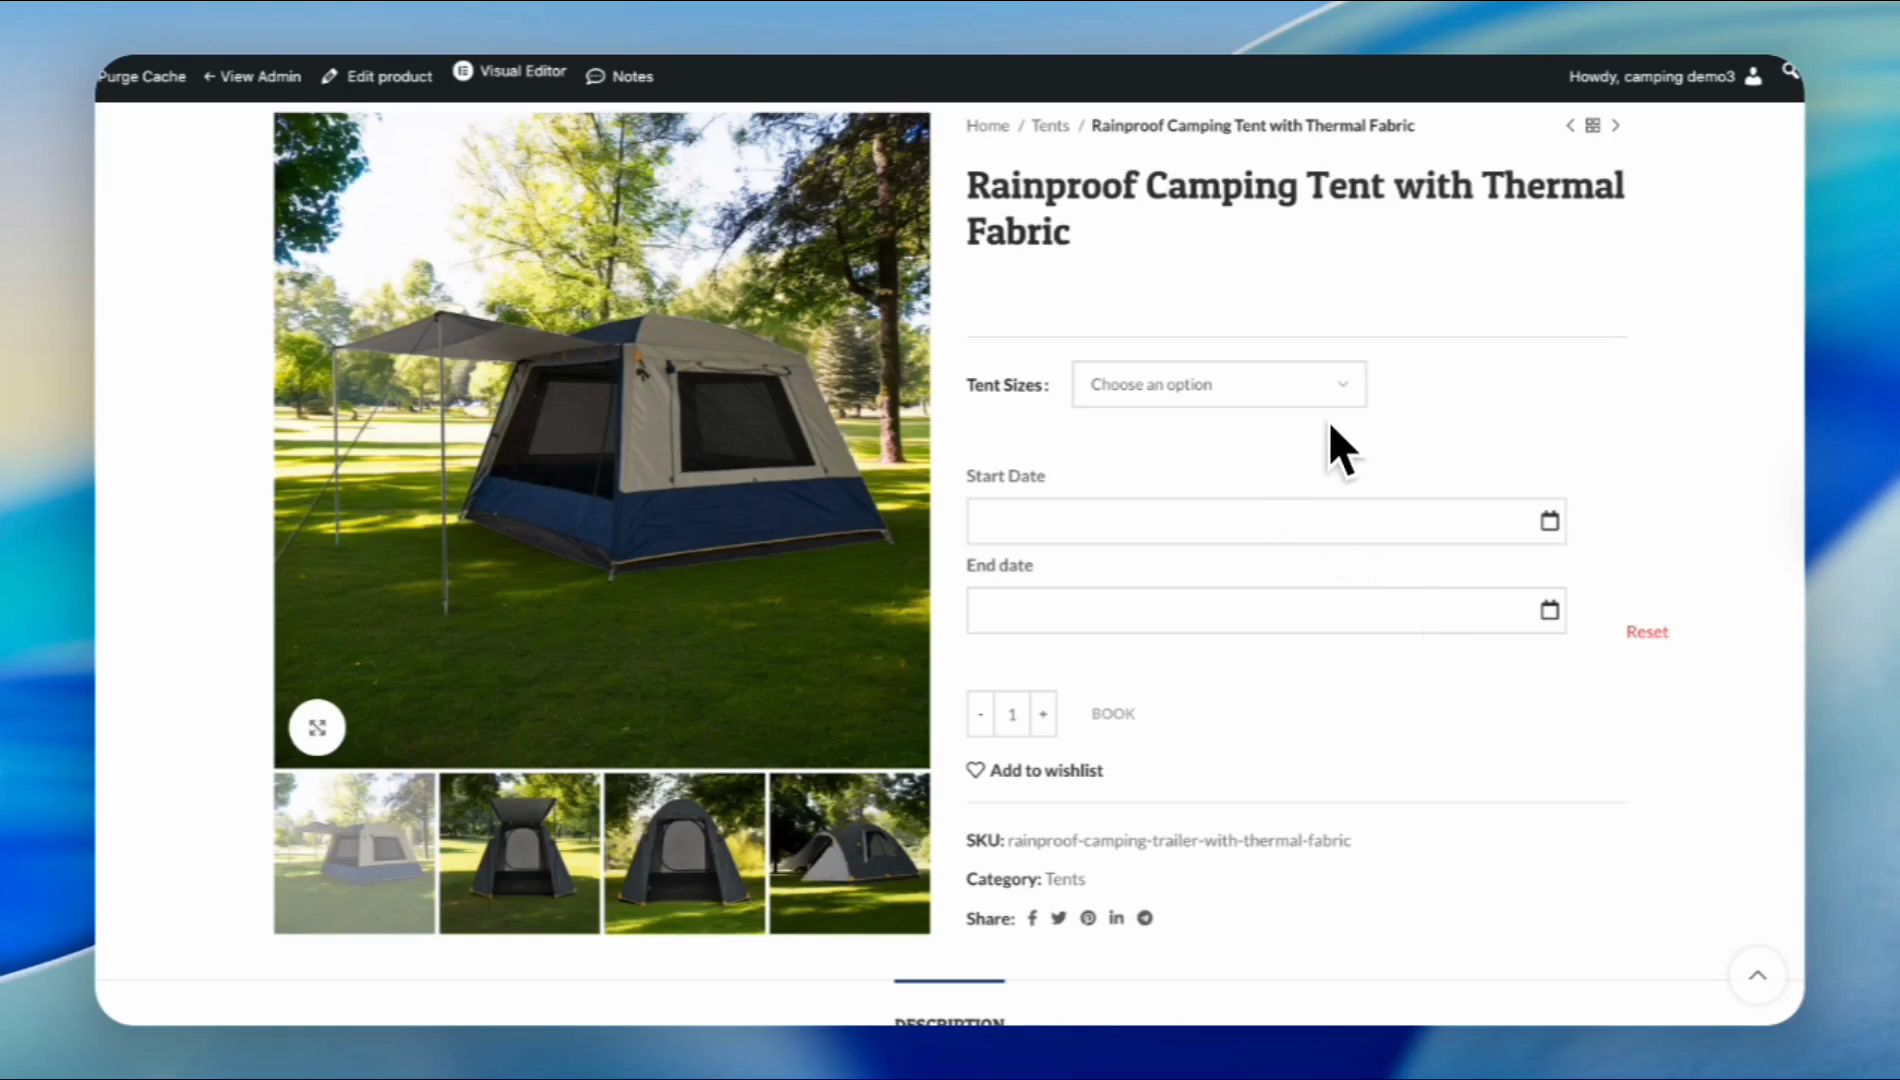
In this tutorial, we will create a tent with adjustable sizes.
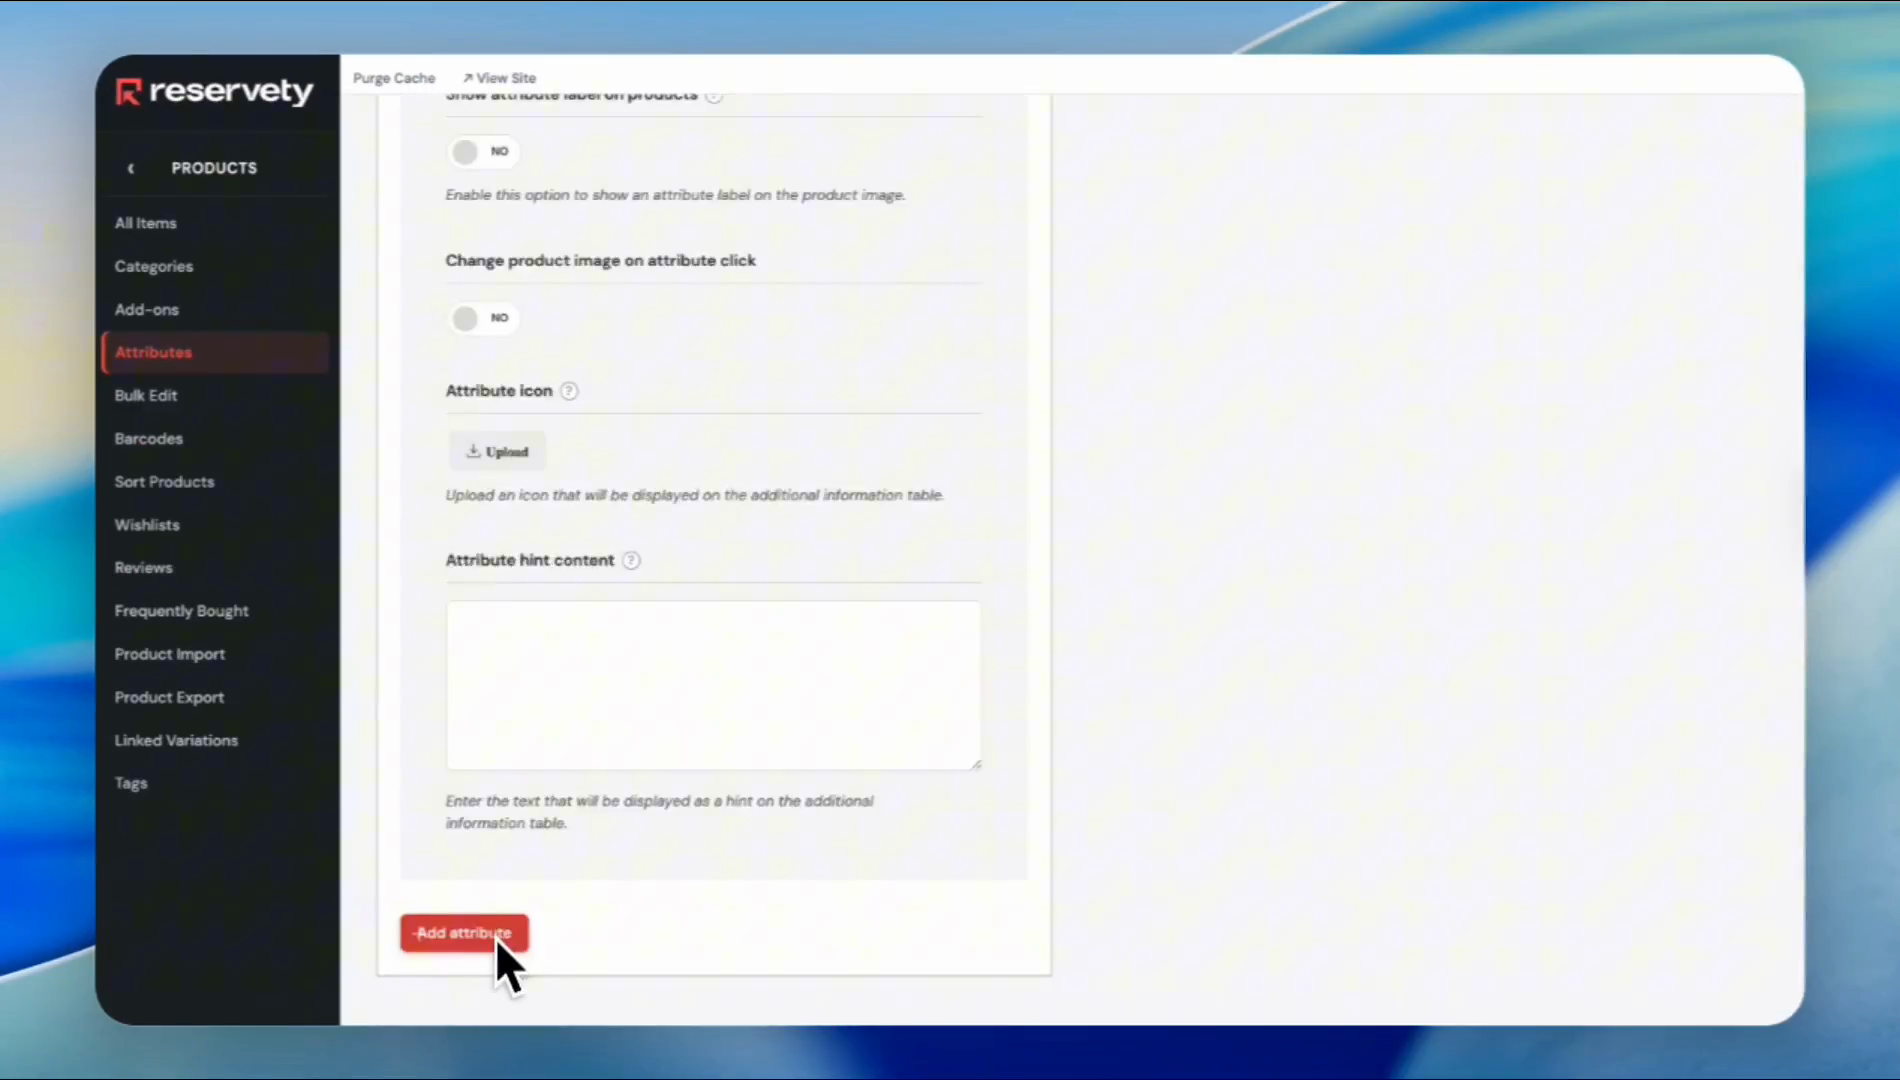
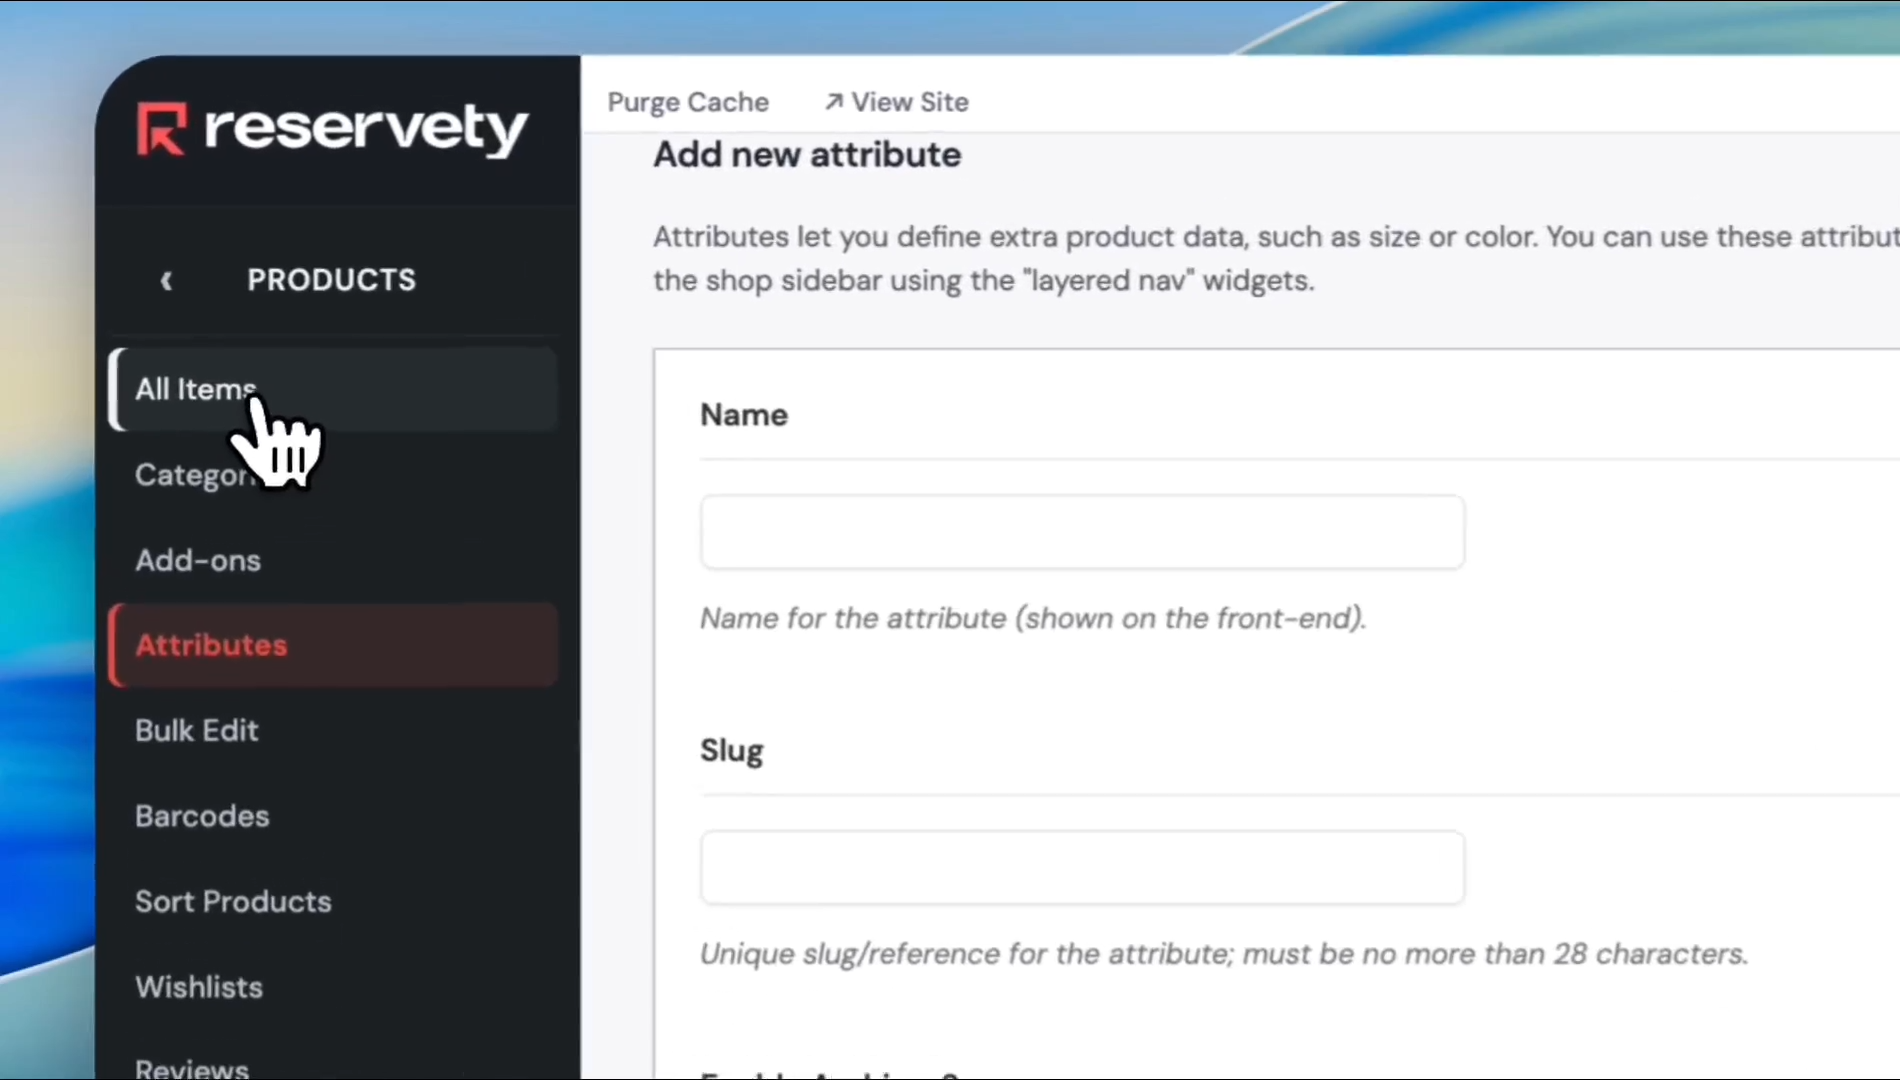
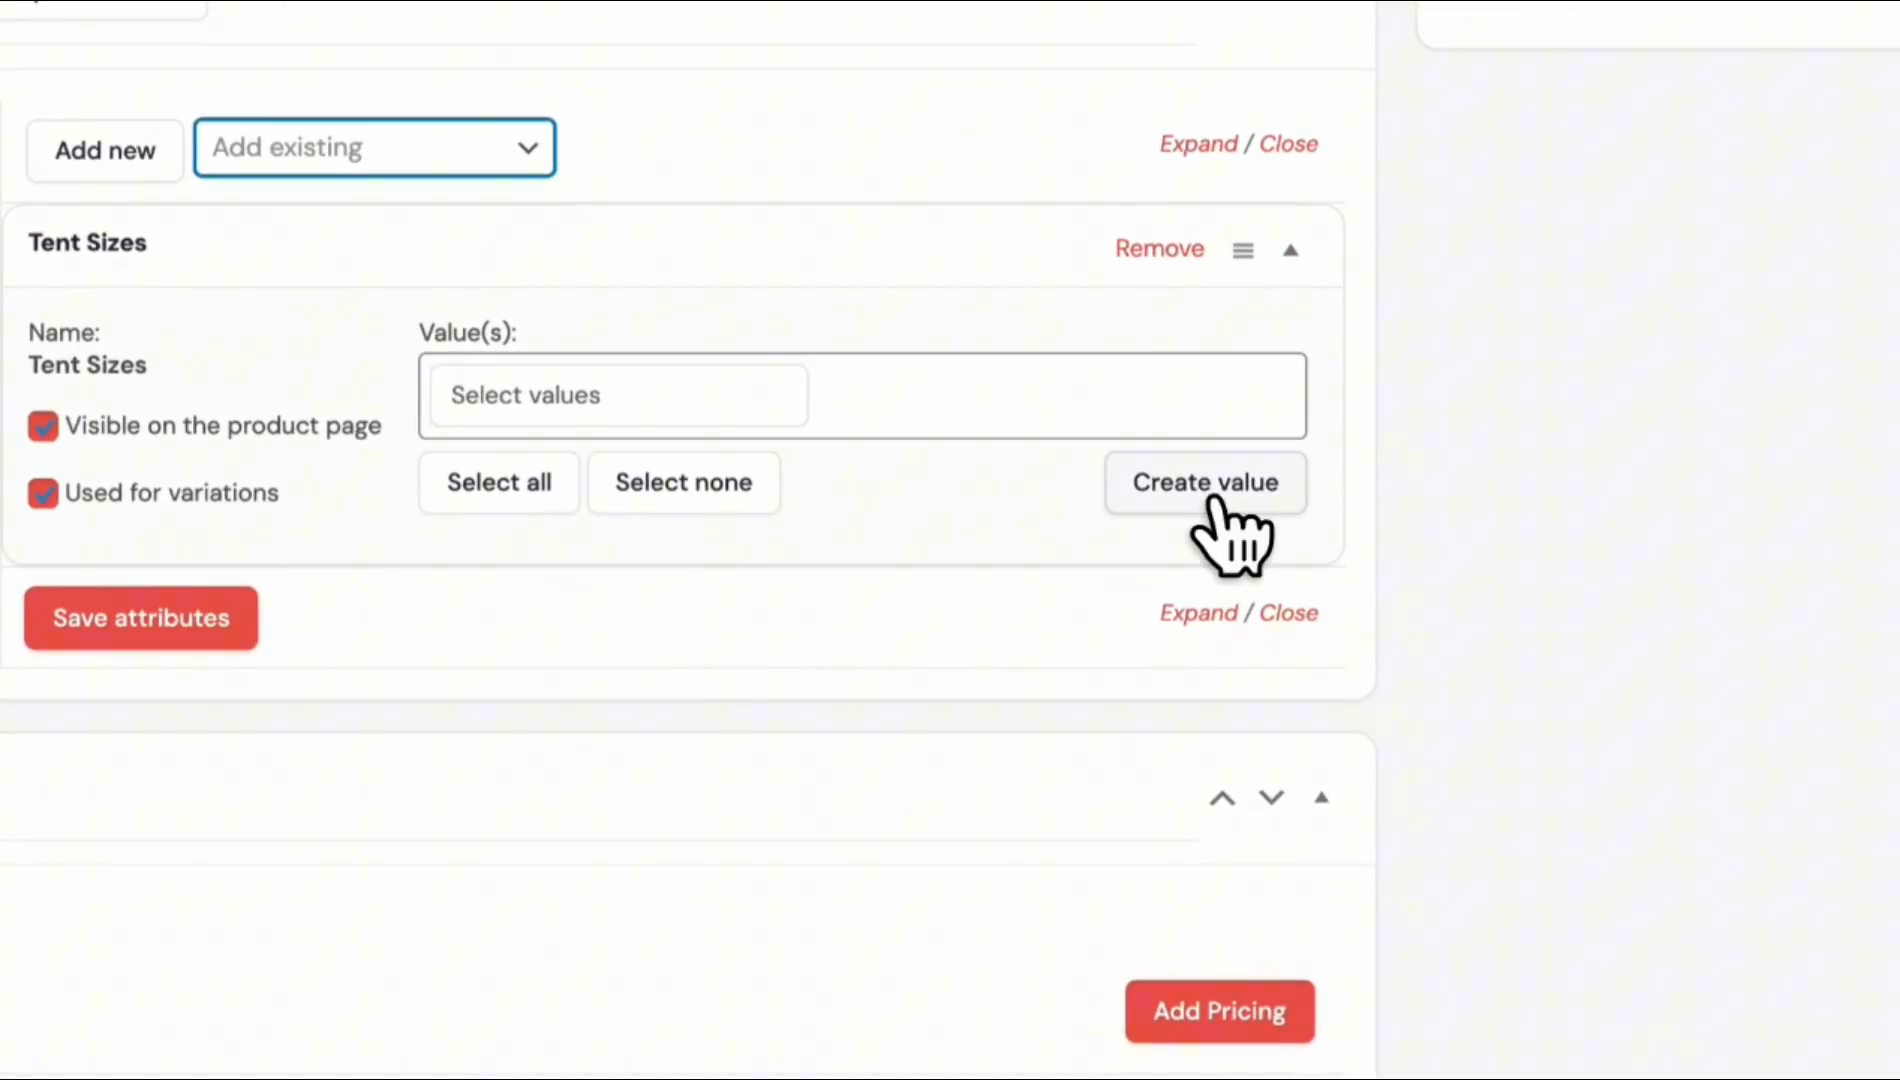
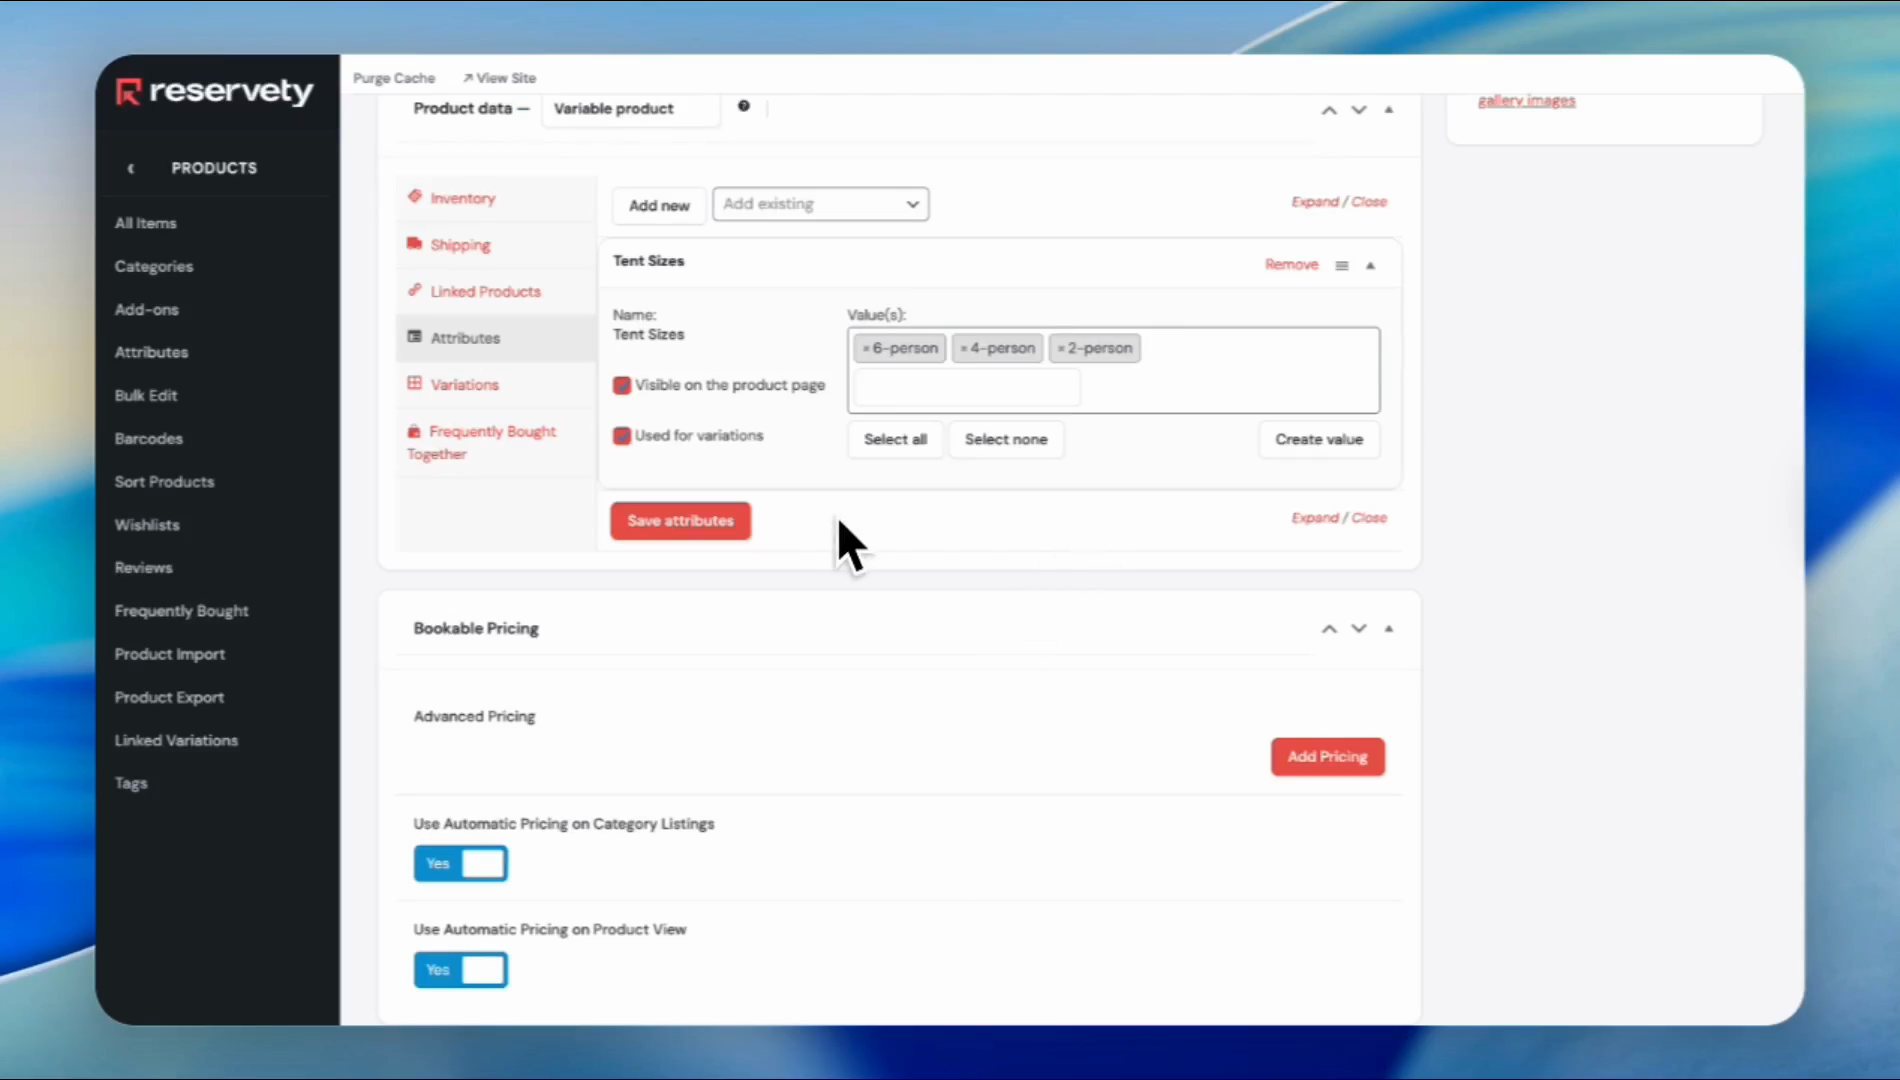
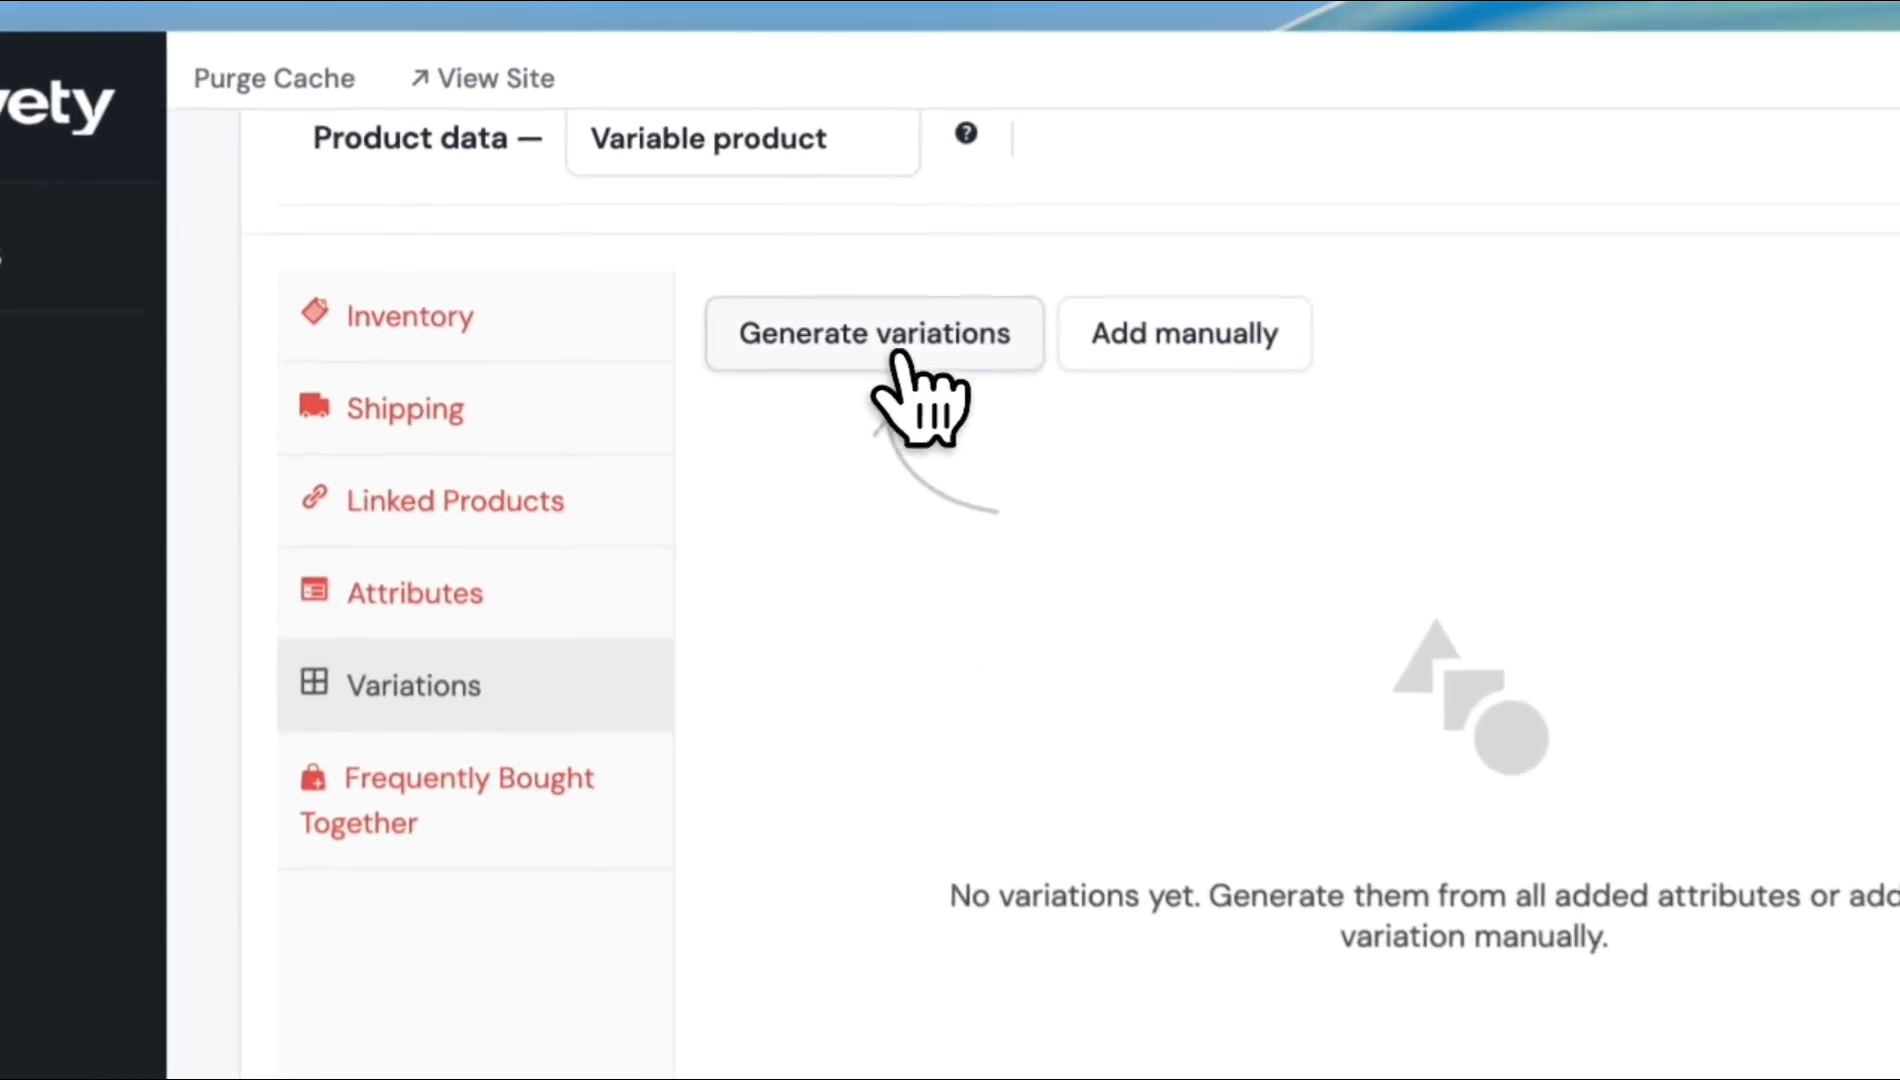
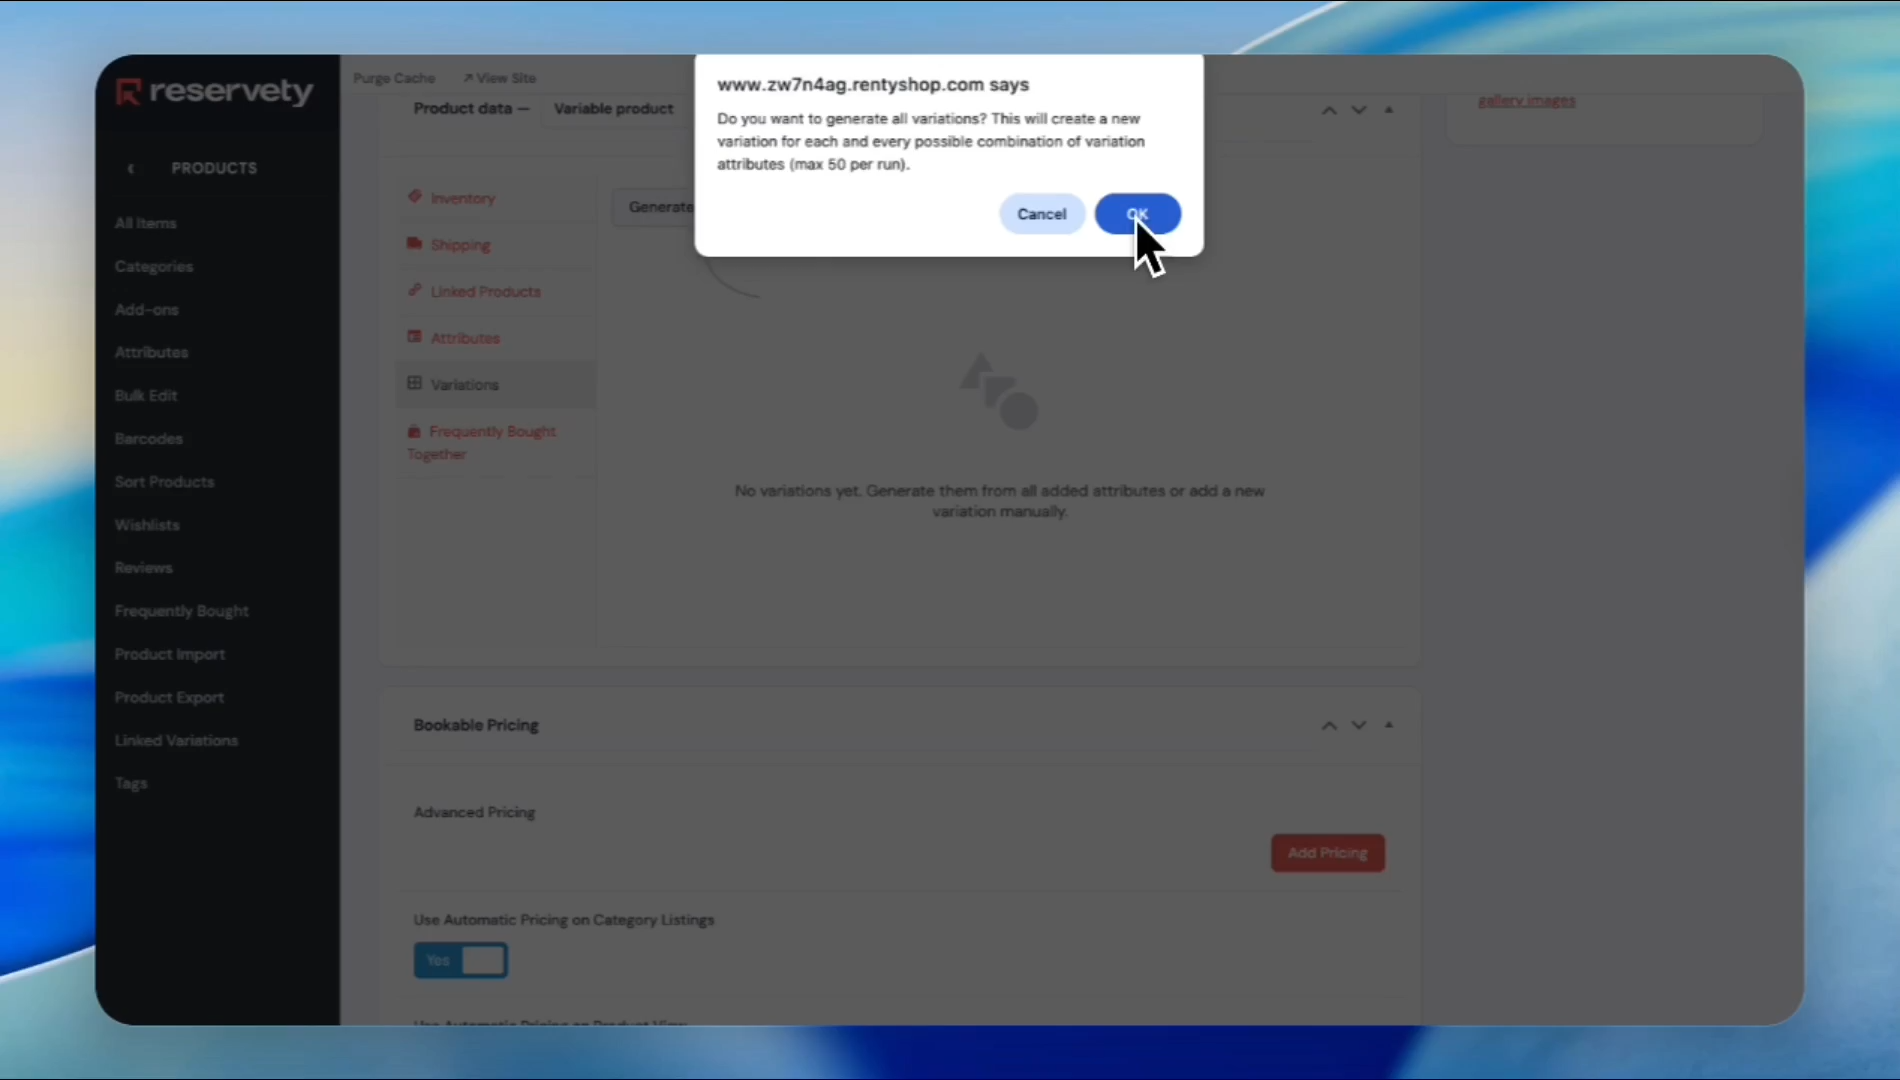
Before adding the item, we need to create attributes.
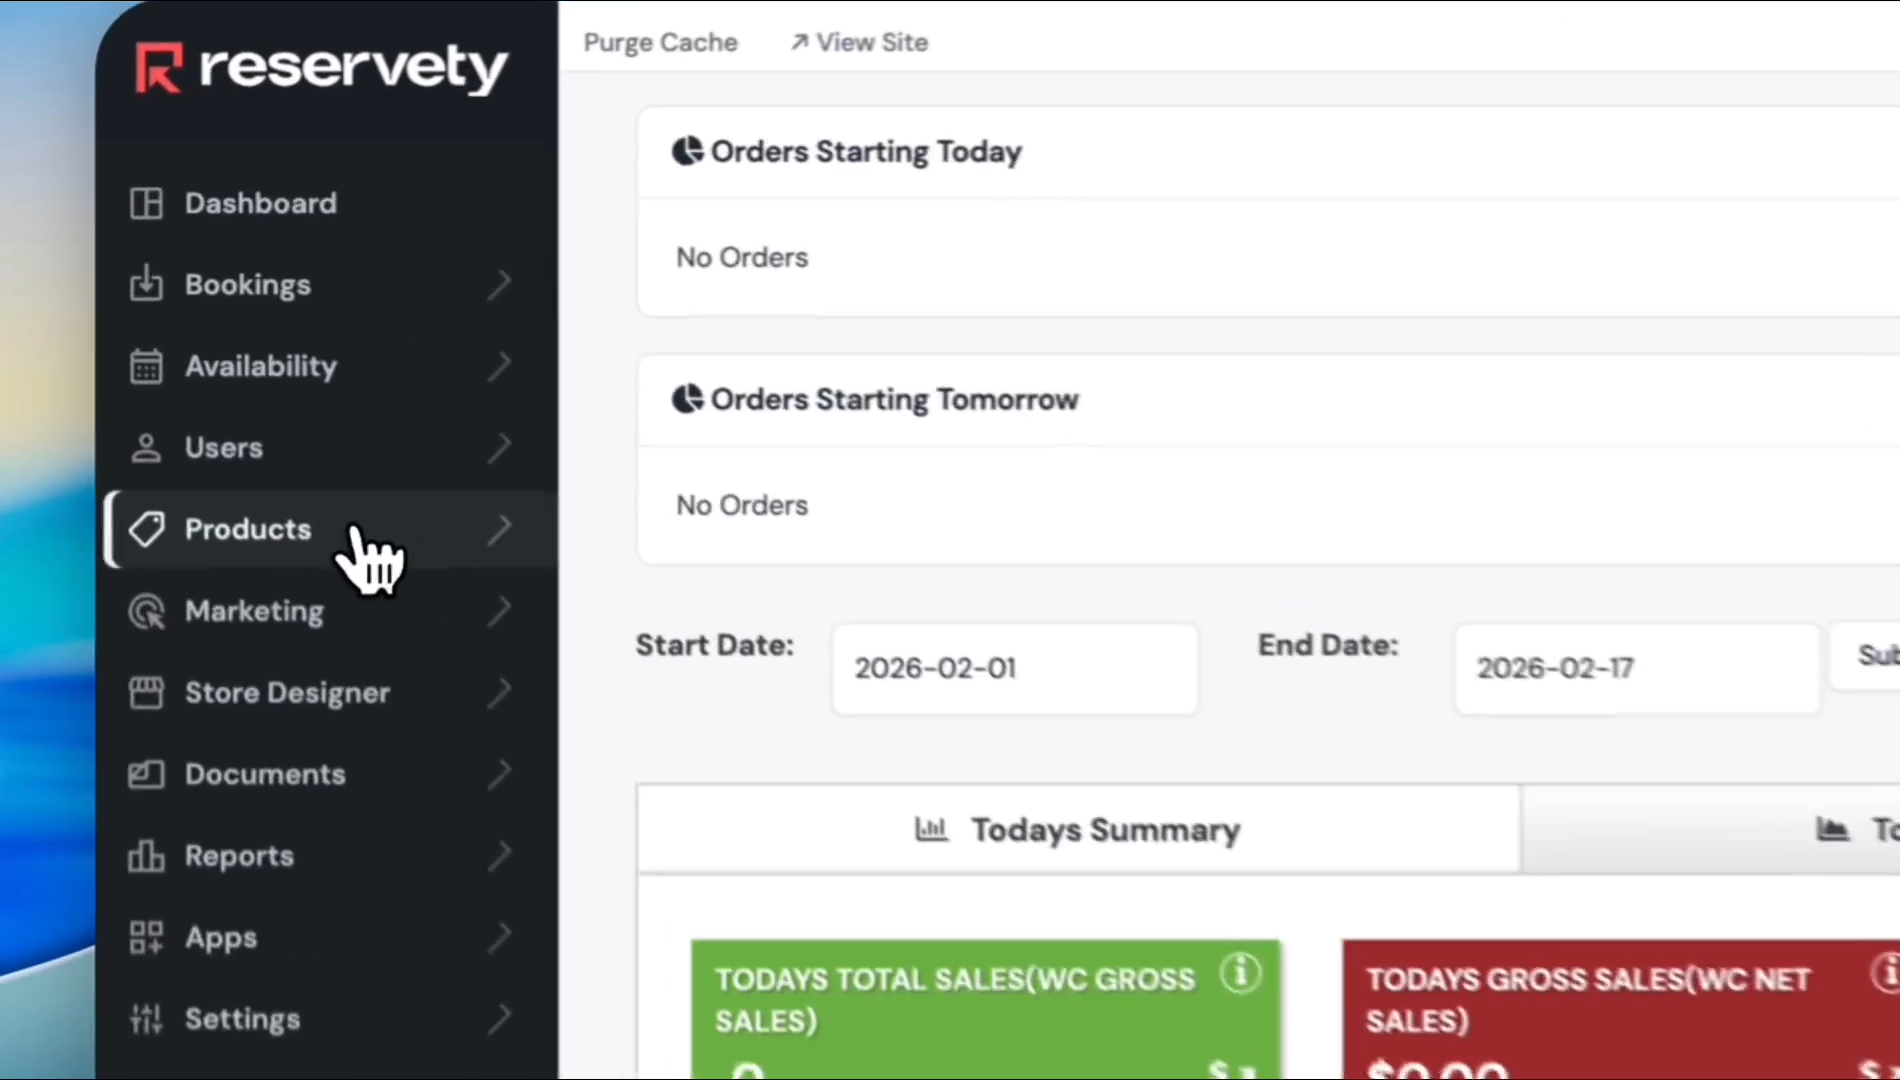
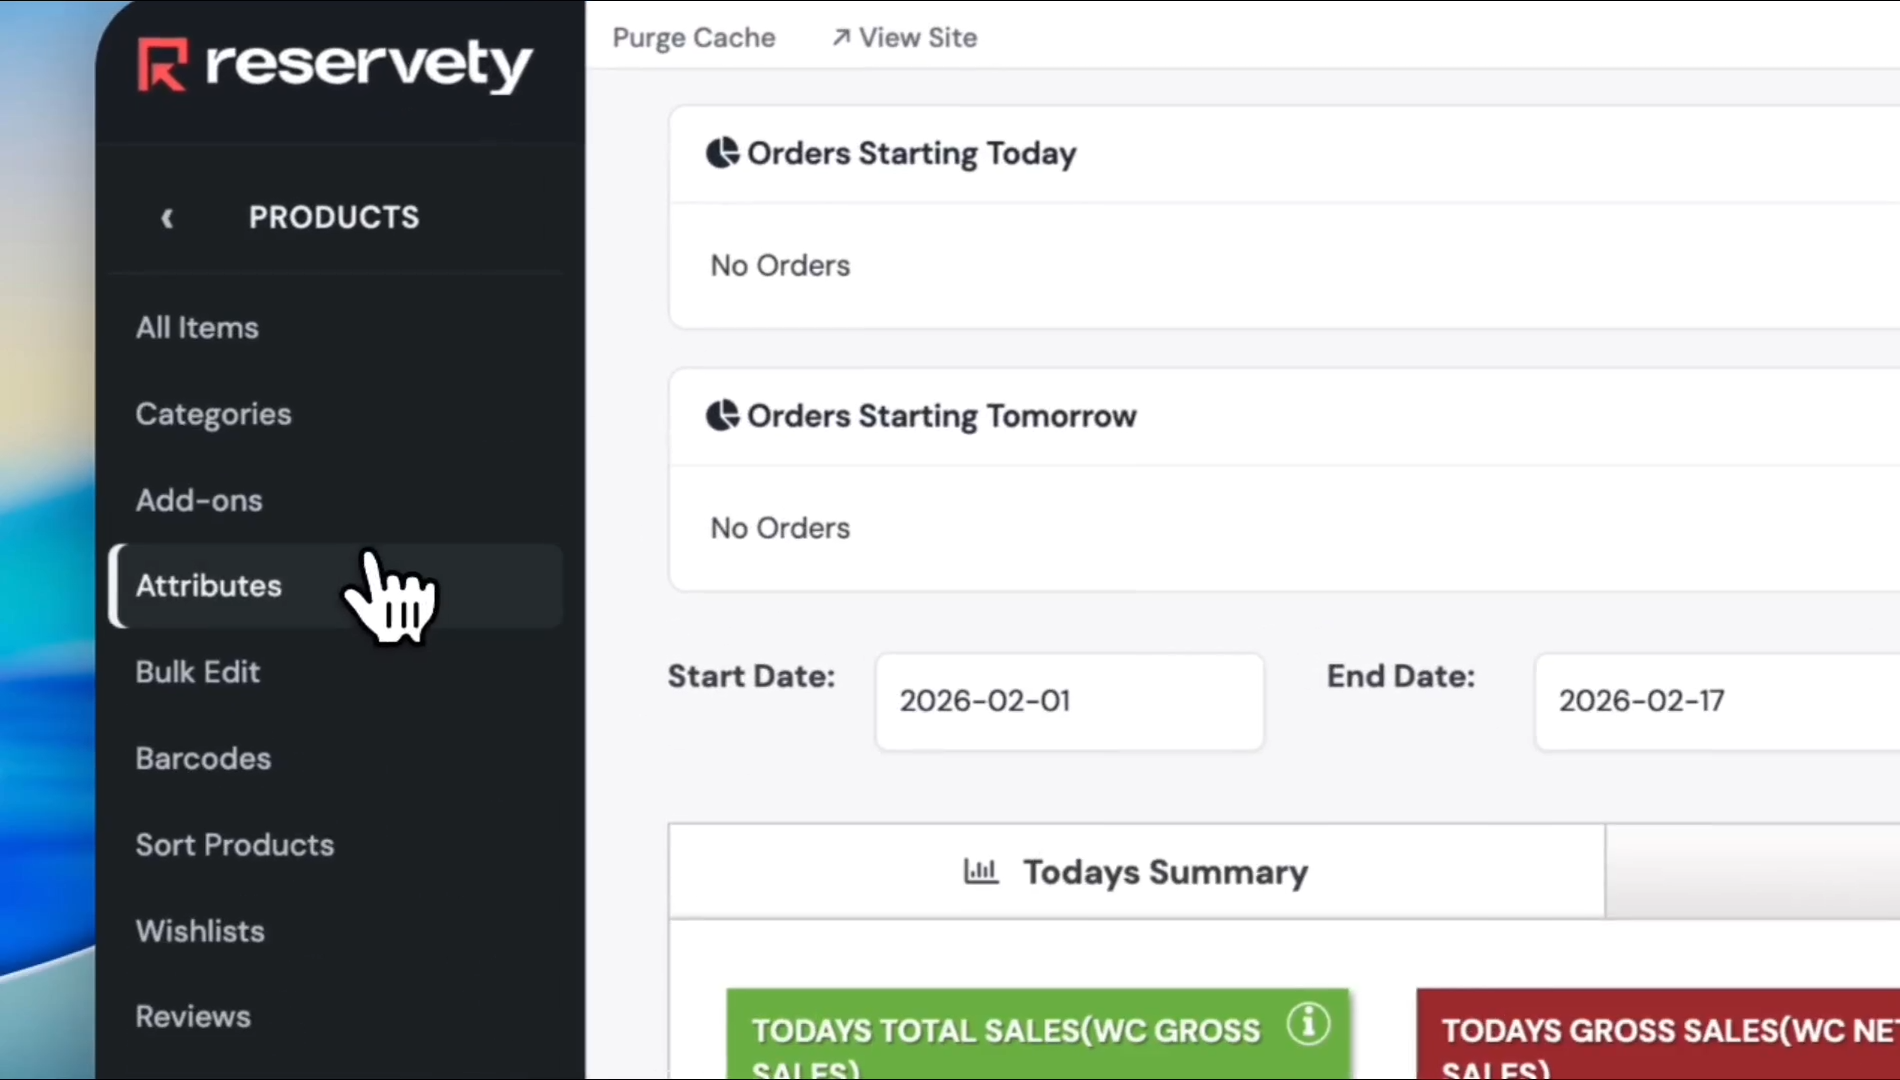
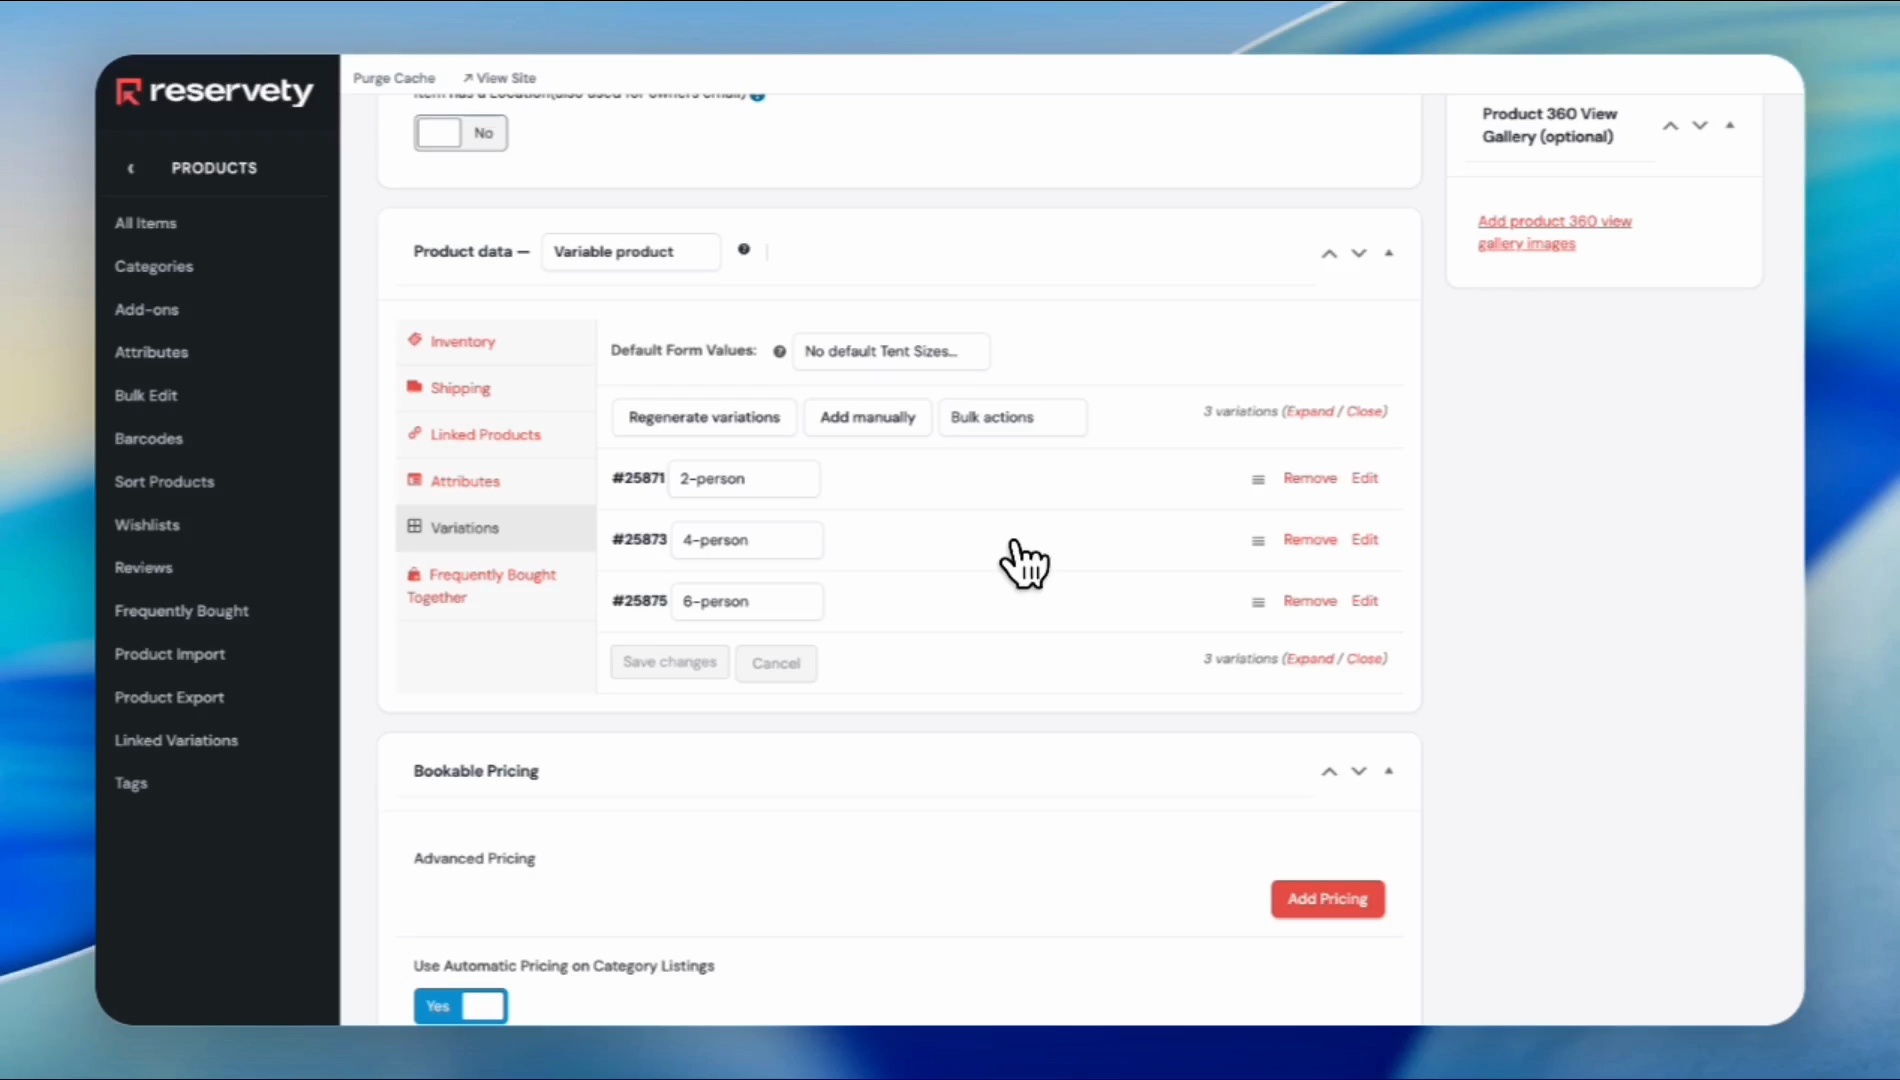
Let's create a new item with the attributes.
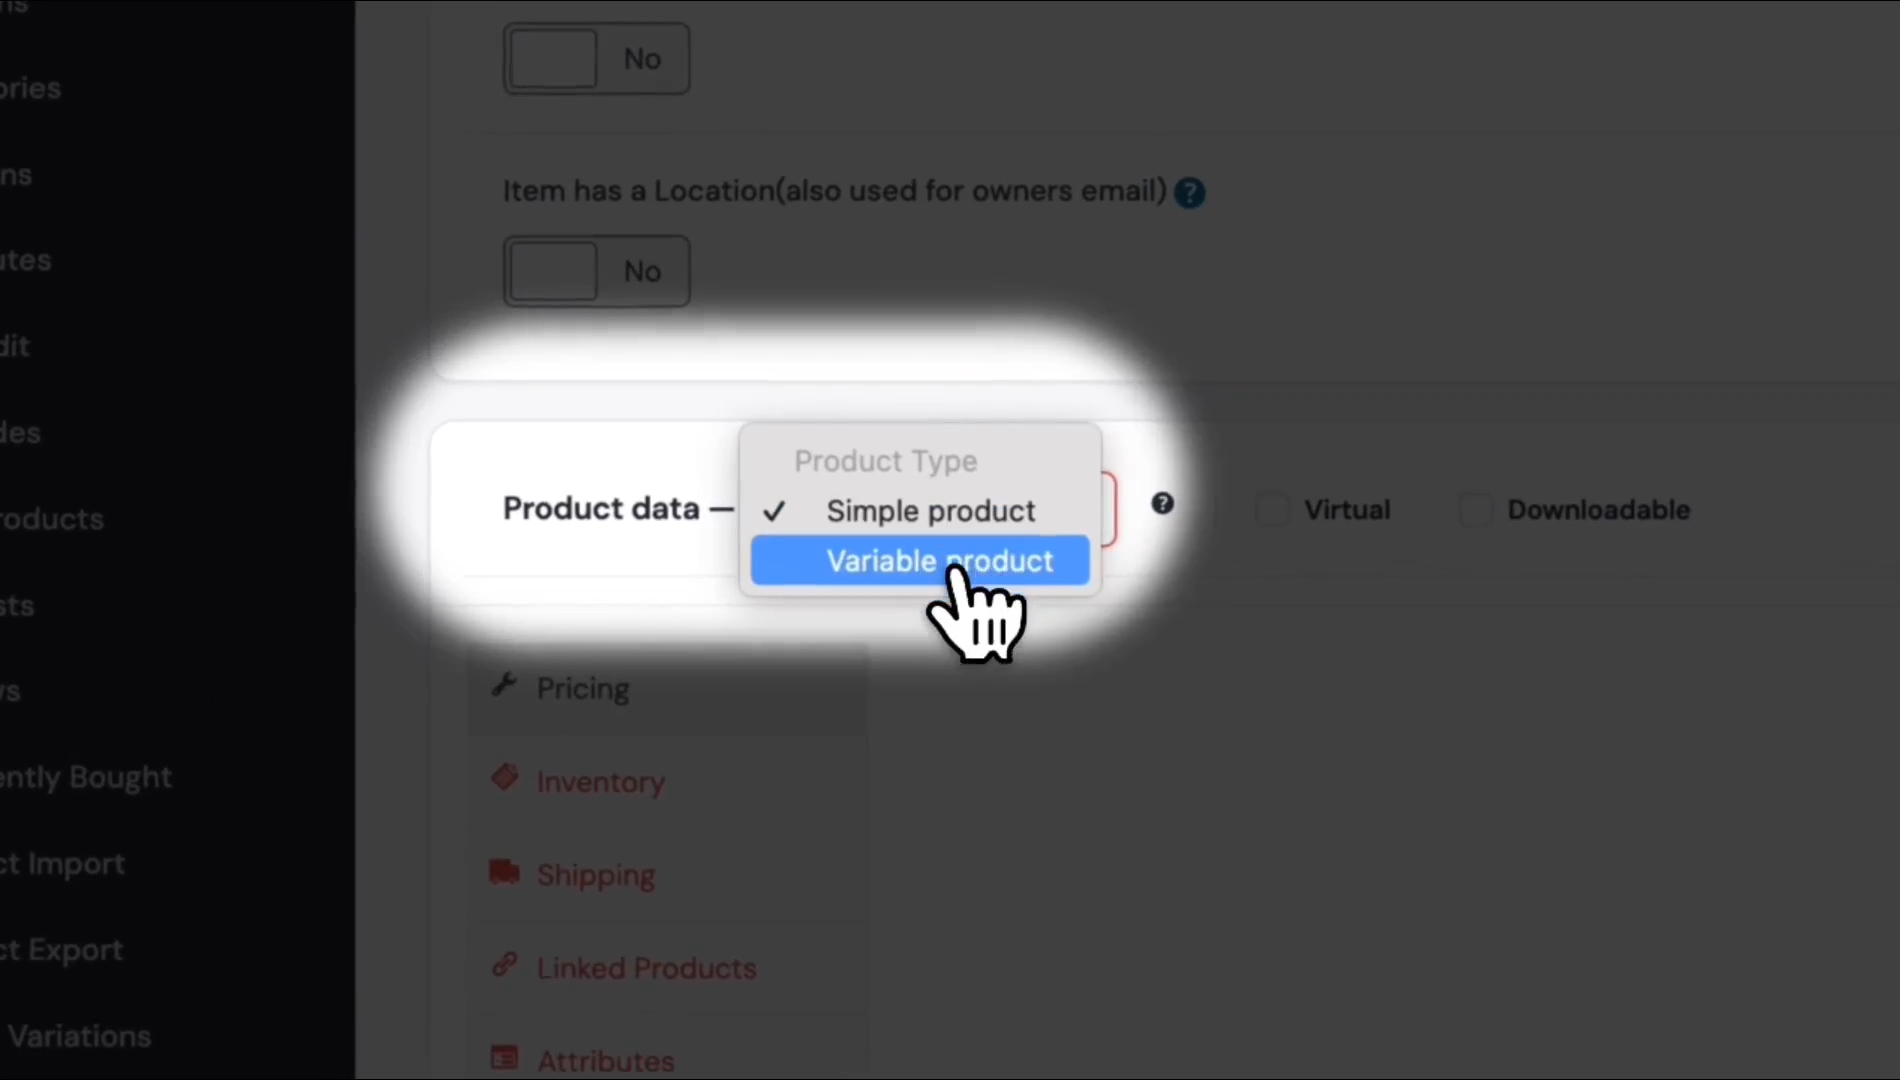
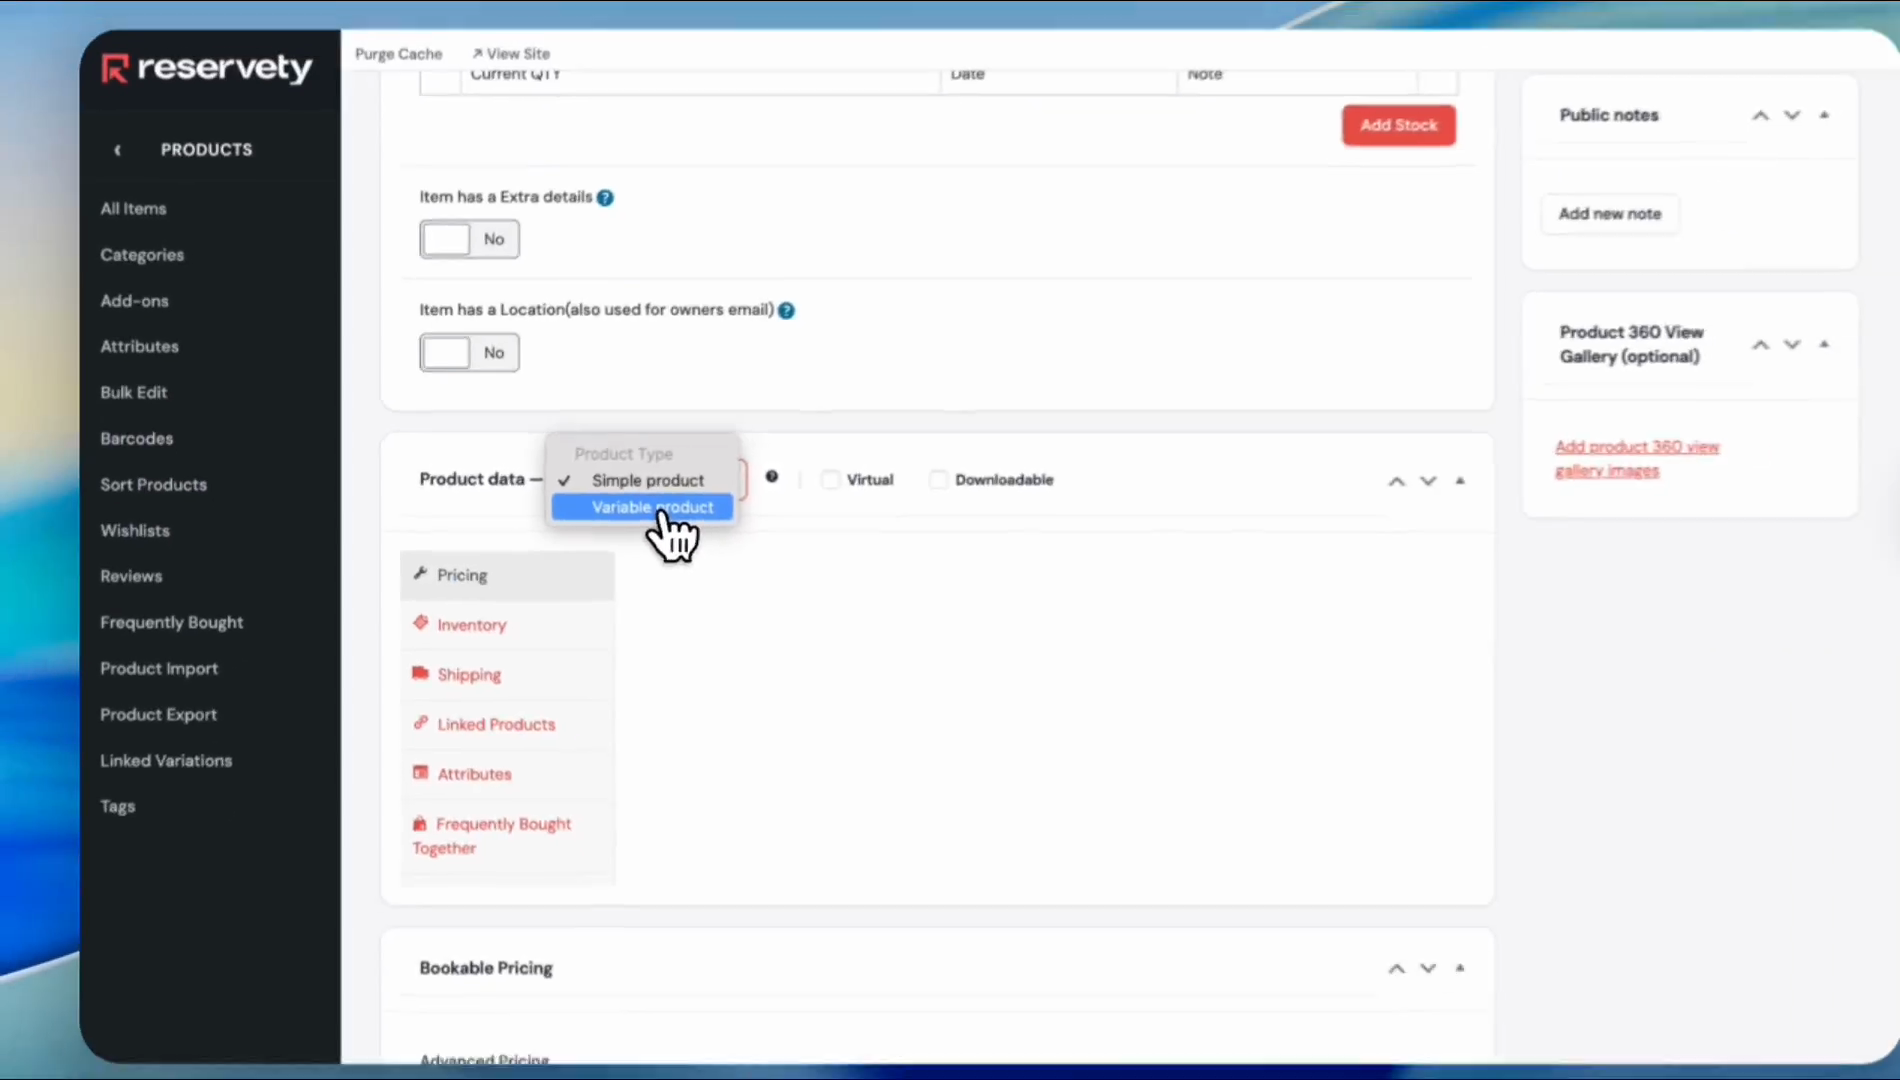
Scroll down to the section labeled "Product Data." By default, the product data is set to "Simple Product."
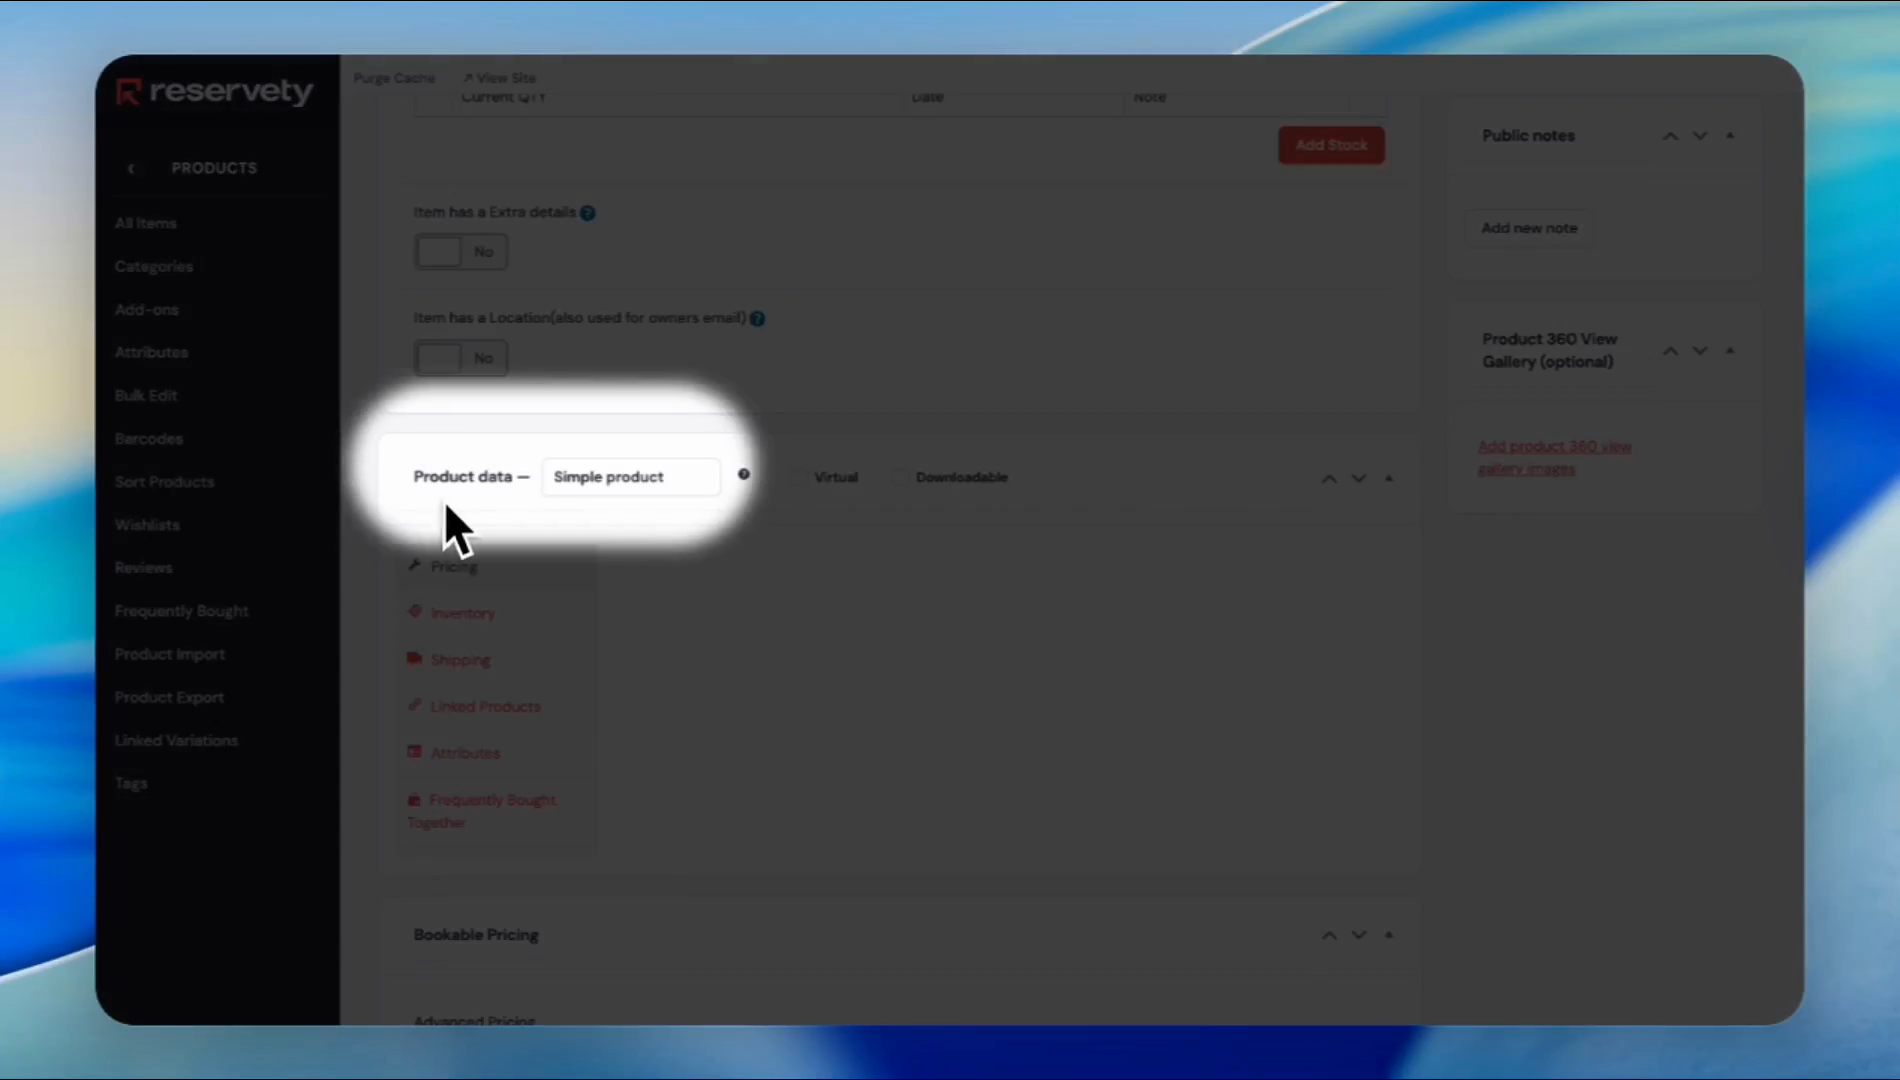
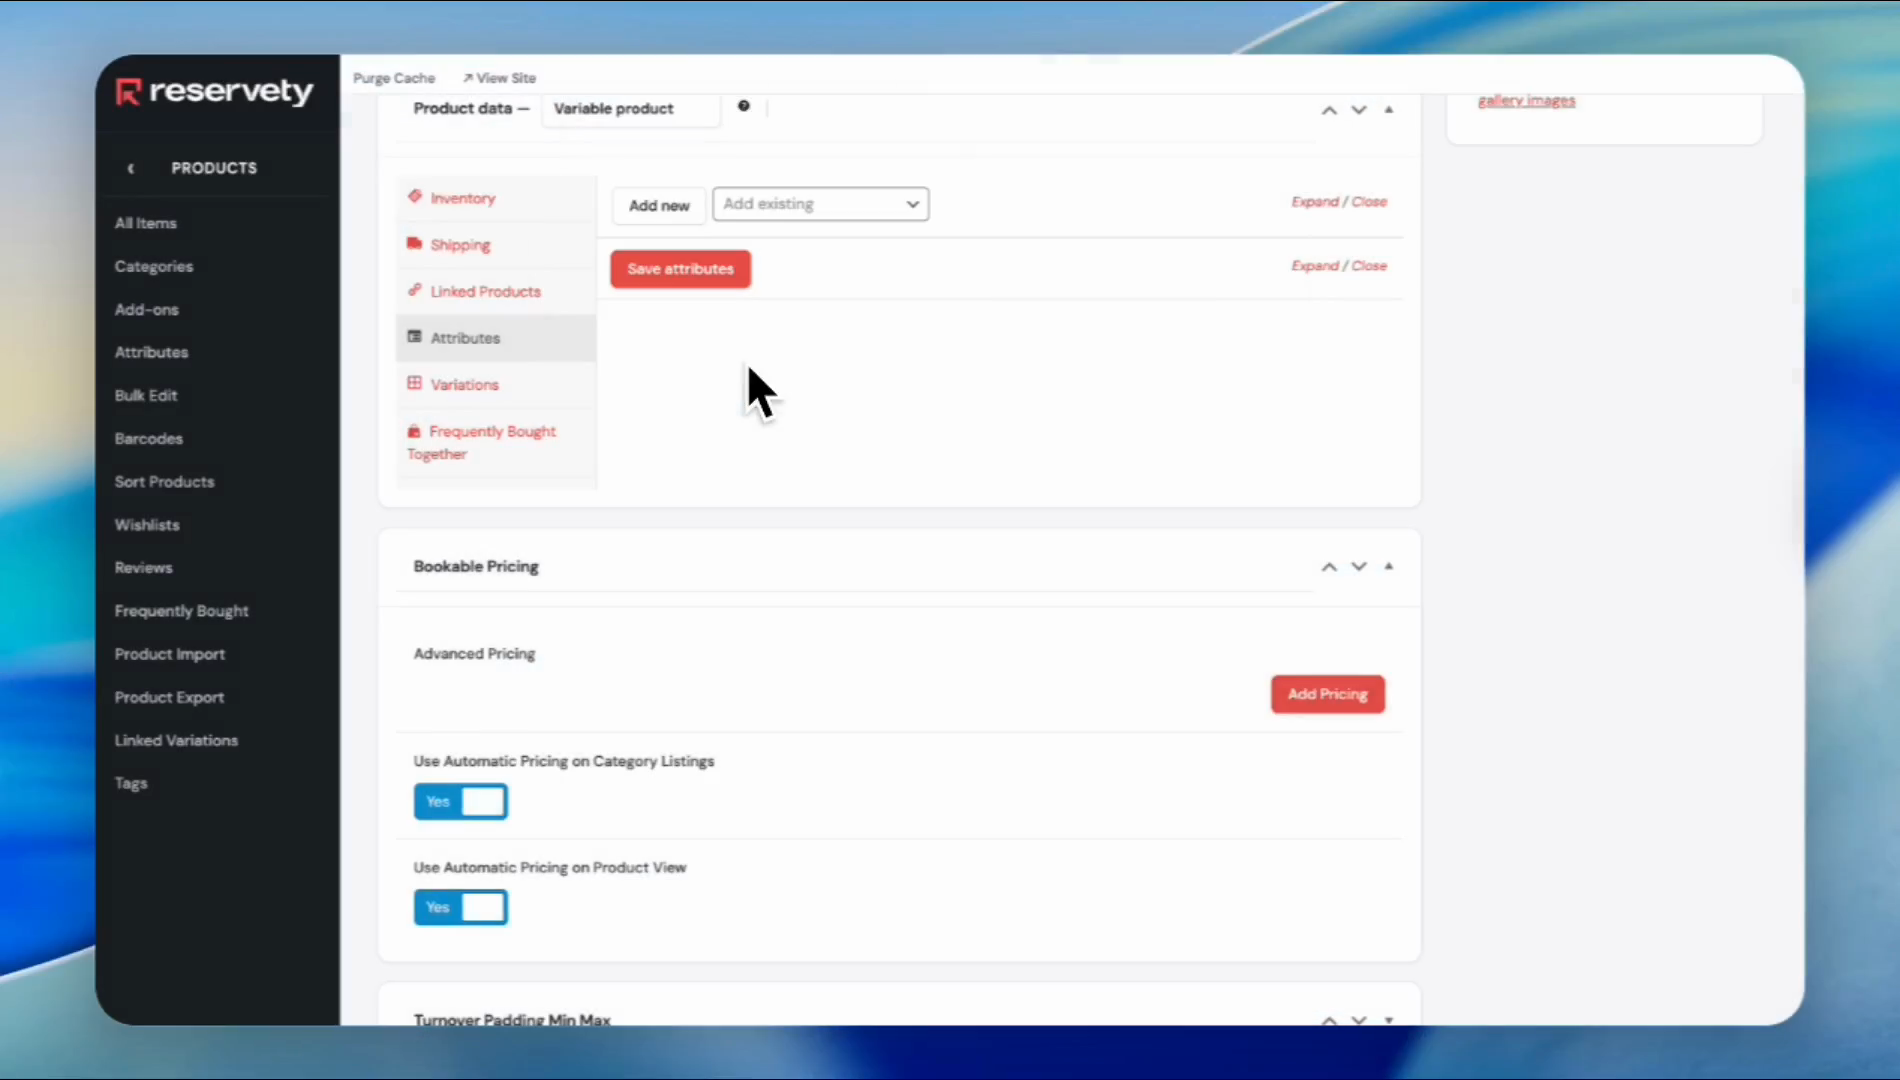
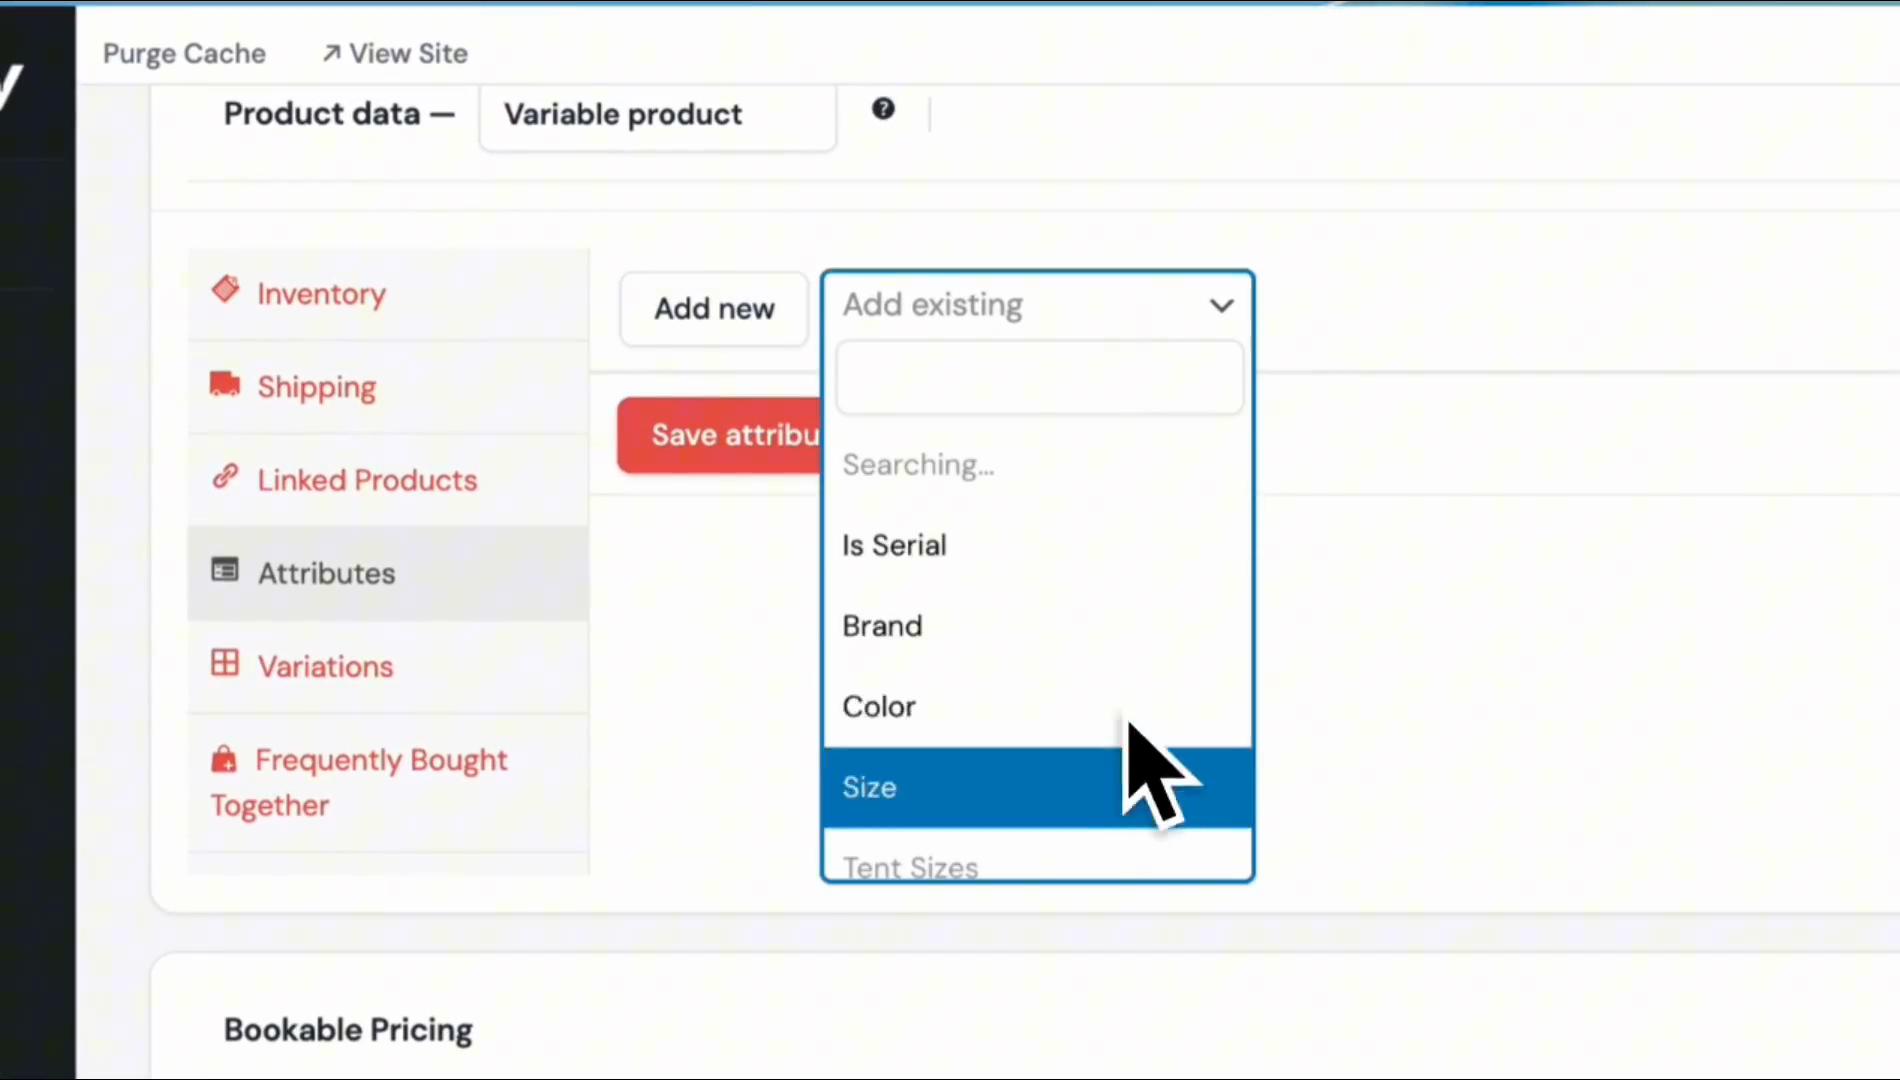
After you click on attributes, the section will present two options. You can add a new attribute or add an existing one.
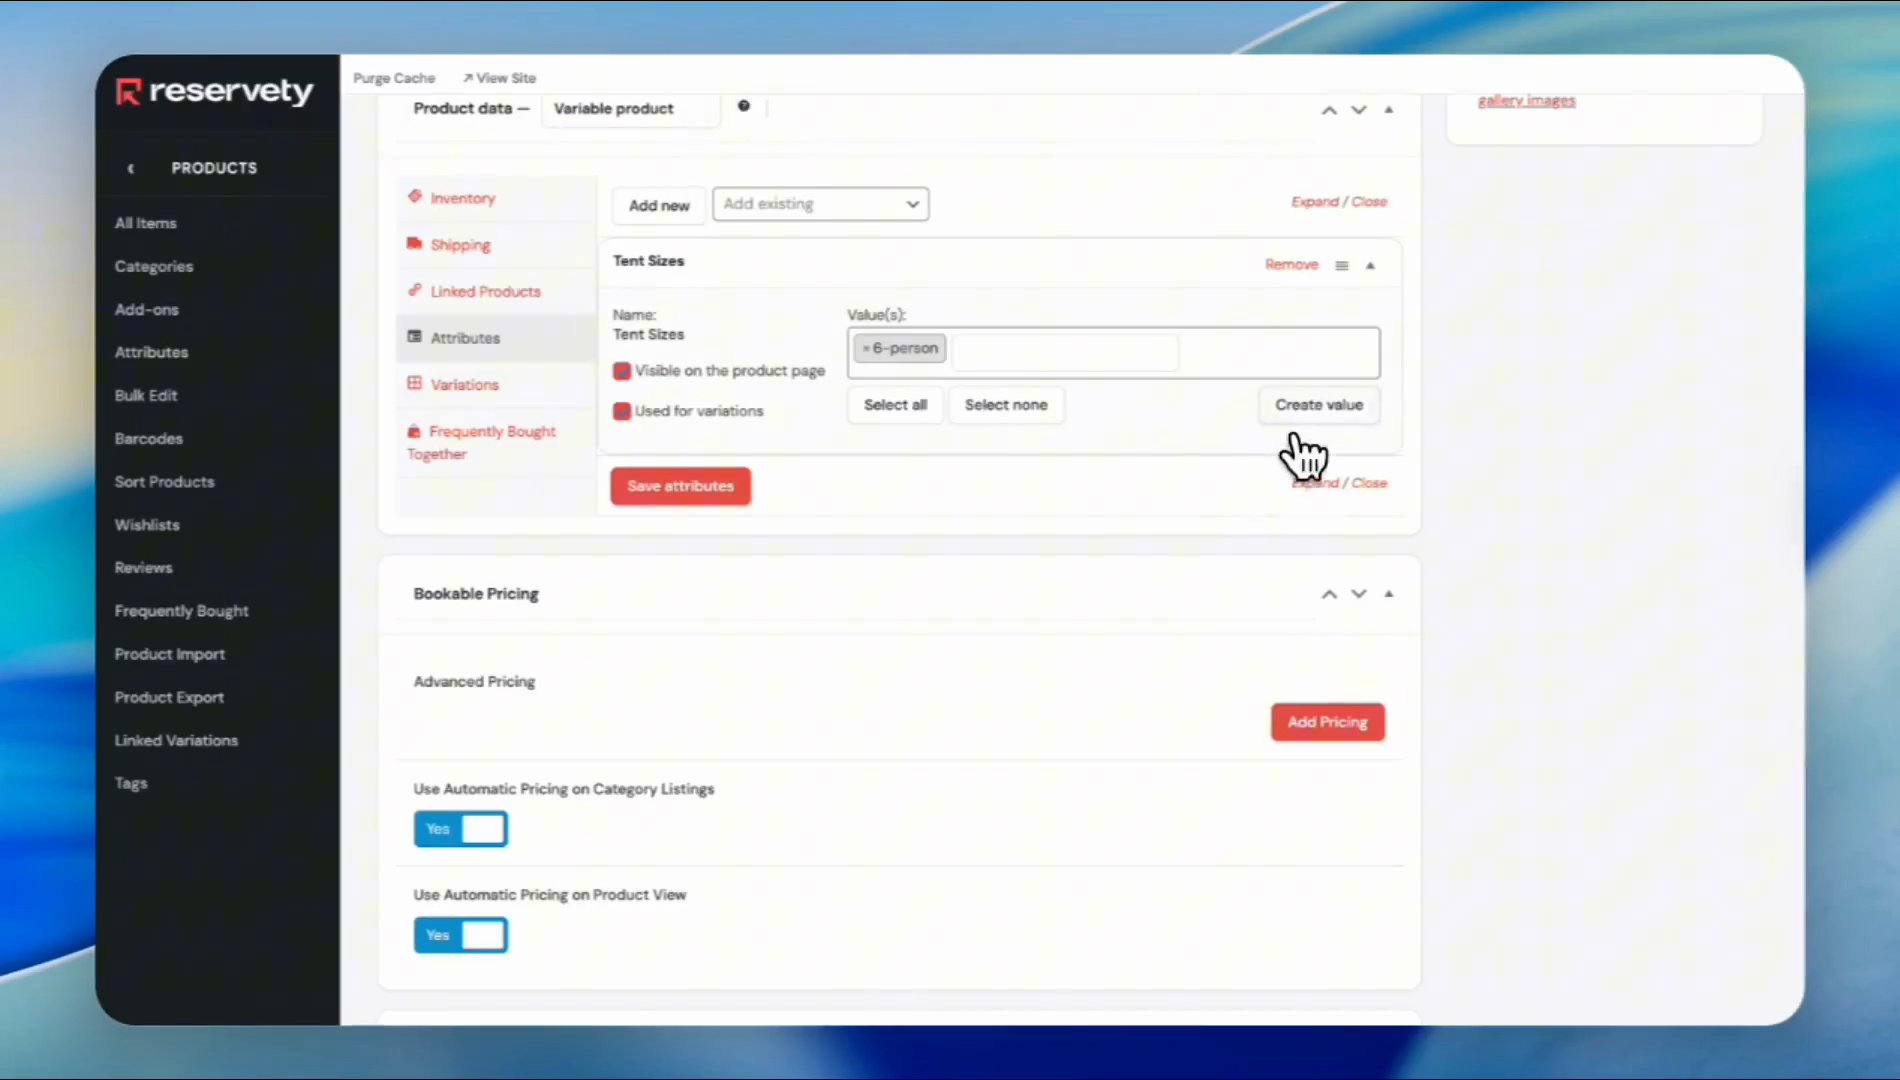
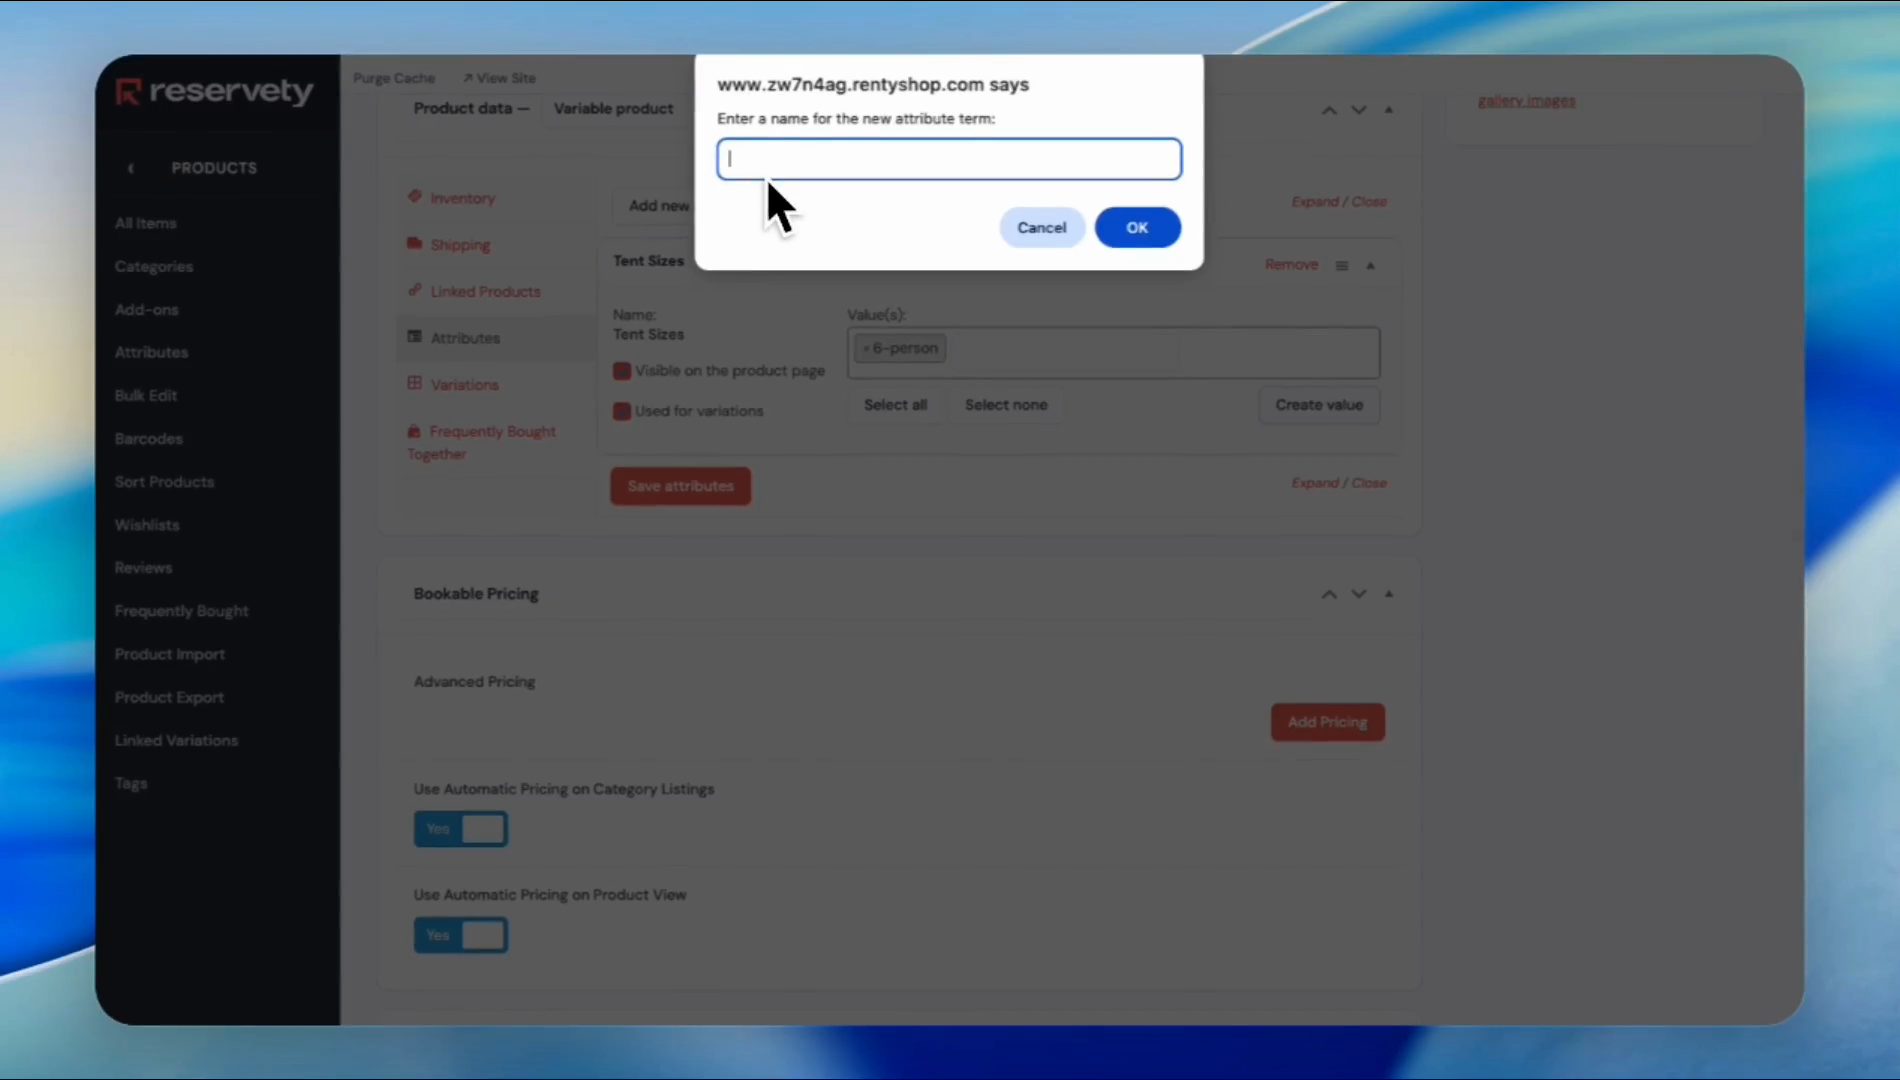
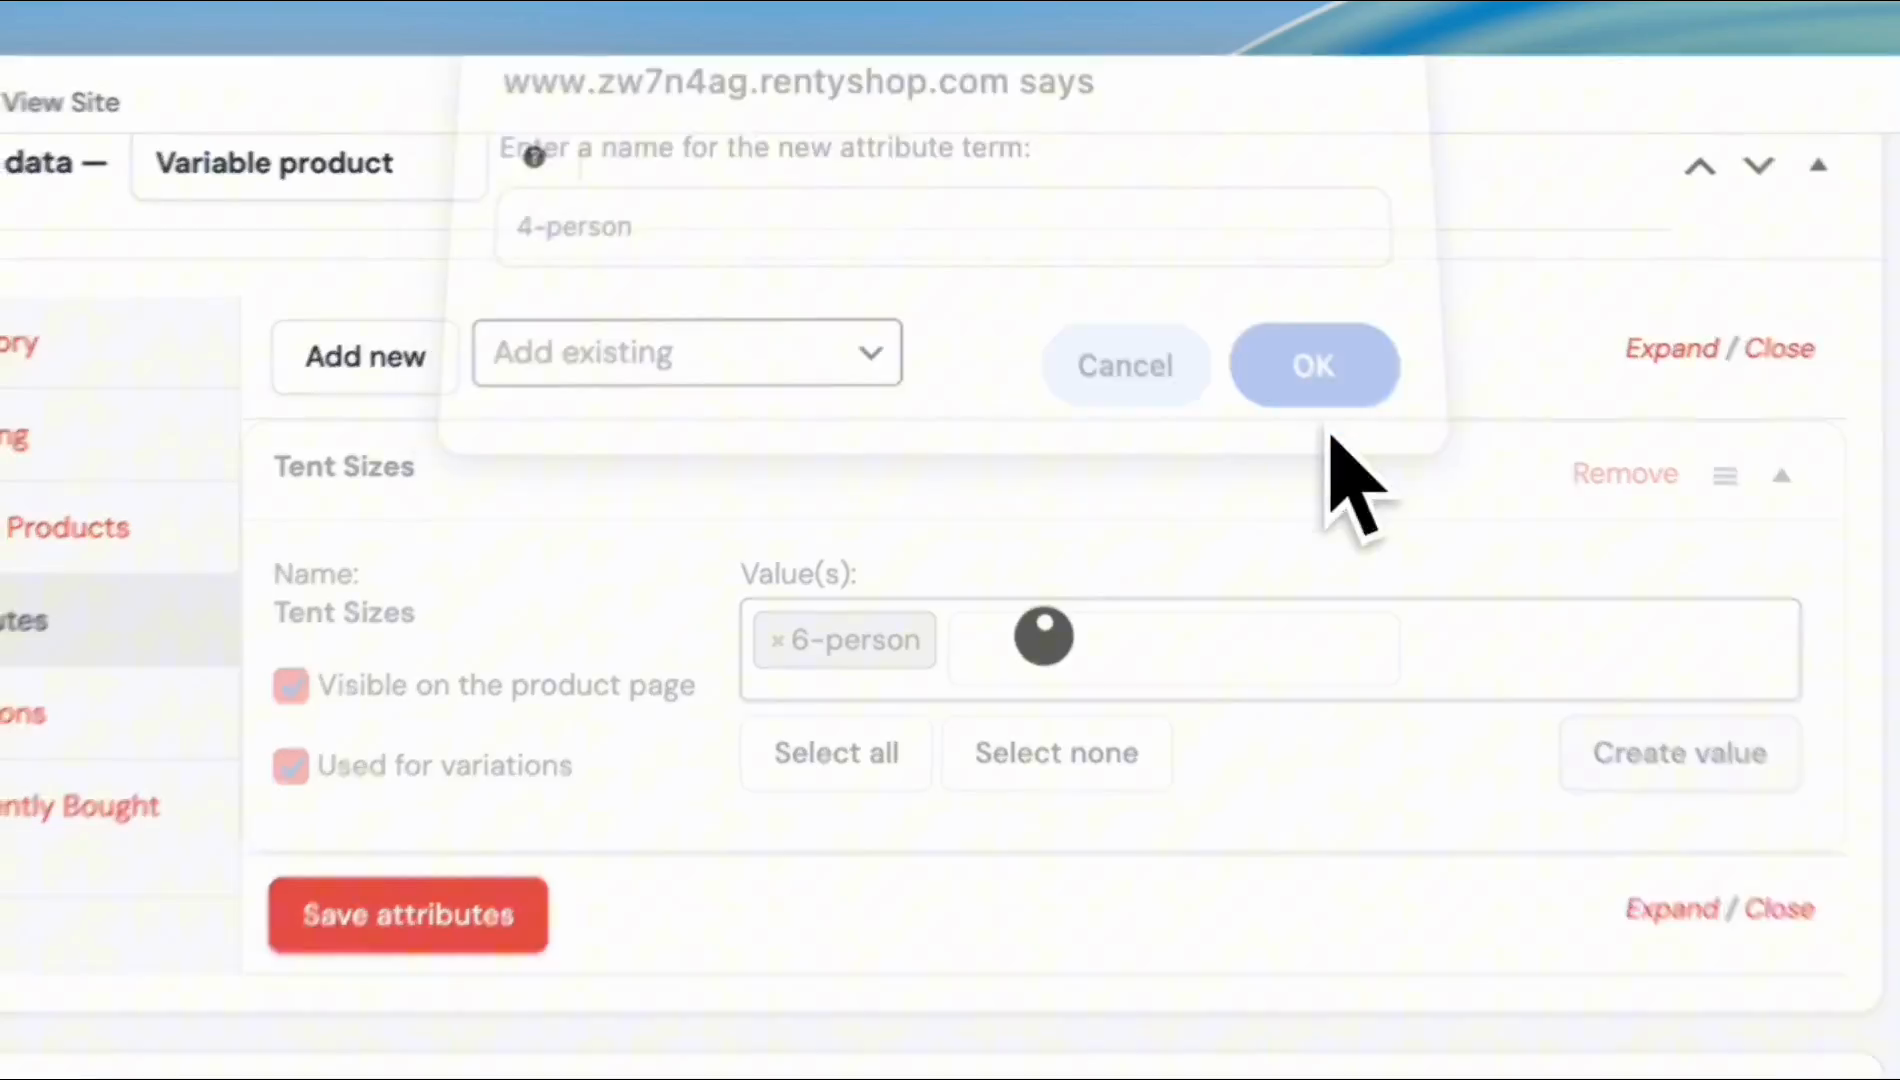
We haven't added or assigned any values to the attribute we created earlier. Click on "Create Value" and enter a name for the value.

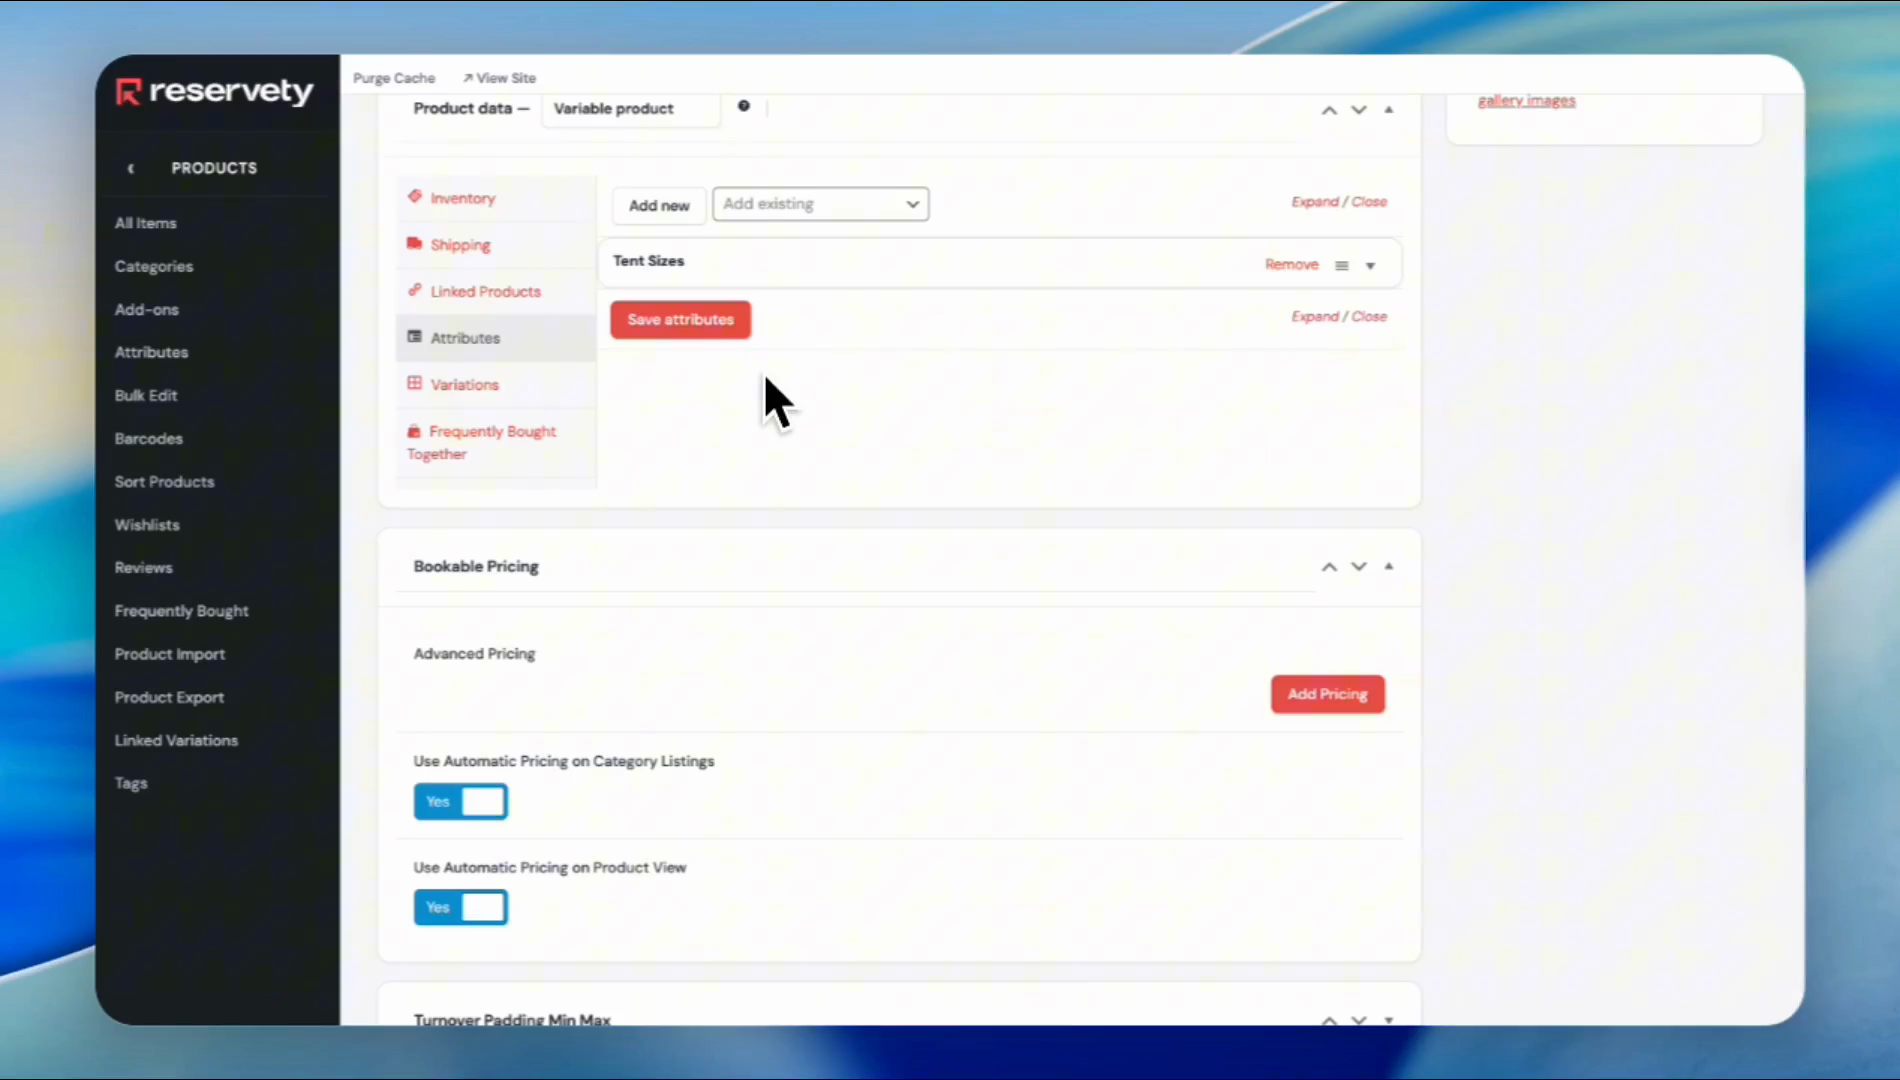
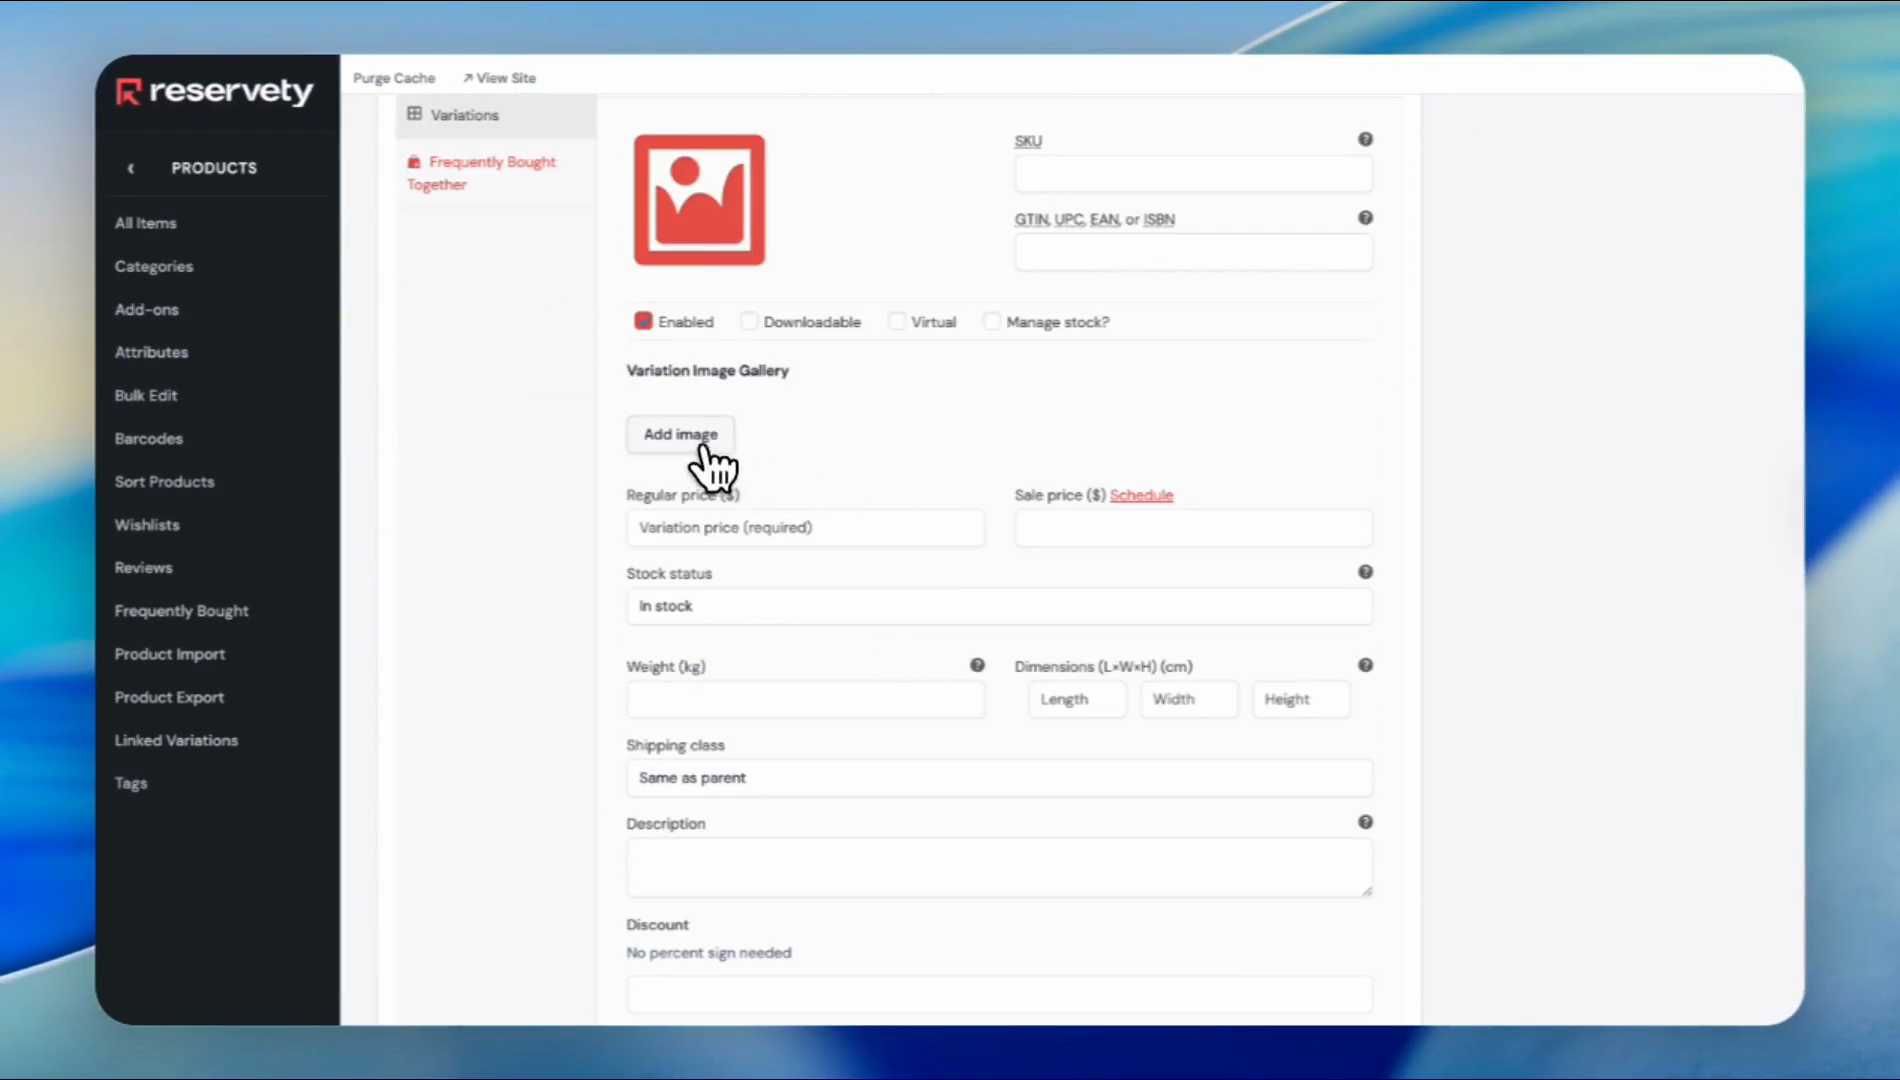
Click the edit button or the empty space. The drop-down menu or fields will open.
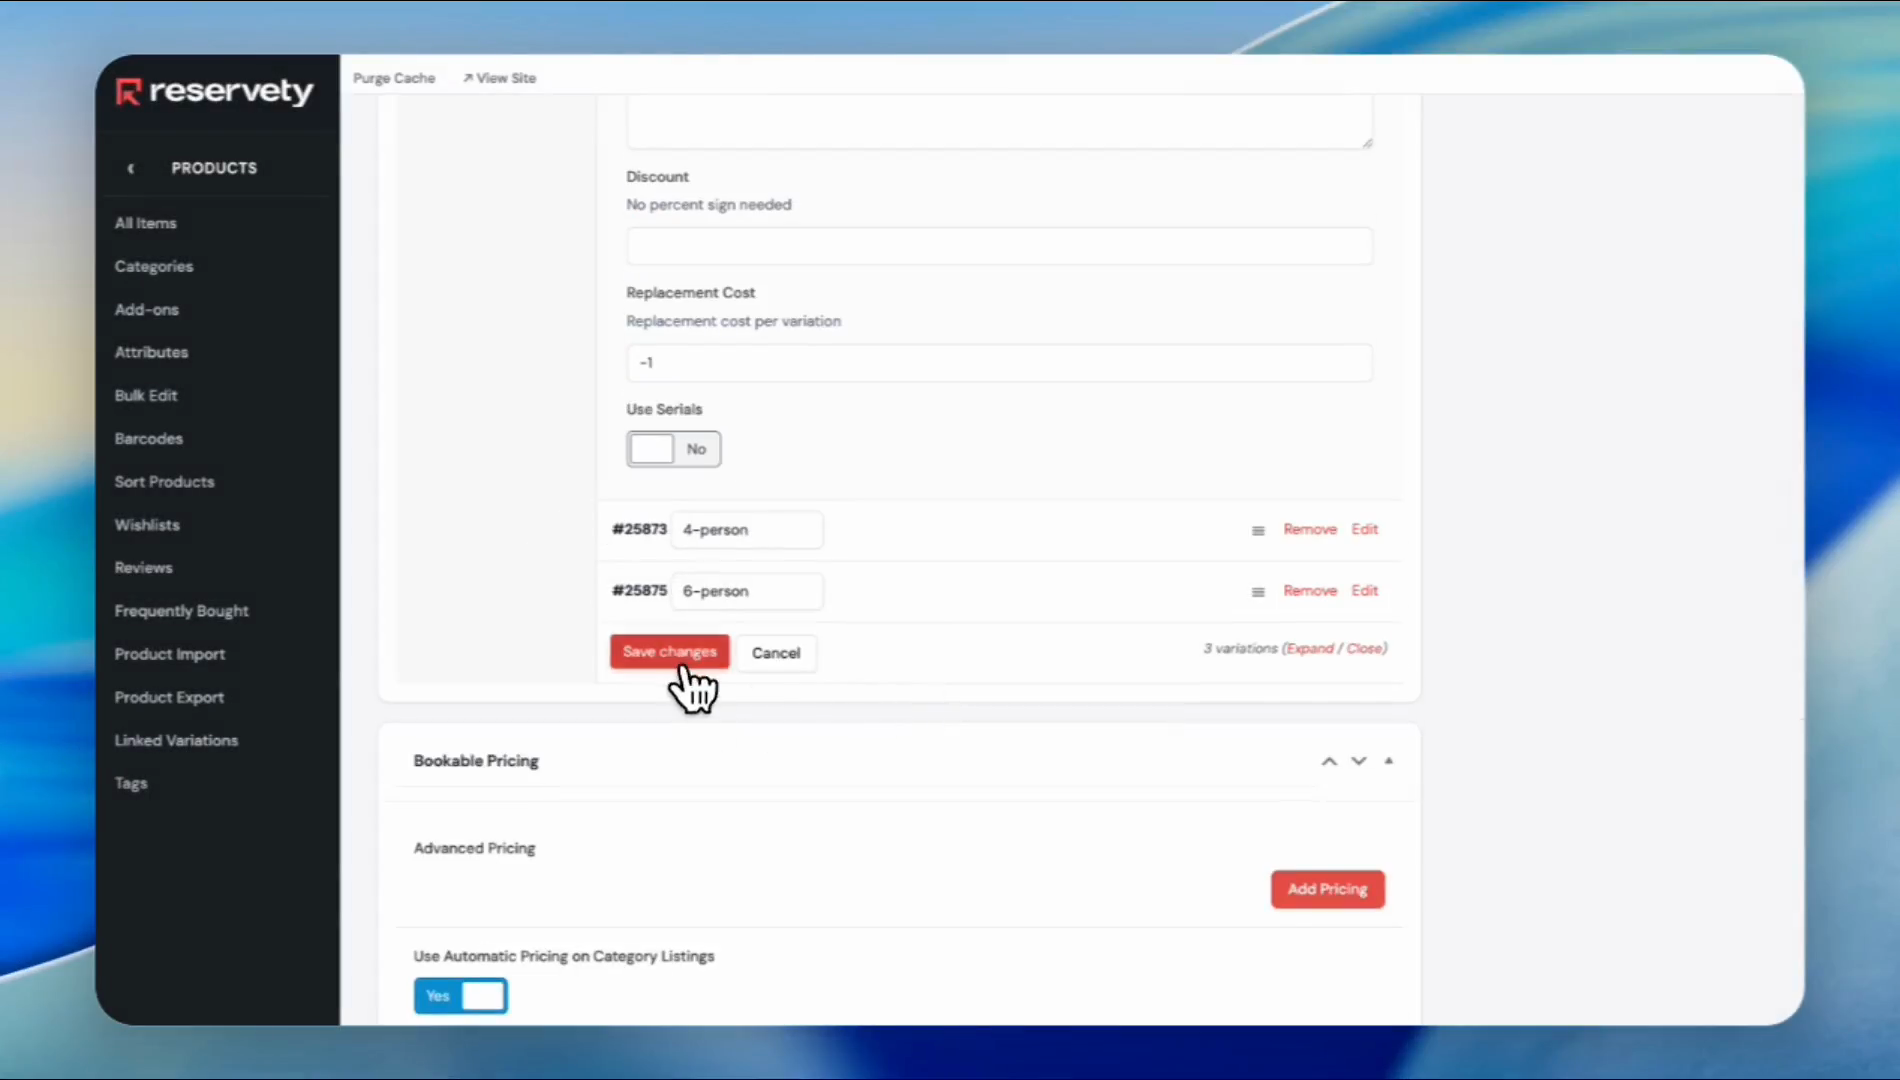

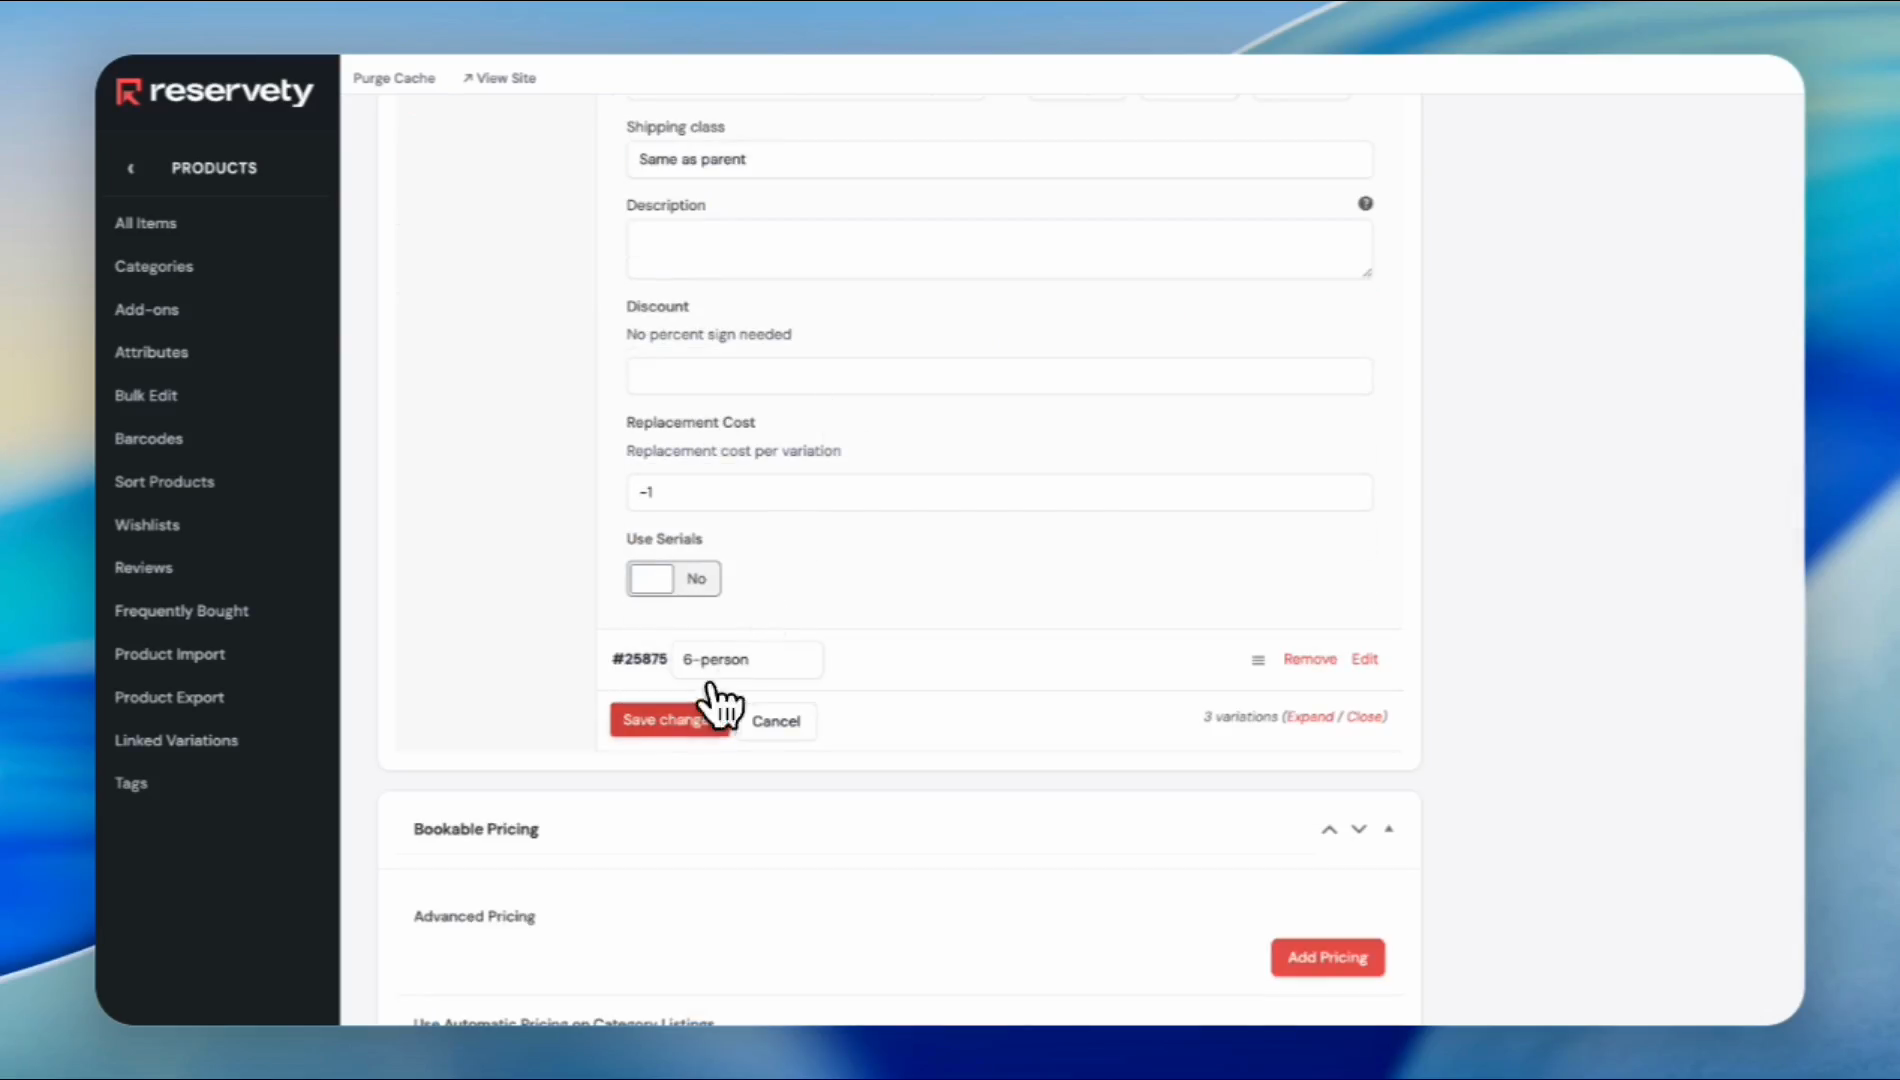
You have two options. You can add uniform pricing or set different prices for each variation. Adding uniform pricing is easy. Go ahead and add pricing, and do the same as you do with regular items.
If you want to price each variation differently or assign different pricing for each variation, click Add Pricing. Select the period. We'll write 1D.
Next, in the price section, enter the median price. Suppose the price for a one-day period is about $50, but does not exceed $50. We'll enter $50 here.
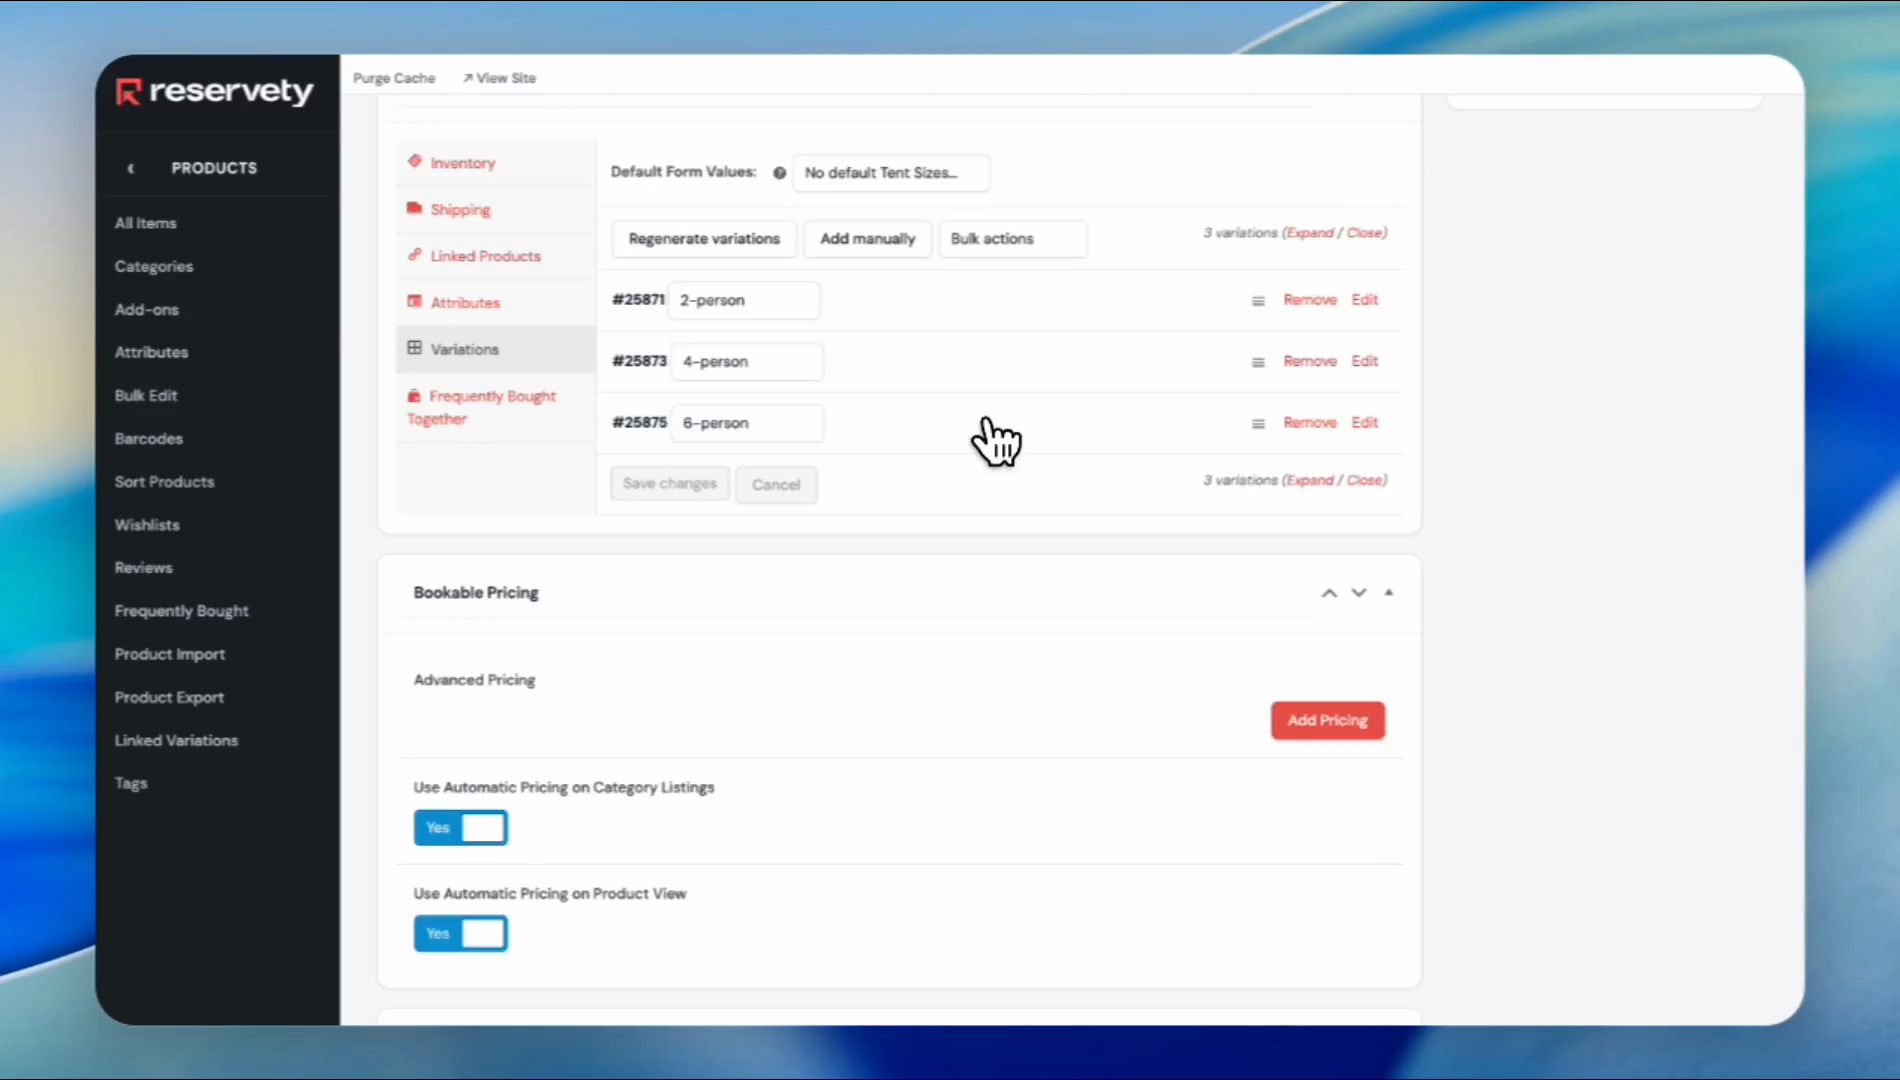
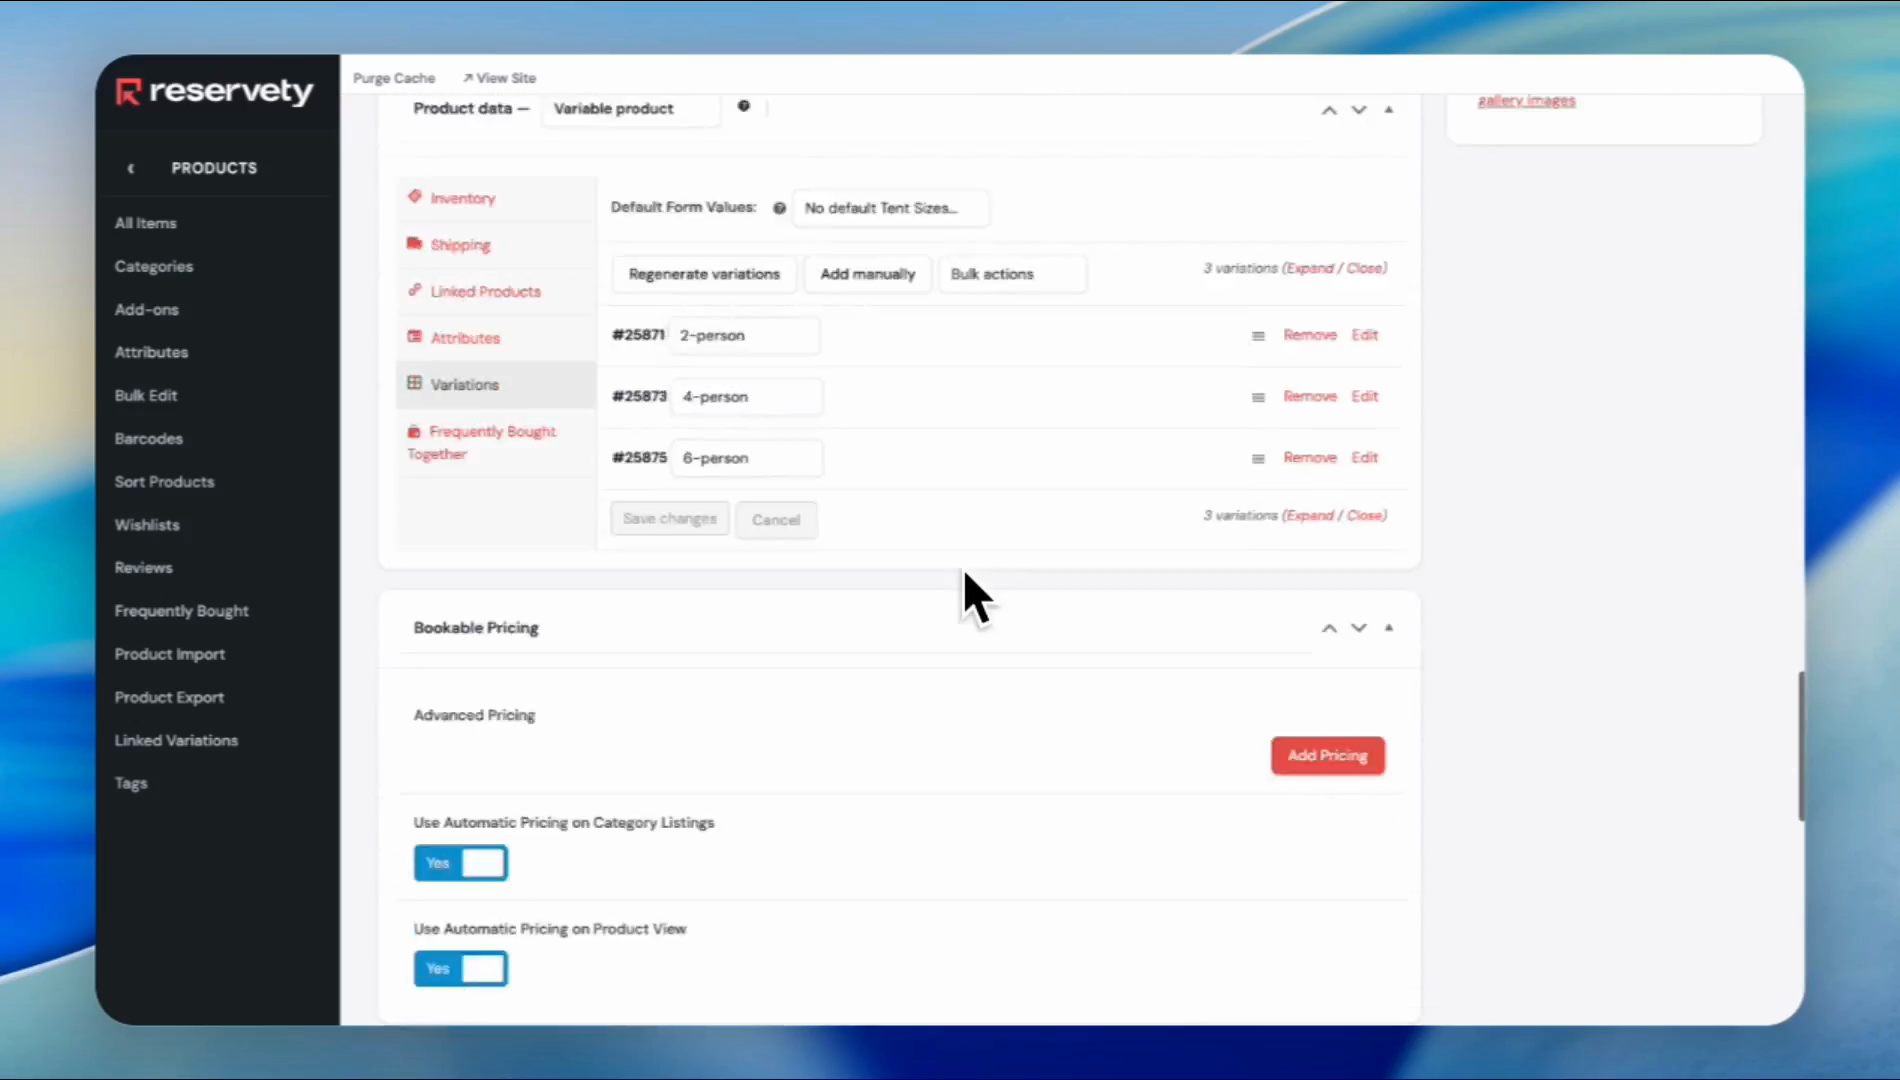
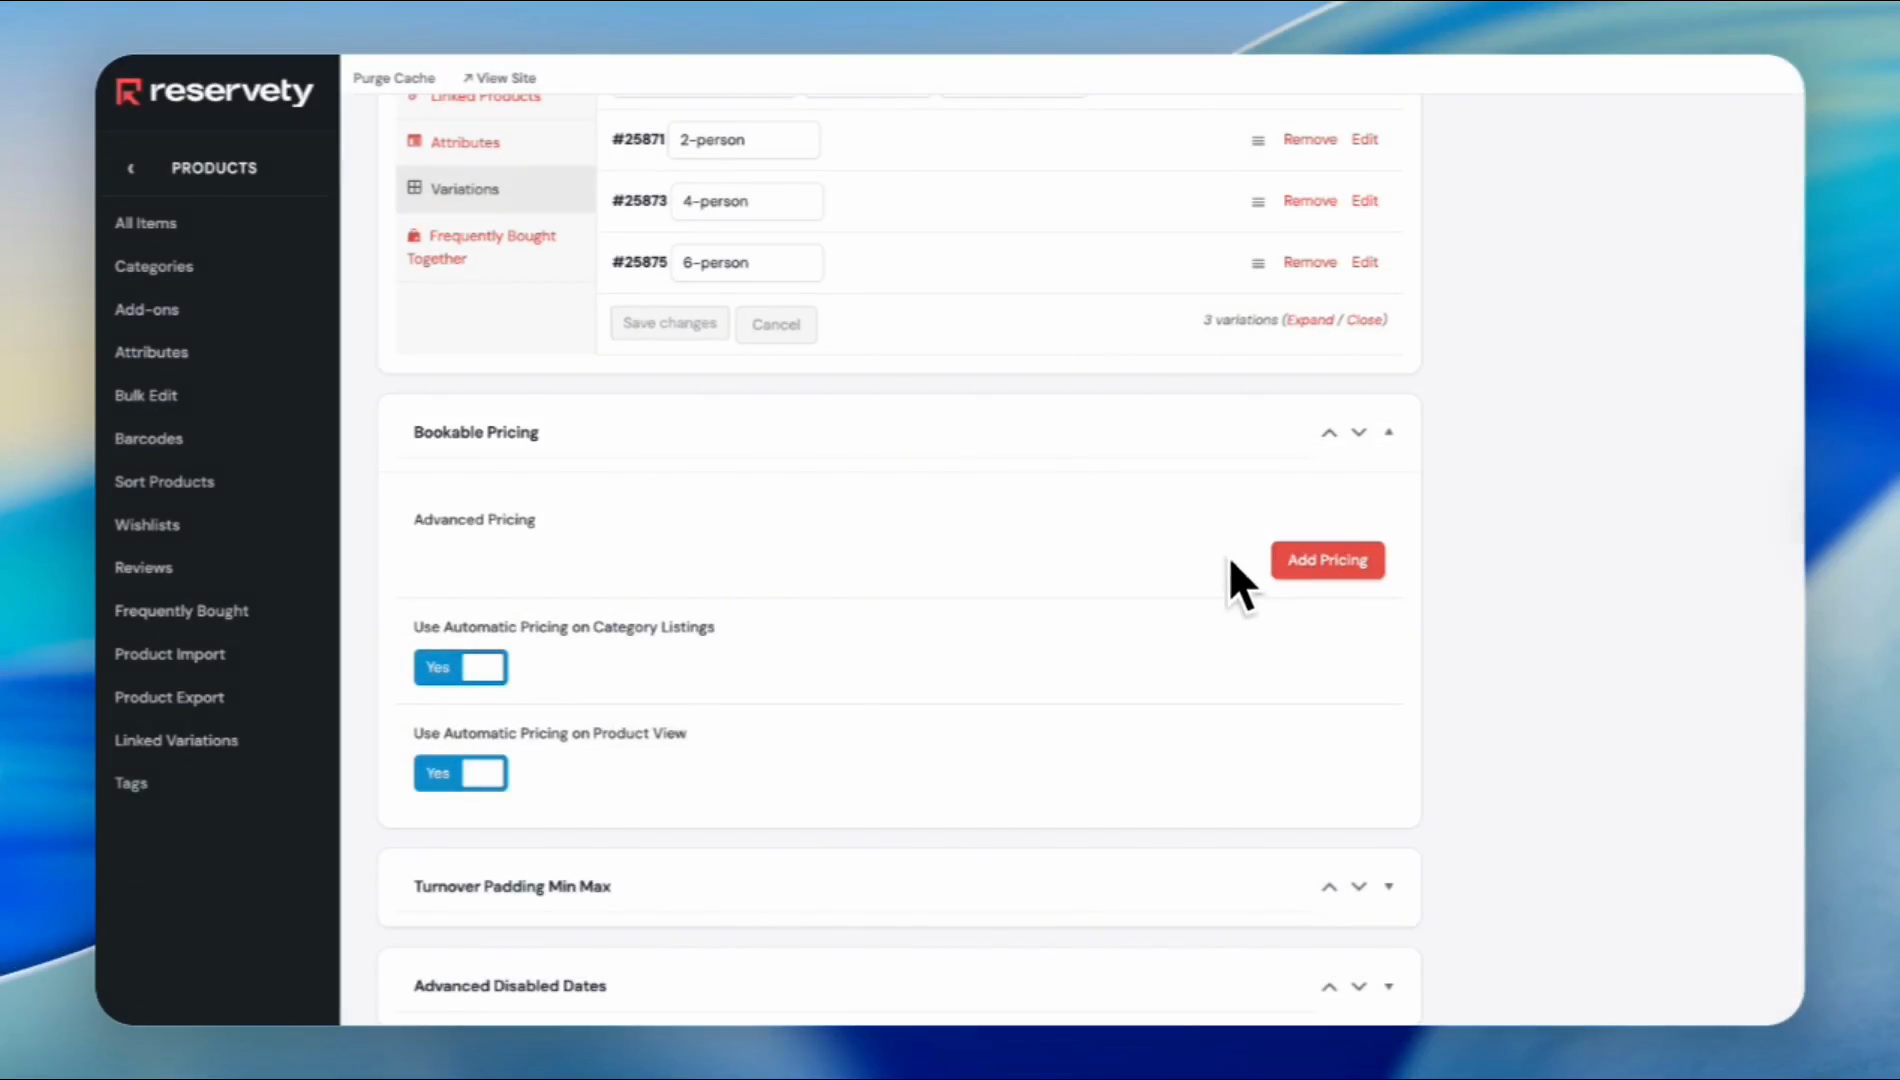
The median price makes calculations easier for each variant. Now, scroll down. Go to the "Use Automatic Pricing" section on the product view. Switch it to "no."
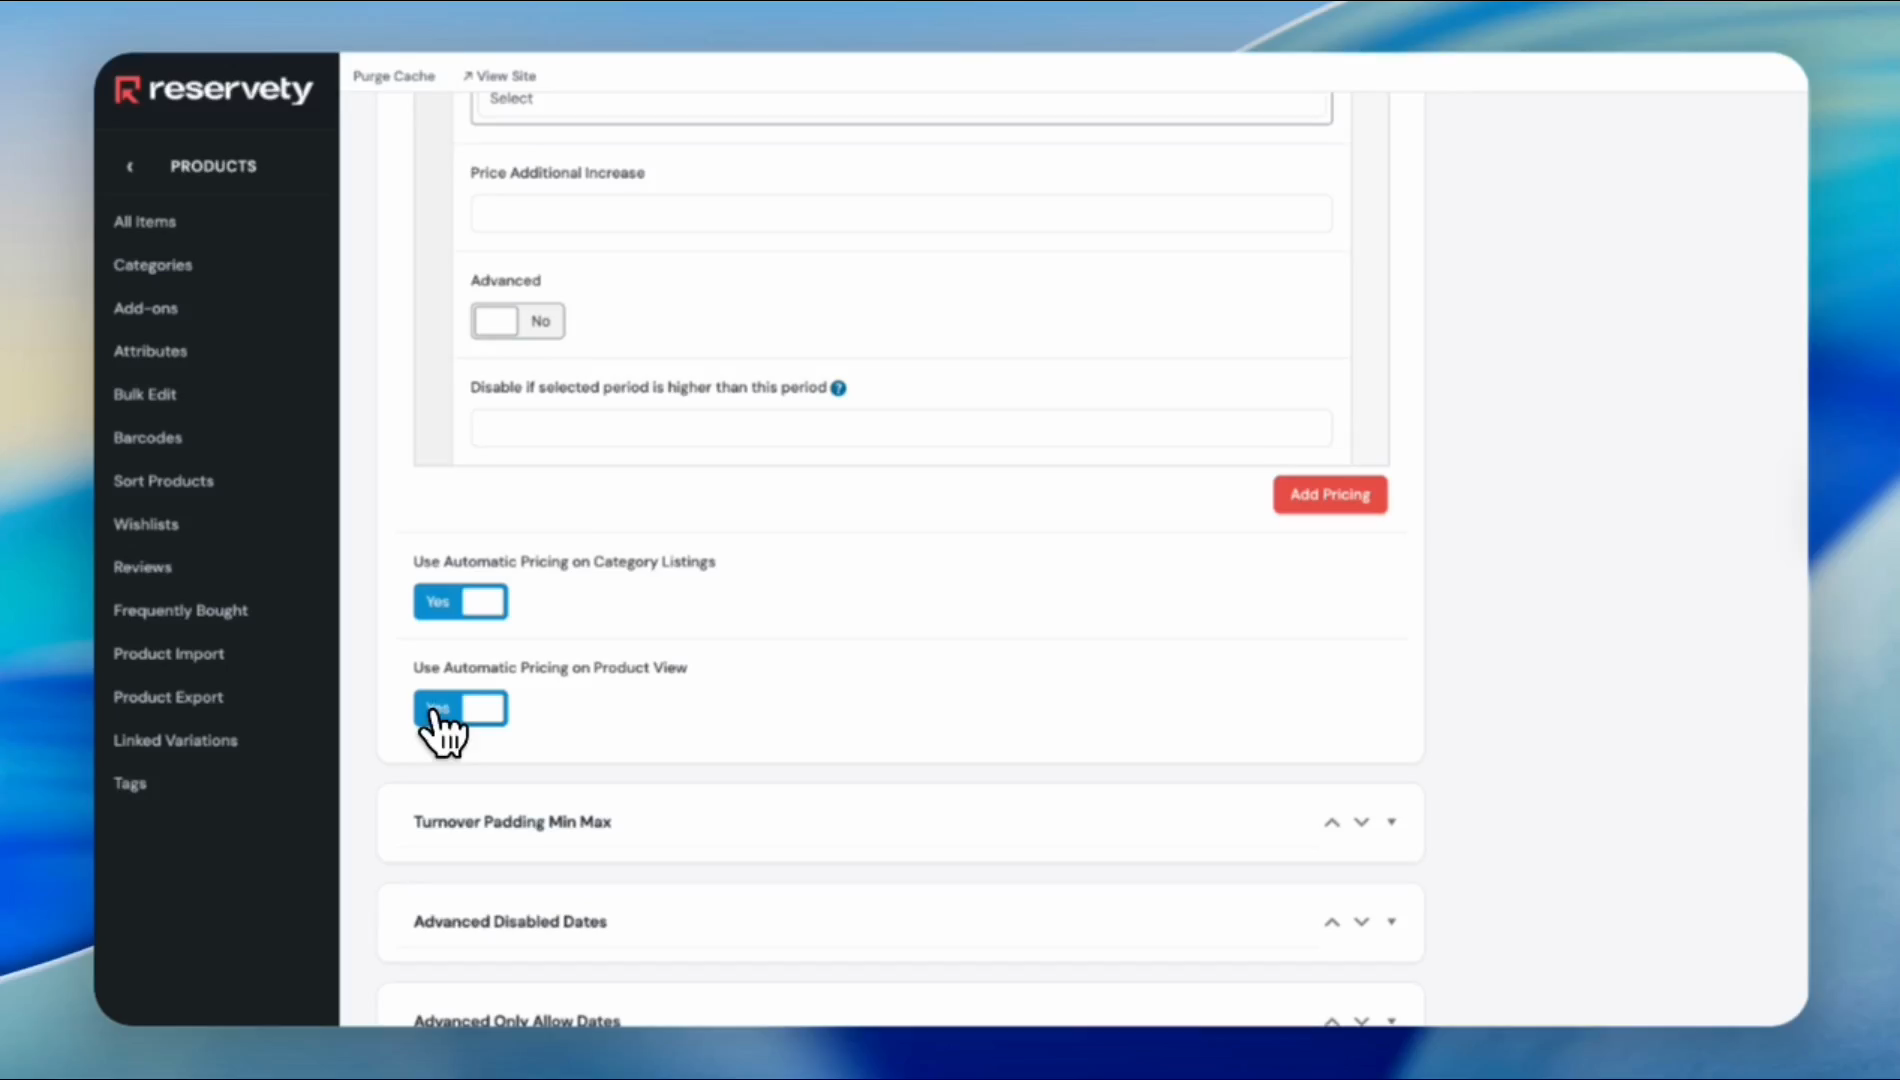

Switch it to "no." When we turn those off, the median price will not appear on the product page. Scroll back up. Click the first option, the two-person tent.
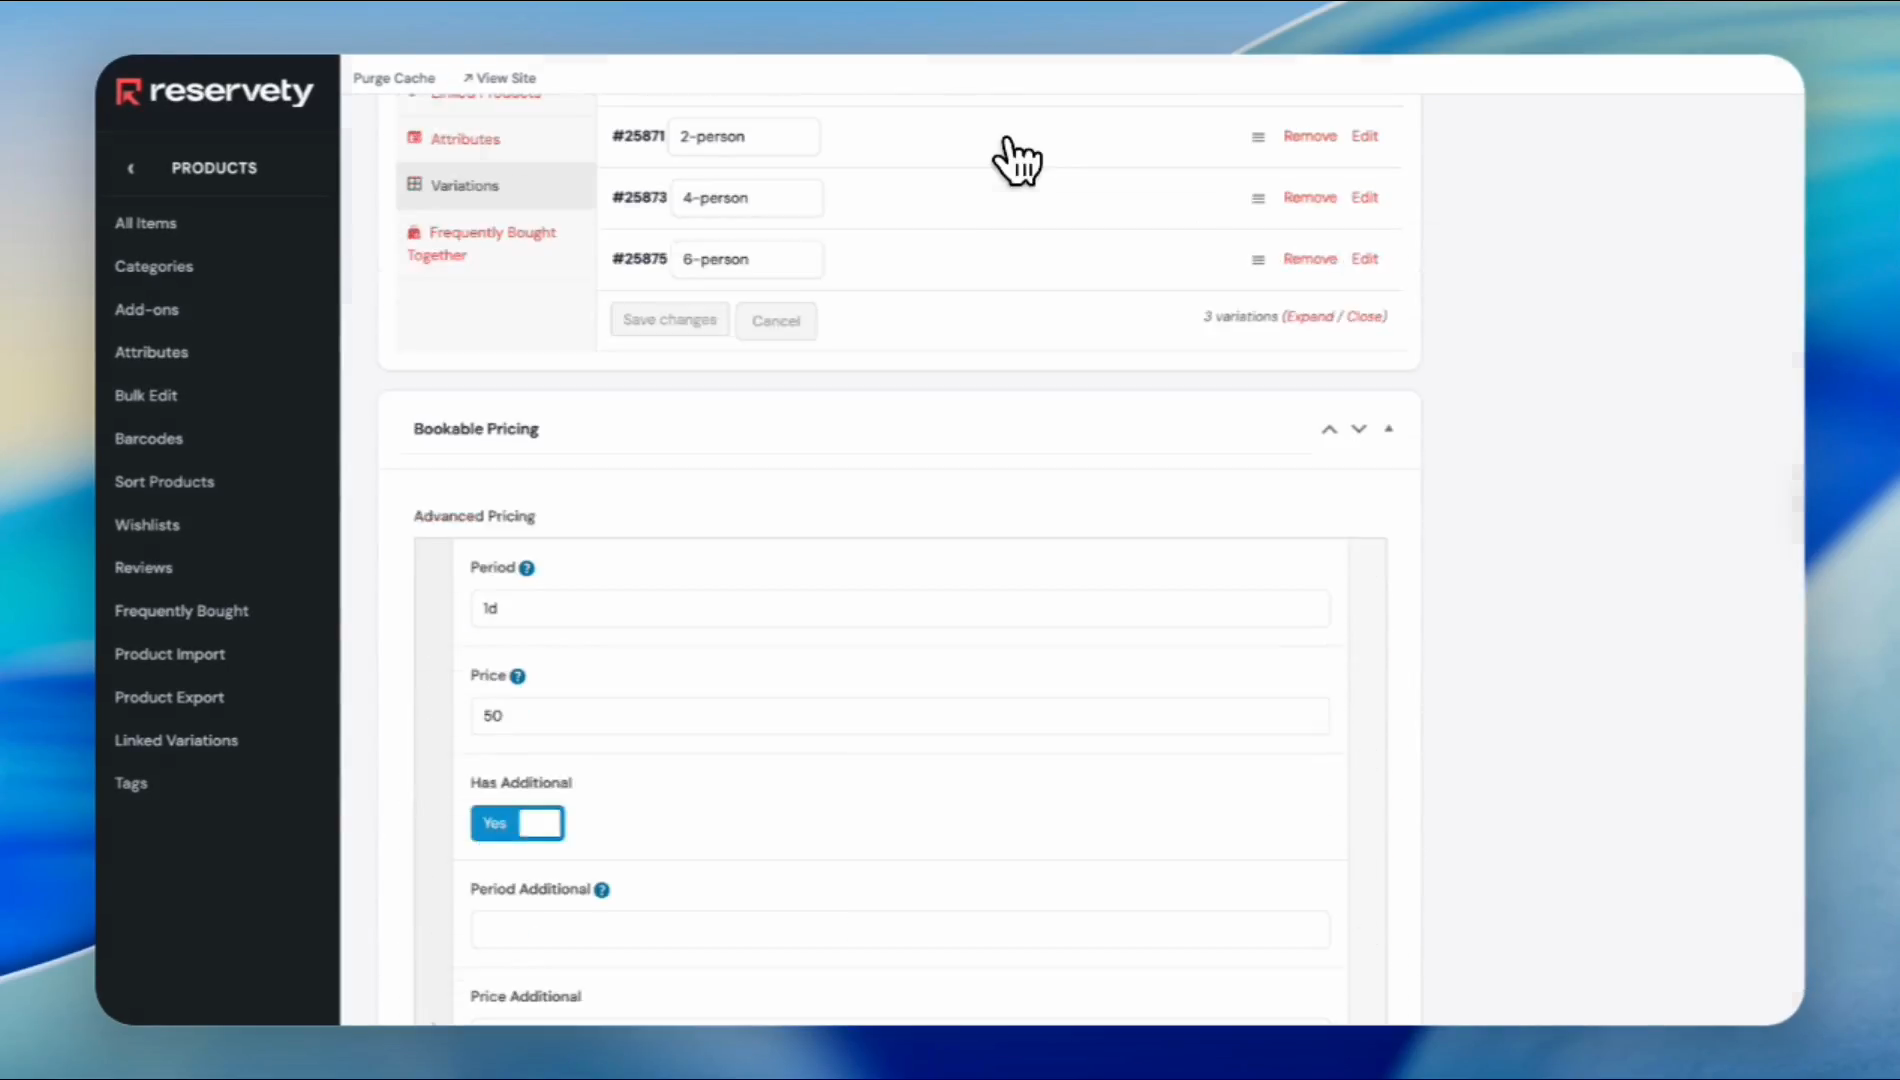
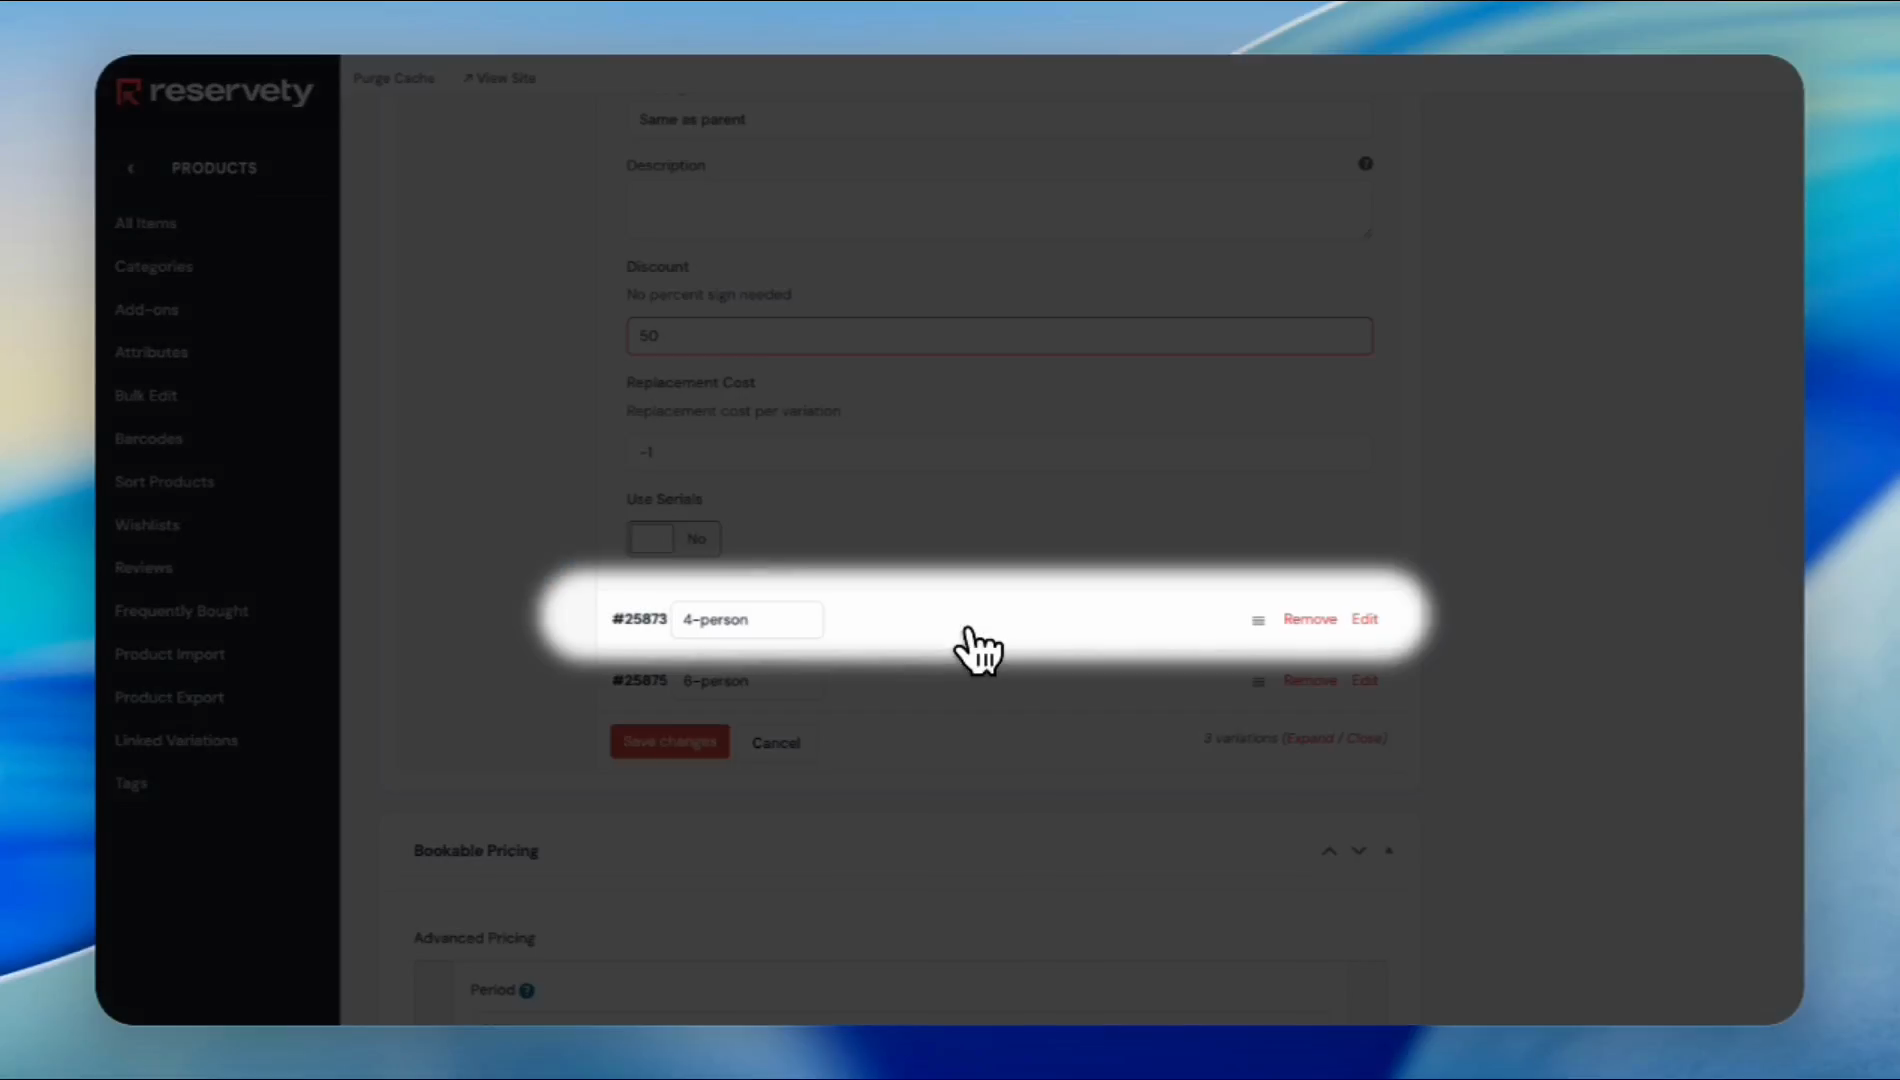
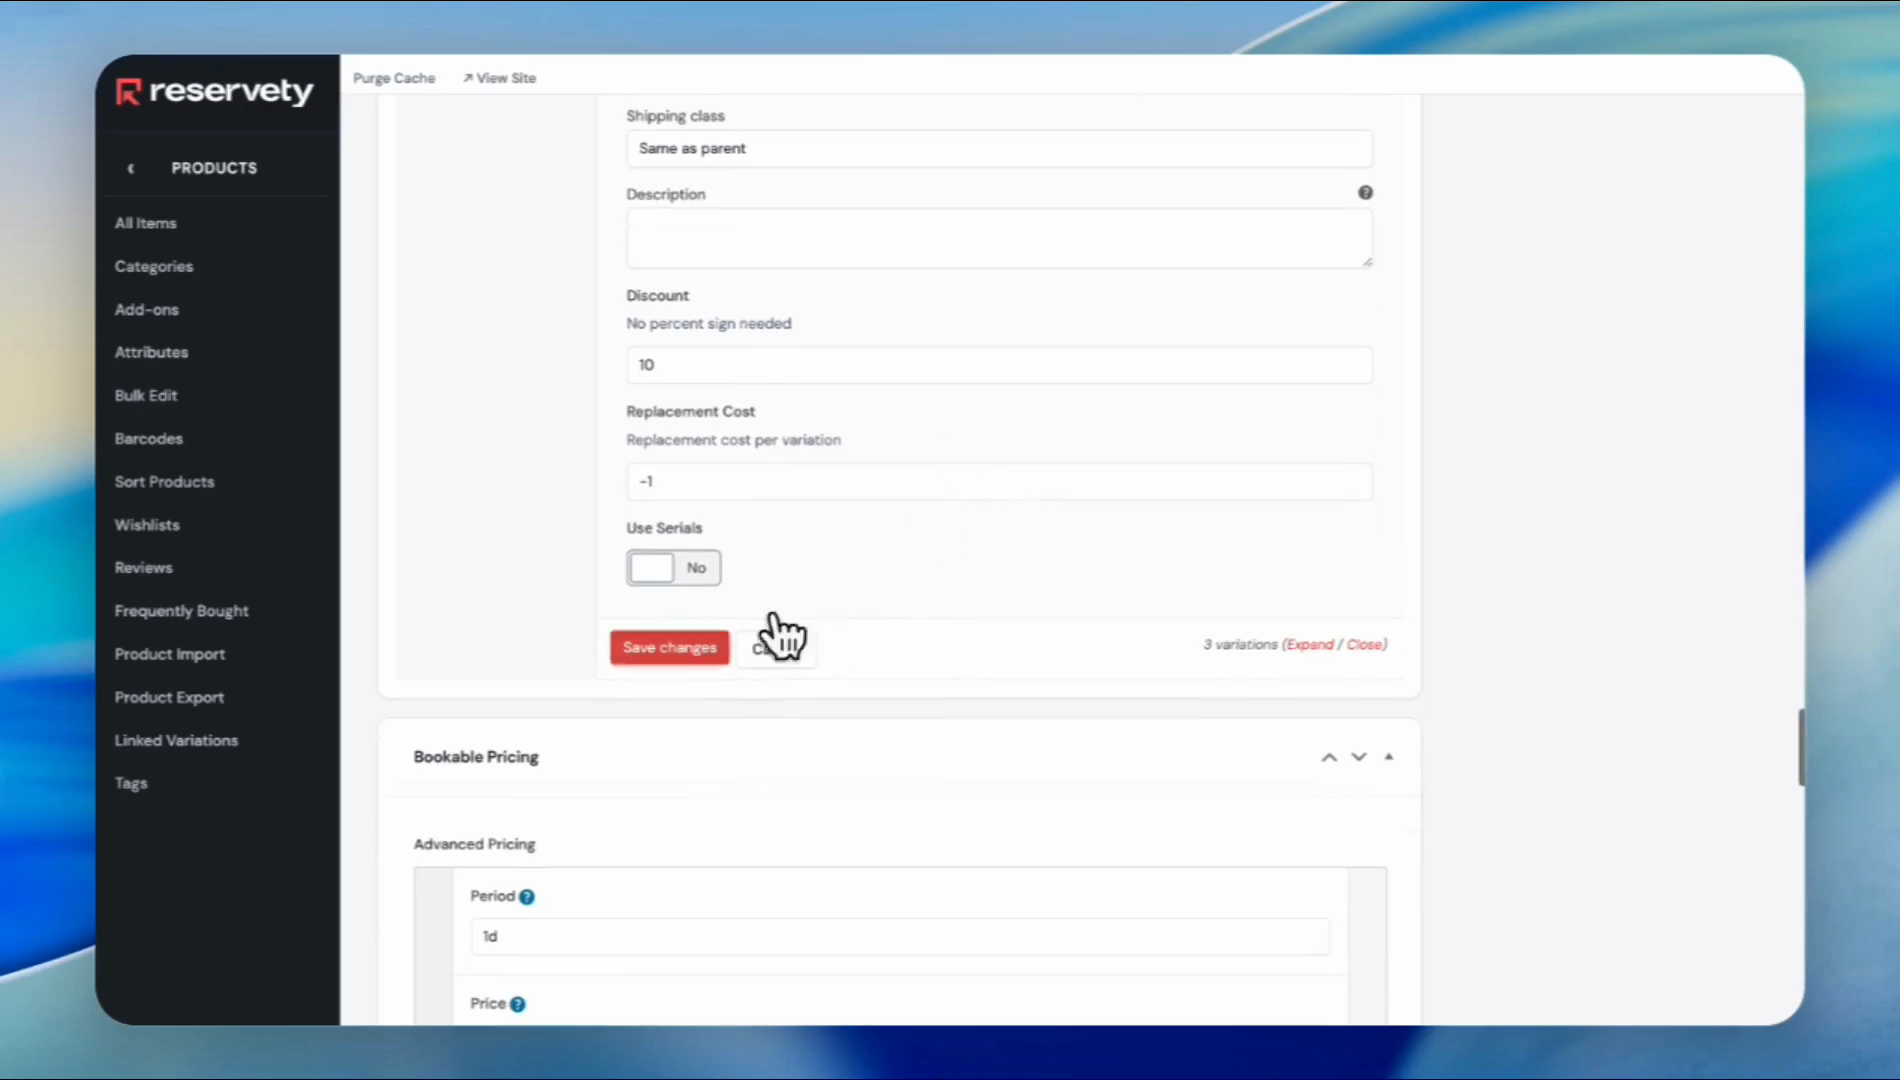
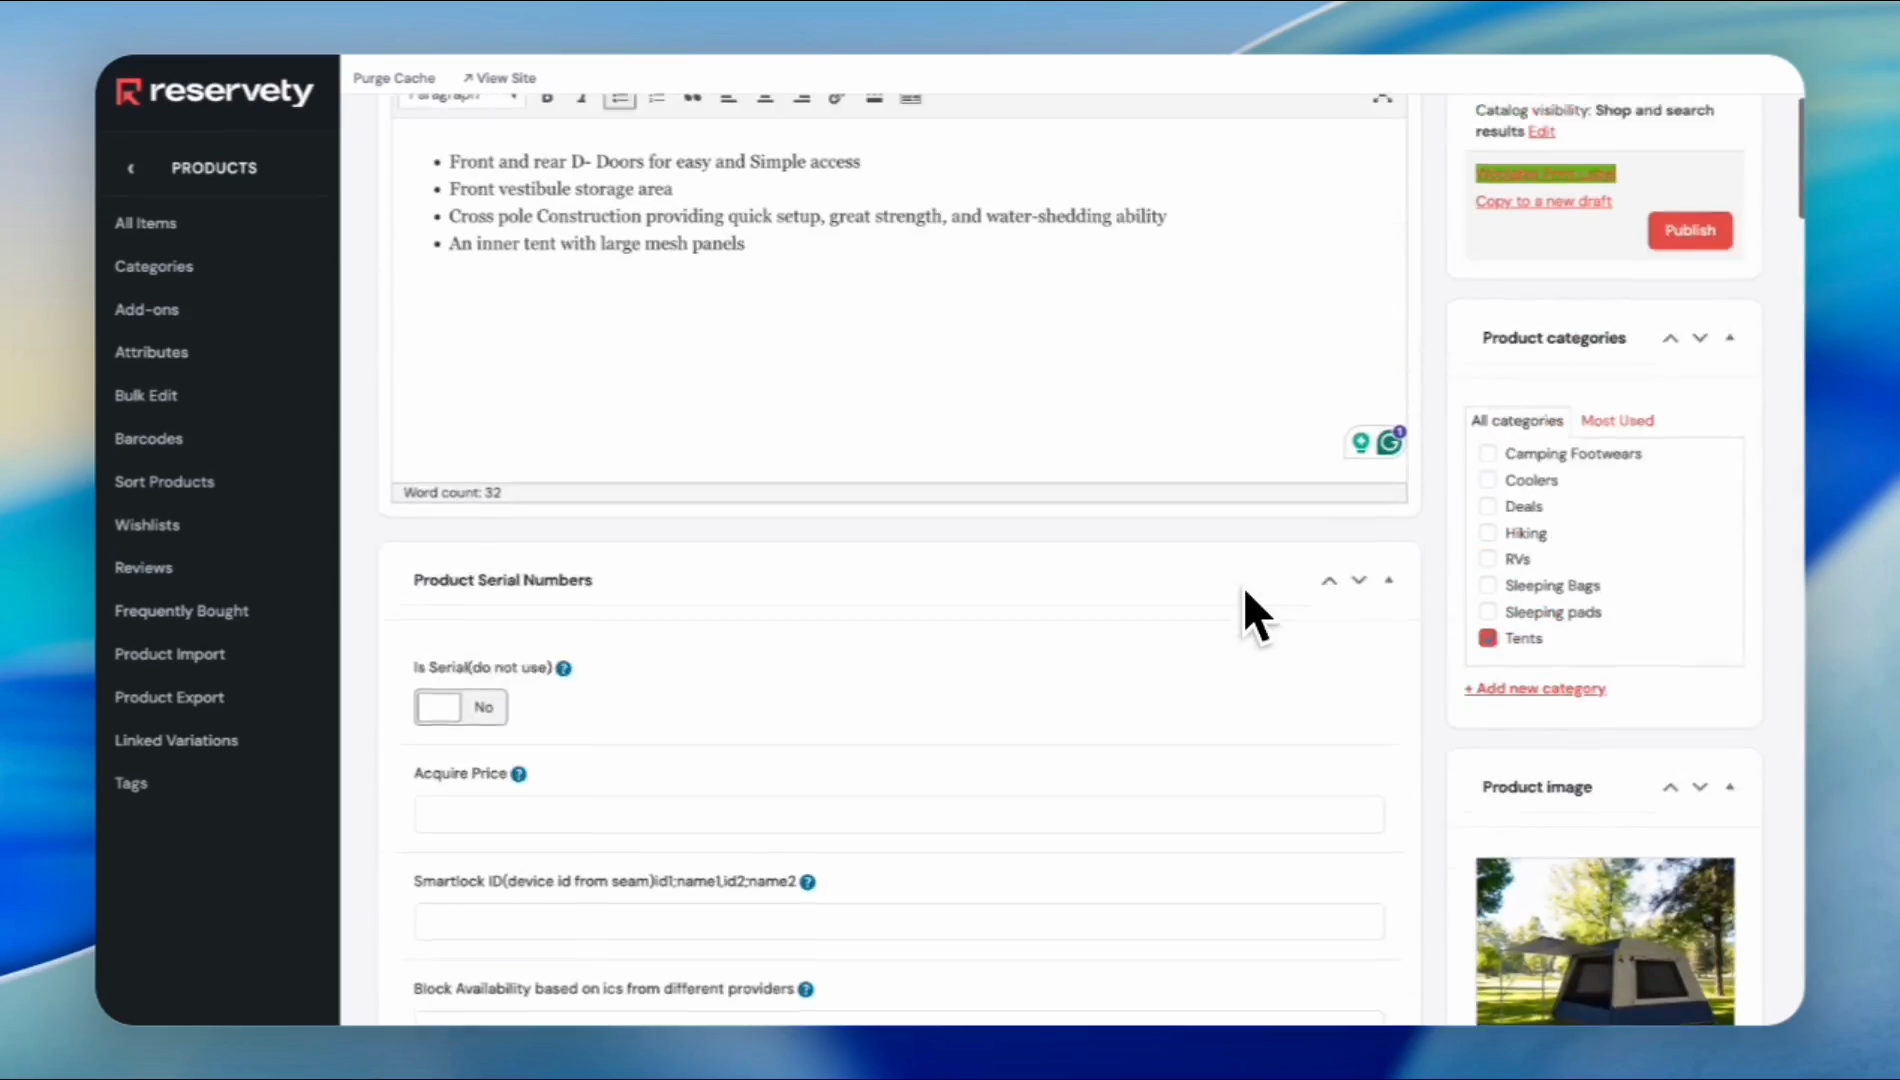
Scroll down to the section labeled "Discount." Since our median price is $50 and the price for the two-person tent is $25, we will write 50%.

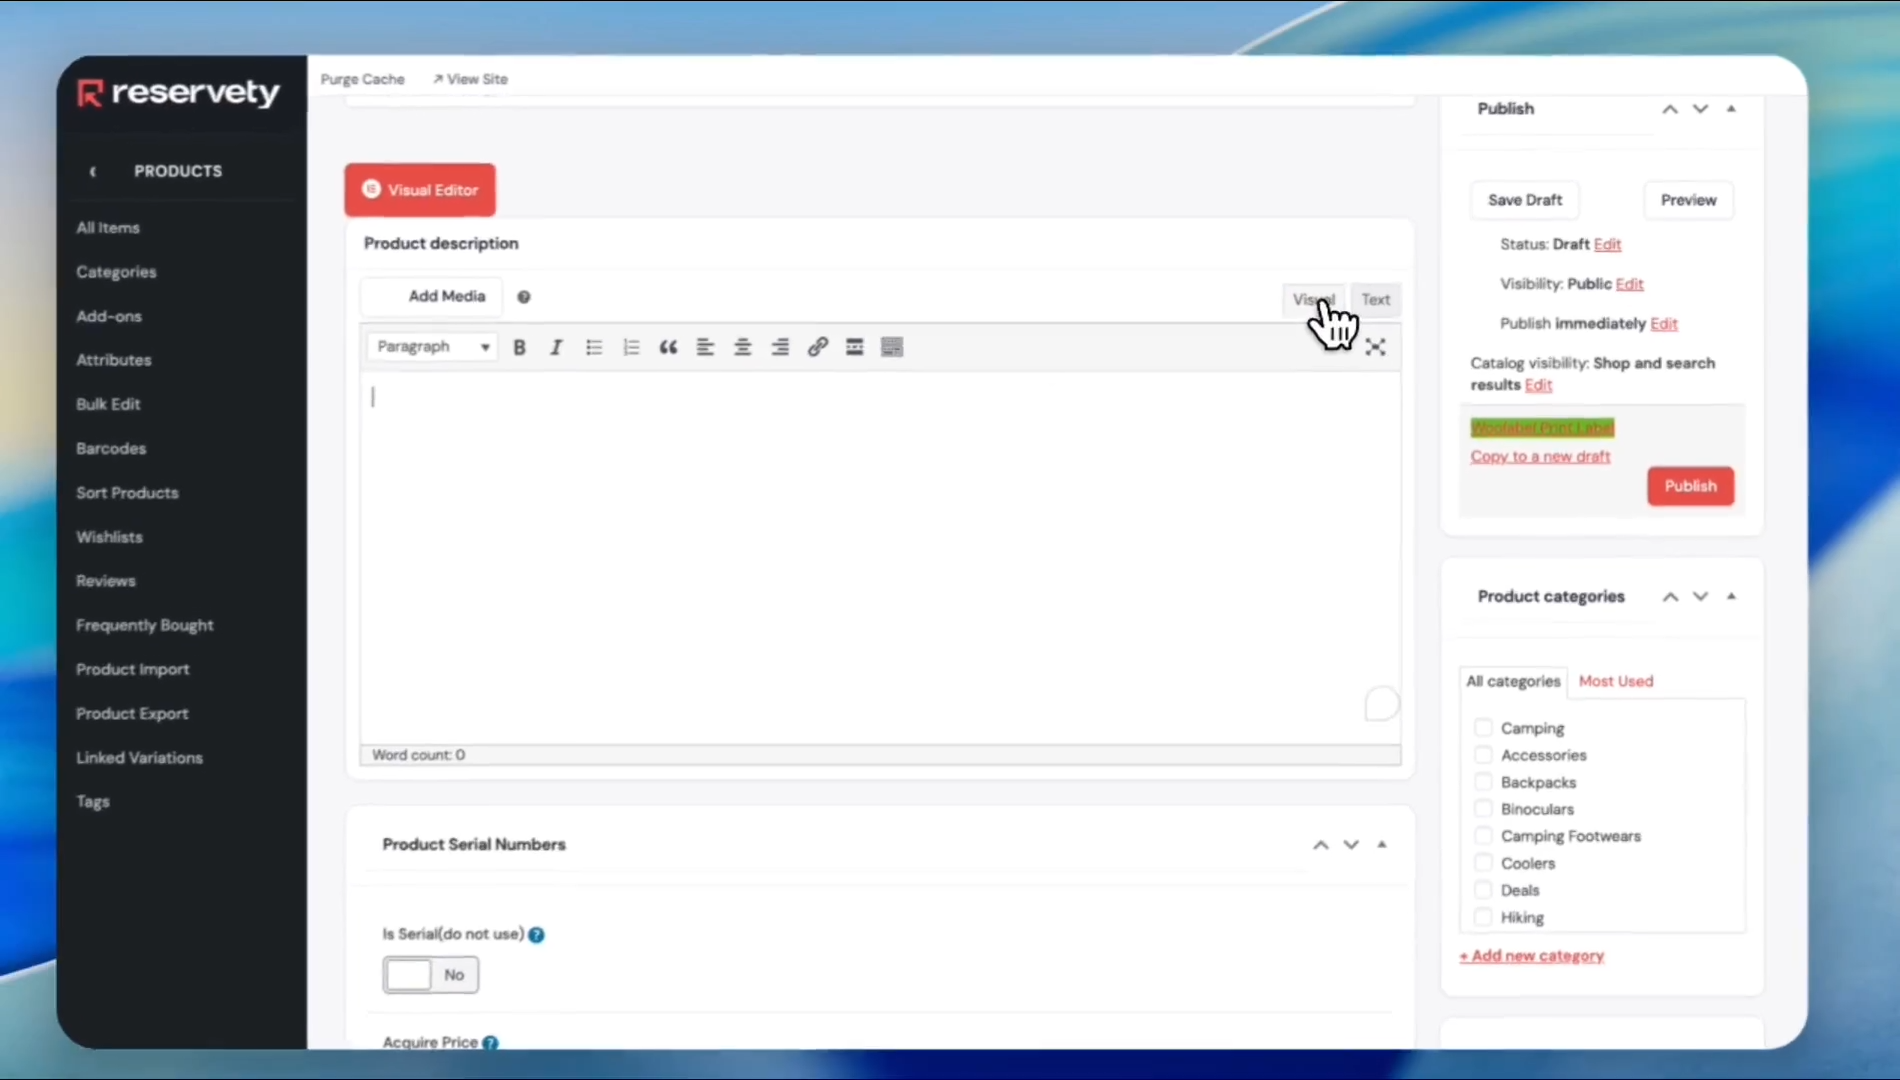
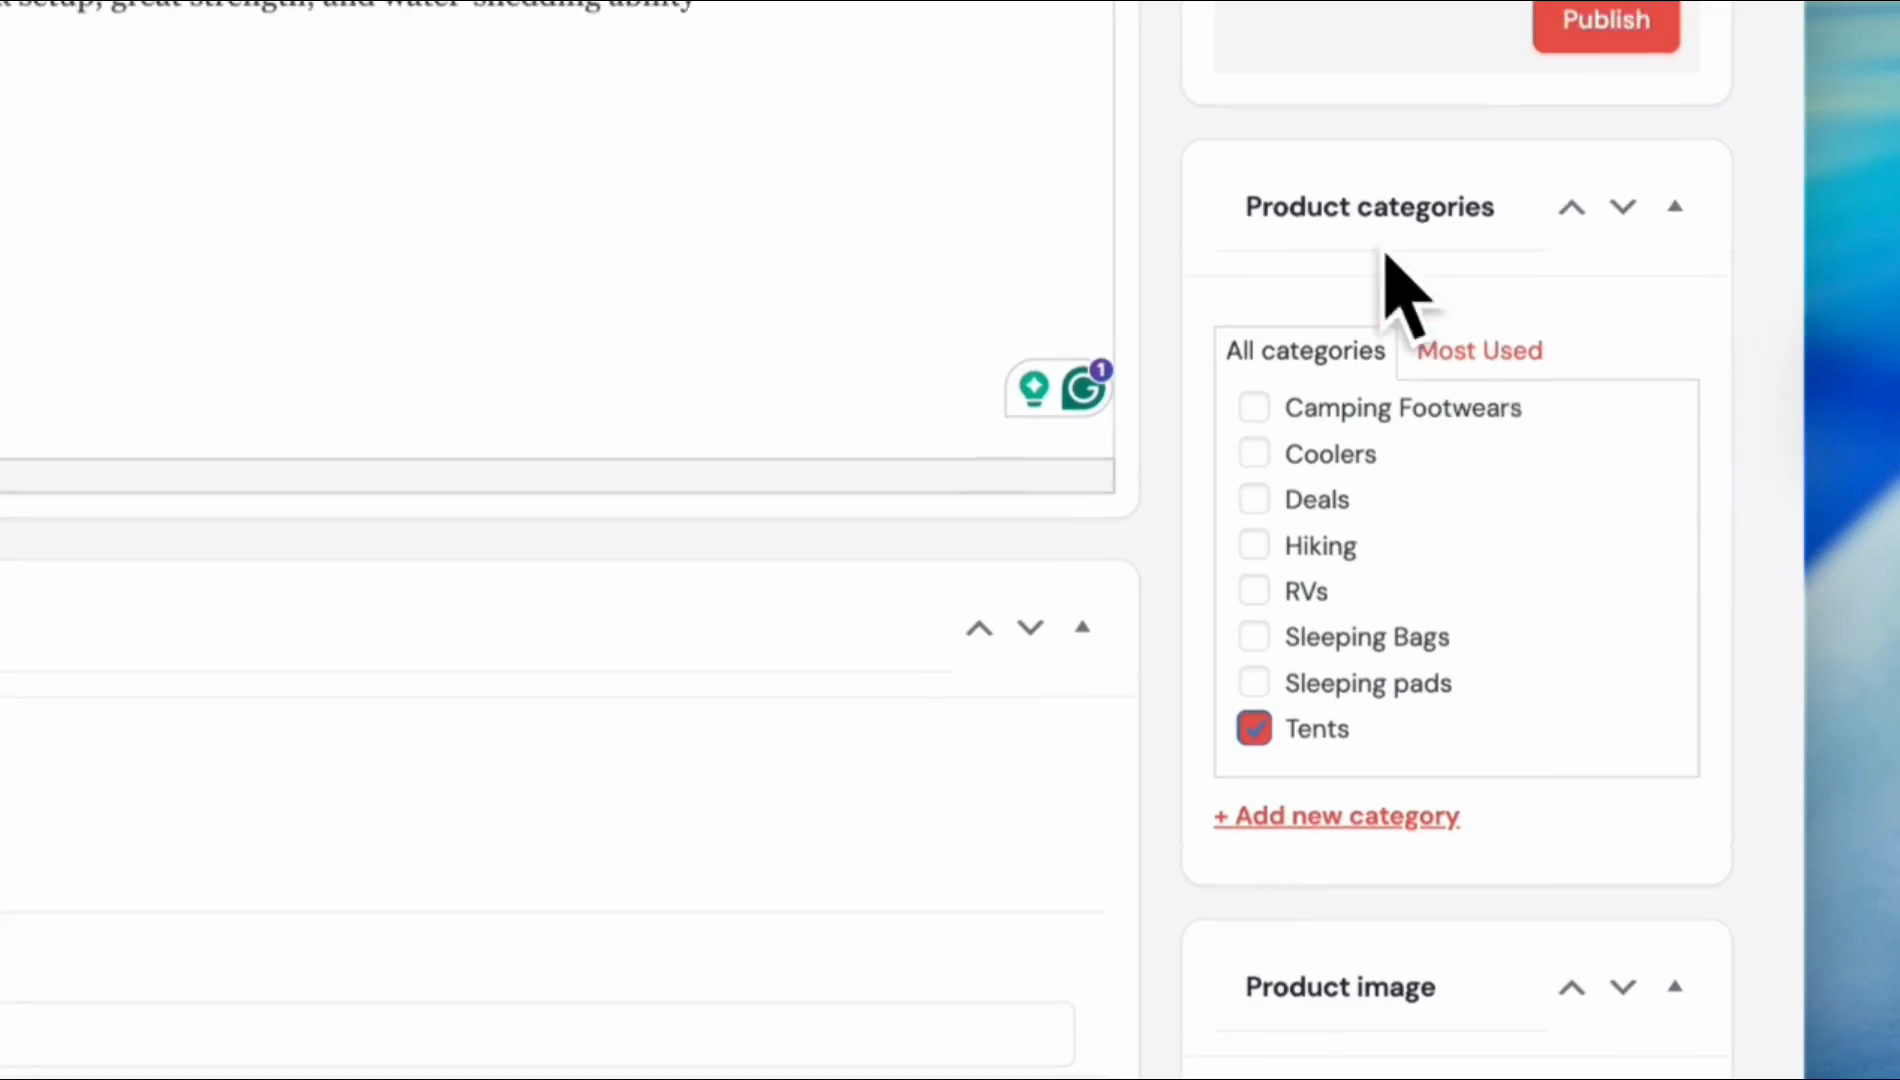
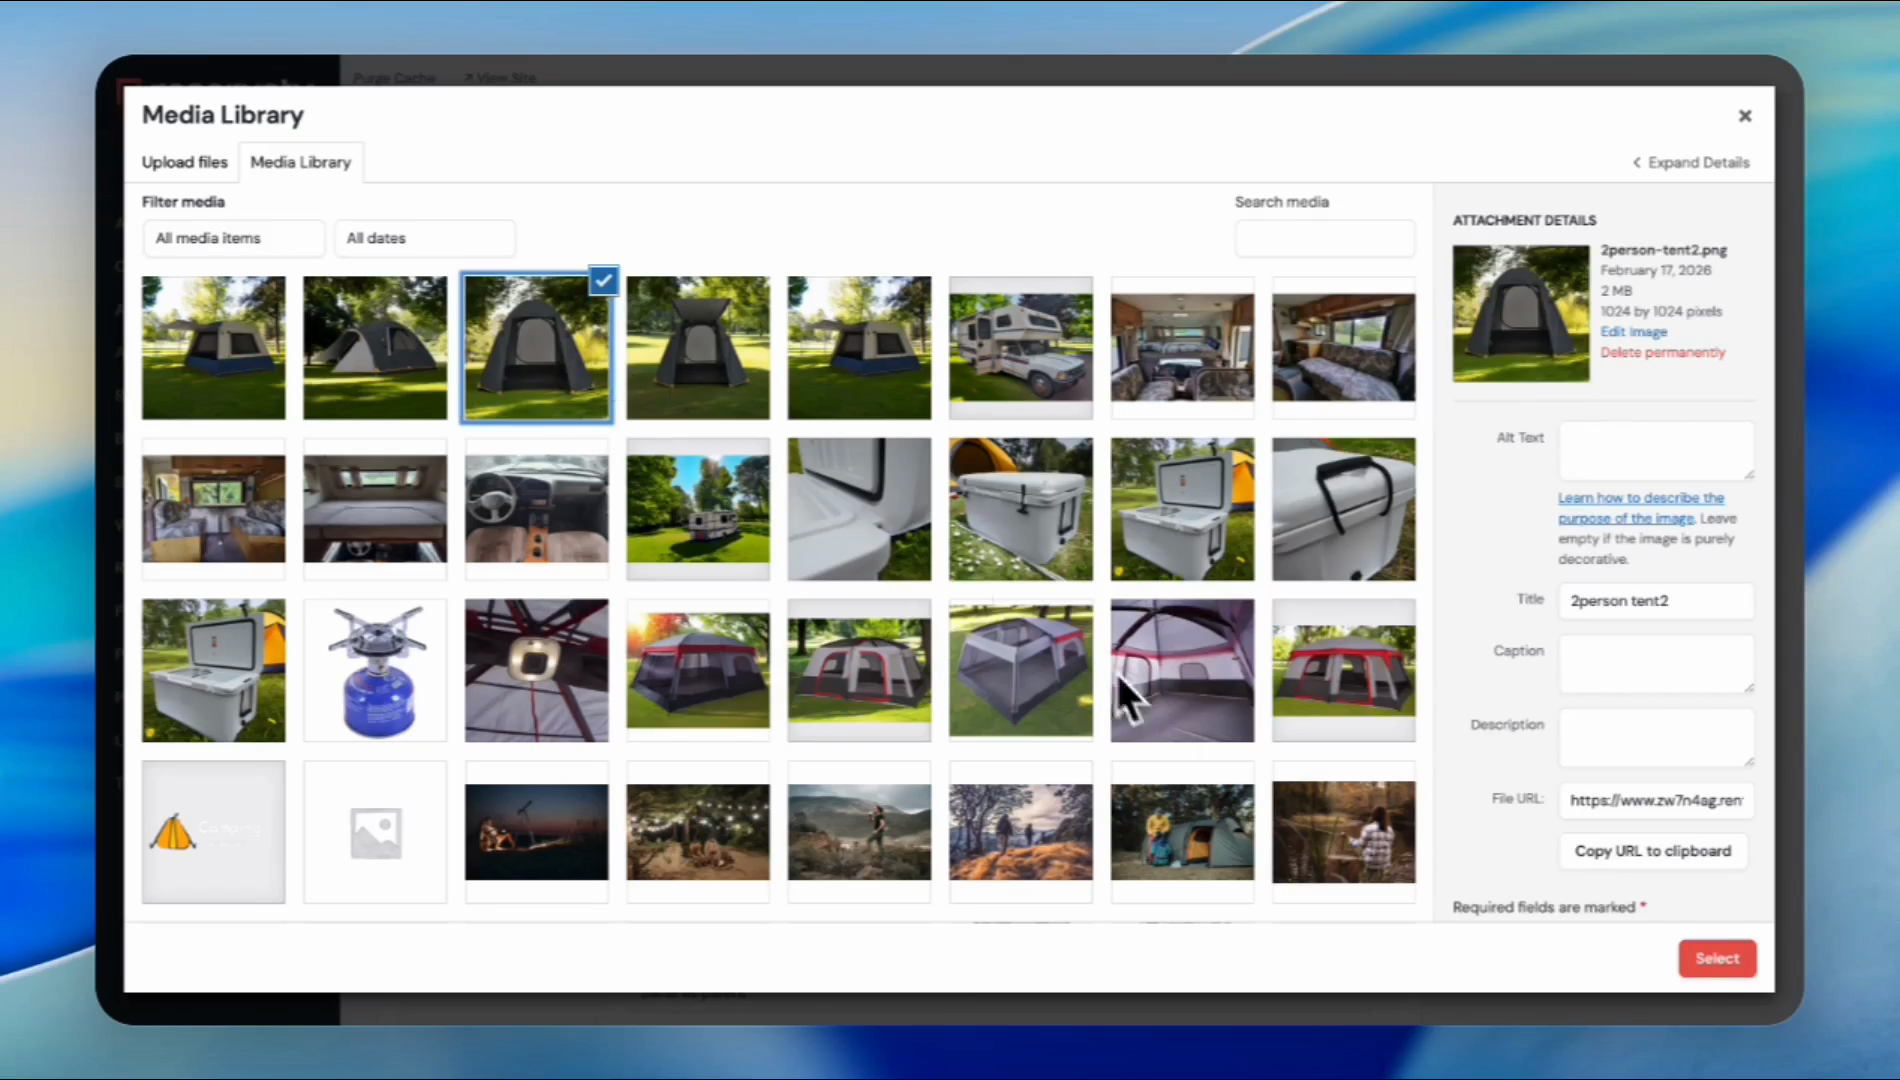
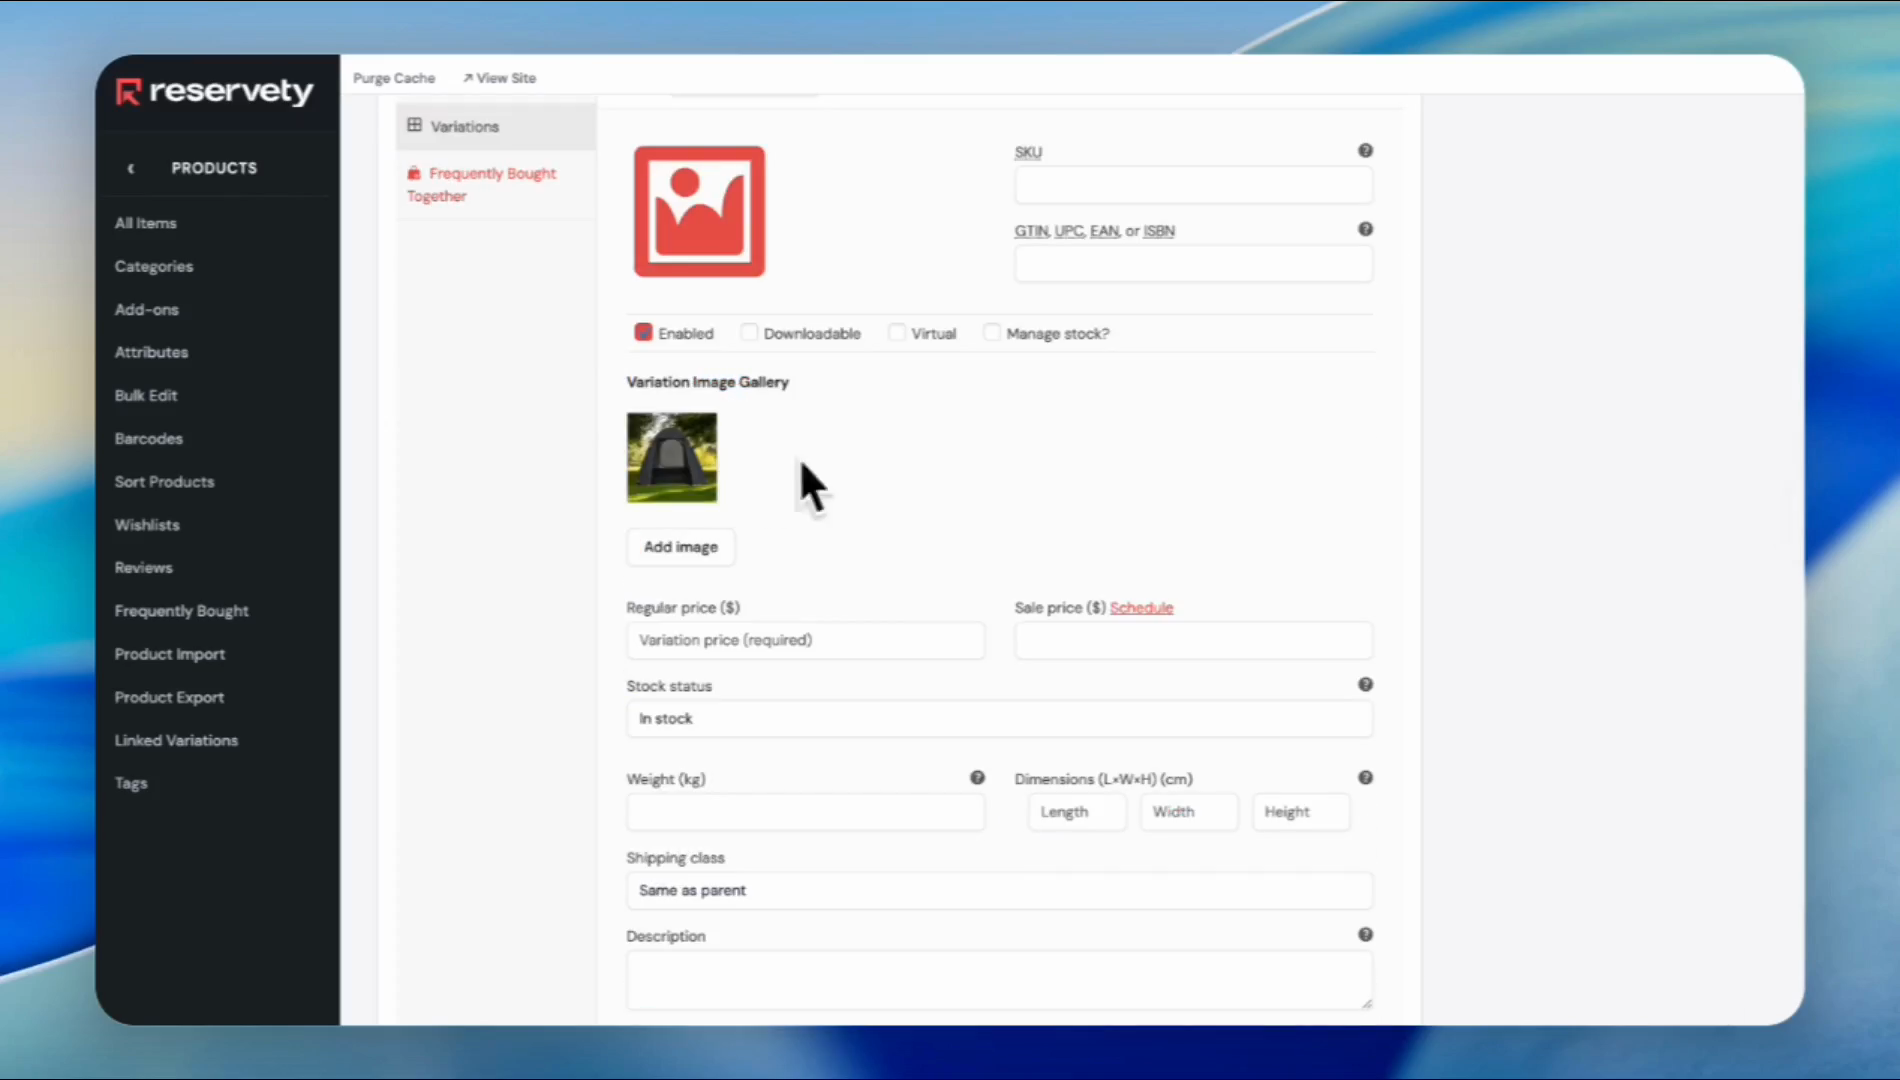
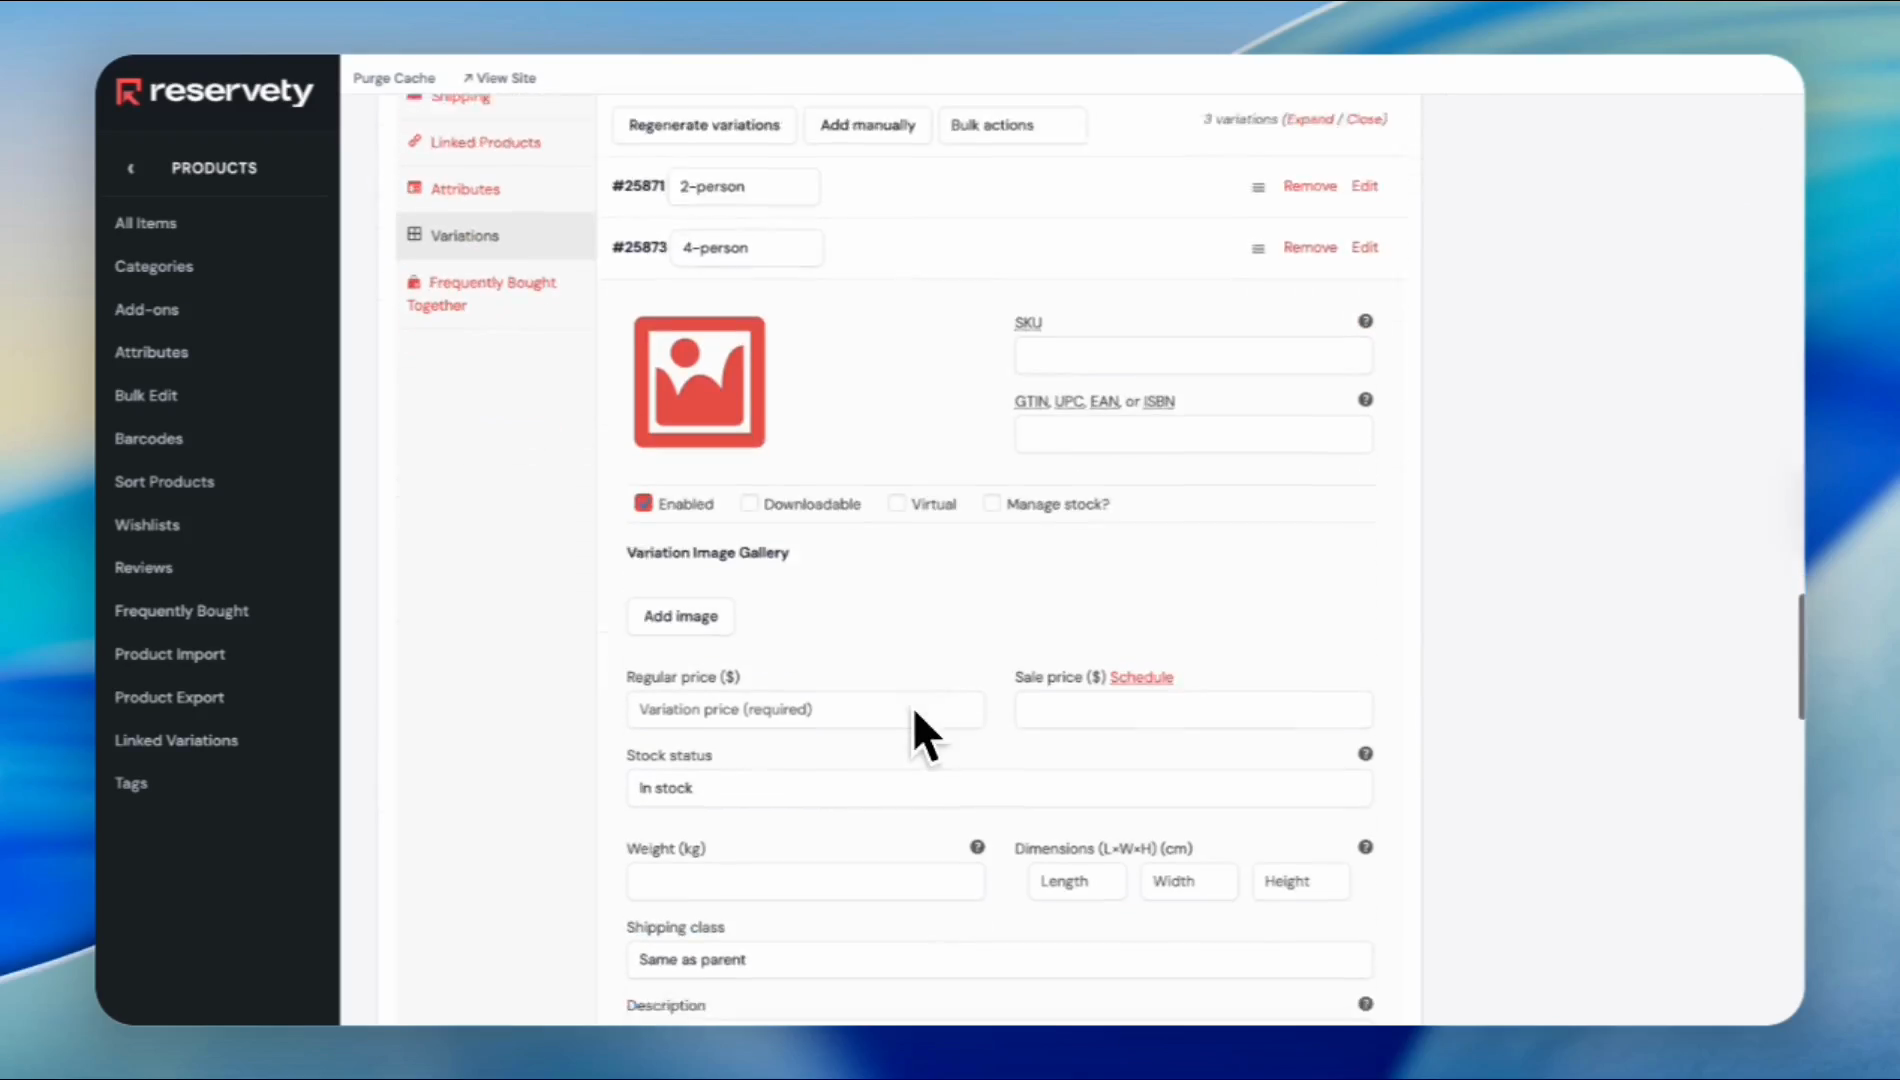
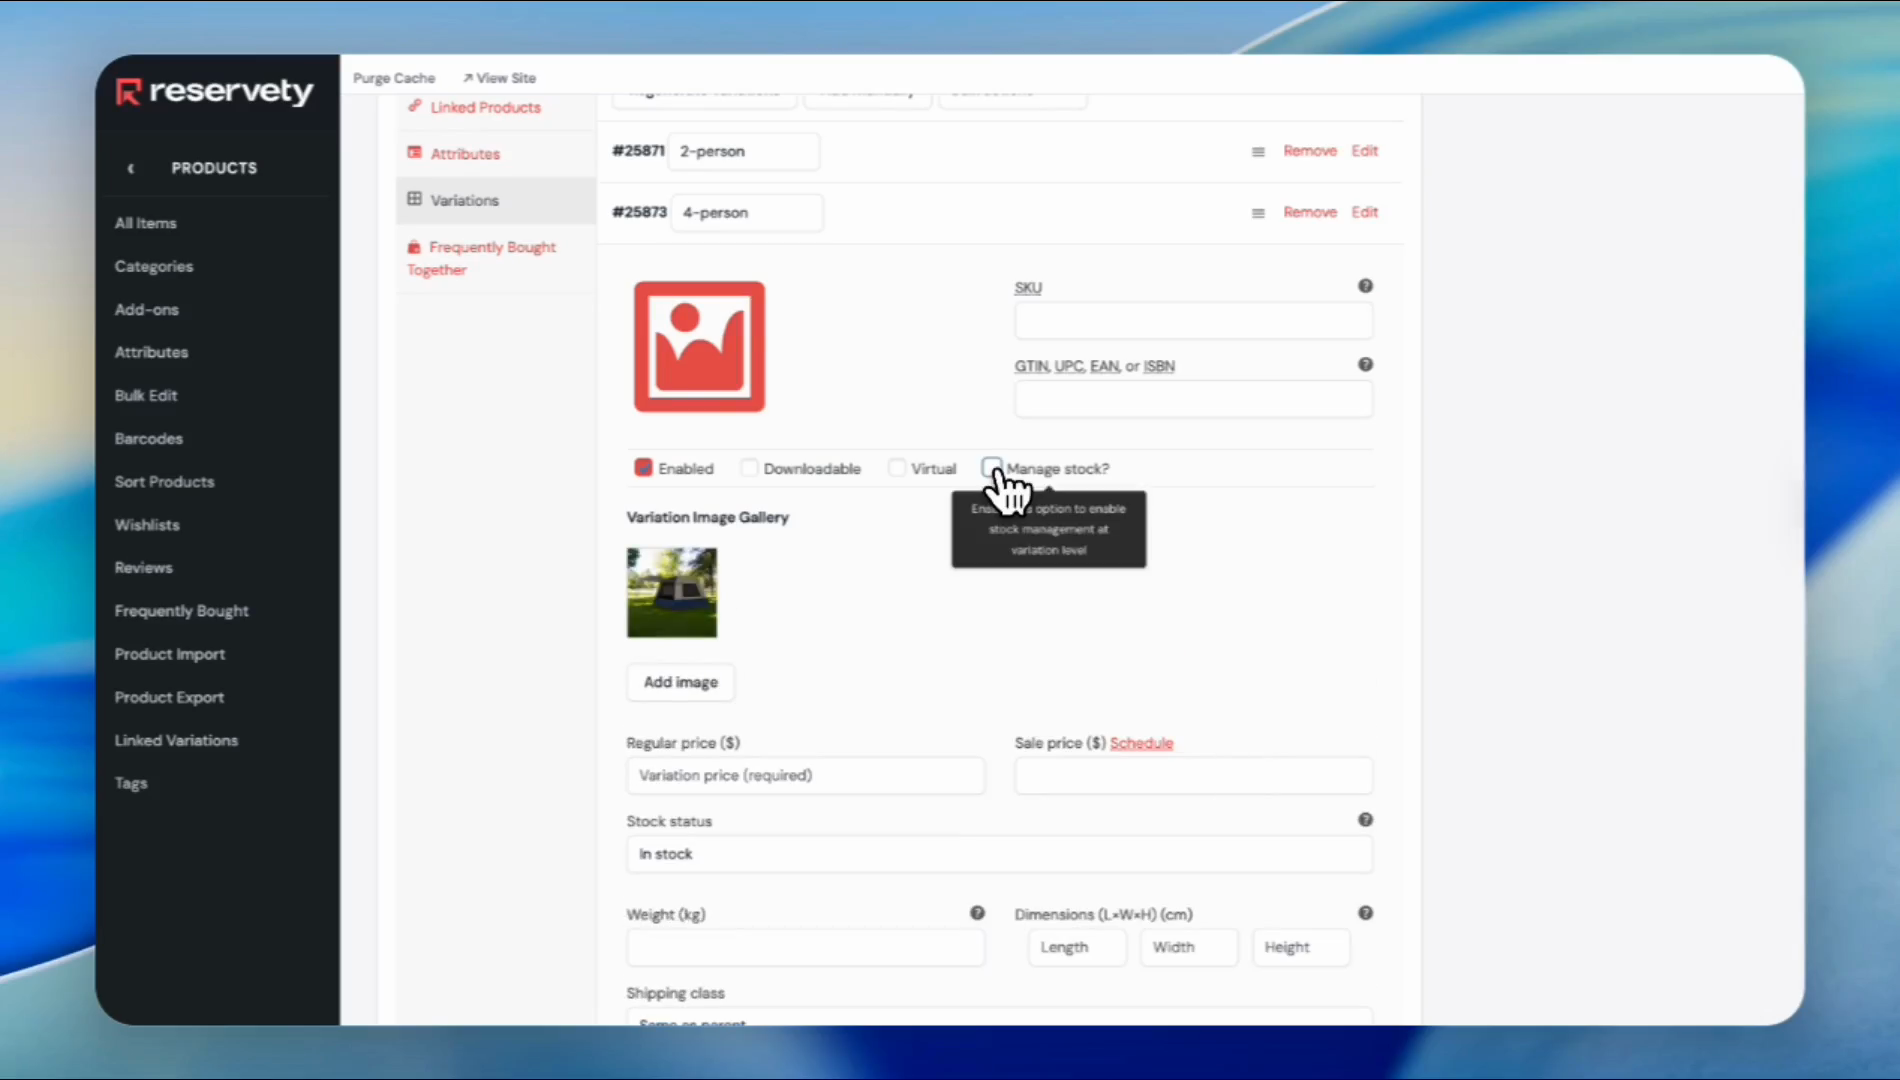
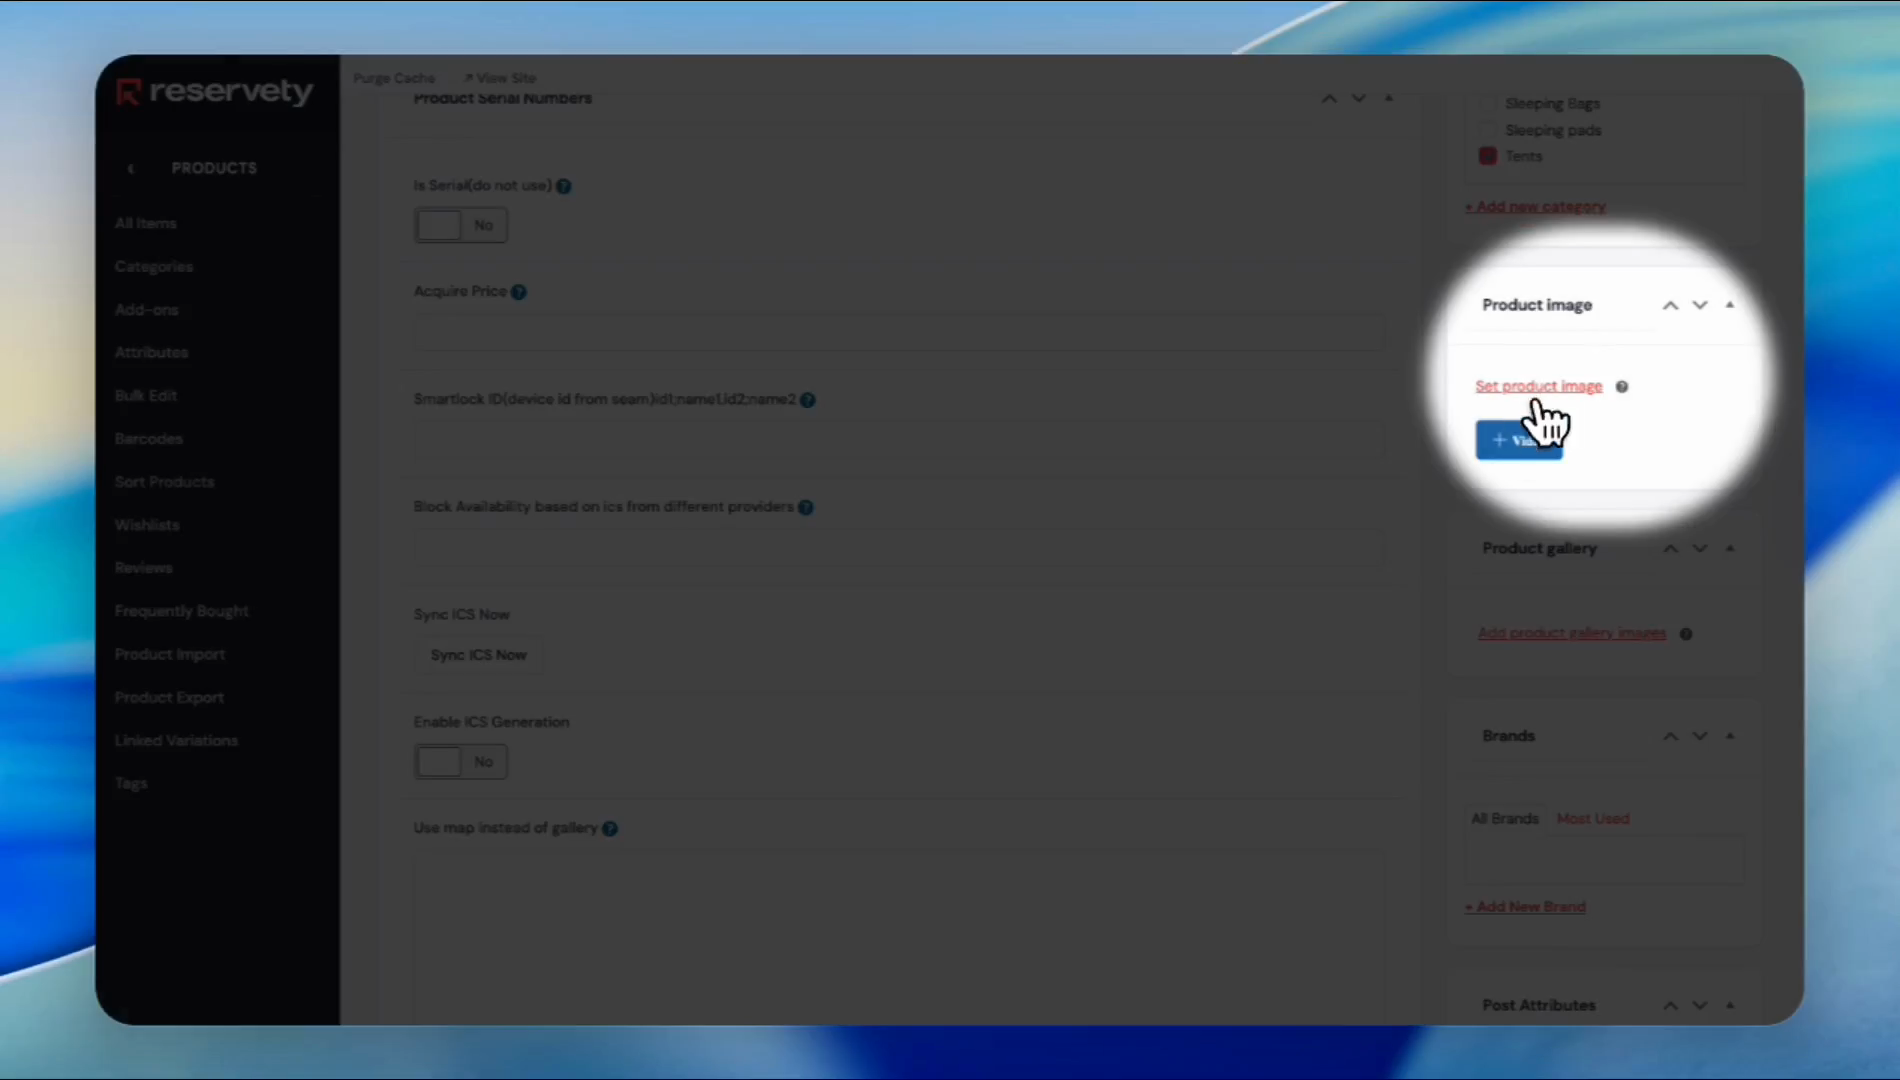
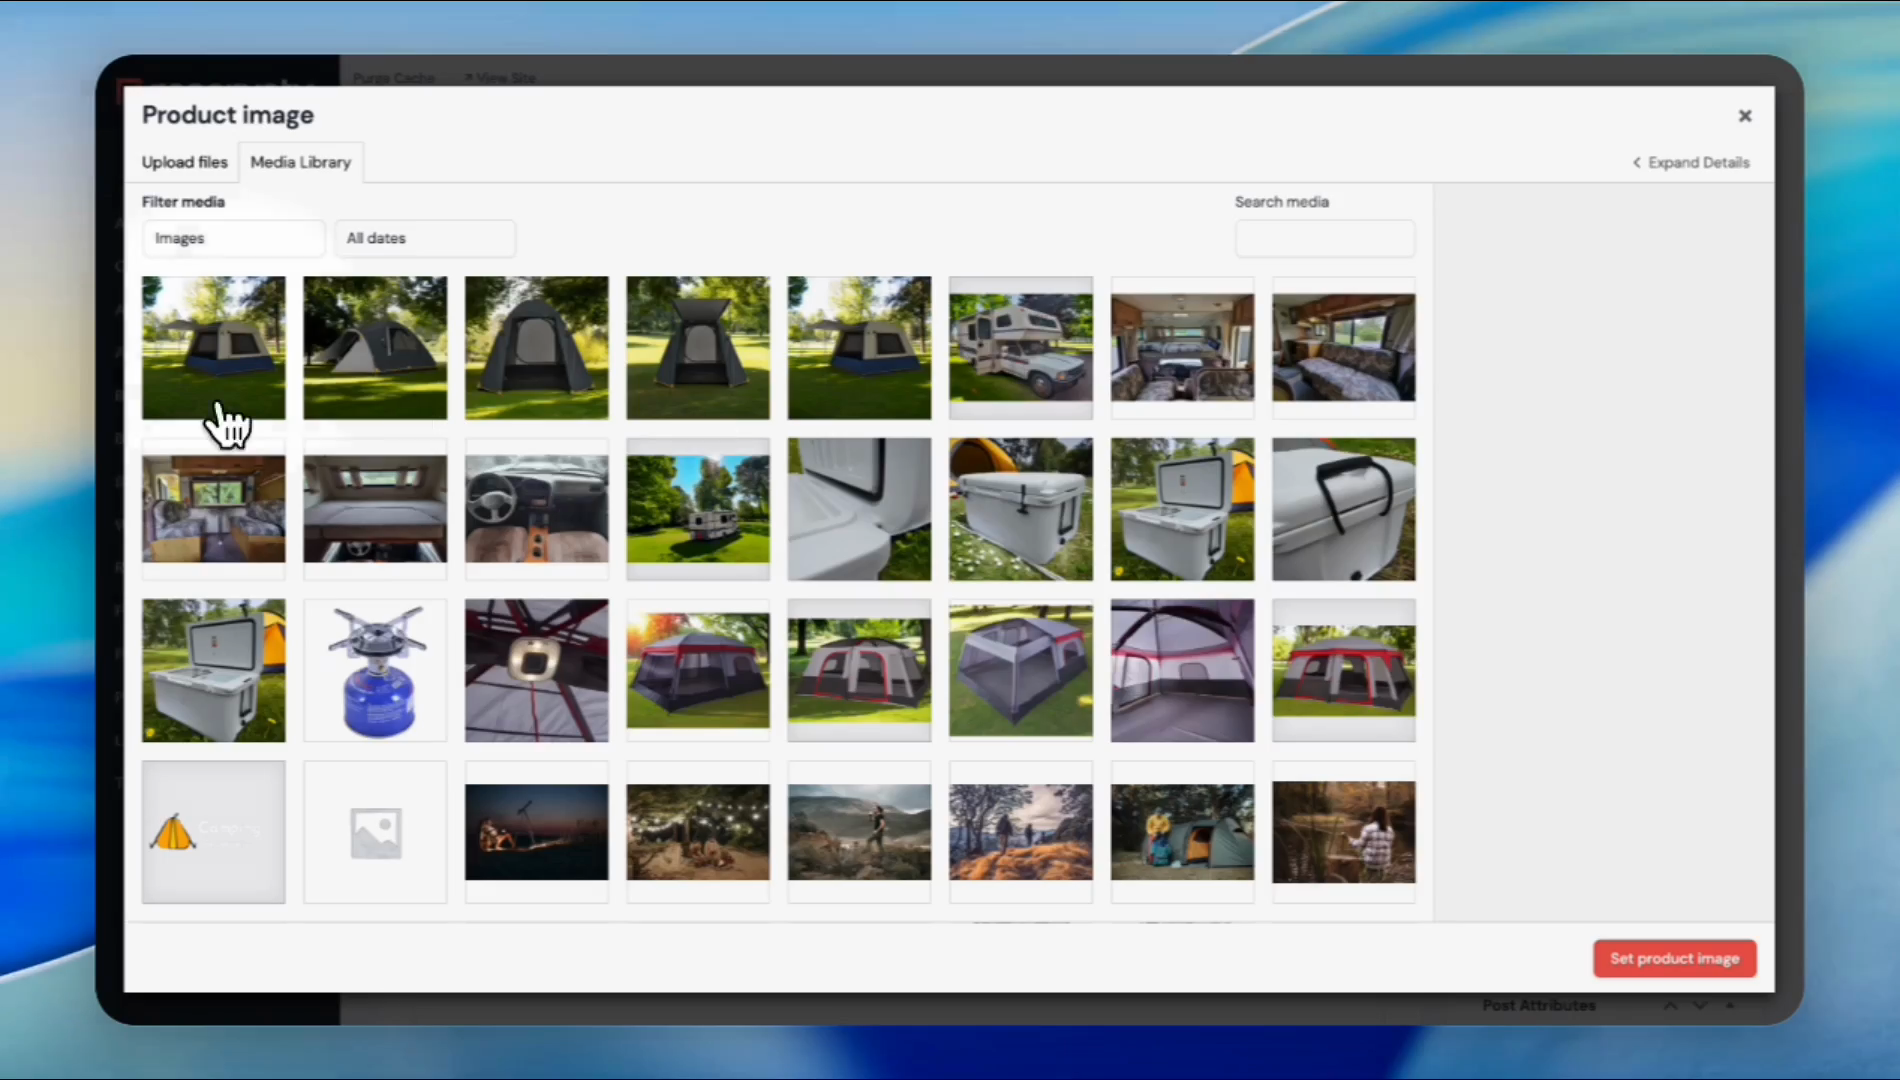
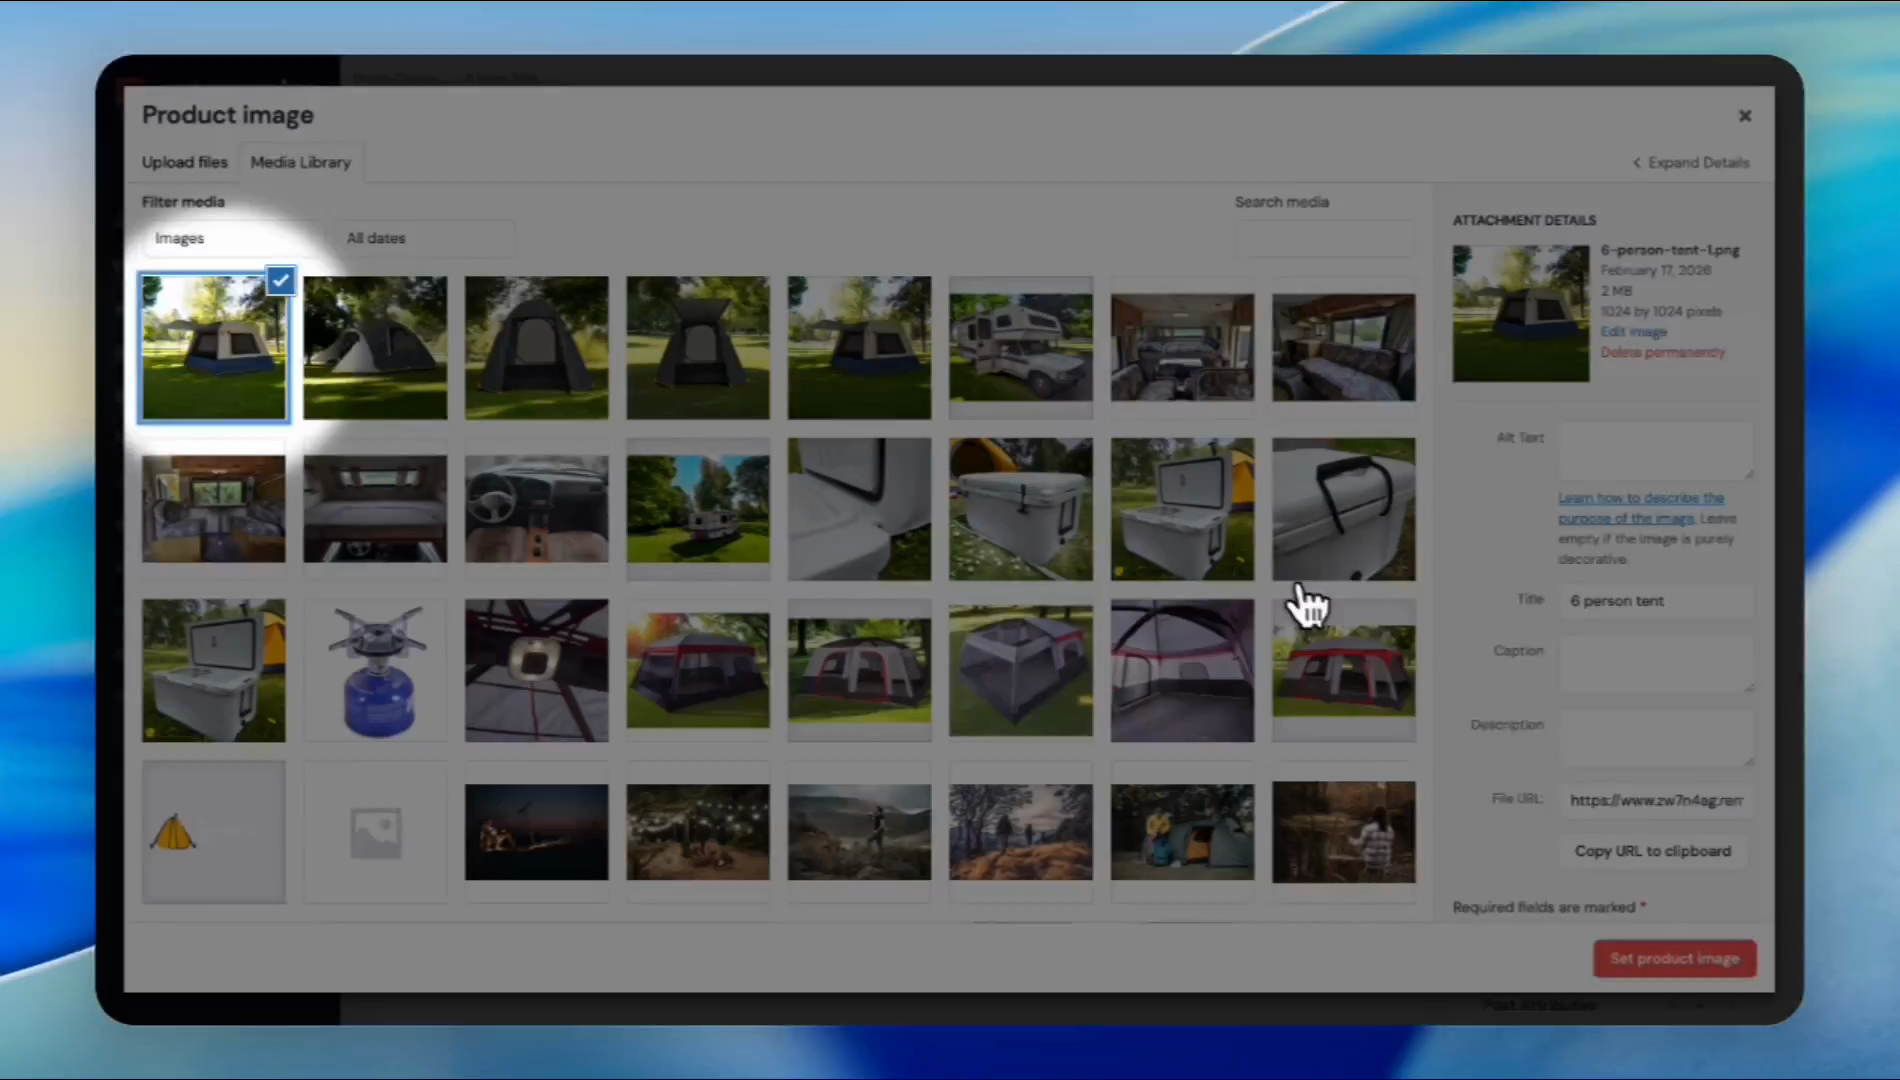
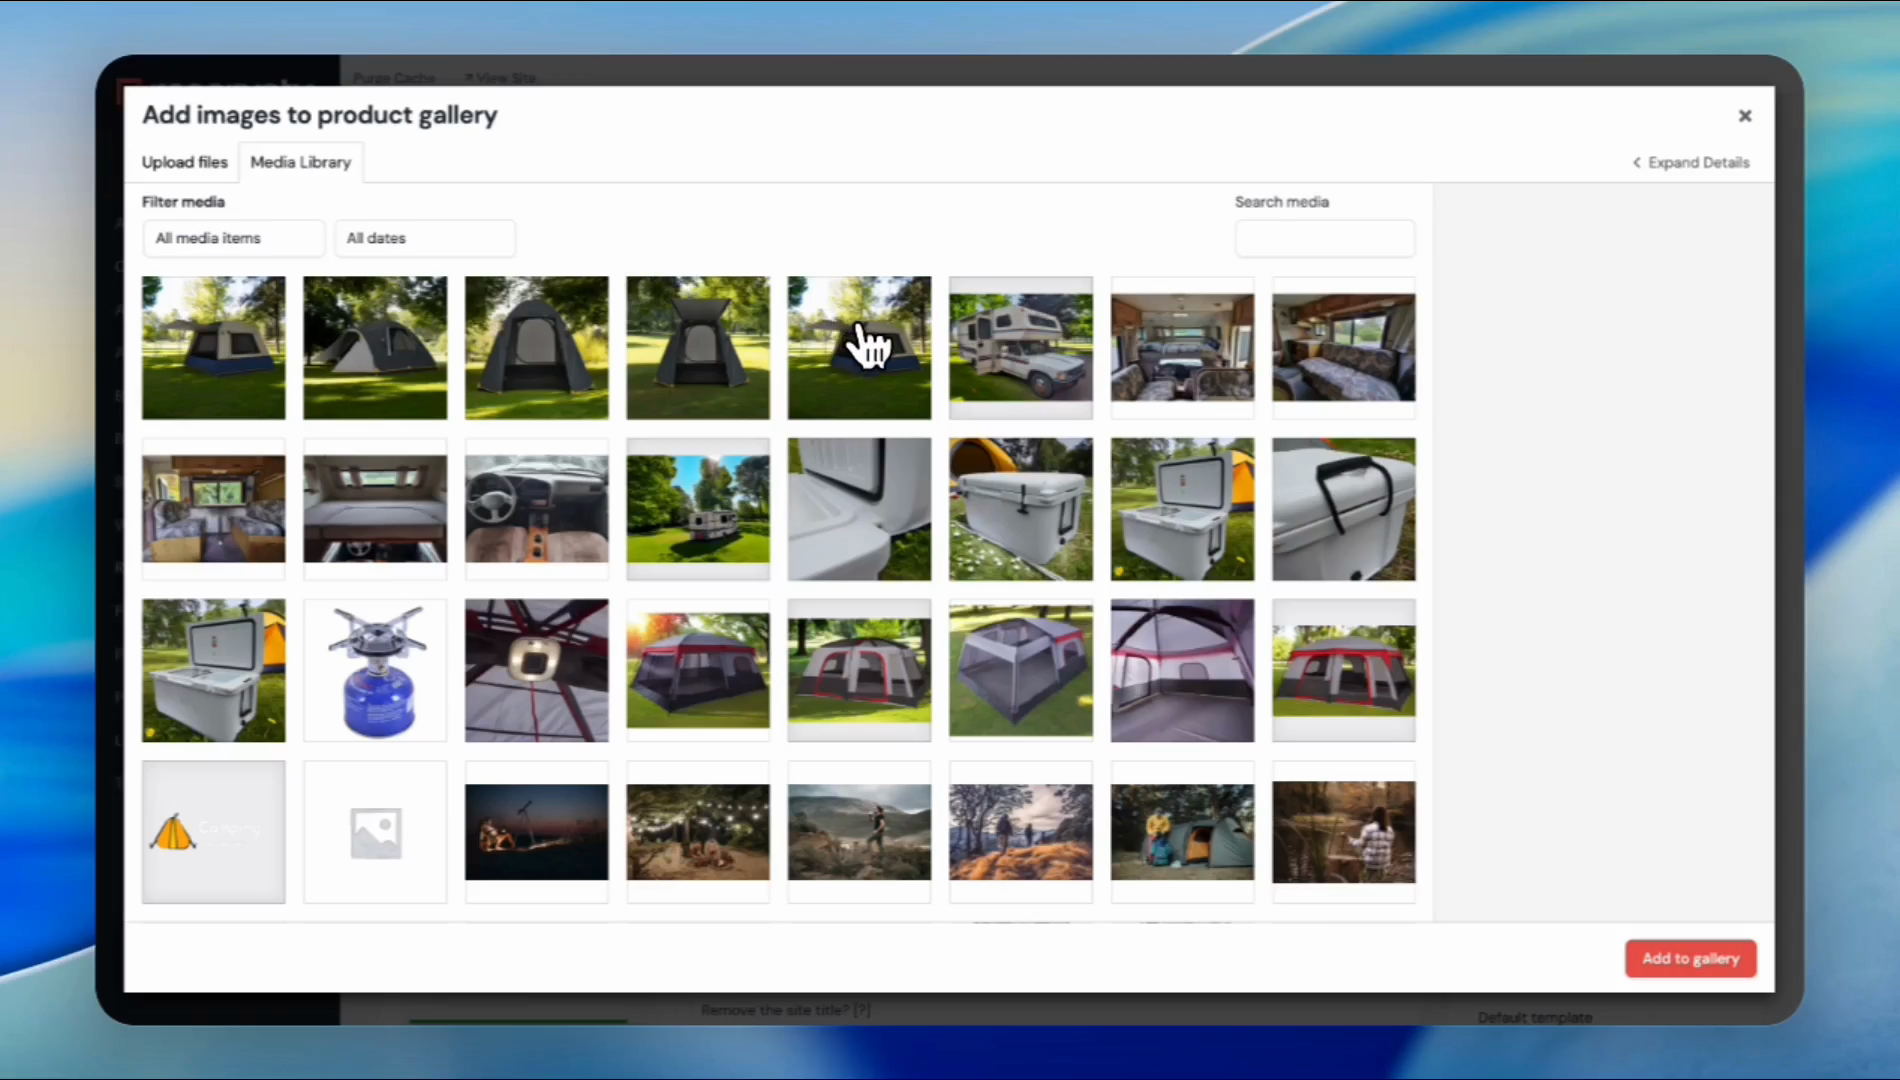
Scroll up and set a product image. This will be the product's featured image.
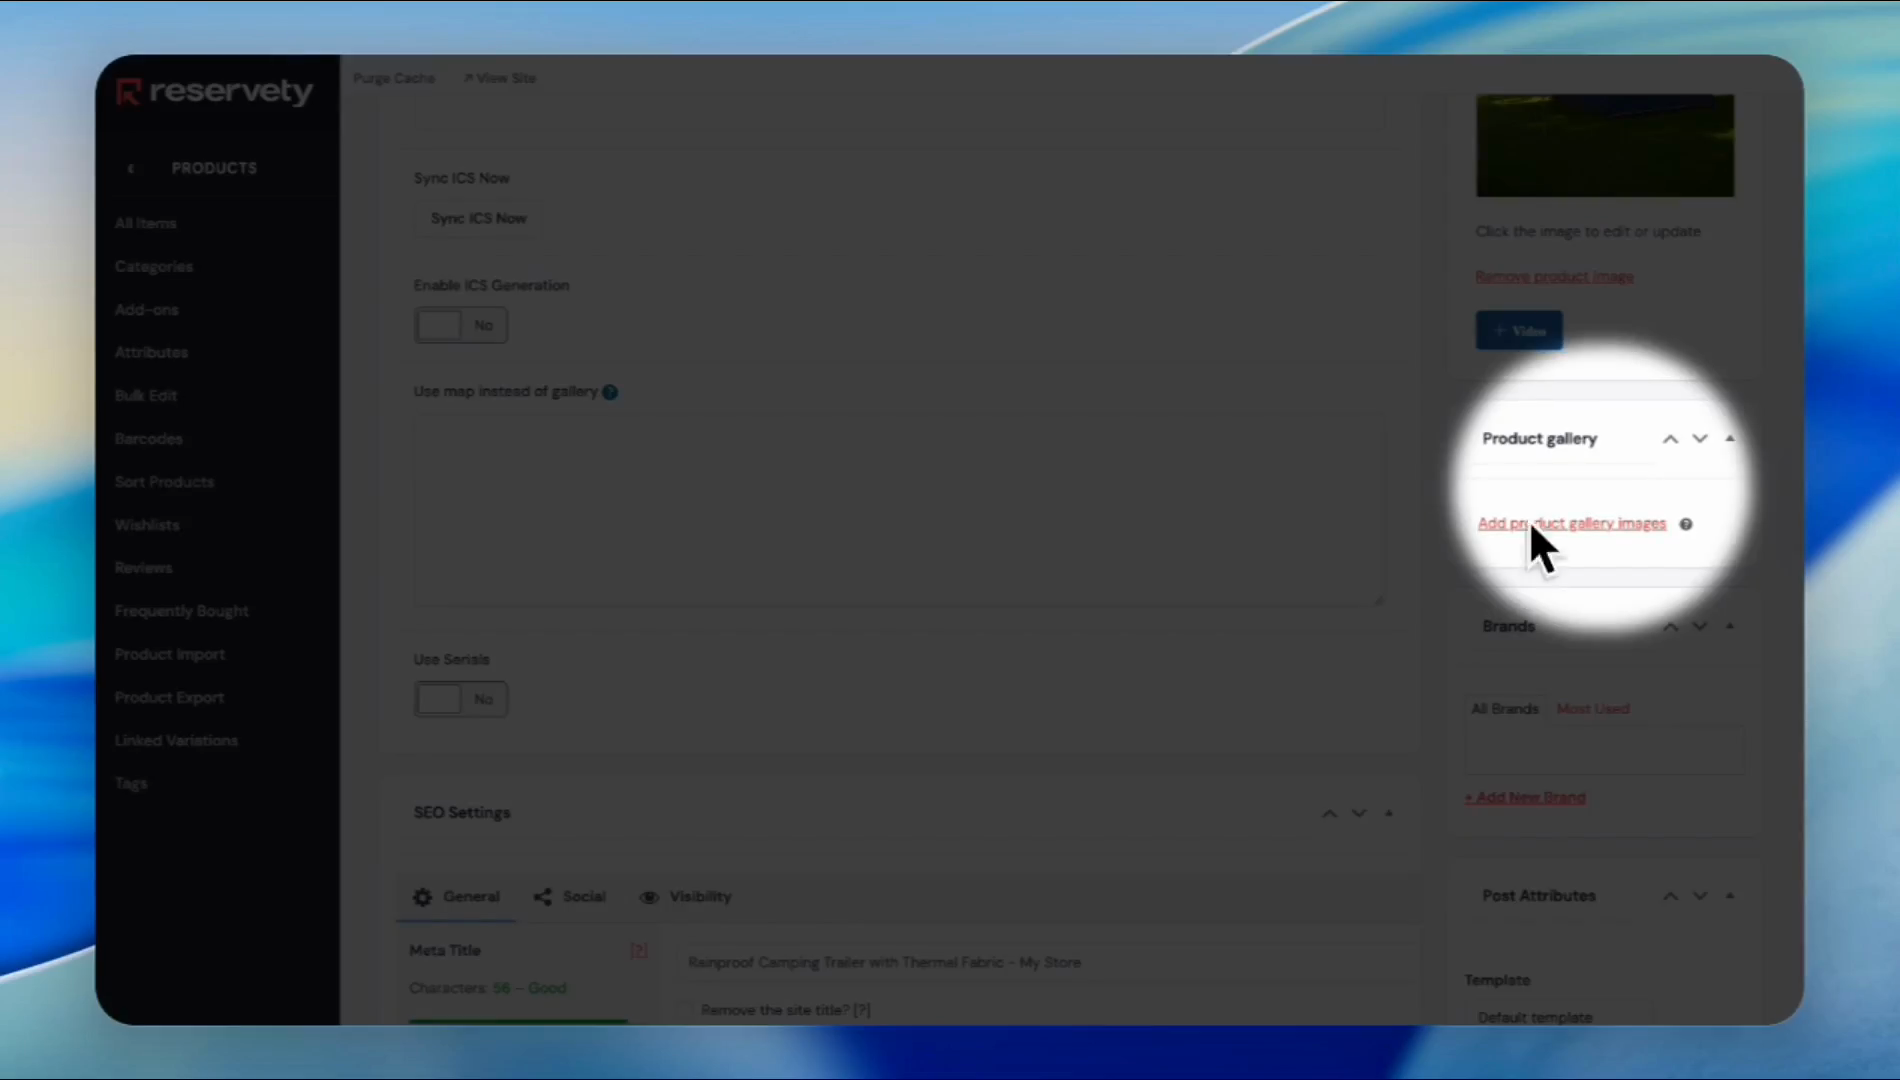
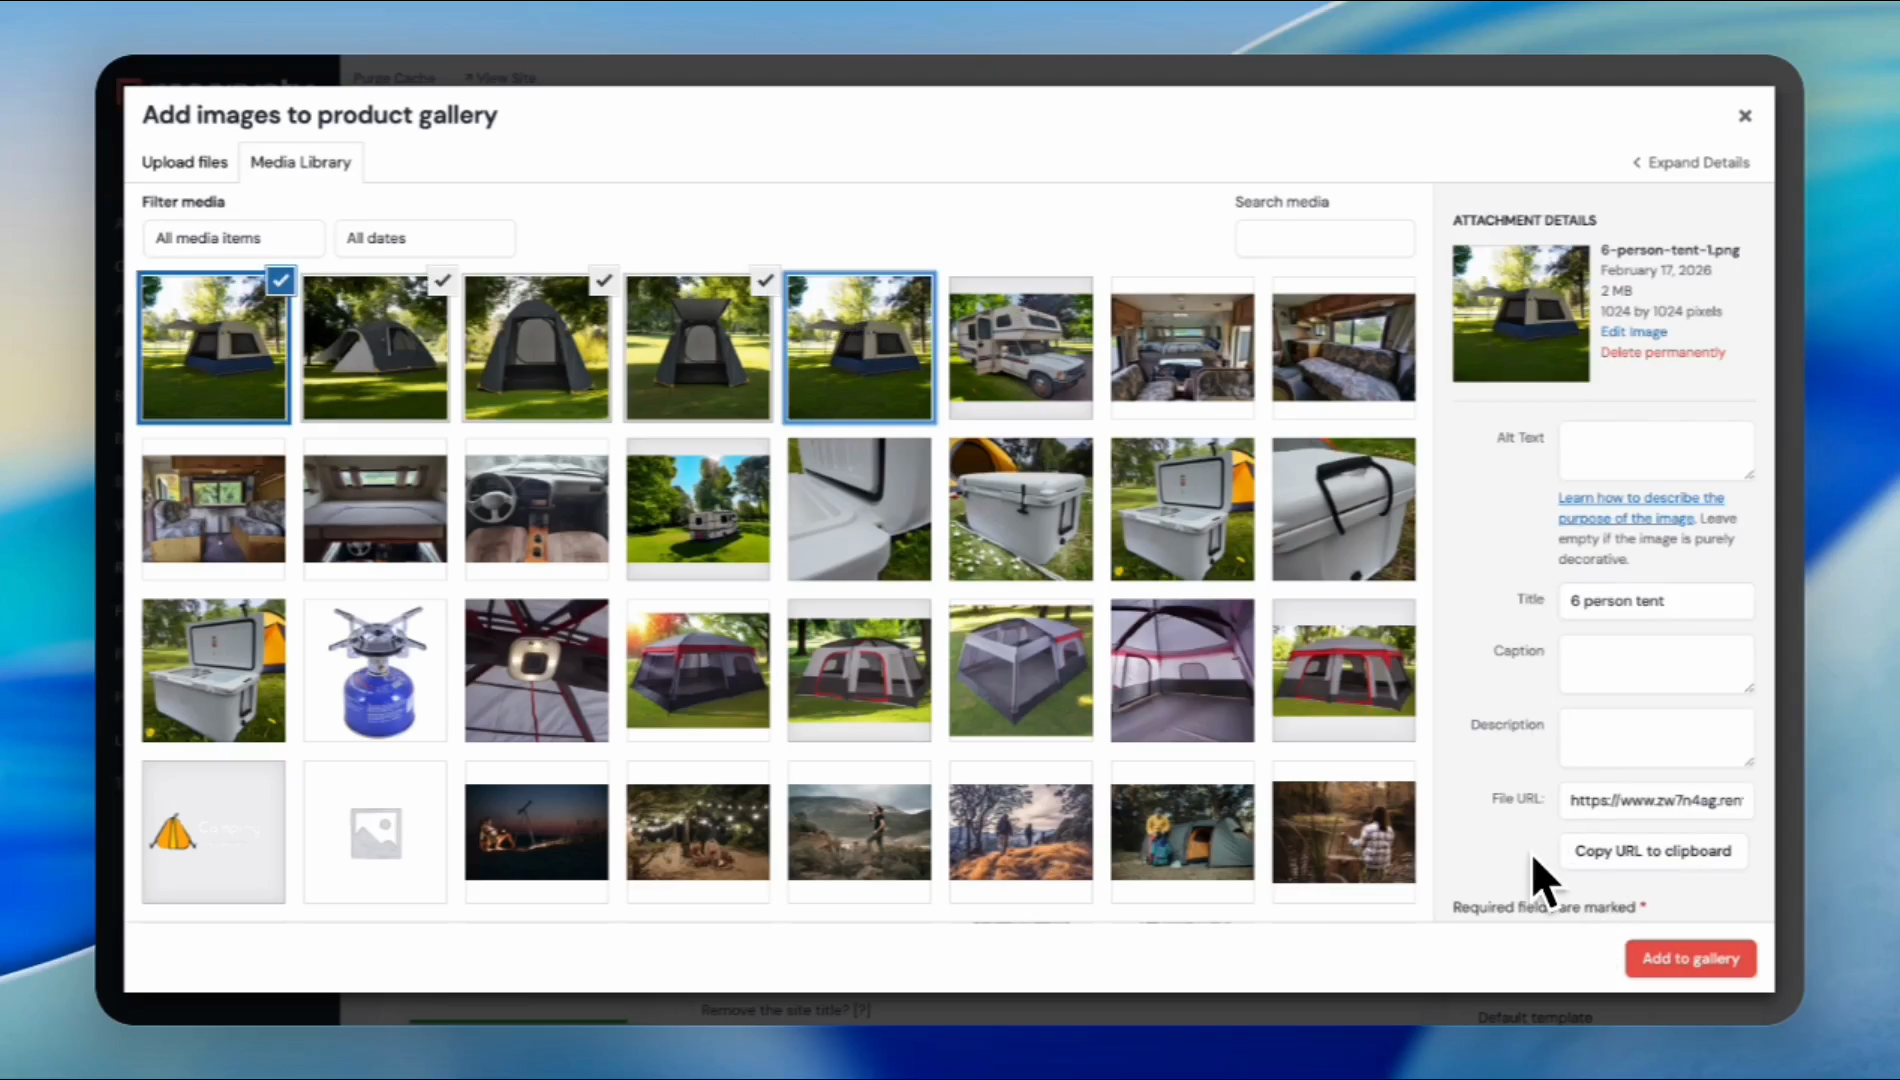
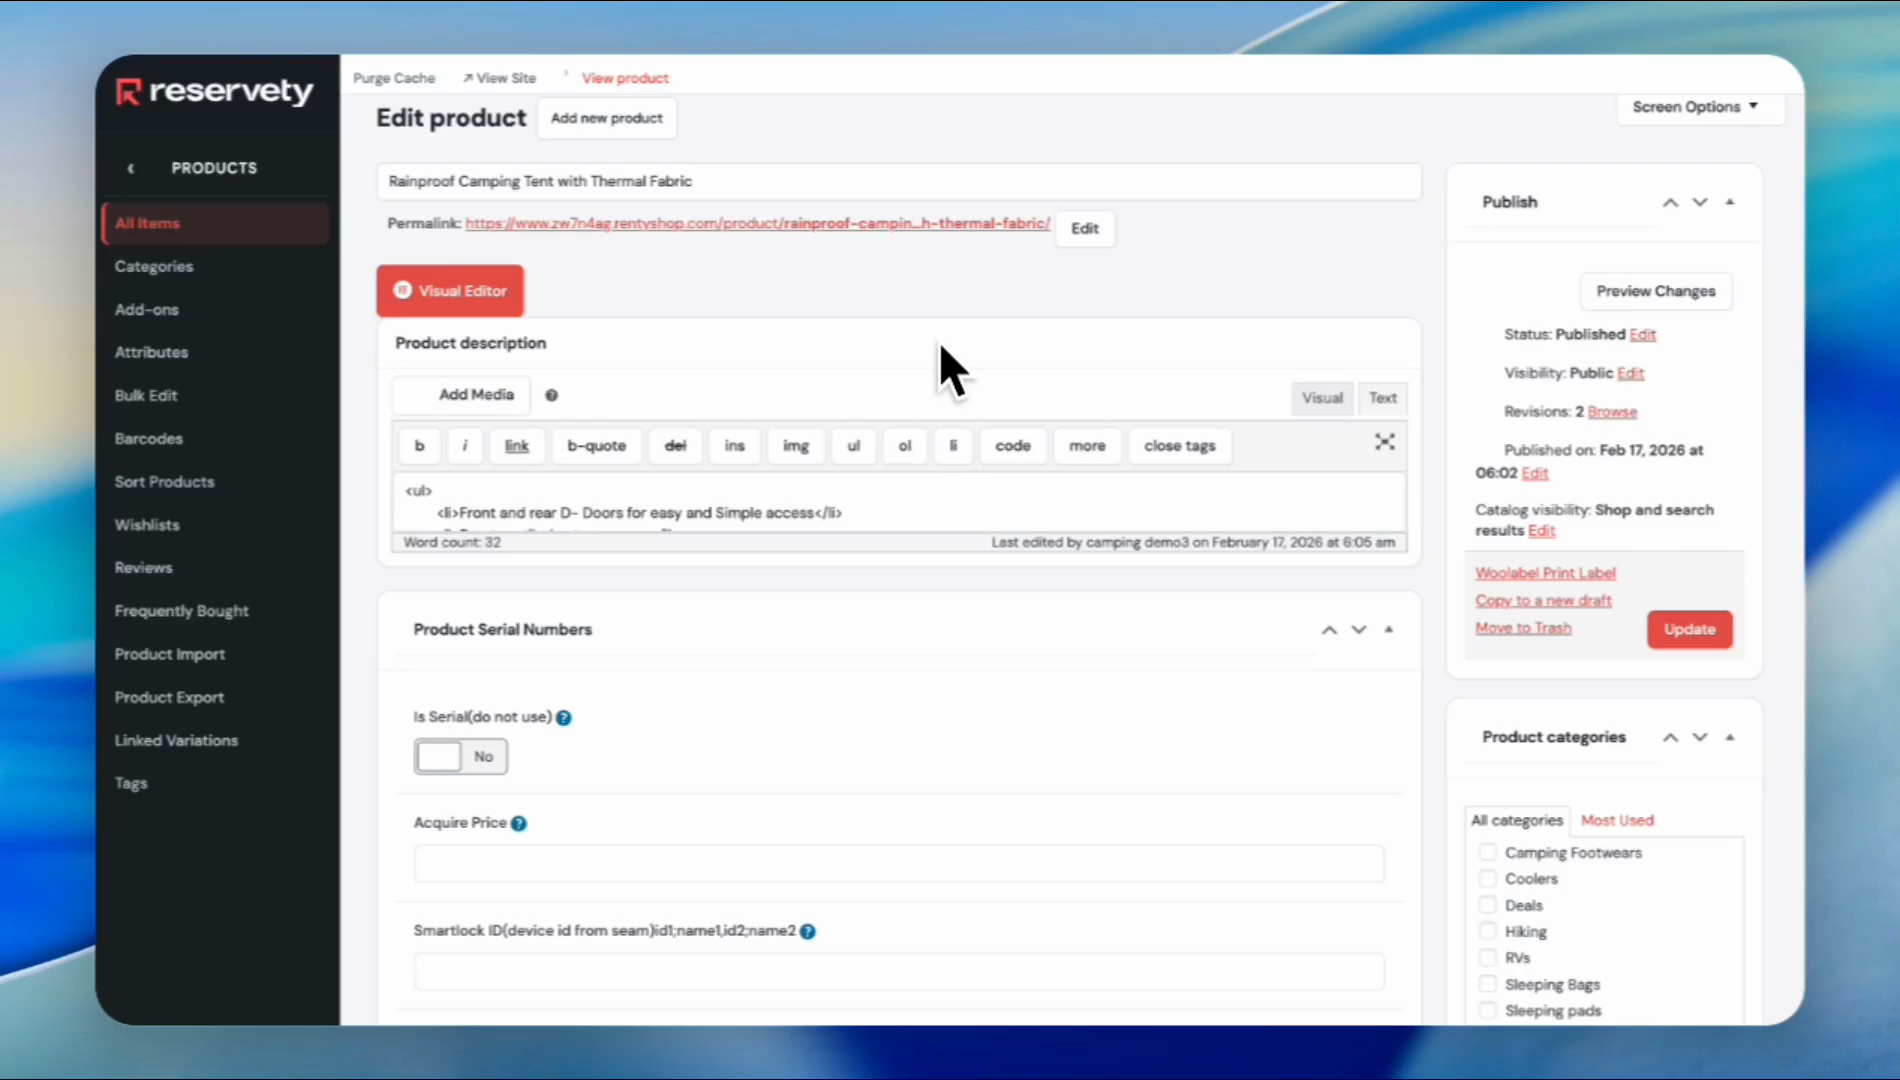
After uploading the images, click the publish button.
Now, let's check our variable product on the rental website.
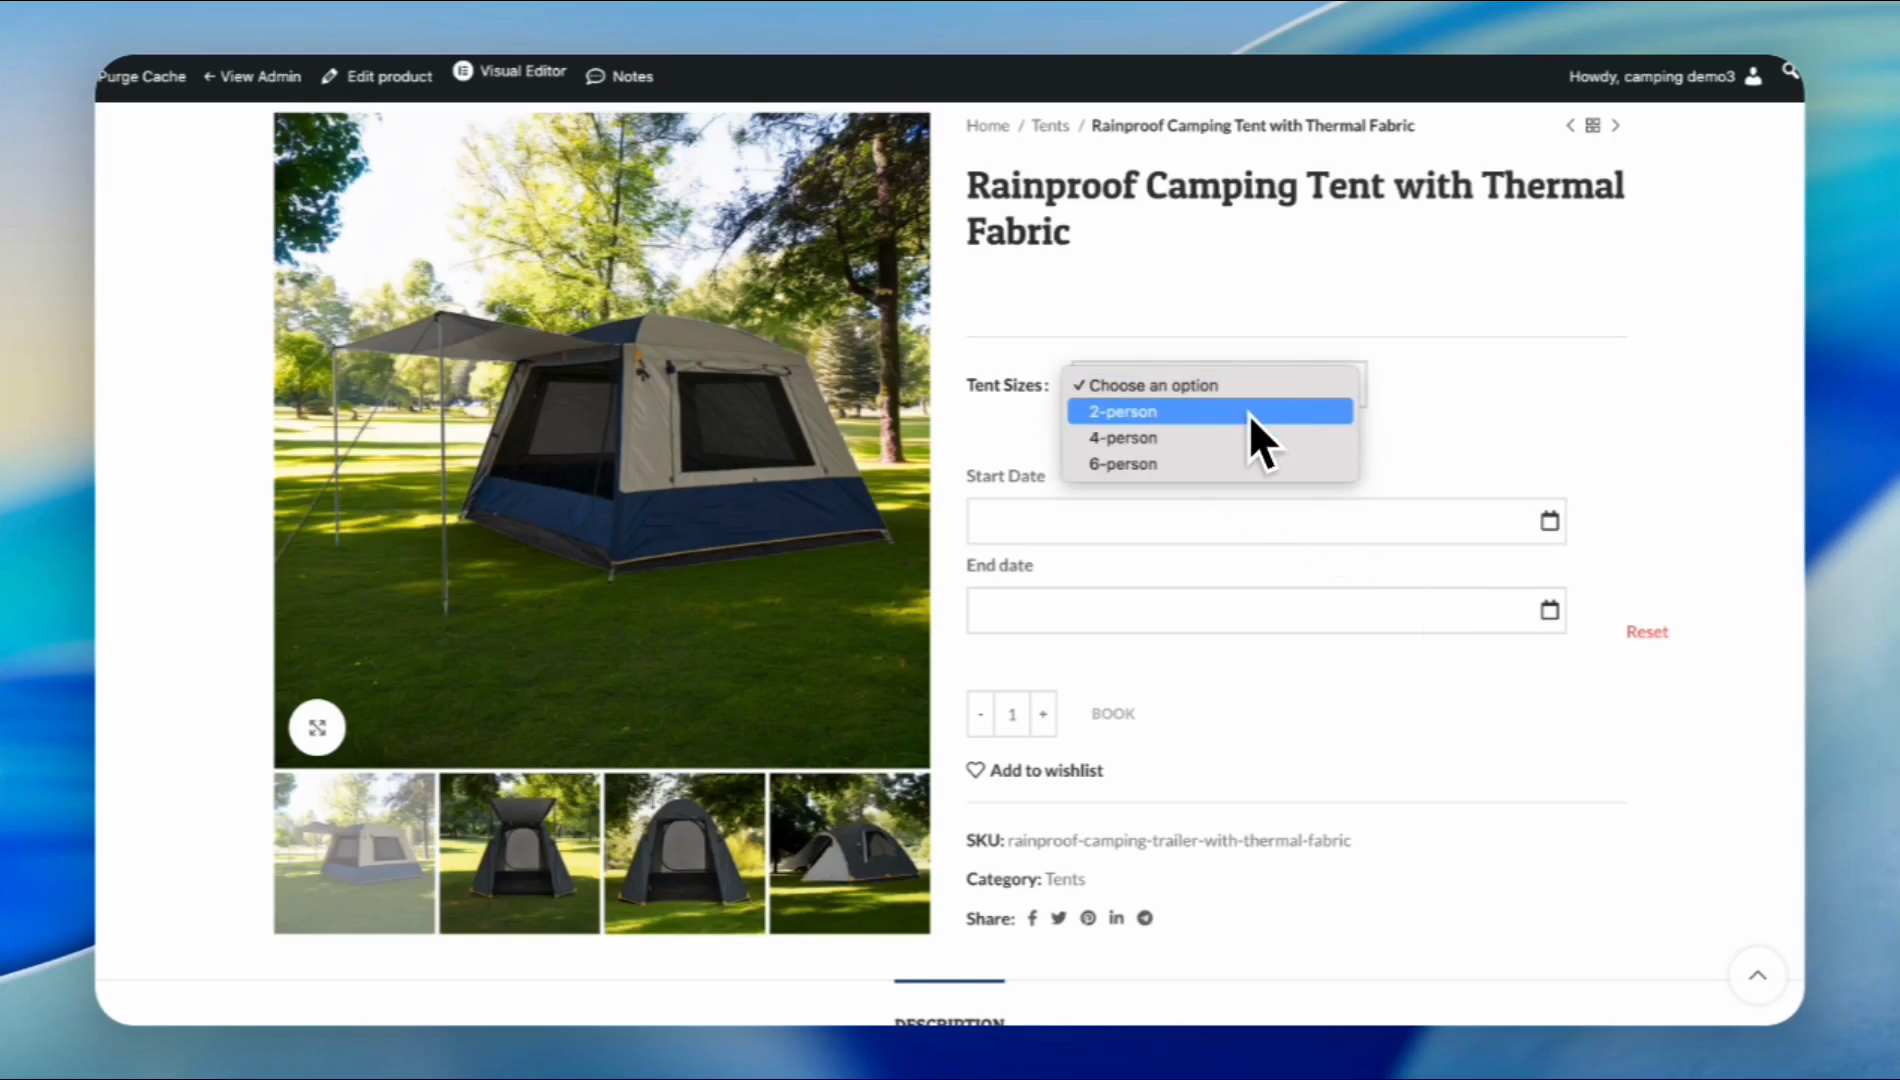
Click "View Product." Our rental tent is shown clearly on our website, with selectable sizes. Select the two-person tent to check if the pricing is accurate.
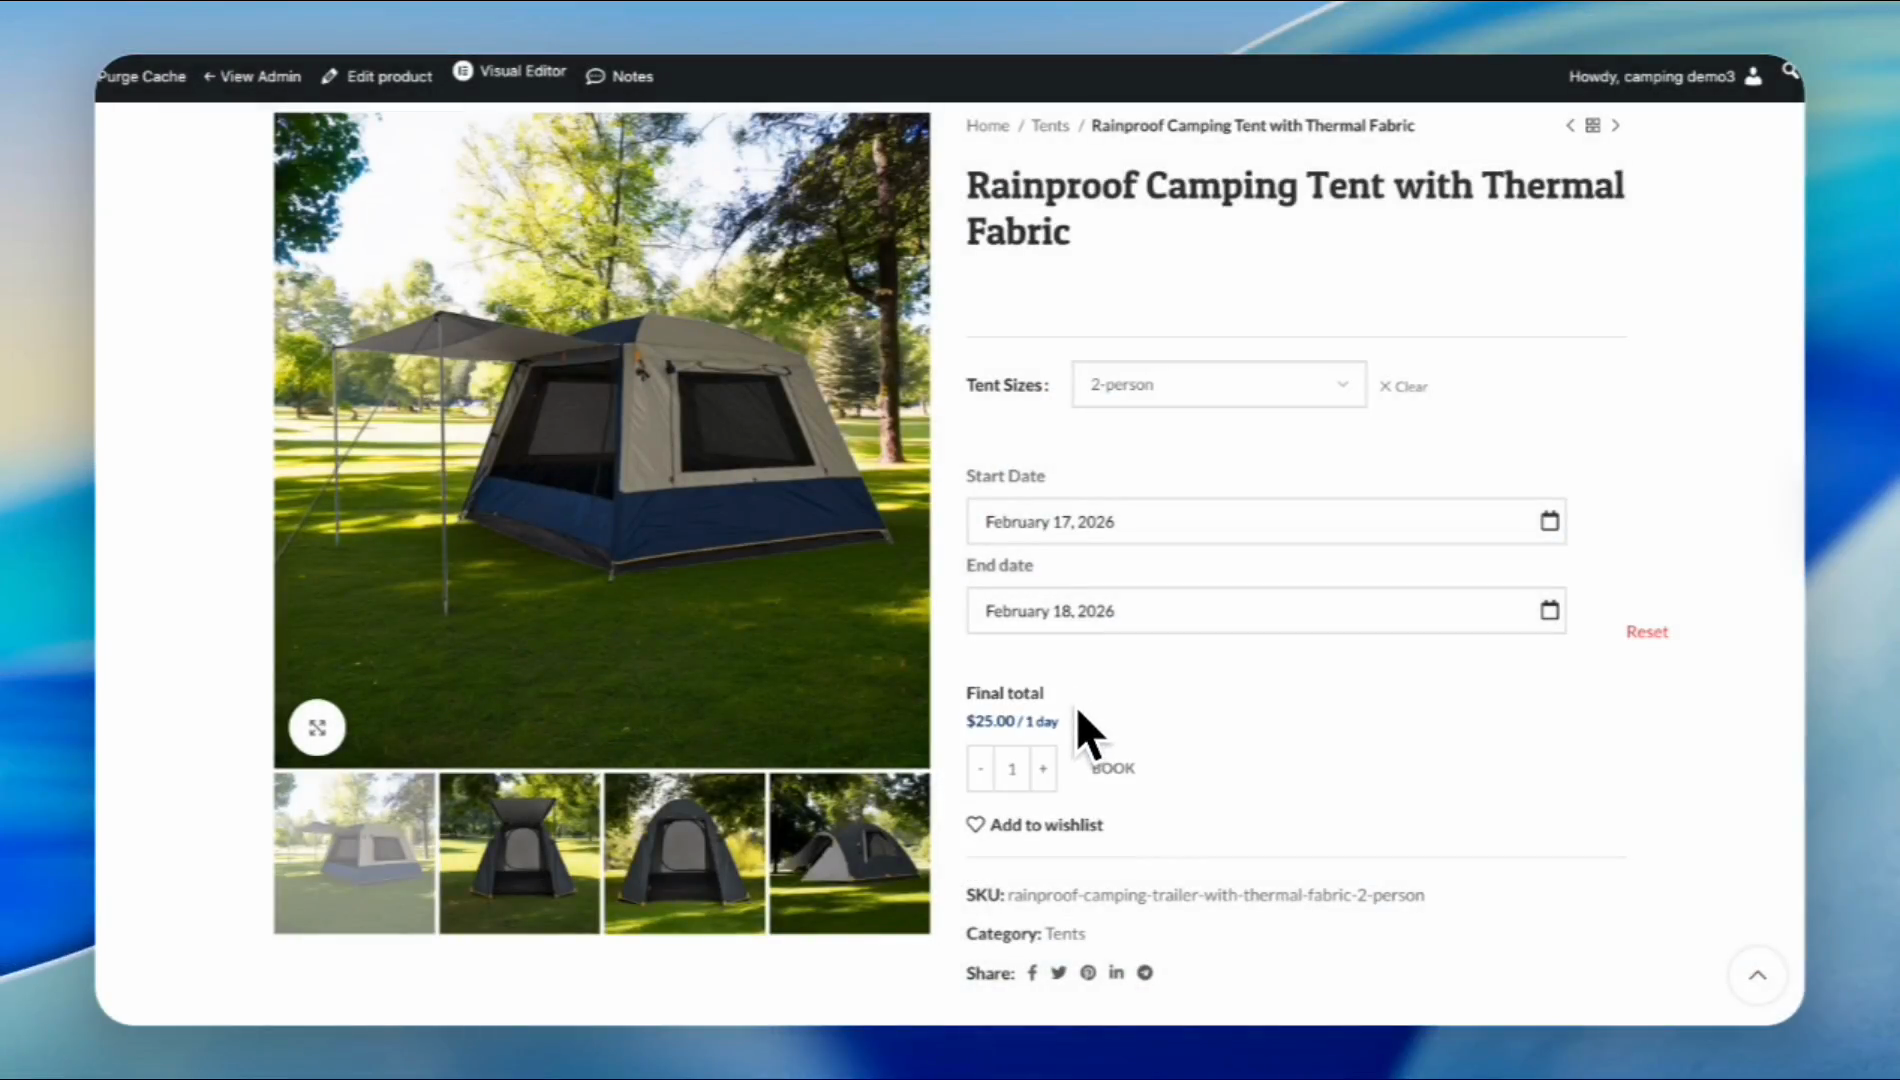
Click on "two-person" and select a date, for example, from the 17th to the 18th.

The pricing shown is accurate for one day. We set the price at $25 per day.
Now, let's move on to the four-person tent. Four-person, and its price is $40, which is also correct. Let's go to the six-person tent.

The six-person tent costs $45 per day. It is also correct. And this completes our tutorial.