
How to Customize Additional Settings in Your Meeting Scheduler
Learn how to optimize your meeting scheduler with custom images, date ranges, minimum notice times, padding, and automated forms. Improve your booking process and customer experience with these advanced settings.
In this guide, we'll learn how to adjust the additional settings in your meeting scheduler to better manage your availability and customer experience.
You will see how to set custom images, choose avatars, and control when meetings can be booked. We will also cover how to set minimum notice times, add padding around meetings, and adjust meeting start frequencies. Finally, we will look at using forms for customer questions, handling data consent, and setting up booking confirmations and reminders.
Let's get started
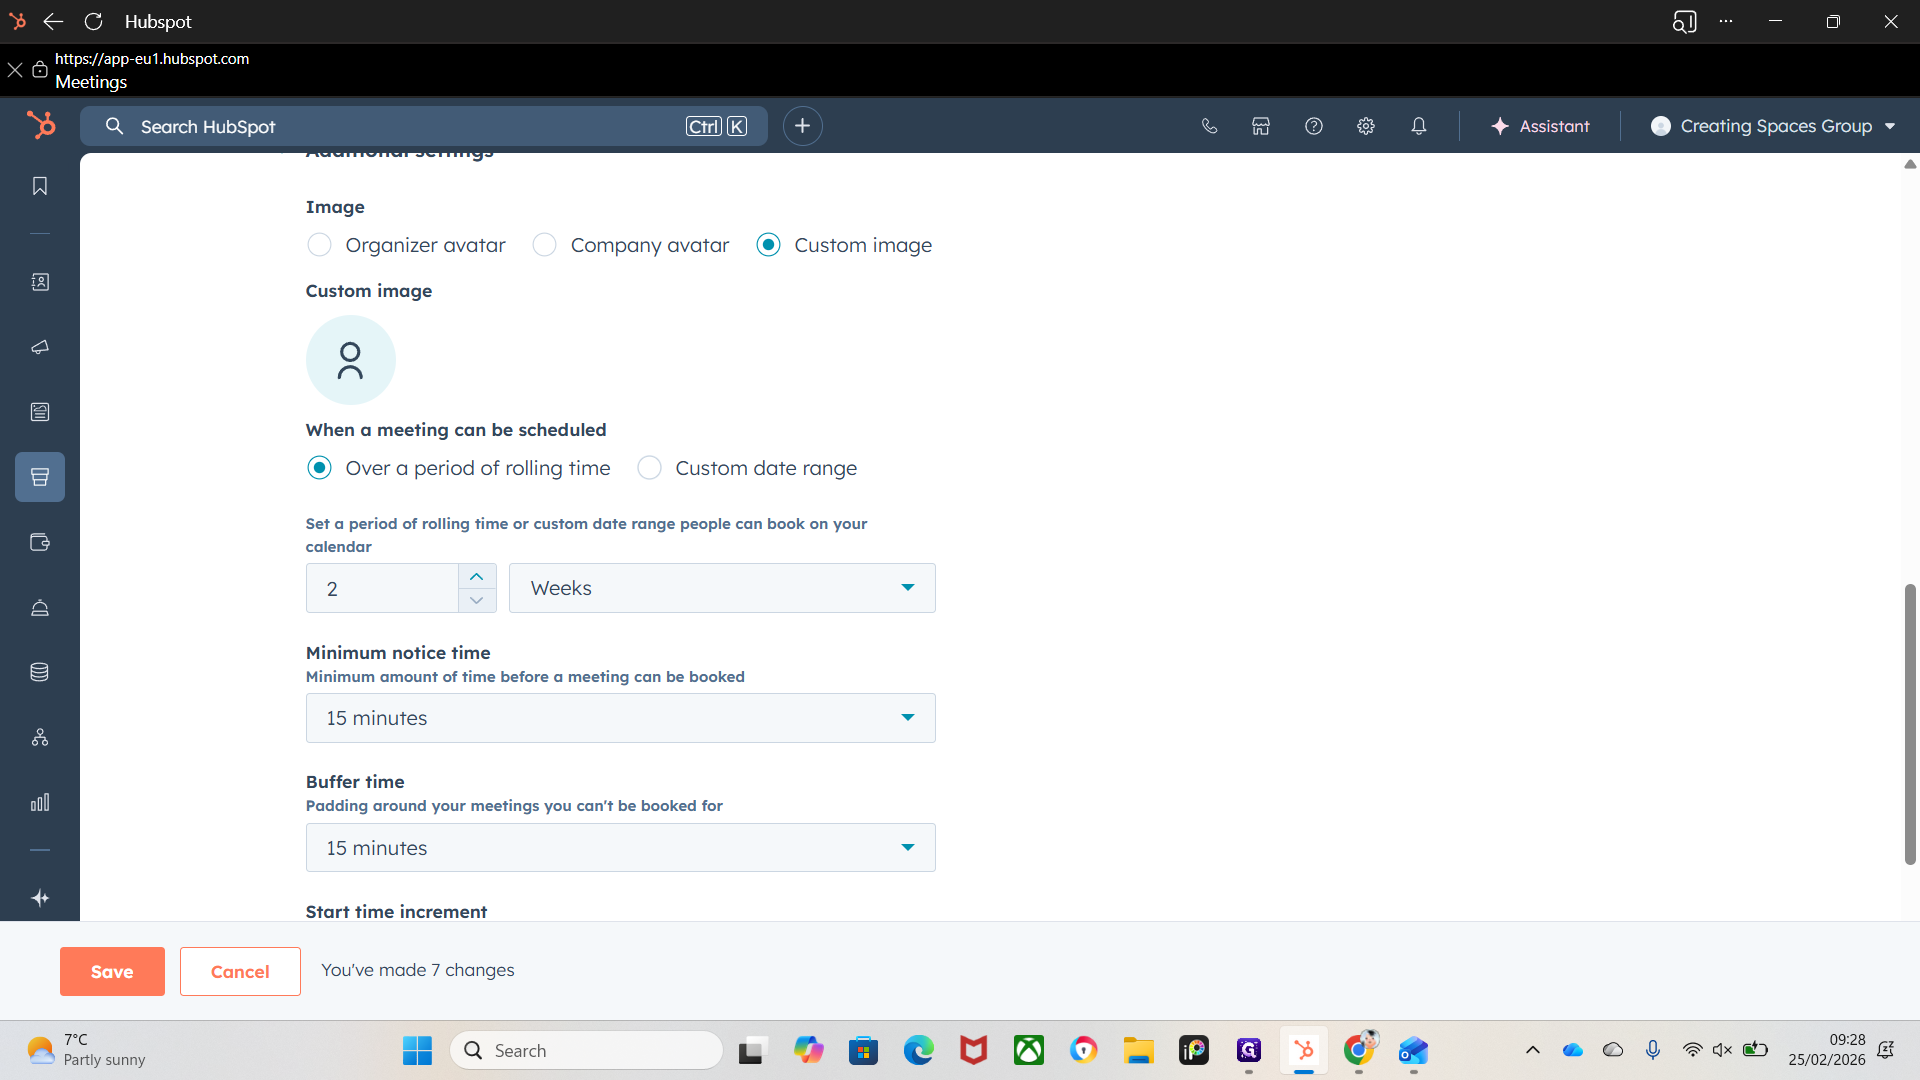
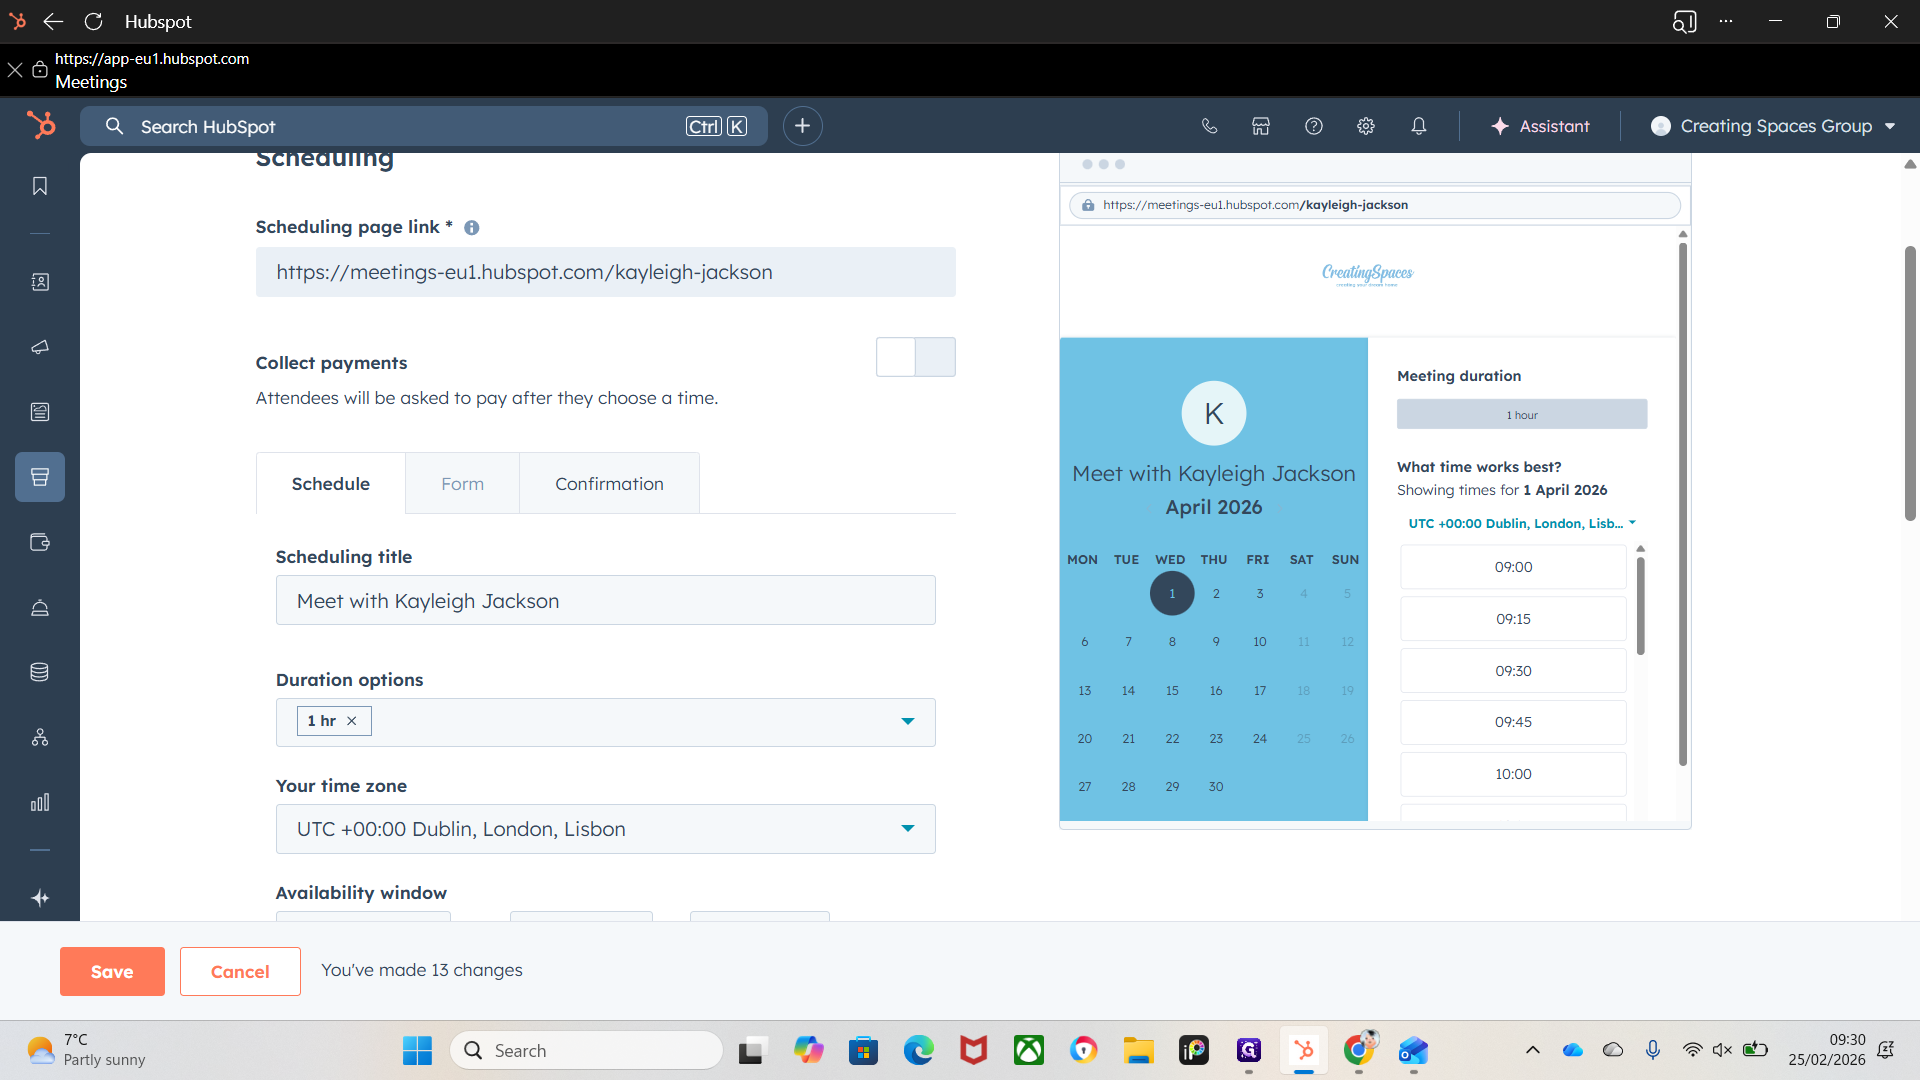
These are the additional settings for the meeting scheduler.
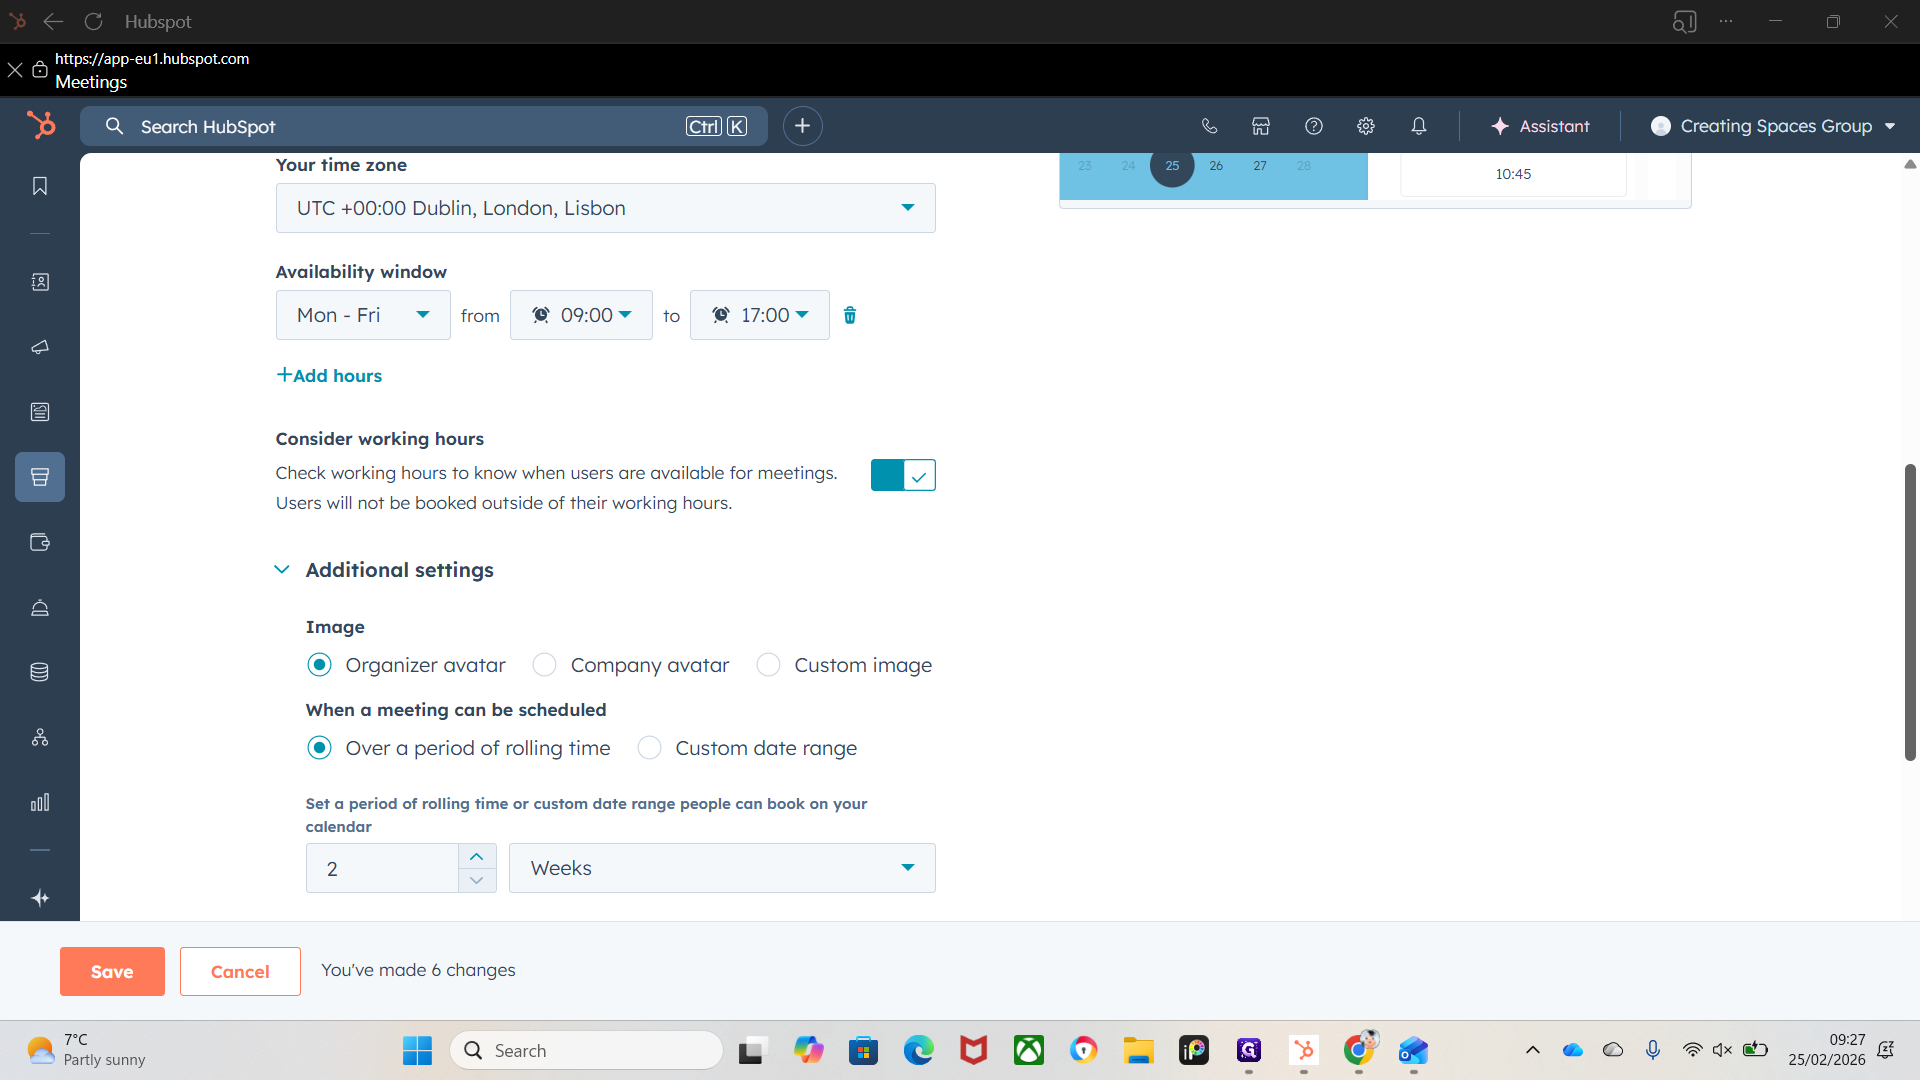
We have your image. So this is ...

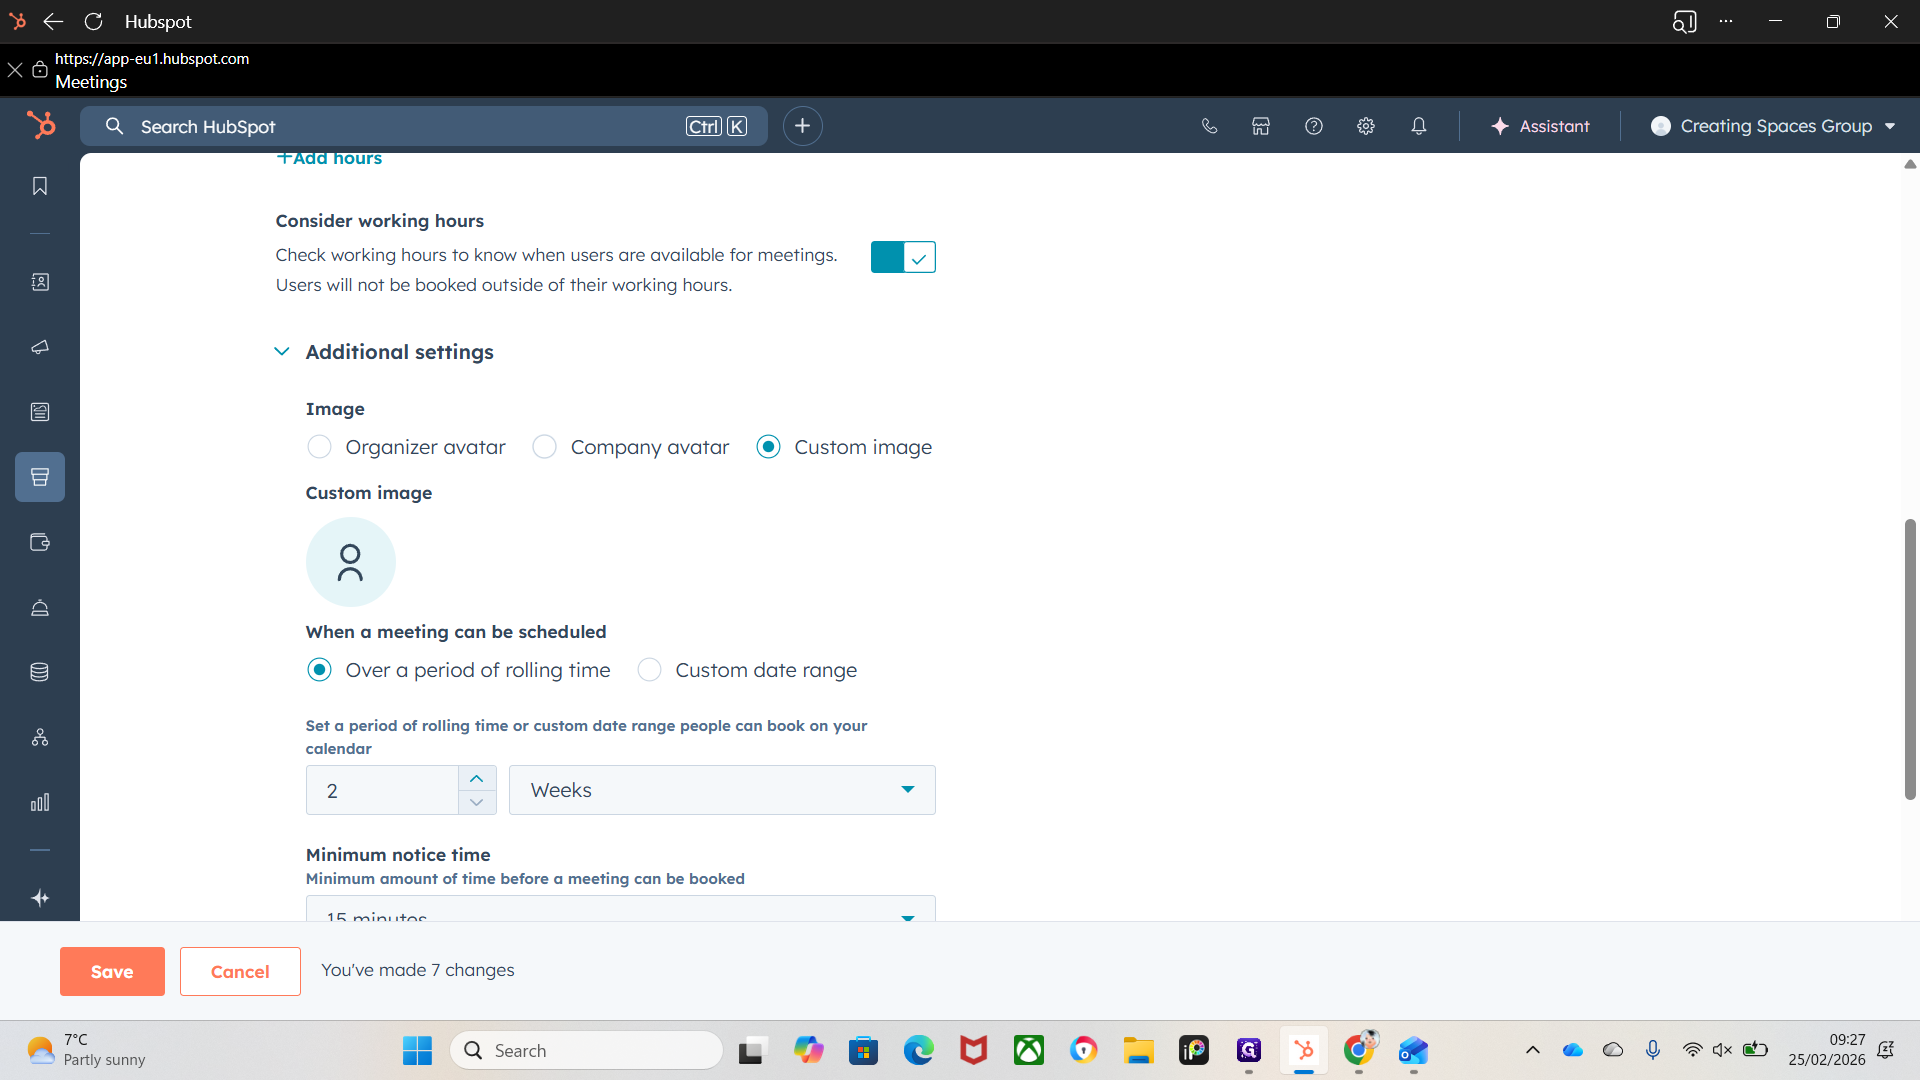
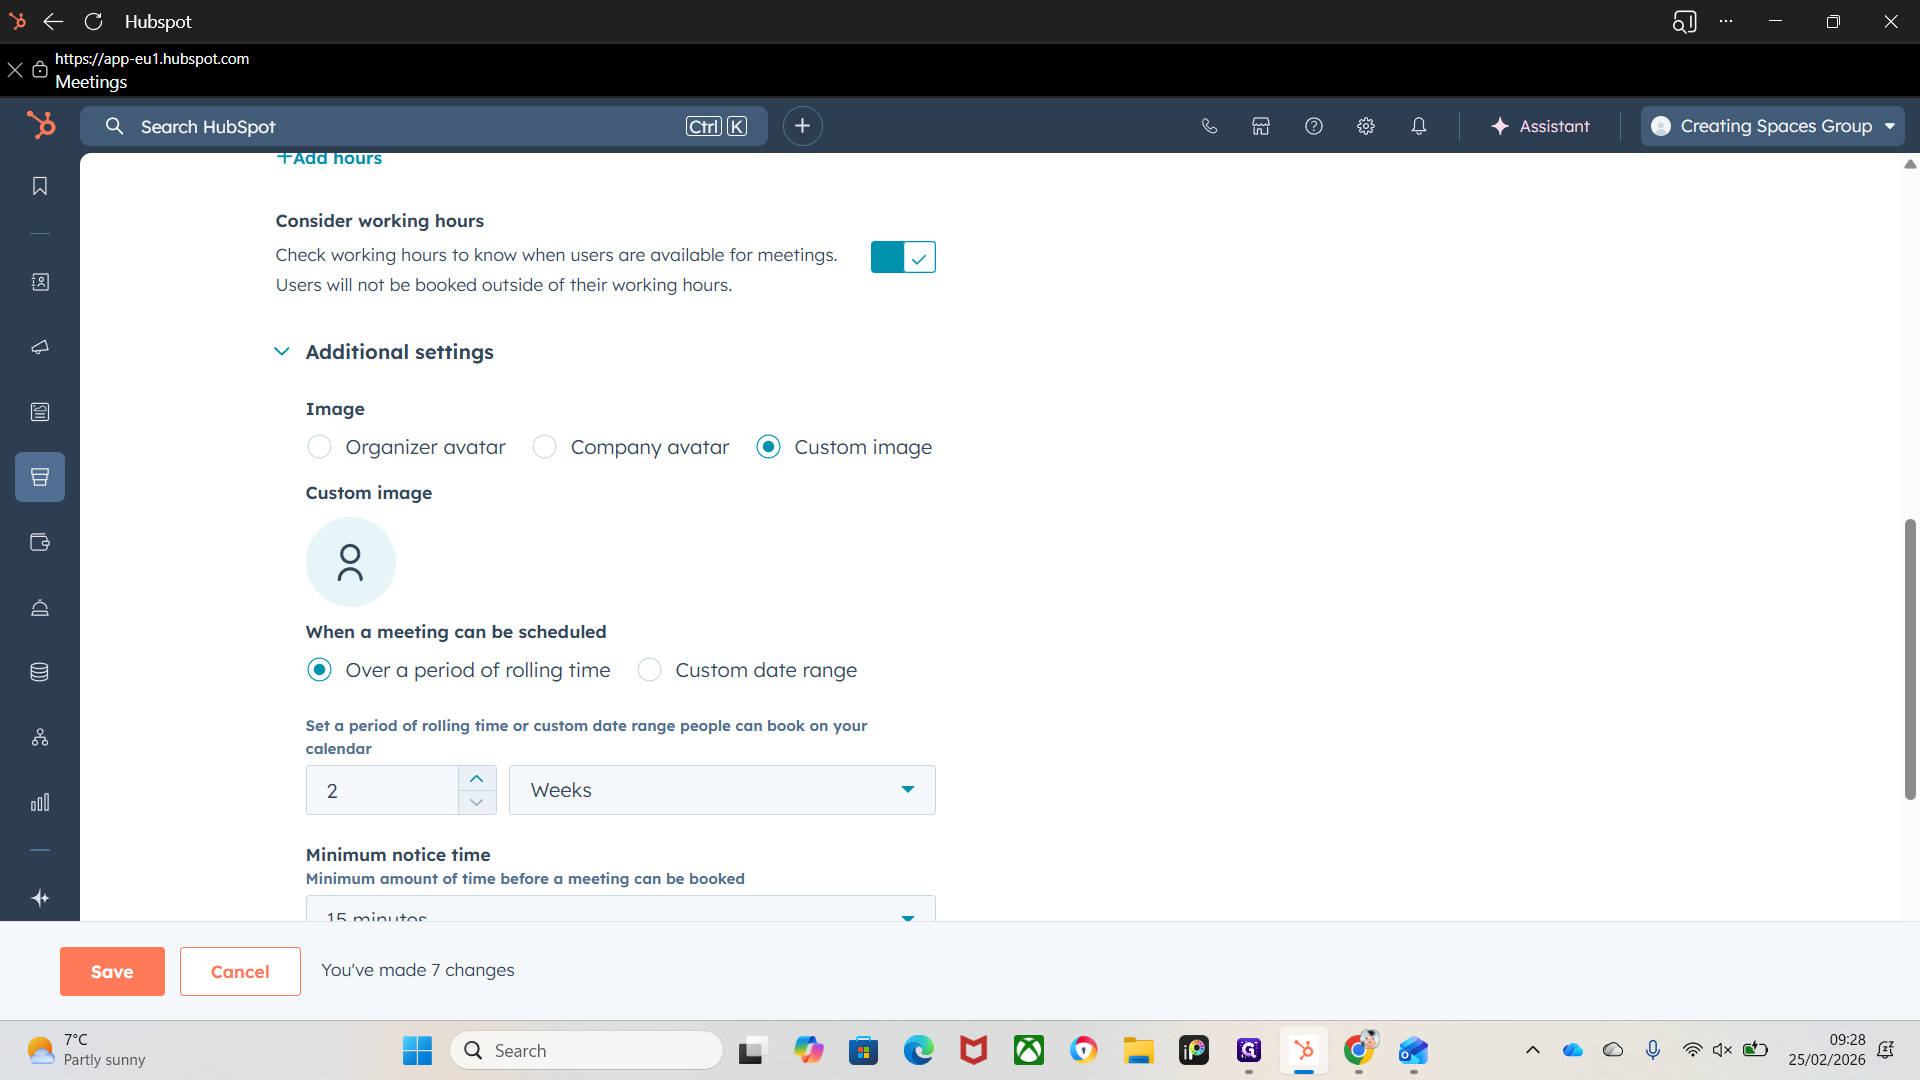
You can select a custom image it will open the upload screen. You can use your company avatar (Company Logo) or organizer avatar (Head Shot), depending on your preference.
Your organizer avatar is your updated profile image here, you can add a profile image in profile & preferences.
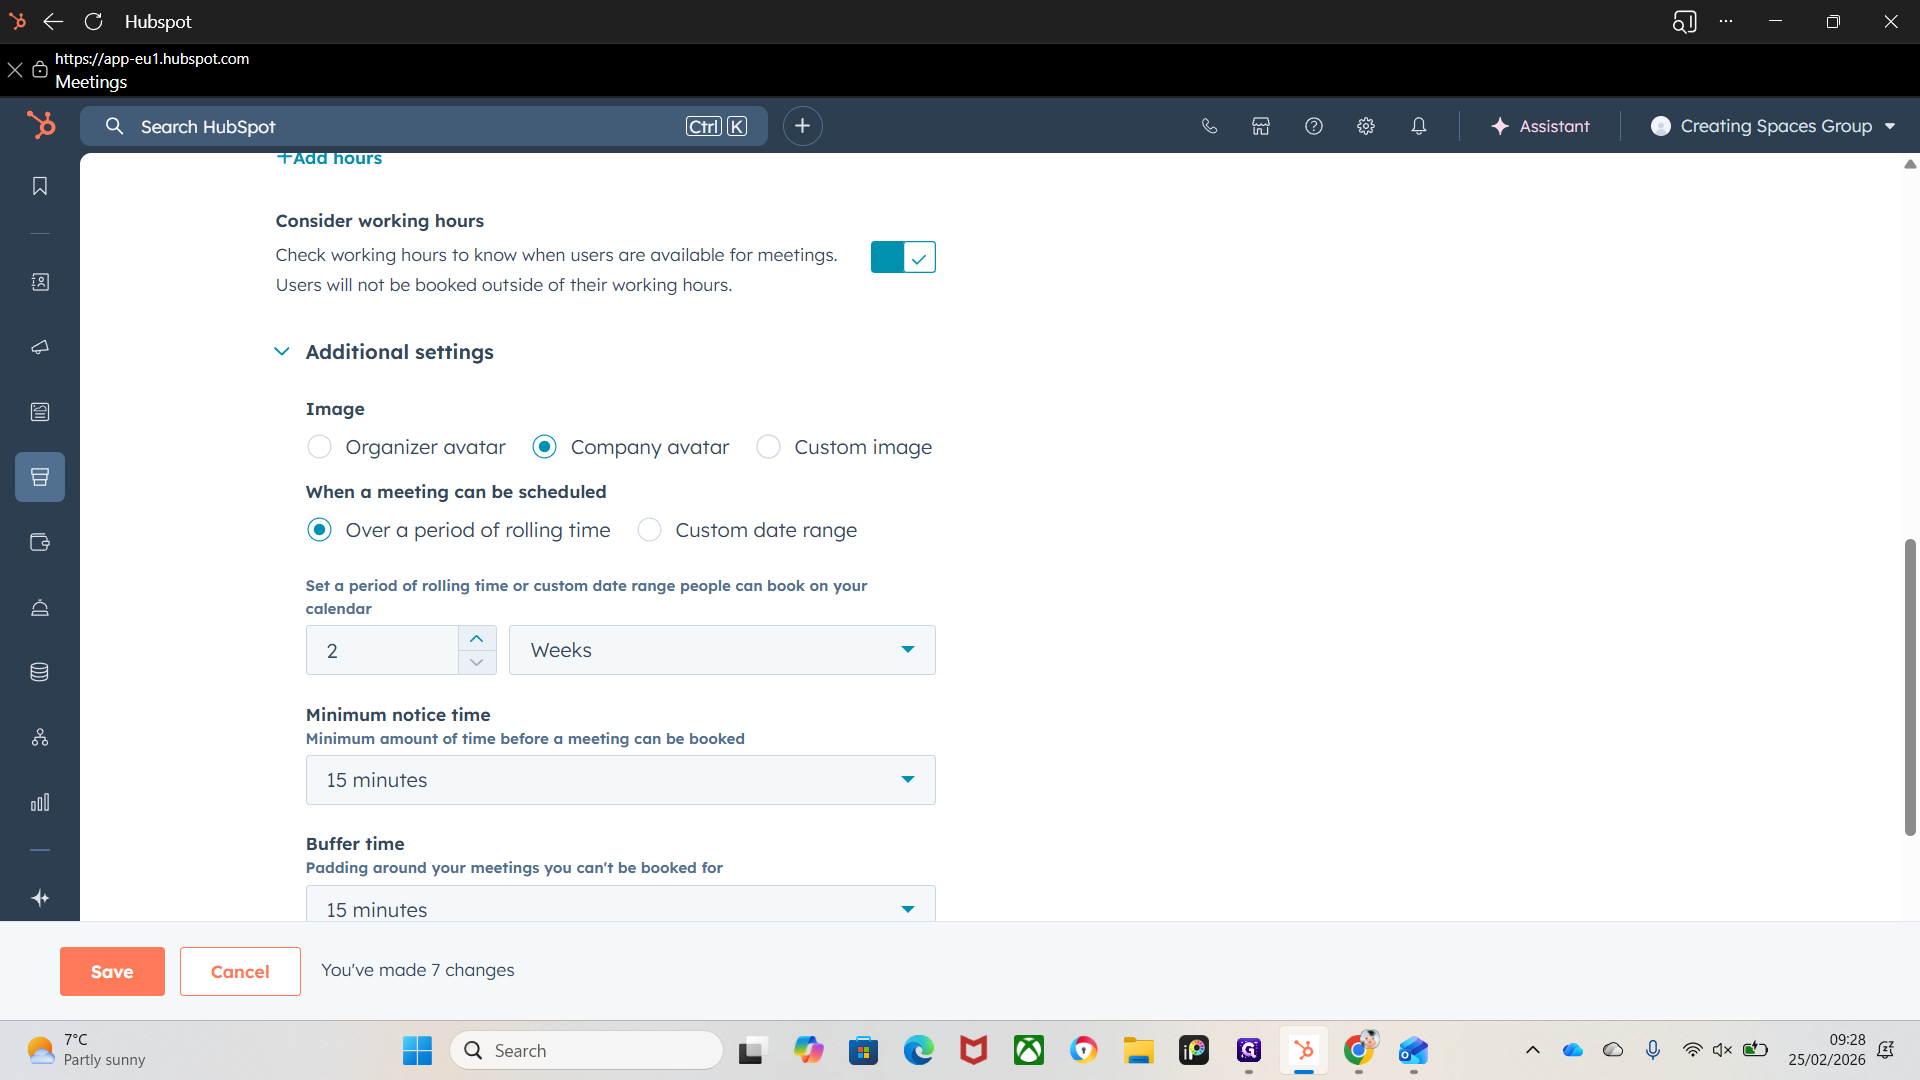
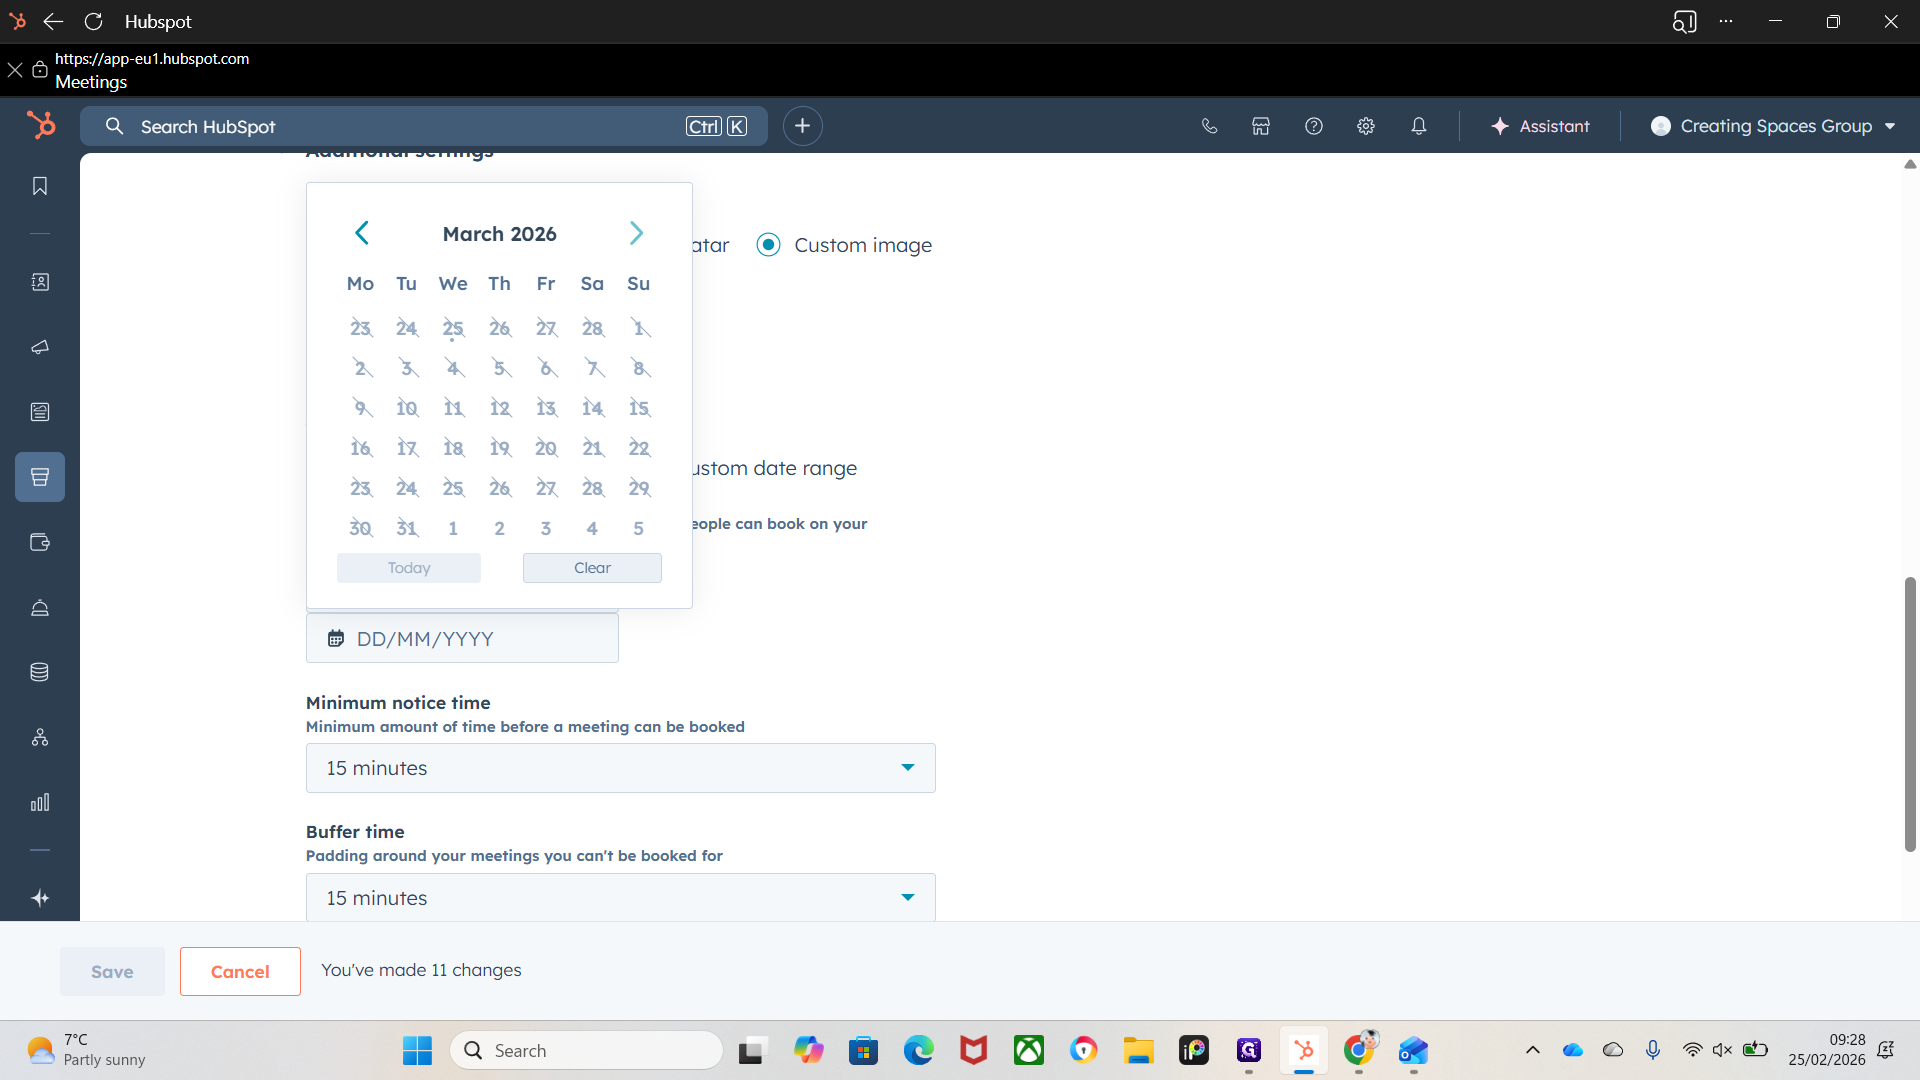
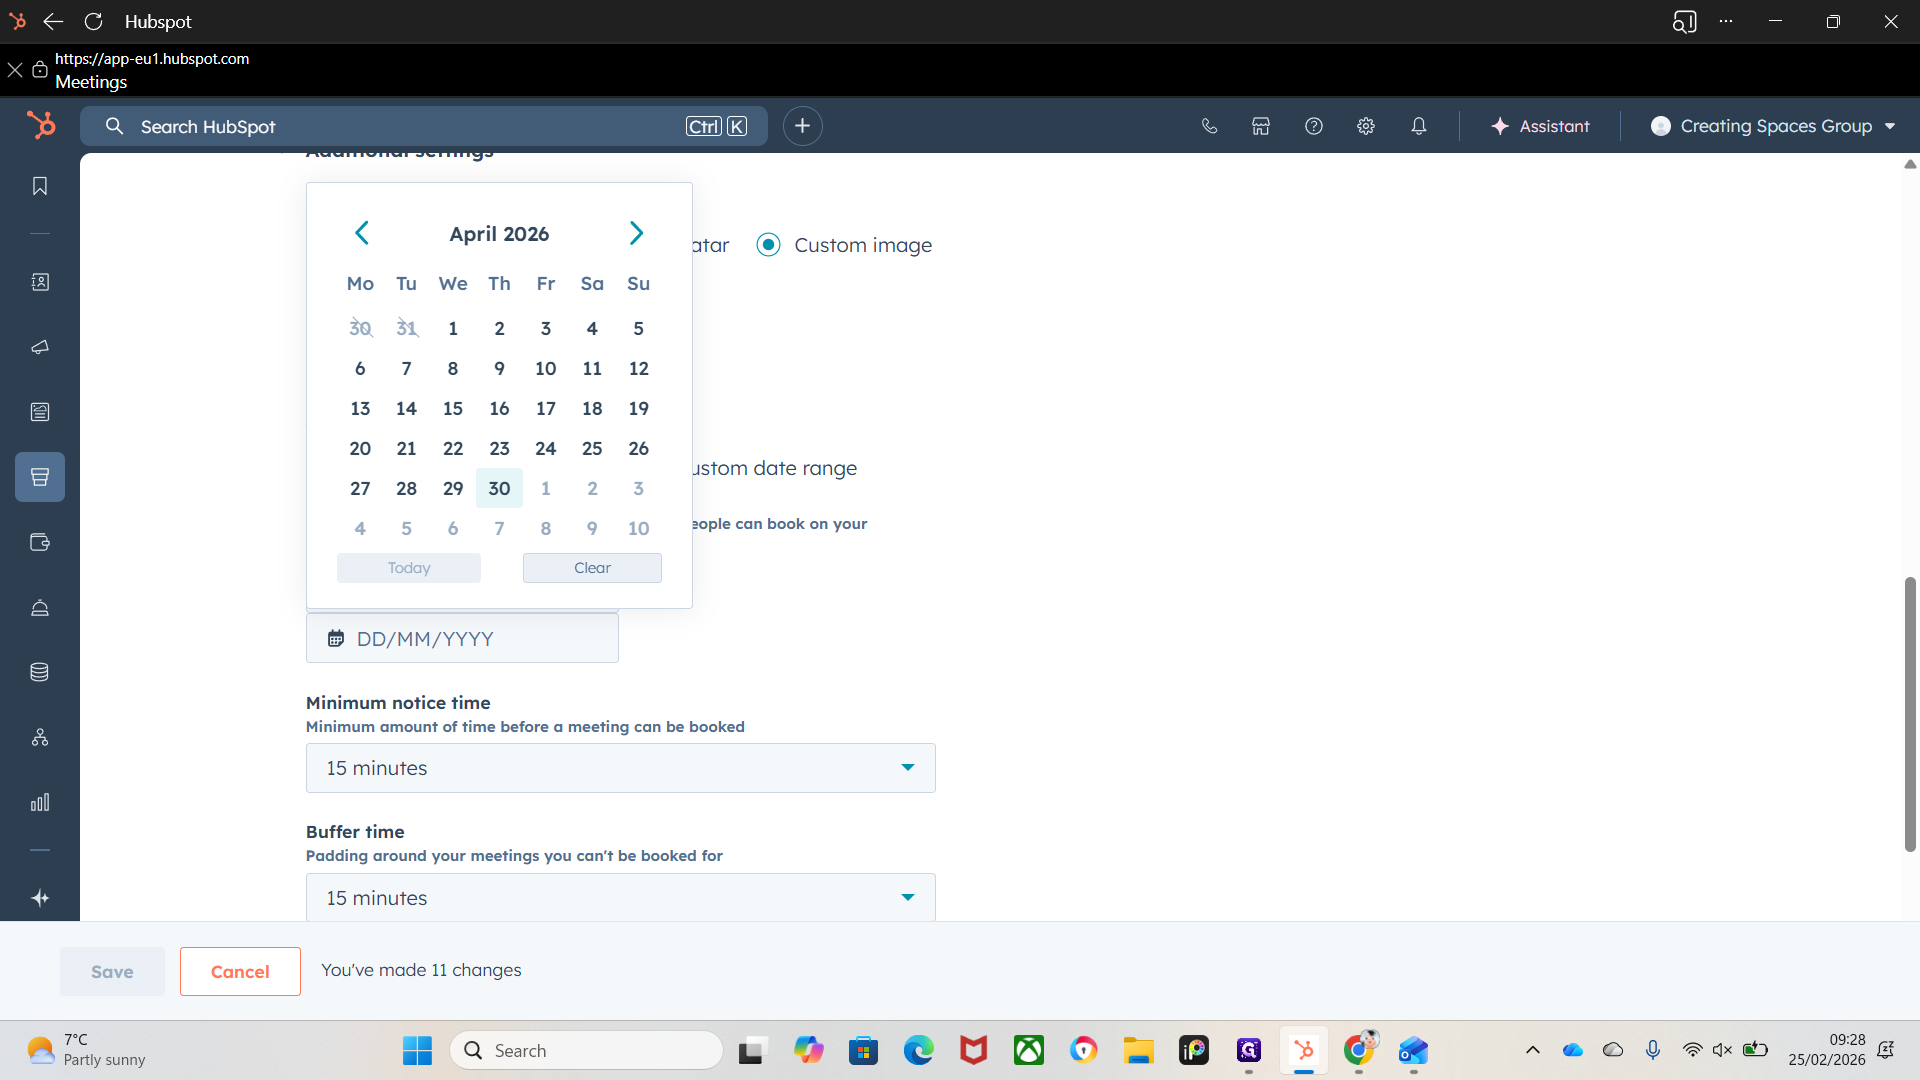
You can adjust when a meeting can be scheduled. Choose either a rolling time period or set a custom date range.
So for example If we are fully booked for measurements until April, set appointments starting from April 1st onward etc.

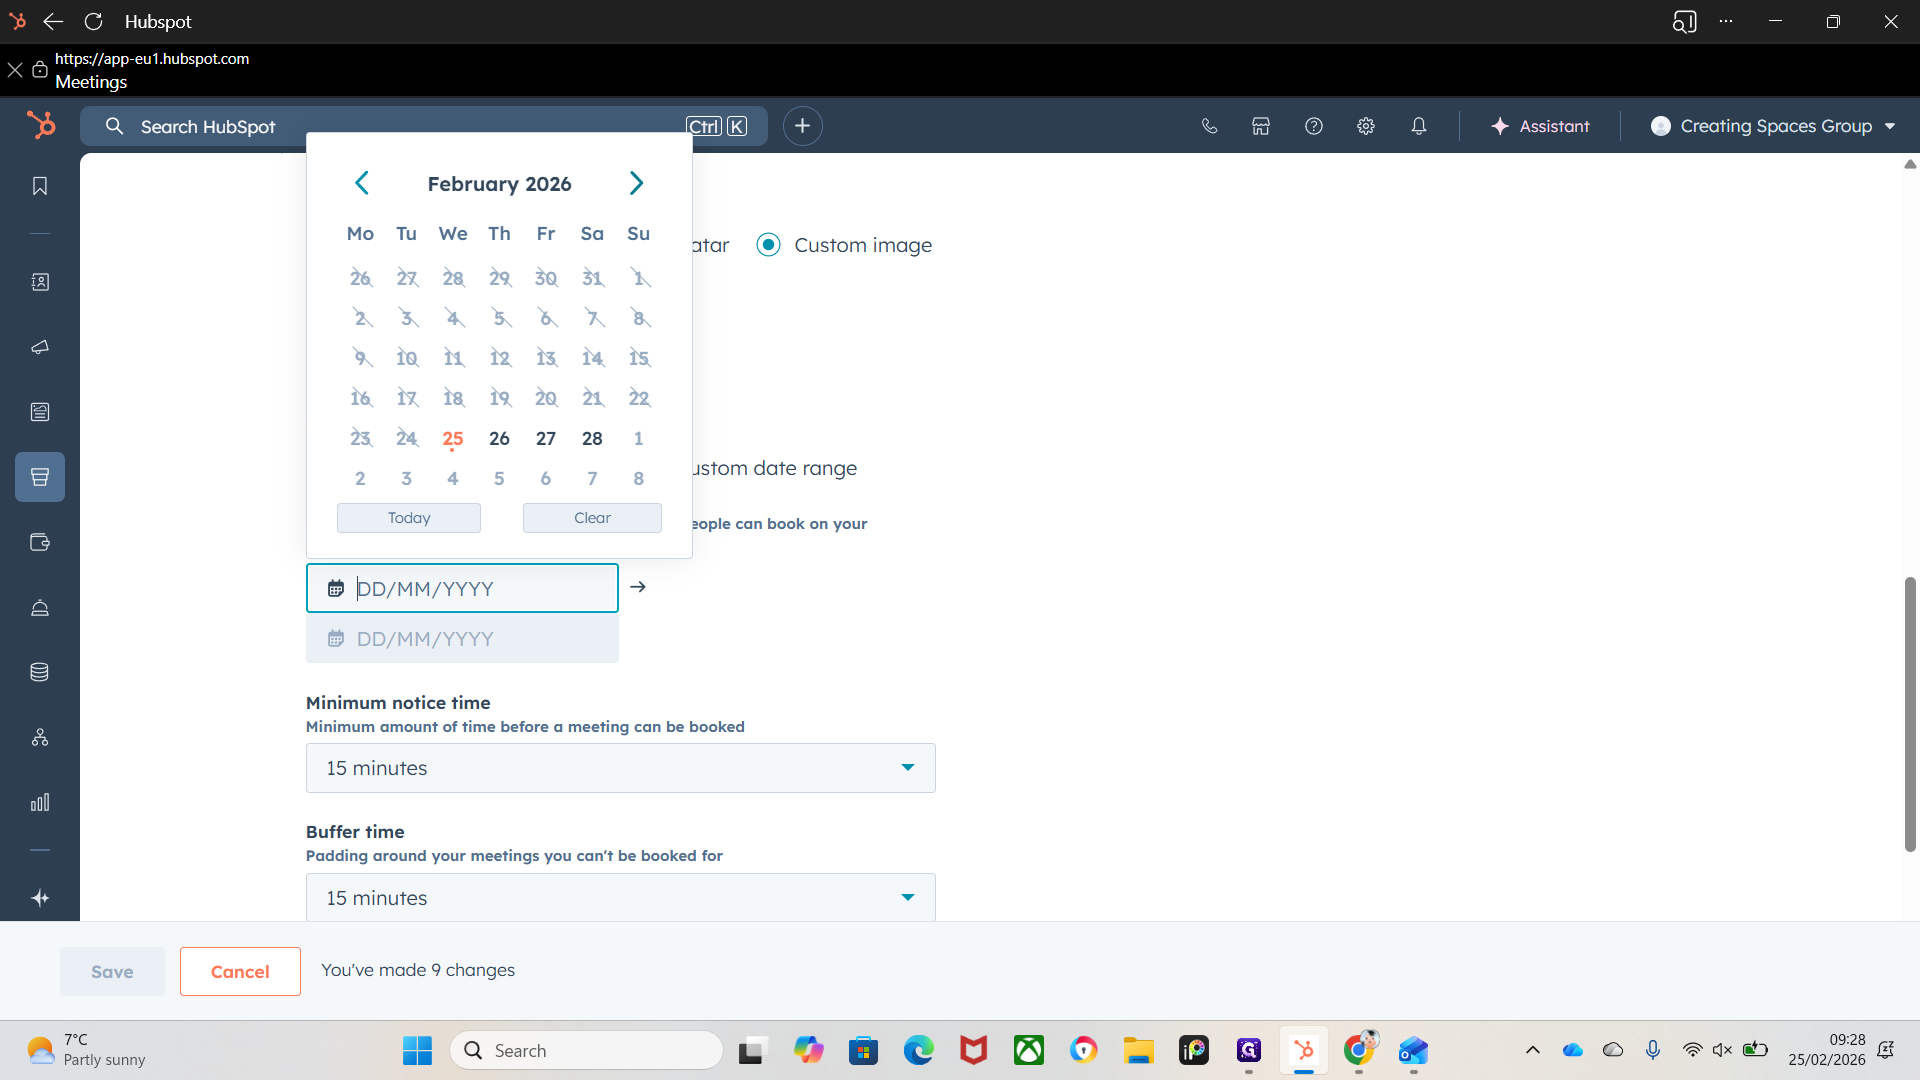

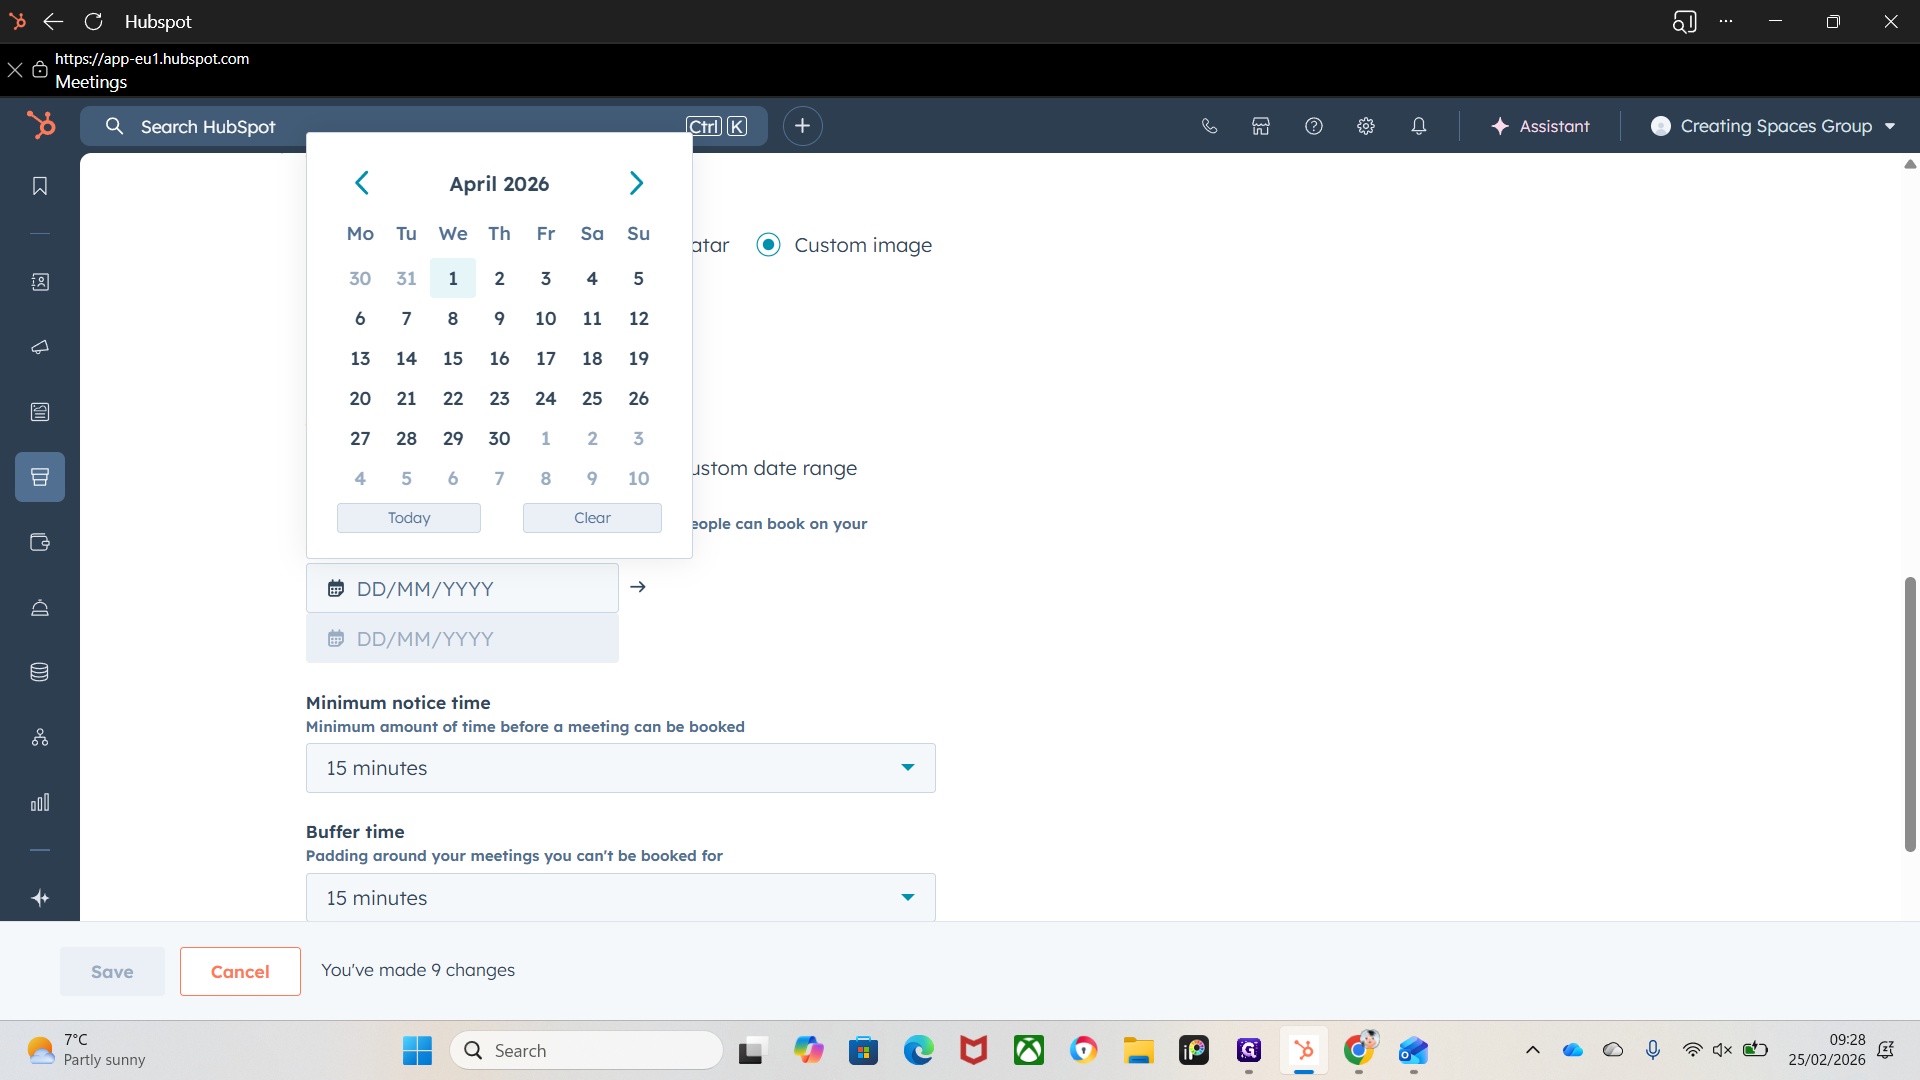
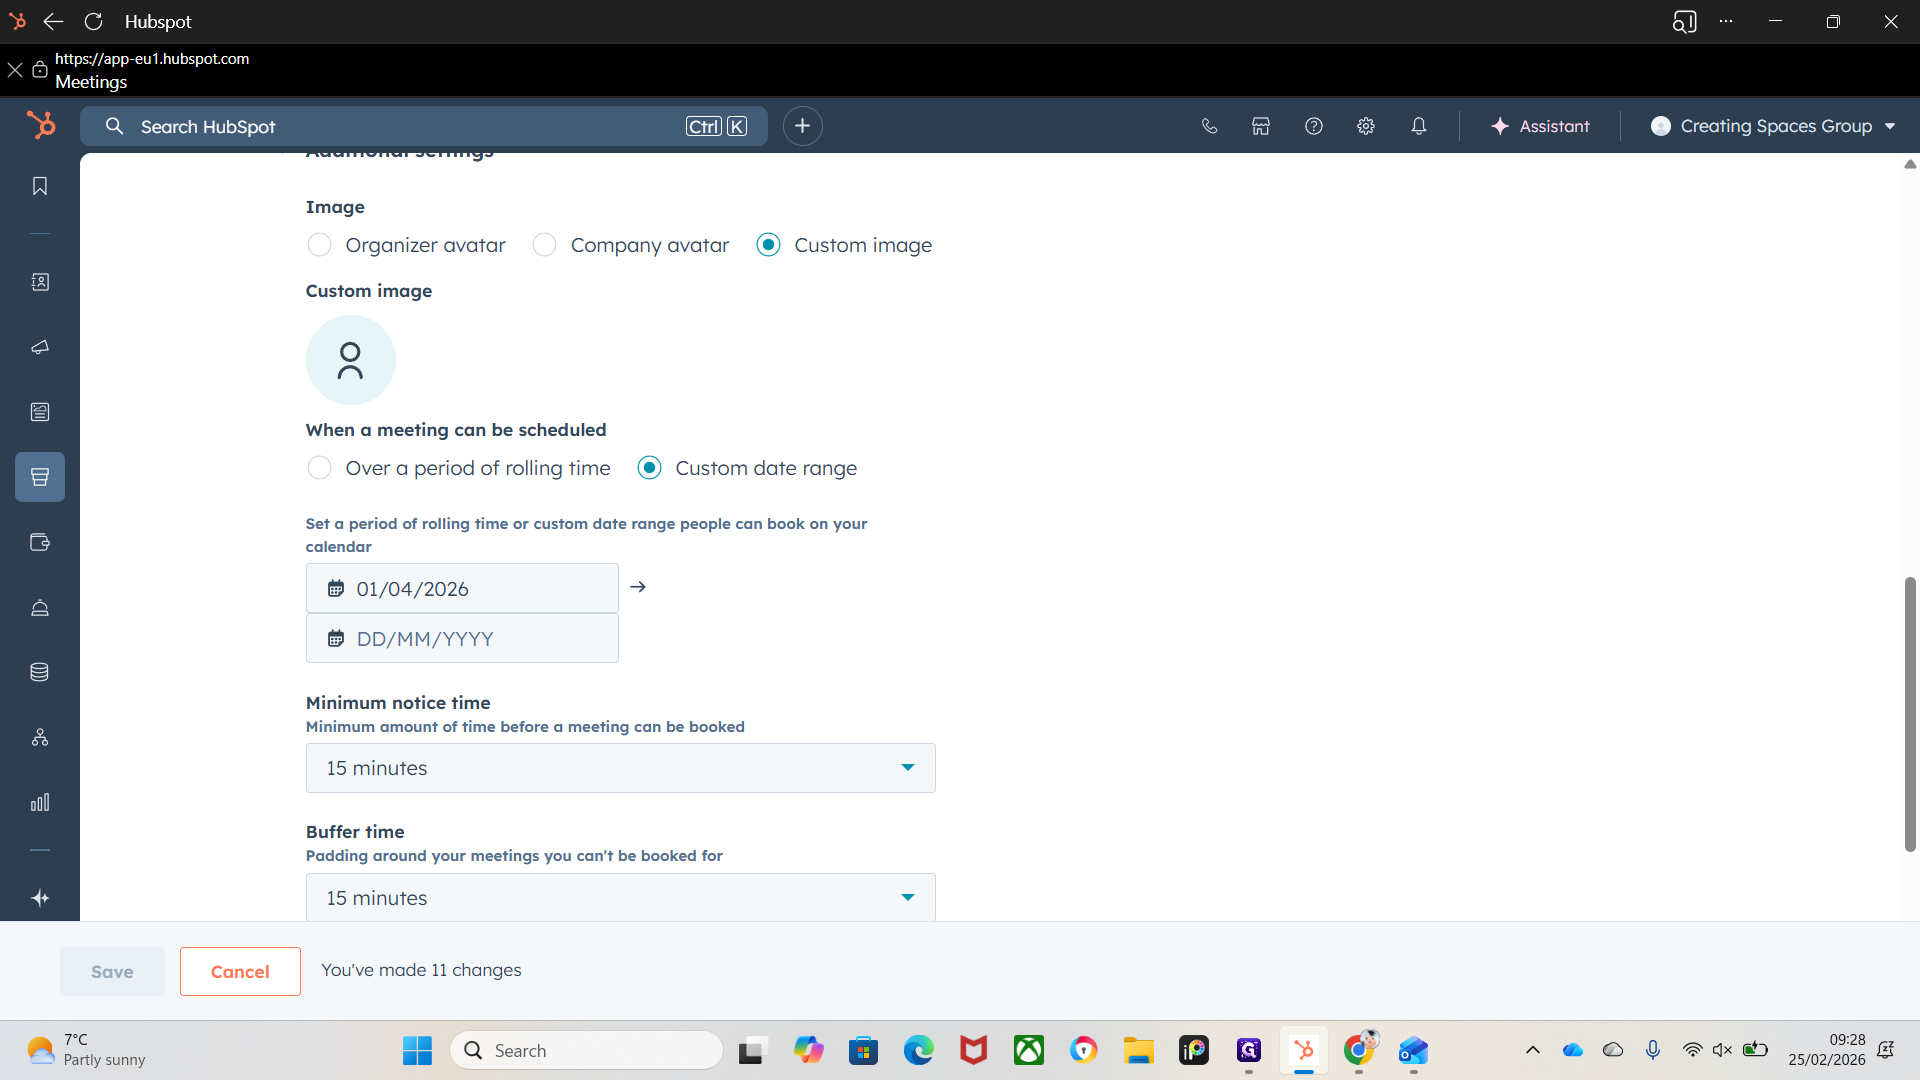
It will only display available dates to the customer within that timeframe when they click the booking link.
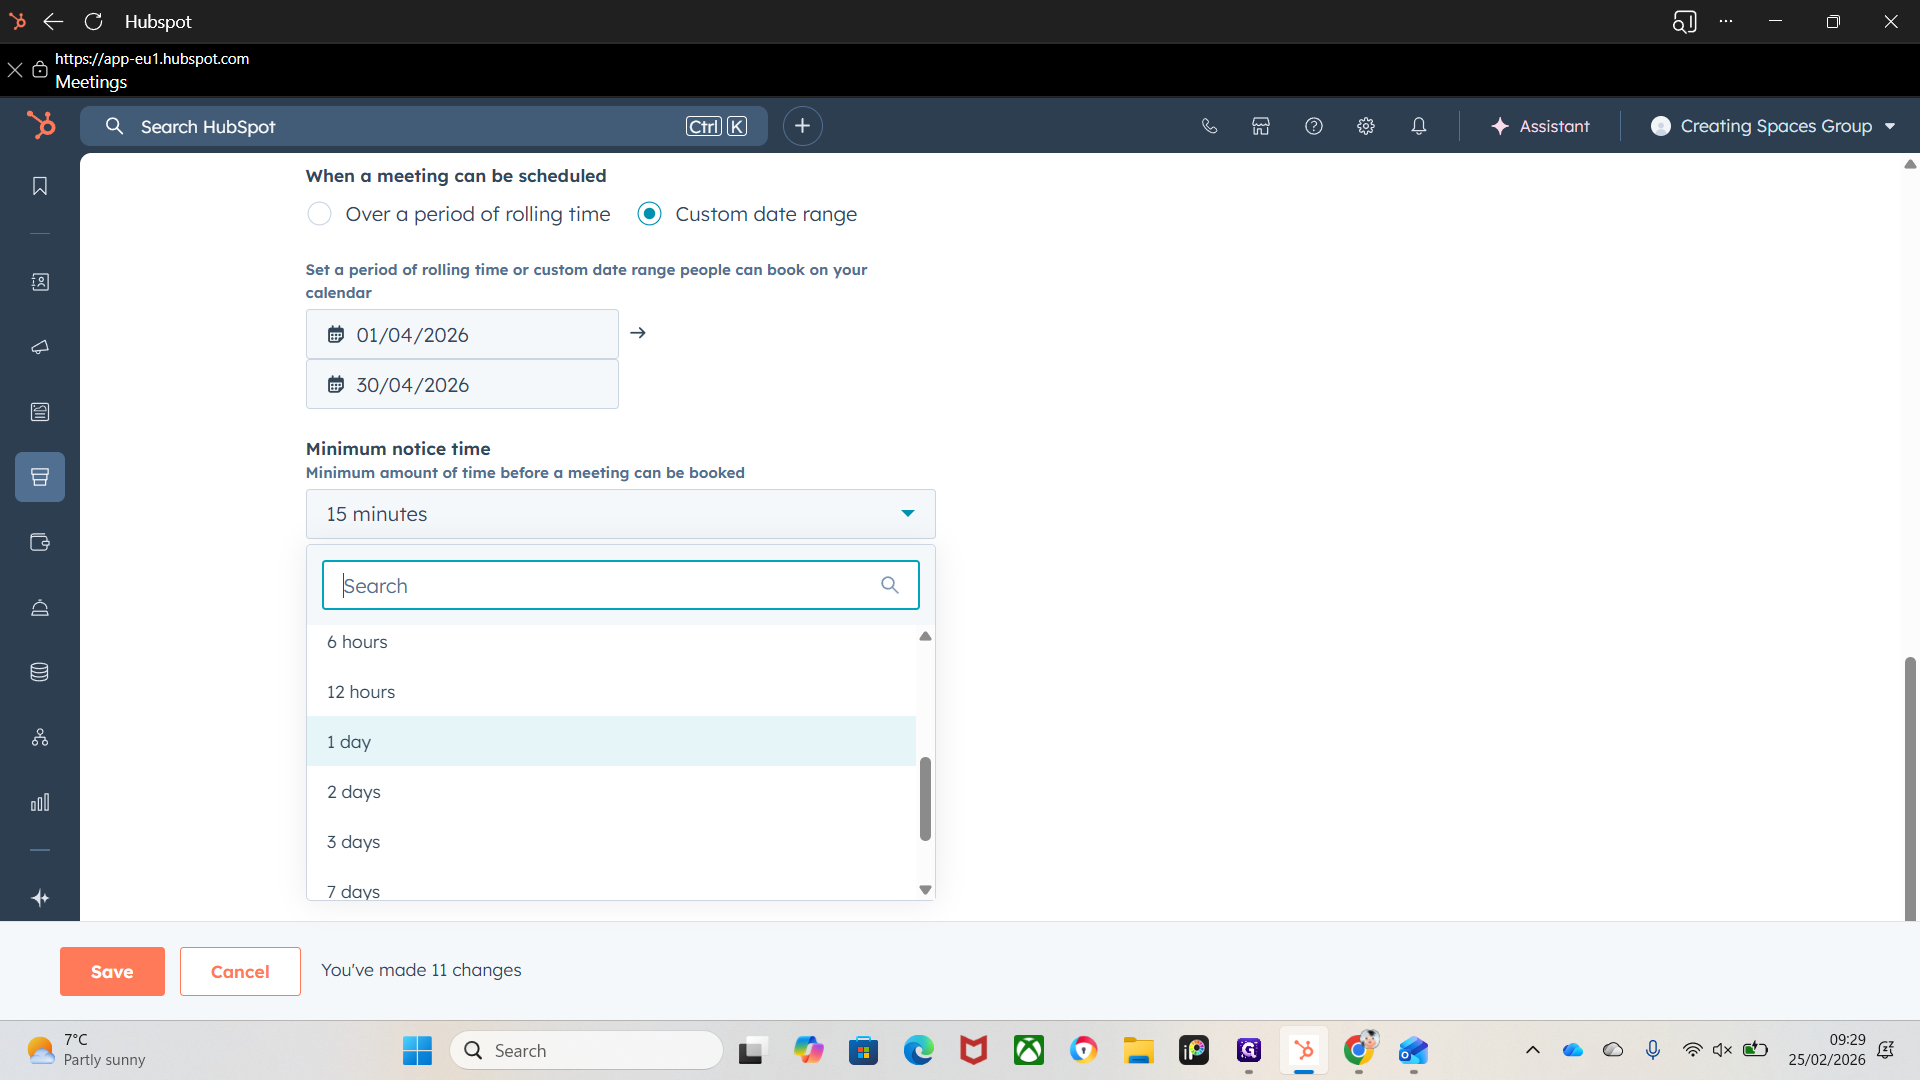
Minimum notice time before a meeting can be booked.
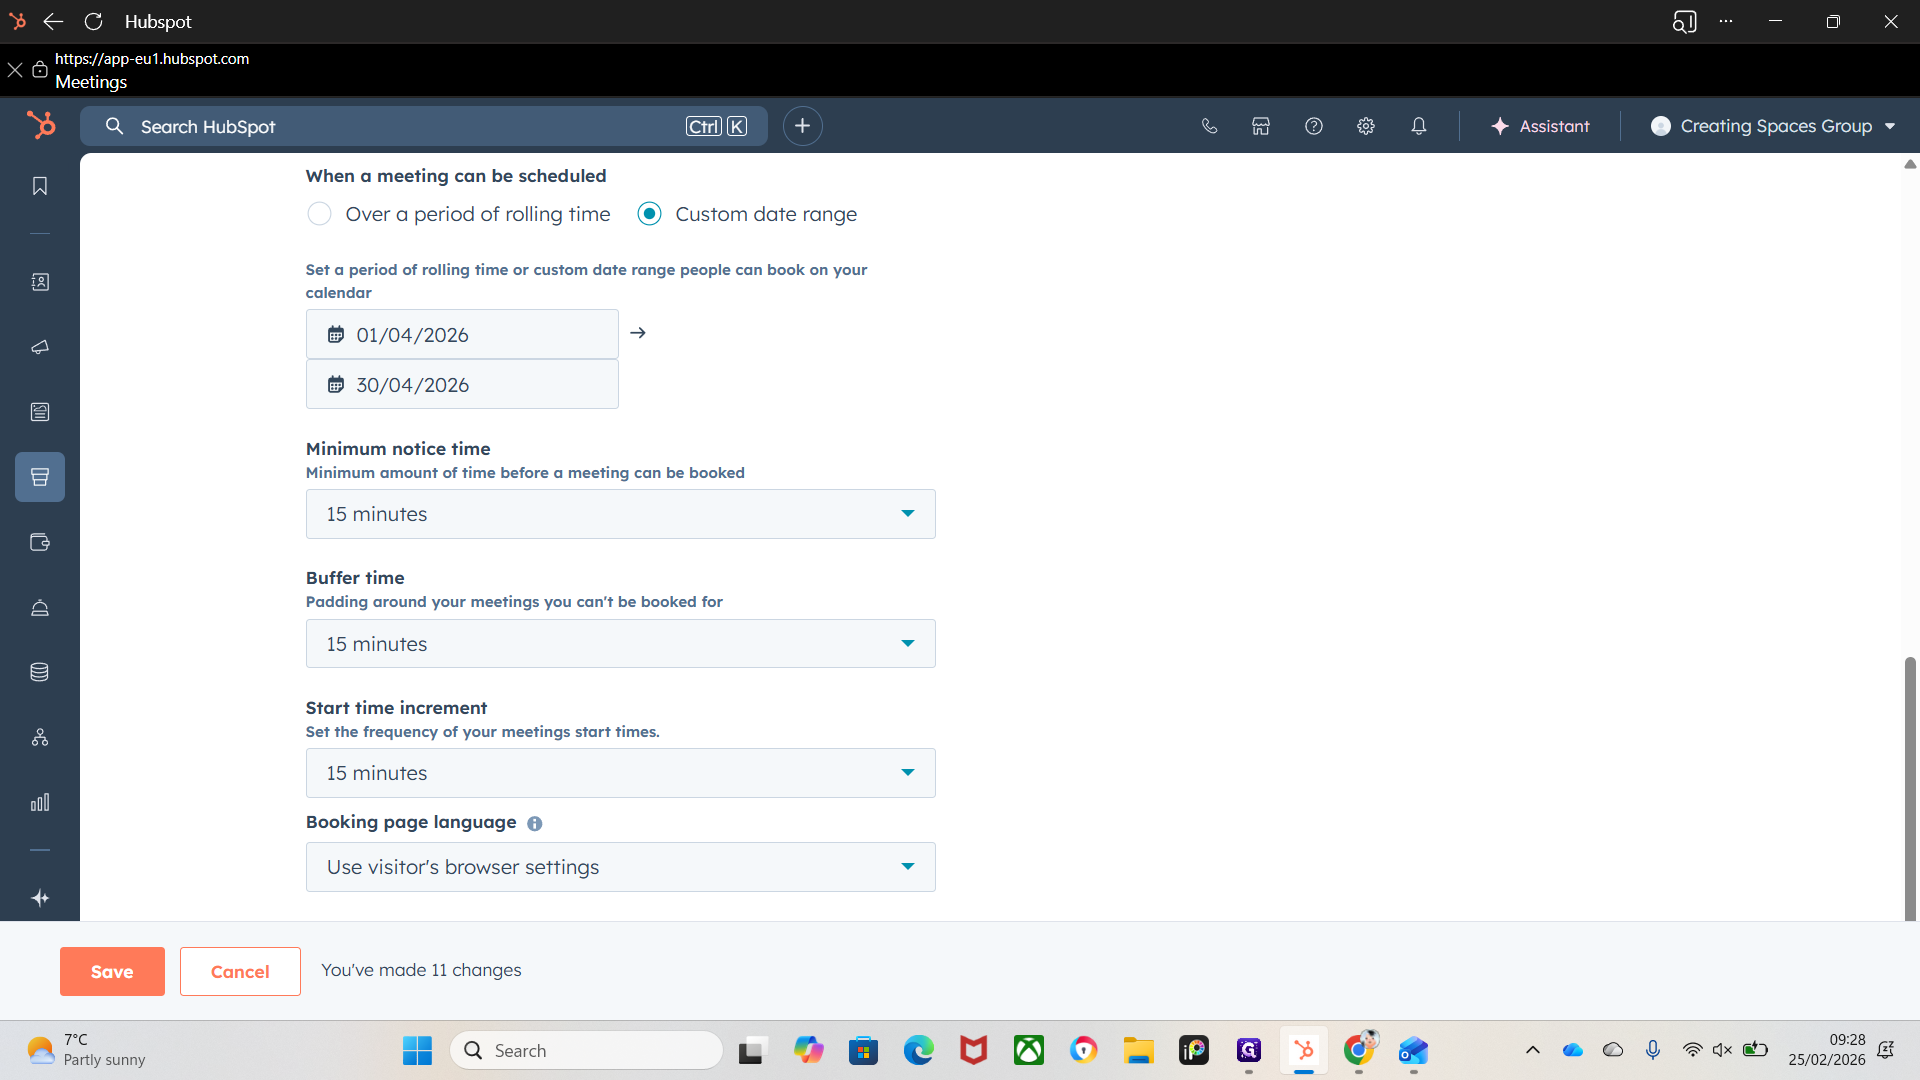
That's adjustable and depends on your preference.
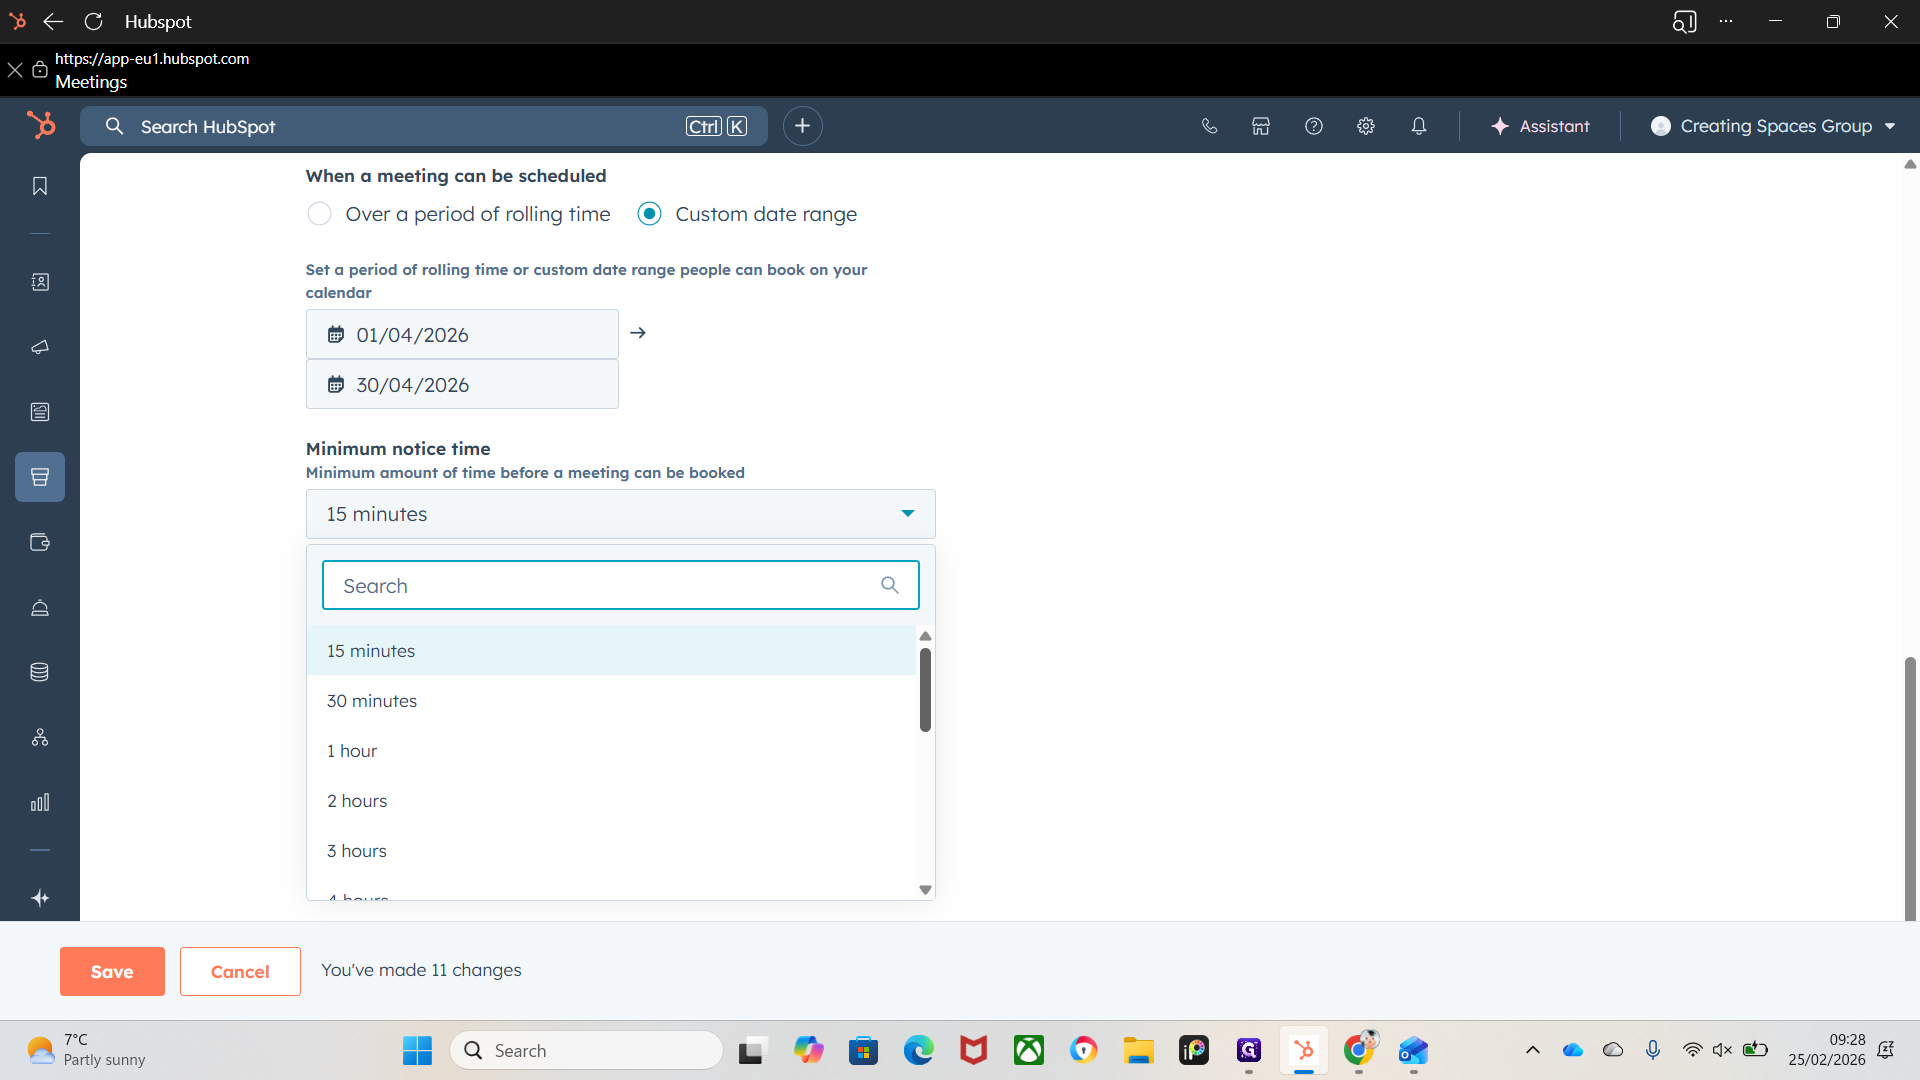
It depends on your availability and how much notice you want for upcoming meetings.
Adjust it to your preference. Padding time around your meetings ensures you can't be booked during those periods.

That's self-explanatory. Use this for your preparation time before a meeting or during your drive if you are going to a measurement. Set it to your preference and need for the meeting type.
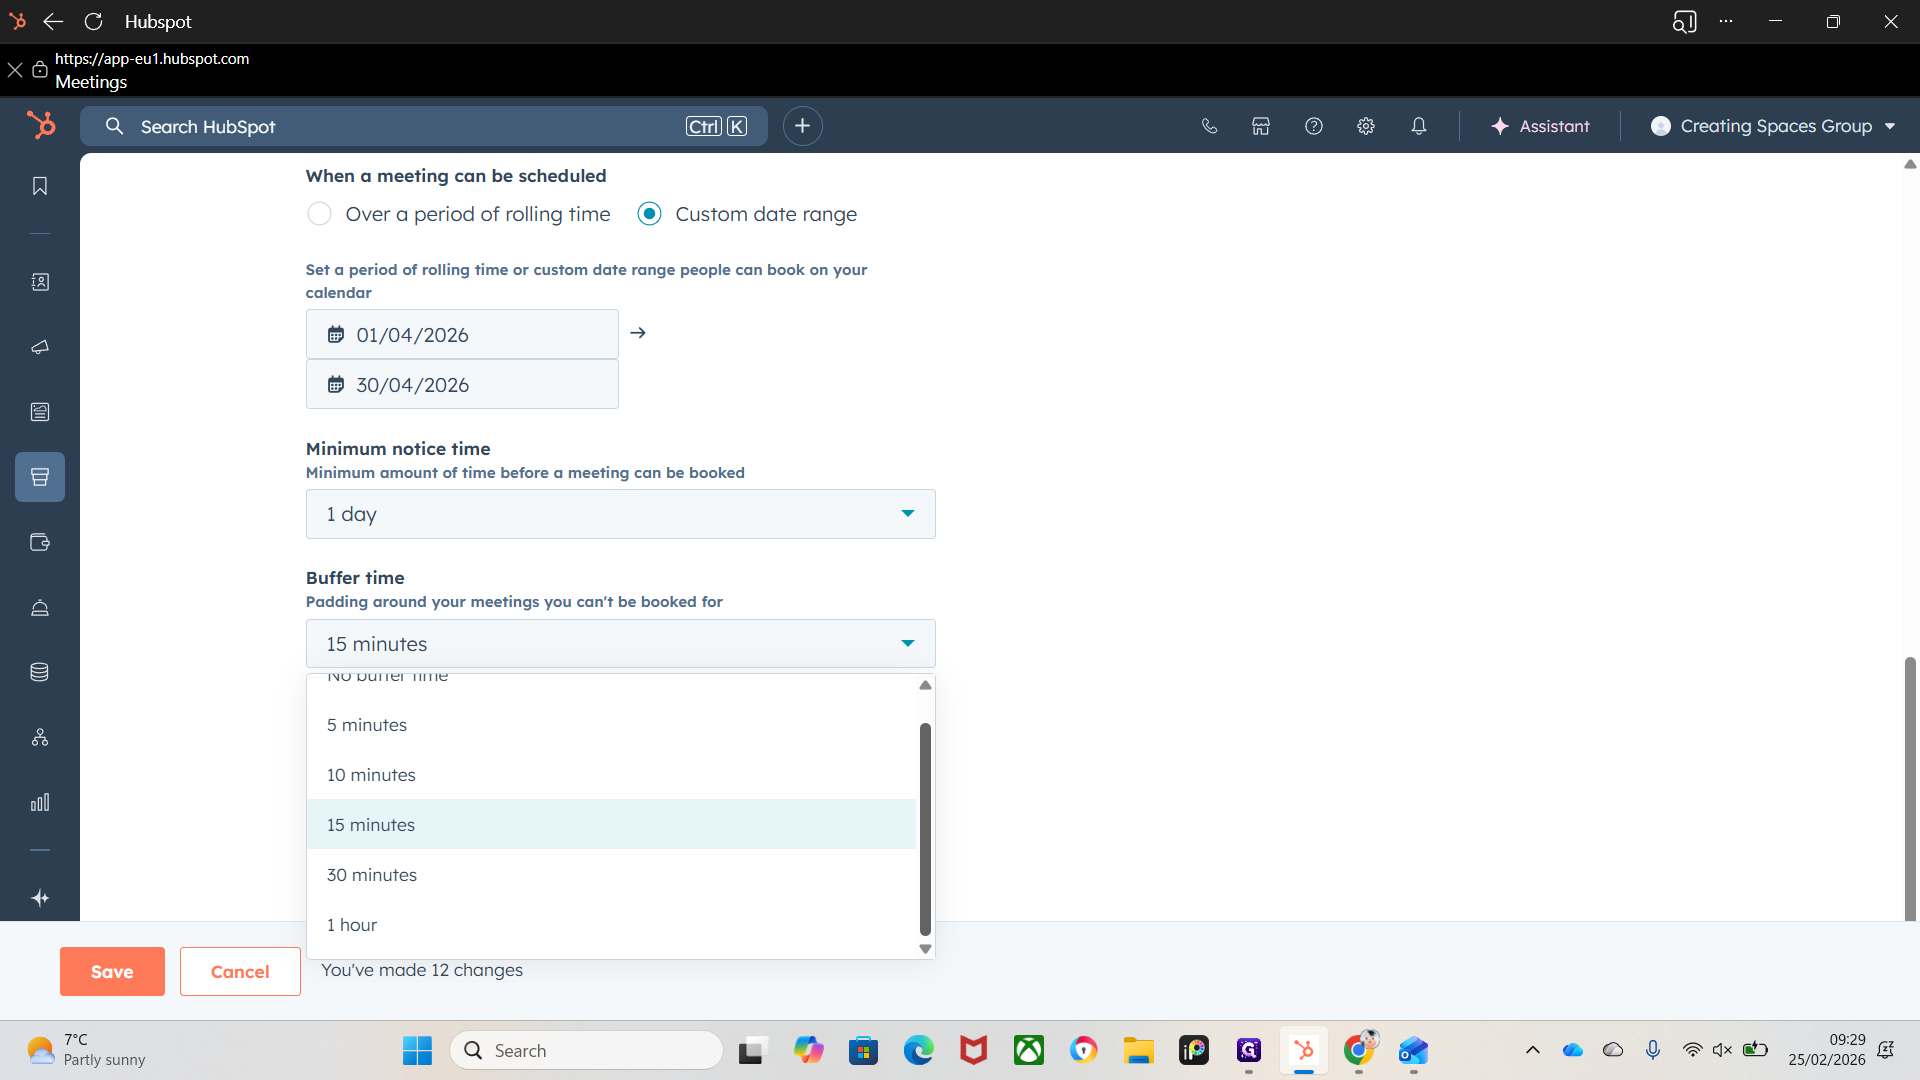
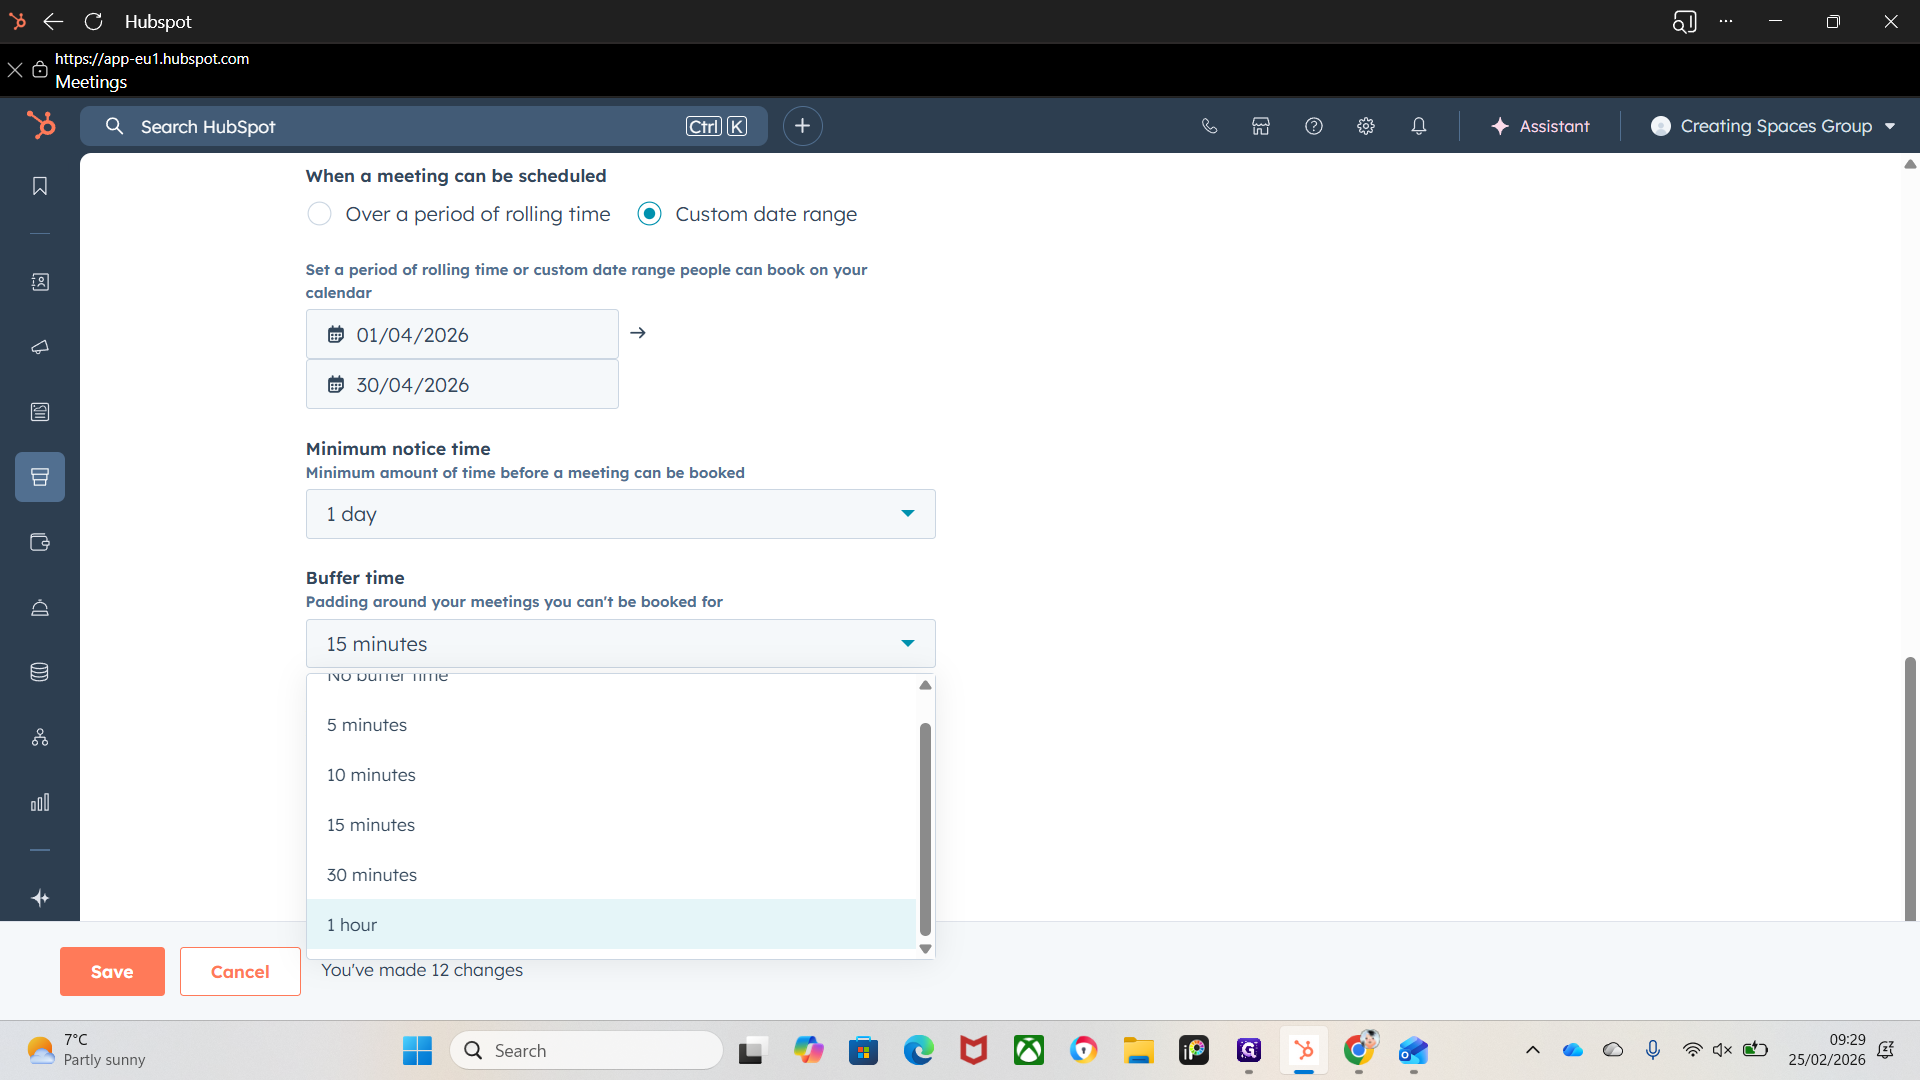
With each meeting type, adjust these for each meeting link.
You won't need an hour before a design appointment, but you might need an hour before a measurement for drive time. The frequency of your meeting start times. Adjust according to your preference or needs, and leave those two settings unchanged.
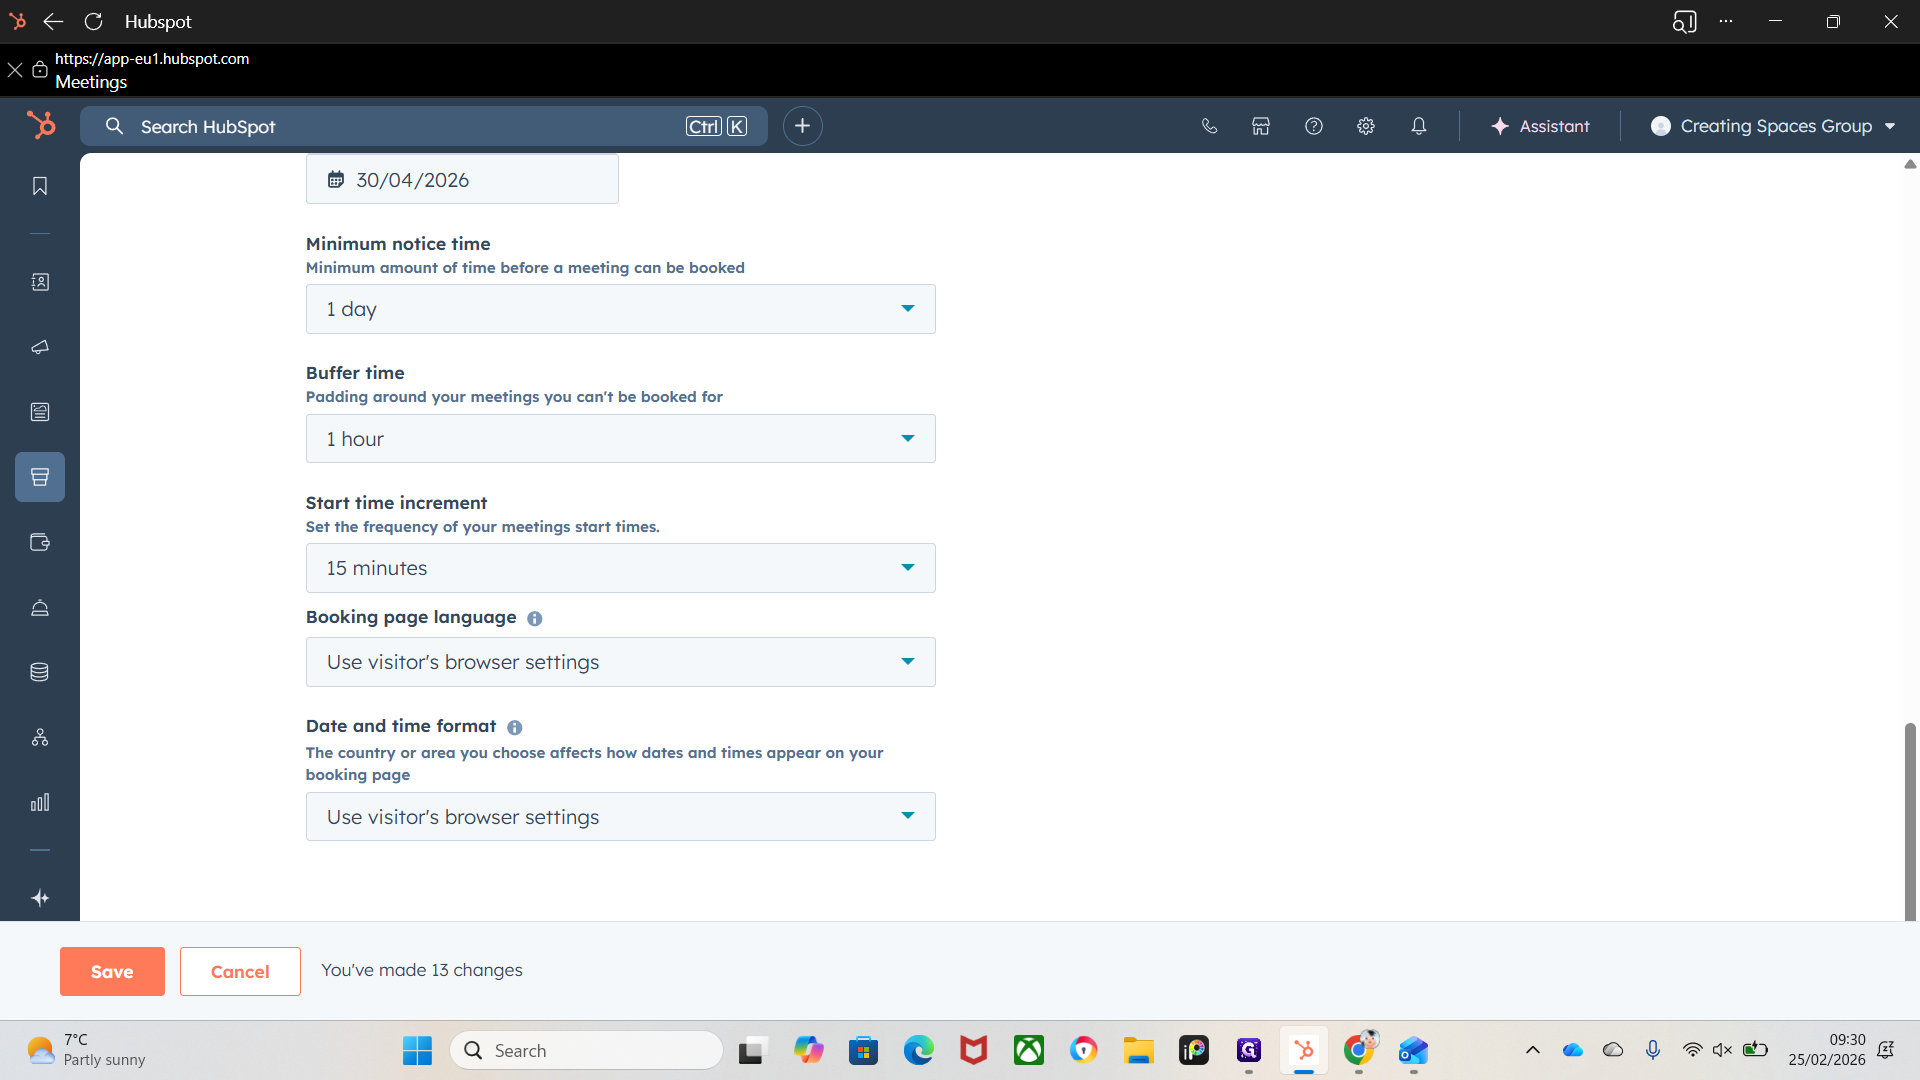

That's everything regarding additional settings.
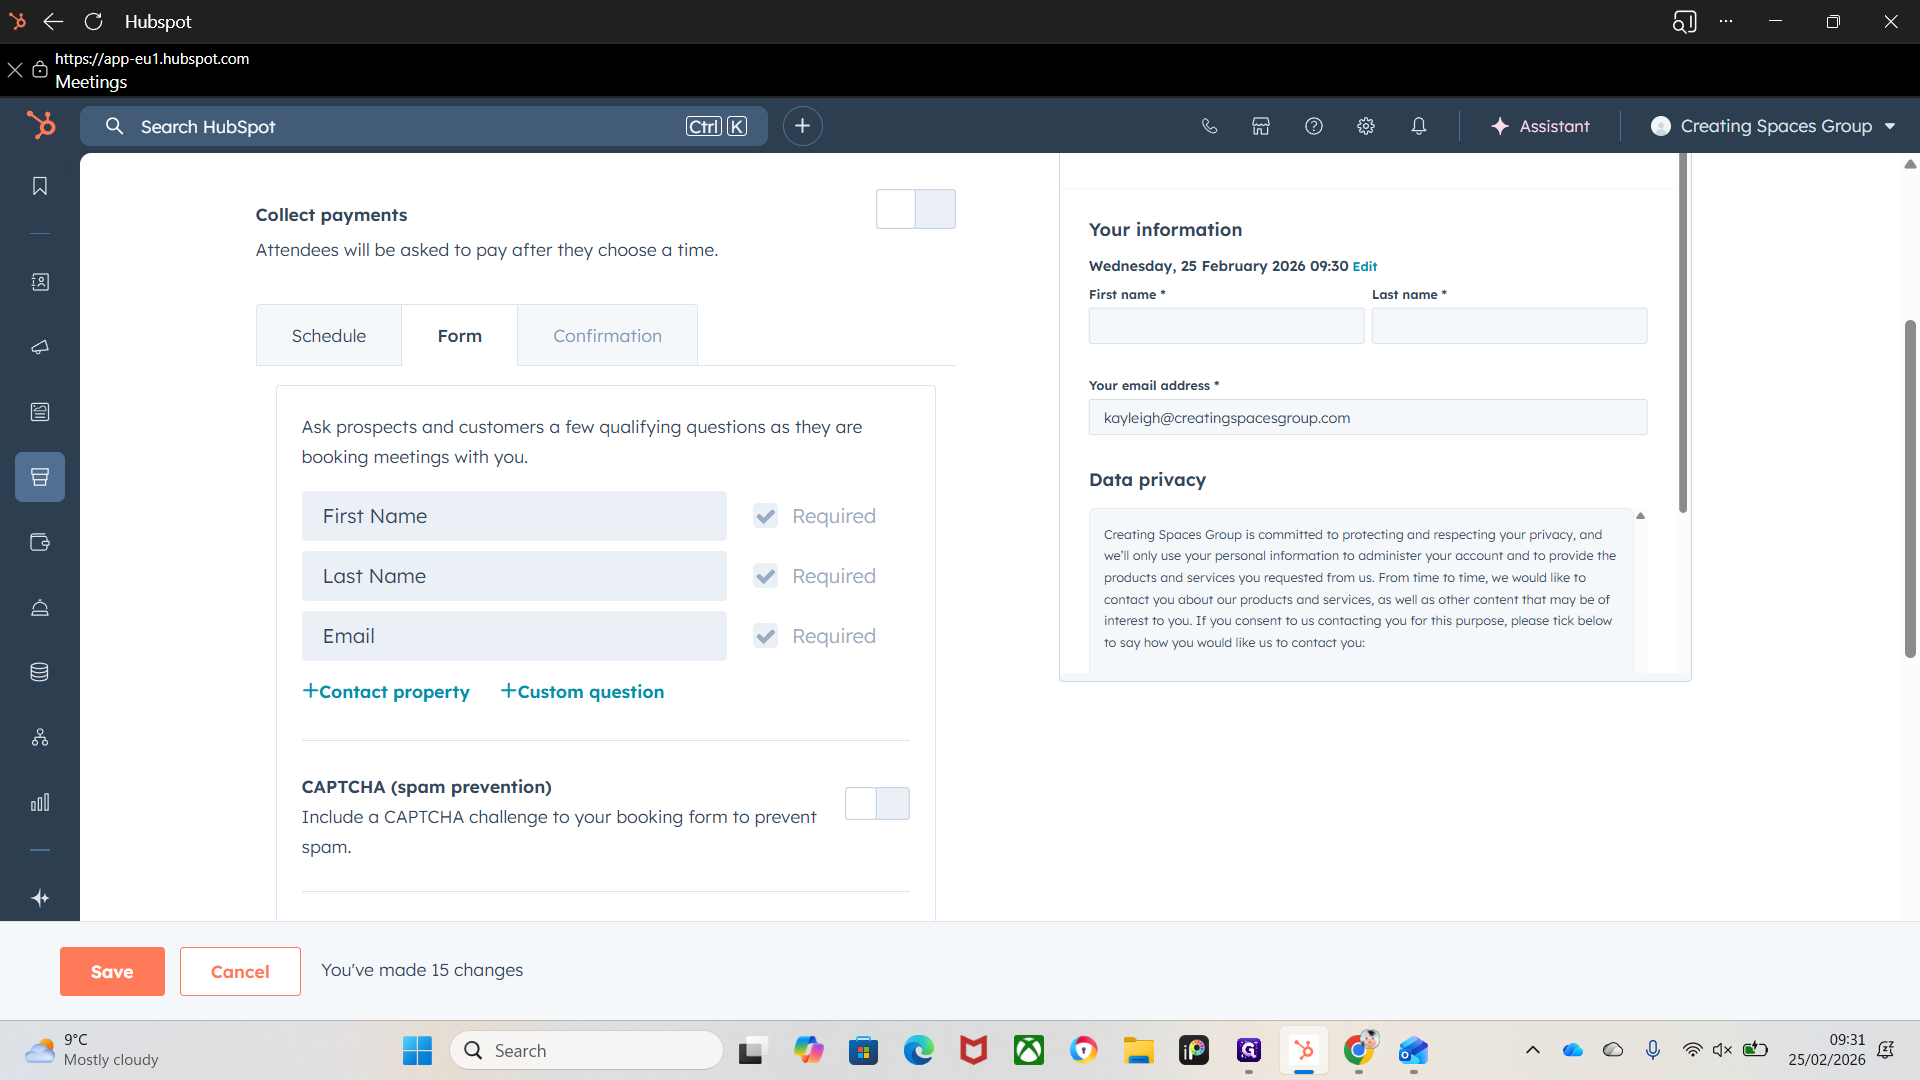
Now we have form.
Say we receive a message on Facebook Messenger or Instagram Messenger, we can send one of these forms. We can adjust the forms for customer questions to ensure the lead is qualified.

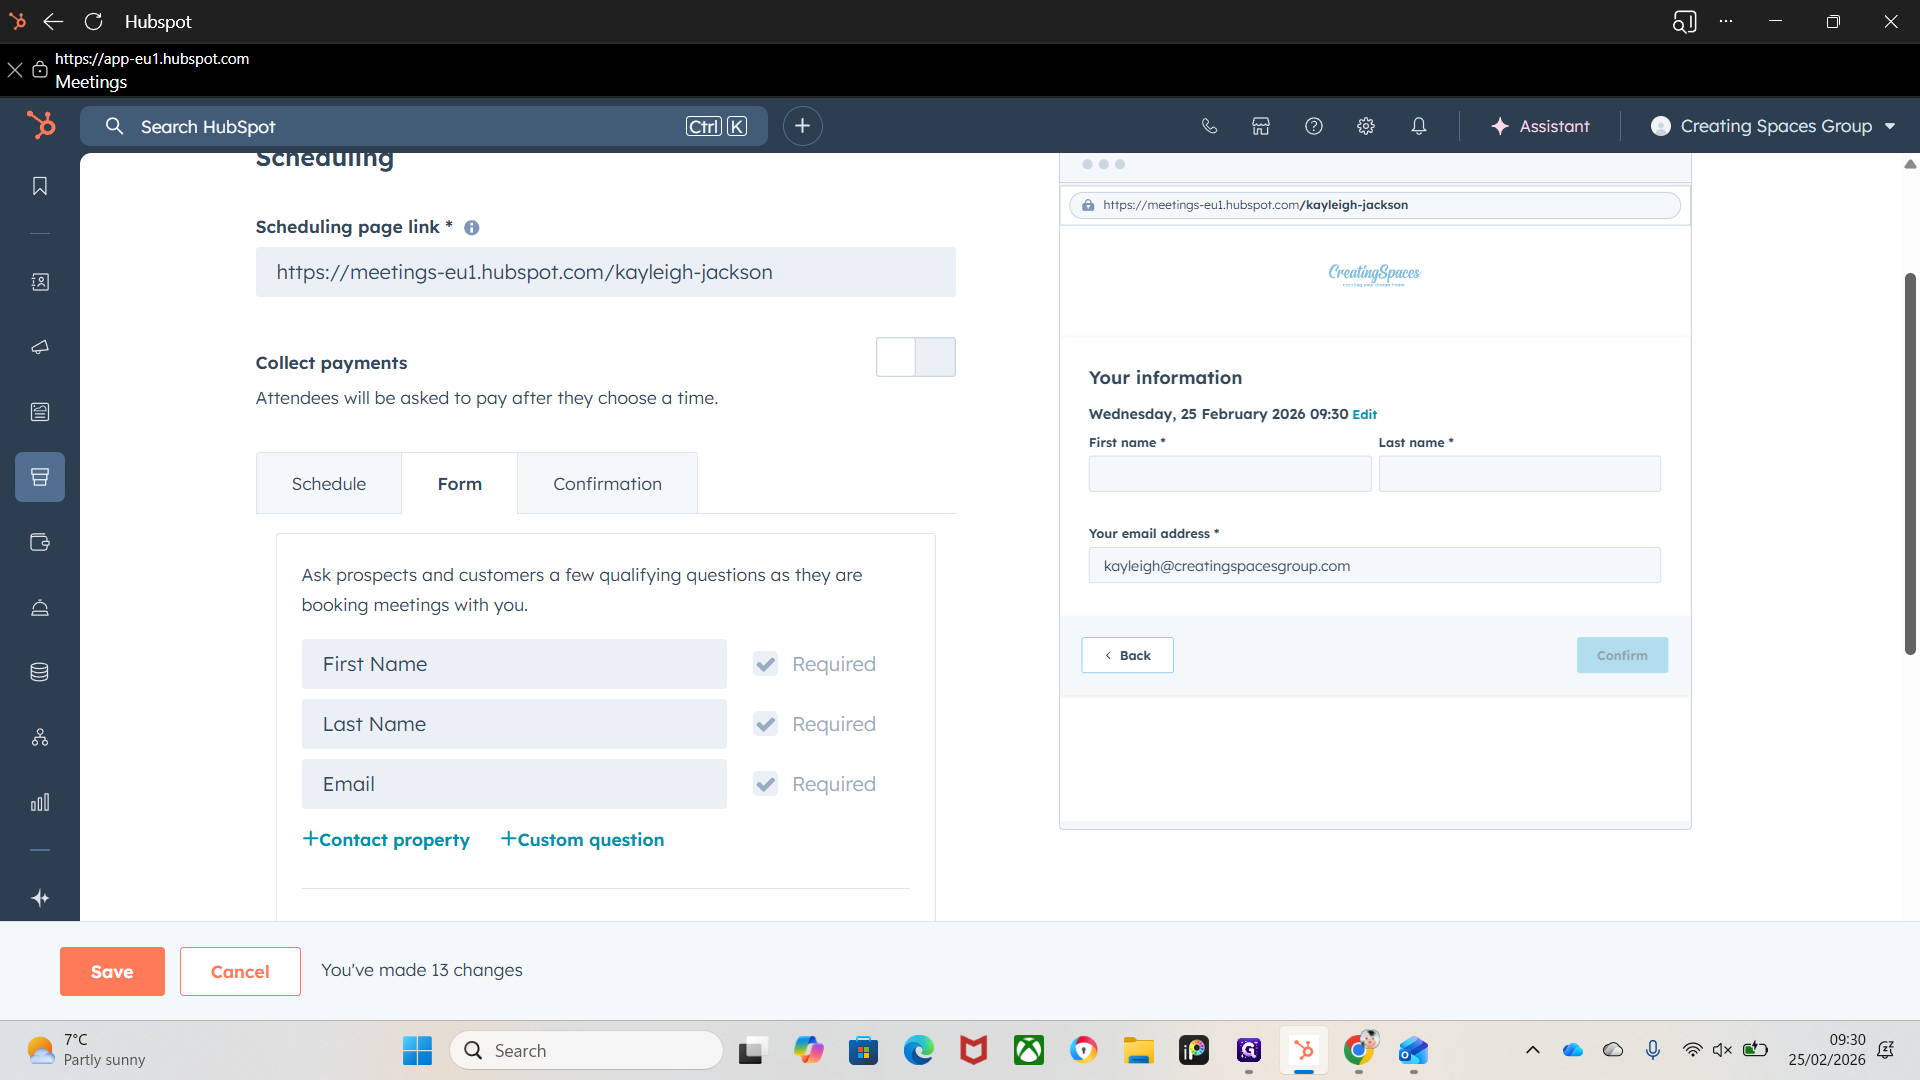
Then it would send them a booking link.
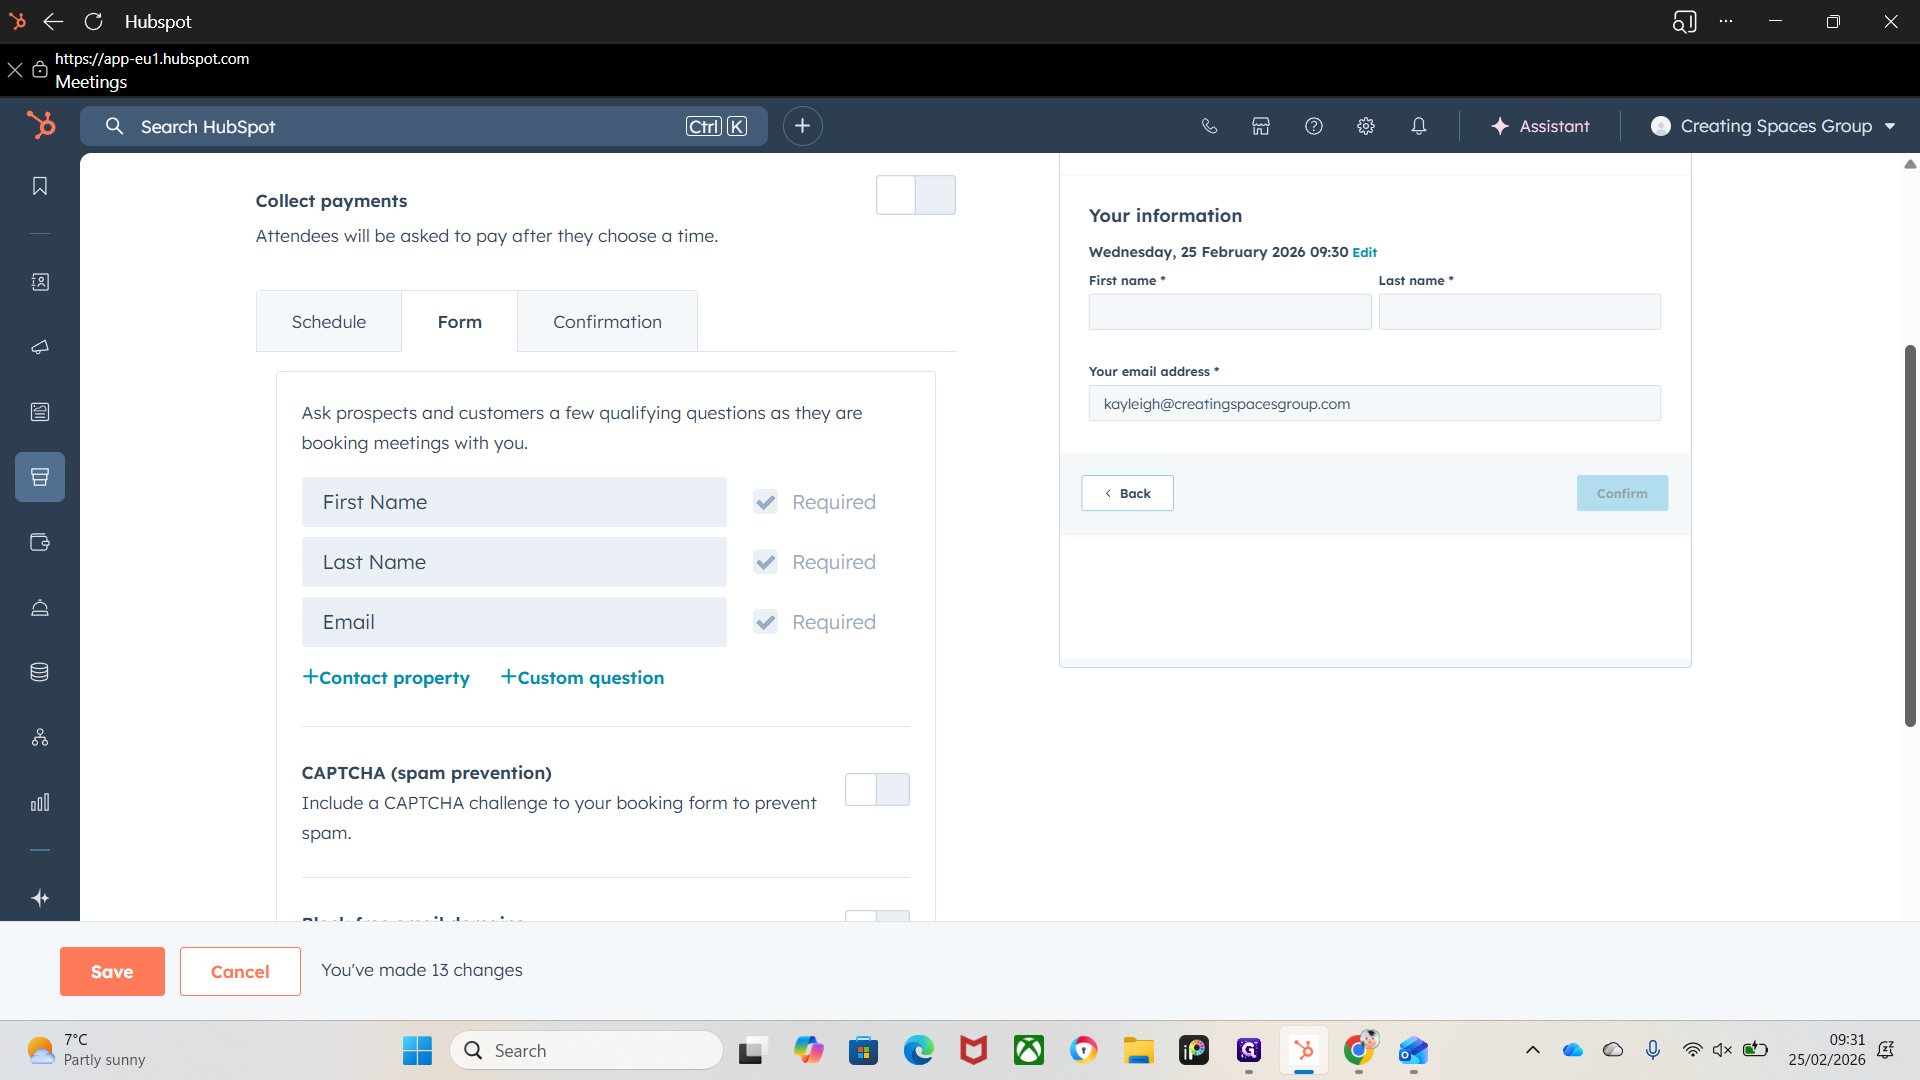

Here, we want to tick that.
That prevents the black box from appearing in emails because users have already consented to data protection.
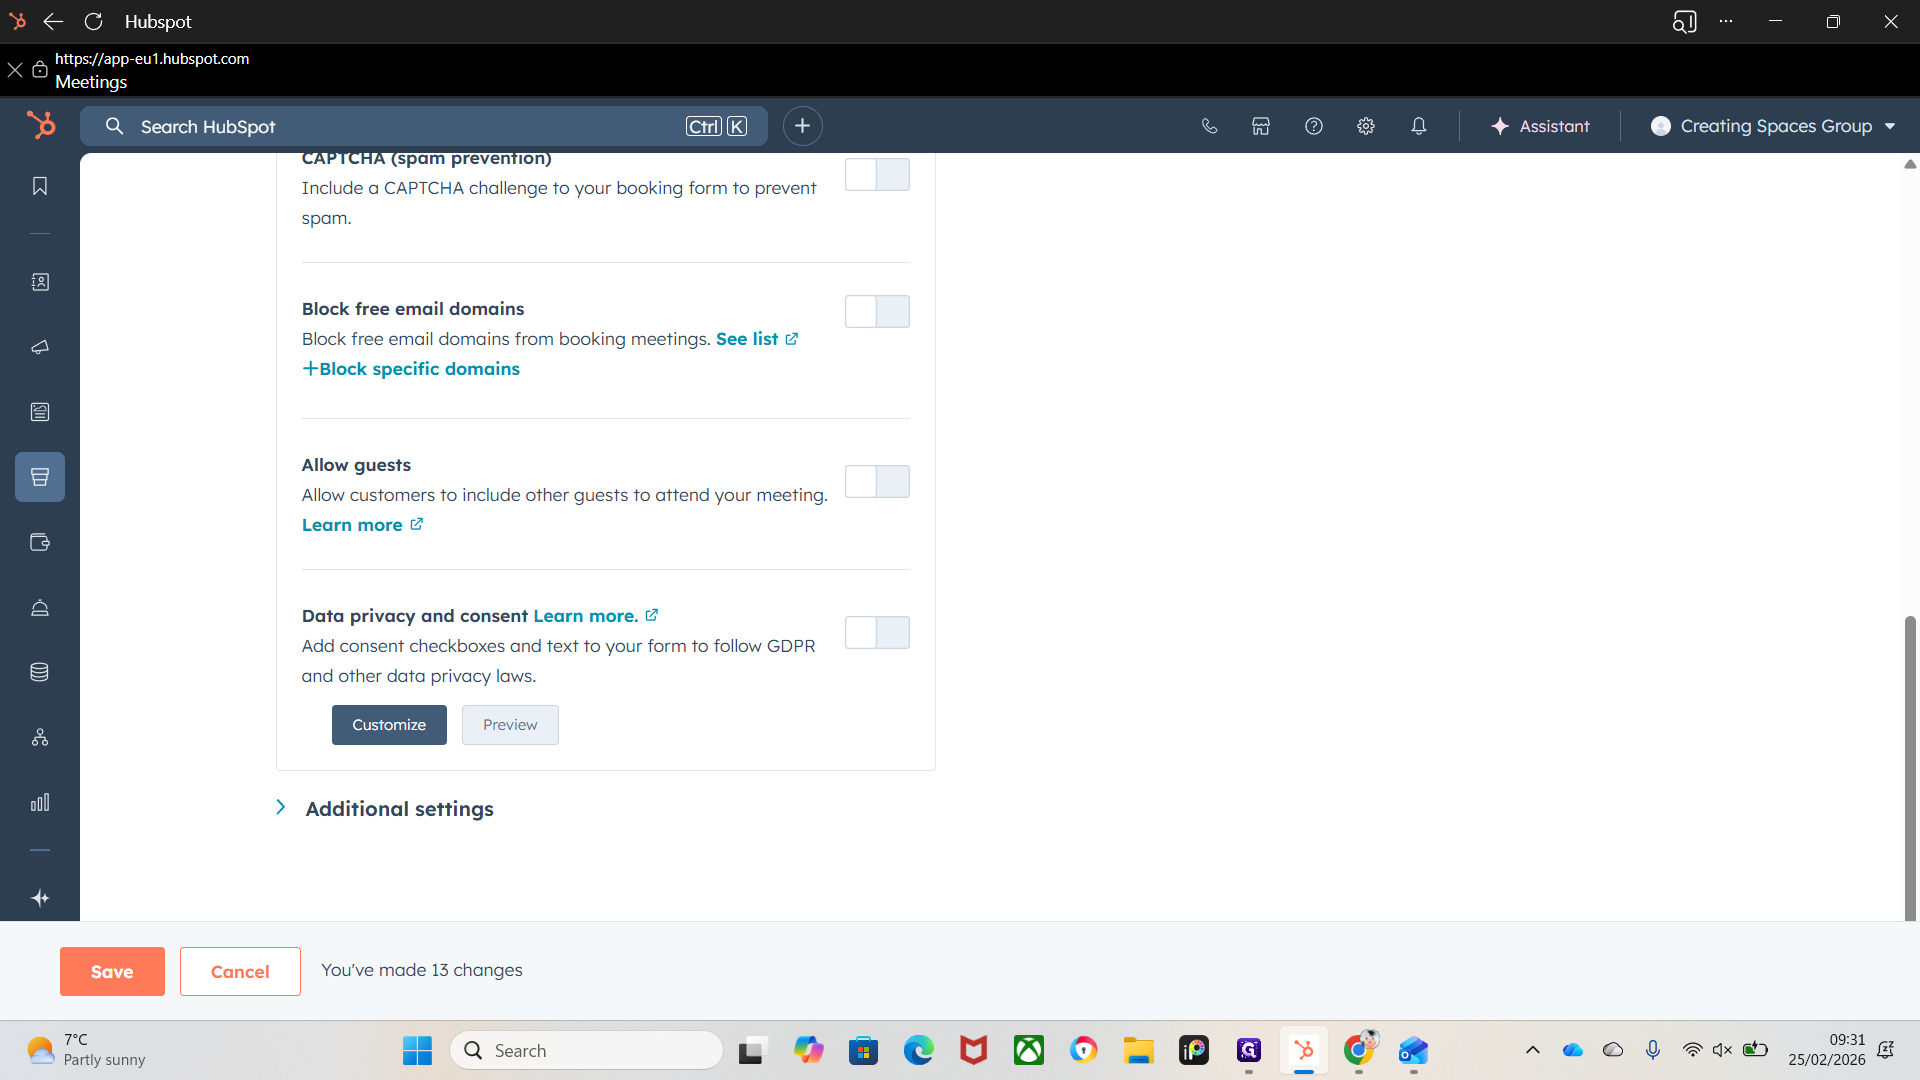
We have additional settings.
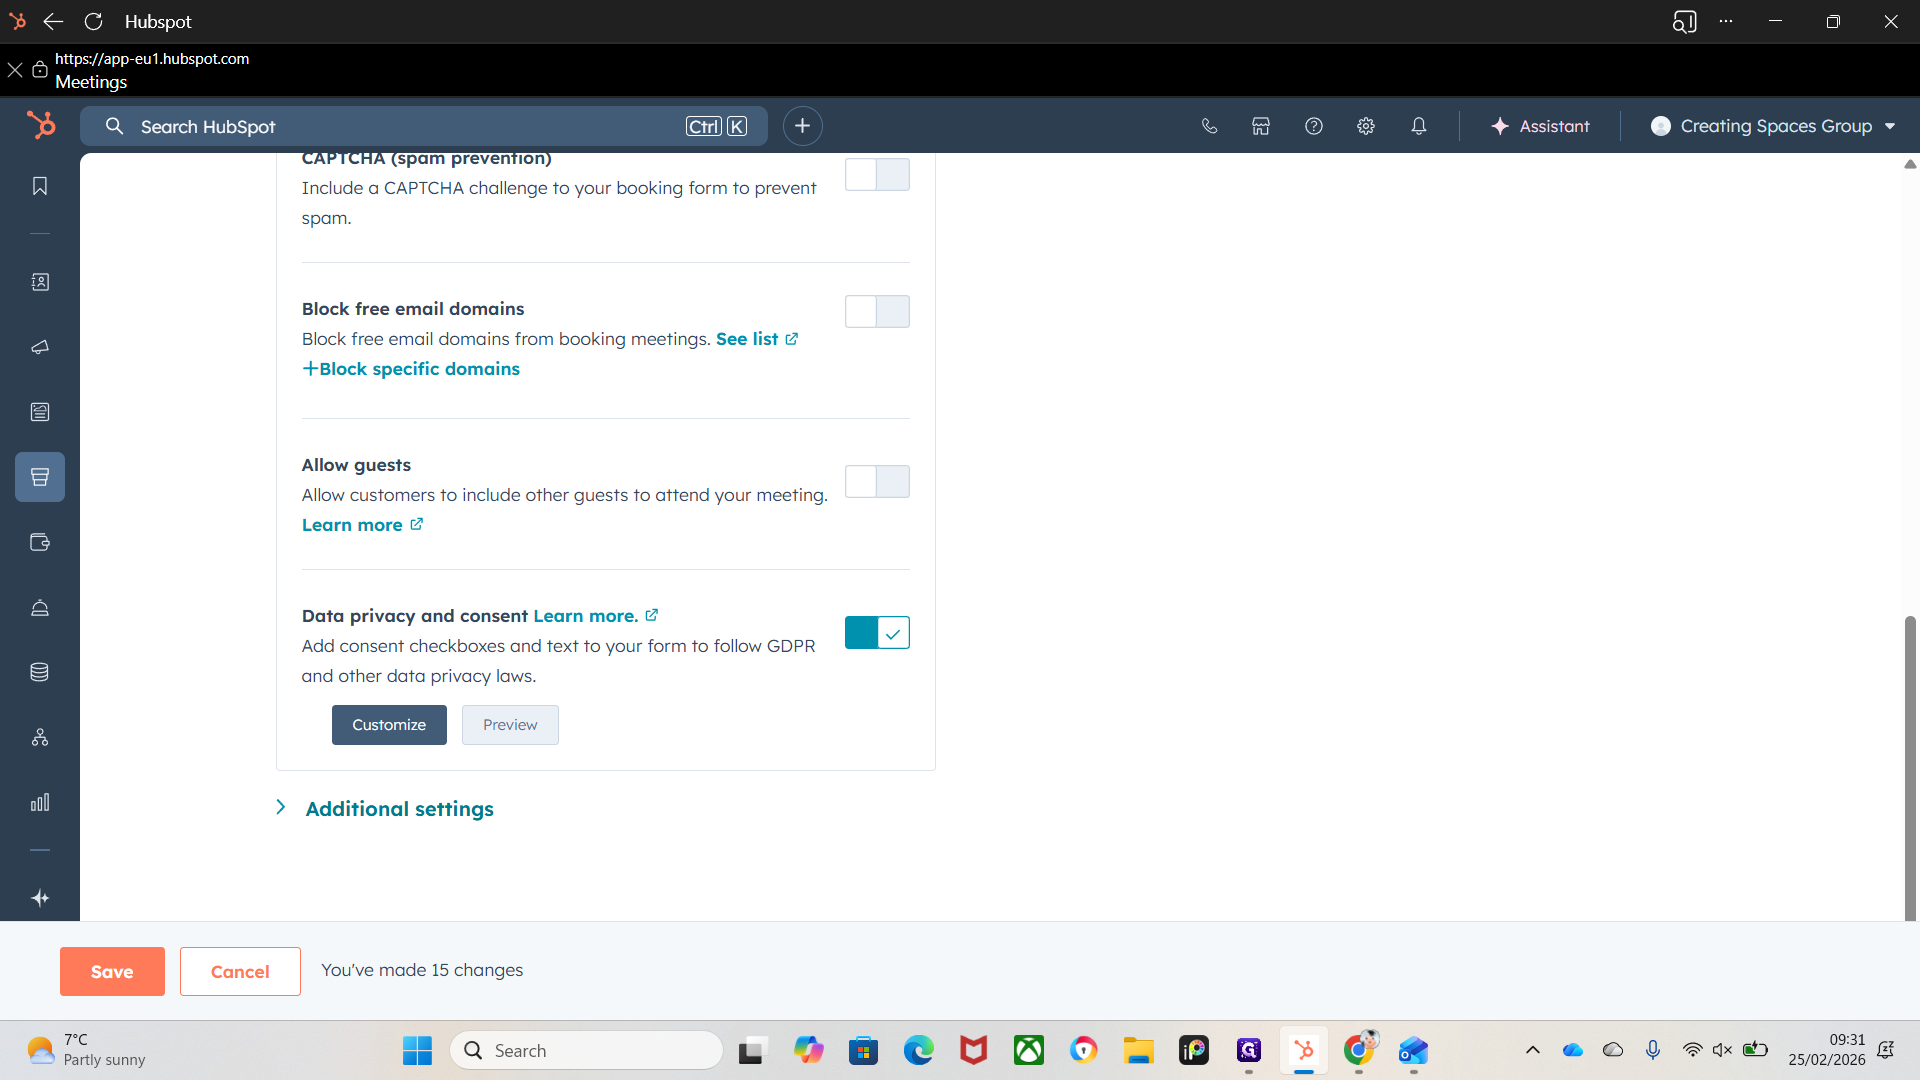
We can auto-submit the form when all fields are pre-populated. This will book the appointment automatically.
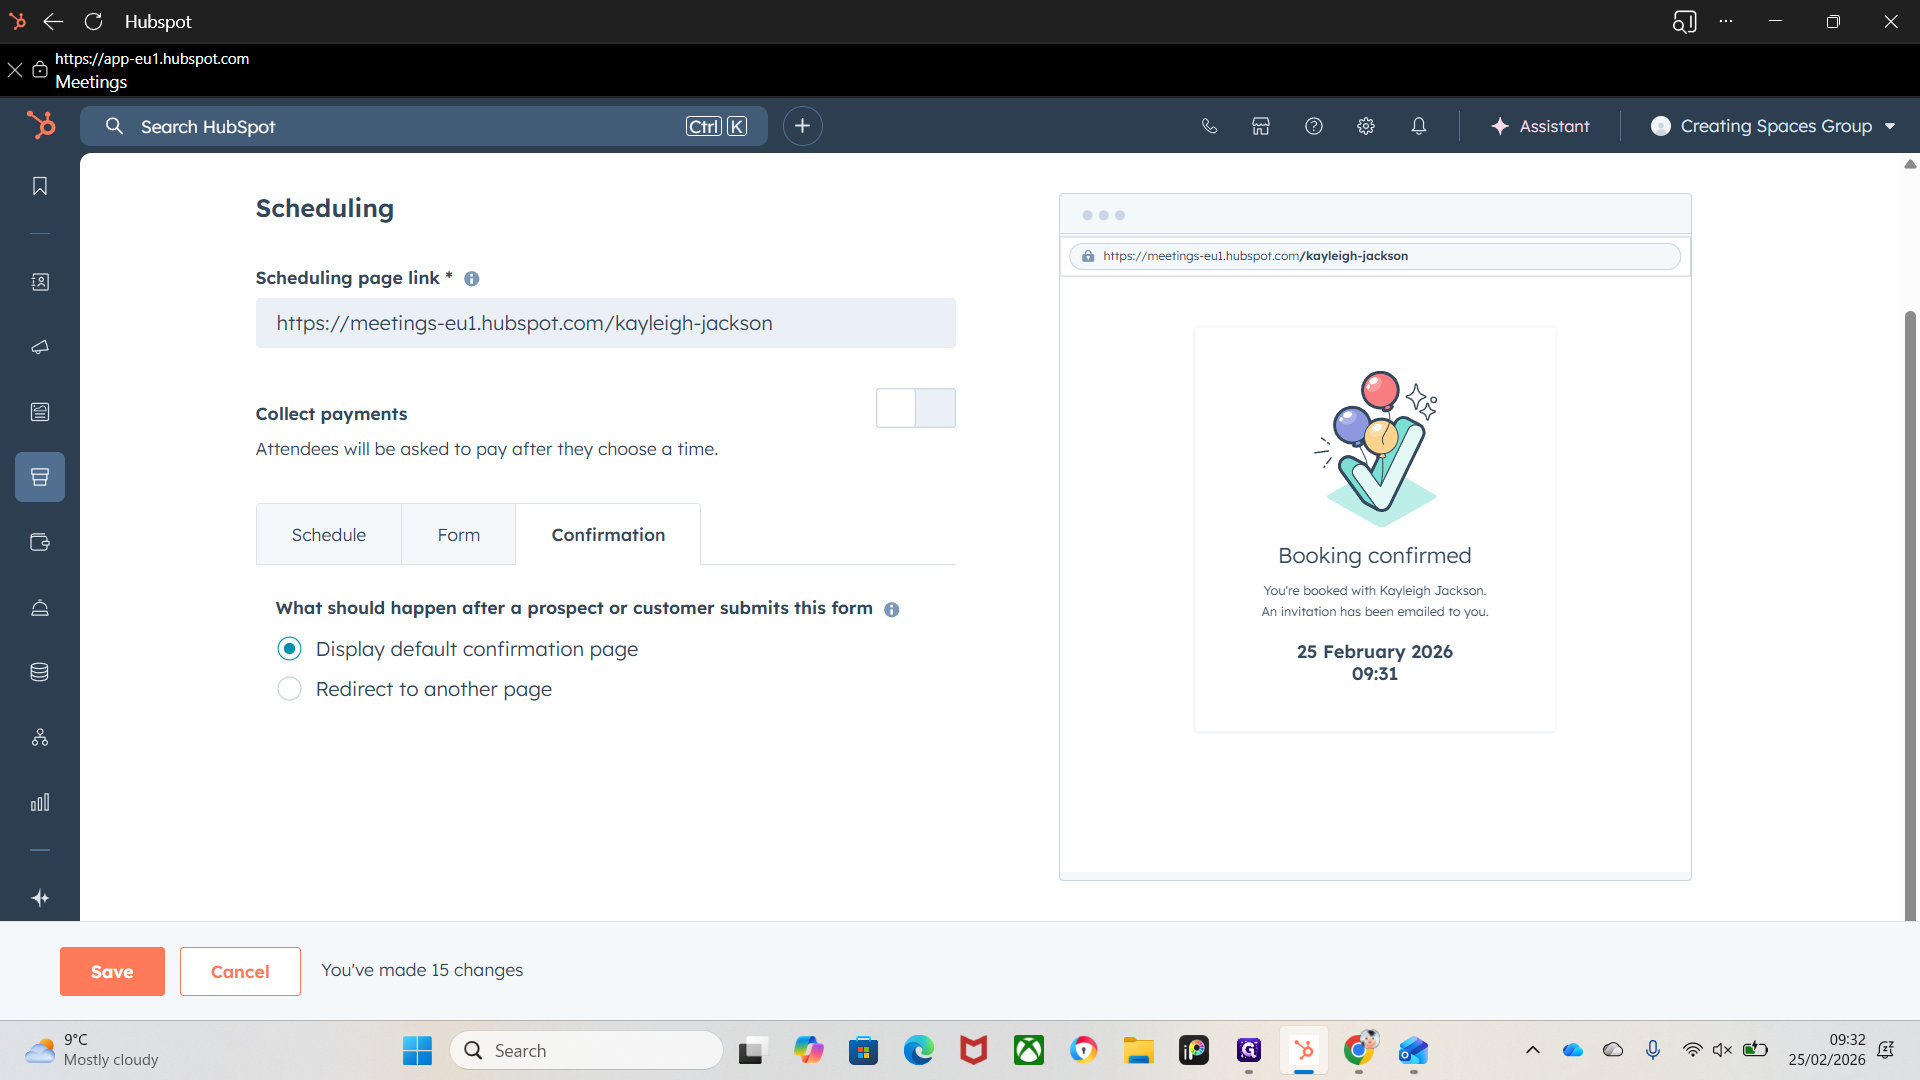
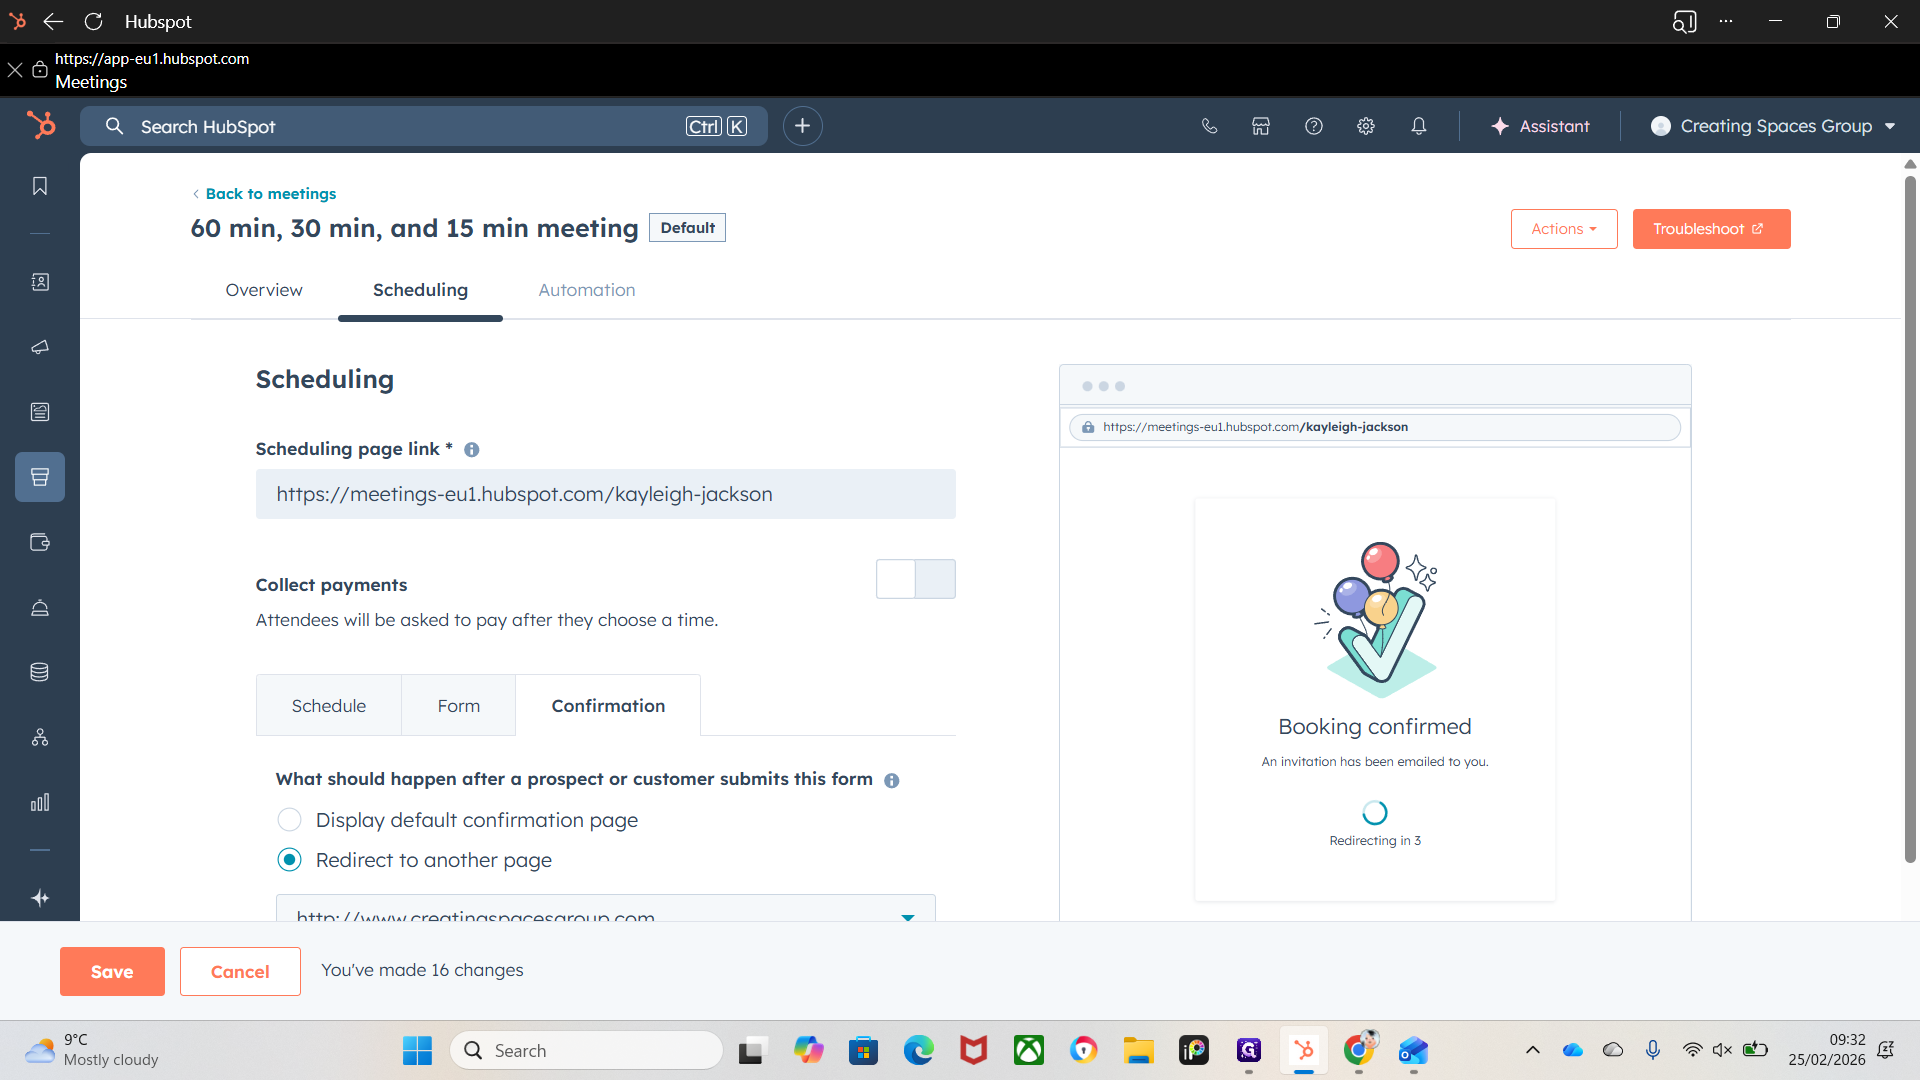
Then We have confirmation.
This is what the customer will see after they submit the form and the booking is complete. I would redirect and add the company website.
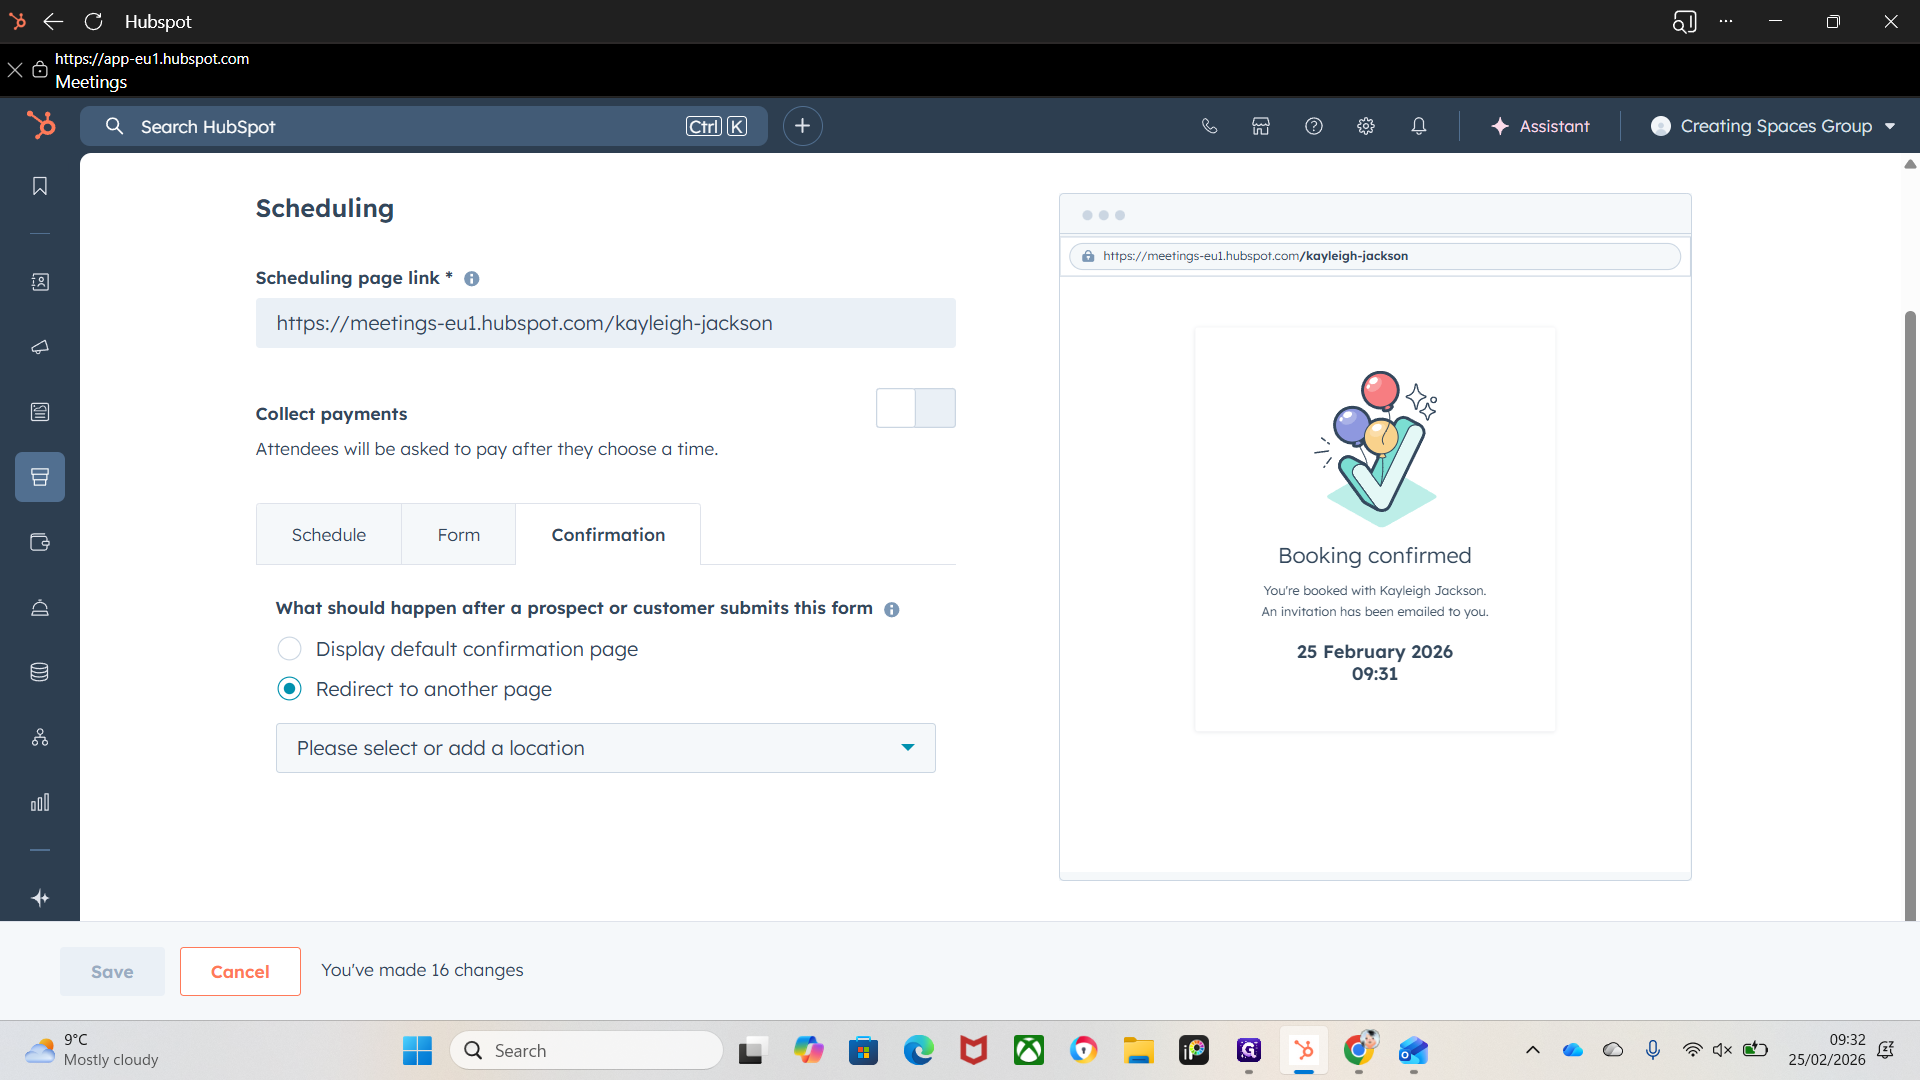
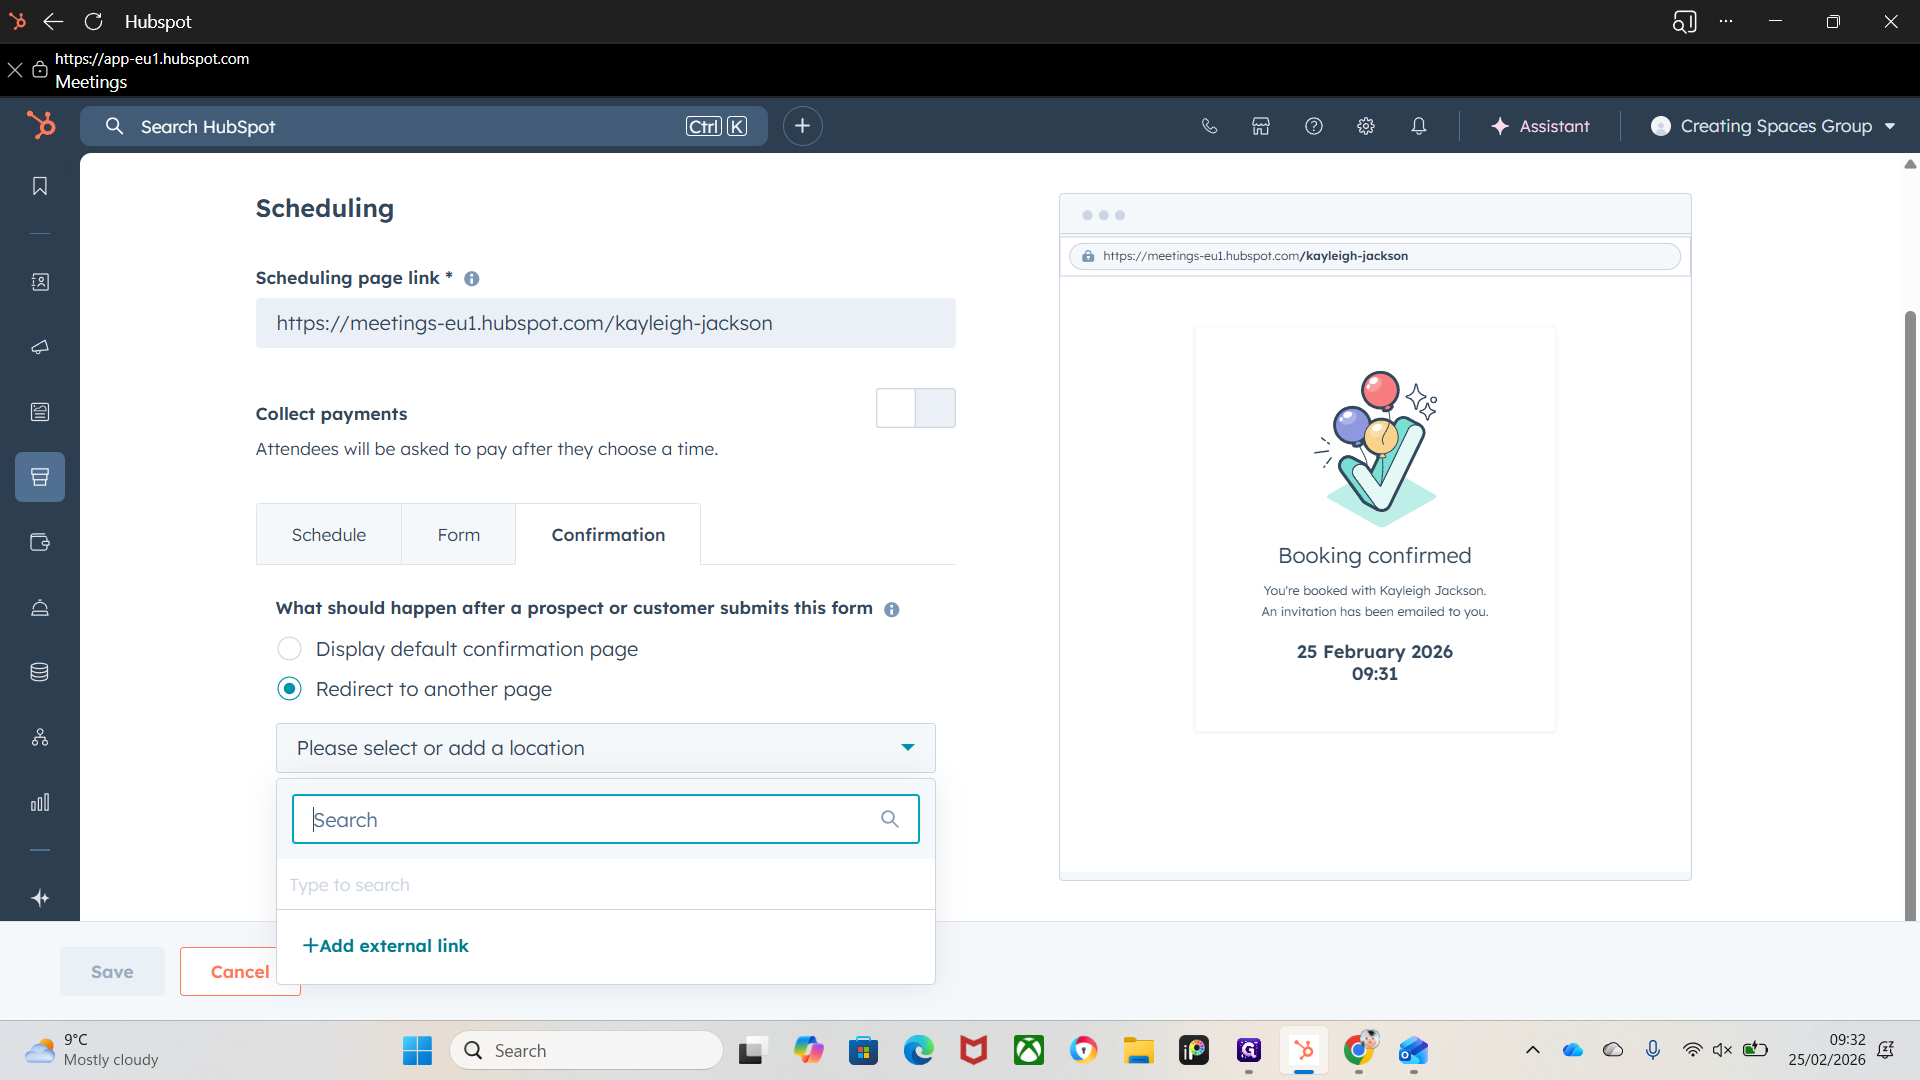
""
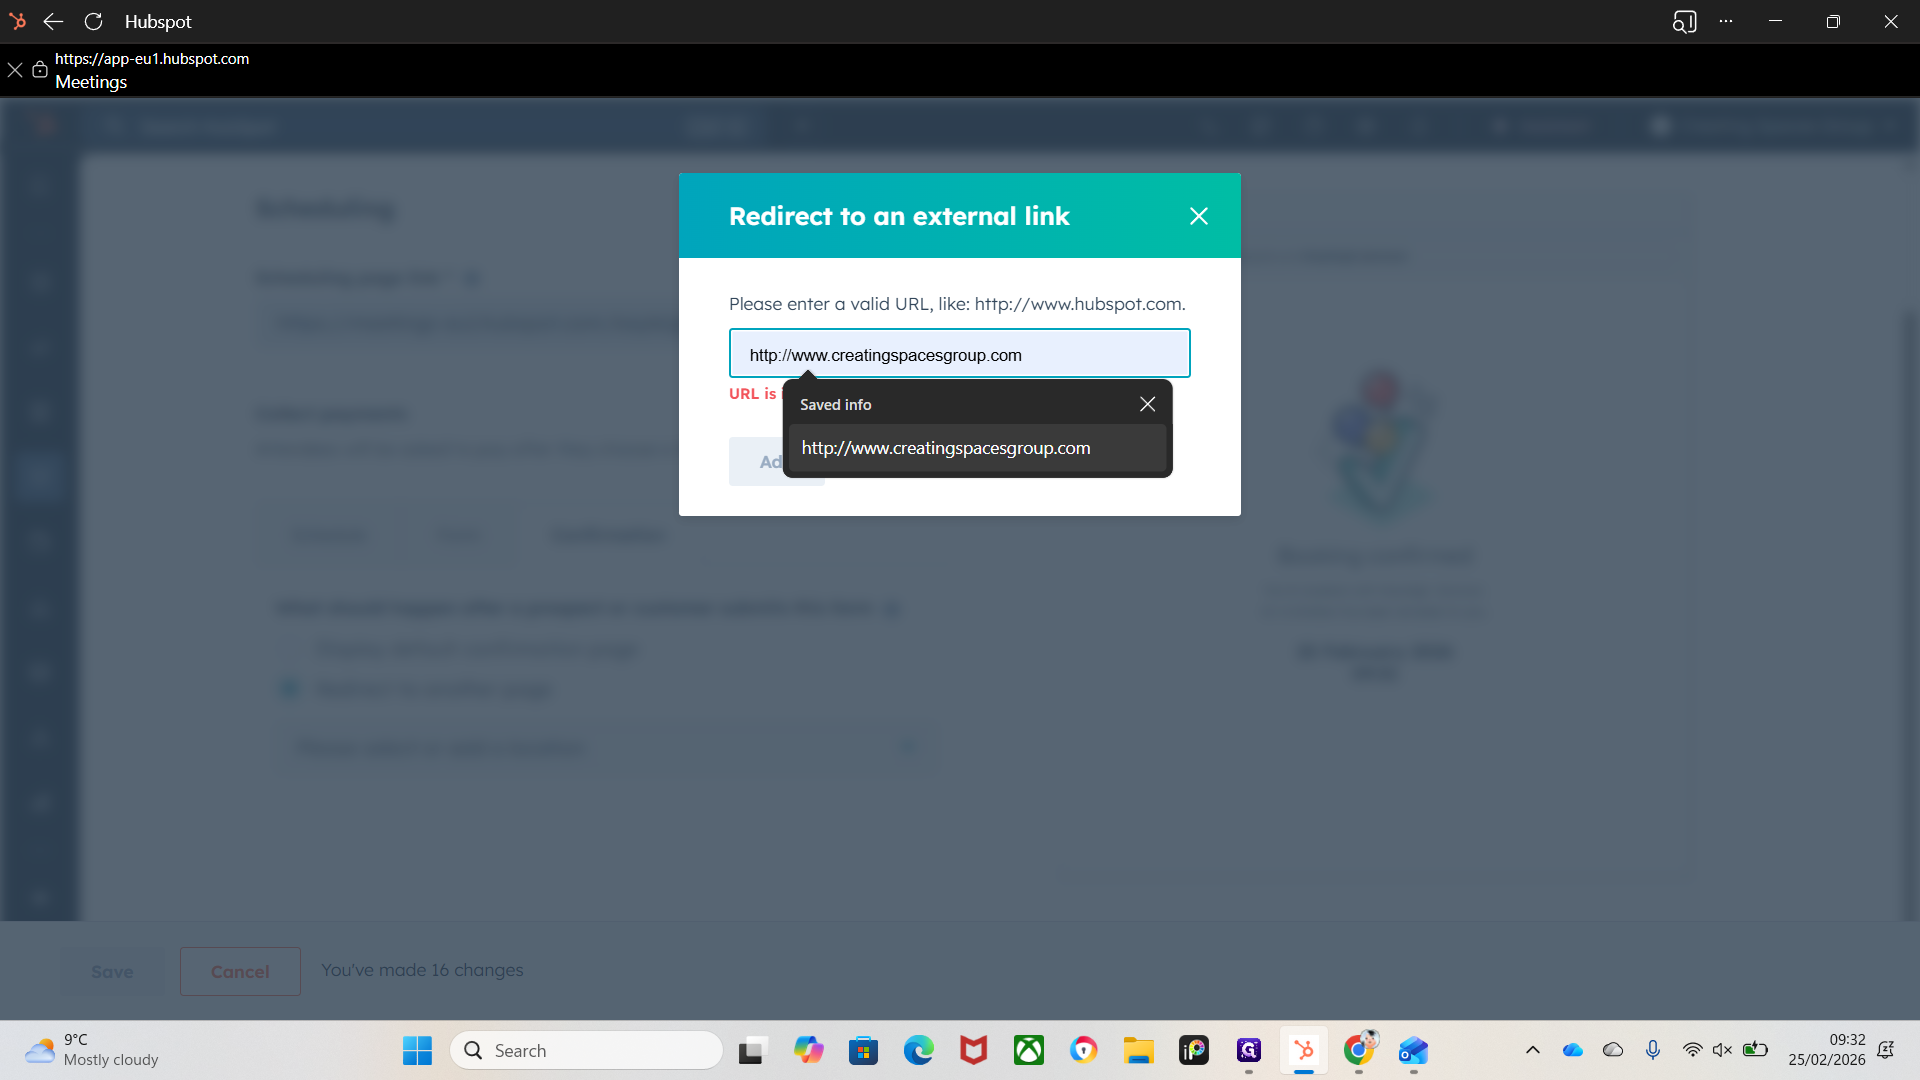
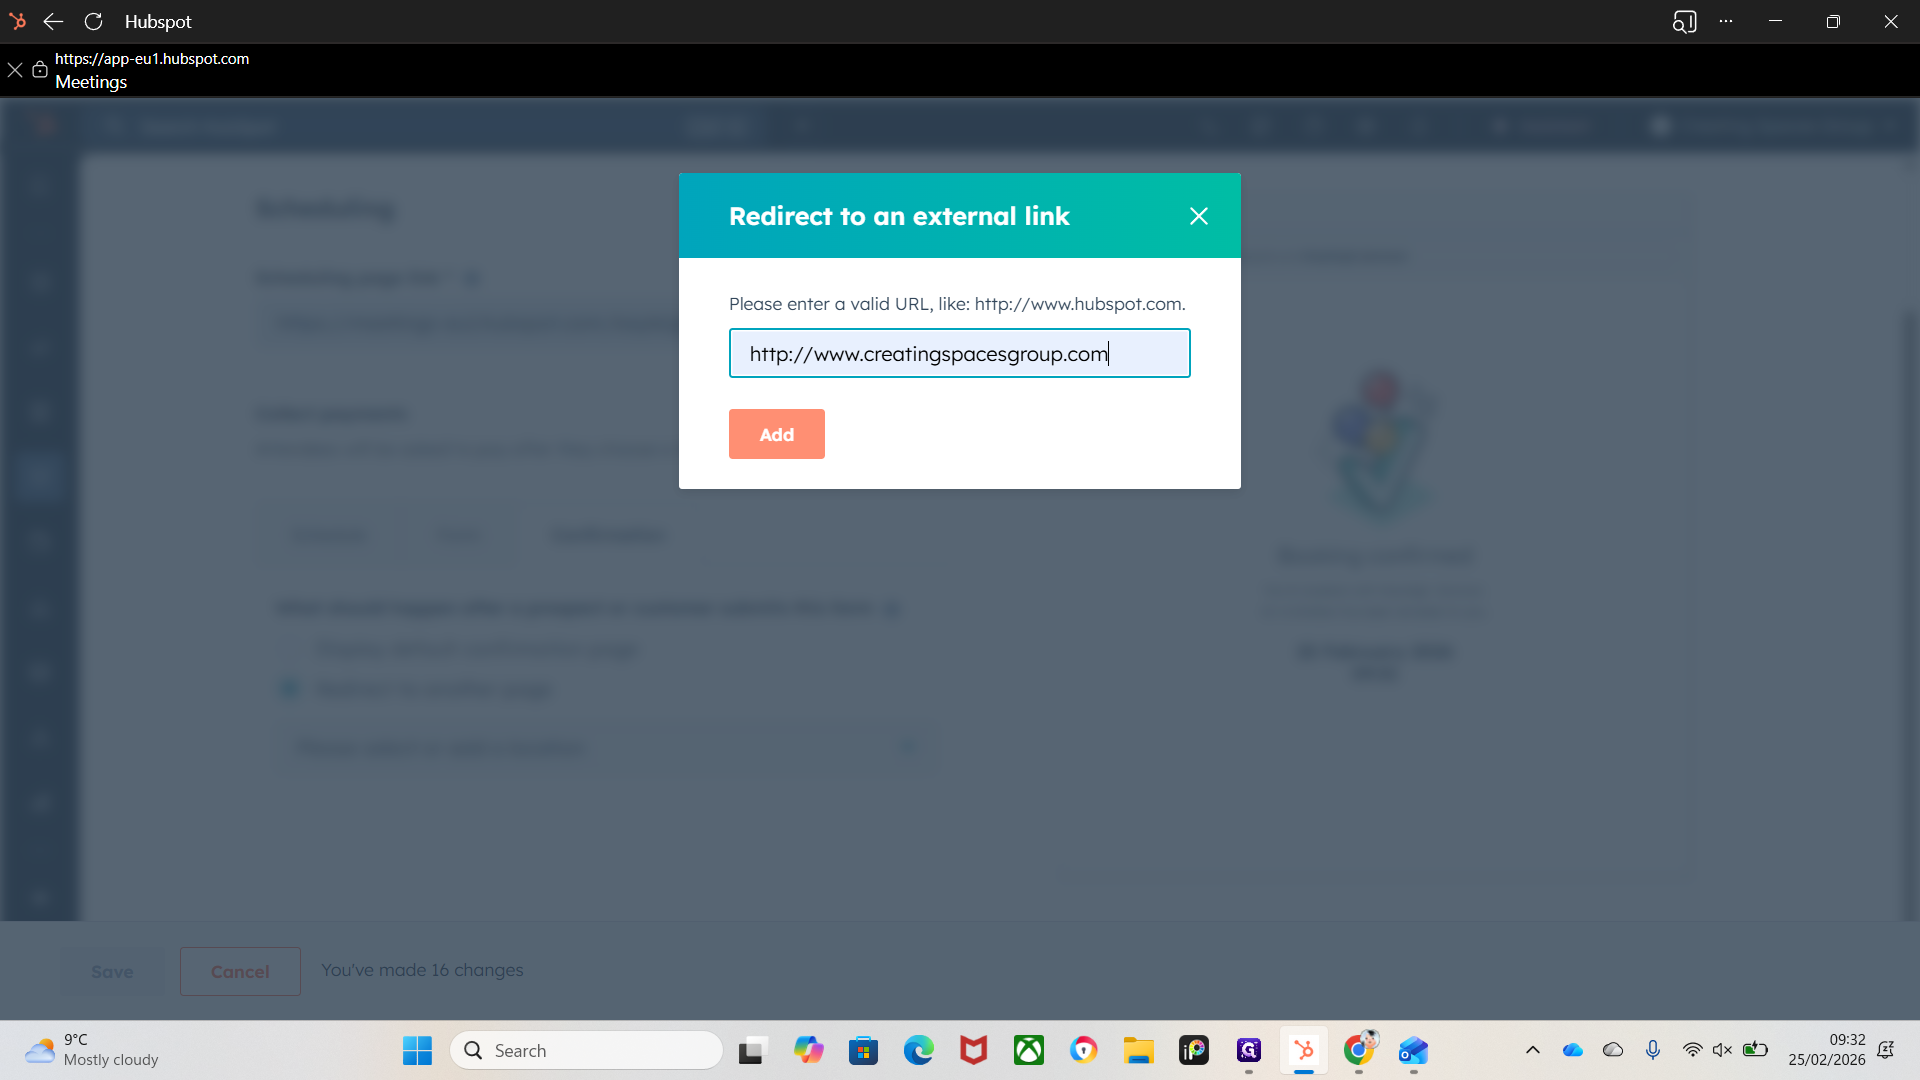
Once they've booked, it will redirect to Create In Spaces, which is a nice finishing touch.
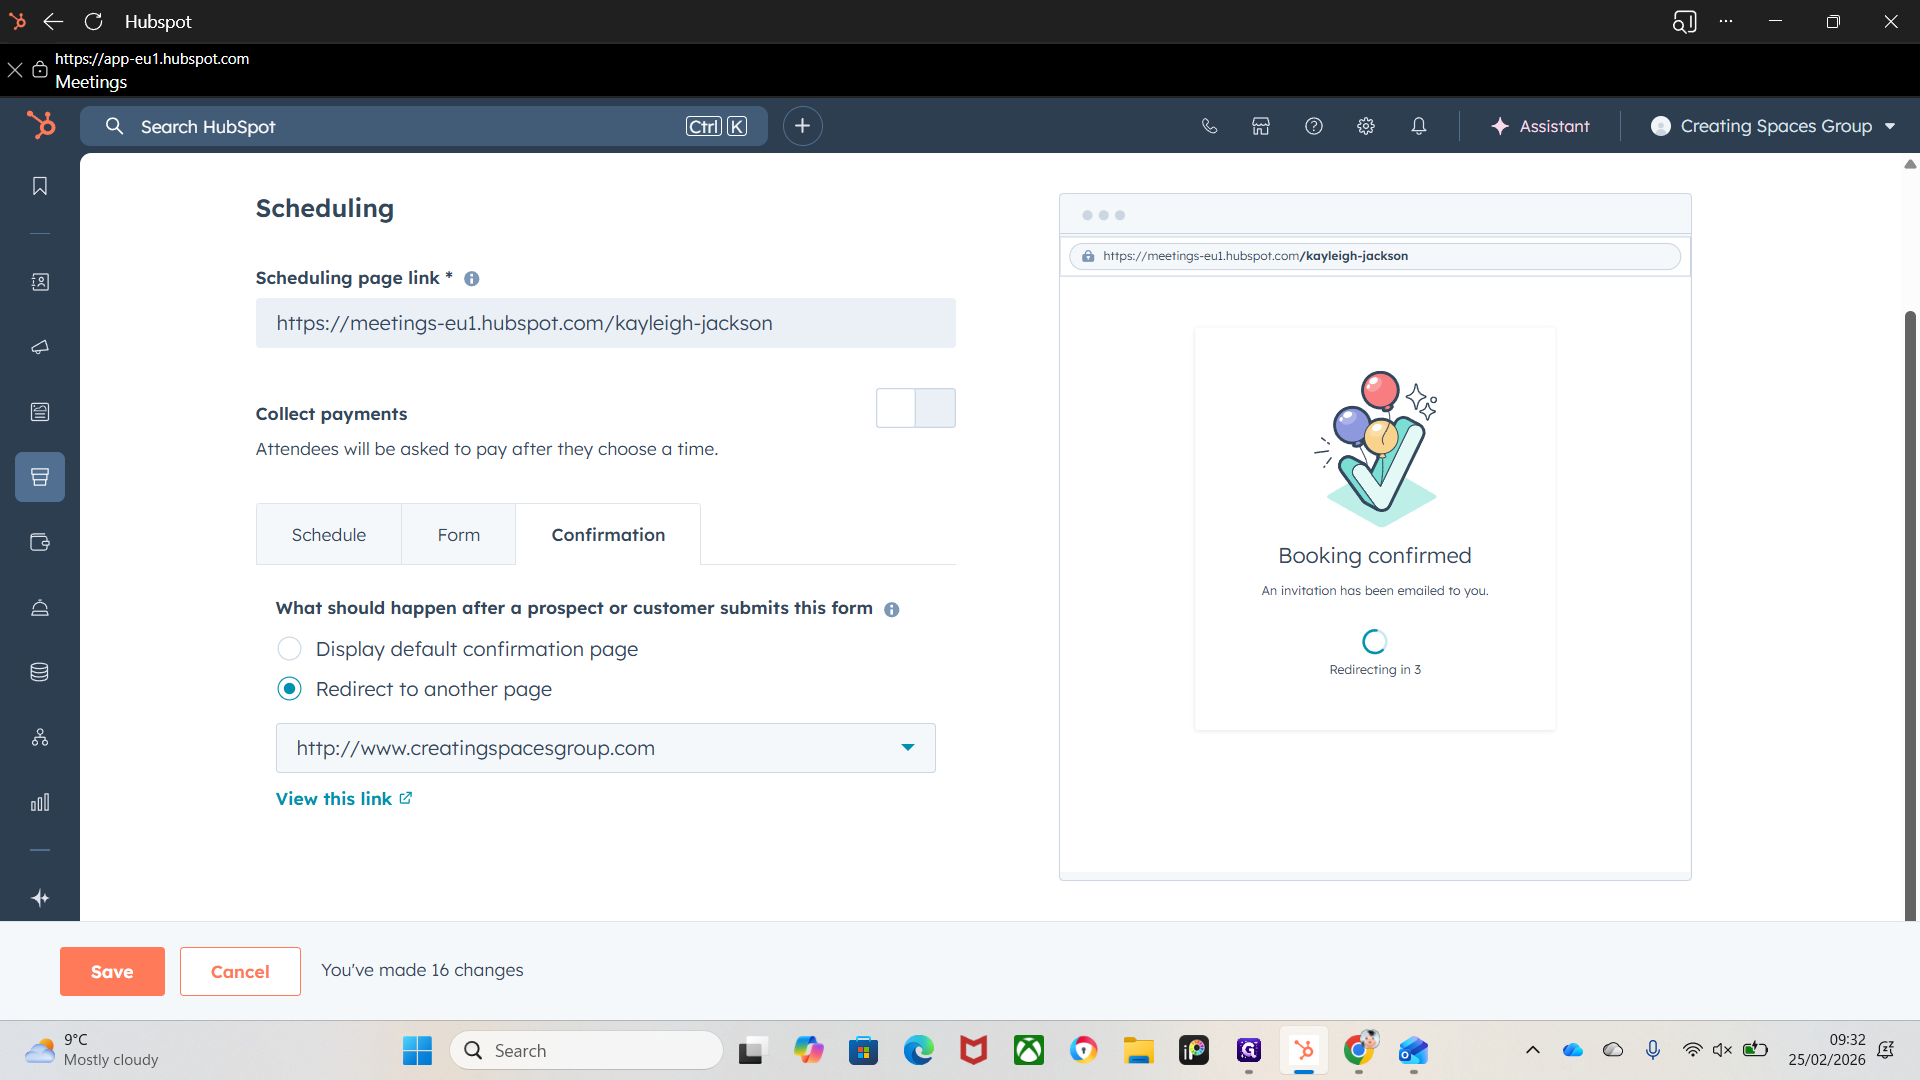
That's it.
With automation, you can send a confirmation email. Make sure this option is selected. You can also send pre-meeting reminders.