Icon

How to Disable Users, Reset Passwords, and Manage Sessions in Azure

Learn the step-by-step process to disable users, reset passwords, and manage sessions in Azure, including checking audit logs and setting up FAA.

By Joe Presto

In this guide, we'll learn how to manage user accounts in Azure, focusing on disabling users, resetting passwords, and revoking sessions. This process is essential for maintaining security and ensuring that only authorized users have access to your systems. We'll also explore how to check audit and sign-in logs for any suspicious activity. By the end of this guide, you'll be able to navigate the Azure portal effectively and perform these tasks with confidence.

Let's get started

We will disable the user, reset the password, and delete tokens.
1
Click here
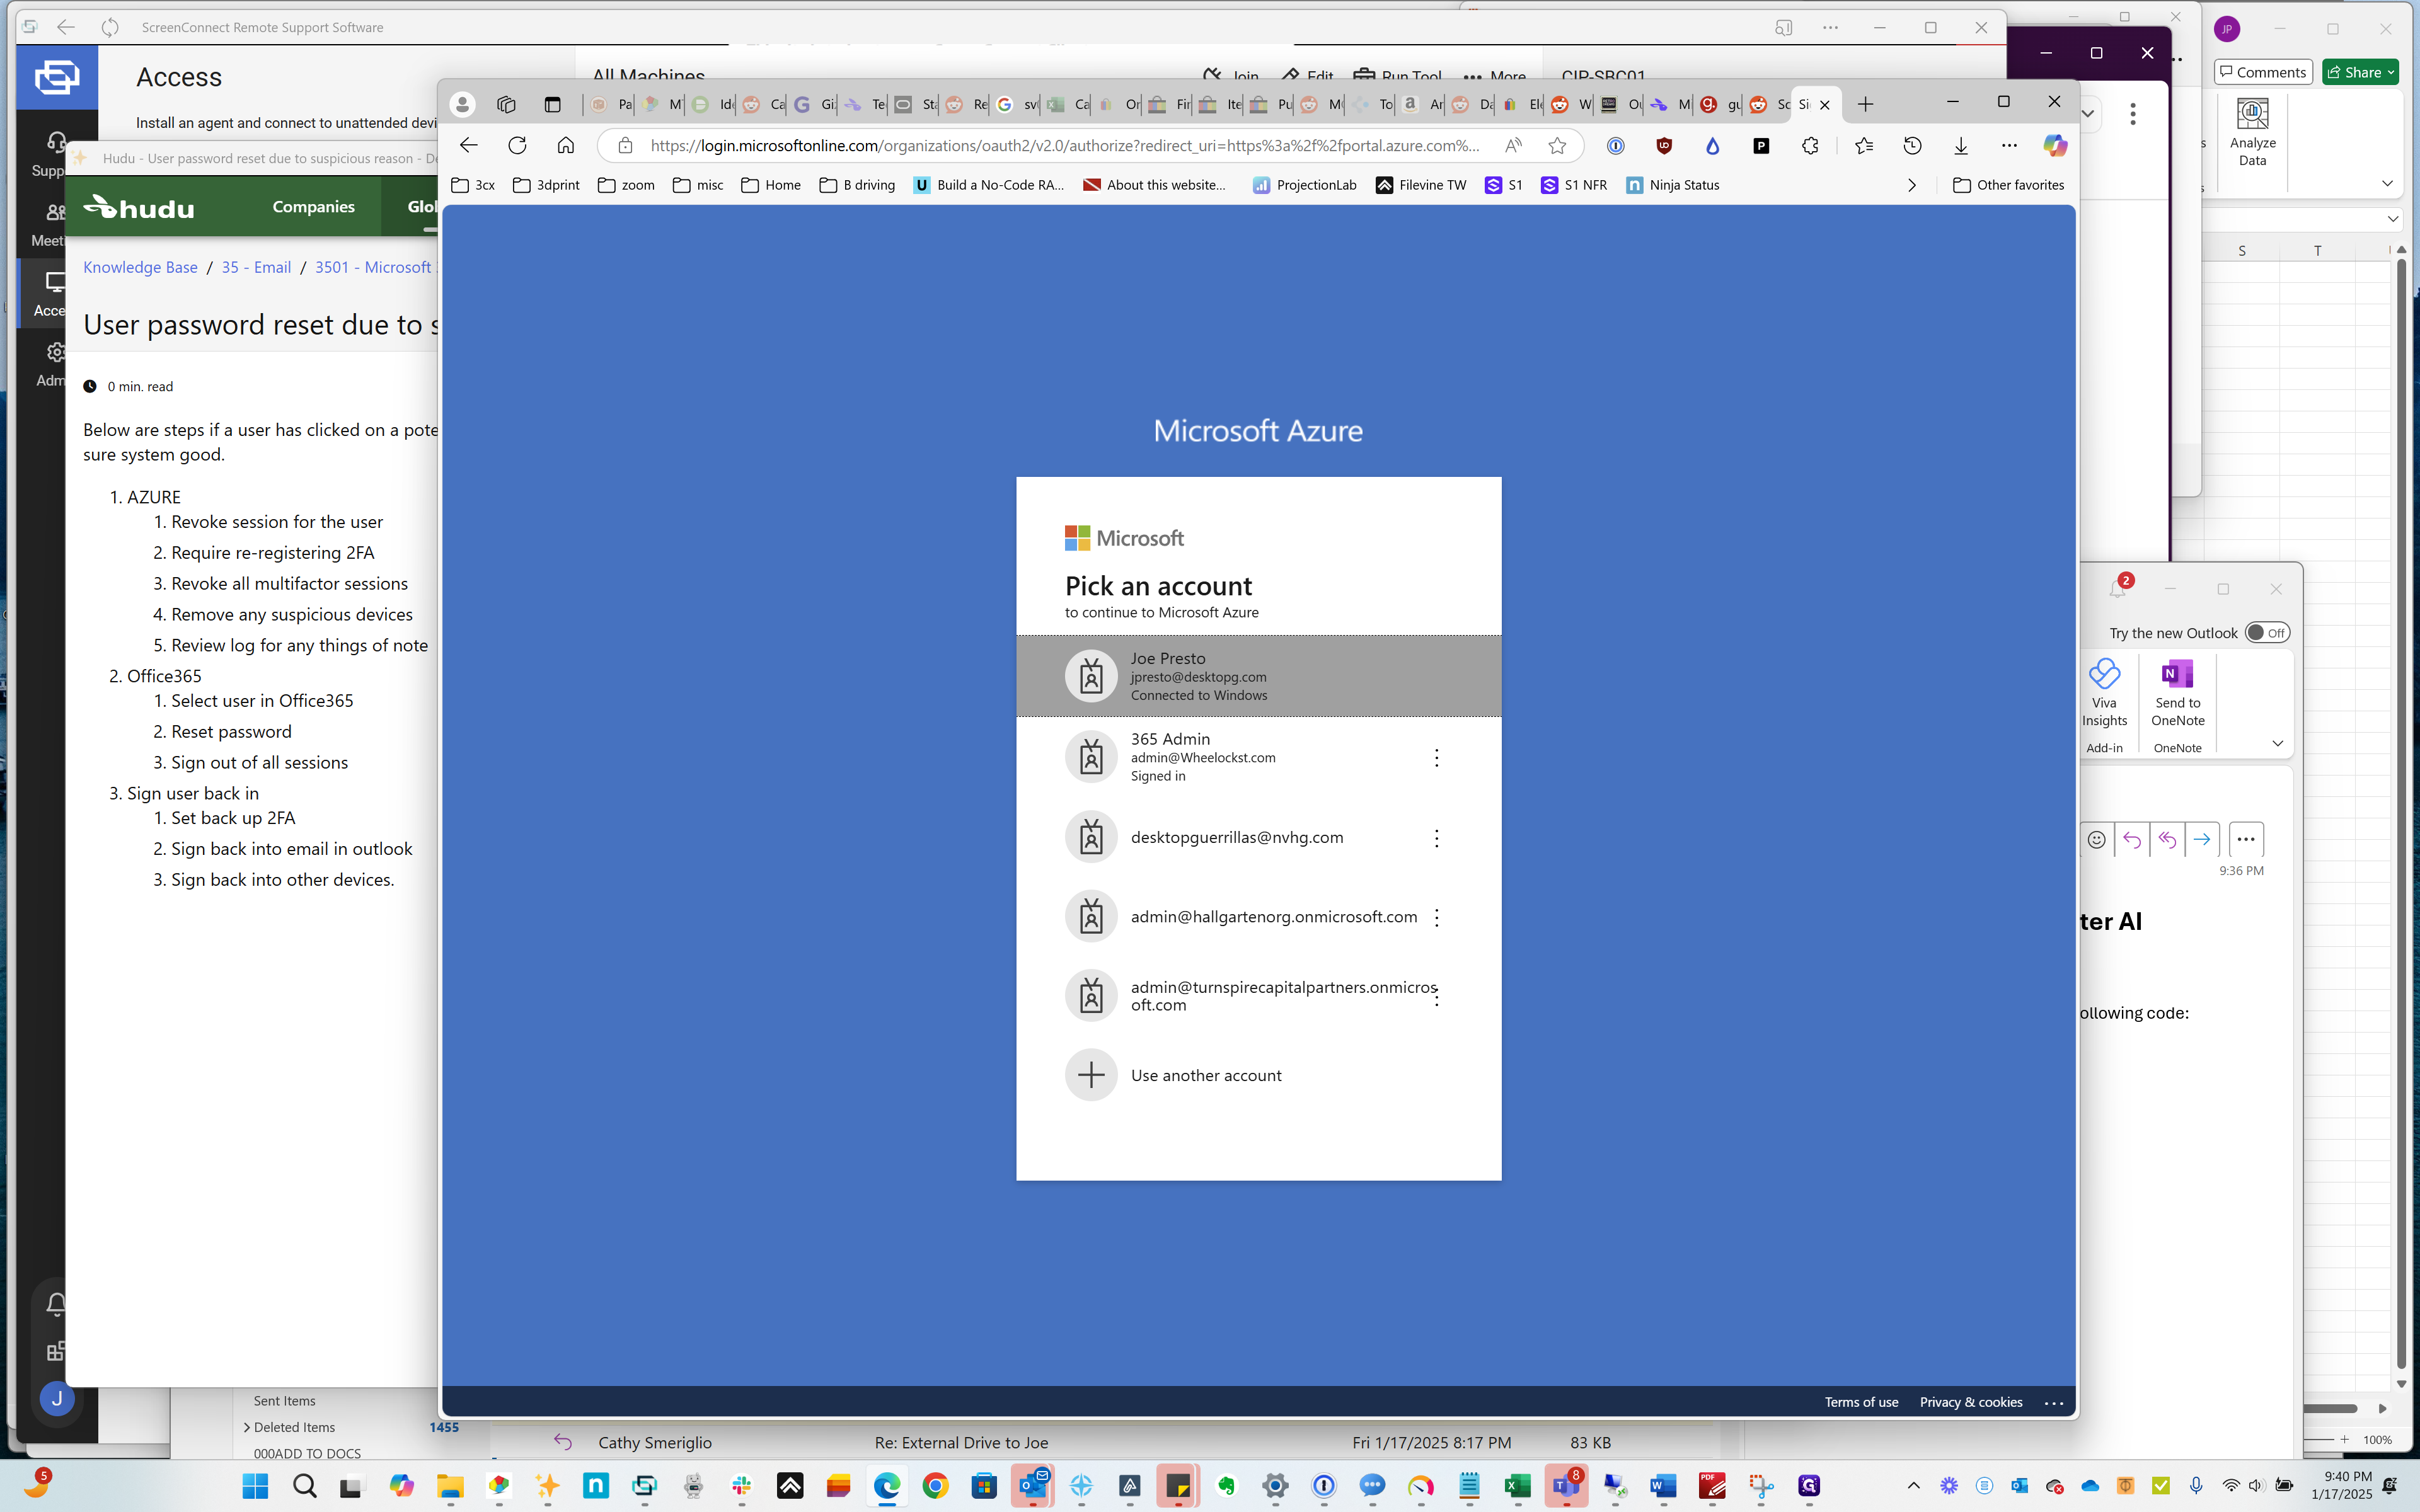
Step #1: Click here

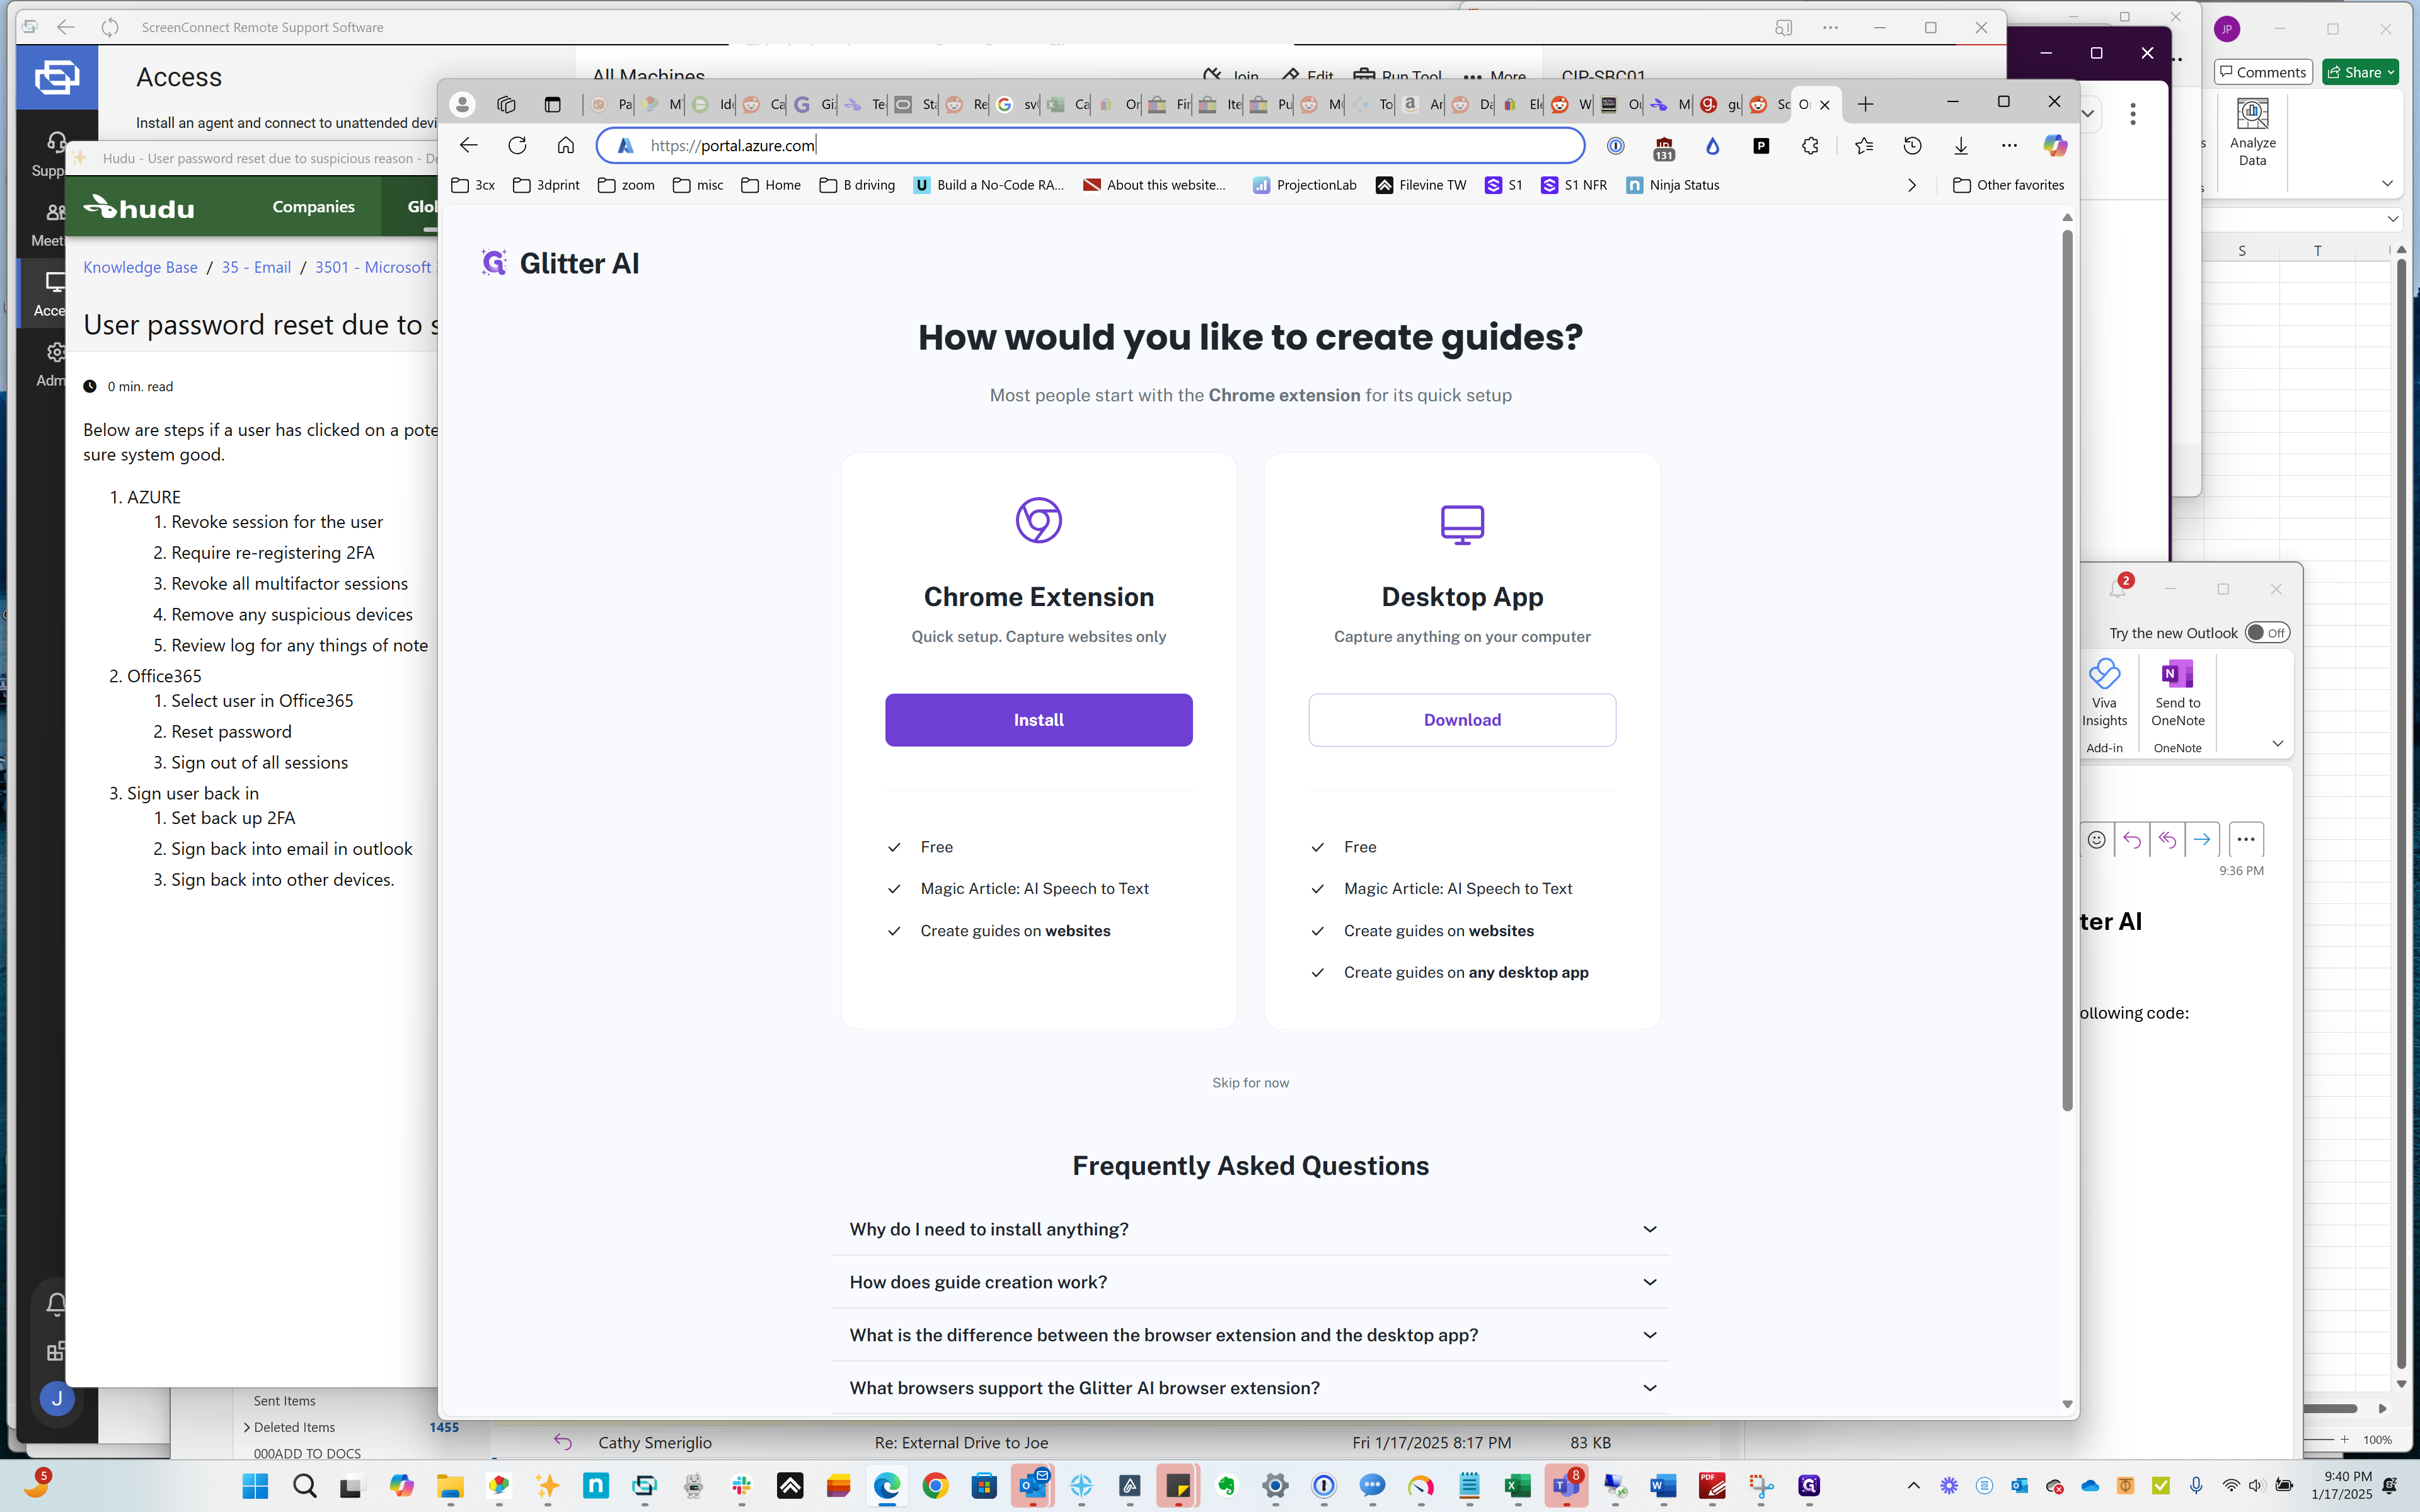
Go to the portal.

2
Type "Enter"
3
Click here
Step #3: Click here

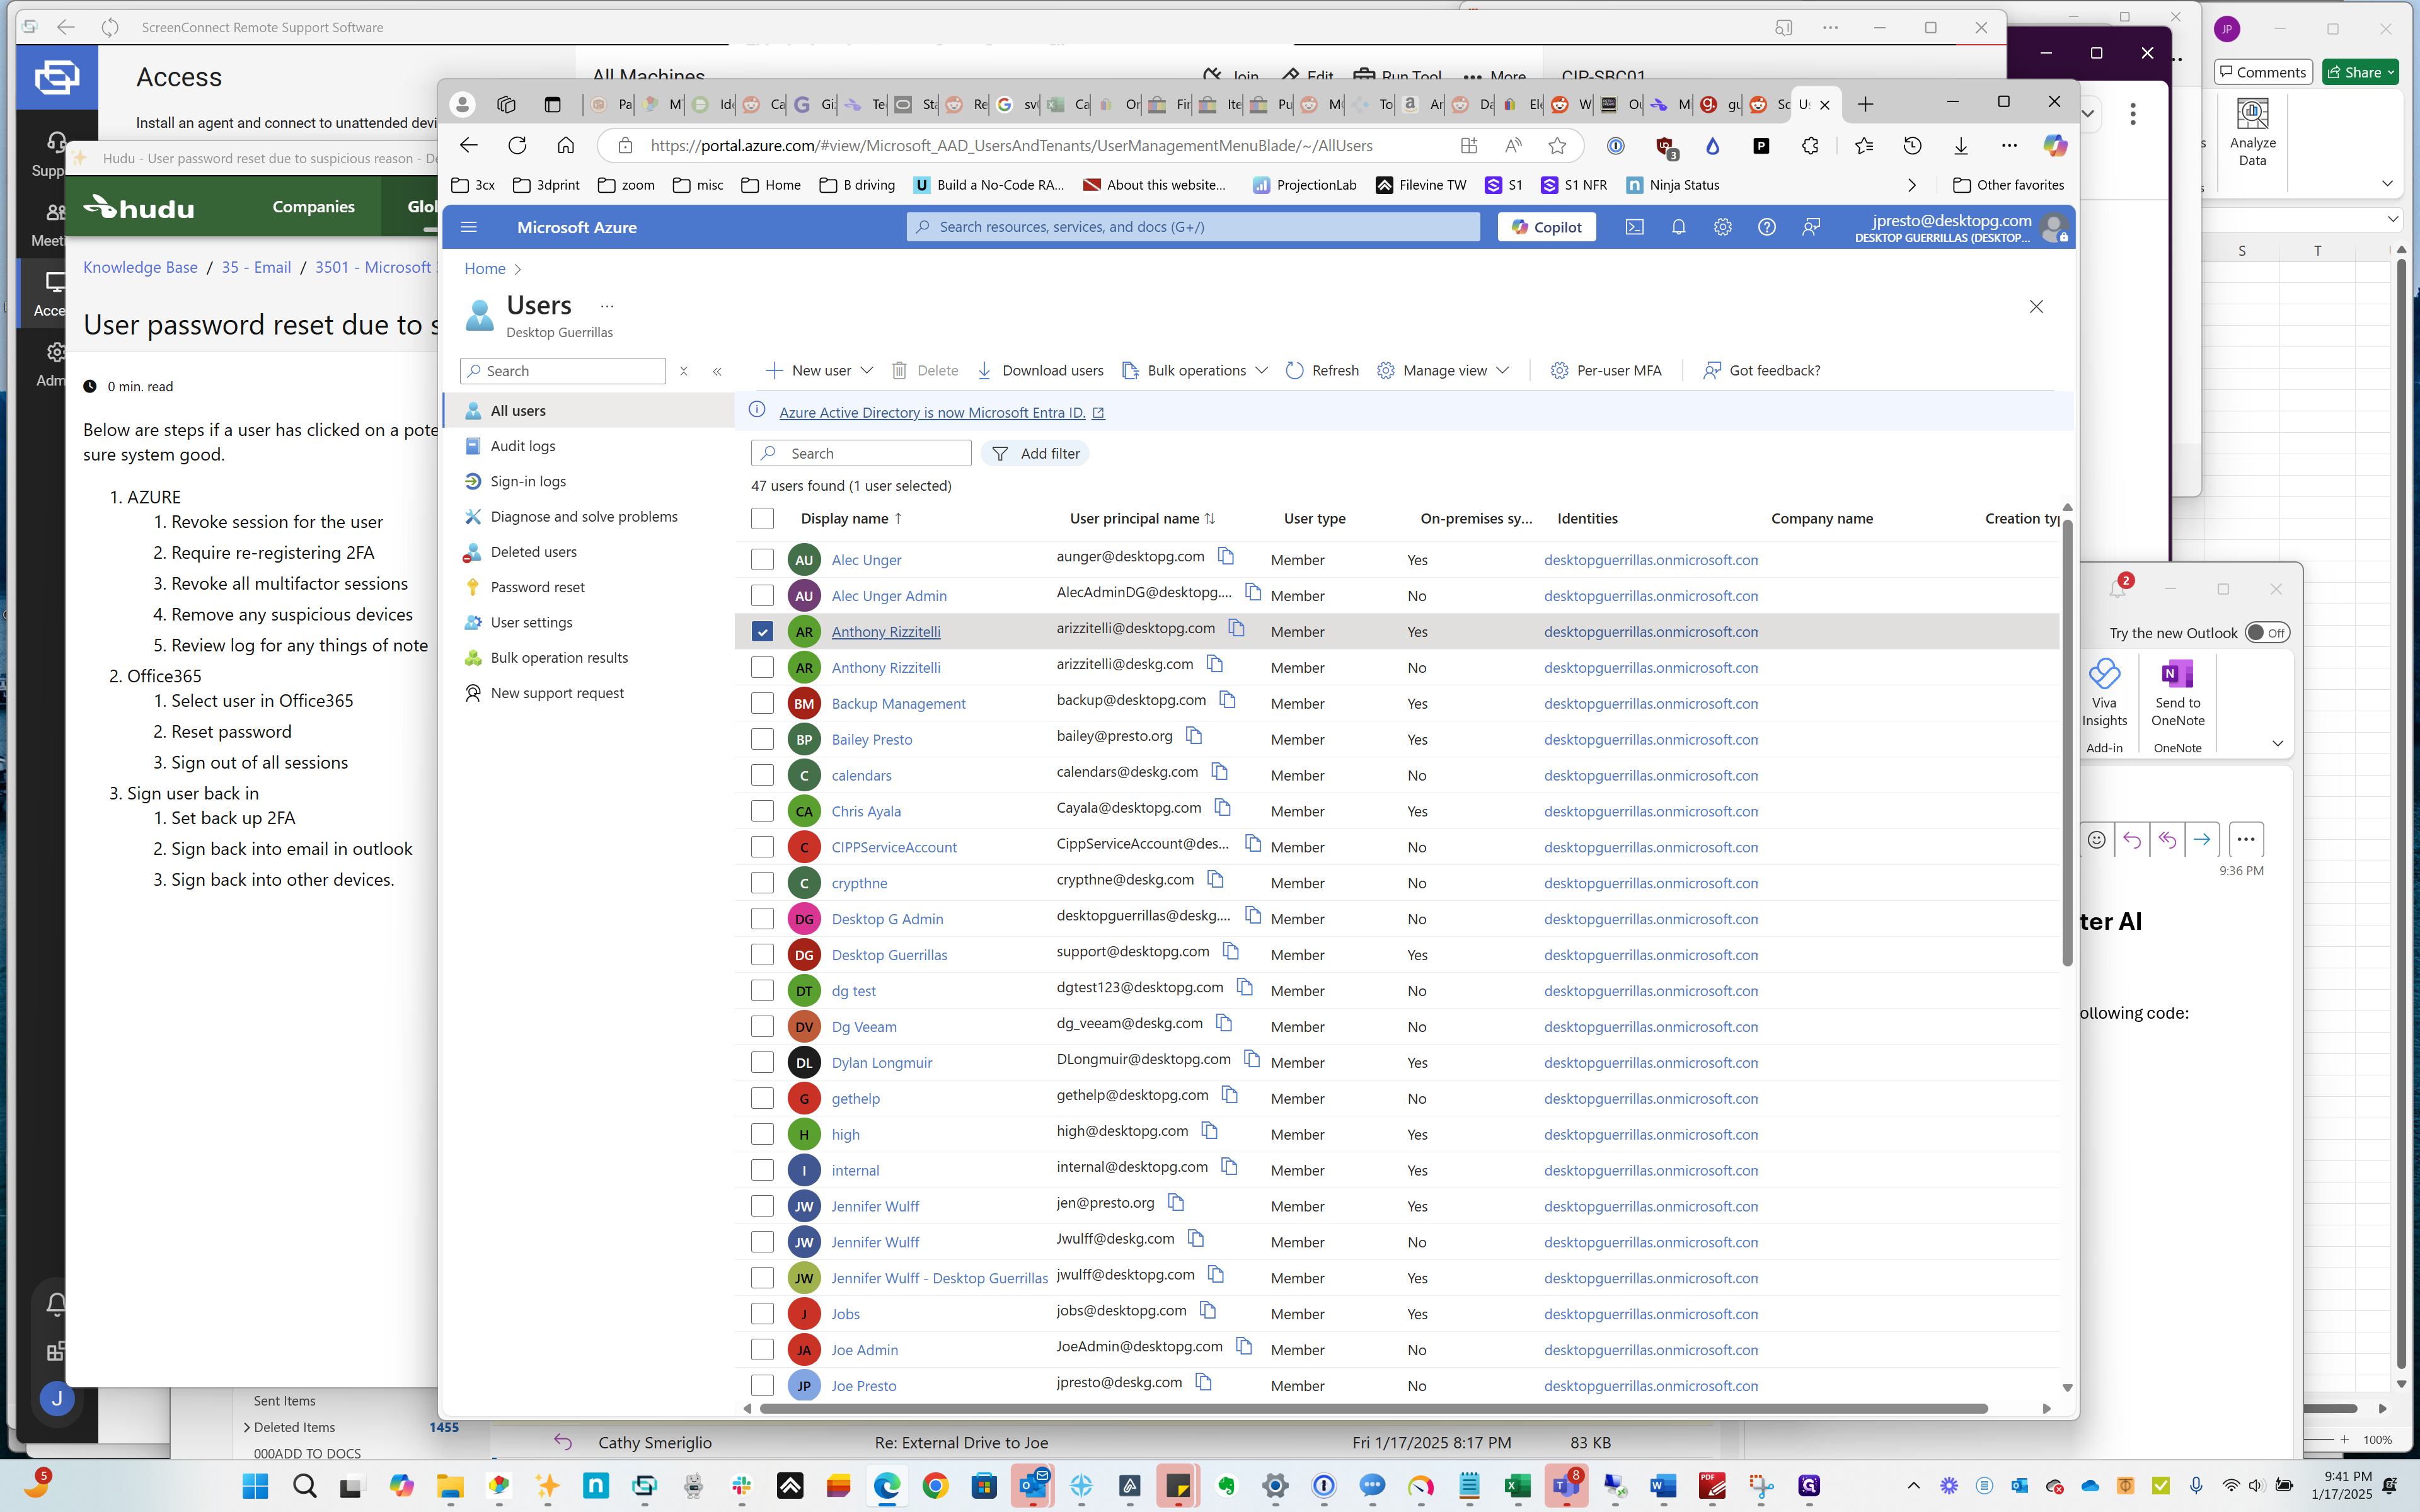
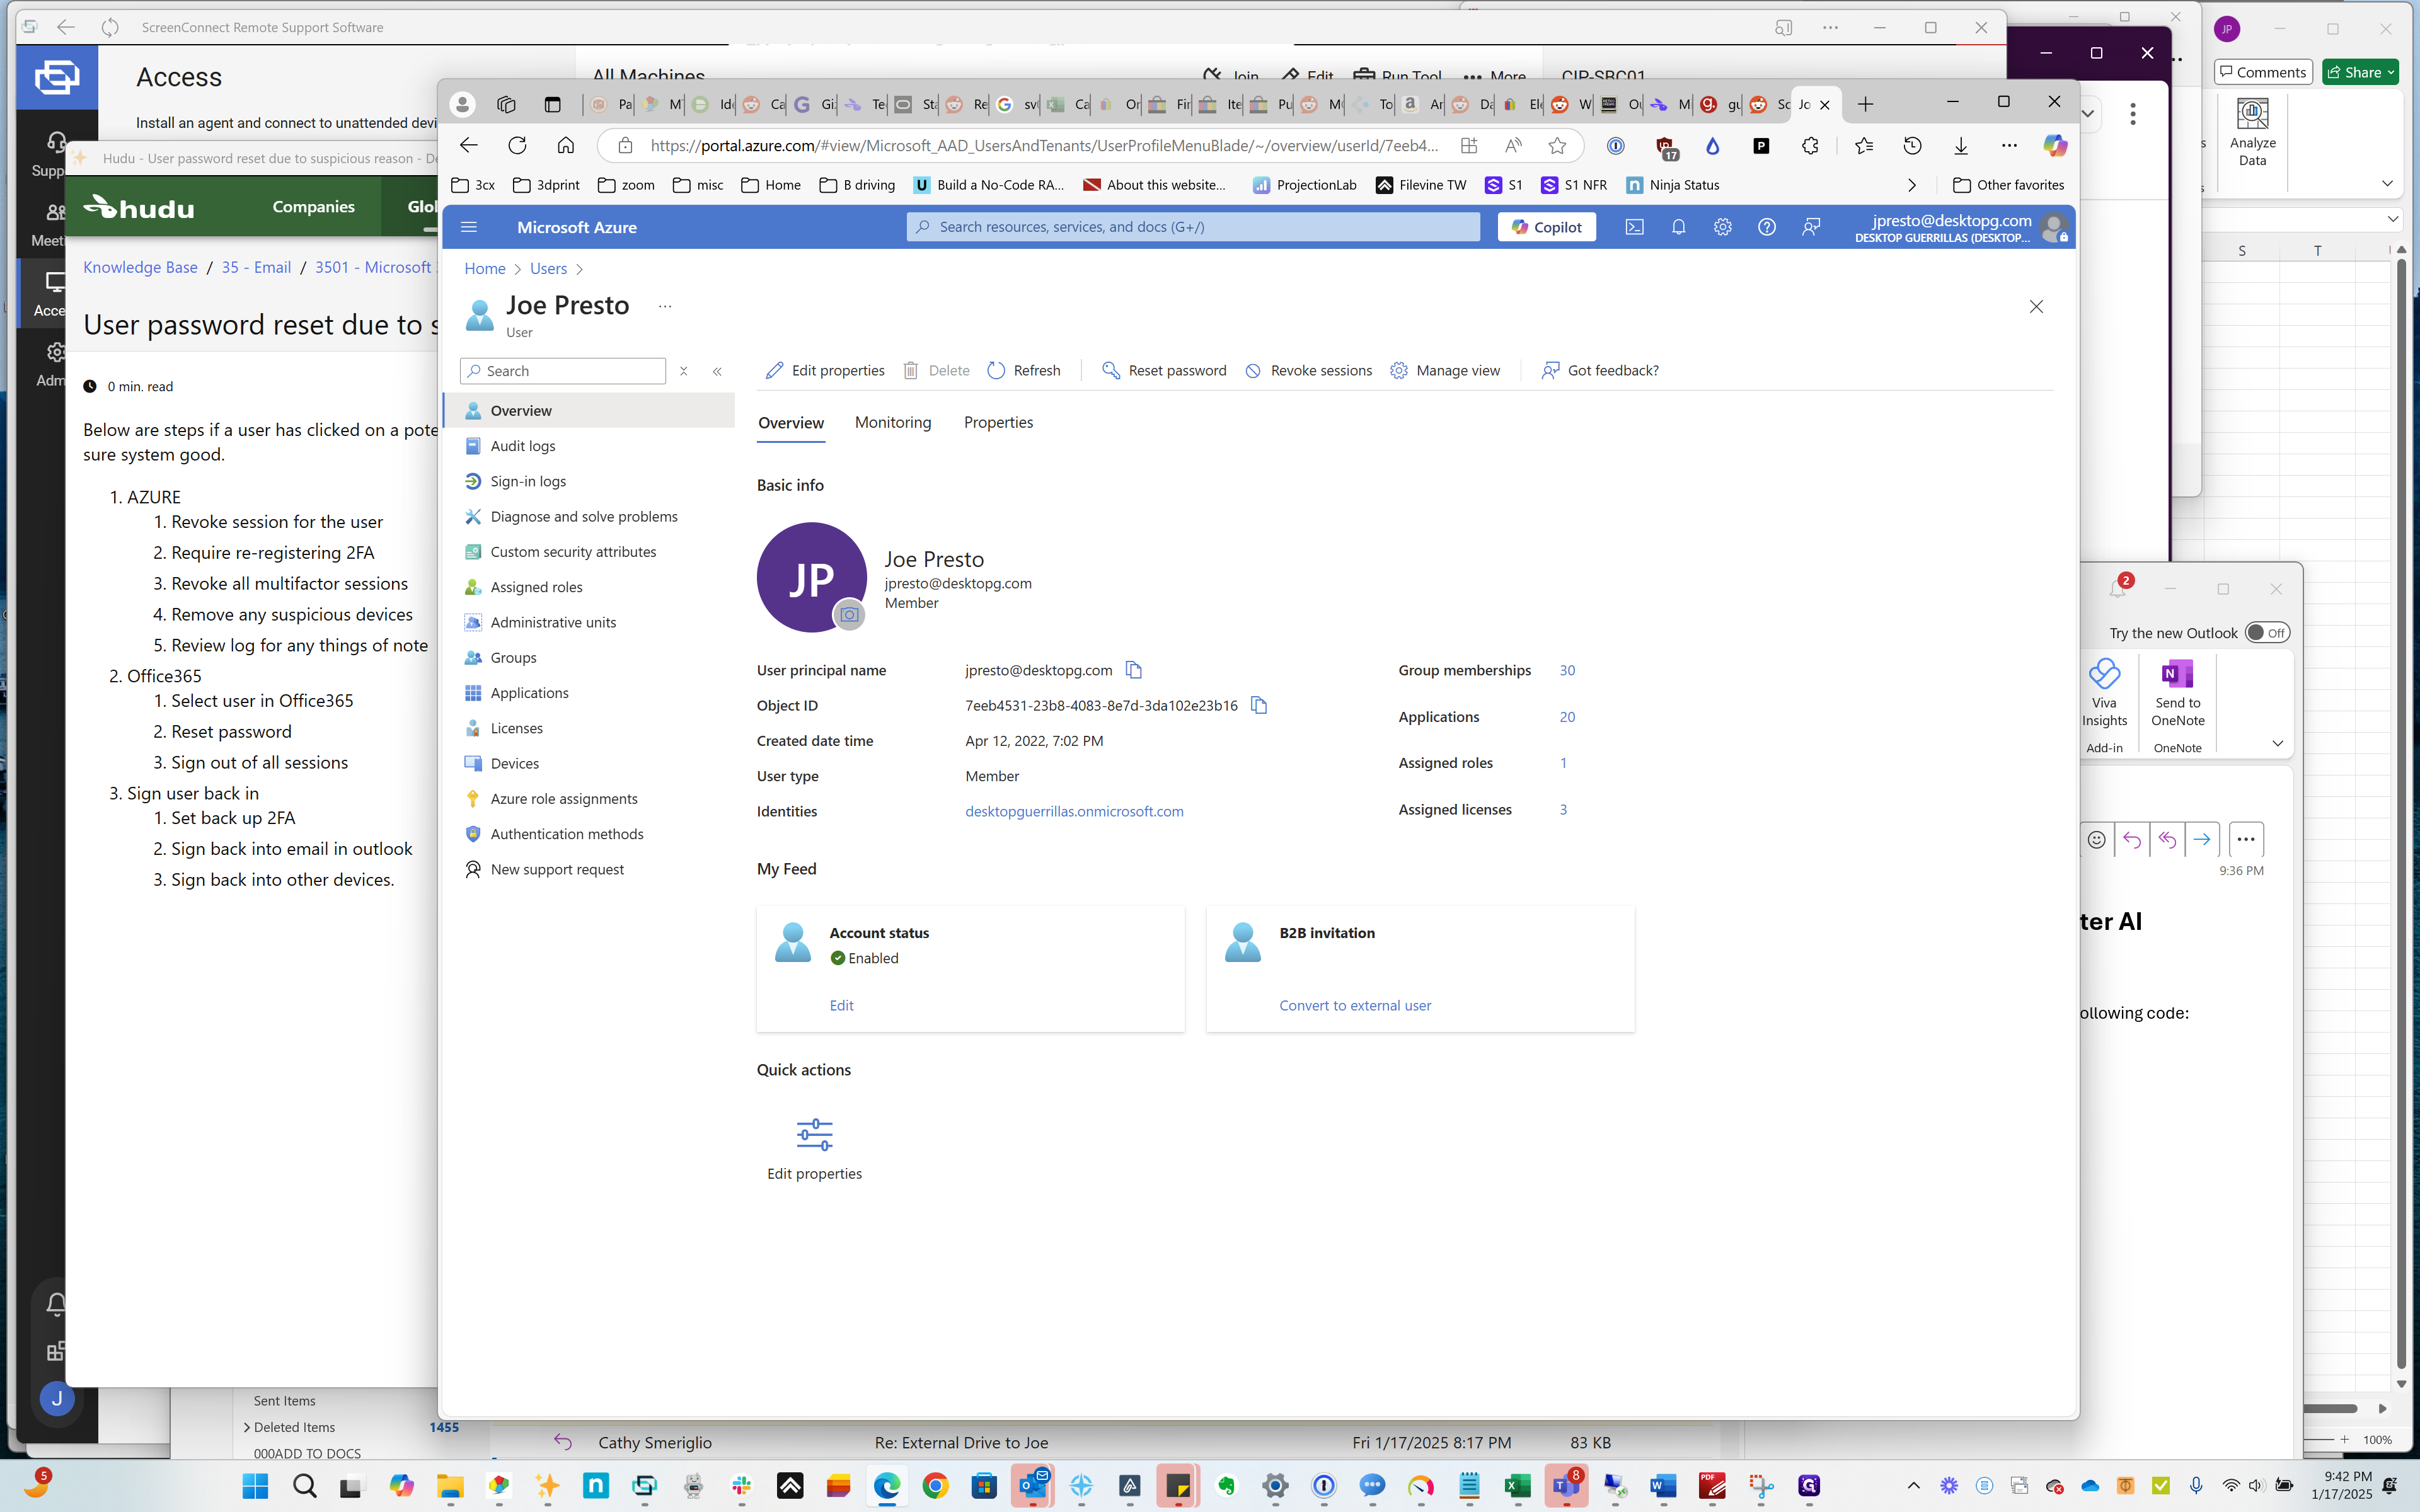
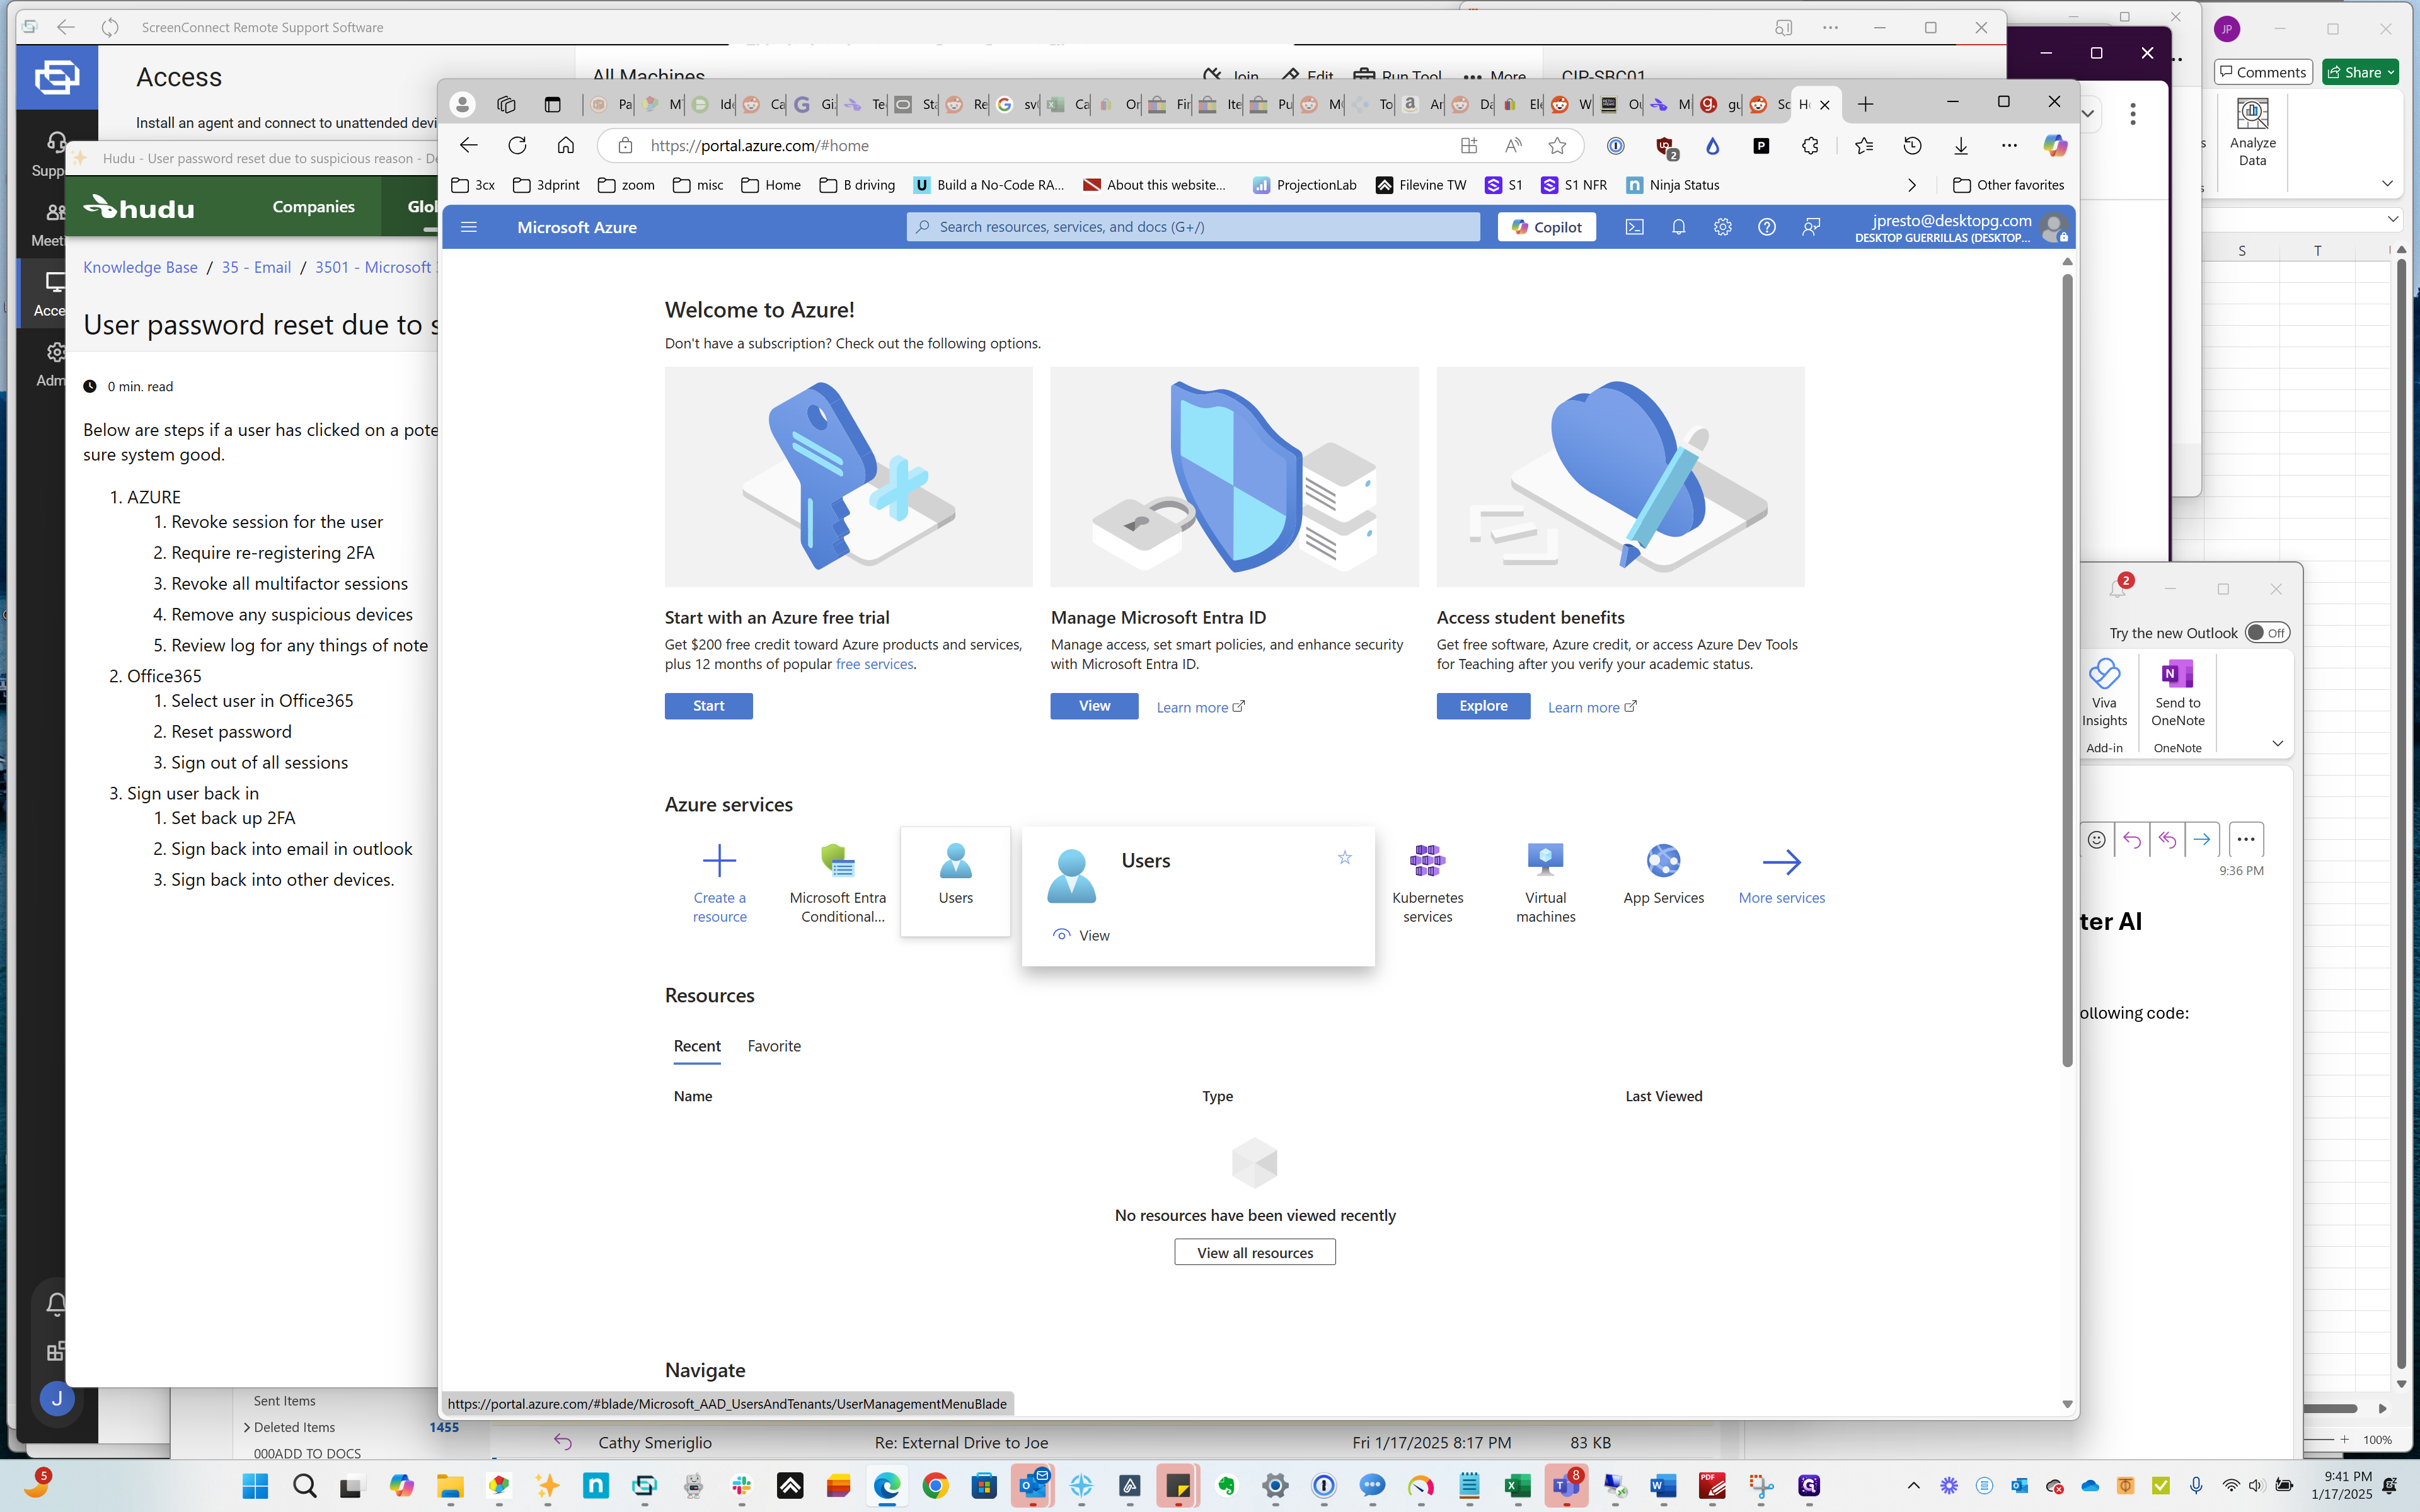
Go to azure.com and log in. Then, reset and revoke the session for the user.
4
Click here
Step #4: Click here

I am unsure where to go.

5
Click on "Anthony Rizzitelli"
Step #5: Click on "Anthony Rizzitelli"
6
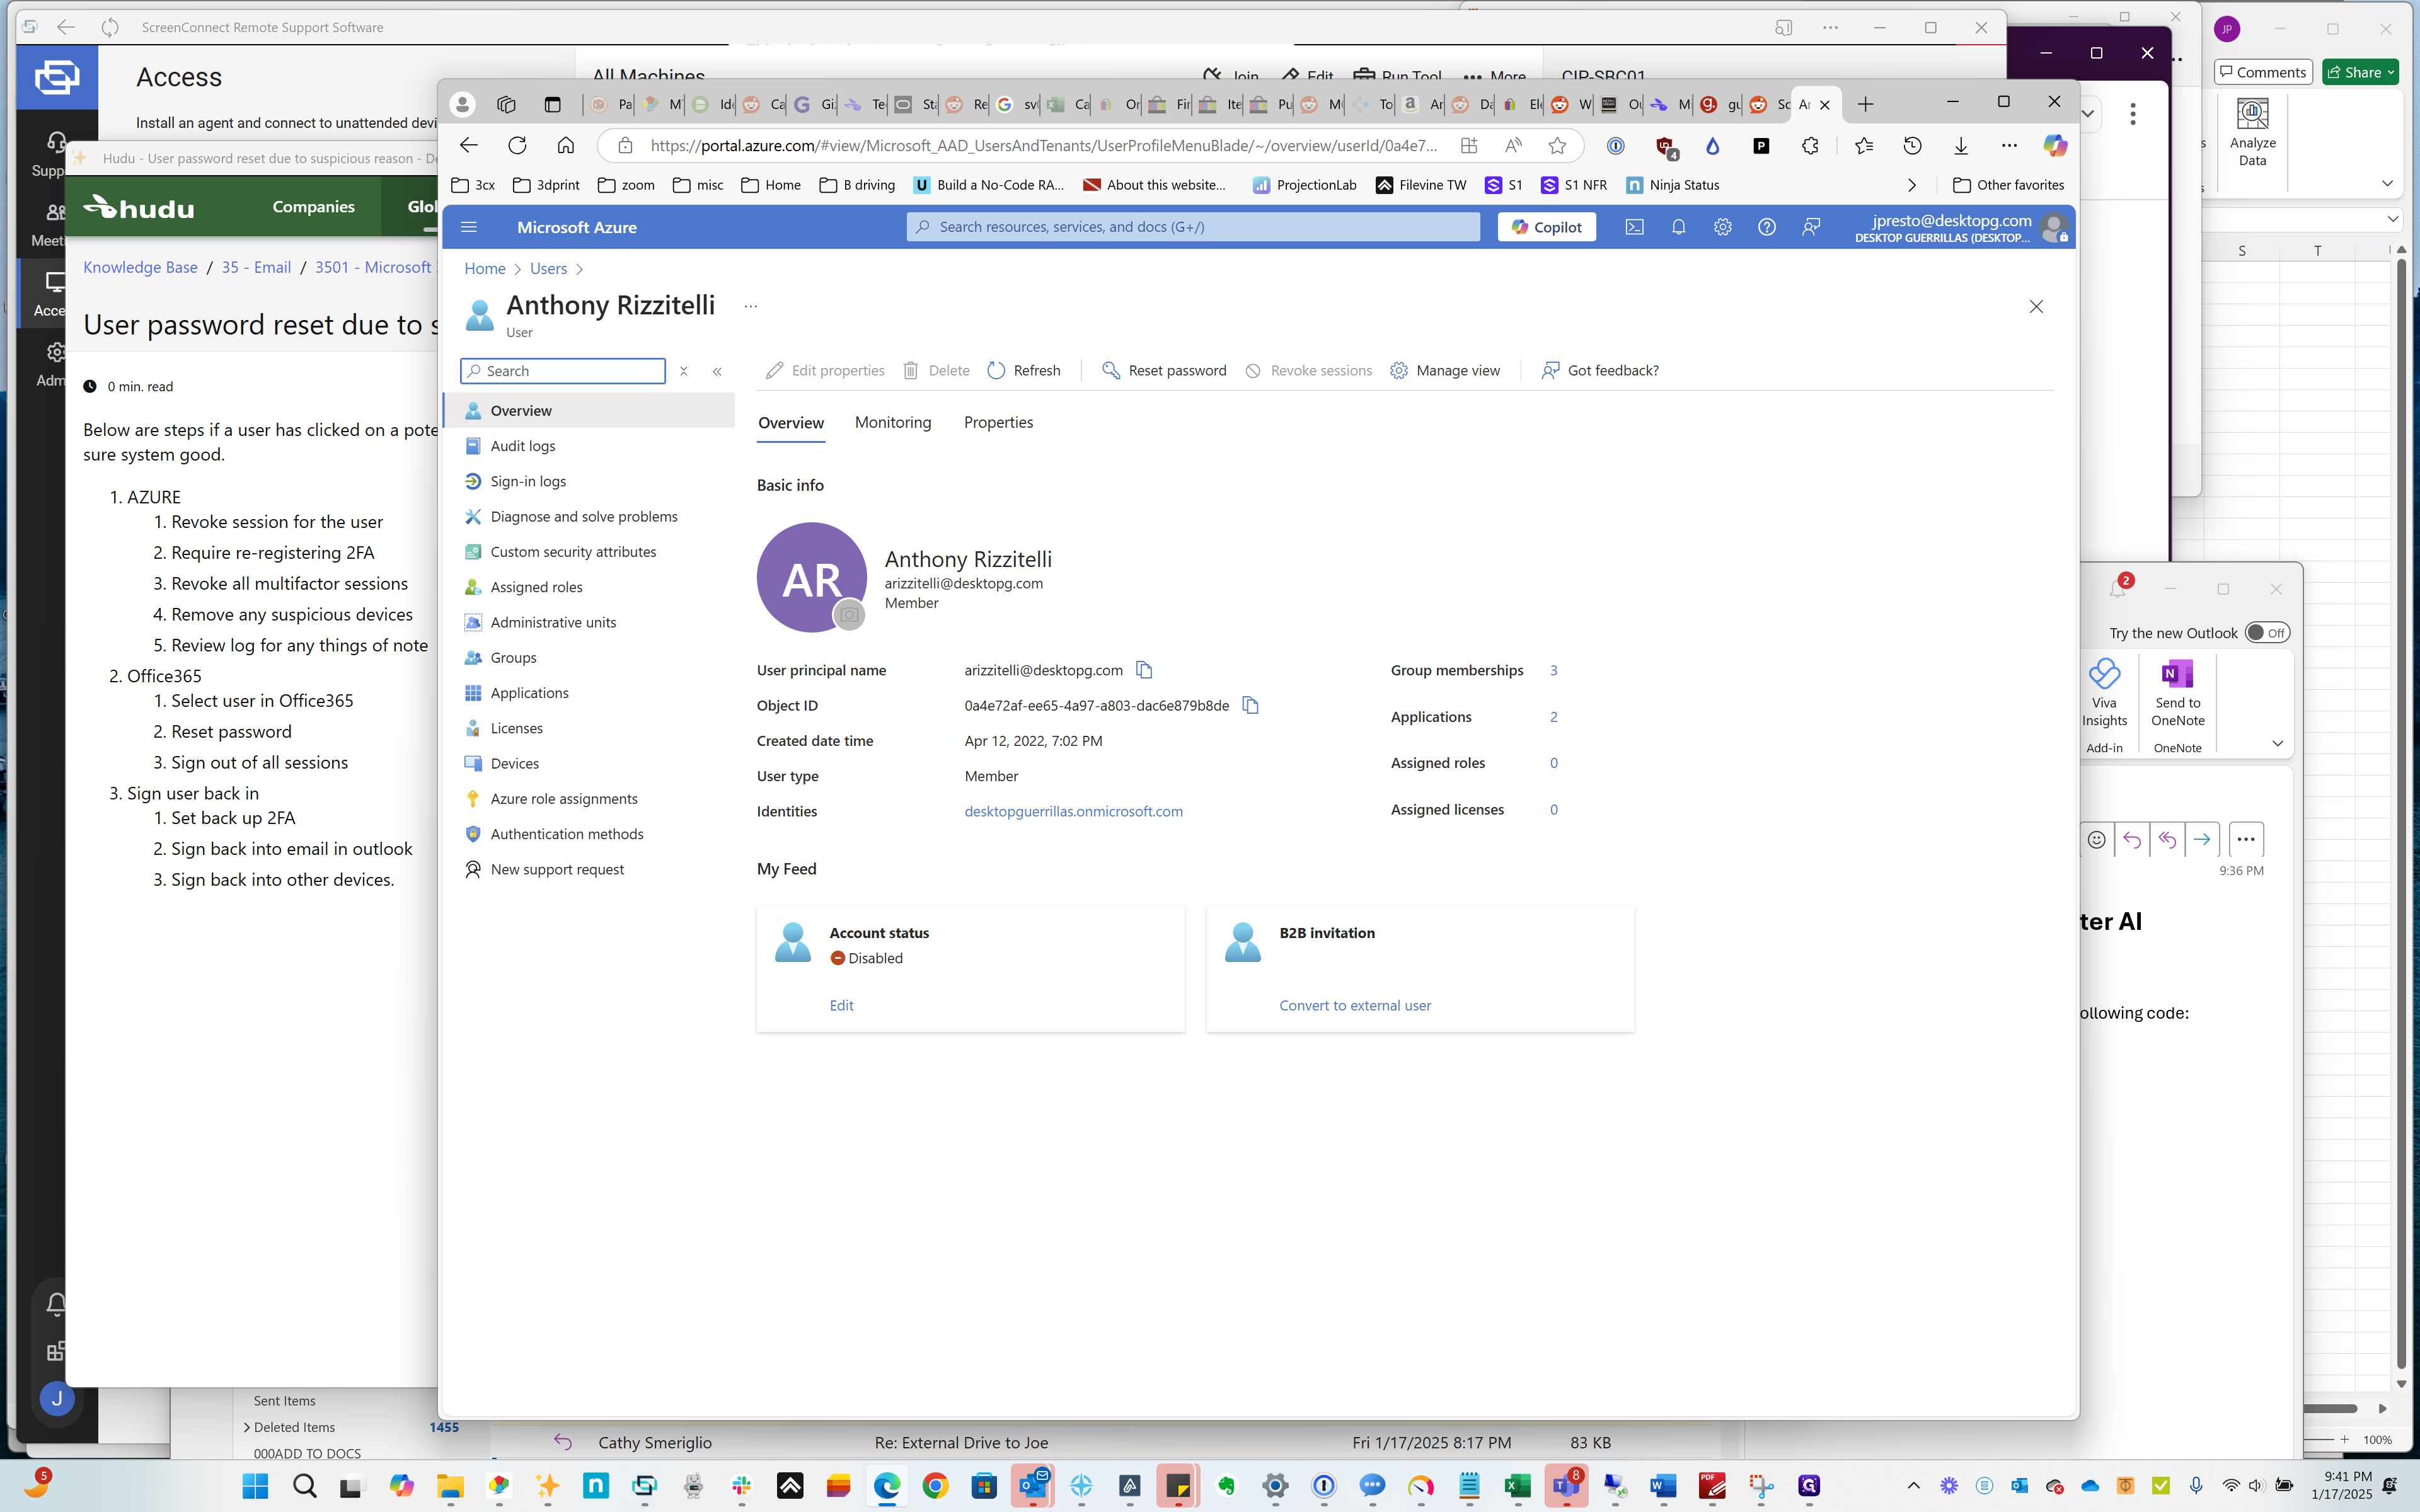
Click on "Revoke sessions"
Step #6: Click on "Revoke sessions"

I think it's up there.

7
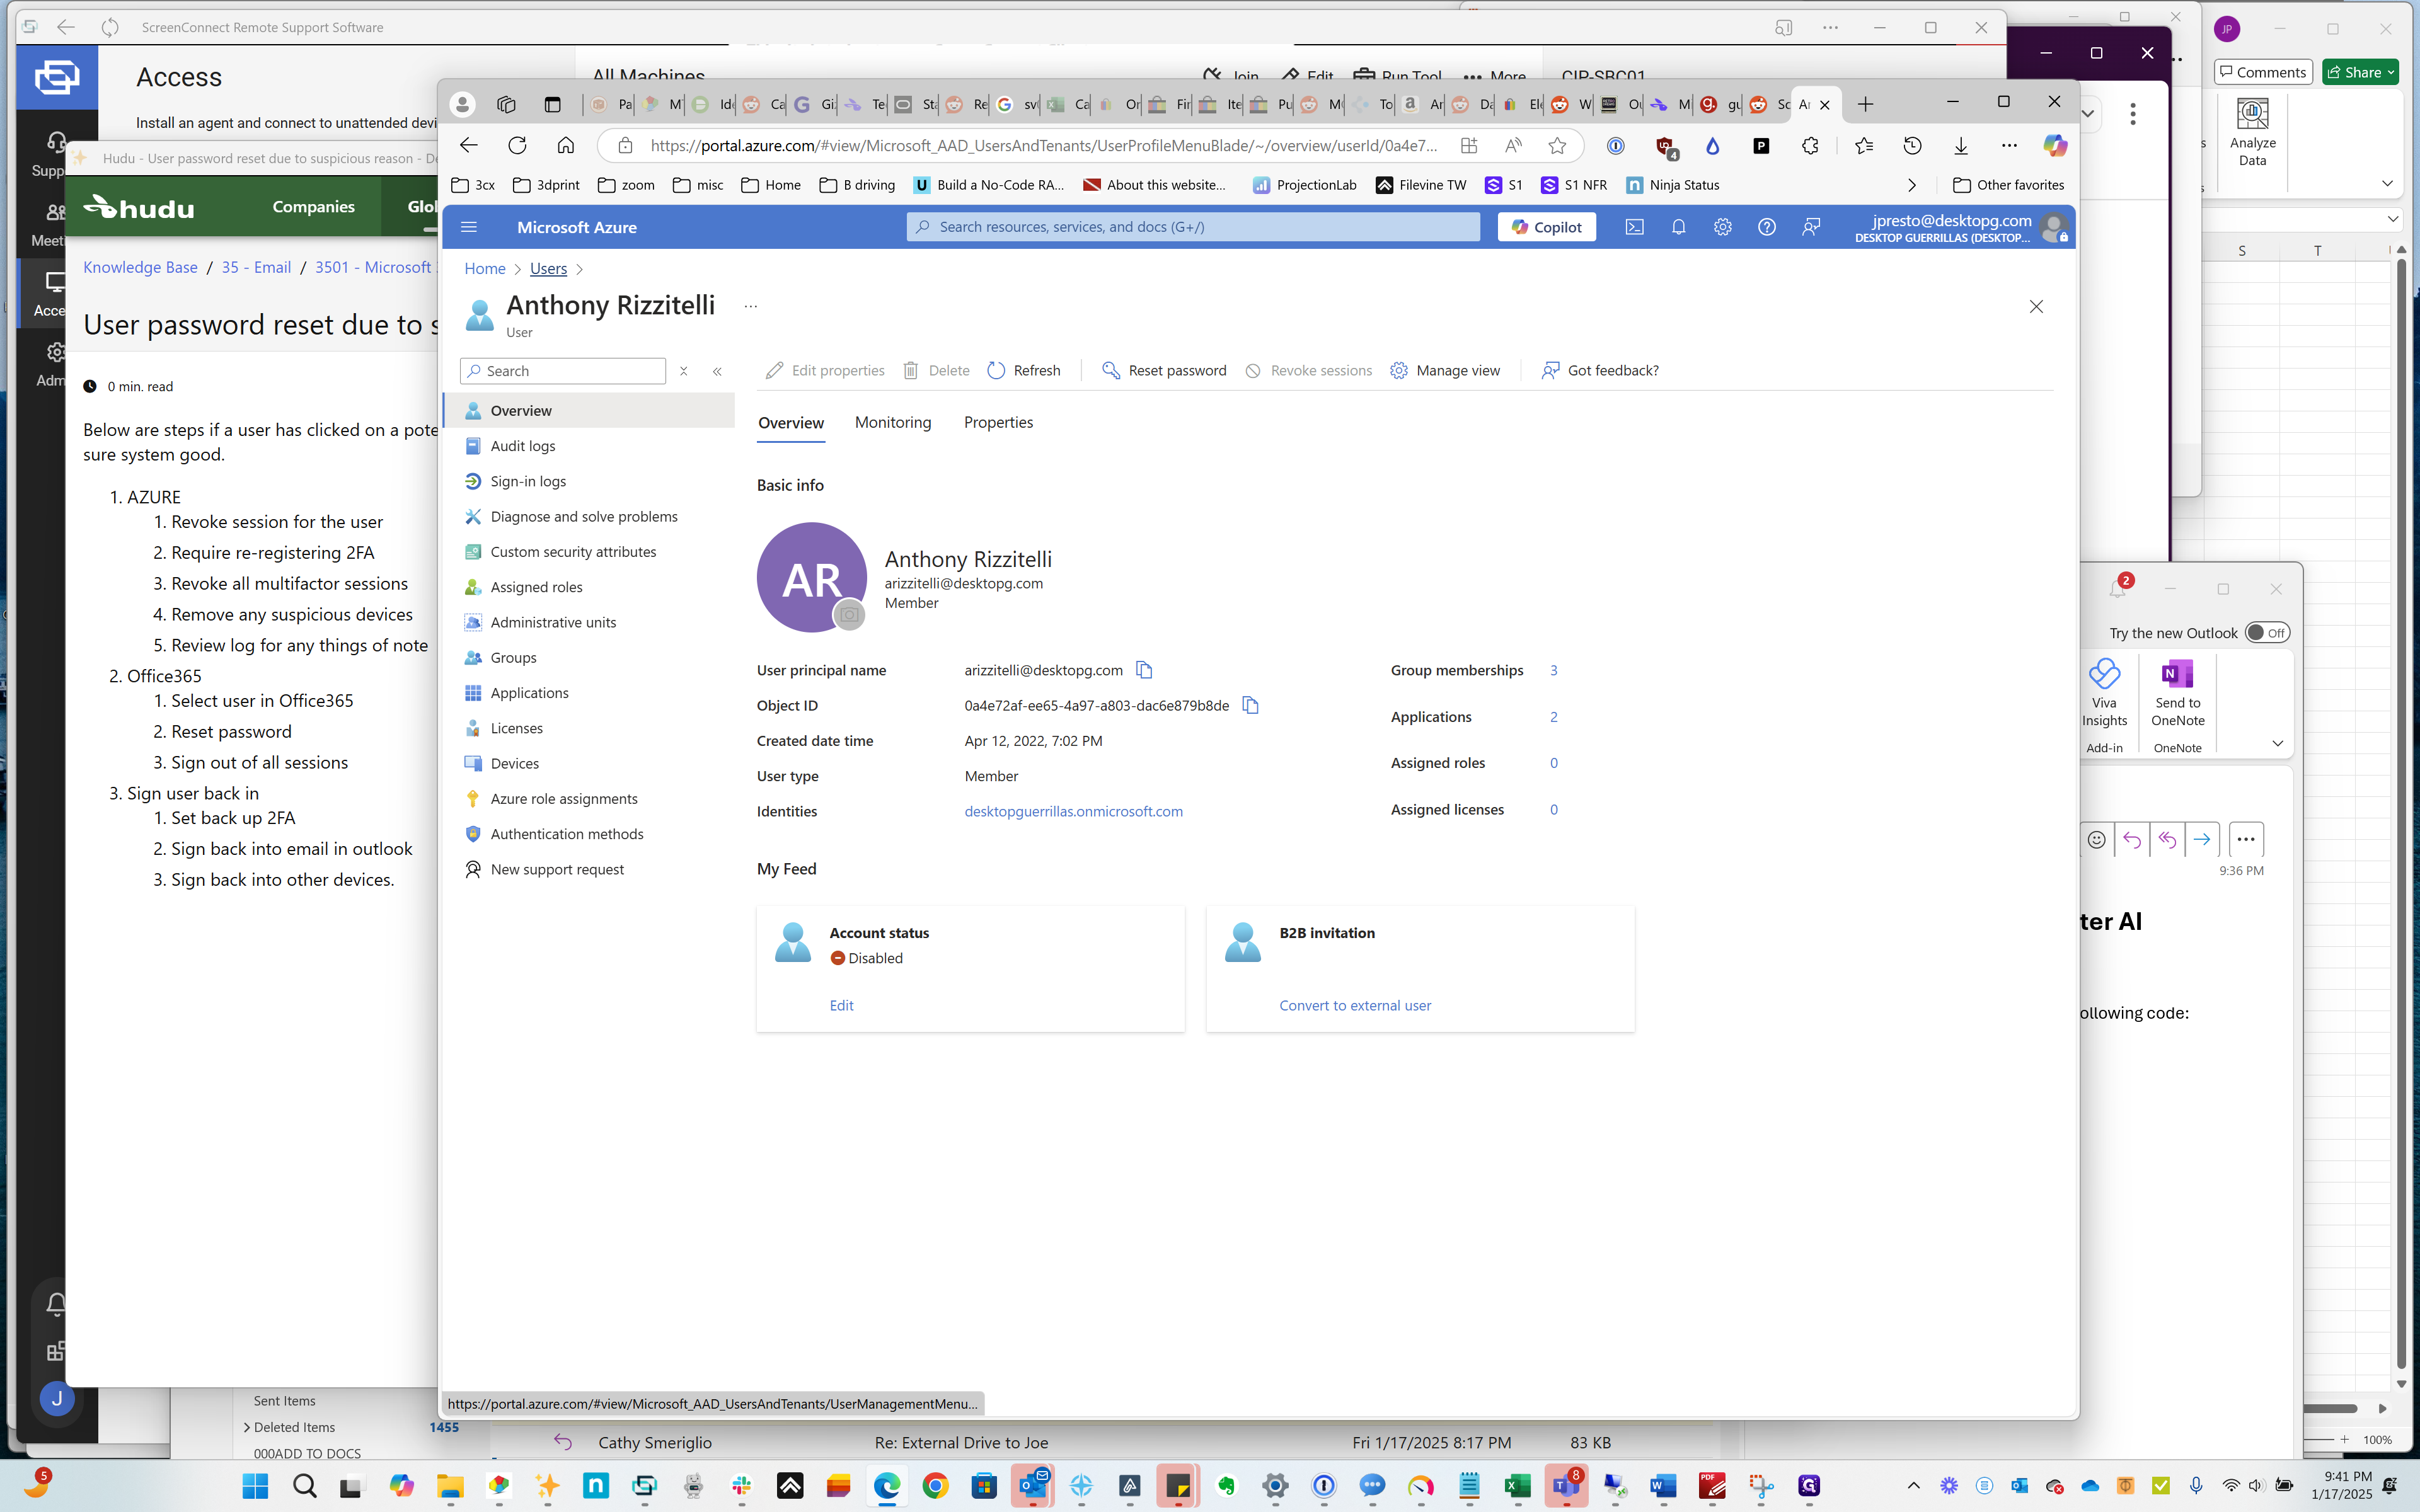
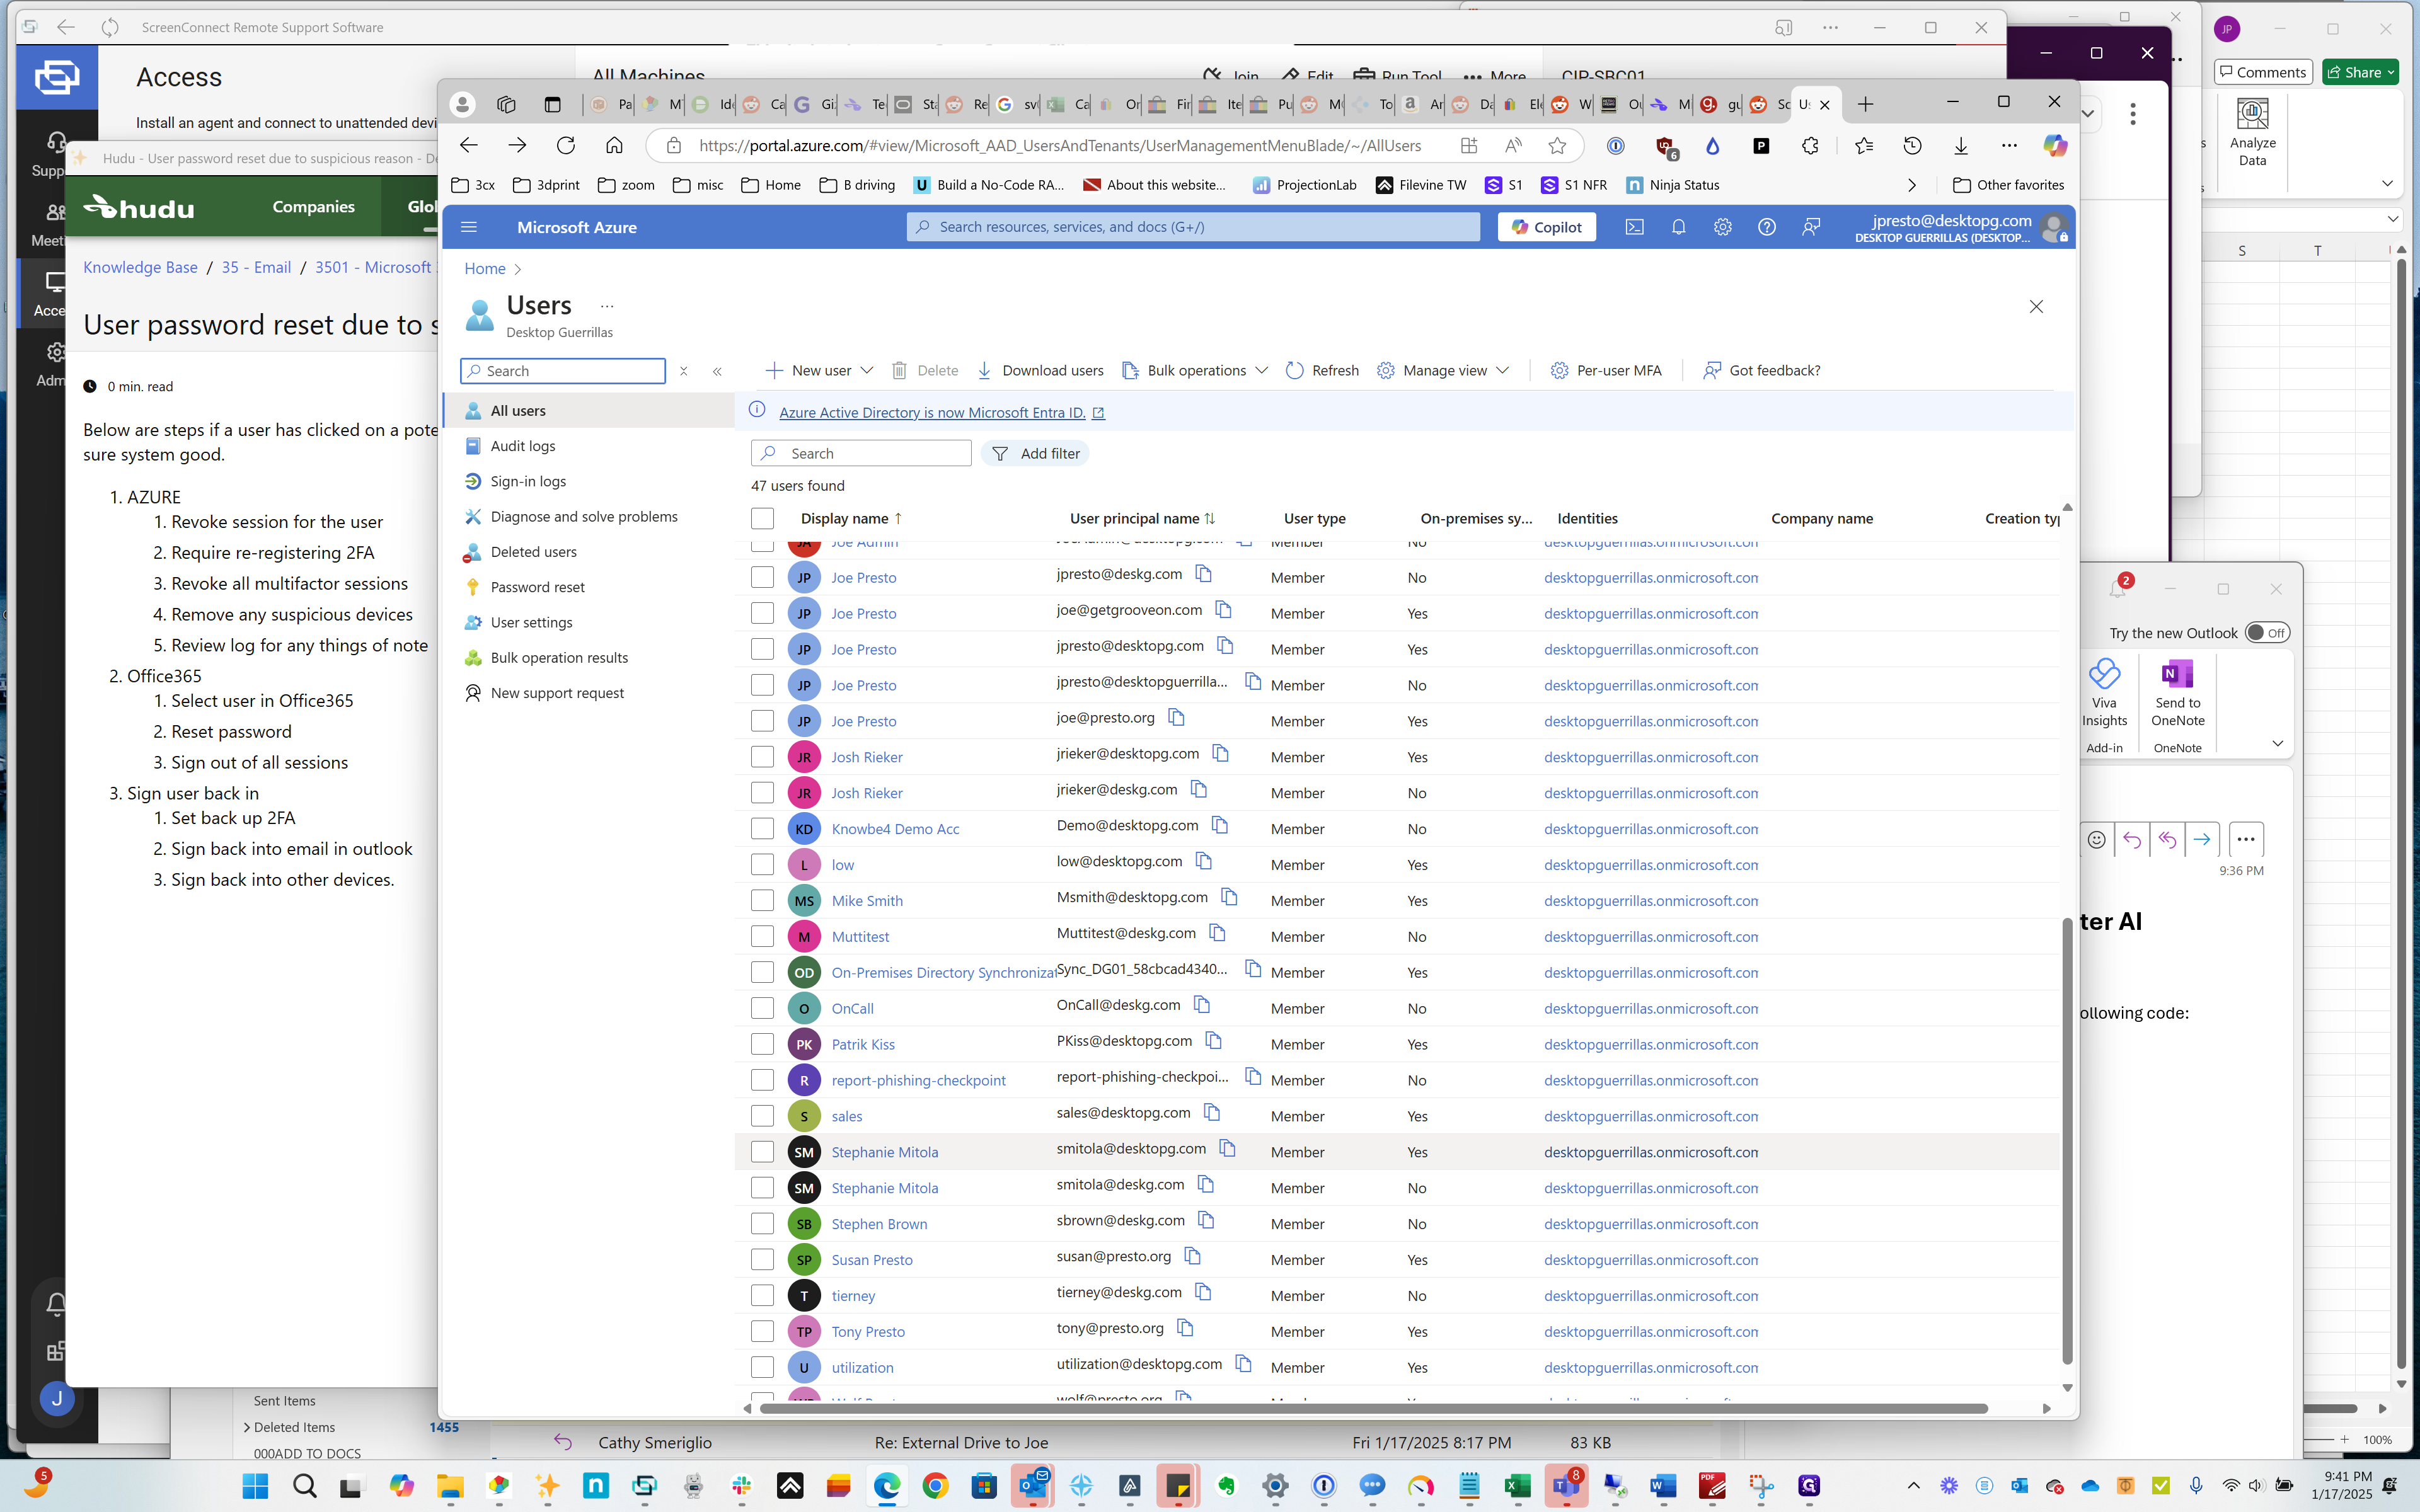
Click on "Users >"
Step #7: Click on "Users >"

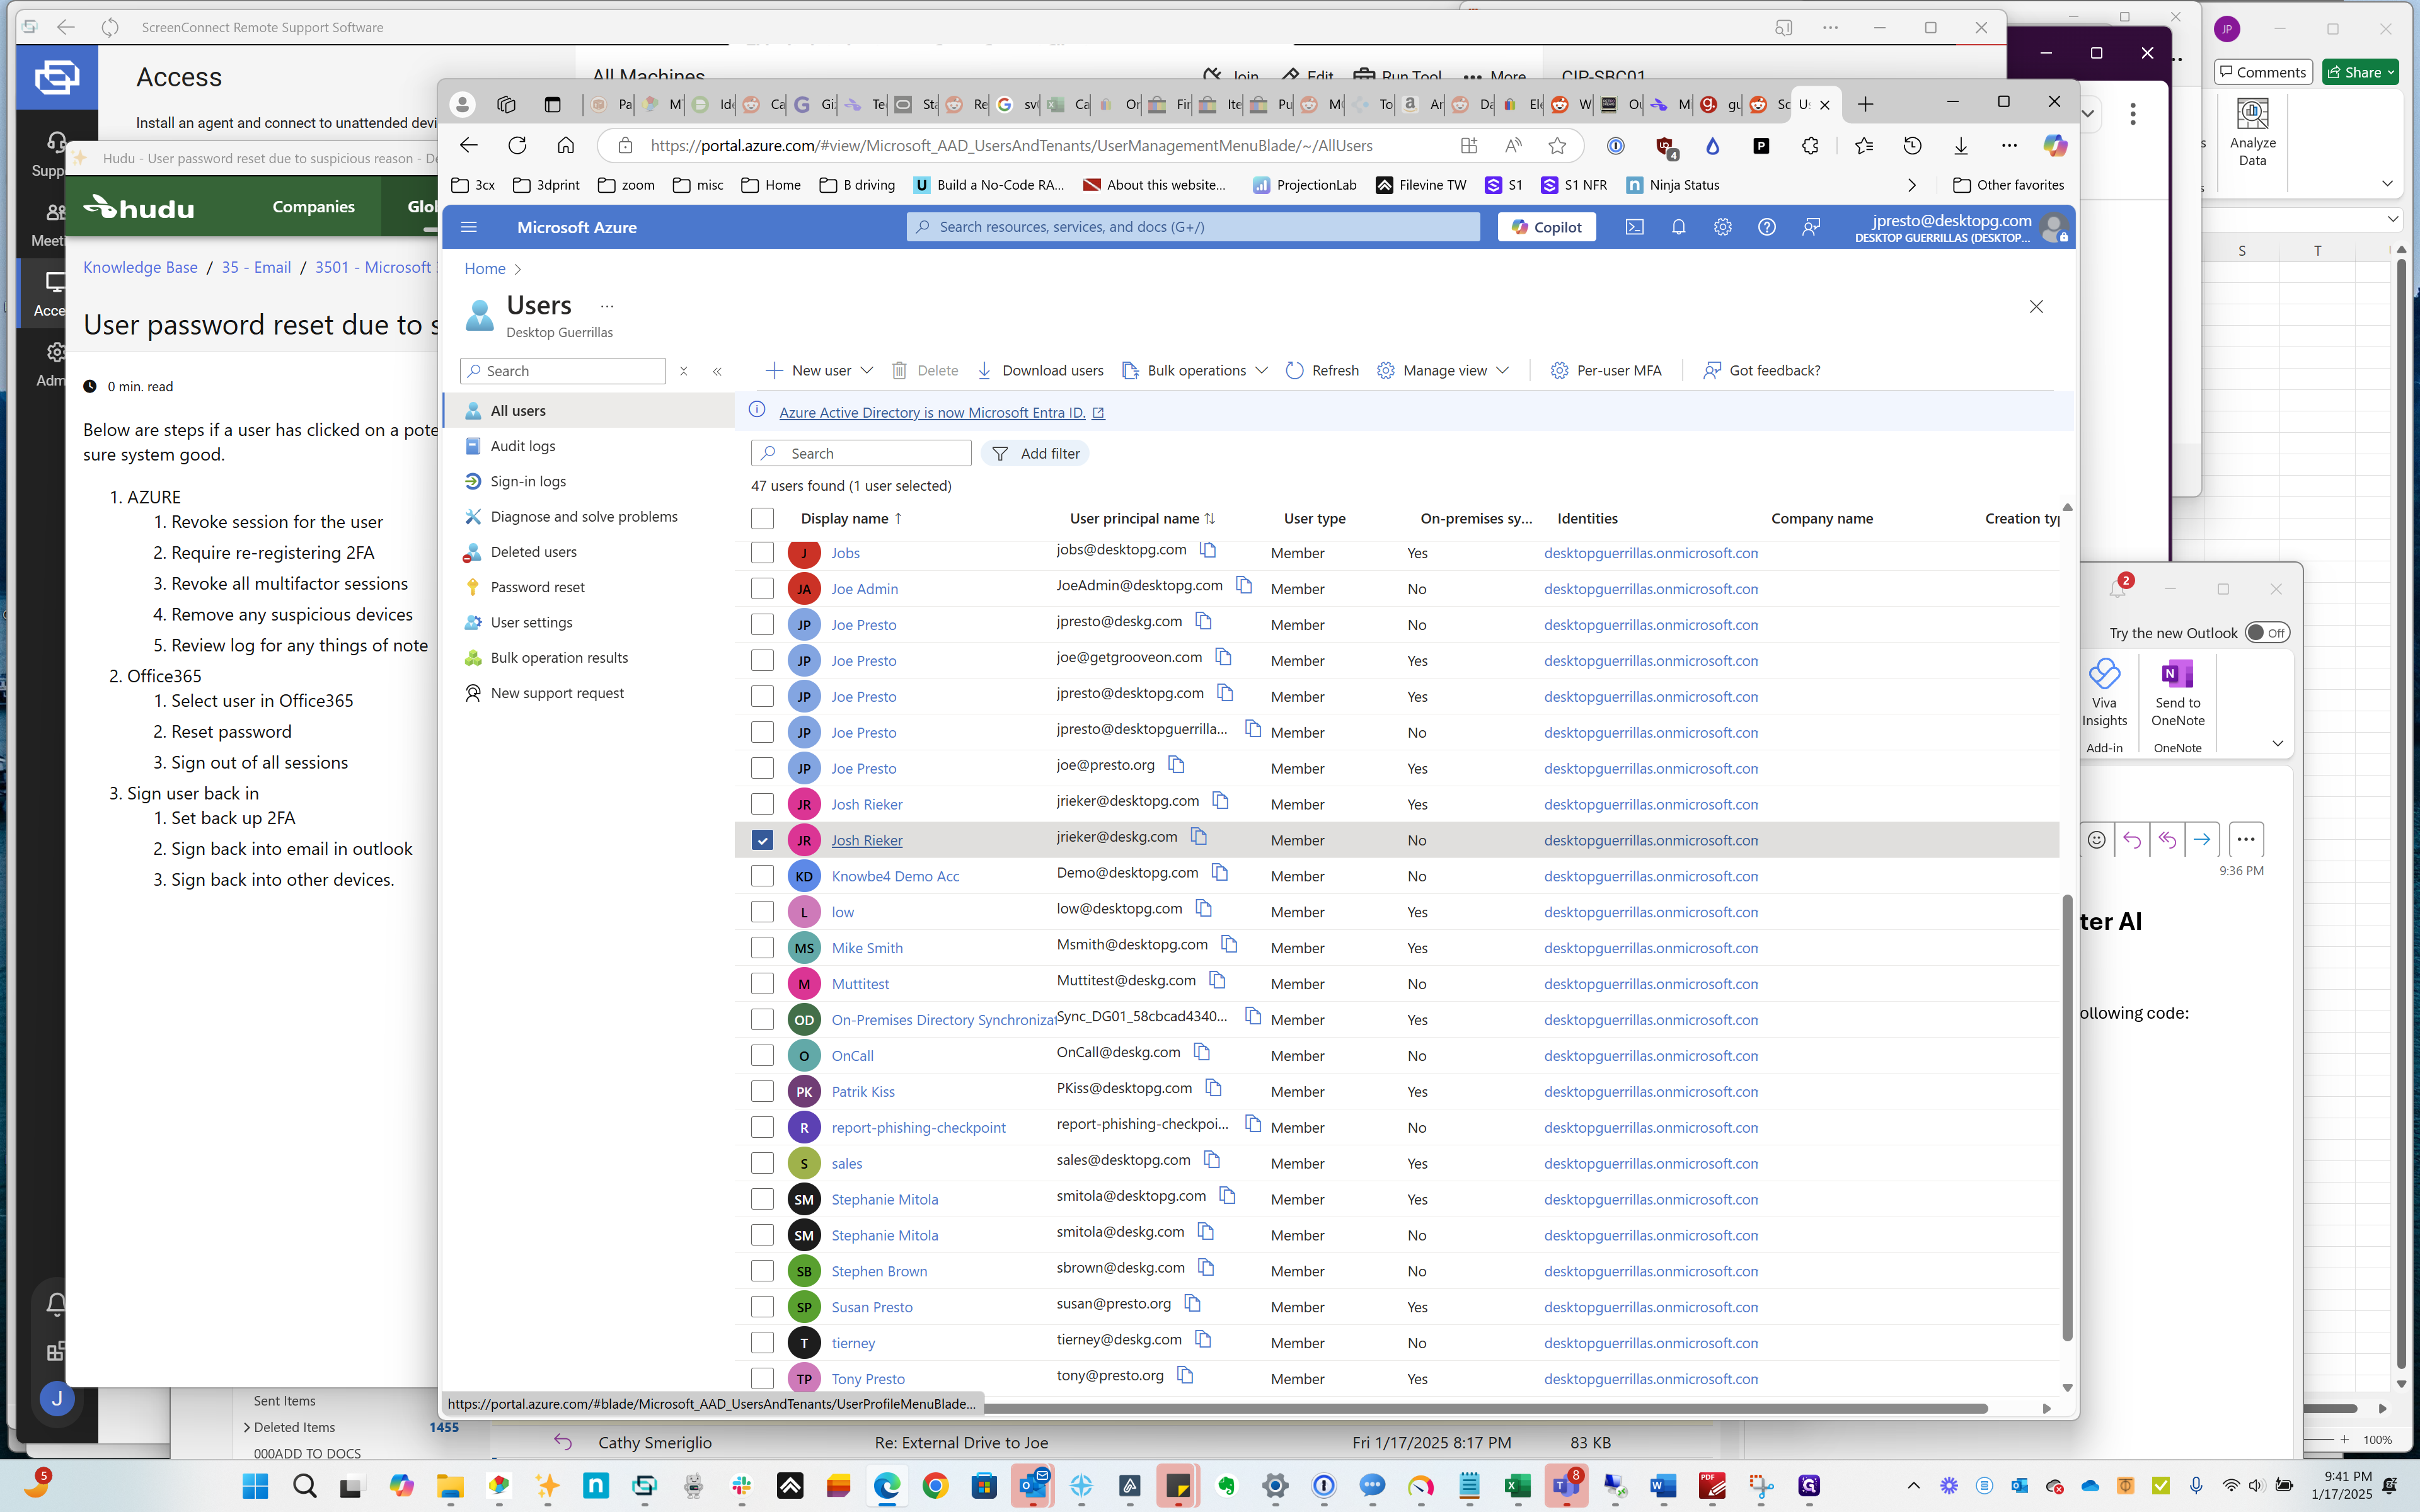
Let's try someone else. Yes, it's disabled.
8
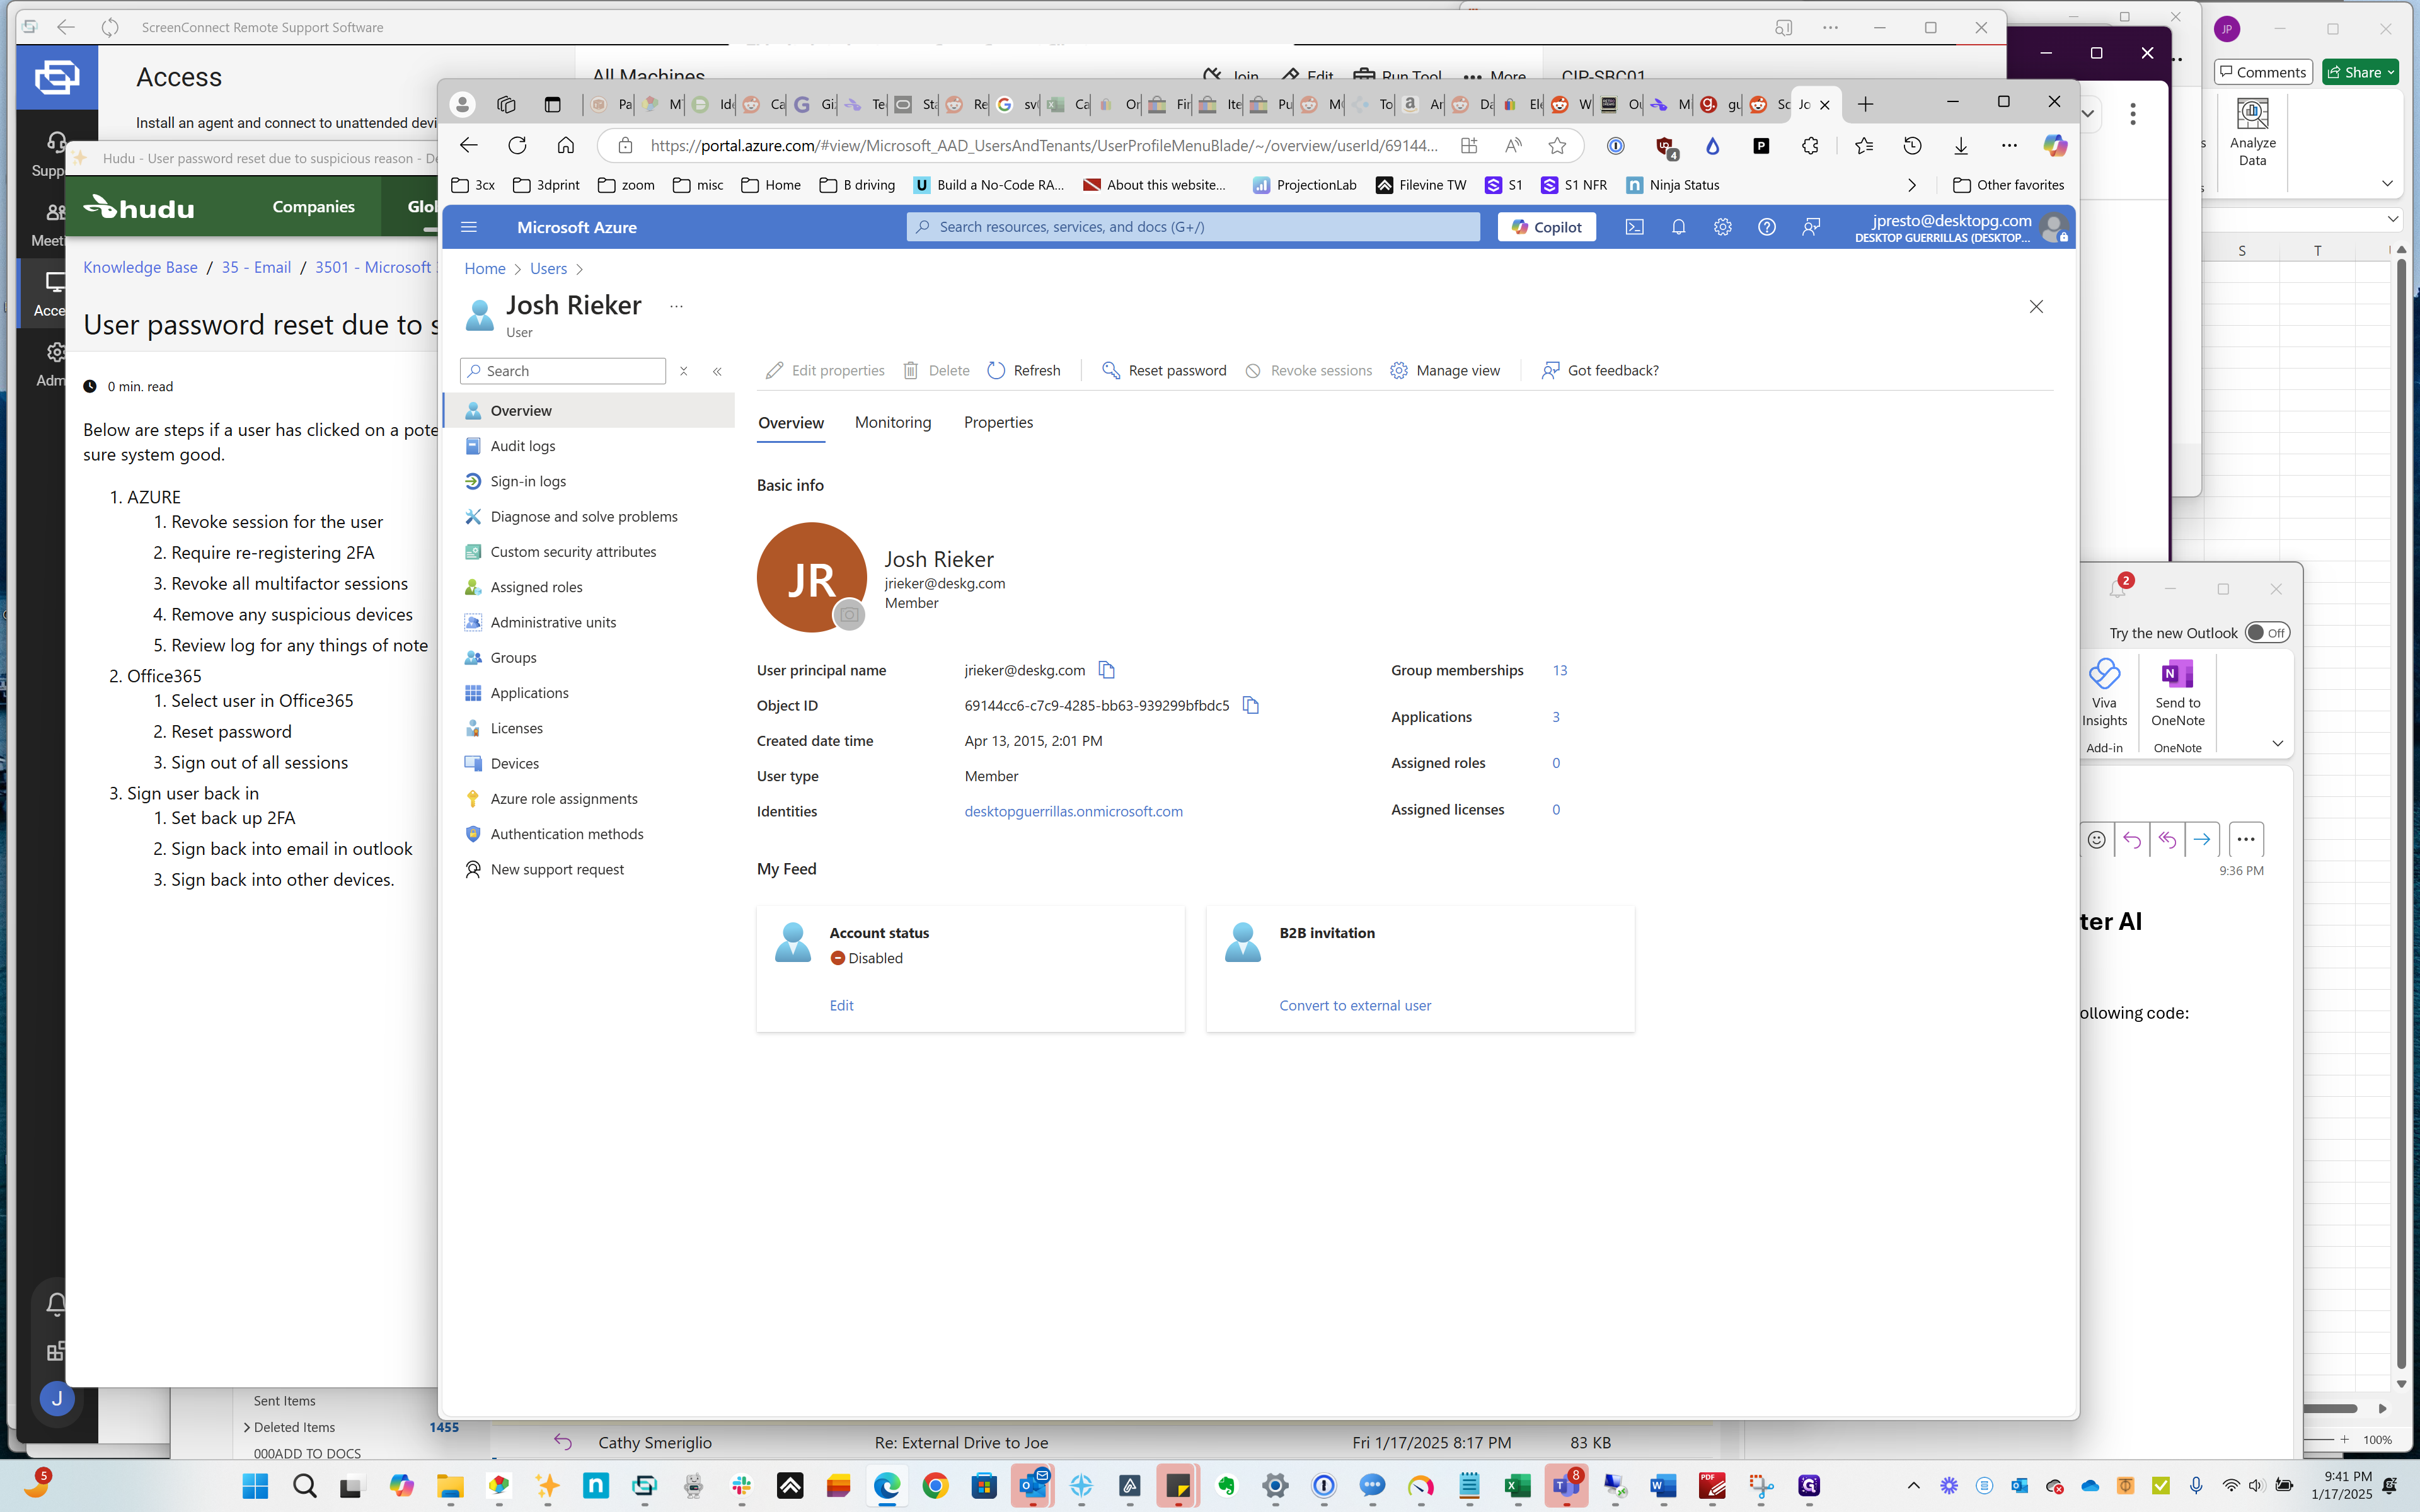
Click on "Josh Rieker"
Step #8: Click on "Josh Rieker"
9
Click on "Revoke sessions"
Step #9: Click on "Revoke sessions"

Yes, it's disabled.

10
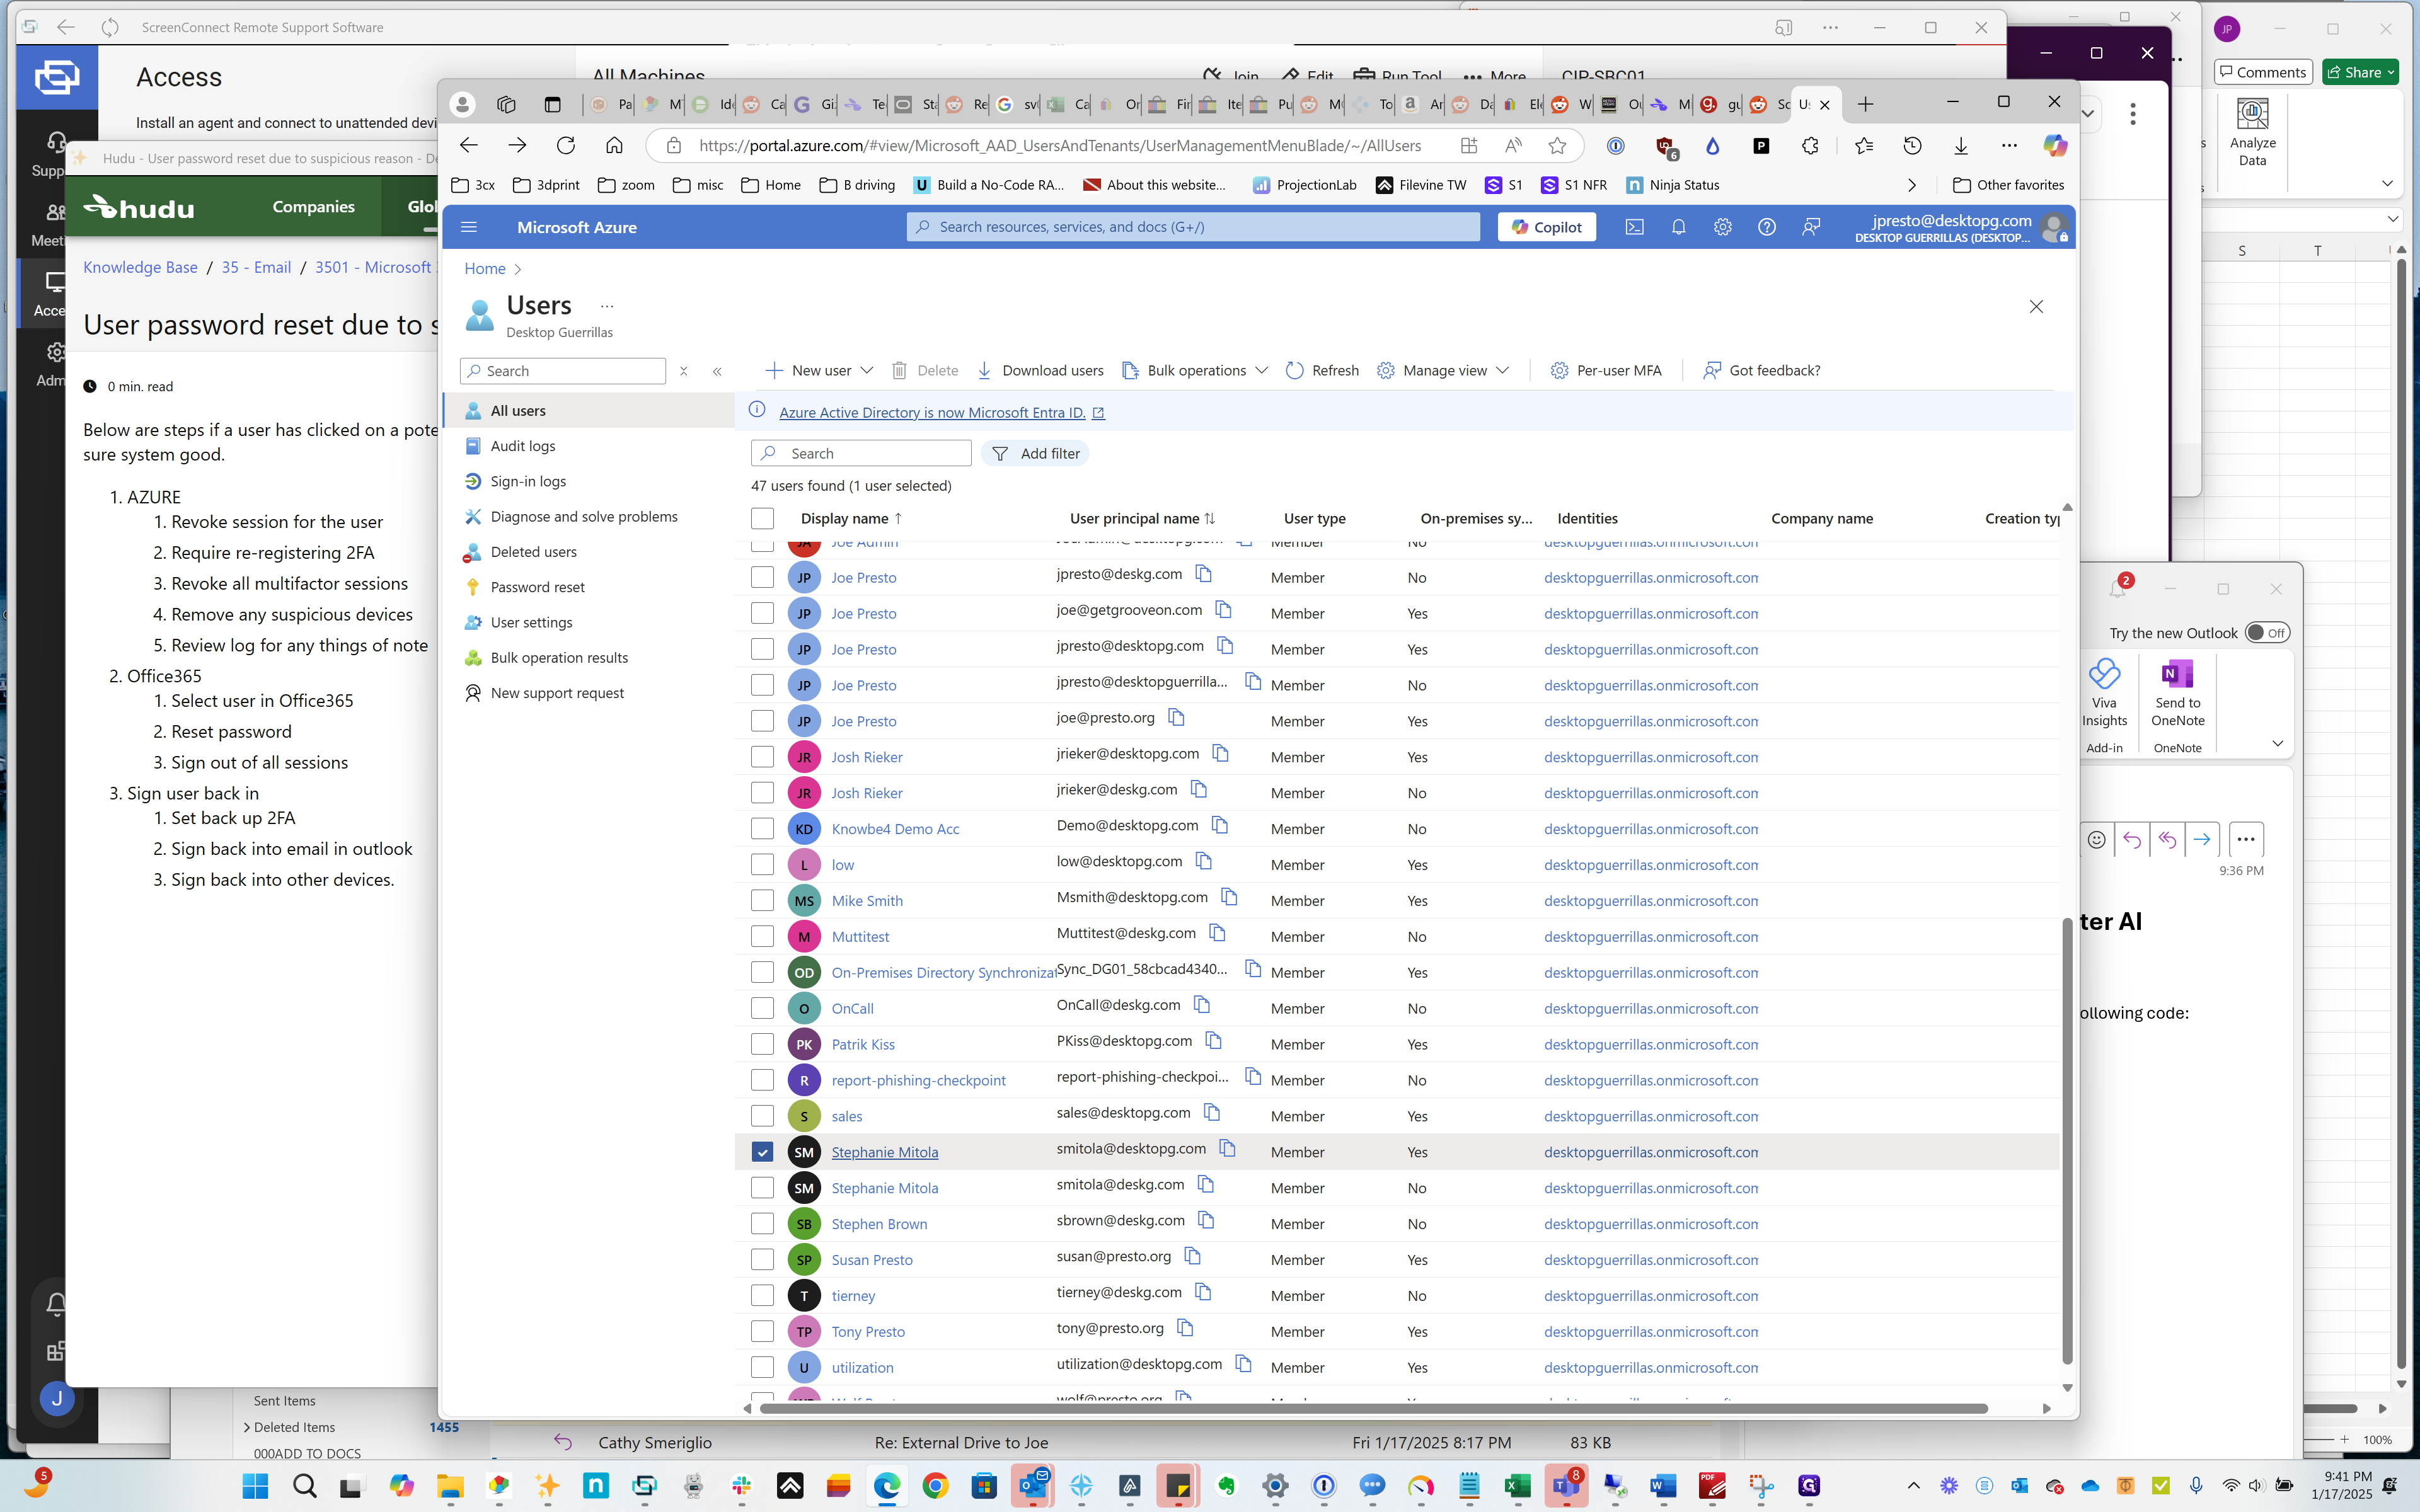
Click on "Stephanie Mitola"
Step #10: Click on "Stephanie Mitola"
11
Click on "Stephanie Mitola"
Step #11: Click on "Stephanie Mitola"

It's possible. Oh, my God.

12
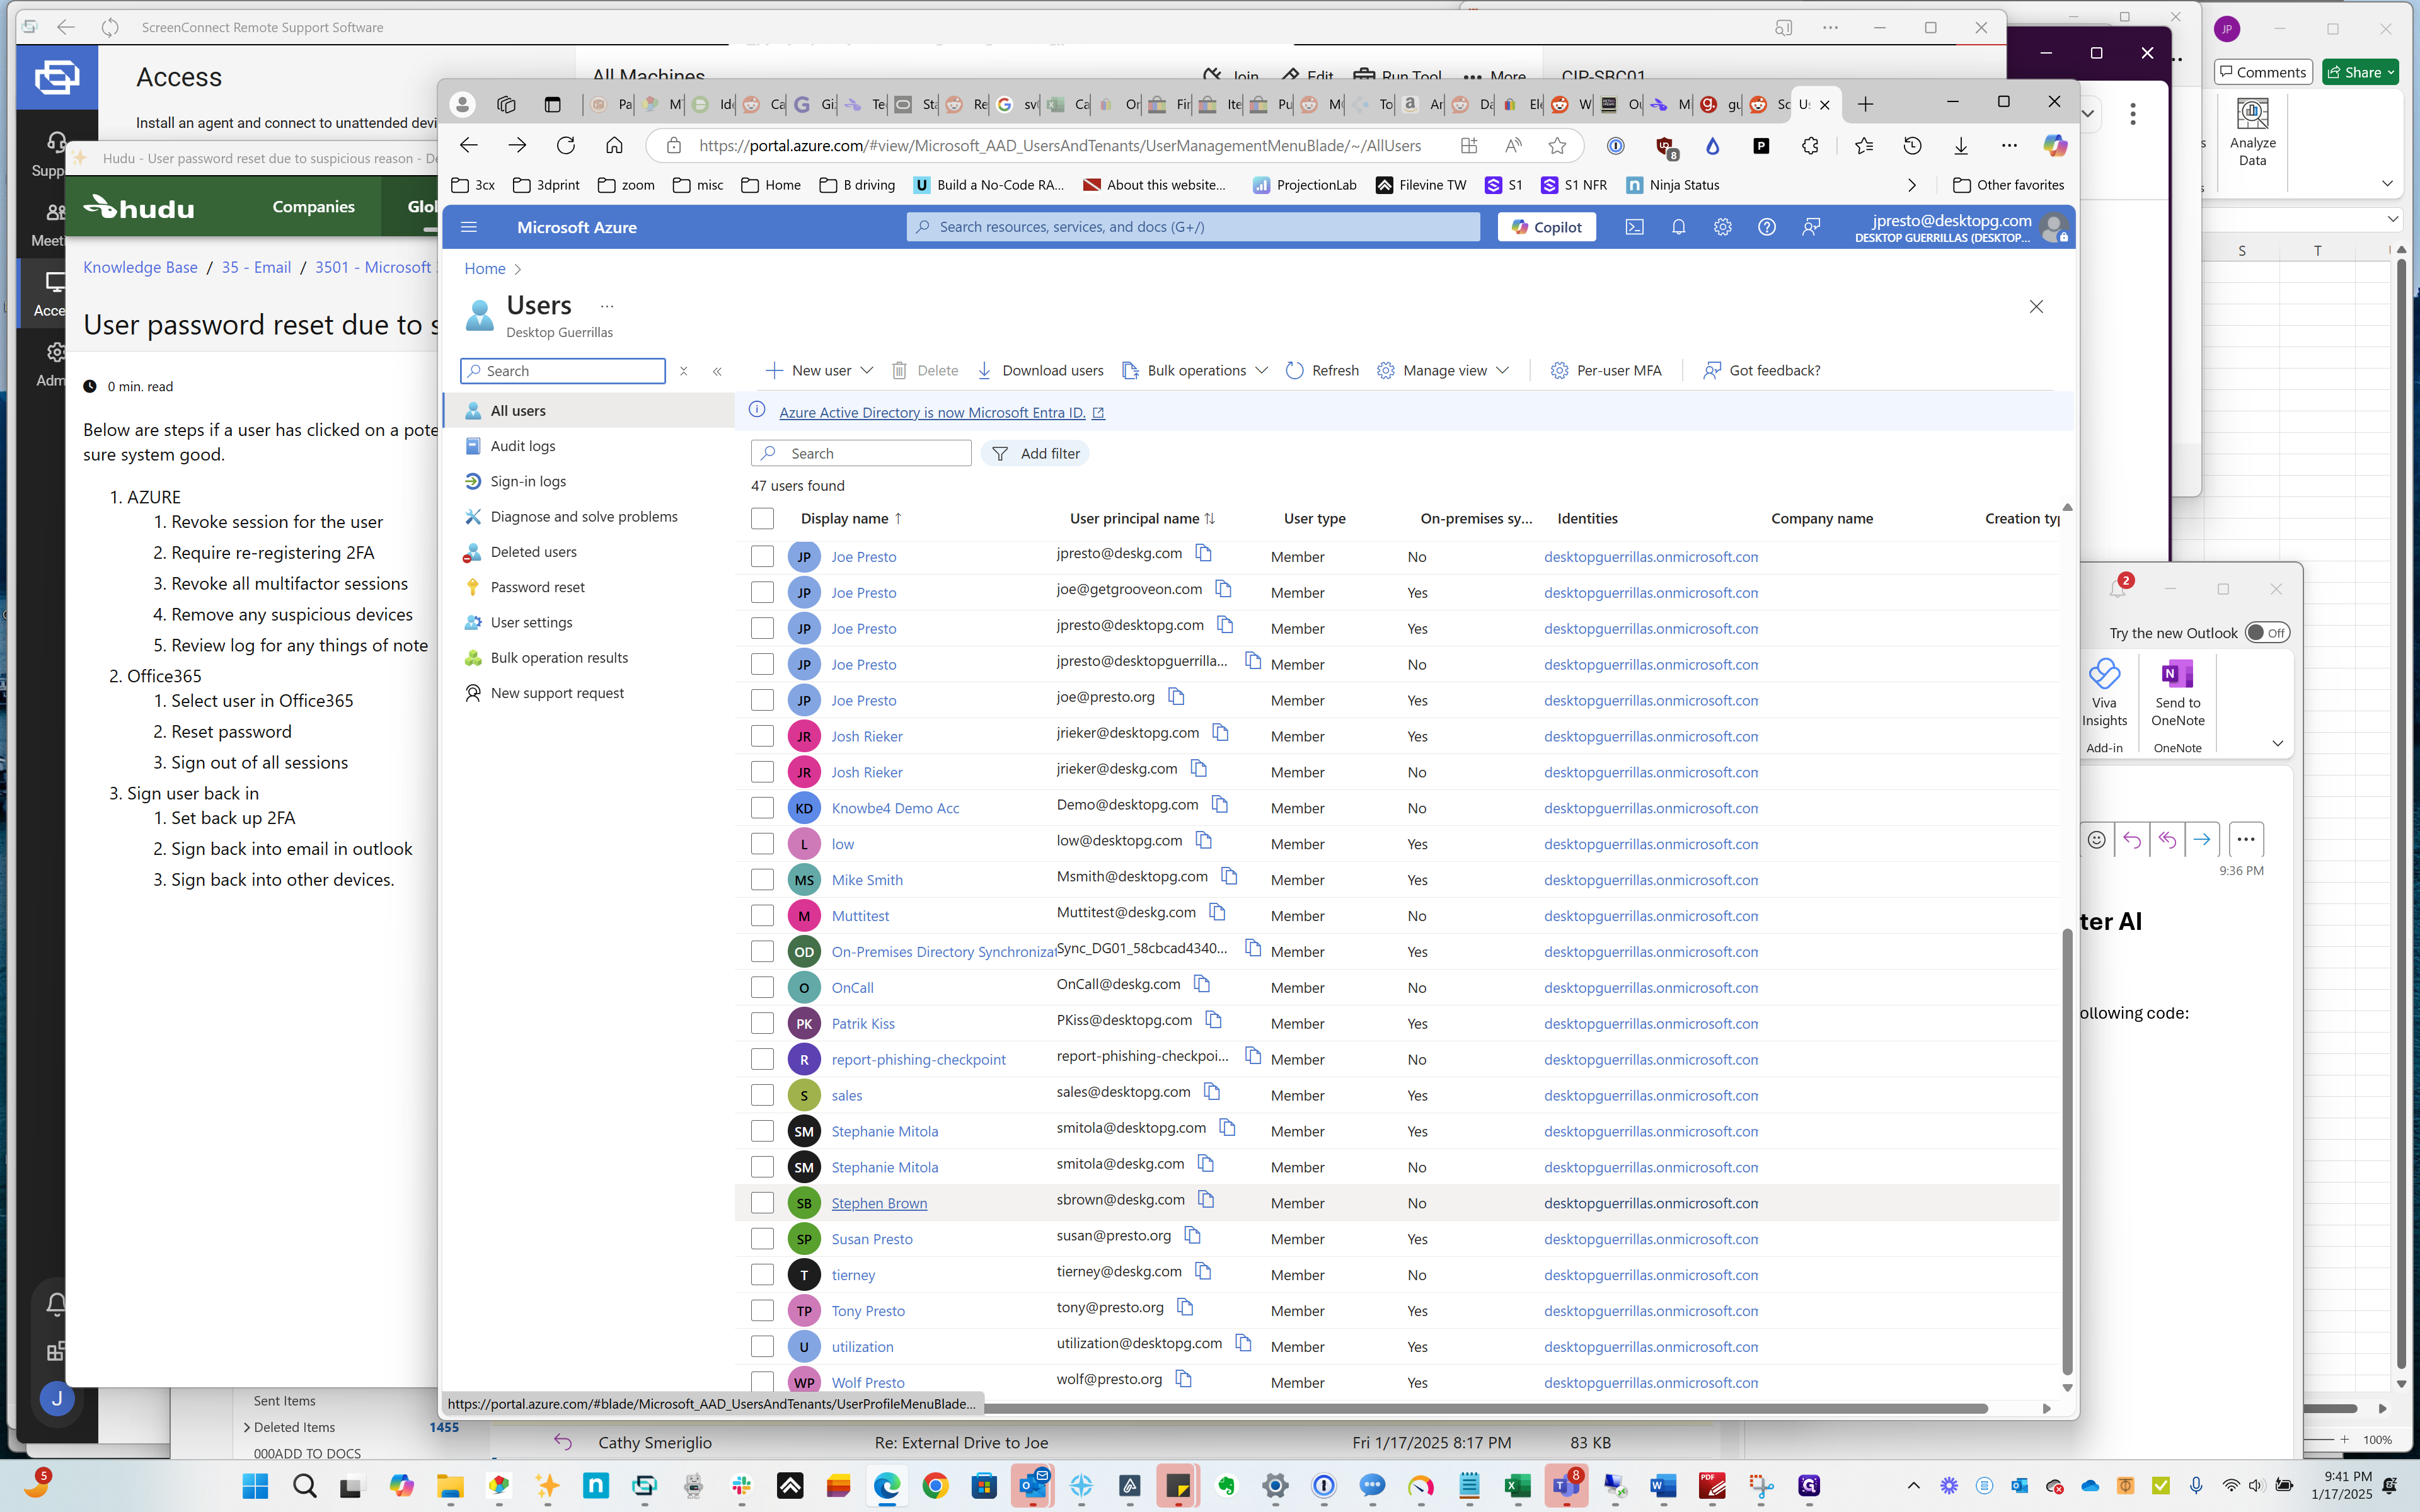
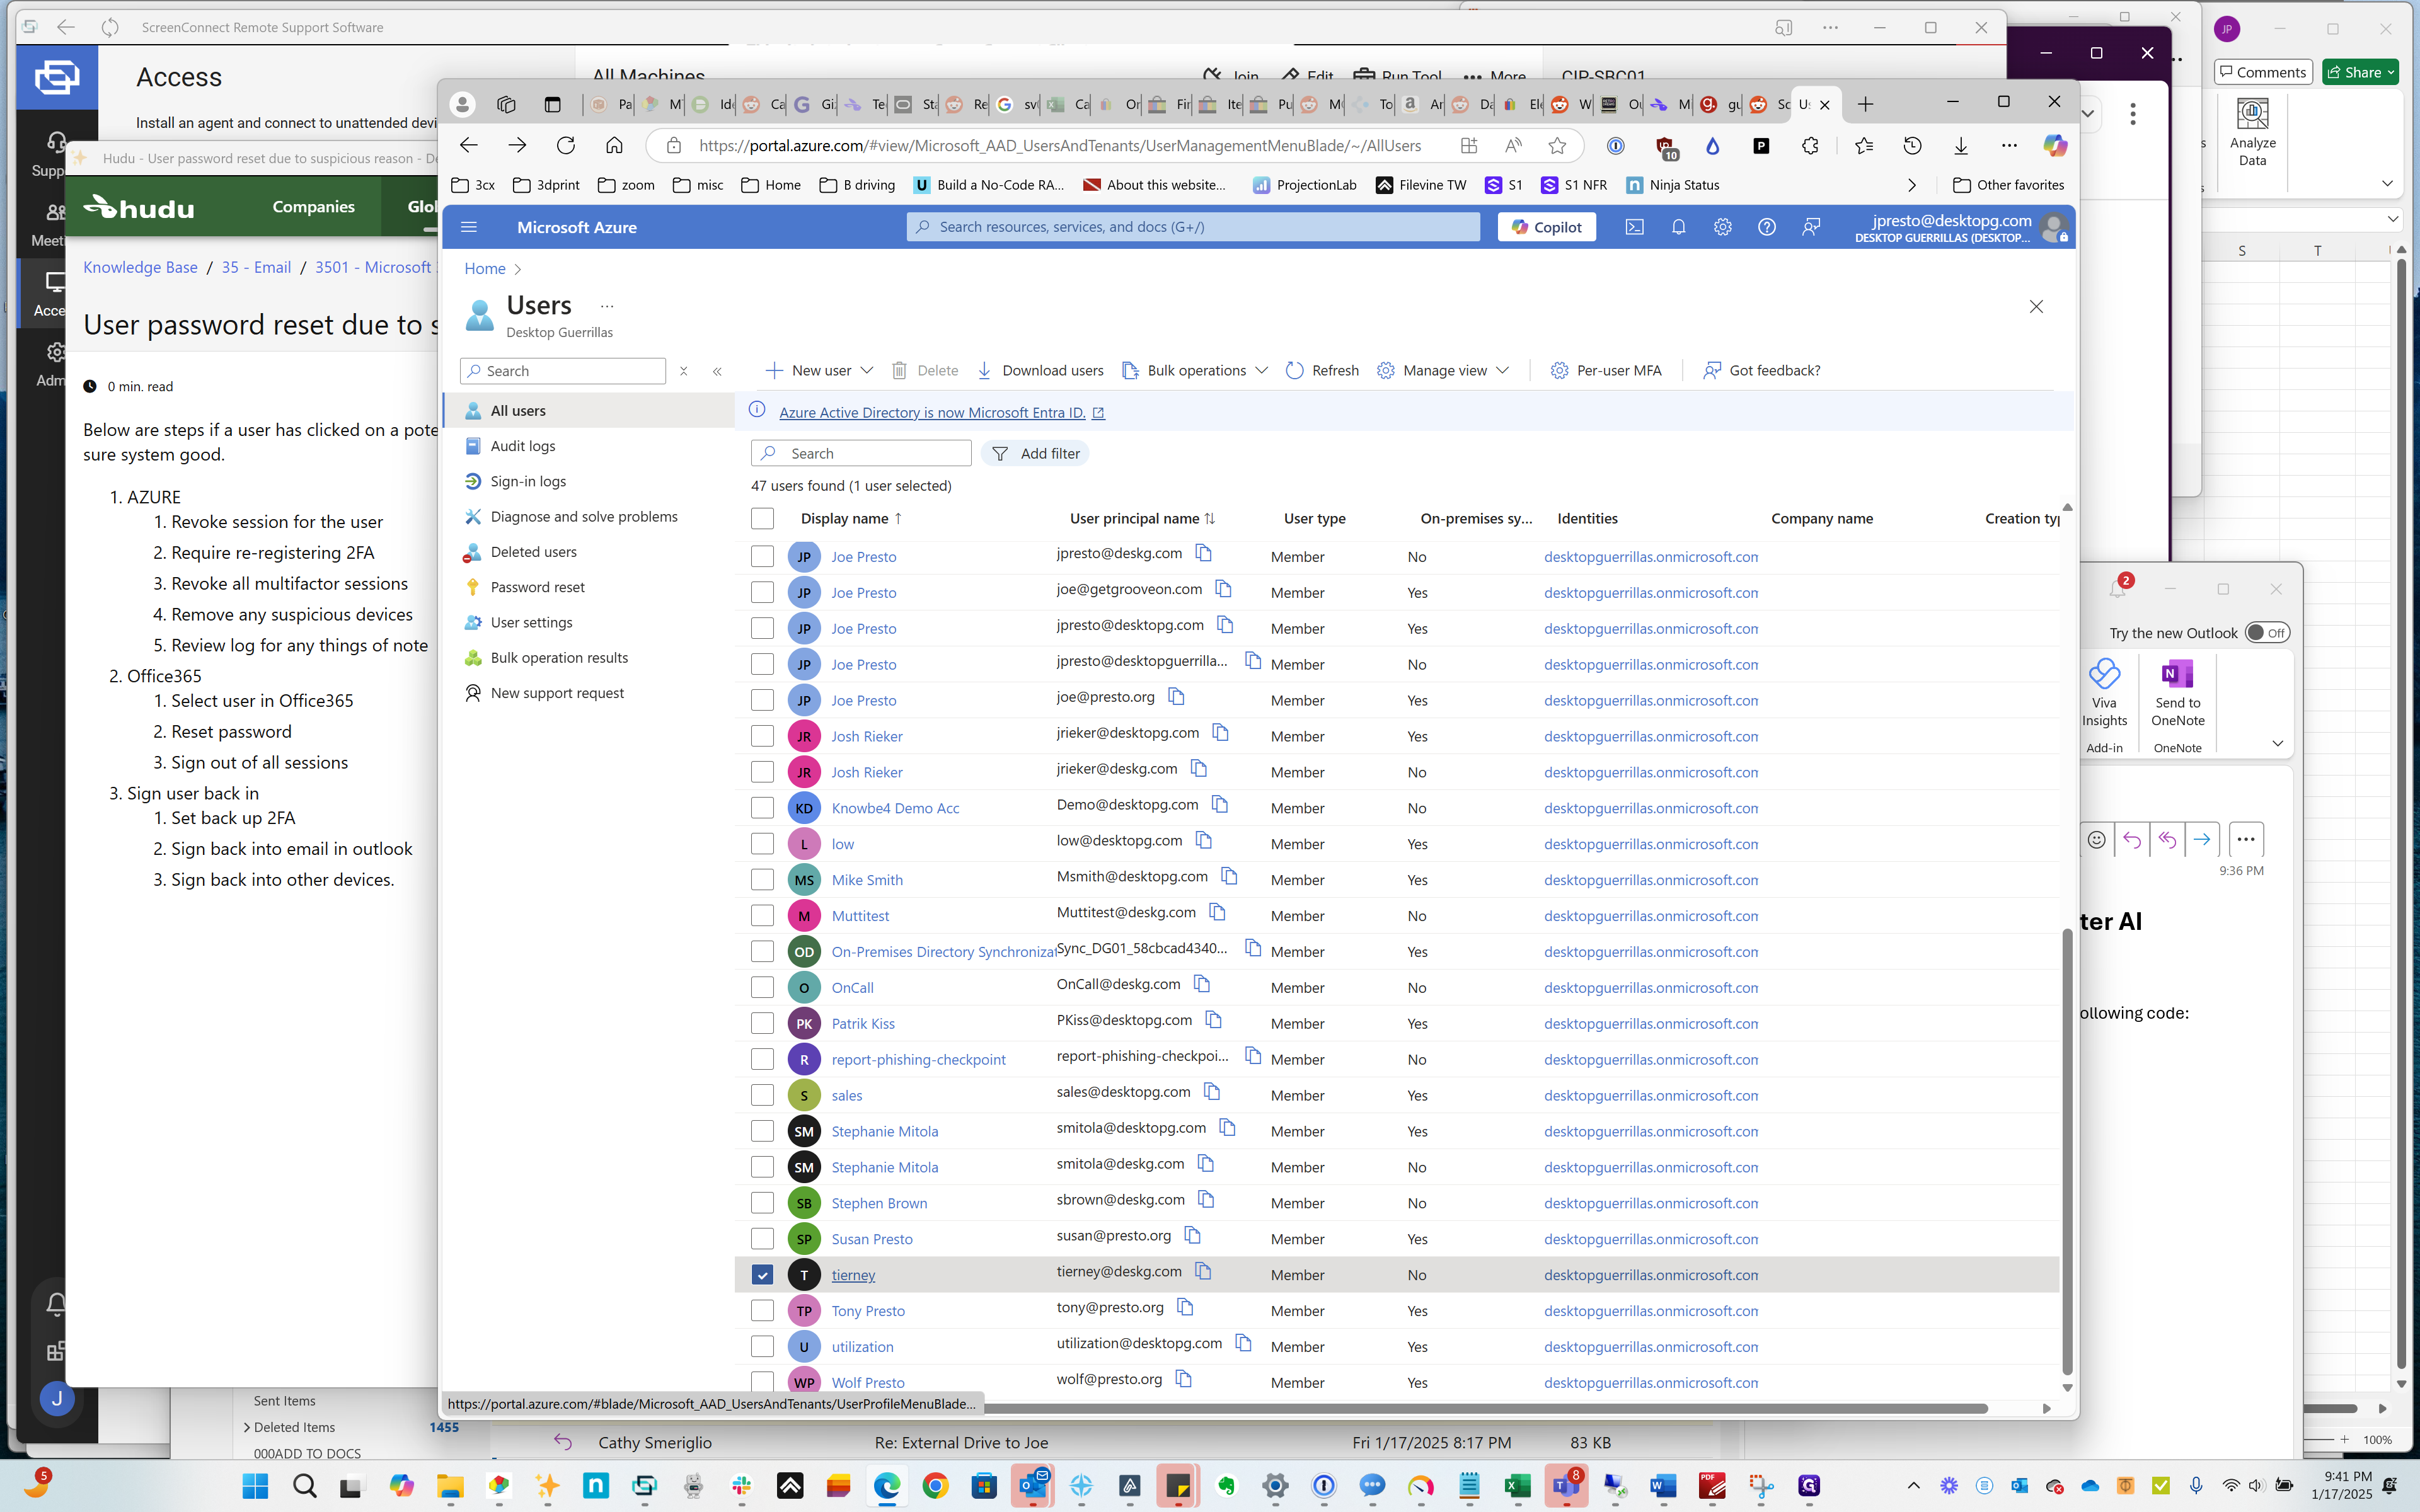
Click on "Stephen Brown"
Step #12: Click on "Stephen Brown"
13
Click on "tierney"
Step #13: Click on "tierney"

No one has sessions.

14
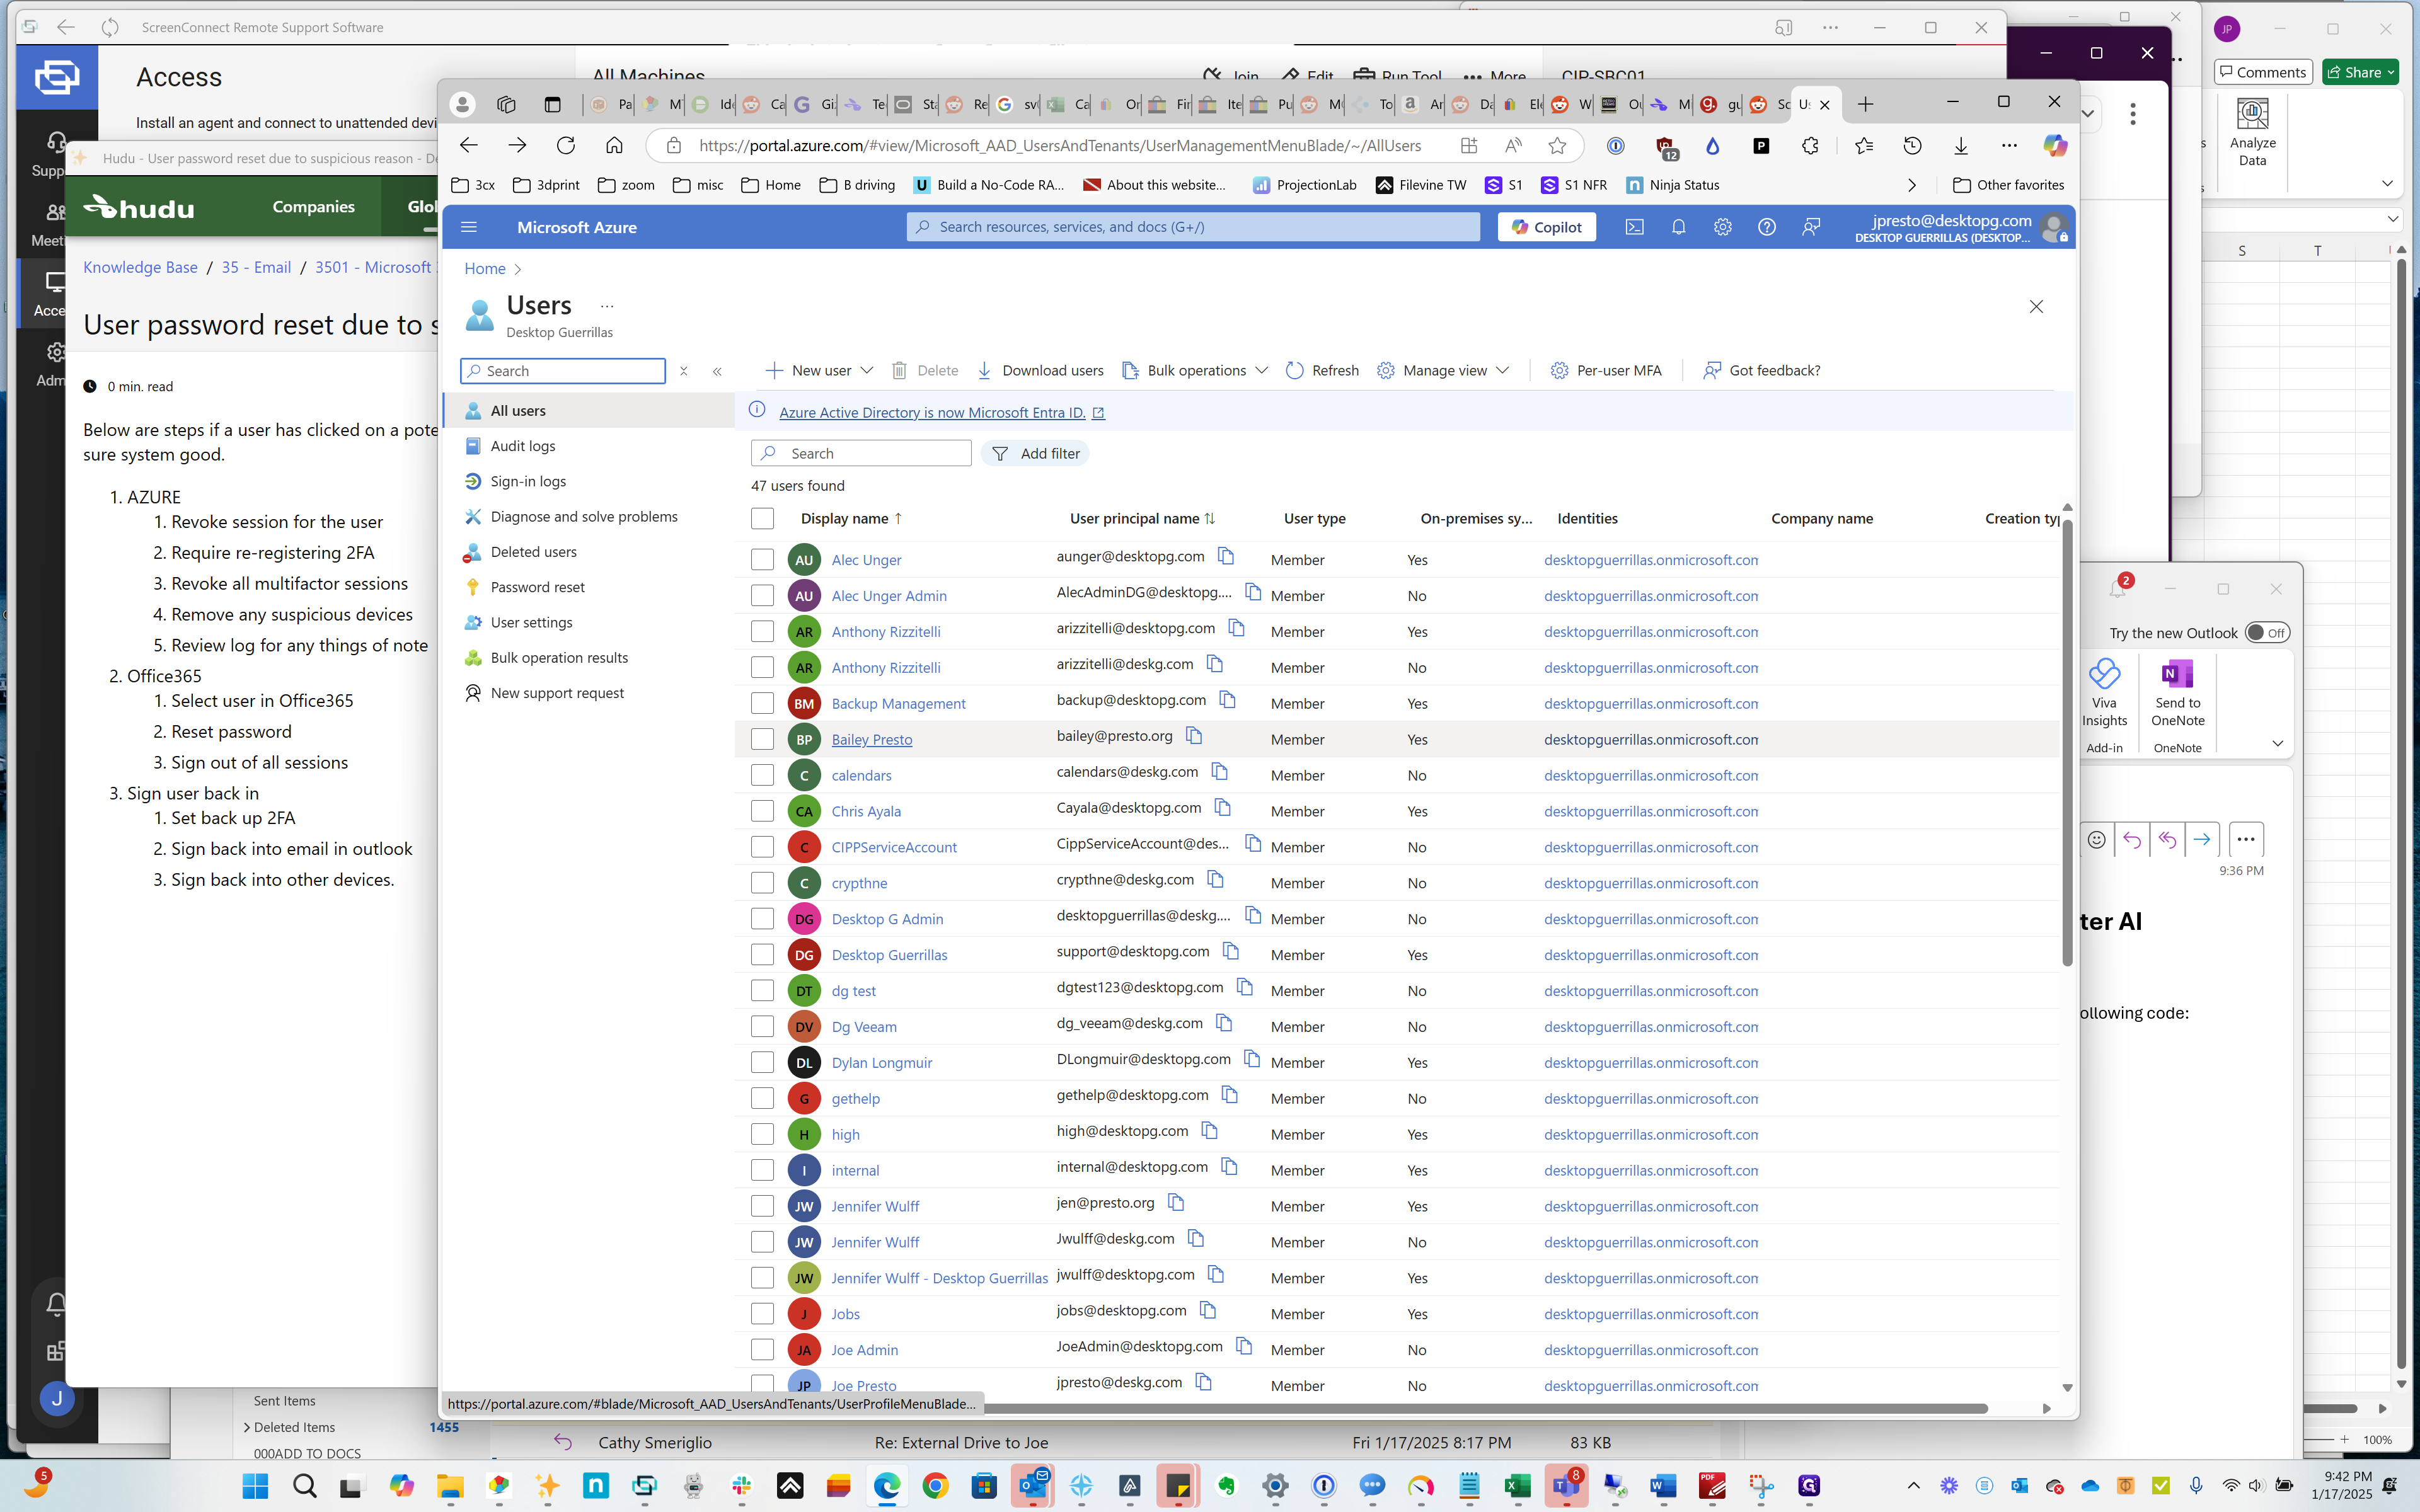
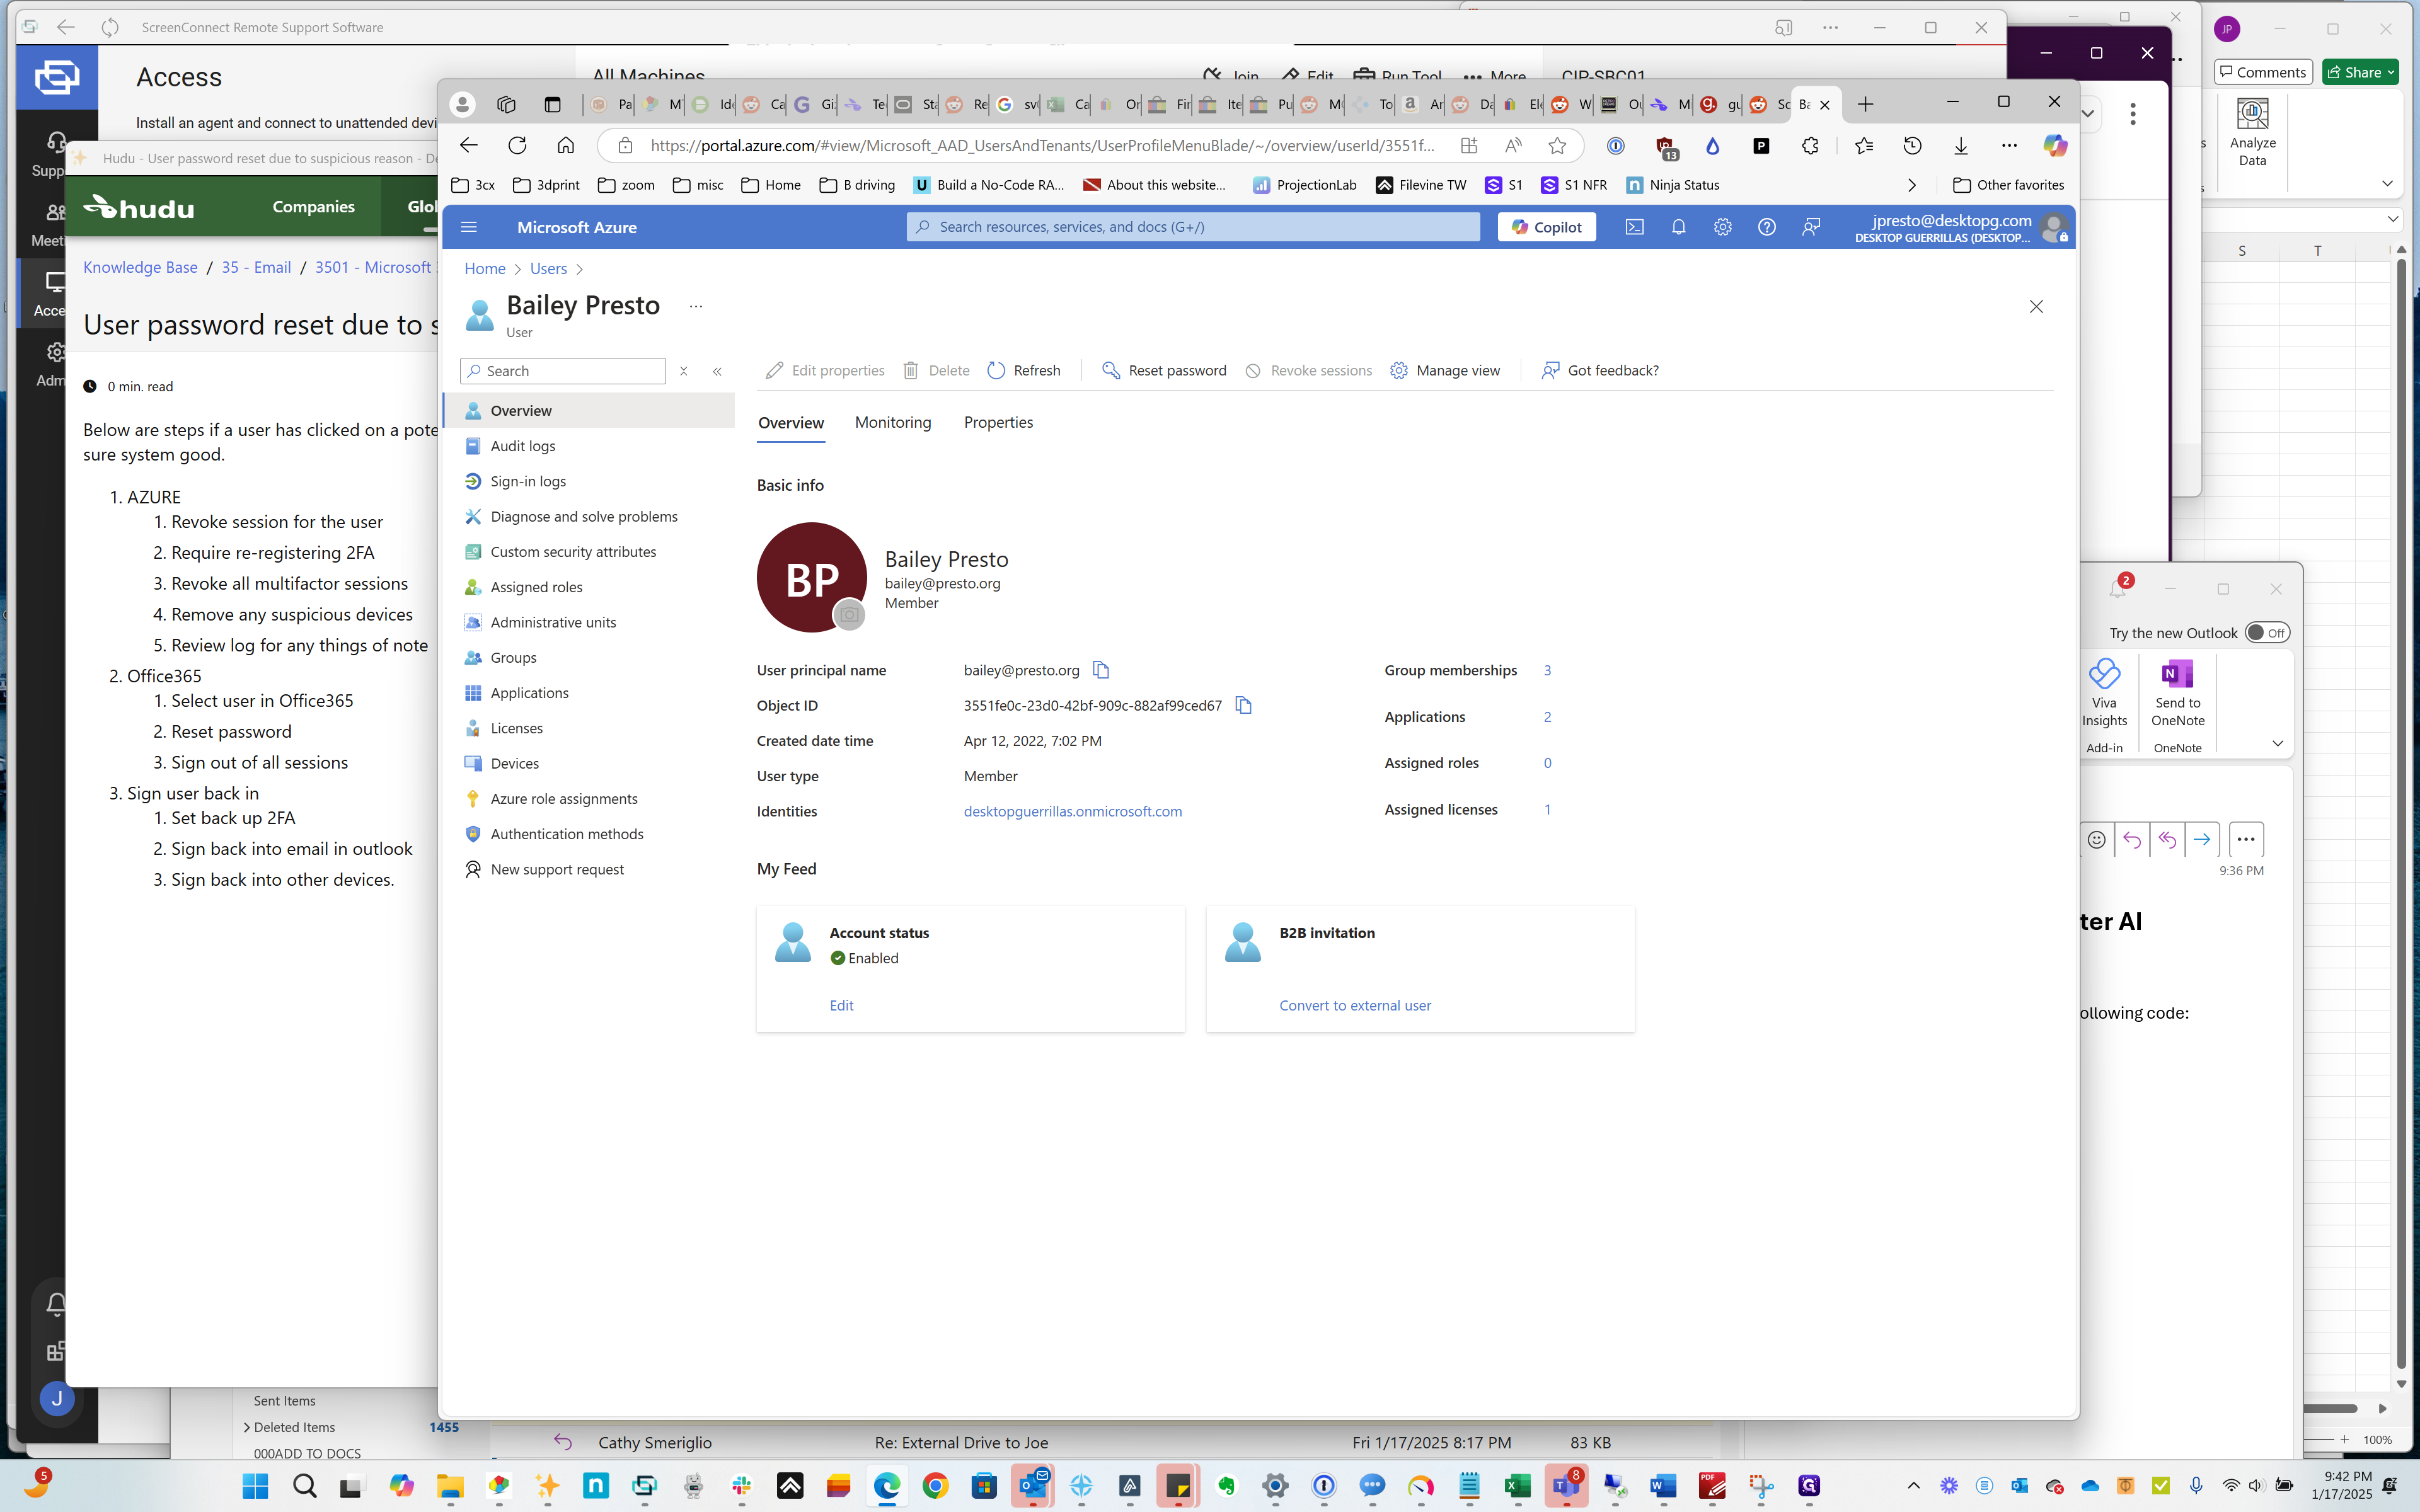
Click on "Bailey Presto"
Step #14: Click on "Bailey Presto"
15
Double-click on "Revoke sessions"
Step #15: Double-click on "Revoke sessions"

I'm not sure how to revoke sessions if no one has any sessions.
16
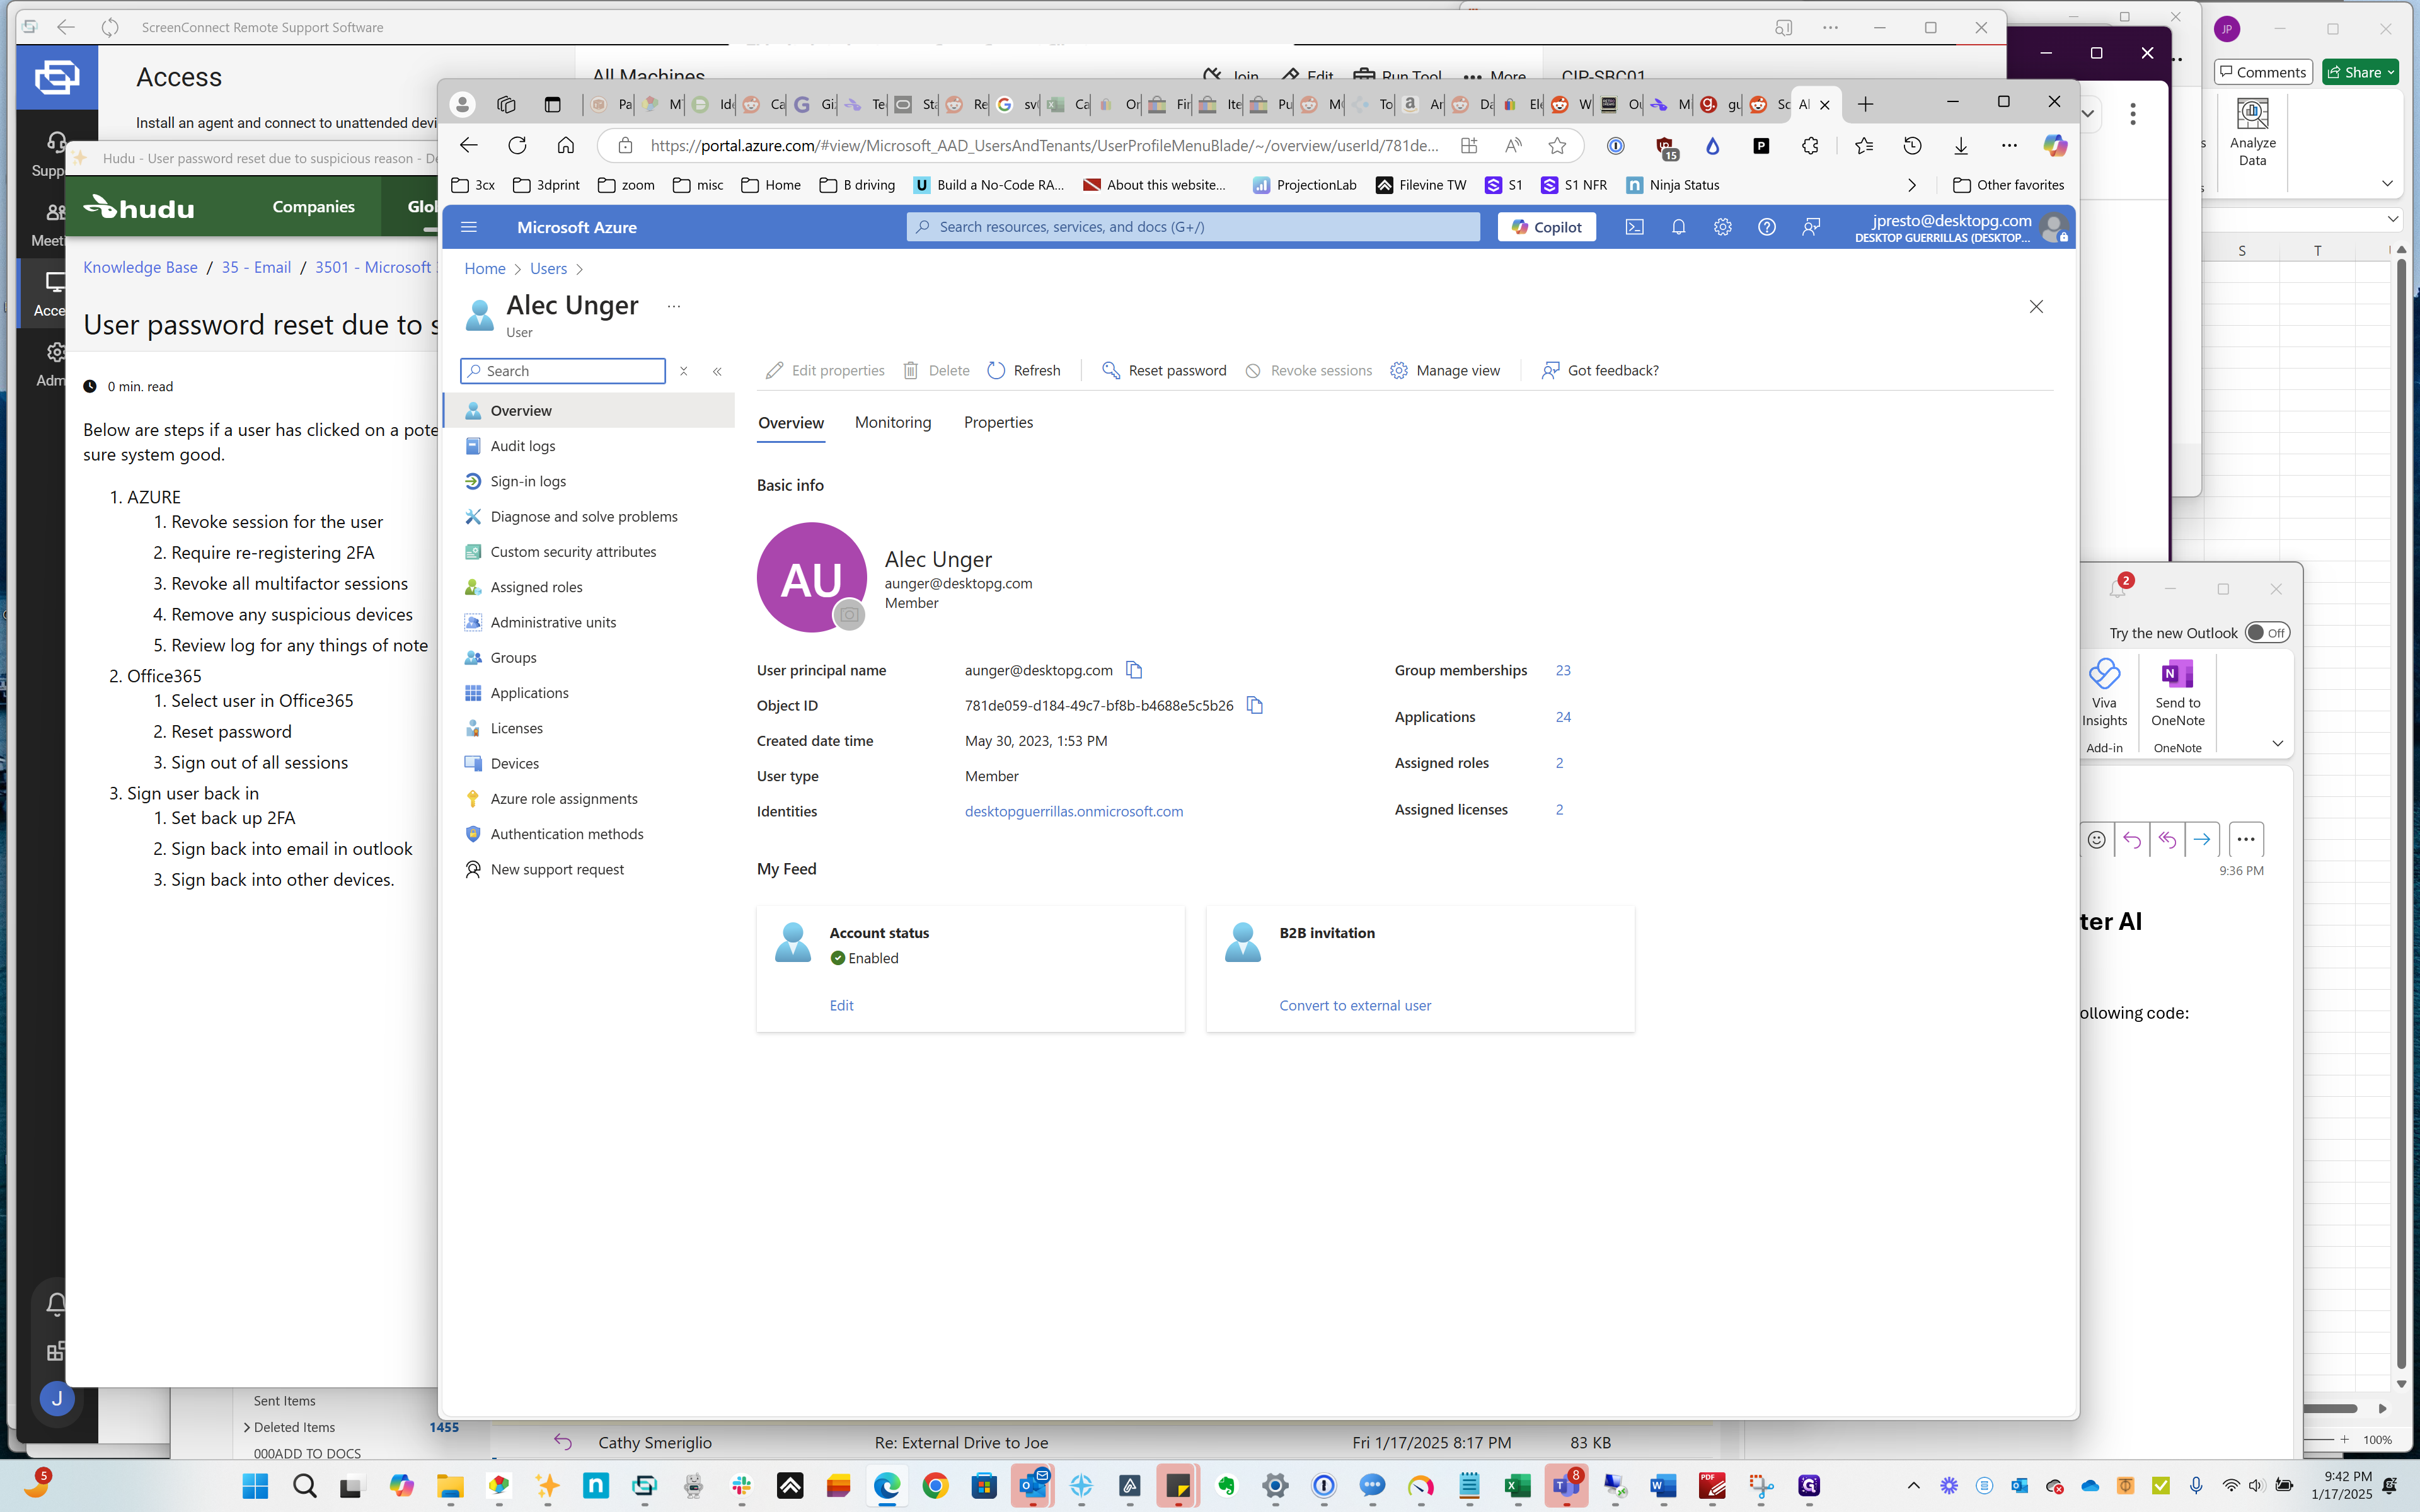
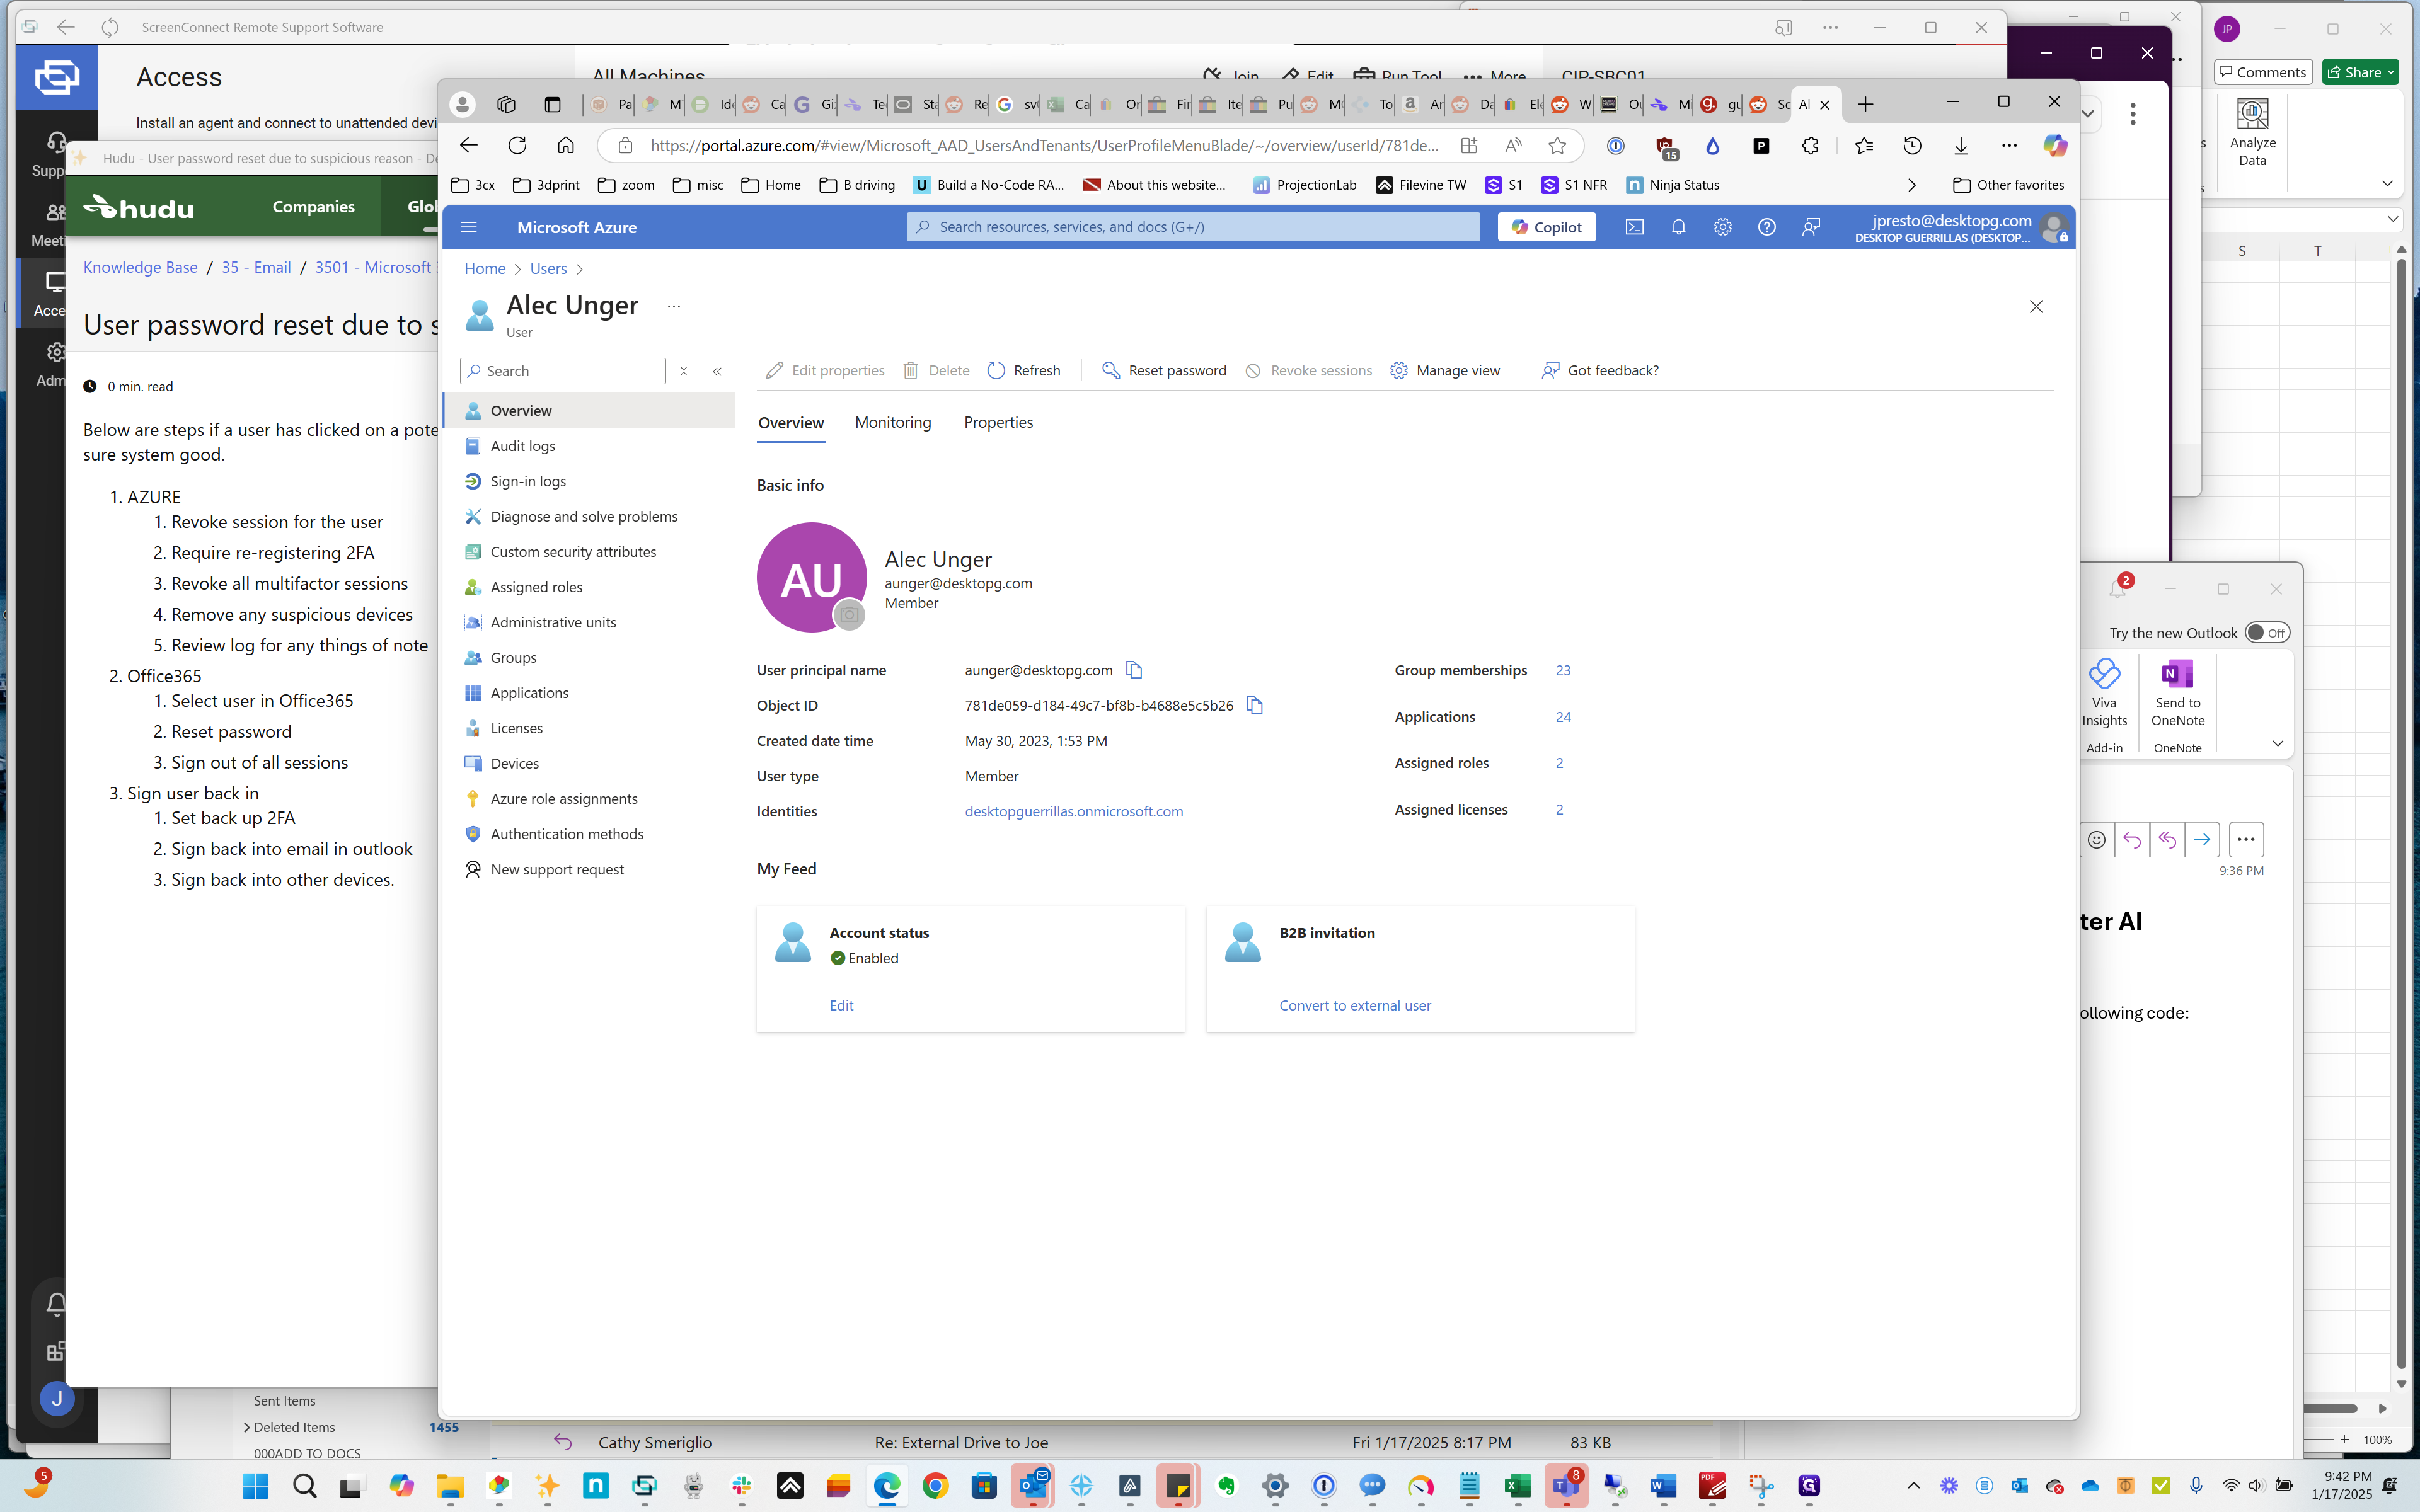
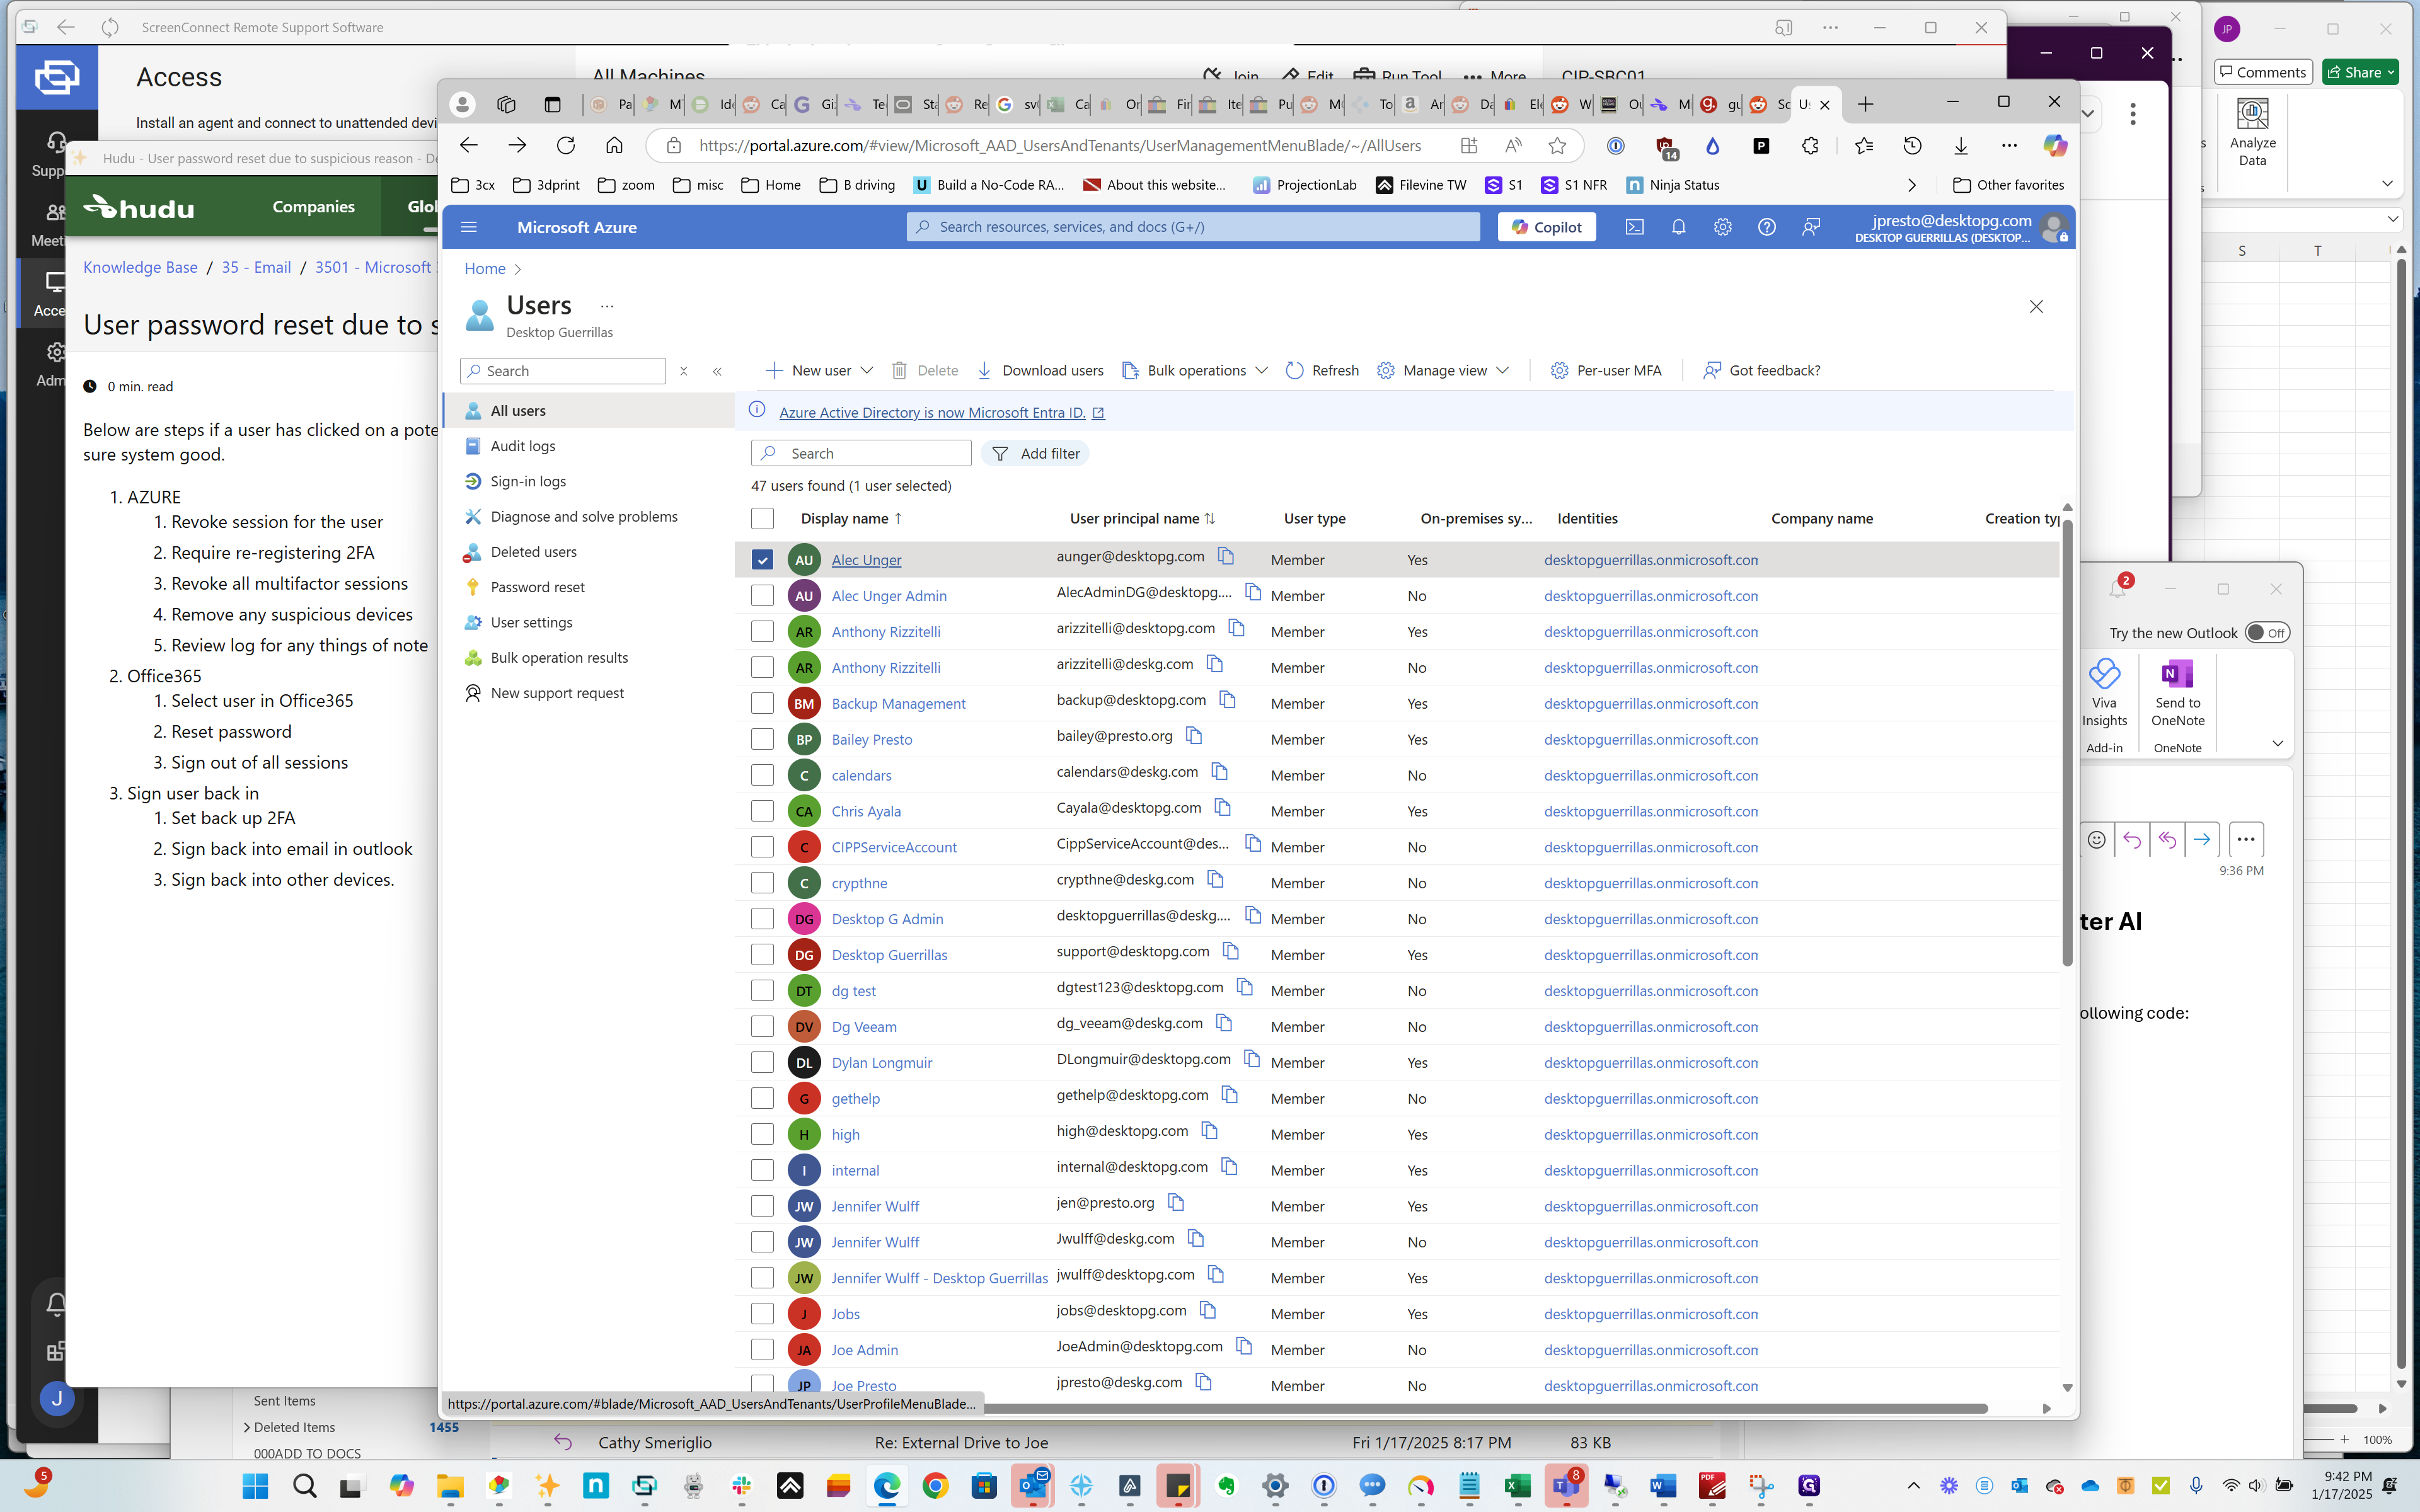
Click on "Alec Unger"
Step #16: Click on "Alec Unger"
17
Click on "Revoke sessions"
Step #17: Click on "Revoke sessions"
18
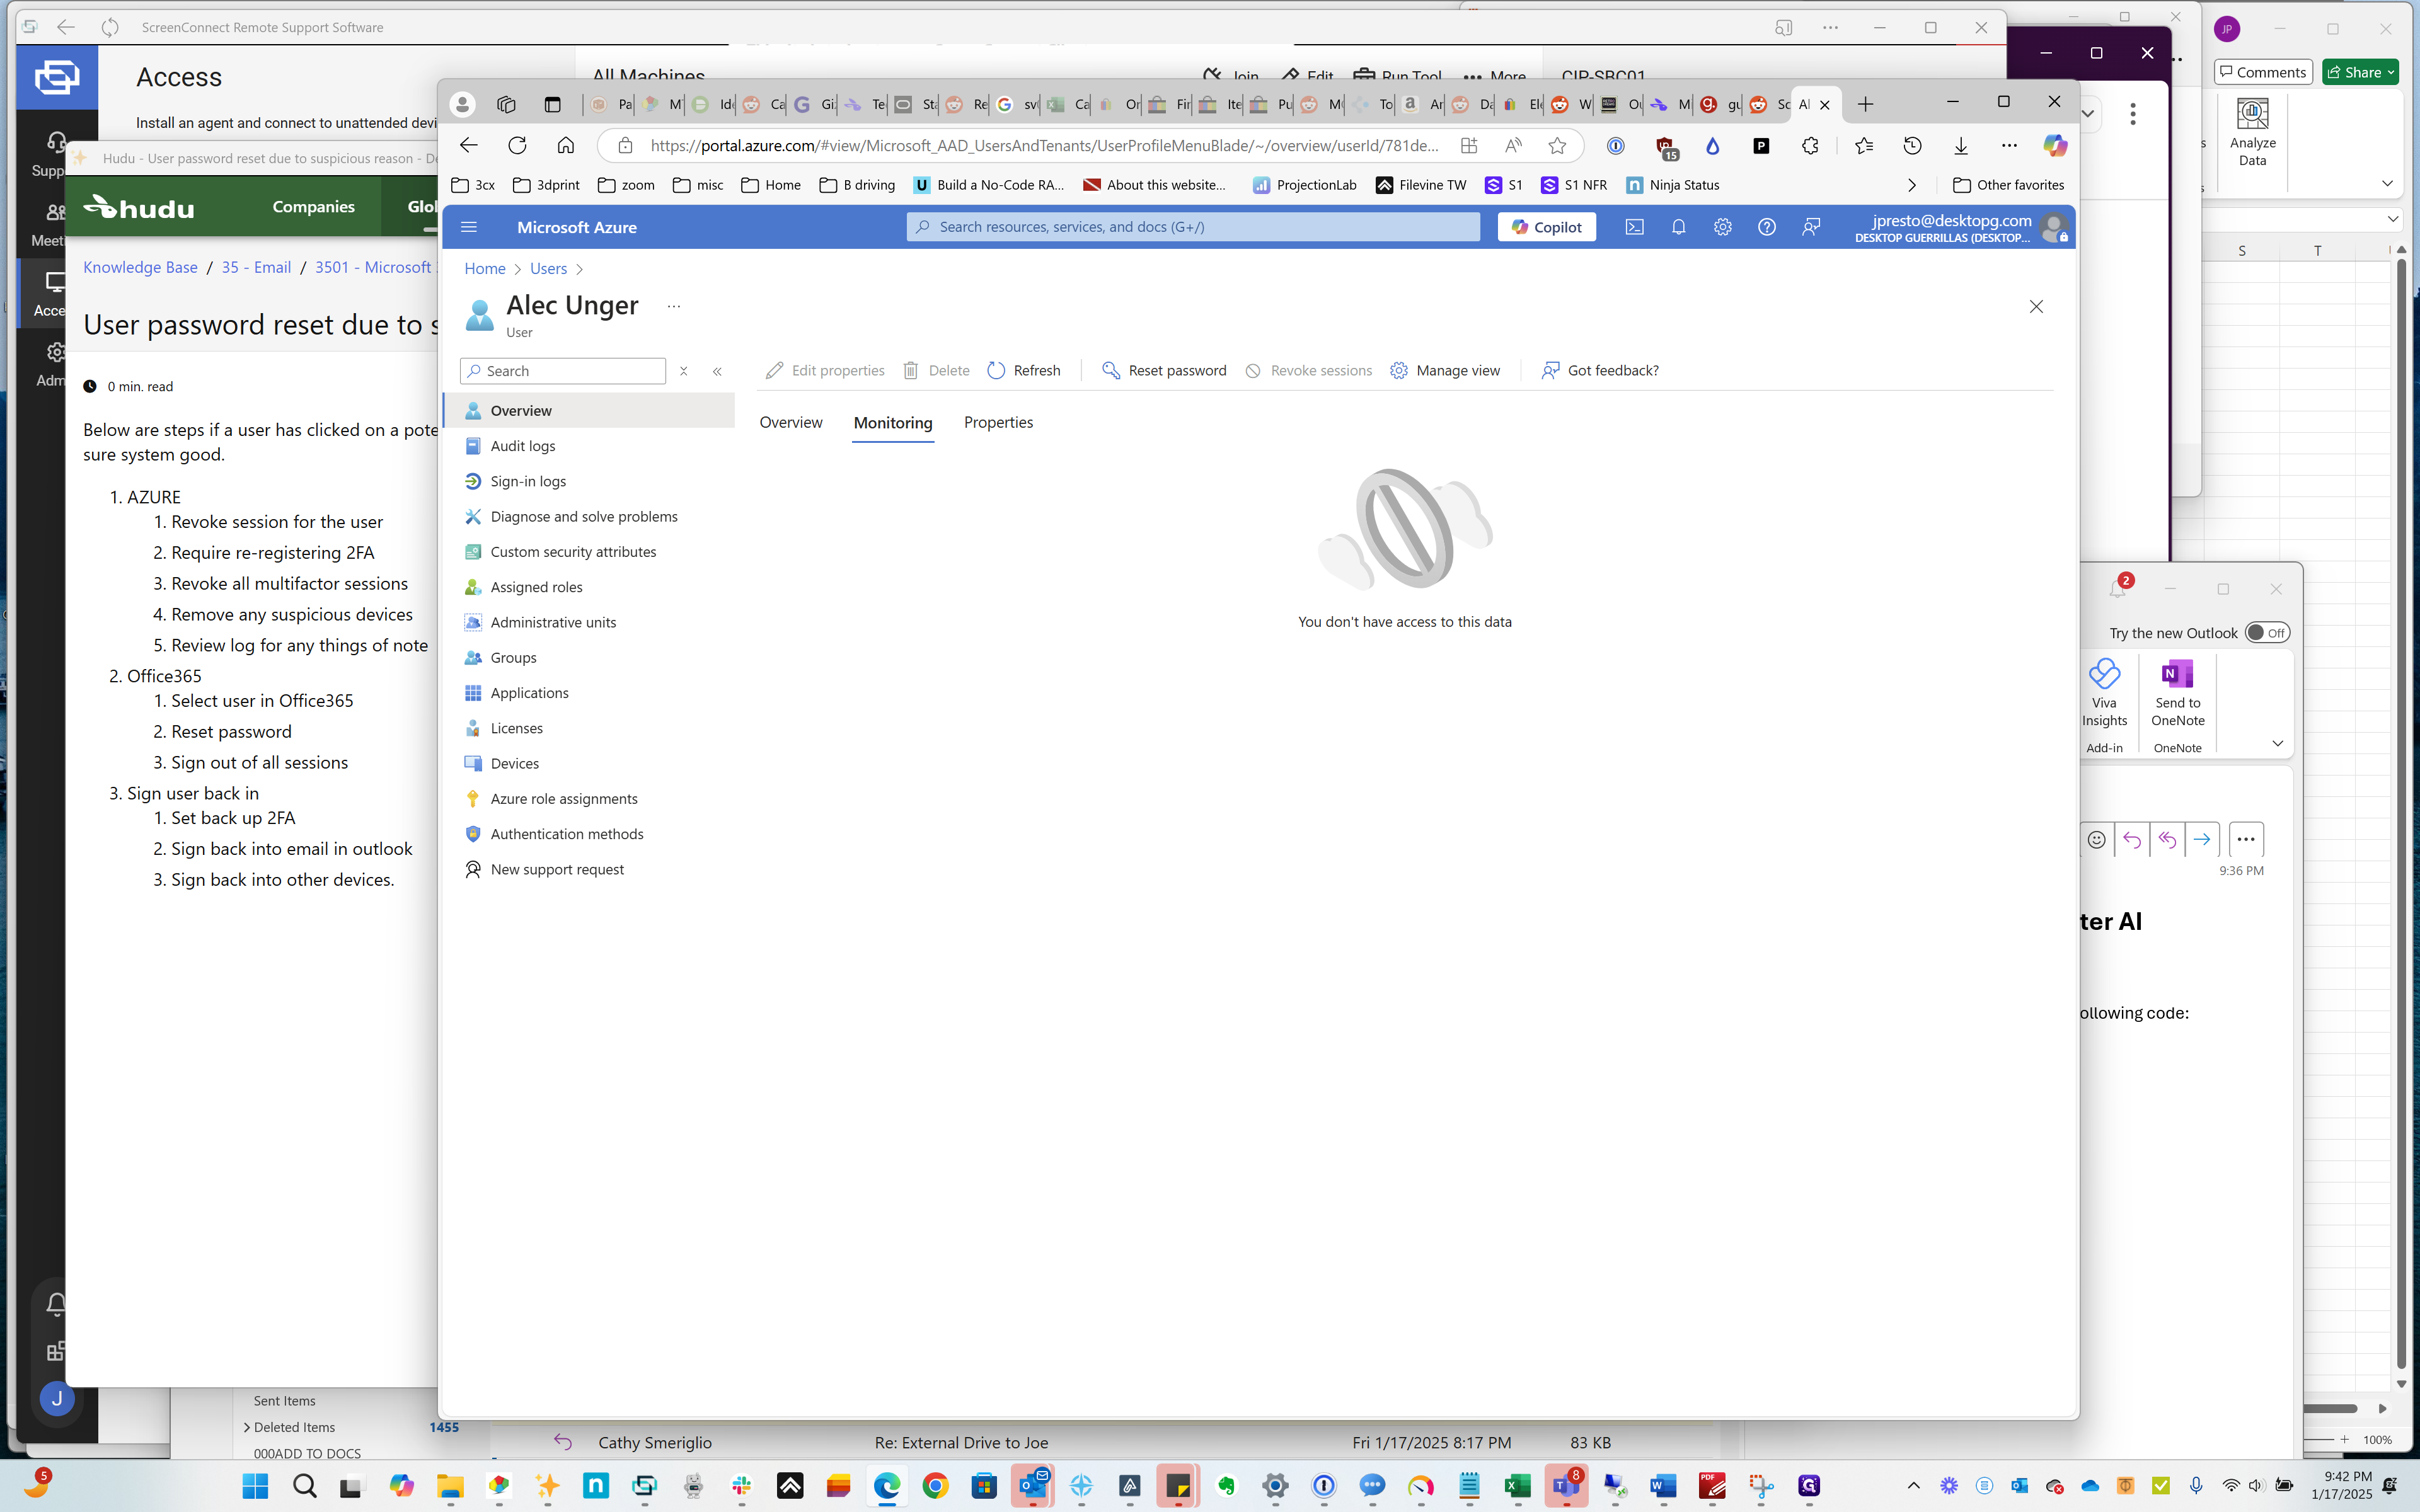
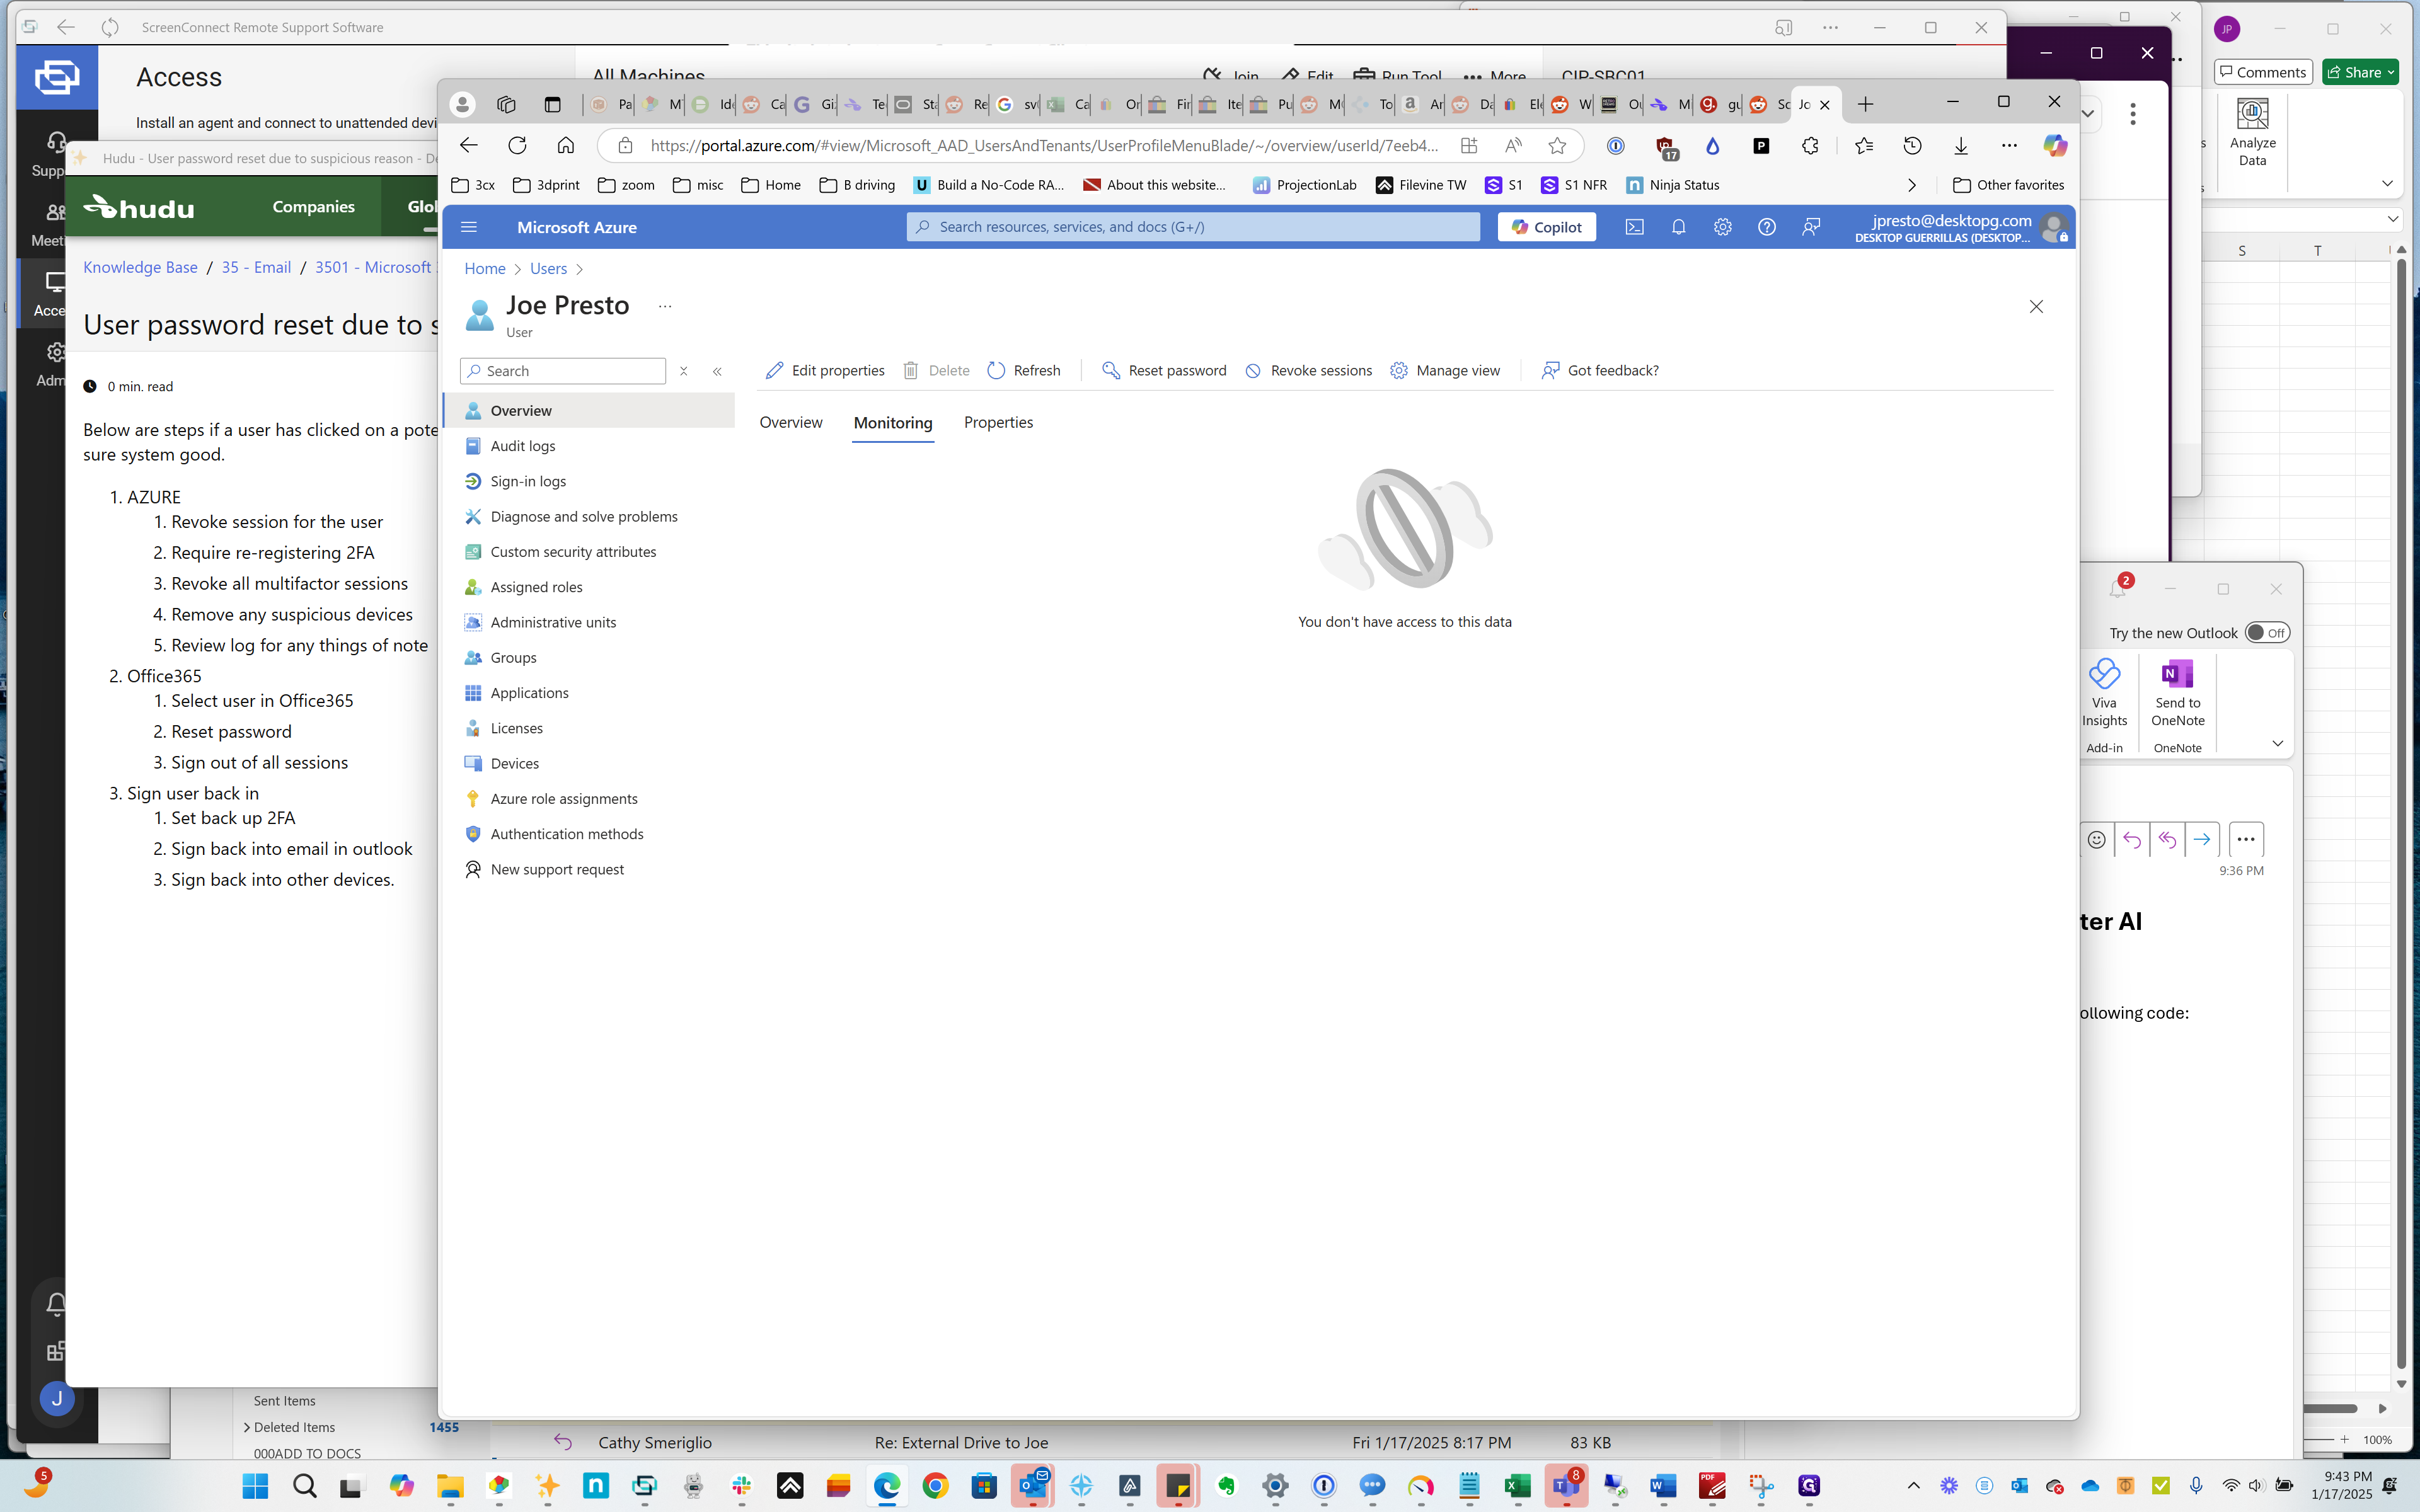
Click on "Monitoring"
Step #18: Click on "Monitoring"
19
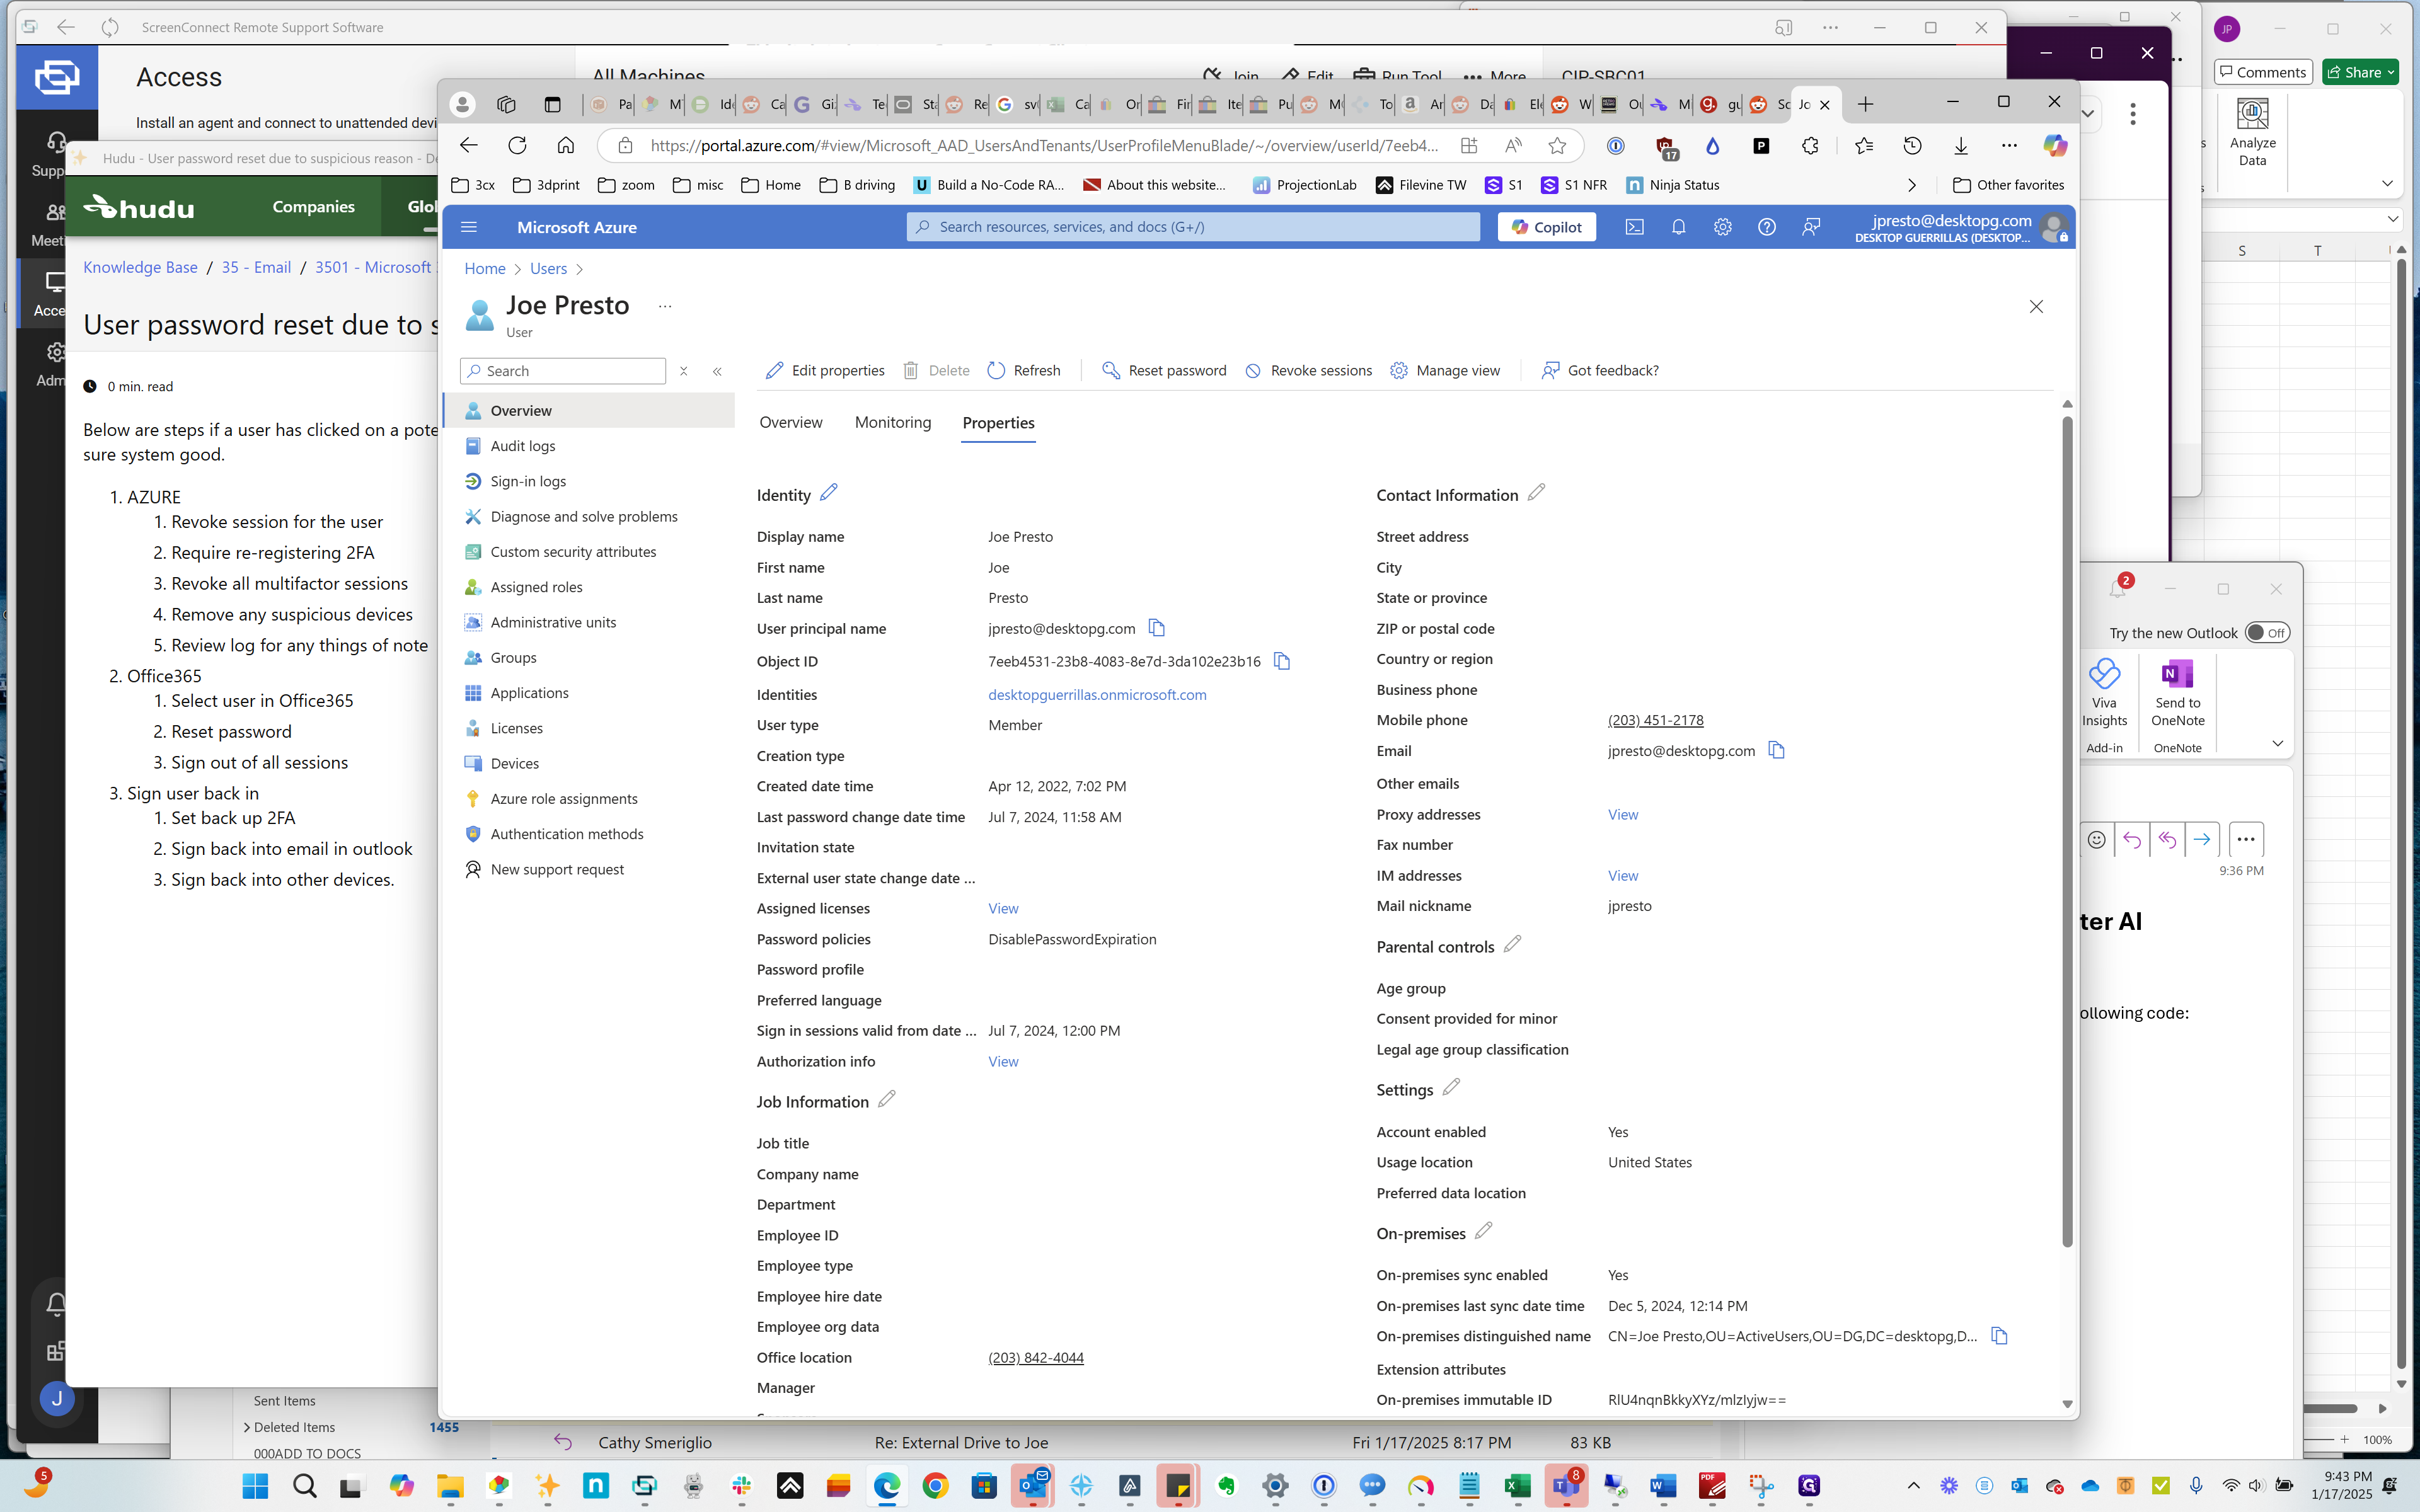
Click on "Properties"
Step #19: Click on "Properties"
20
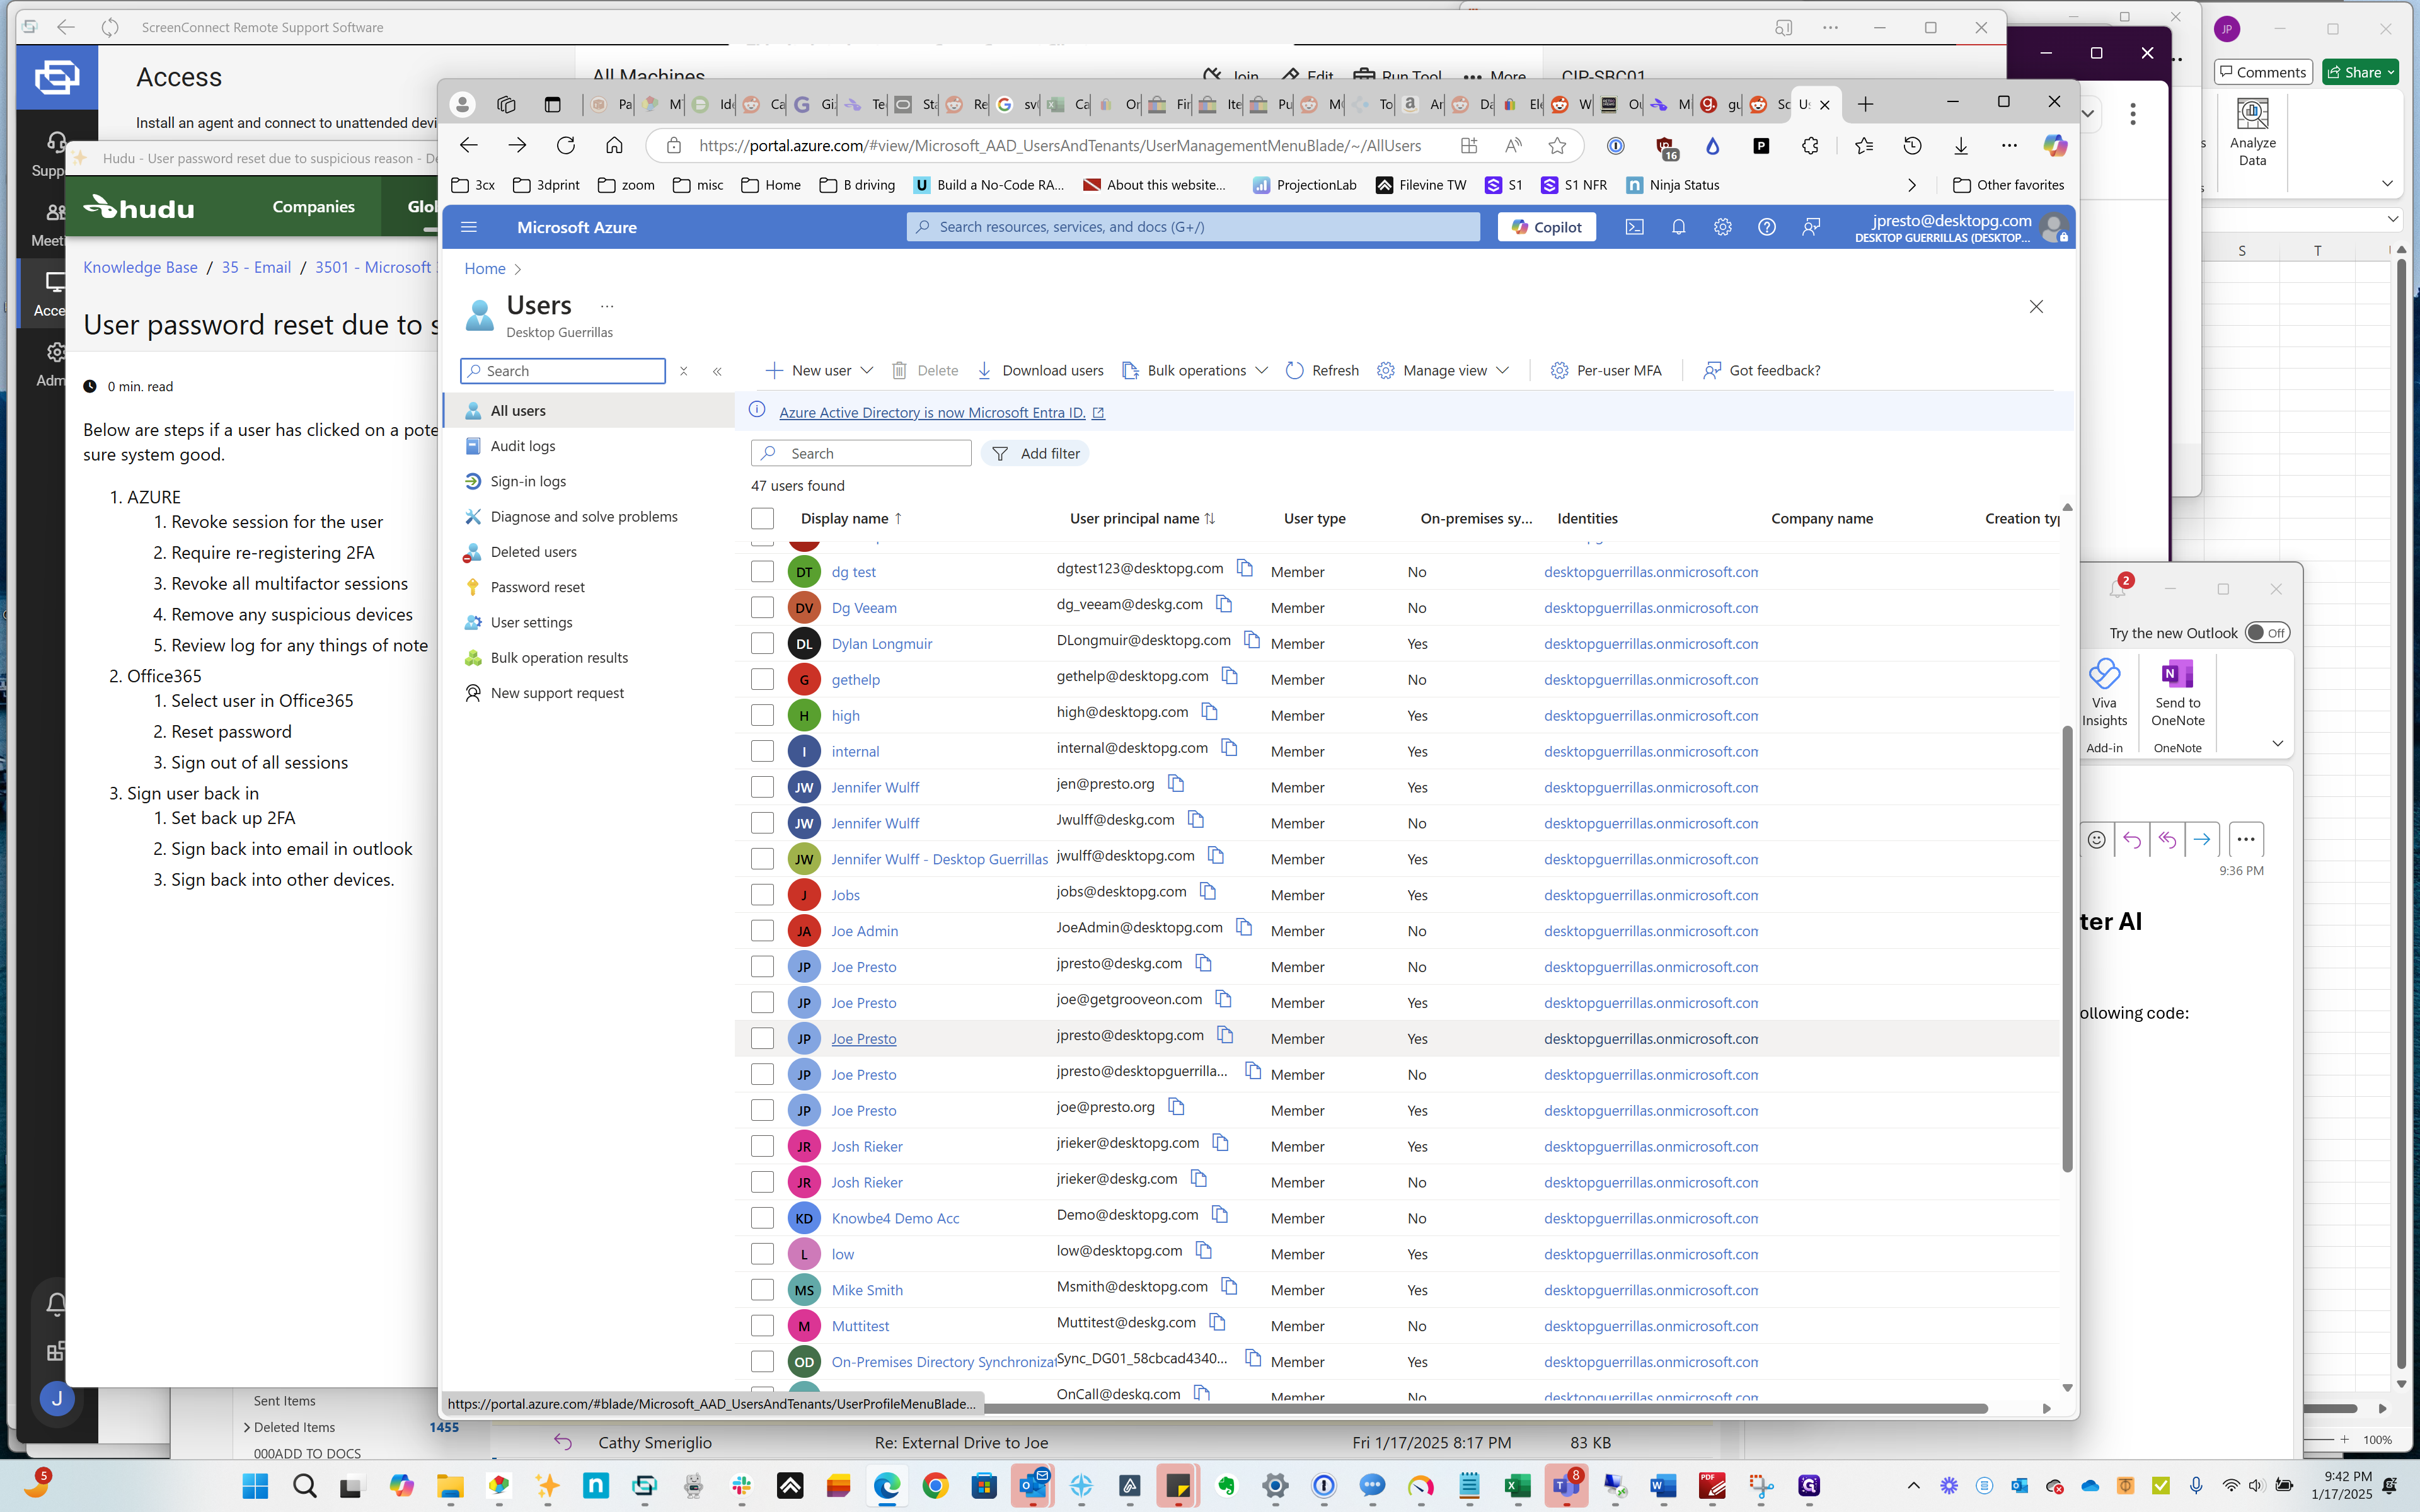
Click on "Joe Presto"
Step #20: Click on "Joe Presto"

There.

21
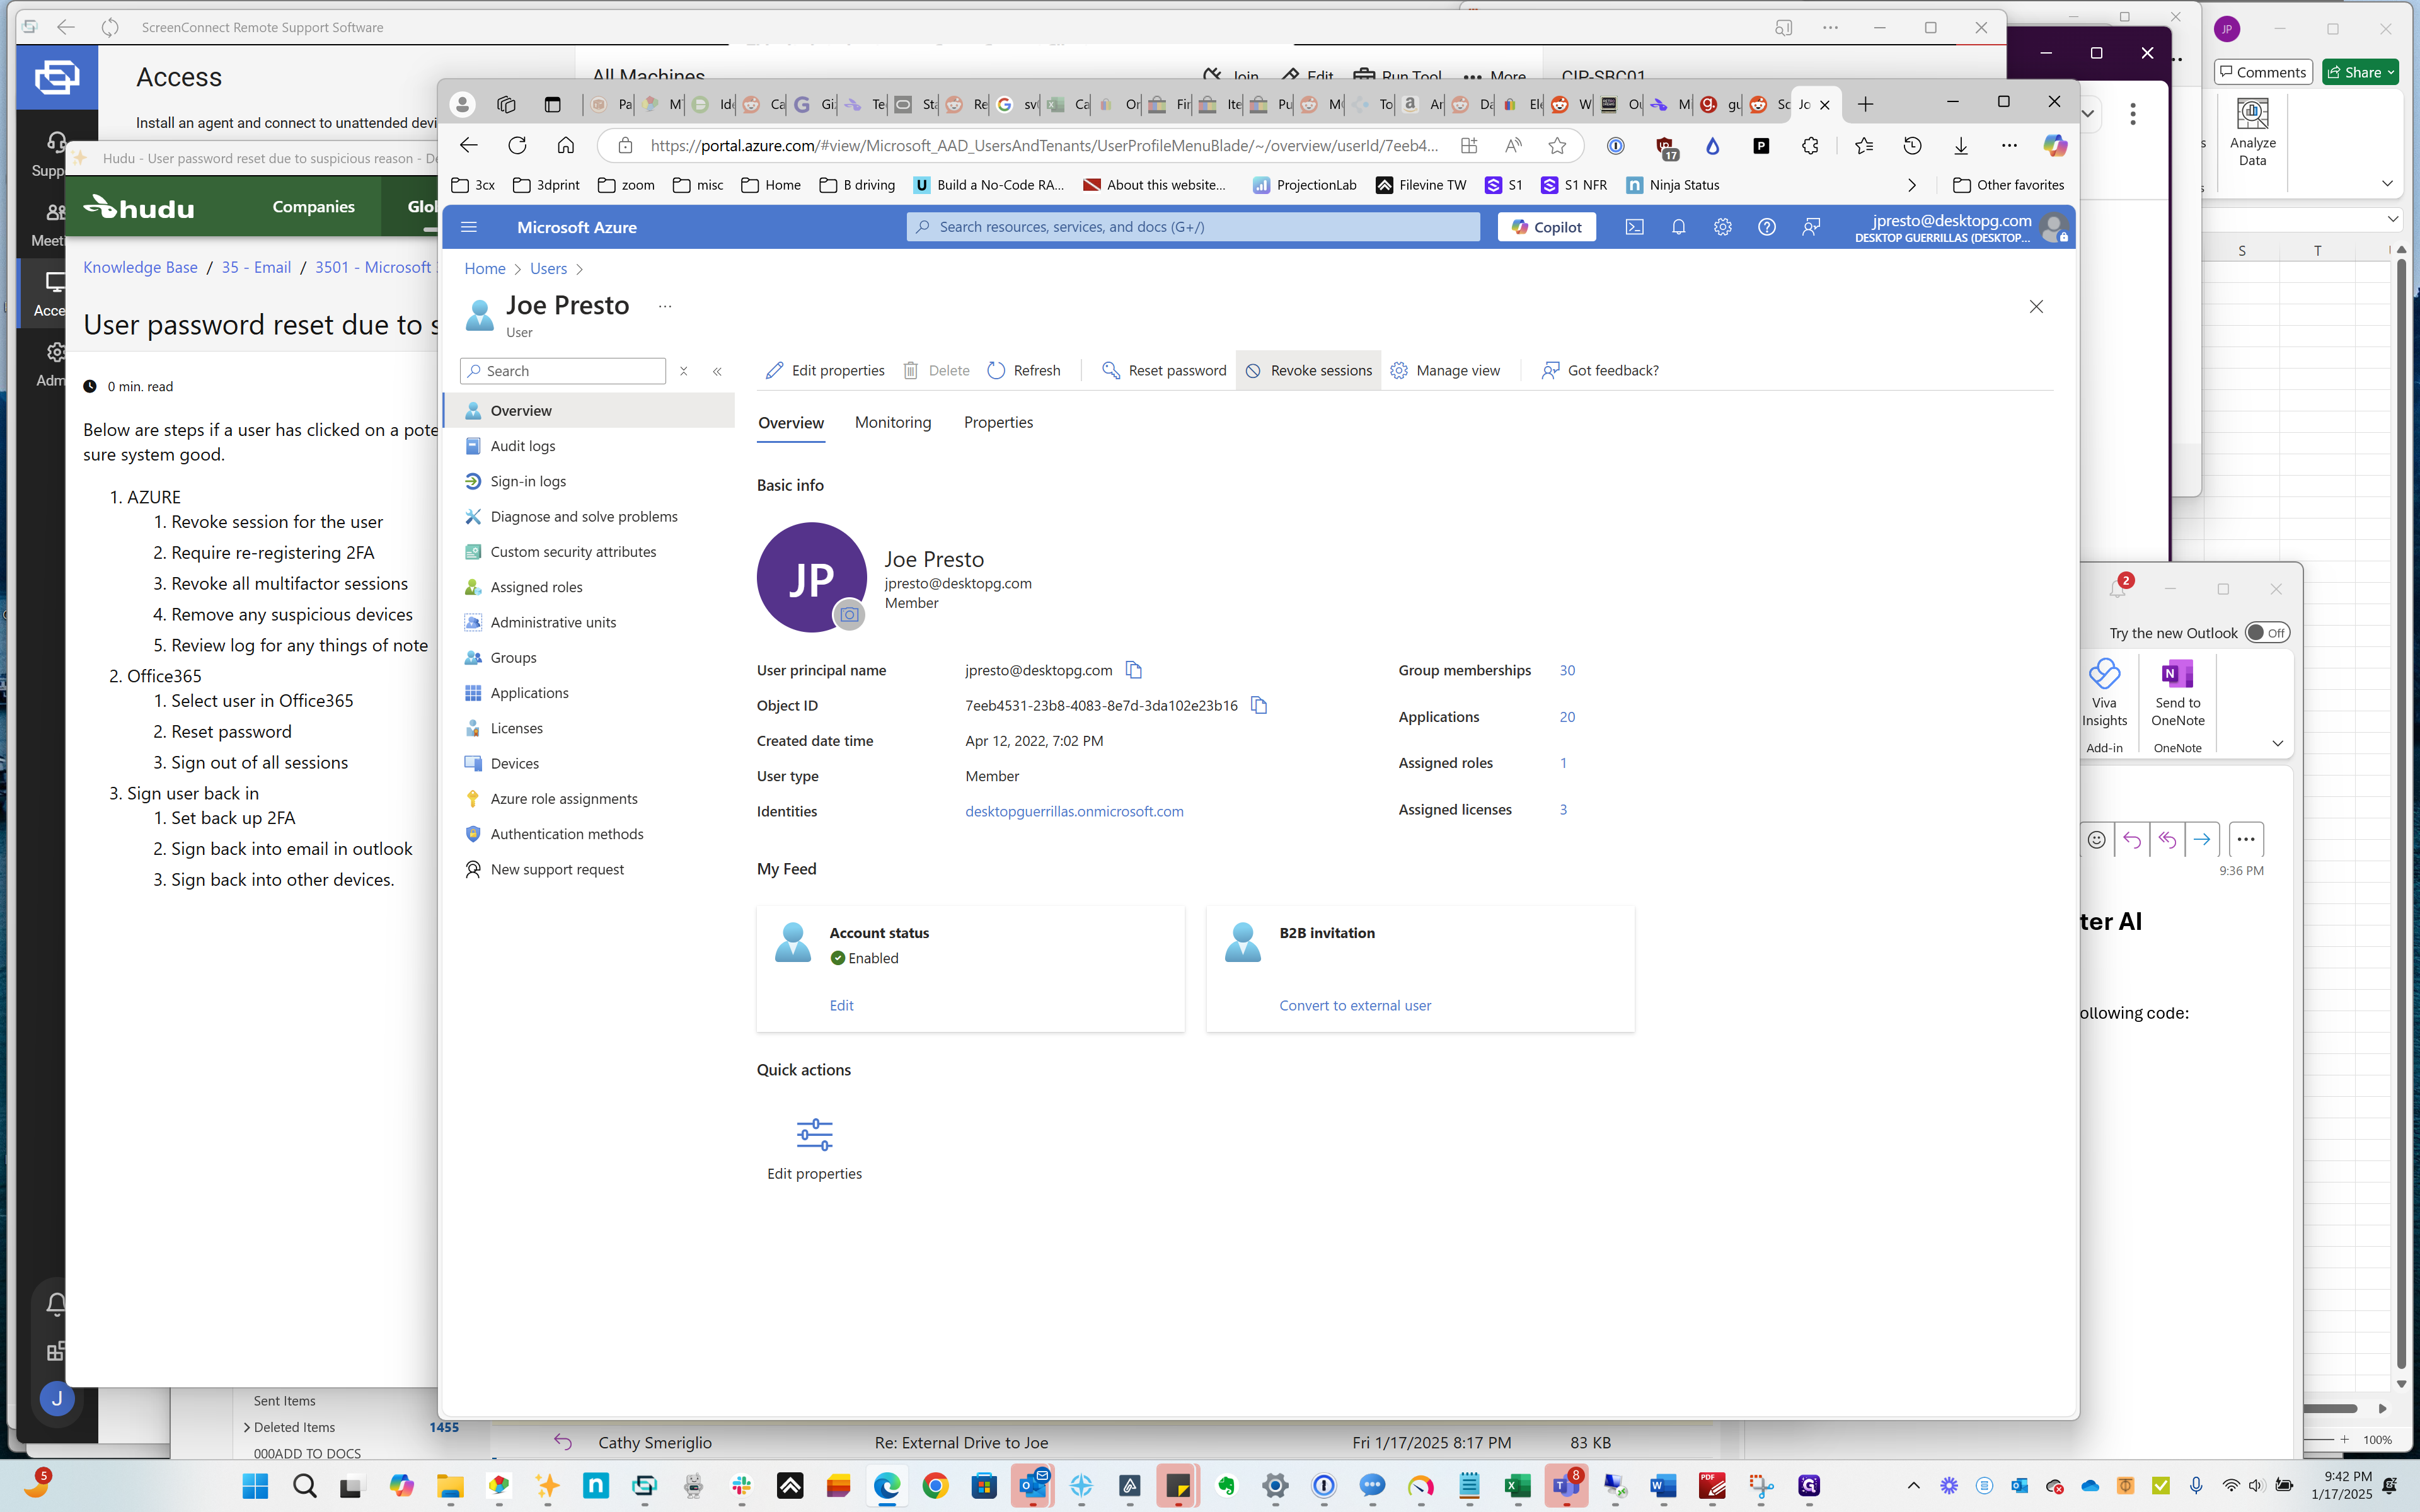
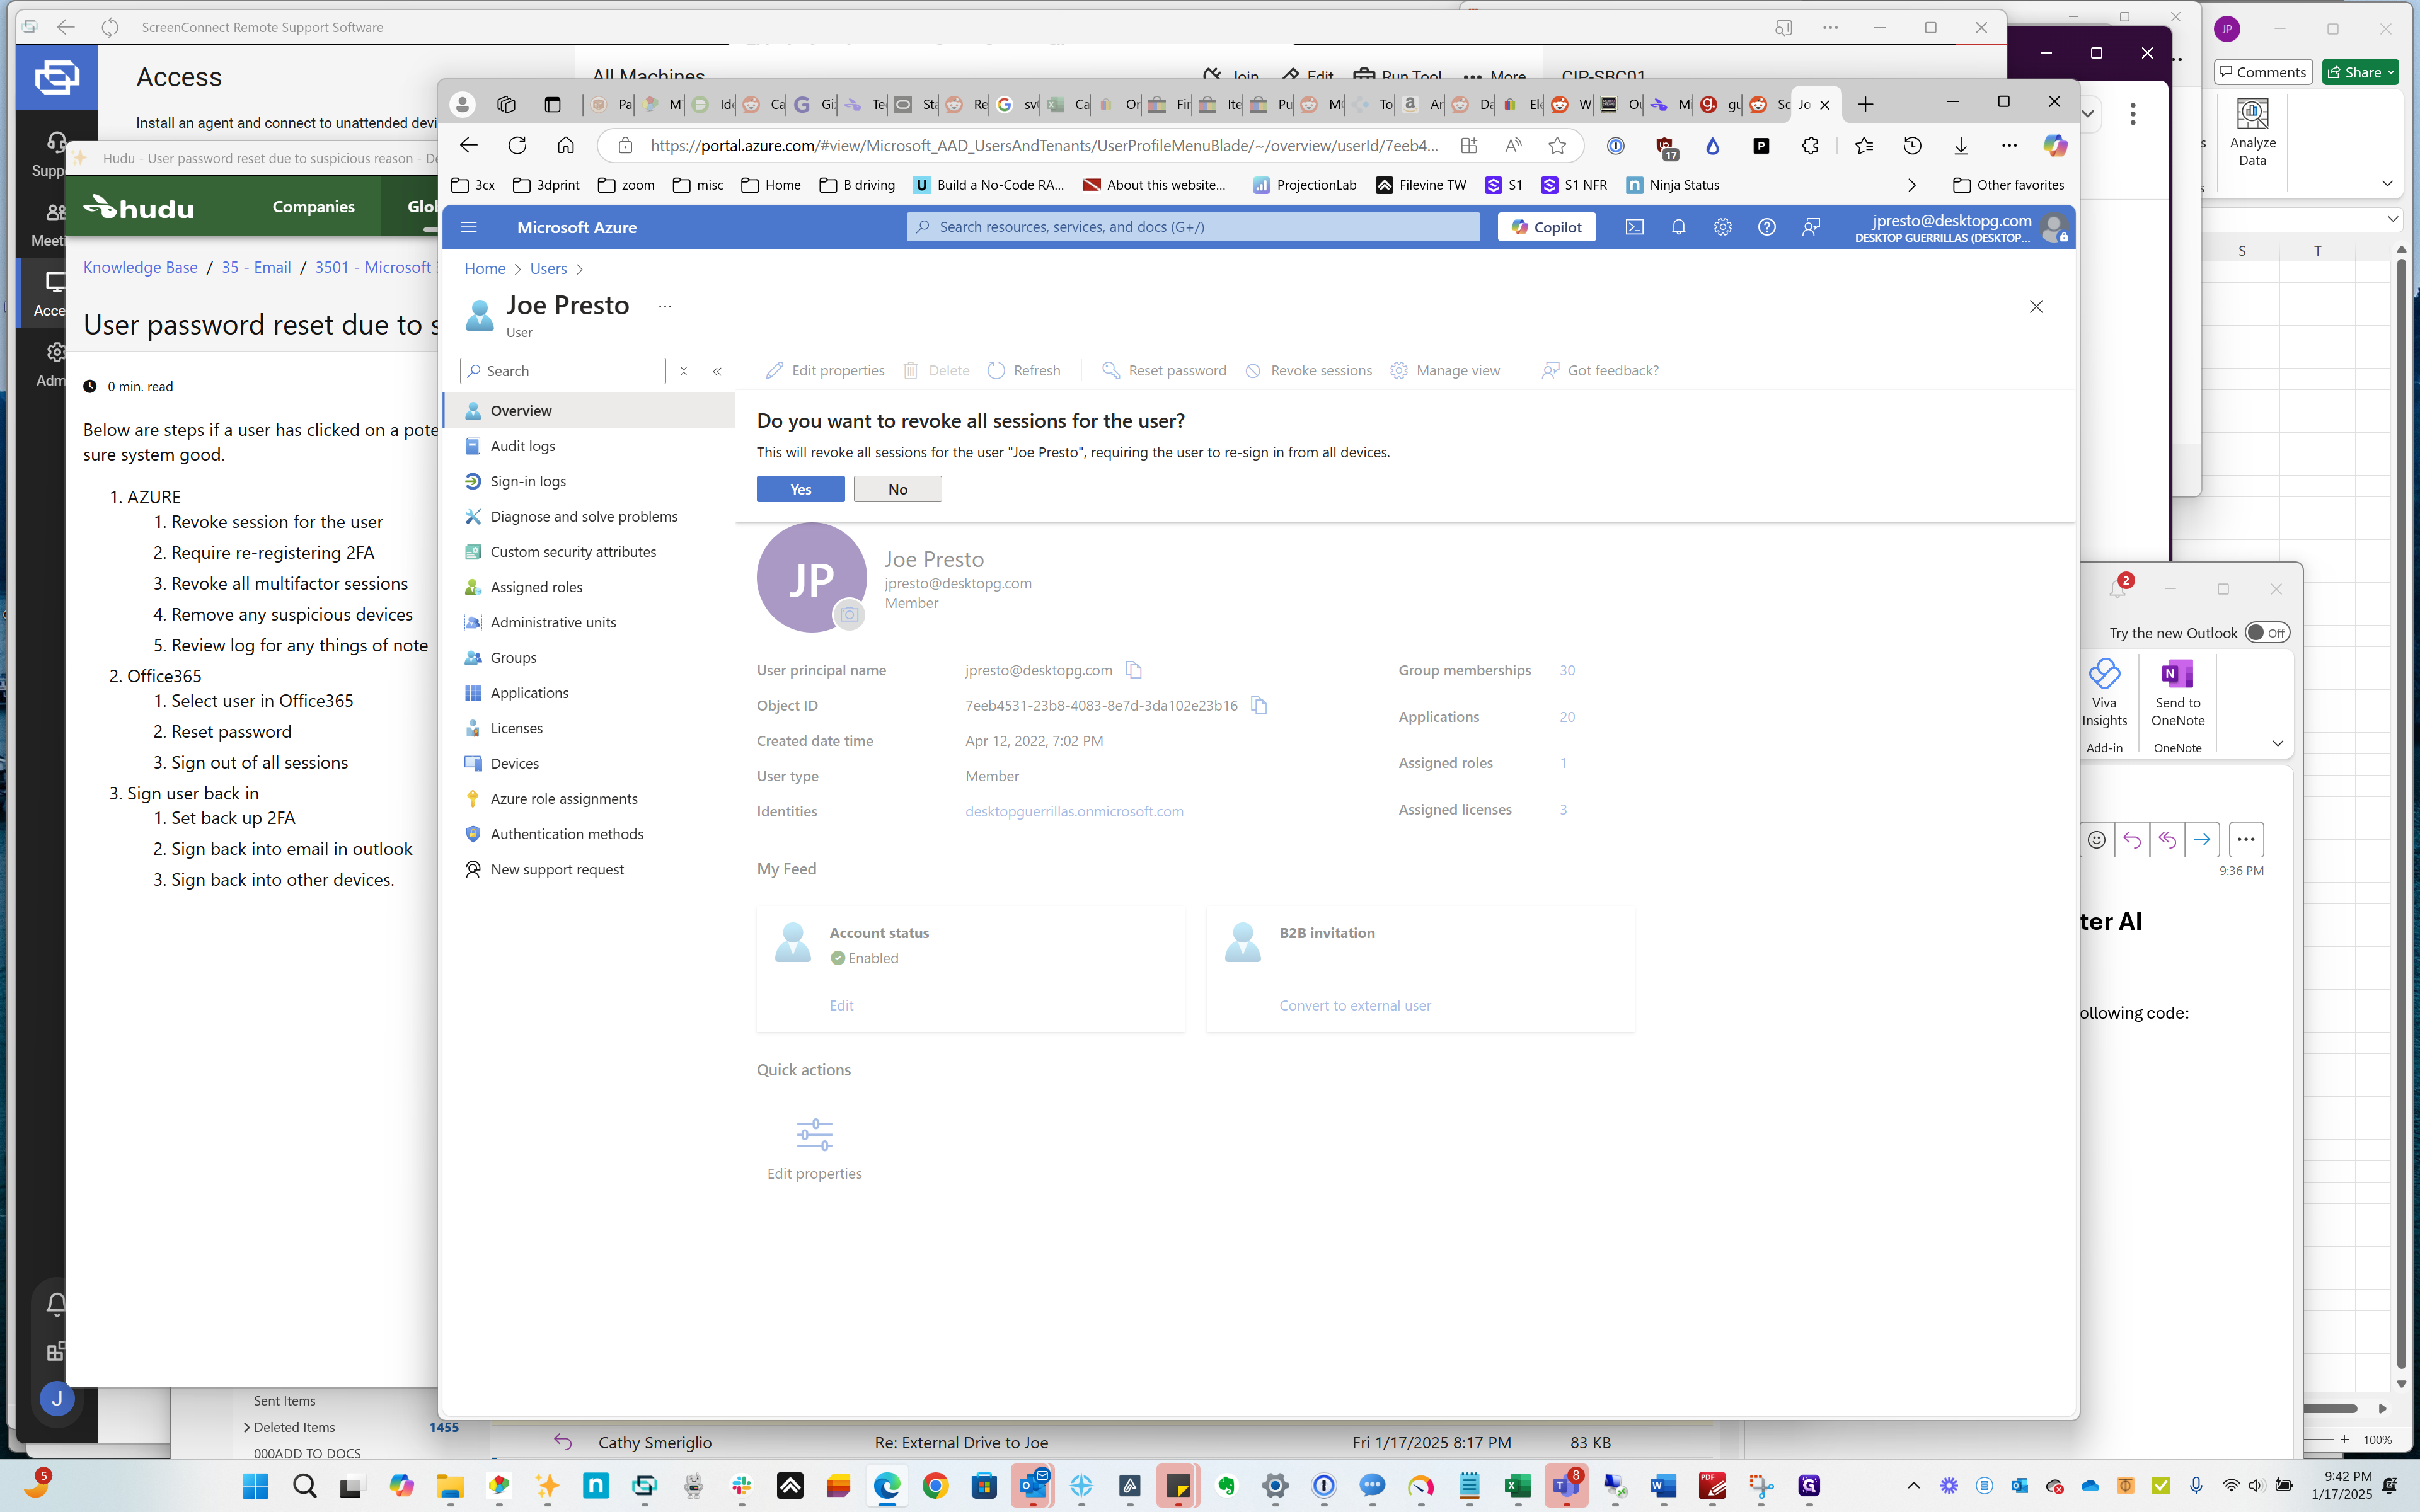
Click on "Revoke sessions"
Step #21: Click on "Revoke sessions"

You can do that and then click on "Yes." We're going to click on "No."
22
Click on "No"
Step #22: Click on "No"

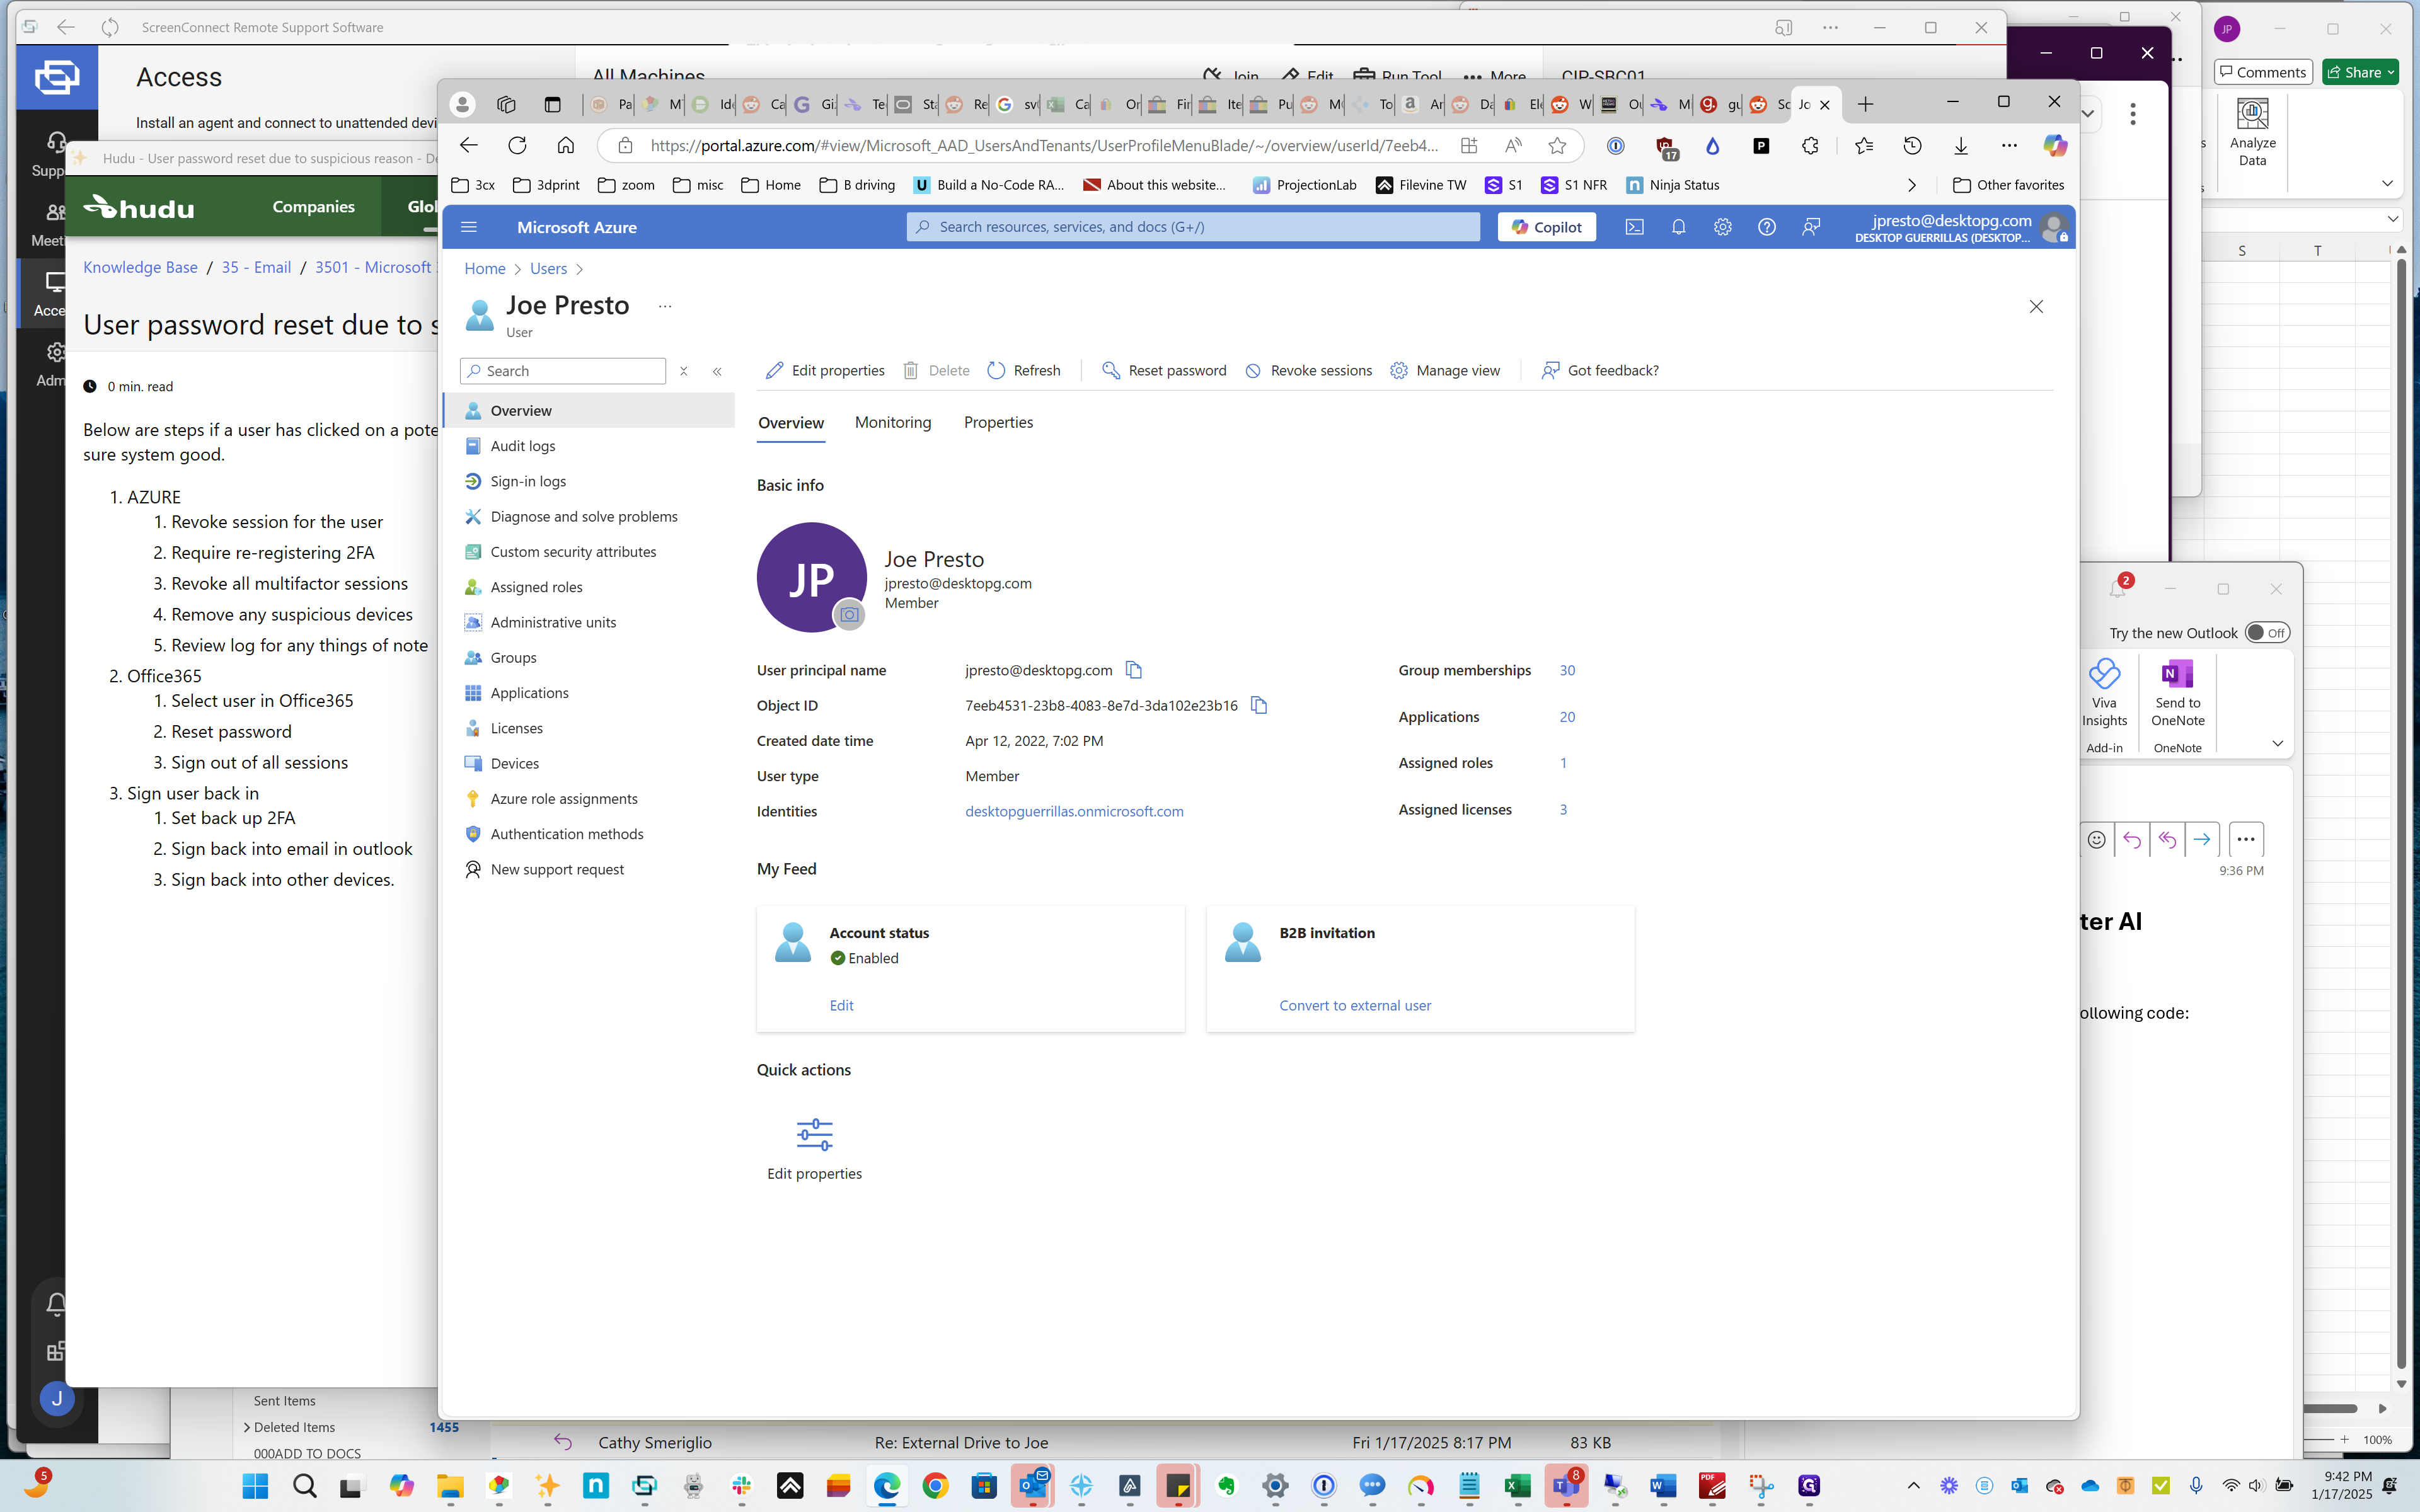
Then, it requires re-registering with the FAA.
23
Click here
Step #23: Click here
24
Click on "Properties"
Step #24: Click on "Properties"
25
Click on "Monitoring"
Step #25: Click on "Monitoring"
26
Click on "Overview"
Step #26: Click on "Overview"

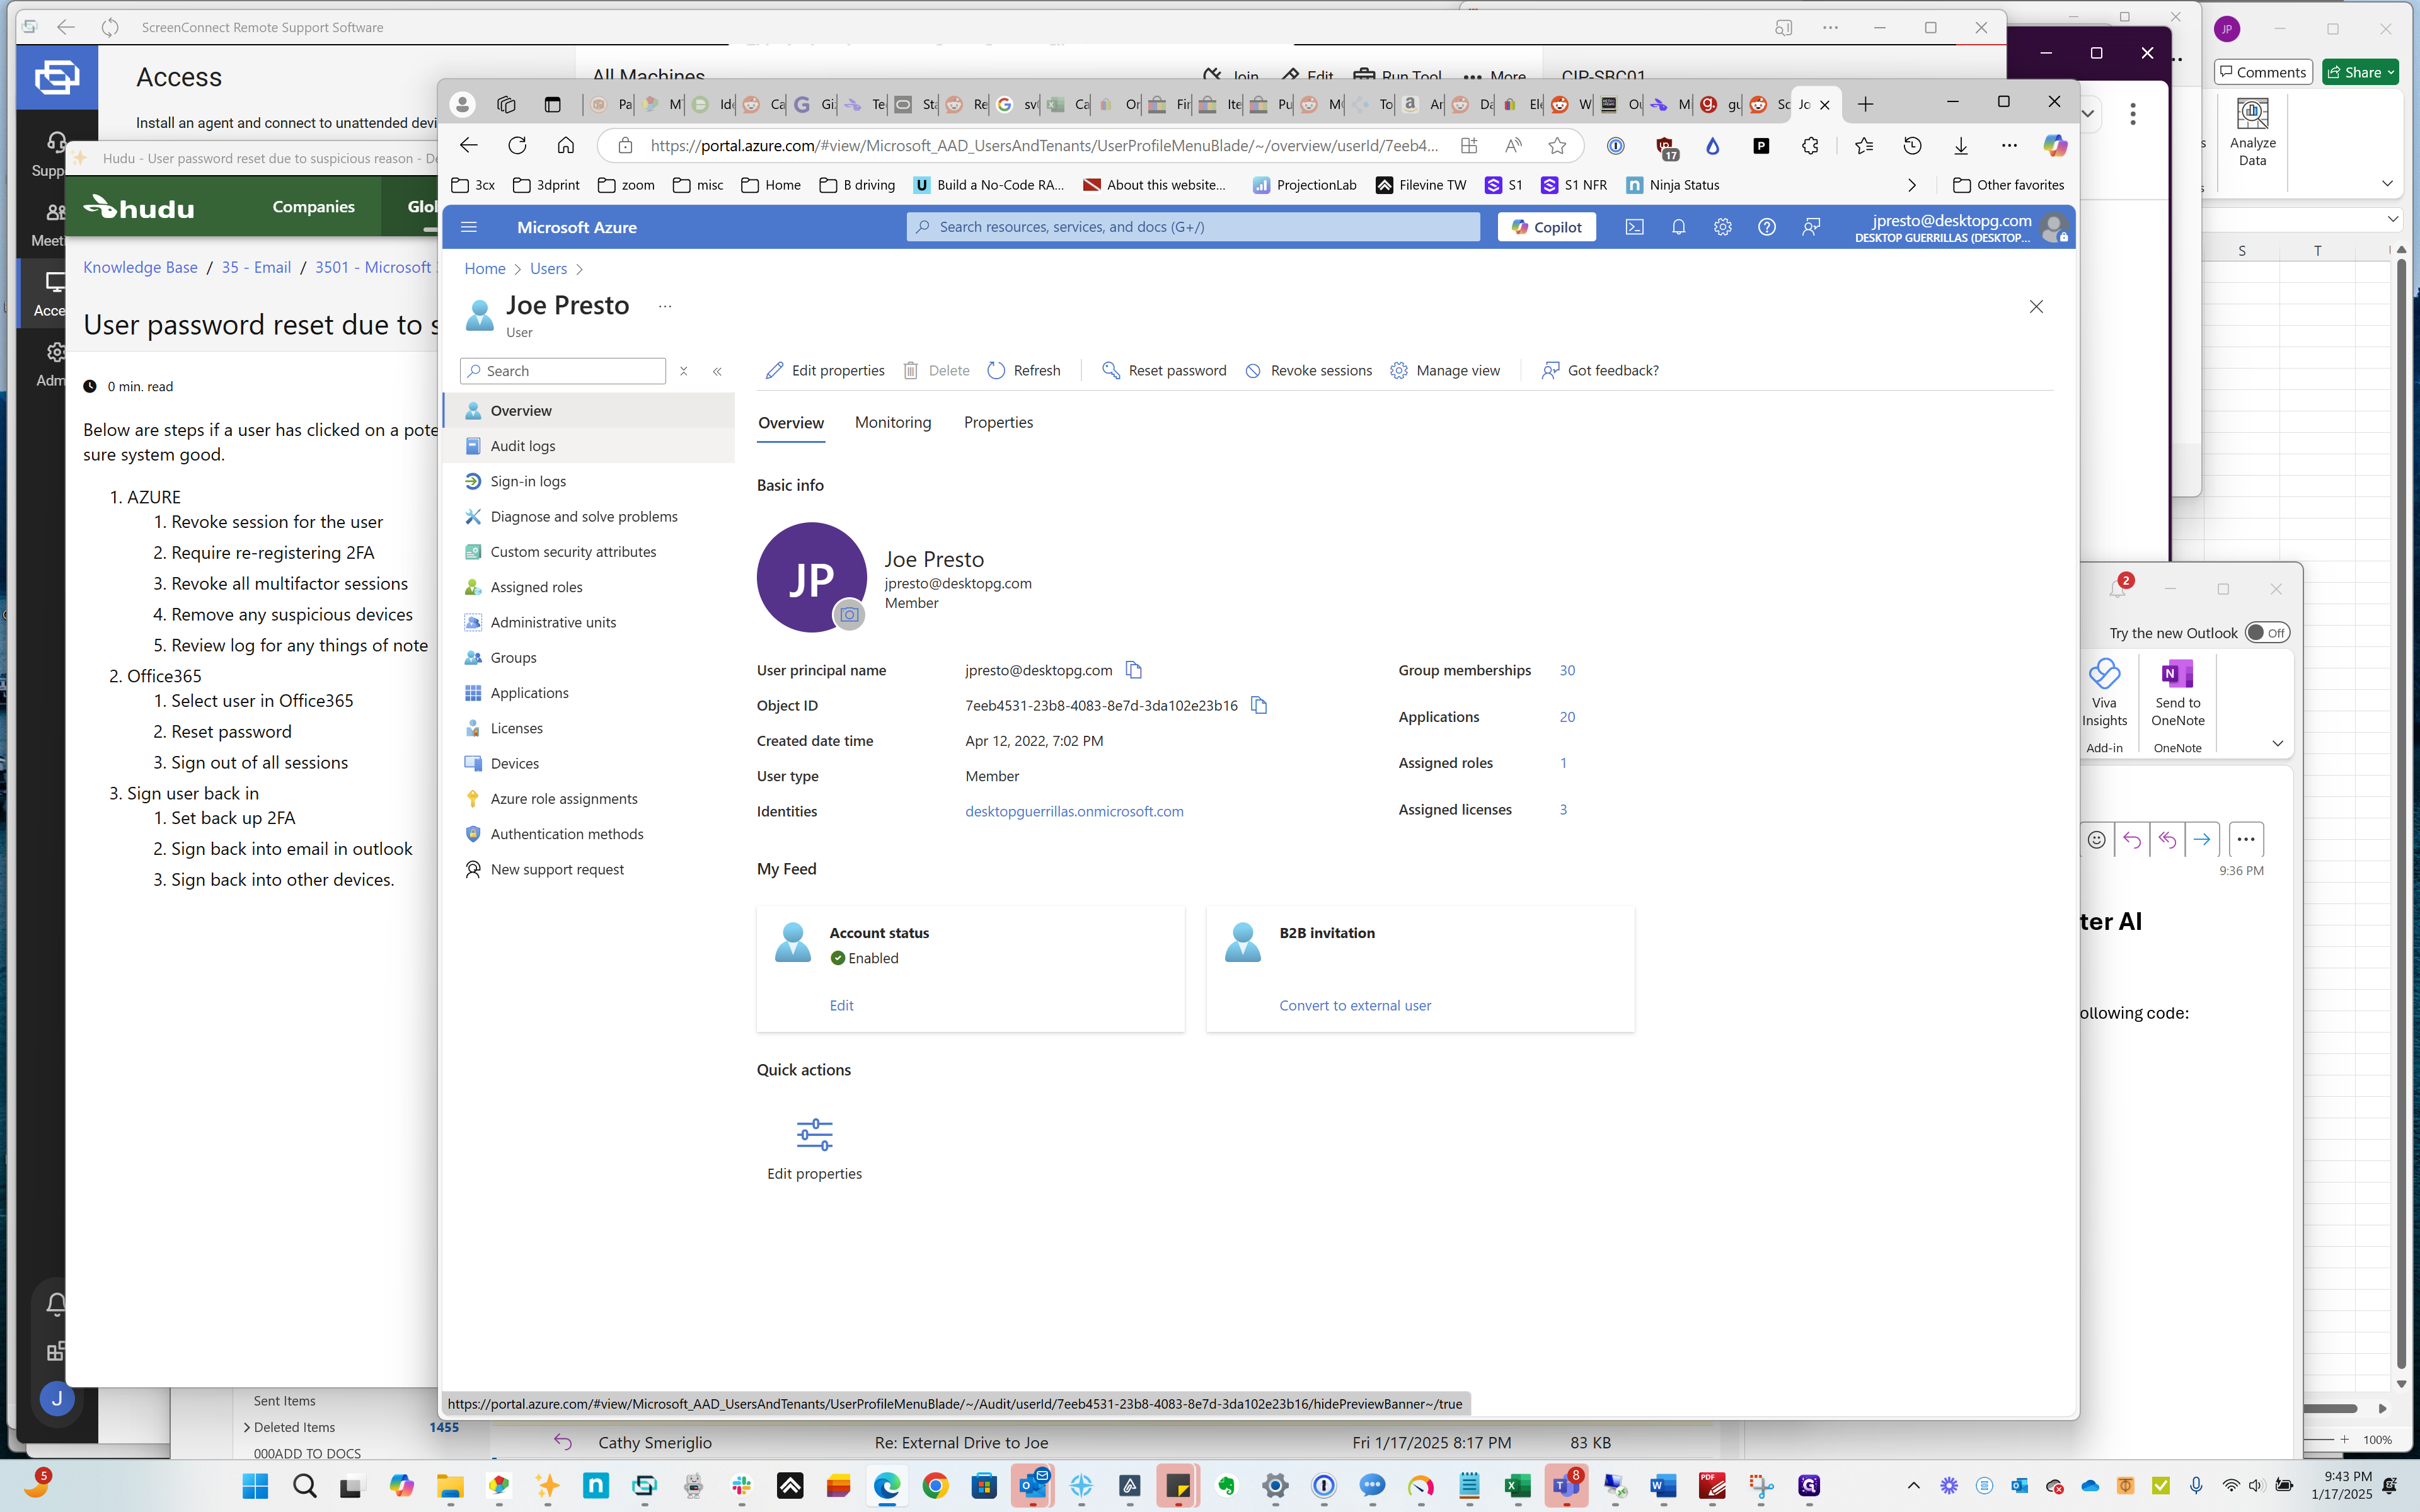
Let's assume we did that, but we still need some documentation.
27
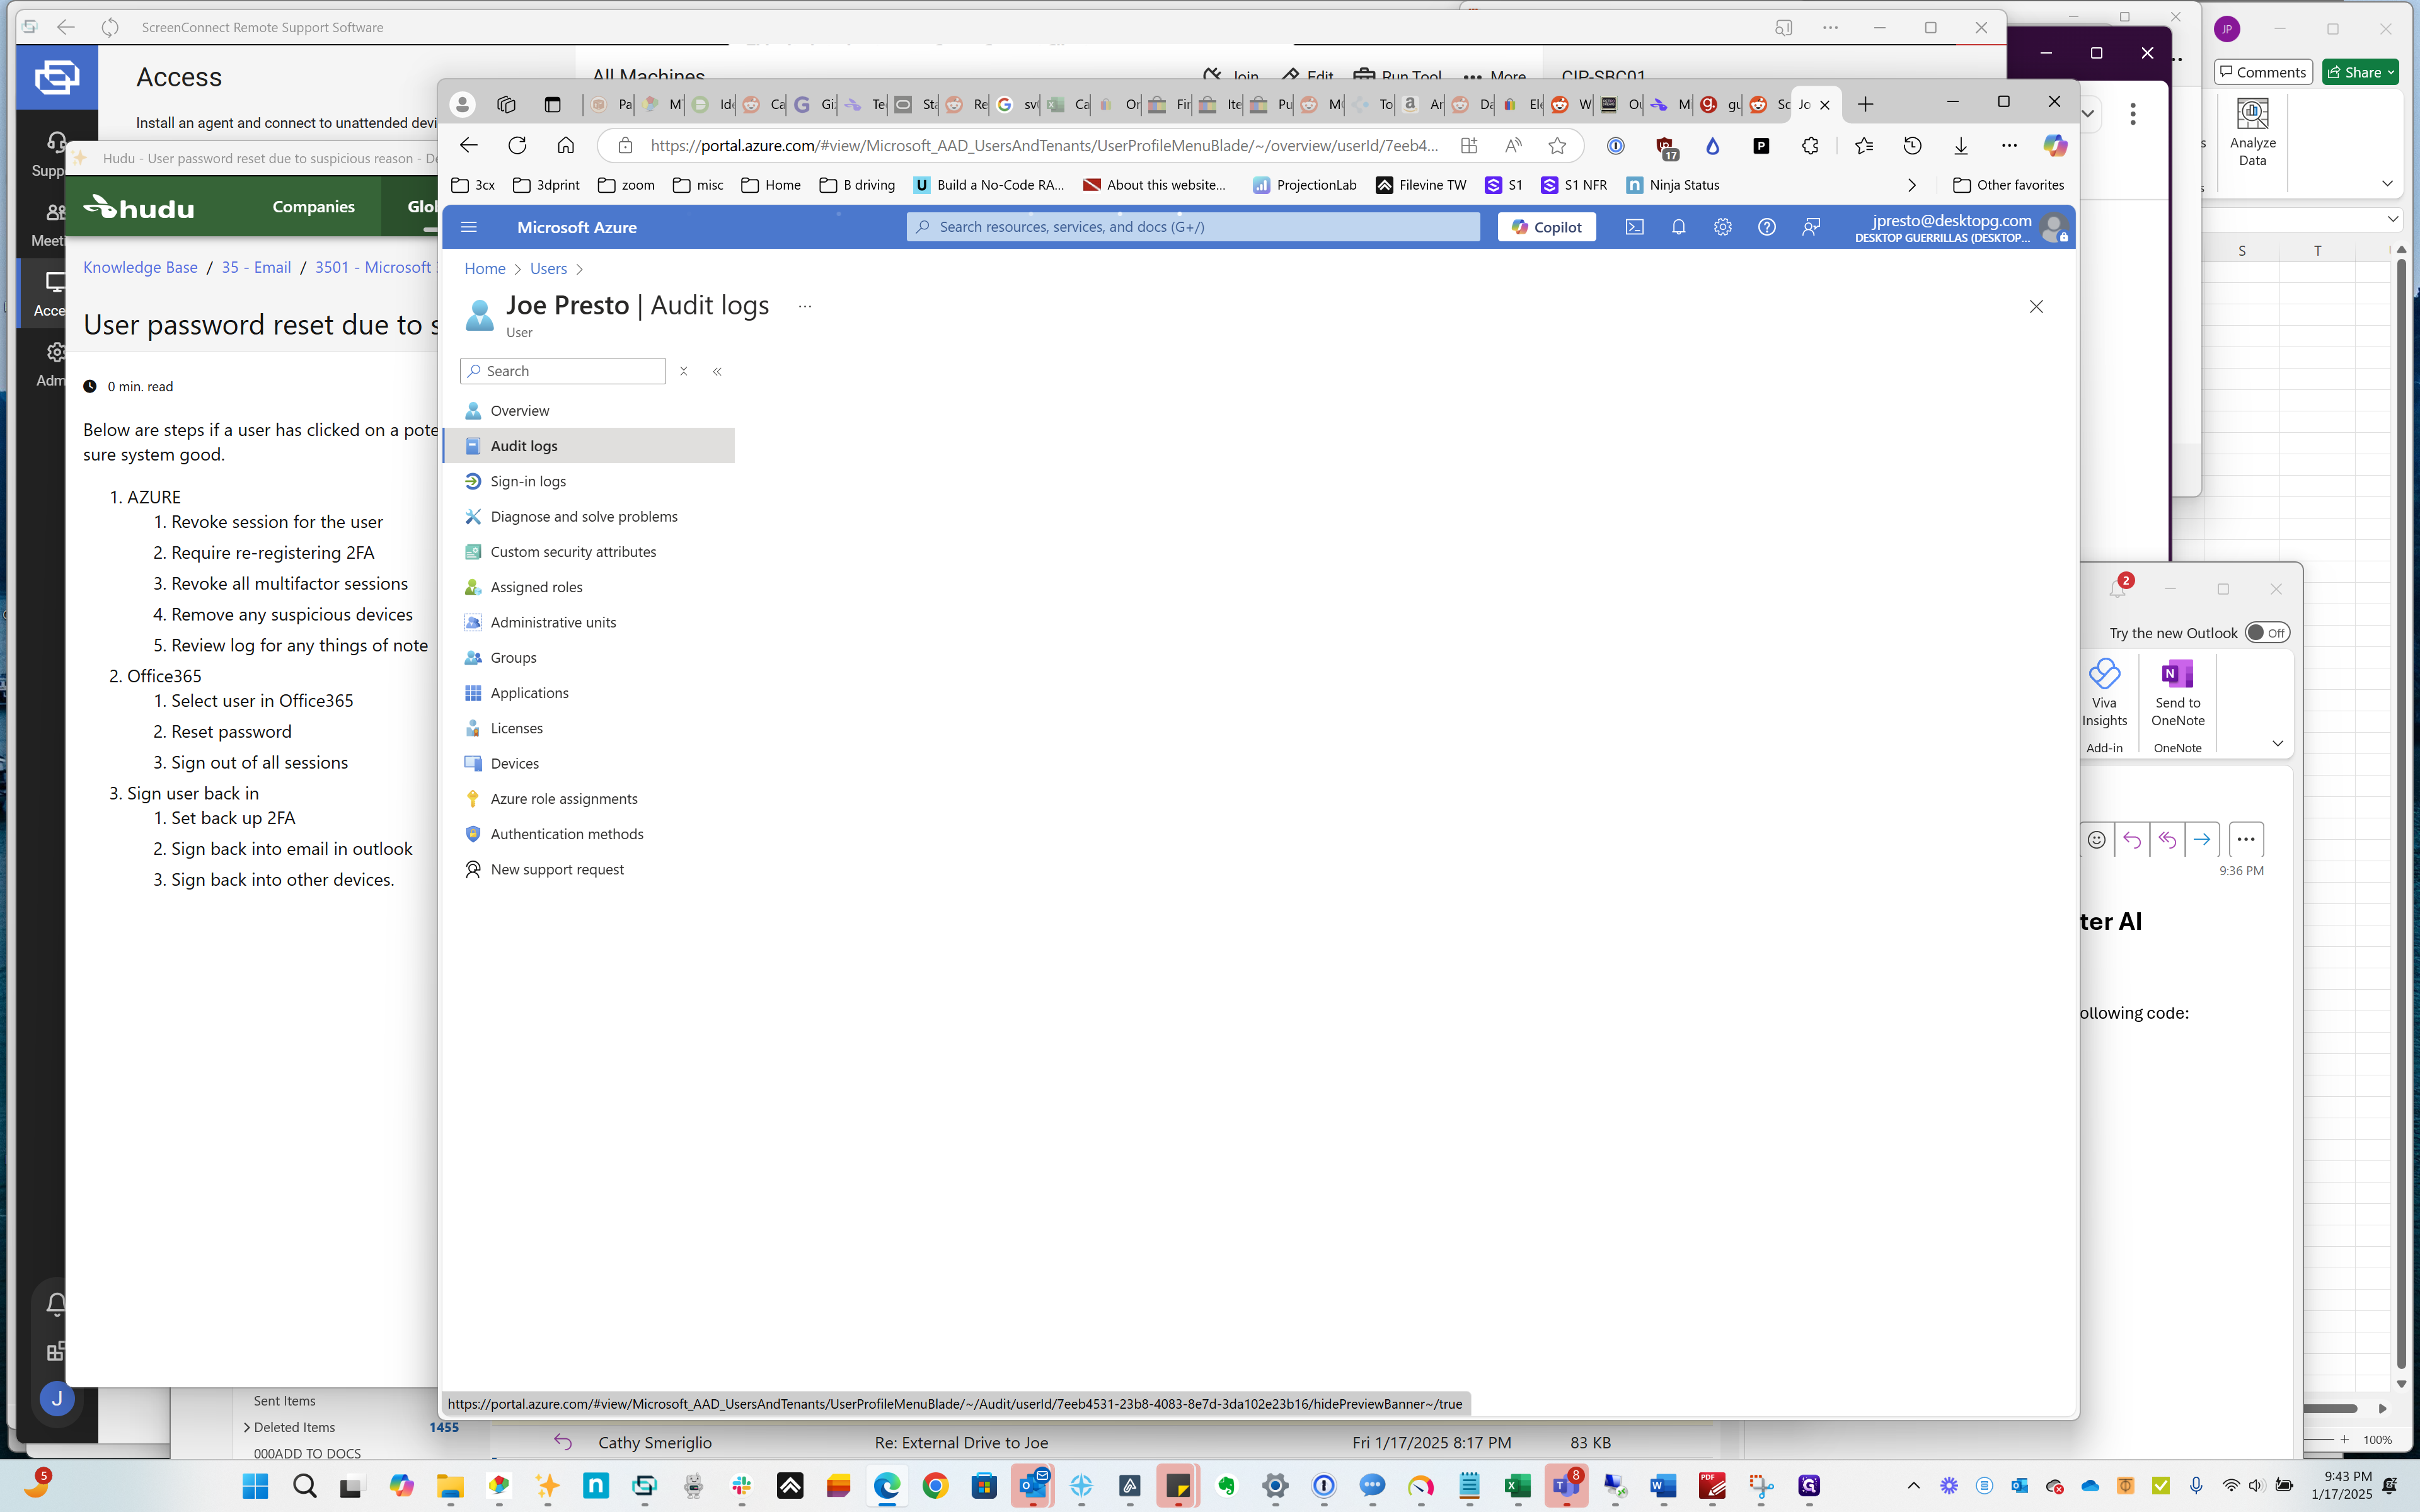
Click on "Audit logs"
Step #27: Click on "Audit logs"
28
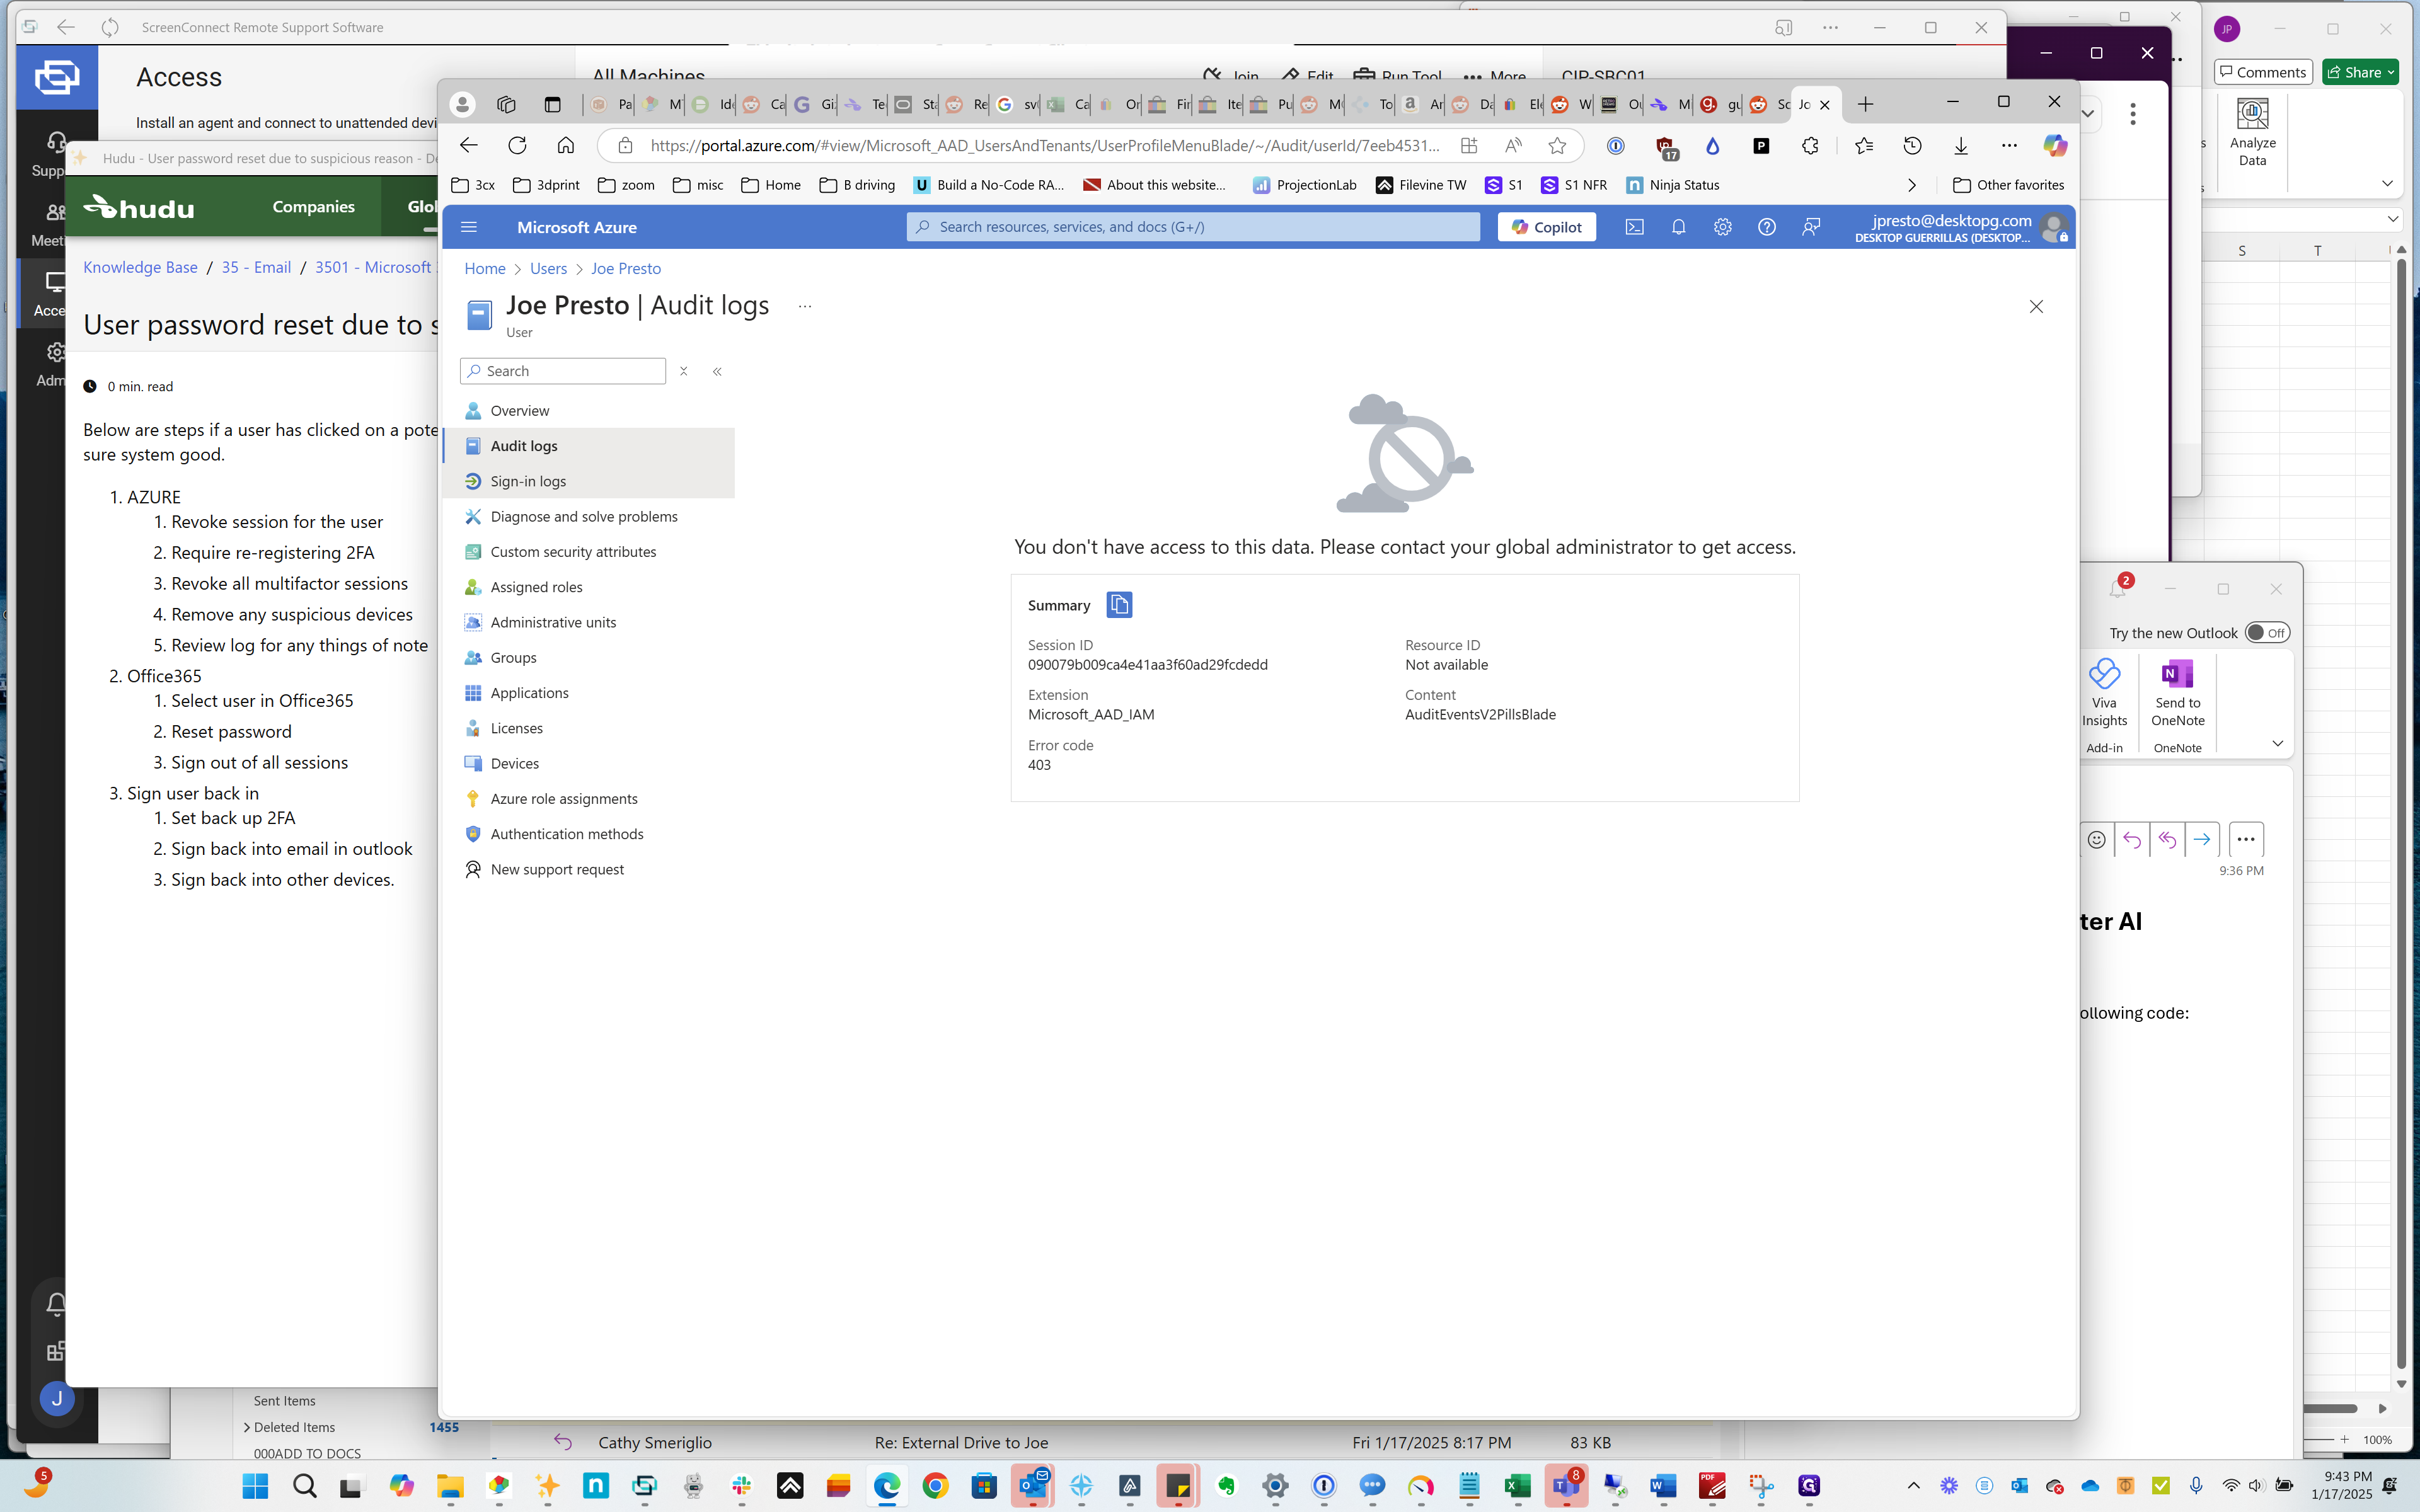
Click on "Audit logs"
Step #28: Click on "Audit logs"

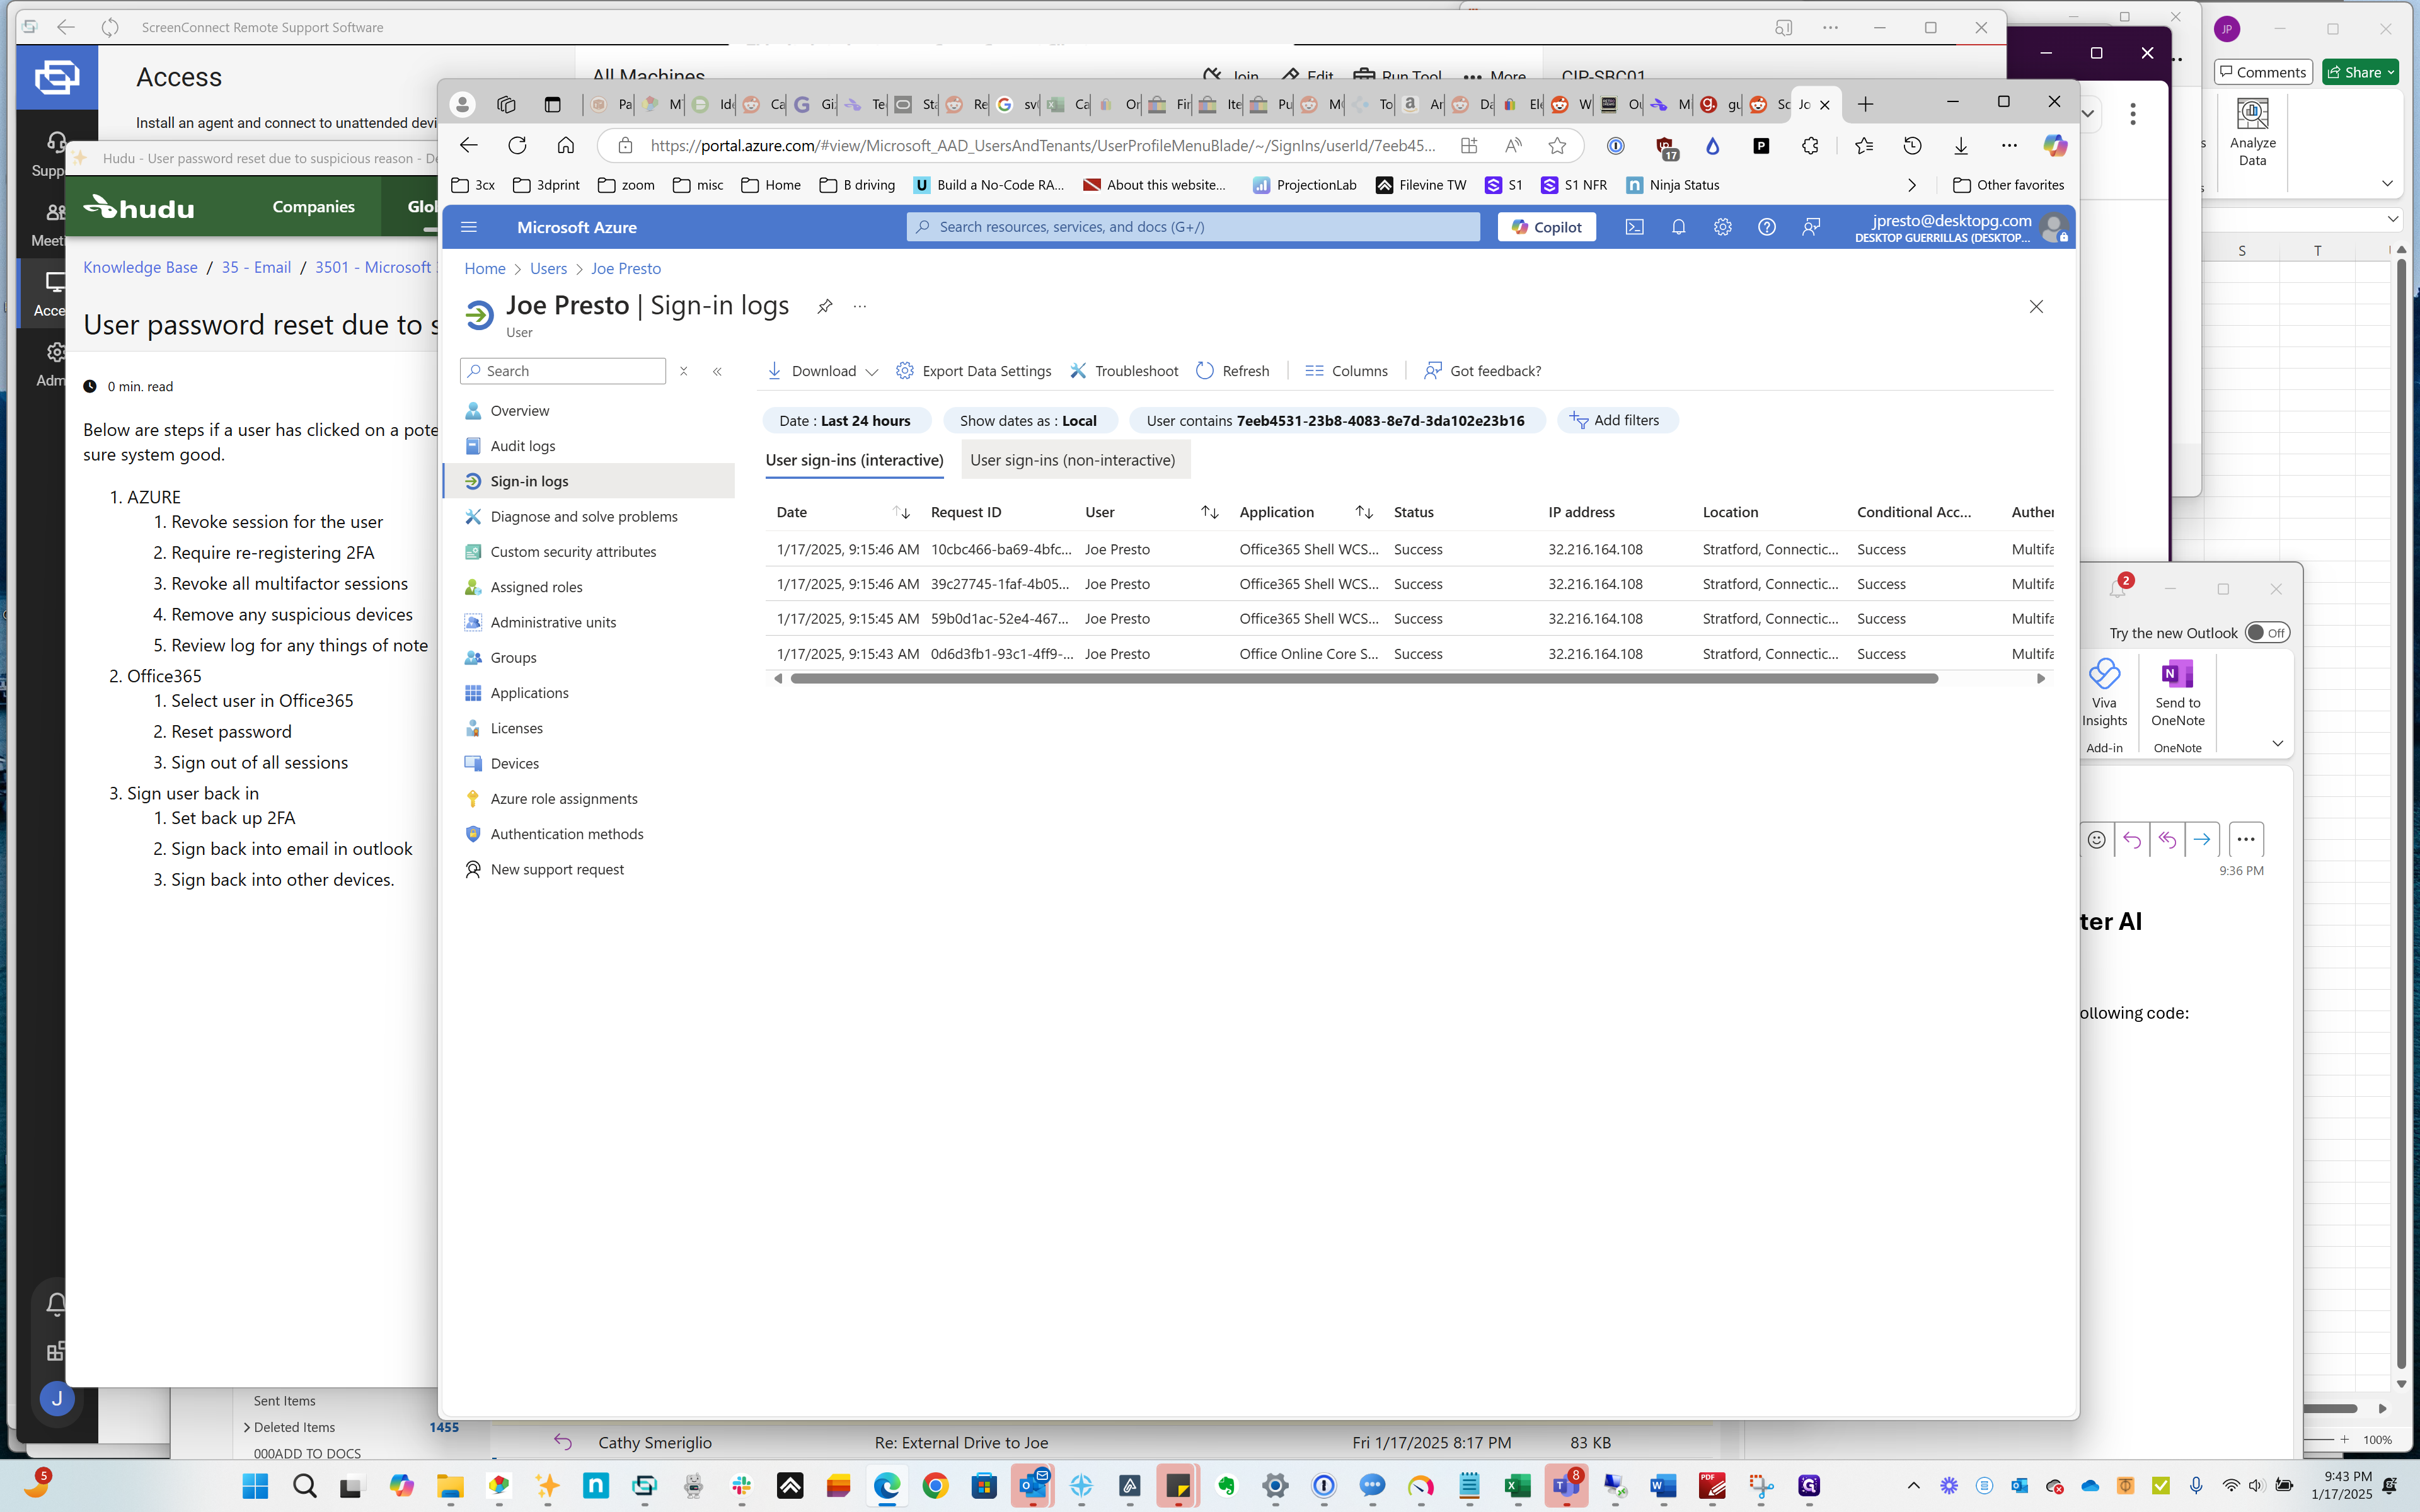
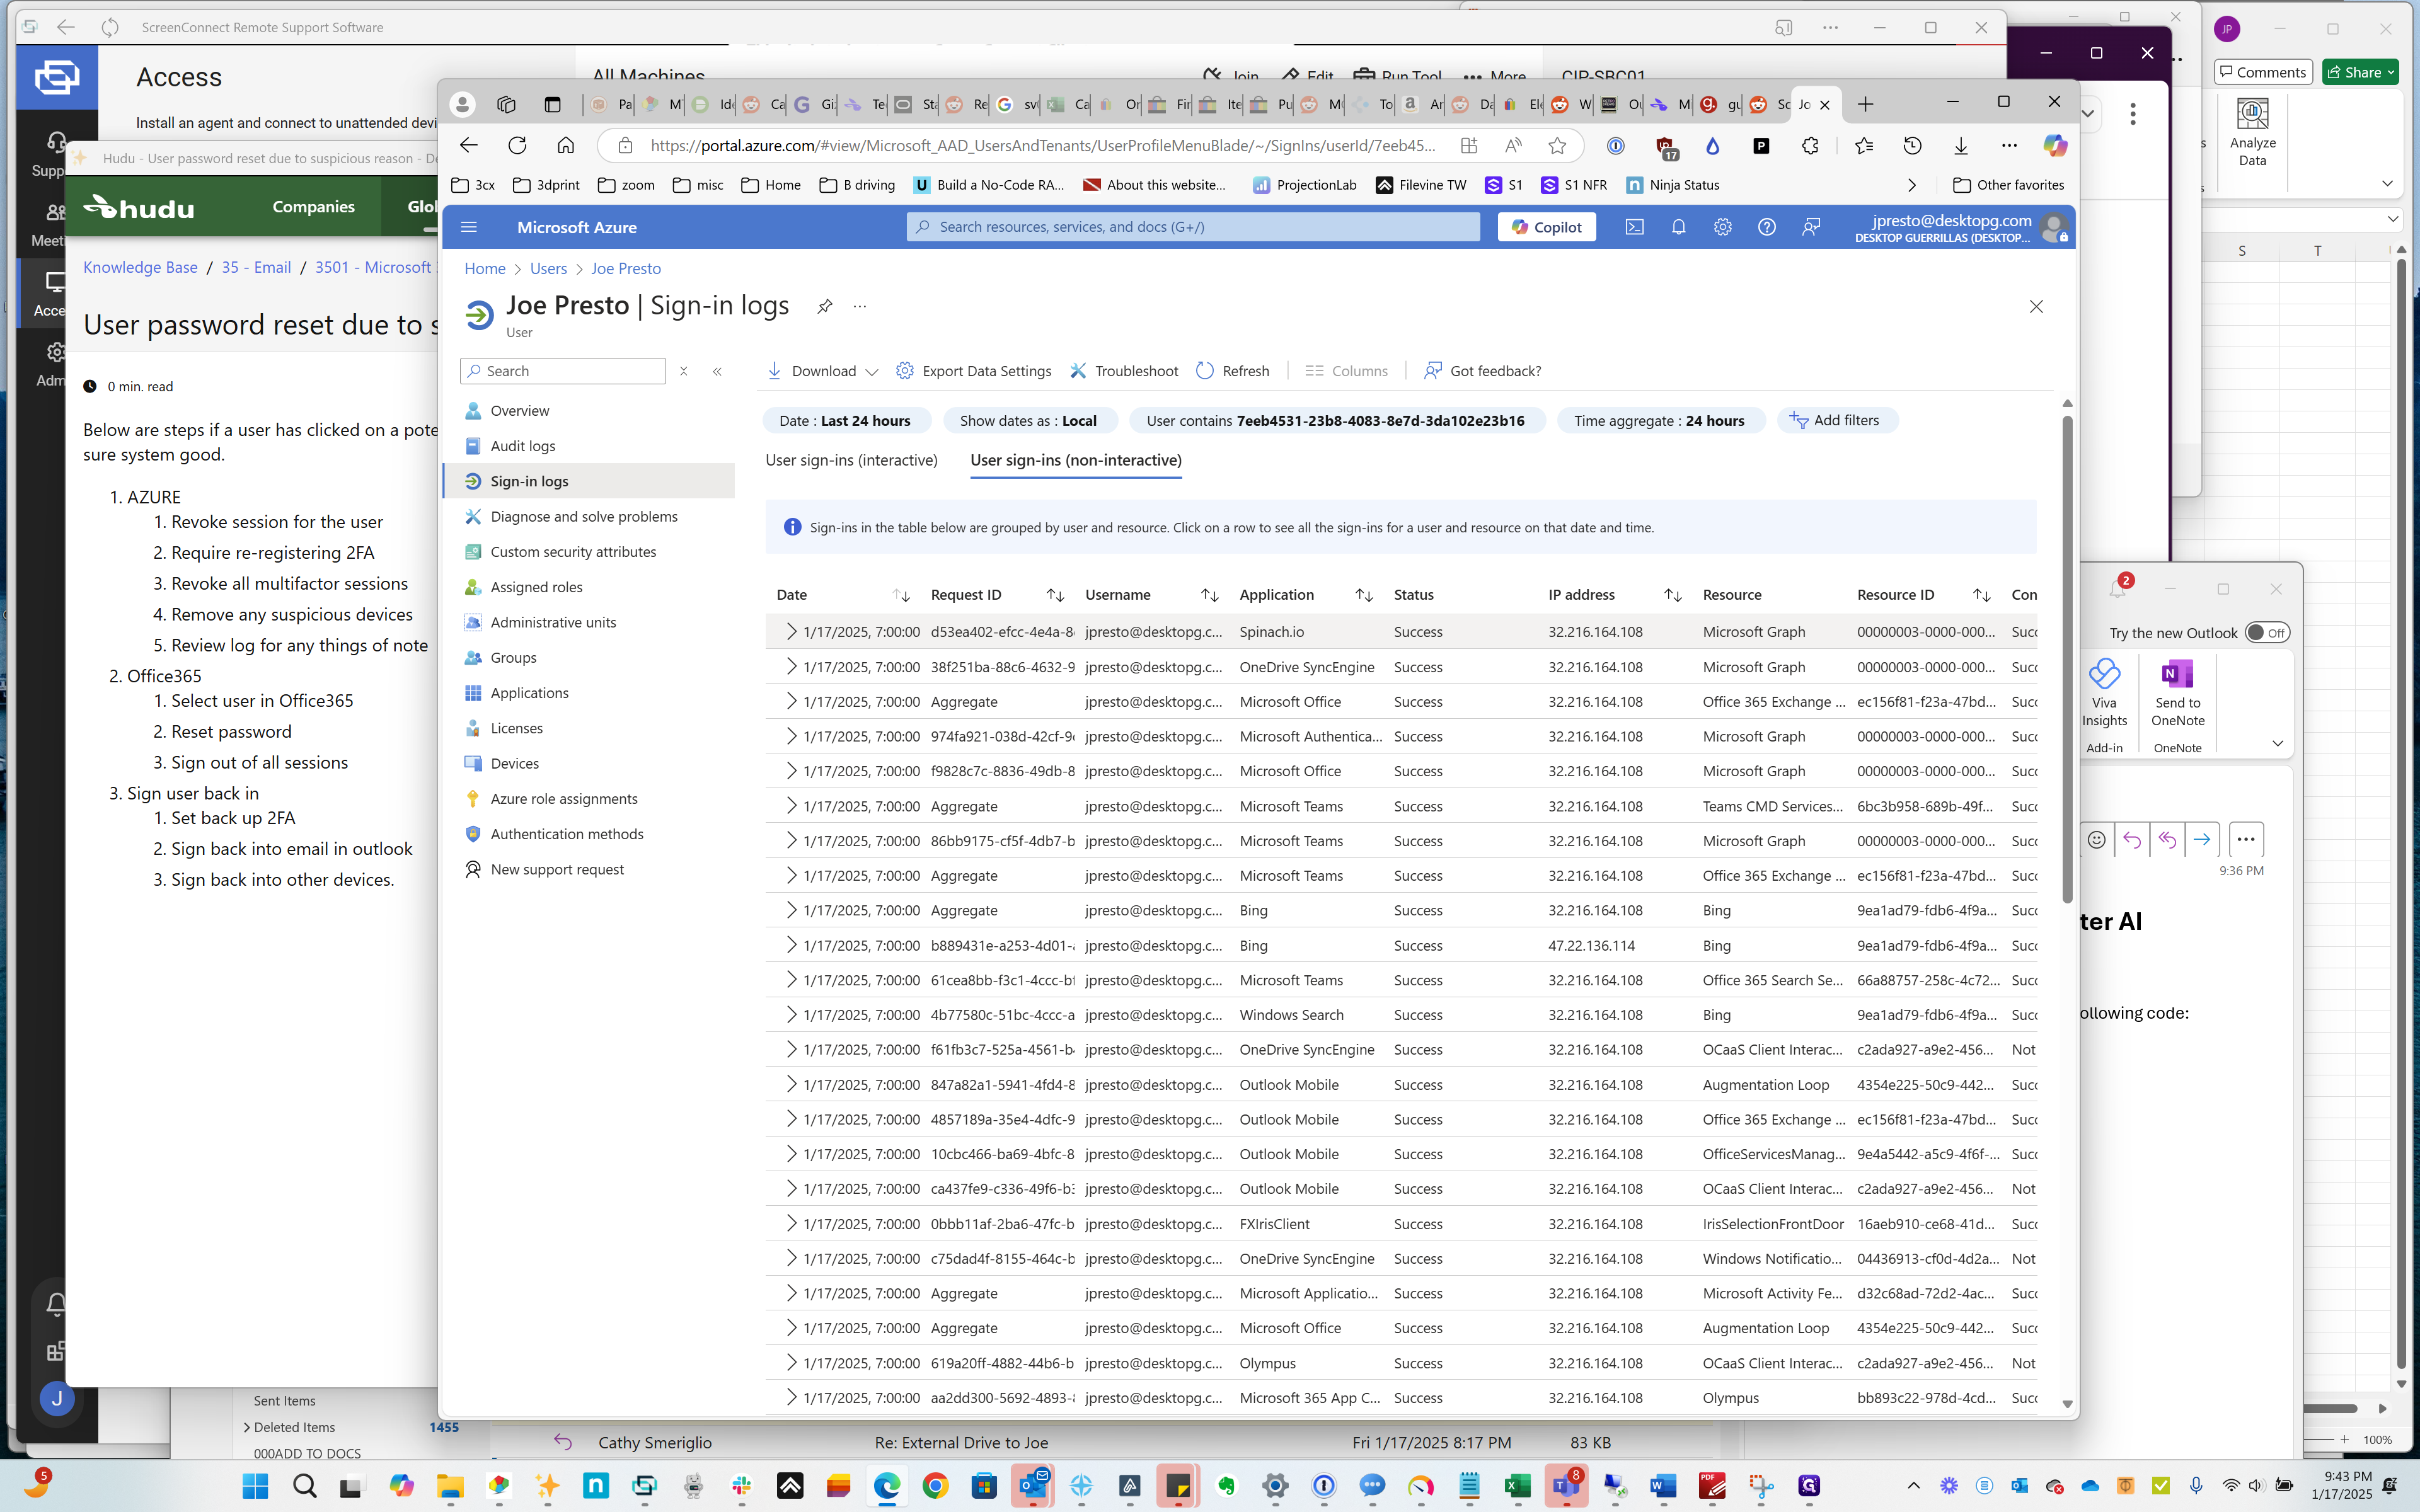
You may also want to check audit logs and sign-in logs to see if anything suspicious appears.
29
Click on "✈ Sign -"
Step #29: Click on "✈ Sign -"
30
Click on "ins"
Step #30: Click on "ins"
31
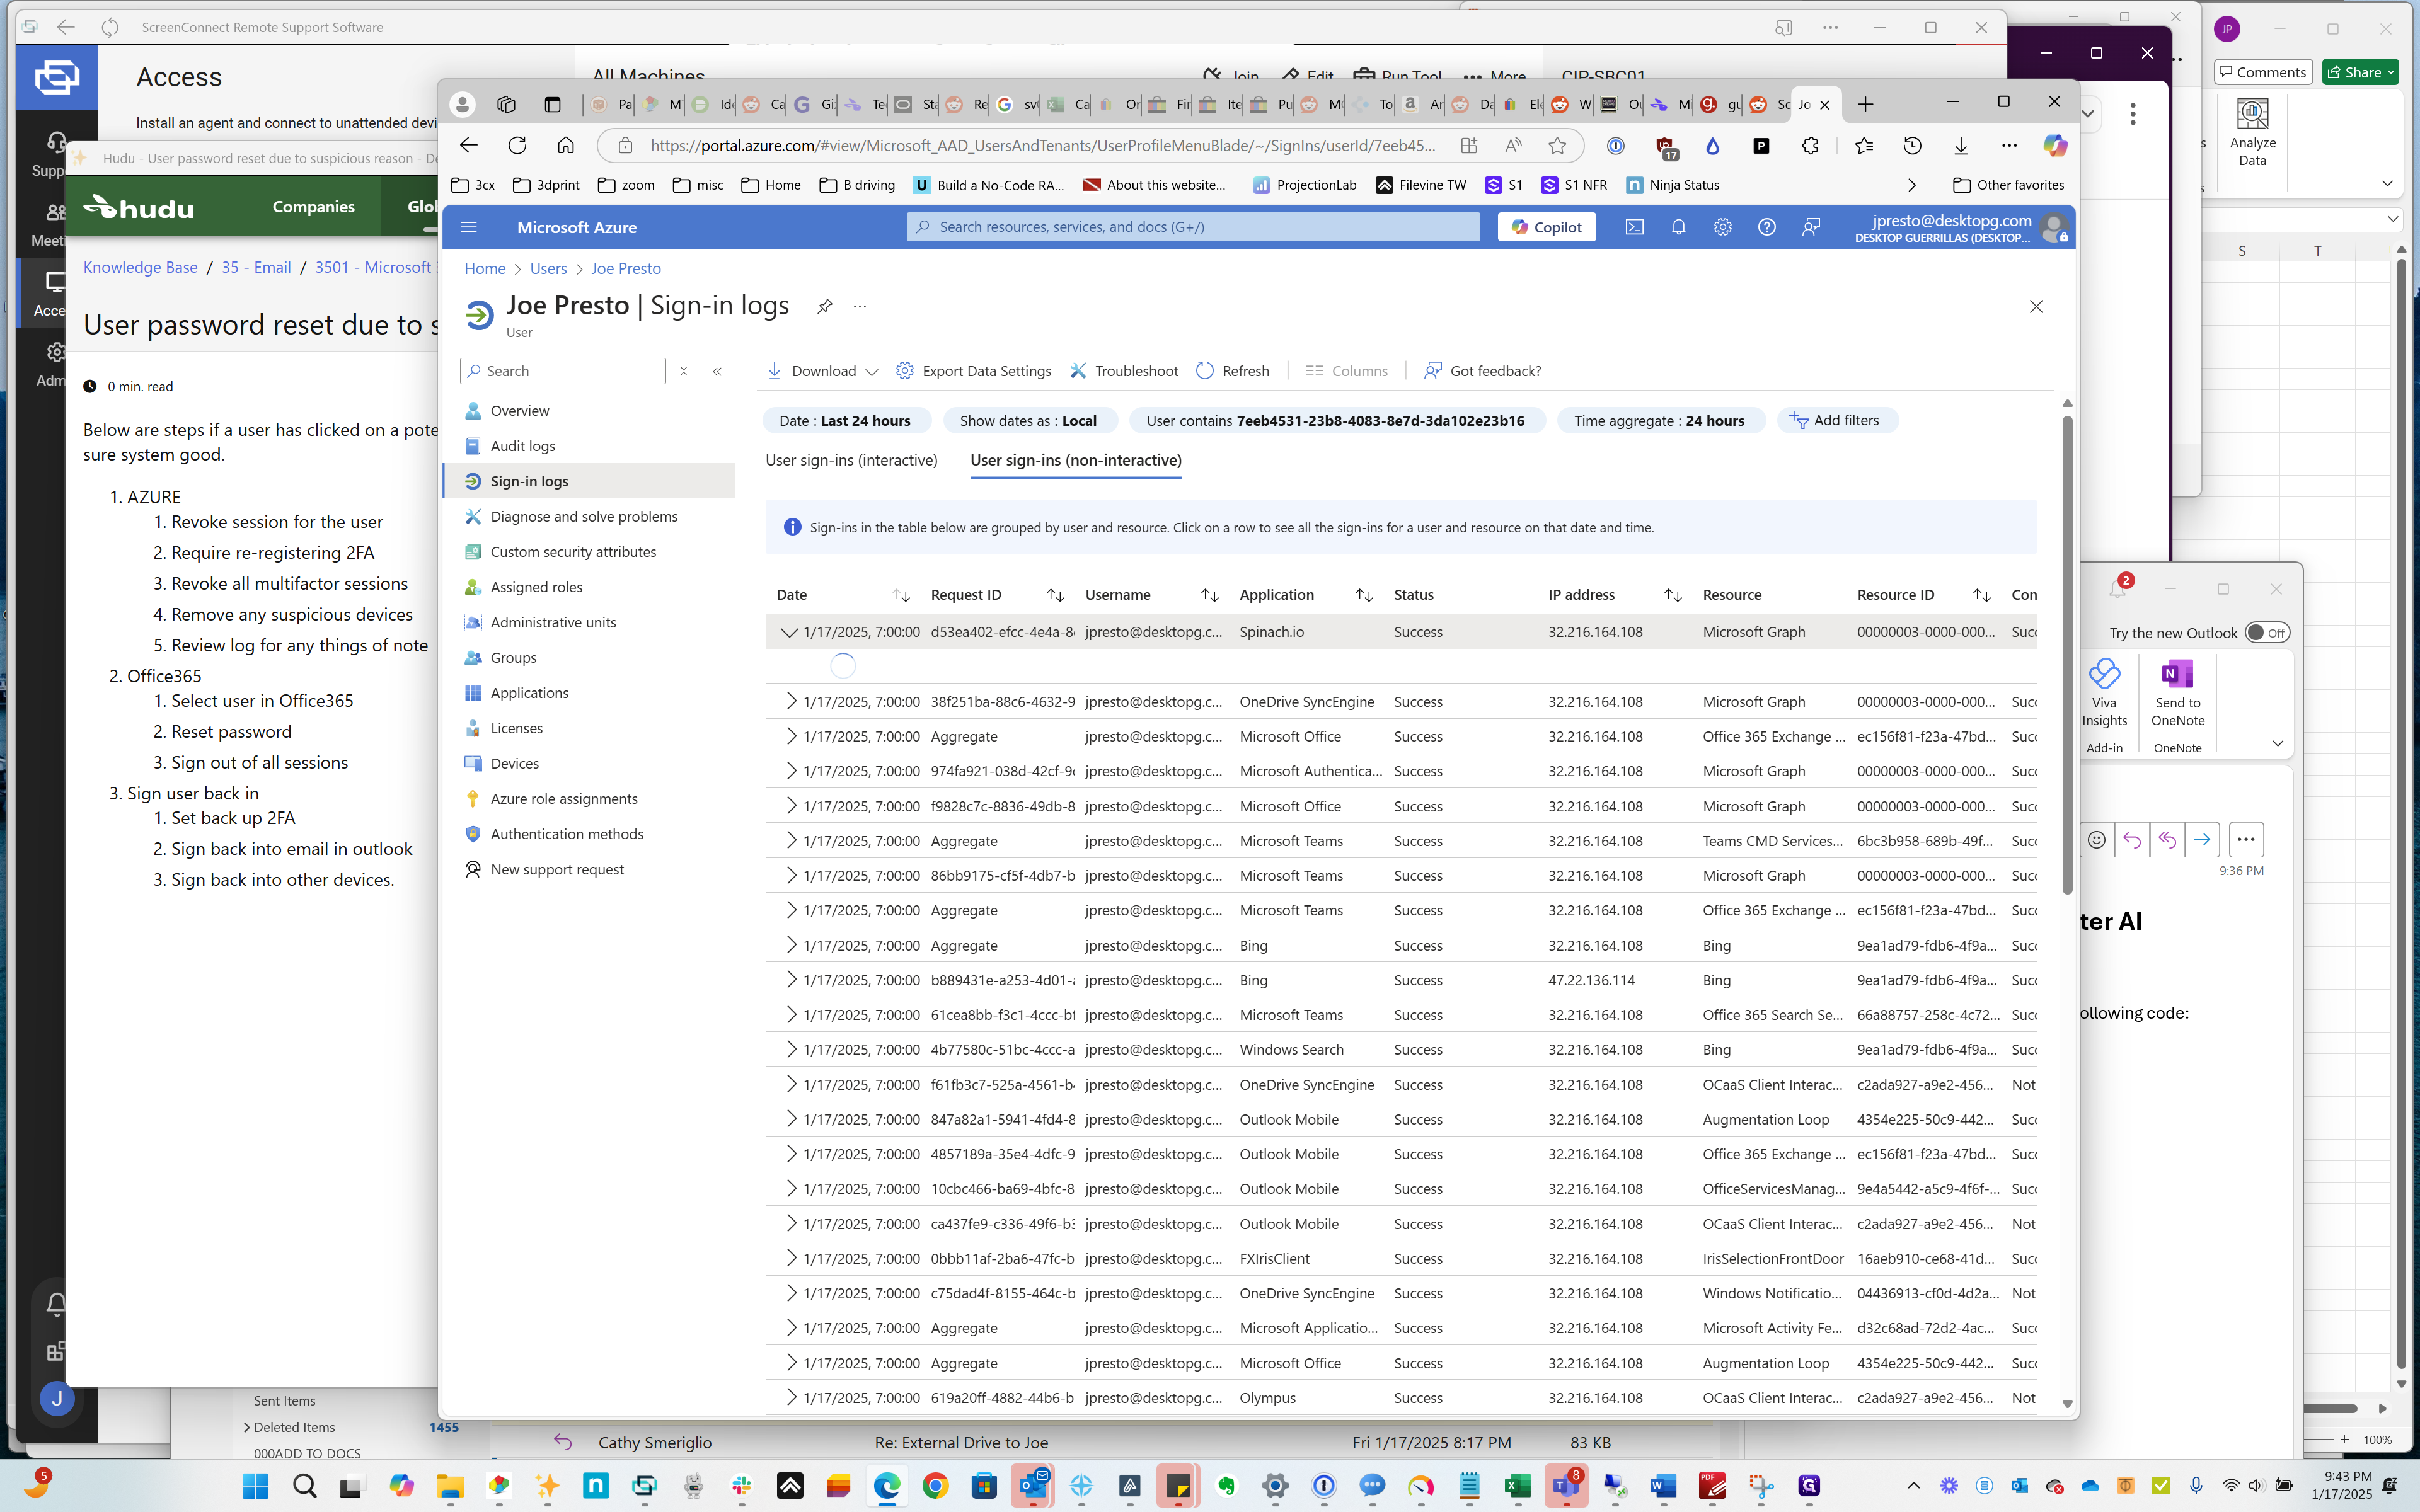
Click on "Spinach.io"
Step #31: Click on "Spinach.io"
32
Click on "//portal.azure.com/#view/Microsoft_AAD_UsersAndTenants/UserProfileMenuBlade/~/Sign"
Step #32: Click on "//portal.azure.com/#view/Microsoft_AAD_UsersAndTenants/UserProfileMenuBlade/~/Sign"

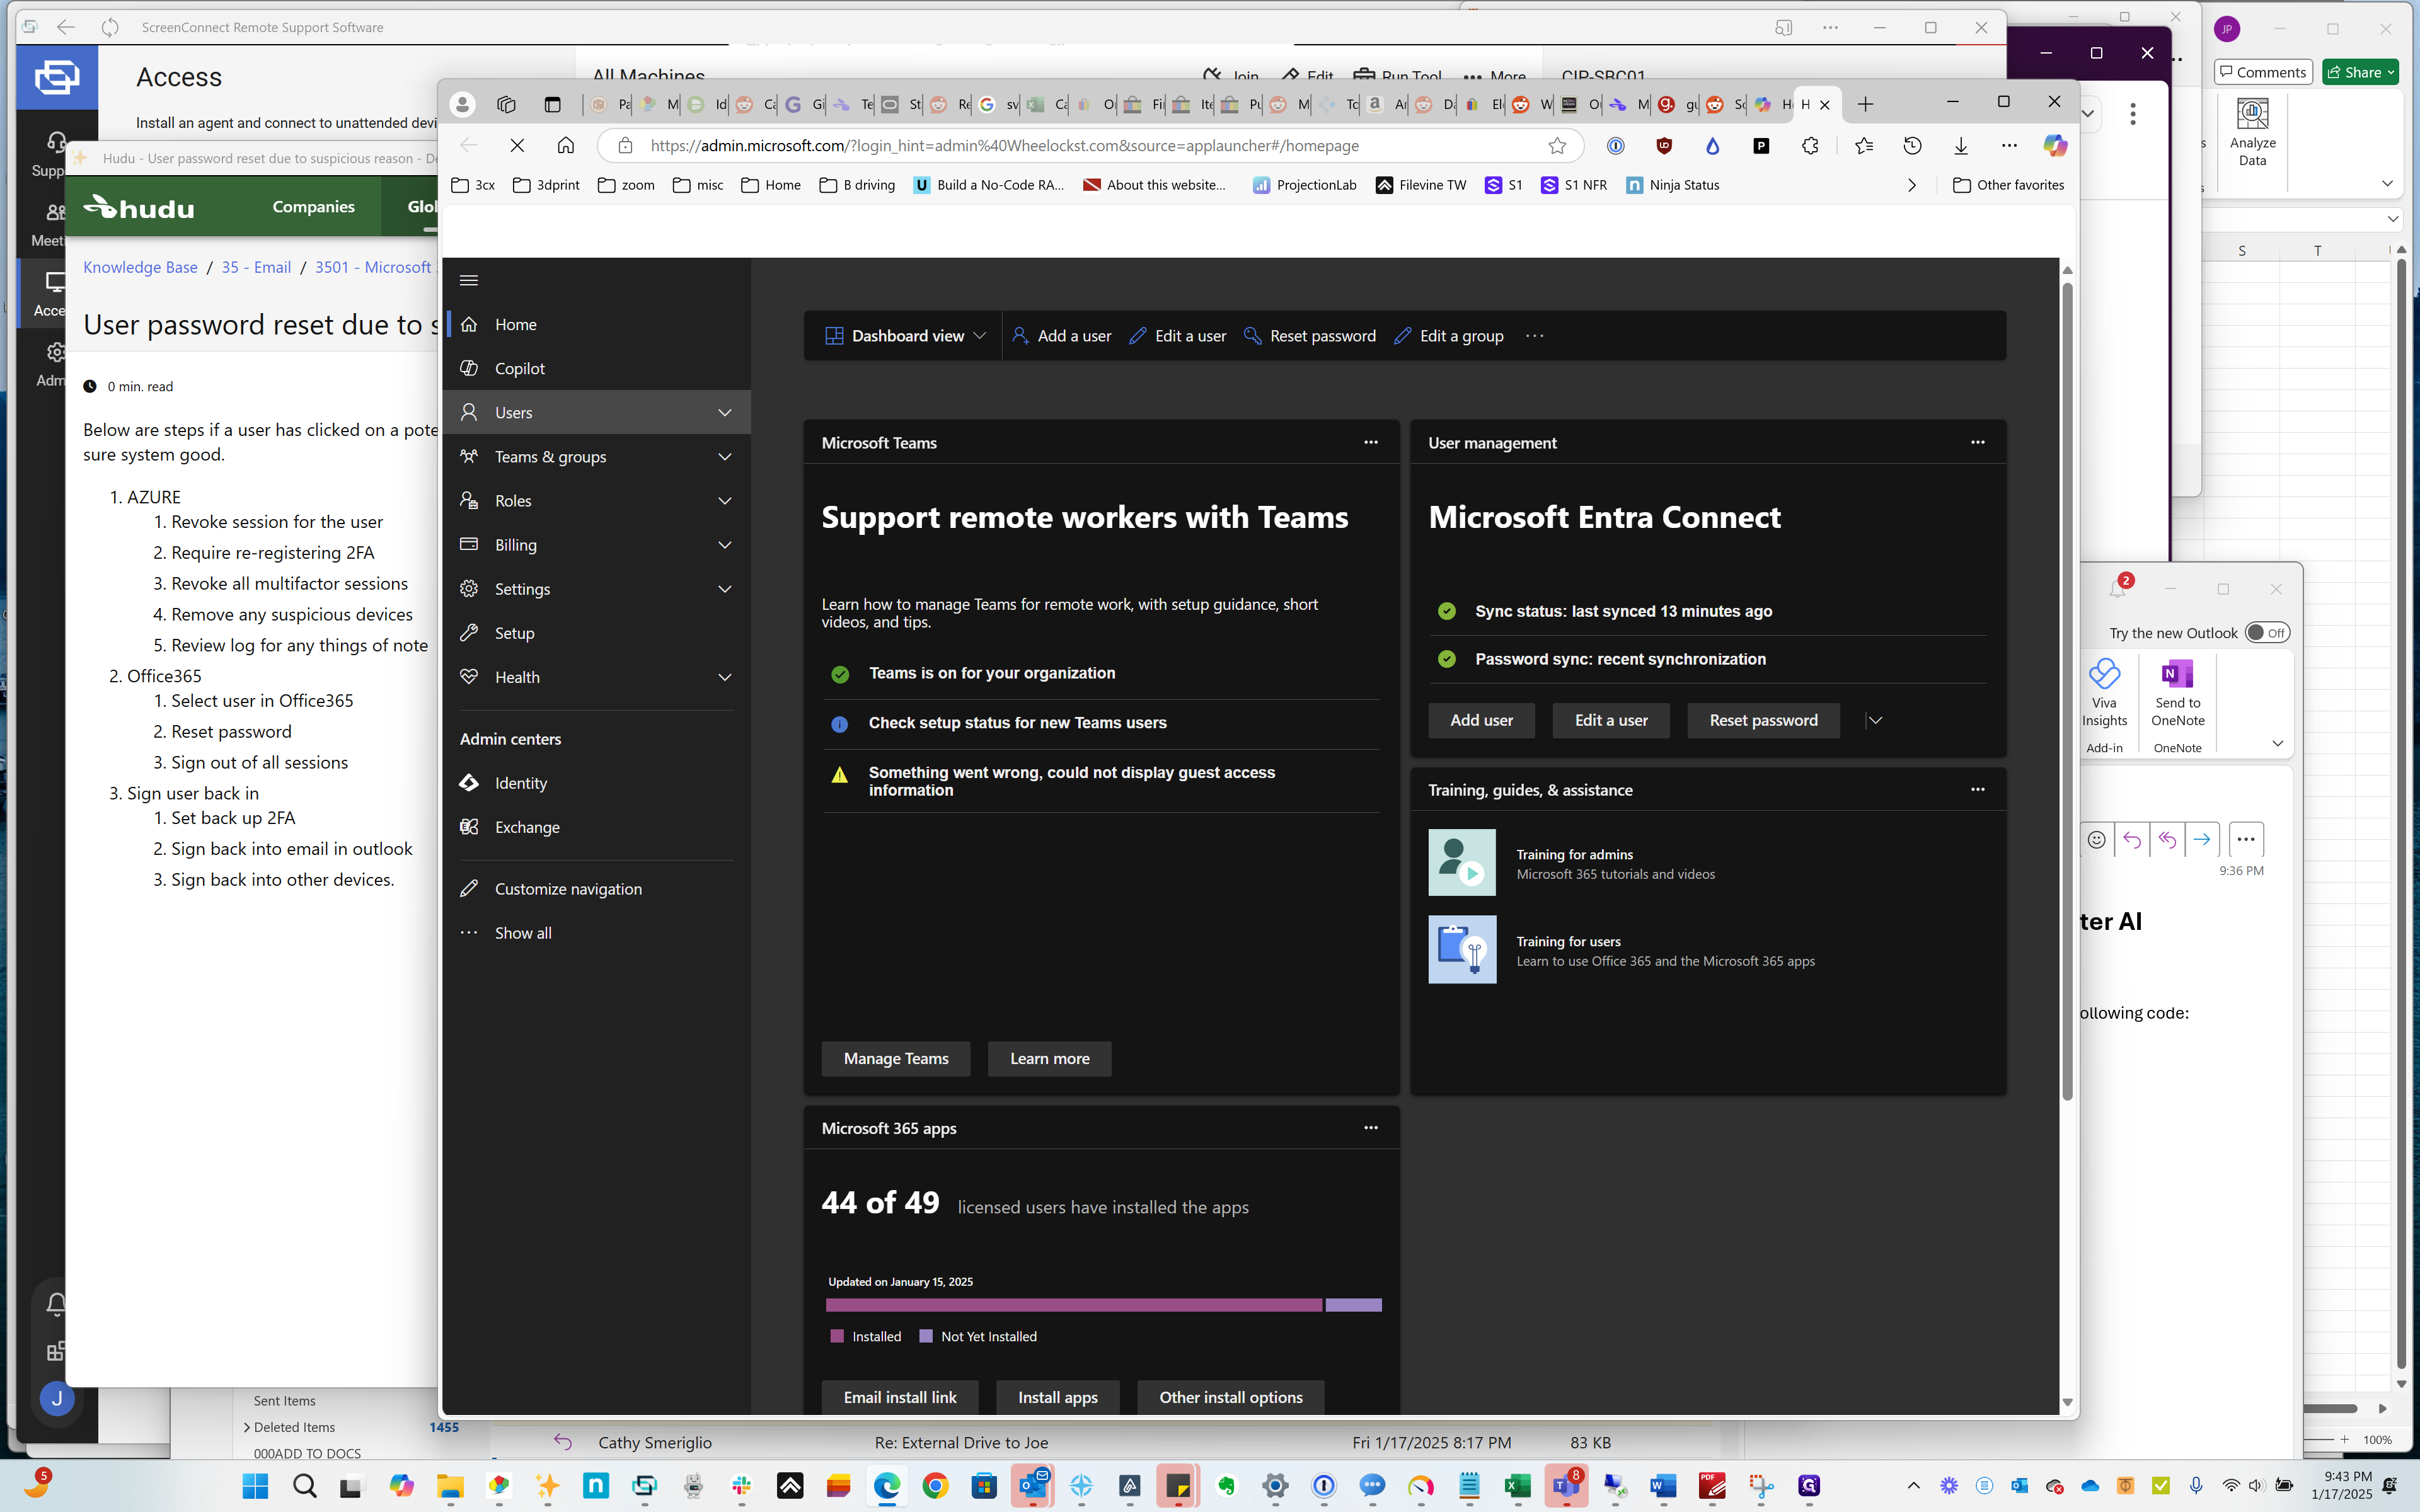
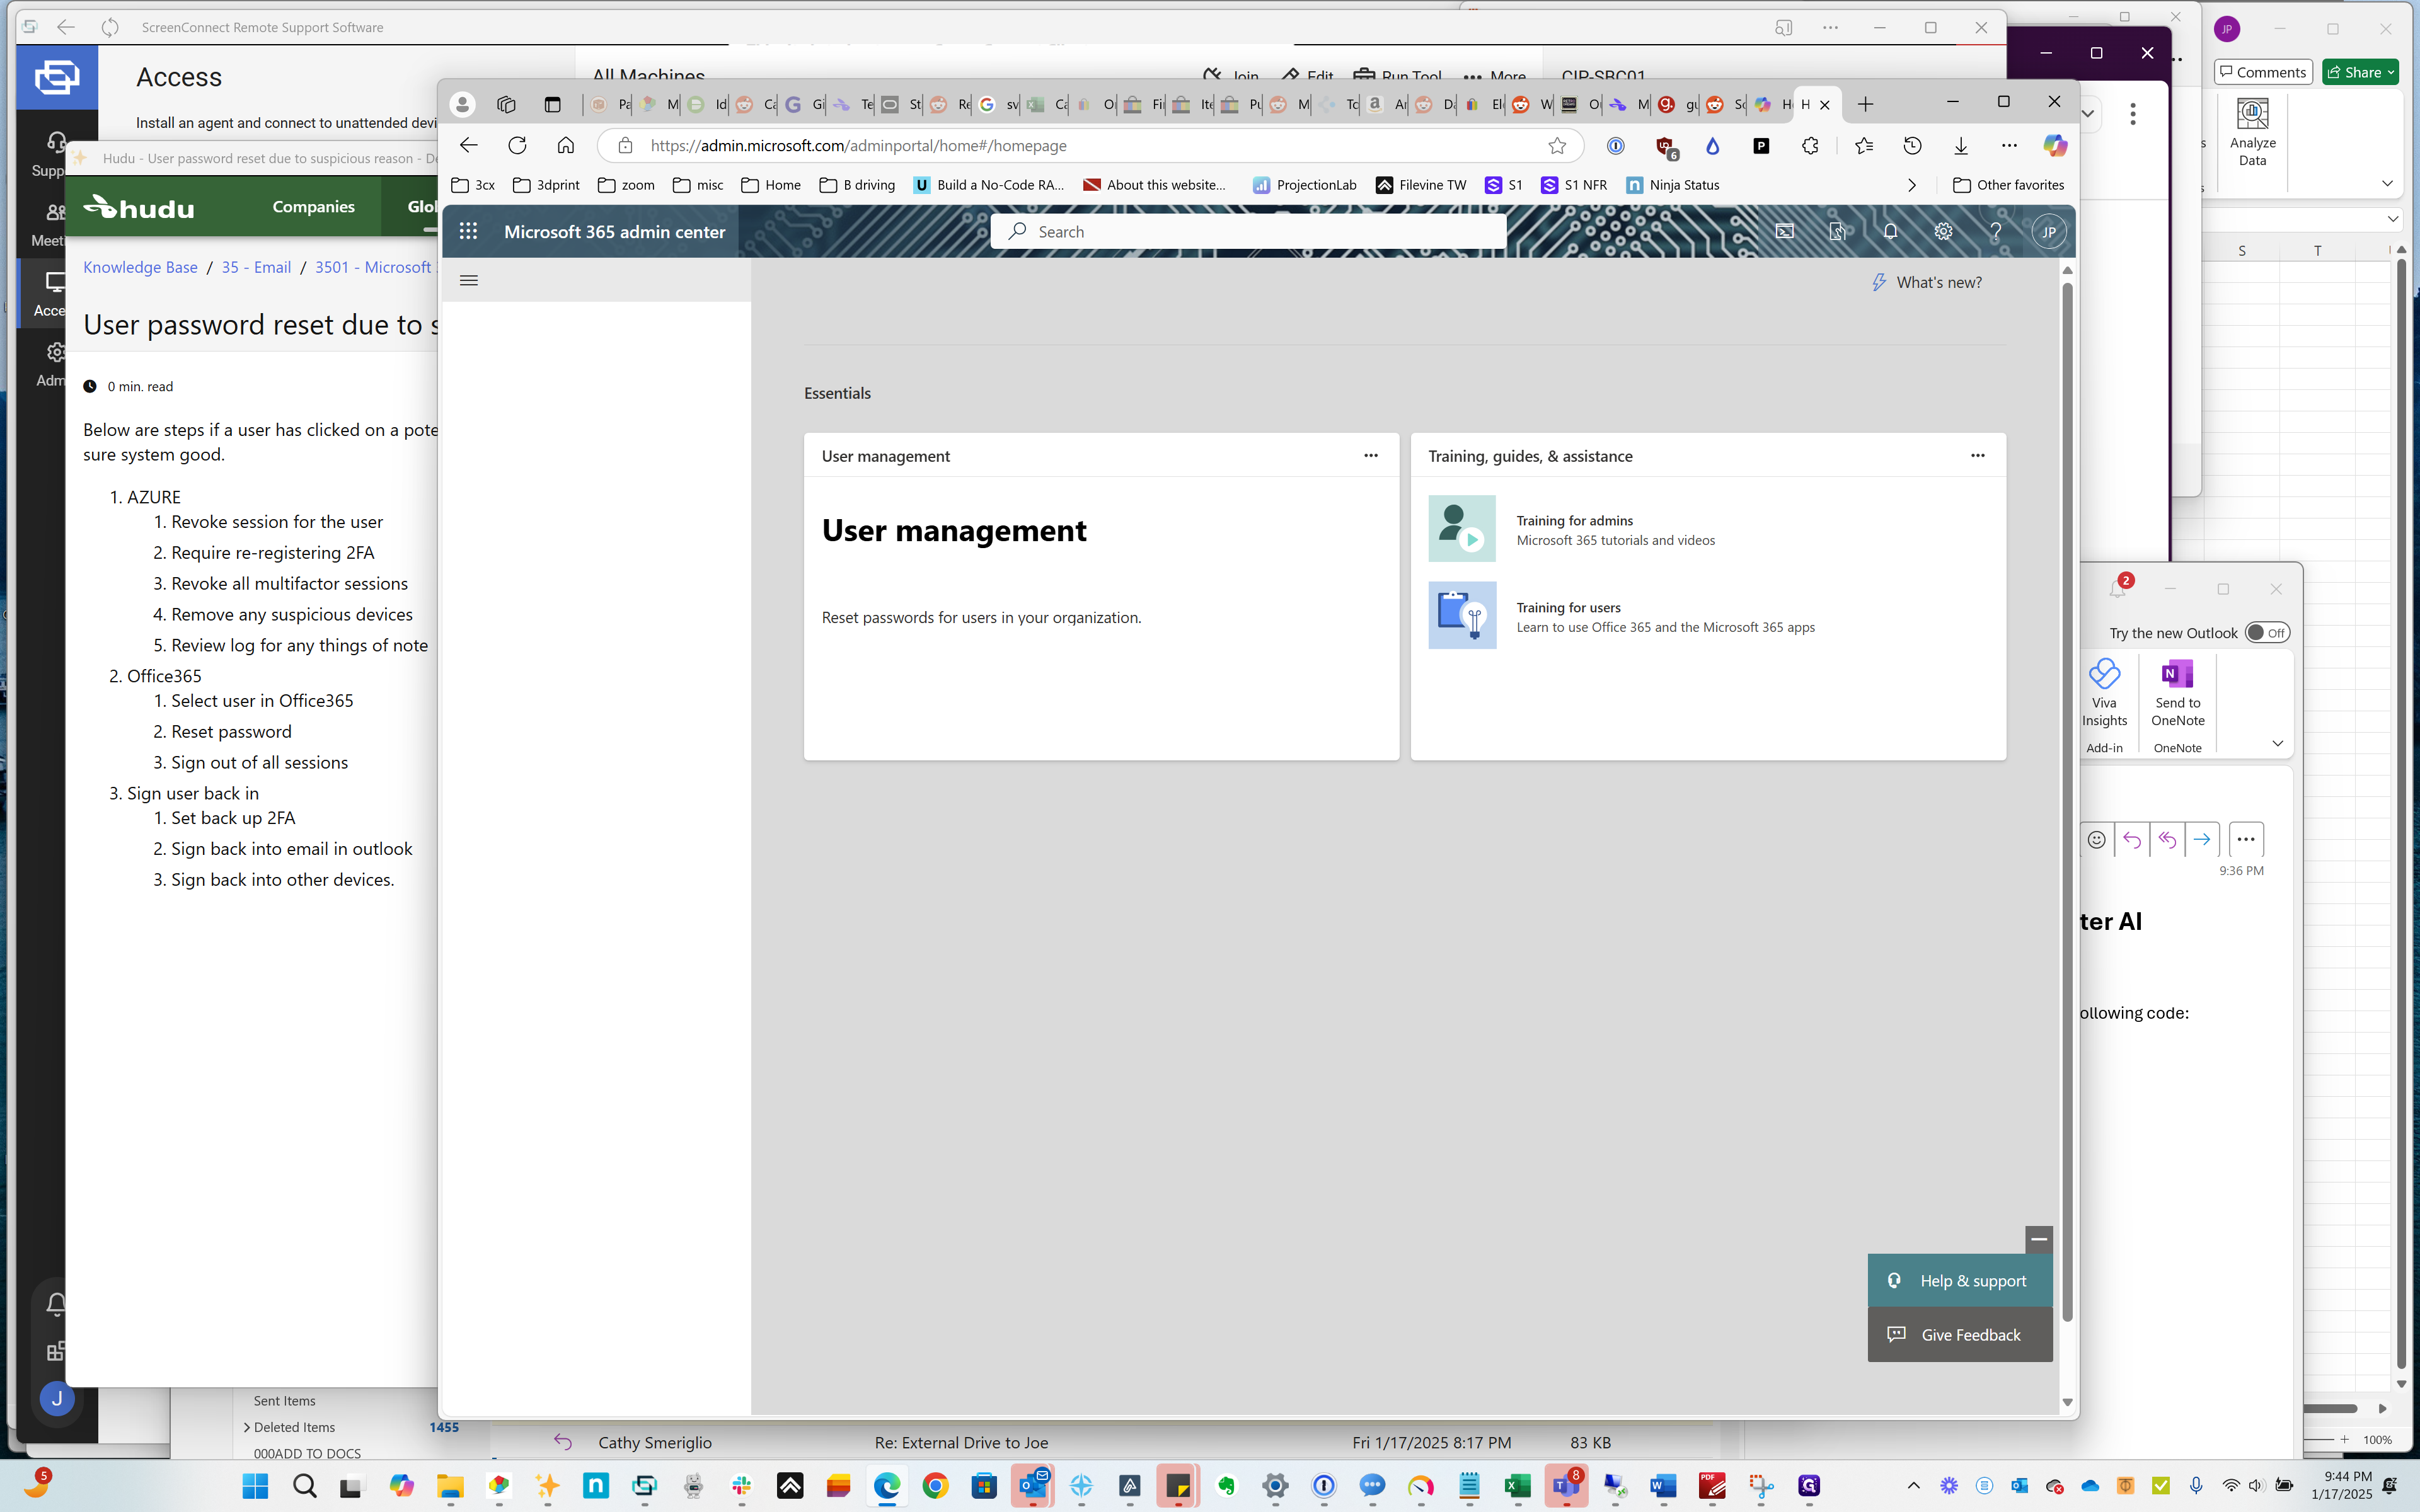
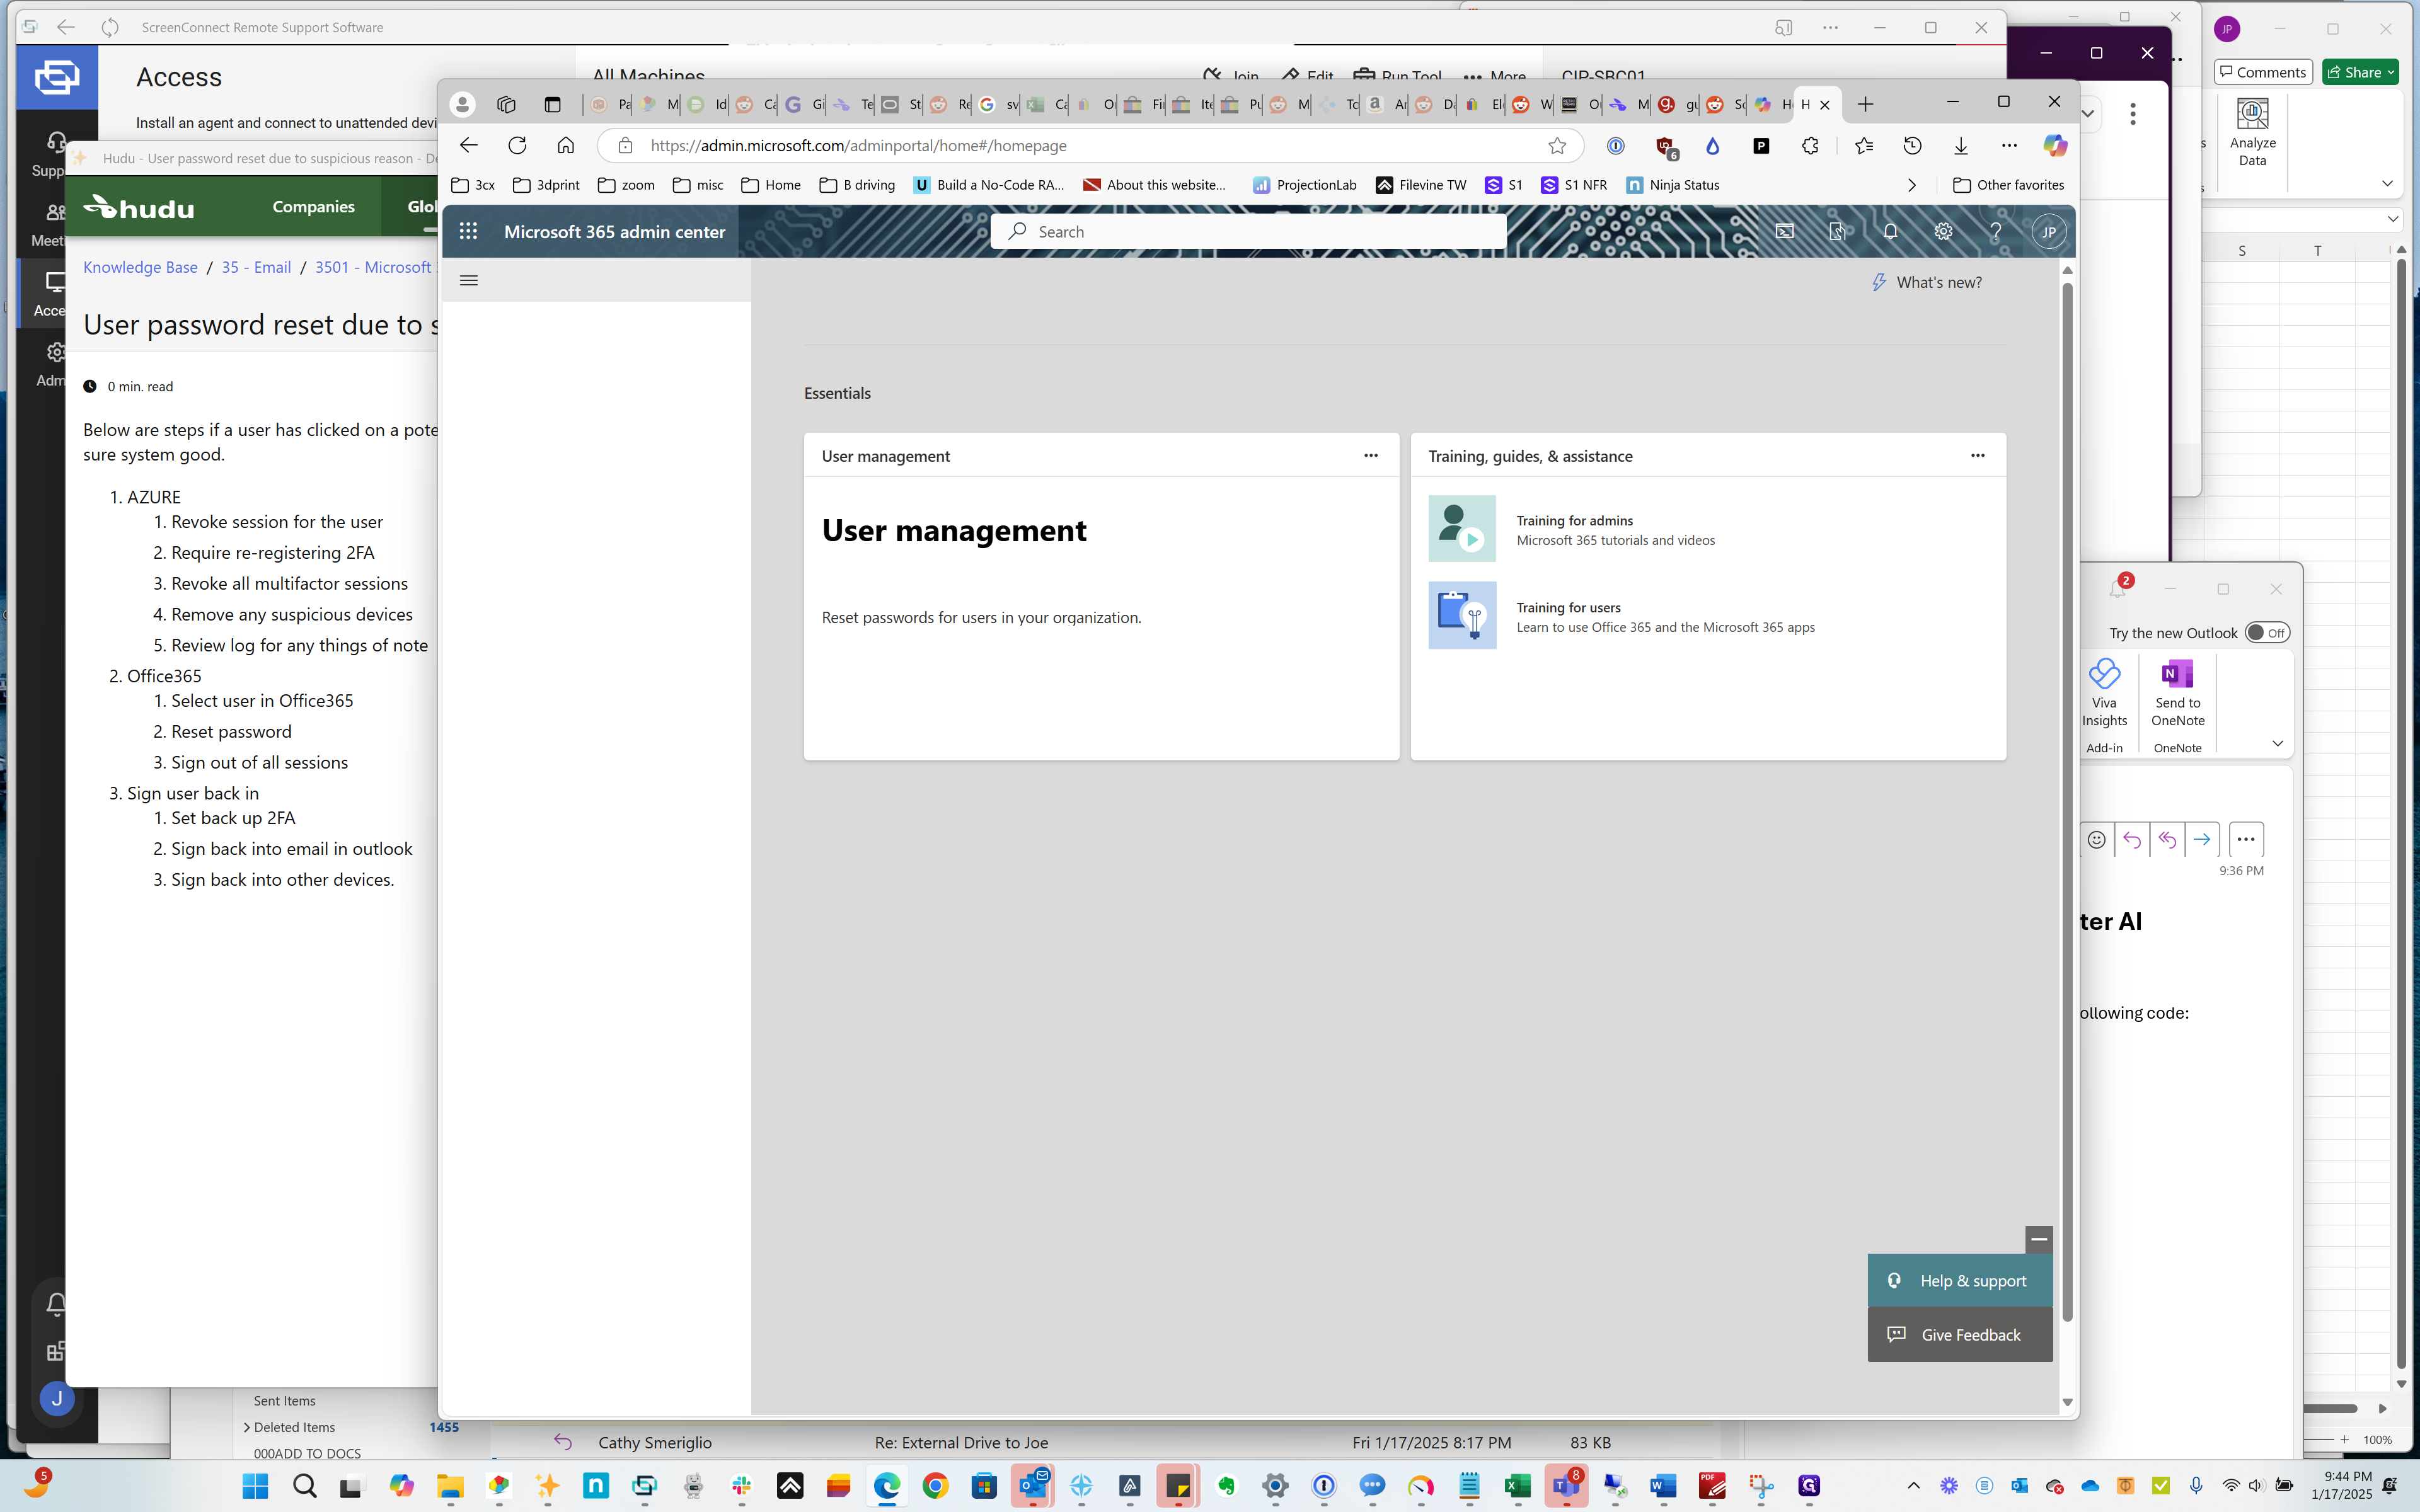
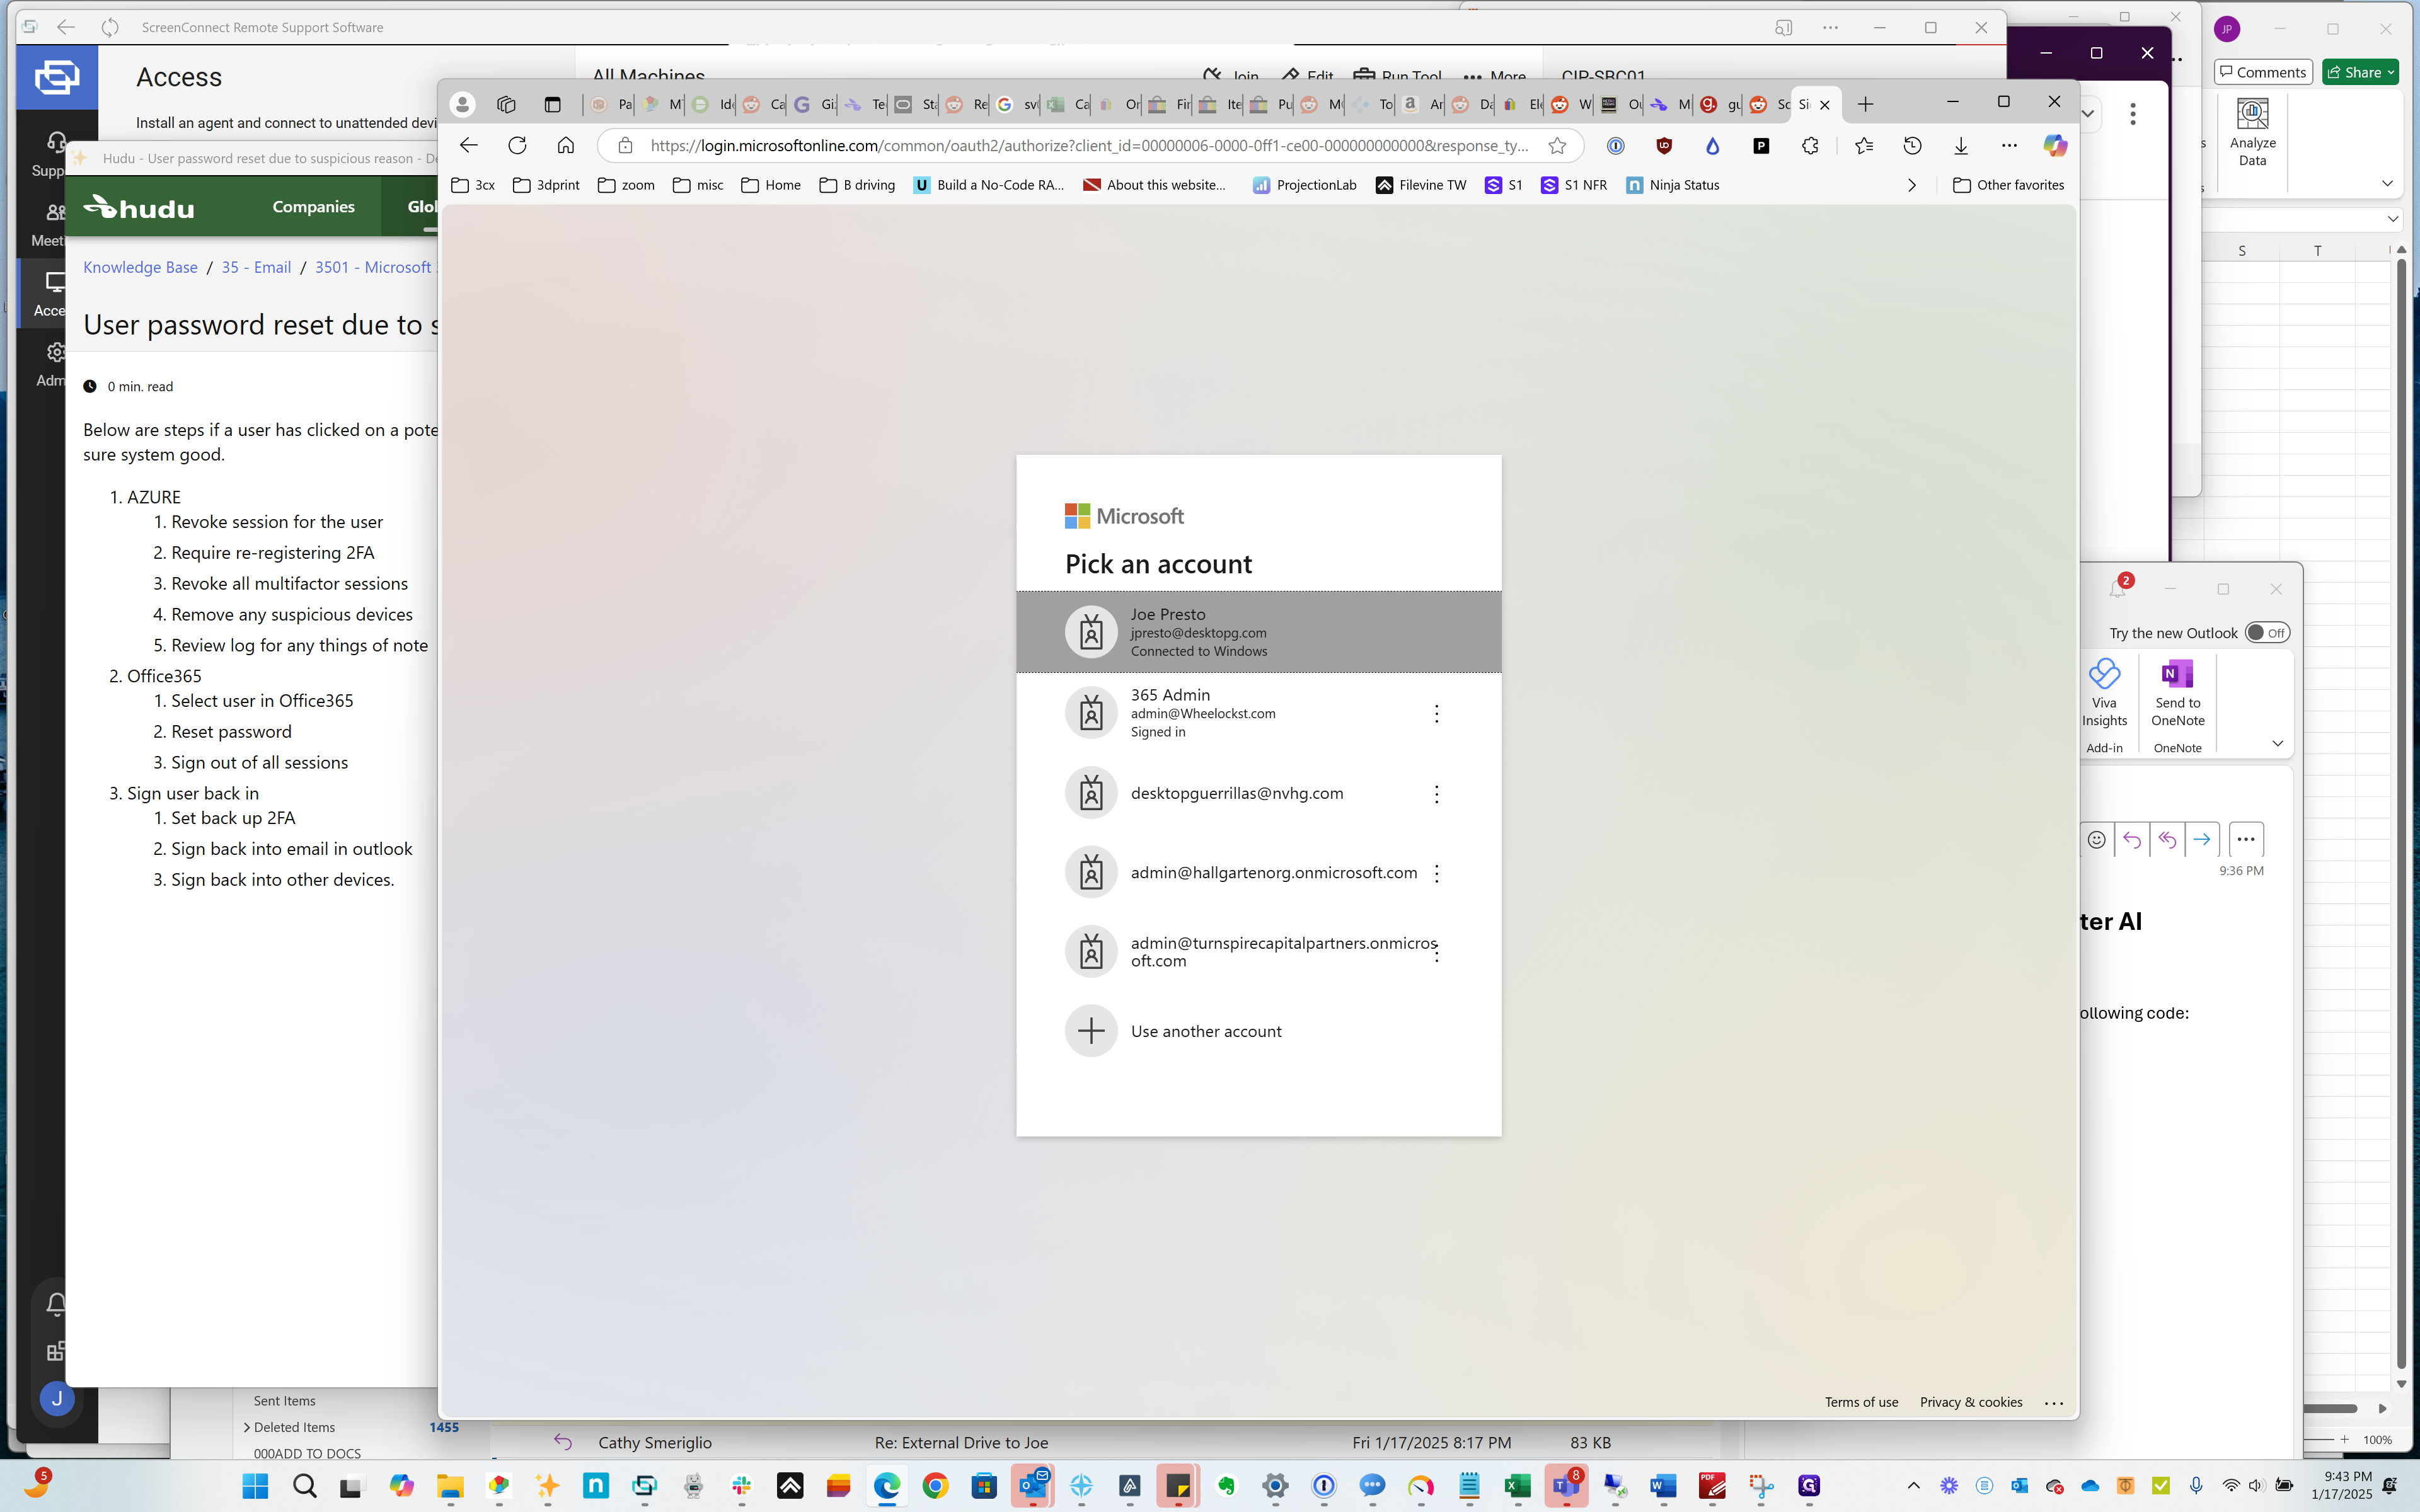
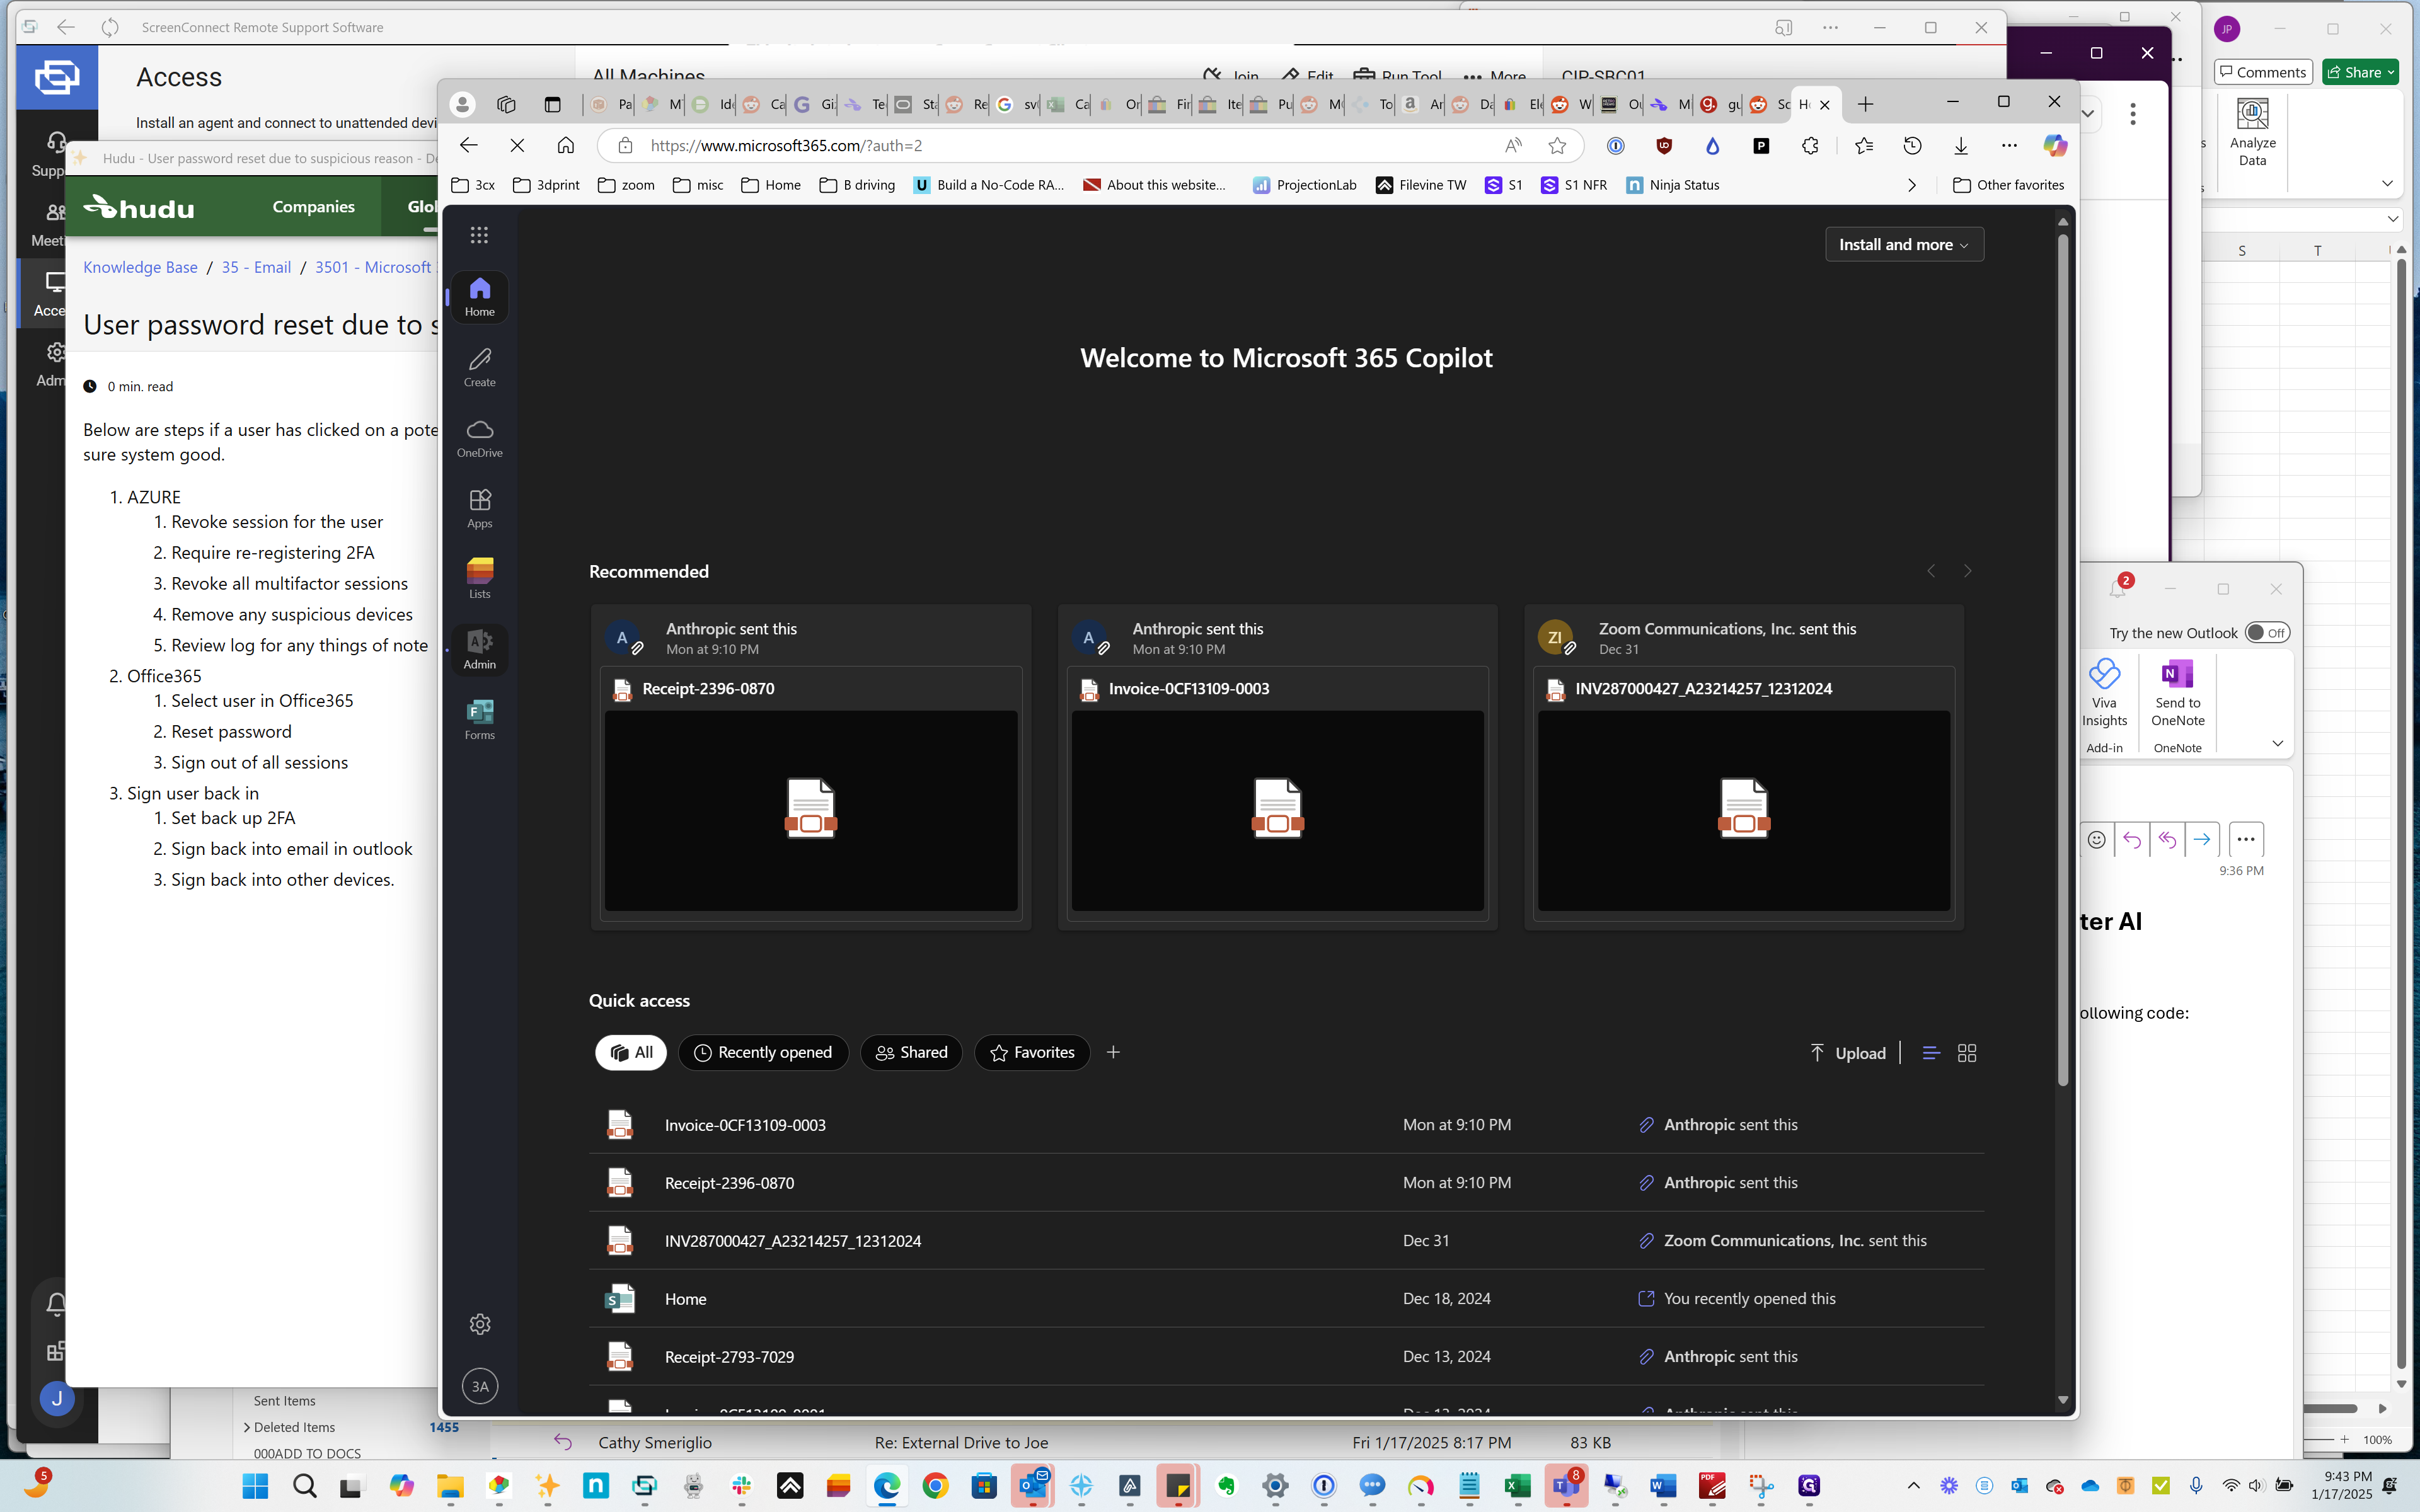
Then go to the portal and click on "Admin." Navigate to your active users and ensure you're in the correct tenant.
33
Type "port + Enter"
34
Click on "Joe Presto"
Step #34: Click on "Joe Presto"
35
Click on "A"
Step #35: Click on "A"
36
Click on "& Users"
Step #36: Click on "& Users"
37
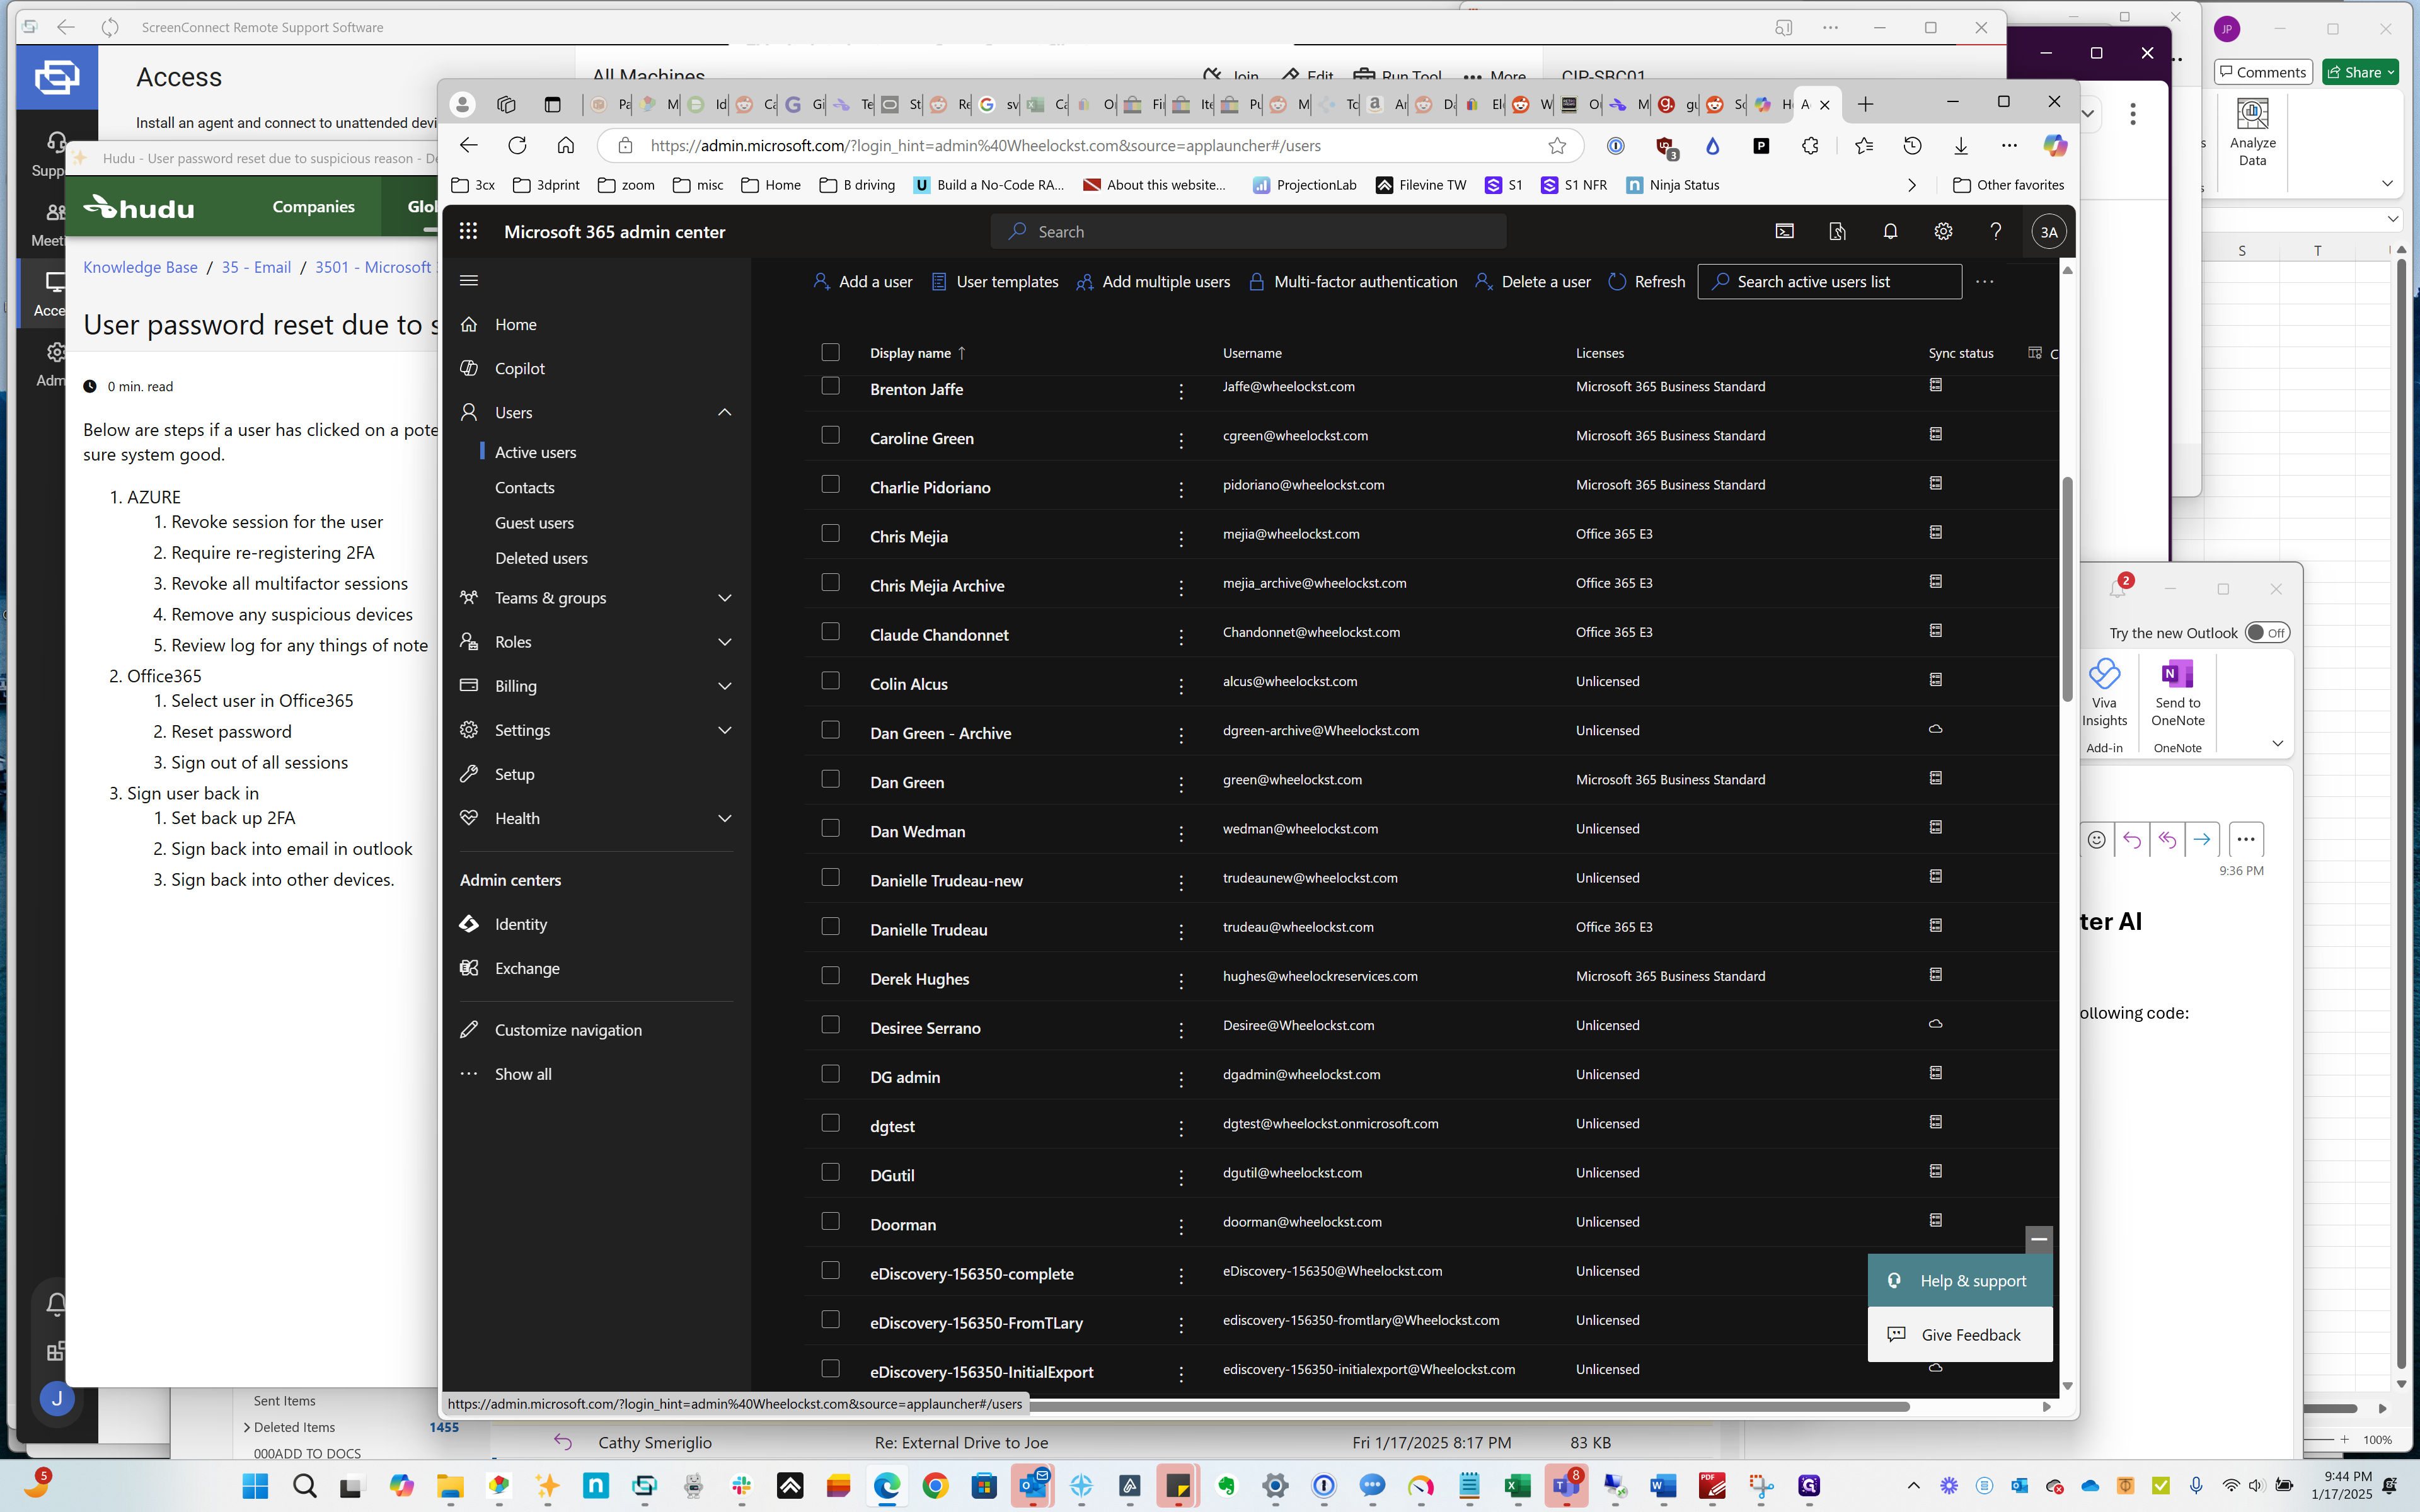
Click on "Active users"
Step #37: Click on "Active users"
38
Click on "3A"
Step #38: Click on "3A"
39
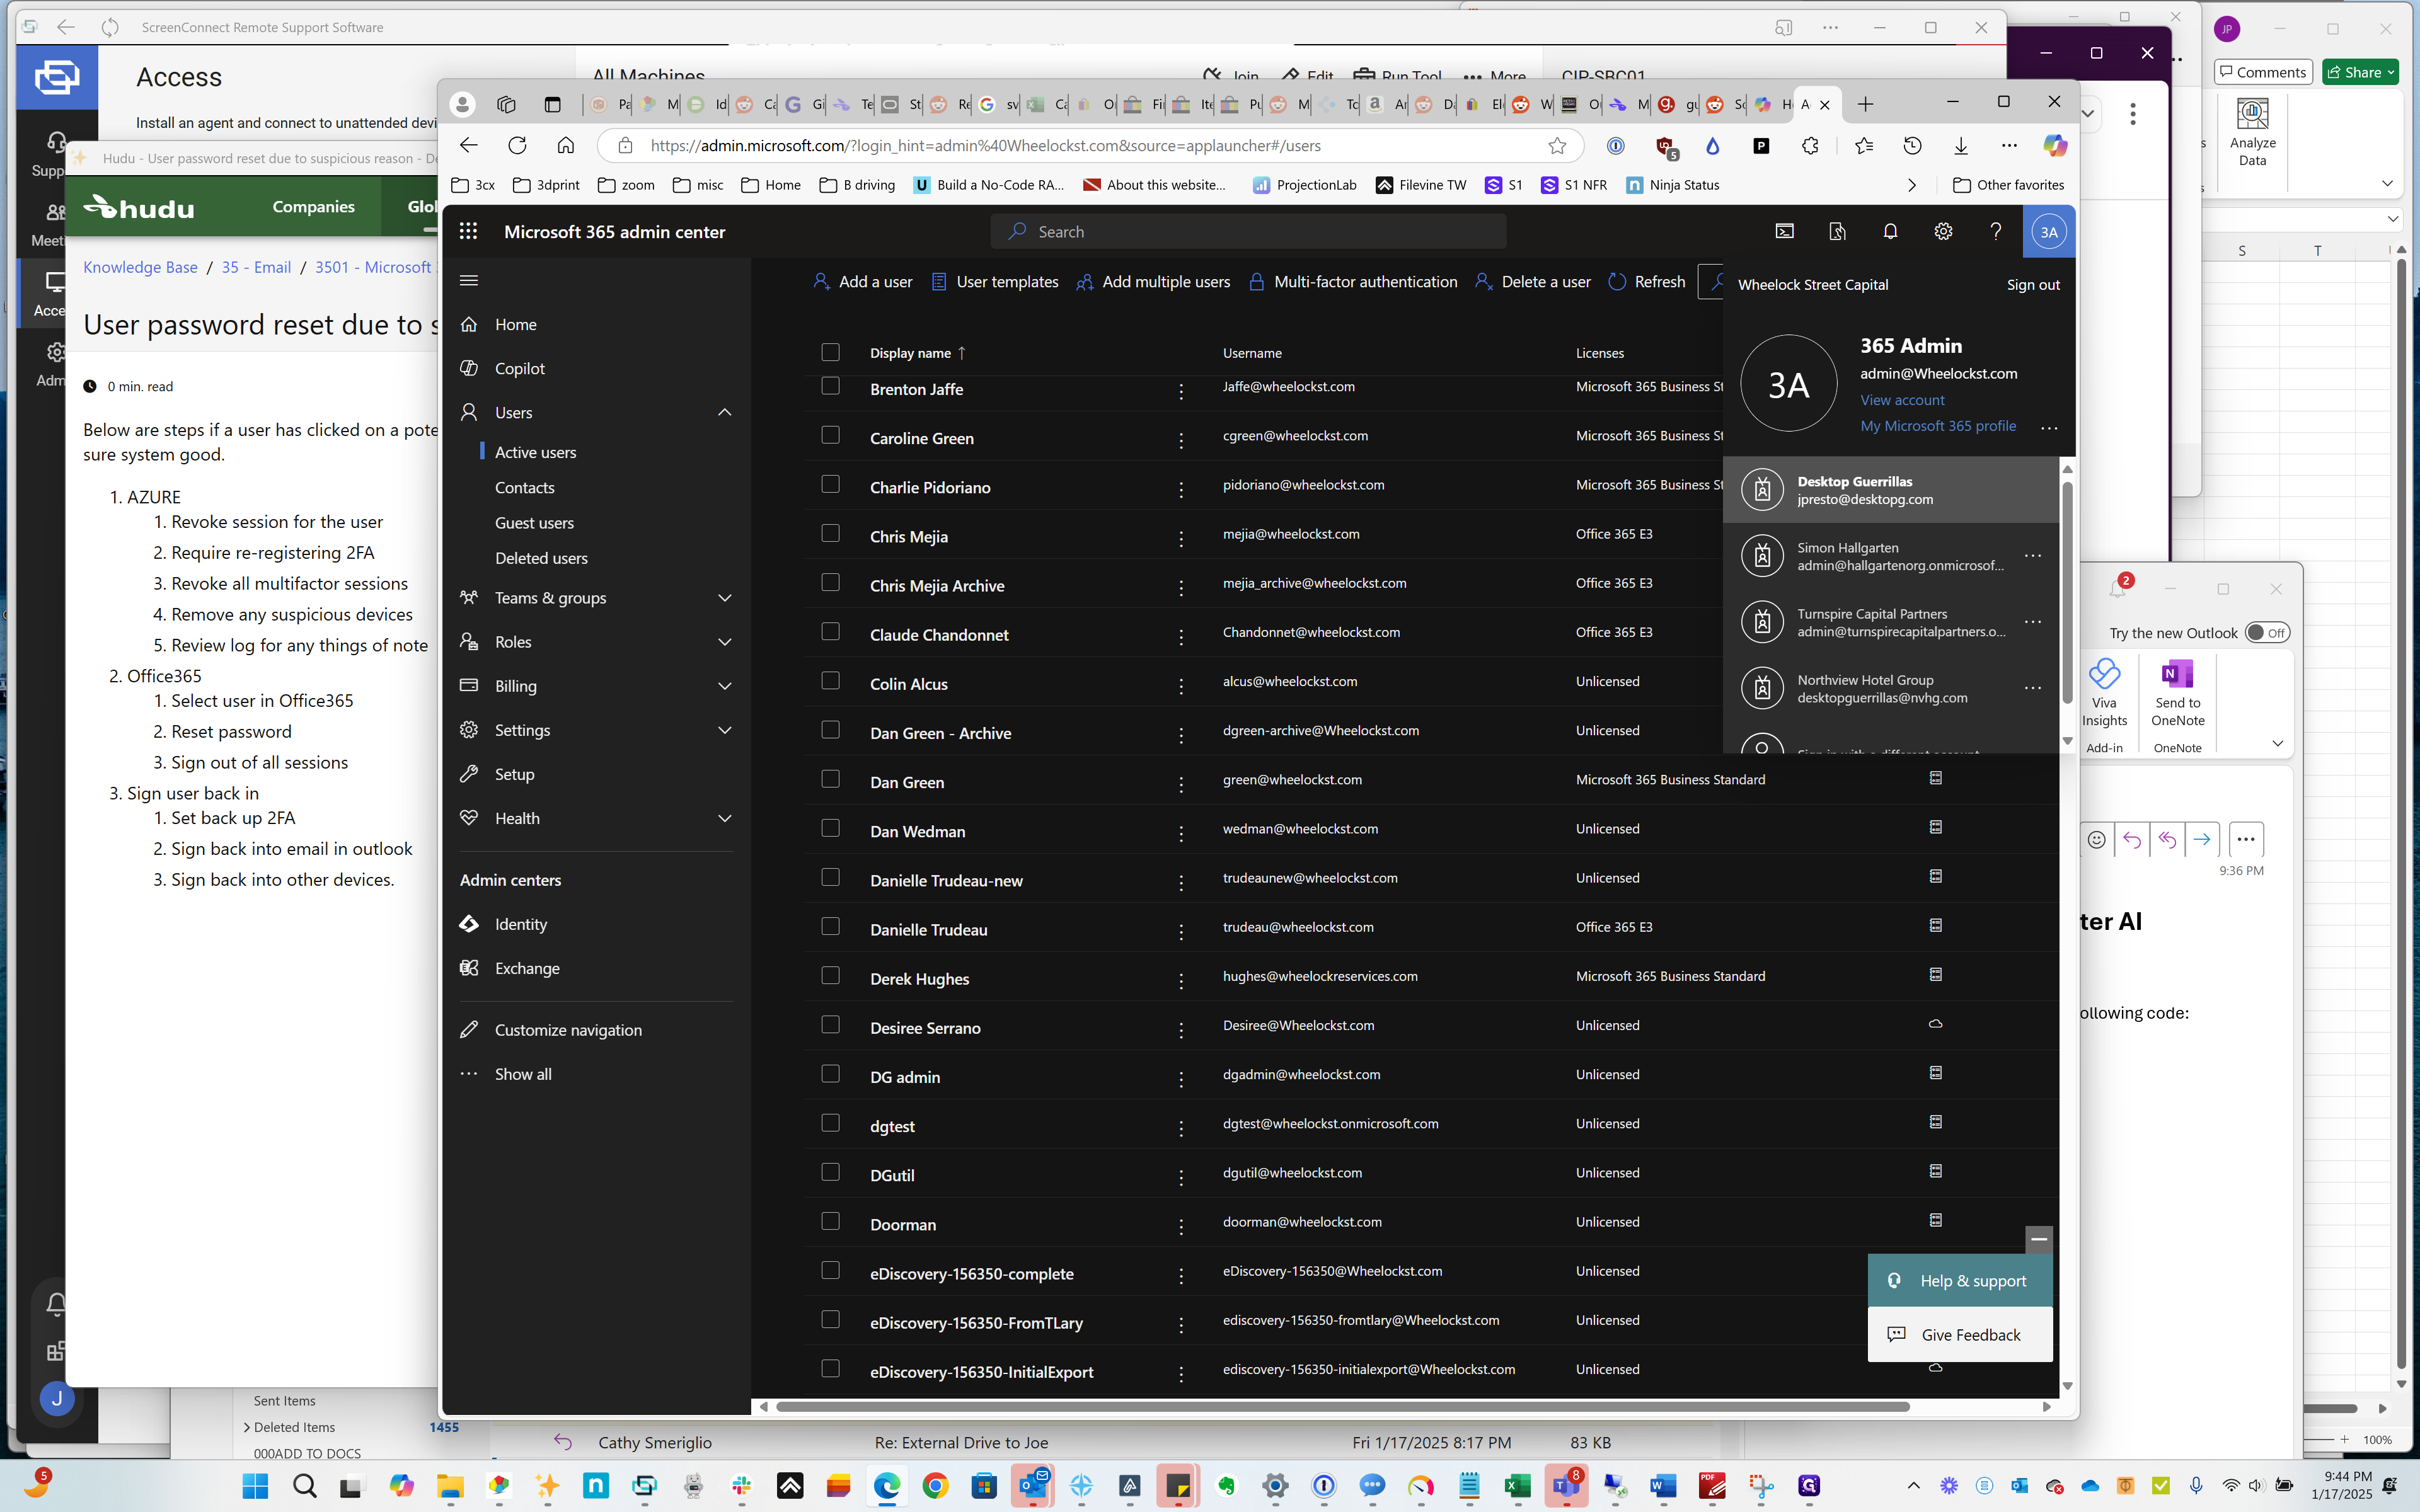
Click on "Desktop Guerrillas"
Step #39: Click on "Desktop Guerrillas"

I suppose I don't have rights, so let's return to WeLock.
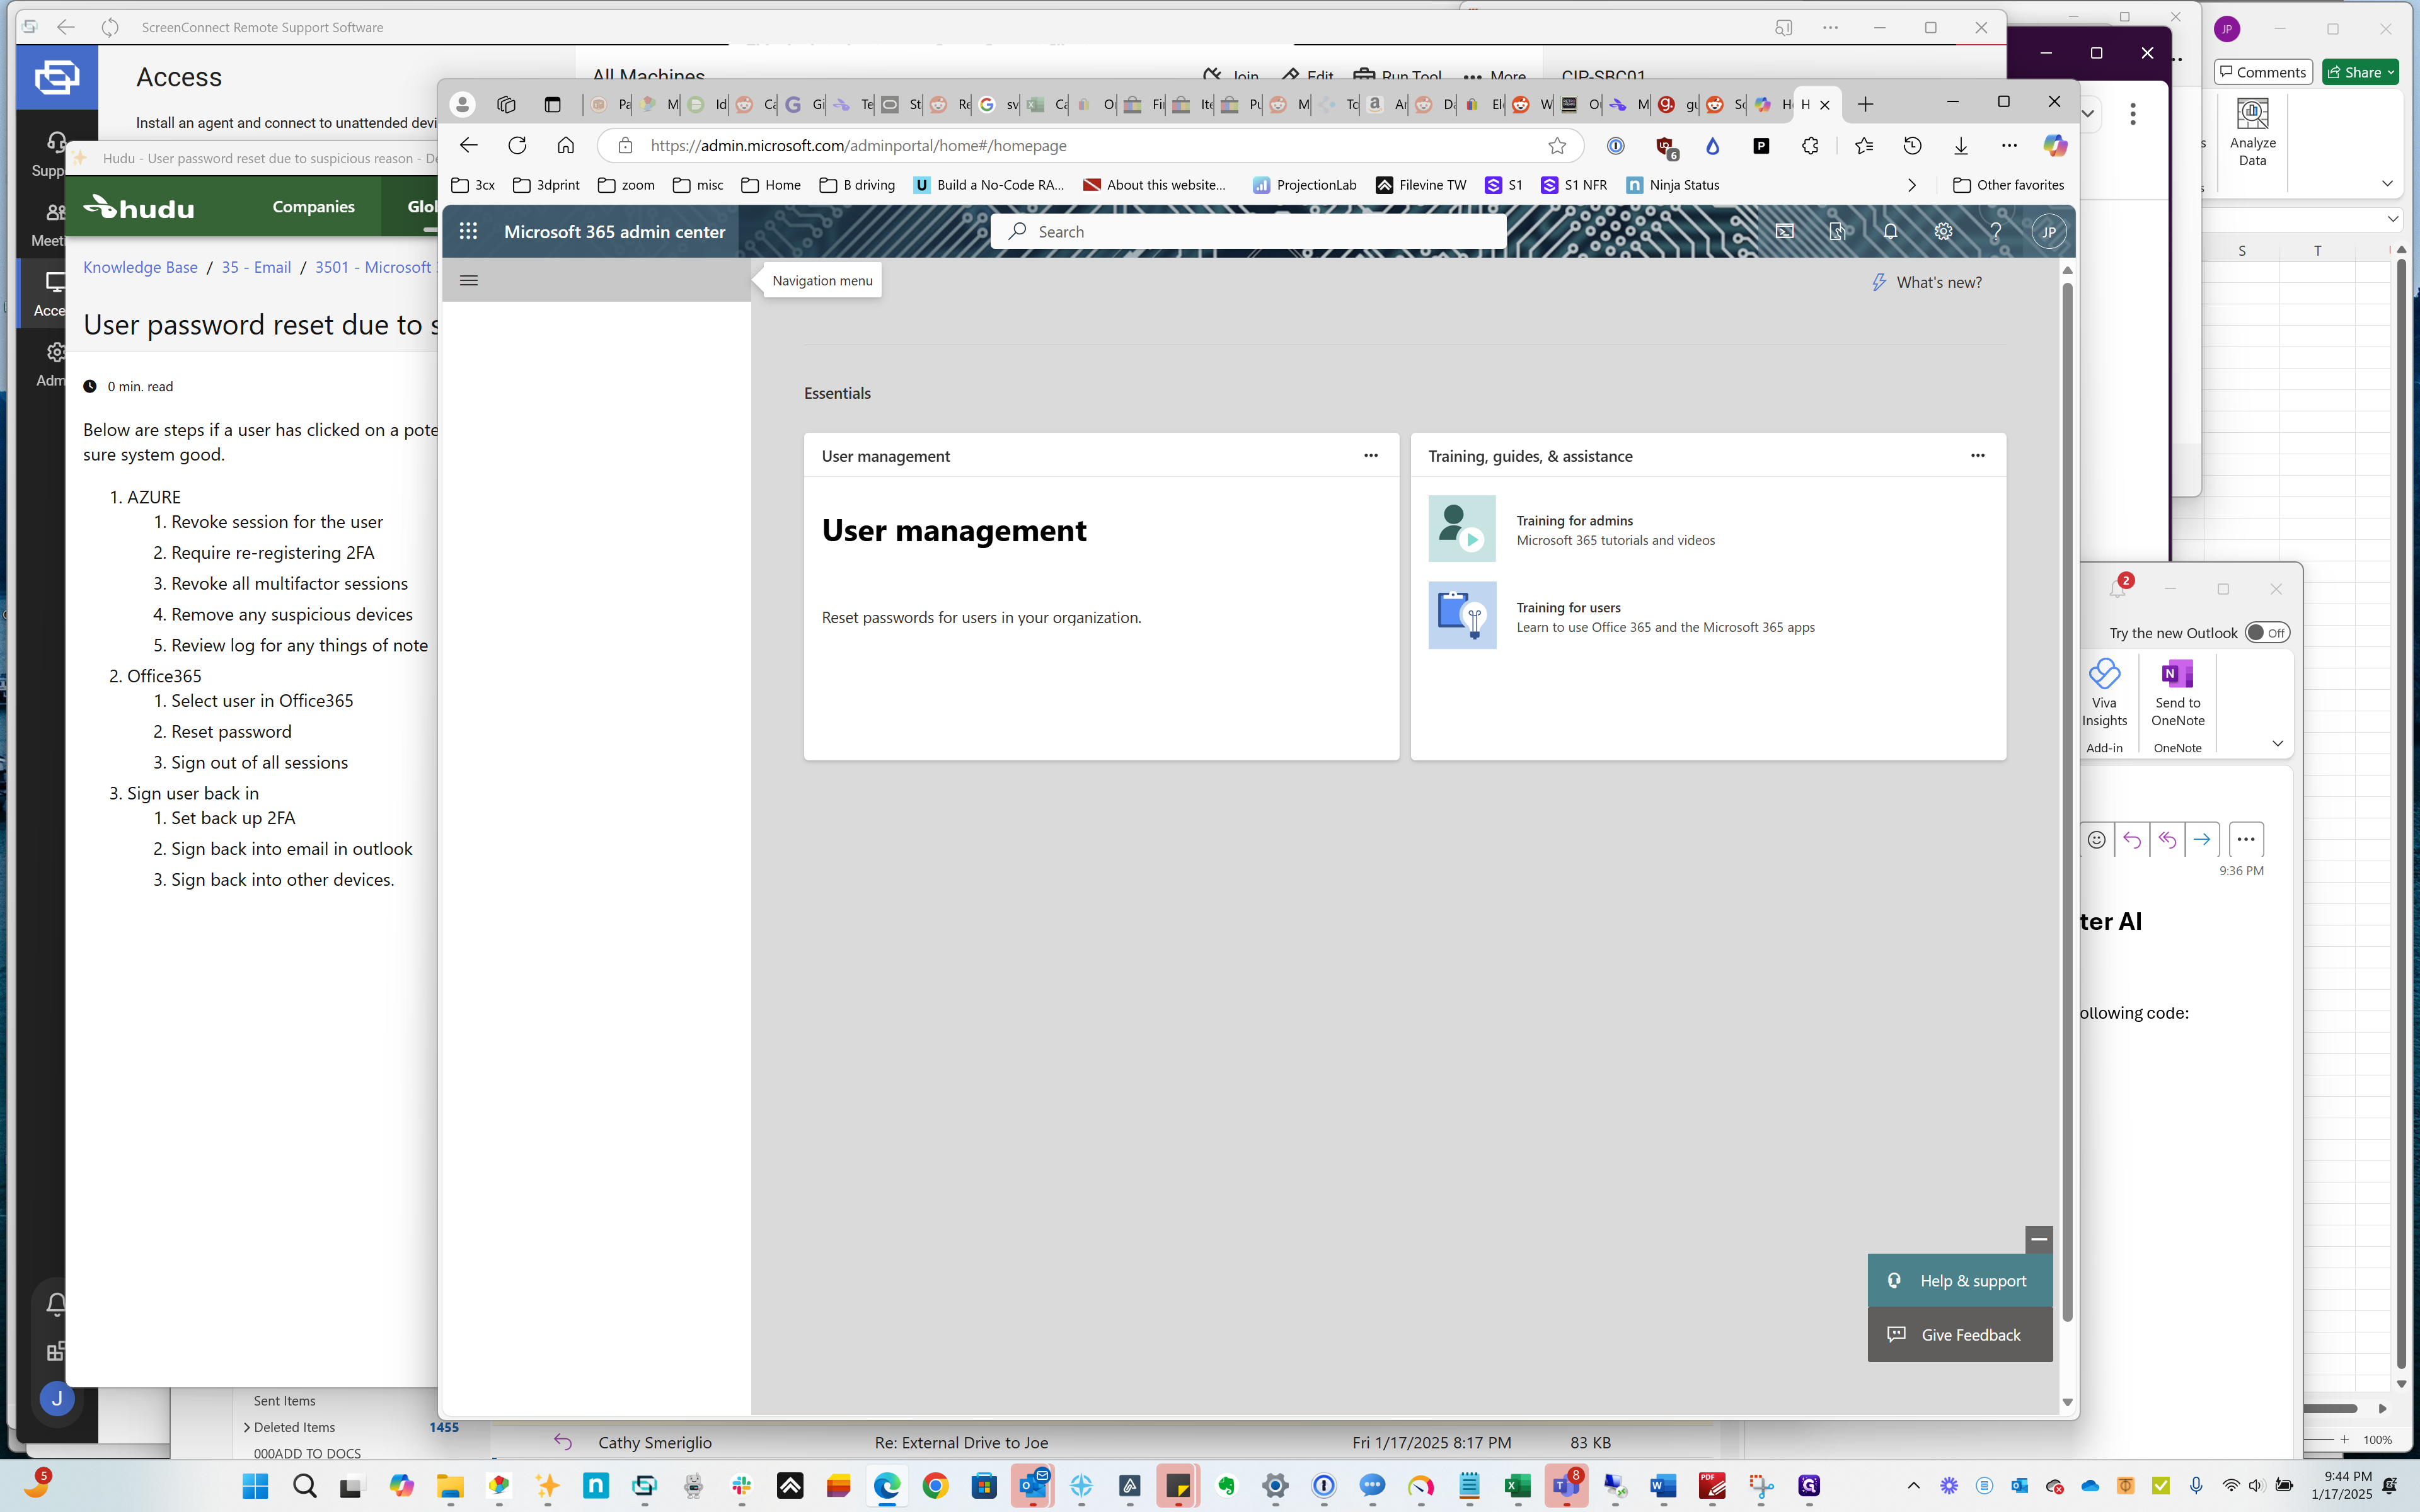
40
Click here
Step #40: Click here
41
Click here
Step #41: Click here
42
Click here
Step #42: Click here
43
Click here
Step #43: Click here
44
Click here
Step #44: Click here
45
Type "Alt + D"
46
Click here
Step #46: Click here
47
Click here
Step #47: Click here
48
Click here
Step #48: Click here
49
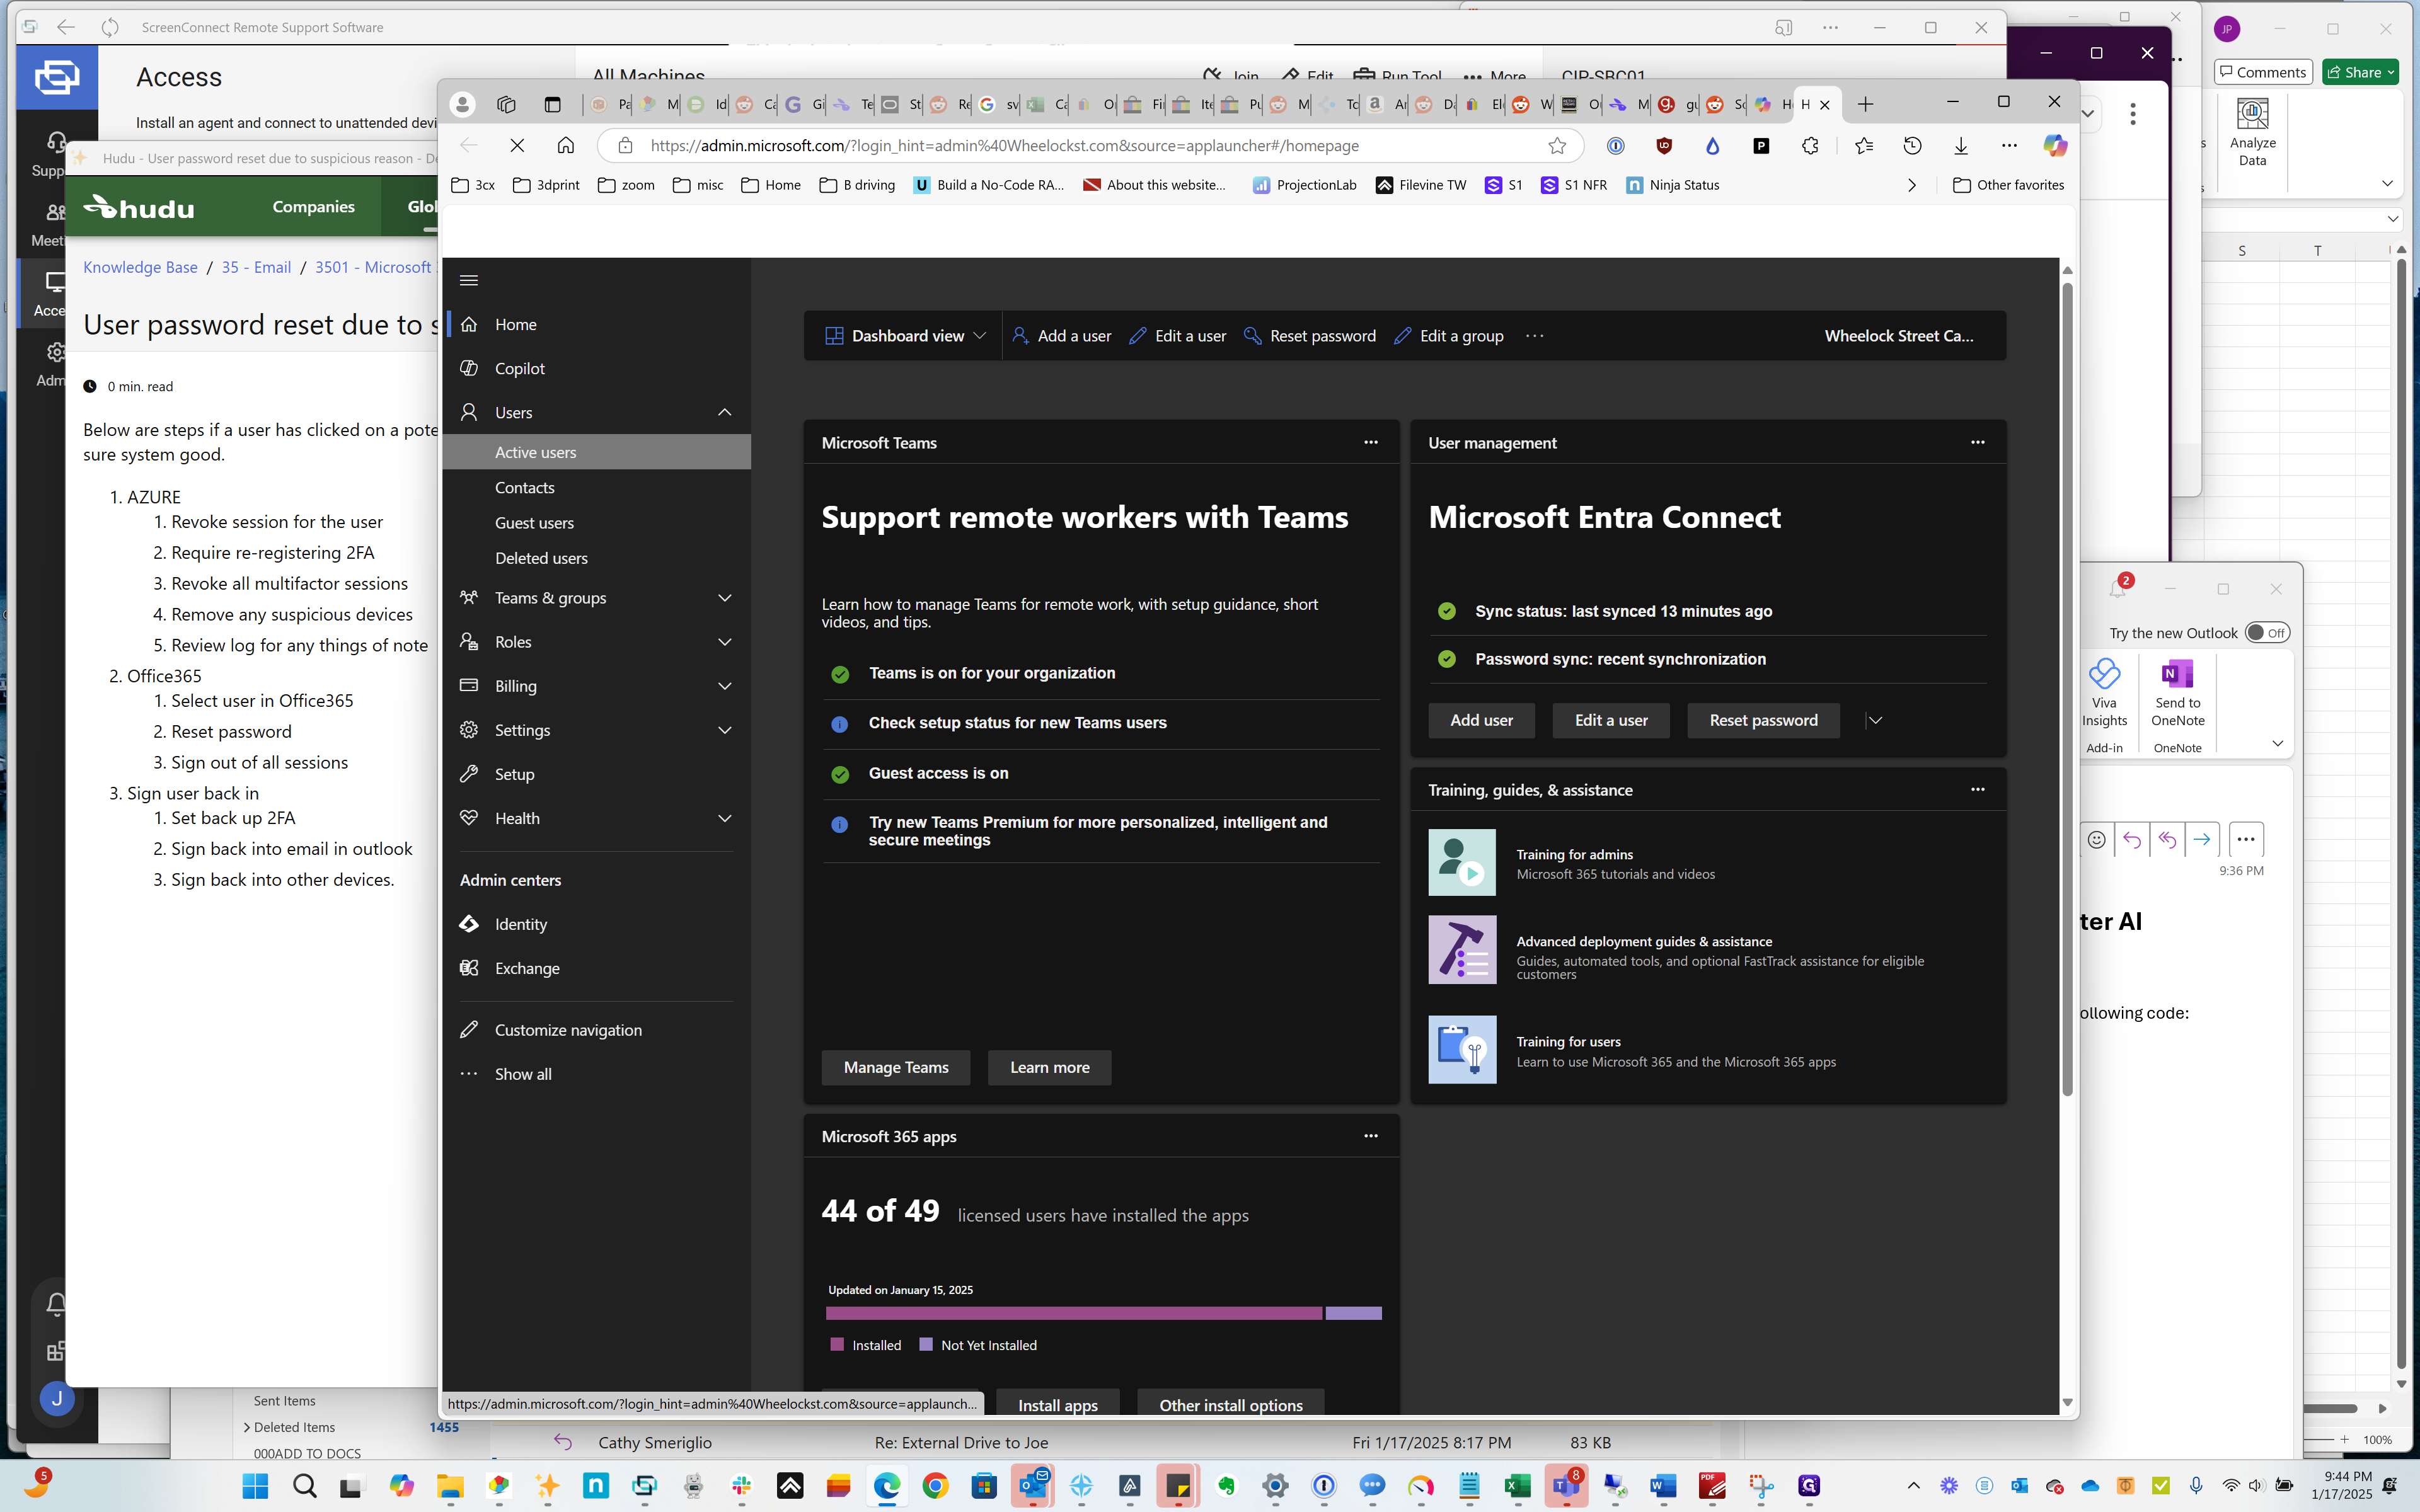
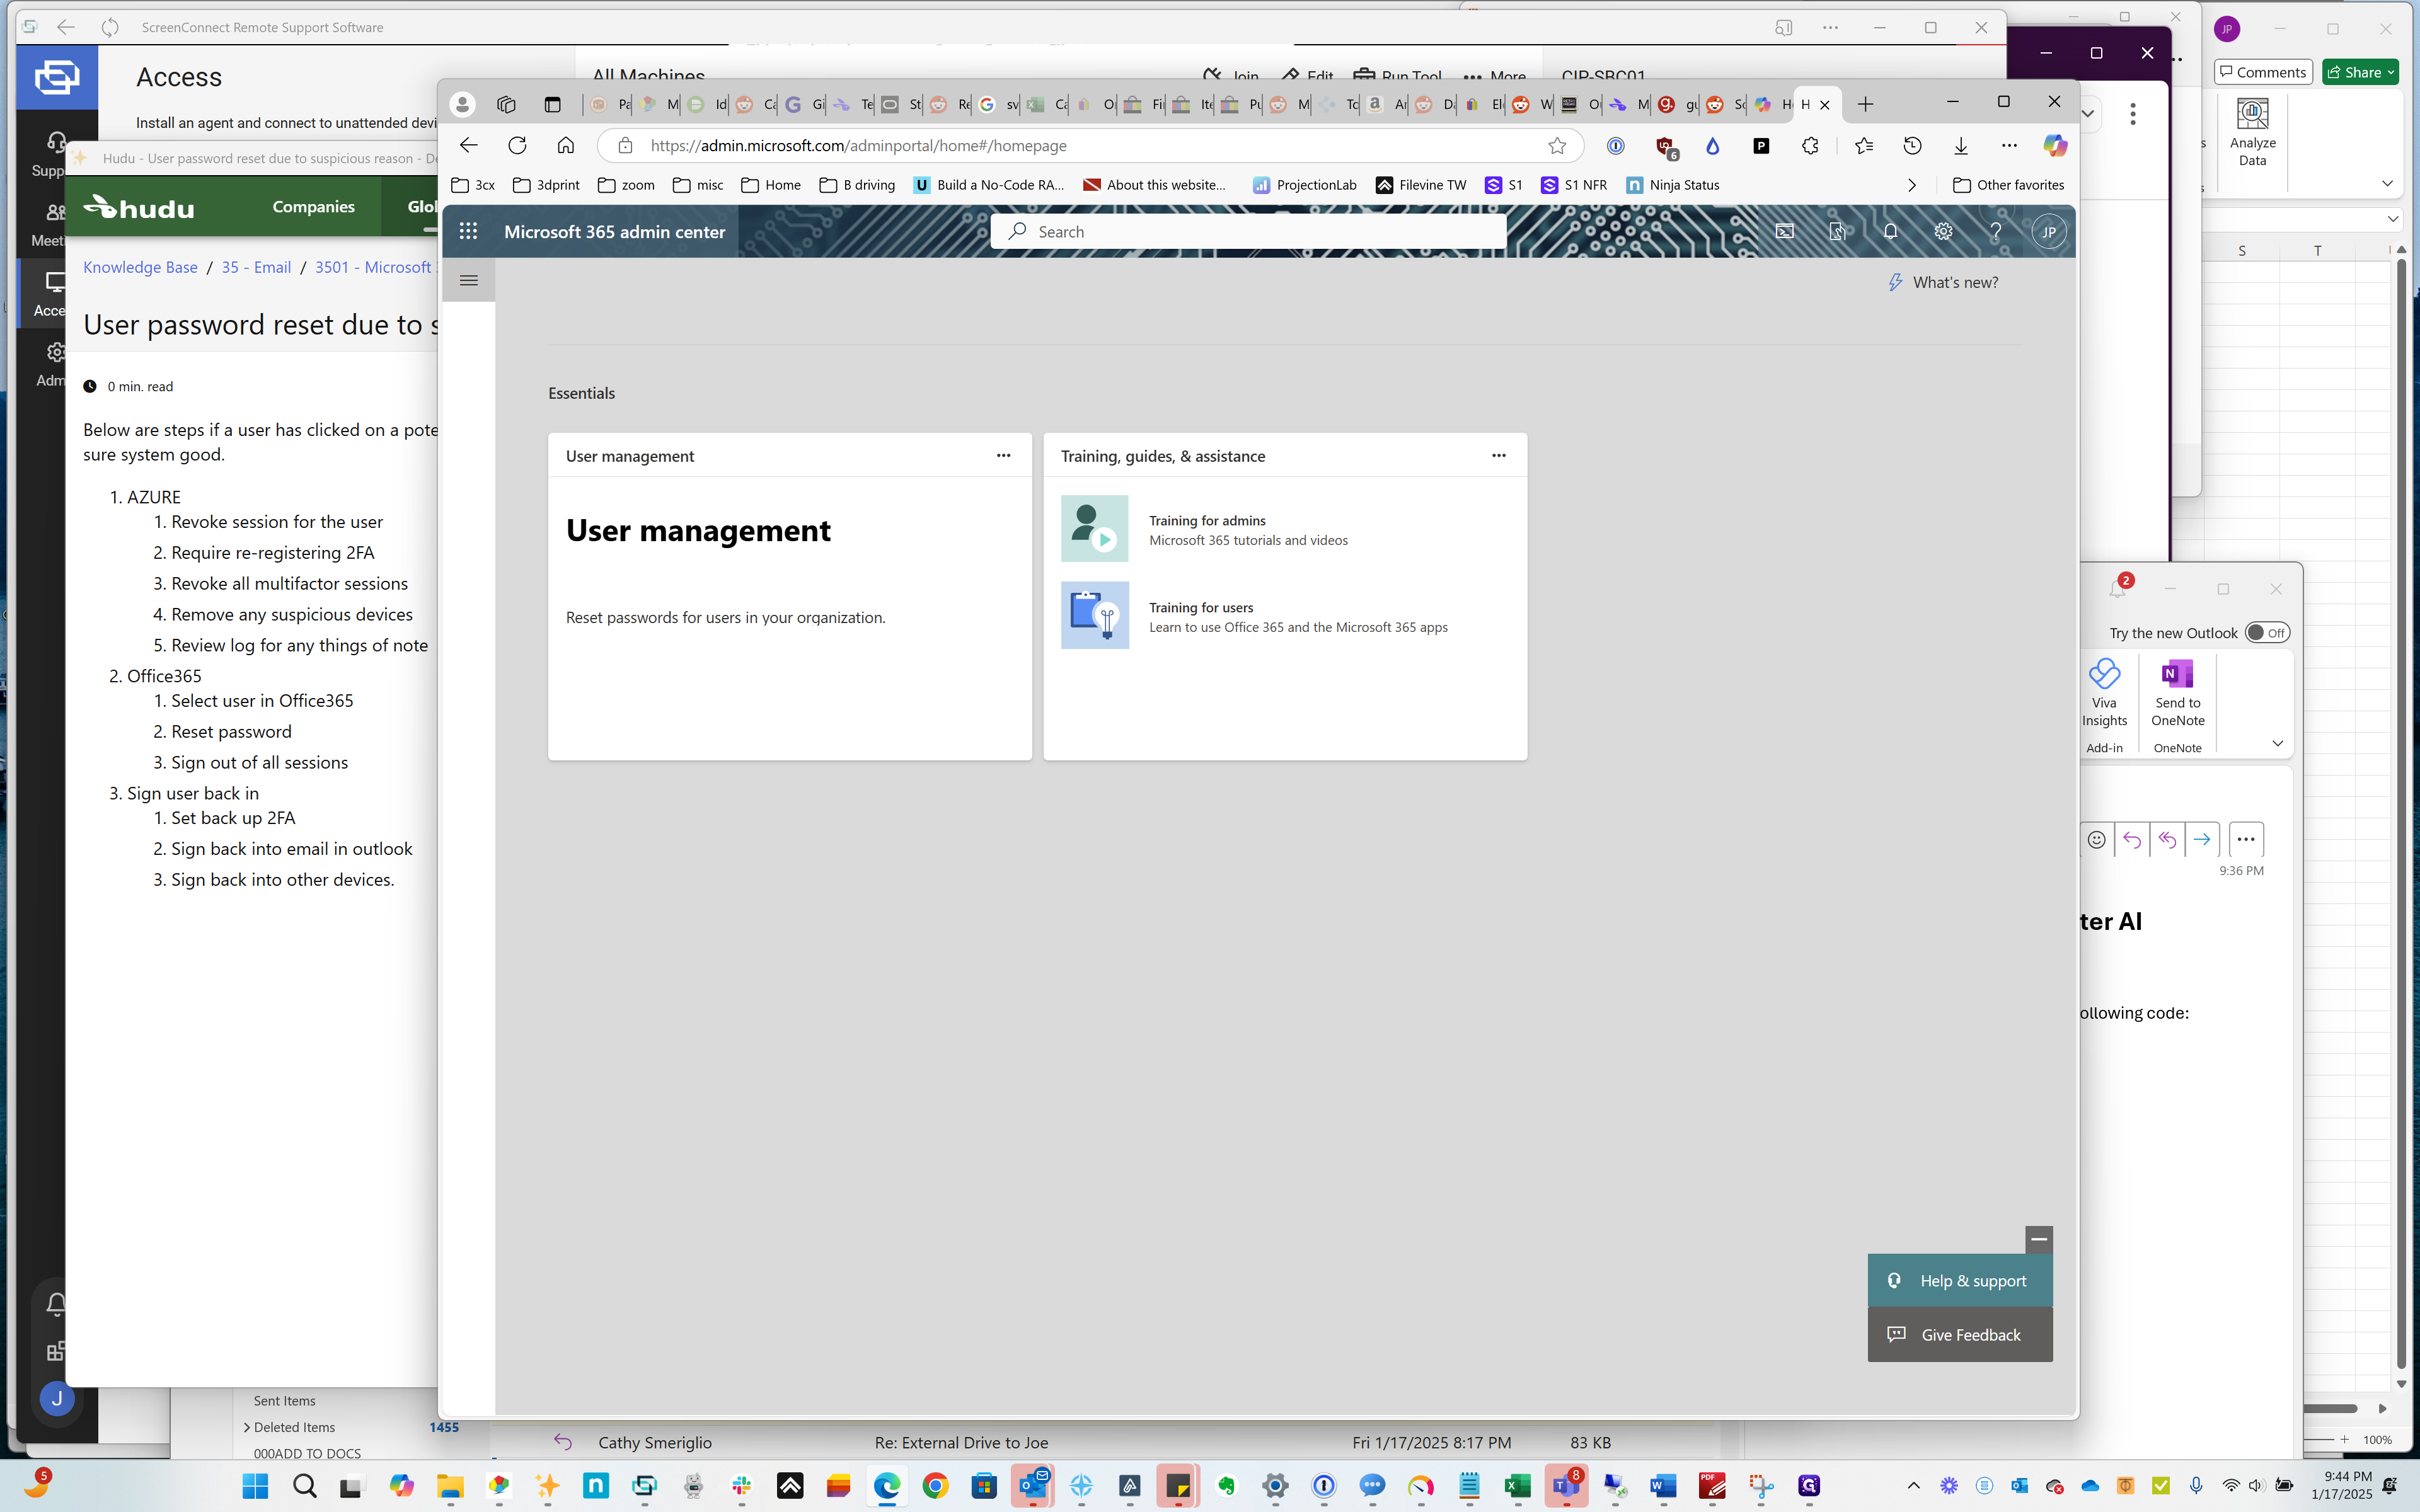
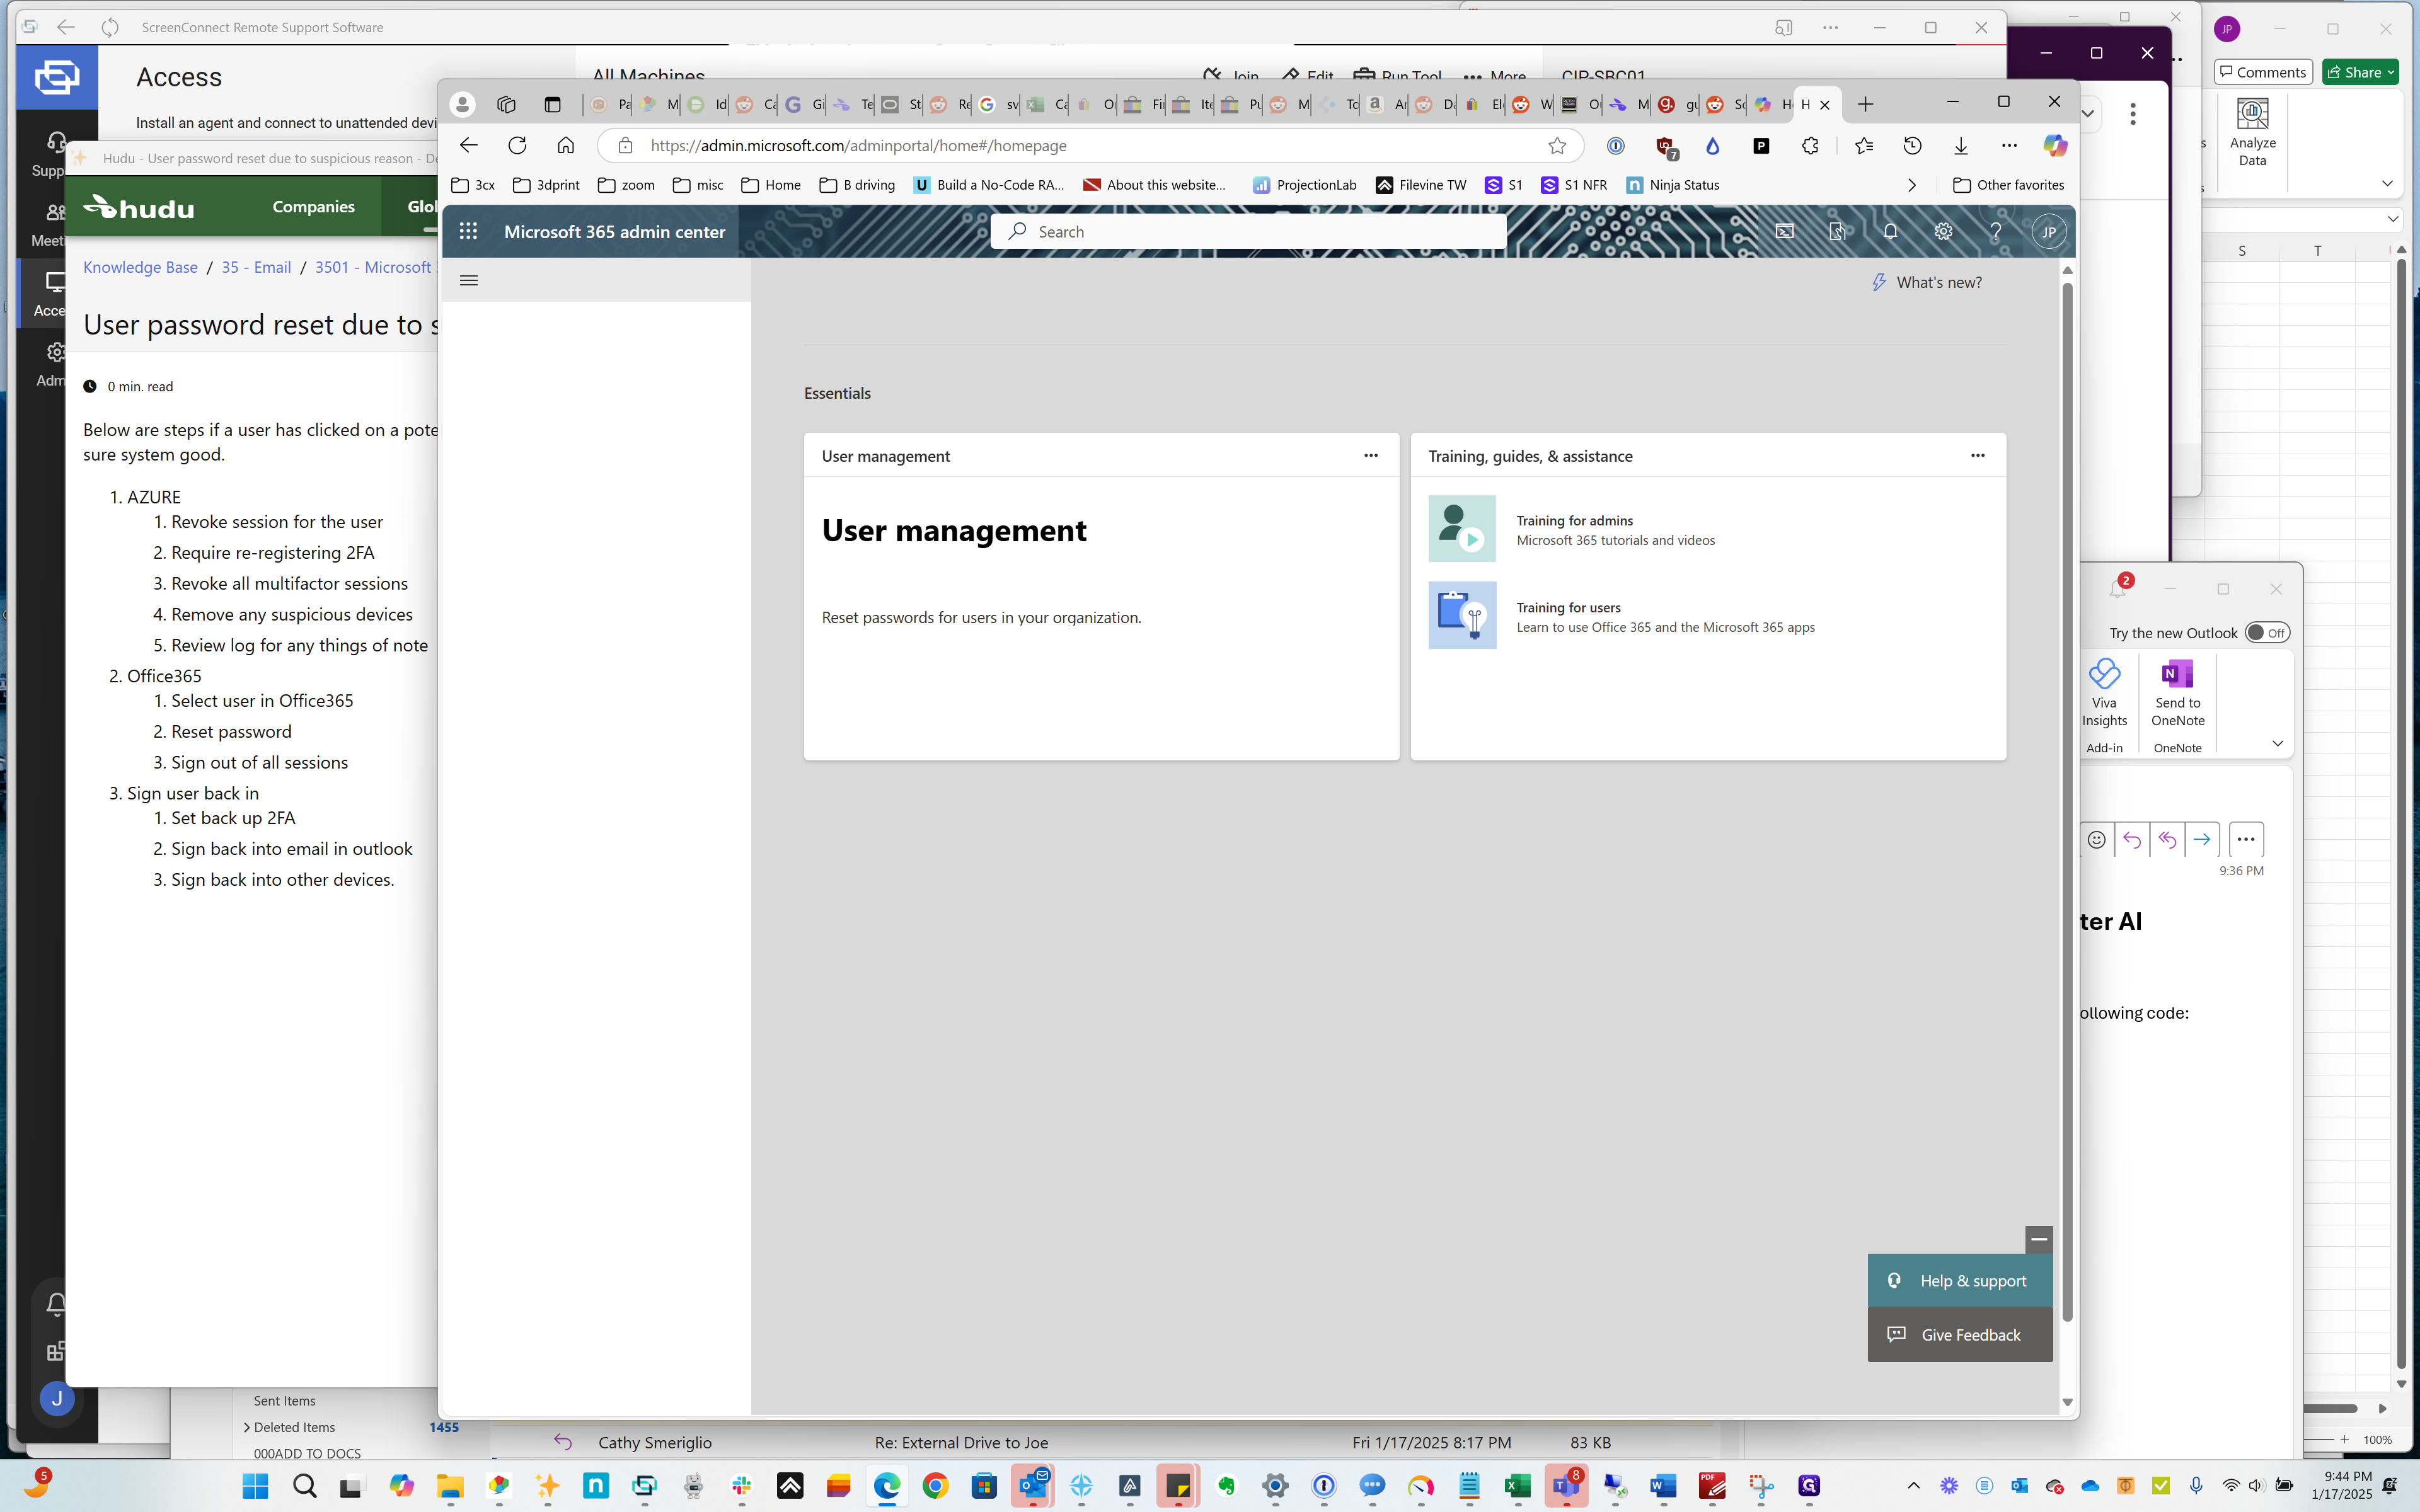
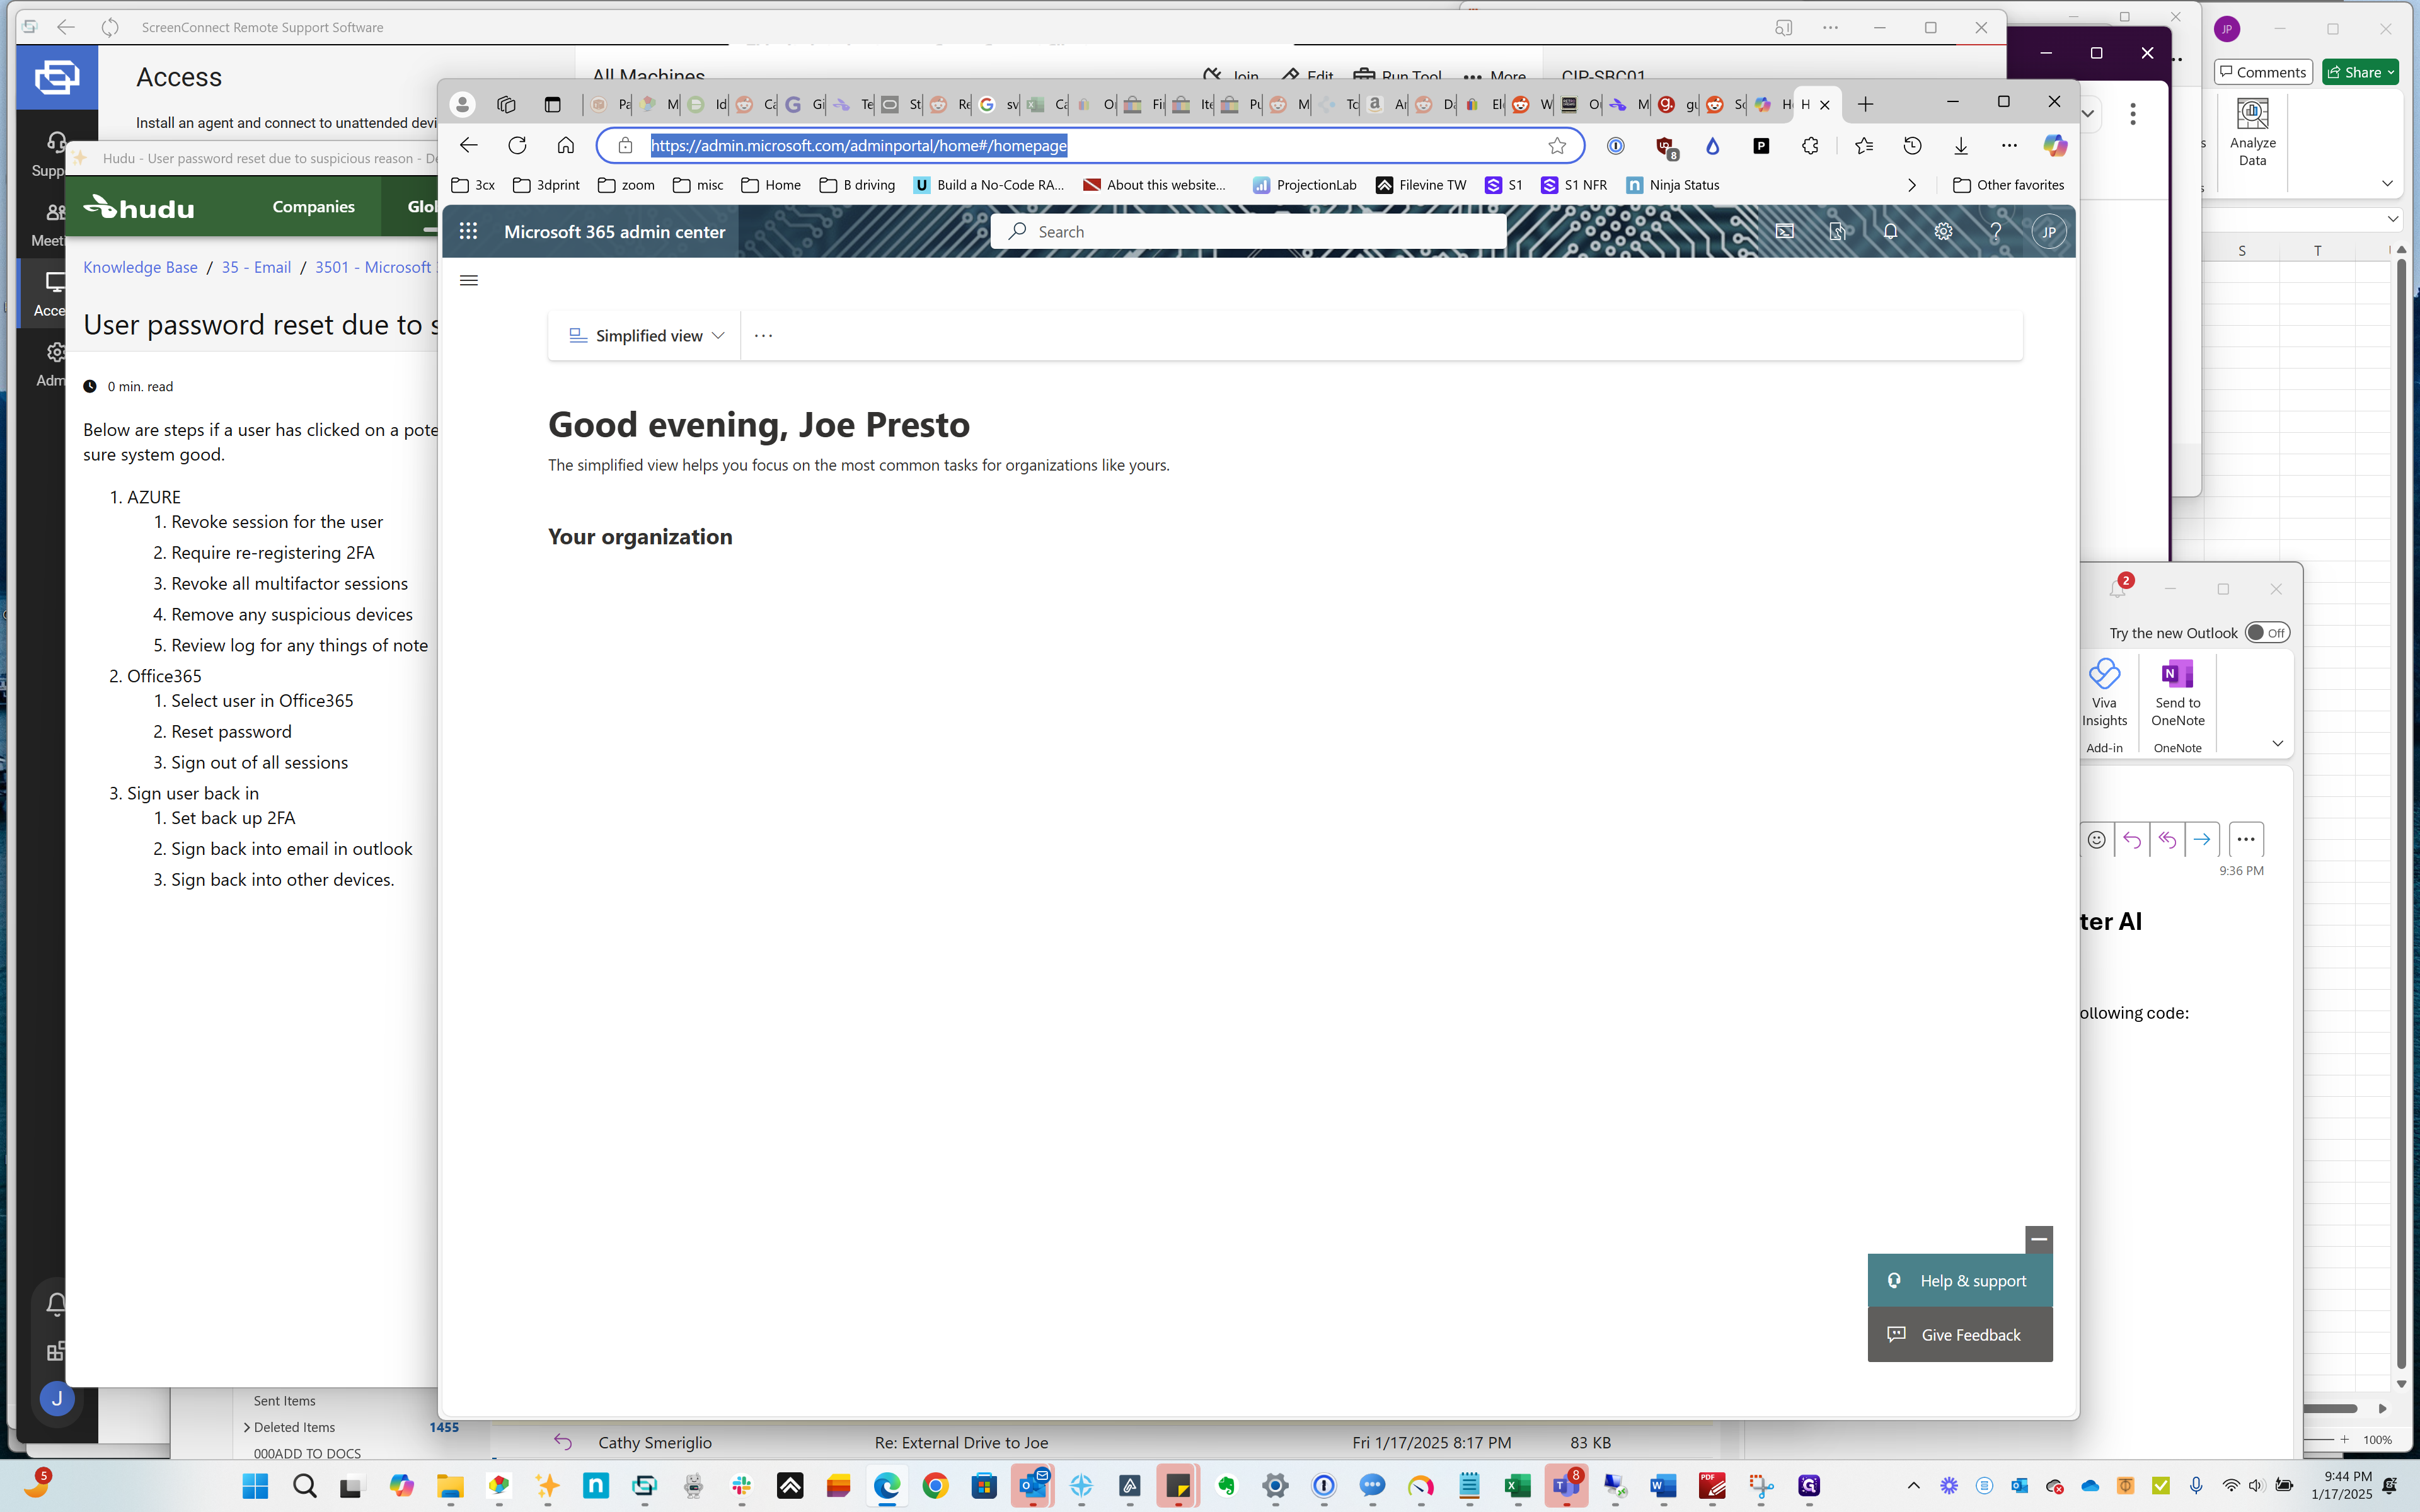
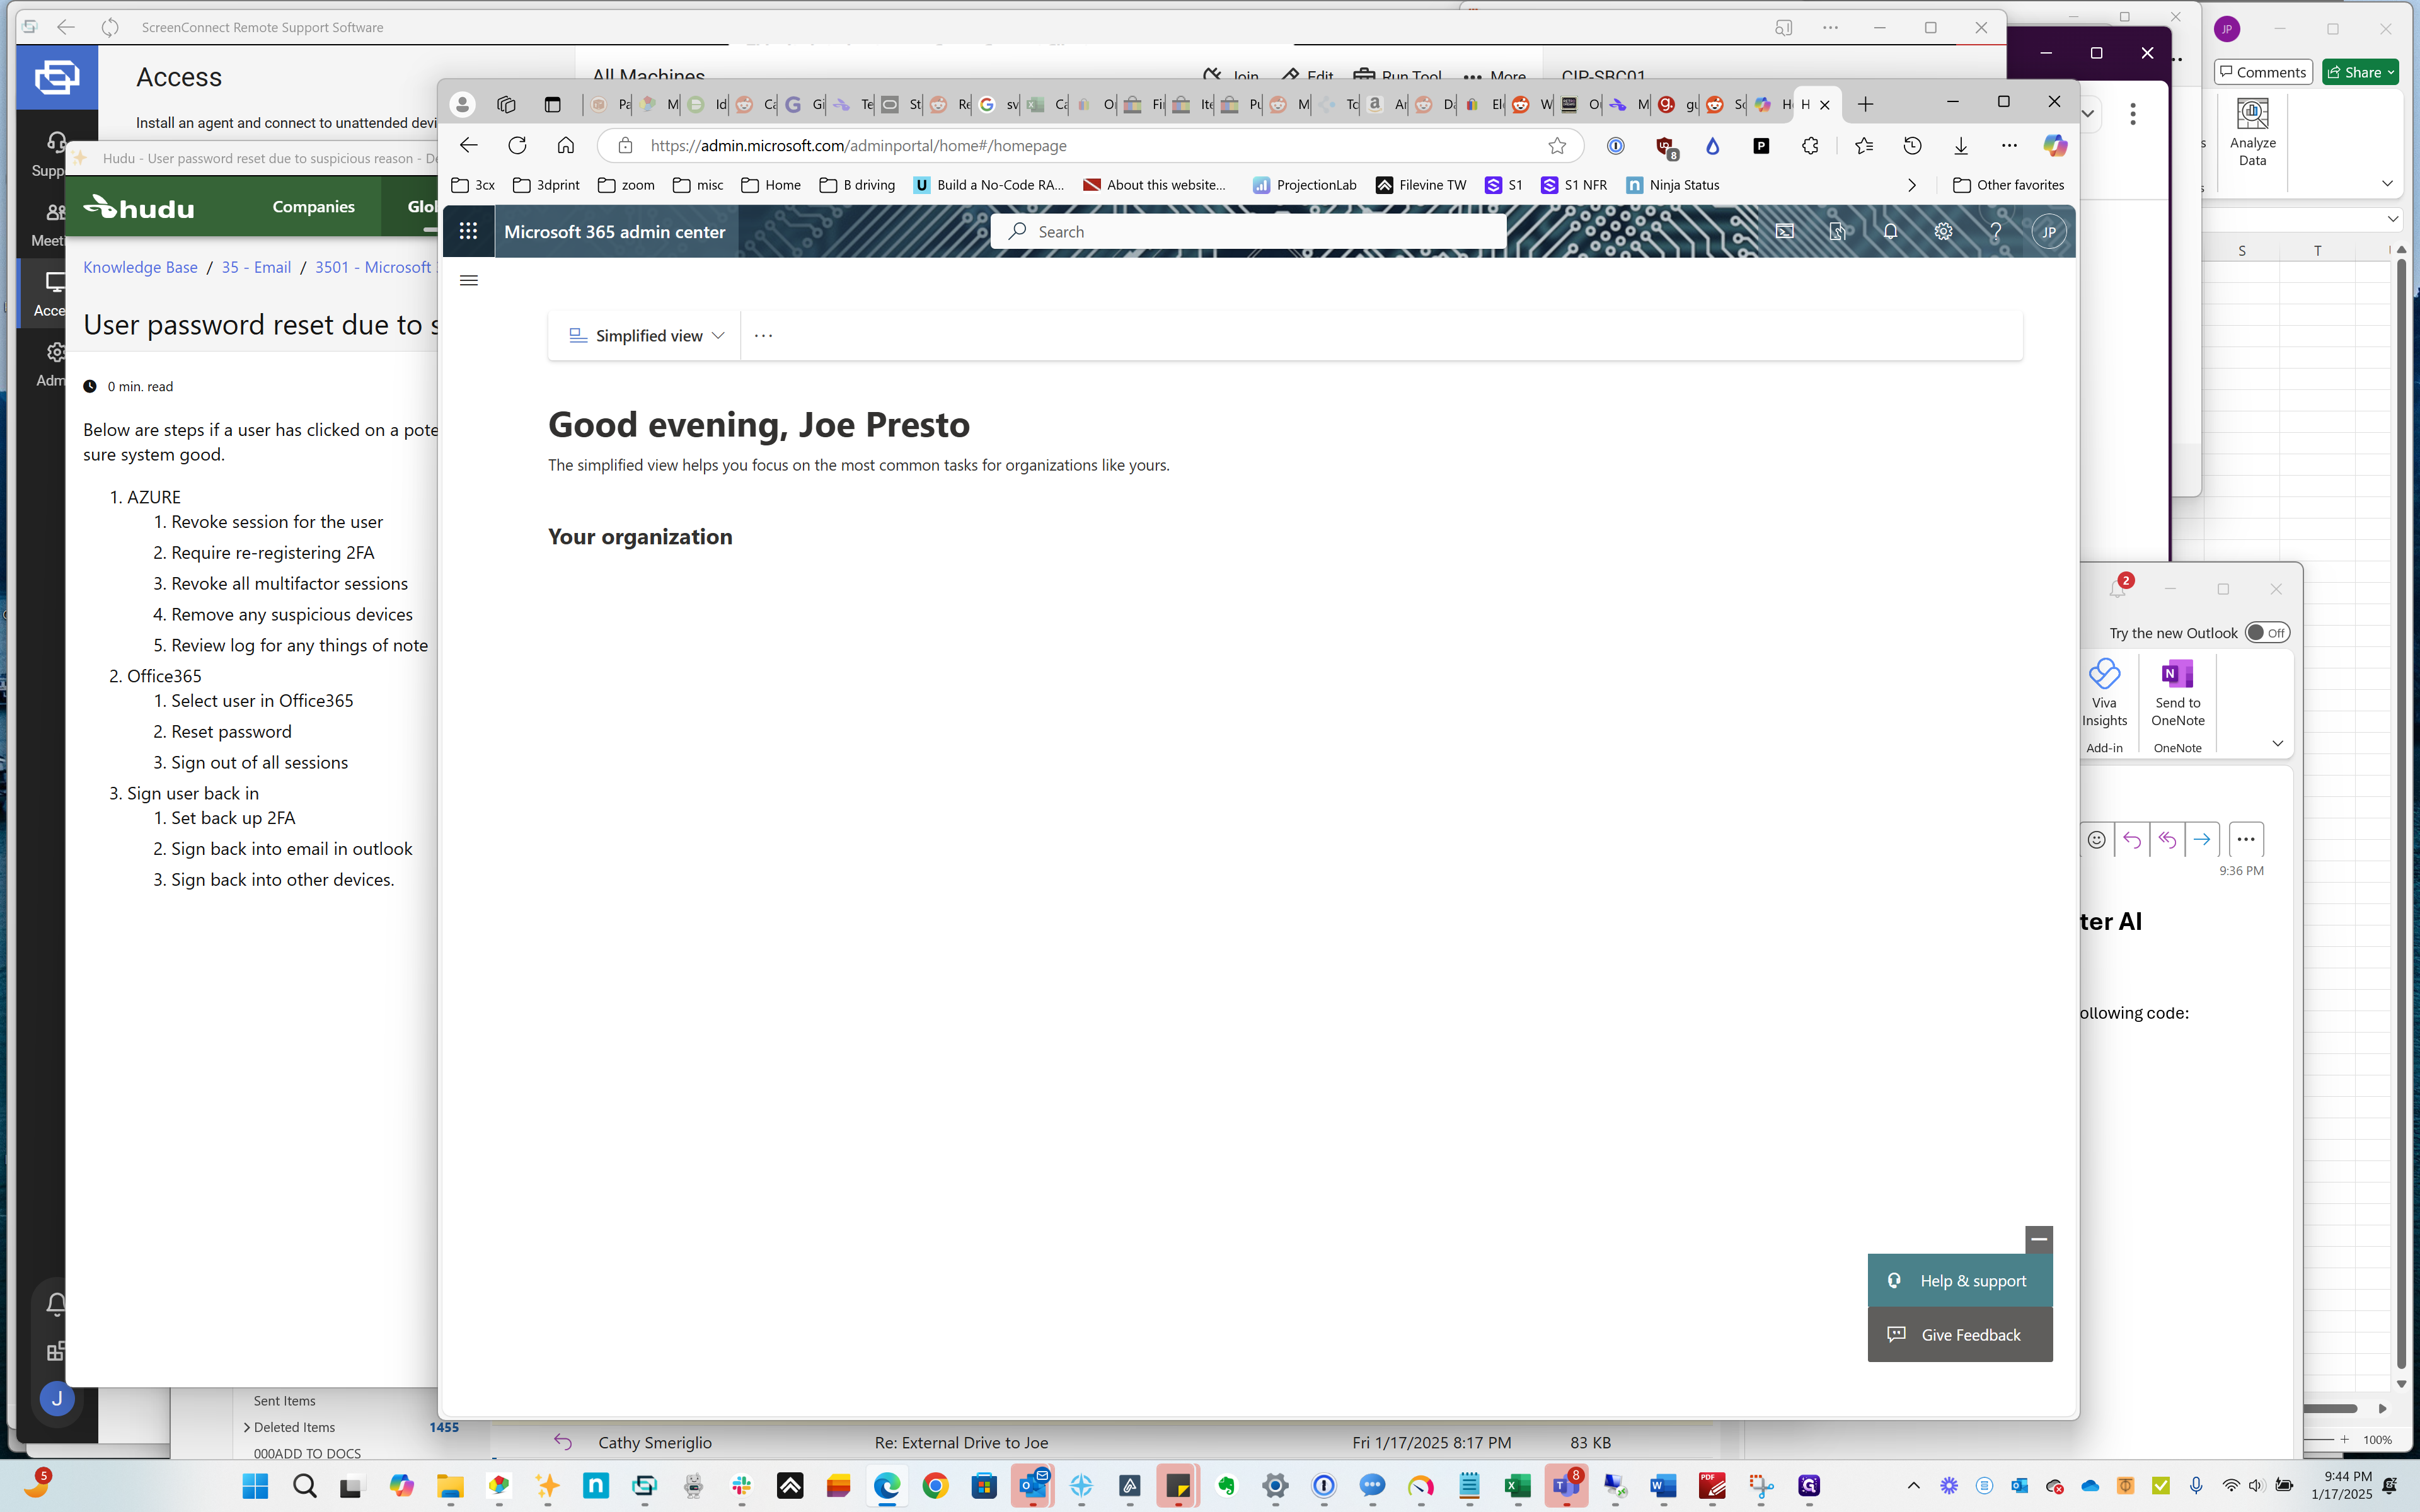
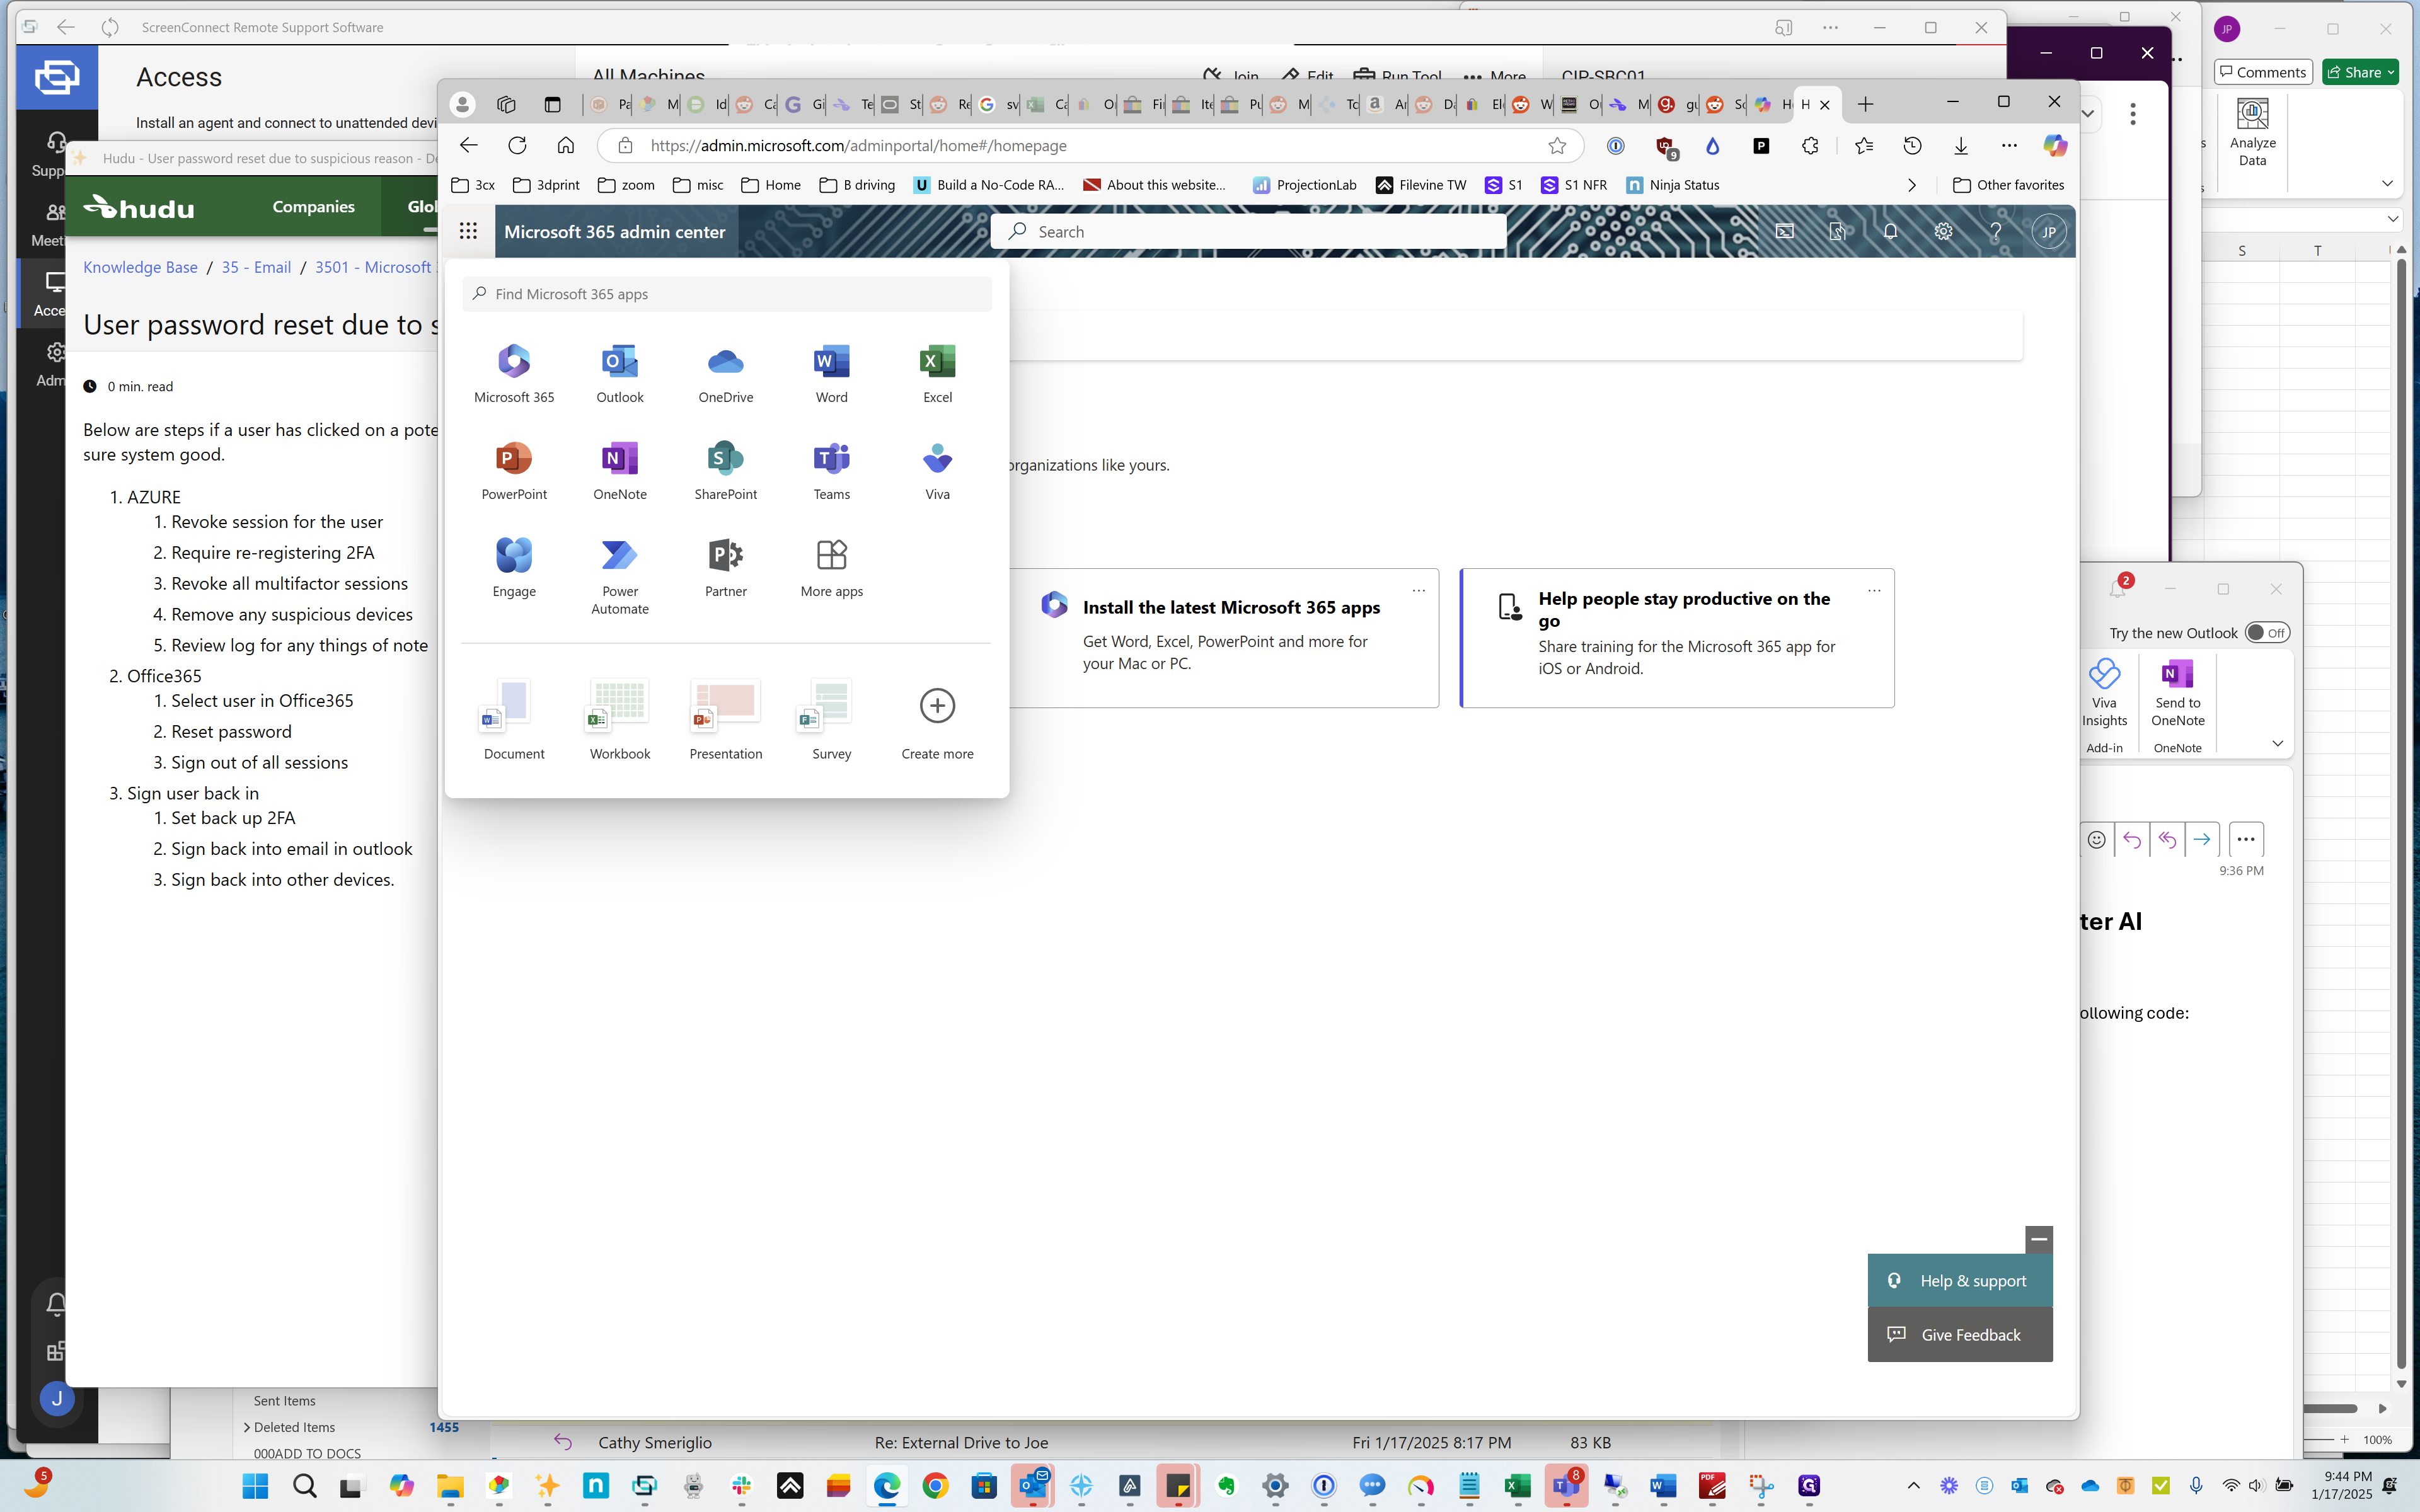
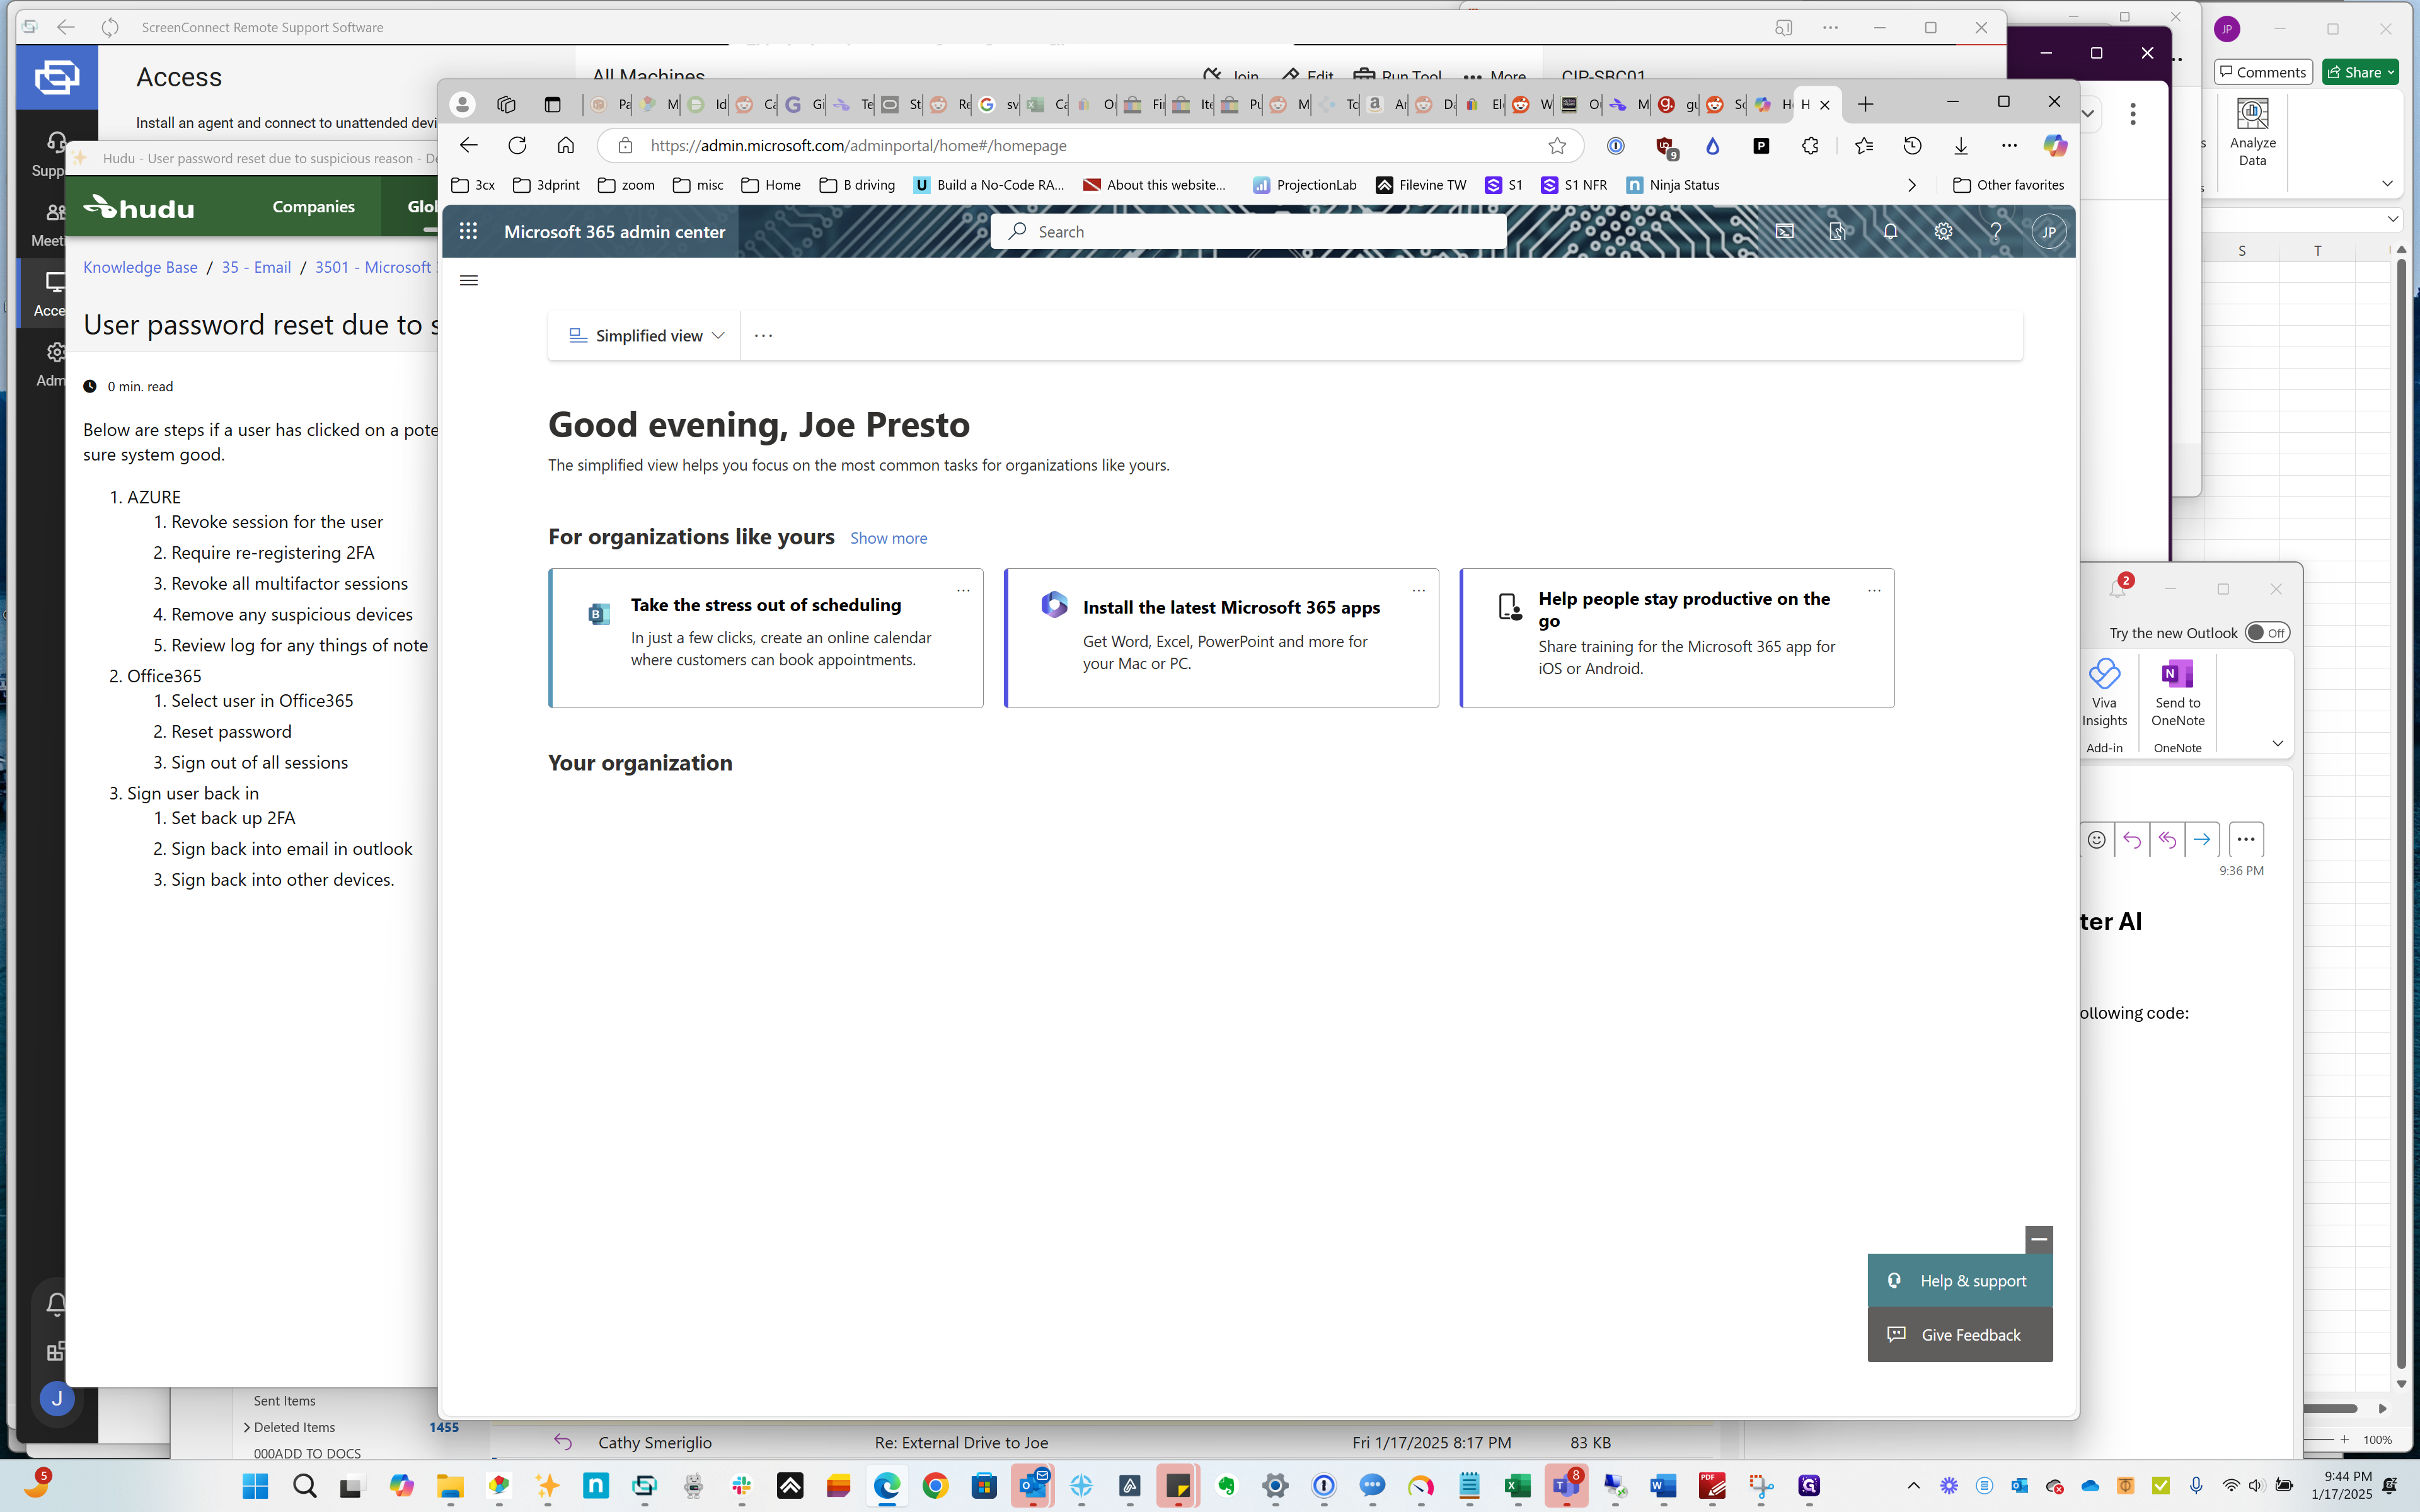
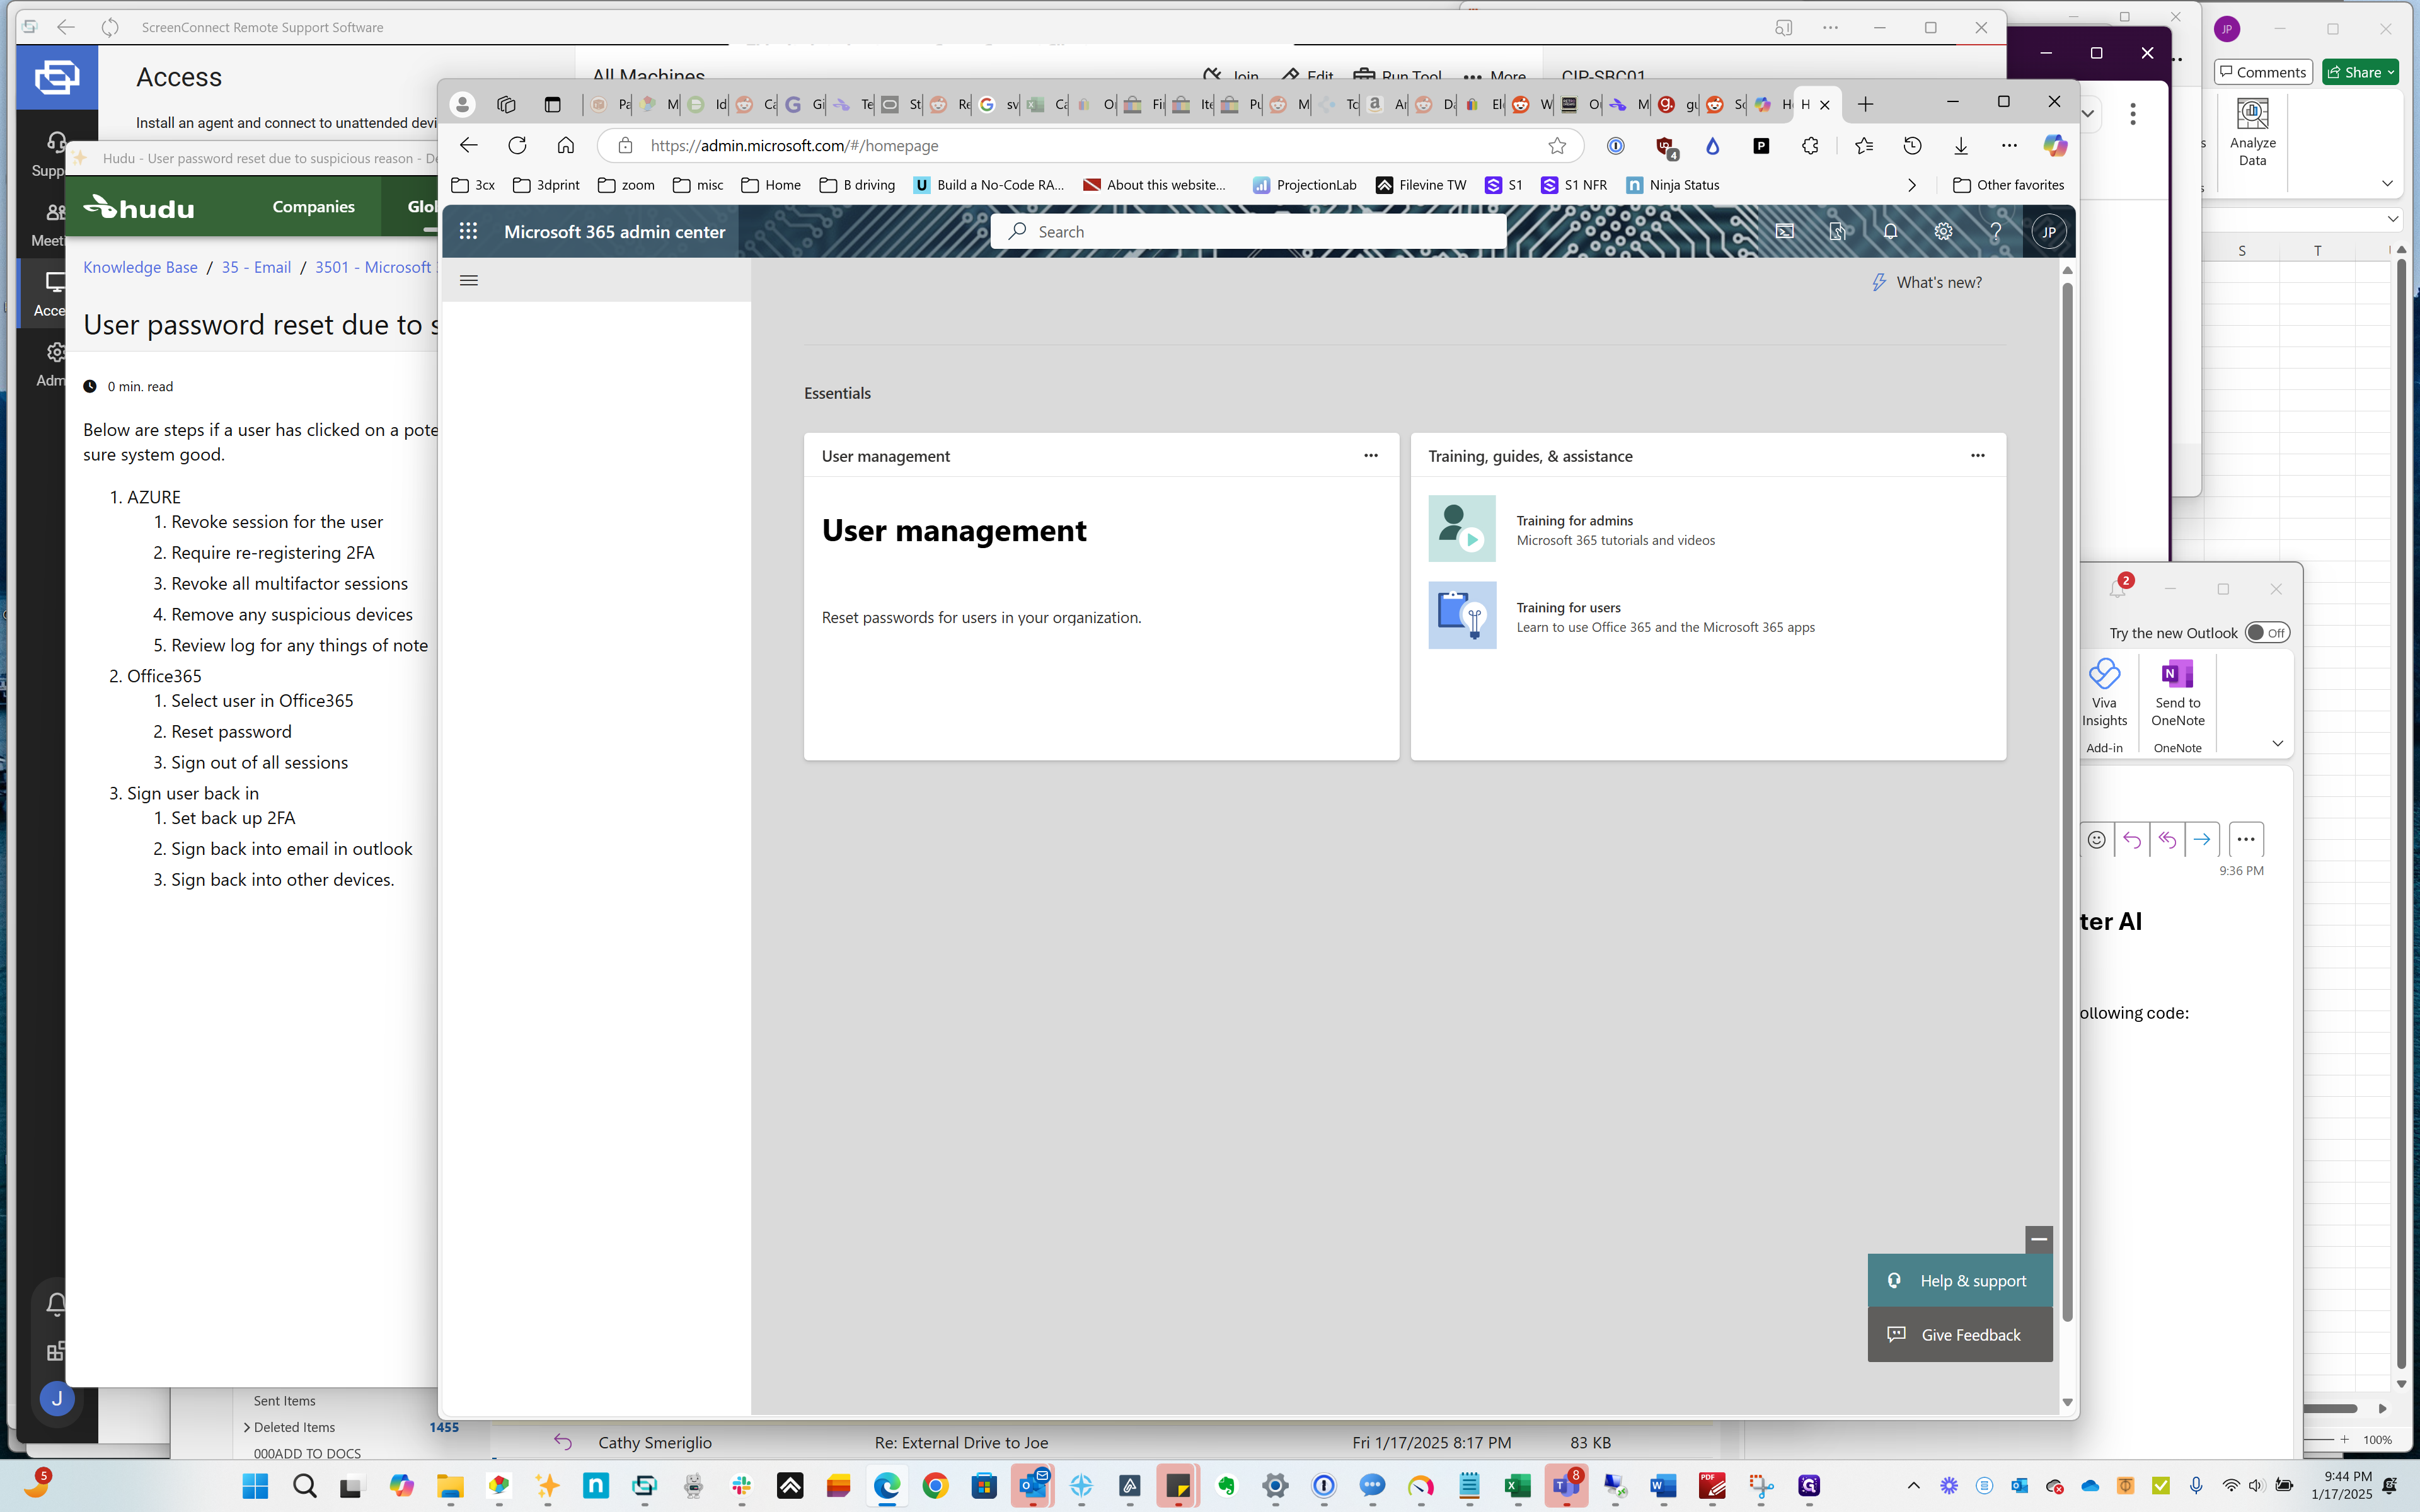
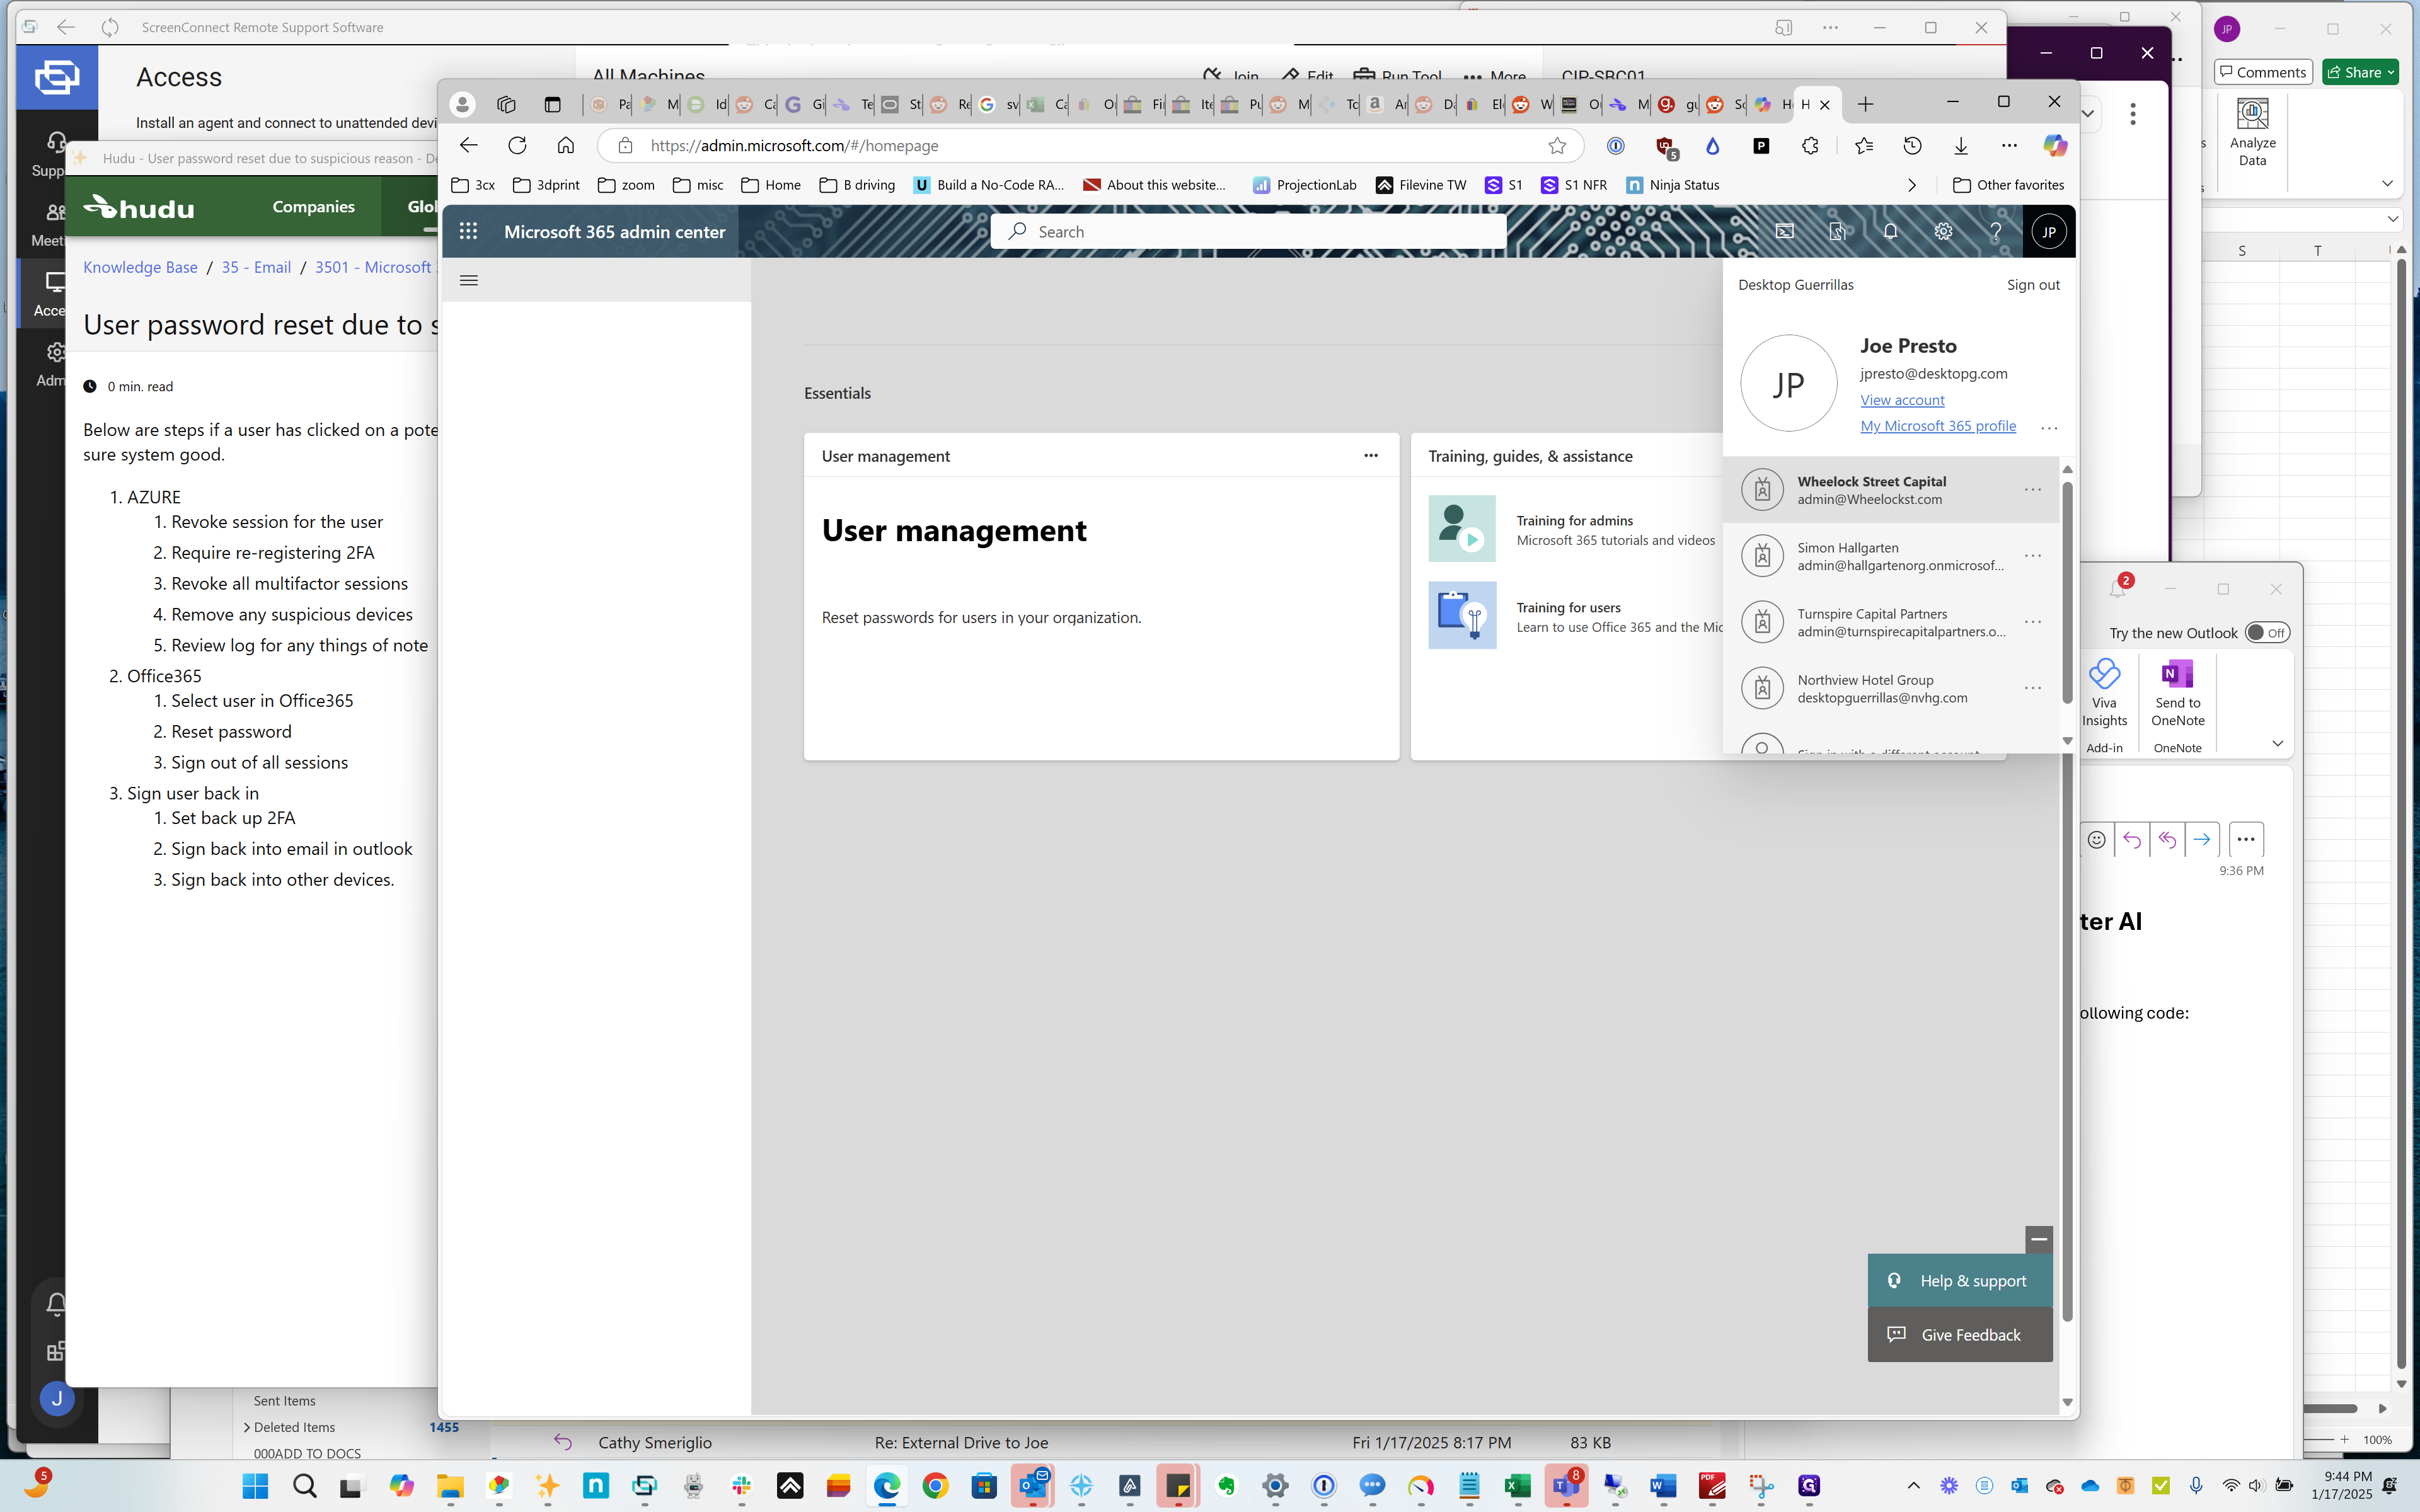
Click on "Microsoft 365 admin center"
Step #49: Click on "Microsoft 365 admin center"
50
Click on "JP"
Step #50: Click on "JP"
51
Click on "admin@Wheelockst.com"
Step #51: Click on "admin@Wheelockst.com"
52
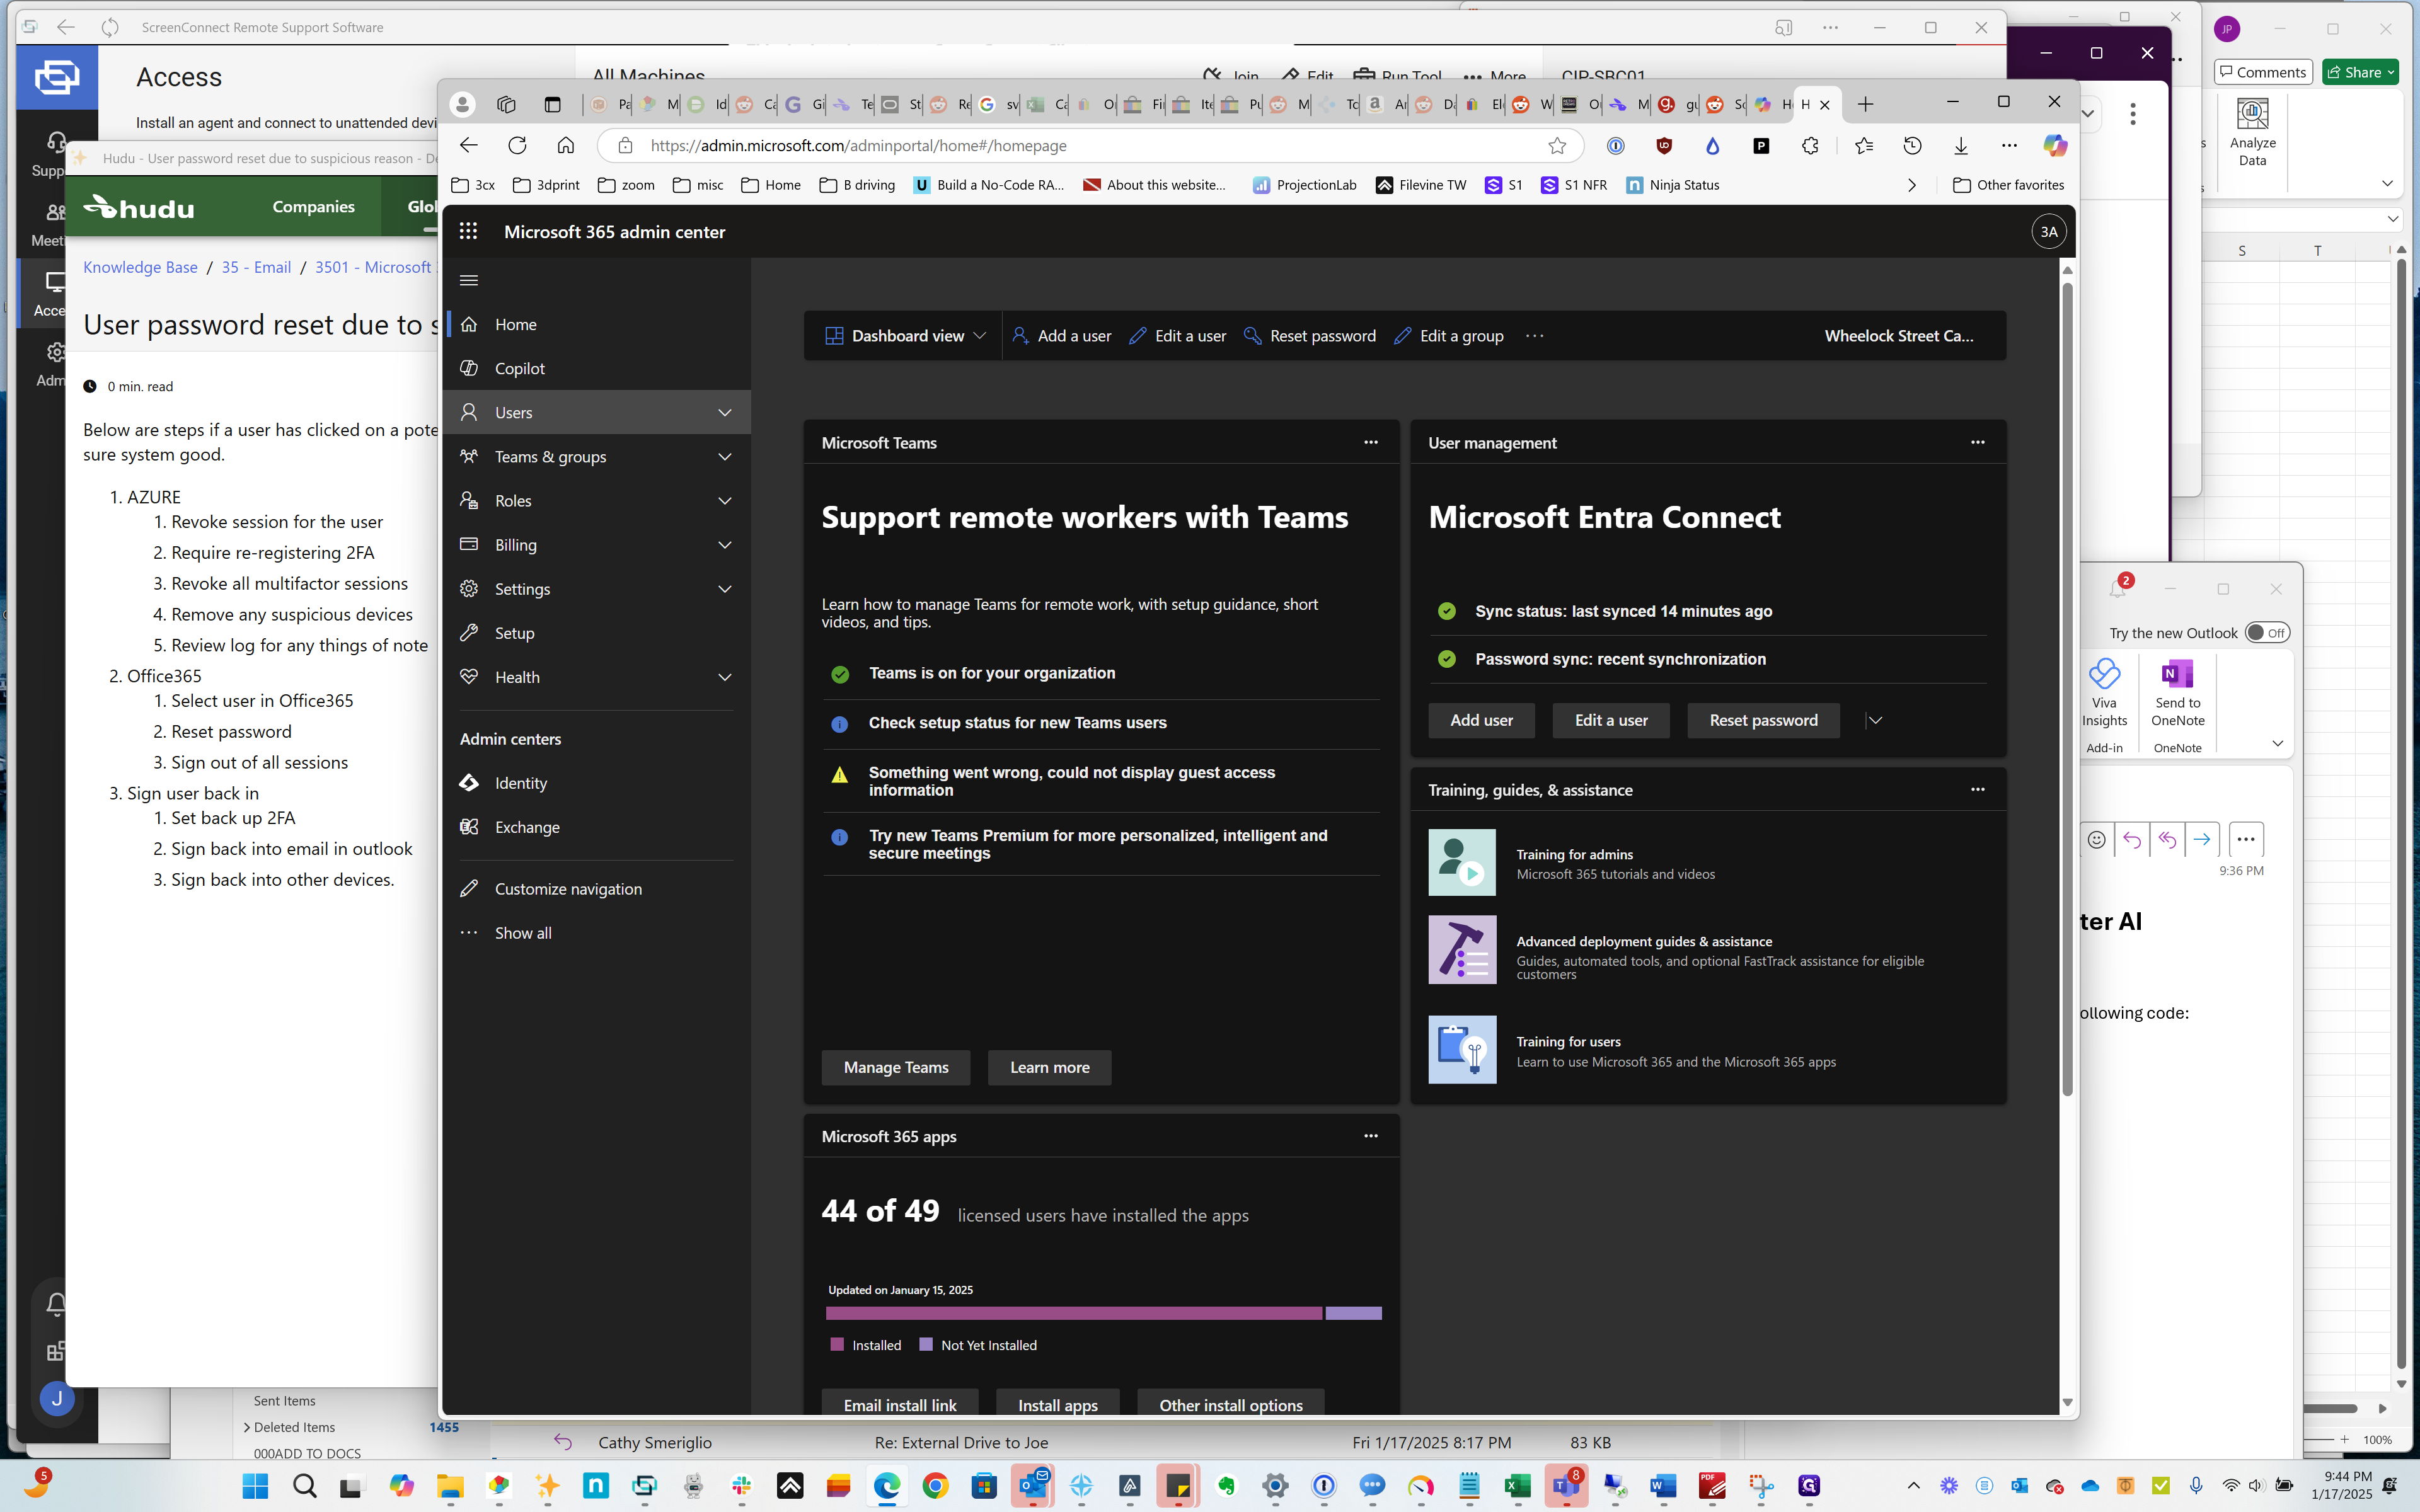
Click here
Step #52: Click here
53
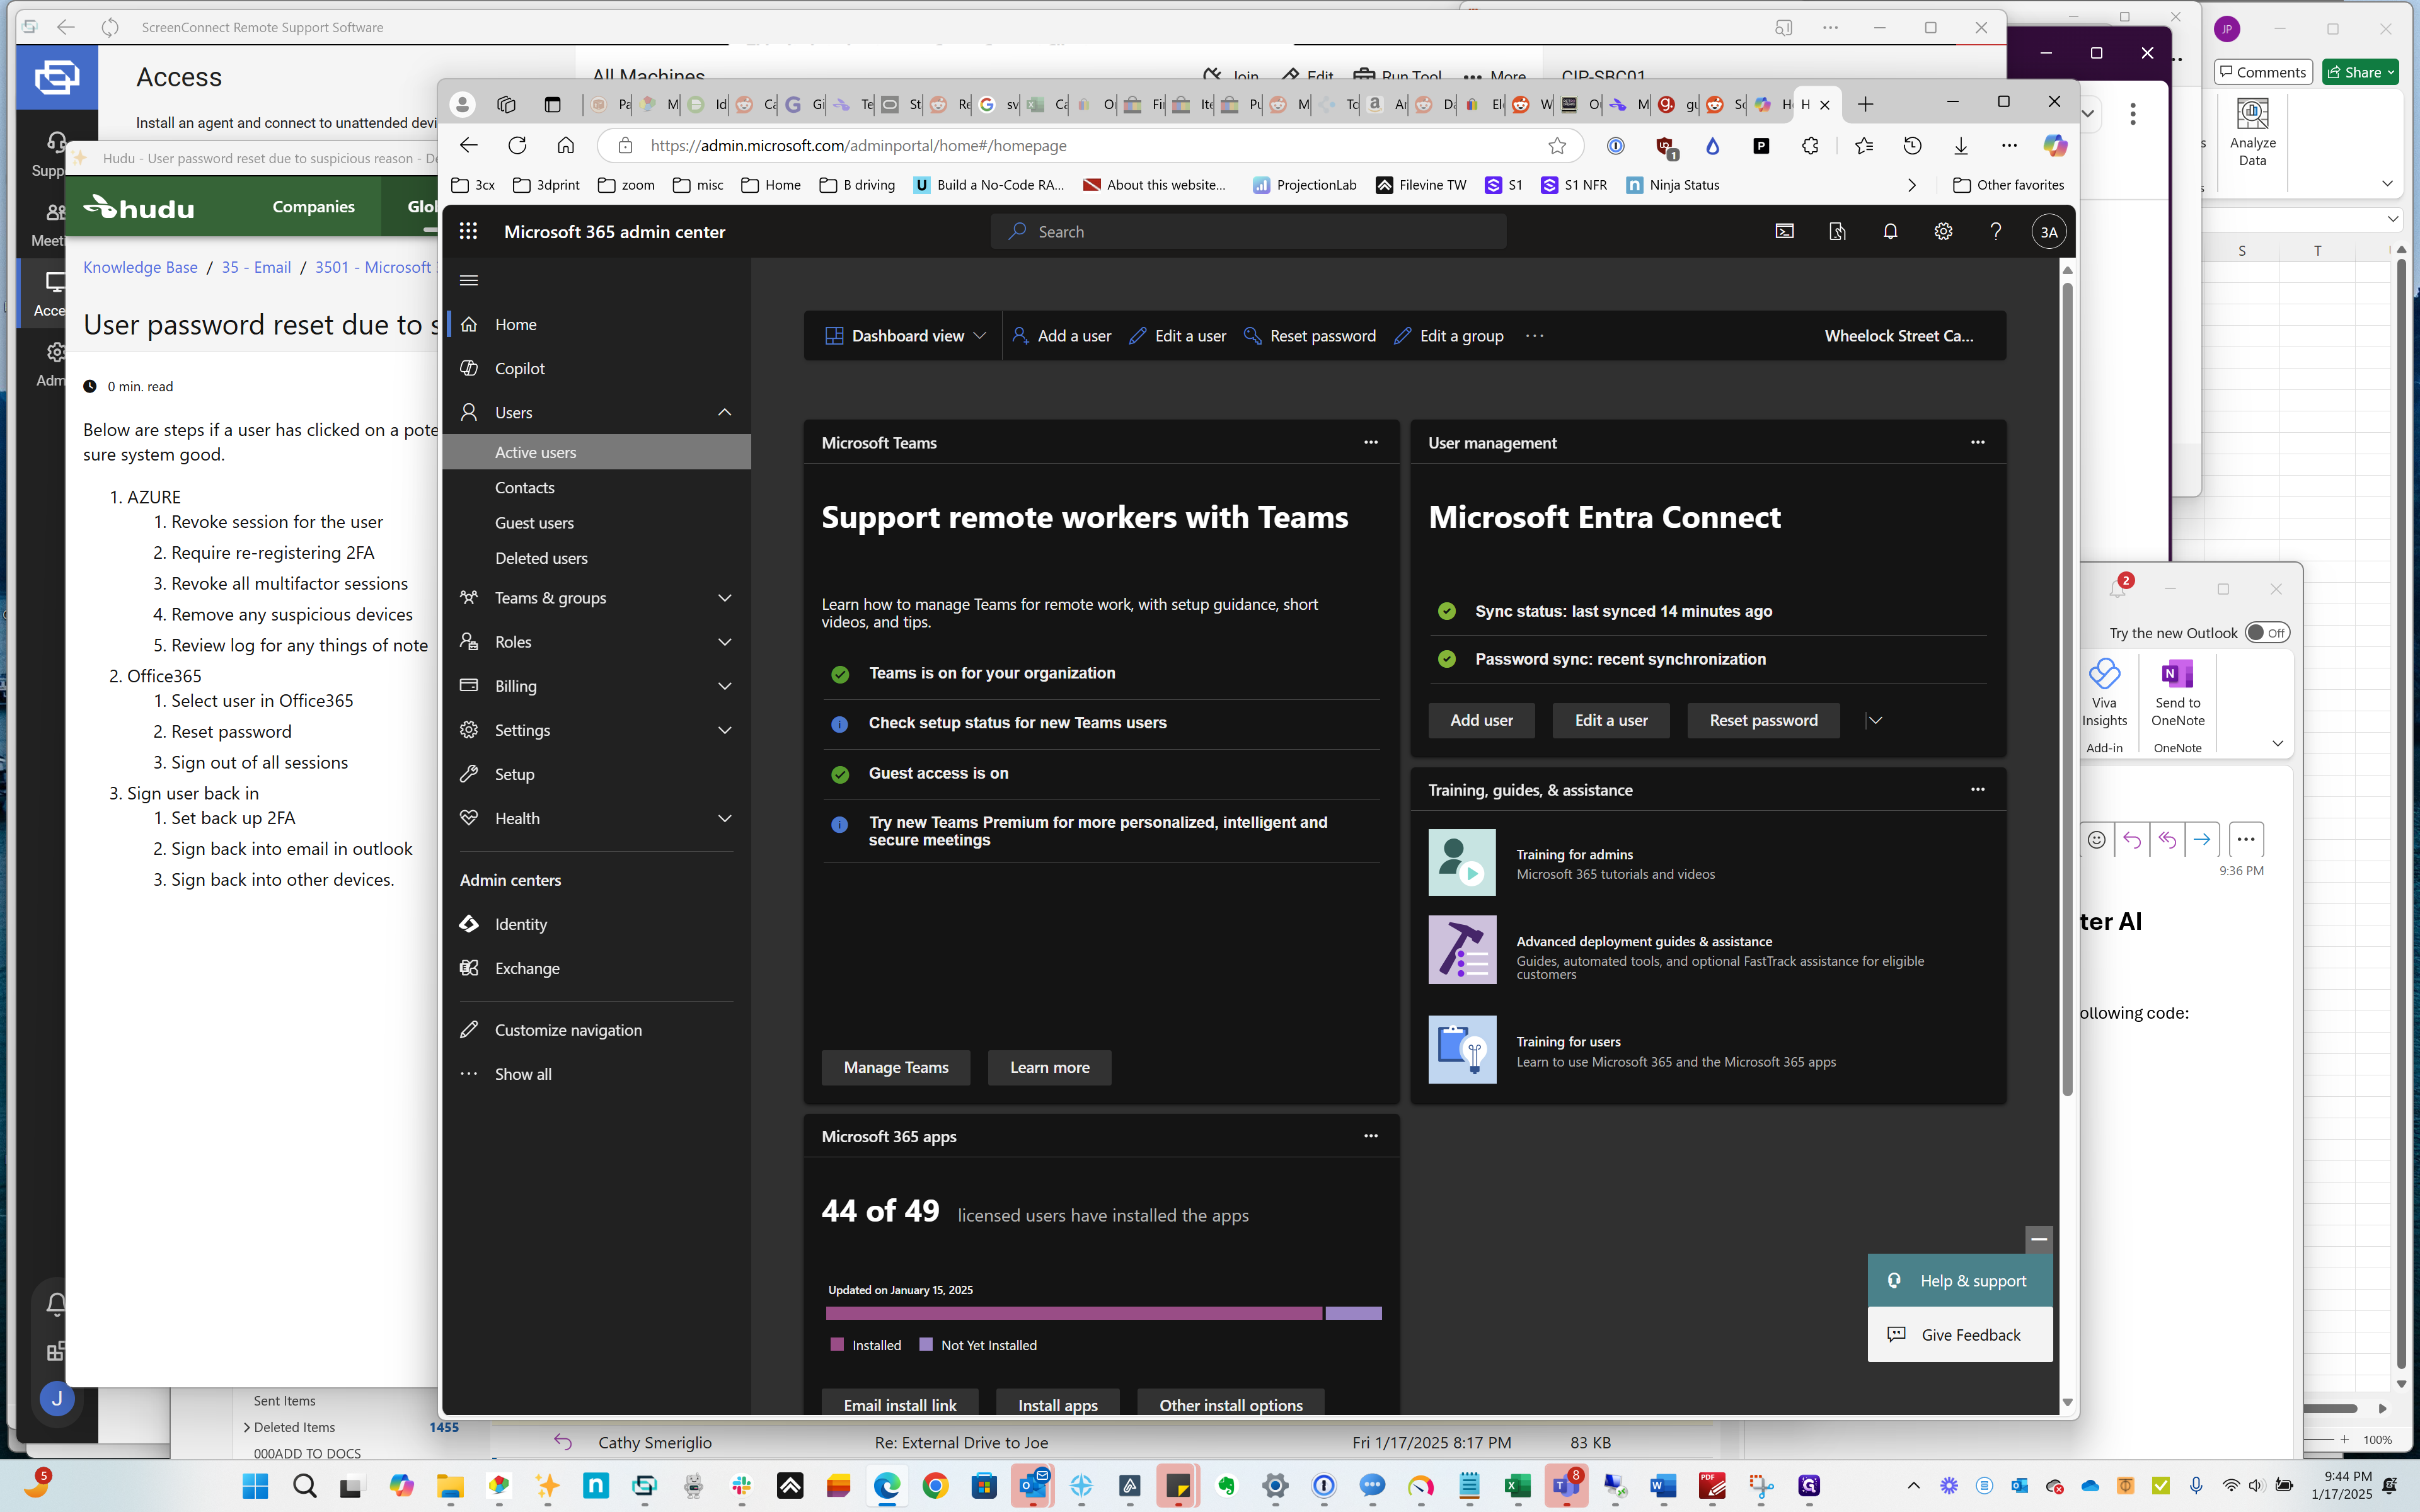
Click on "Active users"
Step #53: Click on "Active users"

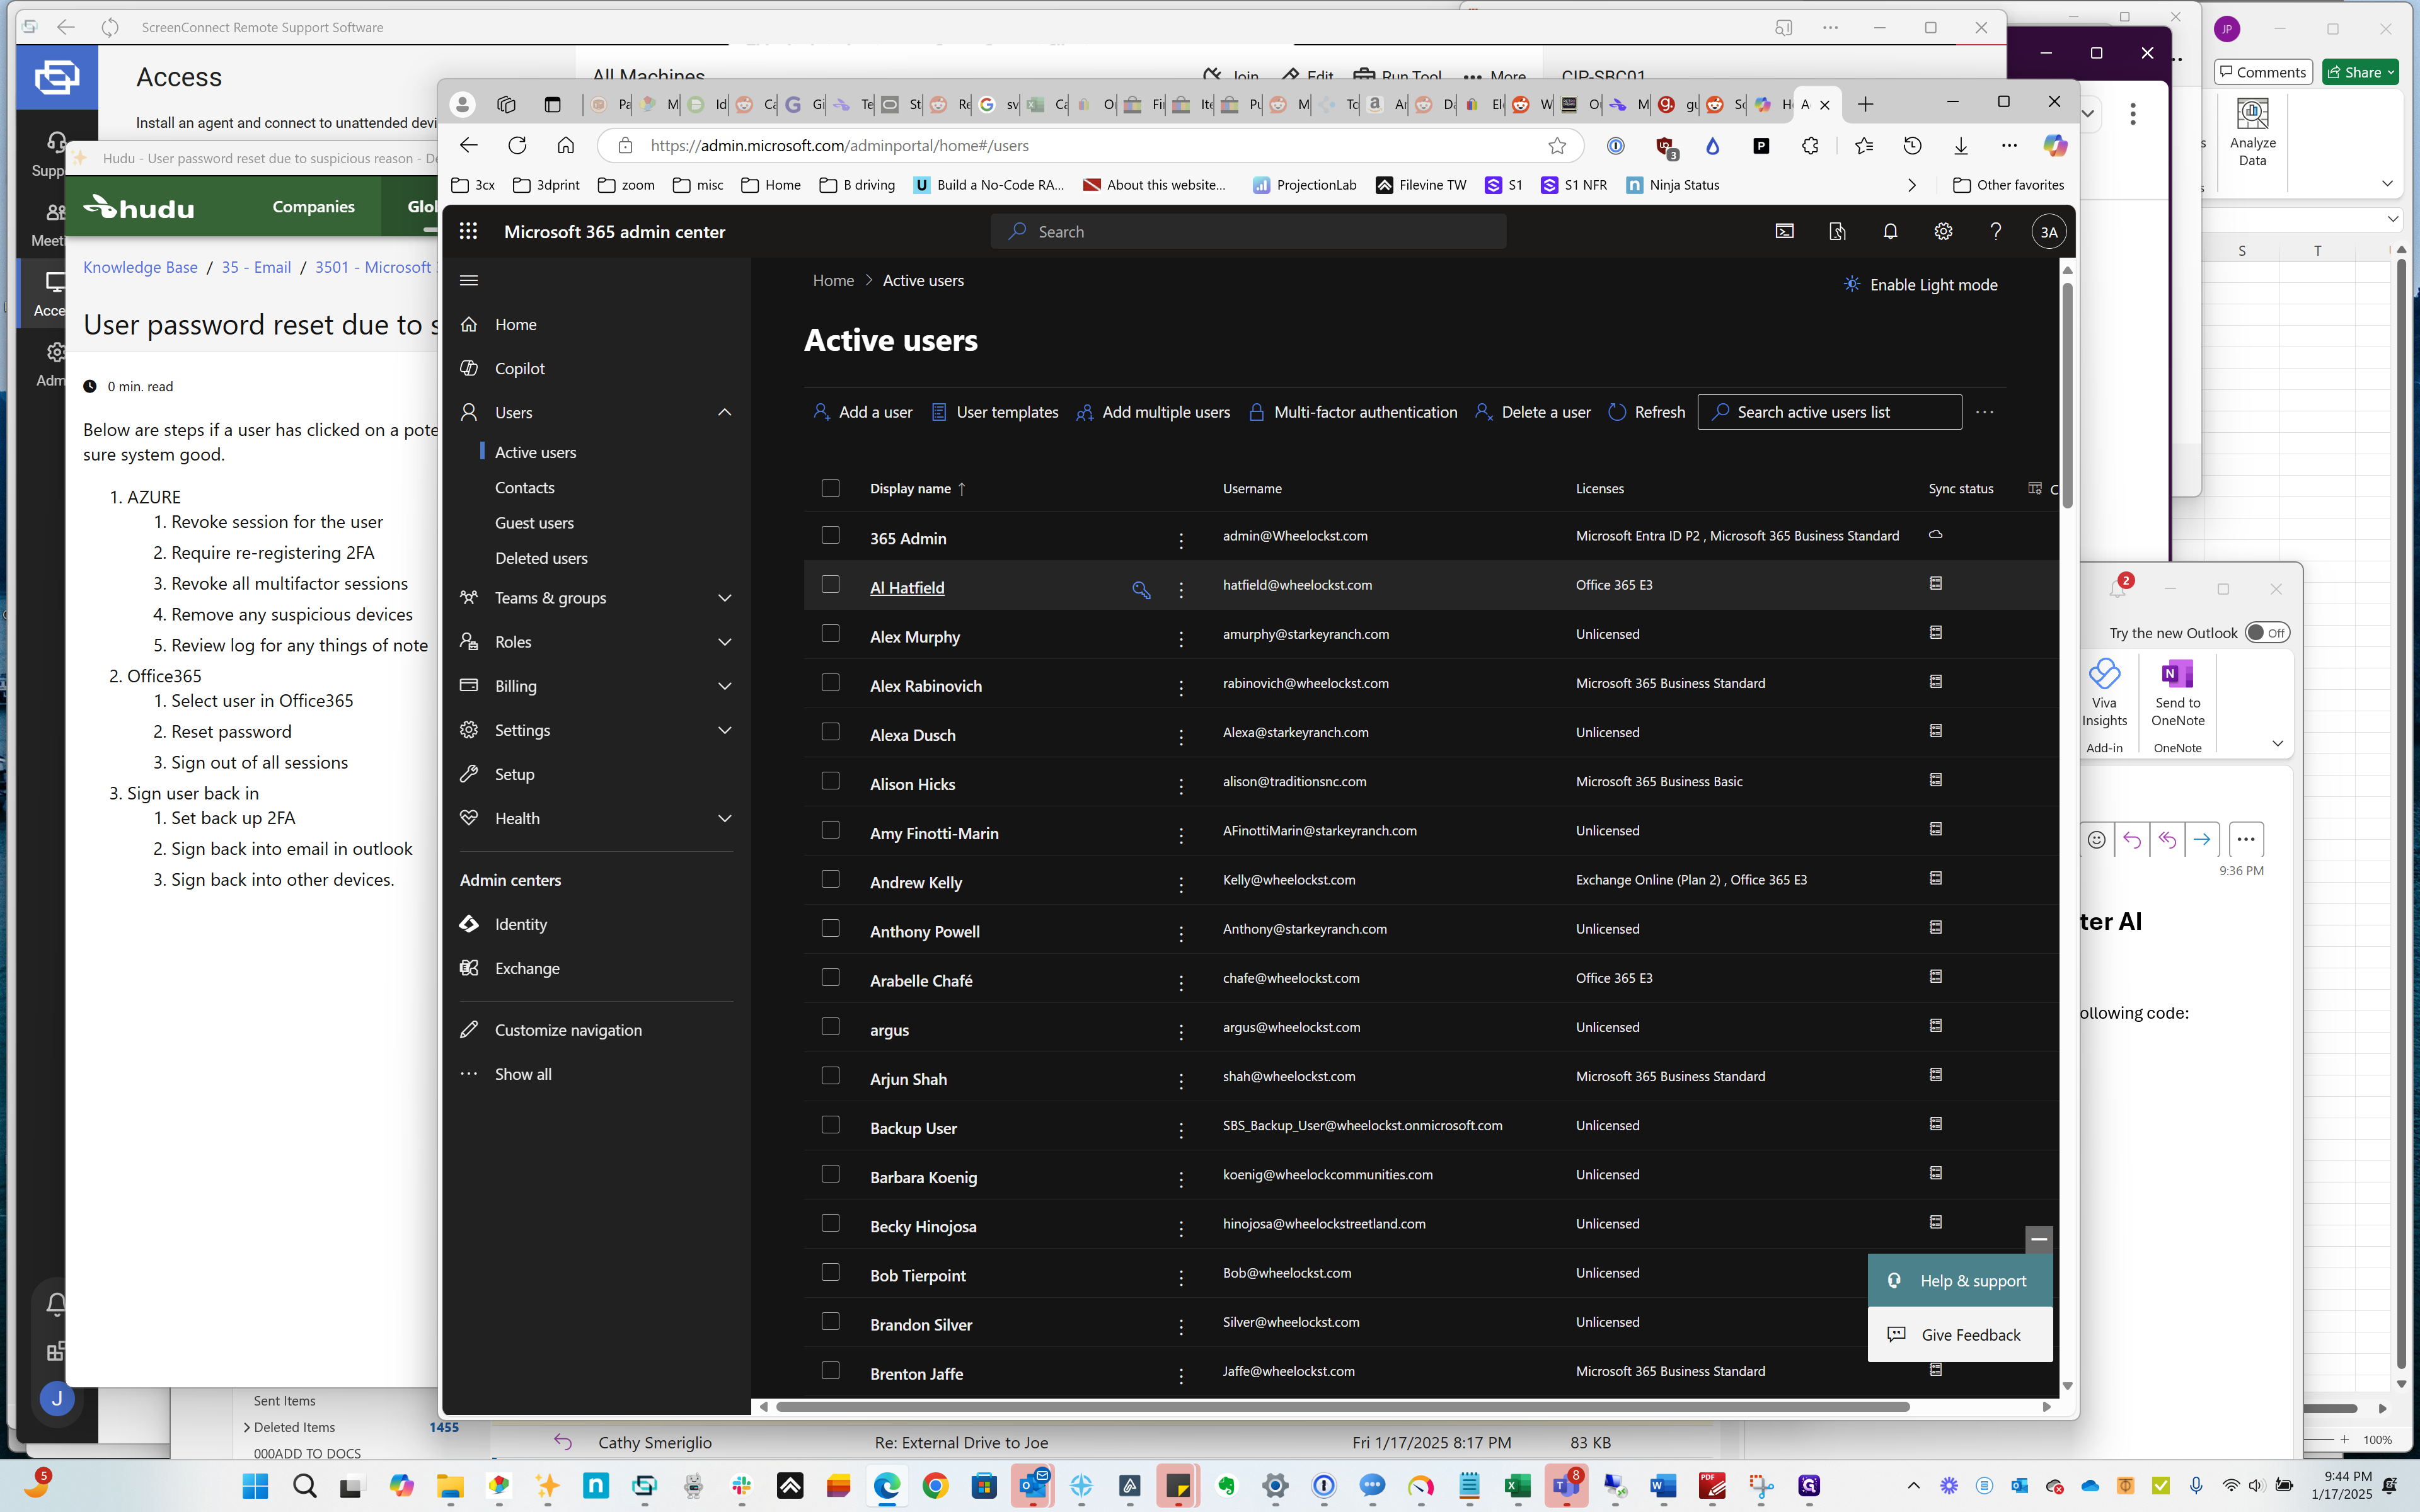
Active user.

54
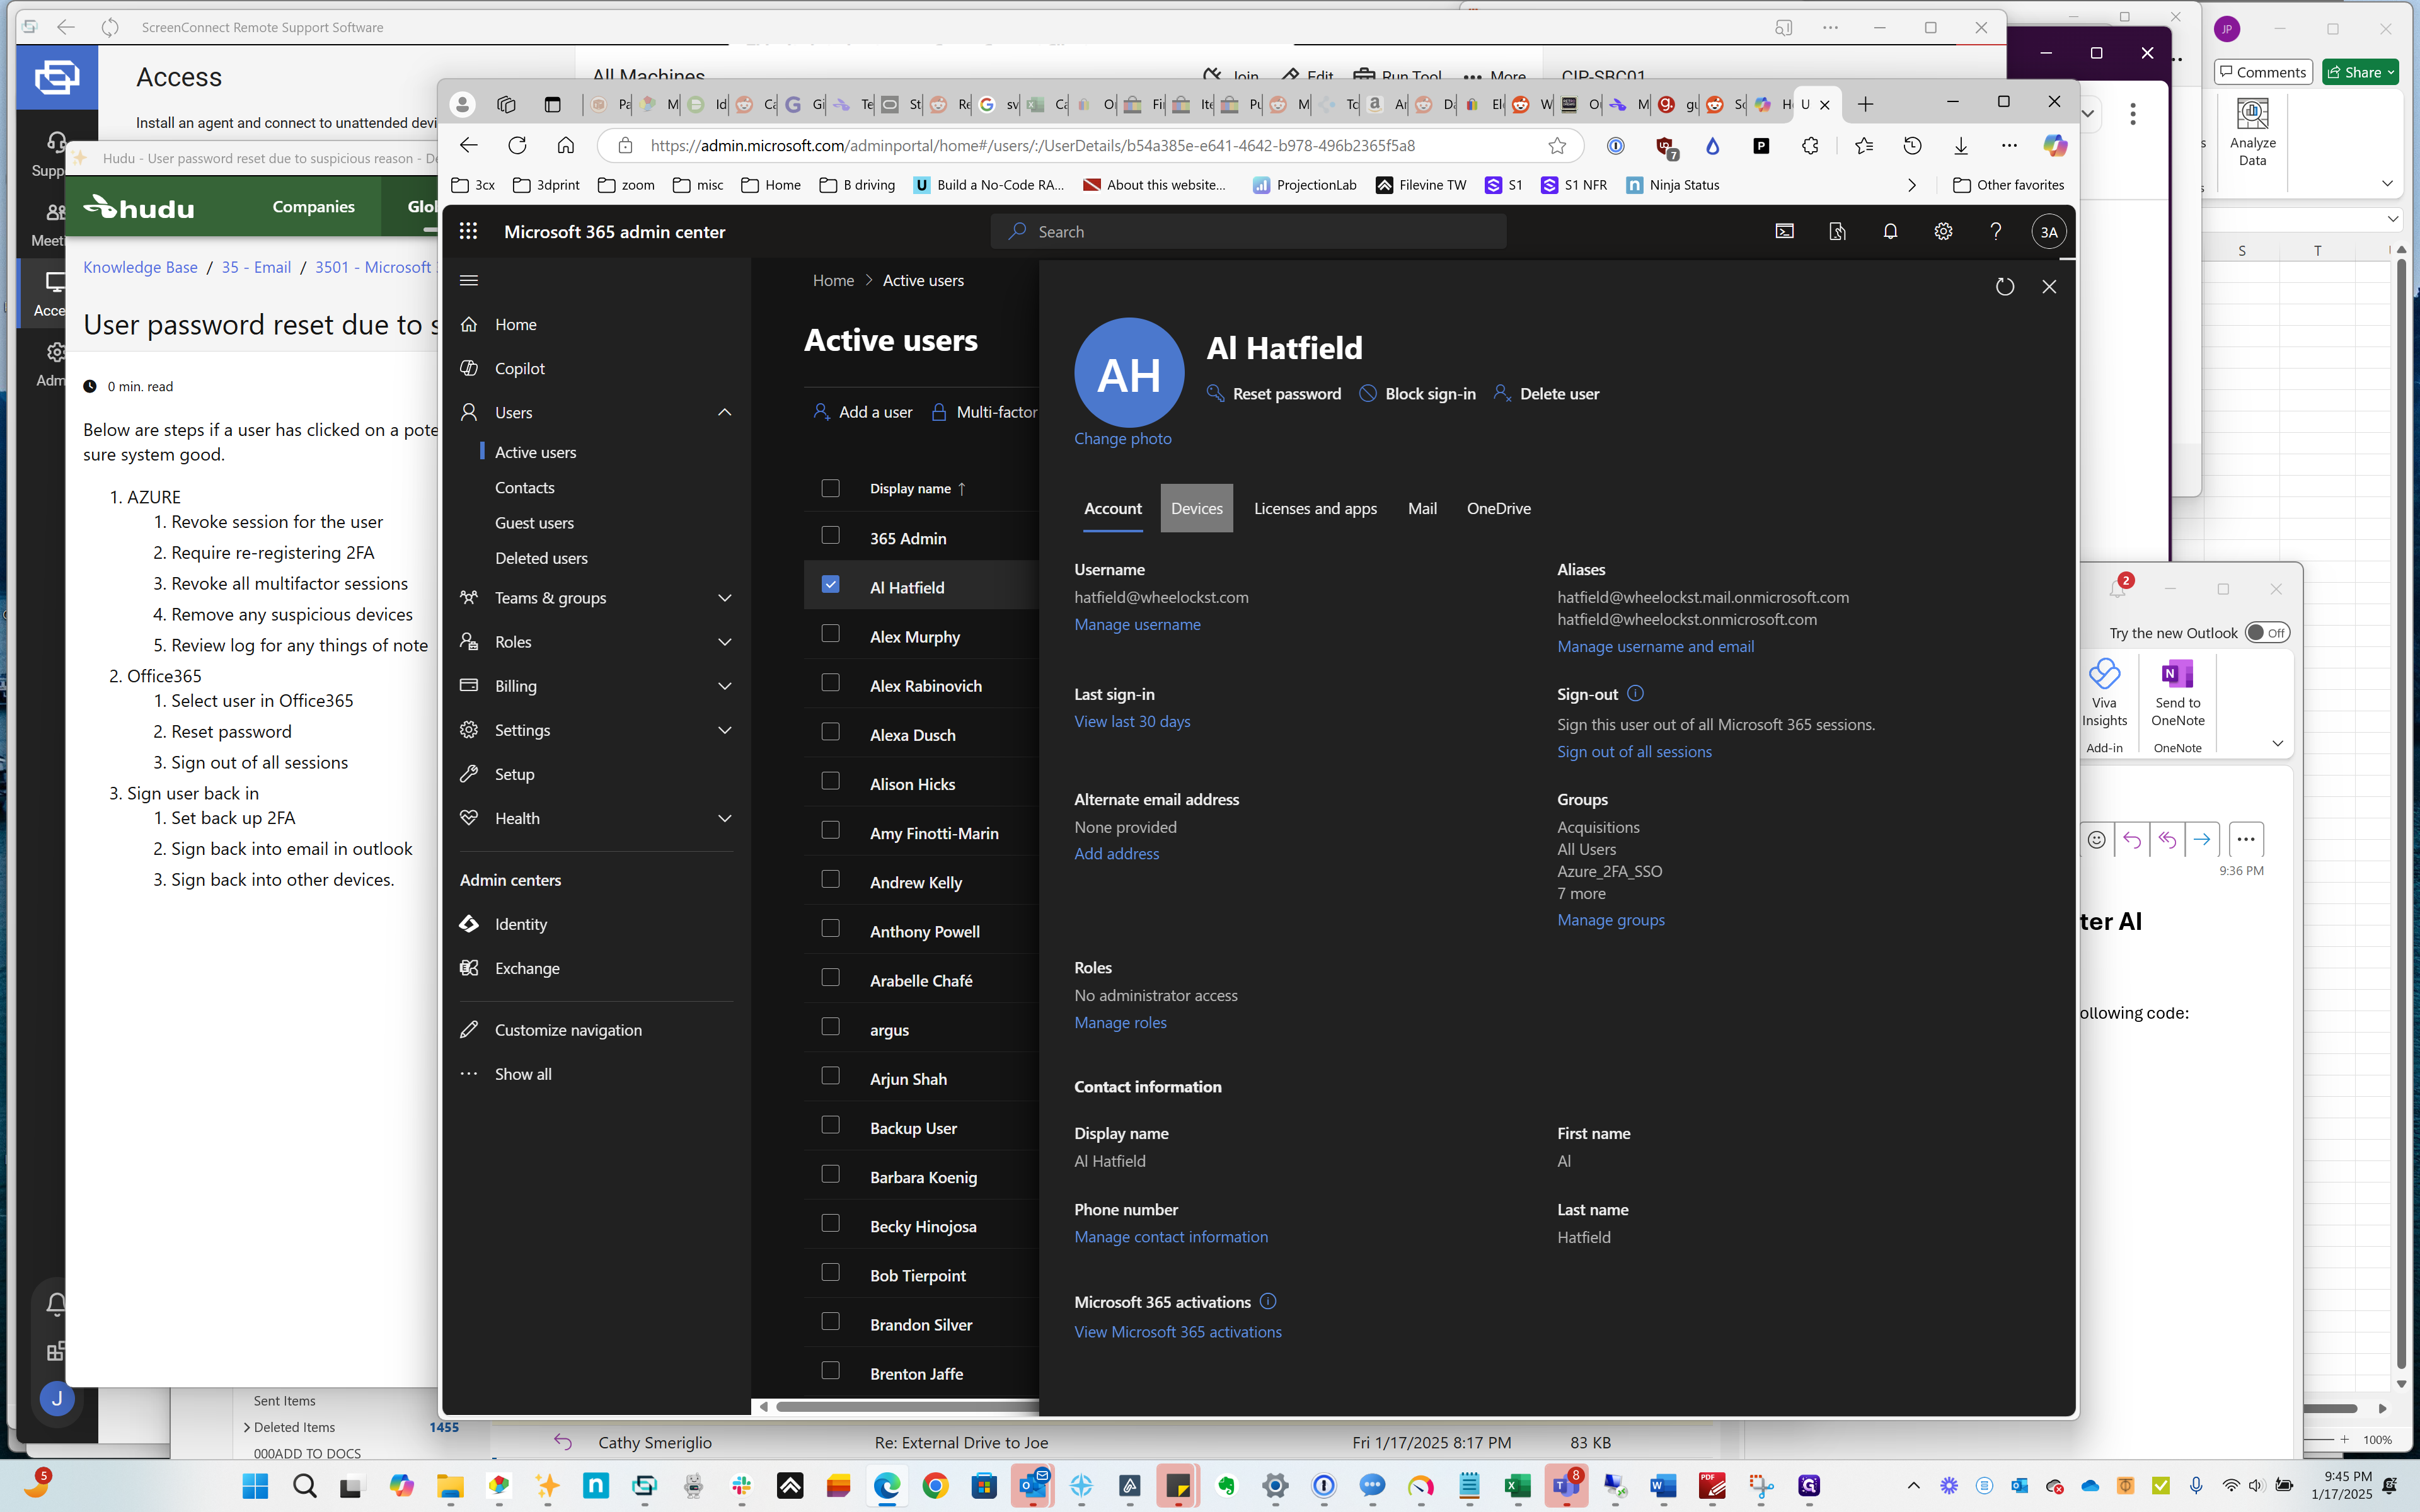
Click on "Al Hatfield"
Step #54: Click on "Al Hatfield"

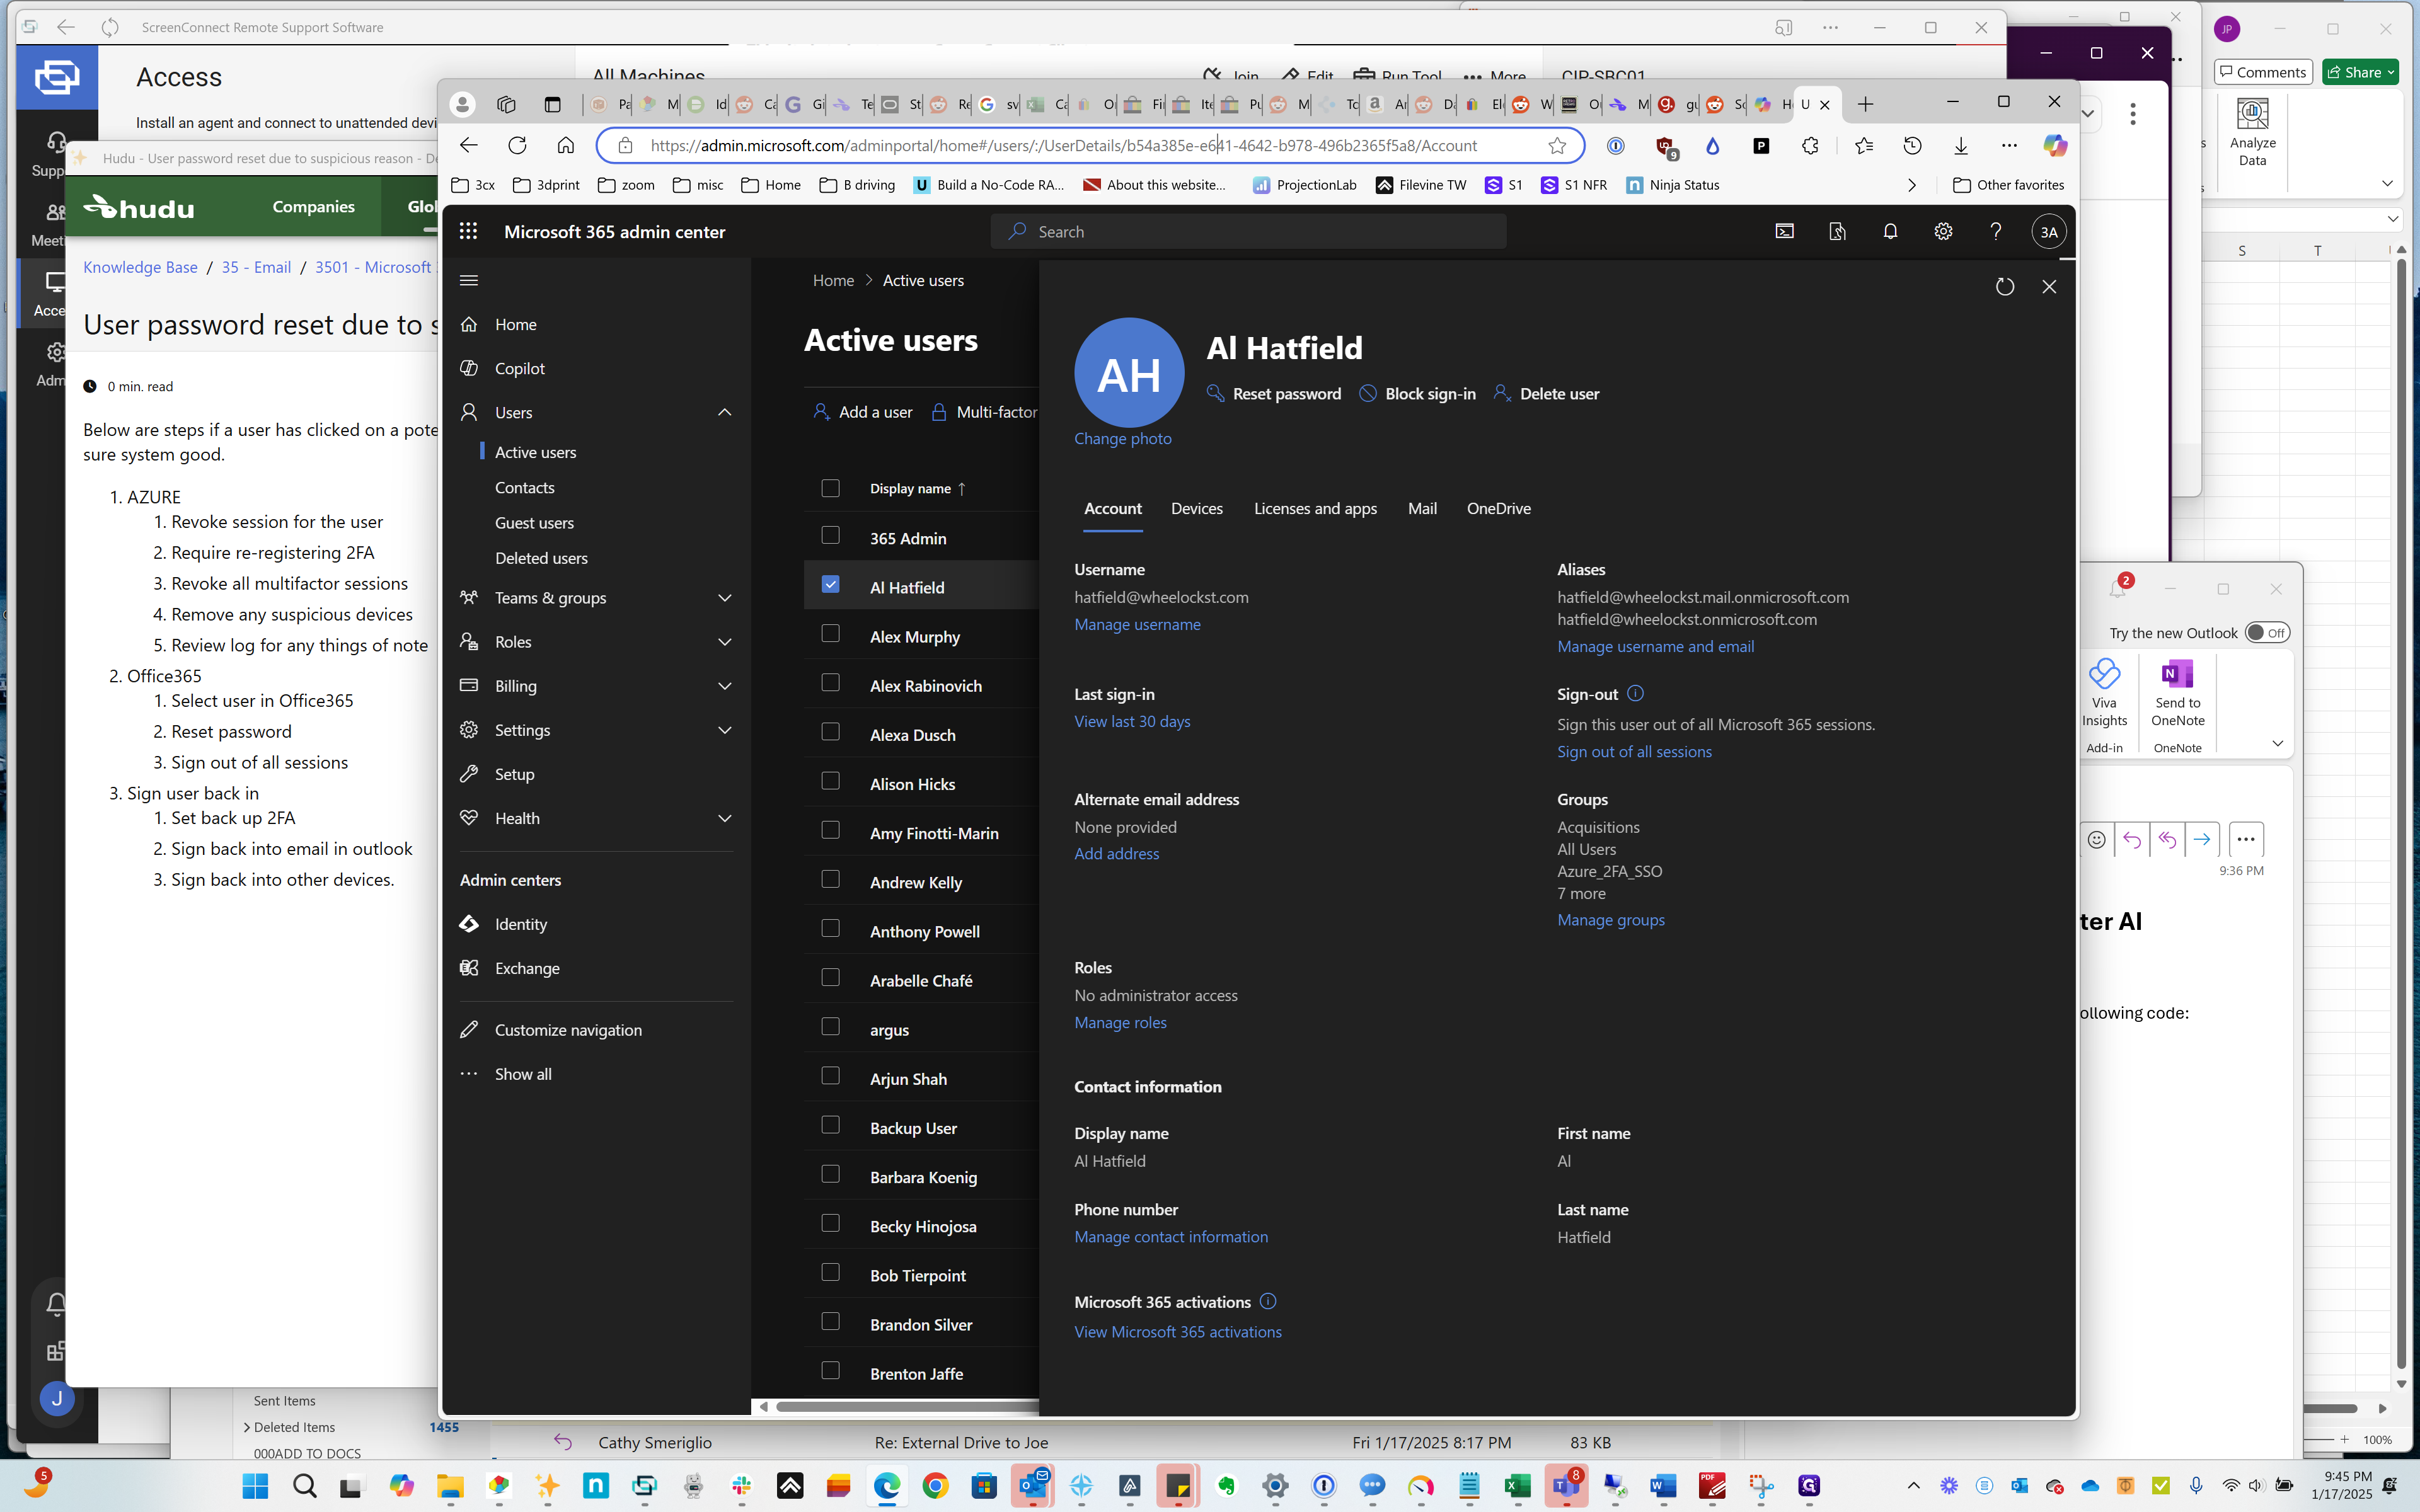
Here, reset the password.

55
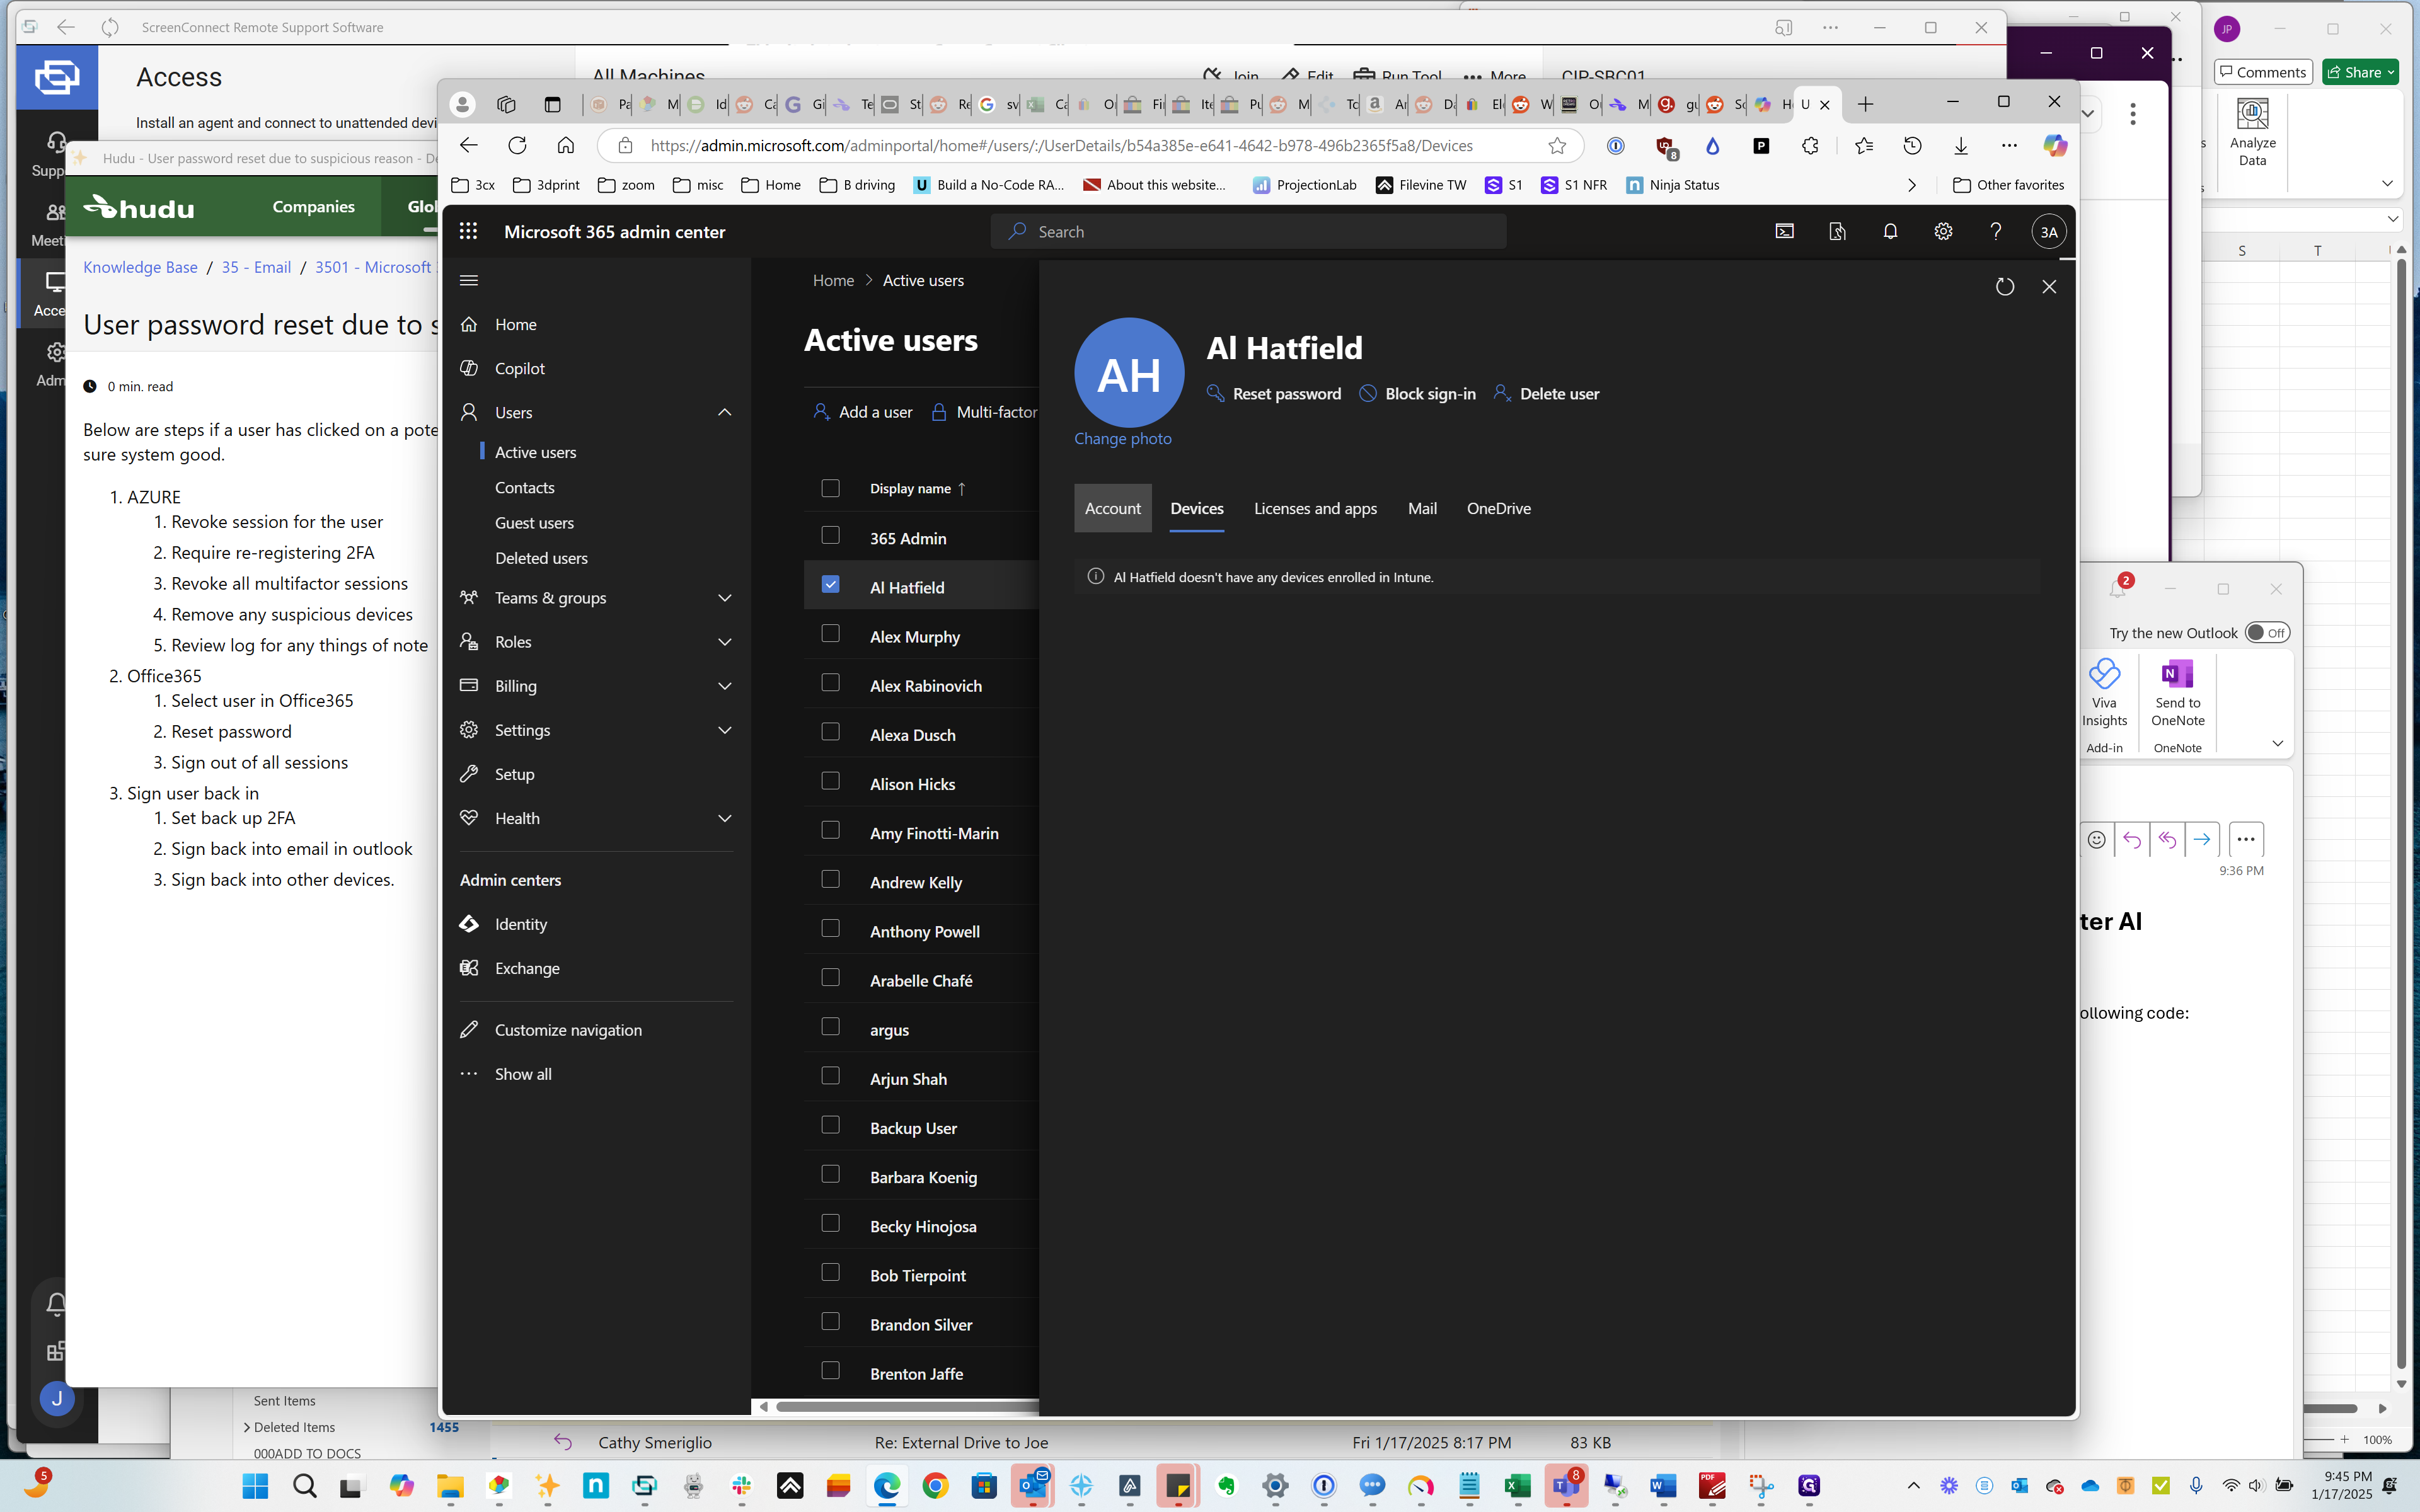
Click on "Devices"
Step #55: Click on "Devices"
56
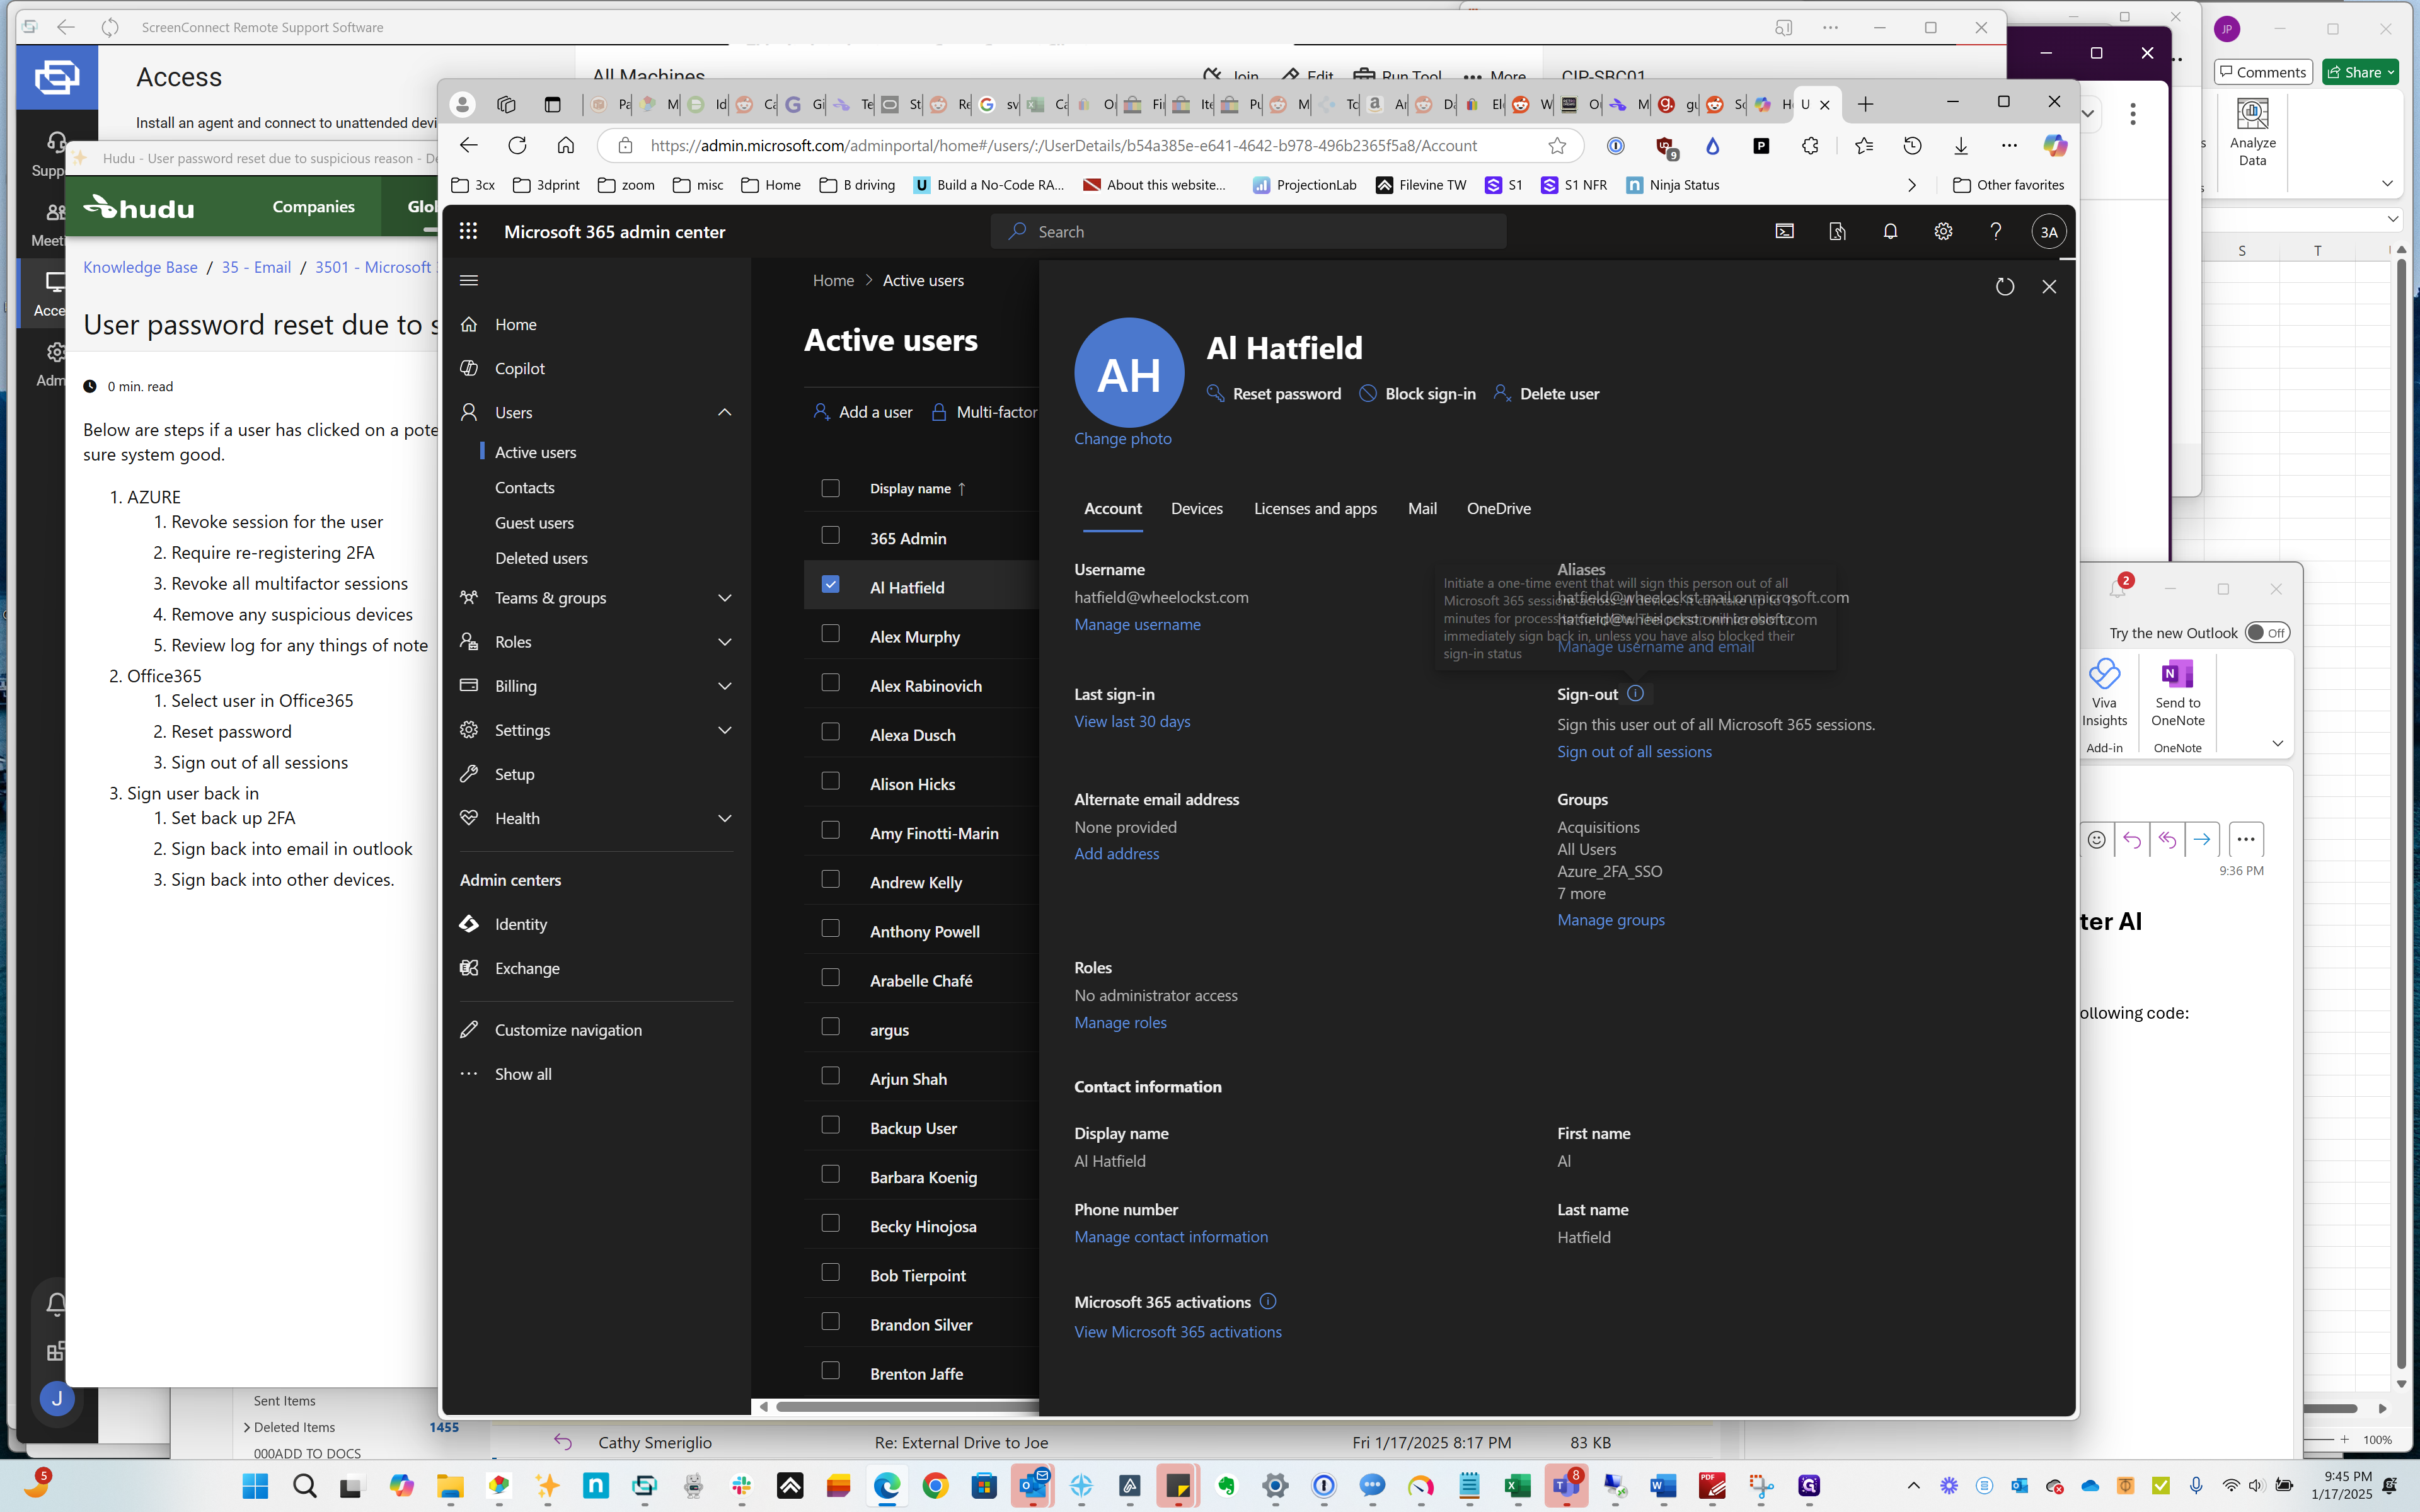
Click on "Account"
Step #56: Click on "Account"

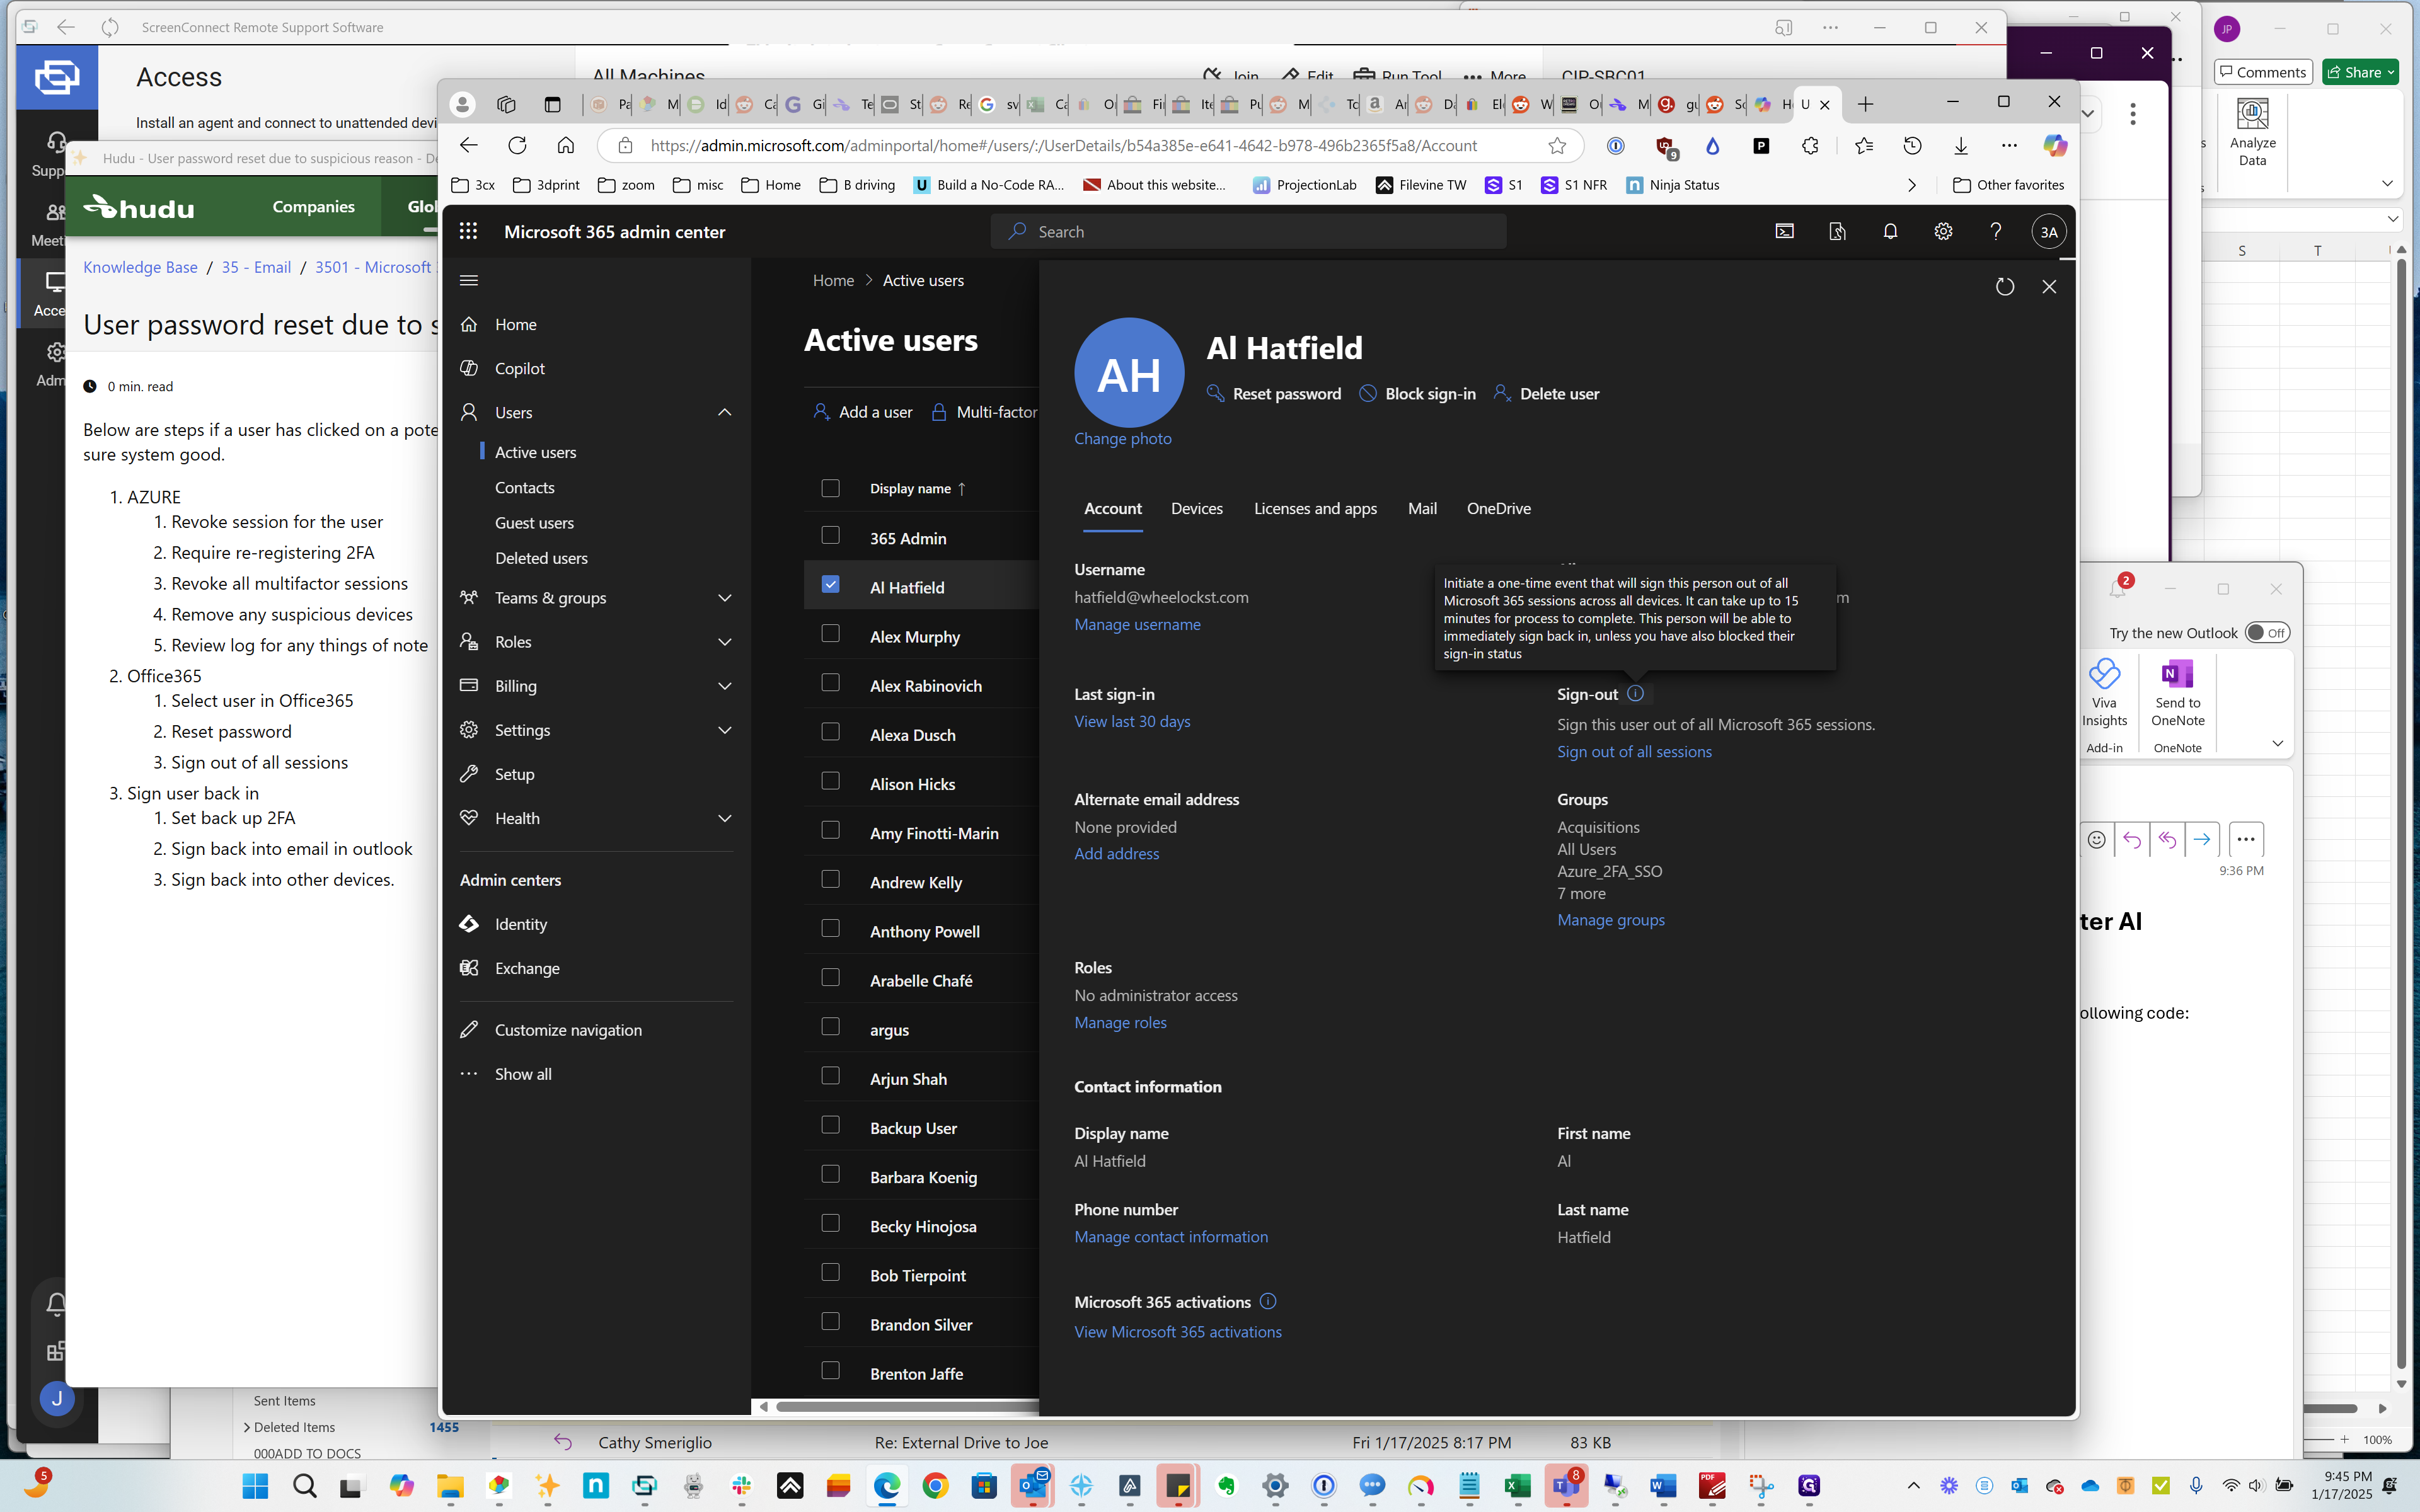
Sign out of all sessions.

57
Click on "Sign - out →"
Step #57: Click on "Sign - out →"
58
Click on "Sign - out →"
Step #58: Click on "Sign - out →"

Next, go to the user and set up the FAA. This likely involves accessing the mail.
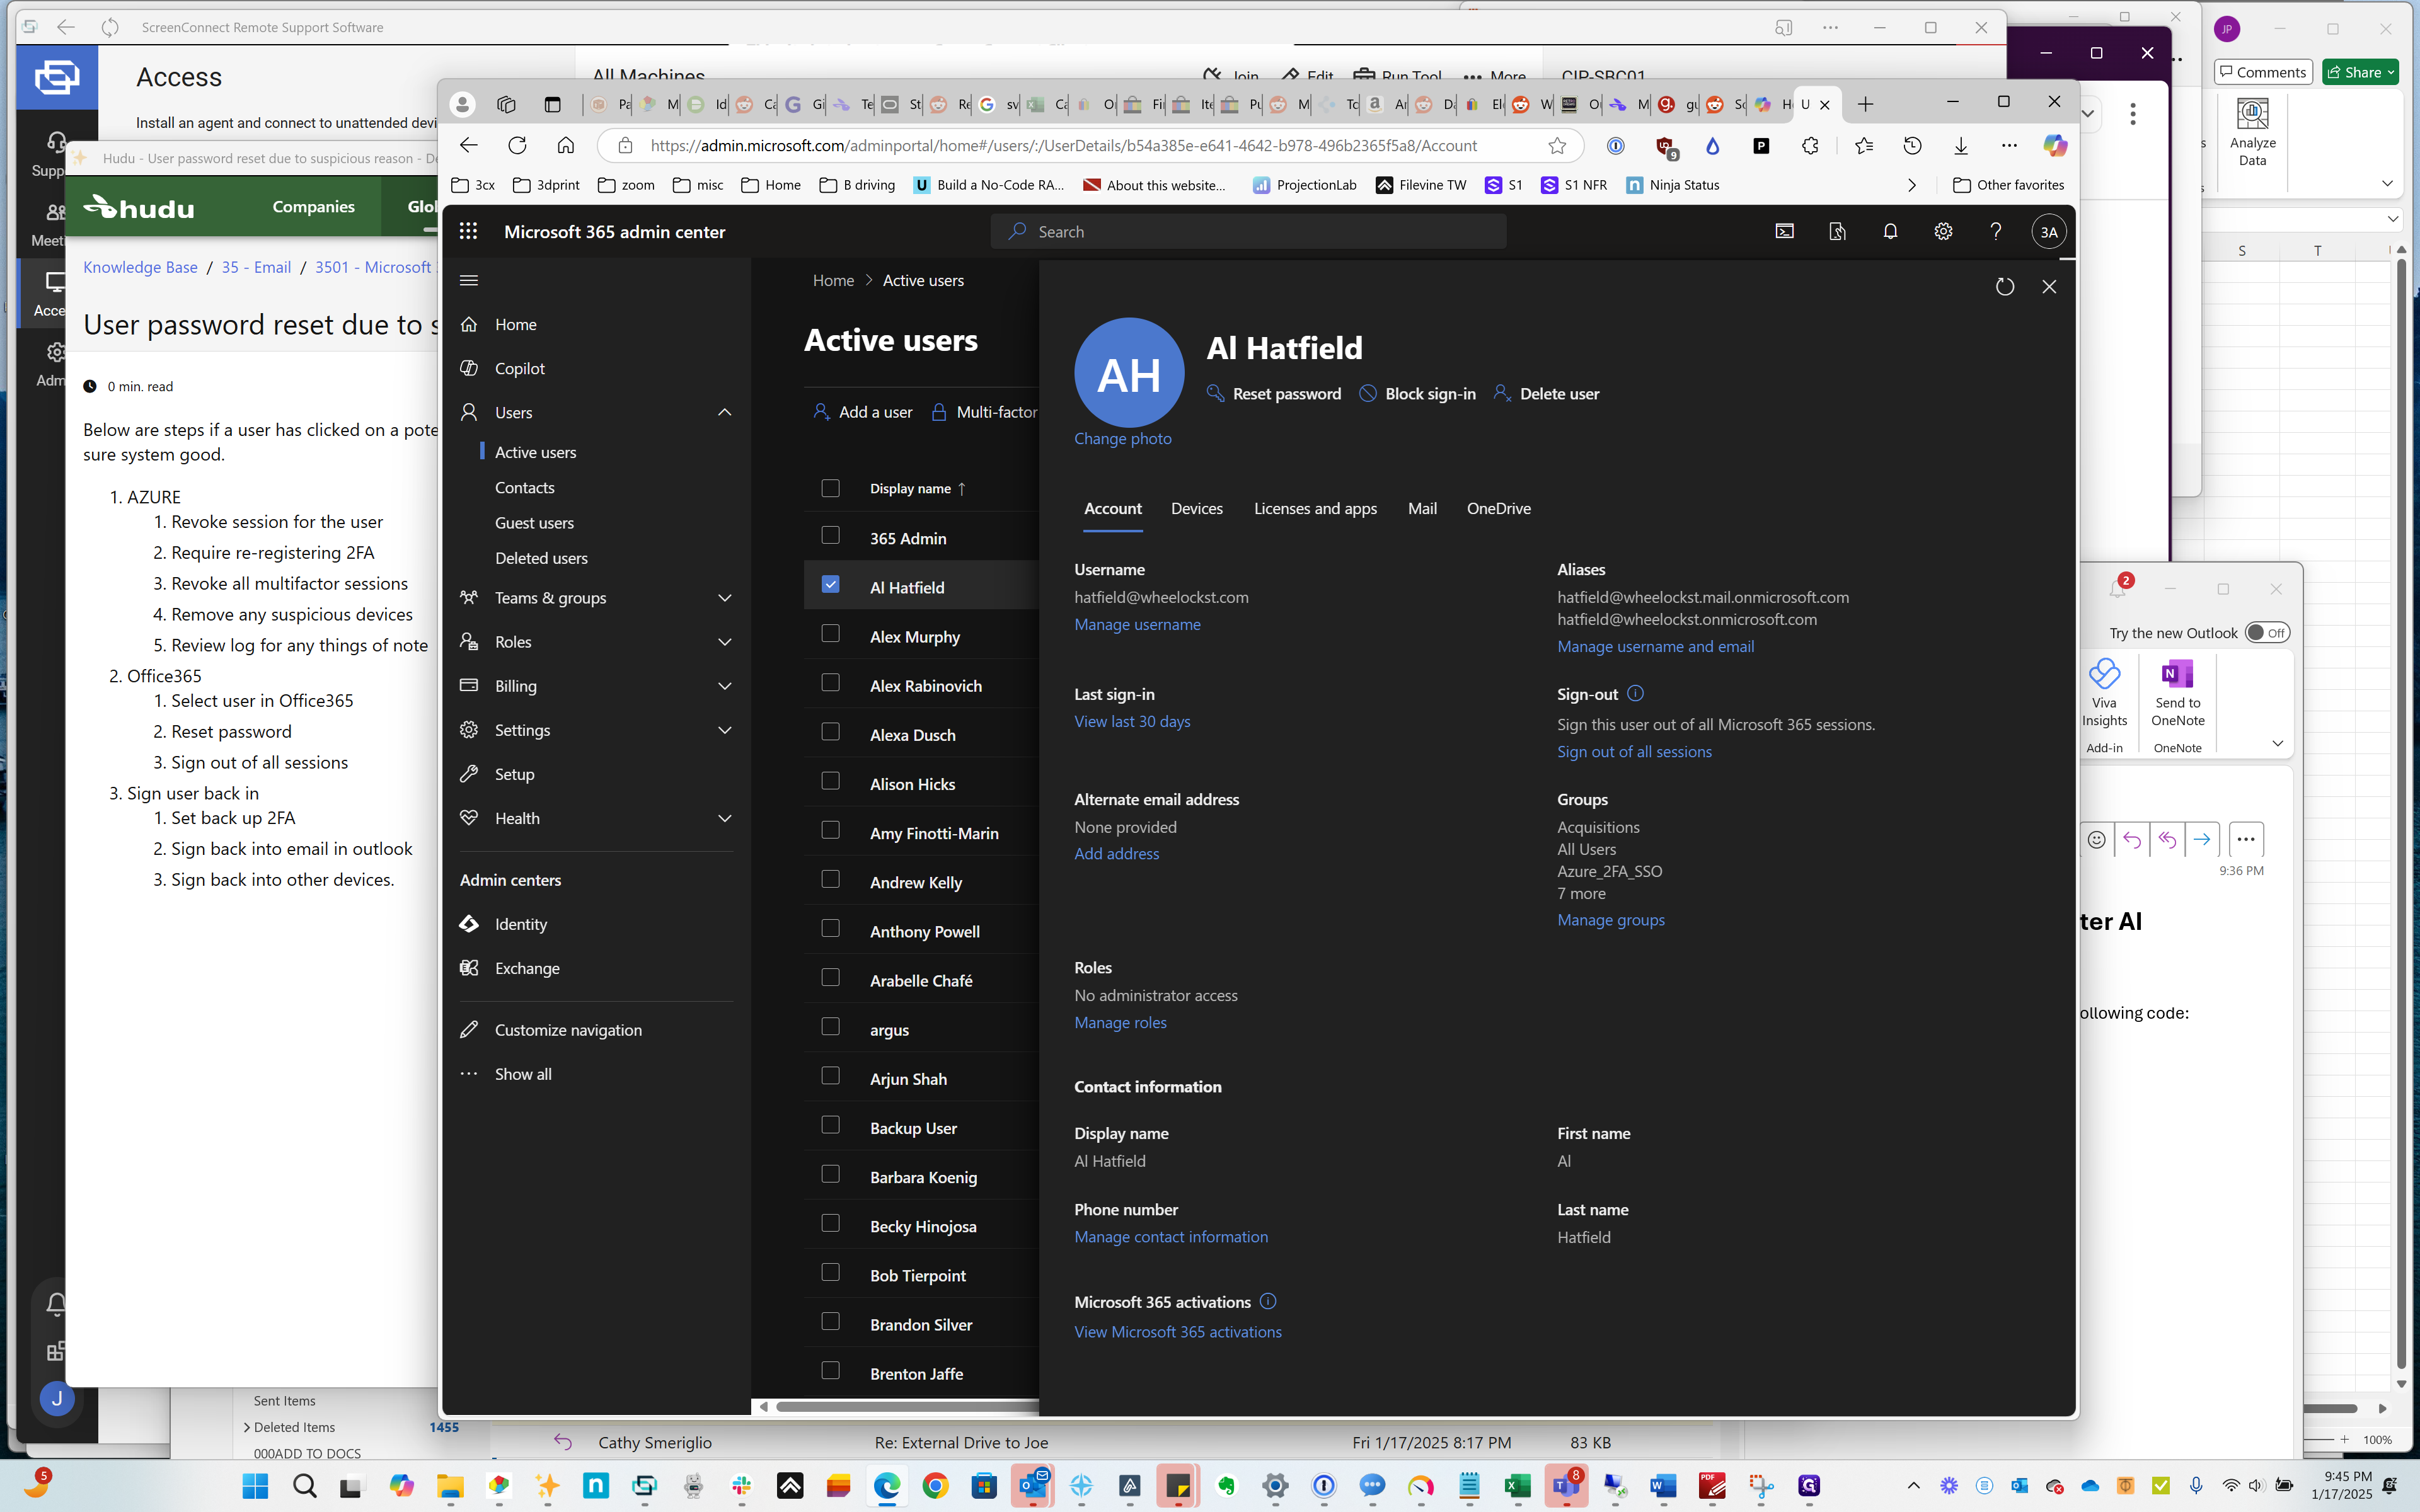
59
Click here
Step #59: Click here
60
Click on "/ UserDetails / b54a385e - e641-4642"
Step #60: Click on "/ UserDetails / b54a385e - e641-4642"
61
Type "mail. + Enter"
62
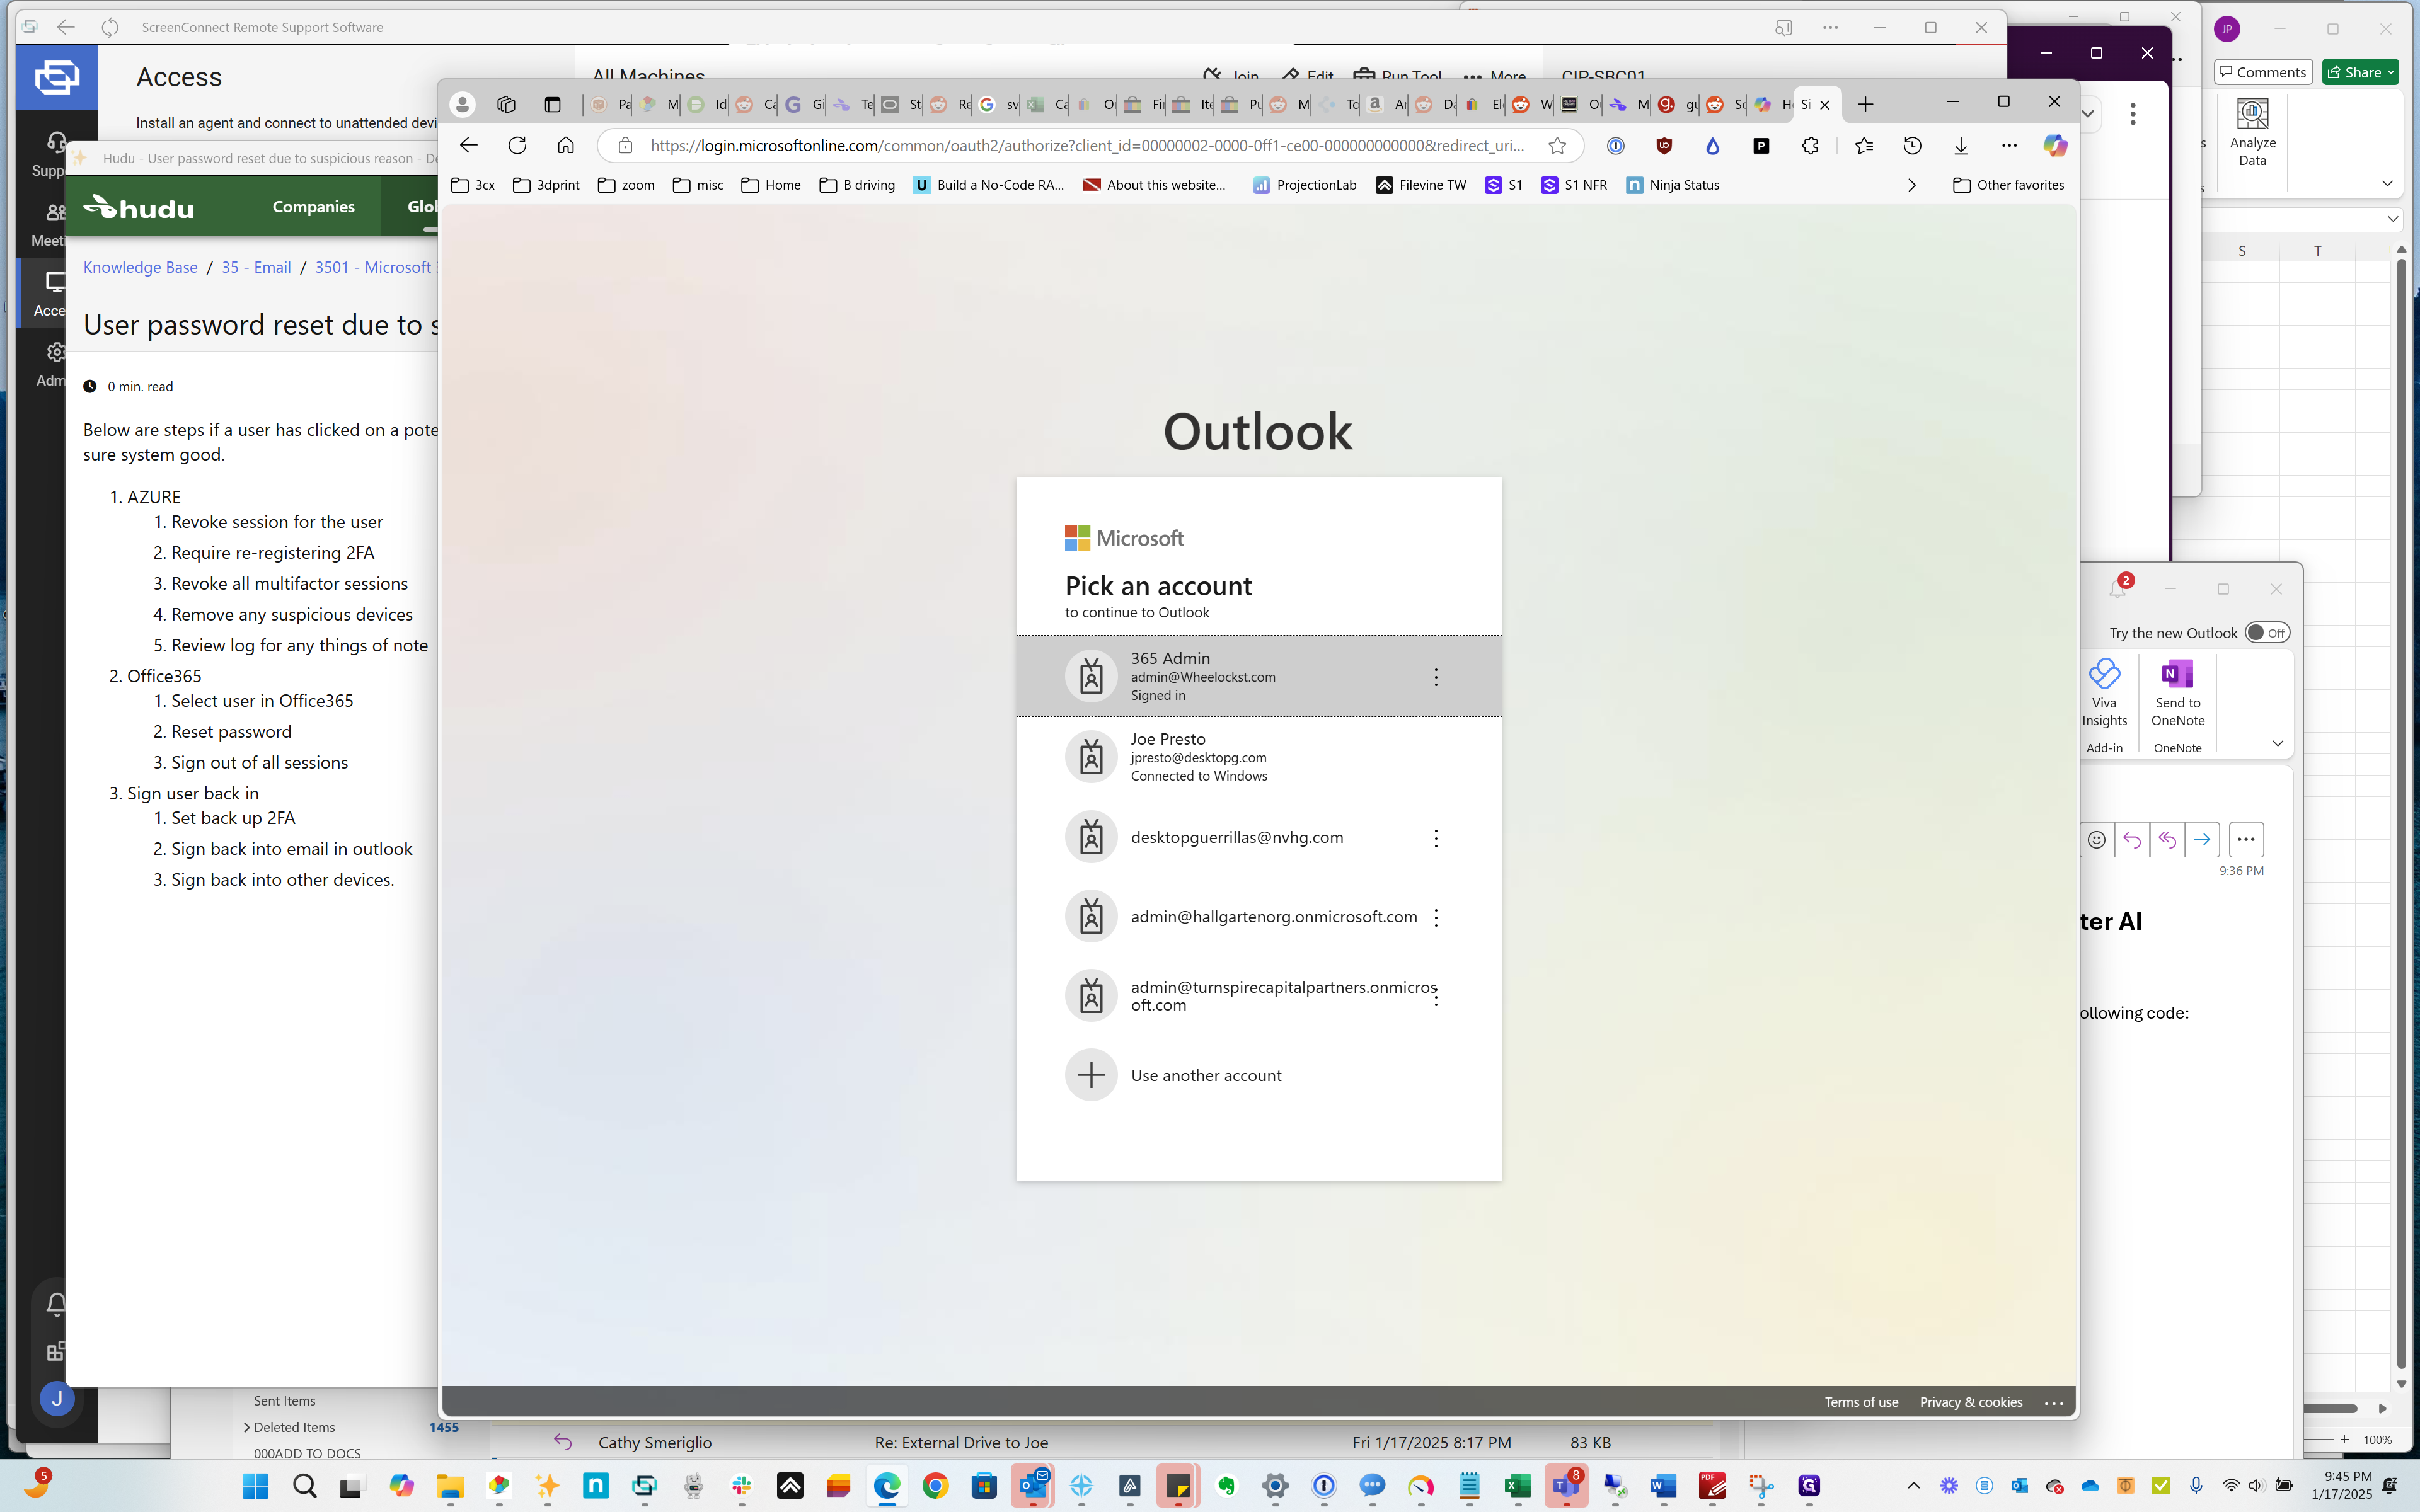
Click on "365 Admin admin@Wheelockst.com"
Step #62: Click on "365 Admin admin@Wheelockst.com"

Go to office365.com and sign in. Then, sign back into Outlook and your mobile devices. That's it.