
How to Create All 12 Credit Card Bills for the Year
Learn step-by-step how to duplicate and create recurring monthly Tompkins bills in QuickBooks, ensuring all 12 bills for the year are set up efficiently.
Purpose
In this guide, we'll learn how to create a series of monthly general expense bills for a vendor in QuickBooks by duplicating and editing an existing bill. This process helps you prepare all necessary bills for the upcoming year efficiently. By following these steps, you can ensure that your vendor records are organized and up to date.
The Steps
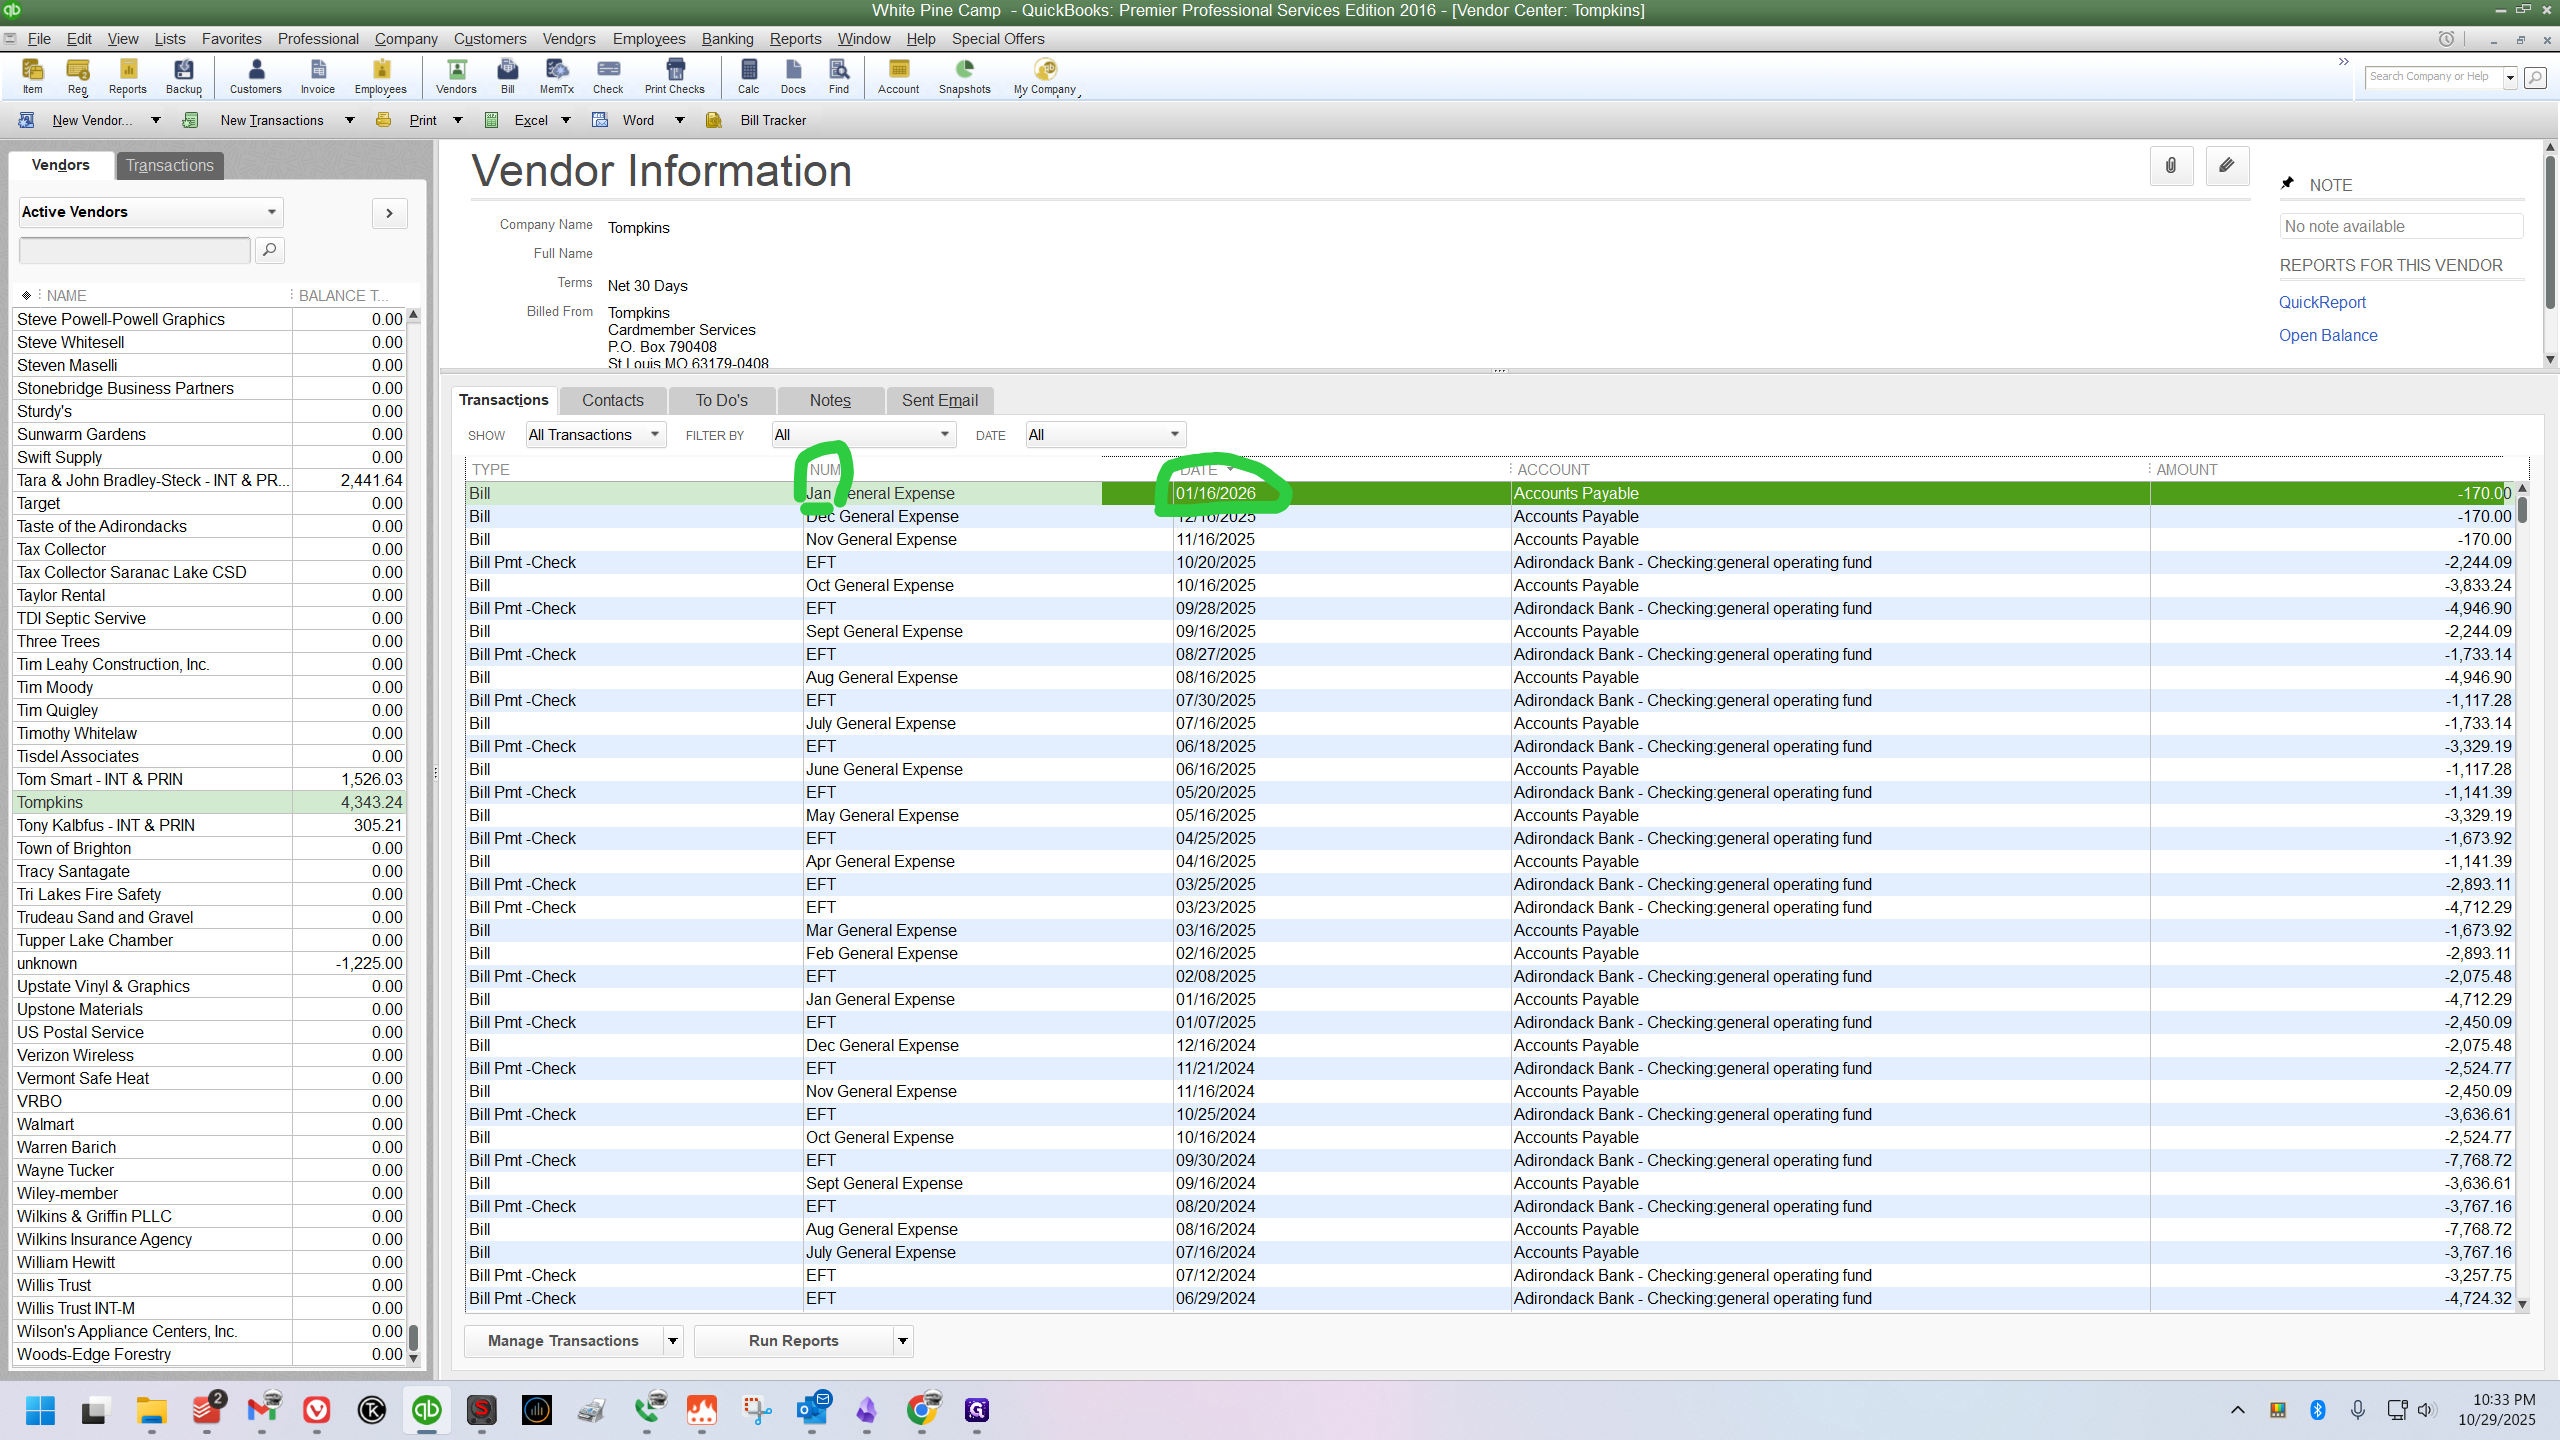
Start in QuickBooks. Go to the Vendor Center and open the Tompkins vendor profile.
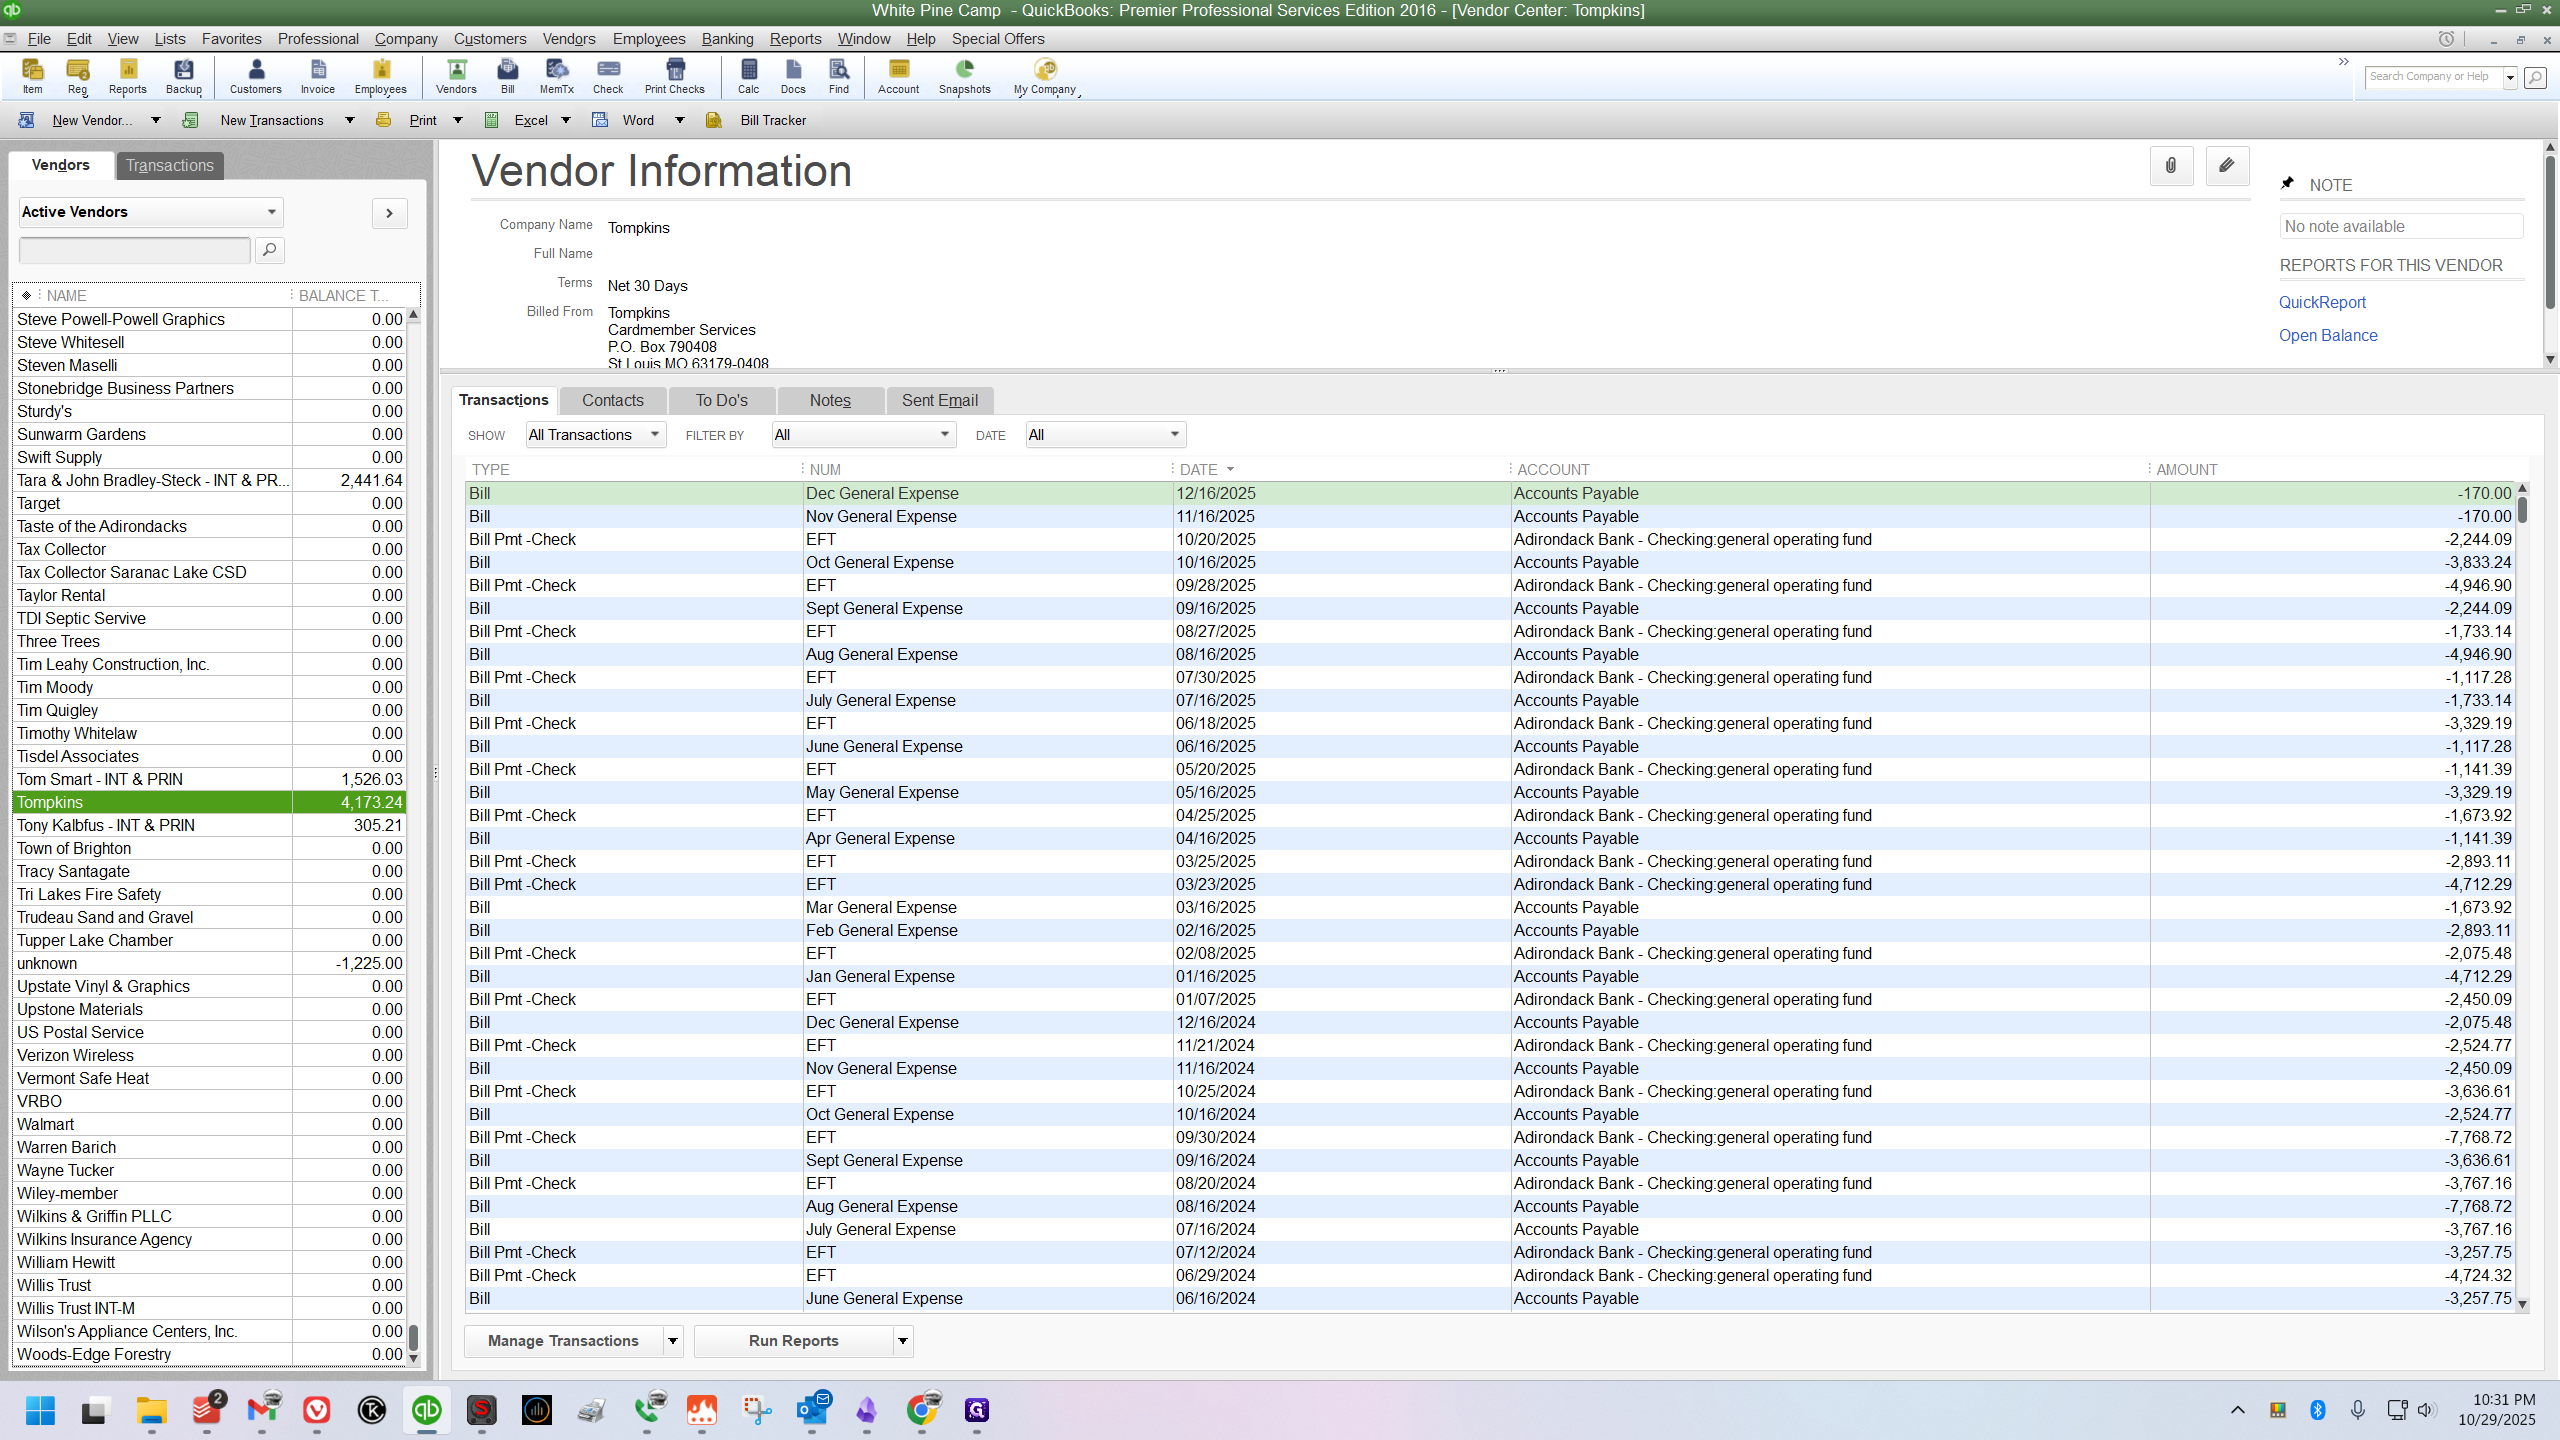
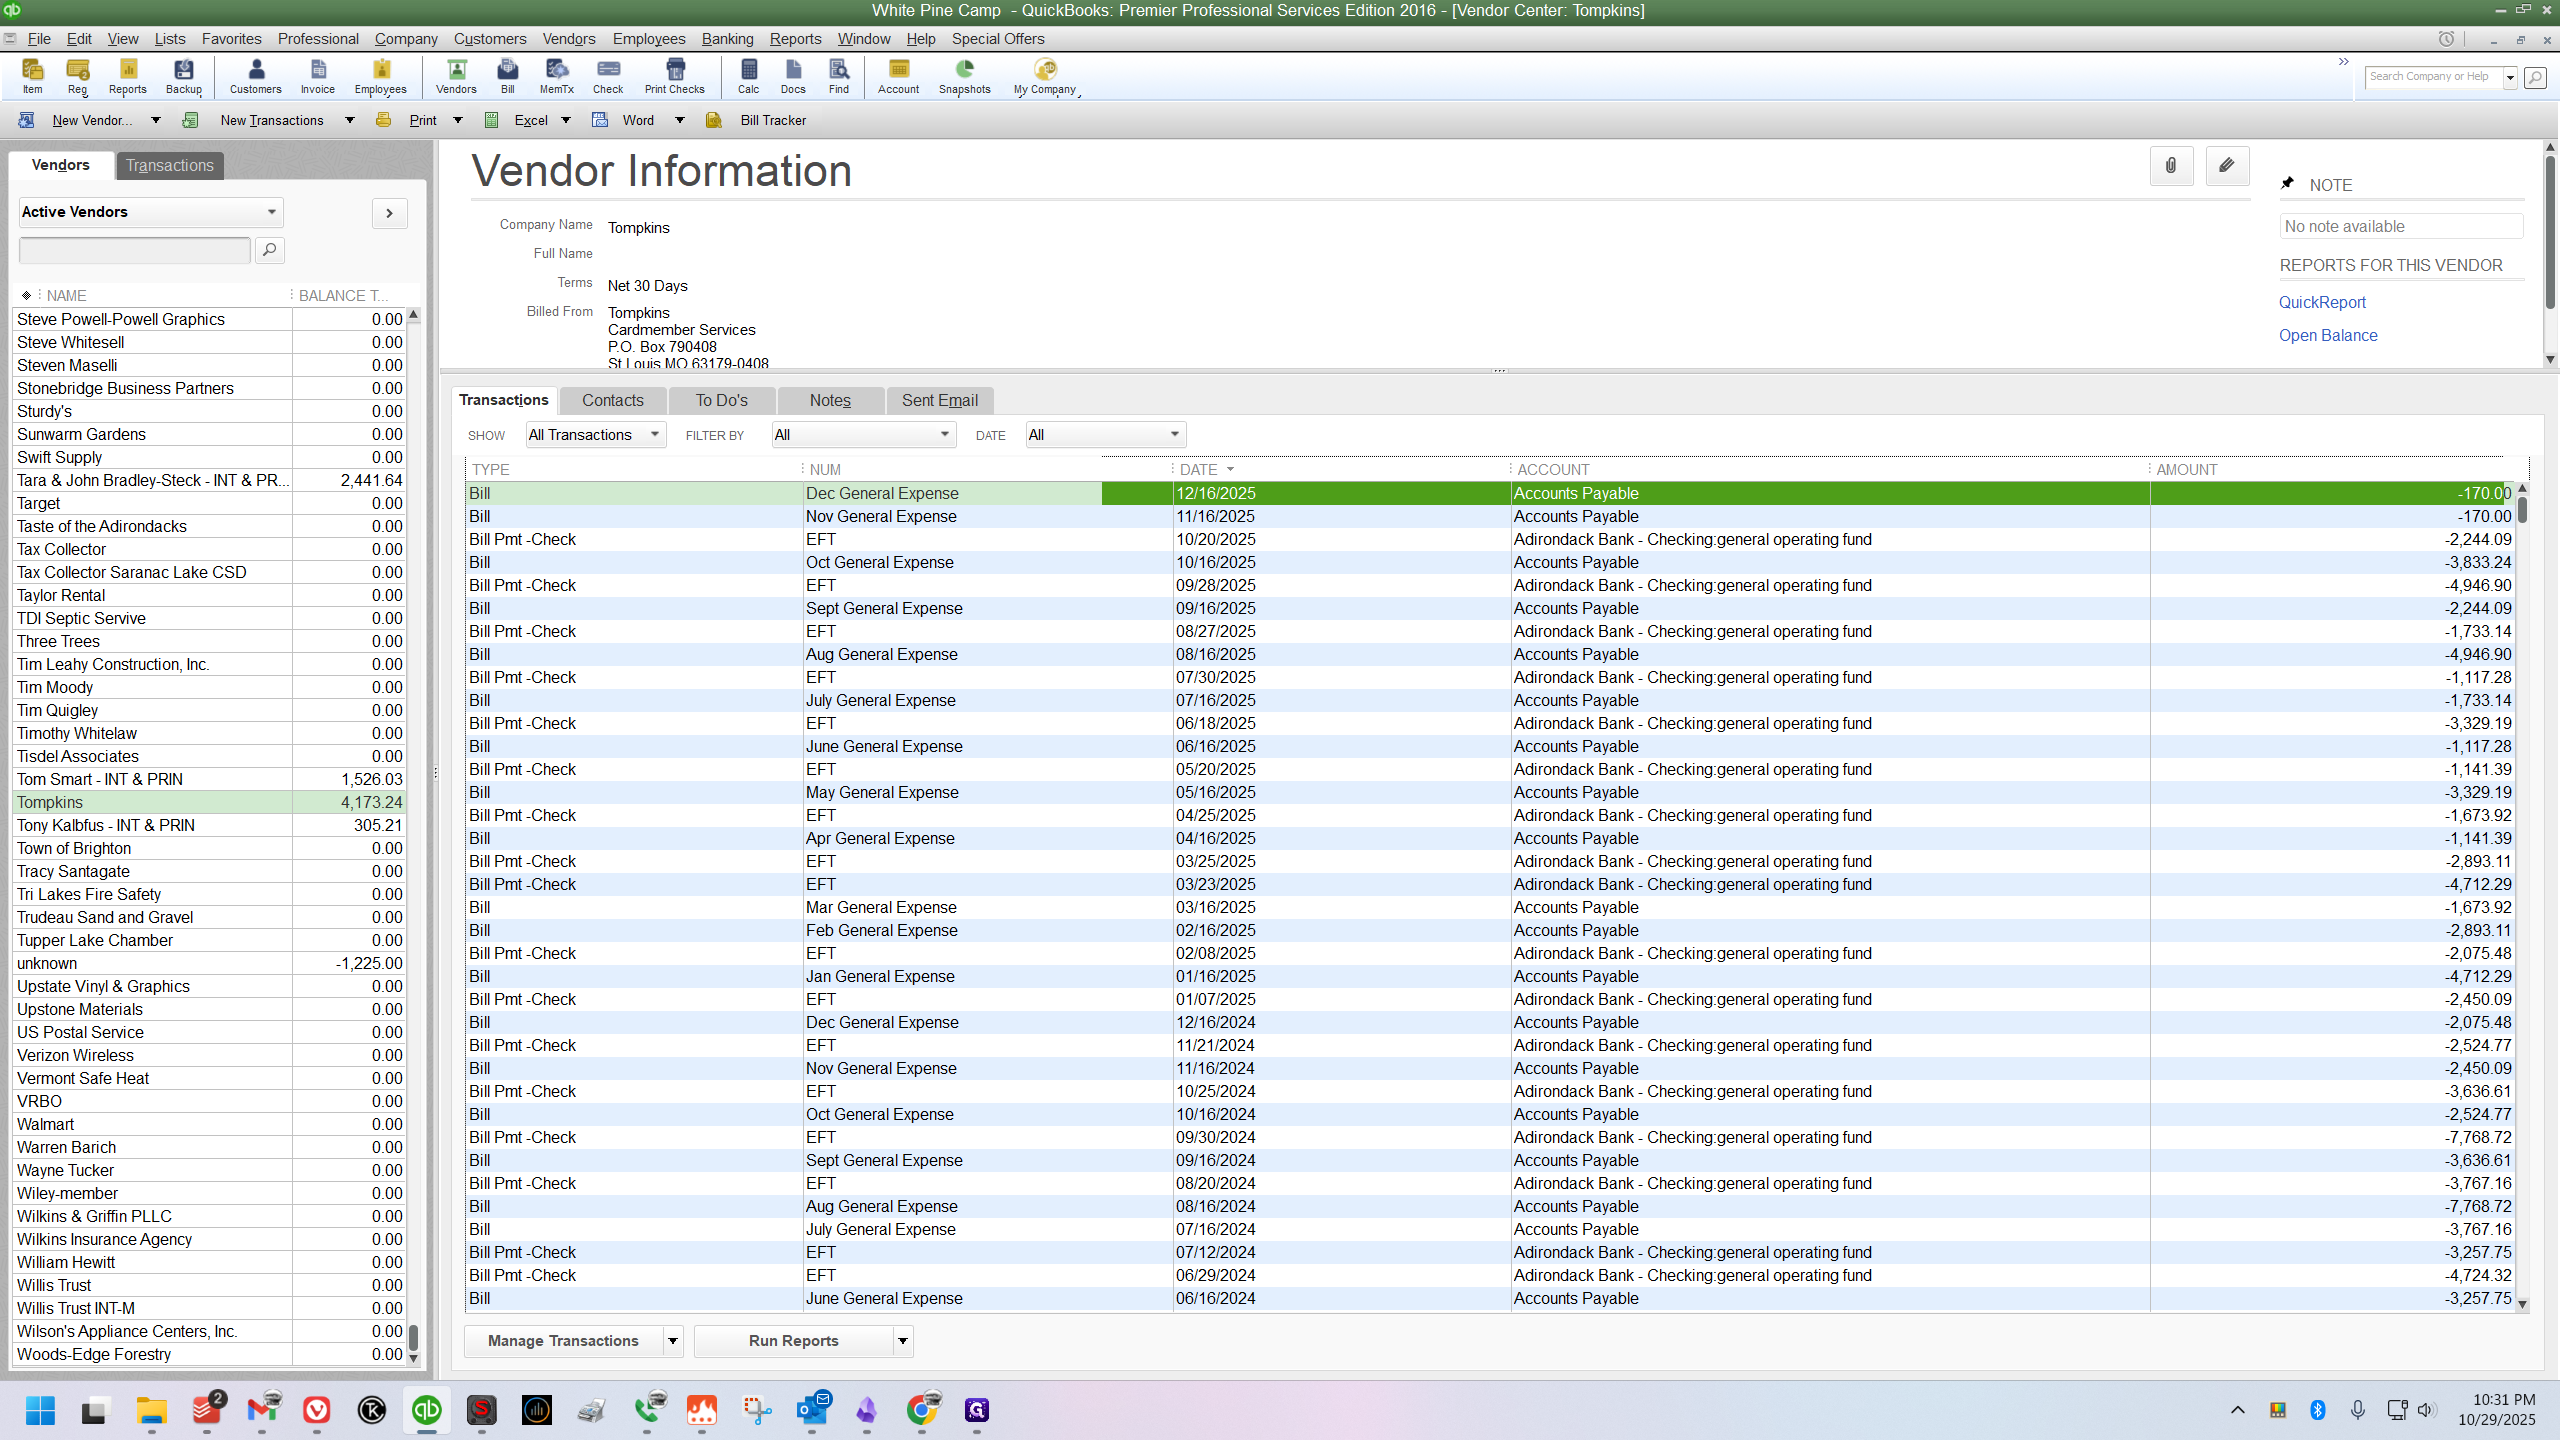
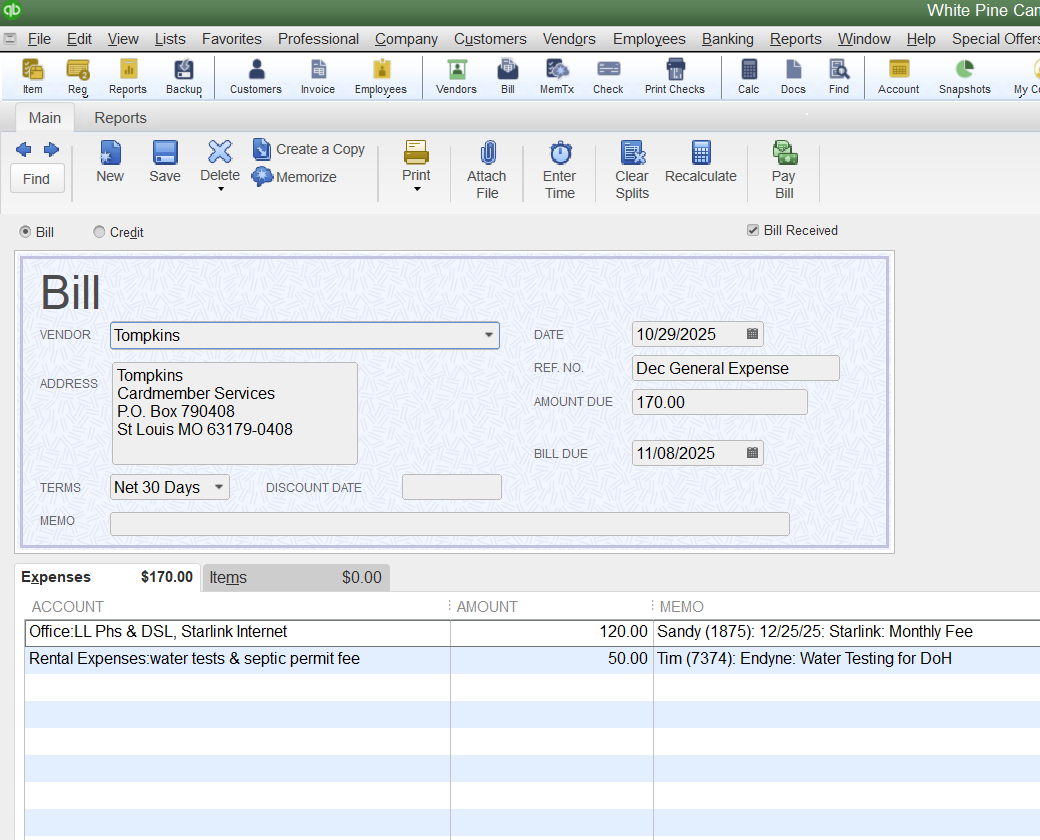
Find the most recent bill for the current year. In this example, double-click to open the December 2025 general expense bill.
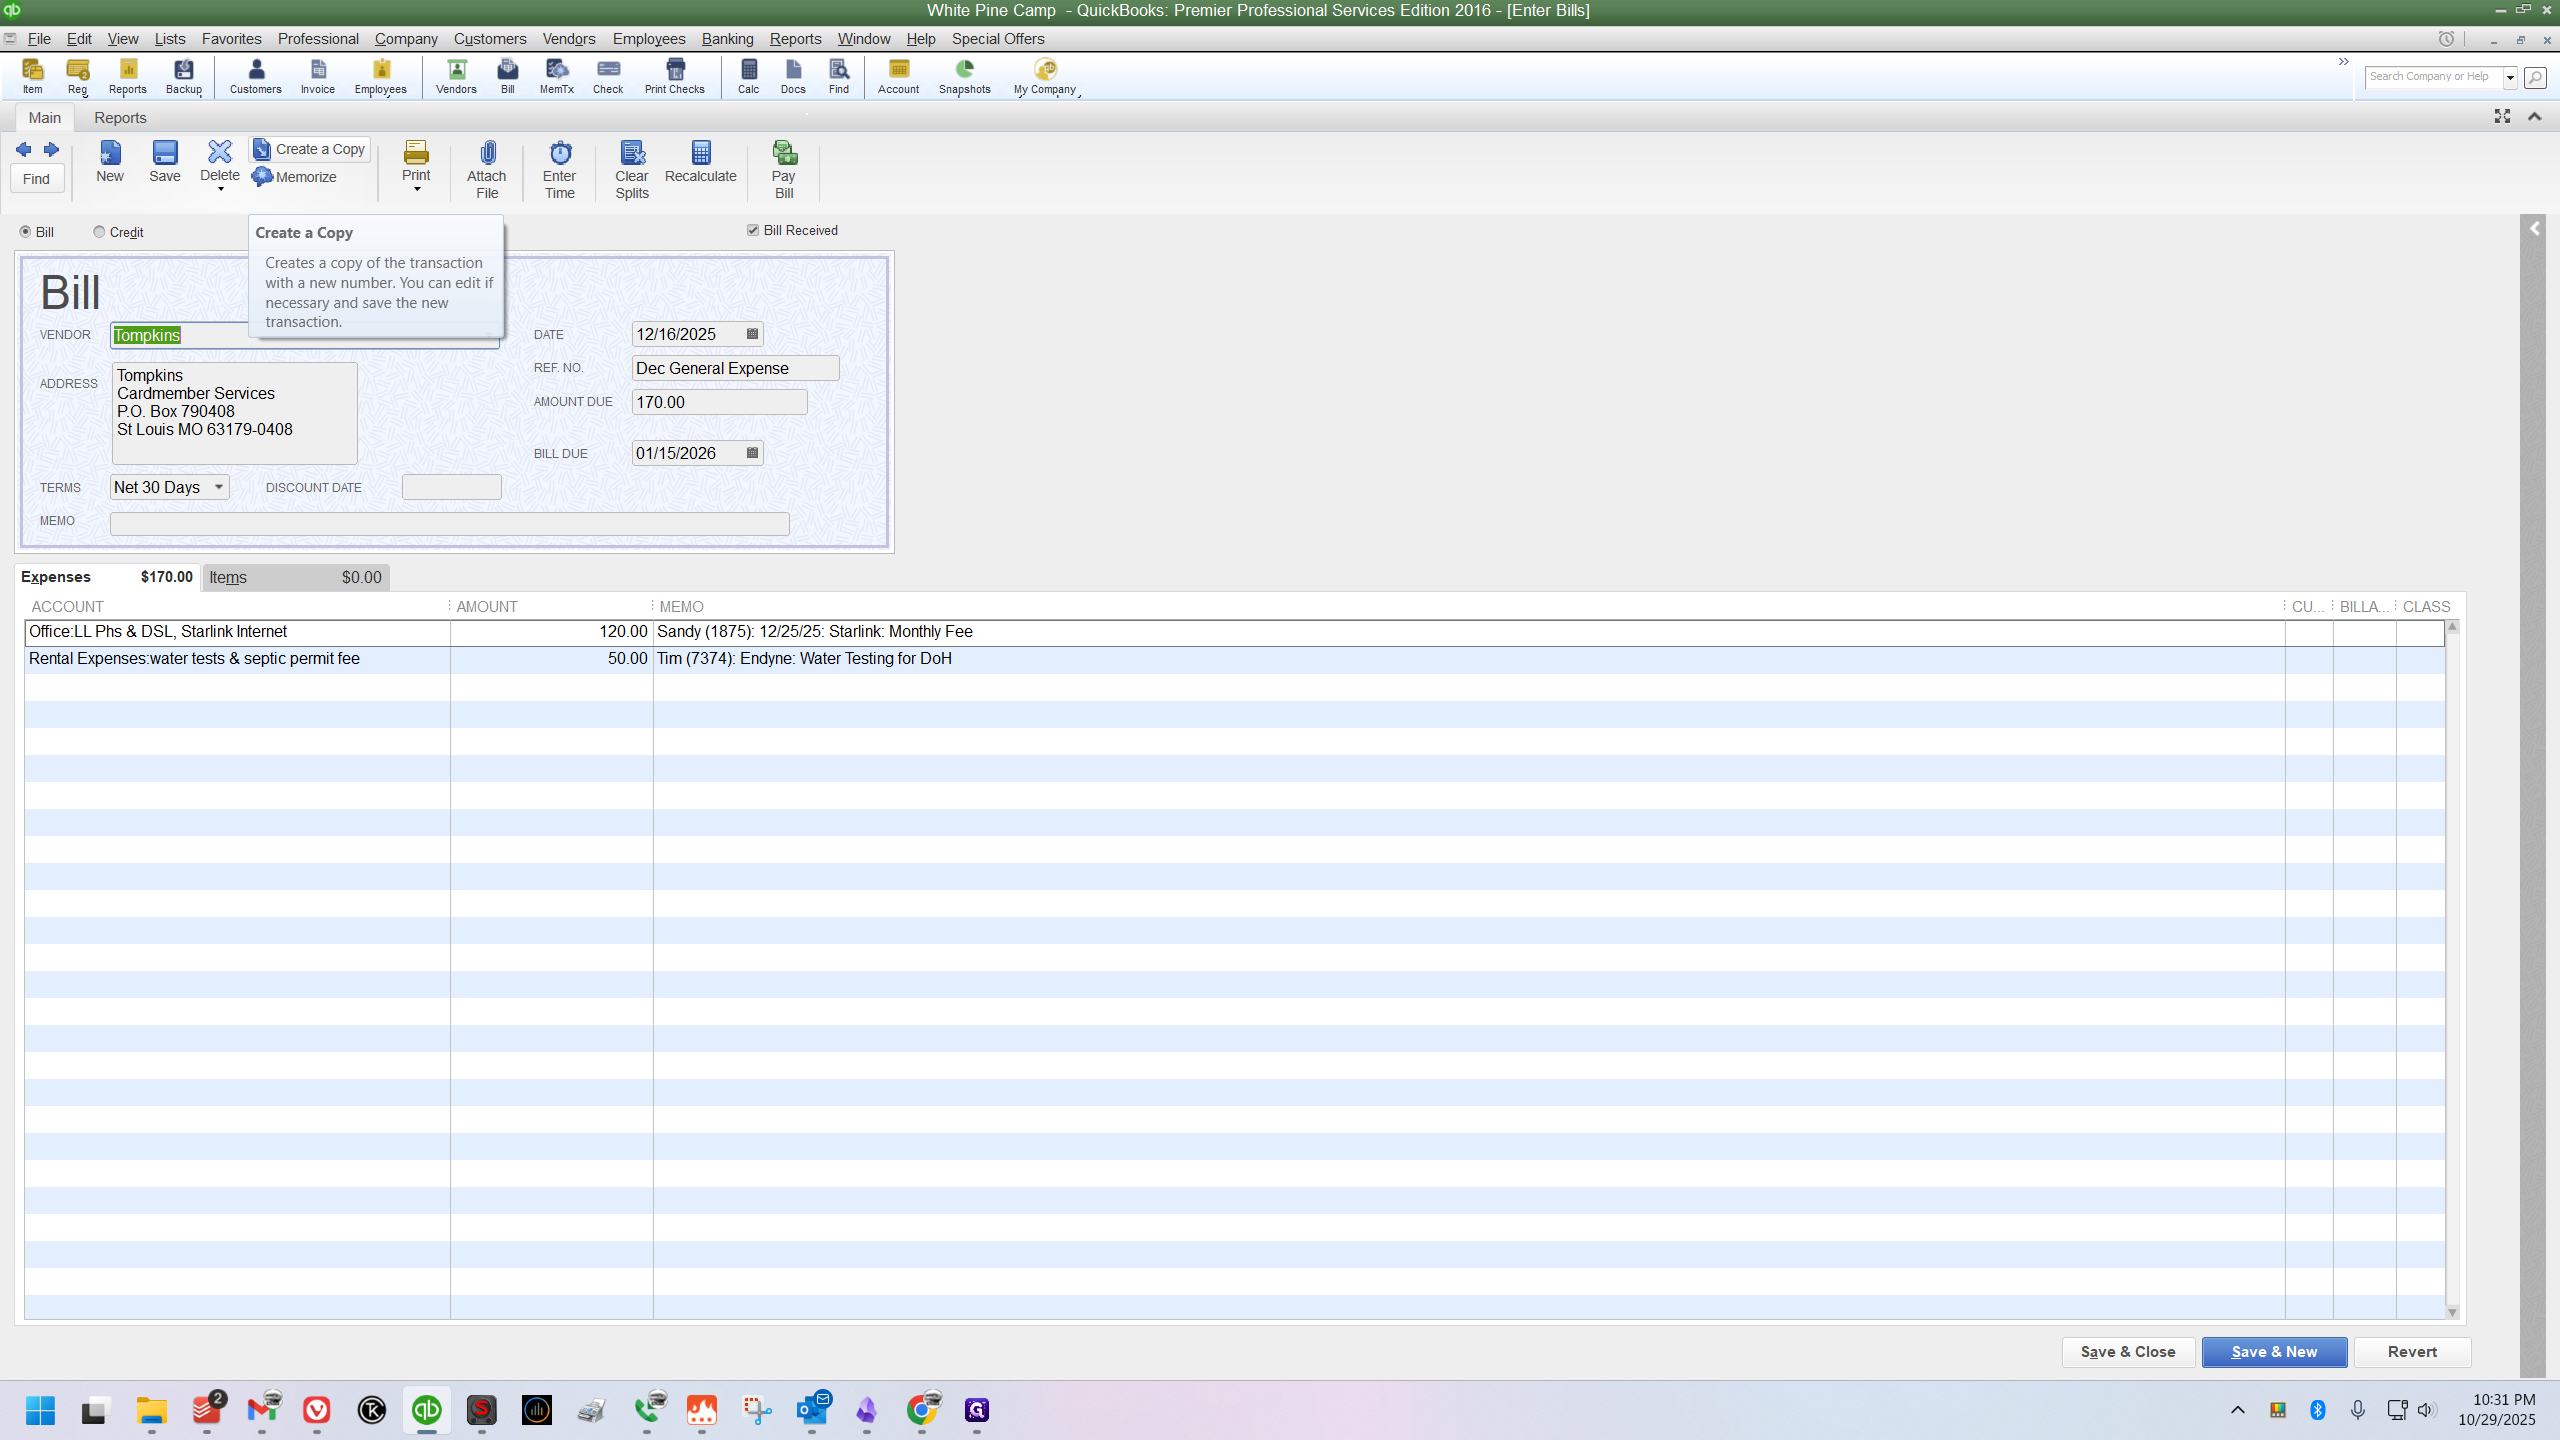
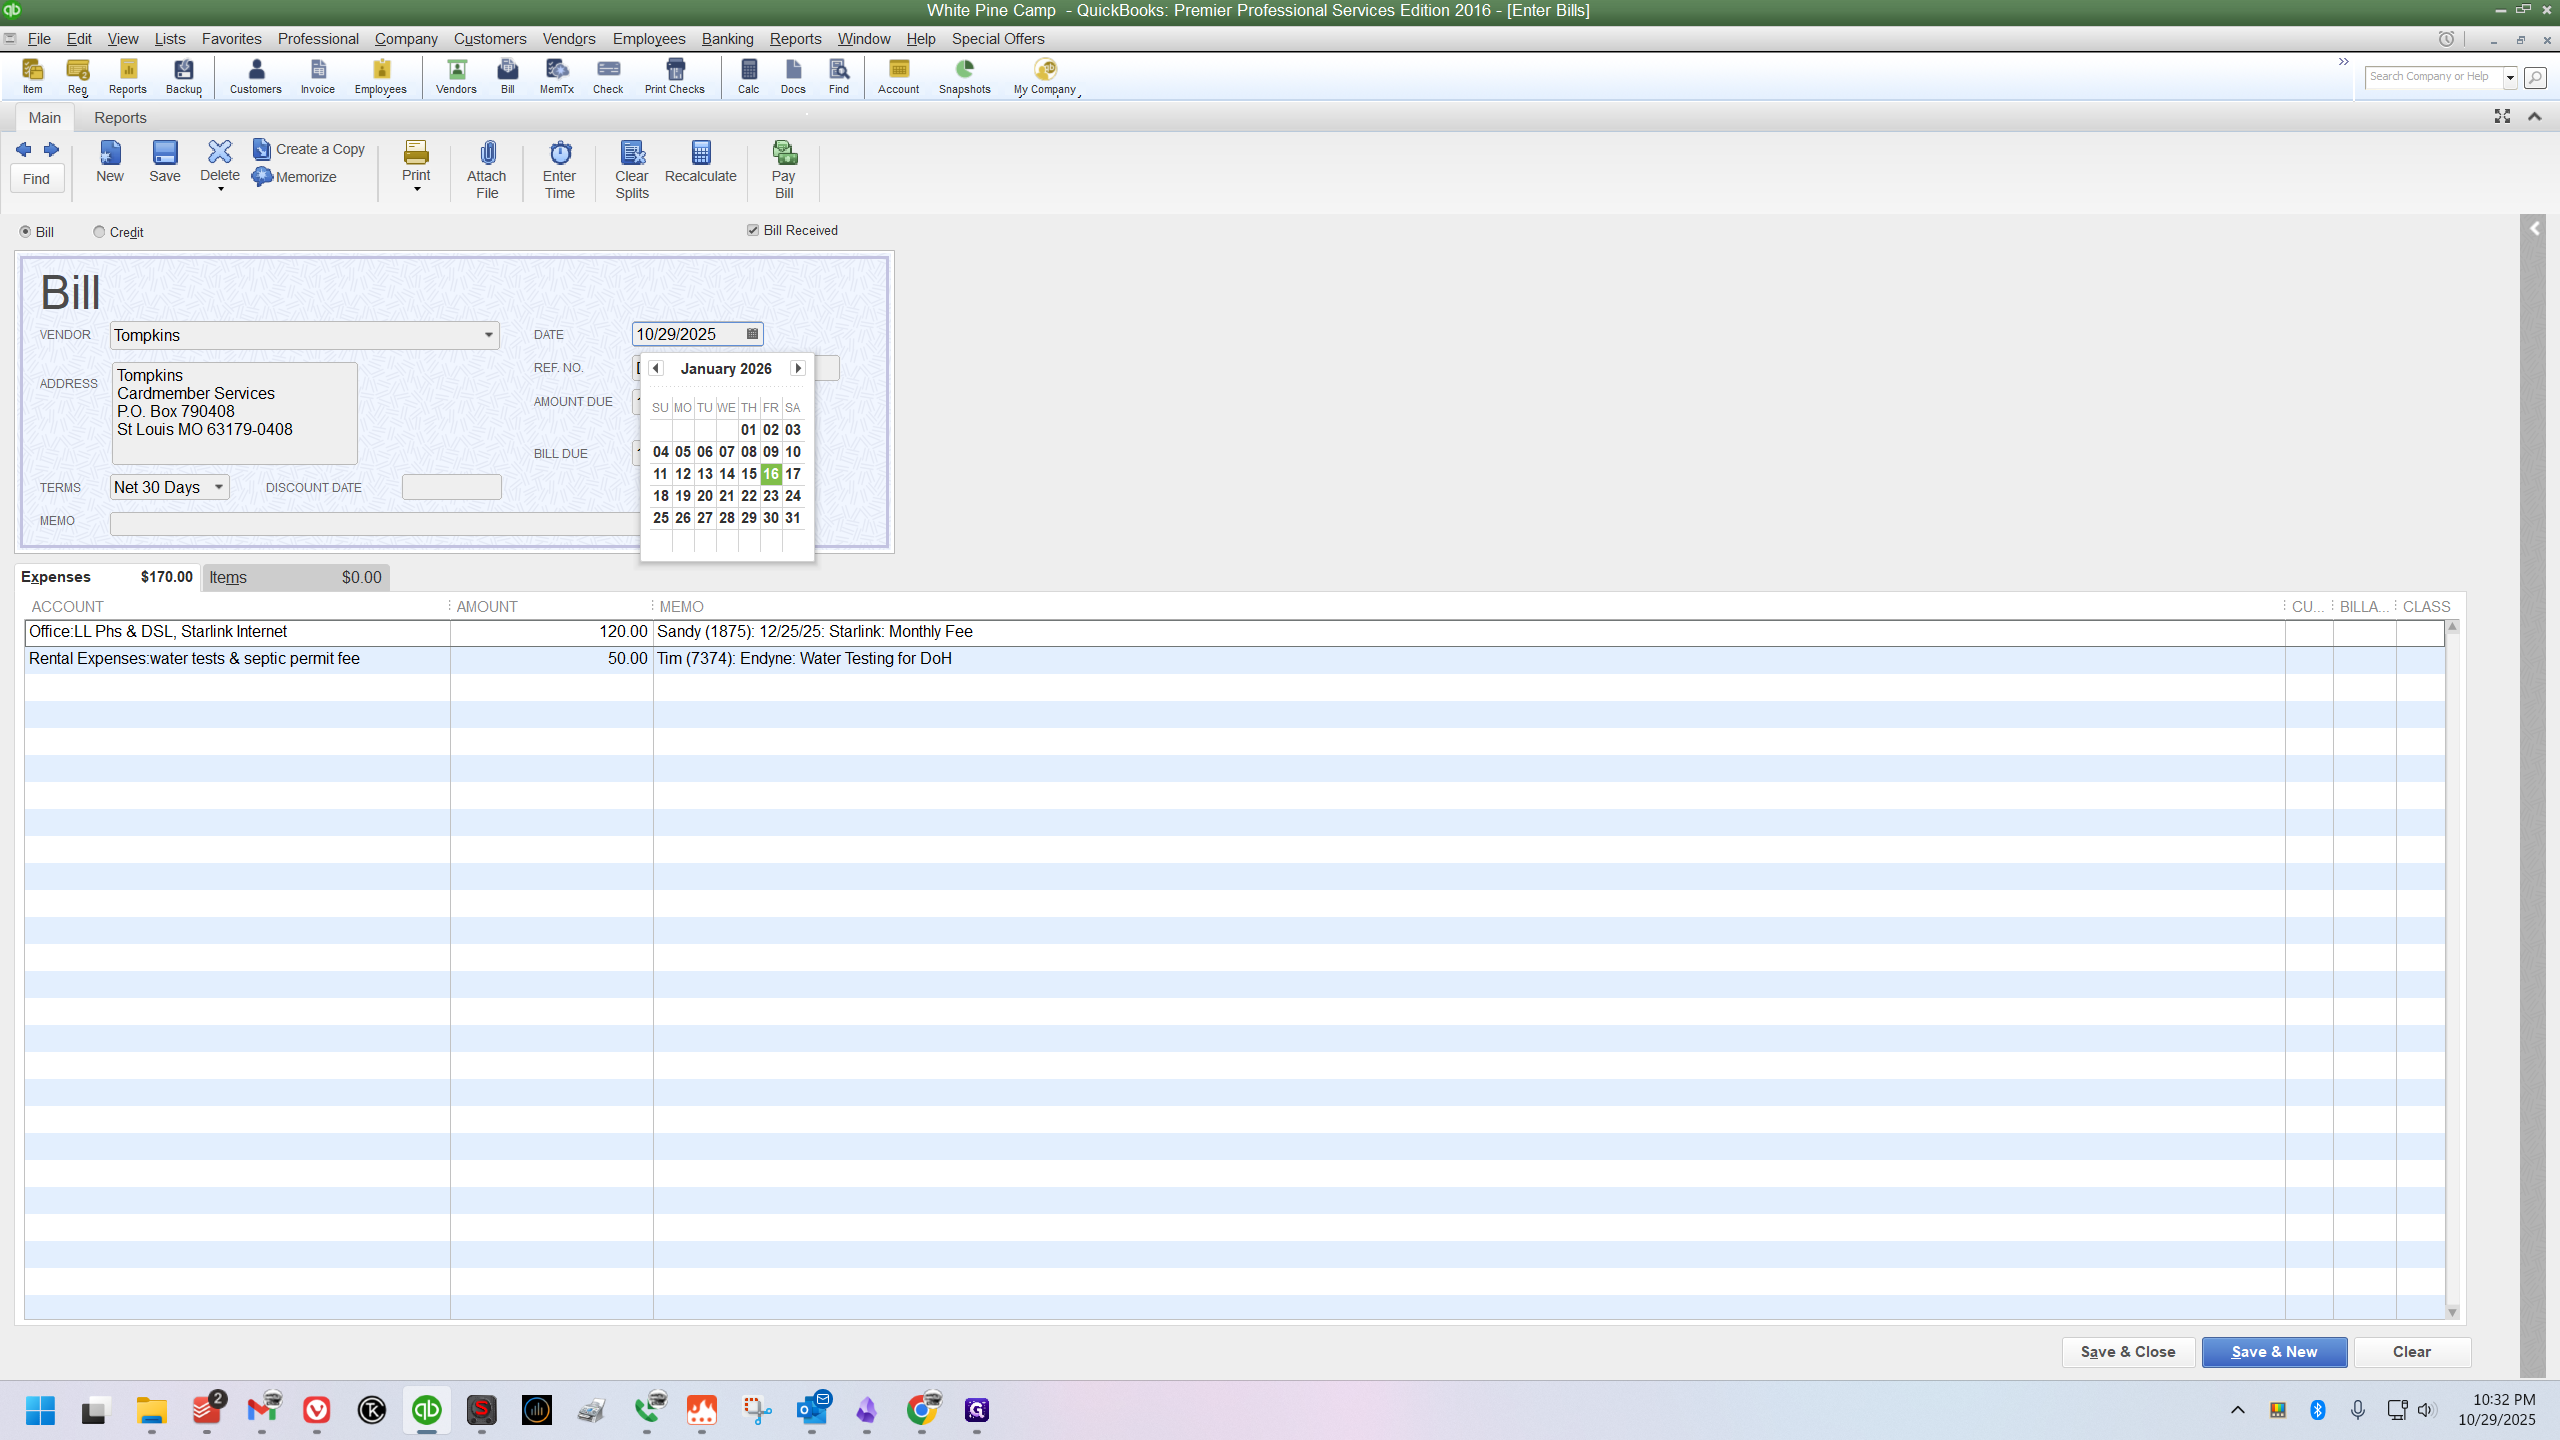
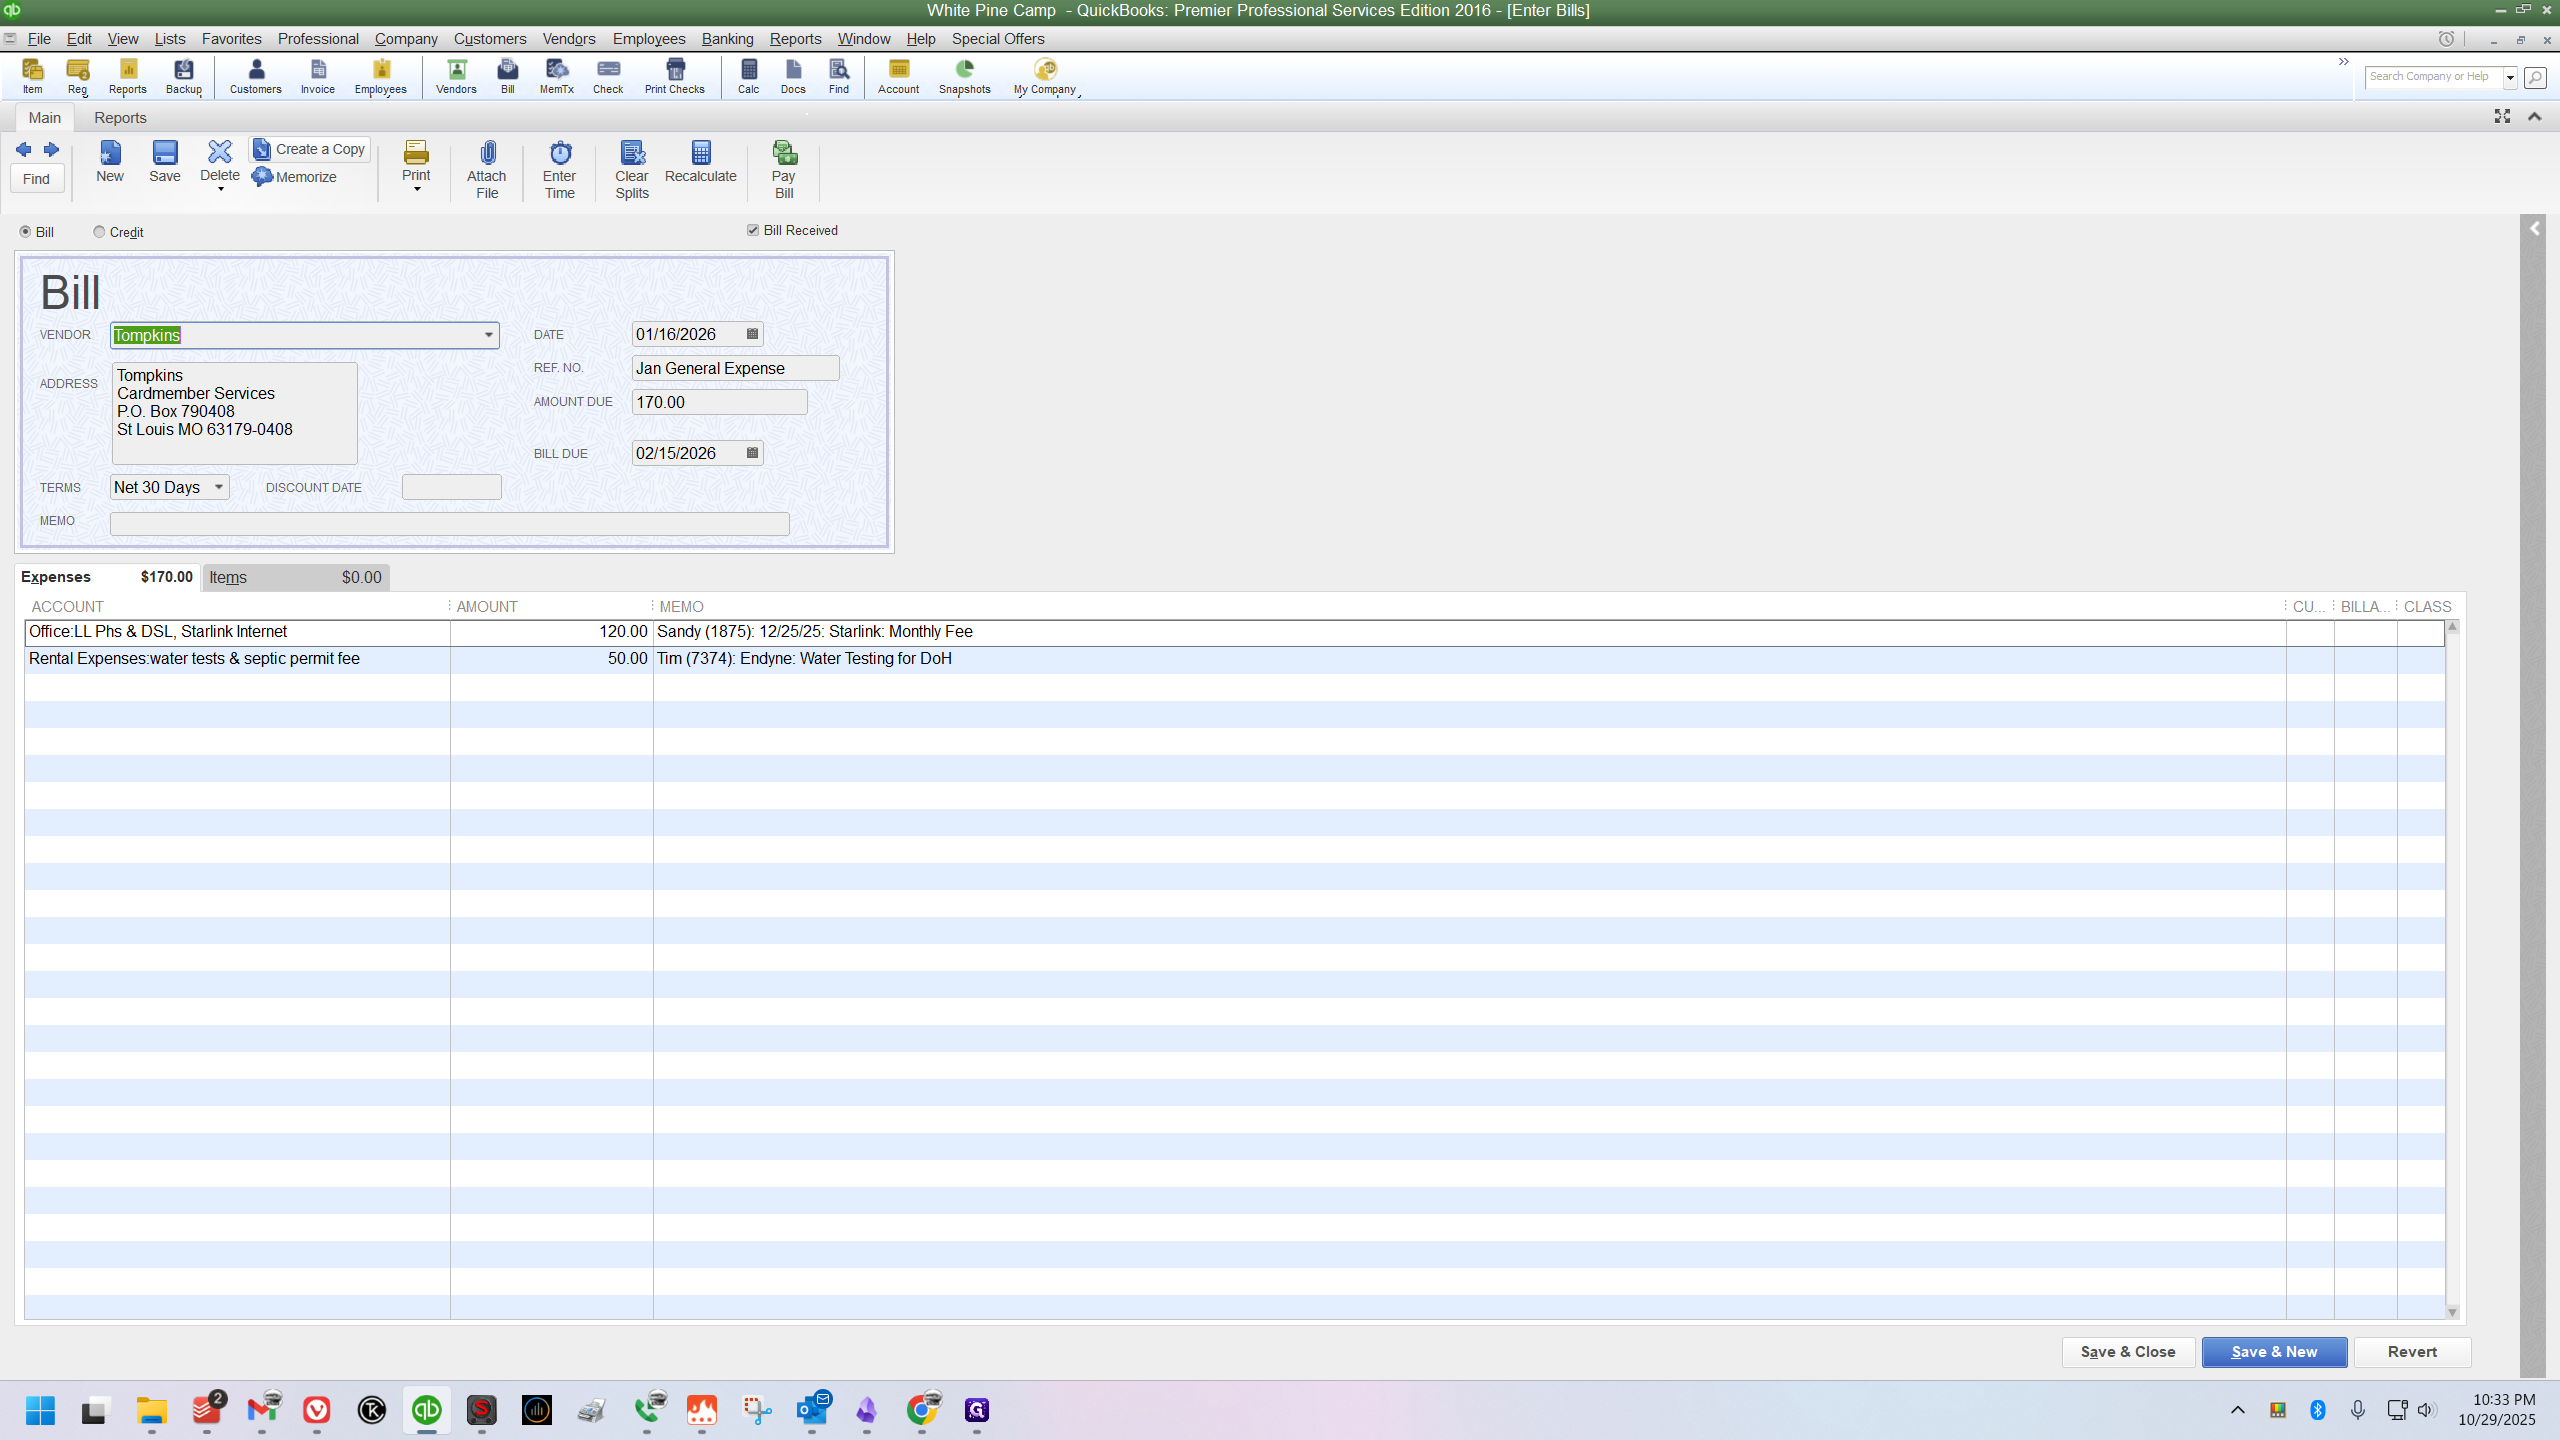
With the bill open, click the "Create a Copy" button at the top of the window.
A new duplicate bill will appear.
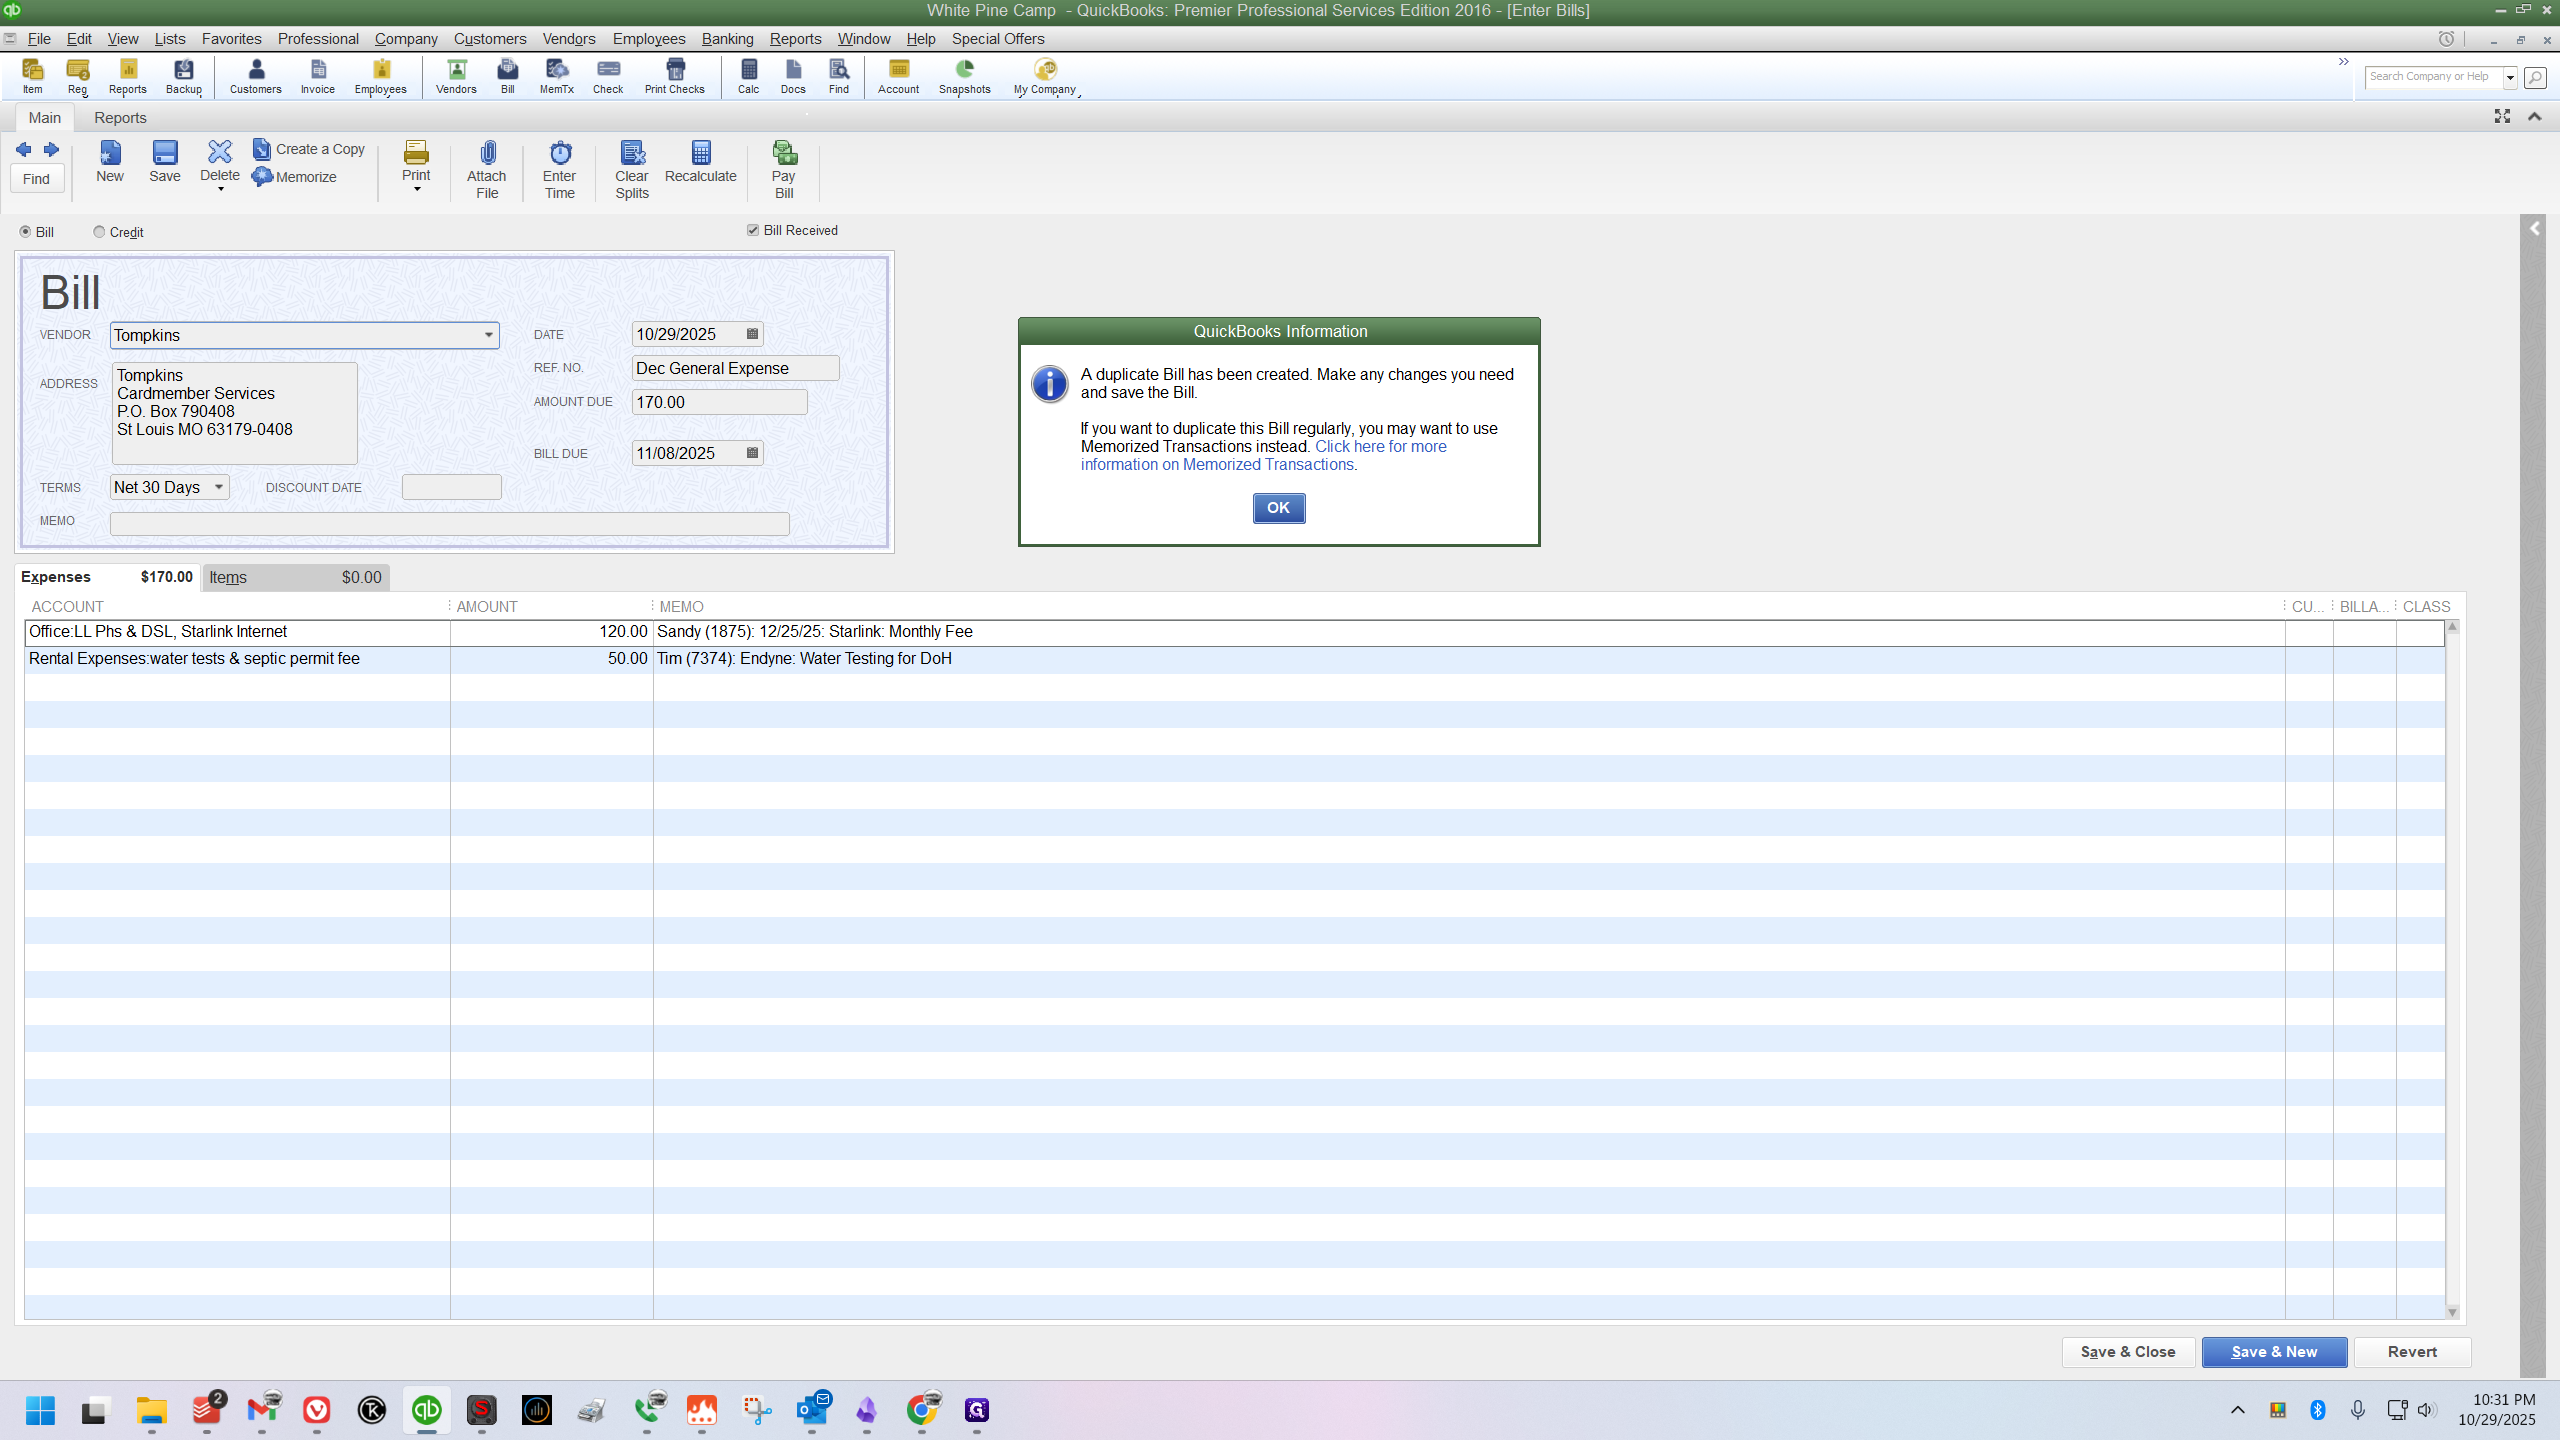
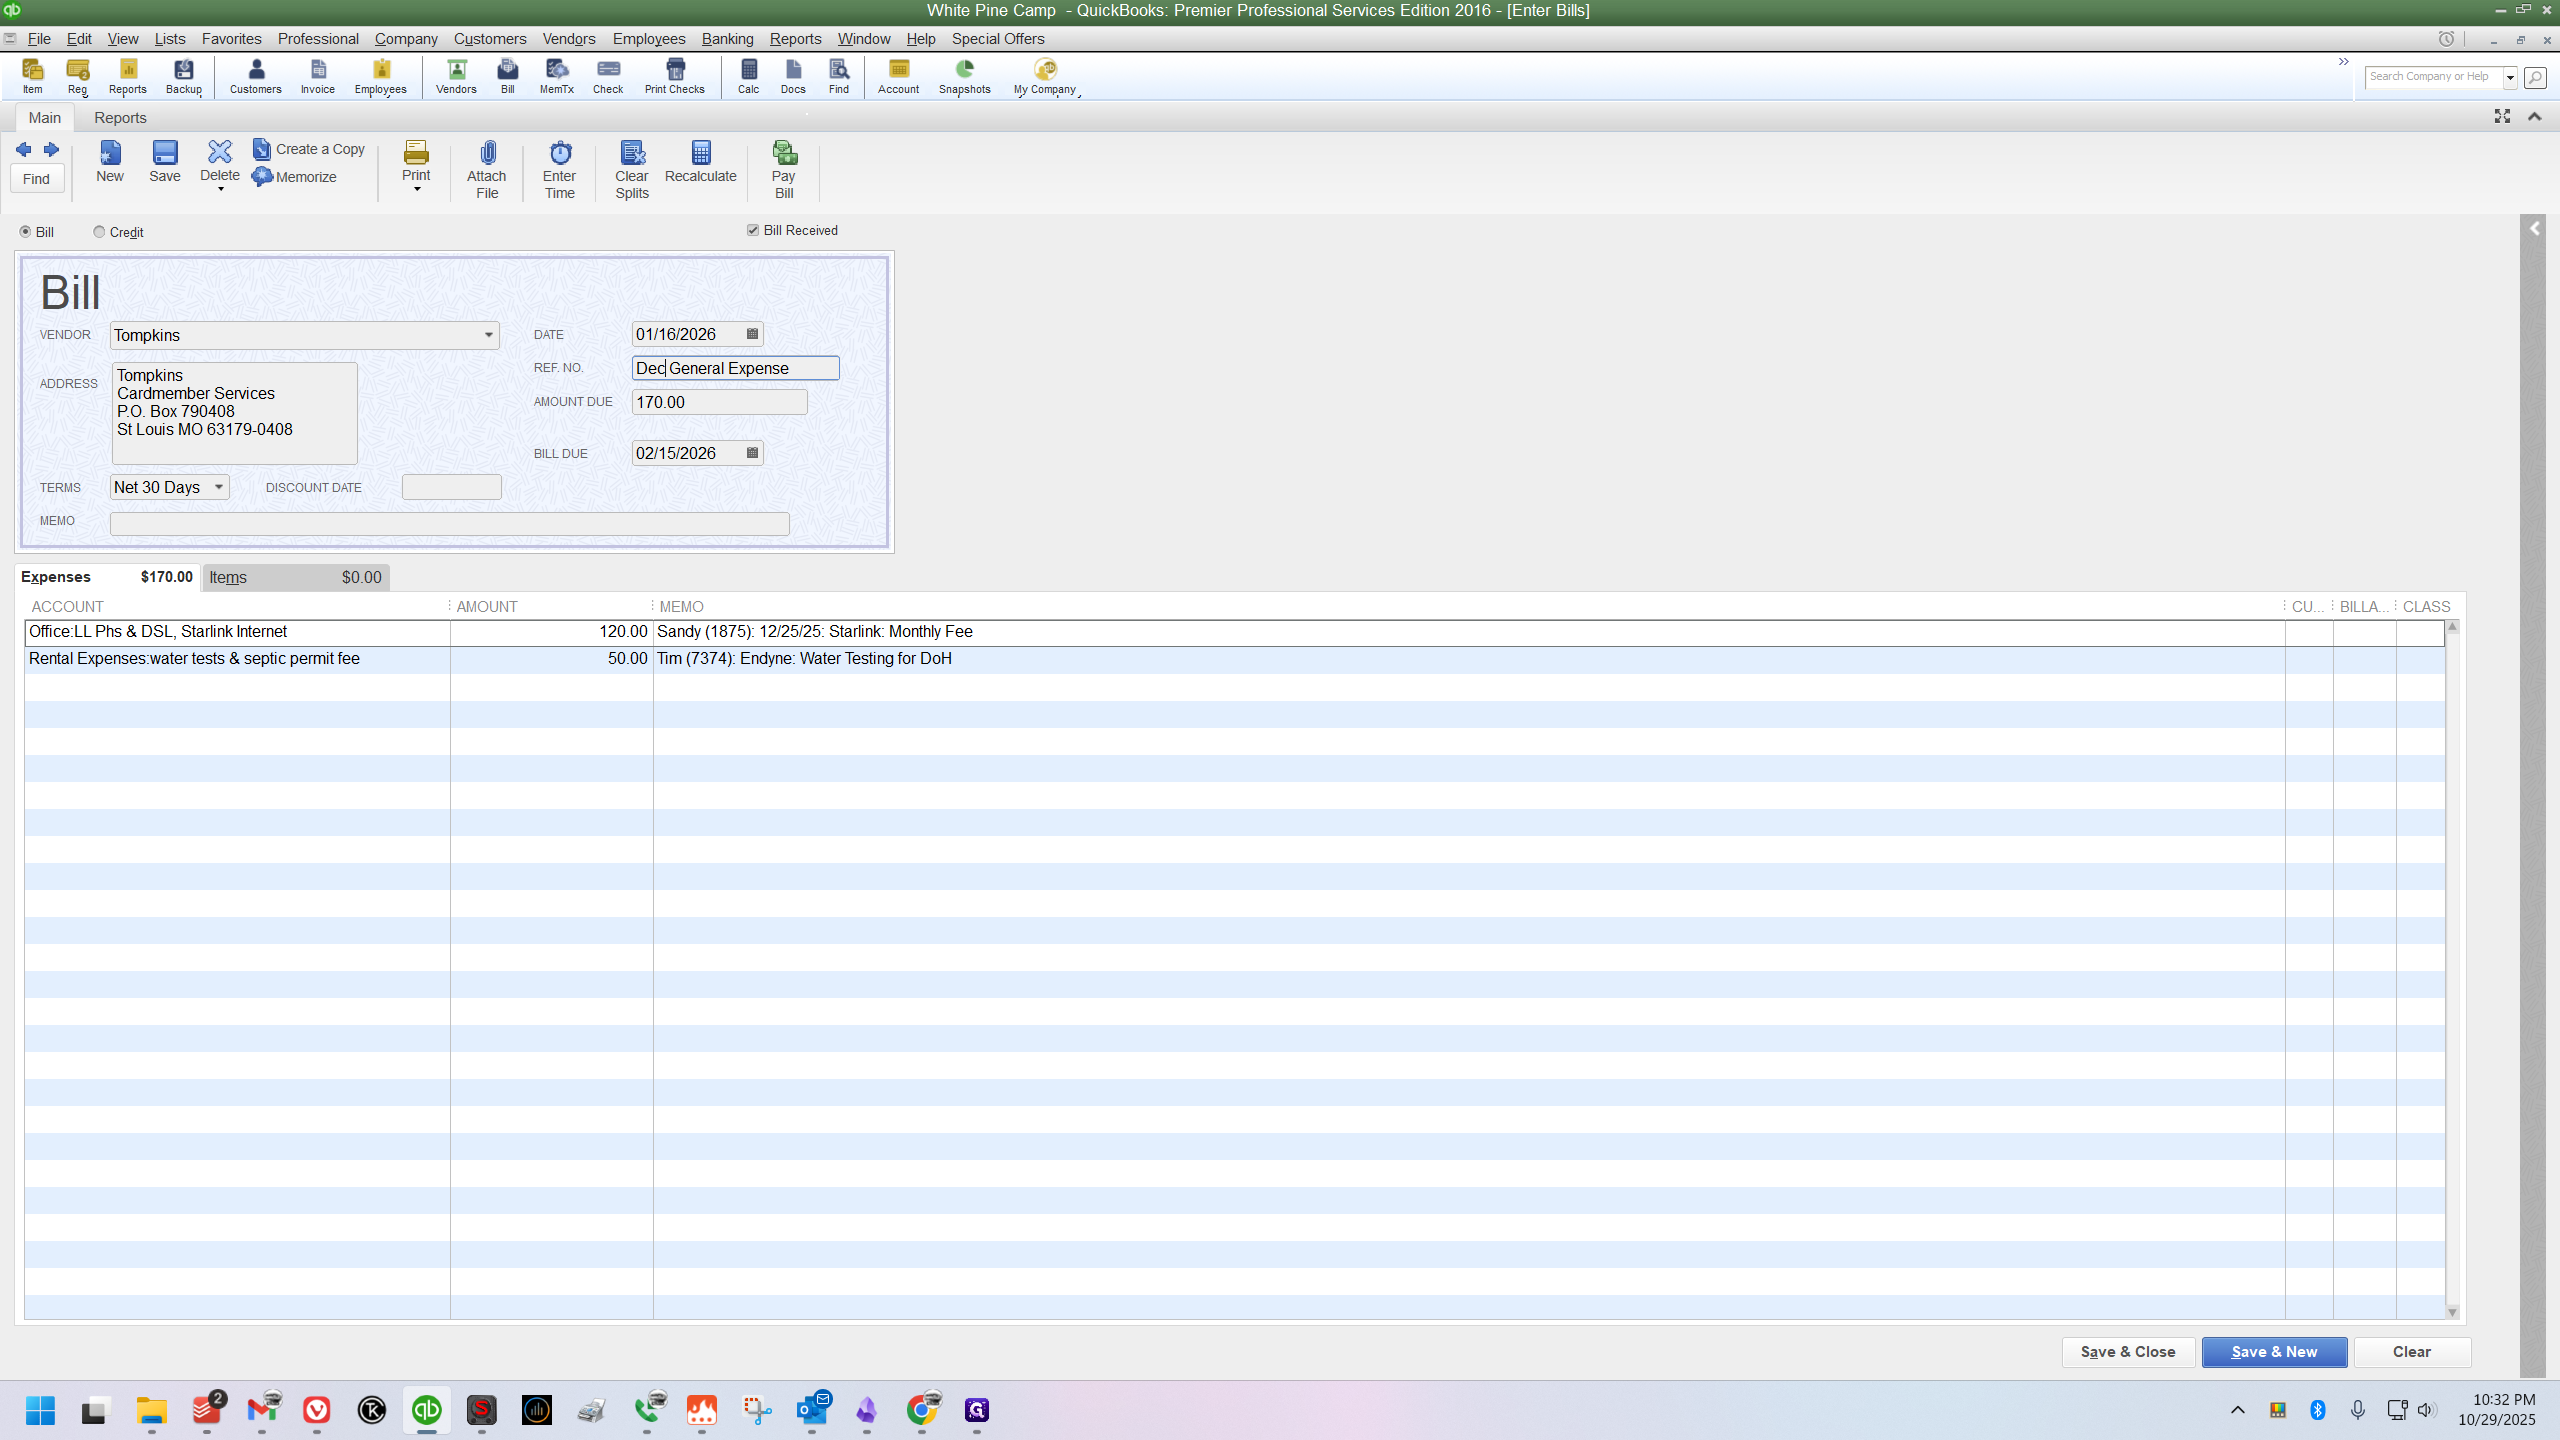
We need to change two fields. The first field is the date. Click the calendar and set the date to January 16 of the next year.
Next, in the field below, update the abbreviated month to match the date you just entered. In this case, we're changing "Dec" to "Jan."
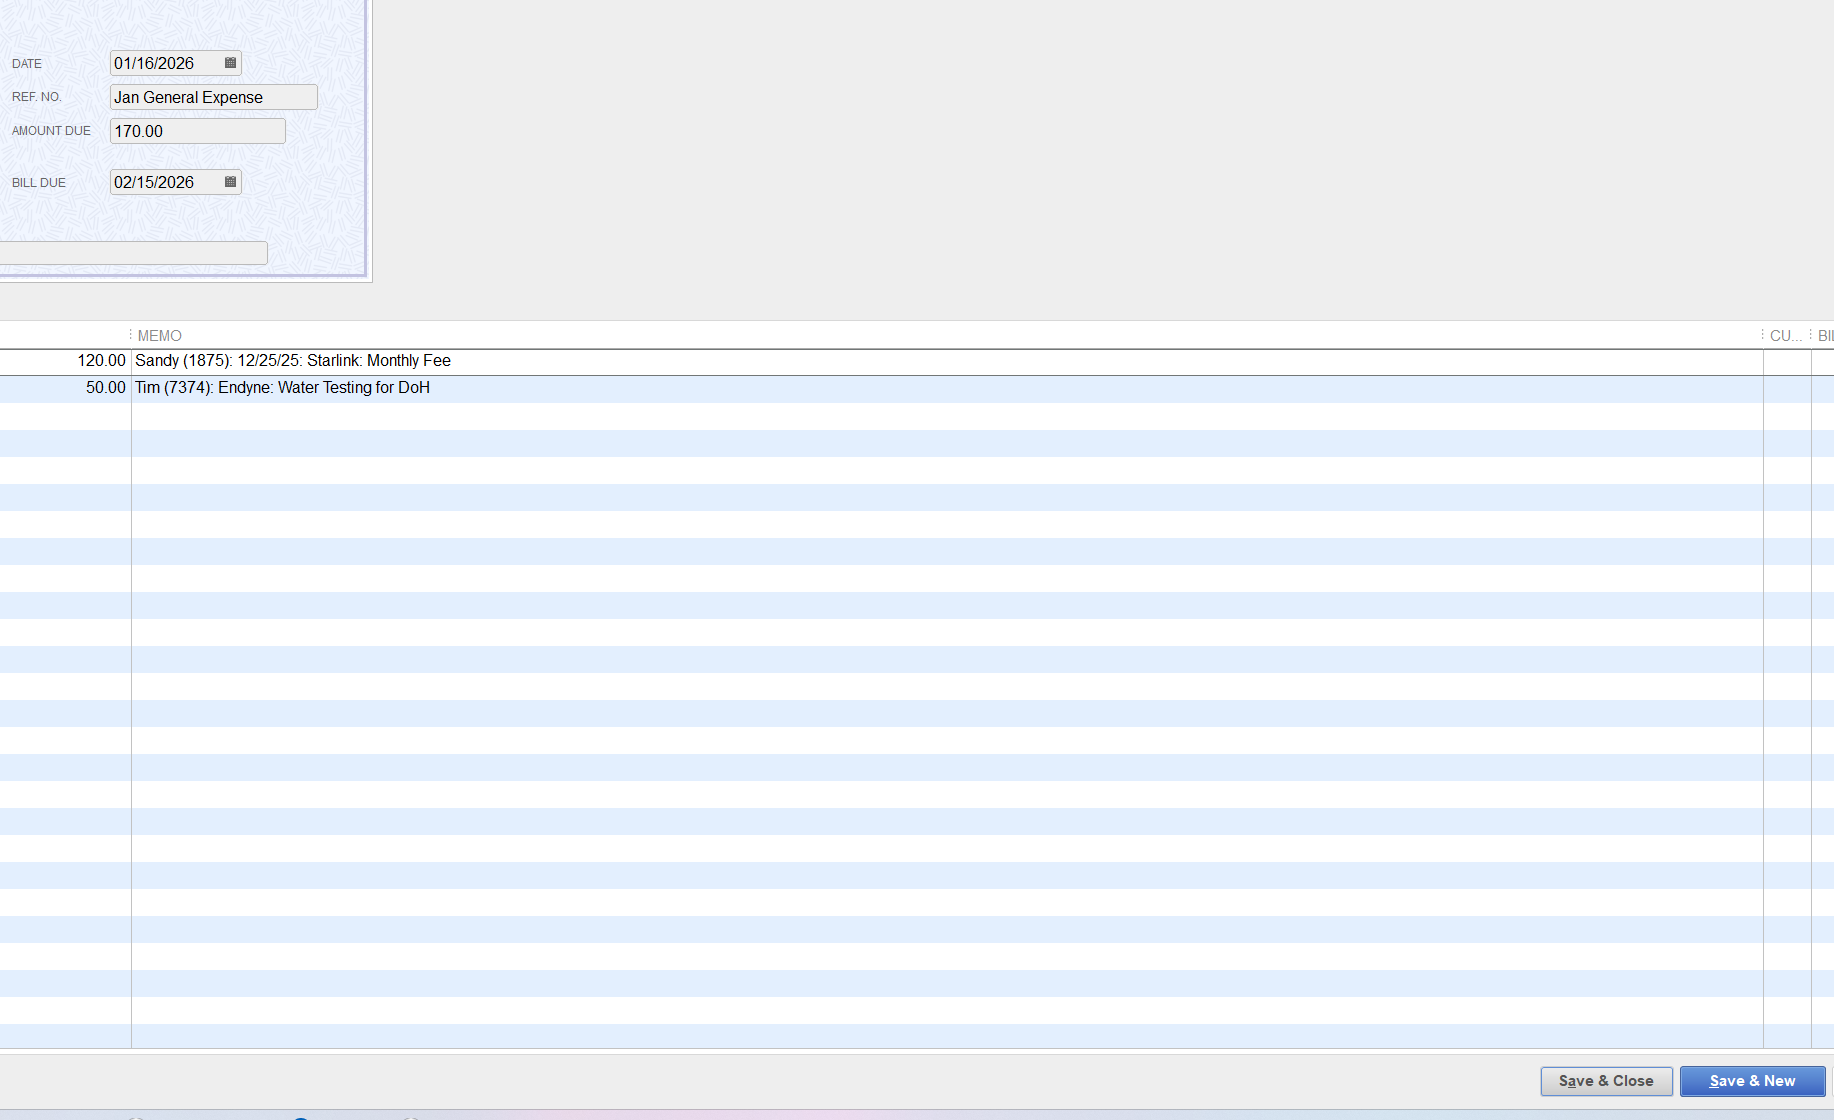
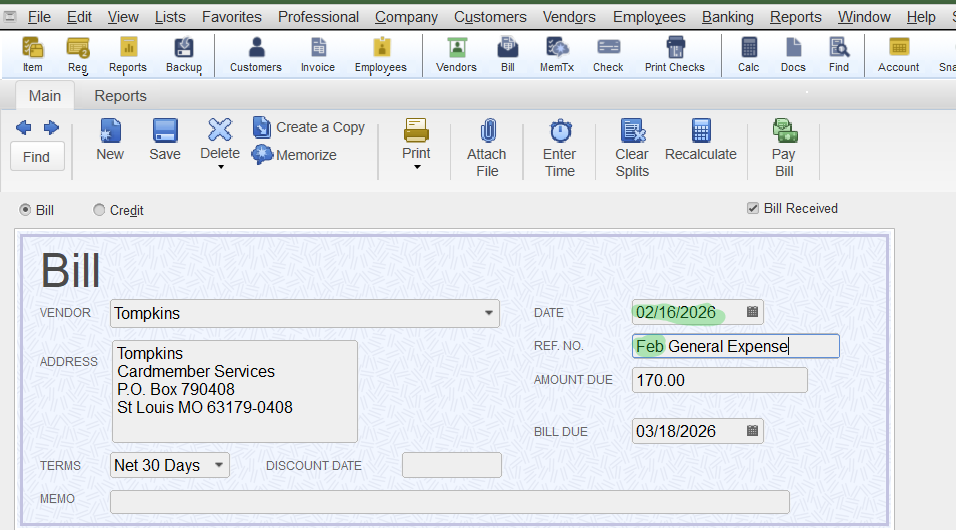
Find the January general expense bill you just created and double-click to open it.
Example #2
Click the "Create a Copy" button again.
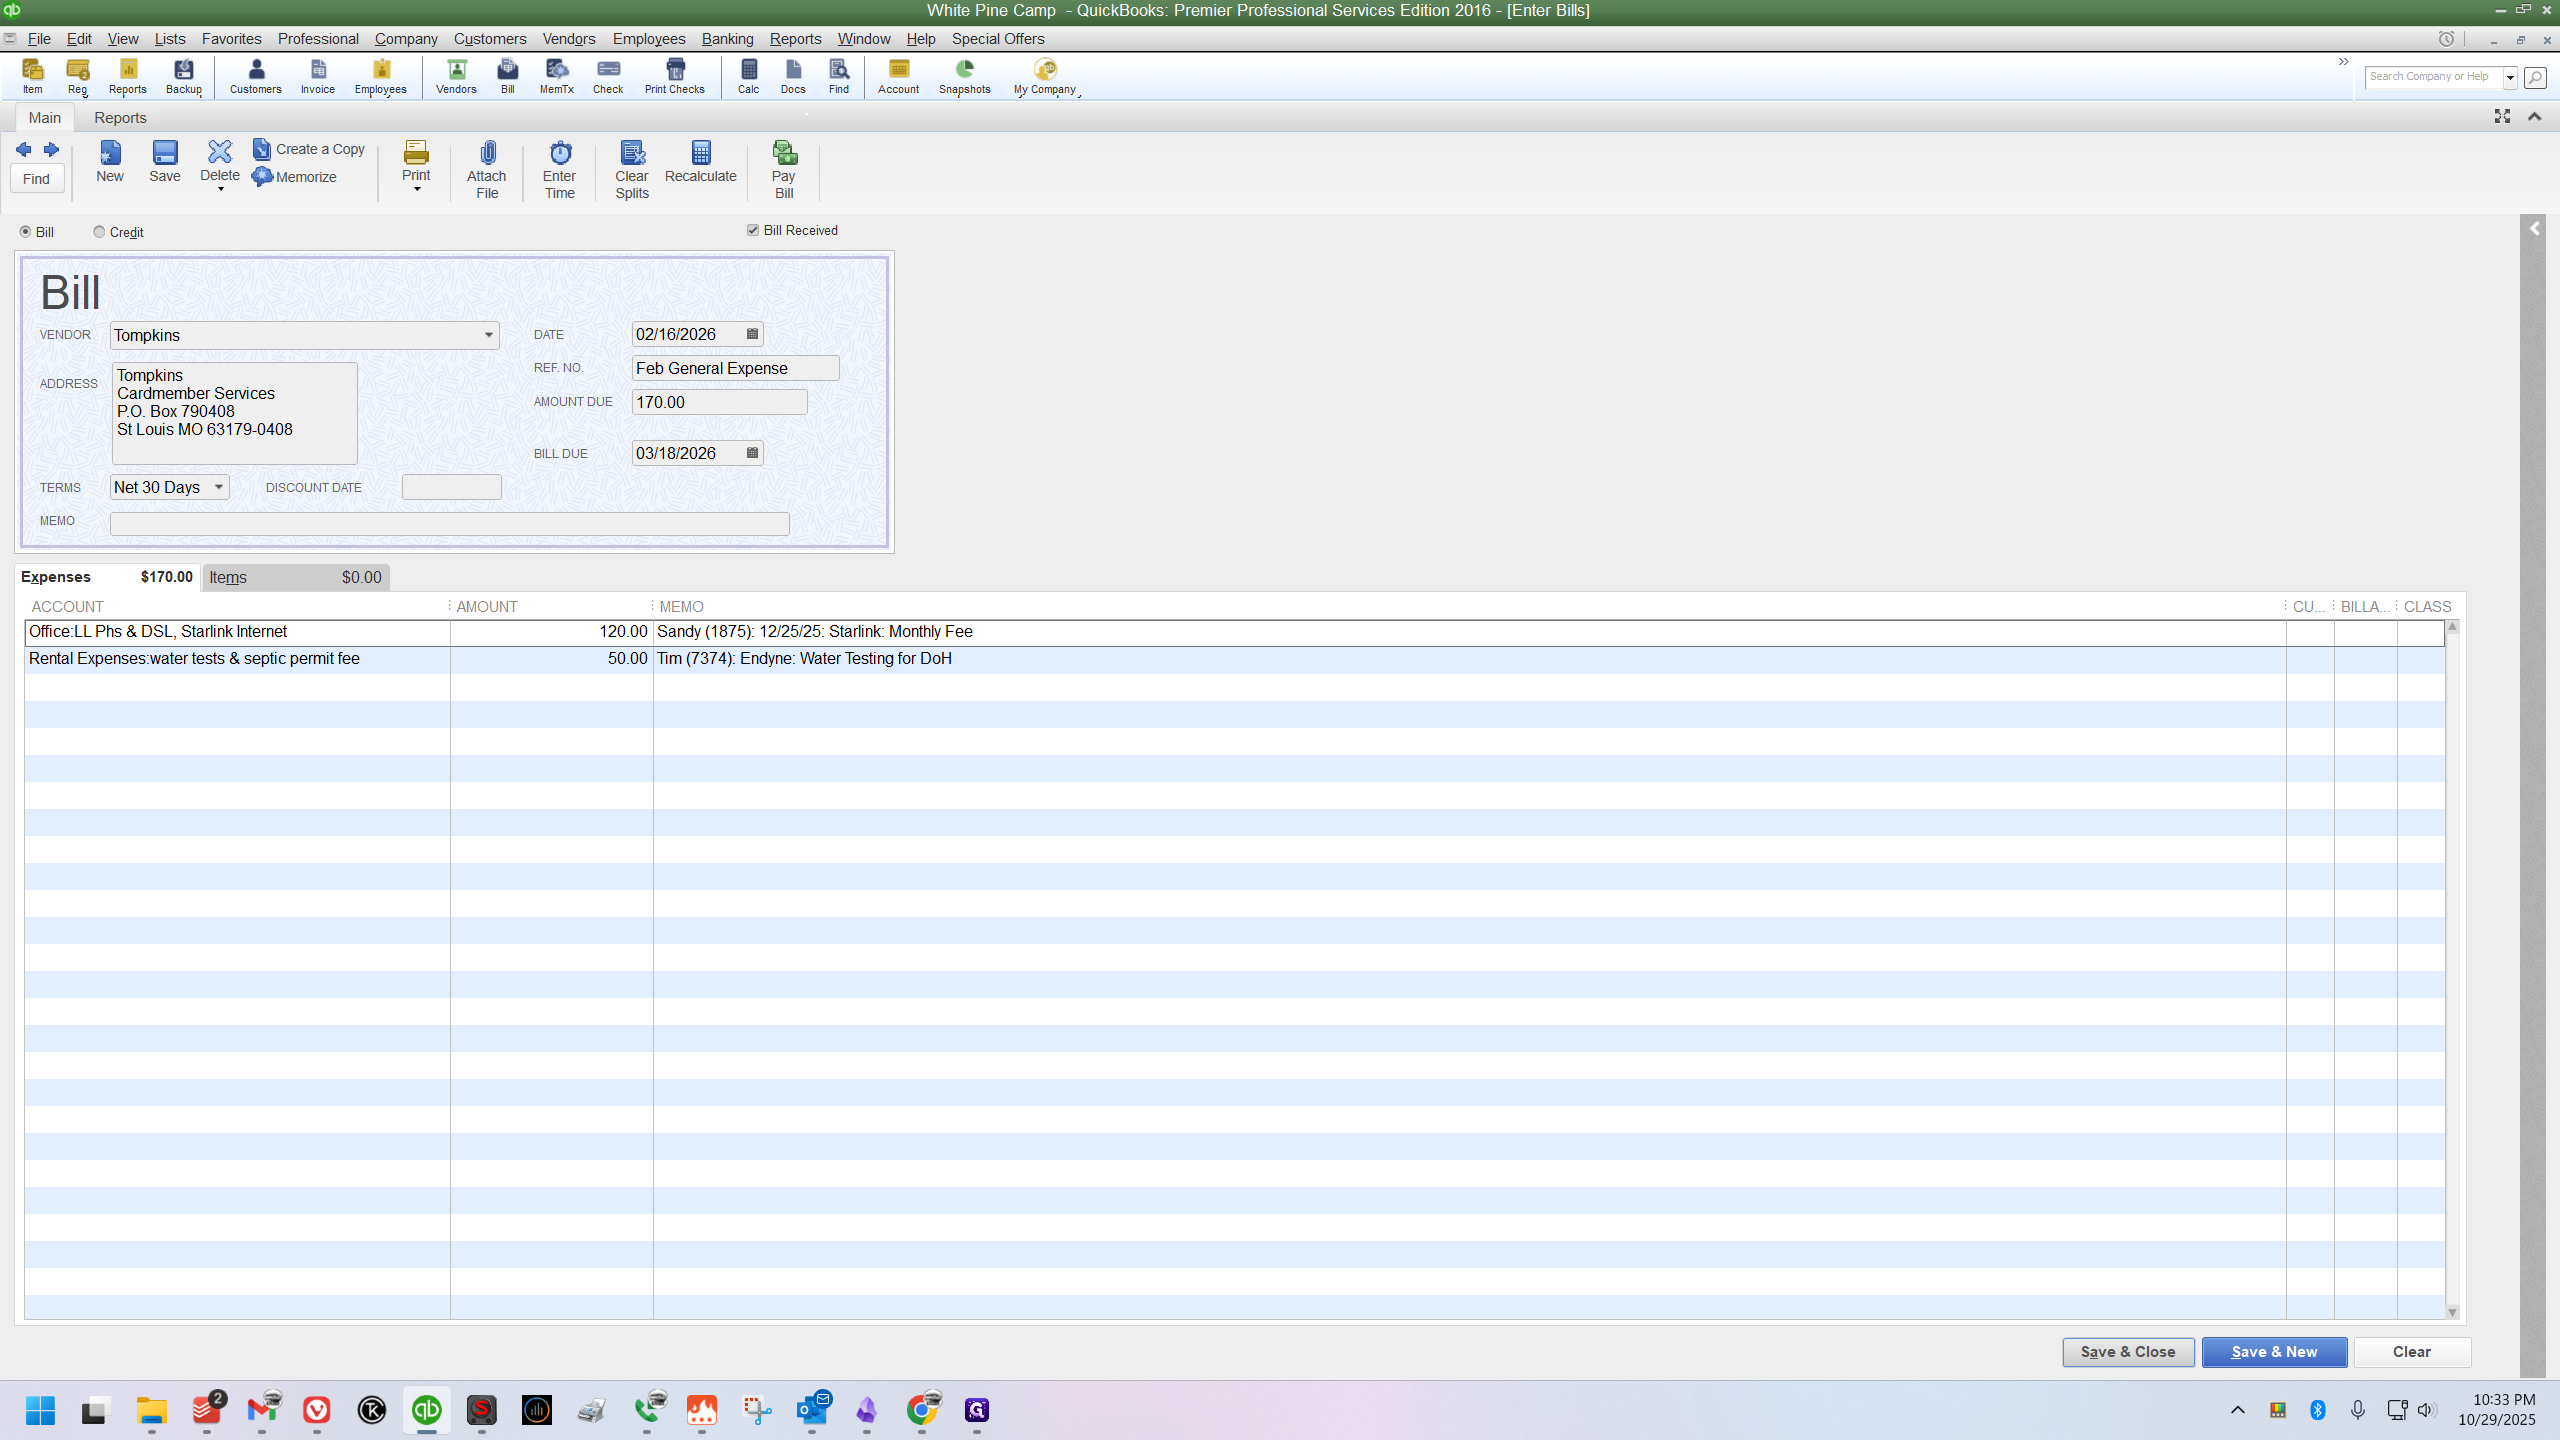
Change the date to February 16, and change the abbreviated month to "Feb" in the reference field
Repeat the open, copy, edit, and save process for each bill until all 12 bills for 2026, from January to December, are created.
You're done. The 12 container bills are now in QuickBooks and ready for the year.