
How to contribute to the Annotation Kit
Learn the step-by-step process to add and update components in the annotation kit, including creating branches, editing components, and requesting reviews.
In this guide, we'll learn how to make updates to an annotation kit file, even if you don't have direct edit access. We'll cover how to create a new branch, make edits, and request a review for your changes. This process ensures that your updates are reviewed and published by an authorized team member.
By the end of this guide, you'll know how to navigate the annotation kit, make necessary updates, and submit your changes for review.
Let's get started
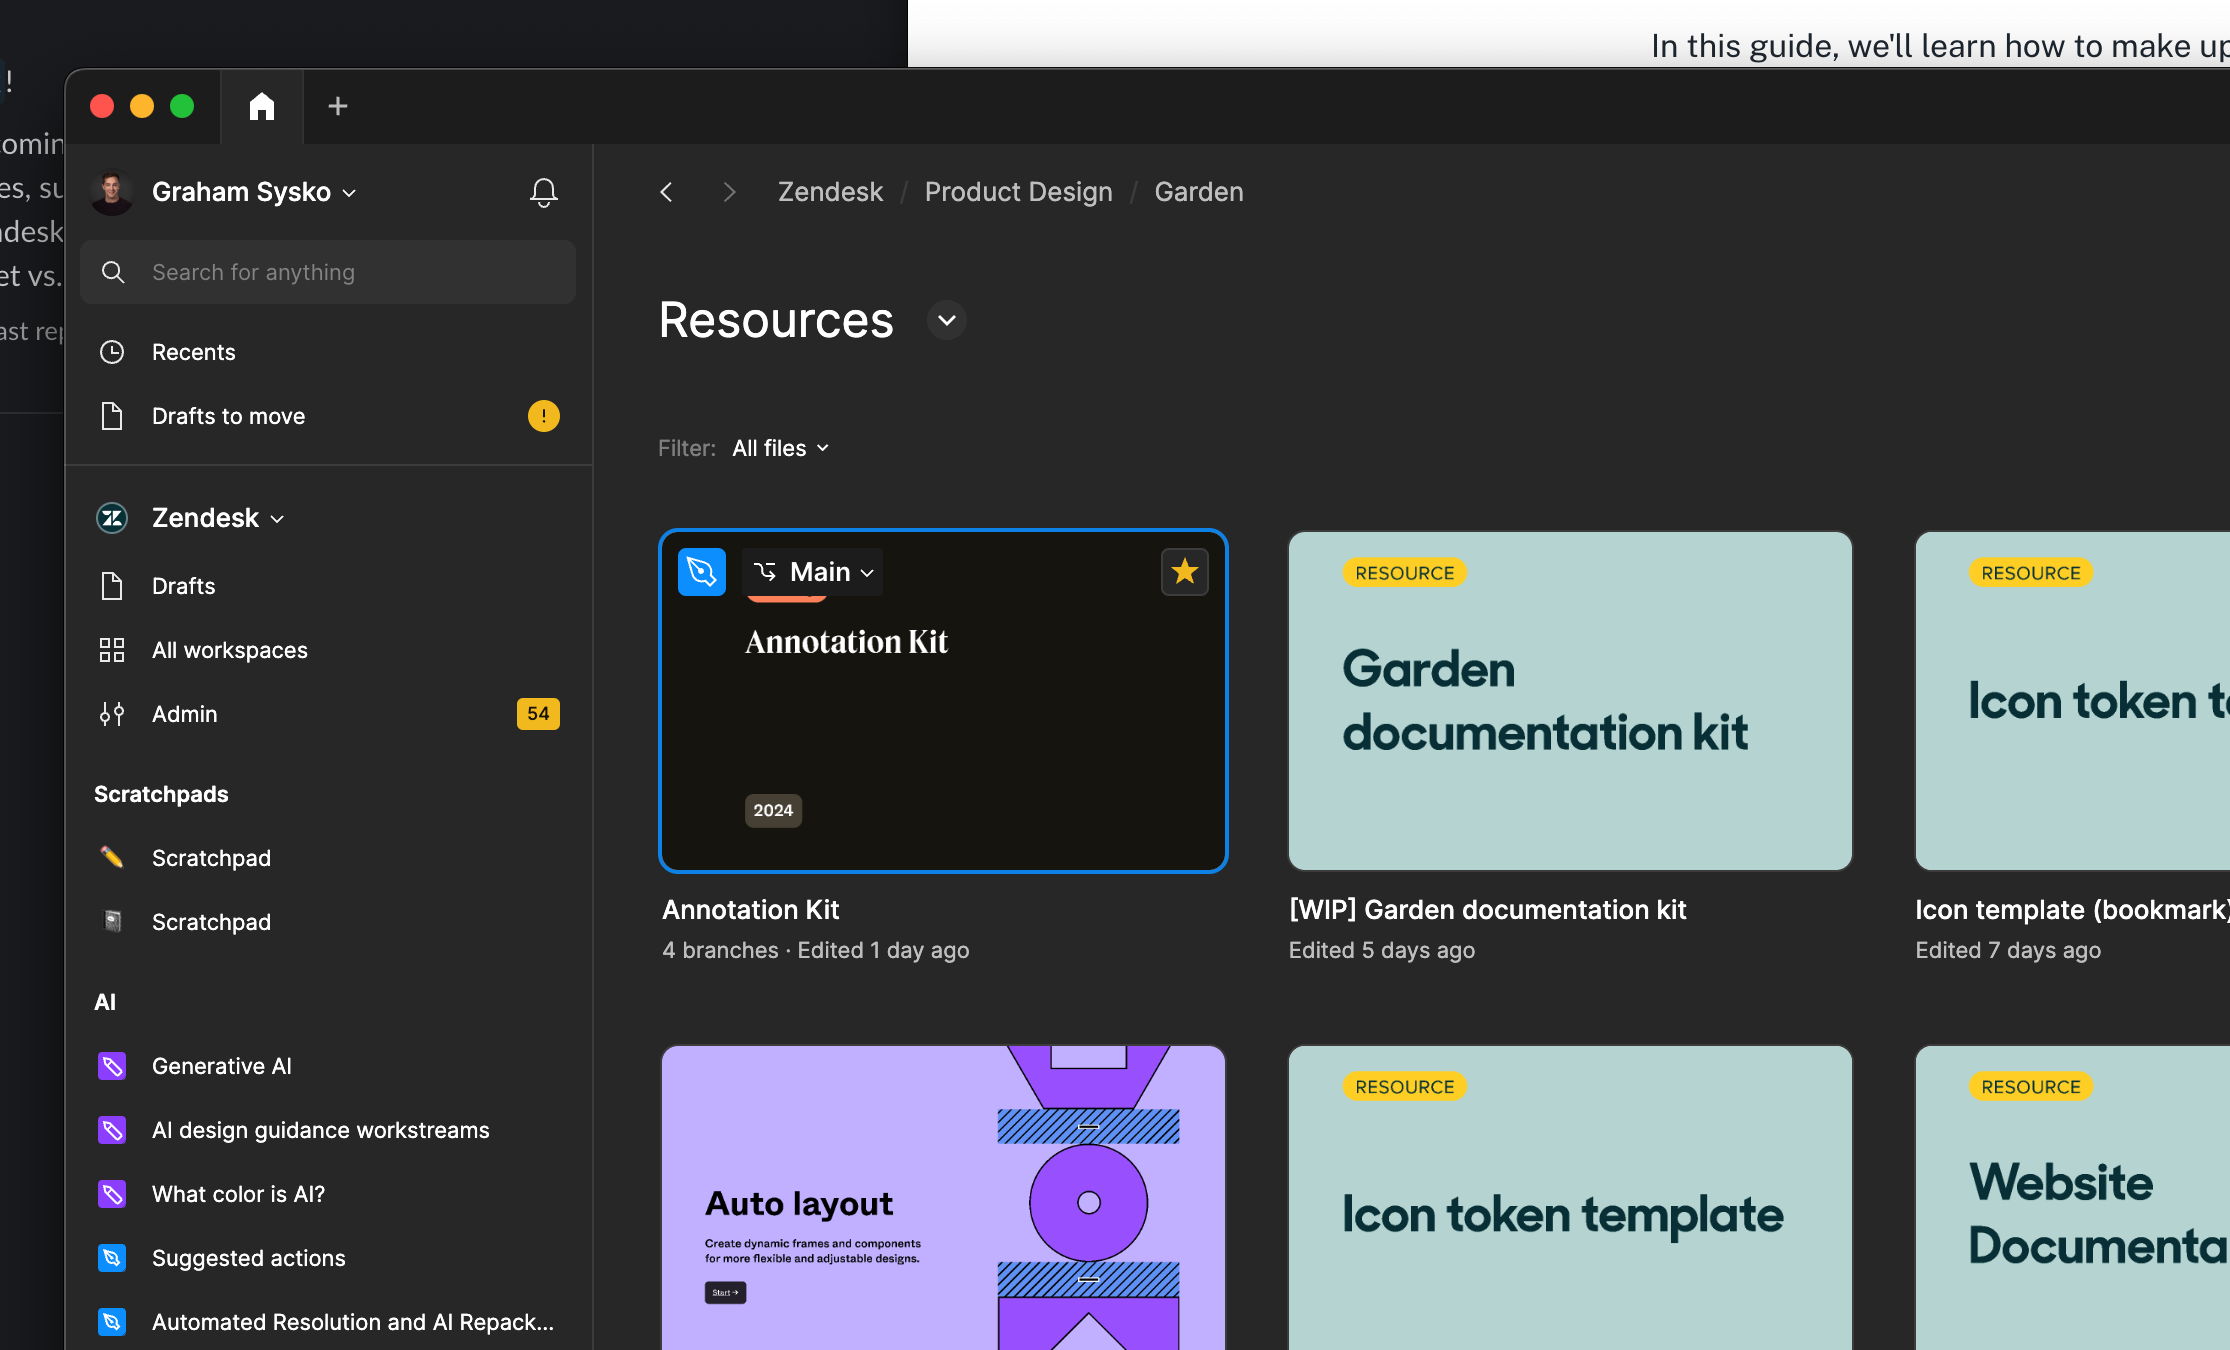
First, open the annotation kit file (under Zendesk > Product Design > Garden > Resources). You may not have direct access to edit it. That is OK. Direct edit access is not necessary.
I will have to use a branch to make my edits...
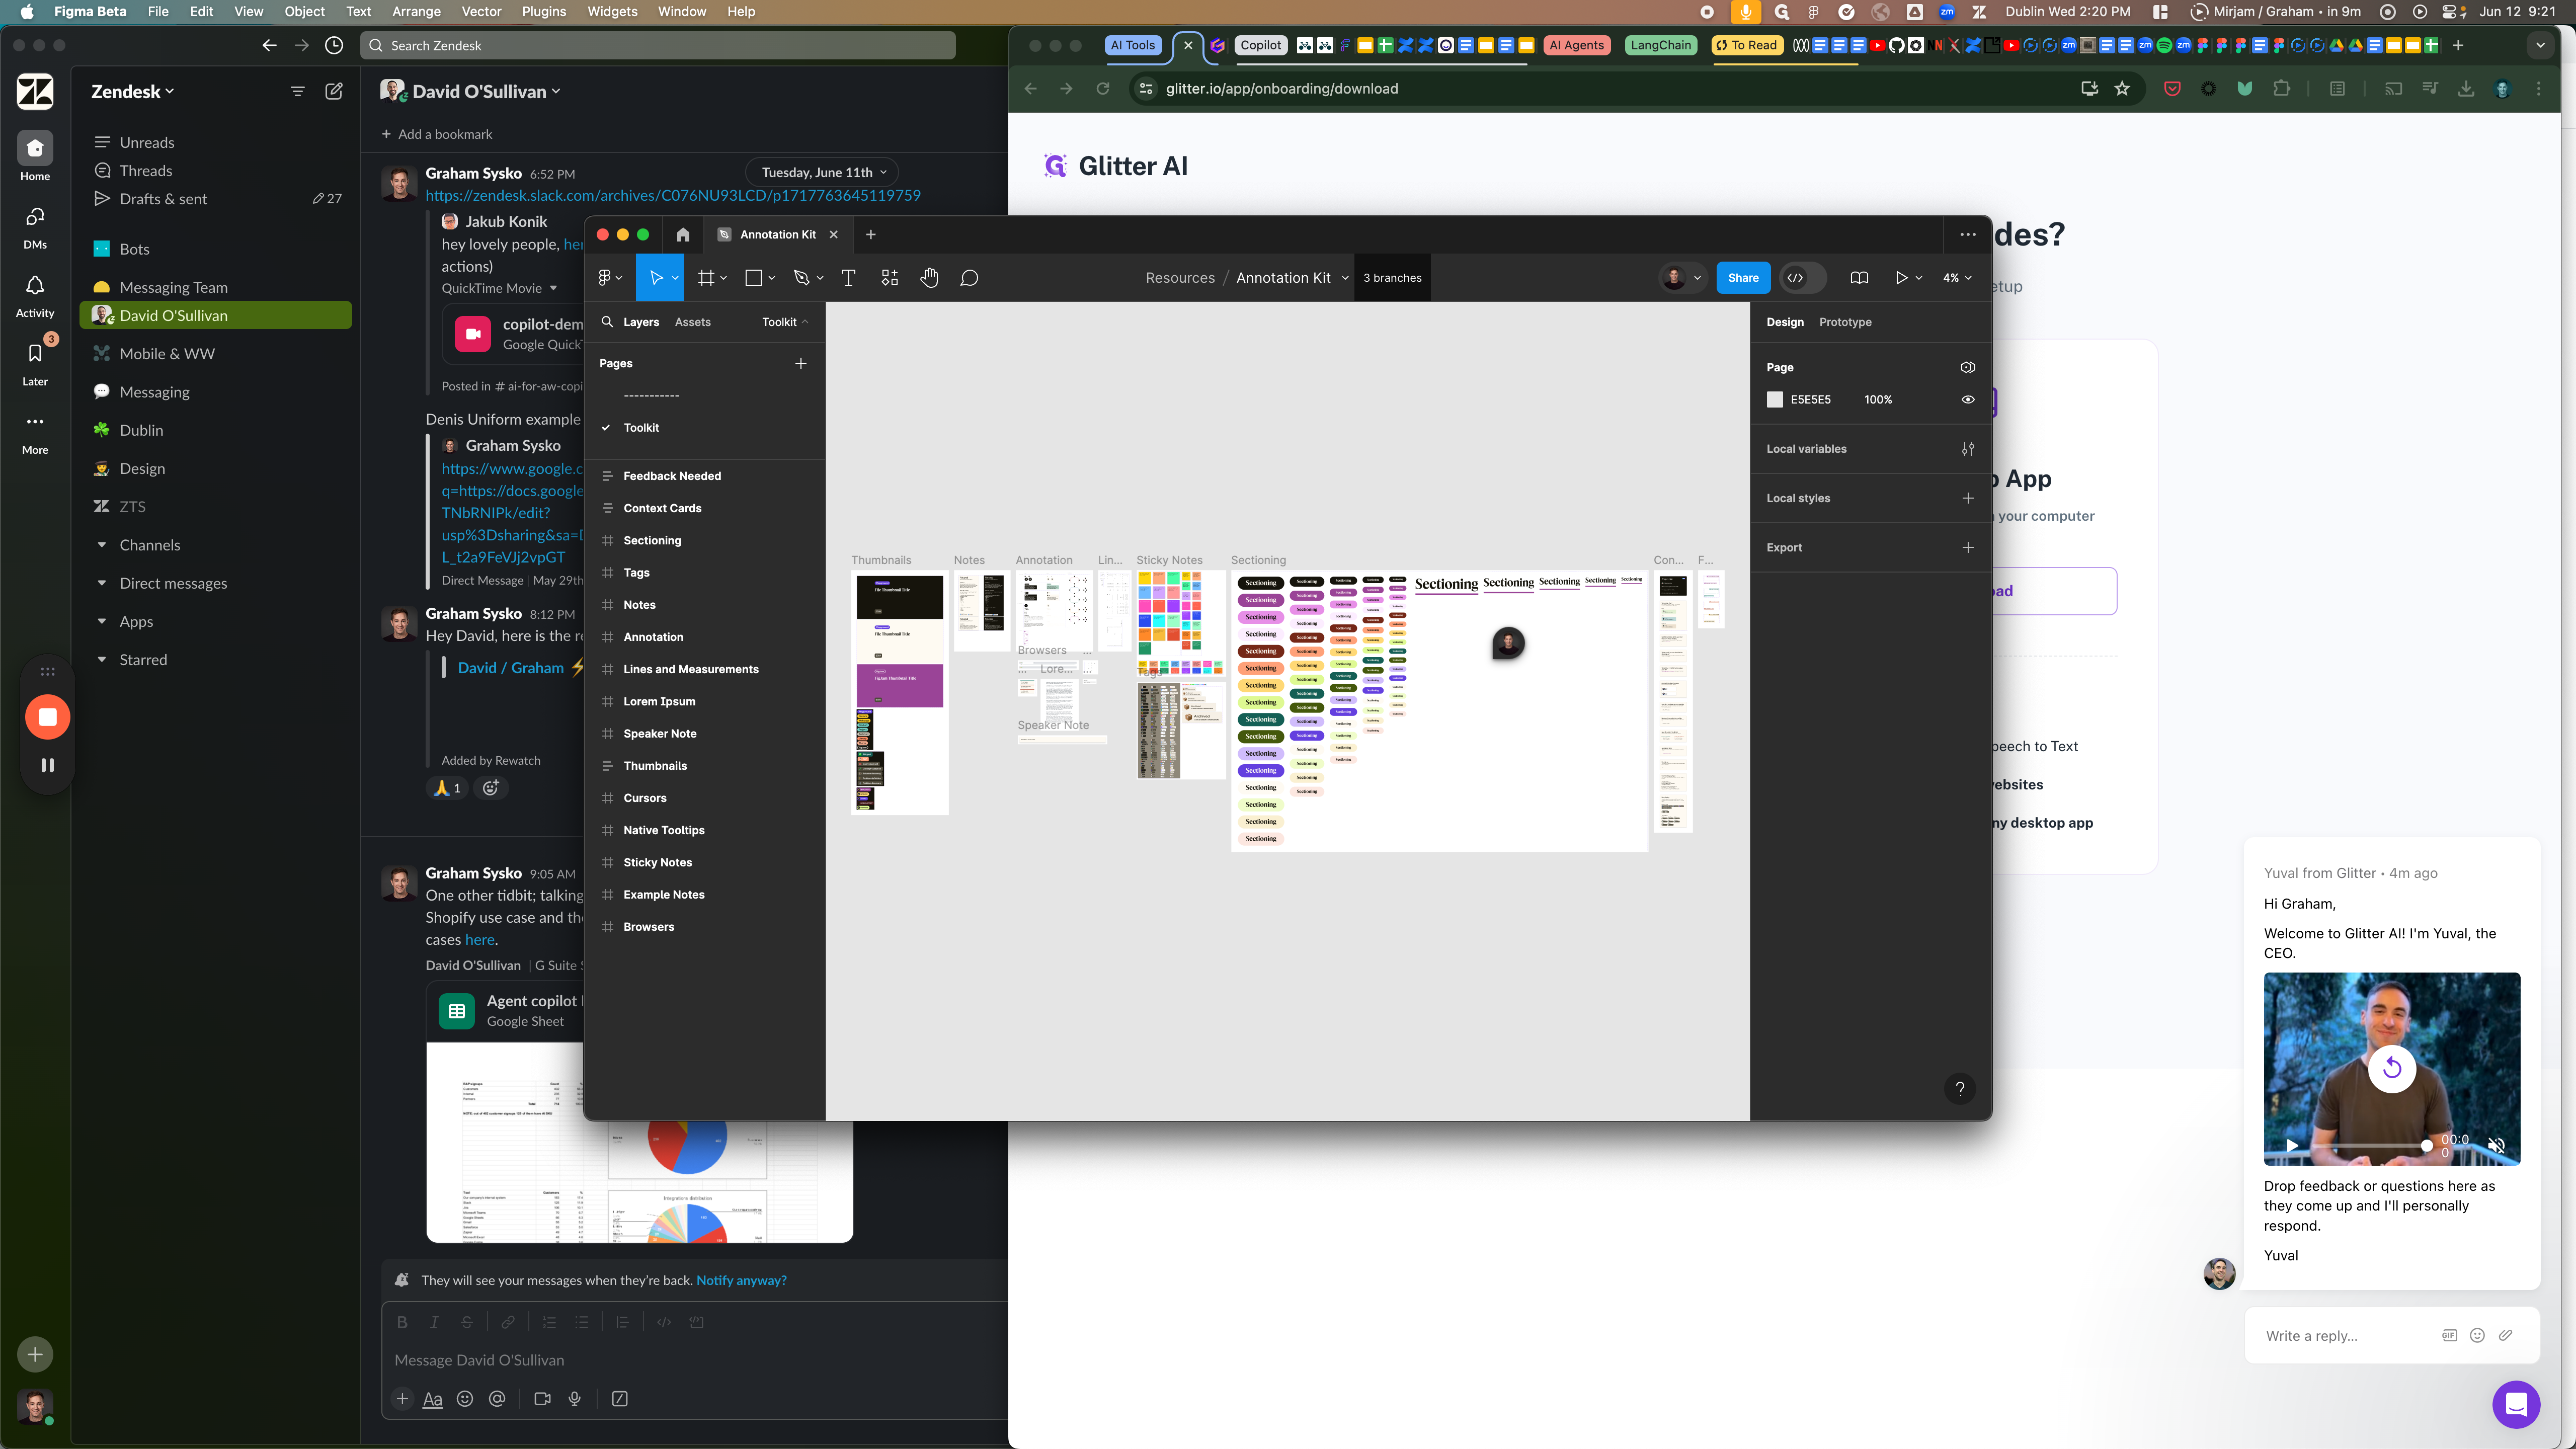
To manage branches, I will click at the top where it shows the number of branches.
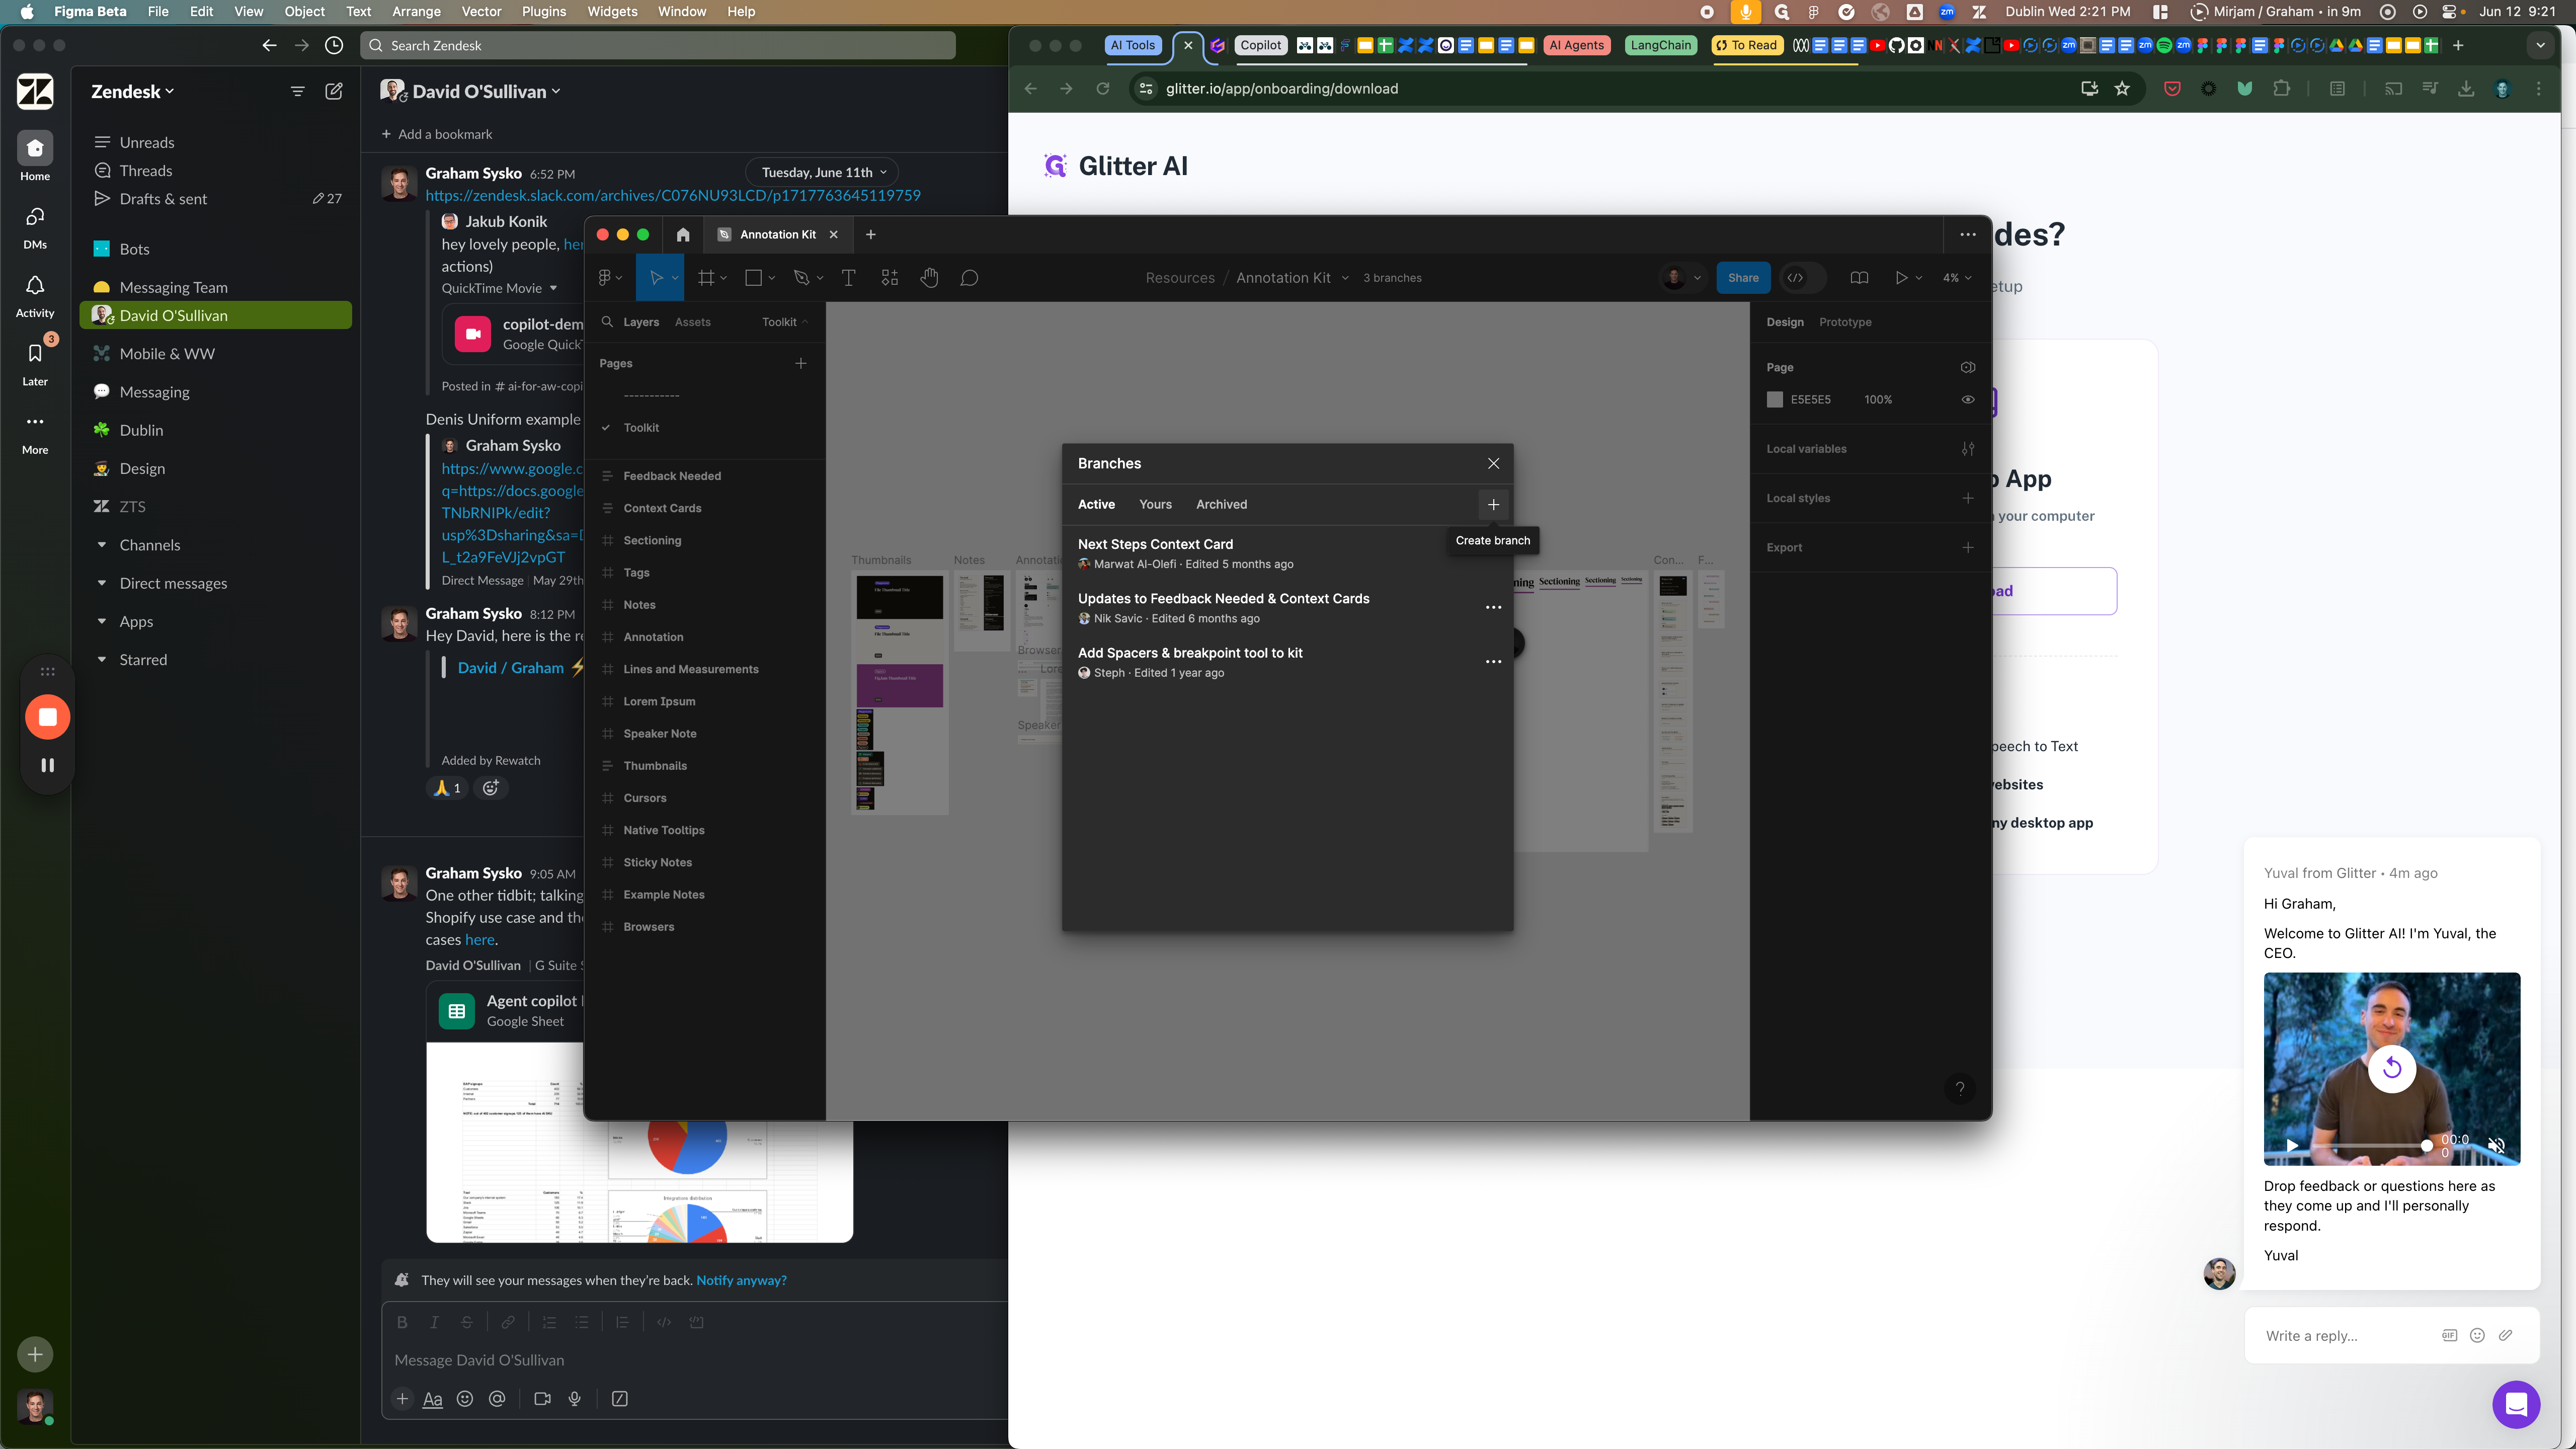
In the branches dialog, I can add my own branch.

I will call this "example branch" and create the new branch.
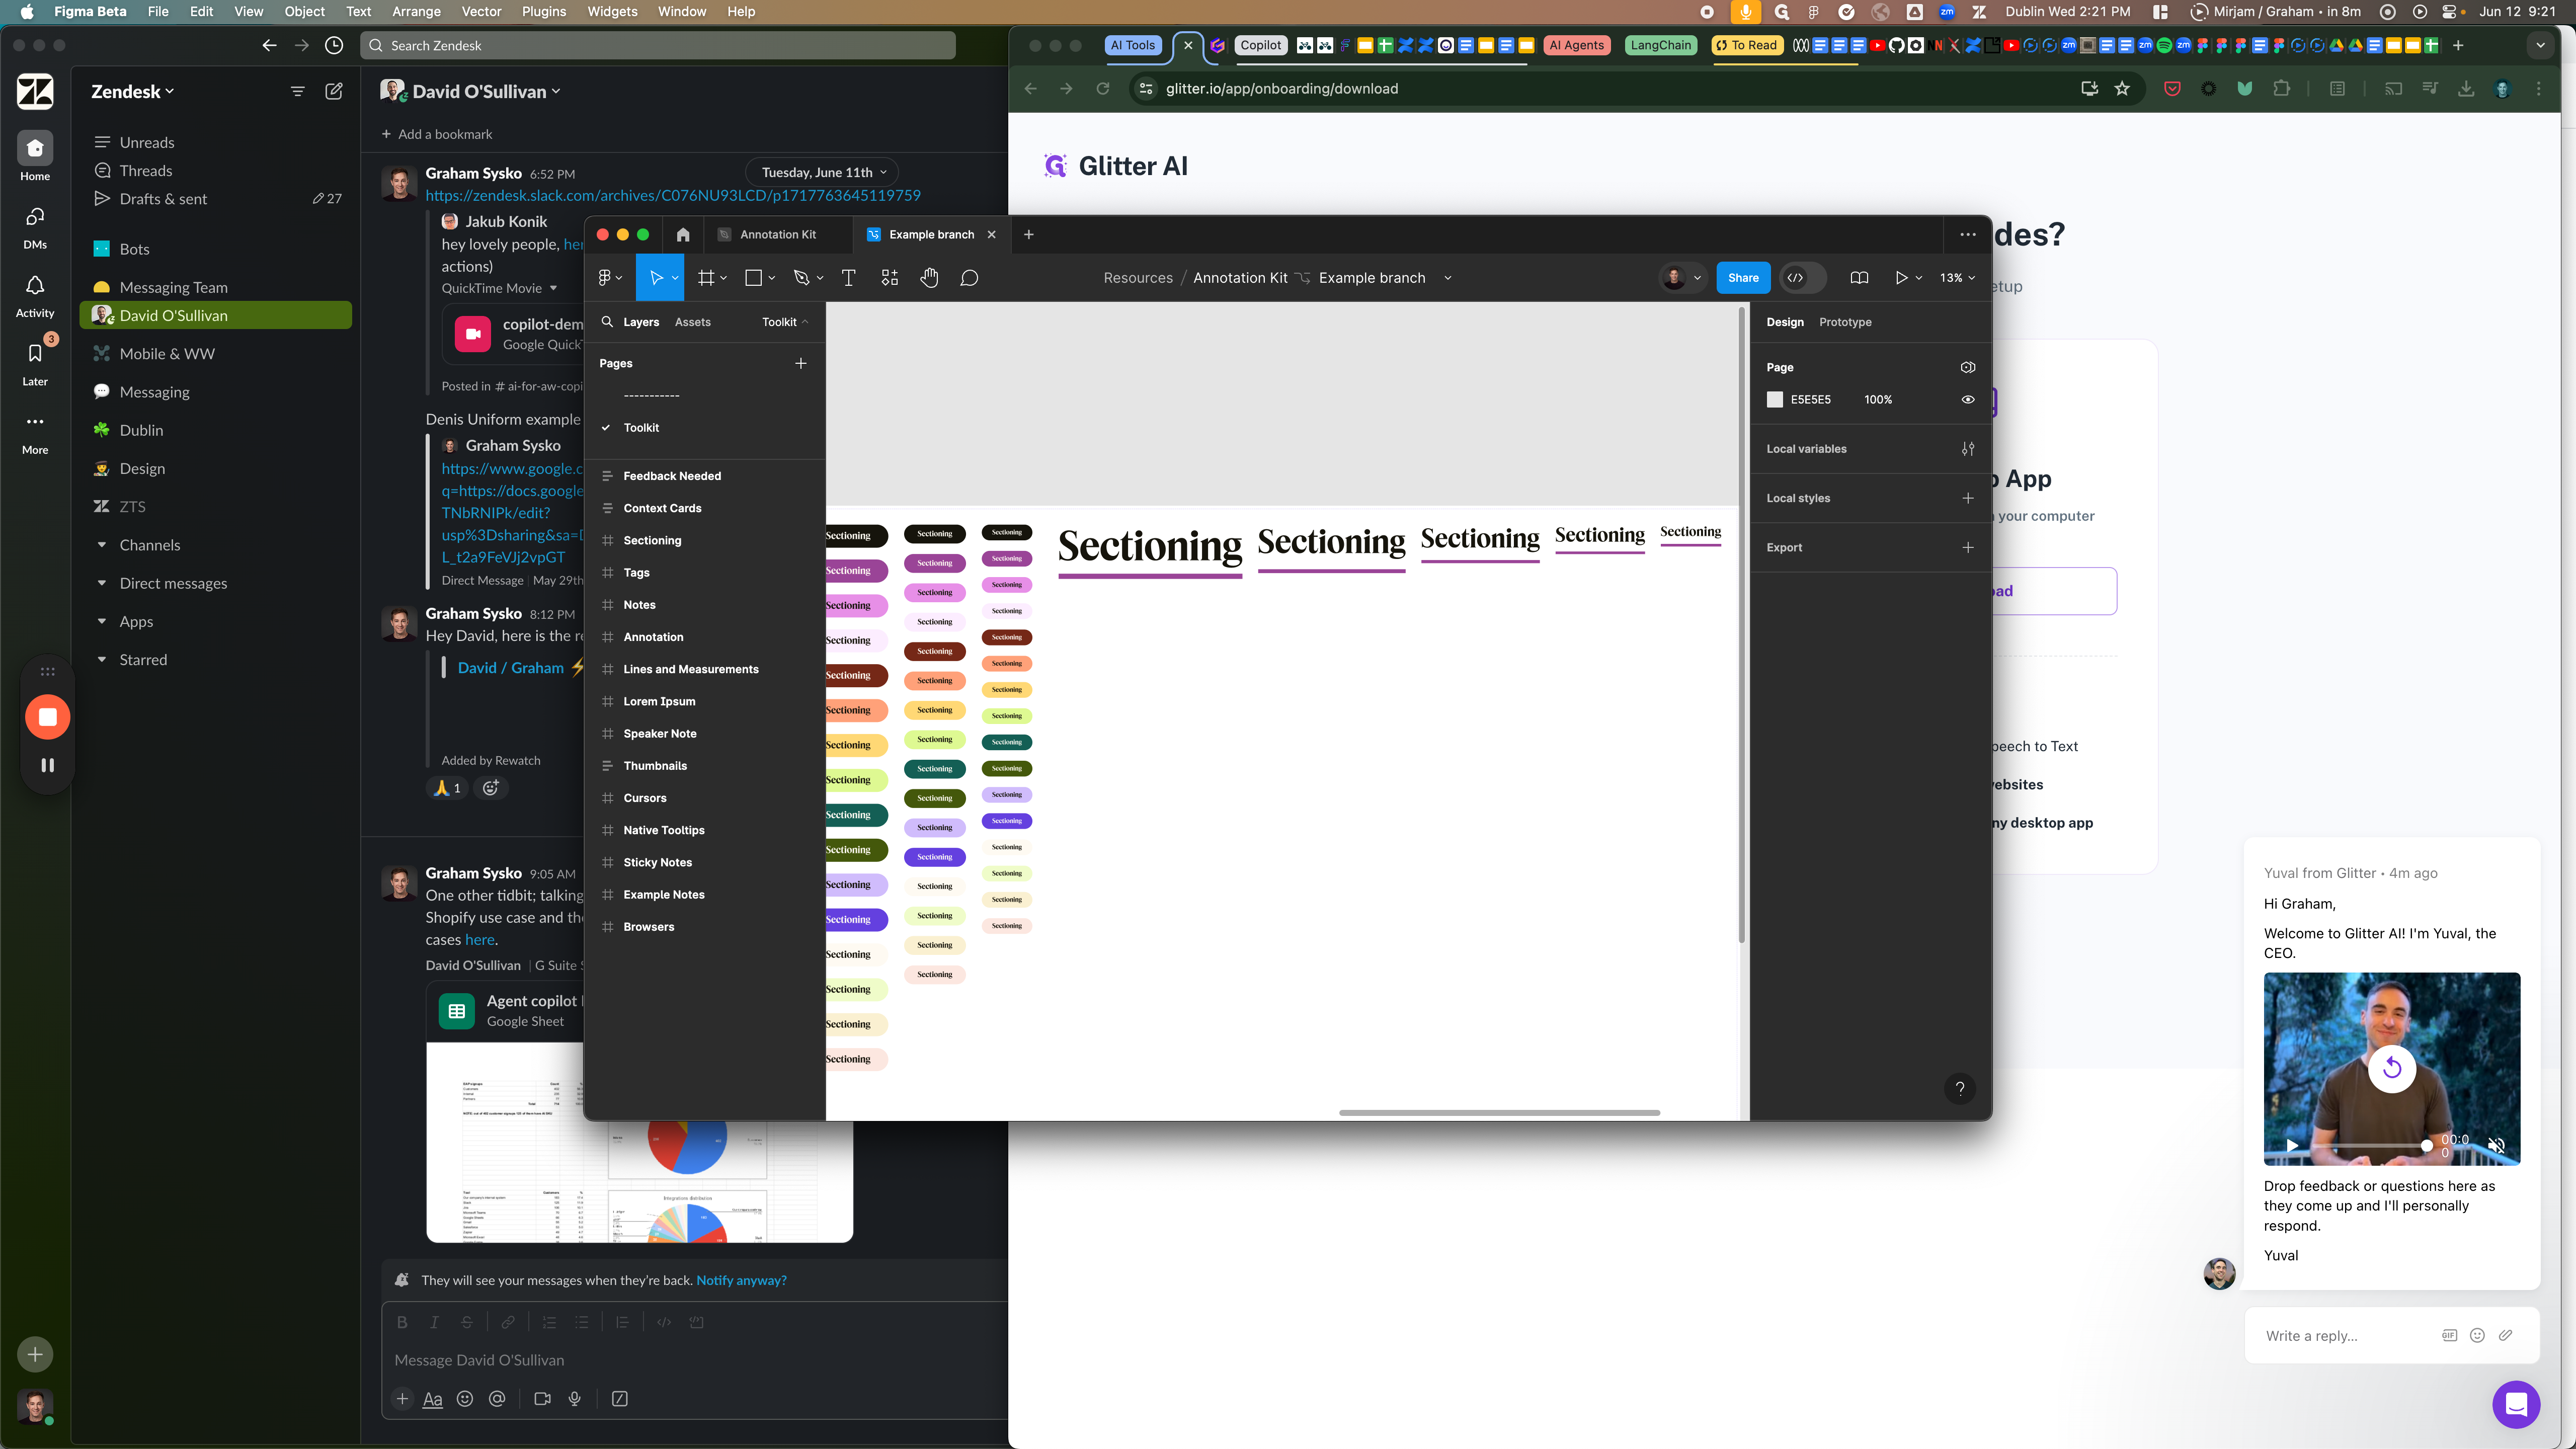
I now have two tabs open: one with the original annotation kit and one with my branch for edits.
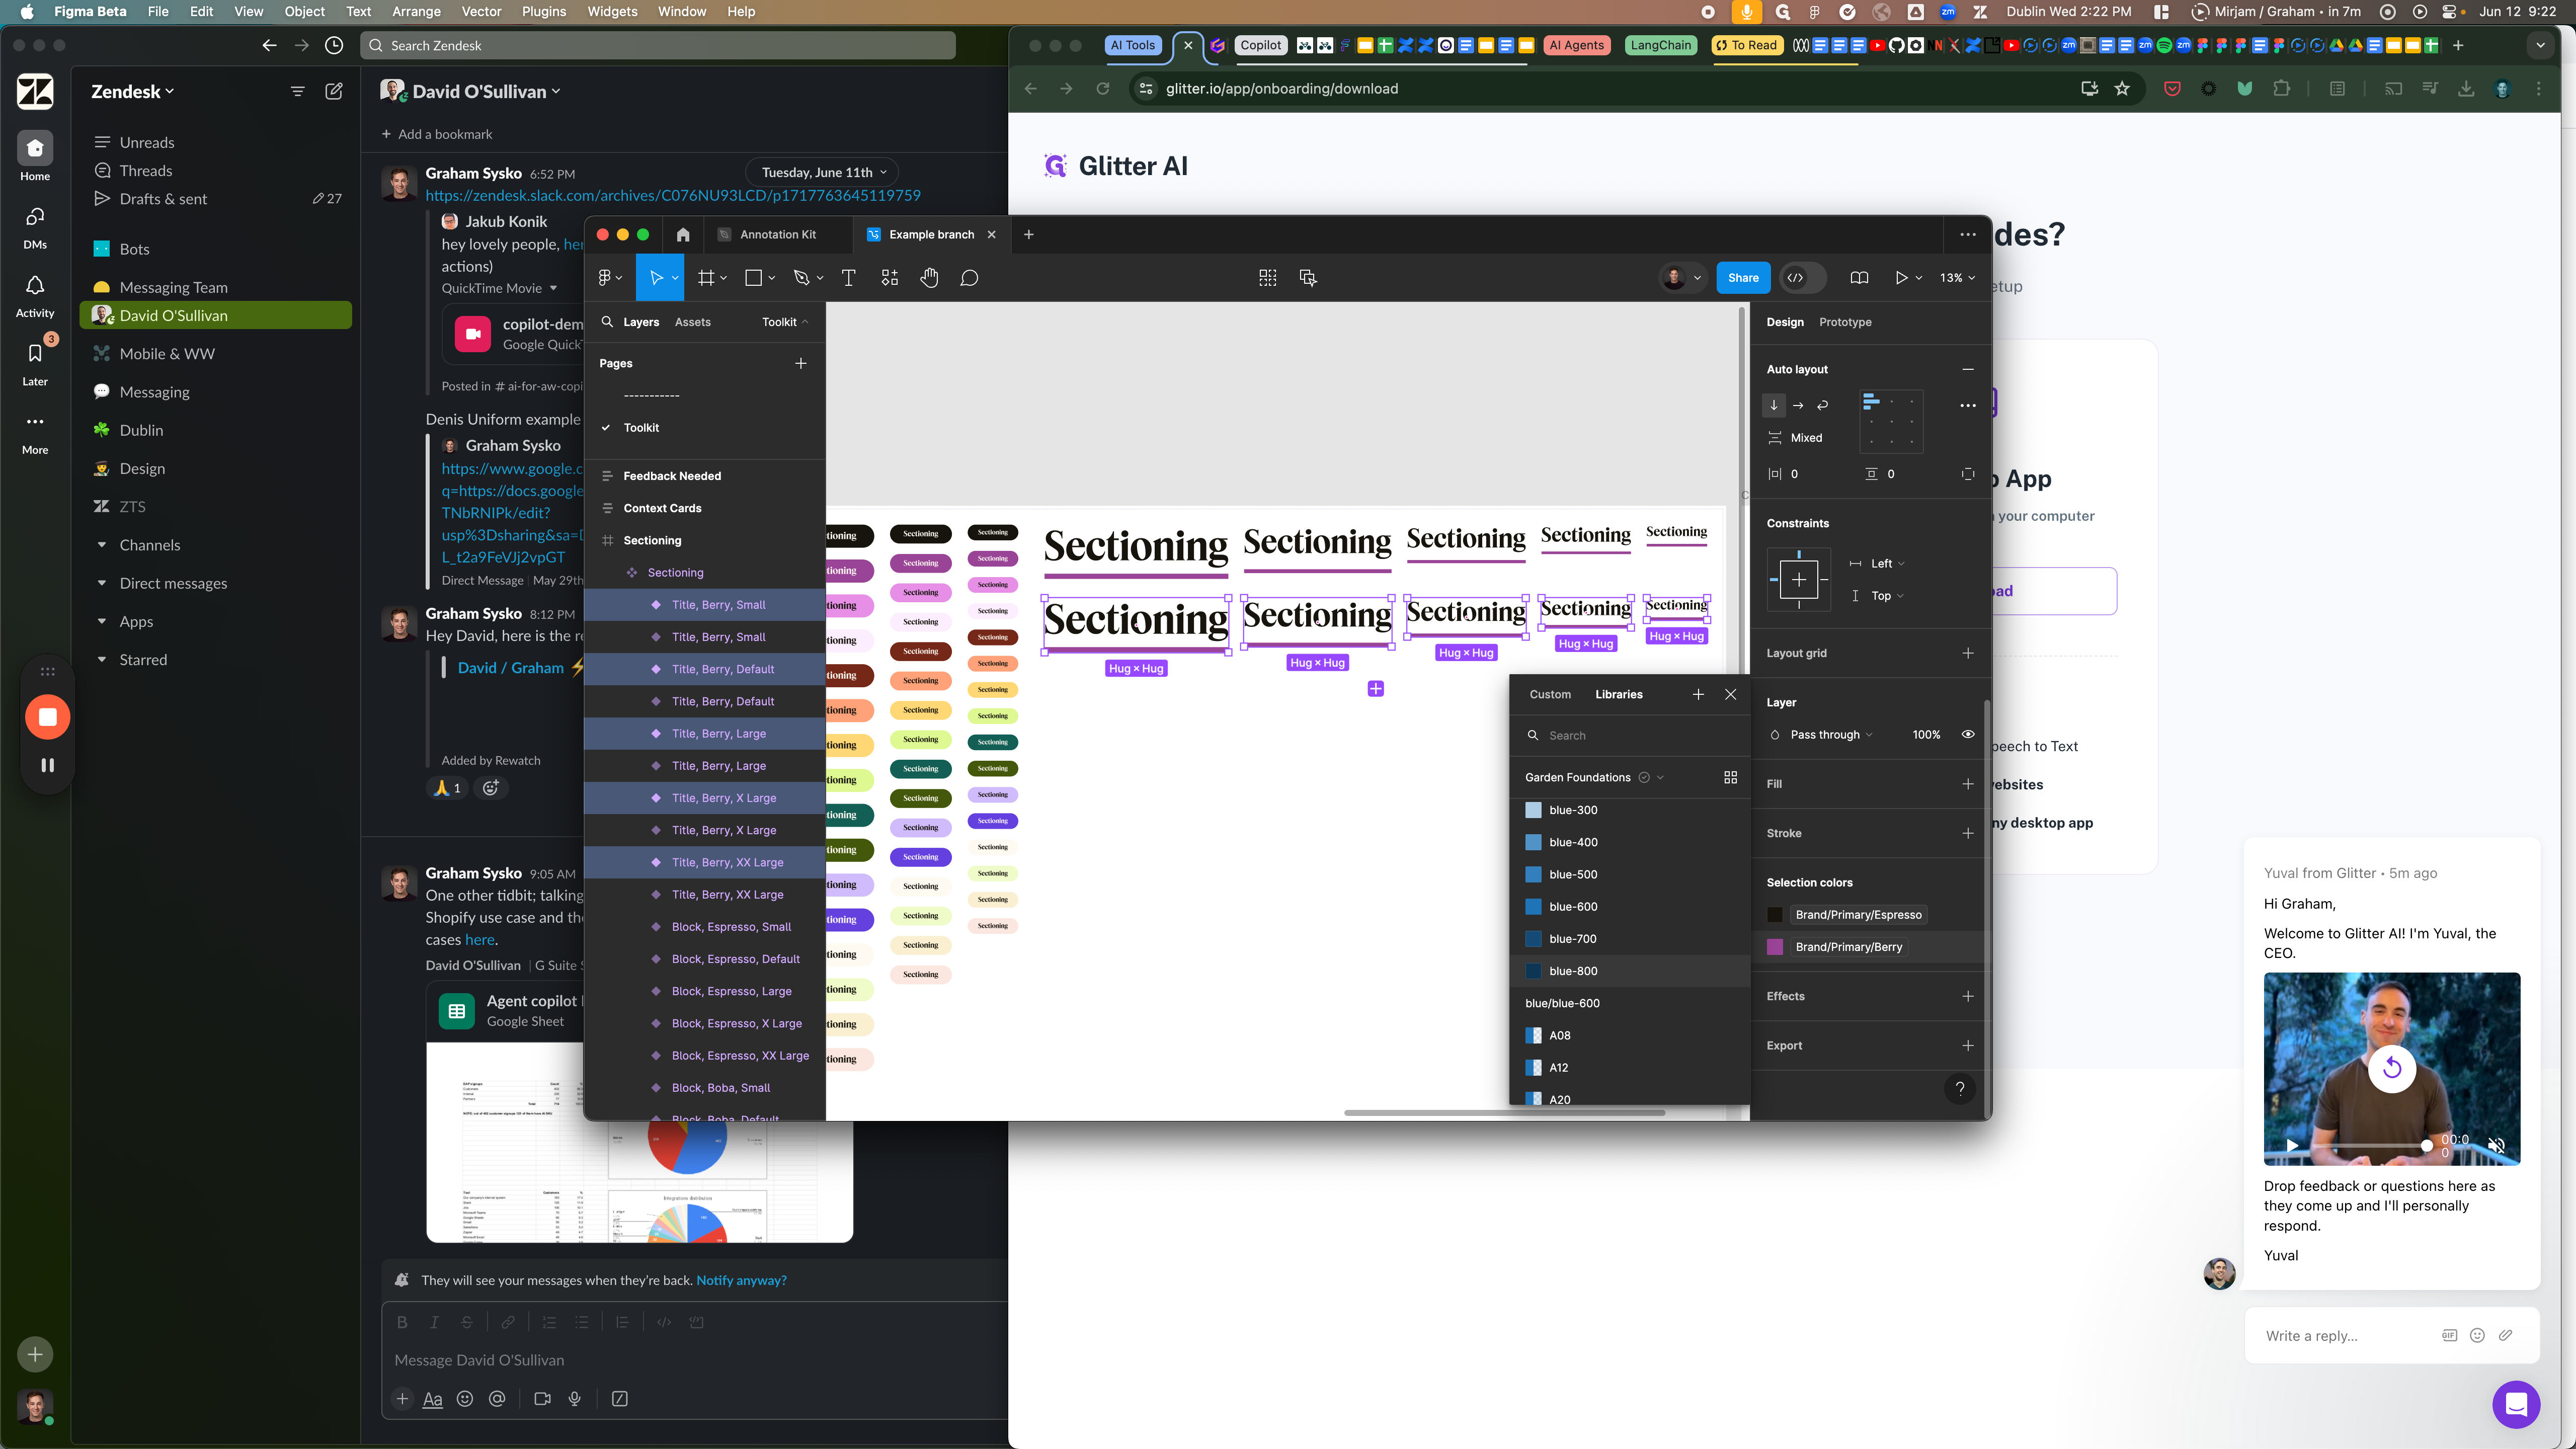
In this example, I won't create a completely new component but maybe I want to update an existing one. We have sectioning titles with a purplish color, so say I want to create another set with different colors. We'll use that edit as an example.
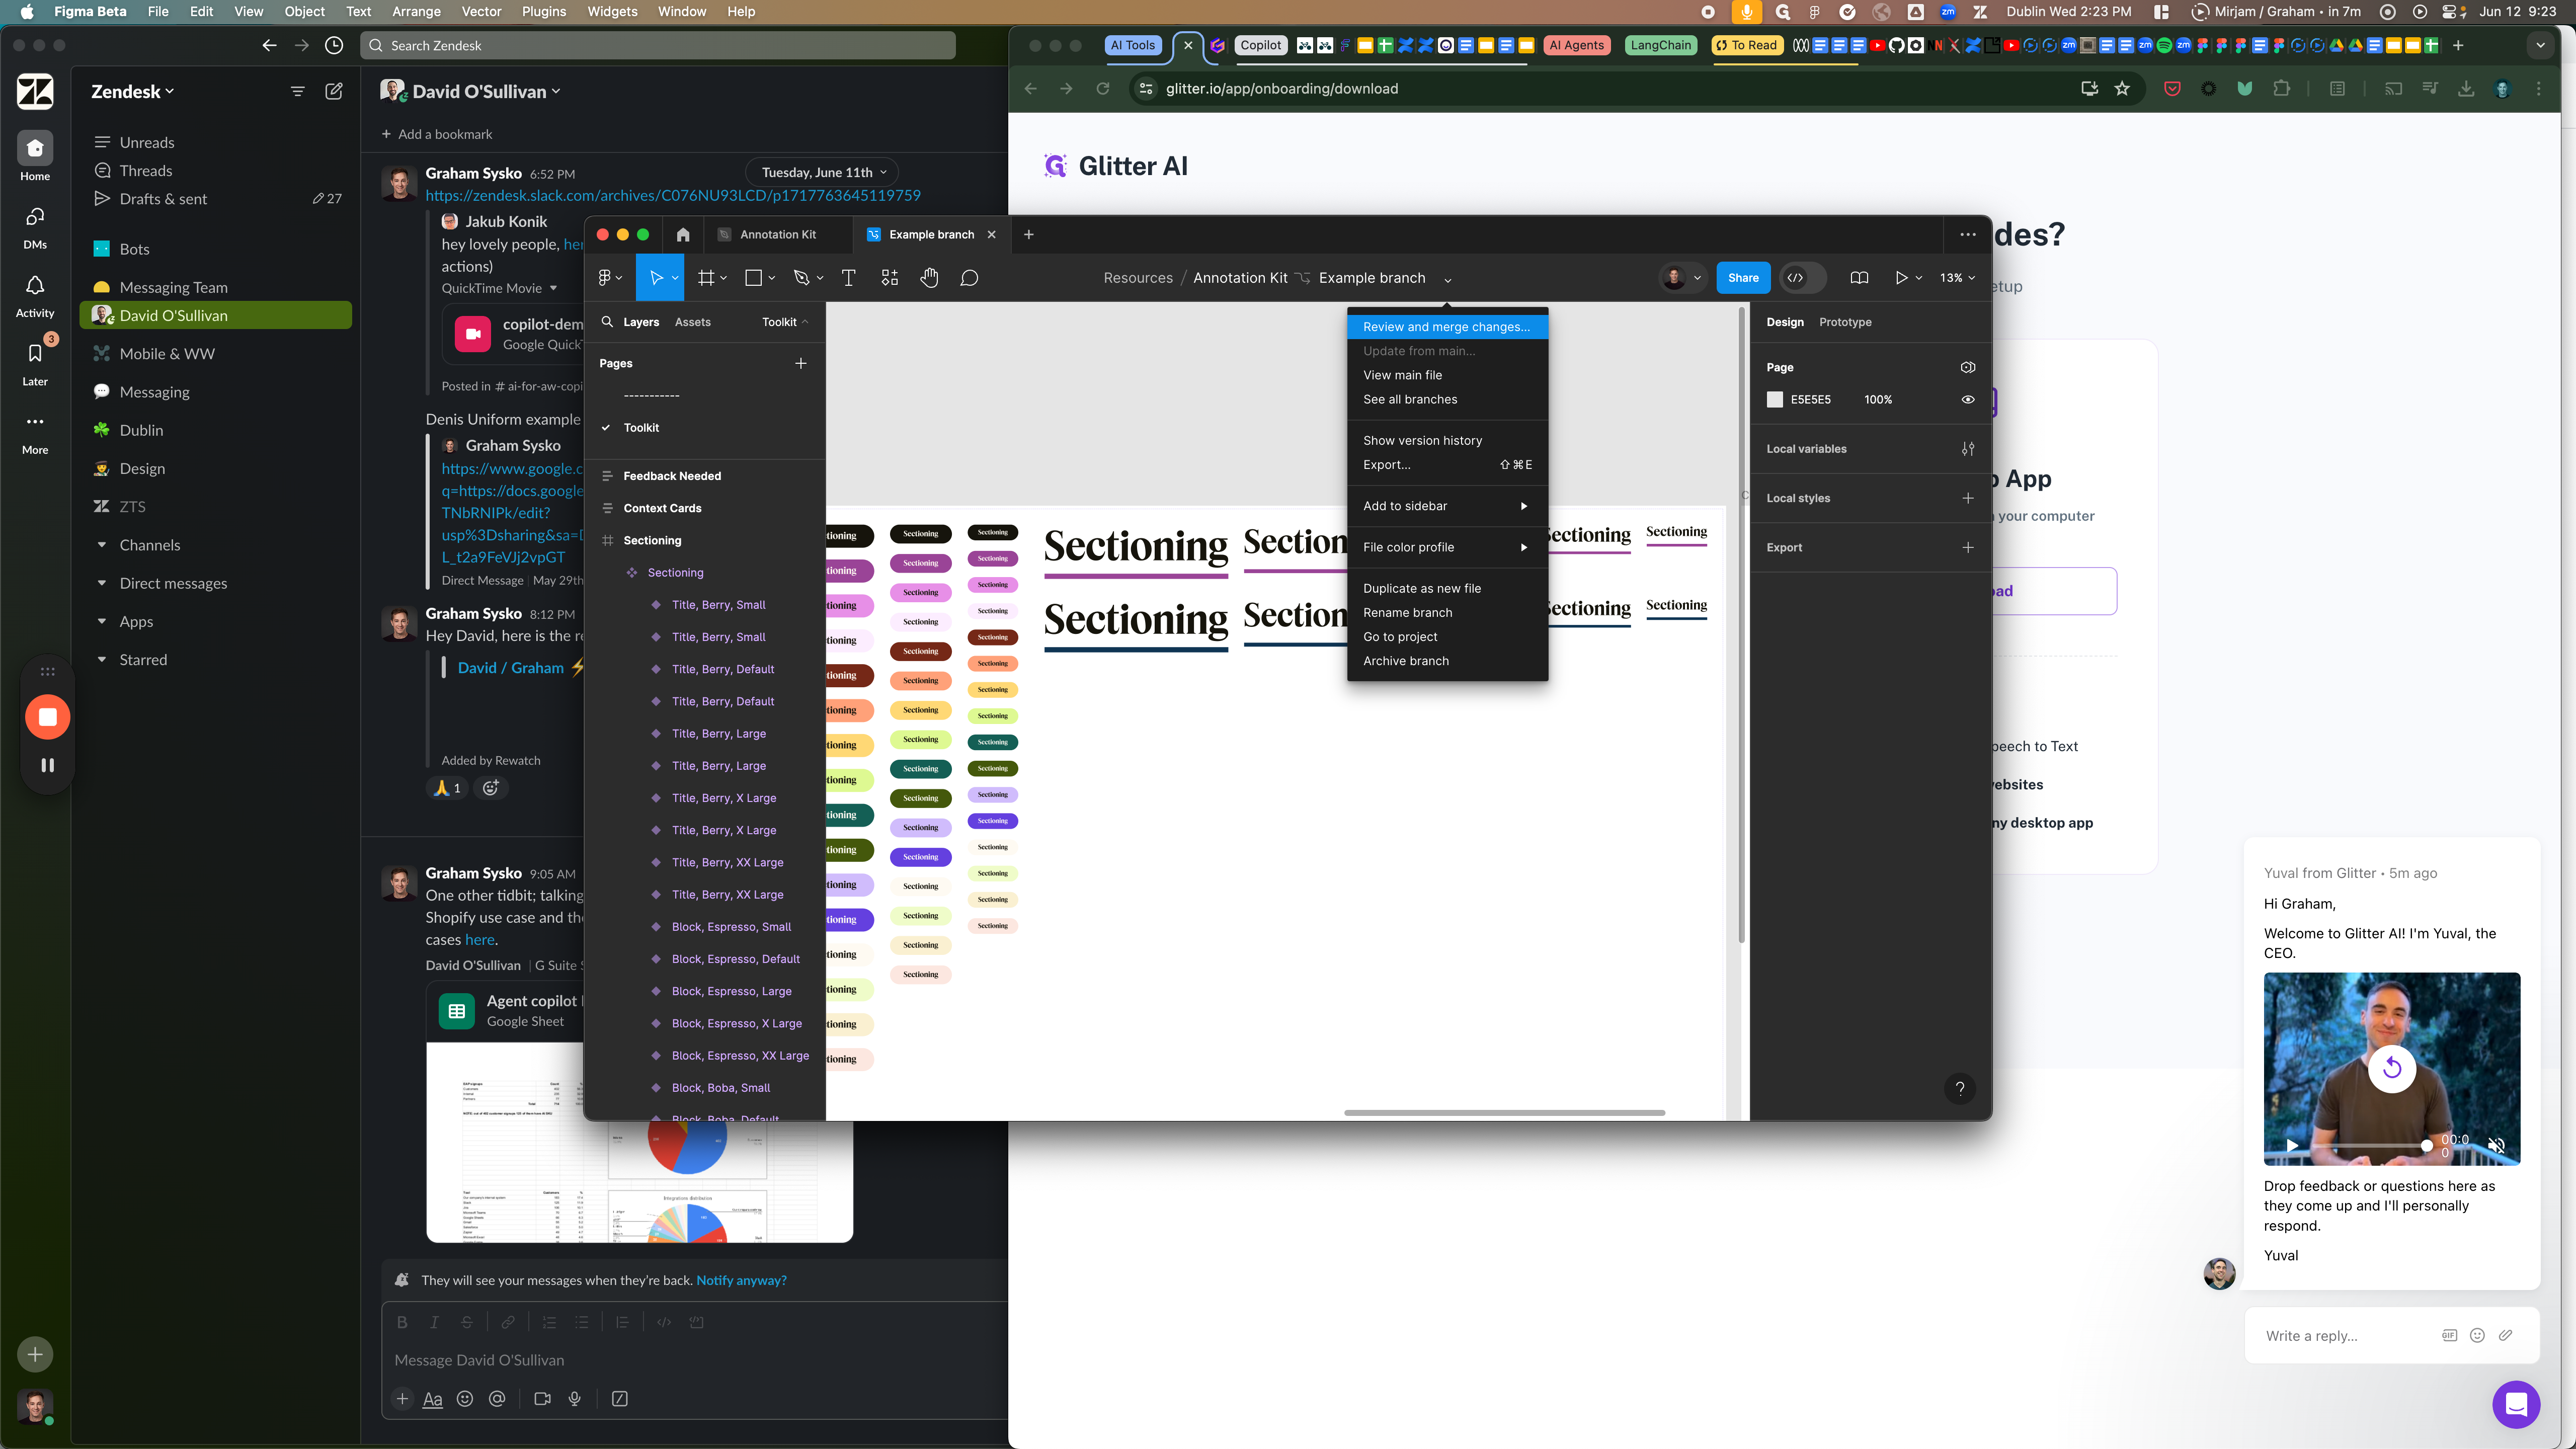
With this completed, click the branch menu at the top and select "Review and Merge Changes."
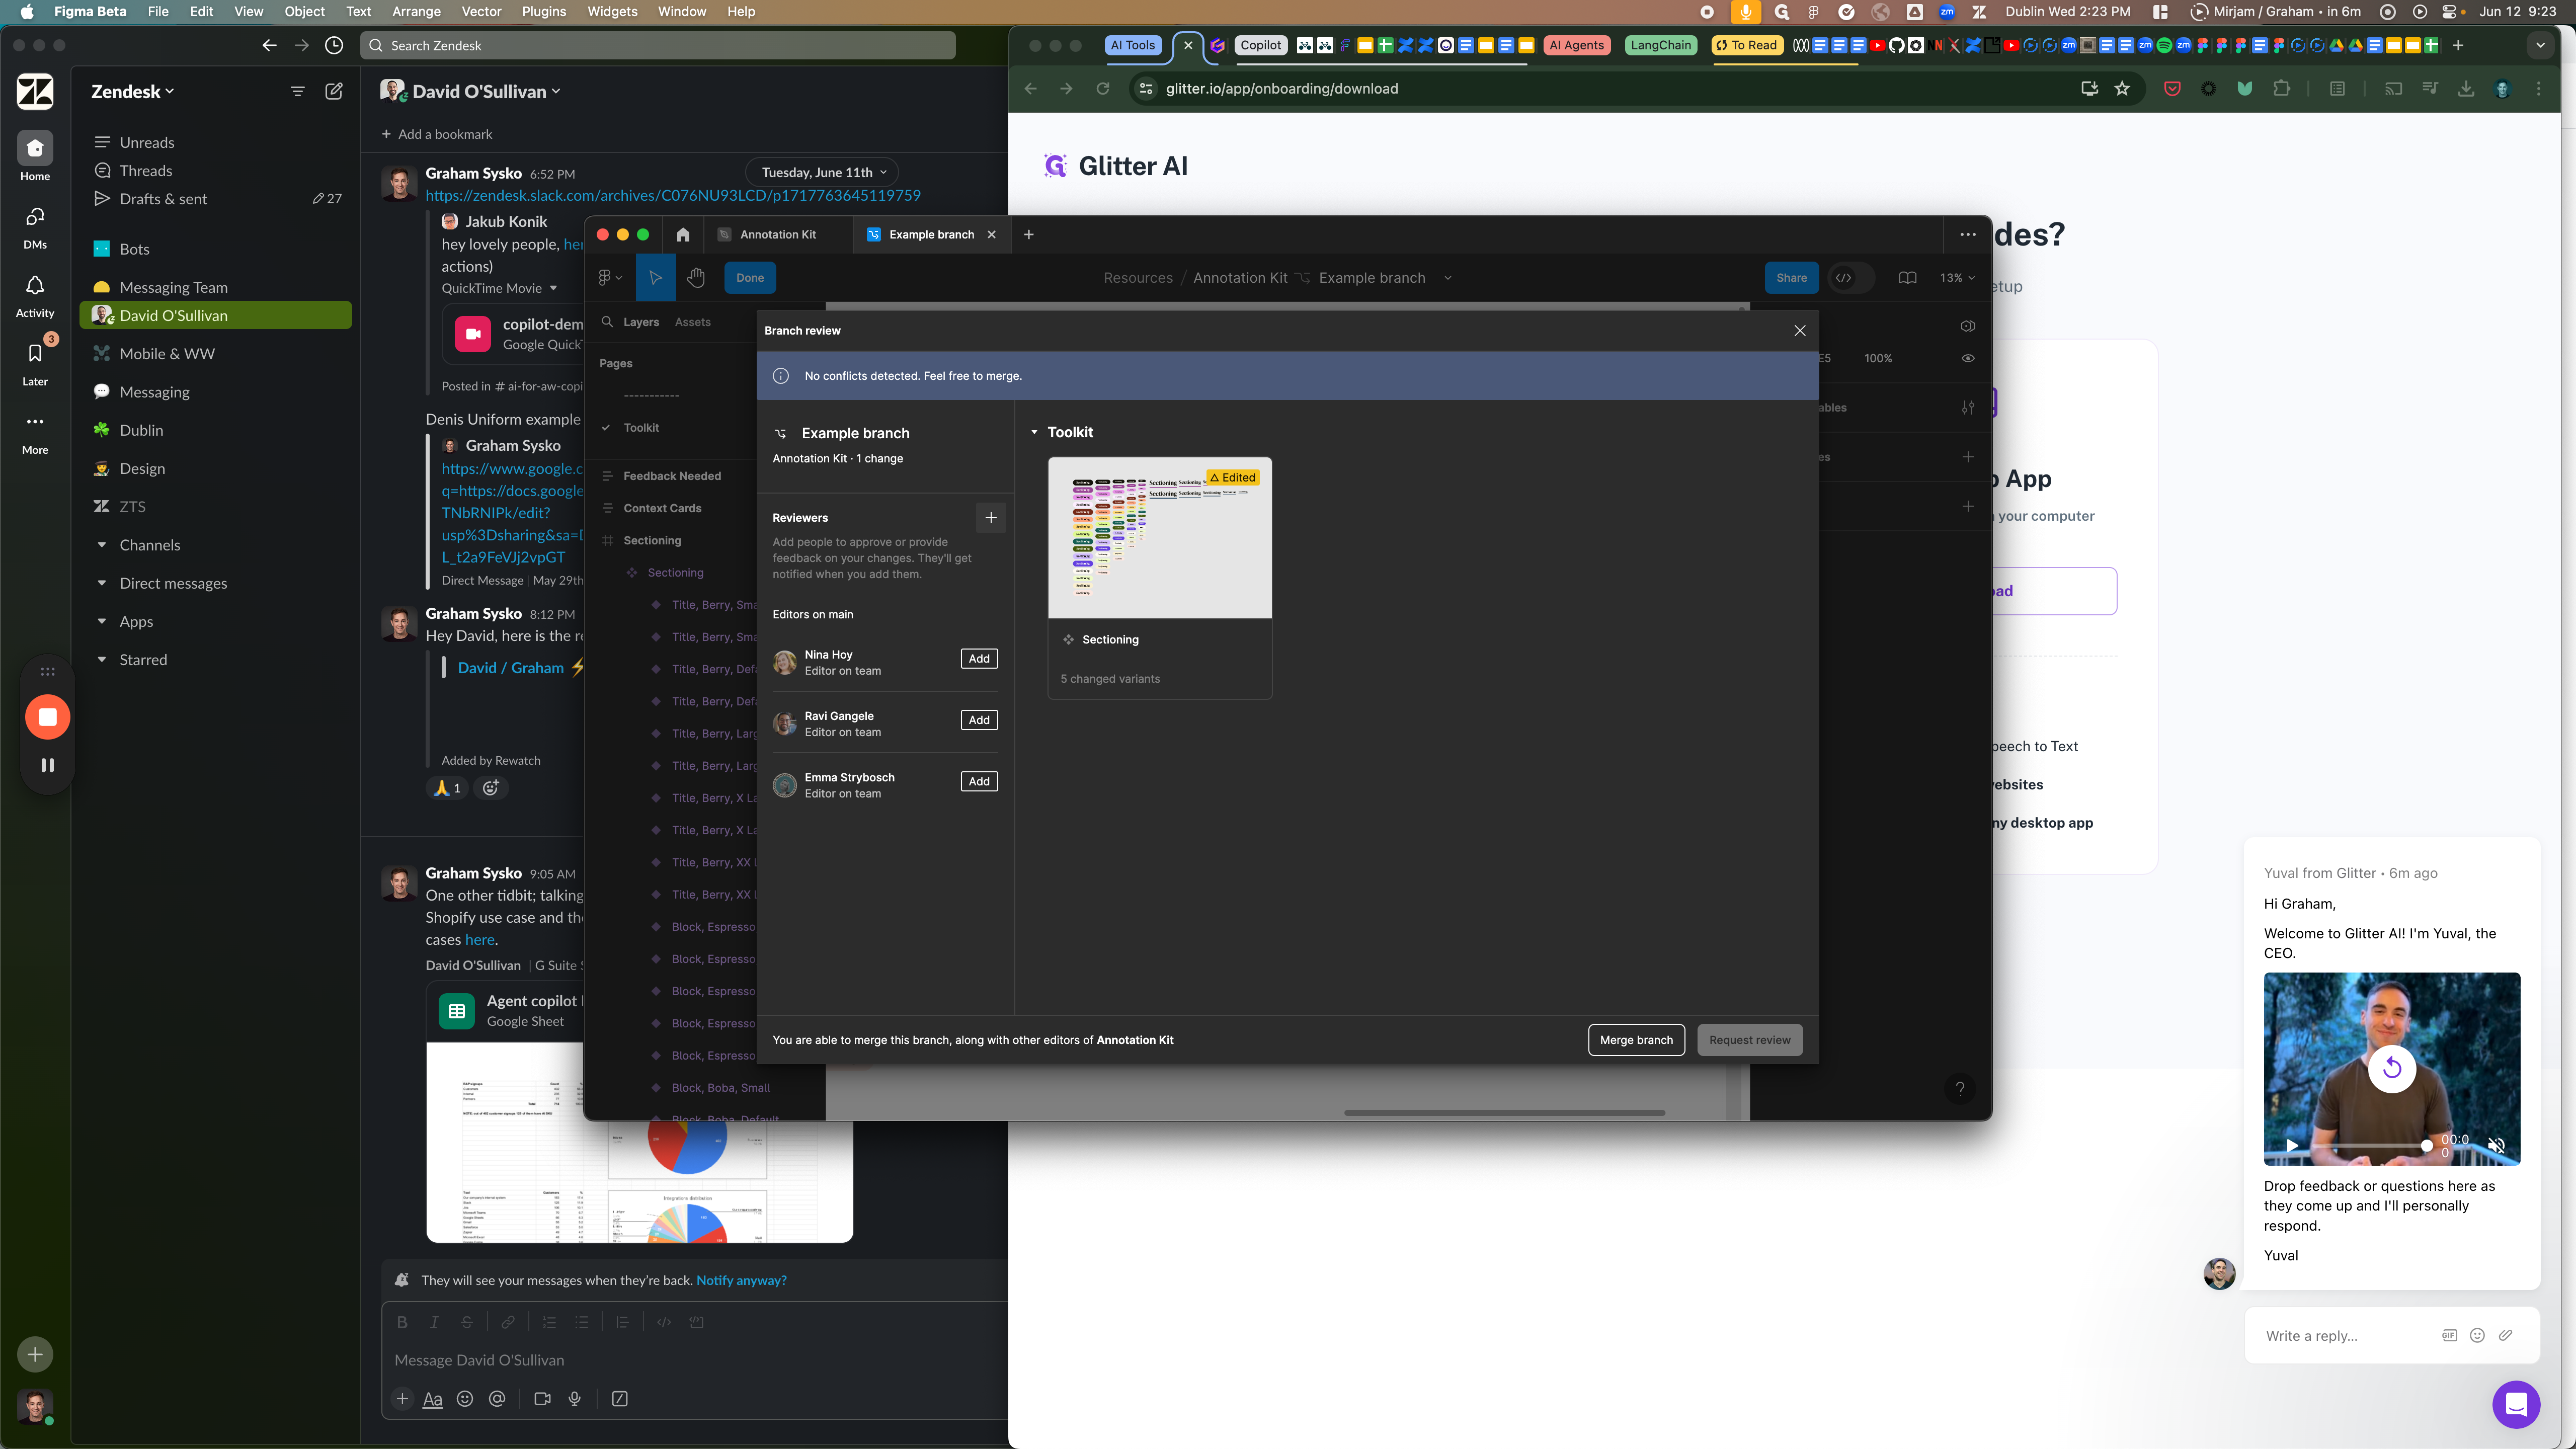
I can see what's edited here, and since I cannot publish the library myself, it's important to select one of the editors as a reviewer. They will be suggested here. You can pick anyone from the garden team or myself (Graham Sysko).
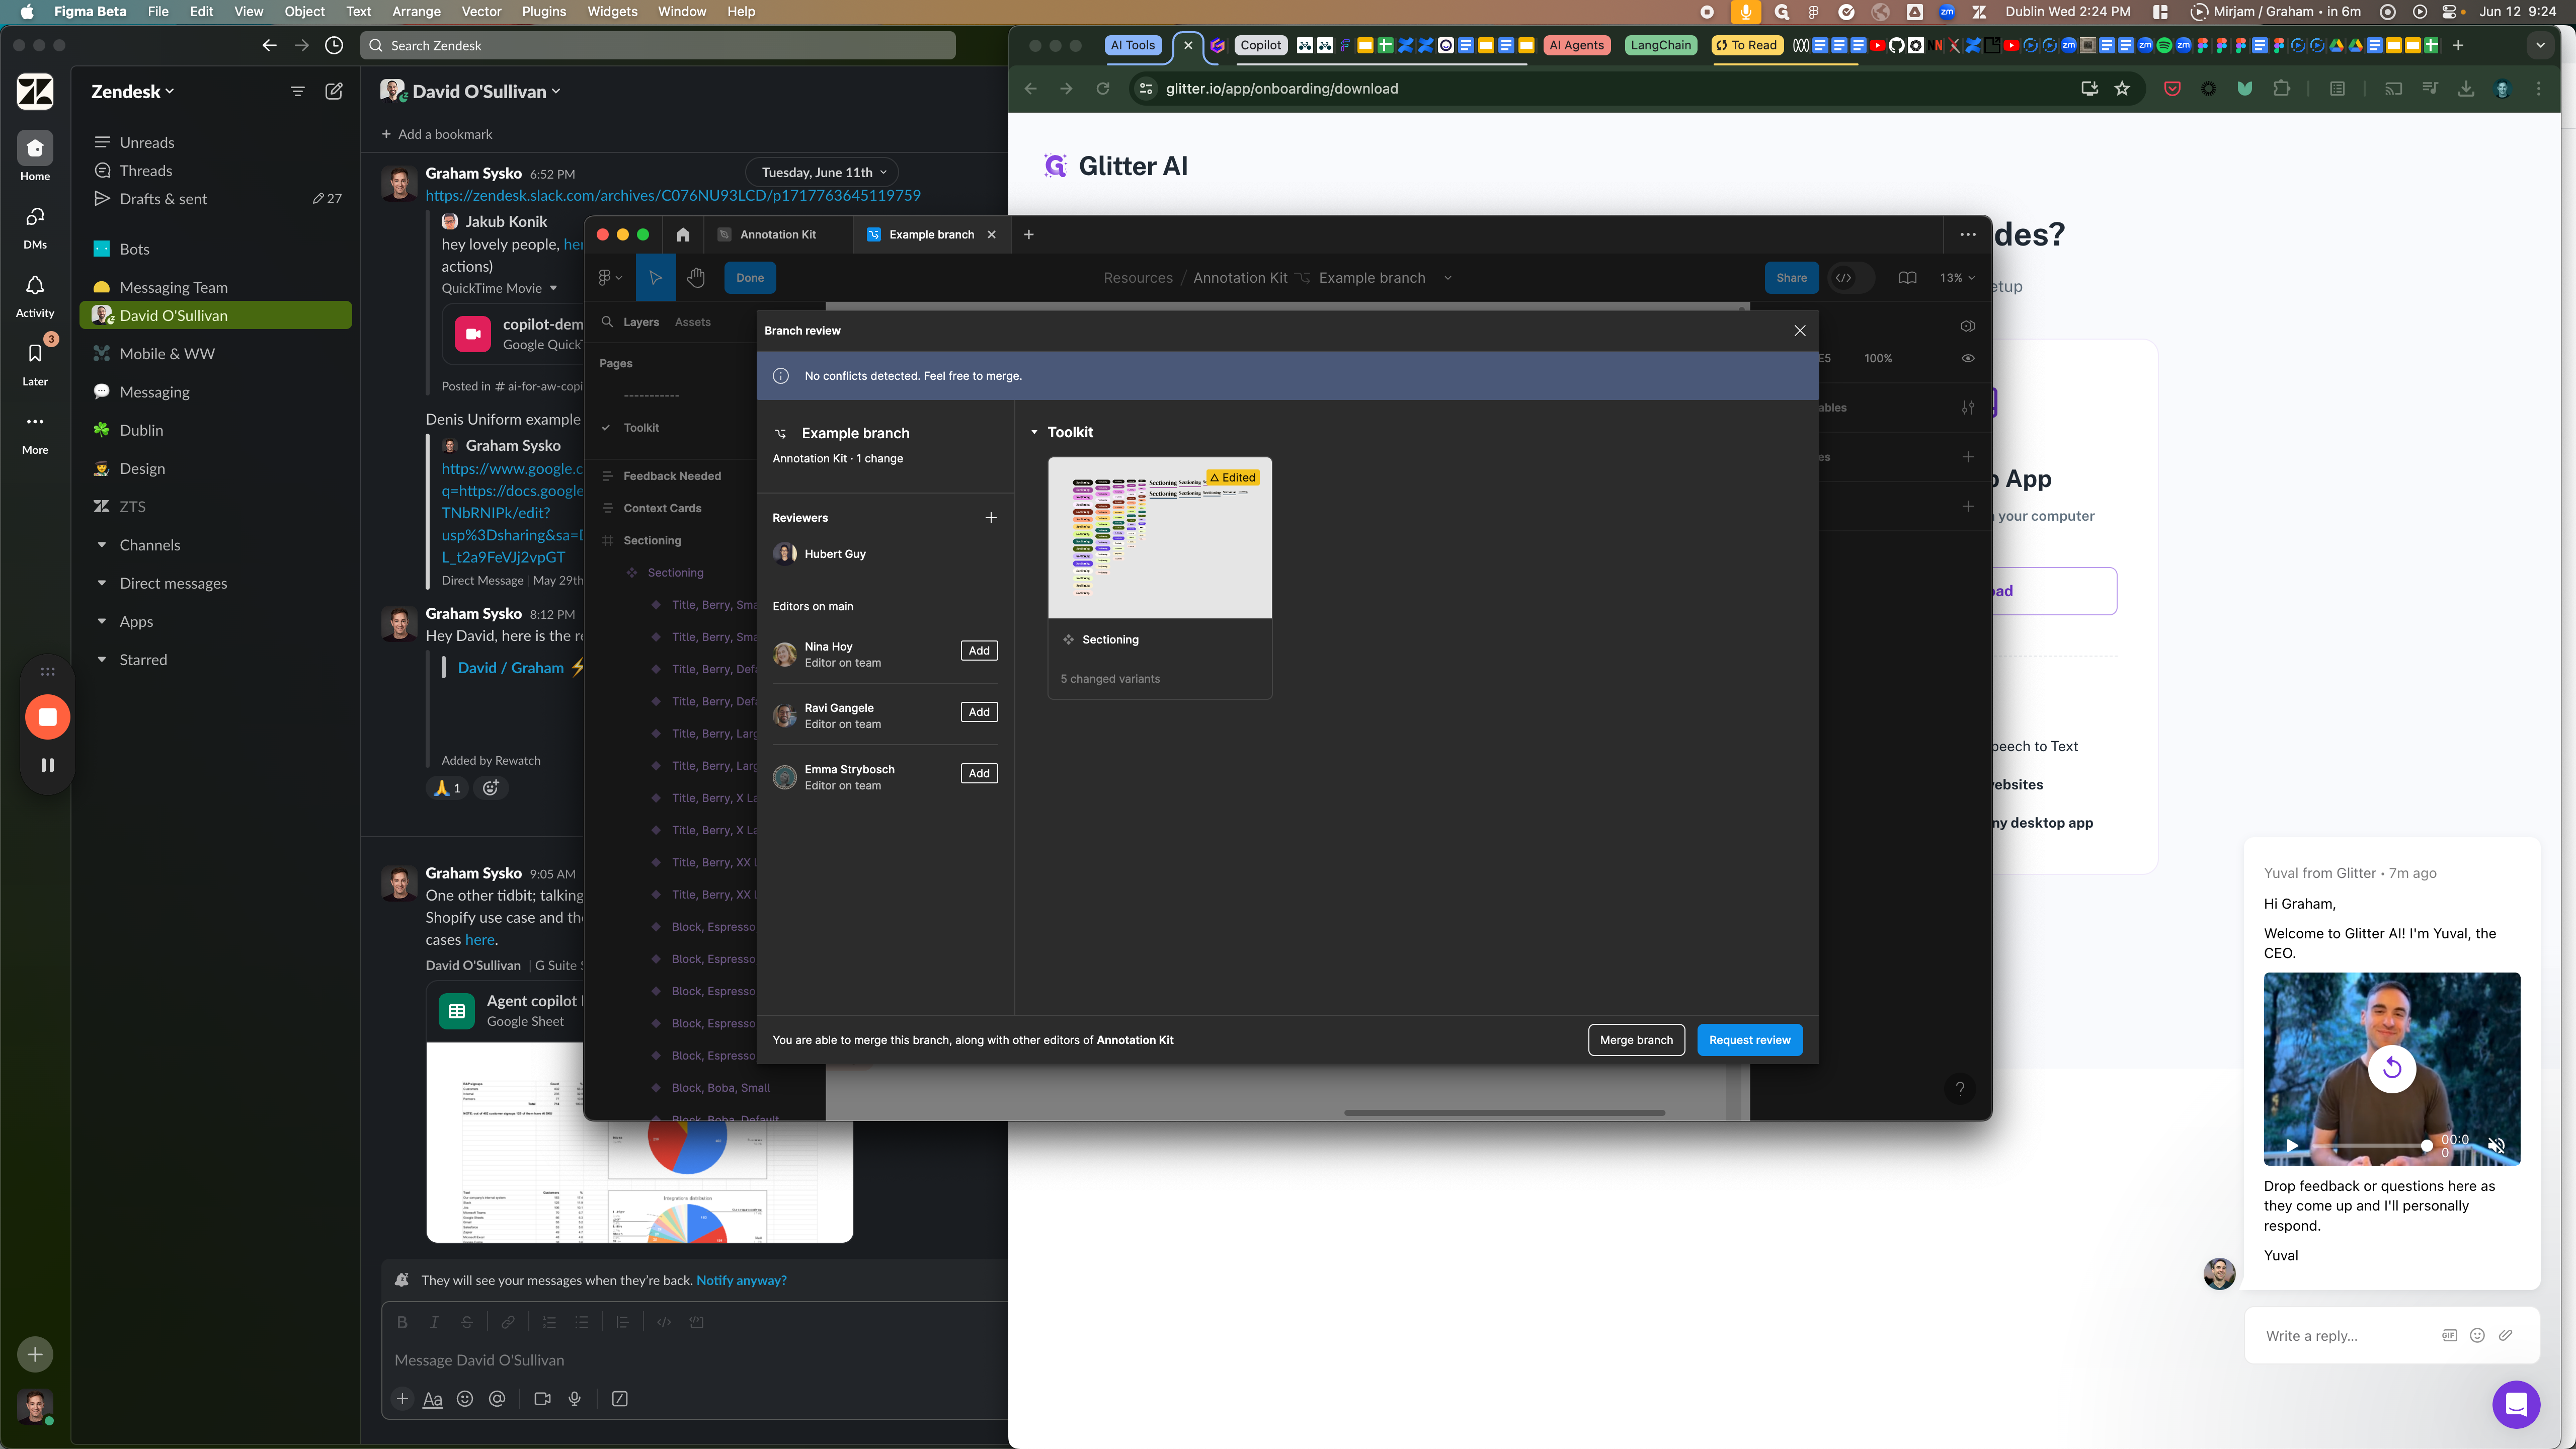
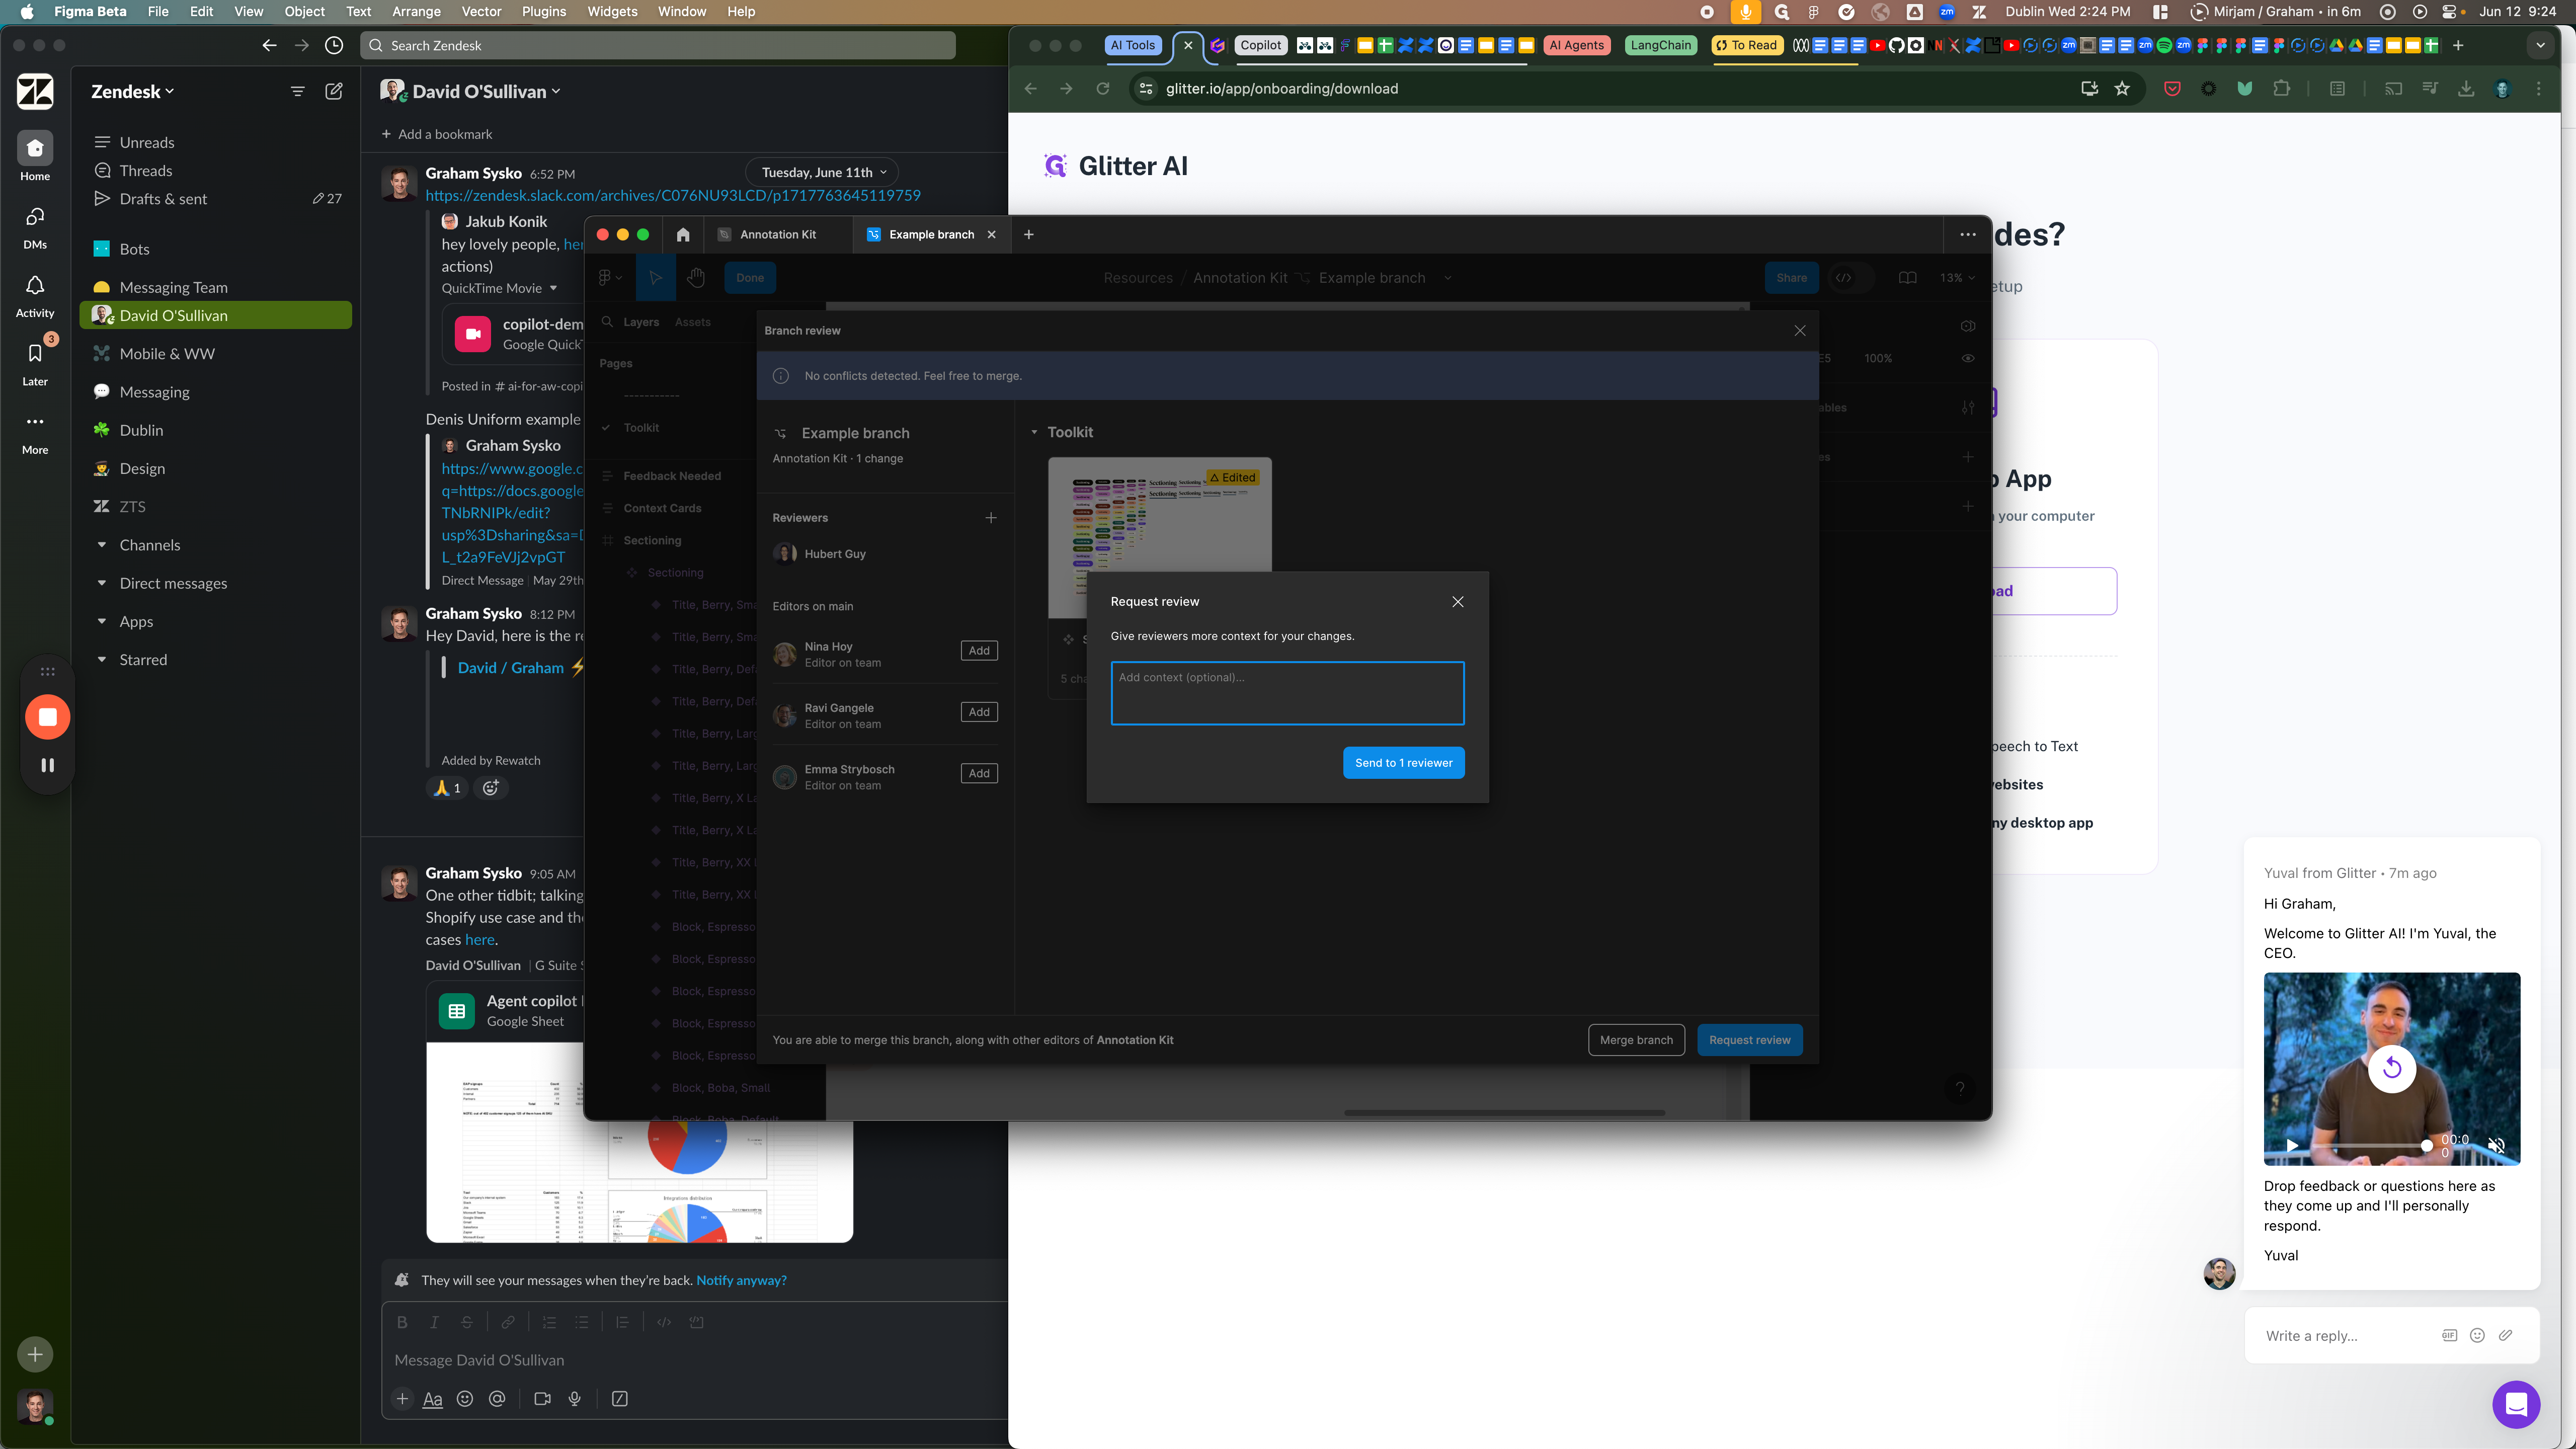
Finally, provide a description of what you have added or changed.
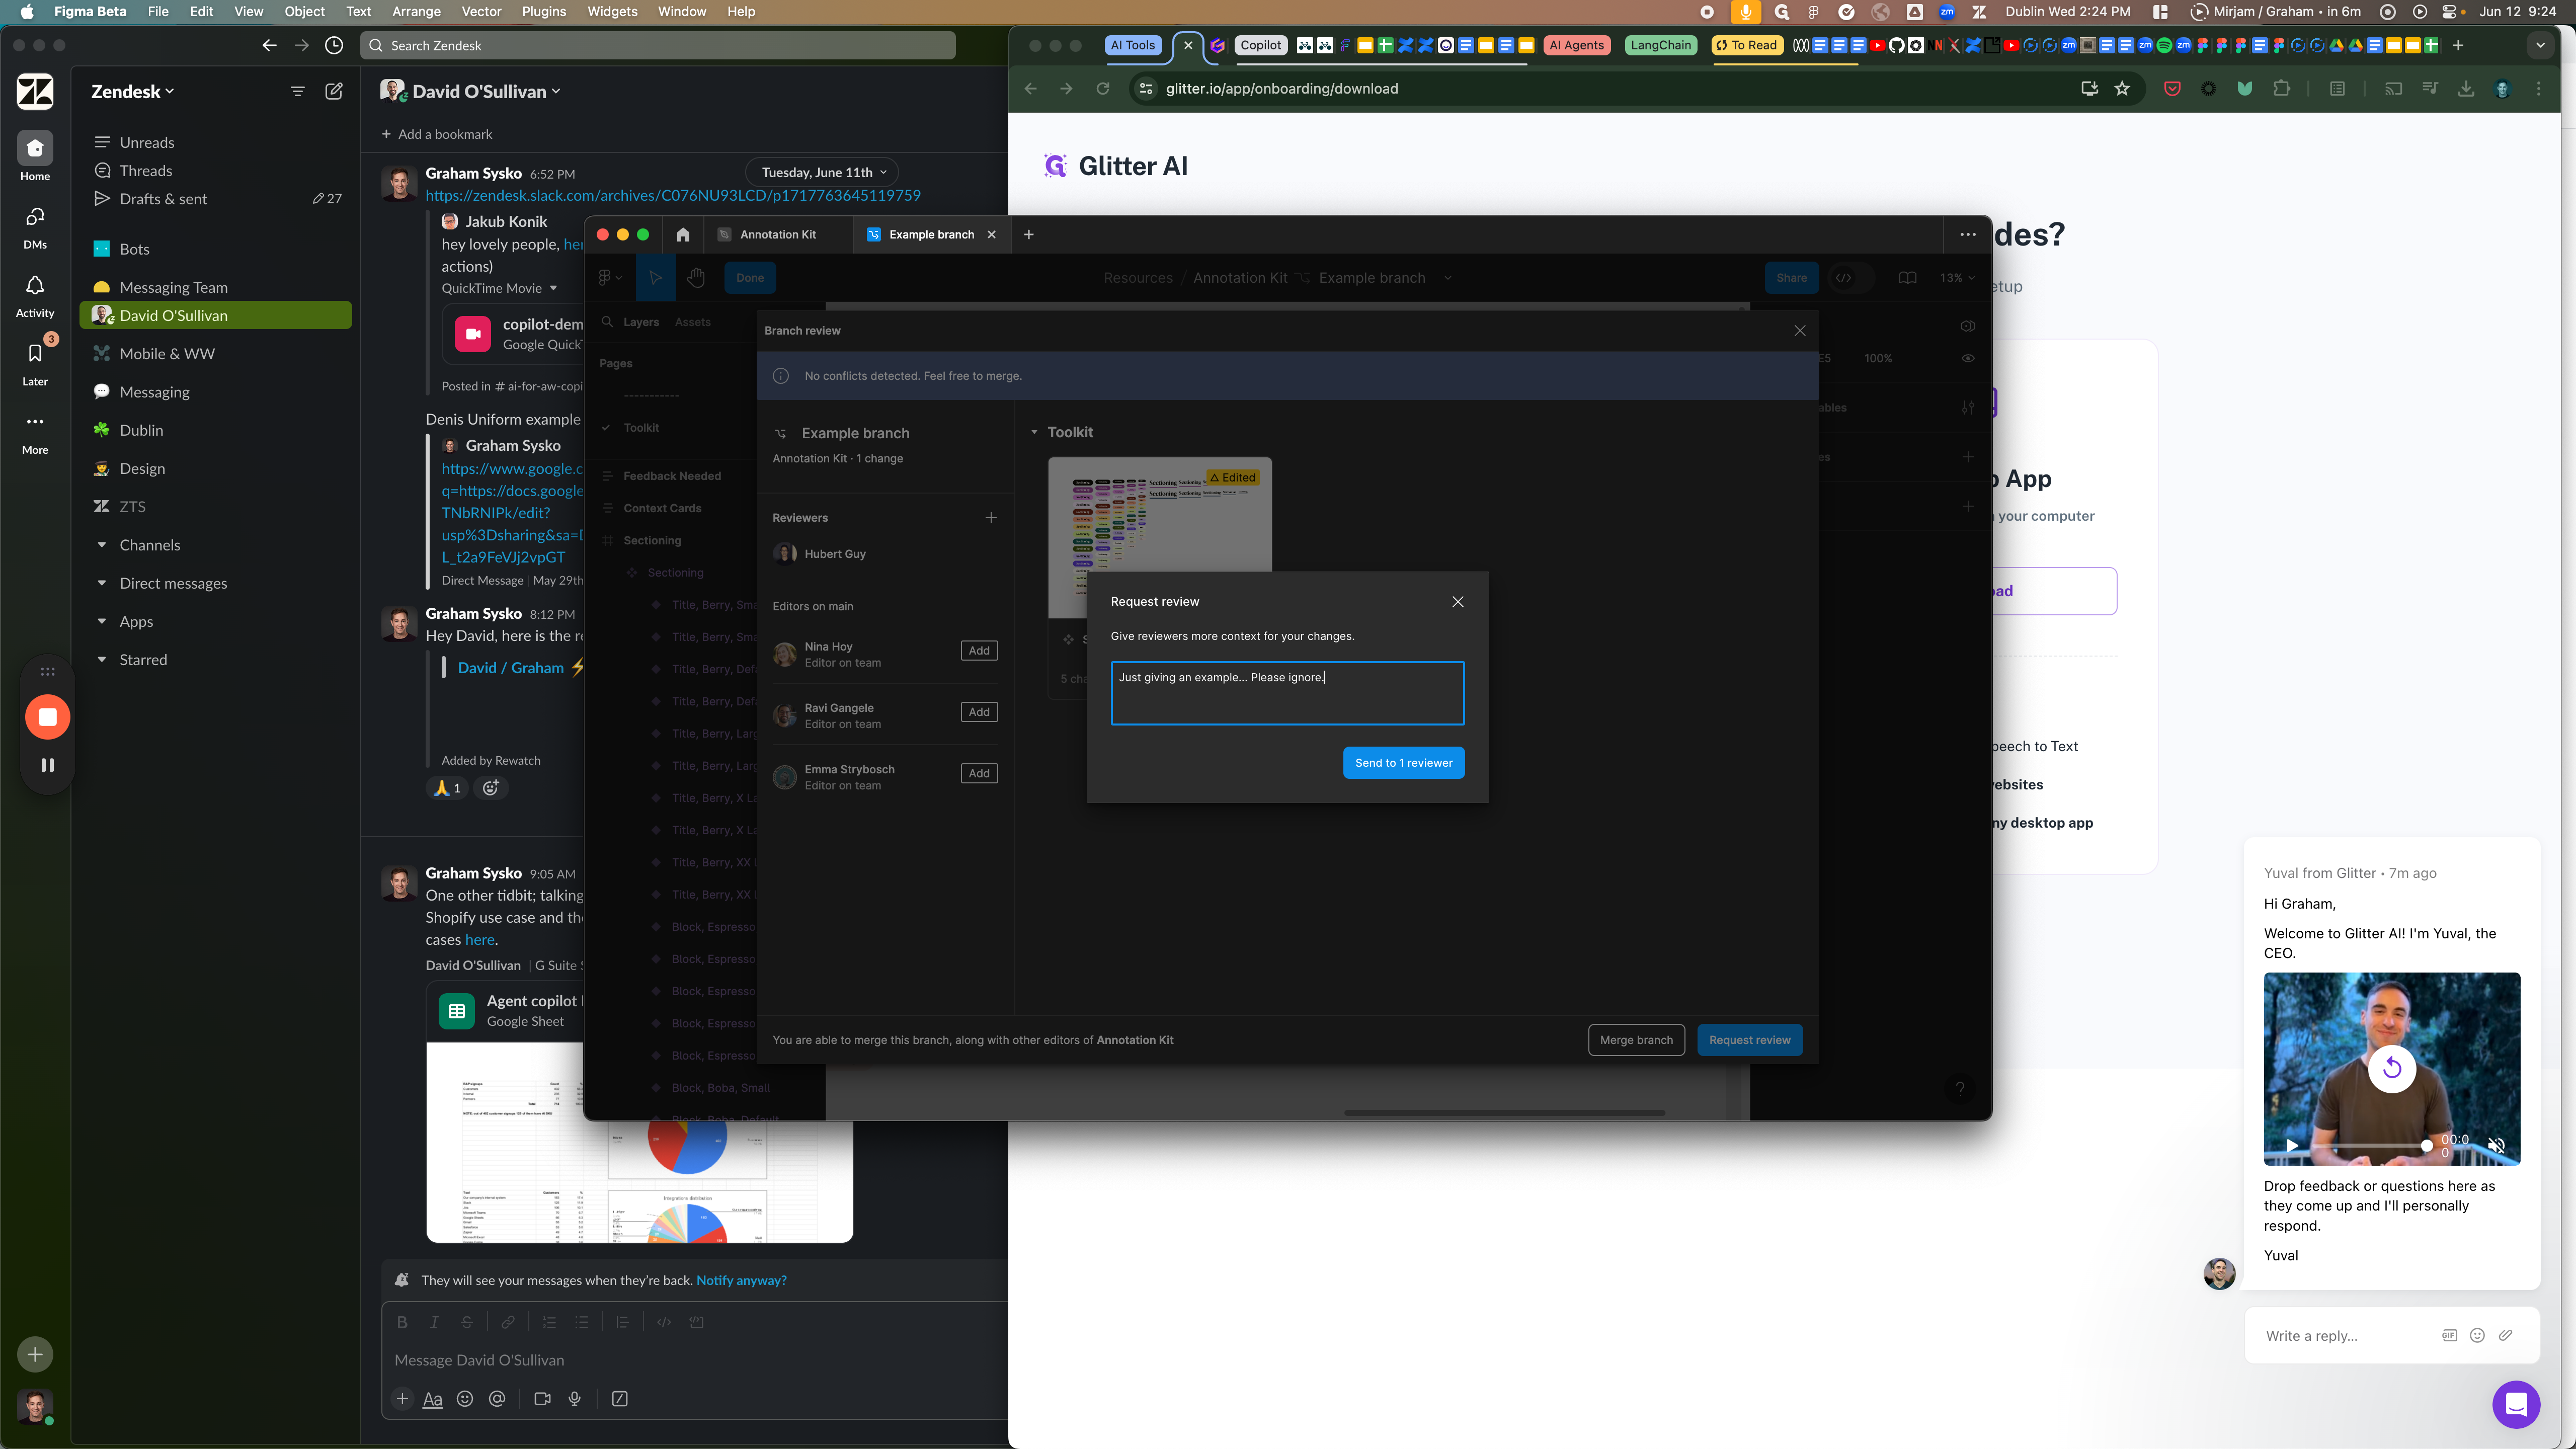
Thats it! You might follow up with the reviewer offline to see if they have questions or if they've seen the review request. It's then up to the reviewer to approve or ask for edits. If they approve, they will handle publishing the update to the library.