How to Edit and Upload Photos Using Retouch Link in the Netlife Workflow
Learn the step-by-step process for editing and uploading photos with Retouch Link in the Netlife workflow. Discover tips for managing shoots, downloading images, editing in Lightroom or Photoshop, and ensuring a smooth upload process.
In this guide, we'll learn how to manage and edit photo shoots using the Netlife workflow and Retouch Link. We'll cover how to claim, download, and organize your assigned jobs, and how to ensure you are working with all available images, including raw files for outdoor shoots.
We'll also look at how to import these images into editing software like Lightroom or Photoshop, complete your edits, and upload the finished files back to the system.
Let's get started
On the editing side, this will also change with the Netlife workflow.
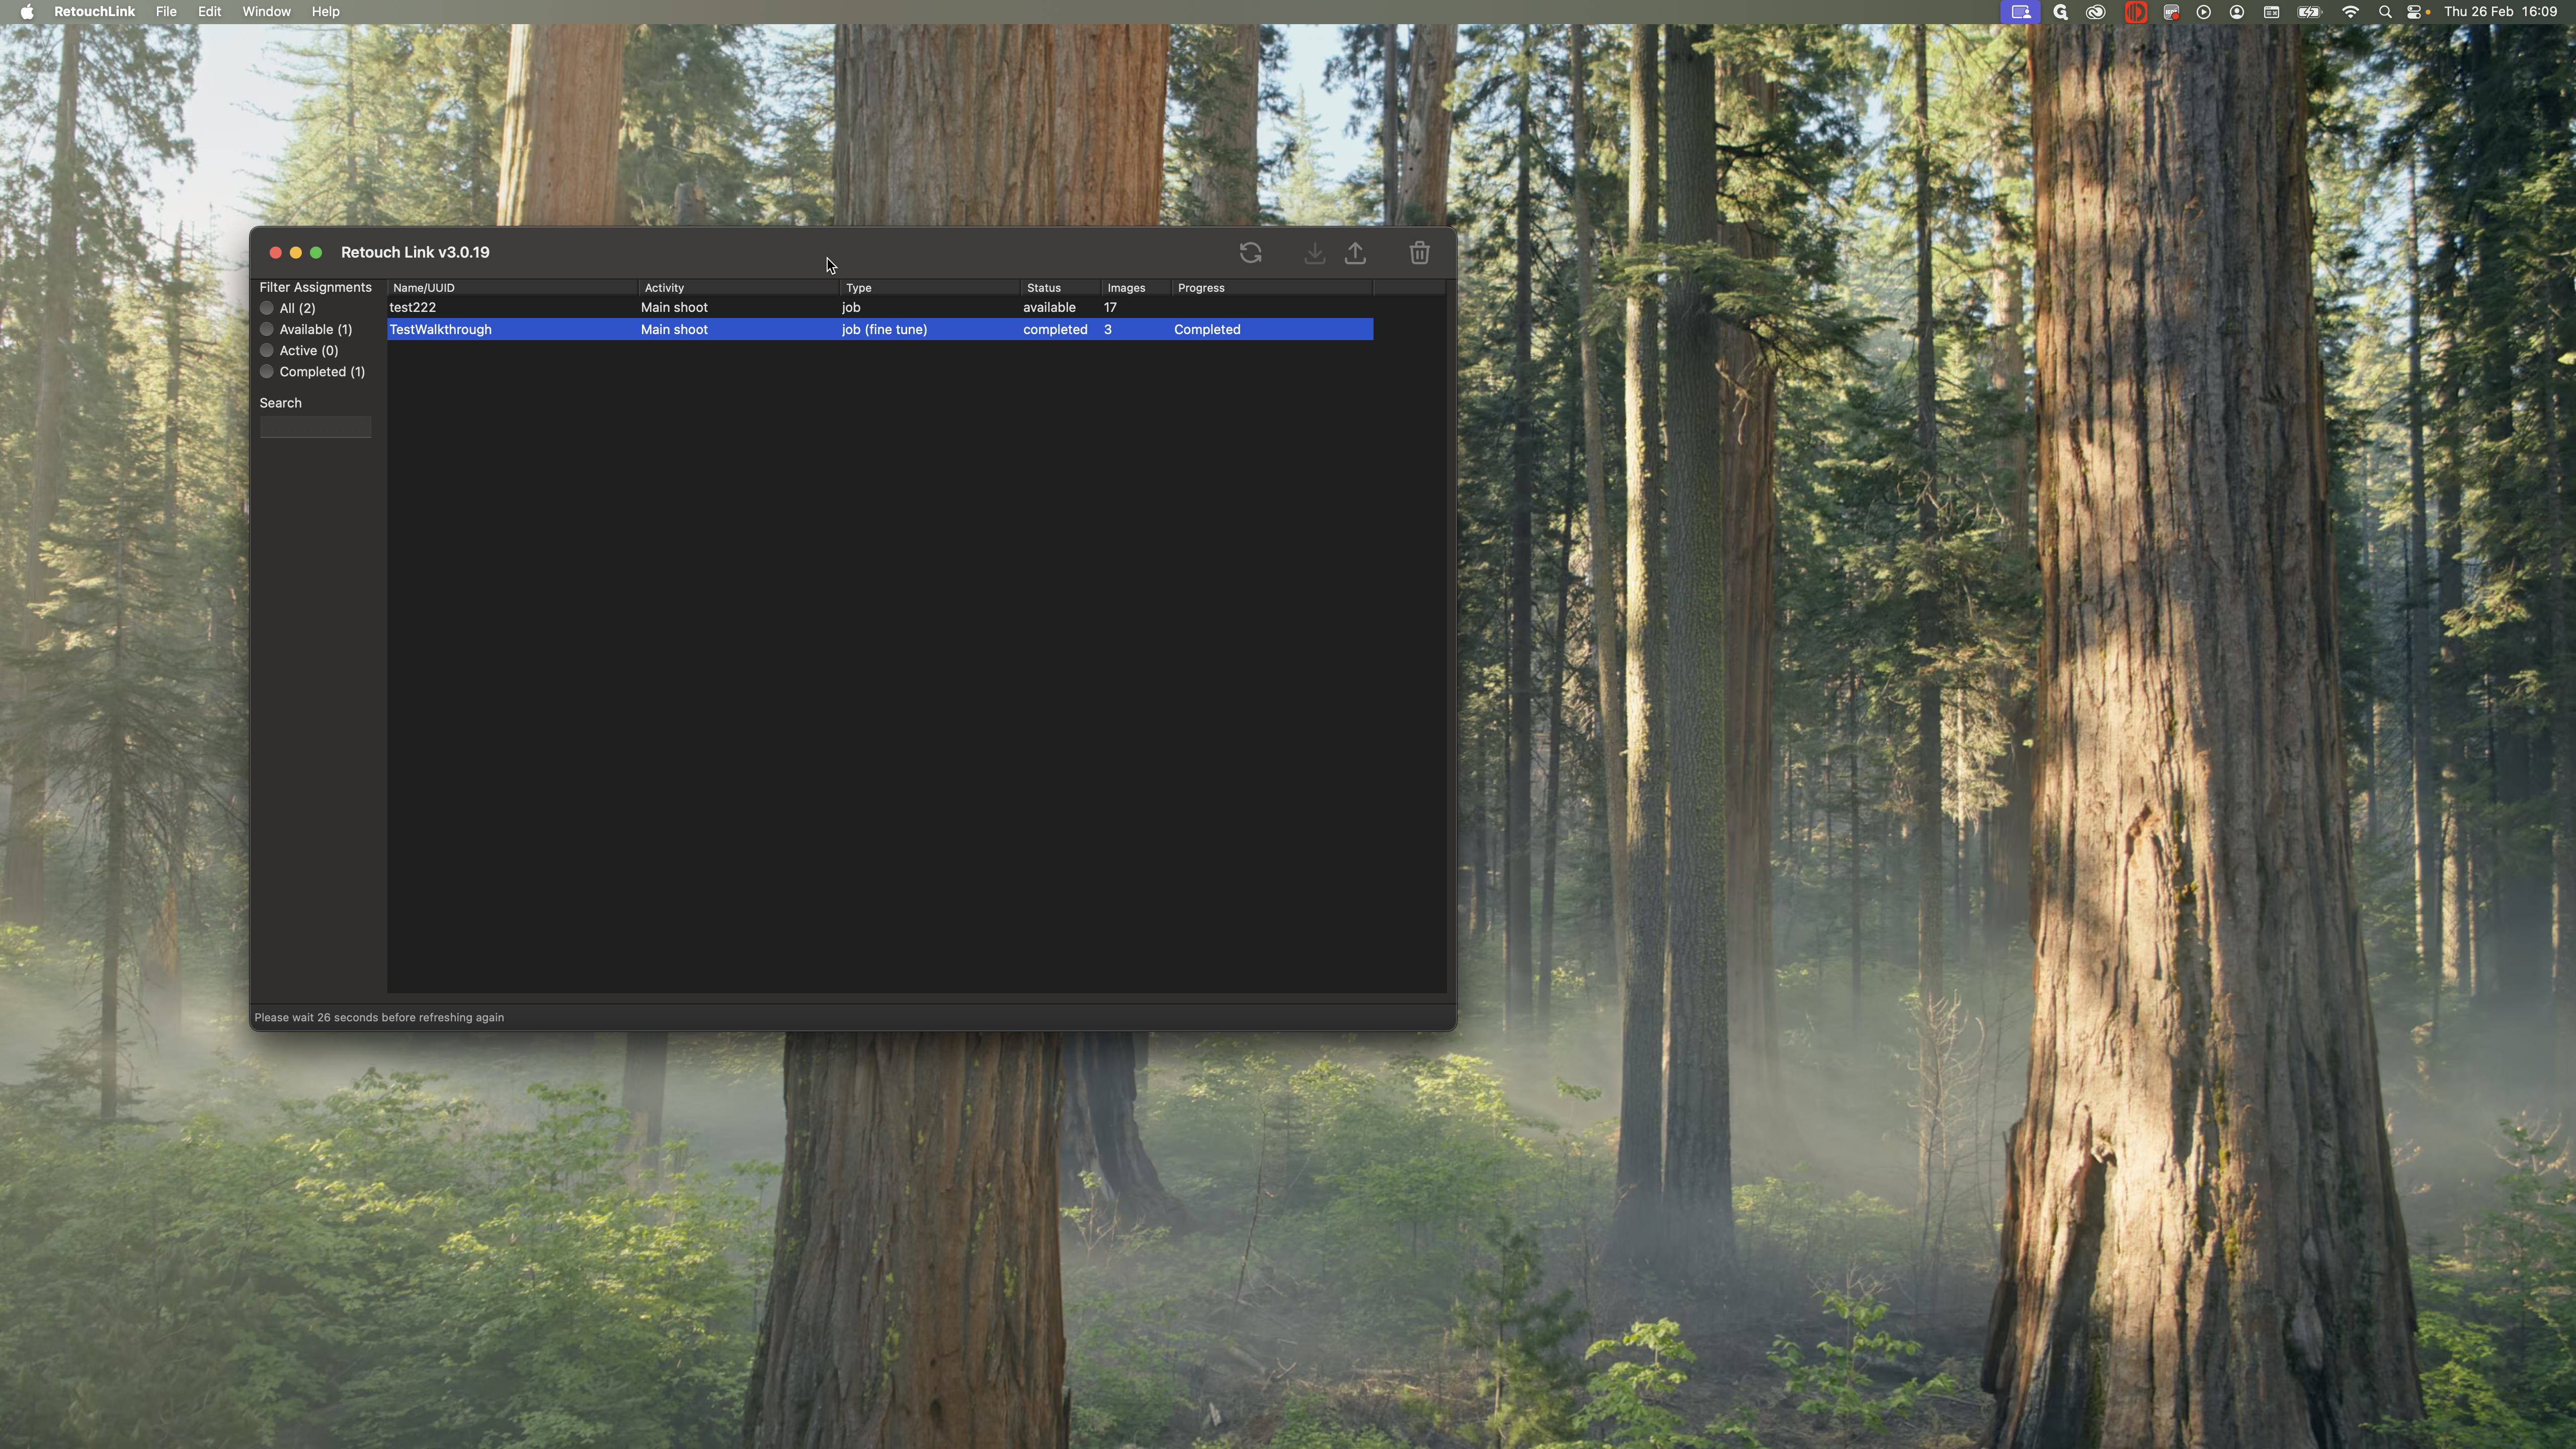
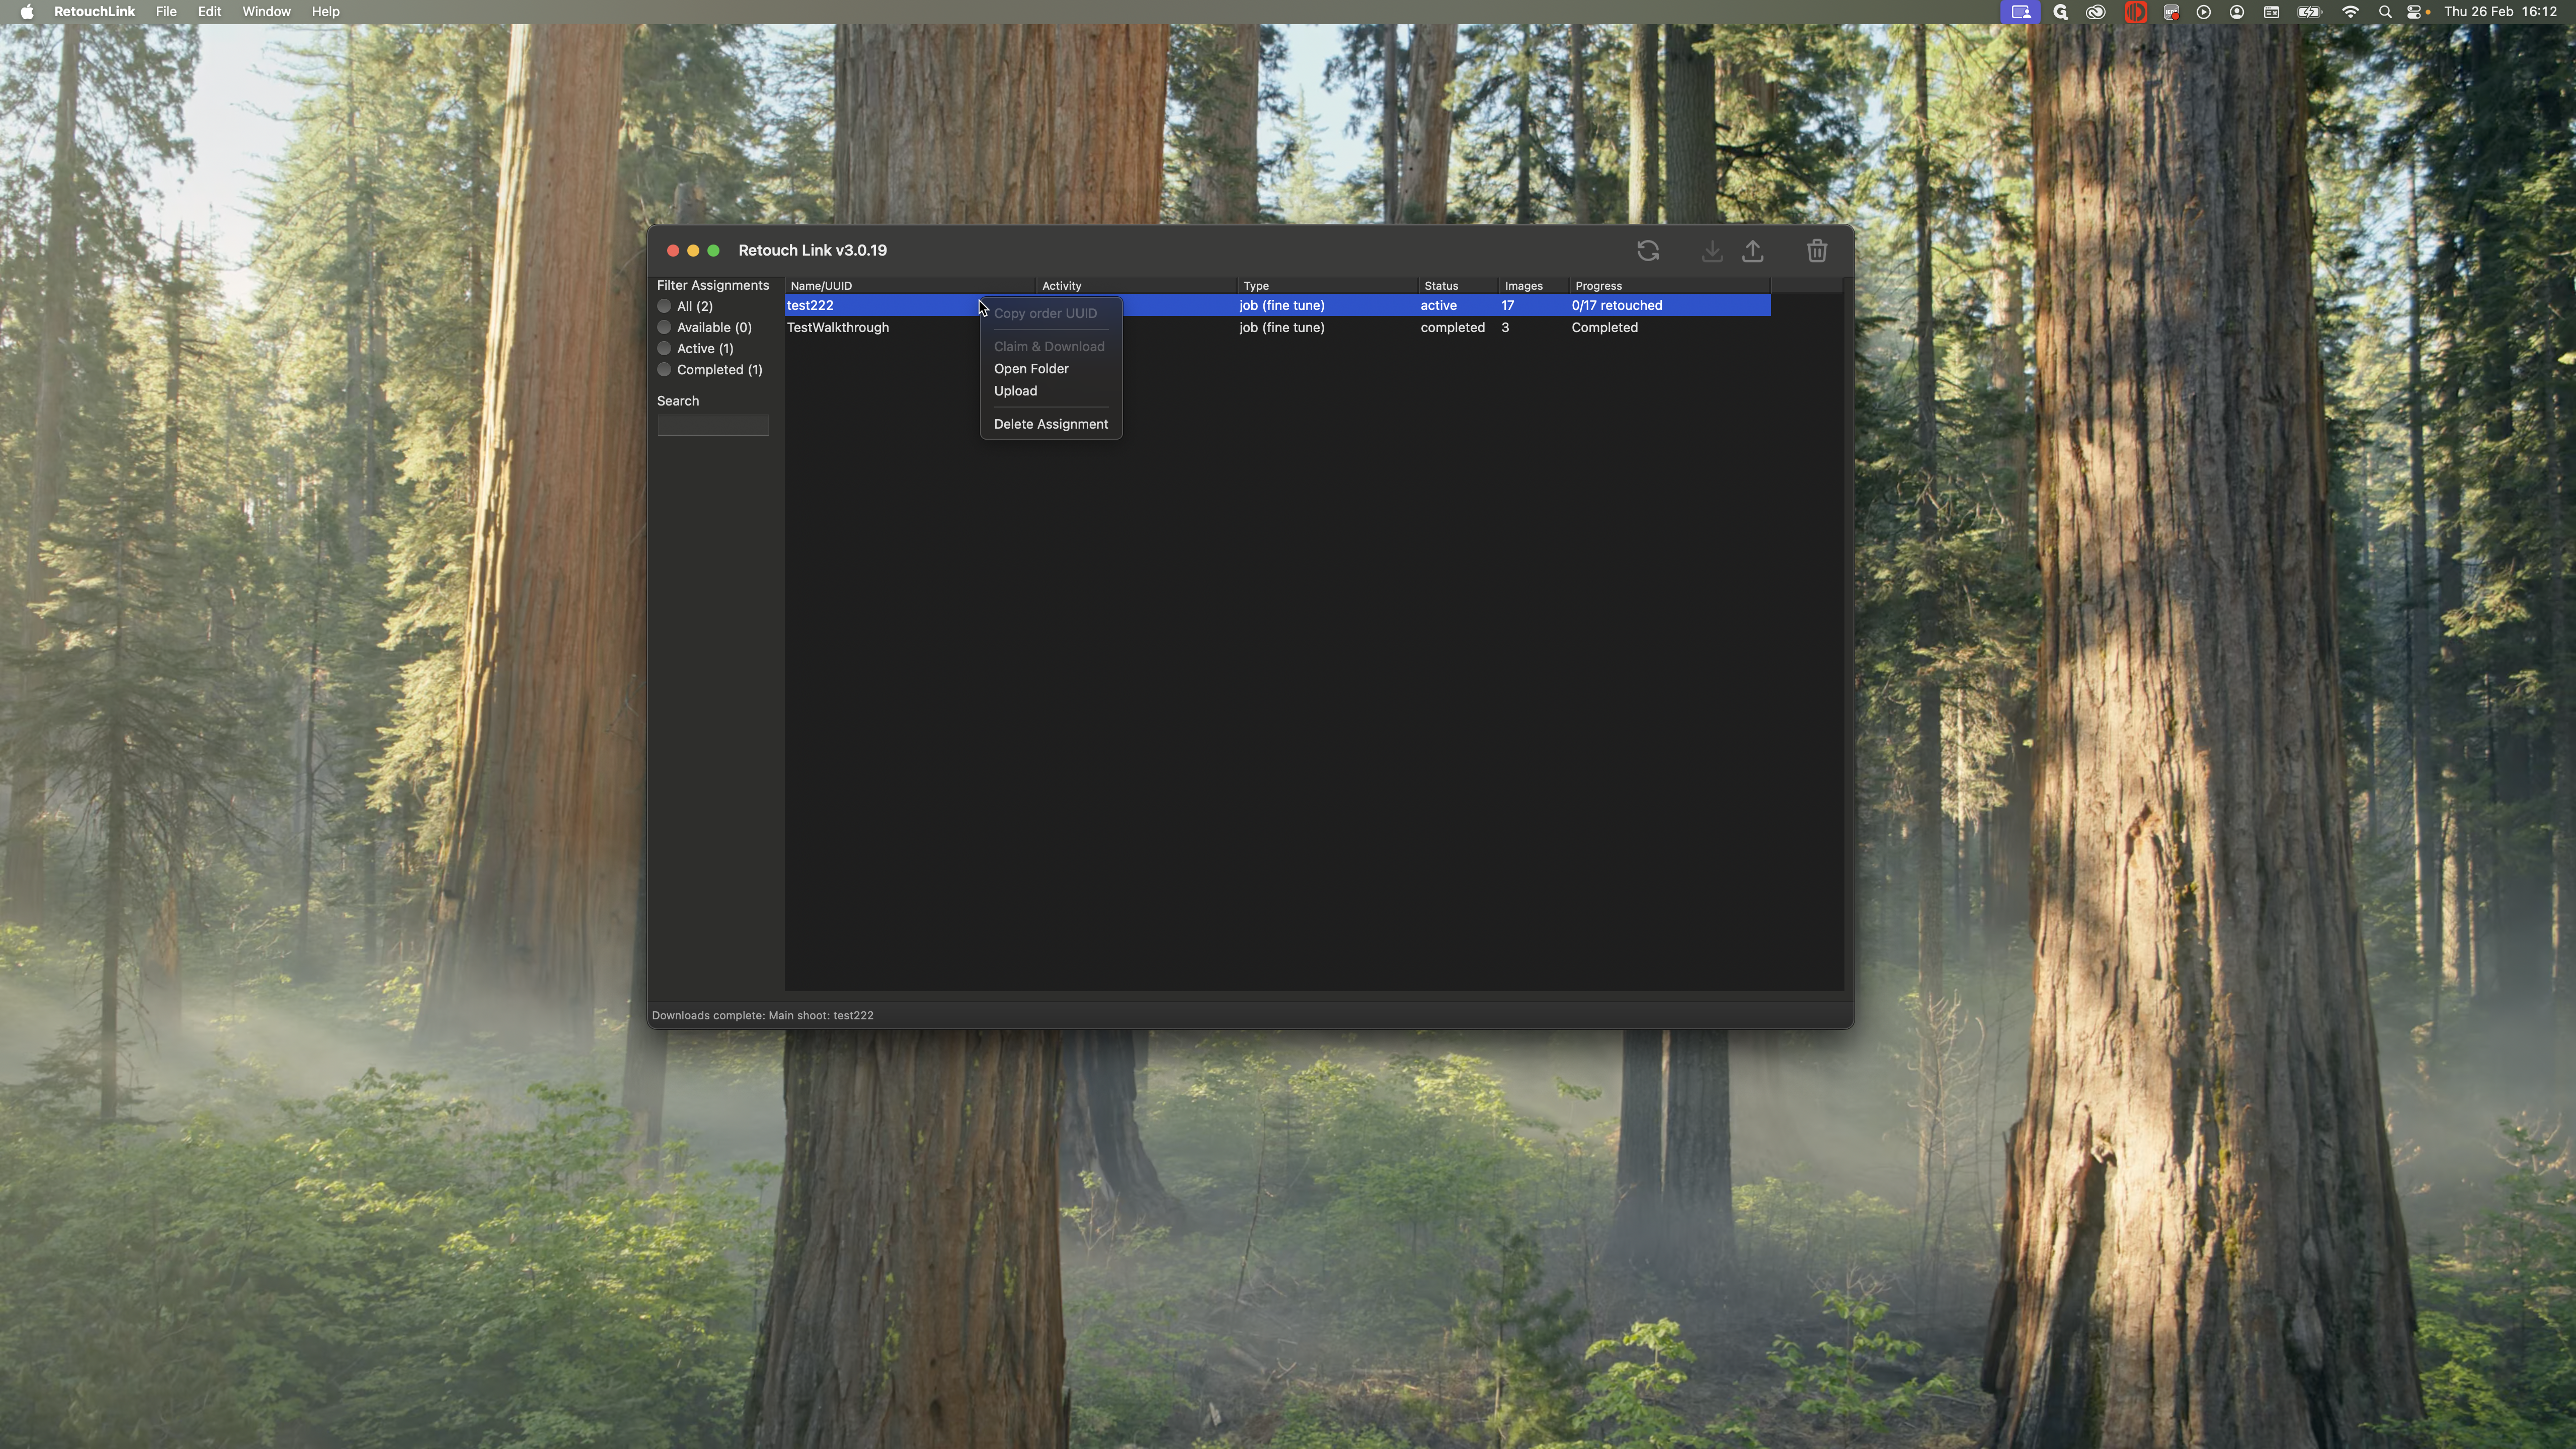
The main software you will use for this is called Retouch Link. After you finish uploading a shoot and it is sent to our server, the proofing team will verify and double-check that everything is correct. Then, they will release it back to you as an editor. In Retouch Link, your jobs will appear here and increase as the shoot season progresses and more jobs are assigned to you.

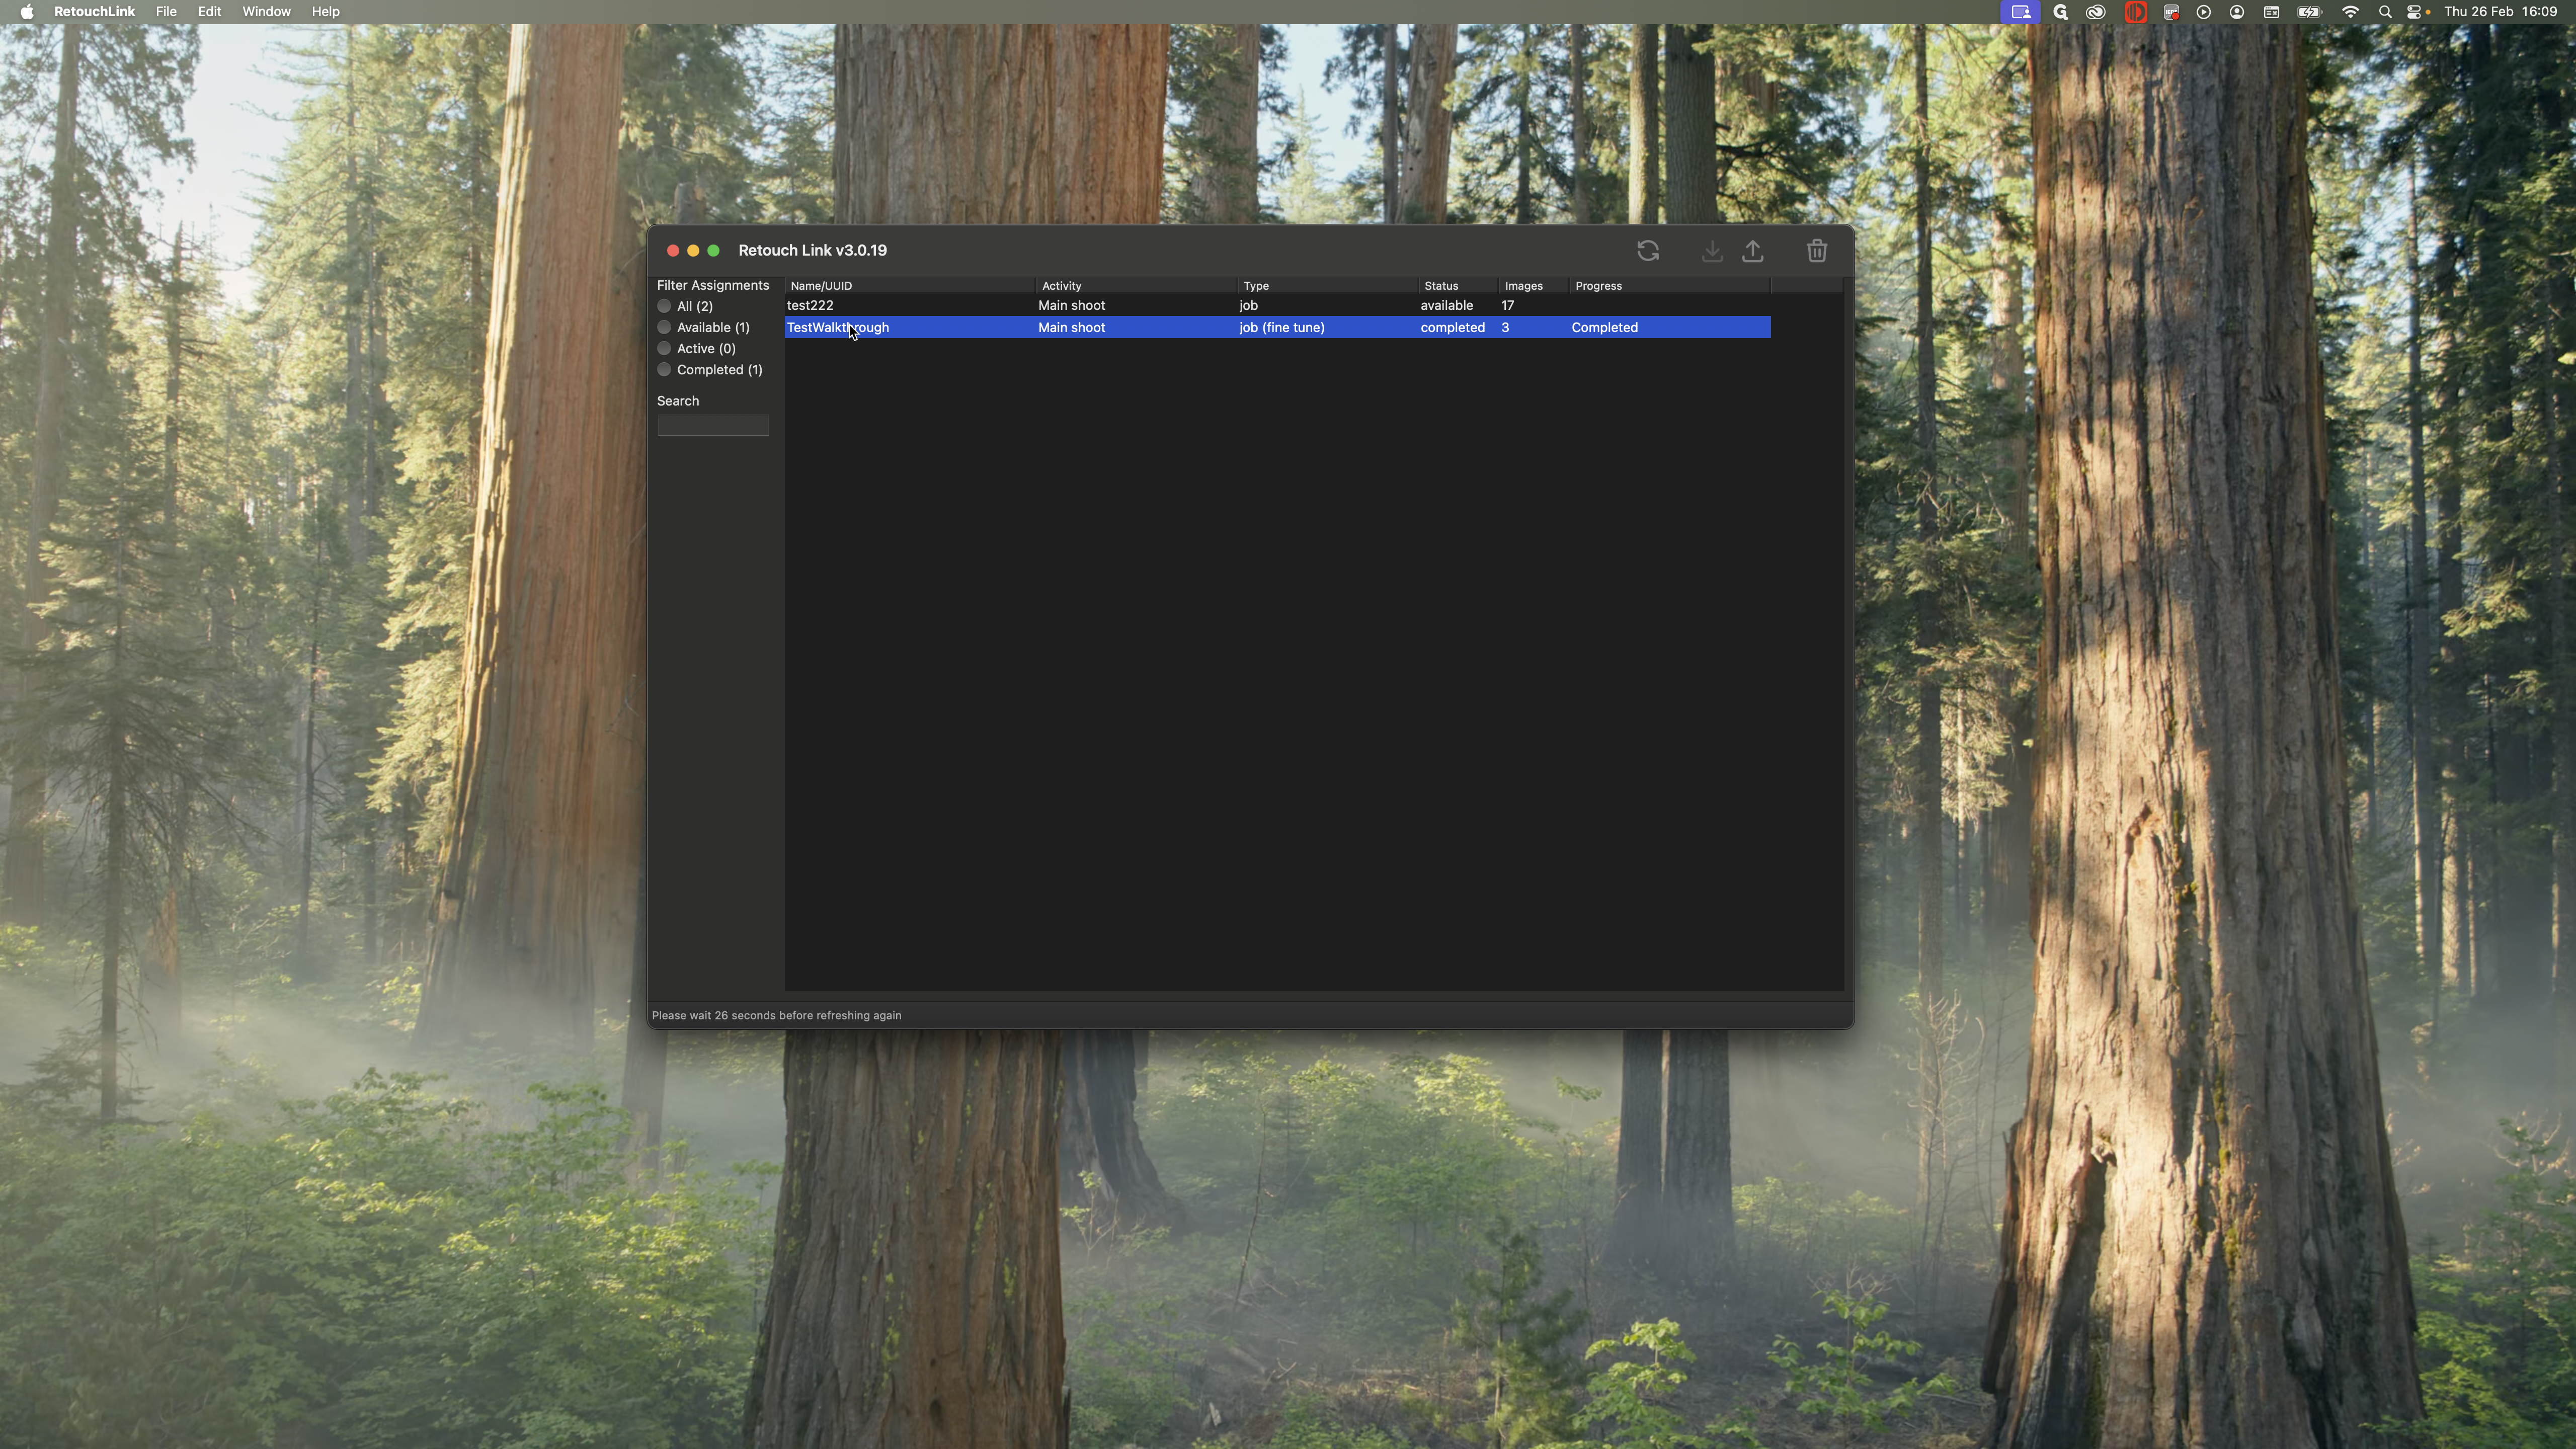


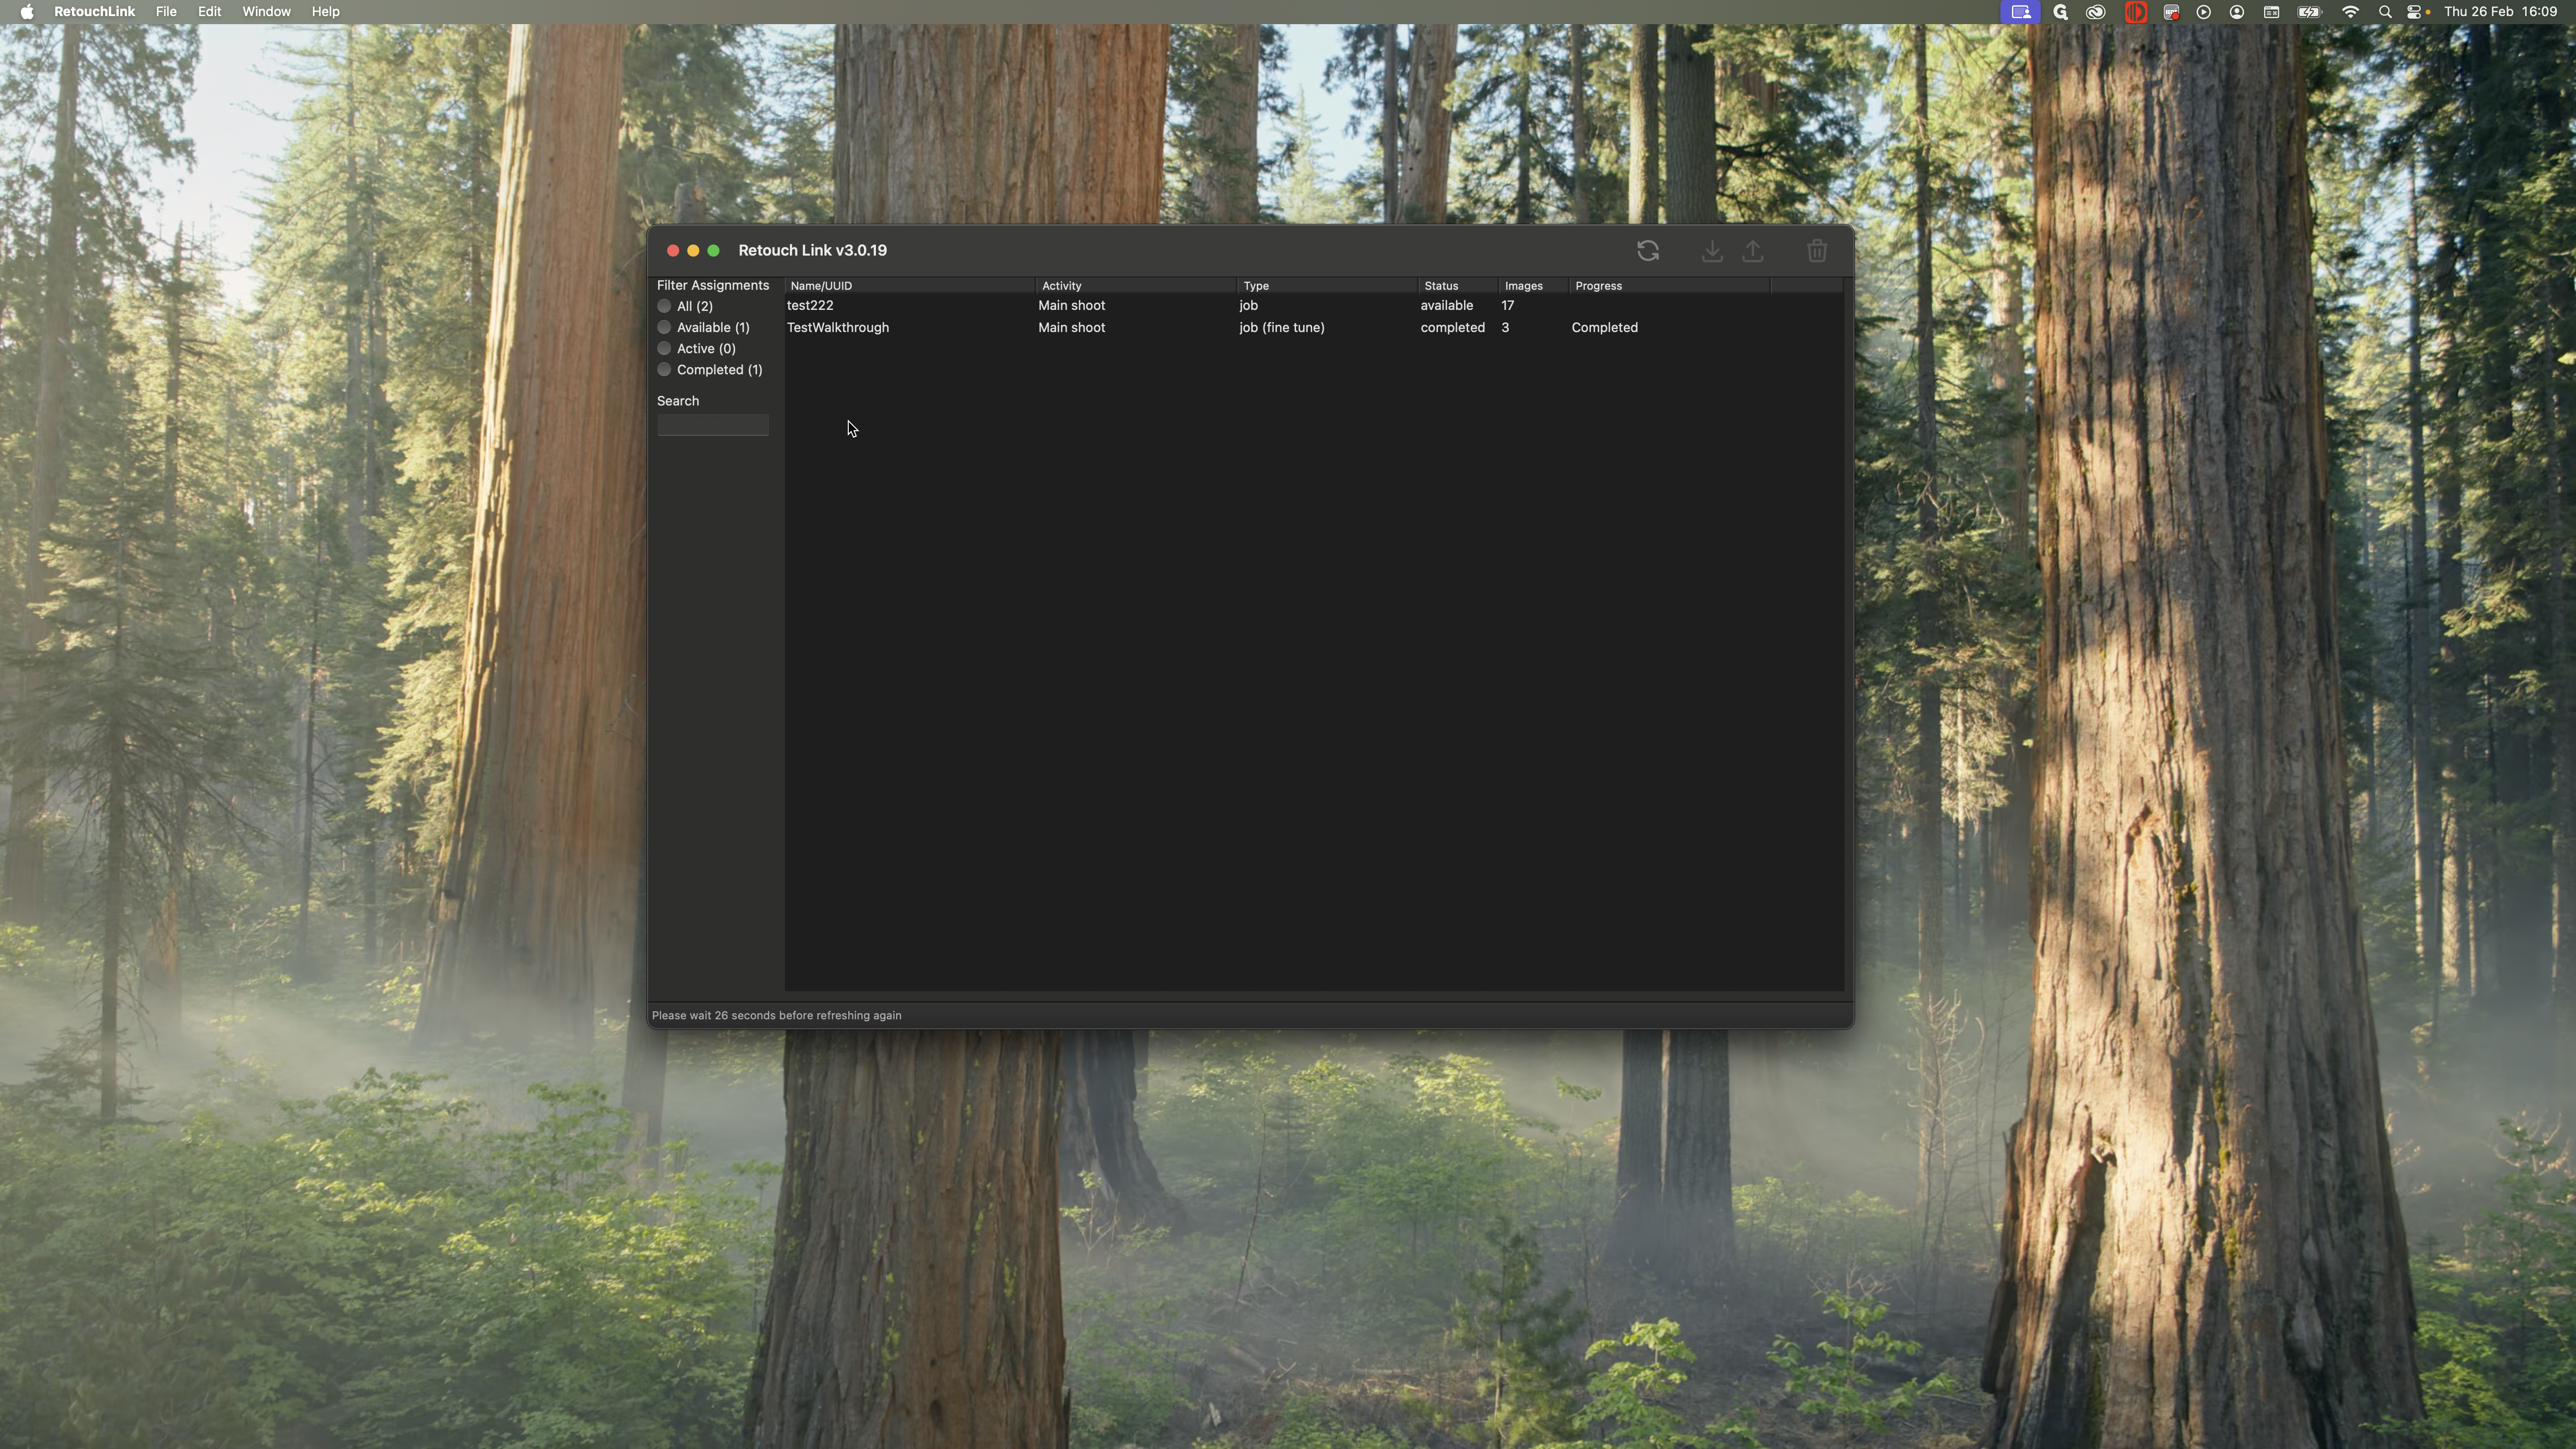
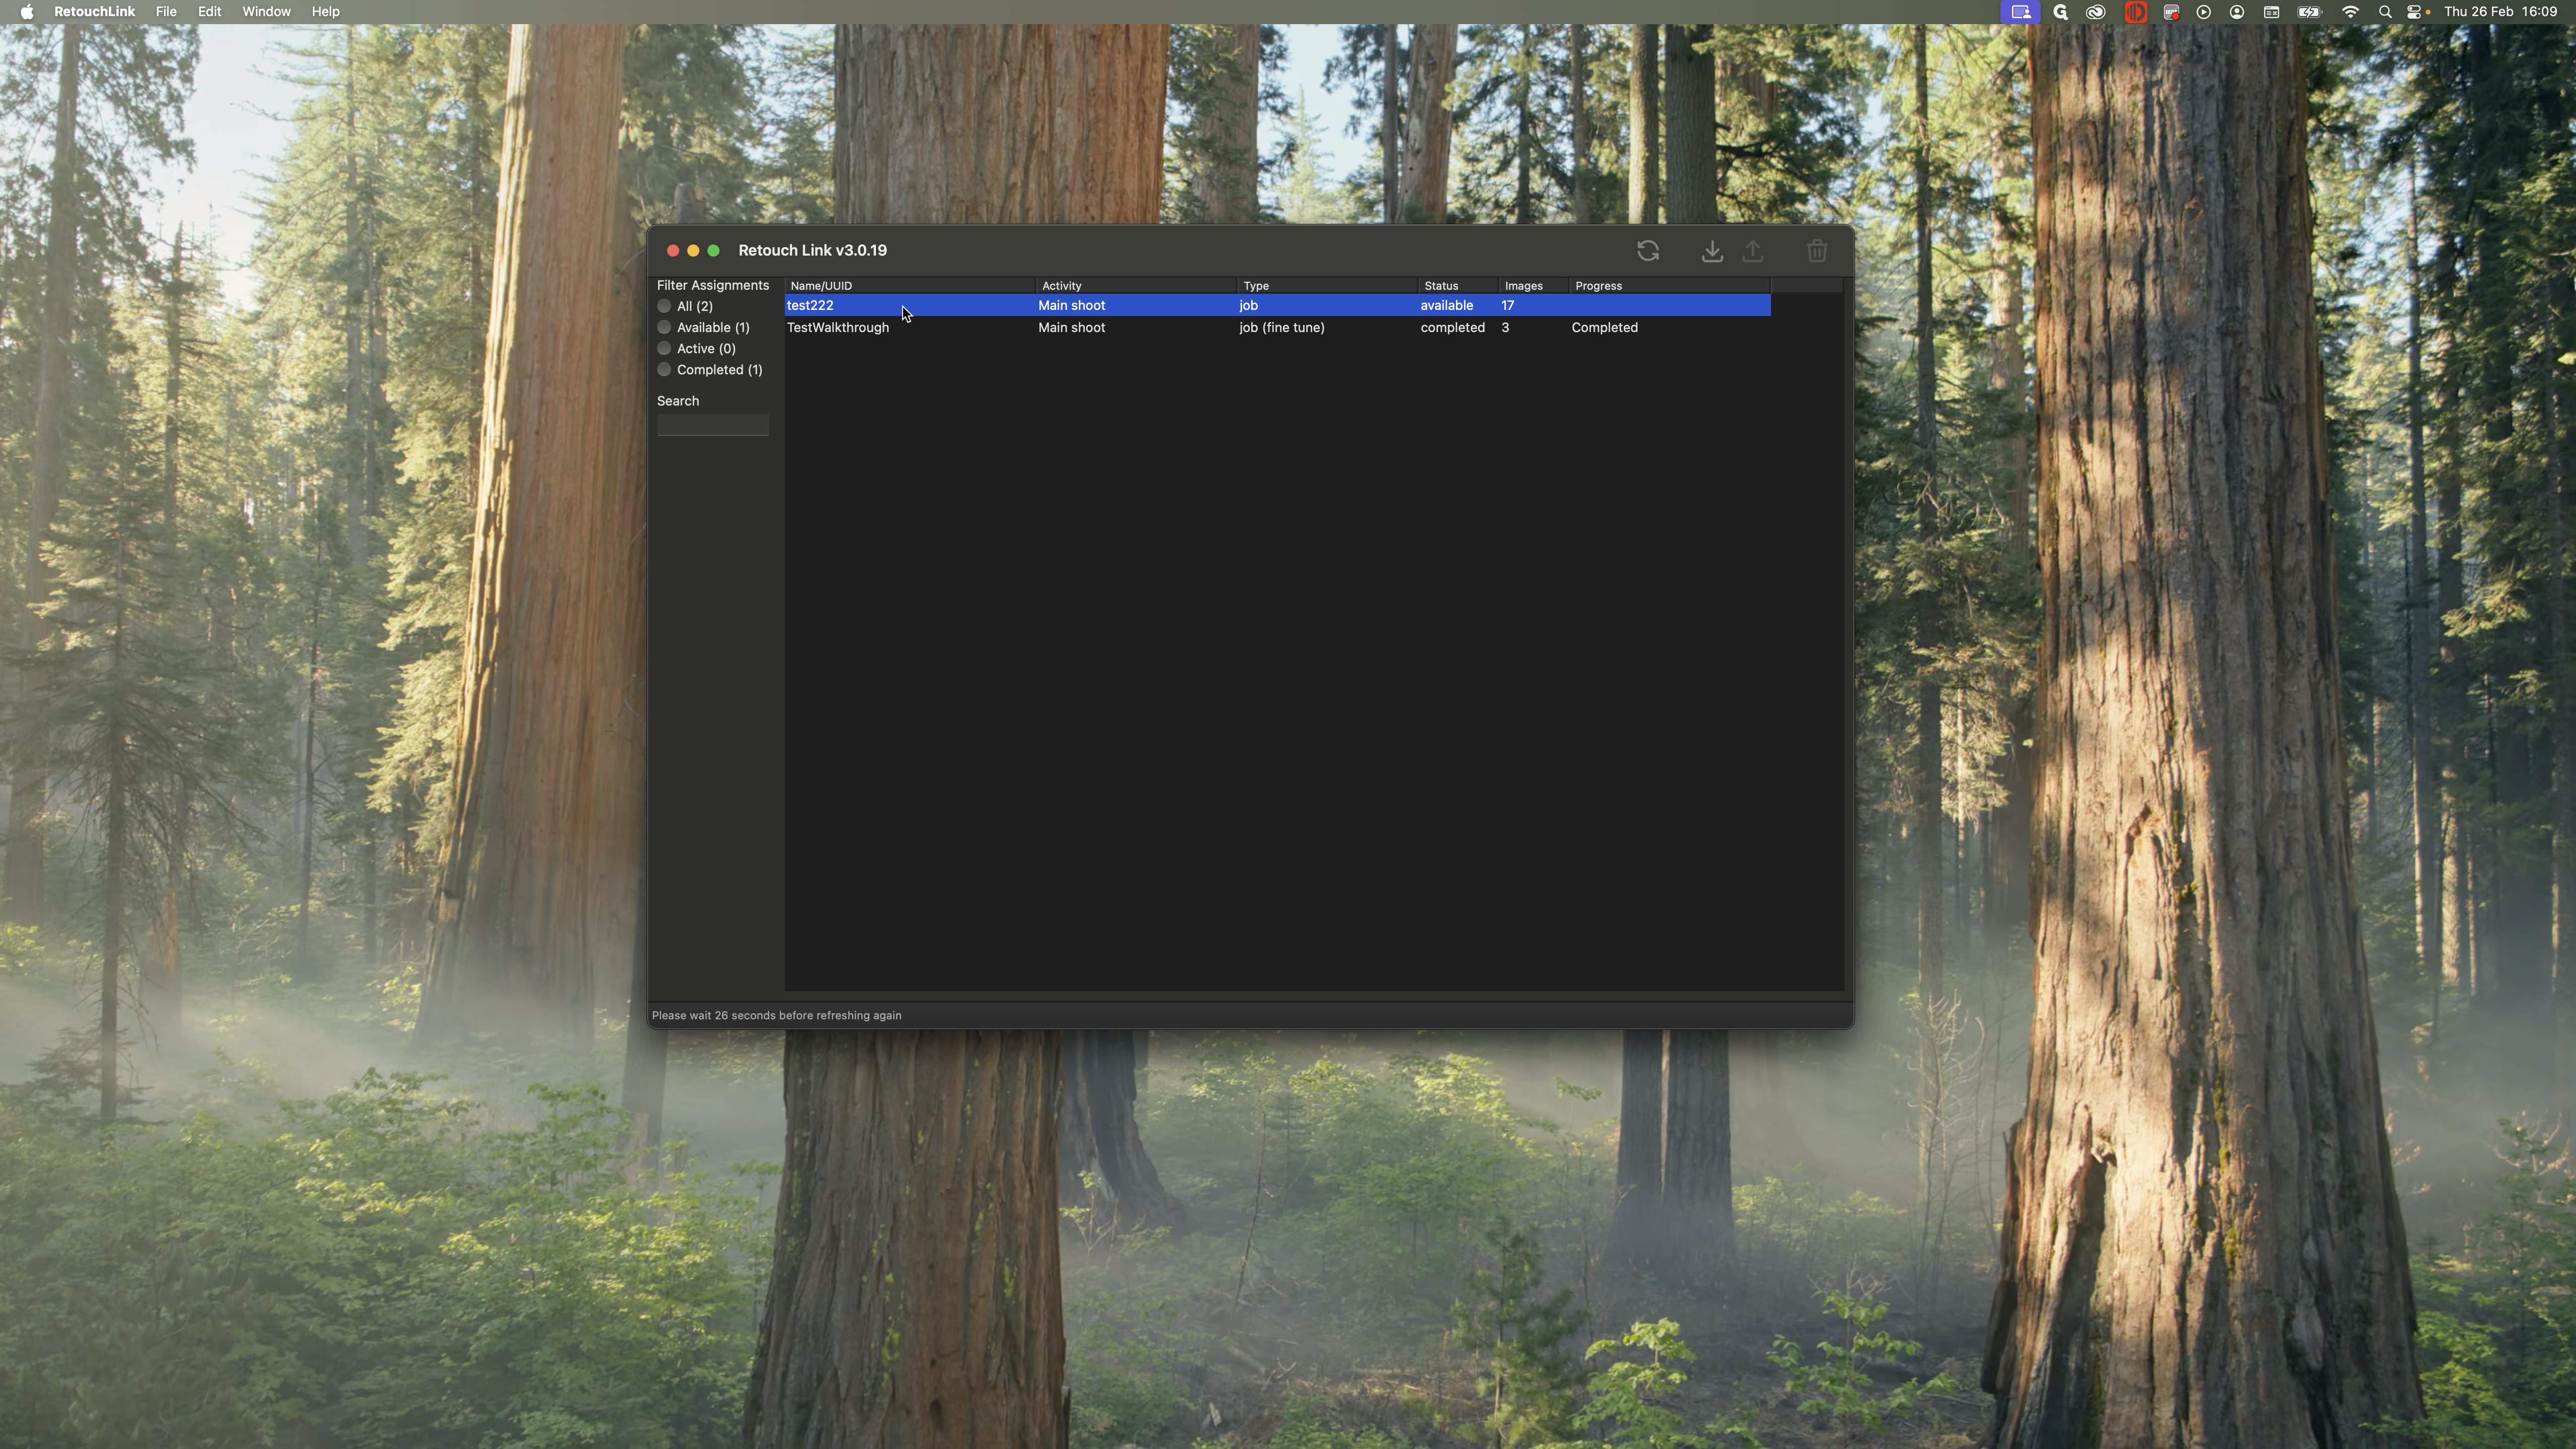

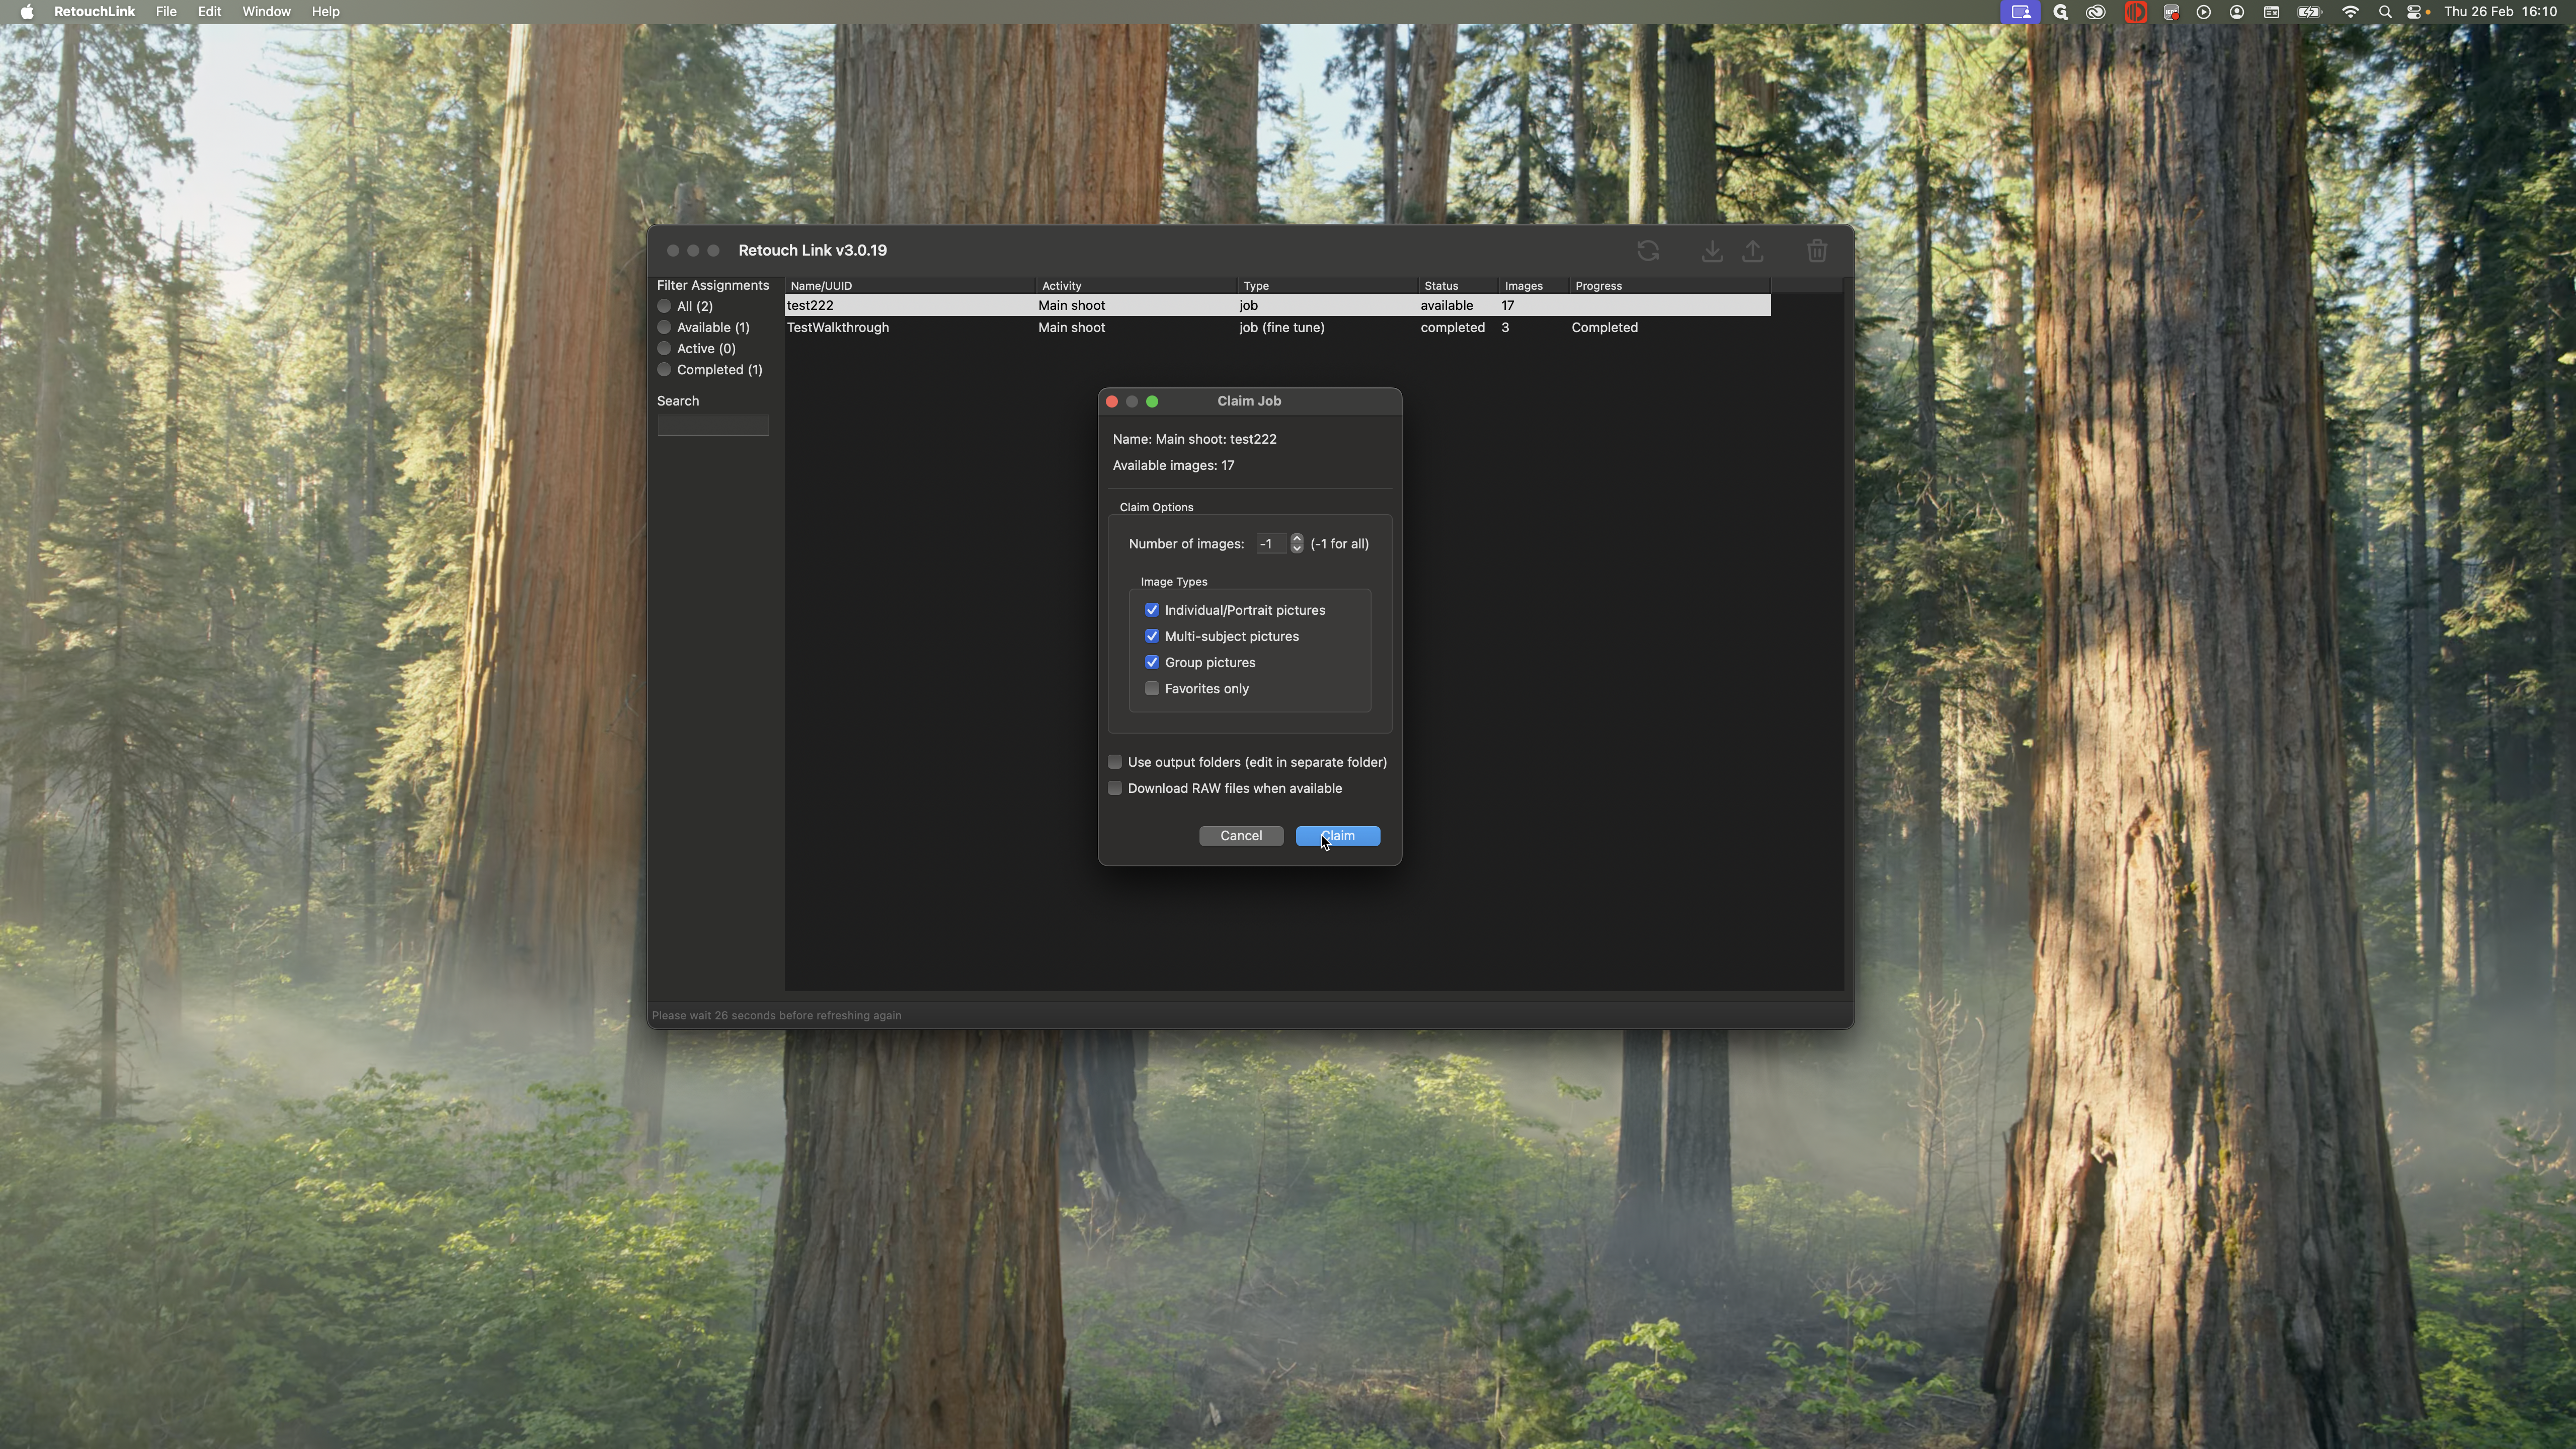
You want to work on the most recent one. This is the test shoot we completed in the previous steps. I see that it is available to me, and there are 17 images to work on. I can claim and download it to get all the photos.

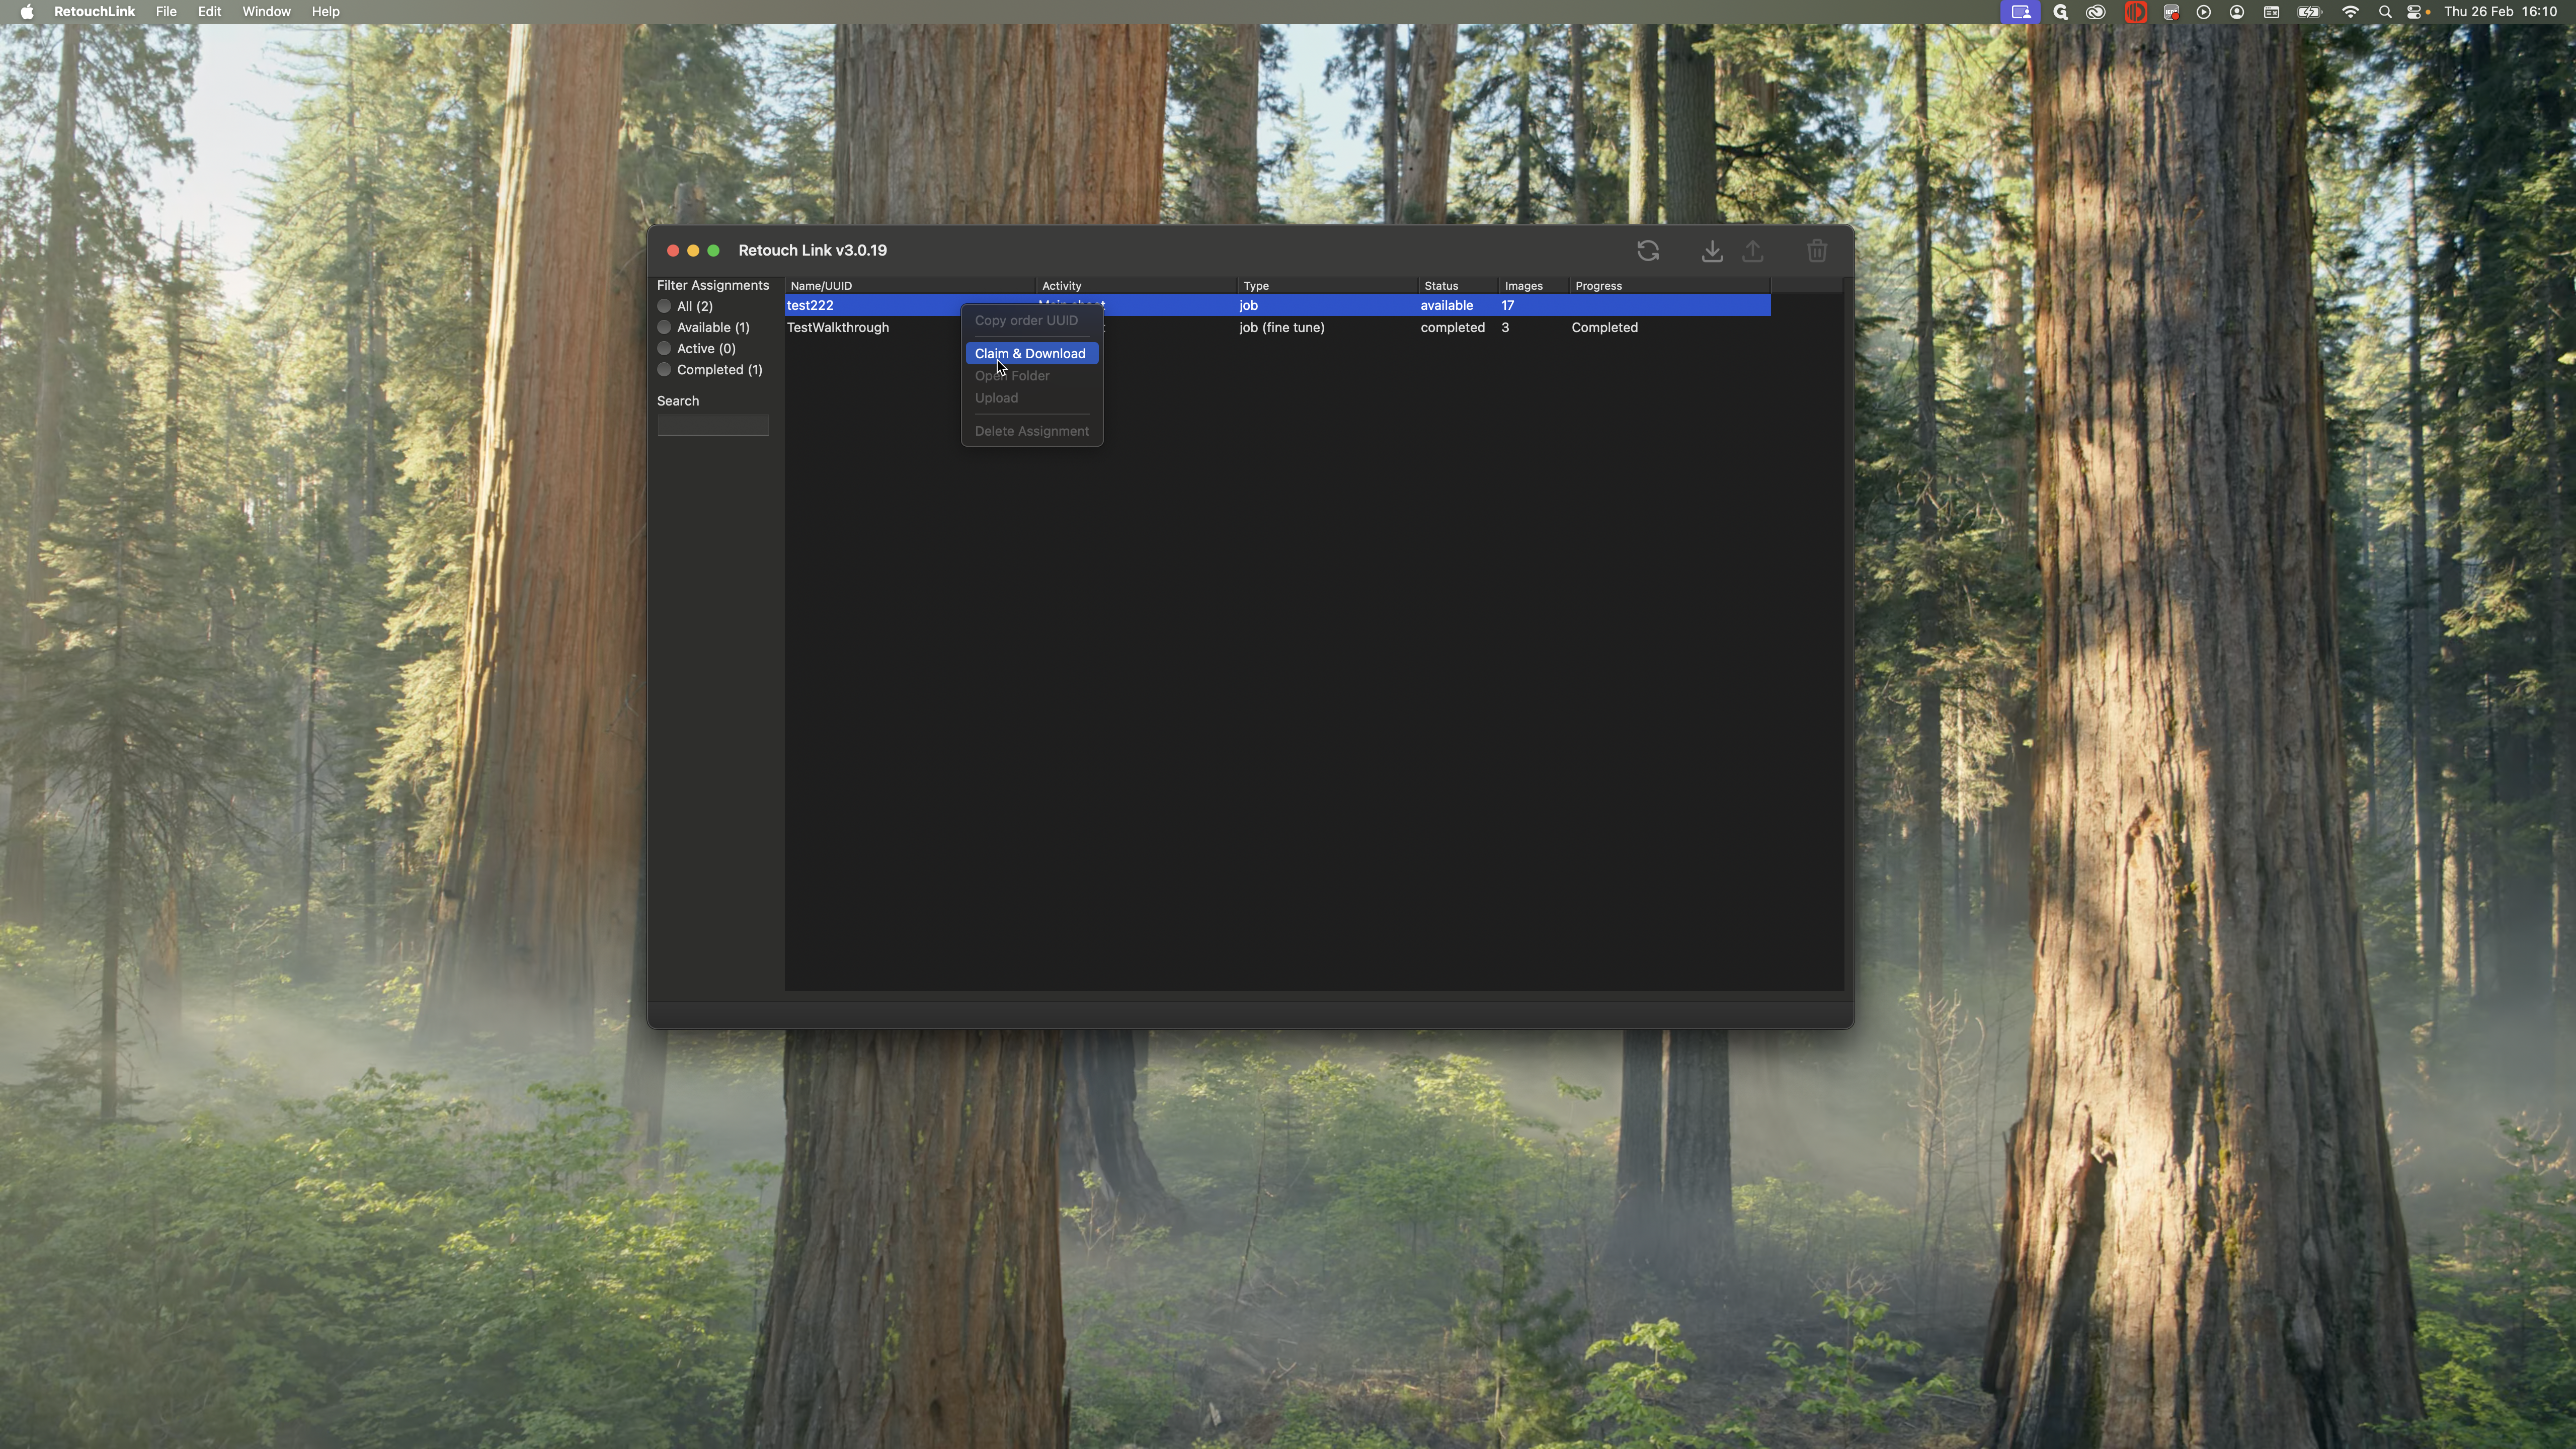
Make sure you download all available images, not just the favorites. Um, and yeah. If you're working on outdoor shoots, make sure the raw files are available to you.


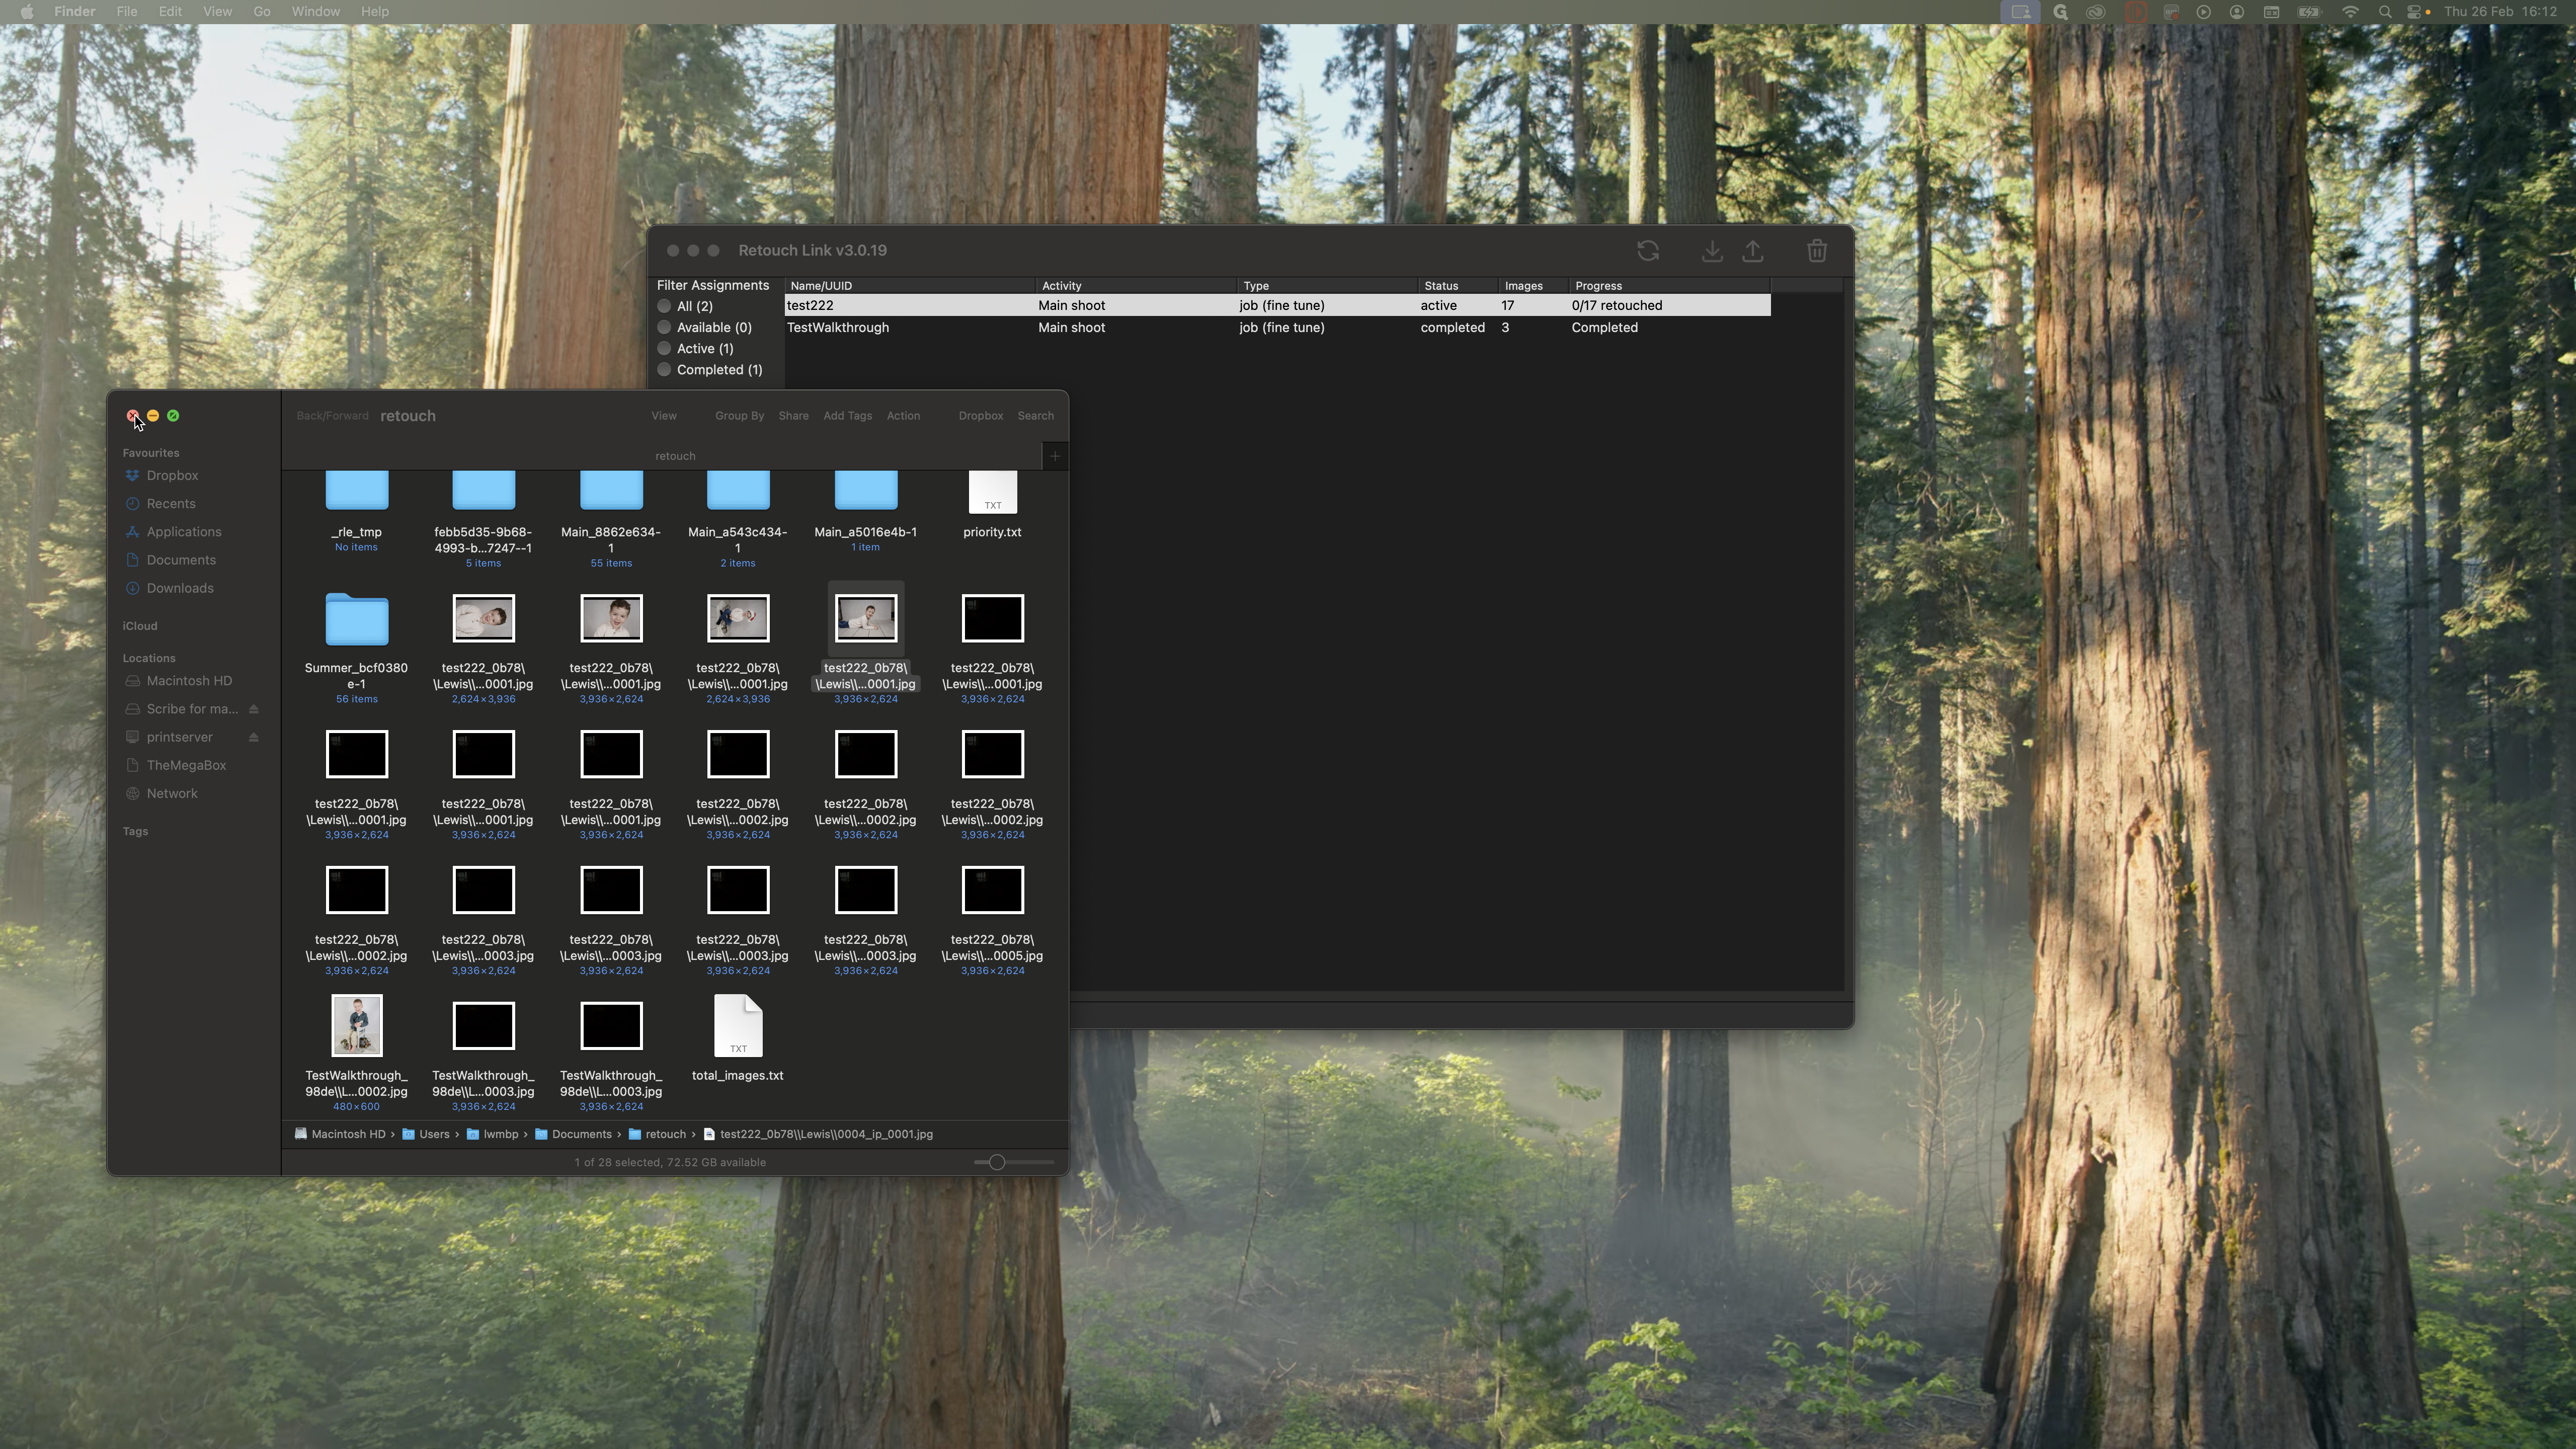
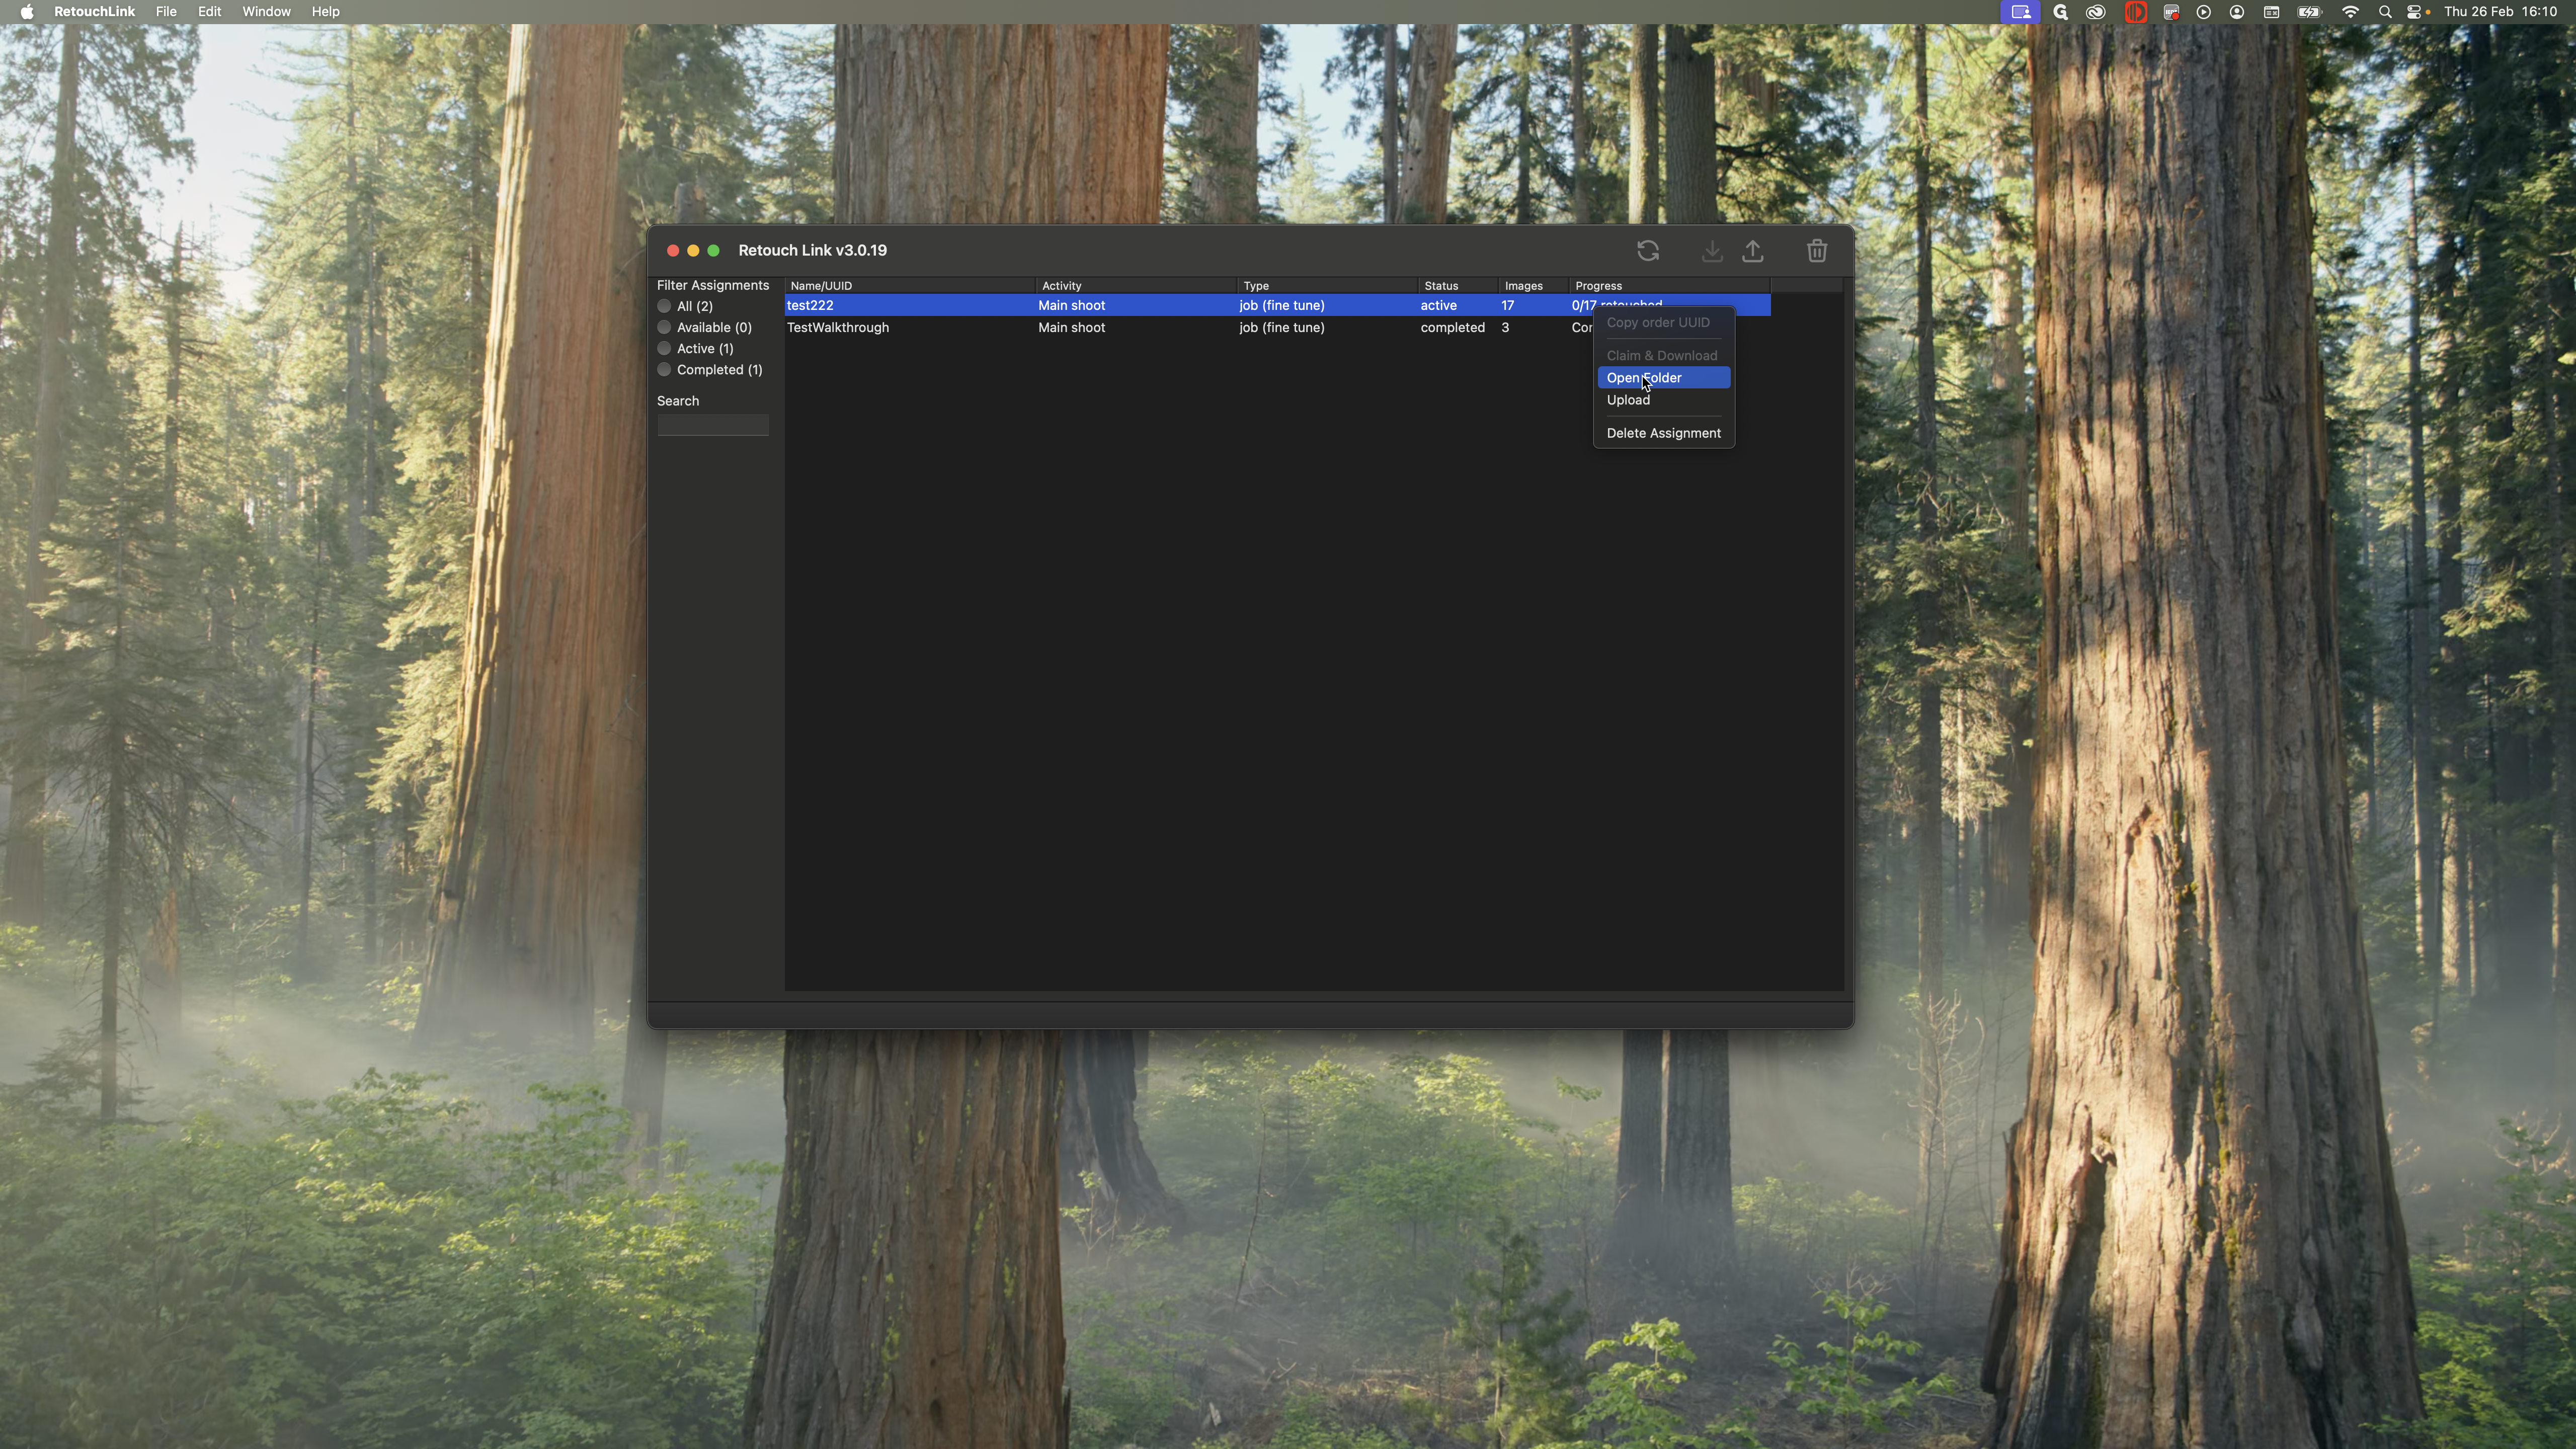
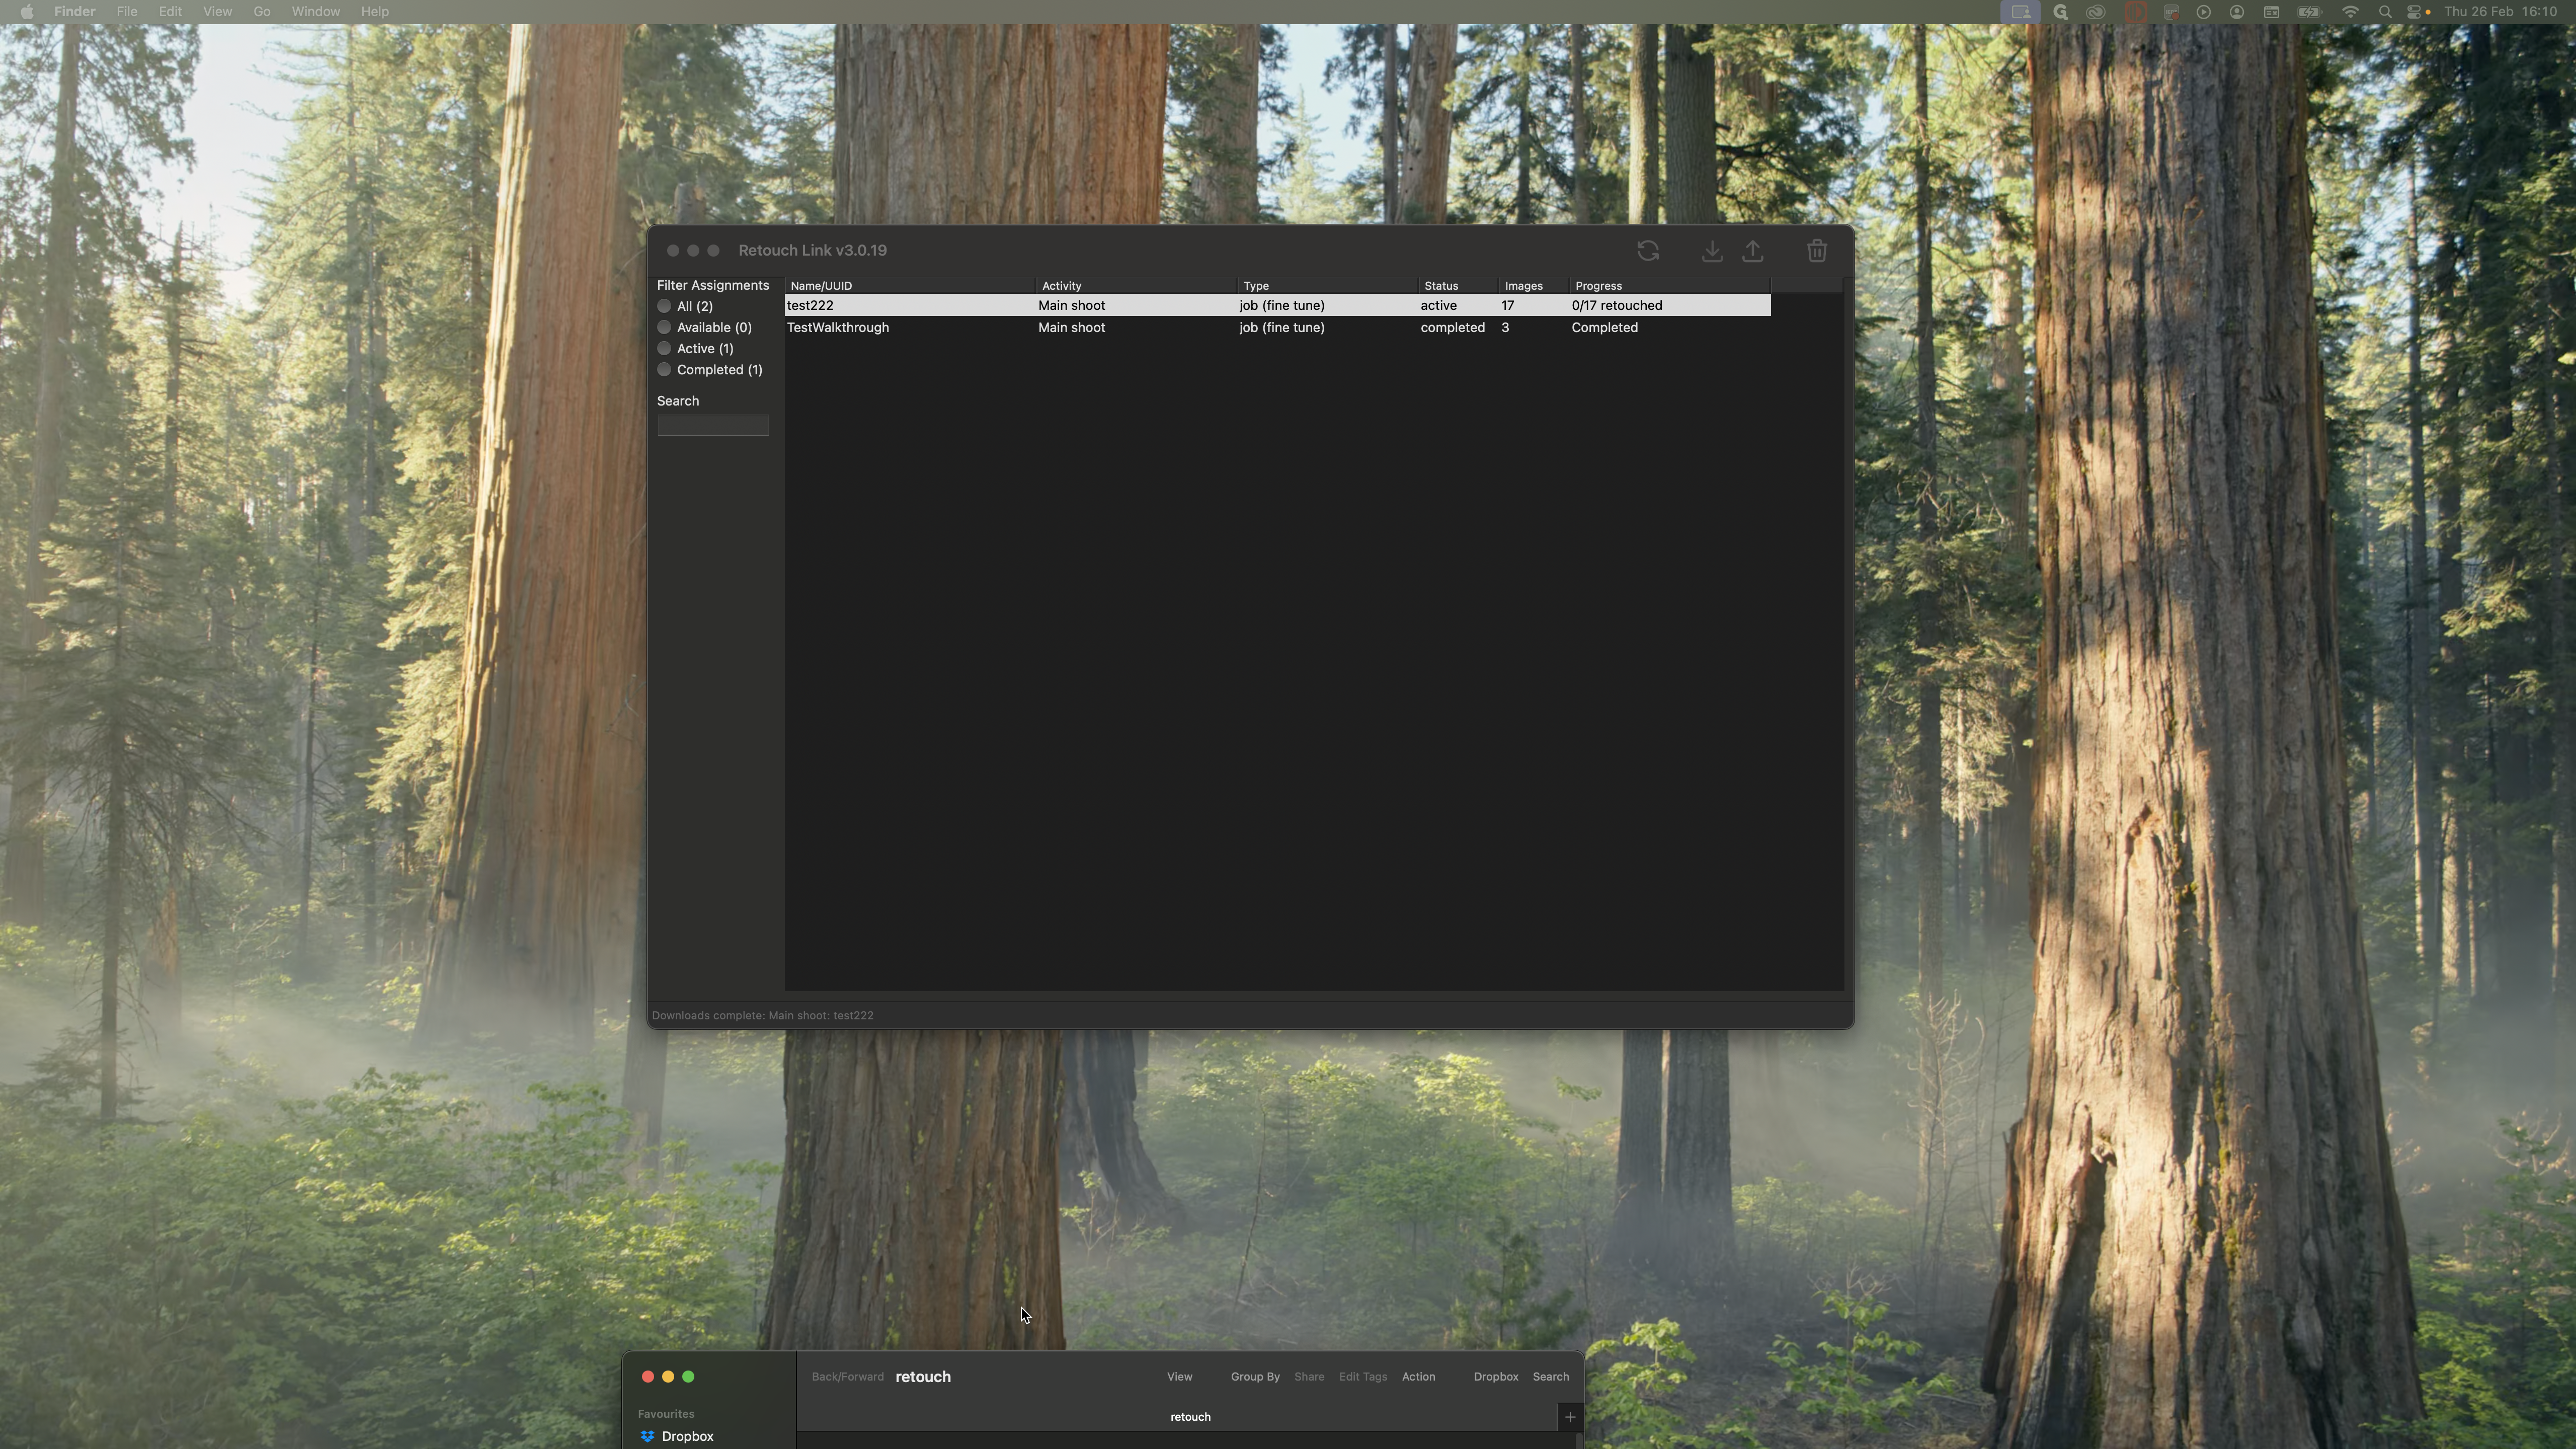
That will download. You can see its progress here. Once that's done, I can open the folder.

These are all the images we worked on. We would drag them into Lightroom to edit.
Yes.
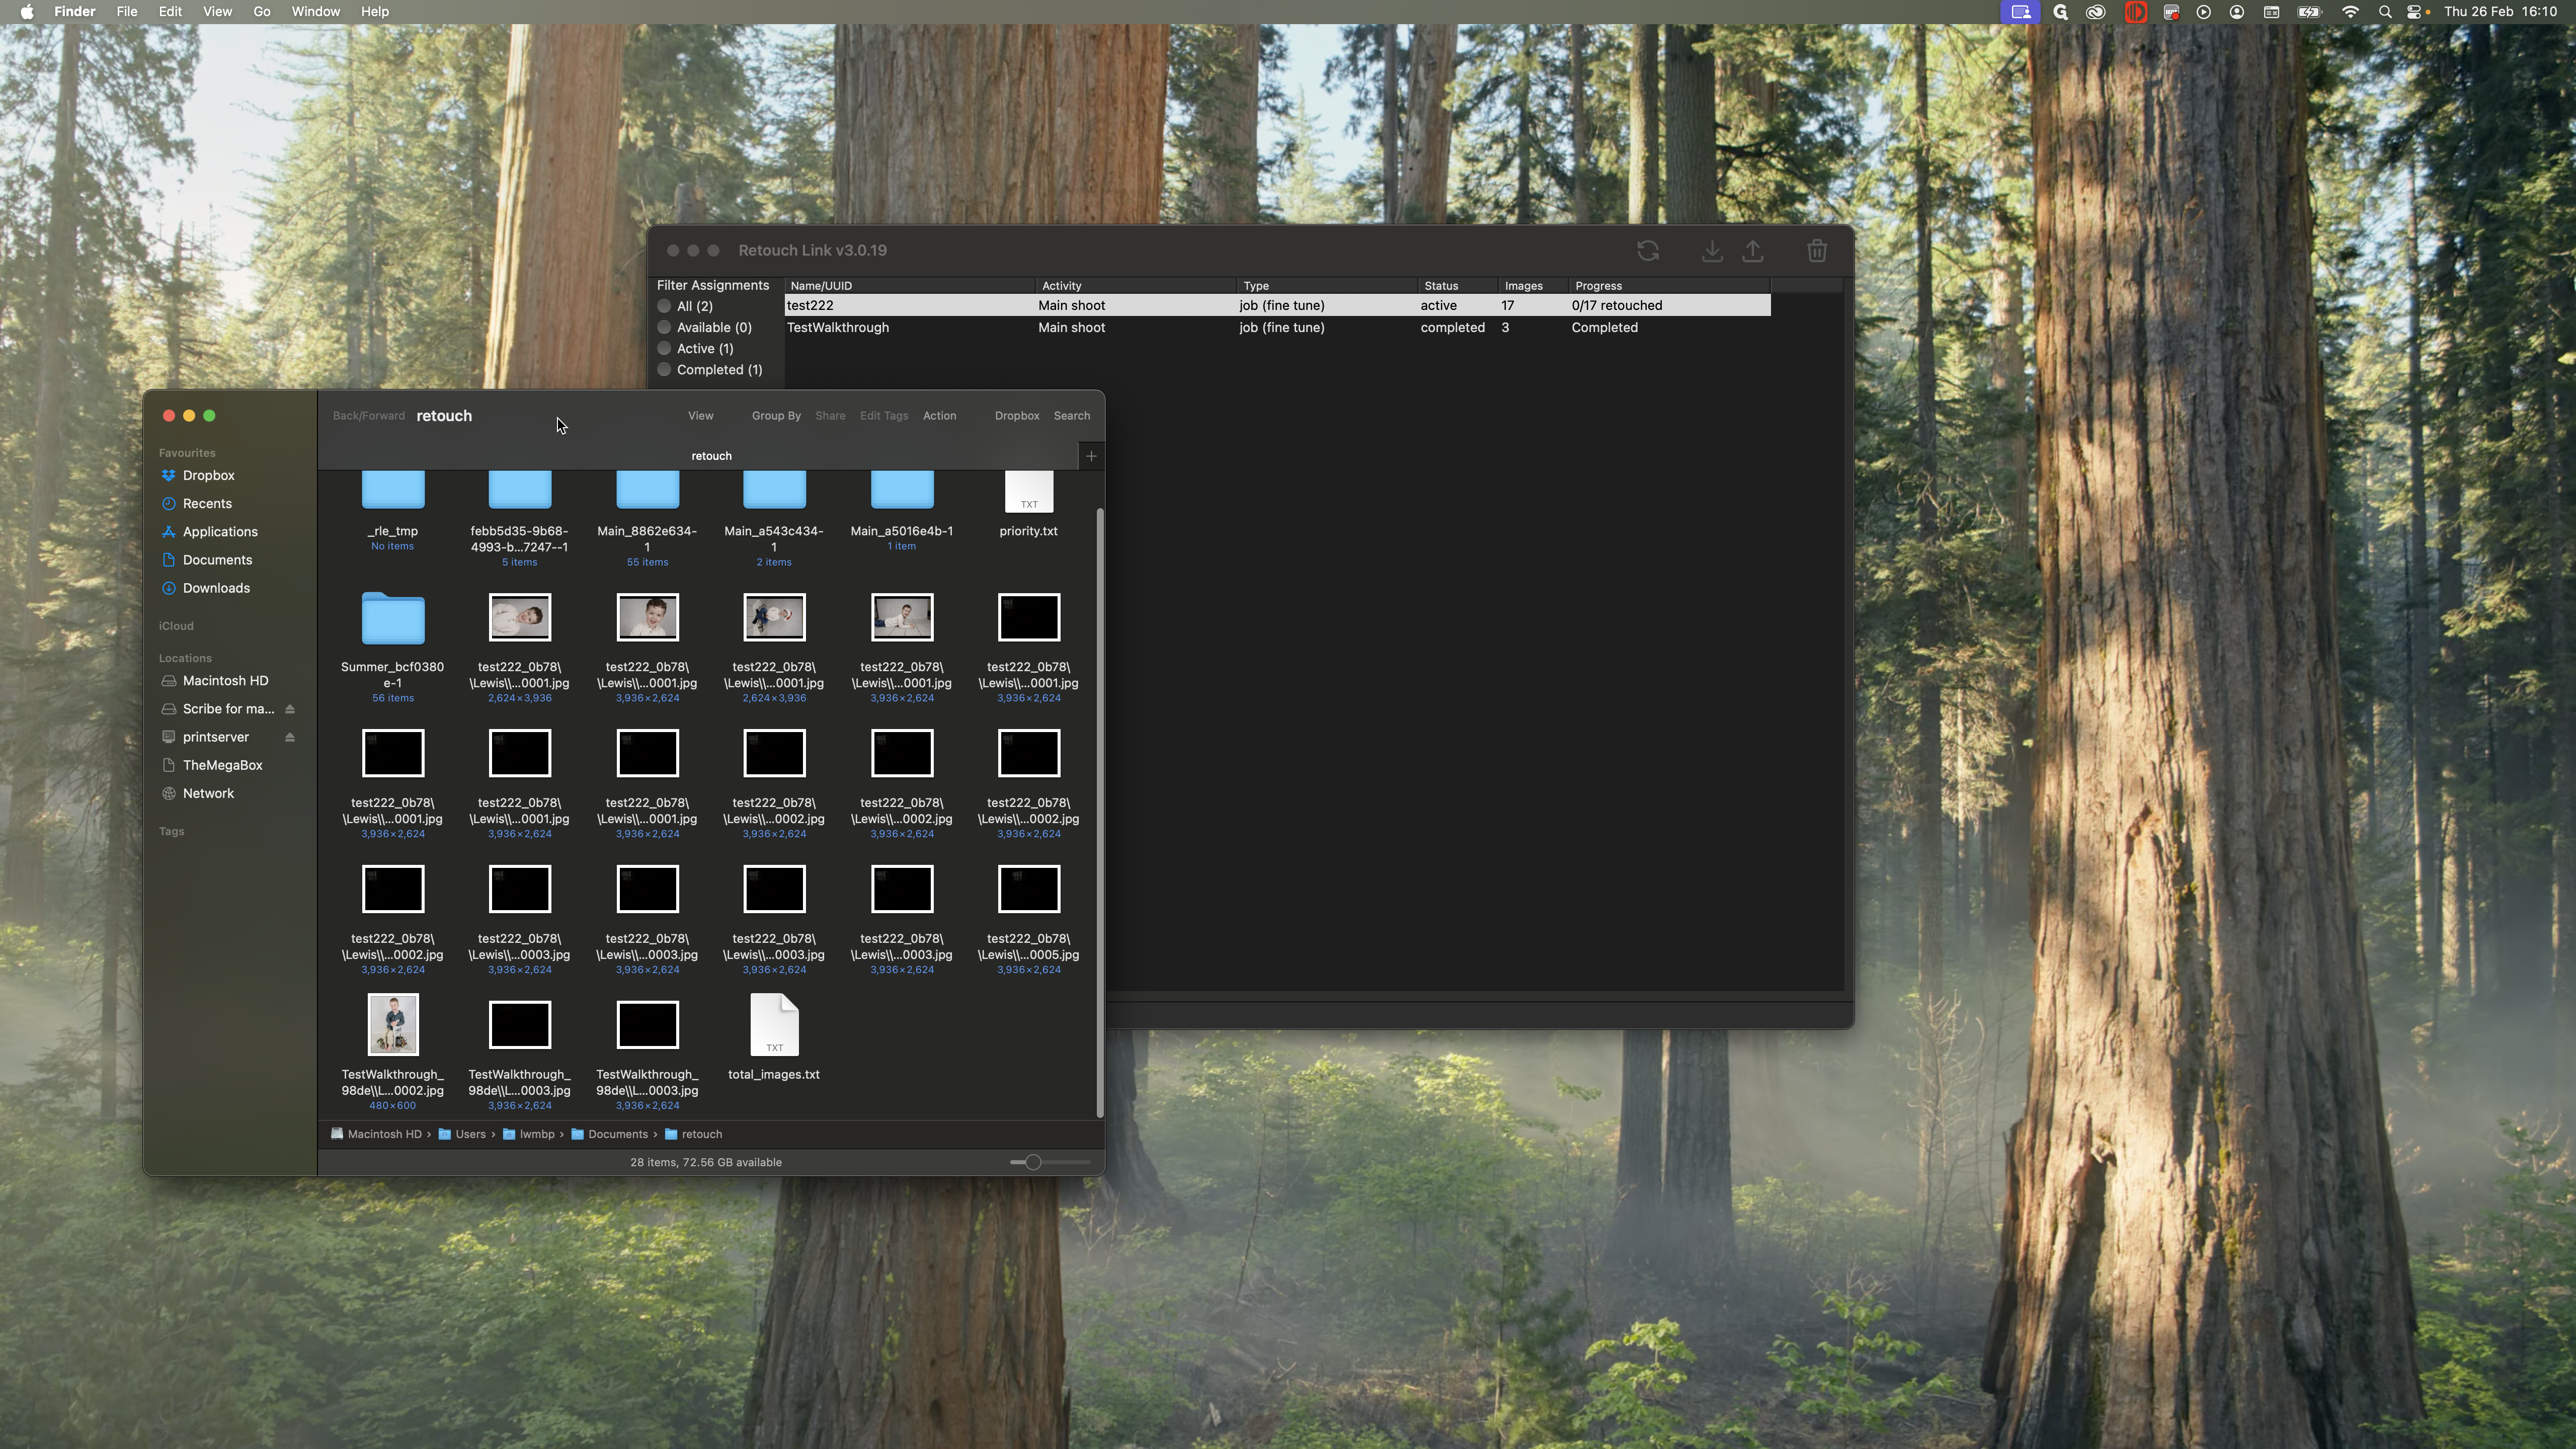
Drag the files into Lightroom or Photoshop. Edit them as you normally would. There are many black images here because that was part of the test. You can see that there are other ones here. Work on all the images in the main retouch directory. Once you're done, close it.
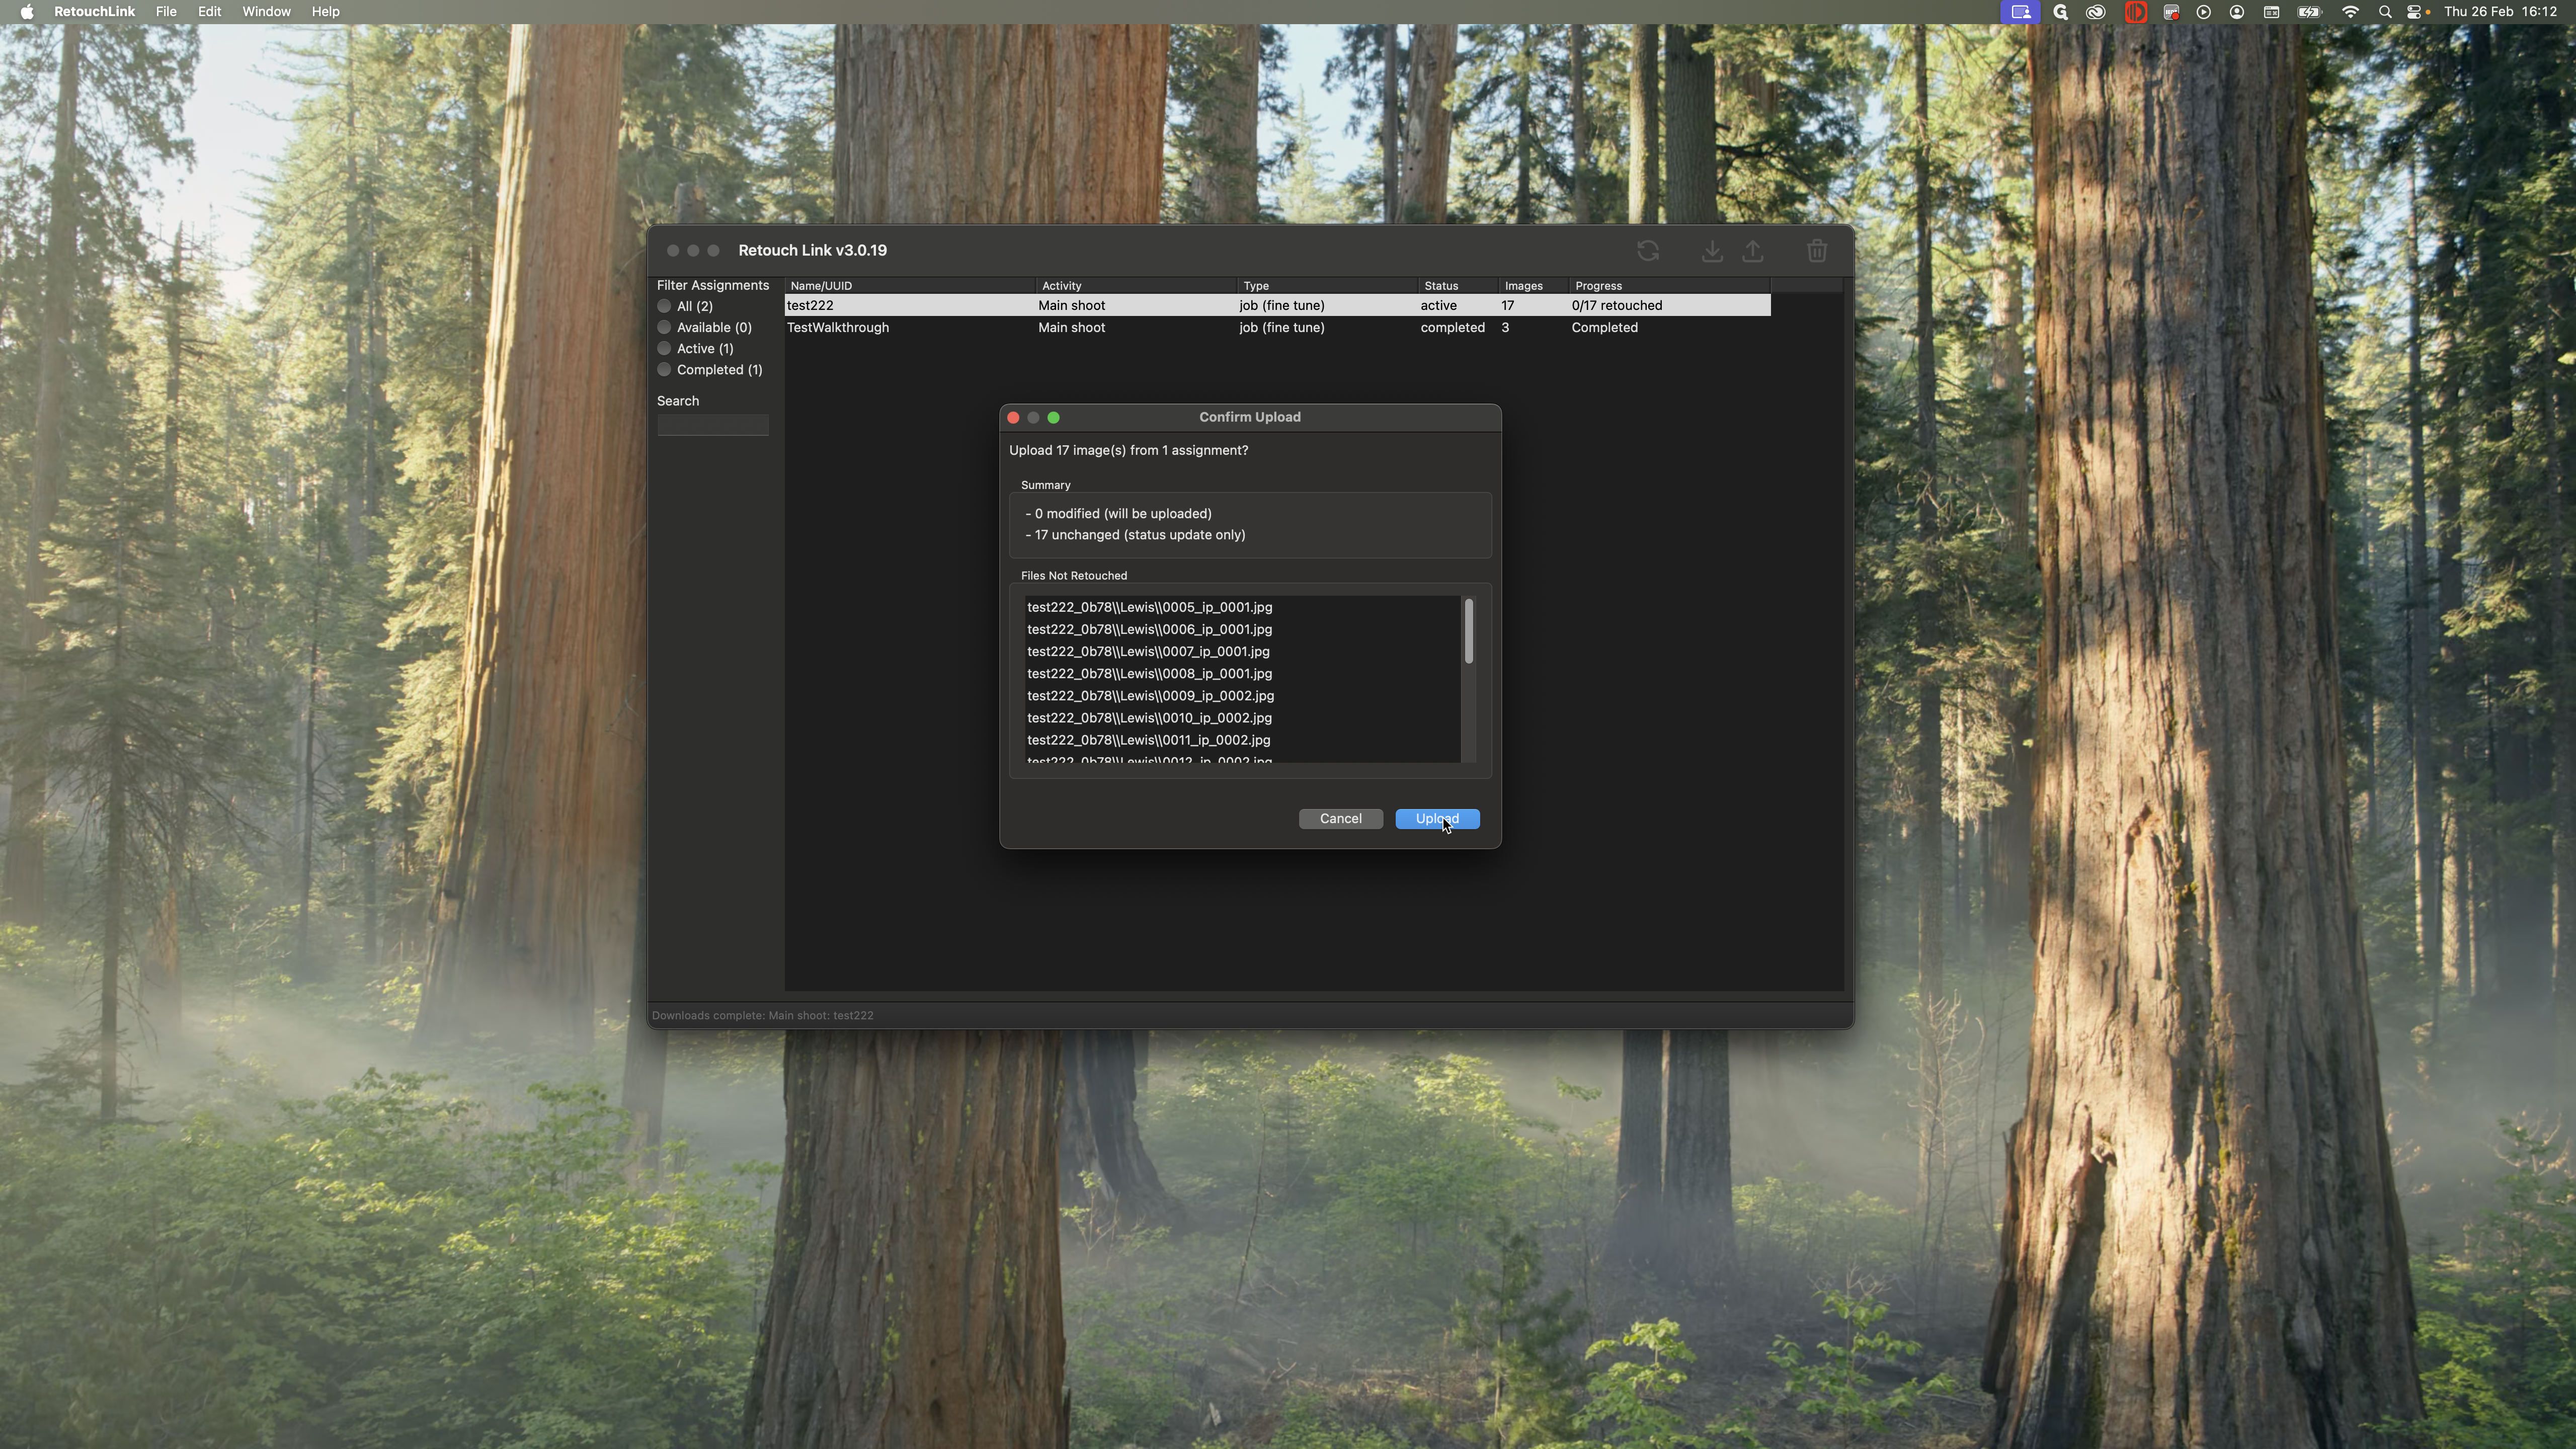
Press upload. The system will display the number of files that were processed. For example, it will notify you if there are any files you forgot to work on or retouch, or files that were missed. If everything looks okay, you can just press upload. Currently, since we haven't worked on any of these images, it's giving me this error. If everything is correct, press upload. The system will upload all files and mark the process as complete.
That's everything.