
How to Edit Building Details and Customize Scopes of Work
Learn how to edit building details and customize scopes of work to evaluate options and decide which one works best for your needs.
In this guide, we'll learn how to edit building details and customize scopes of work for a building. This process starts by accessing a building's page from your home page. By editing details such as property information, building systems, and utility costs, you can improve the relevance of measure calculations. Customizing scopes of work allows you to tailor energy-saving strategies and financial estimates to meet your specific goals, such as compliance with local laws or optimizing utility rebates.
Let's get started
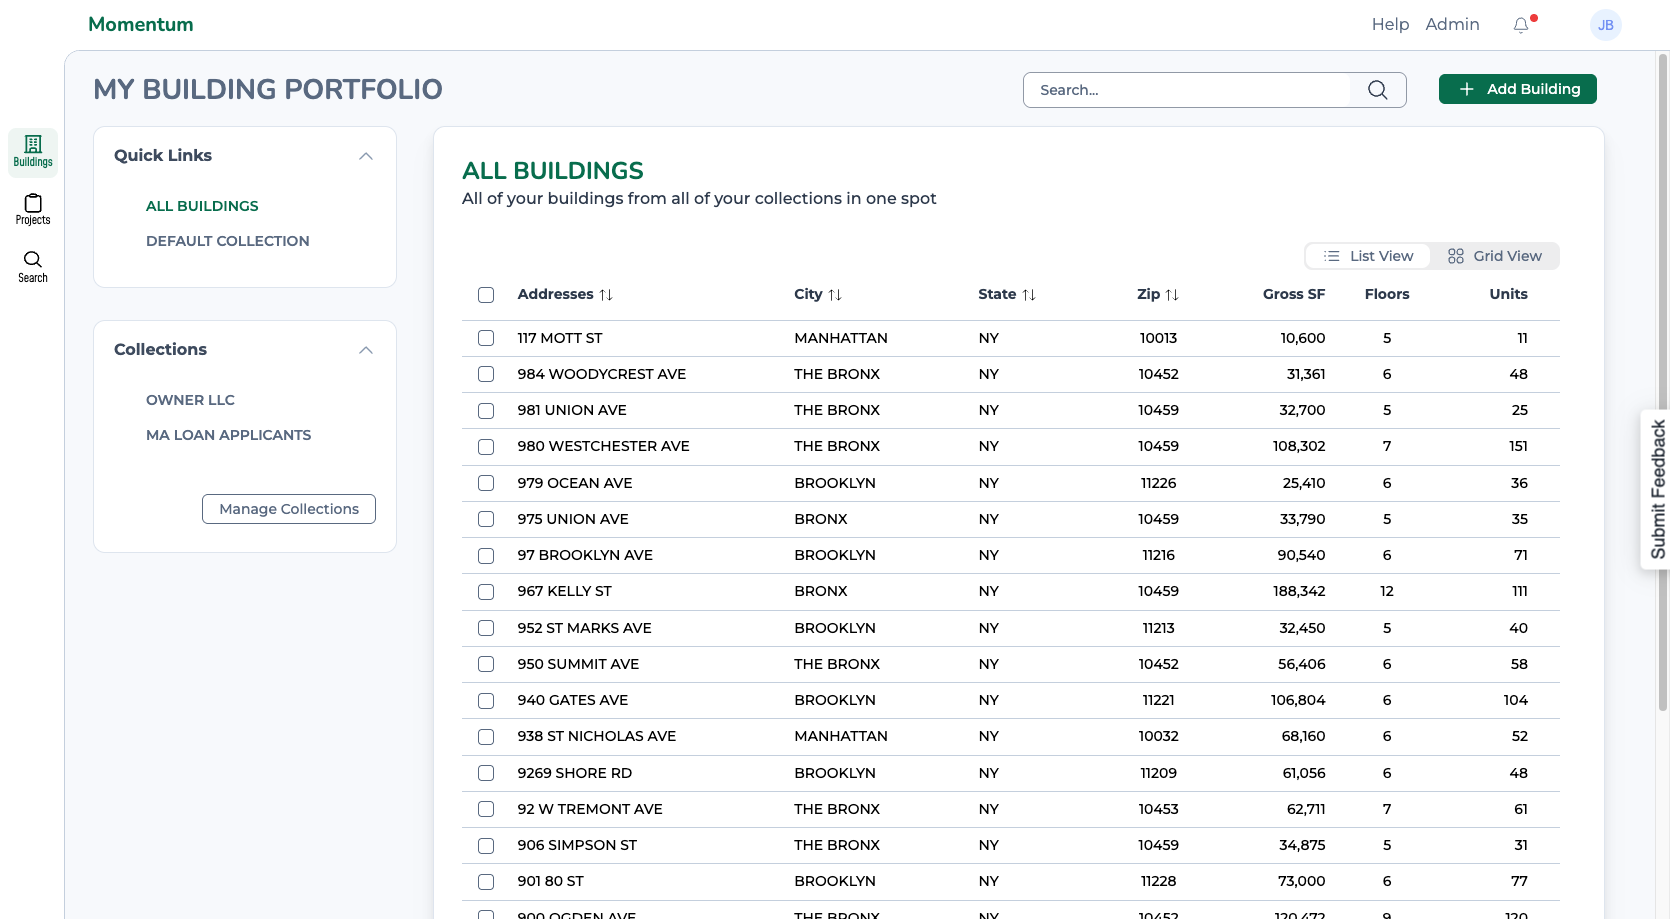
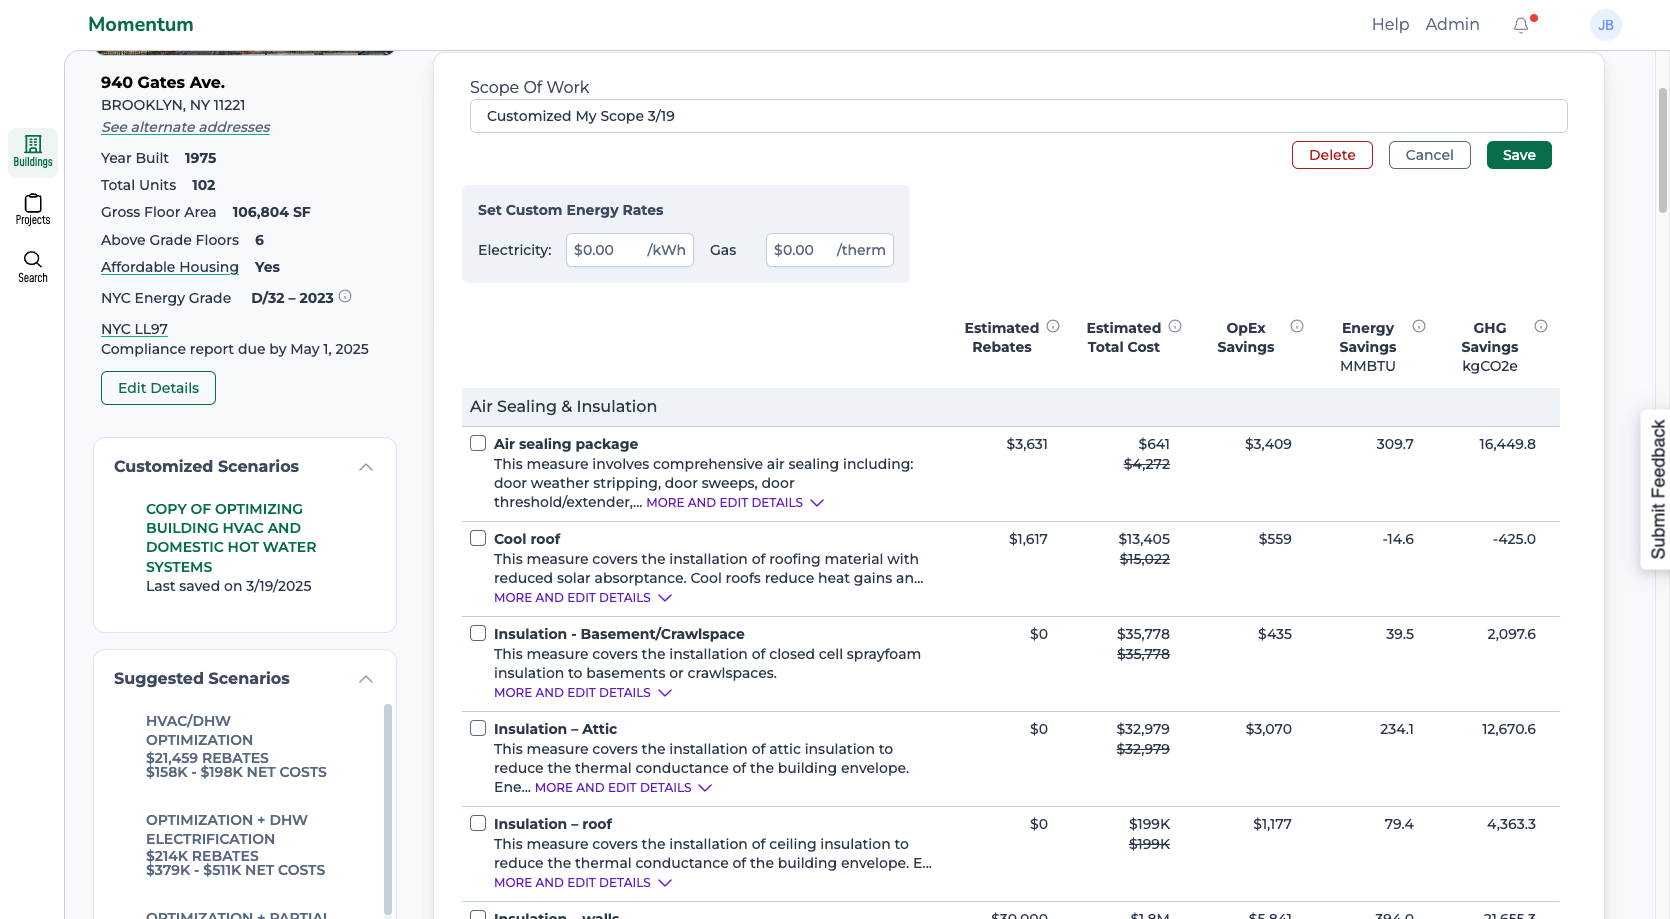
In this tutorial, I will explain how to edit building details and customize the scopes of work. First, select a building from your collection, which will take you to that building's page.
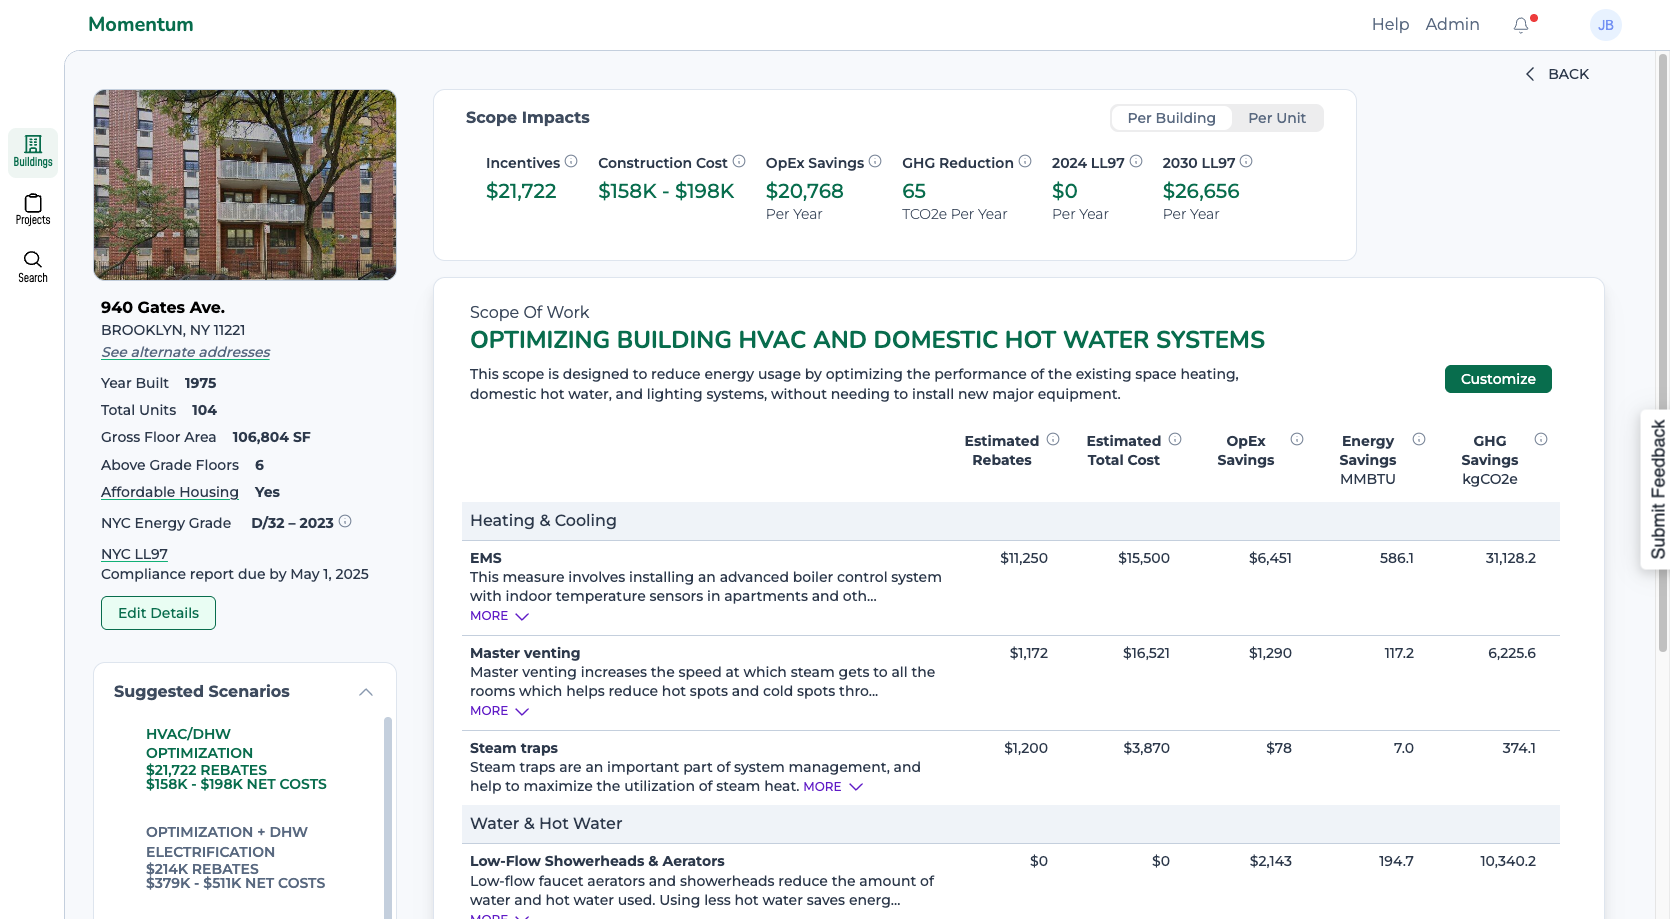
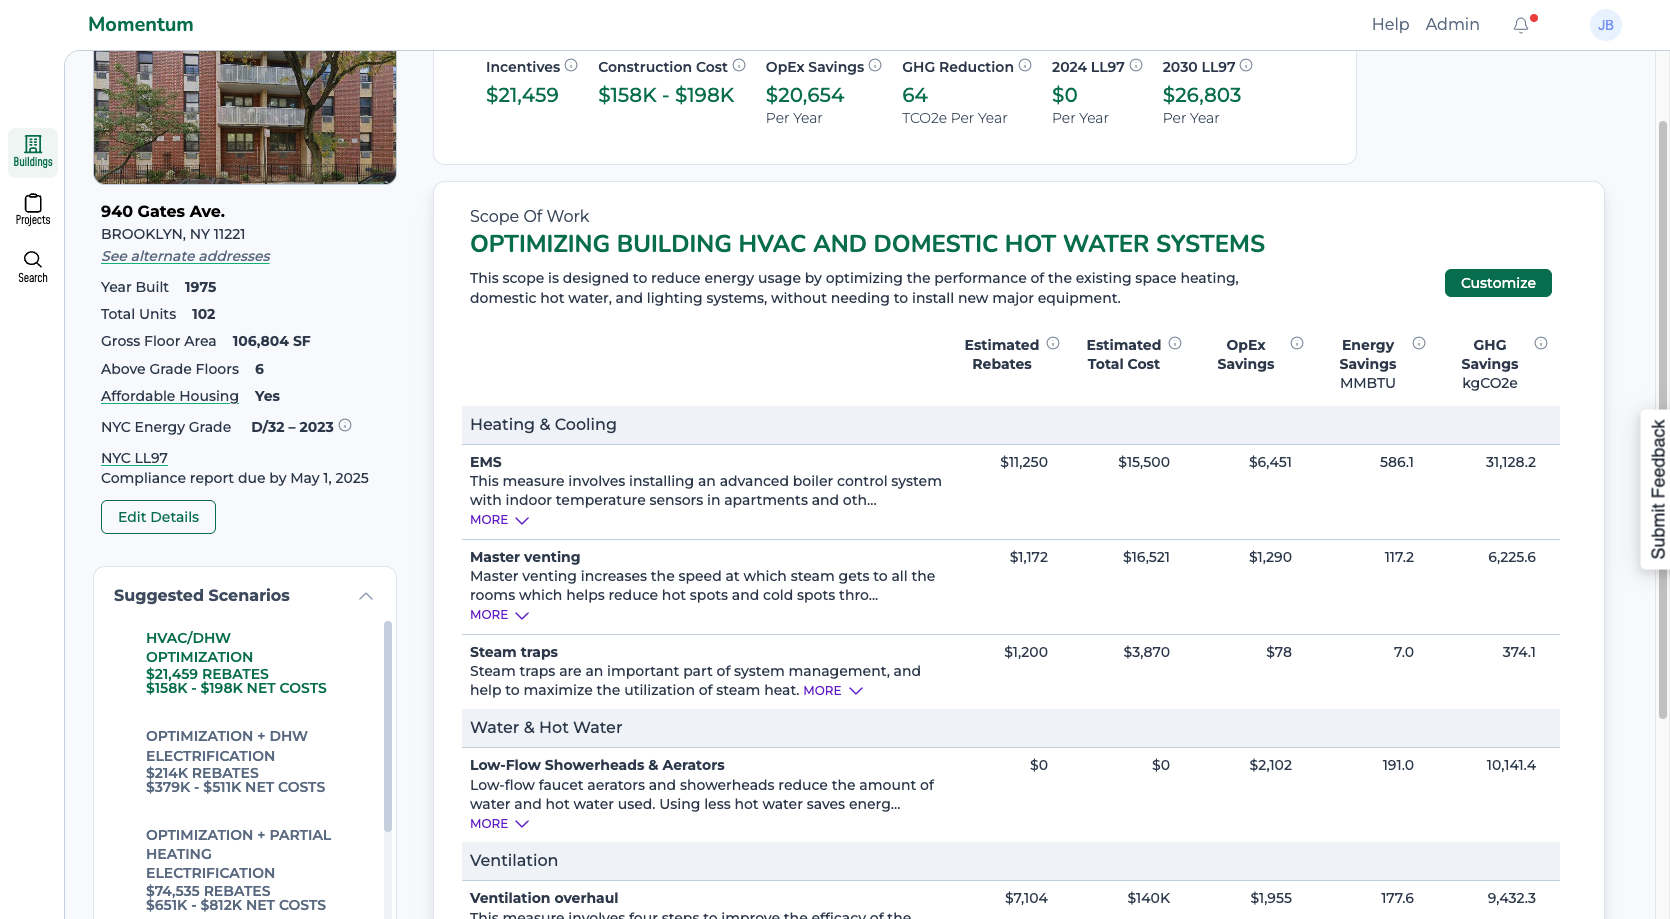
On the left, you'll find basic information about the building. On the right, there is information about the scope of work. And below, you'll see suggested starting scenarios. We've prefilled much of the building information so you don't have to start with a blank page.

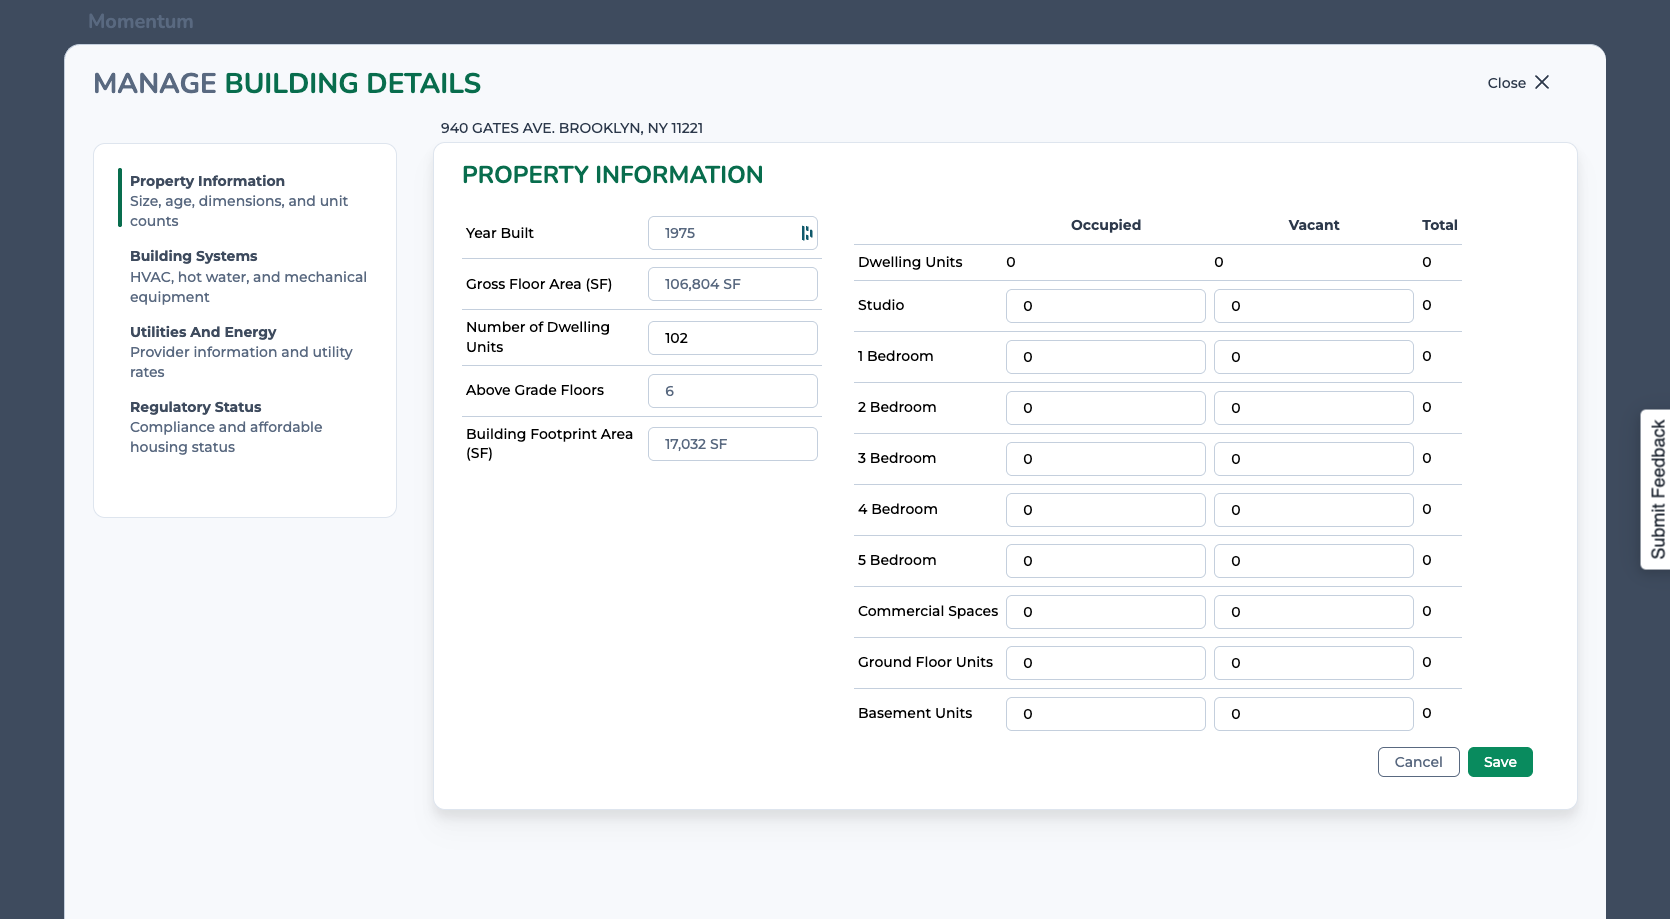
If any of this information is incorrect or you want to view additional details, click here to edit. You'll be able to view and edit more building details, which will inform the scopes of work and measure calculations.
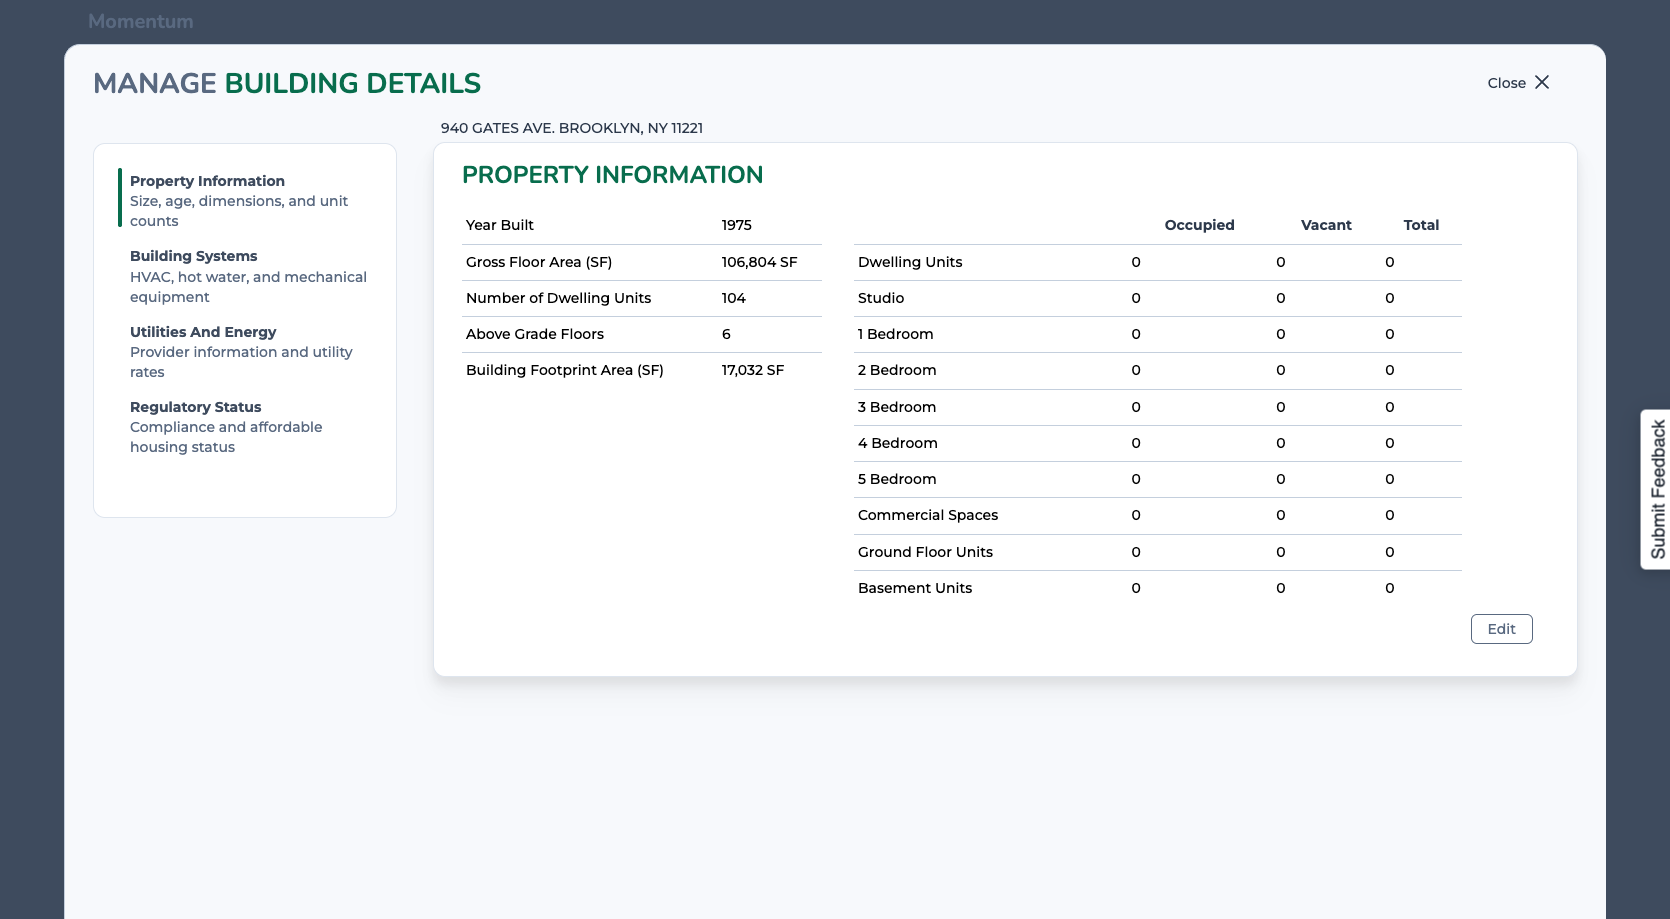
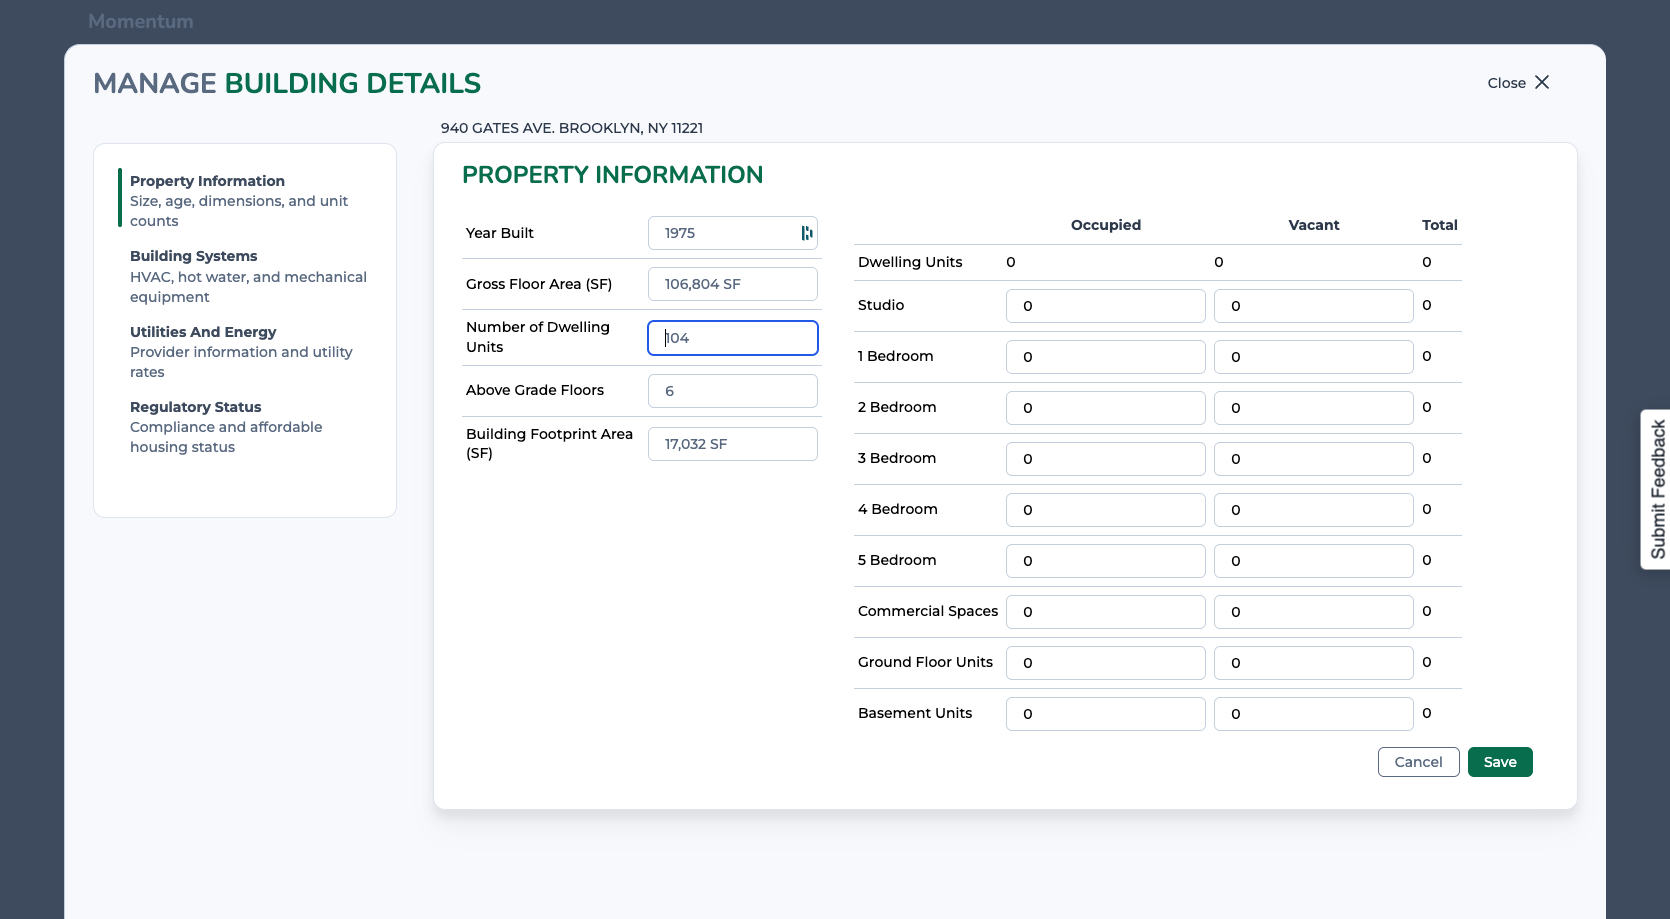
If you want to update any of the details, just click edit, make your desired change, and click save.


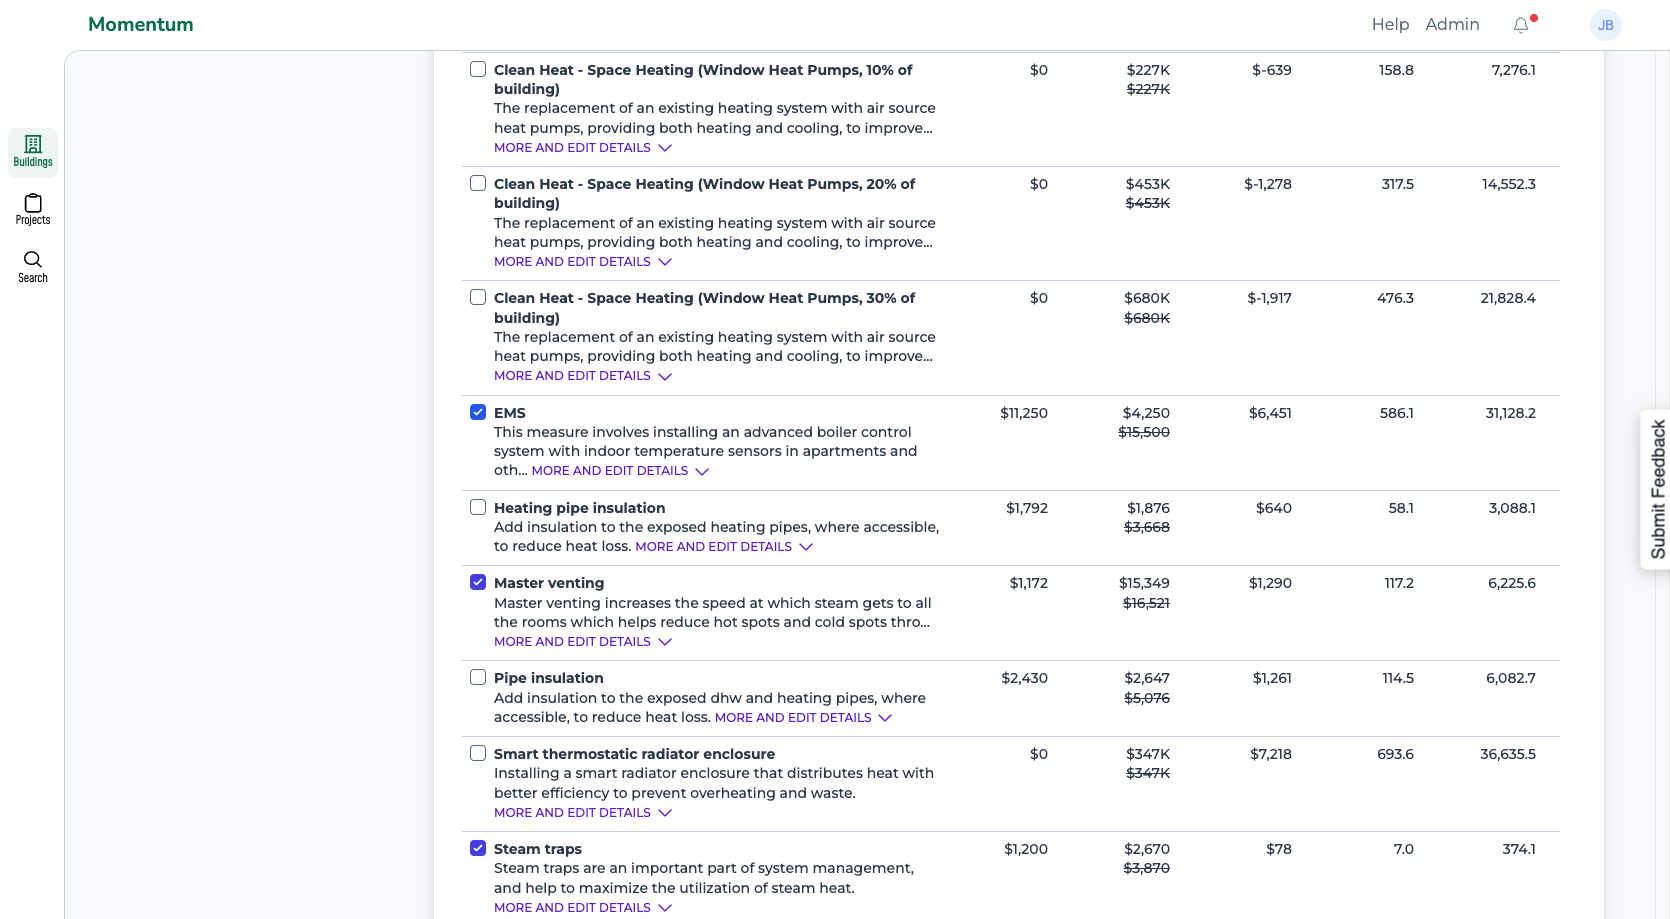
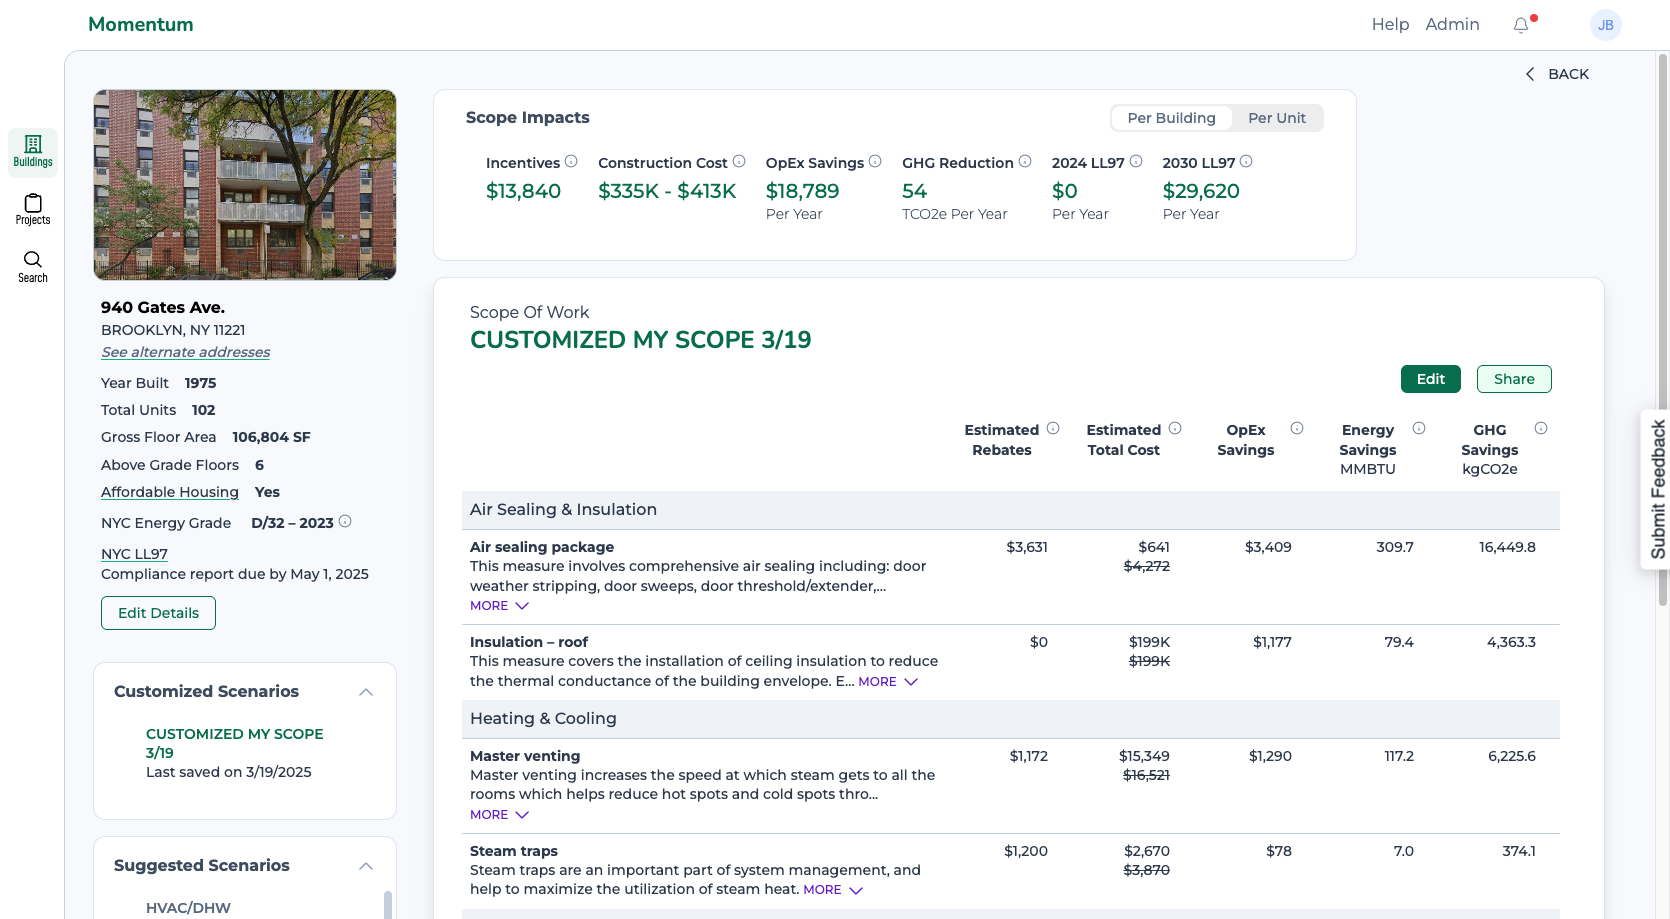
Now let's look at the suggested scenarios. These are based around themes, such as optimizing the HVAC and DHW systems or meeting Local Law 97 performance criteria. For each scenario, we show the included measures grouped by category. Each measure has a description of what the measure includes, as well as estimates of rebates, construction costs, operating expense savings, energy savings, and greenhouse gas savings.
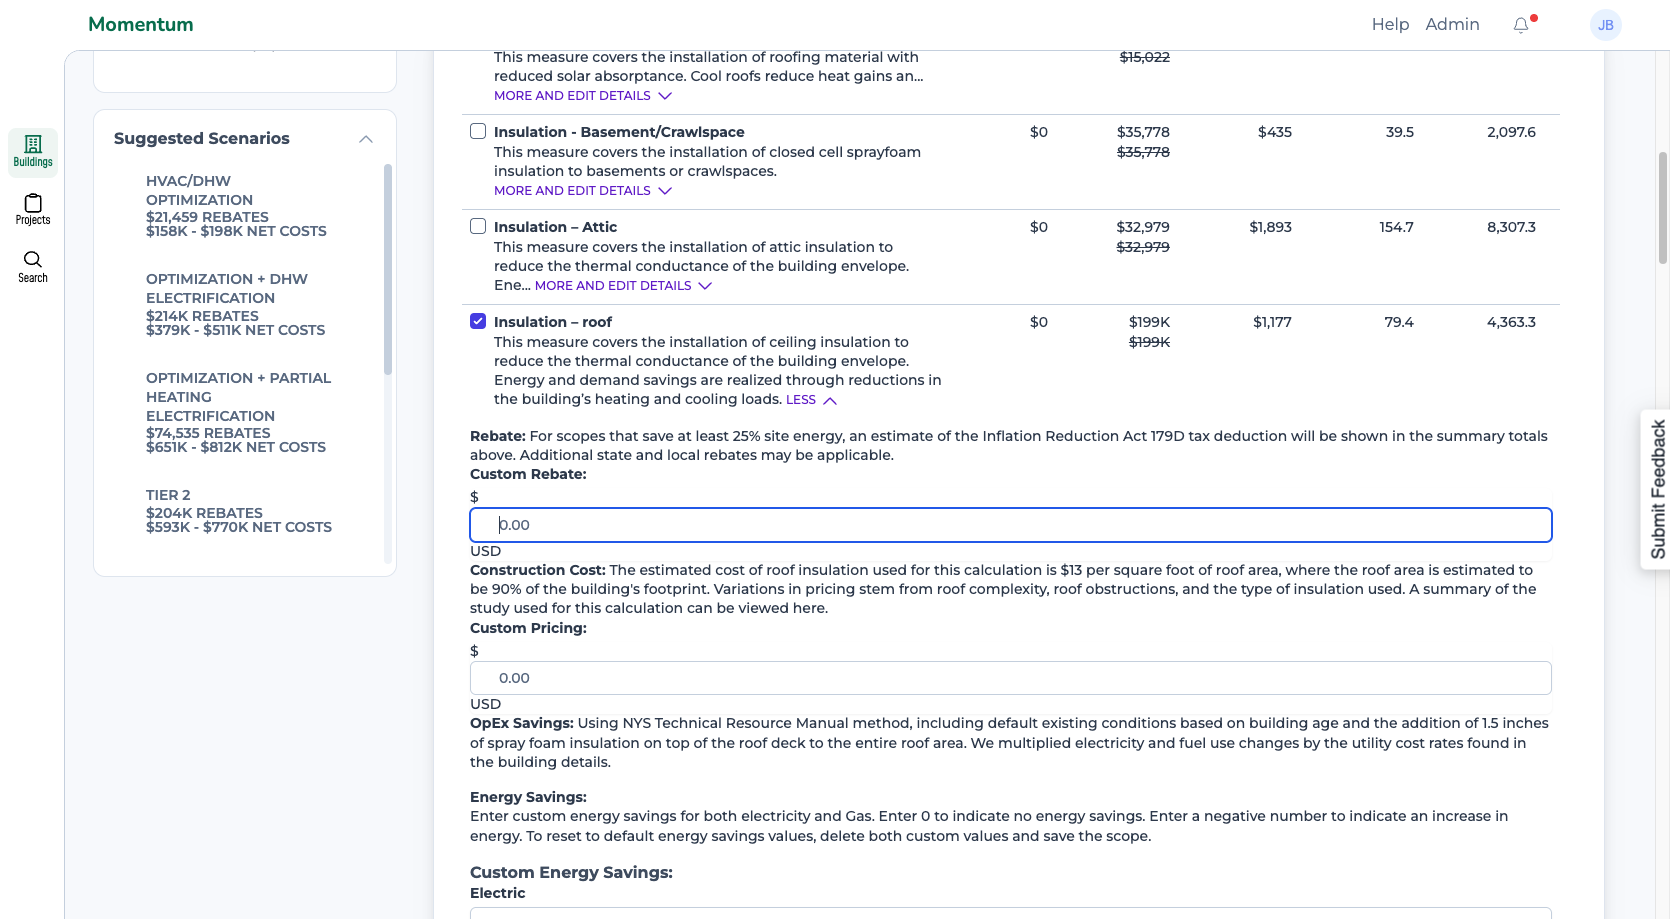
You can also click "More" to view a longer measure description and our methodology for estimating costs and savings. We aim to be transparent with our assumptions and calculations.
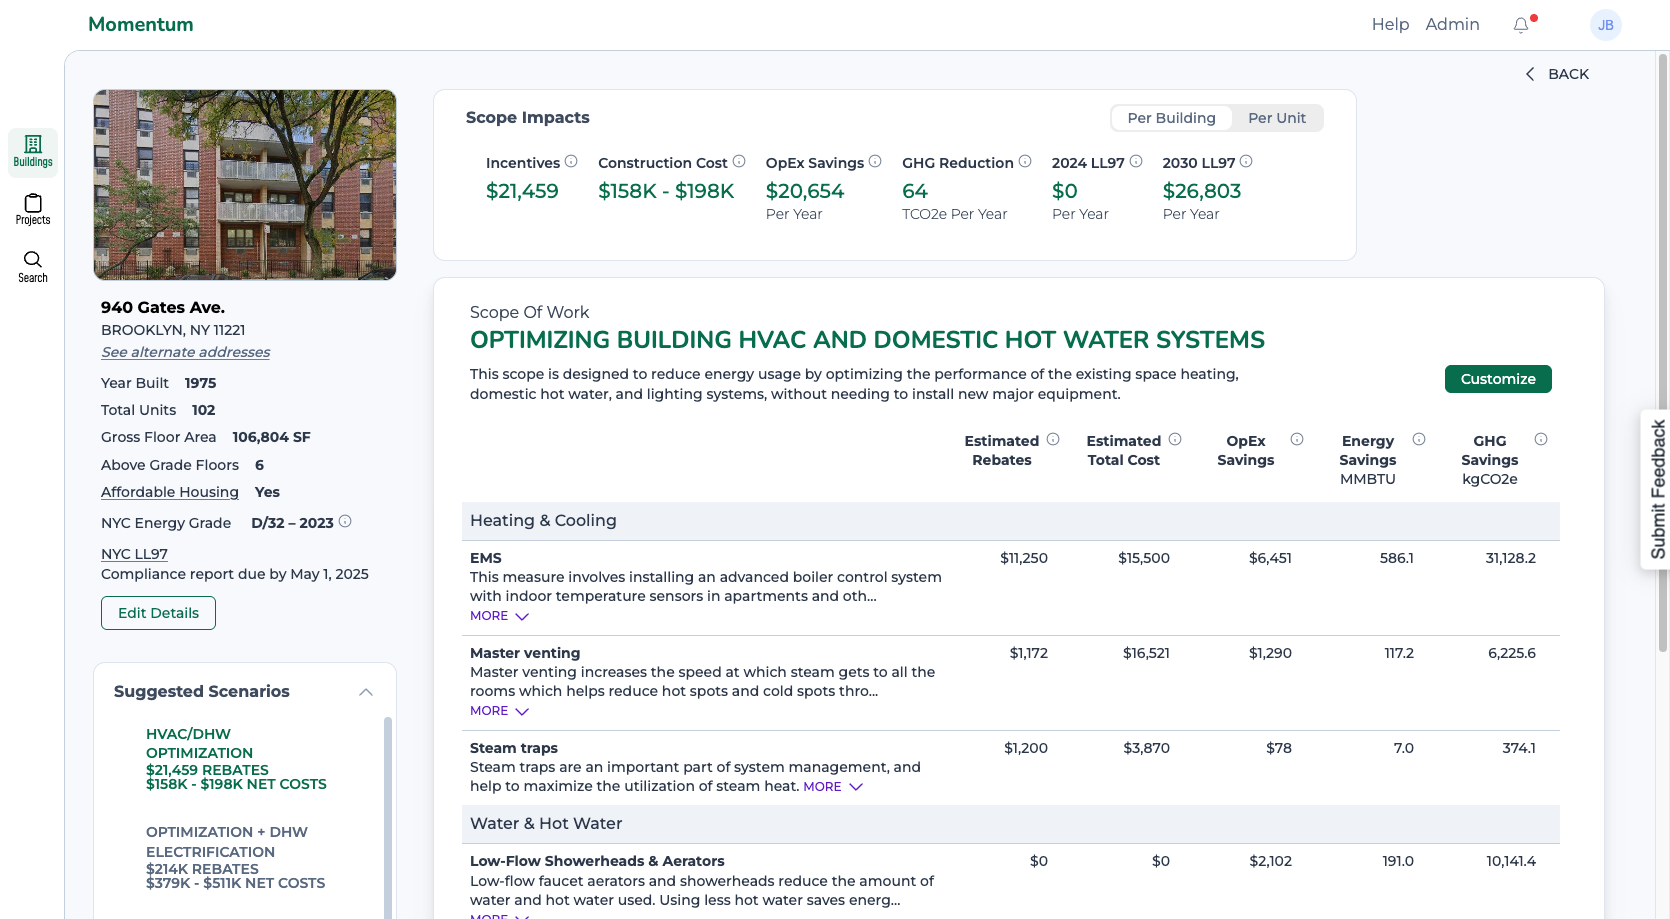
At the top of the page, you see the summary of impacts for that scope of work. You can view these impacts per building or switch to a per-unit view.
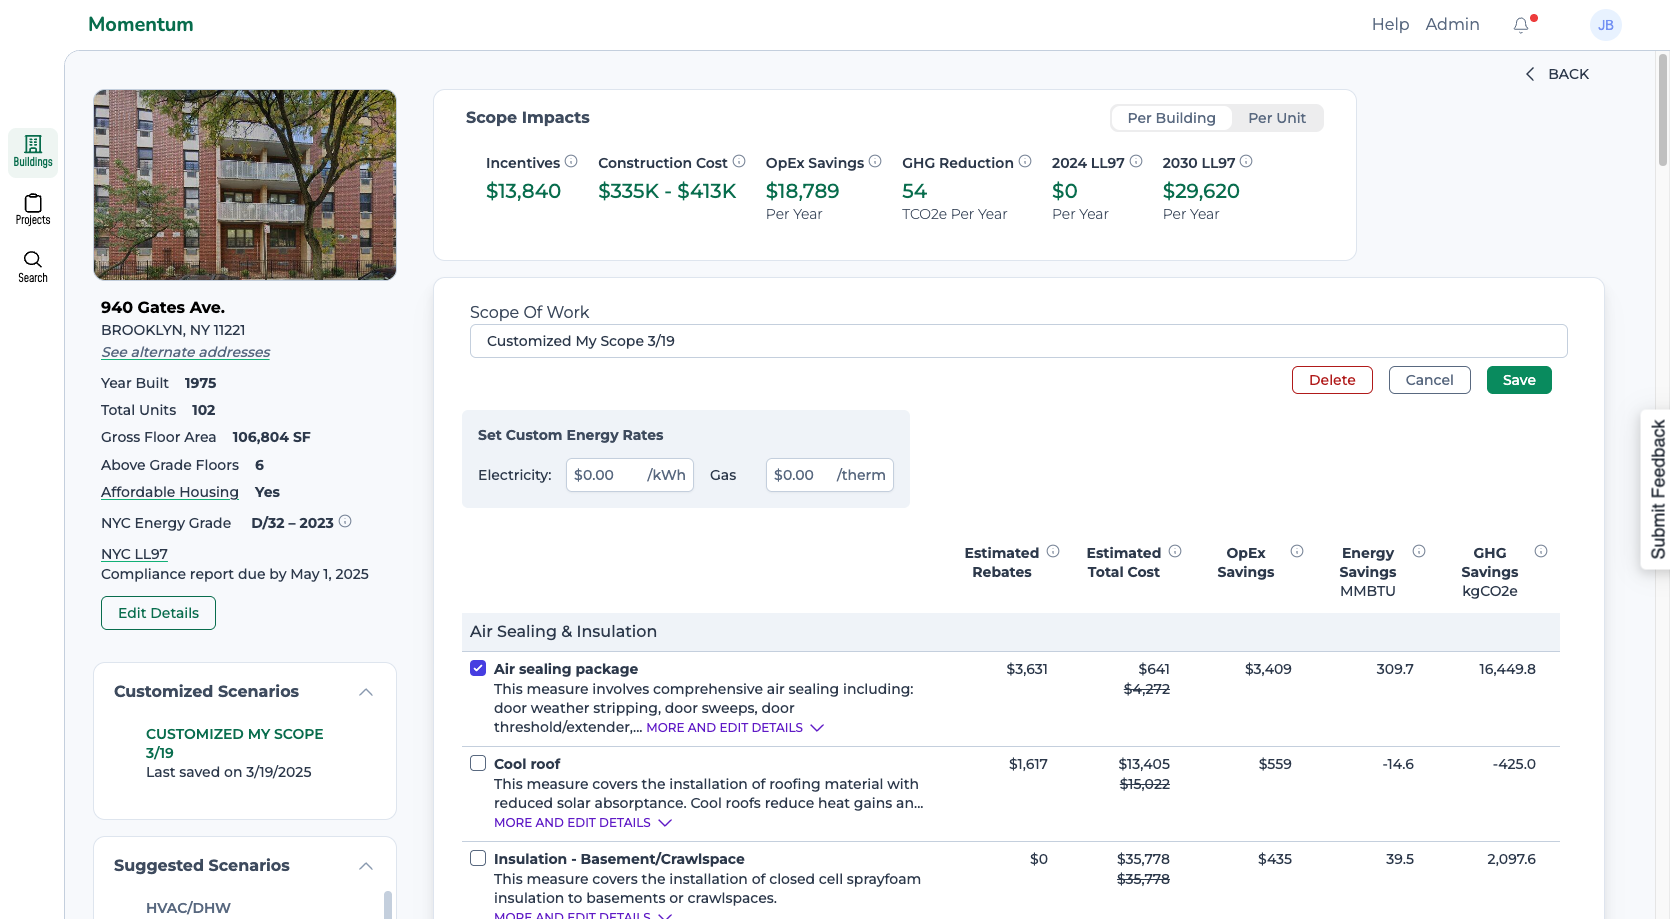
But those suggested scenarios are just a starting point. Clicking "Customize" lets you edit the name and the included measures. You can also customize the utility rates, which may be useful when evaluating a scope of work that includes a change in energy type, such as electrification or an oil-to-gas conversion.

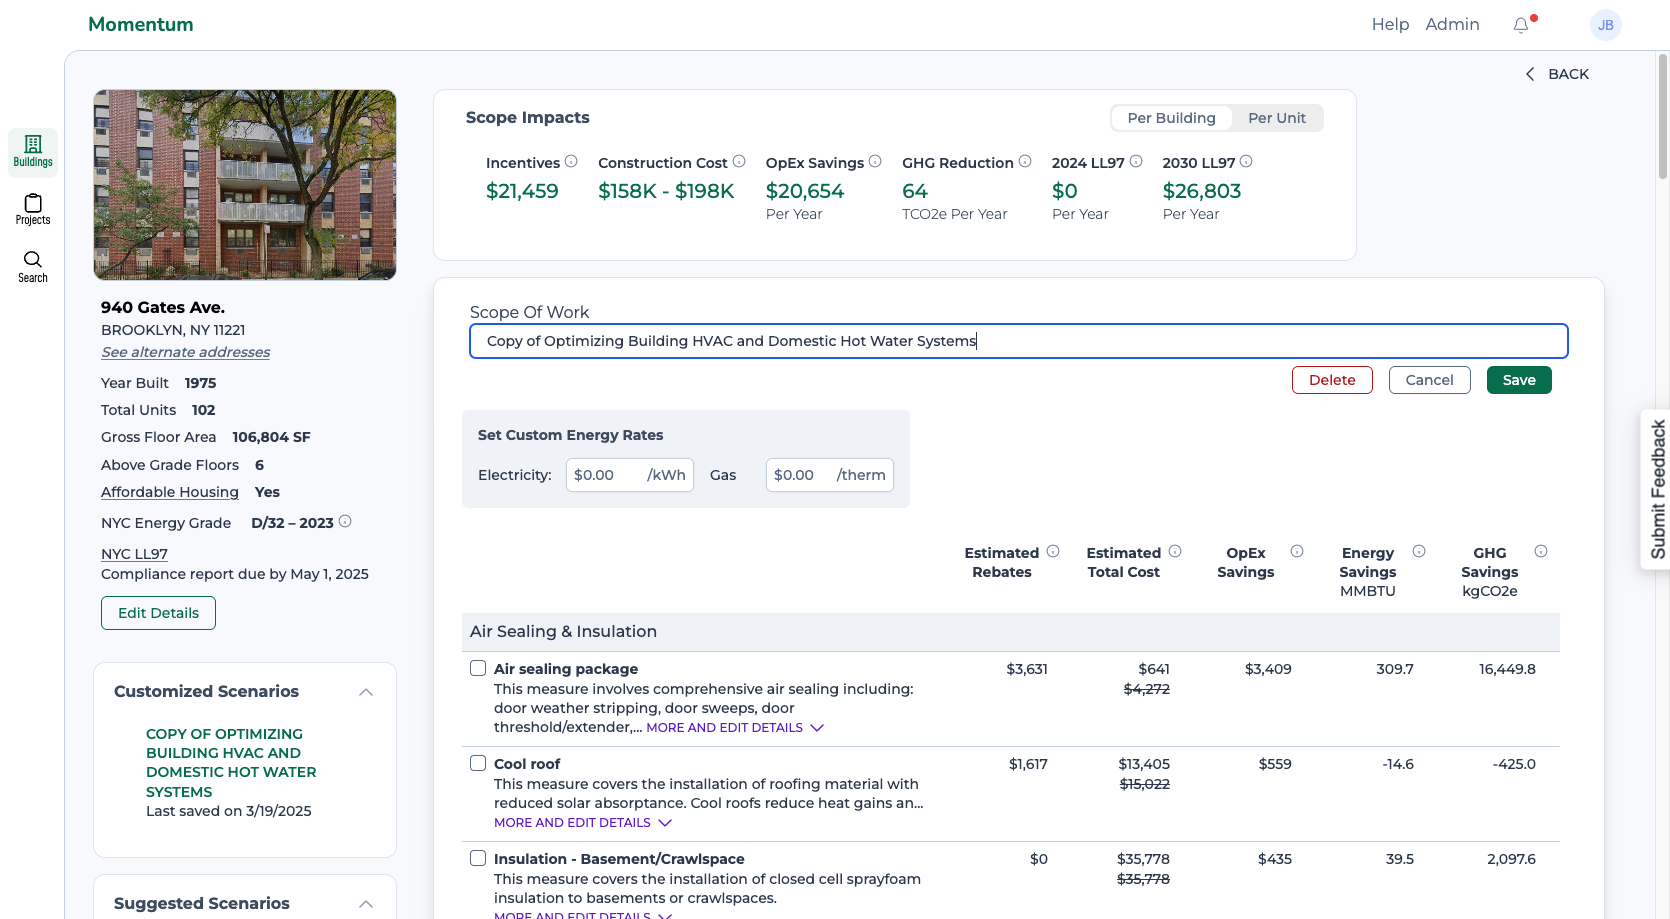
In this view you'll see all of the available measures for this building. You can select or unselect whichever measures you want to create your own custom scope of work.
Our estimates are based on our knowledge of the building; however, you may have more information. You can also customize the measure rebates and construction costs to better reflect your building's specific needs.
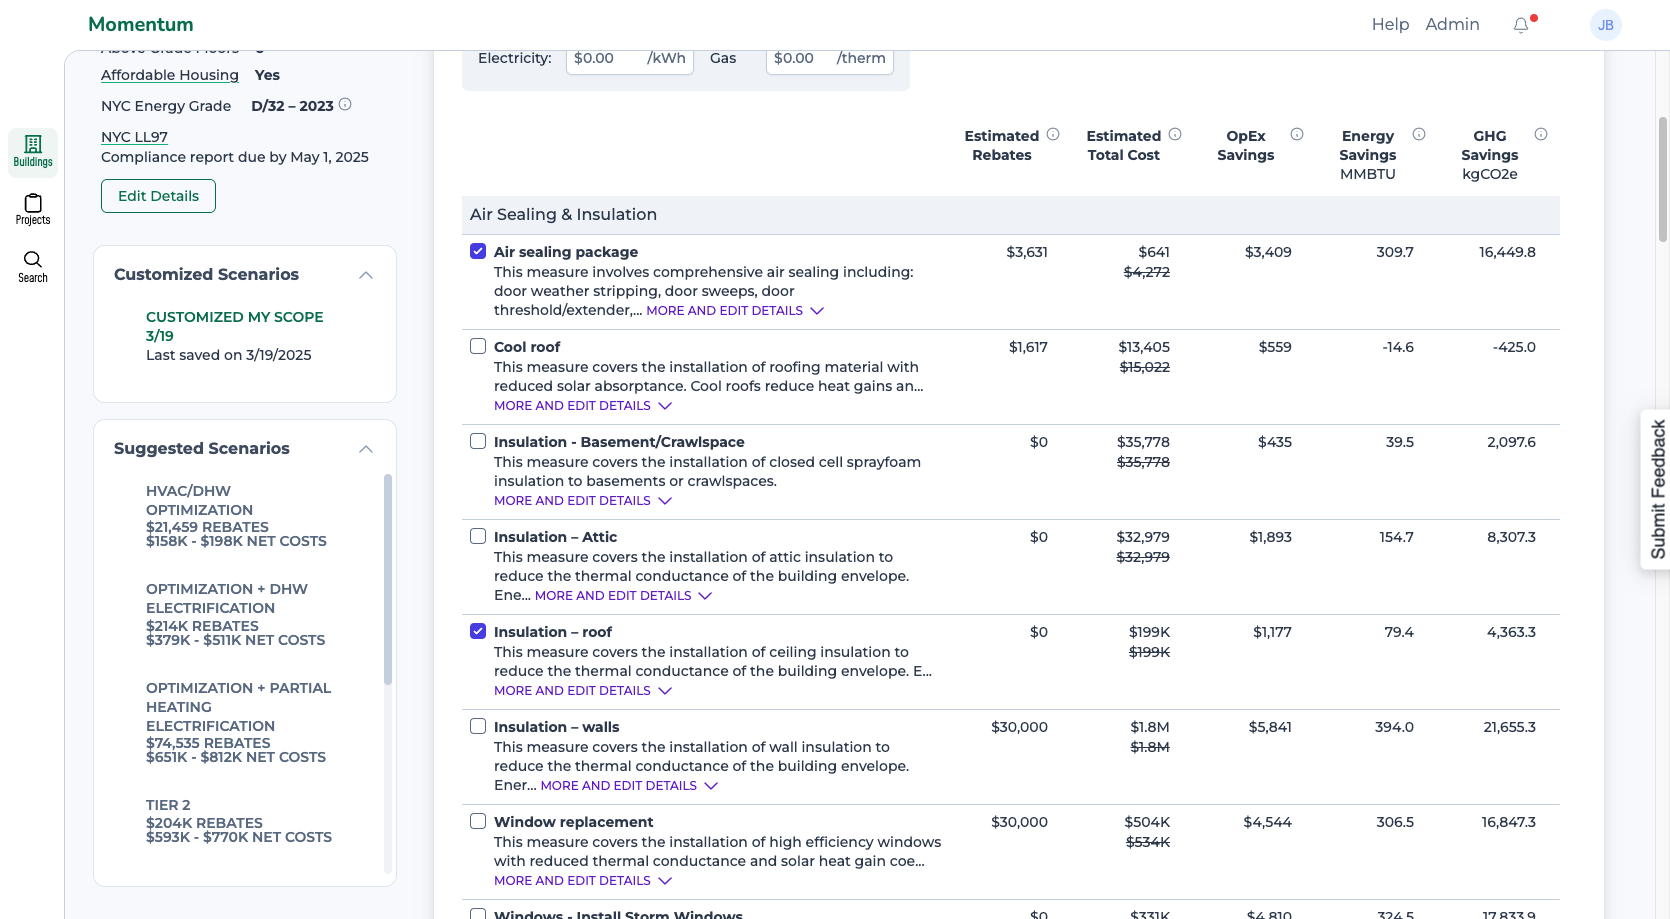
There you have it. That's your updated customized scenario. You can create as many customized versions as you like to evaluate and compare different options.
And if you like, you can share your customized scenario with others.
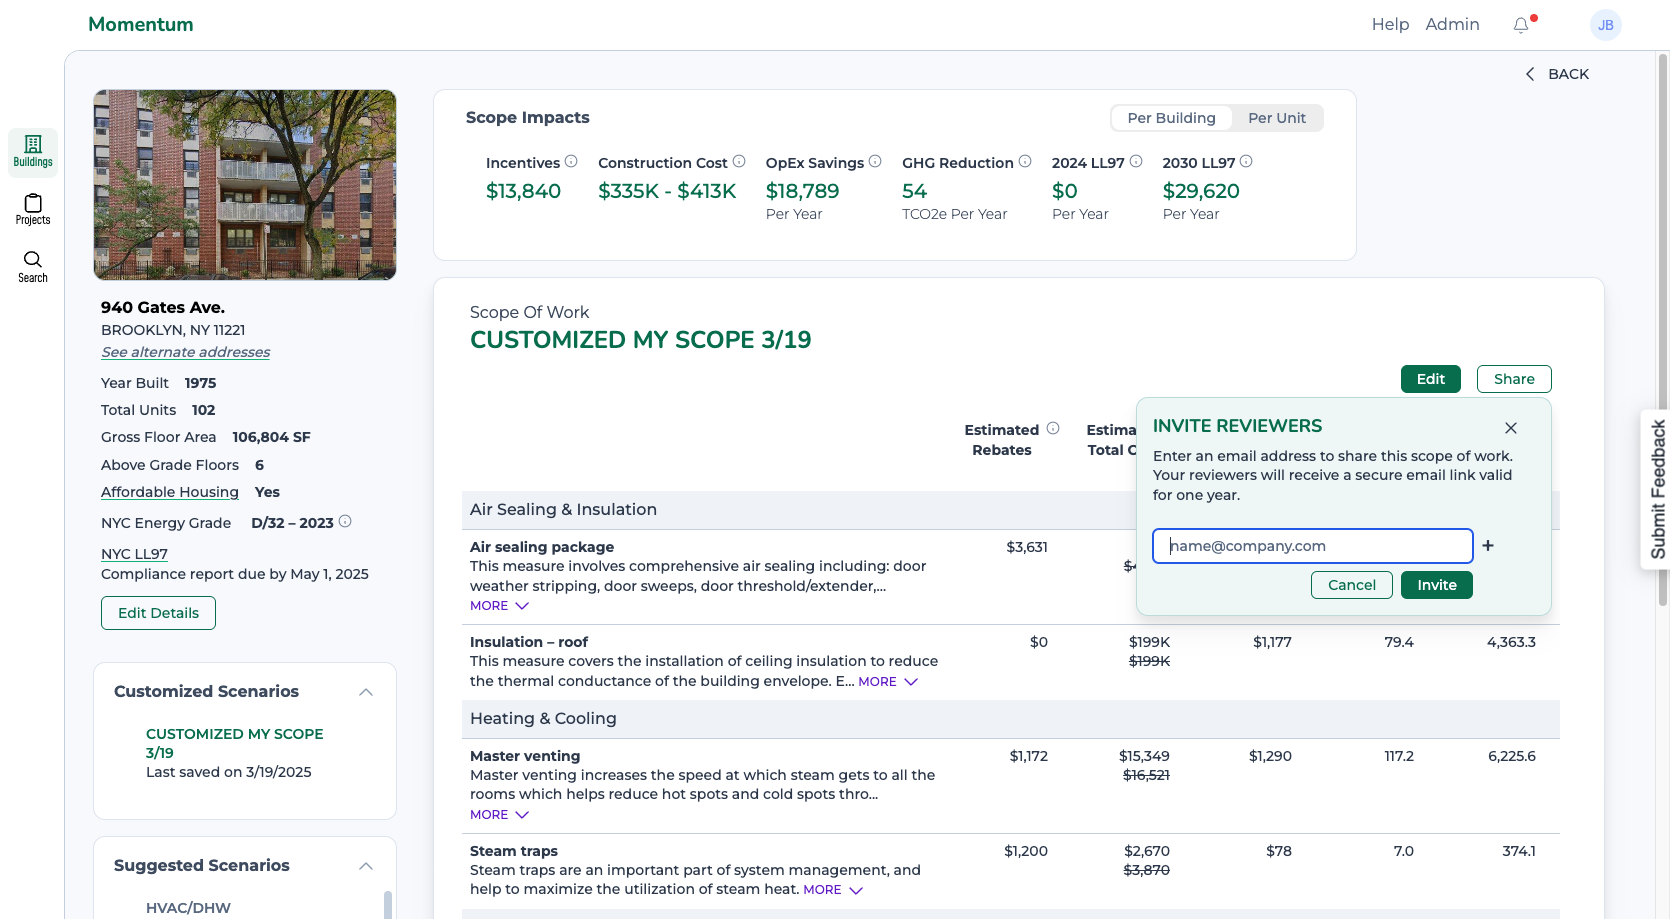
They'll receive a link to a view-only version of the scenario.