Icon

How to Edit Email Templates in Postmark: Step-by-Step Guide

Learn how to edit email templates in Postmark, including updating text, images, and dynamic variables. Follow this step-by-step guide to customize your Email Confirmation Template safely and effectively.

By Yulia @ CarCloud

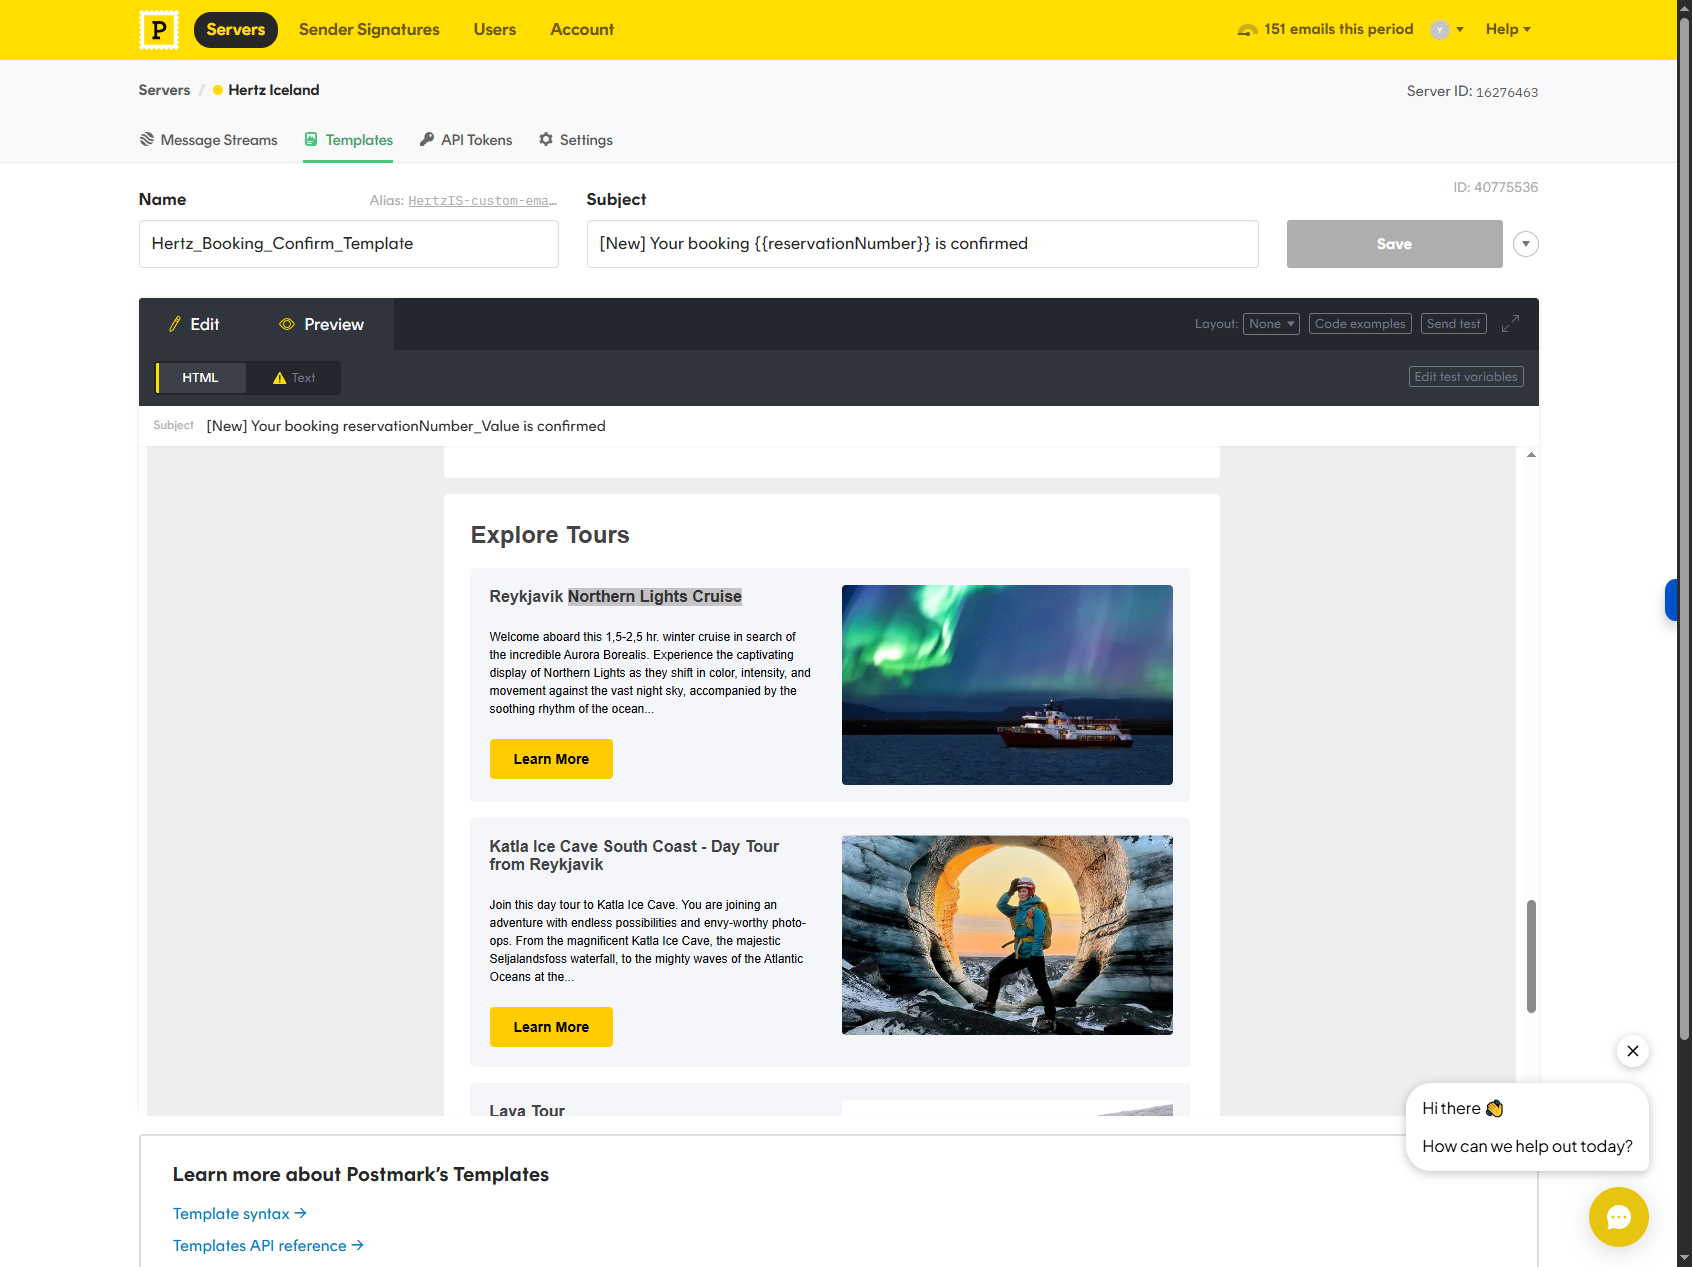
In this guide, we'll learn how to edit an email template in Postmark. You will see how to find and update specific sections, such as the Explore Tours block, and make changes to text, buttons, and images. We will also discuss how to handle variables and image uploads to keep your template working as expected.

Let's get started

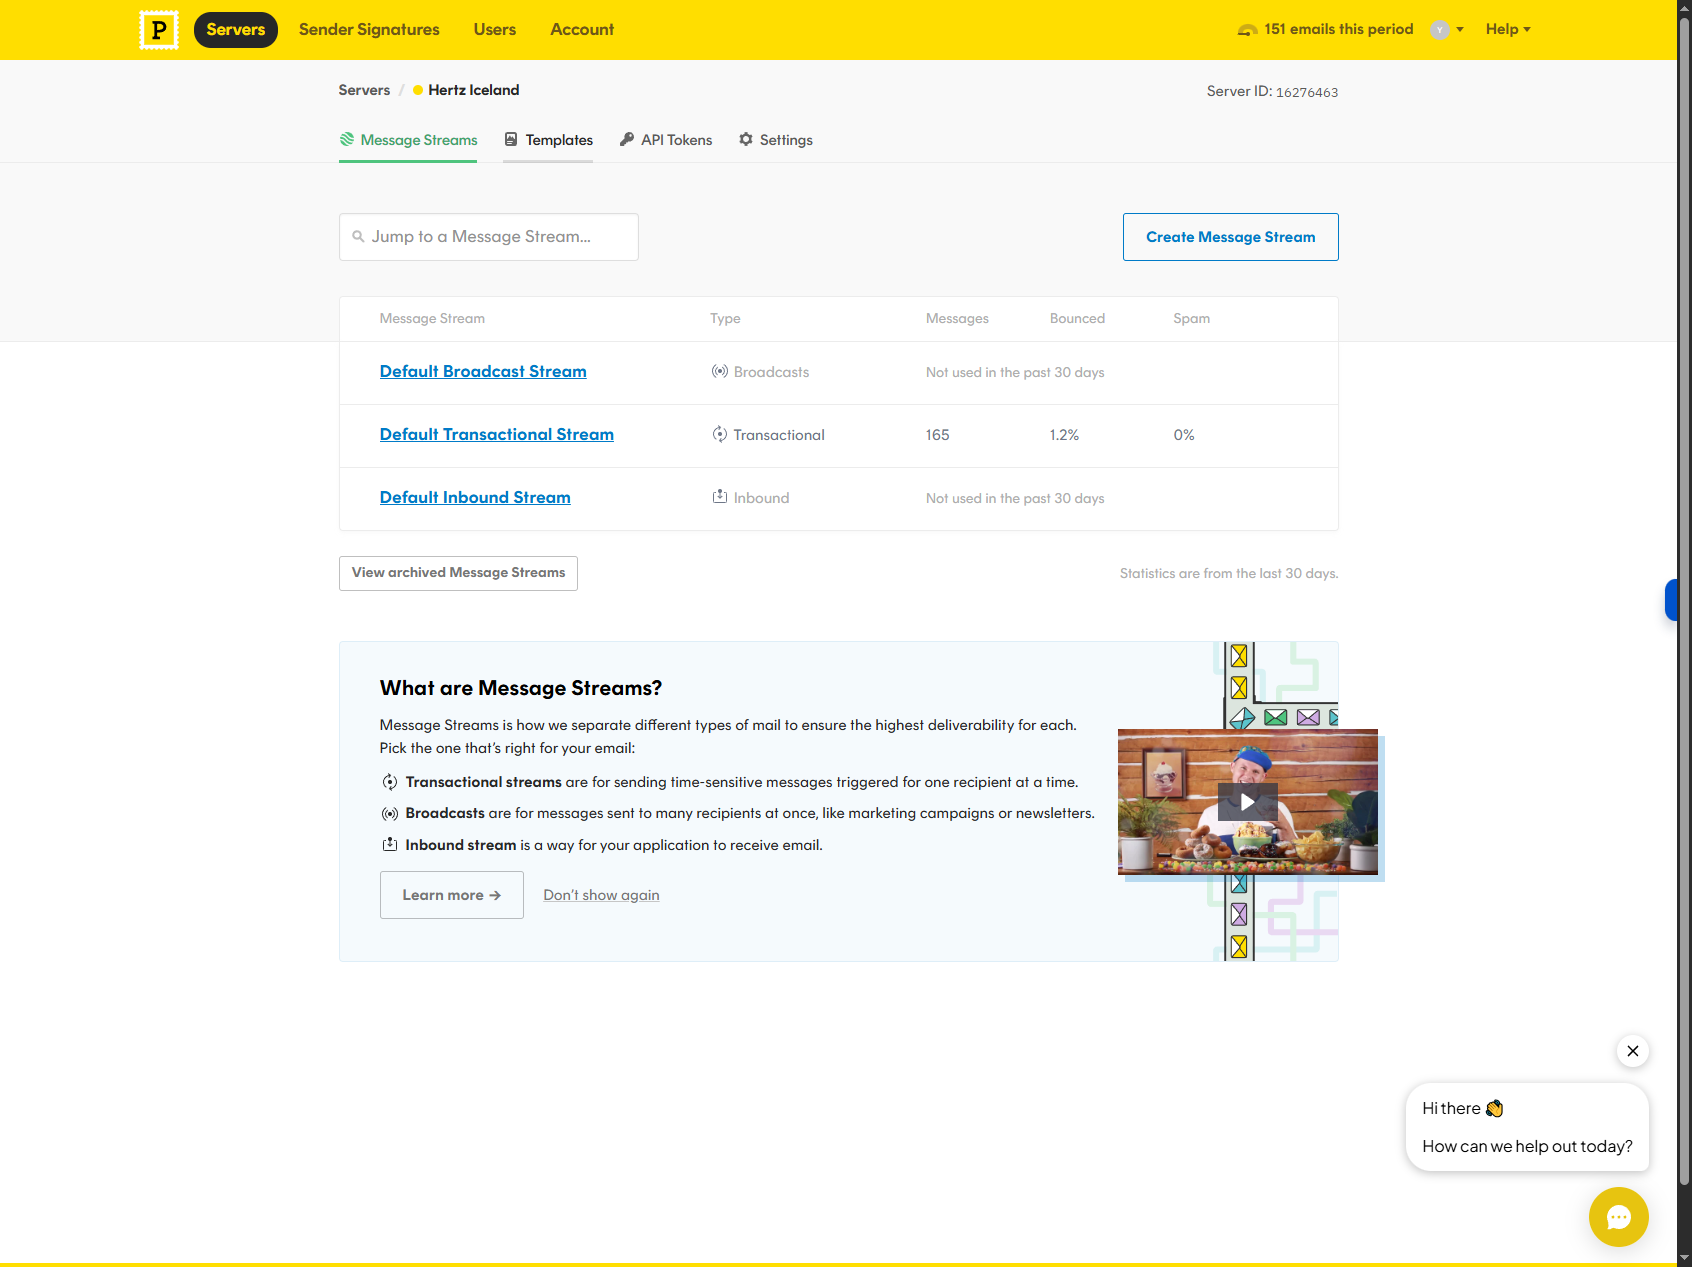
Once you log in, you'll see a list of servers. Select your organization's server.

2
Select Servers > Your Organisation Server.
Step #2: Select Servers > Your Organisation Server.
3
Navigate to "Templates"
Step #3: Navigate to "Templates"
4
Select the template you would like to edit.
Step #4: Select the template you would like to edit.
5
In the subject line, you will see the variable in double brackets. This is a dynamic value that will change for each booking.
Step #5: In the subject line, you will see the variable in double brackets. This is a dynamic value that will change for each booking.
6
Click on "> Preview" to view the template.
Step #6: Click on "> Preview" to view the template.

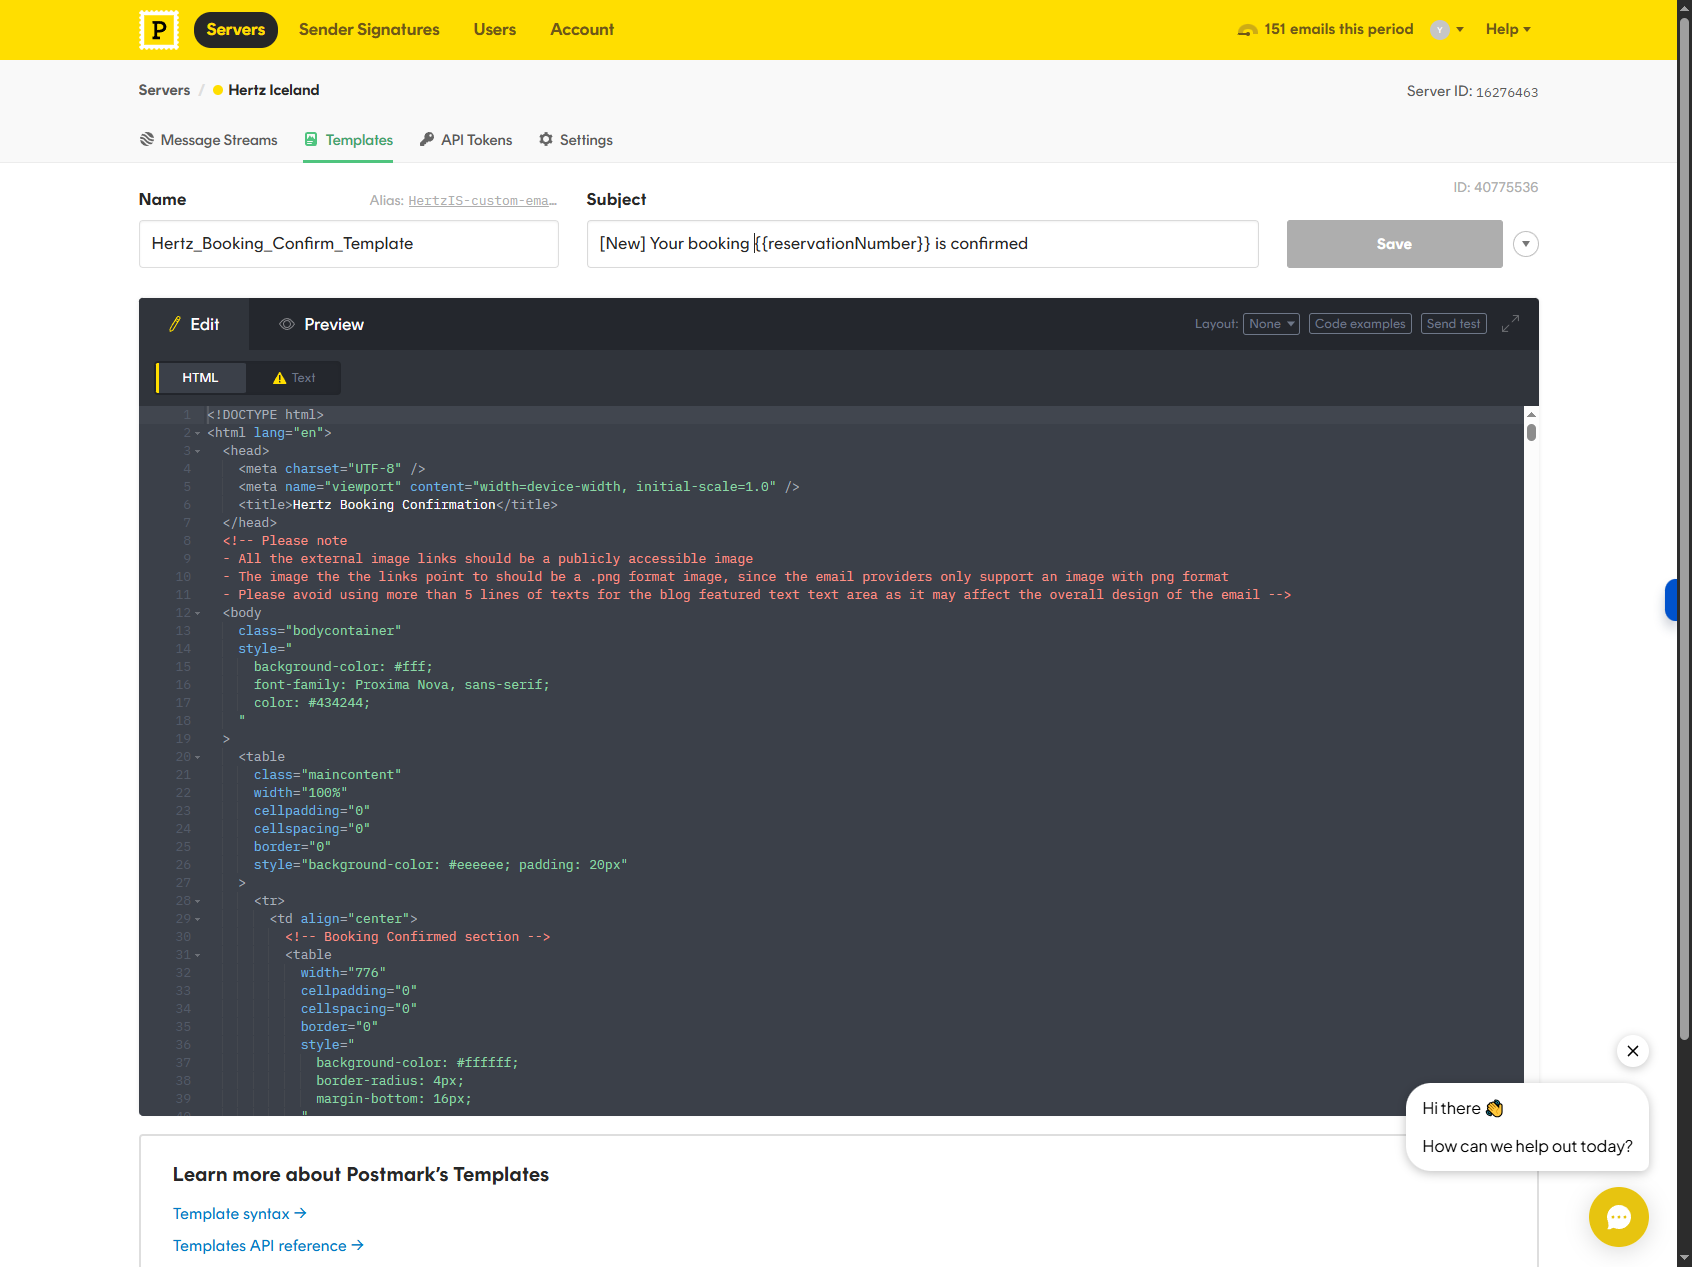
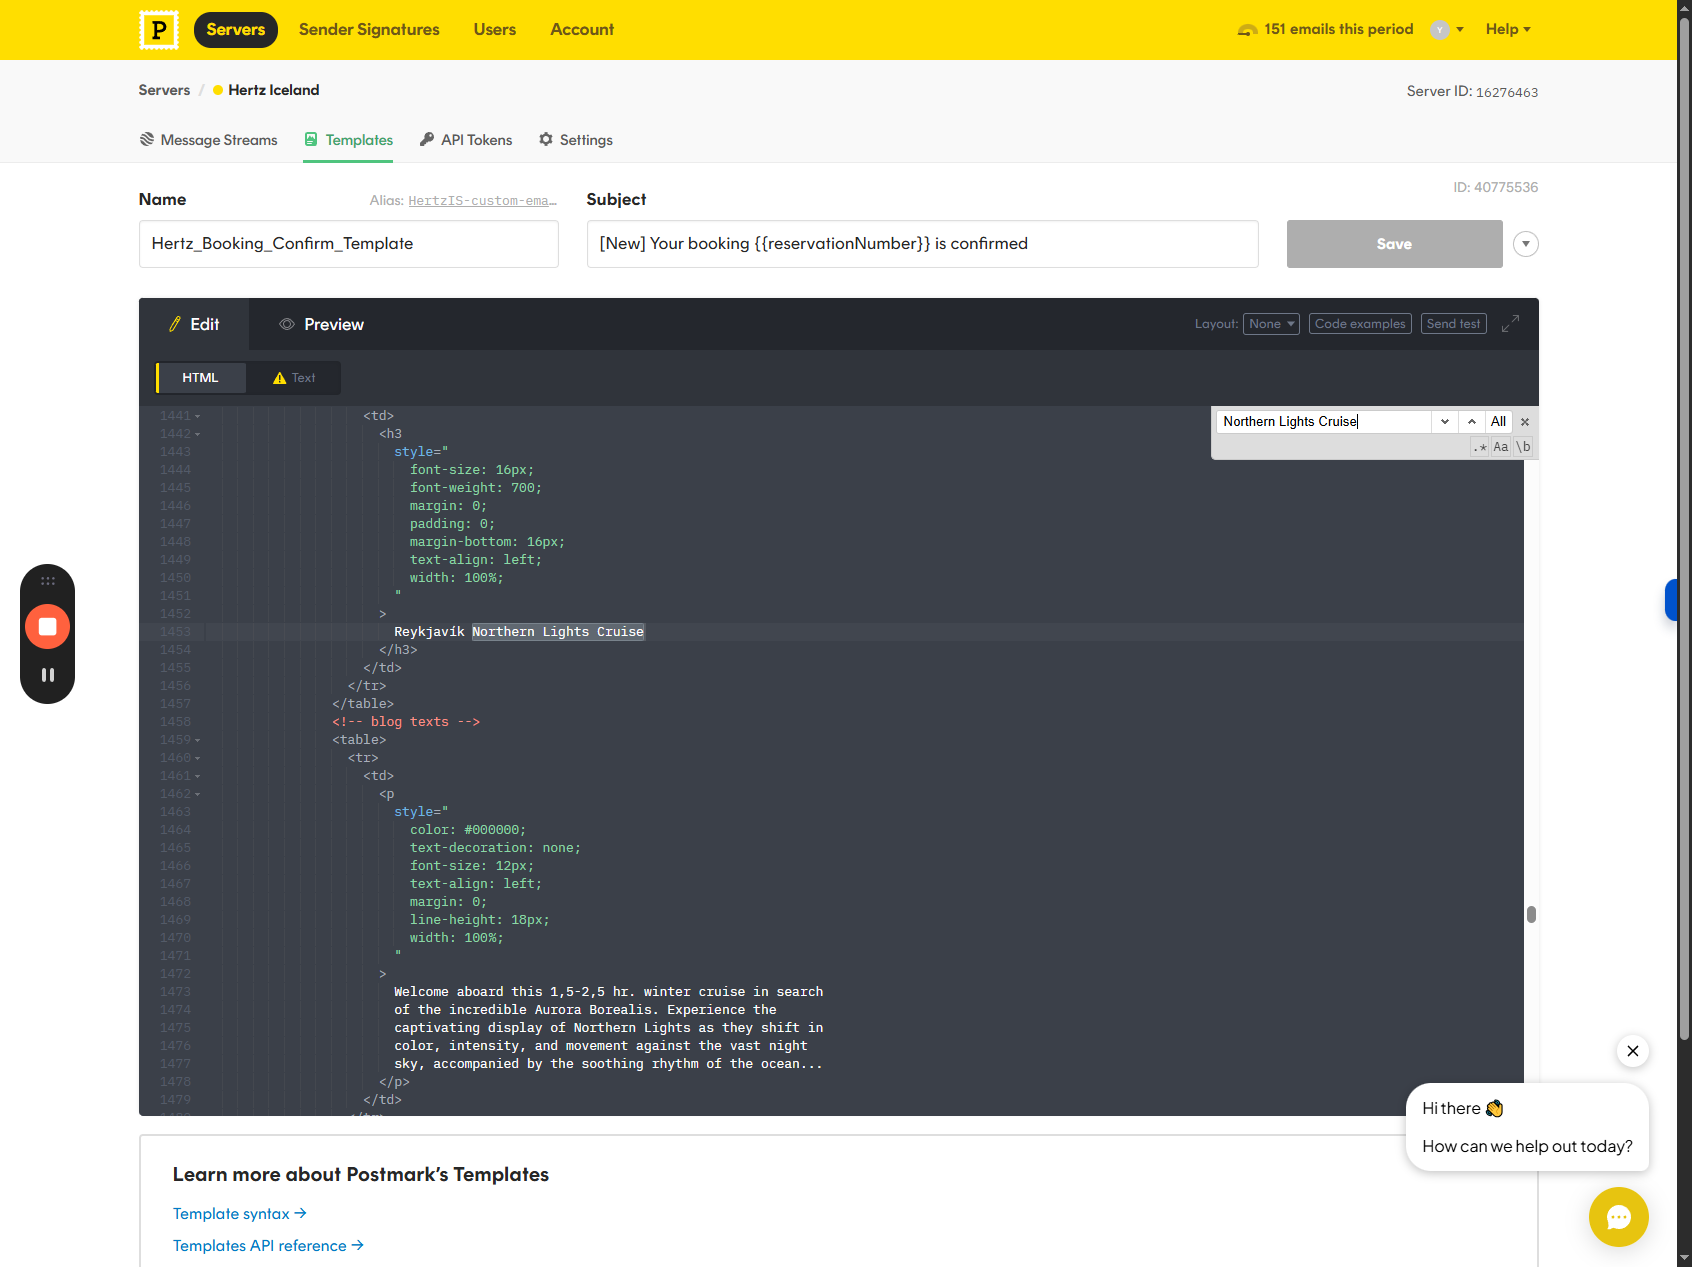
Pay attention to variables. Please do not edit them, as they are linked to your reservation data. Let's say we want to edit the first section in the "Explore Tours" block, called "Northern Lights Cruise". Let's copy the title. We need to edit the HTML.

7
Click on "Edit"
Step #7: Click on "Edit"
8
Type "Ctrl + F", and "Ctrl+V" to find "Northern Lights Cruise" in HTML view.

Note: Our development team has added several comments to make it easier to locate the text. All right, this is the title of the section.

9
We can update the text if required.
Step #9: We can update the text if required.
10
Below you can find the paragraph you can edit. "Learn more" refers to the button, and the button's link is provided here.
Step #10: Below you can find the paragraph you can edit.  "Learn more" refers to the button, and the button's link is provided here.
11
Edit the button link.
Step #11: Edit the button link.
12
You’ll find the image below. You need to change the URL. Add it to your media library, then insert the URL here. Keep the image ratio similar to "width = " 332 " height = " 200 " to avoid distortion.
Step #12: You’ll find the image below. You need to change the URL. Add it to your media library, then insert the URL here. Keep the image ratio similar to "width = " 332 " height = " 200 " to avoid distortion.

And that's it. Here’s how to edit your confirmation email template.