How to Edit Lighting Colors for Worship: Step-by-Step Guide
Learn how to edit lighting scenes for worship, including adjusting colors, brightness, and matching your visuals to graphics. Follow these best practices to create immersive worship environments.
In this guide, we'll learn how to set up and adjust lighting for a new scene, focusing on creating the right atmosphere for worship or special events. We will cover how to use Edit mode to change colors and brightness for different areas, such as walls and ceilings, and how to match lighting with on-screen graphics. This process helps ensure your scene looks as intended for each occasion.
Let's get started
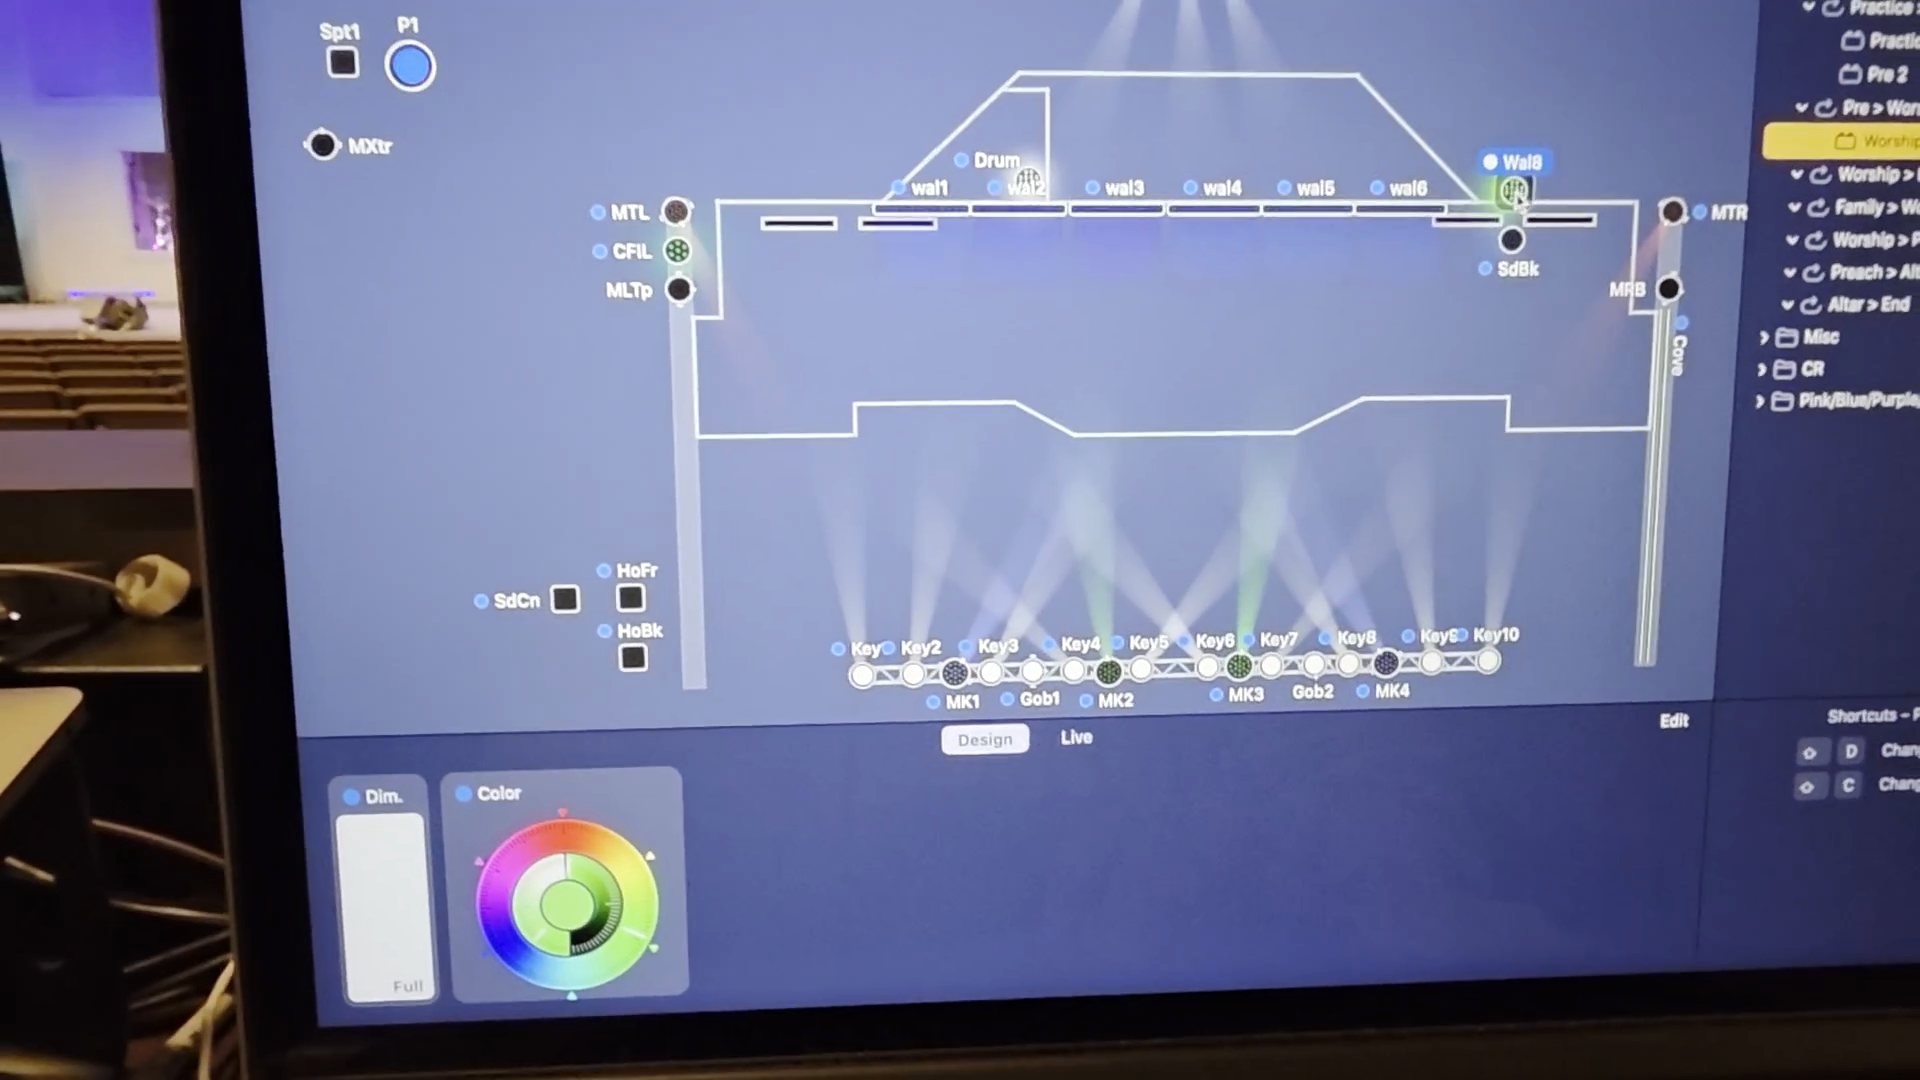
When building a new scene, I always start with worship. I have placed all my spots where I want them, so all I have to do is adjust colors and brightness.
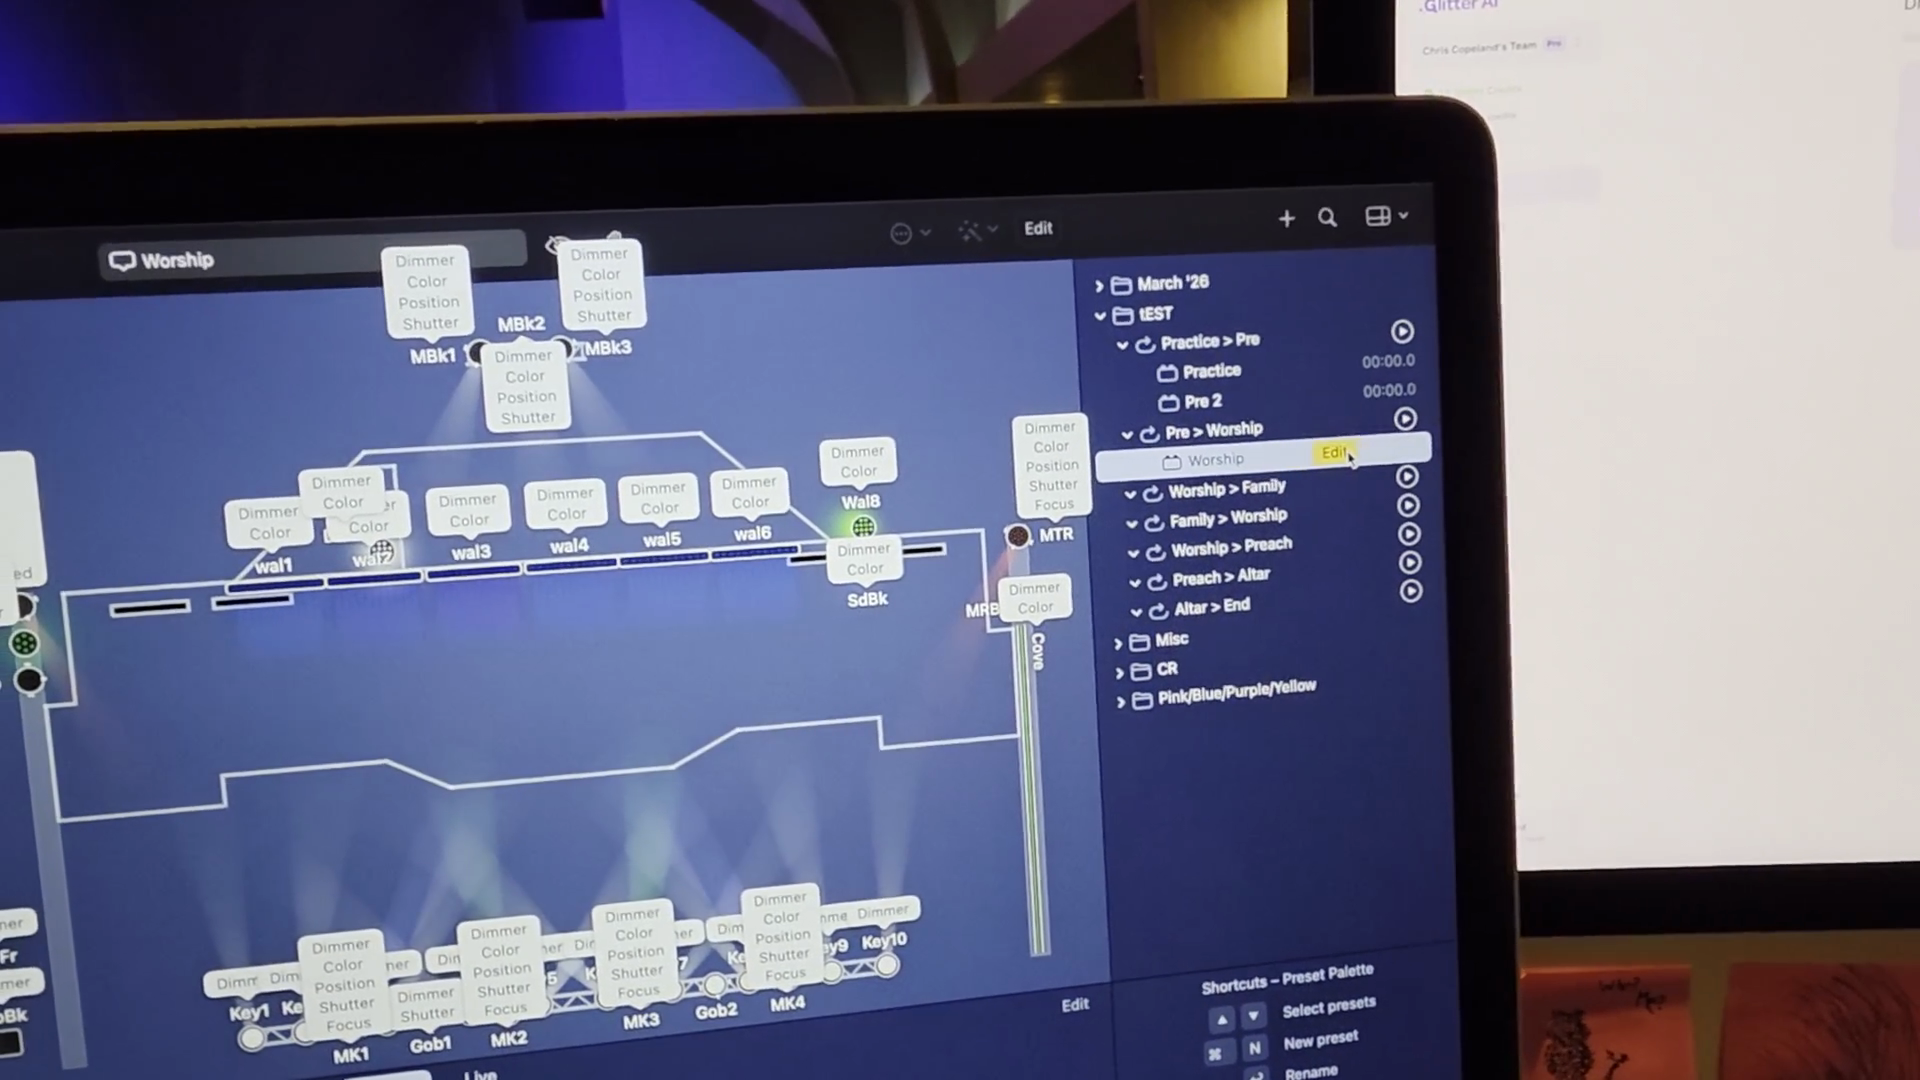
Make sure you are in Edit mode and see the Lego icon at the top with "Worship and Cancel" displayed. If not, and you start editing, such as changing a color, you will get something called Overrides, indicated by a broom icon.
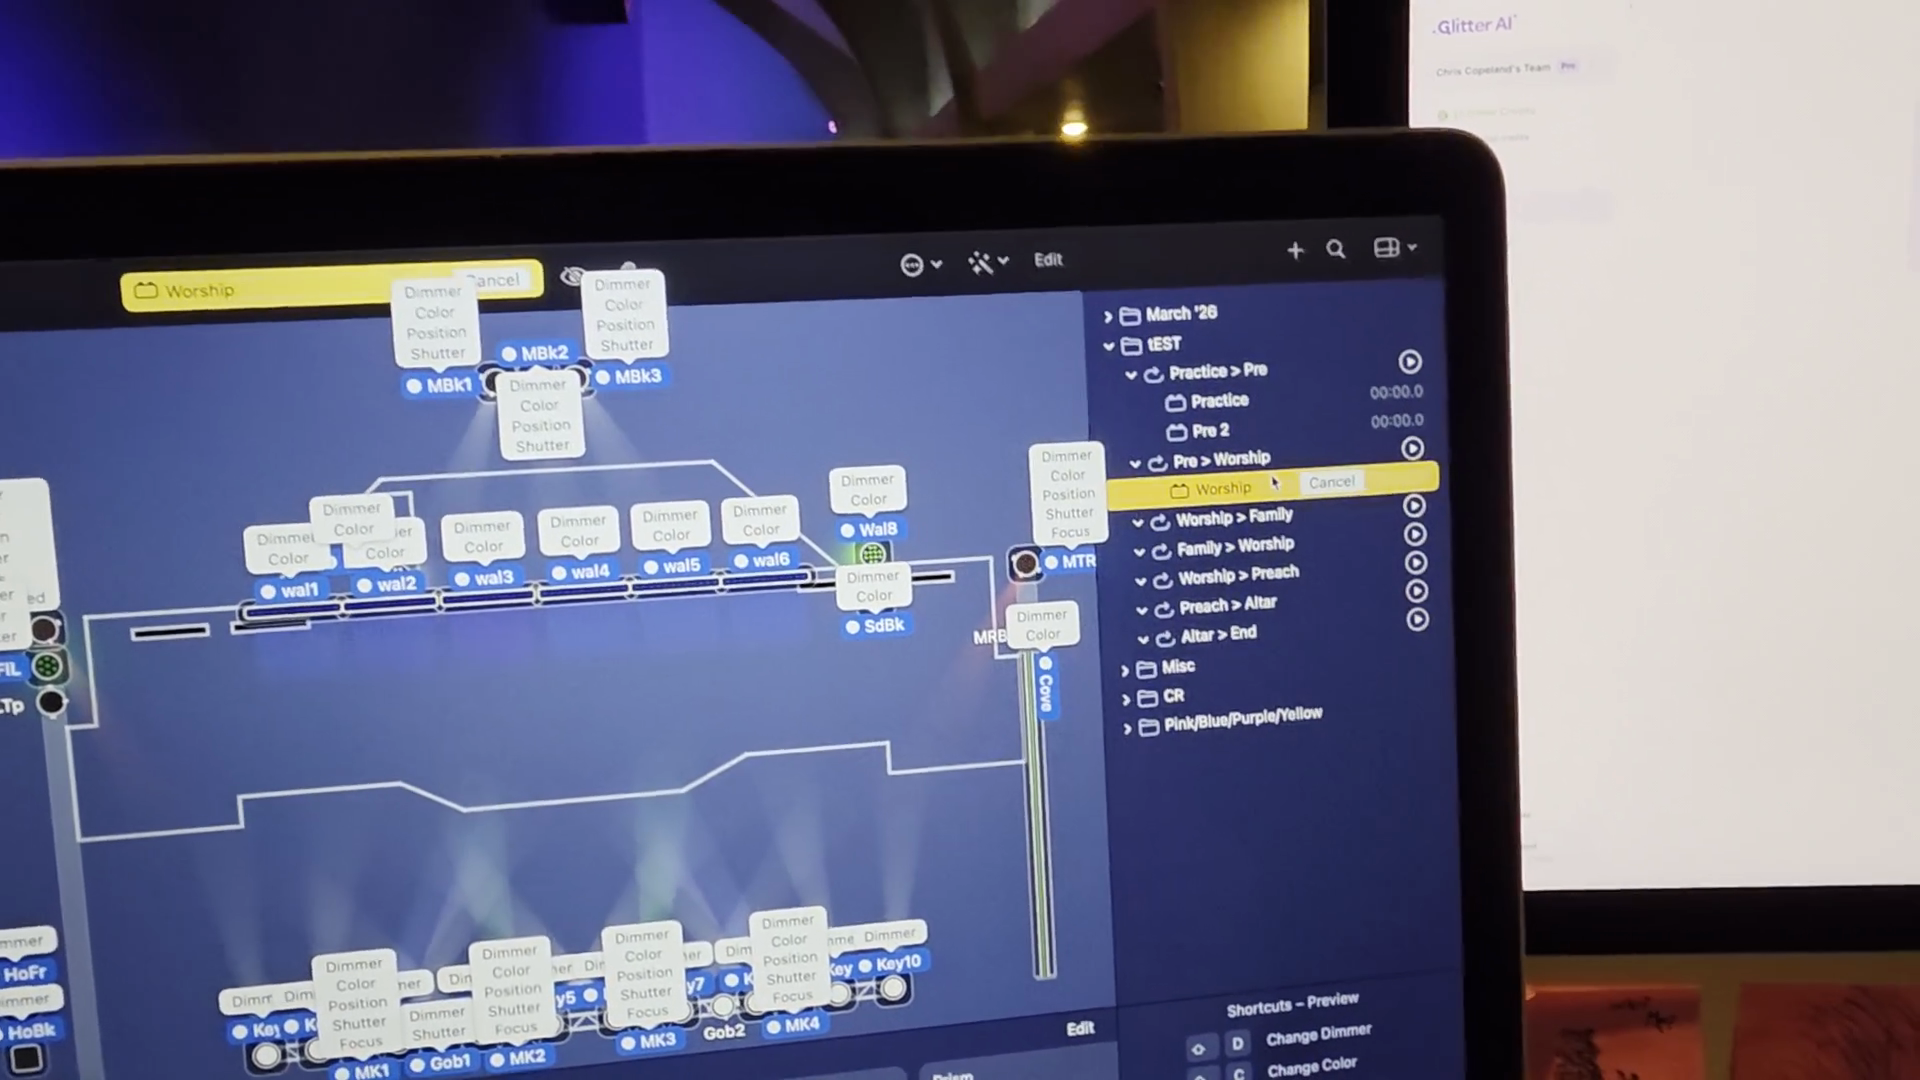
If I don't save that, it will be lost. My adjustment disappears completely. I need to be in Edit mode to ensure my work is saved.
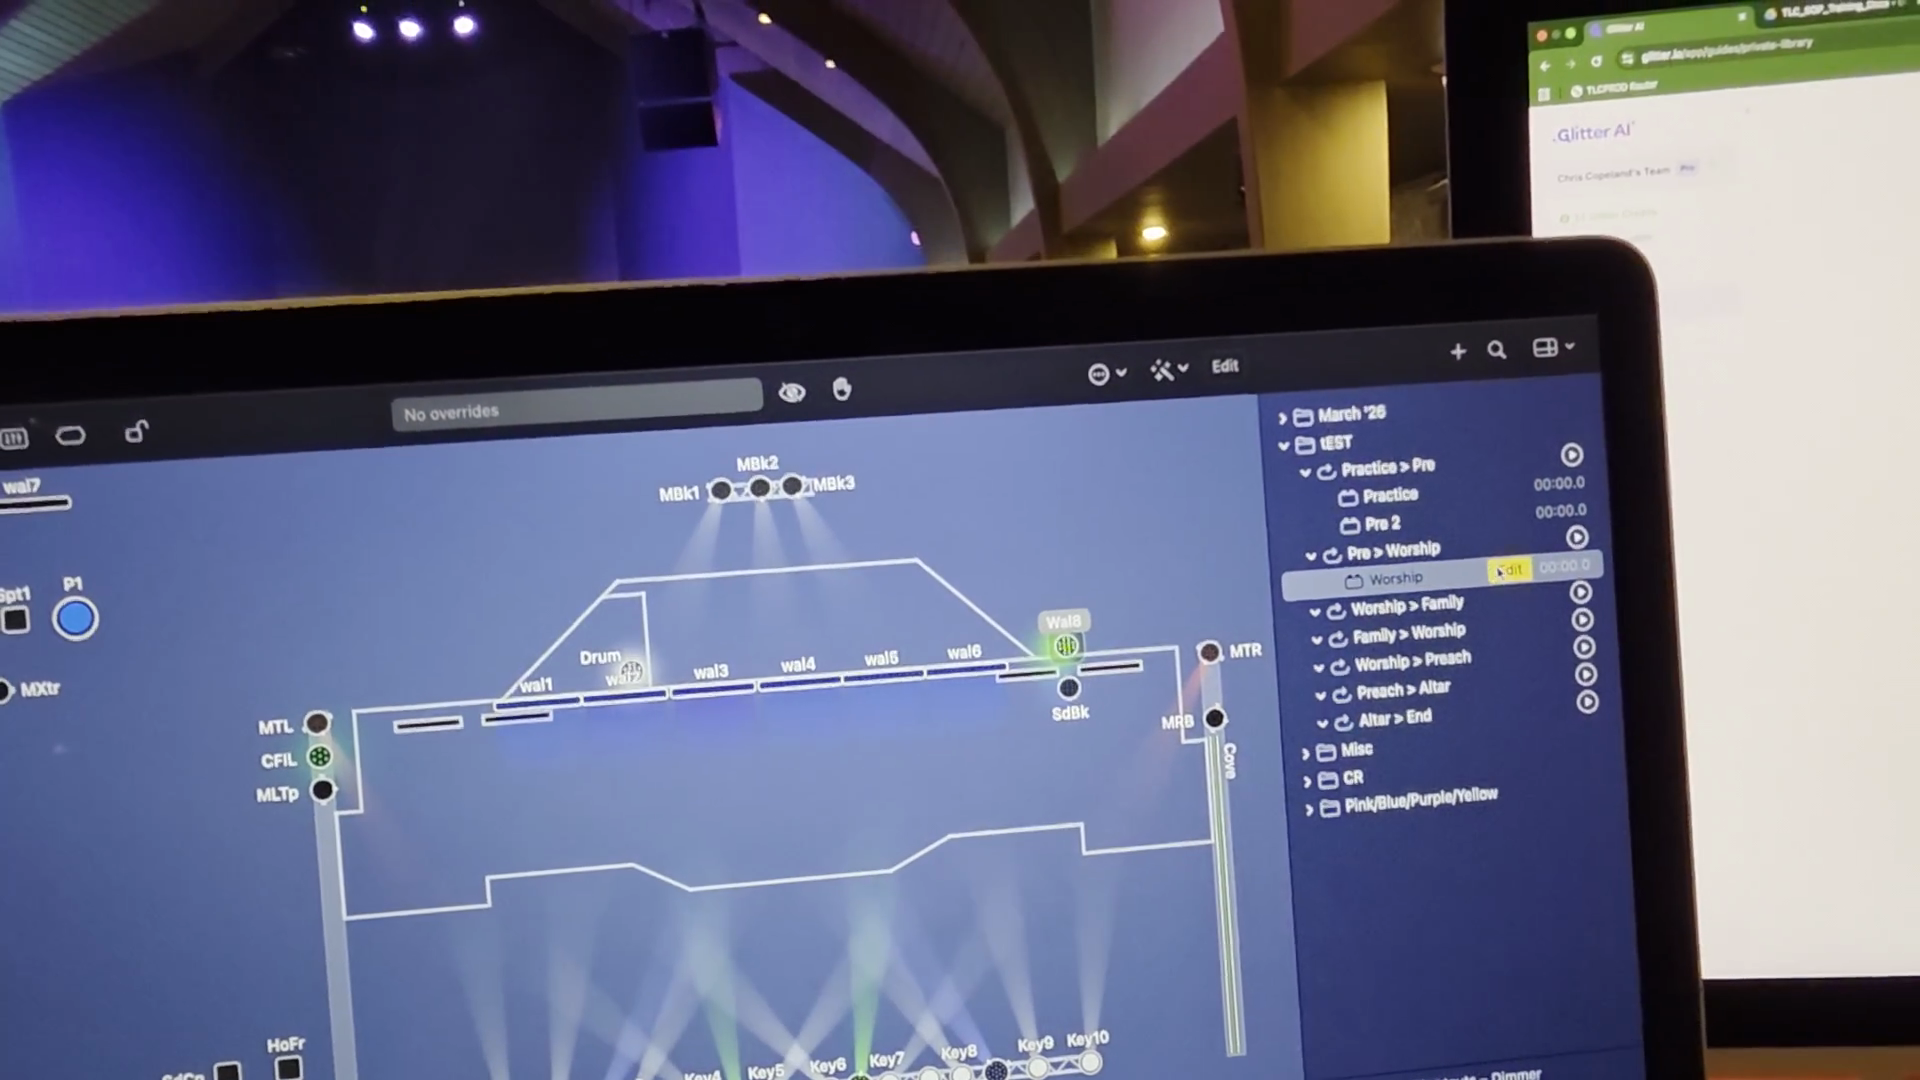
Suppose I want to change the color on one of these.
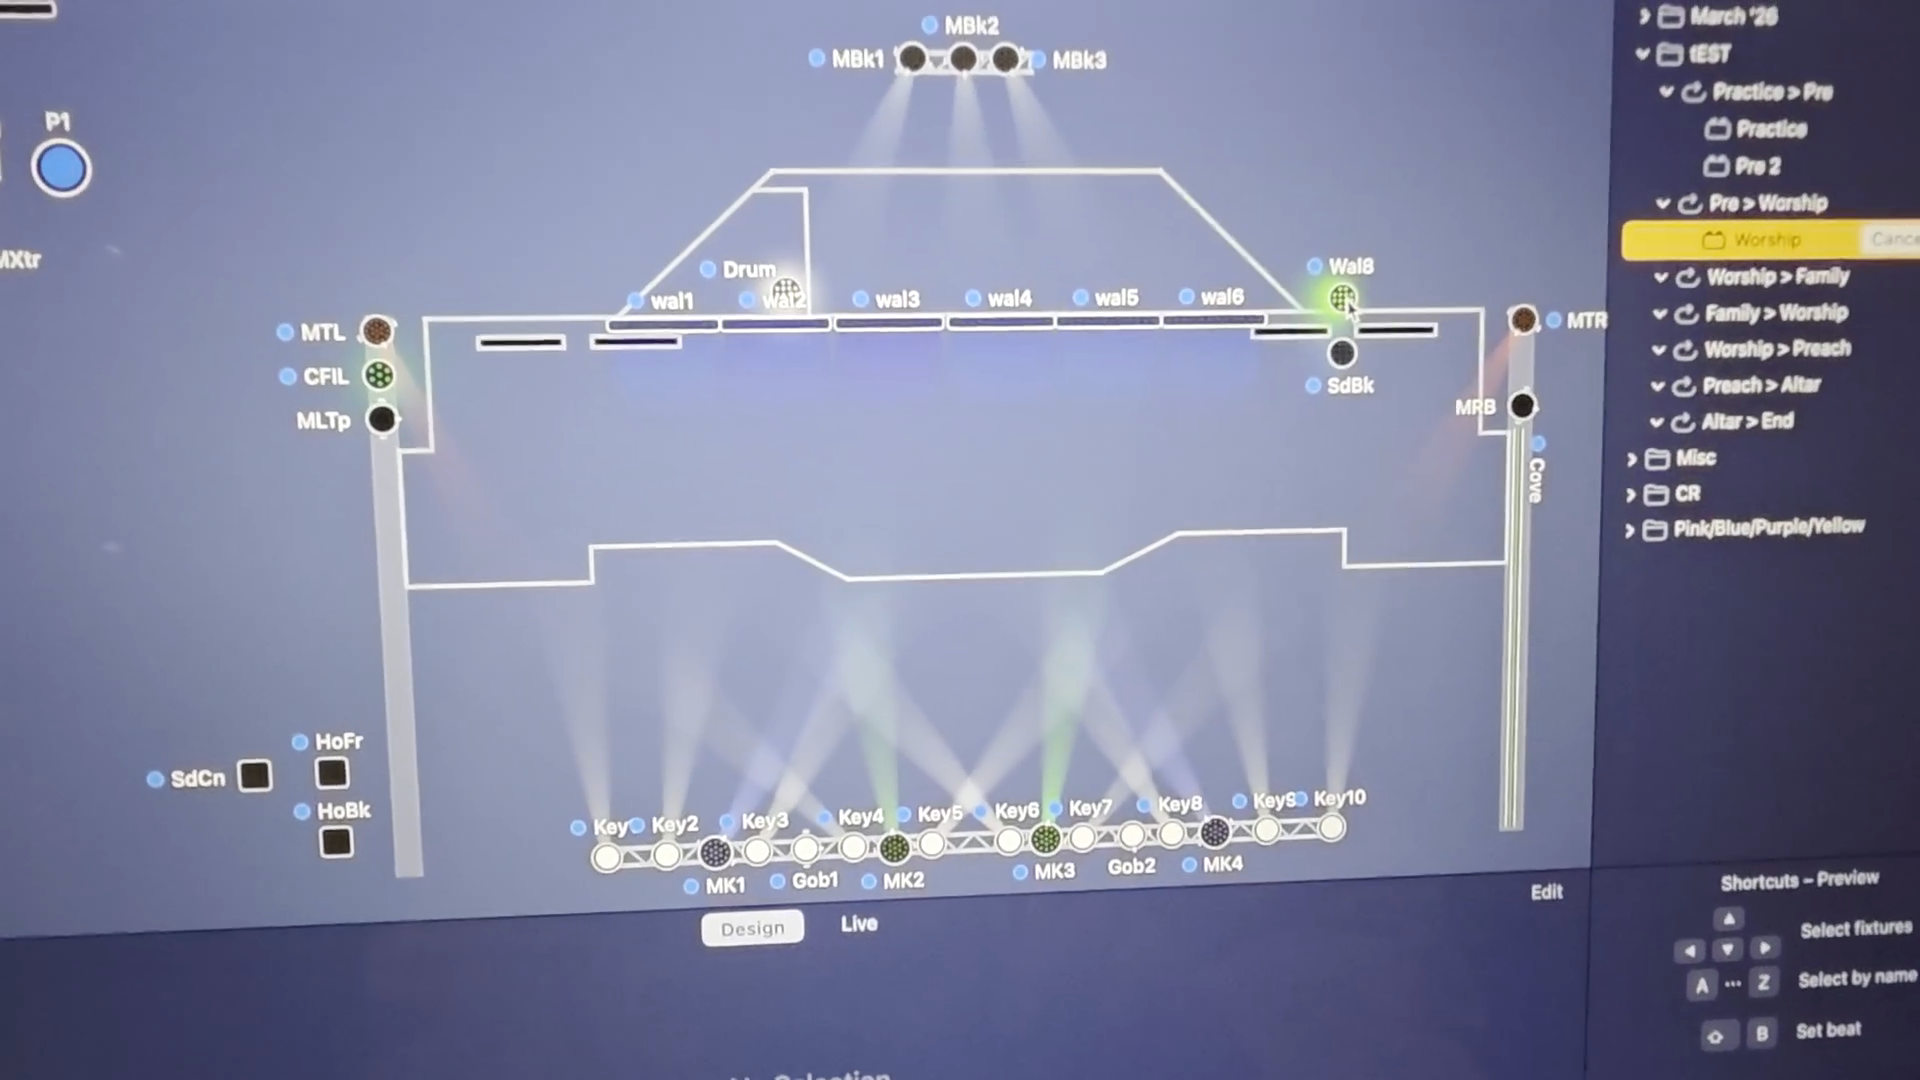
You can repeat this for any of the wall, side back, the drums, ceiling fill, and coves to change their colors.
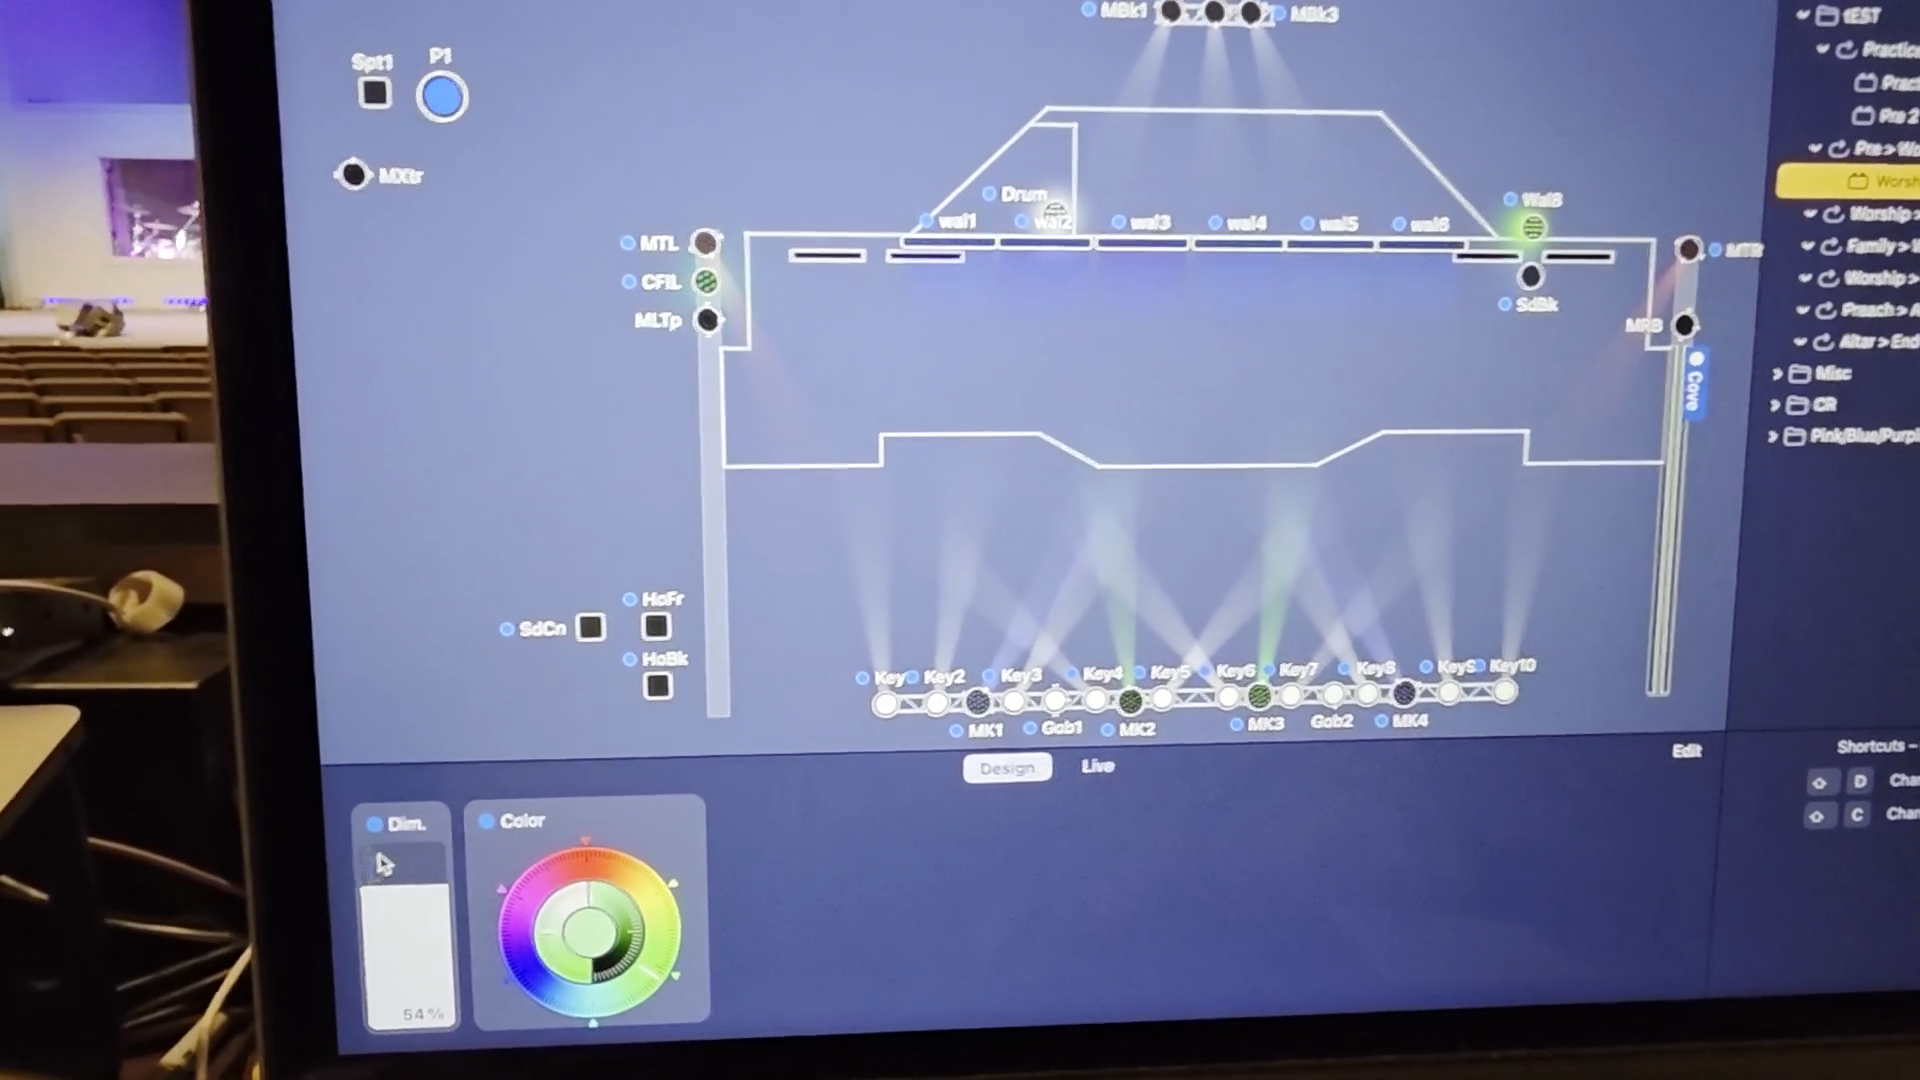
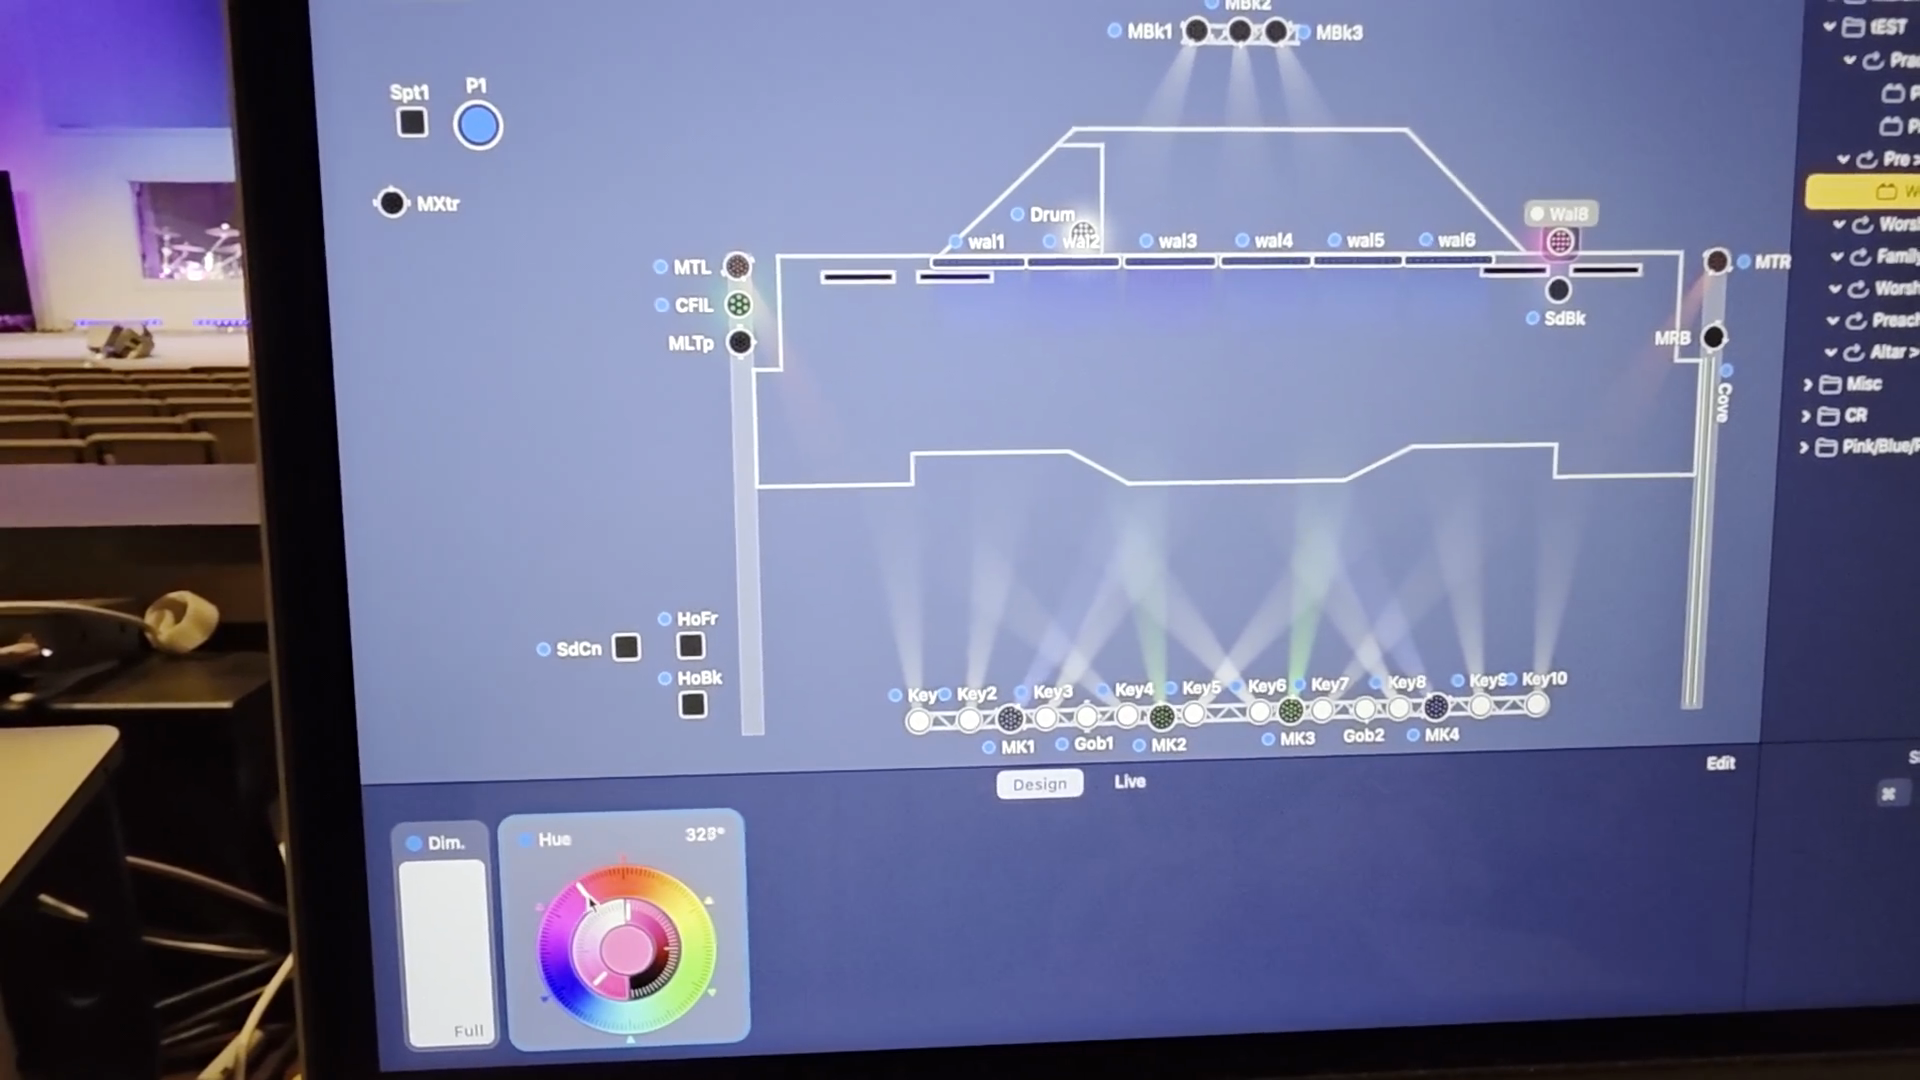
Our walls have a bluish-gray tone, so adjust it visually to see what looks right. You may need to add red to achieve the pink you want. Then, reduce the saturation to make it lighter or pastel, depending on your needs.
That way, you can compare them, so you don't have something completely unexpected. If you have a fun service, such as VBS or a kids' service, and the graphics are less important because you're aiming for a specific atmosphere—like creating a northern lights look to make it feel immersive—you can disregard the usual guidelines and do what feels right for that occasion.