How to Edit Student Trip Rosters in the Trip Center
Learn how to edit, update, and manage student trip rosters using the Trip Center's Student Trip Rosters tool. Step-by-step instructions for editing student information, adding or removing students, and creating printable or shareable rosters.
In this guide, we'll learn how to edit a student trip roster using the Student Trip Rosters tool in the Trip Center menu. You will see how to view your submitted and approved trips, make changes to student information, and update your roster as needed. This process helps ensure your trip details are accurate and up to date.
Let's get started
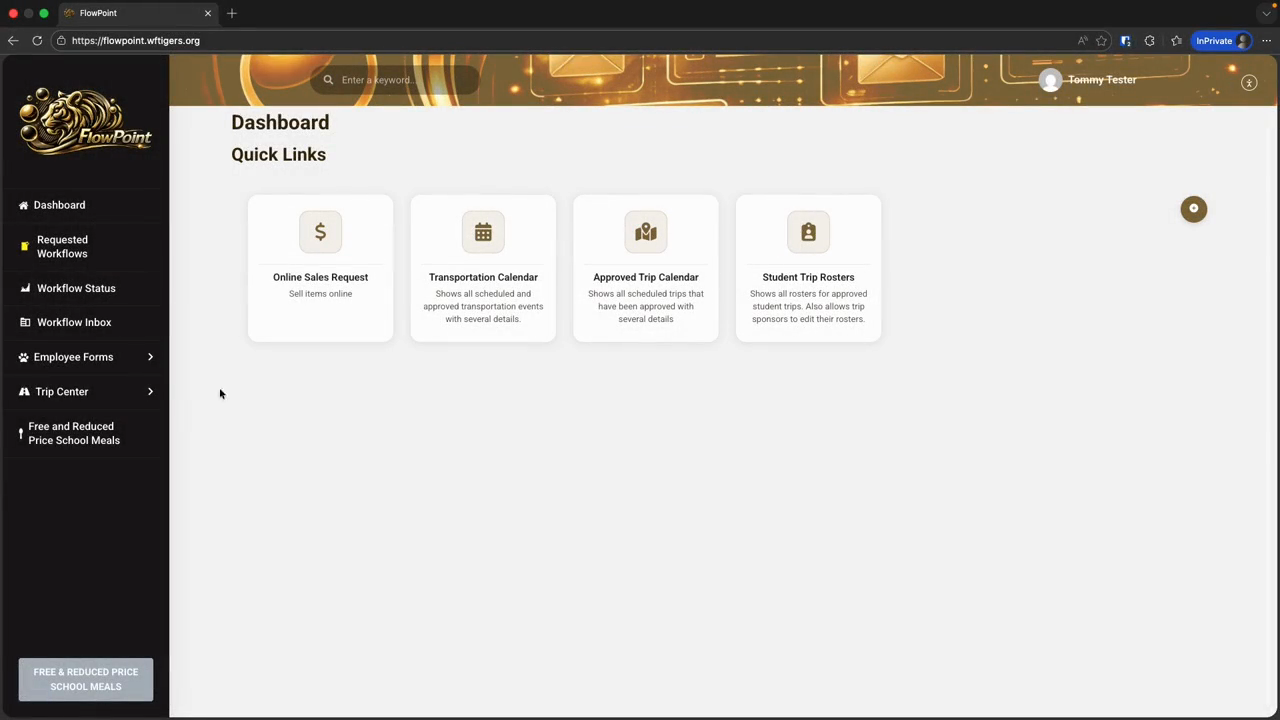
In the Trip Center menu, you will see a tool called Student Trip Rosters.
Click on that, and we will see how to edit a roster for a trip that has already been submitted.

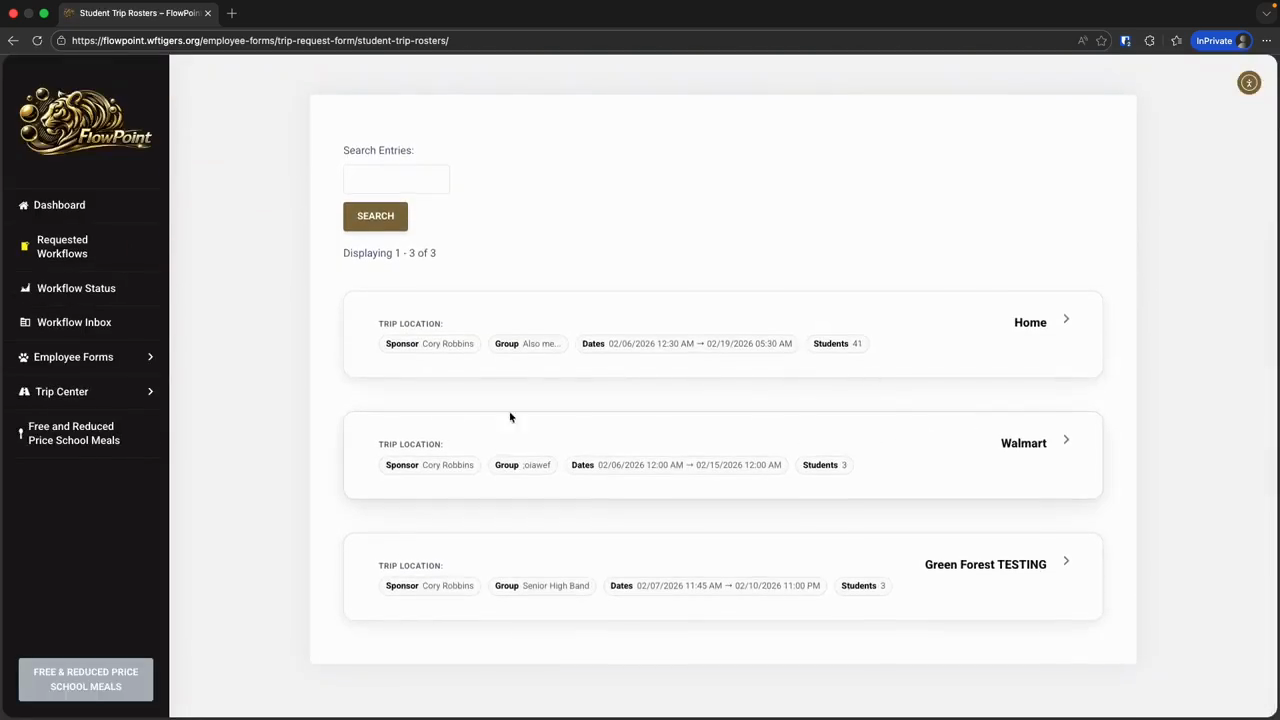
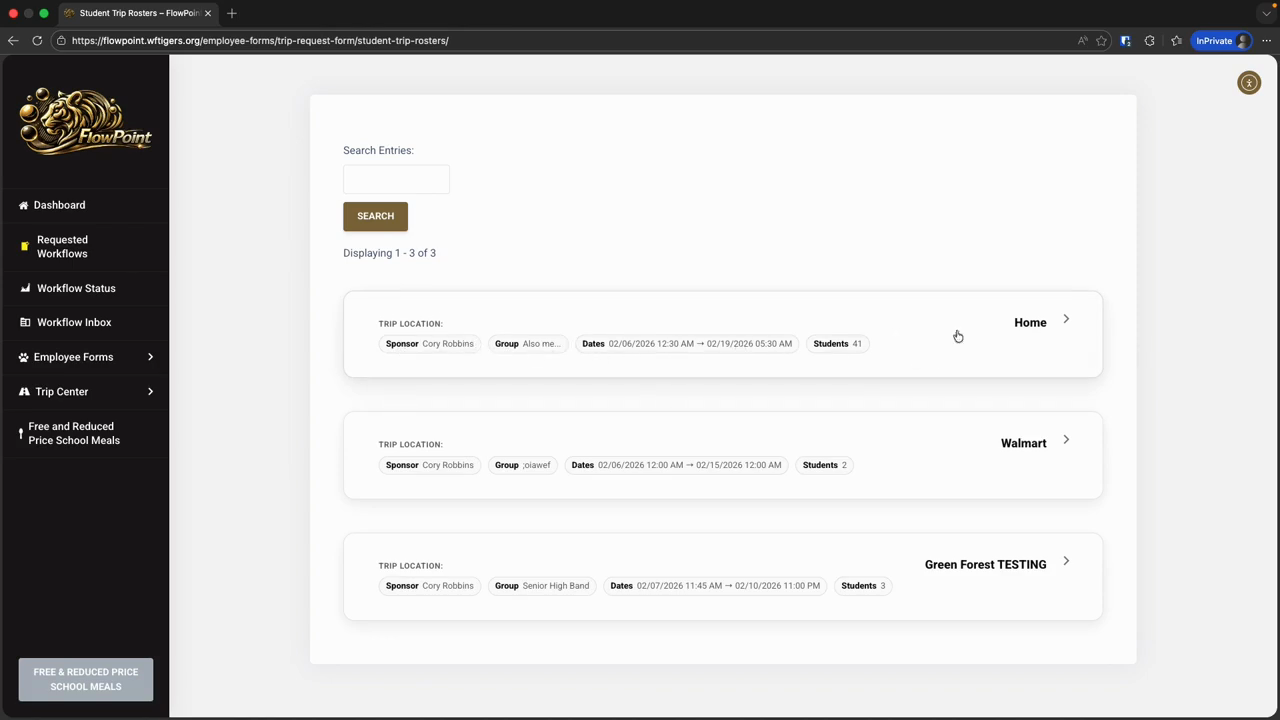
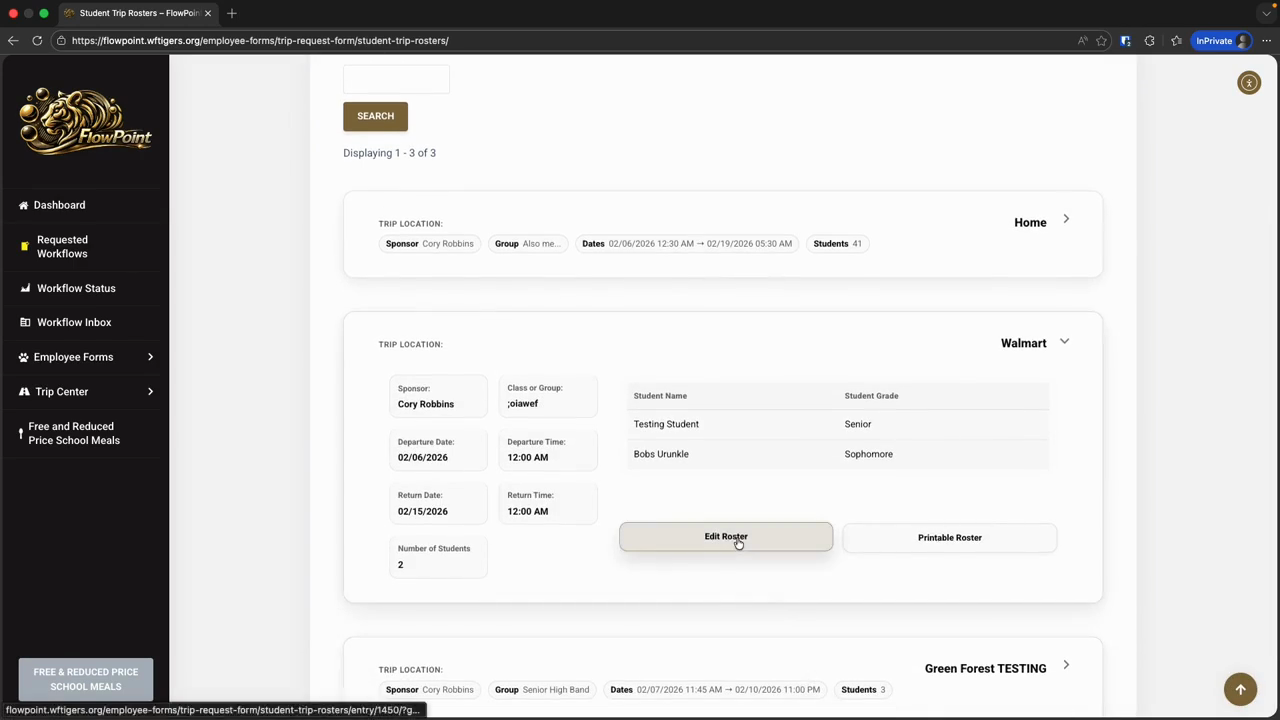
The Student Trip Rosters tool displays all trips you have requested and any approved trips, as long as the return date is before next week. In other words, you should see all trips that have been approved or submitted for about one week after the trip ends.
Trips that end on a Friday will only be visible until the next Monday.
It should still allow enough time for last-minute edits or for office staff to check rosters after a trip is completed. On the tool page, if you have approved trips or a pending trip request that hasn't expired, you'll see a set of expandable cards. Each card is collapsed by default and displays a summary of the trip information. Clicking a card expands the view to show more details, the current roster, and buttons for editing or printing, depending on your permissions.
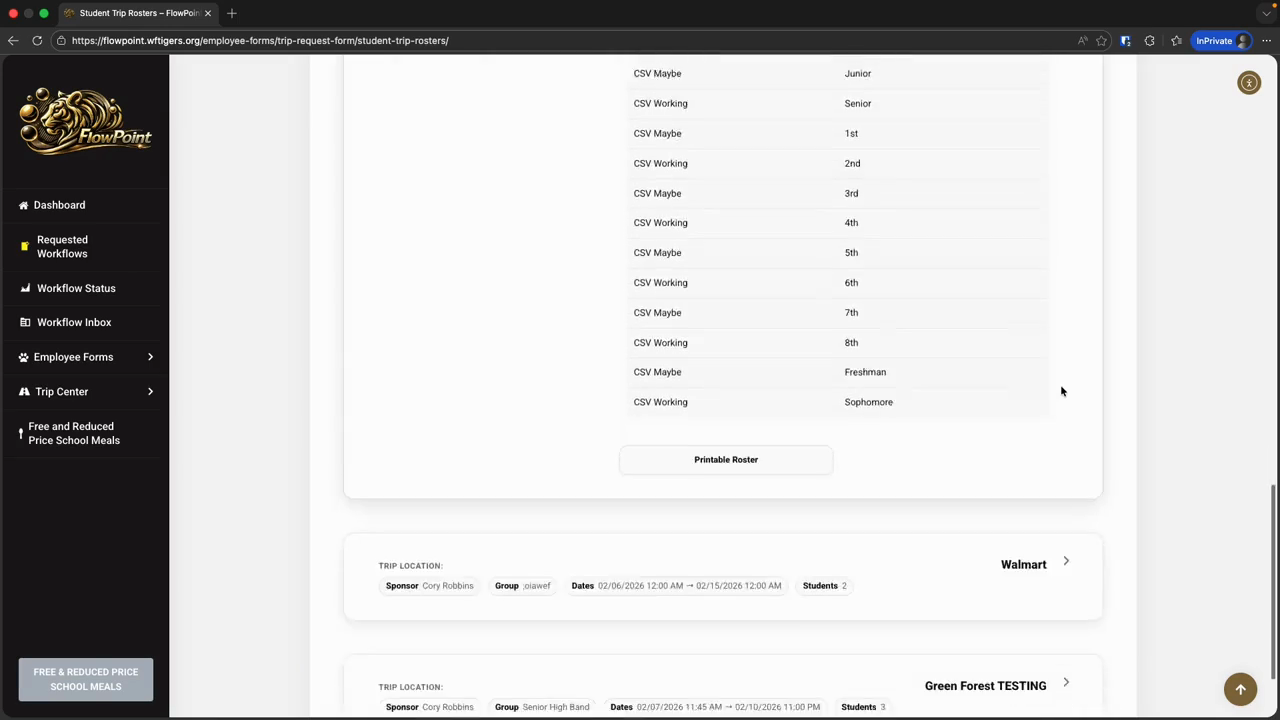
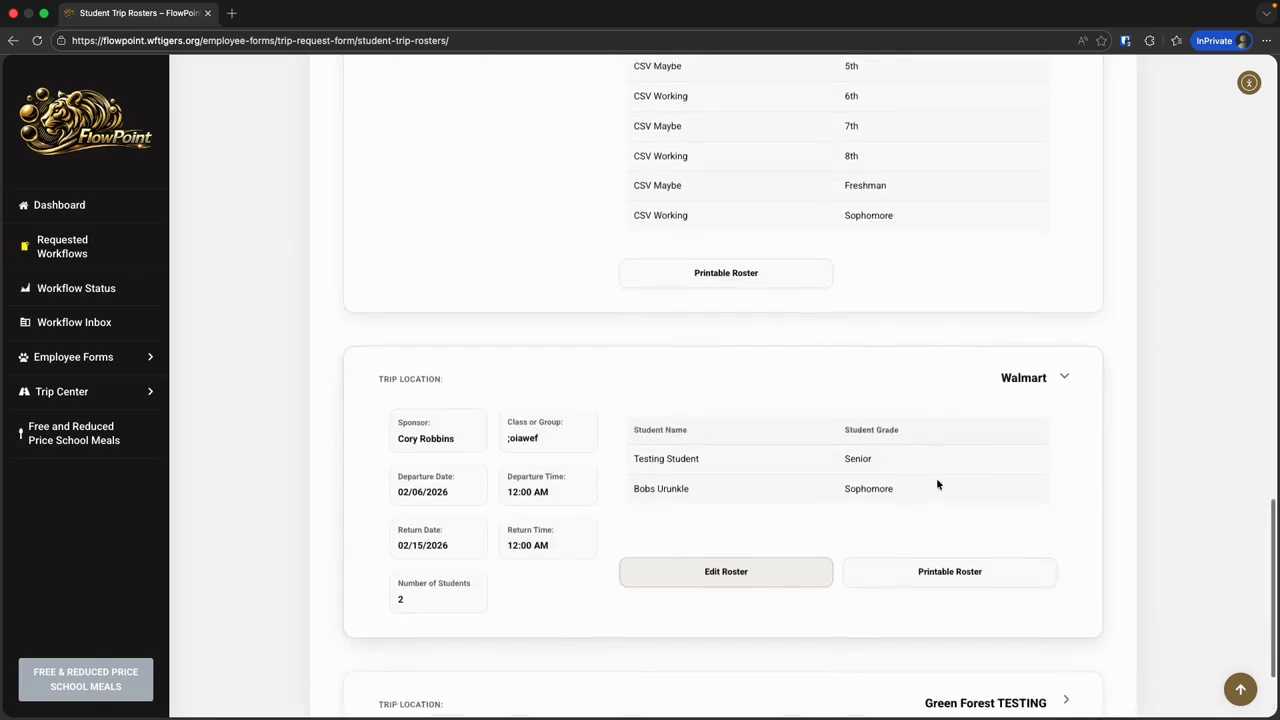
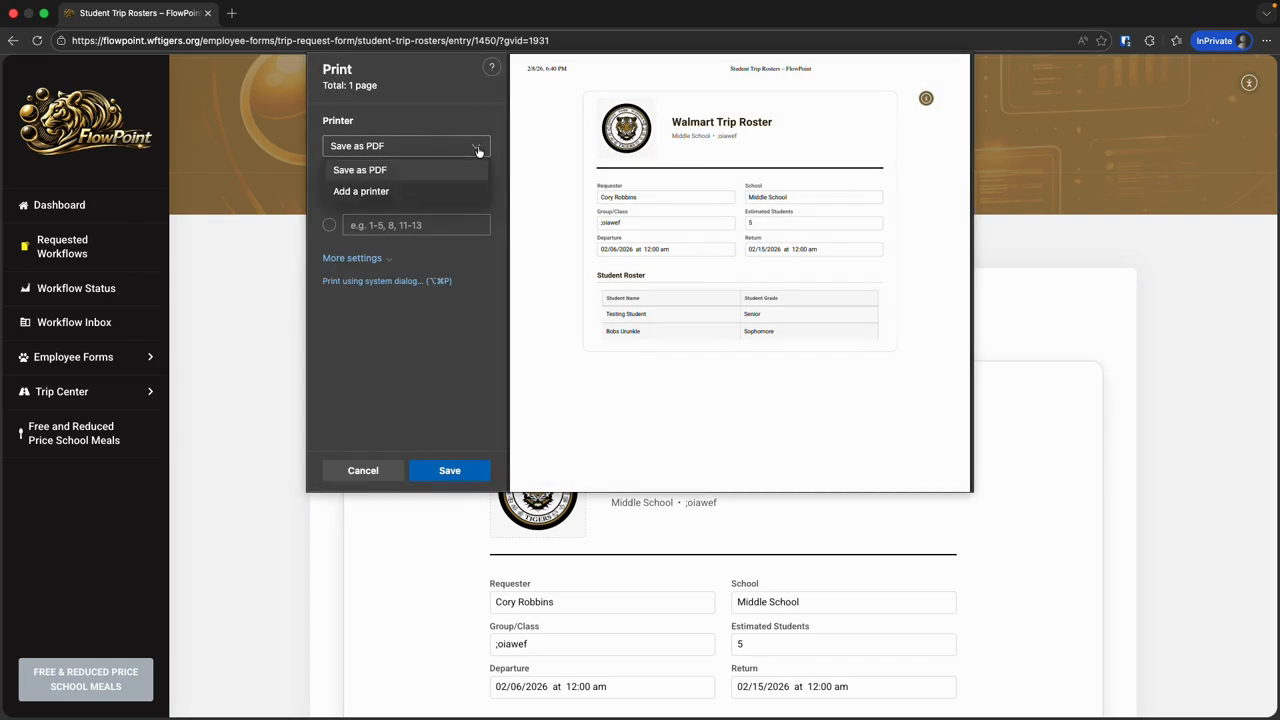
If you need to submit a roster, the easiest way is to click the Printable Roster button.
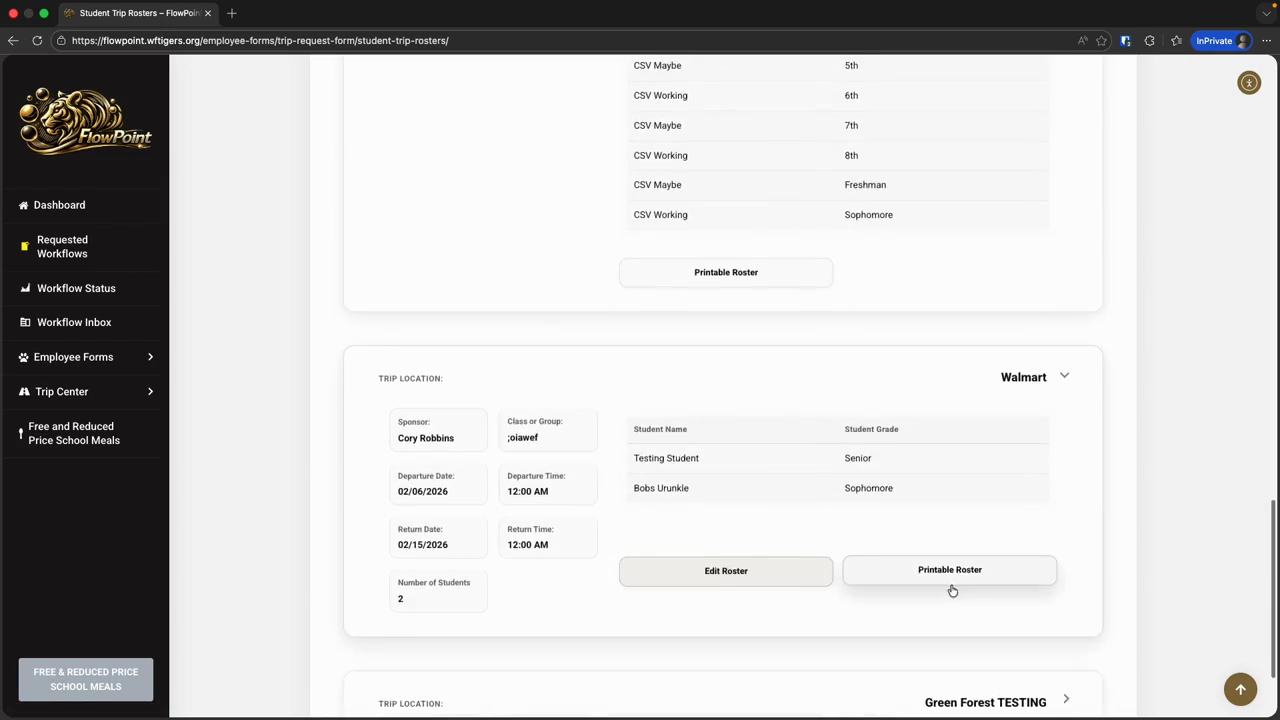
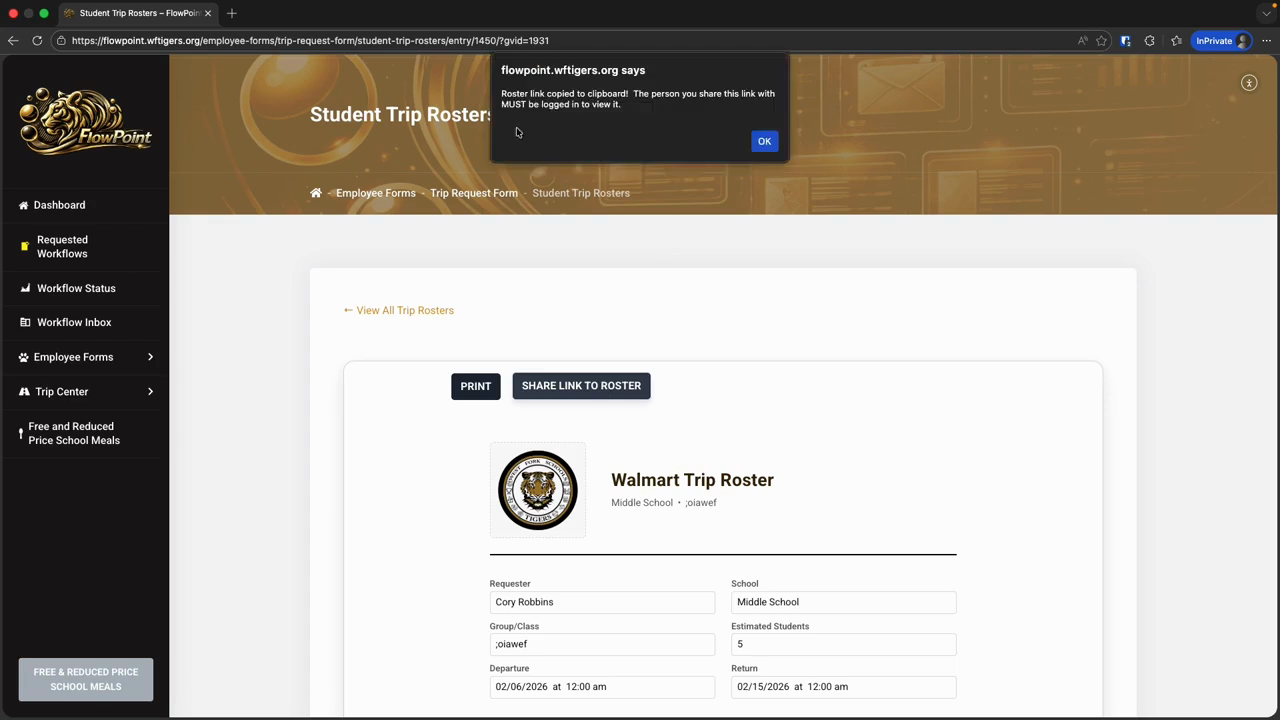
This gives you the option to share a link or print.
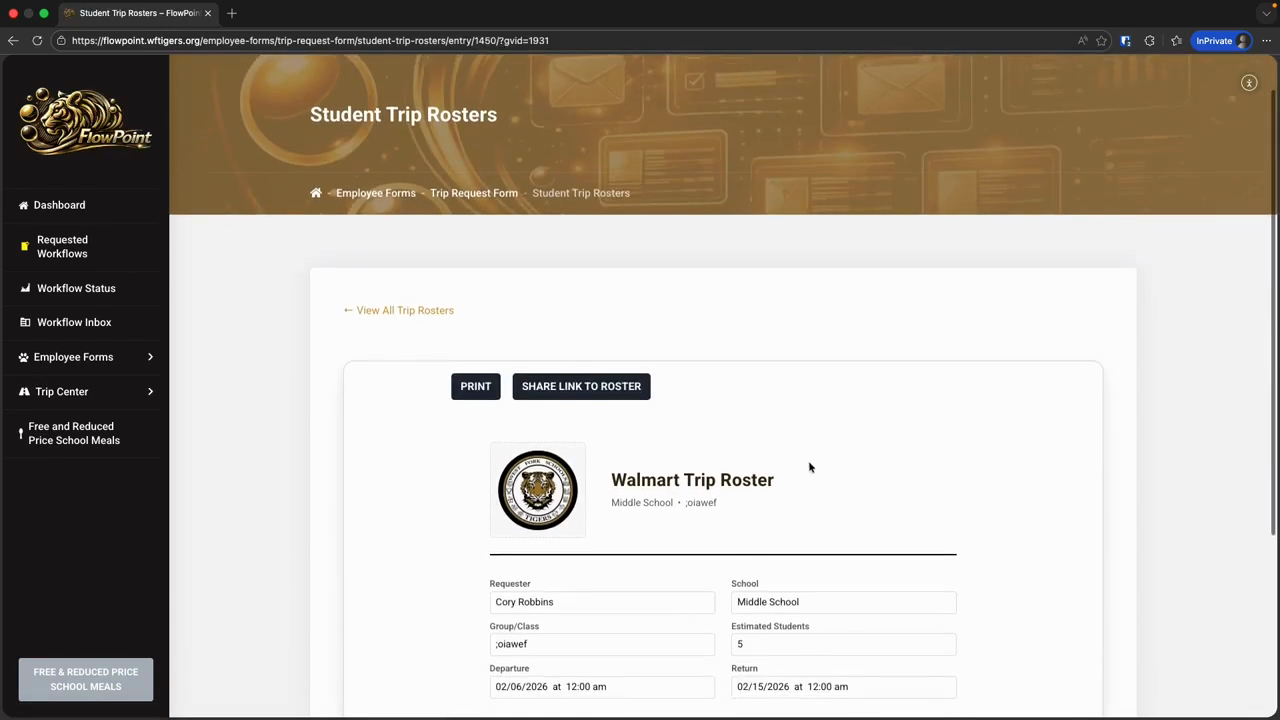
When you print, you can also choose "Save as PDF" to create a shareable PDF copy of your roster with all your trip detail

I'll click on View All Rosters to return to the Roster tool.

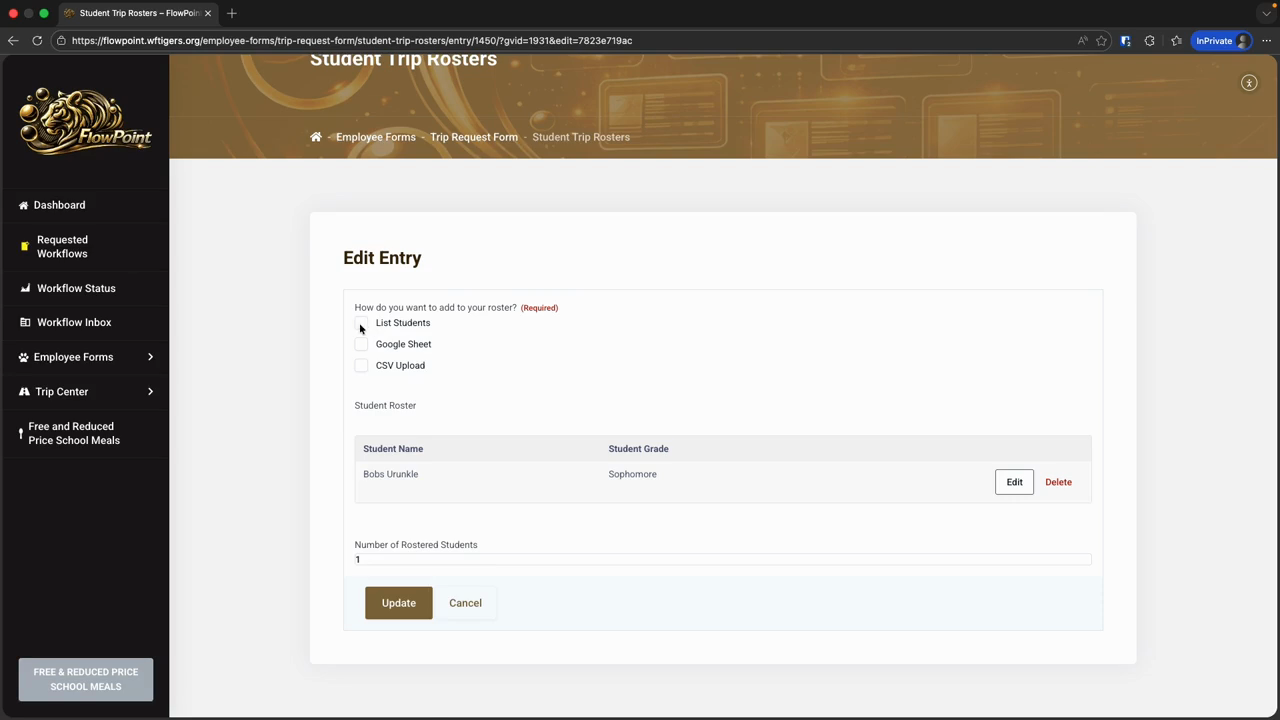
Now, let's look at how to edit a roster. For any trip you submit, you will see an Edit Roster button.

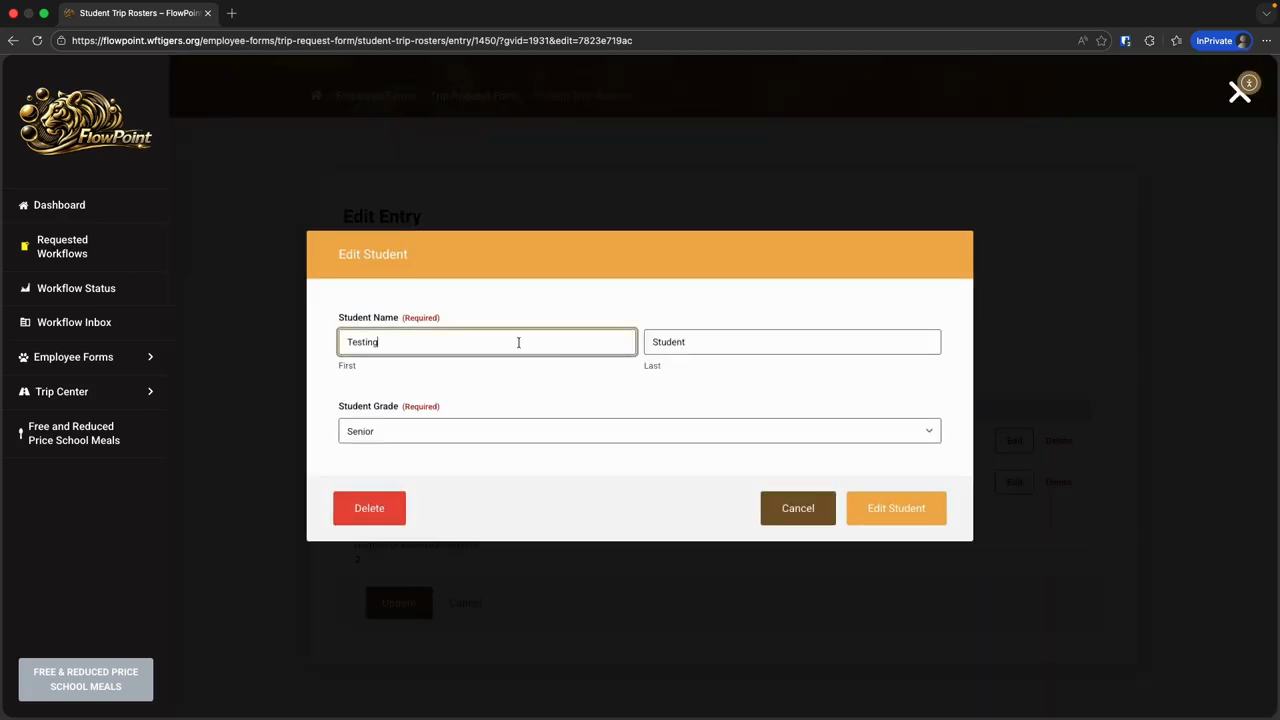
On the next page, you will see some fields that likely look familiar. We are asked again how we want to add to our roster. We see the current roster and the number of students currently enrolled. This page now includes Edit and Delete buttons for each student on the roster. If you make a typo in a student's name or select the wrong grade, click the student's Edit button, correct the information, and then click Edit Student.
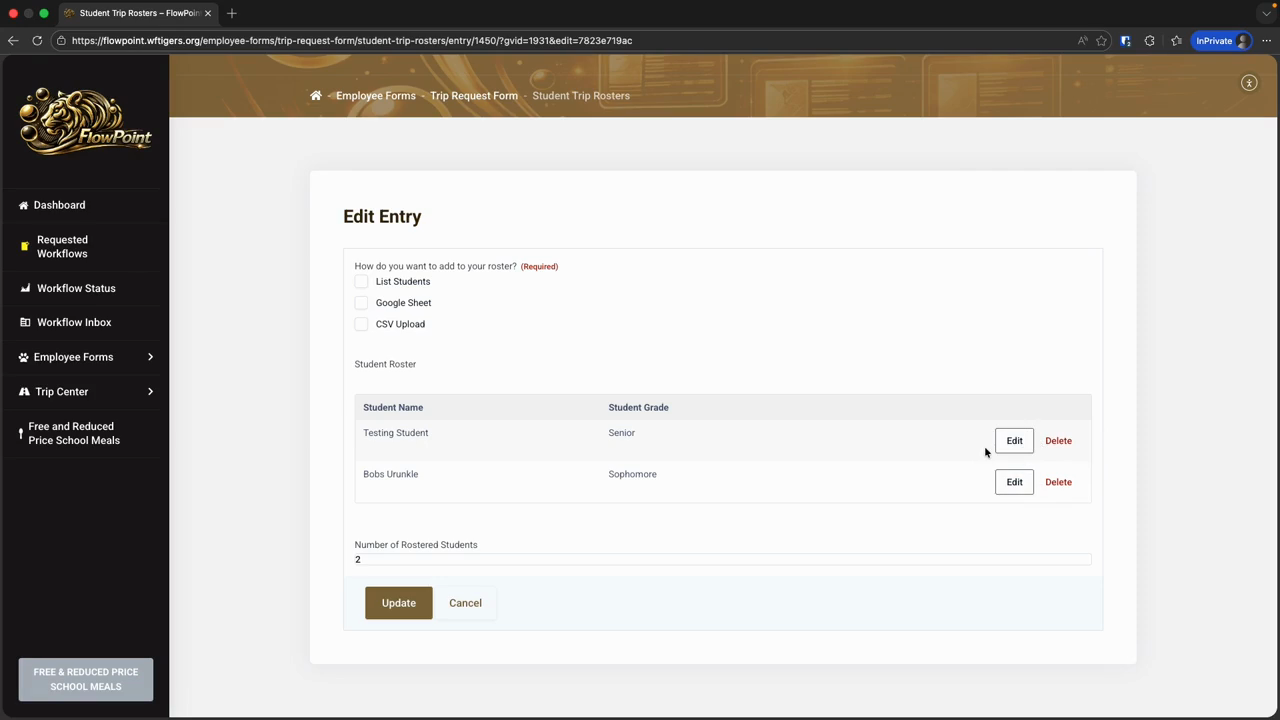
At that point, you will return to the roster and can make more edits. If you need to remove a student from your roster, click the Delete button next to their name.

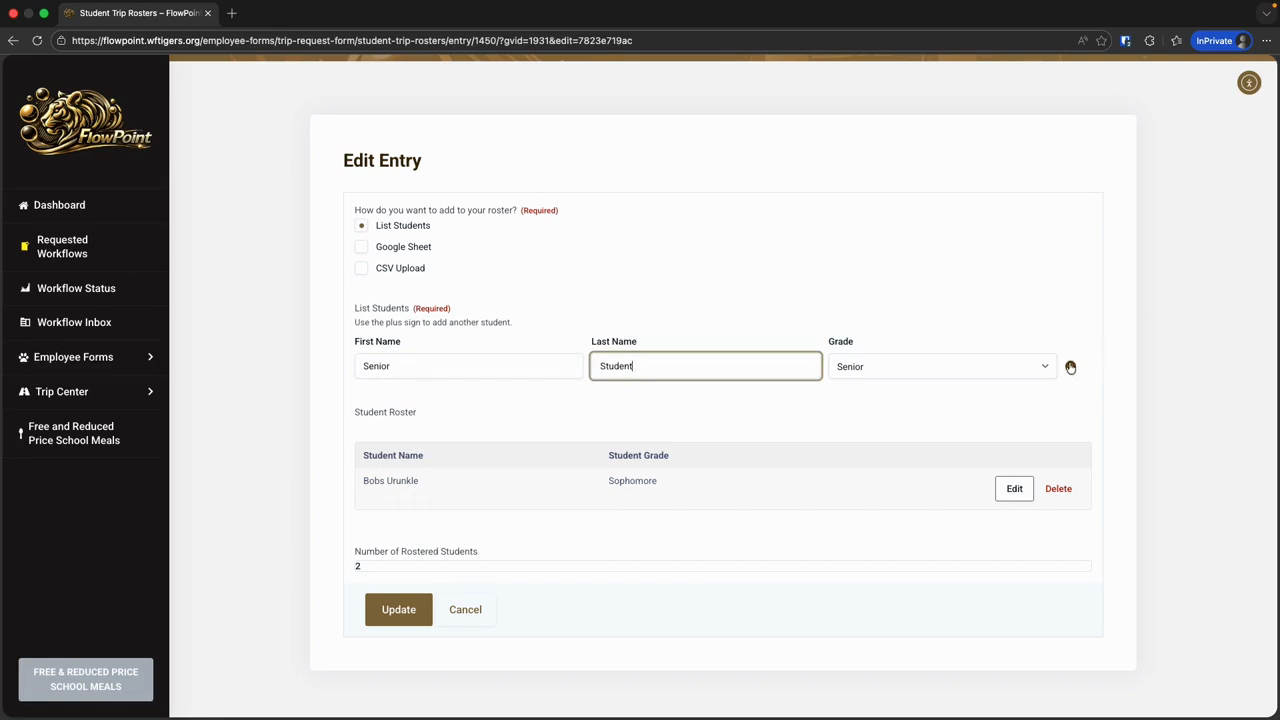
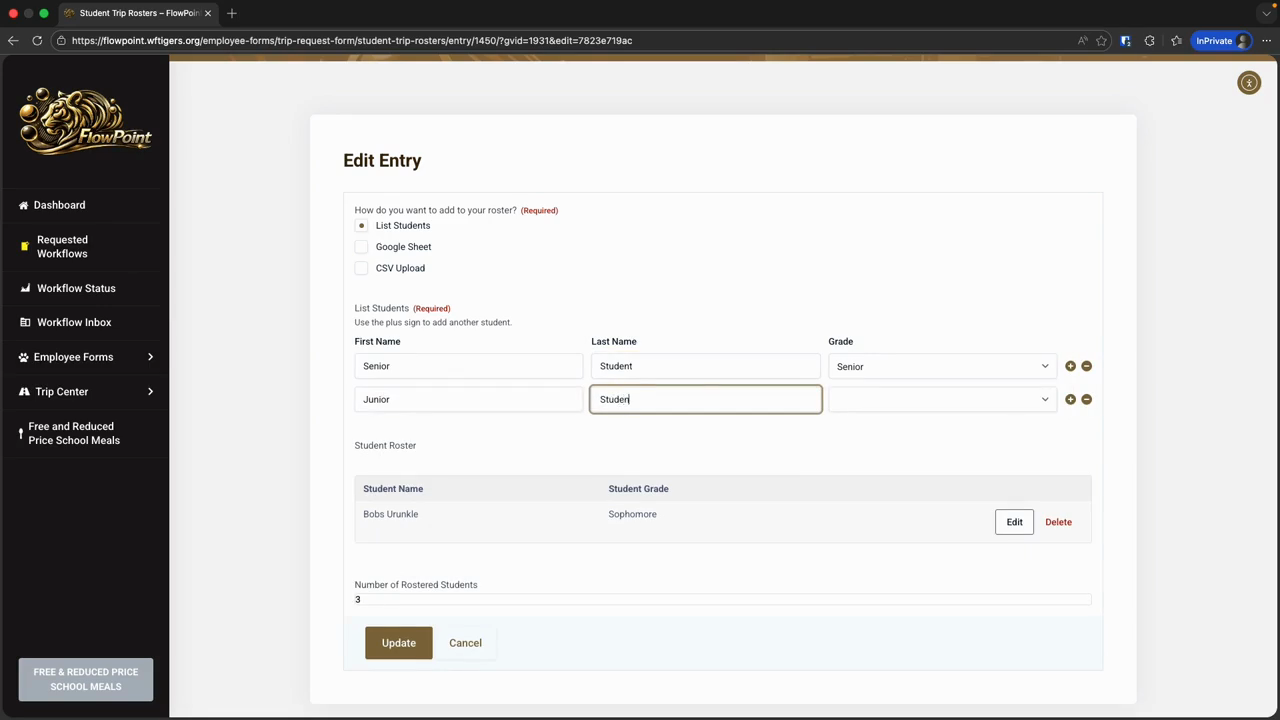
There is no confirmation for this action, so be sure you want to proceed. Our number of rostered students also stays up to date with our edits. If you want to add more students, it's simple. For teaching purposes, I will list the students for now.
This opens the same row of three columns as seen in the initial roster view.
I can add the information, click the plus sign to add more students, and when finished, hit the Update button at the bottom.

That takes me back to the Roster tool. Before expanding my trip, I can see the updated student count. Expanding shows my newly updated list of students.