
How to Effectively Manage Reservation Extensions and Discounts
Learn the best practices for managing reservation extensions and applying discounts in QuickBooks and Avivo. This guide provides step-by-step instructions to ensure seamless booking modifications.
In this guide, we'll learn how to efficiently manage reservation extensions to optimize occupancy and reduce costs associated with one-night bookings. By offering guests the option to extend their stay, you can fill gaps in your booking schedule and enhance customer satisfaction. We'll explore how to modify reservations using Avivo, adjust invoices in QuickBooks, and communicate changes through Microsoft Outlook. This process ensures that all financial and logistical details are accurately updated and communicated to the guest.
Let's get started
Here's a great example of how and why we make extension offers.
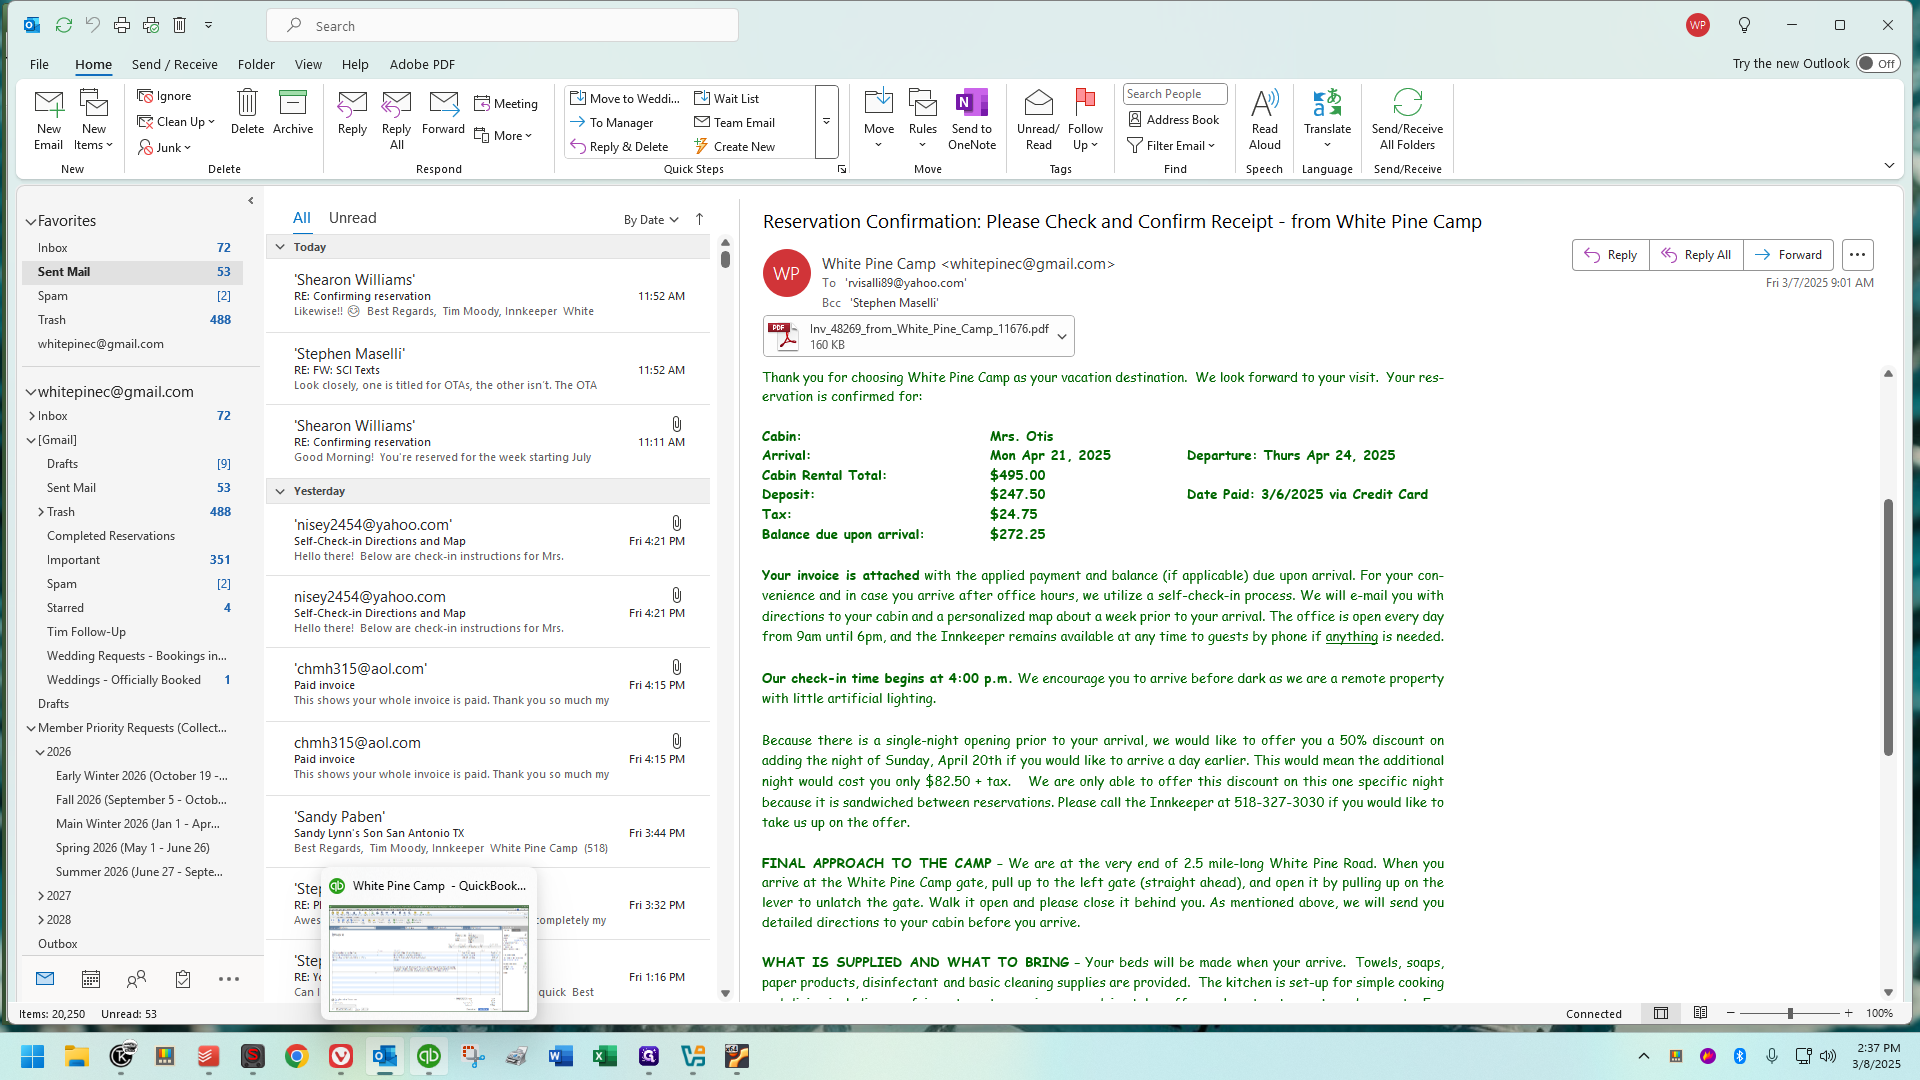
Here is a copy of a confirmation I sent yesterday to a lady who booked April 21st for three nights. The night before, April 20th, is available for one night only in Mrs. Otis's cabin. In such cases, we prefer not to leave it empty, but we also avoid one-night bookings due to extra costs. Therefore, we offer guests the option to extend their stay when possible.

In less than 24 hours, she called me, excited to add the night of the 20th to her reservation. To secure that extra night for her, we should start in Eviivo, ensuring that the extra night gets booked in her name right away.
You want to move to the dates. I'll enter April 20th. I've come to enjoy navigating the calendar this way.


This way, I can click on an exact date, which makes my chosen date the first column on the screen.


Her reservation is here, and I'll click it to modify.


I will click on the drop-down menu for check-in and select the new check-in date, which is the 20th.


It's worth noting that we need to select the checkout option, even though it's already set, or choose the number of nights. Although it should automatically do this, we still need to click either "four nights" or "Thursday, April 24th" in our example here. This option is already displayed, but Eviivo's...weird.

I'm not sure why it works that way. At this point, I'll click modify.

After a moment, you'll see a "Booking has been modified" confirmation in the lower right corner of your screen.

Ensure everything aligns with your original intentions.

Double-check that everything went as intended. This is the most important step to do immediately. Make sure to block it out and note it in the book as well.
Here's a placeholder to insert pictures in the book. I'll check that the night is open on the 20th. I'll erase her name on the 21st and write it in on the 20th, drawing a line from there. Now, let's go to QuickBooks and access her account.

I pull up her invoice and immediately copy the cabin and date range. Then, I prefer to start by typing a note on the invoice to explain what happened.

You want to clearly state when the change was made, the date of the change, and the specific change itself. Be as detailed as possible for the customer's benefit (as well as ours), as they will see this. It's important to maintain a clear paper trail, especially if multiple changes occur. I noted that it was changed from the previous cabin and date range to the new cabin and date range, on which date this change was made, etc.

I will copy the new cabin/date range notation and paste in the line above. It shows she arrives on the 20th and leaves on the 24th. The invoice date must match the check-in date, so it should change to the 20th.

We need to separate this extra night when we add it, because the offer is 50% off the night they're adding. You can separate it onto its own line because discount codes in QuickBooks only affect the line above them. Even though it's a Sunday she's adding, which is a weekday, theoretically, you could just make this a quantity of four.
If we did that, the discount code below would take 50% off all four nights. Instead, we need to separate it onto its own line, even if it is otherwise the same as another line on the invoice. You'll see what I mean. We need to create a couple of lines above the subtotal. Right-click on the subtotal line and choose "Insert Line." Do this twice.


We have now created two blank lines above the subtotal.
You can copy an entire line in QuickBooks. The first line, which already has three nights, is properly formatted and set up with the correct date range, class, and rate.Right-click and copy the entire line to speed up the process. Then, go to the line below, right-click, and choose Paste Line. This will paste an identical line to what you copied. The only thing to be aware of is that the quantity needs to change from three to one.
It's a weeknight, just like the other three on the other line. The rate, memo, and notation are the same. The only difference is the quantity. It's faster and less error-prone to copy the entire line and change the quantity to one rather than typing it all out again.
For the item, choose a discount. Click the drop-down menu and scroll to find it, or start typing. Typing "D" will show all discounts, but select the specific one you need.
I will scroll down to "Discount Single Night Filler" and select the sub-item that matches the item used earlier for the cabin line.


Since this customer is a returning guest staying for less than seven days, I will select the sub-item "Discount Single Night Filler."


When I do that, it applies a 50% discount to the line directly above it. You can see it's deducting $82.

50, which is half of $165, the line above.
It is not applying a 50% discount to everything above it.
That is why we needed to separate it onto its own line. Now, I'm going to copy the cabin and date range because I forgot to replace the memo in the lower left earlier. I'll paste it here or type that they're coming on the 20th. I don't mind if people copy and paste, as long as it's done accurately.

Save and close quickly. Since we made a change when a payment was applied, a pop-up appears.

Just click "Yes." We want to change it anyway. Sometimes you'll see a spell check notification. In this case, it's trying to correct her name.
I'm going to click "add." This adds her name to the dictionary, so we won't have to deal with that name or word again. Now it's asking if we want to send the invoice again. Not yet, so do not send it. Pull up the payment applied to this invoice and replace the cabin and date range with the new one.
Save and close. Now, I'll quickly check to ensure the invoice date matches the check-in date and that the payment and invoice notations are consistent.


Here it is. I'll bring up the invoice again.

Now, we need to return to Avivo to ensure it matches financially. The new subtotal is $577.50. Open Avivo, find the person's reservation, and click "modify."


There are a few different ways to approach this.

For now, I would like to focus on charges.

Excuse me. That makes it even more convenient. Please move away a little bit.


Excuse me. Sorry about that. When you open the reservation in Avivo, click on "Charges."

There are several ways to approach this, but here's what I suggest for now.

This may change in the future, but for now, to make this match, go to Charges in Avivo and click on Deductions.


We will keep the category as ad hoc.

You notice there are other things like discounts, but I'm currently confused about the taxation.


To make it match, I'll leave it as ad hoc under the description.


You can quickly go back into QuickBooks and copy the notation on the discount line if needed. That's what I've been doing, and then I paste it.

I will remove the word "deduction" to leave the line blank, then paste it in.


This ensures it matches exactly what QuickBooks states.

Then, deduct $82.50. Enter that amount. Now, click "Add." Although it says "Add," you're actually adding a deduction, which reduces the invoice amount.


I just did everything. Sorry. Okay, look.

This will likely change in the future regarding our approach.


Currently, the only way I know to make it work as needed is to click "modify" on the first page, the summary page.


Here, you can see the amount of money listed. This is the subtotal before tax.

To change it, click the padlock icon, then click "Unlock."
It might take a moment, but then this field becomes clickable, allowing us to change the amount of money. Look back at QuickBooks; $577.50 is the subtotal, so you can erase the $660.

Enter the new amount and click "Modify."

Now it will close and indicate that it has been modified.
Click here to view it quickly and ensure it worked correctly.
We now have $577.50. Click here to view it if you want to quickly check and ensure it worked correctly.

Now, let's look at the summary. The total is shown here: $606.

38. Look back in QuickBooks: $606.

The total listed here is 38.

In QuickBooks, the balance due is $358.

Avivo agrees with that.


The amount due is $41.25. If we charge the deposit to bring it back up to 50% of the subtotal, that is the amount we would charge.

I modified this for that reason. Otherwise, you can go into the charges area and add a deduction right here.

The issue is that, for some reason, the deposit amount does not change.


Avivo would be dishonest if I sent a booking prompt stating she owed half of the full room rate when that's not true.


For now, I modify it directly from the summary.

Then, verify that the total and the balance match.


We can now go into communications and send a booking deposit payment request.


That would correctly require an additional $41.25. However, since I know her, I decided to add it to her balance and collect it when she's here.


We typically charge the deposit, print the new invoice, and staple it to the front of the old paperwork. Then, file it under the new check-in date. If you take a deposit, log it in your daily transaction log and apply it in QuickBooks. Follow these steps to ensure the new invoice is processed correctly.


Apply the transaction log in QuickBooks by following all necessary steps. We've covered the important aspects here. Ensure the additional night is booked in eviivo on our calendar and in our physical reservation book before proceeding.


You need to adjust the invoice to reflect the new information. In this case, change the invoice date because she added an extra night at the start of her stay, shifting her check-in date. This impacts the invoice date.

I needed to ensure there was a discount only on the fourth night due to the context. Additionally, I had to make sure a clear note was written on the invoice to explain to us and the guests exactly what happened and when.


Finally, we ensured that Evivo matches and agrees with QuickBooks regarding the amount of money due.

You can now send the invoice.

We can handle that either through Evivo in the future or through Outlook for now.


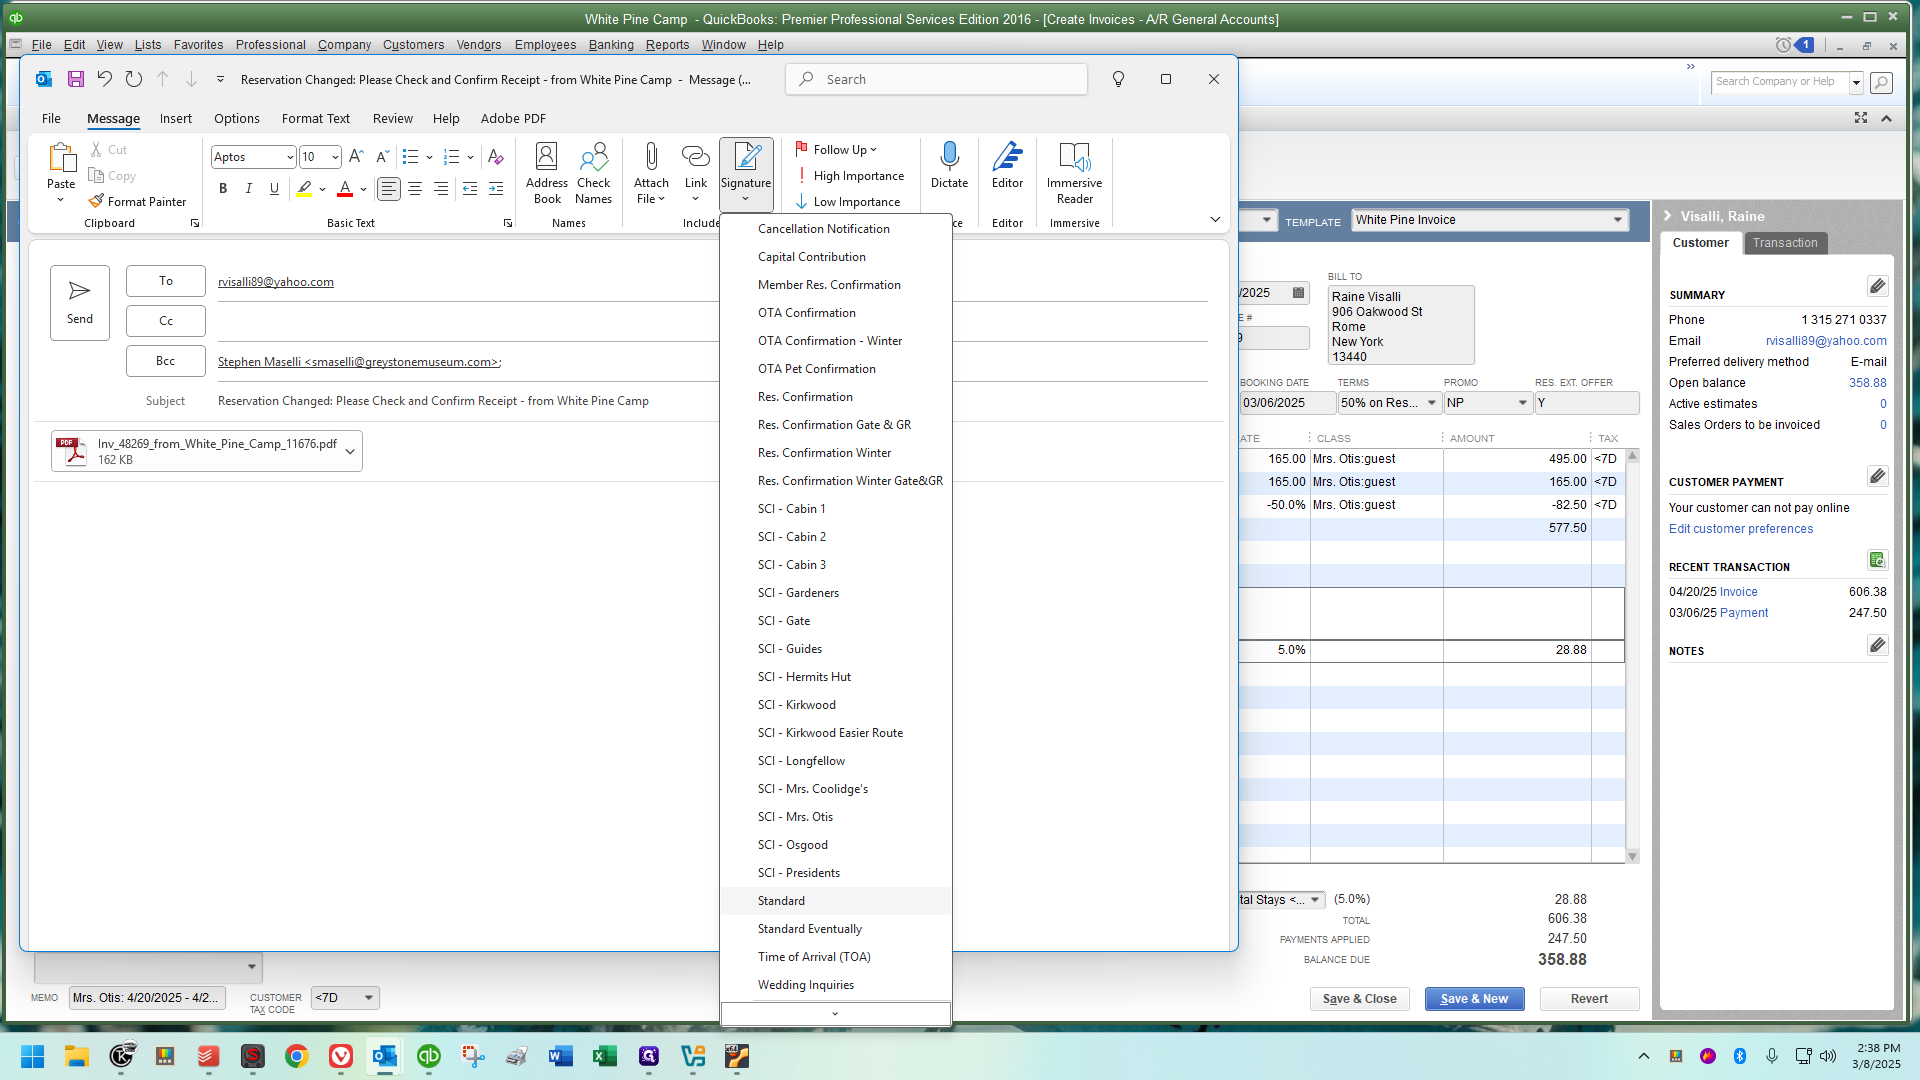
Click Control-A in the body of the email, then press Backspace to remove any unwanted formatting. Next, return to QuickBooks. I prefer to change the subject line from "confirmation" to "Reservation changed" instead of "reservation confirmation."
We will copy Steve because he provides a second pair of eyes on the calendars, especially for the OTAs. It's important to inform him of any changes. I'll use the standard signature and type this in my own words. For now, just type out a confirmation letter like this. There might be revised directions or a template with a signature in the future.
Usually, they have already seen their confirmation letter.

They received the welcome letter. It won't be sent again.

It's simply sending an acknowledgment that we spoke. We've updated your invoice, and the revised version is attached. I also prefer to specify the day of the week and the date for checking and checking out again.

We must ensure this is done because we can't be too careful. It's important to make sure we're on the same page.

Double-check everything, then click send.


Close the invoice.


Now you know how to handle this.

Now you know this is effective.


It is effective. However, I am not sure about the statistics.


I need to talk with Steve. I can't recall how long we've been doing this, but we should check QuickBooks. We can tally how many reservations have used this promotion we sometimes offer.

To recap, if you go to your desktop, you'll find a shortcut to a document called "Reservation Extension Offers."


You can copy either the single night opening before or after the reservation. Once copied, paste it into your confirmation letter or SCI when sending them. Change the underlined sections to specify the exact night and the amount of money. For example, clearly state the additional amount being added to the invoices. These are the only adjustments needed for the copied text. This document also covers this, but once done, write "Y" in the Reservation Extension Offer field.
Let me go back to QuickBooks and pull up her invoice to show you that there was already a "Y" there. When I sent her the confirmation yesterday, I included that paragraph. You can place it wherever you feel is appropriate in your email. You saw earlier where I chose to place it. As soon as I sent the confirmation, I entered "Y" in that field. This stands for "yes, we've made the offer." For example, when it's time to send an SCI, if there is a "Y" in this field, do not make the offer.

We don't want to seem pushy or make the offer more than once. The main reason this exists is to inform that it's already been done. Don't make the offer again. It also lets us know the offer has been made and she is aware. That's all for now.


