How to Enable Memo for a Client
Learn how to enable the Memo option for a client.
By Aasma Technology Solutions
This guide explains how to enable the Memo setting for a client. Once enabled, users can add memo information to transactions associated with the client, providing additional context and improving transaction documentation.
1
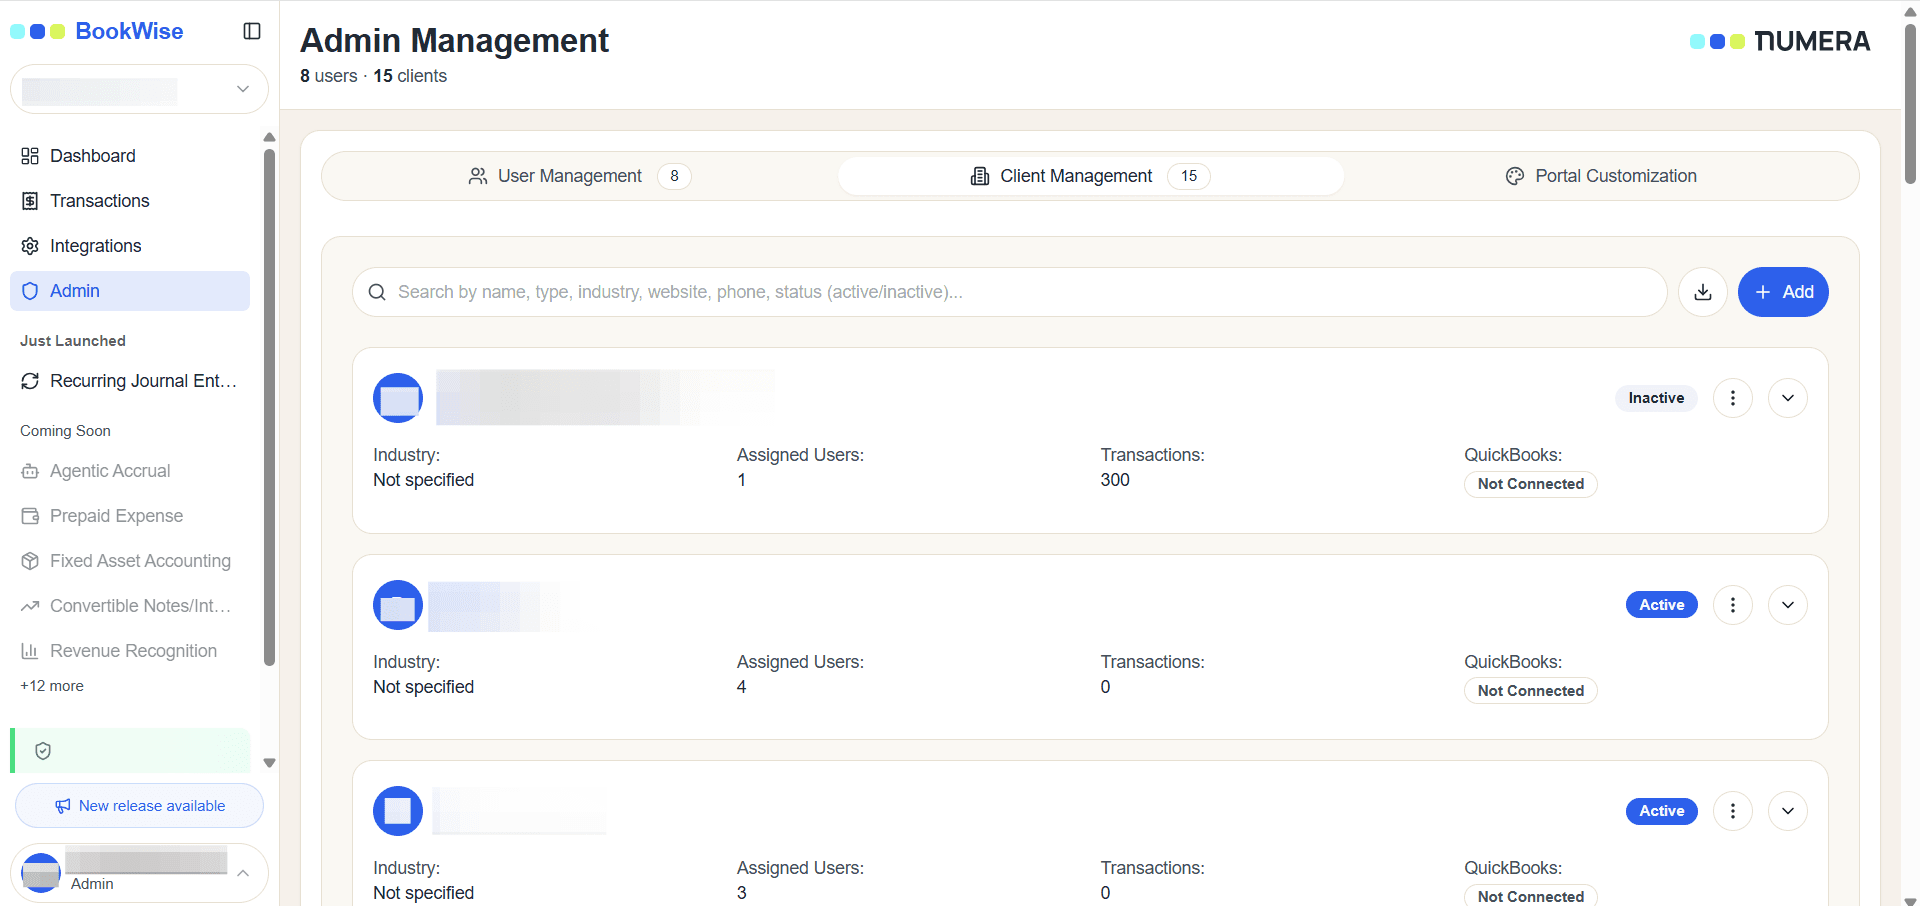
Go to the Clients section from the sidebar to view the list of available clients. Locate the client for whom you want to enable the Memo option and open the client's details.
2
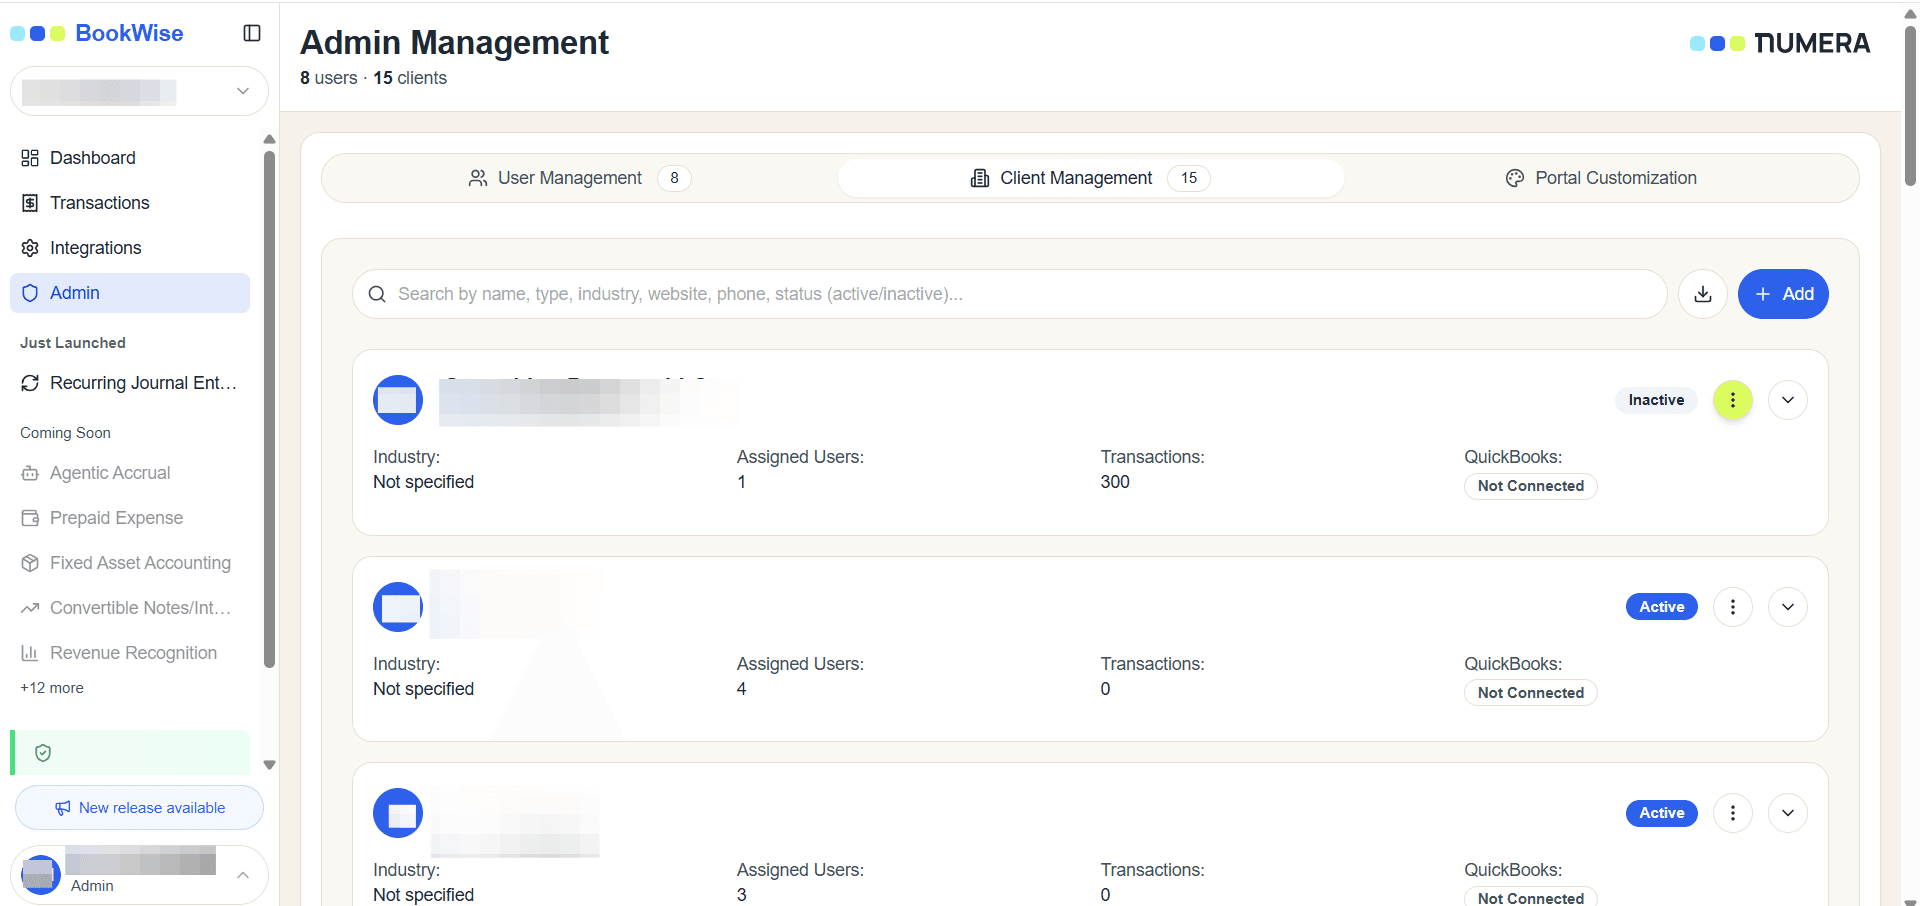
Click the Three-dot menu next to the client you want to update.
3
Click Memo from the dropdown options, Then based on the requirements select or deselect Memo of it
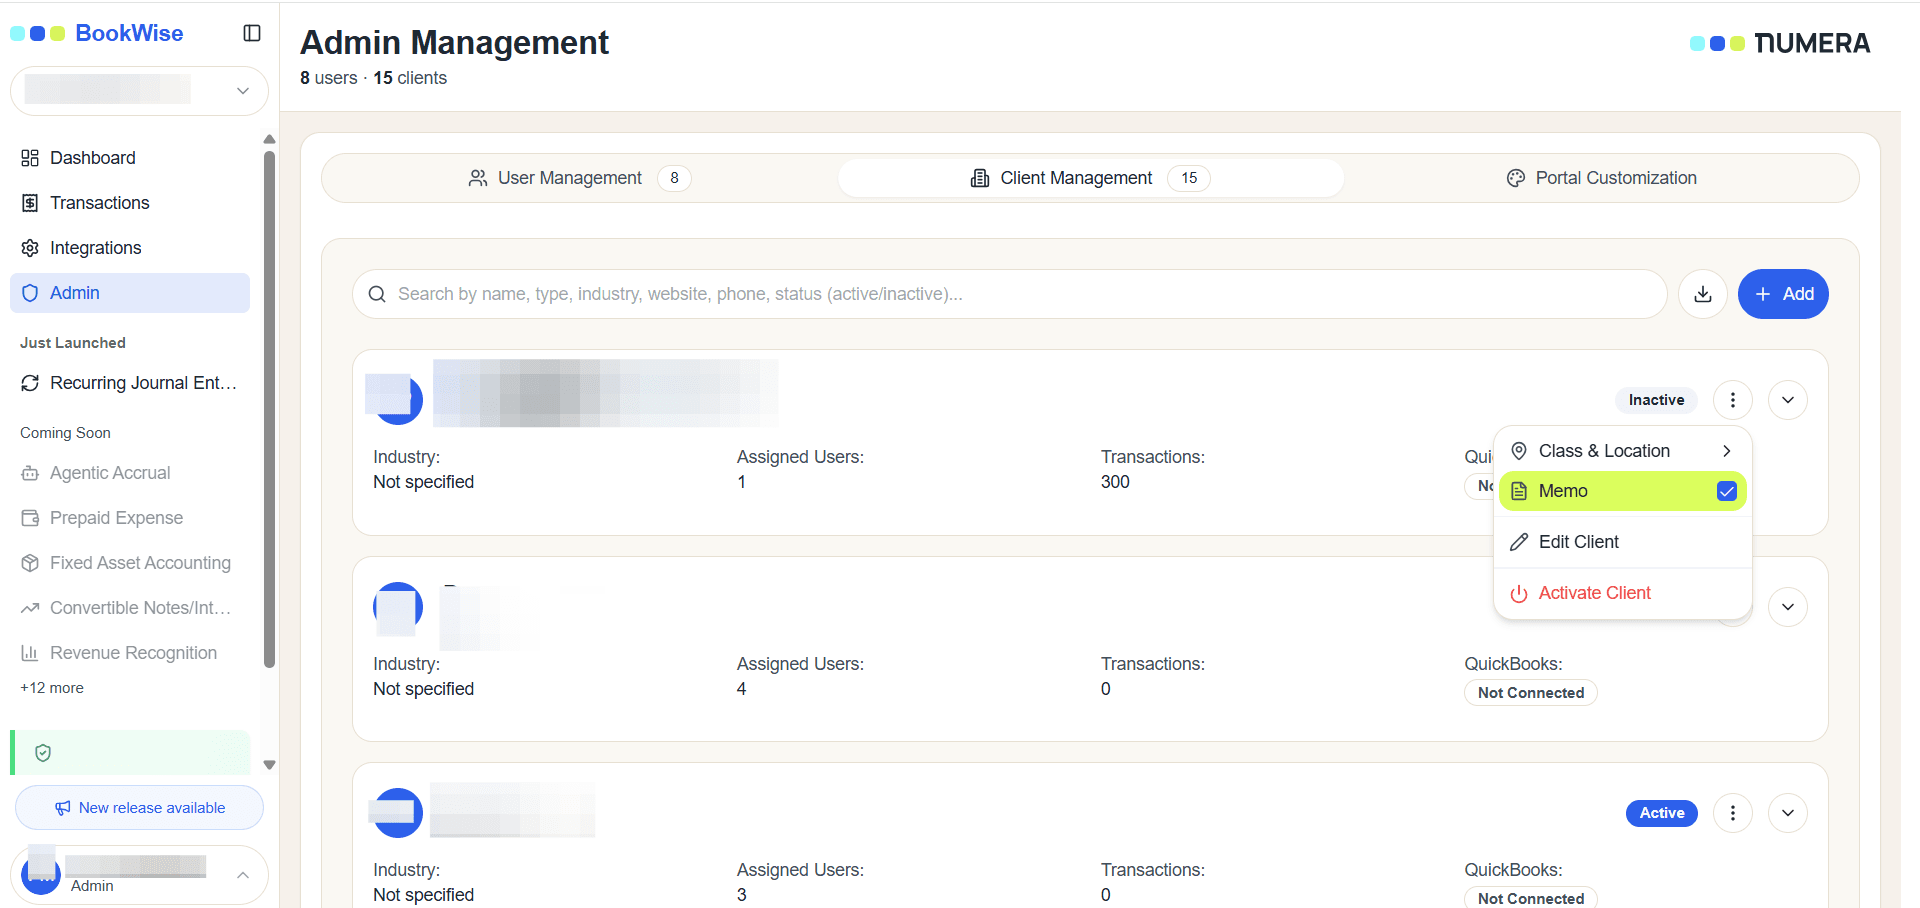
Open the client's details to confirm that the Enable Memo setting has been enabled successfully.
Enabling the Memo option allows users to include additional notes and transaction details, improving record-keeping and providing better context for financial activities.