How to Enable Microphone Settings on Windows Server
Learn how to navigate the Windows Server interface to access and adjust system settings, particularly focusing on managing your microphone settings.
In this guide, we'll learn how to navigate the Windows Server interface to access and adjust system settings, with a particular focus on managing your microphone settings. This process involves using the Windows Explorer, Settings, and Search applications.
Understanding the Windows Server Interface
Windows Server is a powerful operating system designed for server management. It's packed with features and settings that allow you to customize your server environment to your specific needs. One of these features is the ability to manage your system settings, including your microphone settings.
Accessing System Settings
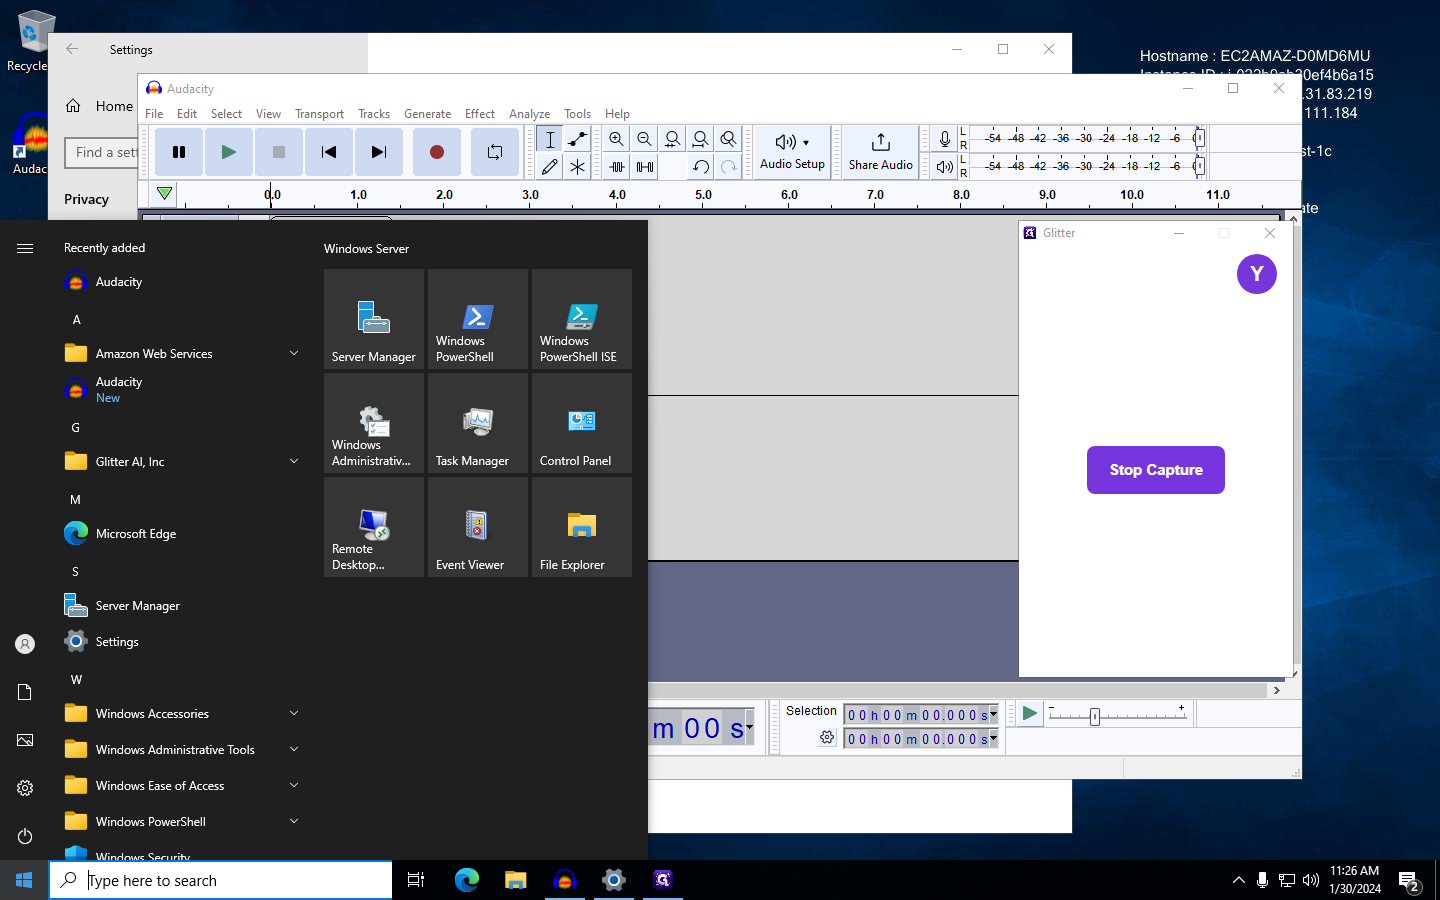
The first step in managing your microphone settings is to access the system settings. This is done through the start button, which opens up a menu where you can access various applications and settings.
Searching for Microphone Settings
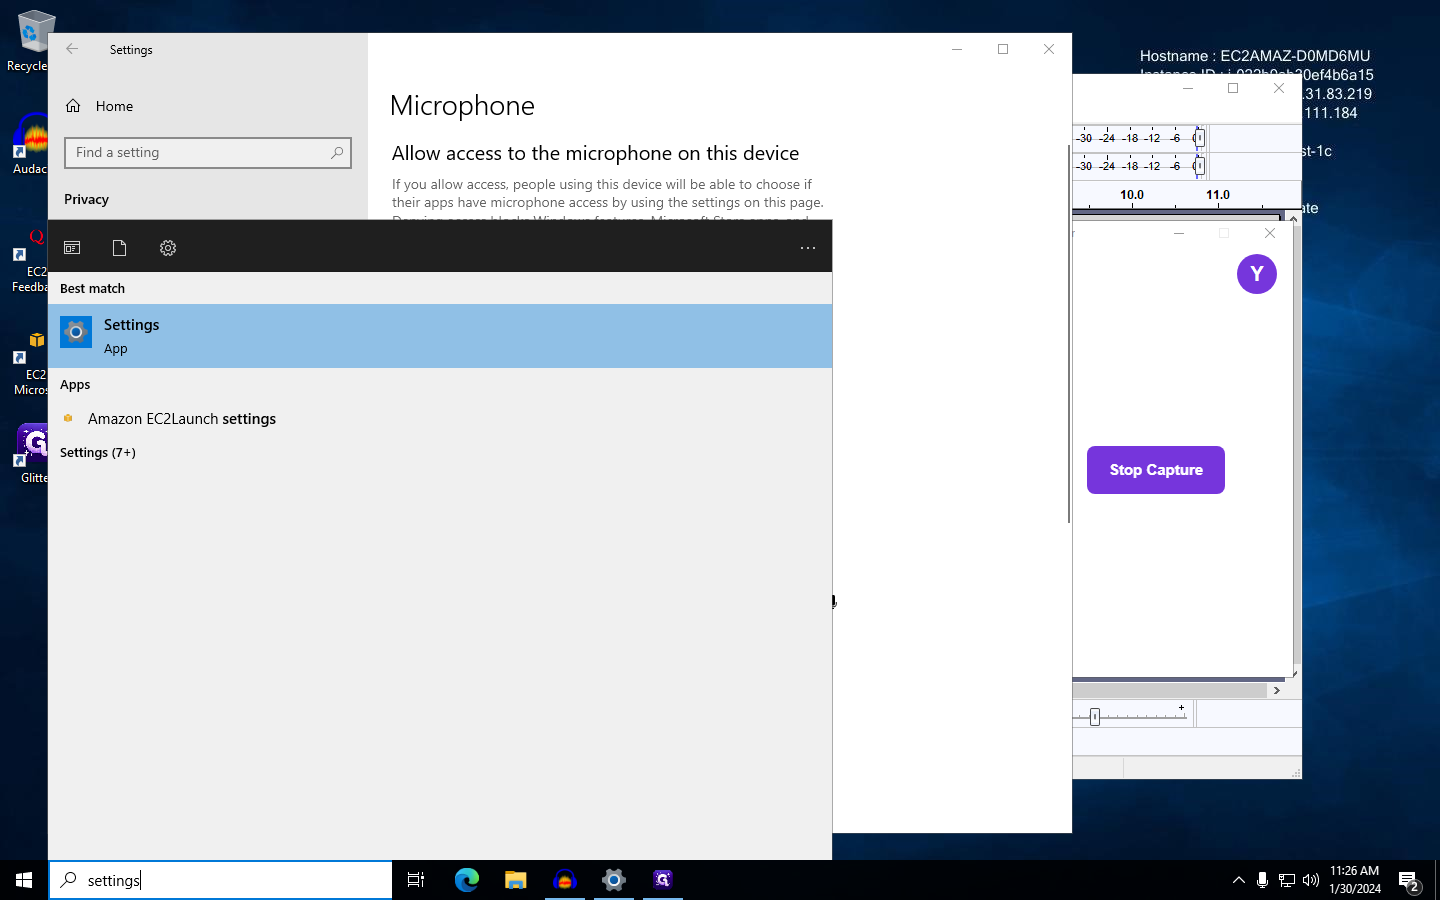
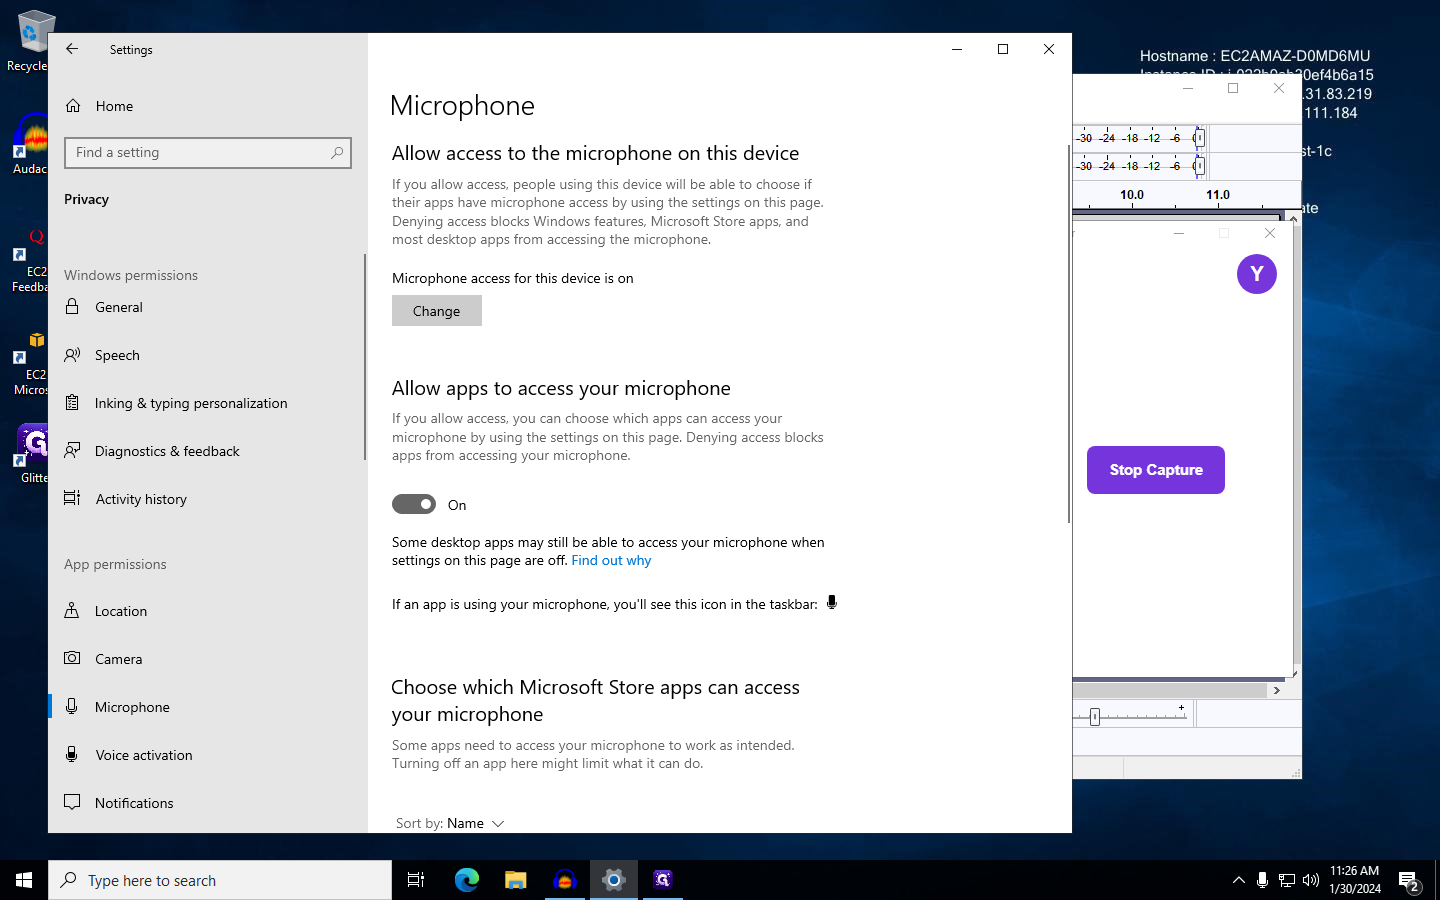
Once you're in the system settings, you'll need to use the search function to find the microphone settings. This involves typing 'microphone' into the search bar and selecting the appropriate option.
In the following sections, we'll delve deeper into each of these steps, providing detailed instructions and tips to help you navigate the Windows Server interface and manage your microphone settings effectively.