How to Enter a Candidate into Salesforce: Step-by-Step Guide
Learn how to add a provider candidate into the Salesforce system, including selecting provider class, specialty, license, candidate type, and tracking sources for ROI. Step-by-step instructions for recruiters and account managers.
In this guide, we'll learn how to enter a new candidate into the Salesforce system. This process helps keep candidate information organized and accessible for your team. By following these steps, you can ensure that all relevant details are recorded for future reference and communication.
Let's get started
Today, we will enter a candidate into the Salesforce system.
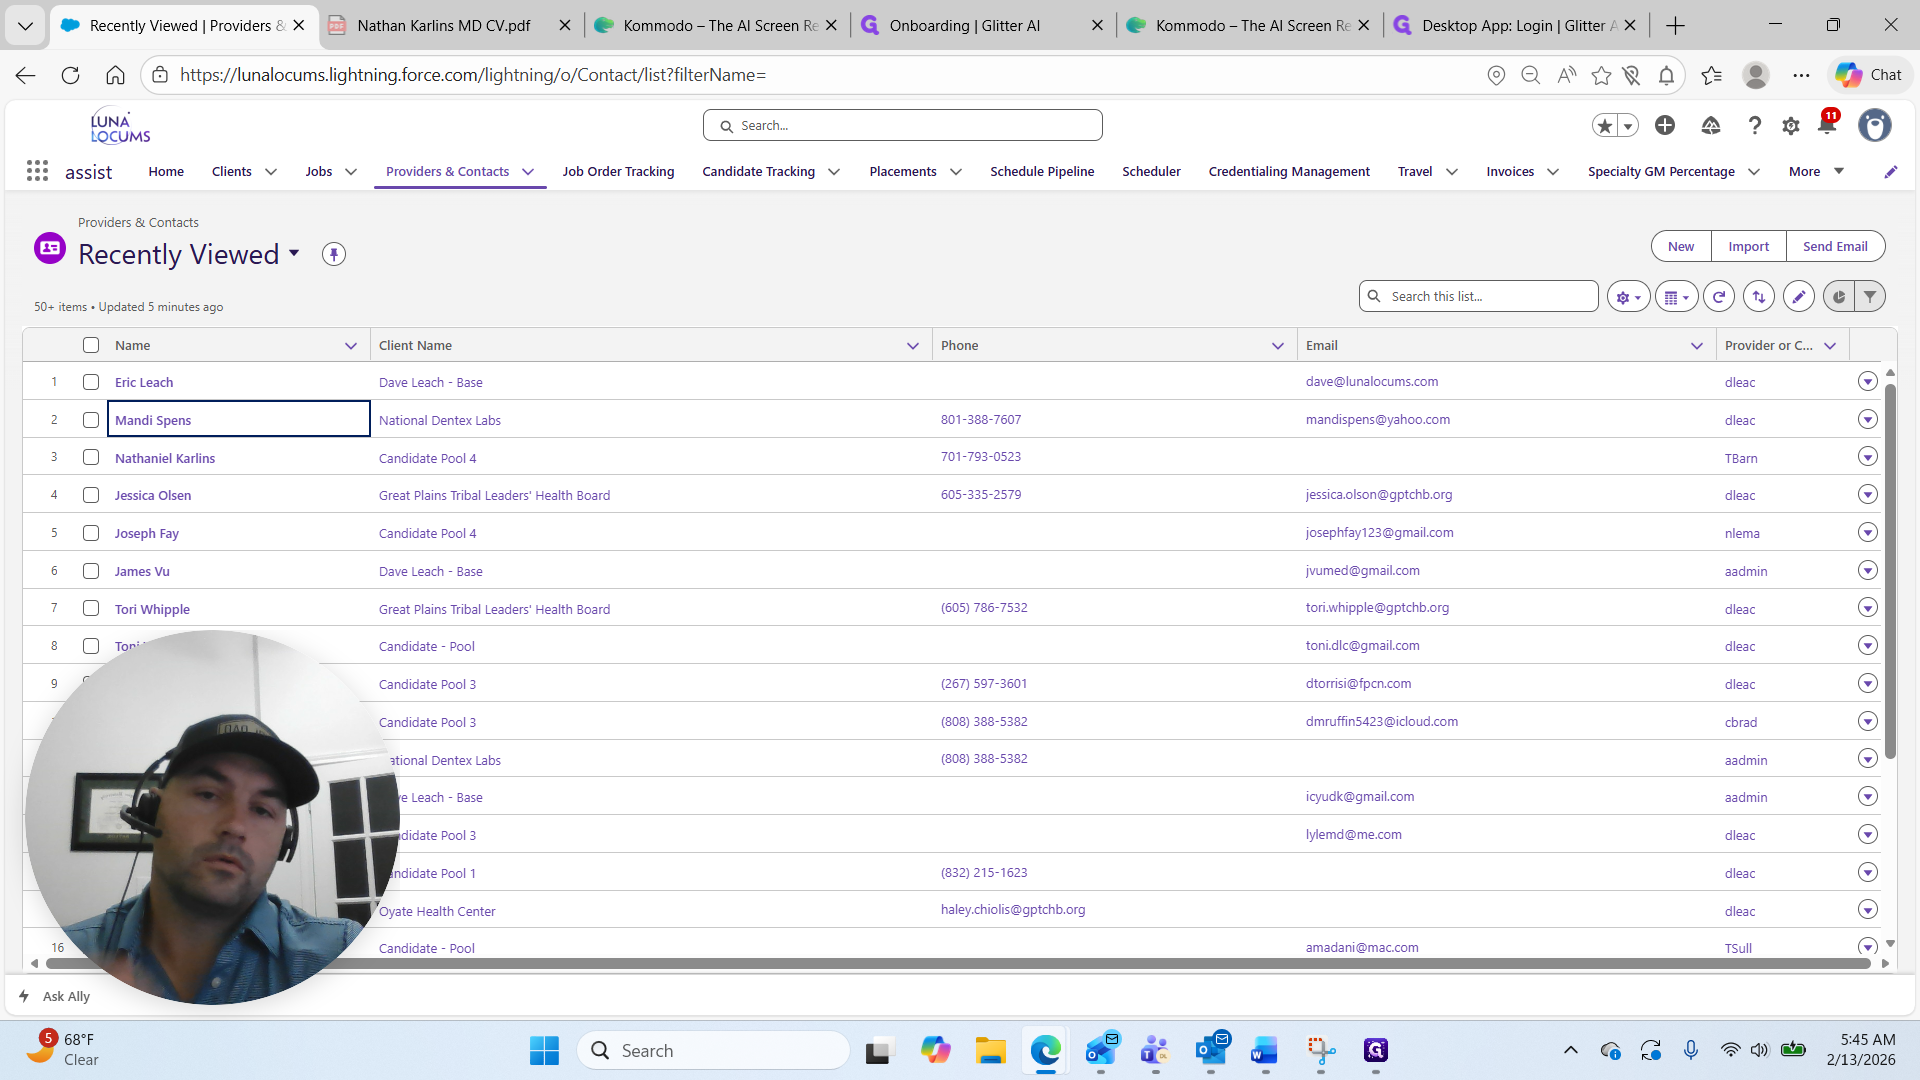
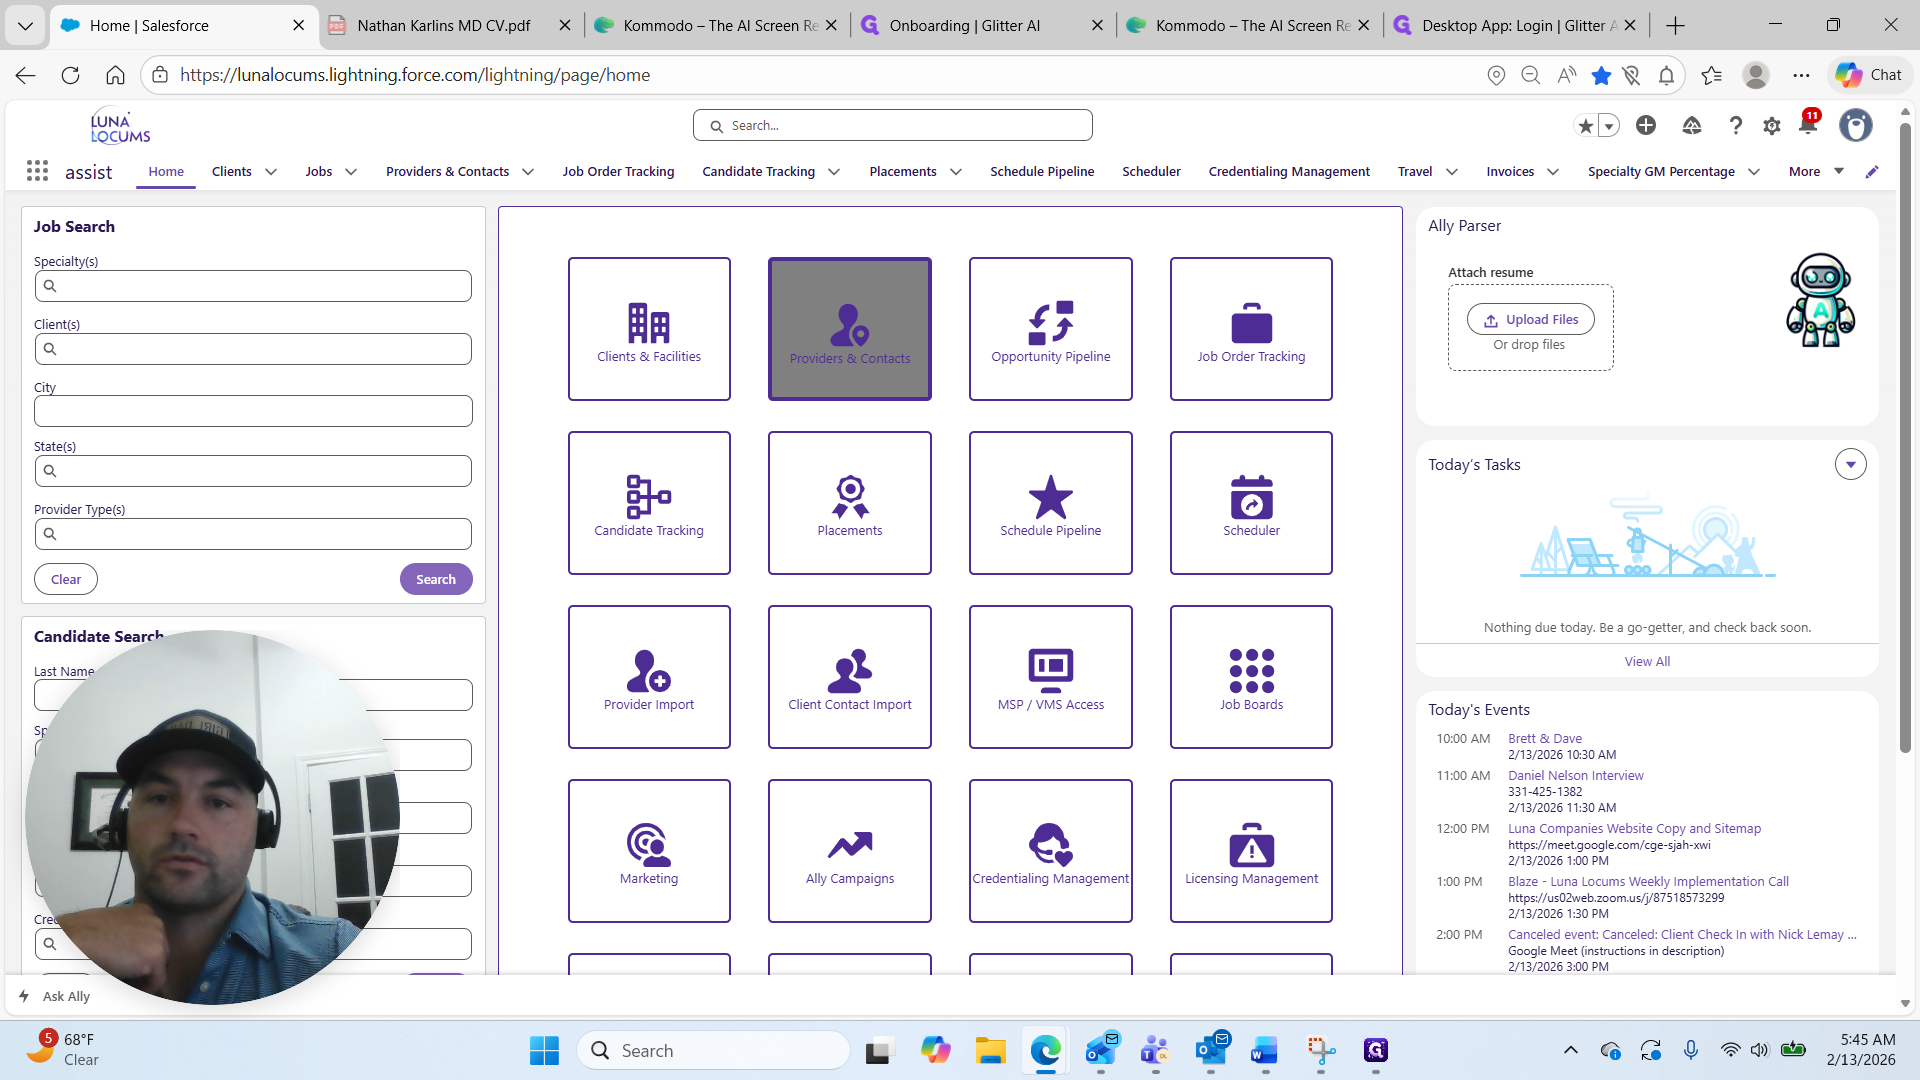
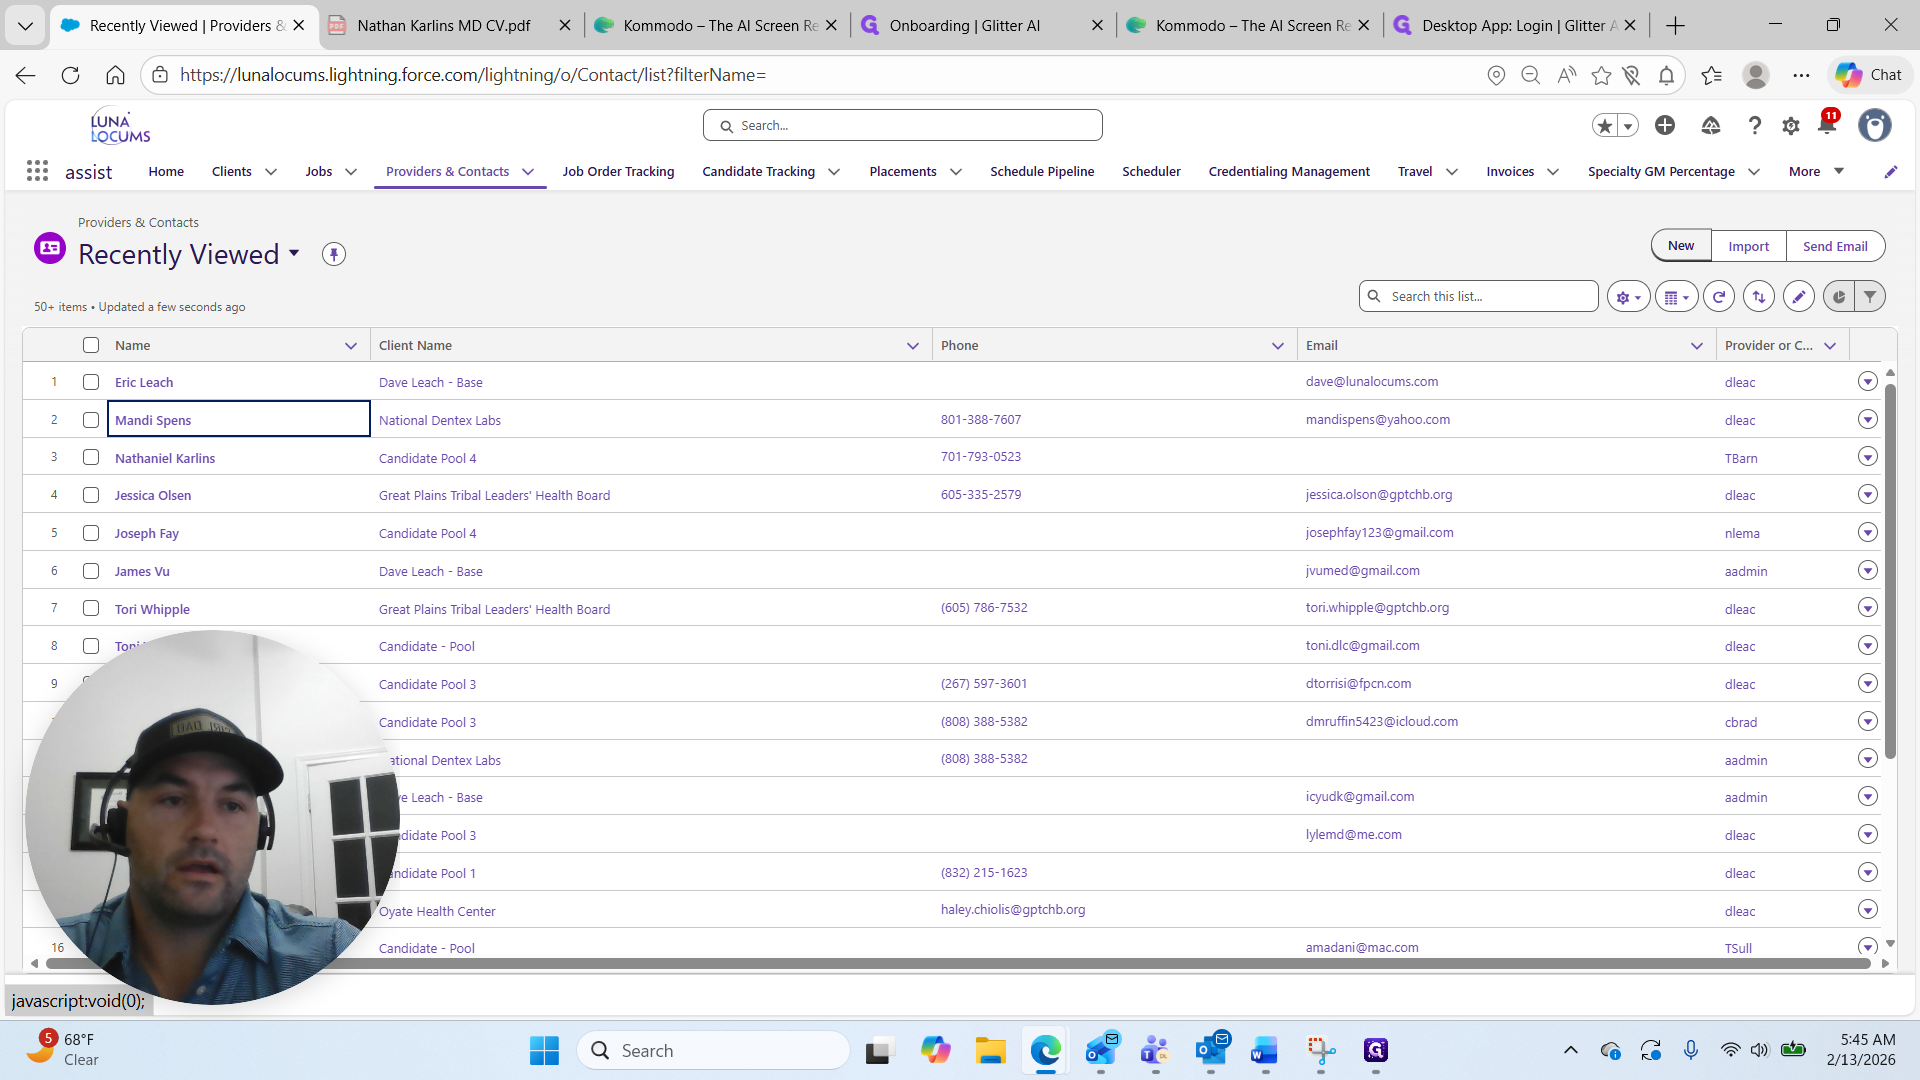
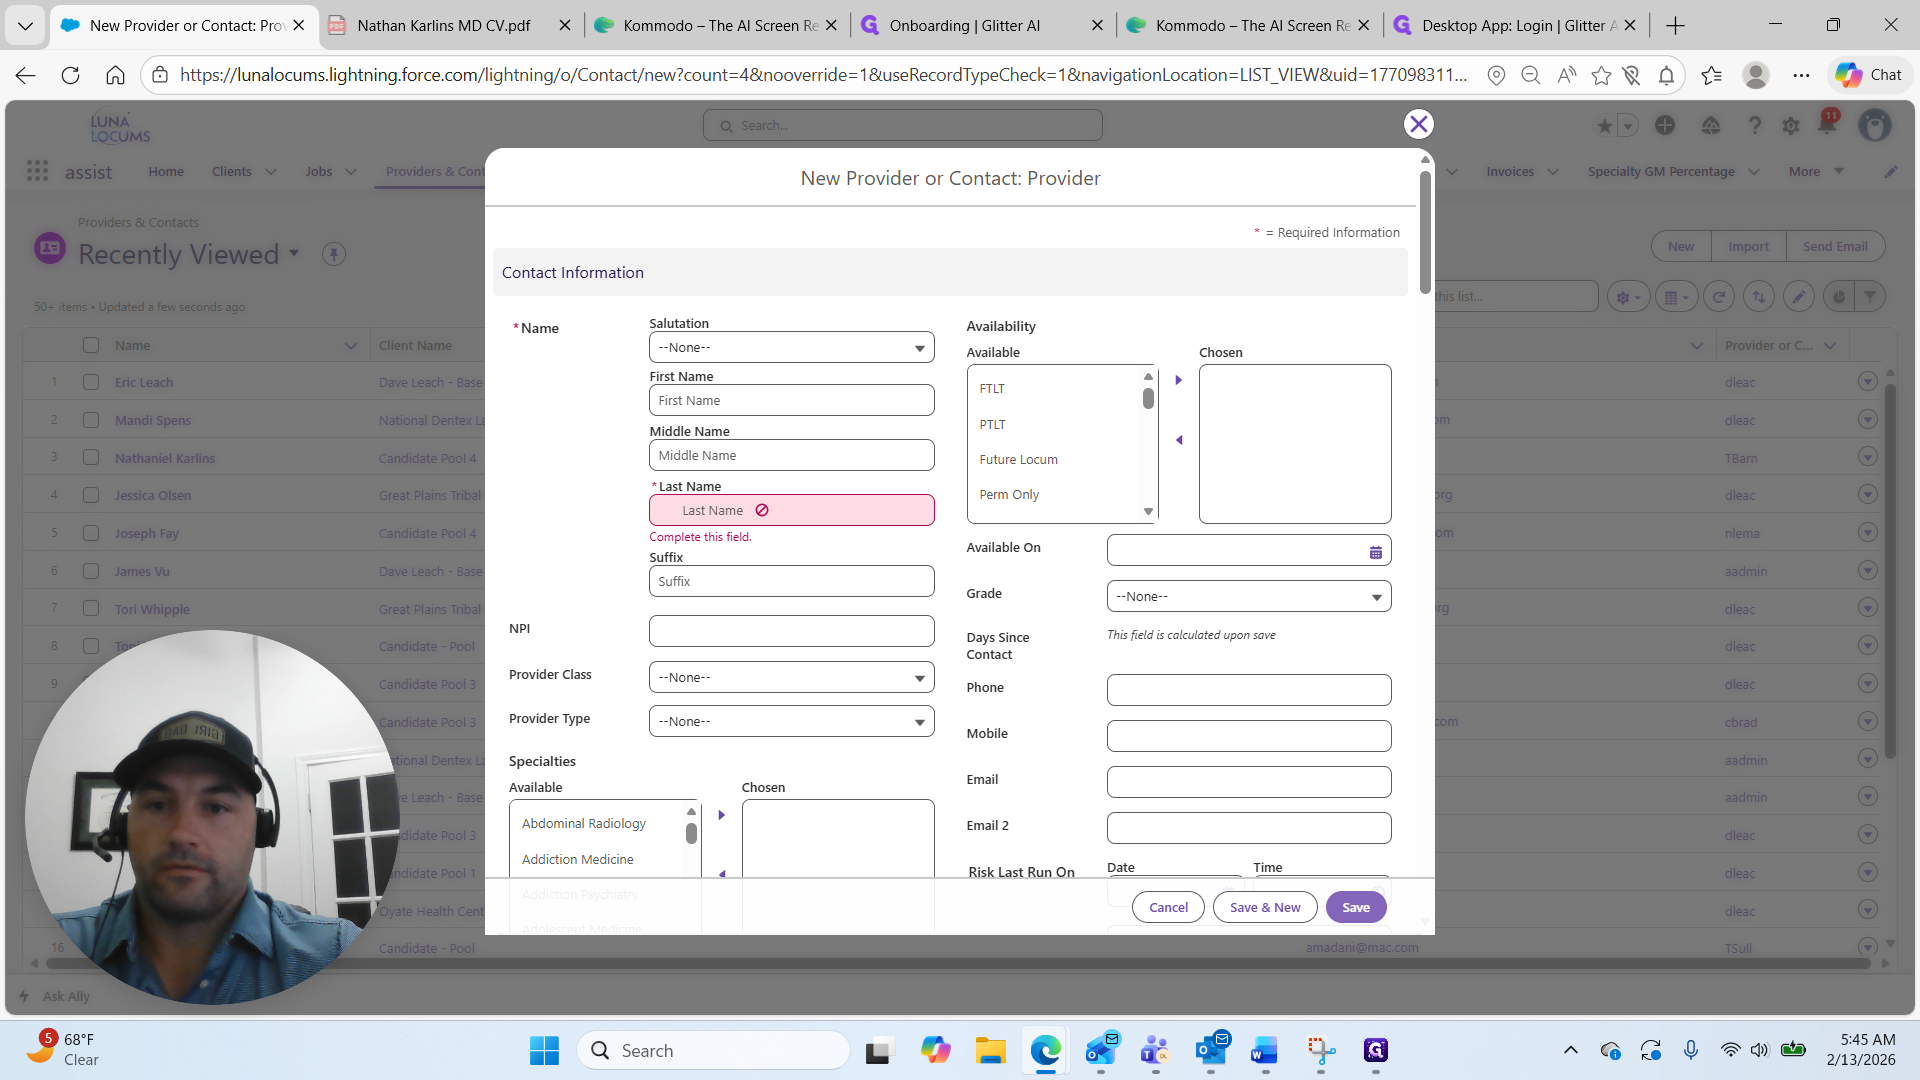
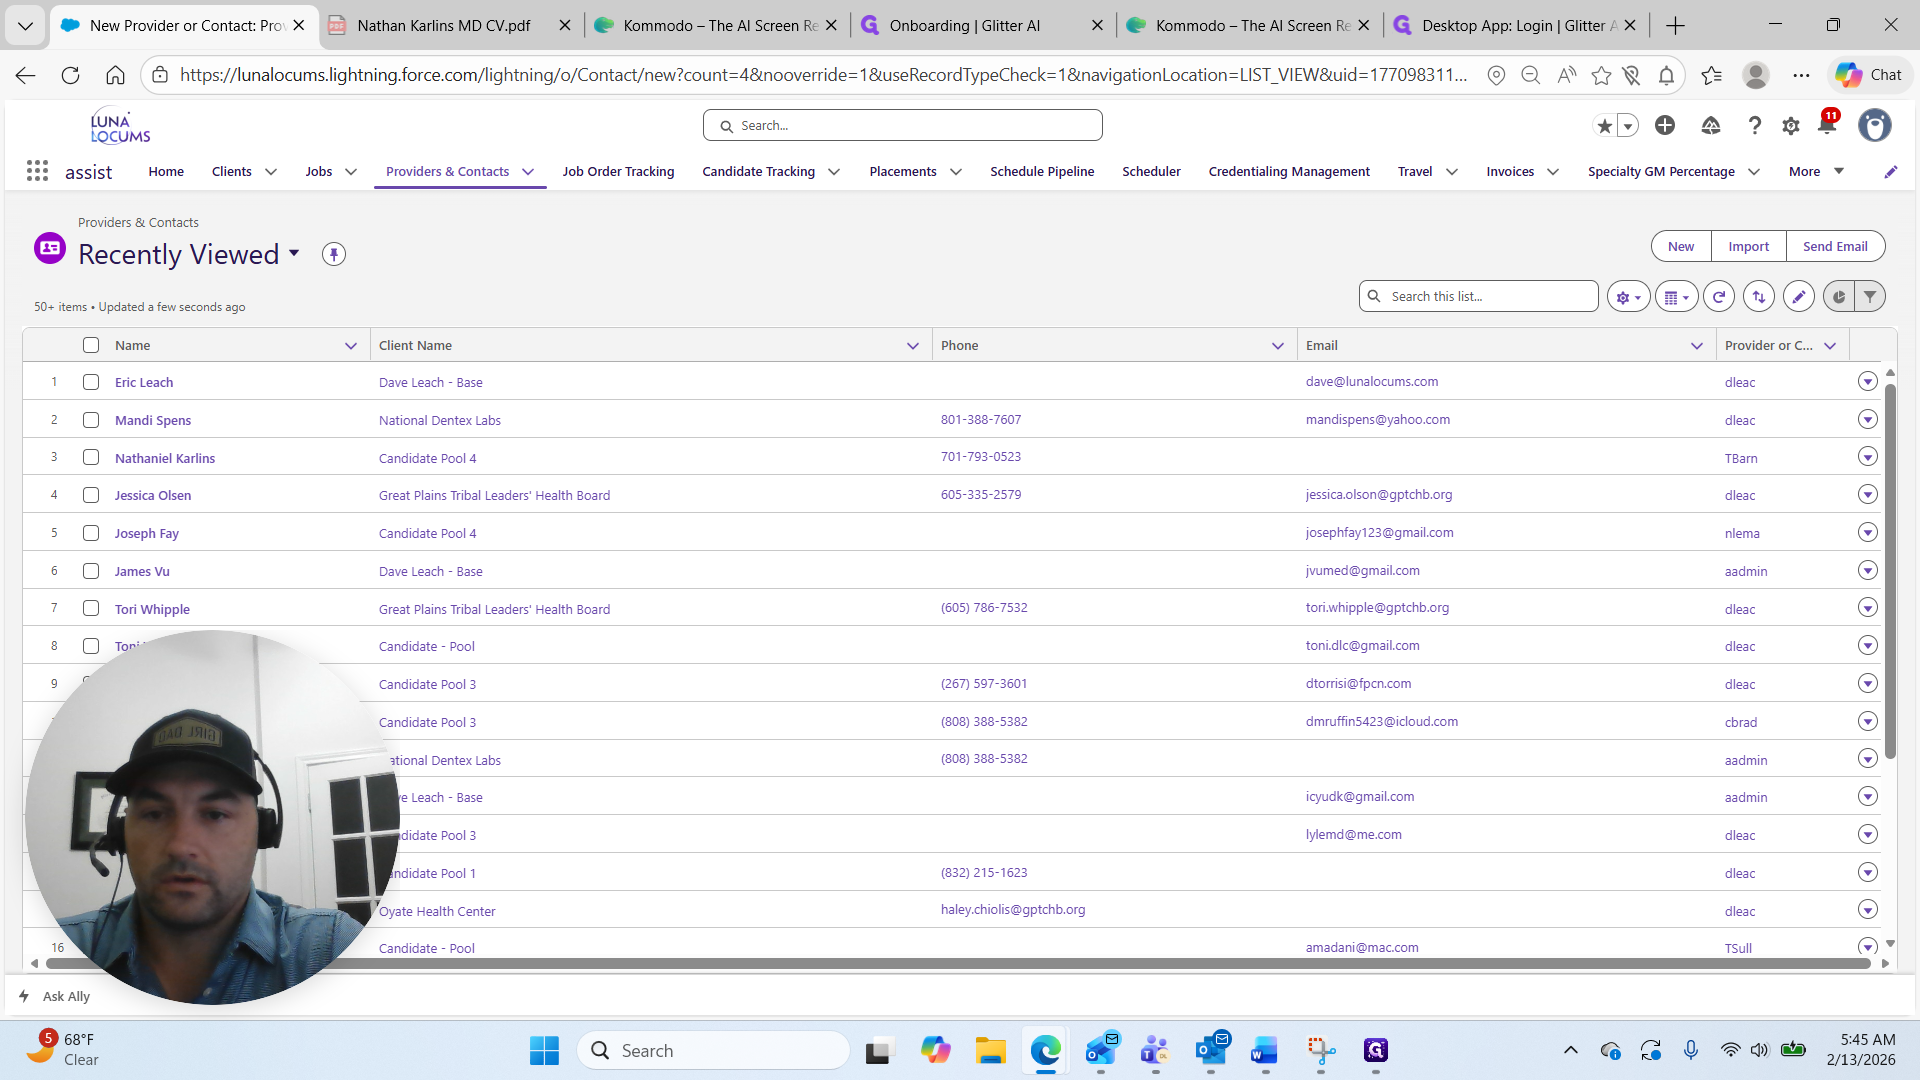
First, go to the home screen. Click on Providers and Contacts.
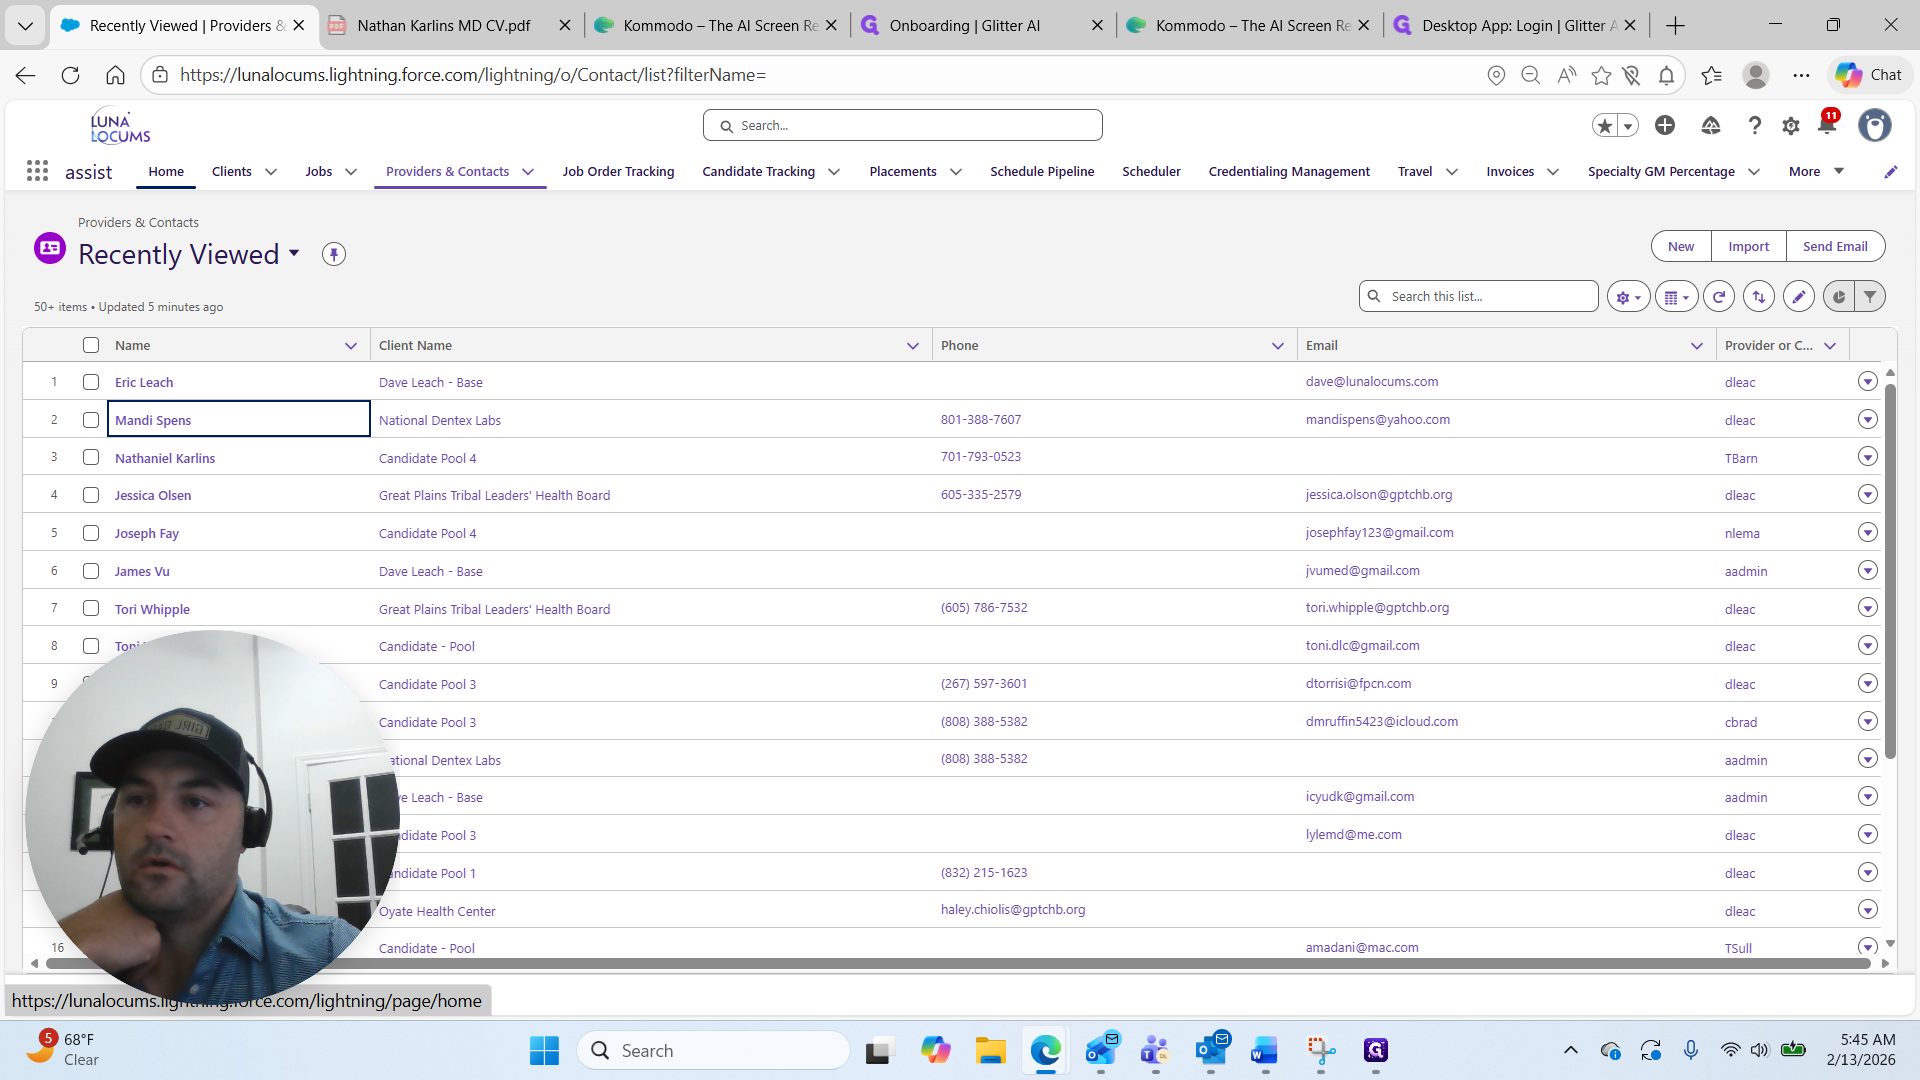
At the top, select "New."
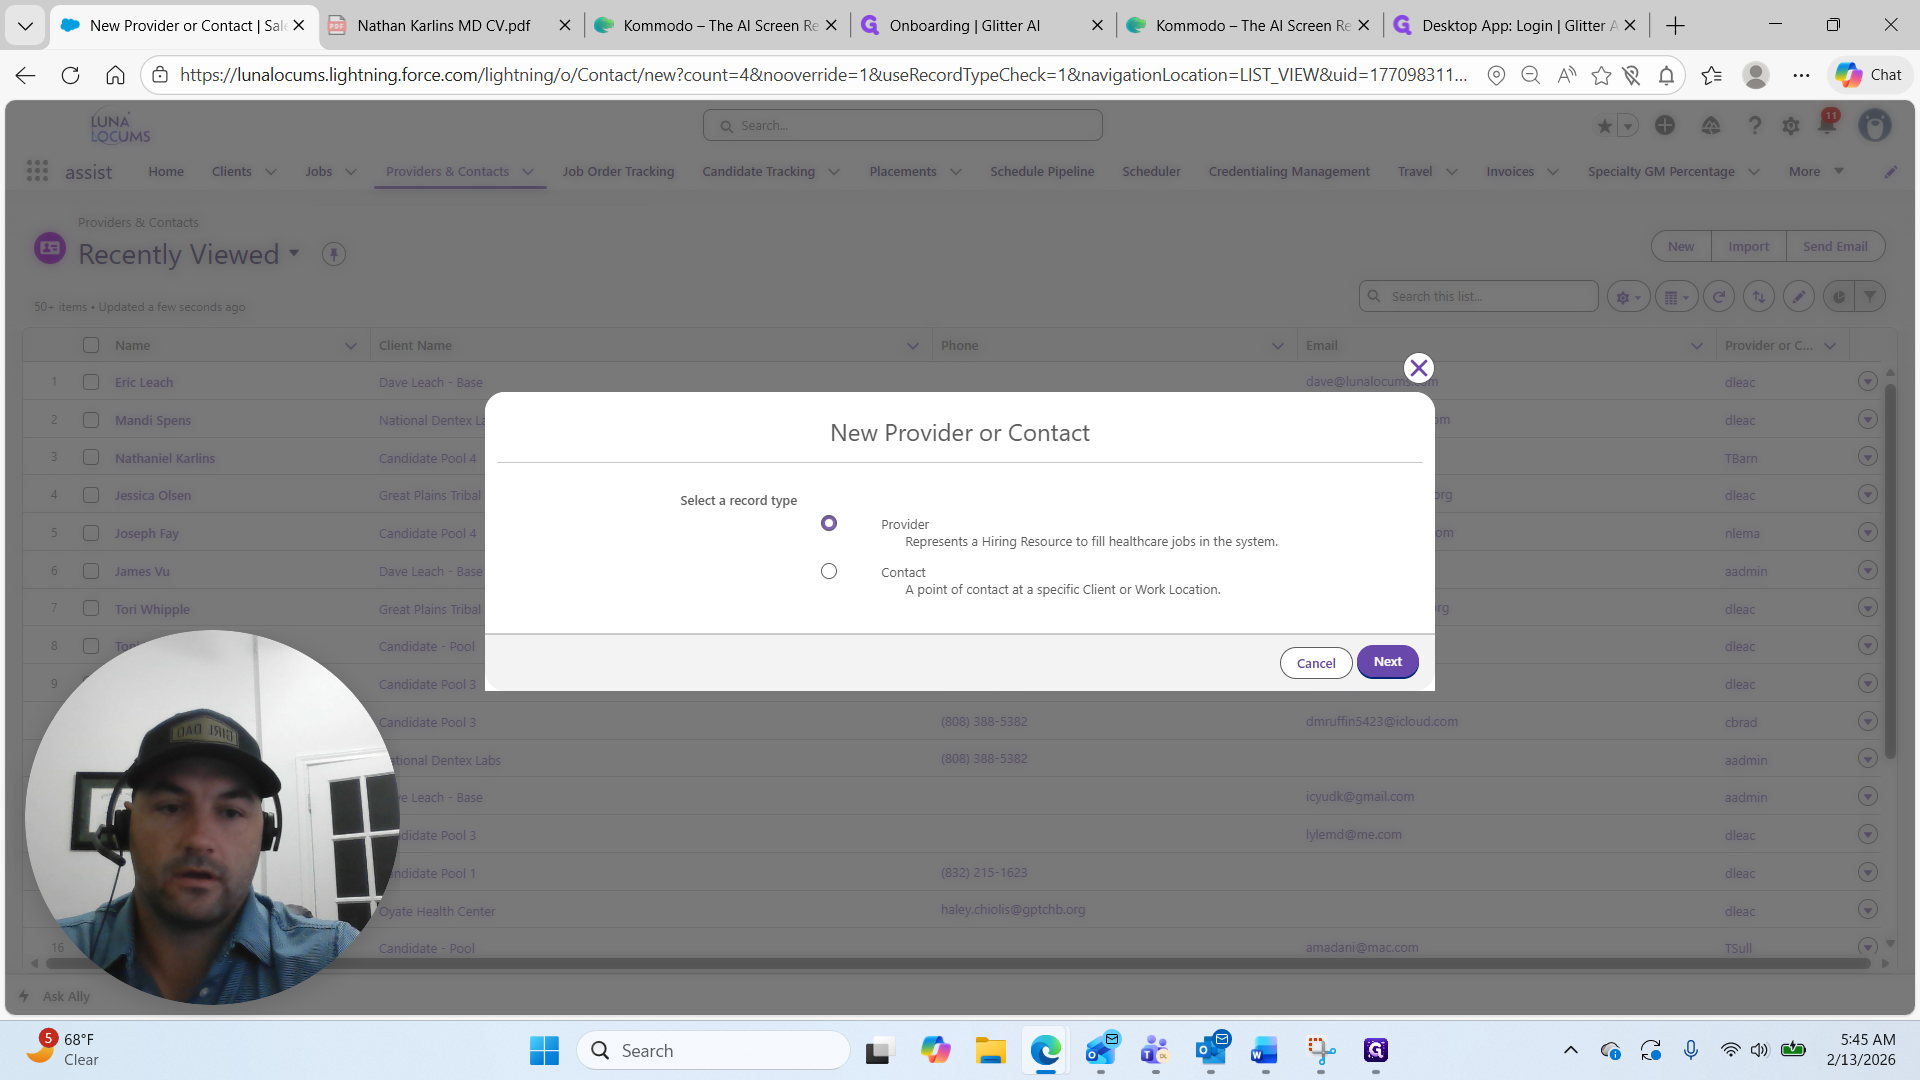
Since we are adding a provider, we will select Providers. We're going to click Next.
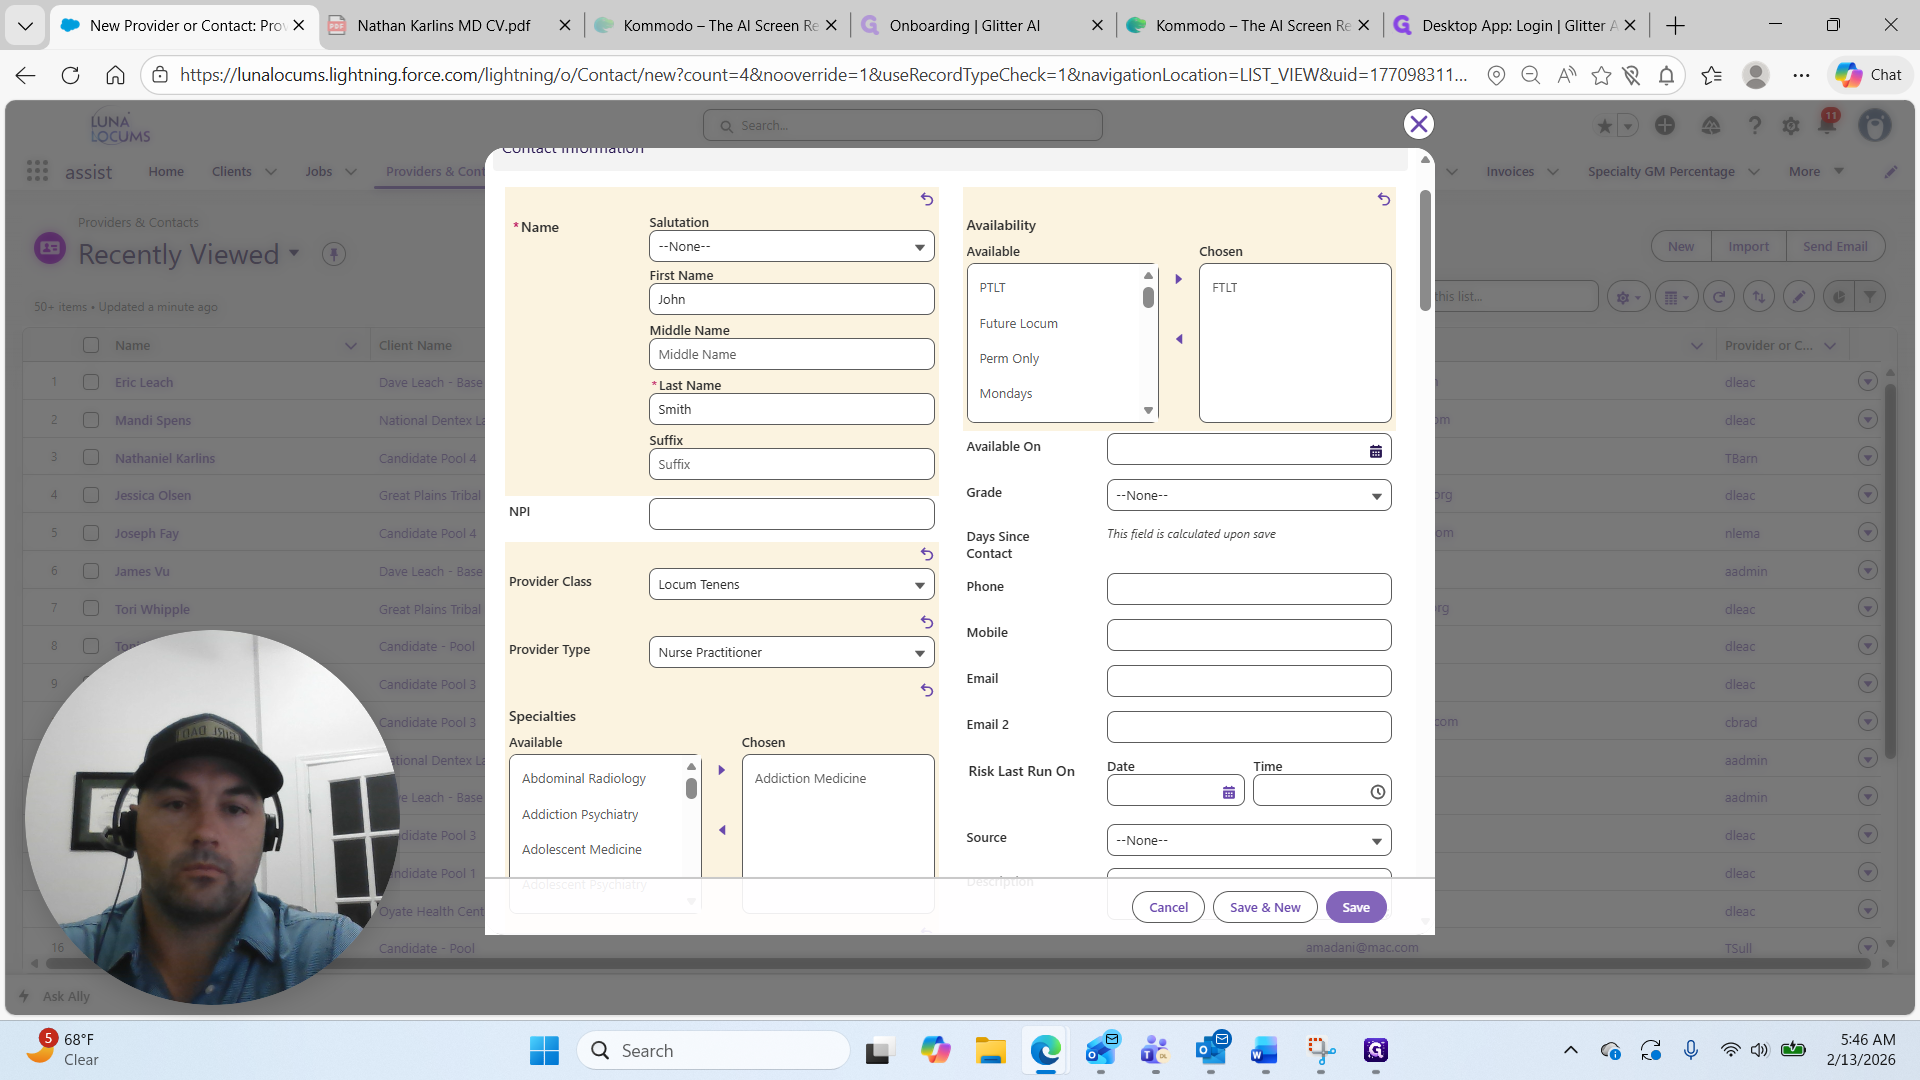
Here, we want to ensure the front screen is filled out as accurately as possible.
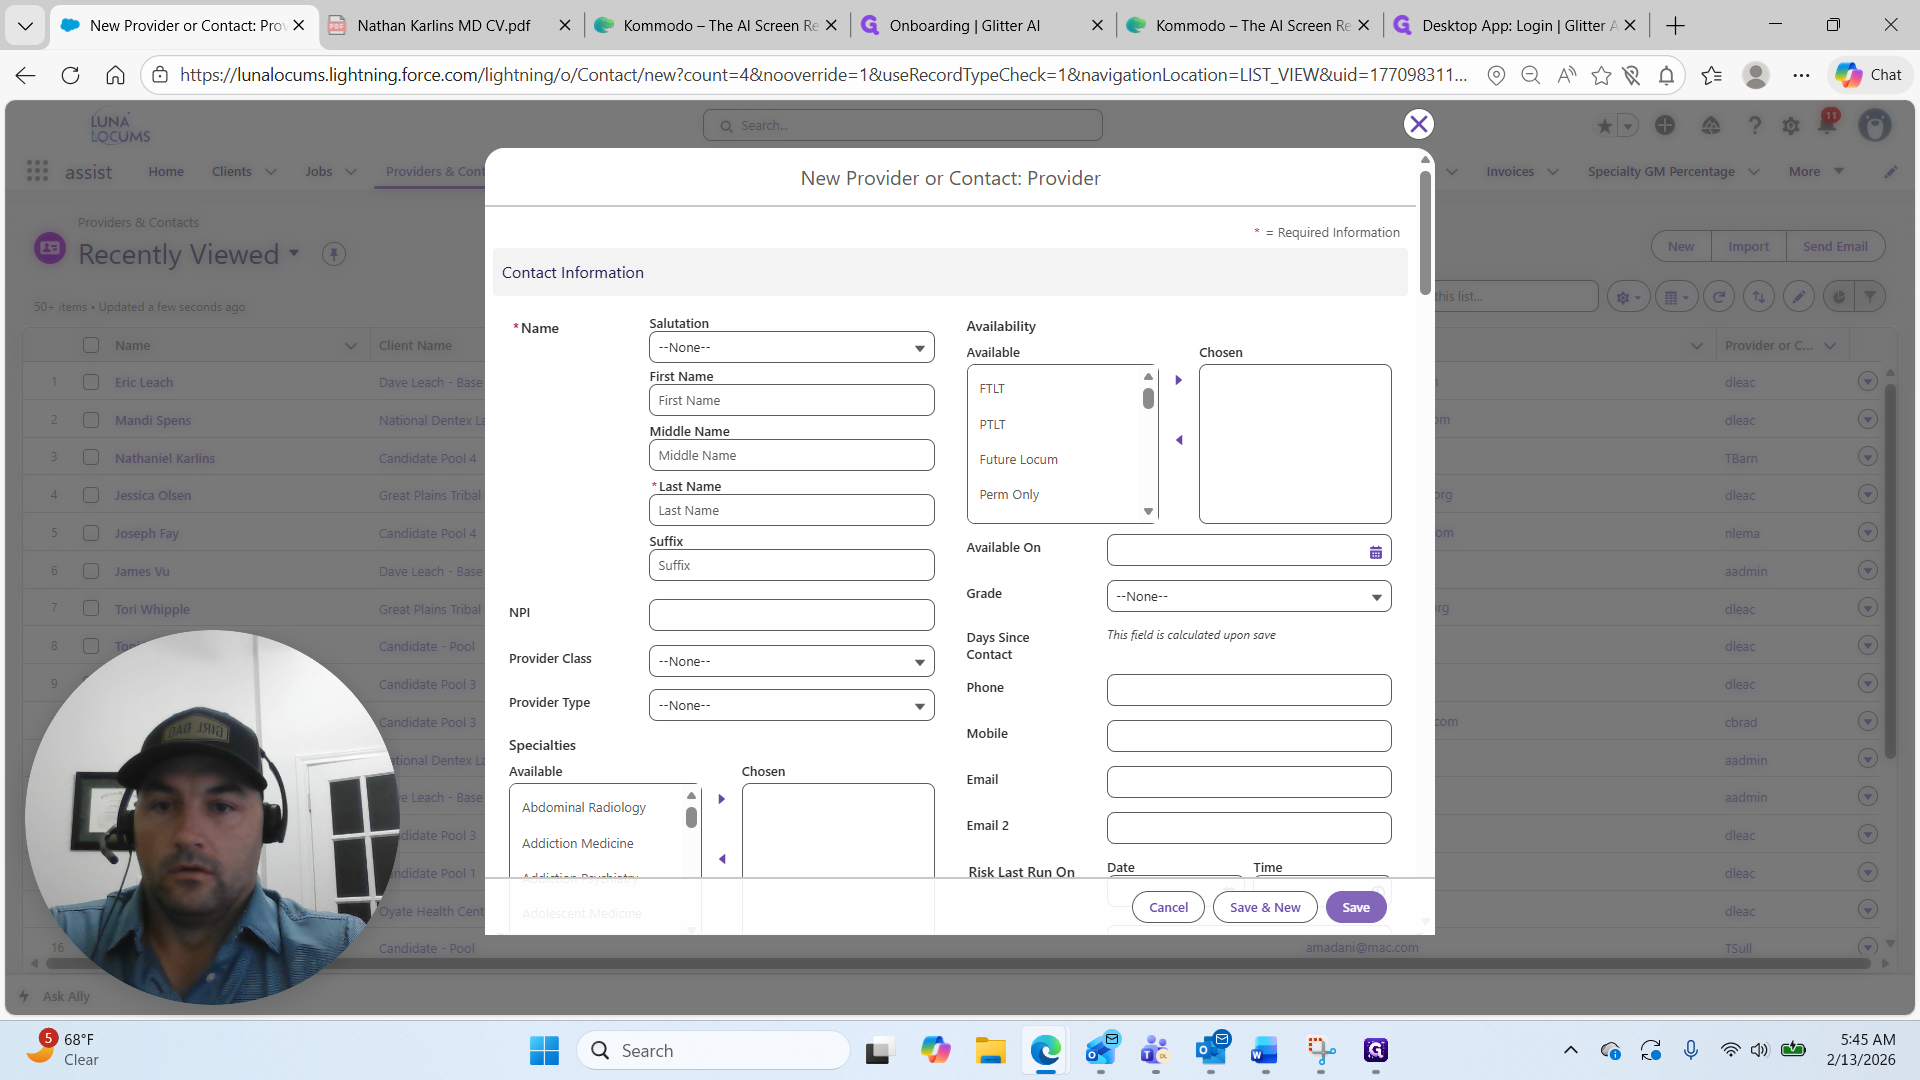
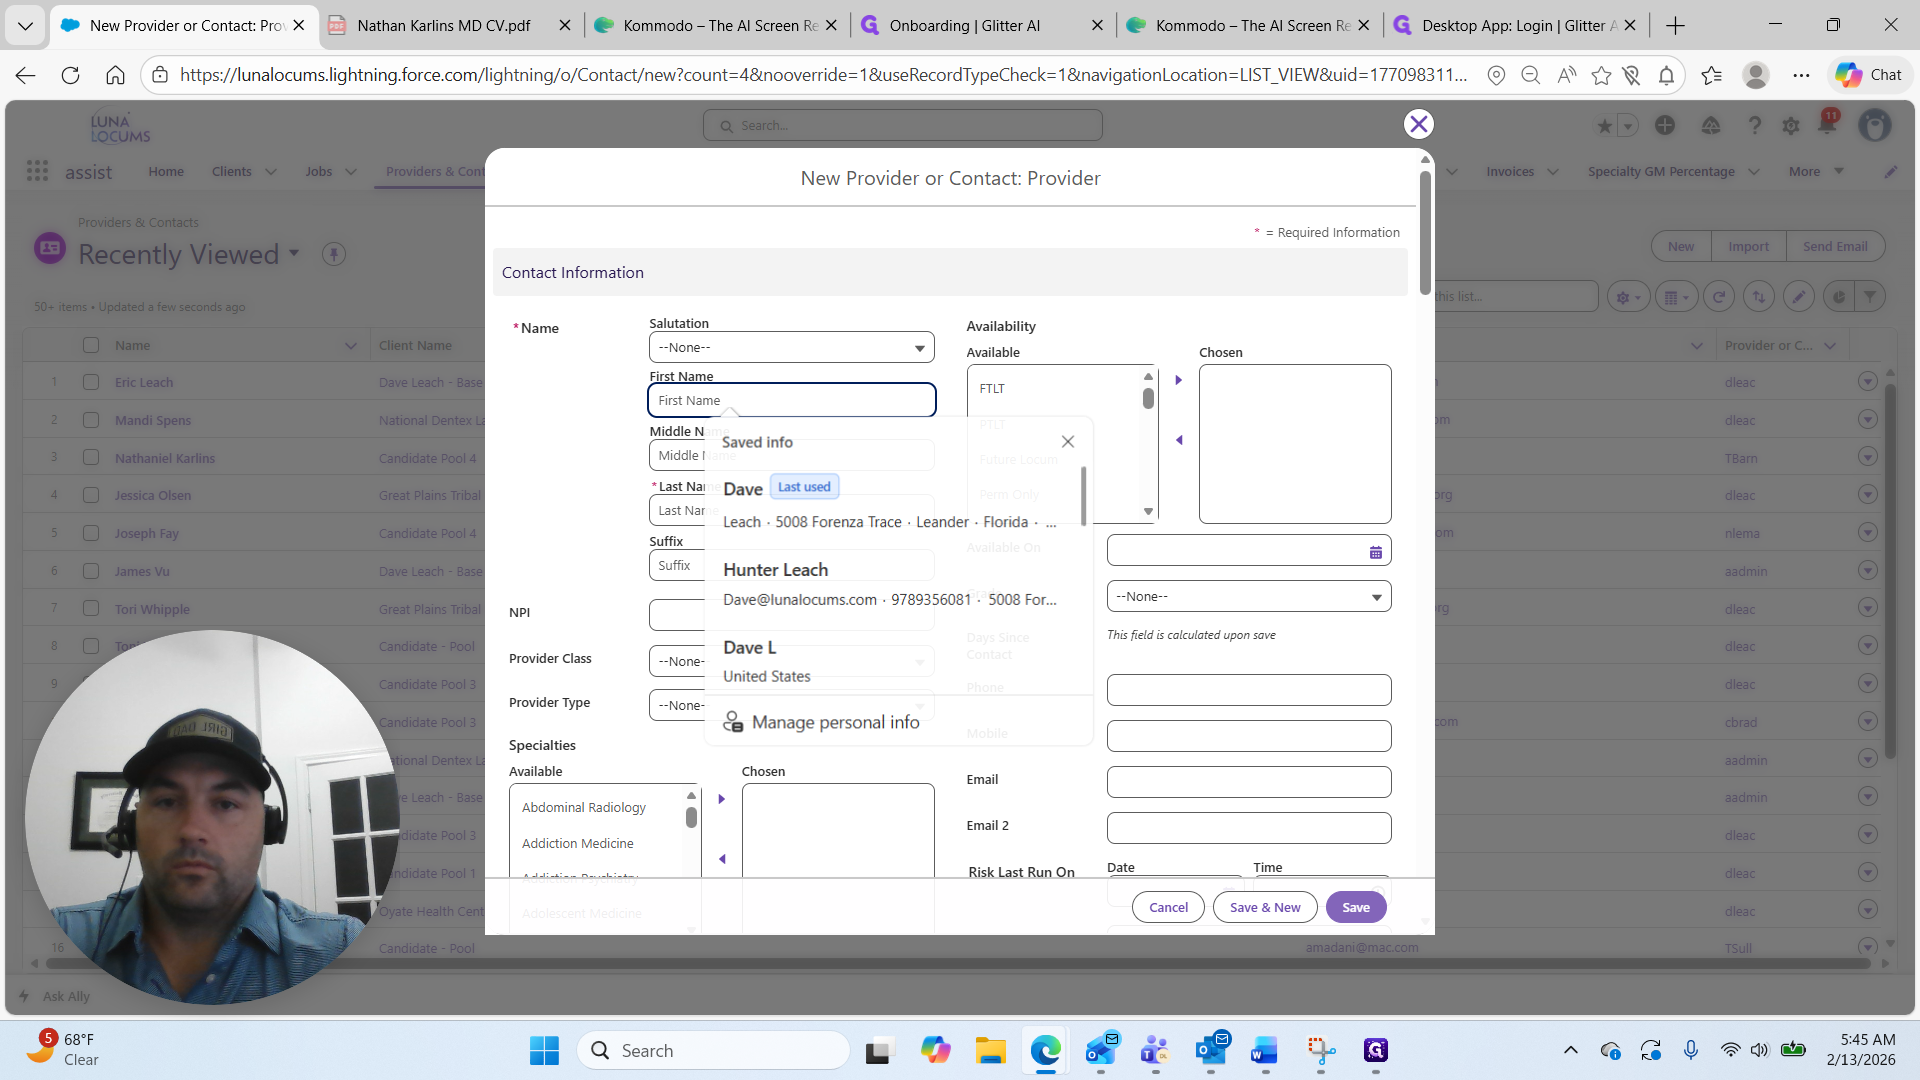
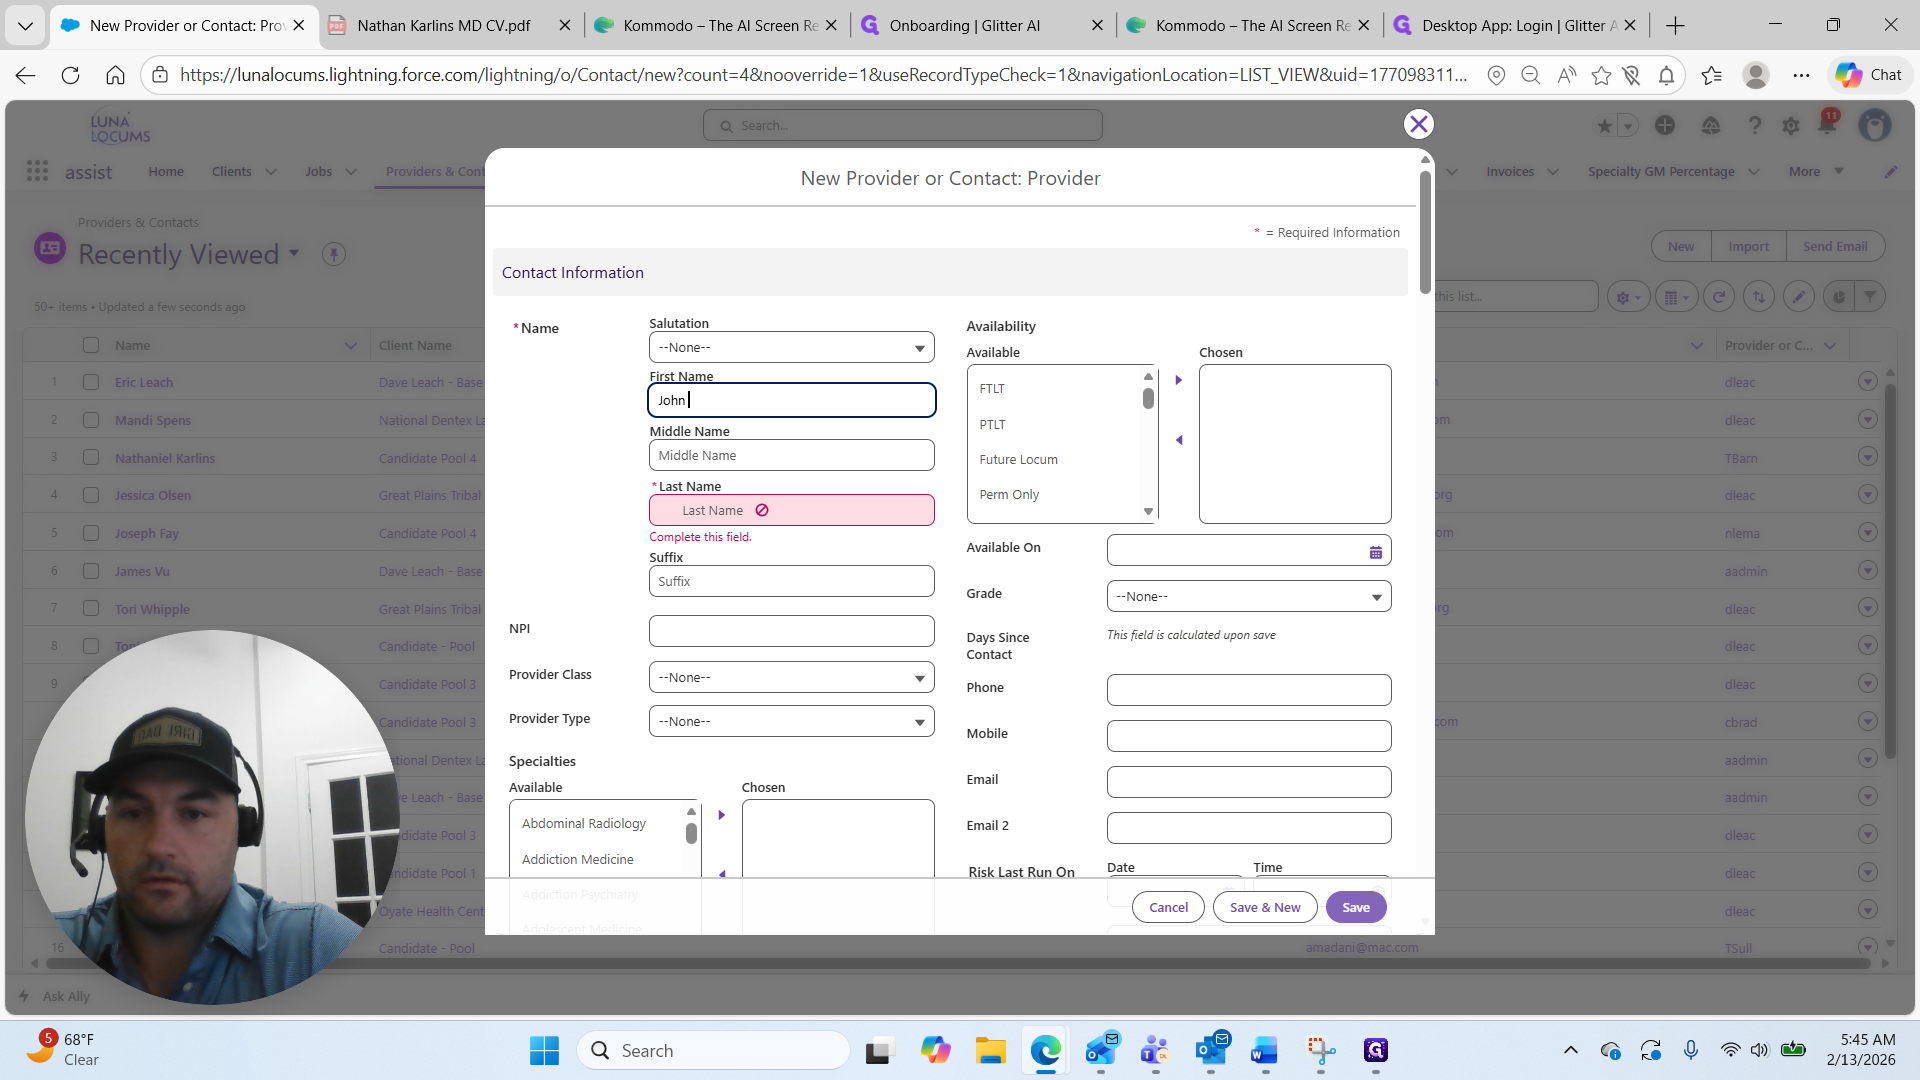
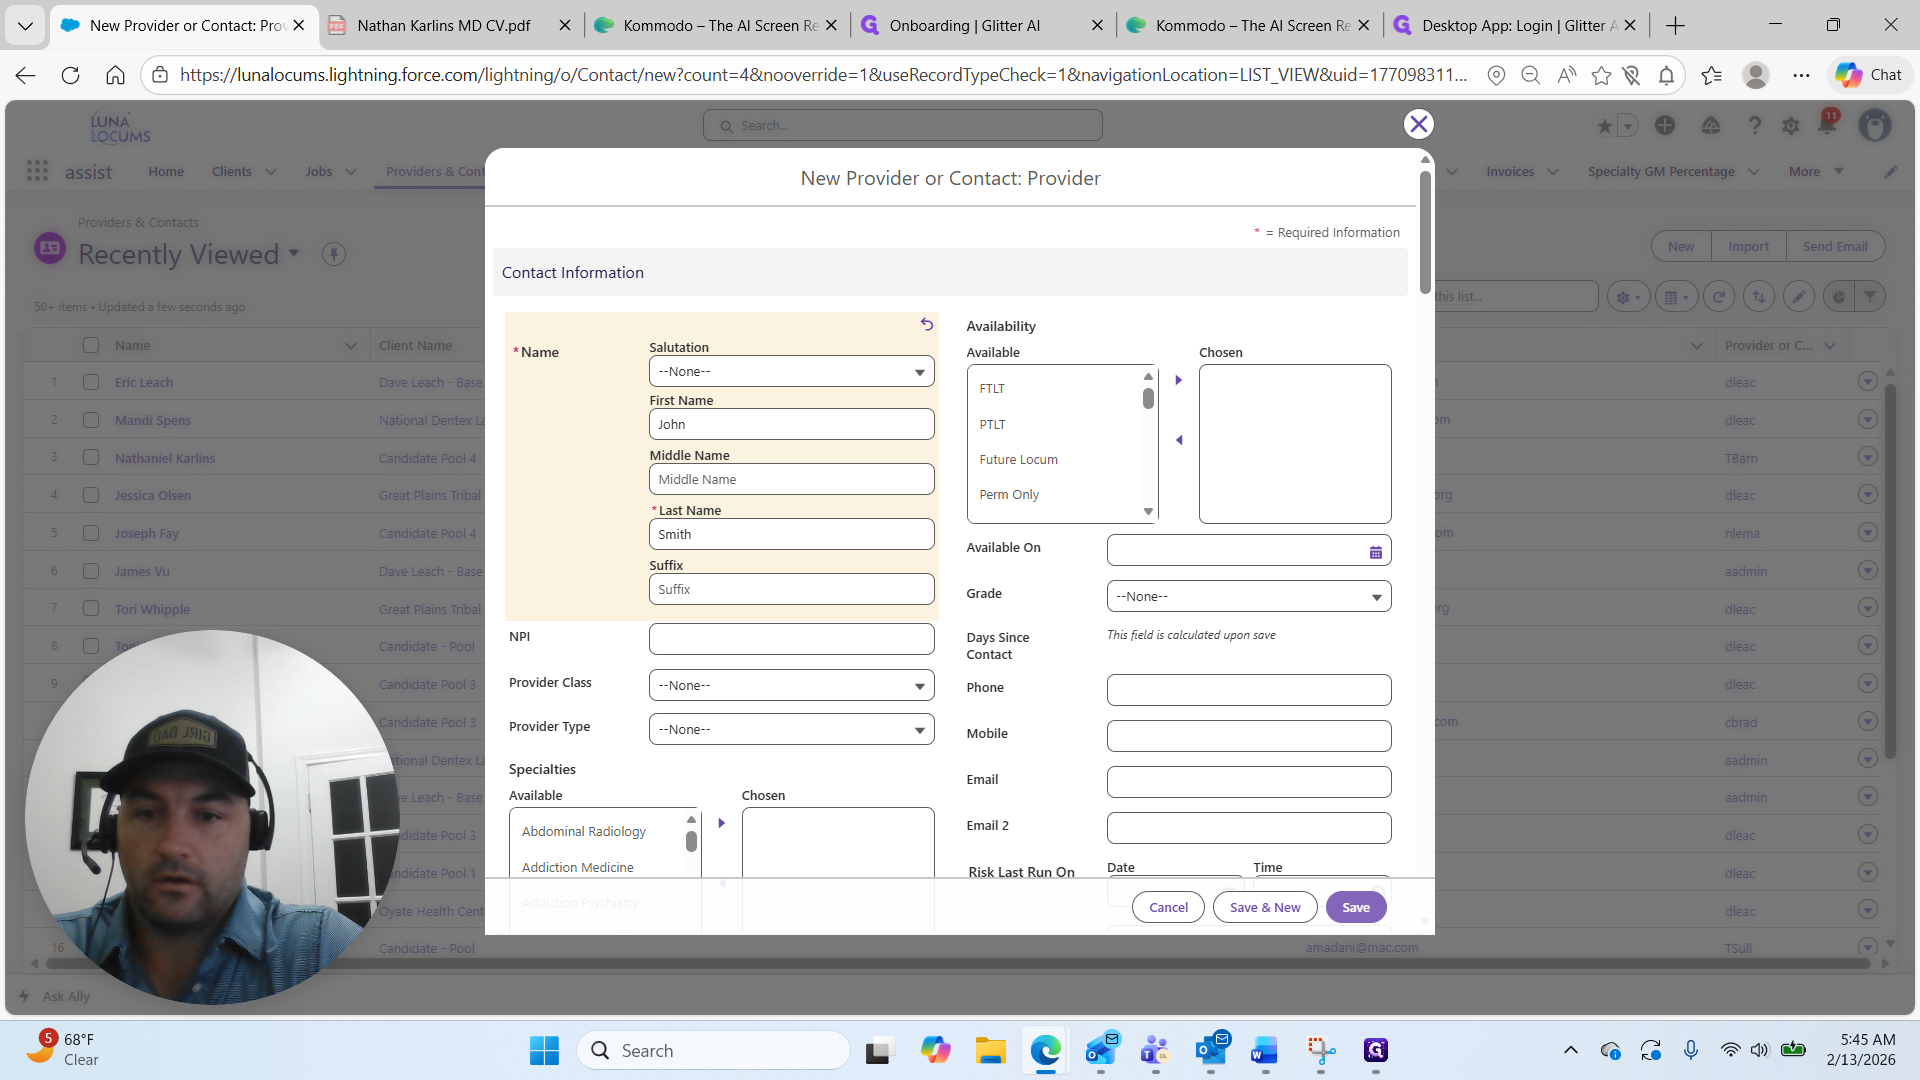
We will refer to this person as John Smith, using the first and last name.
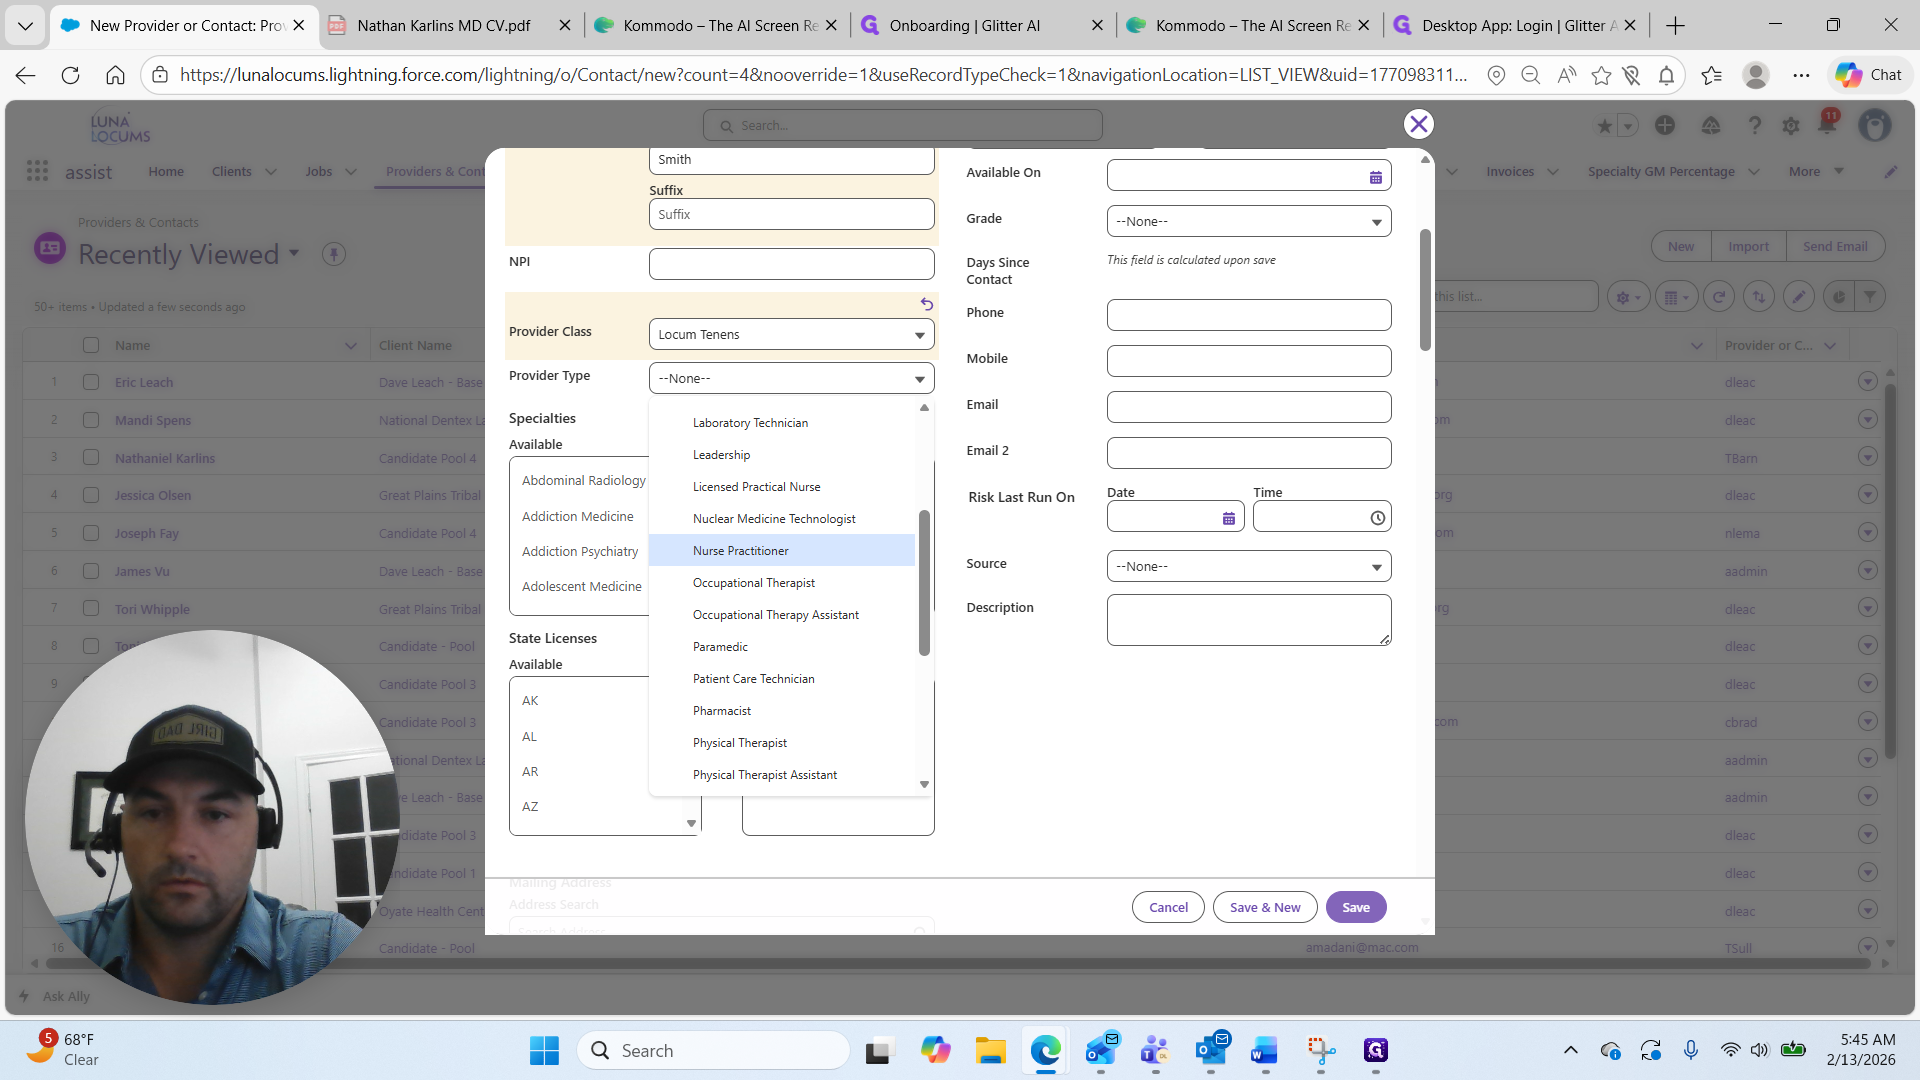
Next, we will select their provider class.

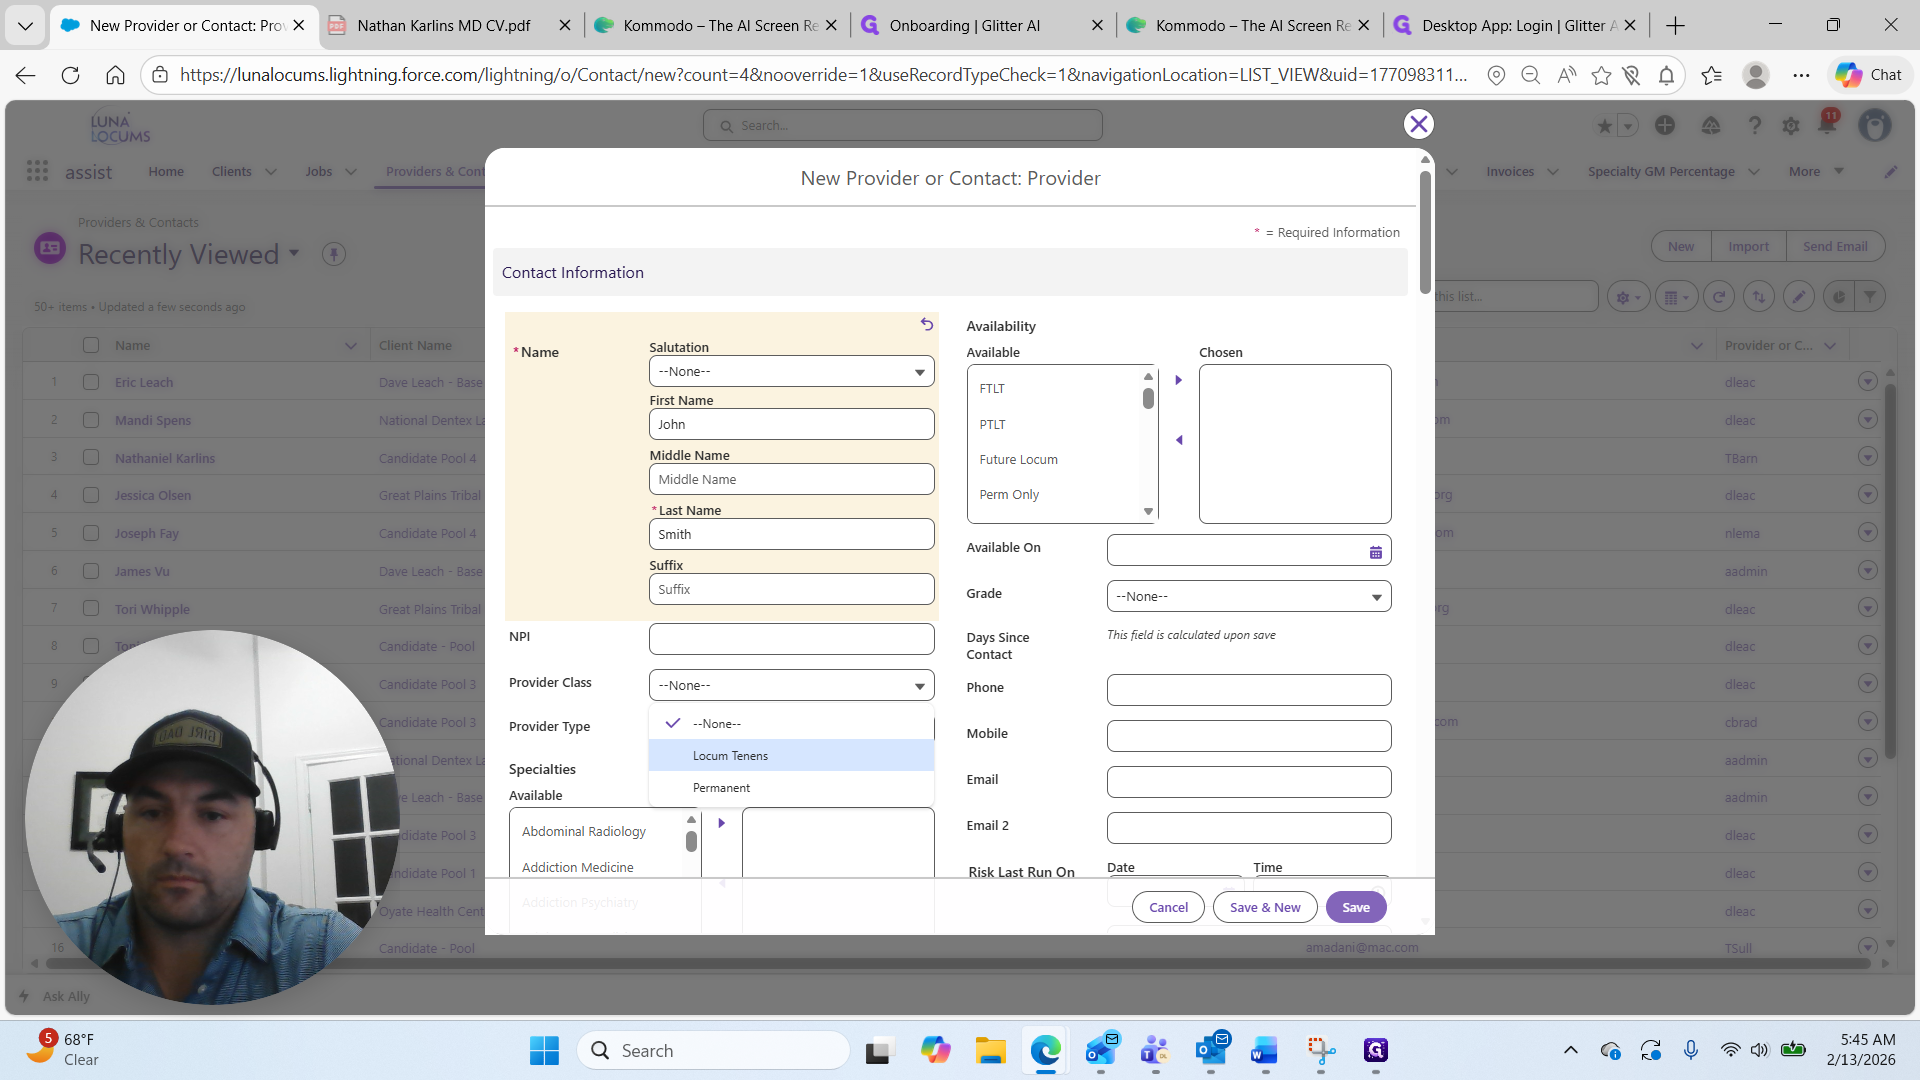
I have engaged with this person. They are a locum and a nurse practitioner.

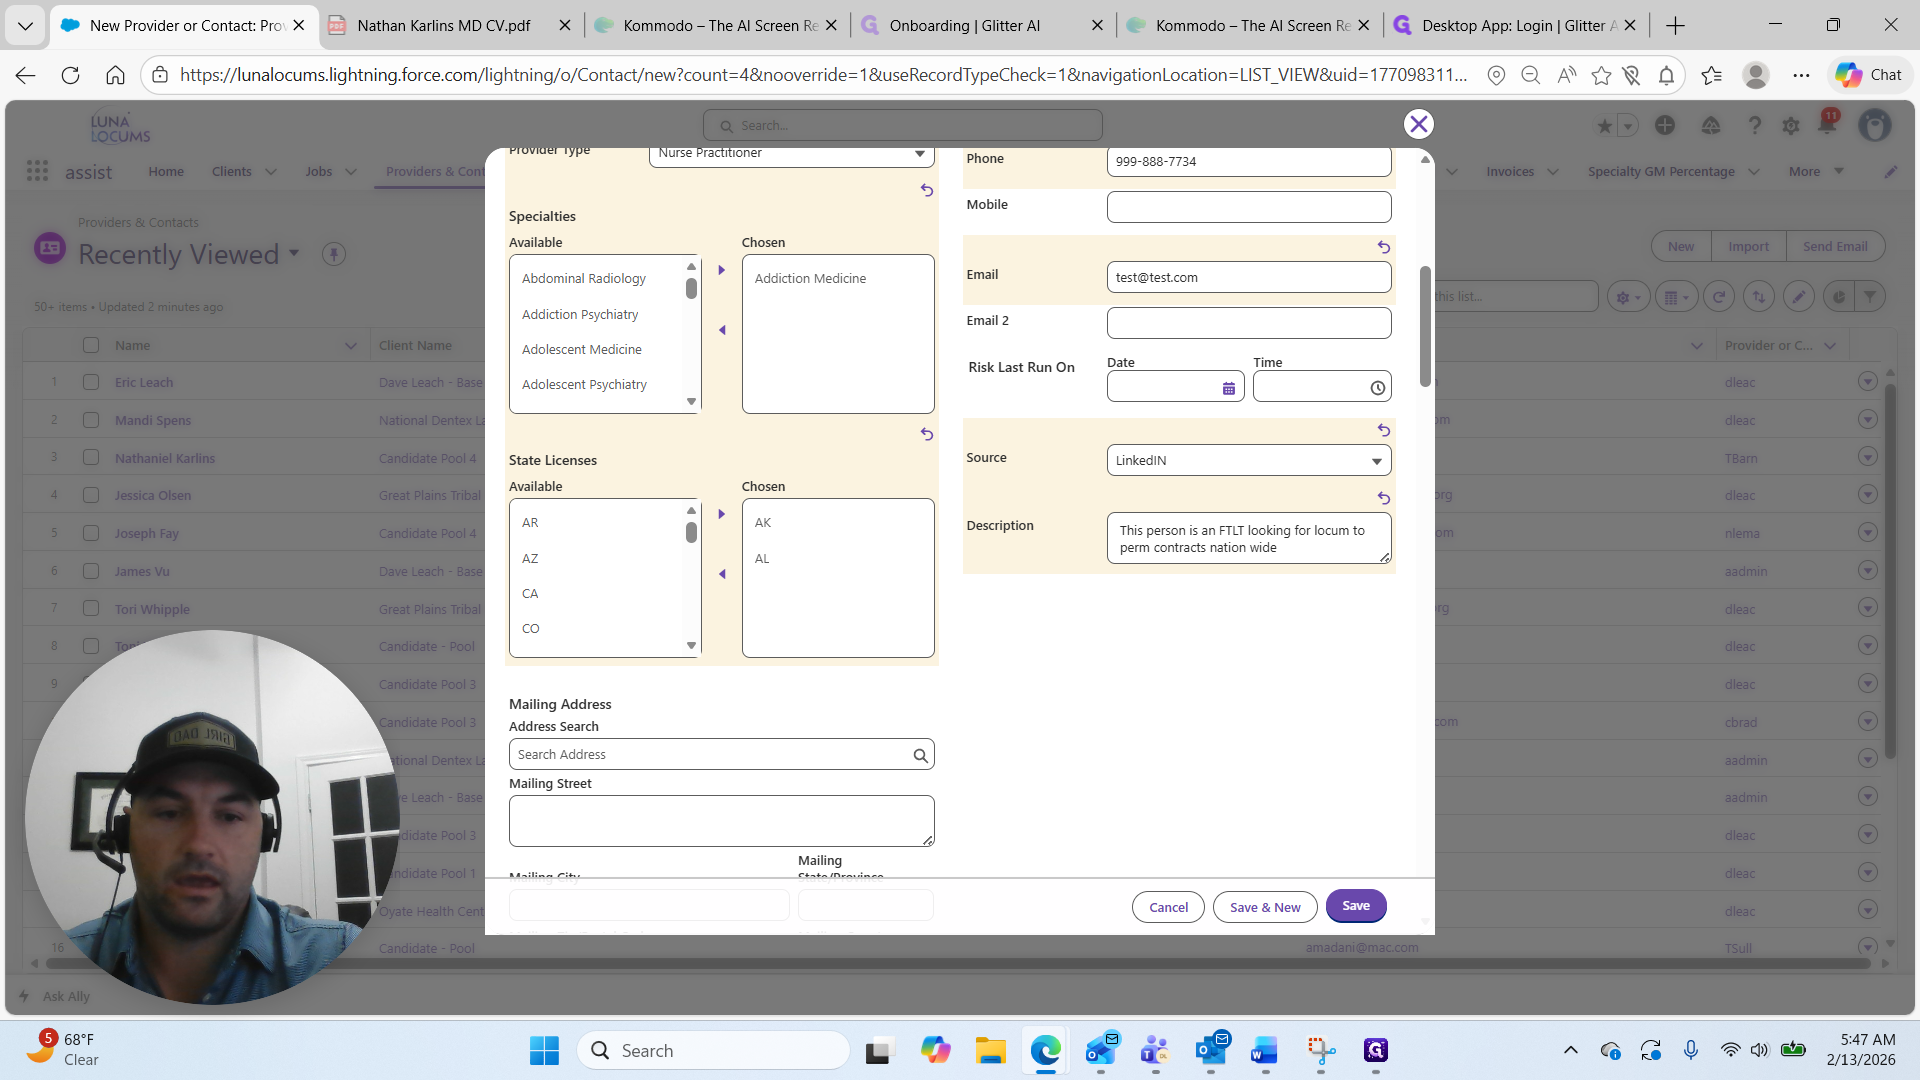
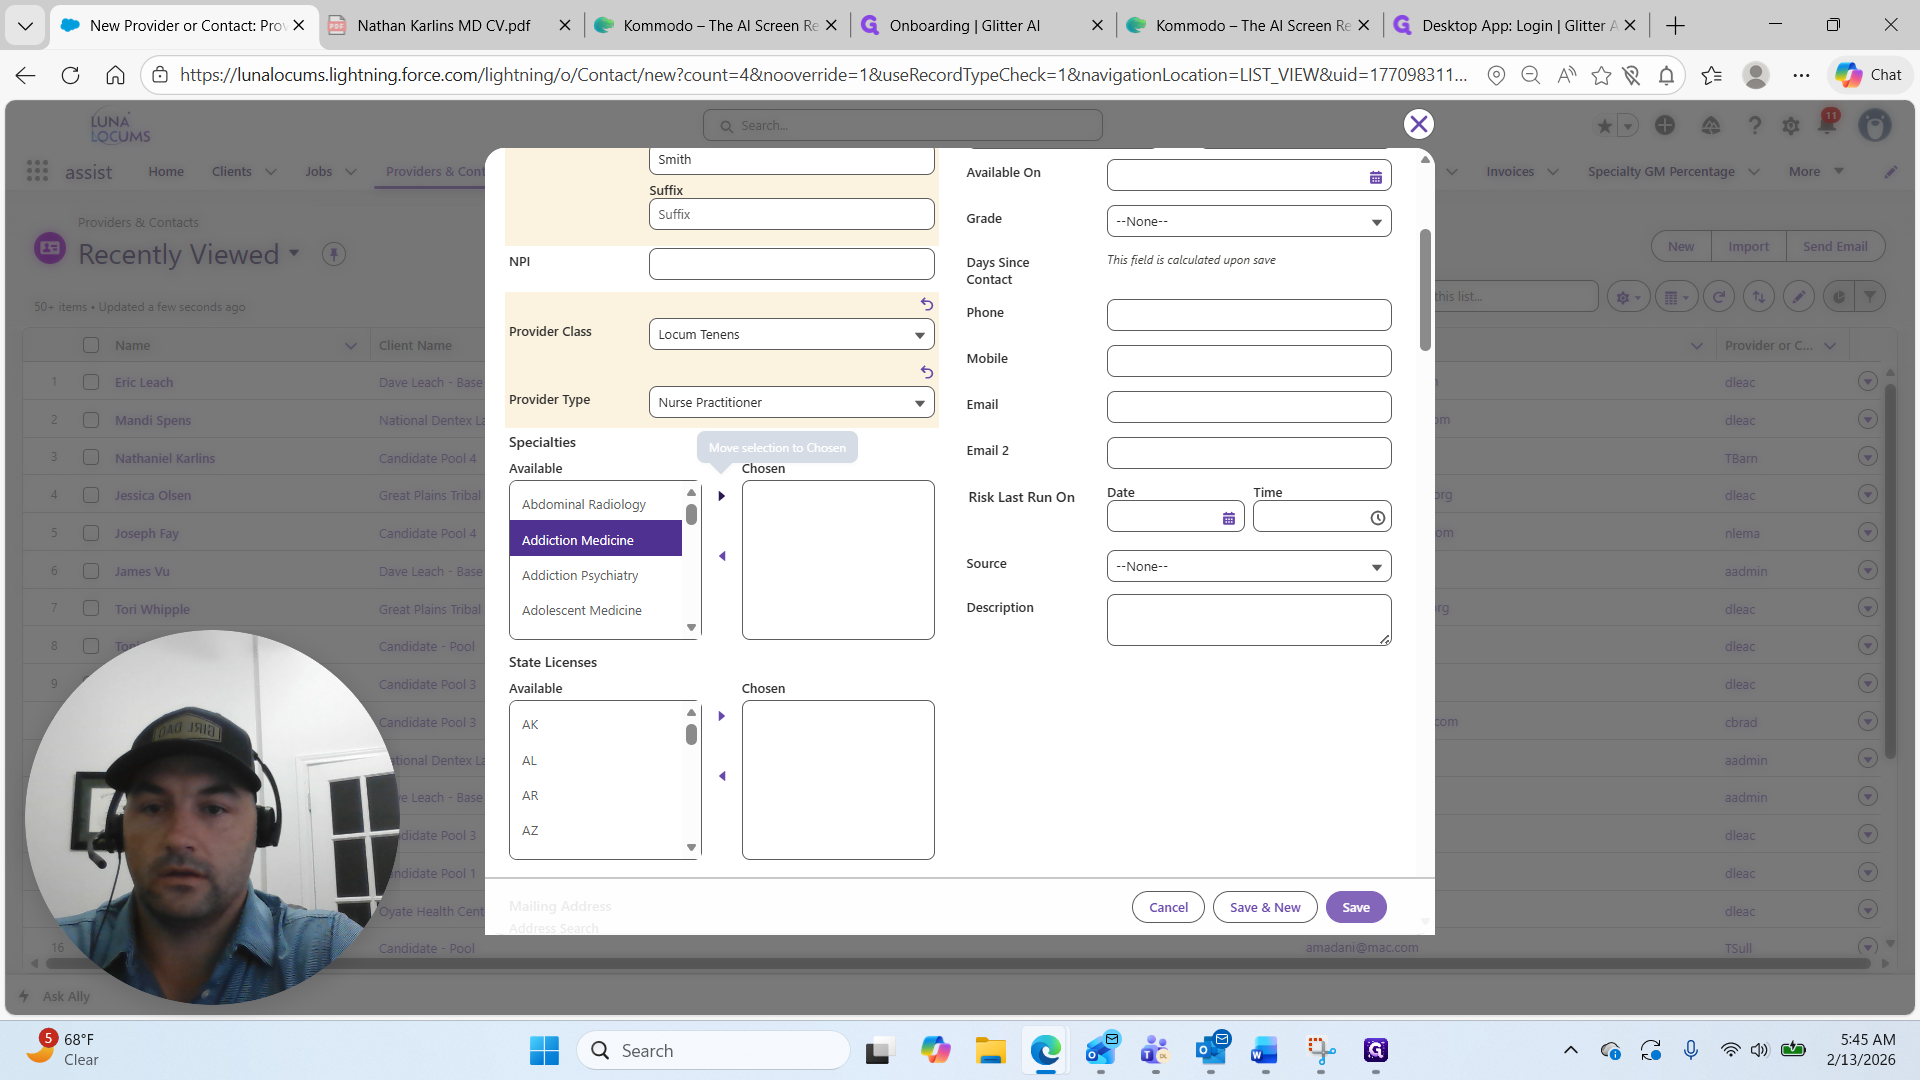
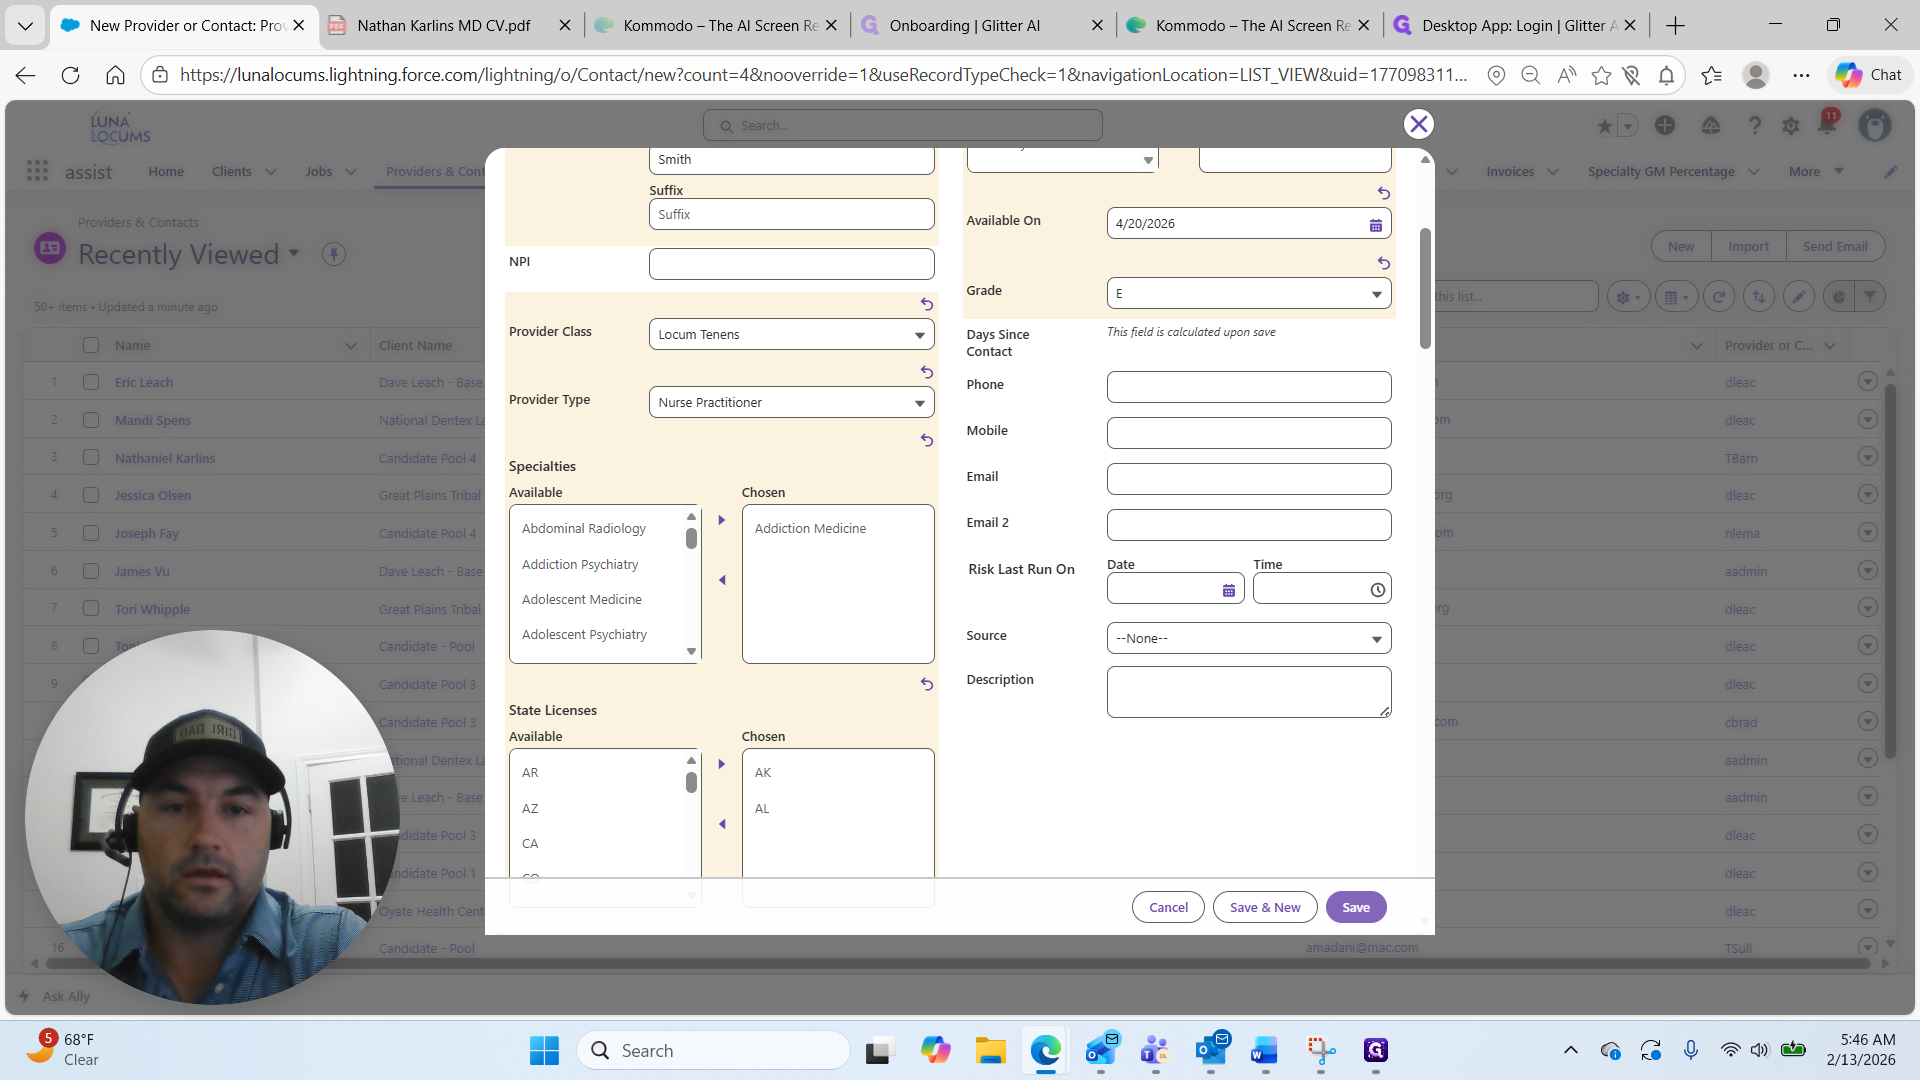
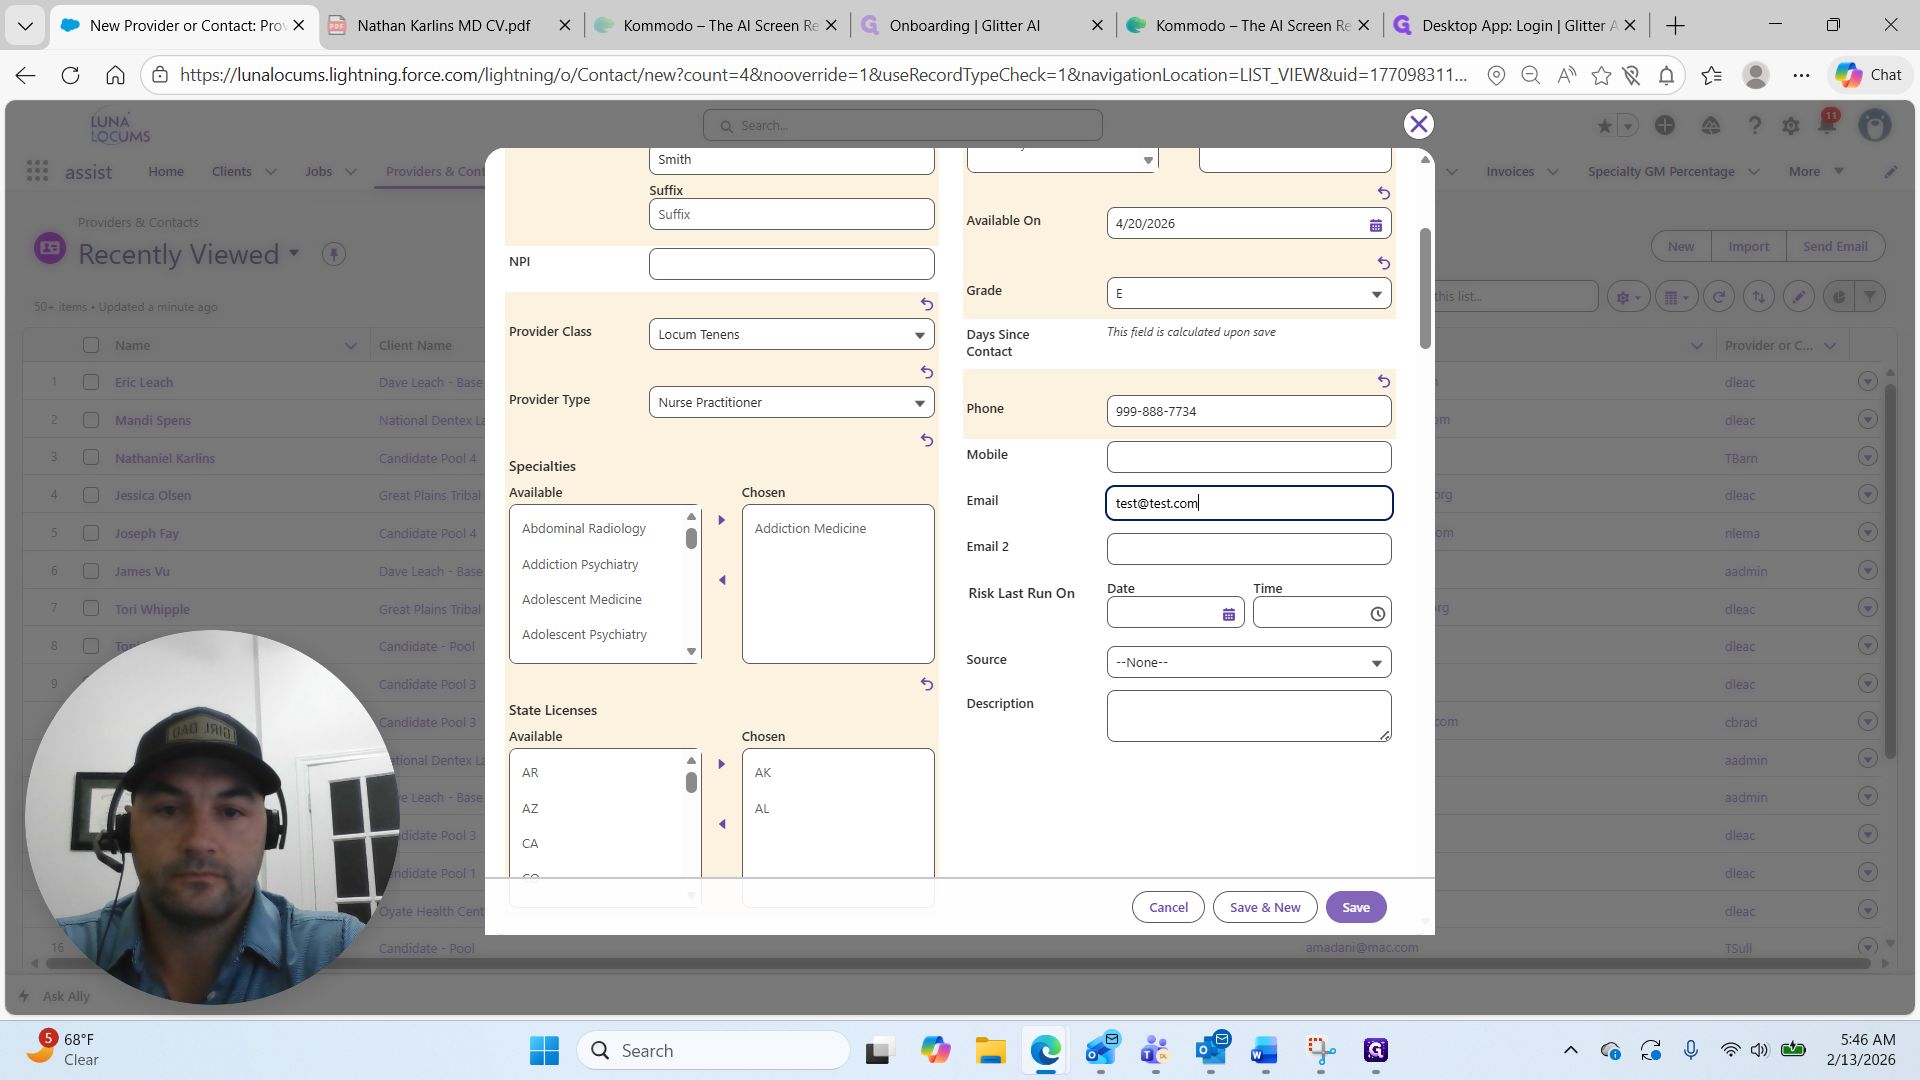
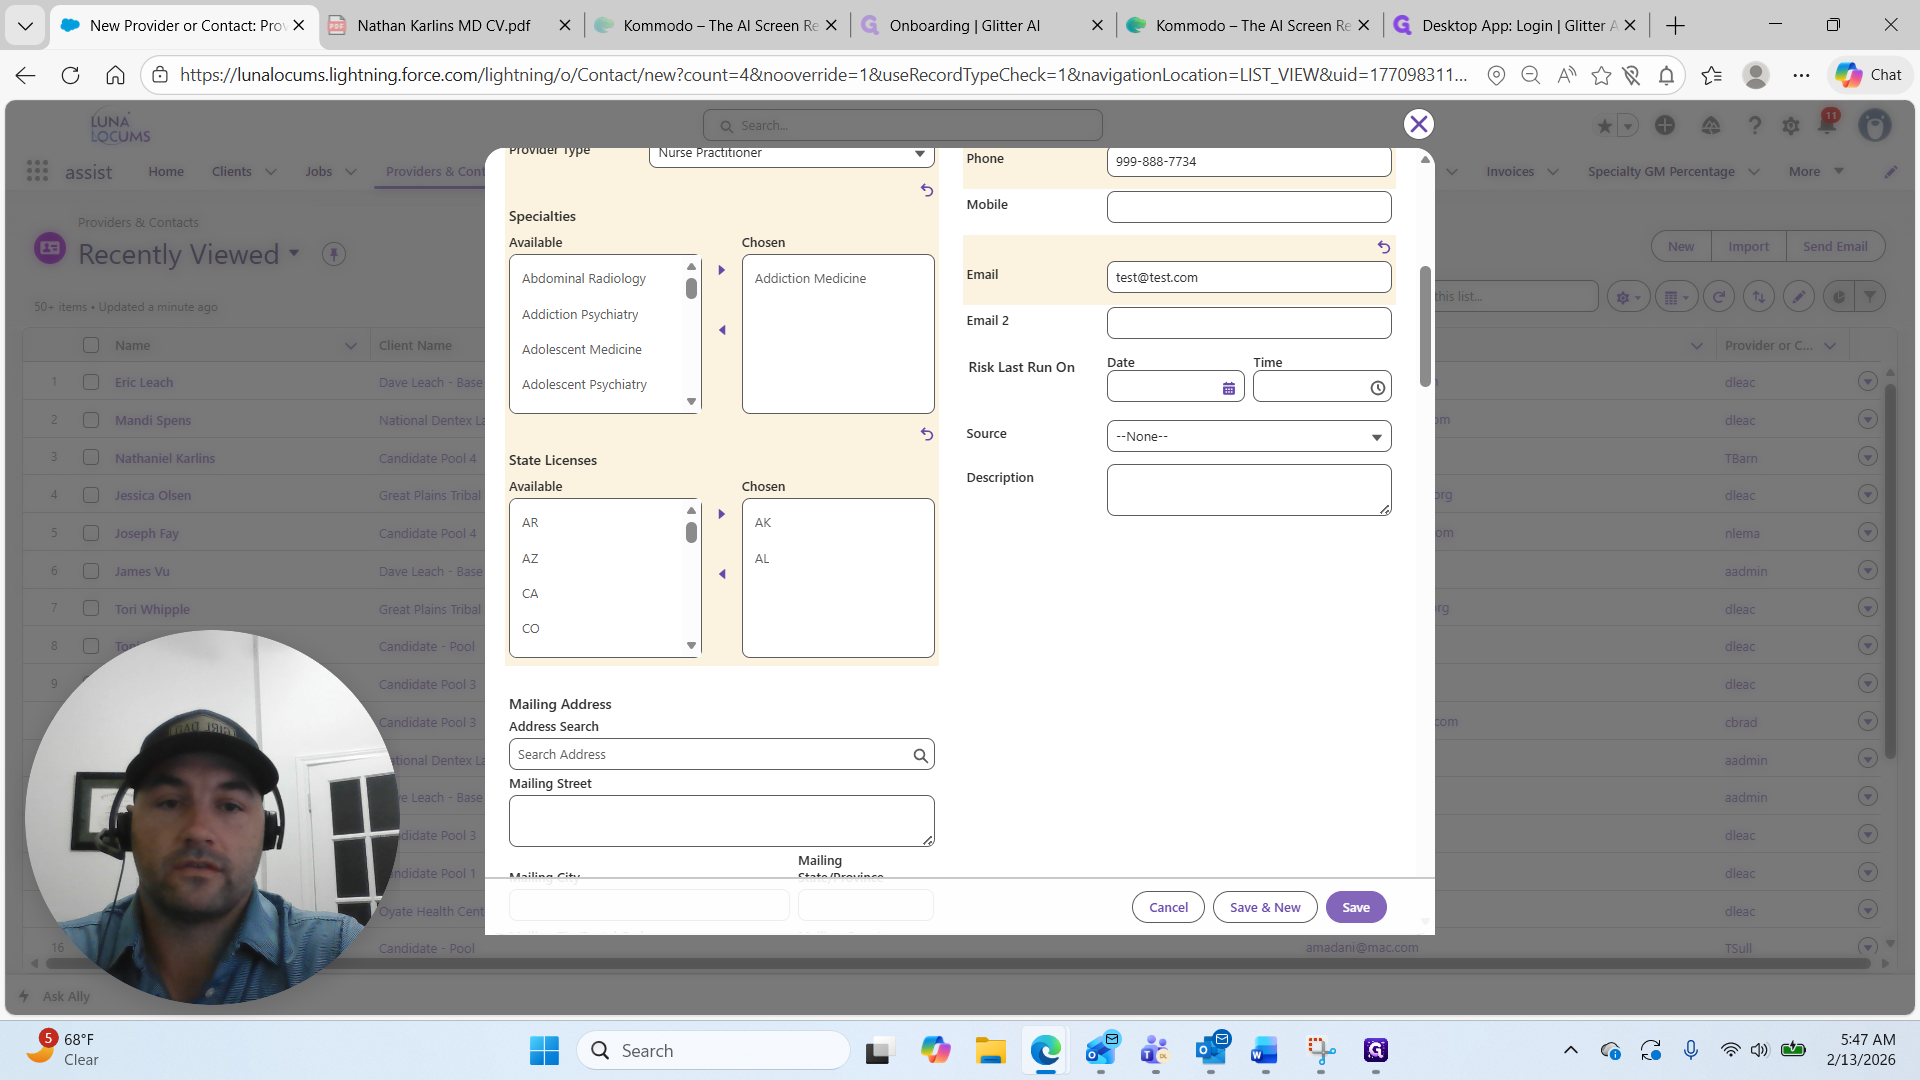
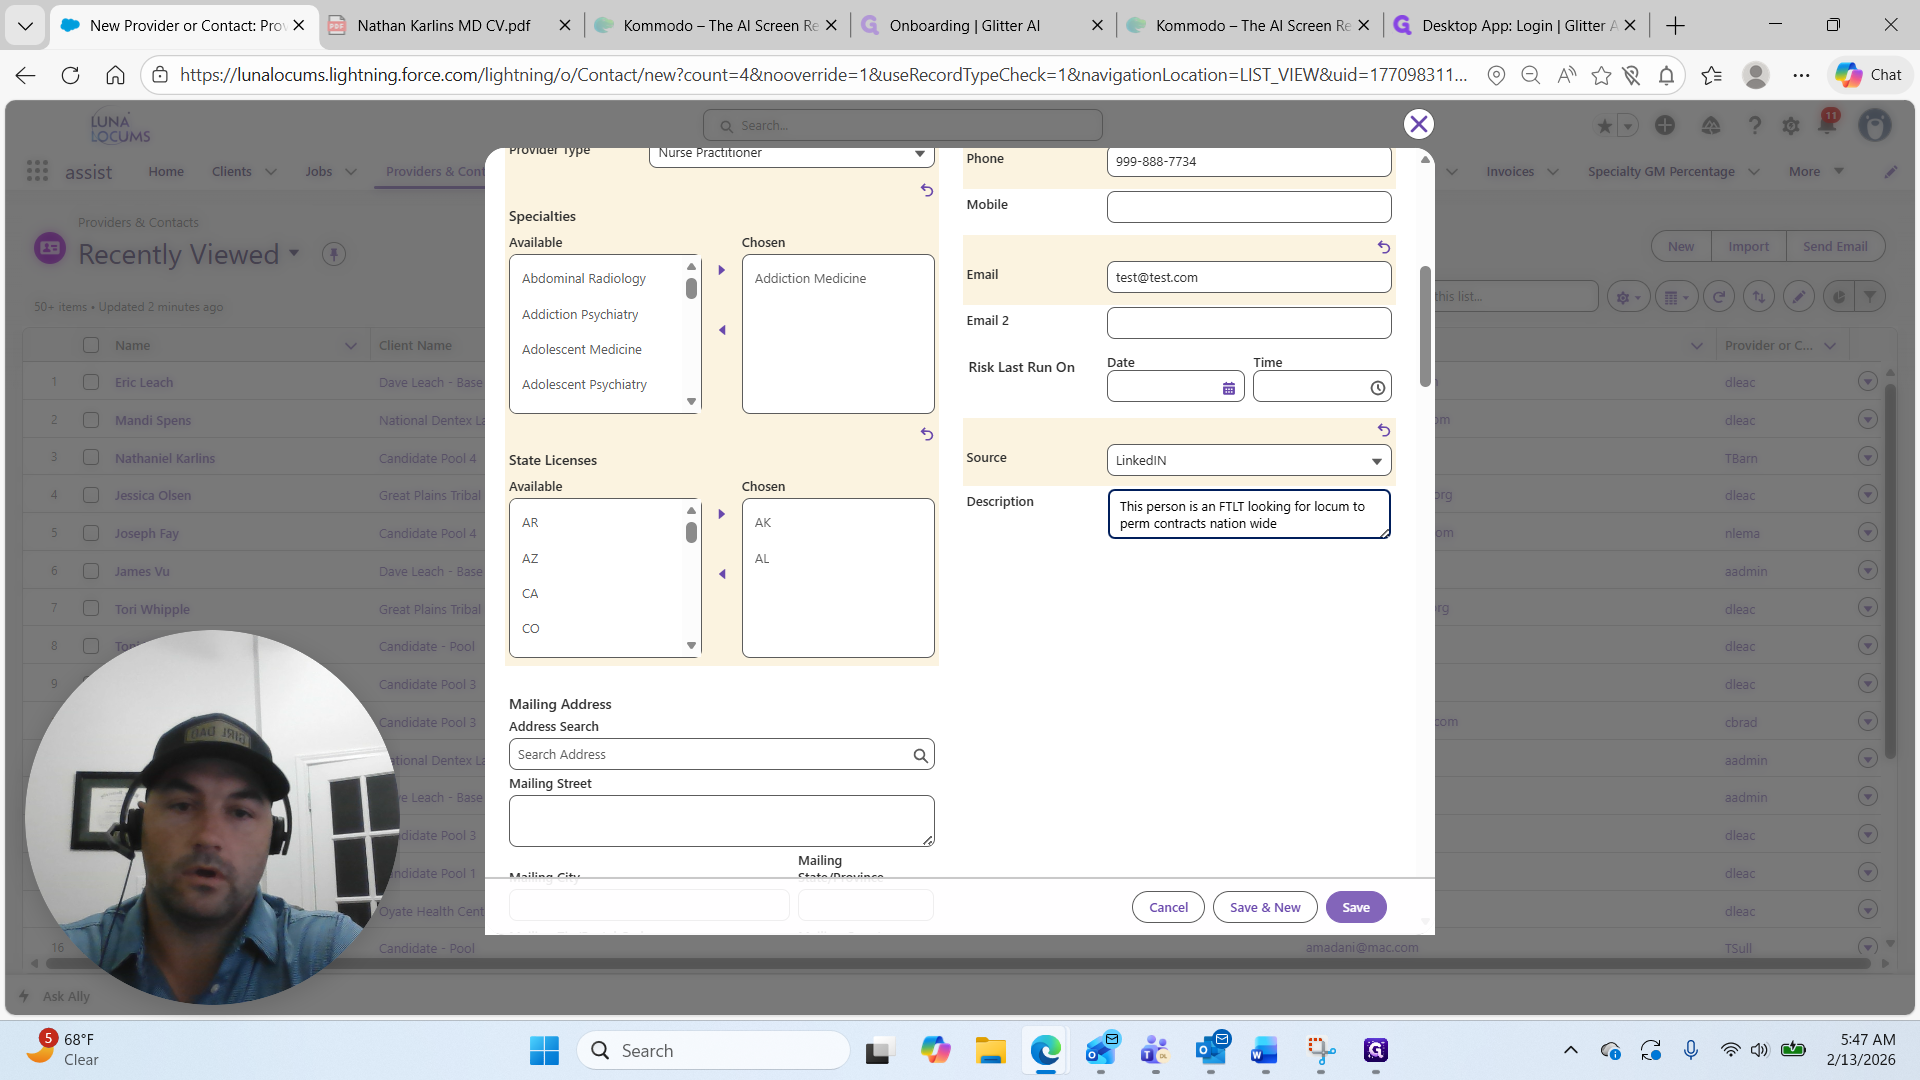
We will select Nurse Practitioner in Addiction Medicine. Choose the Specialty: Addiction Medicine.
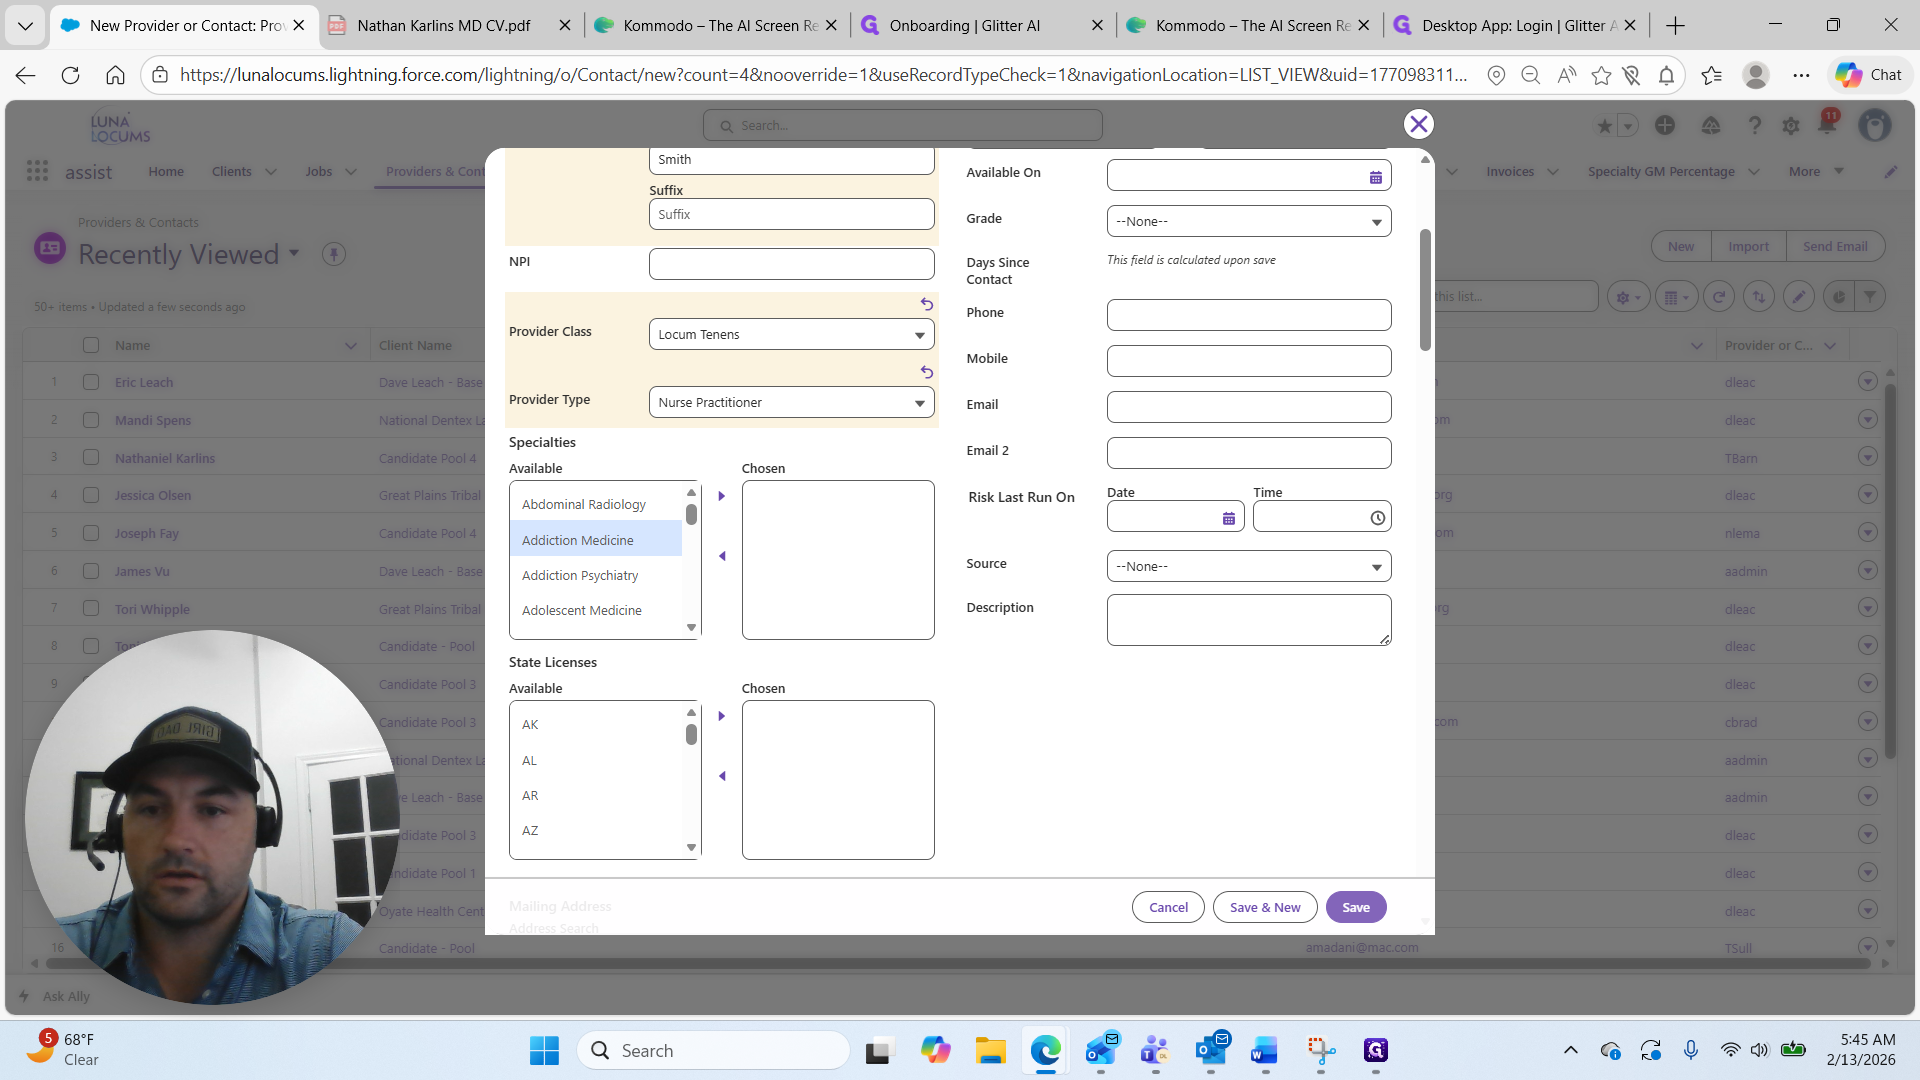

They have the Alabama license.
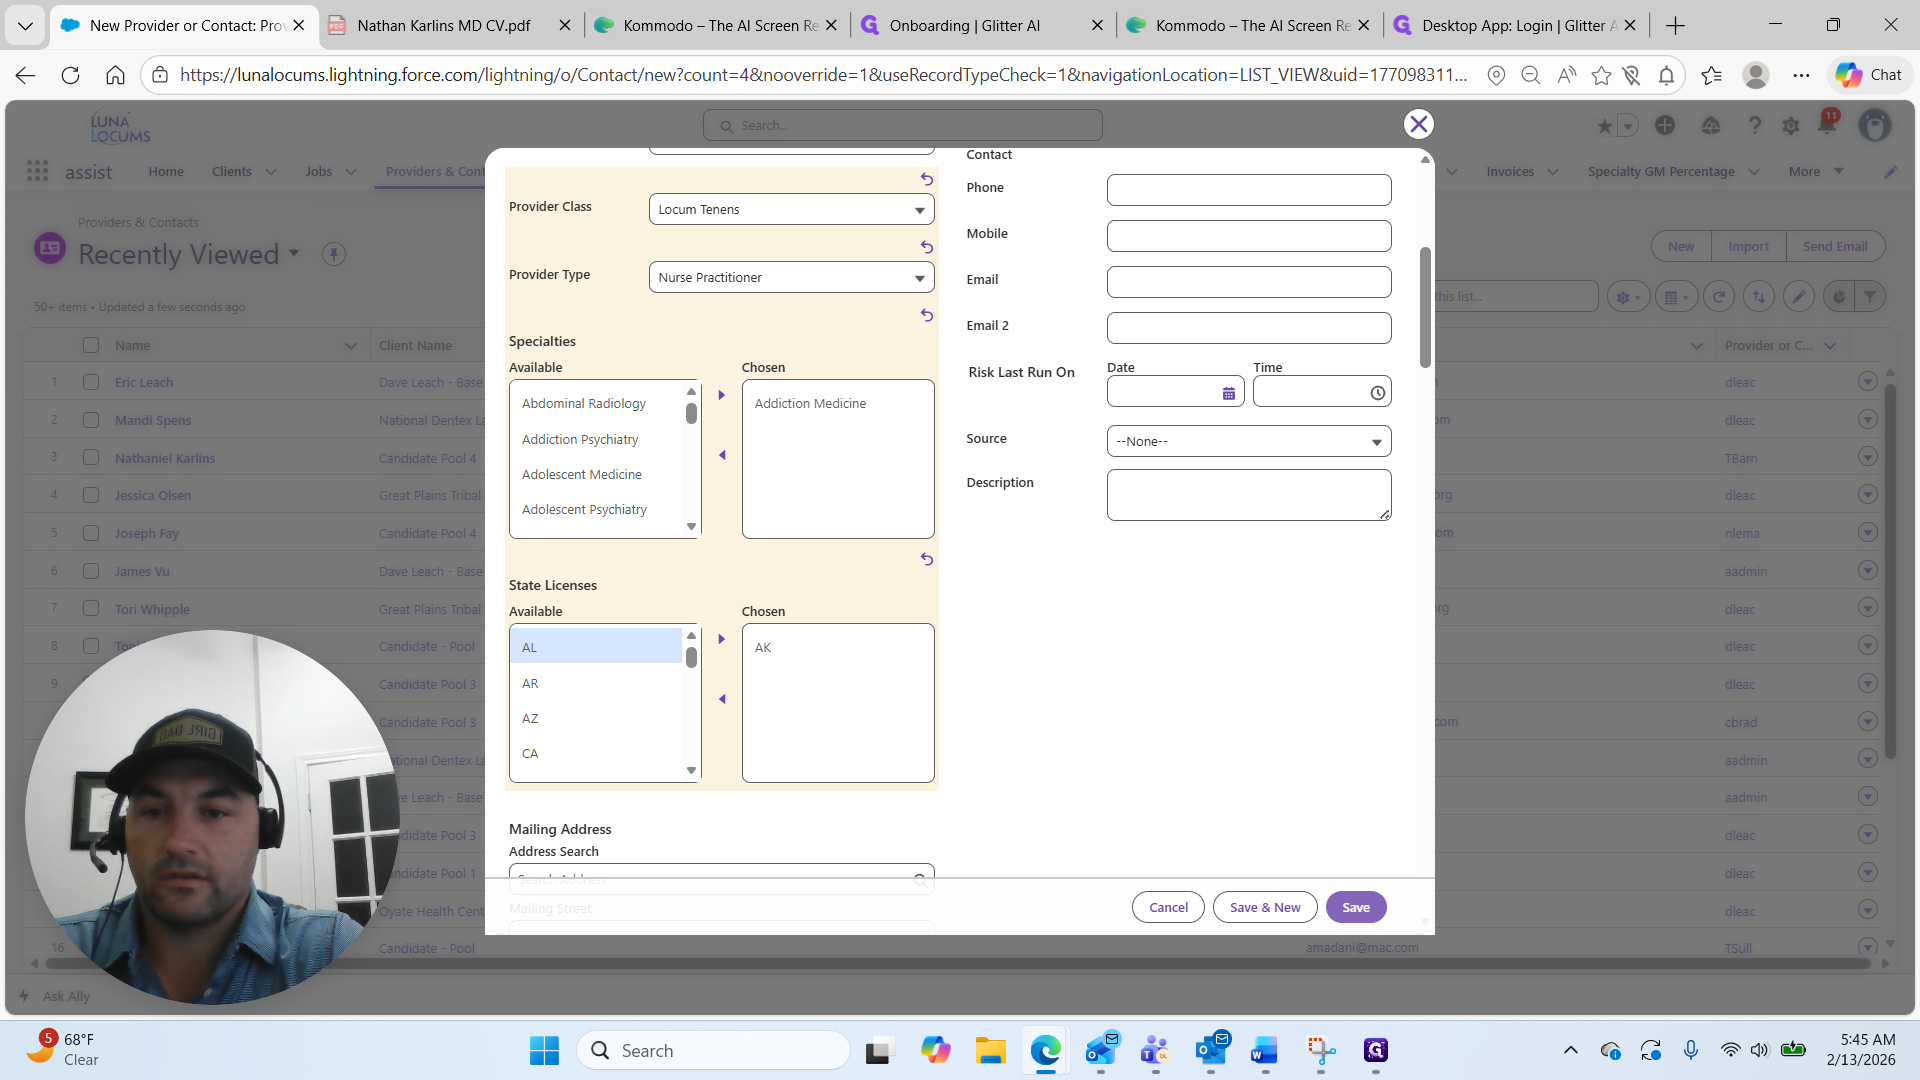
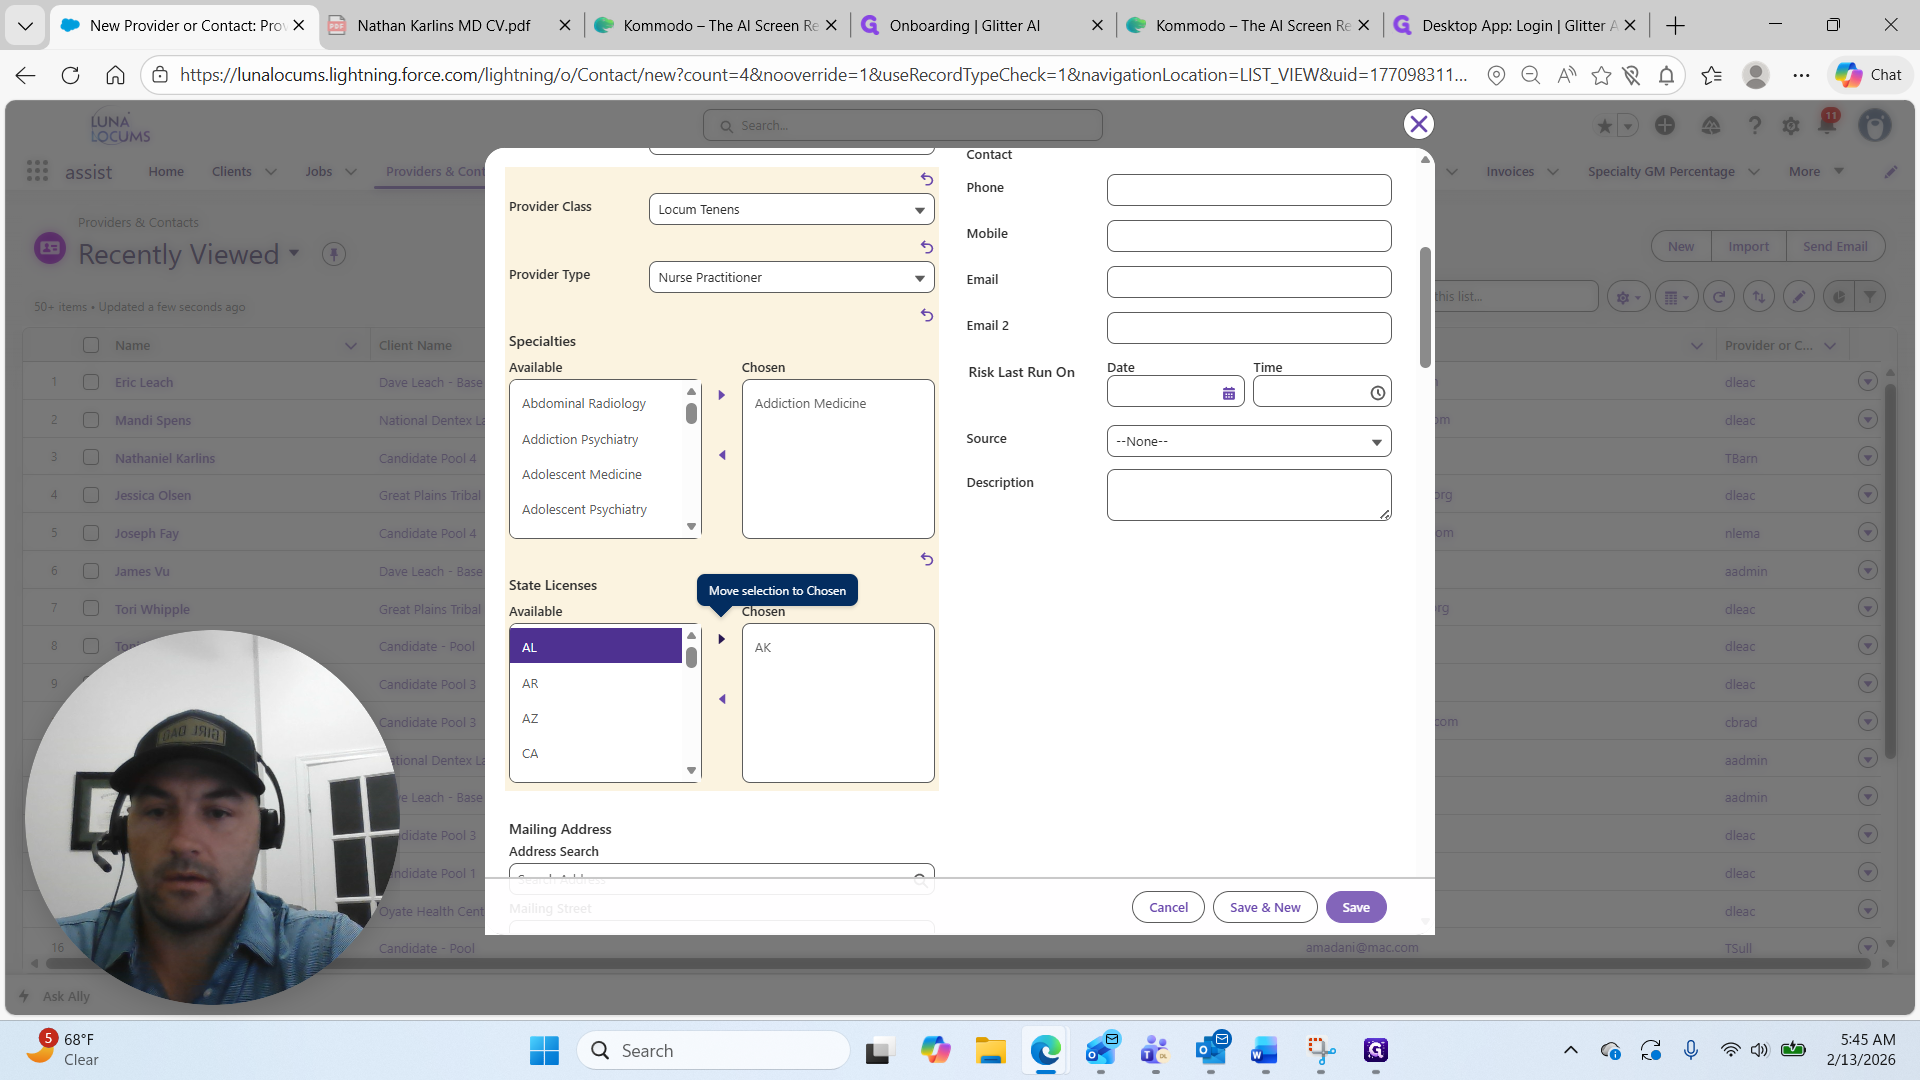
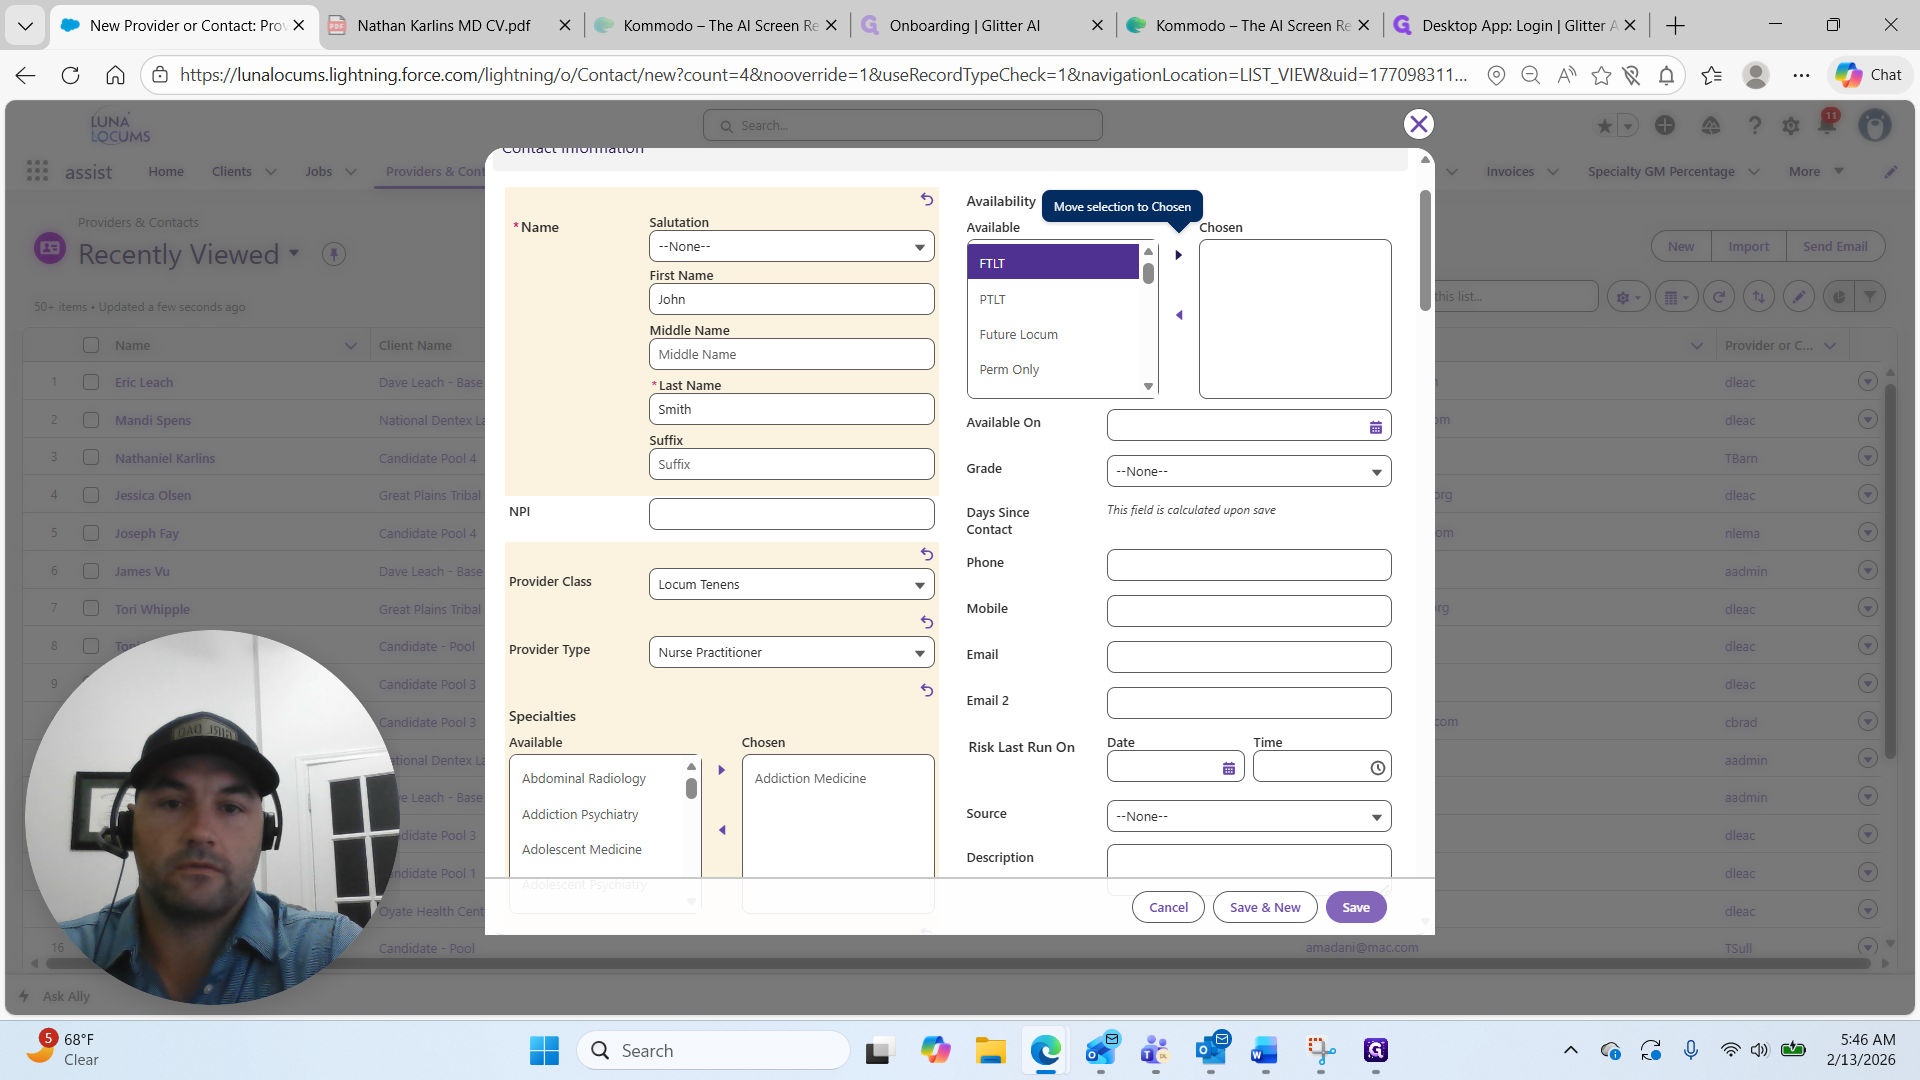
Here, we'll select any license they have. Next, scroll to the right side and select the candidate type. Are they full-time, part-time, or future locum?
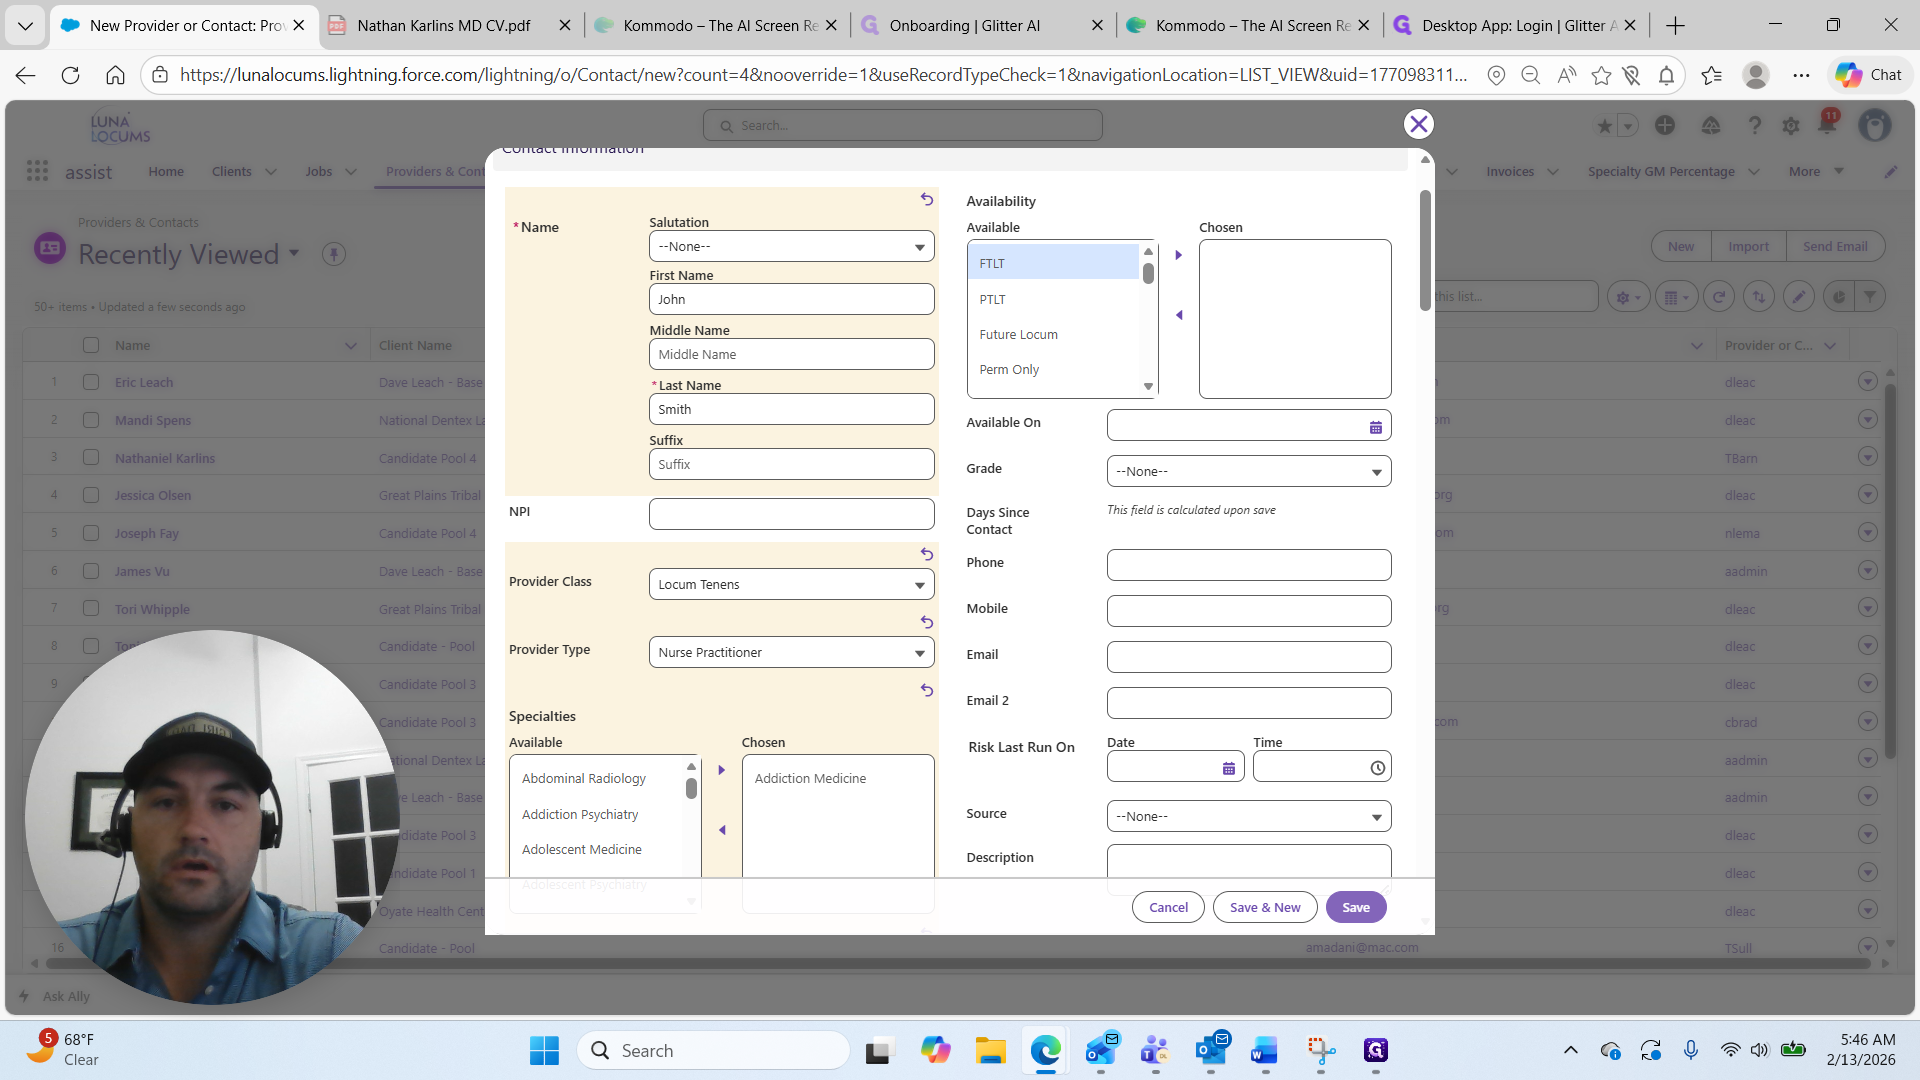
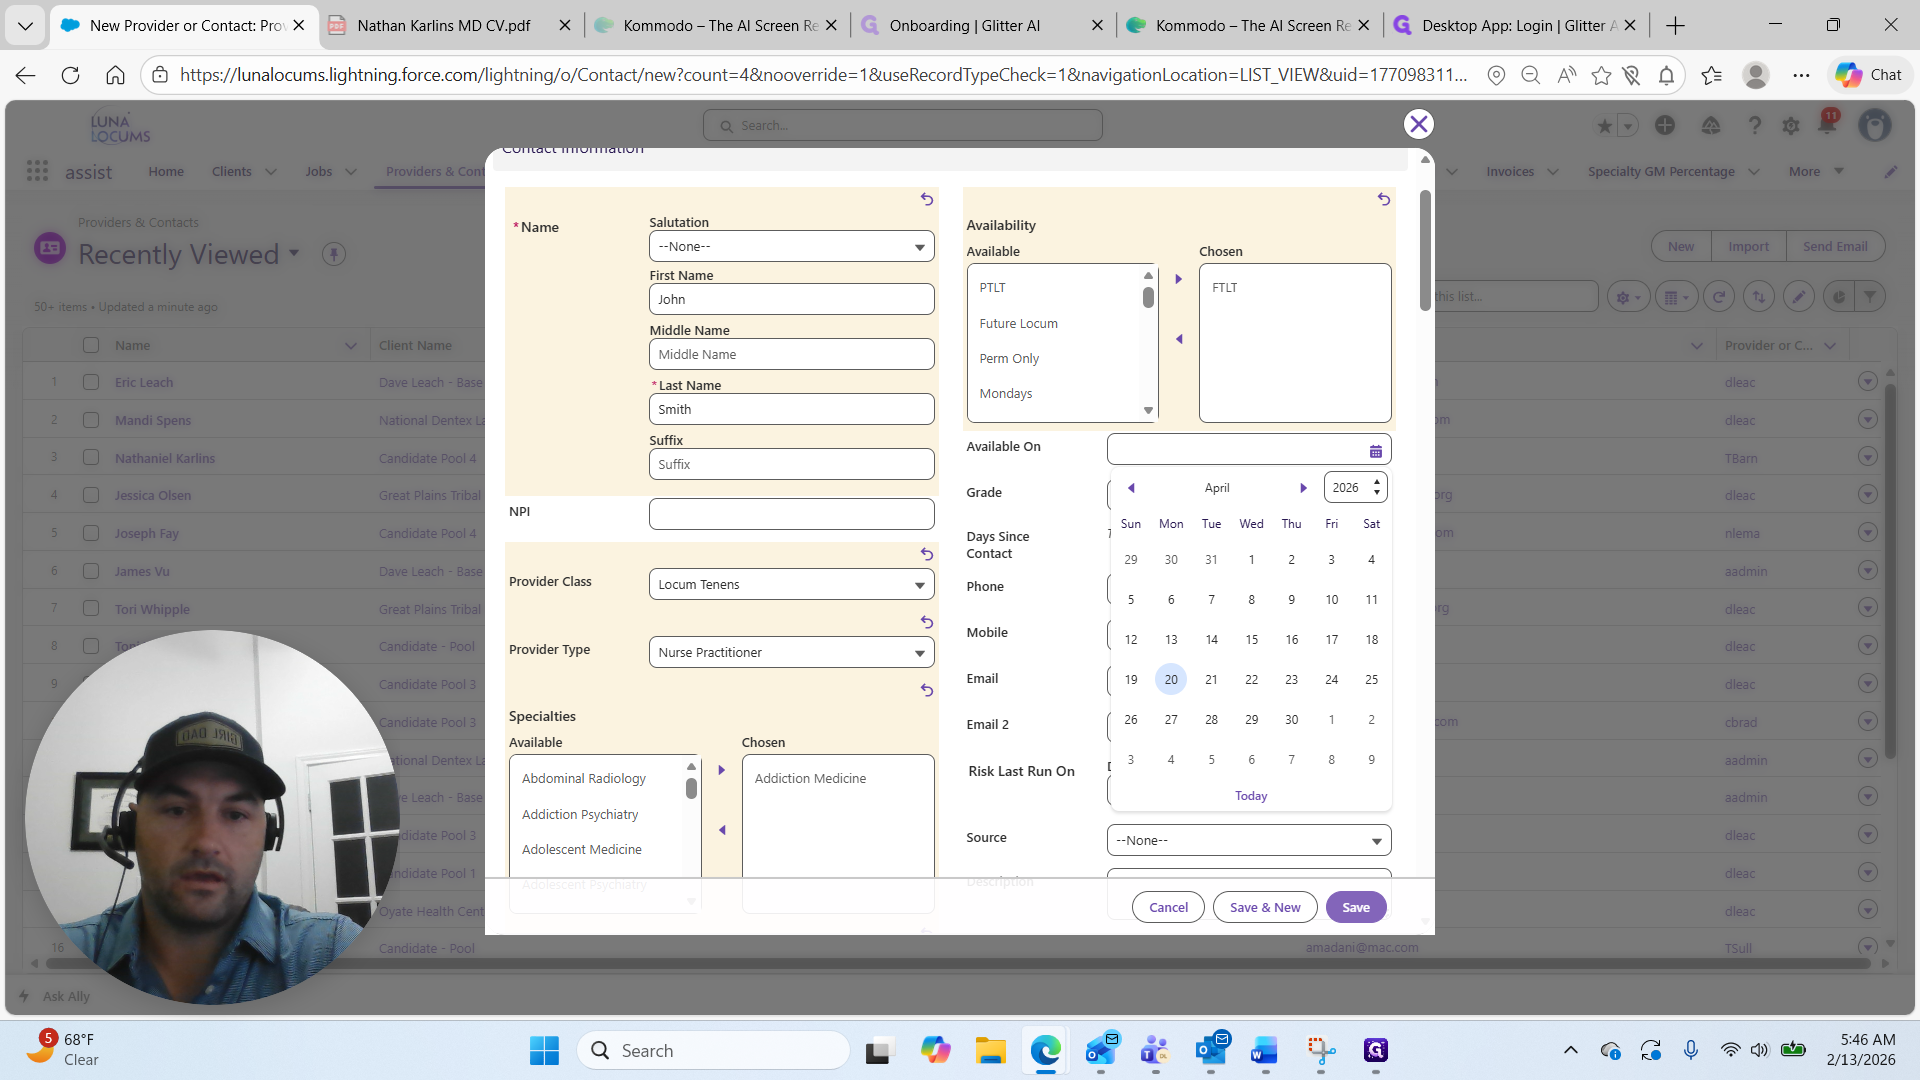
John Smith is a full-time locum available to start a position on April 20th.
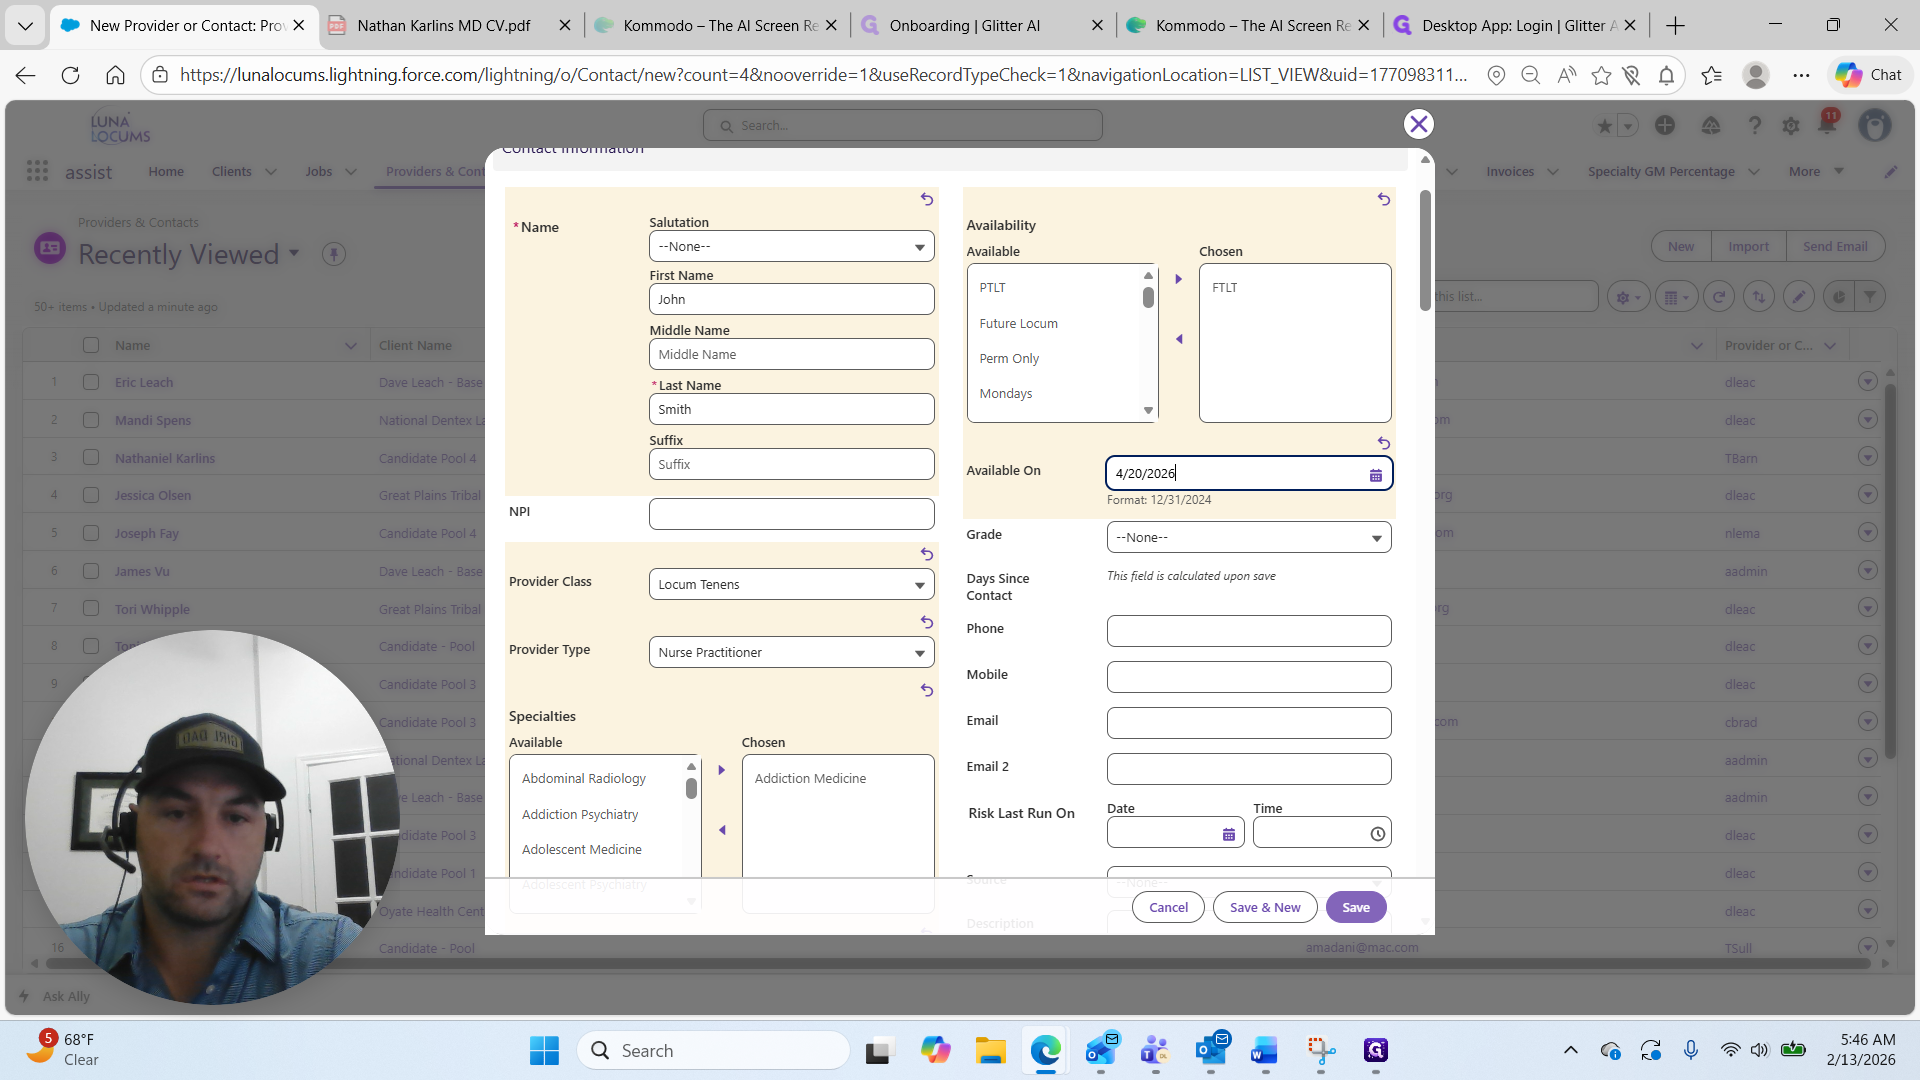
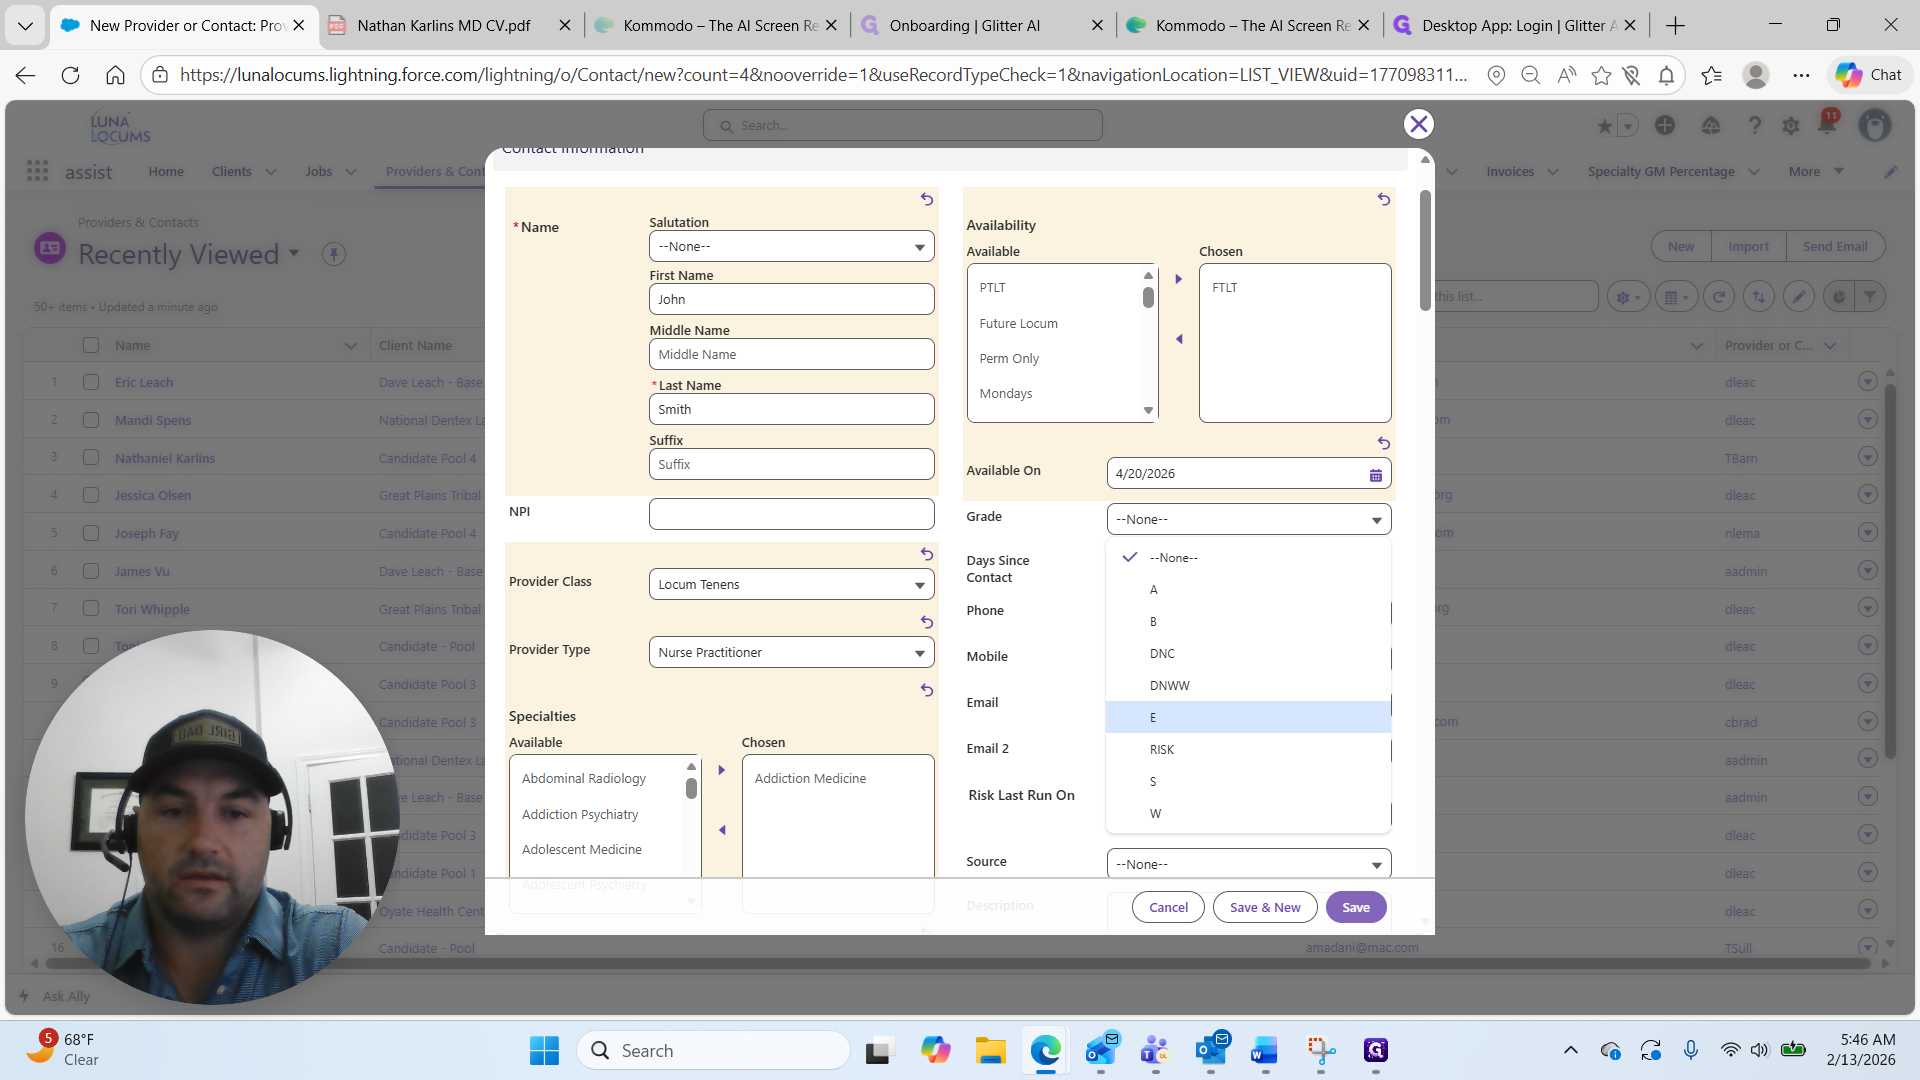
The "Available On" section is where we indicate when they can start their next job.
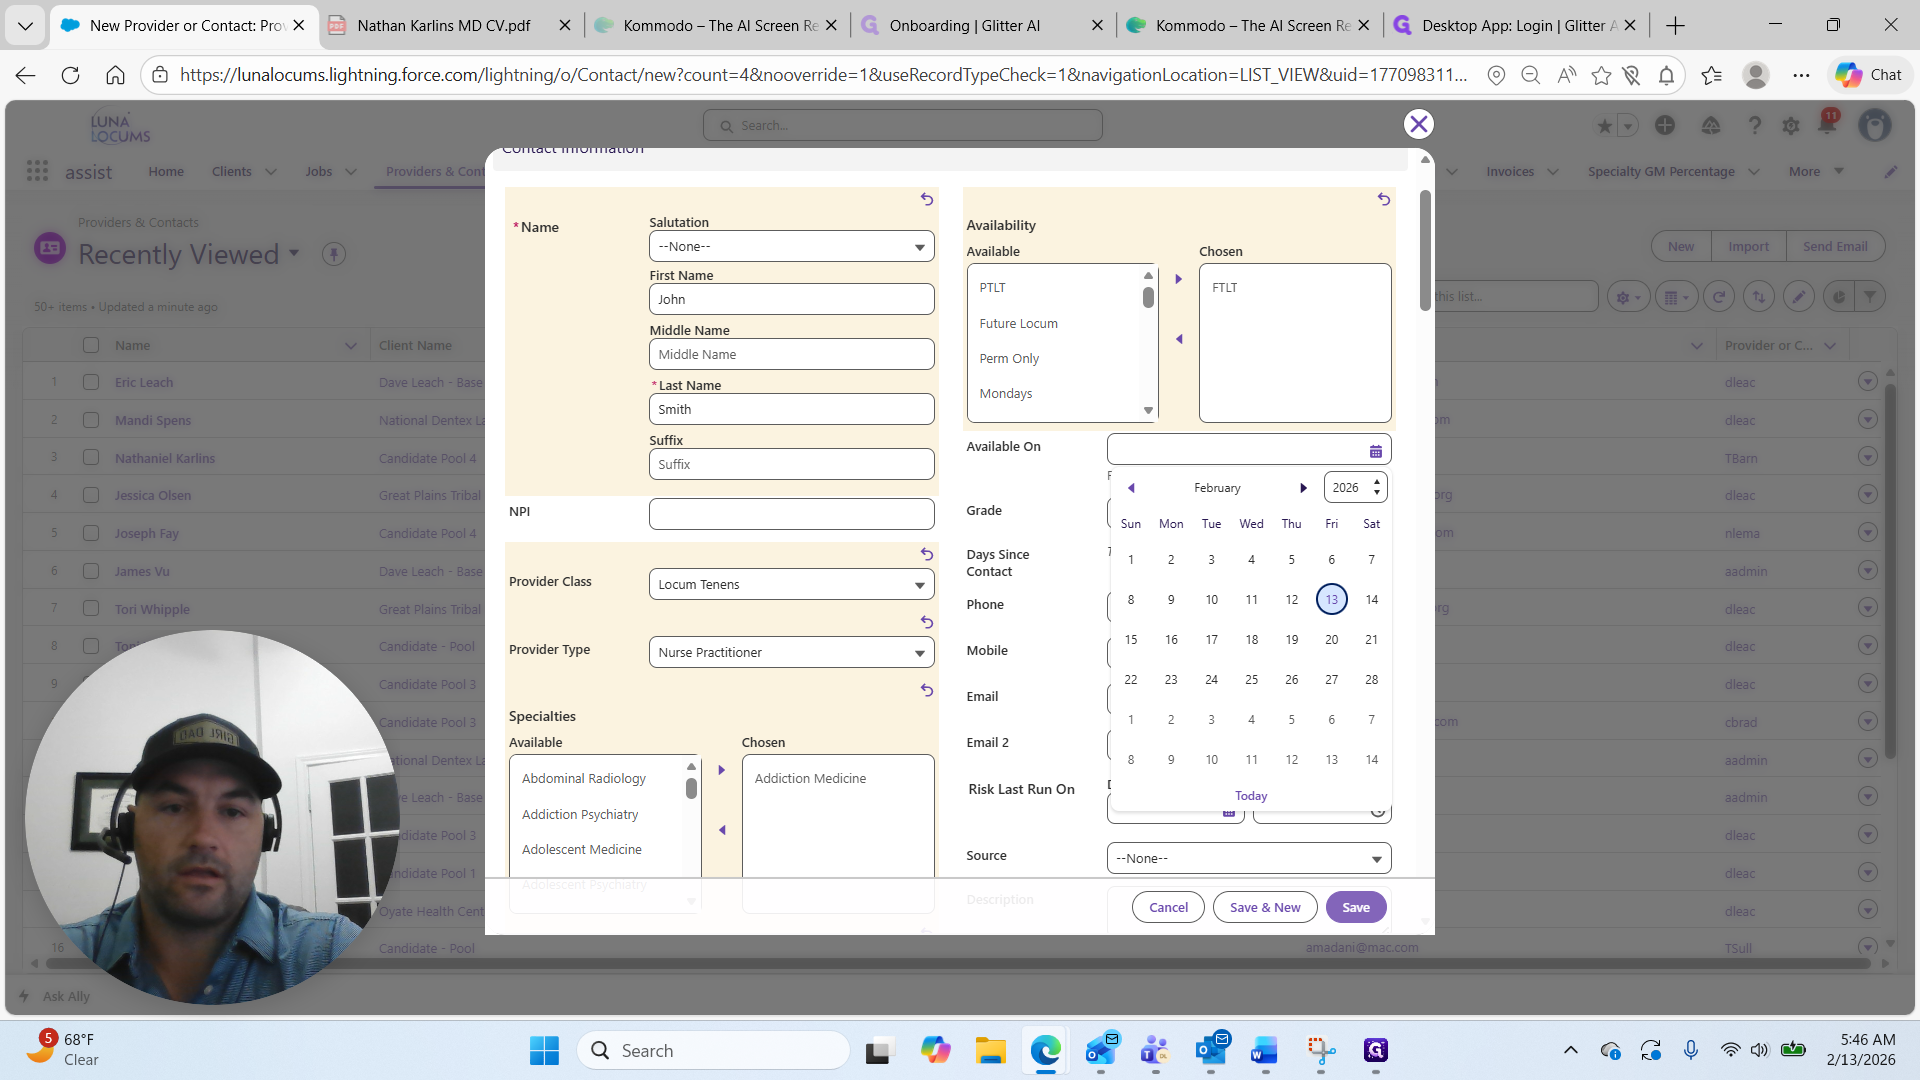

I will select April 20th.
I will select a grade.
I have requested their CV. I have engaged the candidate, so I will select E for the grade.
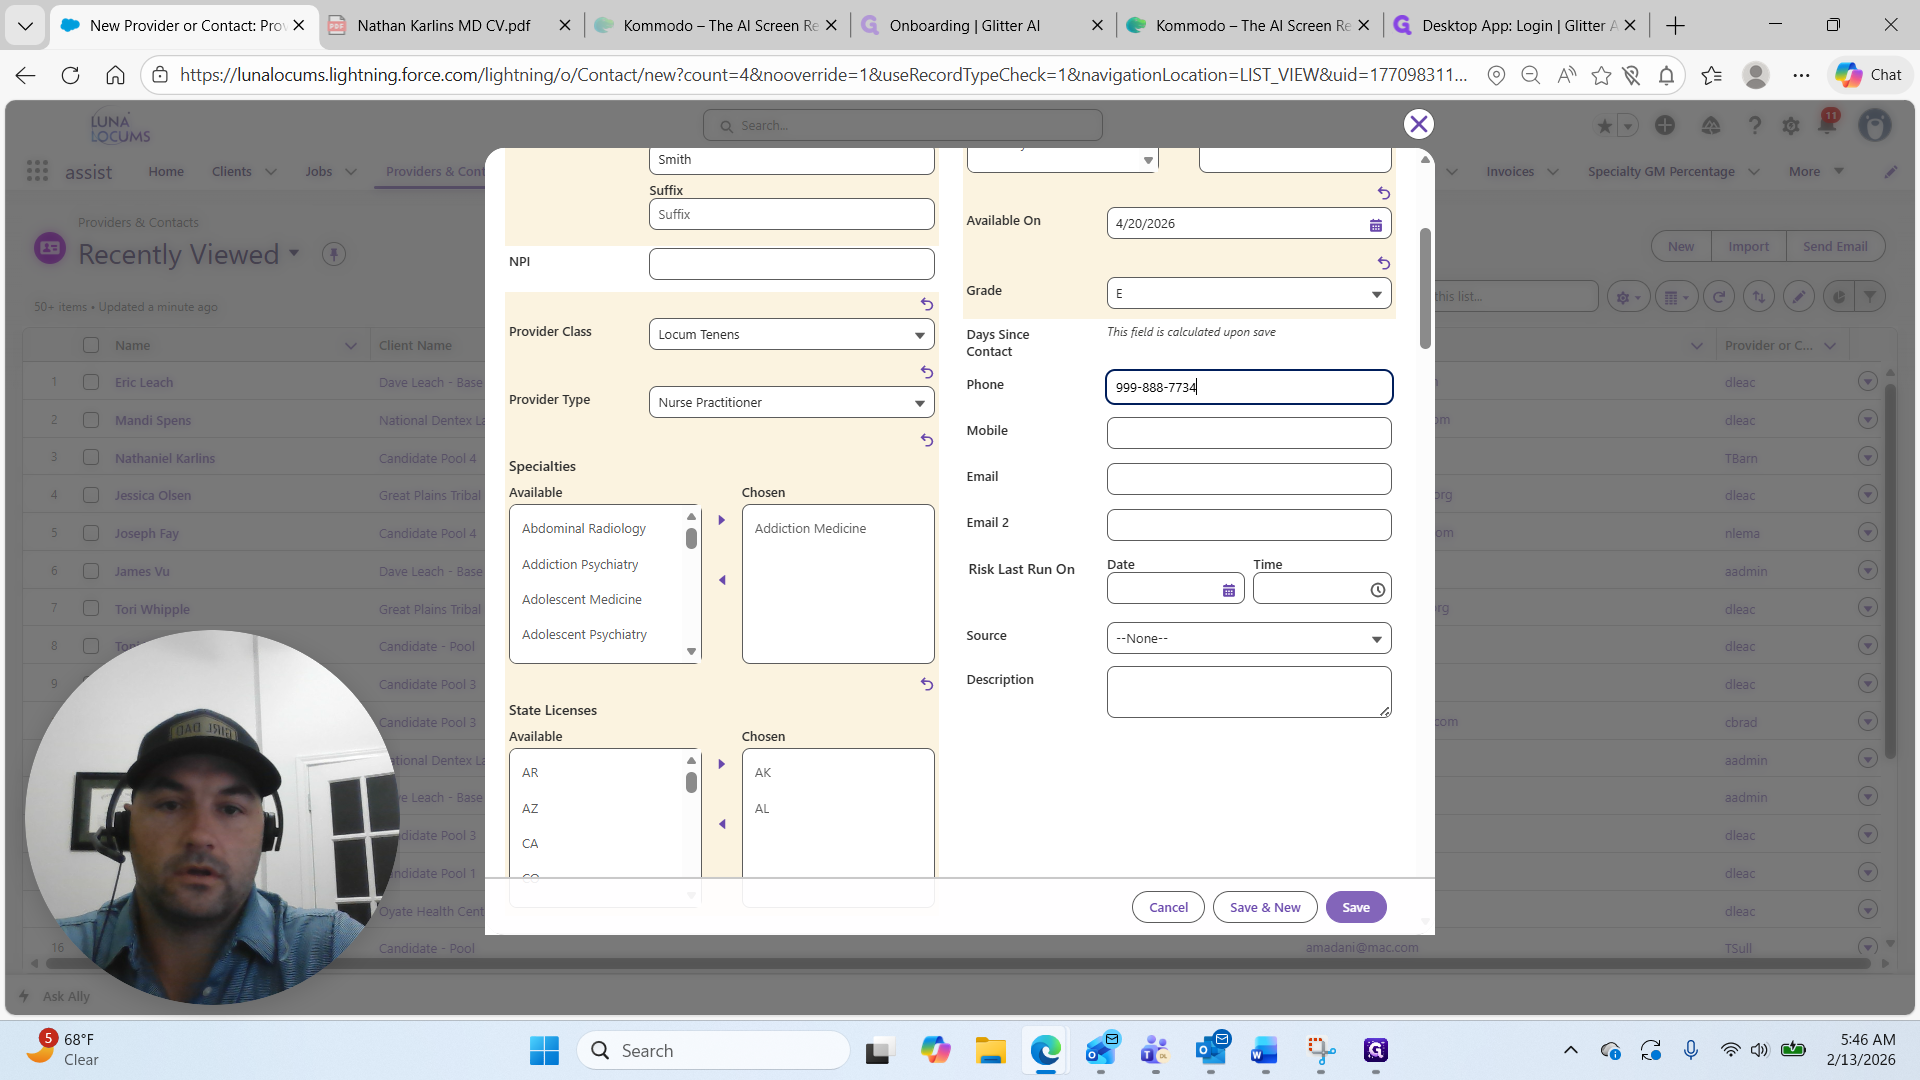
Here, I will enter their phone number: 7734.
If they have an alternative number, I'll add it here.
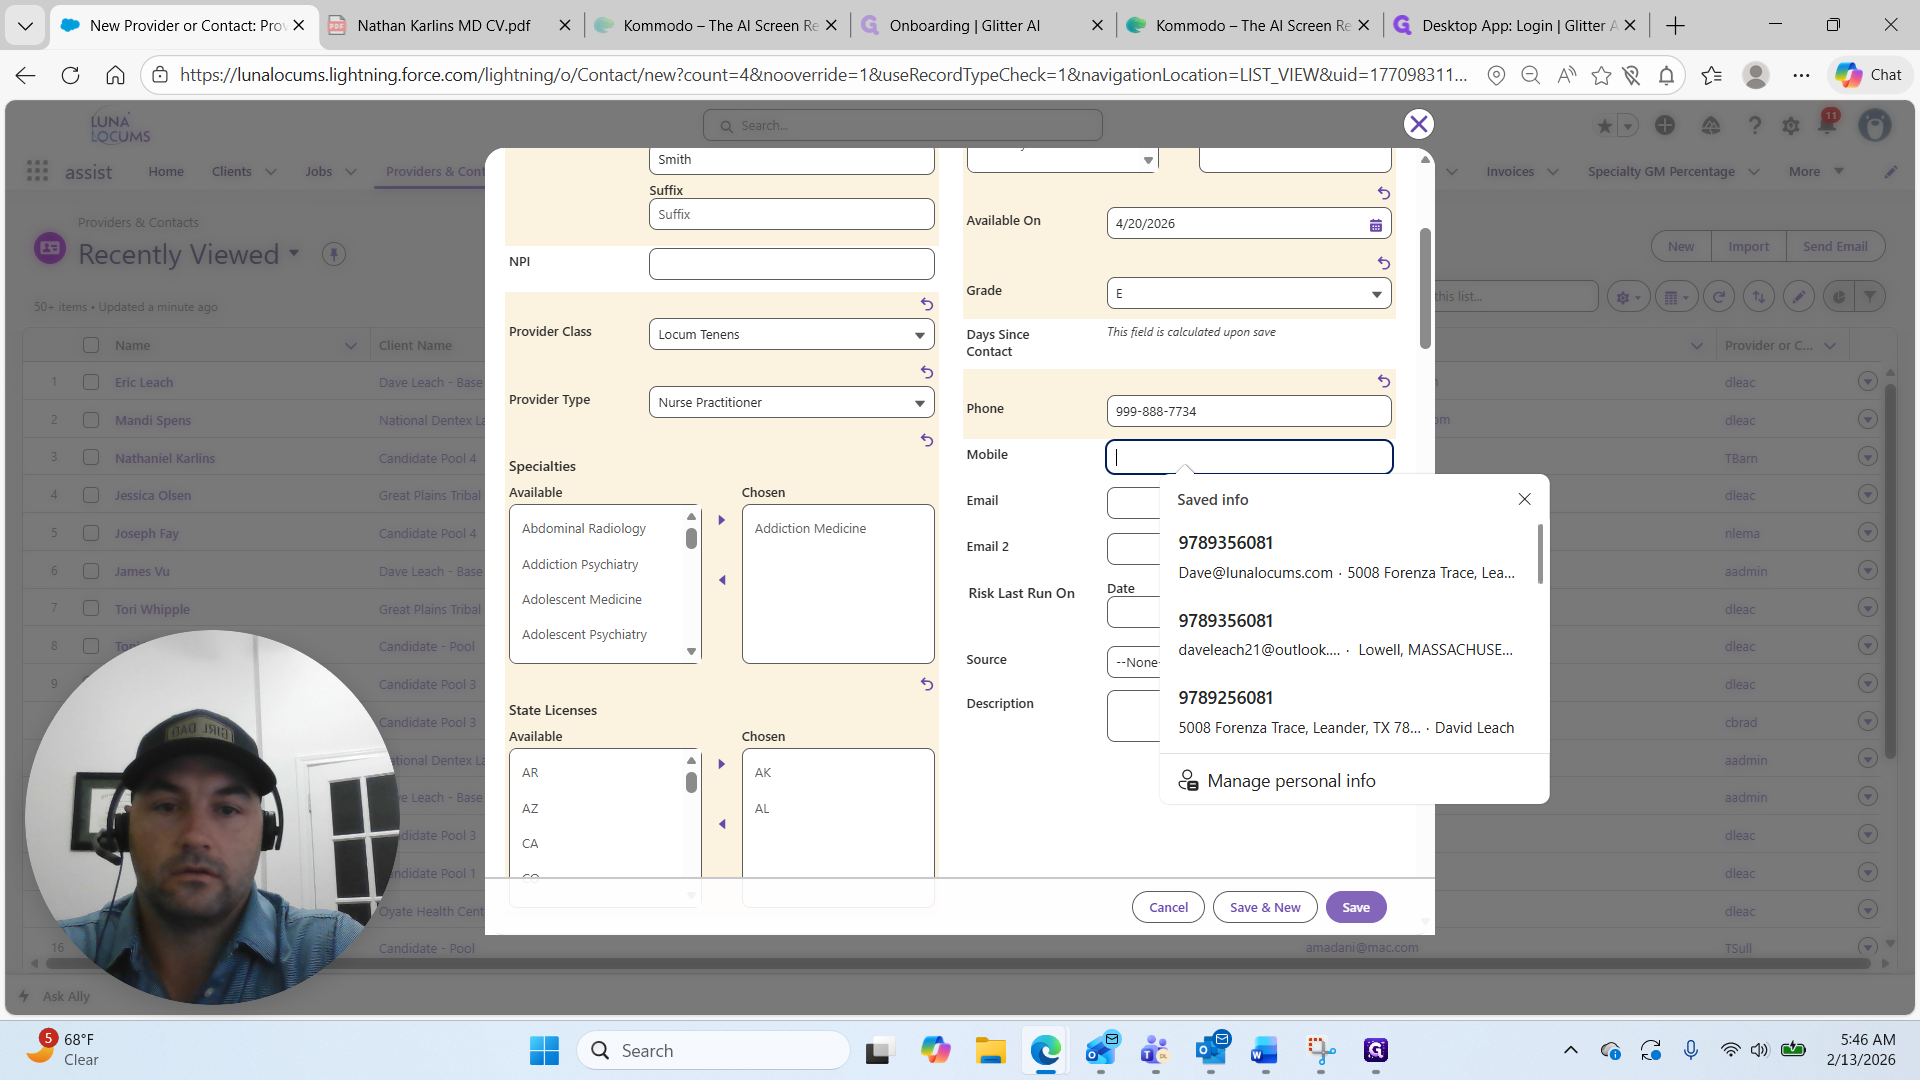
Here, I'll add their email: test@test.com.
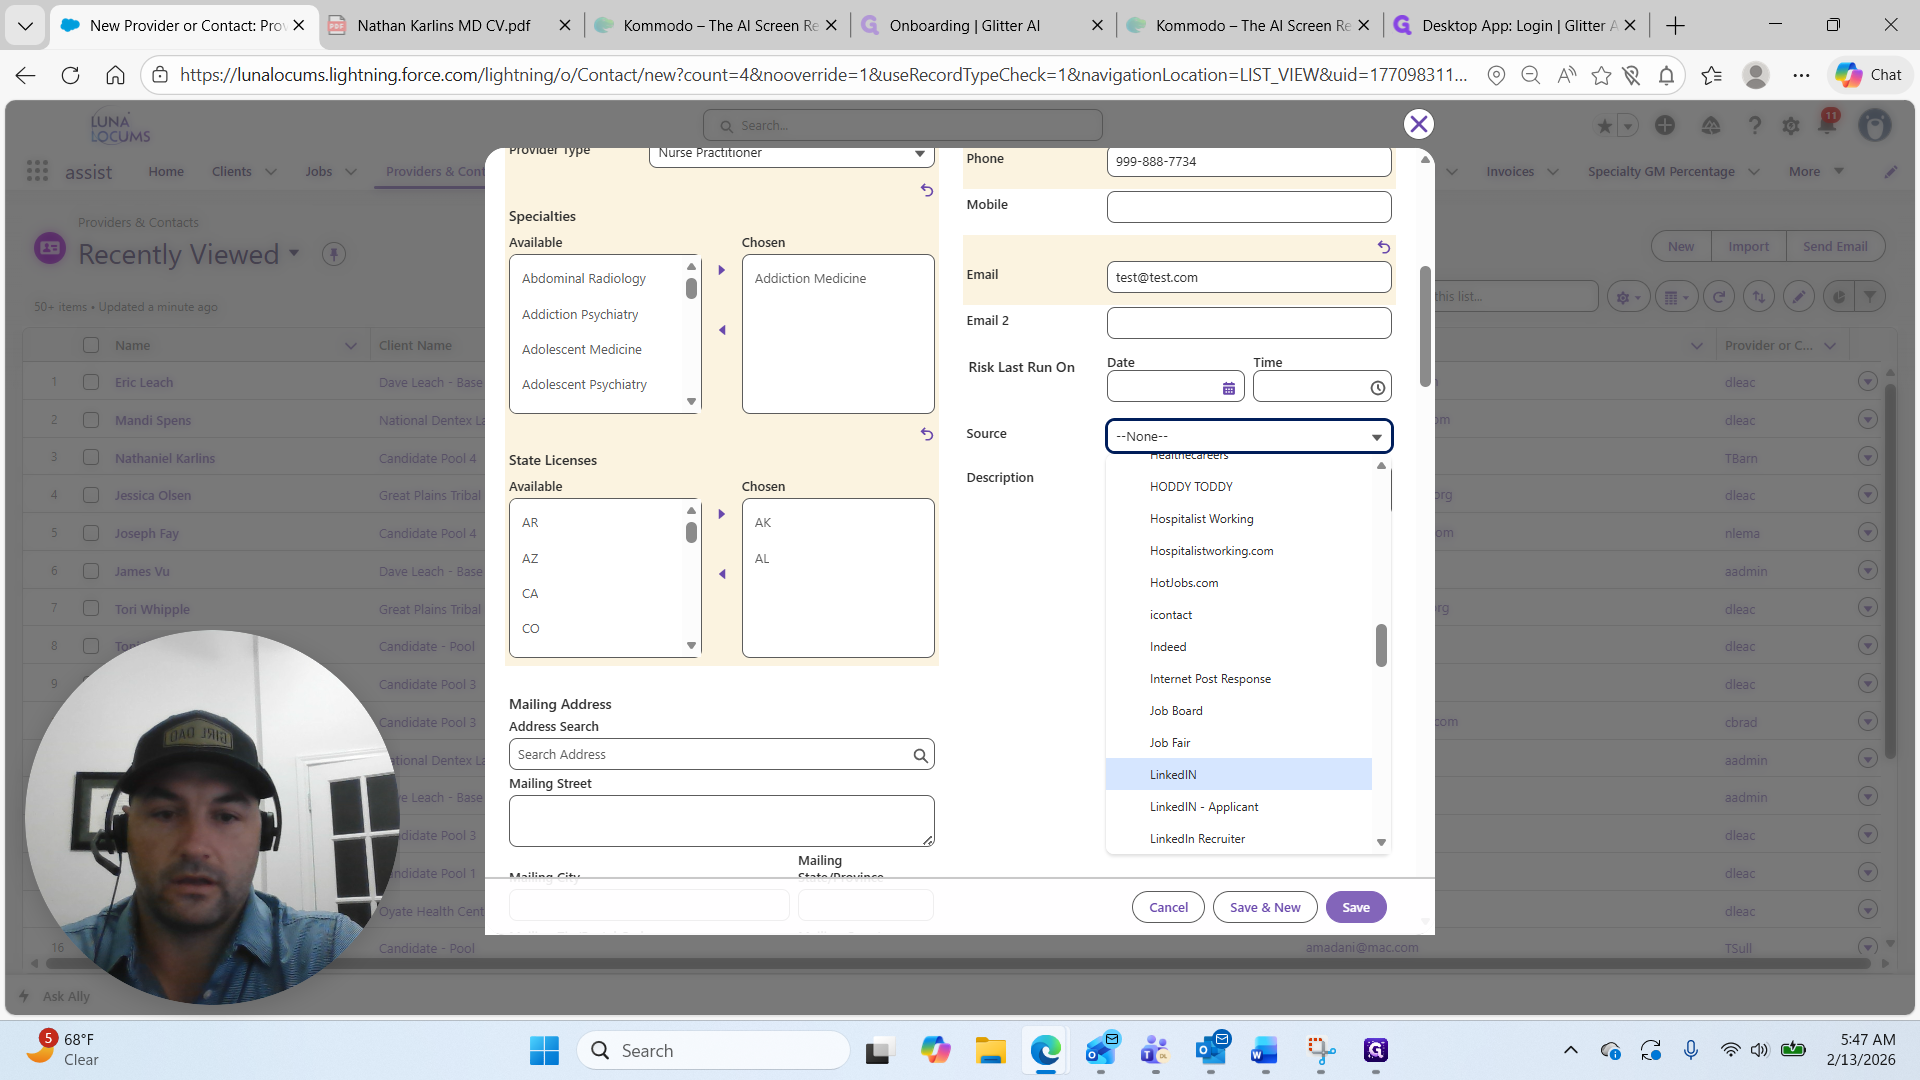
Always select the source from which you are getting these candidates.
If we invest in sources, we need to track the ROI. This will allow us to continue using and investing in the right sources. For this example, I will select LinkedIn.
This person is an FTLT seeking locum-to-perm contracts across the country.
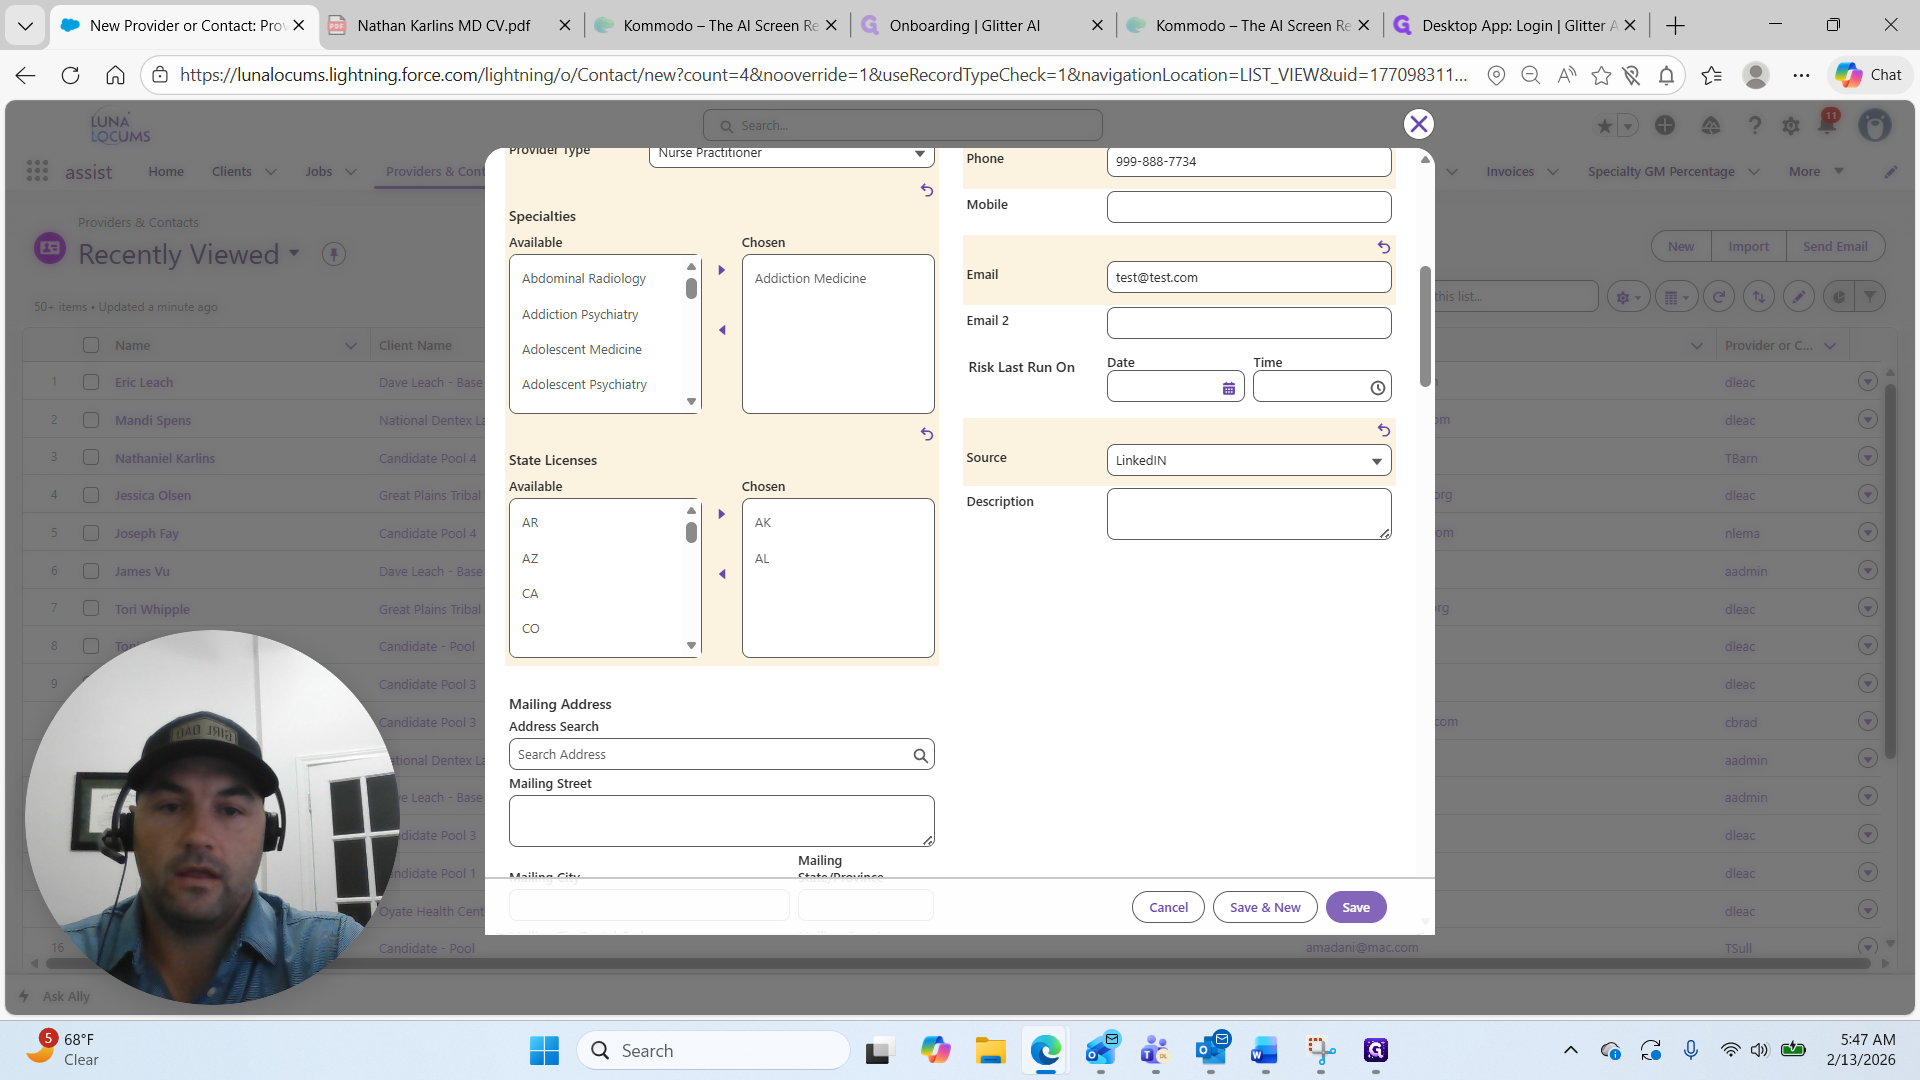
Fill out the description so anyone searching, such as an account manager in Alabama, can quickly see the candidate's details and contact you to request their CV.
I will select Save. The candidate is now added to the database.