How to Enter and Cancel Orders in TruckMate
Learn step-by-step instructions for entering and canceling orders in TruckMate, including adding customer details, reference numbers, and commodities.
In this guide, we'll learn how to enter and manage orders in TruckMate. This process involves accessing the customer service section, adding new orders, and filling in essential details such as the caller, shipper, and receiver. We'll also cover how to input reference numbers, commodities, and equipment types. Finally, we'll discuss how to save, post, and cancel orders to ensure they are visible to the necessary teams. This guide will help streamline your order management tasks within TruckMate.
Let's get started
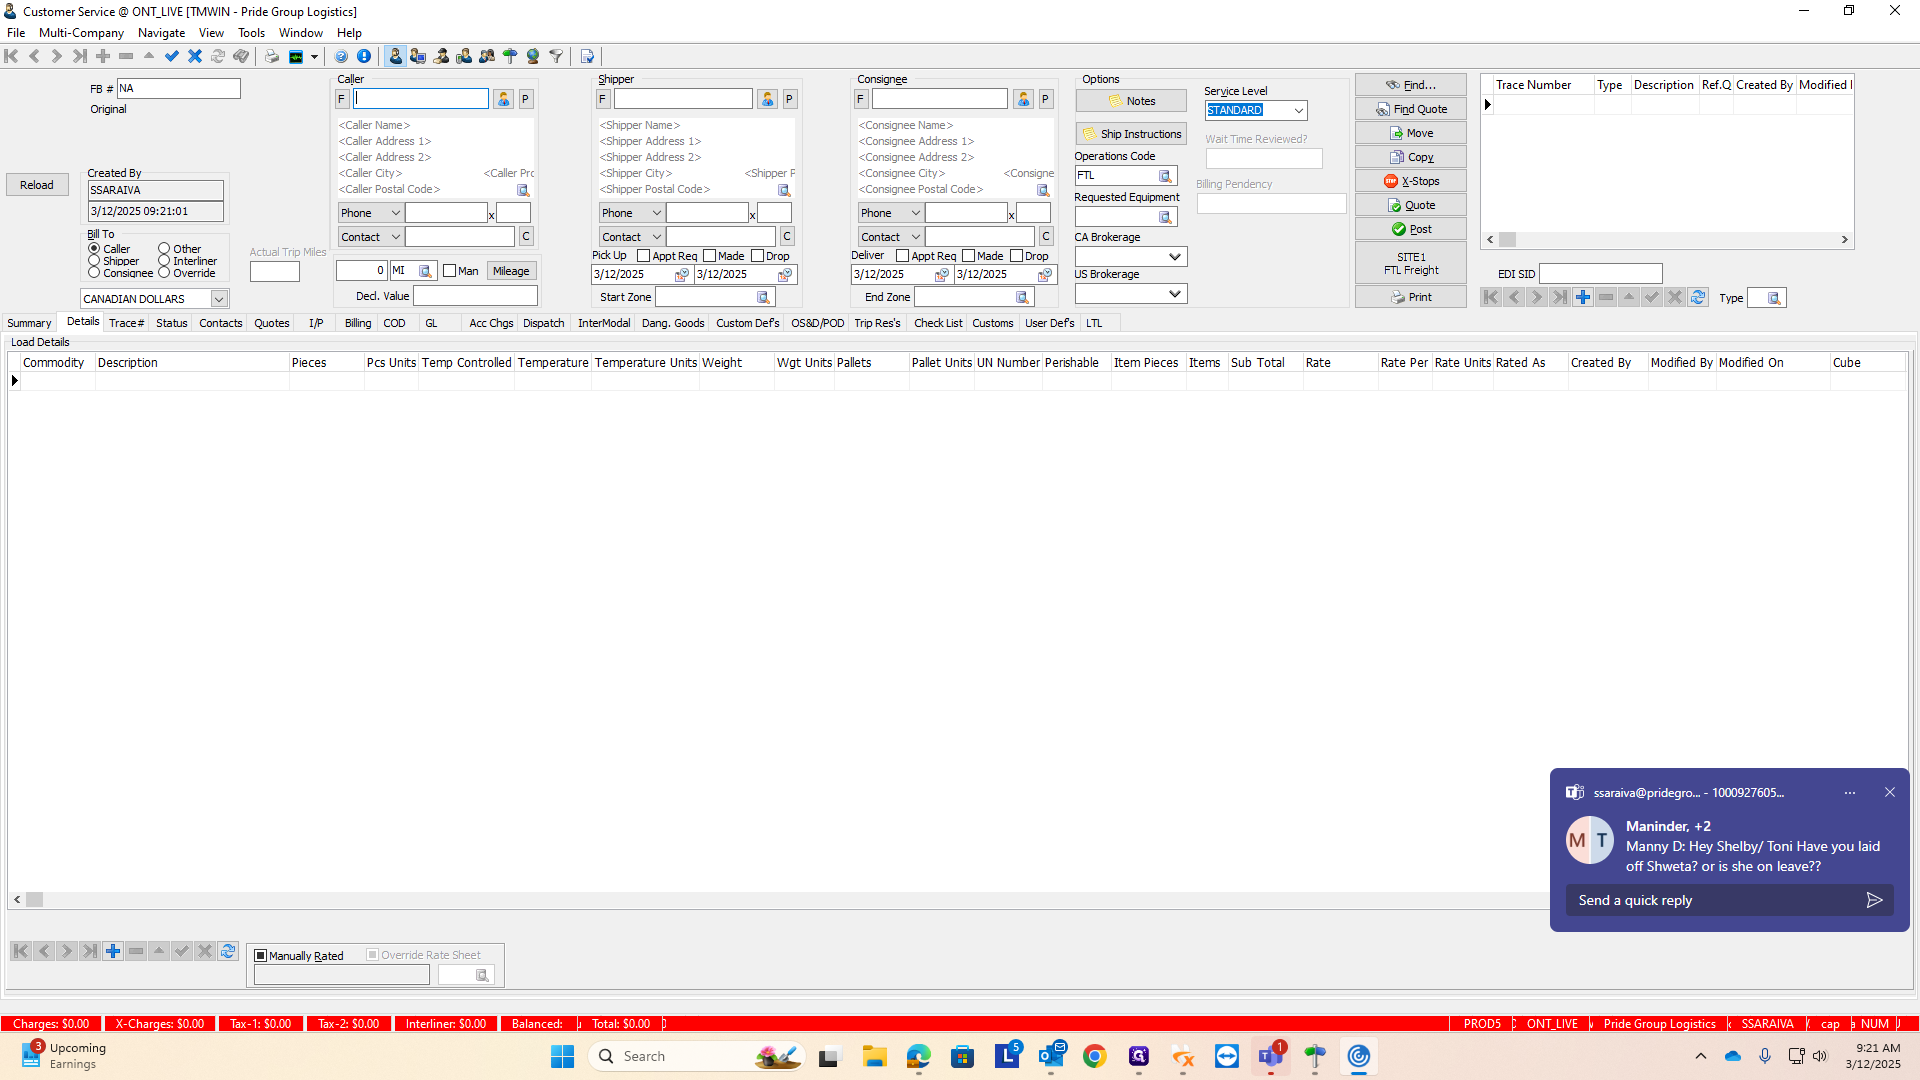
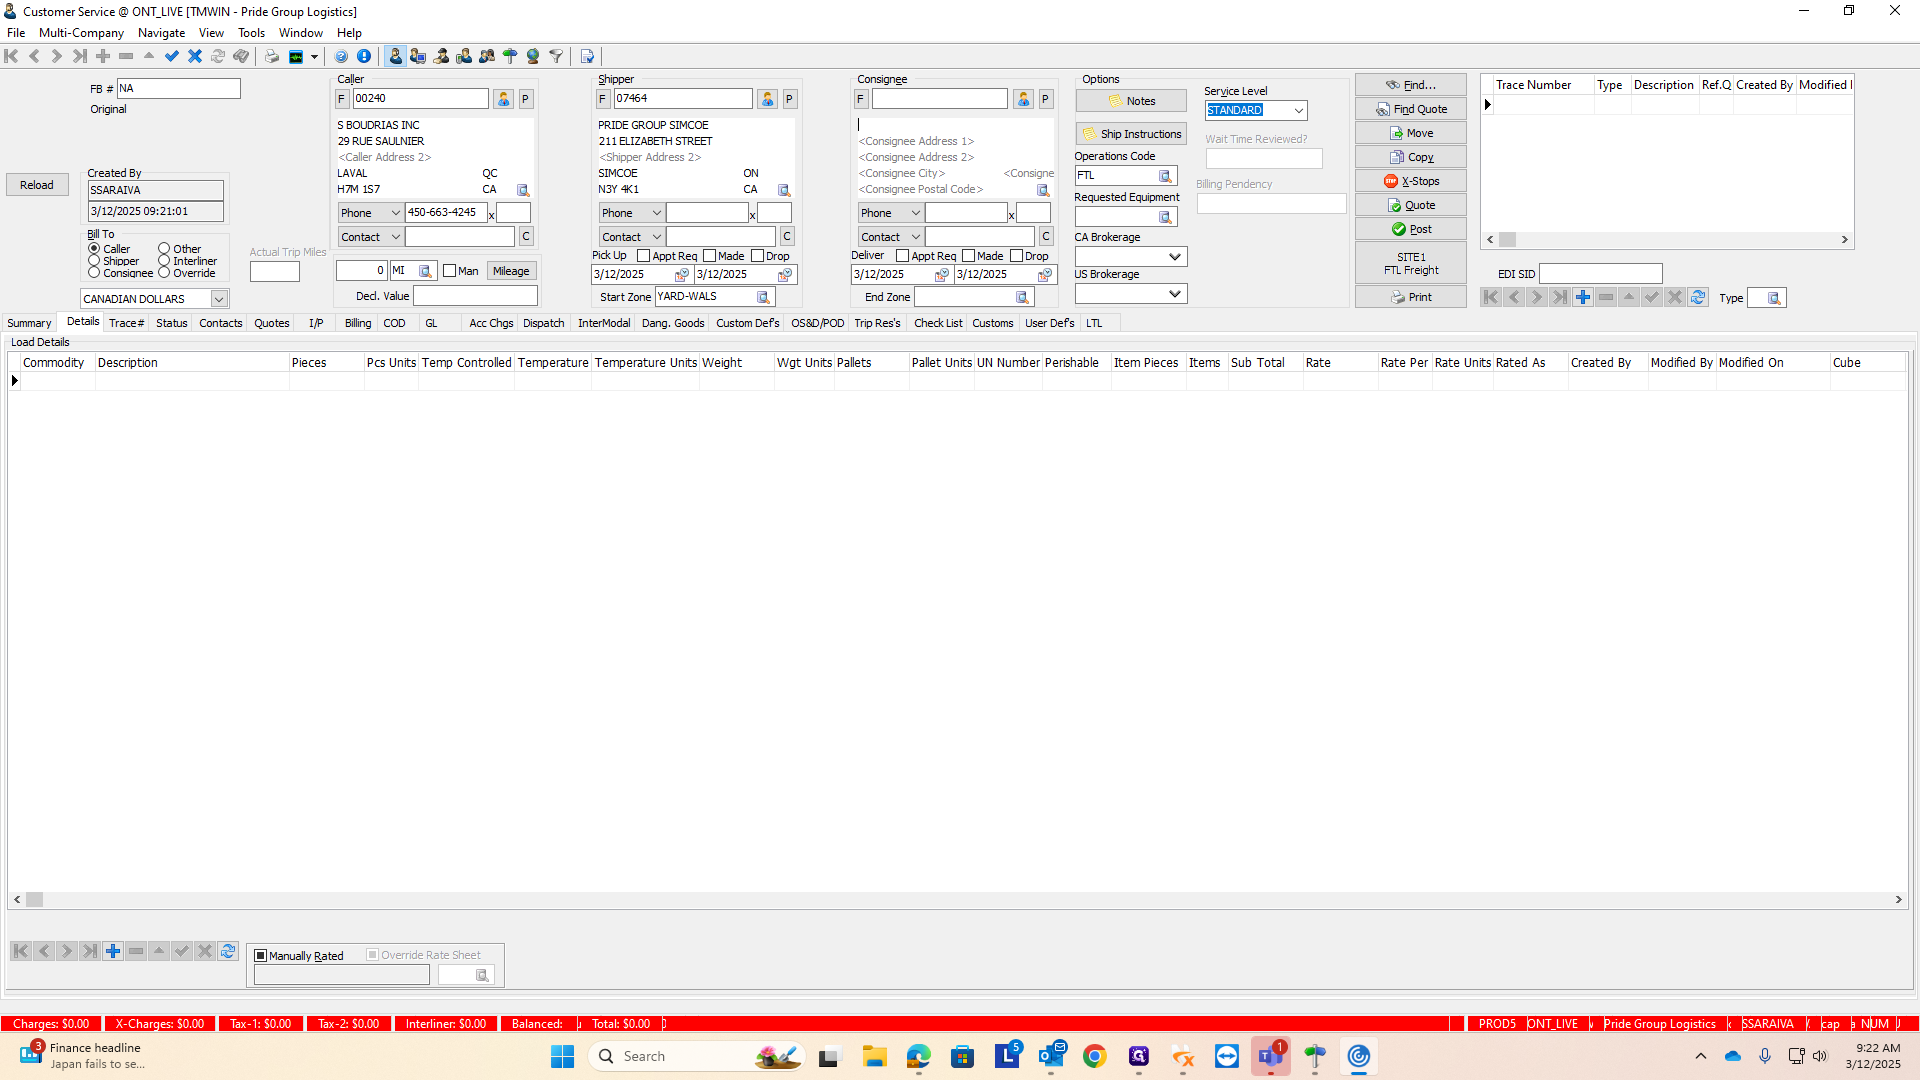
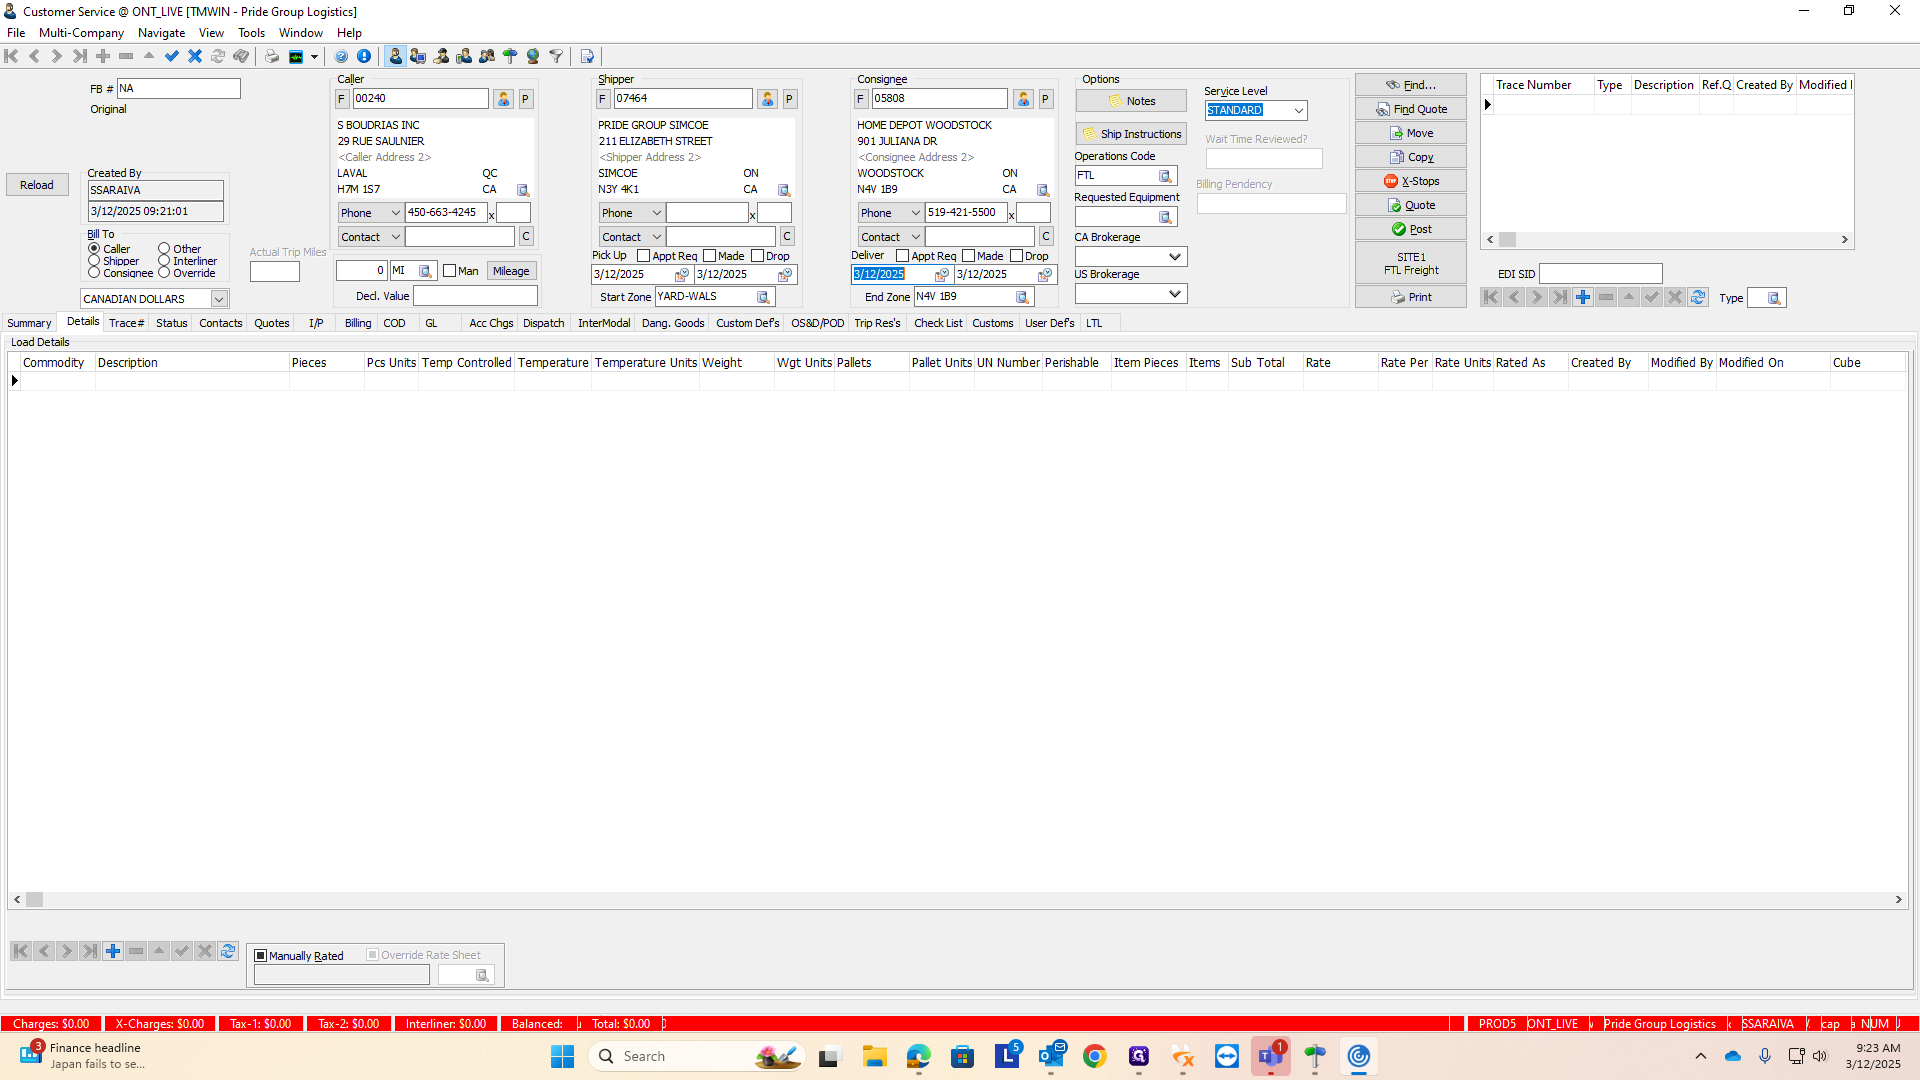
Alright, I'll show you how to enter an order into TruckMate. To start, click on the customer service icon. If it's not in your favorites, go to the apps and add it to your favorites.
To add a new order, click the plus button to insert it.
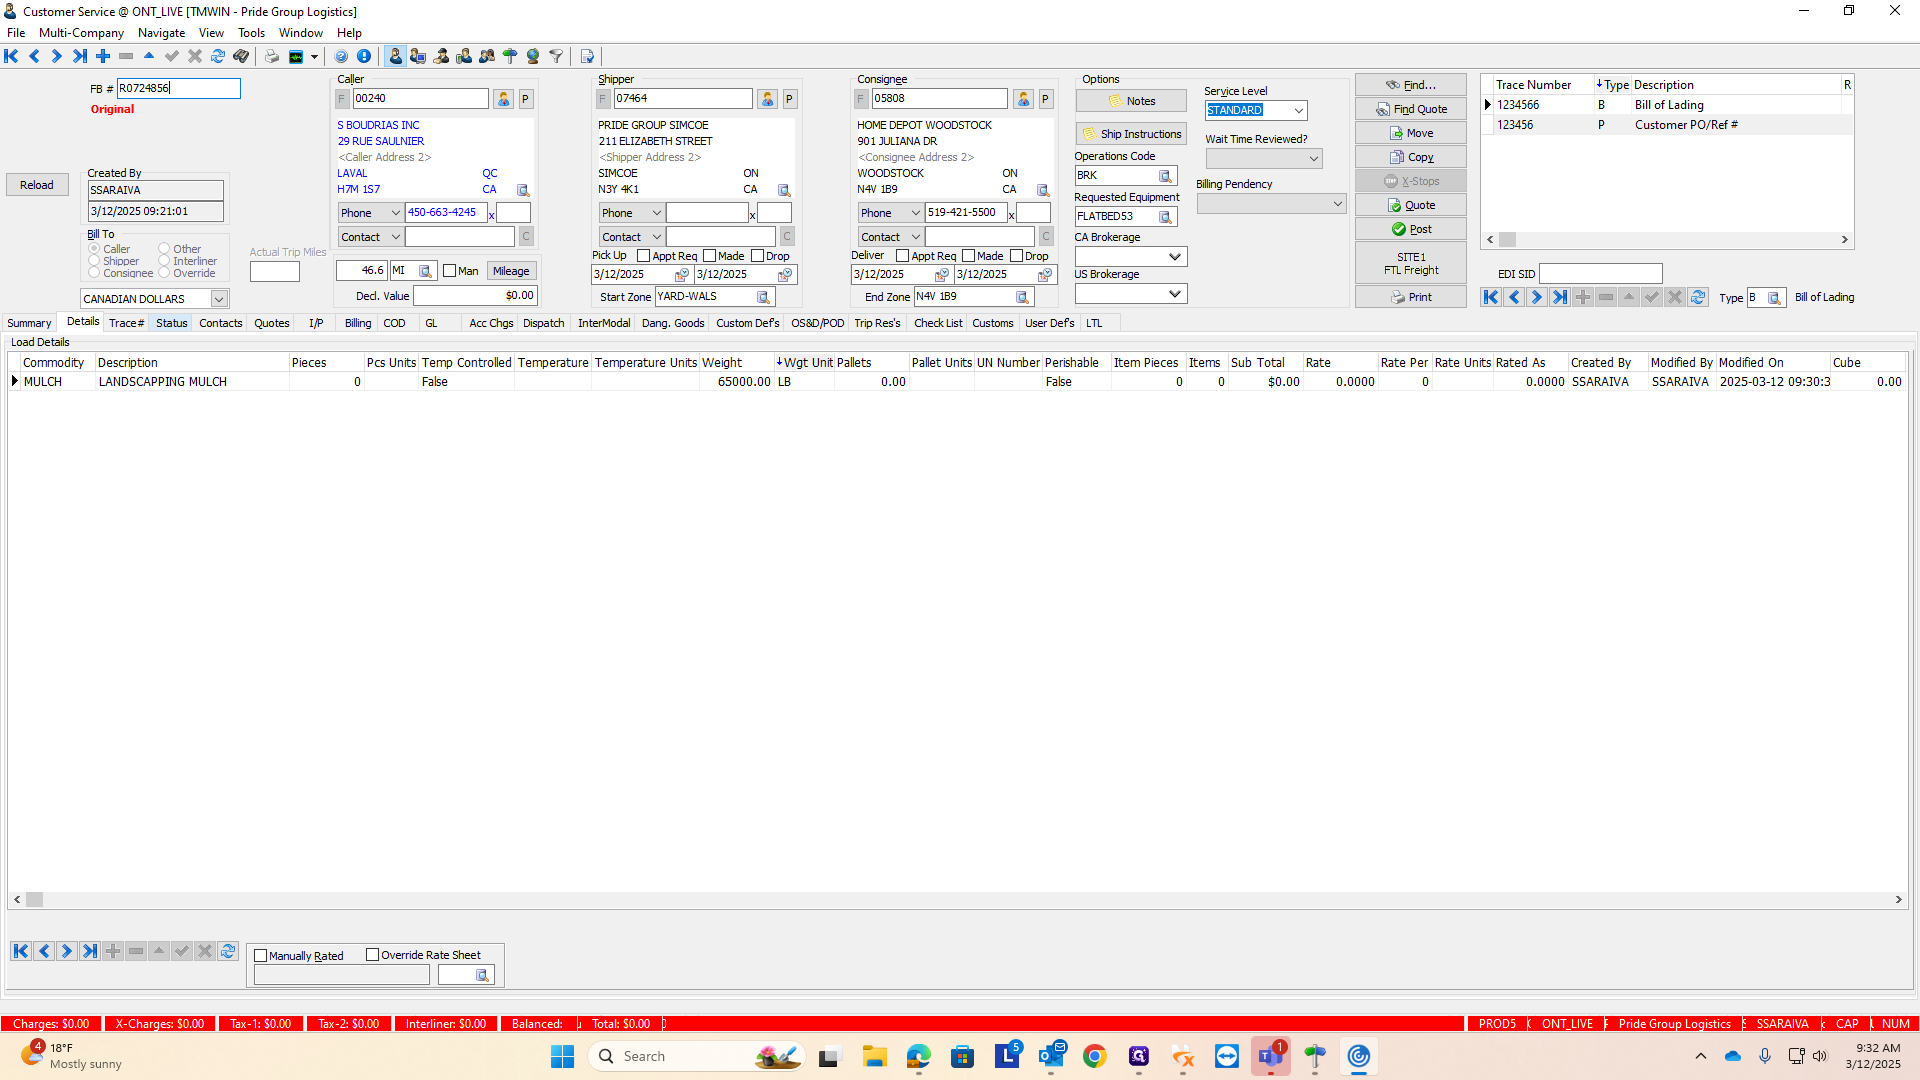
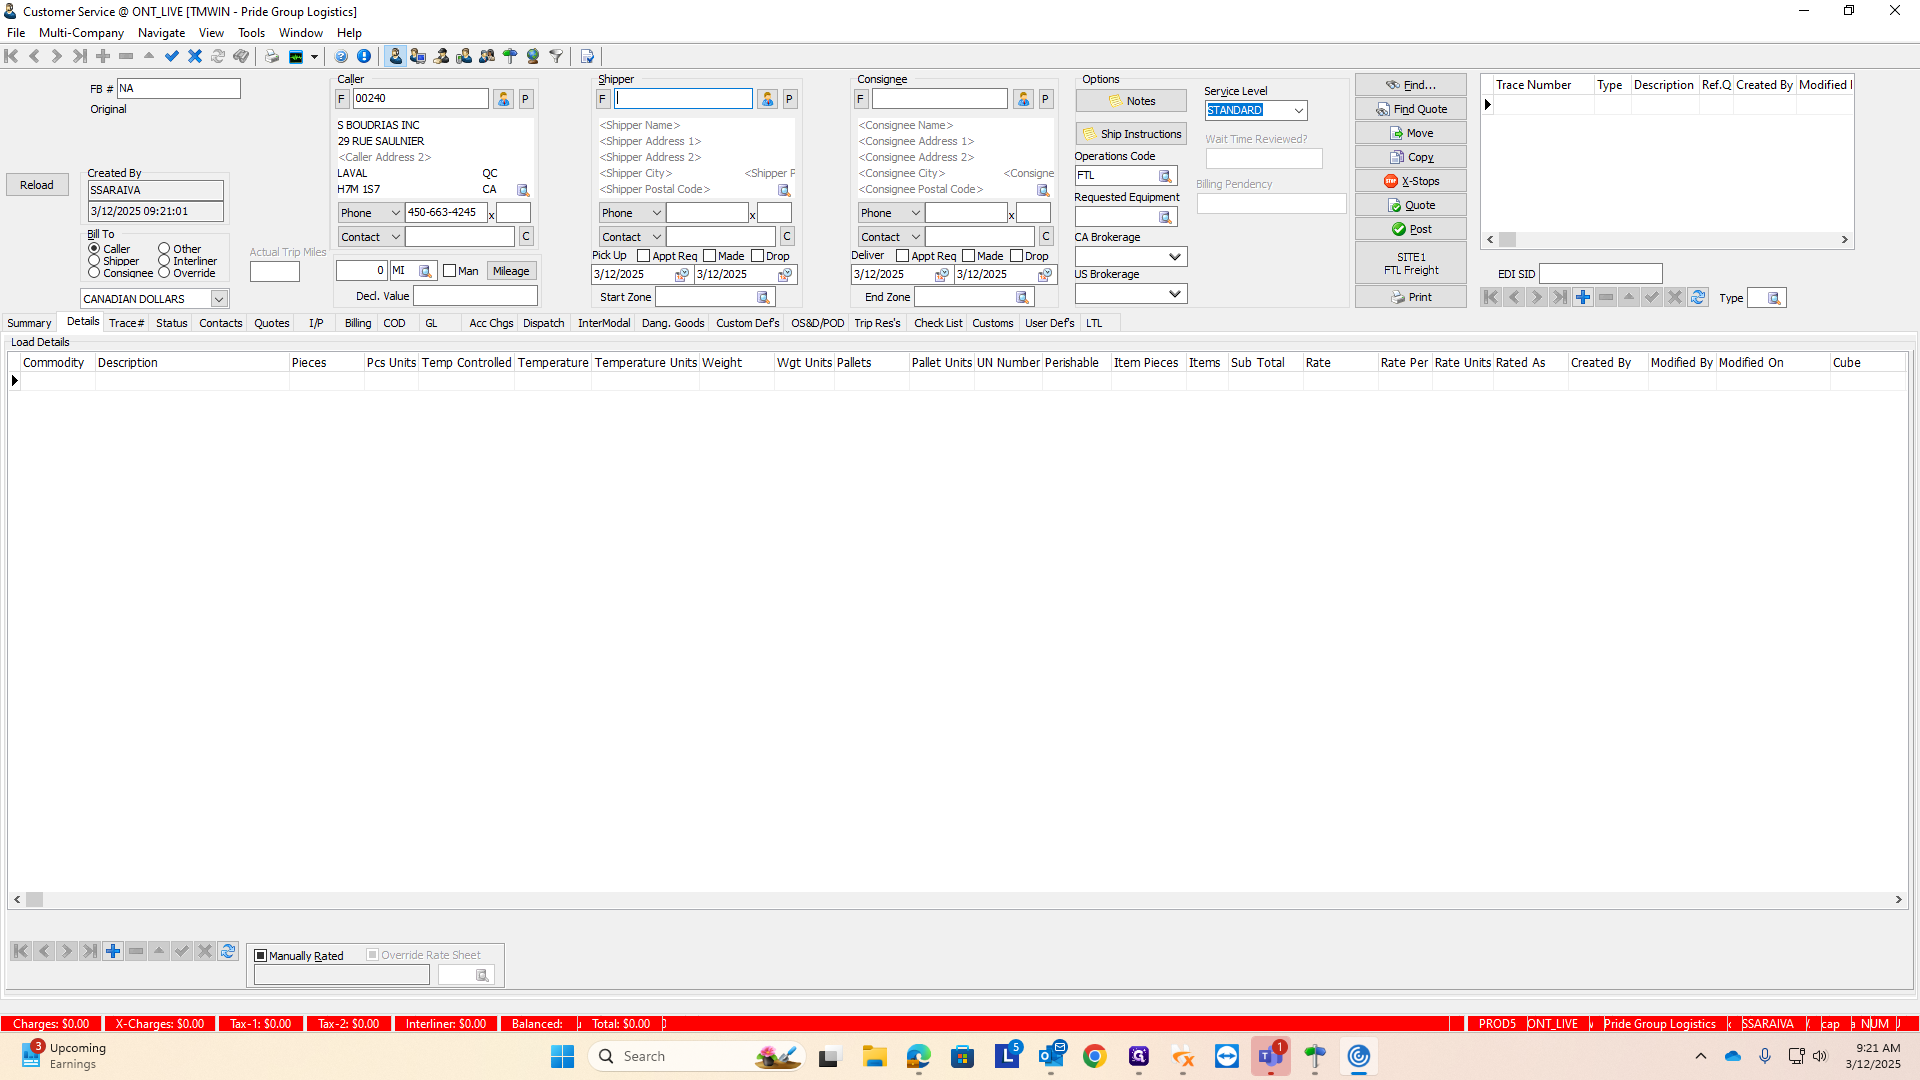
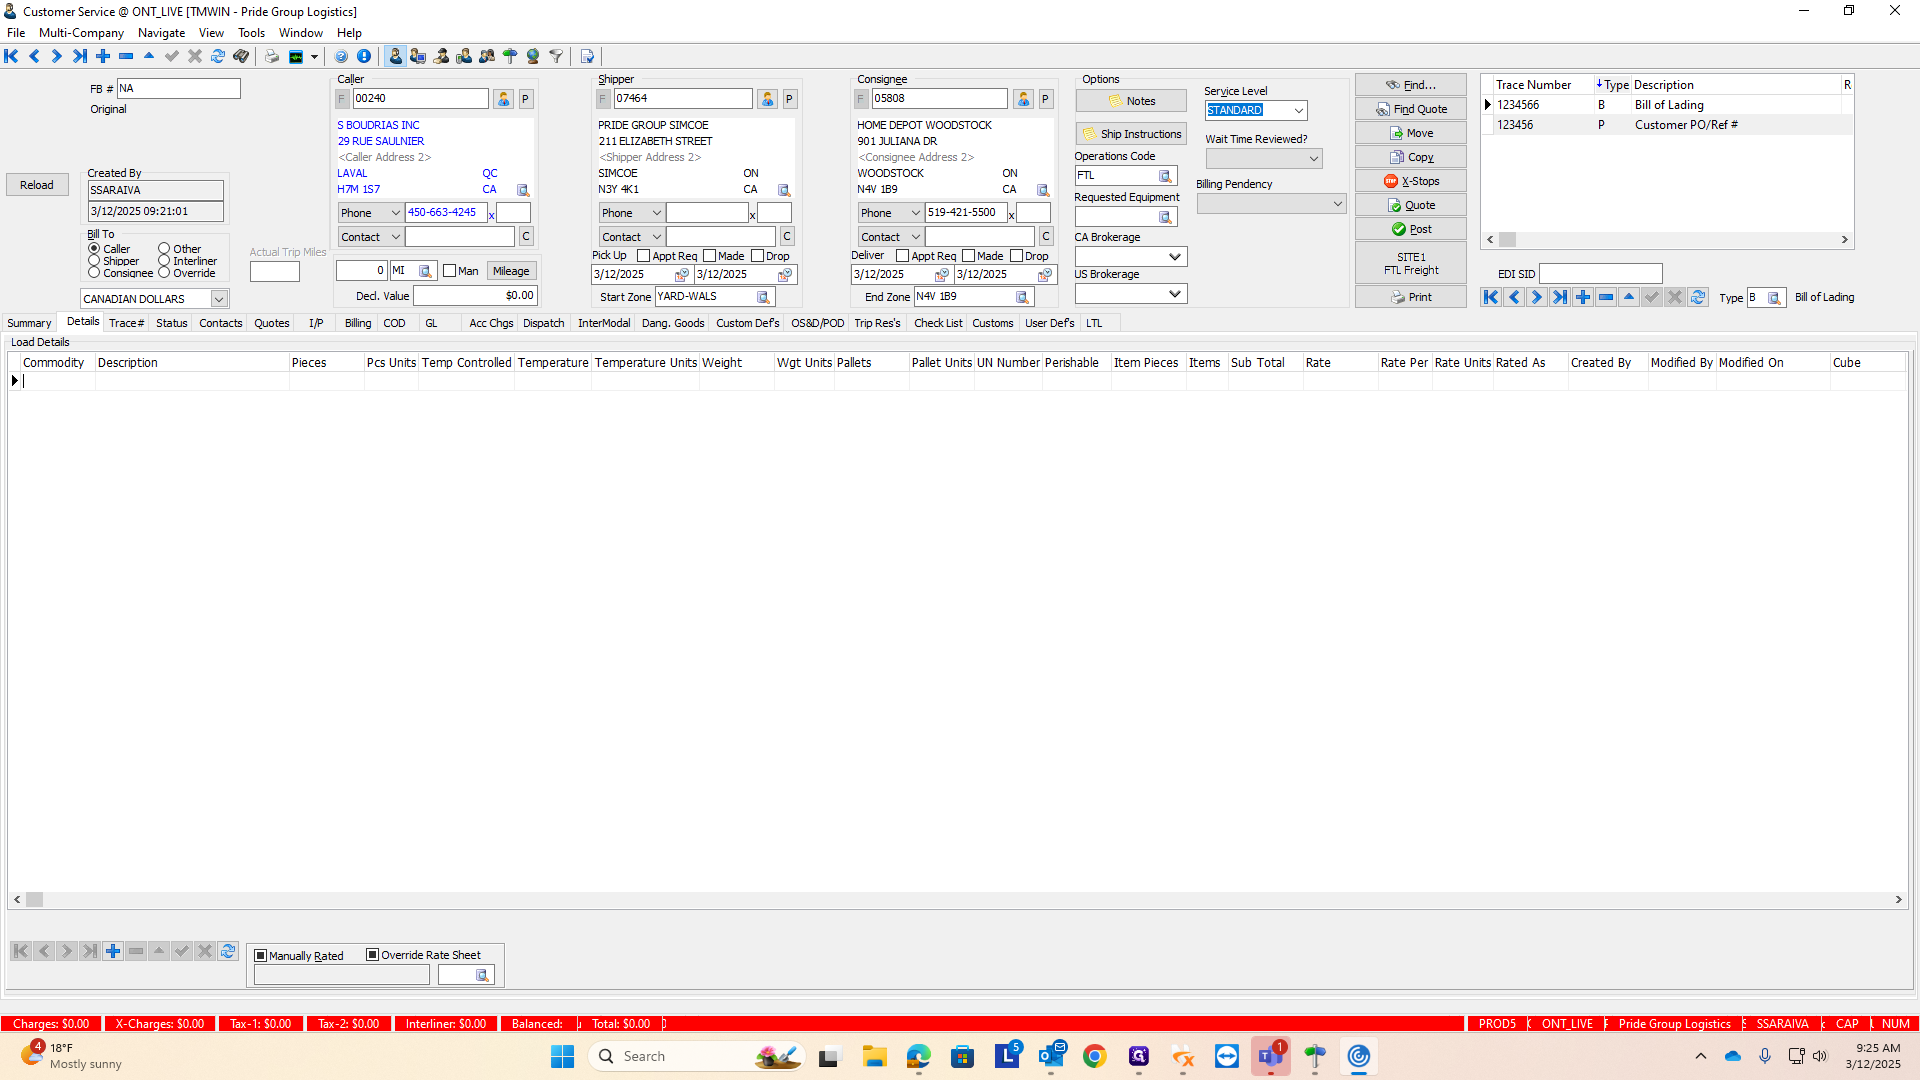
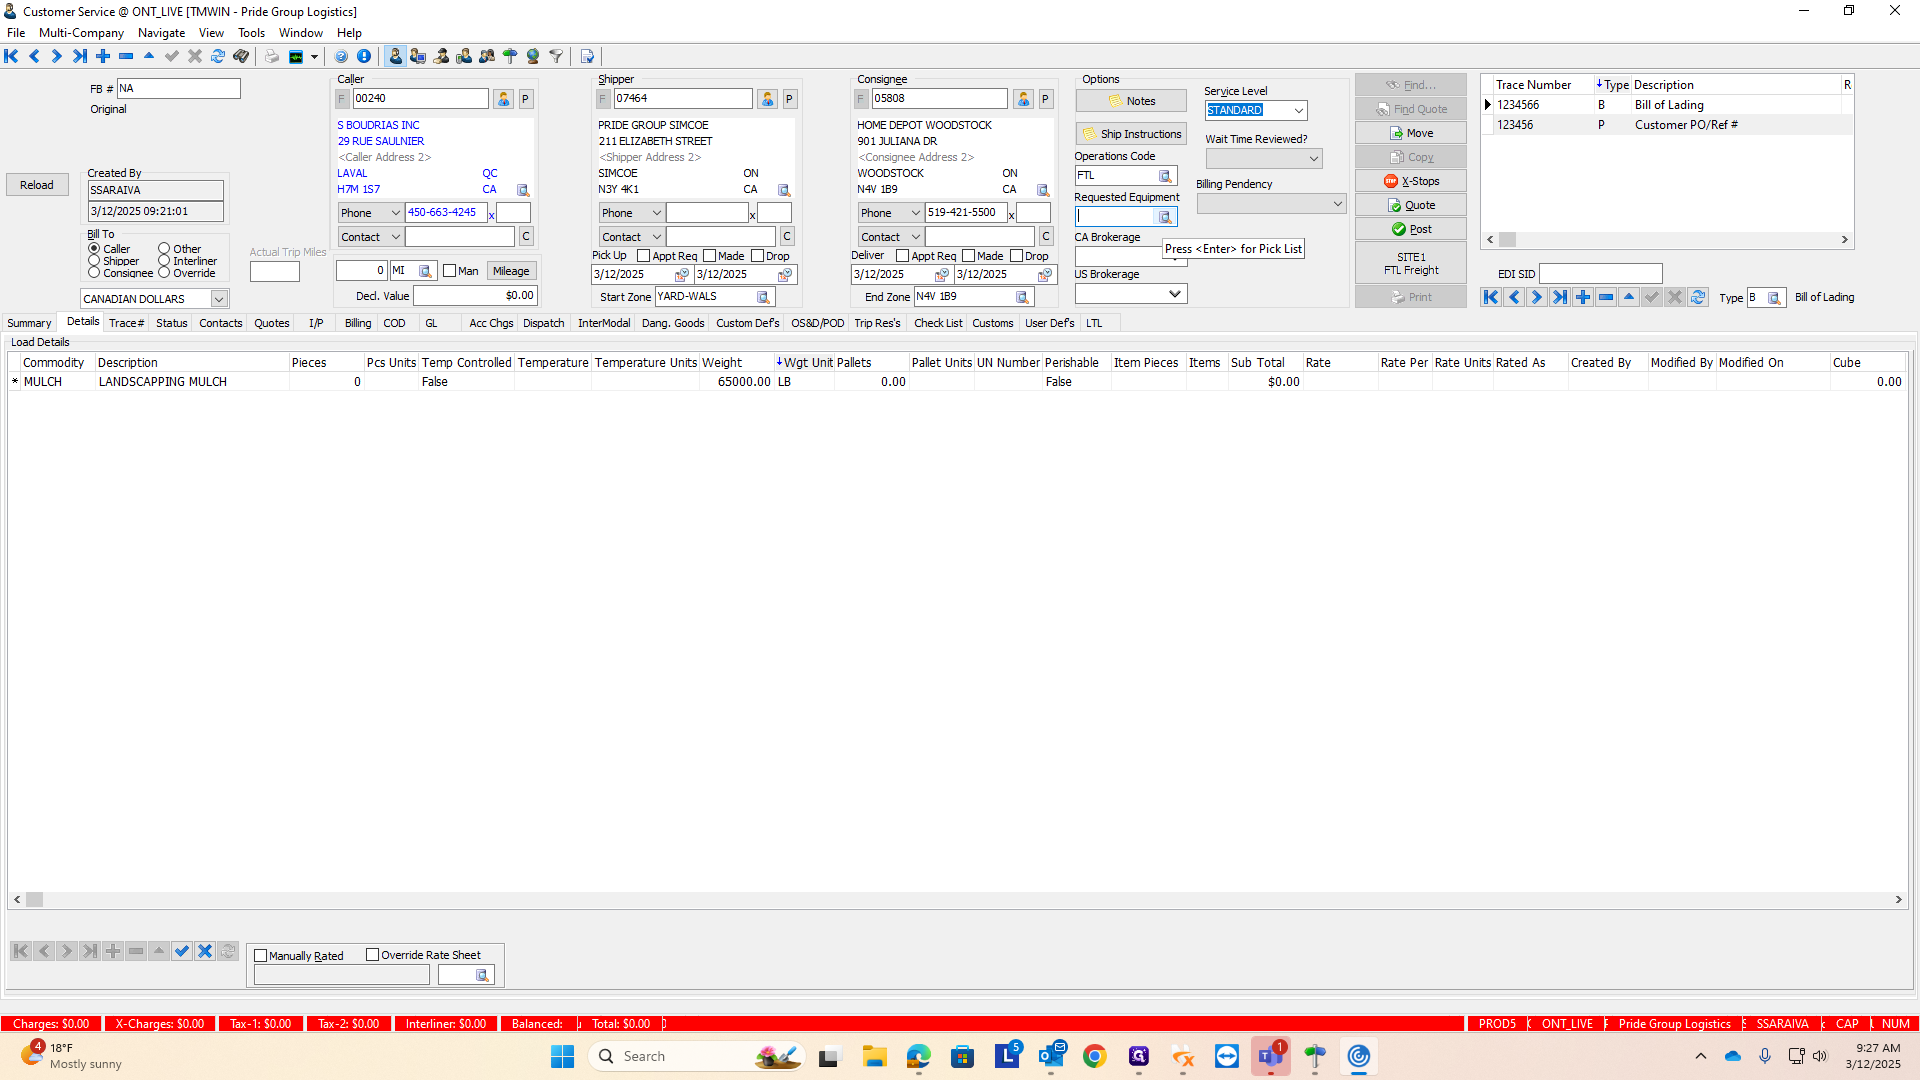
Everything will be blank. You need to fill in the caller, AKA who is the customer paying us for the load.
In this case, it will be S Boudre.
It does need to be in all capitals when you type.
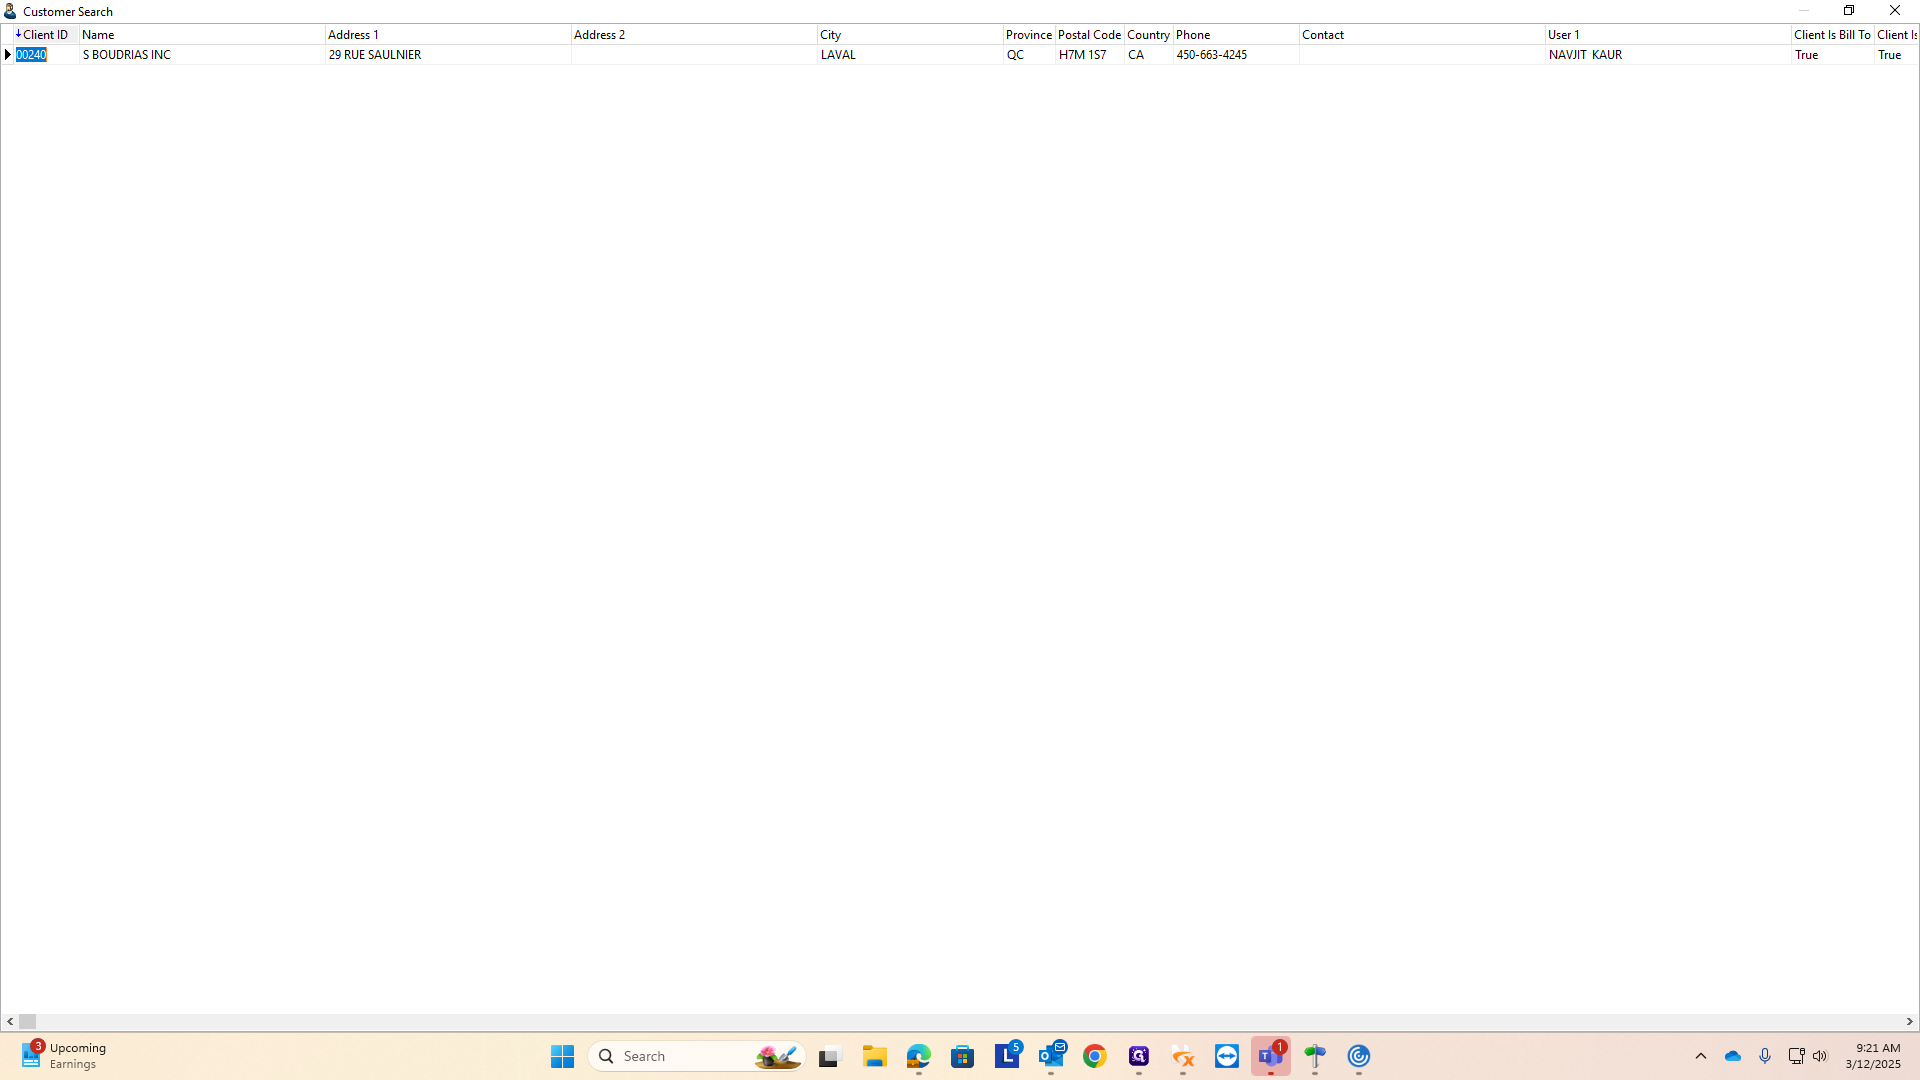
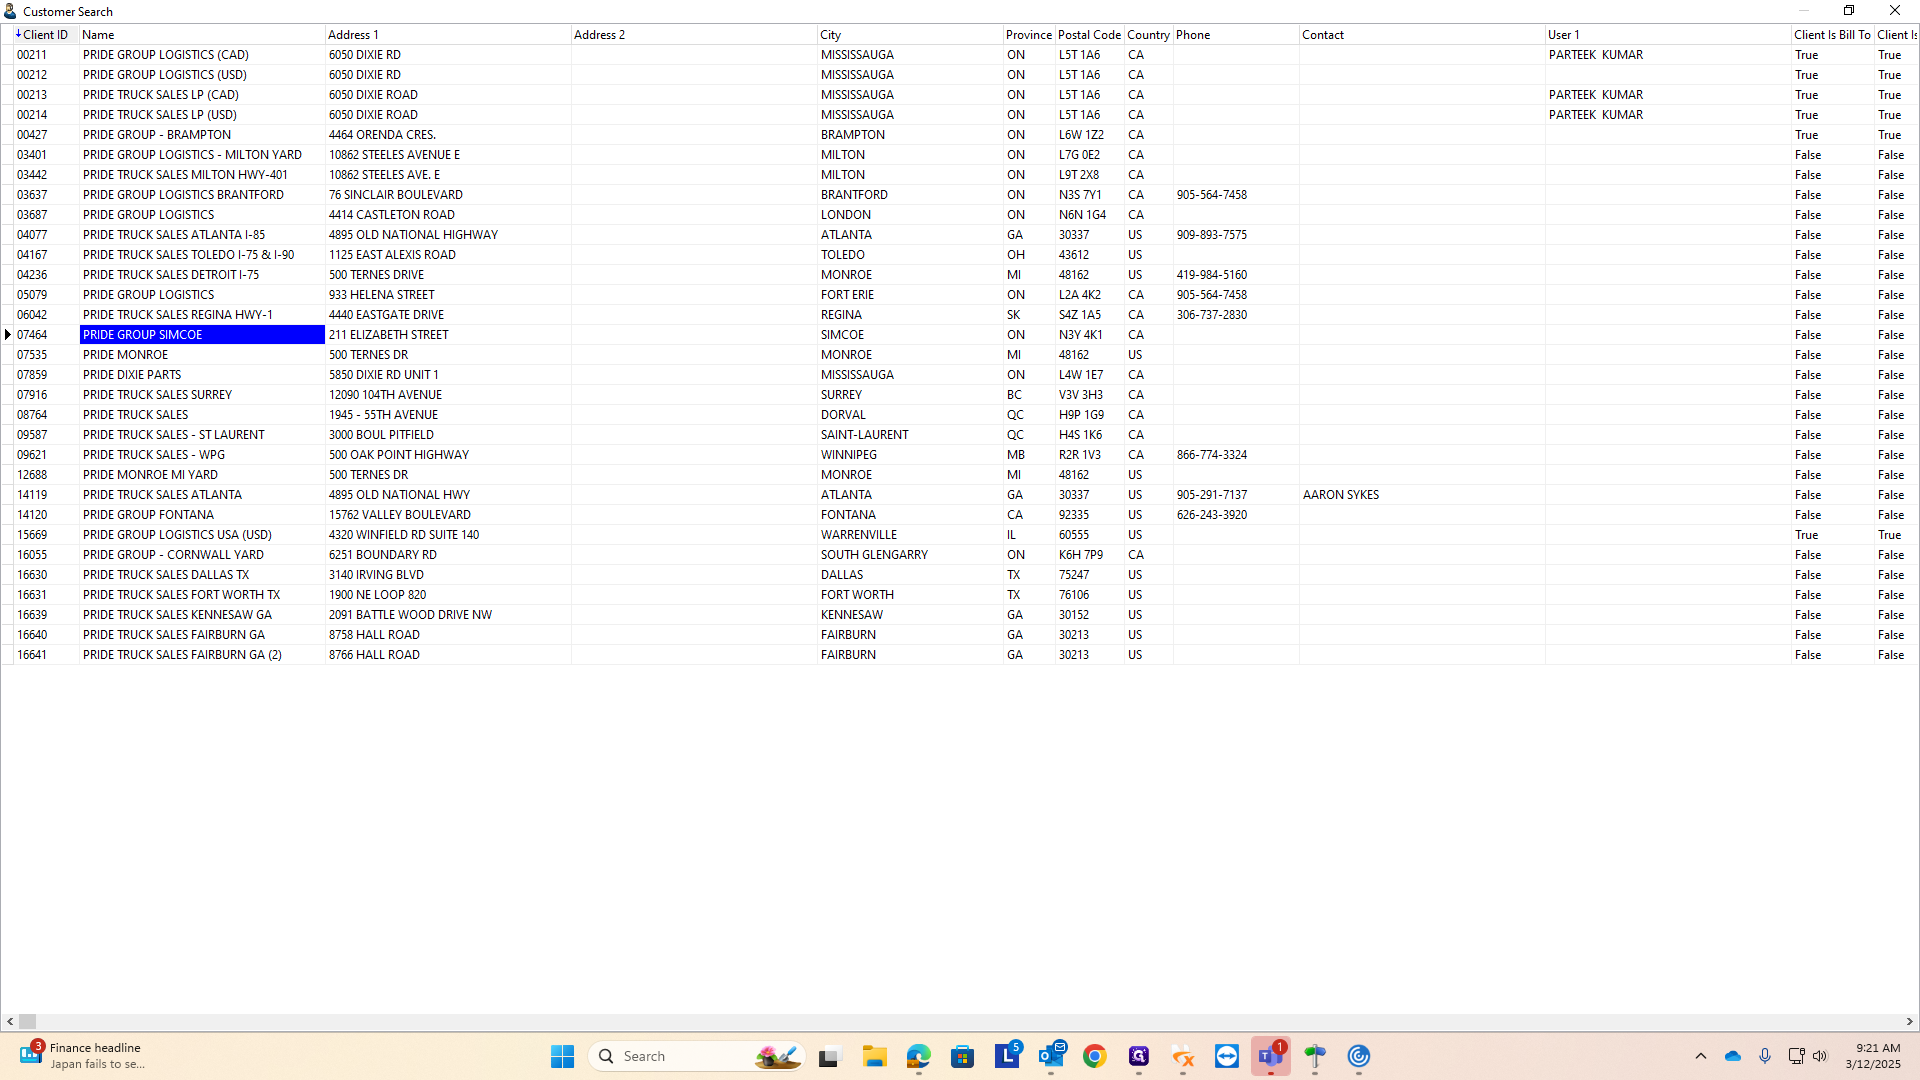
Choose the correct client
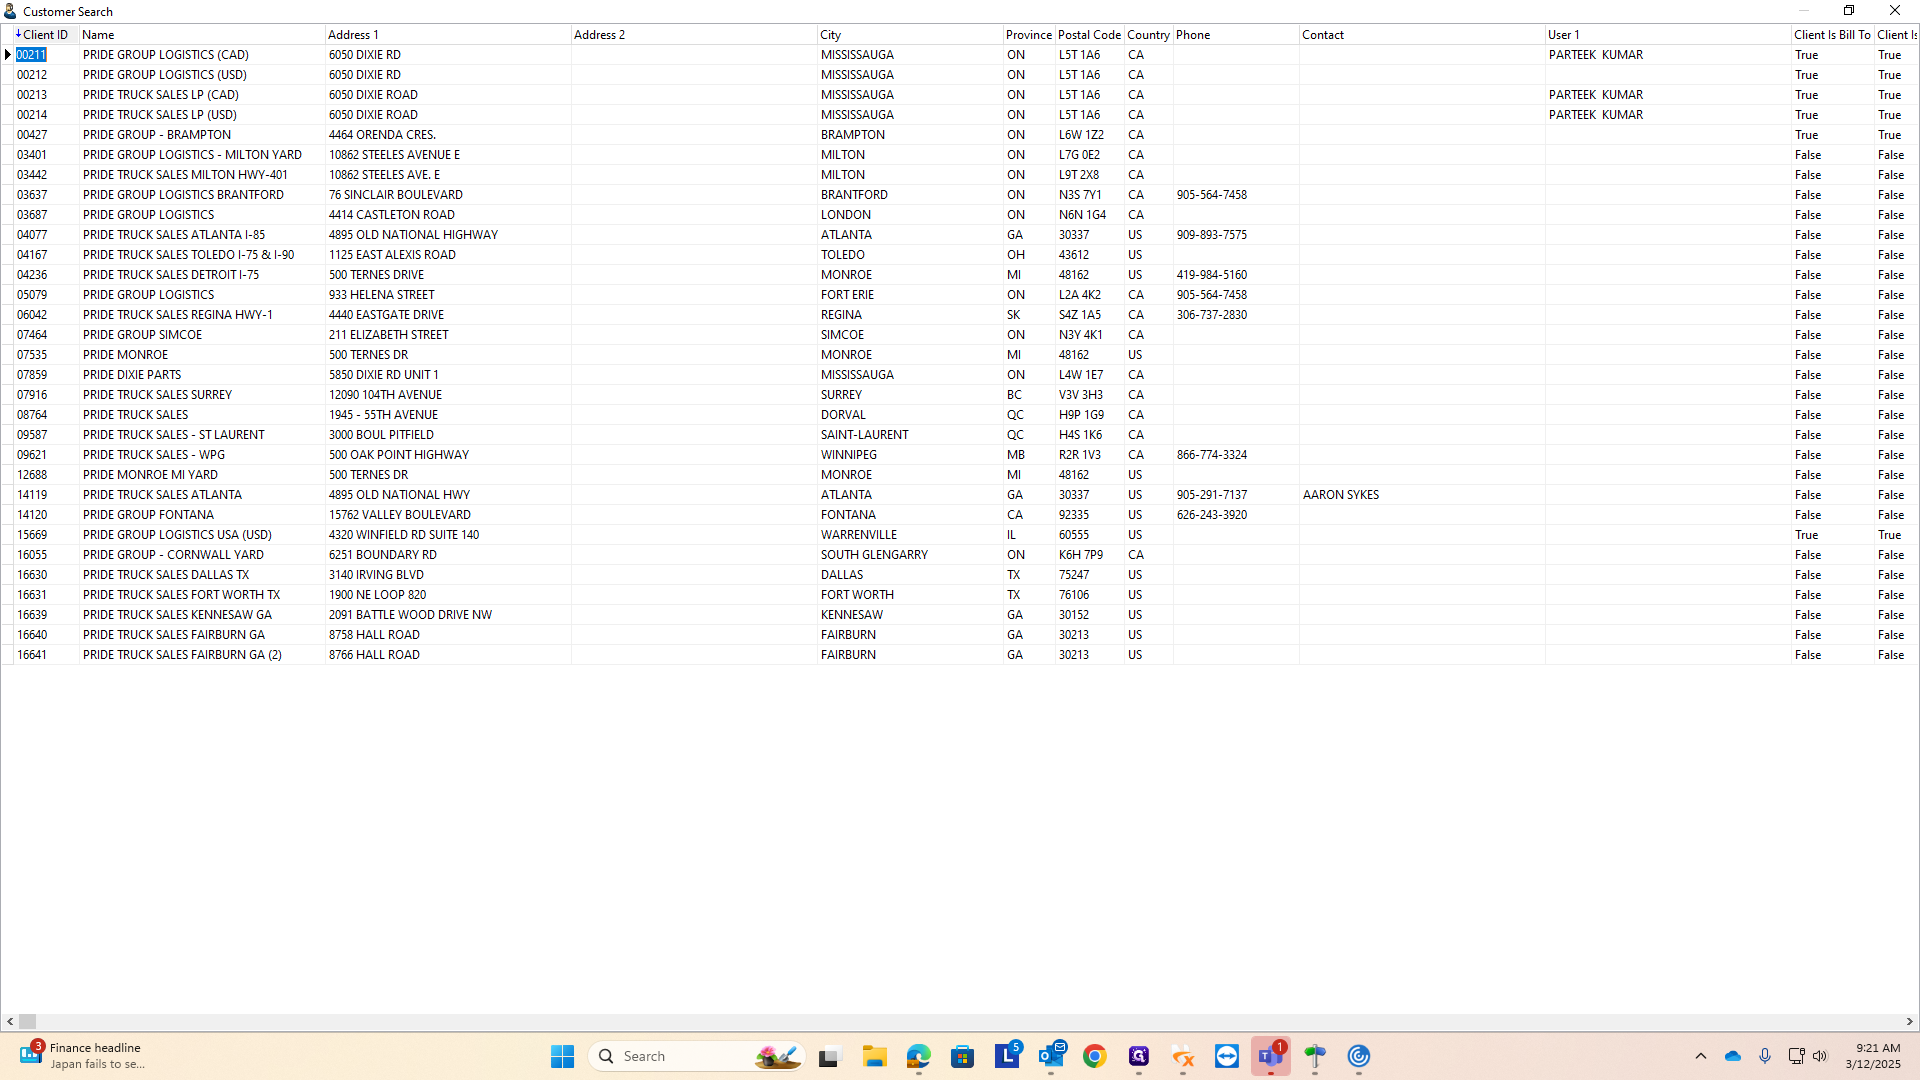
Next, enter the shipper, which in our case is the Walsh Yard.
I'll type "Pride," and various options will appear.
You will find the one in Simcoe, at Pride Group Simcoe.
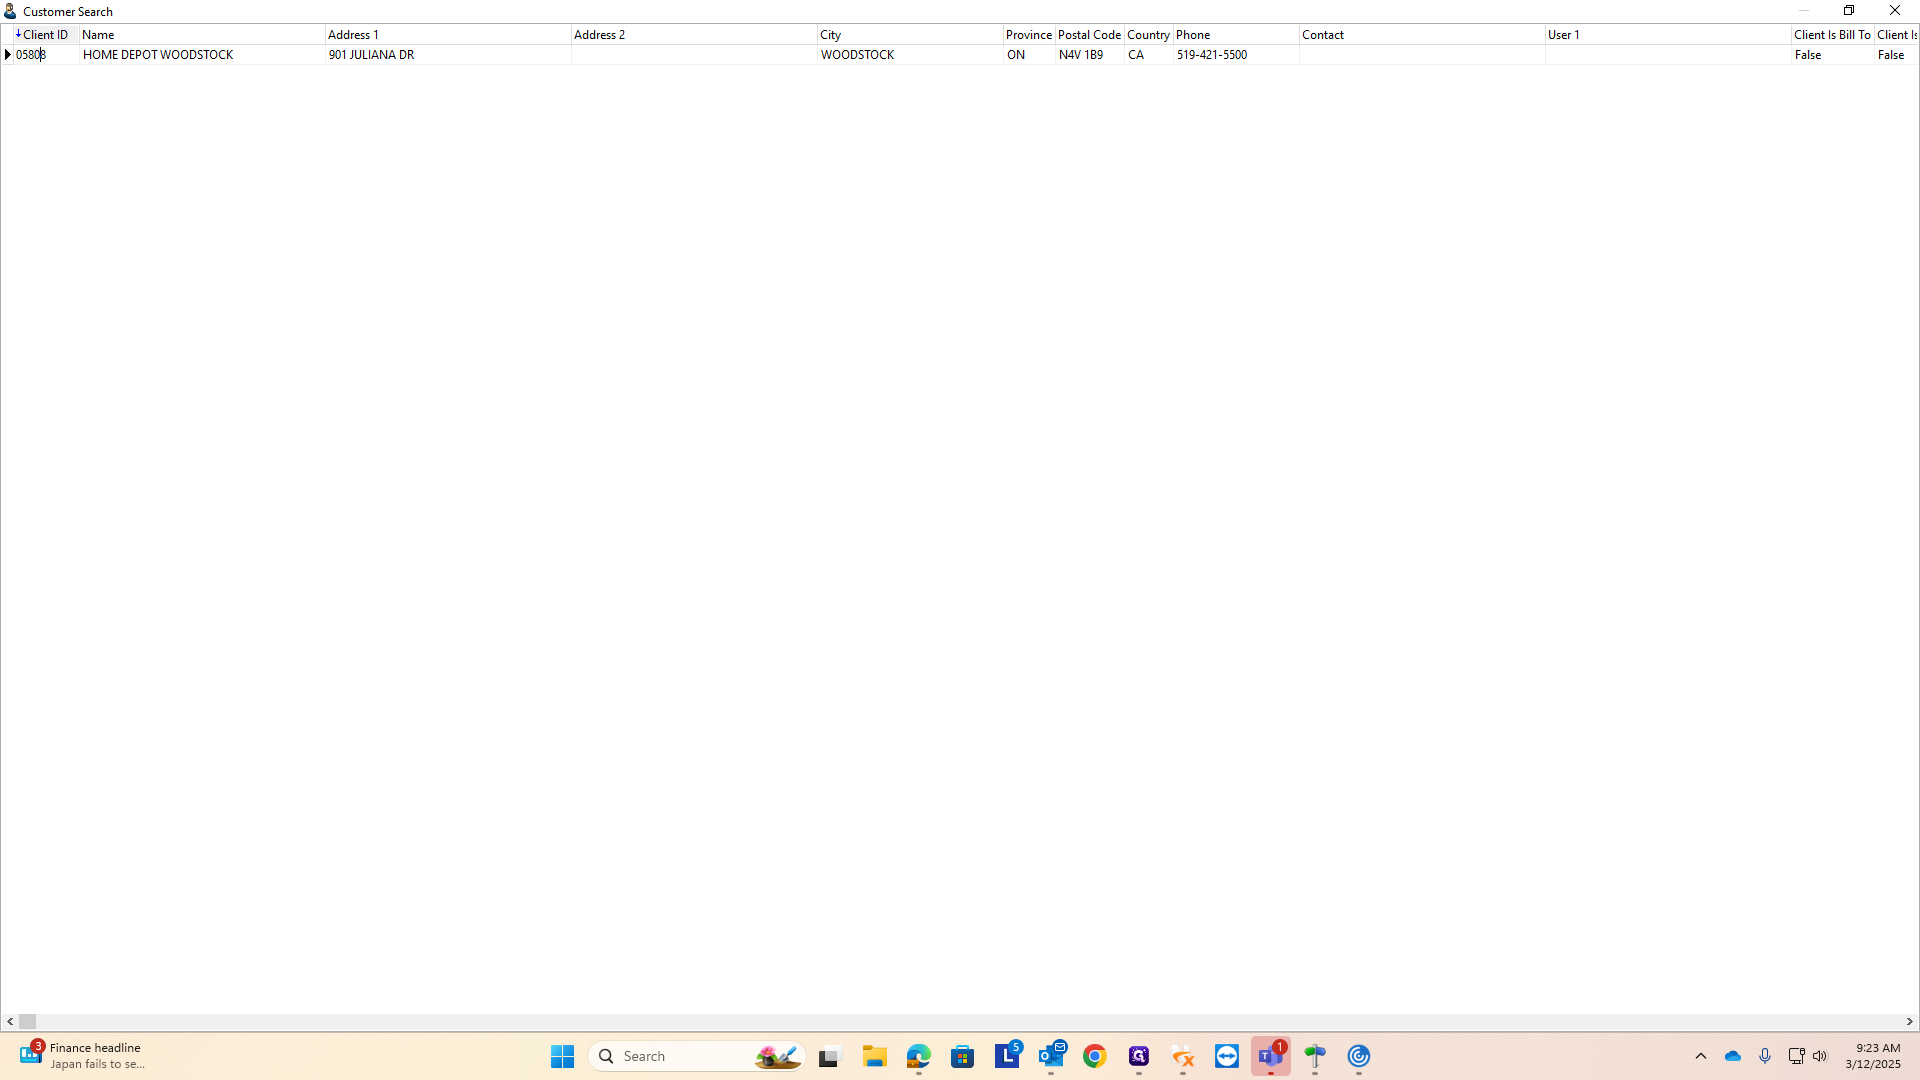
Next, type in the receiver's details. Enter the specific Home Depot location. I recommend using the address line. If you type "Home Depot" as the consignee name, many locations will appear. There are often multiple Home Depot stores in the same city. I find it better to search by address, which will be on the tender. For example, I will search for the Home Depot in Woodstock.
Go to the consignee address section and enter the street address. You don't need to type the entire address. Just enter the numbers and proceed. For example, typing 901, the address number for Home Depot Woodstock, will display all shippers or receivers at 901.
I can see there's a Home Depot in Woodstock.
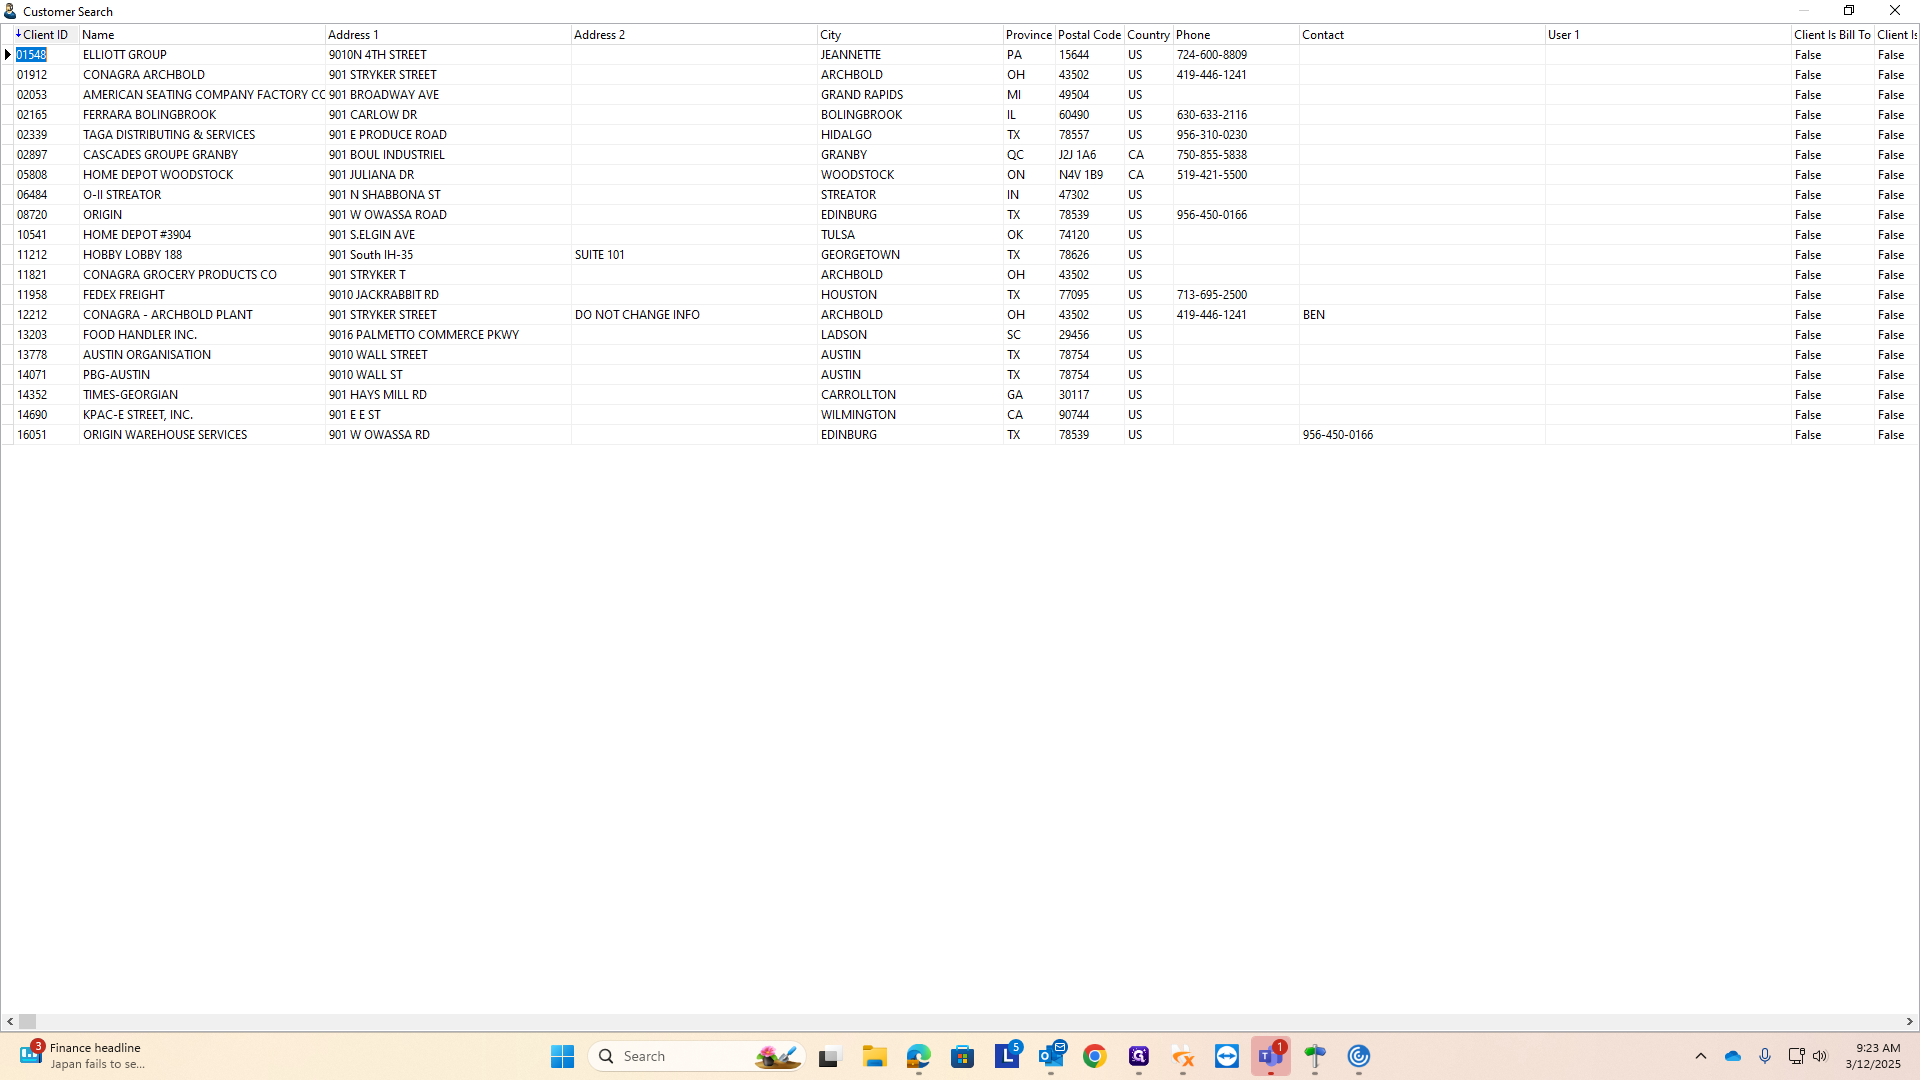
If there are many places with the same address number, continue typing more. You don't need to type the entire address—just a few letters will suffice.
I typed "J-U-L-I" for Juliana Drive, but it only brought up the Home Depot in Woodstock.
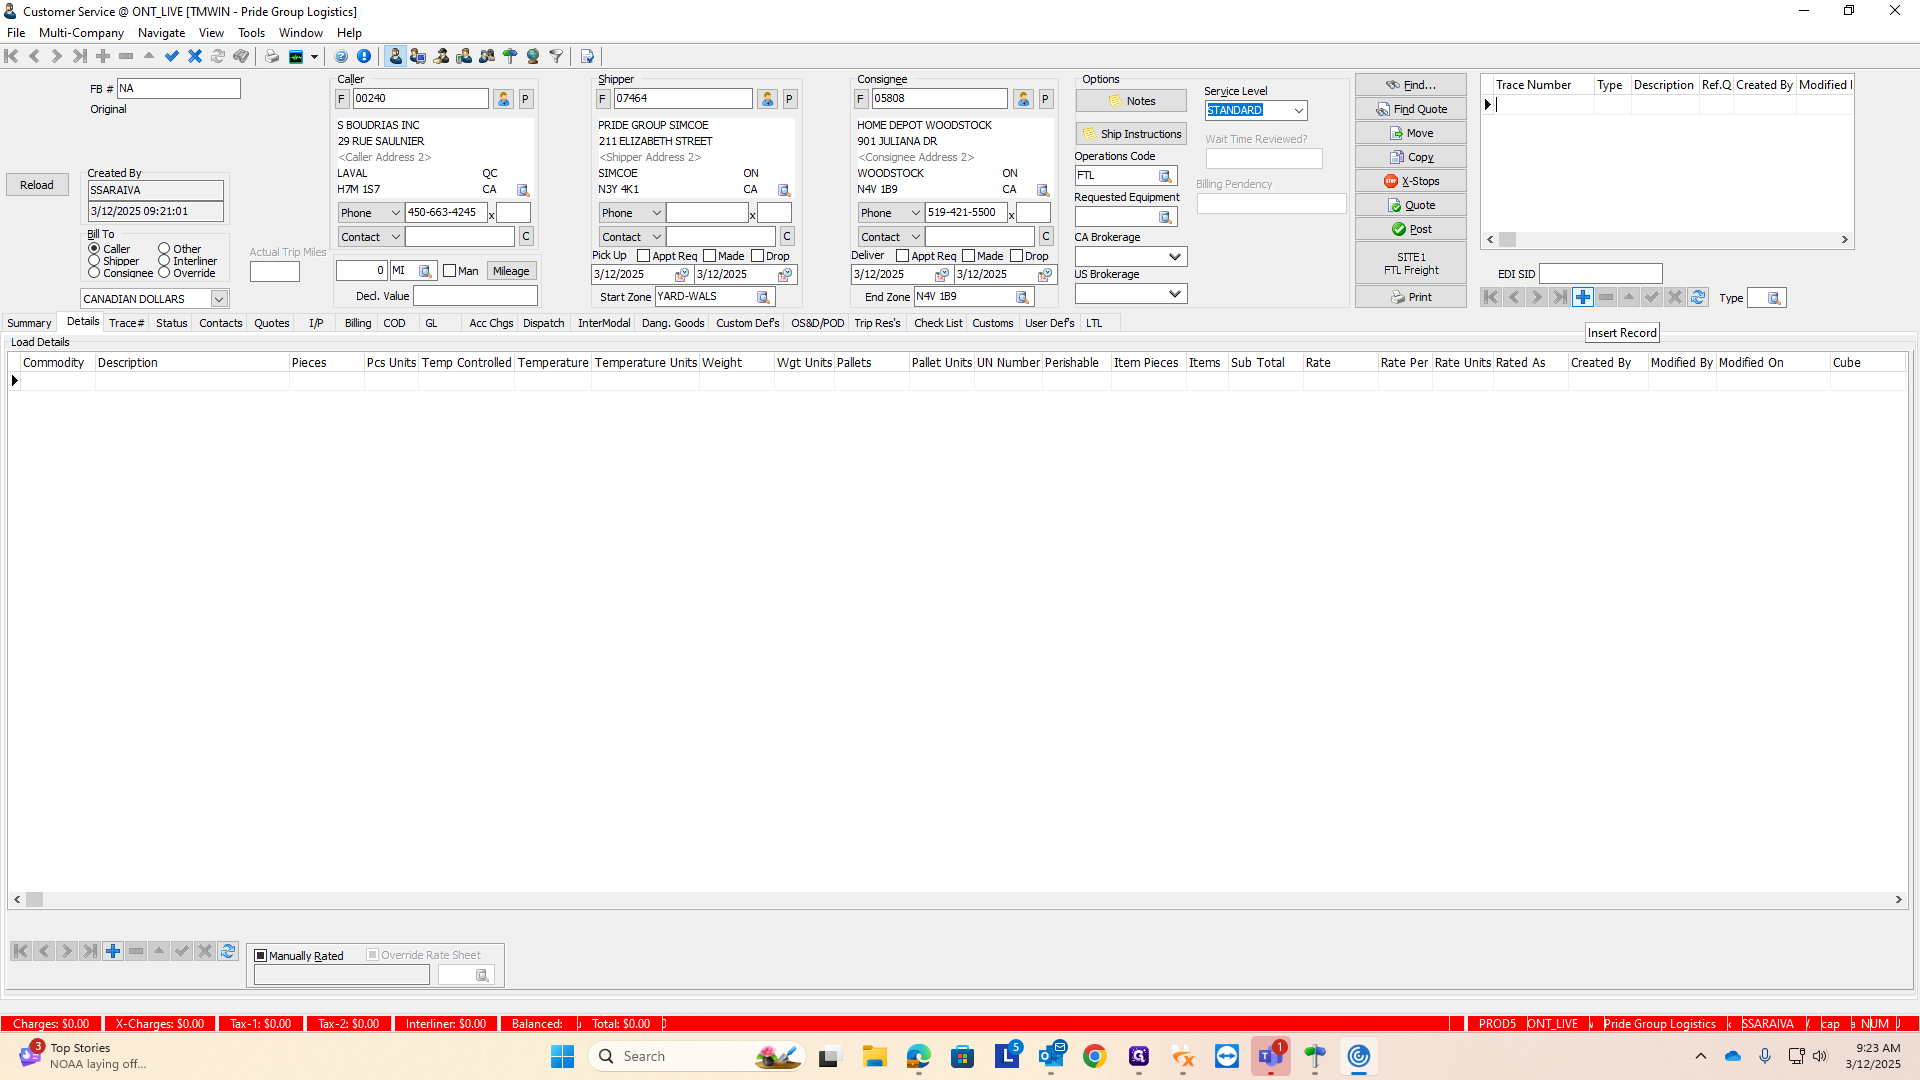
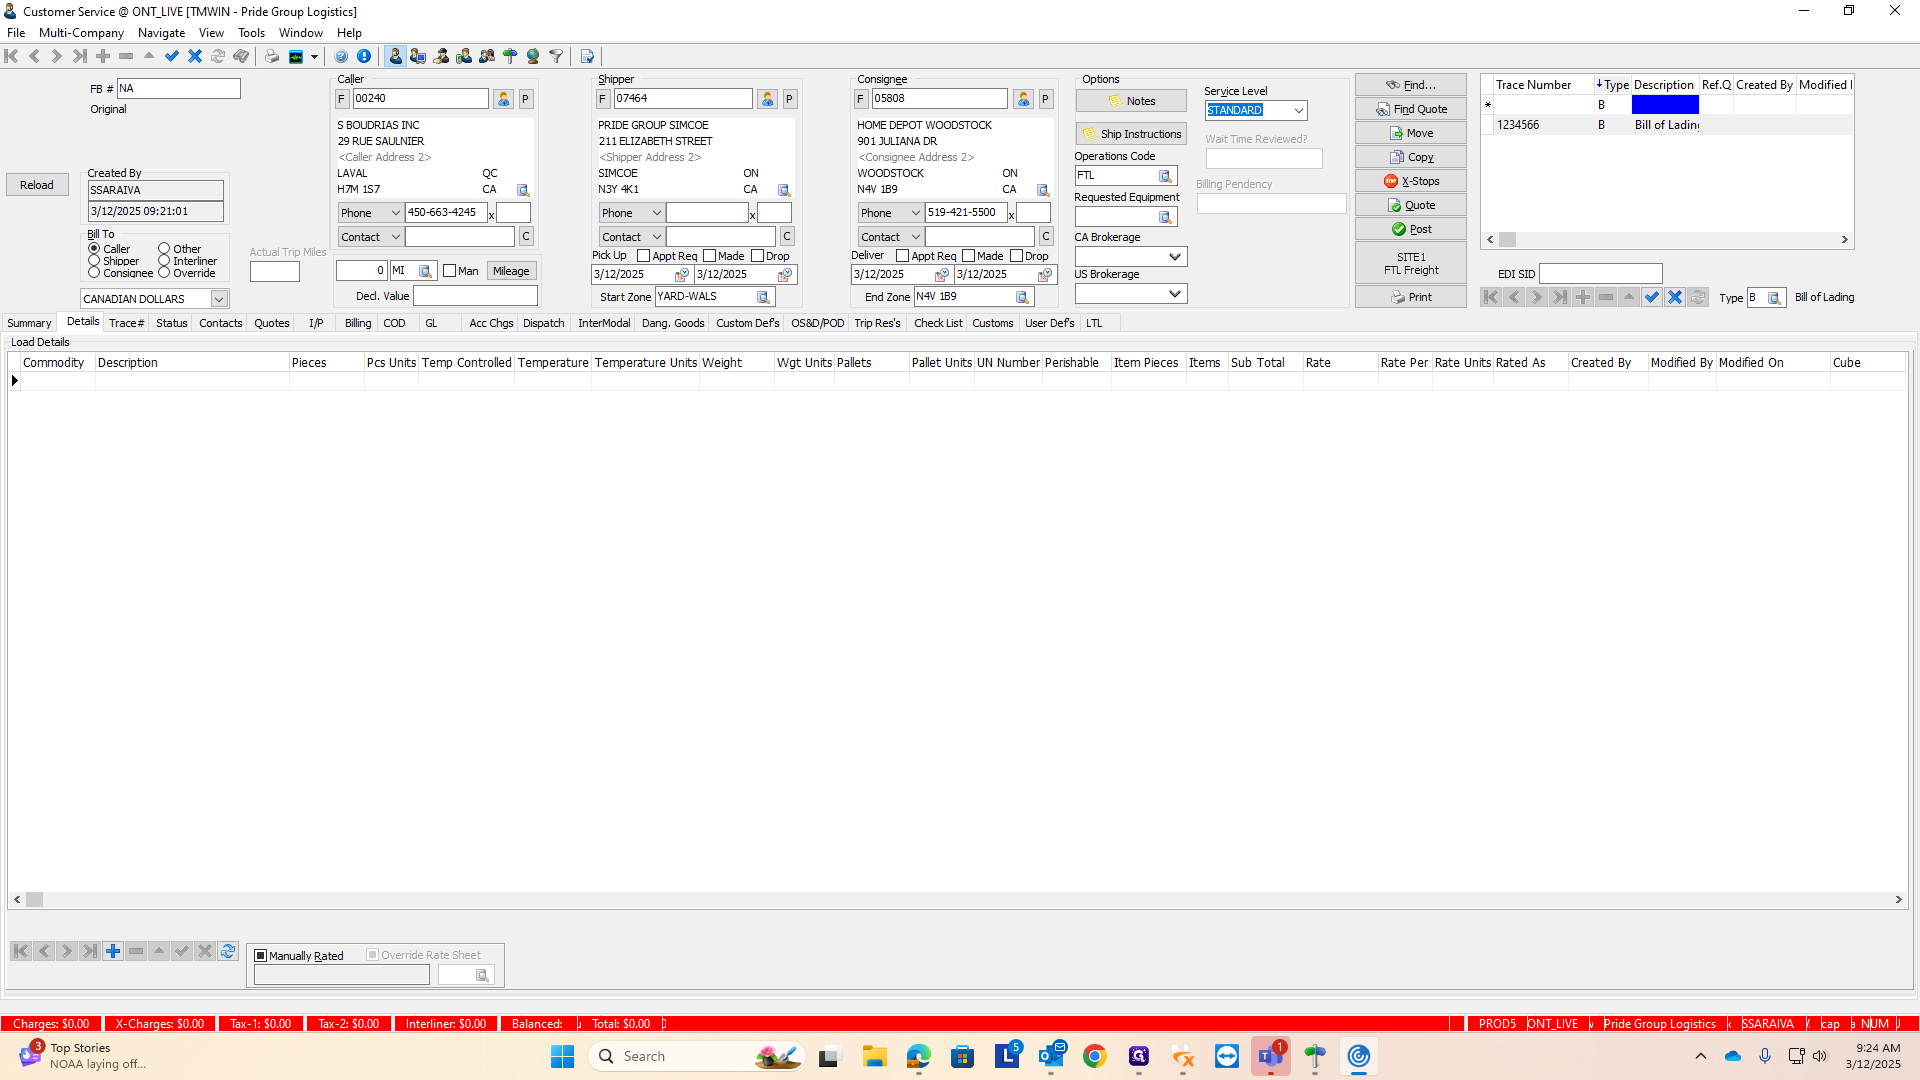
Once you have the caller, shipper, and receiver, you're halfway through entering the order. Next, add your reference numbers to the trace numbers box.
To add new numbers, click the plus button to insert a record.
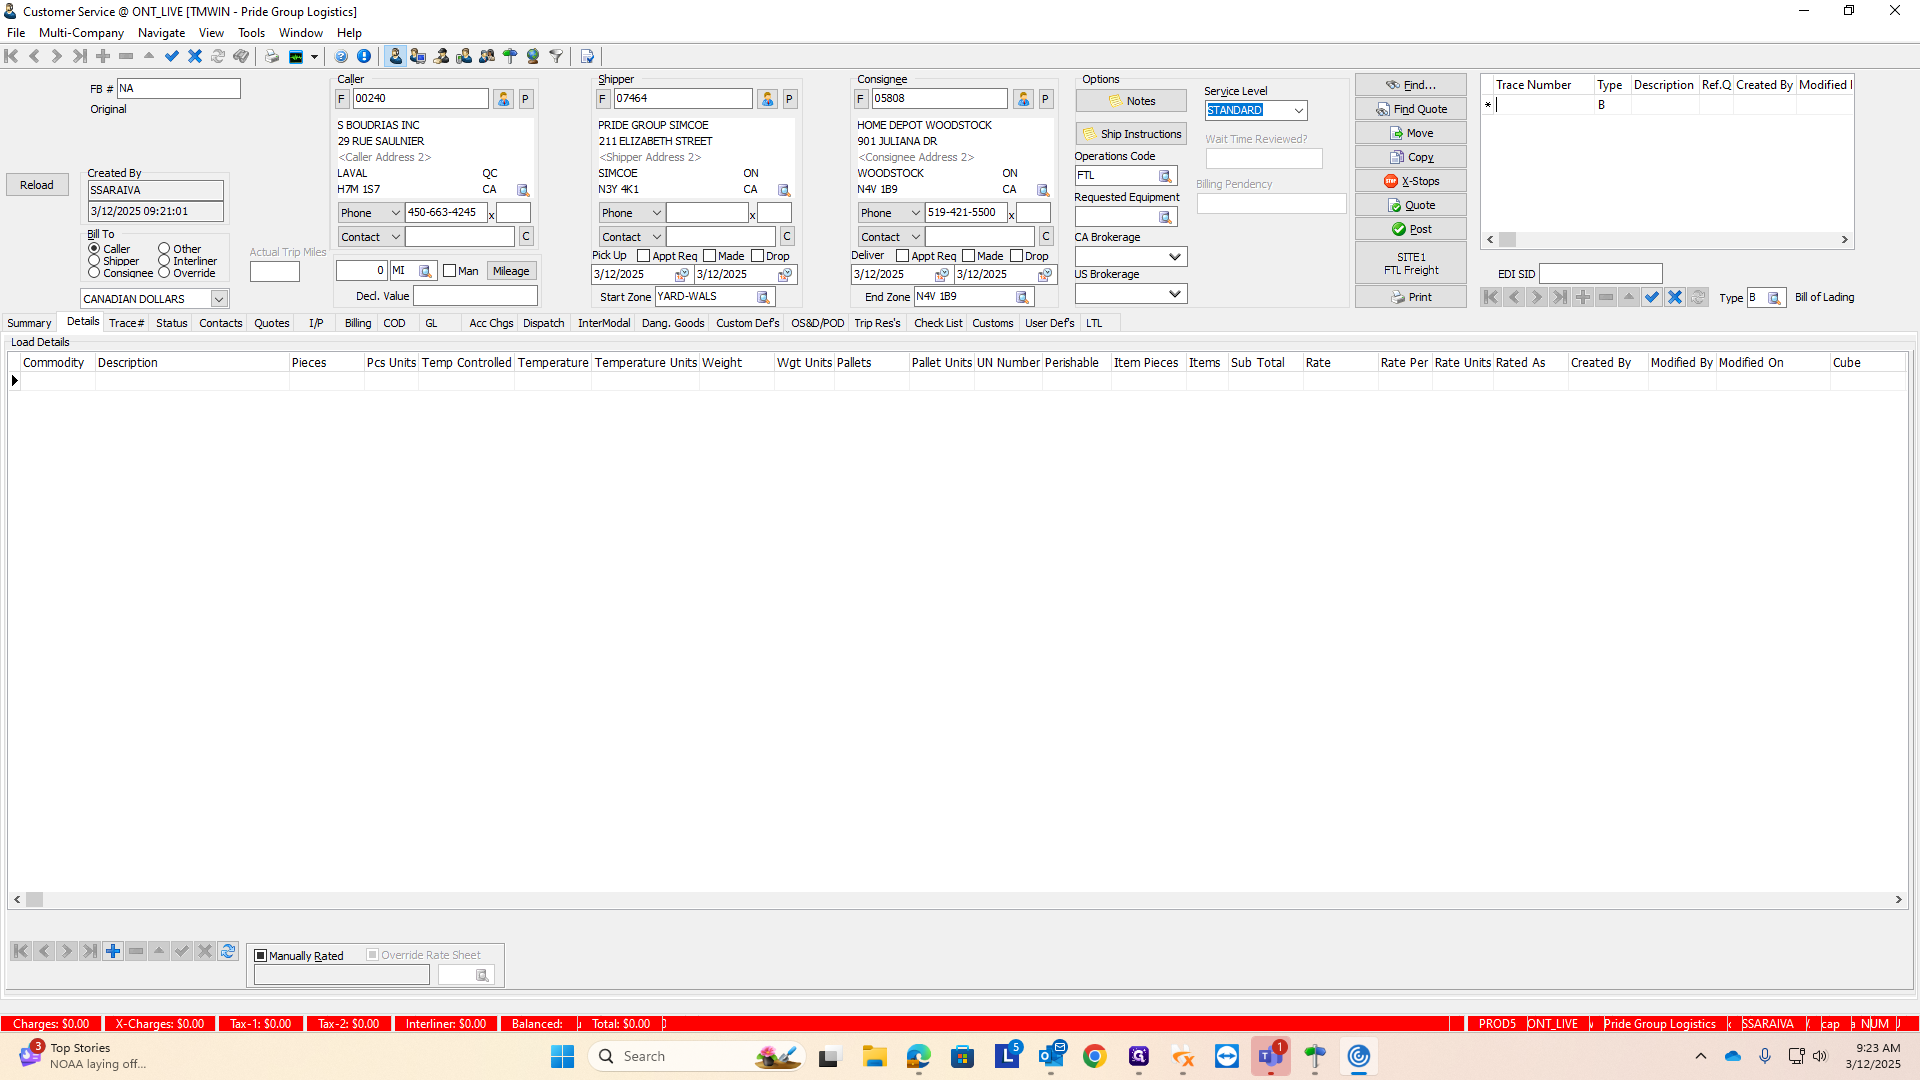
Enter your PO and Home Depot reference number here. For any number that is not a PO, use "B" for the bill of lading reference number.
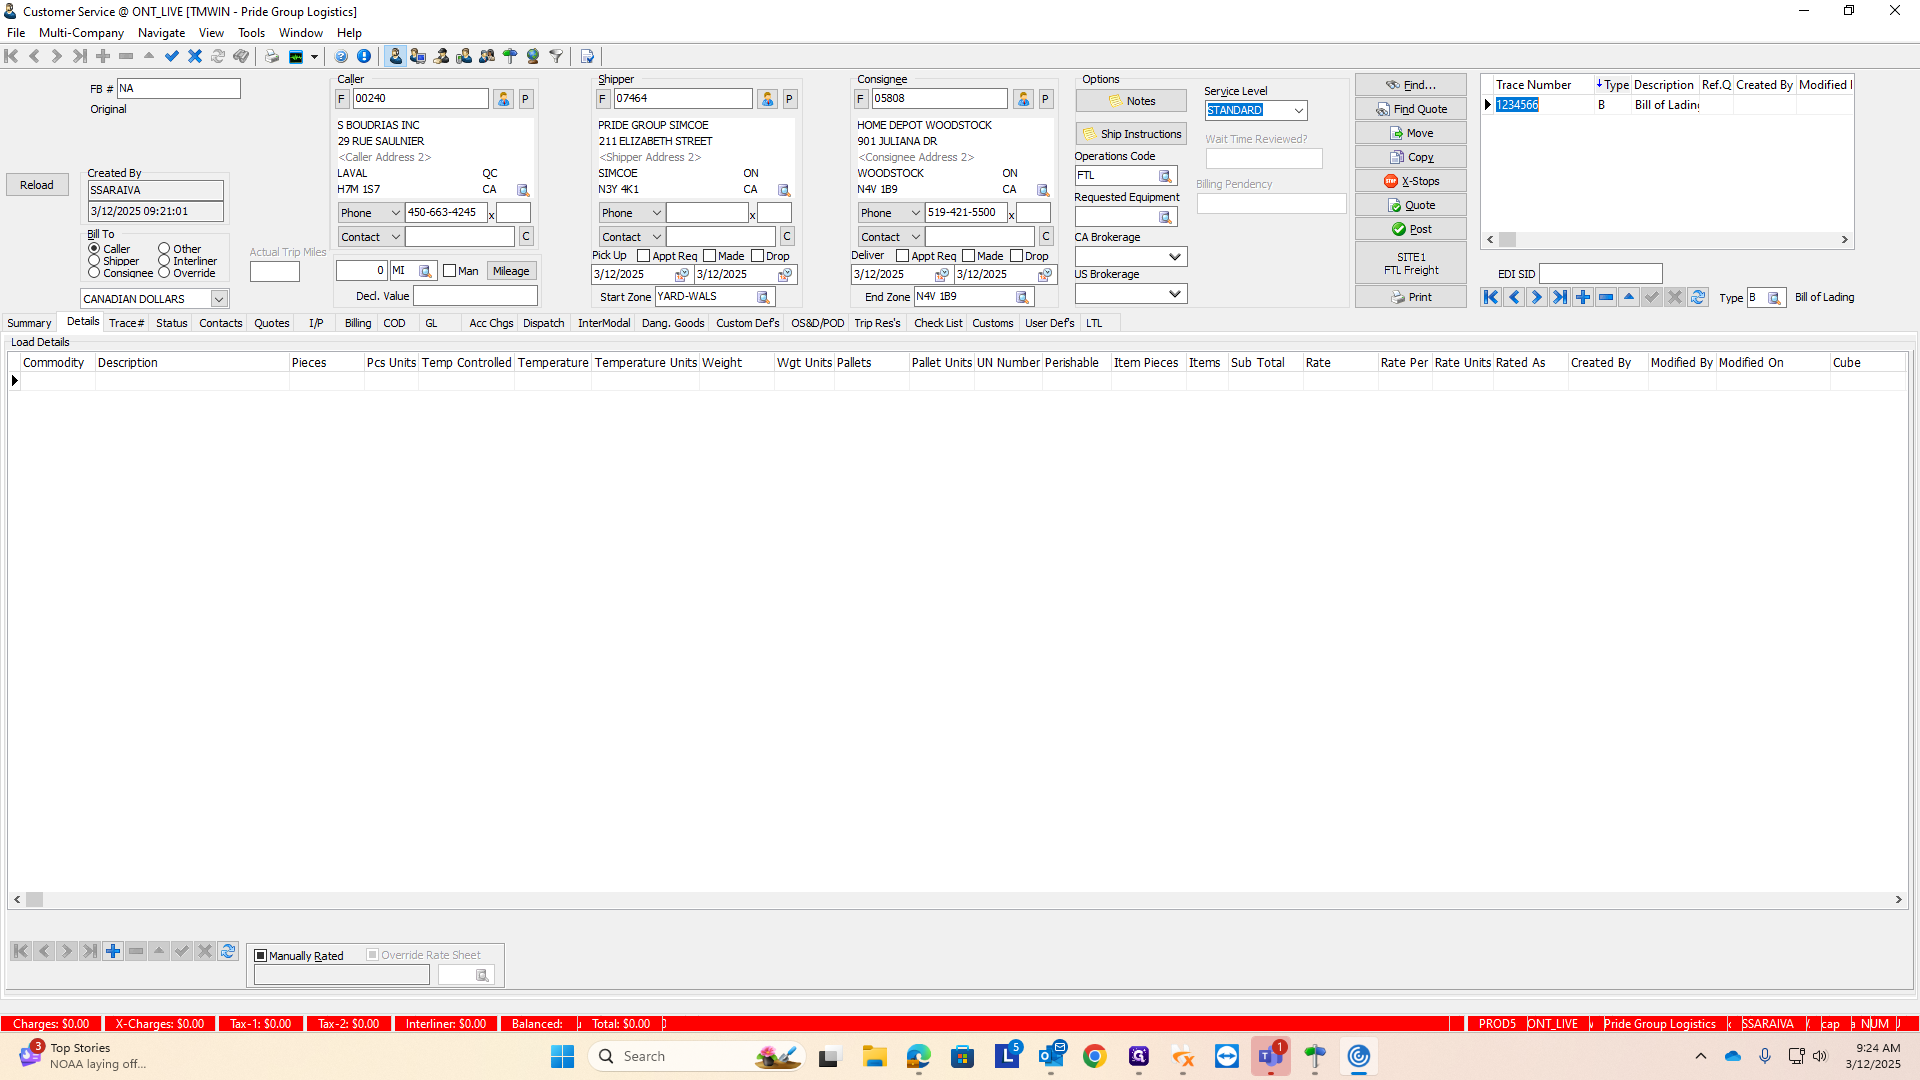
You need a bill of lading number and a PO number to save an order. To add a PO number, click the plus button.
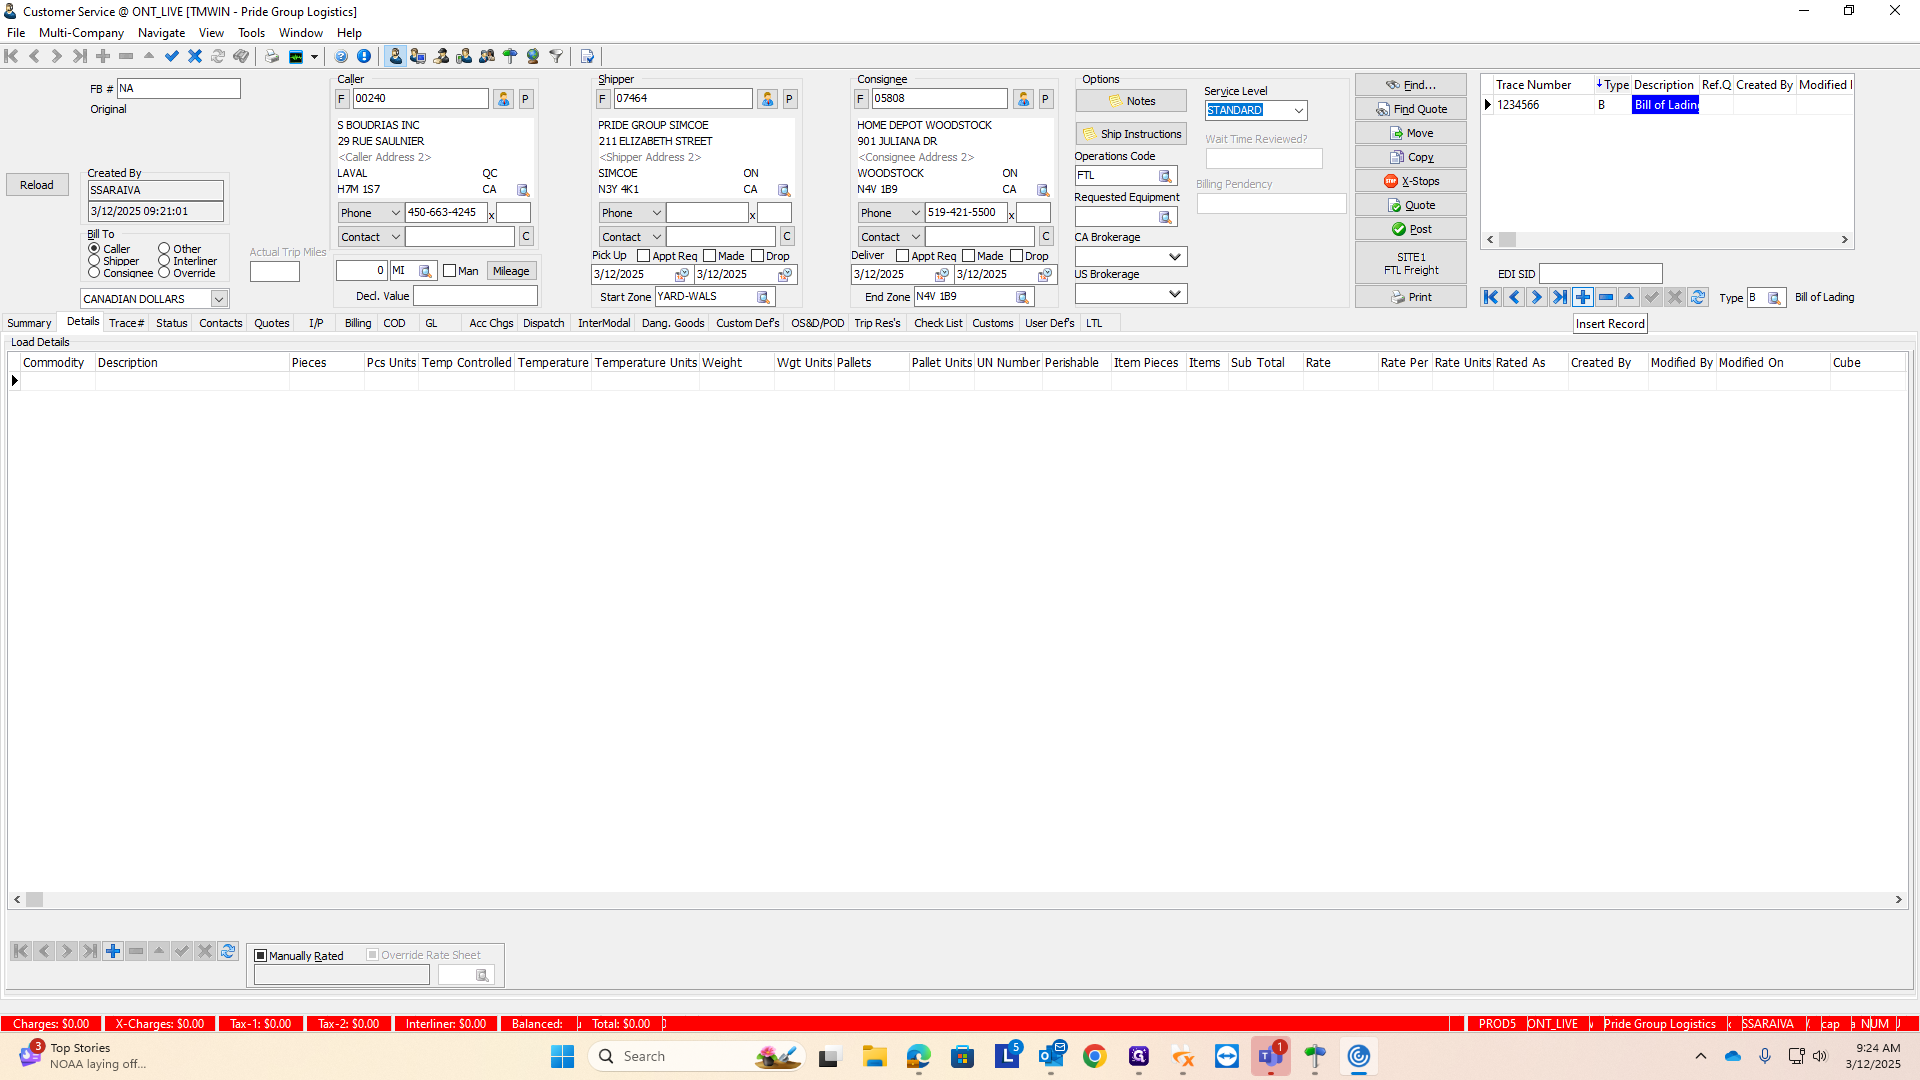
Enter your PO number and the trace number. Then, change the number type from B.
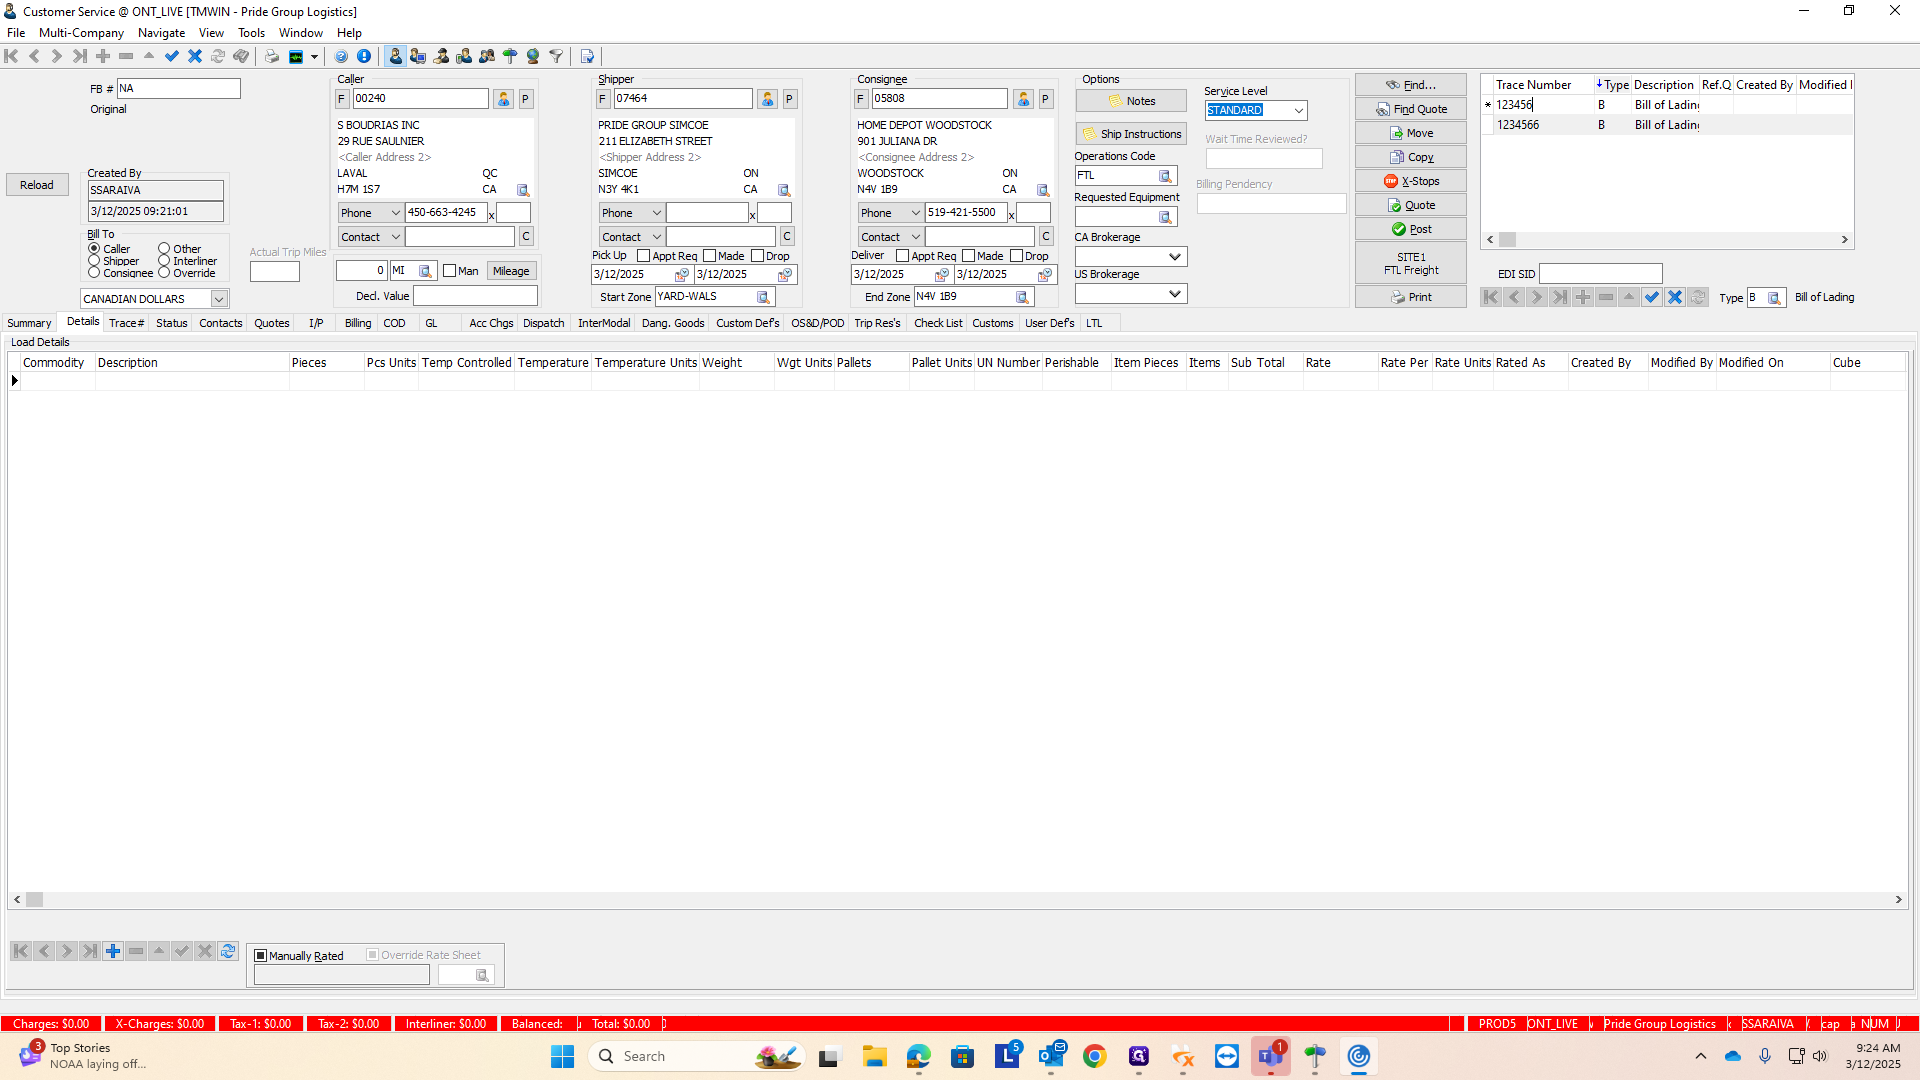
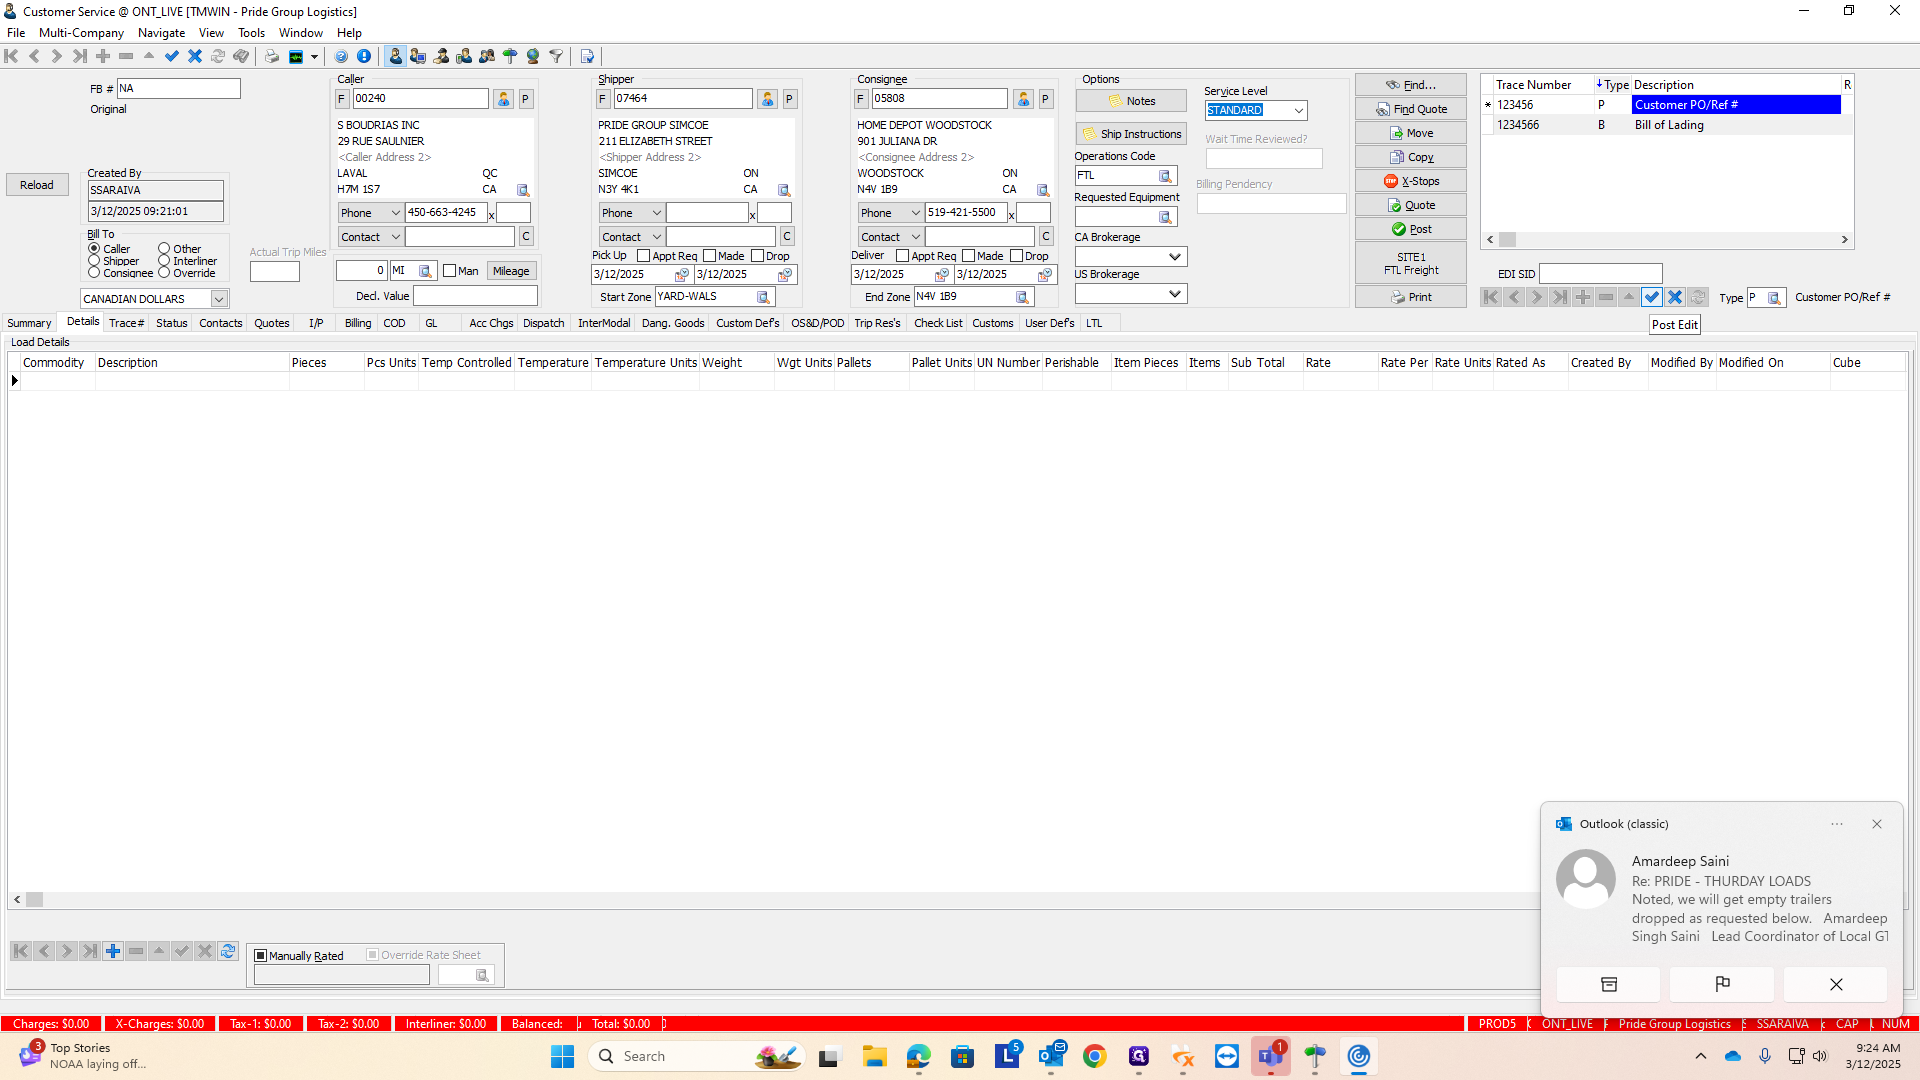
Type the letter P. When you tab over, it will change the description from "bill of lading number" to "customer PO reference number."
Be sure to click the check mark to save your changes.
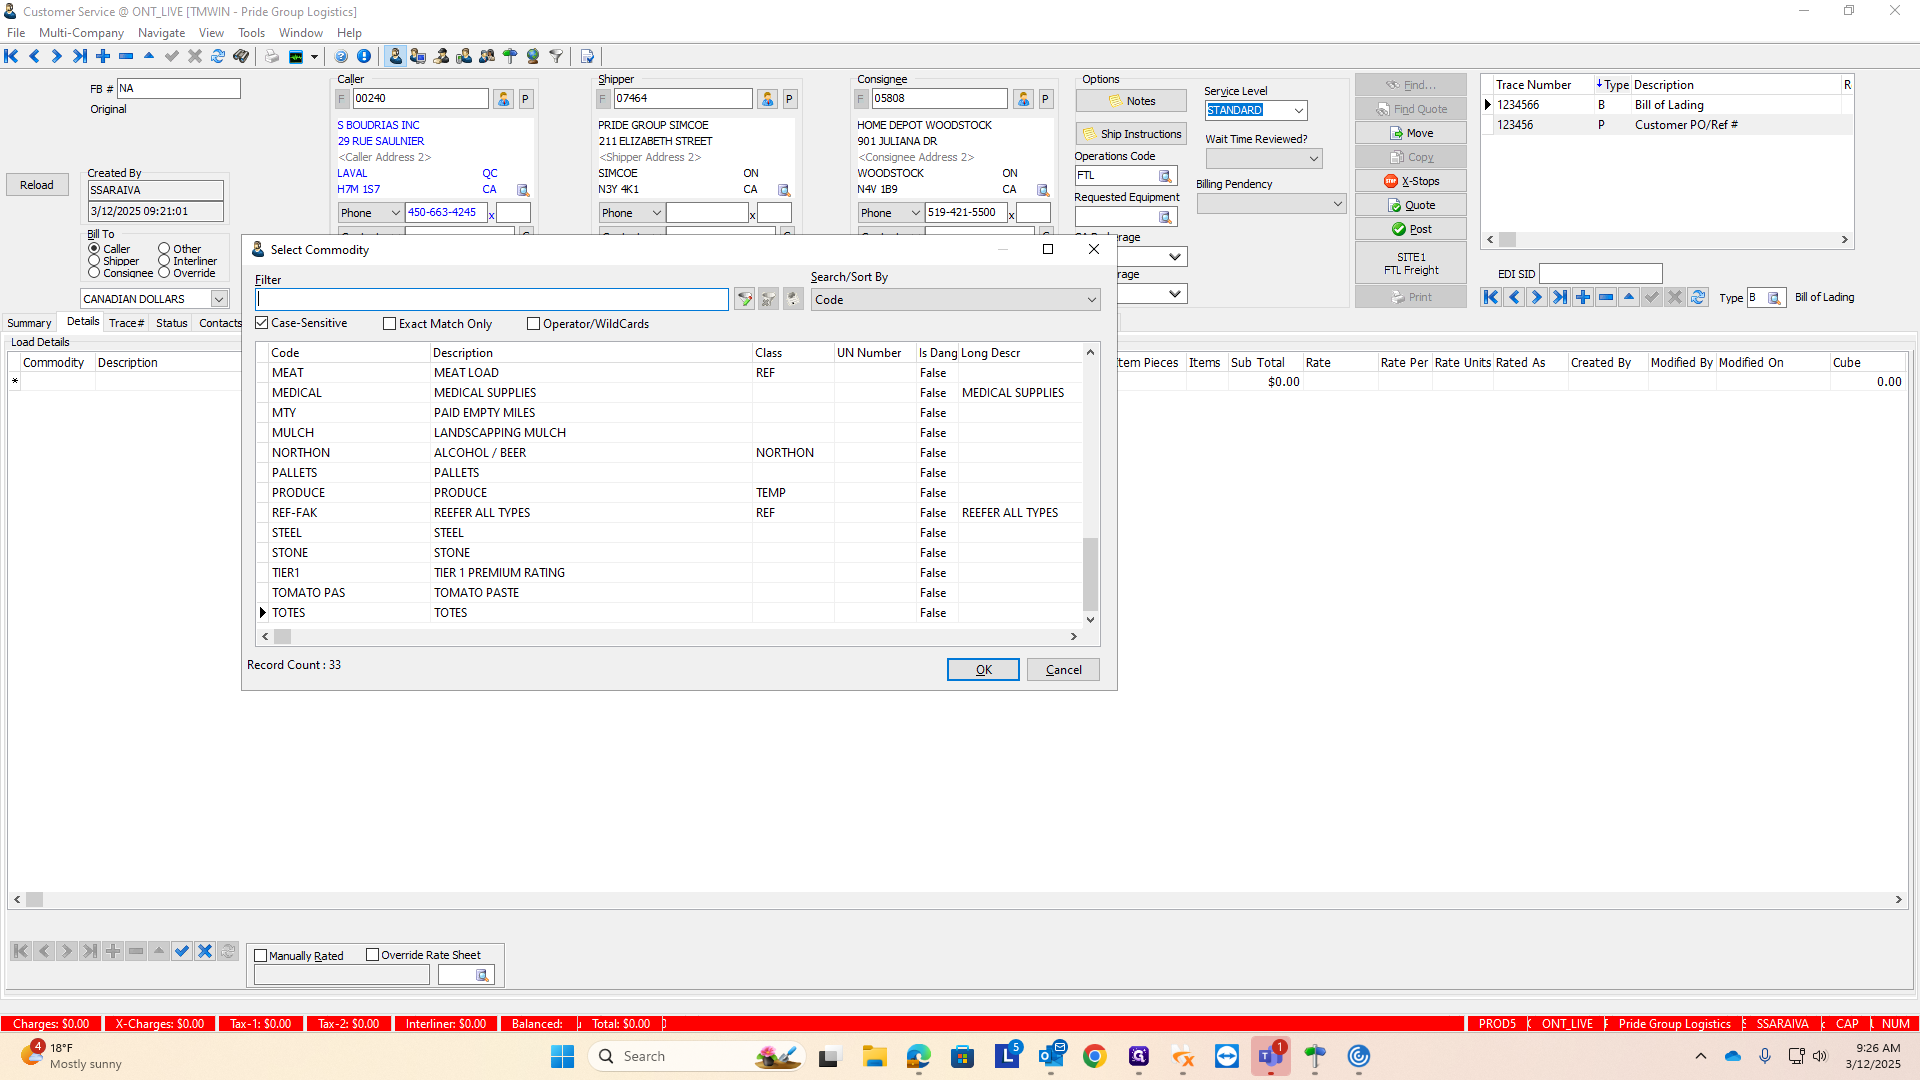
Next step is to add the commodity.
To enter a commodity, click the plus button at the bottom of the screen.

To choose the type of commodity, we have a mulch group. If you're unsure, double-click the box under "commodity."
Choose from the different options. In our case, this is soil and mulch. We have a mulch code here.
Then, go through and add the piece count.

There is no temperature control because these will be on flatbeds. I will remove the temperature units since they are not needed.
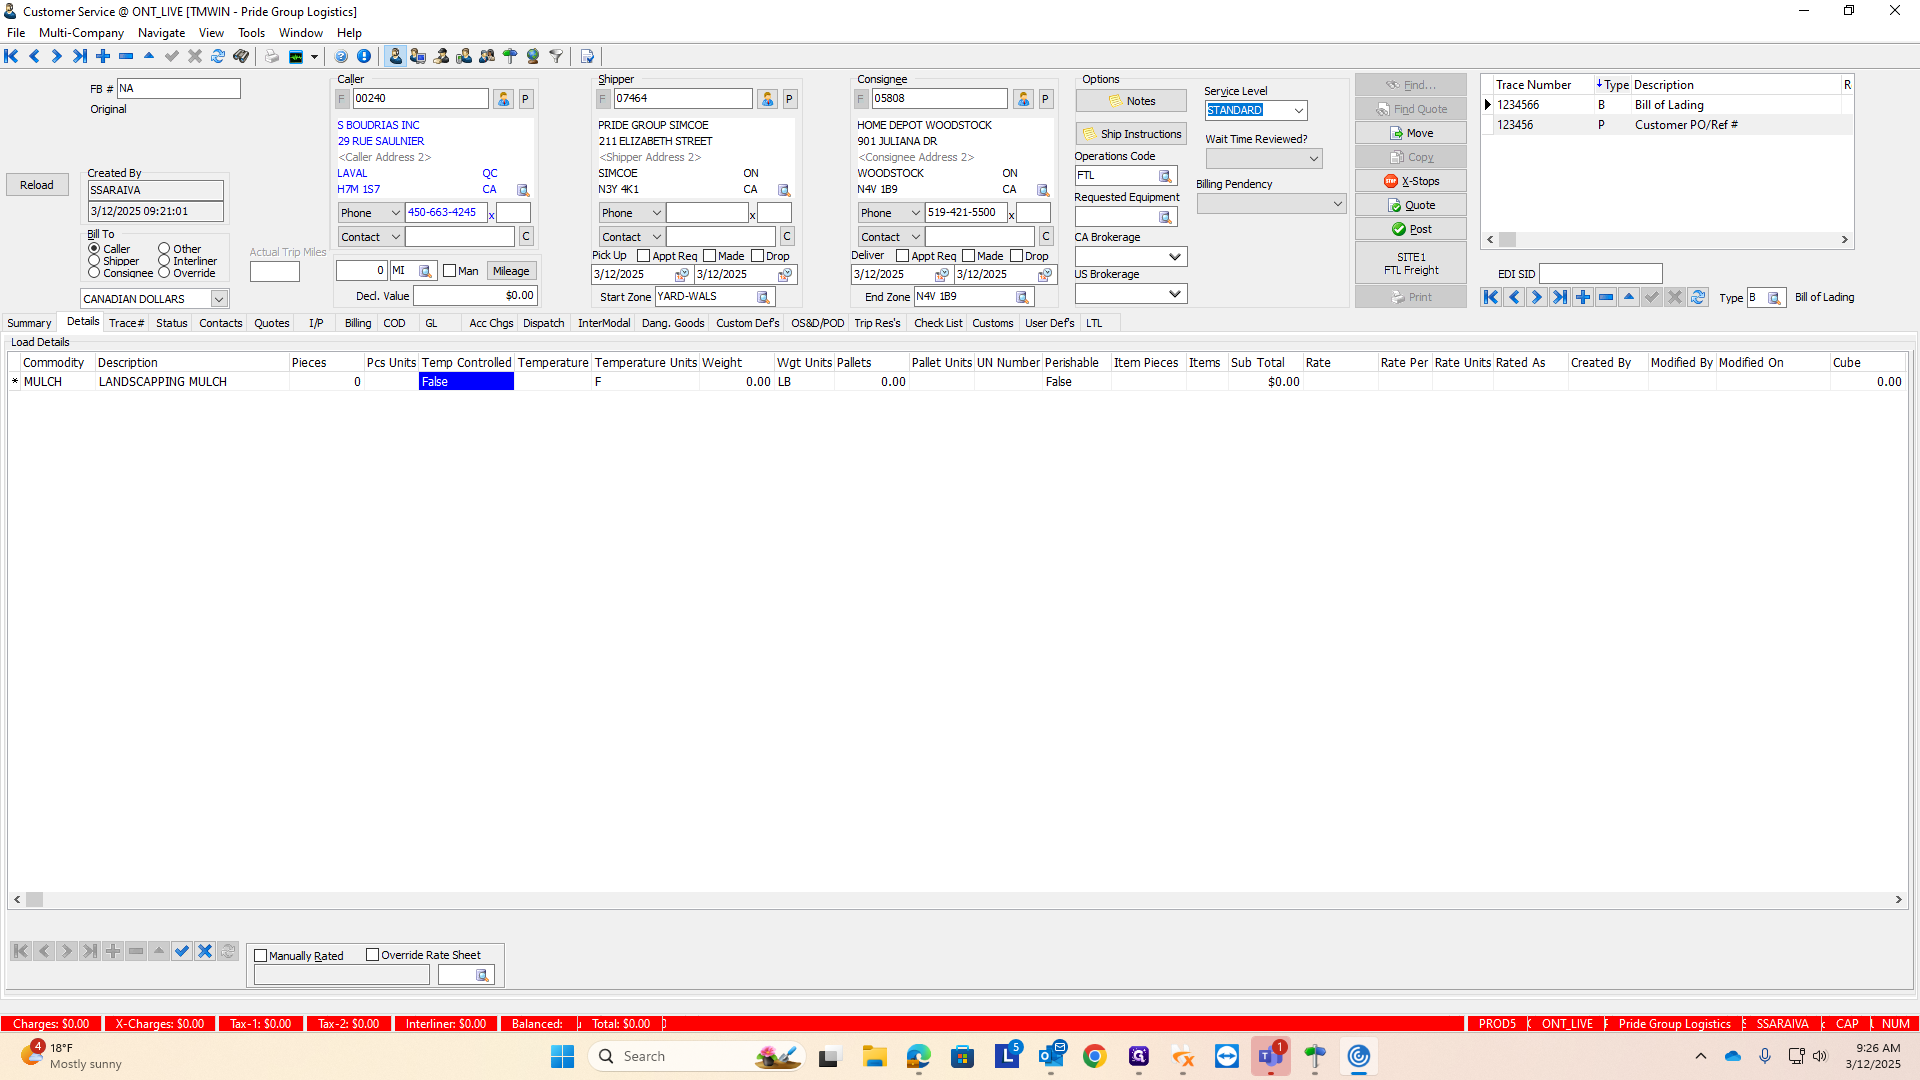

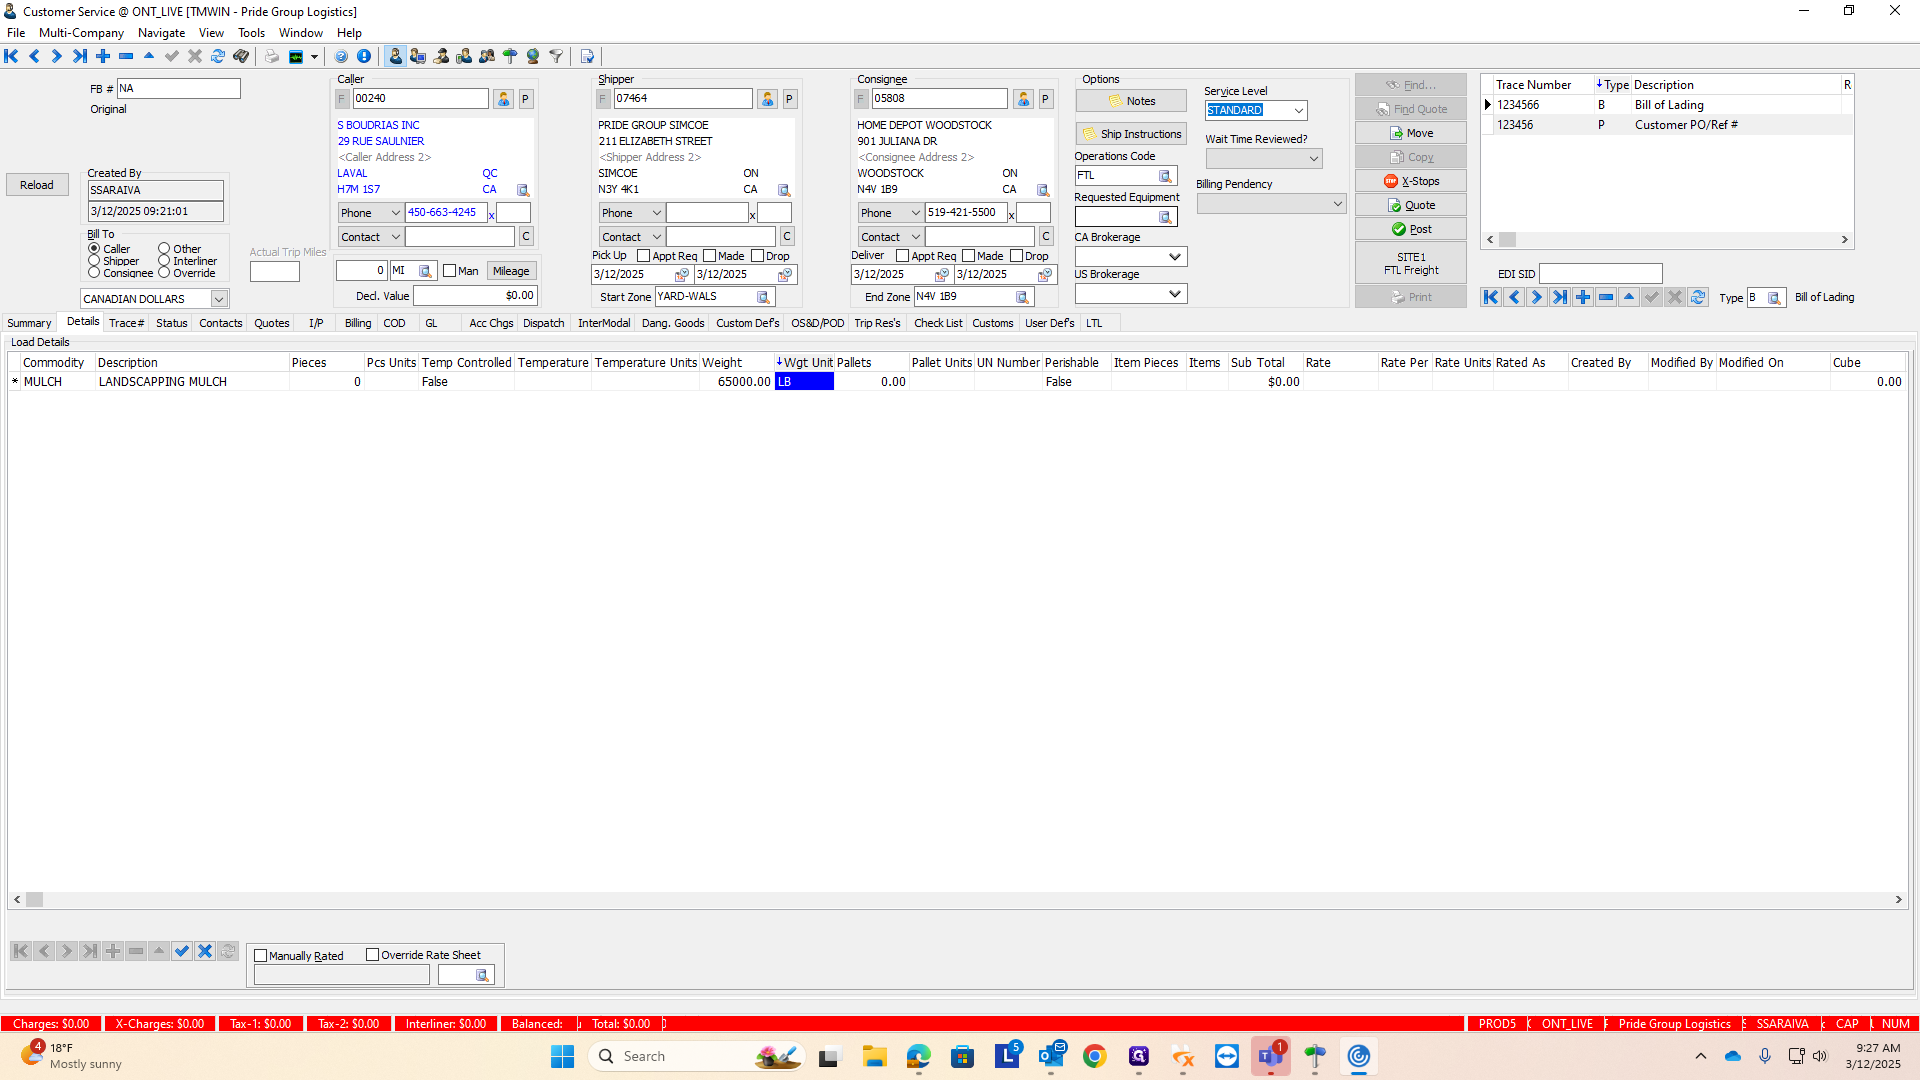
The most important factor to consider for all commodities is the weight.
I'm going to enter approximately 65,000 pounds.
It's very sensitive, so ensure you click the correct box; otherwise, everything might disappear.
Clicking anything on the top line will erase everything.
The weight units are already included, so no changes are needed.

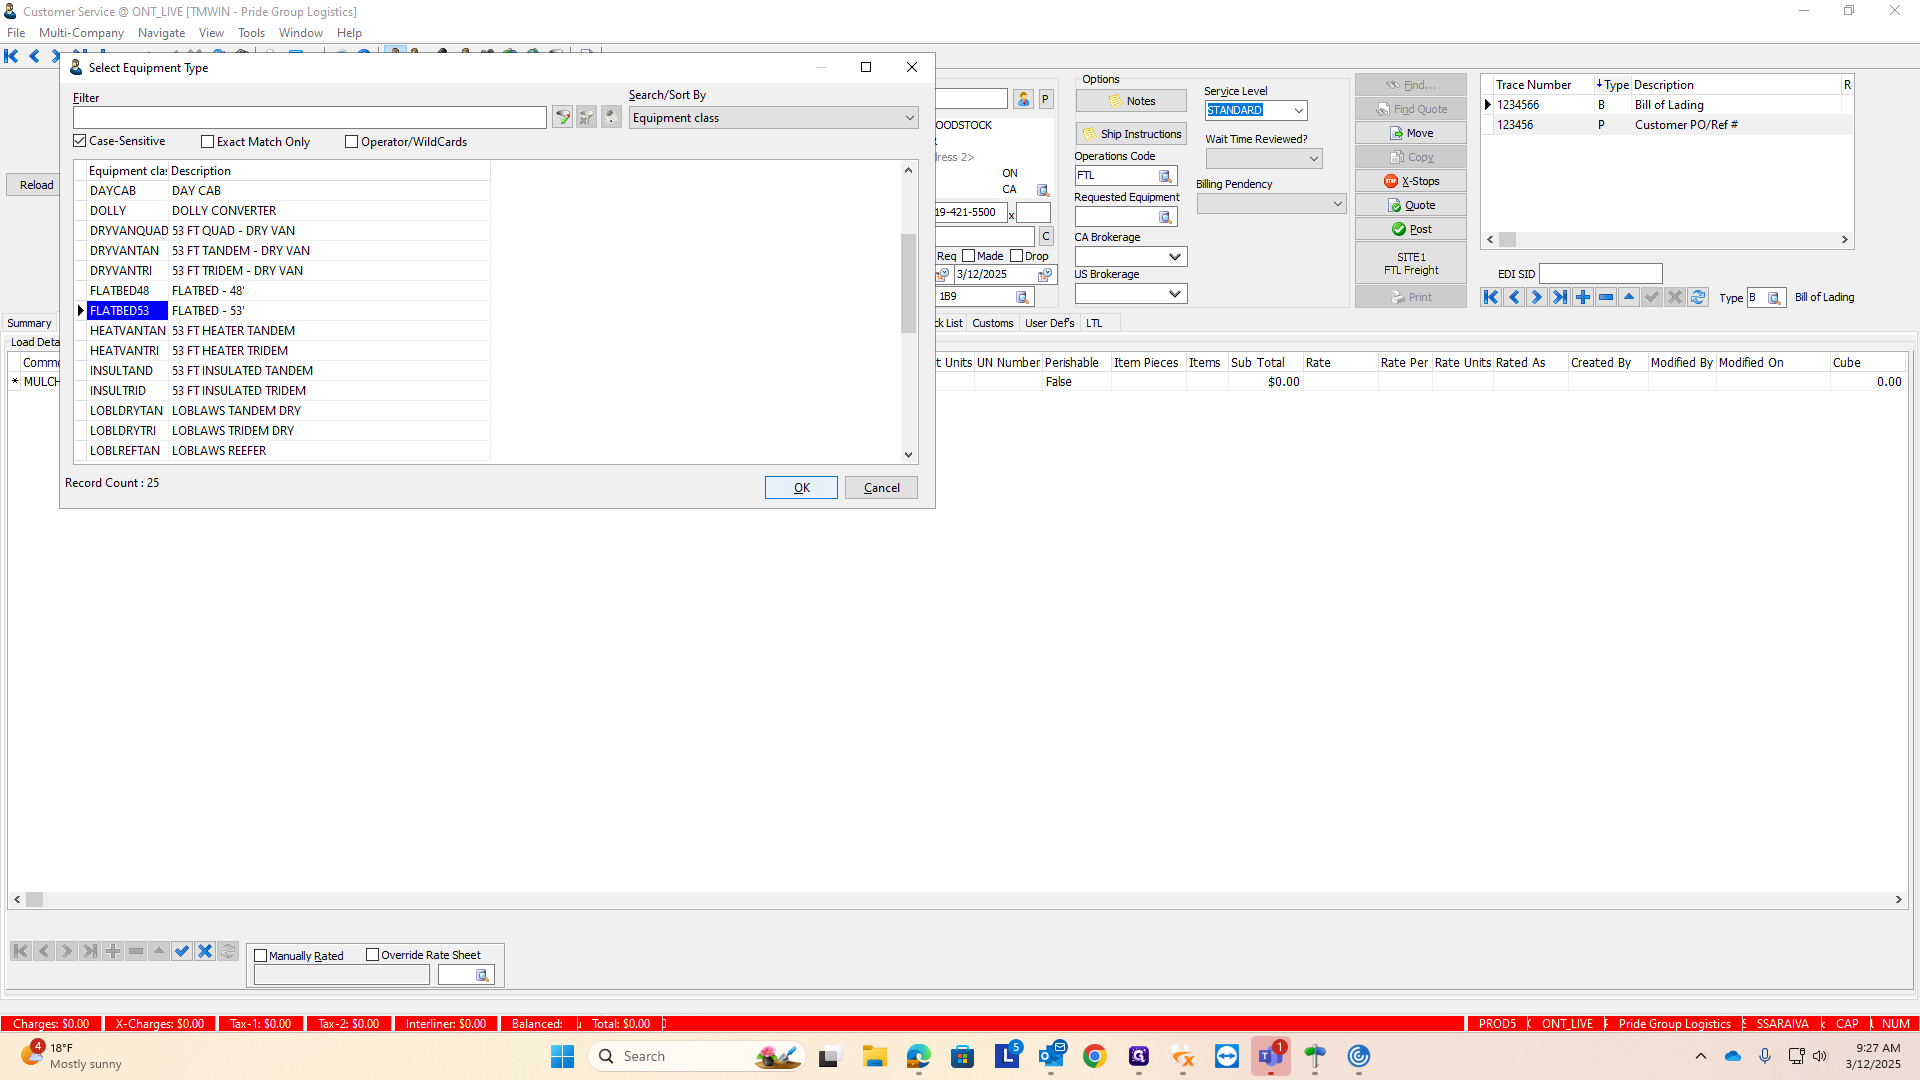
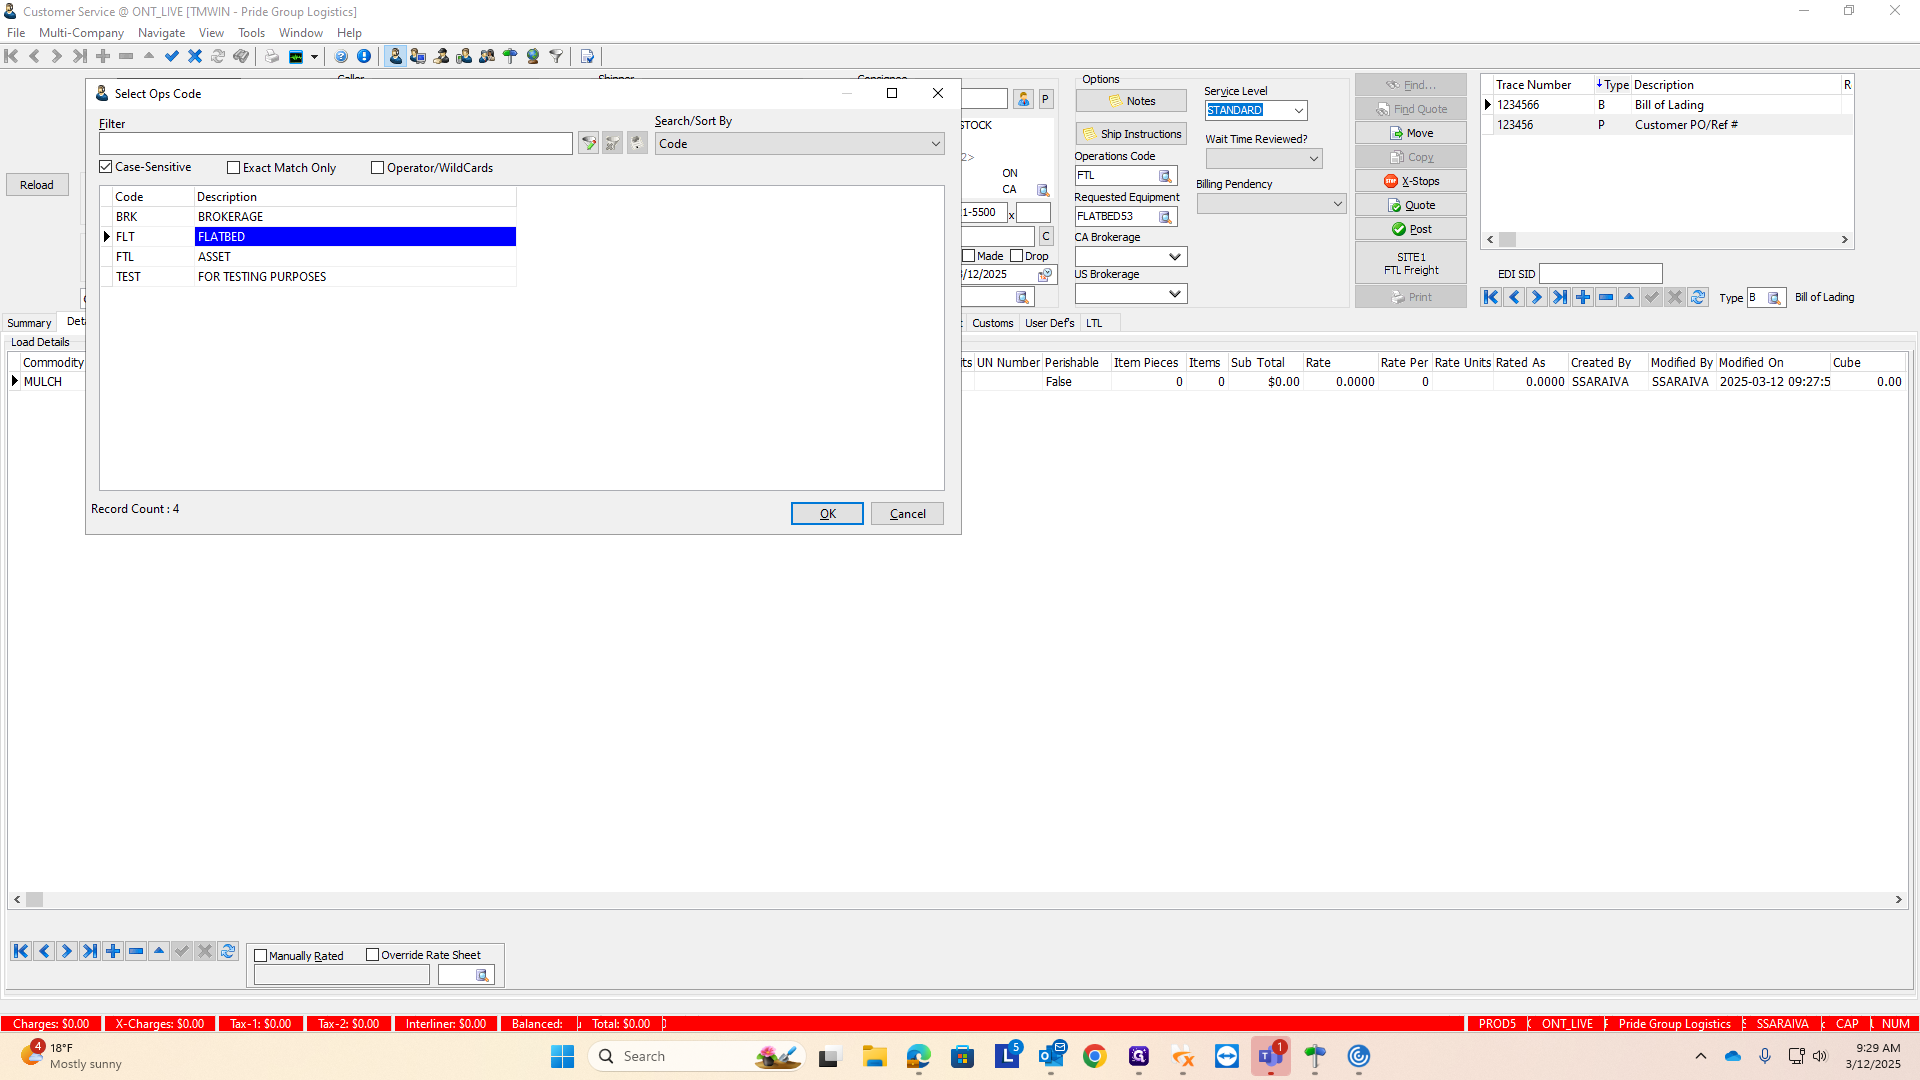
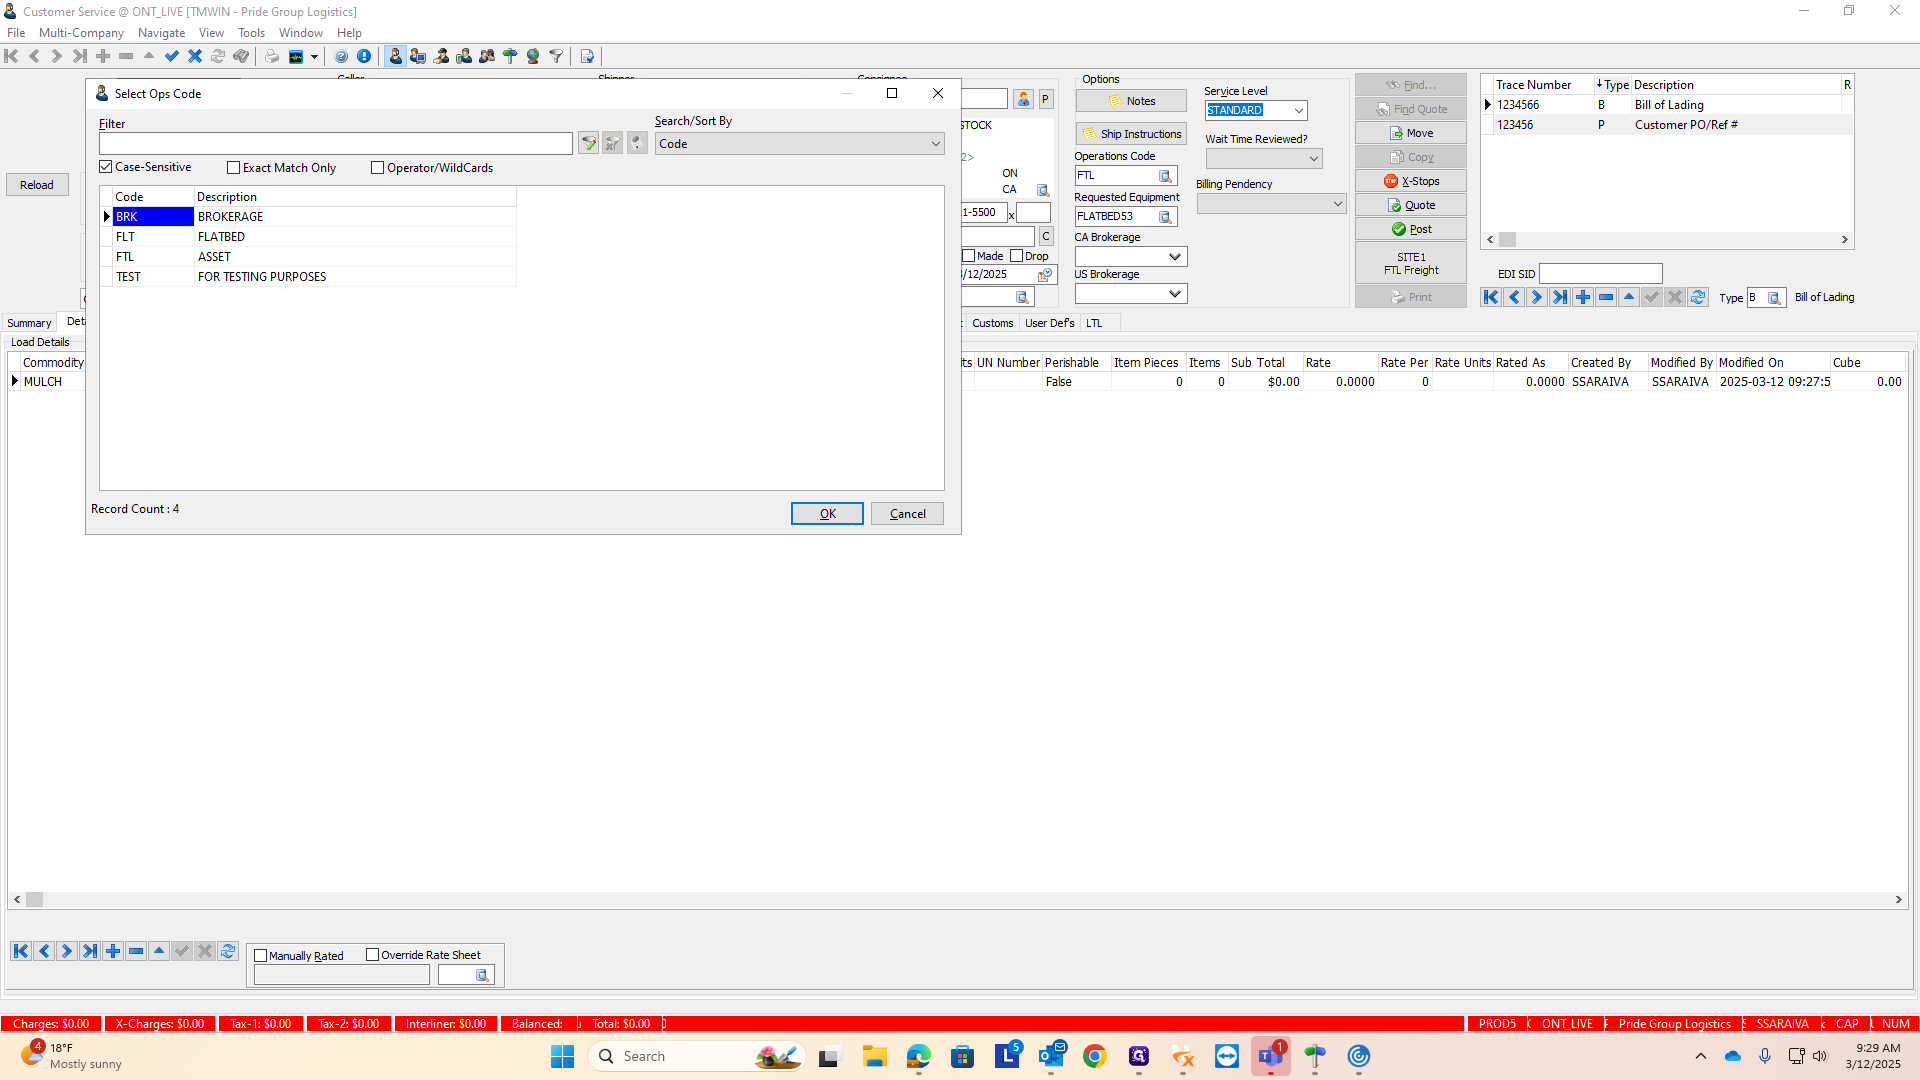
The only other thing you need to add is the requested equipment type.
These are all going on flatbeds, so it will be simple. Click on the magnifying glass here to see all the different equipment options we have.

Alright. The reason I asked if these are covered by ETS is that if they are, they will need to go through logistics. We'll need to confirm this with Nathan. If they do go through logistics, we must change this operations code.
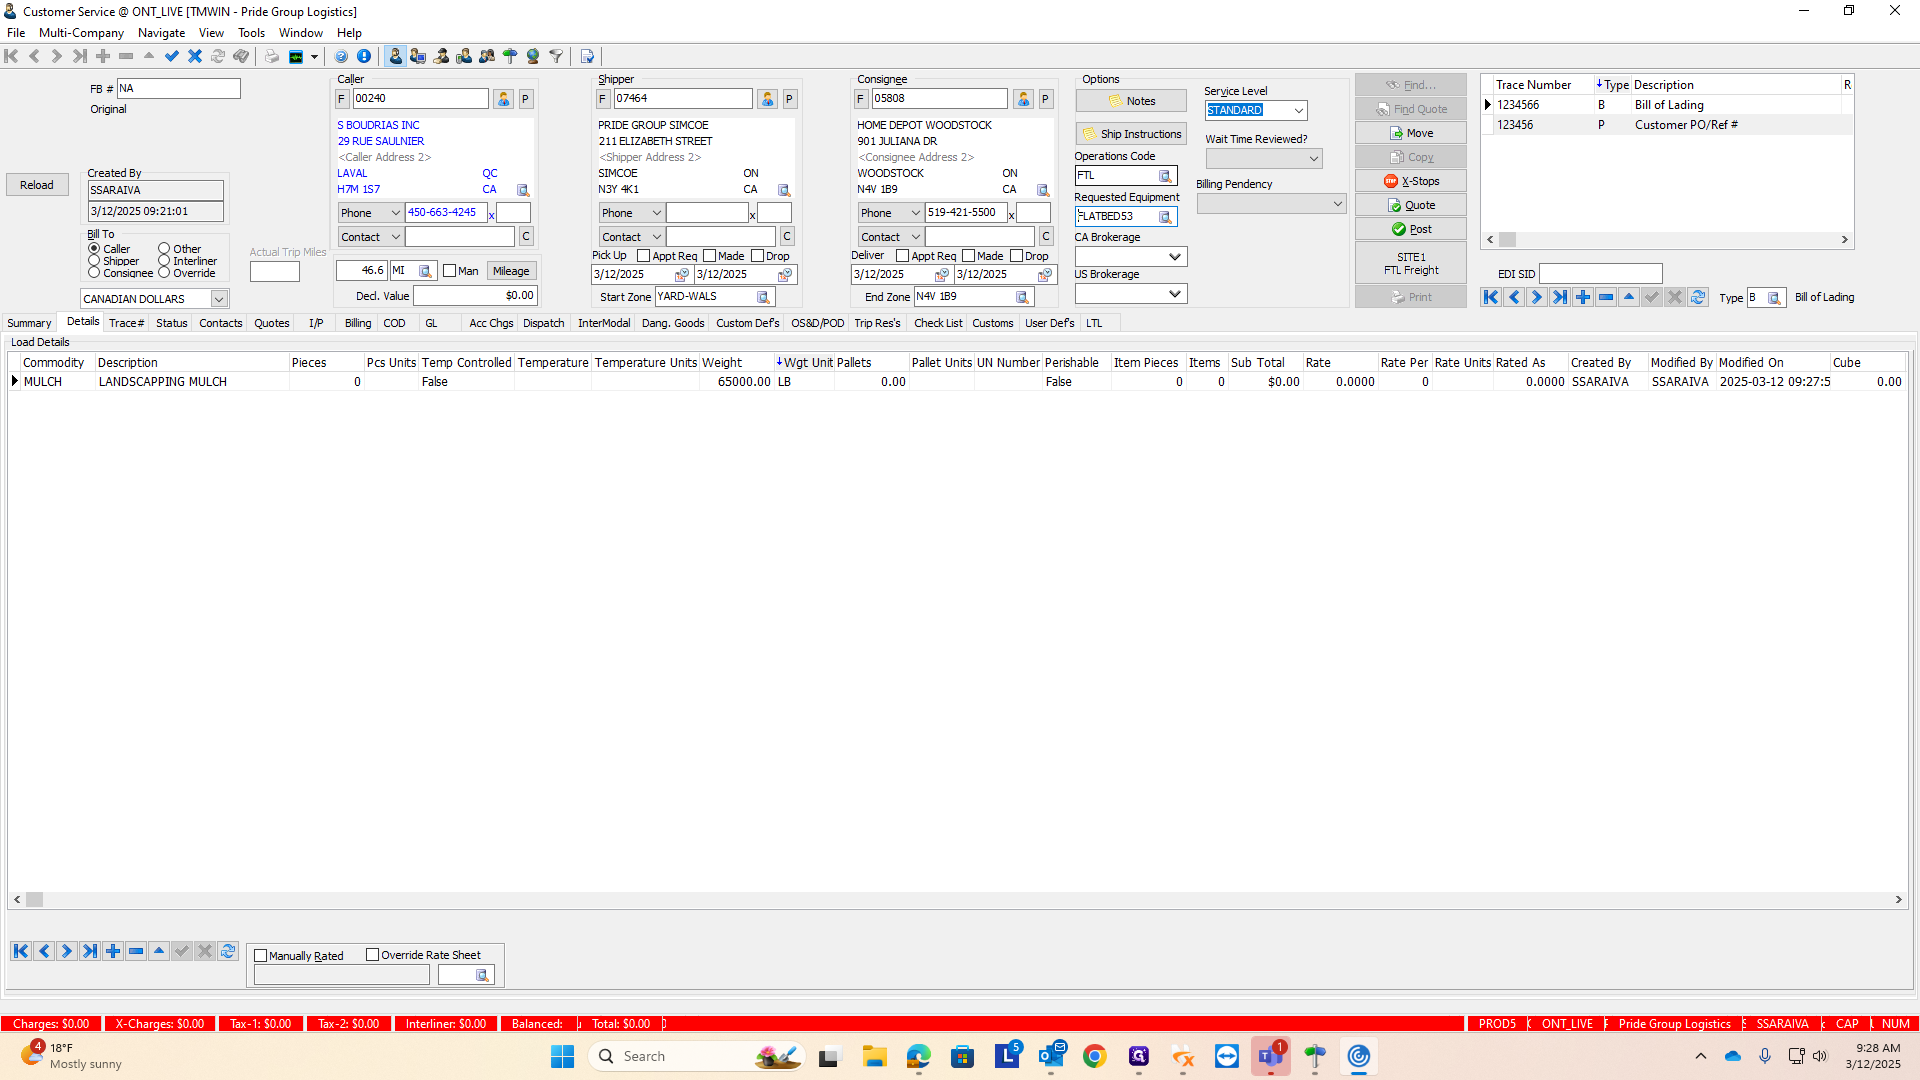
Currently, it's set to FTL, meaning full truckload. Entries under this code are visible to our asset team, not the logistics team. To change this, click the magnifying glass again, as with the equipment type.

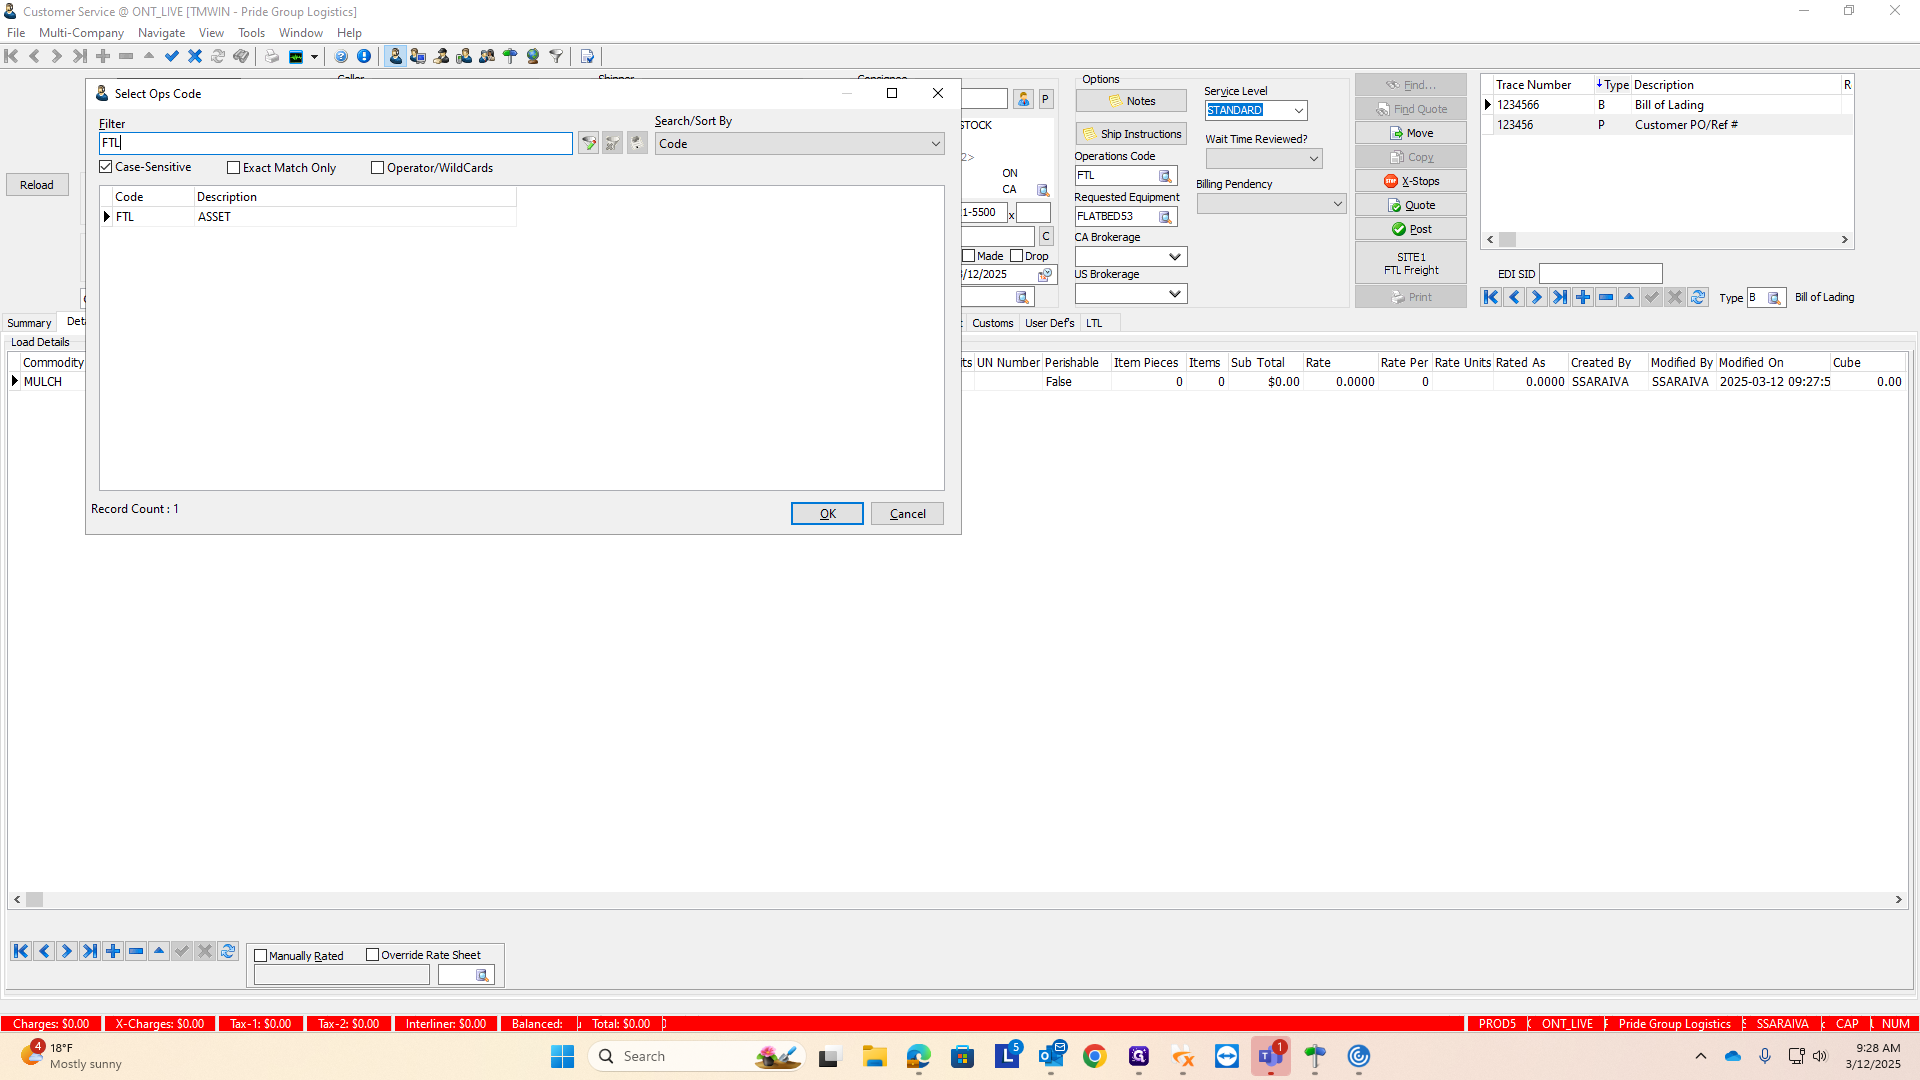
There is a flatbed option, which we used last year. However, I'm not sure if we'll use it again this year because we shut down the flatbed division. We'll need to confirm with Nathan how he wants this set up. If these do run through ETS and need to go to logistics for setup to send to ETS, we'll change the code to brokerage.
All right, everything looks good. Your order is fully entered. The final and most important step is to save and post the order. Currently, it is still being entered and edited, so it is not visible to anyone. If I were to exit this screen now, nobody would see the order or know it needs to be picked up or delivered.
You can tell because in this box next to the FB number, it says NA, meaning not applicable.

There is no order number associated with this load yet. To obtain the order number, first click on the check mark above.

This will save all the changes you've made to the order and everything you've inputted. The final and most important step is to click the button labeled "Post" with a big check mark.

When you do that, it will generate an order number.

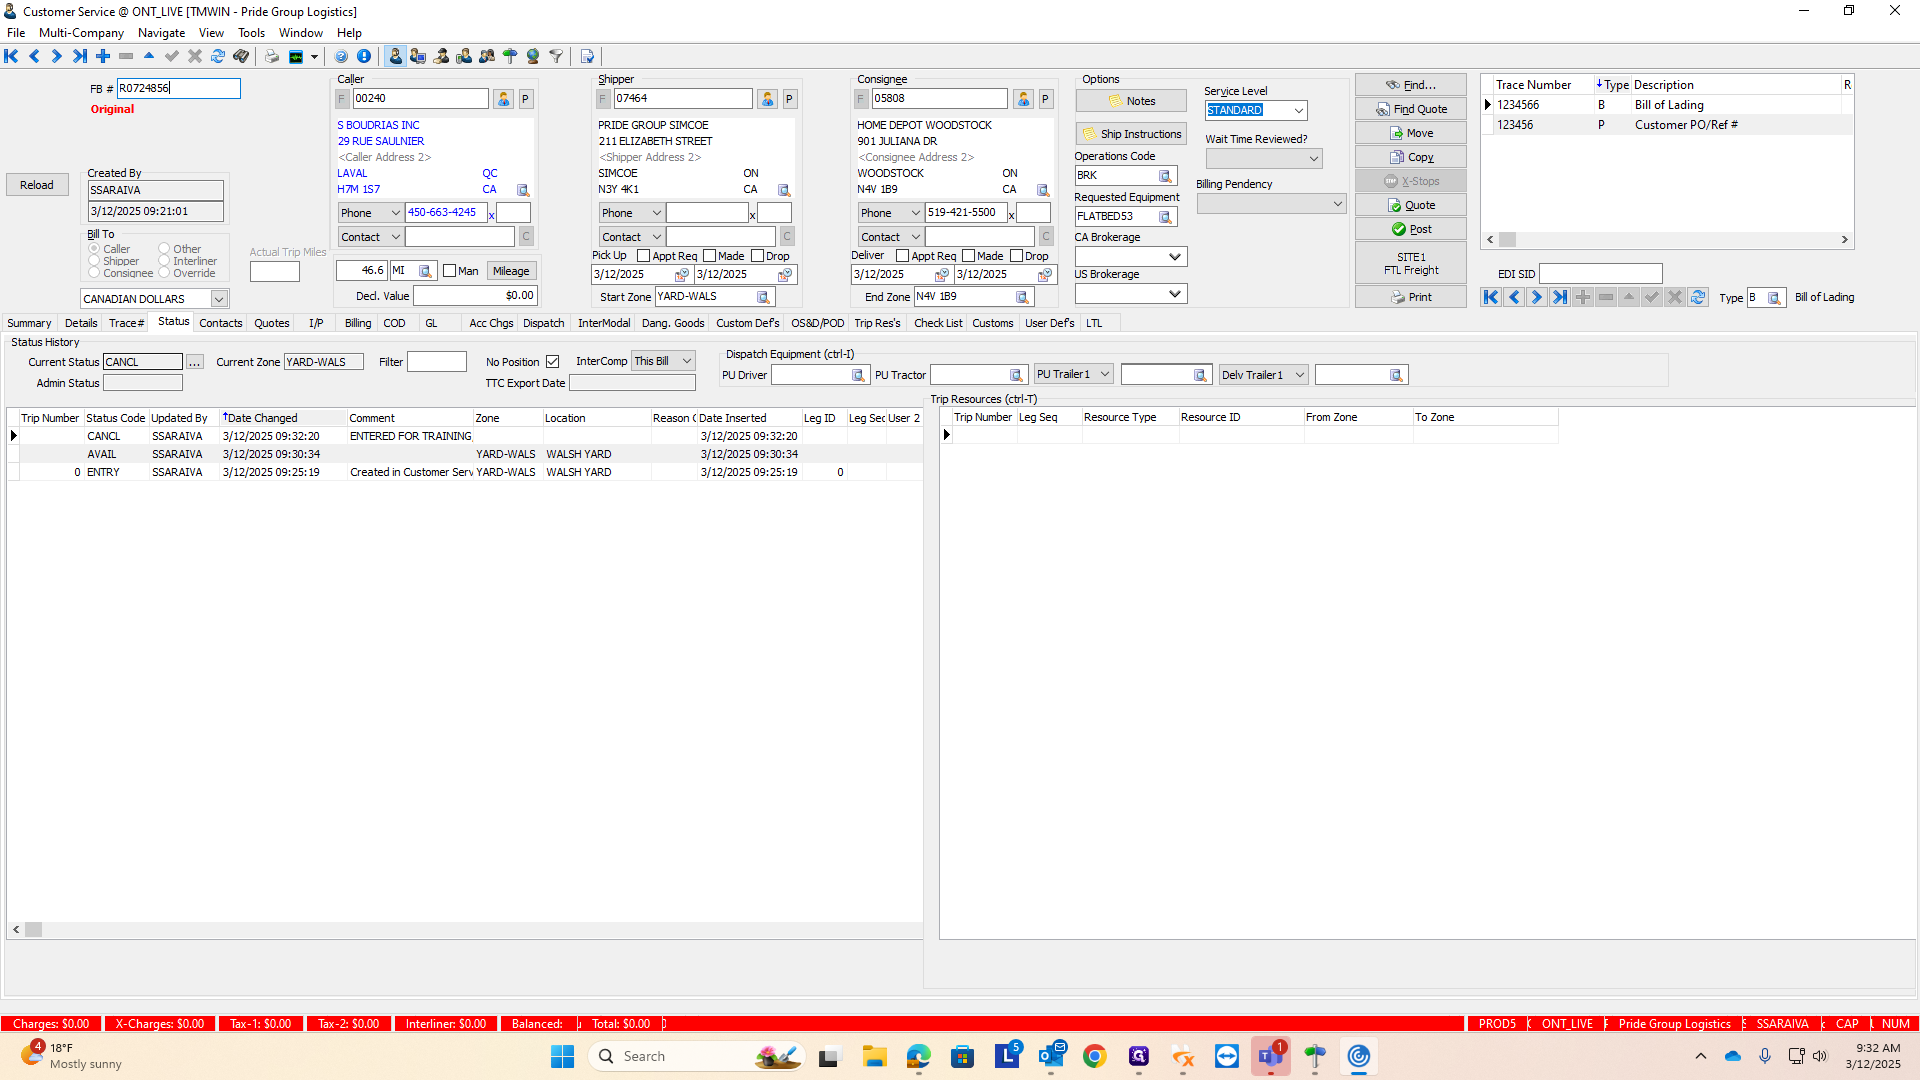
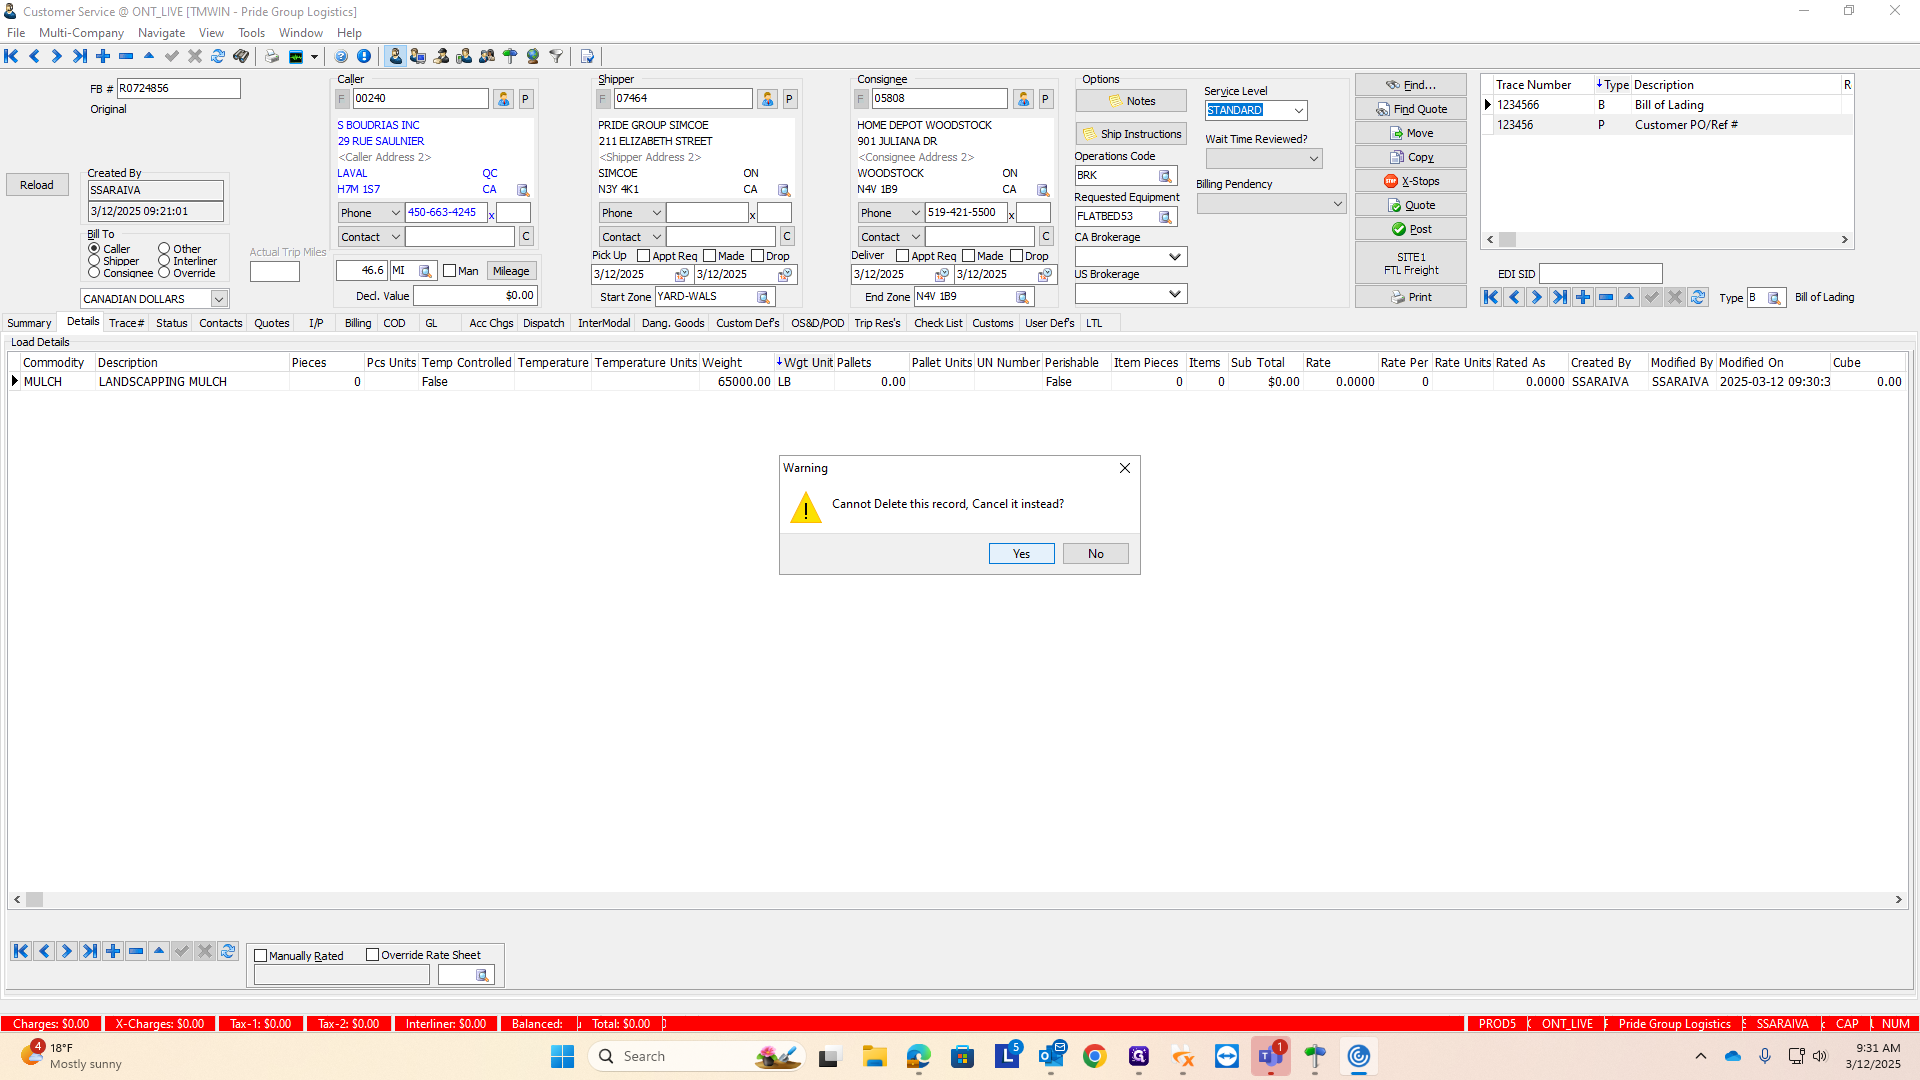
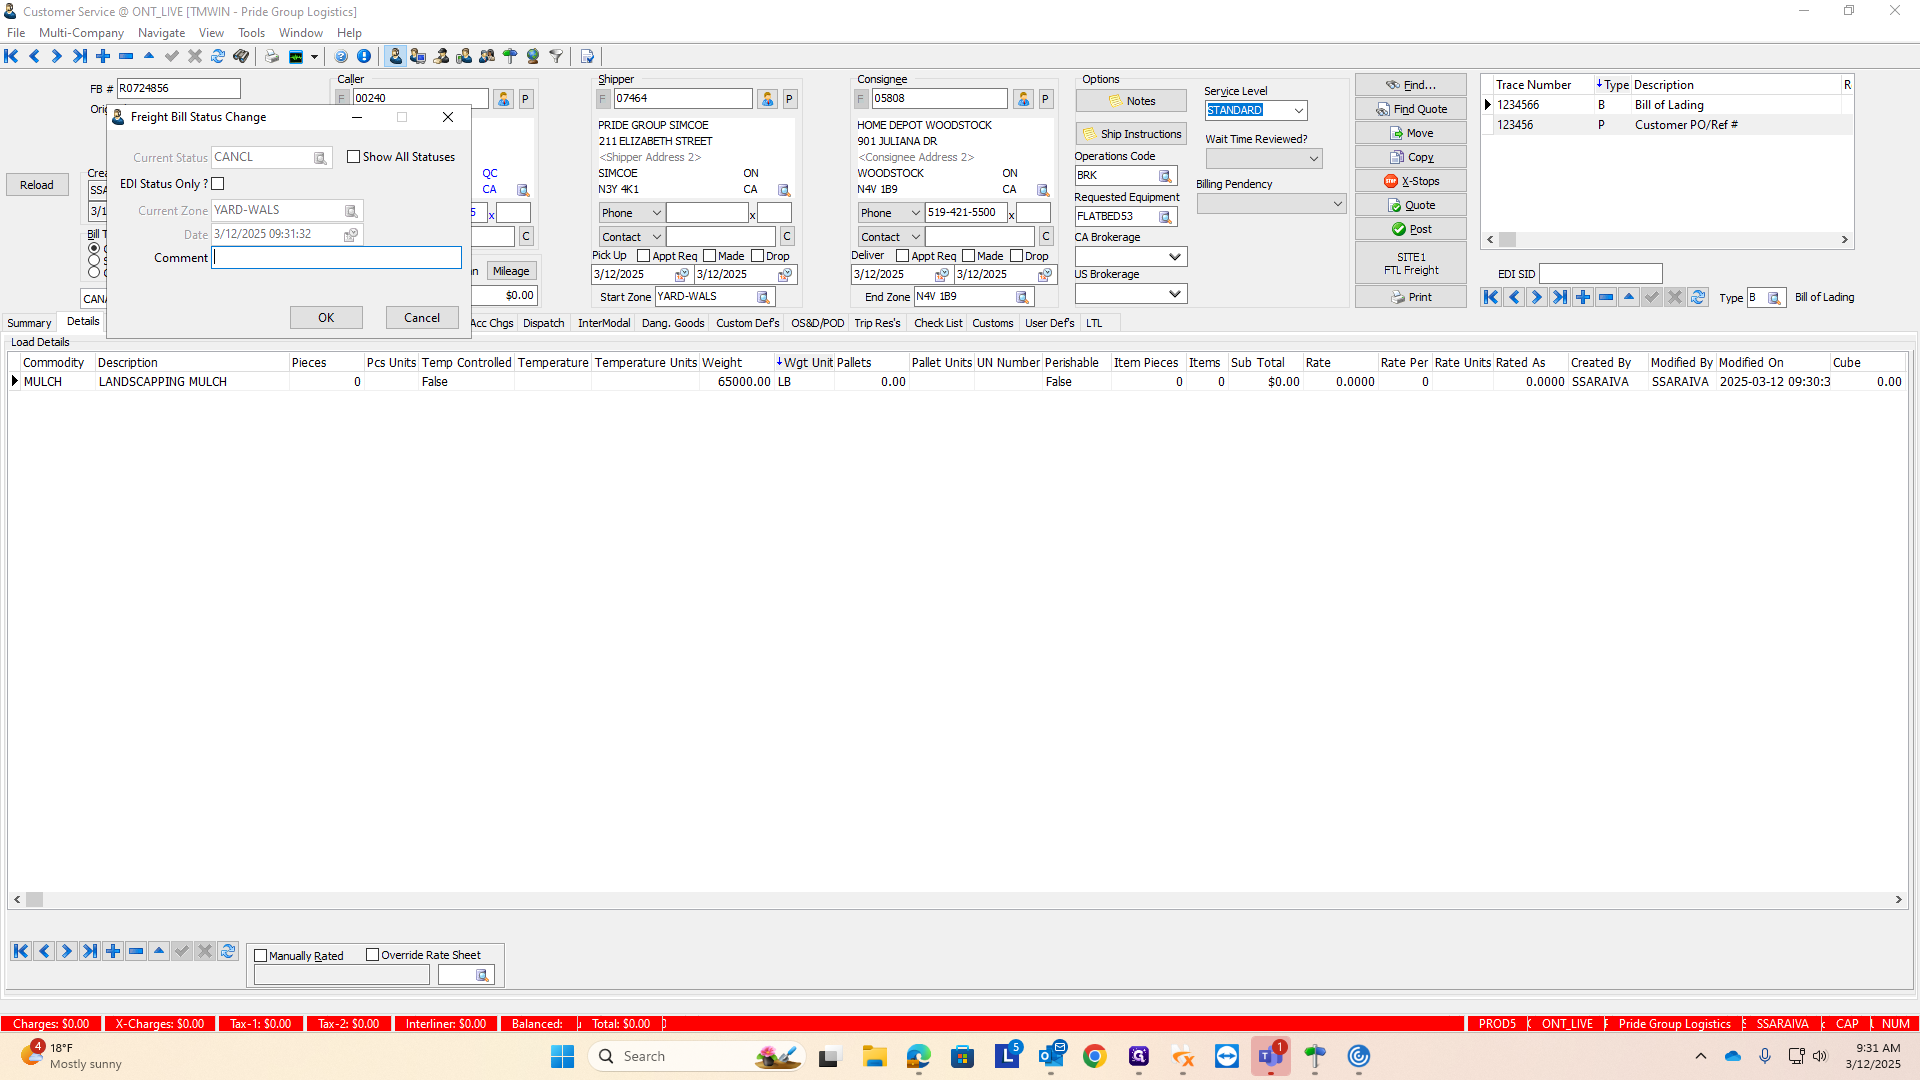
Once it's entered into the system, everyone can see it. Now, let's say S Boudrais sent us this load, but the store contacted them to cancel the shipment. Canceling is much simpler than entering an order. Instead of clicking the plus sign to add a new order, click the minus symbol next to it.
A pop-up will appear, stating you can't delete this record because it has already been entered. Meaning it is associated with a freight bill number. Do you want to cancel it instead? Click "Yes."
They will ask for a comment.
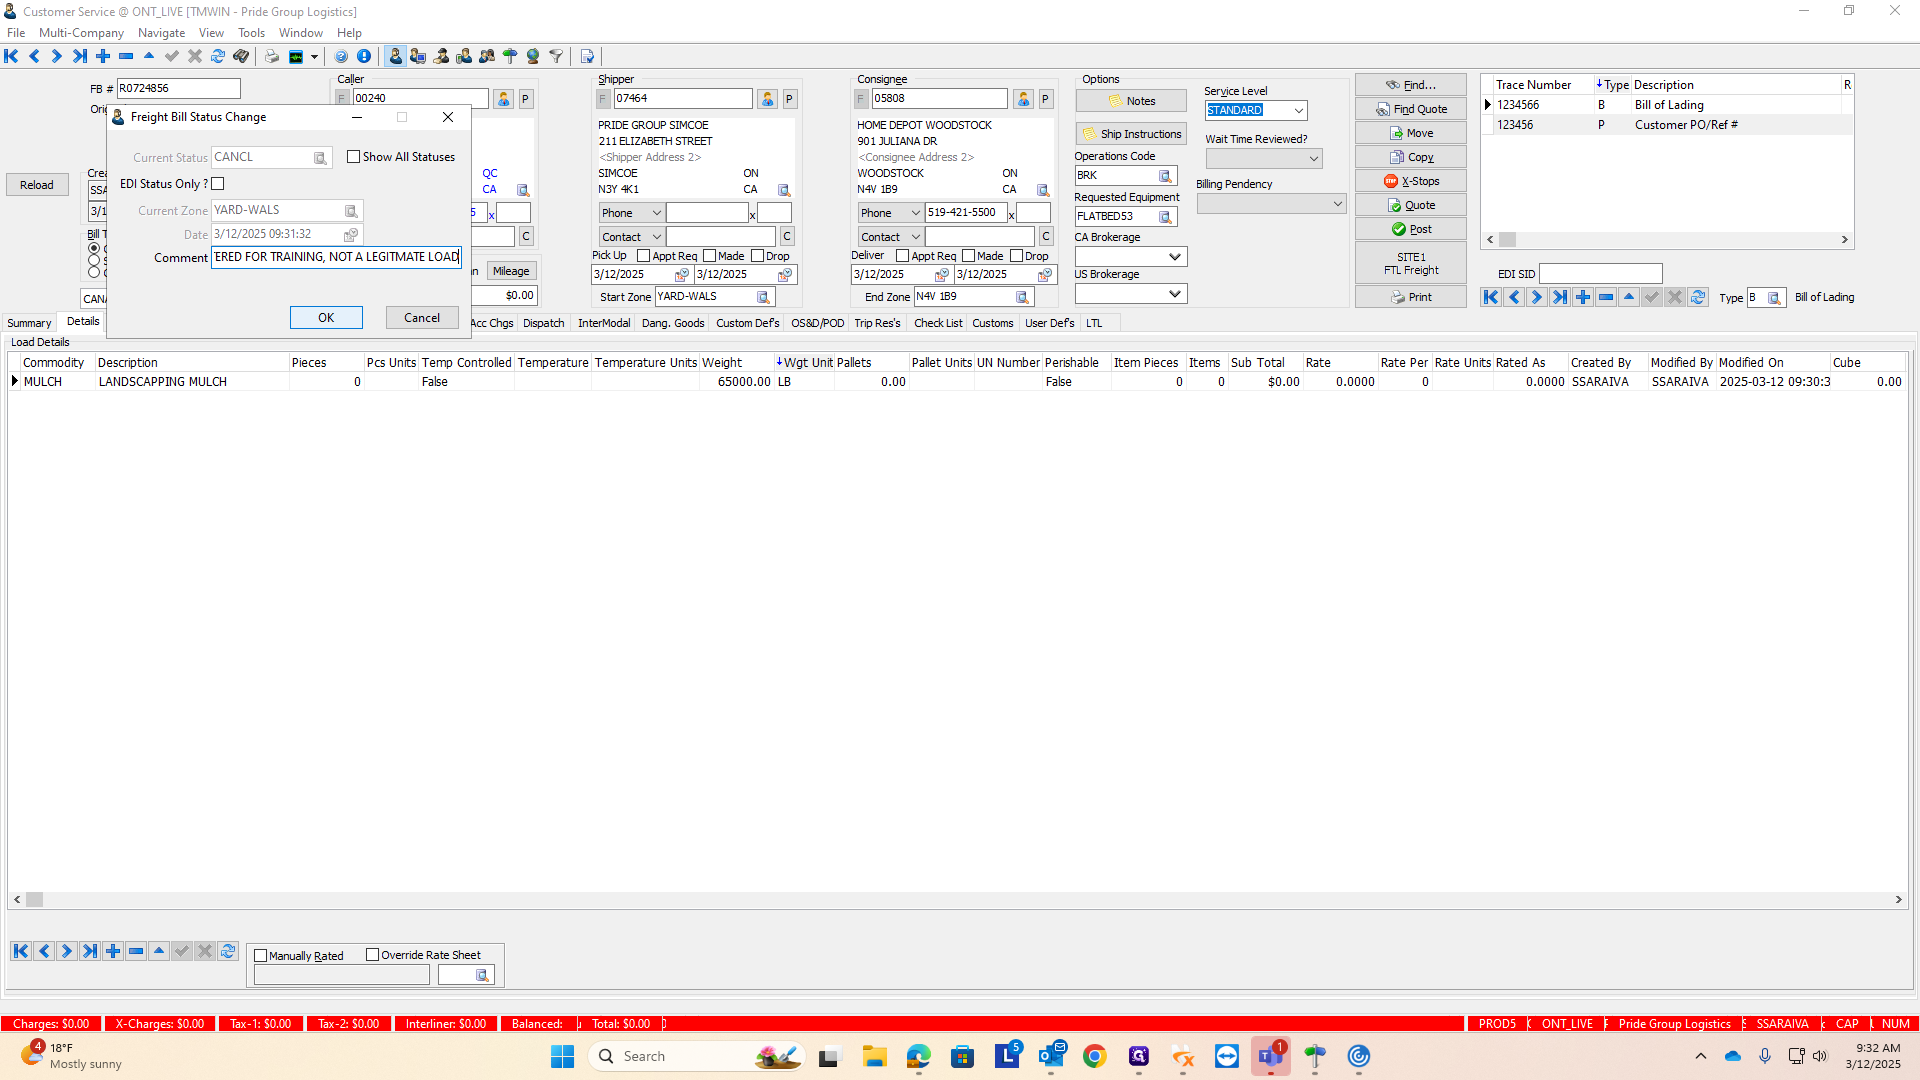
In this comment, I would simply describe the case scenario.
If the store canceled the order, you can mark it as customer canceled. Since I entered this order as a training tool, I'll note it as entered for training, not a legitimate load. After entering your details, click OK.
It will confirm that you want to cancel this order. Once canceled, it becomes invisible to the dispatch team. Yes, I want to cancel it because it's not a legitimate order for me in this scenario.
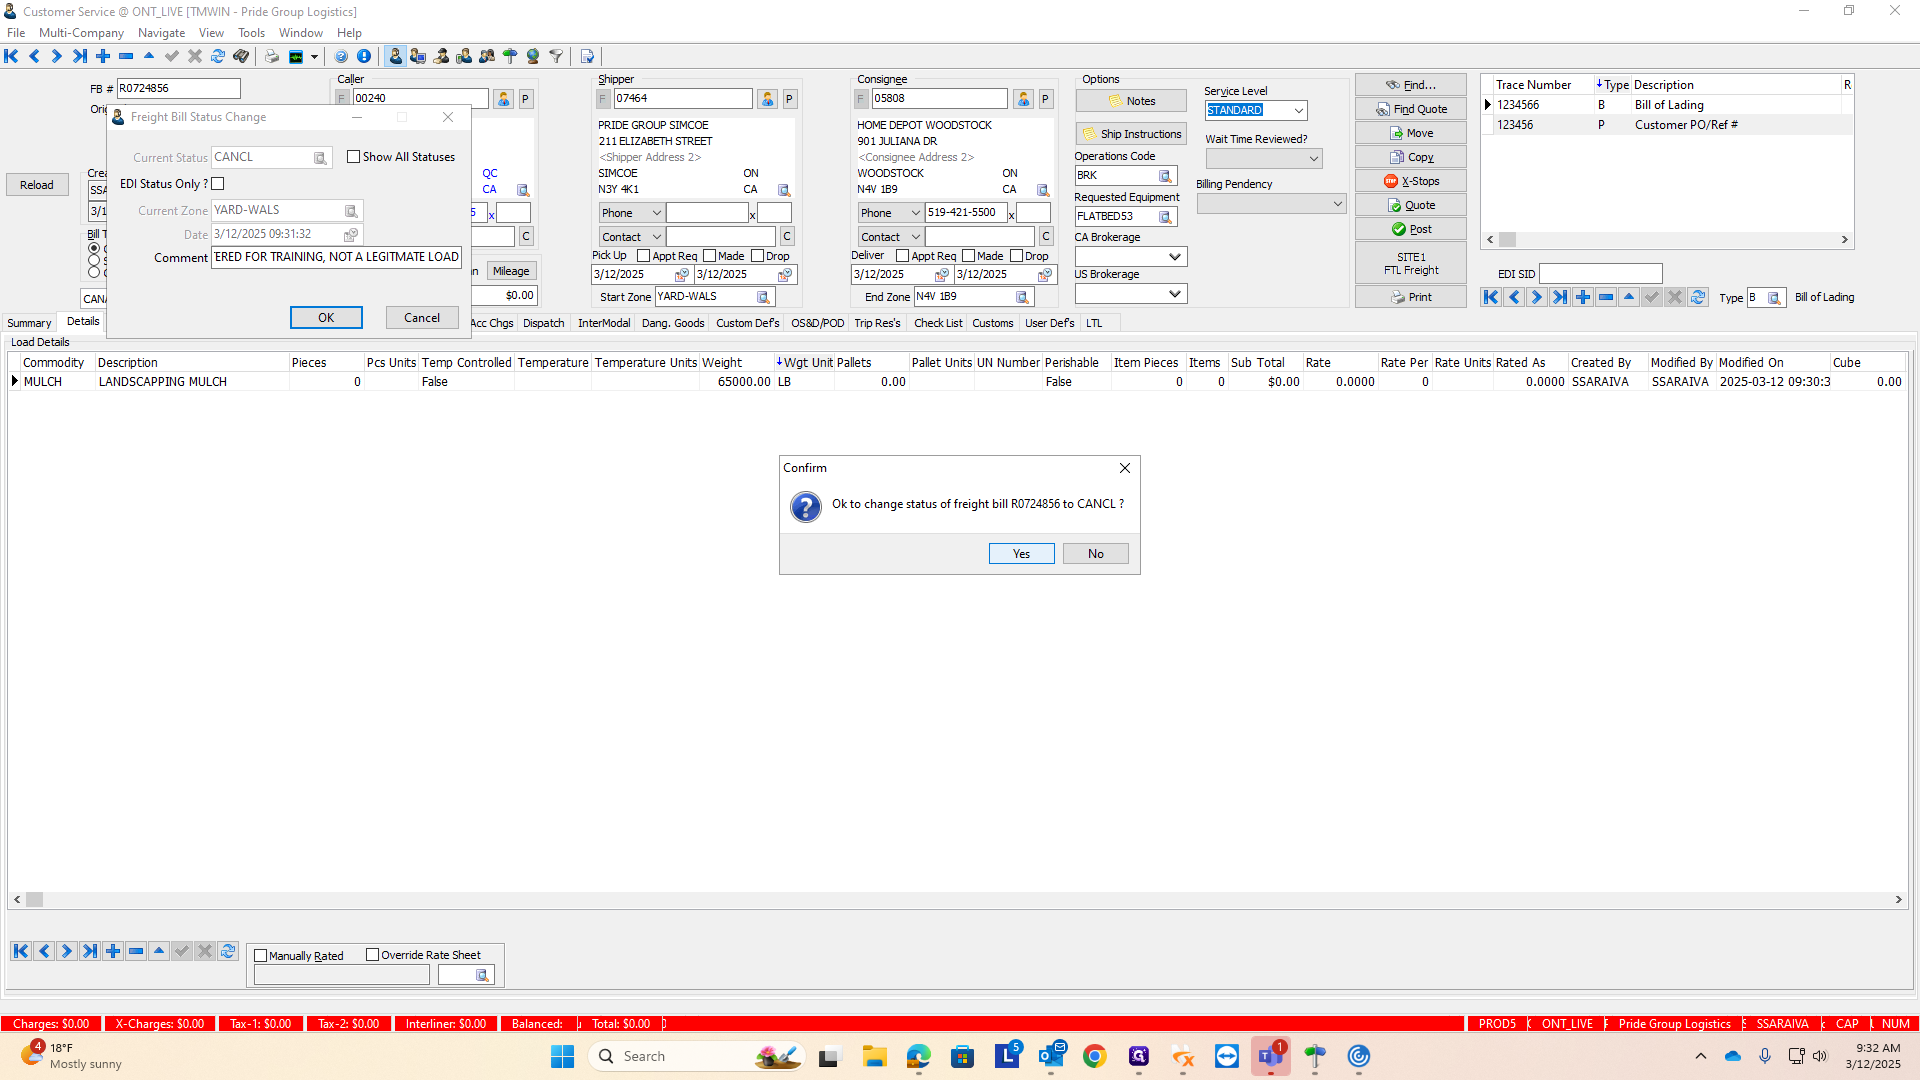
When I click "yes," you'll know the order is canceled. There will still be a freight bill number, but you'll recognize it's canceled because the word "original" will appear in red letters underneath.

That's an automatic sign that the order has been canceled. Additionally, when you check the status tab, it will indicate that the status is canceled.