
How to Enter and Track Hard Drive Data Using ADB Media and ICP Lockers
Learn step-by-step how to enter hard drive data into ADB Media, assign asset tags, and securely store drives in ICP lockers. This guide covers scanning serial numbers, selecting media types, and ensuring proper tracking for failed drives.
In this guide, we'll learn how to enter and track hard drive information using ADB Media and related tools. This process includes scanning drive details, entering data into mobile carts, and storing drives in ICP lockers for further handling.
You'll see how to collect key information like part numbers, manufacturer, media type, and asset tags, and how to ensure each drive is properly logged and stored.
Let's get started
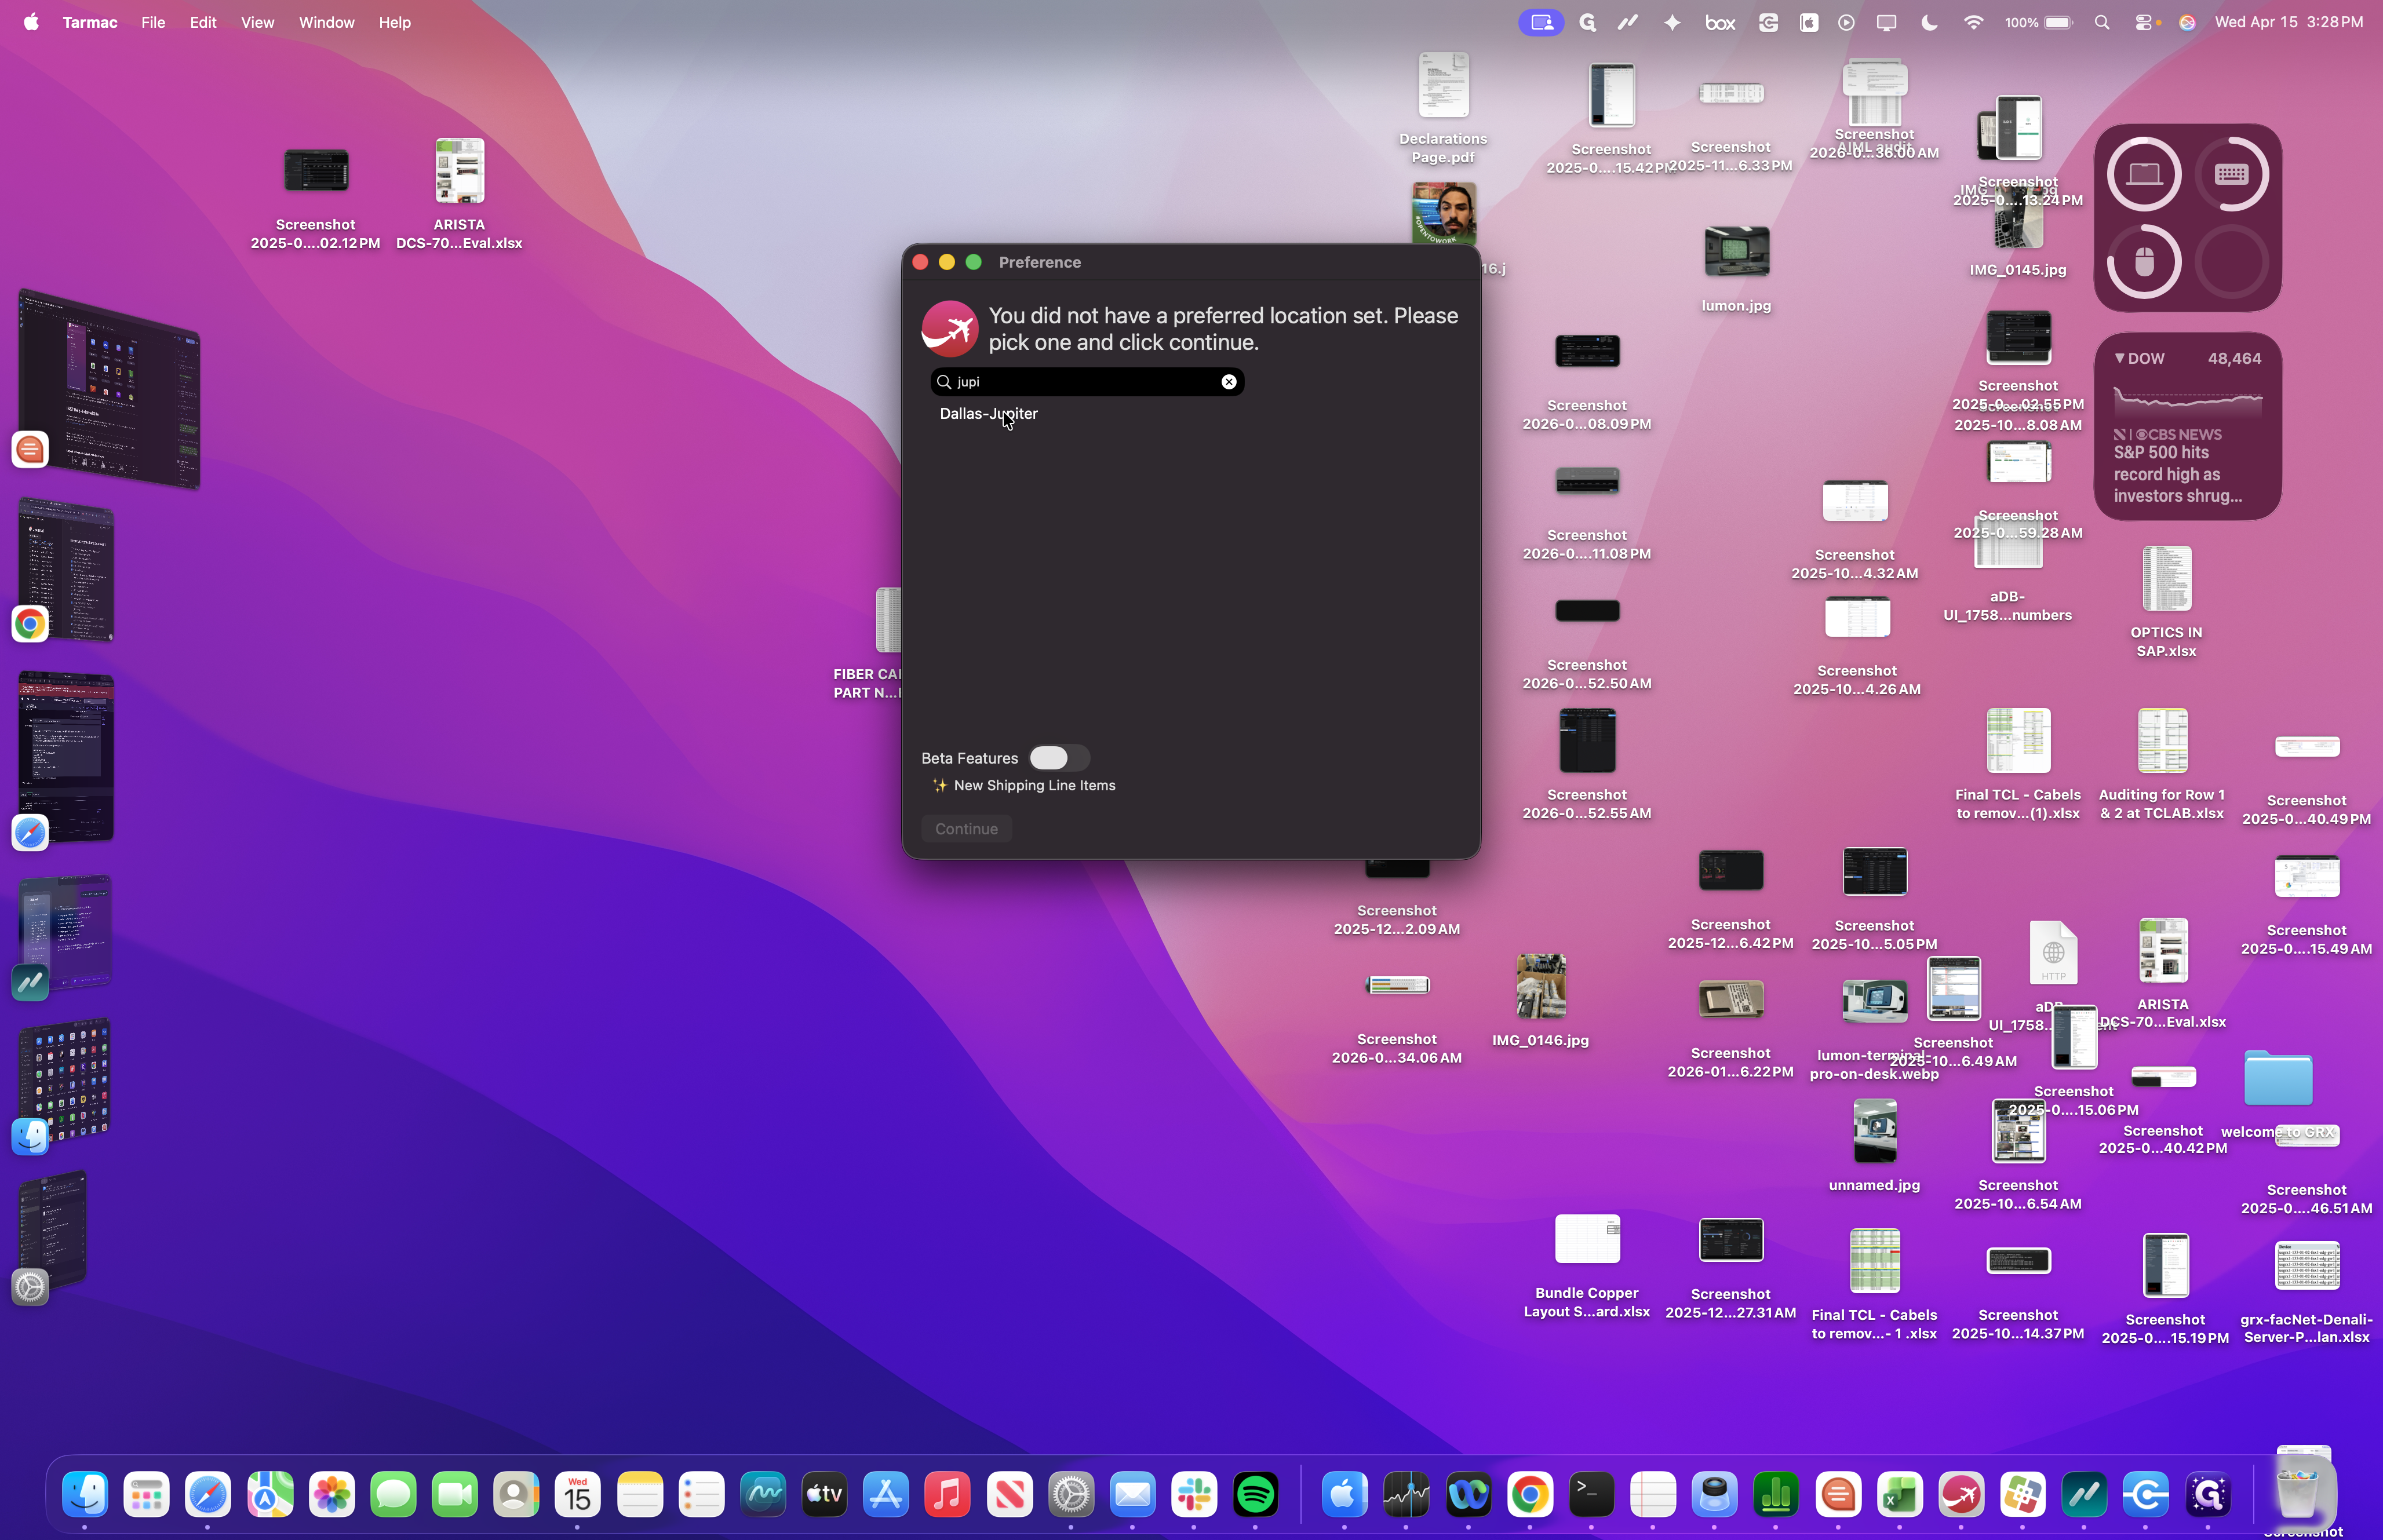
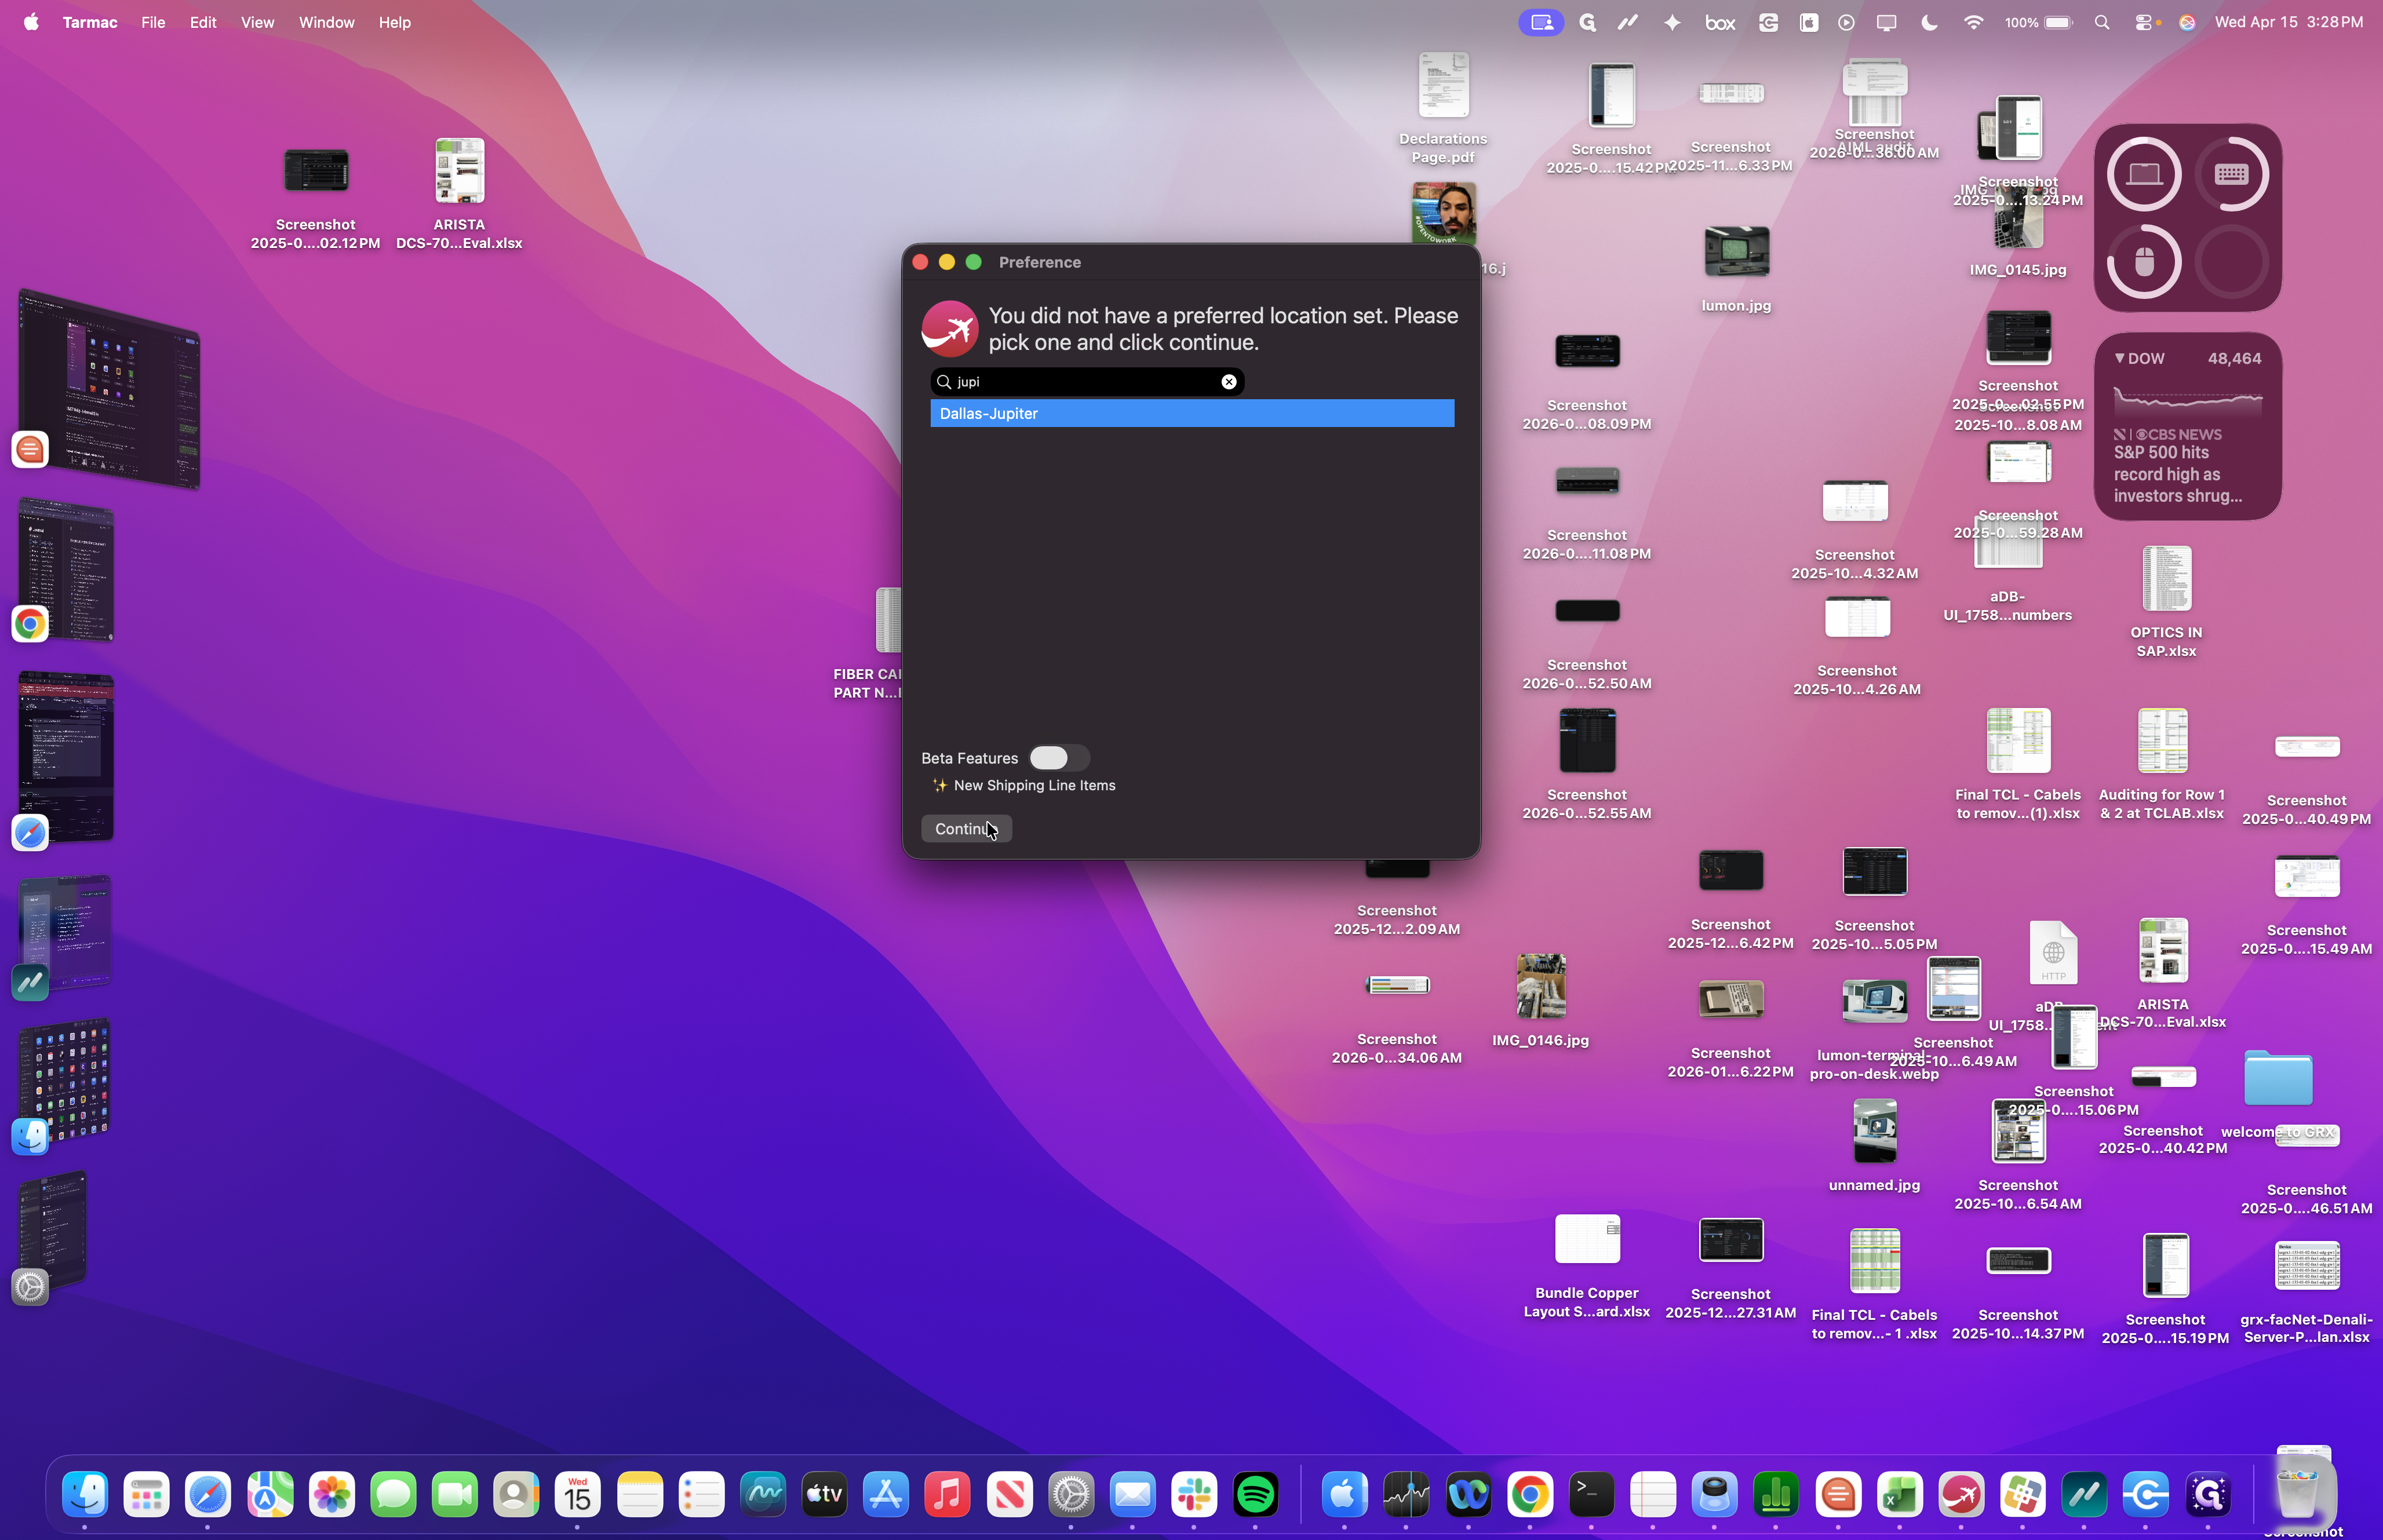
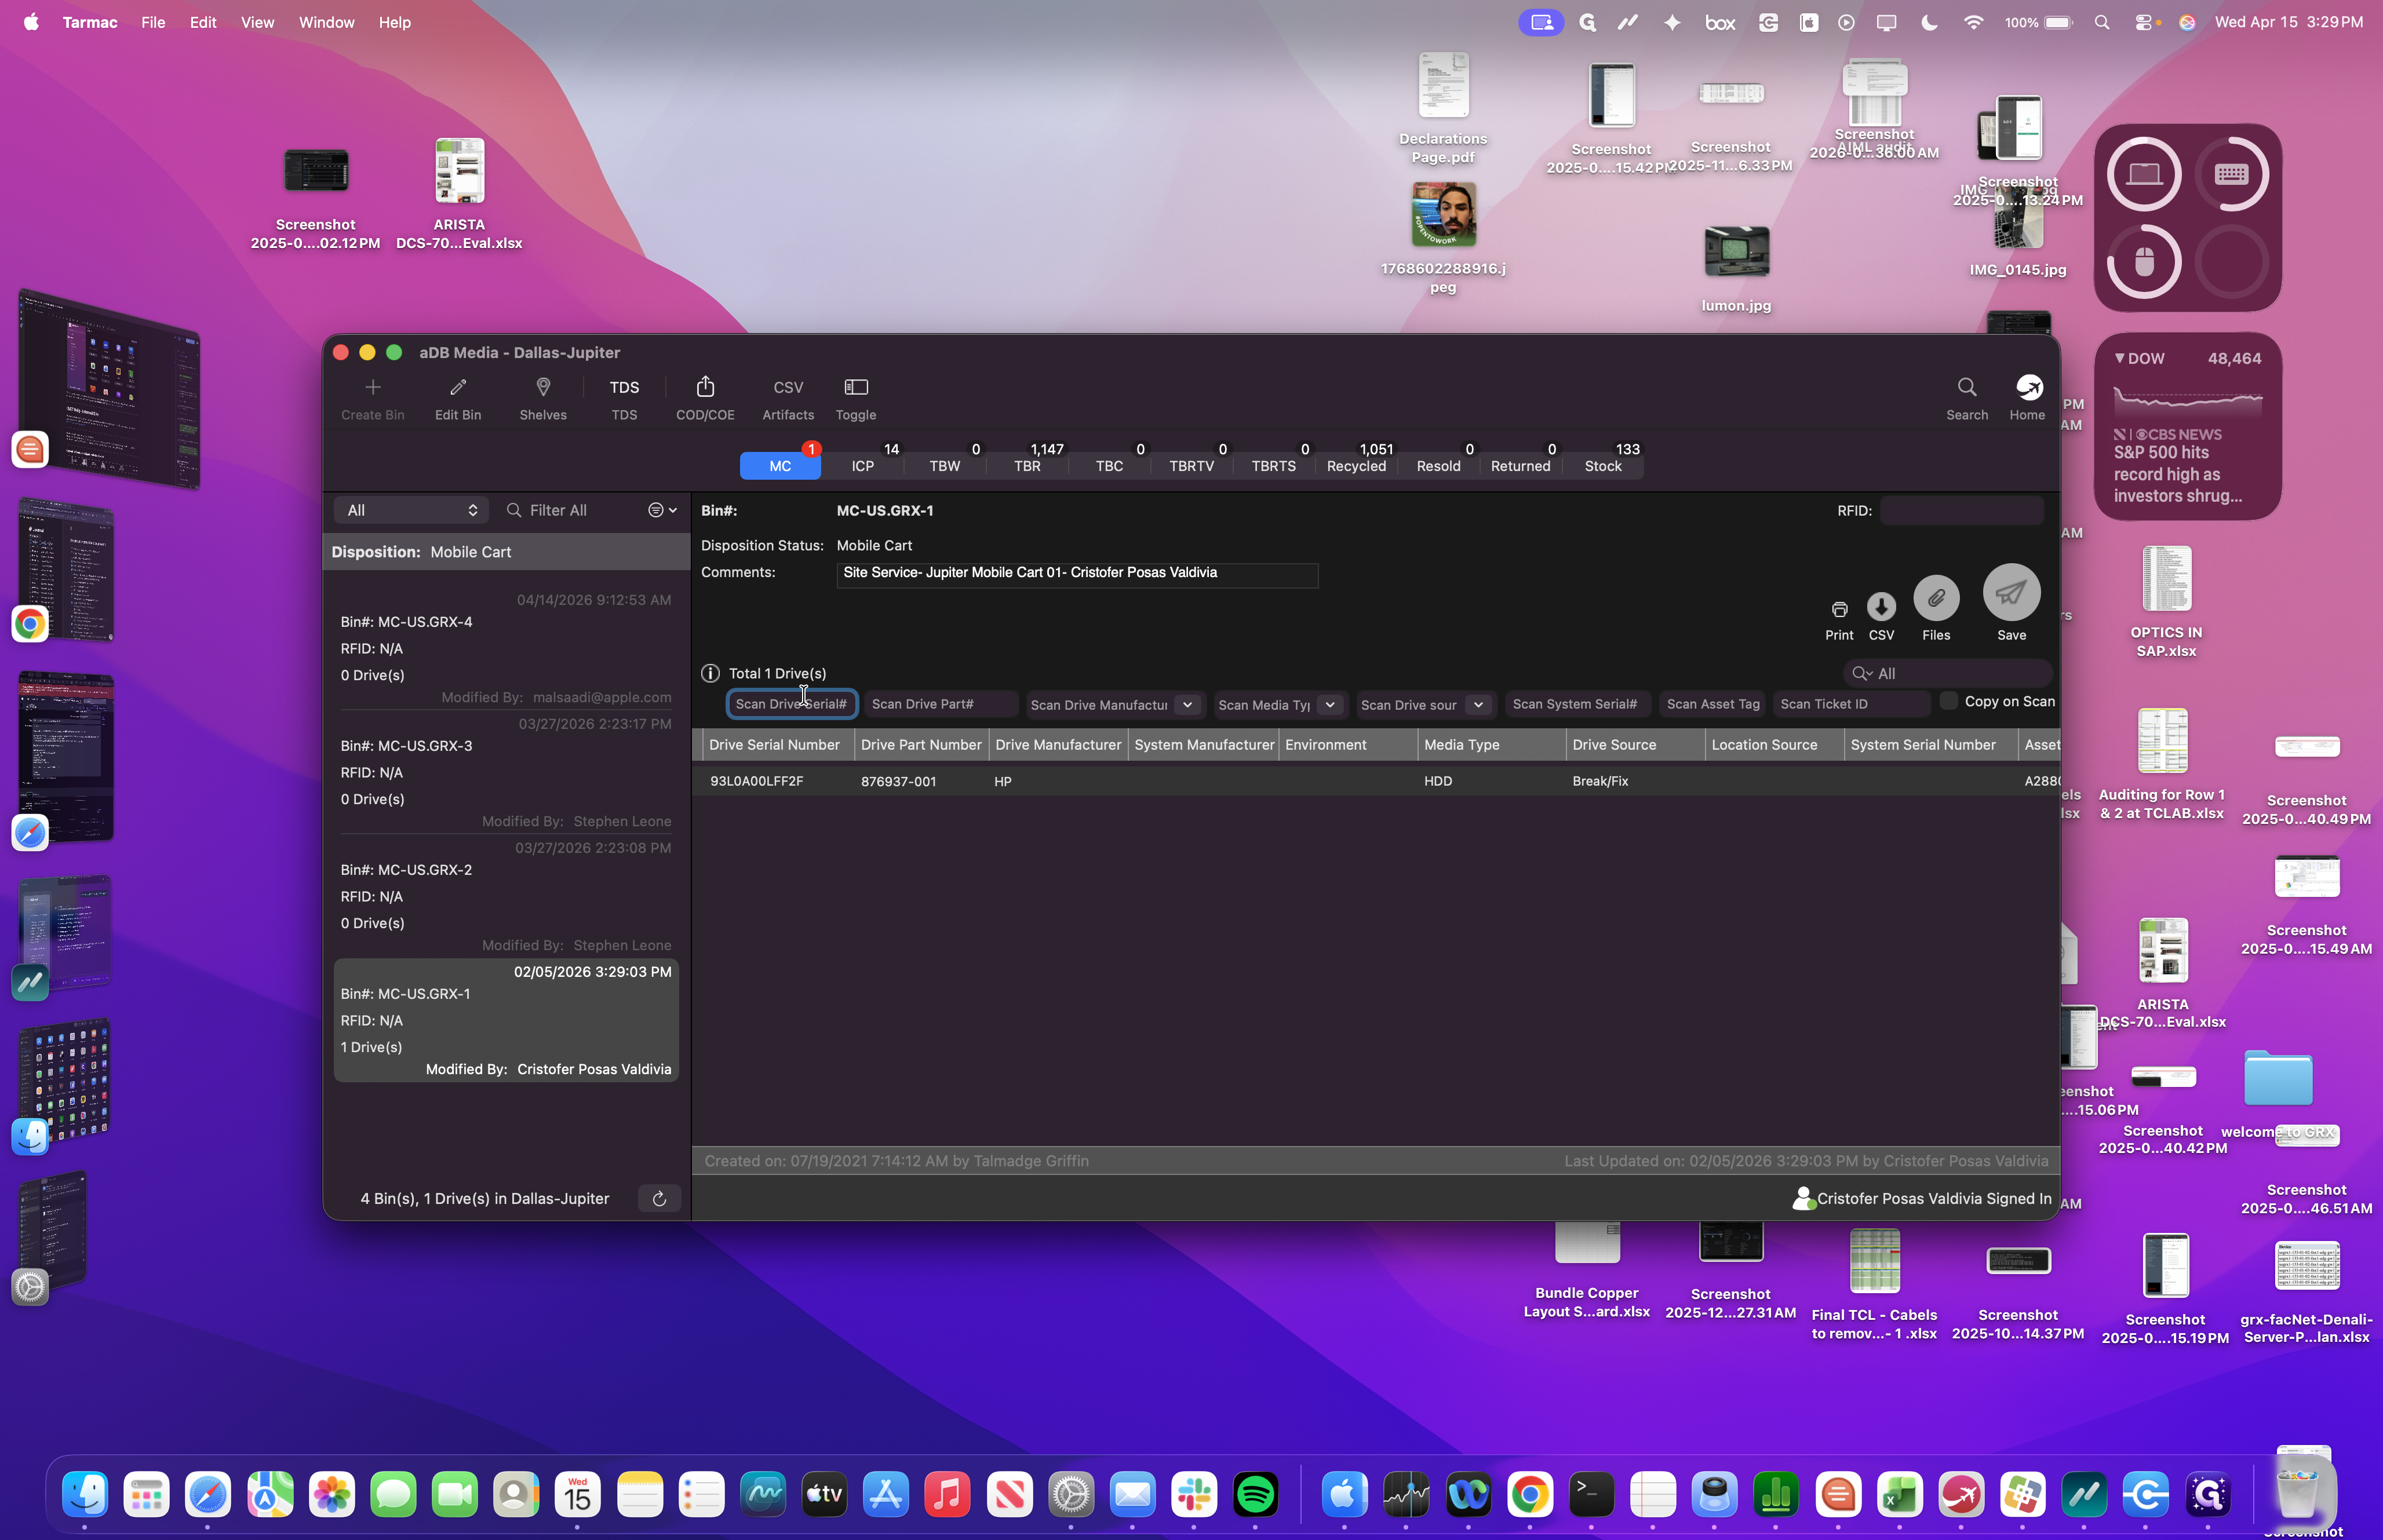
First, since we're focusing on the drive, click on ADB Media. Next, select the location, which is Jupiter.
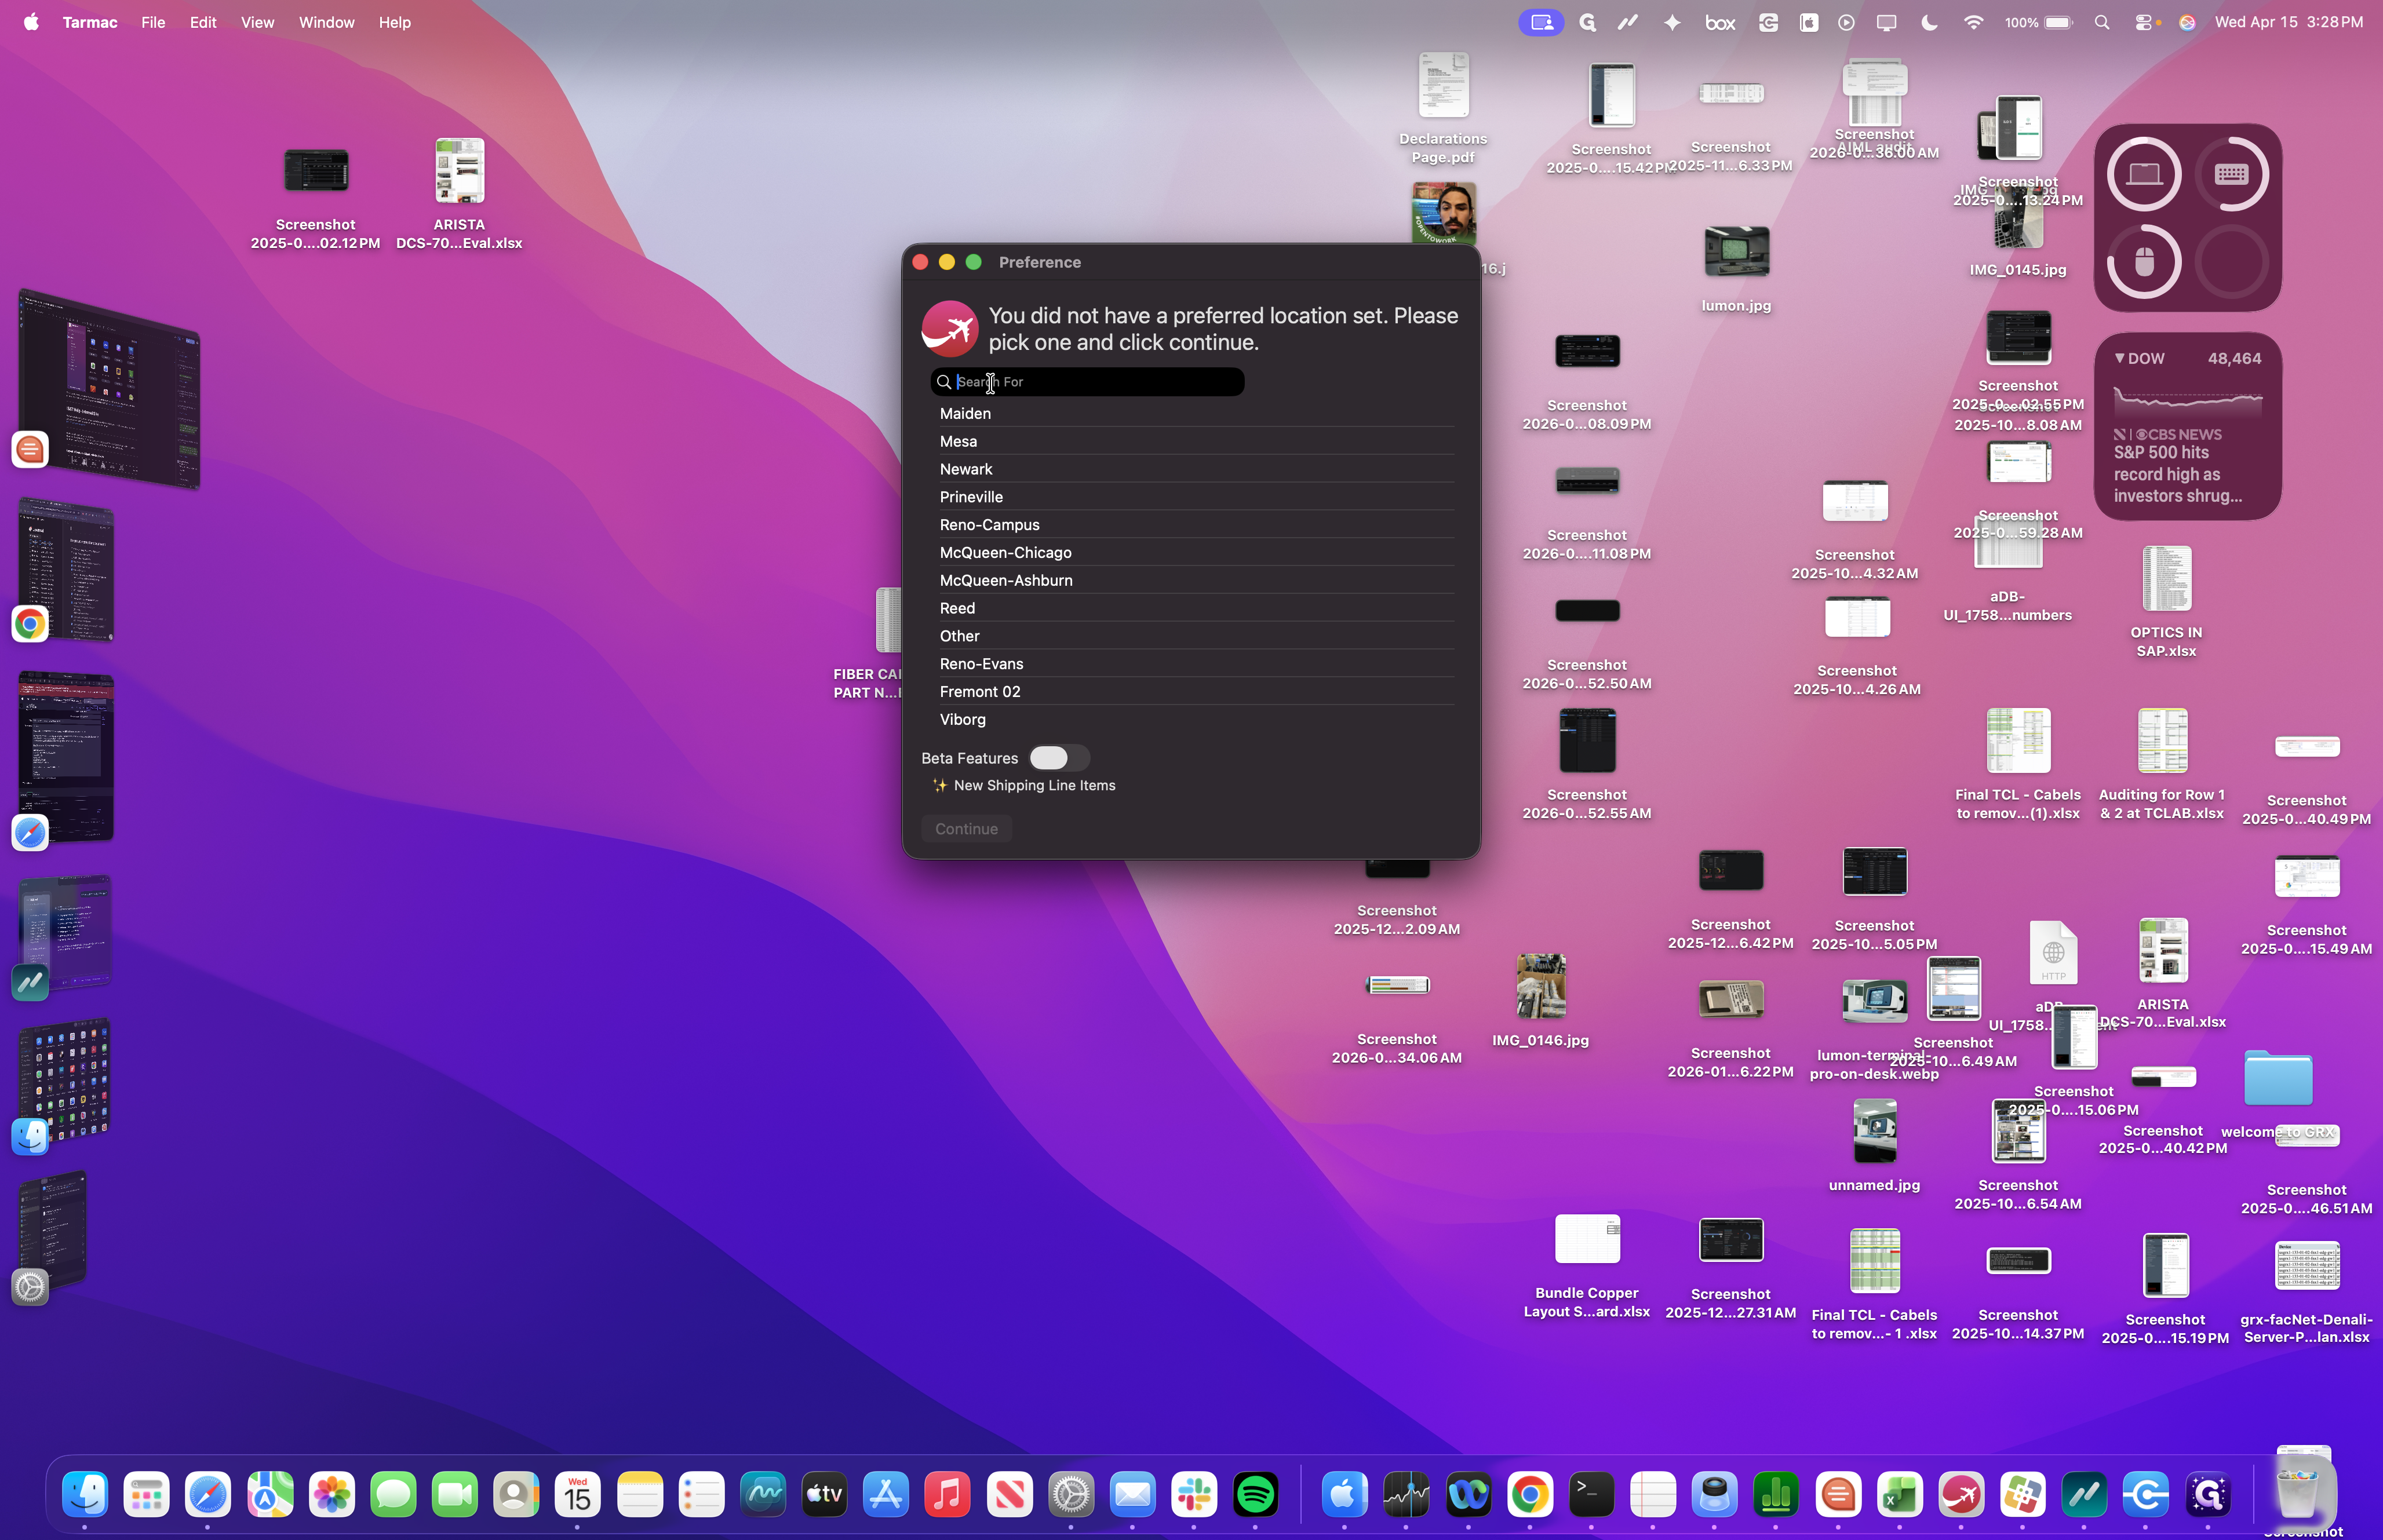
We are brought to this screen, where we can view each person's mobile carts. When you scan a drive into a mobile cart, that is the first step in entering the data.

We find the cart with my name on it and start scanning the information in.
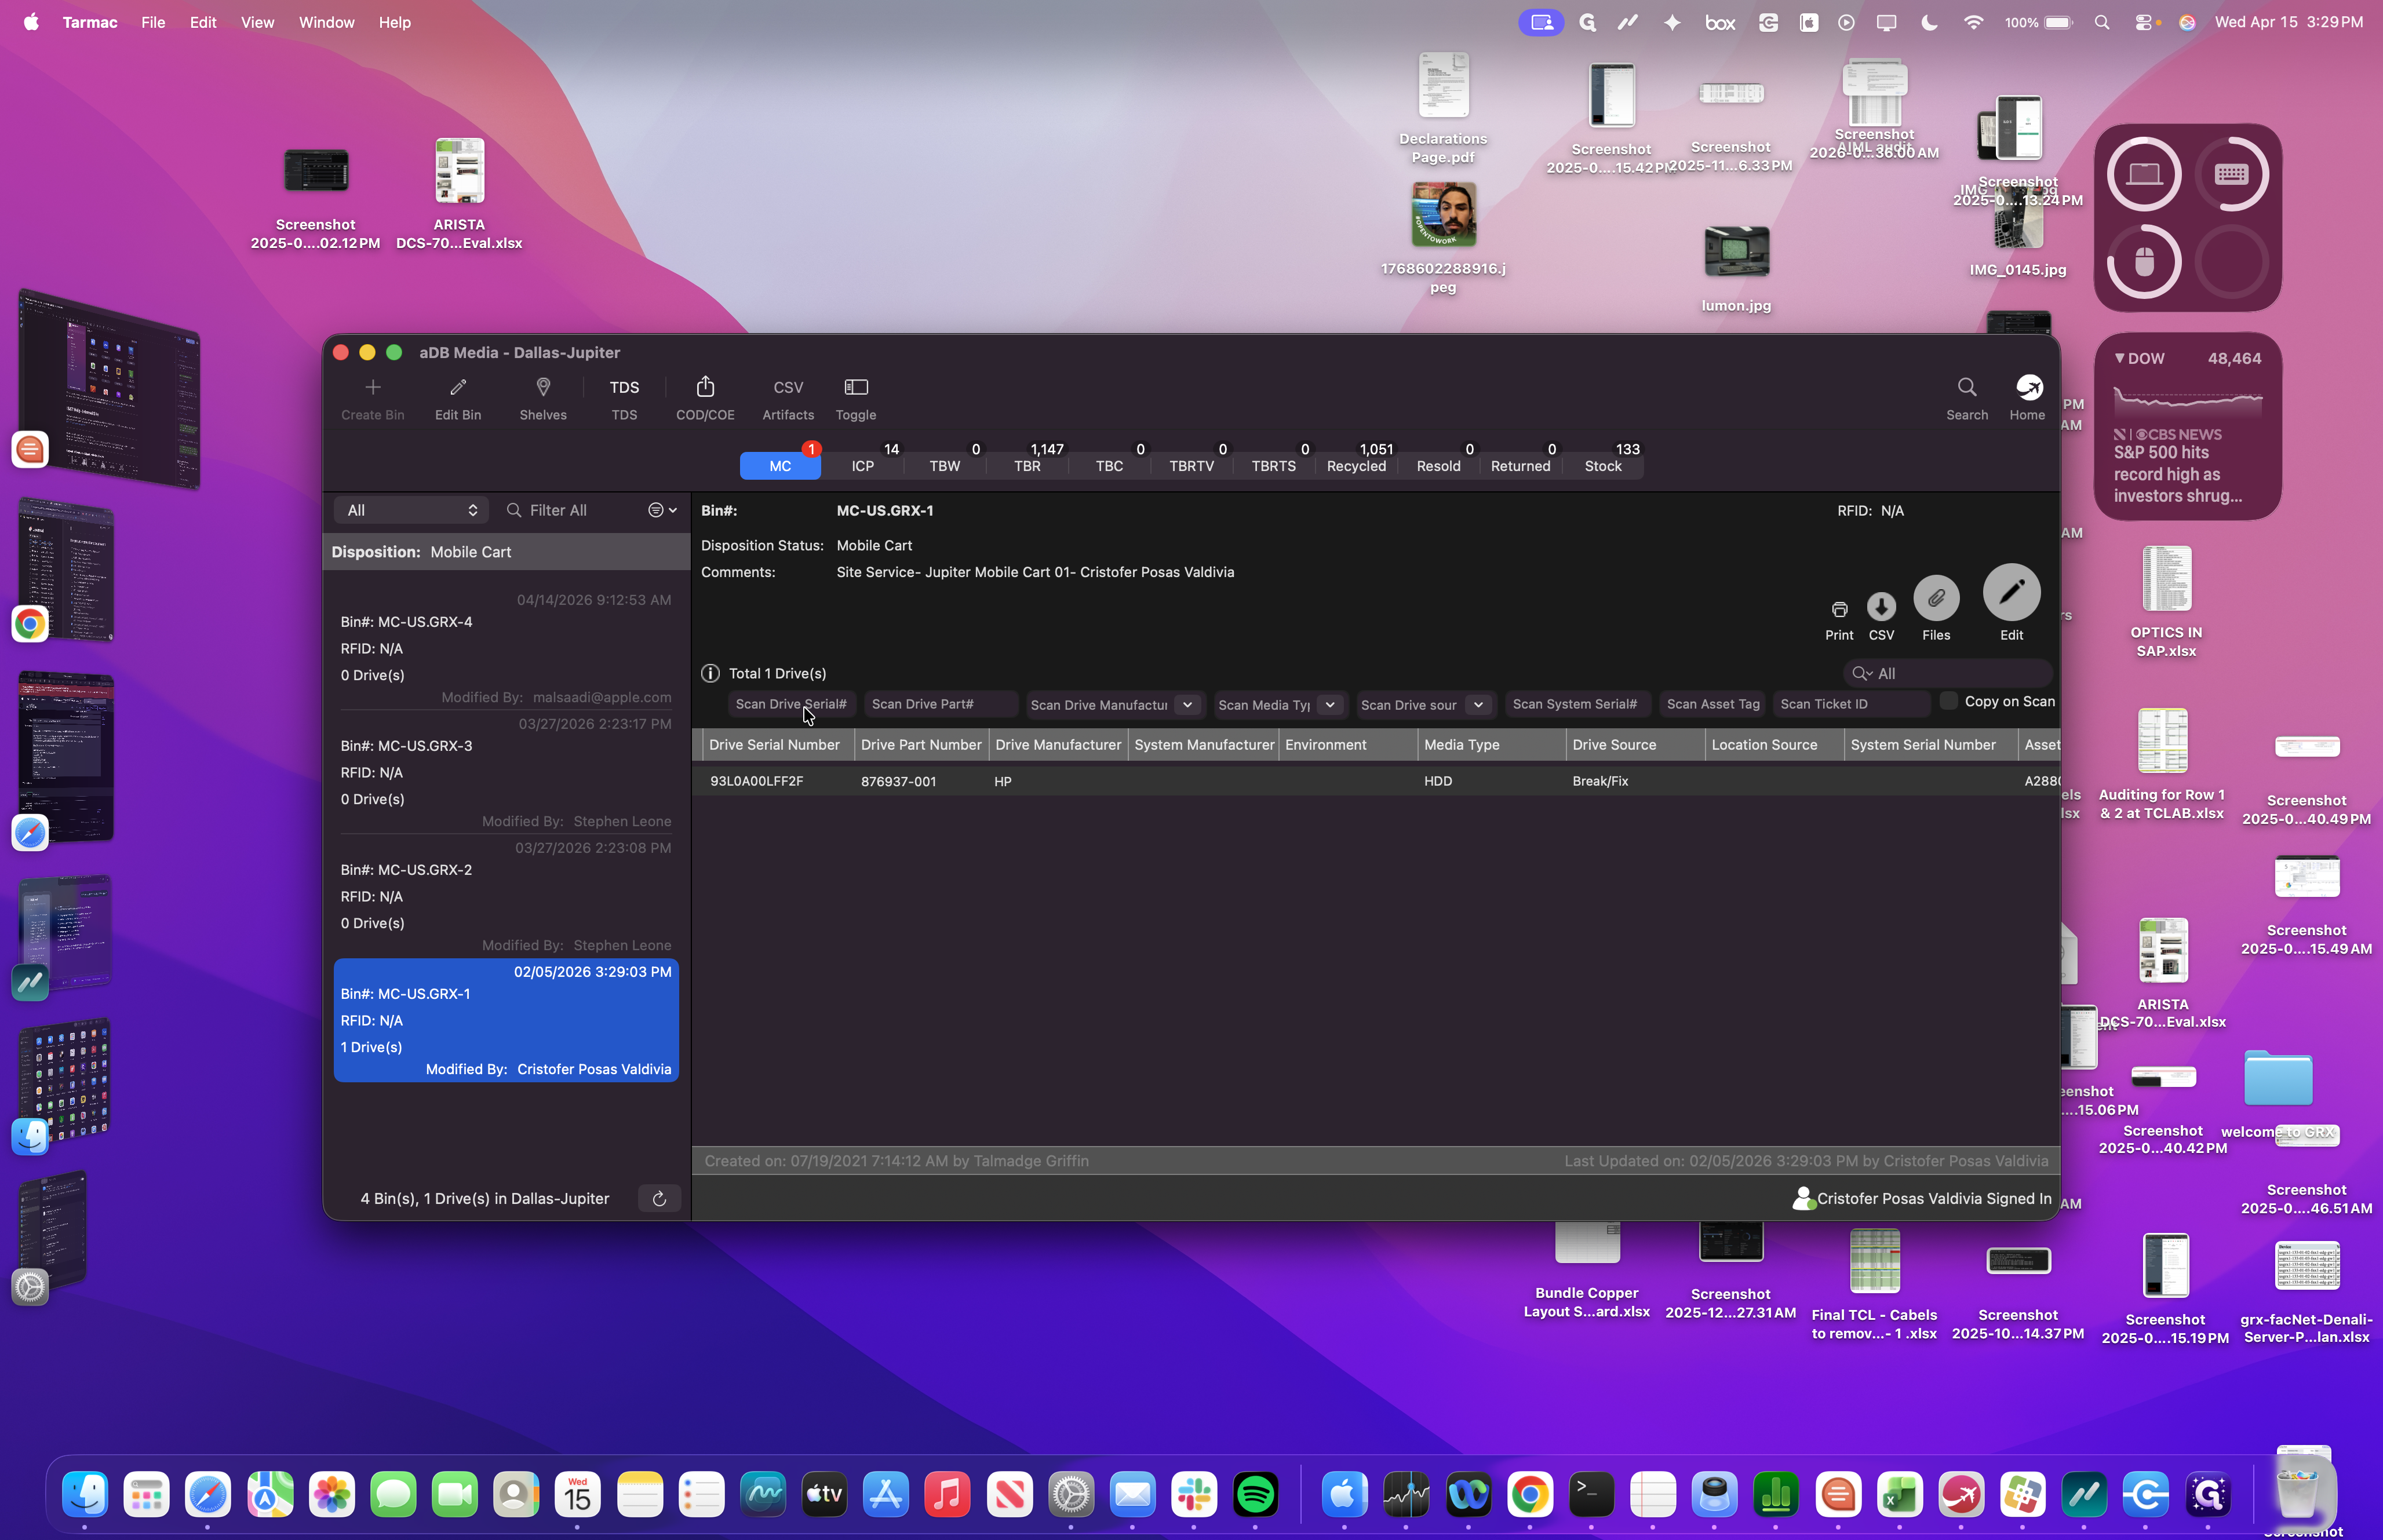

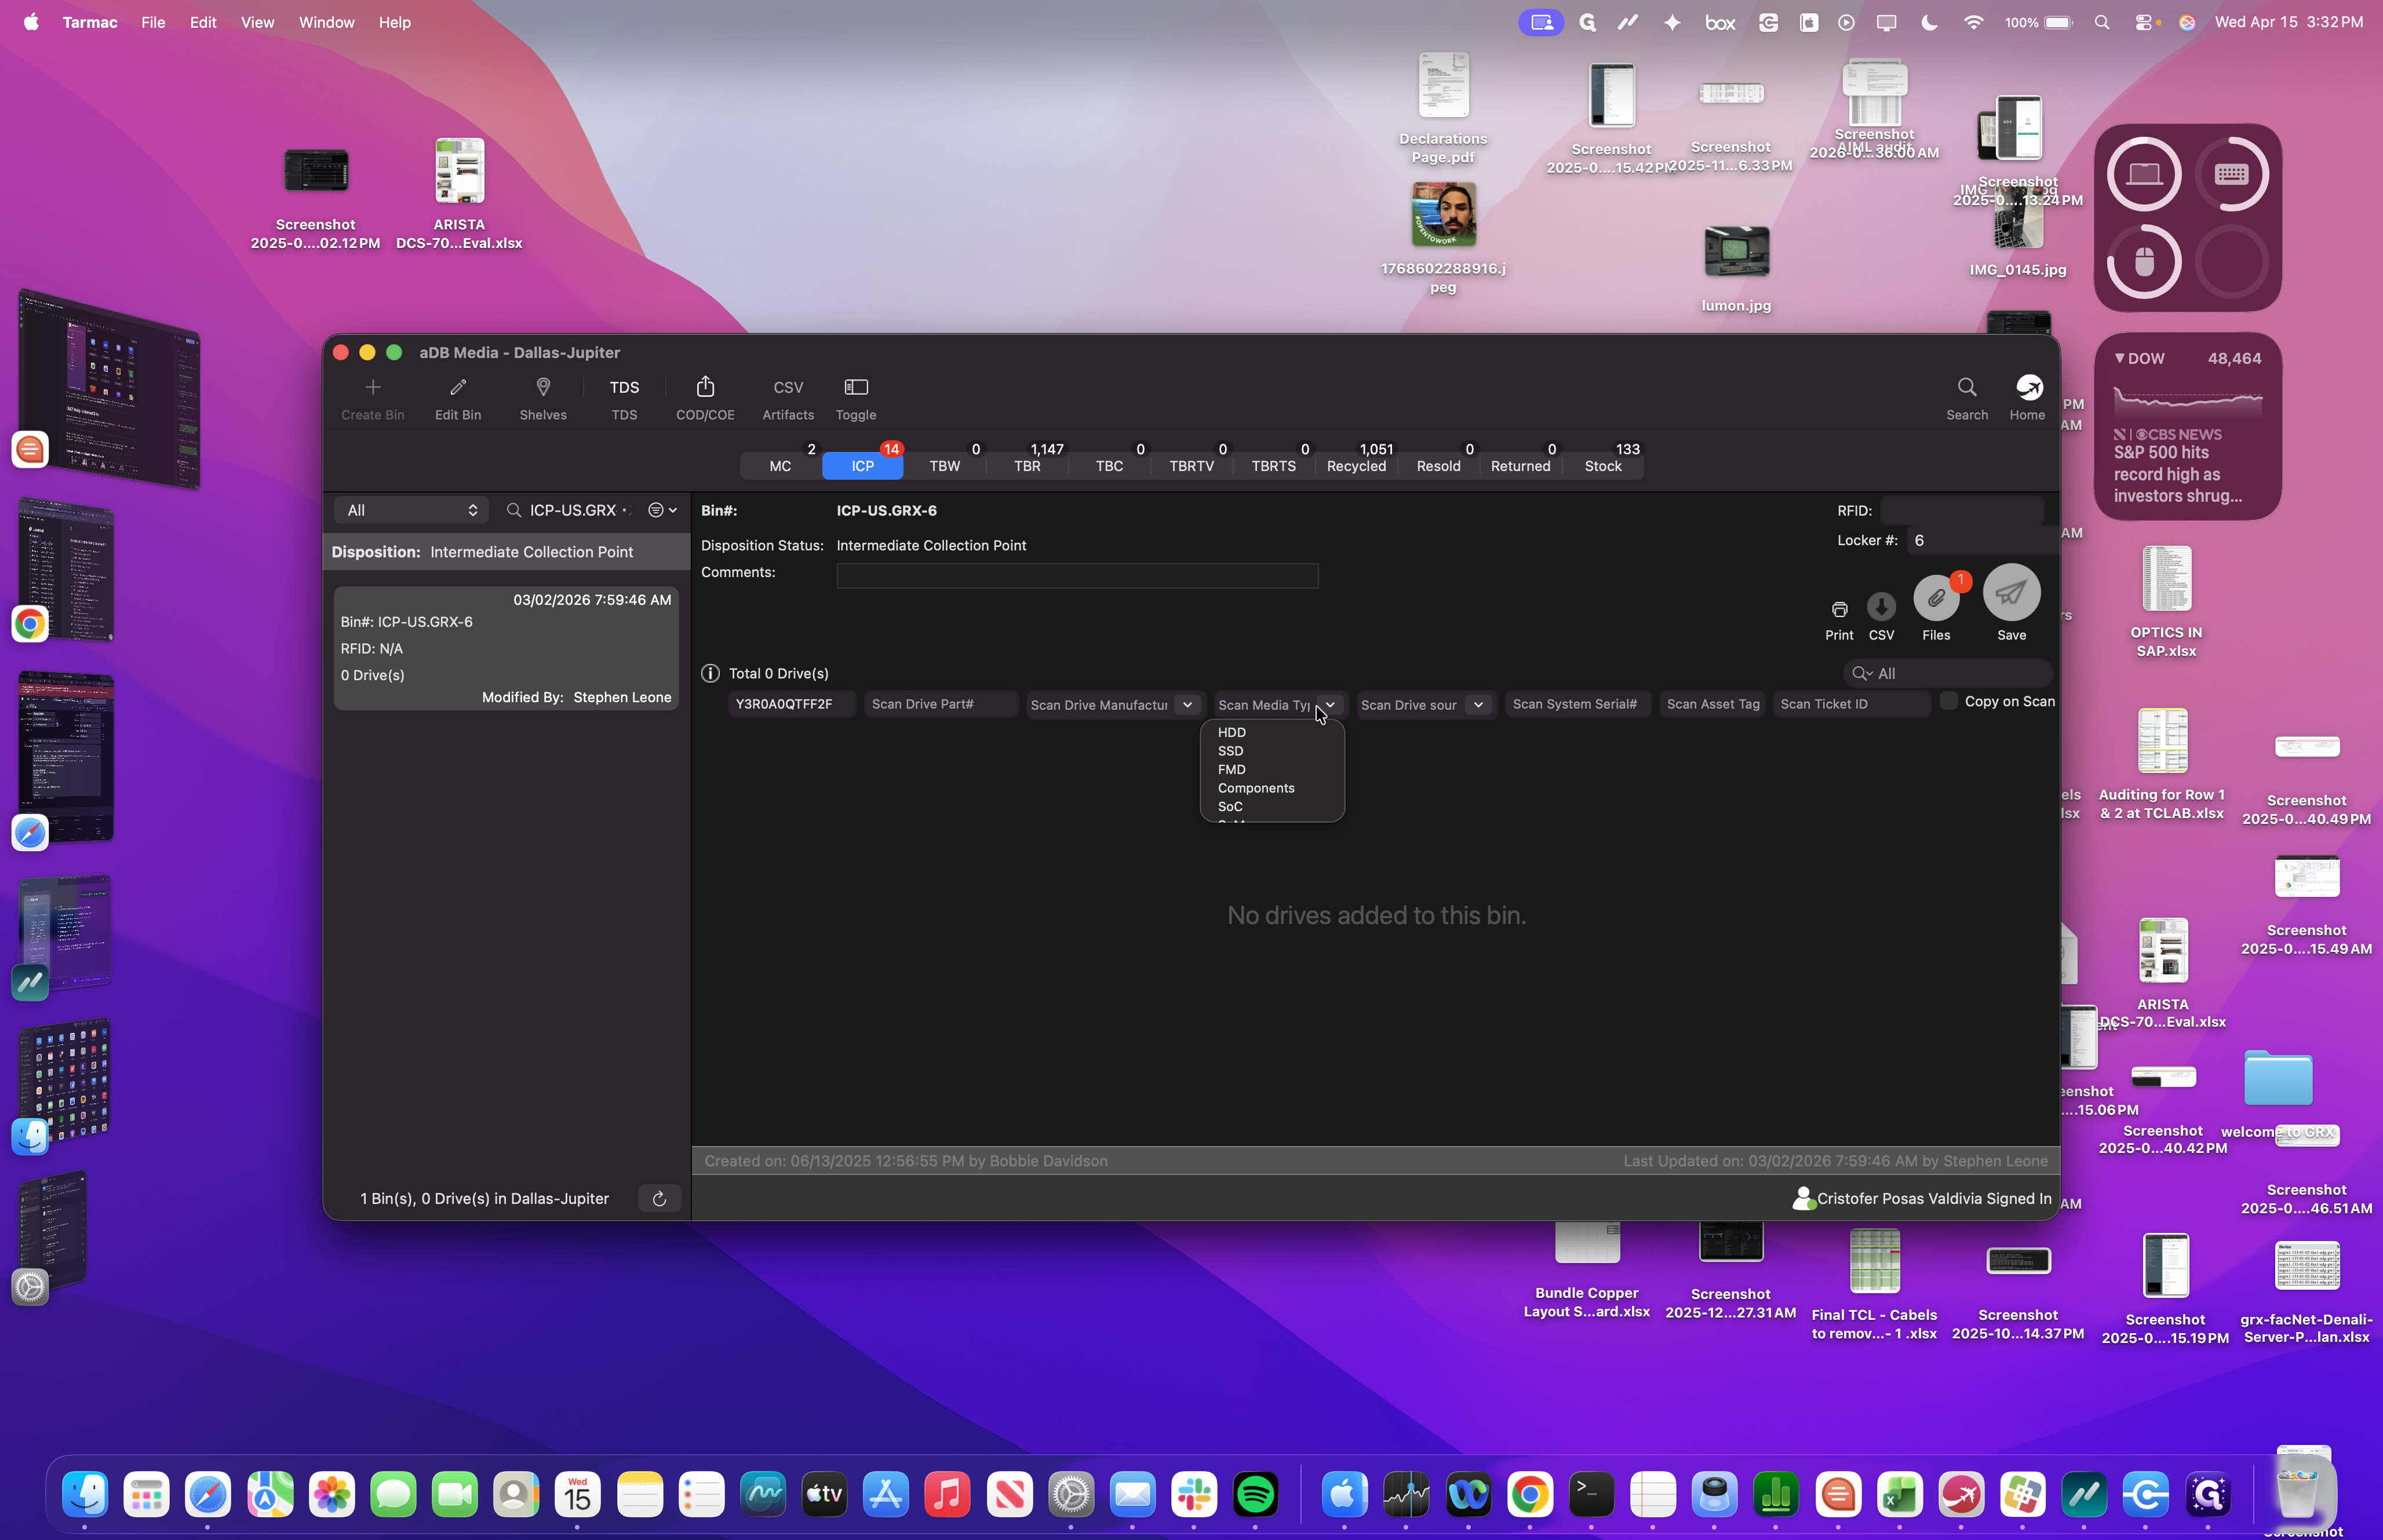
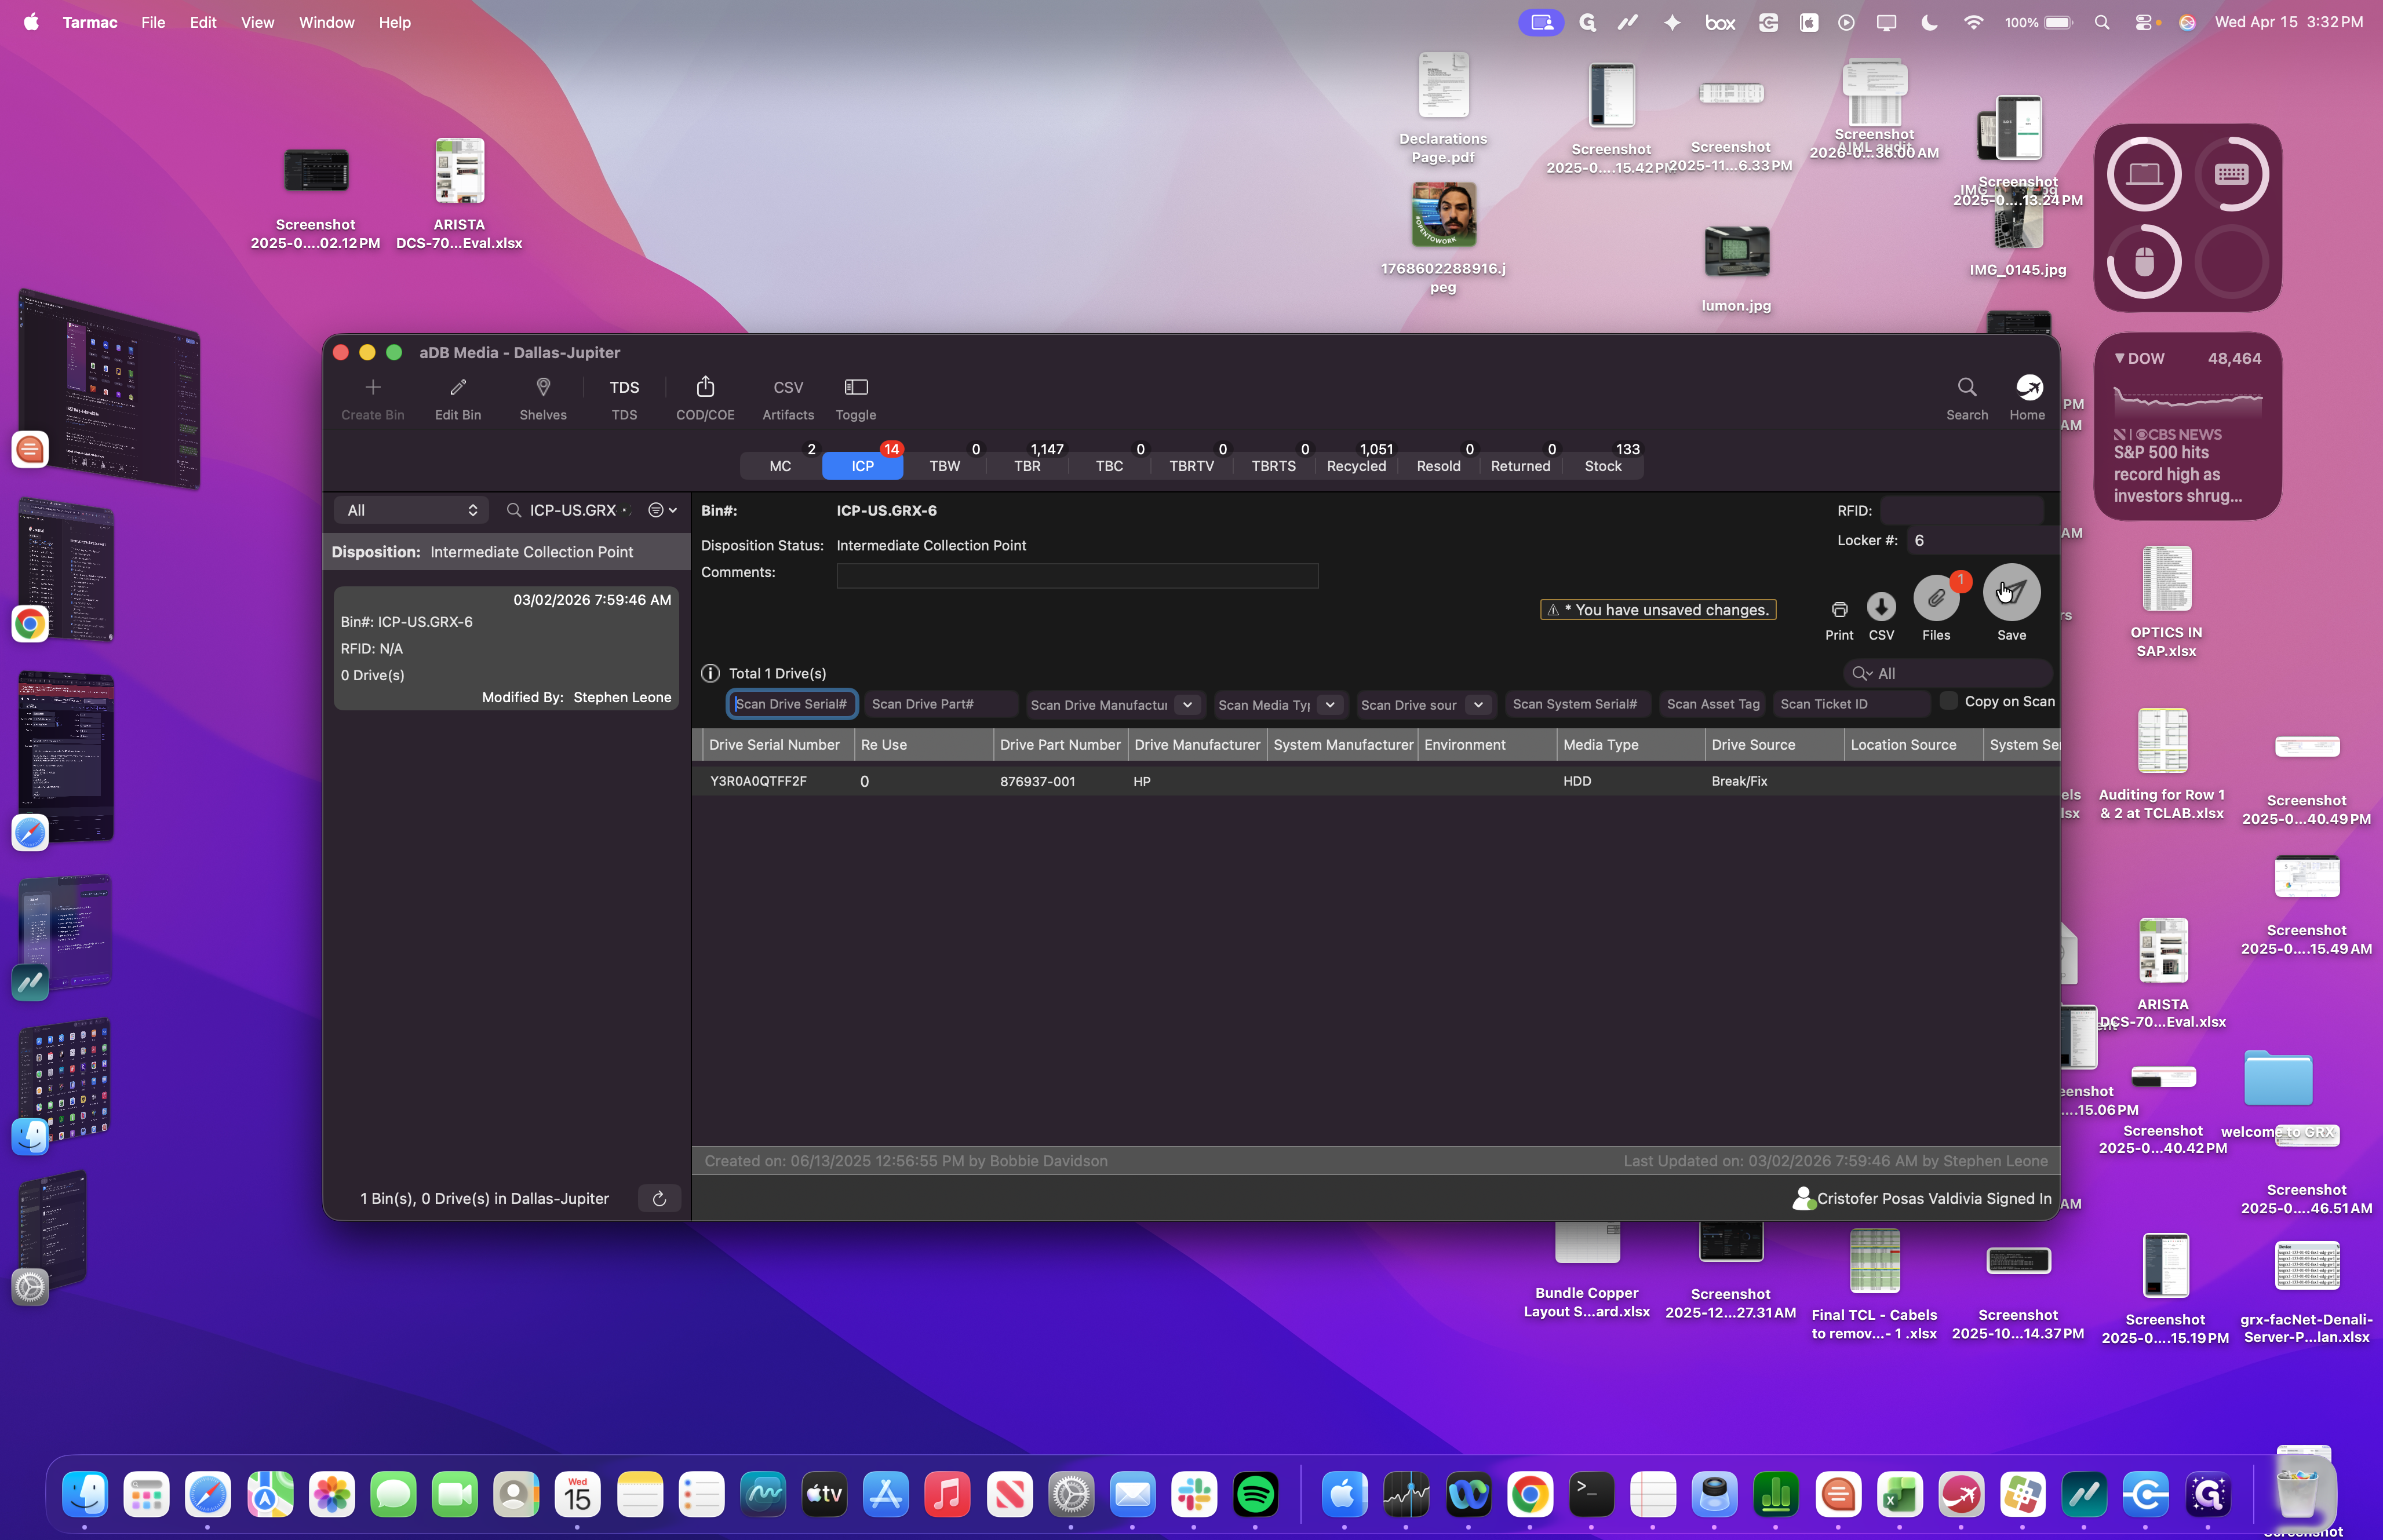
We need the drive serial number, part number, manufacturer, media type, source, and serial number. We don't need the serial number, so never mind. Then add the asset tag and our ticket ID. First, scan the drive's serial number.
Next, scan the part number.

We enter our manufacturer, which in this case is HPE.

This is a hard drive, so we'll select HDD from the dropdown.


The drive source will be break/fix since this drive failed and we are still using the node.

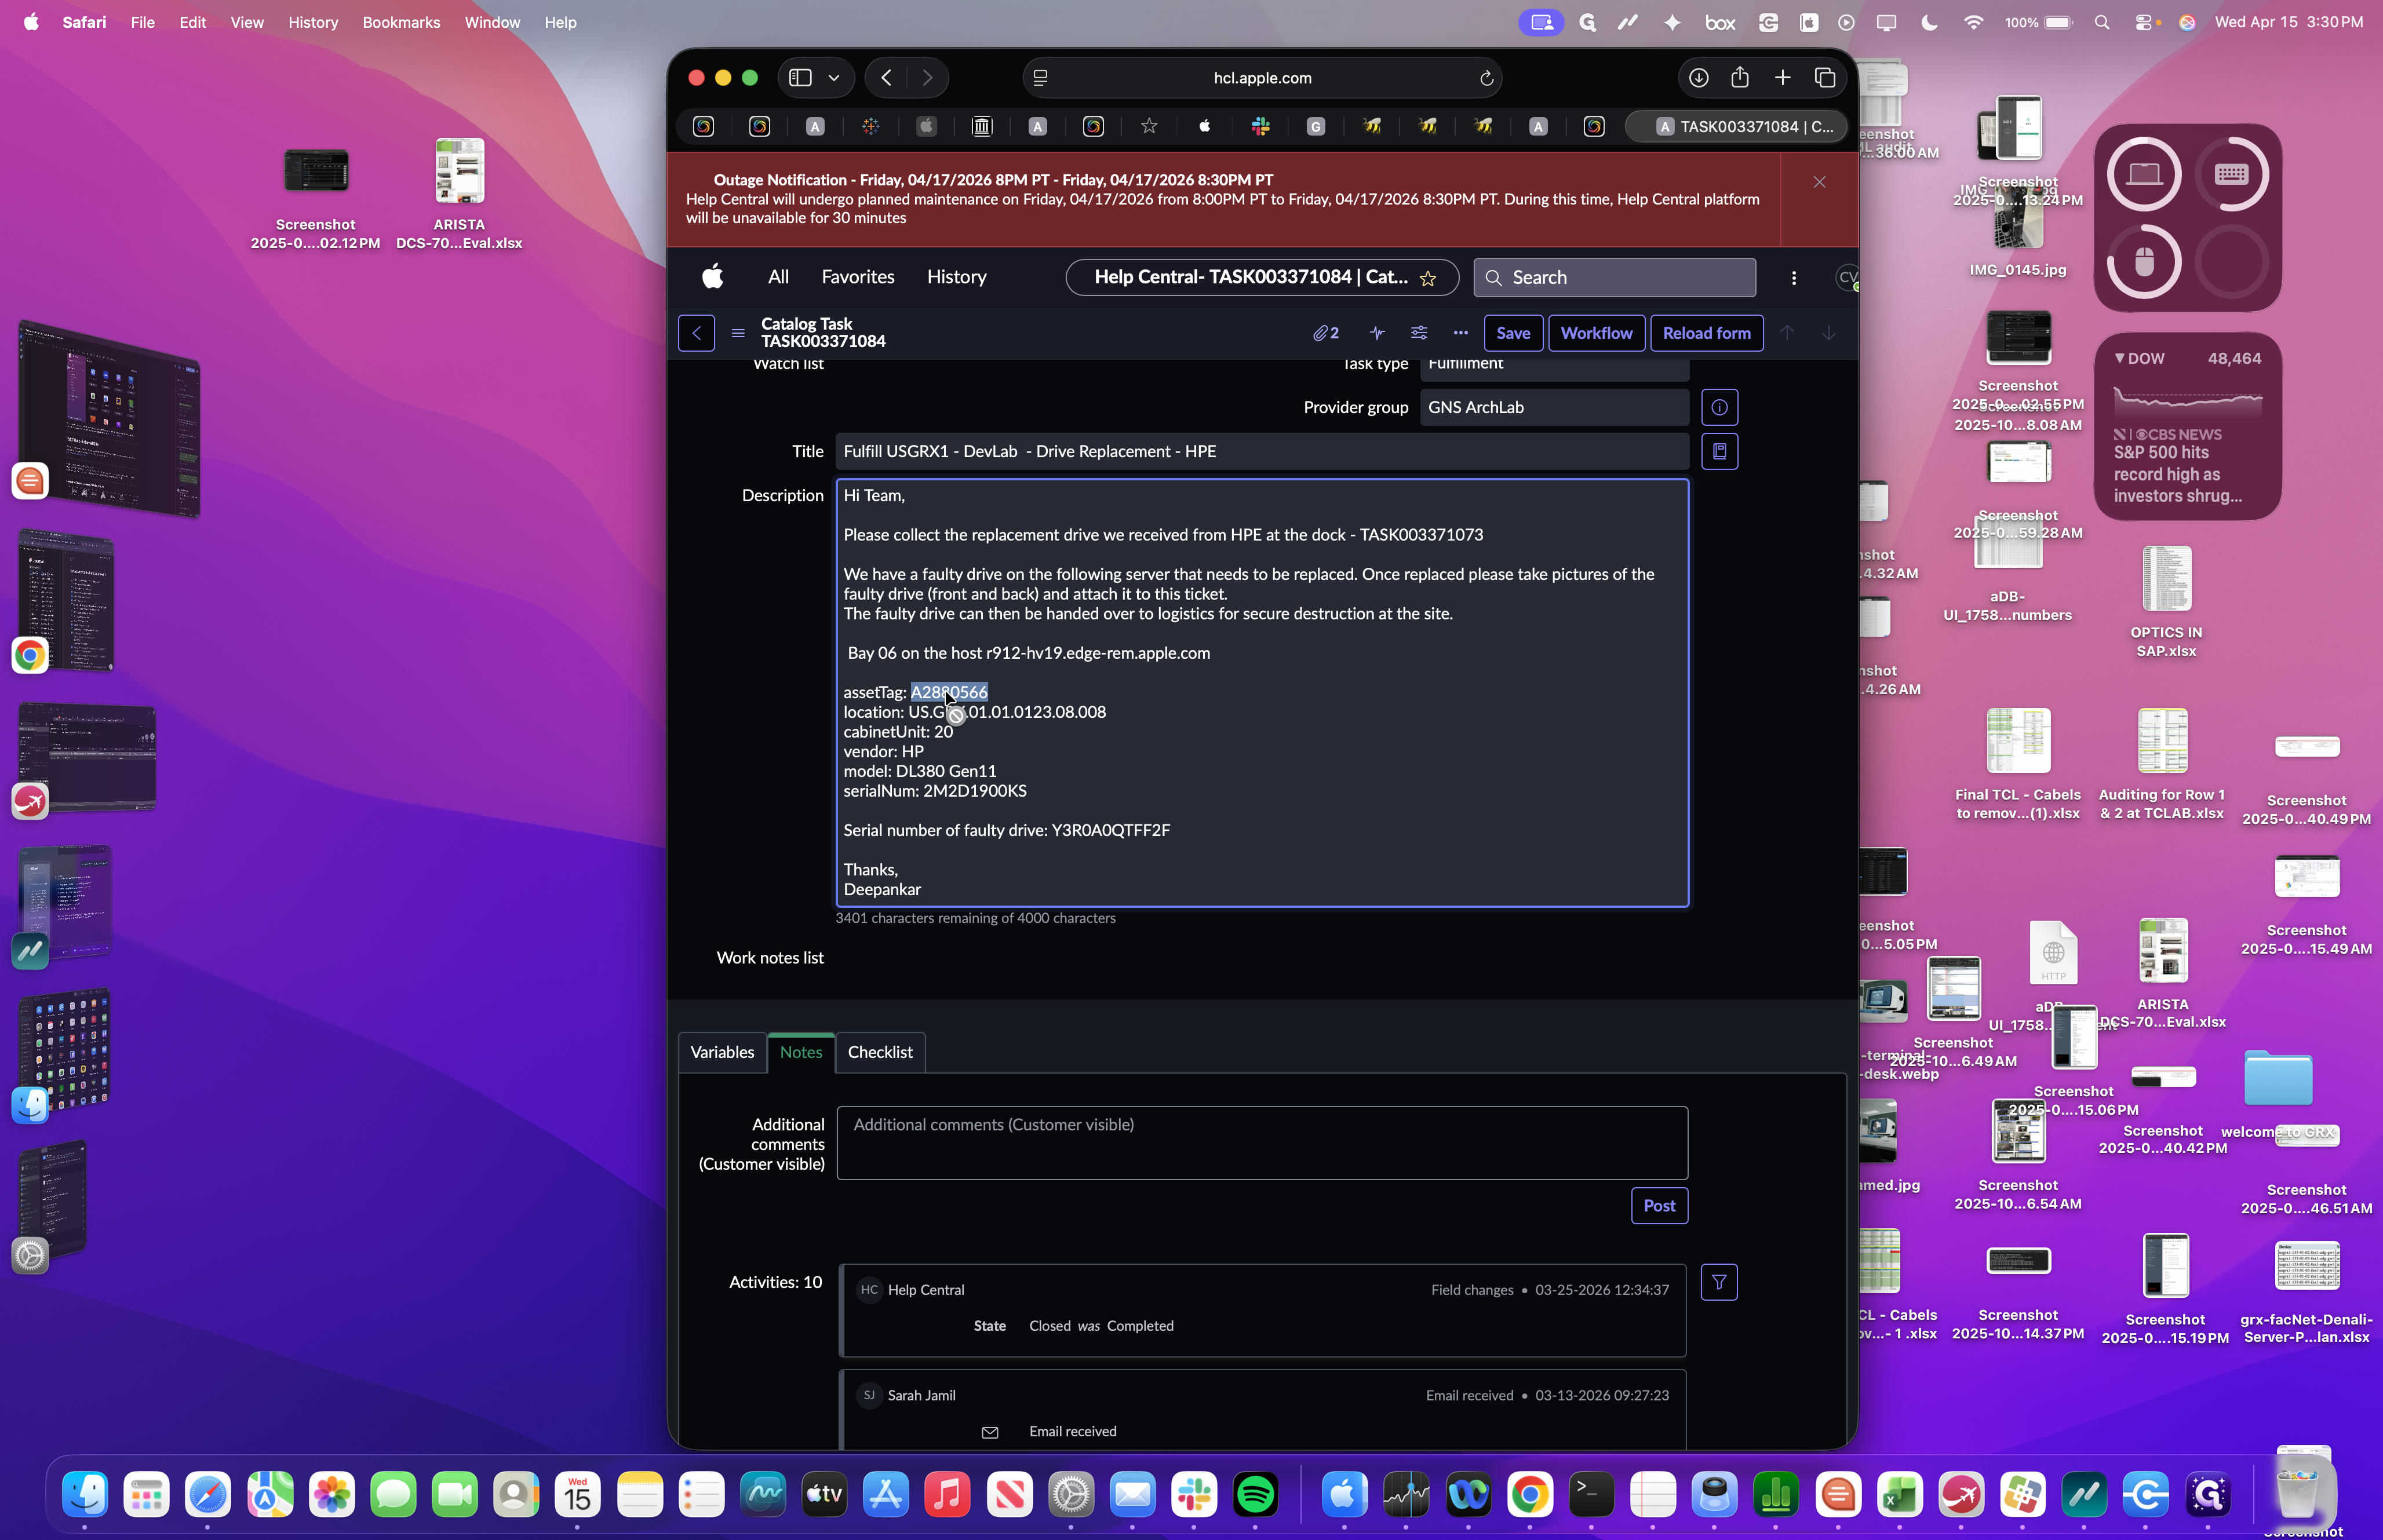
Next, we obtain the asset tag for our device.


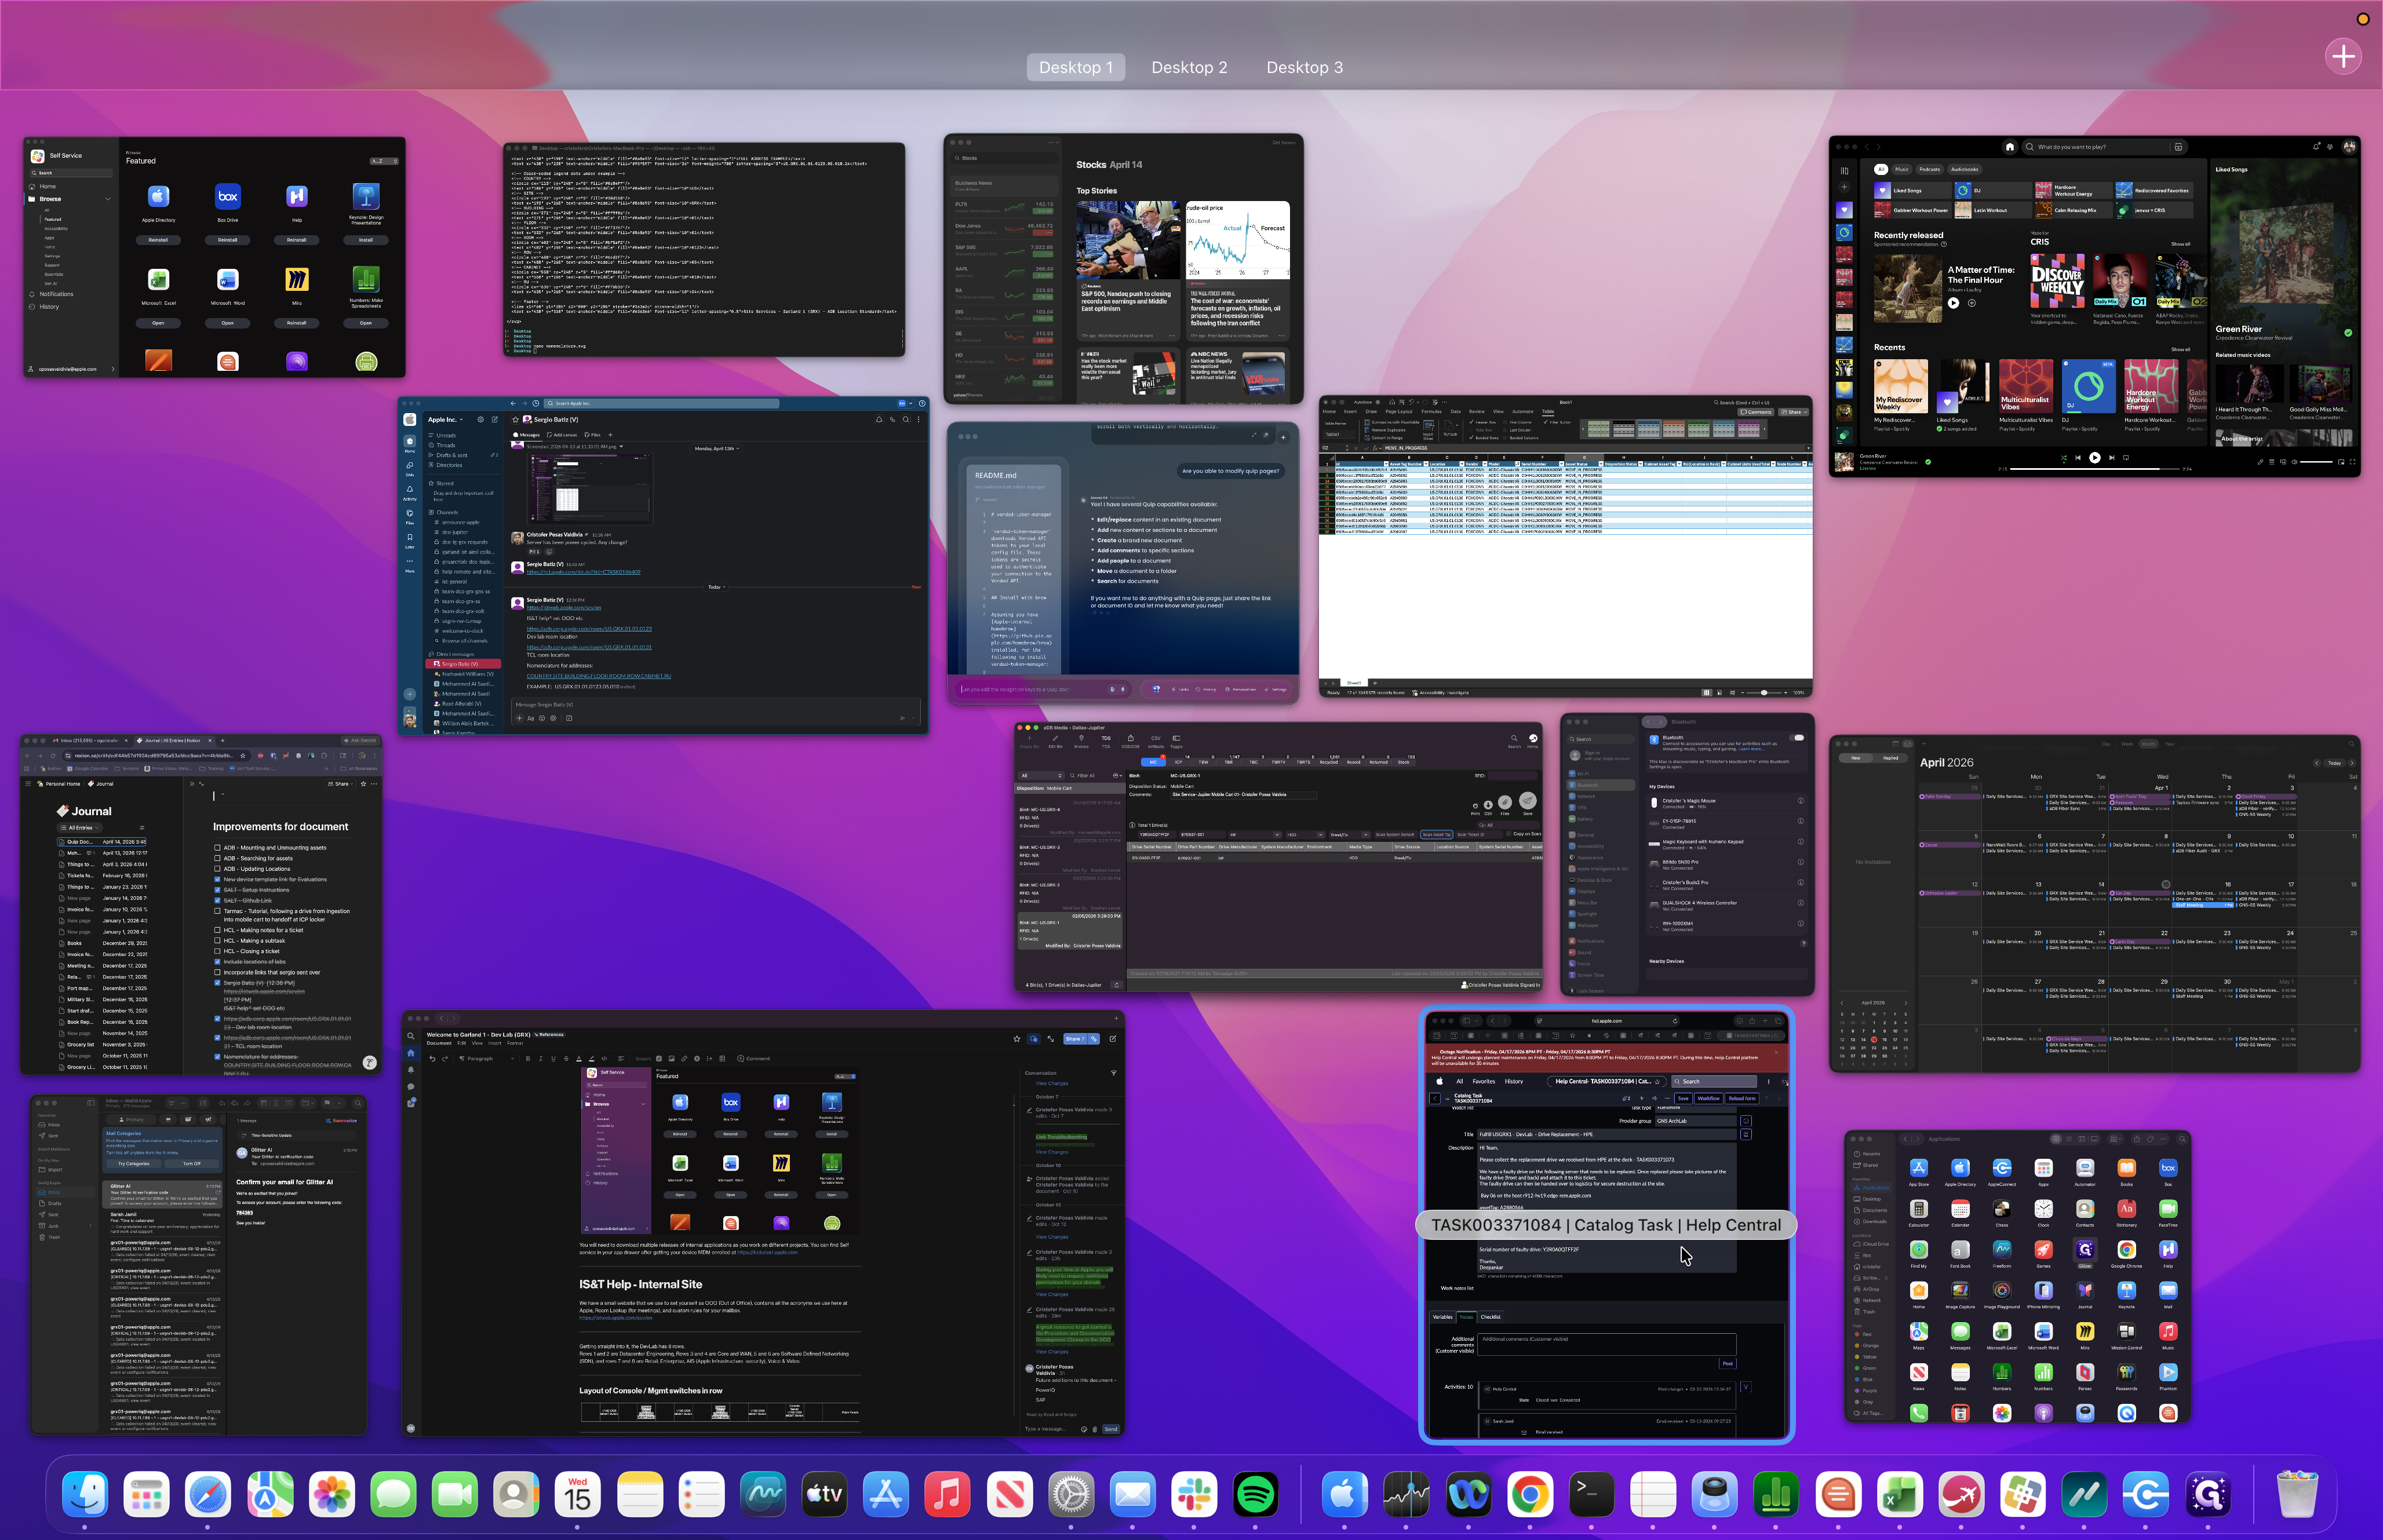
Then click back to the Tarmac window.
We enter our asset tag.

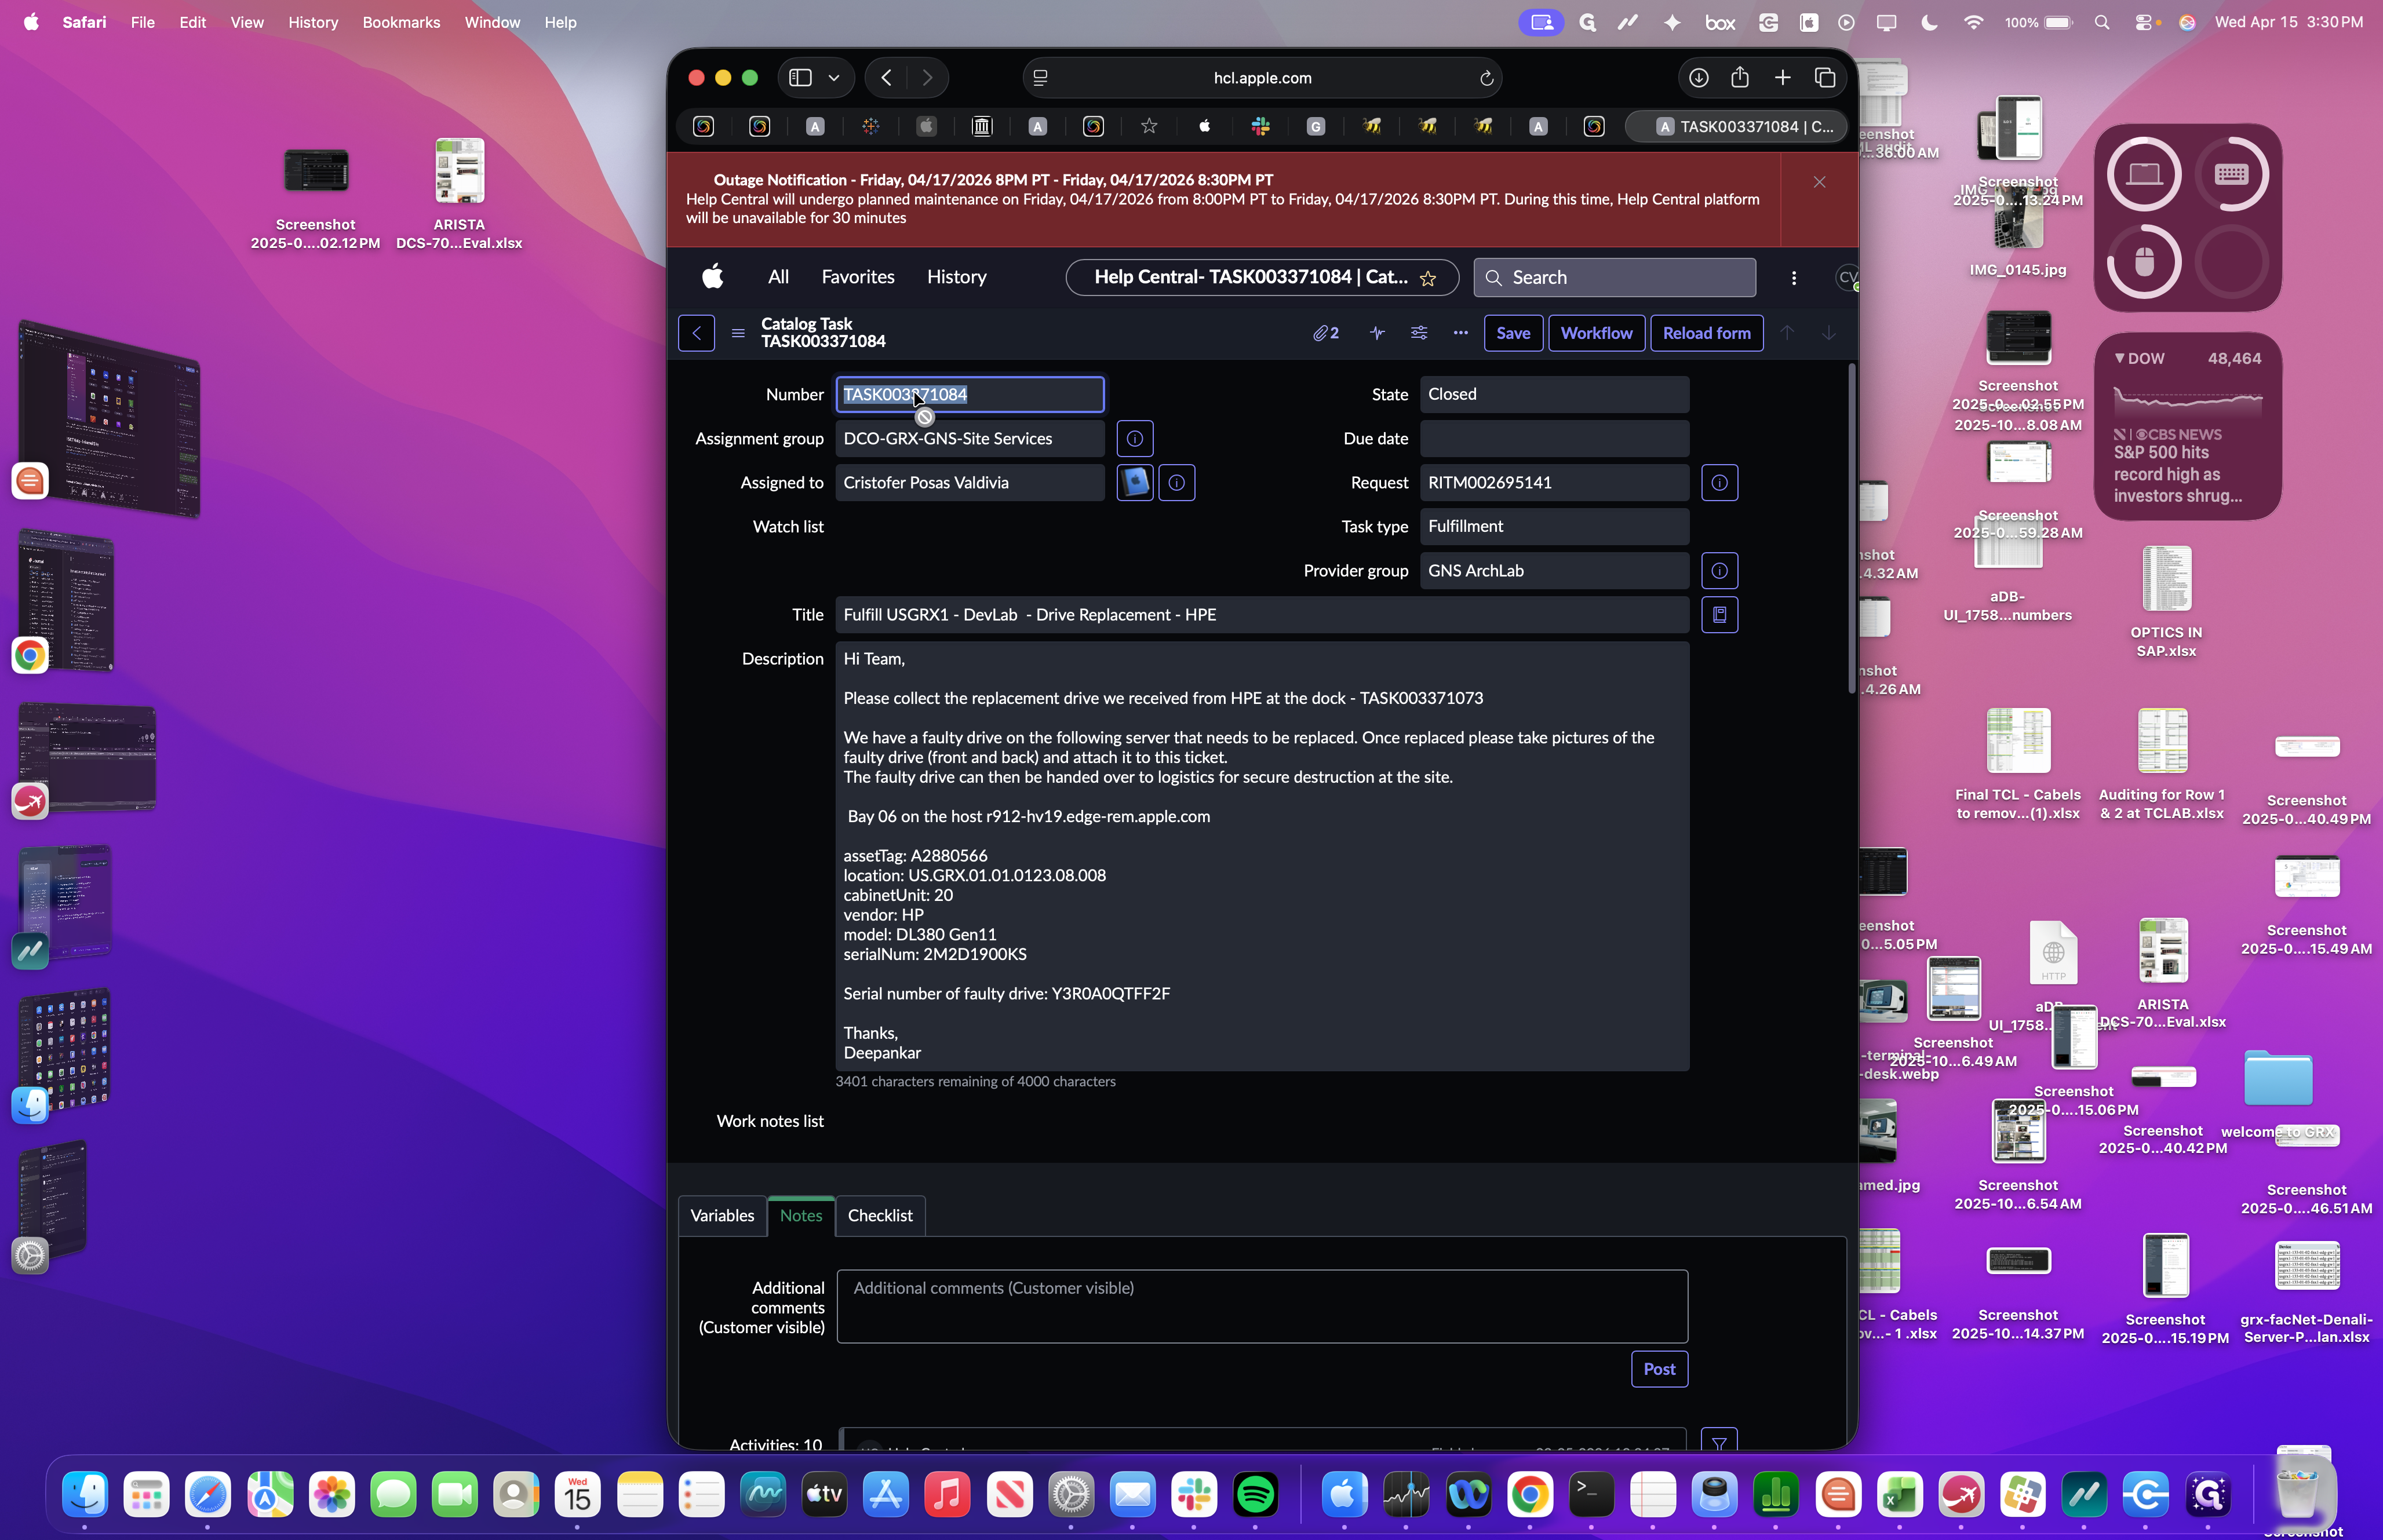
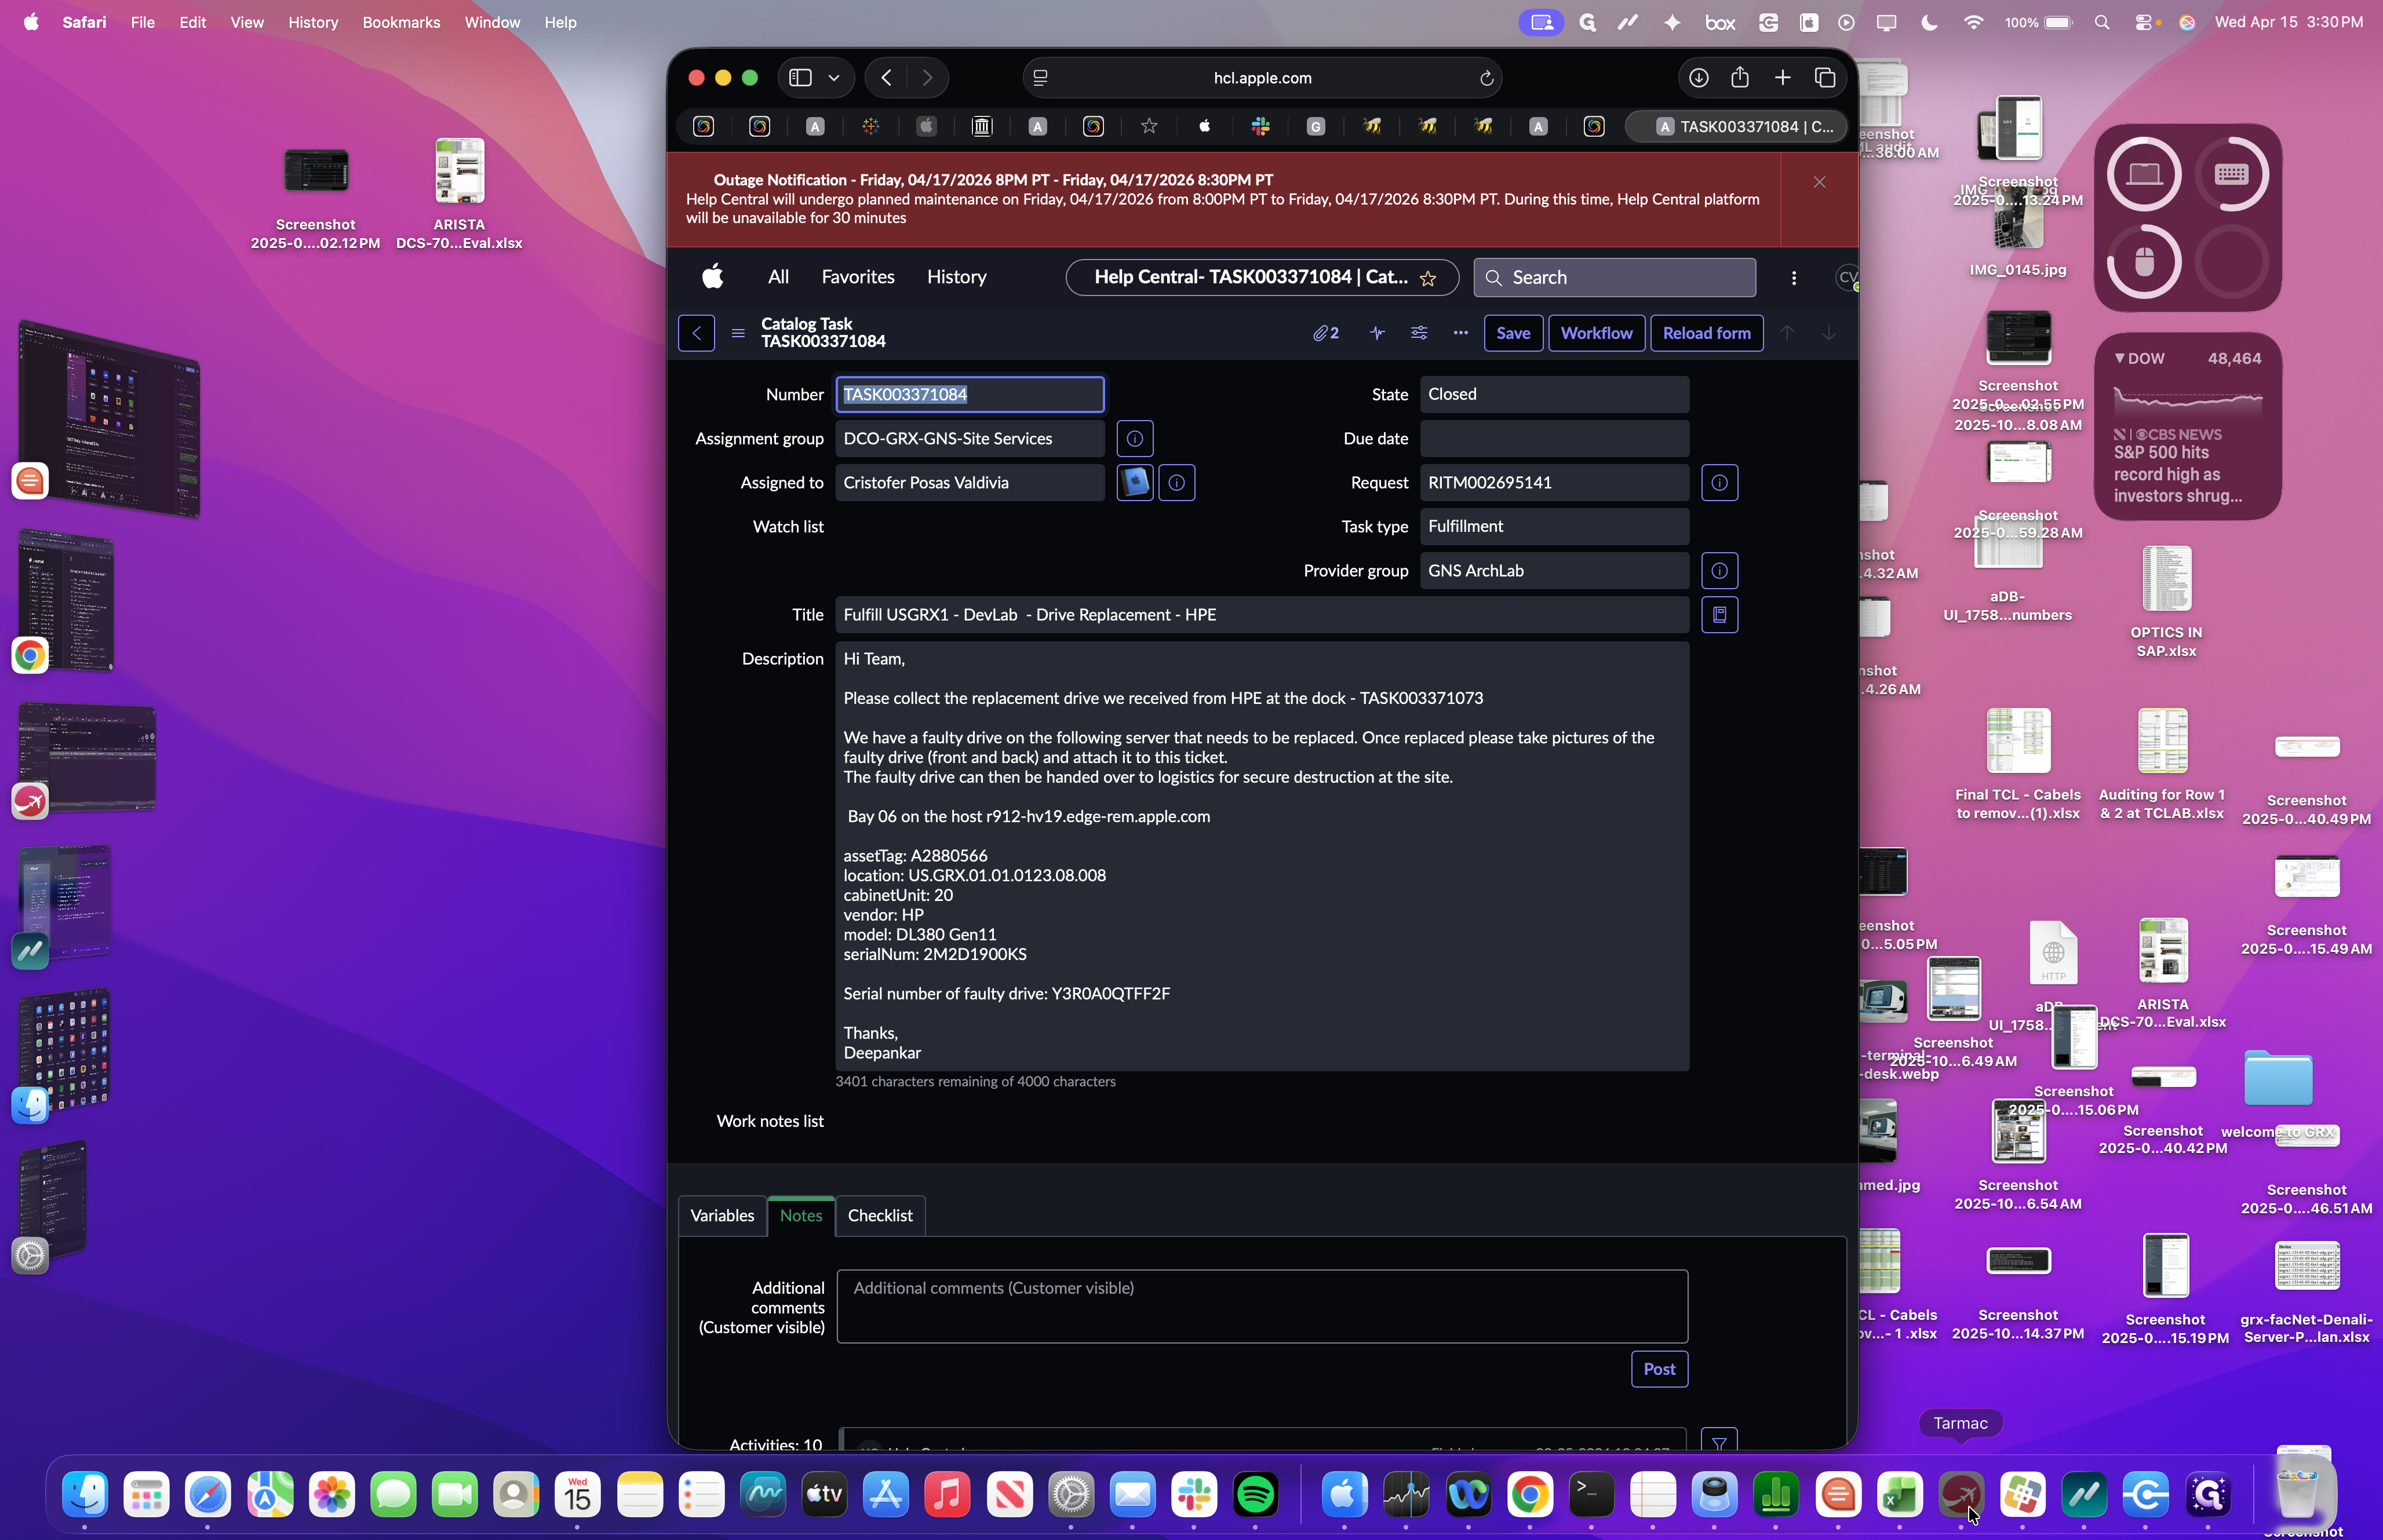
Next, return to Help Central and retrieve your ticket number.

Copy the ticket number. Return to Tarmac and paste it into the ticket ID field.

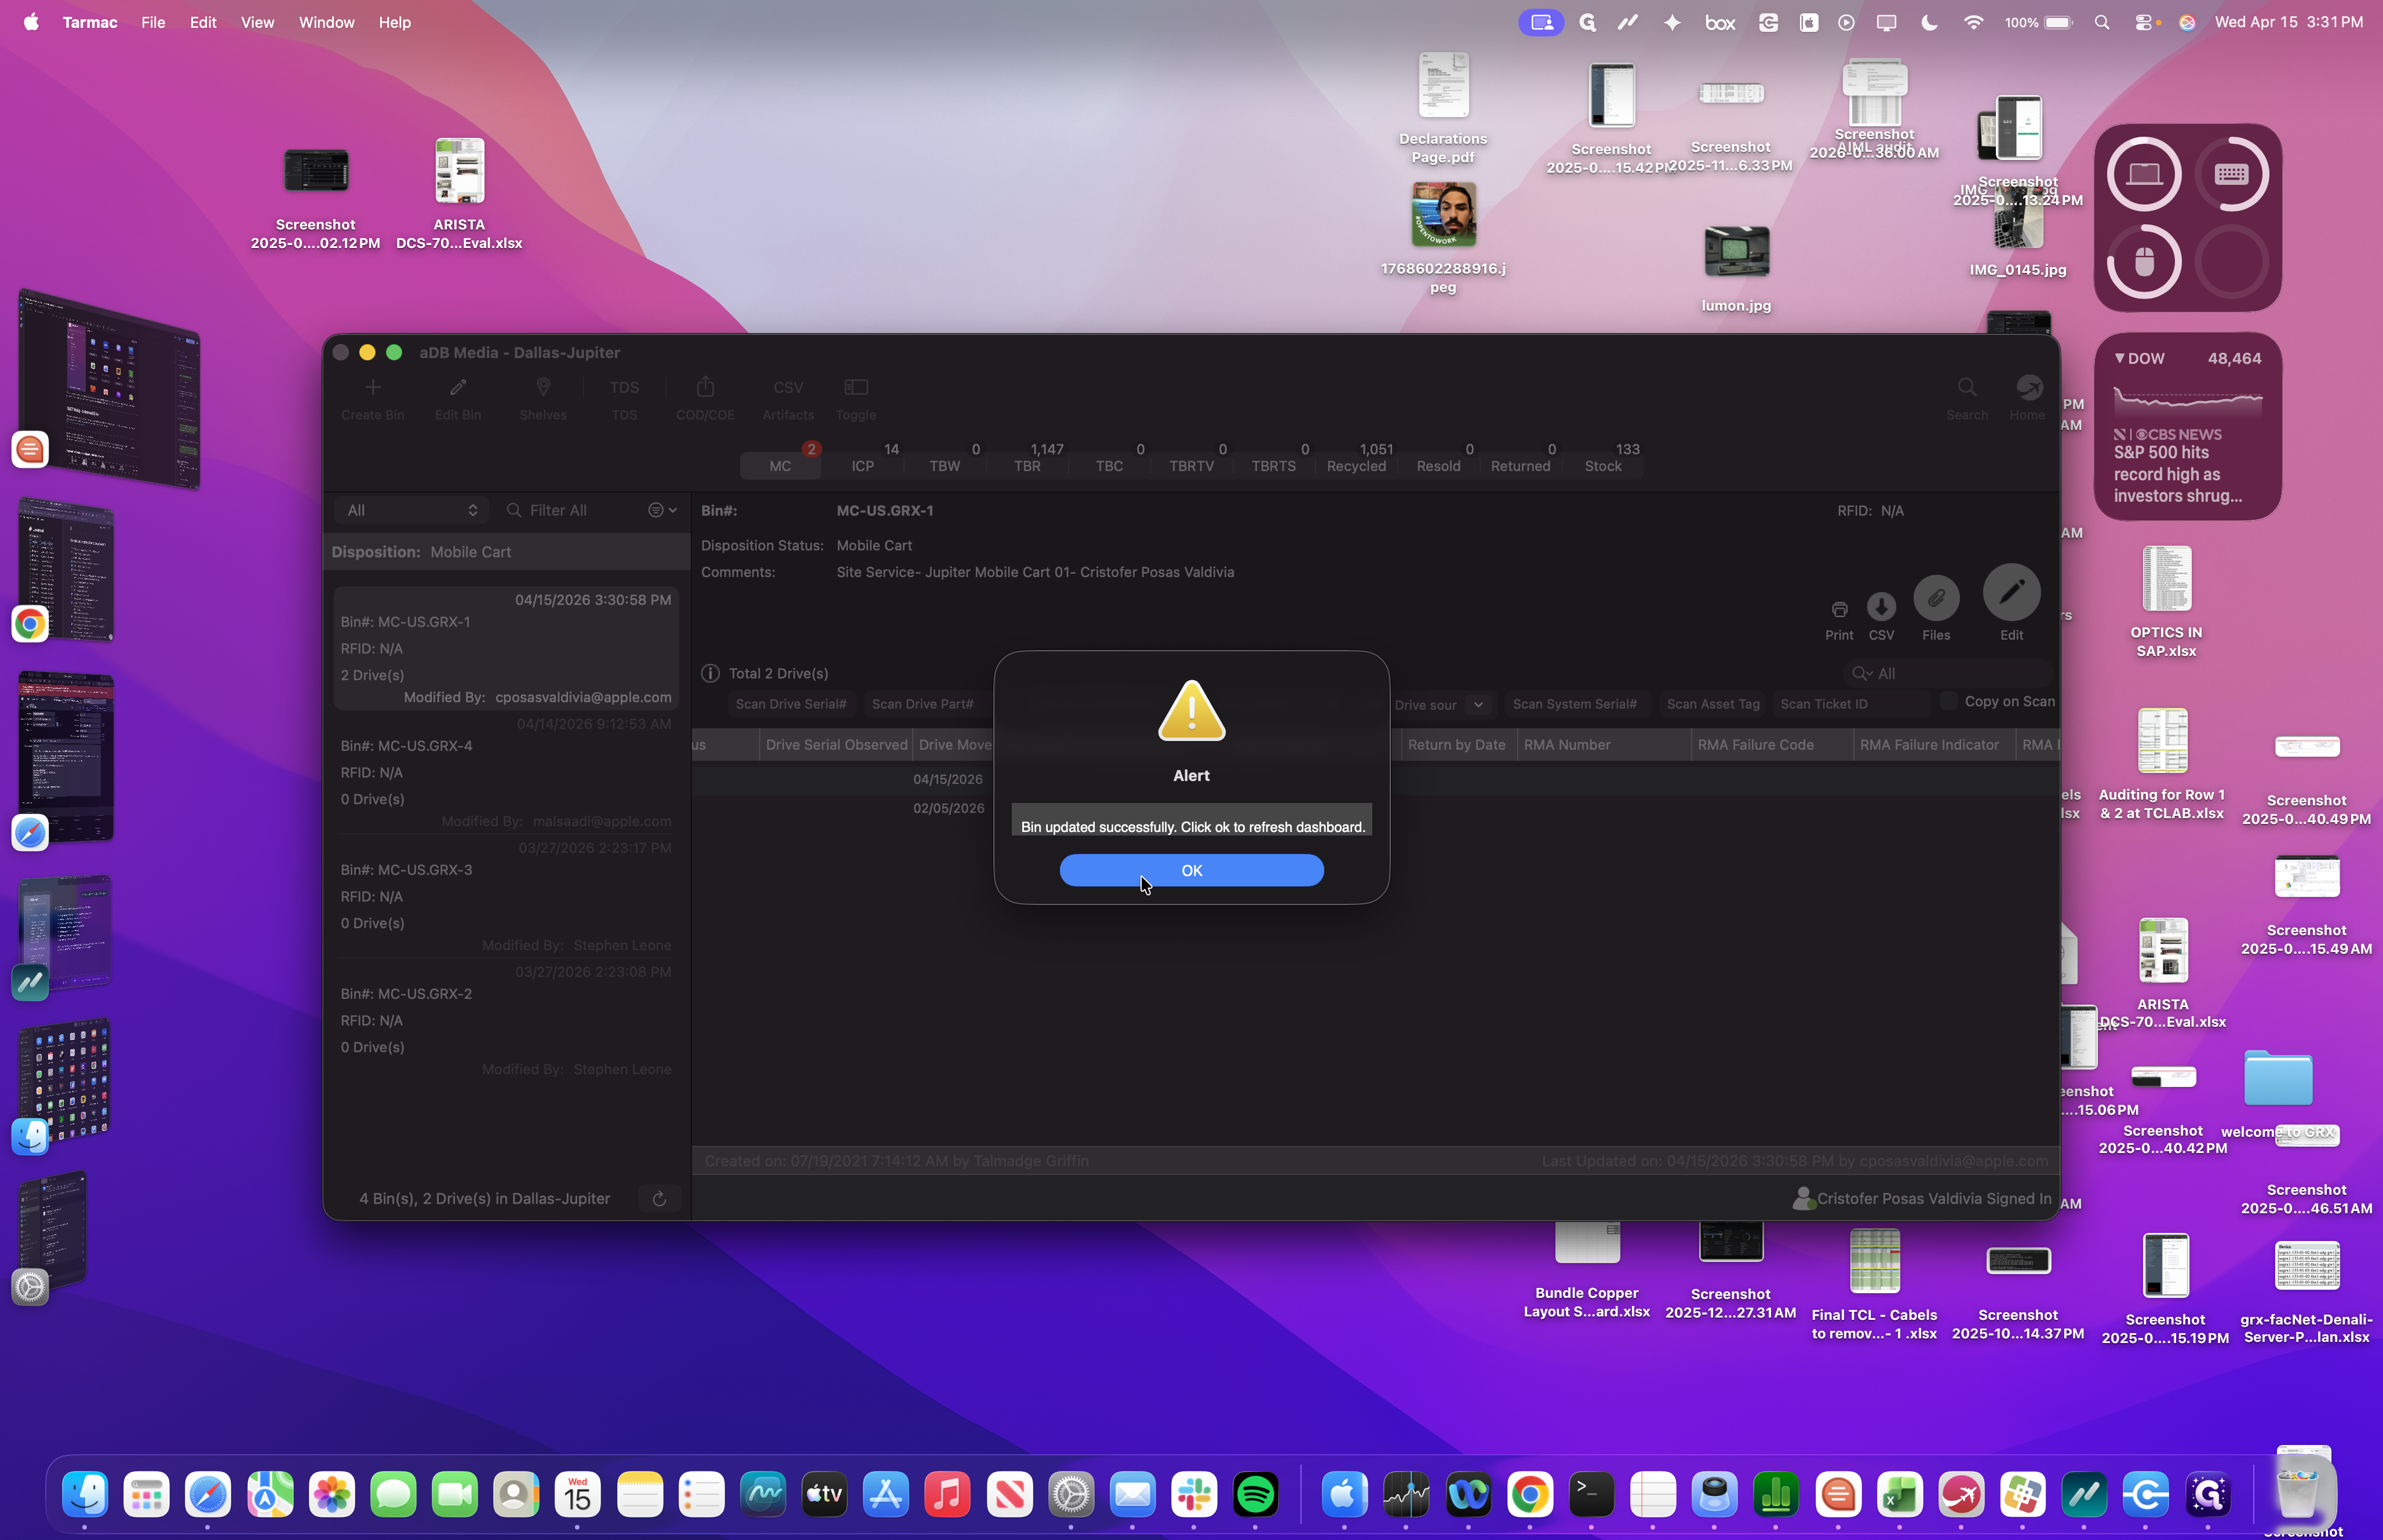
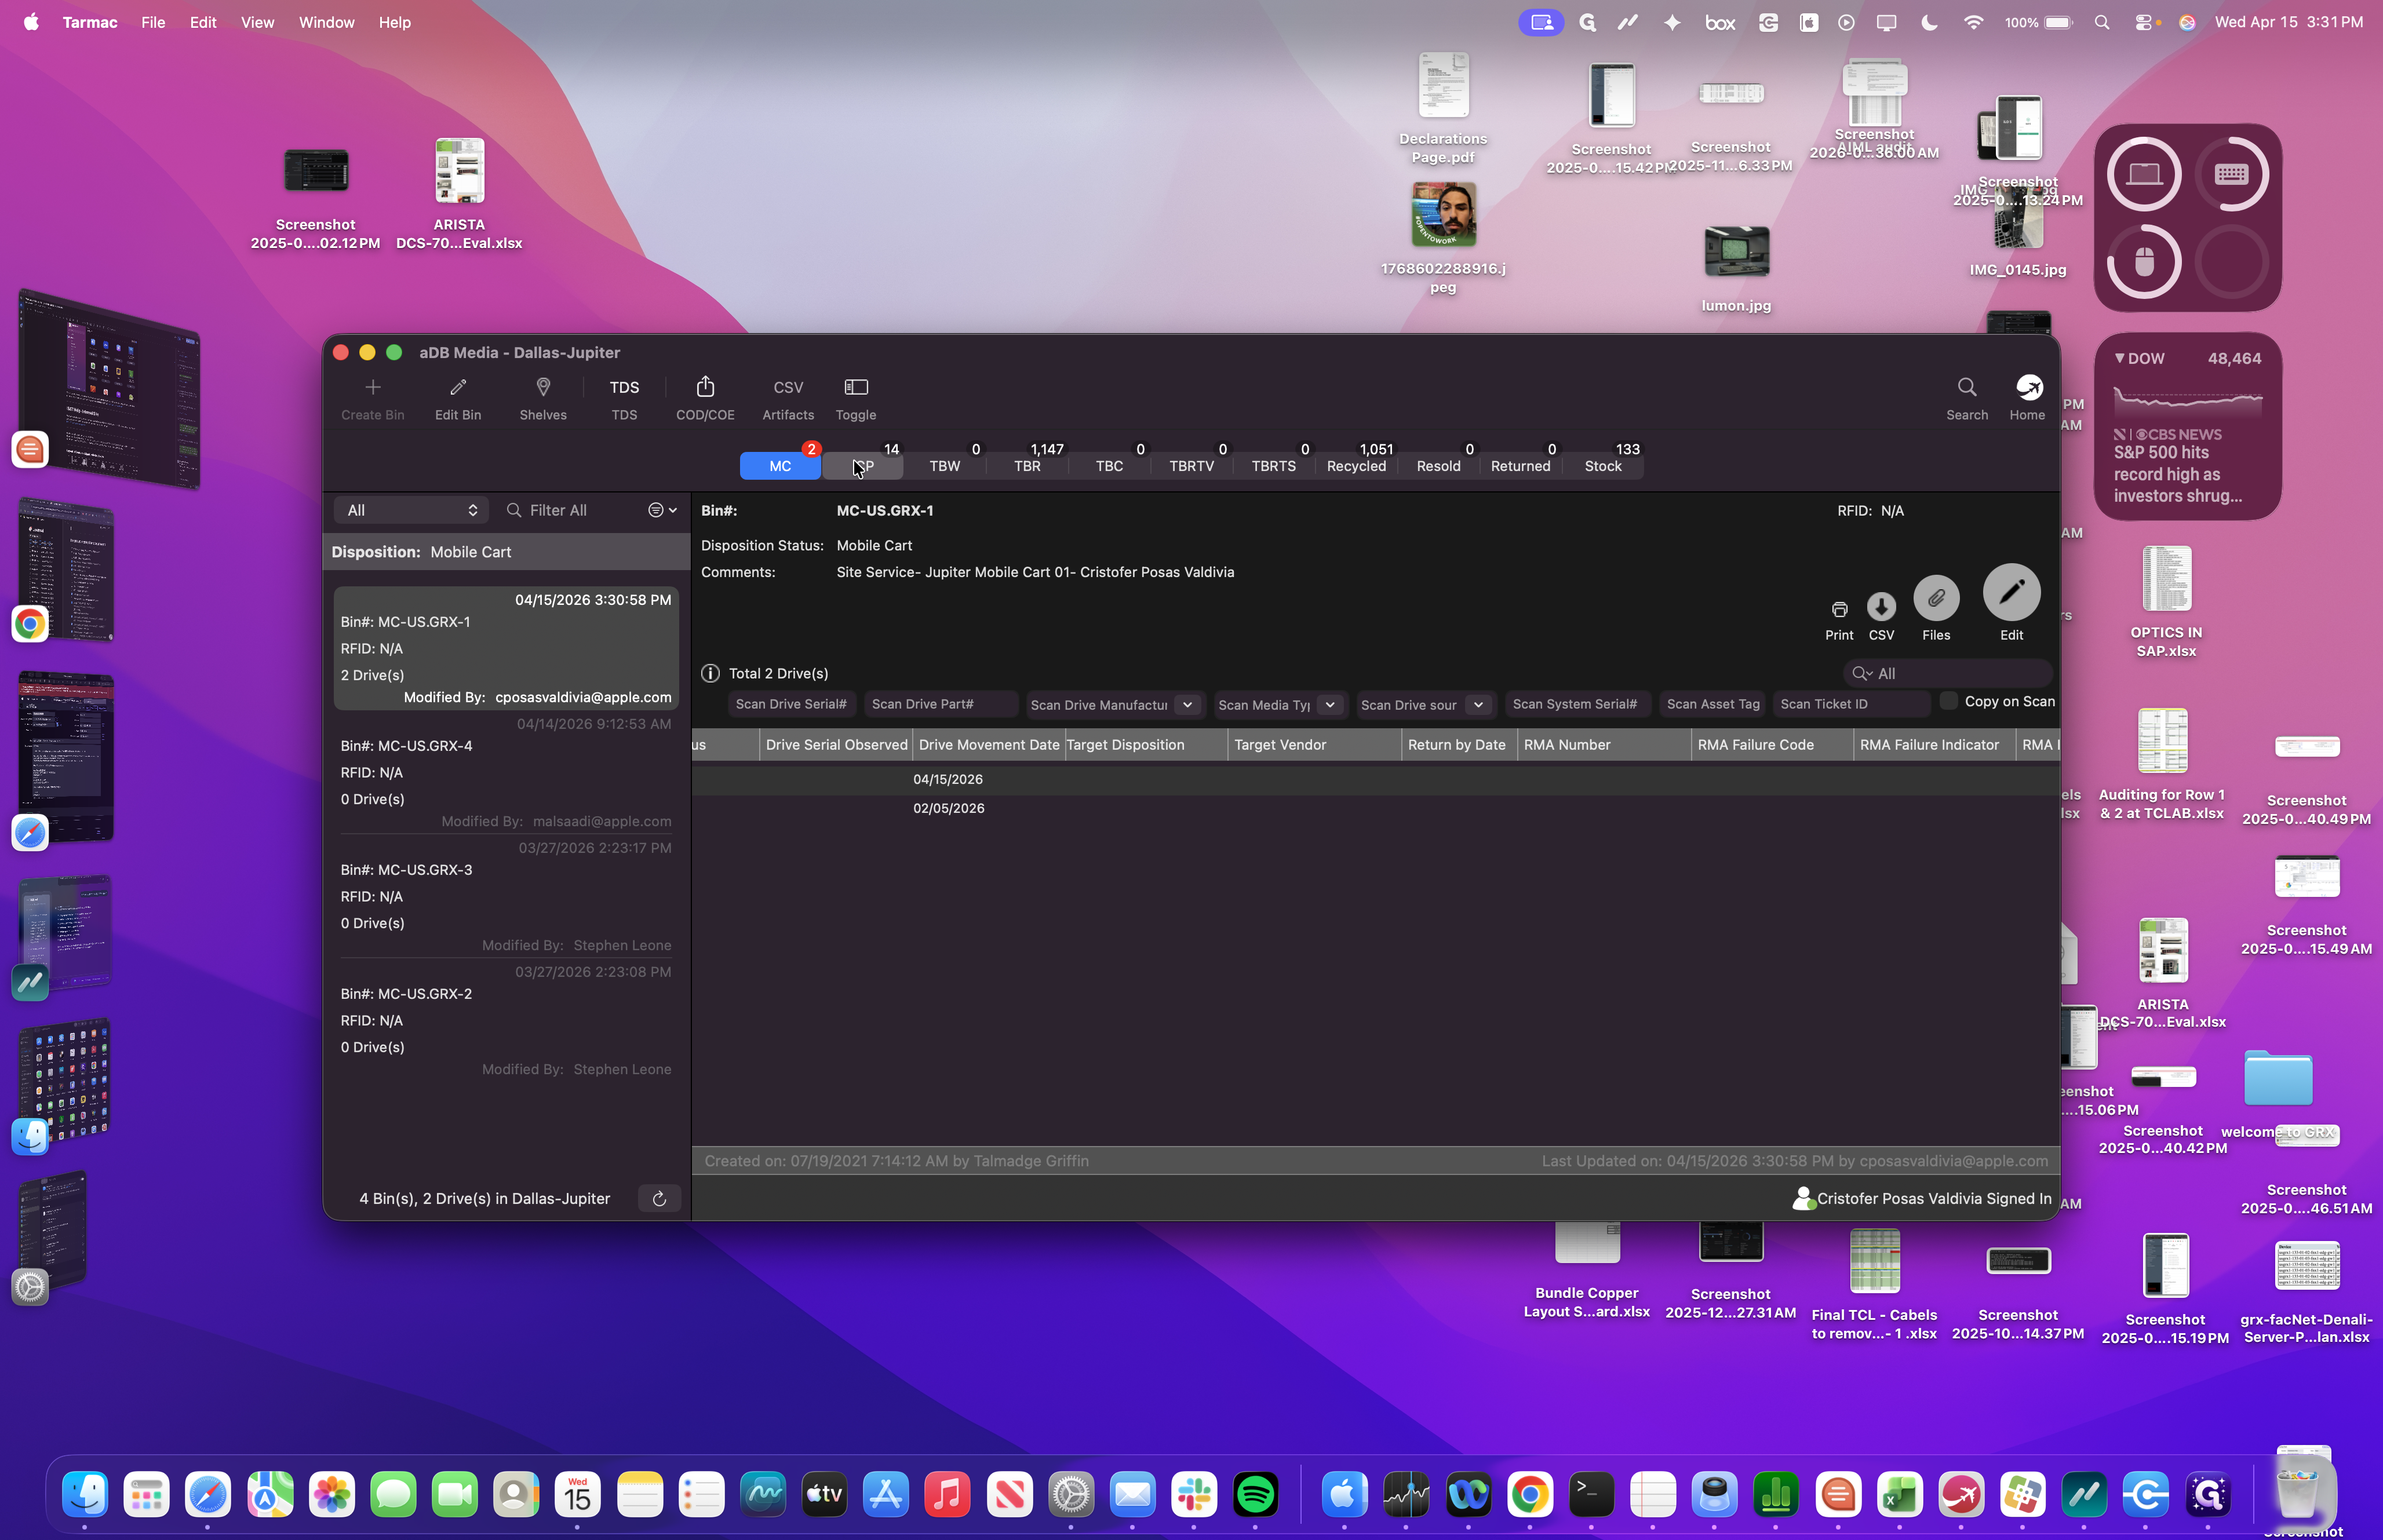
After entering this information, press Enter. Now we can see that the drive has been added. We can save it to our mobile cart.

The next step is to place this into an ICP locker, also known as an intermediate collection point.
You'll match the number. In our case, our ICP lockers have barcodes that we can scan to ensure we are using the correct one. Go to Filter All, then scan the barcode on the ICP locker.

For example we will use ICP Locker 6. Locker six is empty.
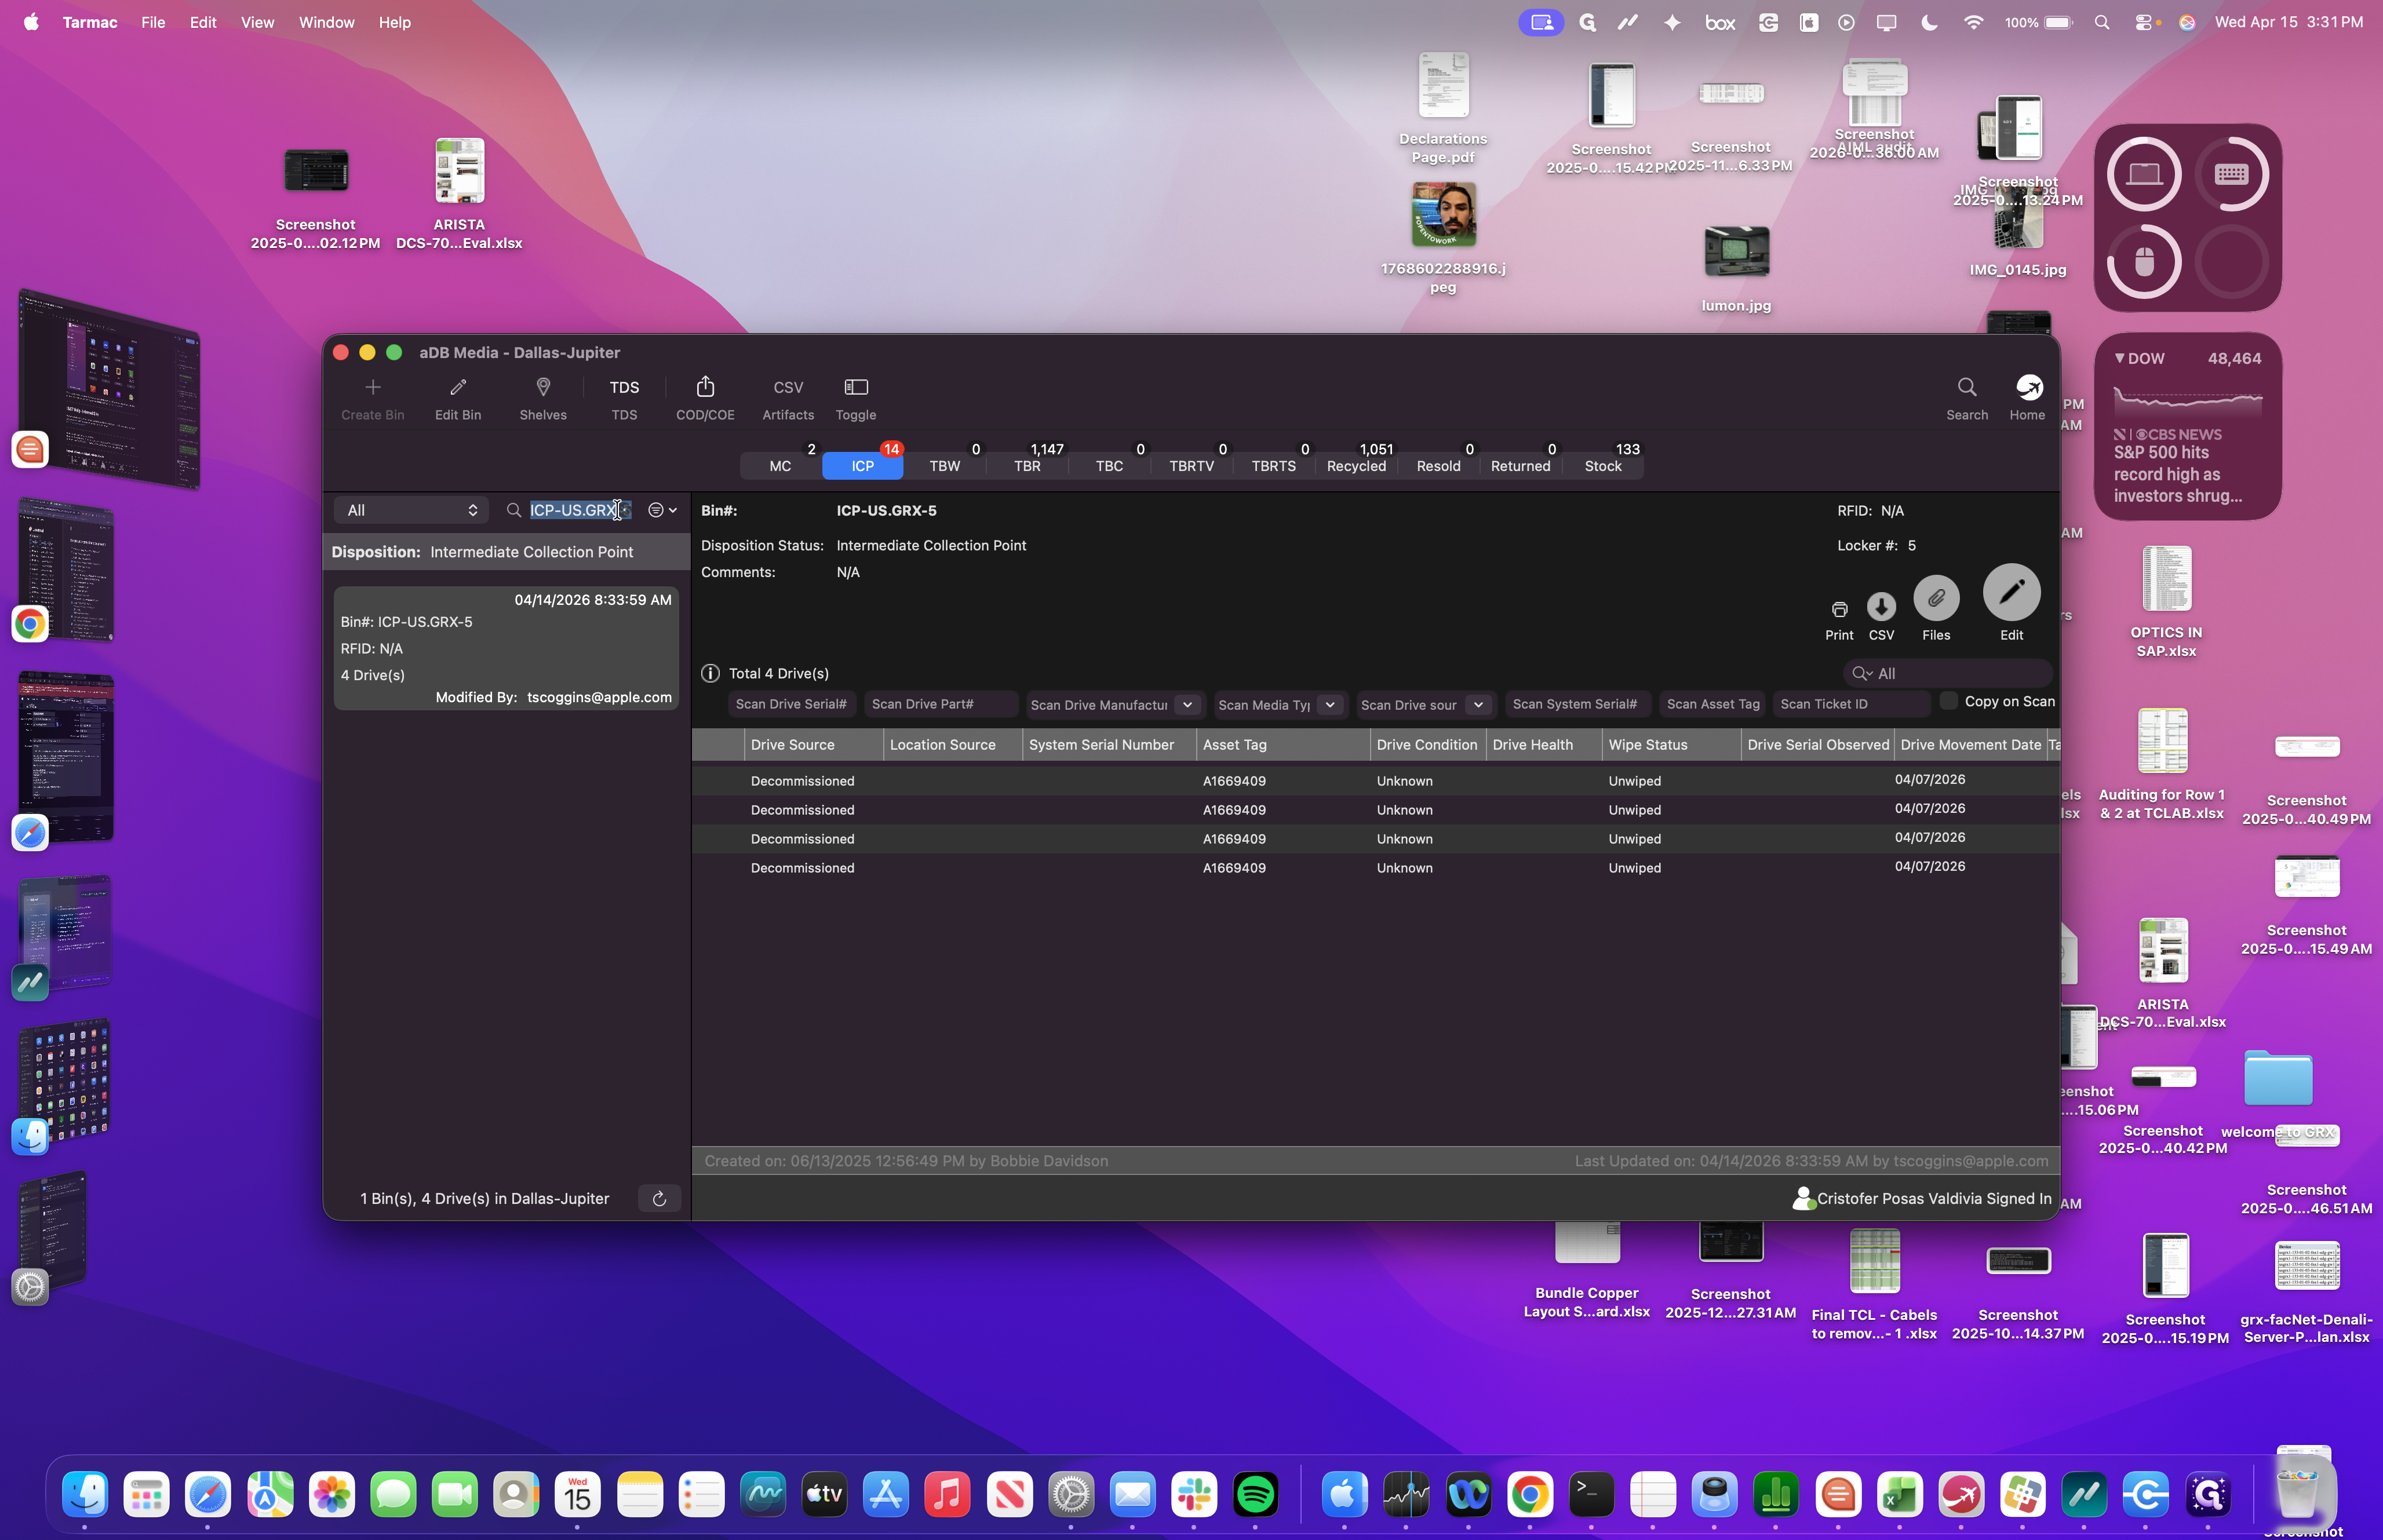

When you arrive at the ICP, scan the serial number, enter the media type, and specify the manufacturer.


We scan the part number to retrieve all the information.


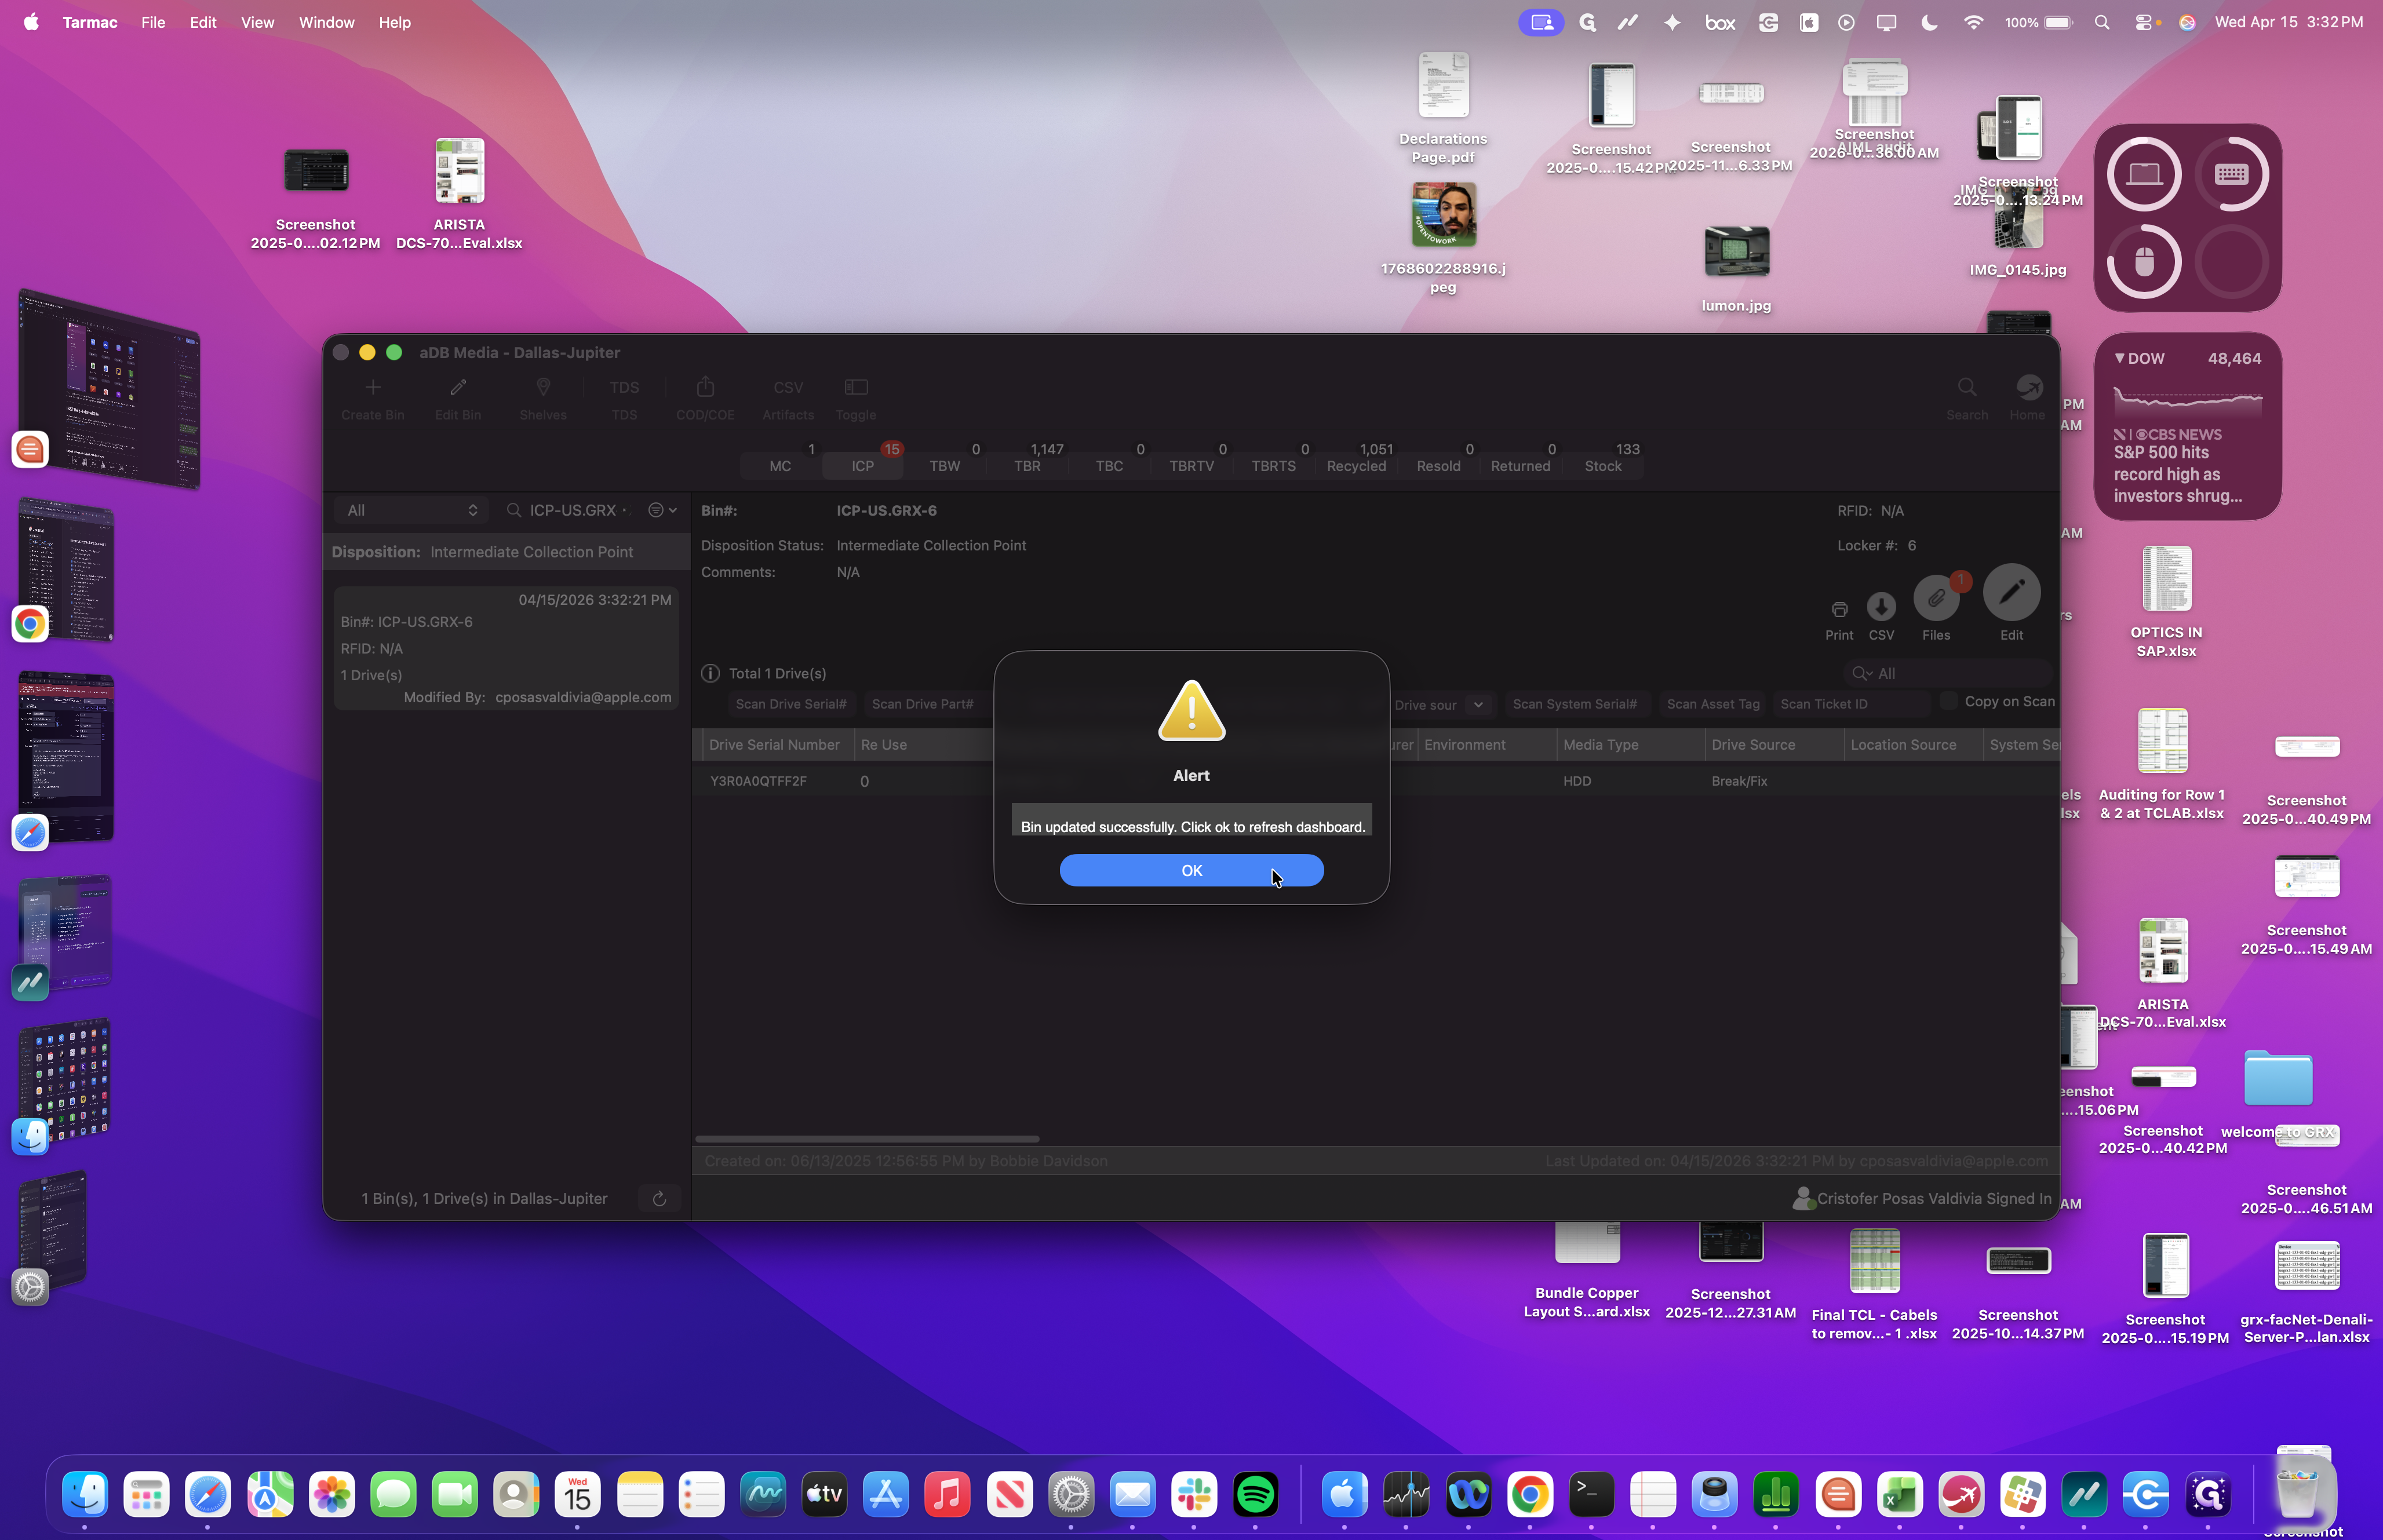
Save it by pressing enter, and you're done.
Logistics will handle the rest.