Icon

How to Export and Prepare Invoices for Import Using PrintIQ and Python

Learn the step-by-step process to export invoices from PrintIQ, prepare them using Python, and ensure they are ready for import.

By Gregg Tysinger

In this guide, we'll learn how to export an invoice from the PrintIQ site and prepare it for import using a Python project. The process involves exporting the invoice, downloading the file, and then using specific Python scripts to clean and merge the data. Finally, we'll verify the data integrity before completing the import process. This guide will help ensure that all item codes and locations are correctly prepared for import.

Let's get started

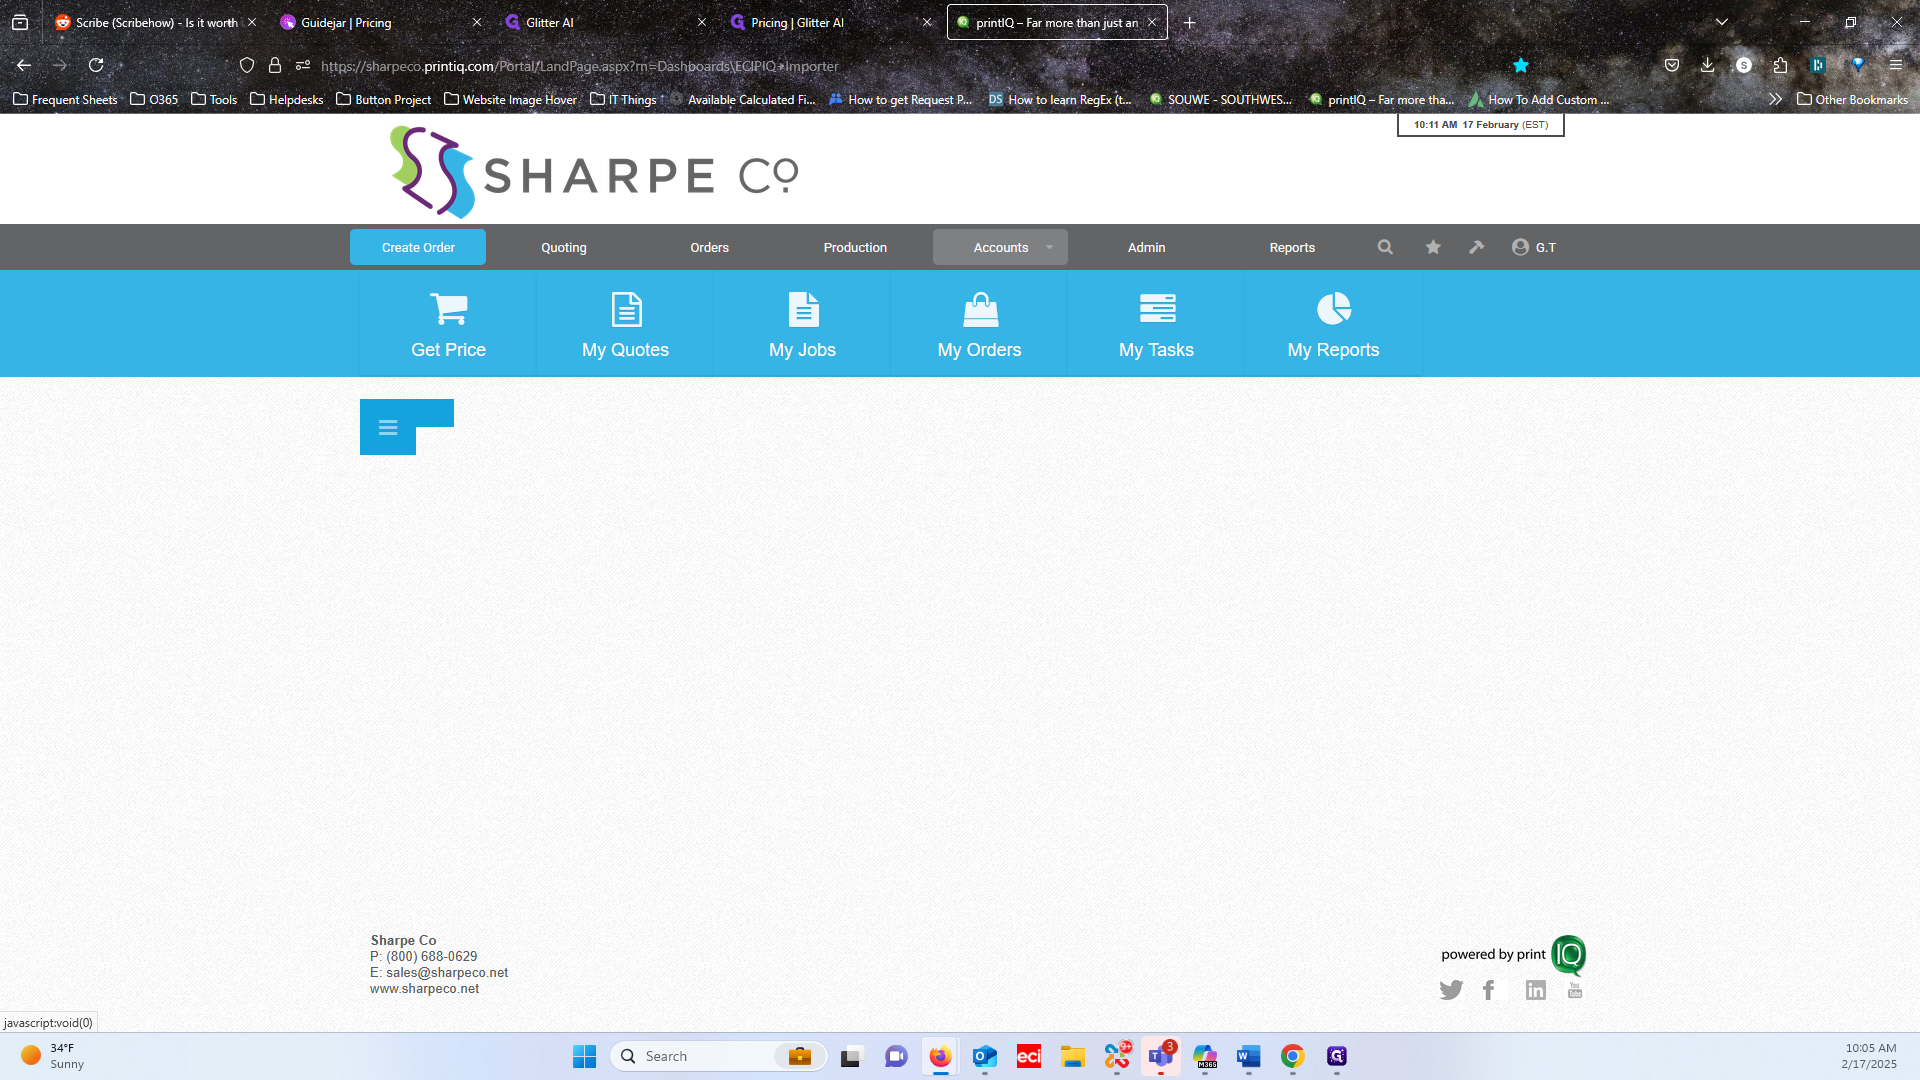
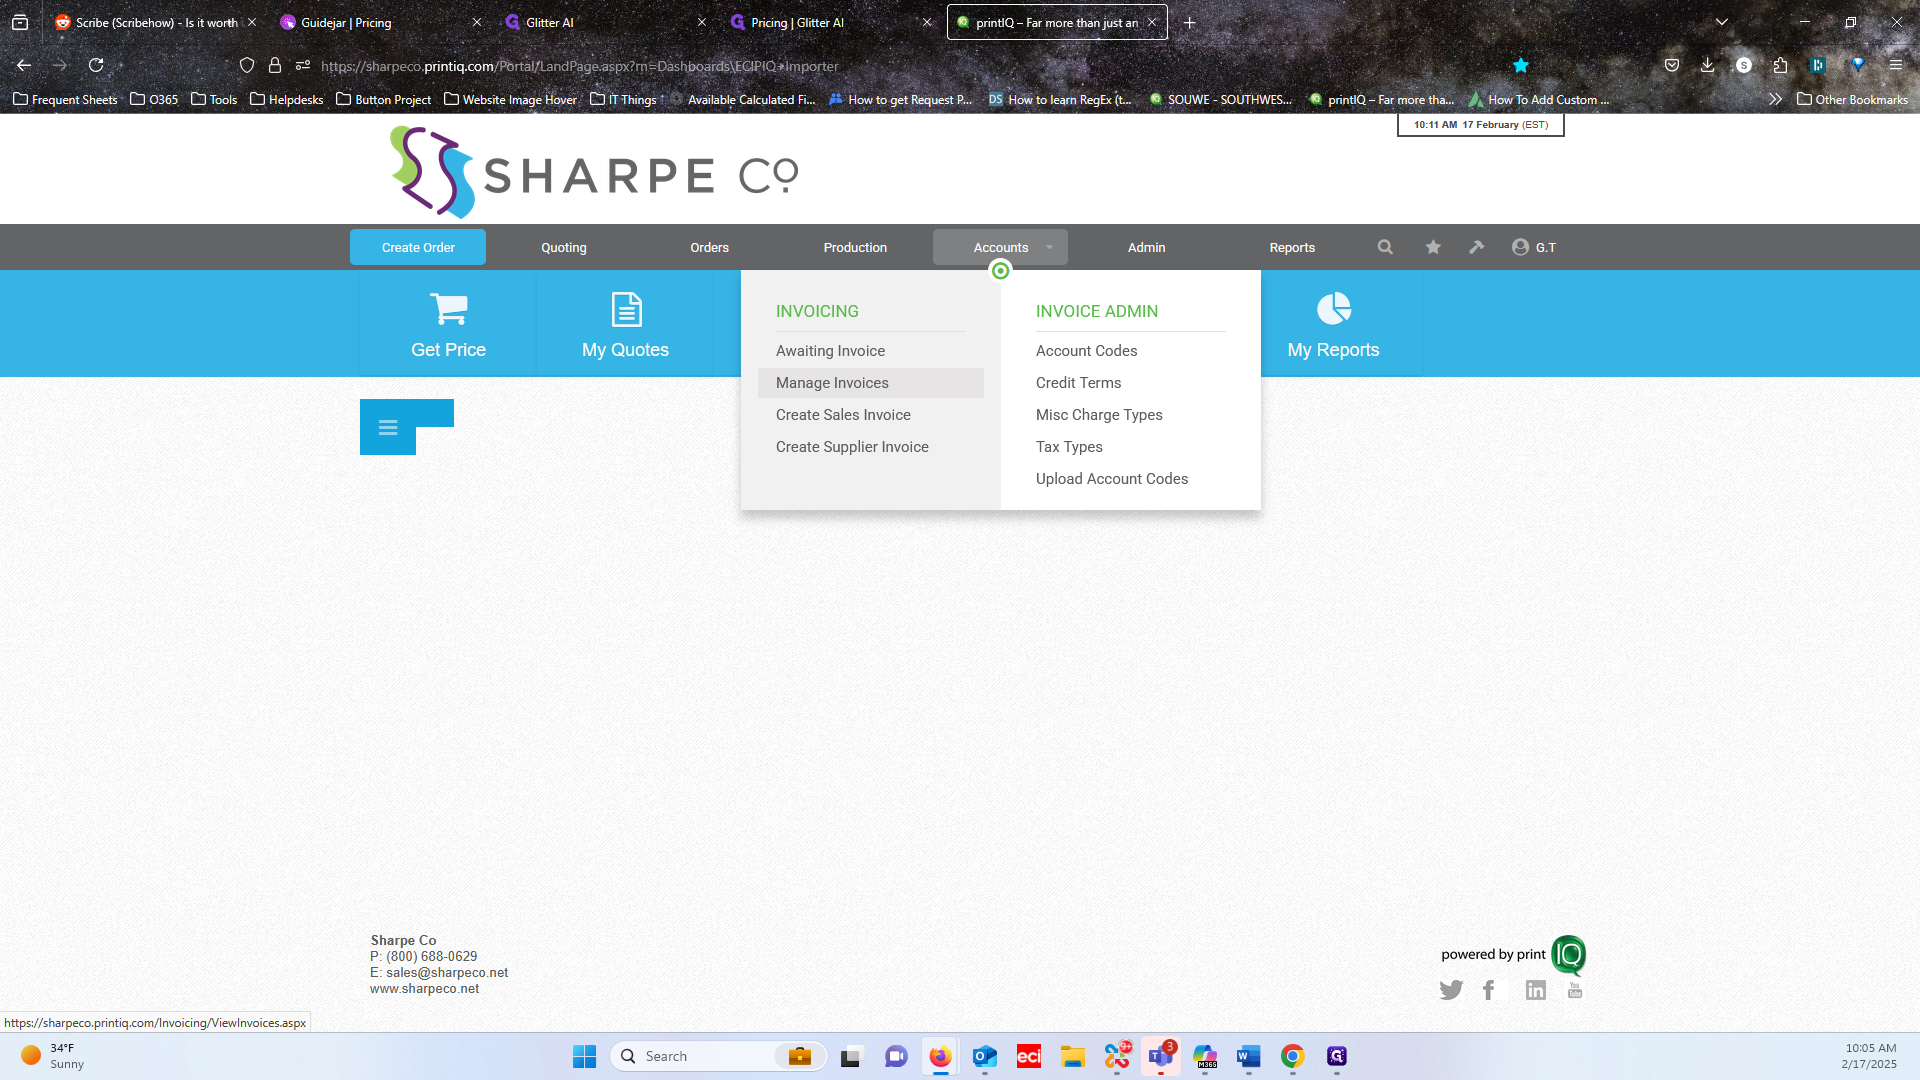
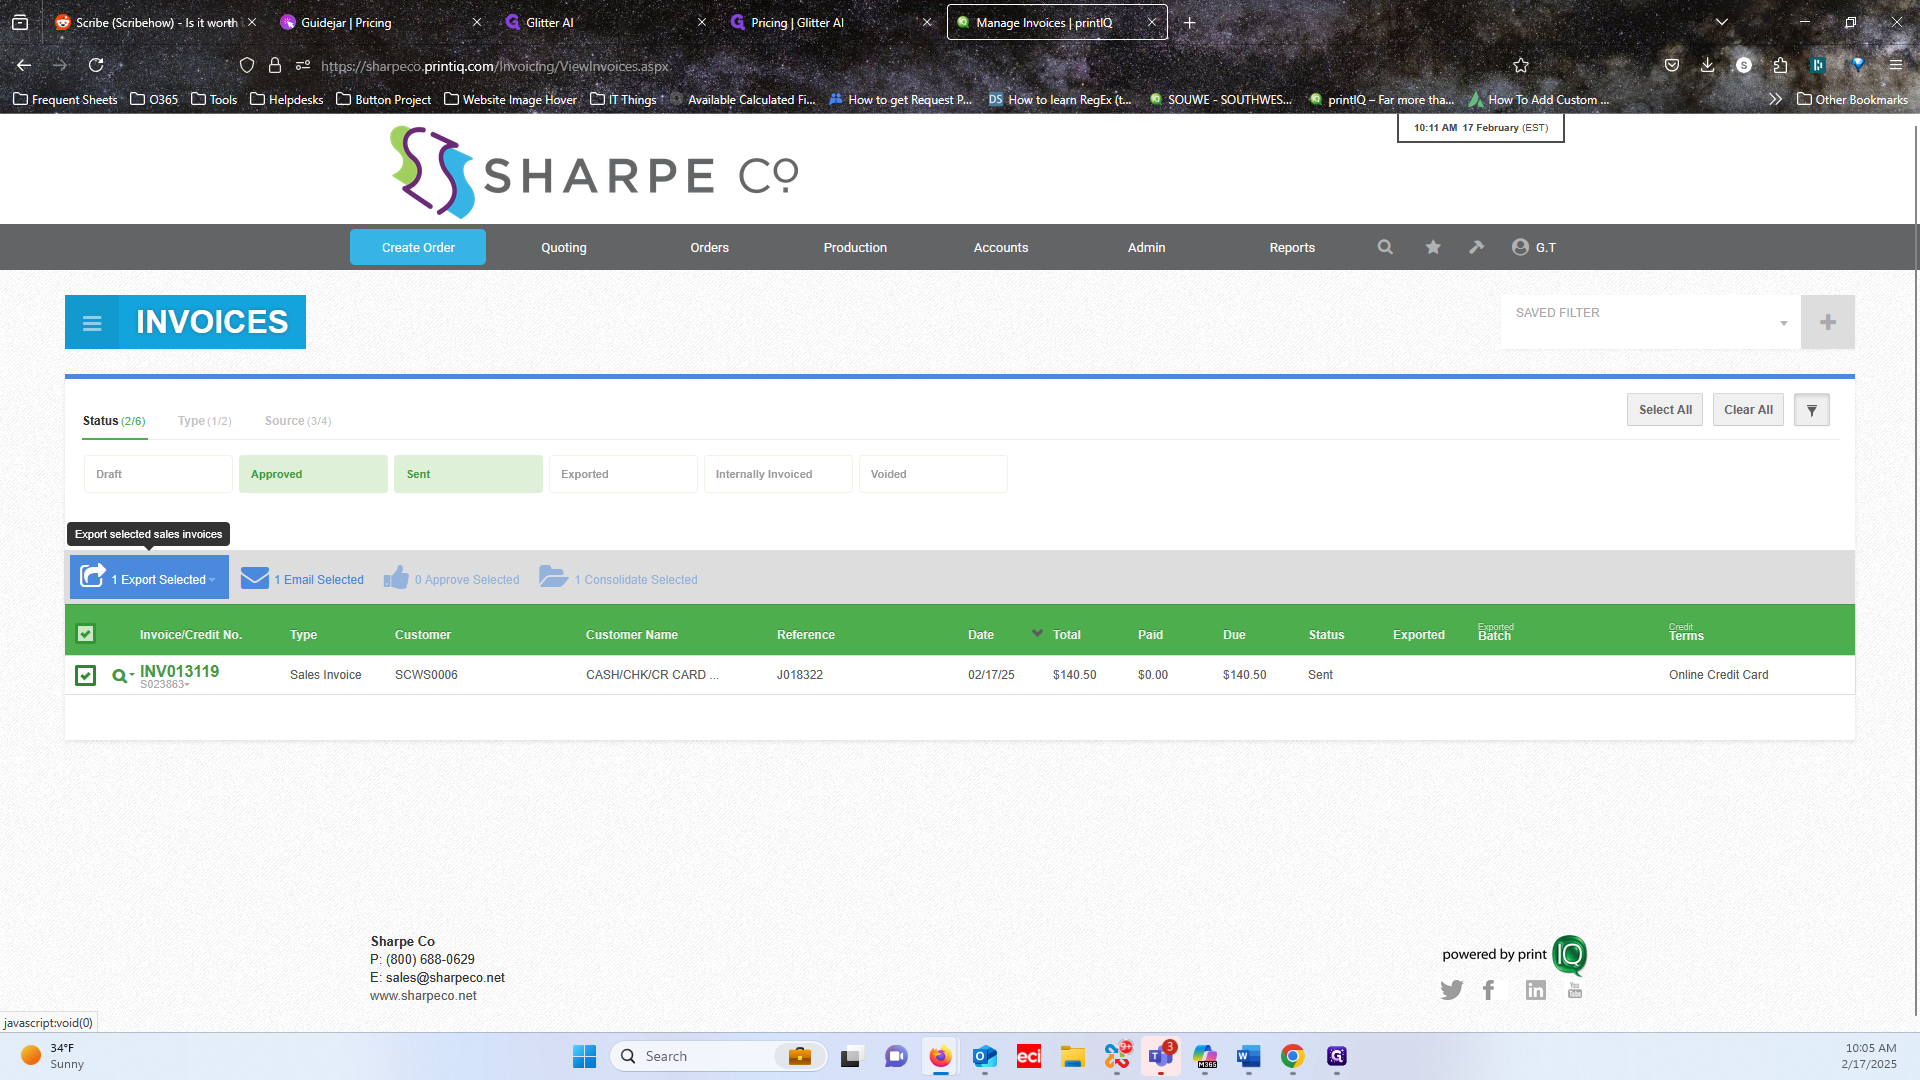
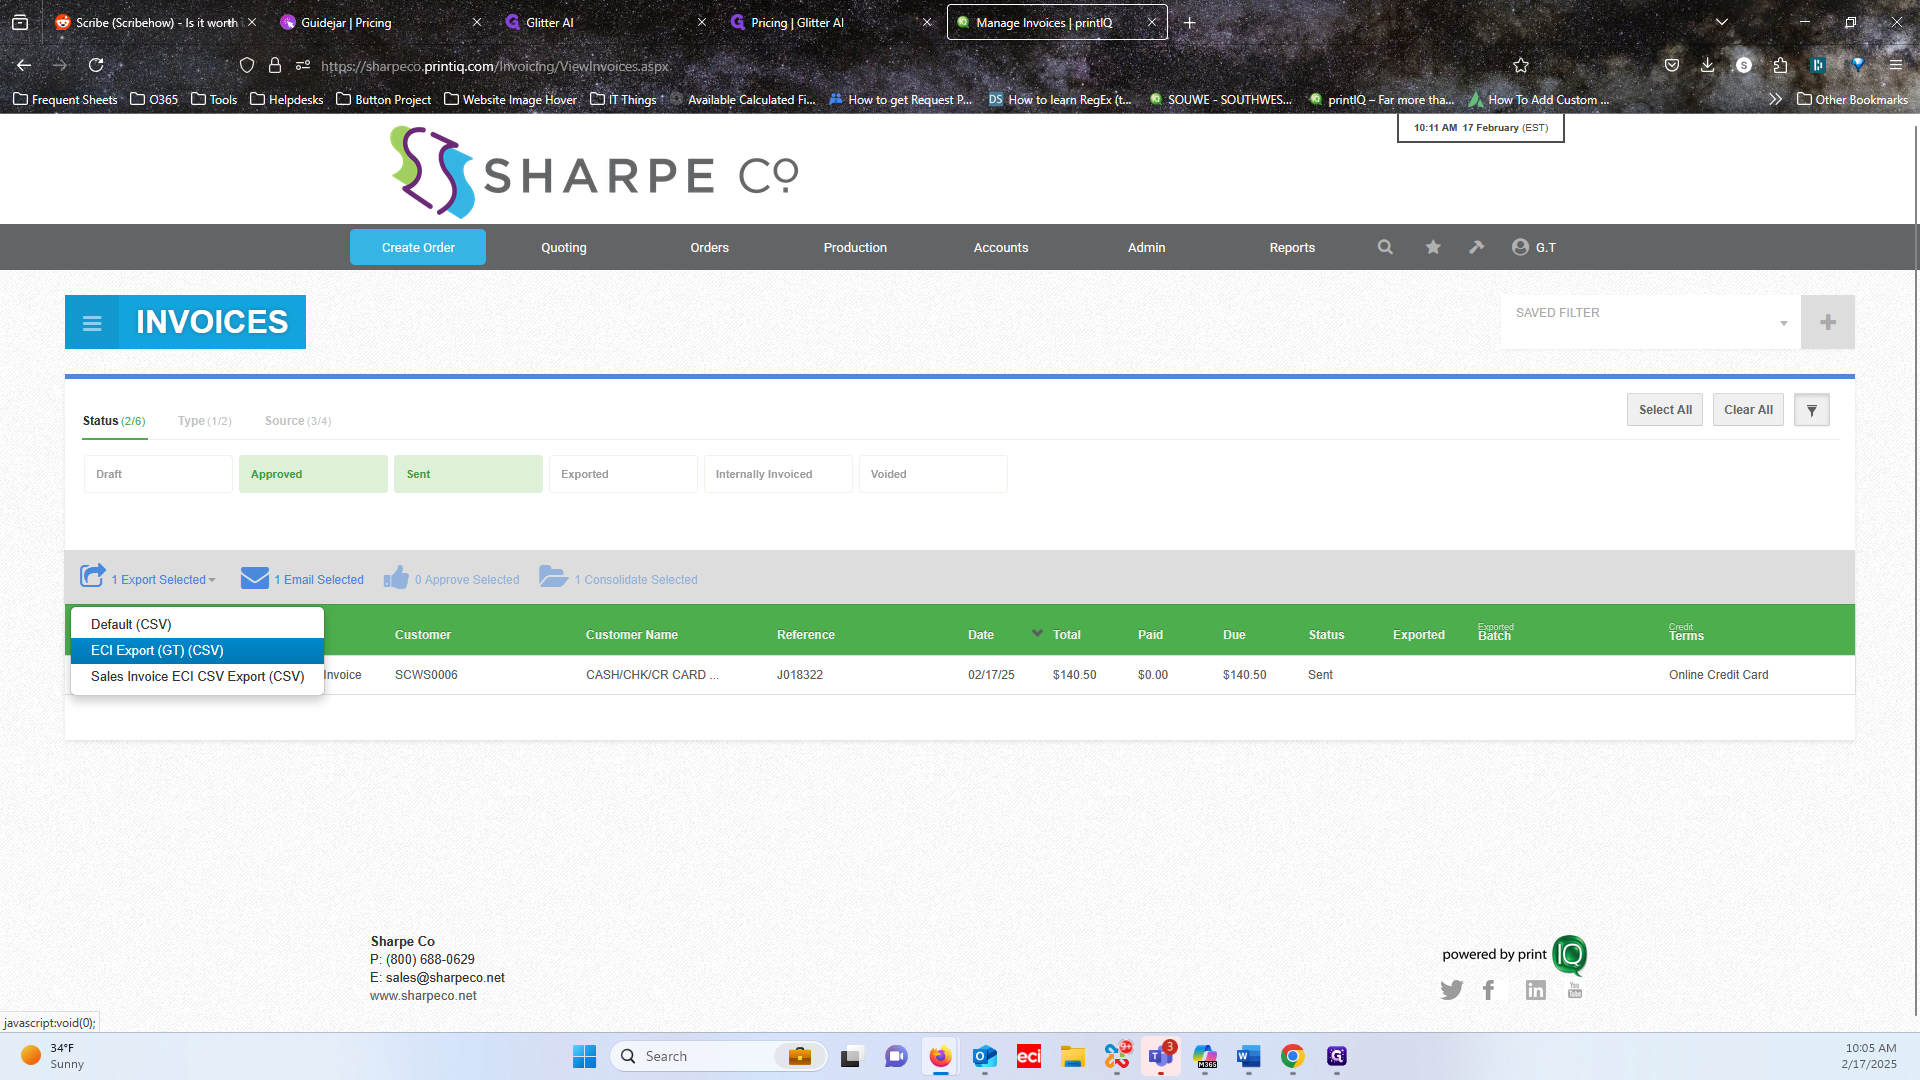
First, go to our PrintIQ site and navigate to Accounts. We have one invoice to export. Select it, click down, and choose the ECI Export option. Mark it as exported. The process may take some time, but once completed, the file will download.

1
Type https://sharpeco.printiq.com into the address bar of your browser and press Enter.
Step #1: Type https://sharpeco.printiq.com into the address bar of your browser and press Enter.
2
Click on "Accounts"
Step #2: Click on "Accounts"
3
Click on "Manage Invoices"
Step #3: Click on "Manage Invoices"
4
Check the select all checkbox.
Step #4: Check the select all checkbox.
5
Click the Exported Selected button.
Step #5: Click the Exported Selected button.
6
Click on ECI Export (GT) (CSV)
Step #6: Click on ECI Export (GT) (CSV)
7
Click on "Mark Exported"
Step #7: Click on "Mark Exported"

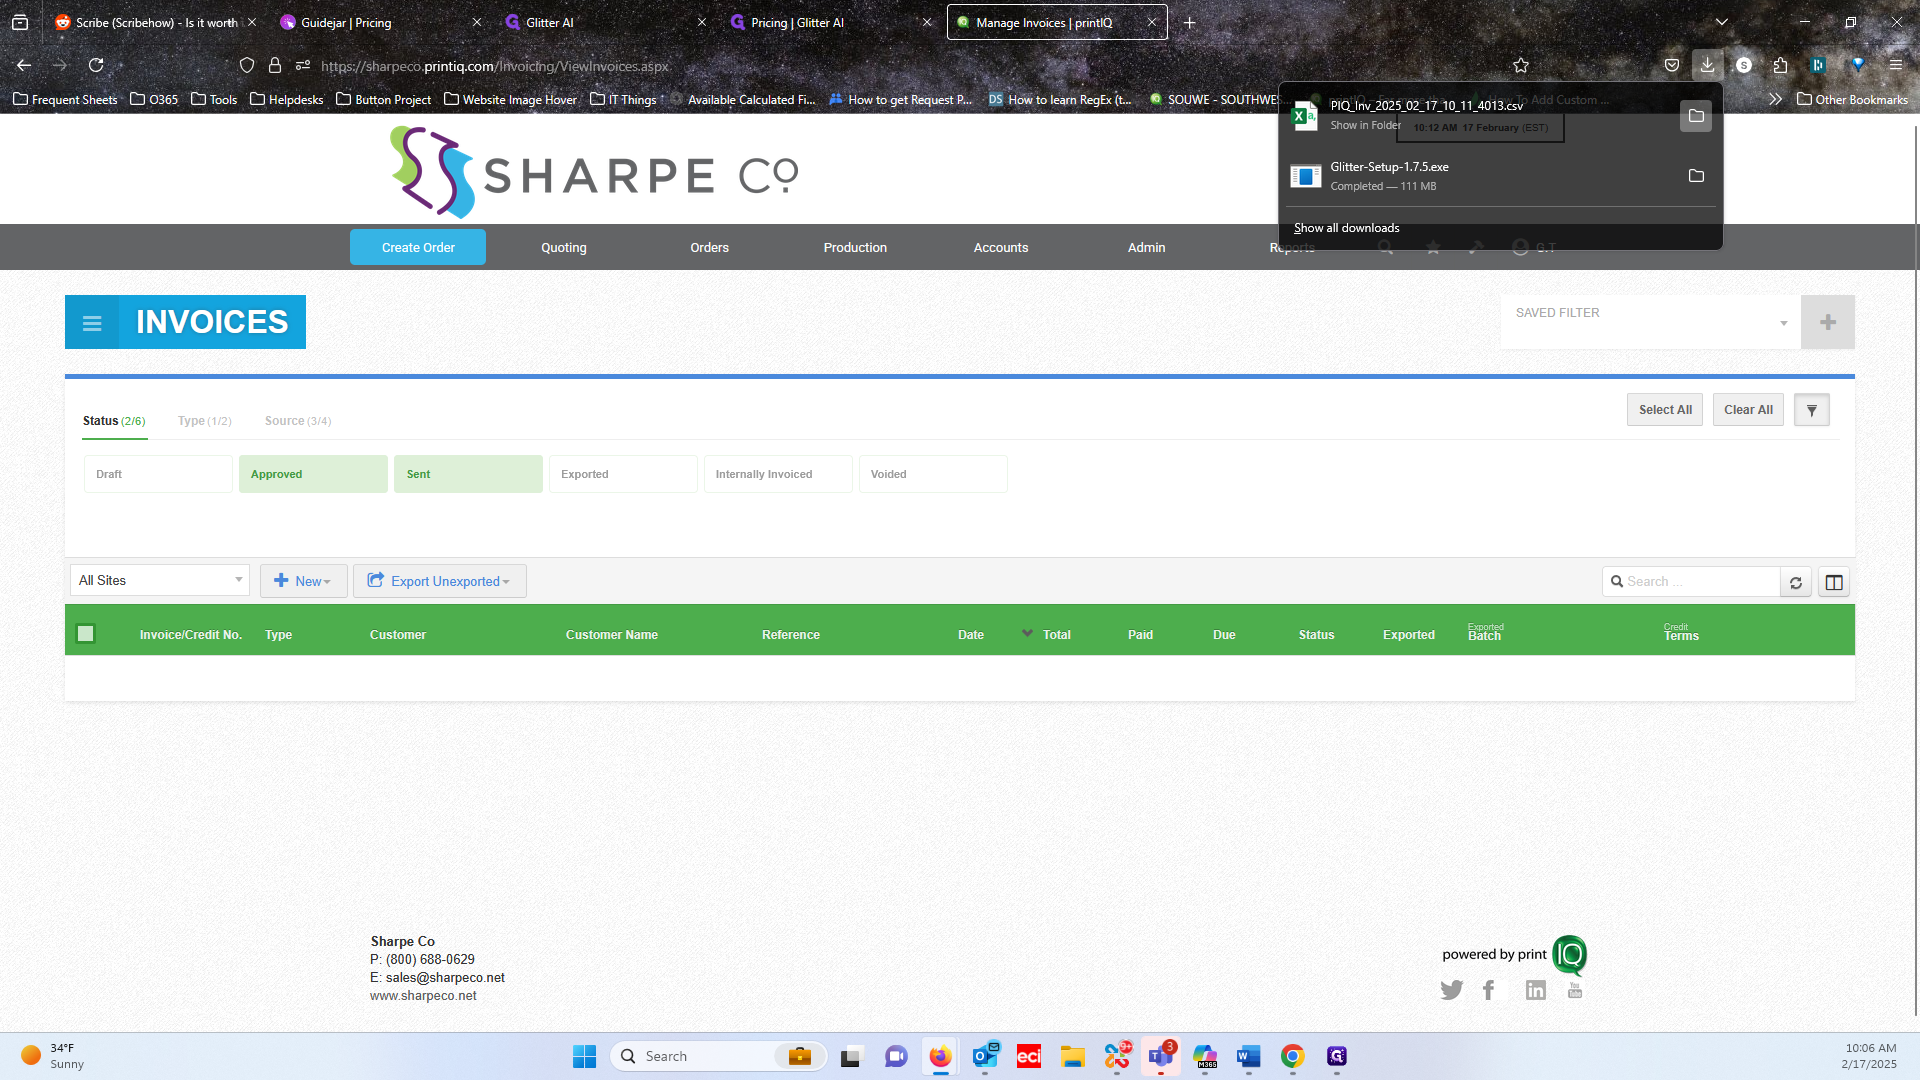
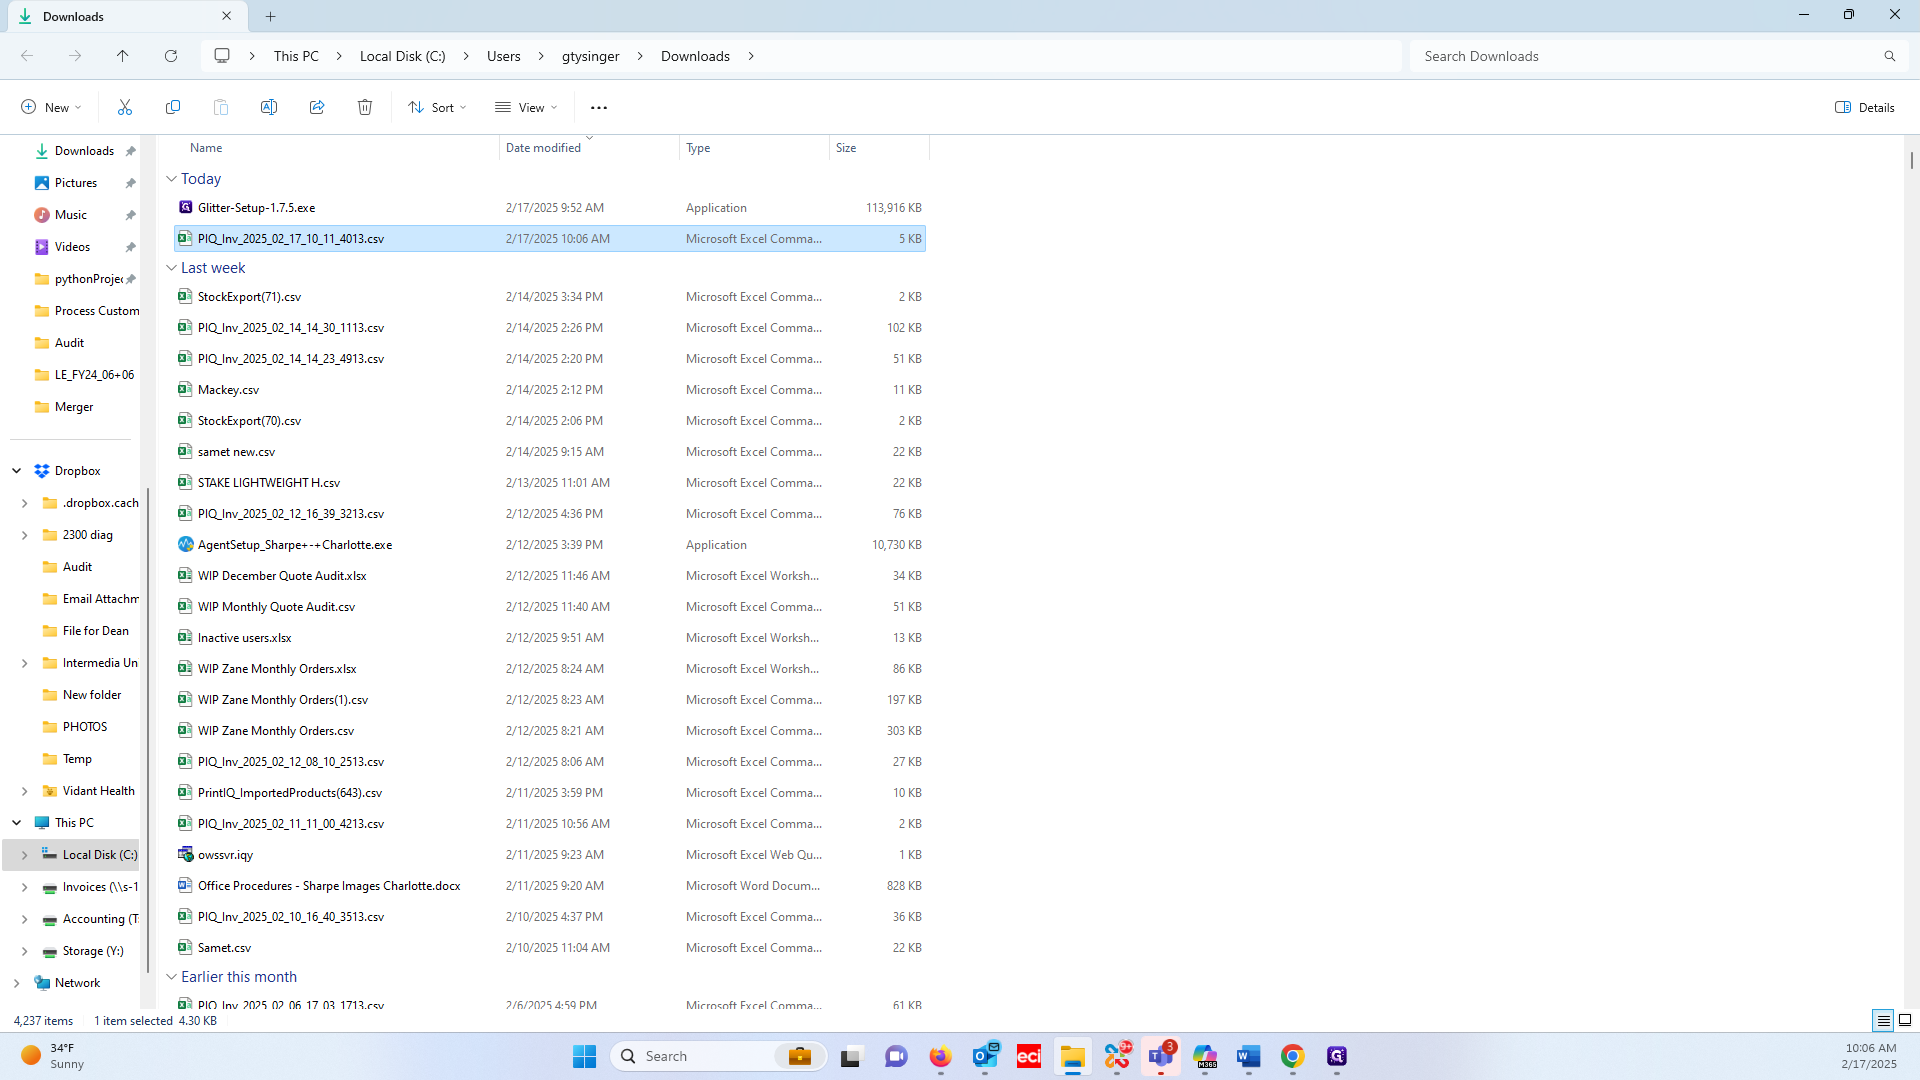
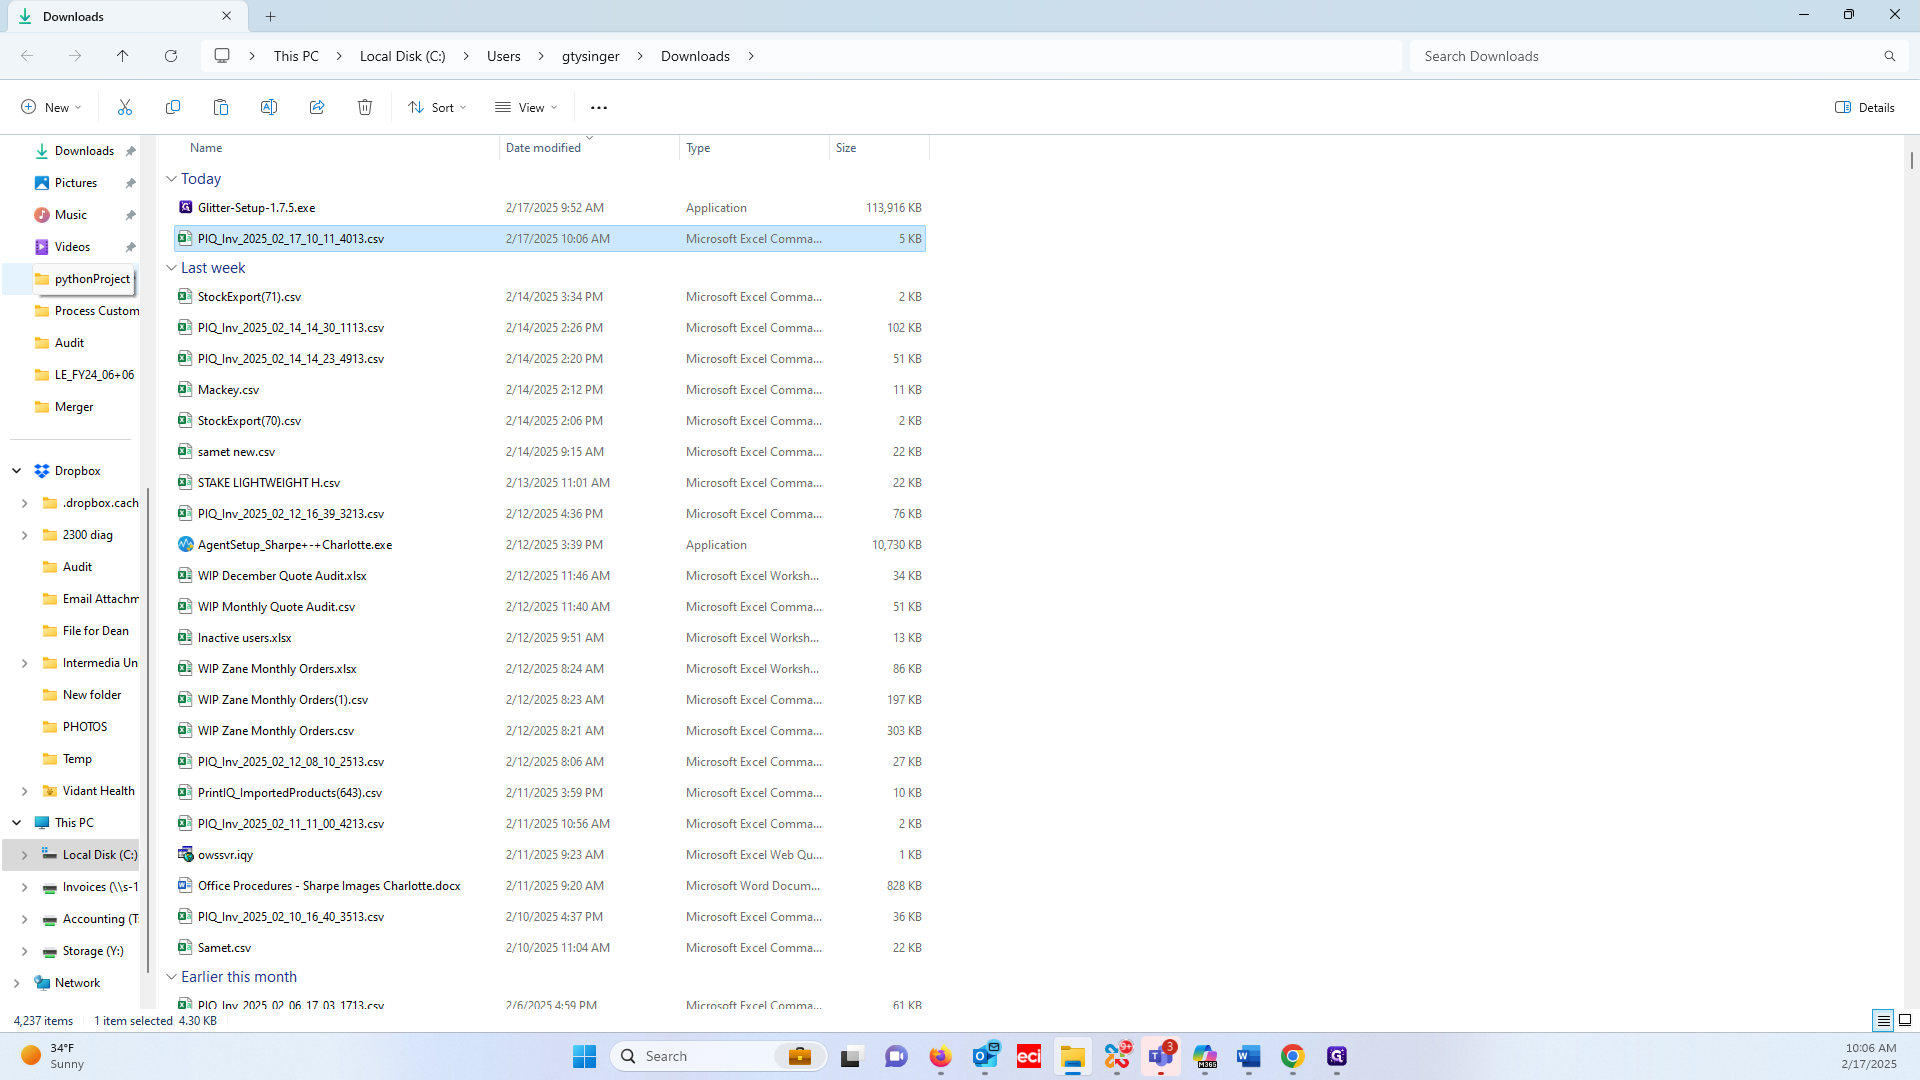
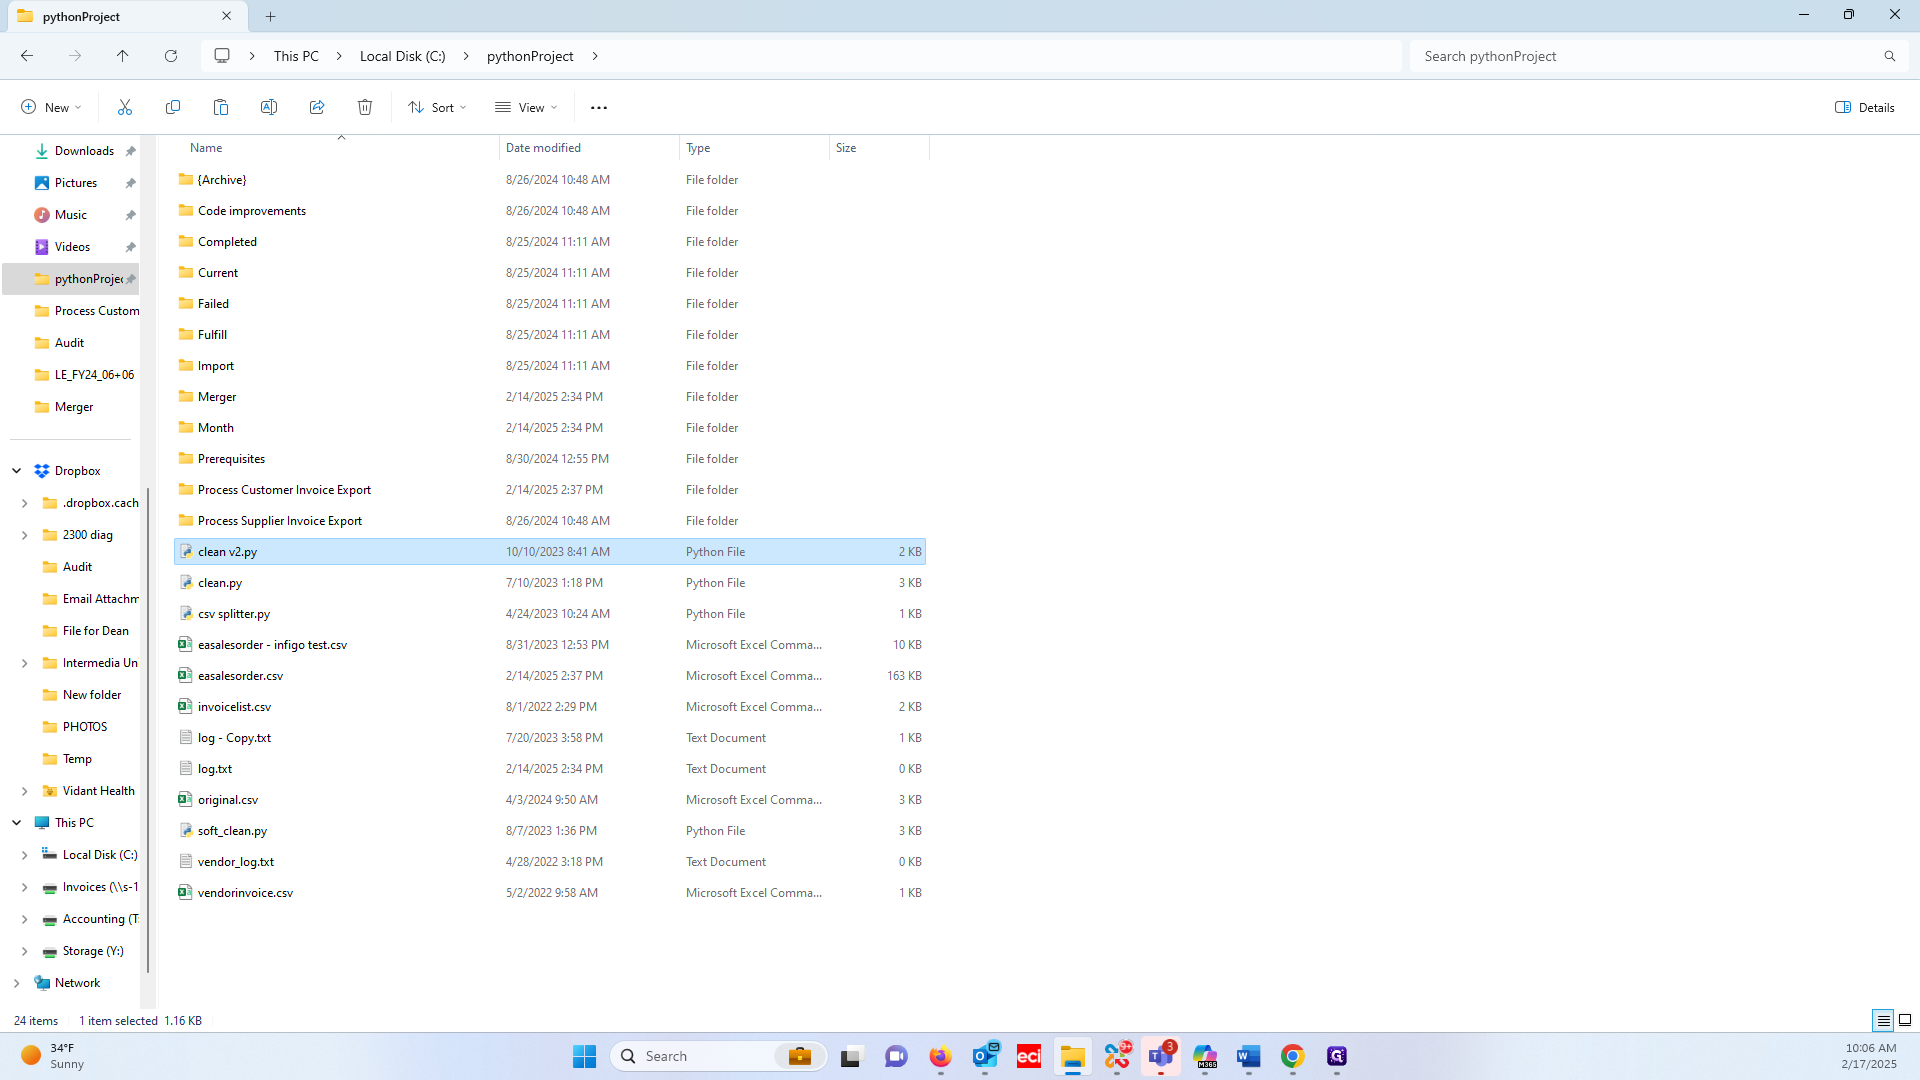
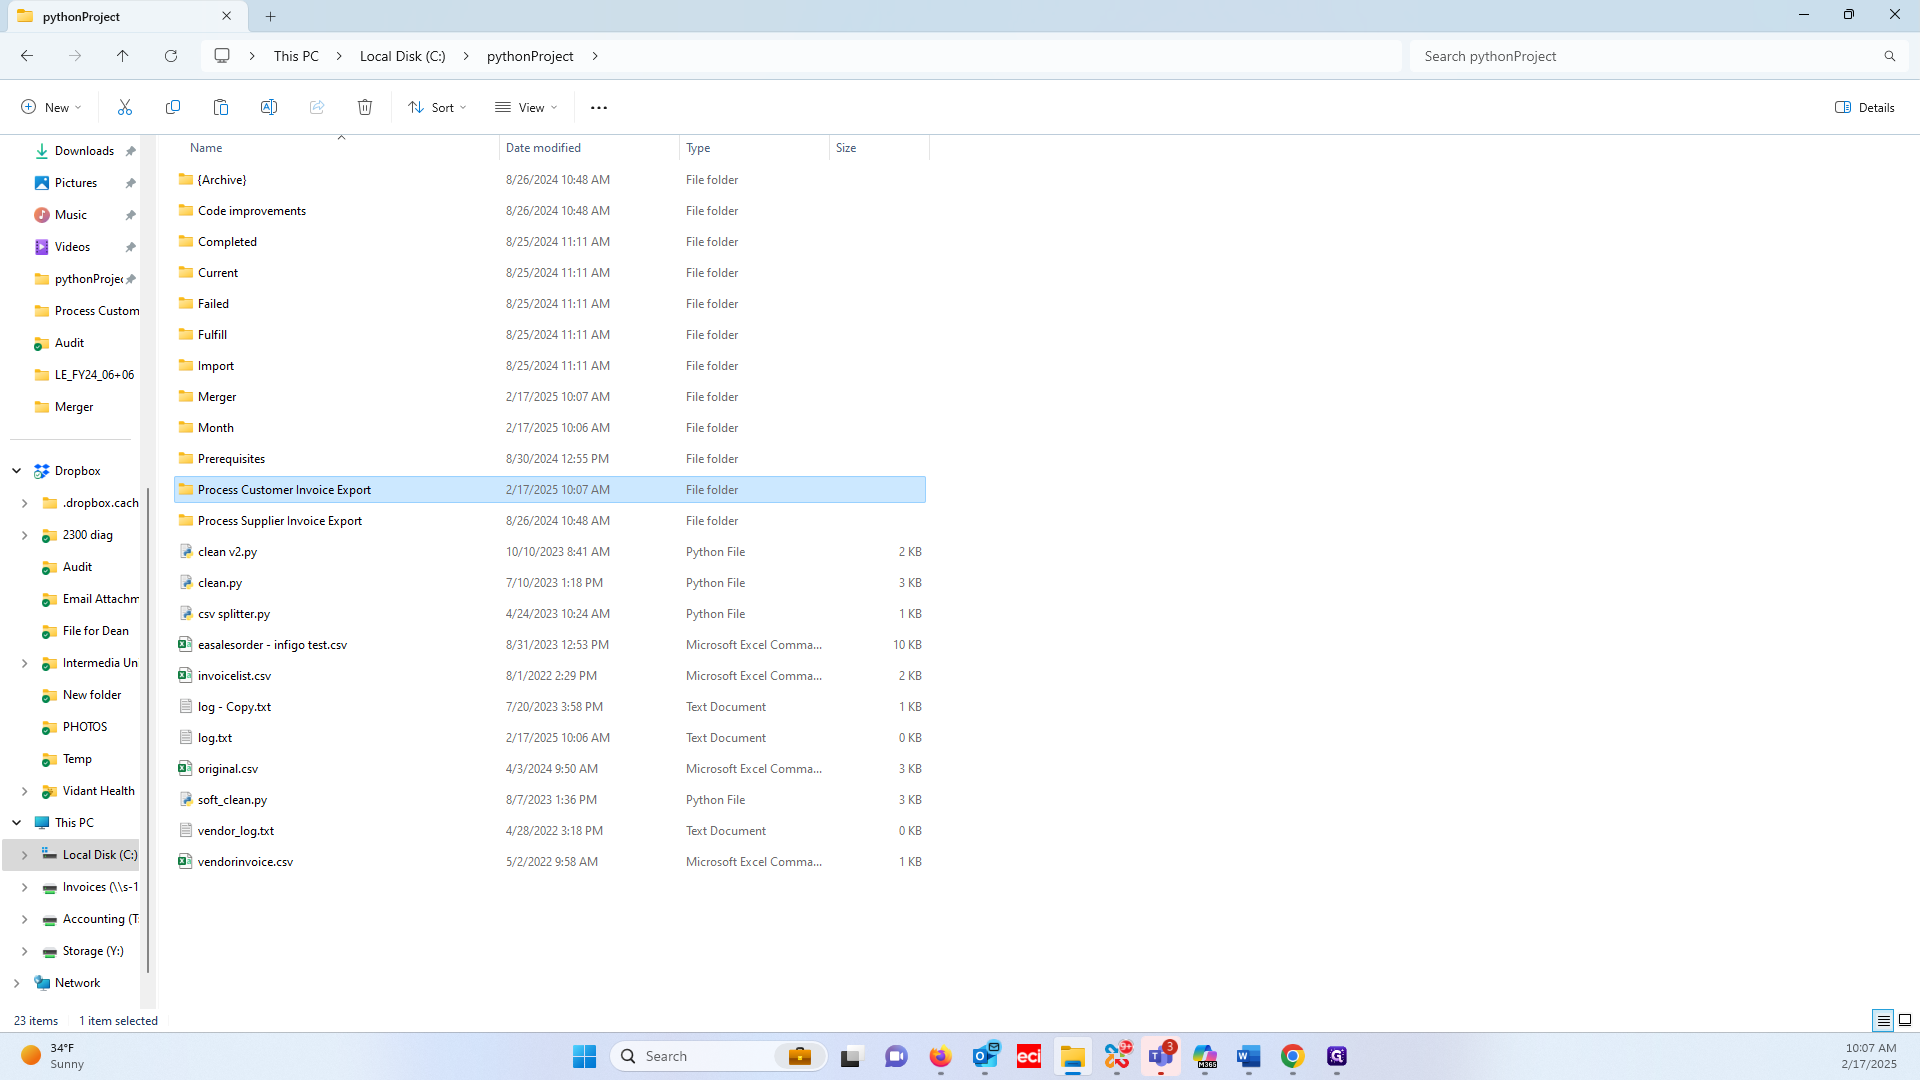
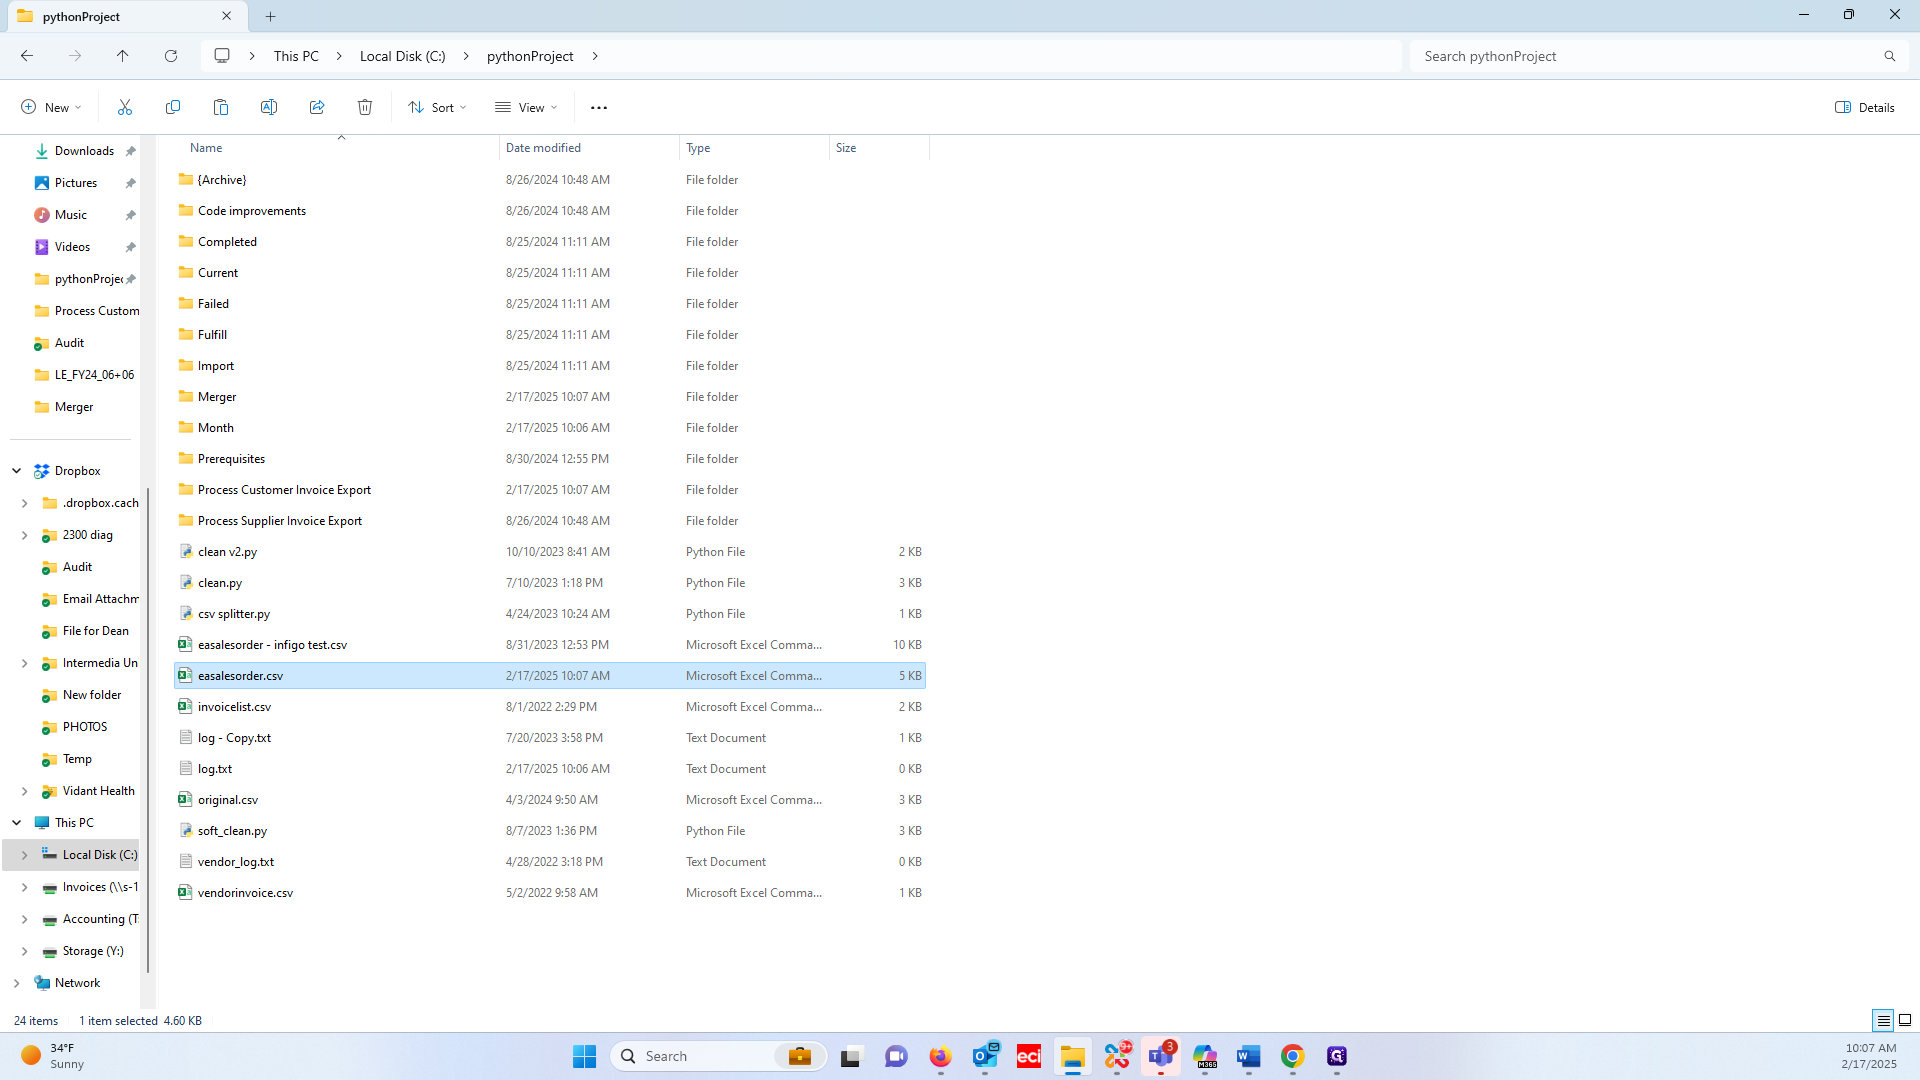
We need to wait for the file to finish downloading. Once it's done, open the Downloads folder. Copy the file and go to the Python project folder. Then, run version 2.

8
Click on the open download location icon.
Step #8: Click on the open download location icon.
9
Click on the export file. (ex: "PIQ Inv_2025_02_17_10_11_4013.csv")
Step #9: Click on the export file. (ex: "PIQ Inv_2025_02_17_10_11_4013.csv")
10
Type "Ctrl + C"
11
Click on "pythonProject"
Step #11: Click on "pythonProject"

We need to clean the folders and backup the last export.

12
Double-click on "clean v2.py"
Step #12: Double-click on "clean v2.py"

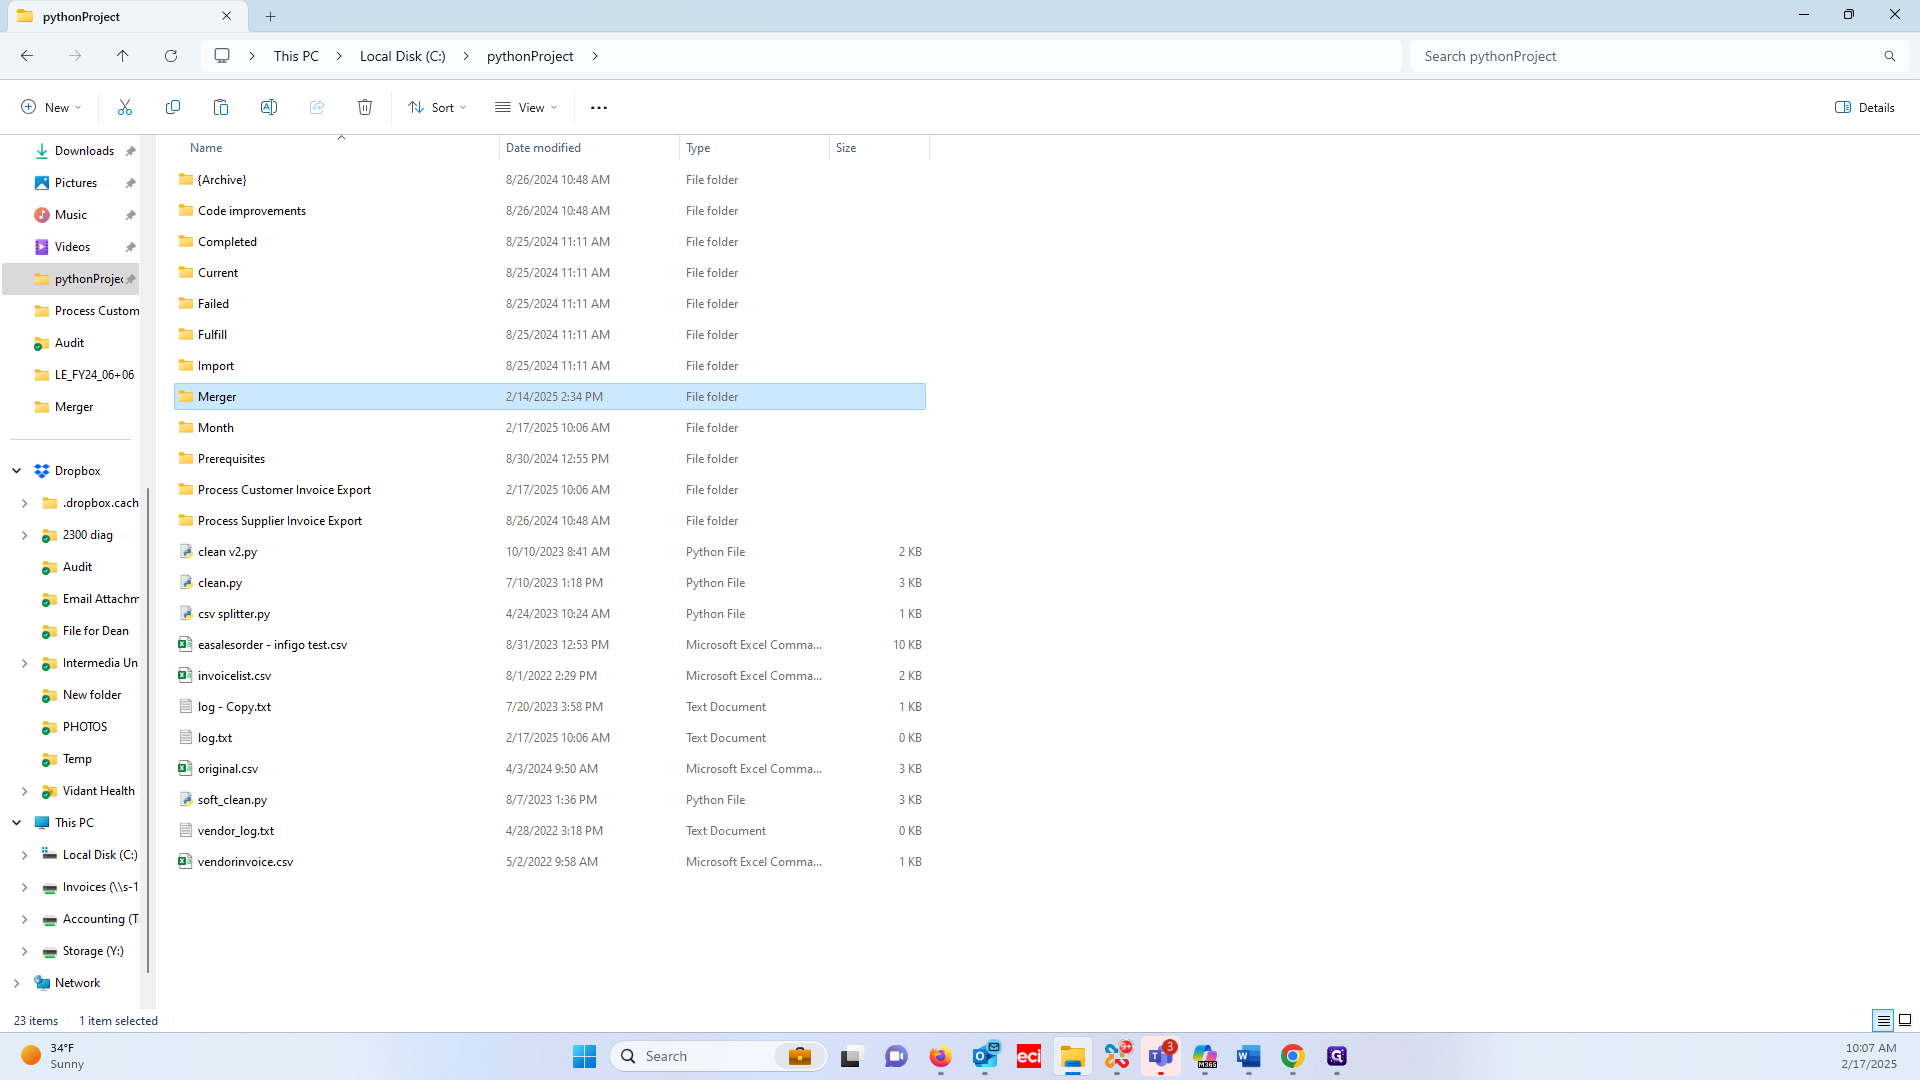
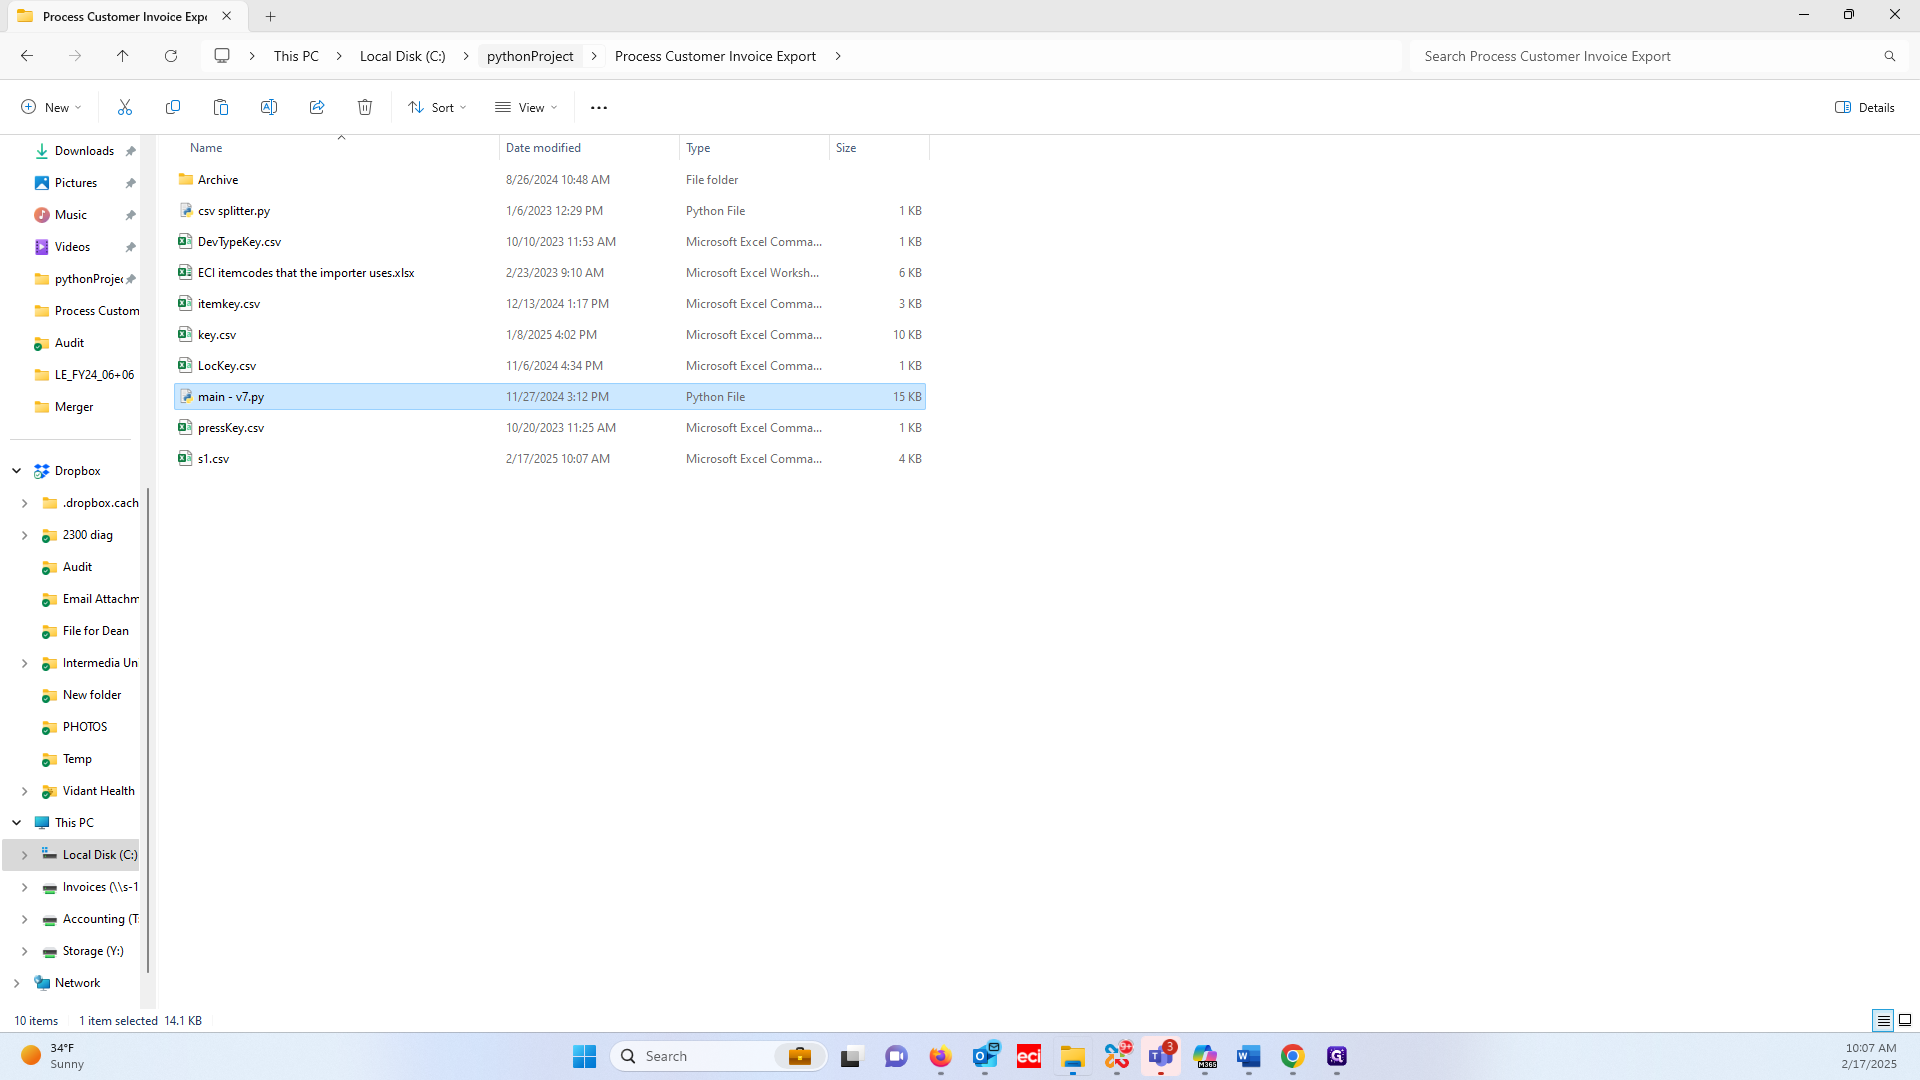
Go to the Merger folder, paste the file, and run the merge.

13
Double-click on "Merger"
Step #13: Double-click on "Merger"
14
Type "Ctrl + V"
15
Double-click on "mergecsv.py"
Step #15: Double-click on "mergecsv.py"
16
Click on "pythonProject"
Step #16: Click on "pythonProject"
17
Double-click on "Process Customer Invoice Export"
Step #17: Double-click on "Process Customer Invoice Export"

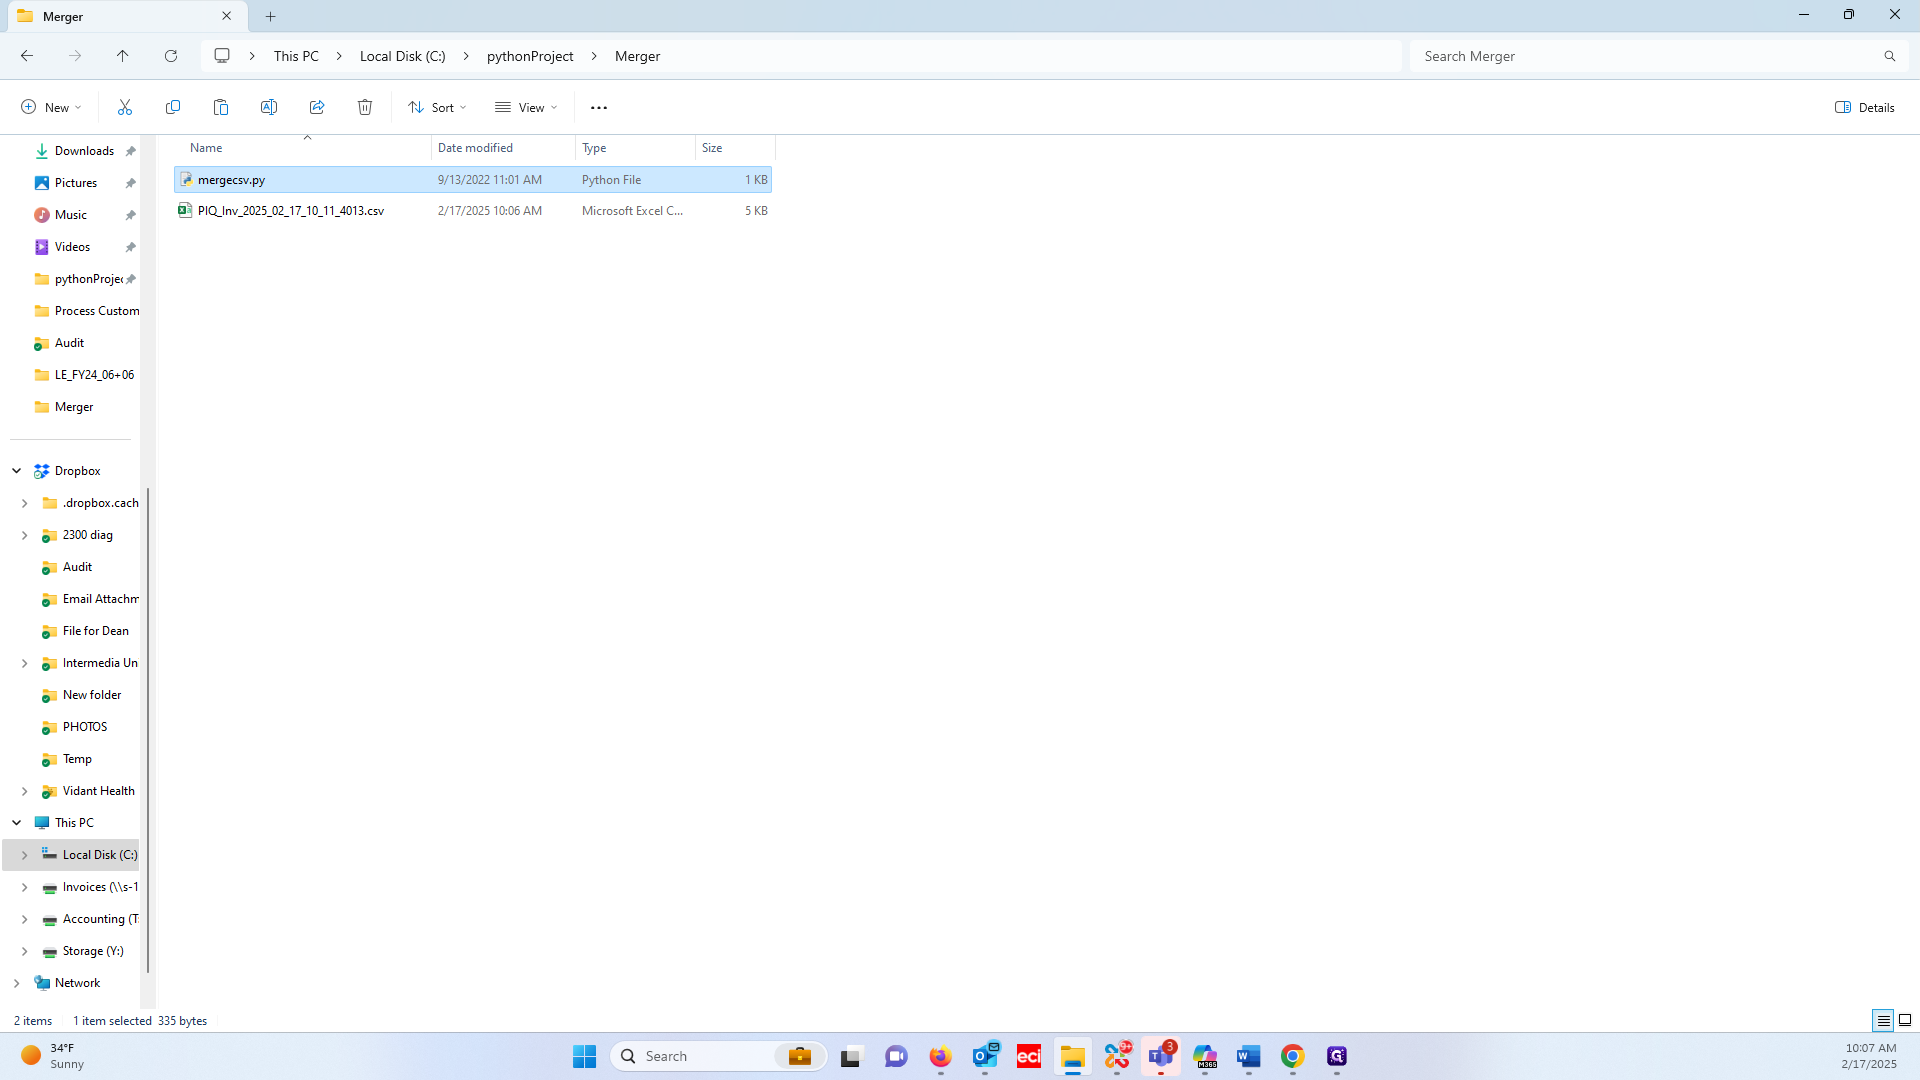
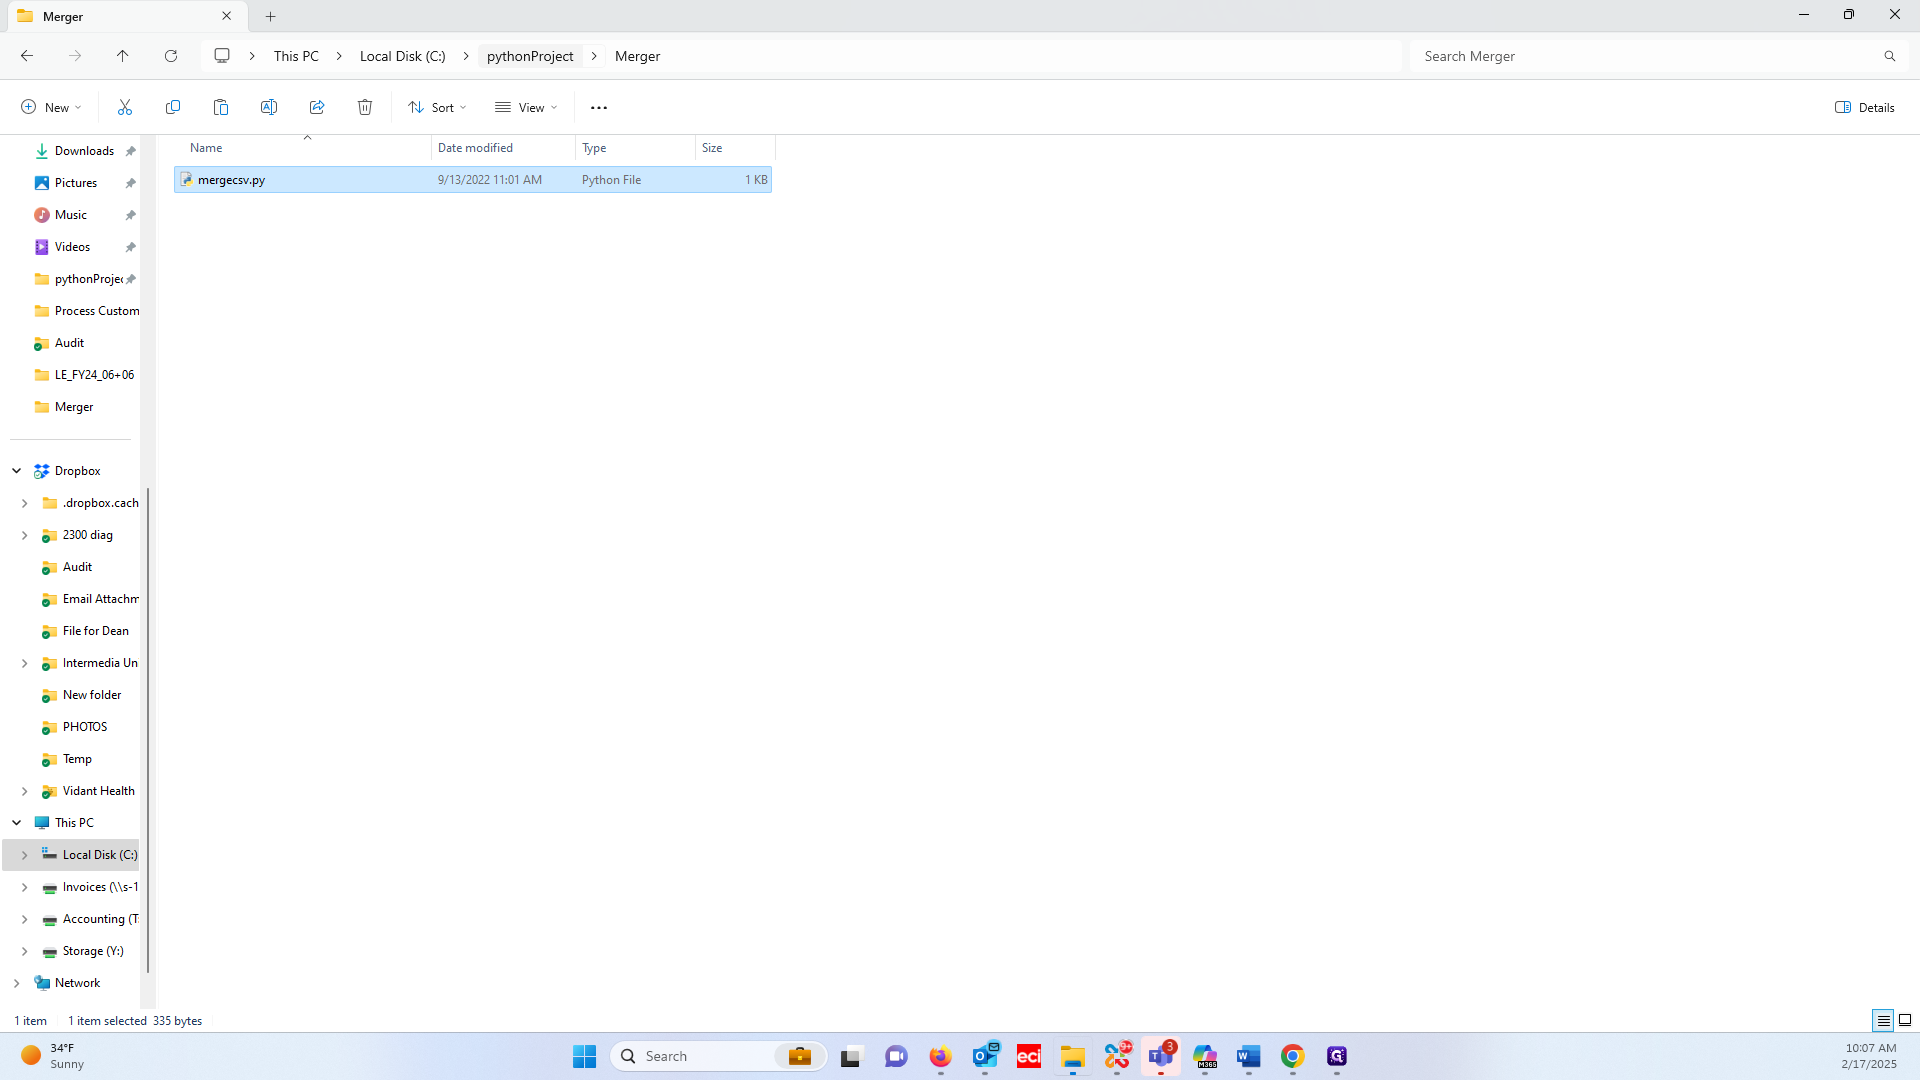
Let's verify it created a s1.csv file.

18
Click on "s1.csv"
Step #18: Click on "s1.csv"

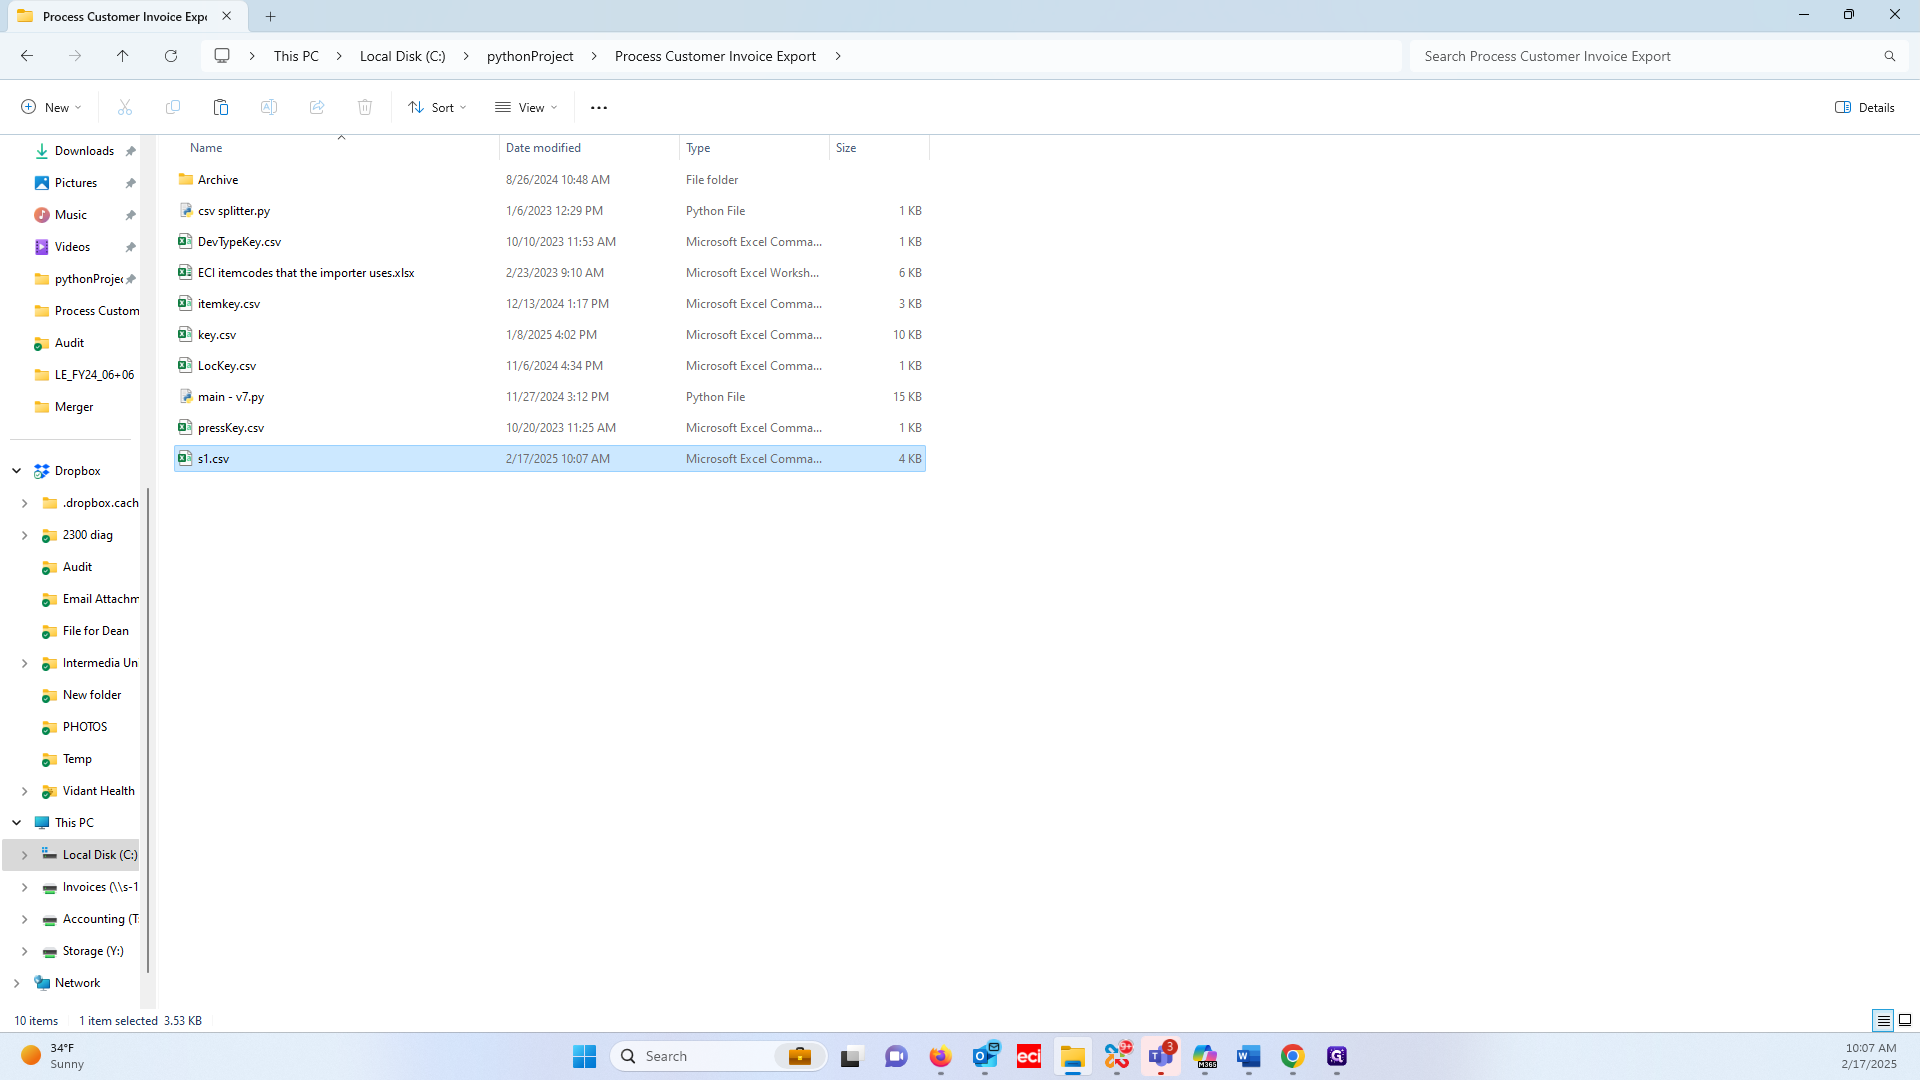
We will now run the main program.
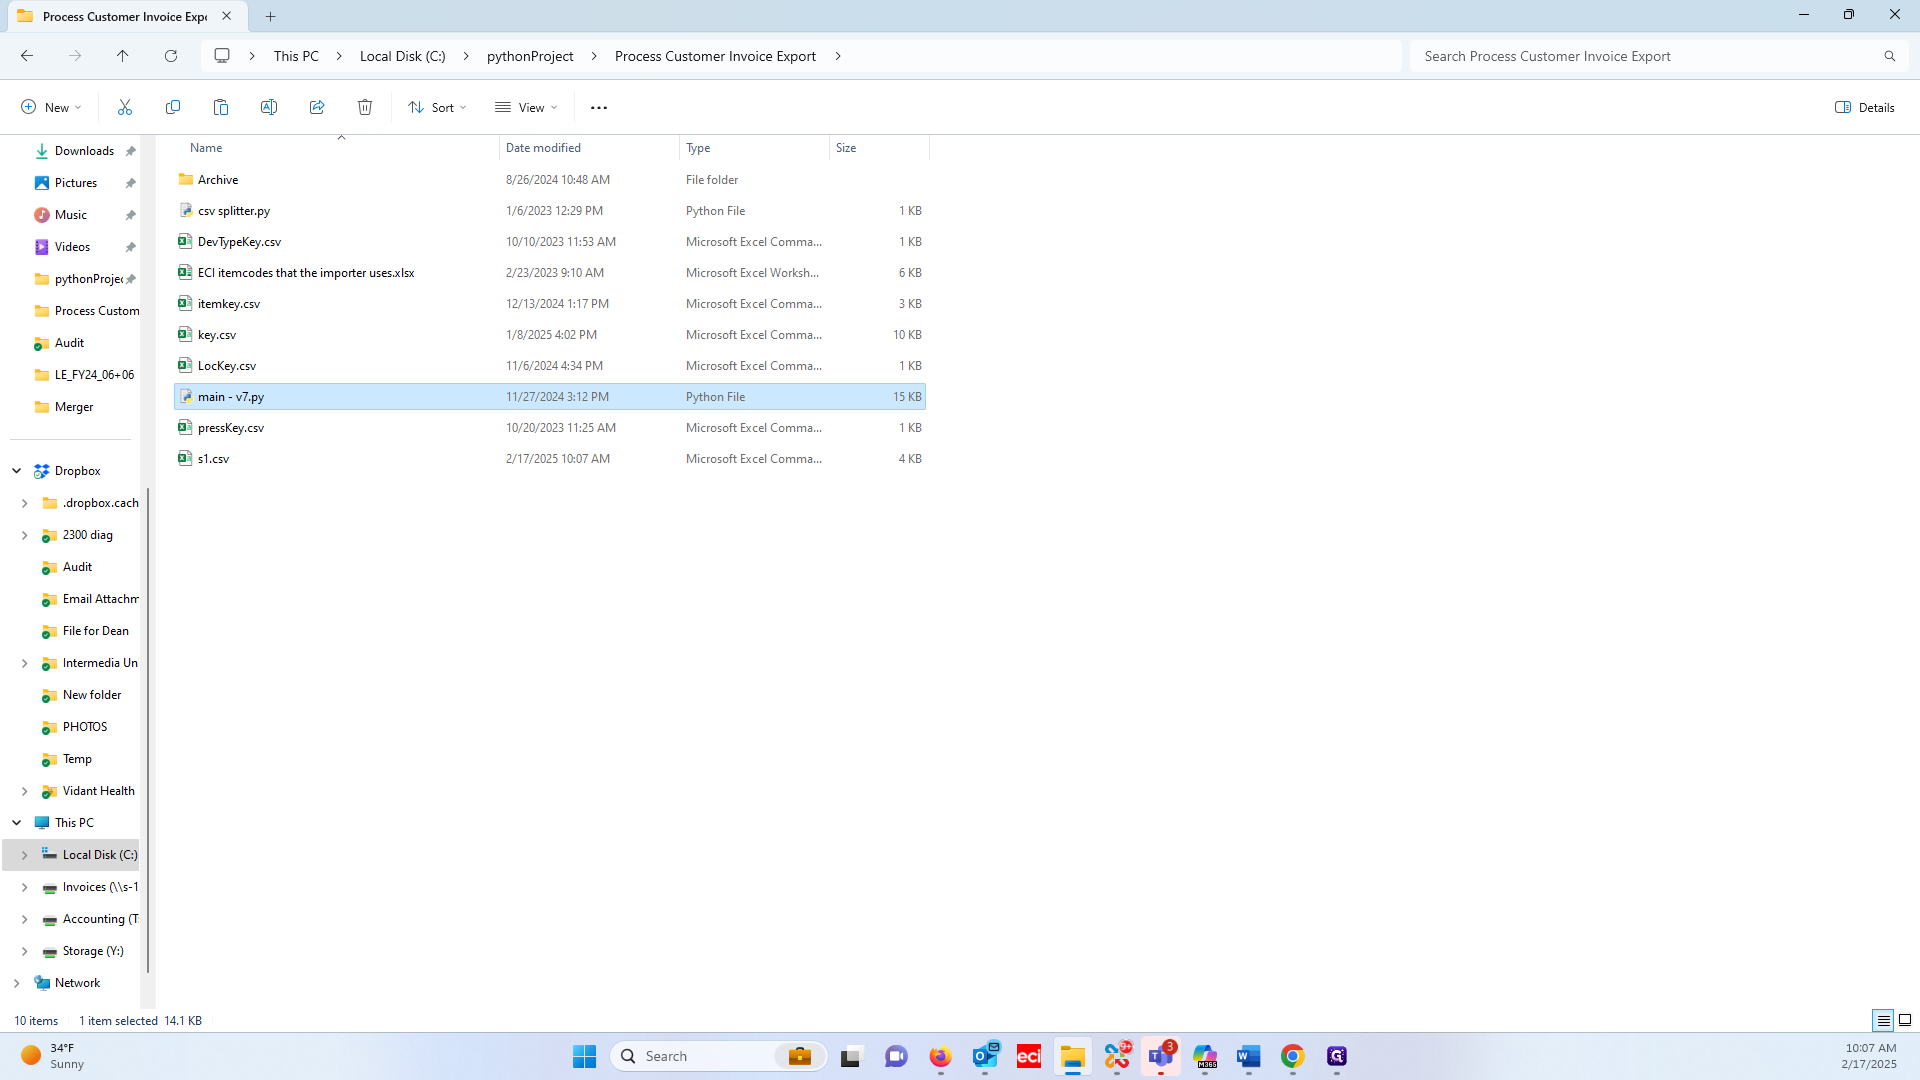
19
Double-click on "main - v7.py"
Step #19: Double-click on "main - v7.py"
20
Click on "pythonProject"
Step #20: Click on "pythonProject"
21
Double-click on "easalesorder.csv"
Step #21: Double-click on "easalesorder.csv"

Let's check it.

22
Click on select table widget.
Step #22: Click on select table widget.
23
Double-click on any of the vertical dividers to auto adjust the column width.
Step #23: Double-click on any of the vertical dividers to auto adjust the column width.

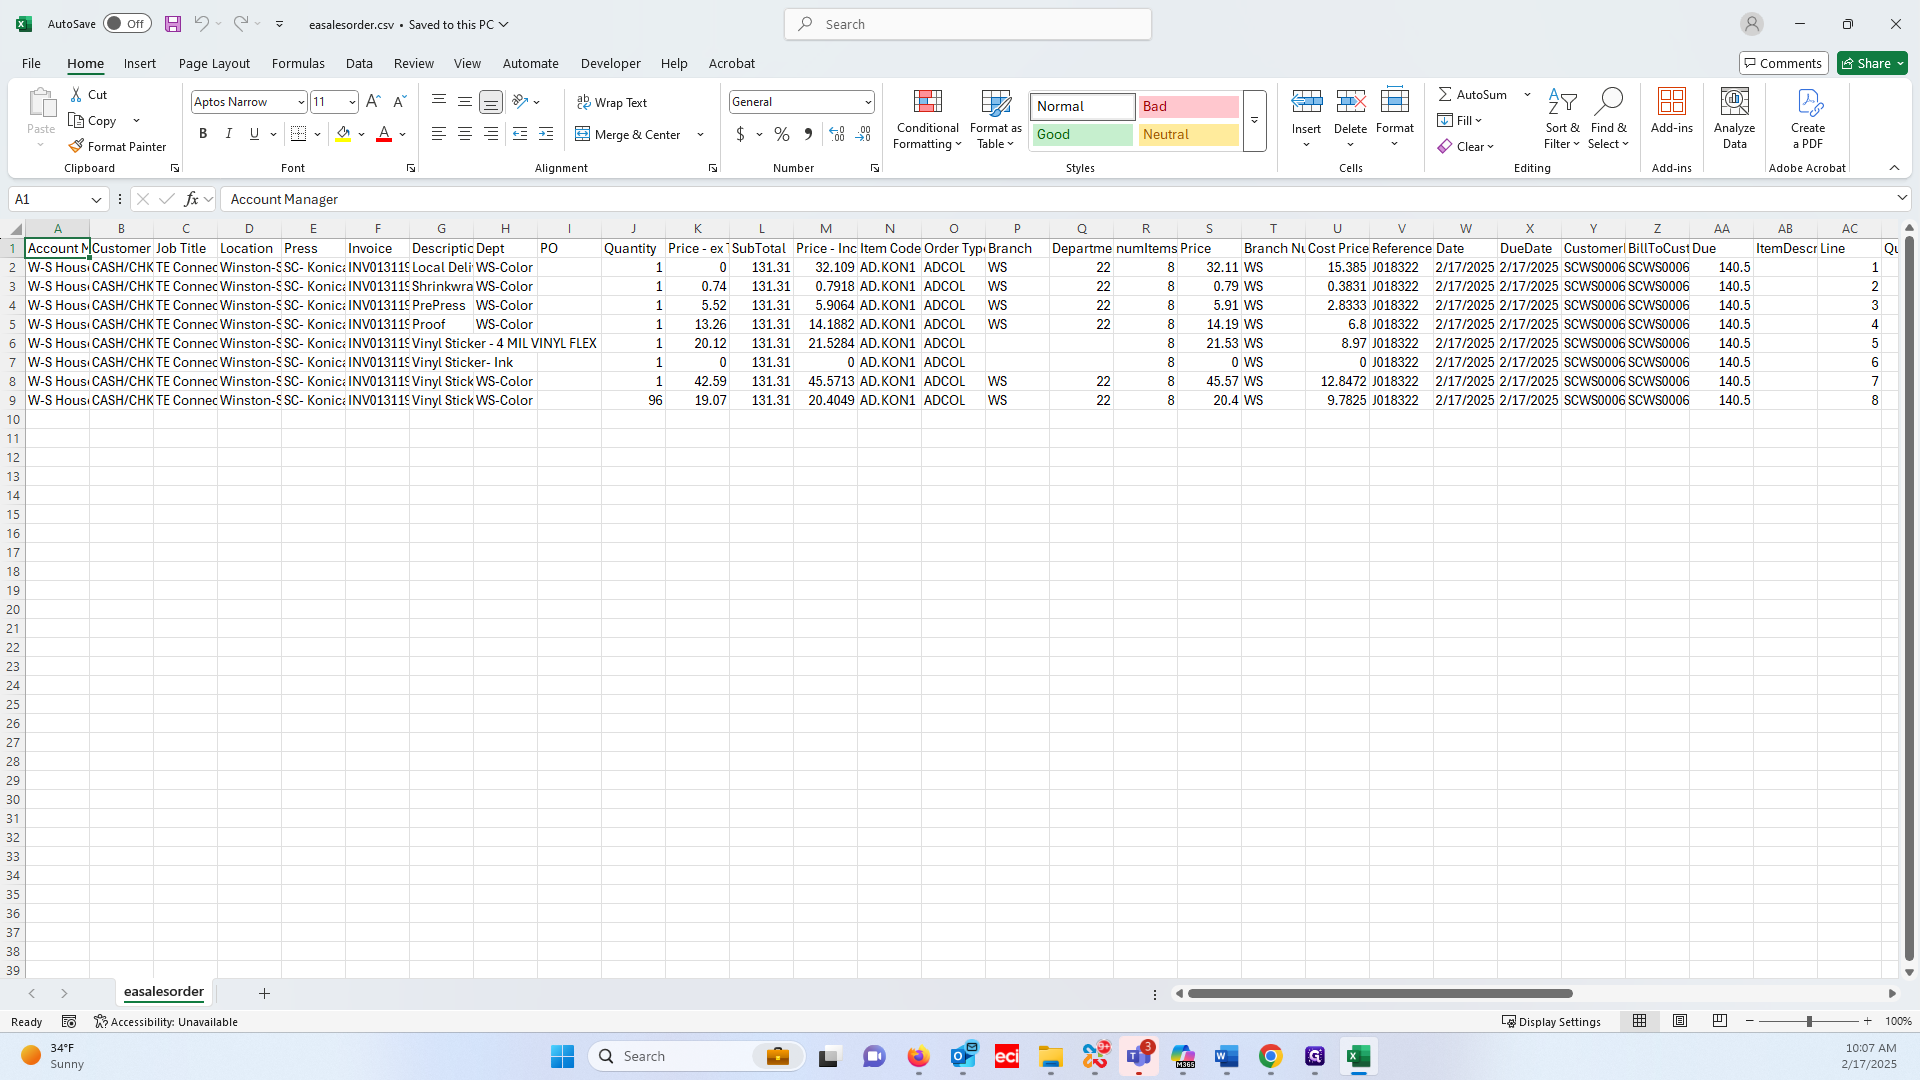
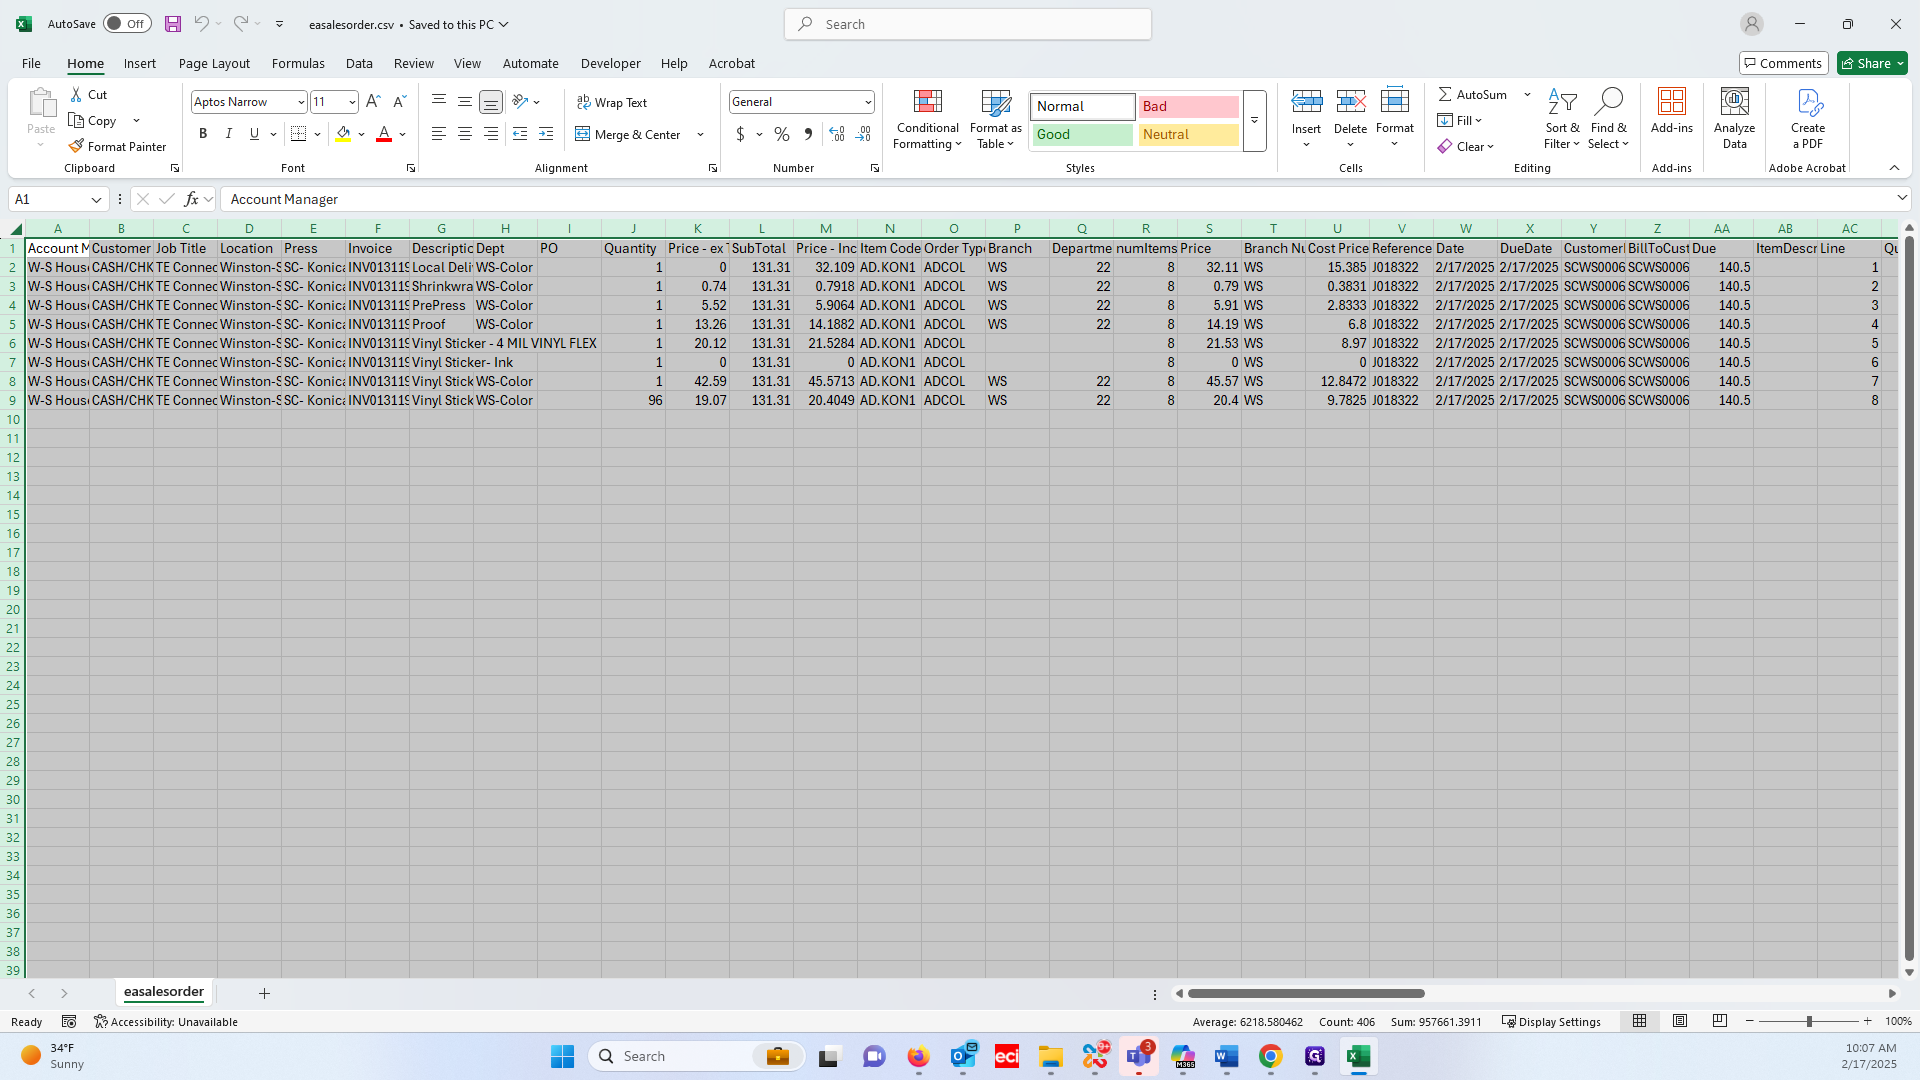
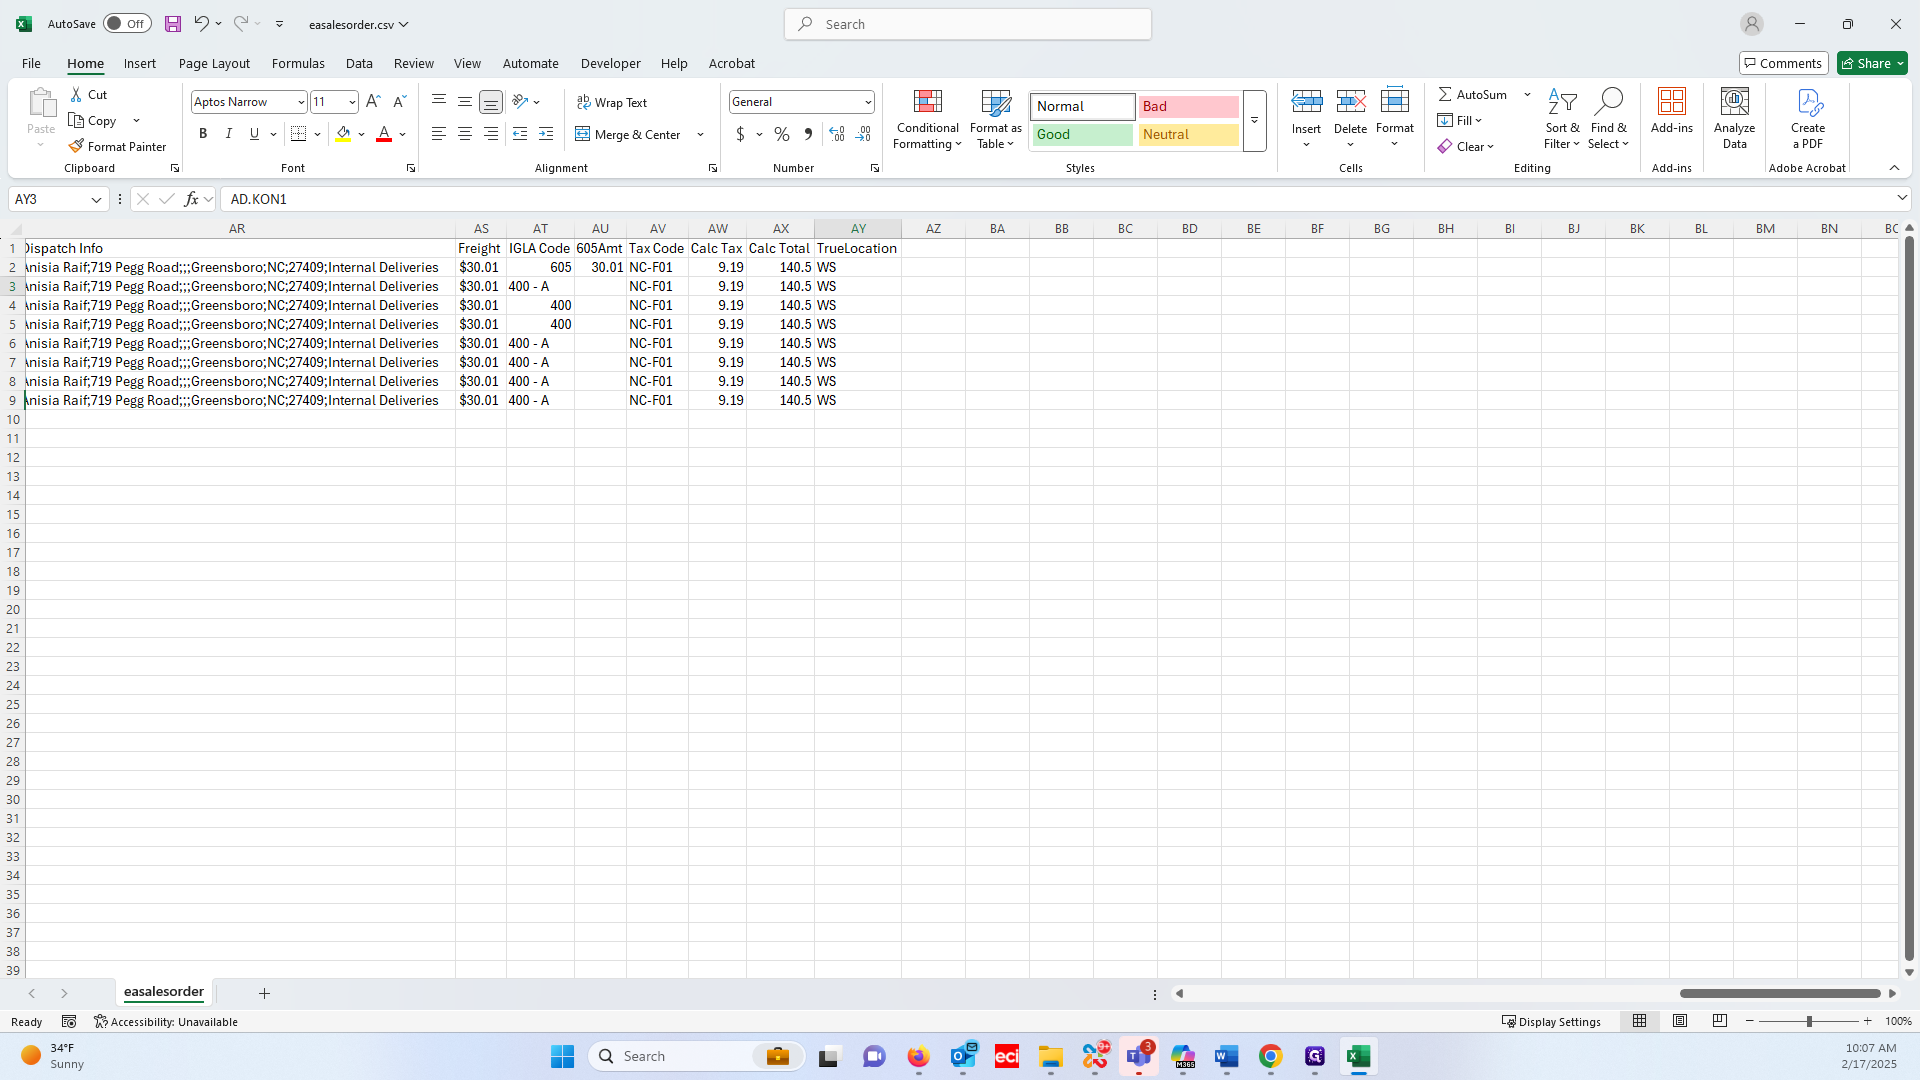
We need to ensure all item codes are present.

24
Scroll to the right and double check that all the item code values are filled in for each row.
Step #24: Scroll to the right and double check that all the item code values are filled in for each row.

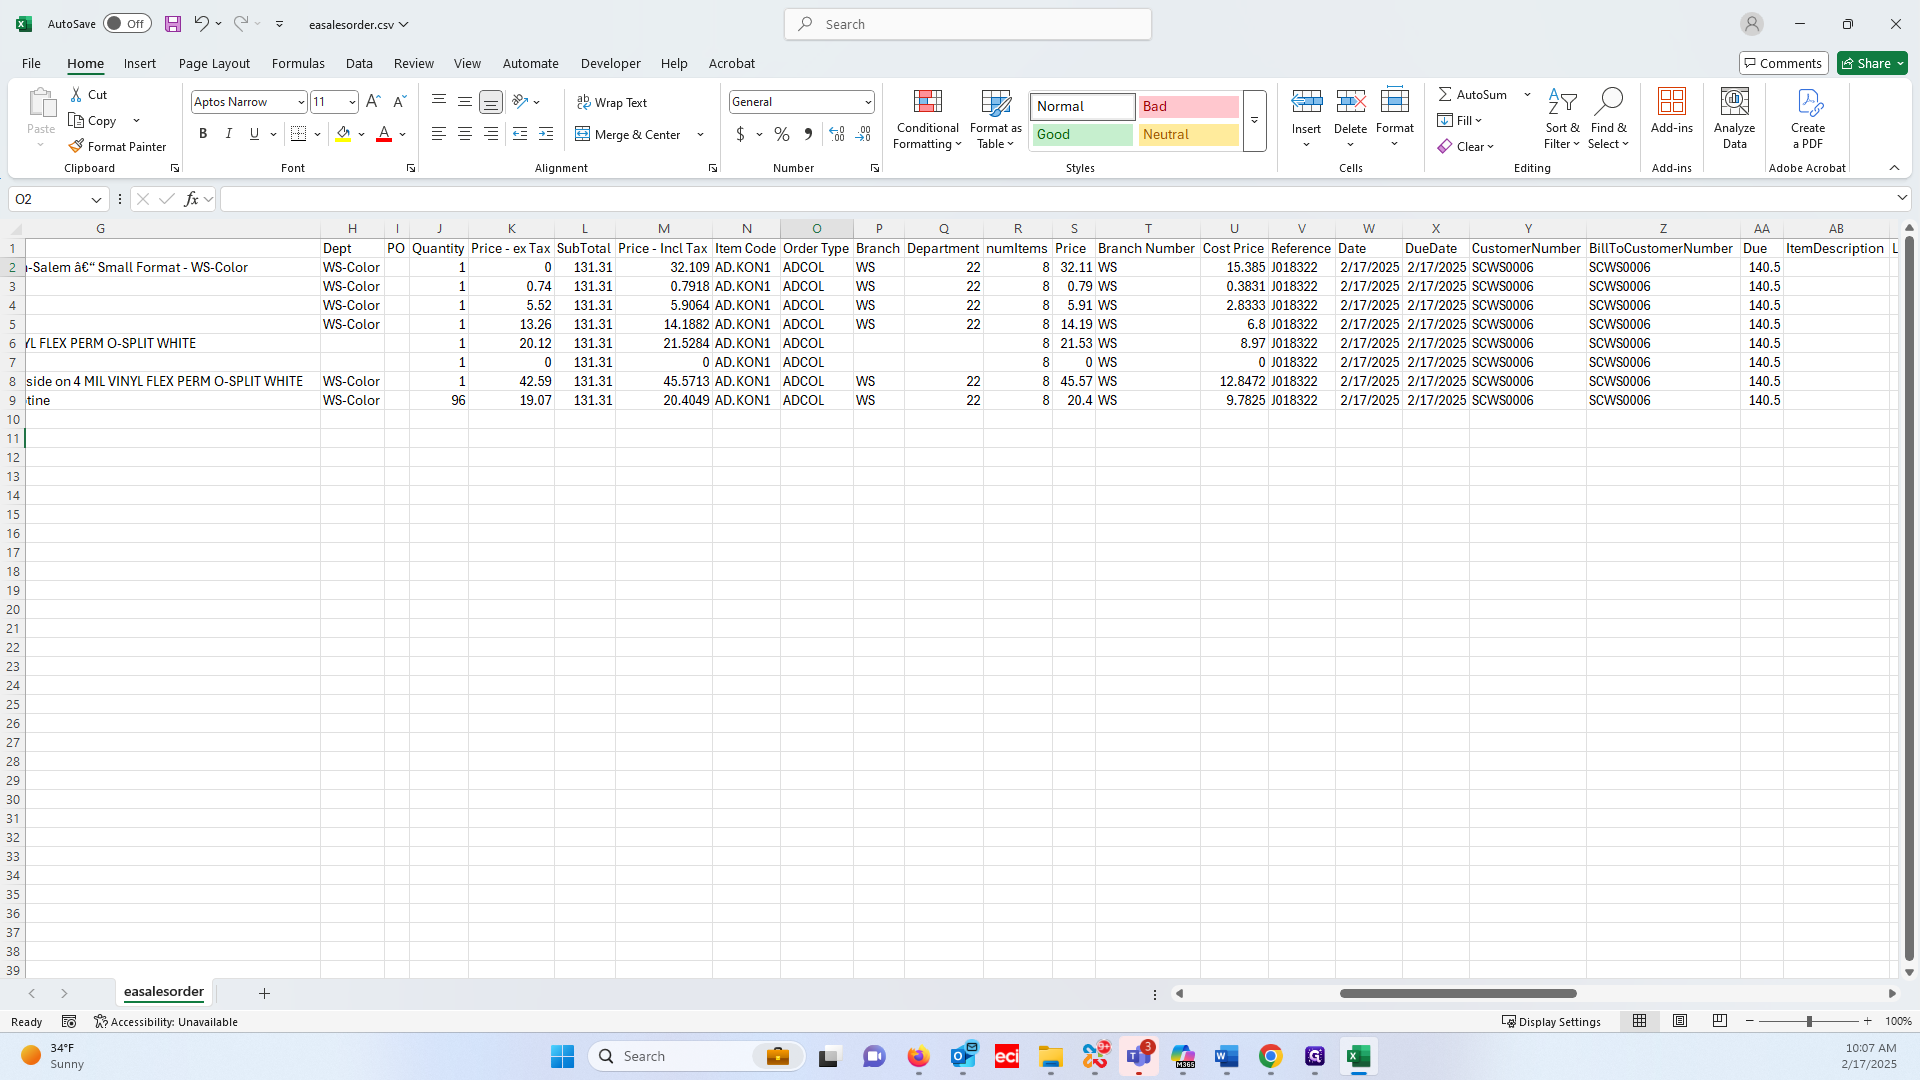
Additionally, all the correct locations are filled in, and they are.

25
Scroll to the right and double check that all TrueLocation values are filled in.
Step #25: Scroll to the right and double check that all TrueLocation values are filled in.

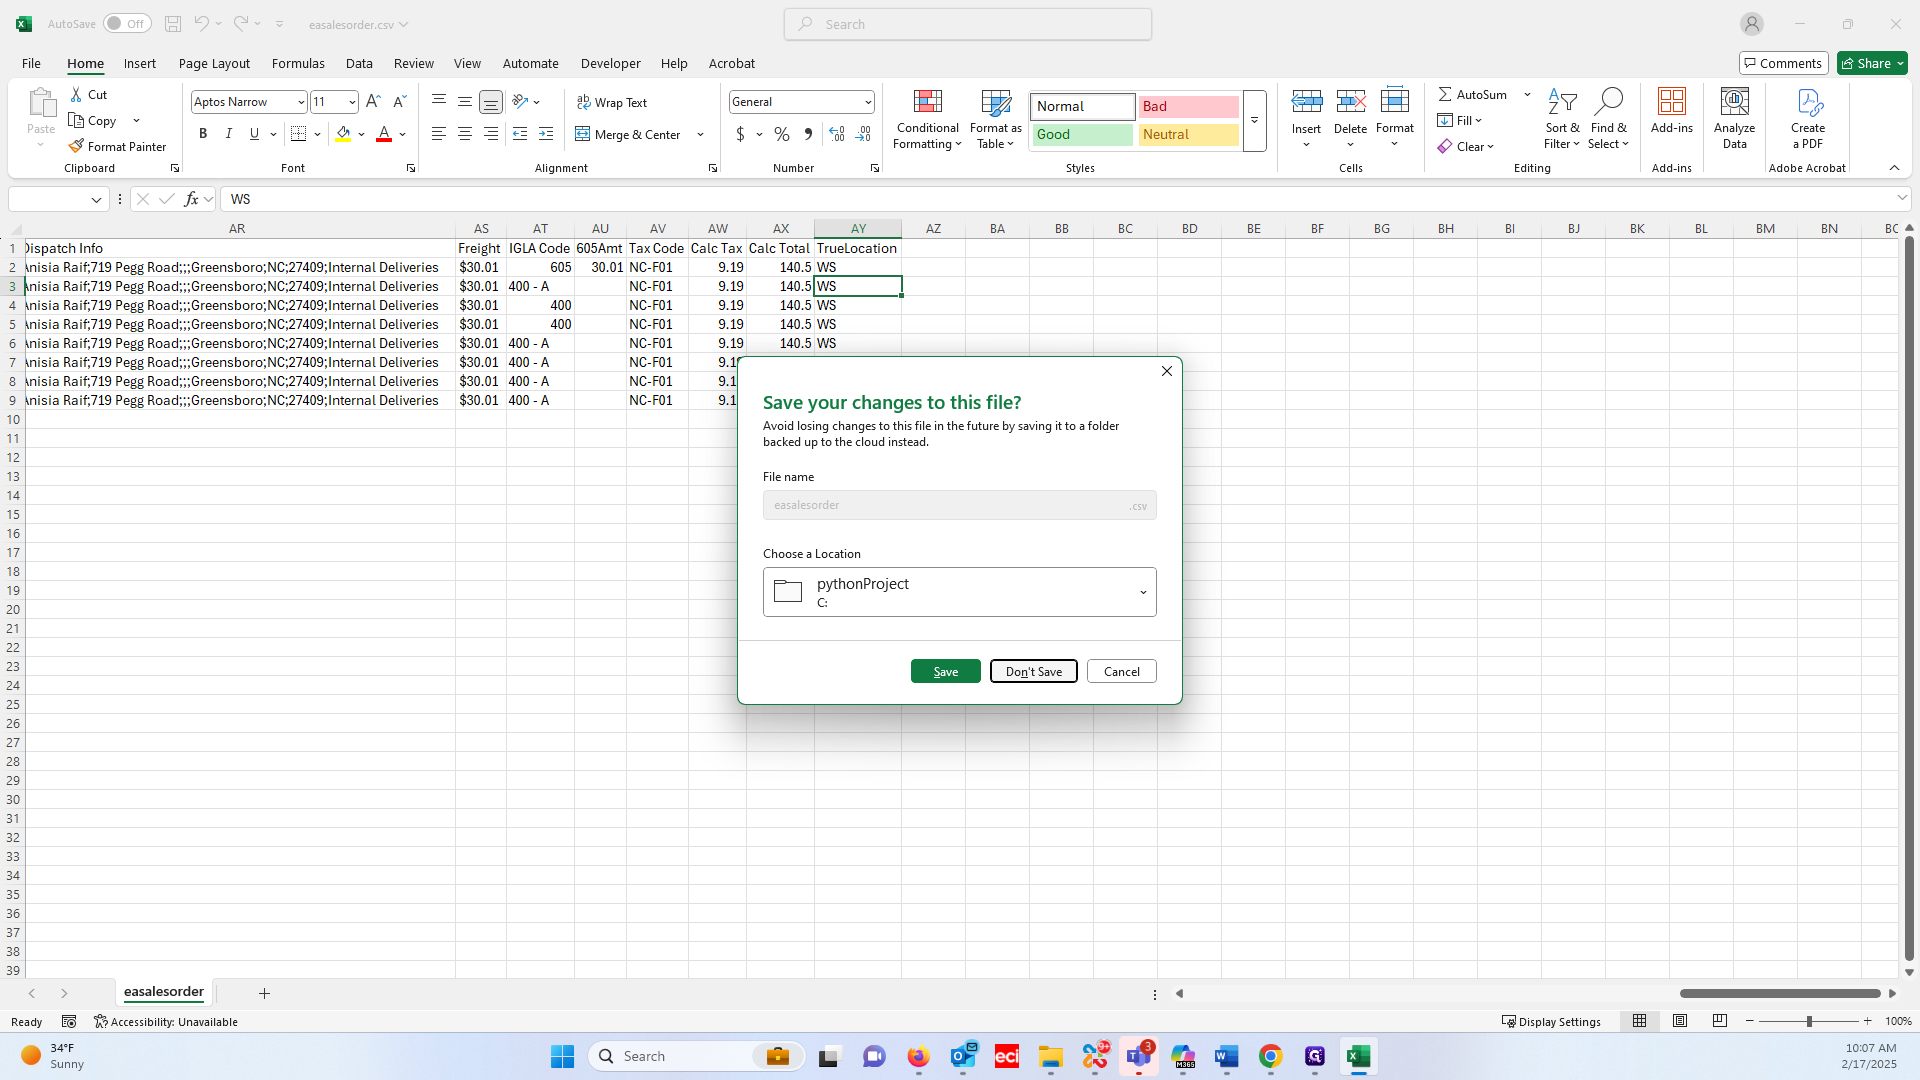
You can close that without saving.

26
Click on "Don't Save"
Step #26: Click on "Don't Save"

This file is ready to be placed on the import computer to proceed with the import. That's all for preparing the file.

How to Export and Prepare Invoices for Import Using PrintIQ and Python