Exporting, Allocating, and Reimporting Concur Imports into QuickBooks
Learn step-by-step how to export Concur imports from QuickBooks, reallocate by service and claim types, and reimport using a macro. This guide covers file management, macro usage, and syncing to IES for efficient accounting workflows.
In this guide, we'll learn how to export a Concur import that has already been brought into QuickBooks, reallocate it by service and claim types, and then reimport it using a macro. This process helps ensure that your financial data is organized and accurately reflected in your records.
We'll cover how to locate the most recent Concur import, export and save the file, use a macro to automate allocations, and finalize the data for syncing.
Let's get started
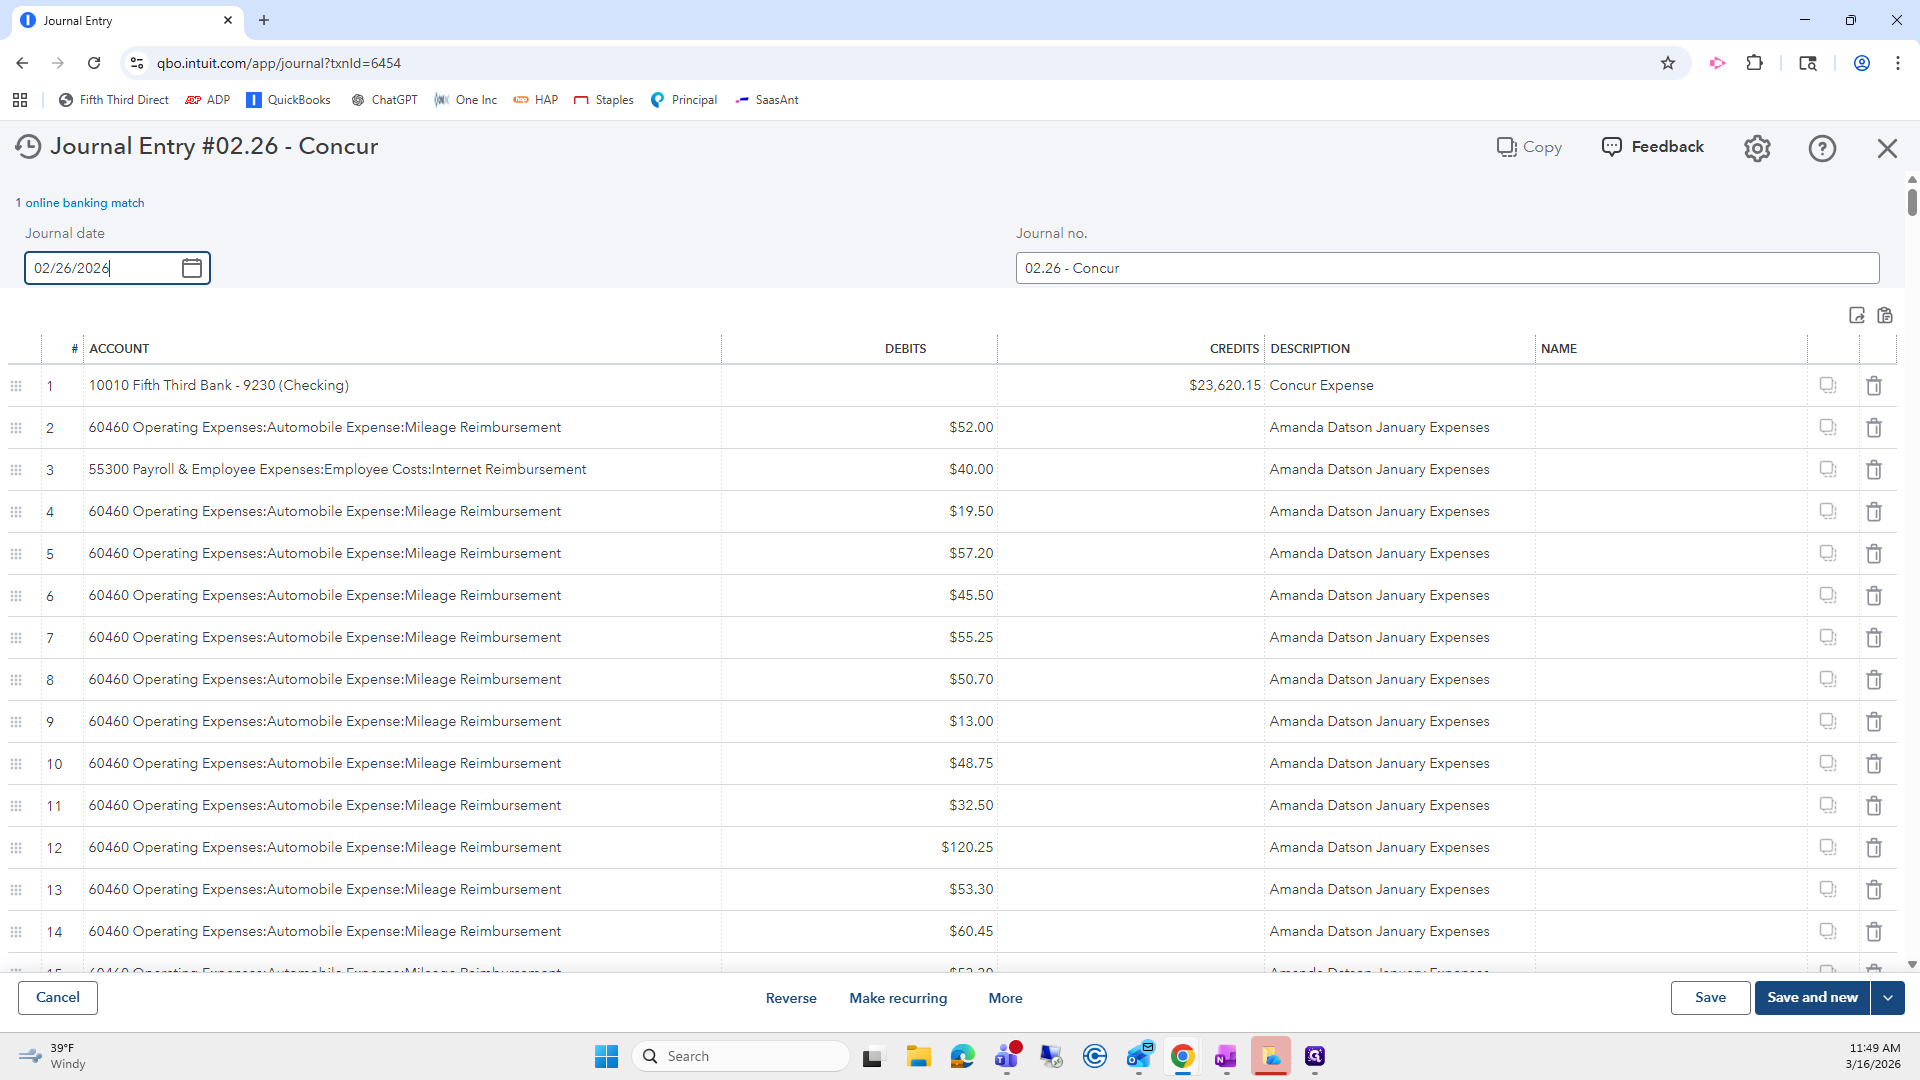
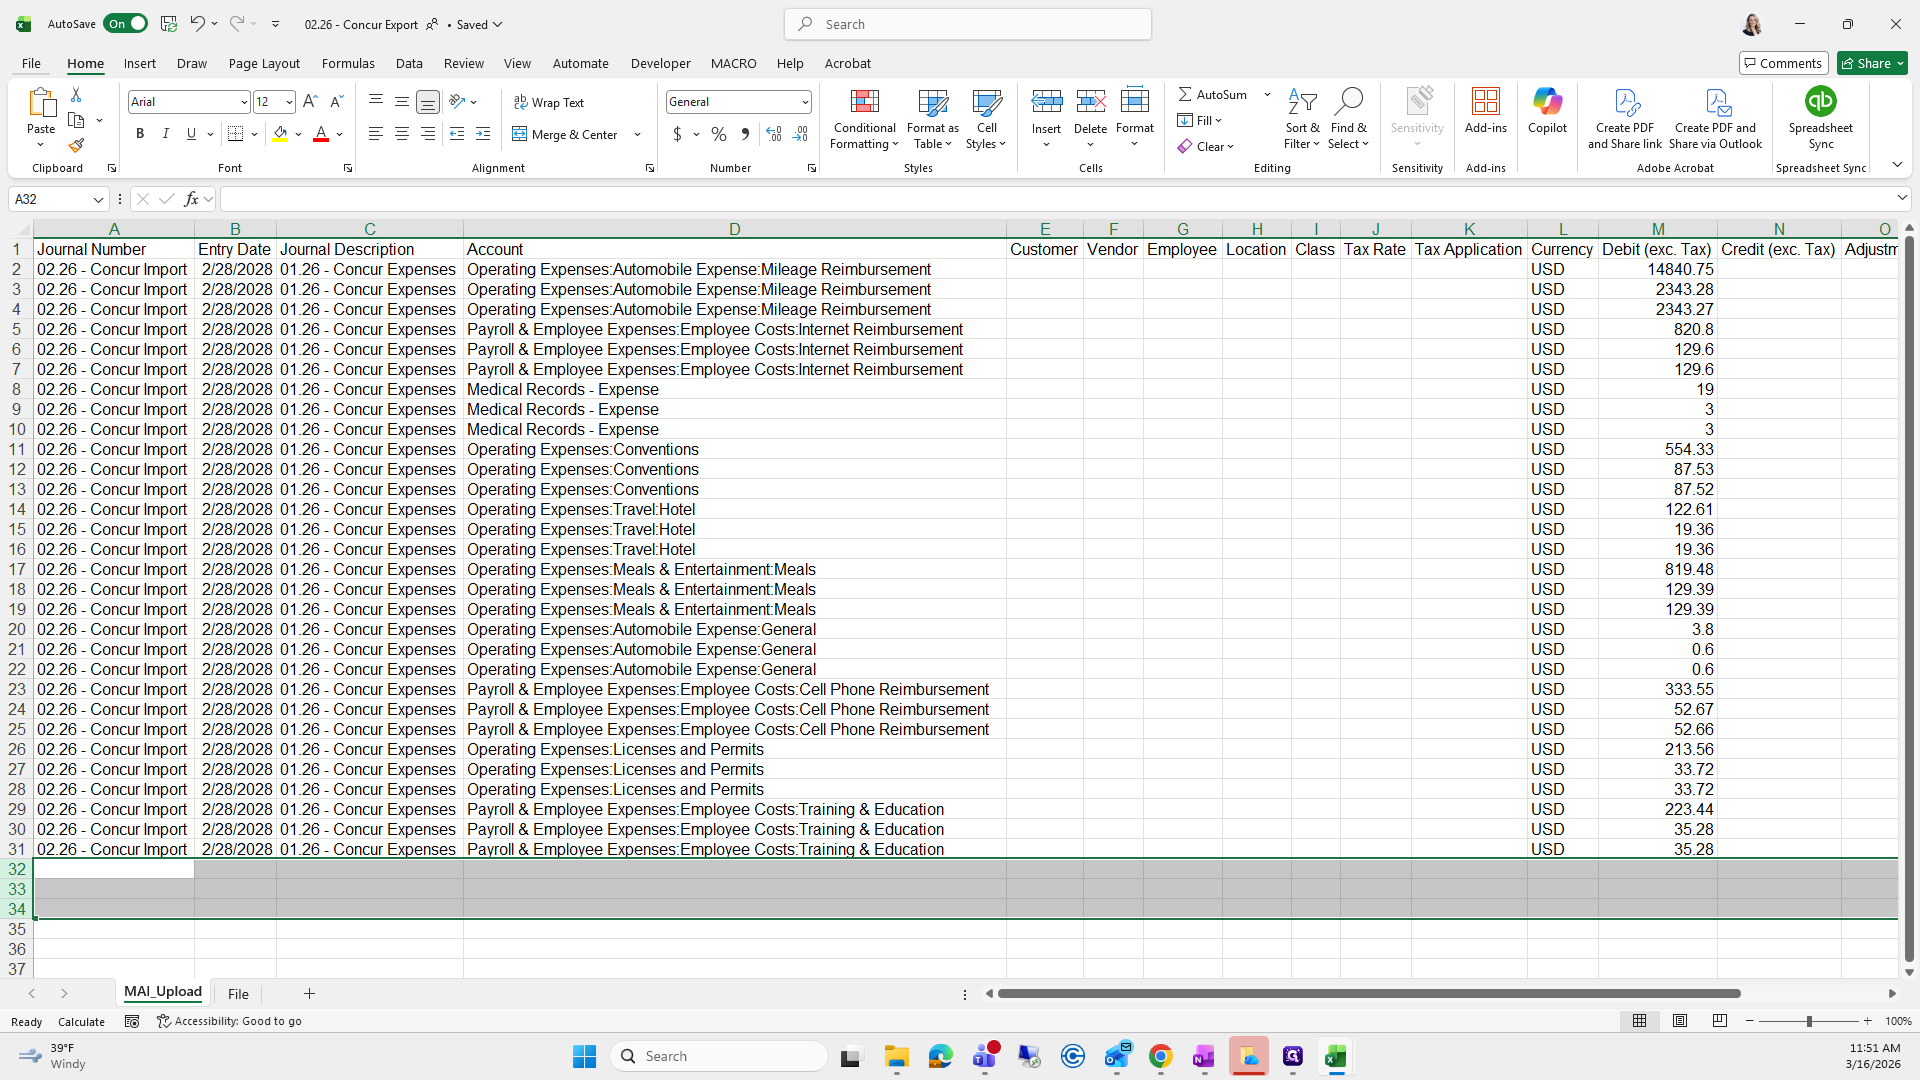
In this SLP, we will cover how to export the Concur import that was previously imported into QuickBooks. We will go over exporting it, reallocating it by service types and claim types, and then reimporting it using a macro. We will find the most recent Concur import that just arrived.

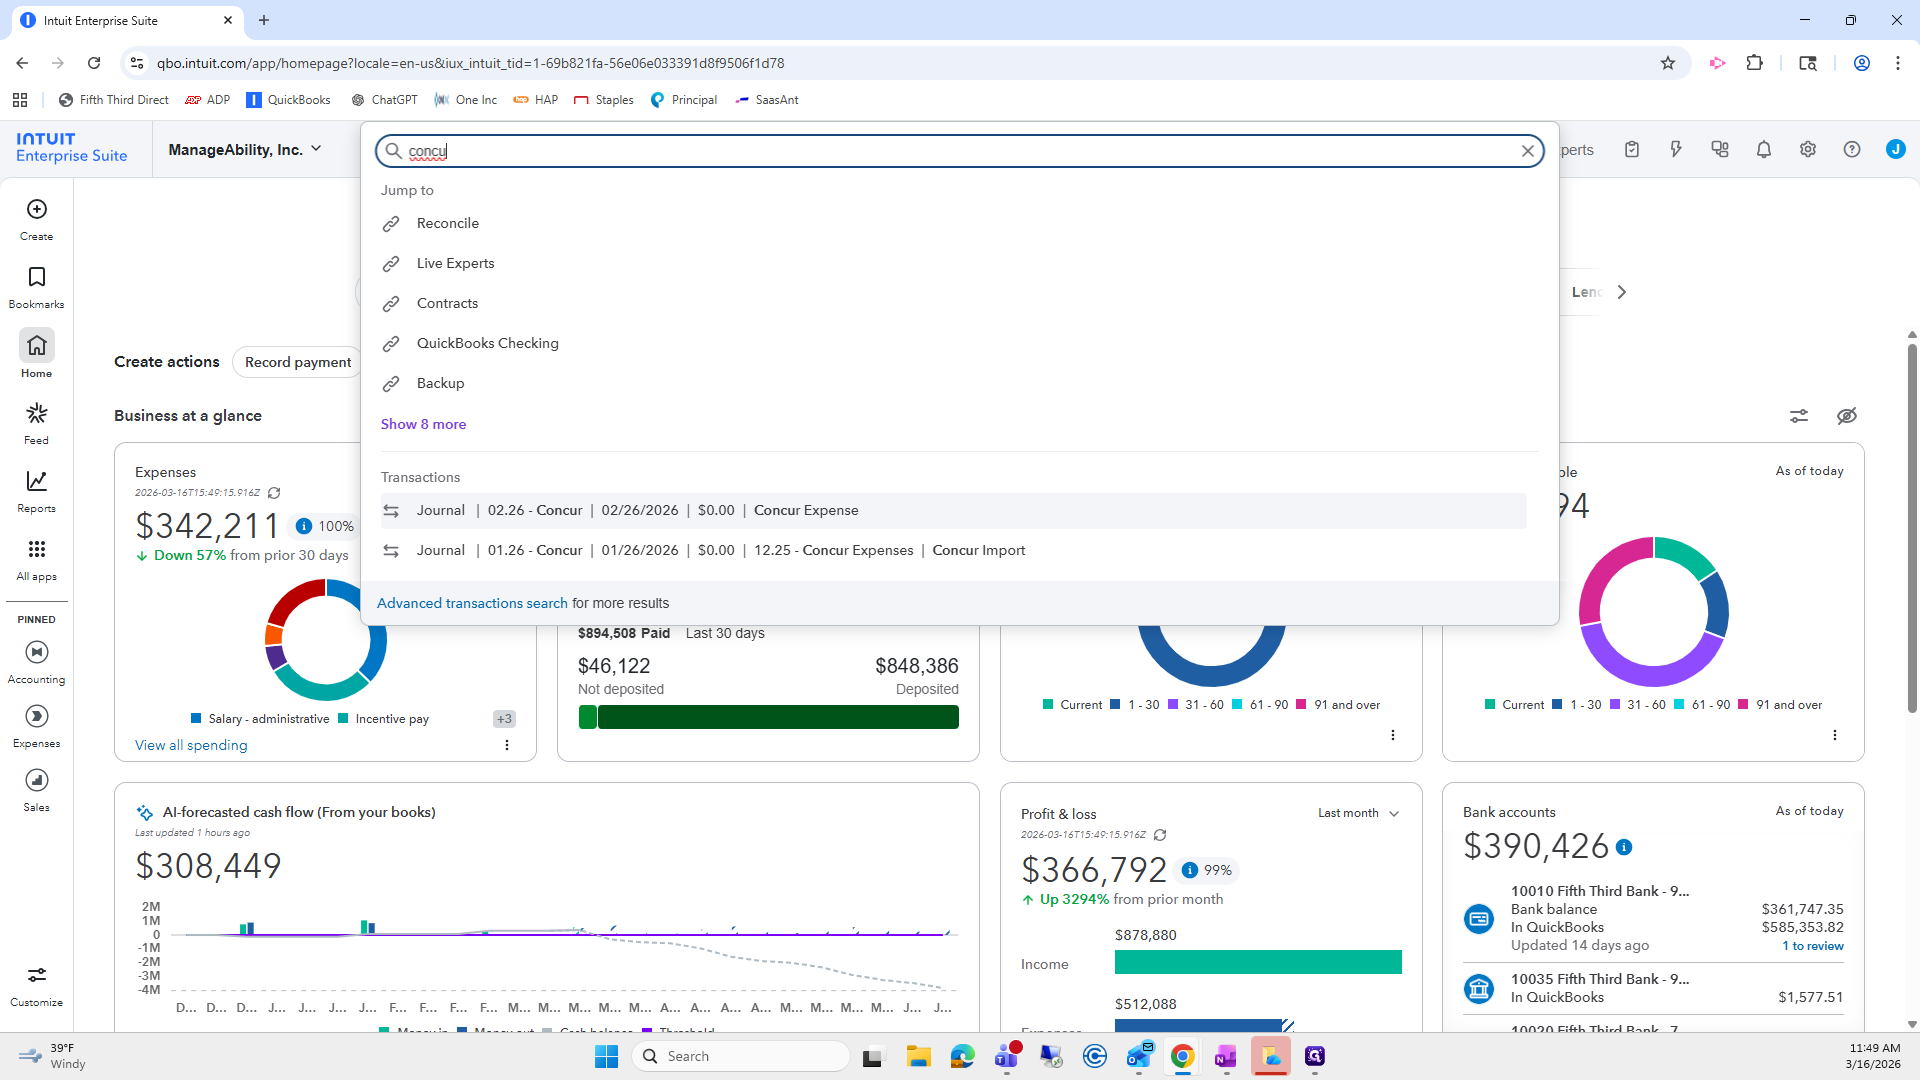
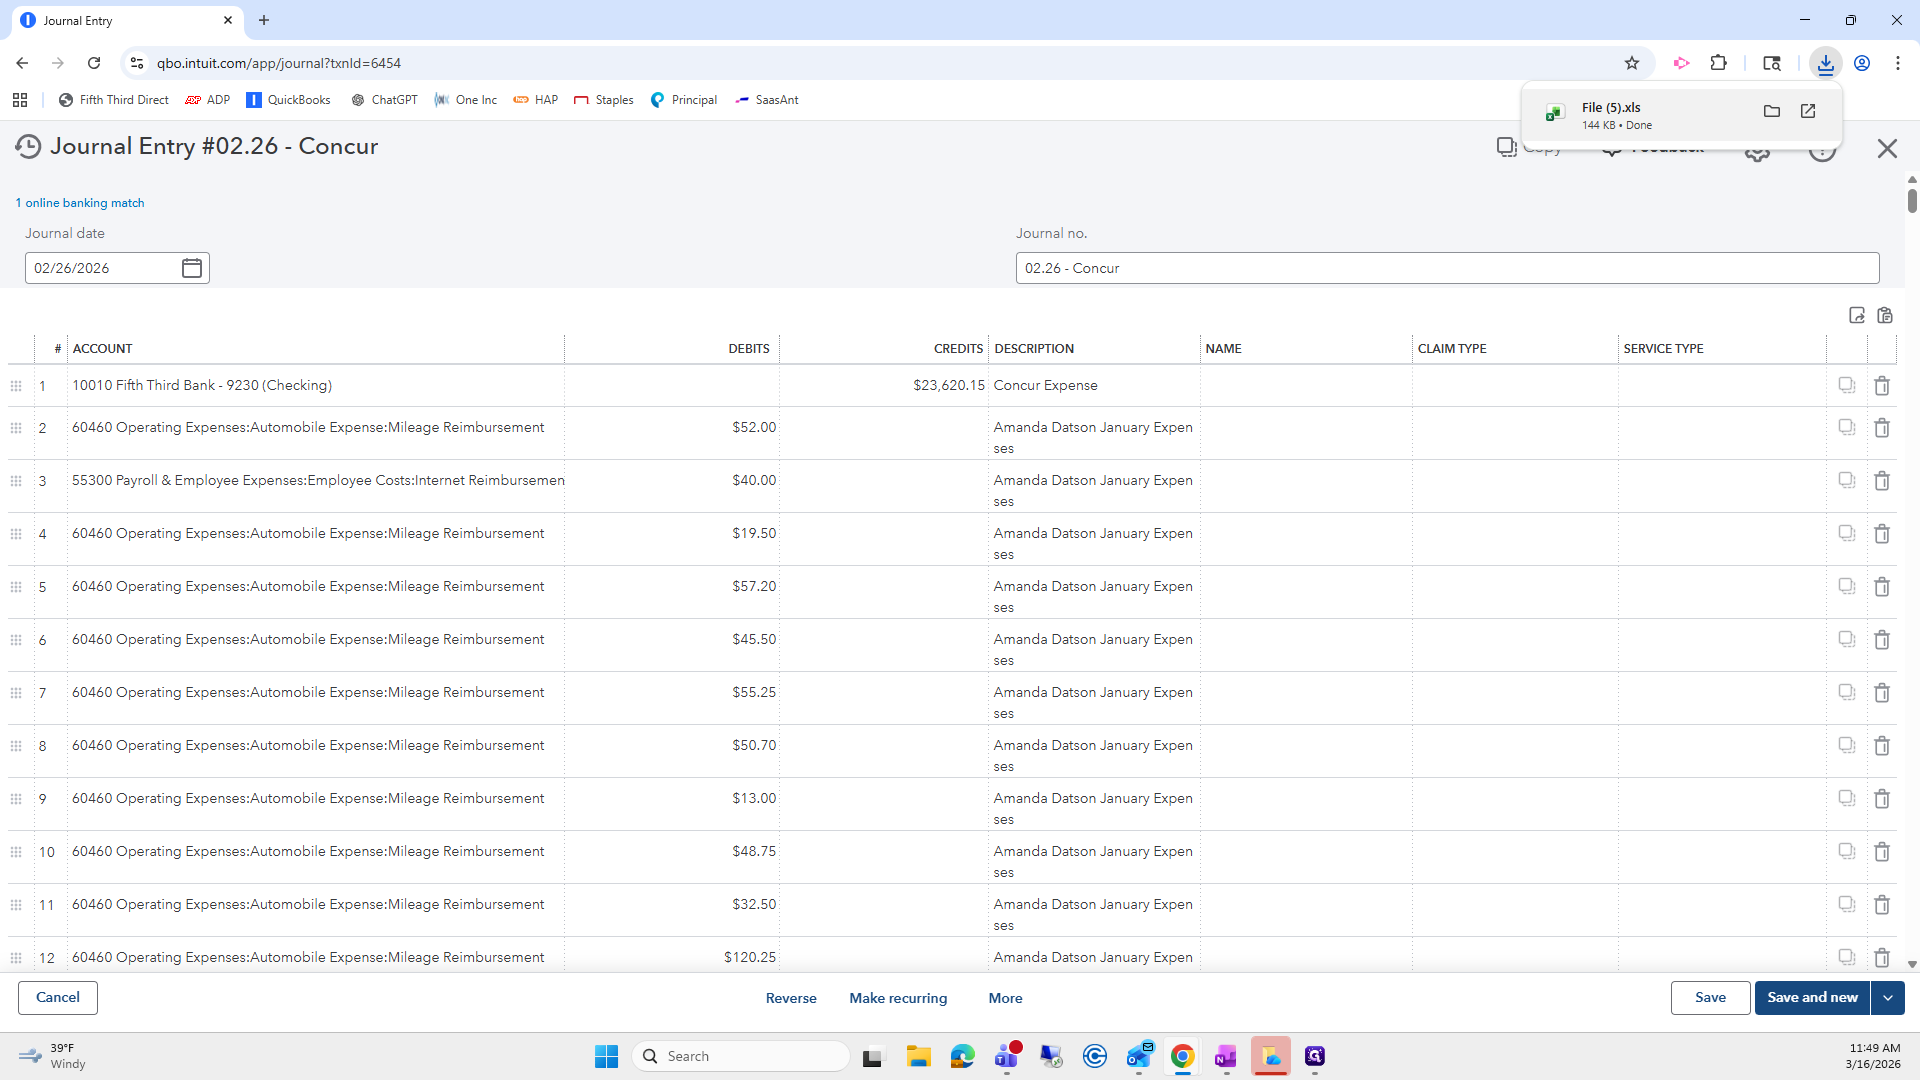
We will export it.
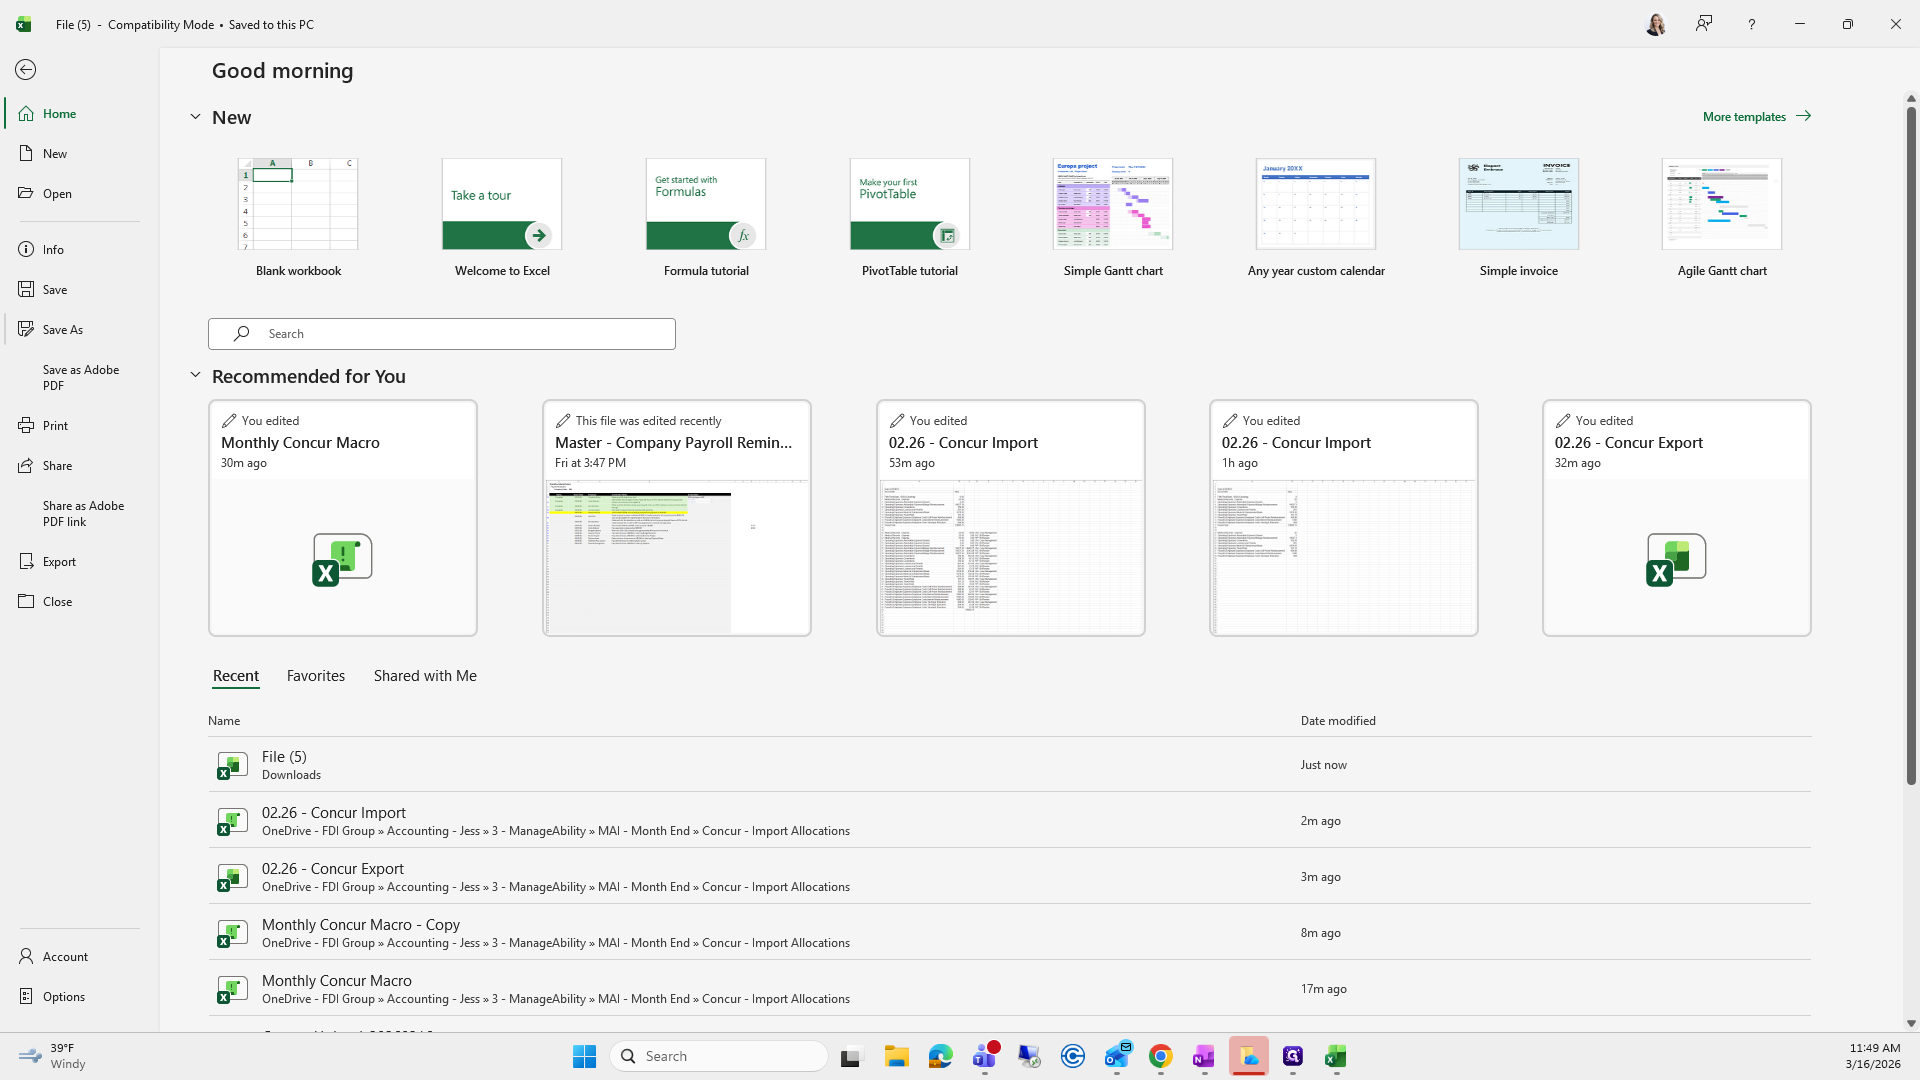
Open the file.
Click Enable Editing.
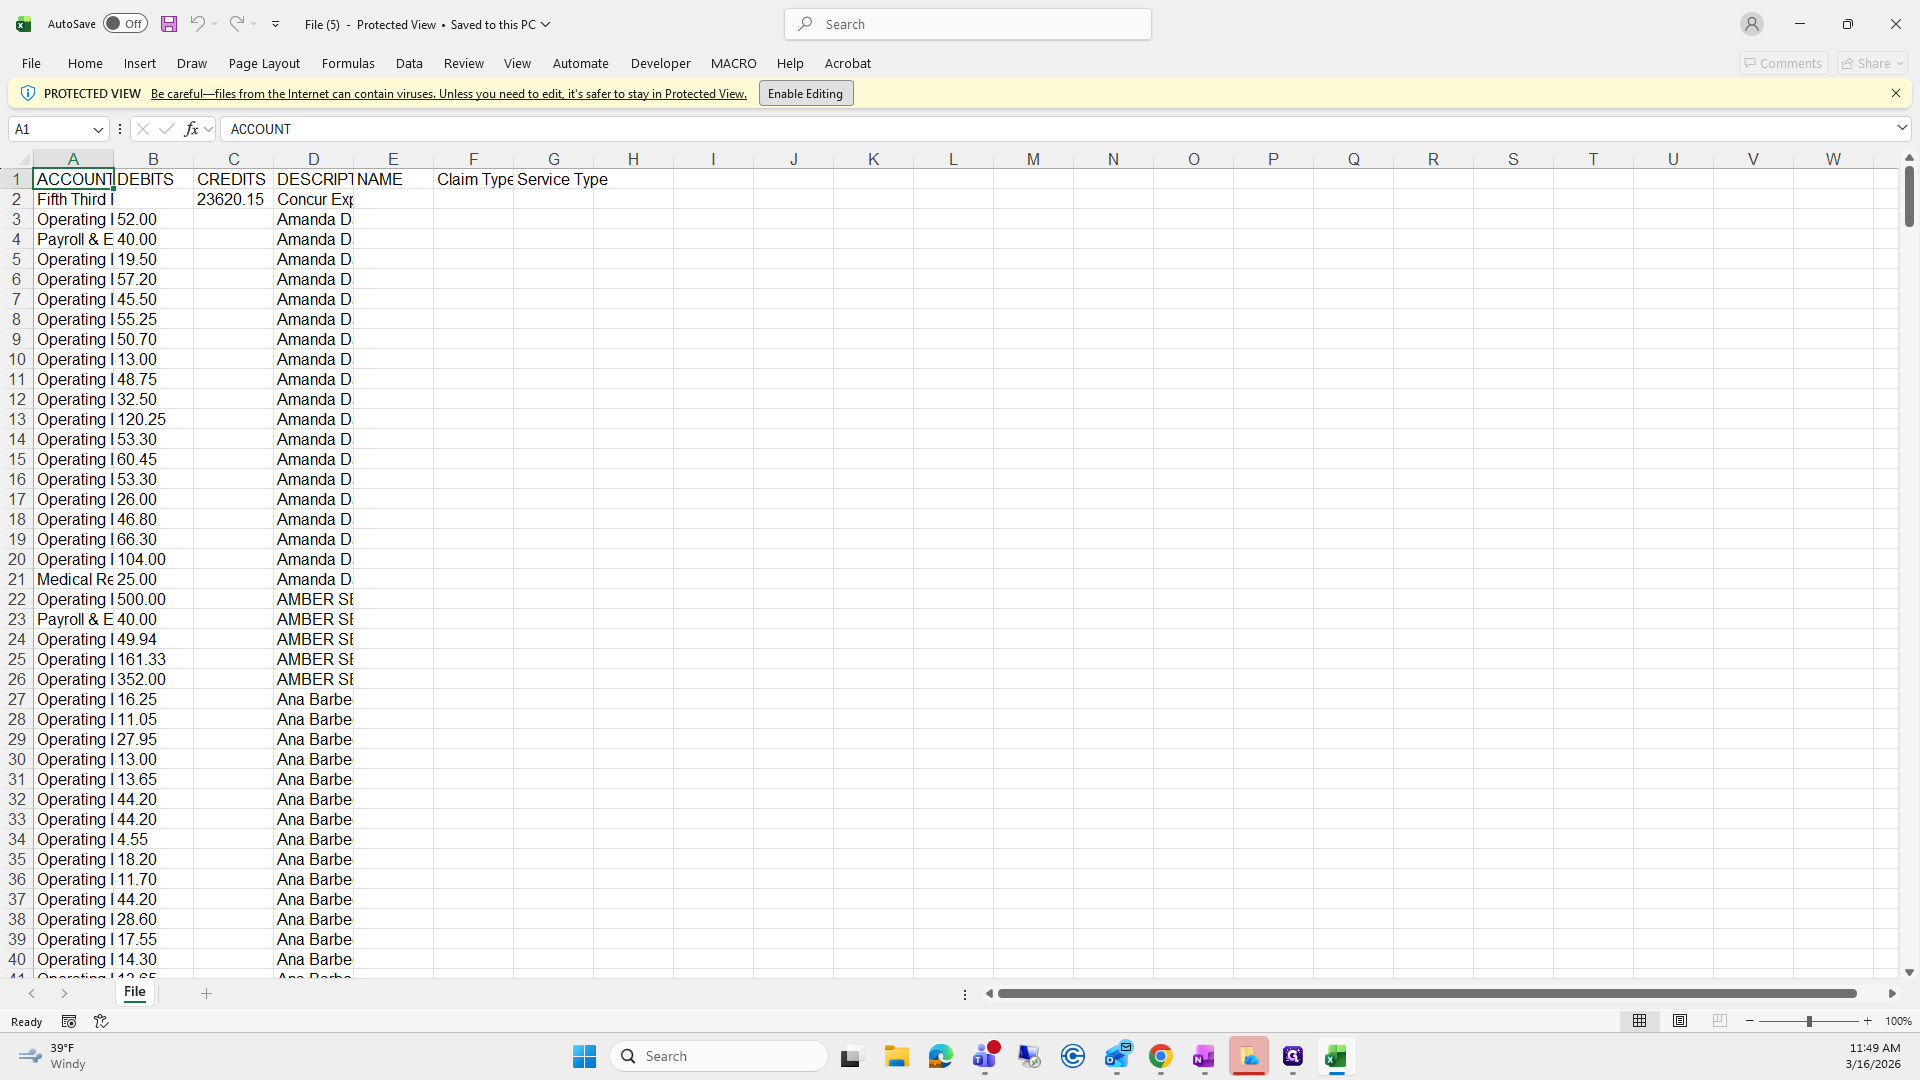
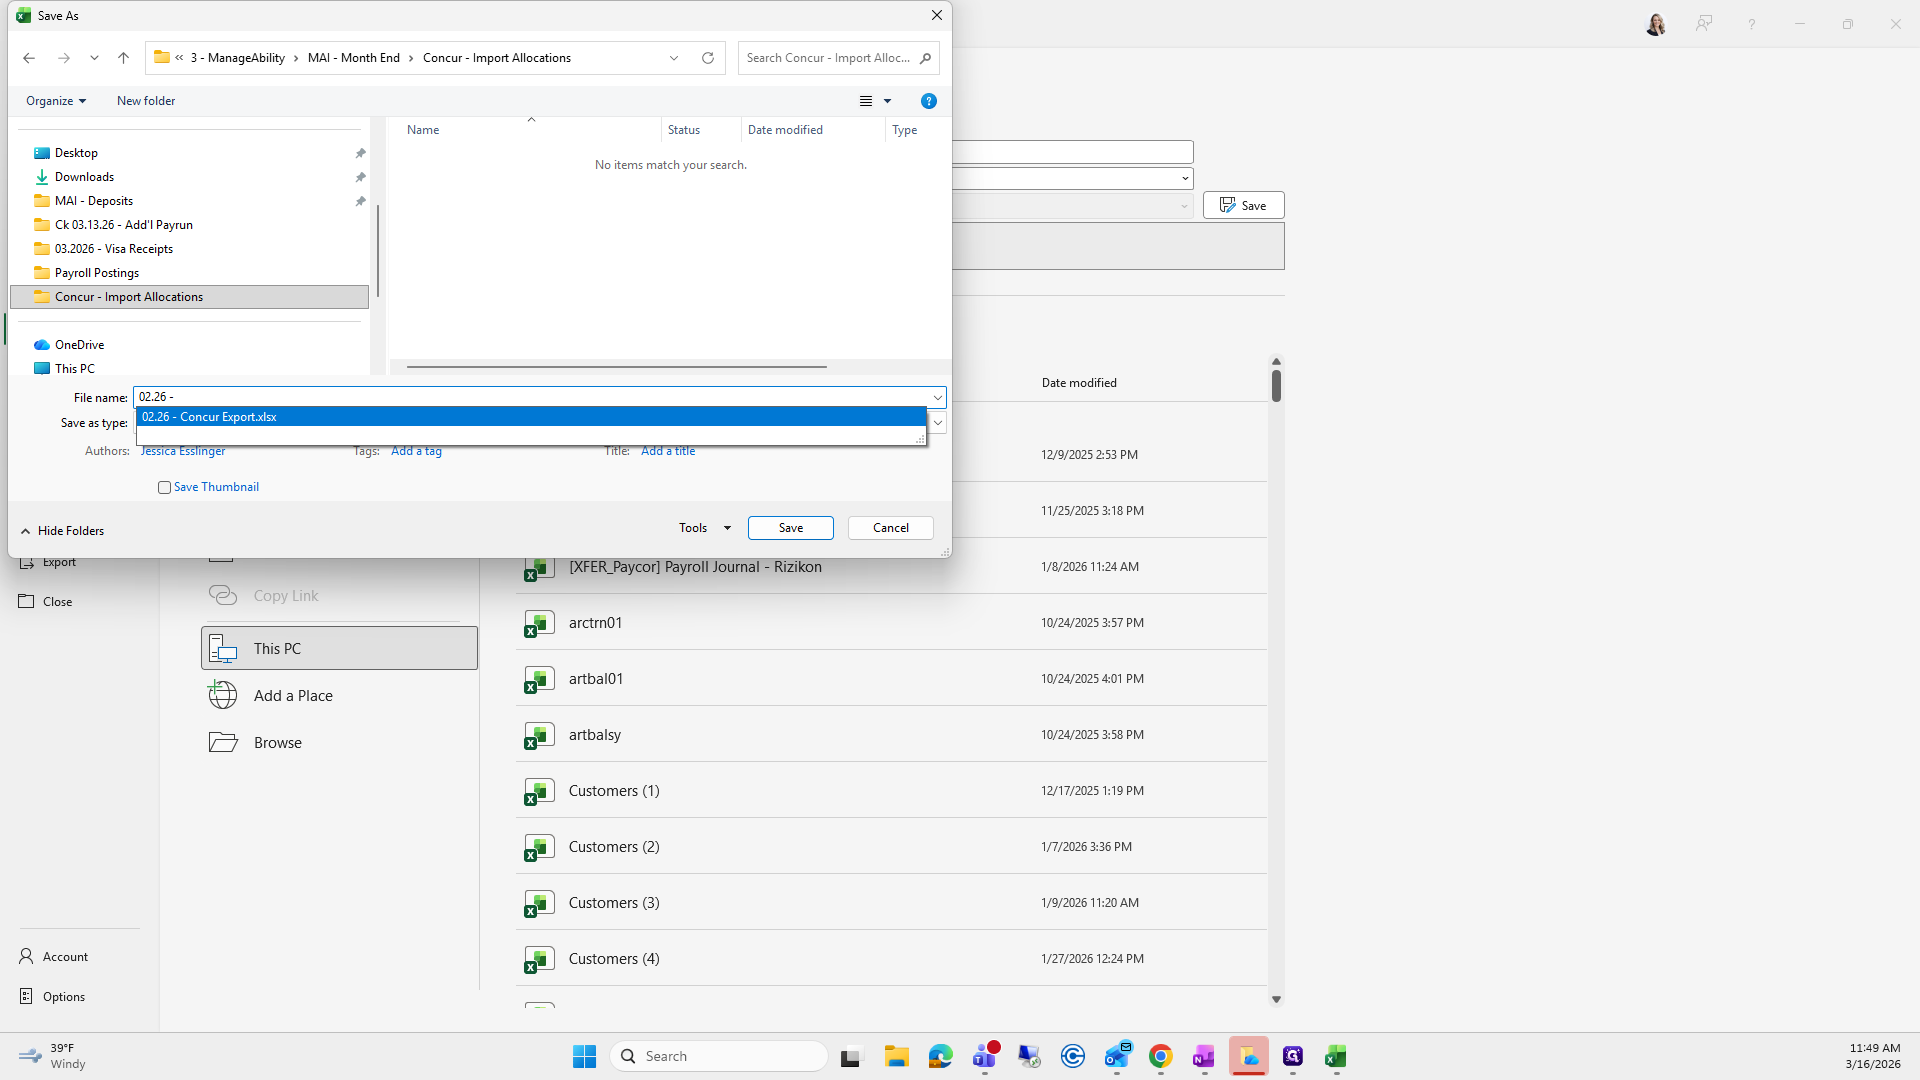
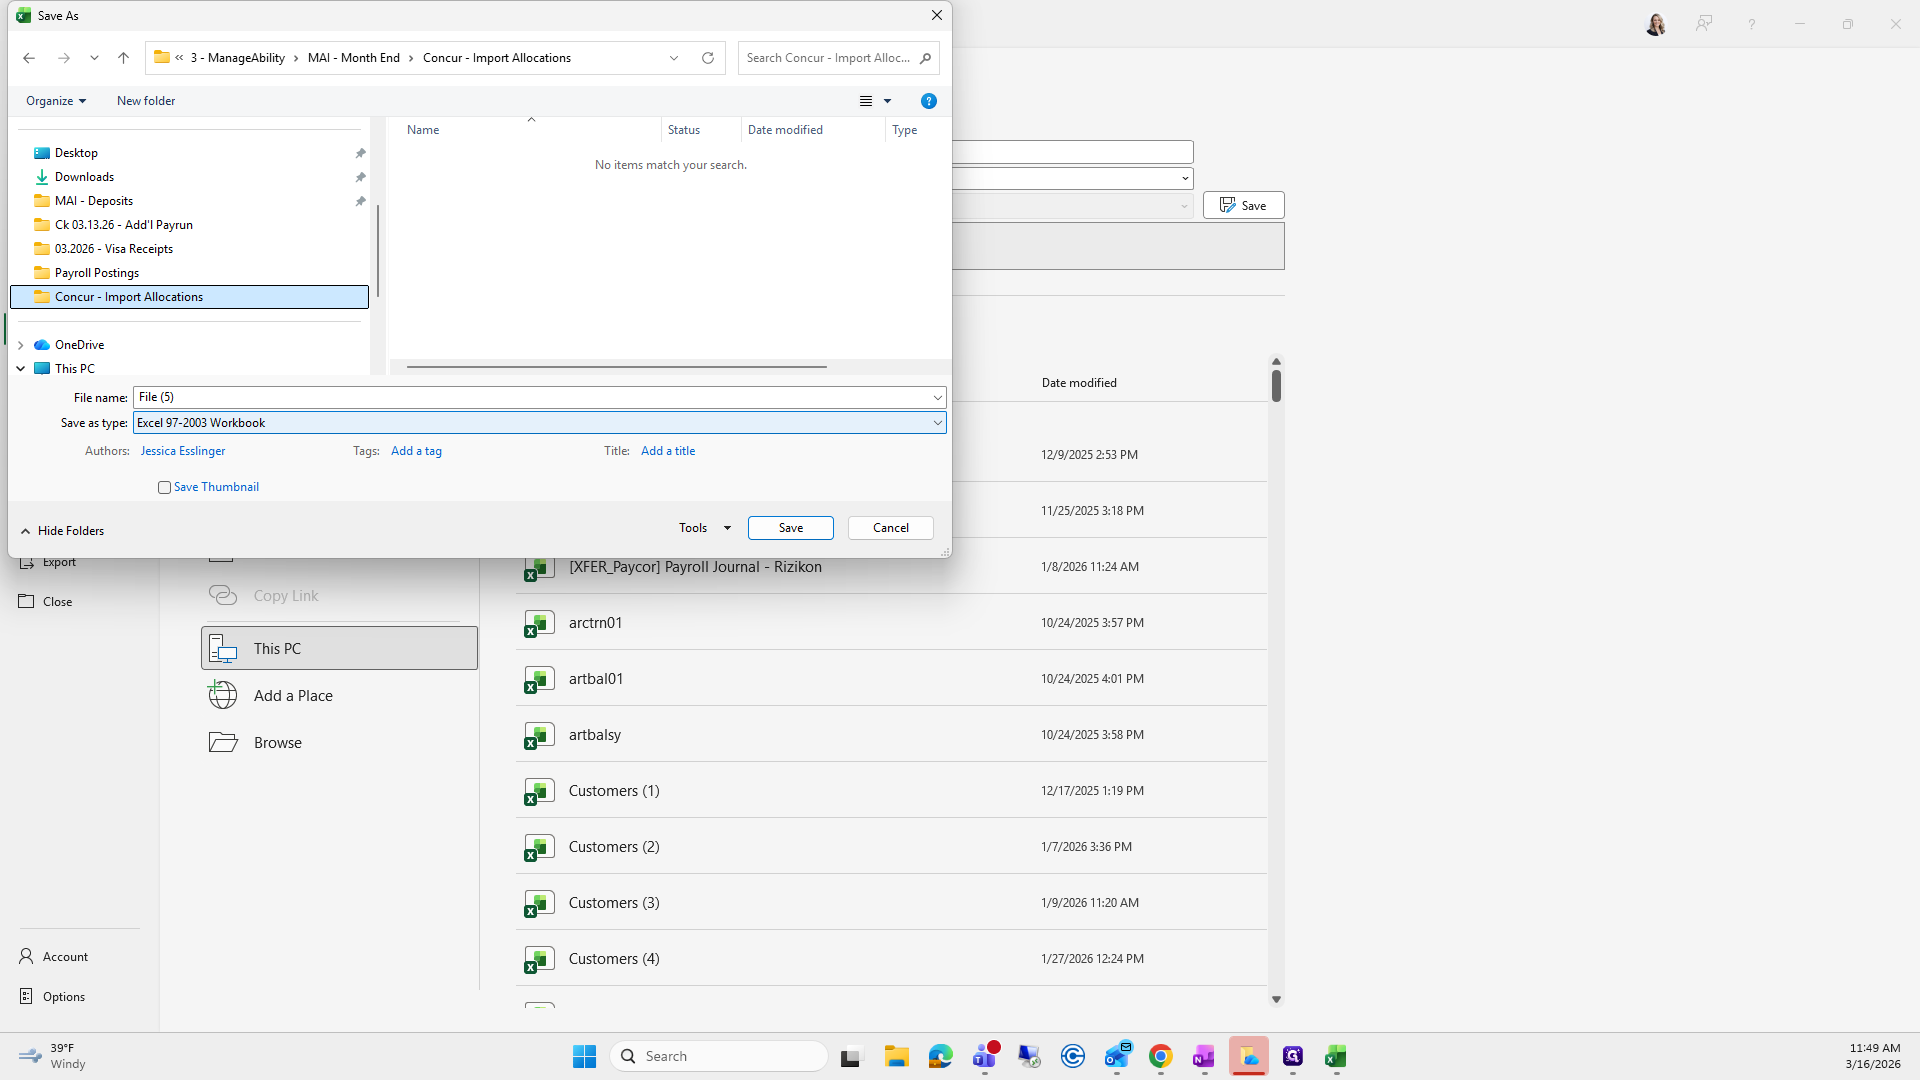
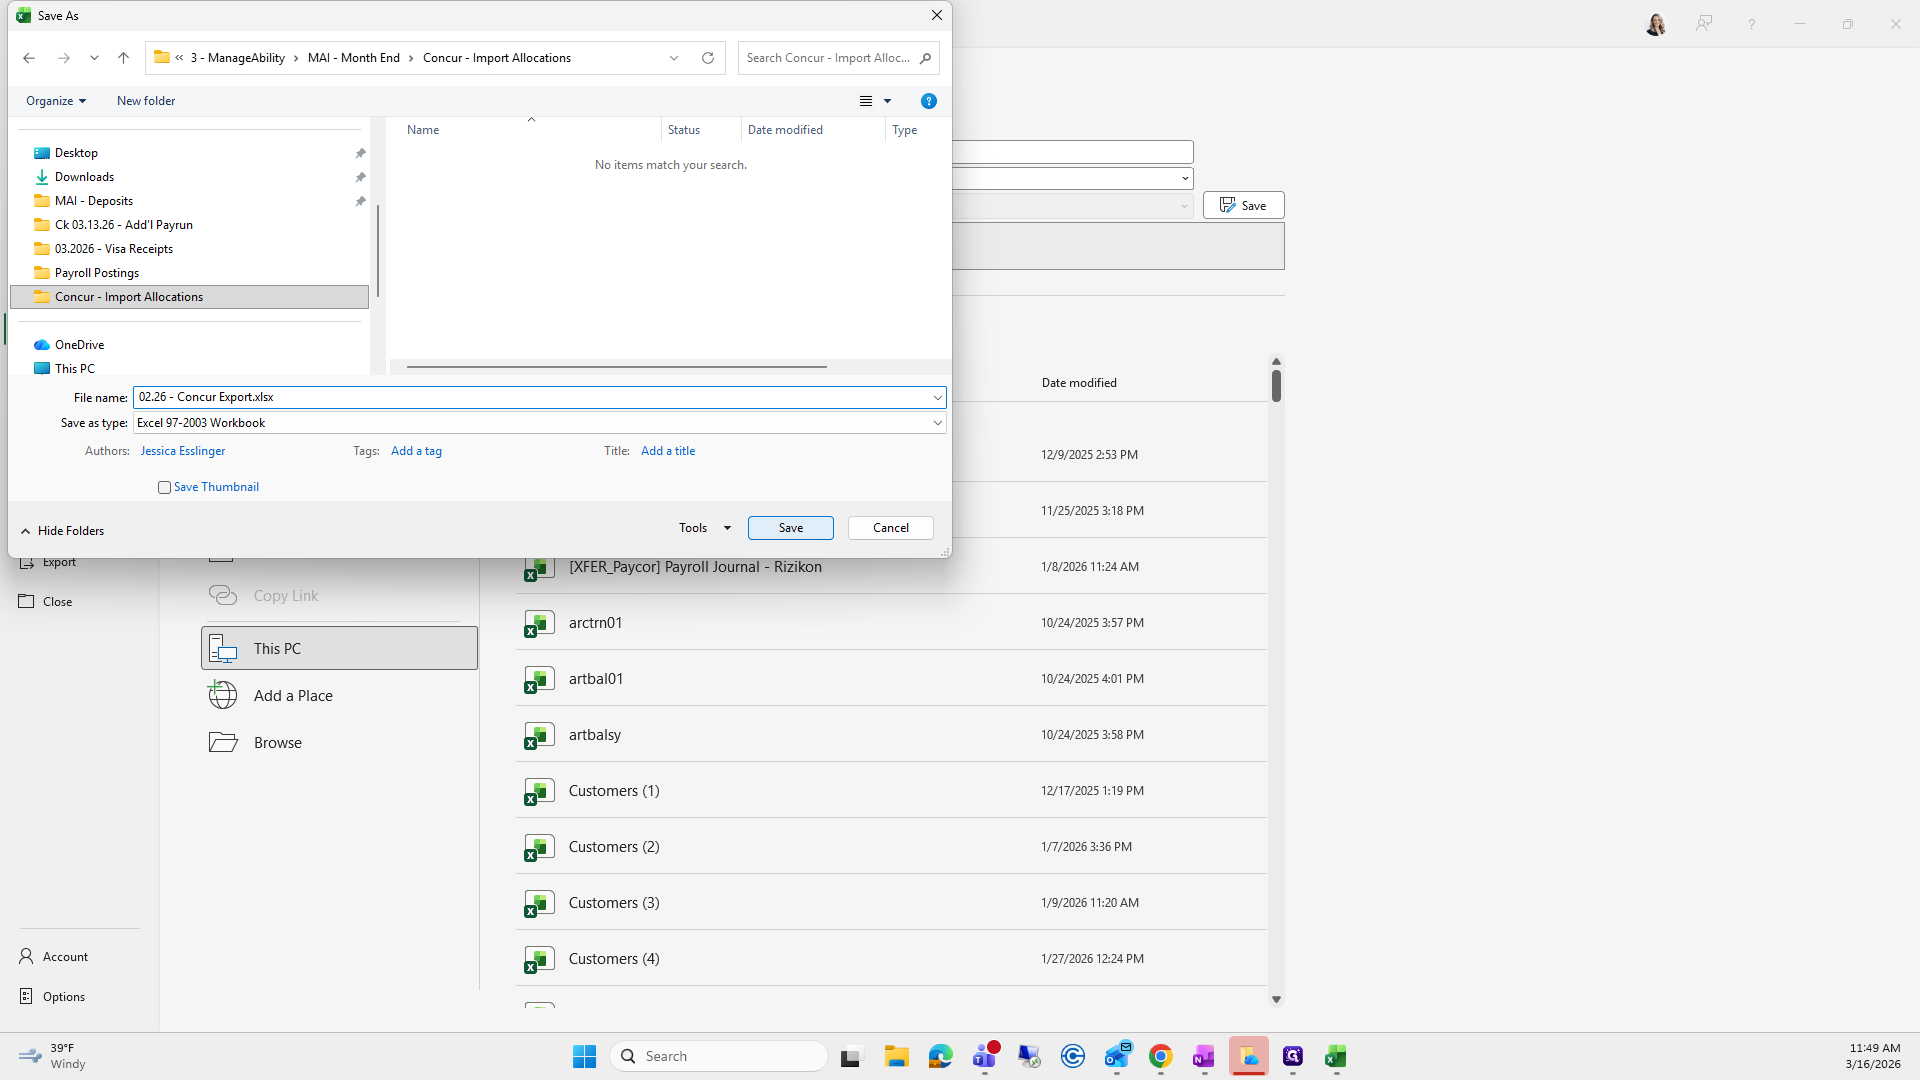
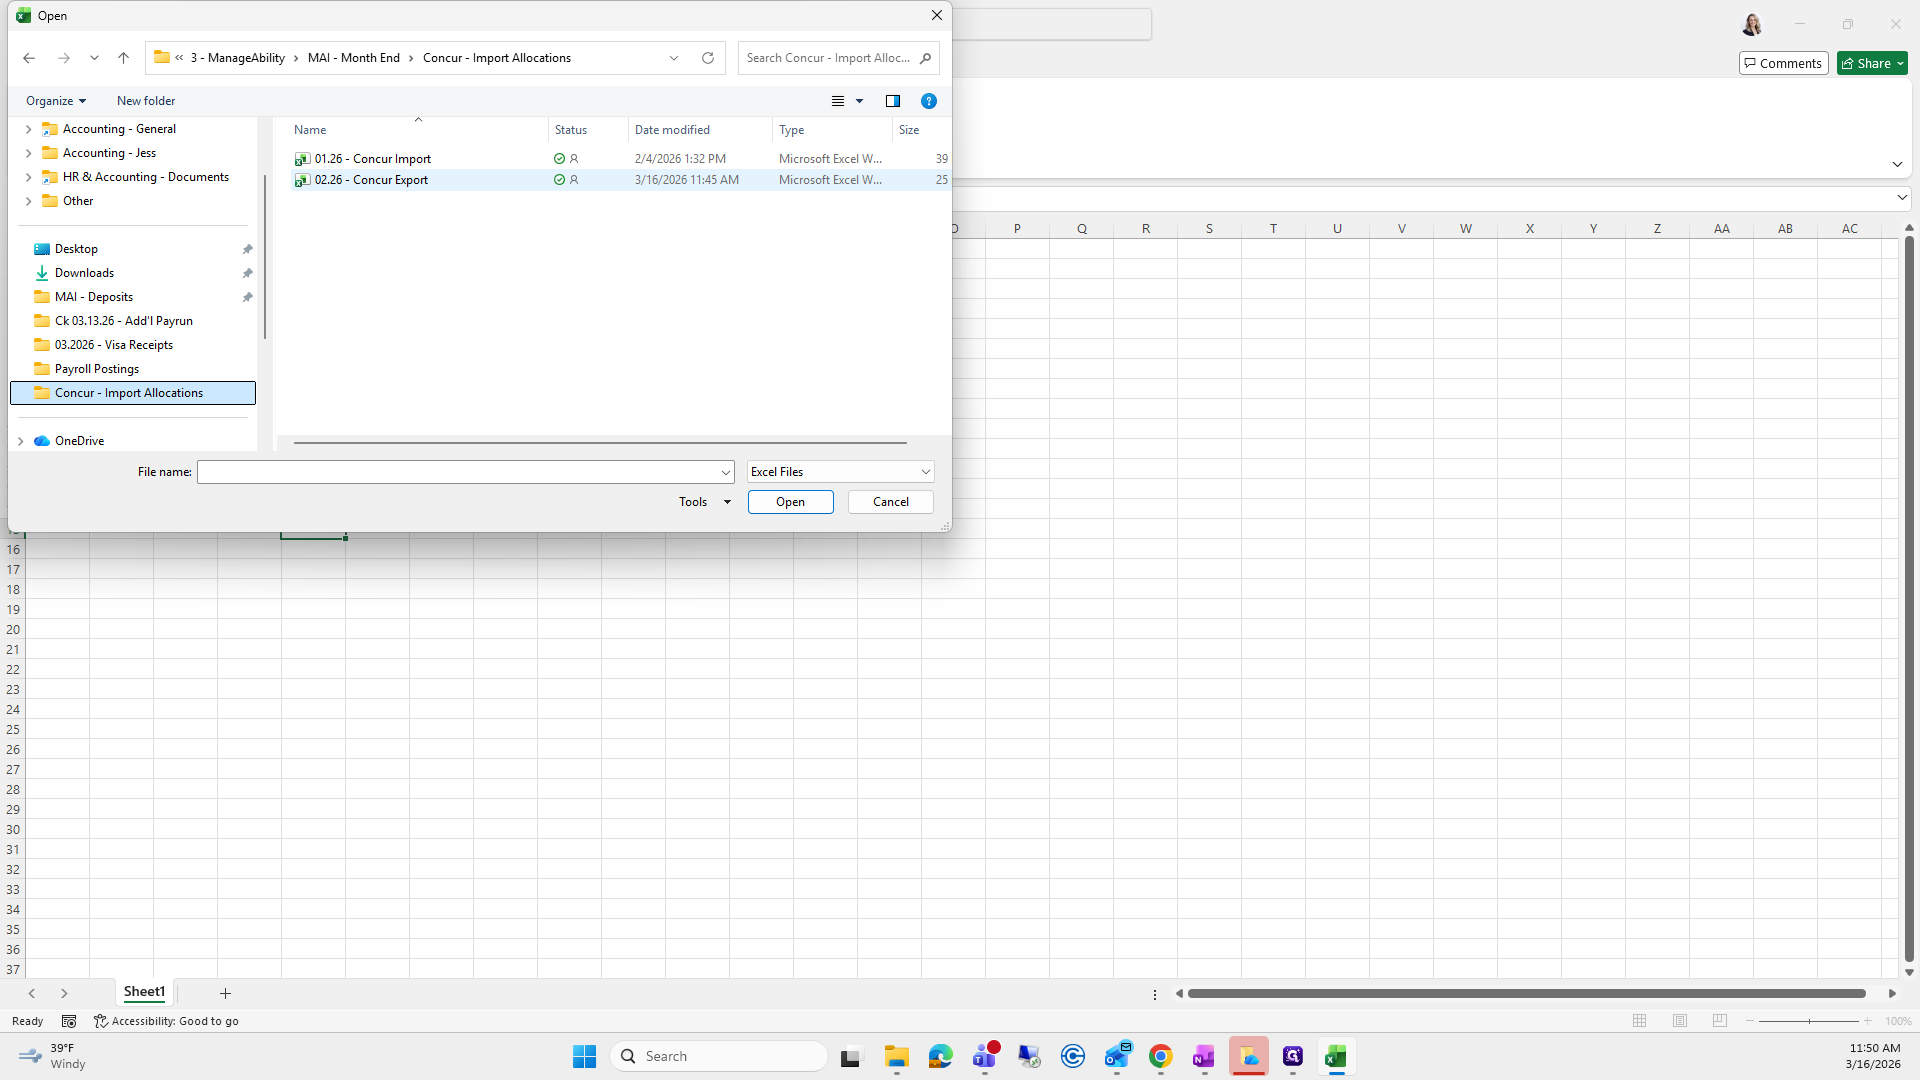
Next, go to File, select Save As, and choose This PC.
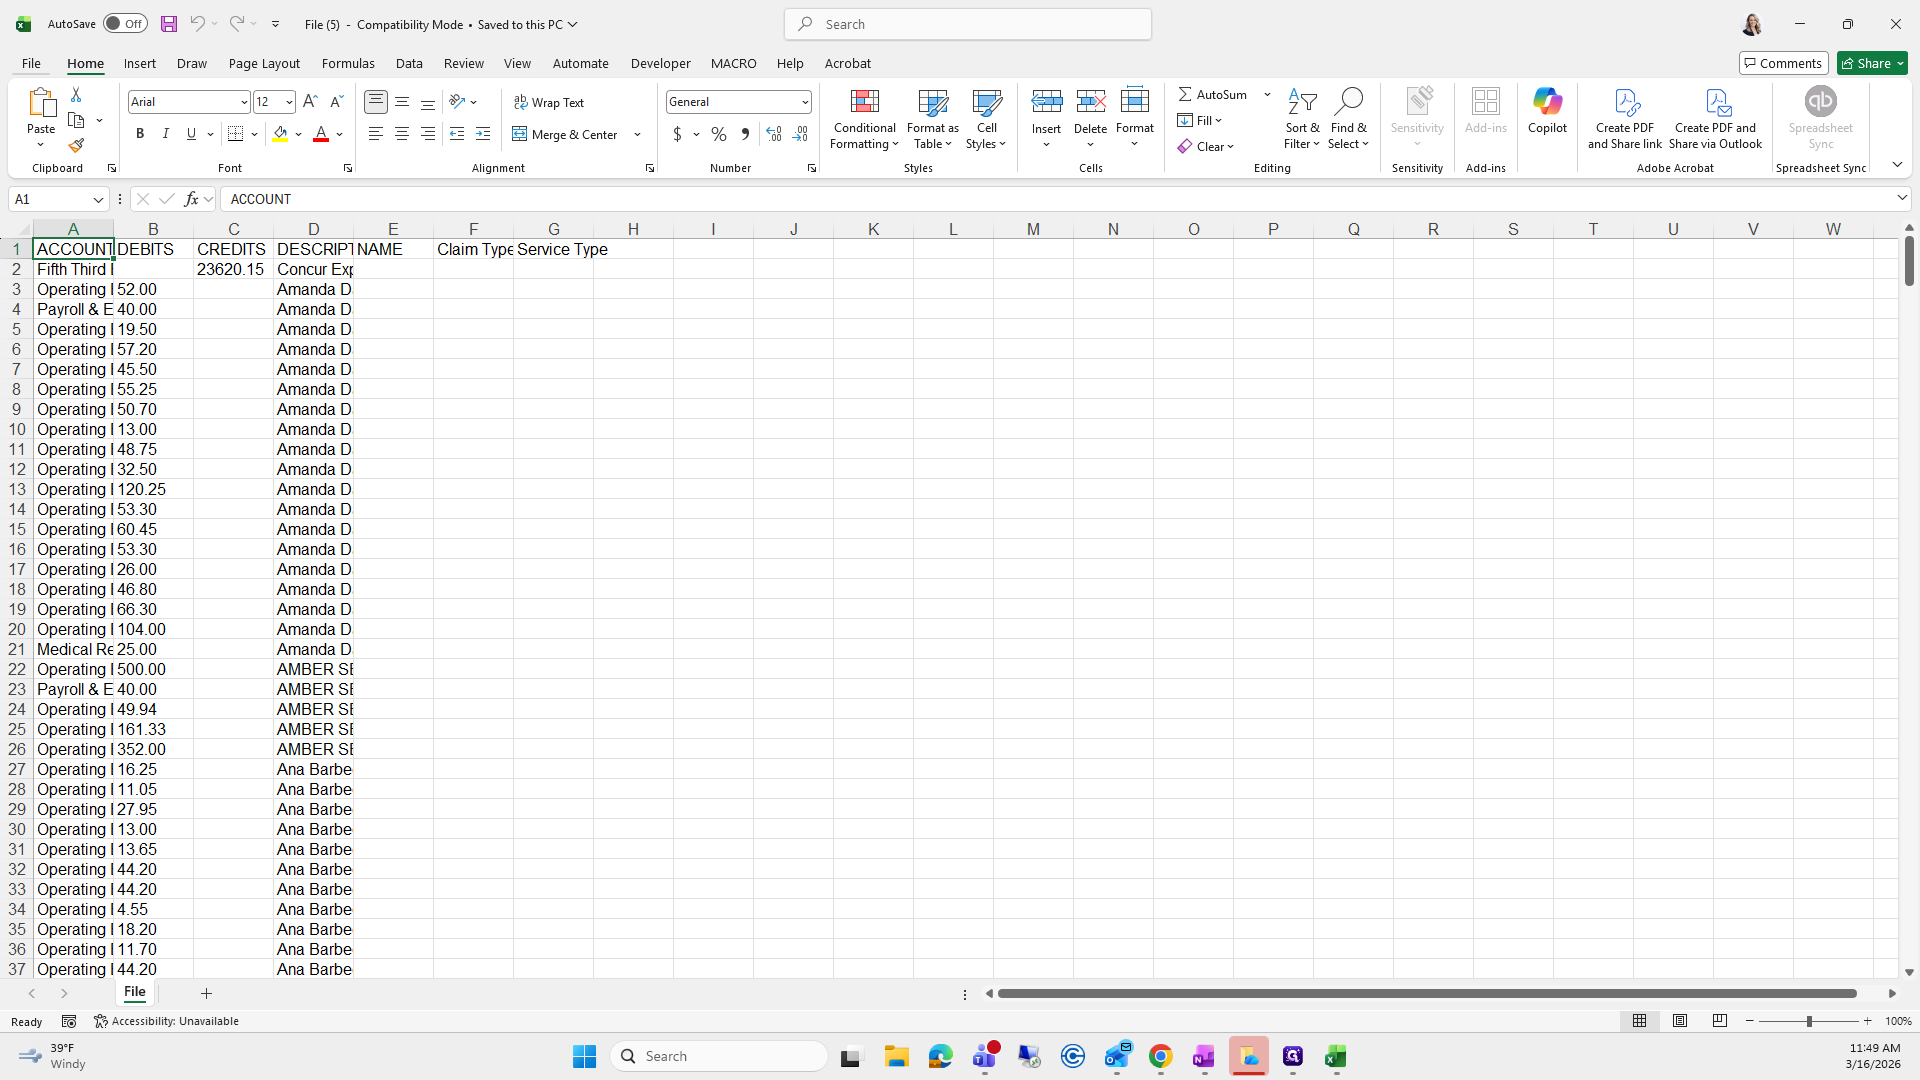
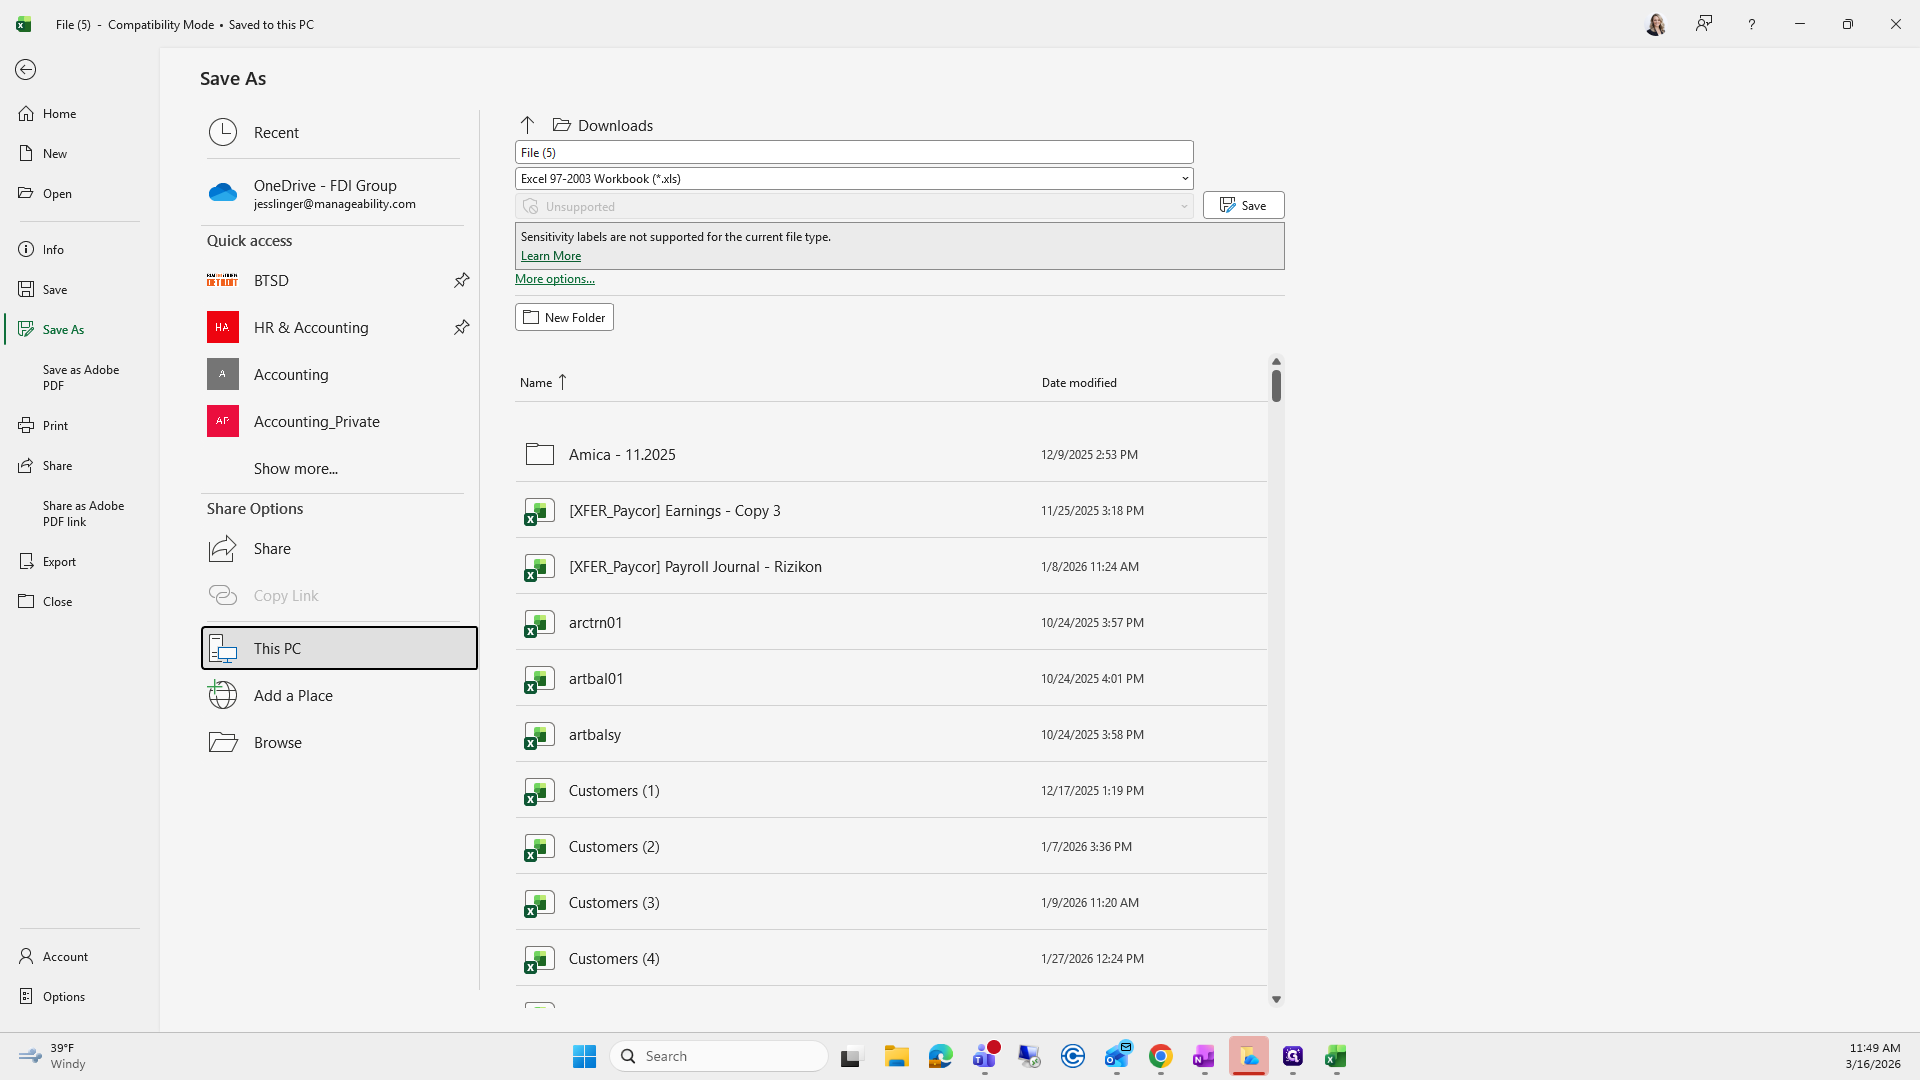
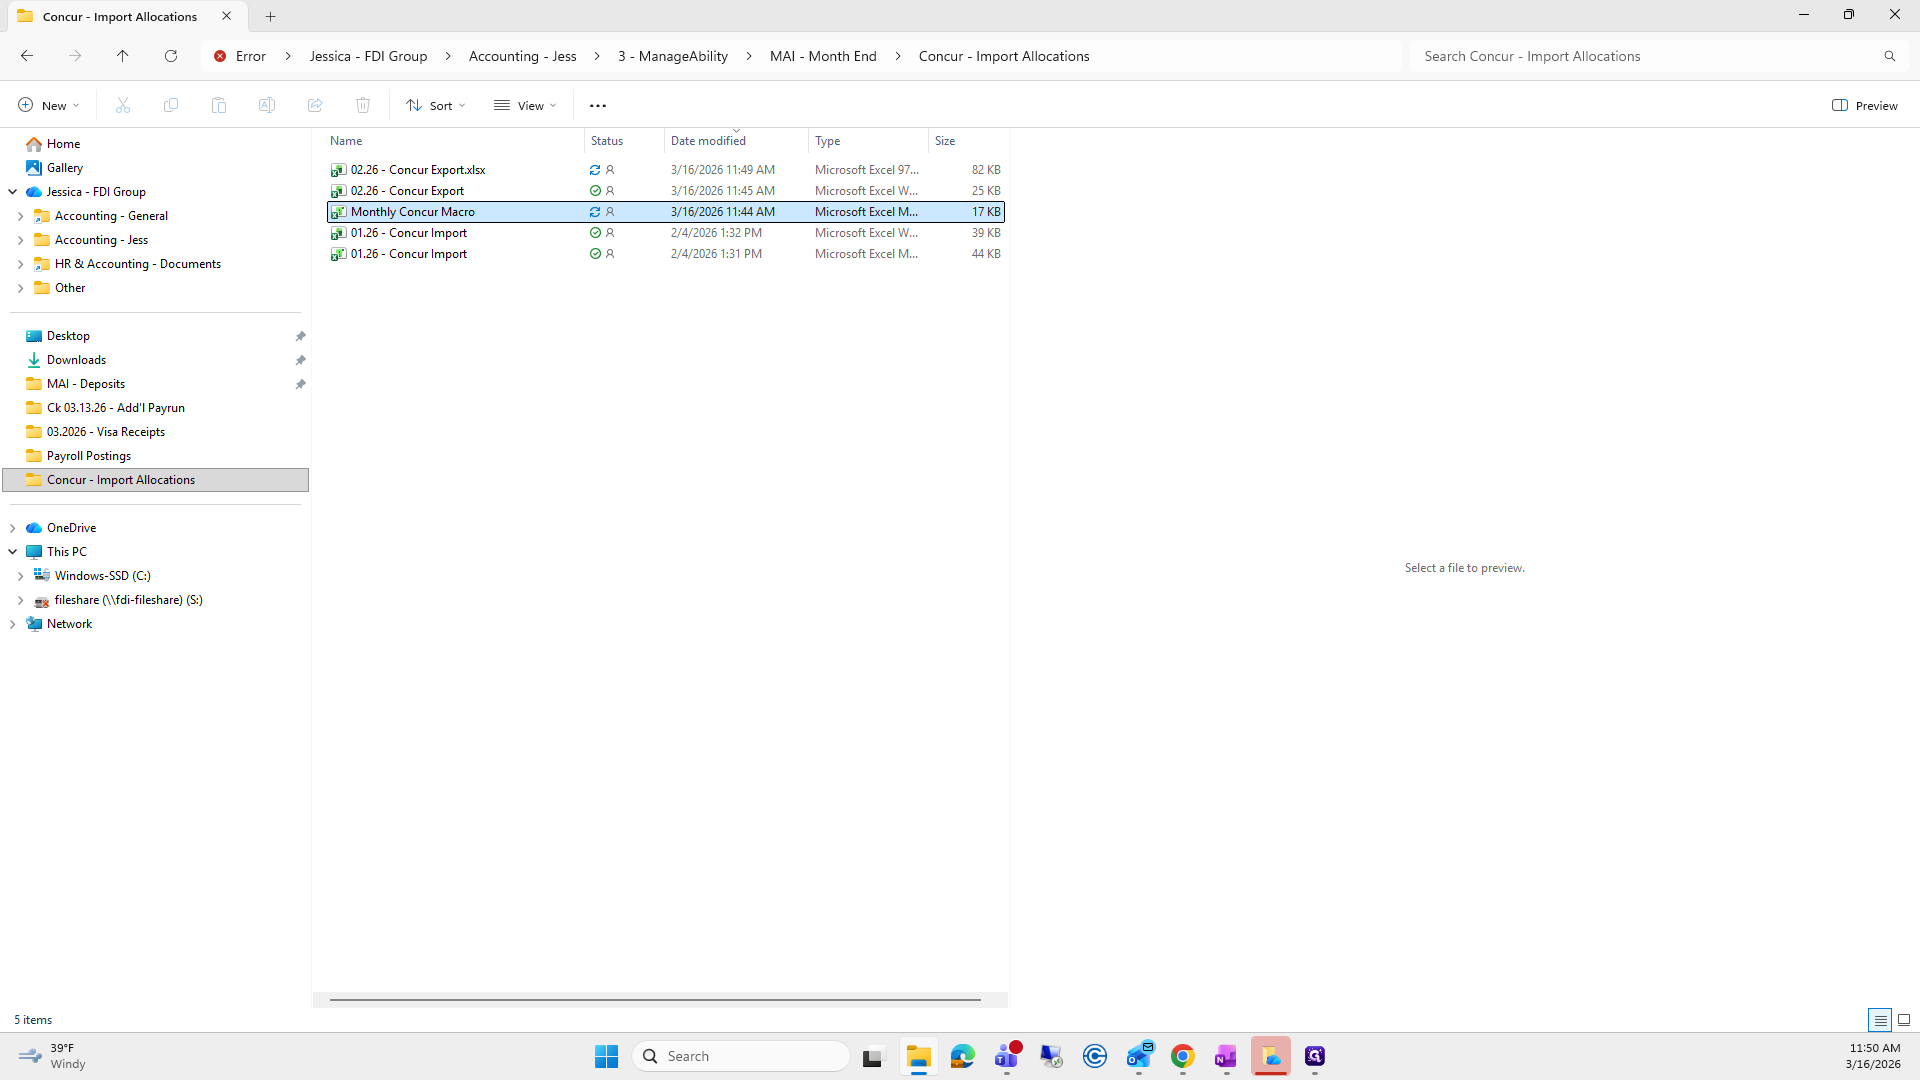
Next, go to the folder Concur Import Allocations. I will provide you with the path.
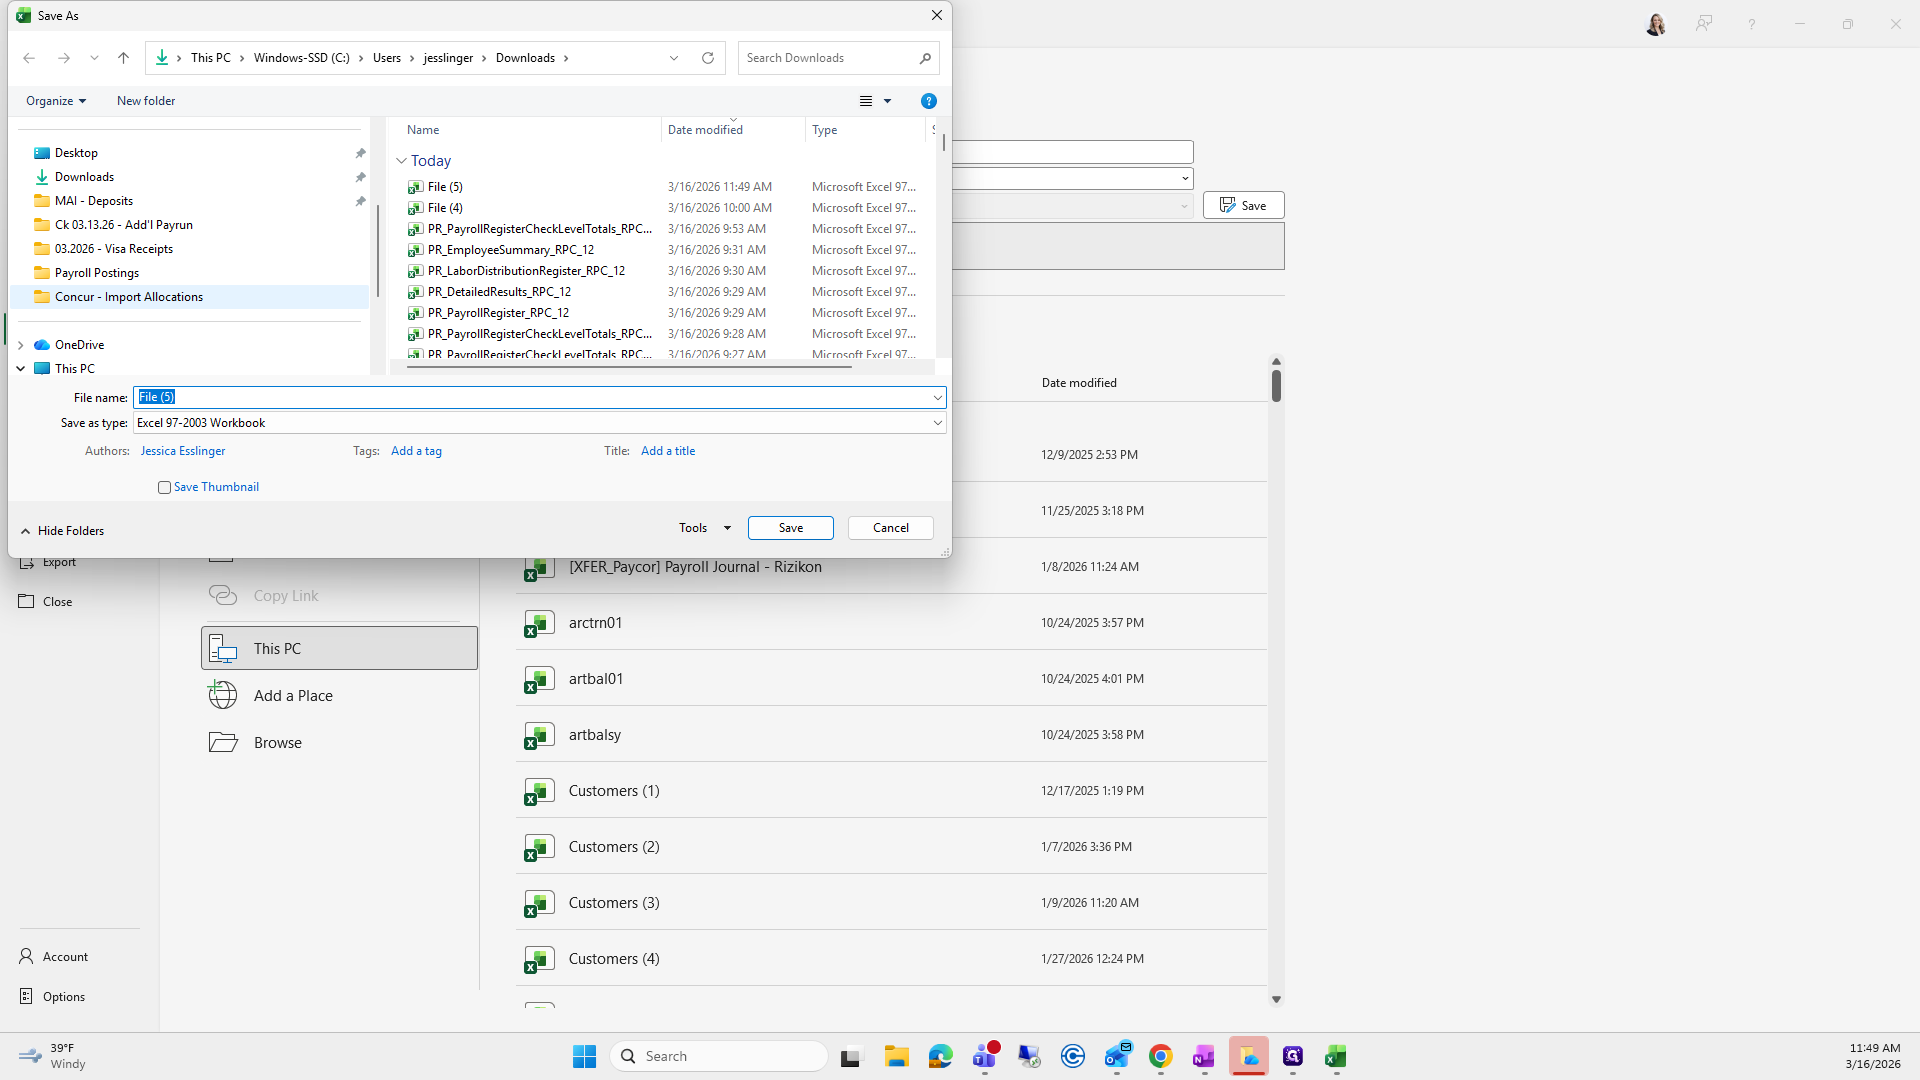
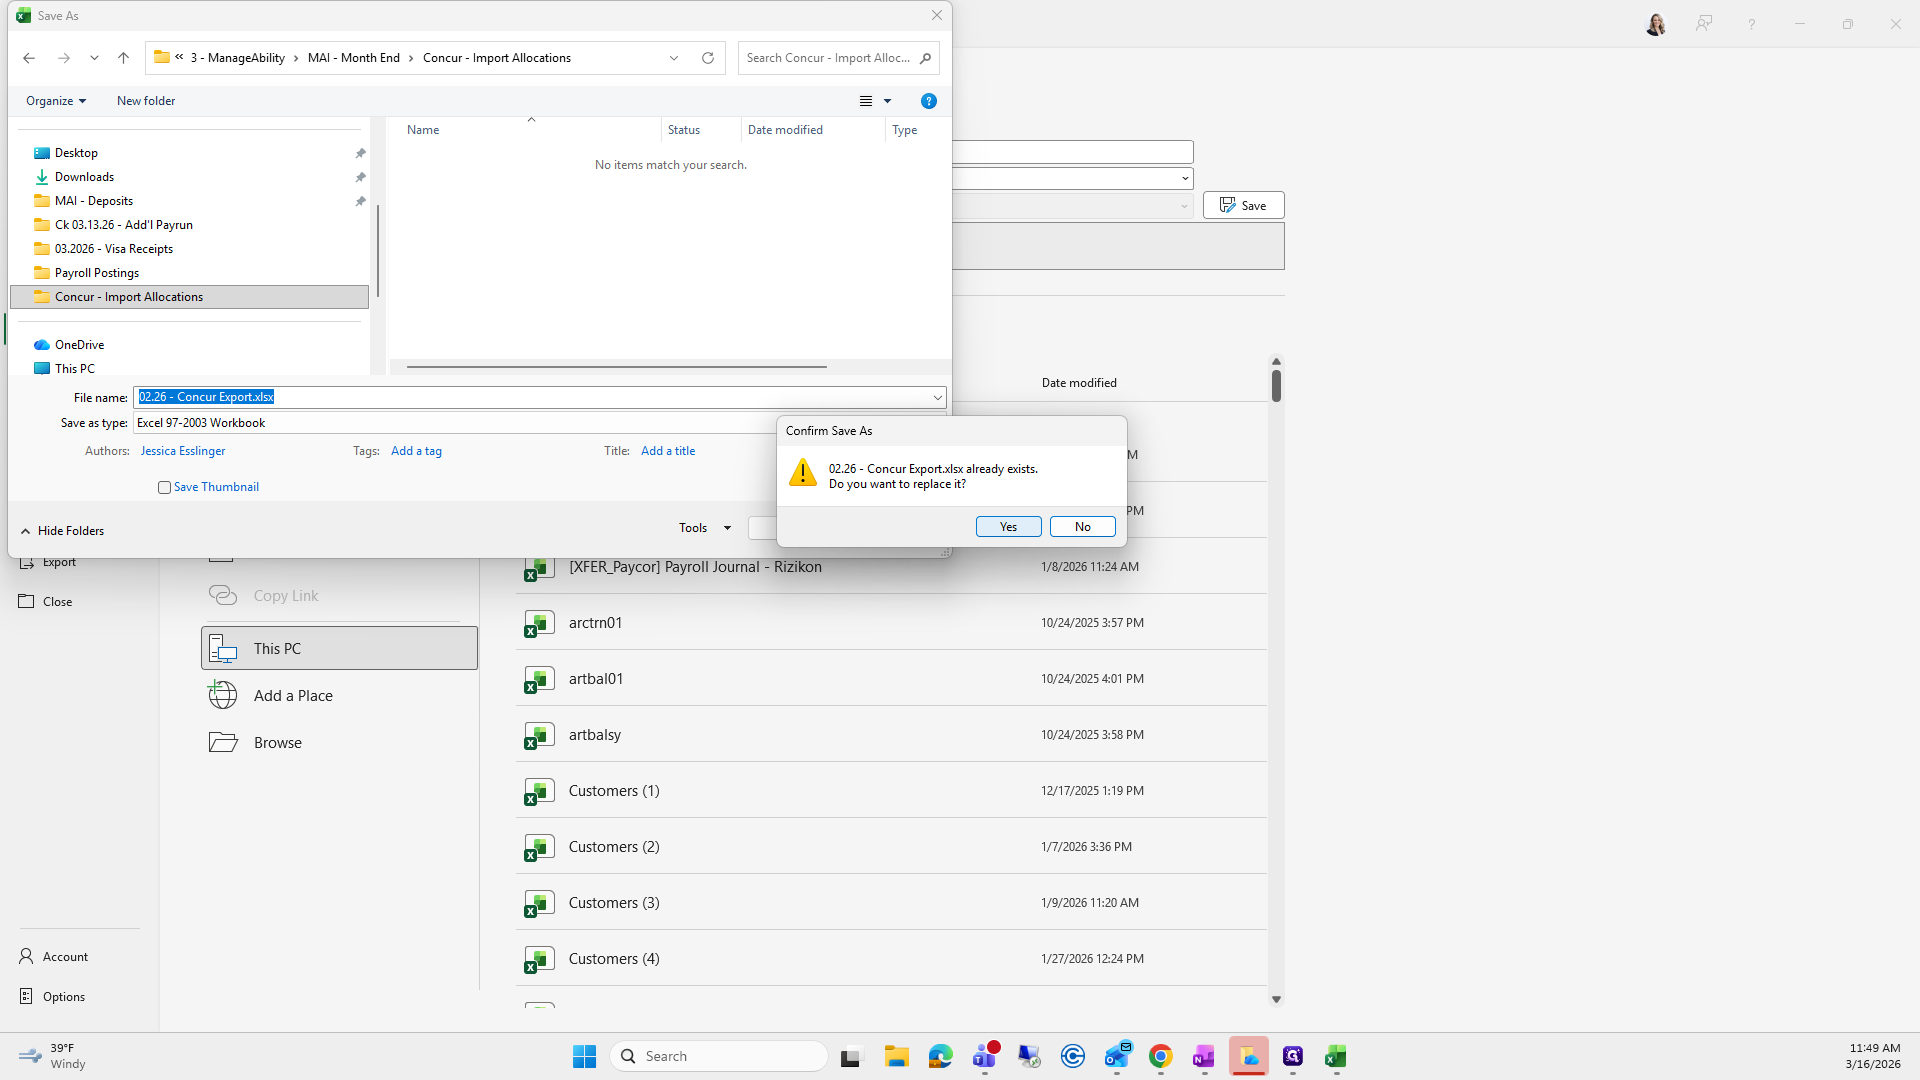
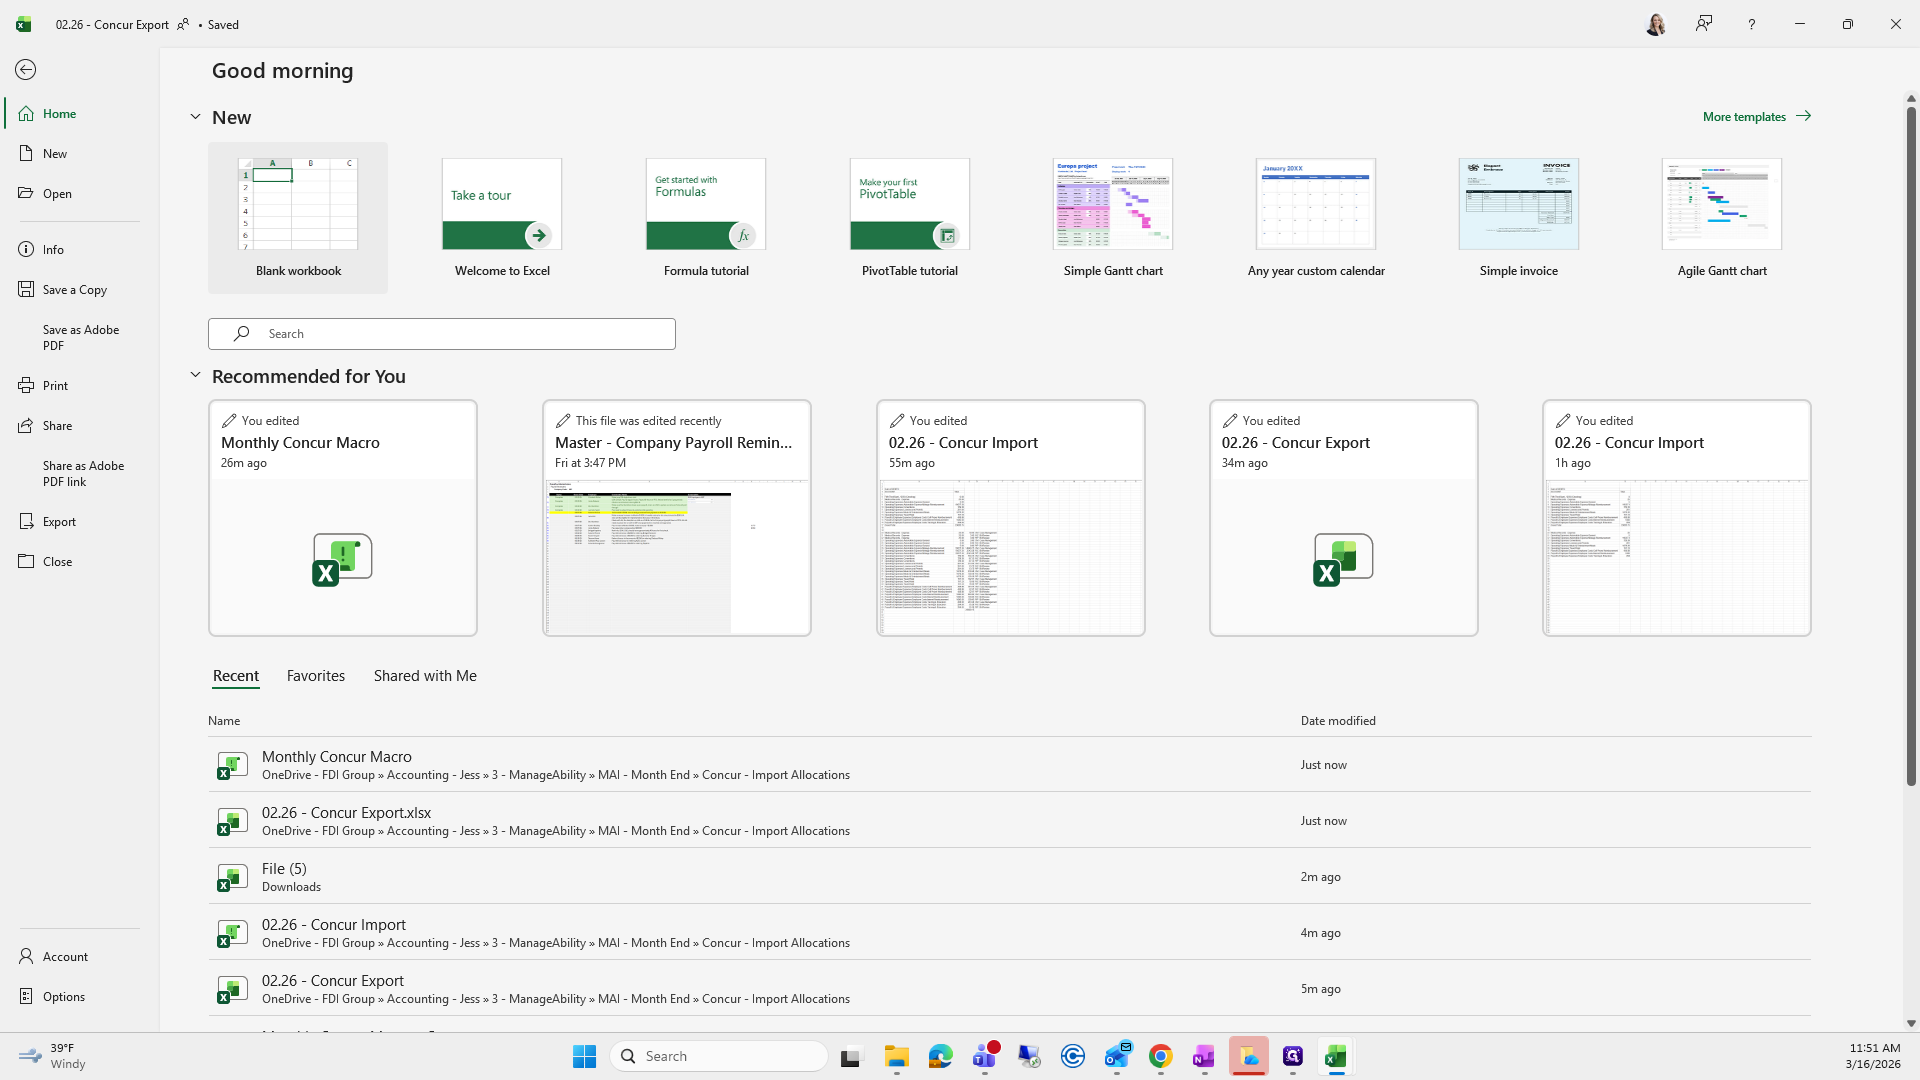
We will save it as the current month. Right now, it's "Concur Export," and I already have one saved here.

From here, simply exit.
Next, open the Concur macro by clicking on Monthly Concur Macro.

From here, go to Macro, select Macros, then click Run.

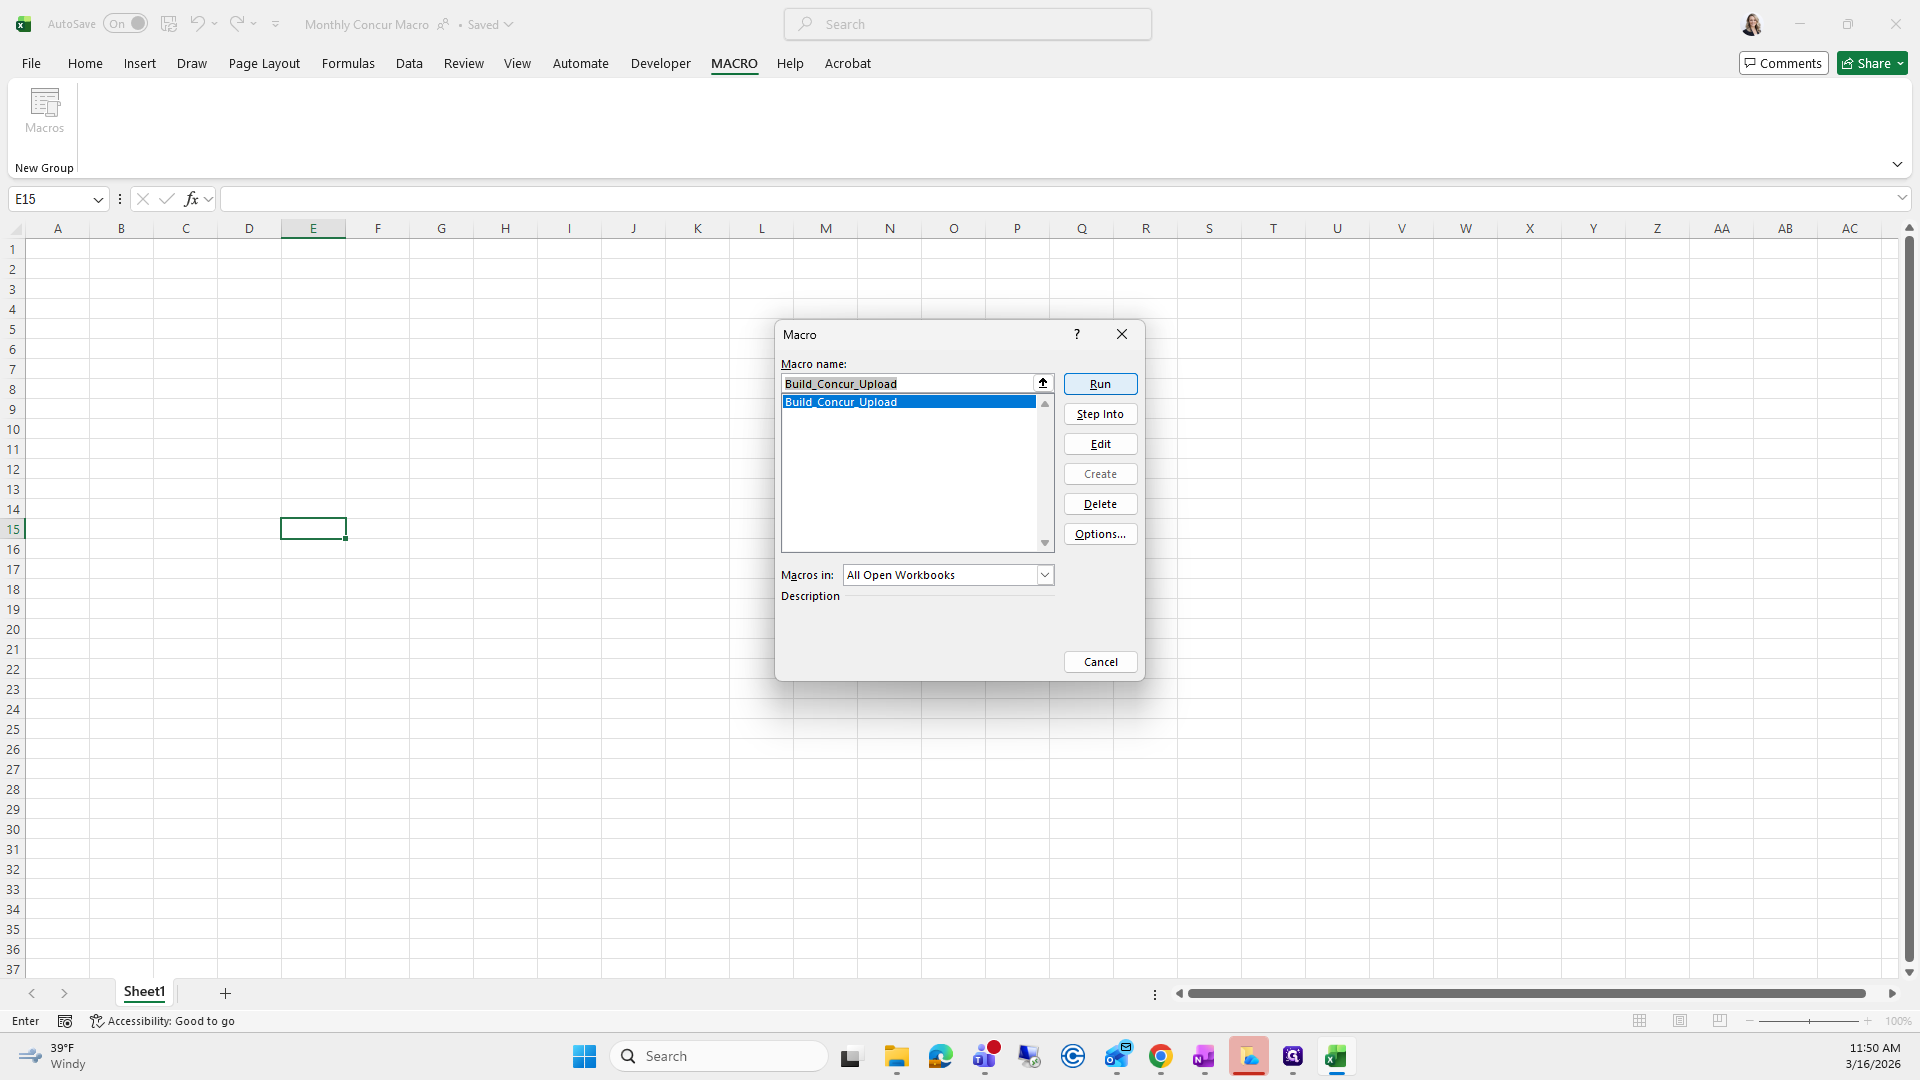
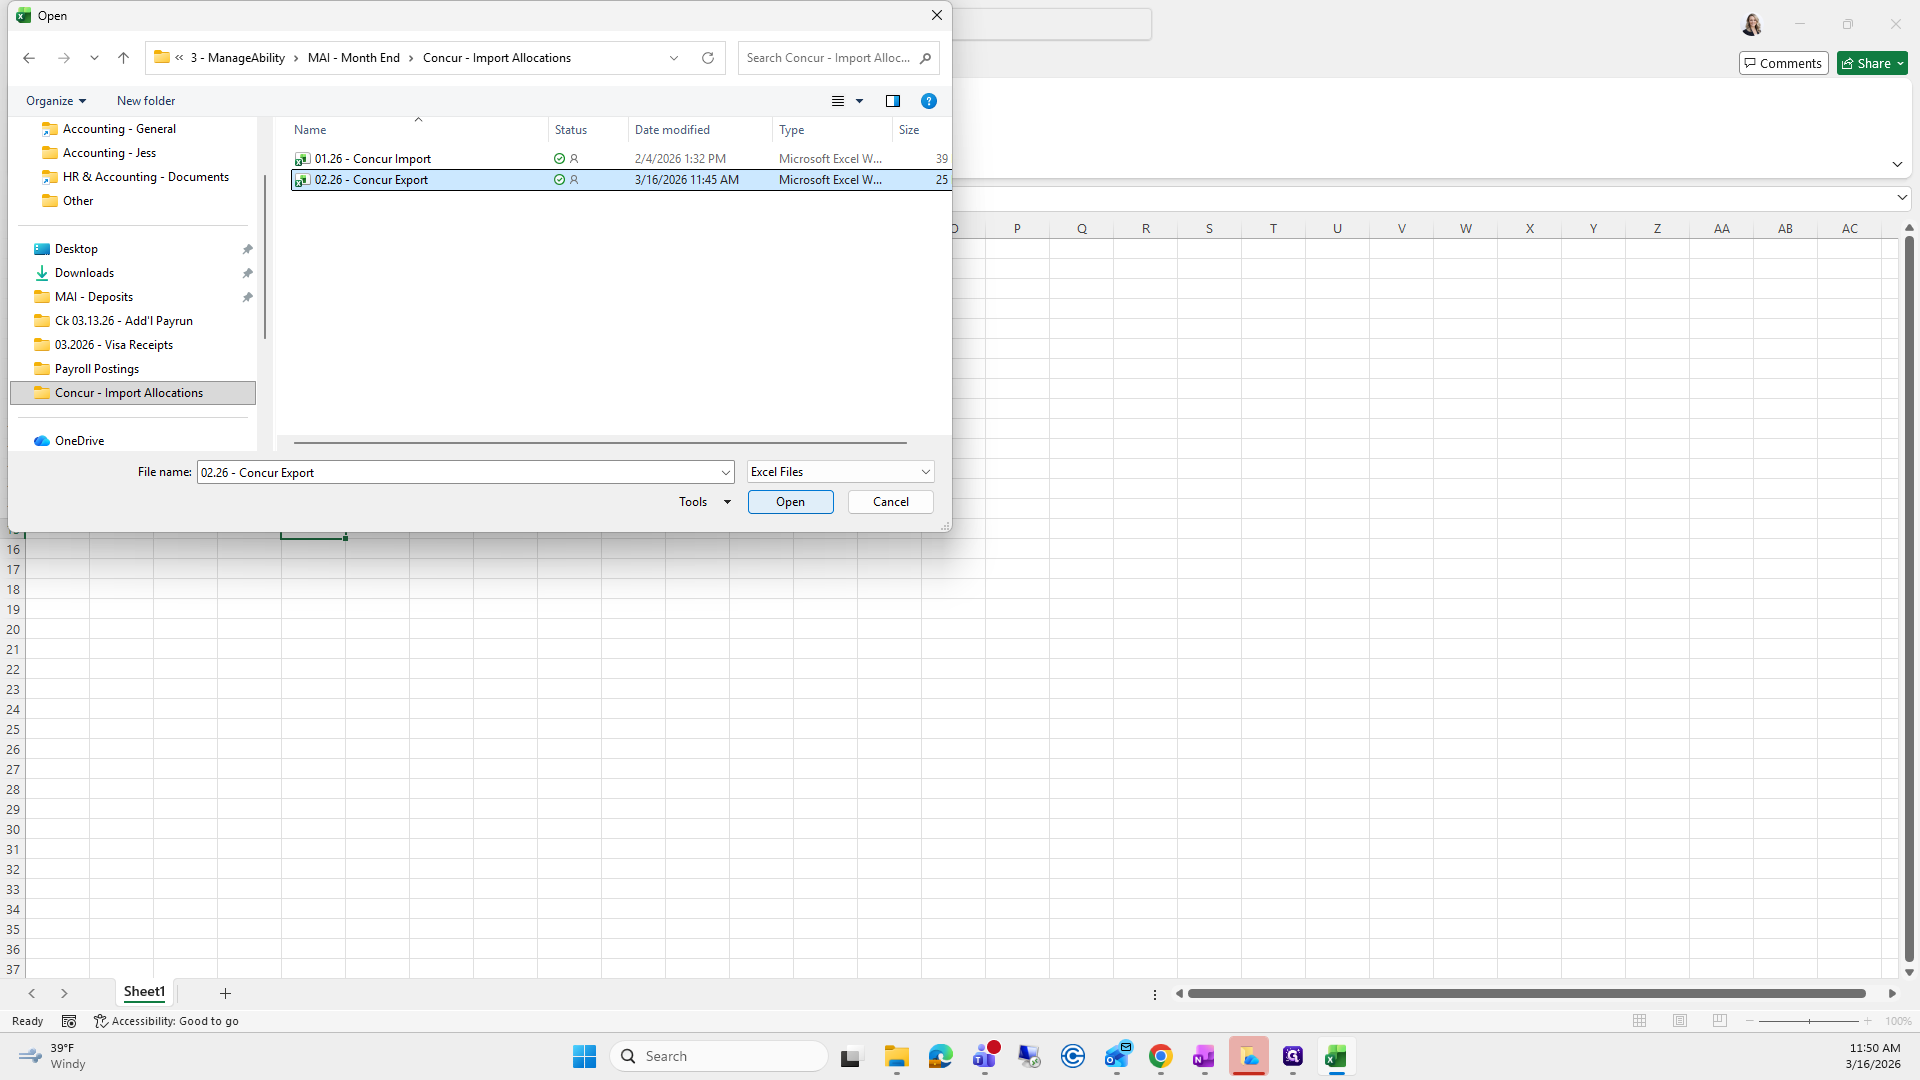
Find the file you just saved, select it, and click Open.

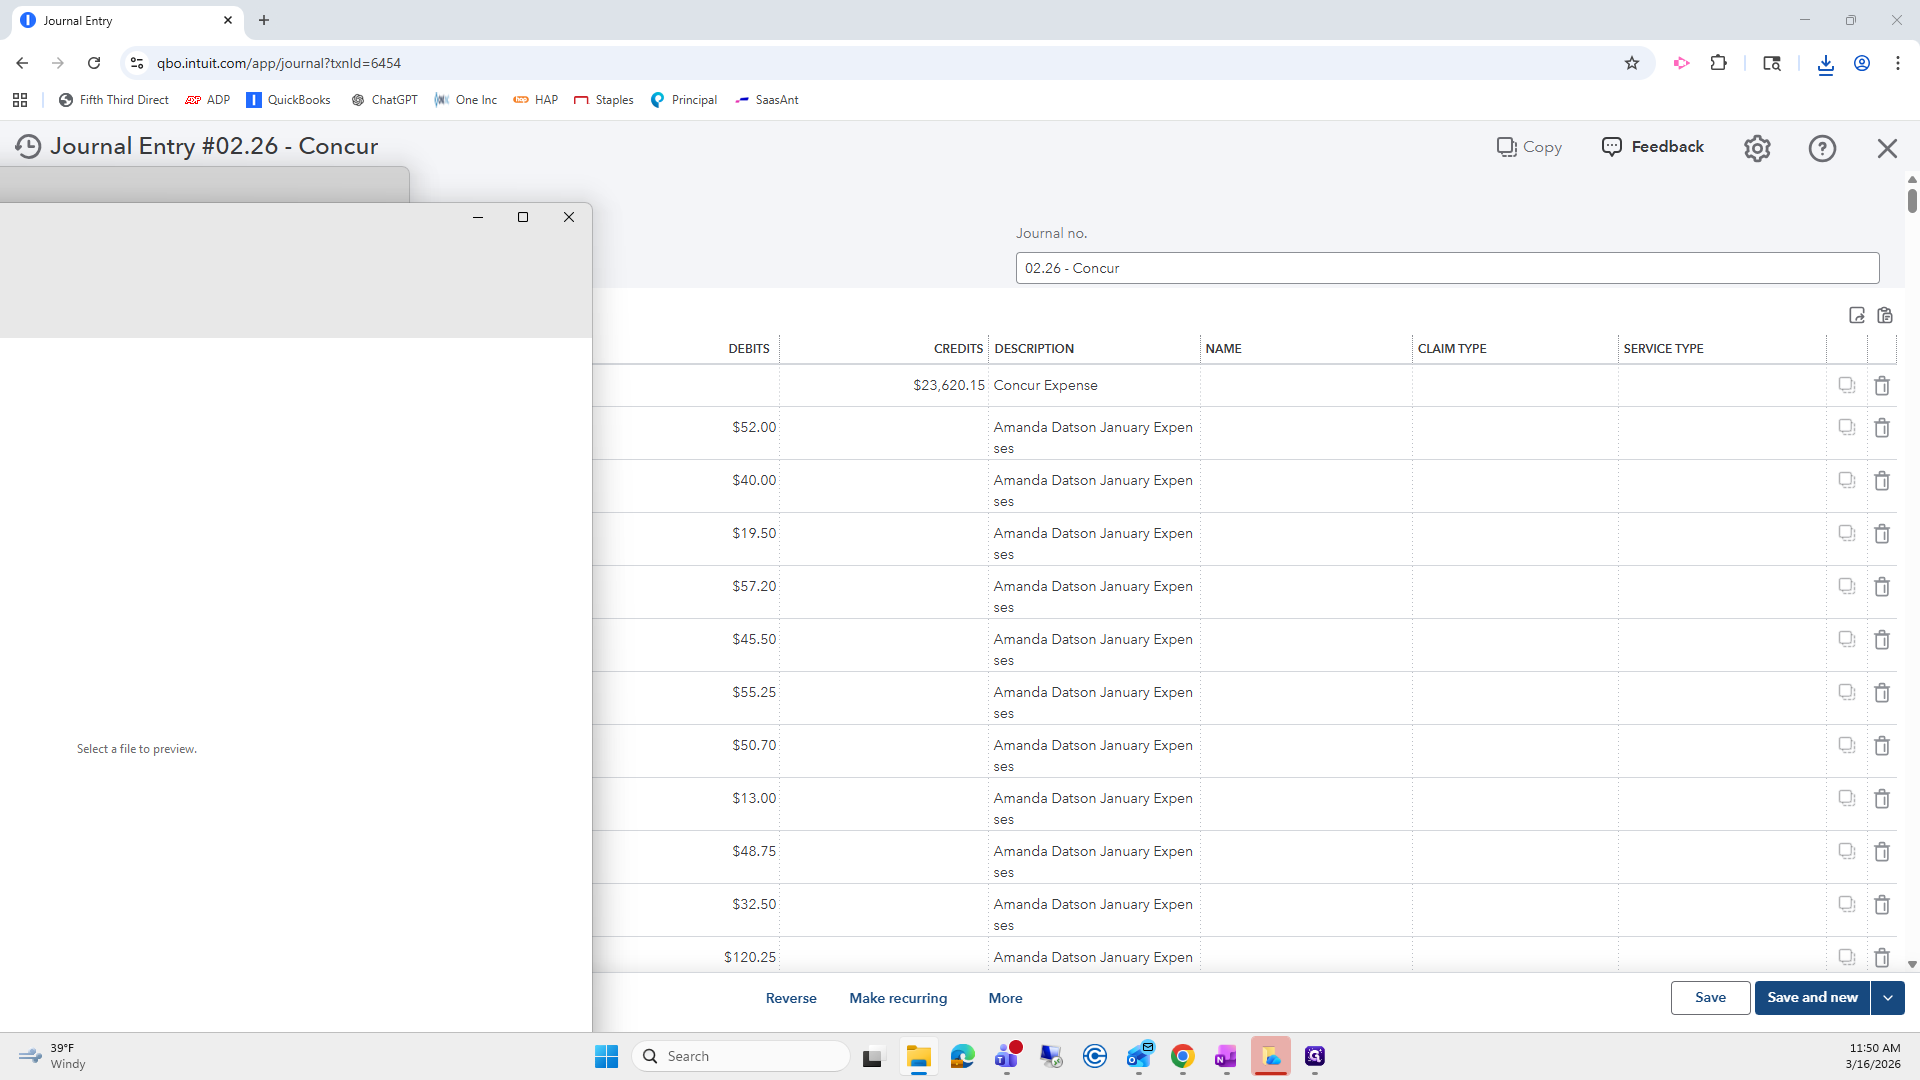
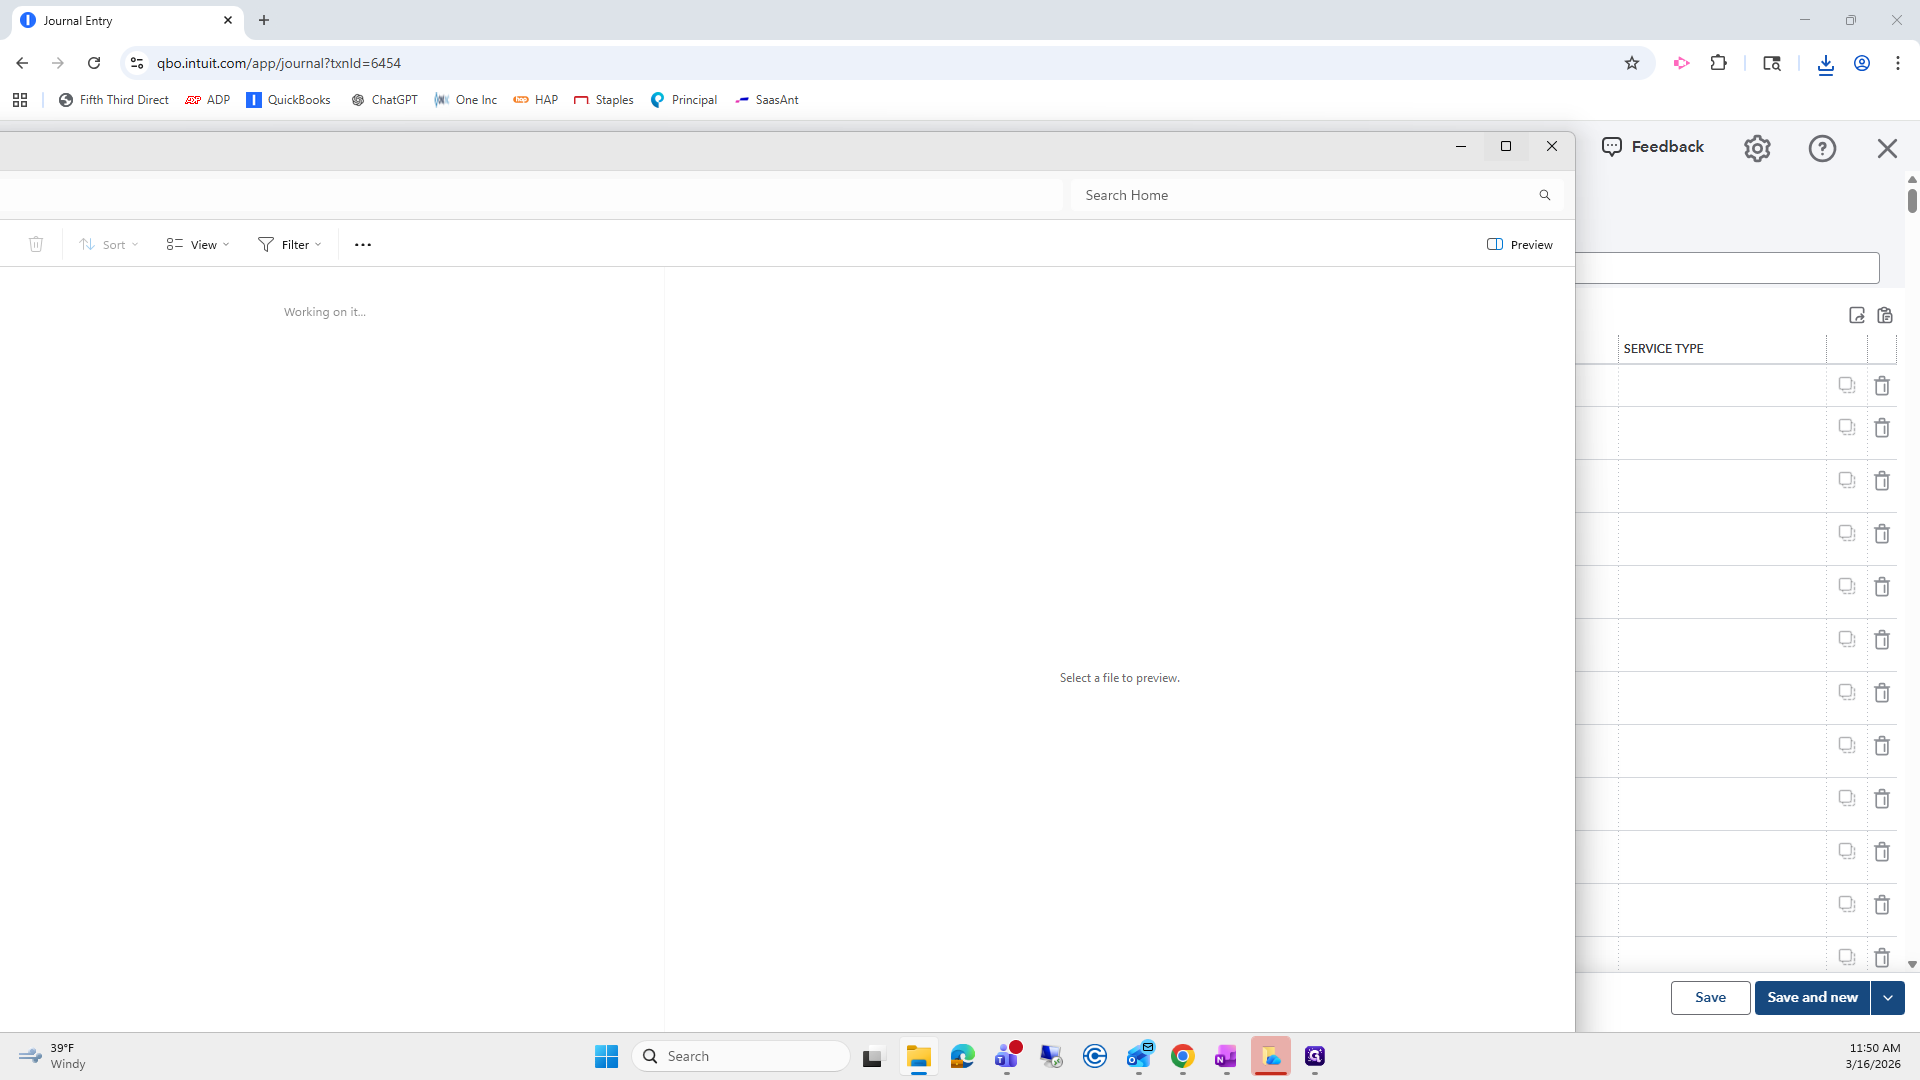
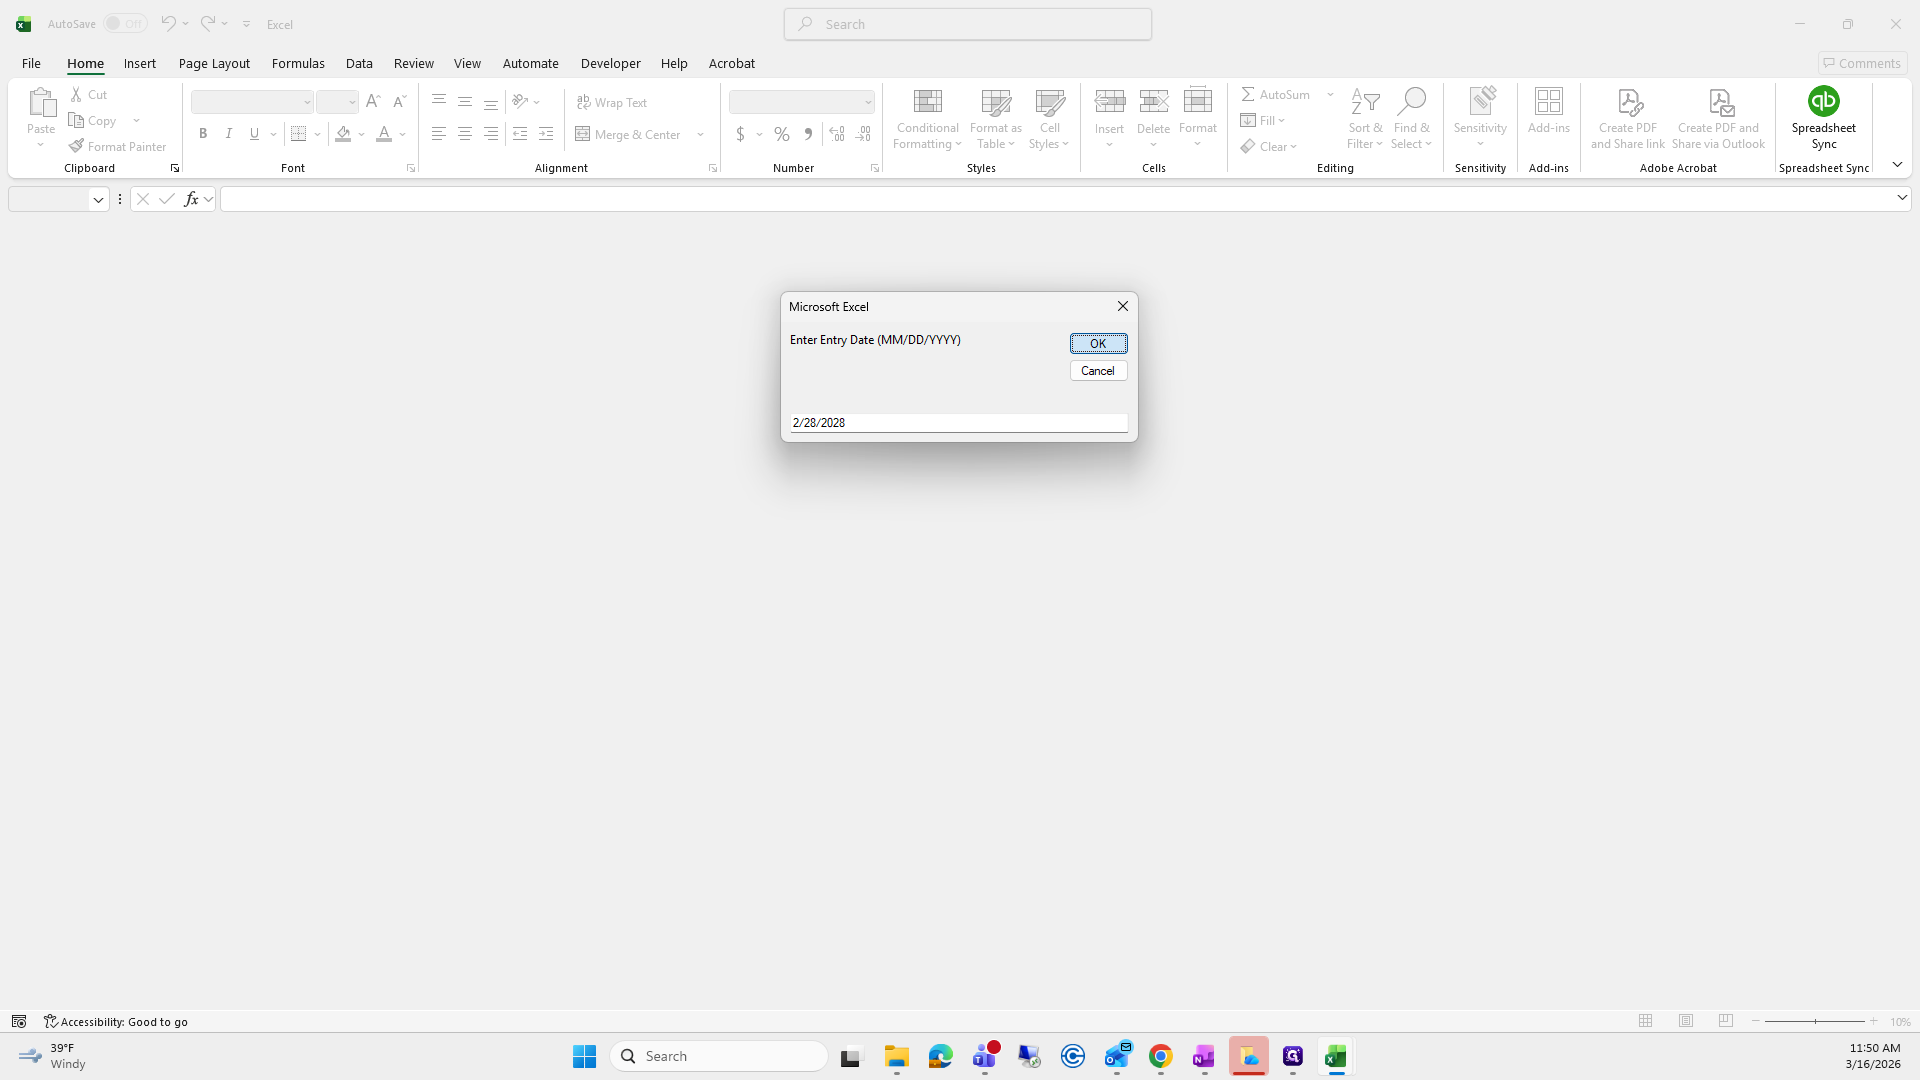
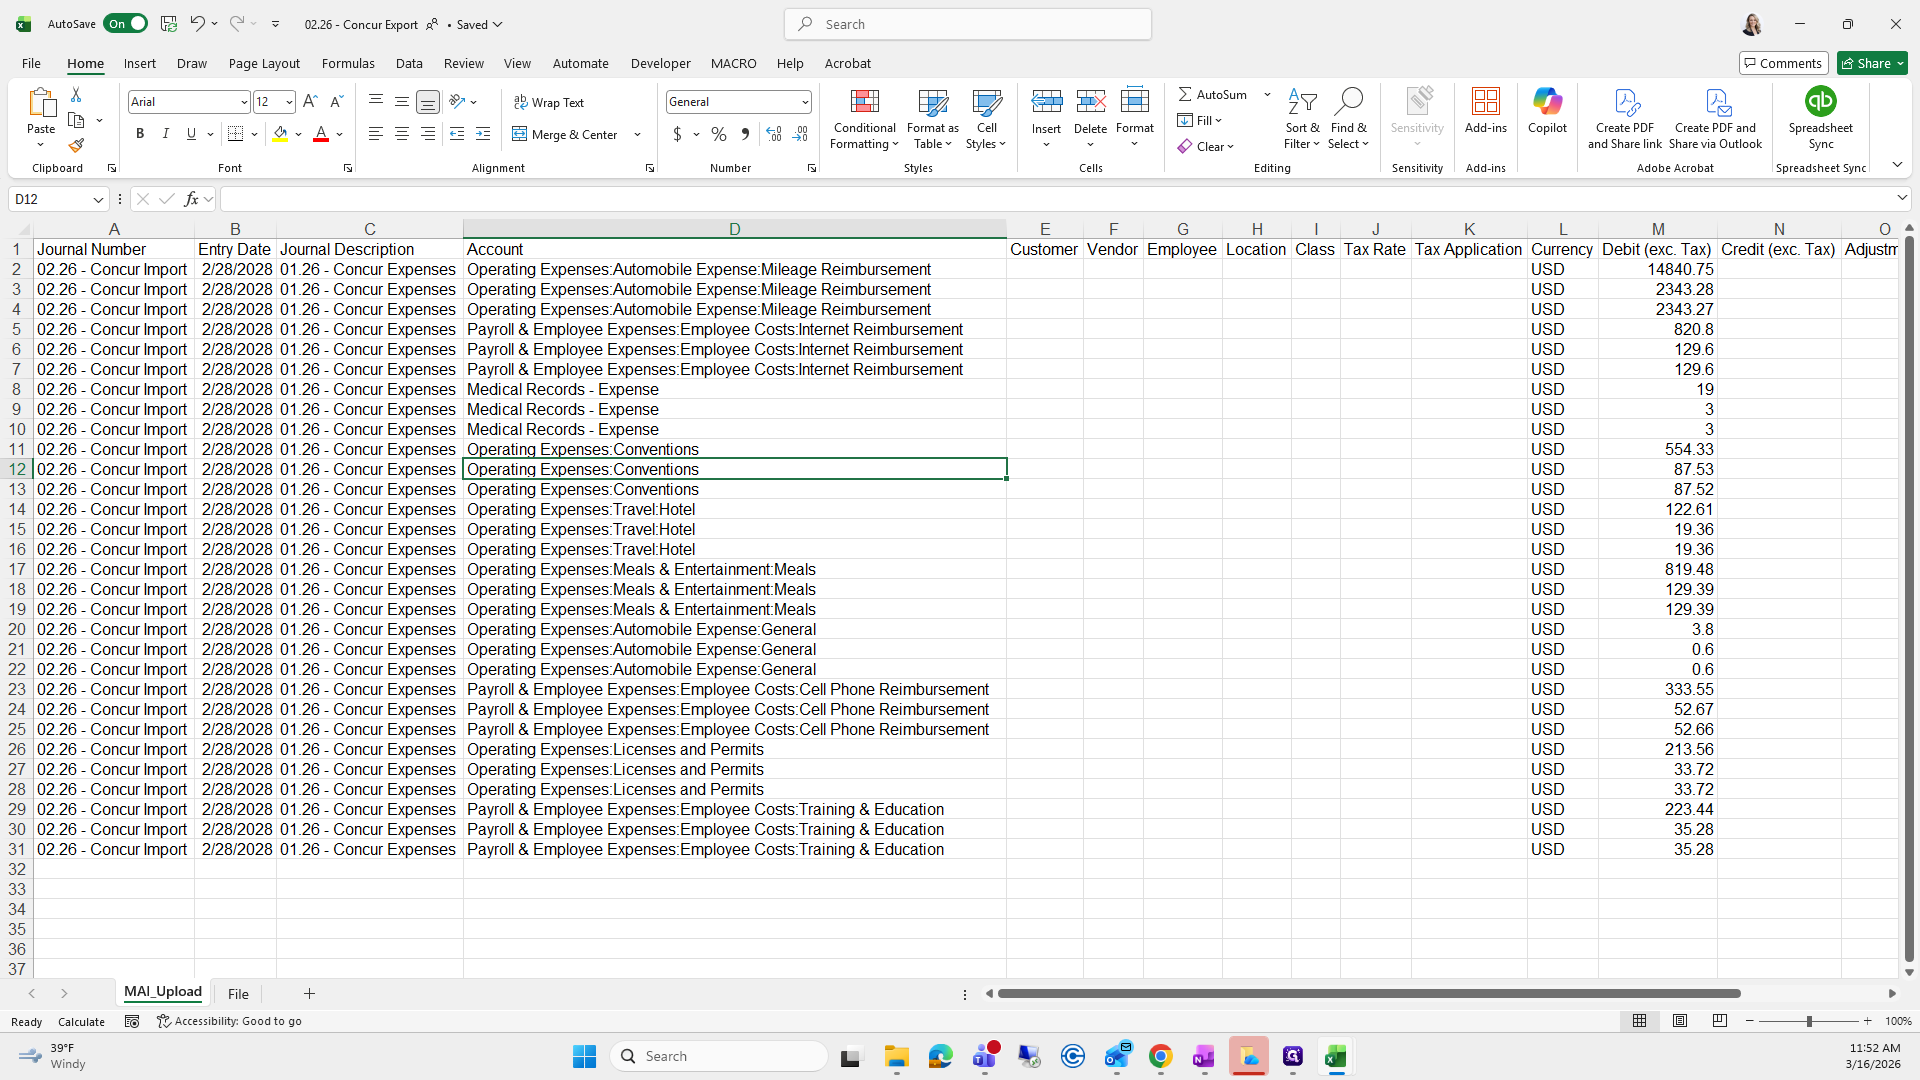
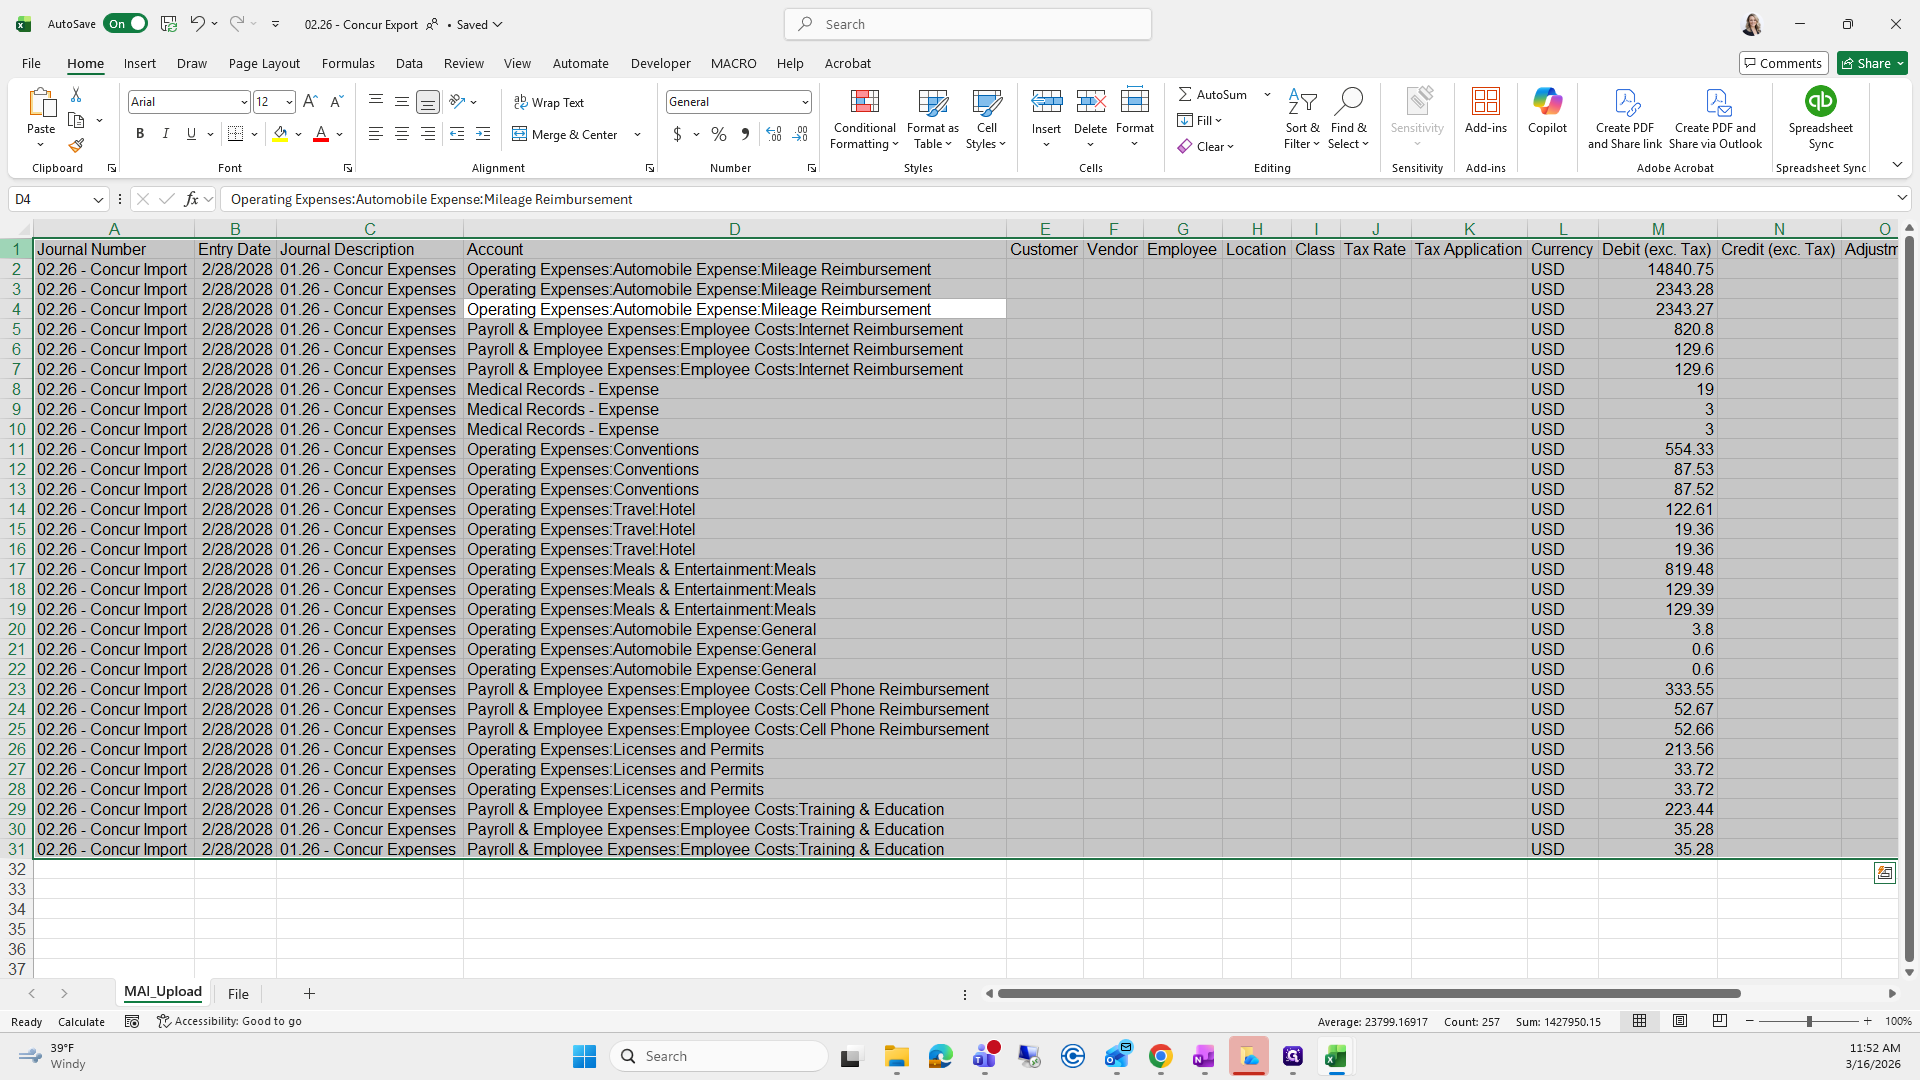
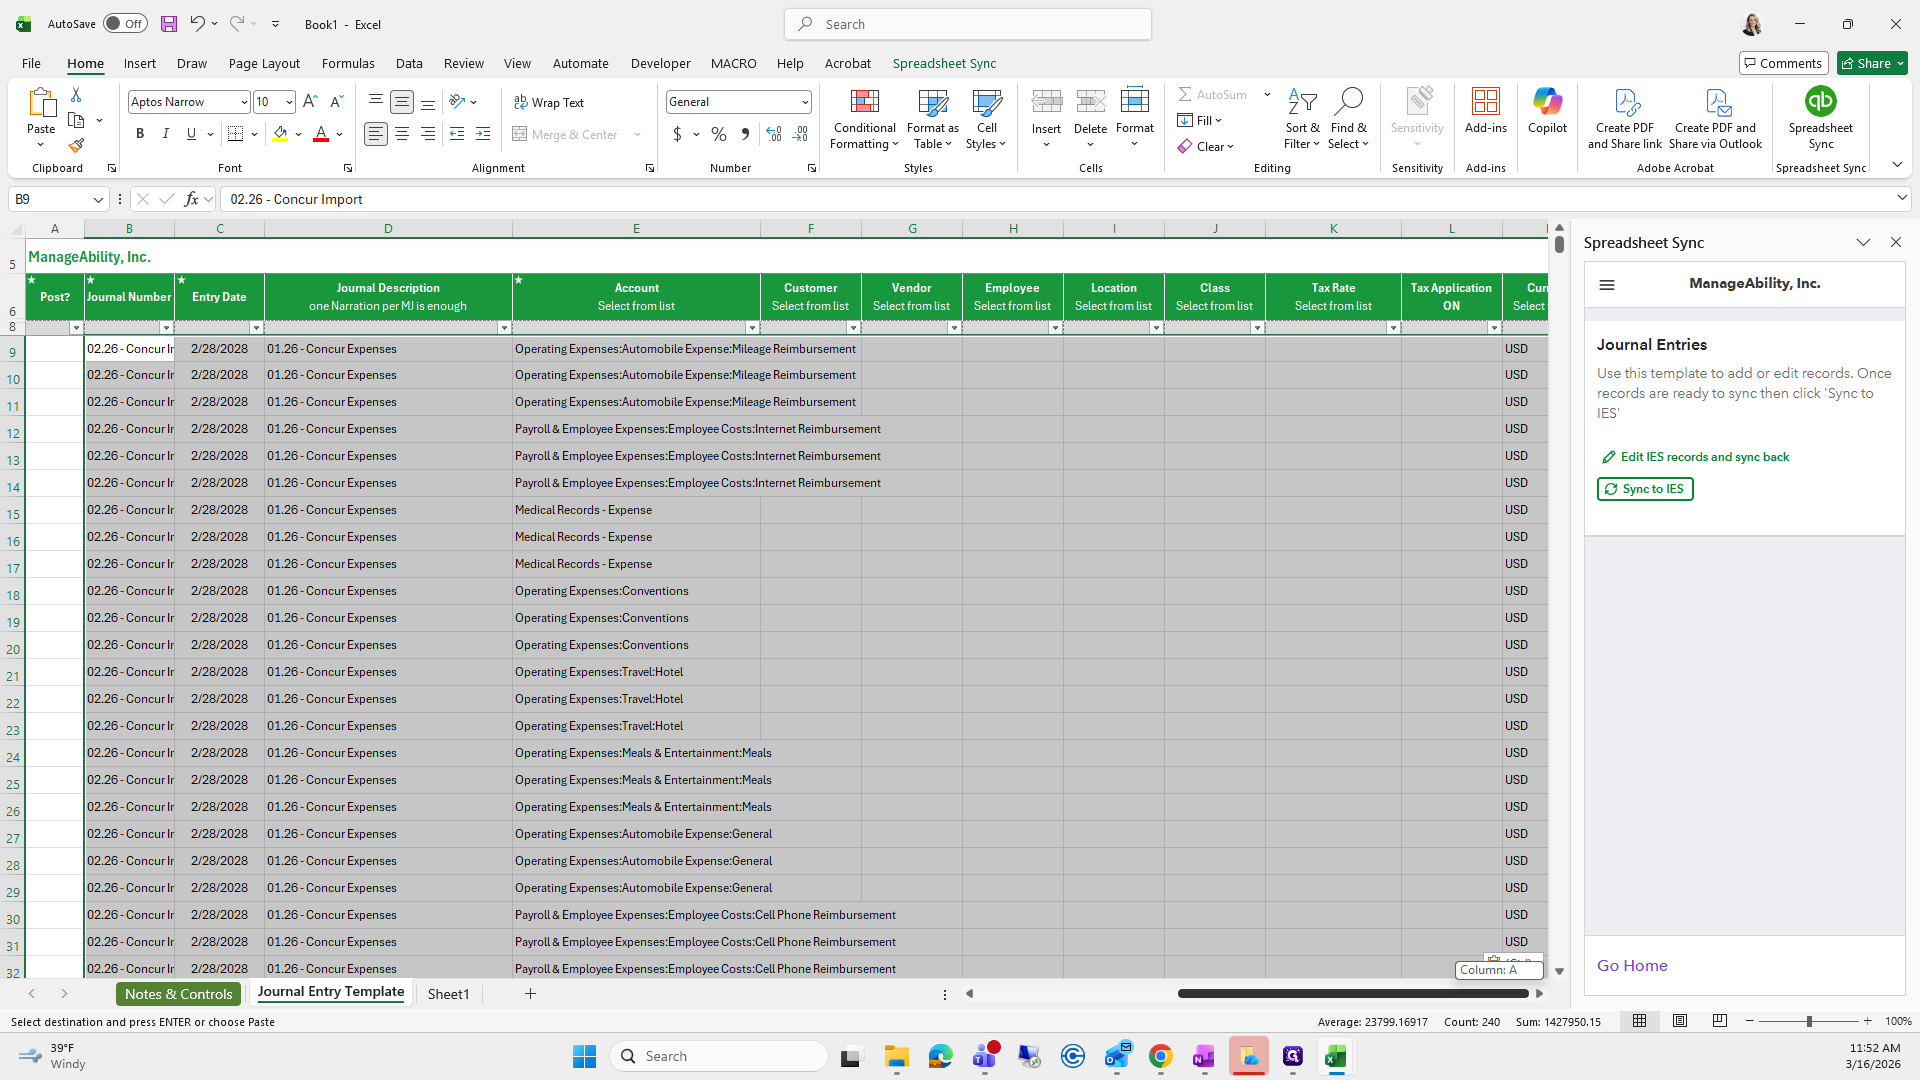
It will prompt you to enter a journal number for how you want it to appear in QuickBooks. I will enter the journal number "Concur Import." The system will prompt for the entry date, which should be the last day of the month or the date it was transferred out.

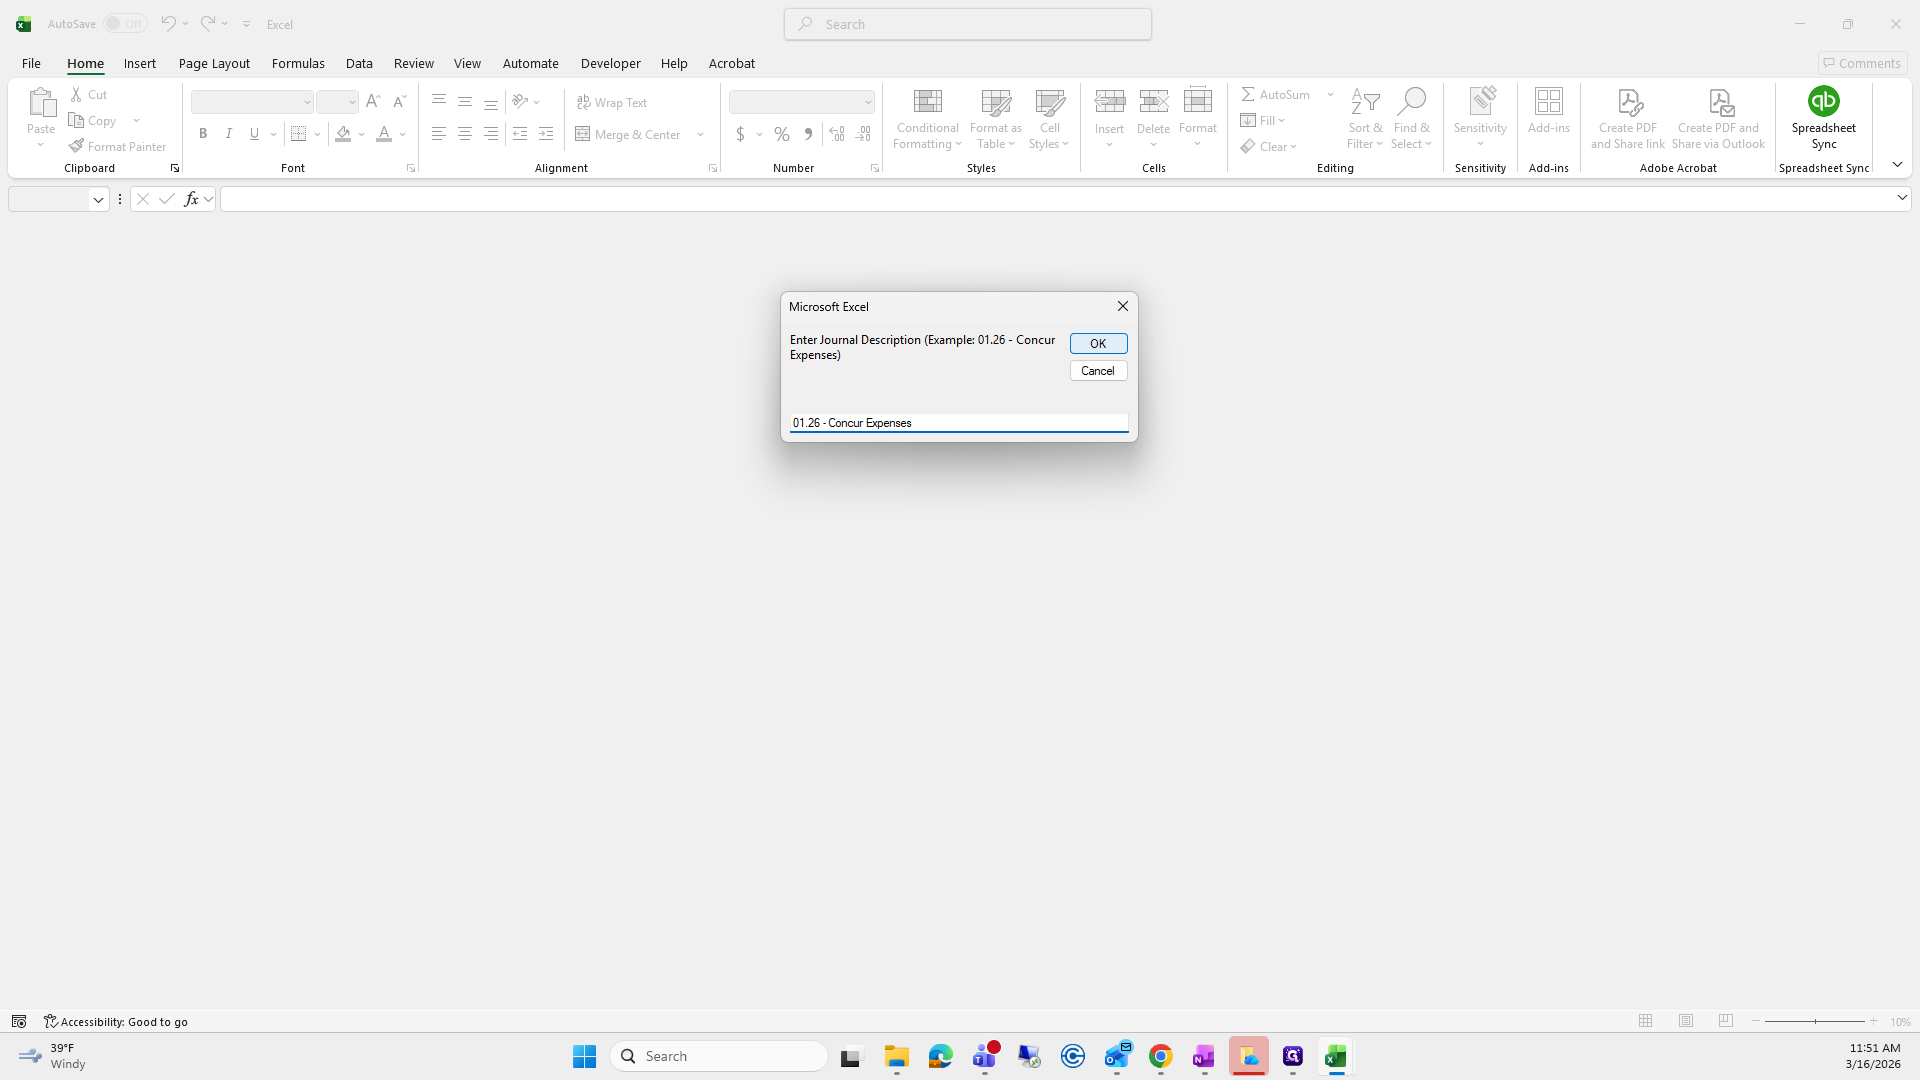
Press OK, then enter your journal description.

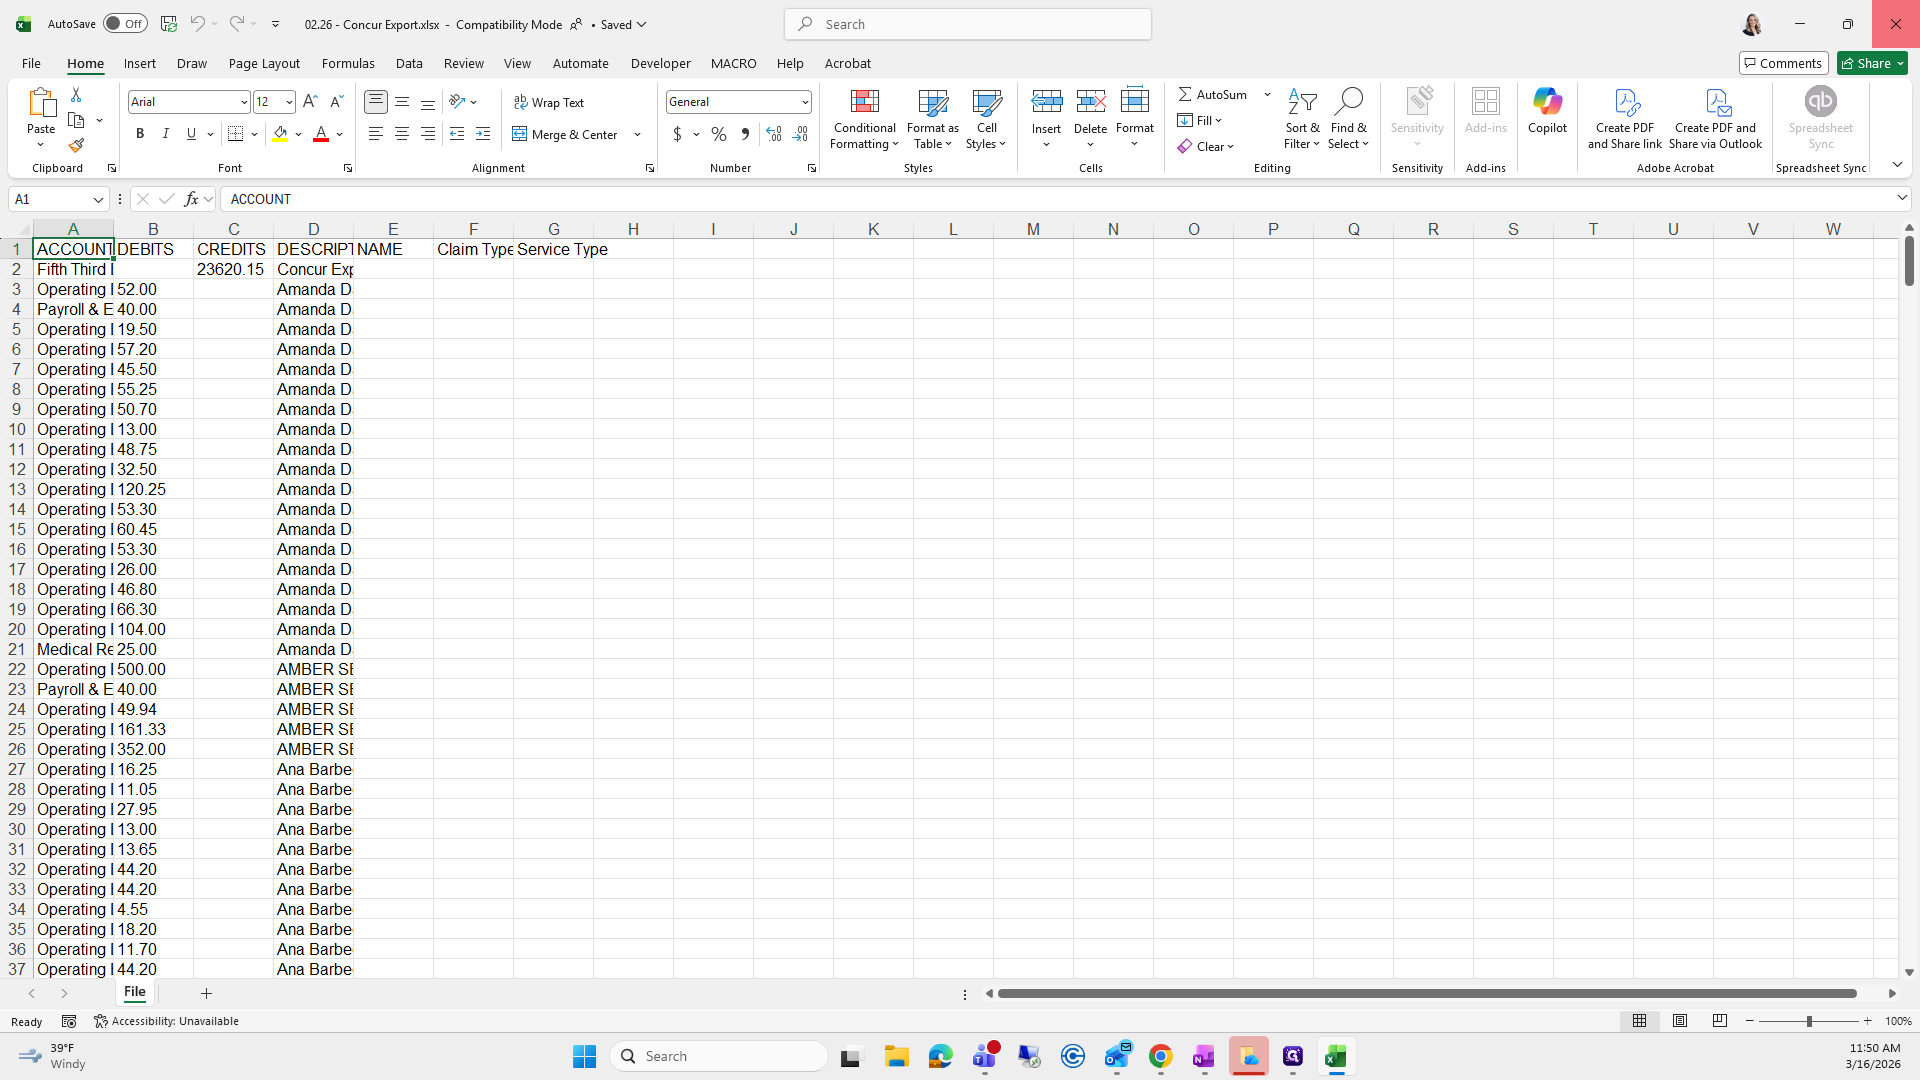
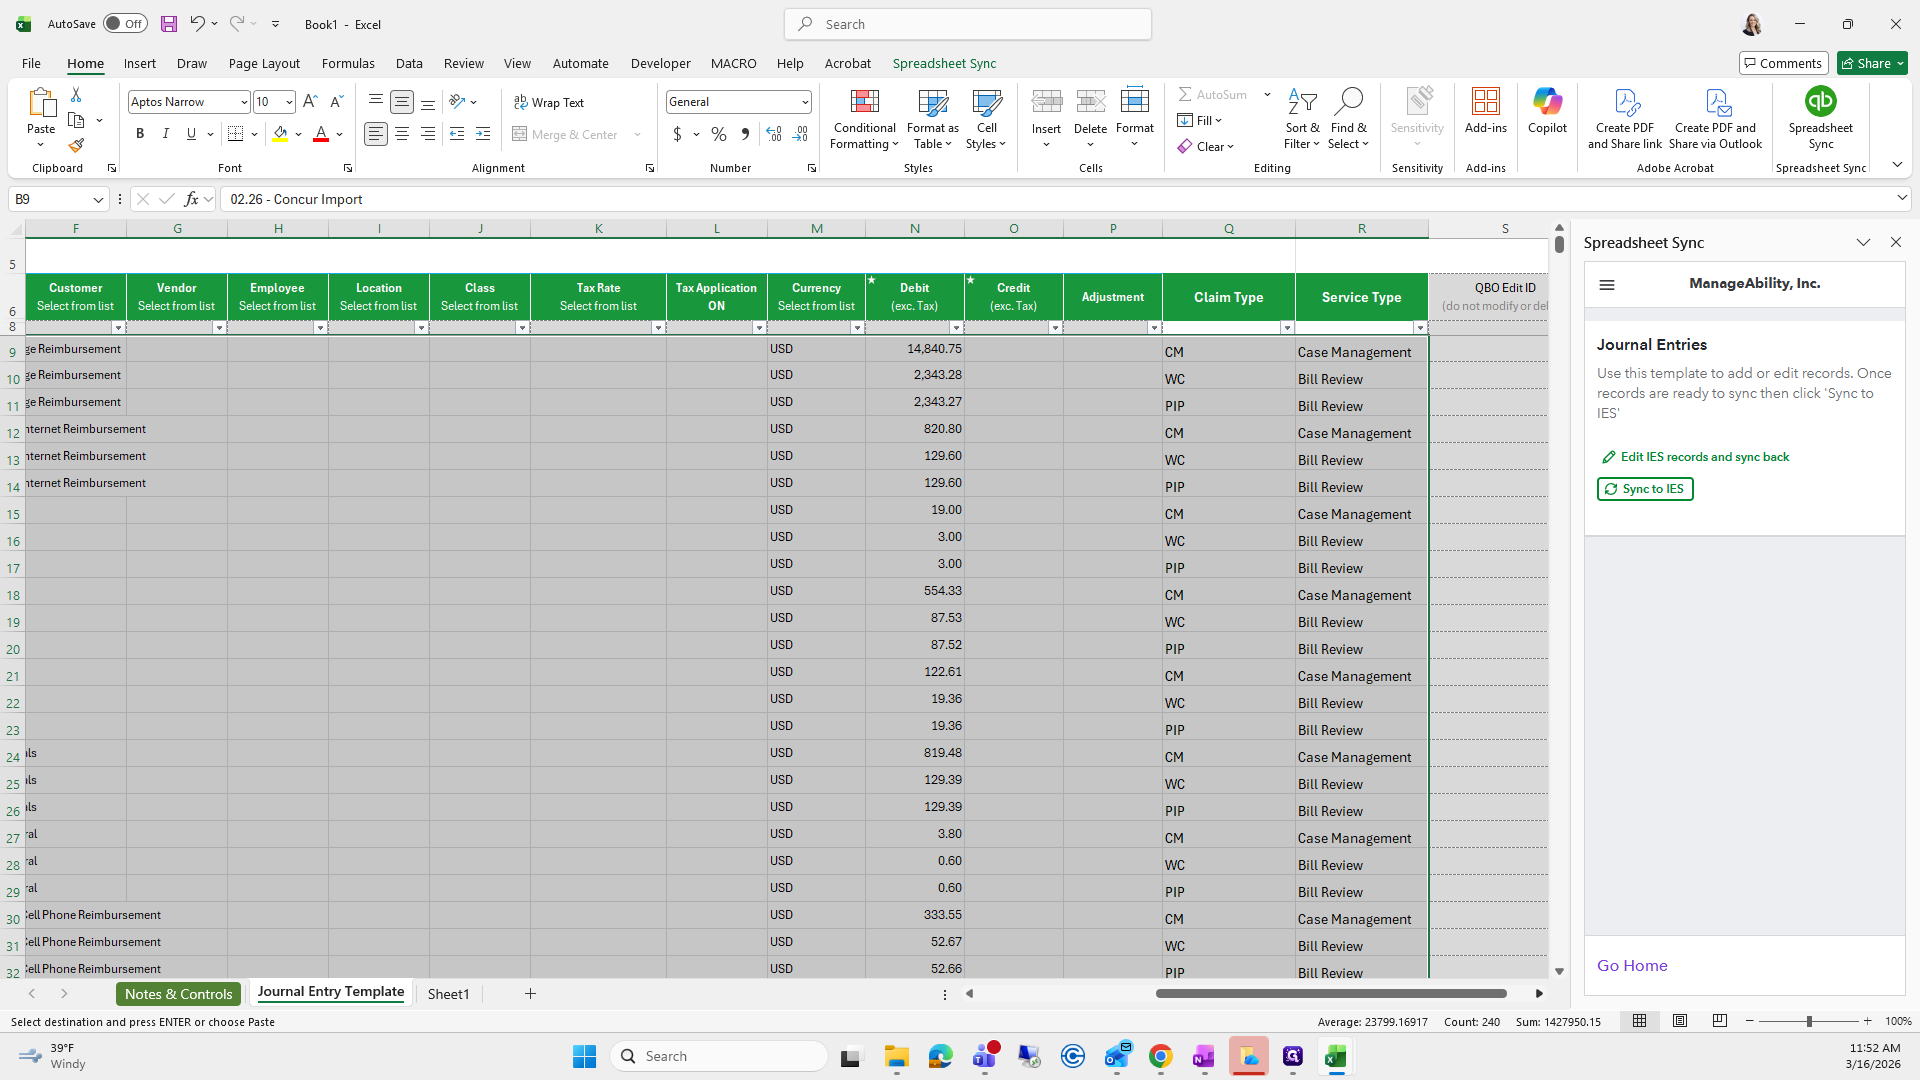
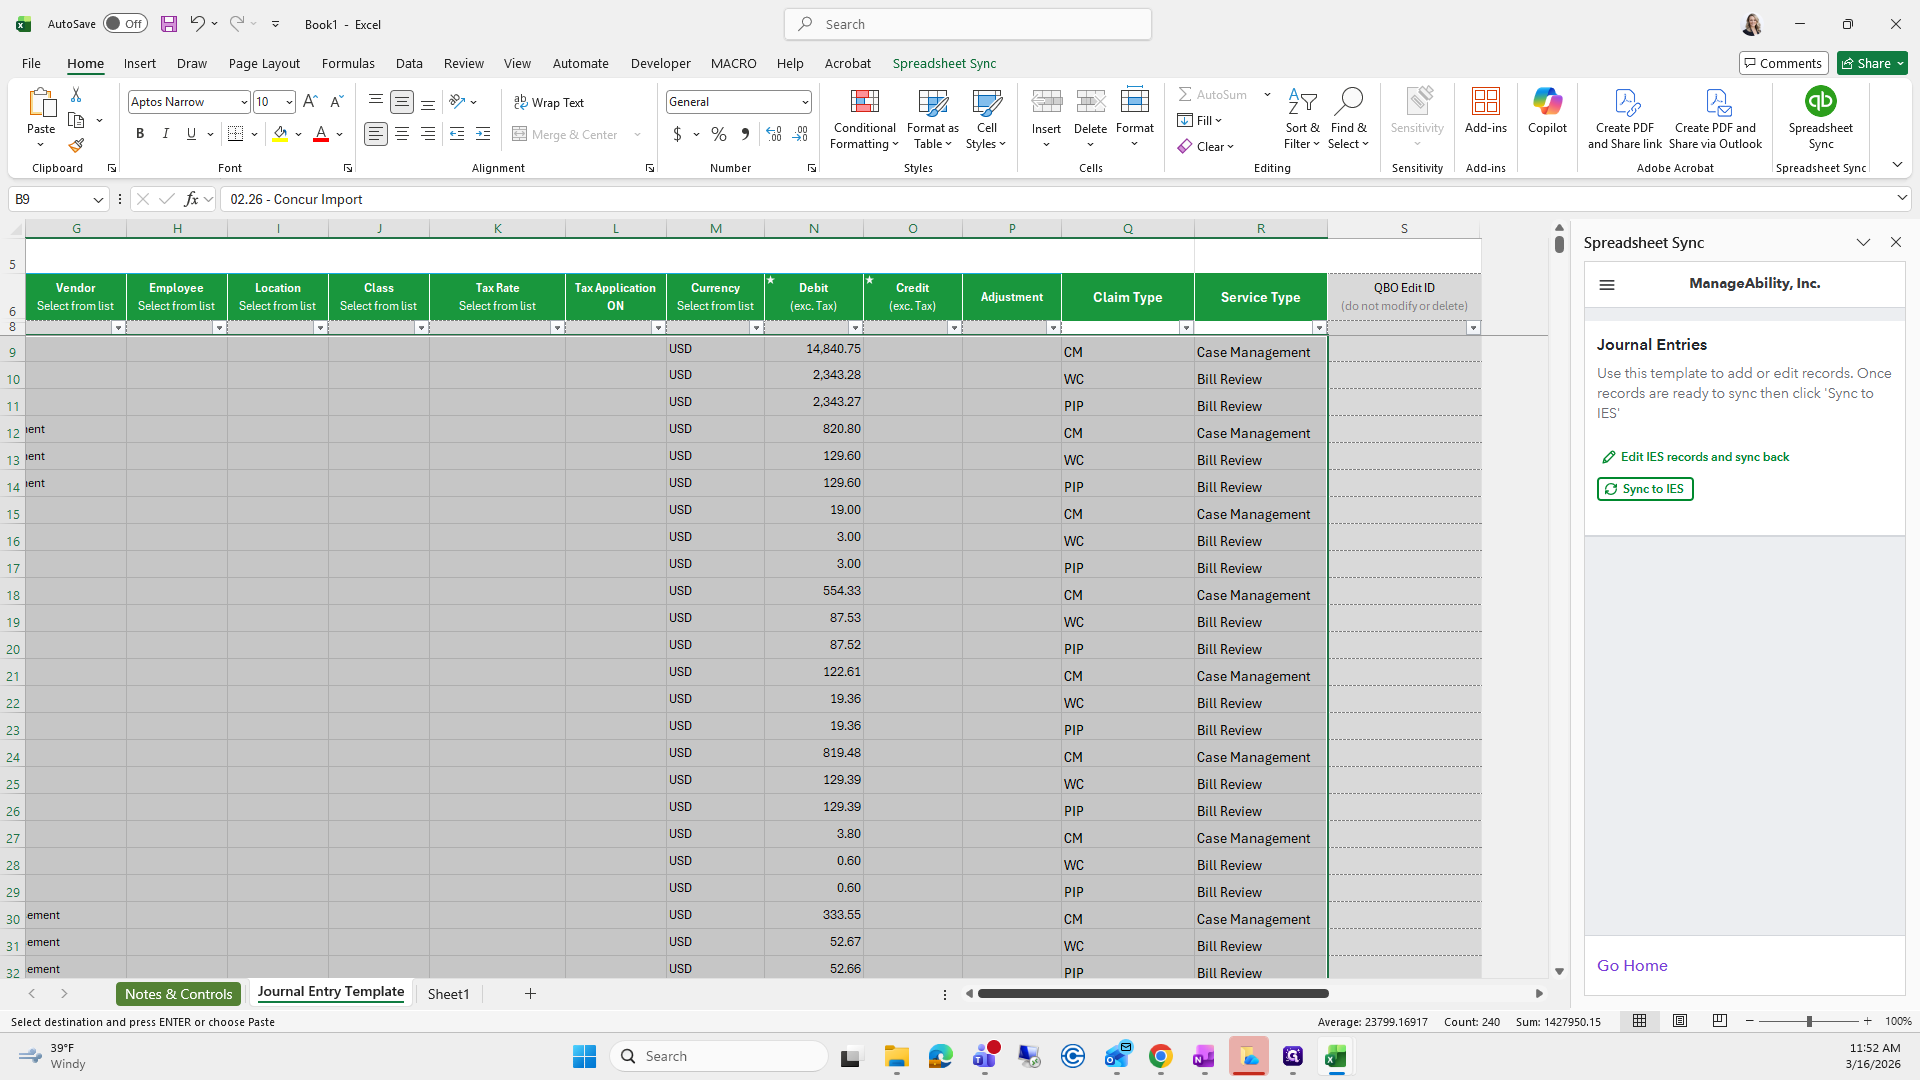
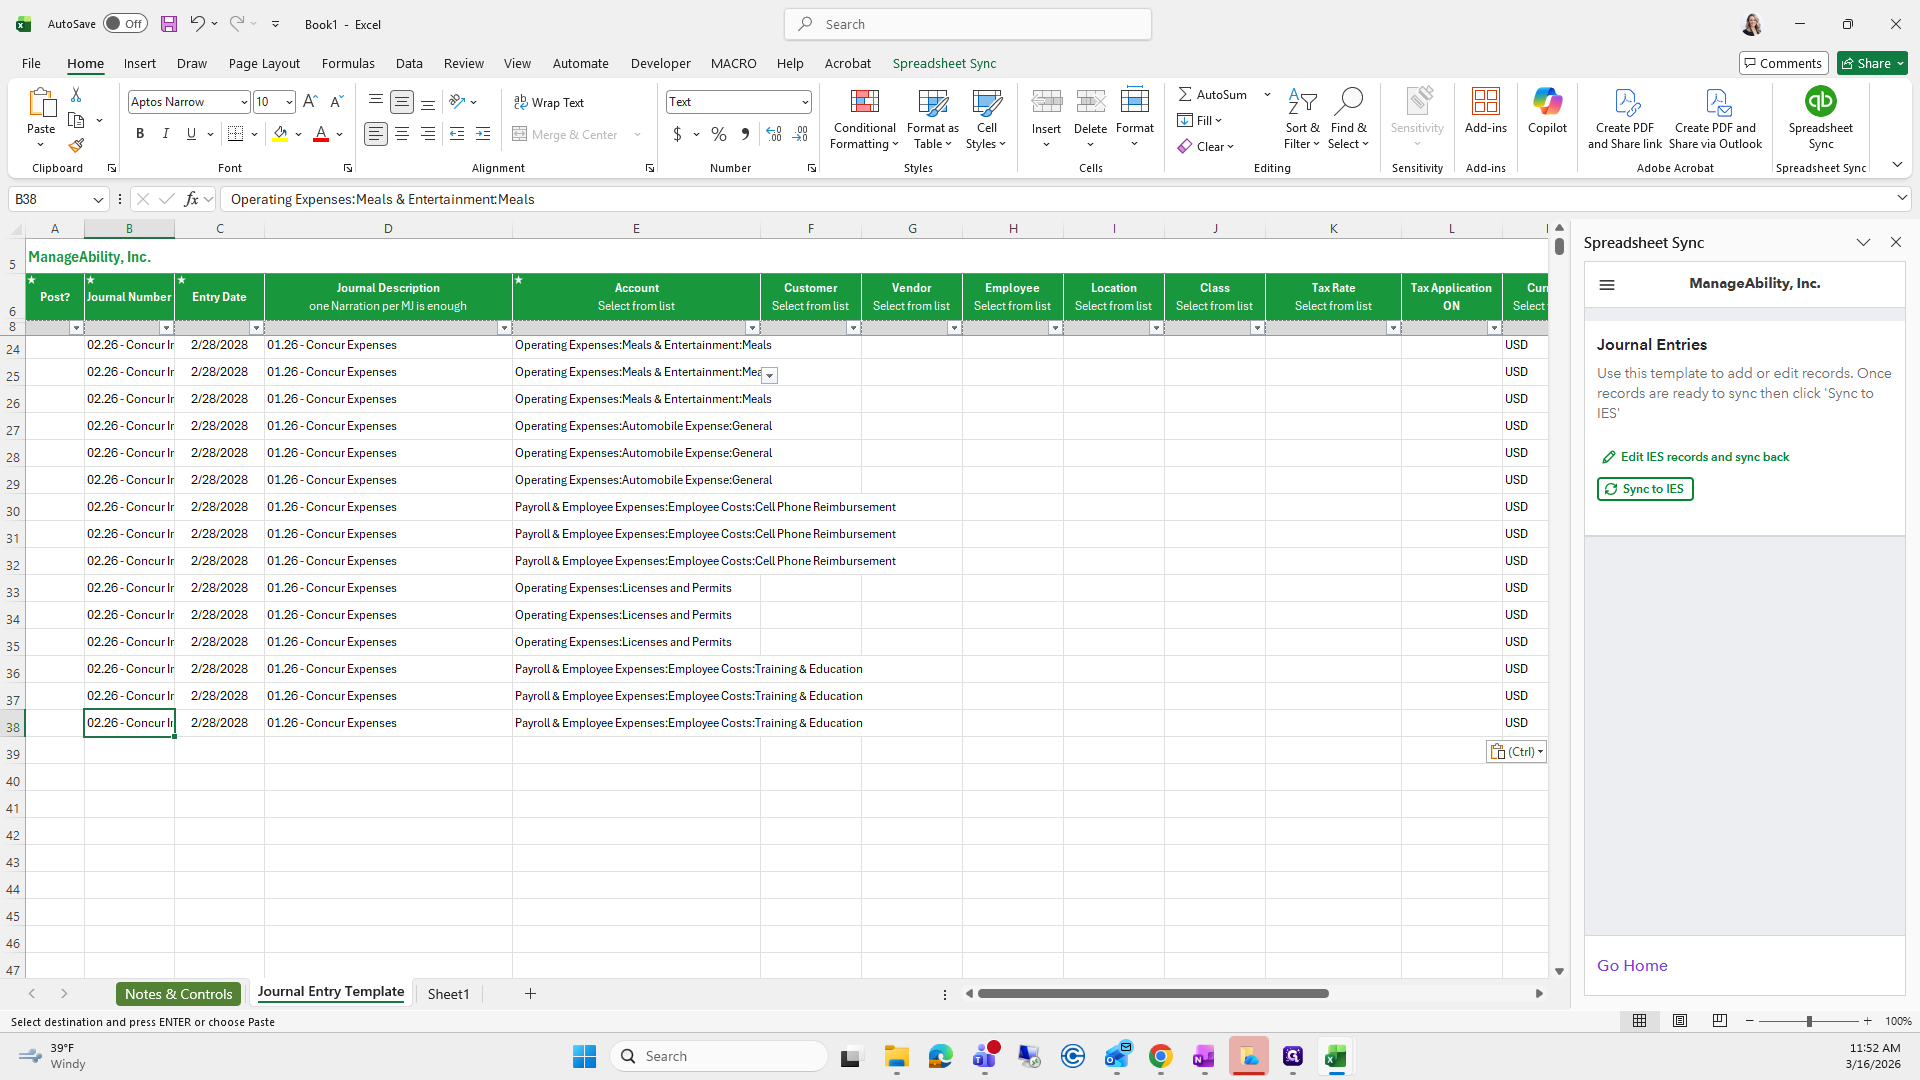
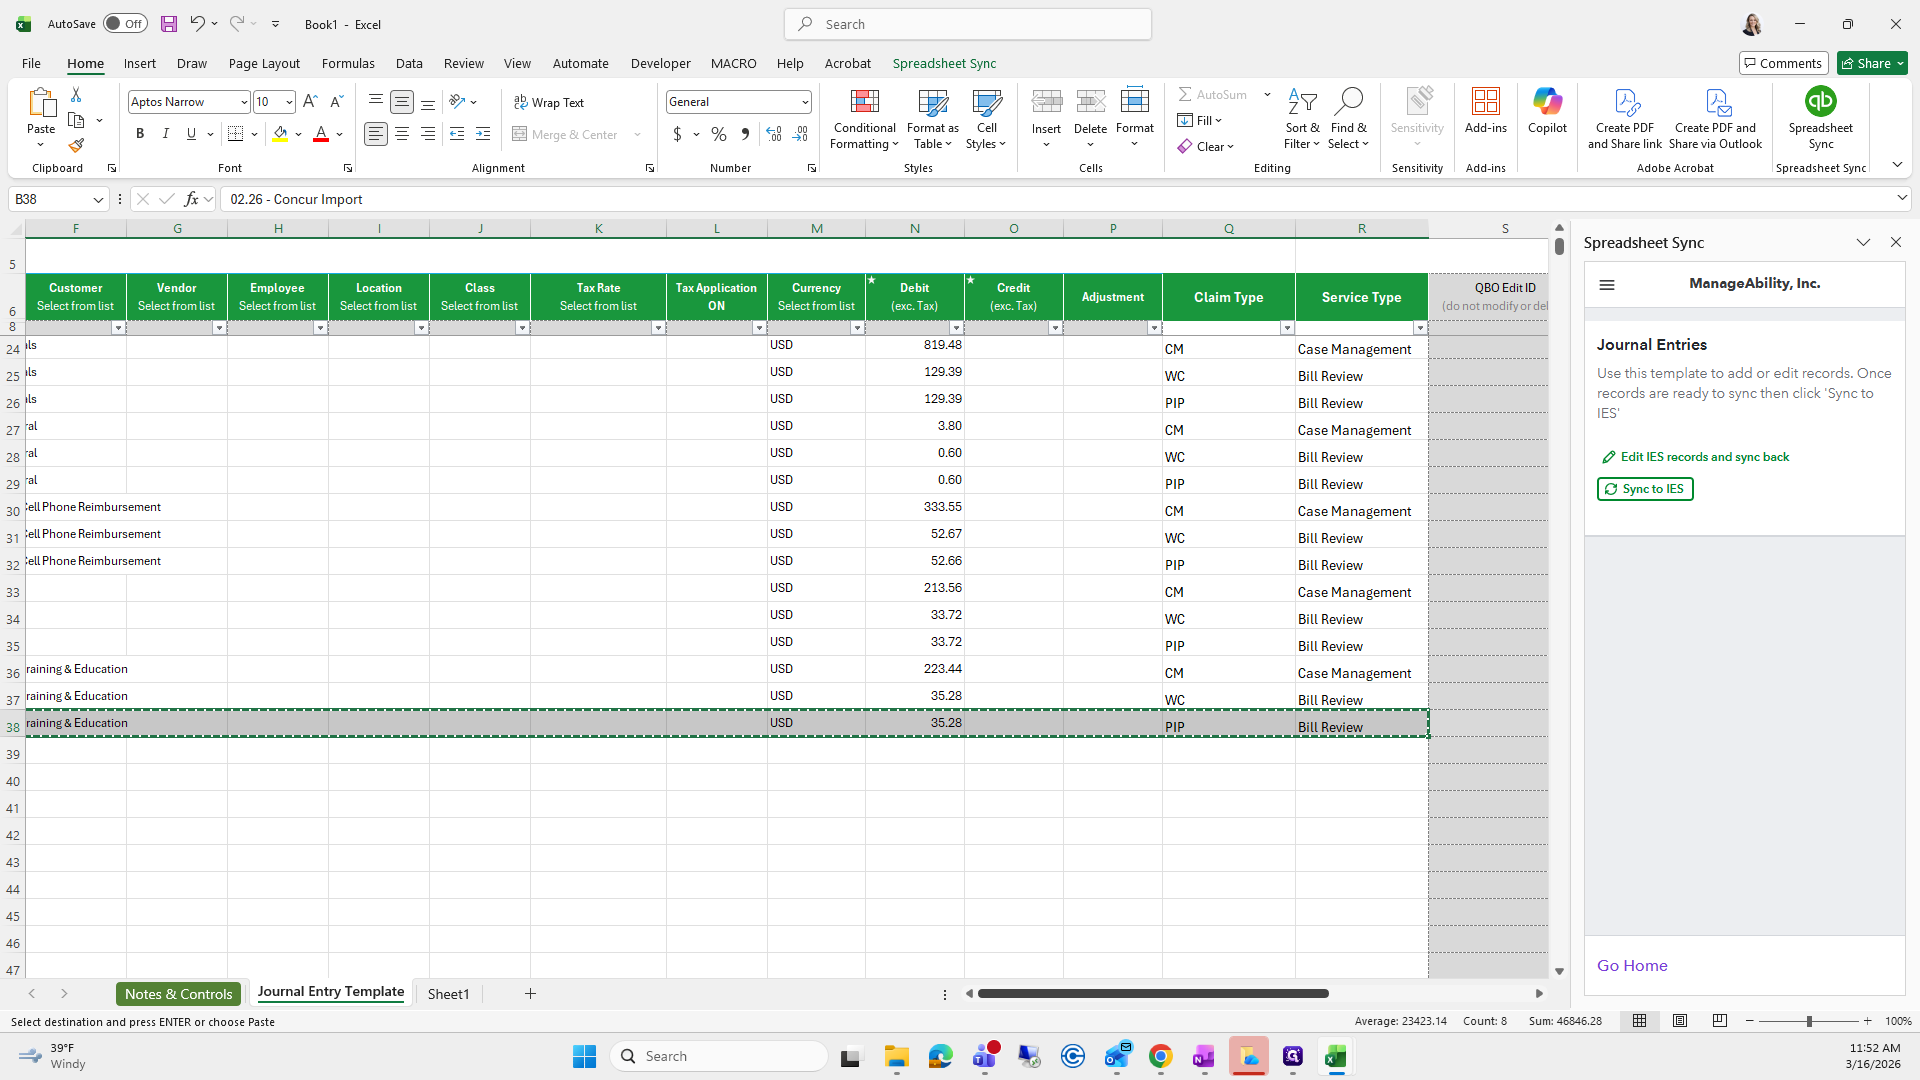
Since this was for January Concur expenses, that is what I'm going to type. Click OK, and it generates your sheet automatically. It allocates everything you need.
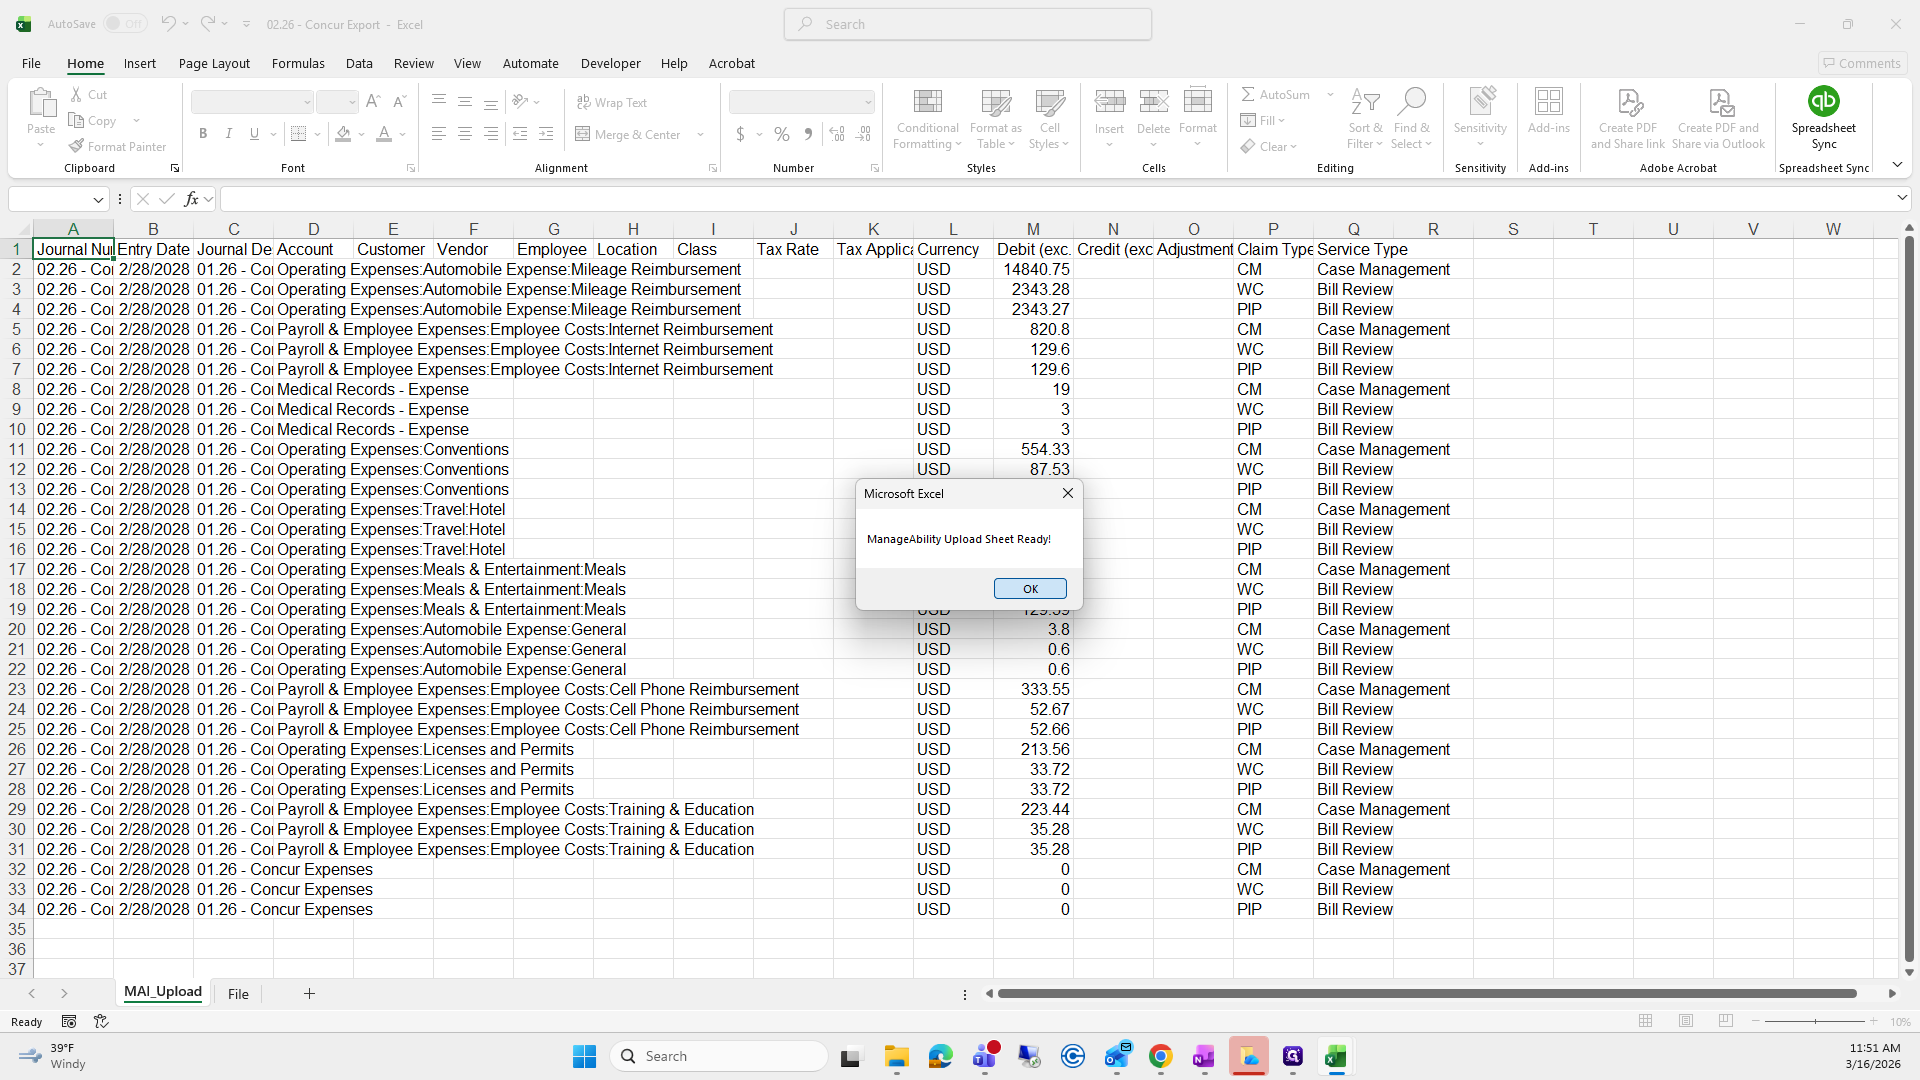
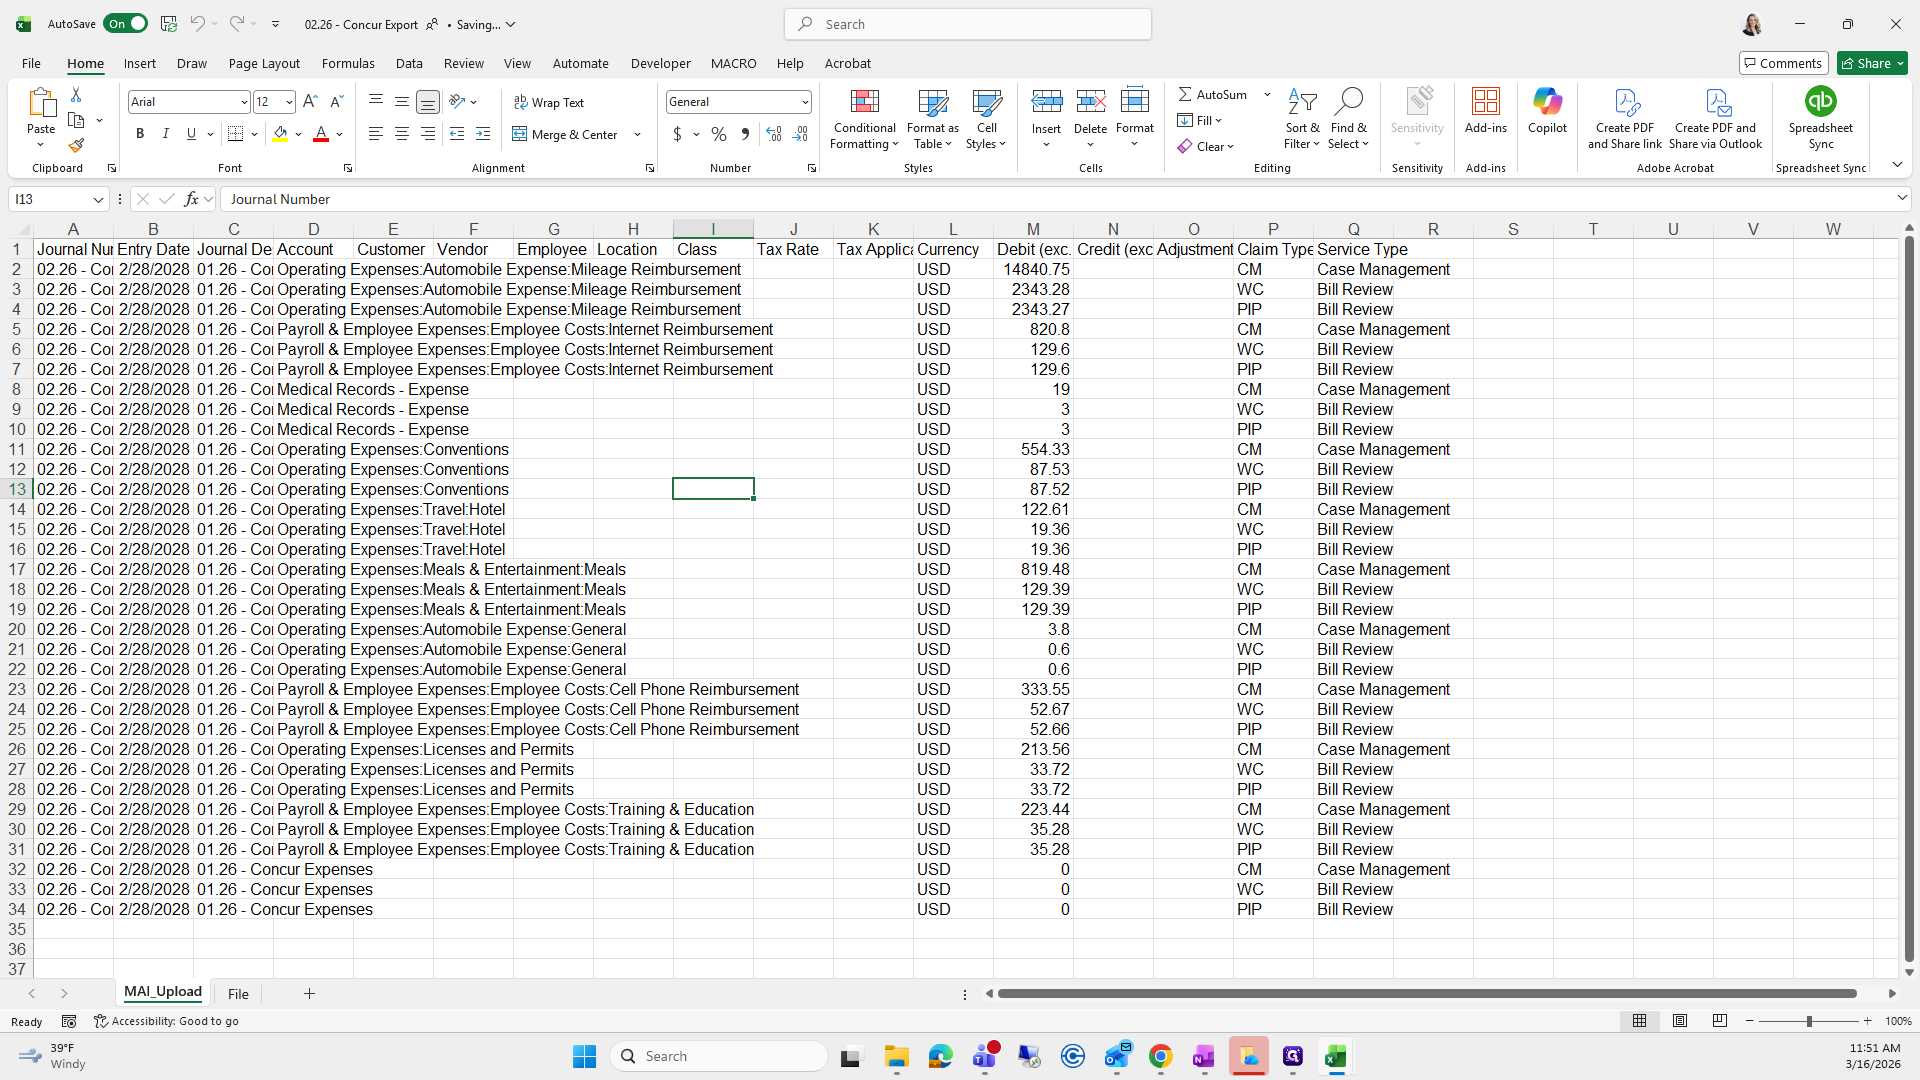
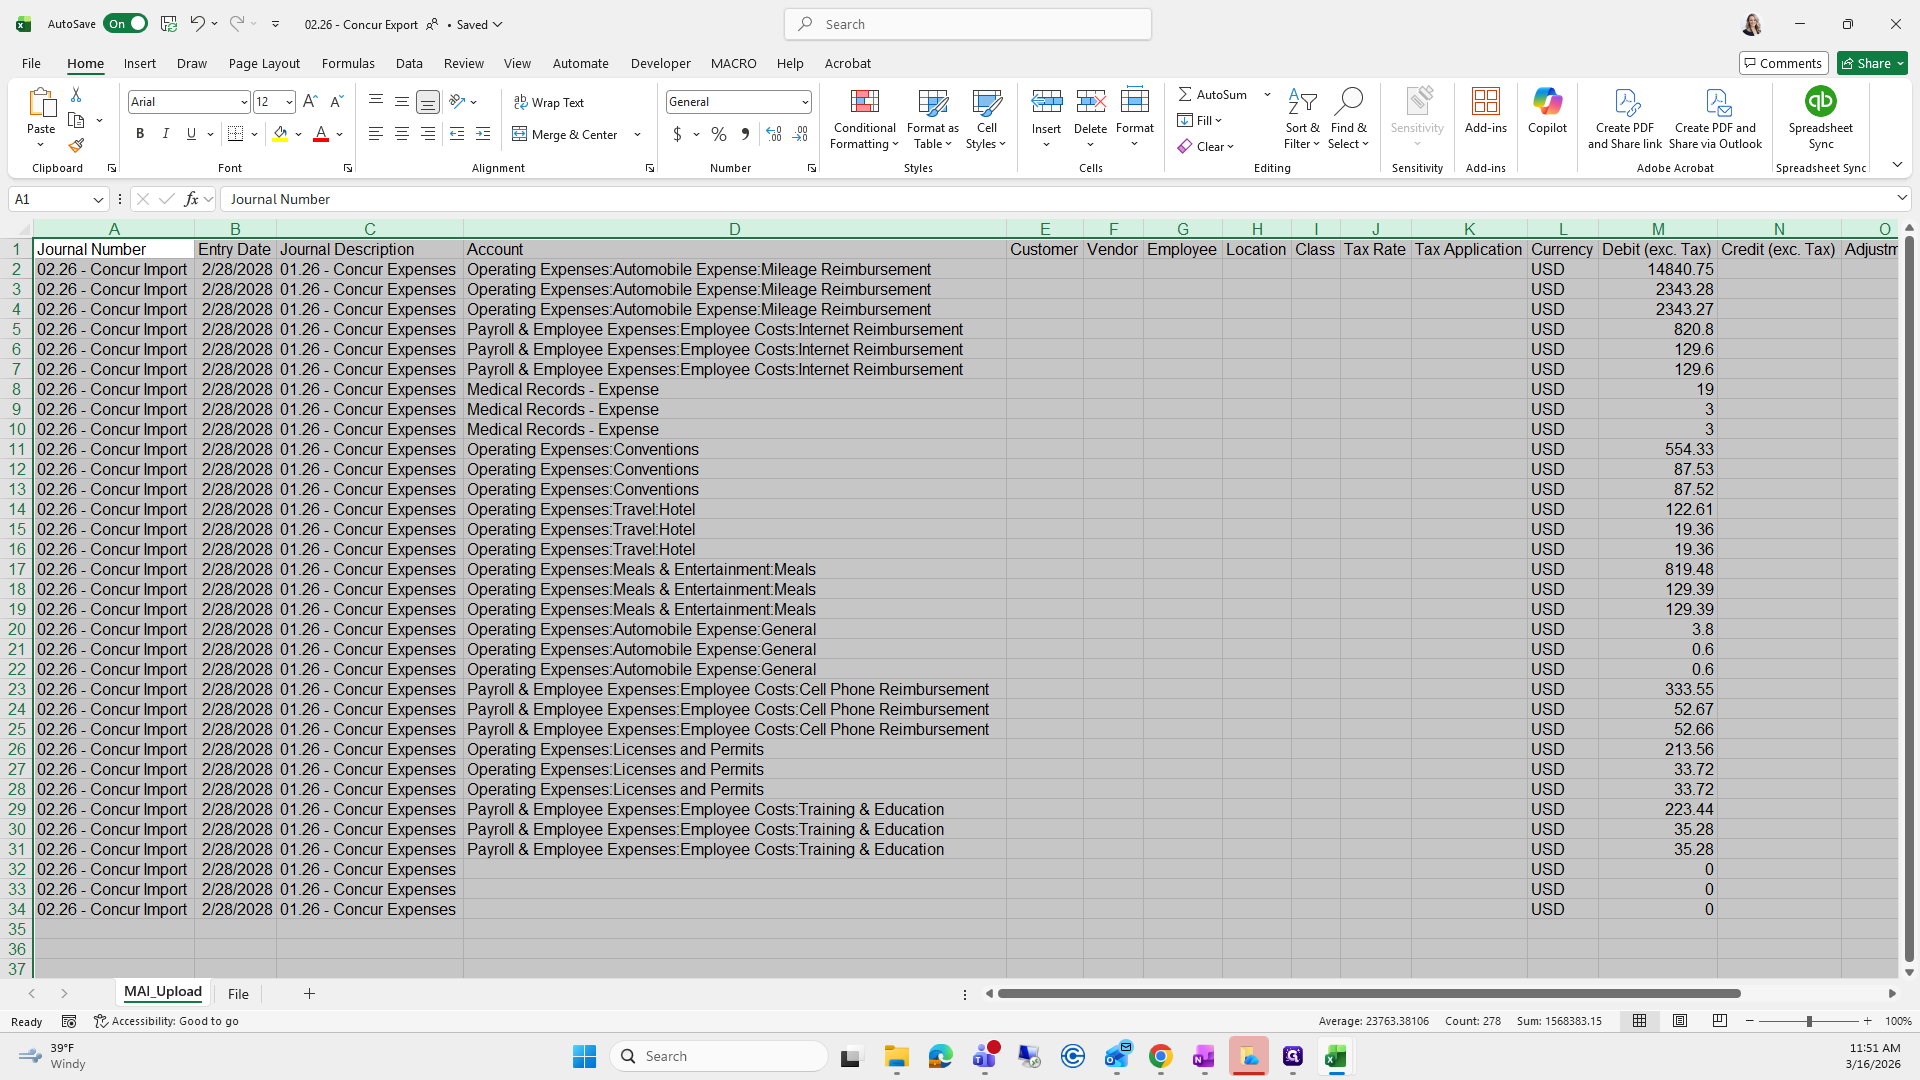
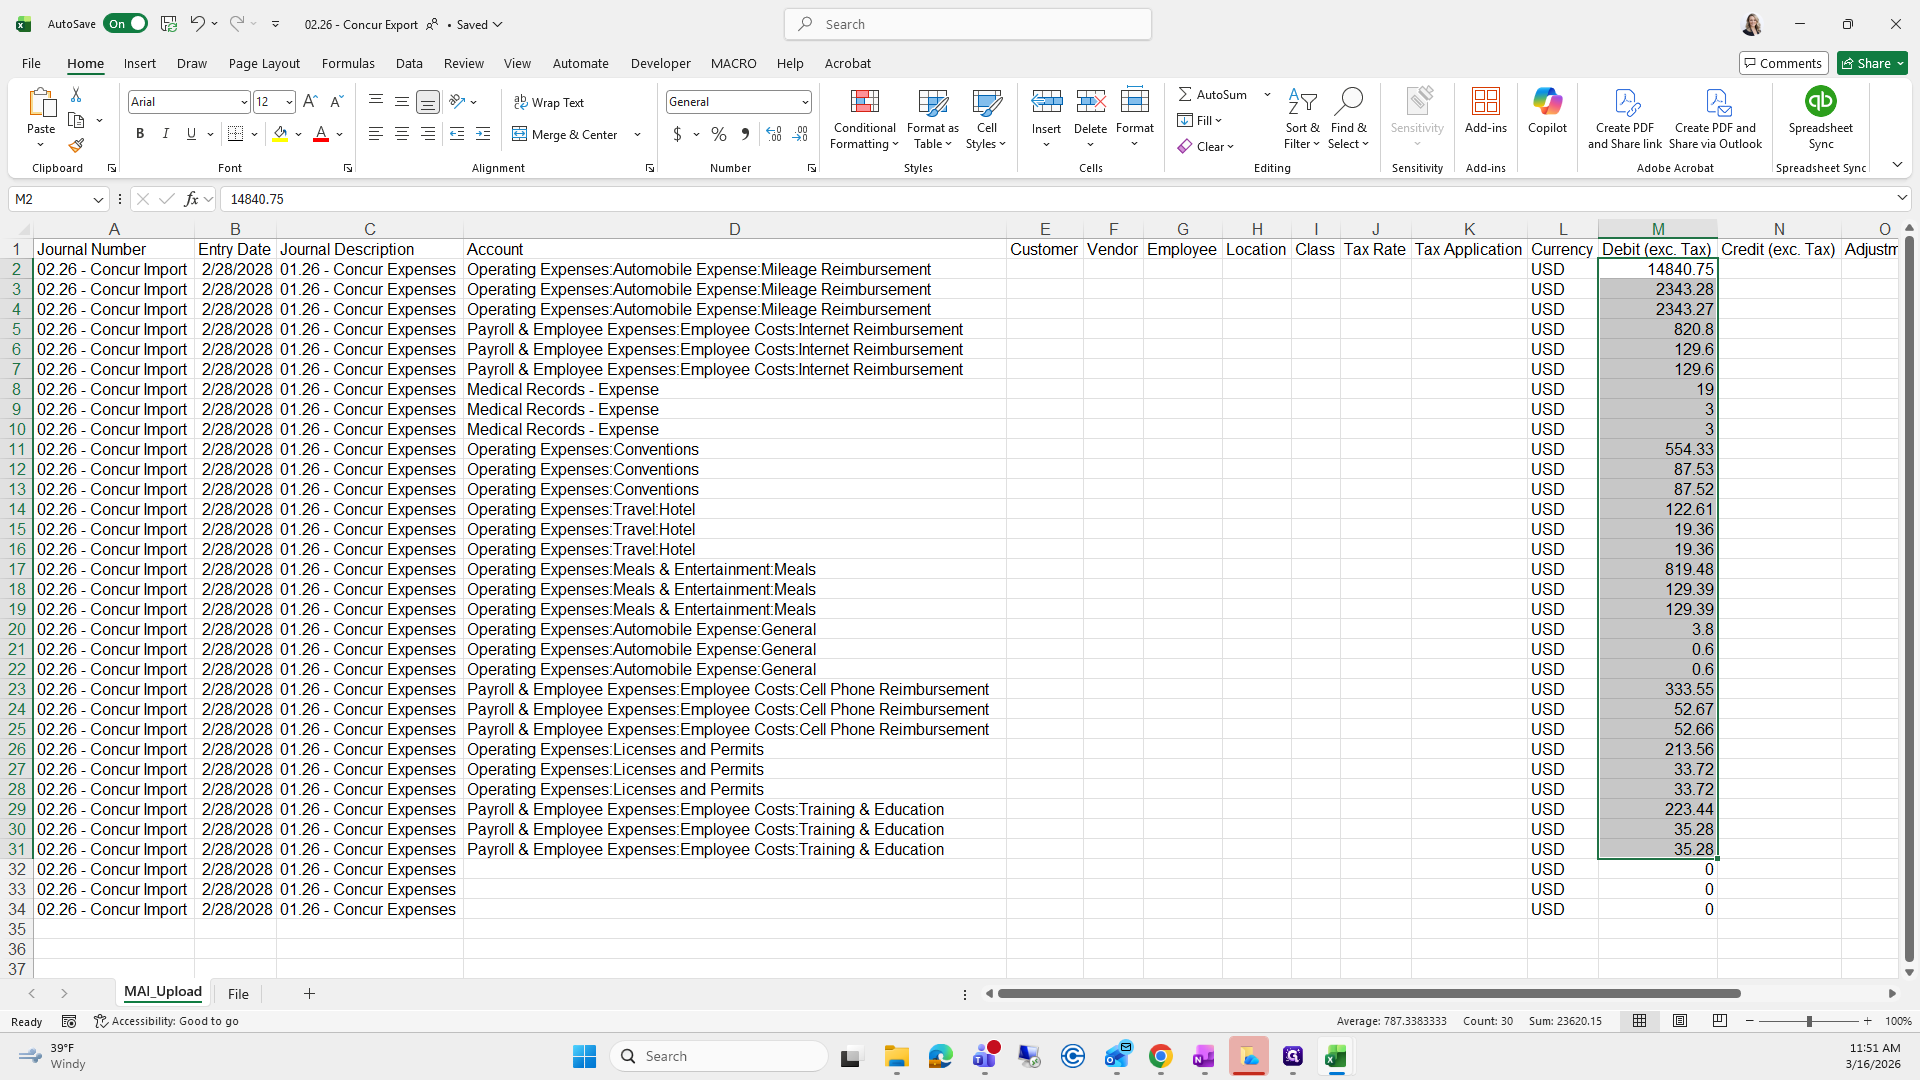
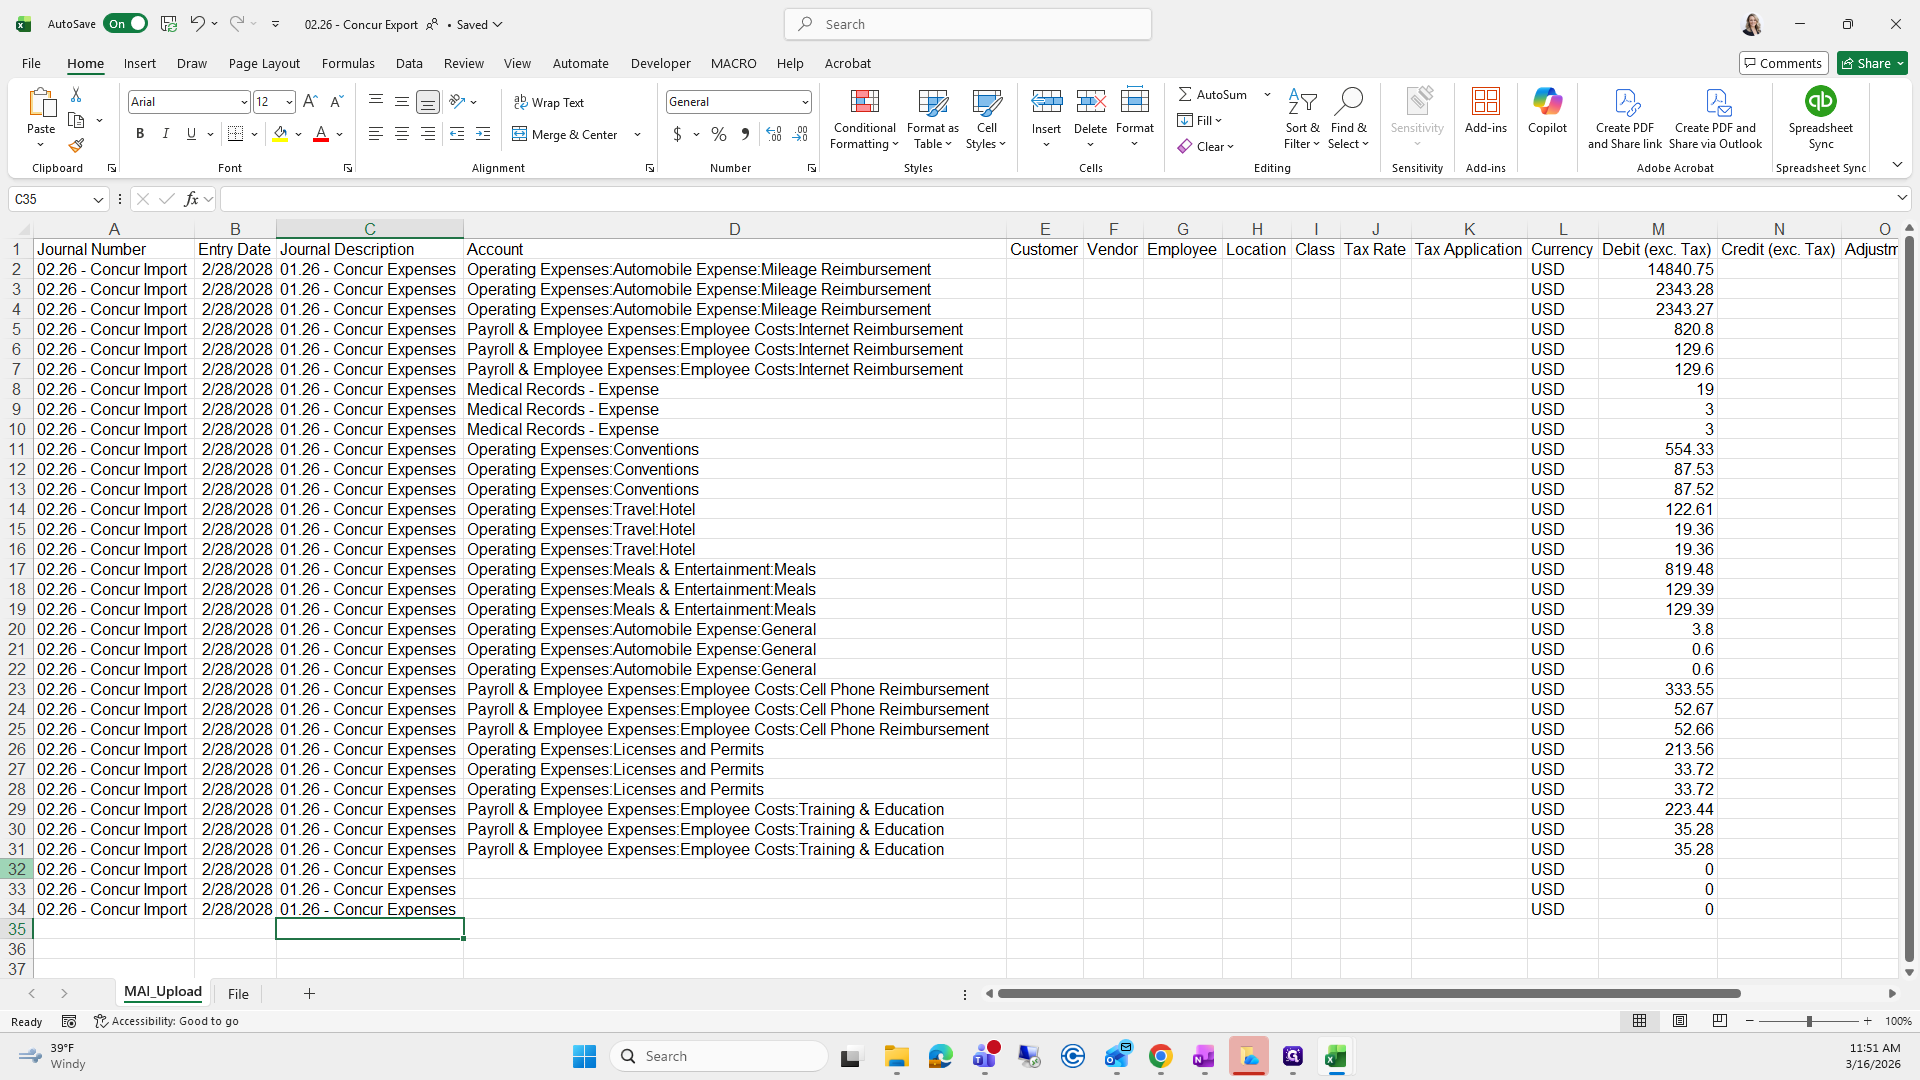
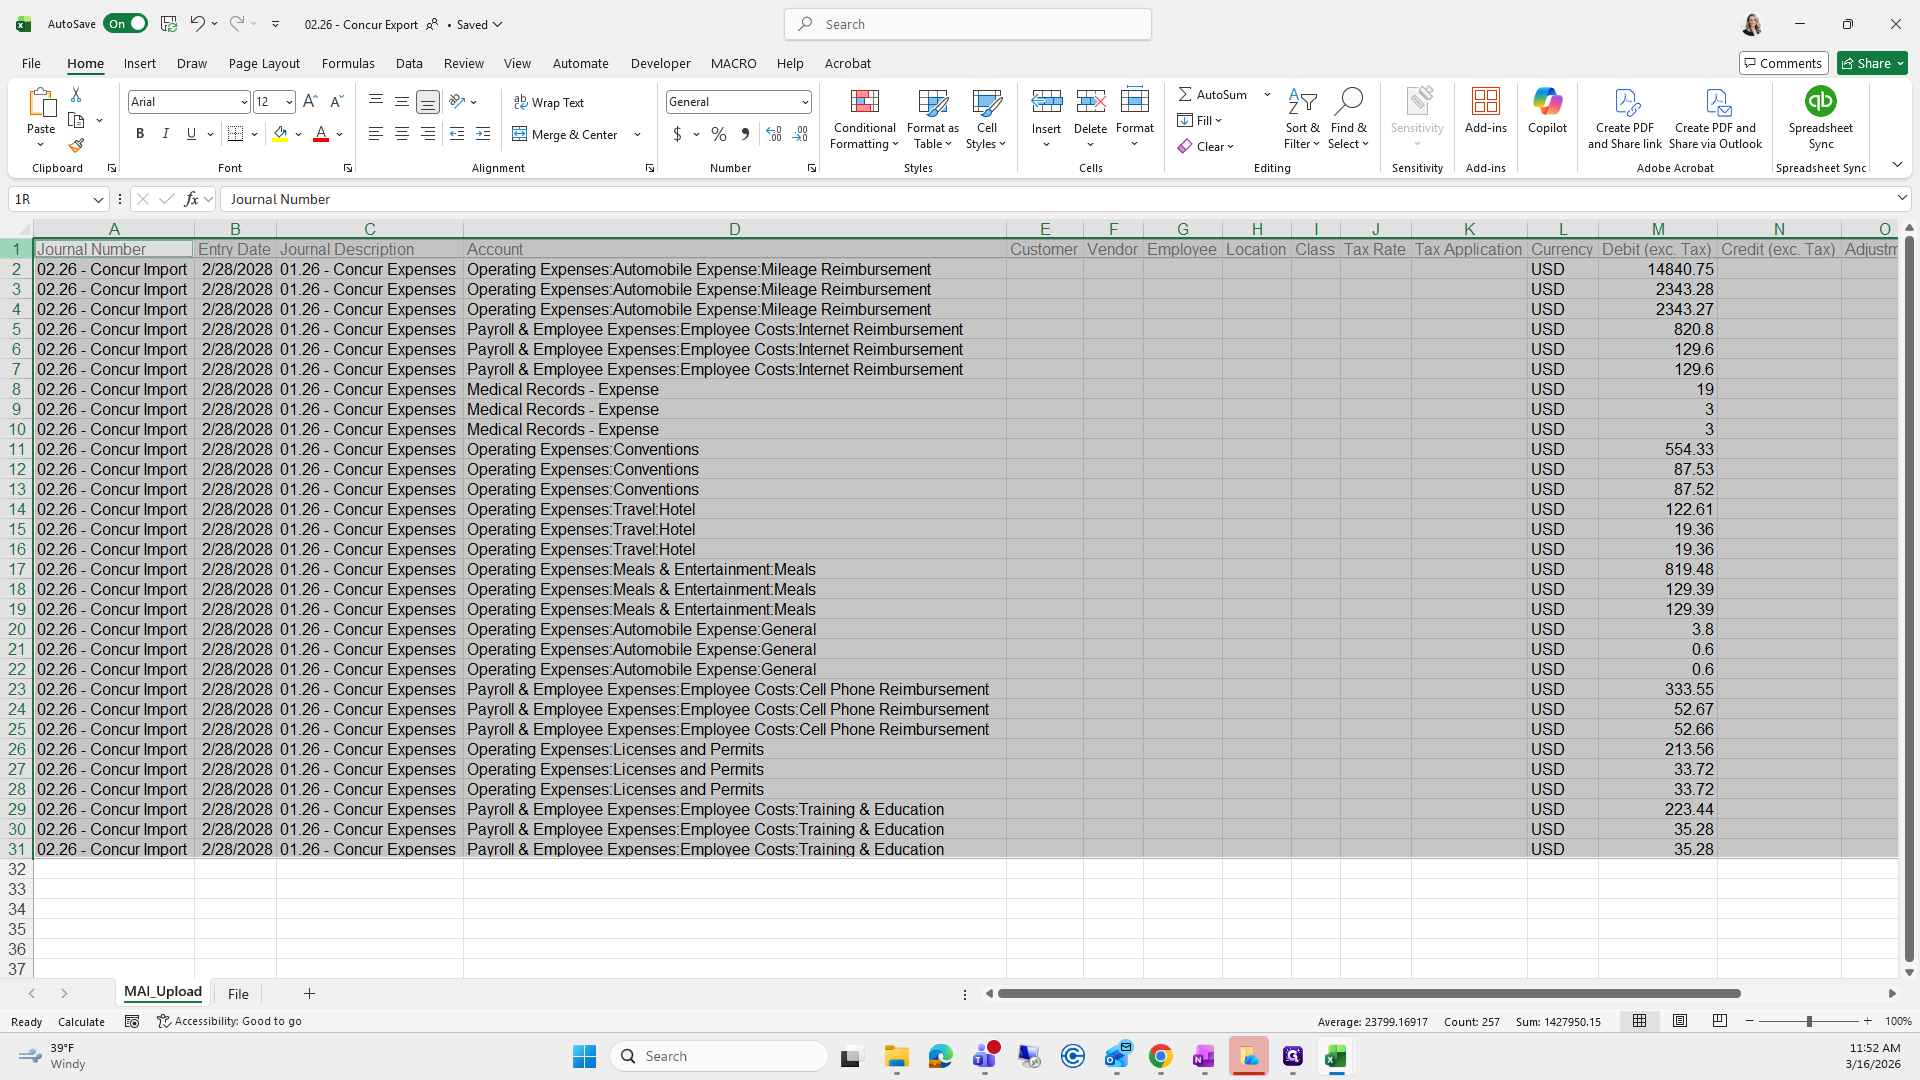
These last three rows are not needed since they are zero.
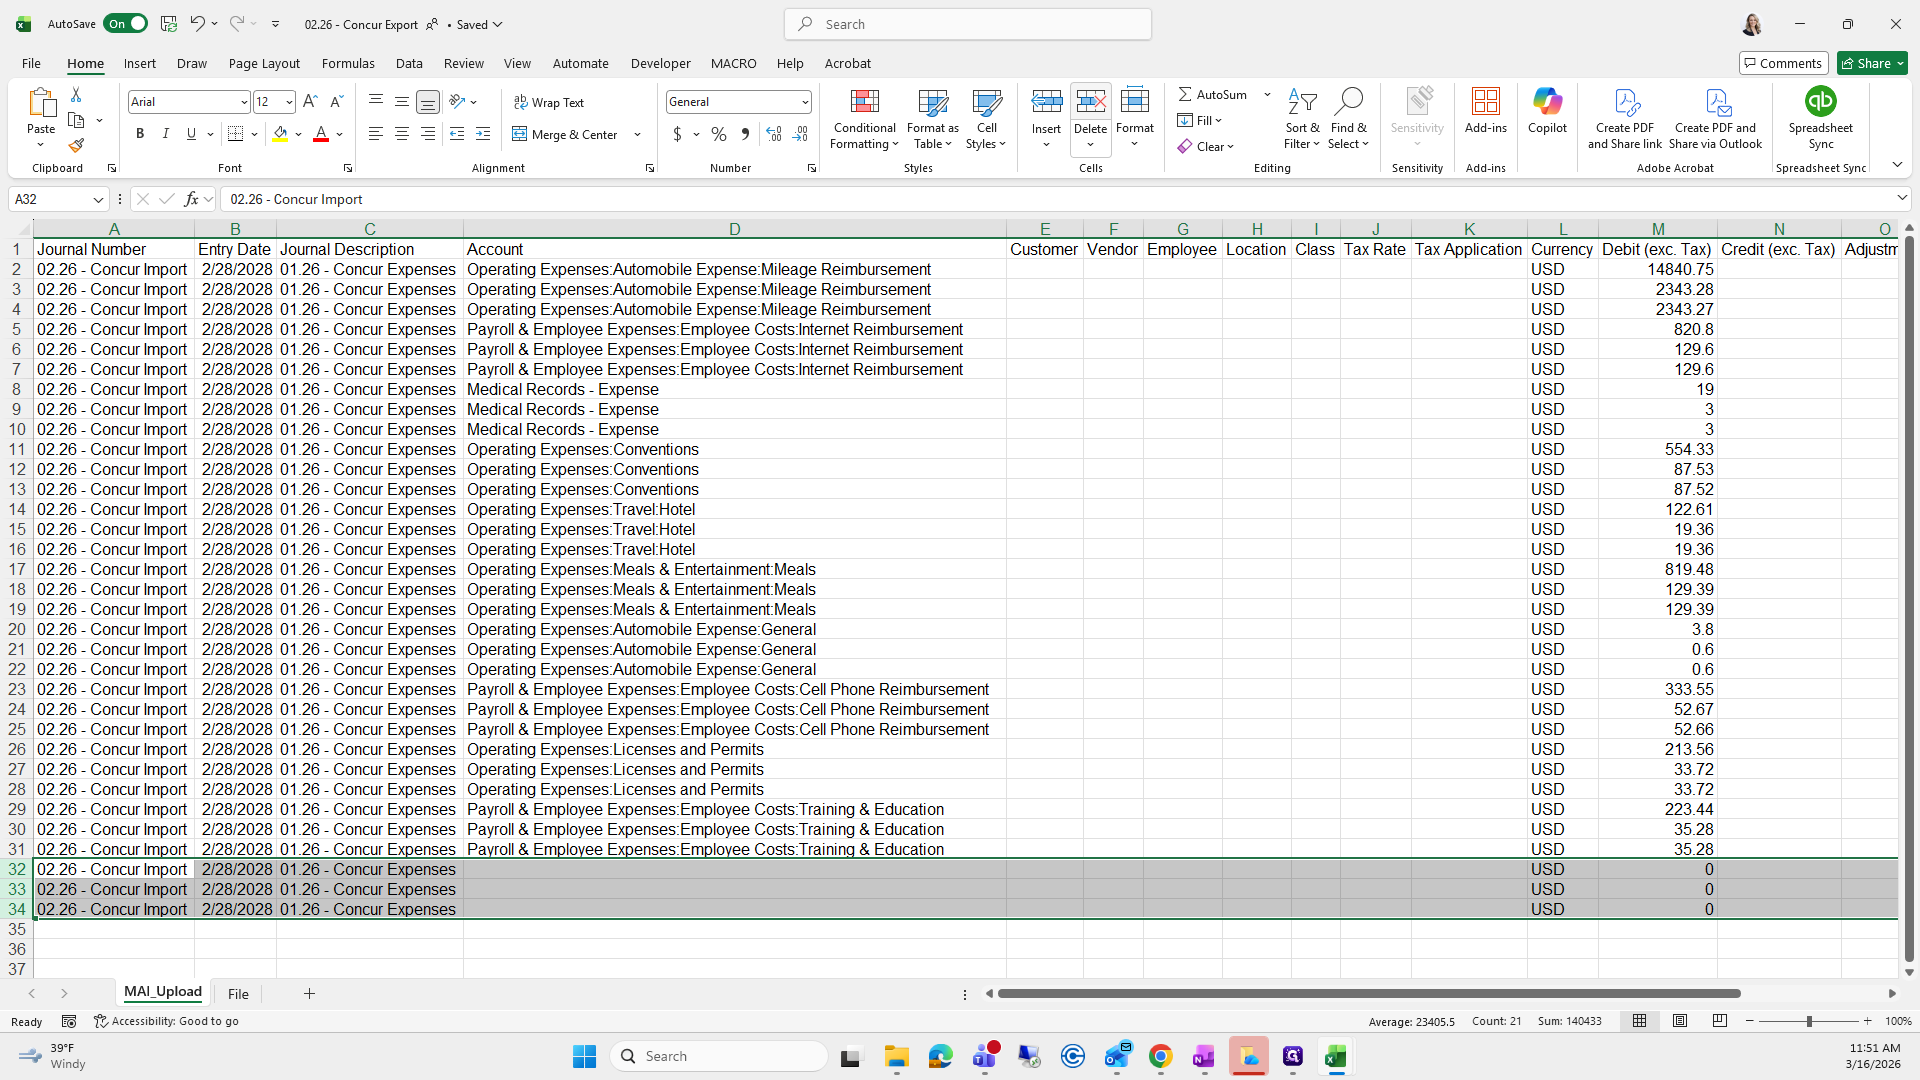
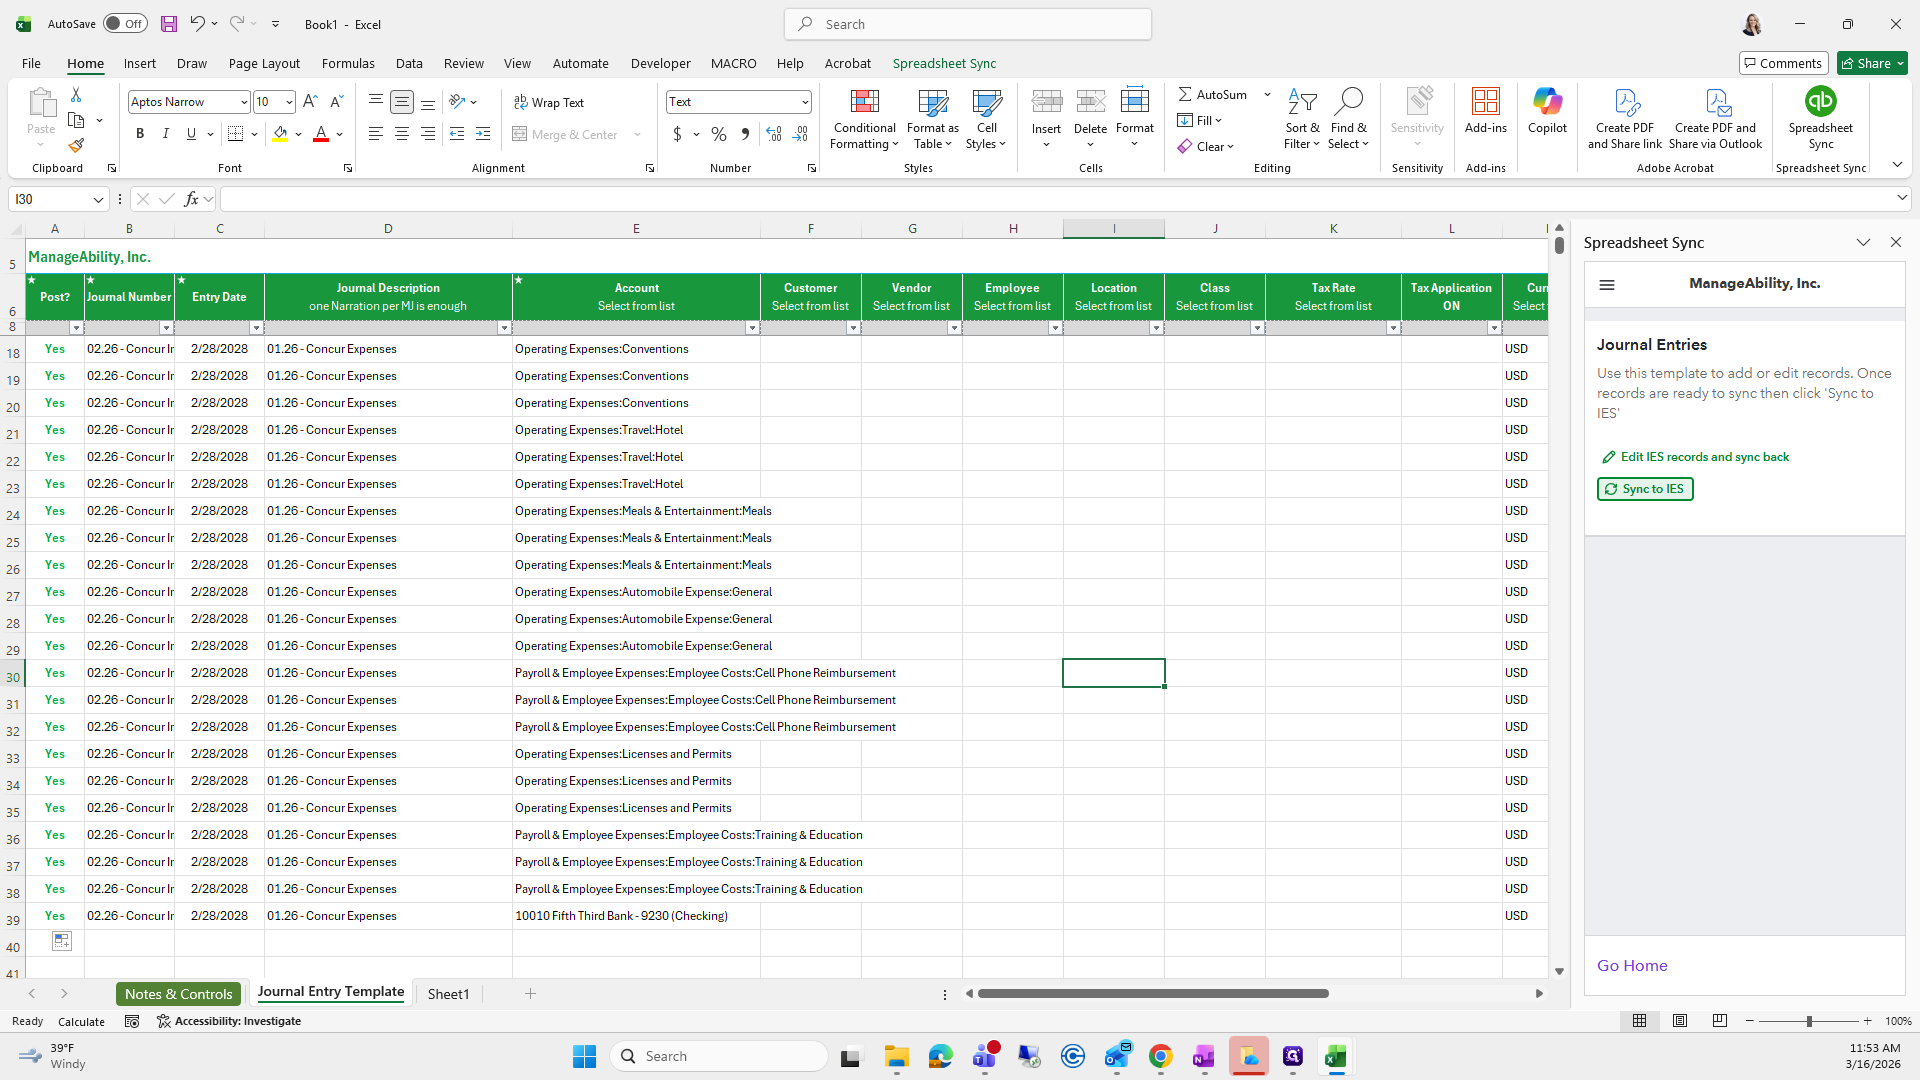
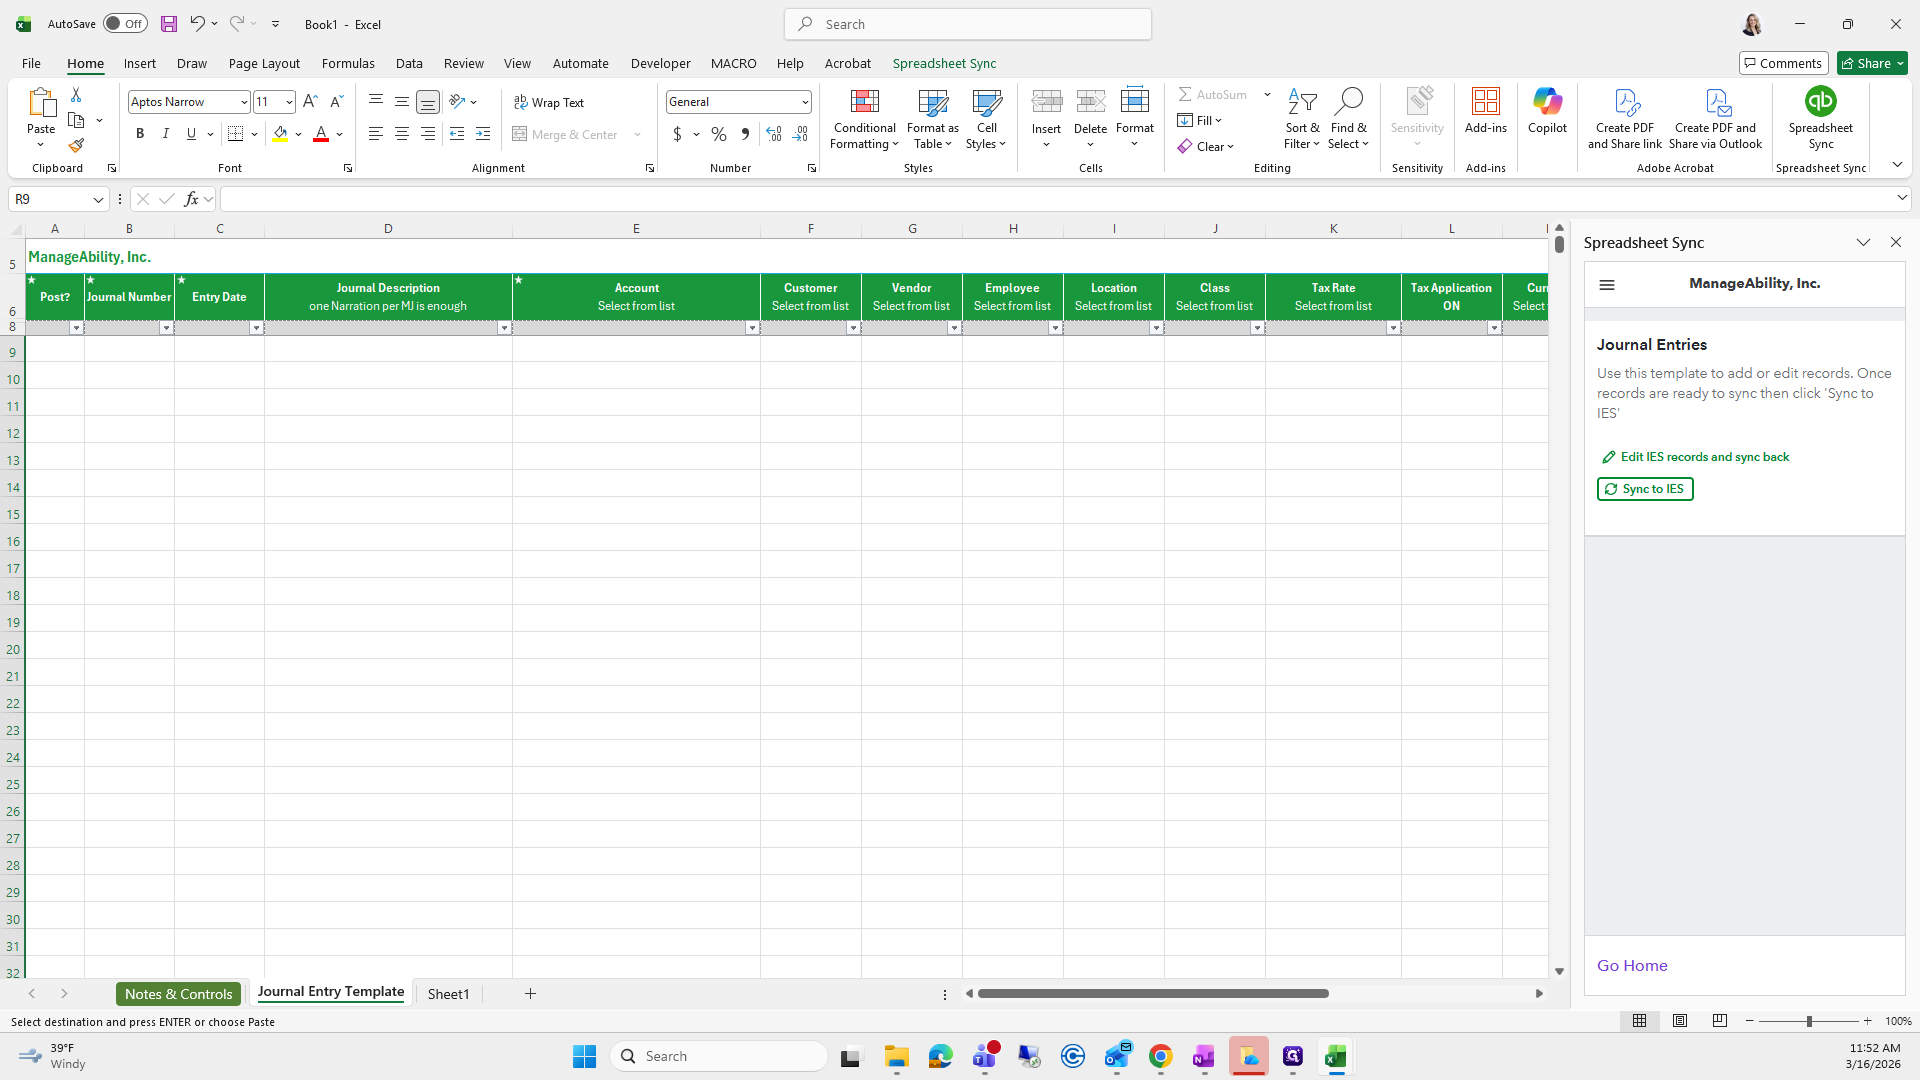
I'm going to press Delete. From here, go to File, select Blank Workbook, then choose Red Sheet Sync. You can use this option as well.
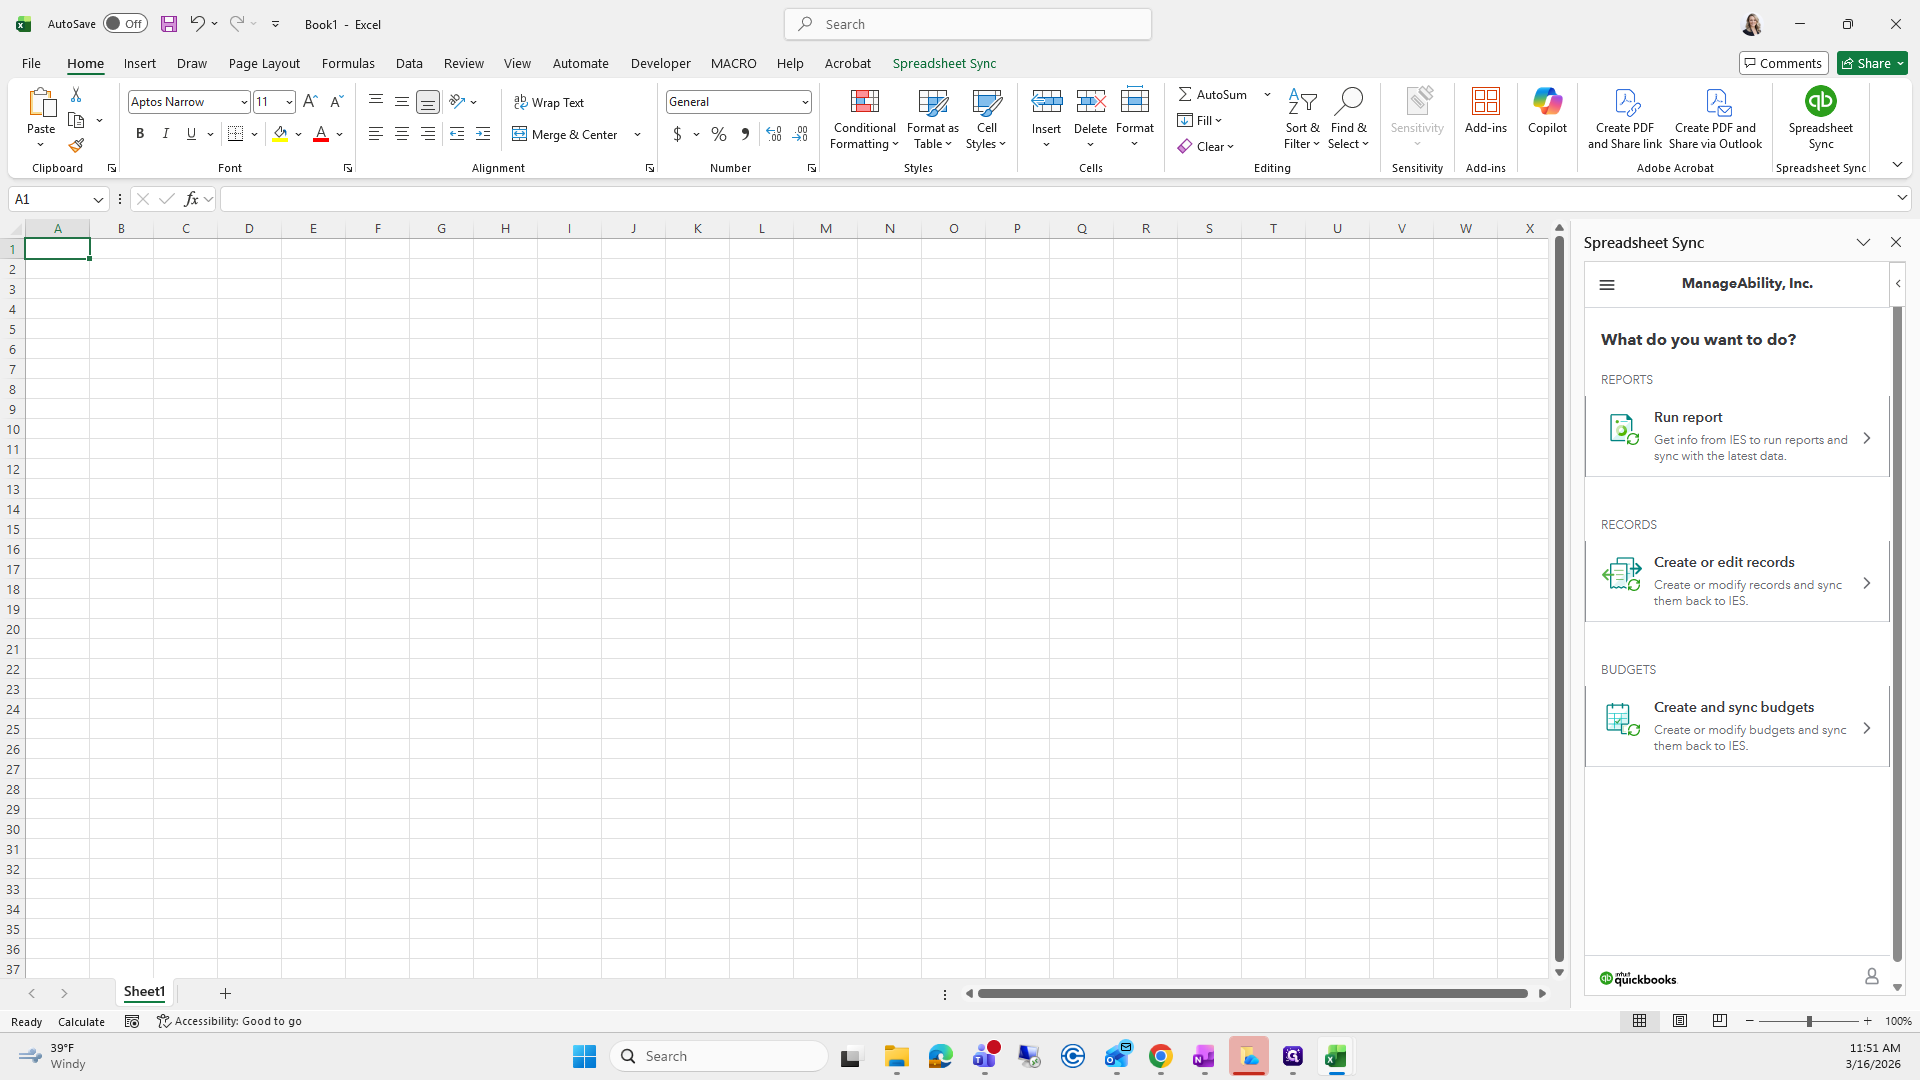
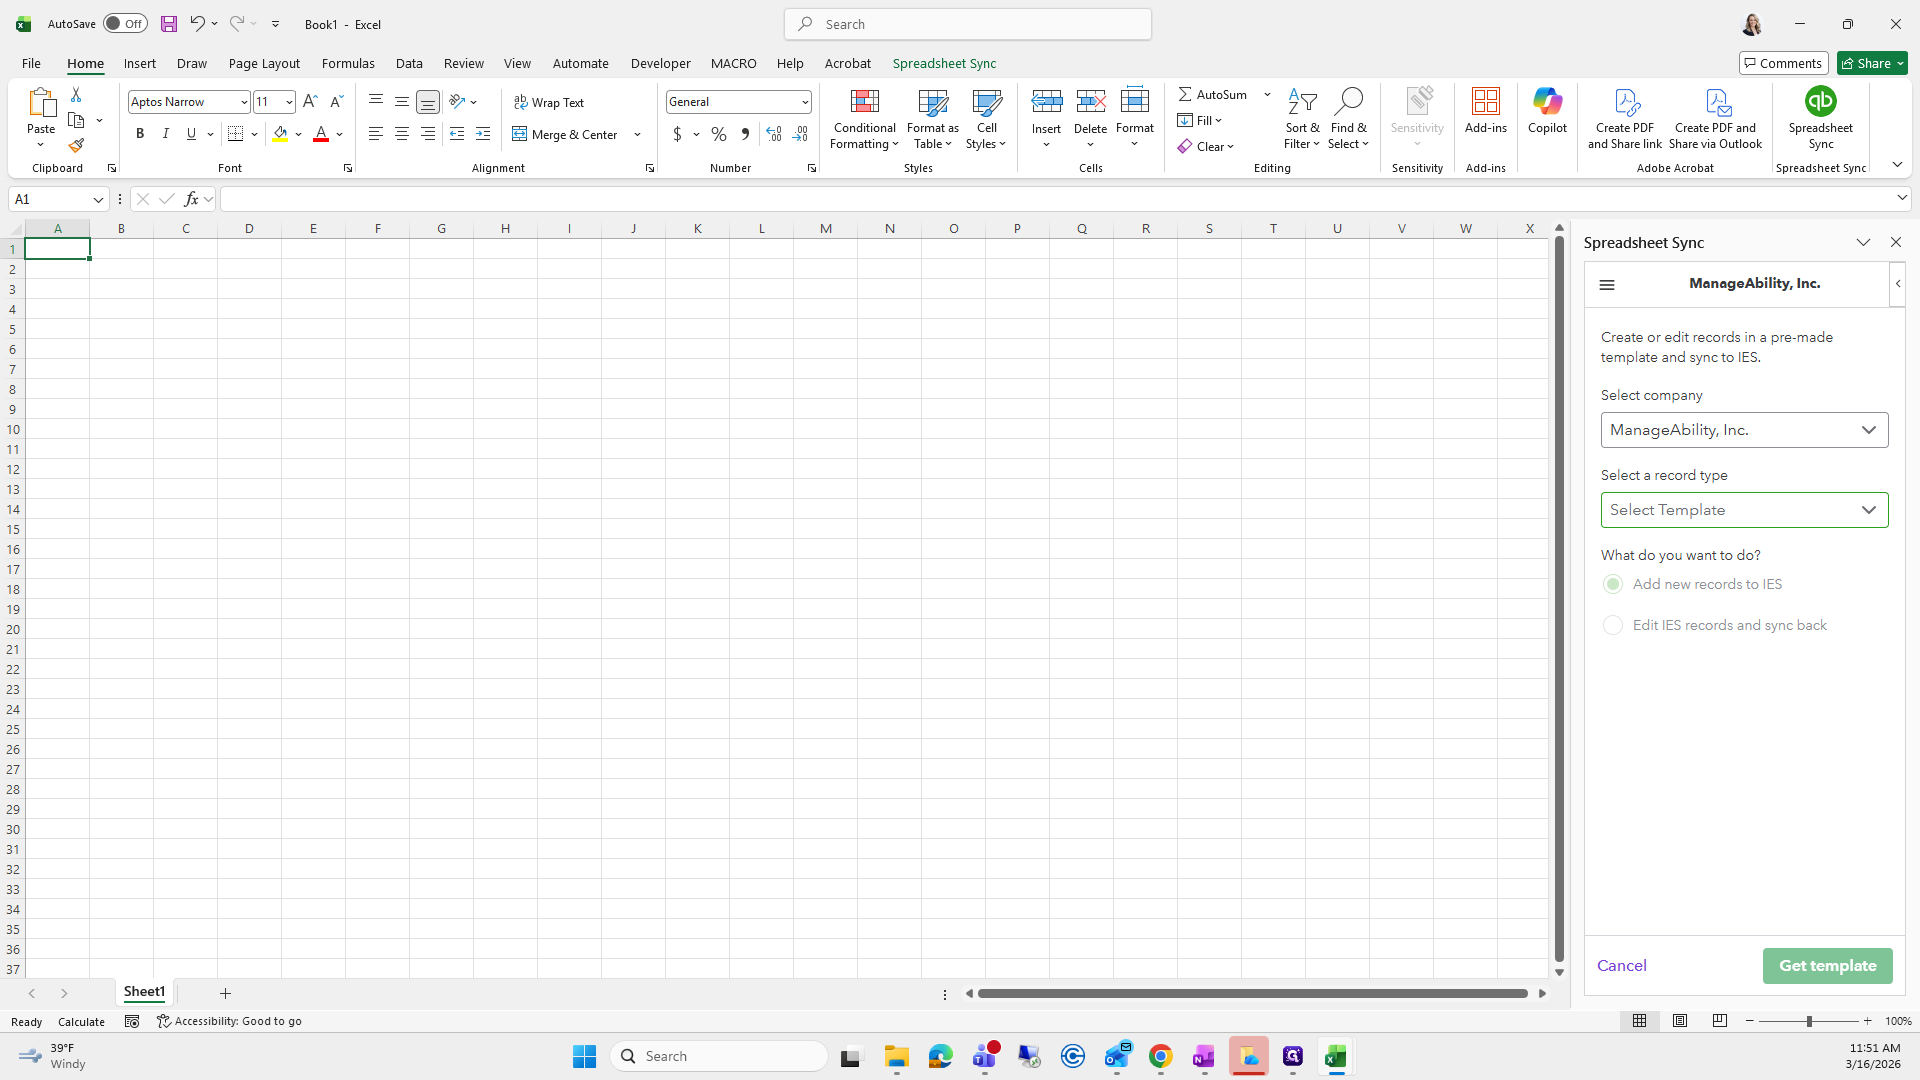
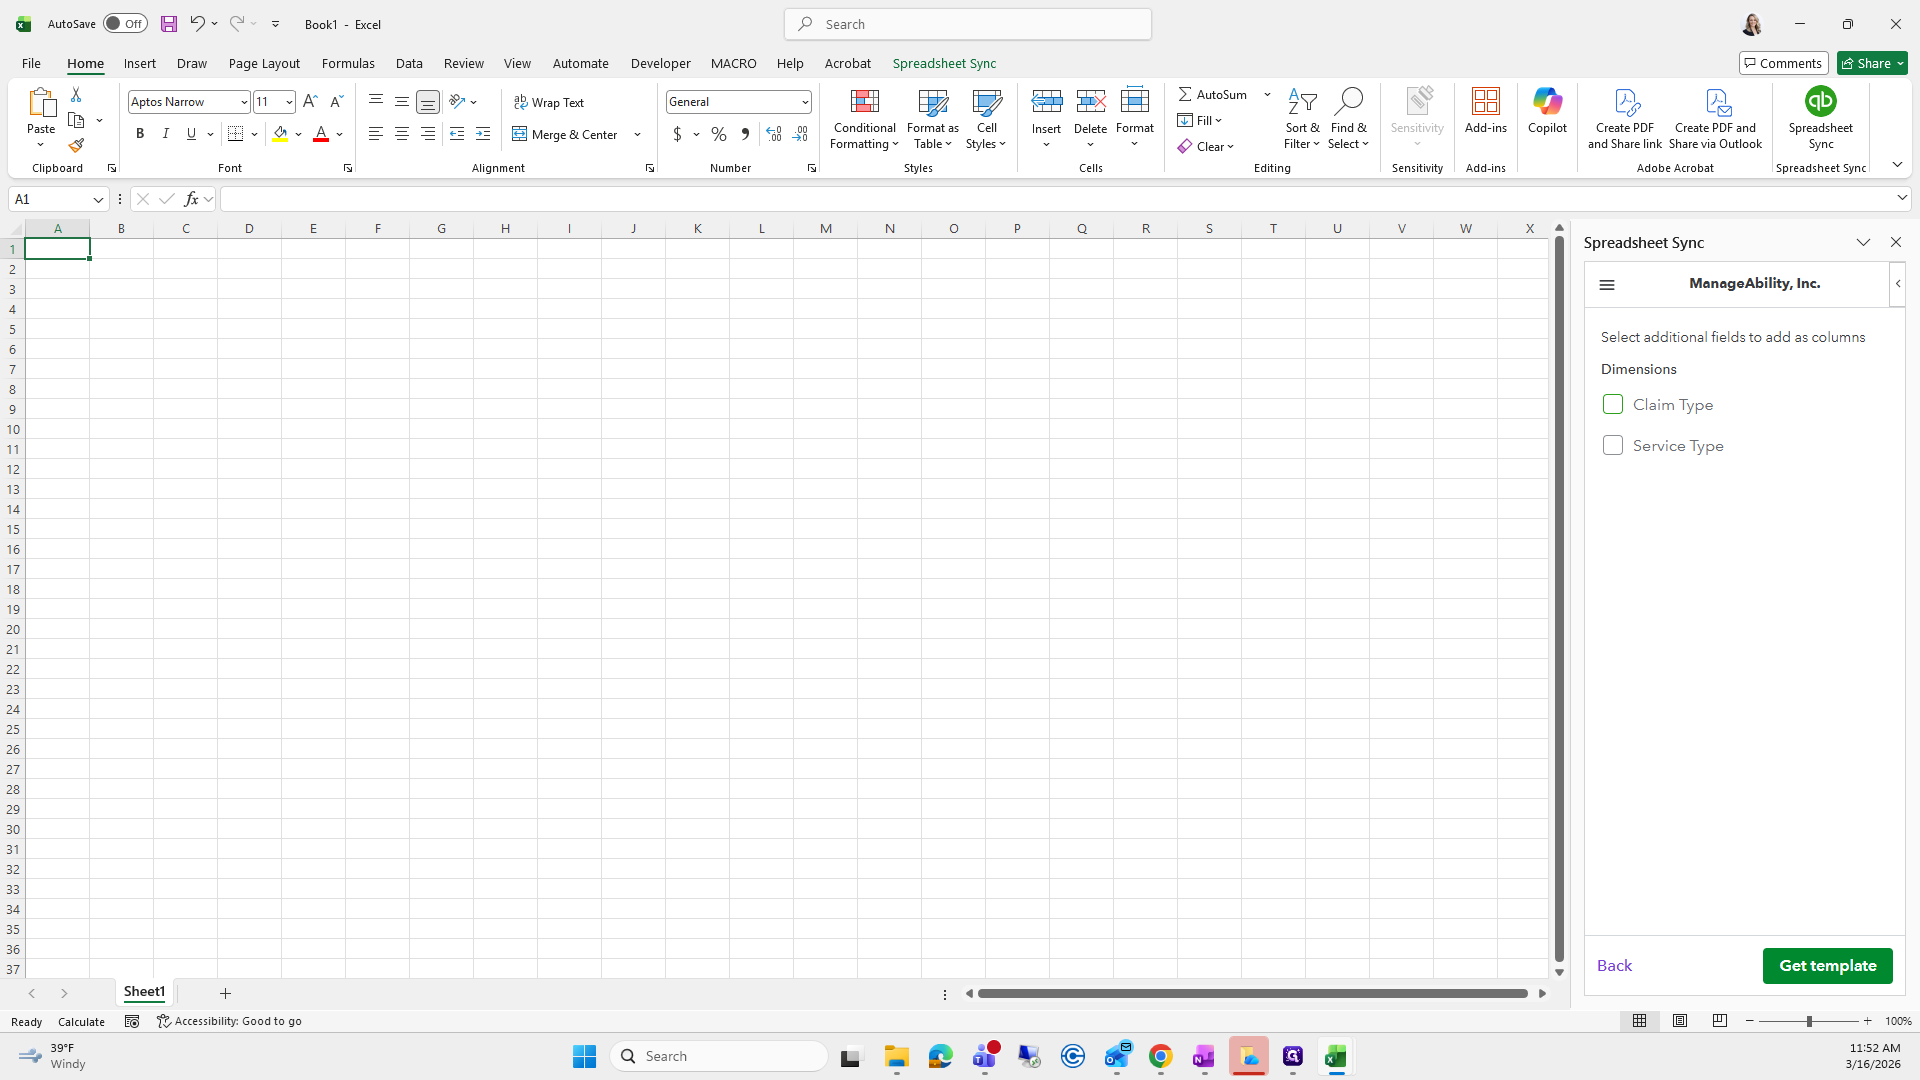
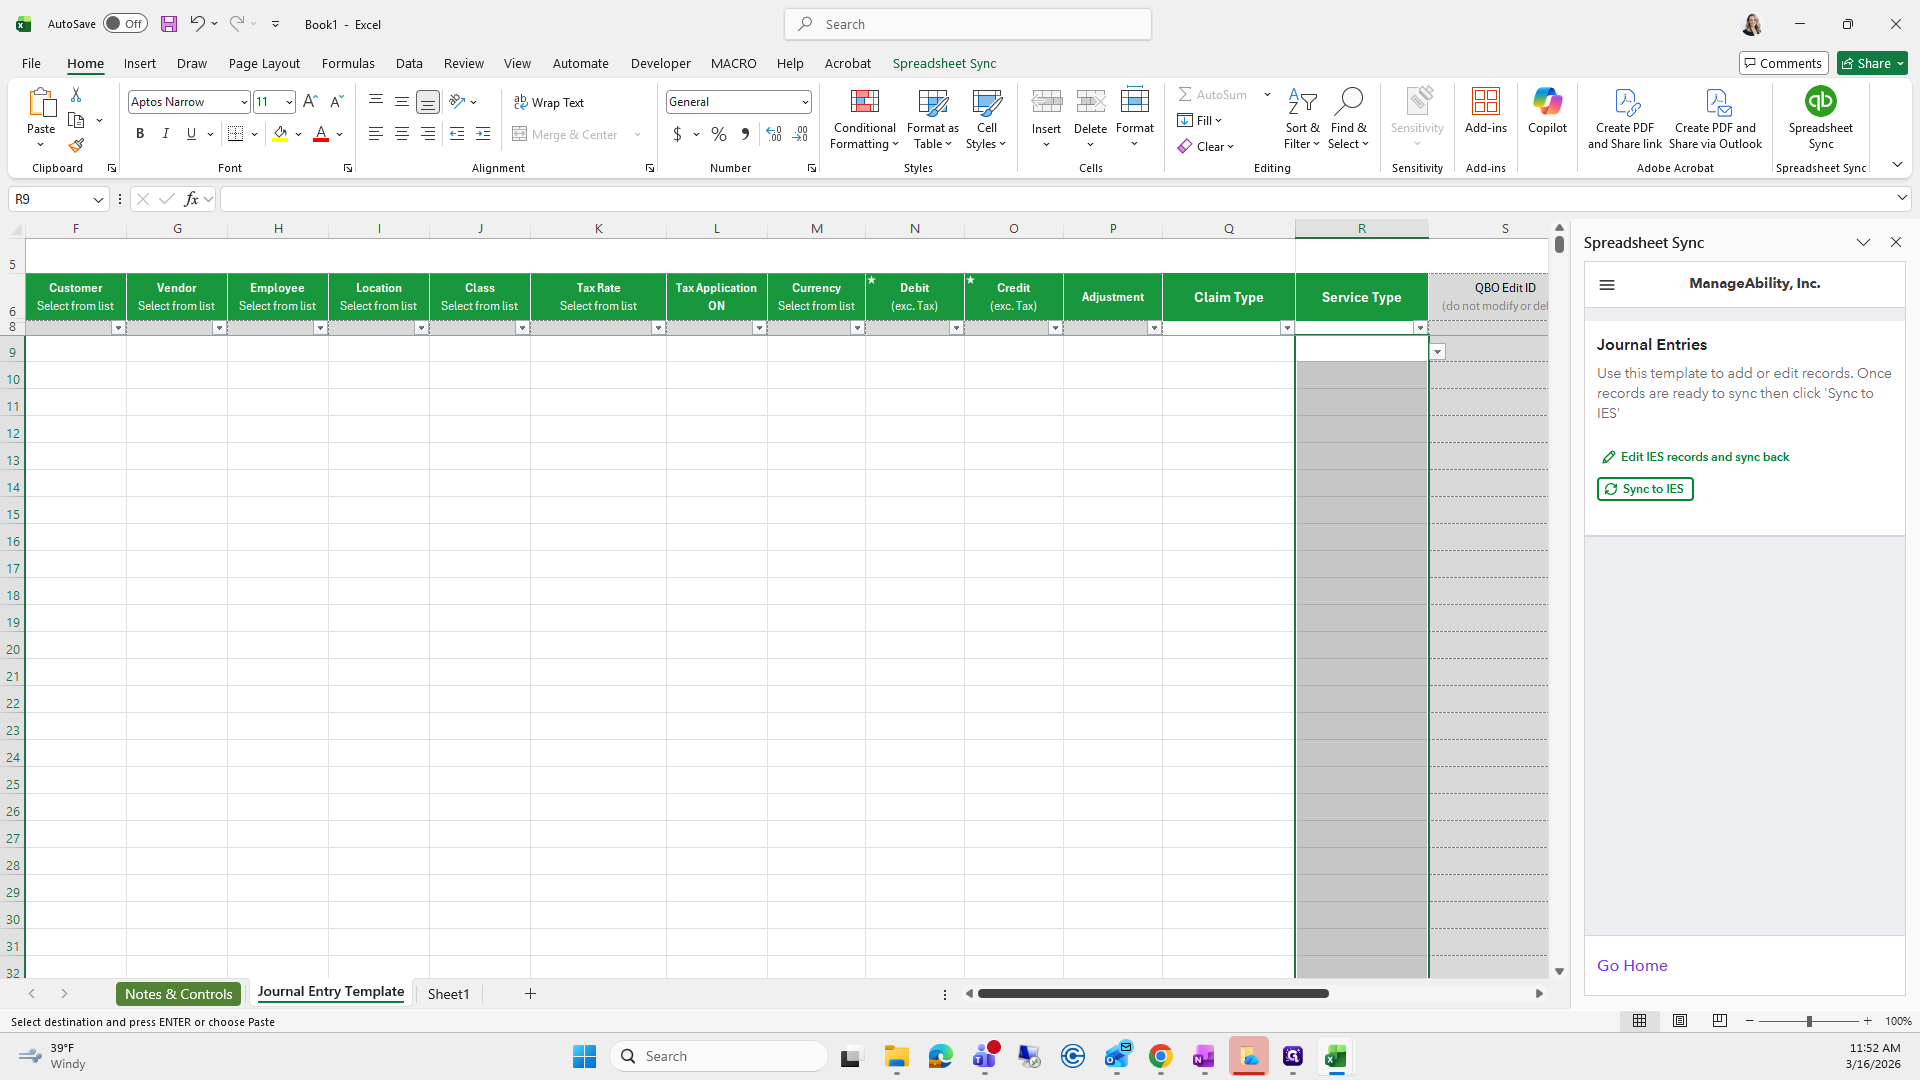
Go to Manageability.
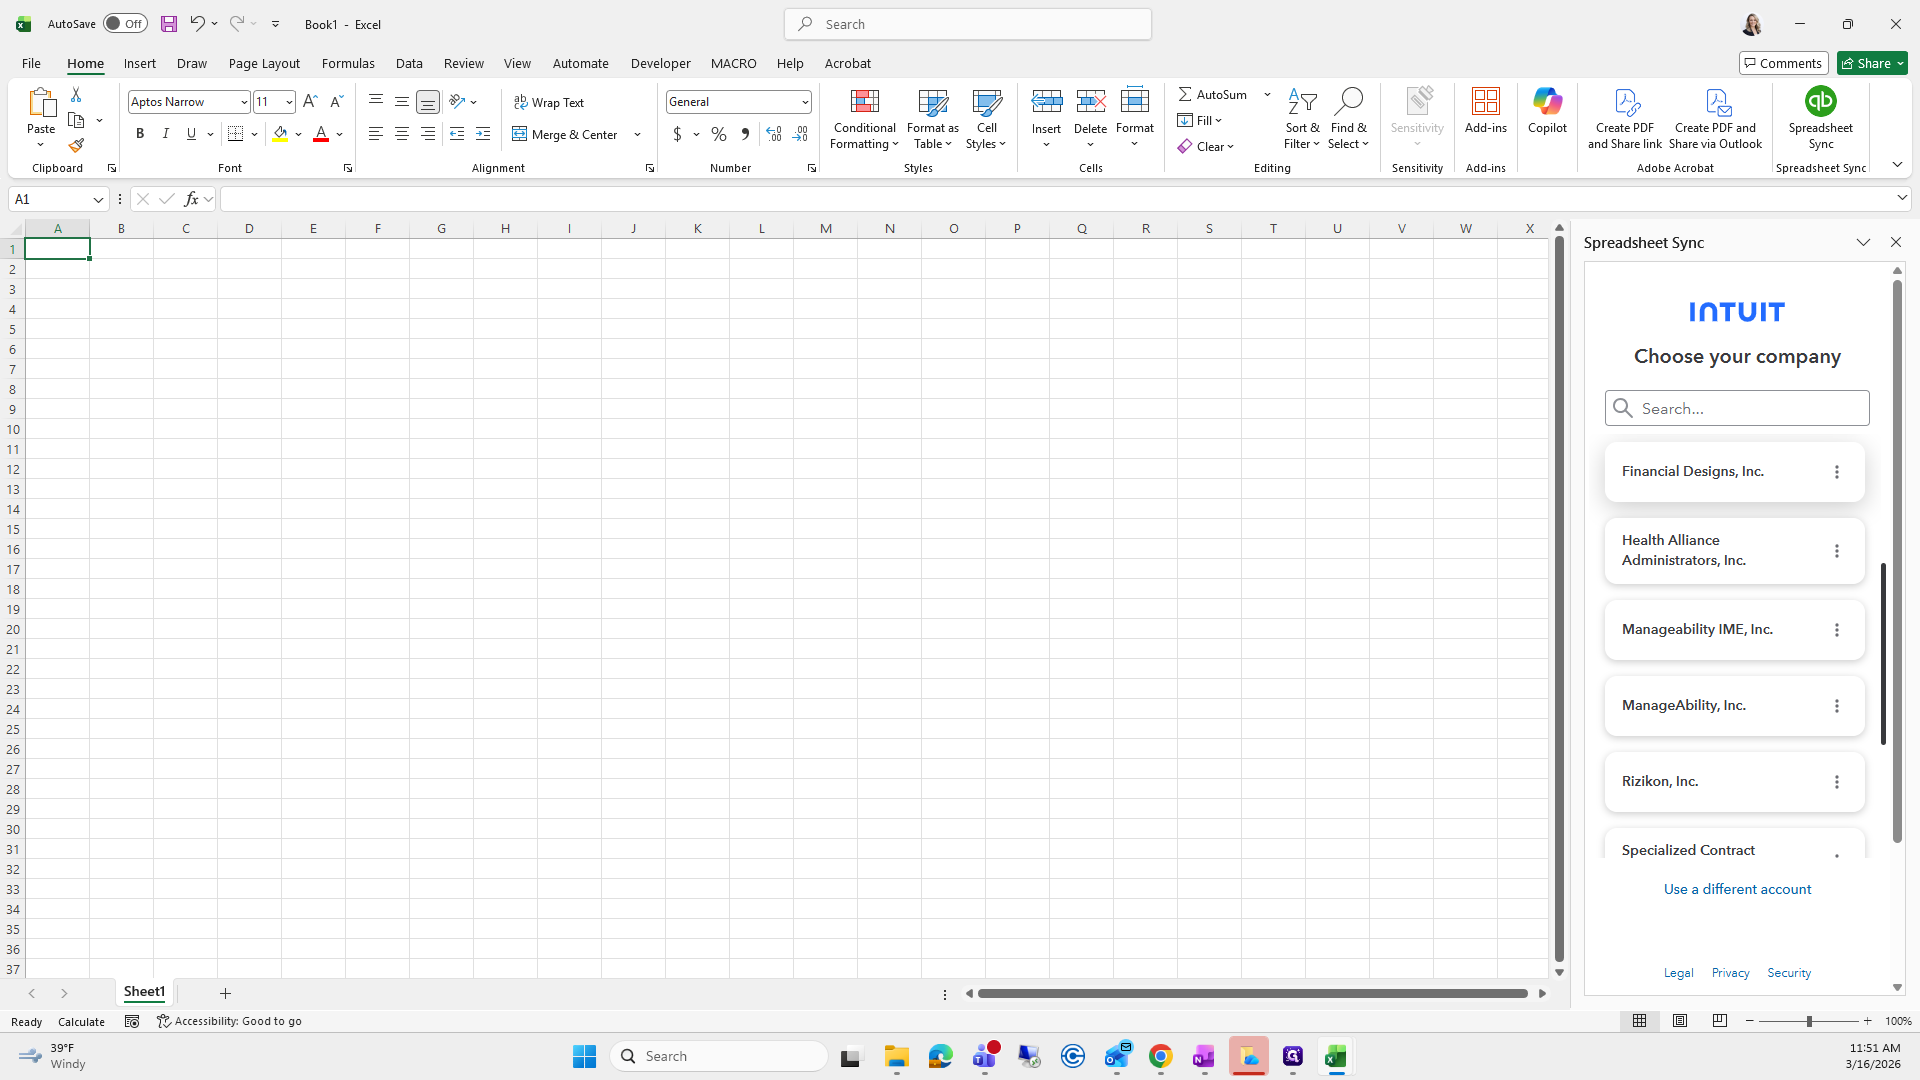
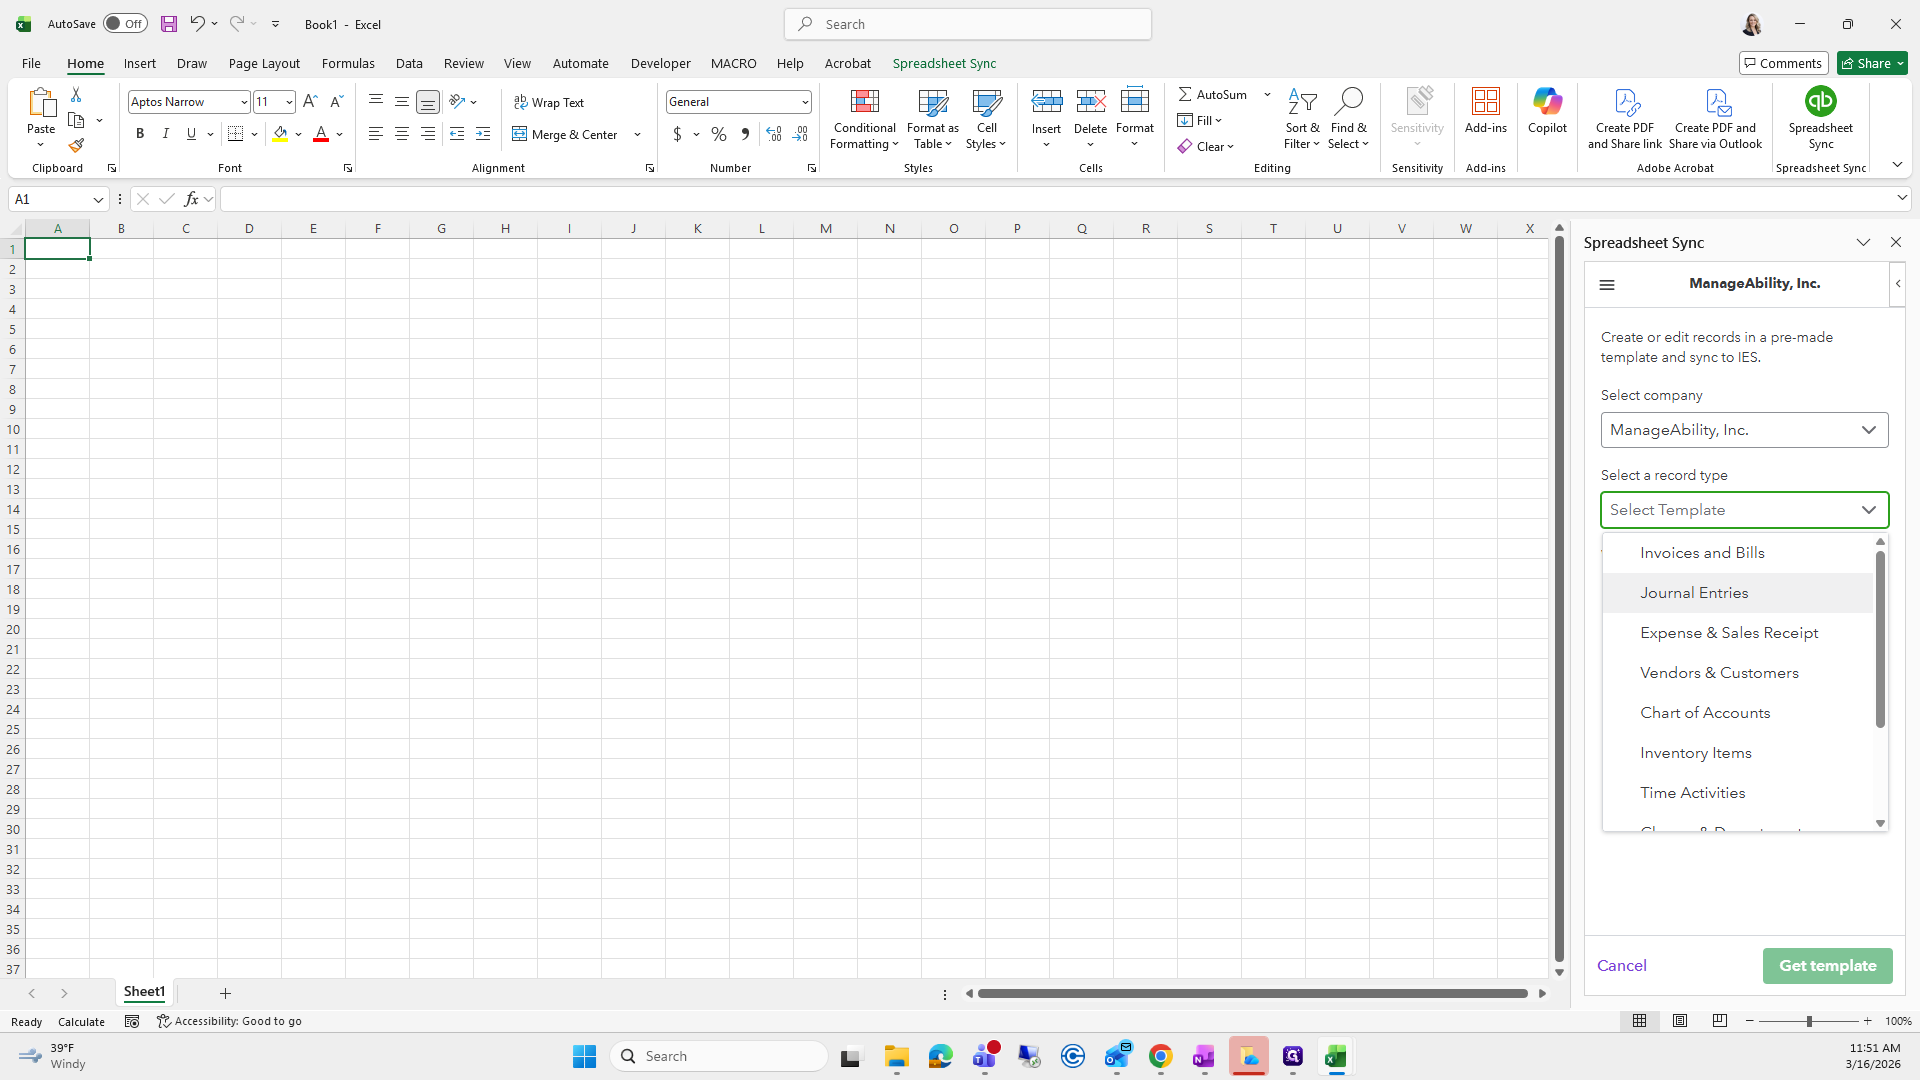
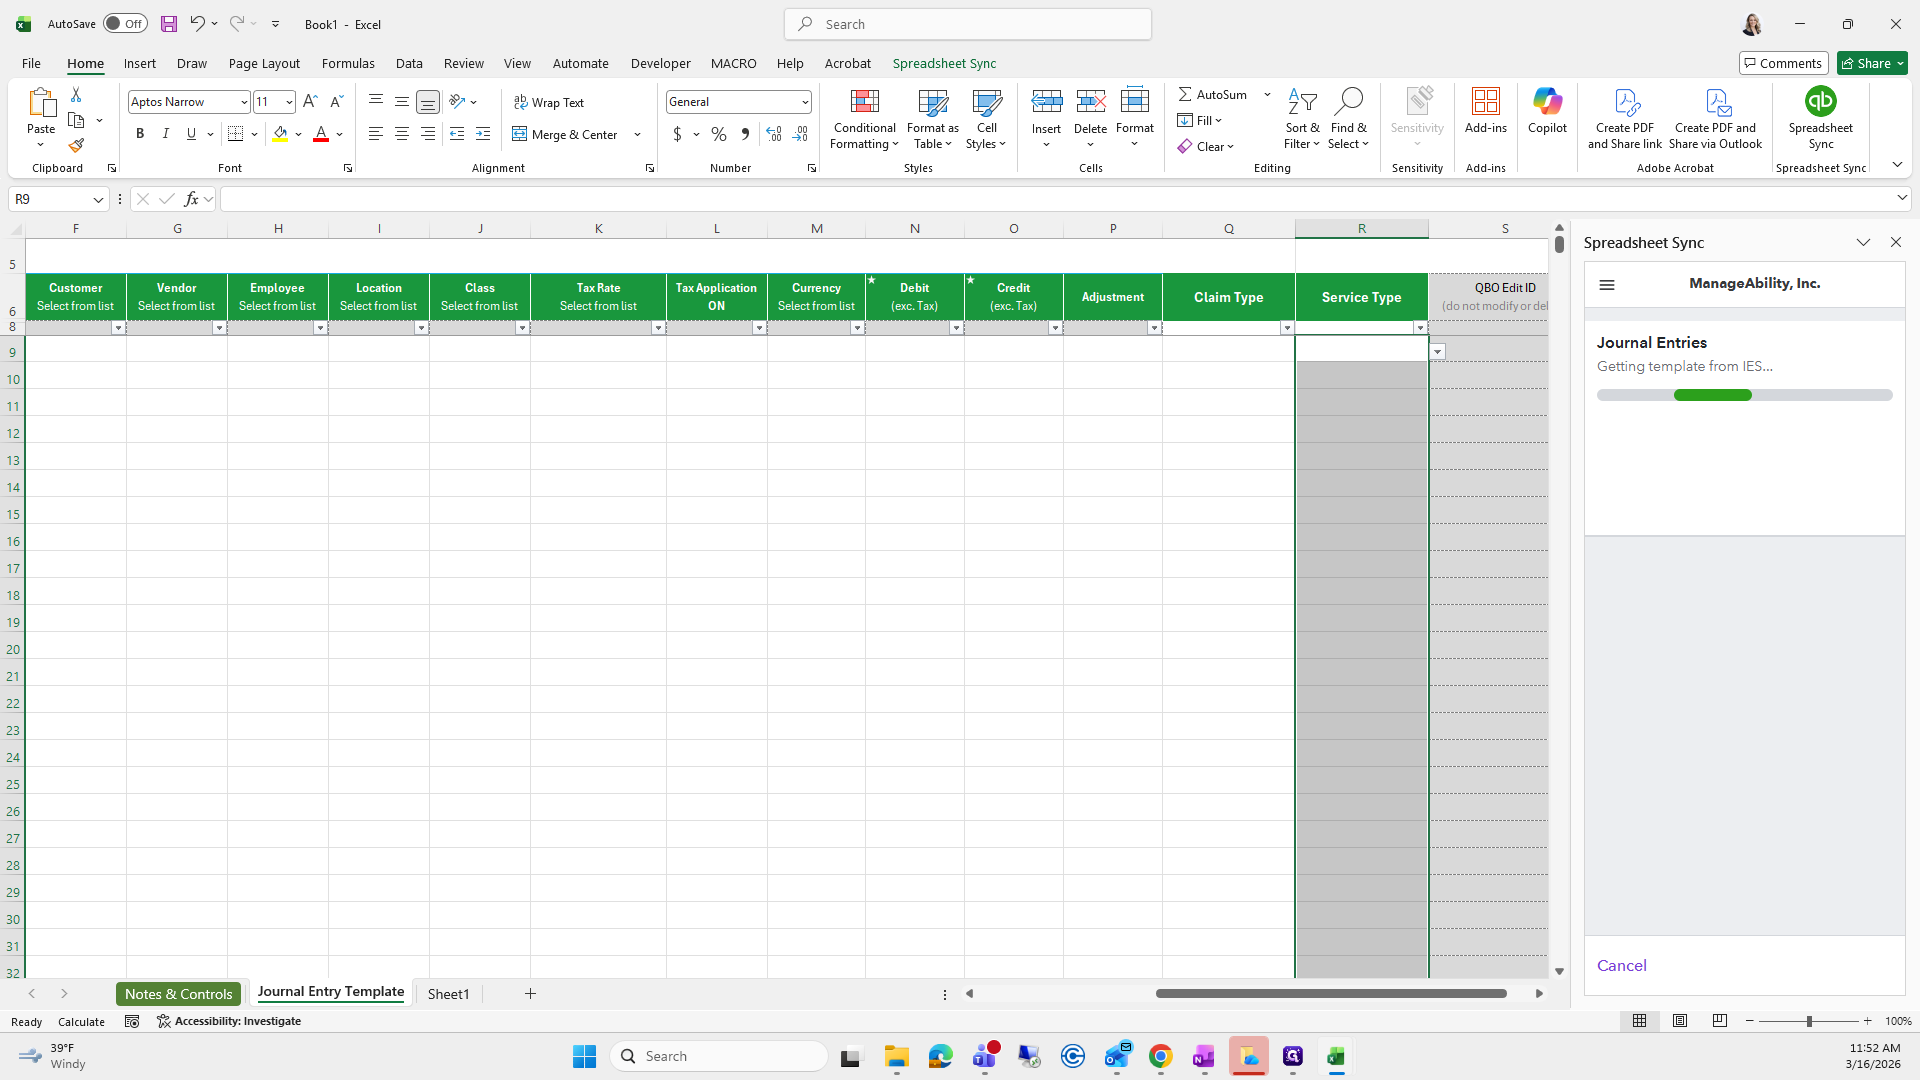
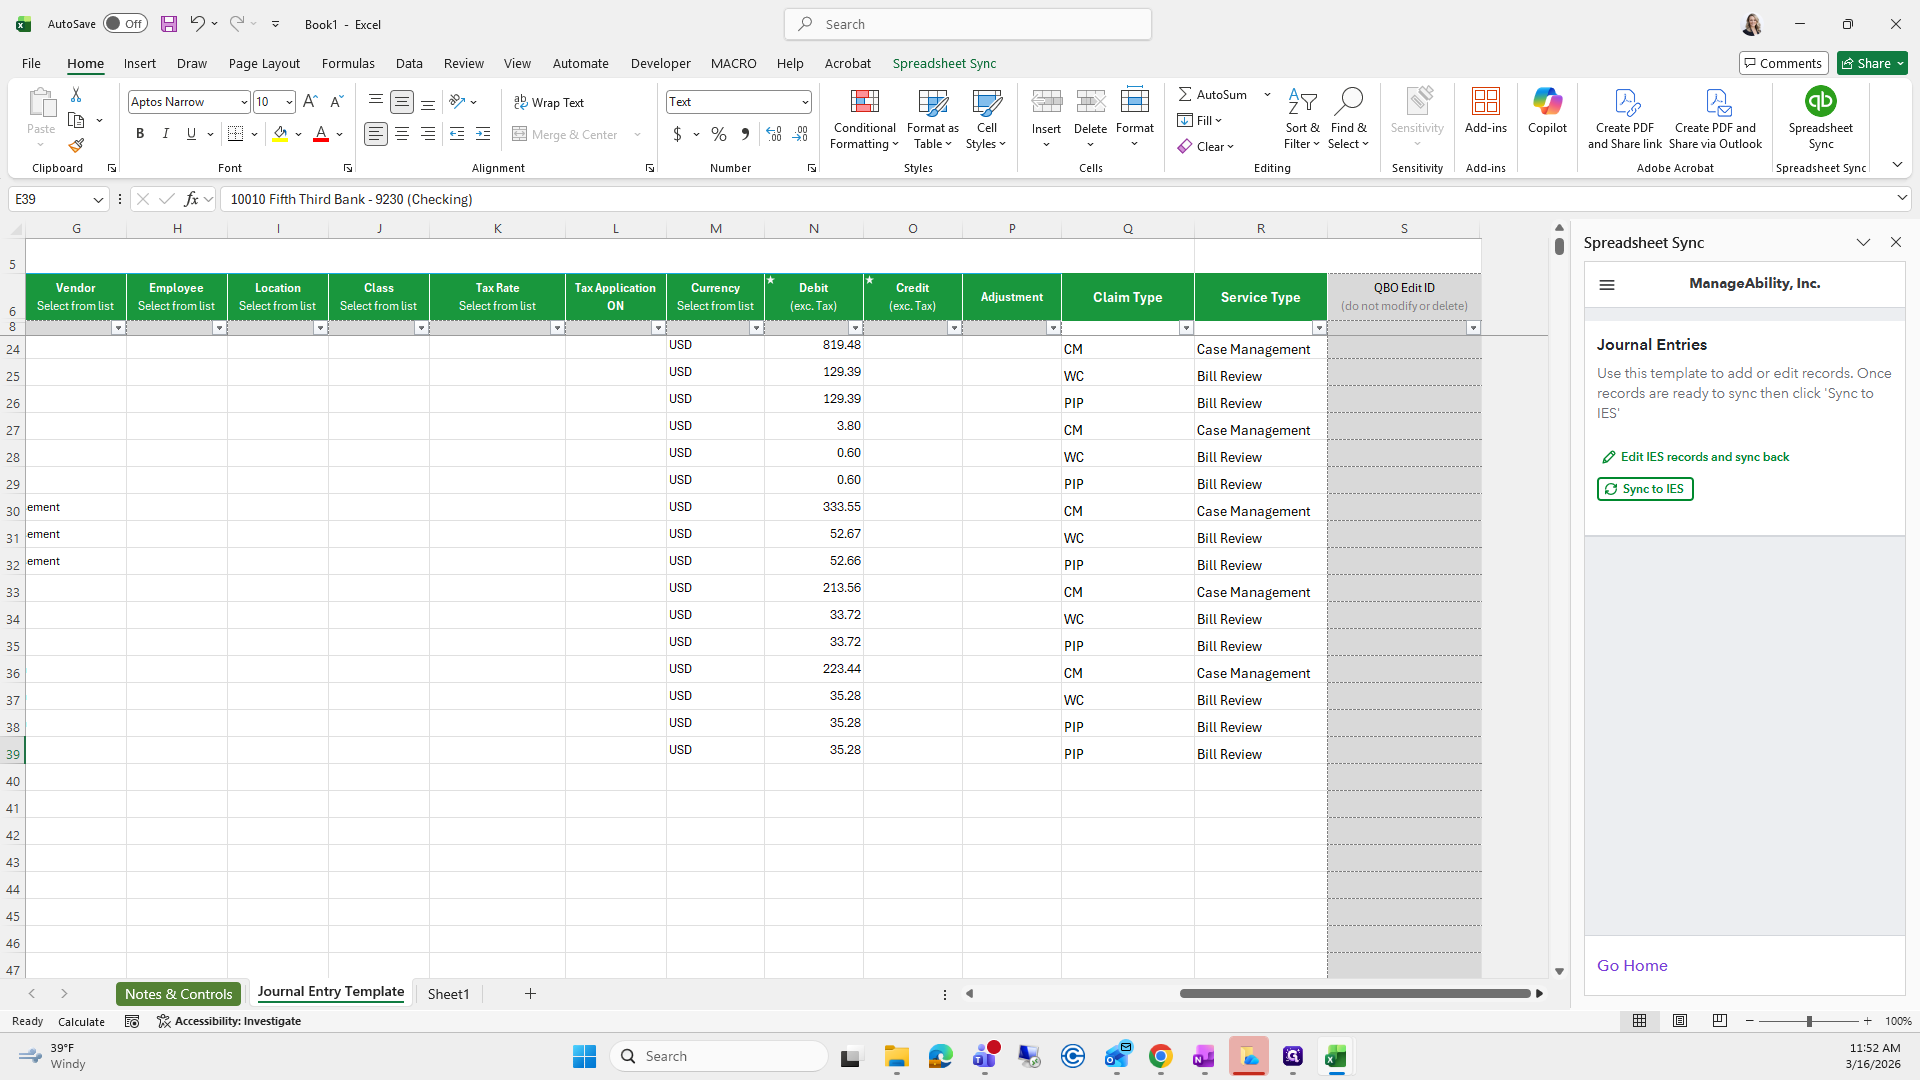
Choose Create or Edit Records. Set company manageability and the record type of journal entries. Add new records to IES. Select dimension columns, claim type, and service type. Click Template.
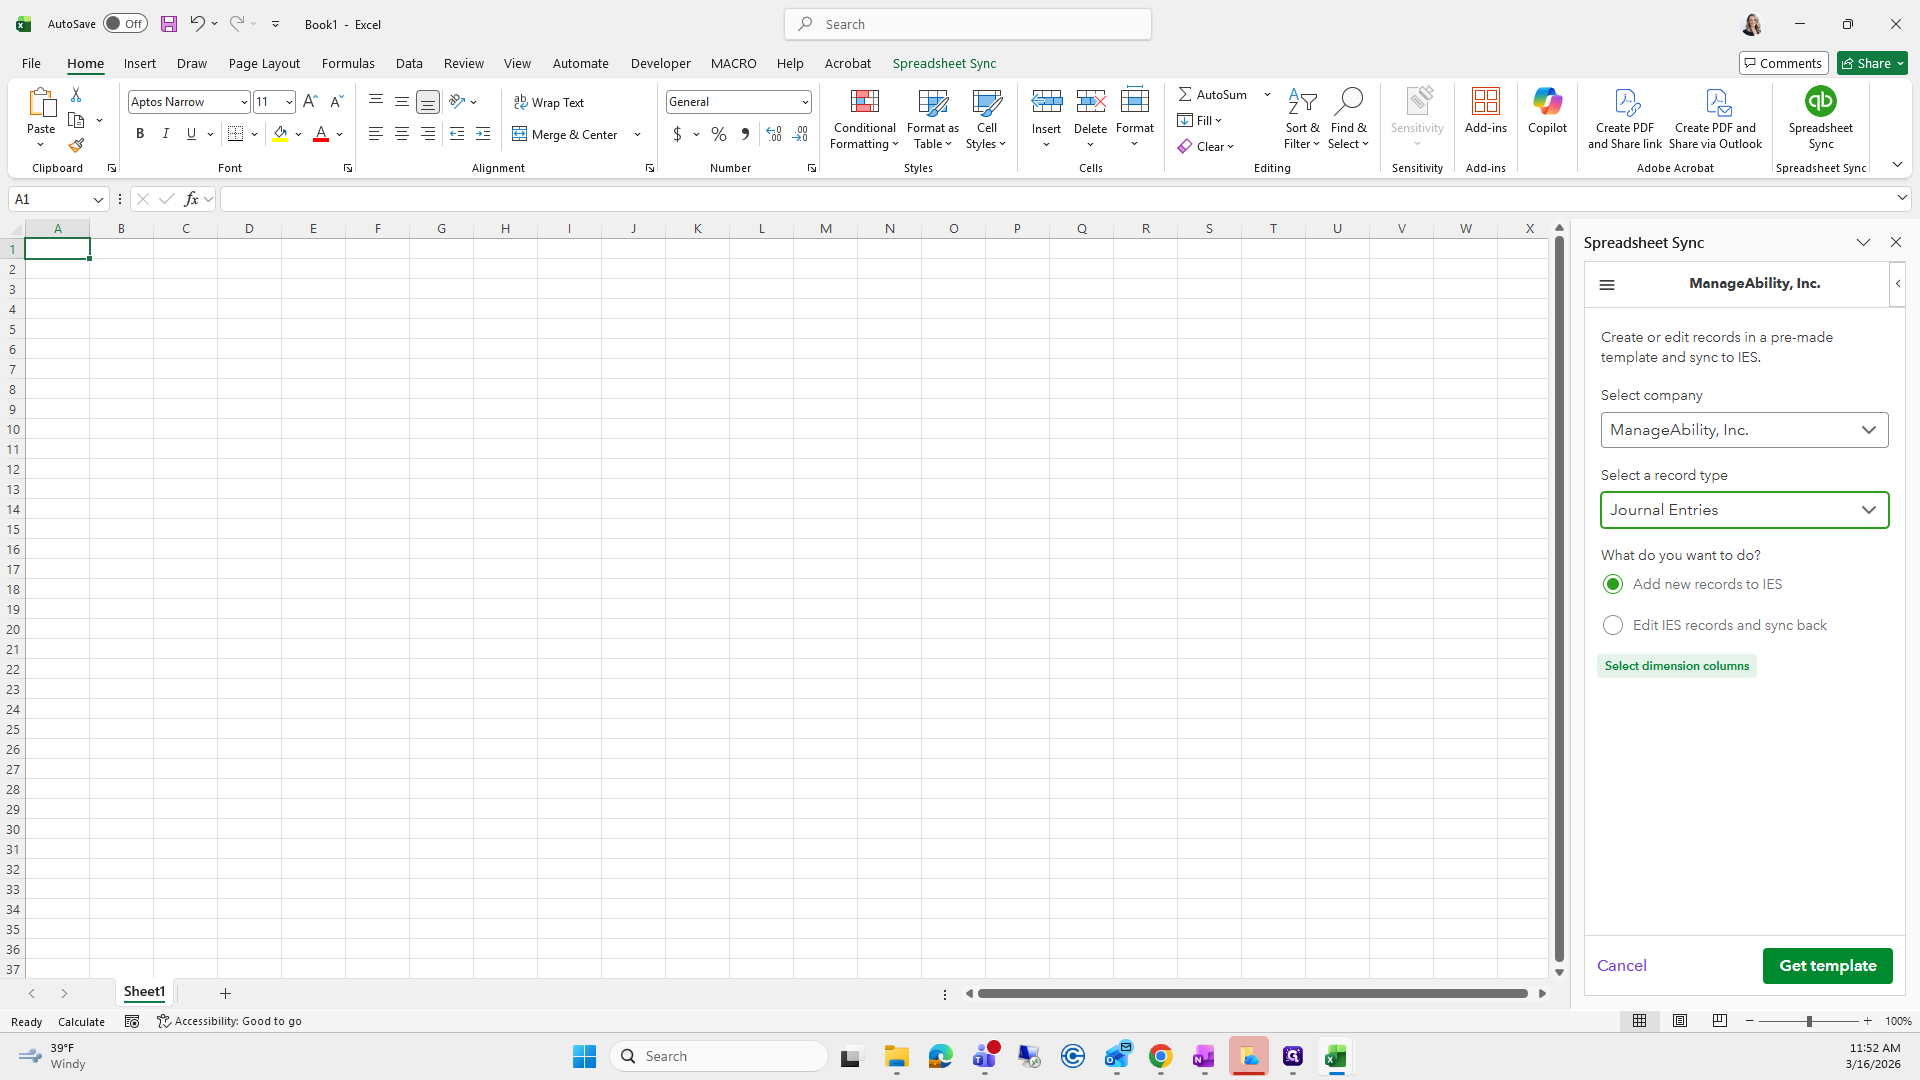


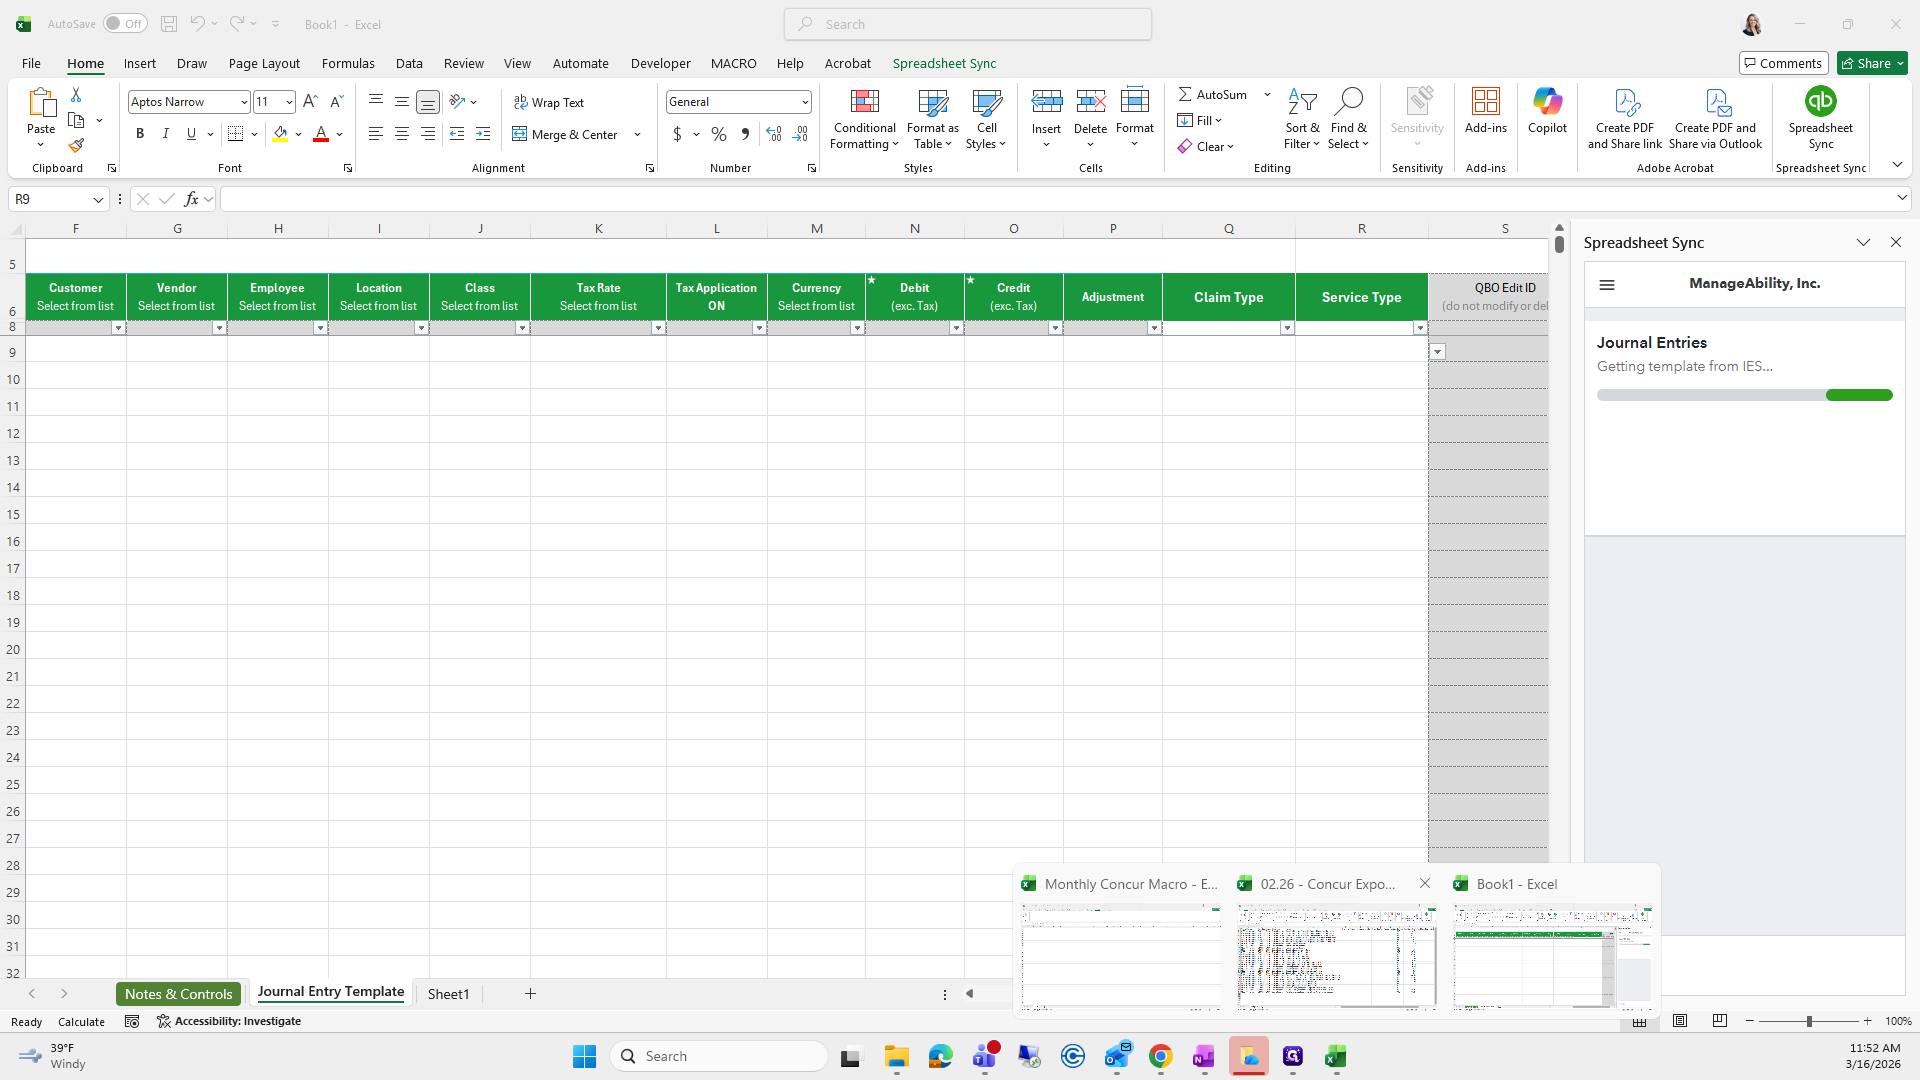
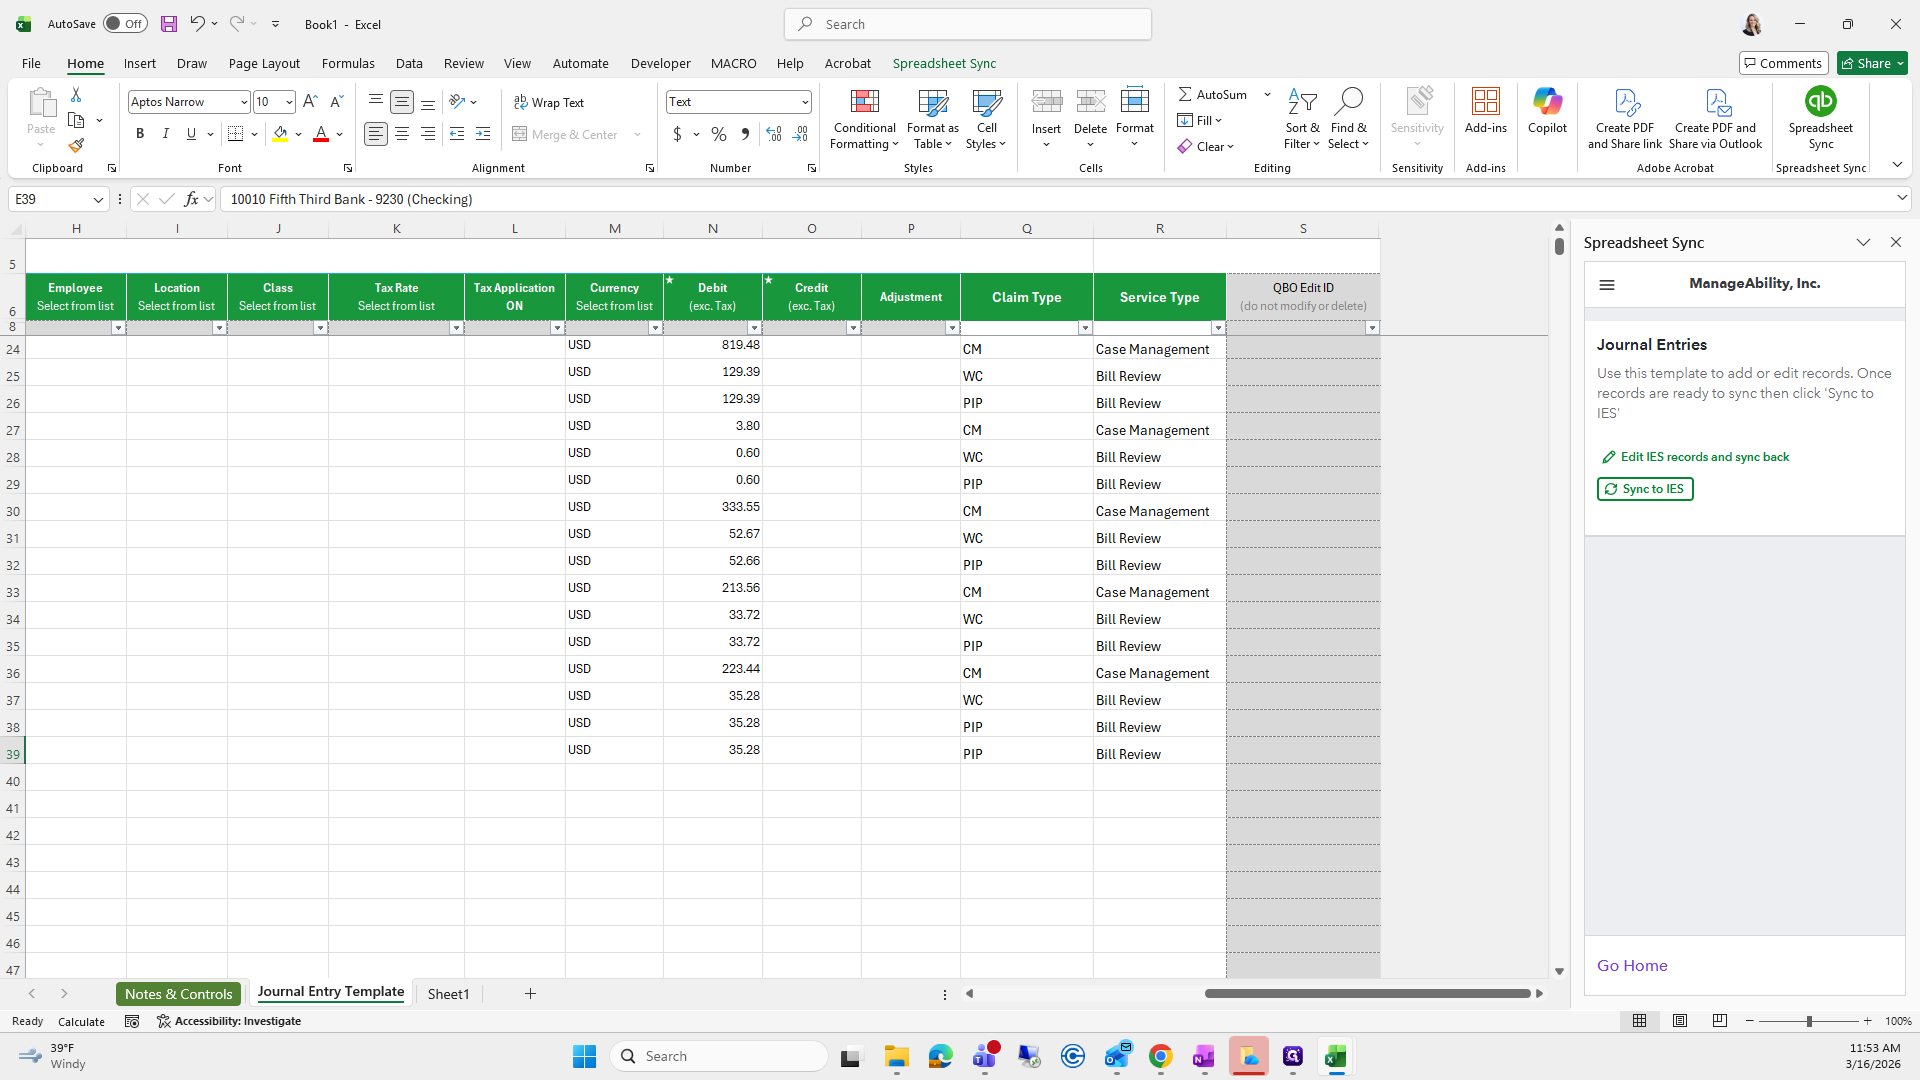
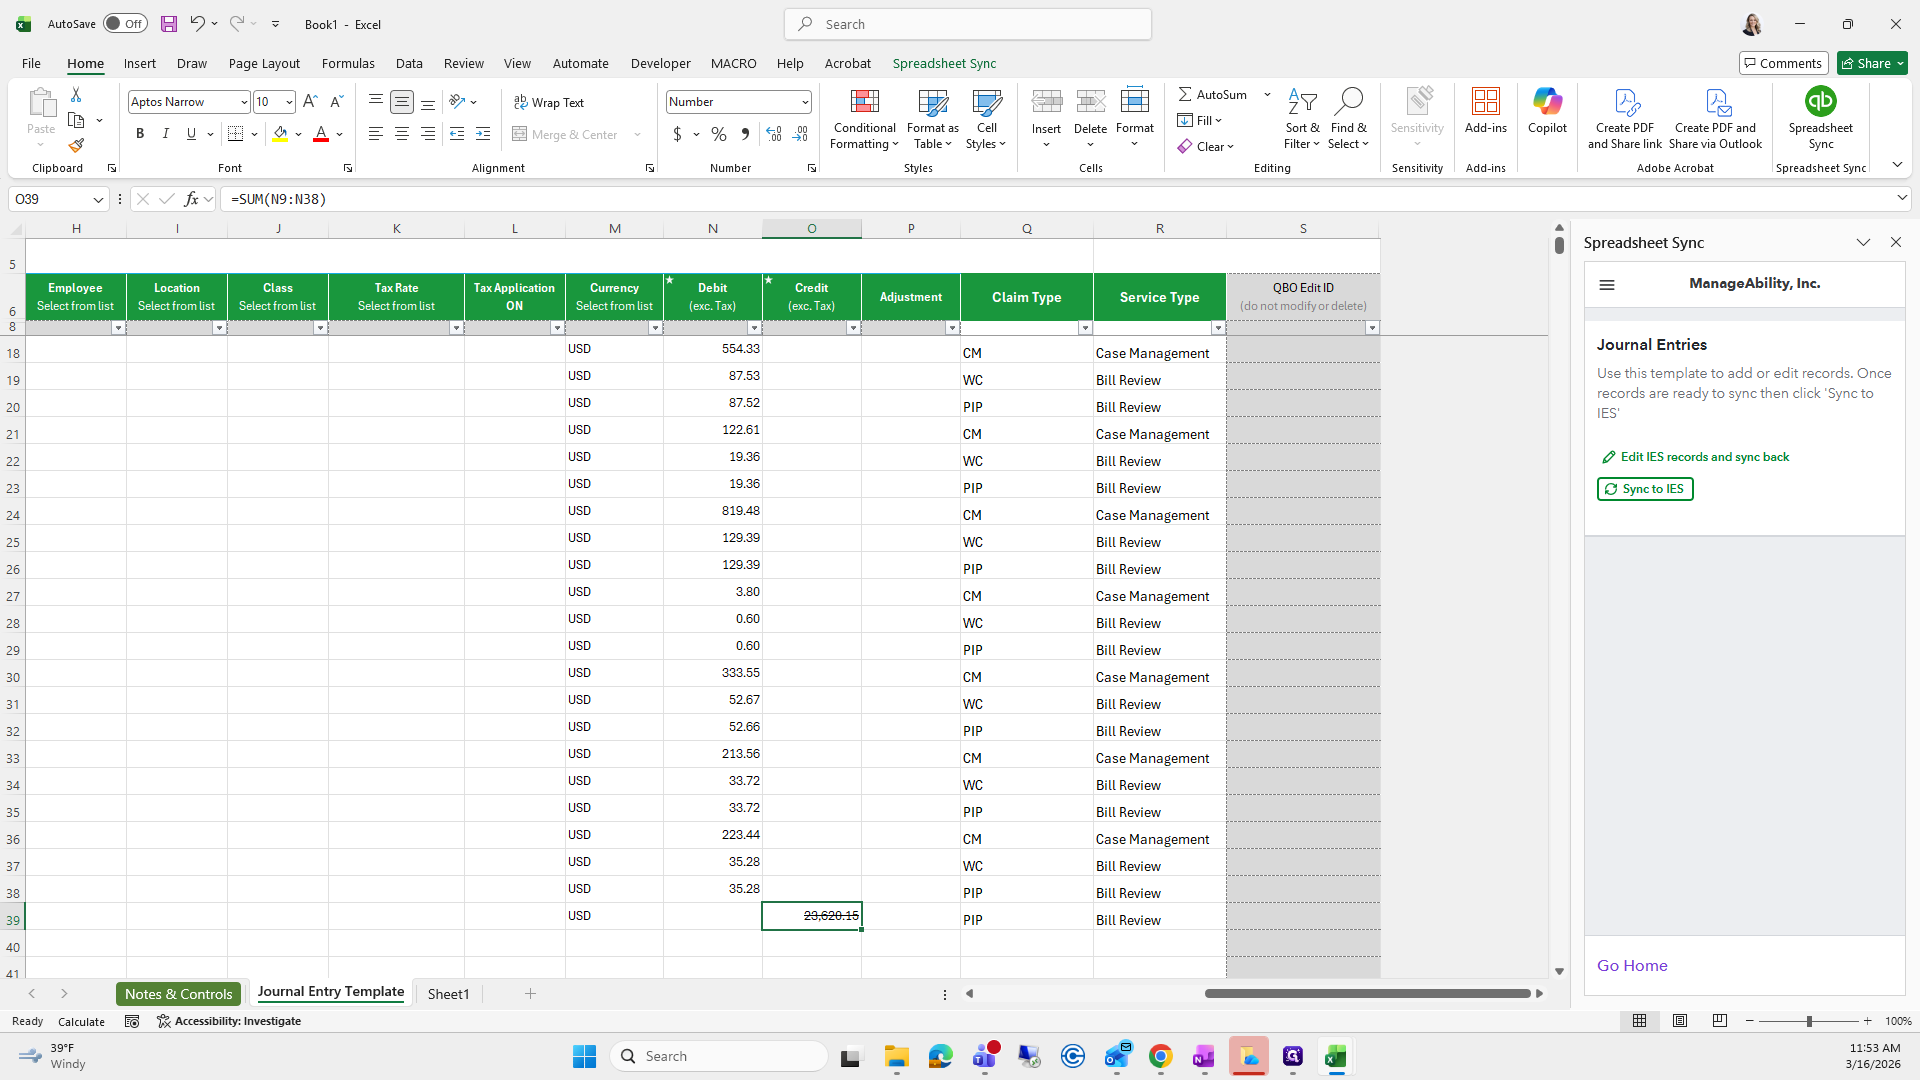
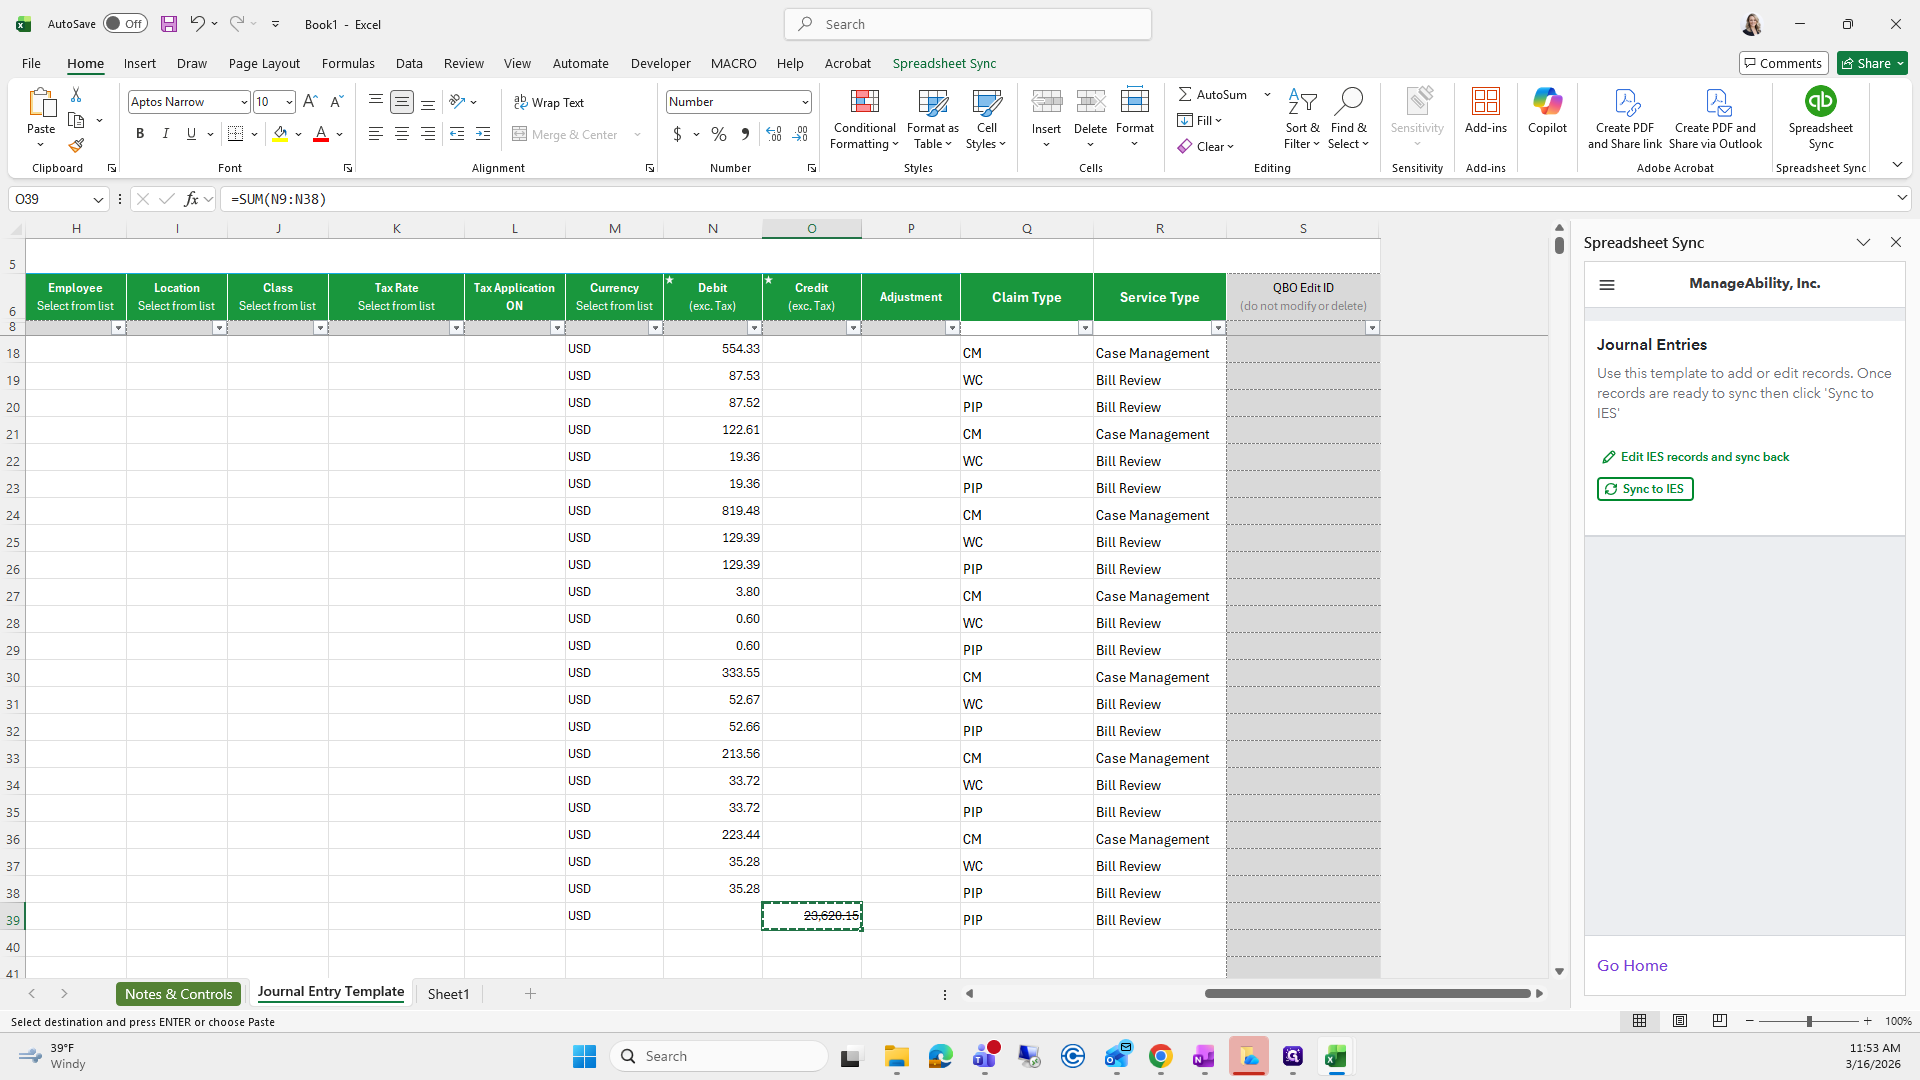
Here's the template. While that is generating, we will go to the automatically generated sheet it created for us.

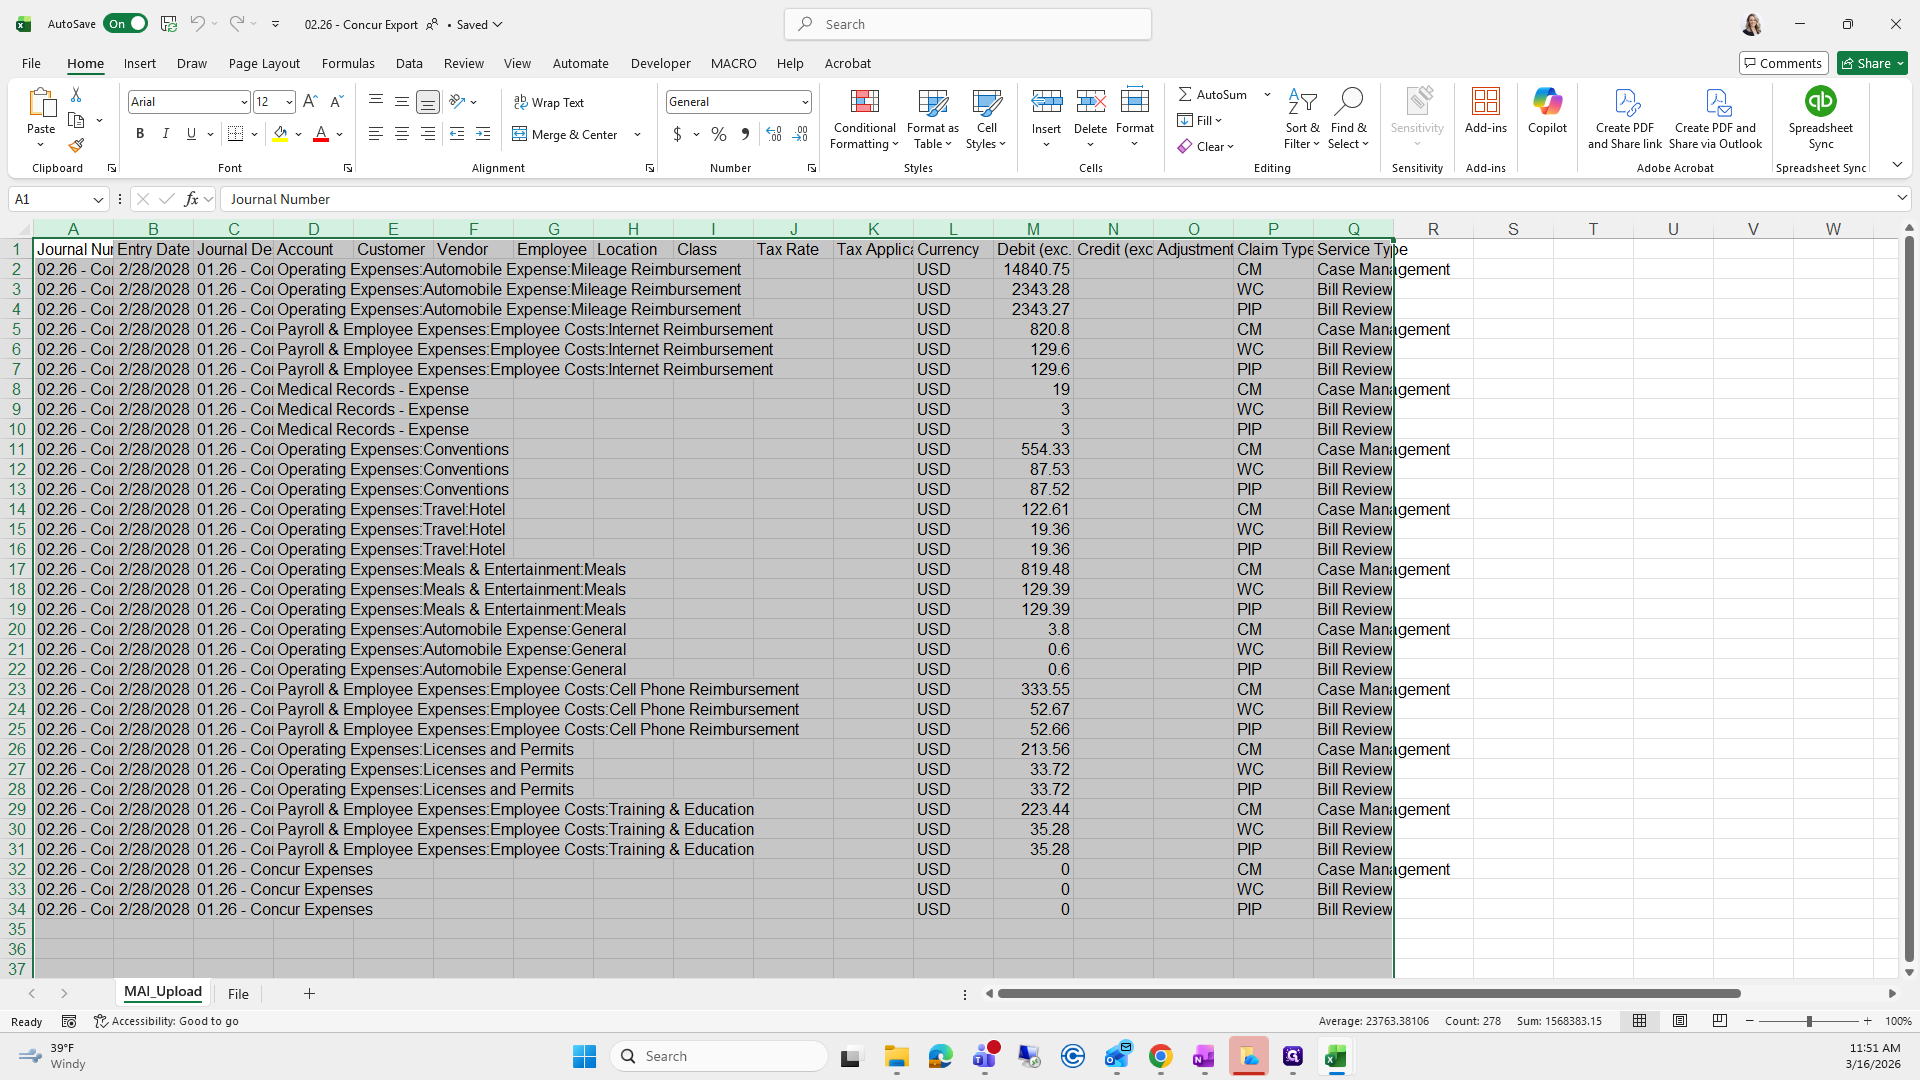
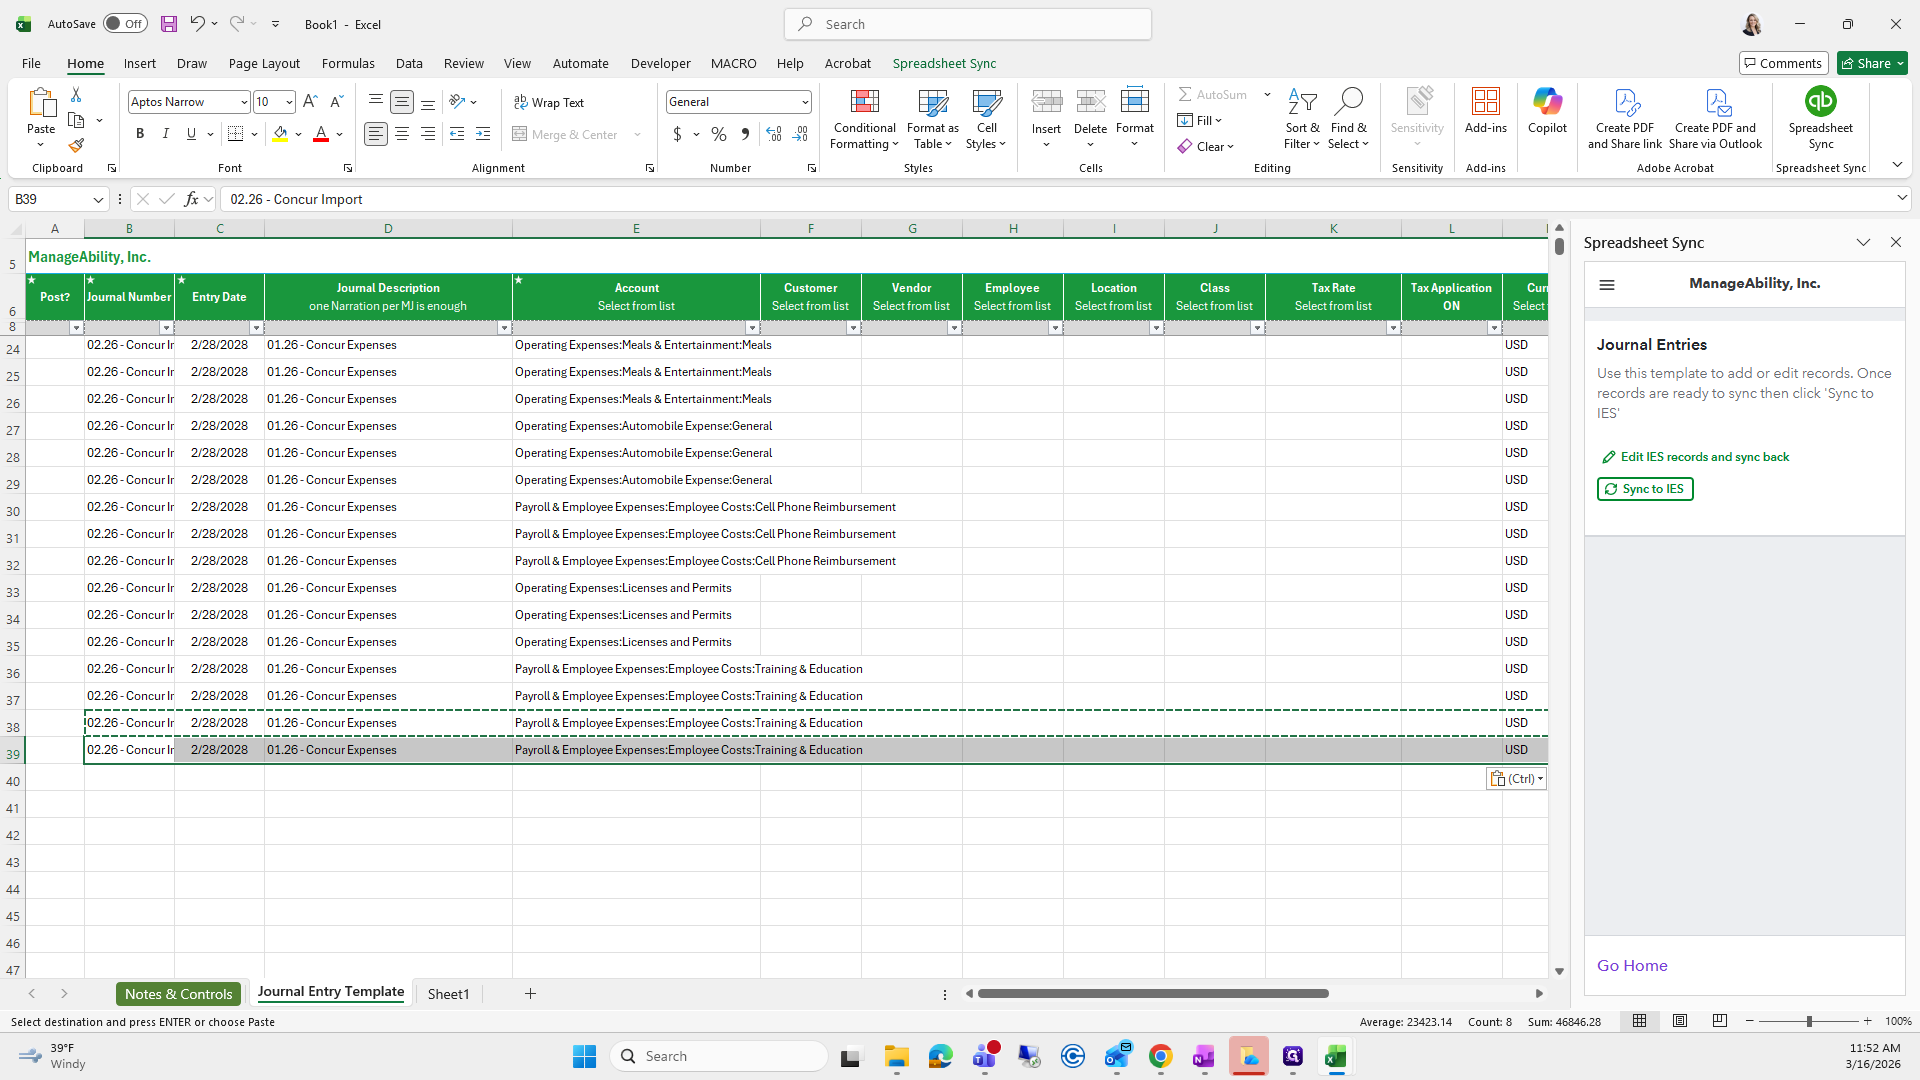
Select all, remove the top section, then press Copy.
It looks ready for us.
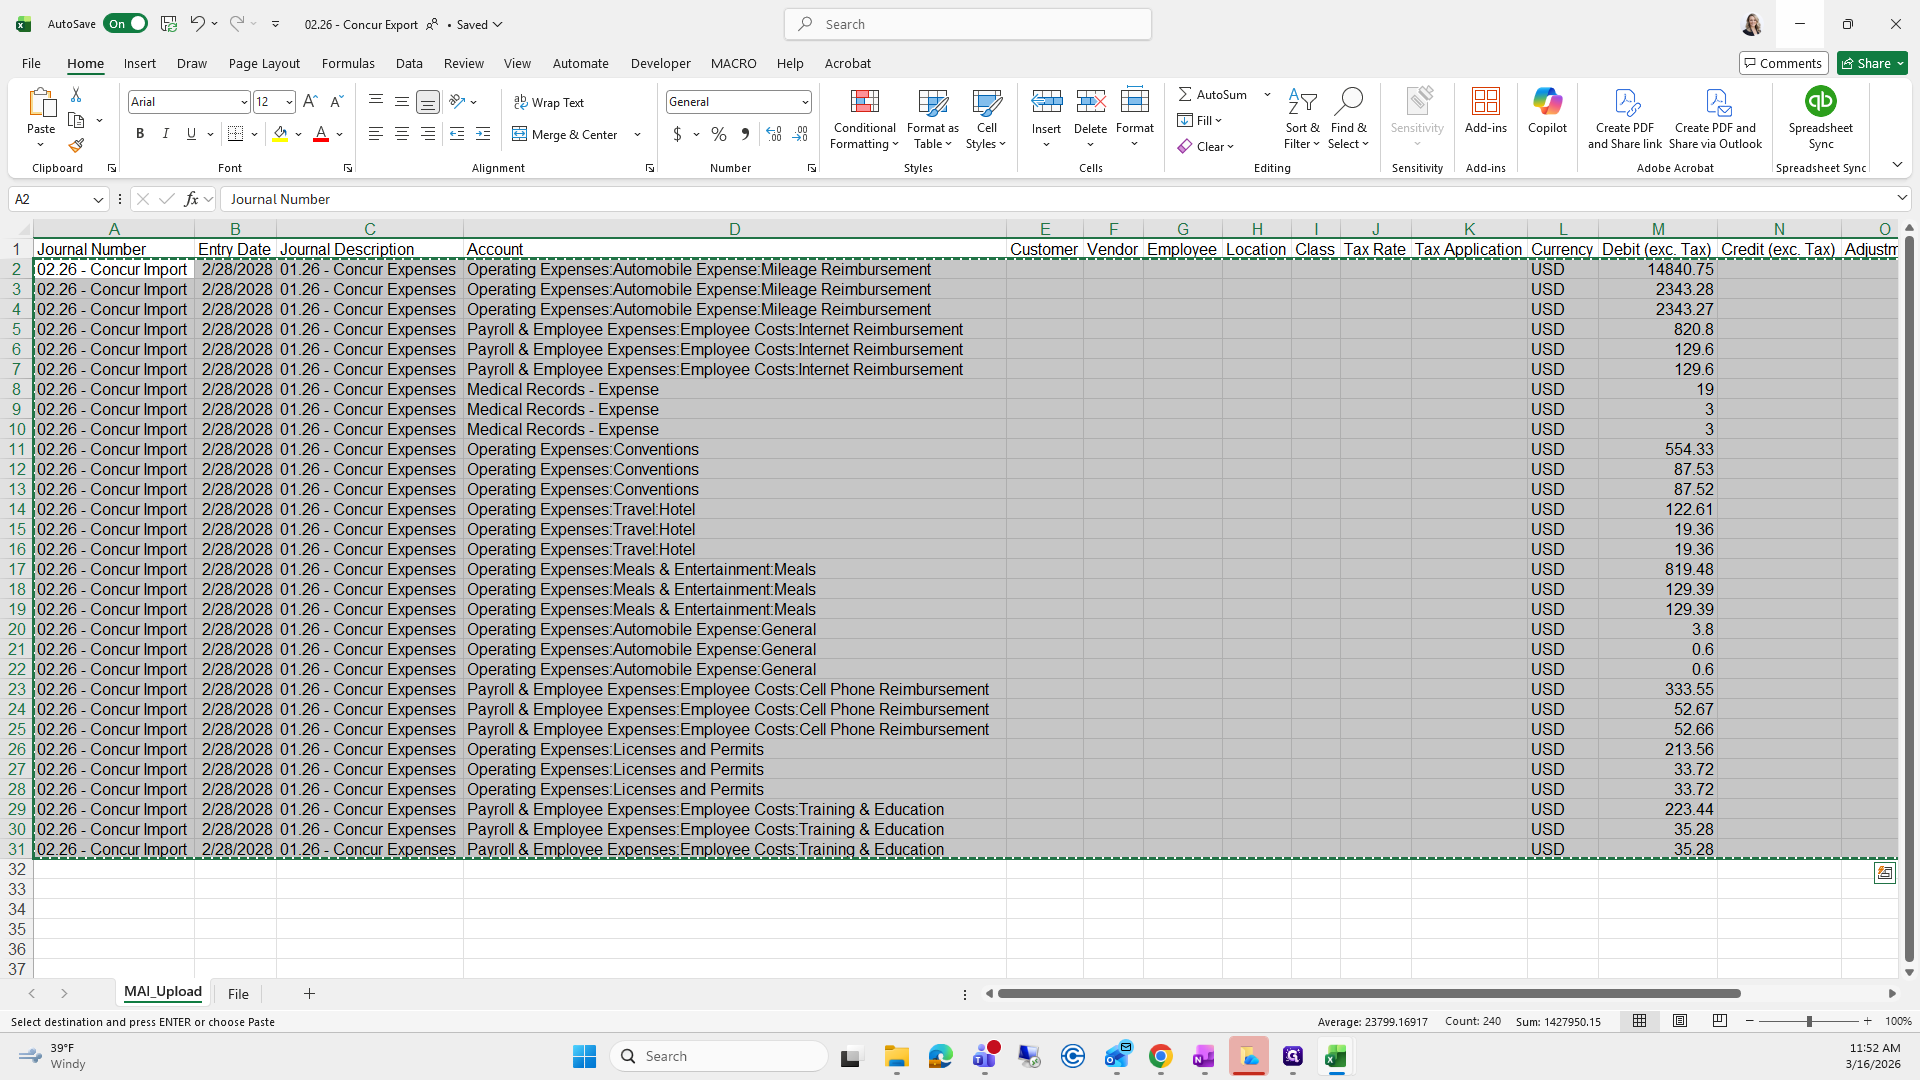
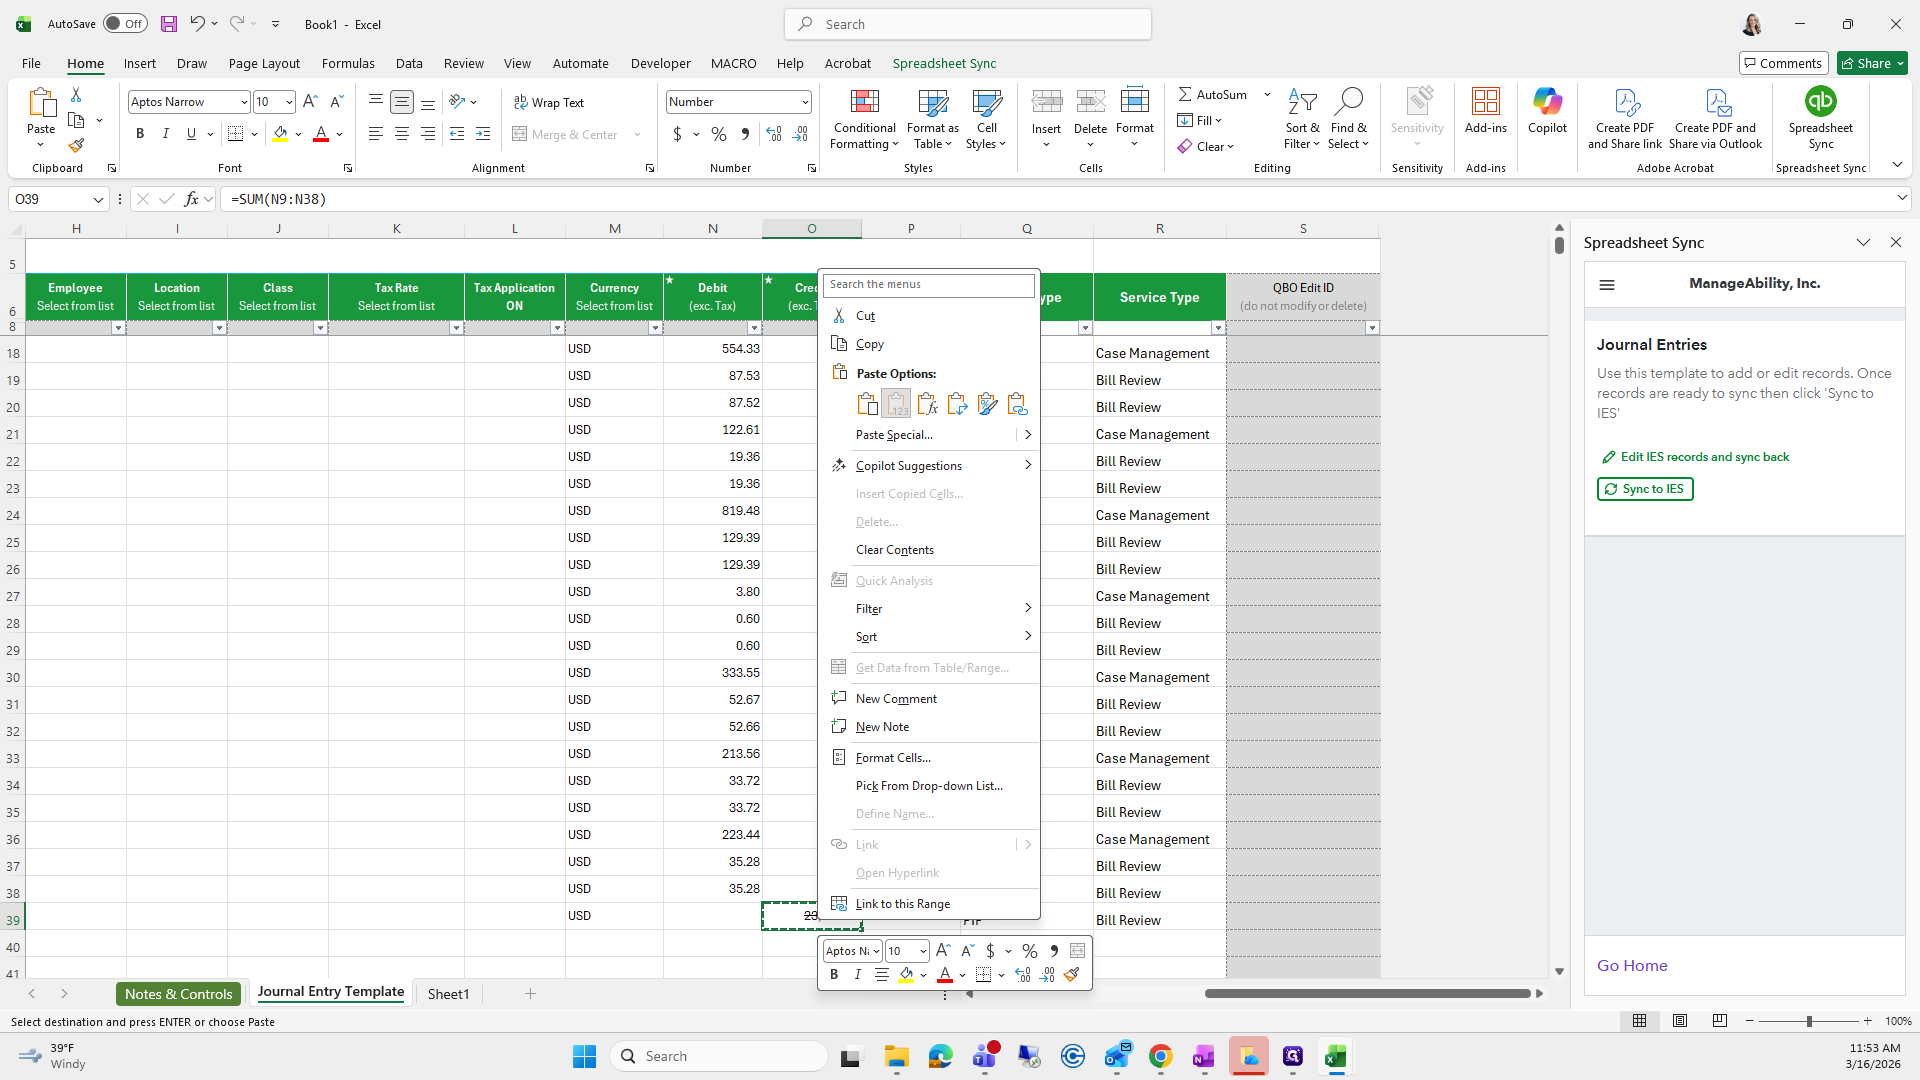
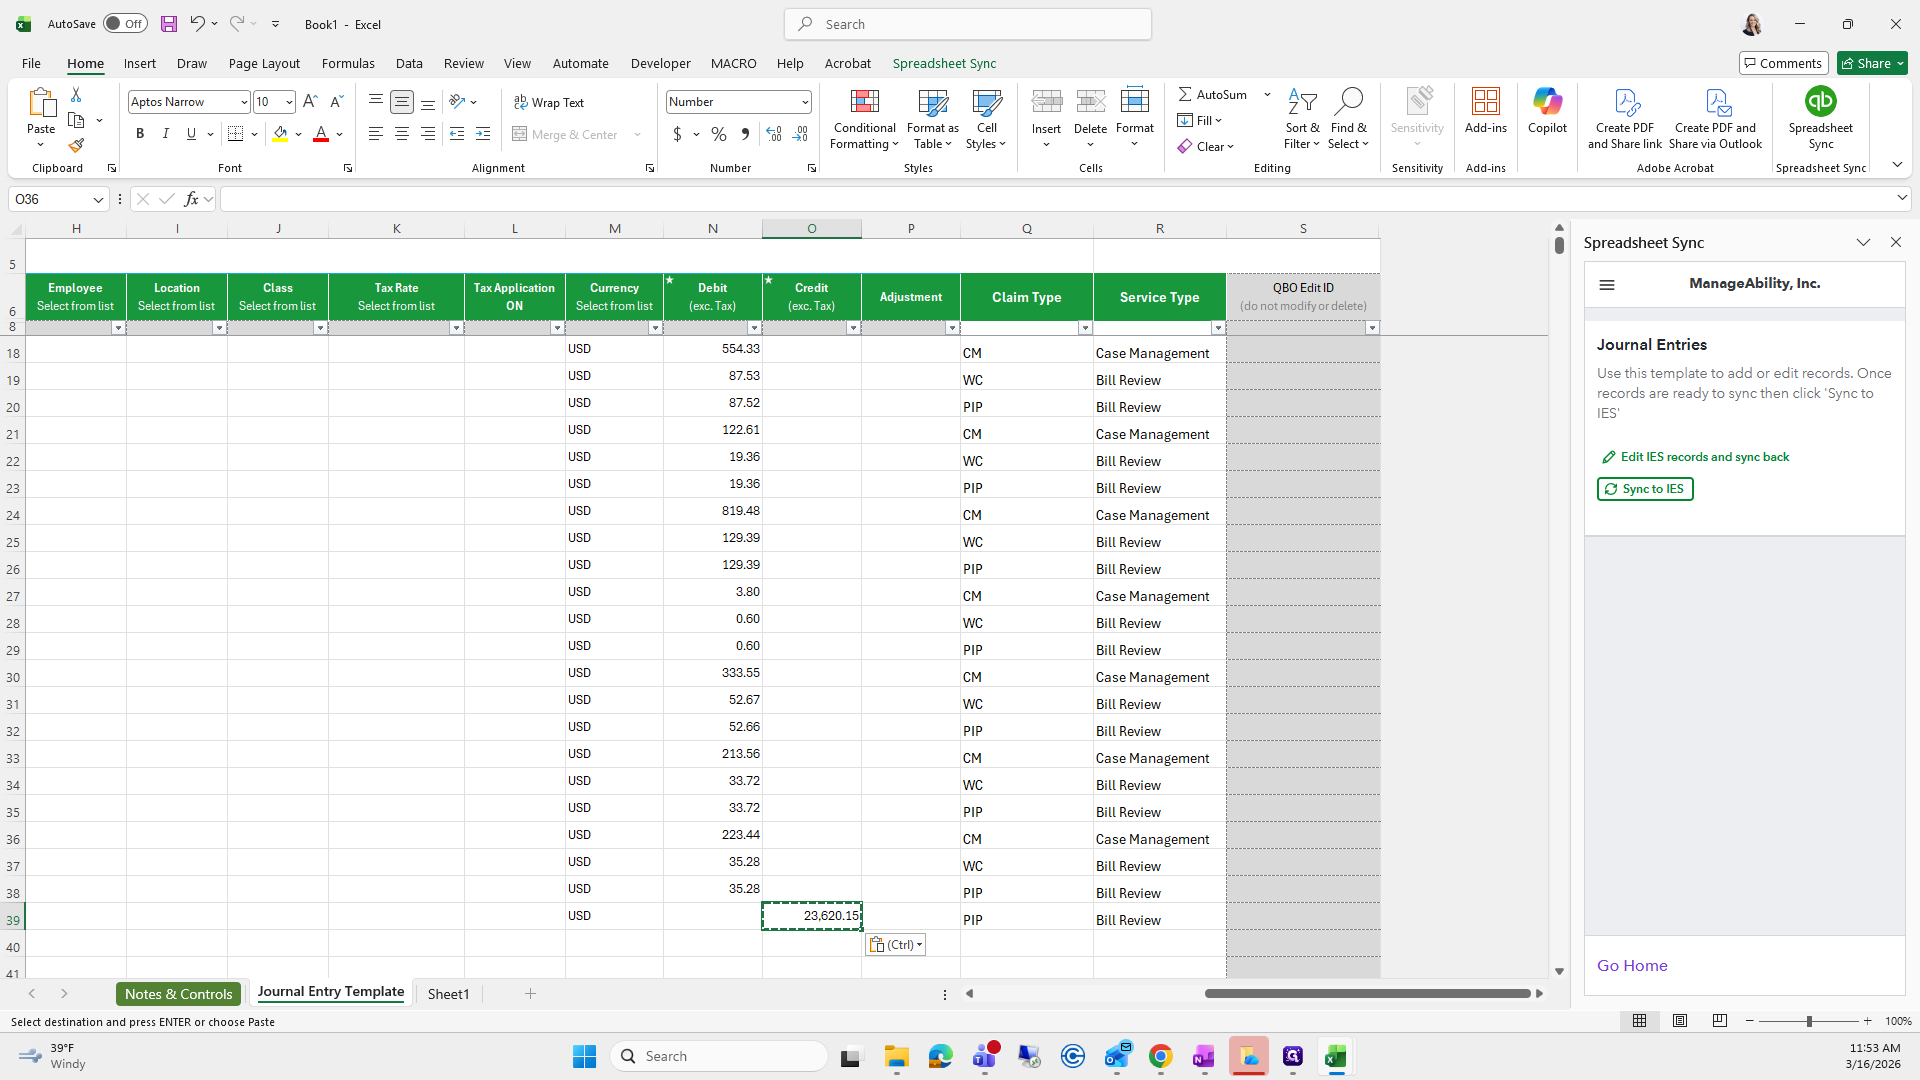
Right-click on the journal number, select Paste Special, and check that everything looks correct. It does.
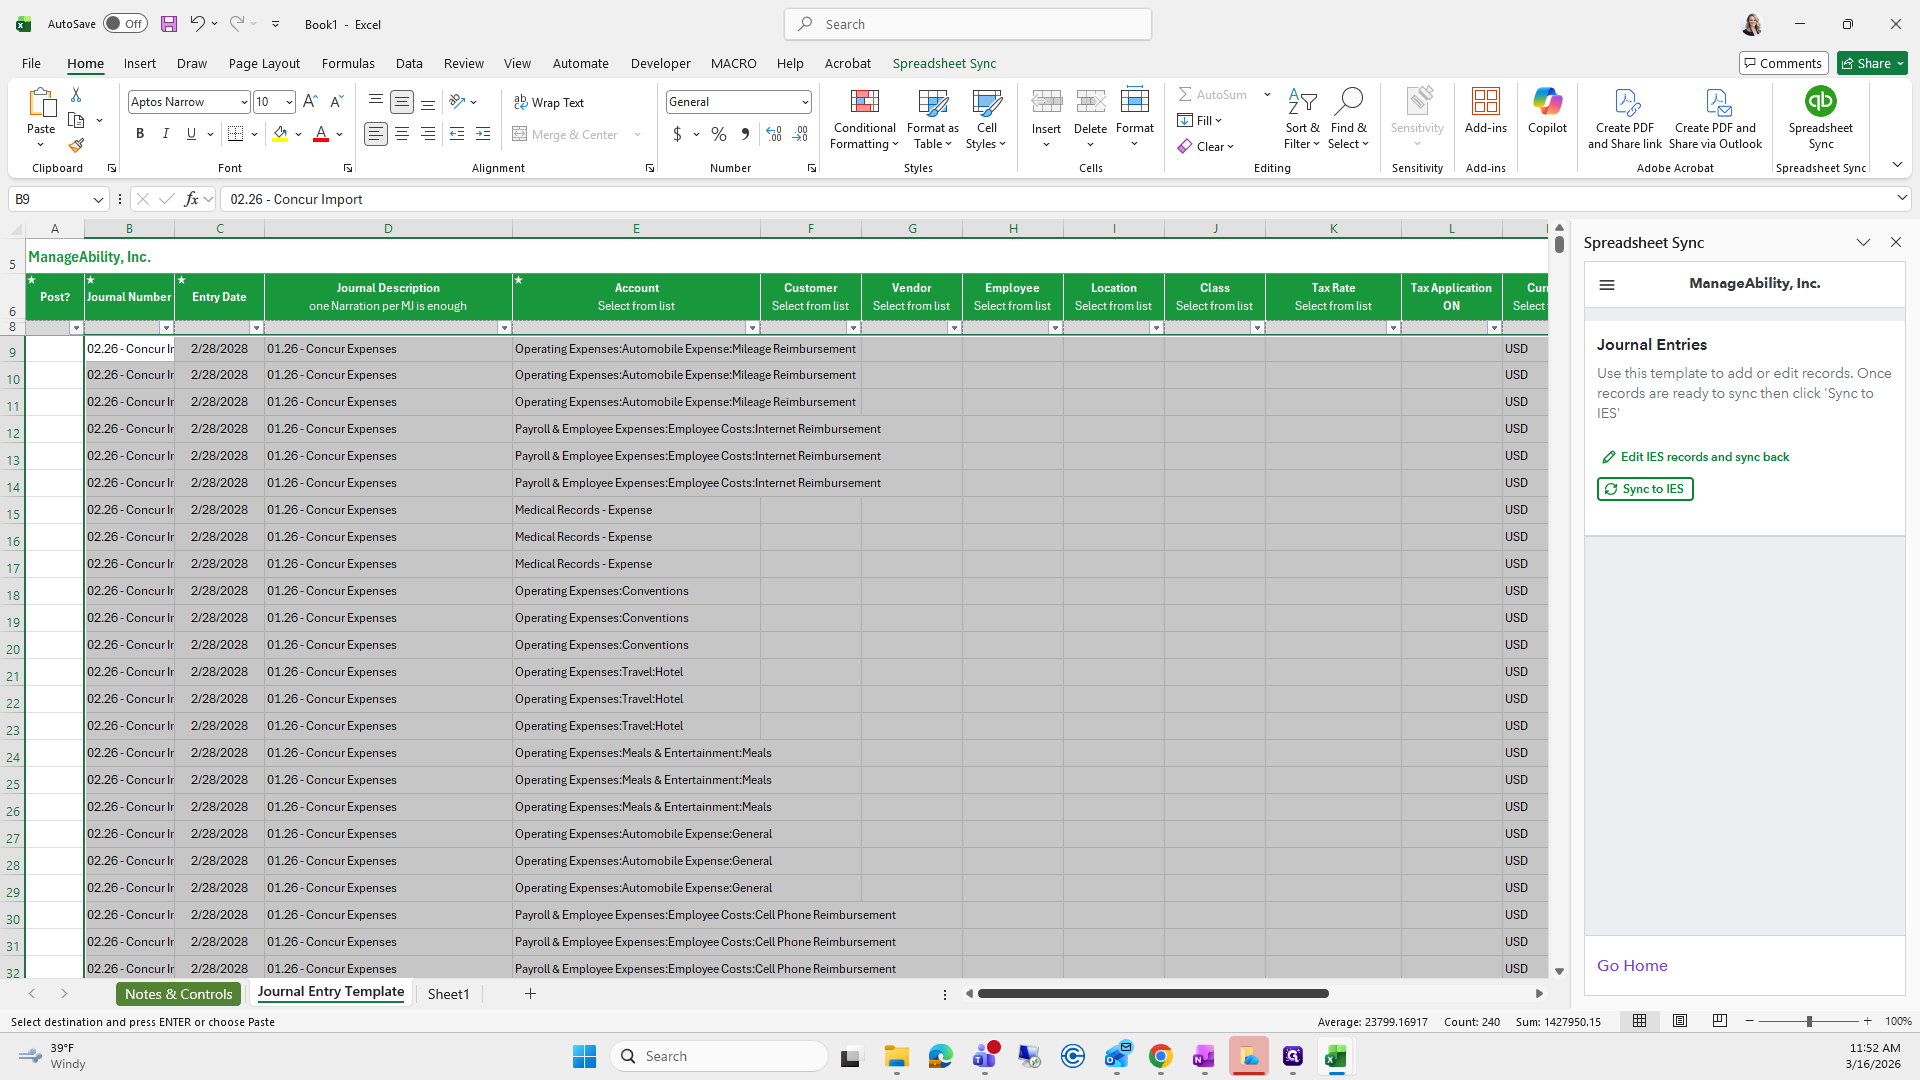
The only thing missing that I might add to this macro, which you won't need, is to copy and paste this bottom row.

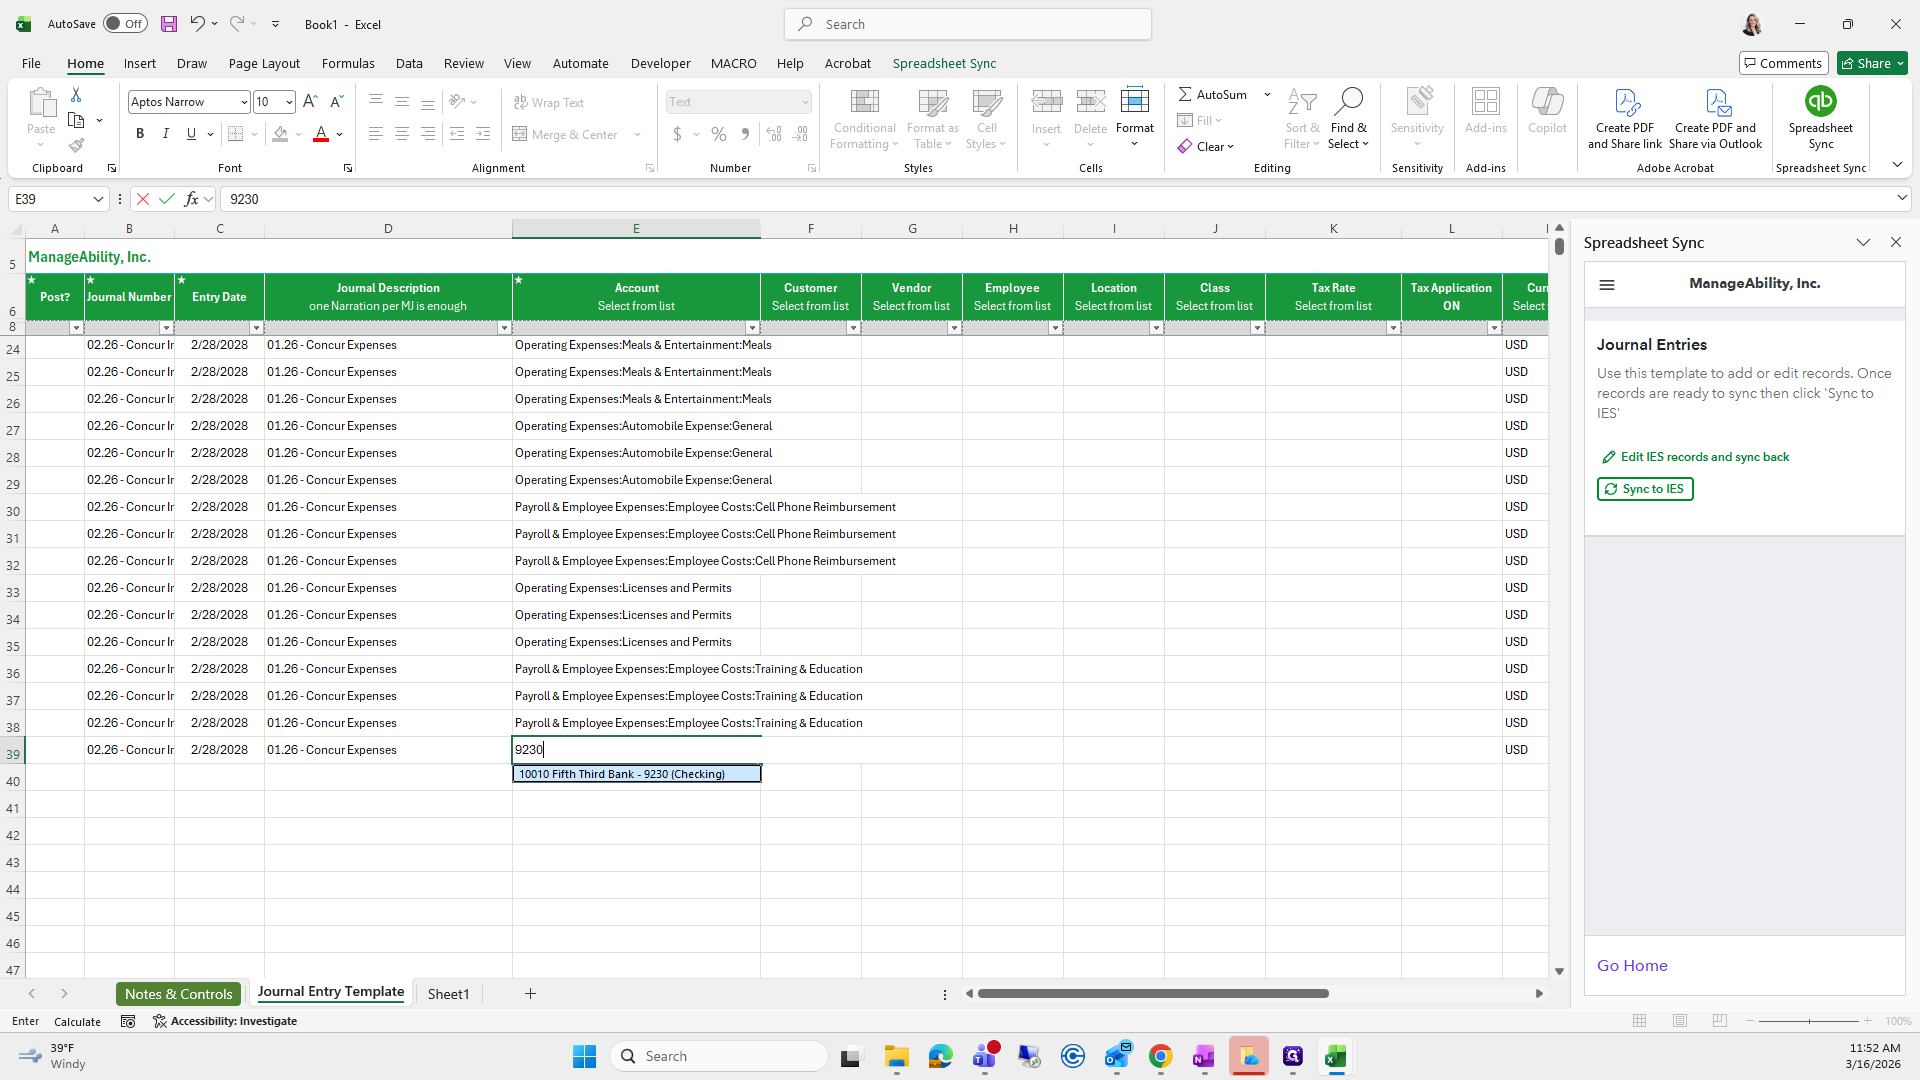
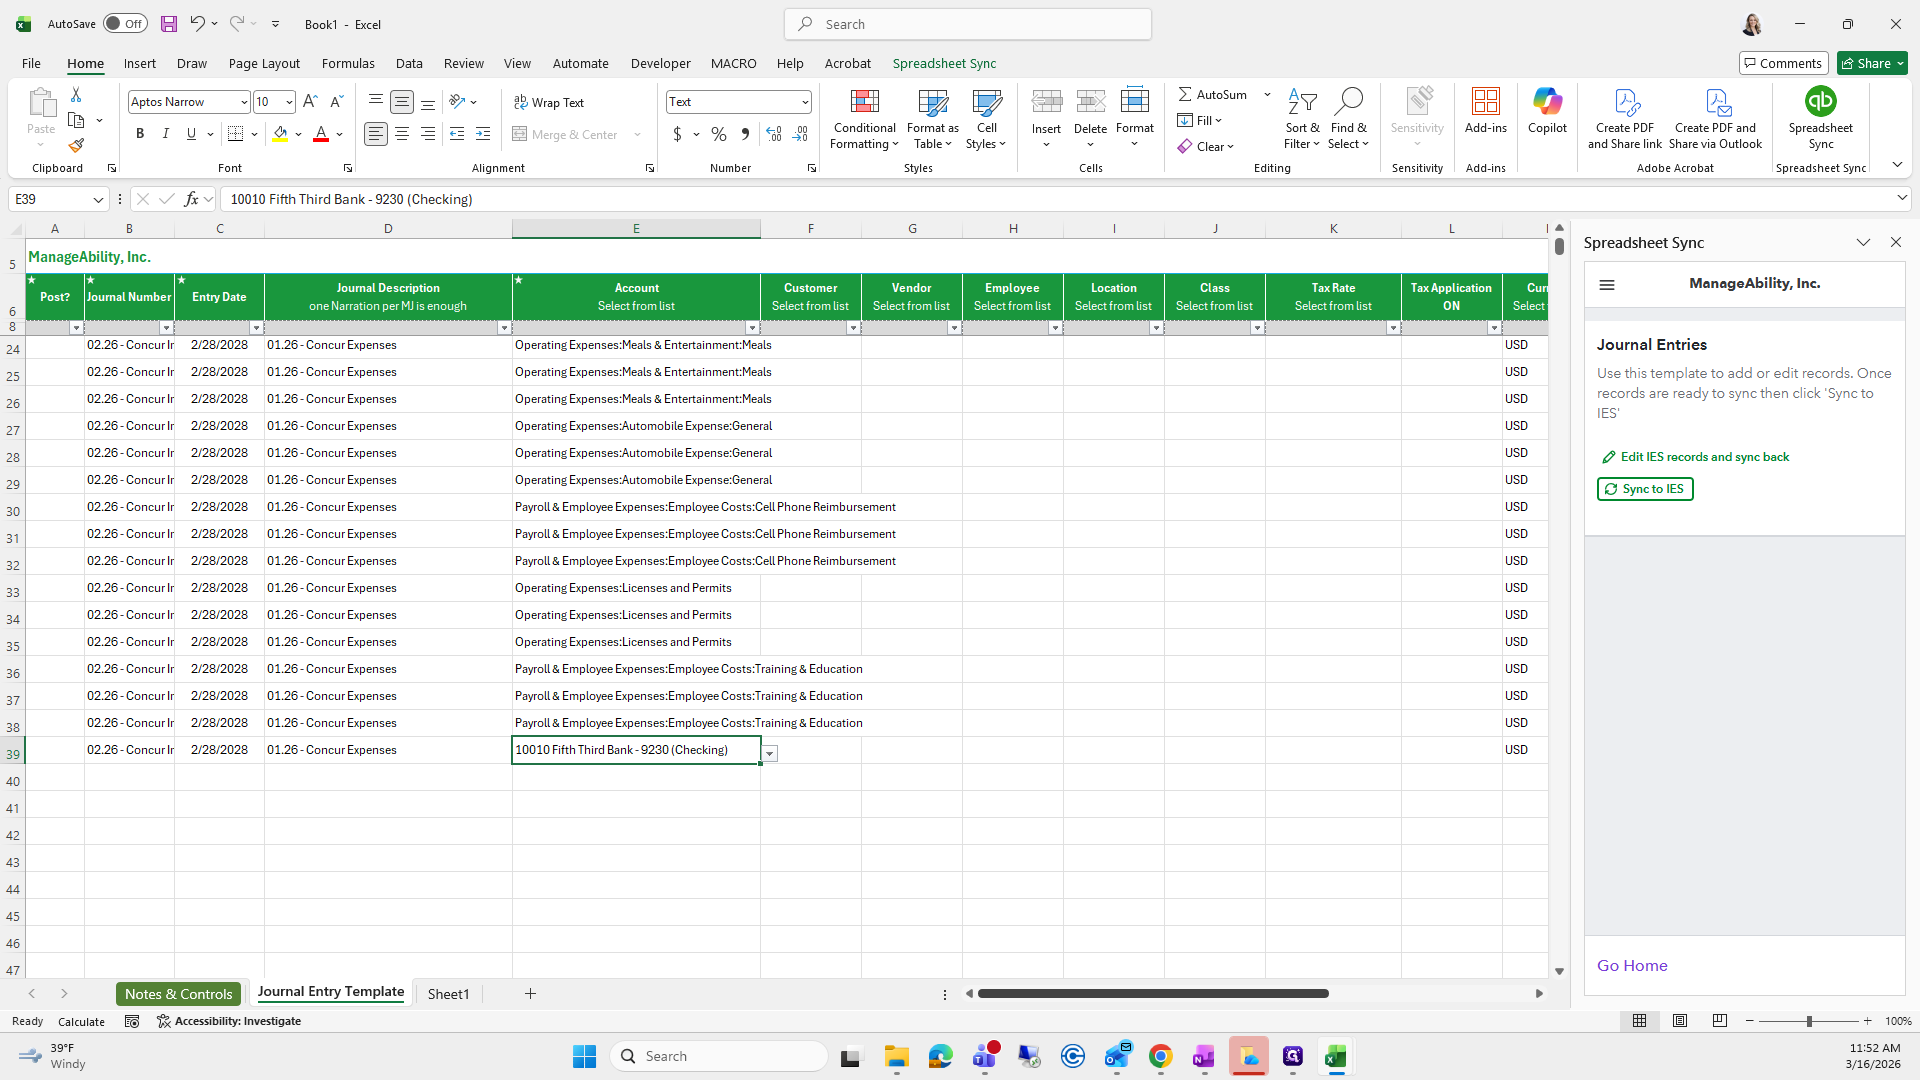
Next, we will set up the bank account.

Debit, erase, and credit. We need the total amount being imported.
Excuse me. 23/06/2015.

I'll do a sum because I can't remember.


23/06/2015.


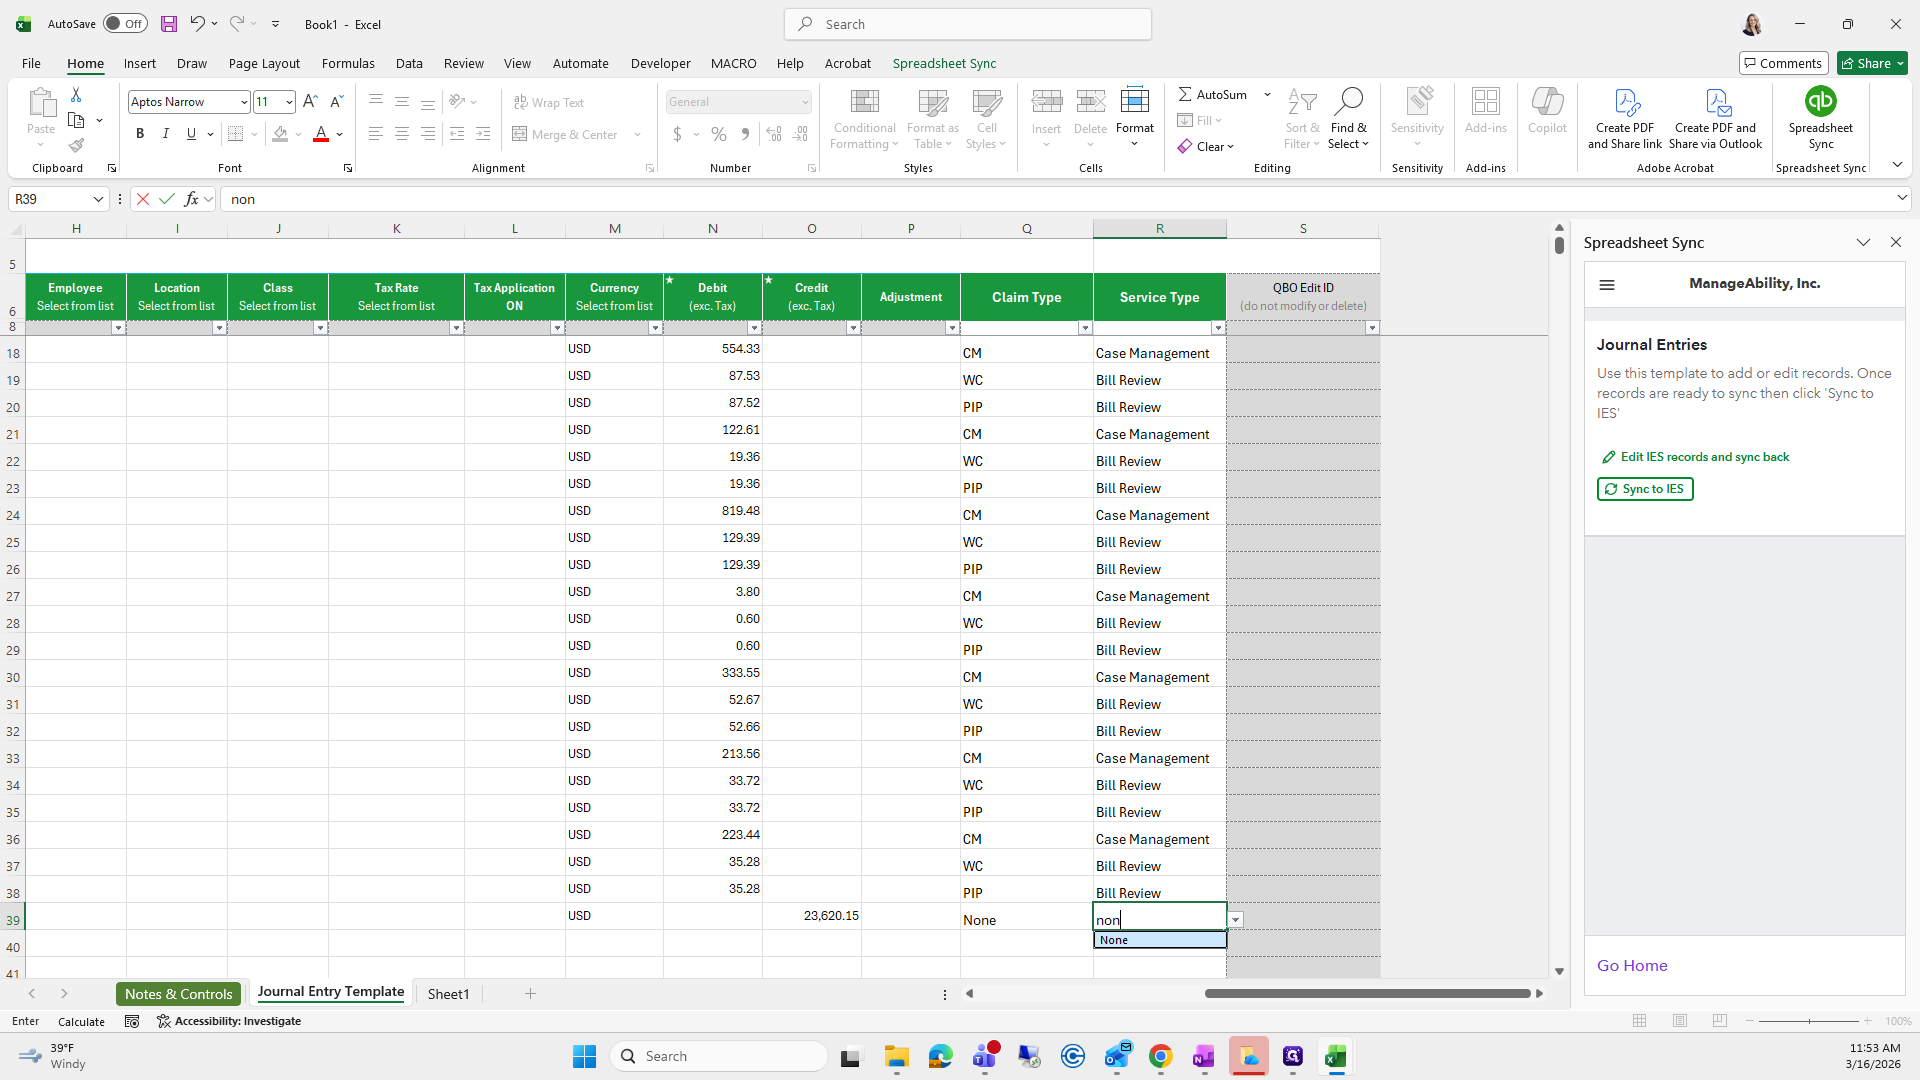
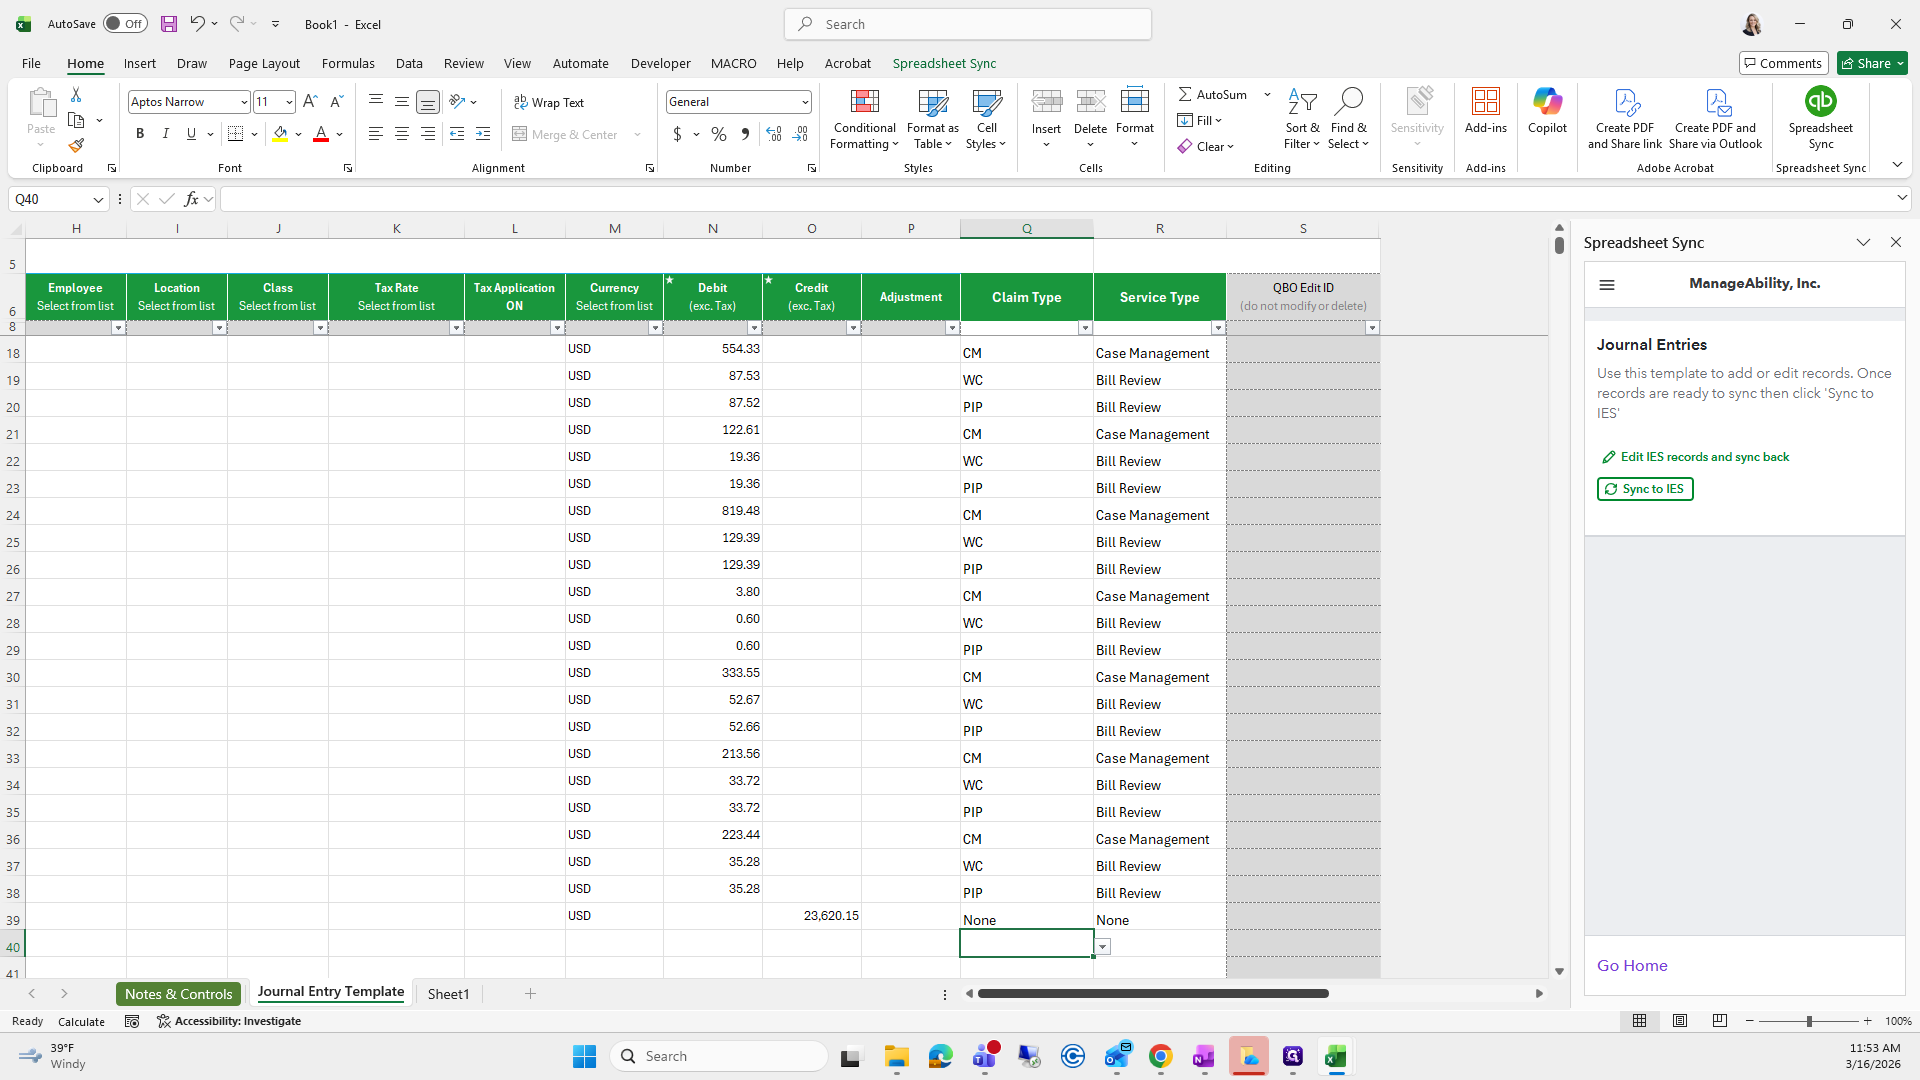
I will change this to none, and this to none.
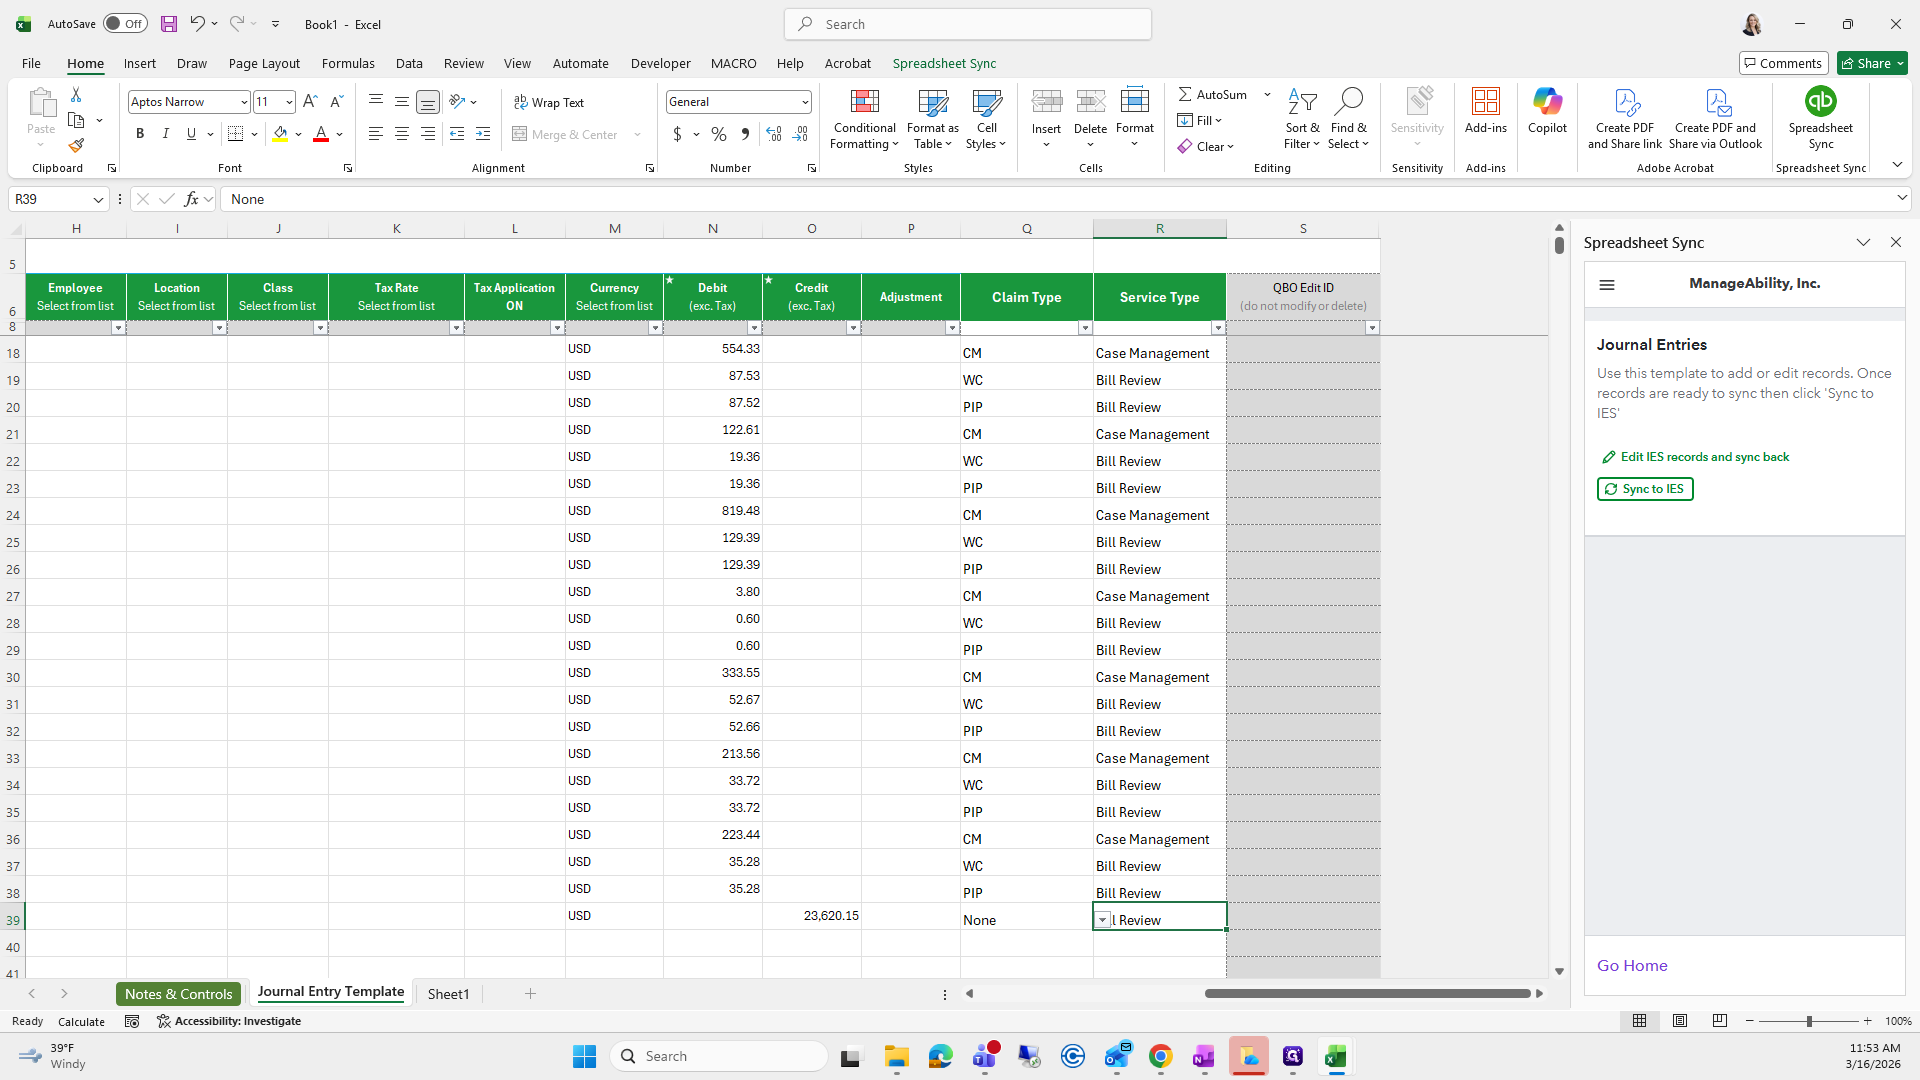
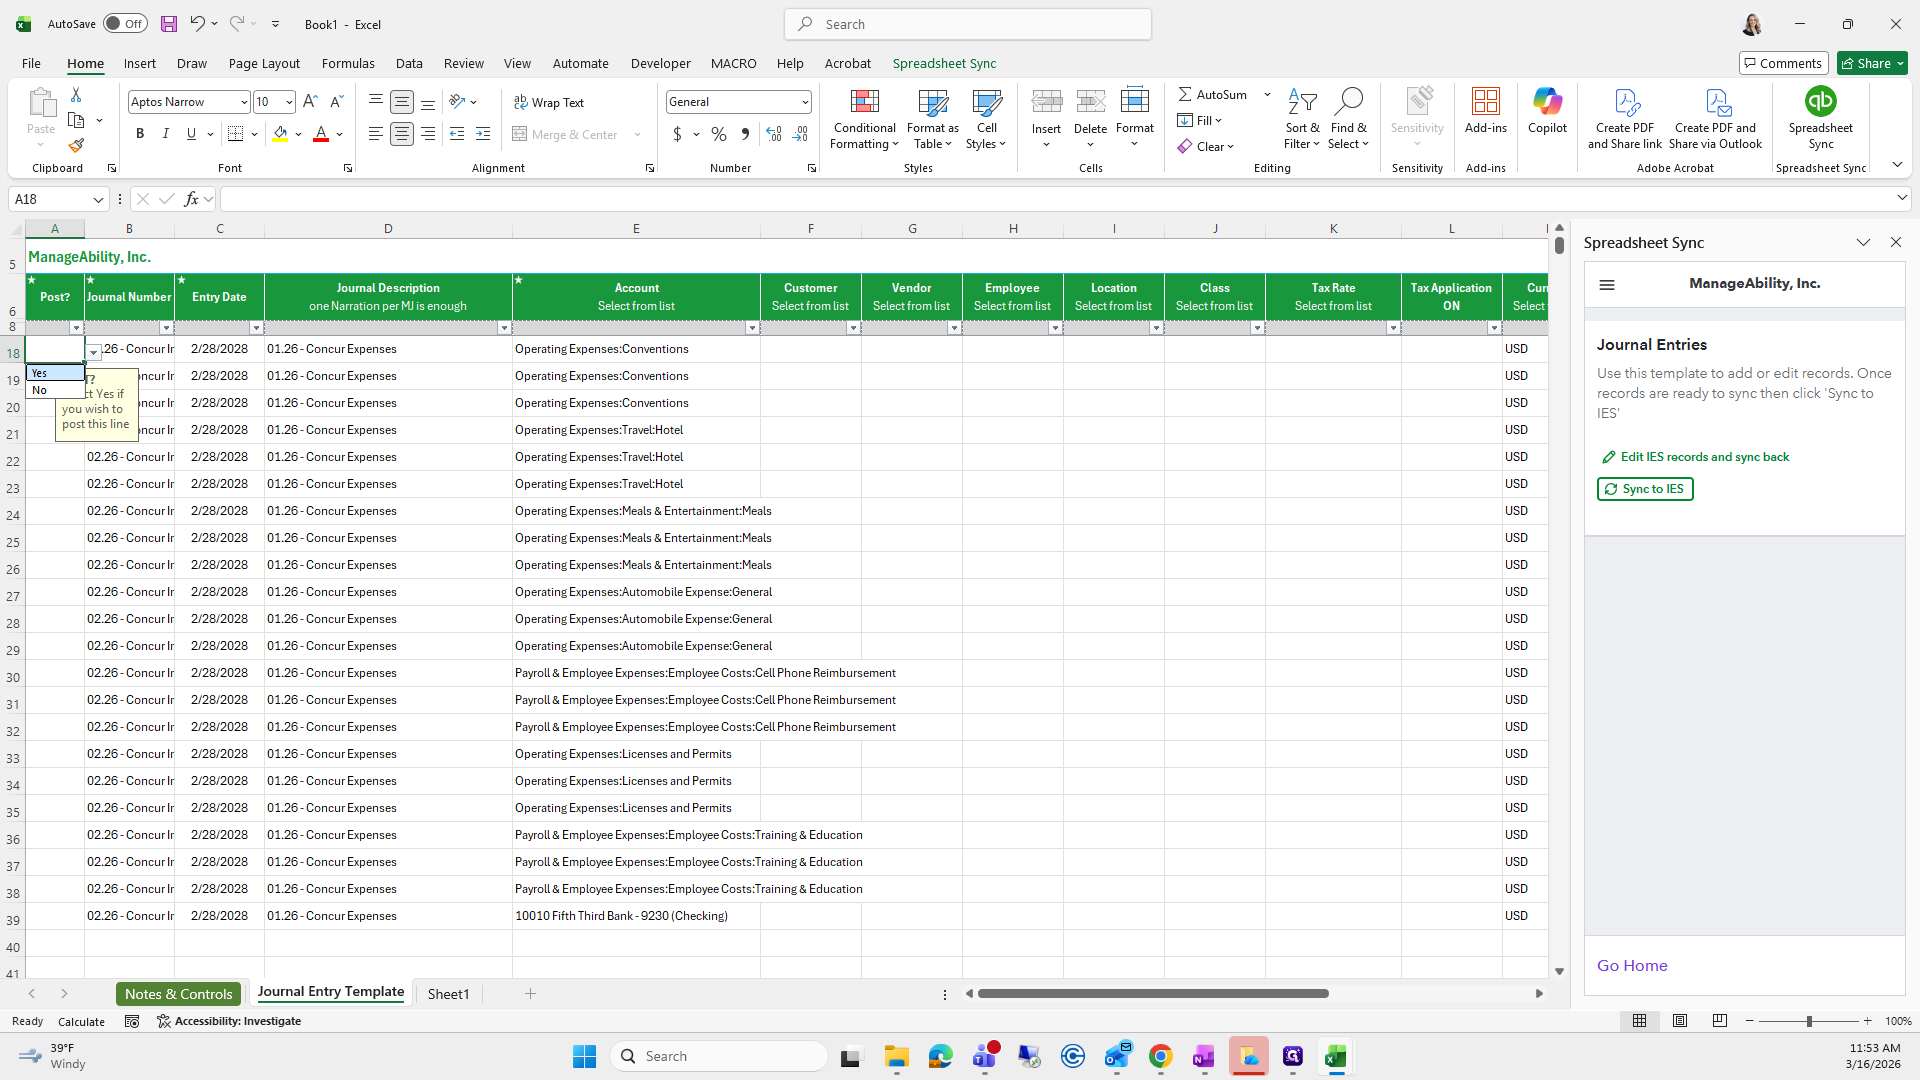
Scroll all the way over, go to Post, click Yes, and drag it down.

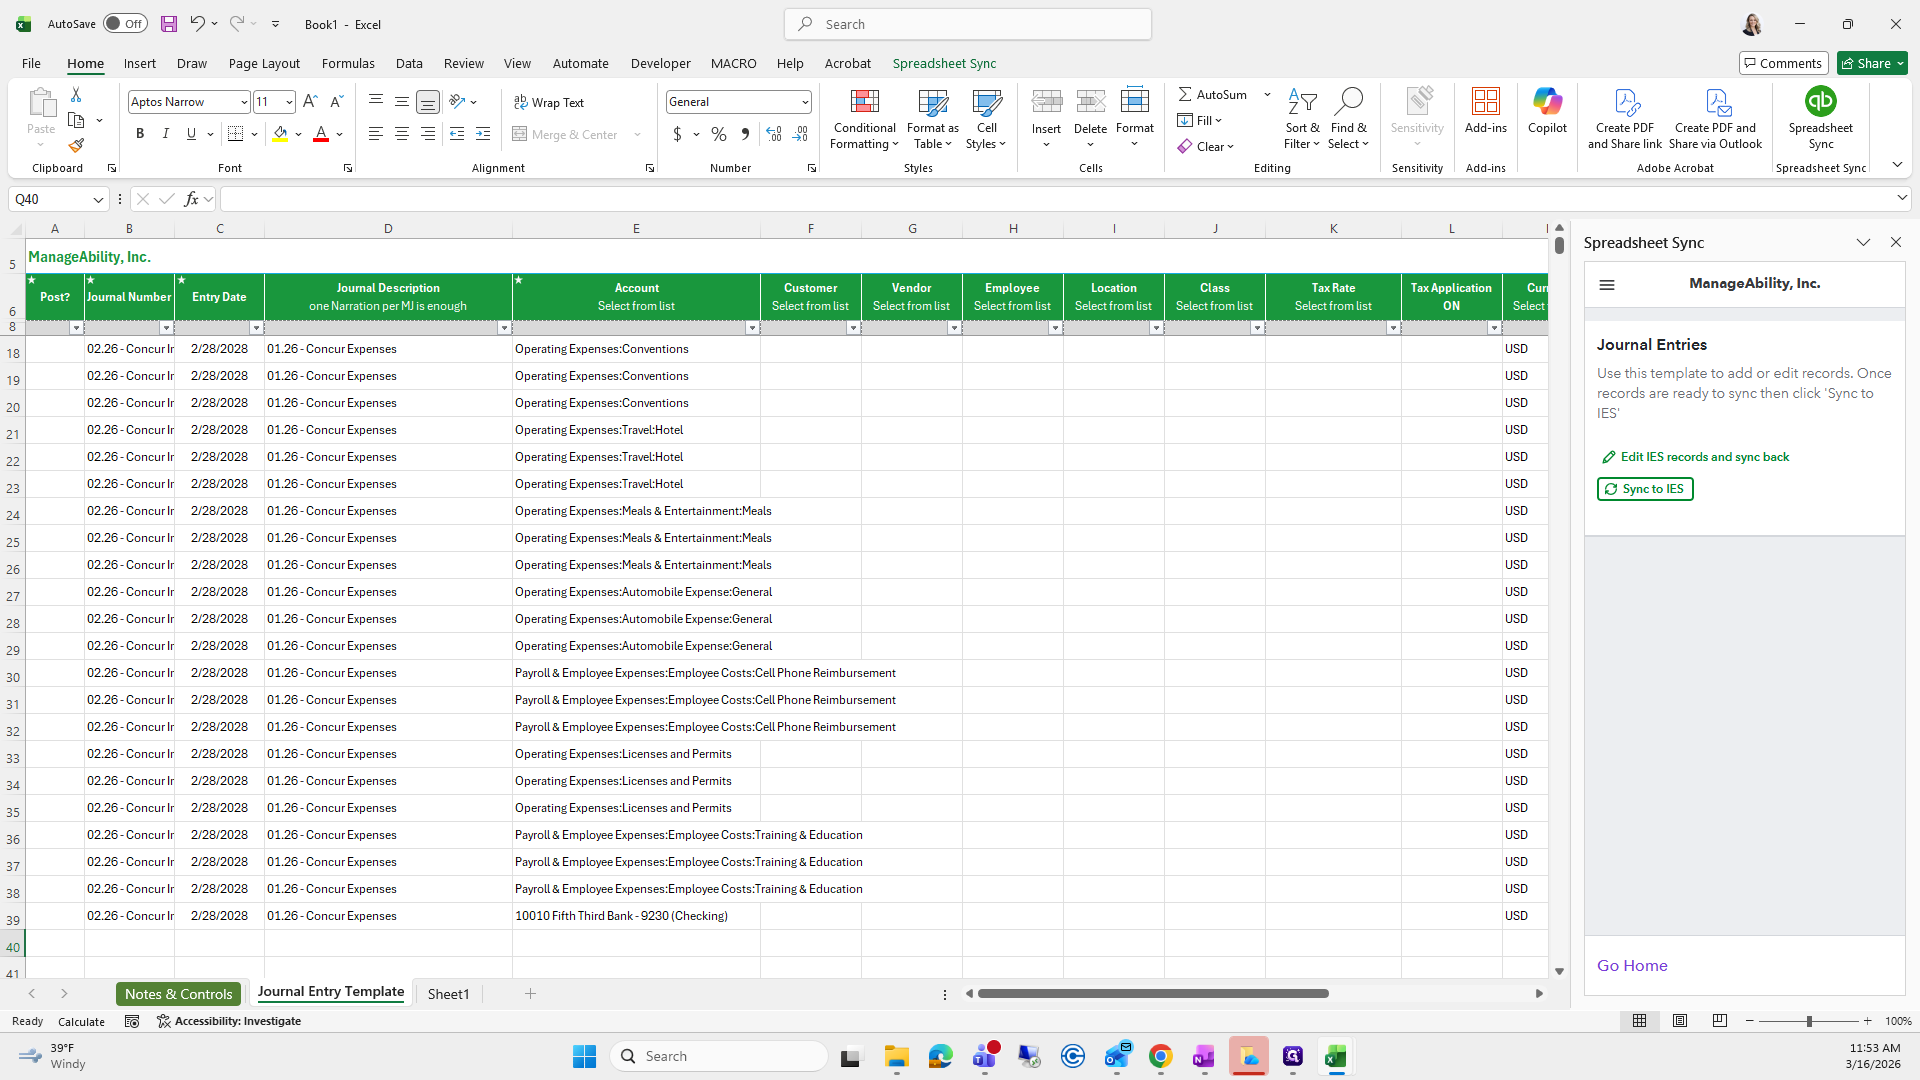

Everything looks good.
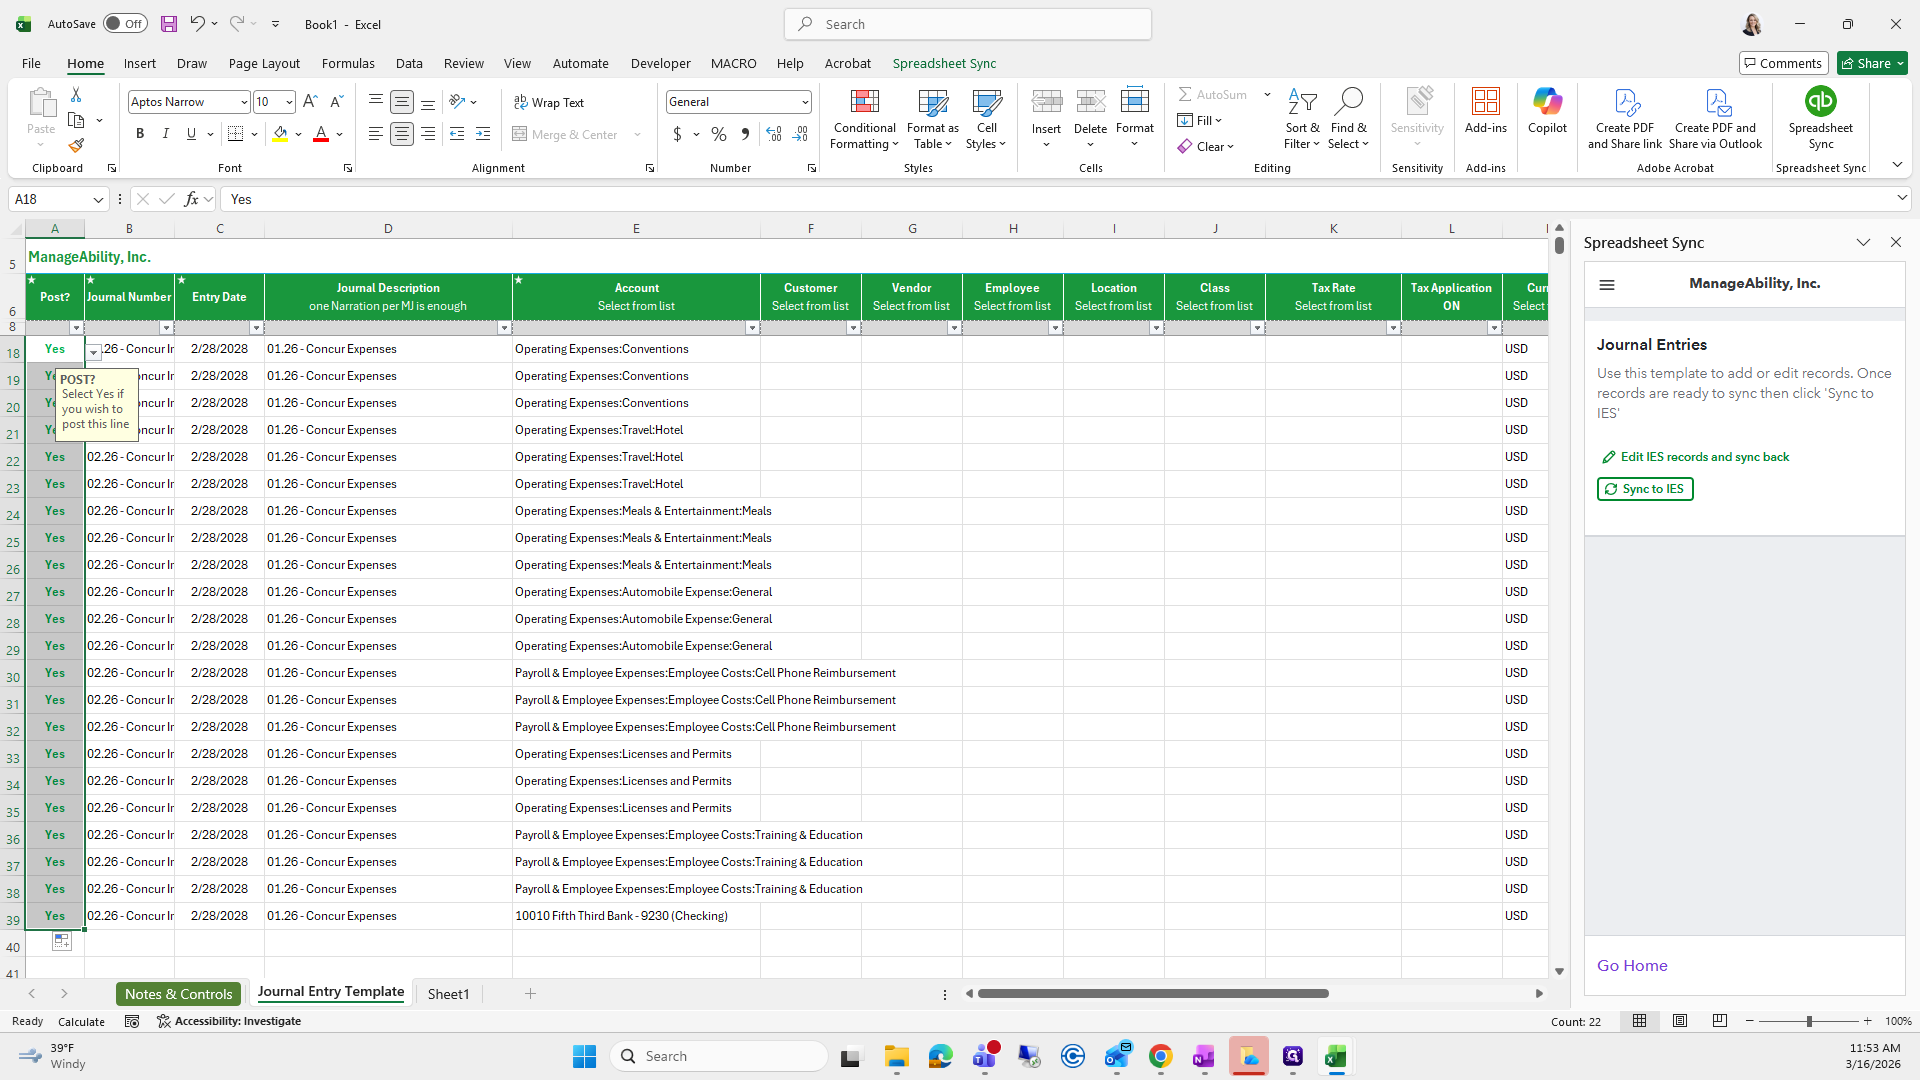
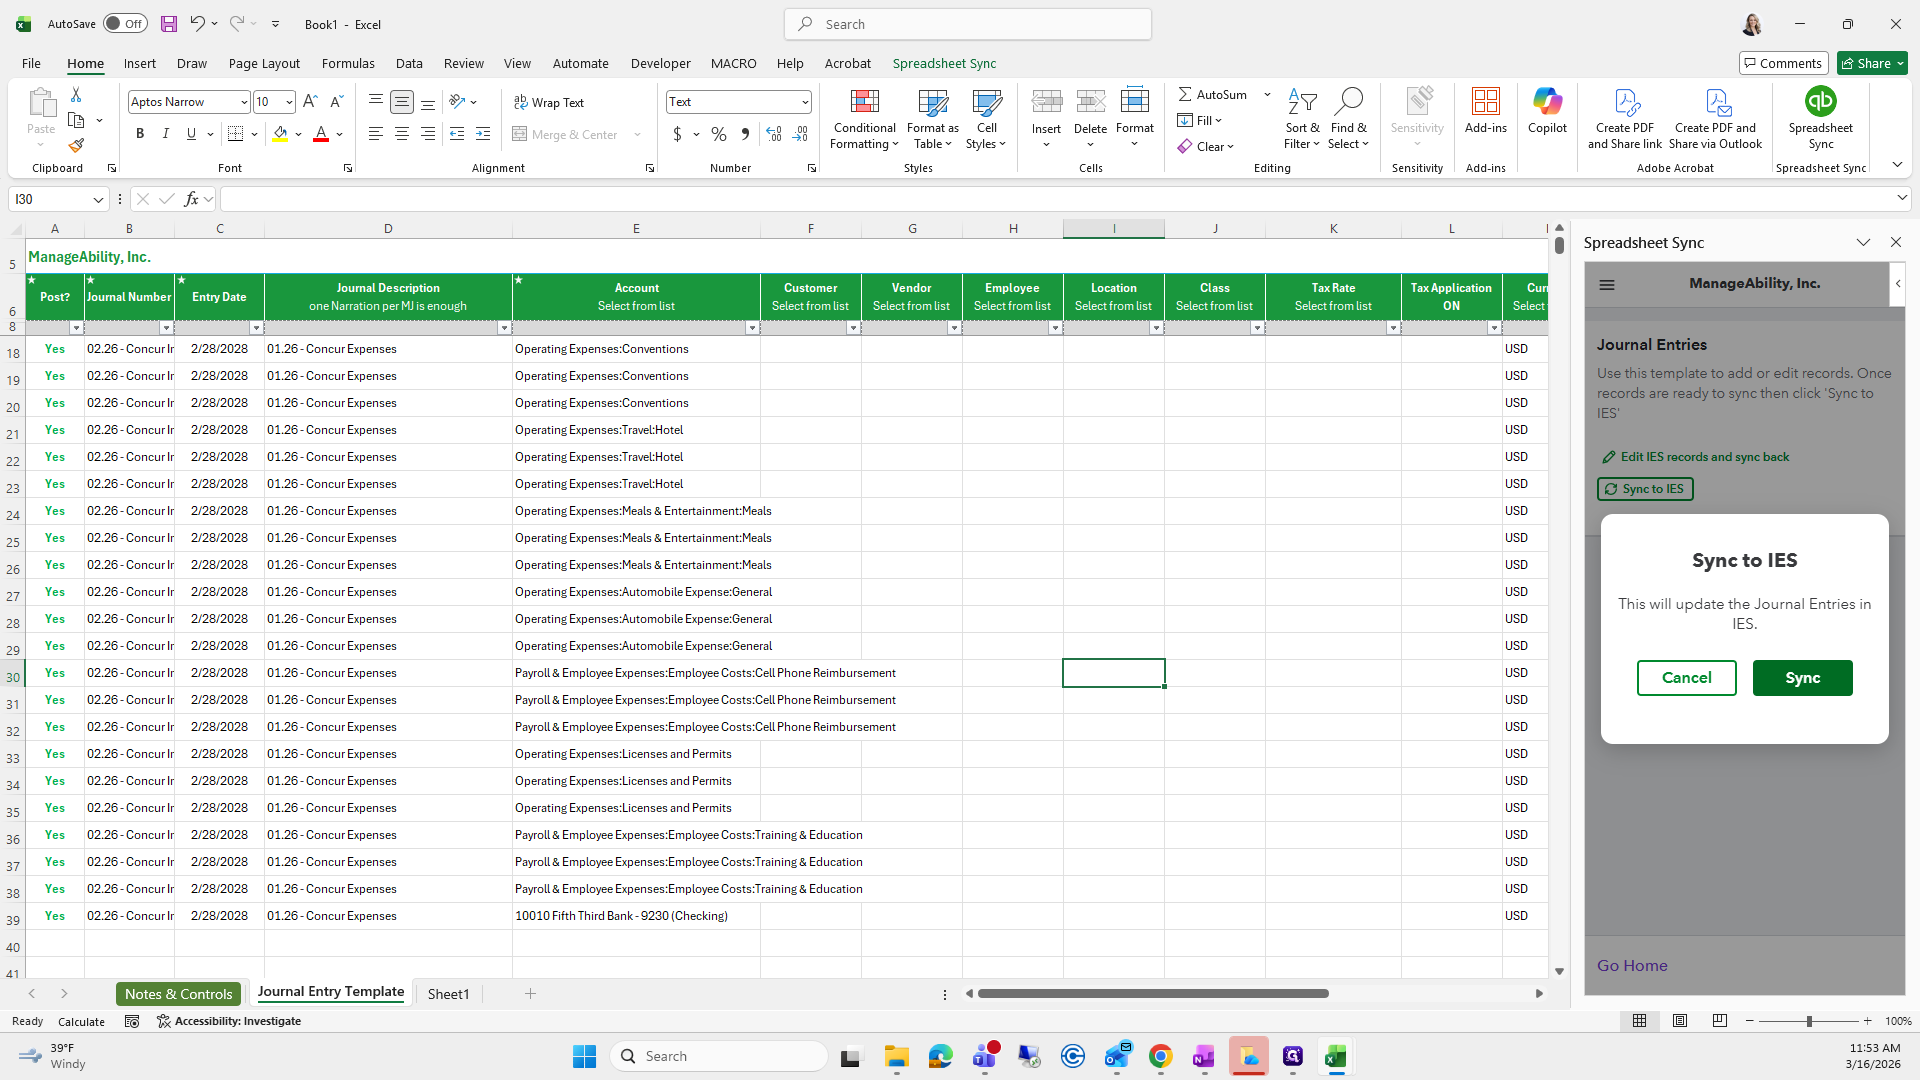
From here, click "Sync to IES," then click "Sync."