
How to Export and Upload Video Clips from the Smart Client
Learn step-by-step how to export and upload video clips using the smart client, including selecting cameras, setting time frames, exporting in MKV format, and uploading files for sharing.
In this guide, we'll learn how to export video clips from a smart client and upload them to a case file using a web browser. This process helps you select specific footage from multiple cameras, save it in the correct format, and share it with others through a provided link.
You'll see how to set time frames, choose cameras, export the files, and upload them for easy access.
Let's get started
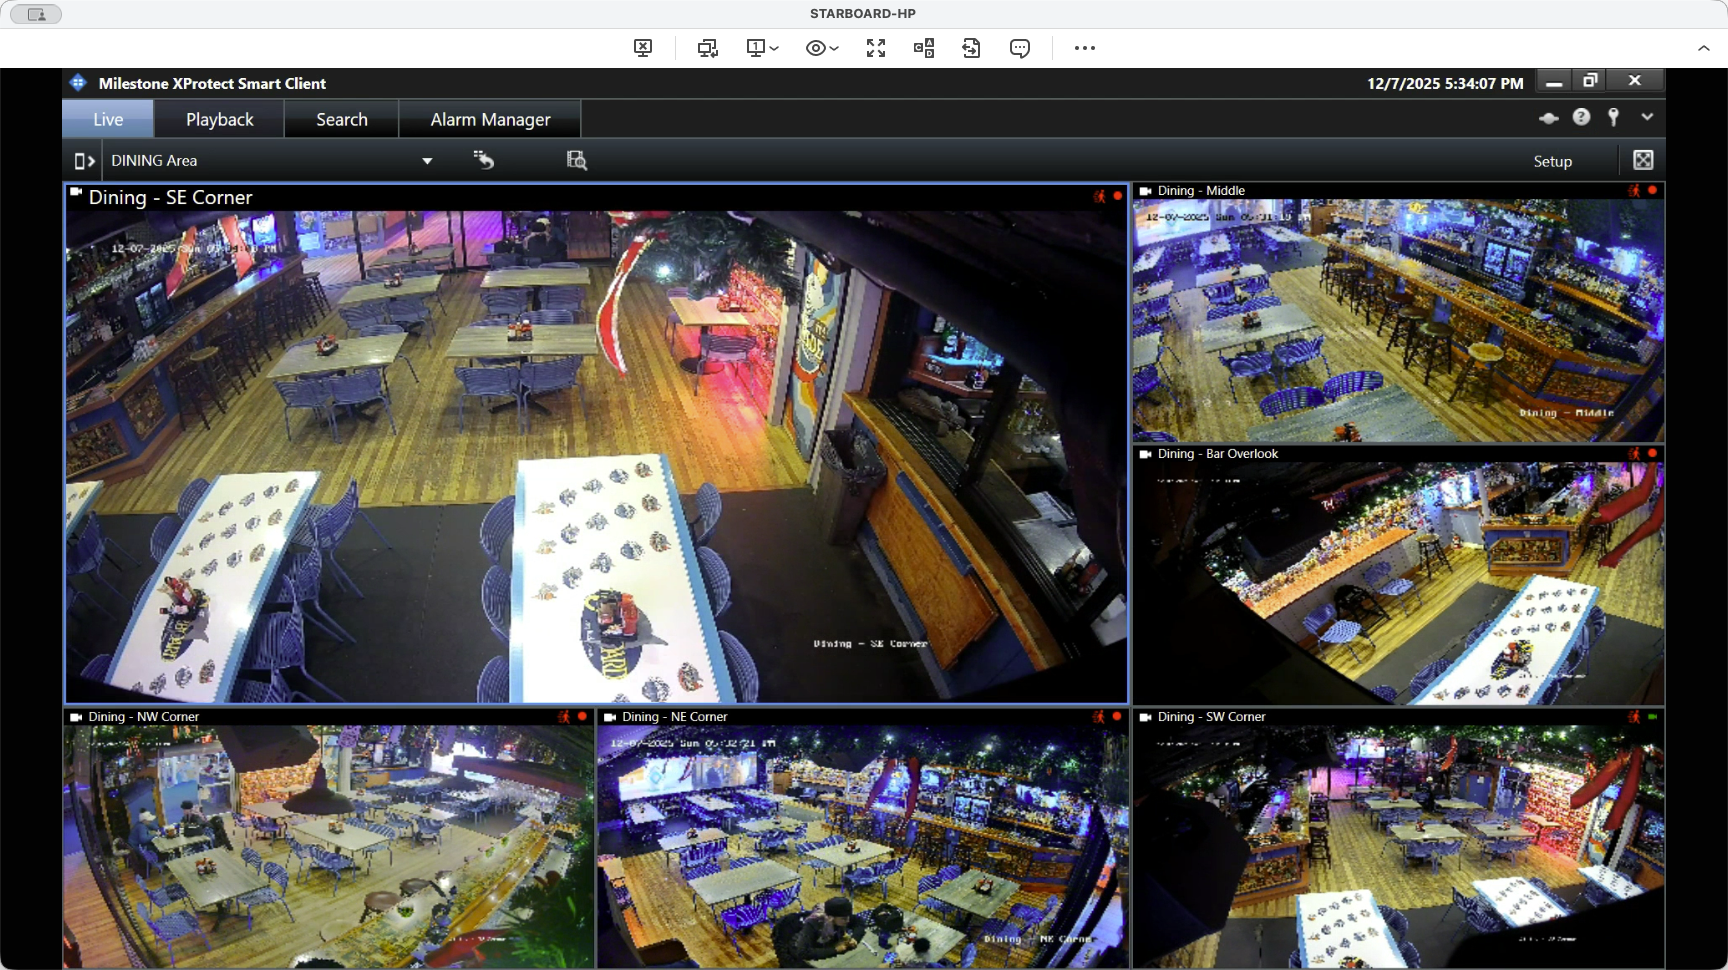
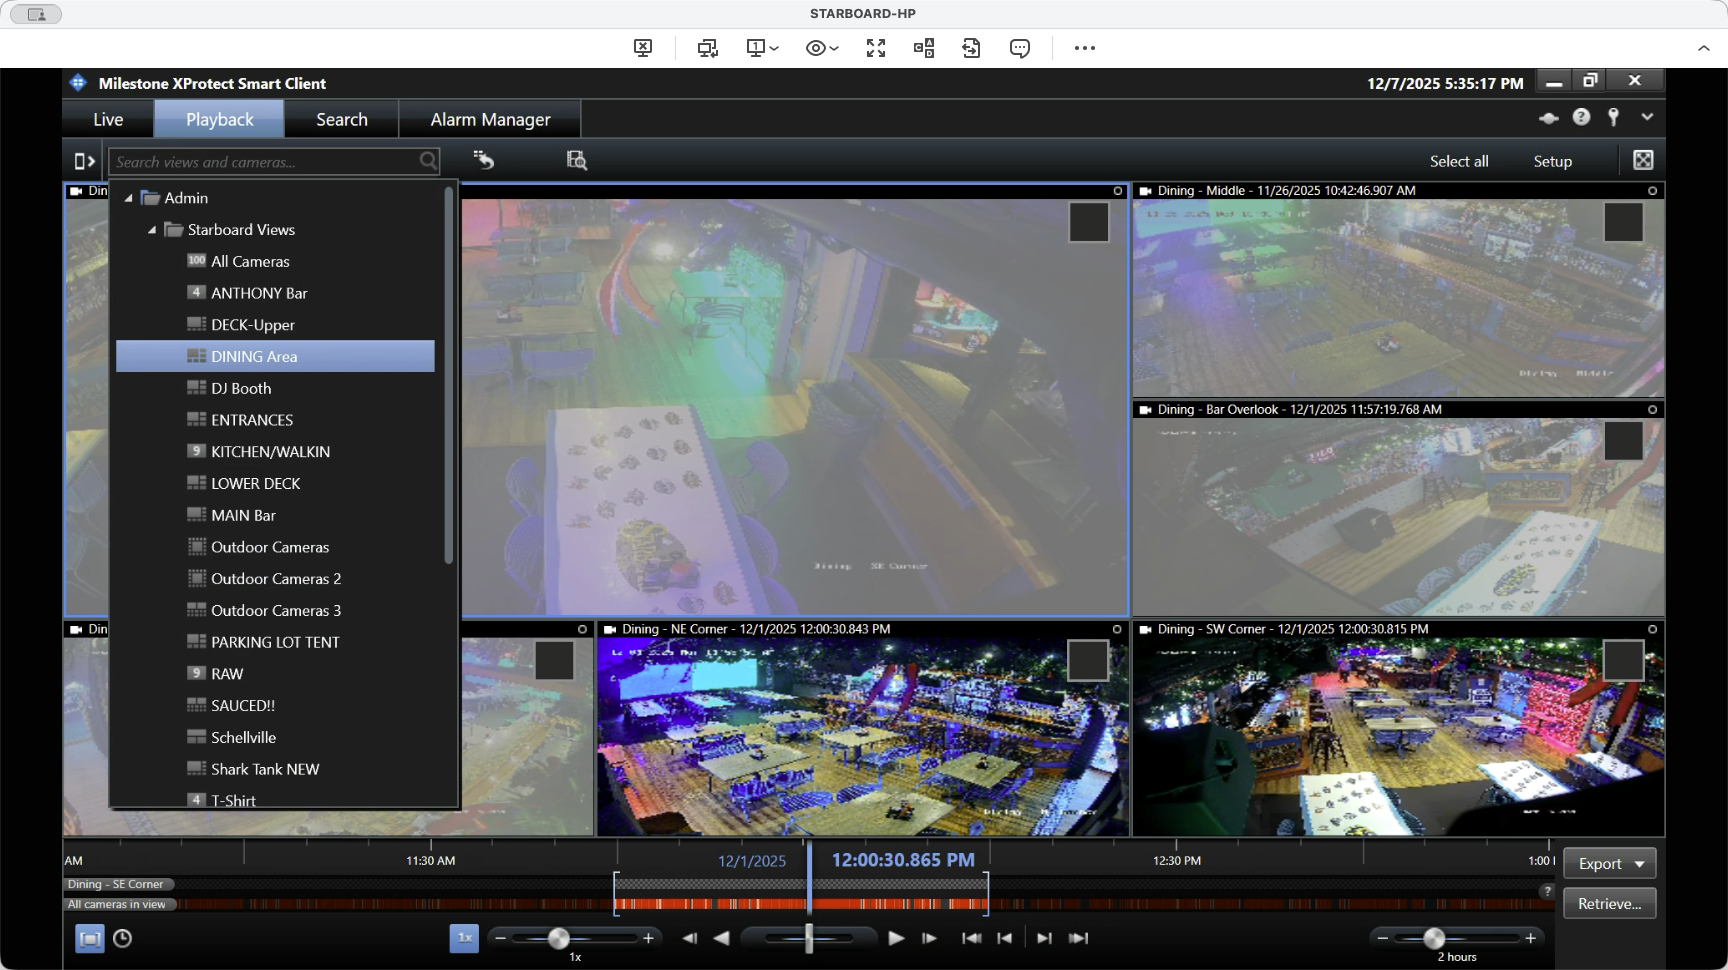
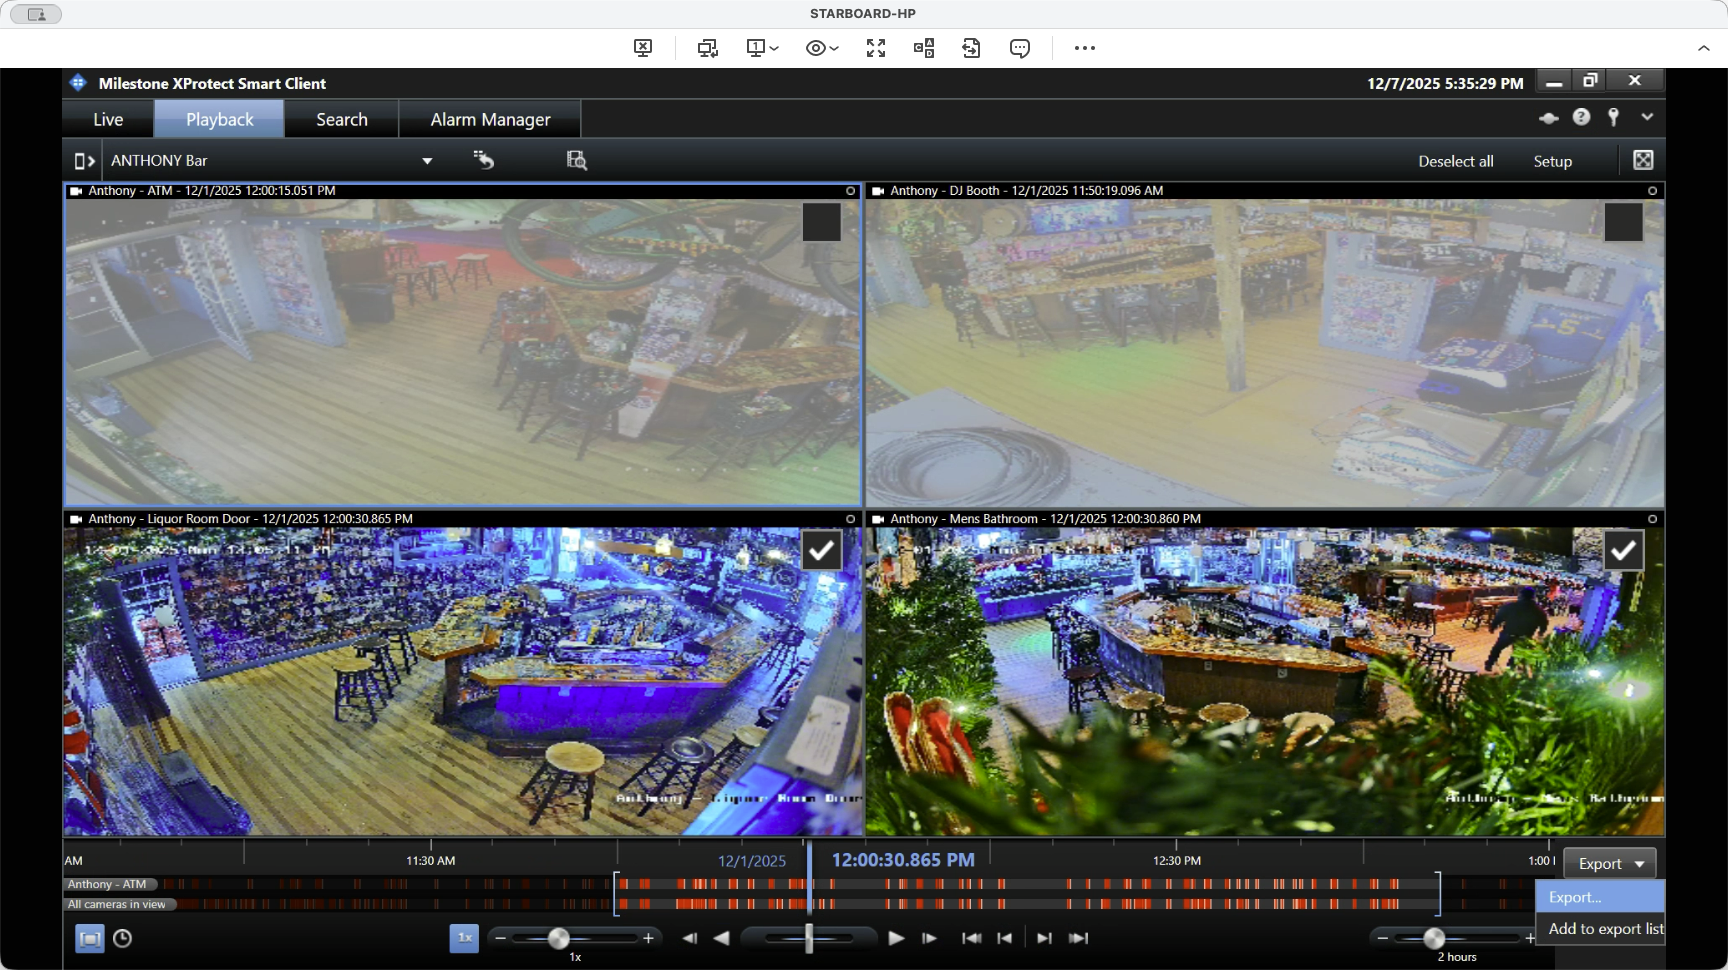
To export and upload a clip, first log into the smart client. Then, go to the view you want to export from. Next, select playback to open the playback menu. Red lines will appear, showing which footage is available for export.
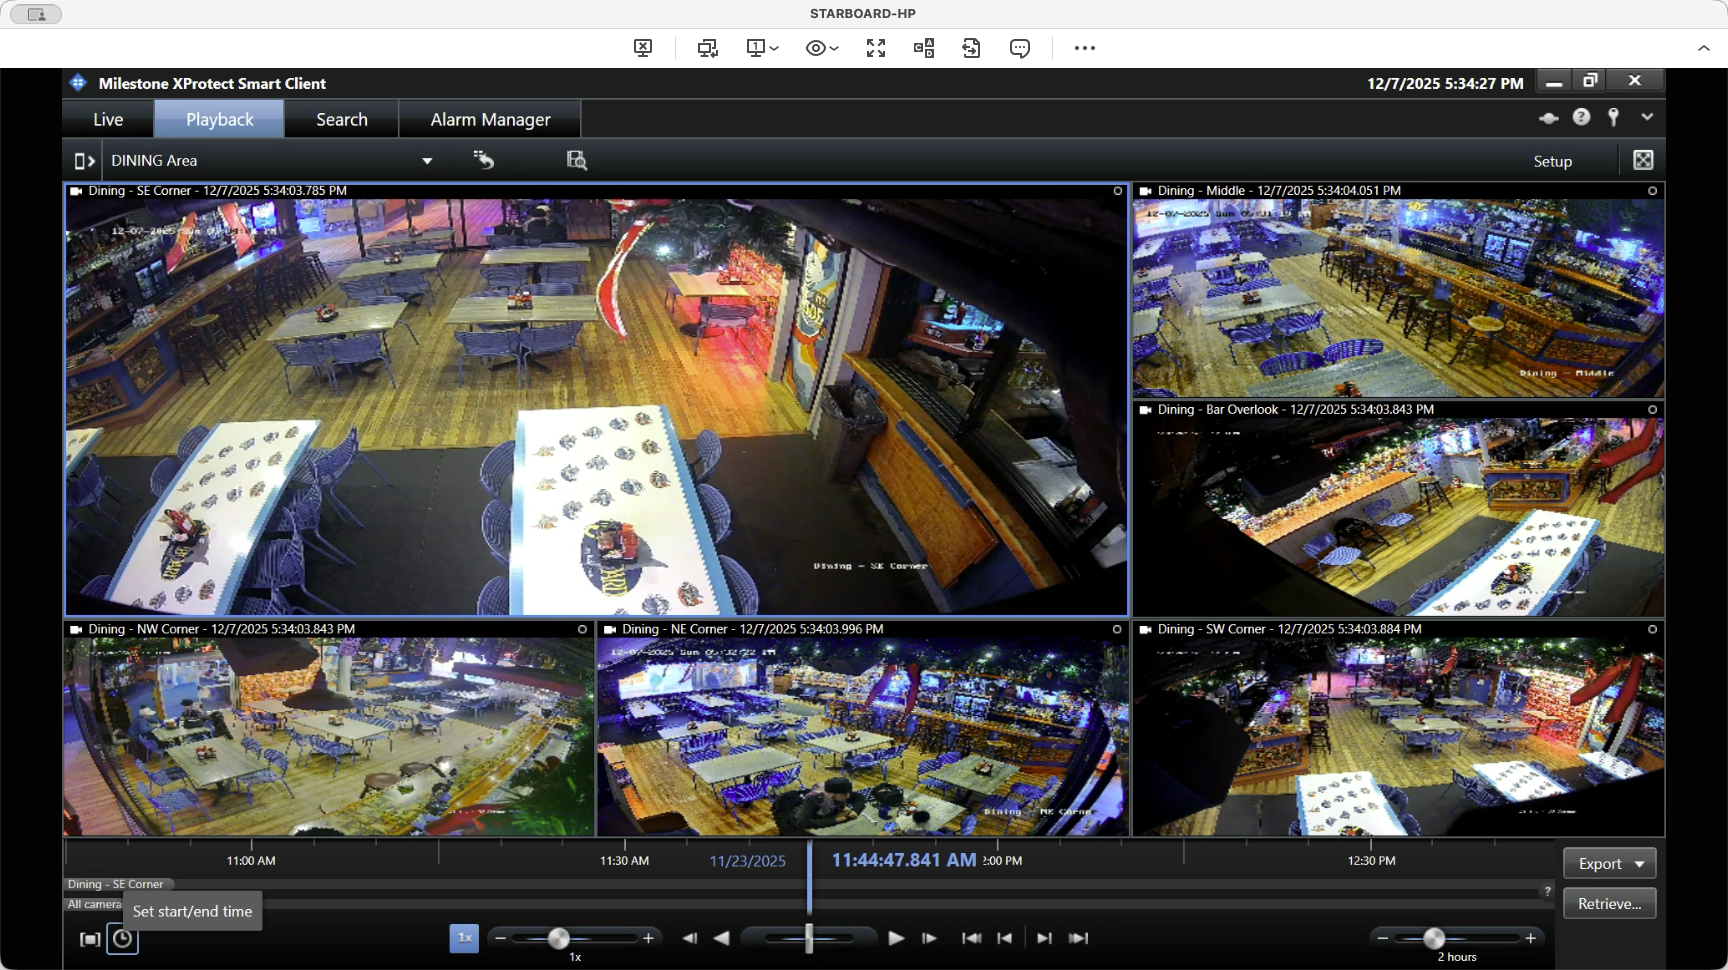
To set a start and end time, click the clock icon. Then, select the desired dates, for example, December 1st to December 1st. Next, choose the start time, such as 11:44 A.M.


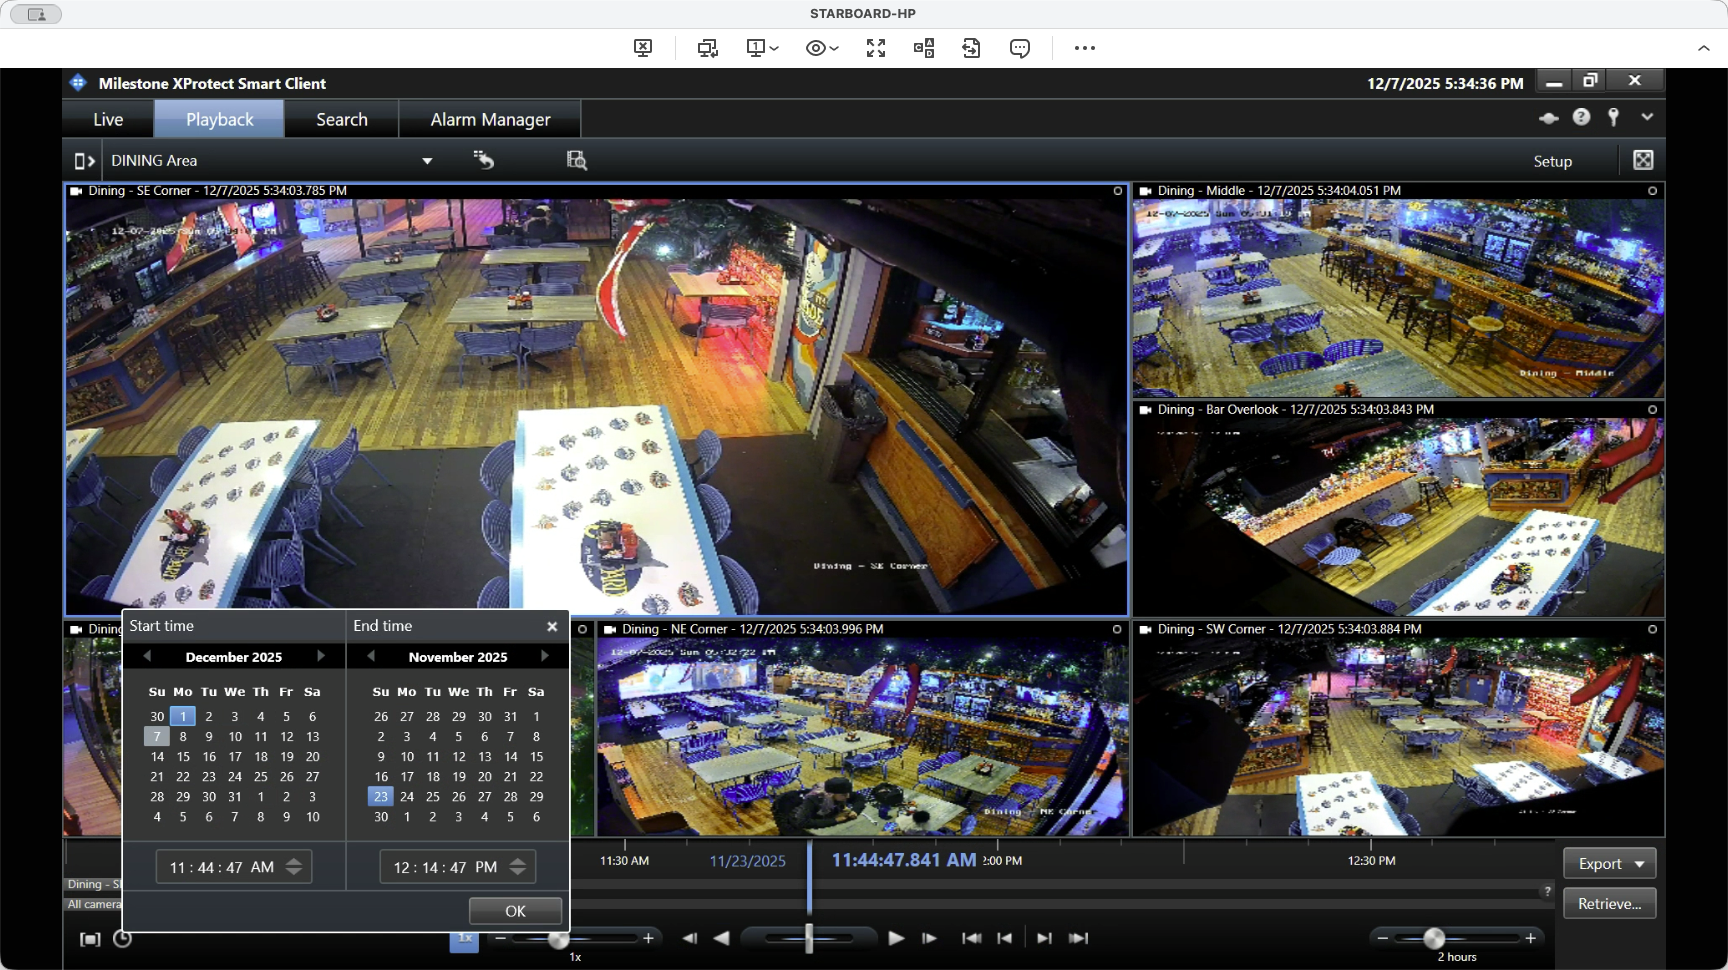
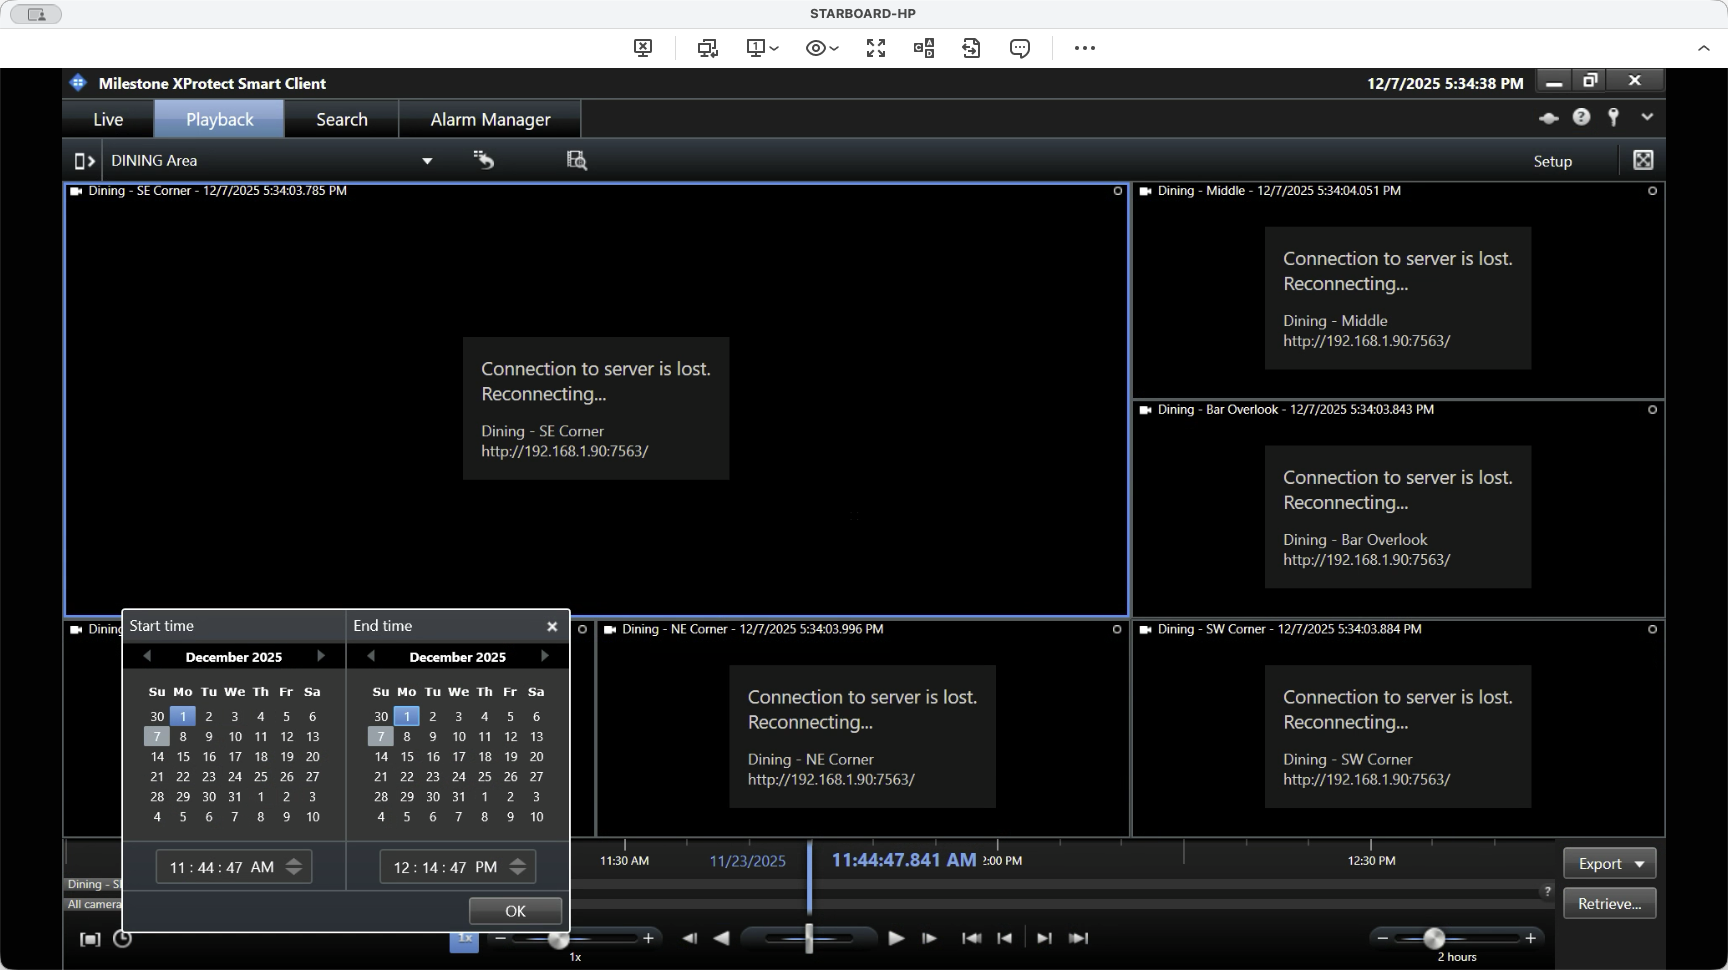
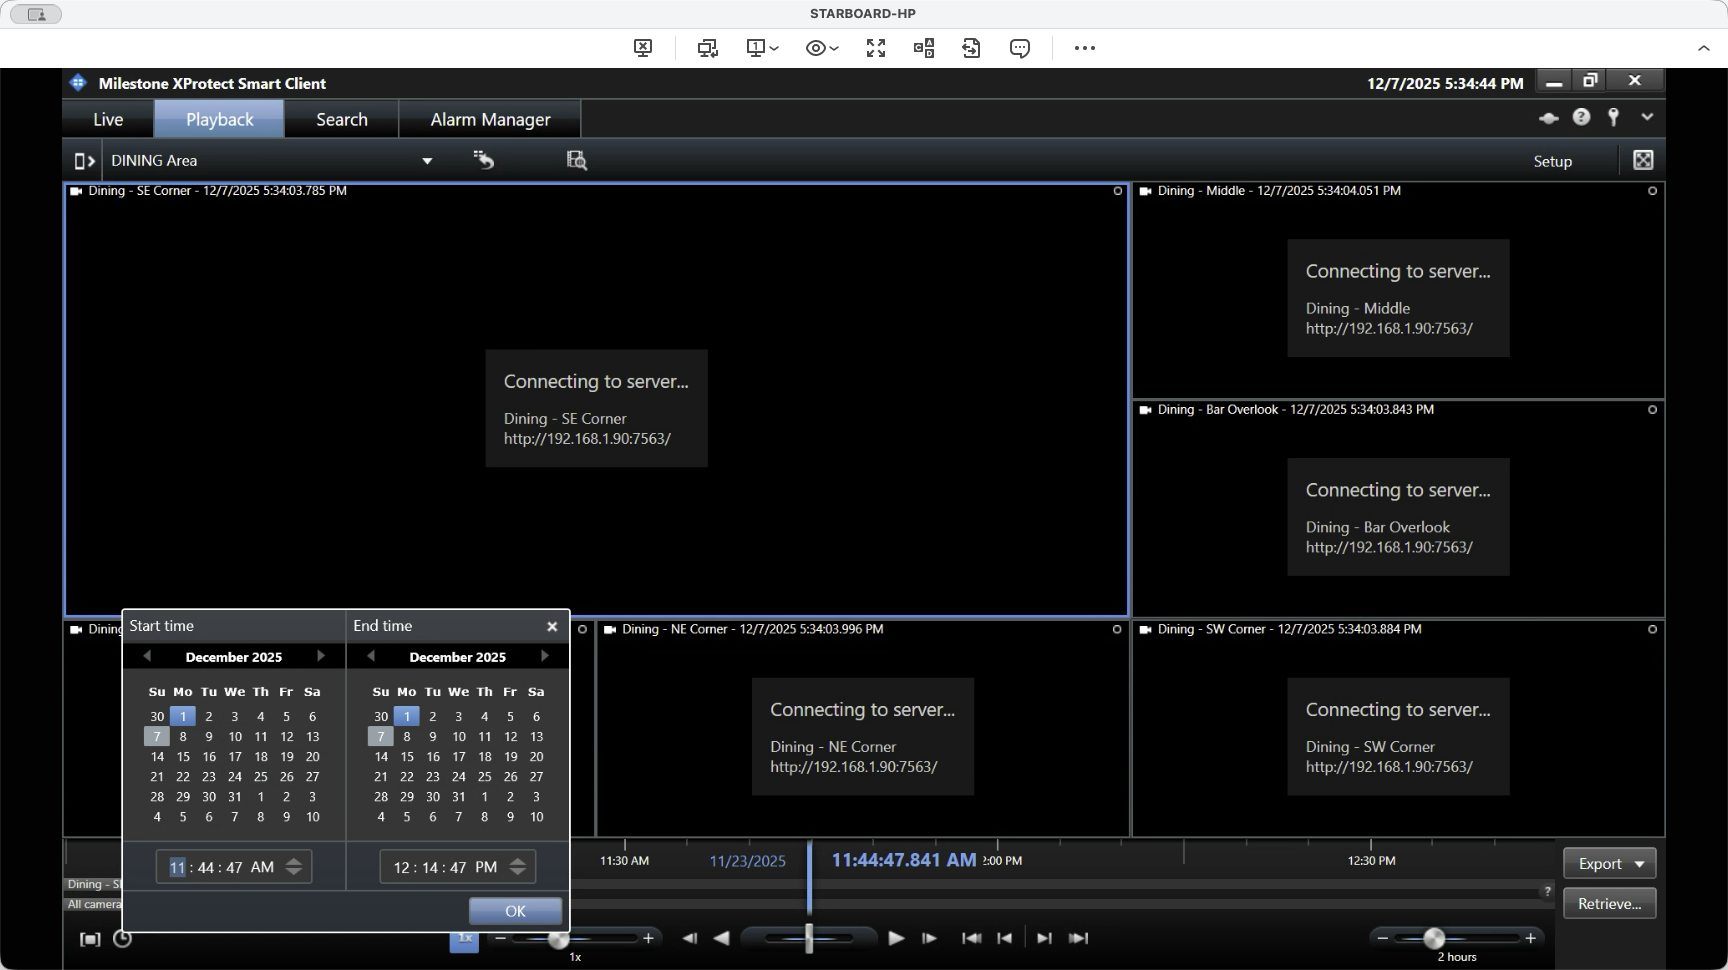
Click "OK" to locate the footage. Now you can see footage from the event. Cameras are moving in and out of view.
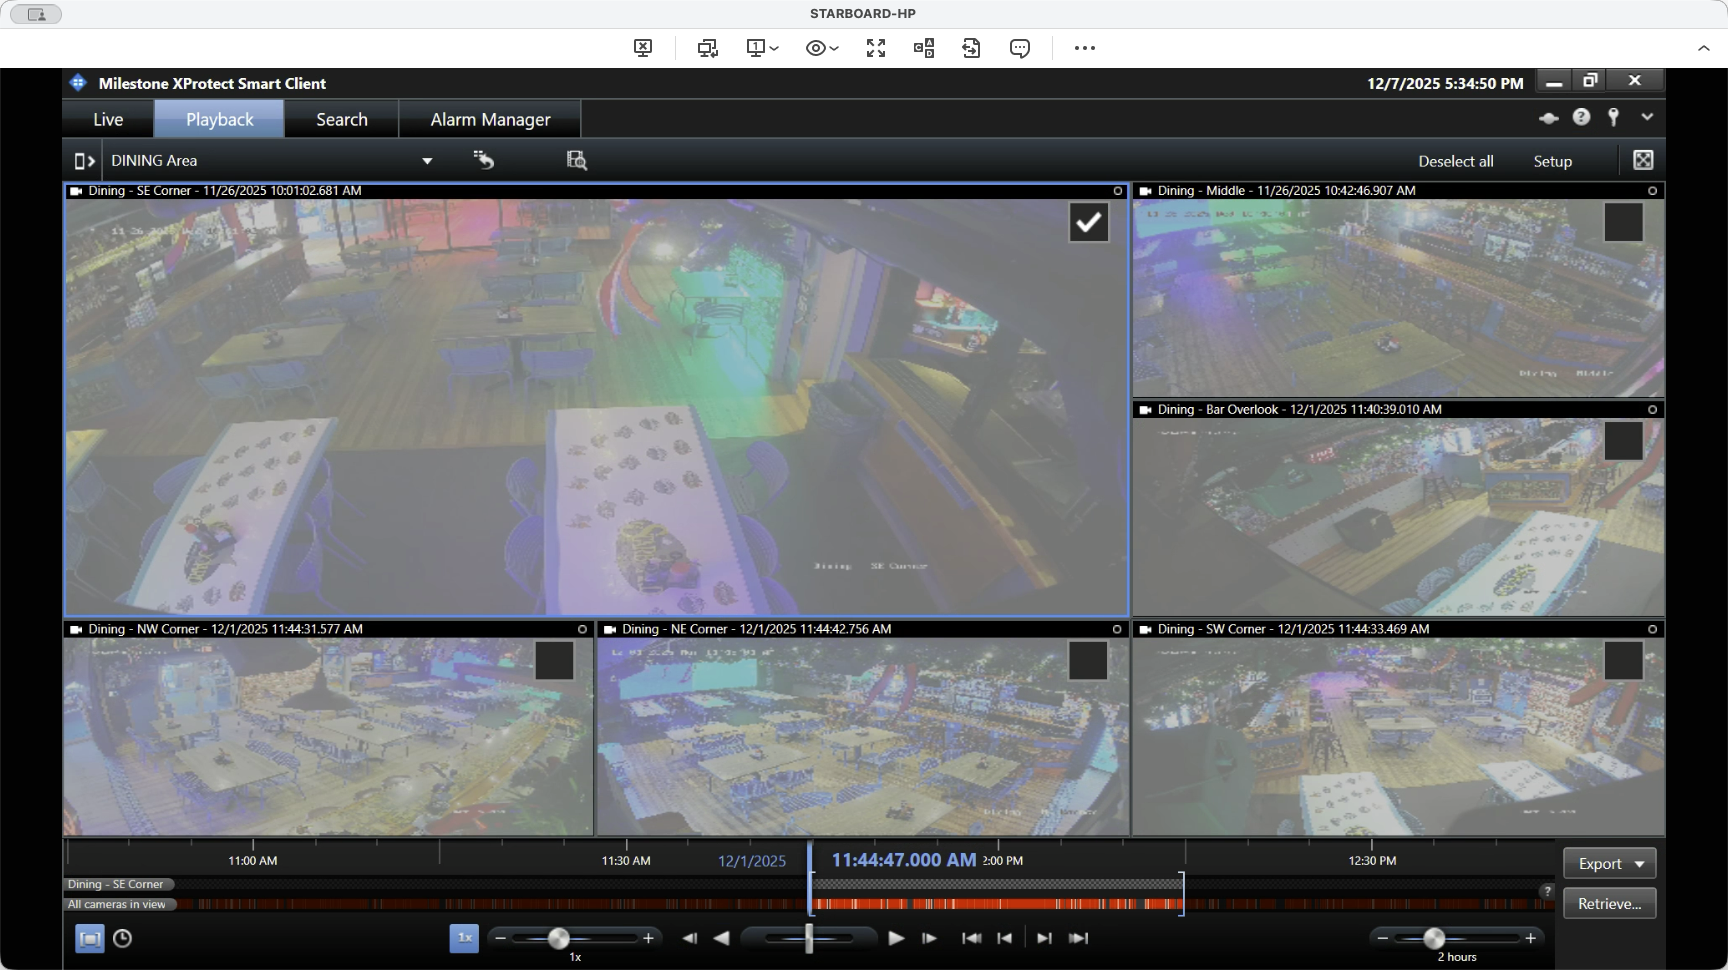
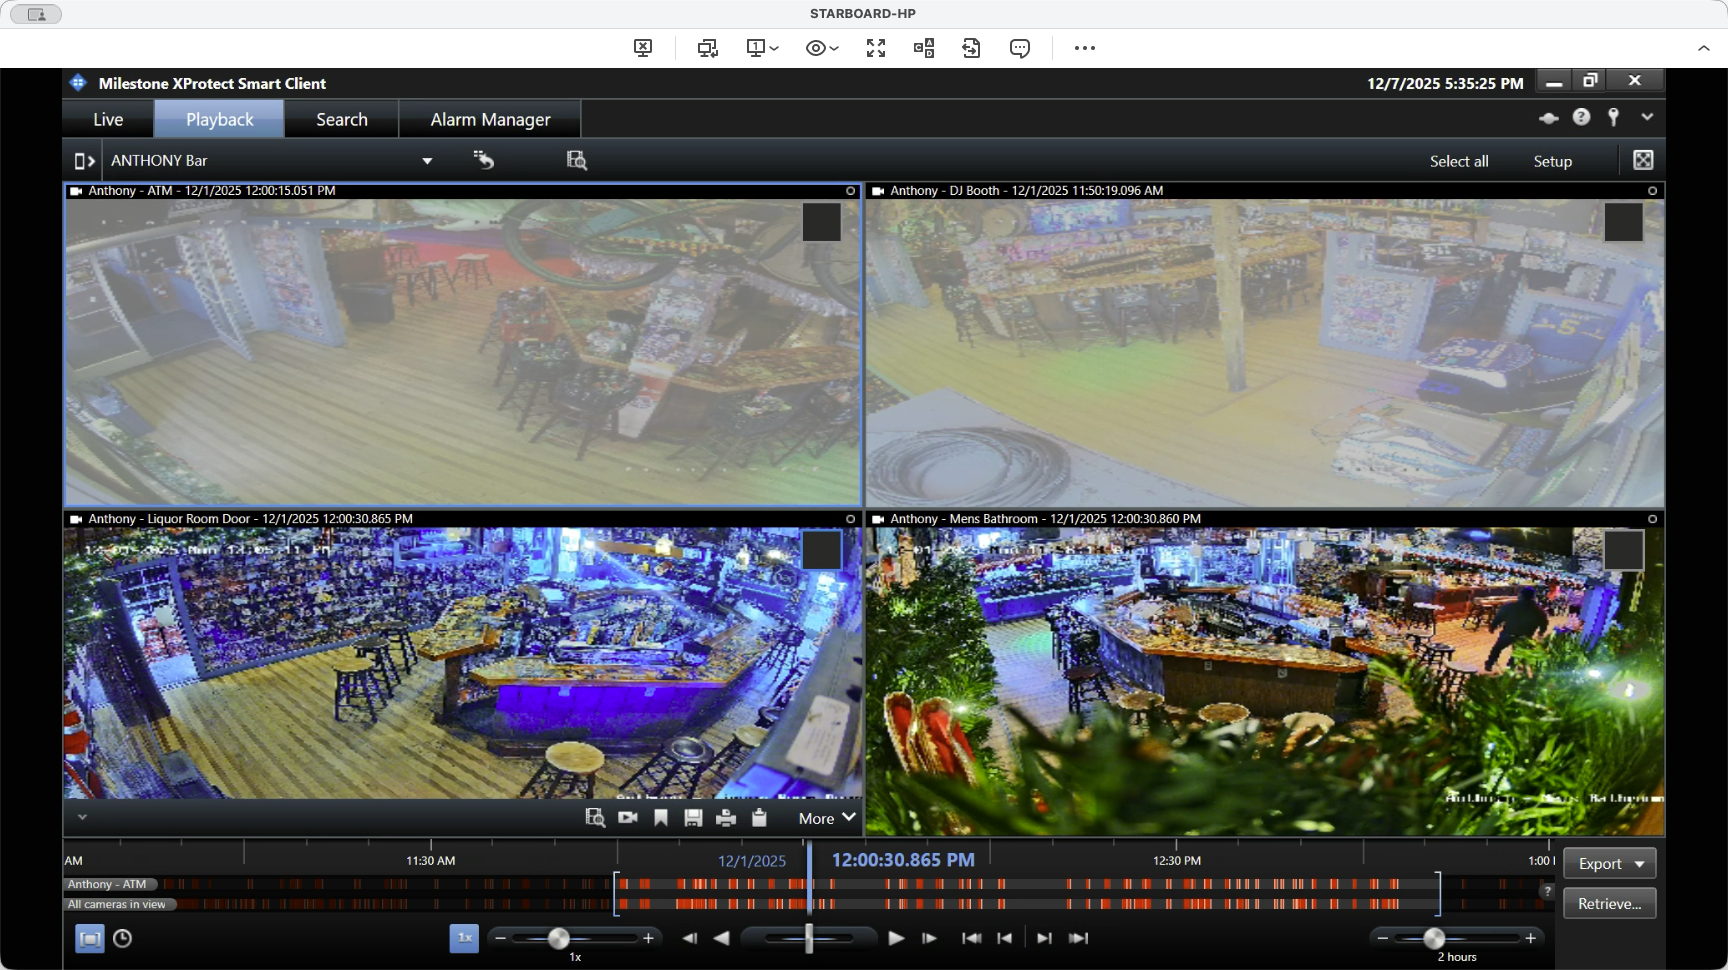
To select footage from specific cameras, check the cameras you want to export. Click export, then add to export list.

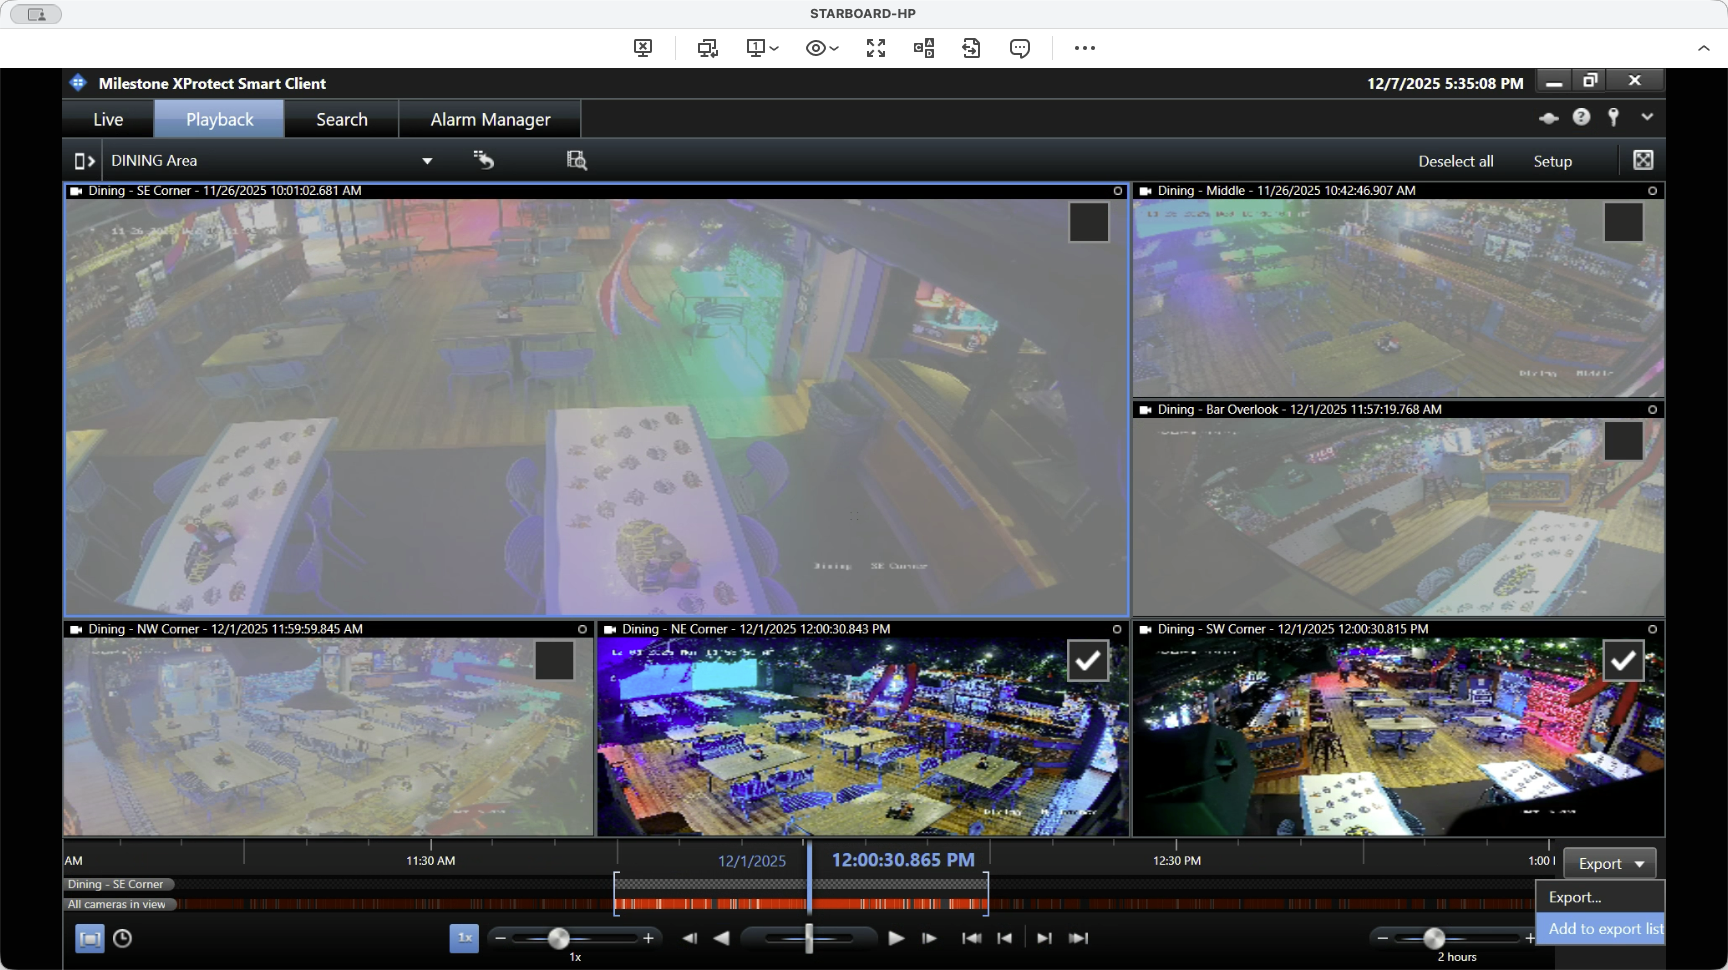
If we were finished, we could simply click export. However, since we need to add more, we add it to the export list.

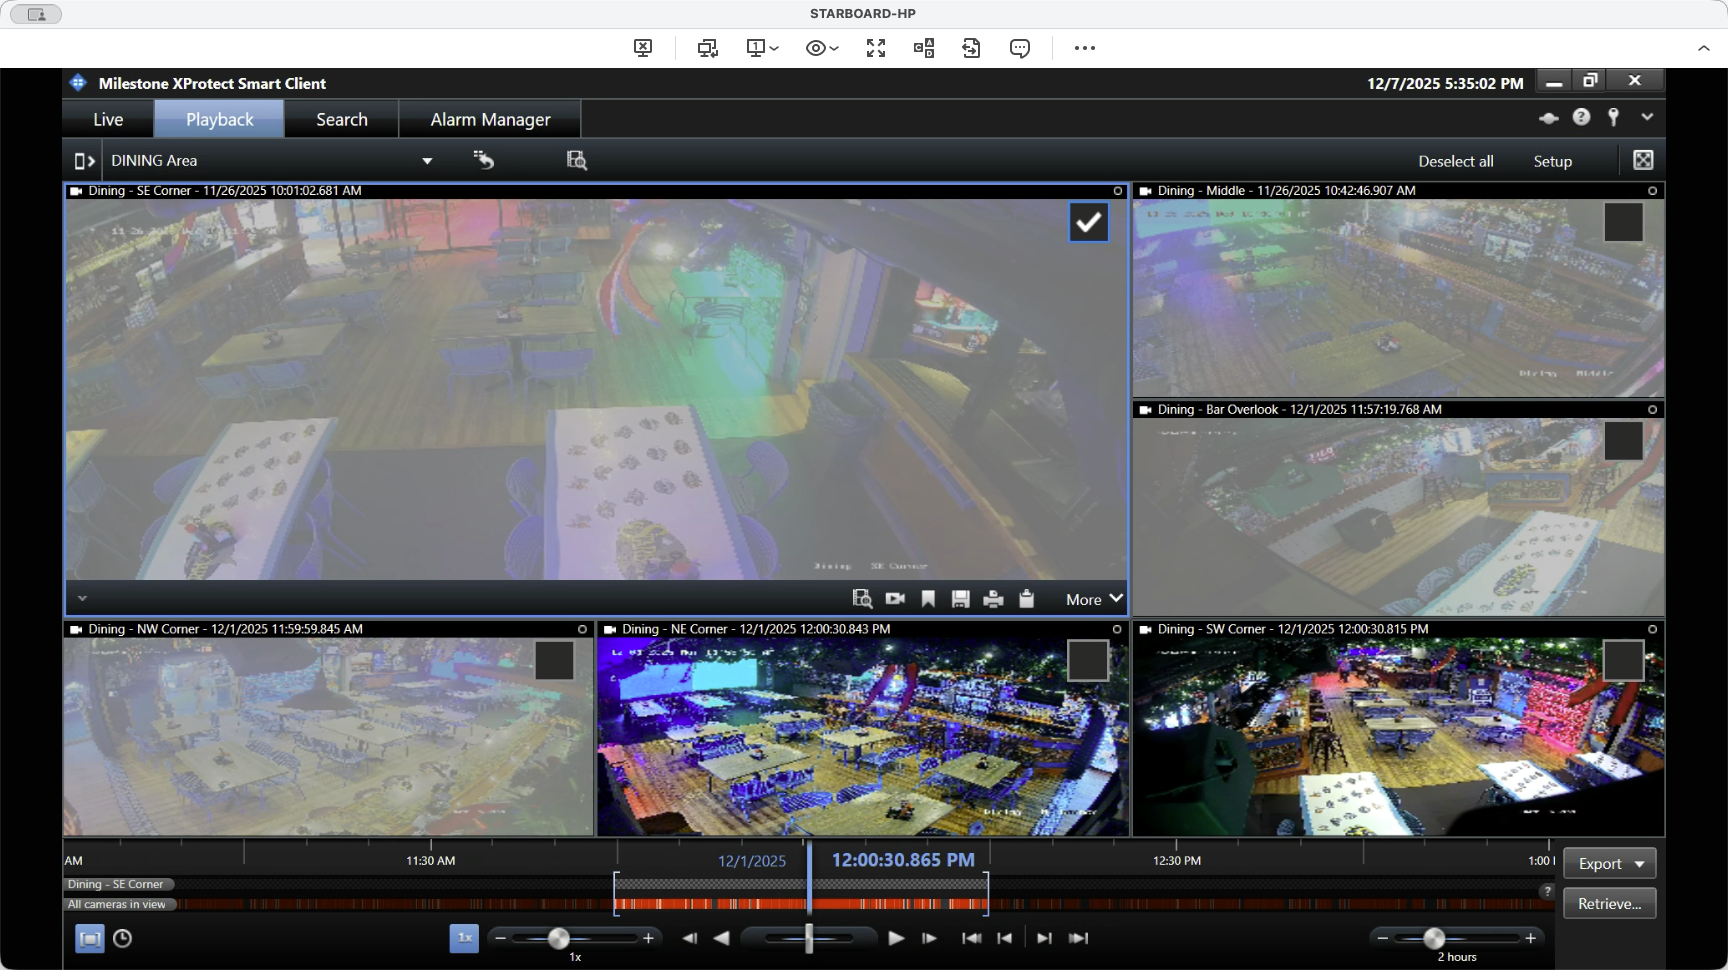
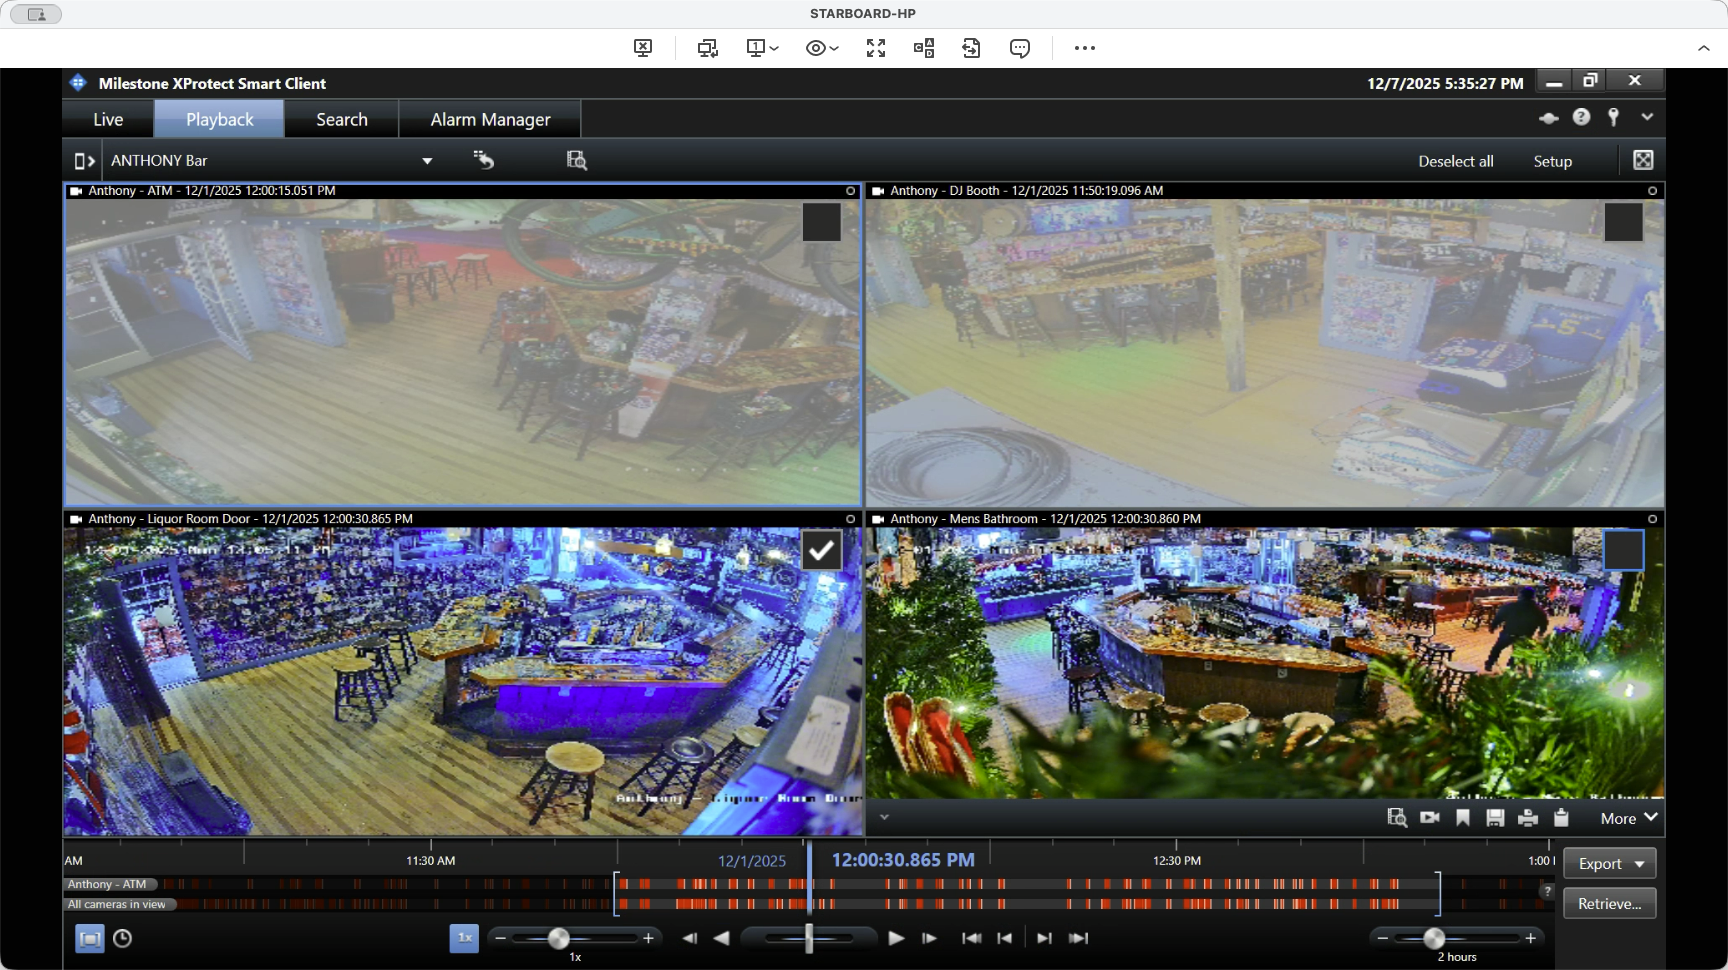
We can then change our view to something different.
Suppose we want to do this here and select from the initial time frame to that point.

Next, select the cameras you want to capture. Then, click export.
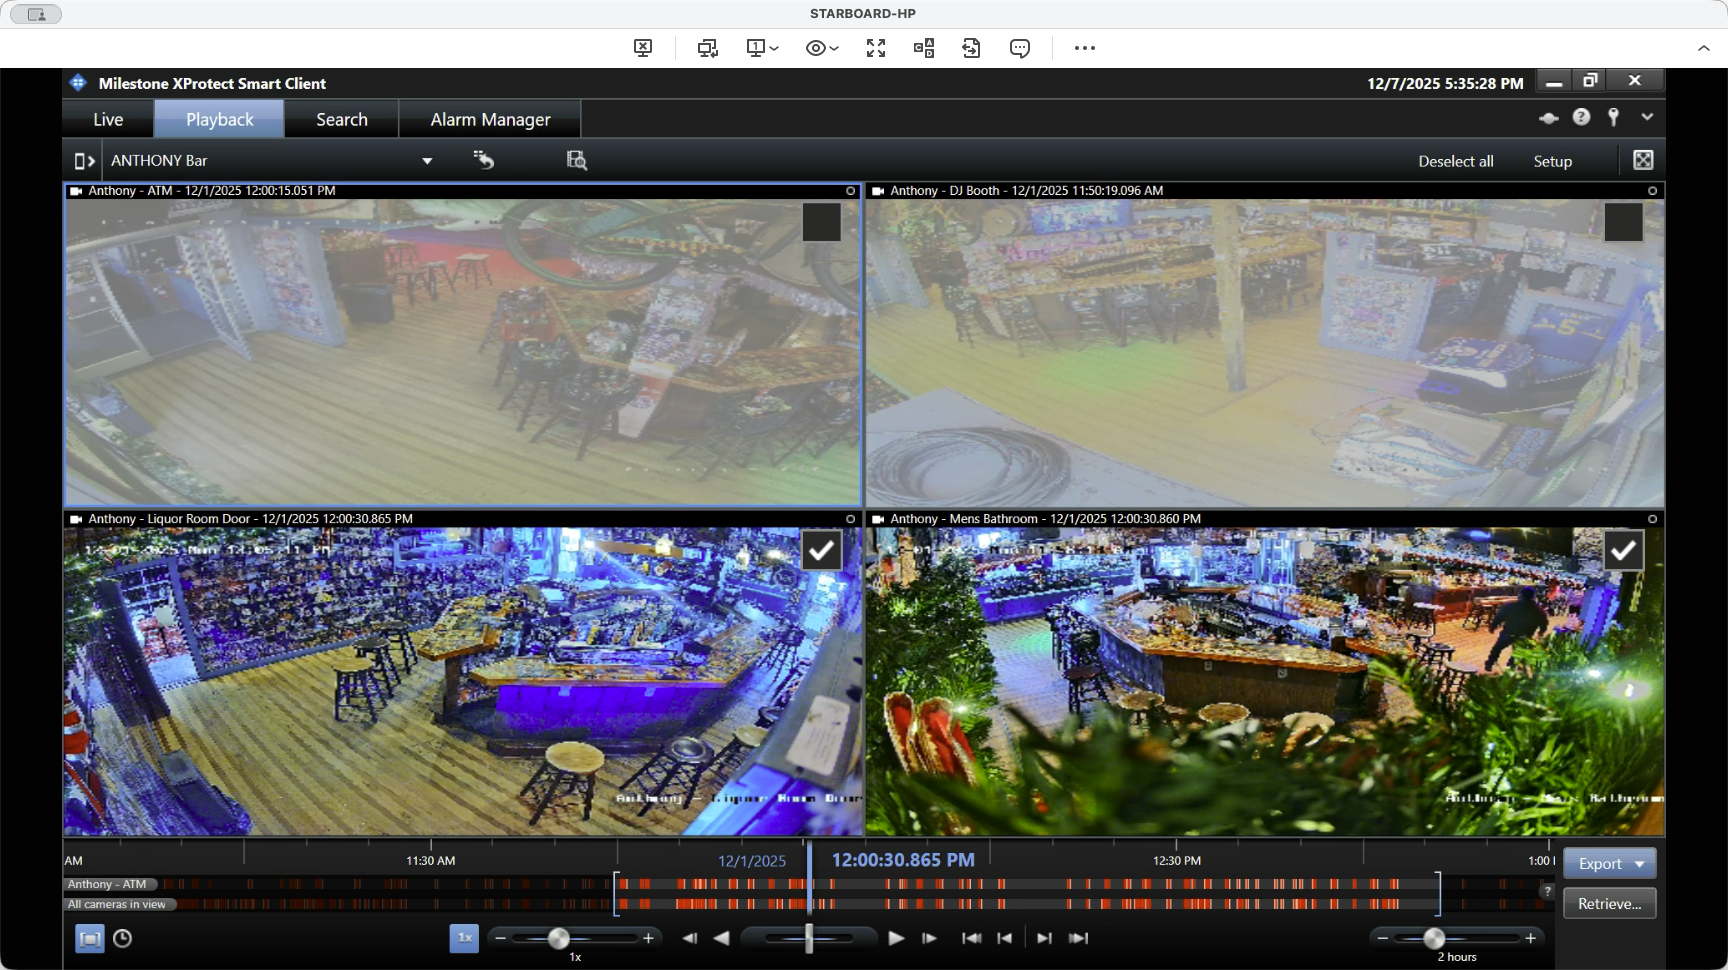
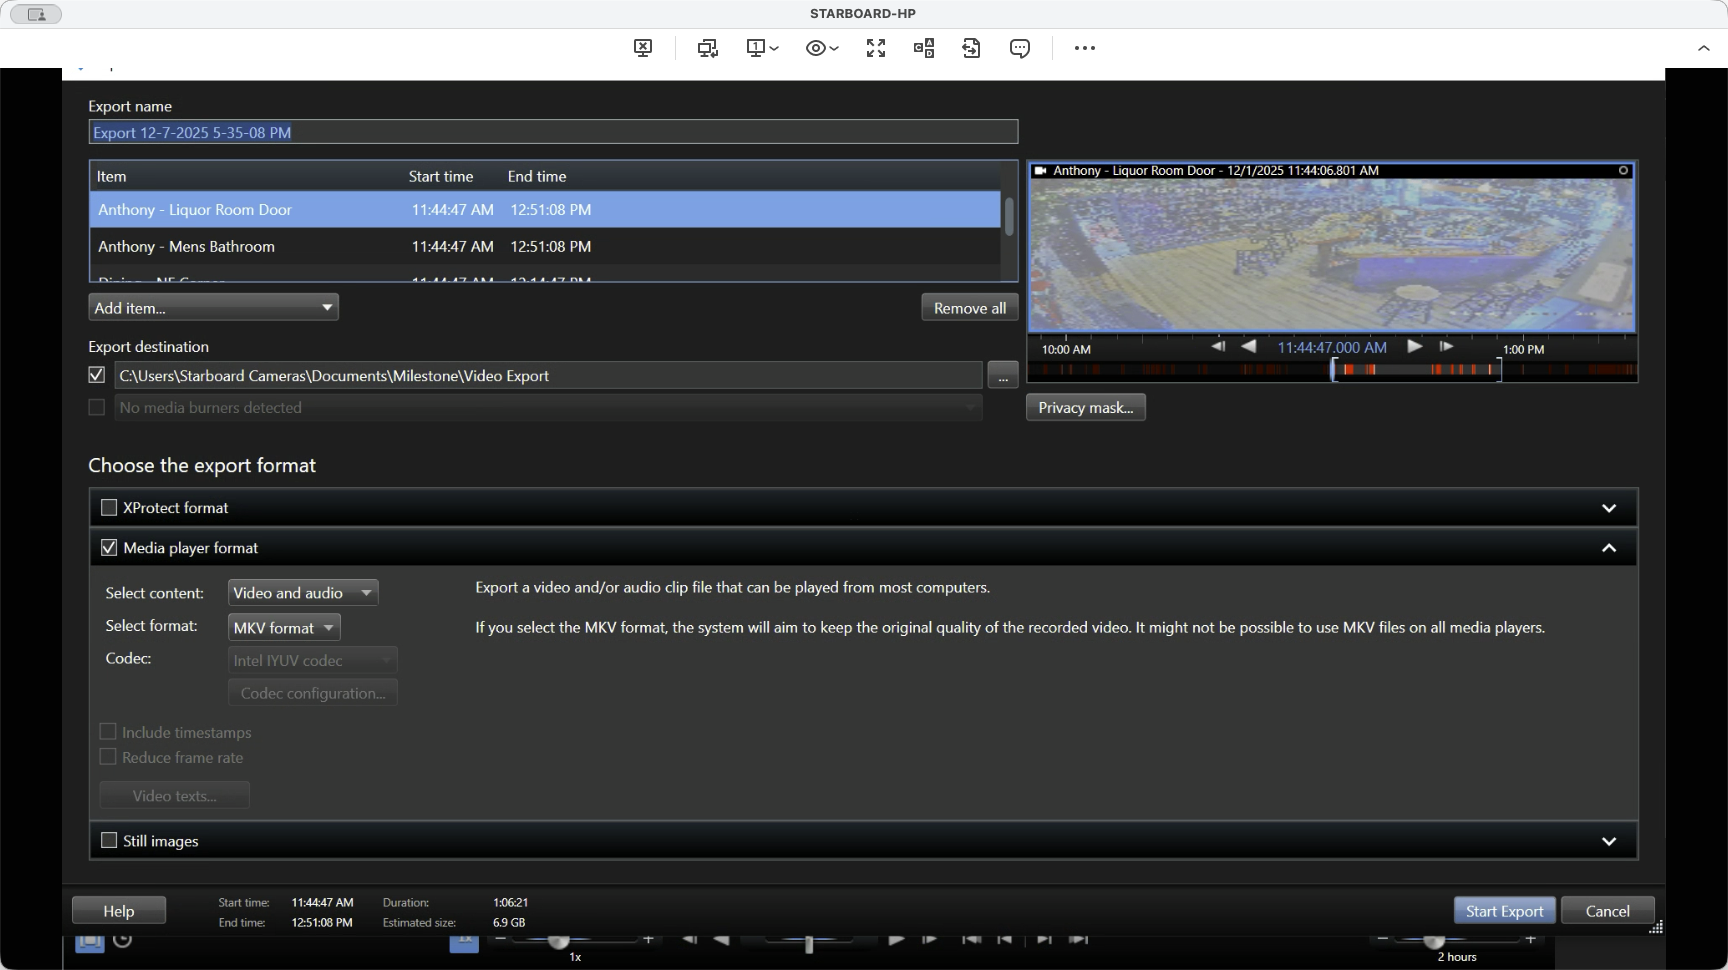
Always click "Add to Export List" after each view, until you reach your final set of cameras. Here, we have the four selected cameras. We will export them to the export folder, and then I will show you how to upload them.
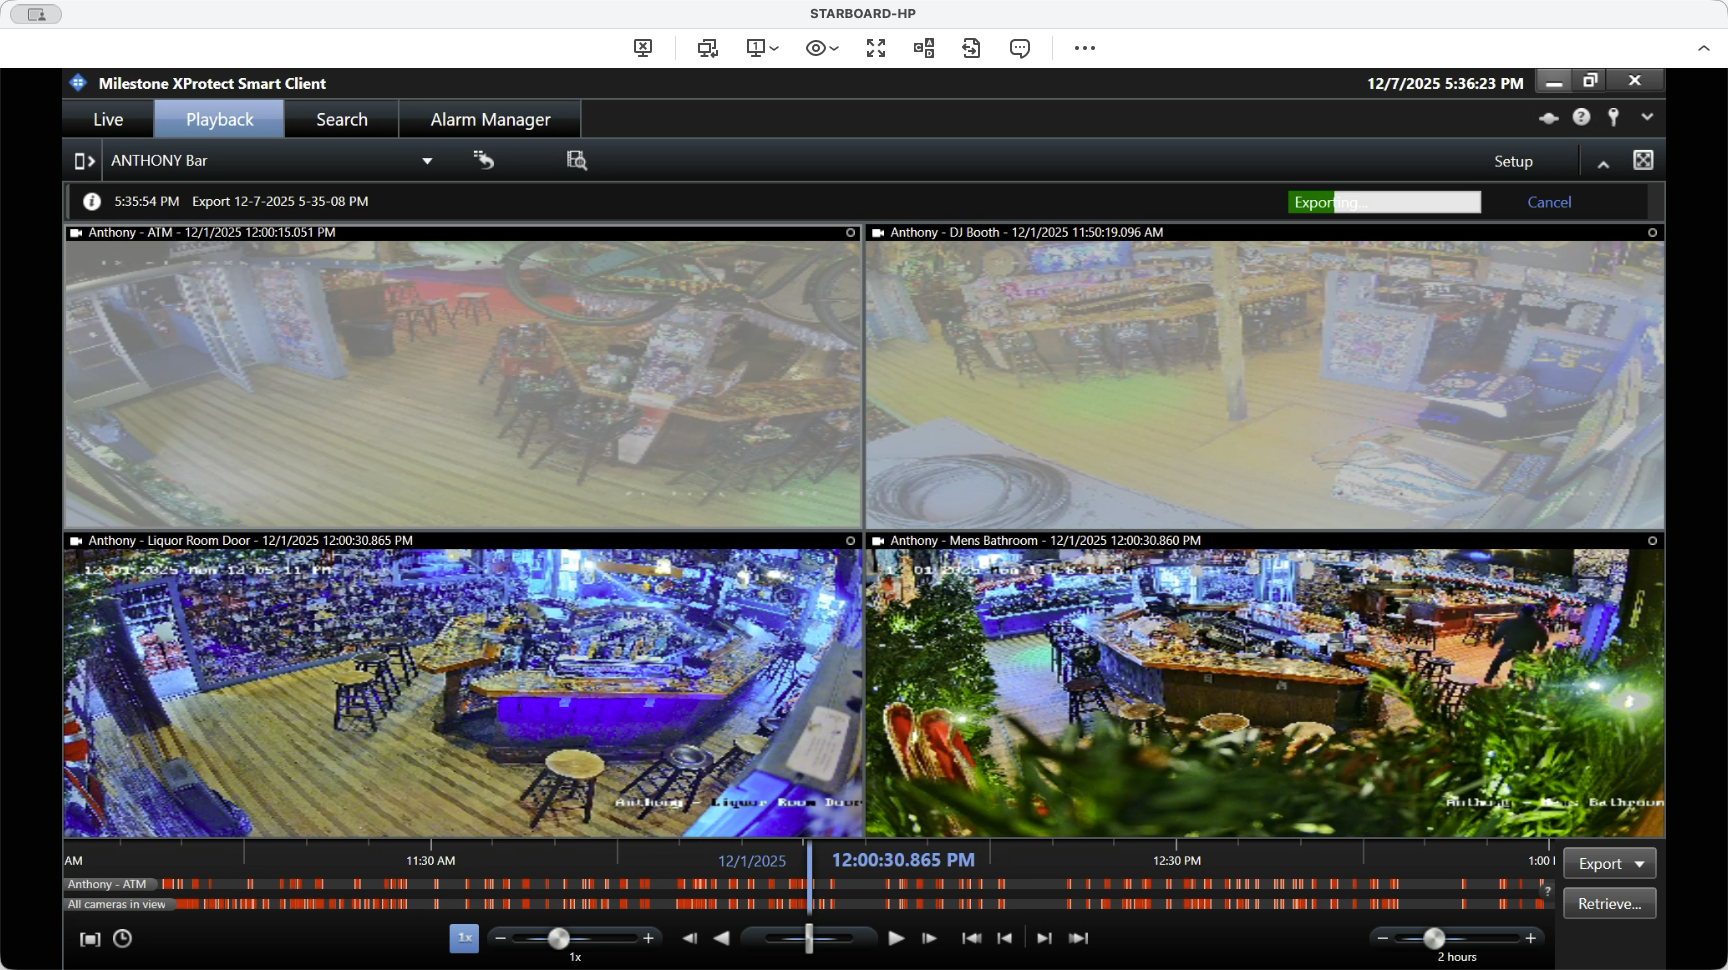
You will use the media player format for video and audio, specifically MKV. Then, click Start Export.
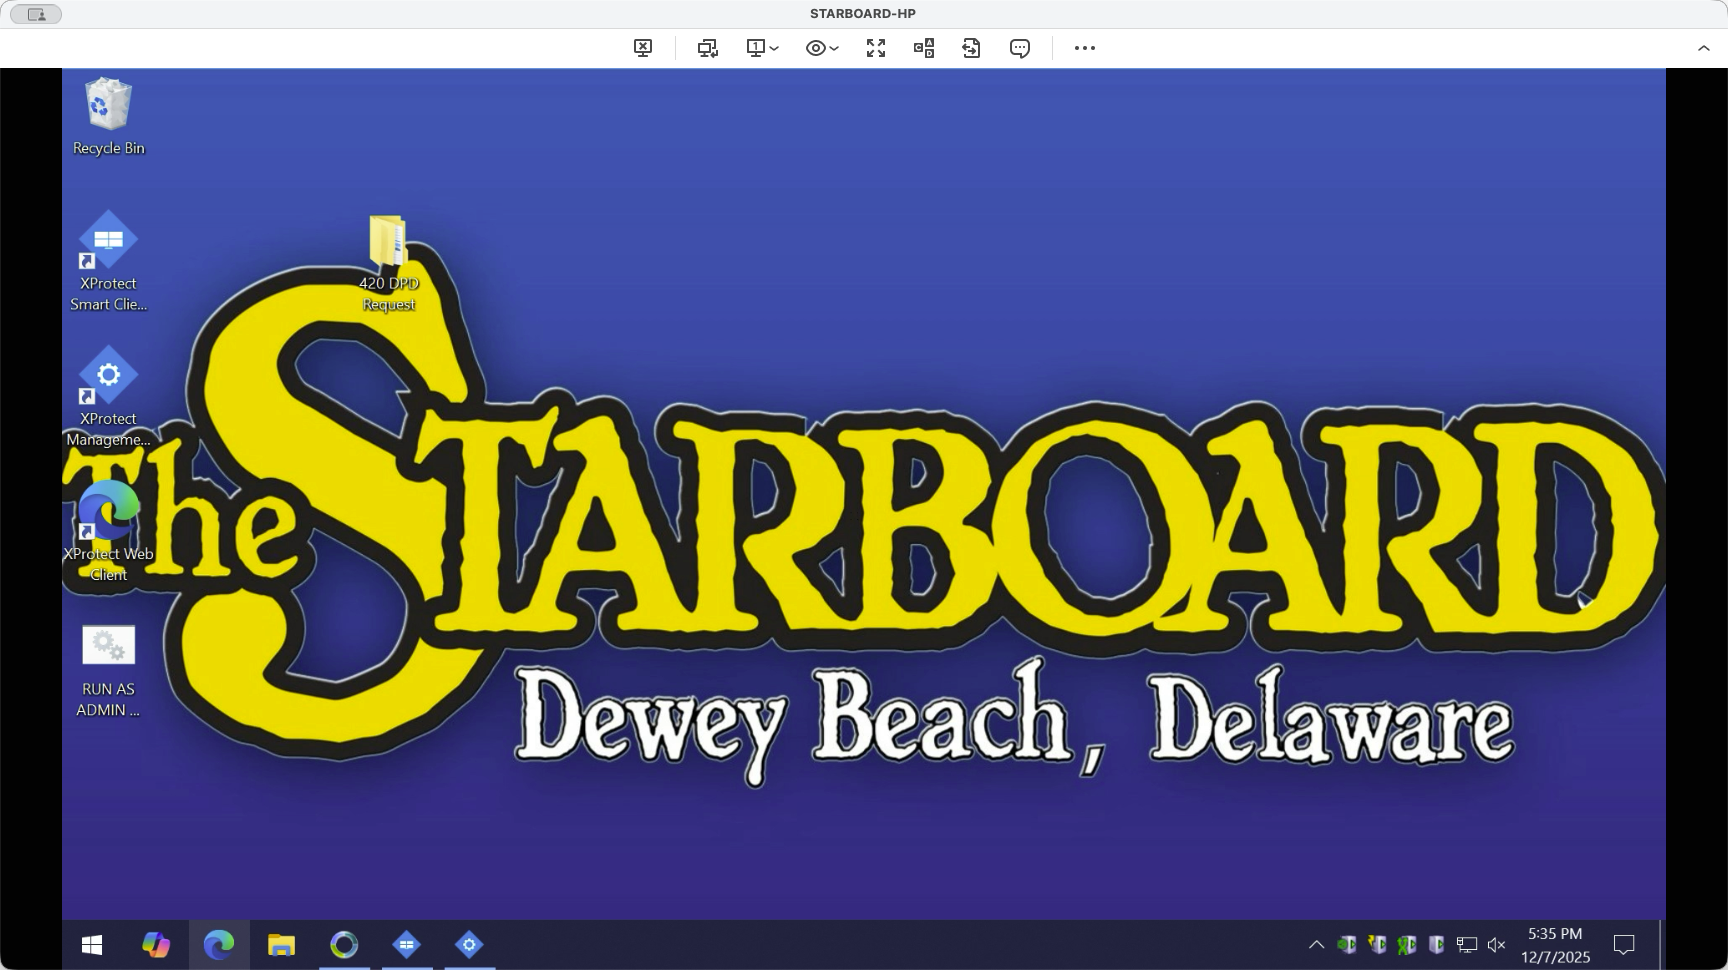
While that's running, I'll minimize this.

Open Edge or your web browser and paste the link I emailed you.
That will take us to the case file for this specific request.
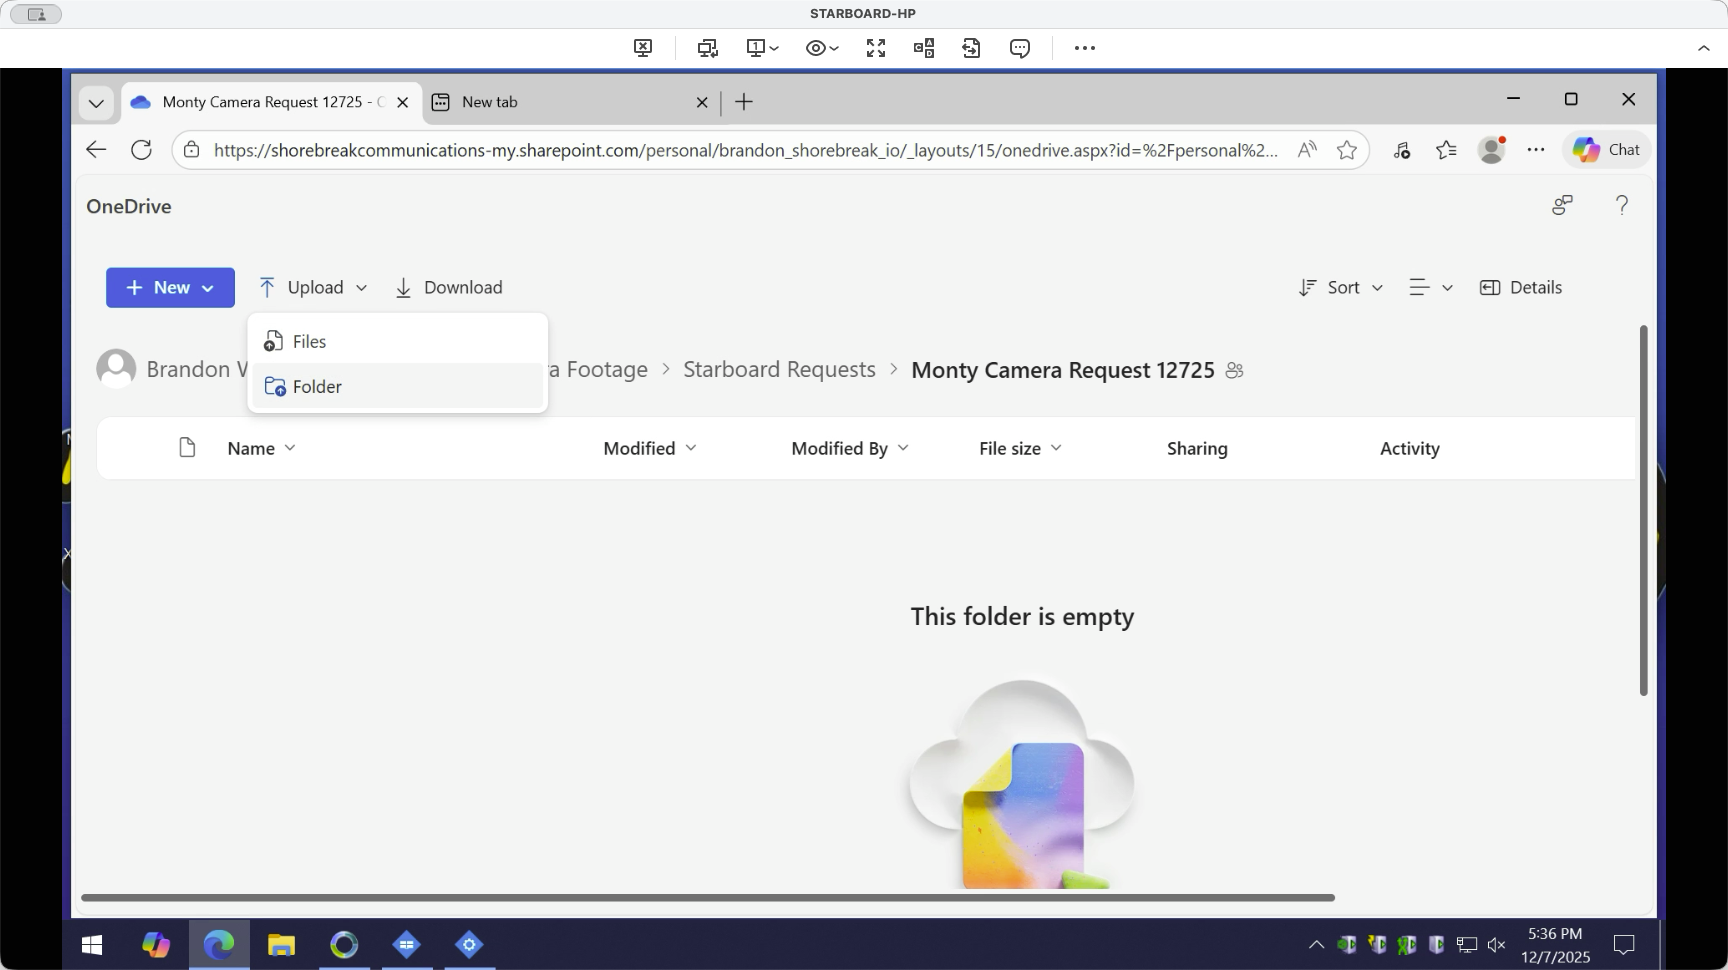
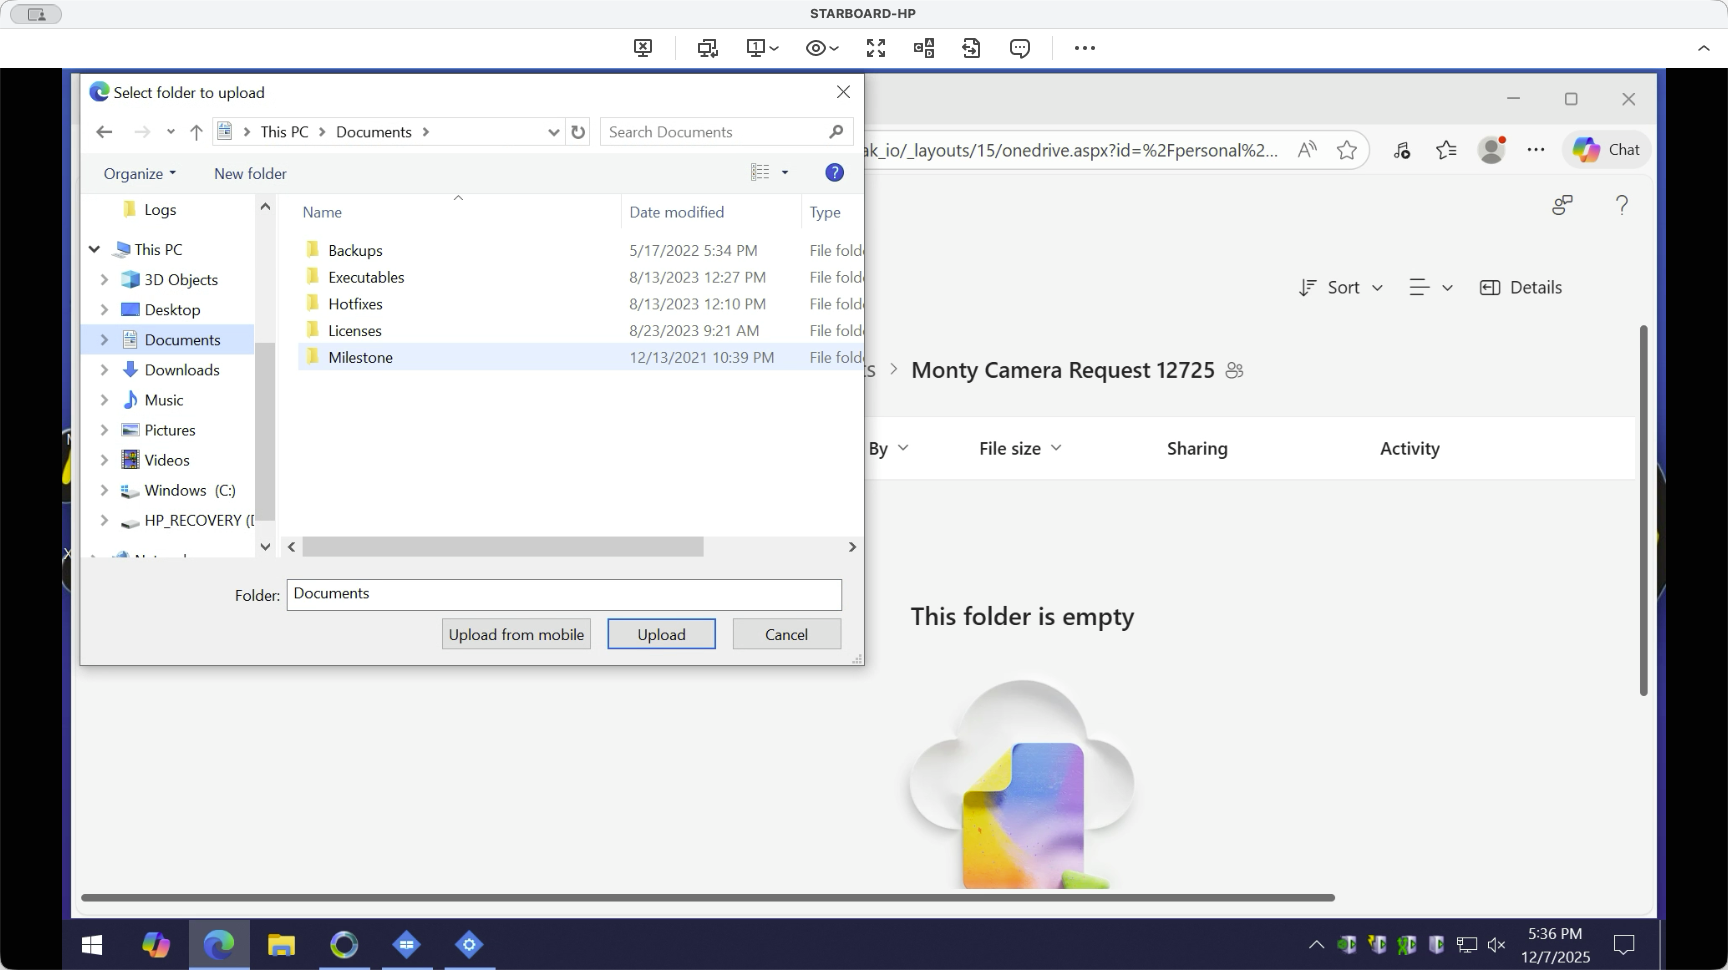
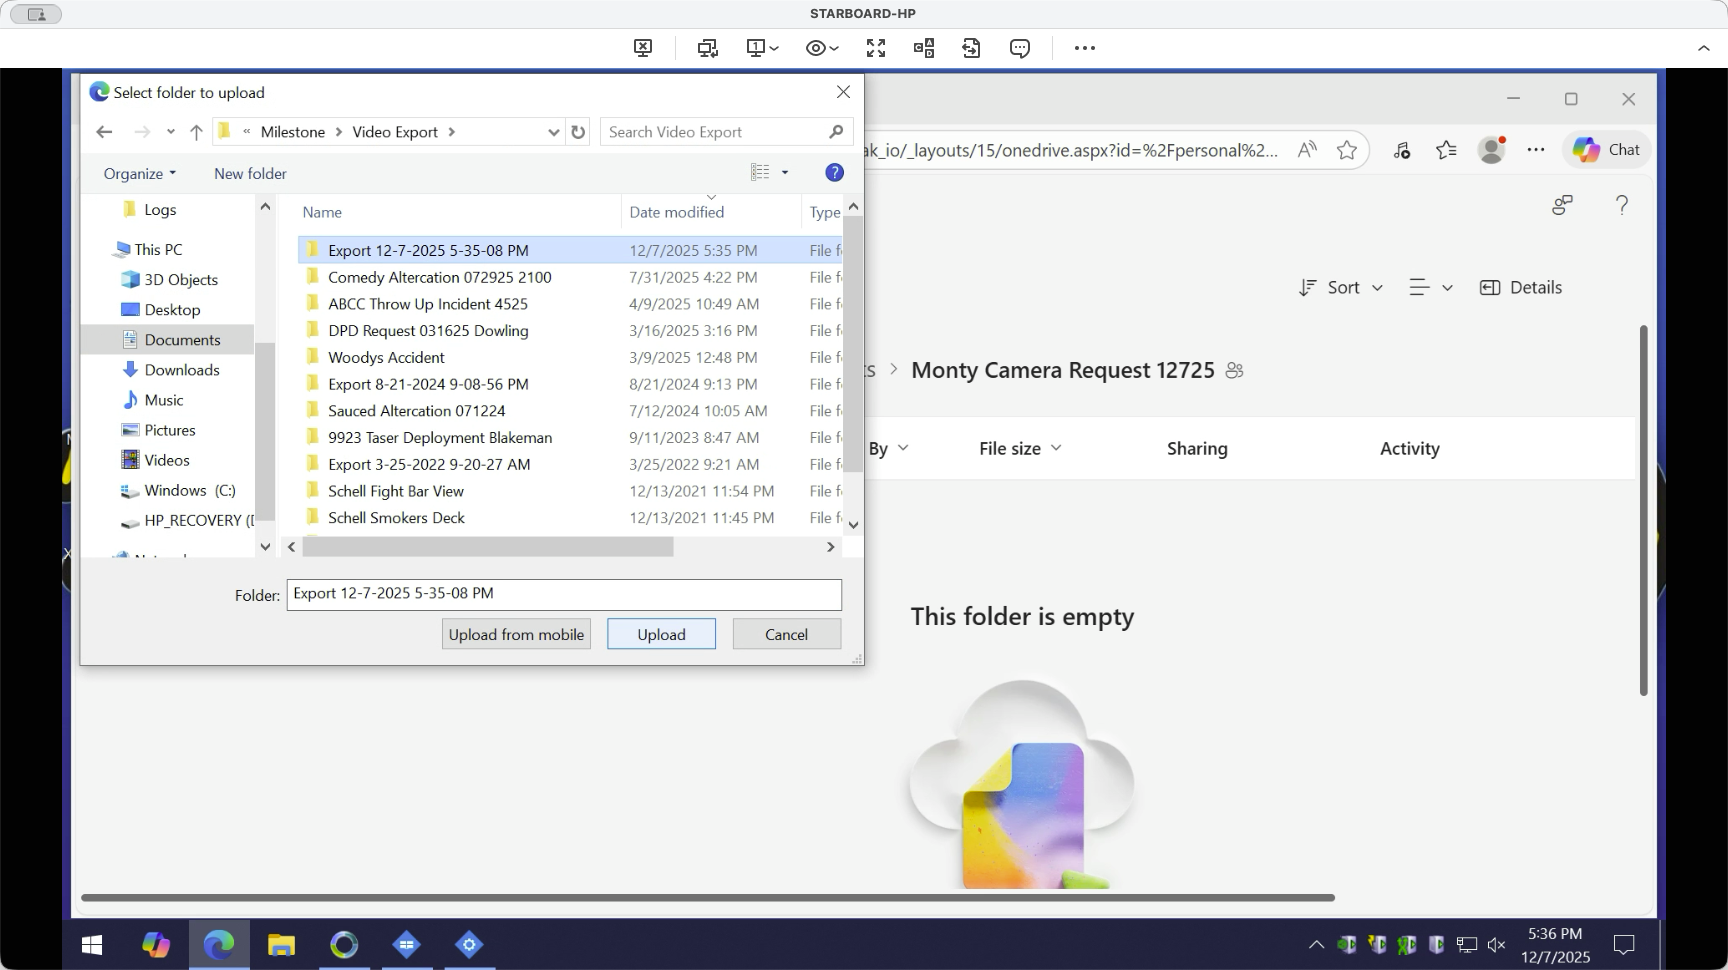
When that's done, click Upload, then select Upload Folder. Next, go to Documents, Milestone, and Video Export. The file may already be there.

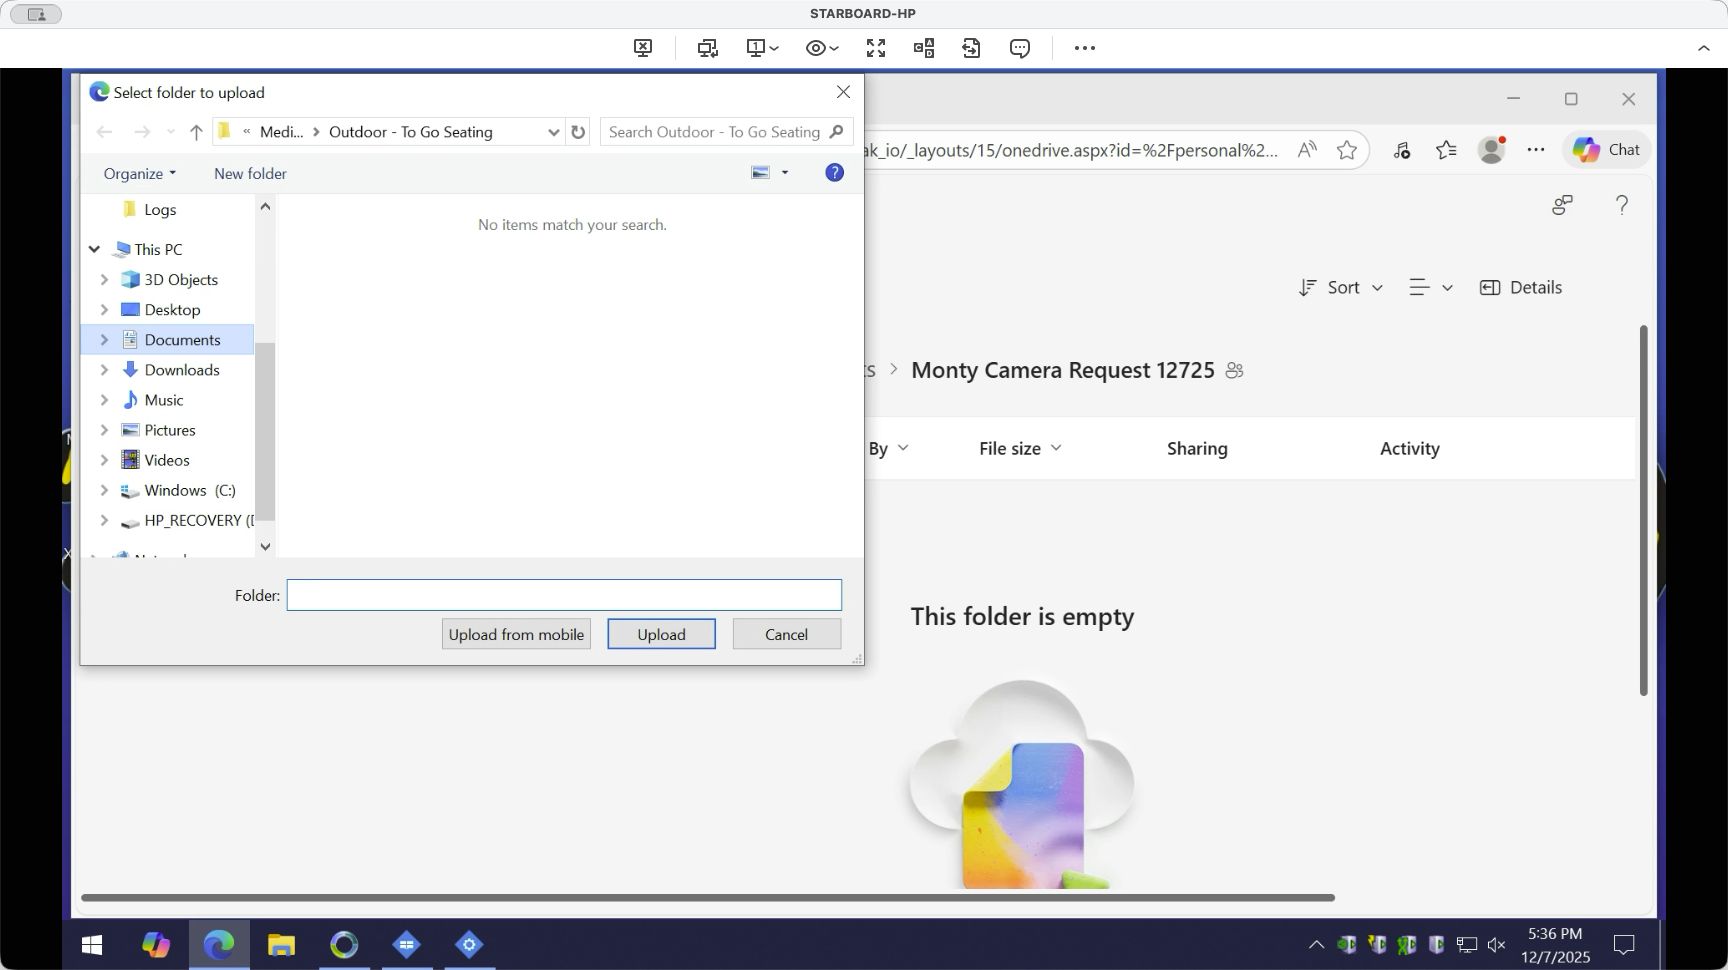
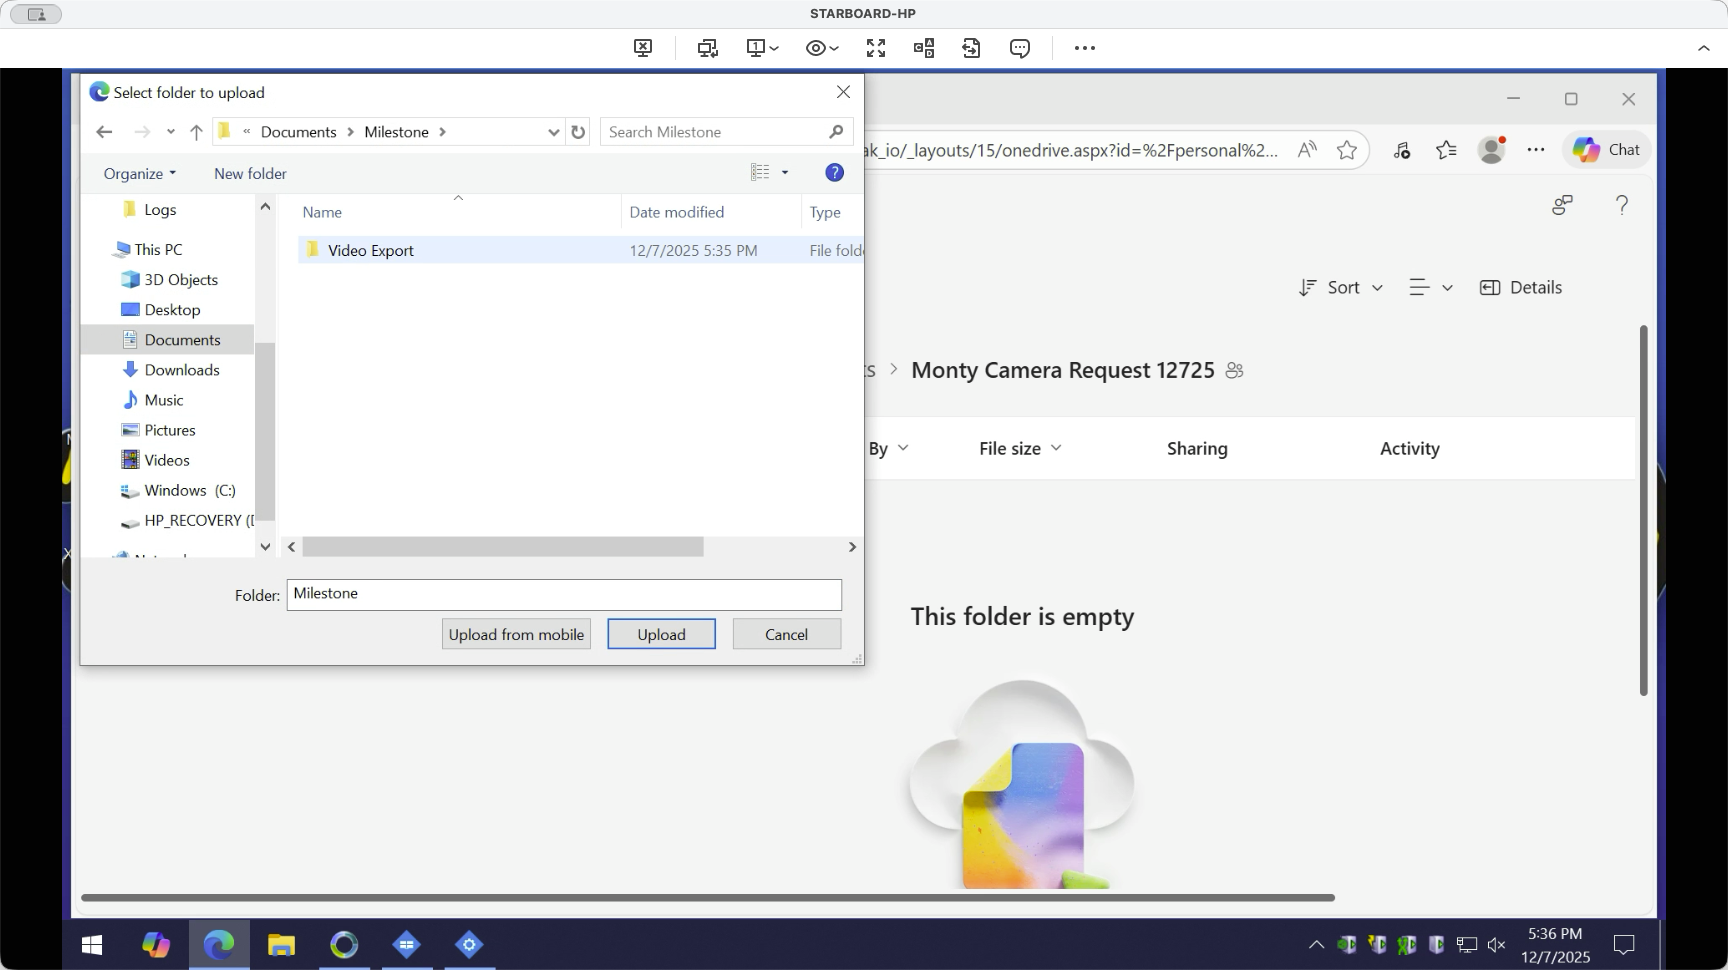
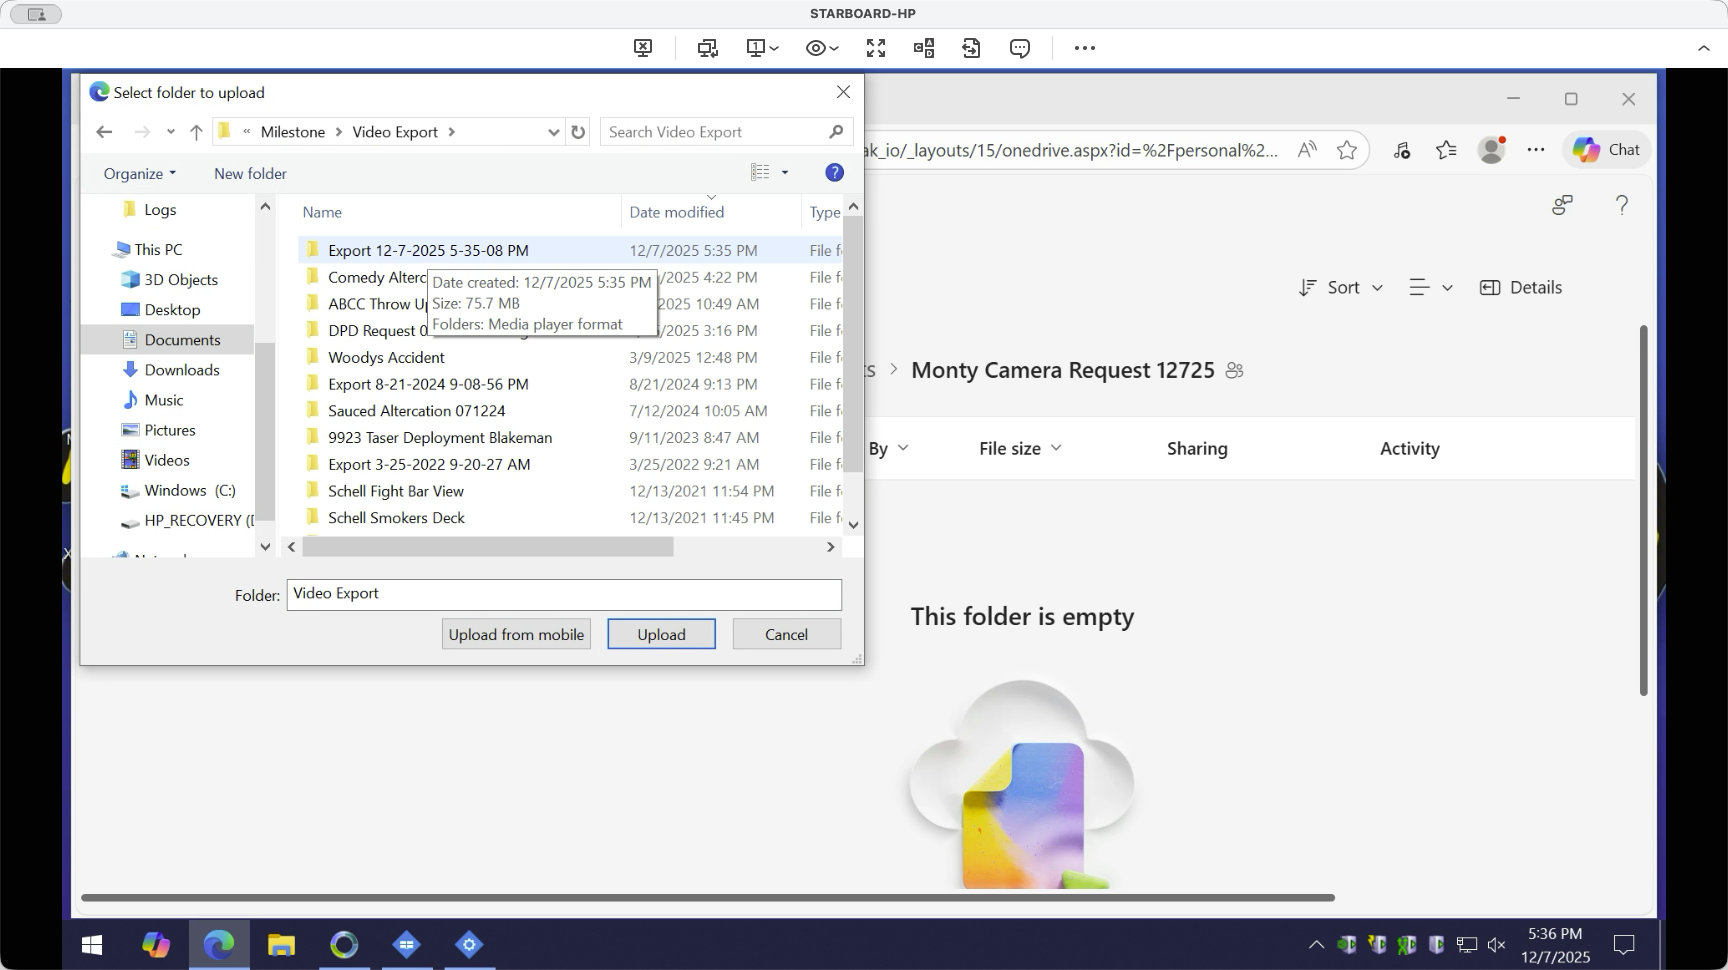
We select the entire folder and click upload.
After you upload it, use the same link from the email to send to the recipient. They can view and download those folders directly from the link.