How to Export SVGs from Figma: A Step-by-Step Guide
Learn how to export SVGs from Figma with this easy-to-follow guide. Switch to dev mode, select your asset, and export in SVG format effortlessly.
By Michael Parker
In this guide, we'll learn how to export SVGs from Figma. Exporting SVGs is essential for web and graphic design projects, ensuring that your assets are scalable and maintain high quality. We'll cover the steps to access the export options, select the desired file type, and preview your assets before exporting.
Let's get started
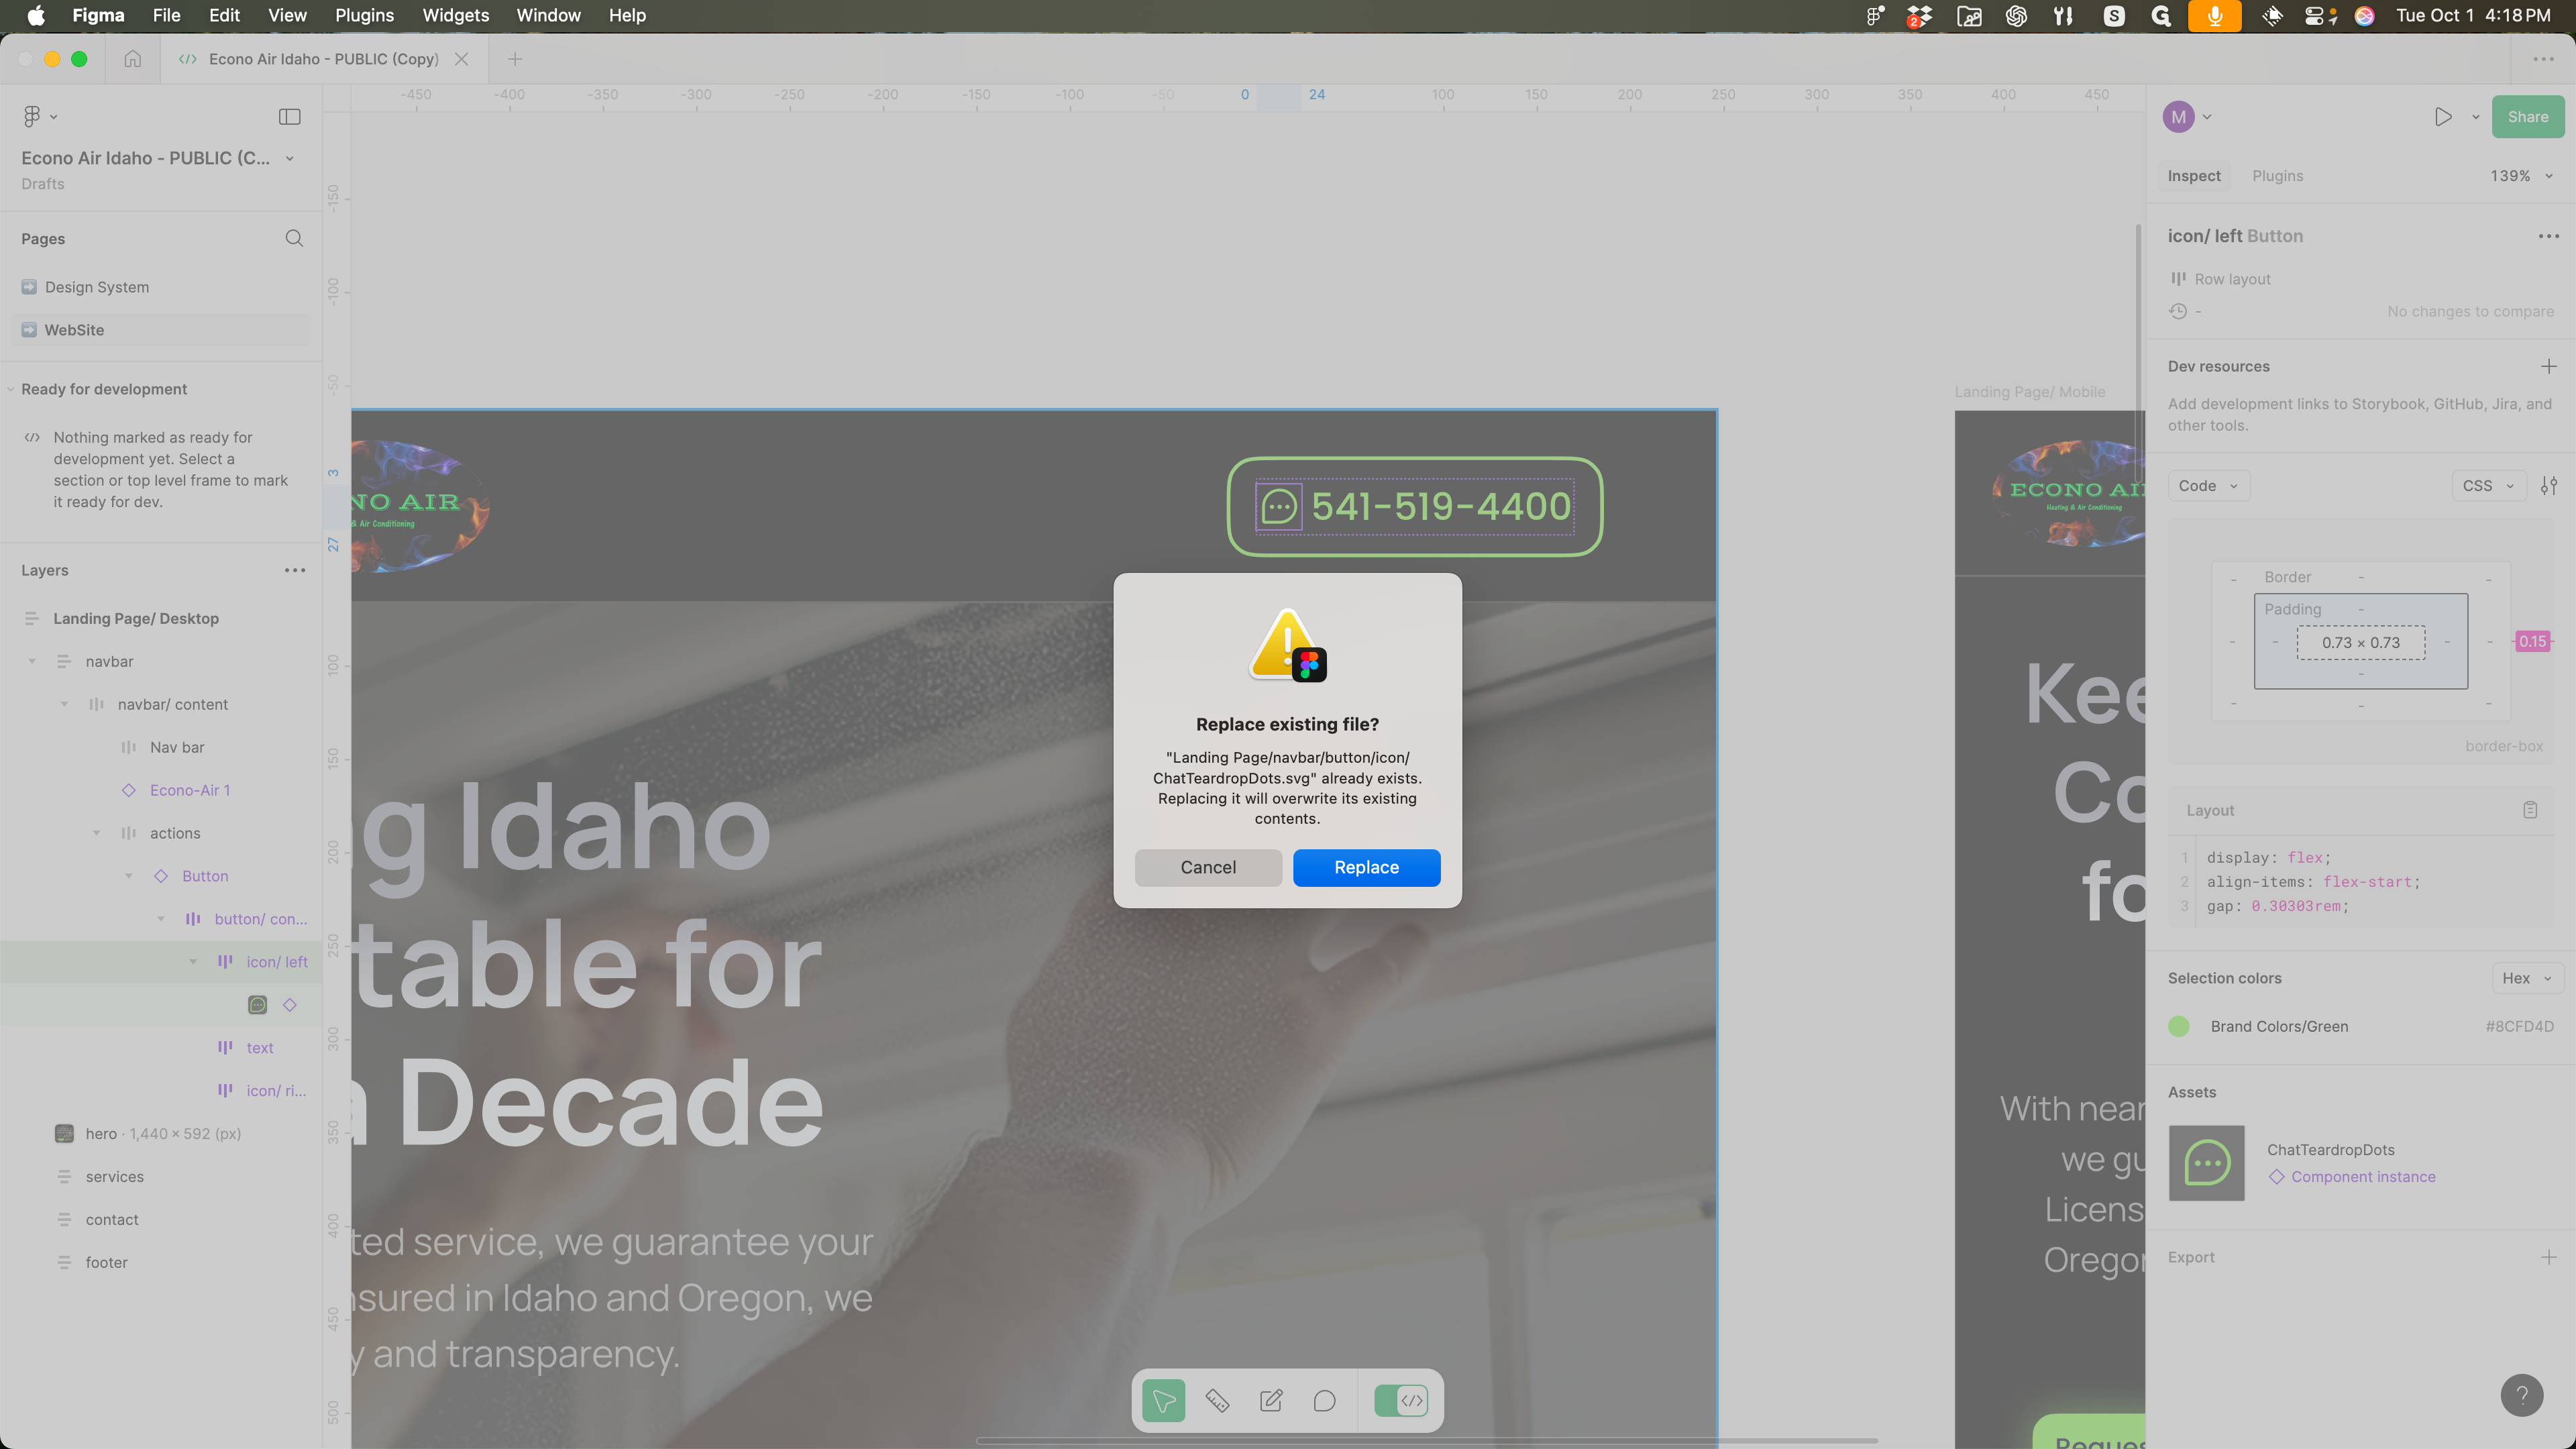
To export SVGs from Figma, switch to dev mode. Locate the asset you want to export. In the right panel, find and select your asset. Ensure it's set to SVG or your desired file type. Click the export button and save it.
1
Click on "< / >"

2
Click on "< / >"
3
Click here

4
Click on "SVG"

5
Click on "SVG"
6
Click here

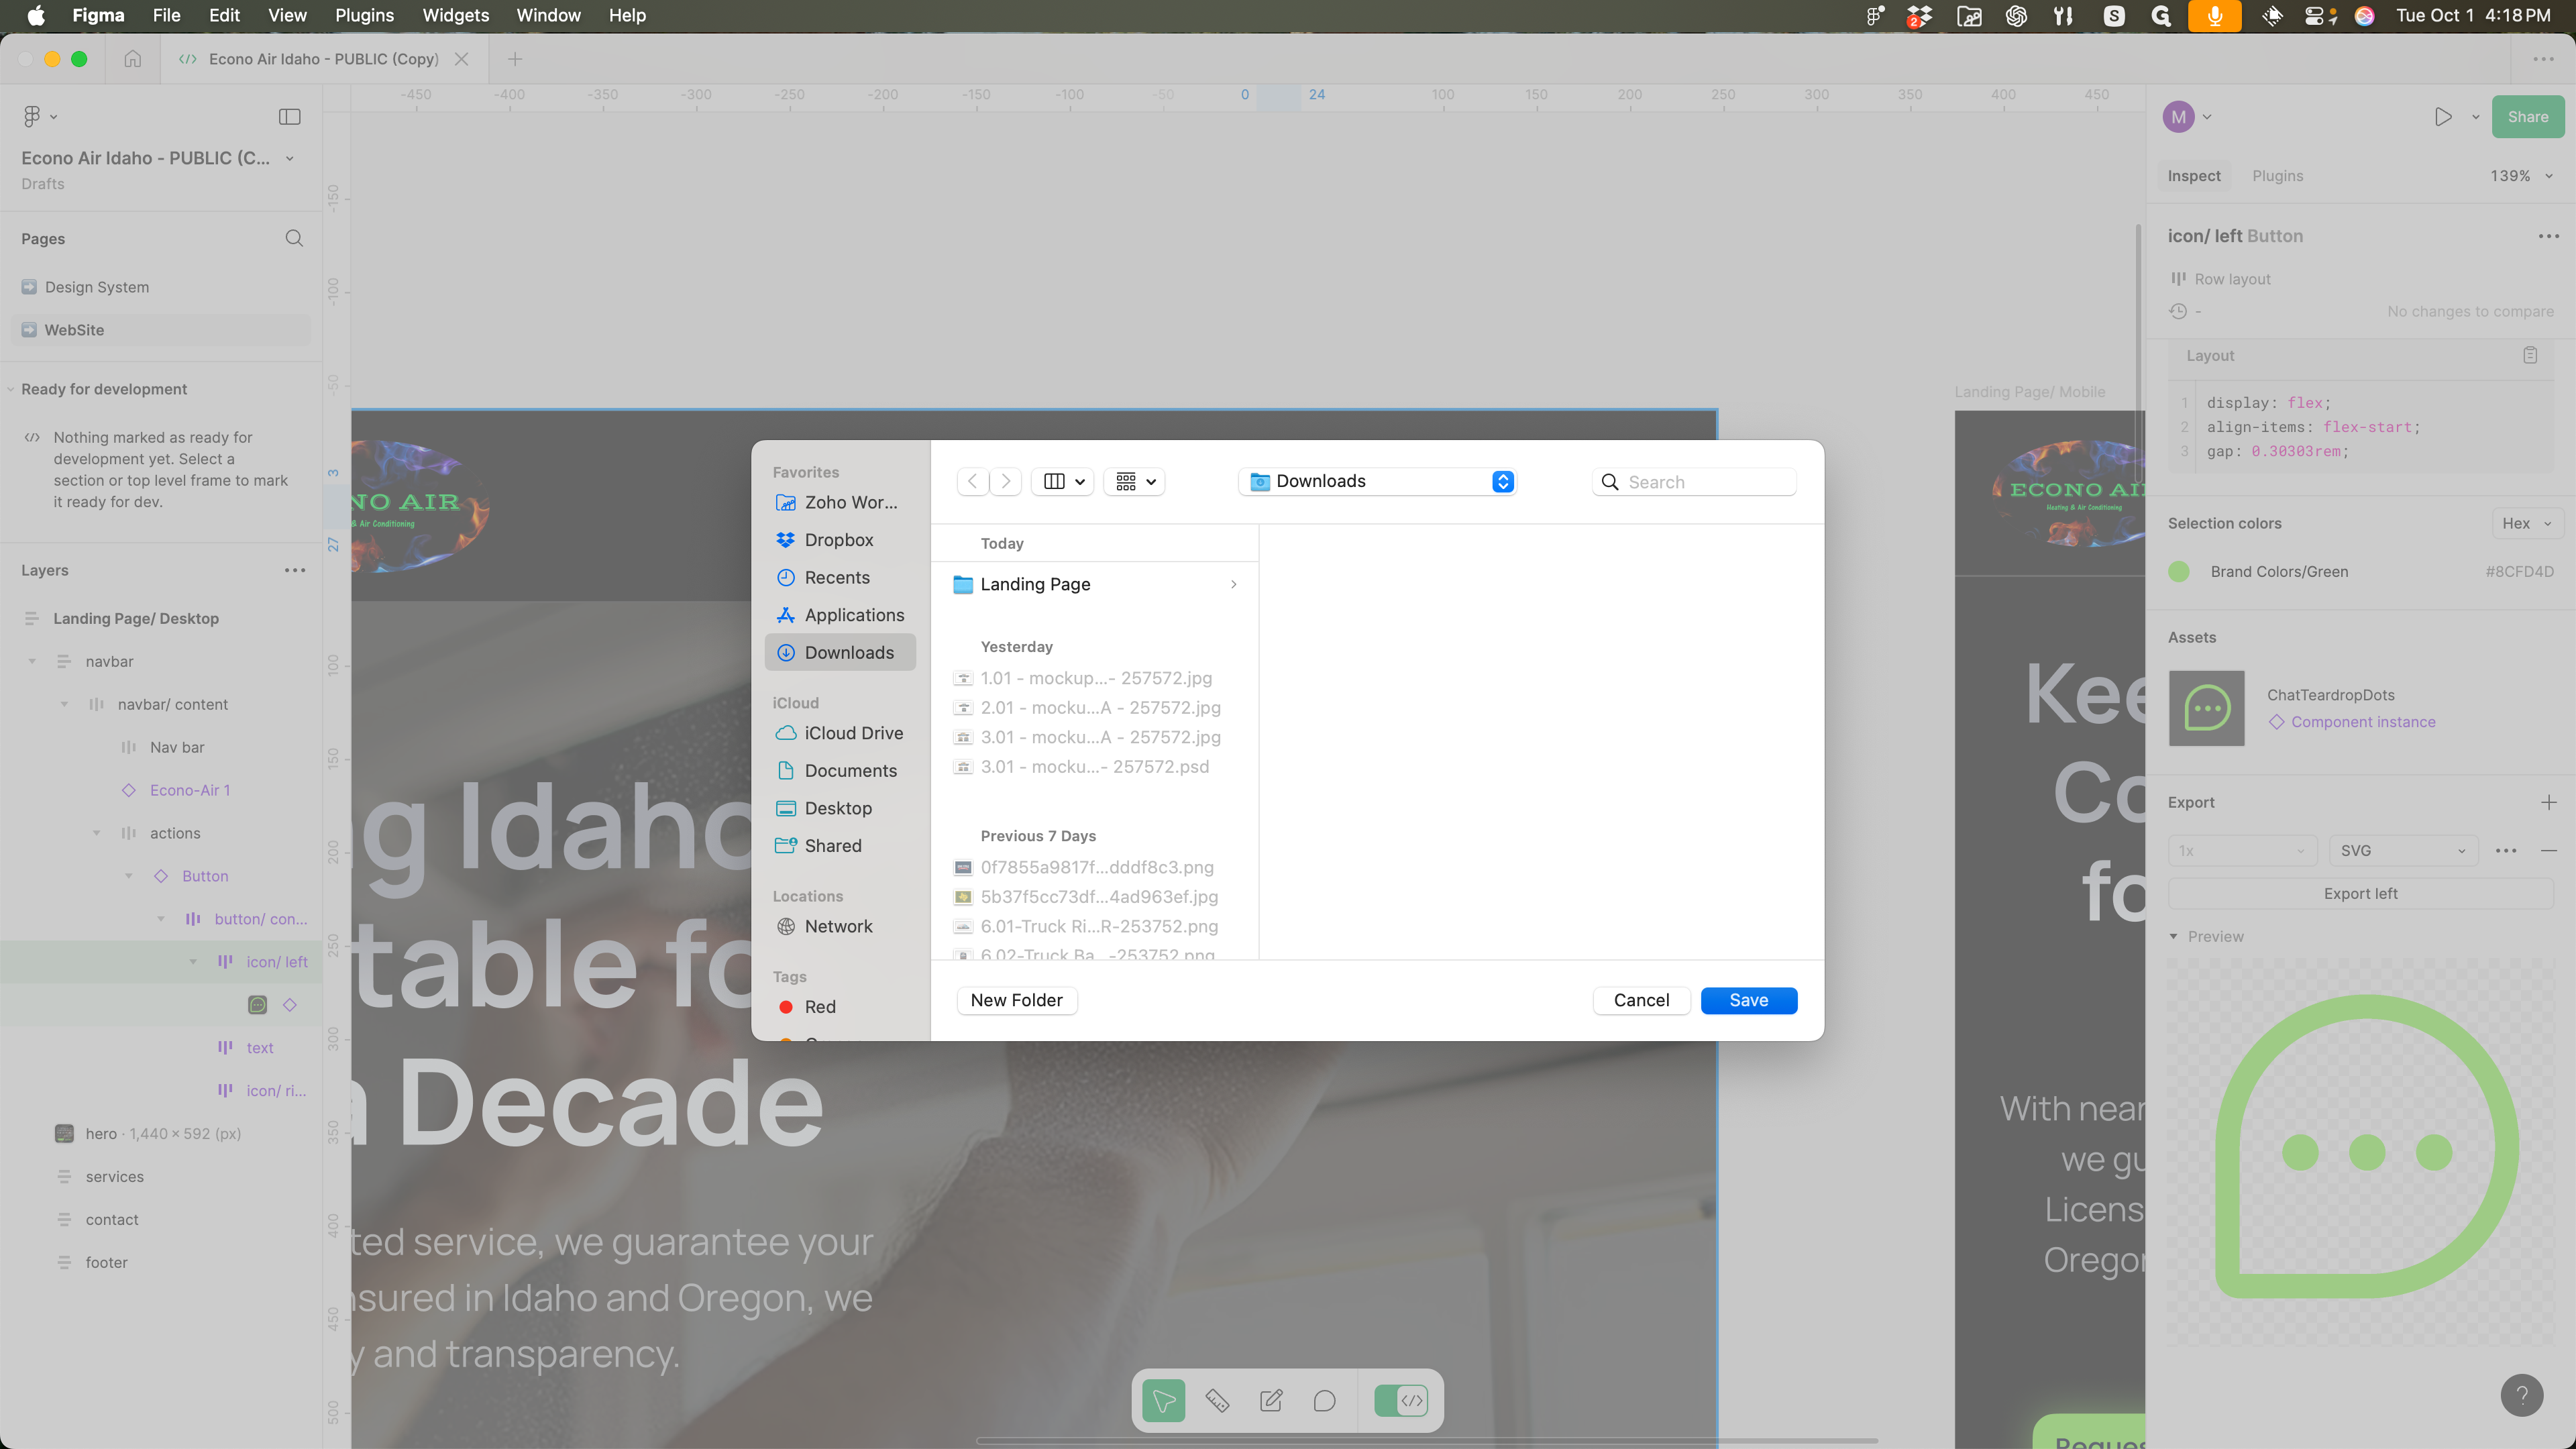
7
Click on "Save"
8
Click here
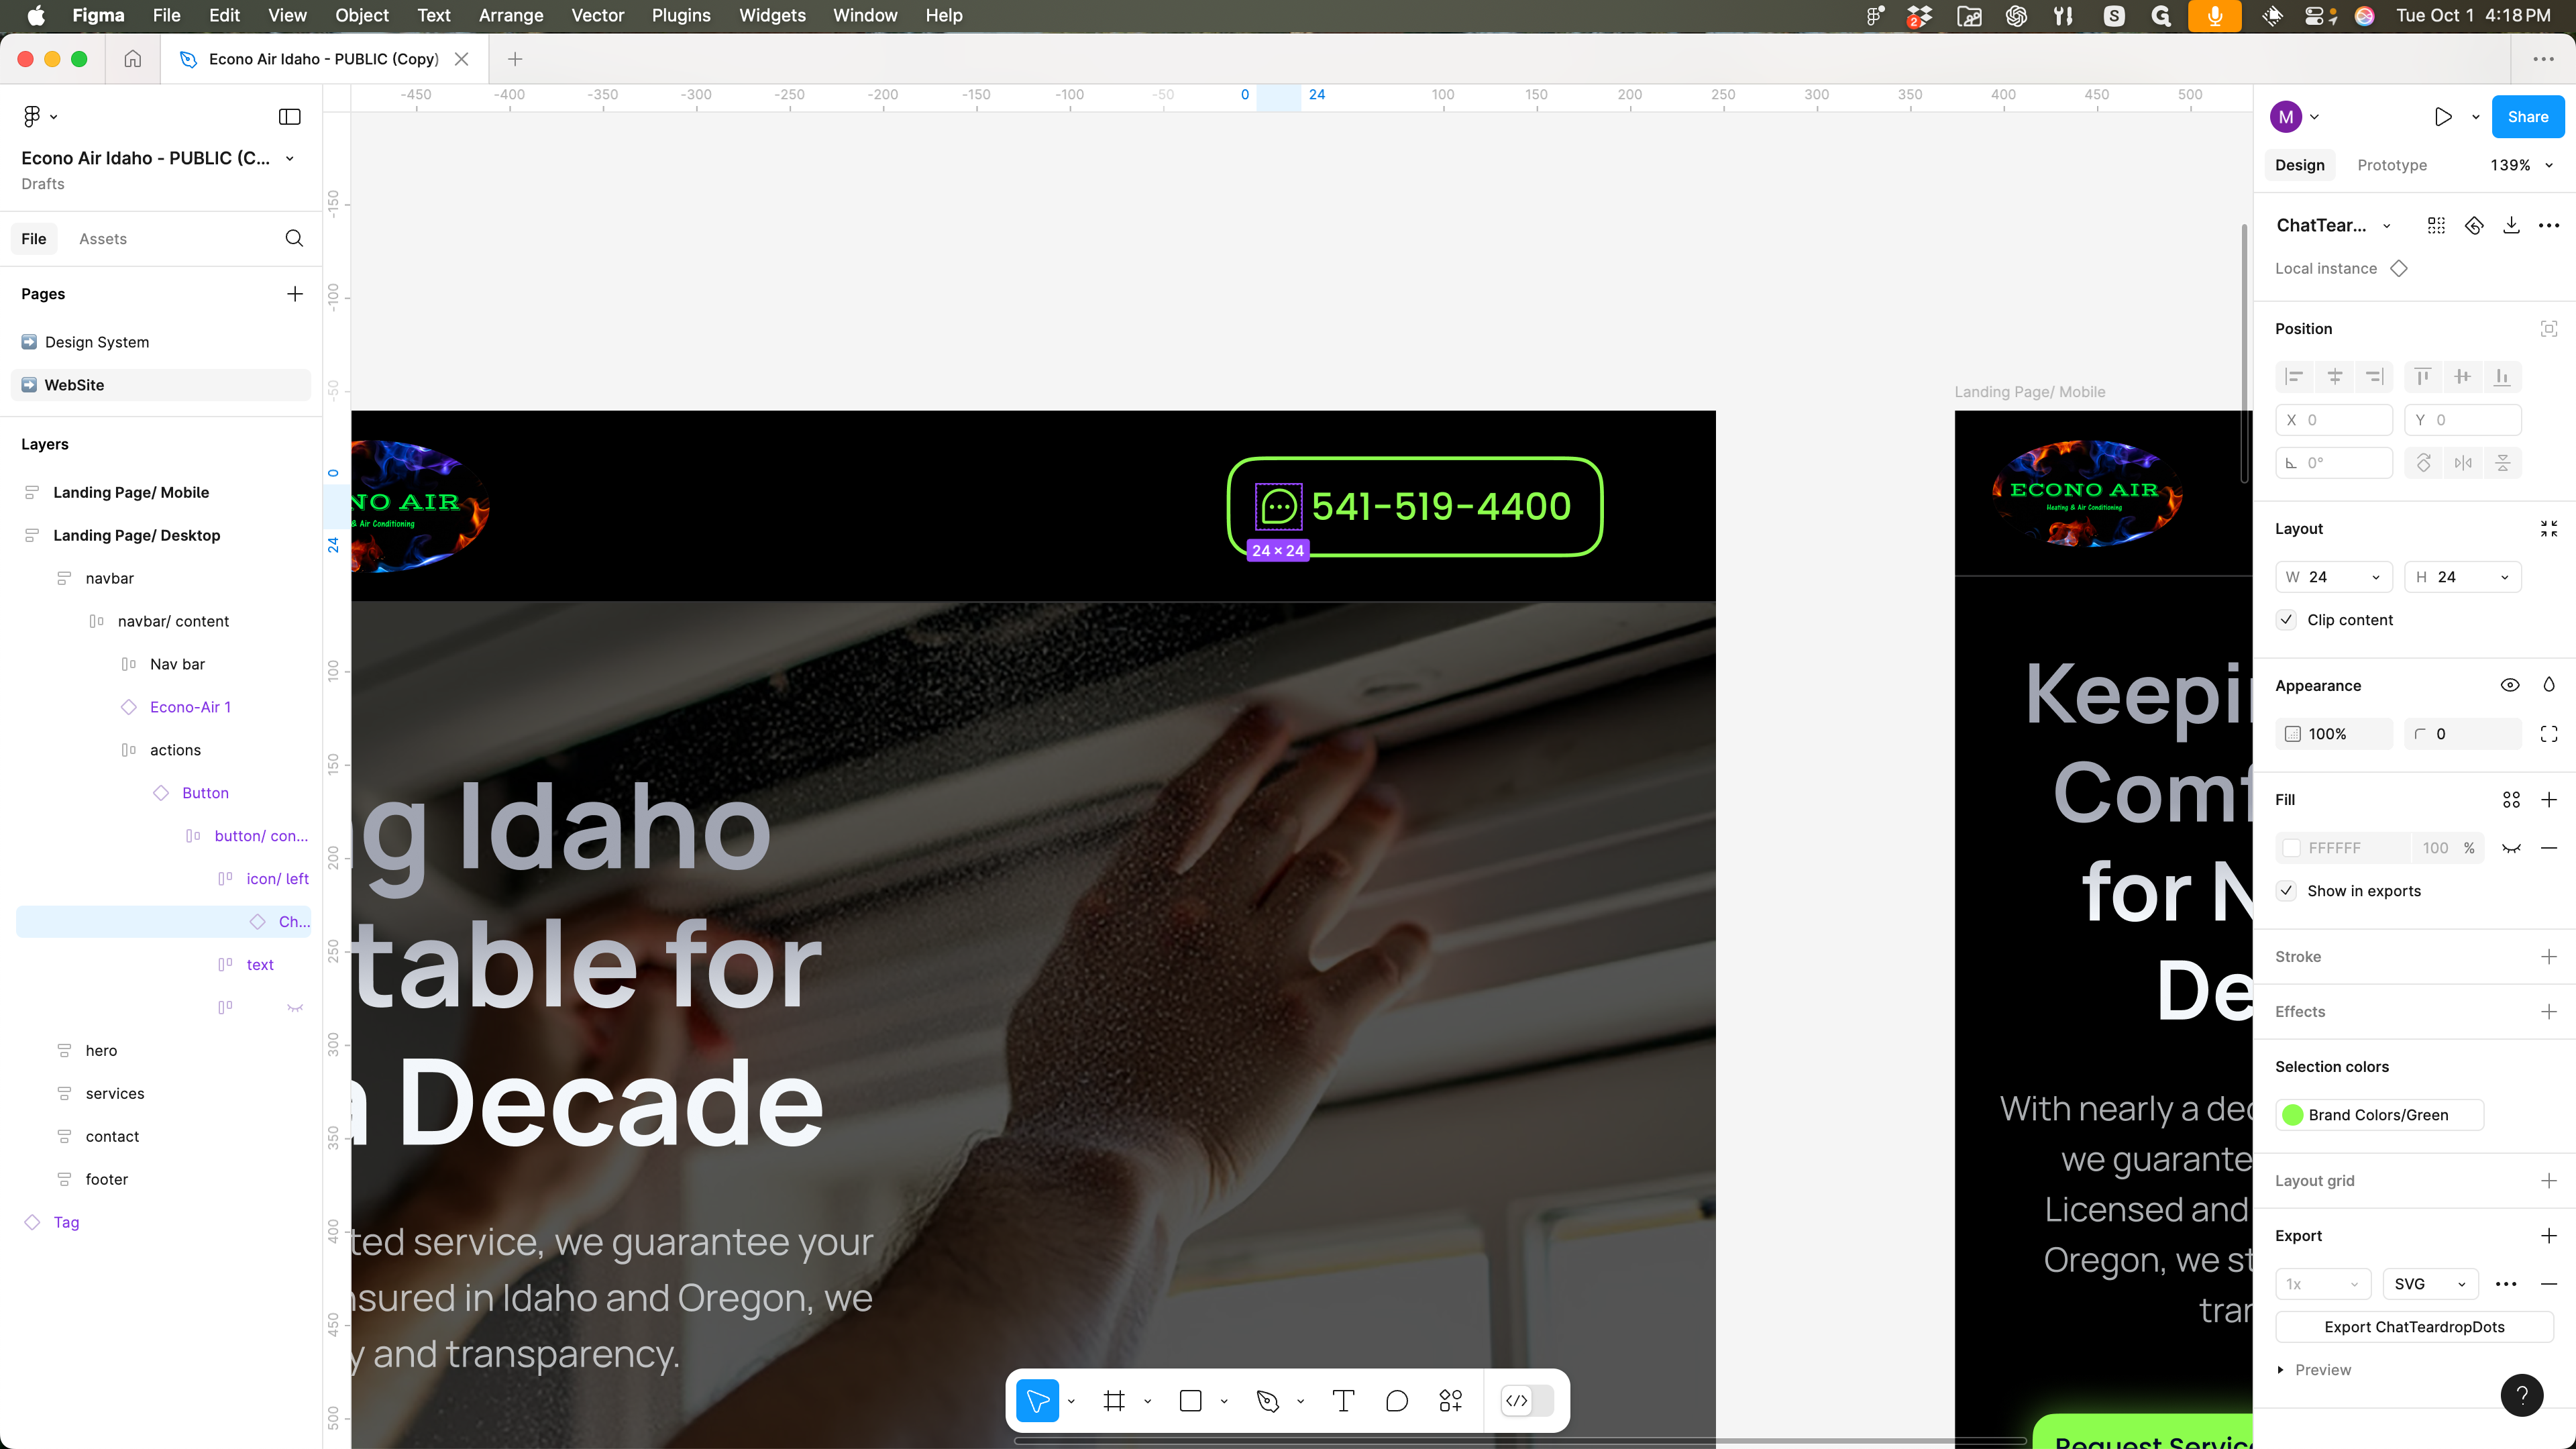
Additionally, you can go to the export pane to change and select your settings.
9
Click on "+"

10
Click here

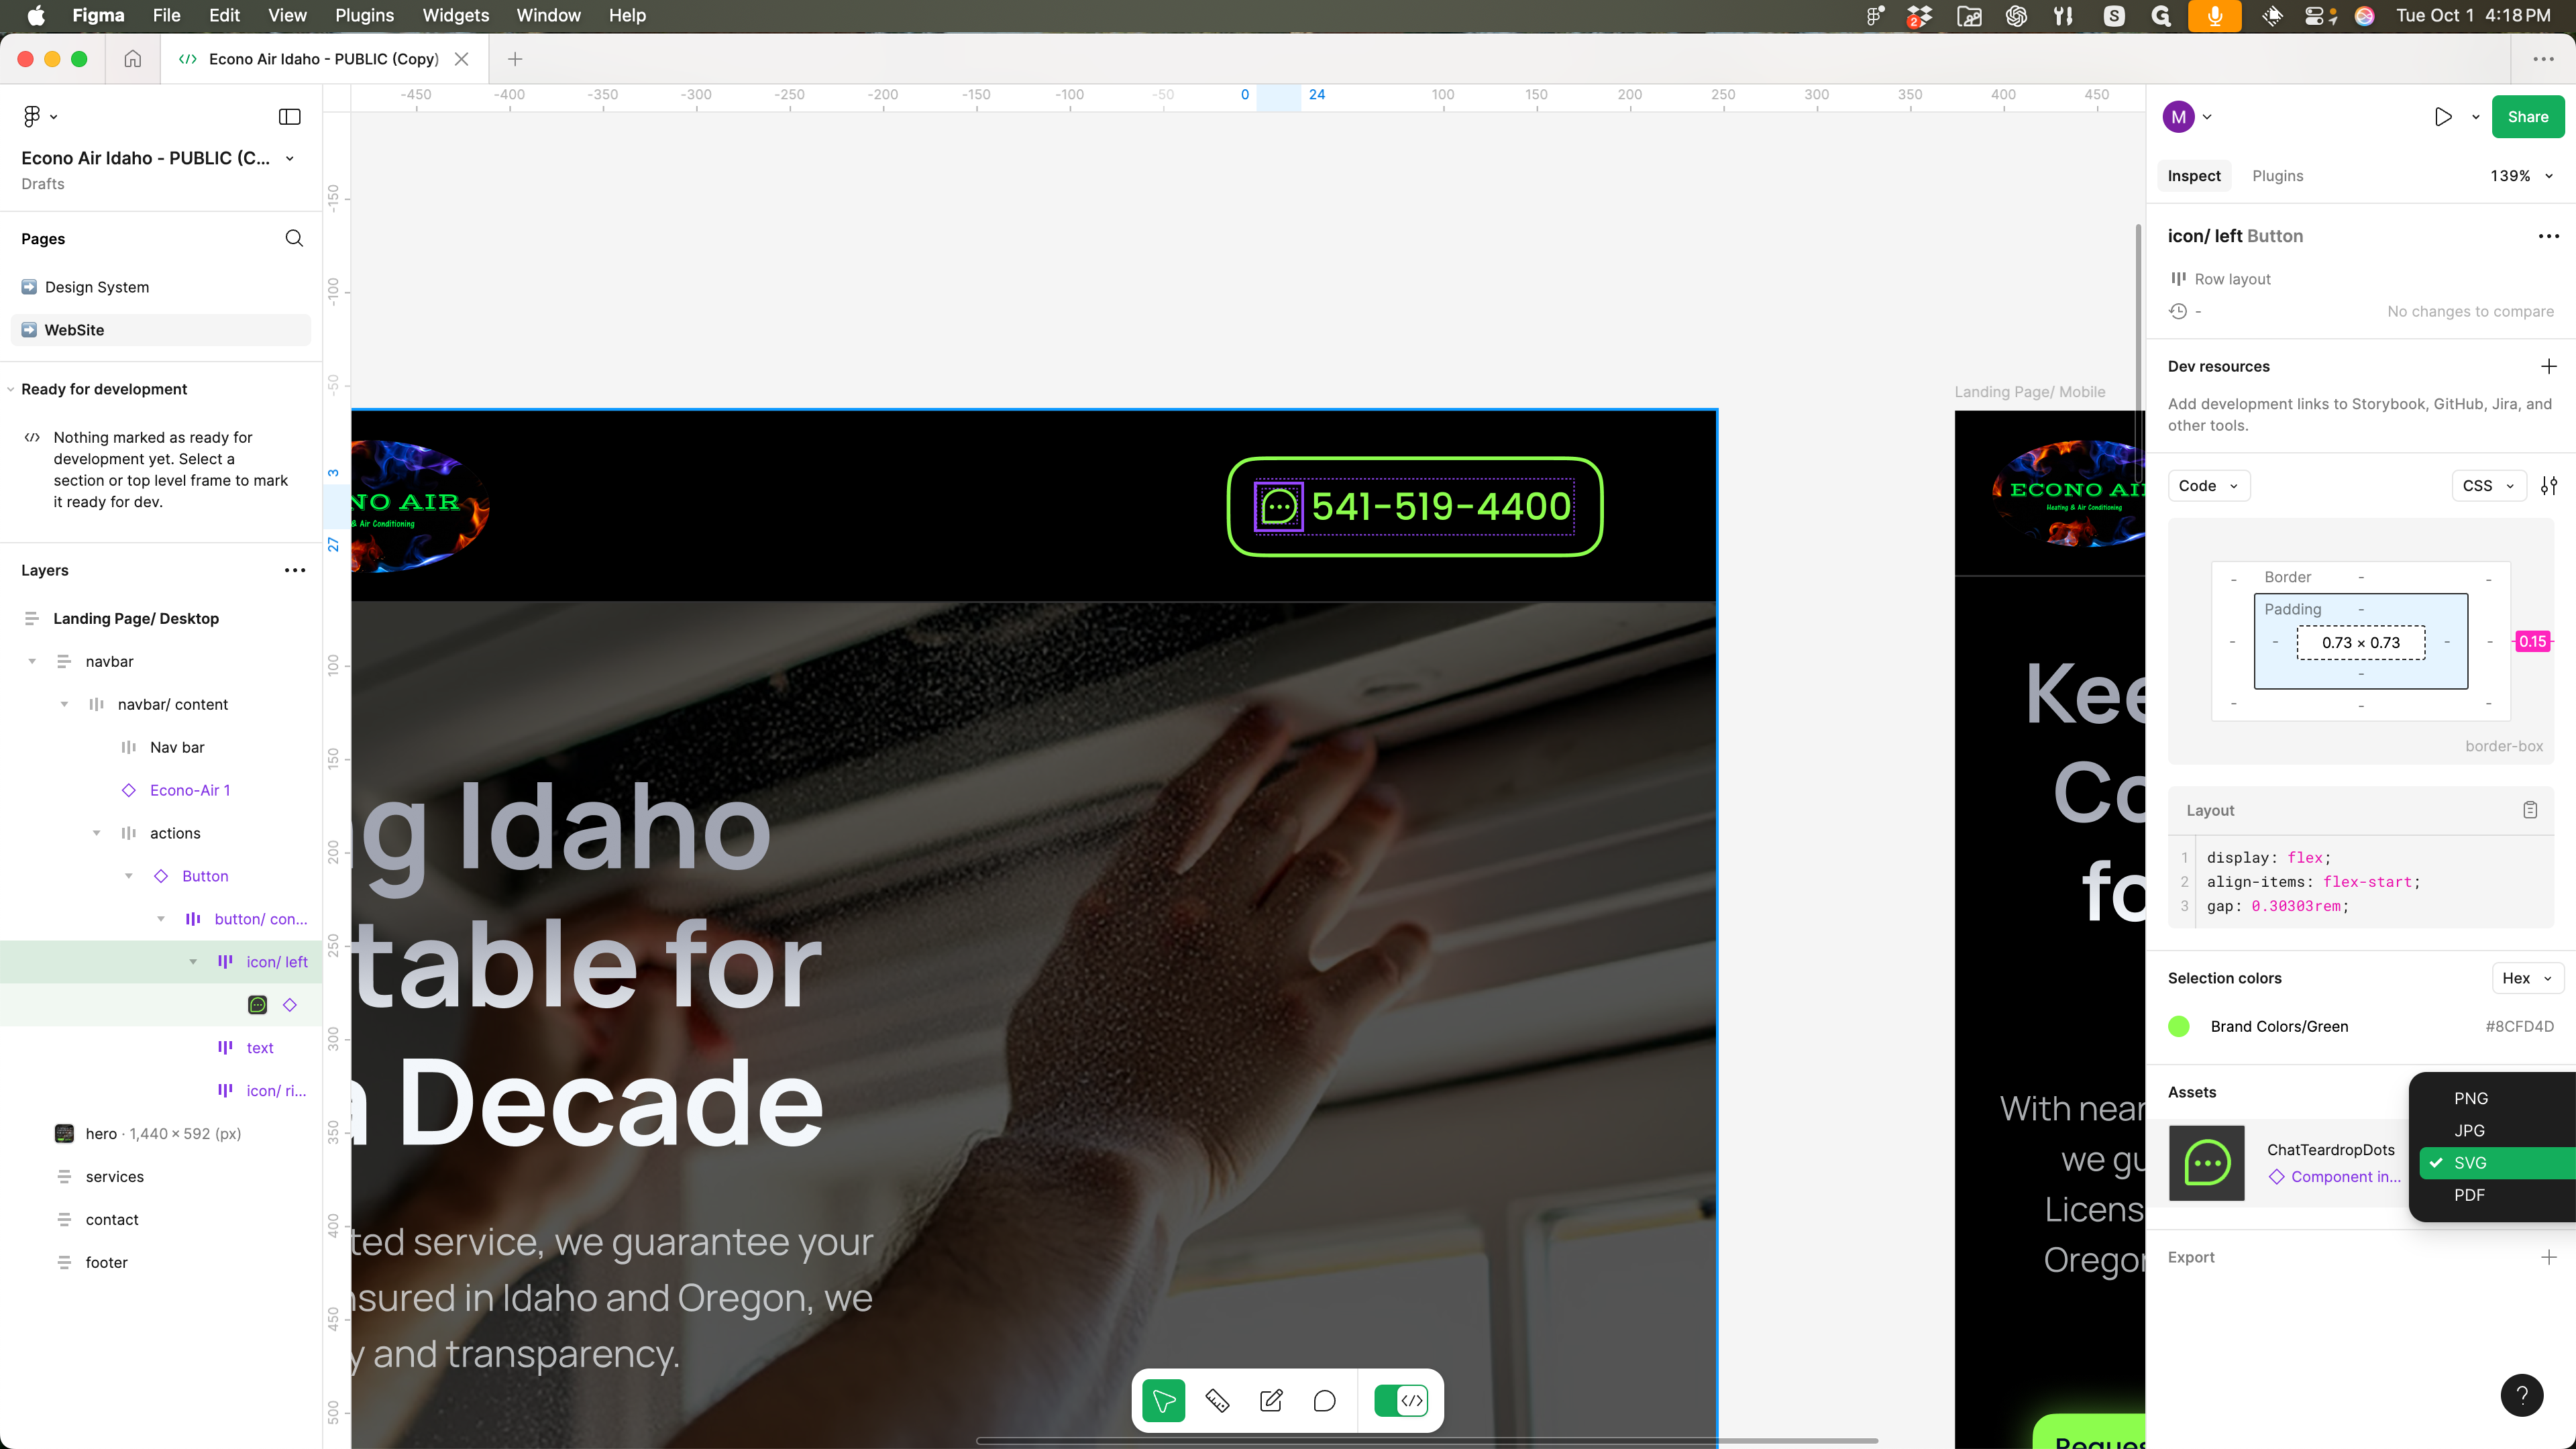
11
Double-click here

Ensure it is in SVG format, then export.
12
Click on "SVG"

13
Click on "► Preview"

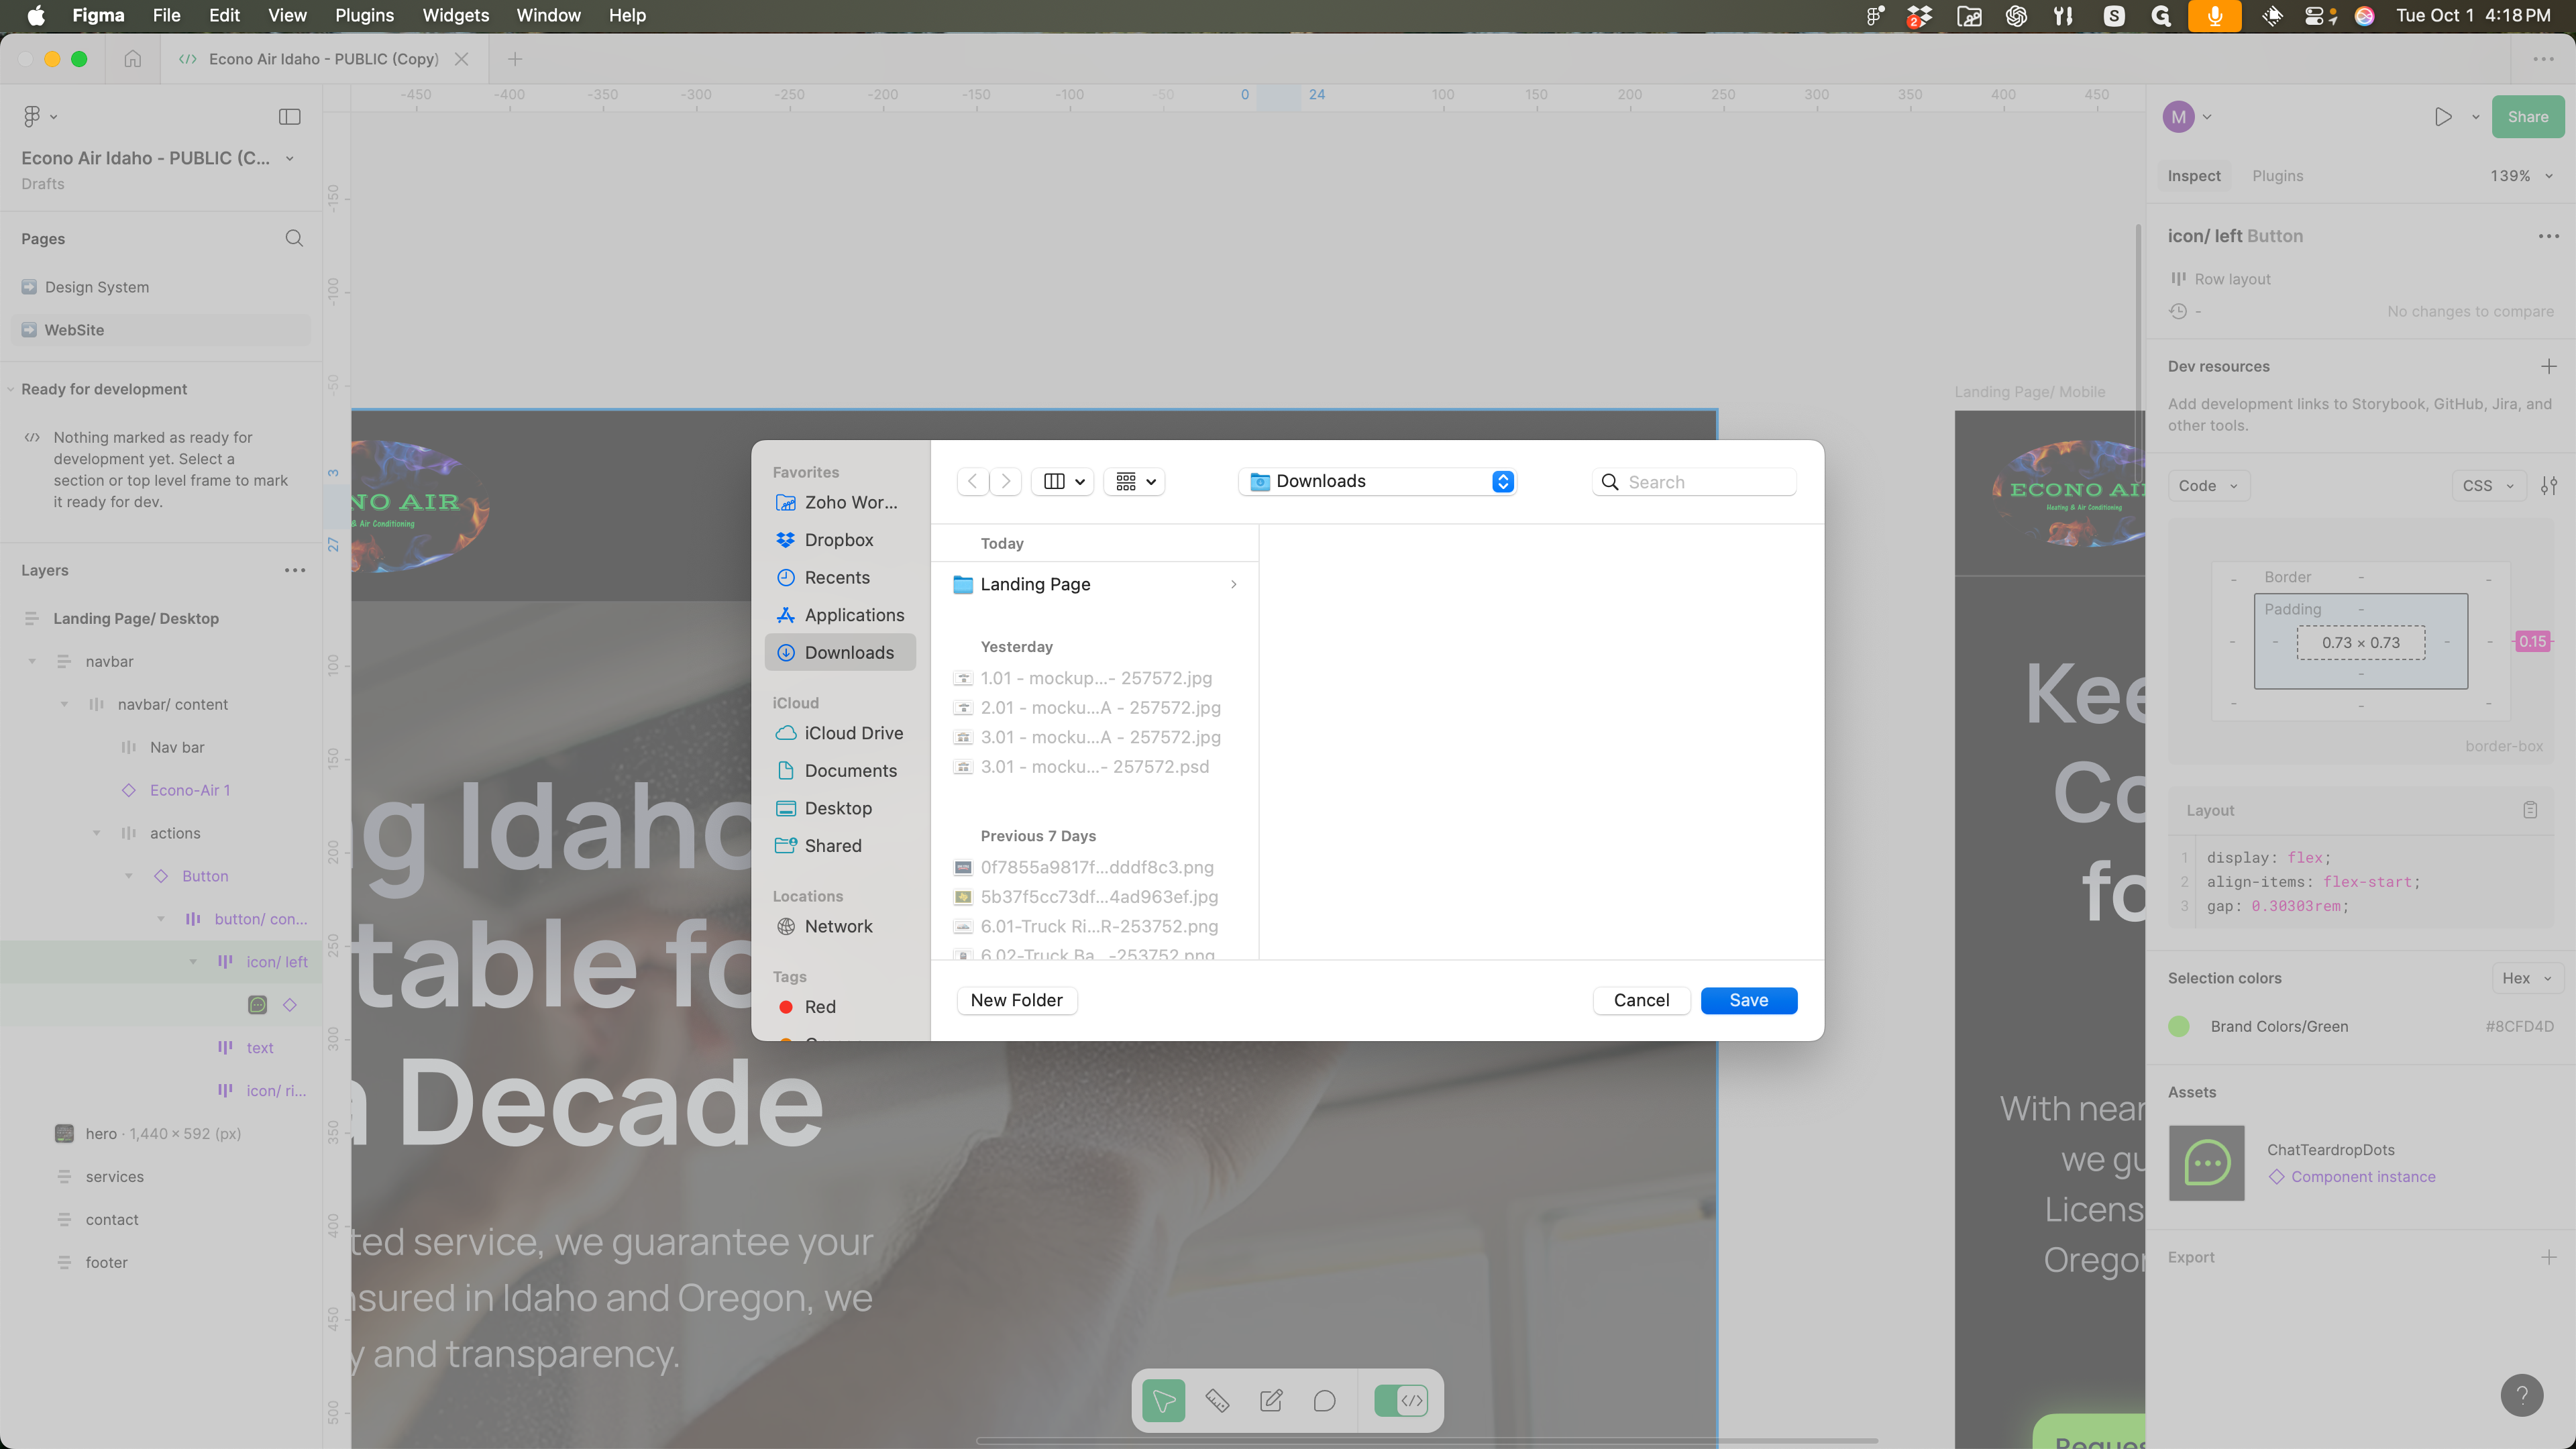
You can preview here to see what you're about to export. There you go.
14
Click here

15
Click here