How to Export Posted Transactions
Learn how to export posted transactions for a selected date range as a CSV file for easy review, reporting, and record-keeping.
By Aasma Technology Solutions
This guide explains how to filter posted transactions by date range and export the displayed transaction data as a CSV file. The exported file can be used for offline review, financial analysis, reporting, and maintaining transaction records.
1
Go to the Transactions tab and open the Posted Transactions section.
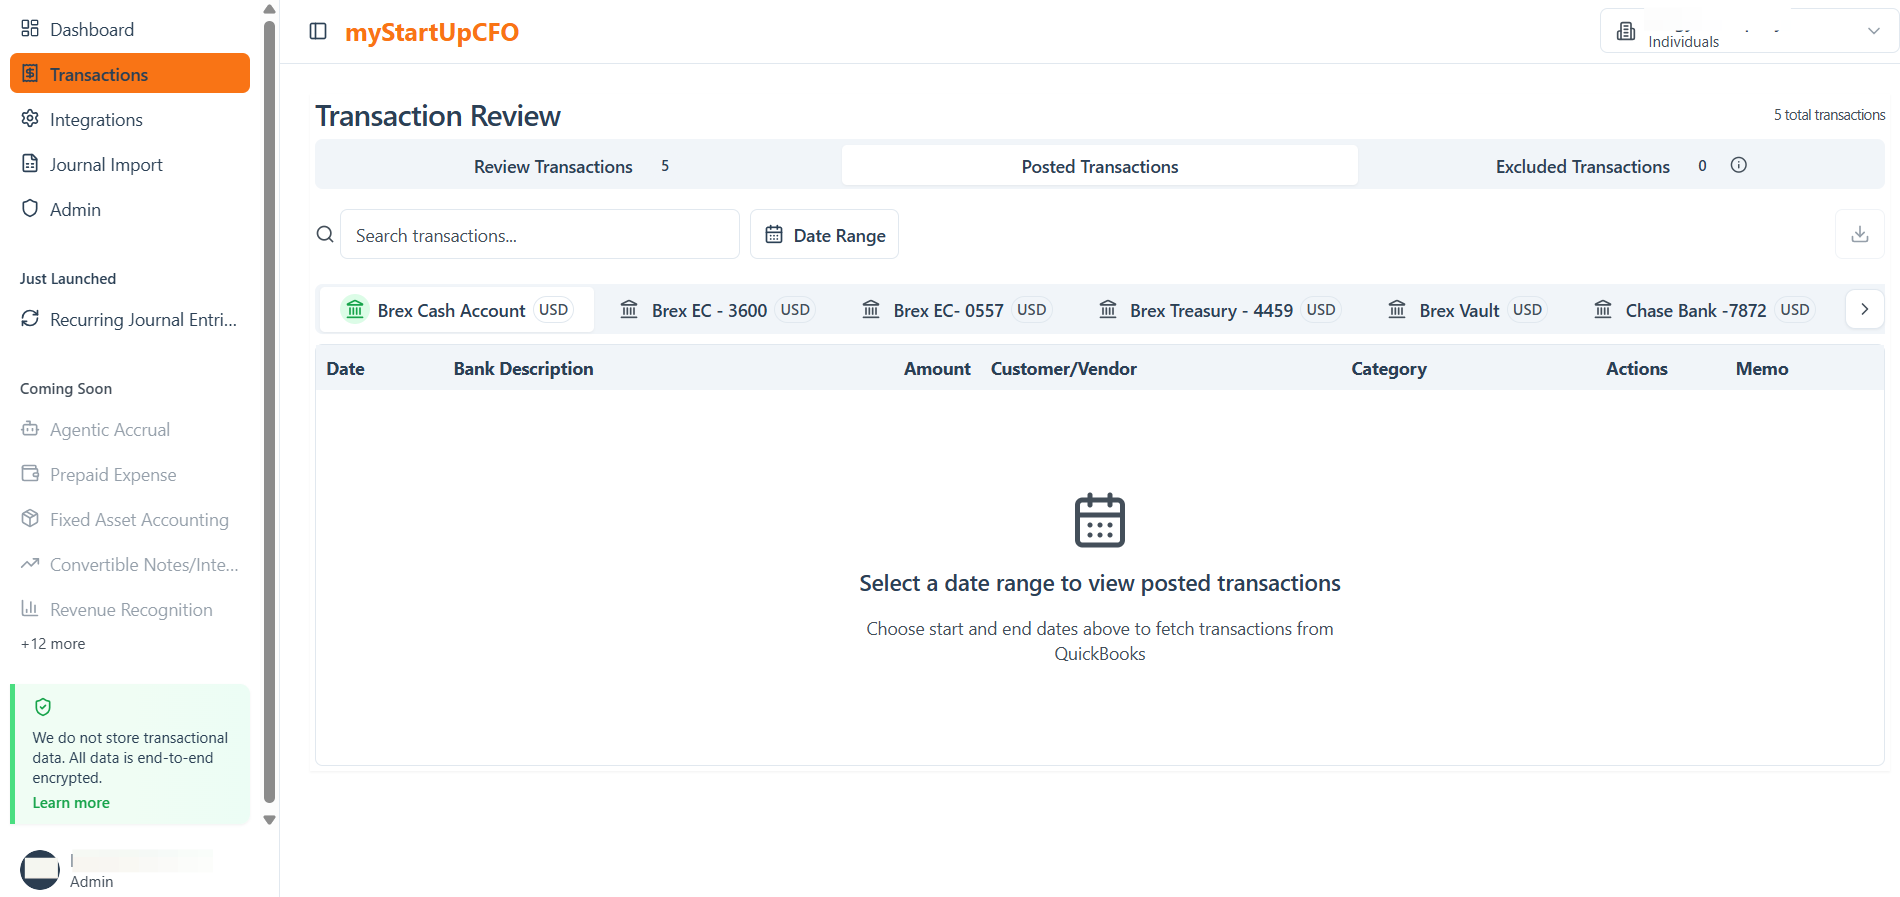
Select the desired date range to view the posted transactions you want to export.
2
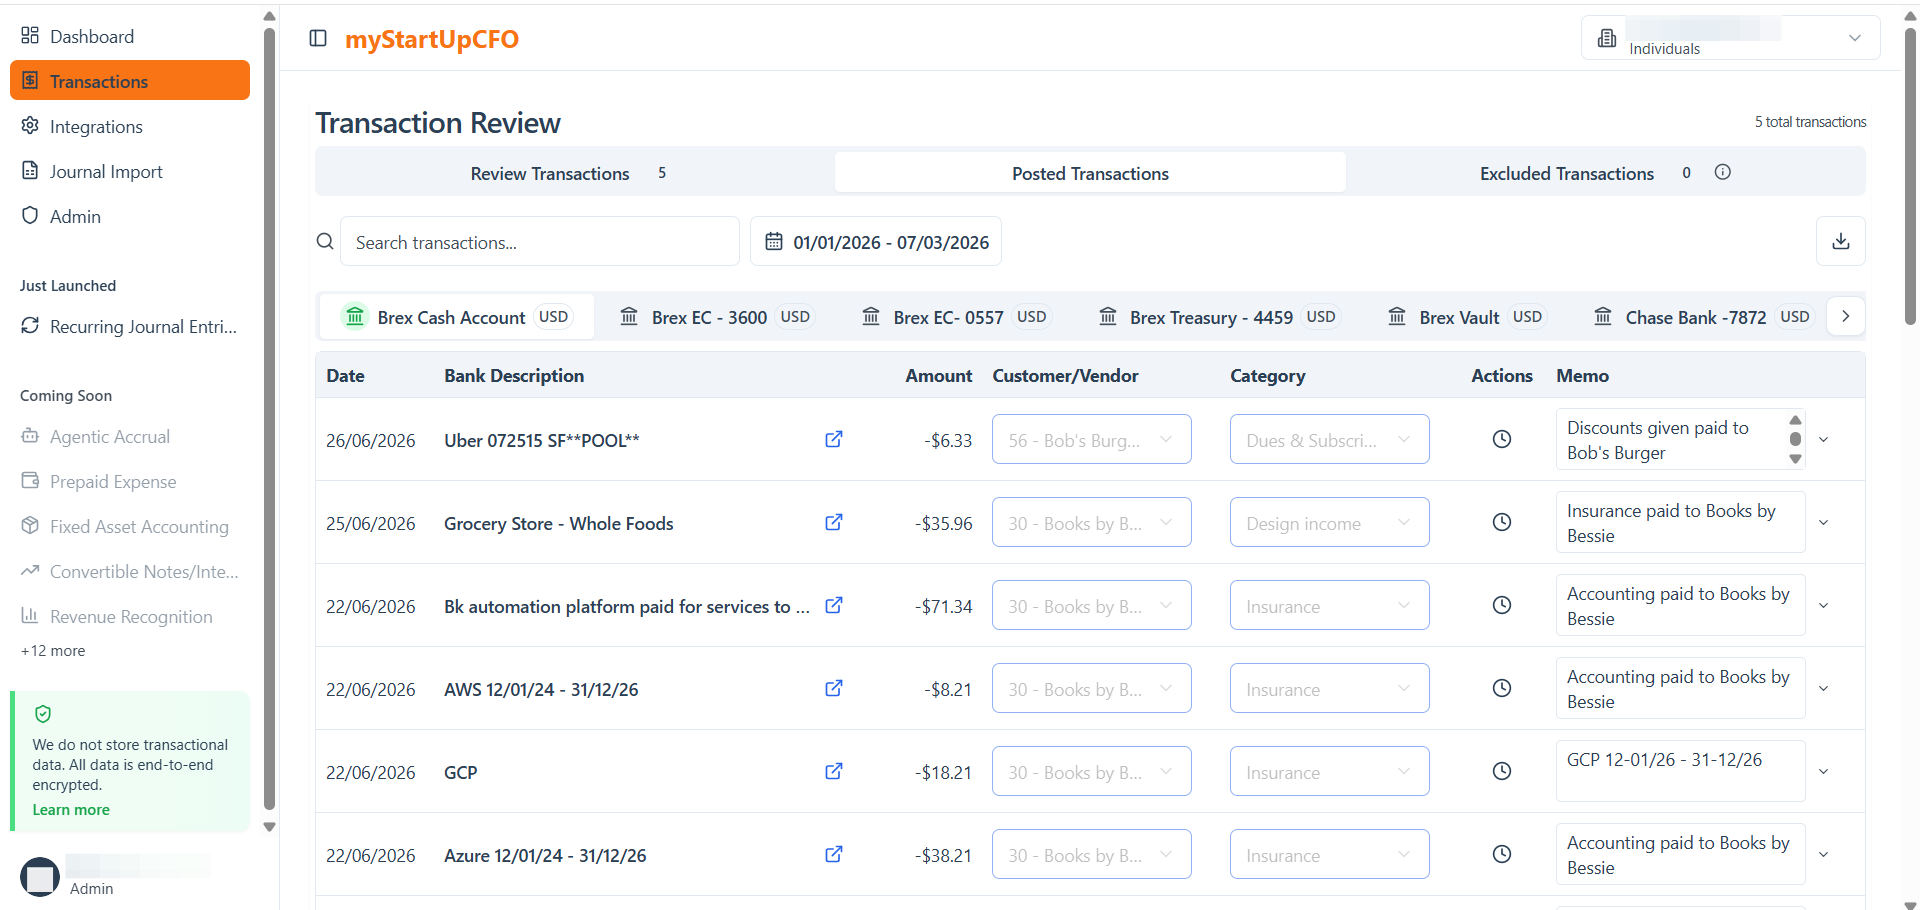
The Posted Transactions list will display all transactions that fall within the selected date range.
3
Click Export to CSV in the top-right corner of the transaction table to export the displayed posted transactions.
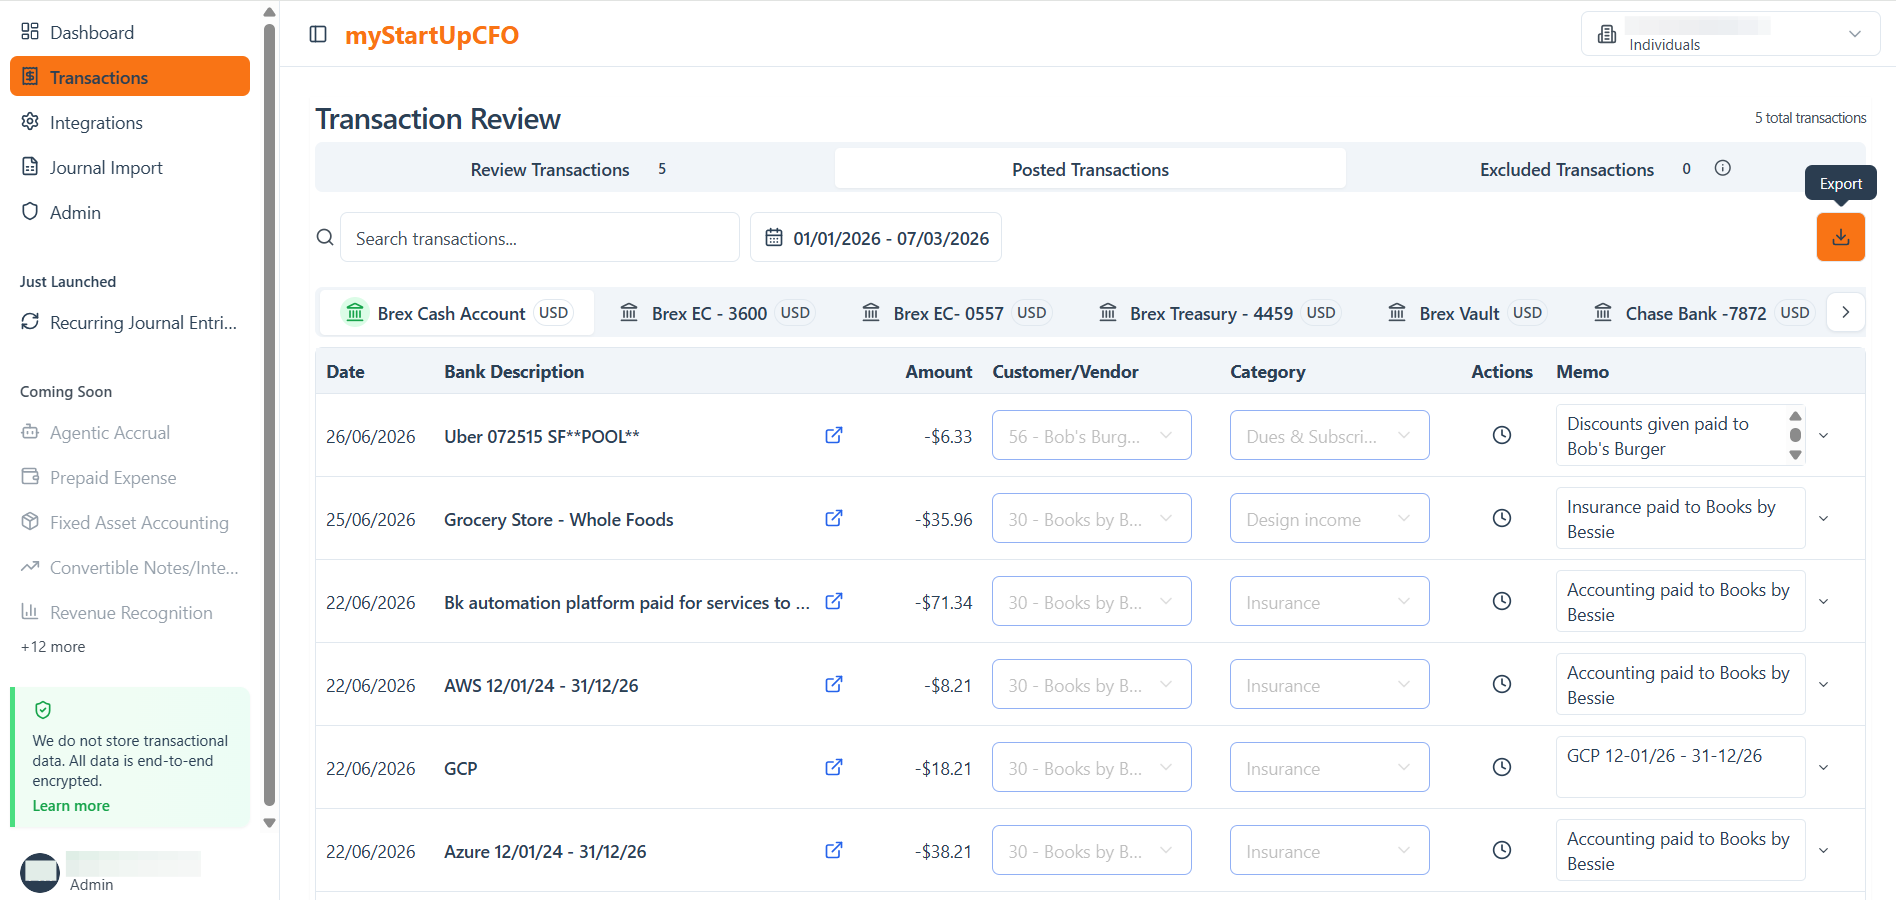
The CSV file will automatically download to your computer.
4
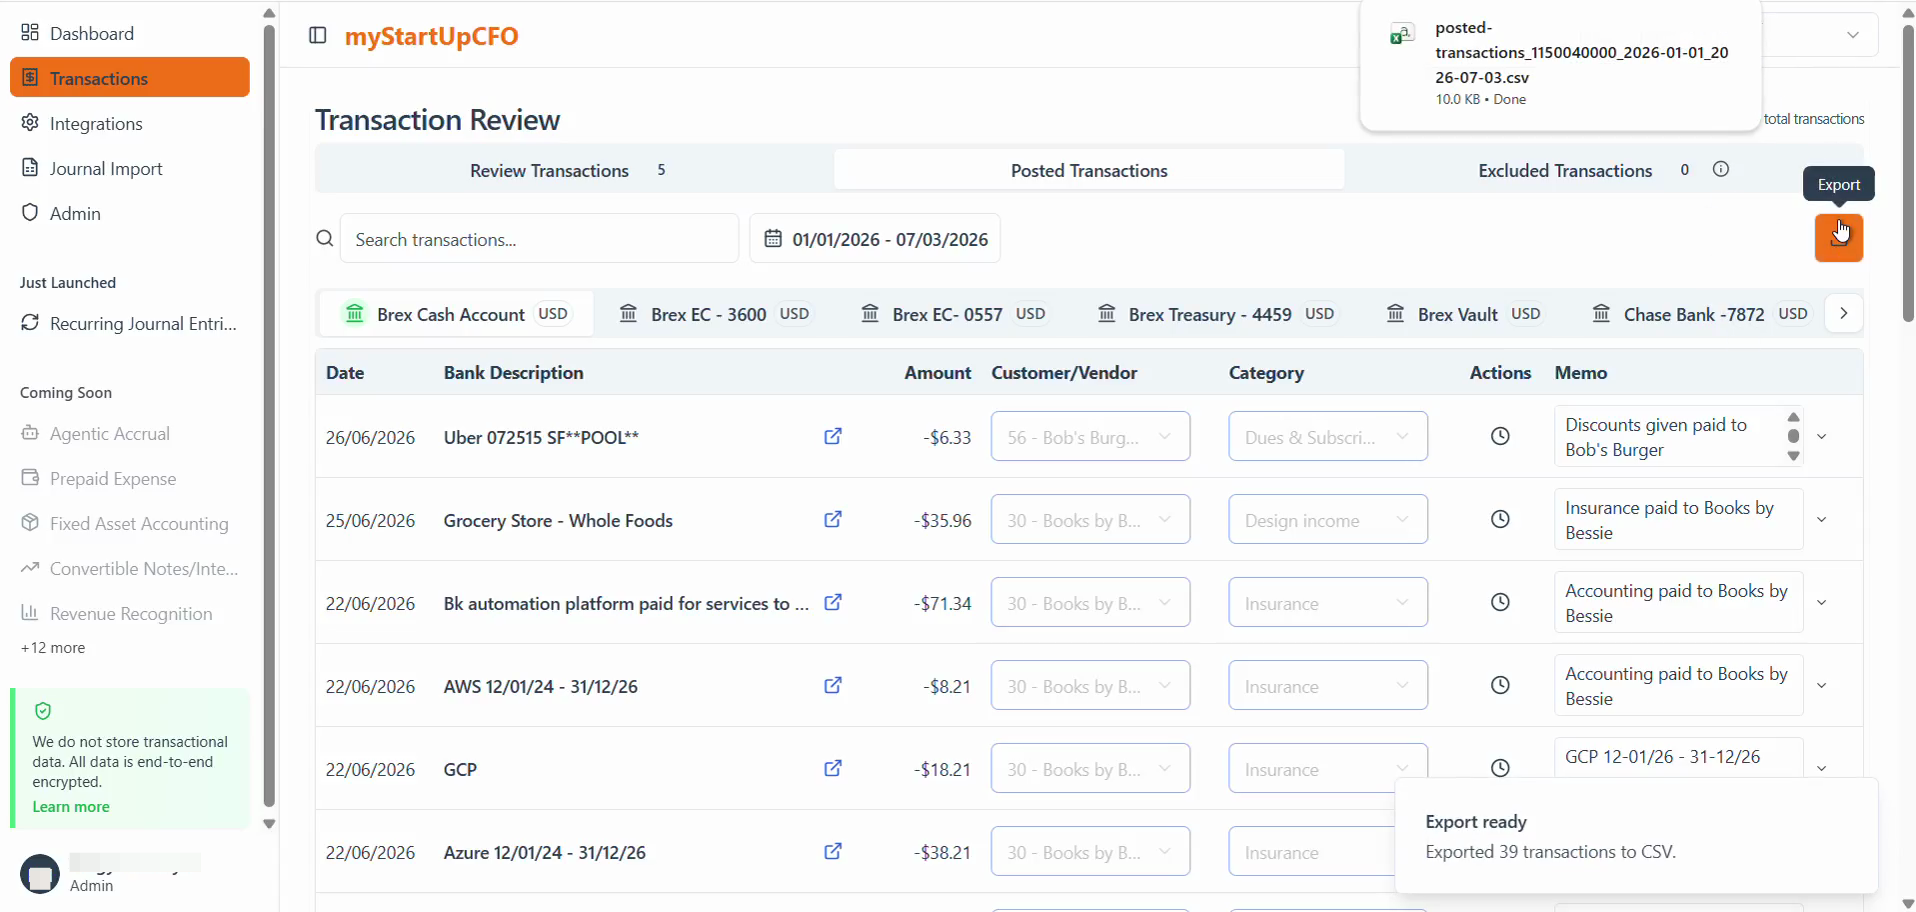
Click the downloaded posted-transactions CSV file from your browser's download notification to open and review the exported transaction data.
5
The downloaded CSV file contains the posted transactions from the selected date range.
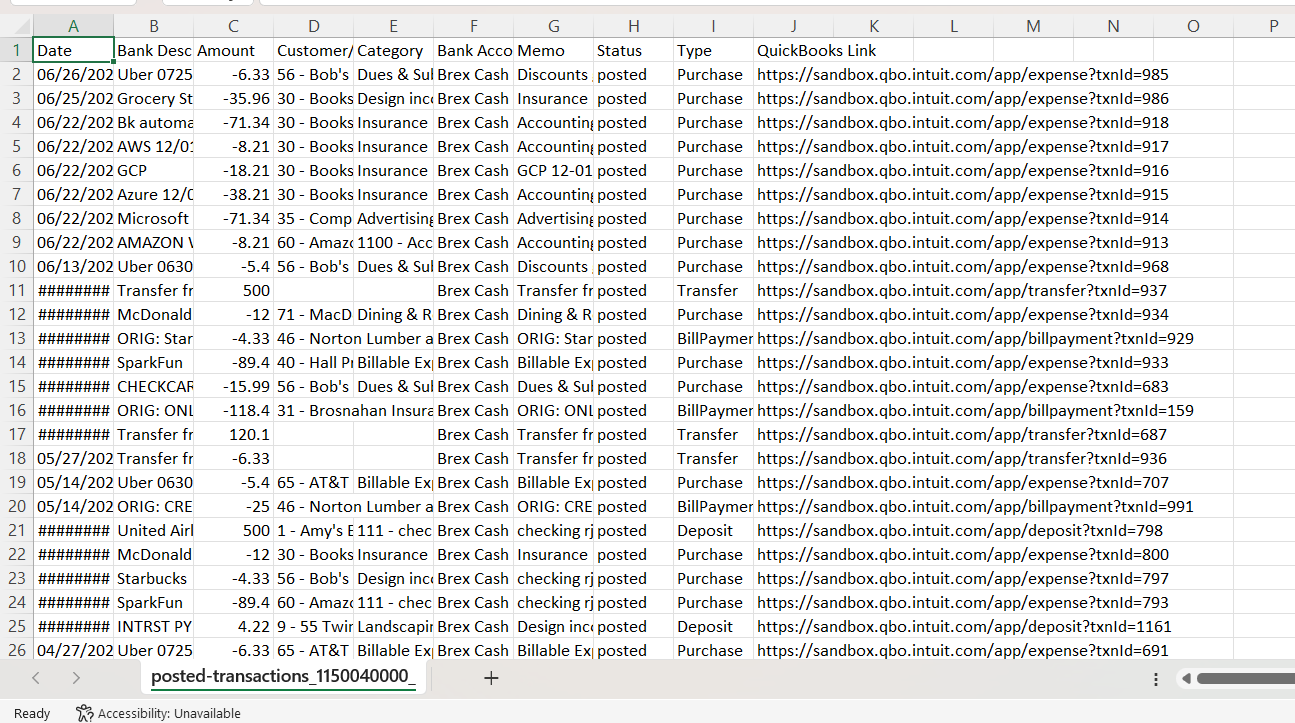
Review the exported data for financial analysis, reporting, reconciliation, auditing, or record-keeping purposes.
The Export to CSV feature provides a convenient way to download and manage posted transaction data outside the application.