
How to Filter Leads by Next Activity Date in Workspaces
Learn how to efficiently filter leads by the next activity date in Workspaces. Follow these simple steps to streamline your prospecting process.
In this guide, we'll learn how to efficiently manage and filter leads in your workspace. This process involves navigating through the prospecting menu, applying advanced filters, and organizing tasks for better productivity. By following these steps, you can streamline your workflow and ensure that you are focusing on the most relevant leads for your activities.
Let's get started
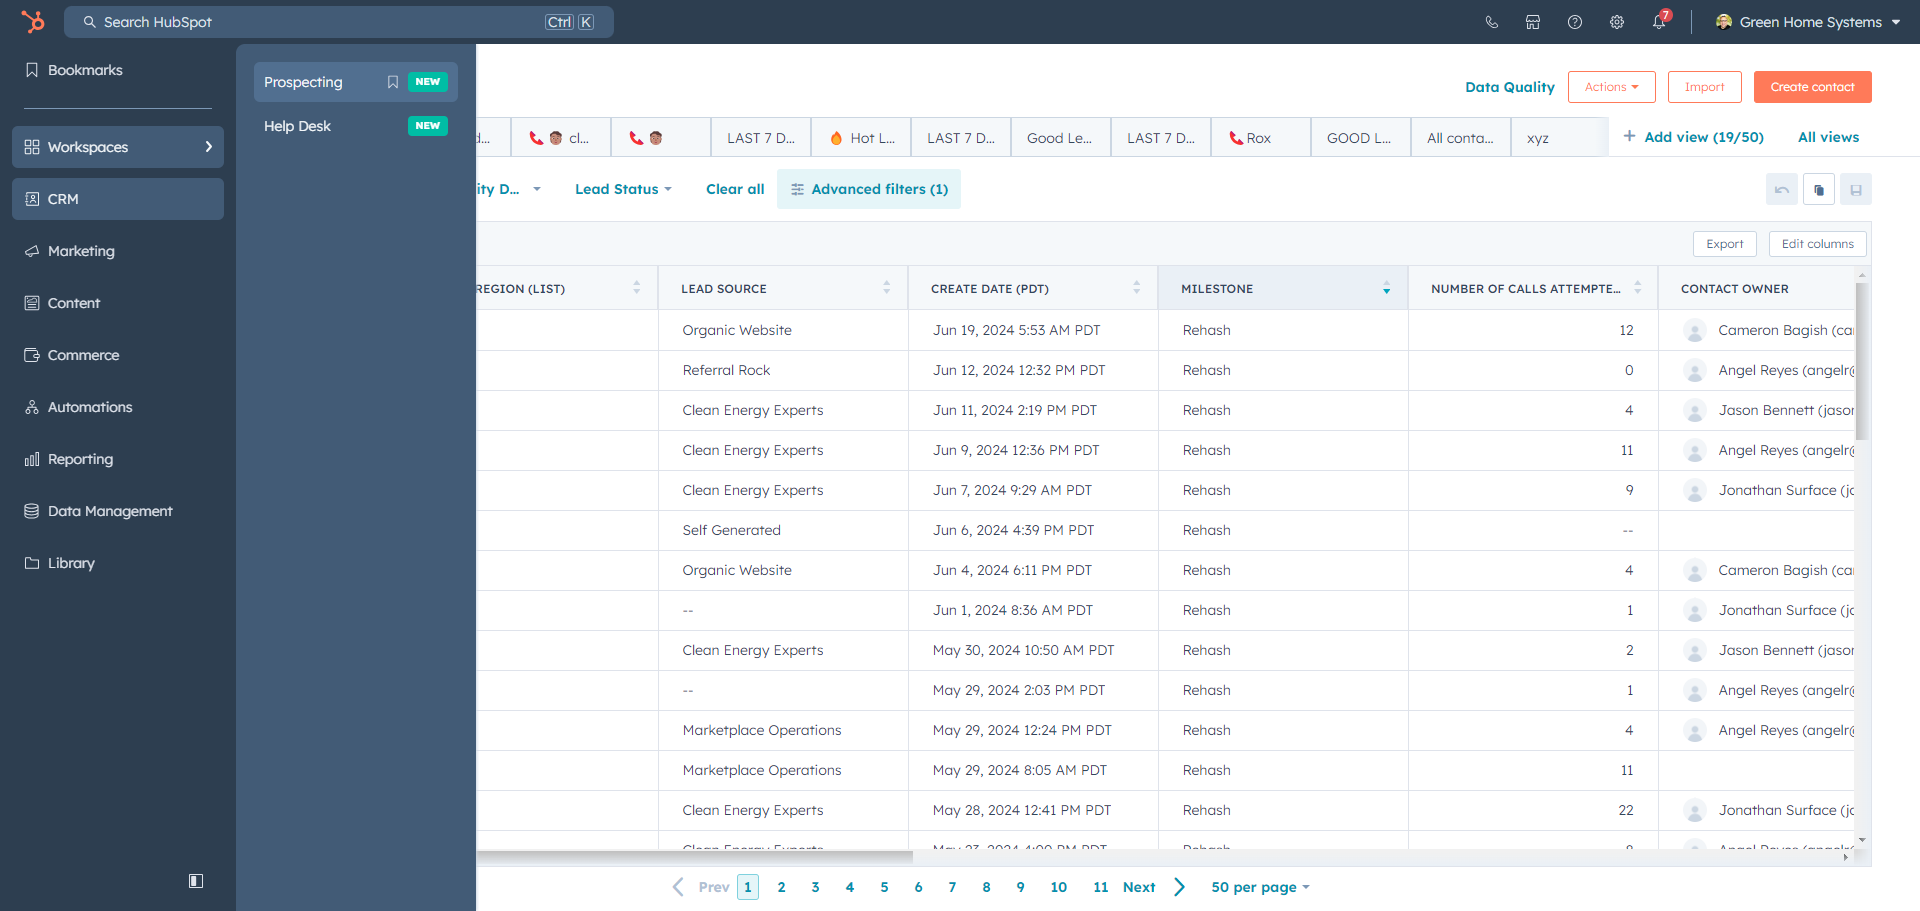
First, go to "Workspaces" in the menu.
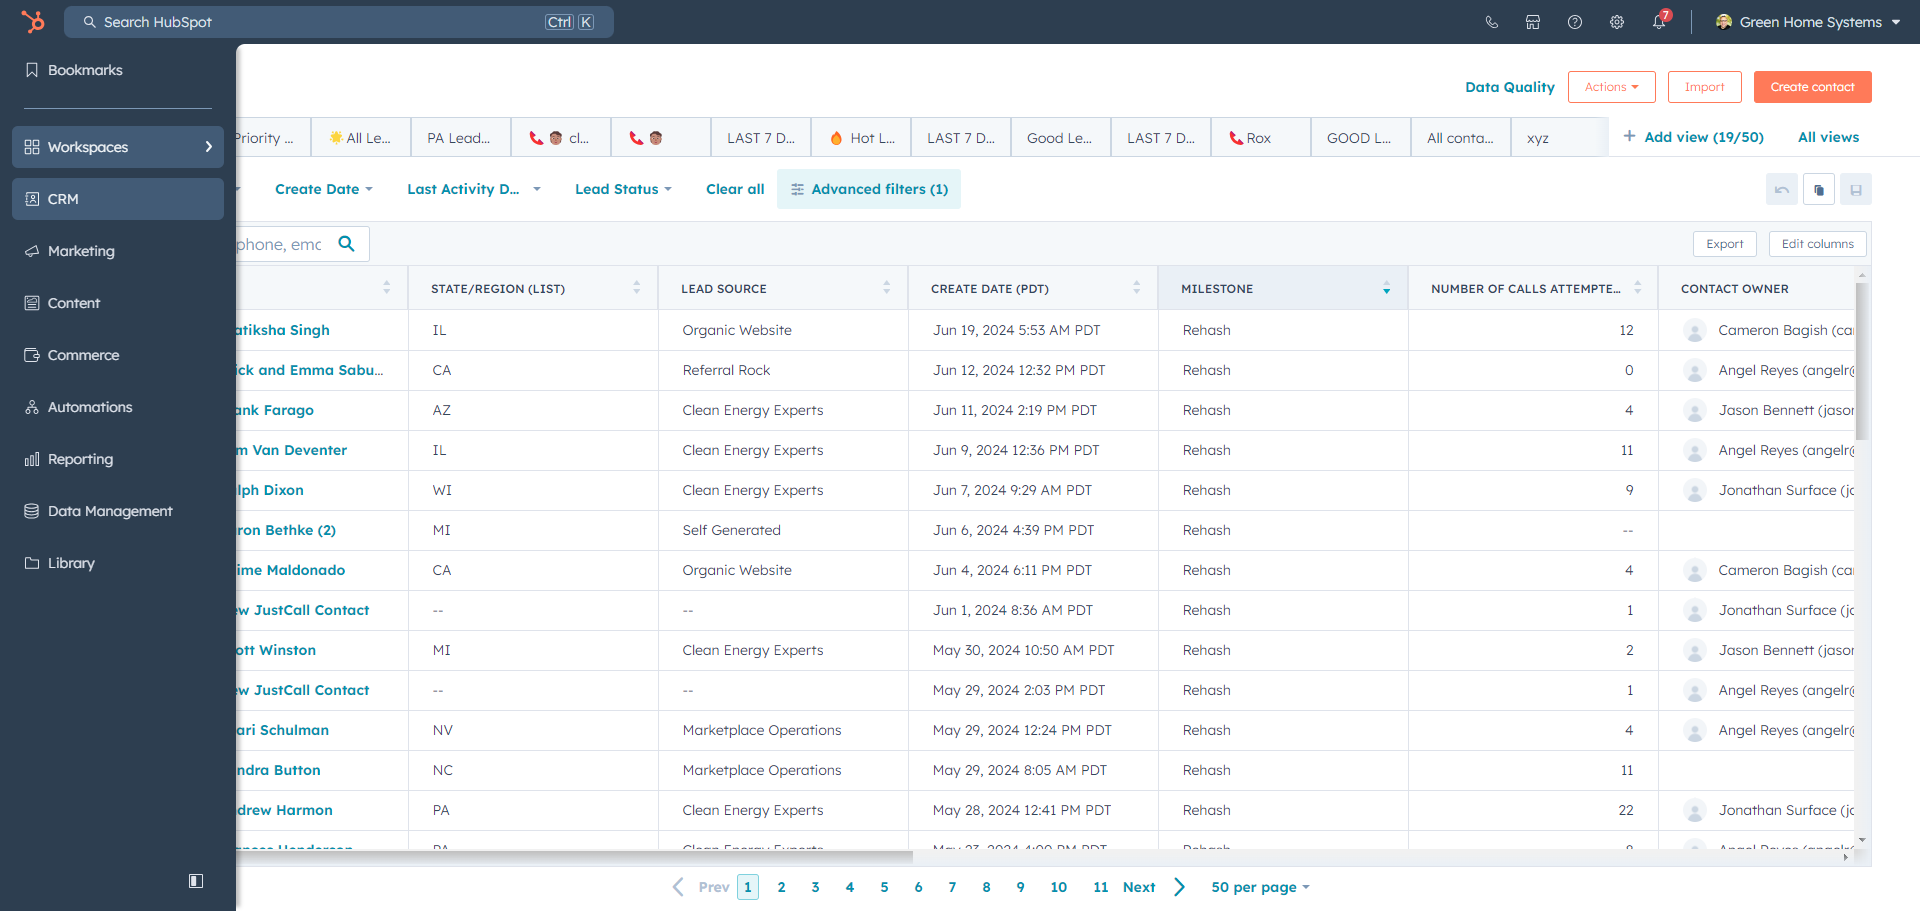
Click on "Prospecting."
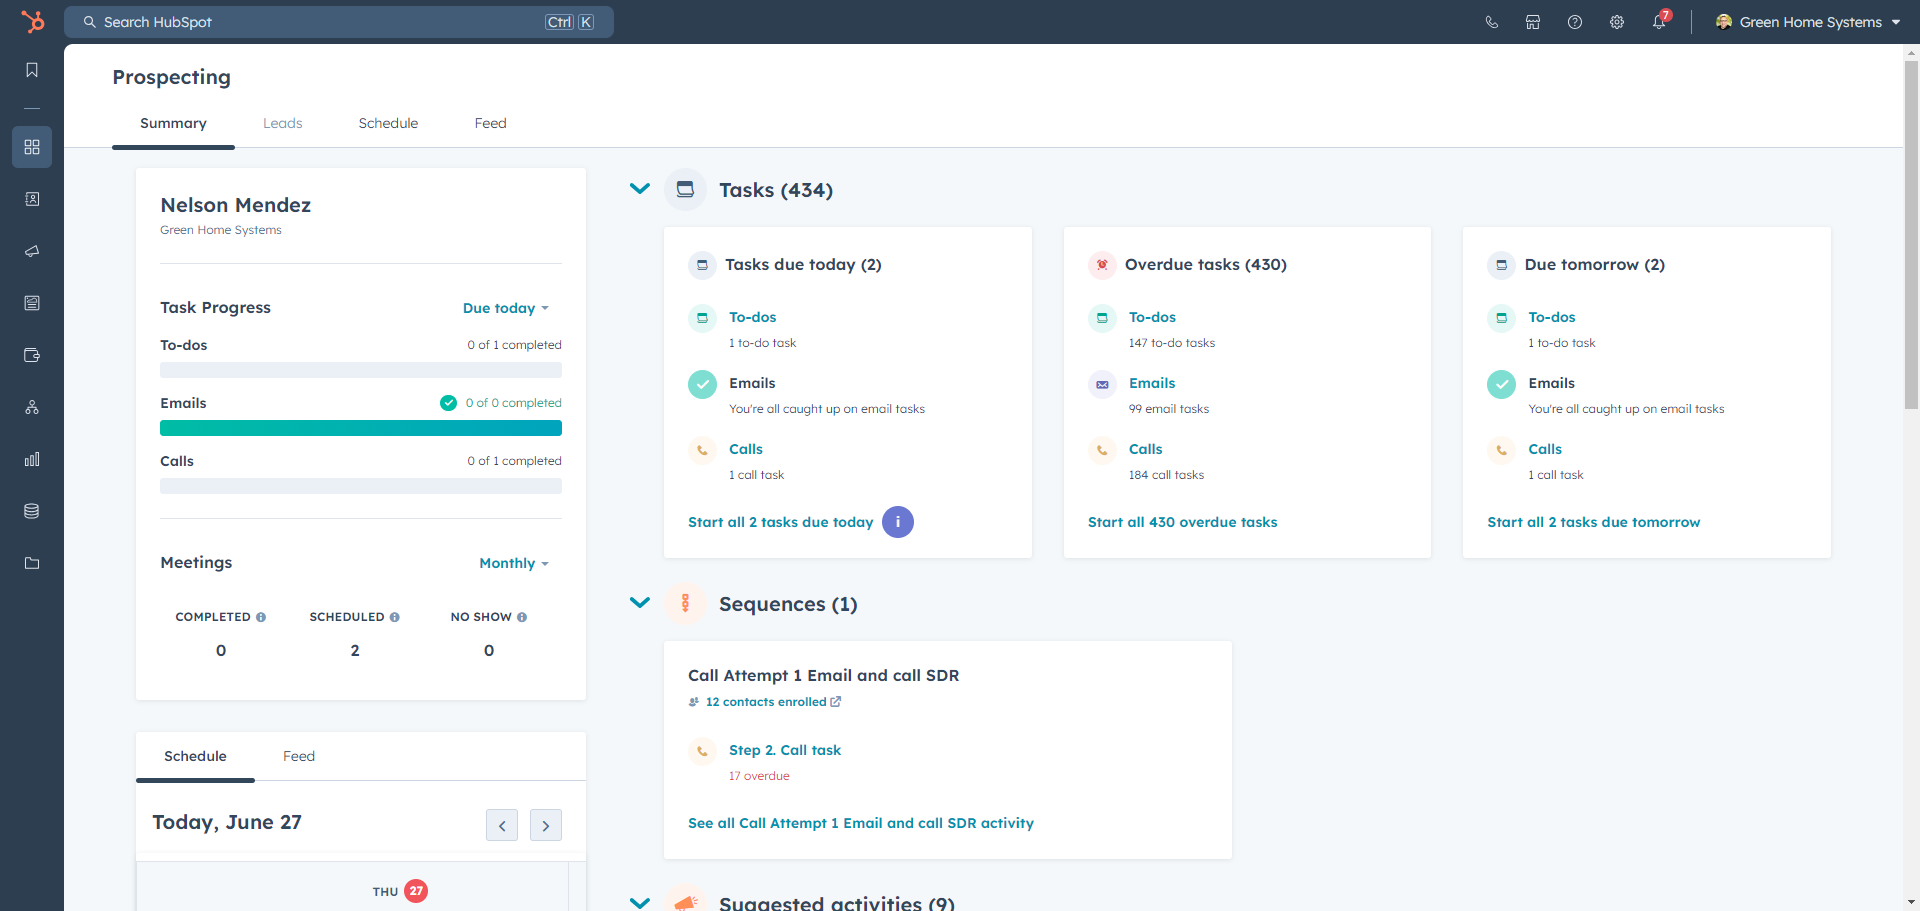
Once you click on "Prospecting," wait for it to load. Then, click on "Leads."
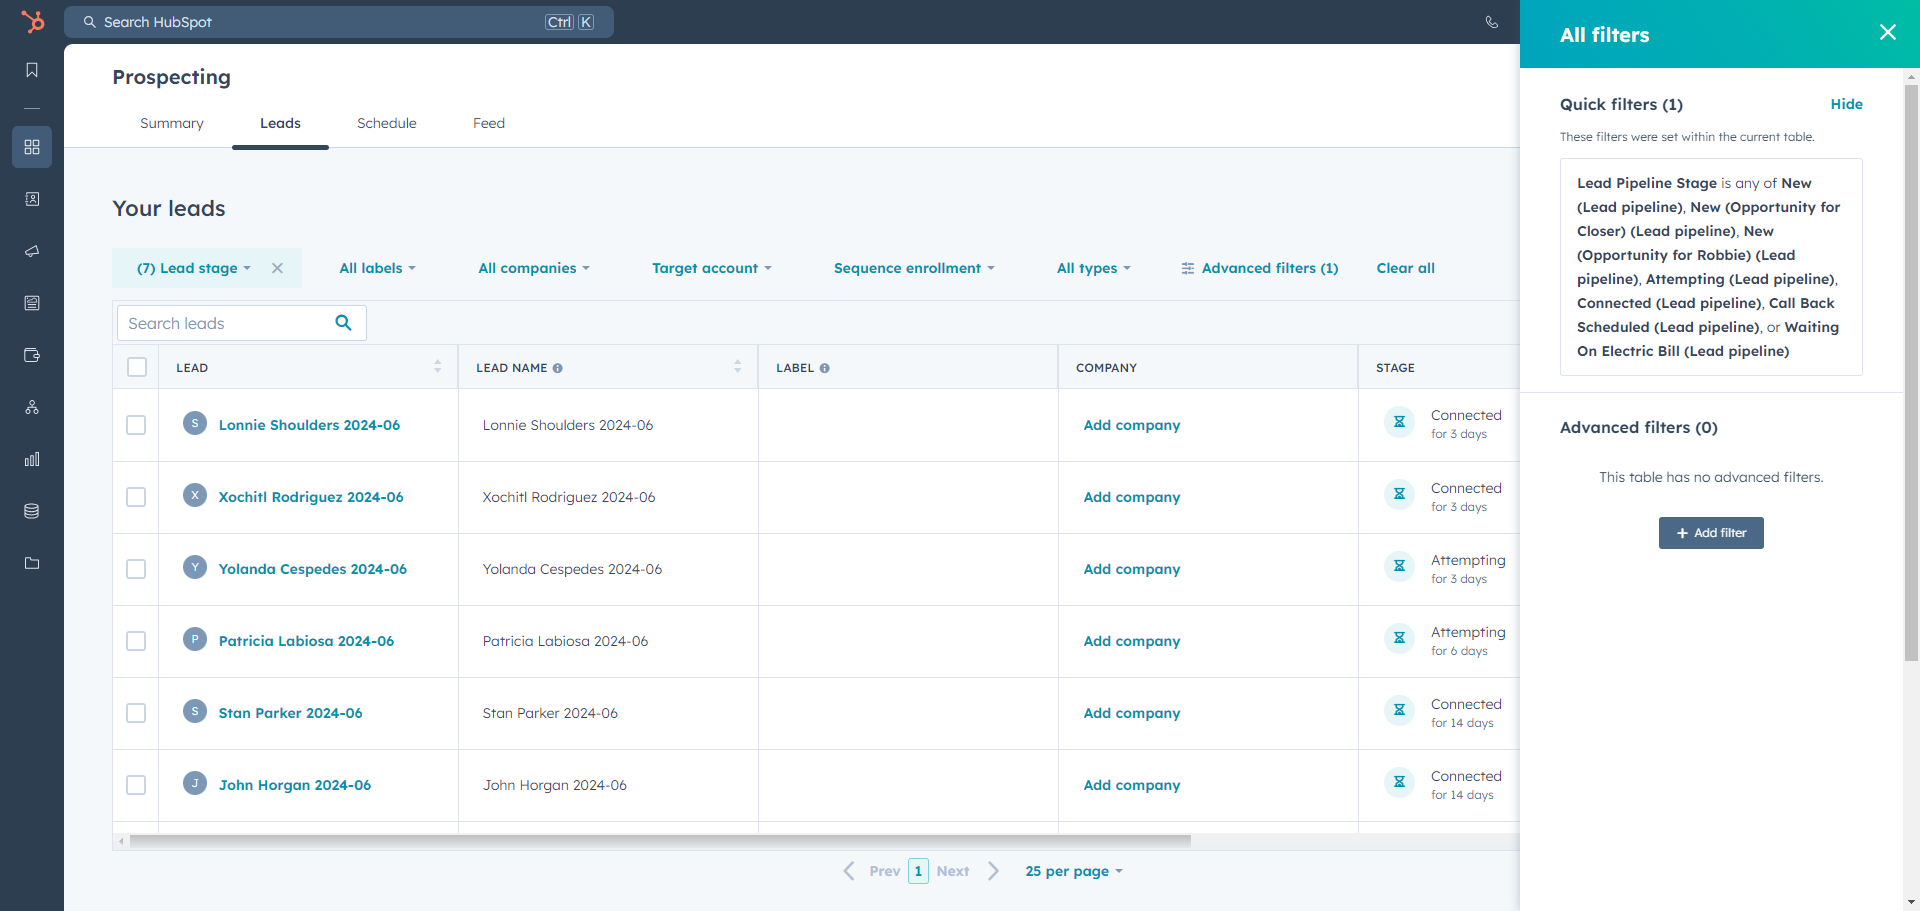
Once you click on leads, you will see a list of all the leads under your name. Next, you need to apply the filter. How do you do a filter? It's super easy. Click on any name, then click on advanced filter, and finally, click on add filter.
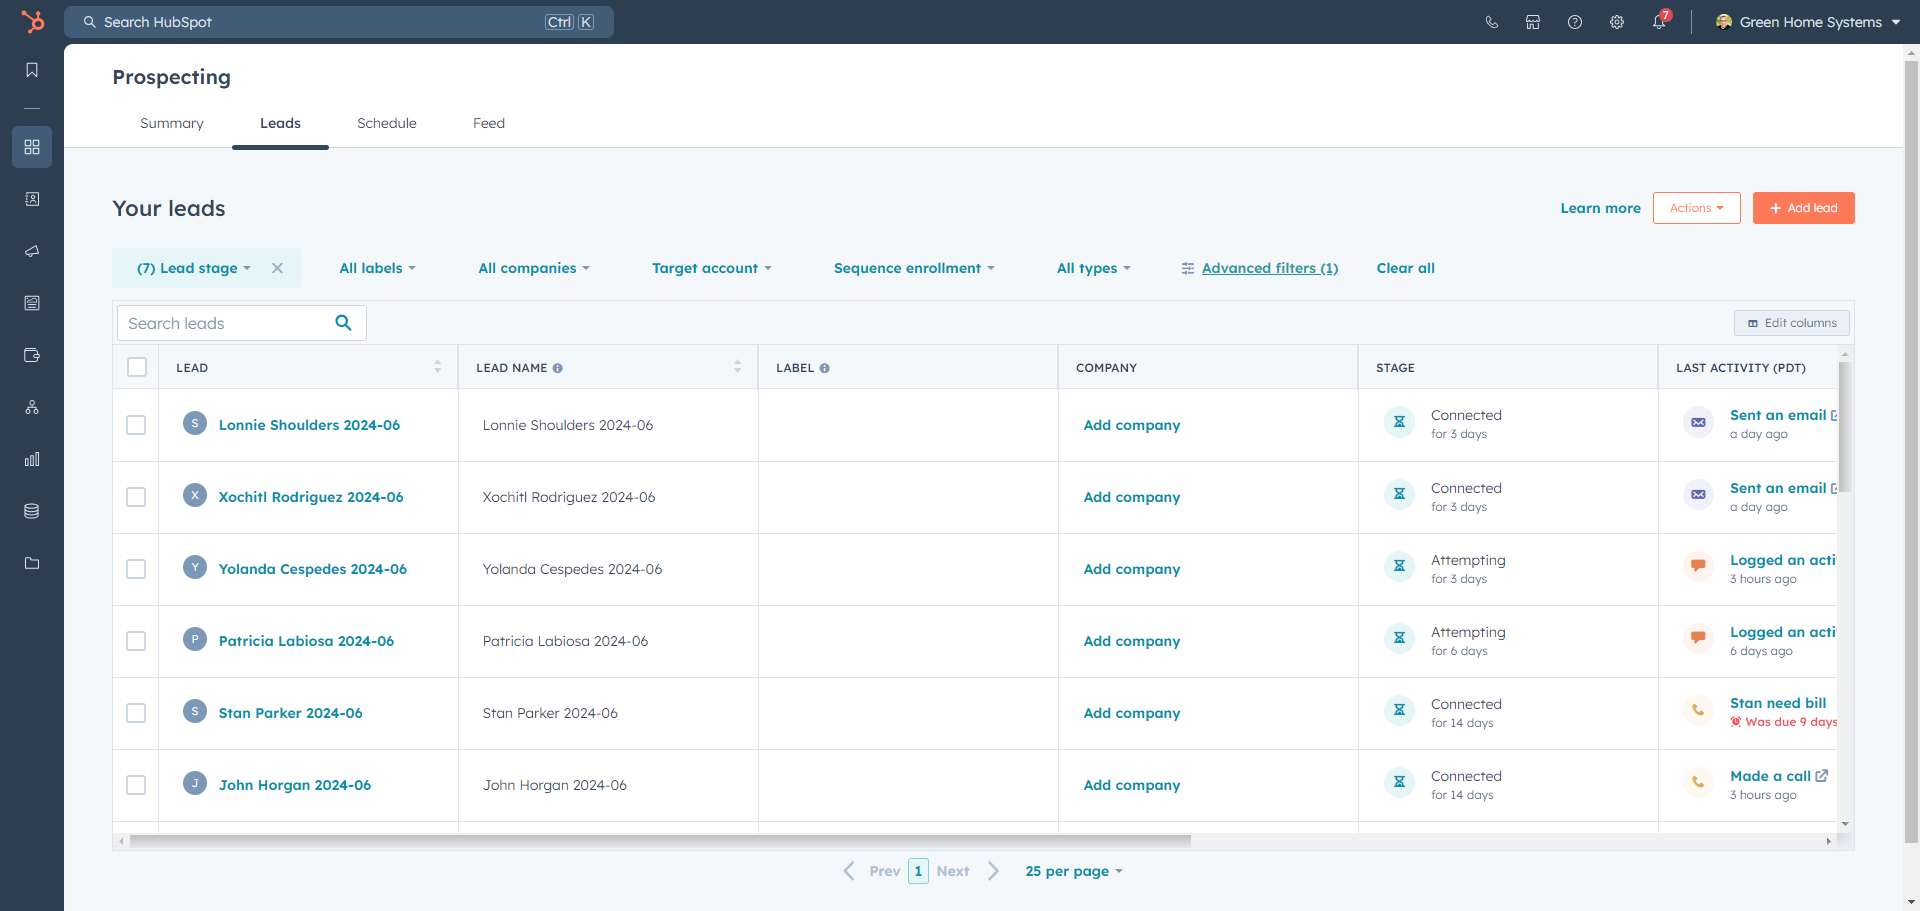
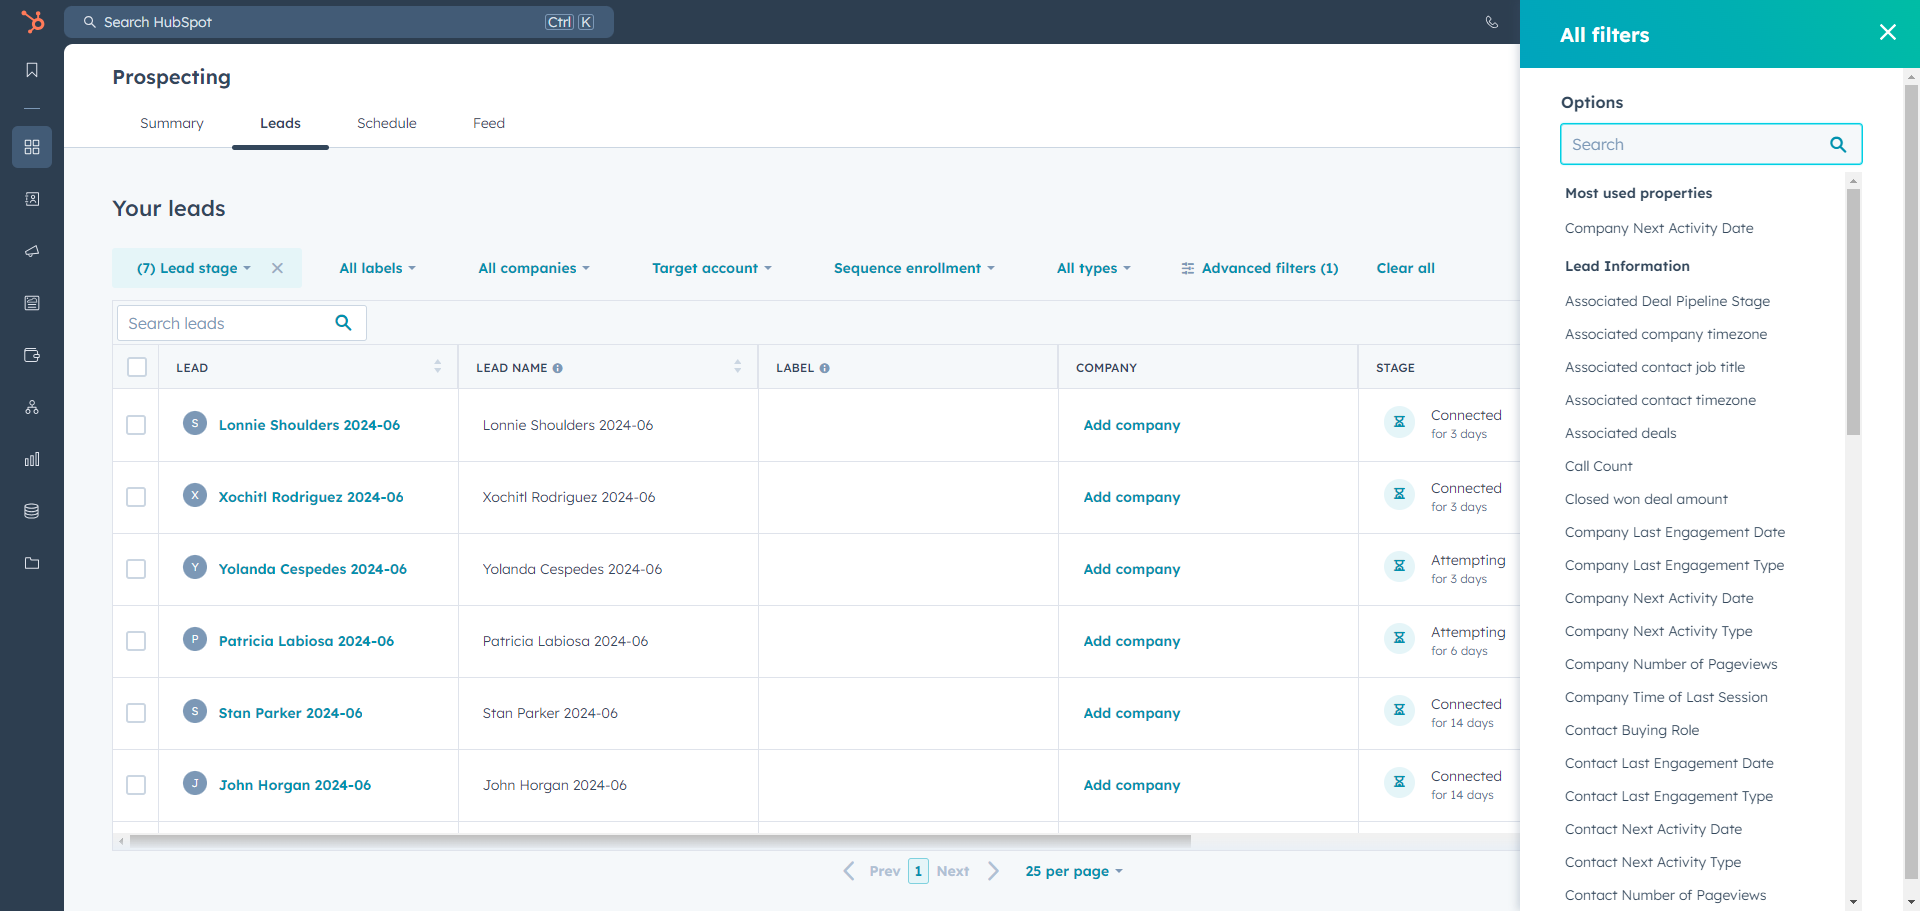
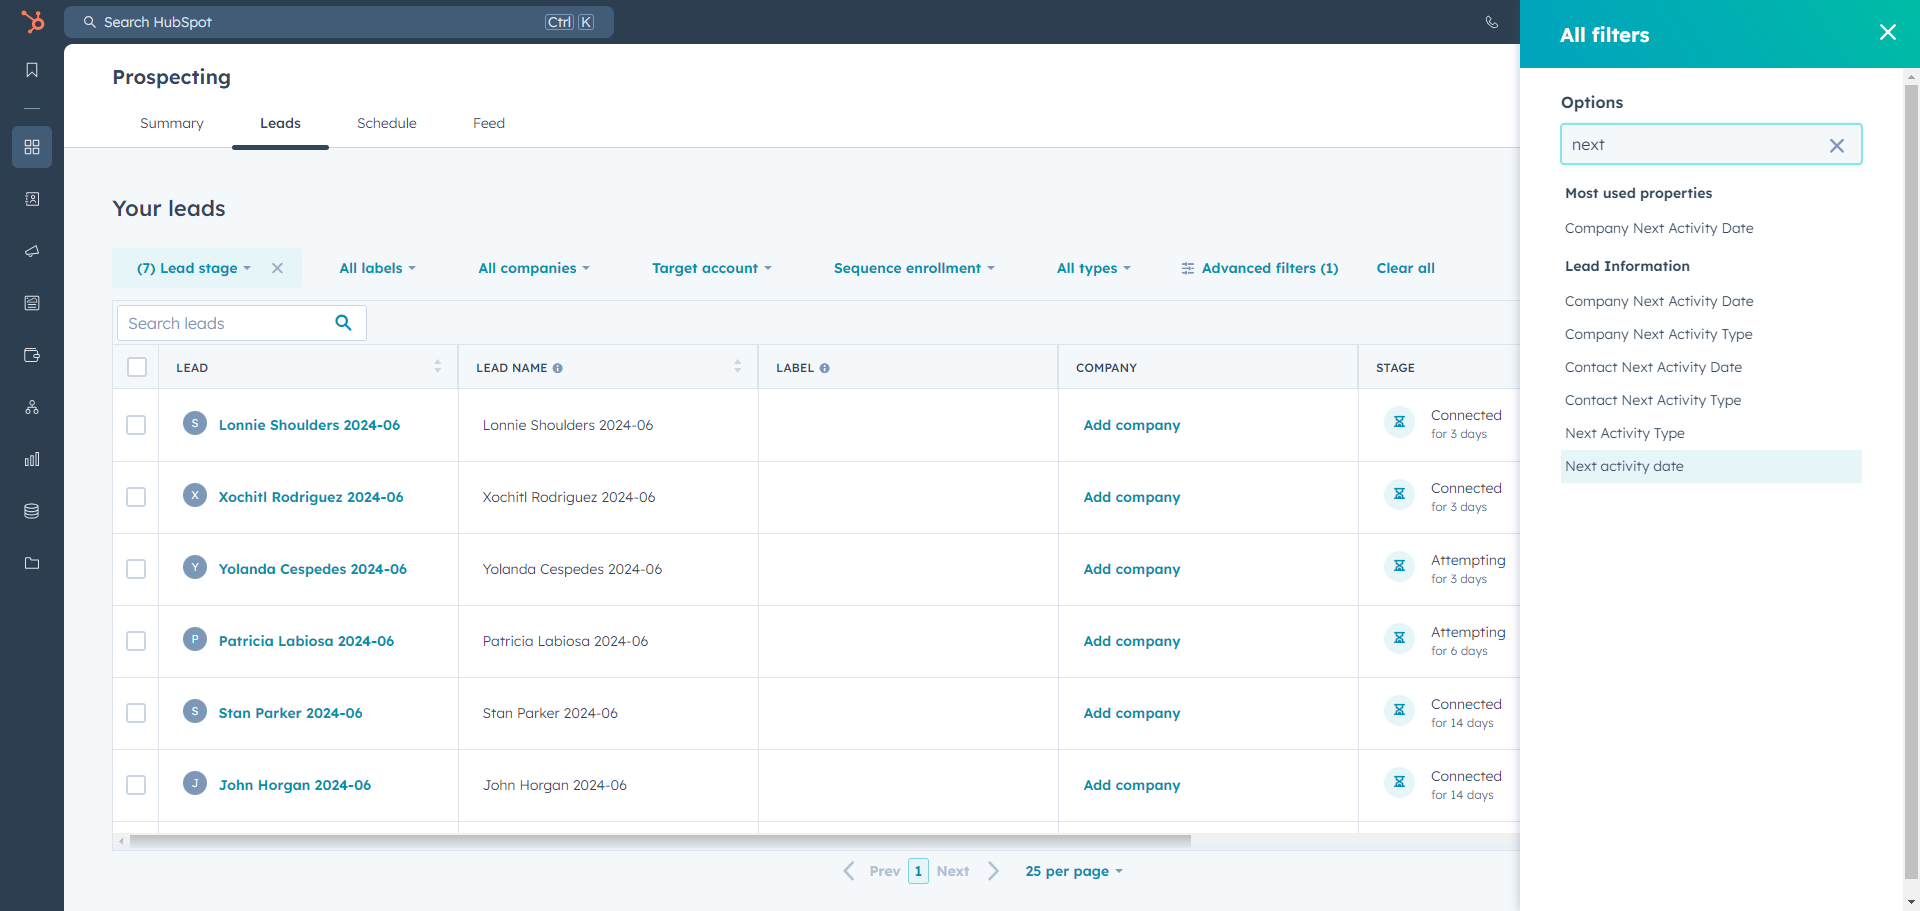
After you click on "Add Filter," type the words "Next Activity Date." Instead of selecting "Today," click on "Tomorrow."
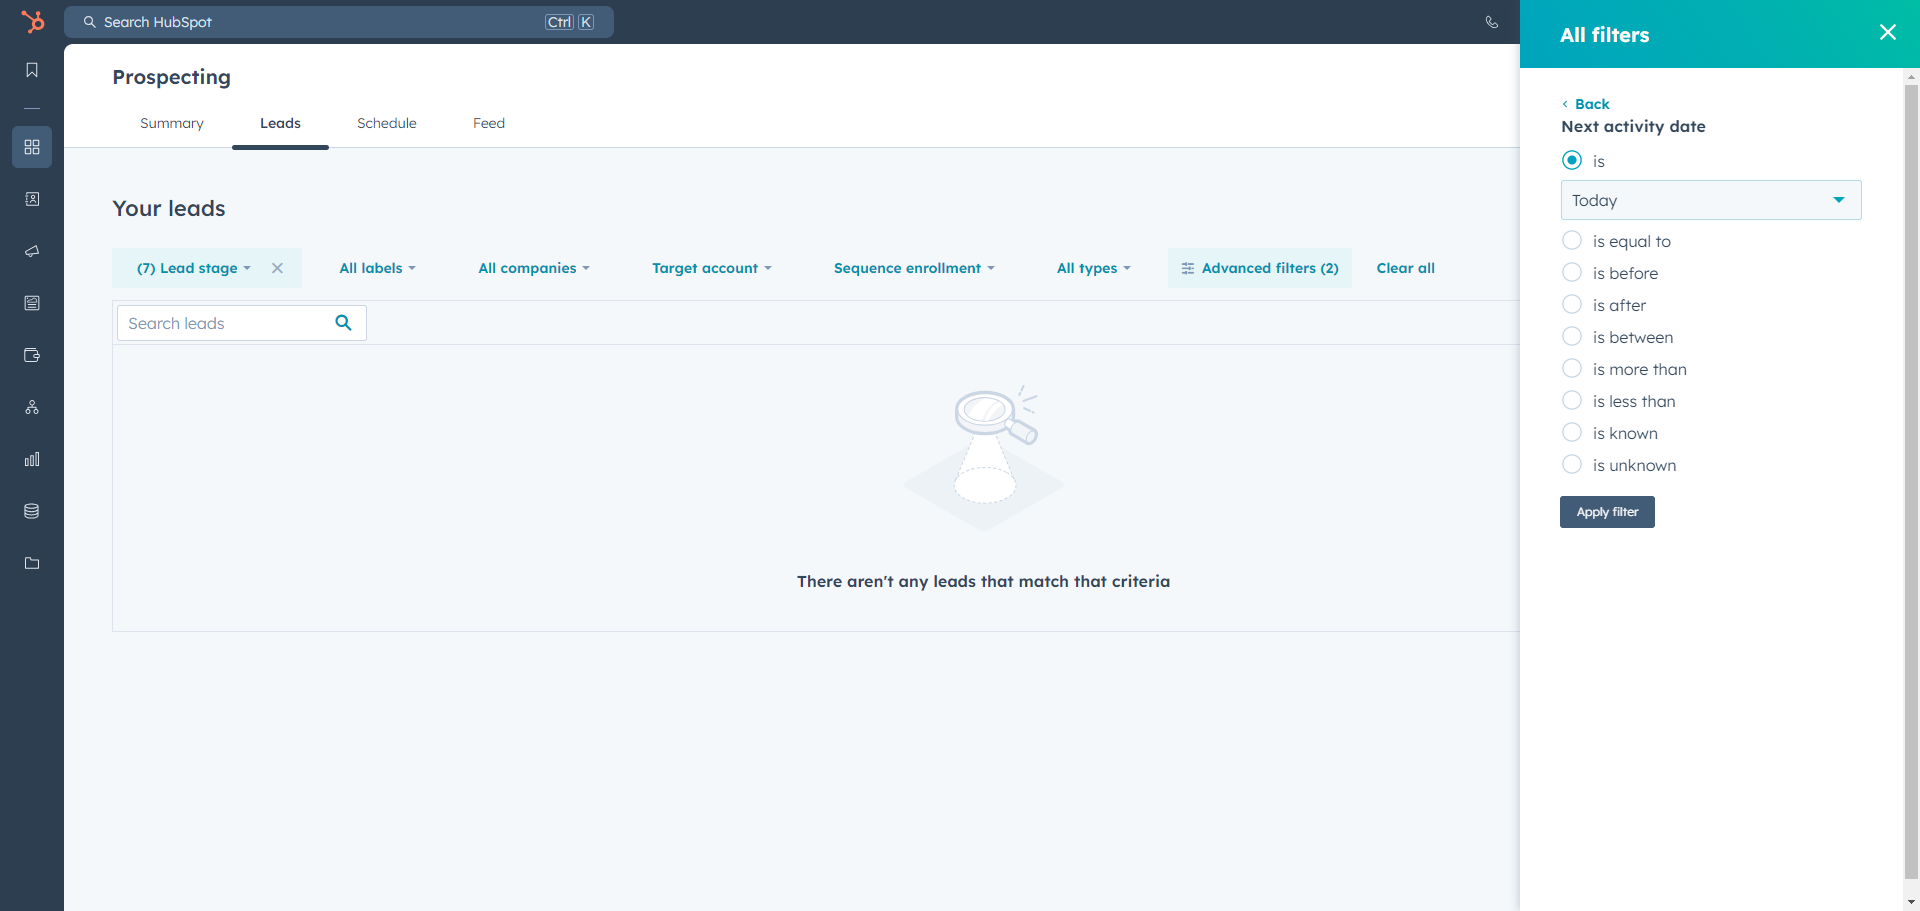
Once you do that, all the tasks assigned to you will appear here. That's all.
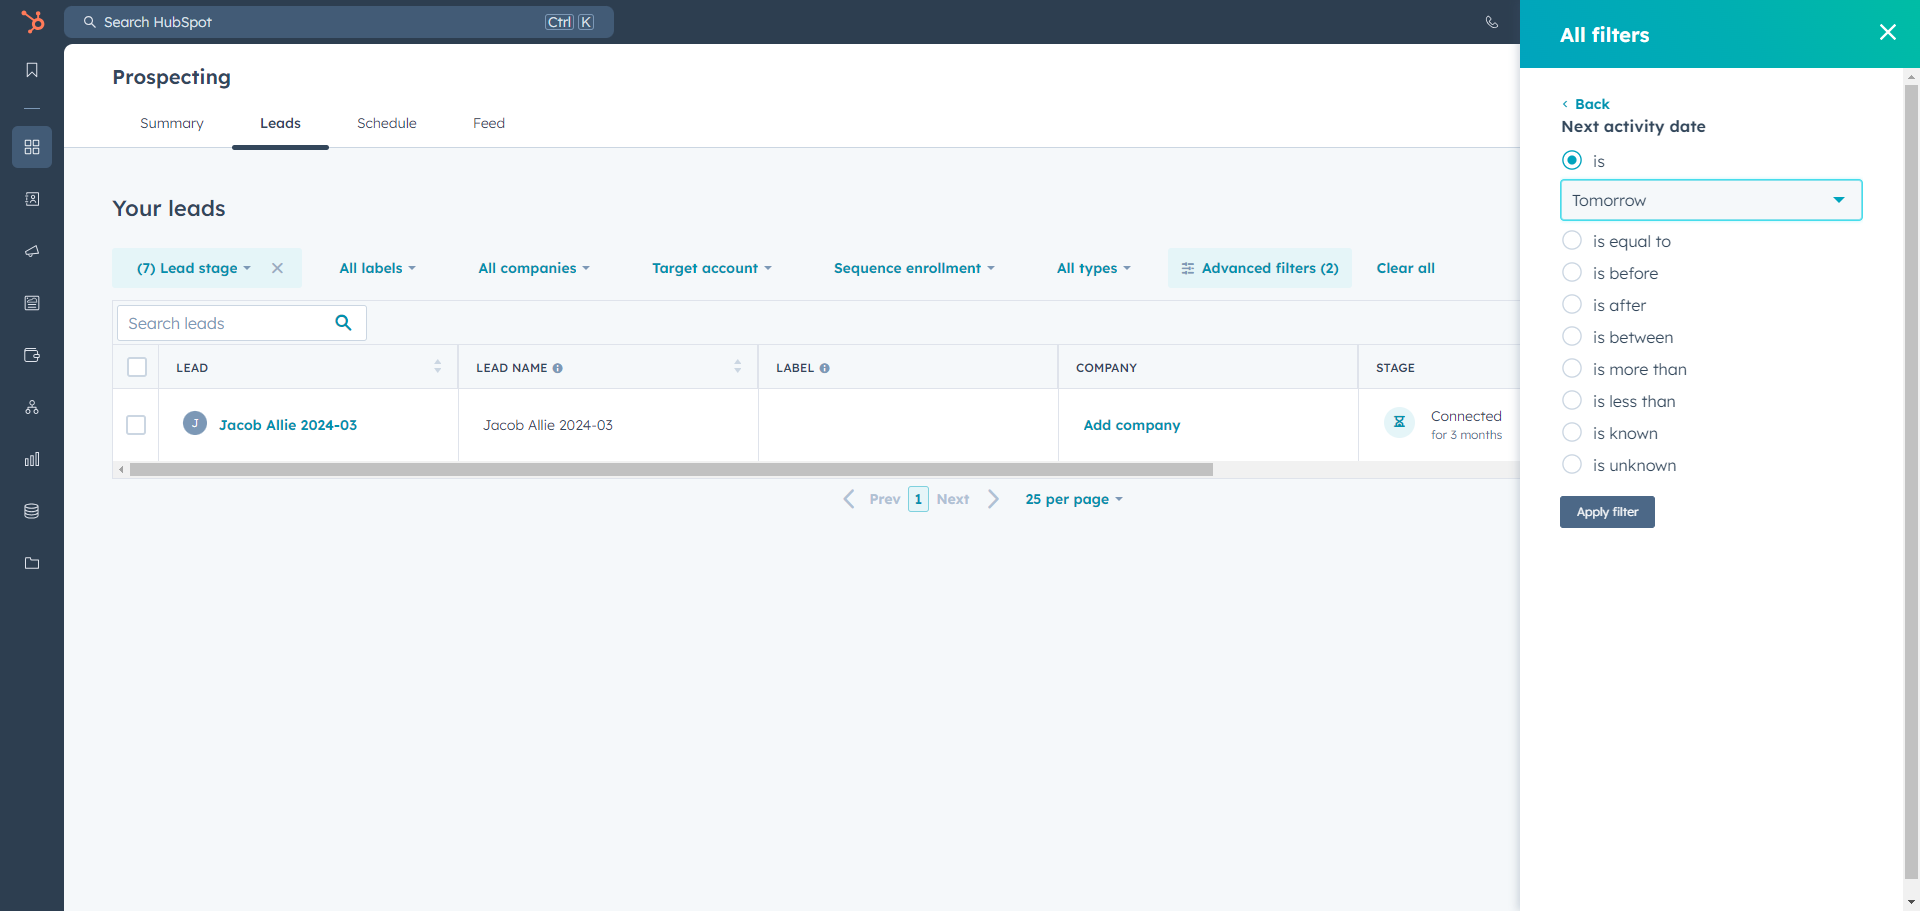
Click "Apply."
Next, click on the name to start calling.
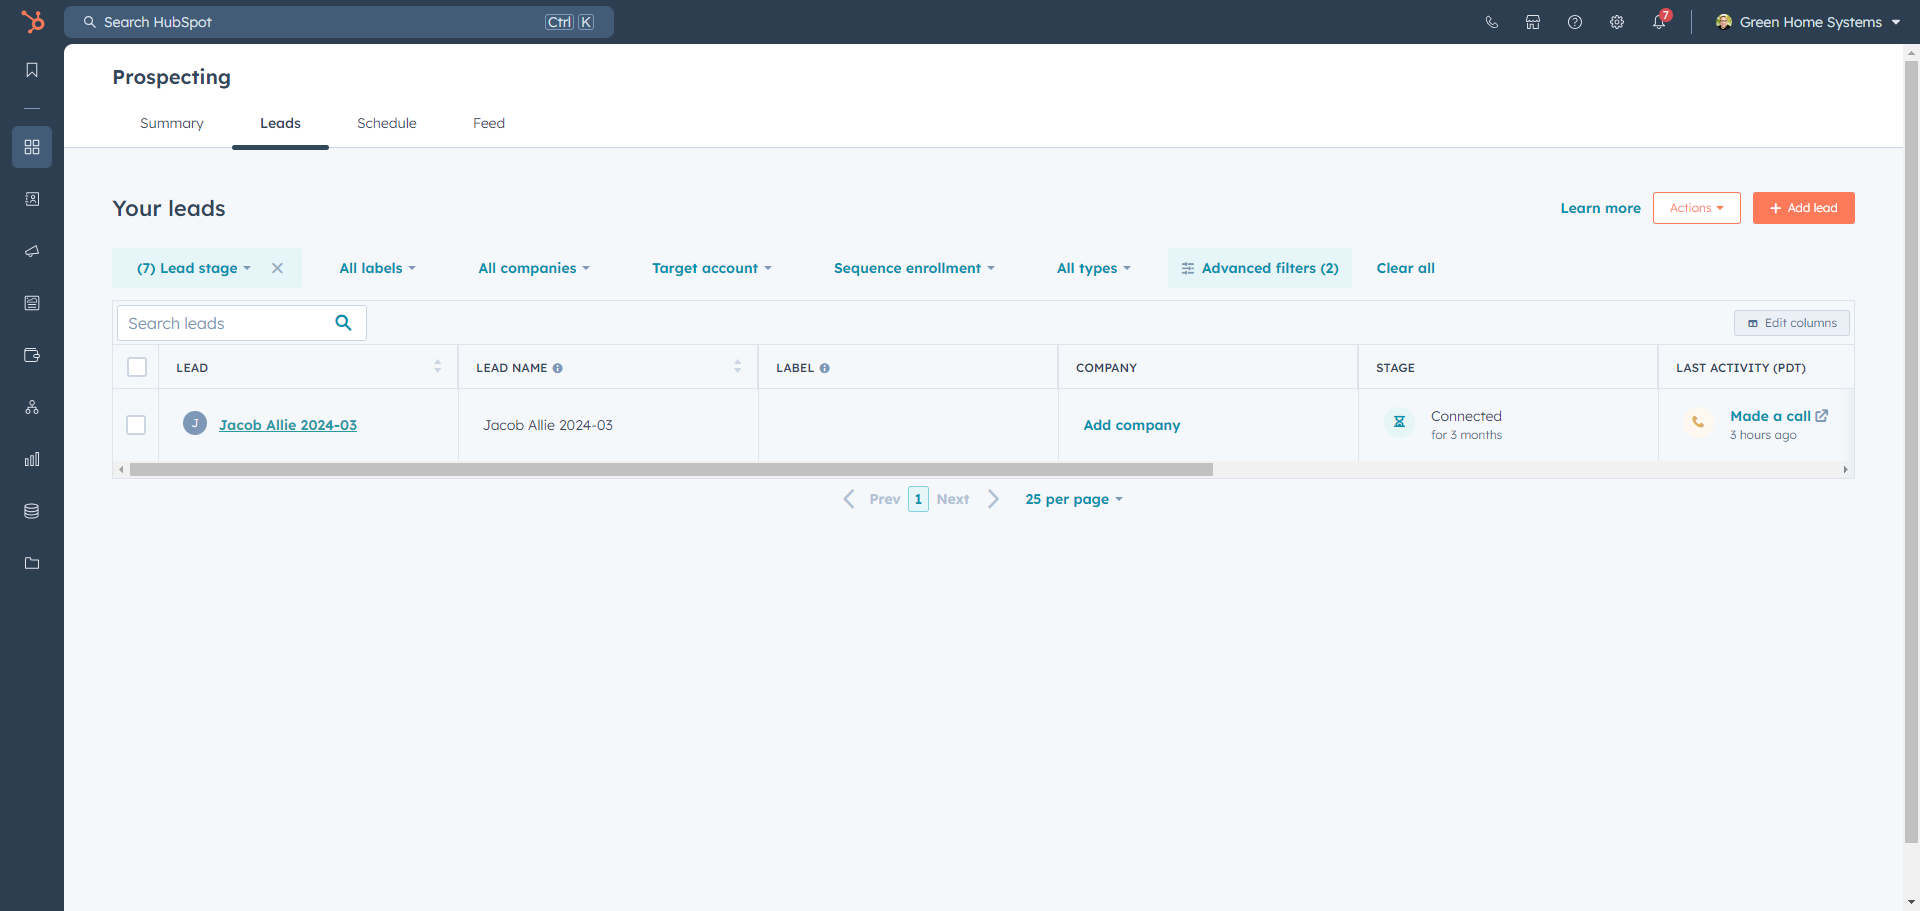
All the leads will be in this area right here.