
How to Fix Control Points on a Photosphere Template Profile
Learn step-by-step how to resolve floating timestamp issues in PhotoSphere templates by properly setting control points. This guide covers identifying the project, accessing the admin portal, and updating the Realign setting for seamless image overlays.
In this guide, we'll learn how to fix control point issues in a photosphere template profile. This process helps ensure that images in the photosphere connect correctly, preventing overlay problems and floating timestamps.
We'll go through identifying the correct project, accessing the admin portal, and updating the template settings to enable automatic control point generation. This will help improve the quality and accuracy of your photospheres.
Let's get started
Hello, everyone. This is an instructional video on how to fix the control points on a photosphere template profile.
First, open a page with issues listed at the top that include floating timestamps.
This issue isn't a masking error. Instead, it's happening because images are being overlaid without being forced to connect using algorithmically generated control points. We will fix that. First, we identify the project: DeFalco 82nd. The name of the template is "82nd Street-Mast".

We will log in to the admin portal.
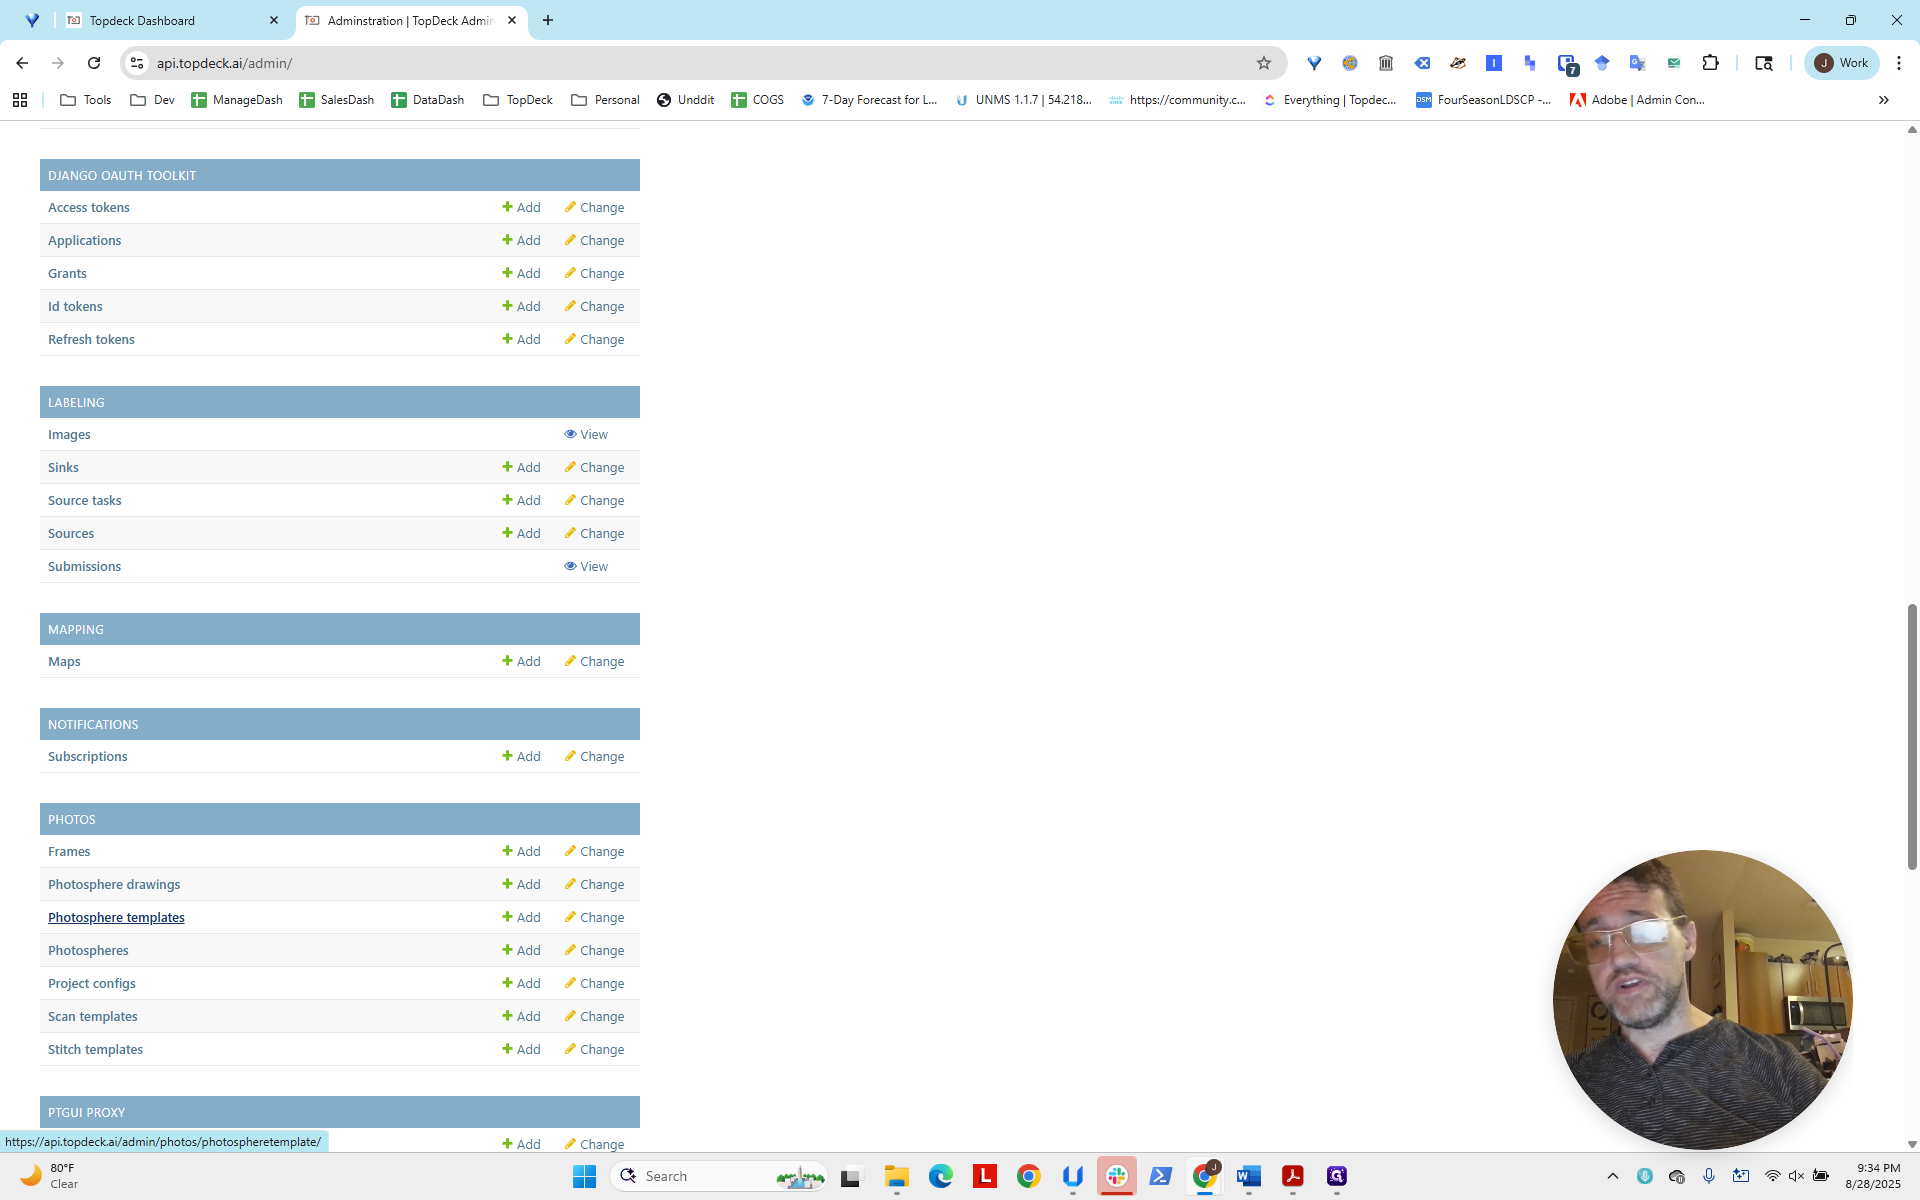
Now, we're going to go to Photos.
And select Photosphere Templates.
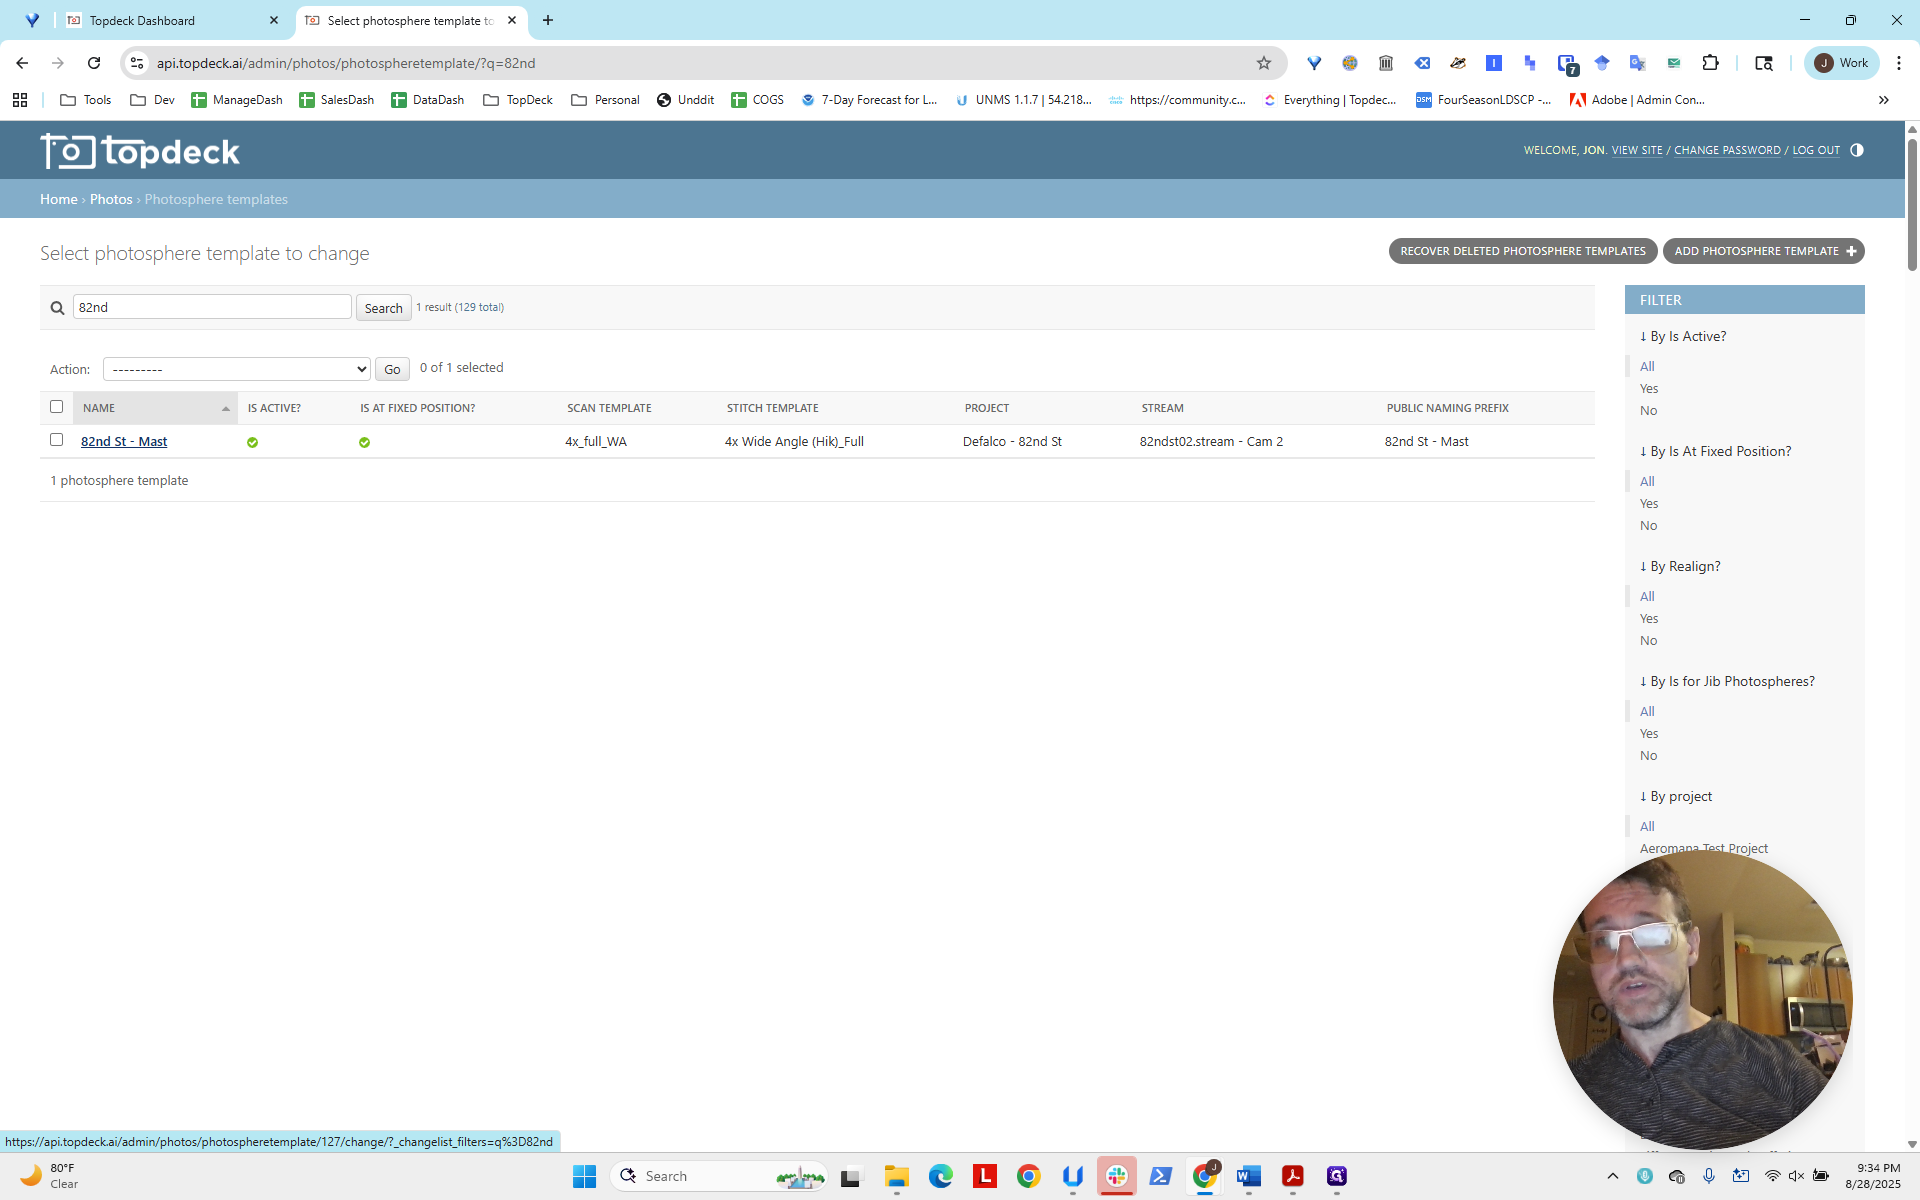
Next, enter "82nd" in the search box to find it.
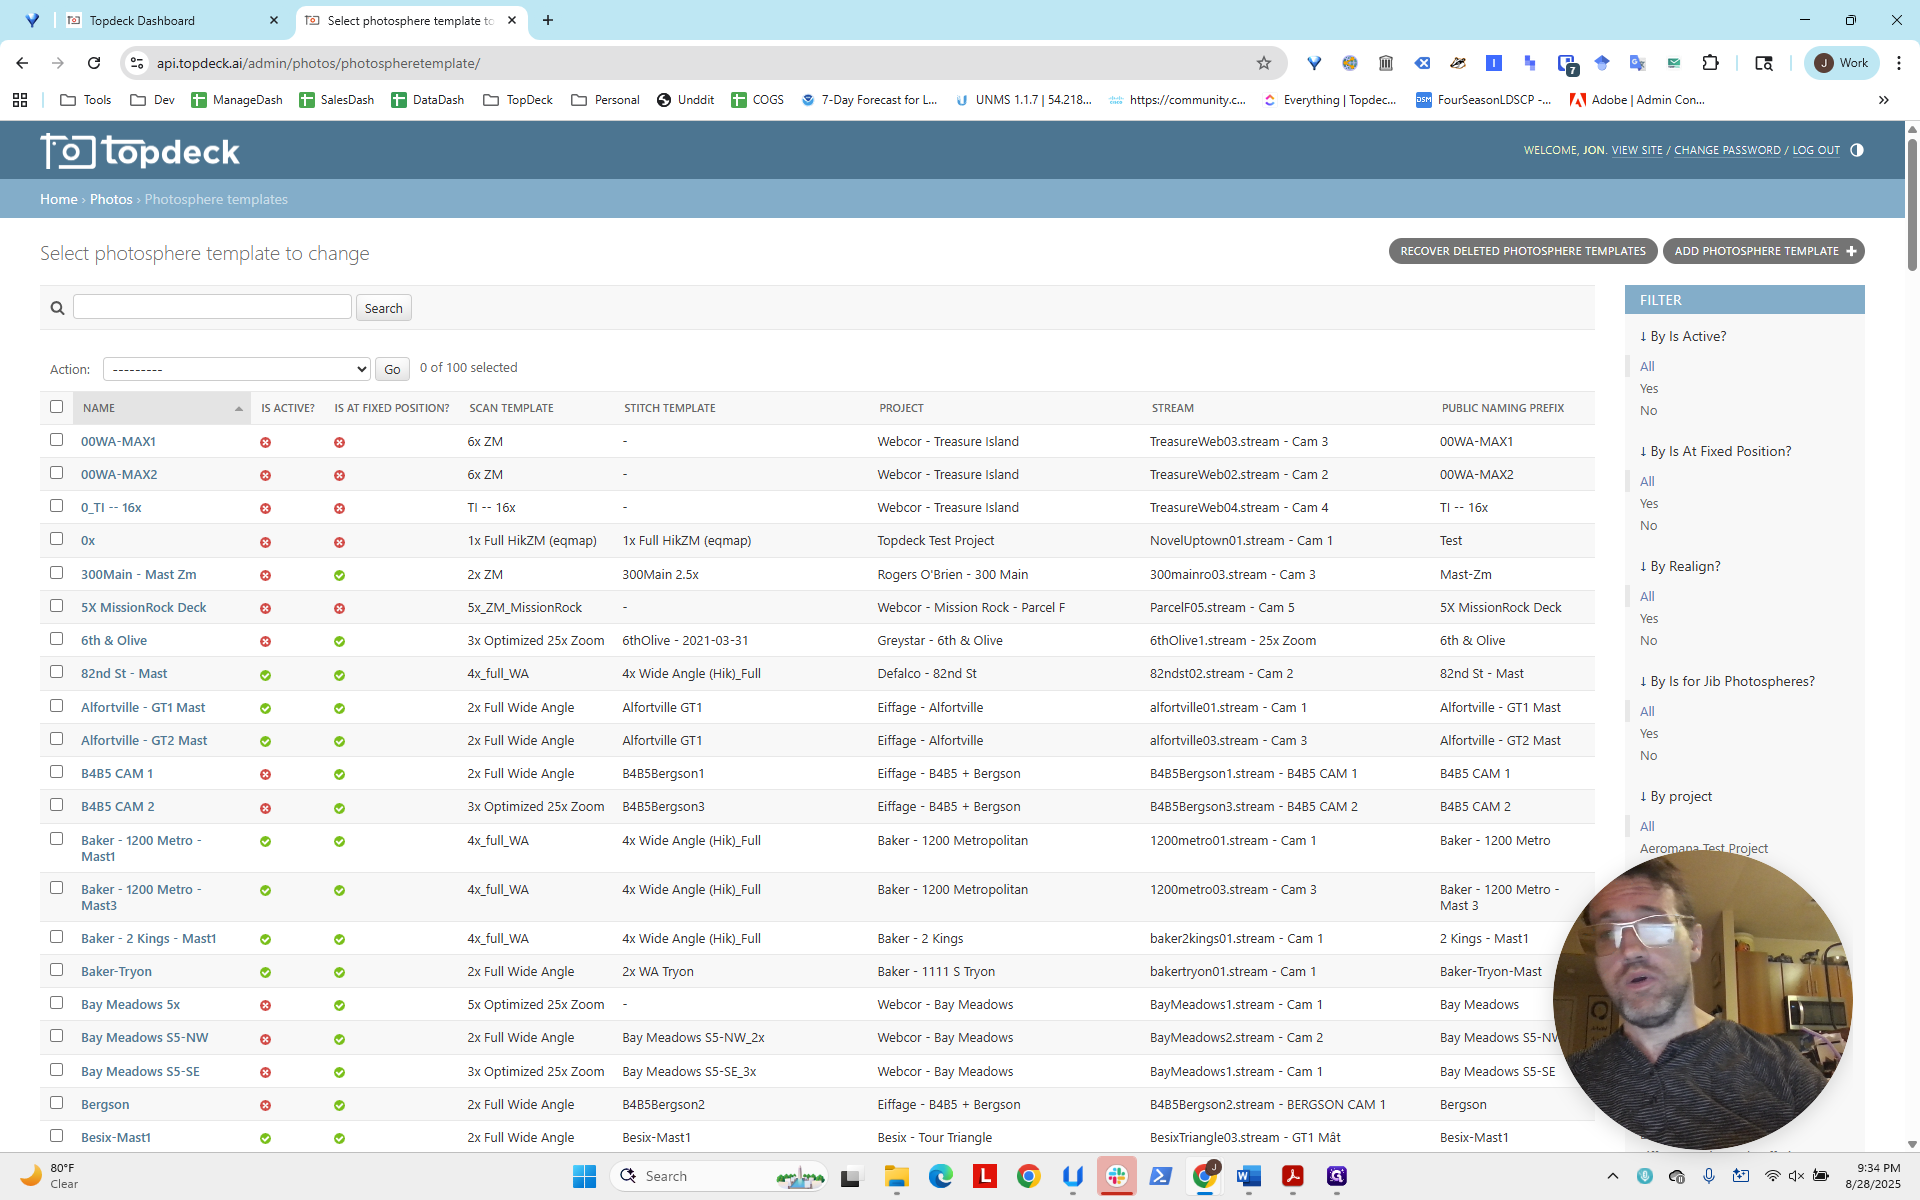
There could be several, but for this project, there is only one. We clicked 82nd_Street_Mast.
We see here on the template that there is... Here on Realign, it is not checked.
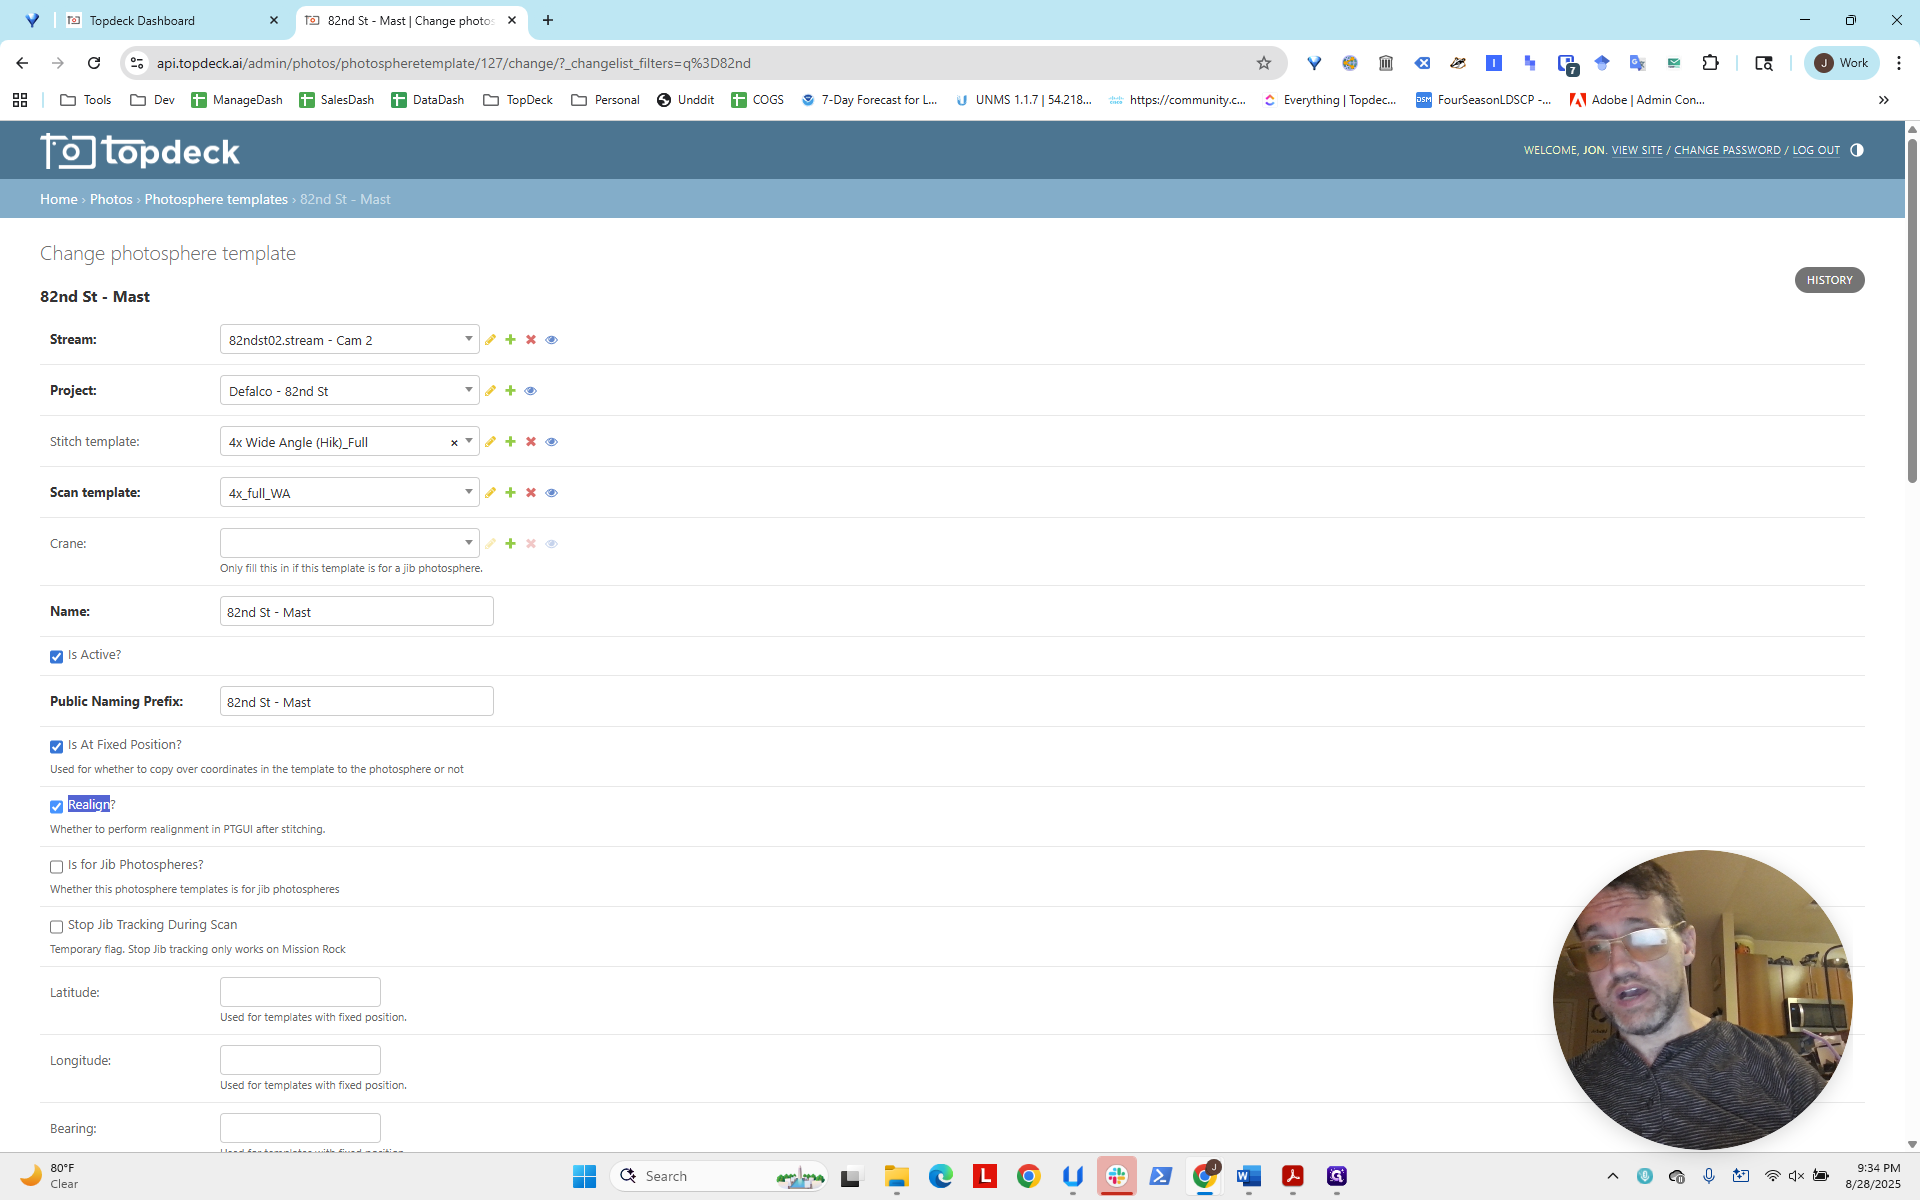
We will check that box.
Now, scroll down and click Save.
That is all we need to do. Subsequent photospheres will now have control points, allowing us to fix that issue and other problems in the photosphere.