
How to Fix Printer Issues by Removing and Reinstalling Printers
Step-by-step instructions to fix printer problems by removing and reinstalling printers using a Windows batch file and setup tool. Follow this guide to restore your printer functionality.
In this guide, we'll learn how to remove and reinstall printers on your computer using a batch file and a setup tool. This process helps resolve printer issues by clearing old configurations and setting up the printers again. By following these steps, you can ensure your printers are working as expected.
Let's get started
All right. To fix the printers, open the link I sent in the email. It will look like this.
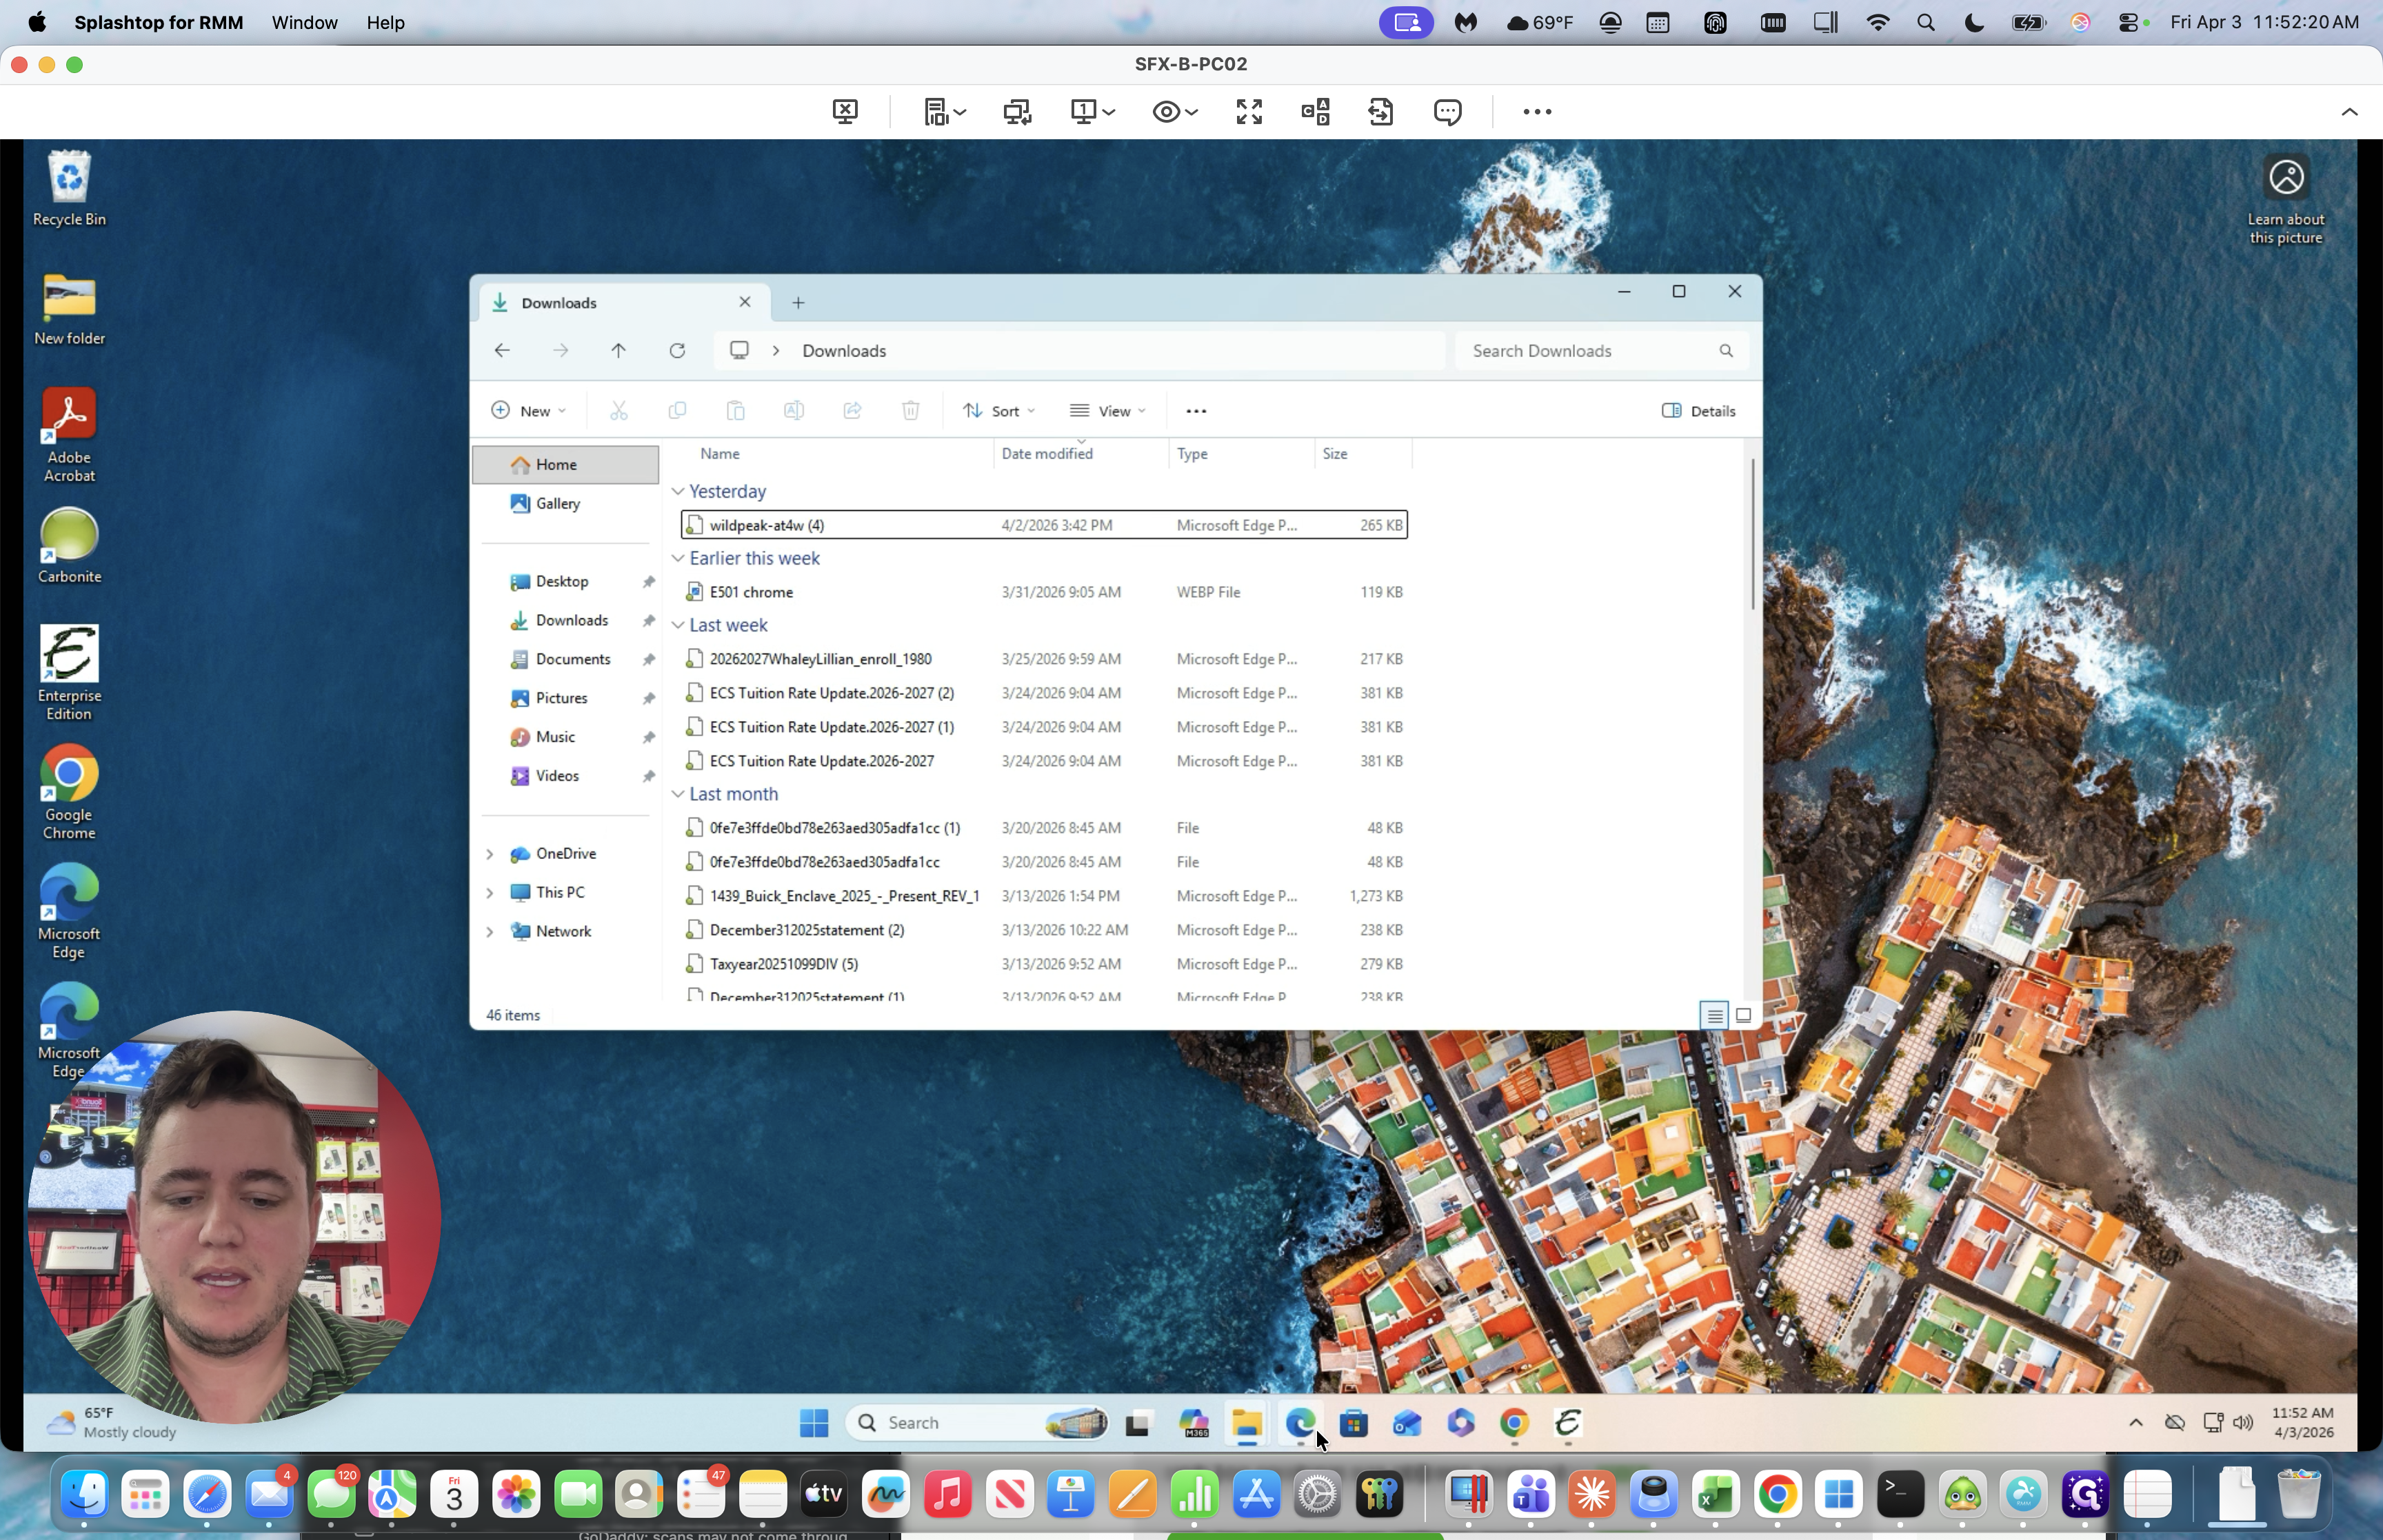
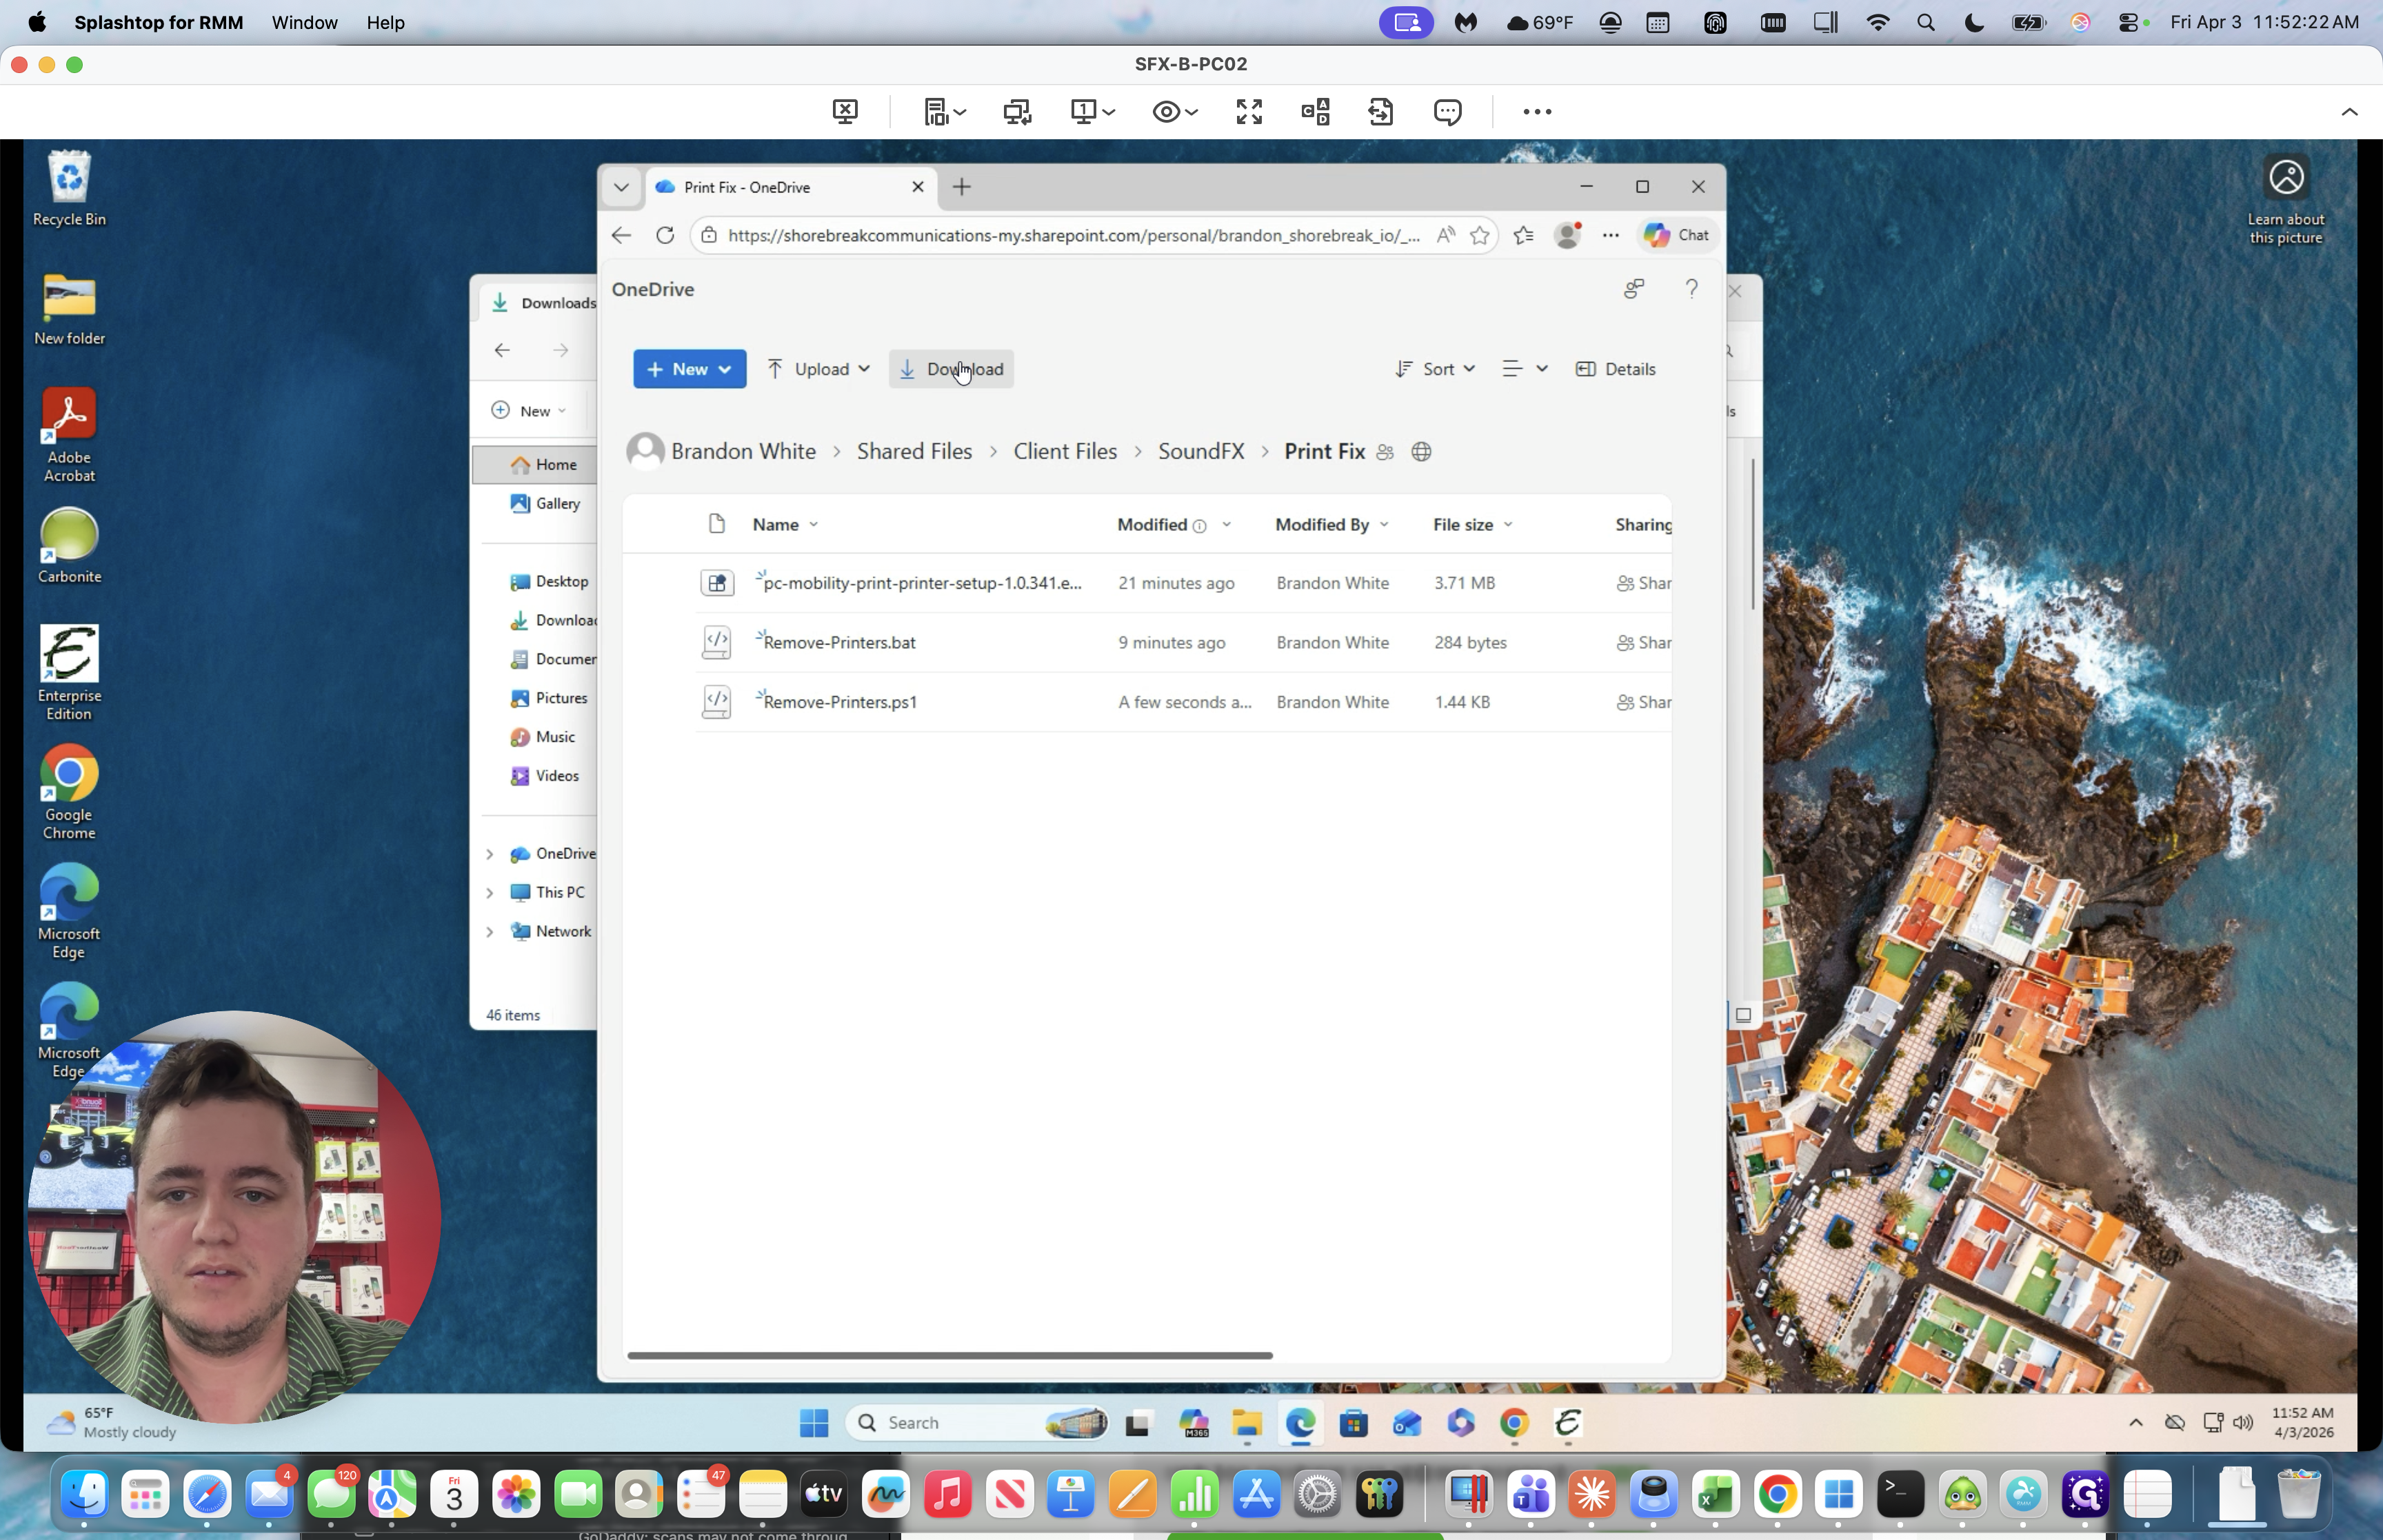
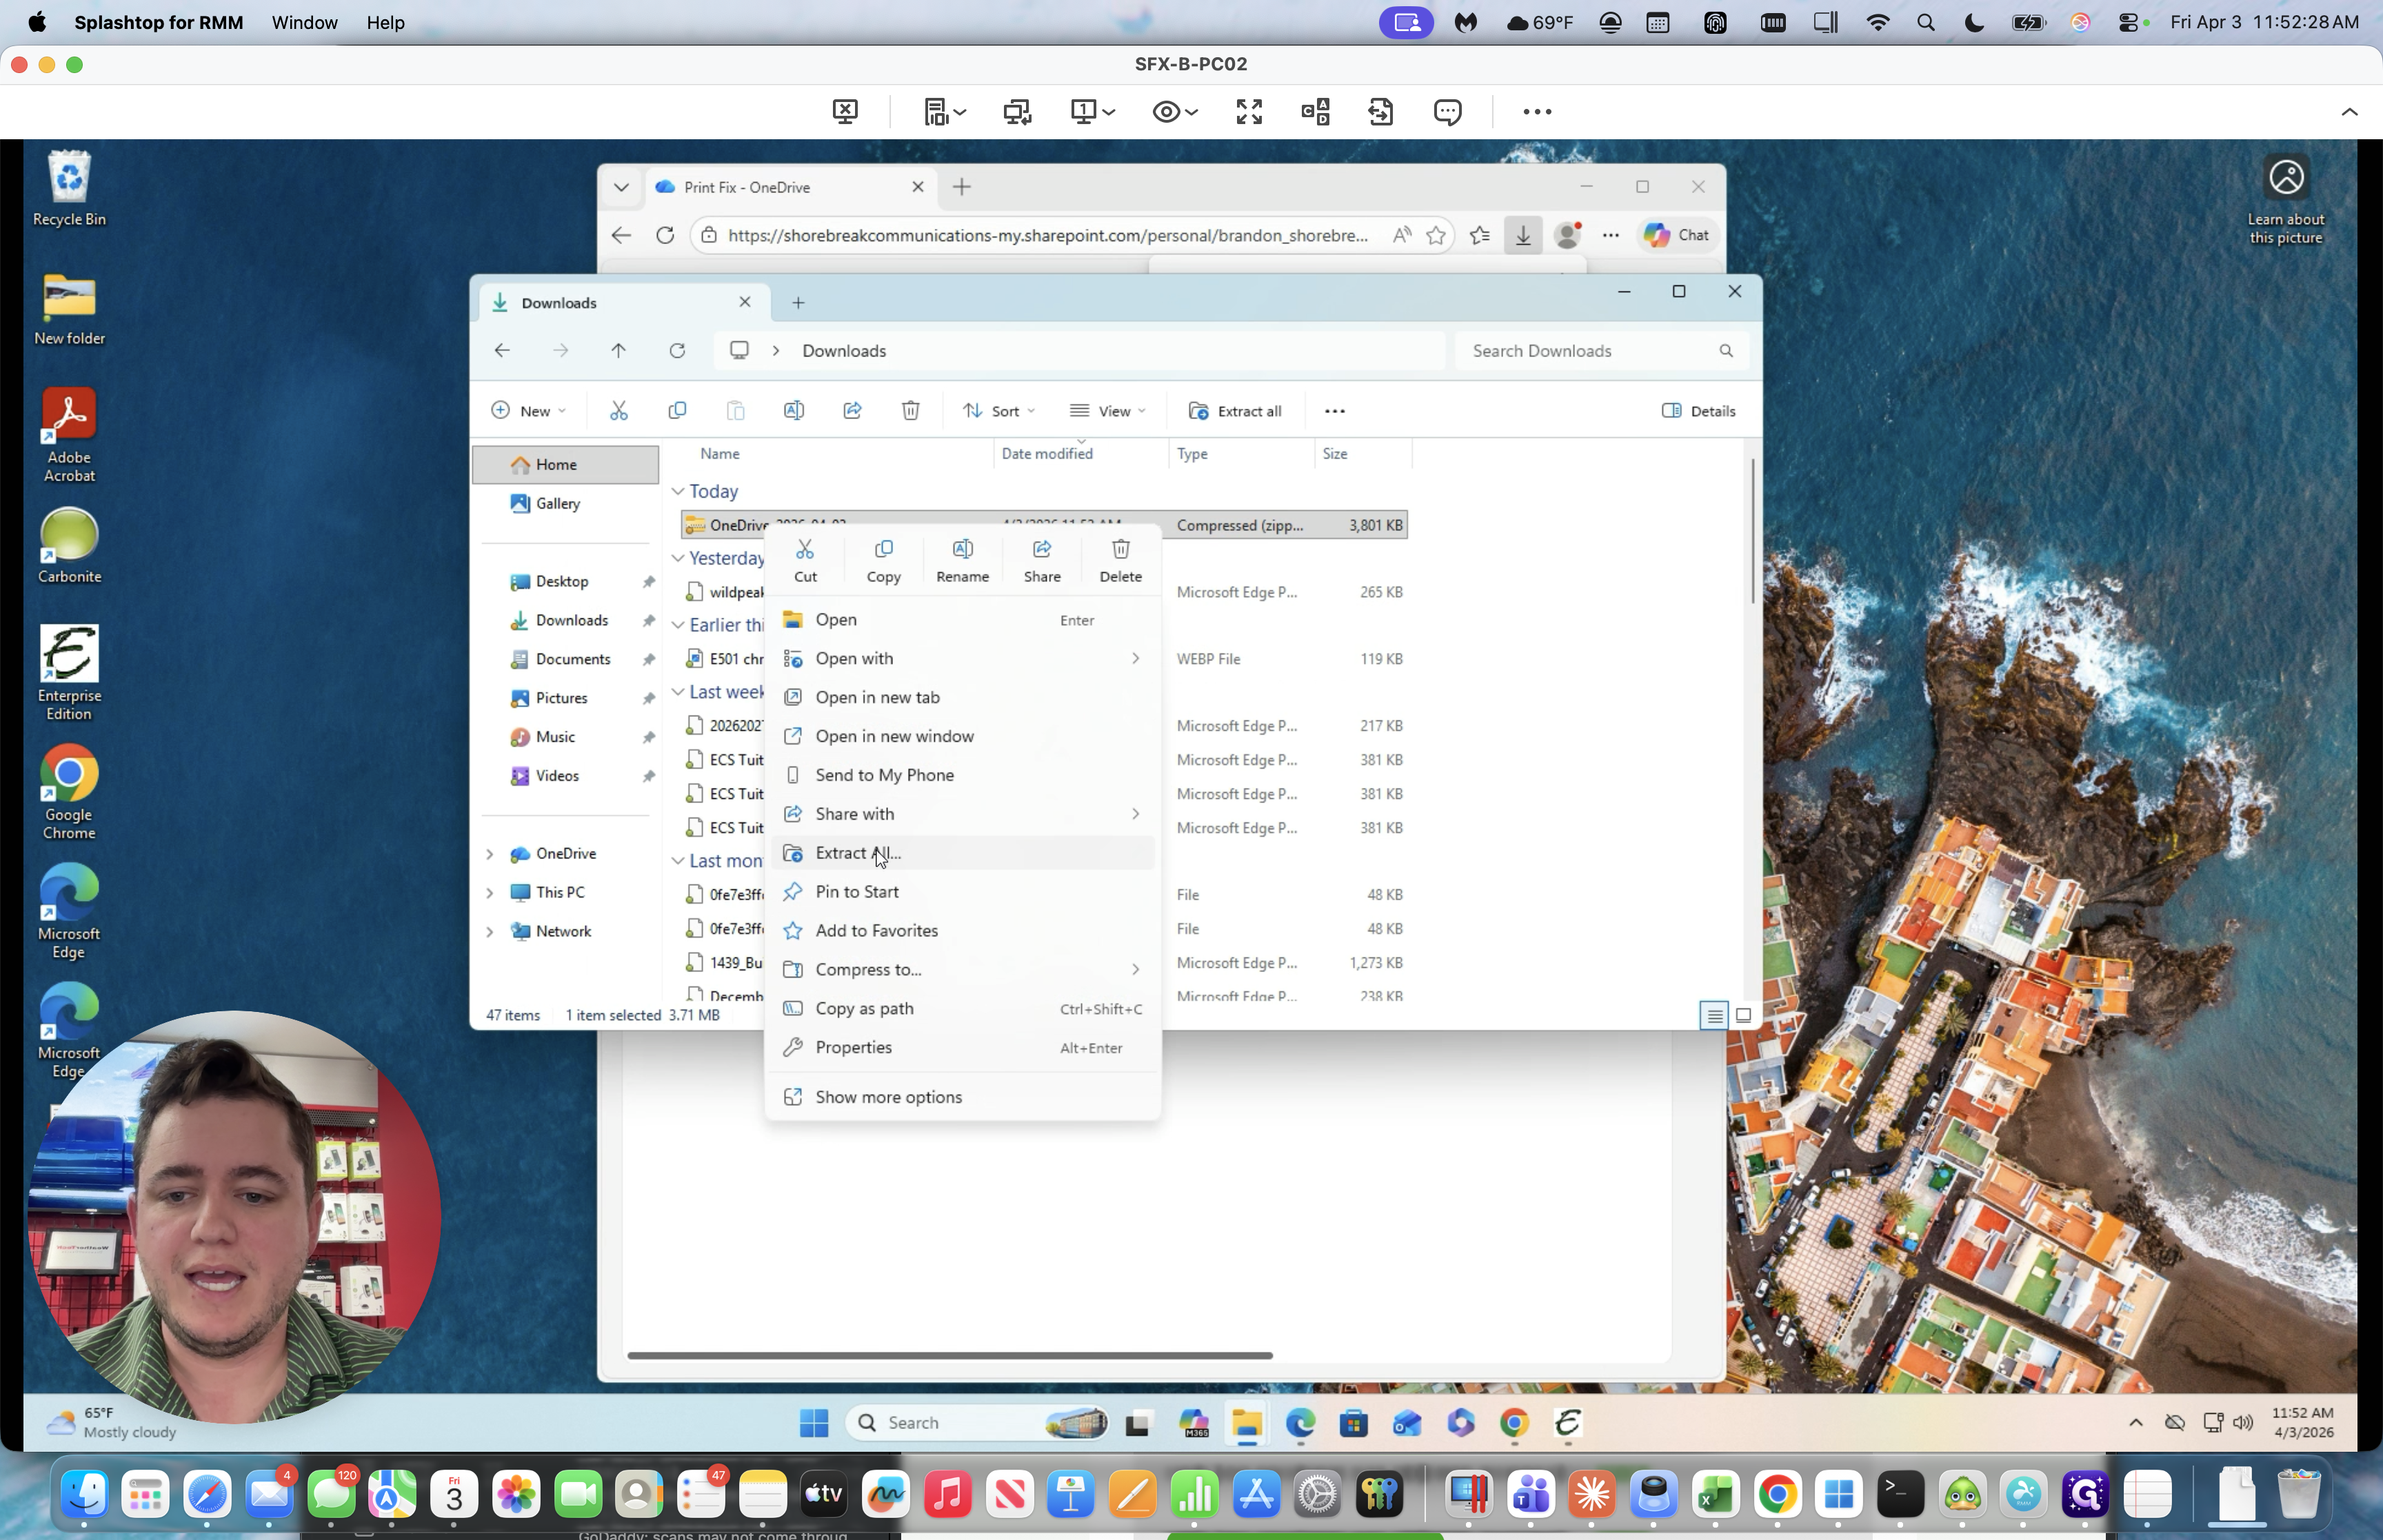
Click Download. It will download a zip file to your Downloads folder.
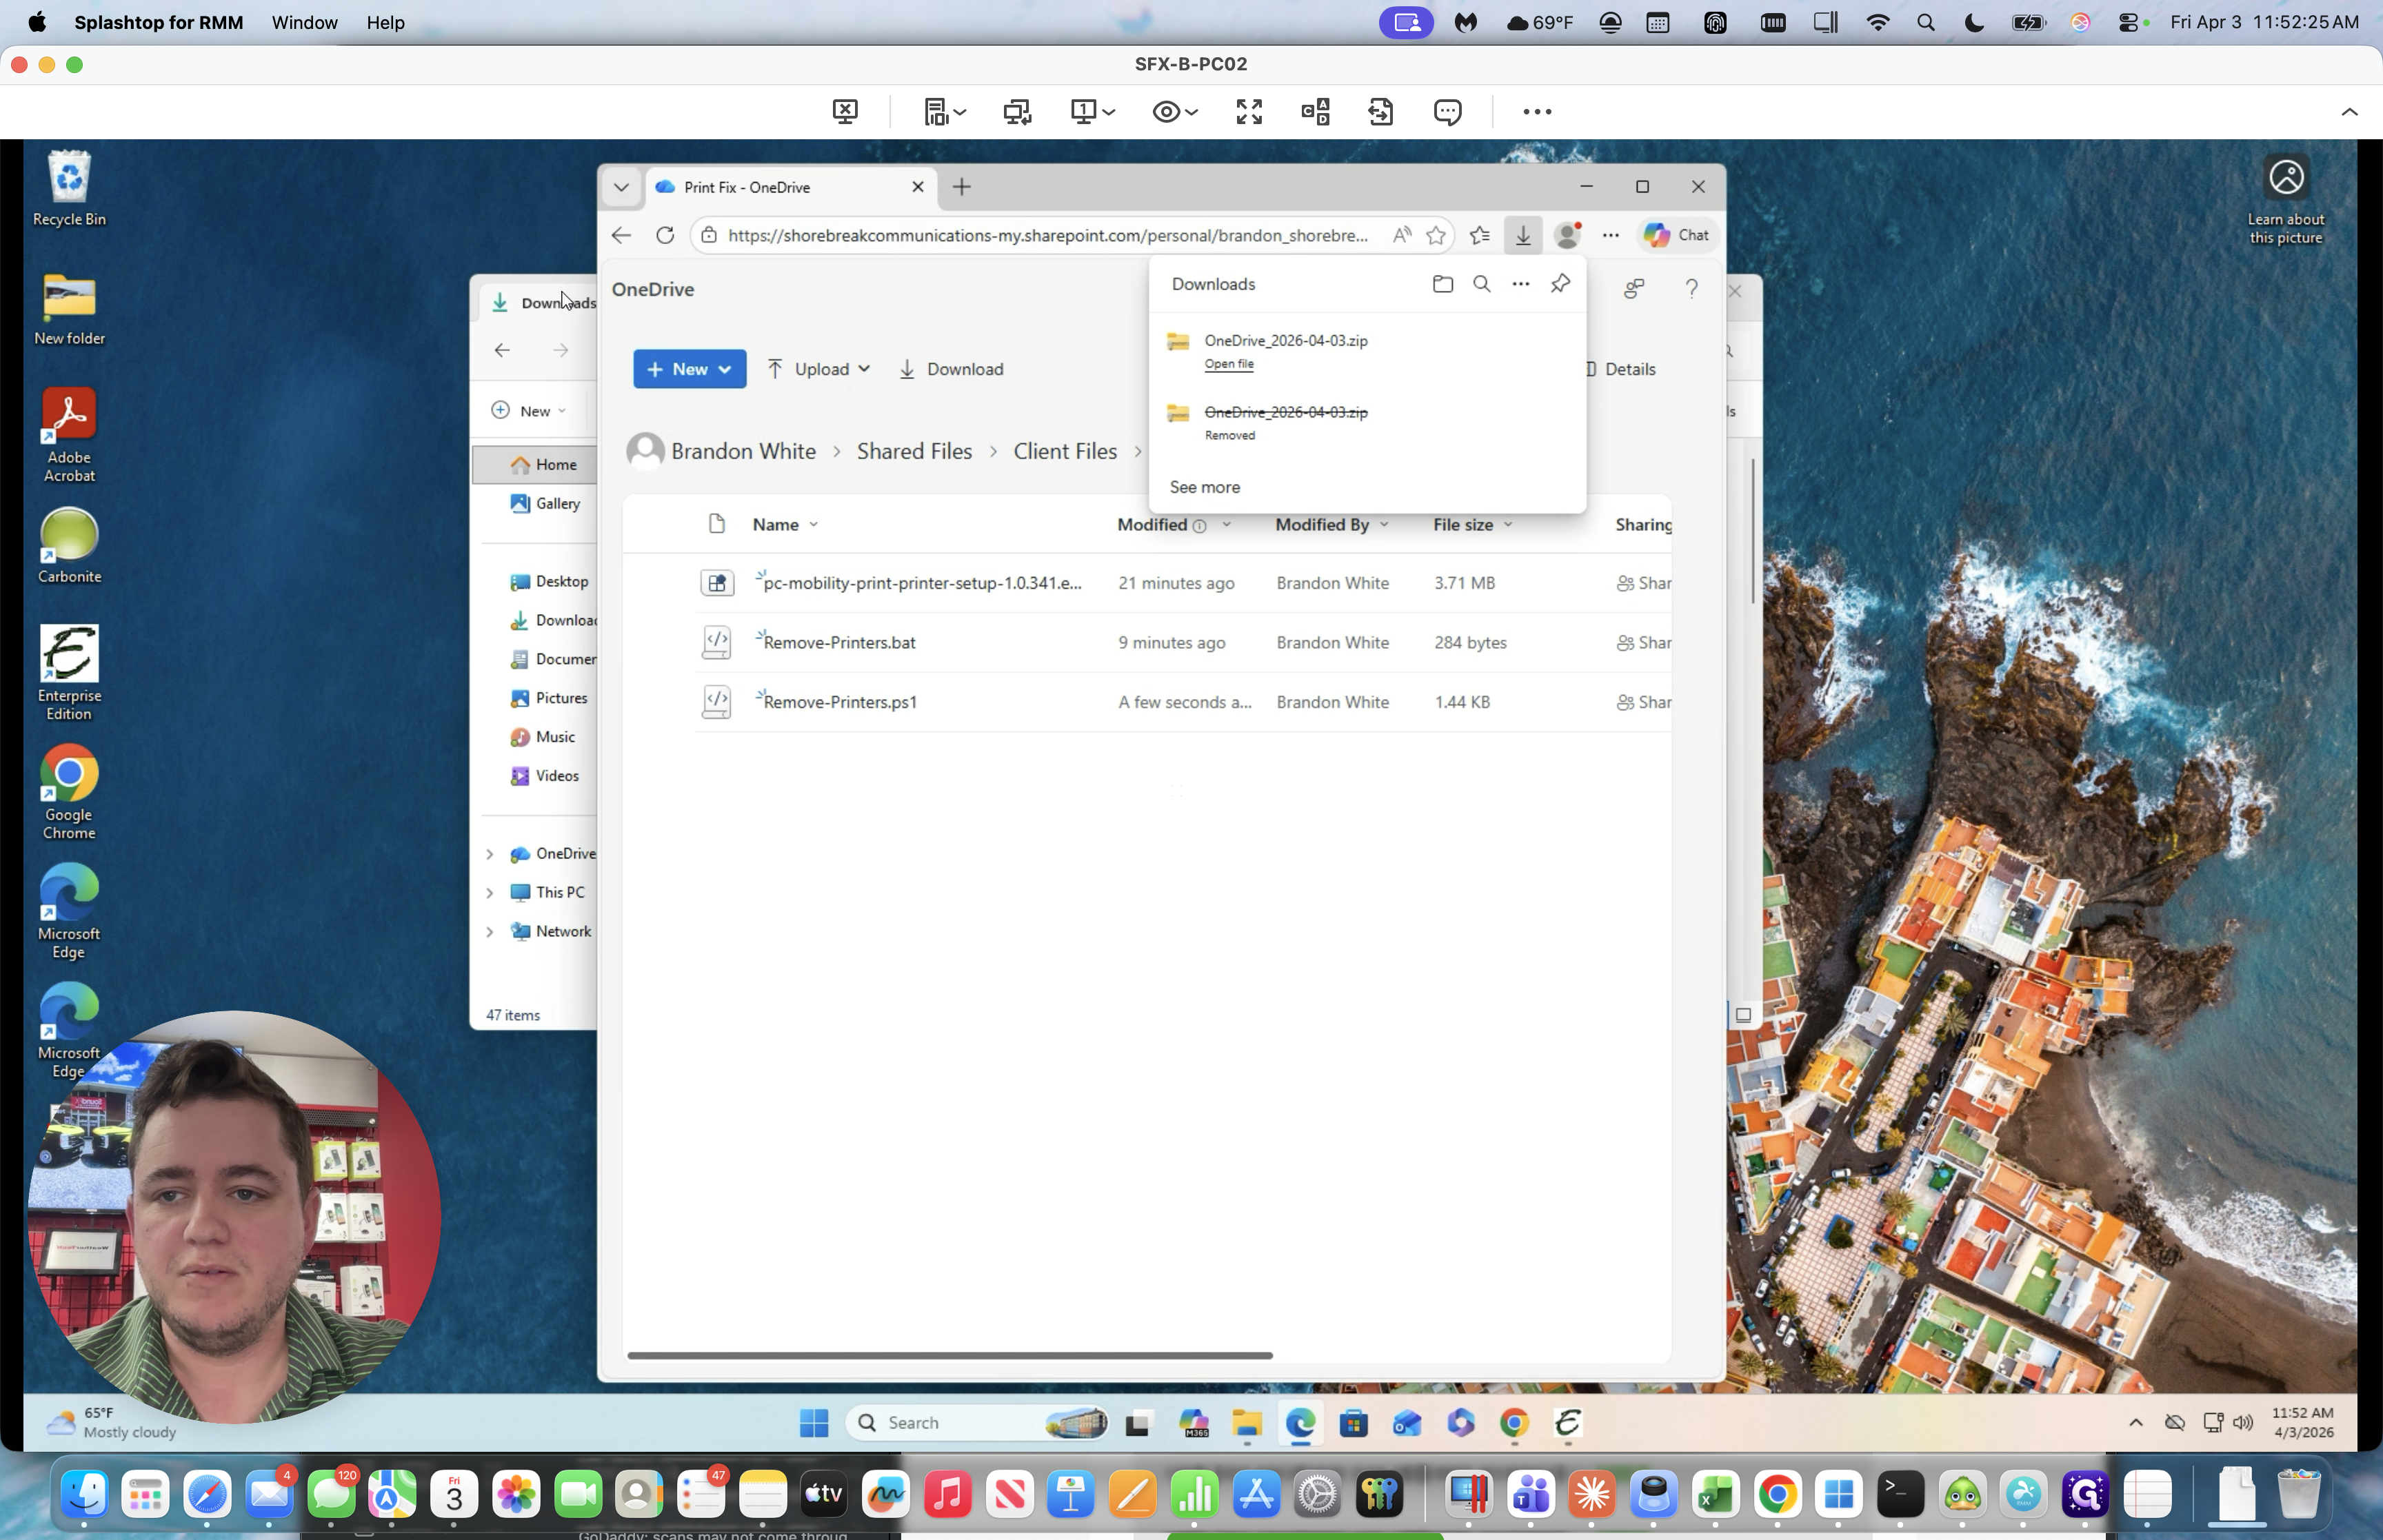
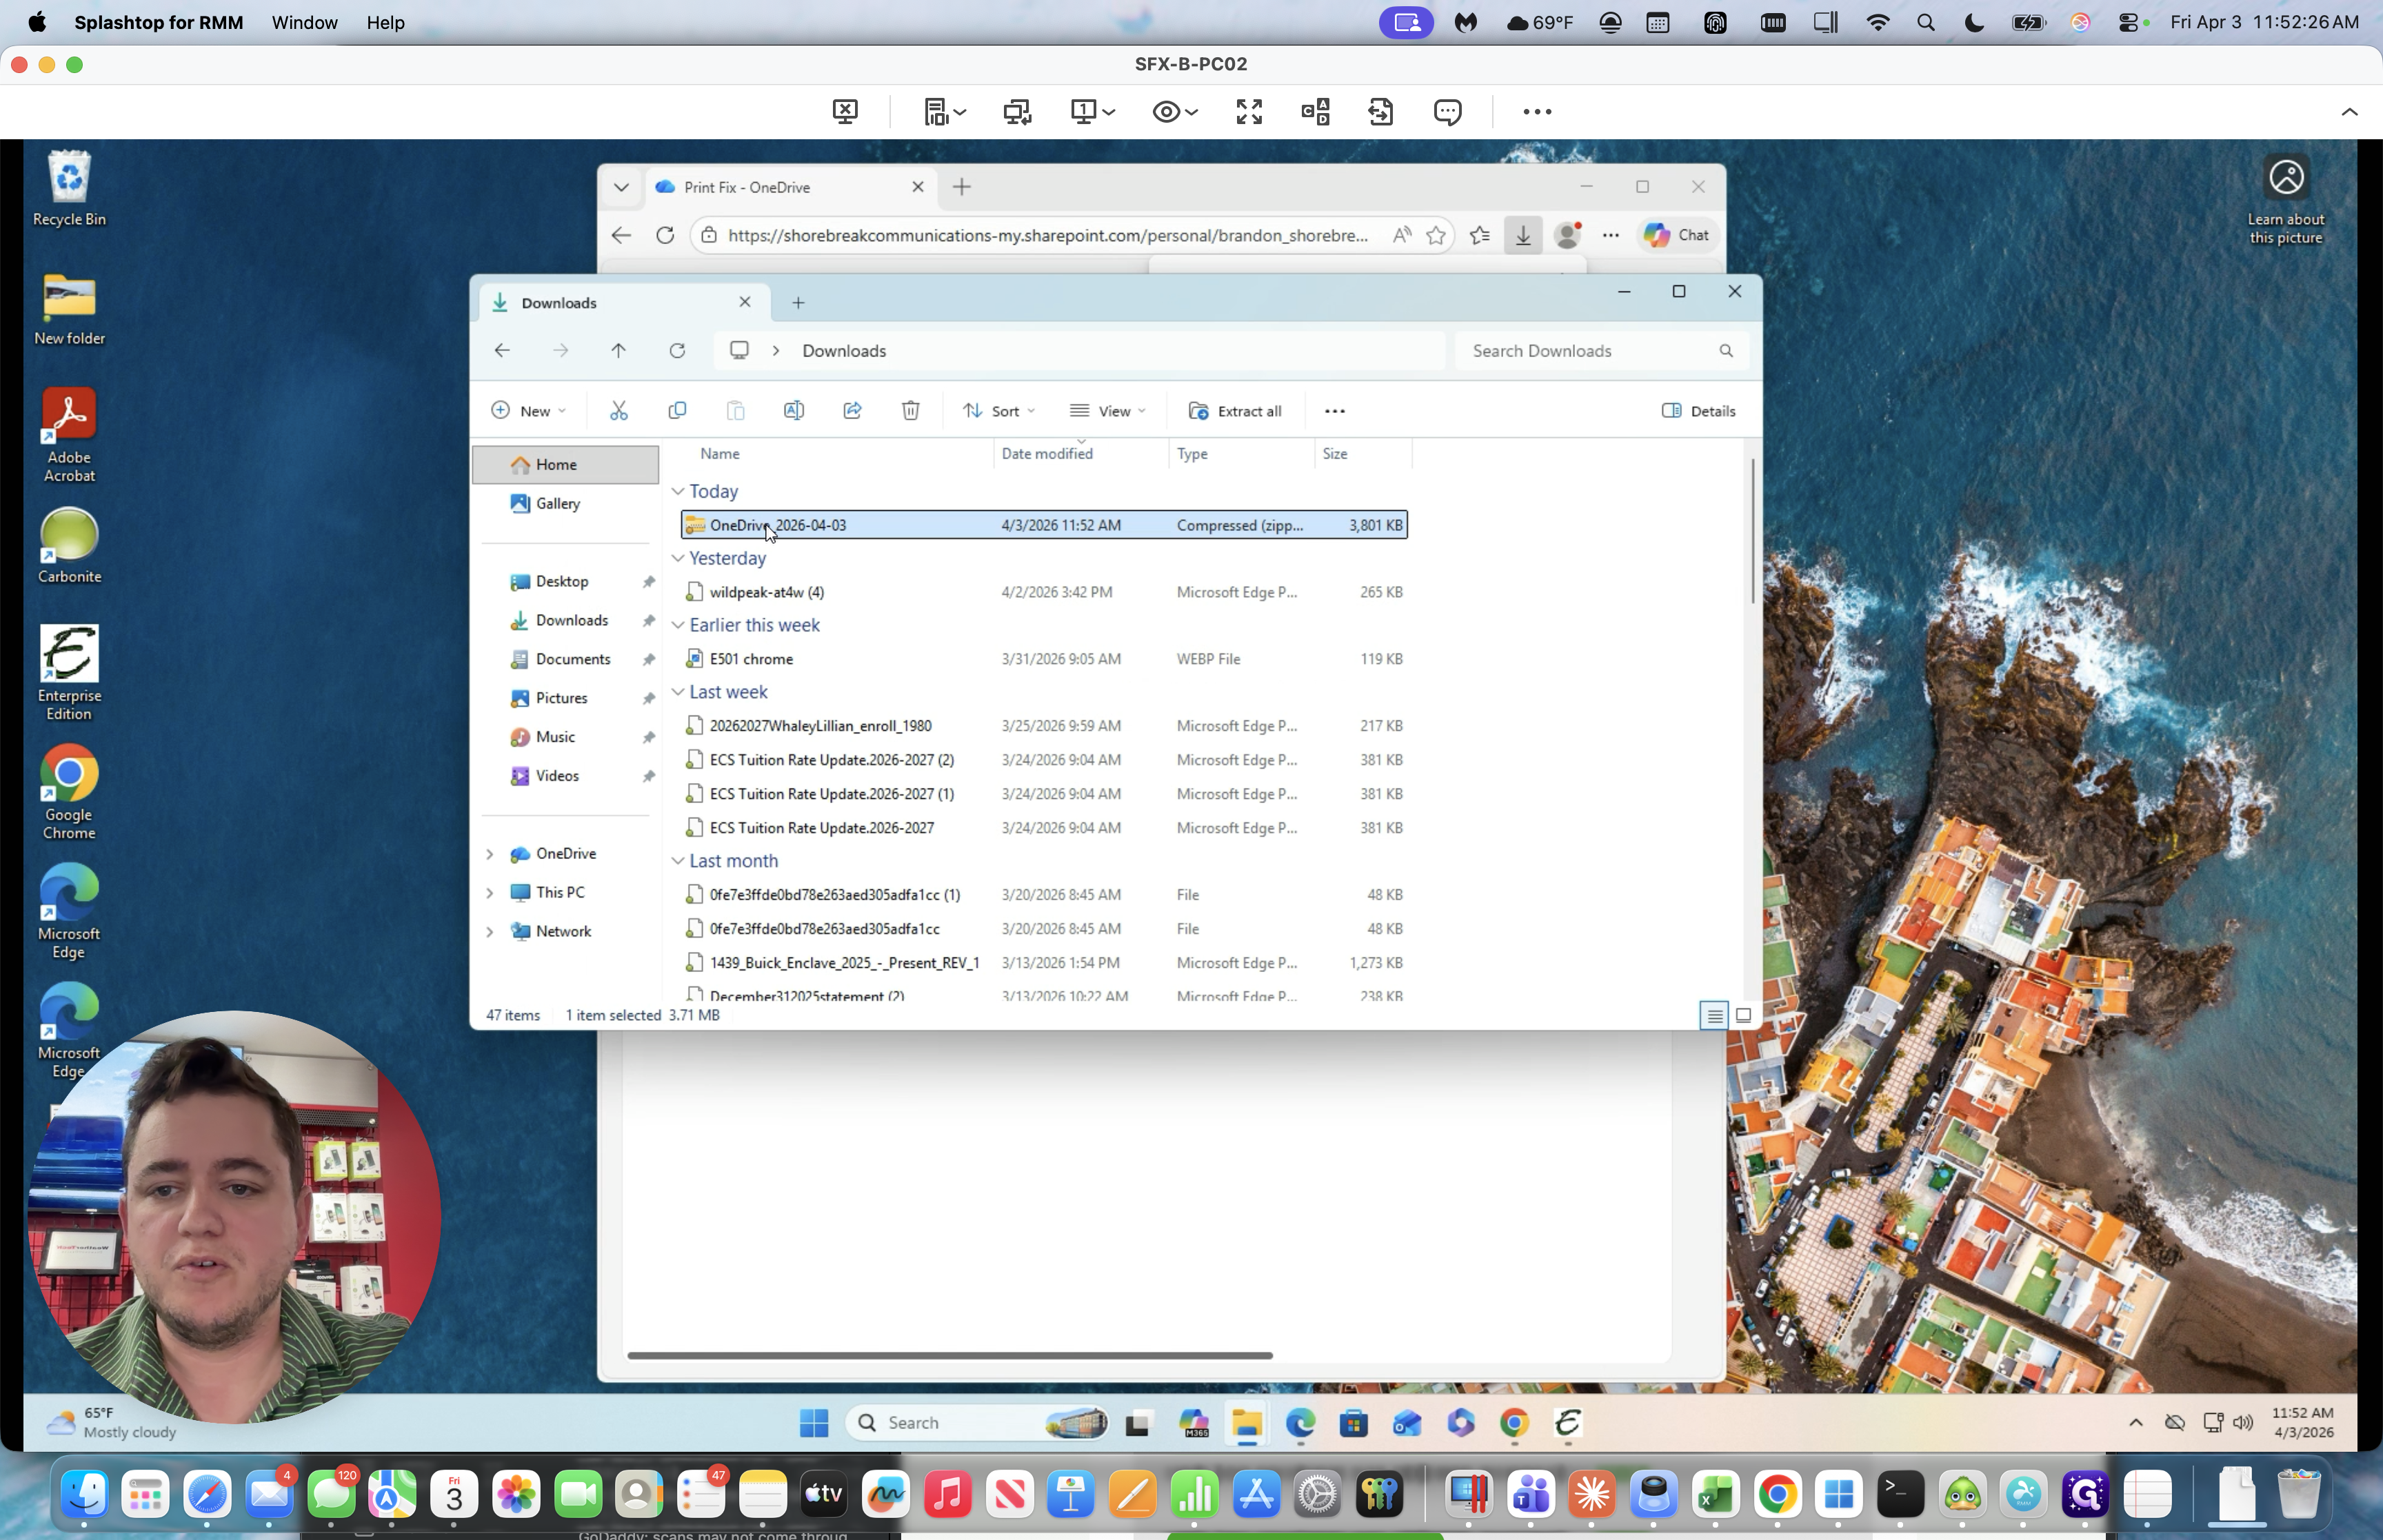
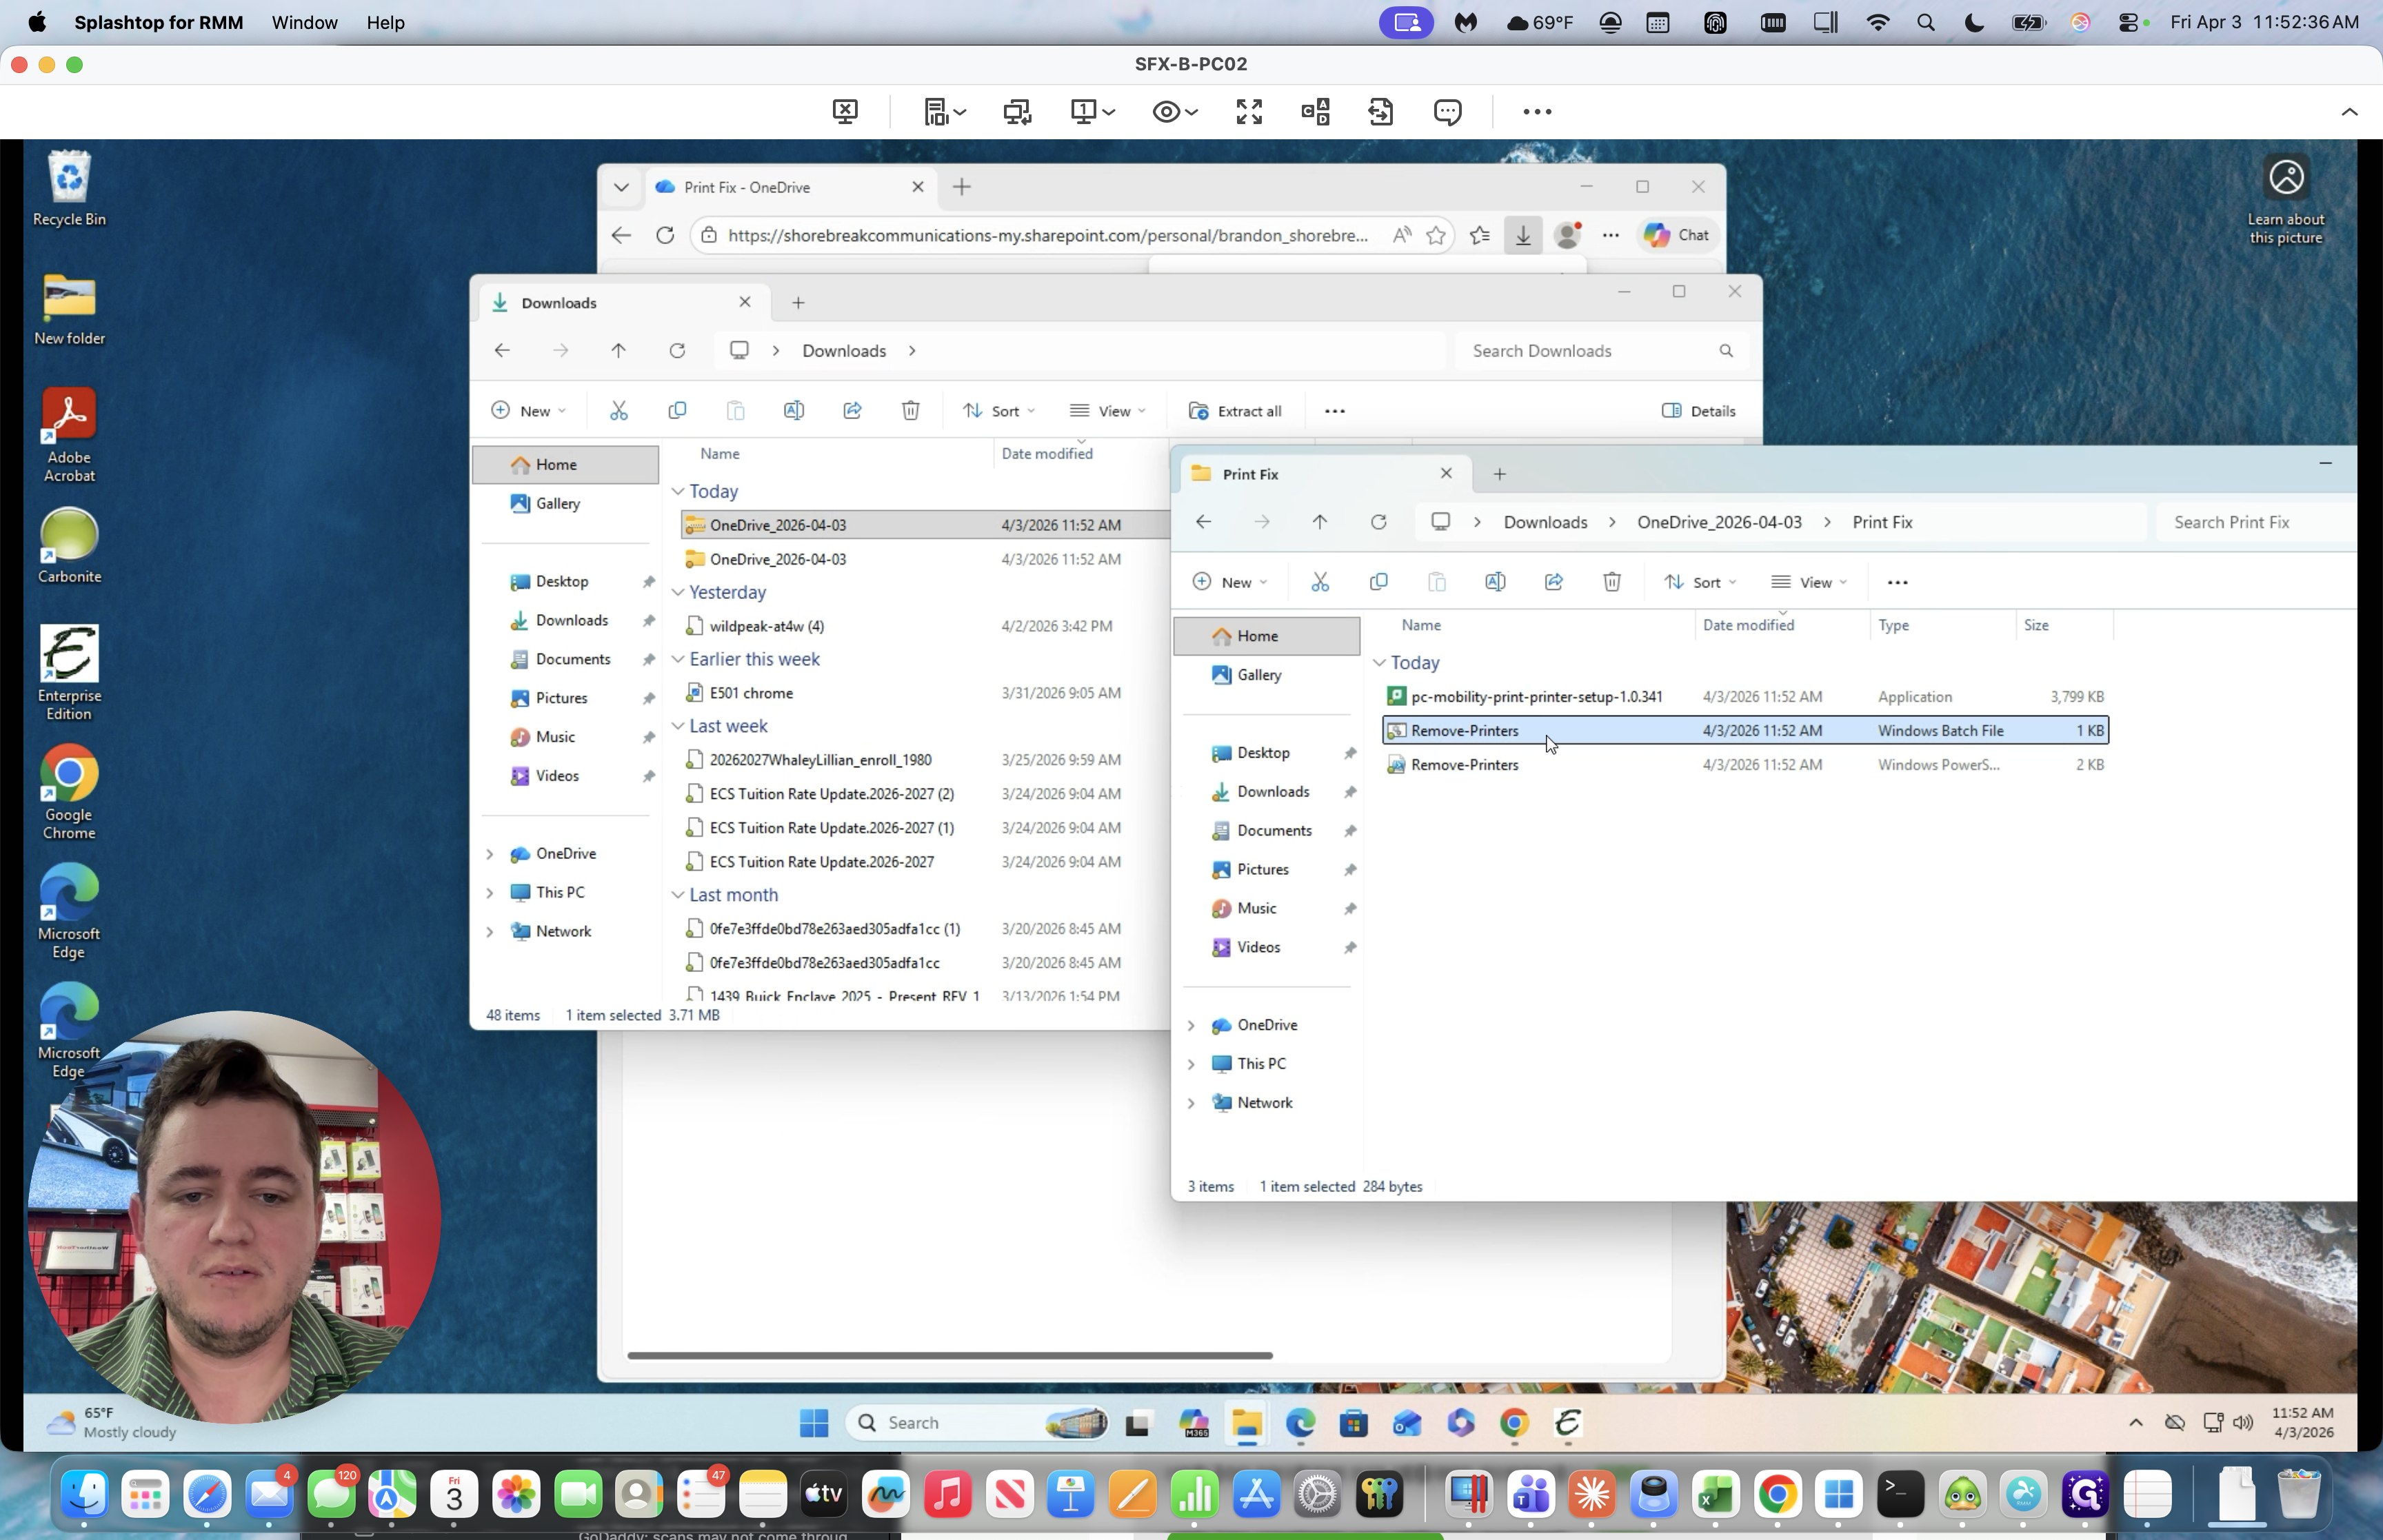
You will extract that.
Next, open the folder labeled "Windows Batch File."


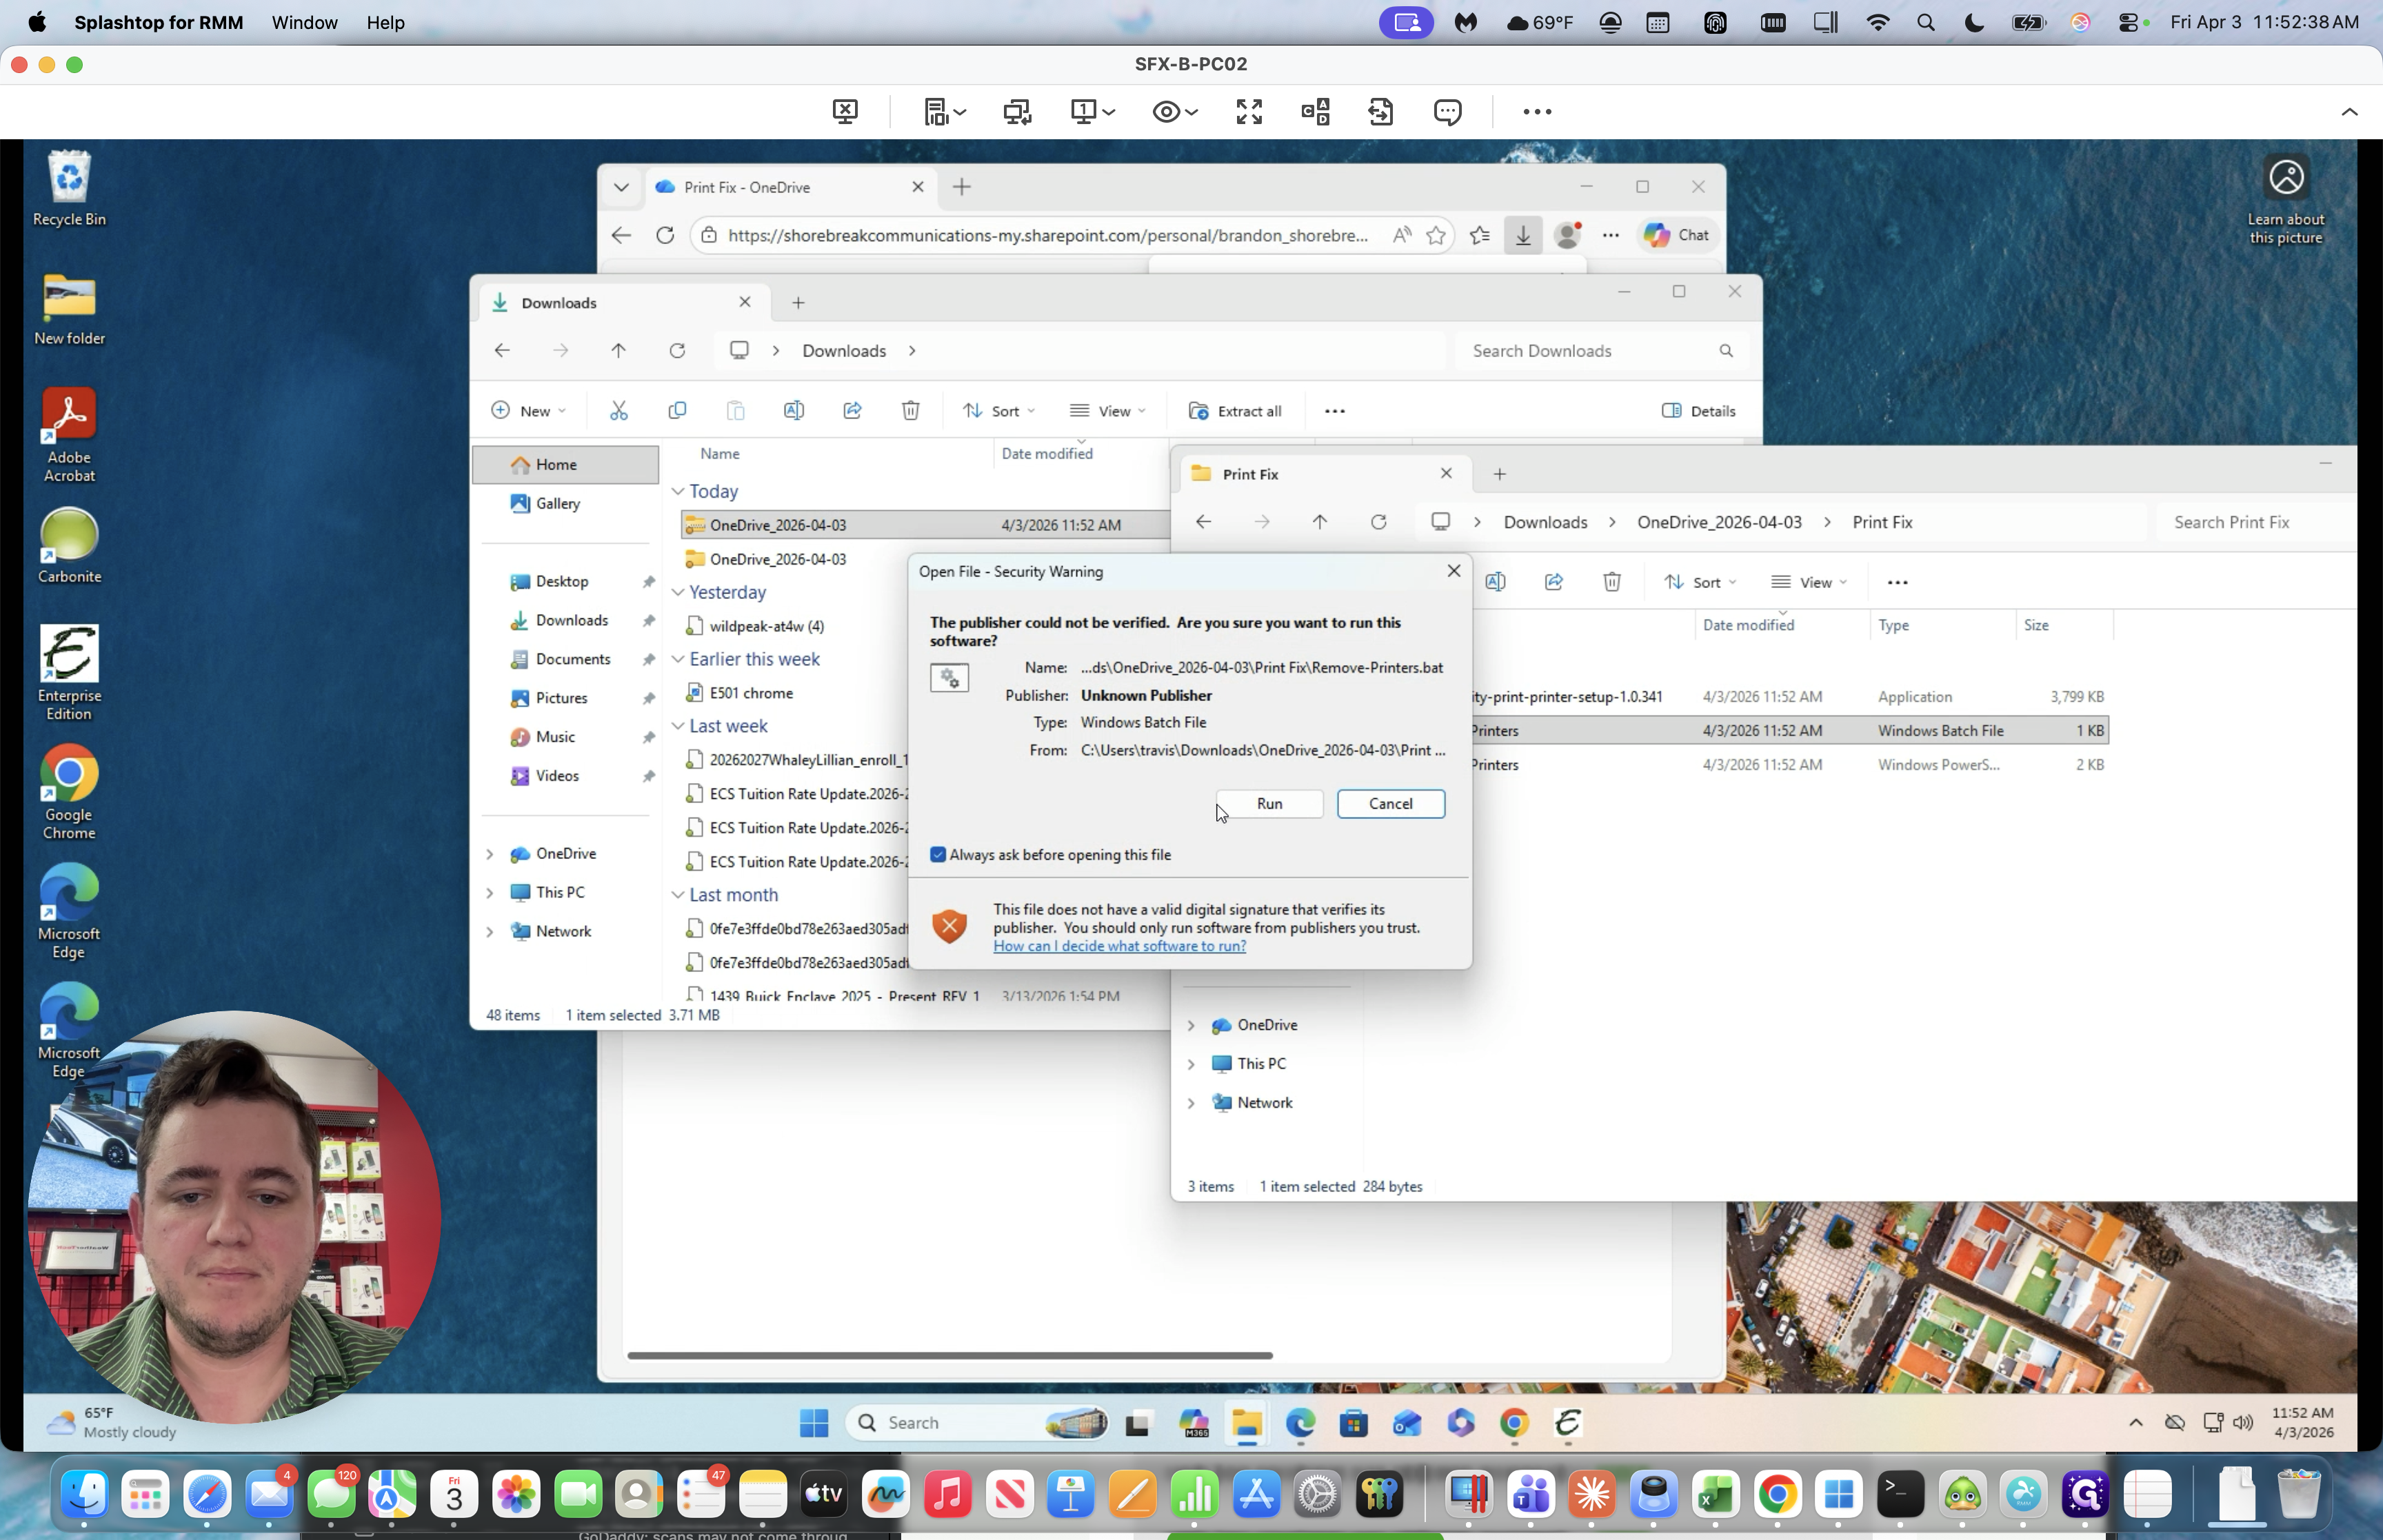
We will run that.
We will click Run, then Run again.
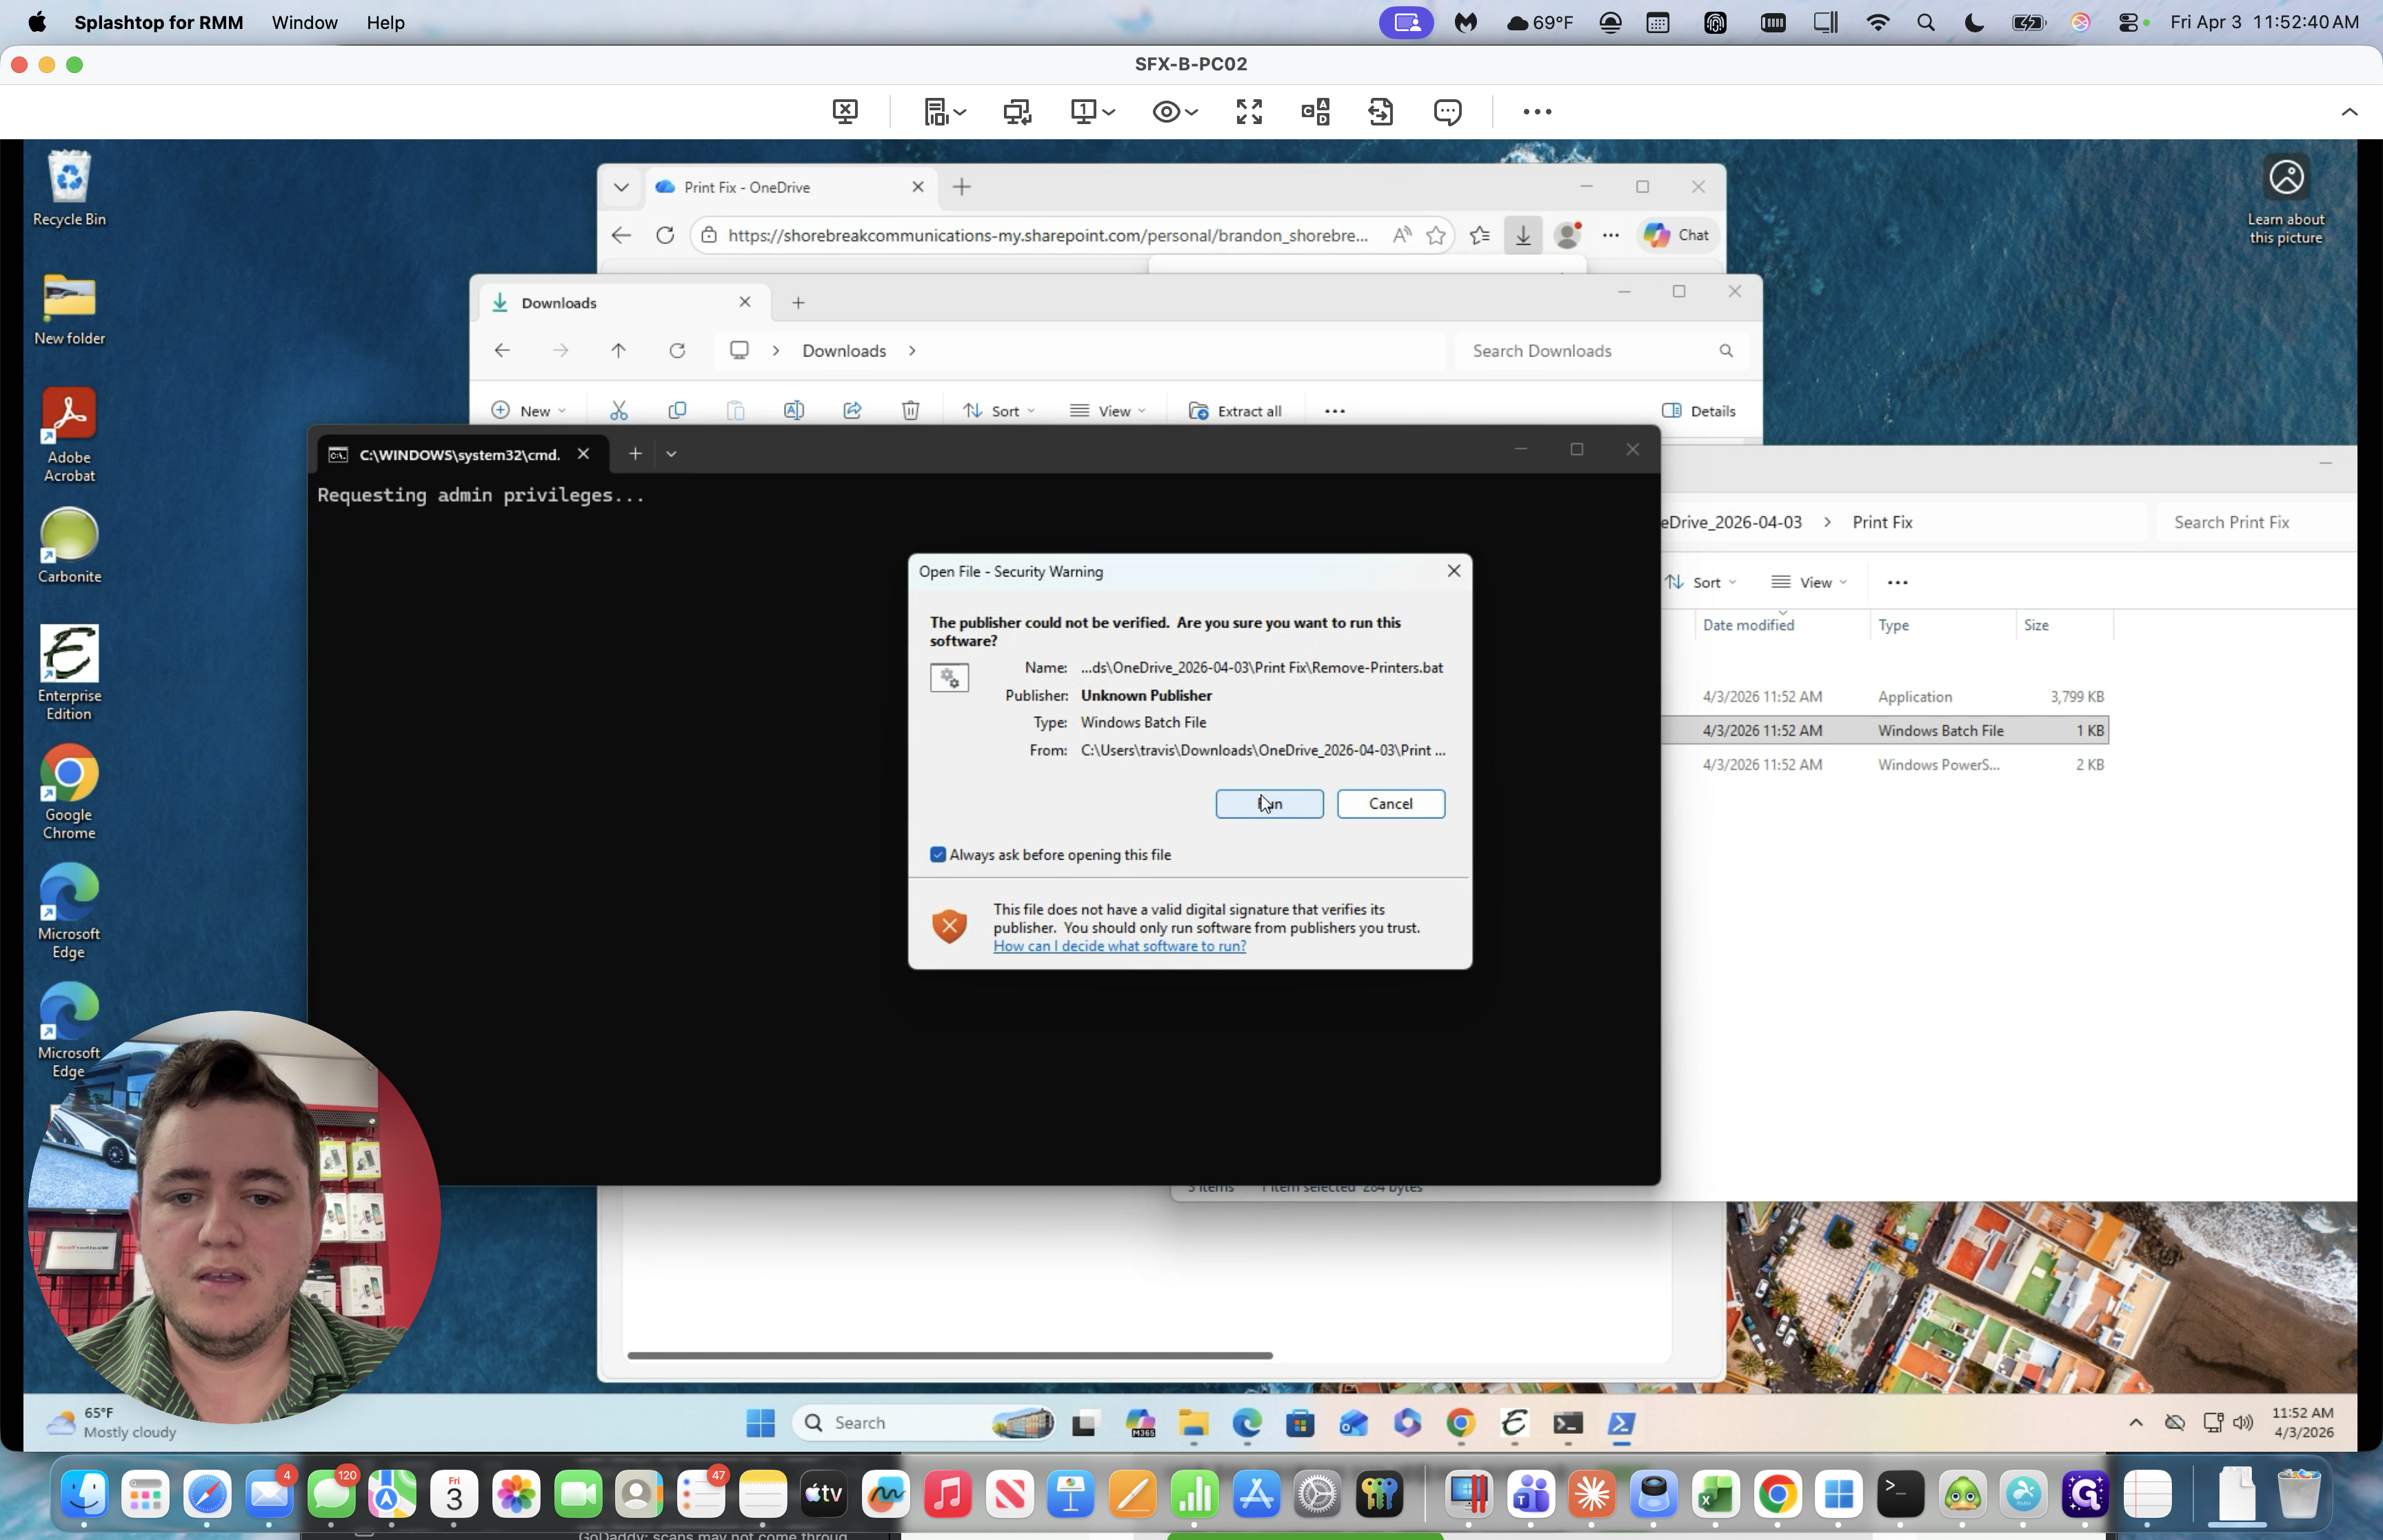
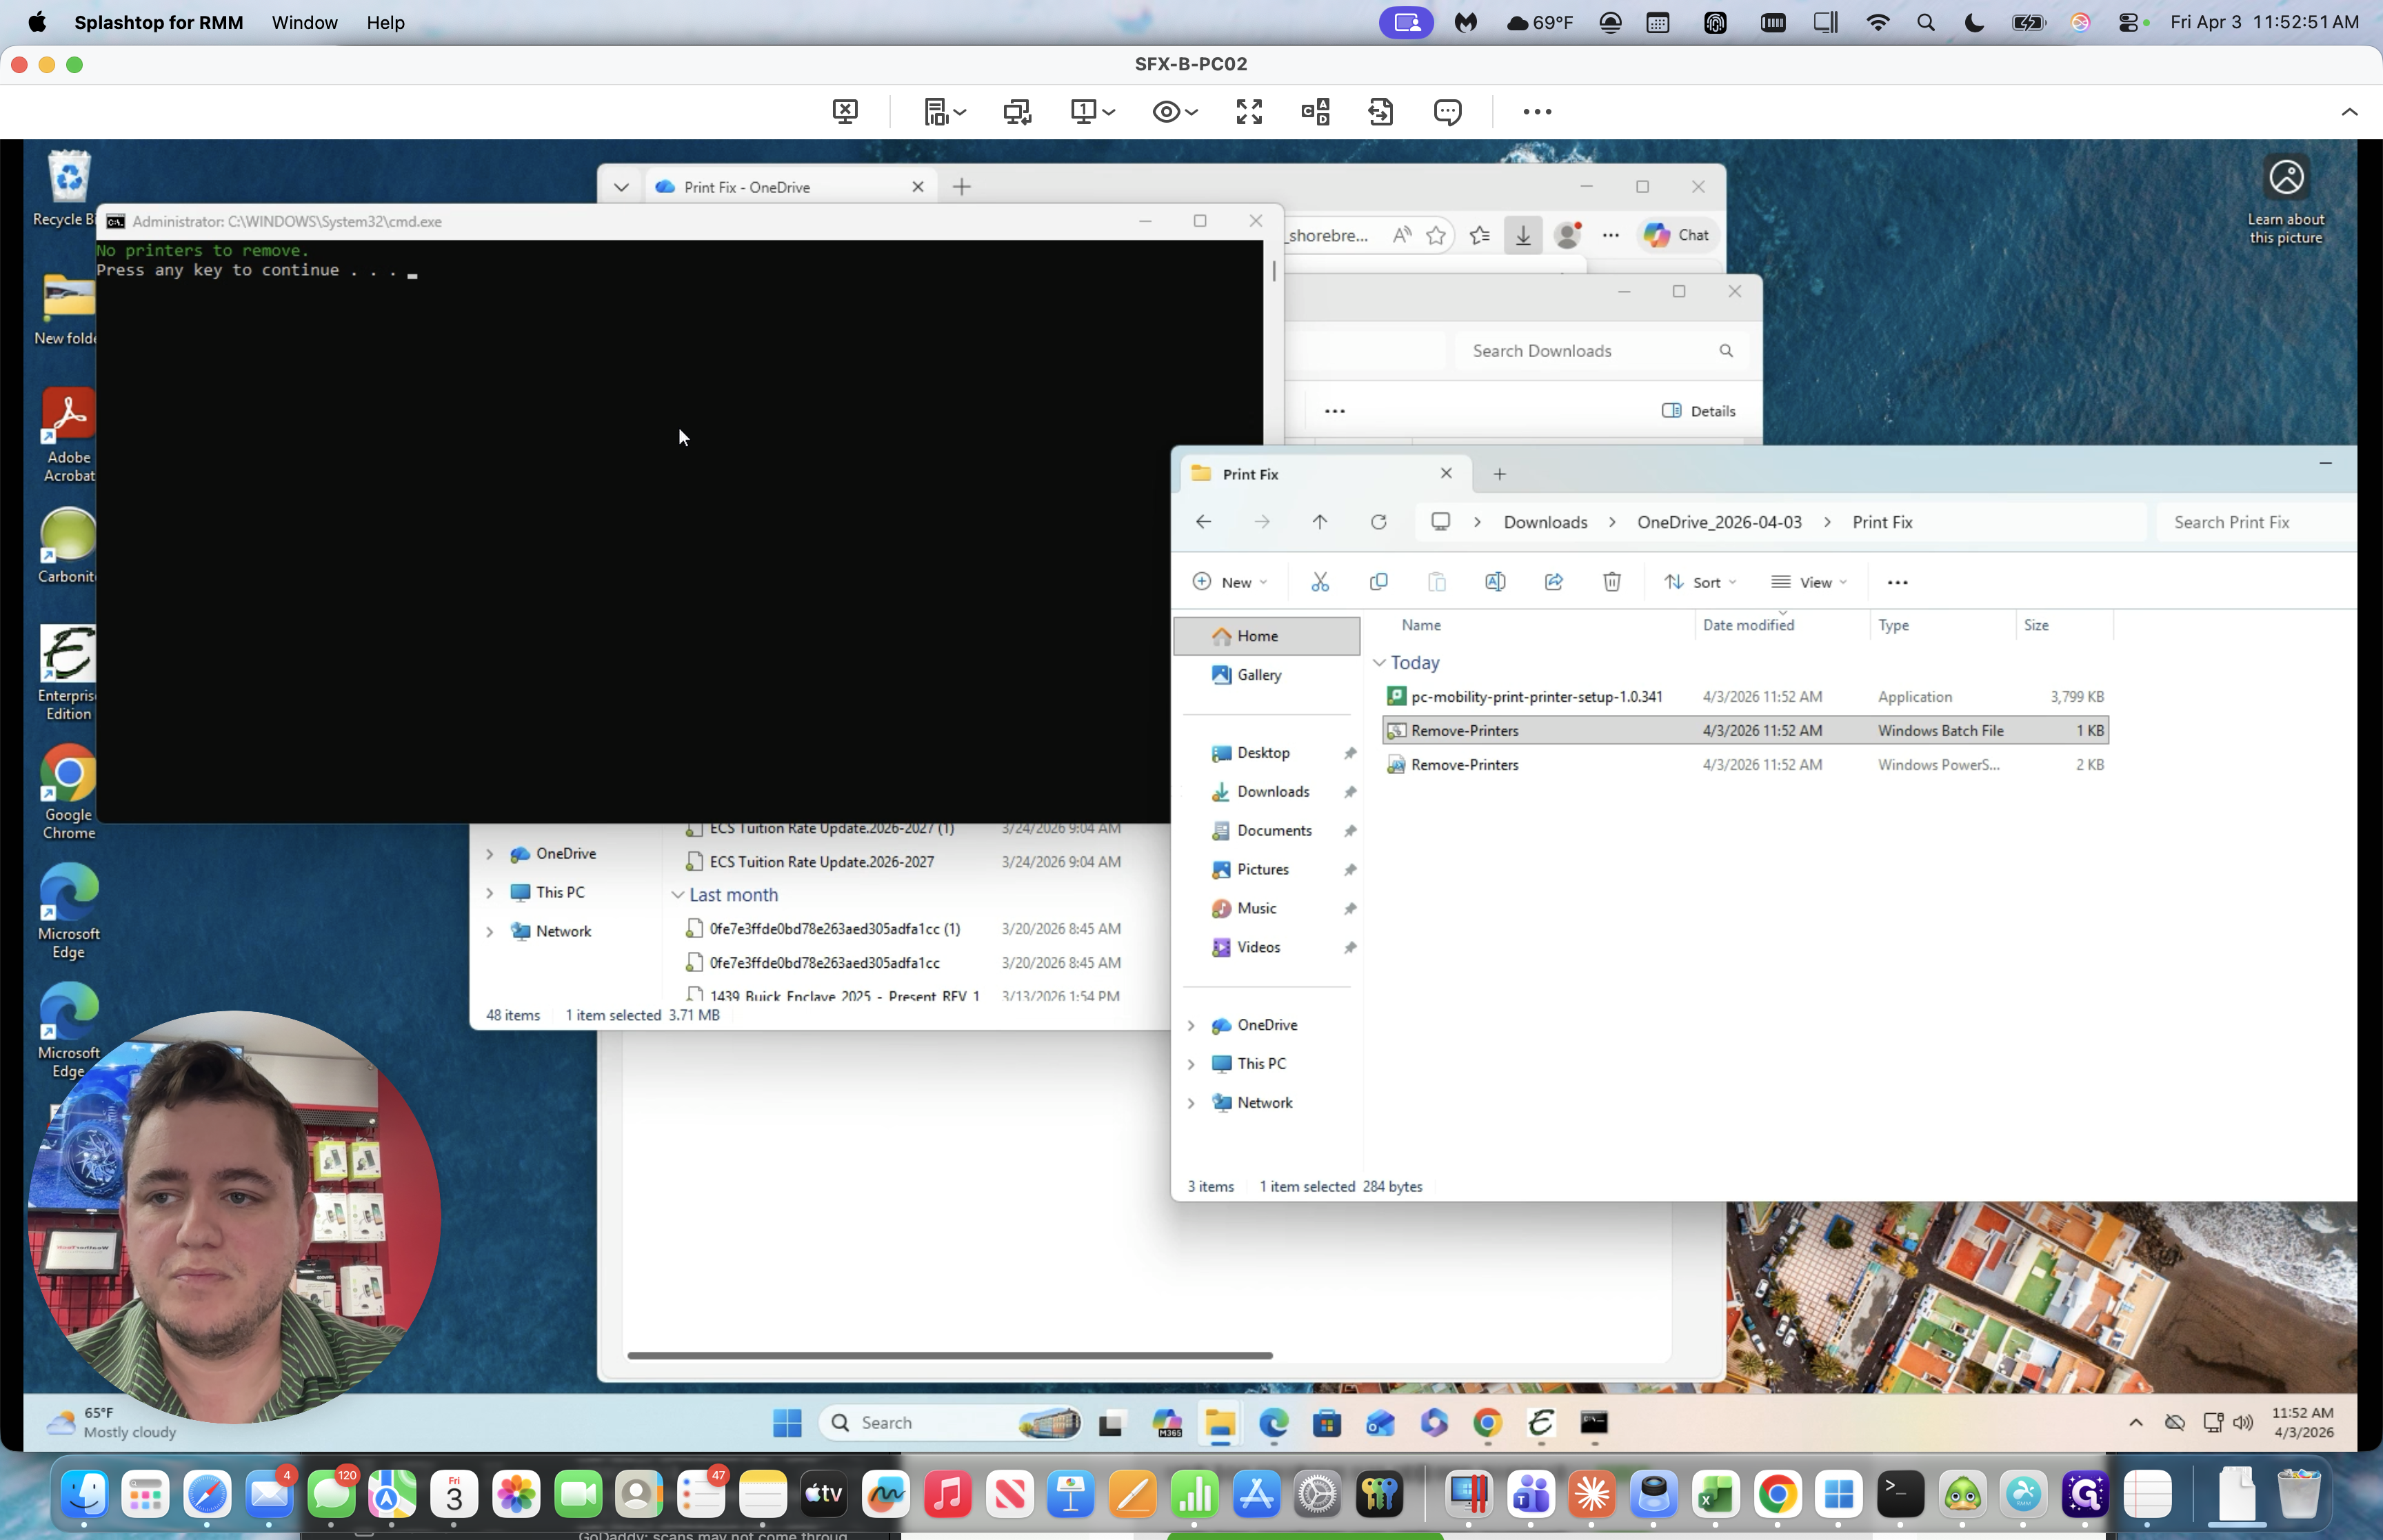
We will enter the password. Then it will remove the printers.
I've already done it on this one. When it's done, it says, "Press any key to continue." Press any key.
Next, return and run the setup tool.
Enter the password again.
We will select English and accept the agreement.


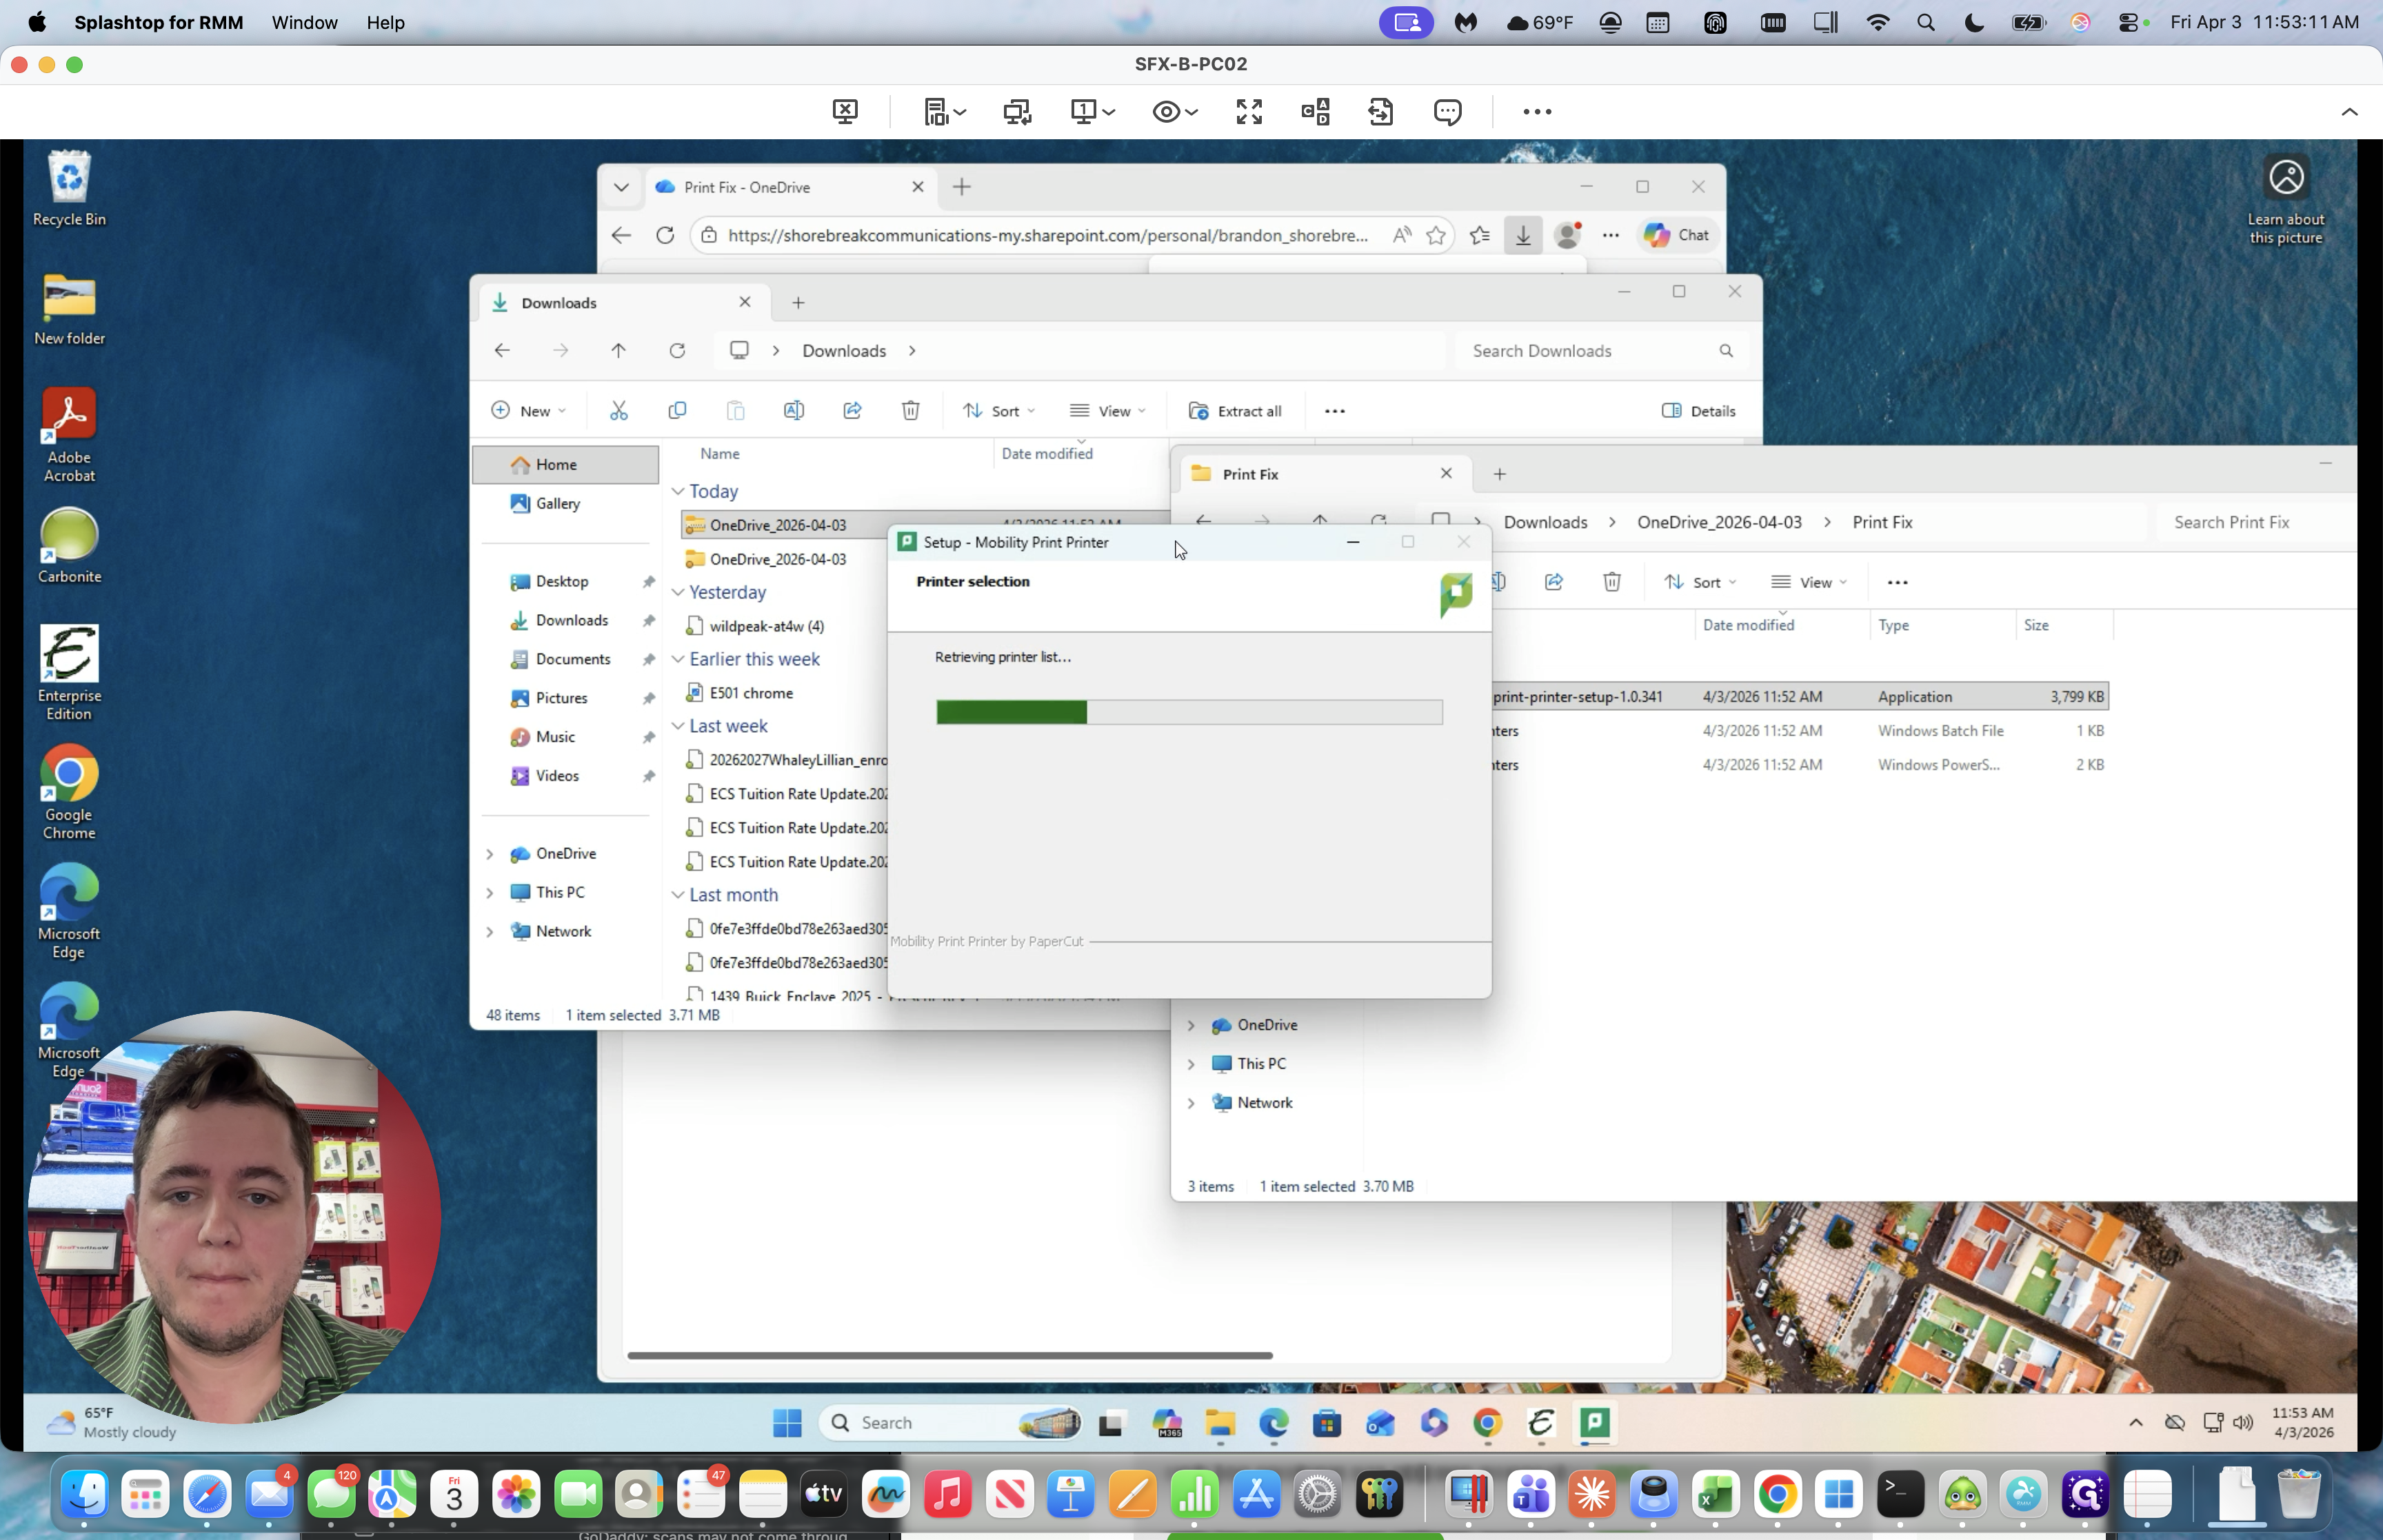
We will wait for this to provide a print list.

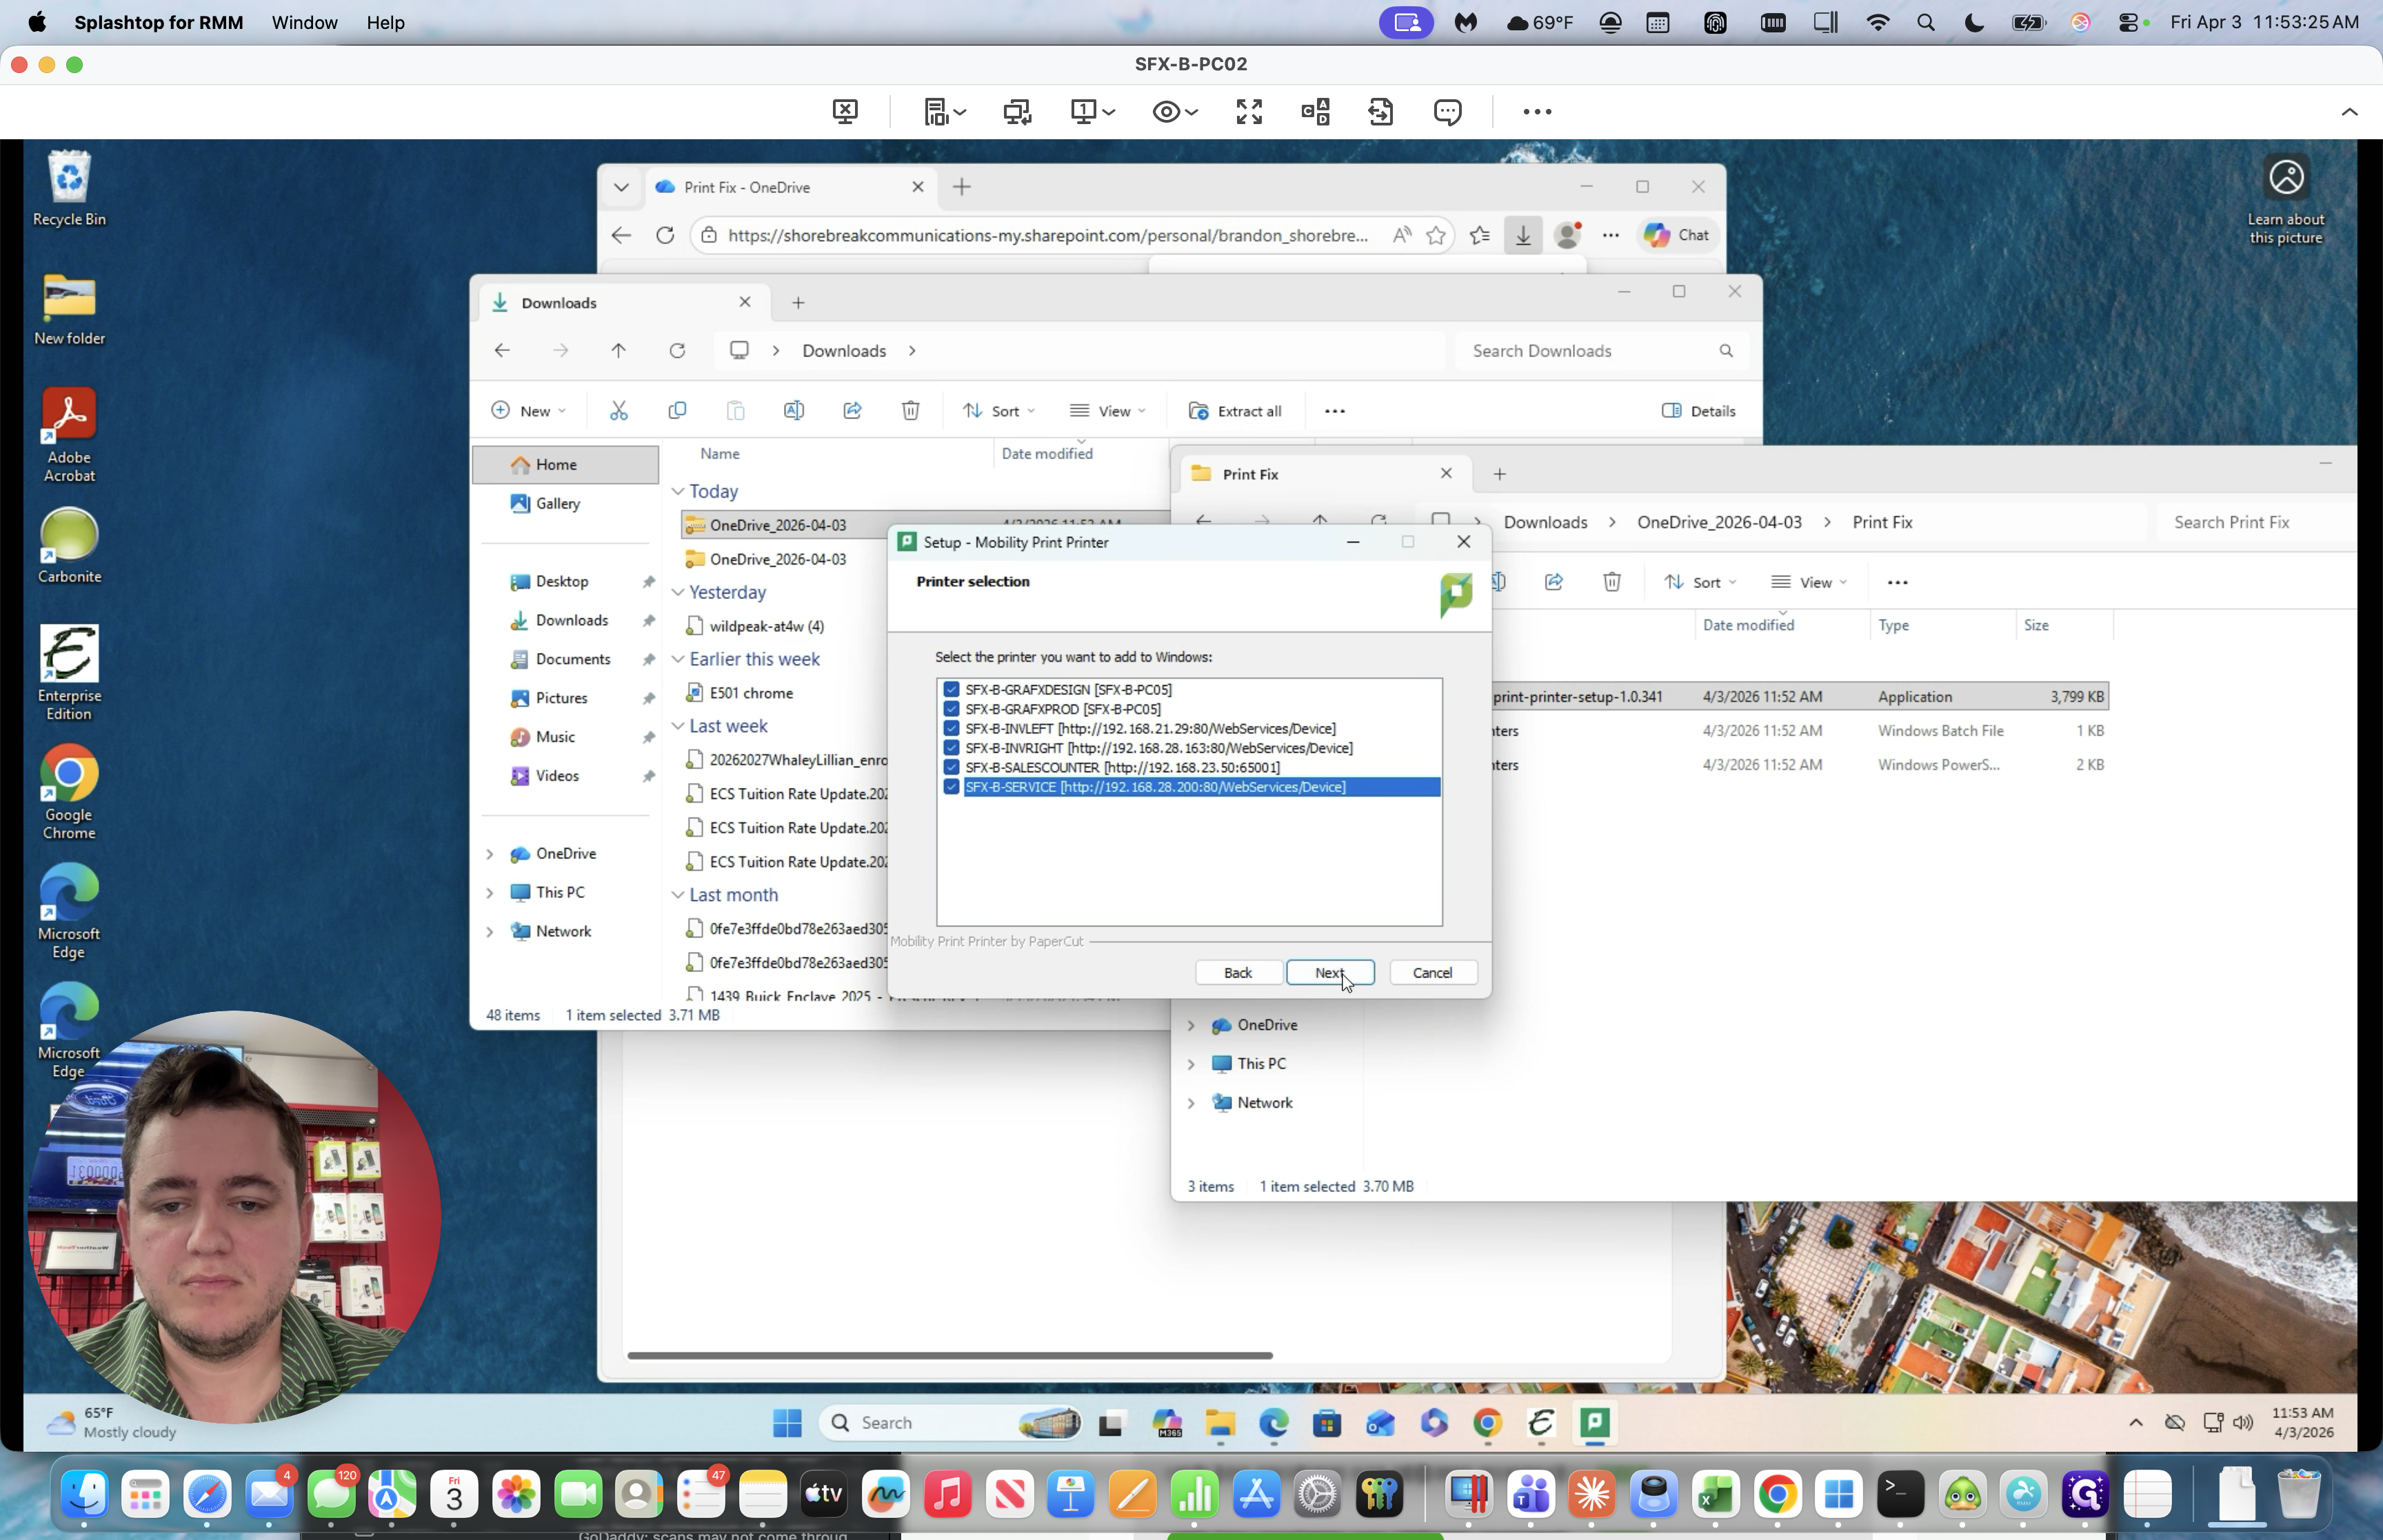
To be safe, we'll select All the Printers.
![Step #22: Double-click on "✓ SFX - B - INVLEFT [ http://192.168.21.29:80/WebServices/ SFX - B - INVRIGHT [ http://192.168.28.163:80/WebService ✓ SFX - B - SALESCOUNTER [ http://192.168.23.50:65001 ] SFX - B - SERVICE [ http://192.168.28.200:80/WebServices"](https://di8mn0rali2ic.cloudfront.net/uploads/b0bee35c-5d45-4b0d-9d70-b49f2bcb0cfd/1b0e2955-0b4f-4dff-901b-a09526c140dc.png)
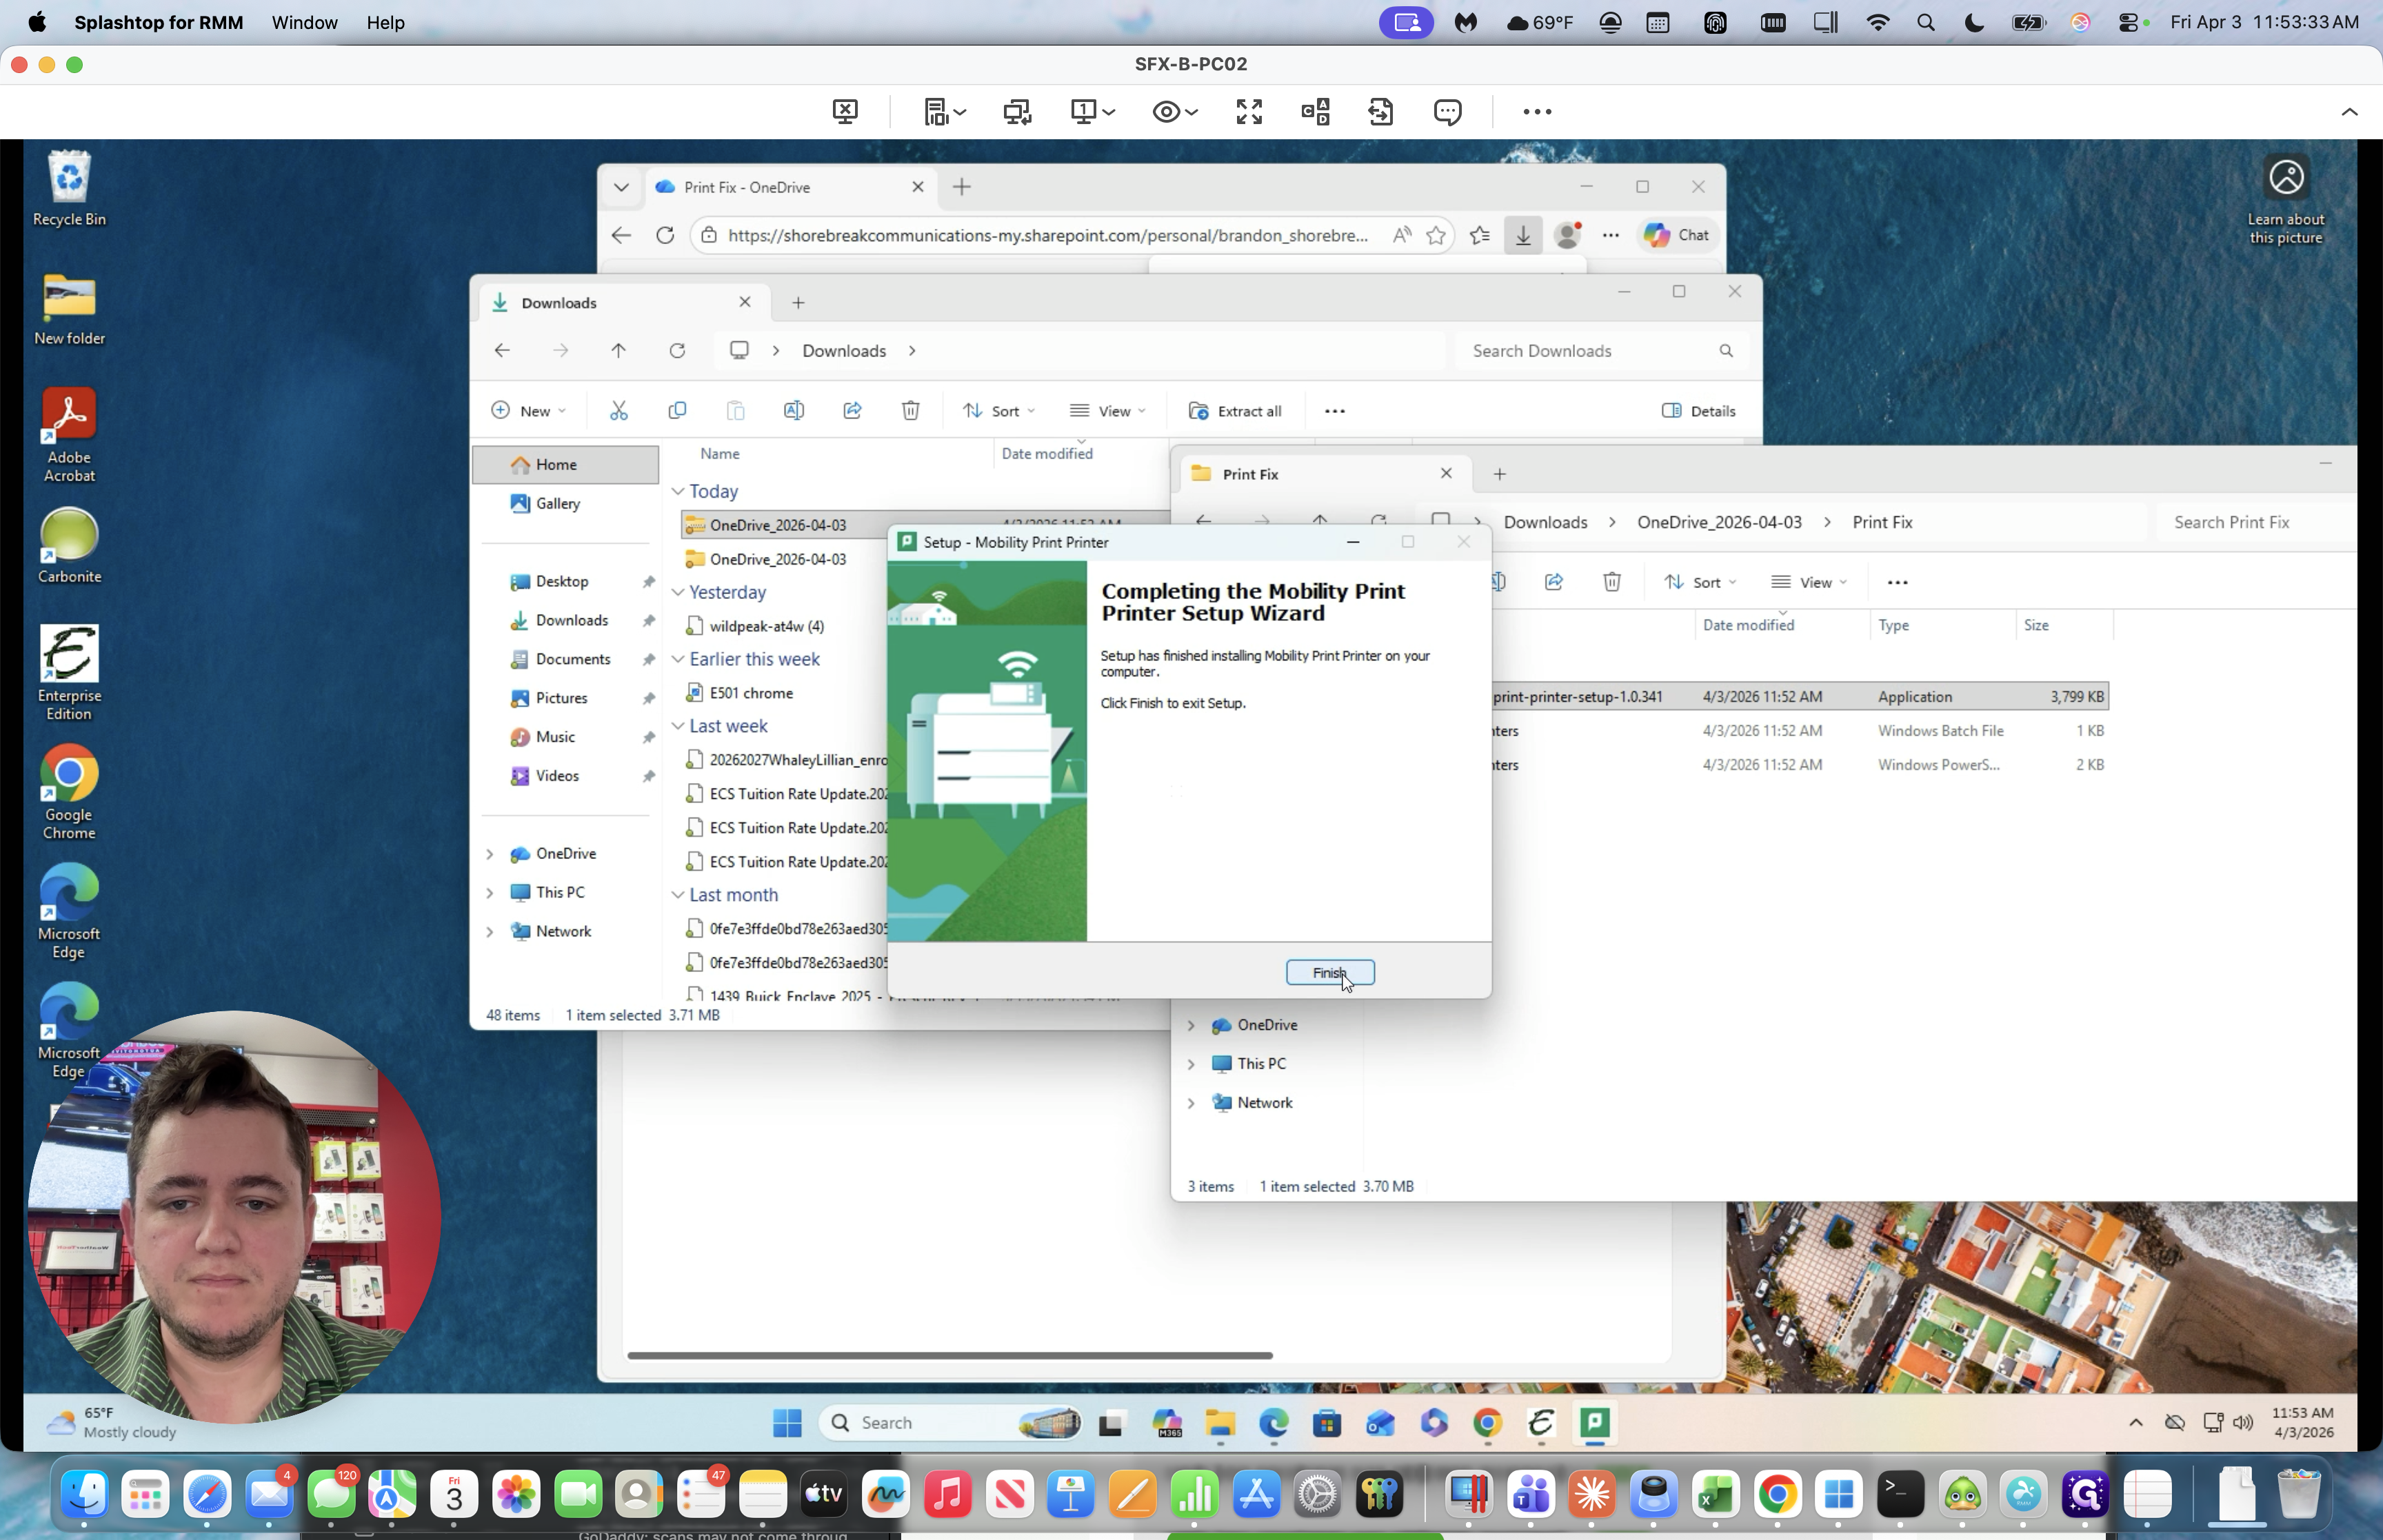
Click Next.
That should be it.
Go back to the printers page. All the printers are listed again, and they will work as expected.
