Guide to "Pick & Sort" Picking
Learn how to generate a picklist using two orders and create LPN types for both web and mobile interfaces. Enhance your workflow with step-by-step guidance and screenshots.
By Shipsy
In this guide, we'll learn how to generate a Pick & Sort picklist using 2 orders.
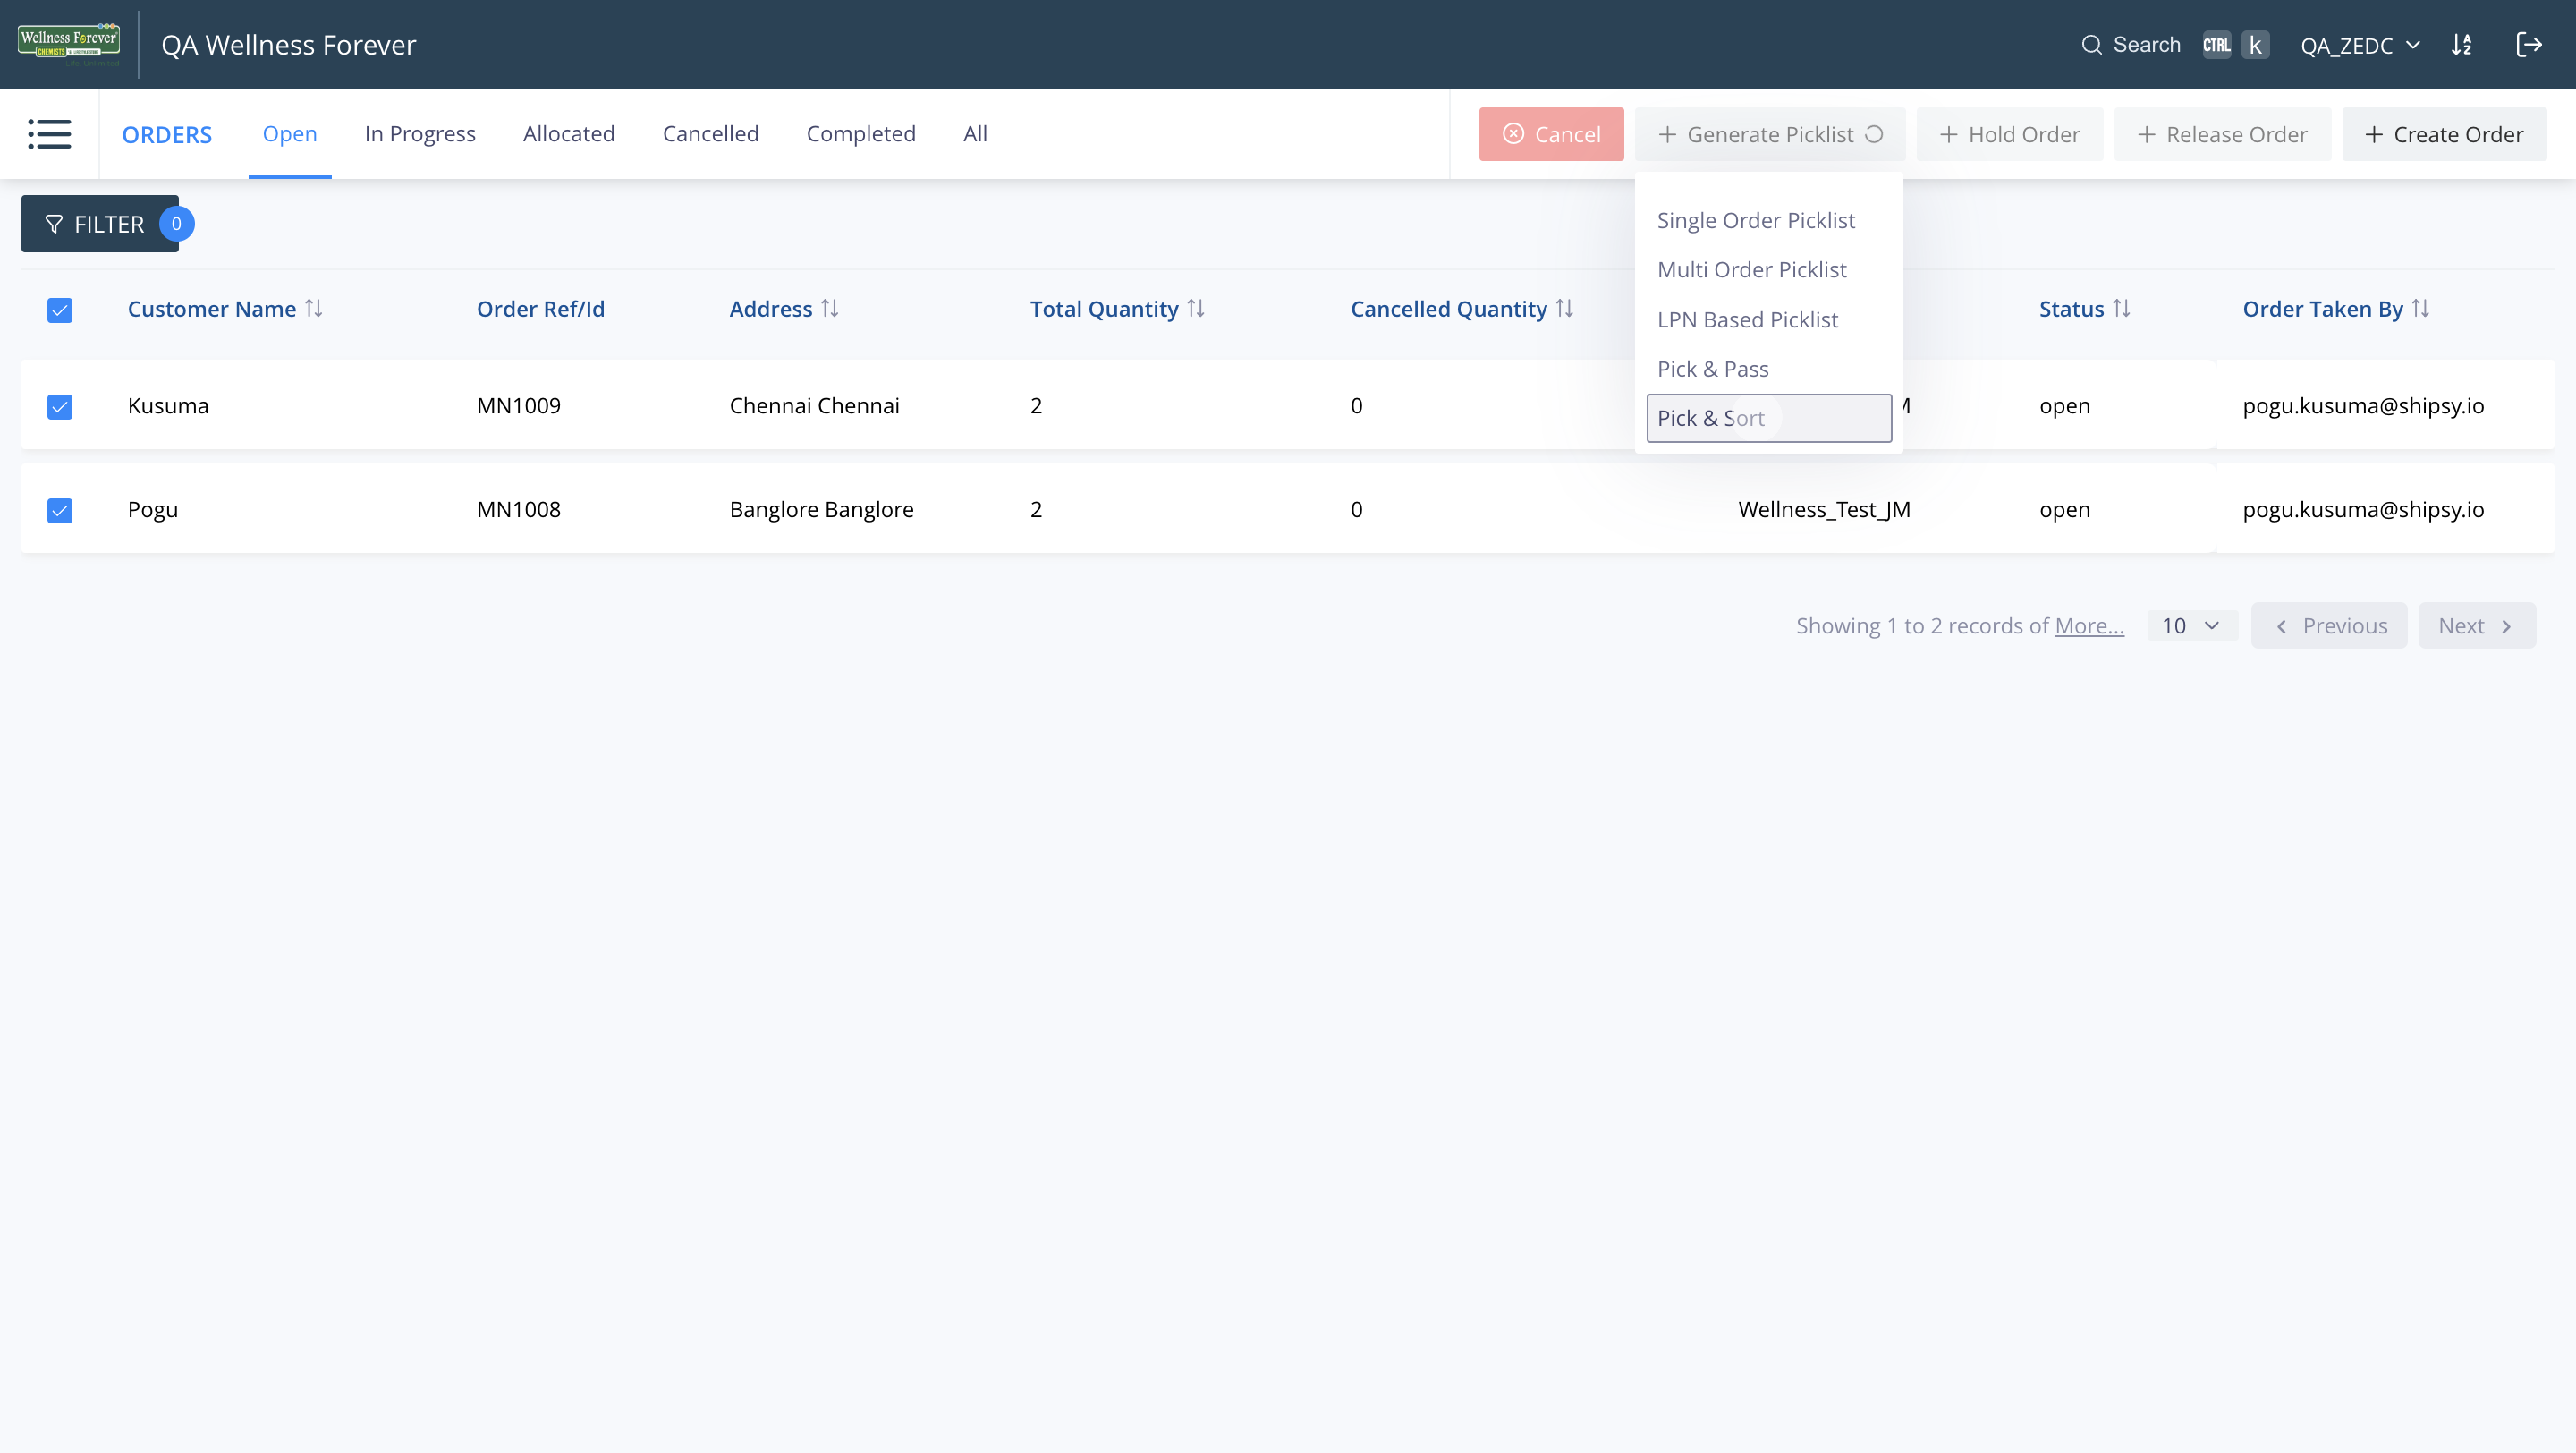
In the "Outbound" -> "Orders", new orders can be created and the orders can be selected to create a picklist using one of the Picklist Strategies. Here we follow Pick & Sort picklist strategy.
1
Select the two orders to be packed and click on "Pick & Sort"
2
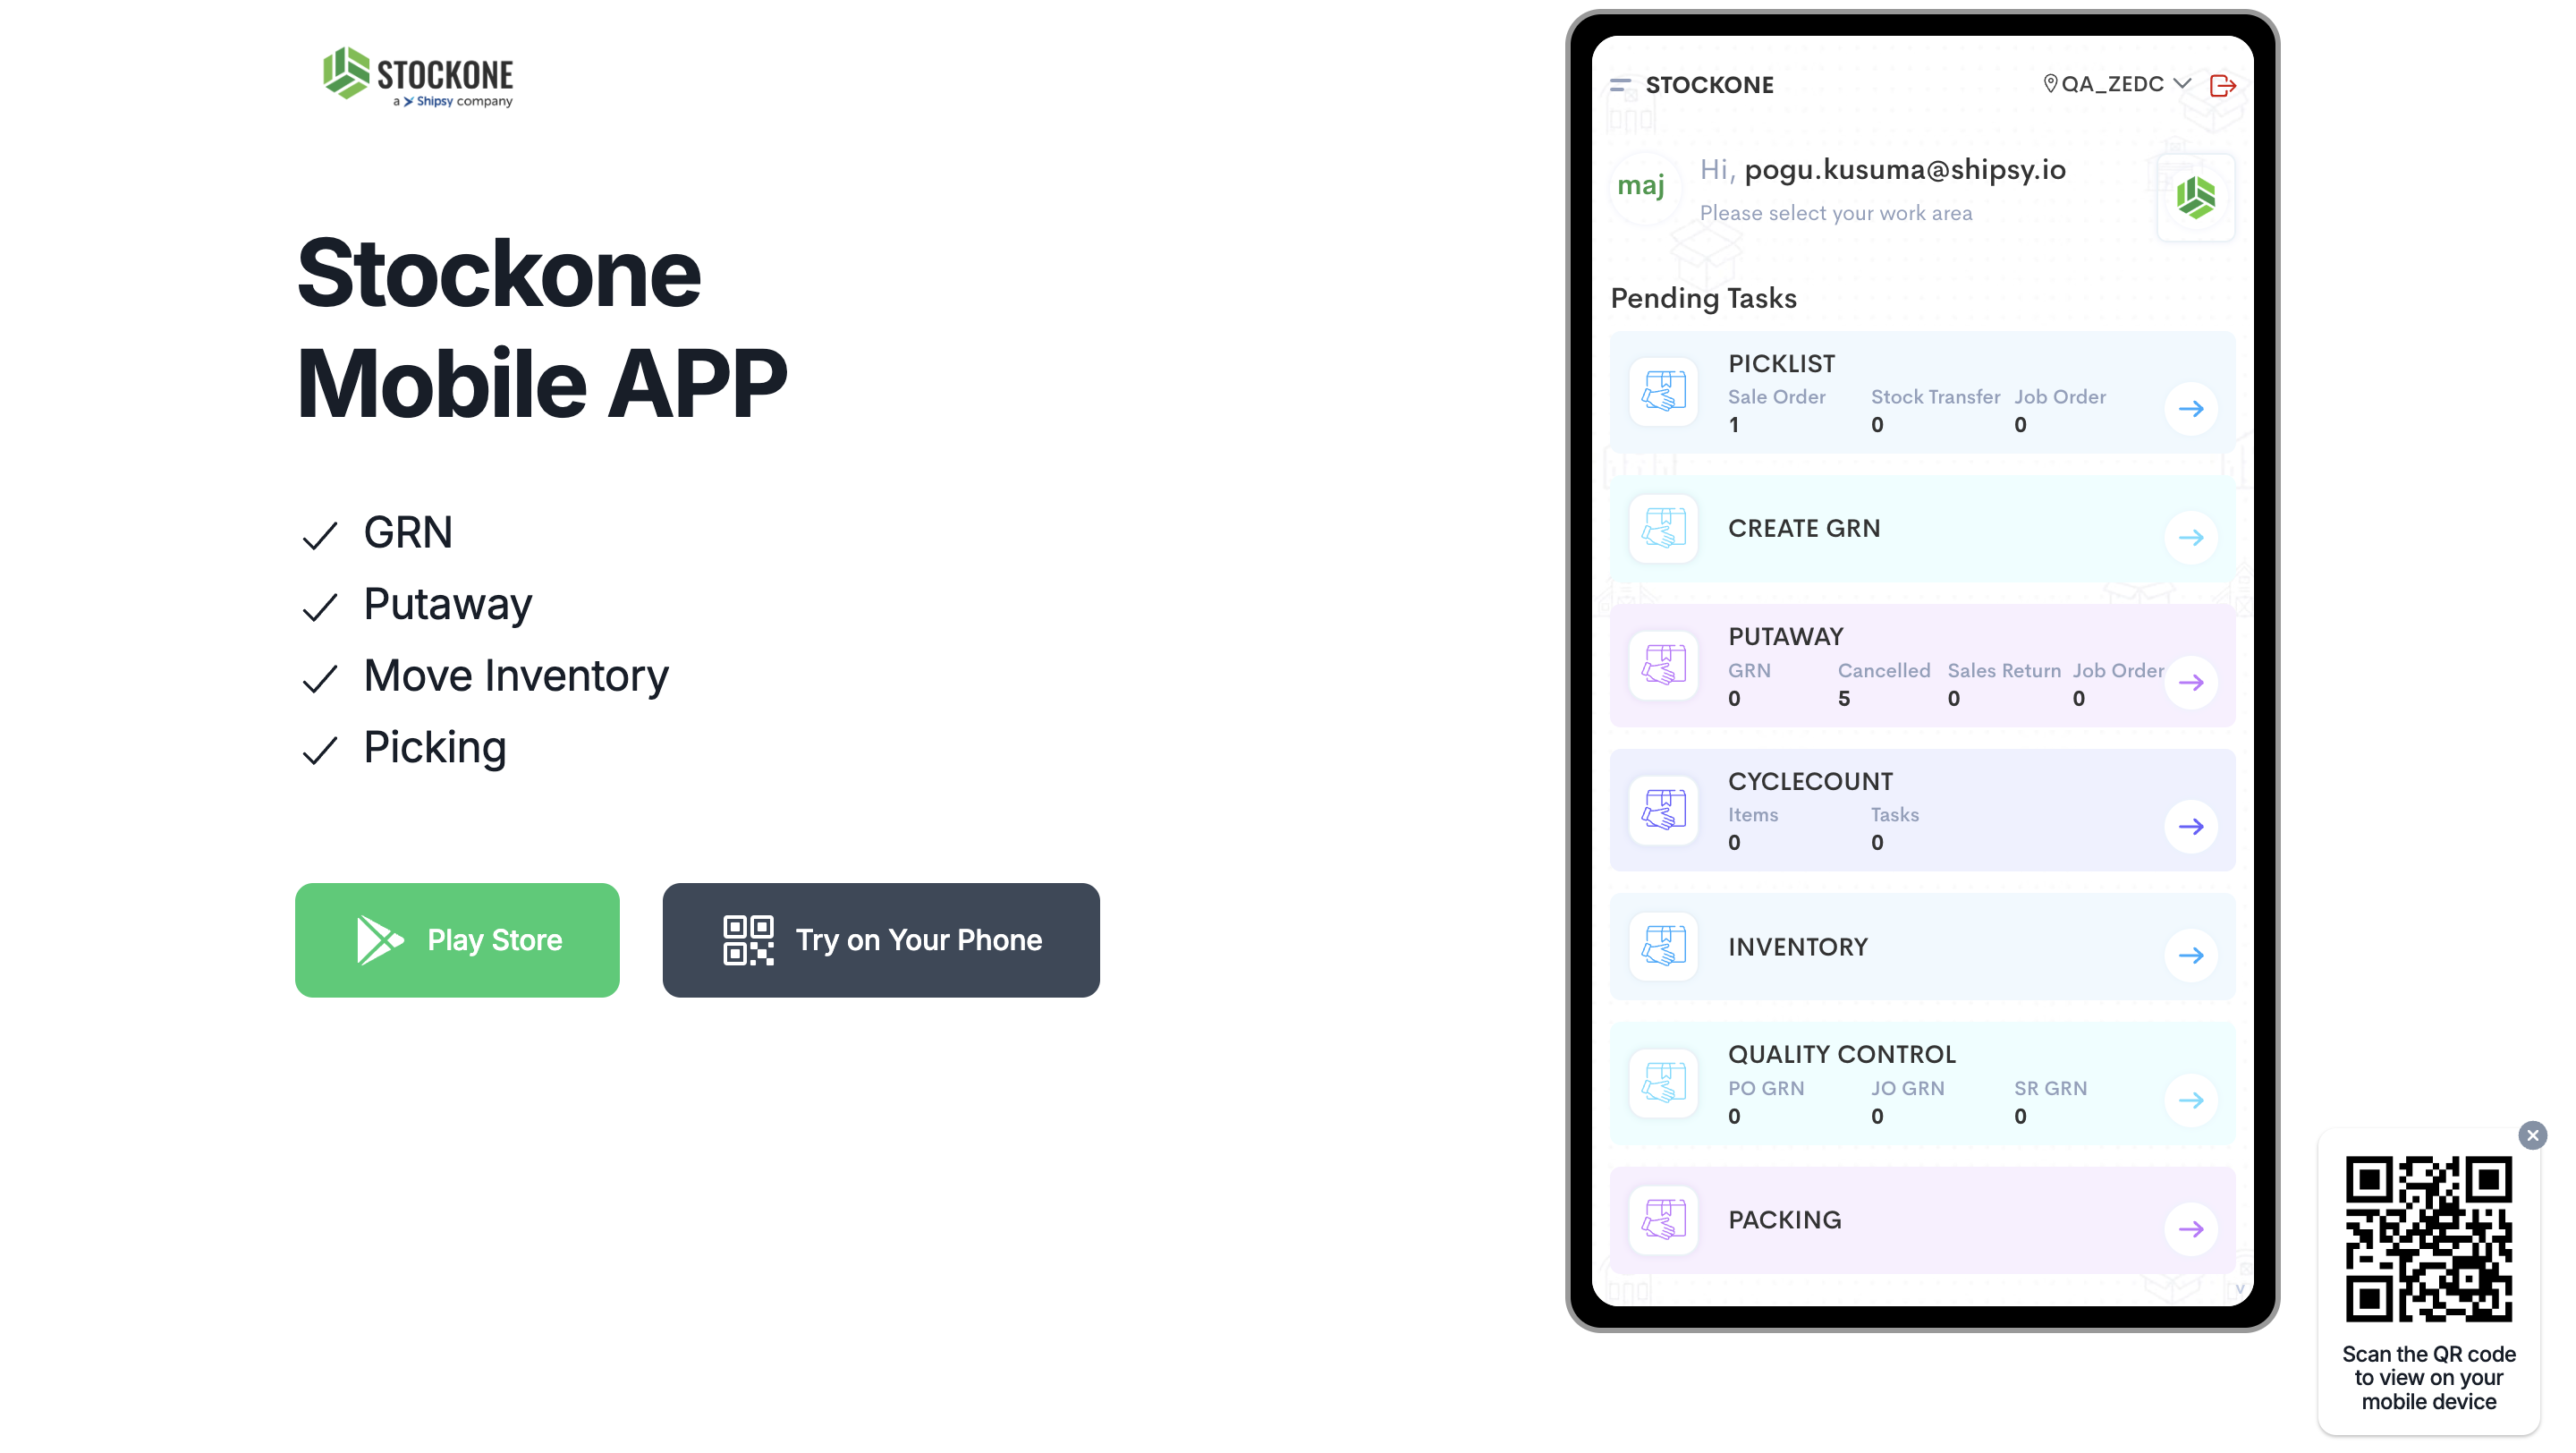
After the Picklist generation, we can see the no.of availabel Picklists in Picker app.
3
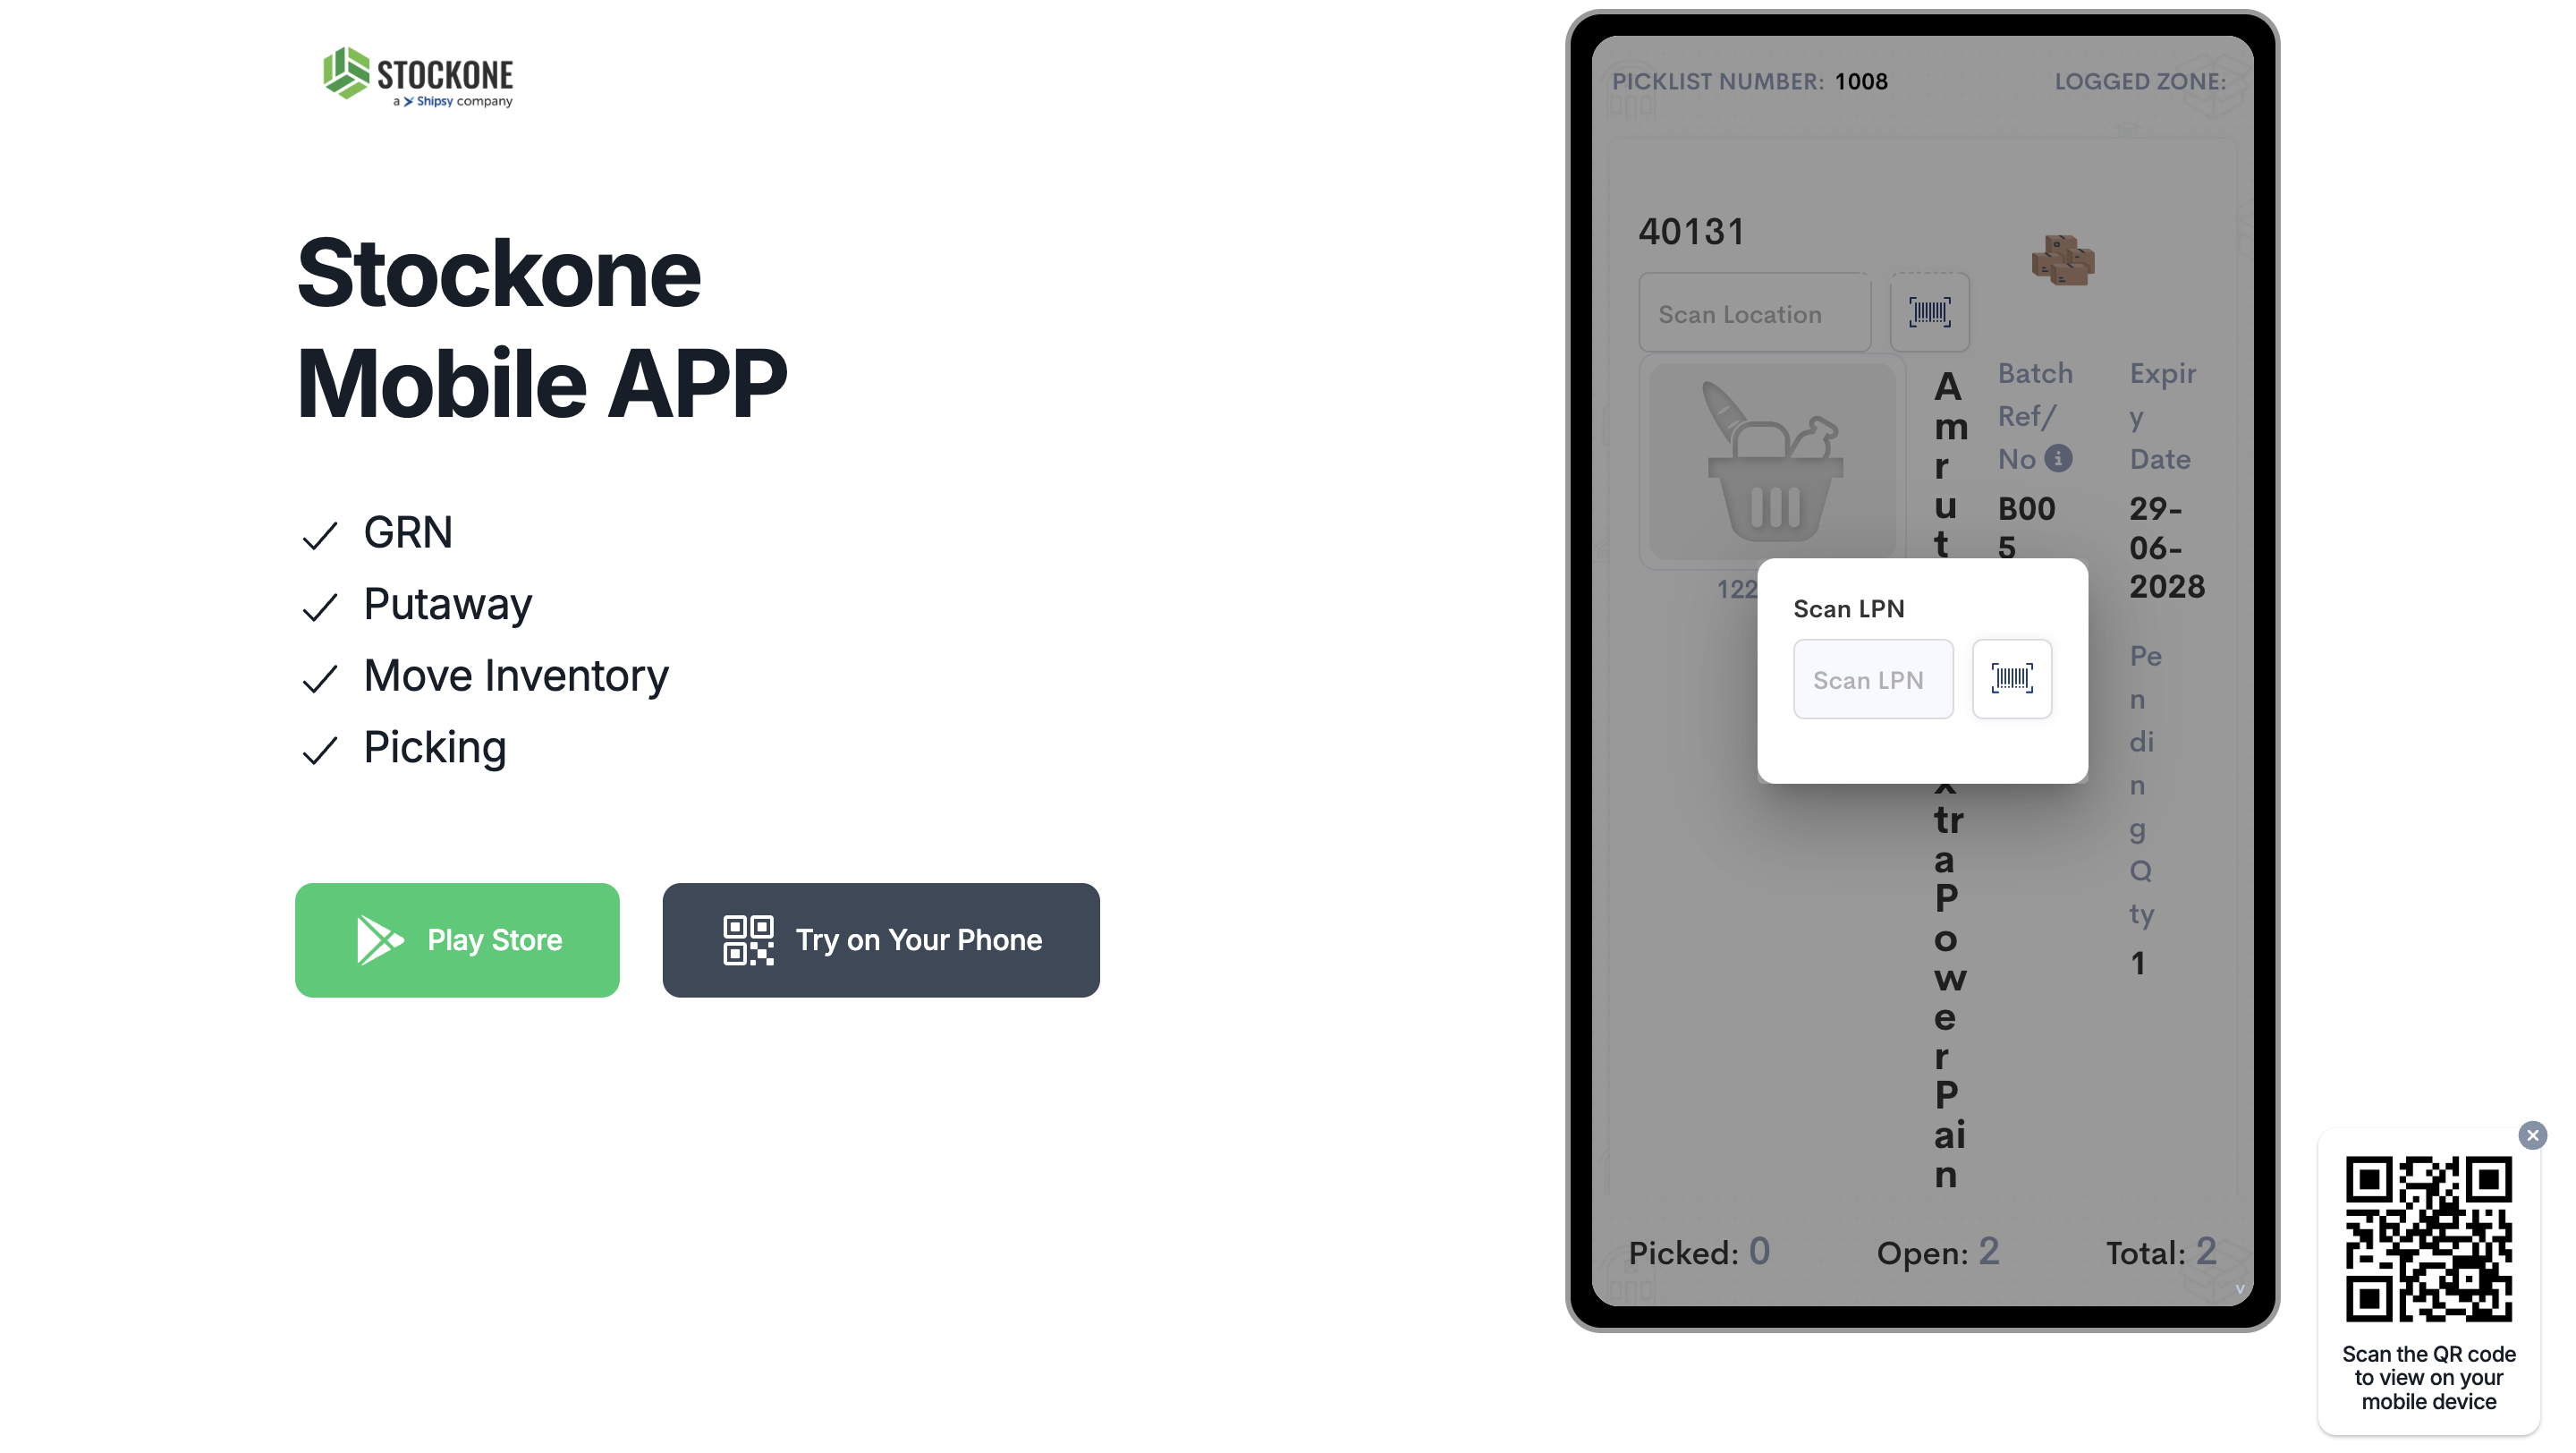
First scan any available LPN that picker wants to collect the items into.
4
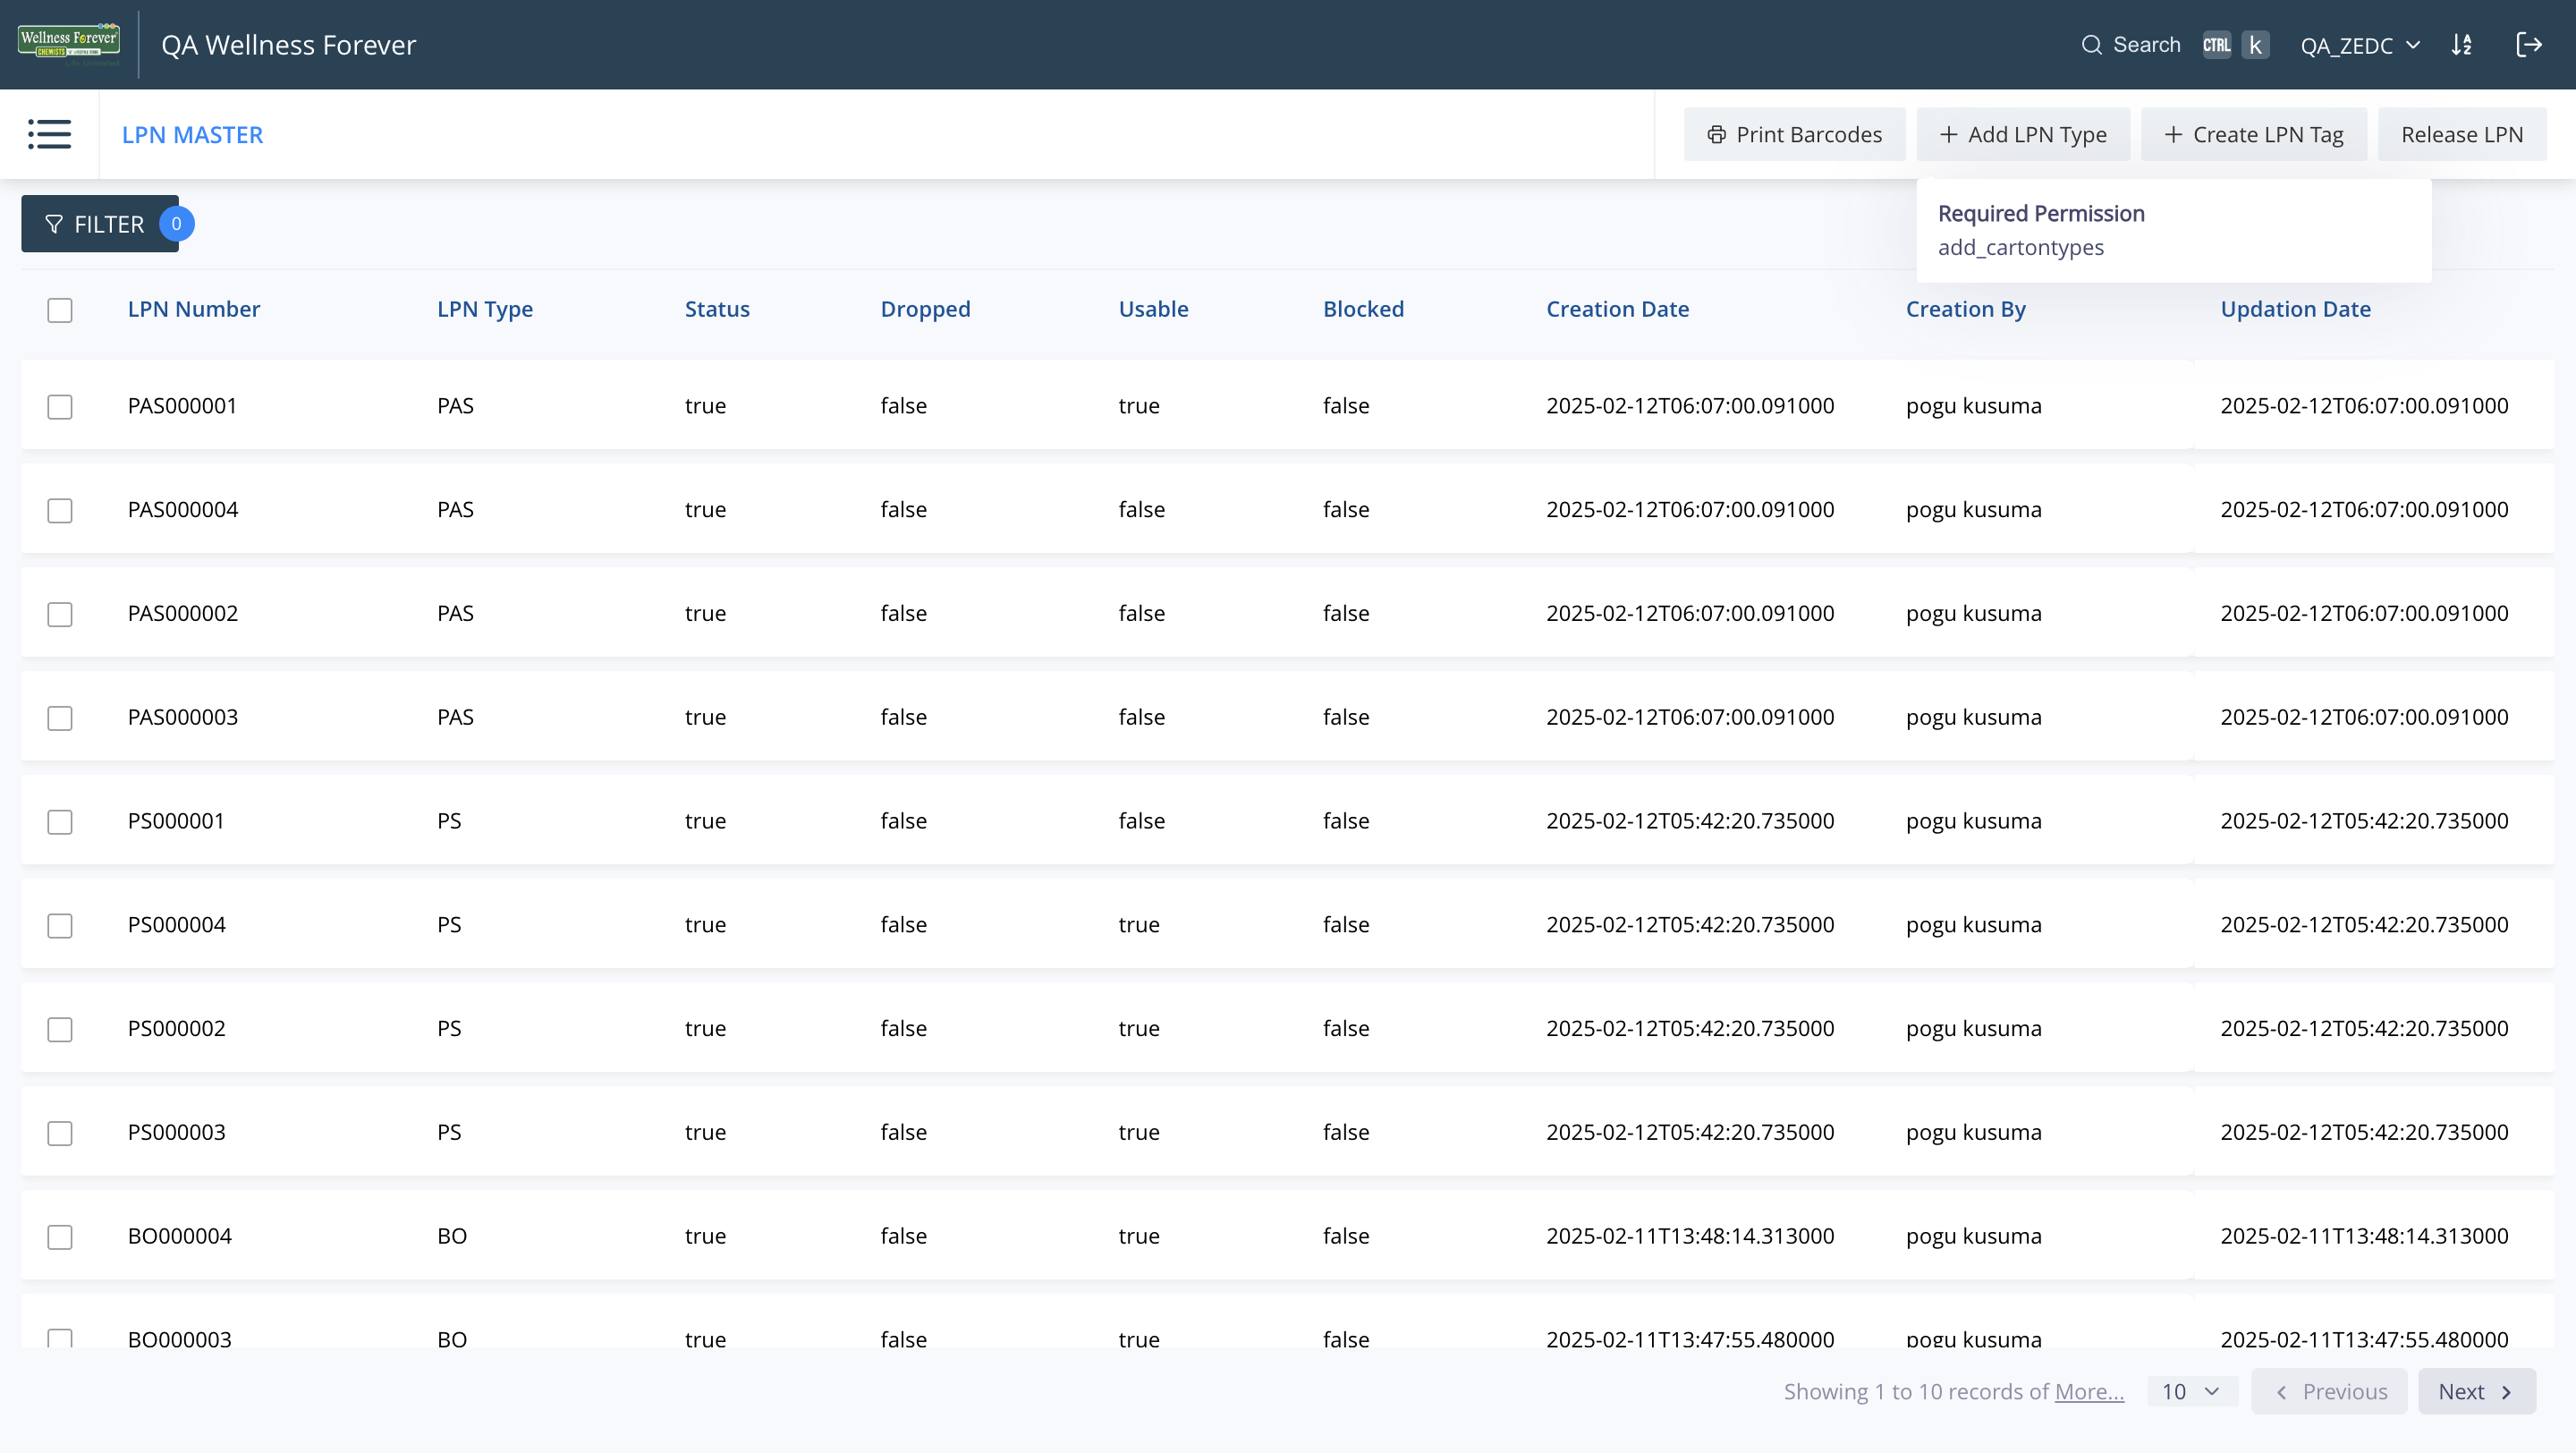
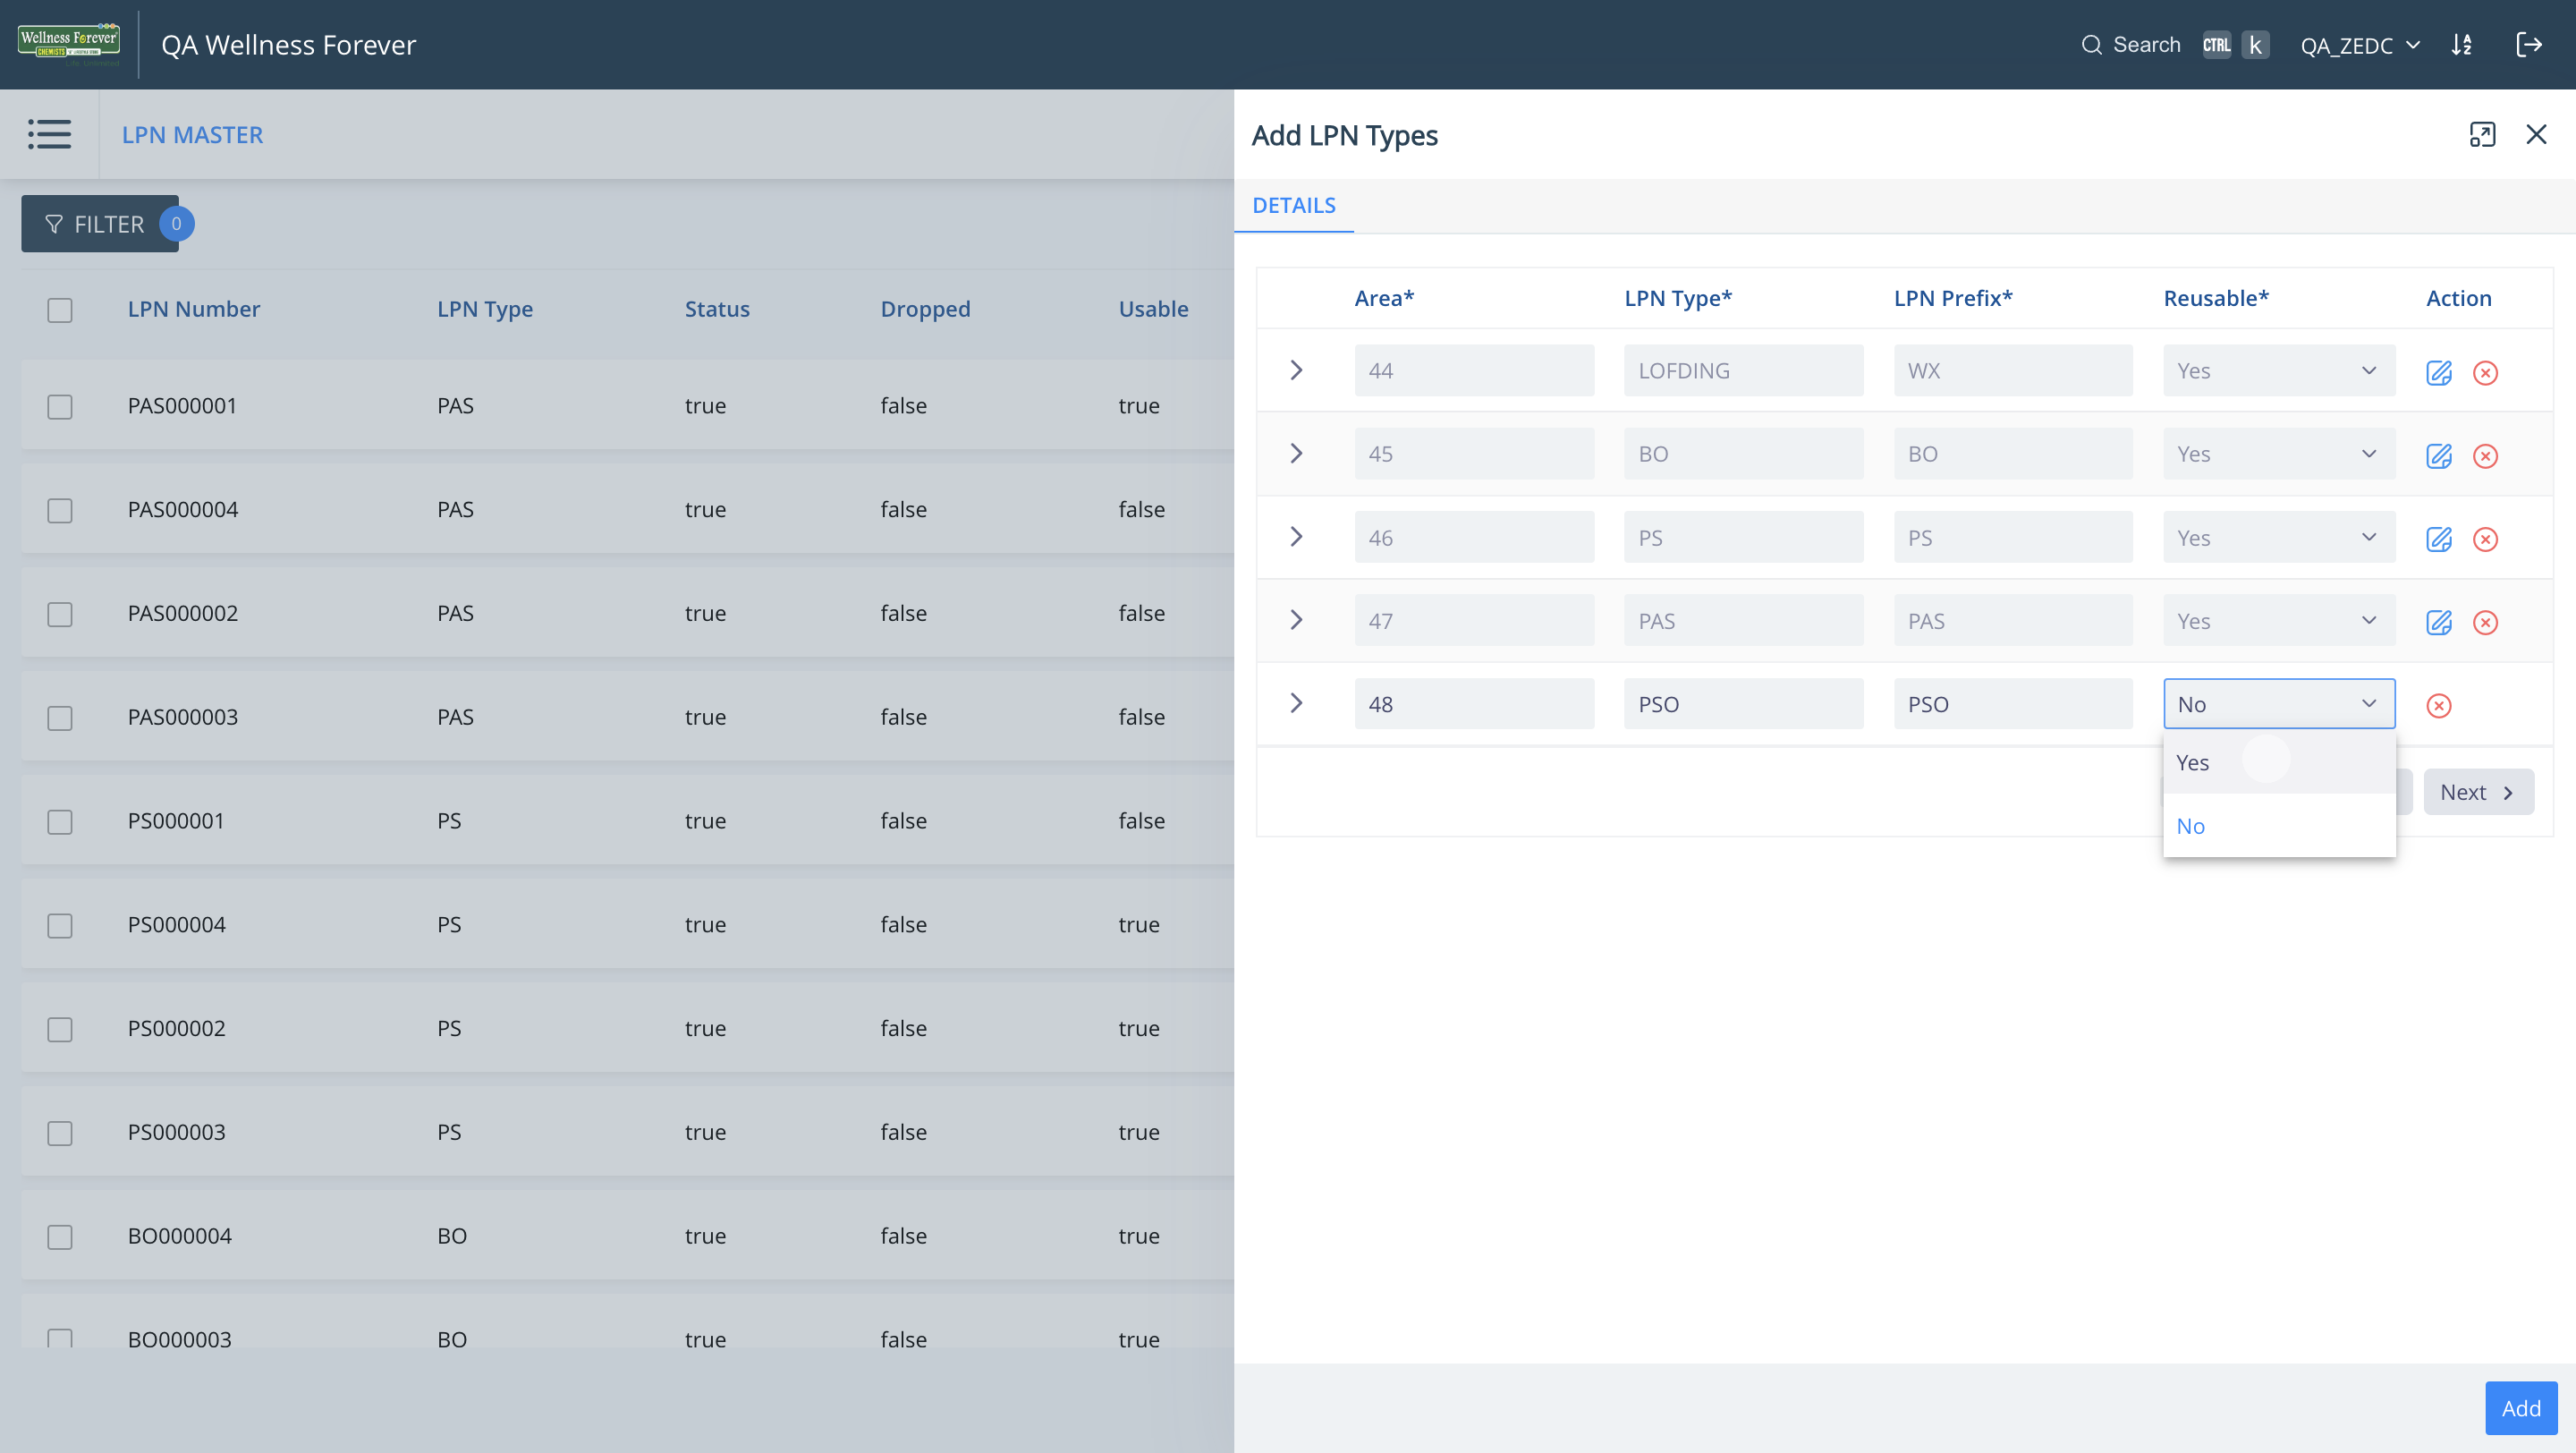
If LPNs are not available, new LPNs can be created using LPN Master. New LPN types can be defines using "Add LPN Type" where we can configure the prefix of LPN.
5
Choose the Prefix, if the LPN number is reusable or not.
6
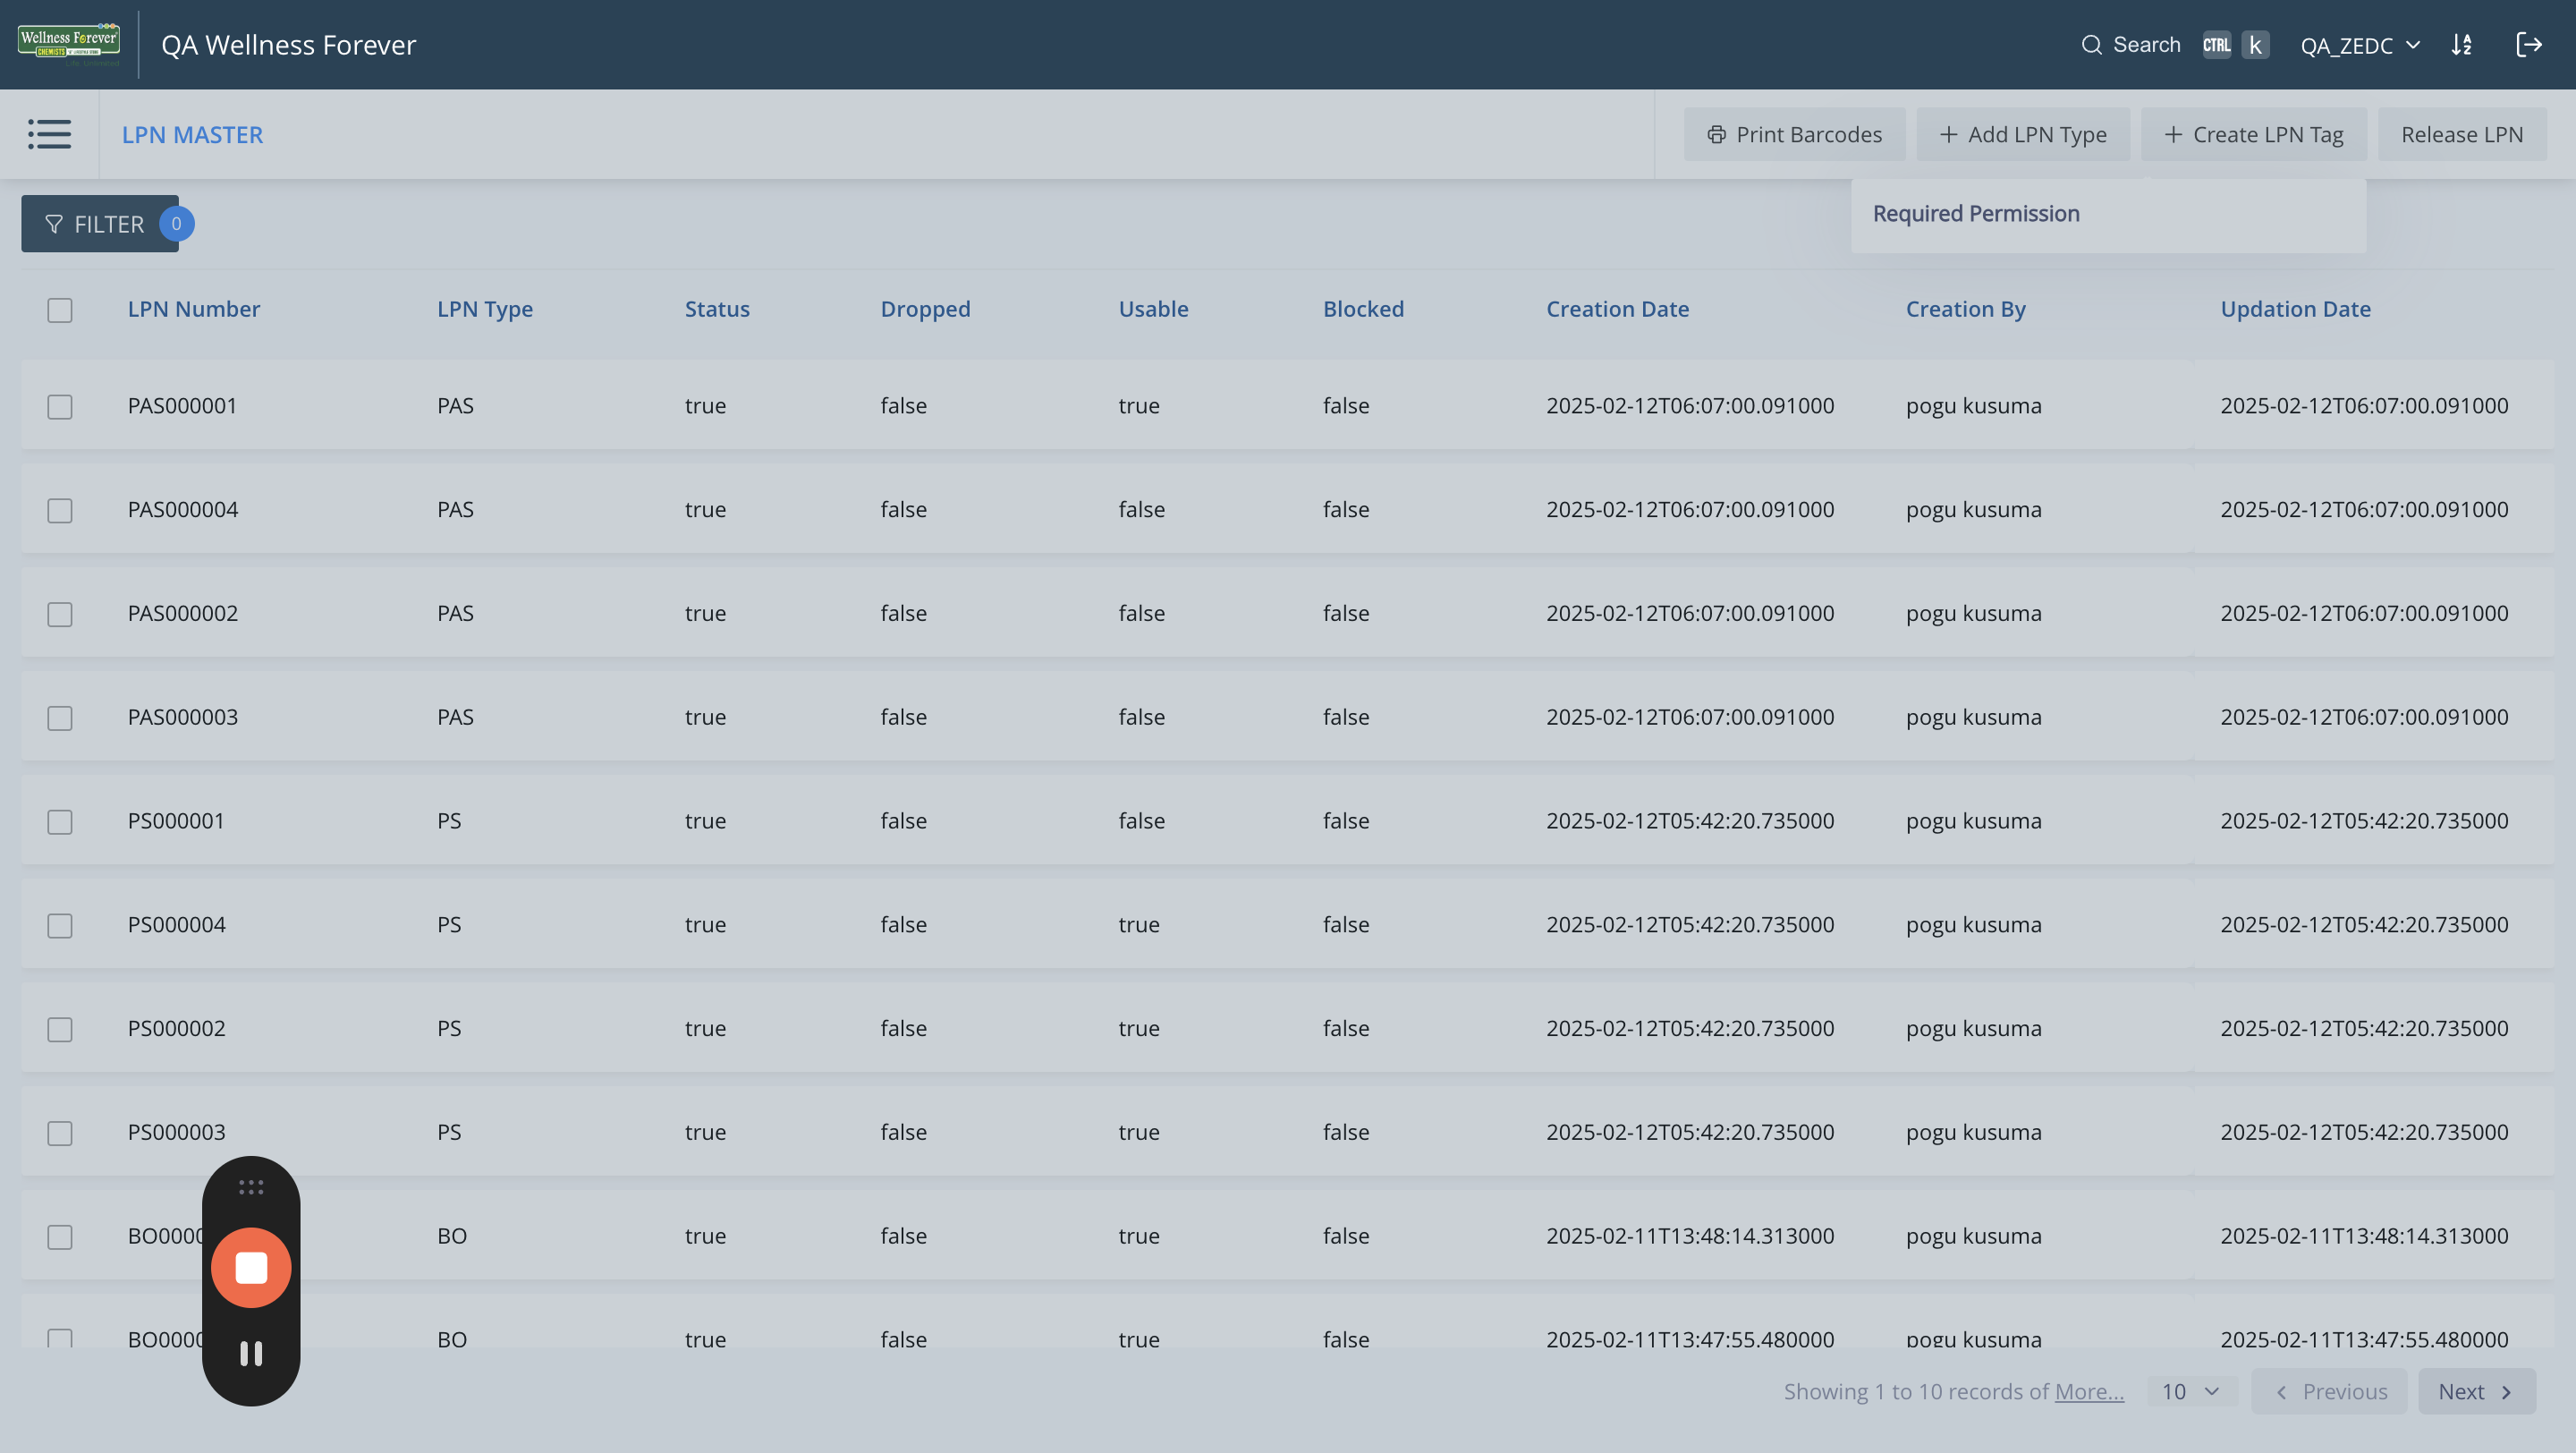
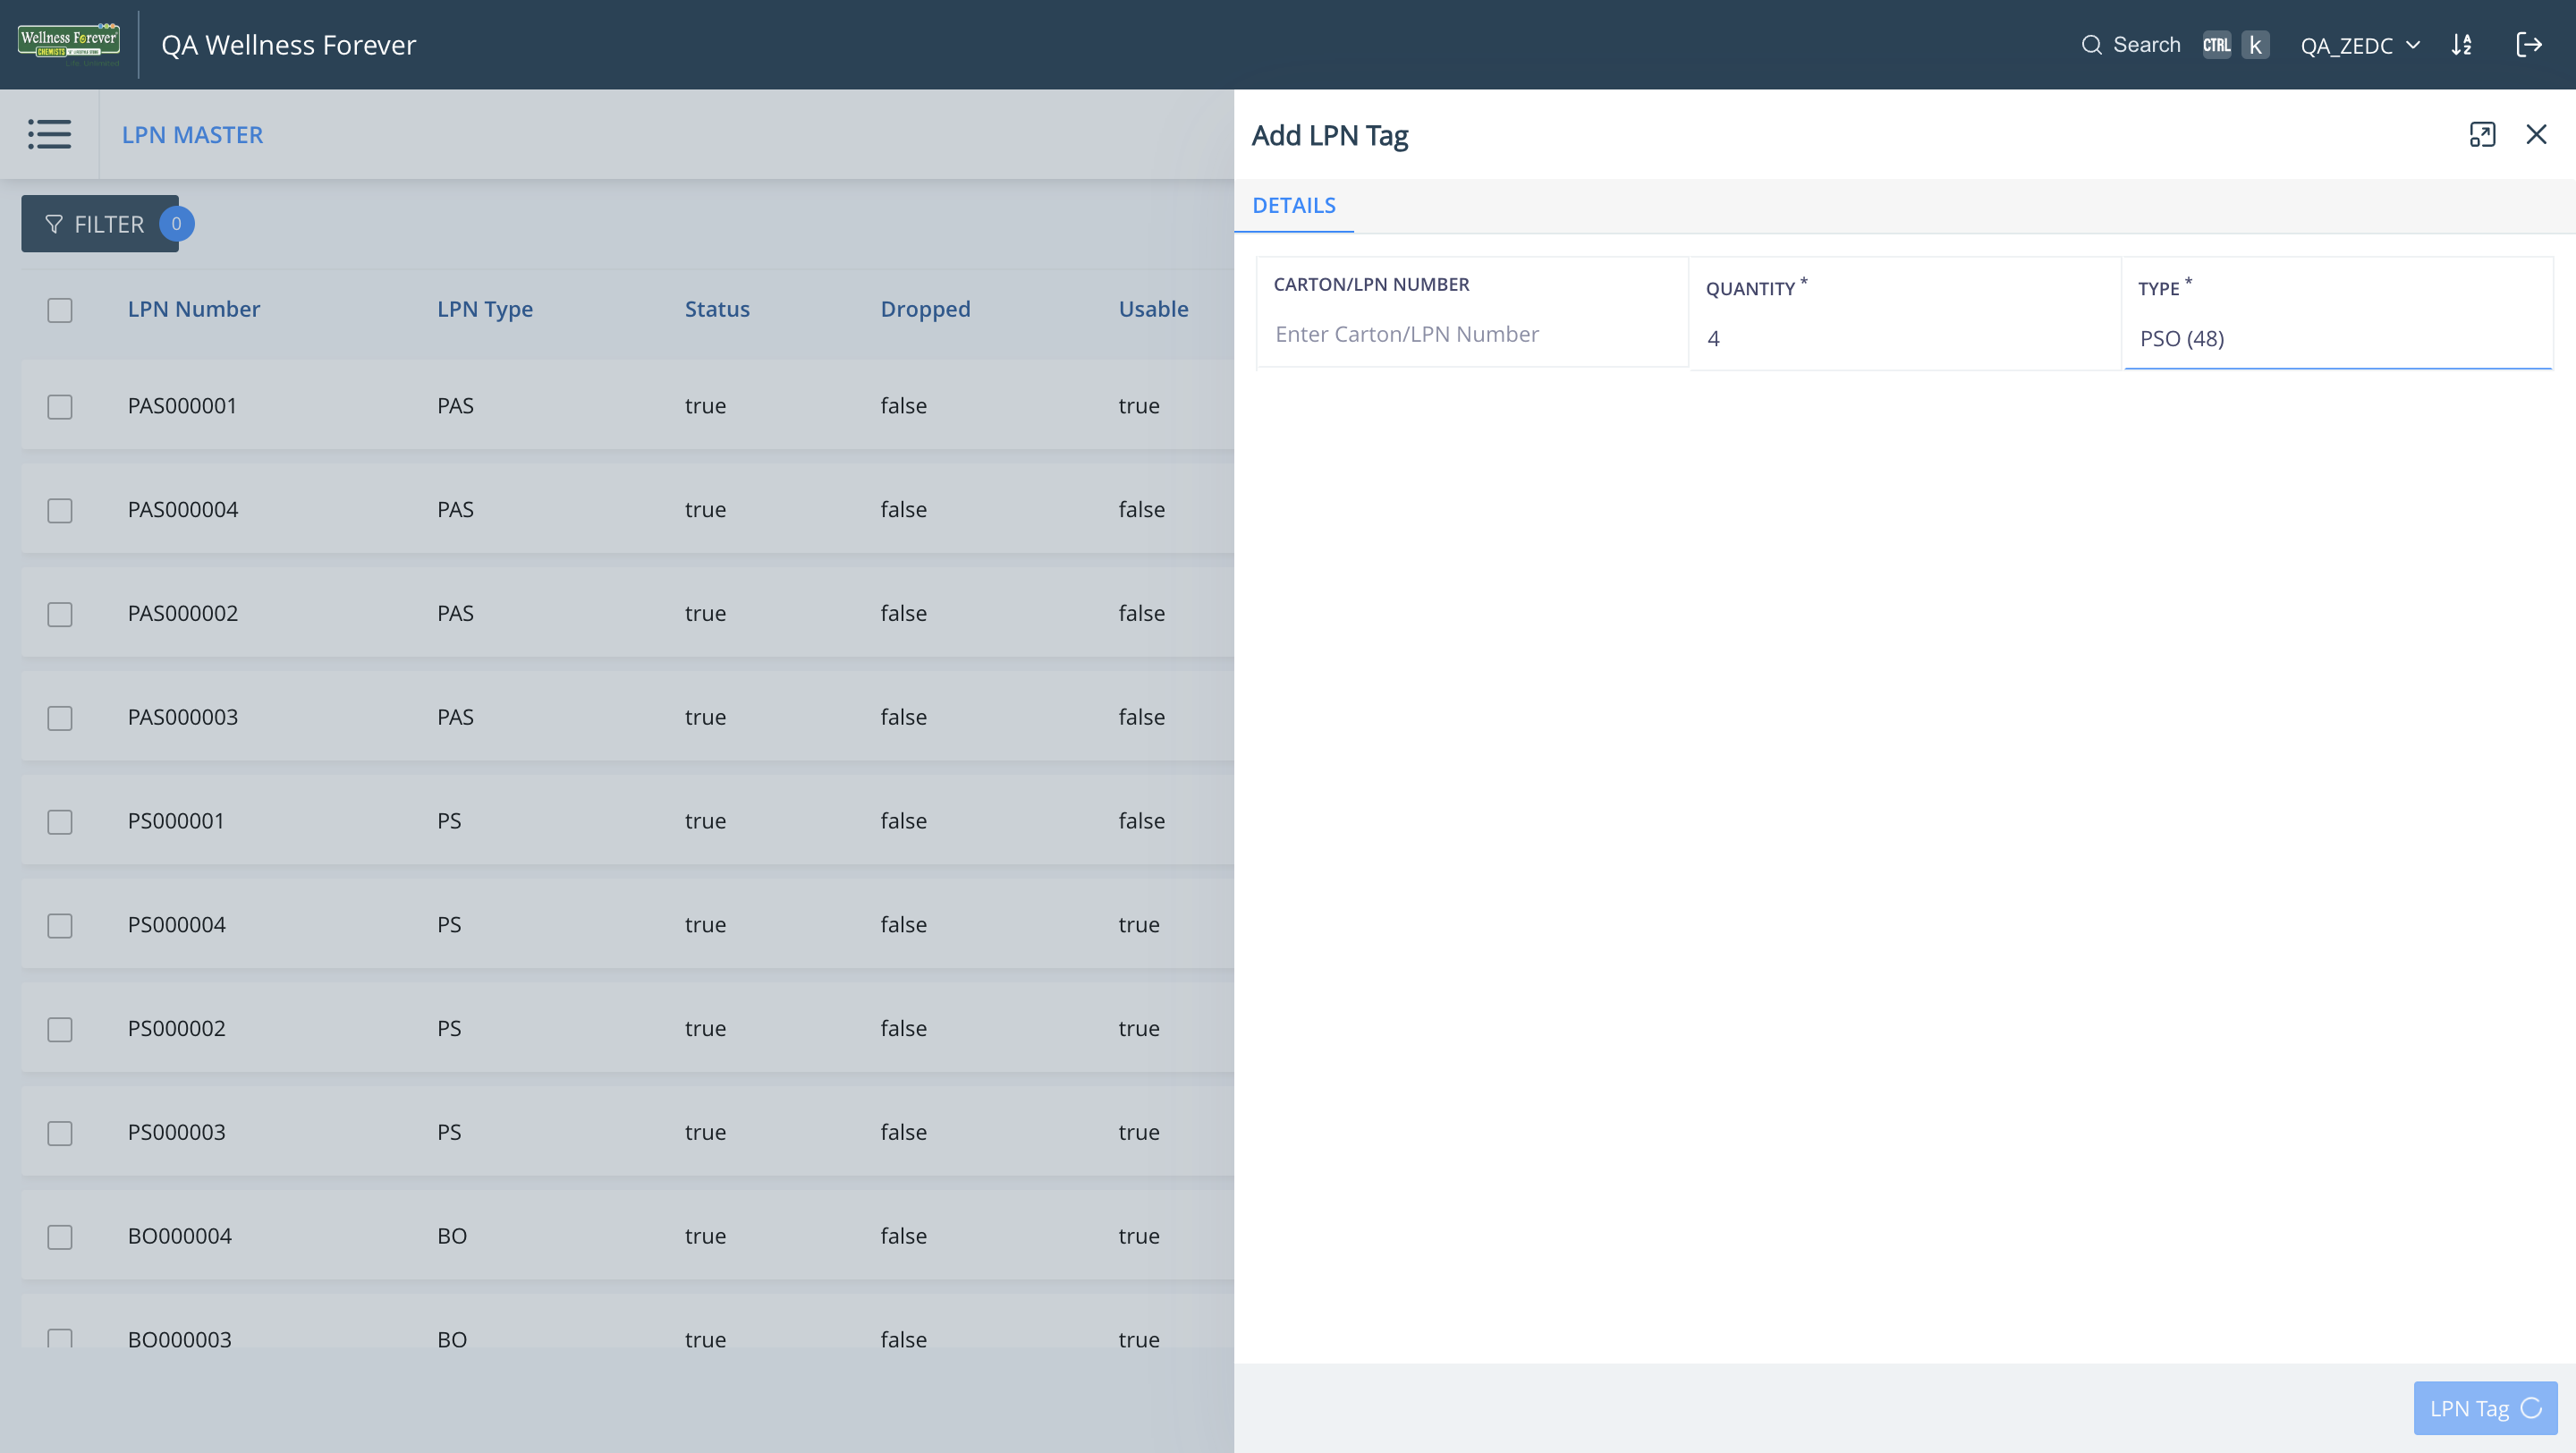
Now that we defined new LPN type, click on "+ Create LPN Tag" to create new LPN numbers/labels.
7
The number of LPNs to be generated can be chosen, and LPN numbers will be created sequentially.
8
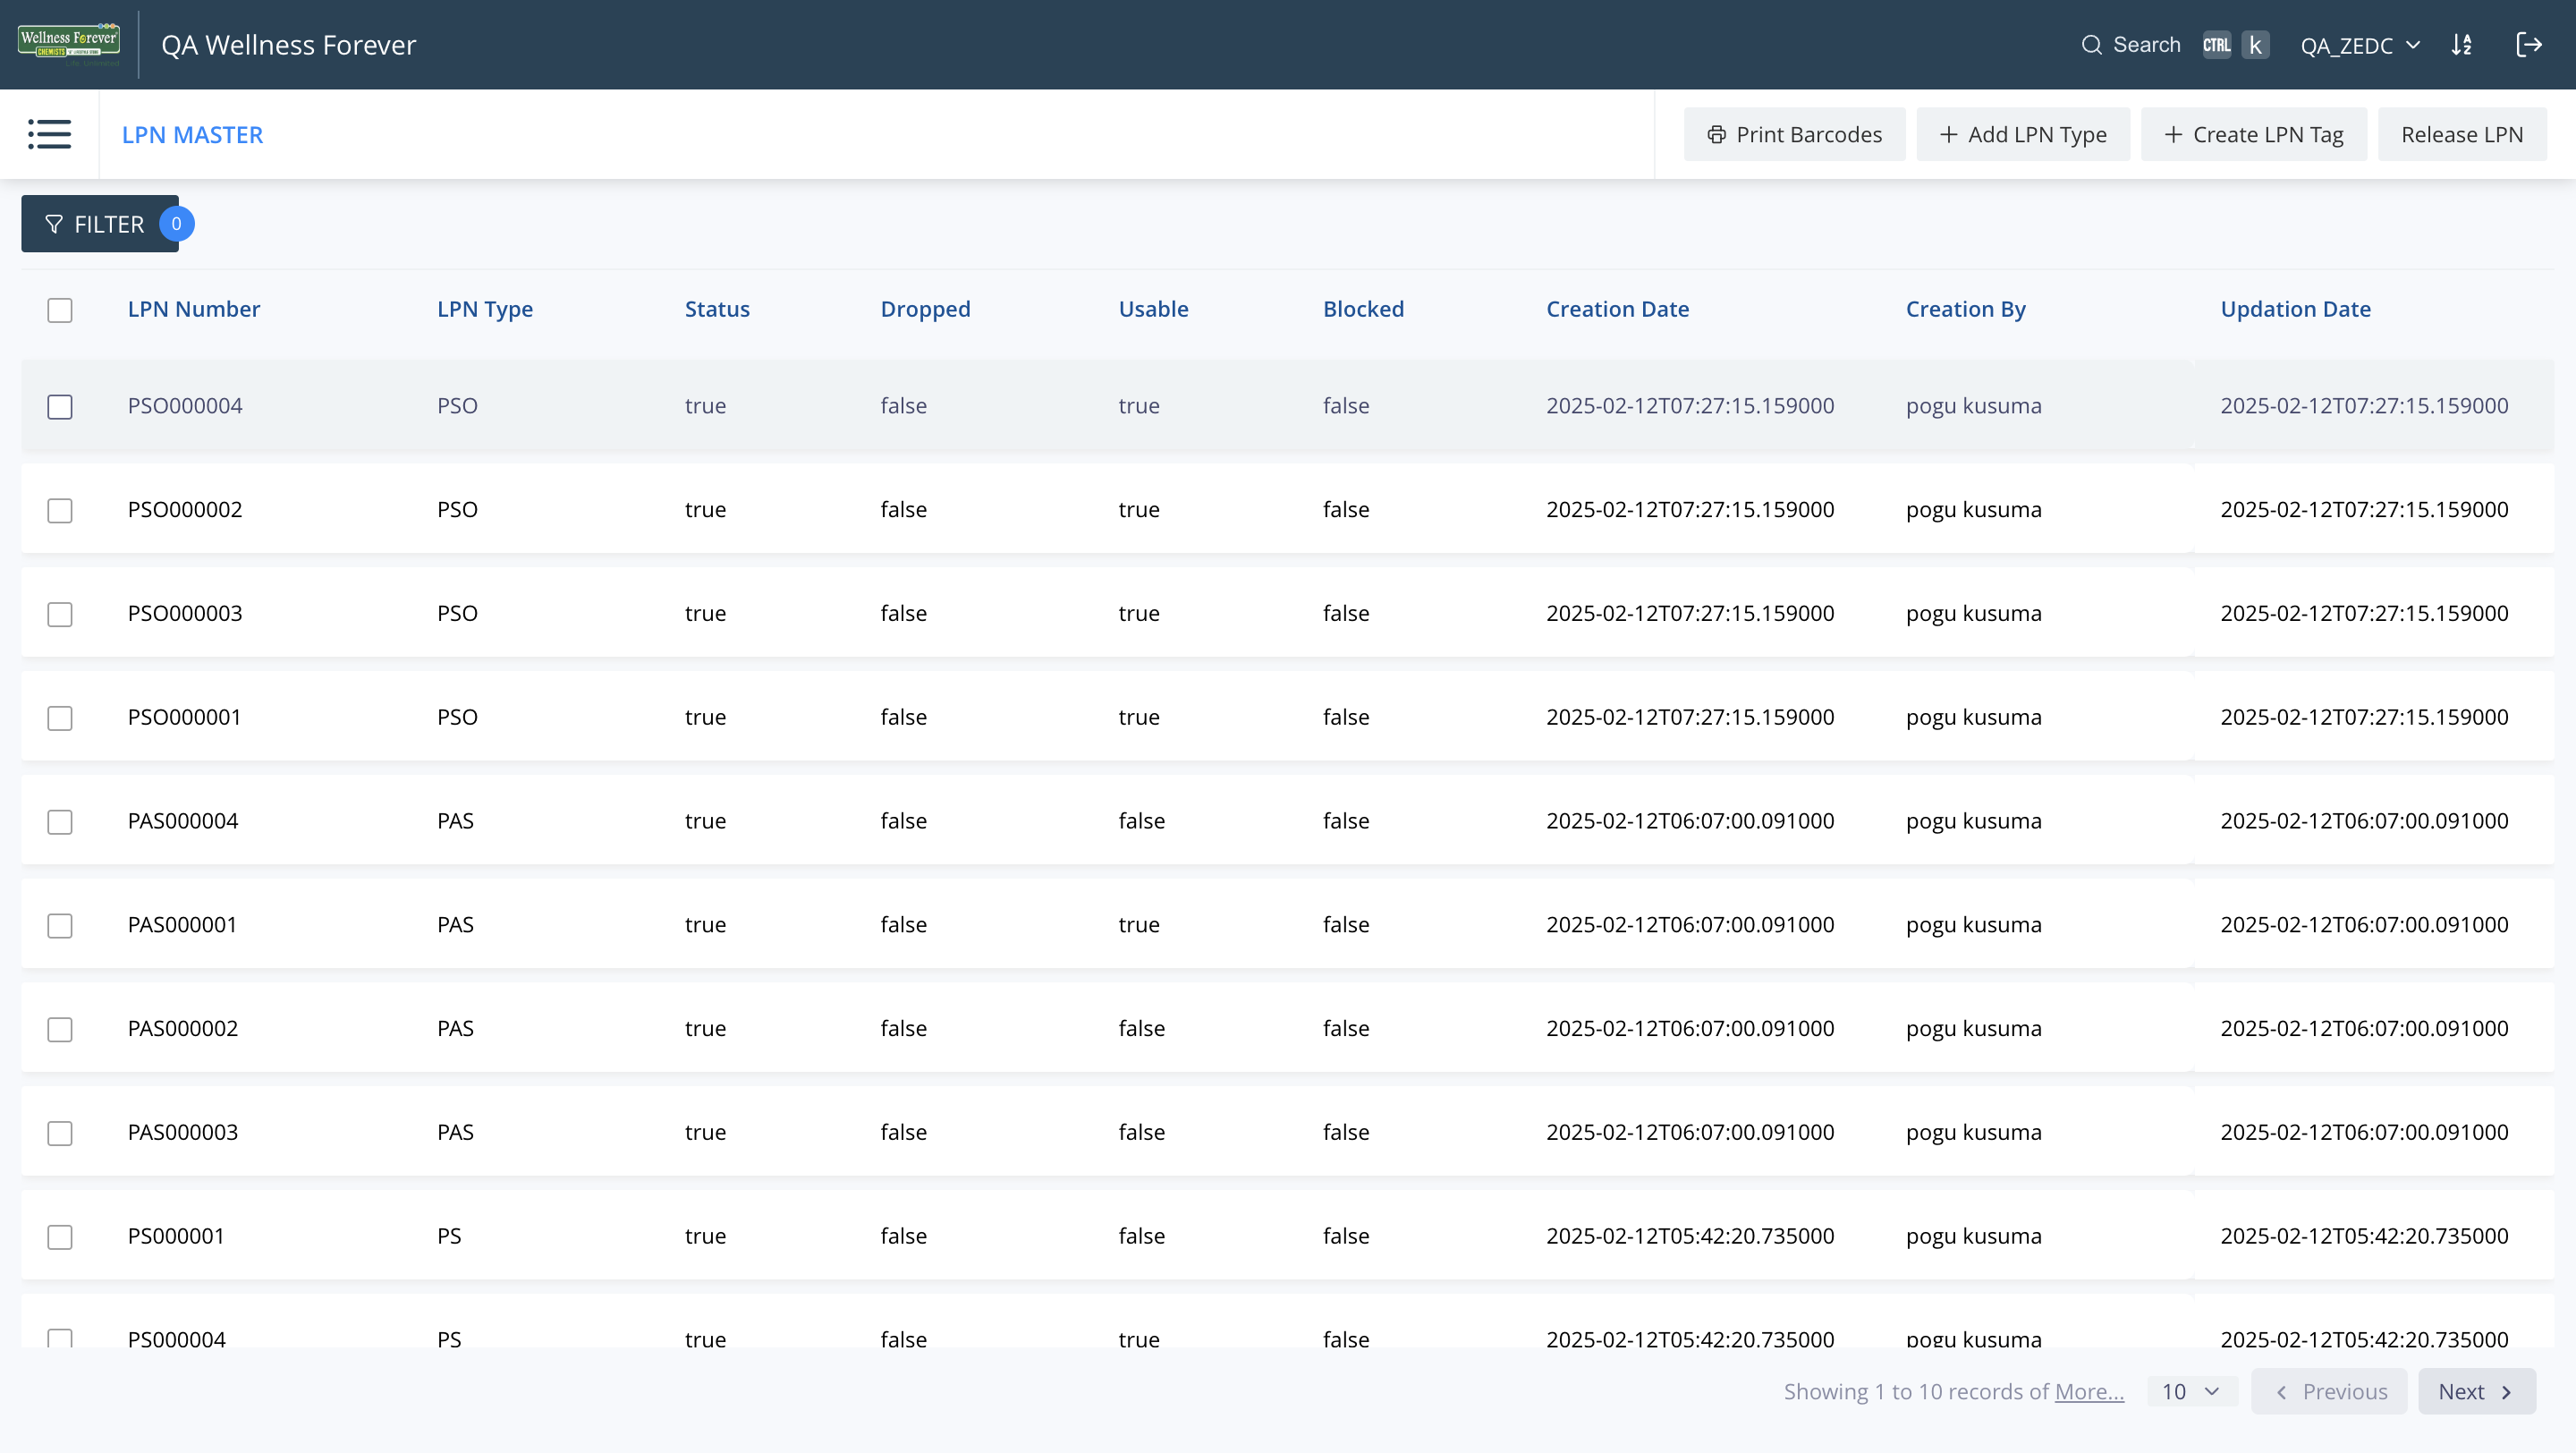
Here are the 4 new Usable LPNs. Let us consider PSO000001 LPN for picking.
9
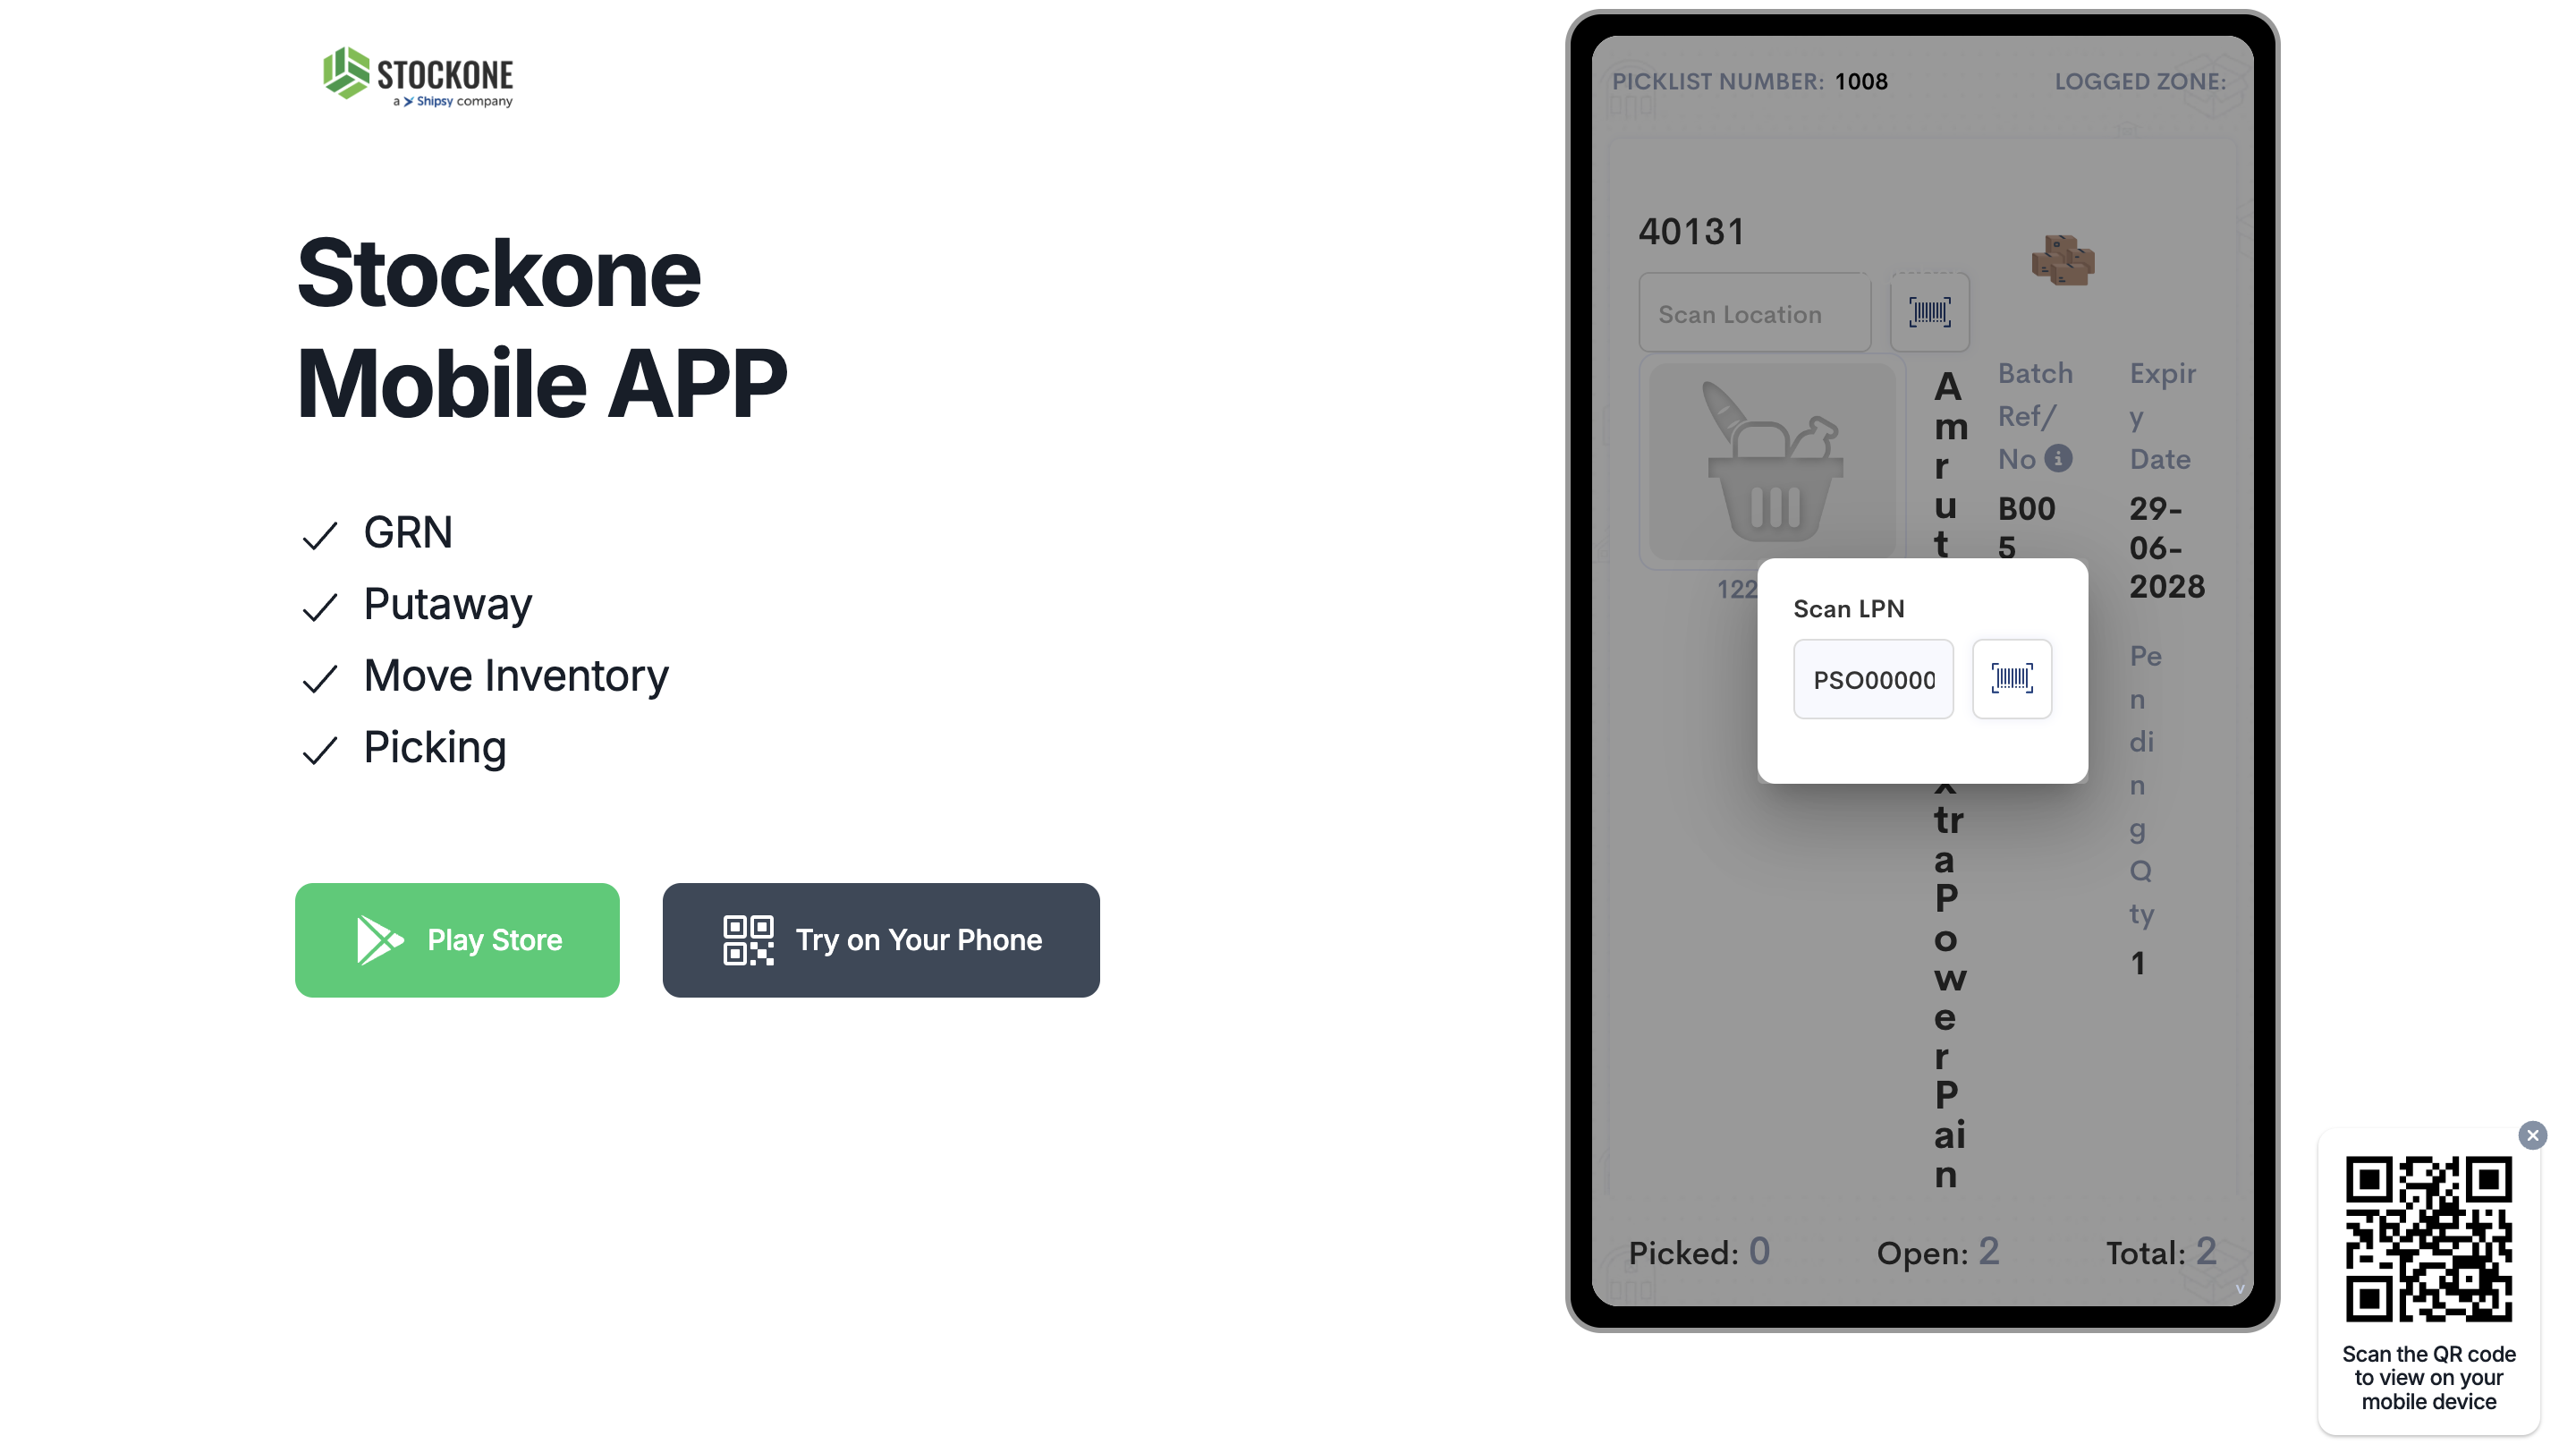
Now scan the LPN that picker will add picklist items into. (PSO000001)
10
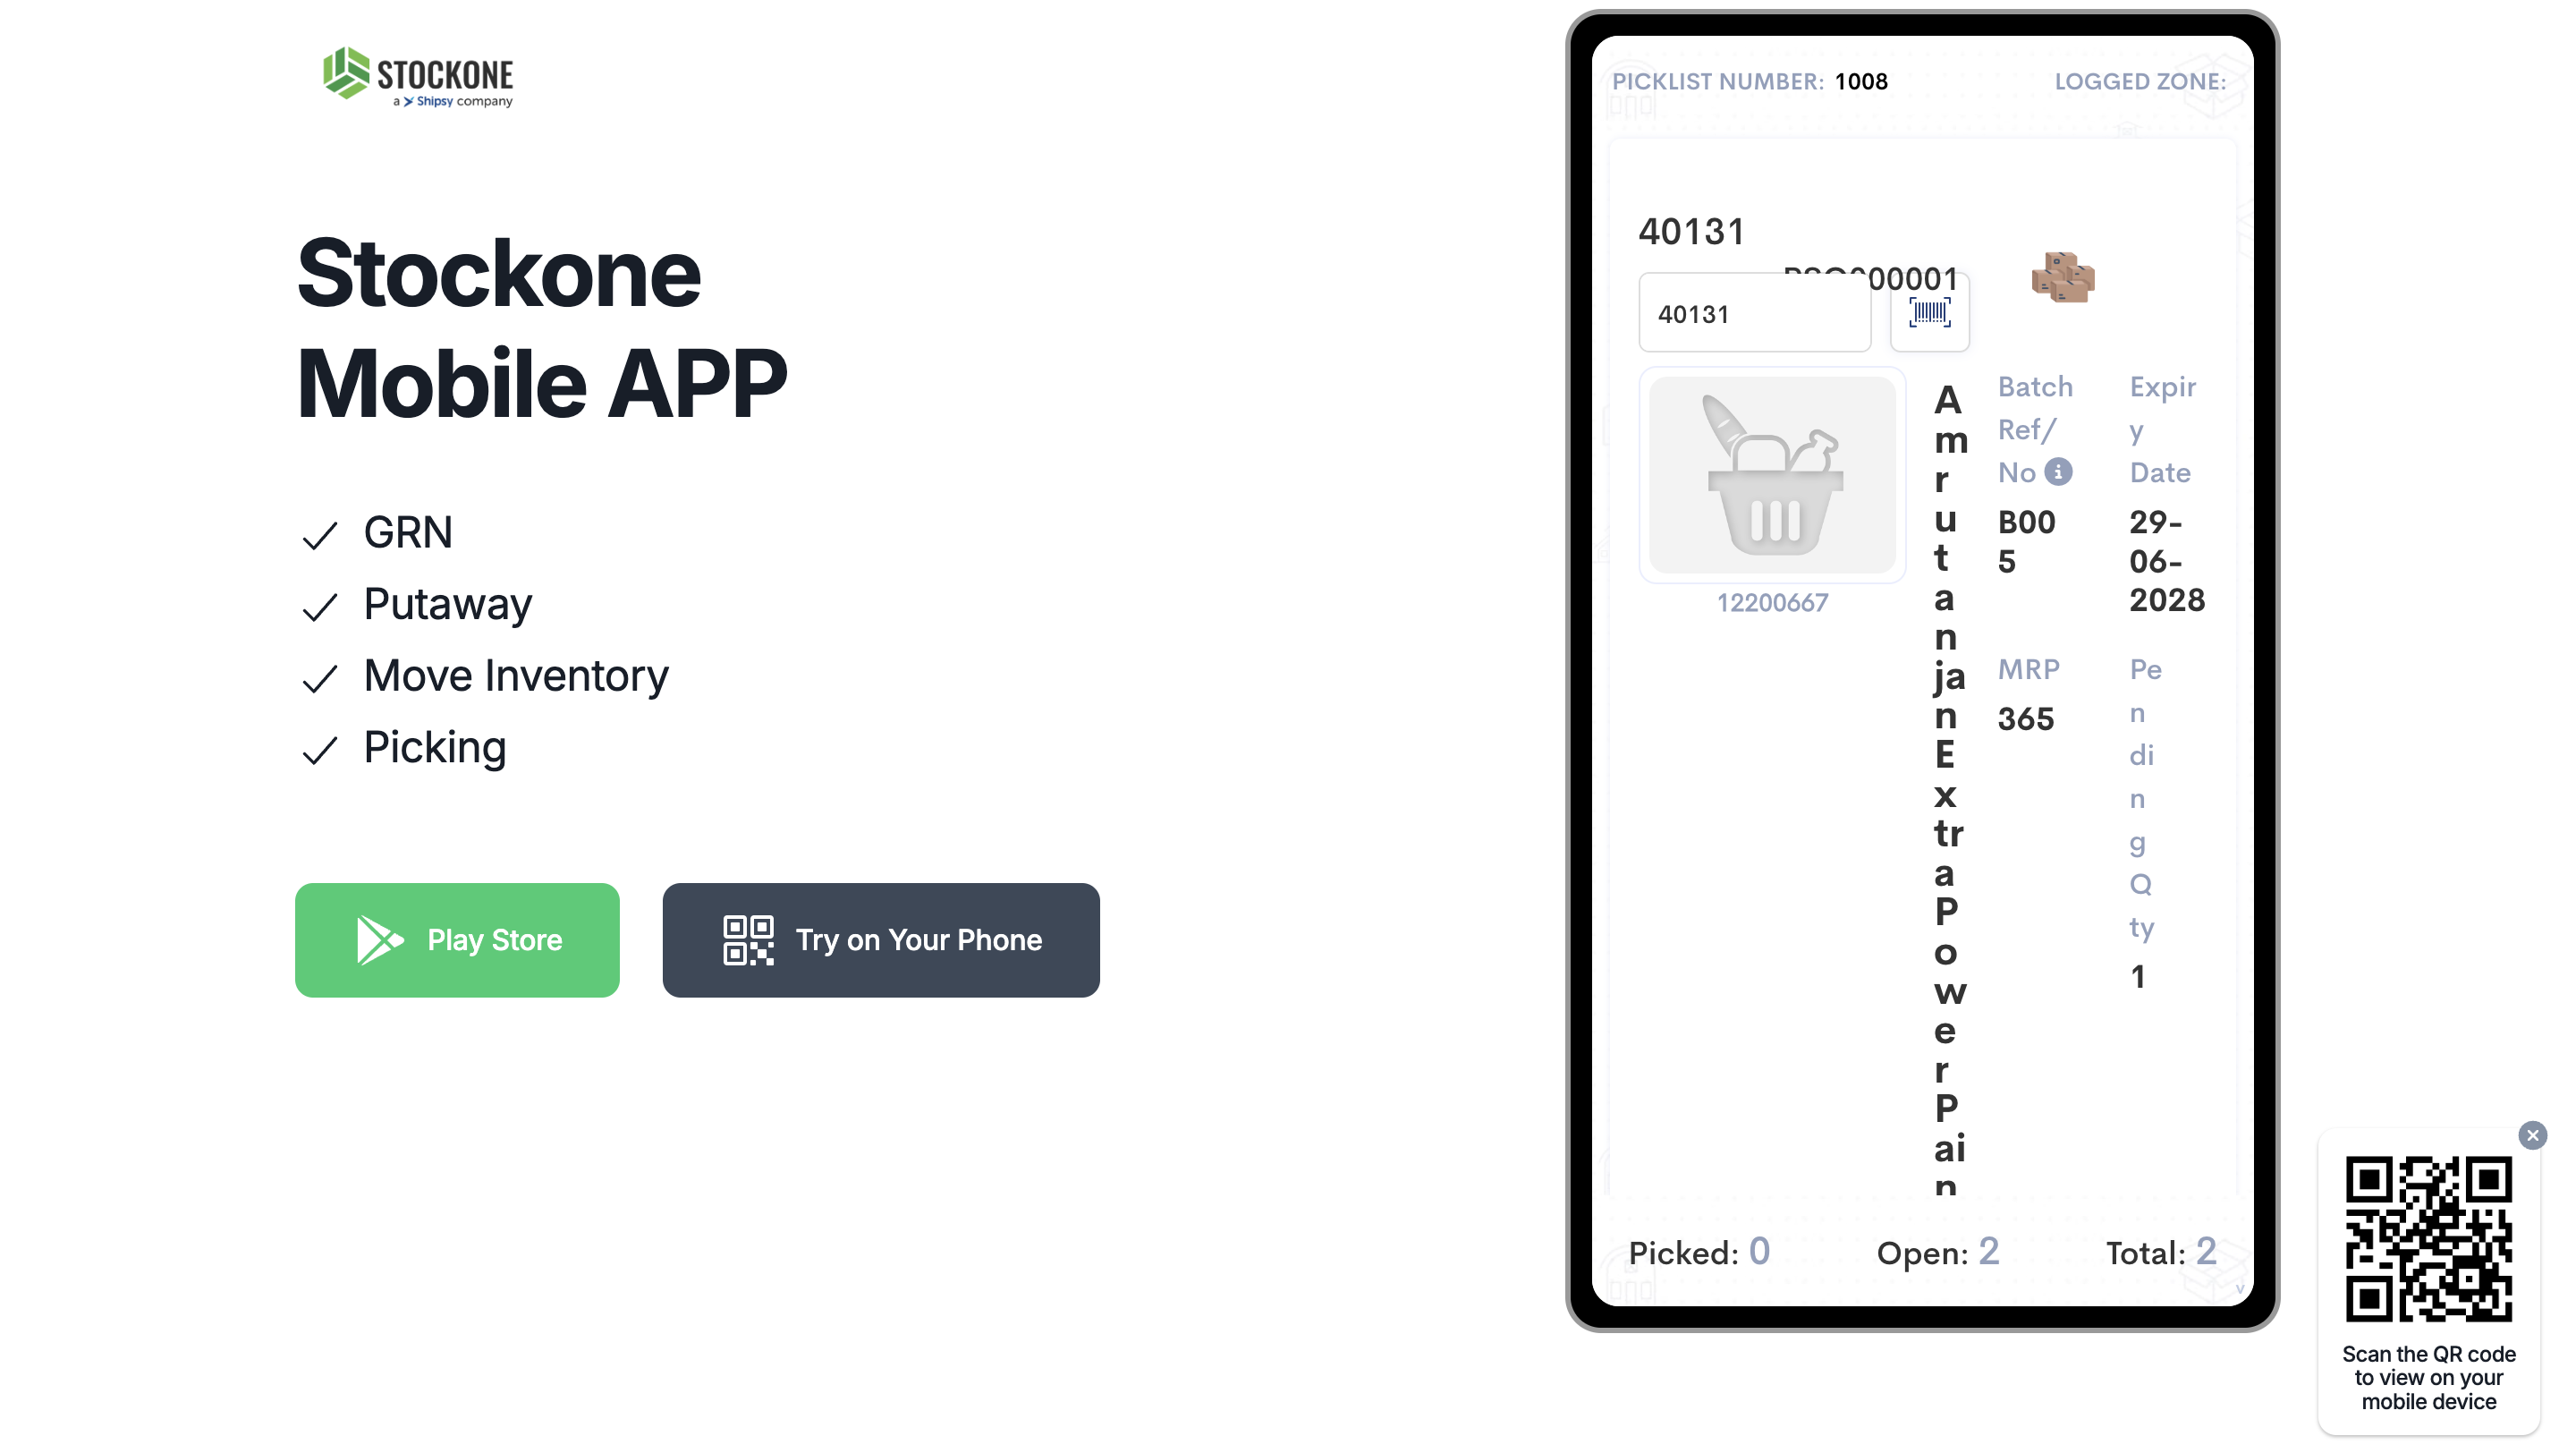
Scan location, the SKU code and add quantity of each SKU in the Picklist.
11
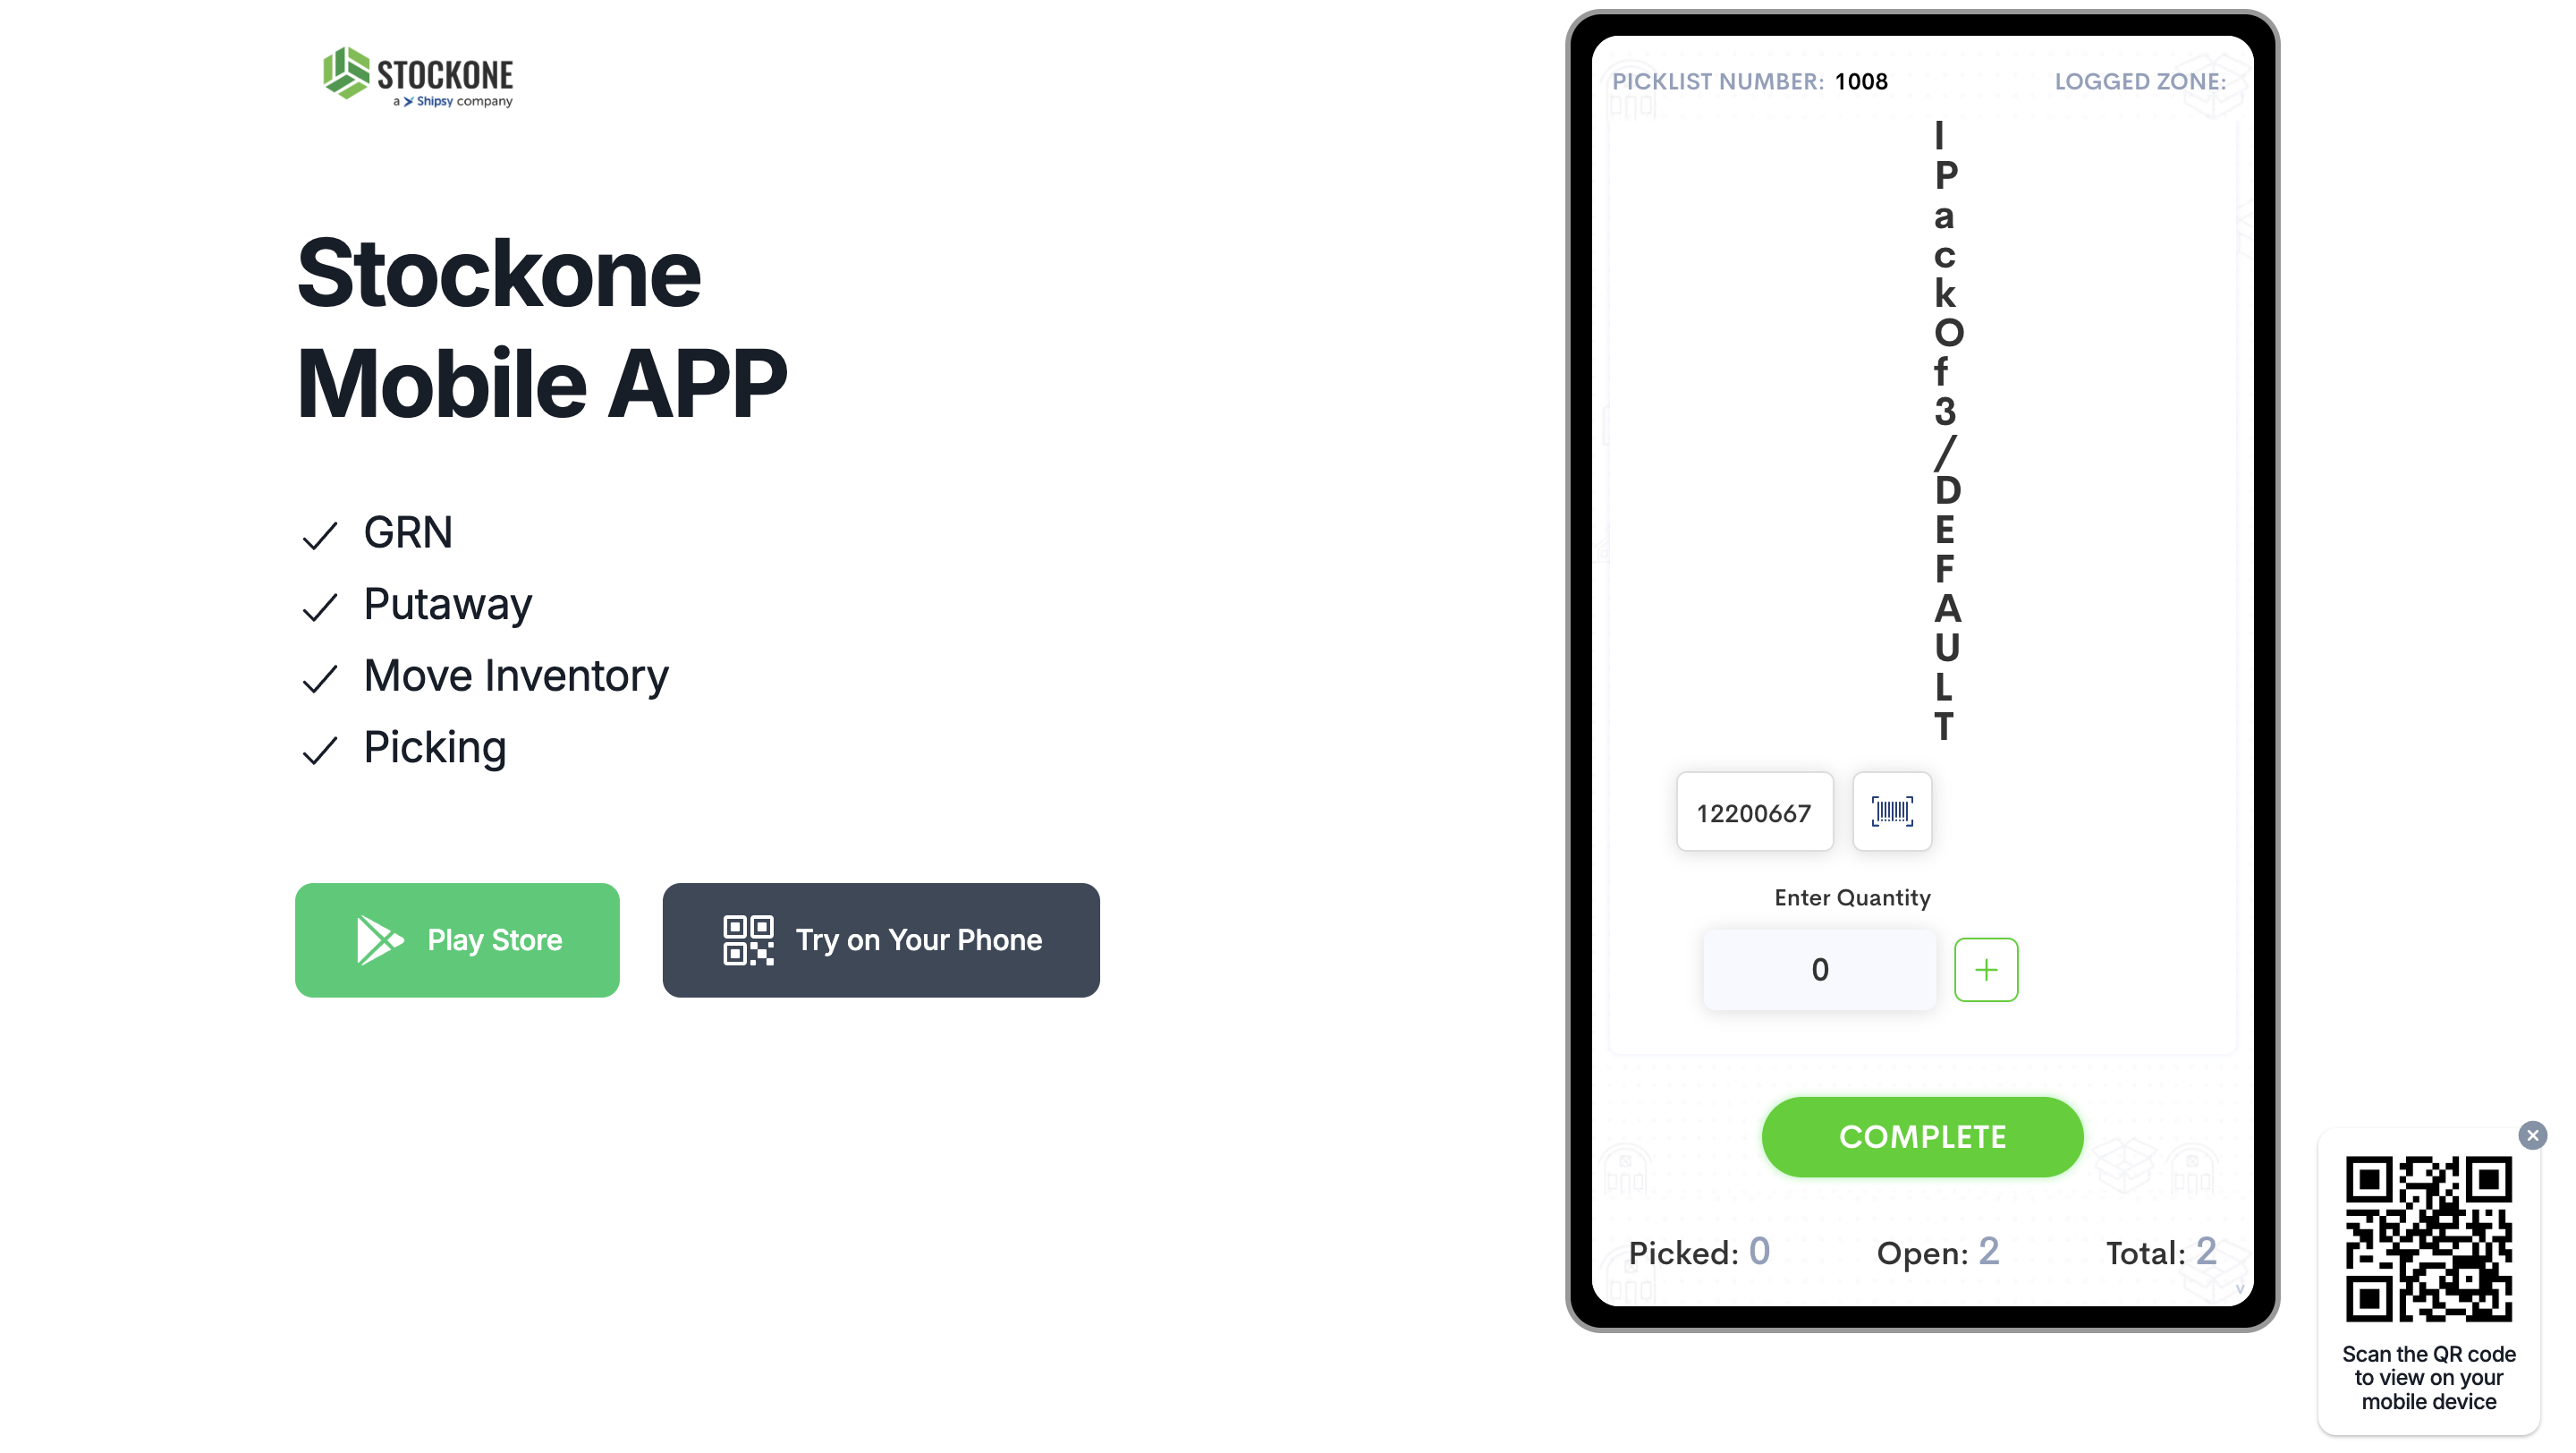
Scan SKU code and increase the quantity of the SKU.
12
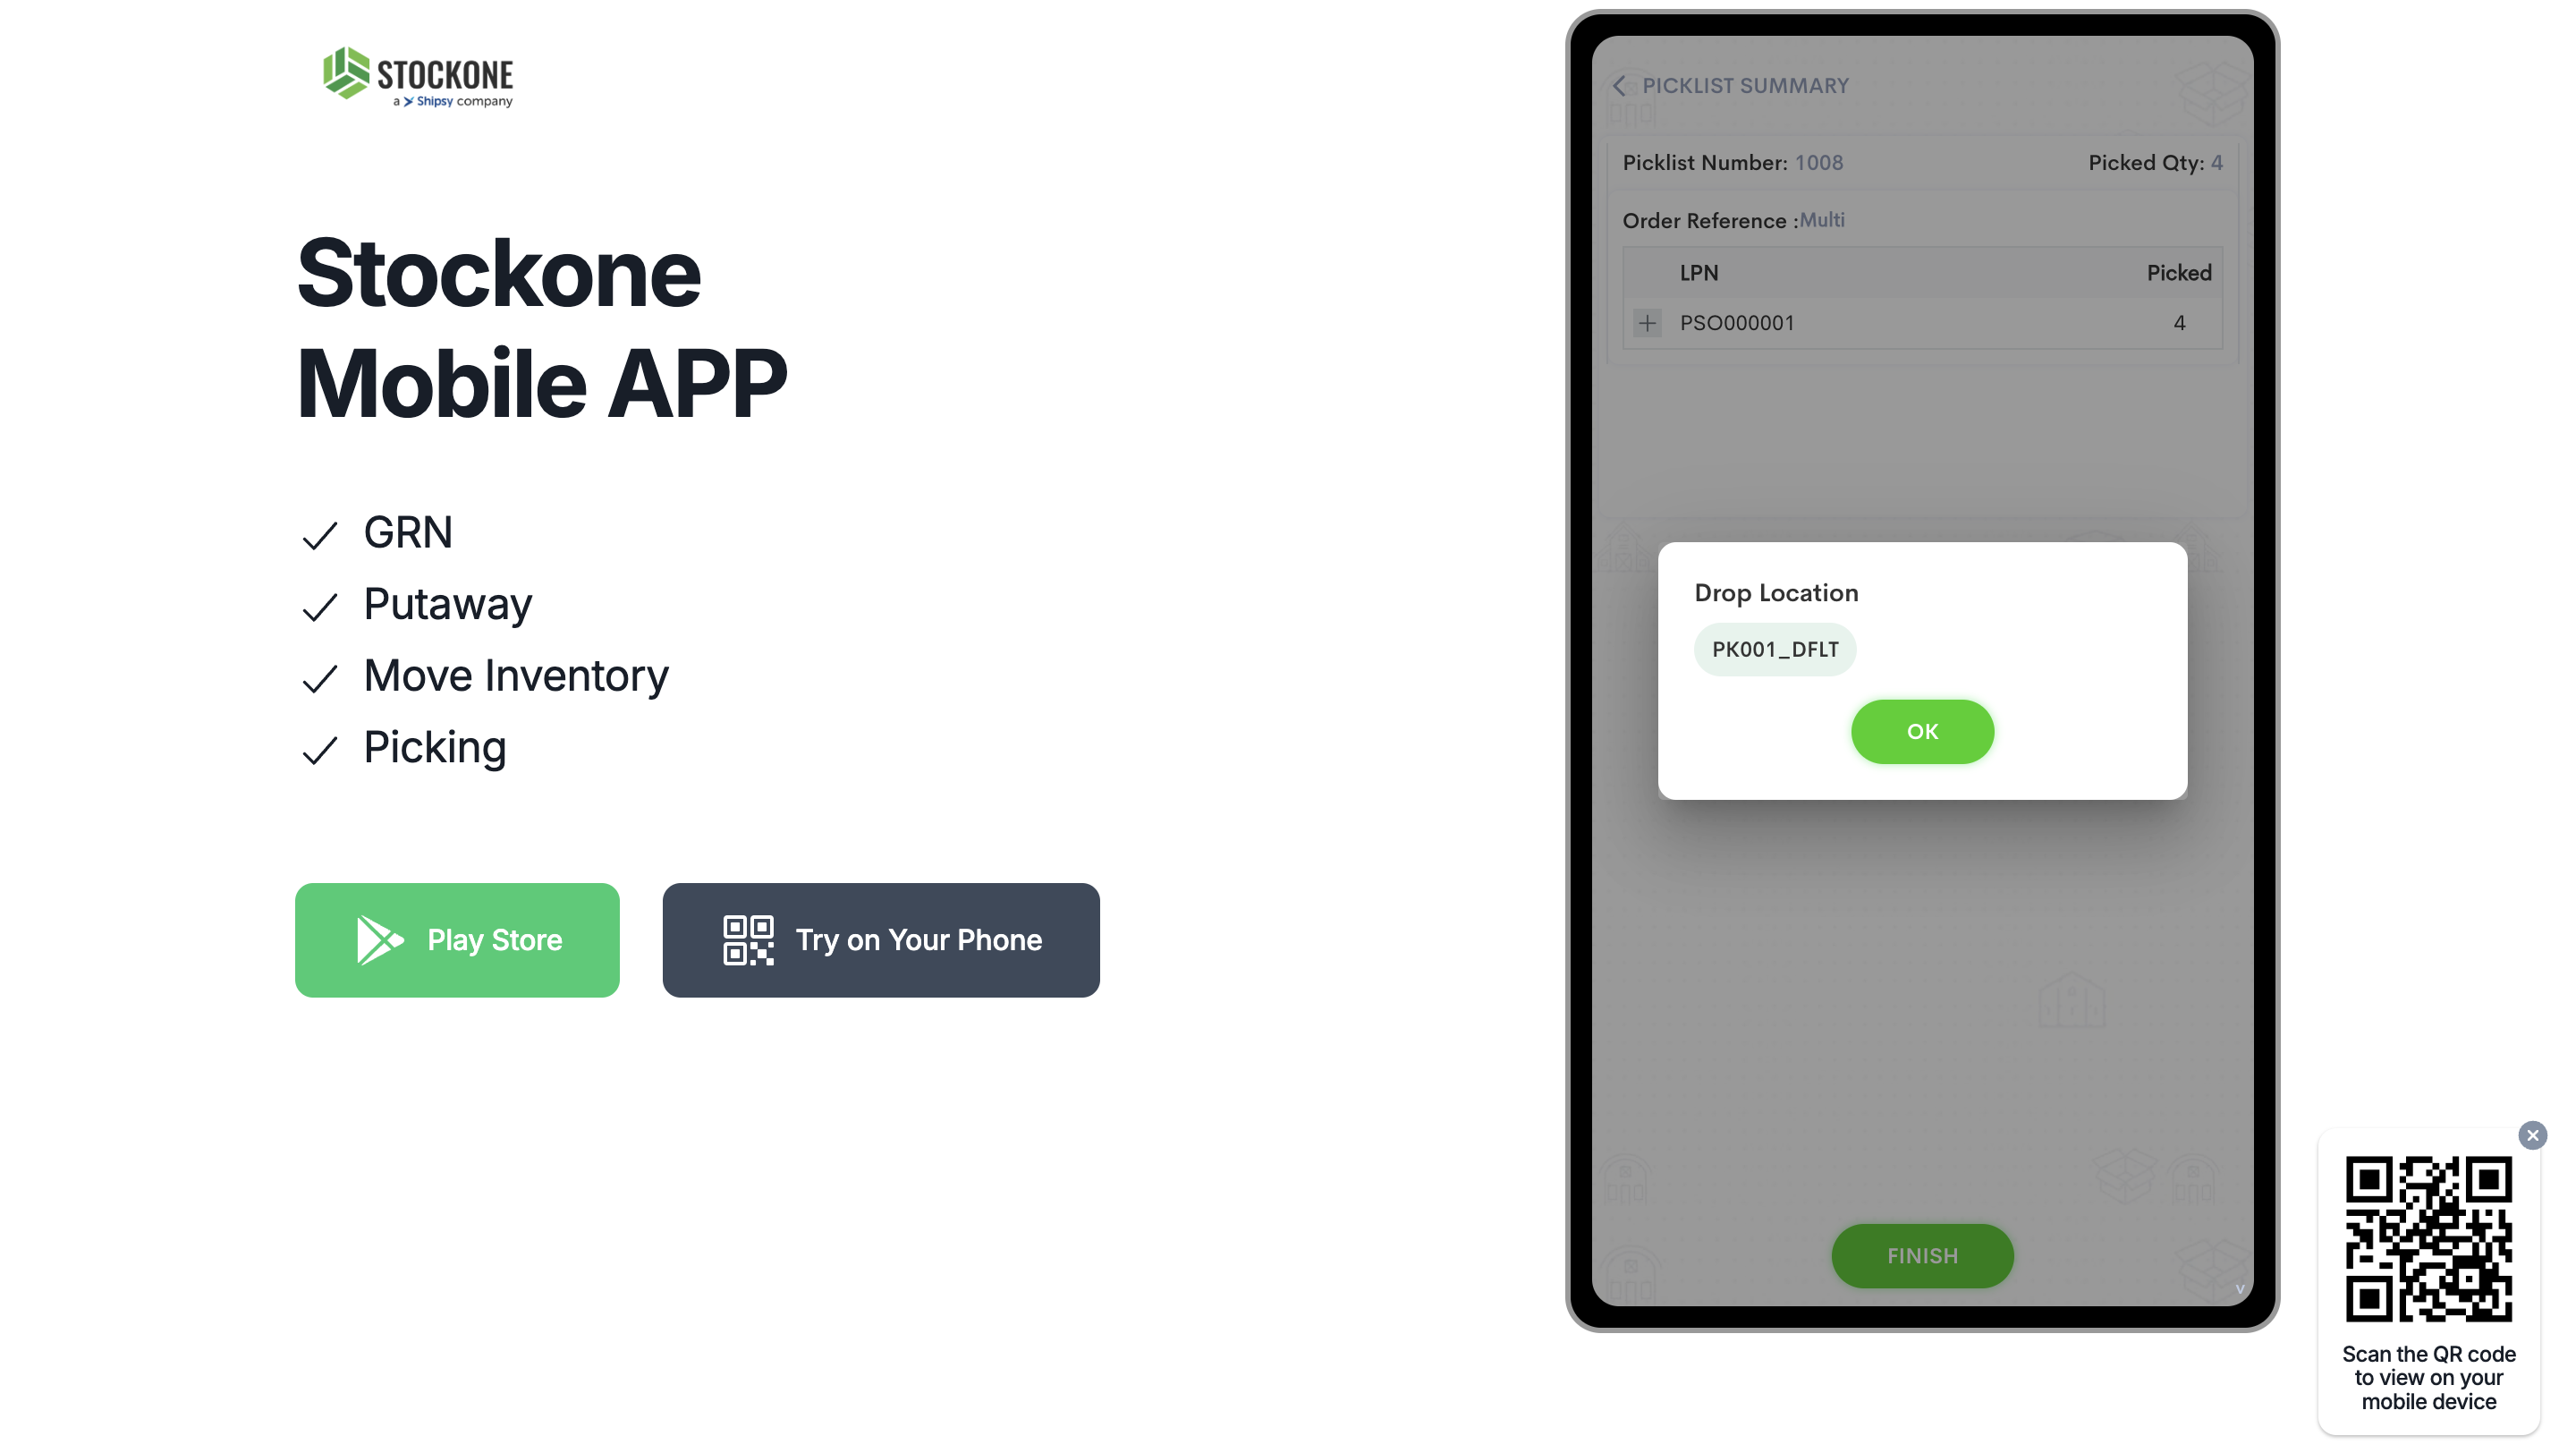
Once all the SKU's are scanned and picked, click finish and it will be dropped to Packing Zone. And go back to Home screen.
13
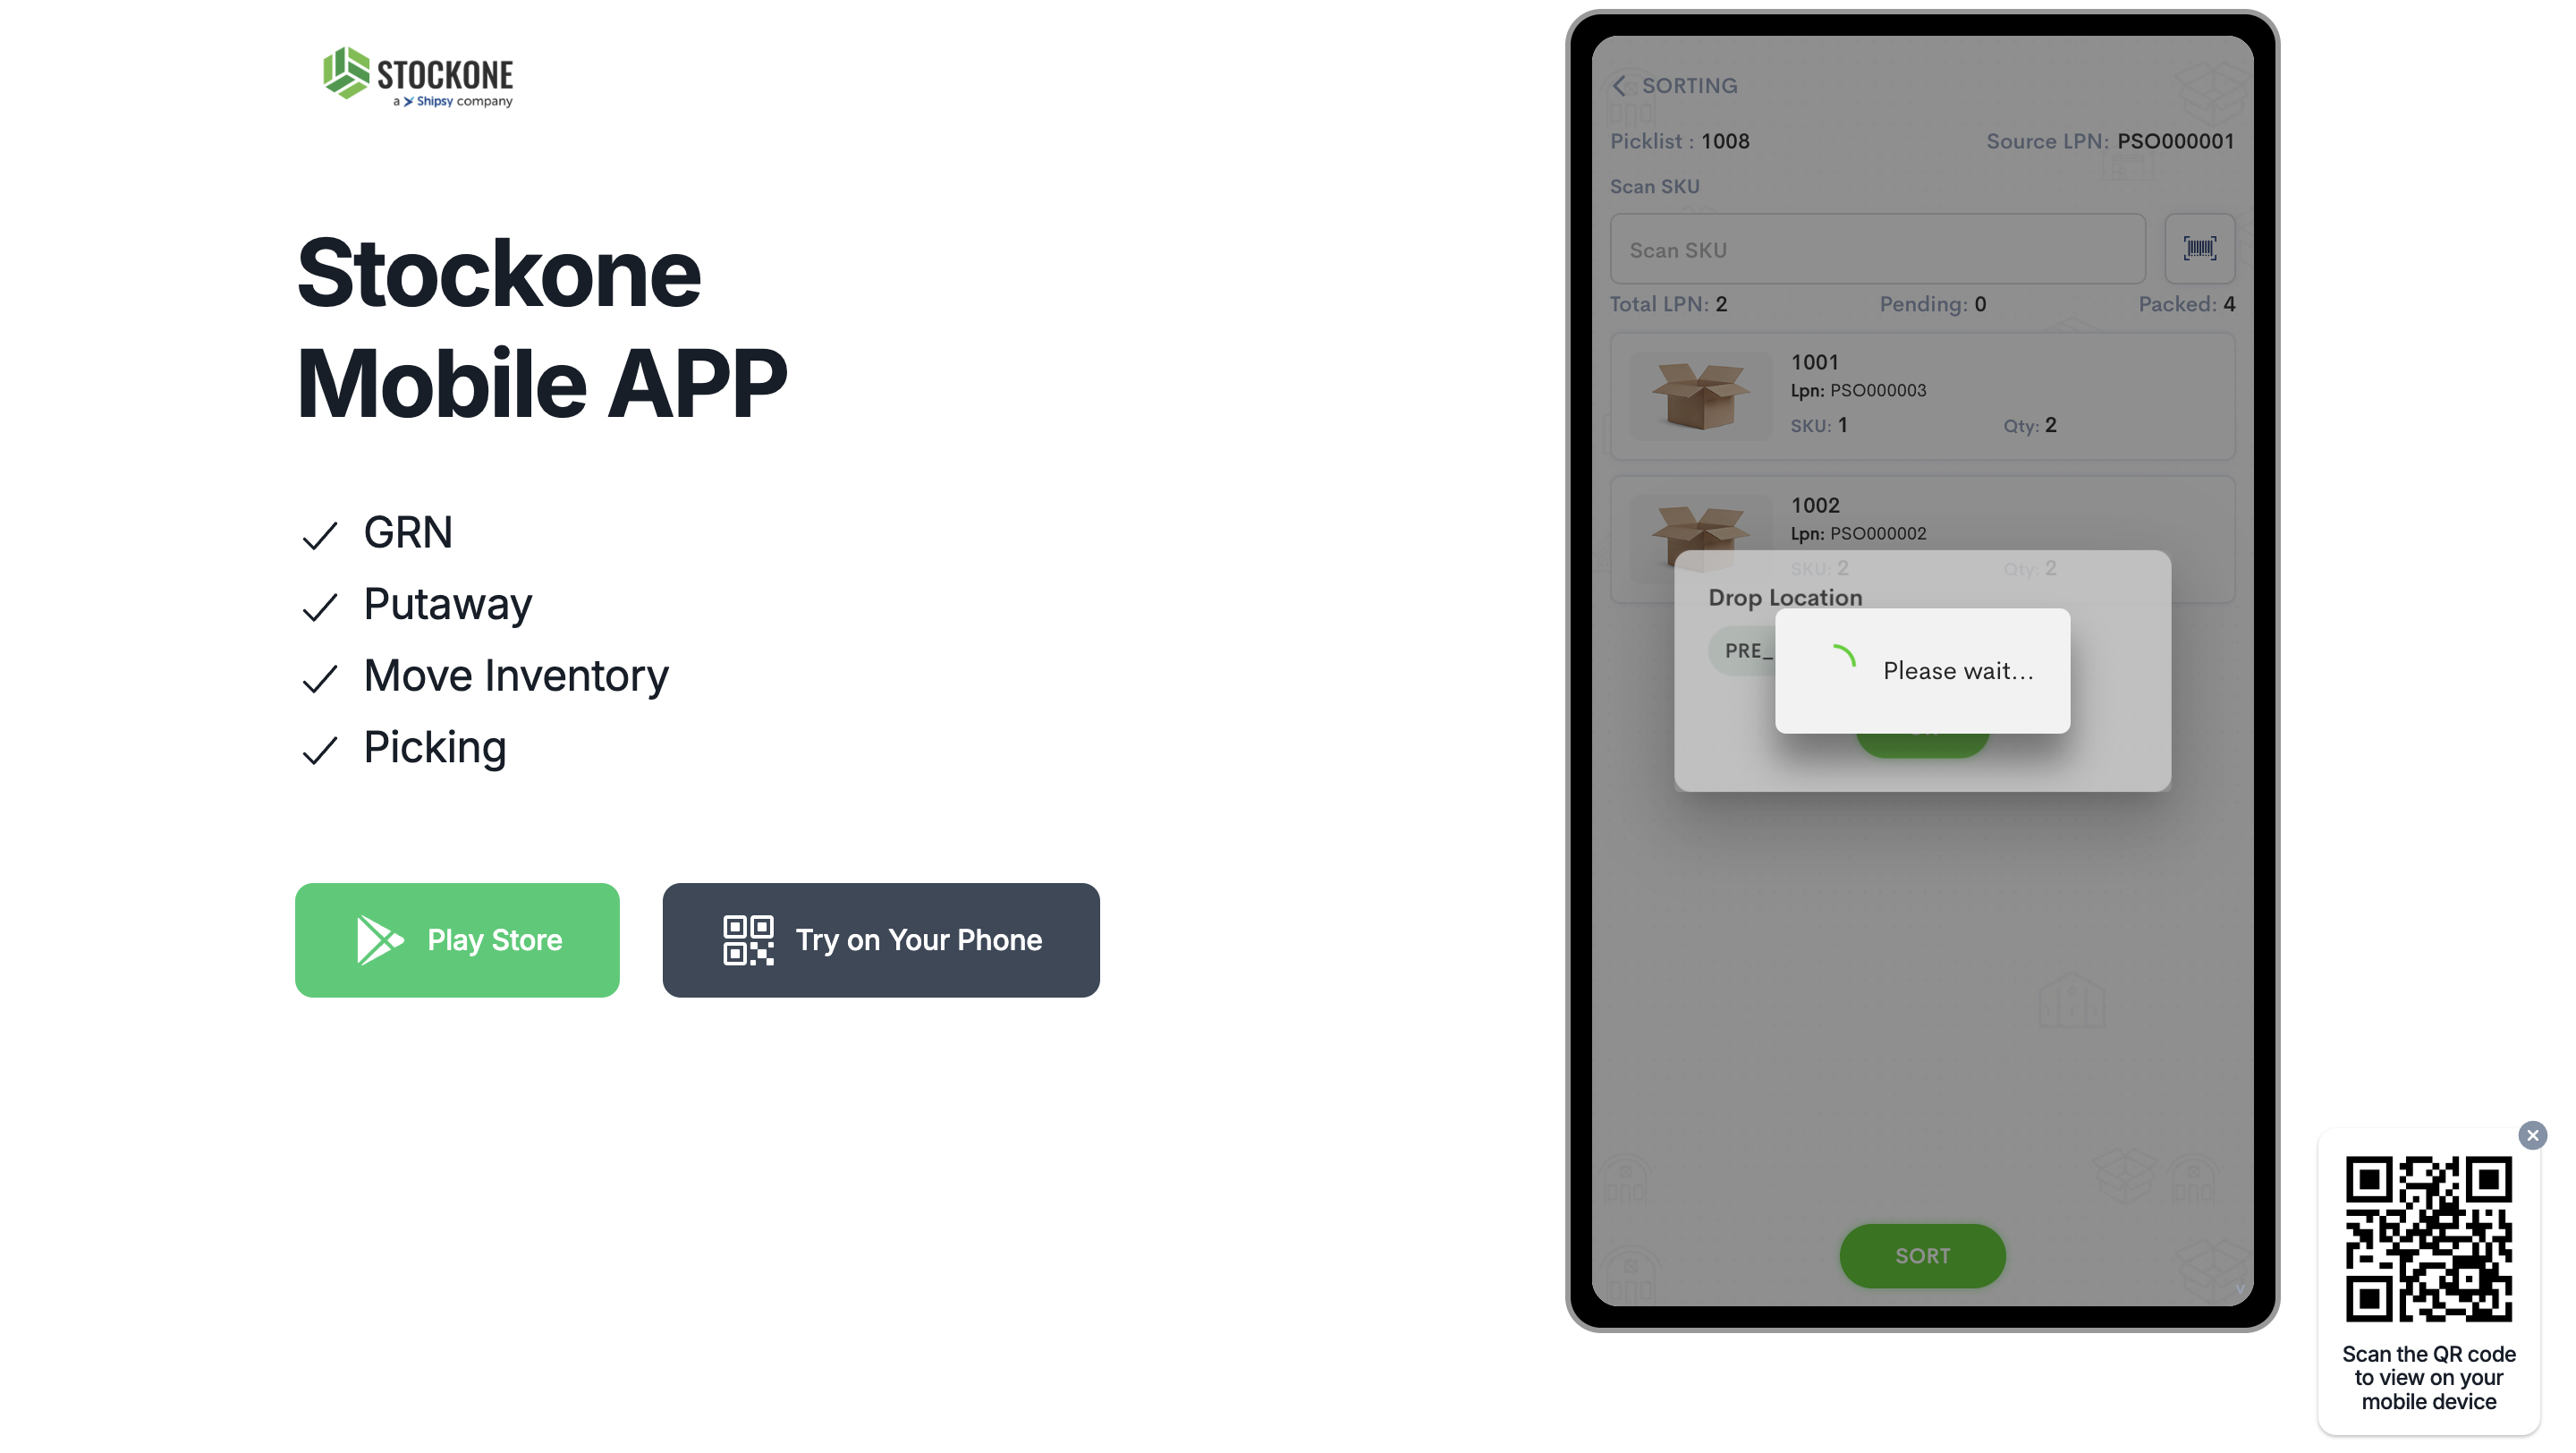
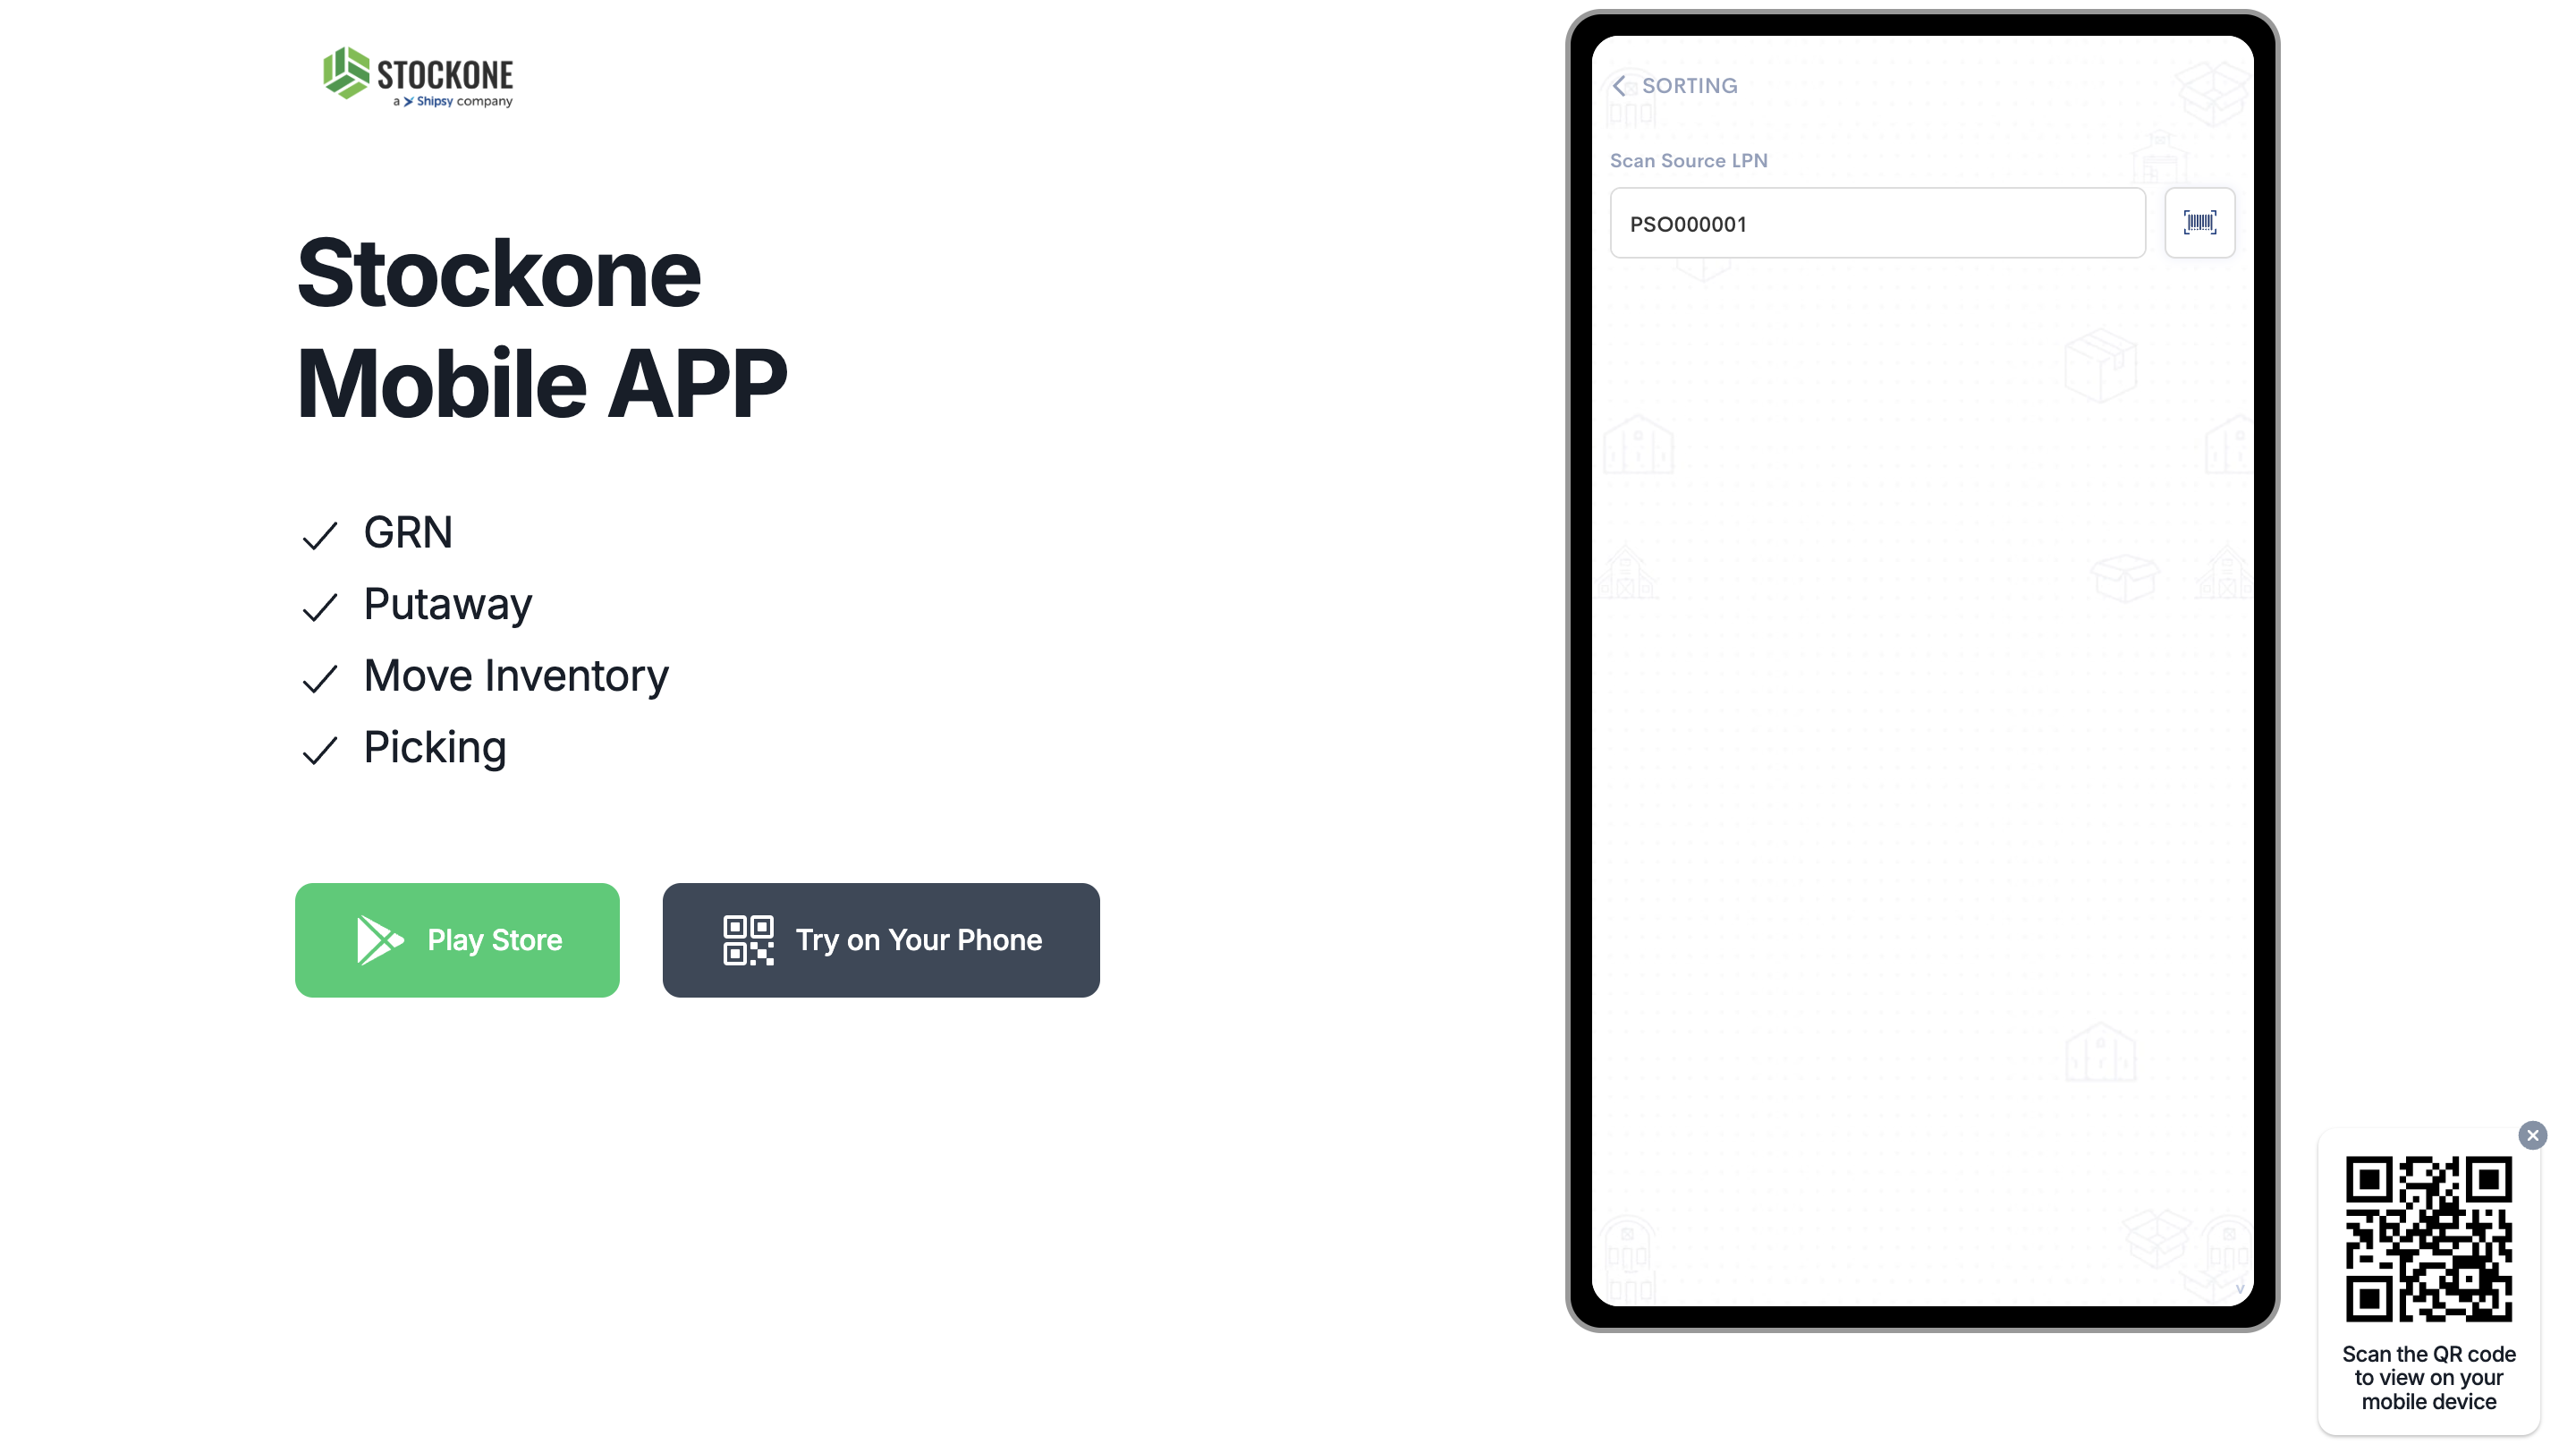
Click SORTING on the Home Screen of Picker app. Scan the Source LPN that was used for picking. (PSO000001)
14
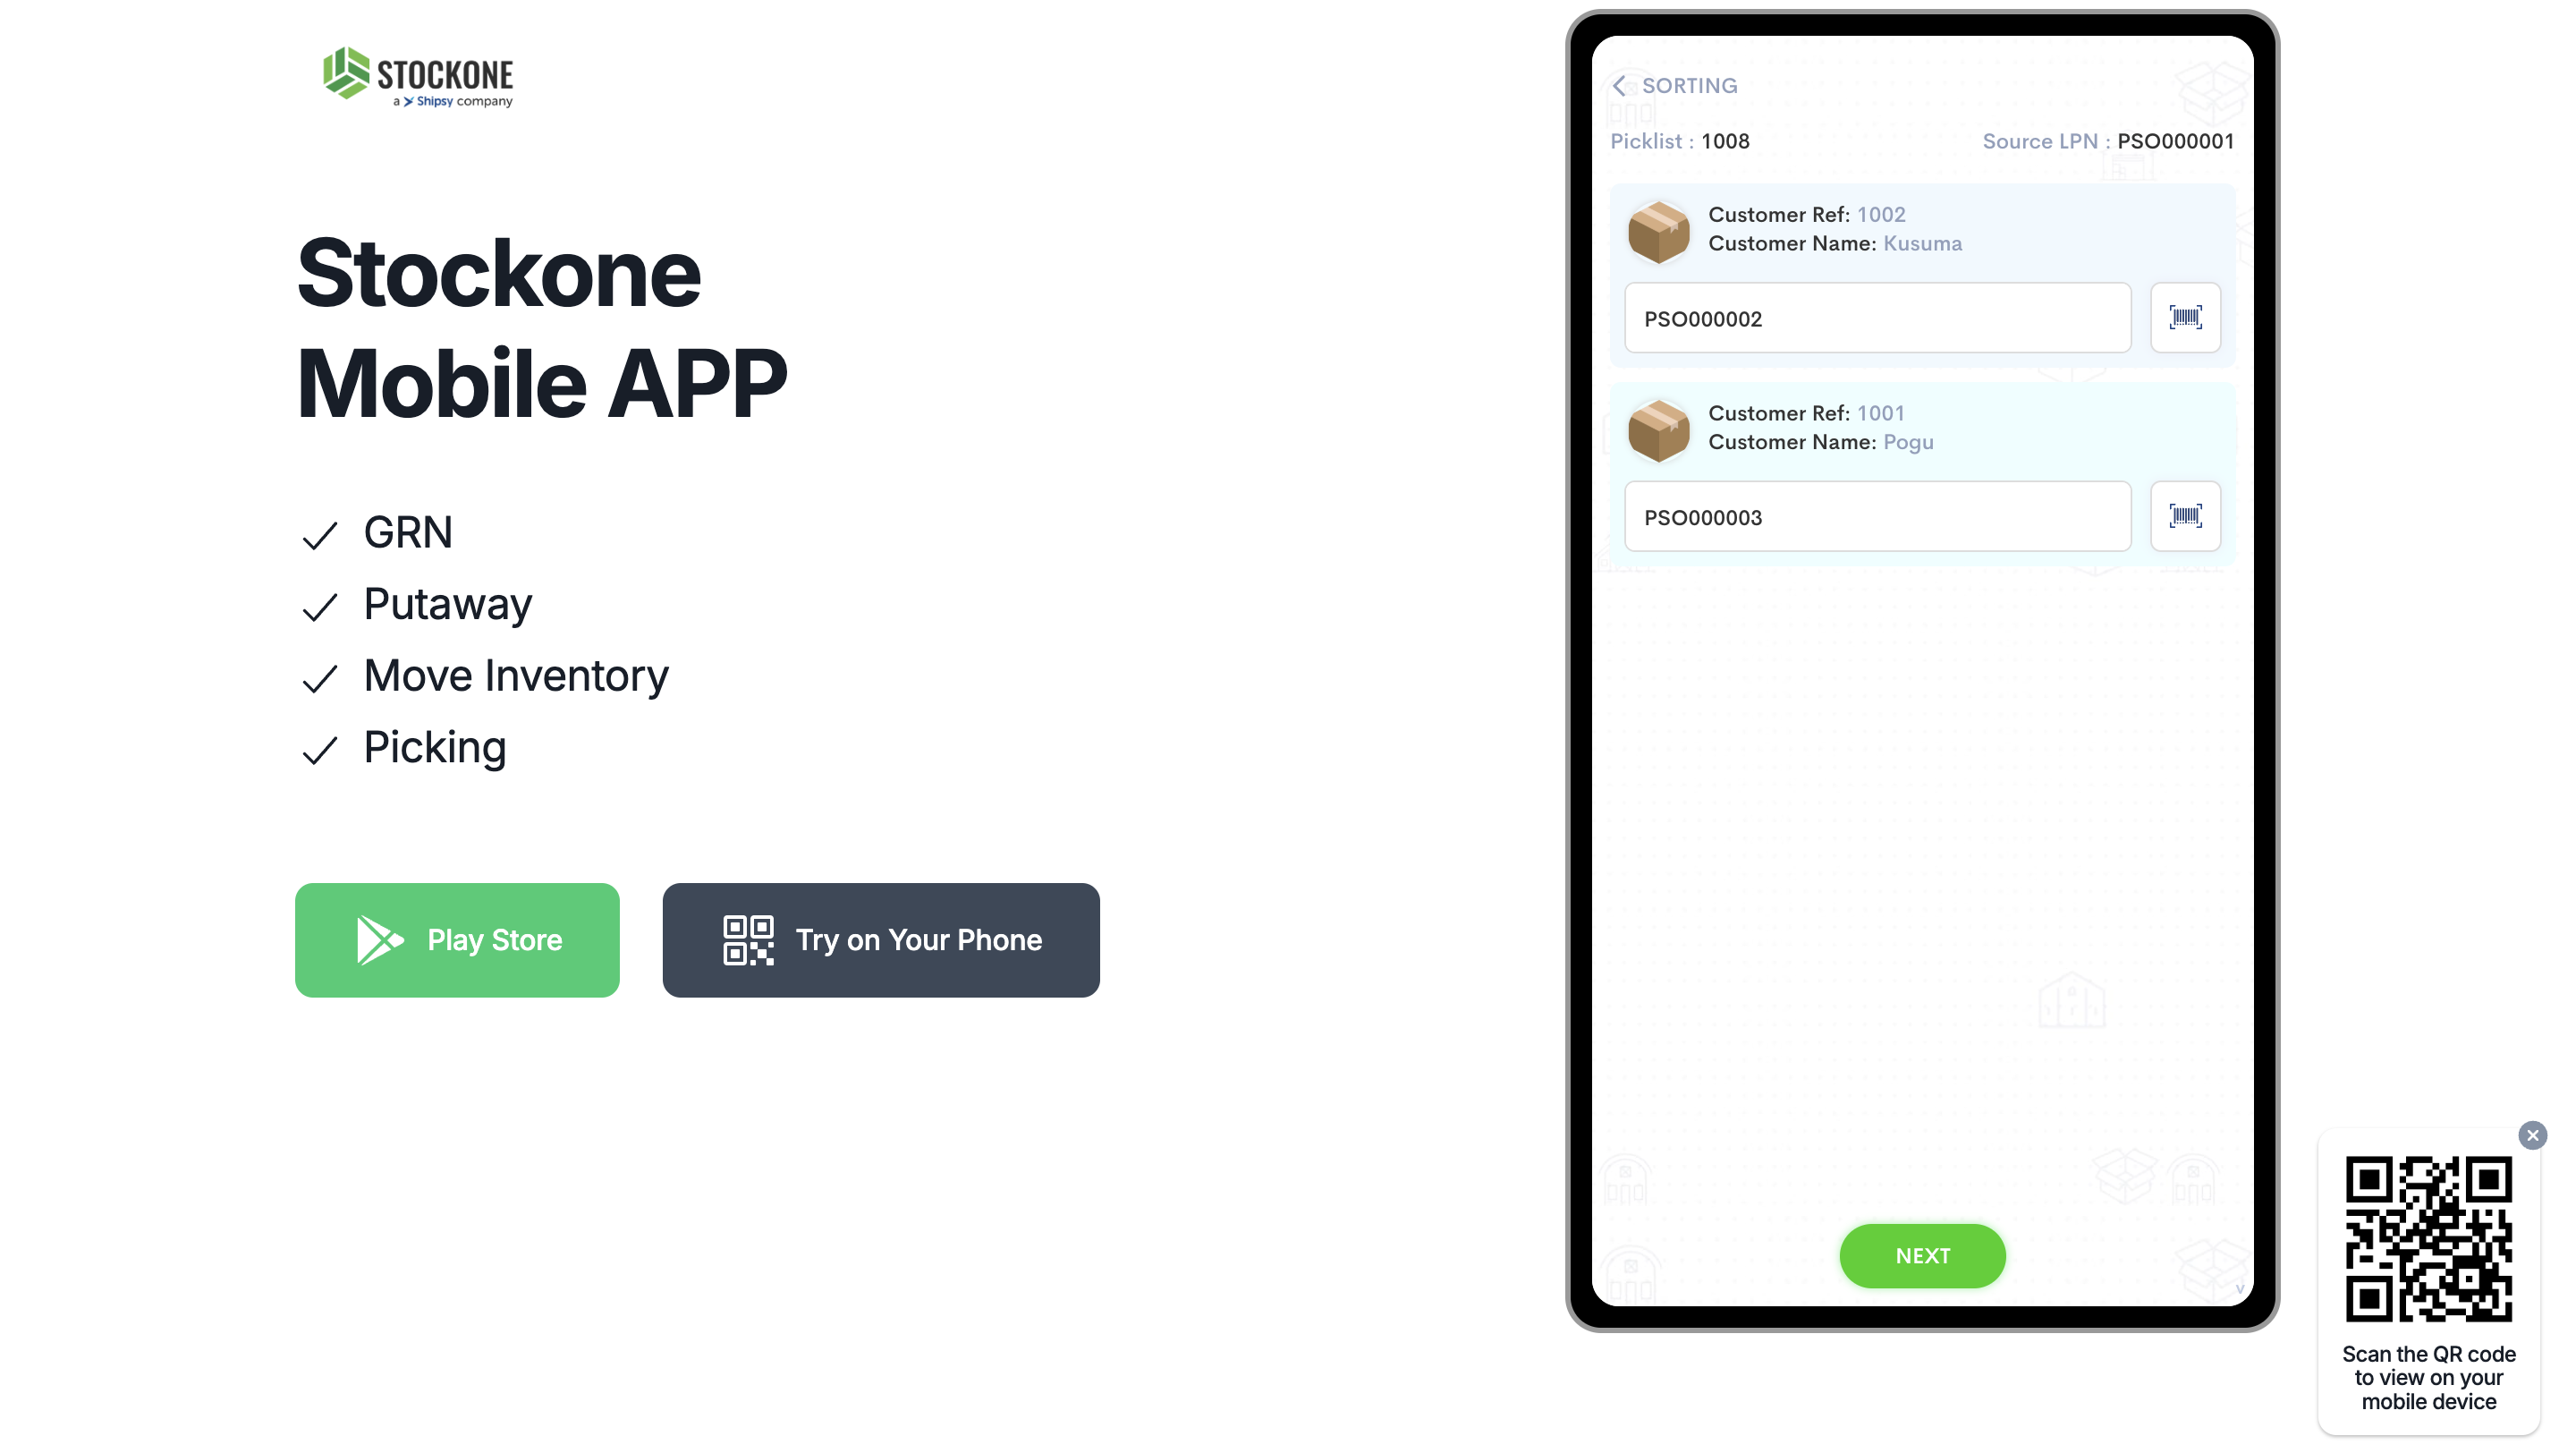
Enter 2 new usable LPNs since we have orders from 2 different customers.
15
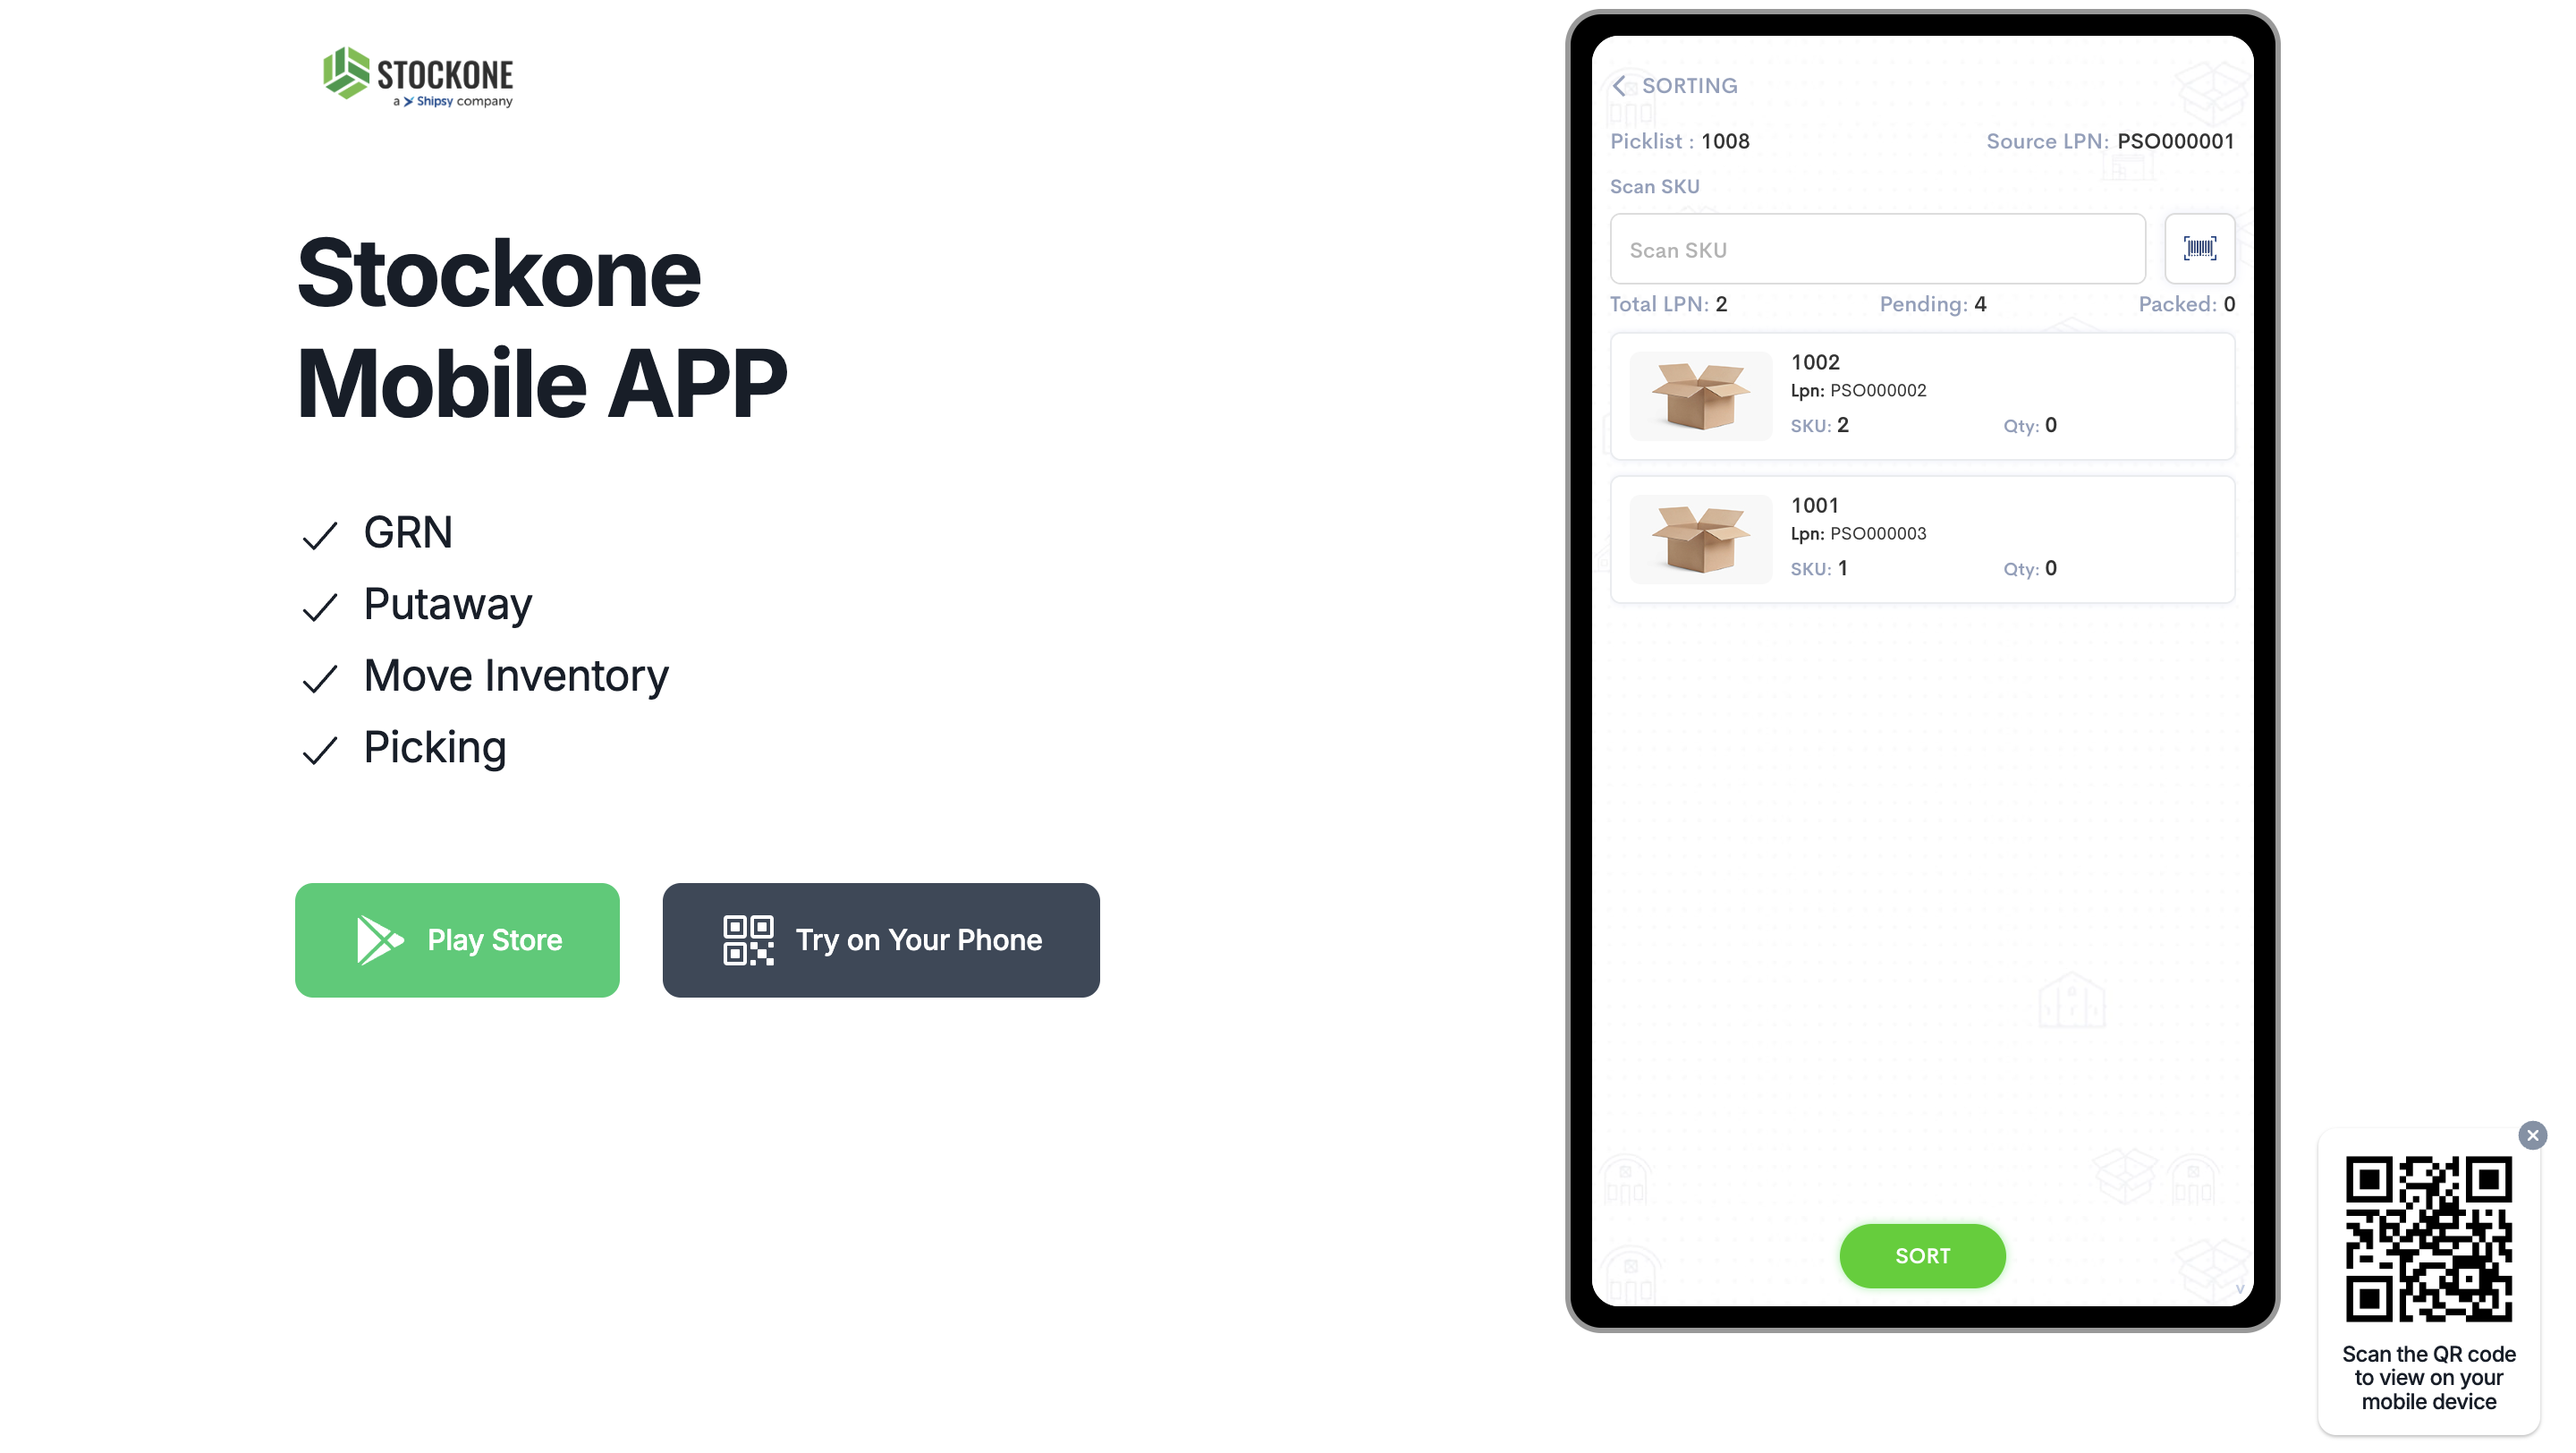
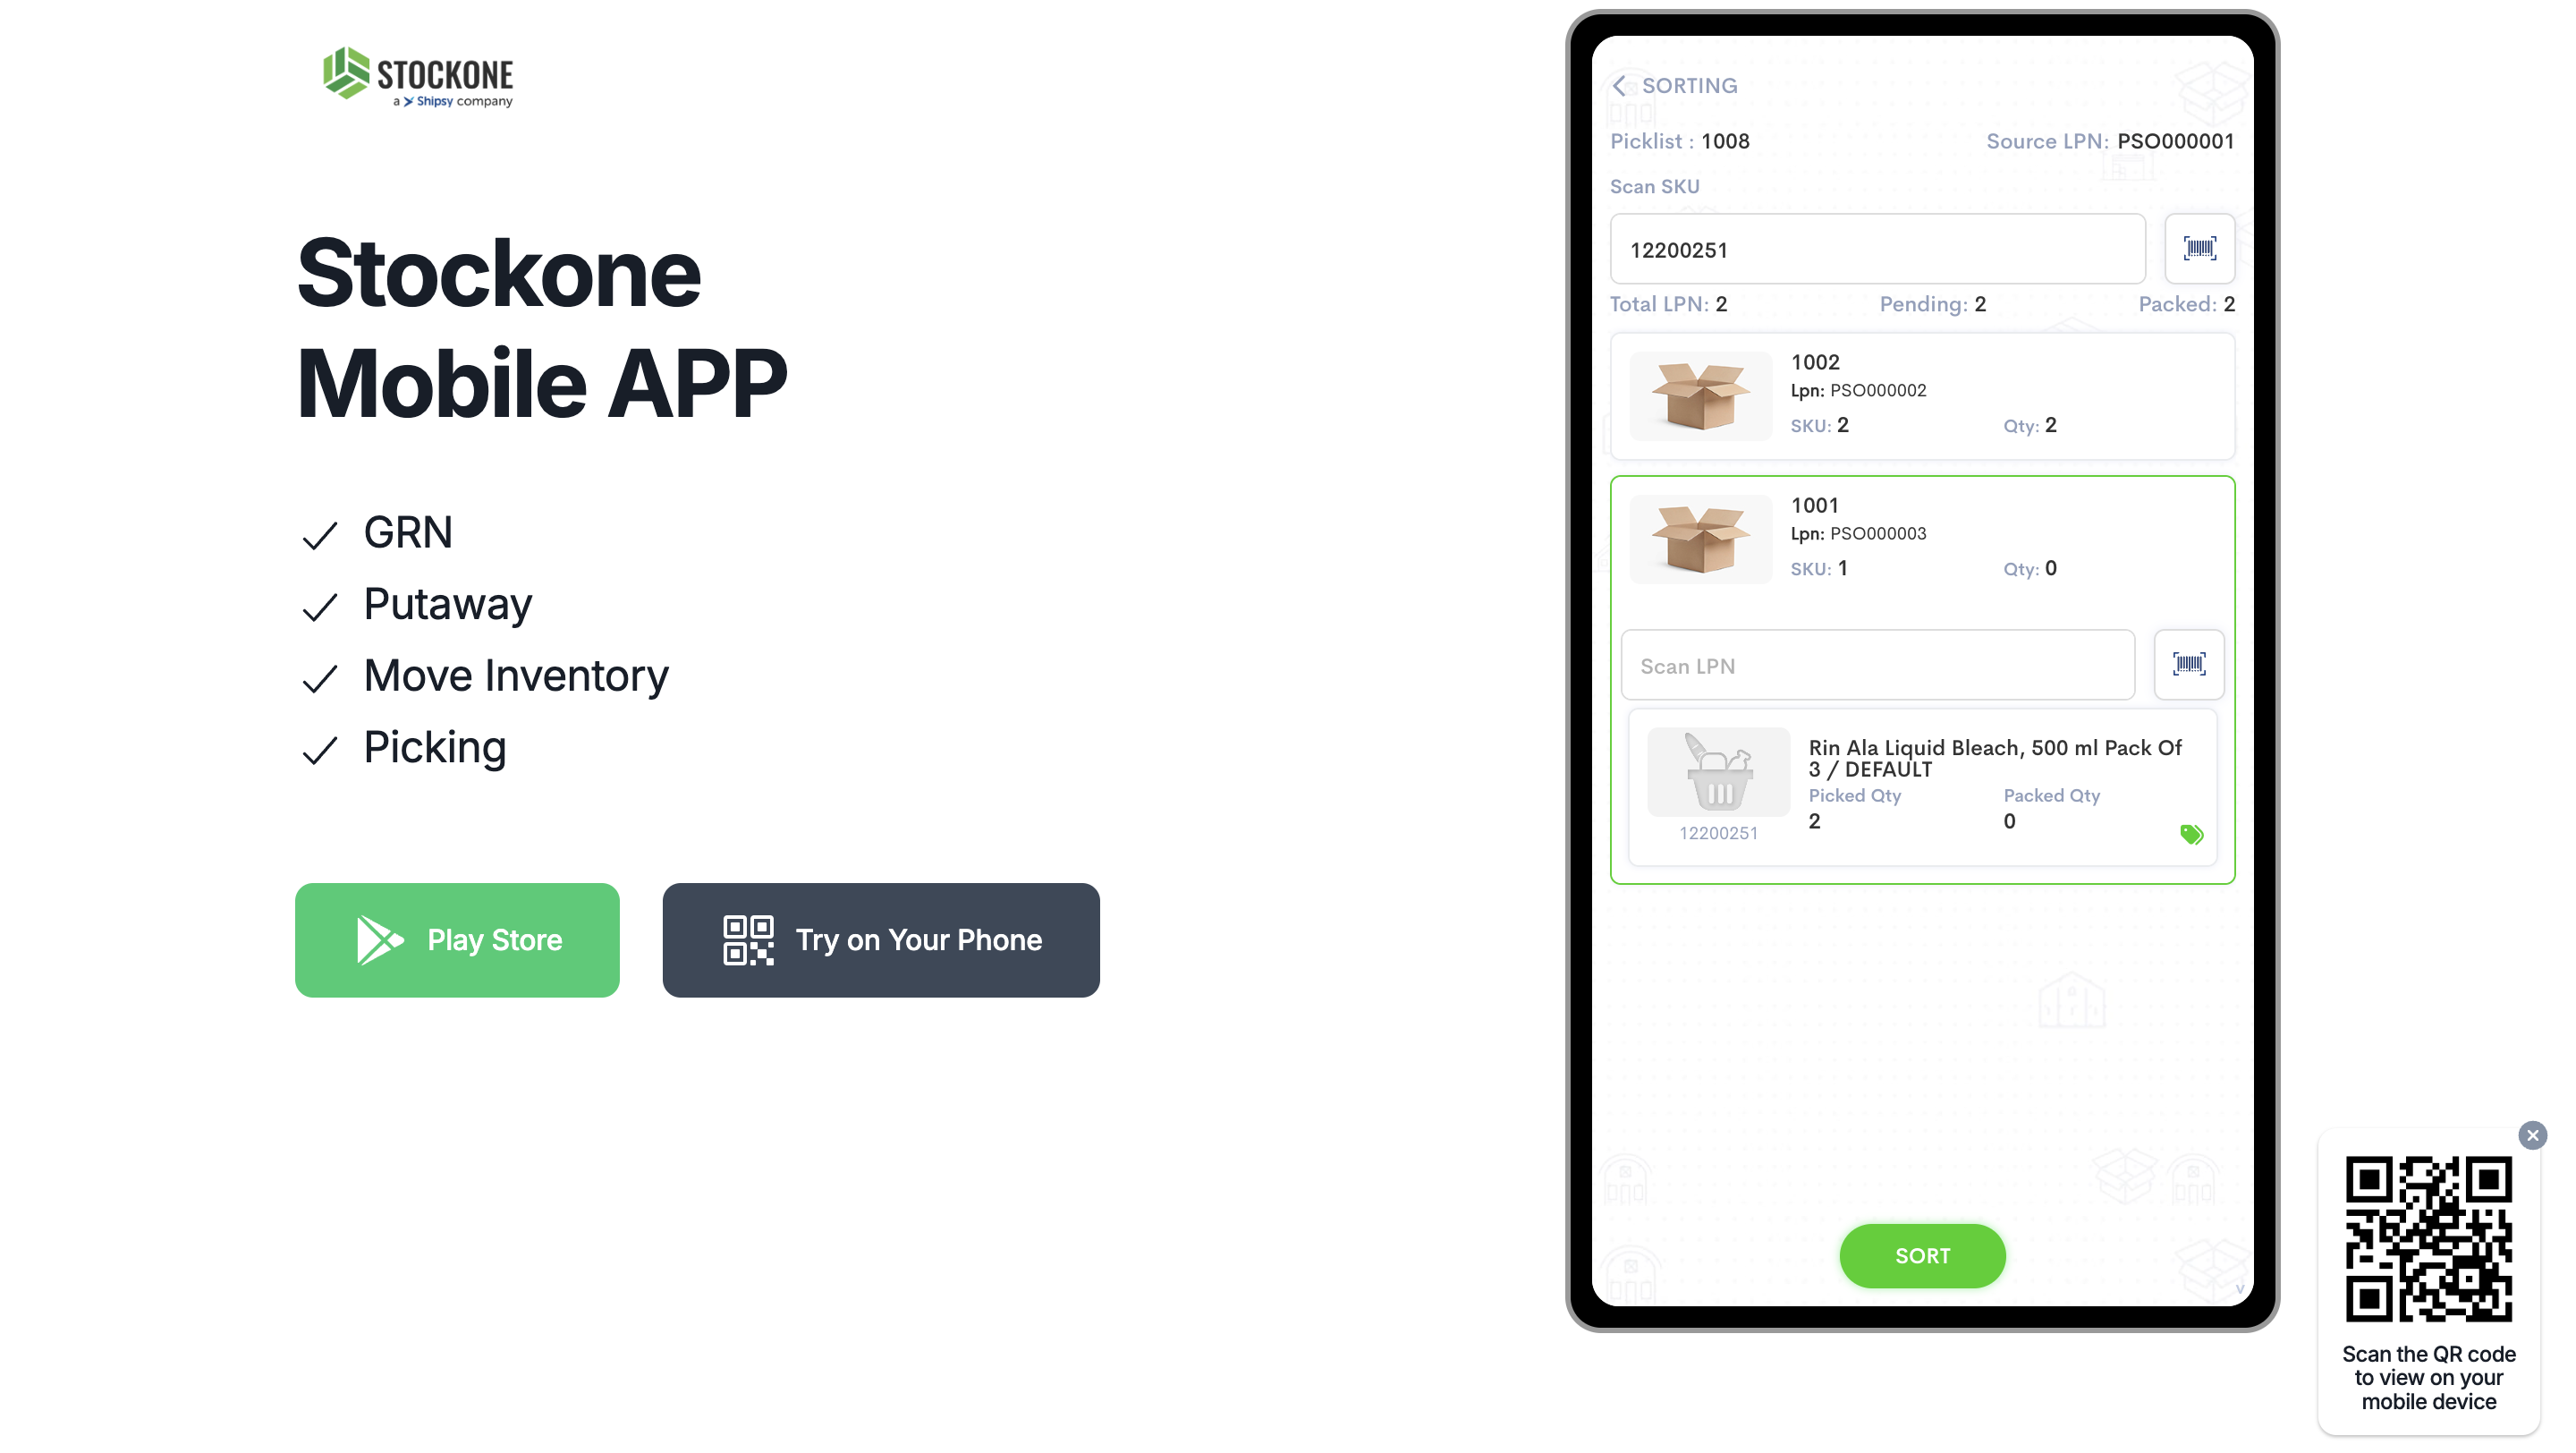
Scan SKU code of each individual item and then scan LPN to add that particular SKU item into the LPN. Repeat for all the items in the list.
16
Once the SKU code is scanned, the LPN that this SKU has to go into will appear on top.
17
Then the picker can scan LPU which confirms adding that item into the destination LPU.
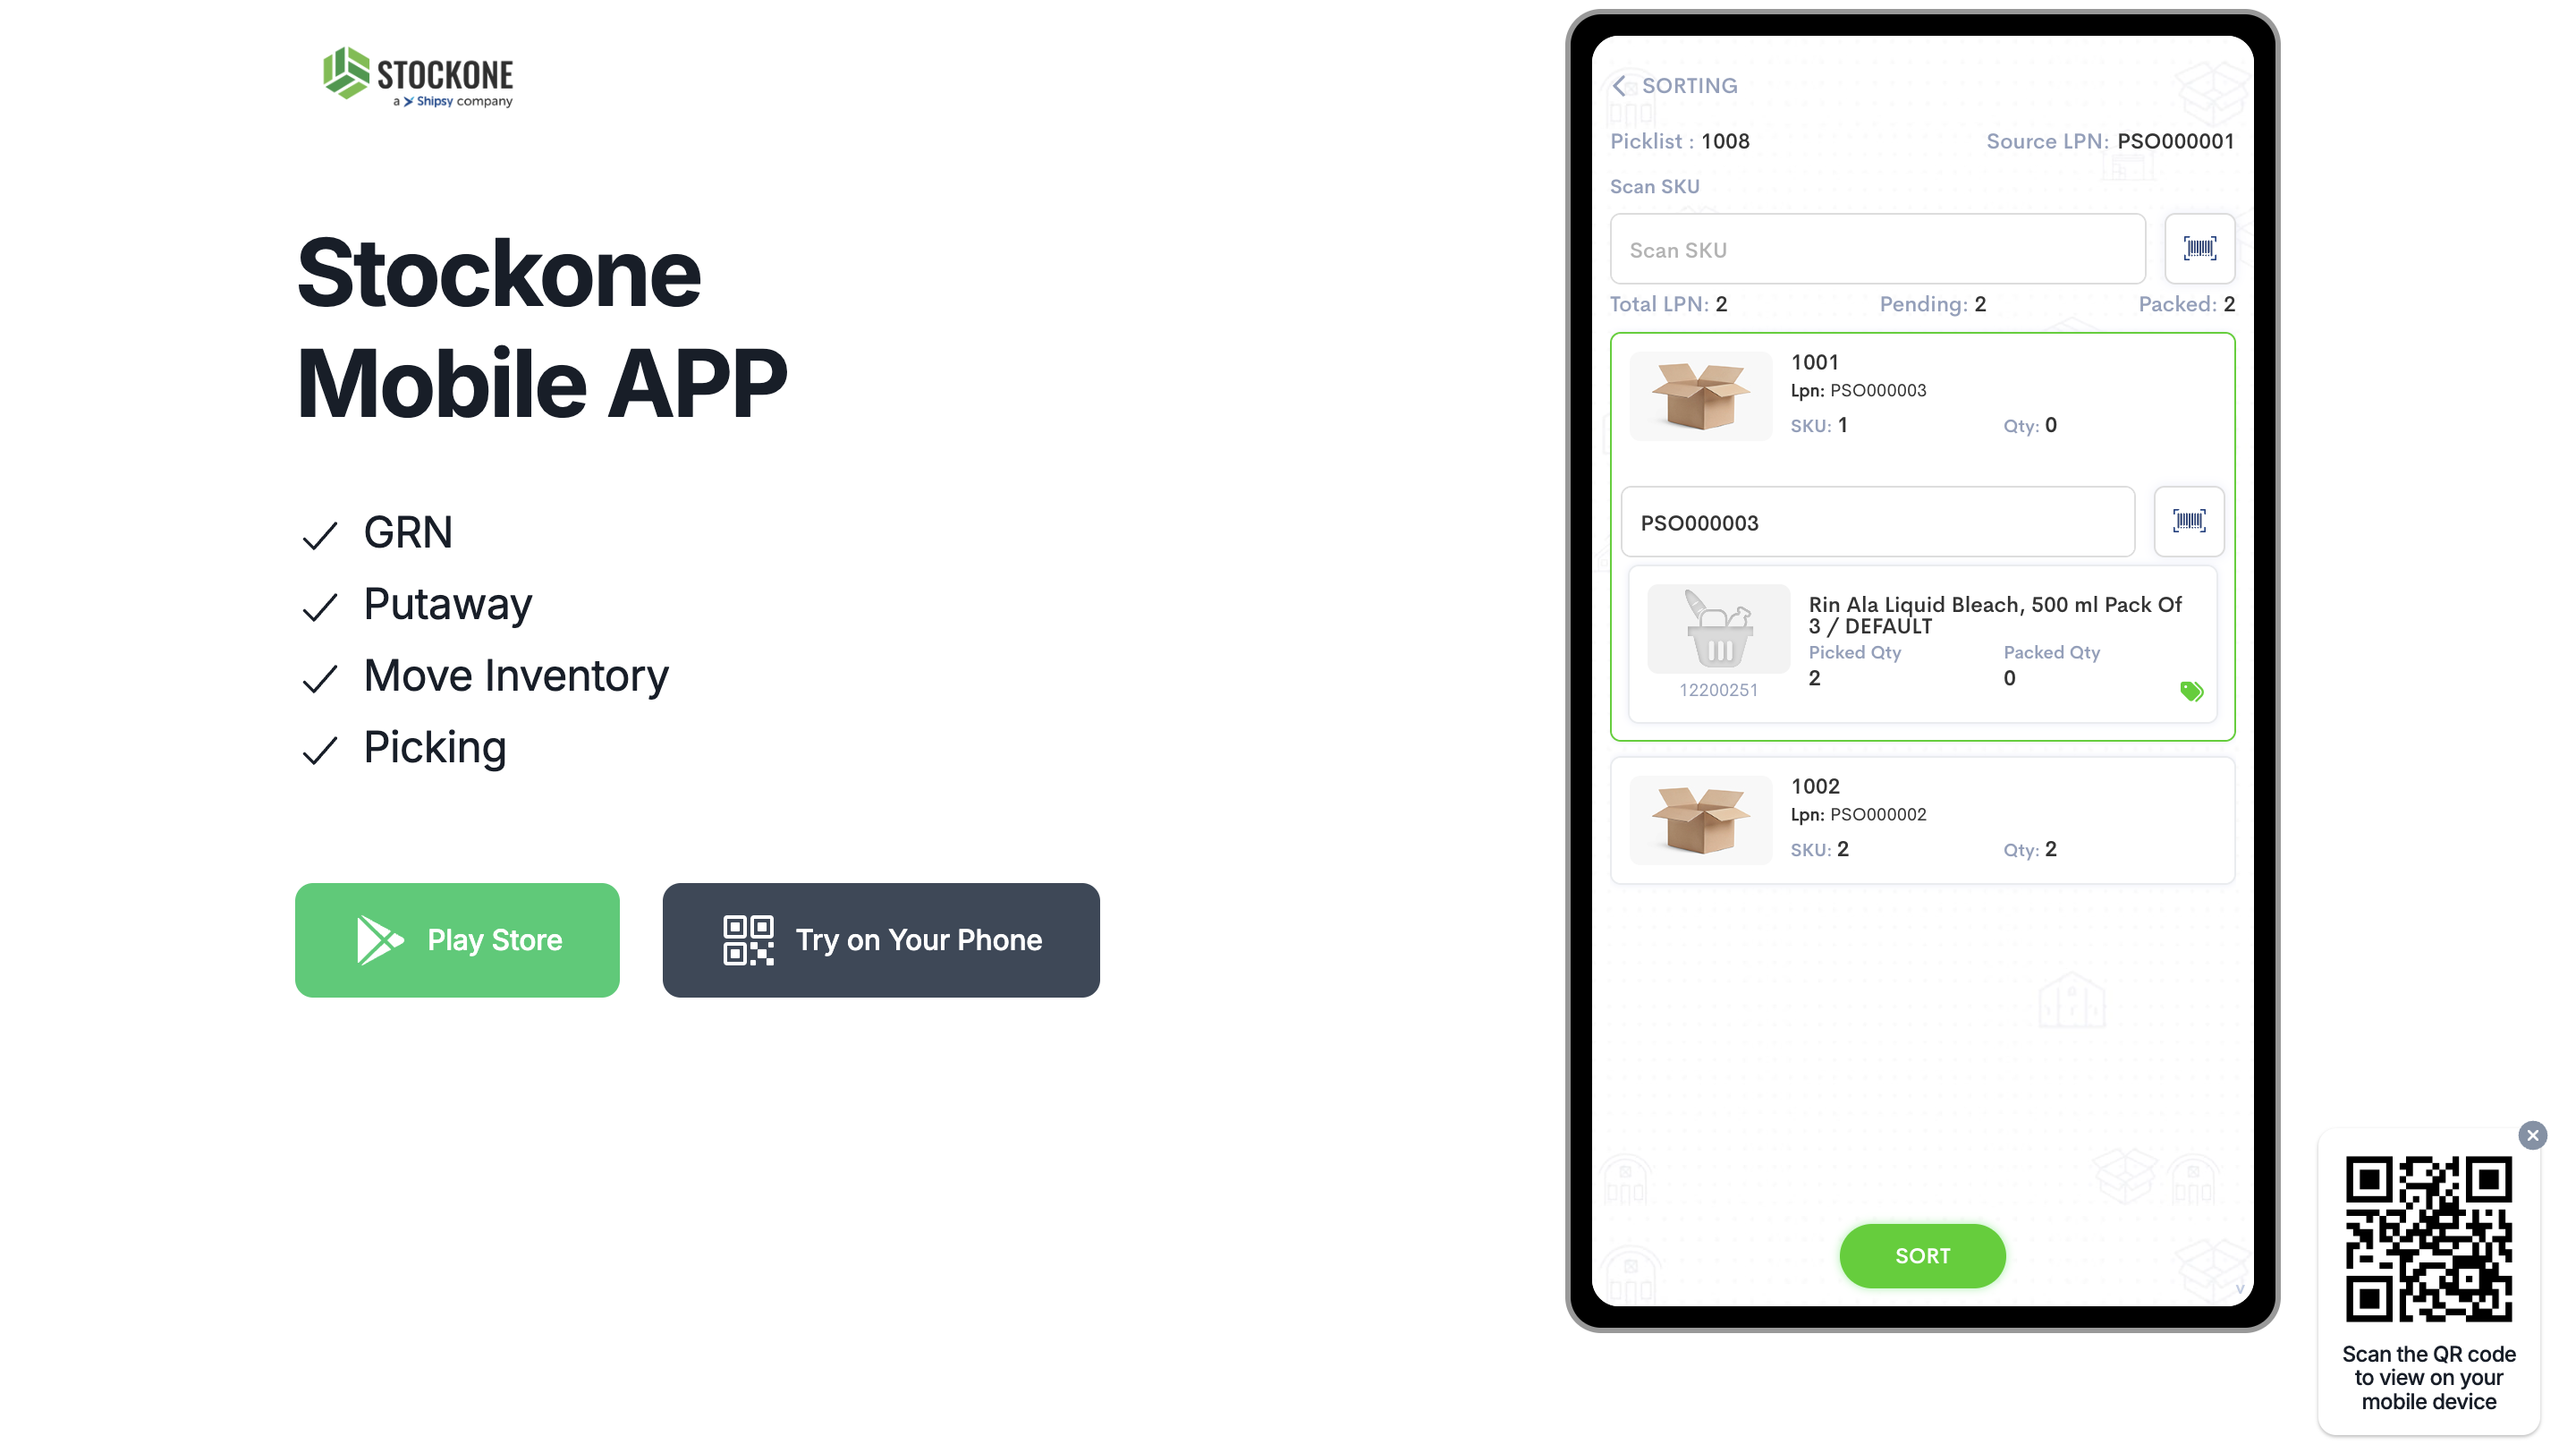
After scanning each item into an LPN, the packed quantity increases by one.
18
After scanning all SKUs into the LPN, click on SORT. Then the orders will be dropped to Pre - invoice location upon confirmation.
