How to Generate and Print Barcodes for Rental Products with Serial Numbers on Reservety
Learn step-by-step how to generate and print barcodes for rental products with serial numbers using Reservety. Improve inventory tracking, reduce errors, and speed up order processing with barcode management.
By Reservety
In this guide, we'll learn how to generate and print barcodes for rental products with serial numbers on Reservety.
Barcodes help you quickly assign specific items to orders by scanning them with a barcode scanner or smartphone. This process saves time and reduces manual entry when preparing orders.
We'll also cover how to search for products, select multiple items, and print the required number of barcodes for each product.
Let's get started
1
Log in to your rental dashboard, then click Products in the left sidebar.
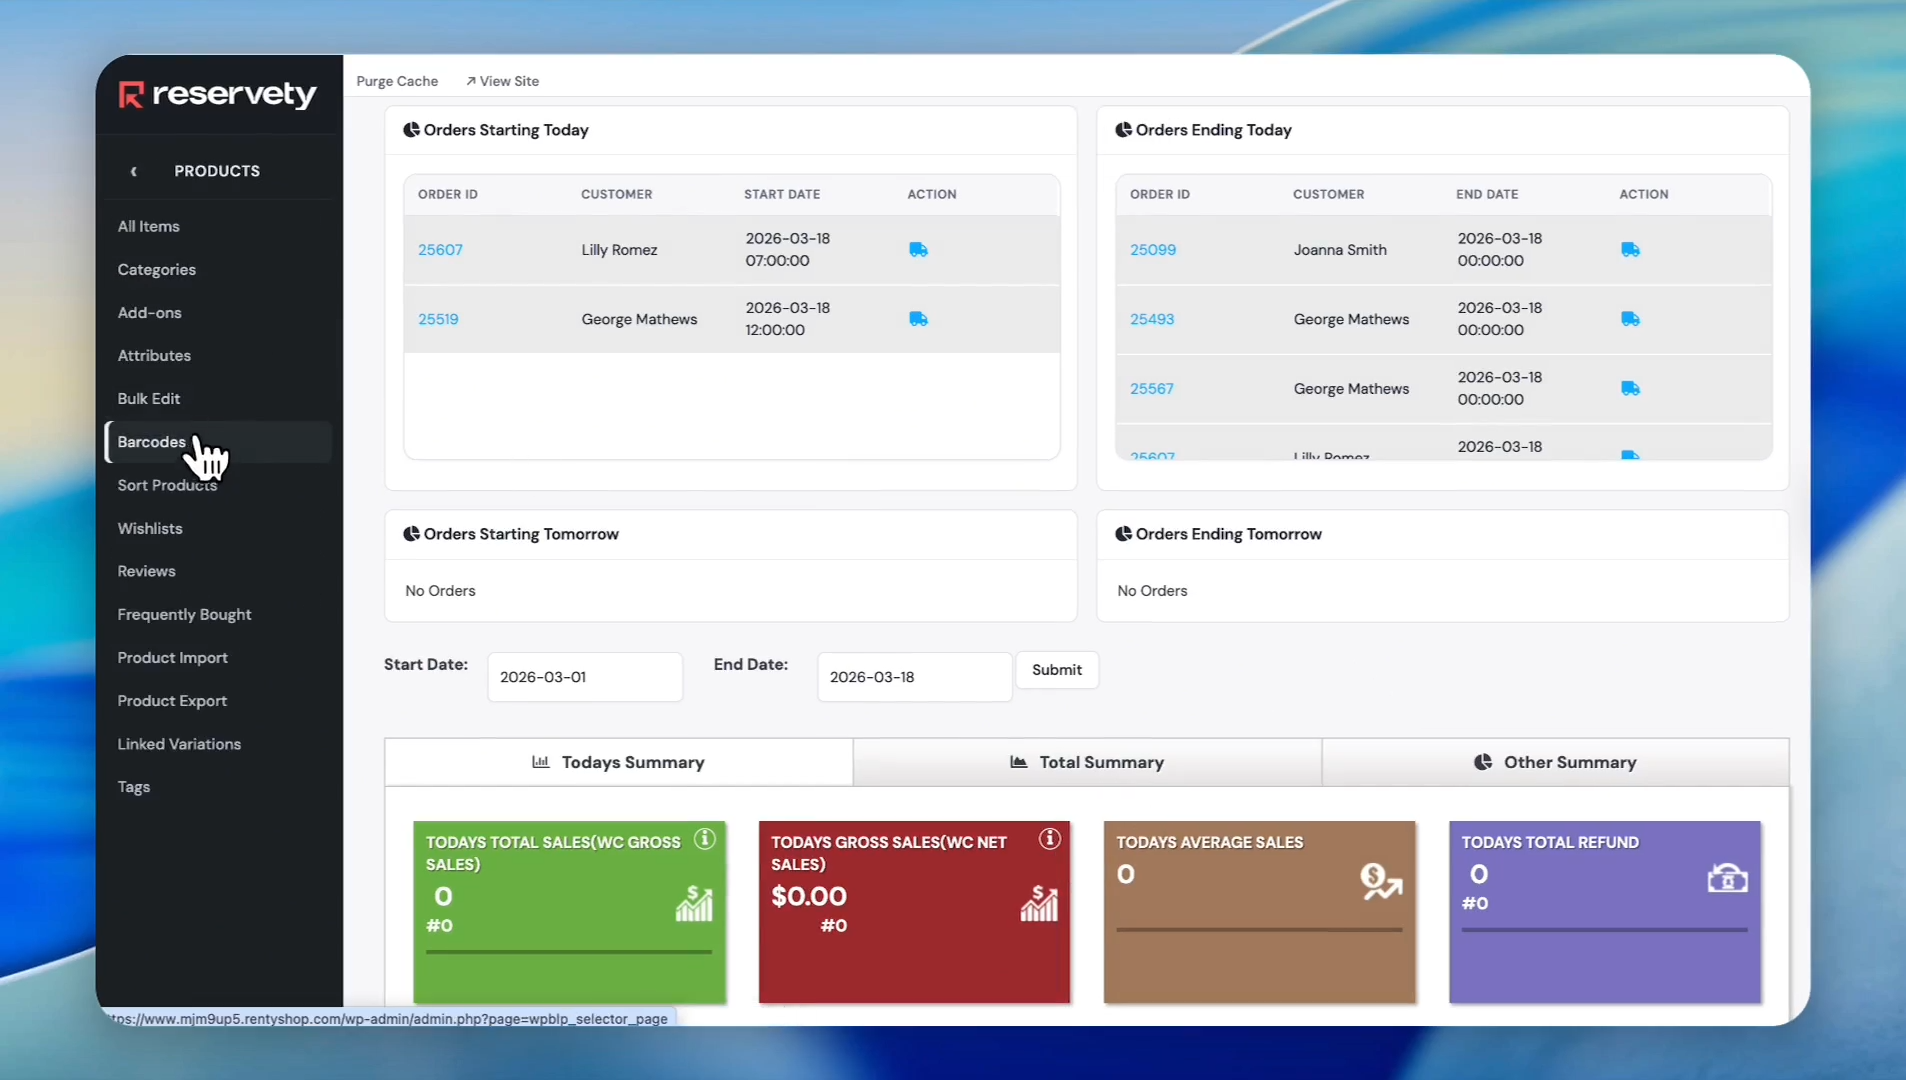
2
Click on Barcodes.
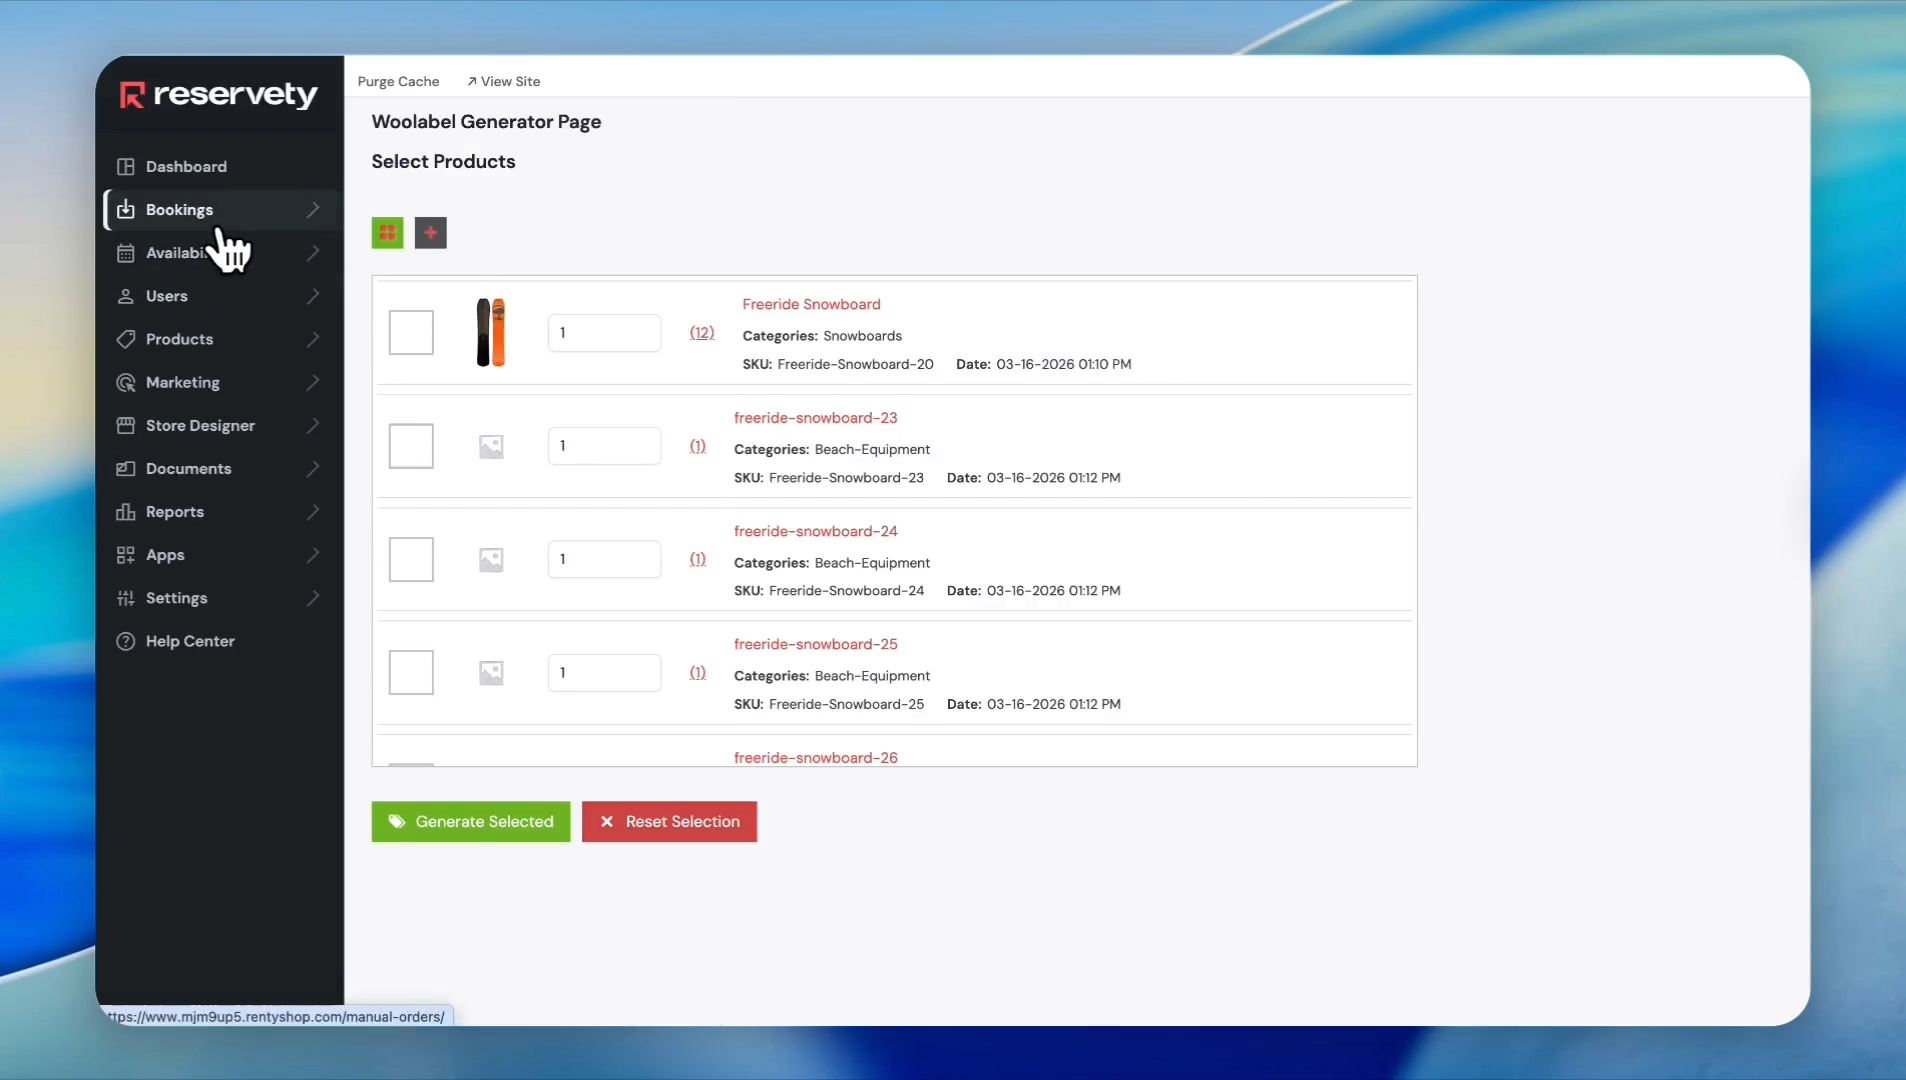
3
On this page, you will see all your rental products along with their serial numbers.
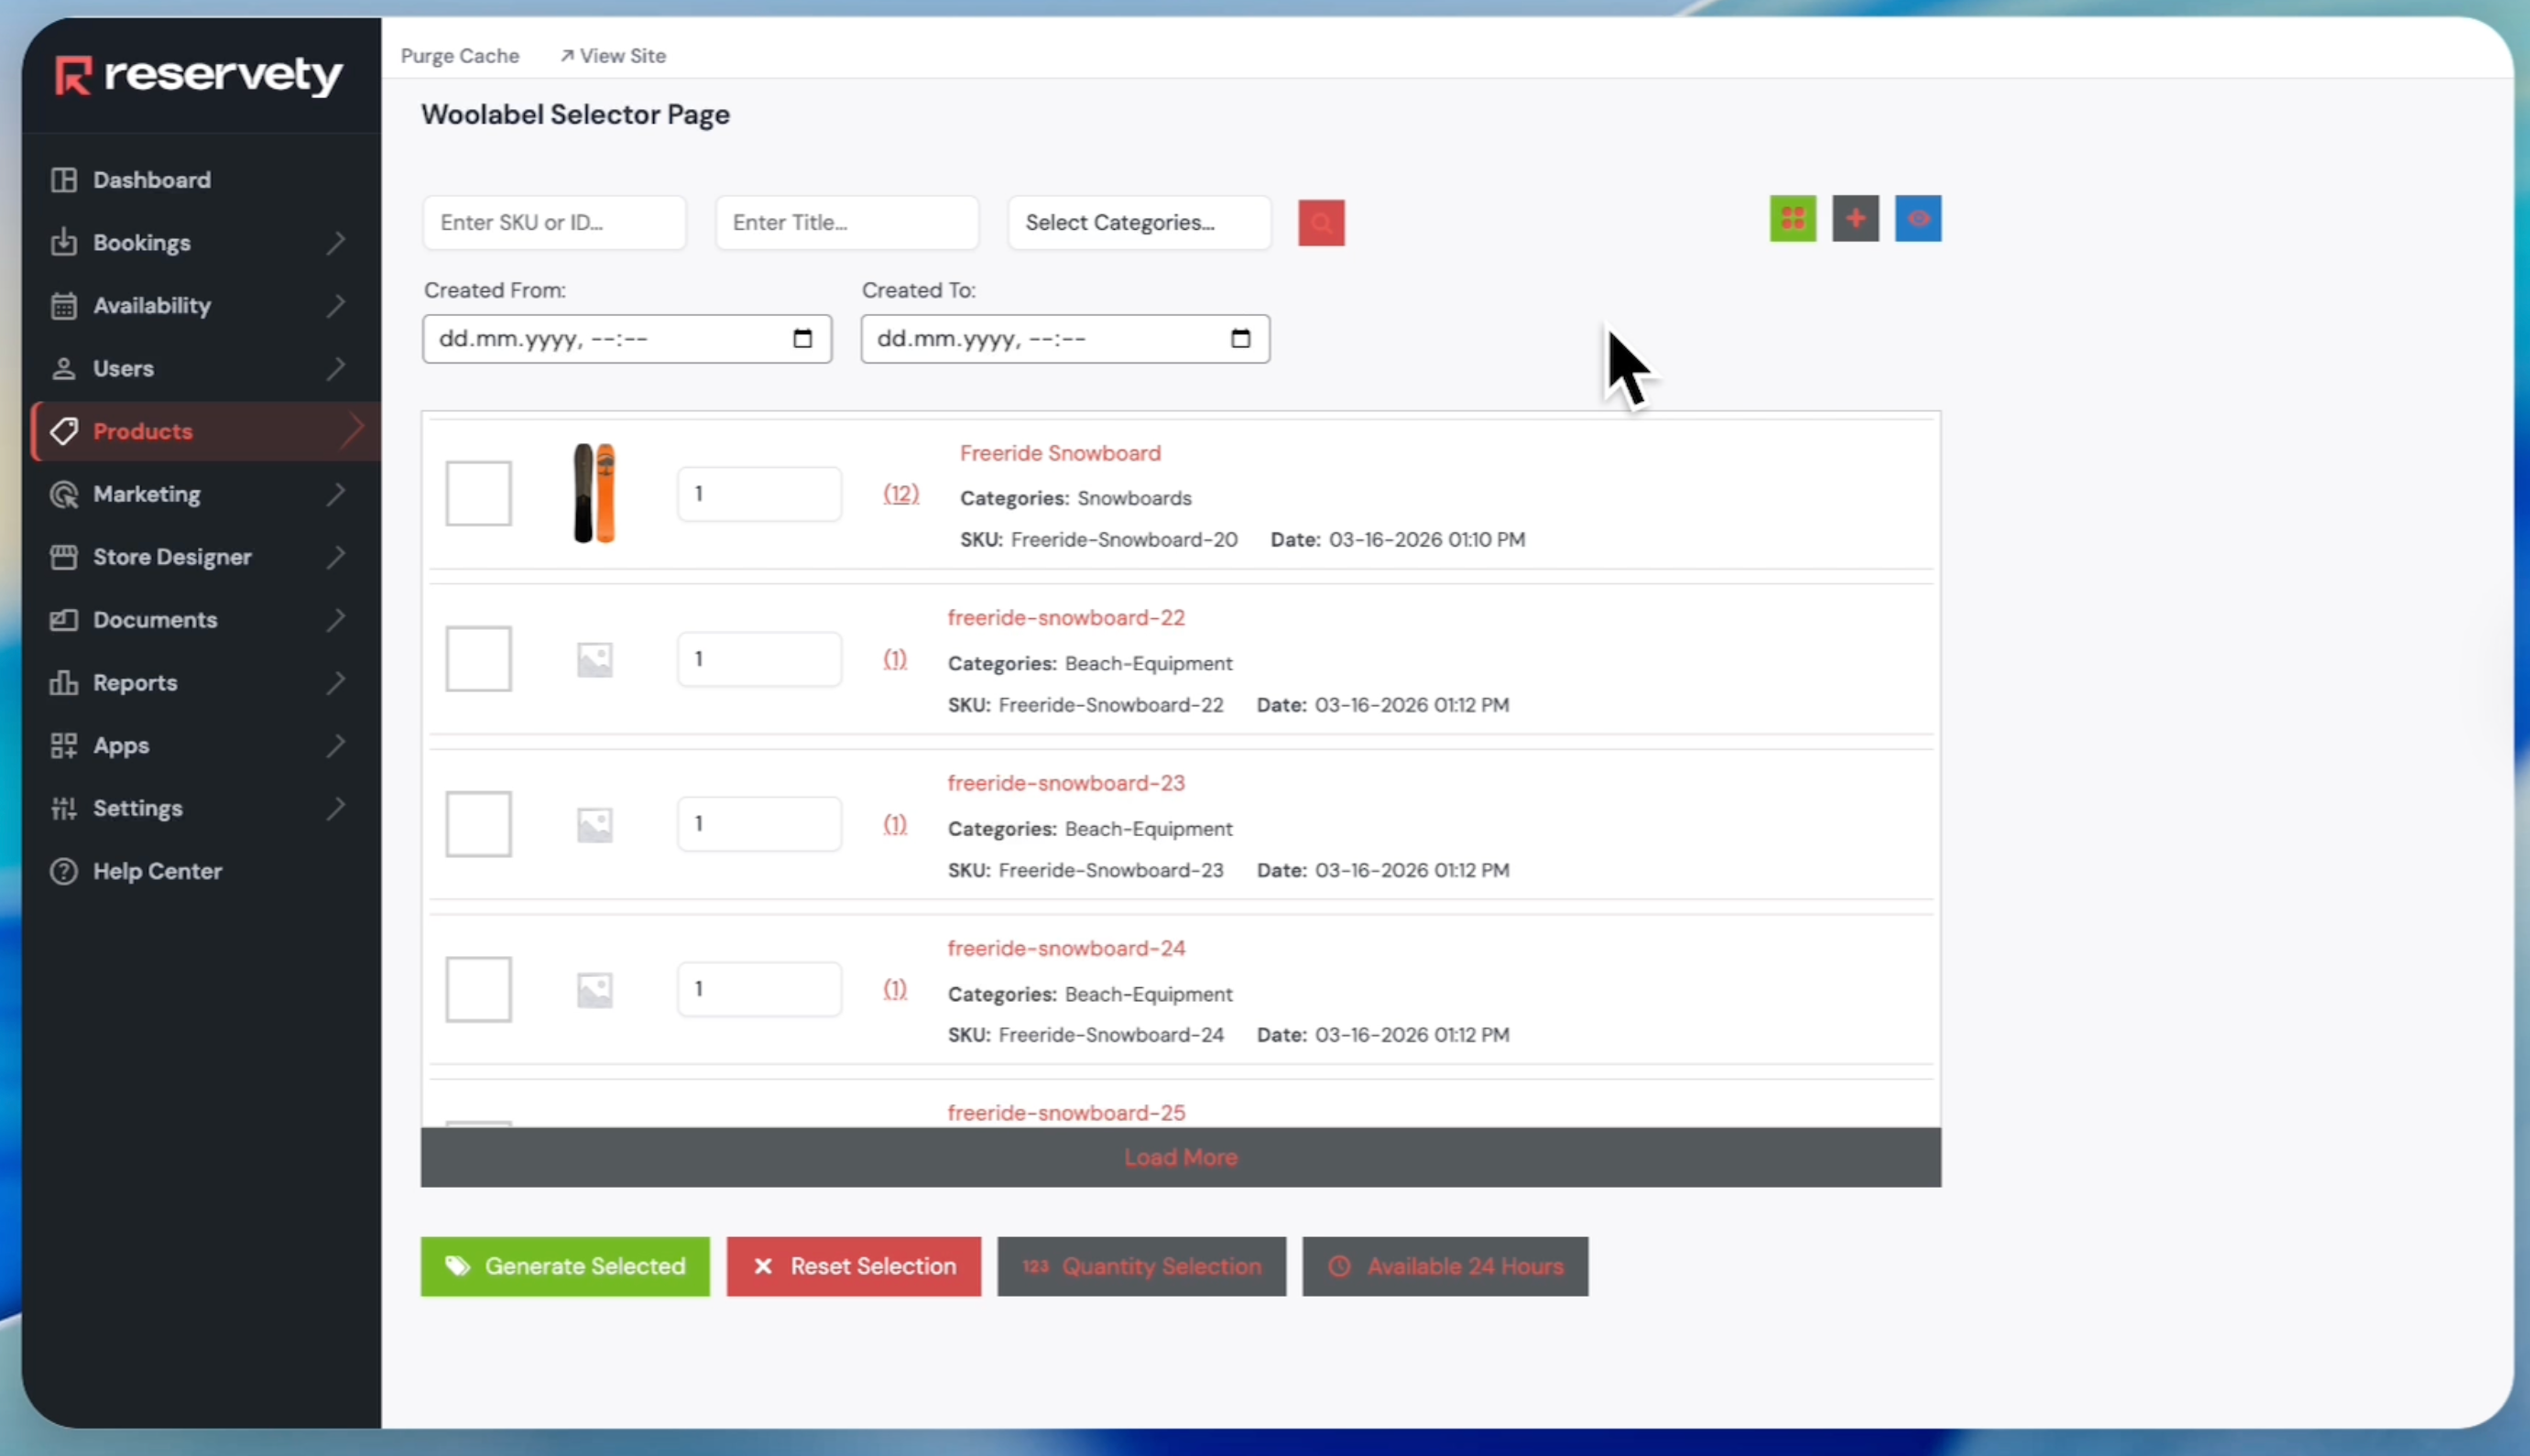
4
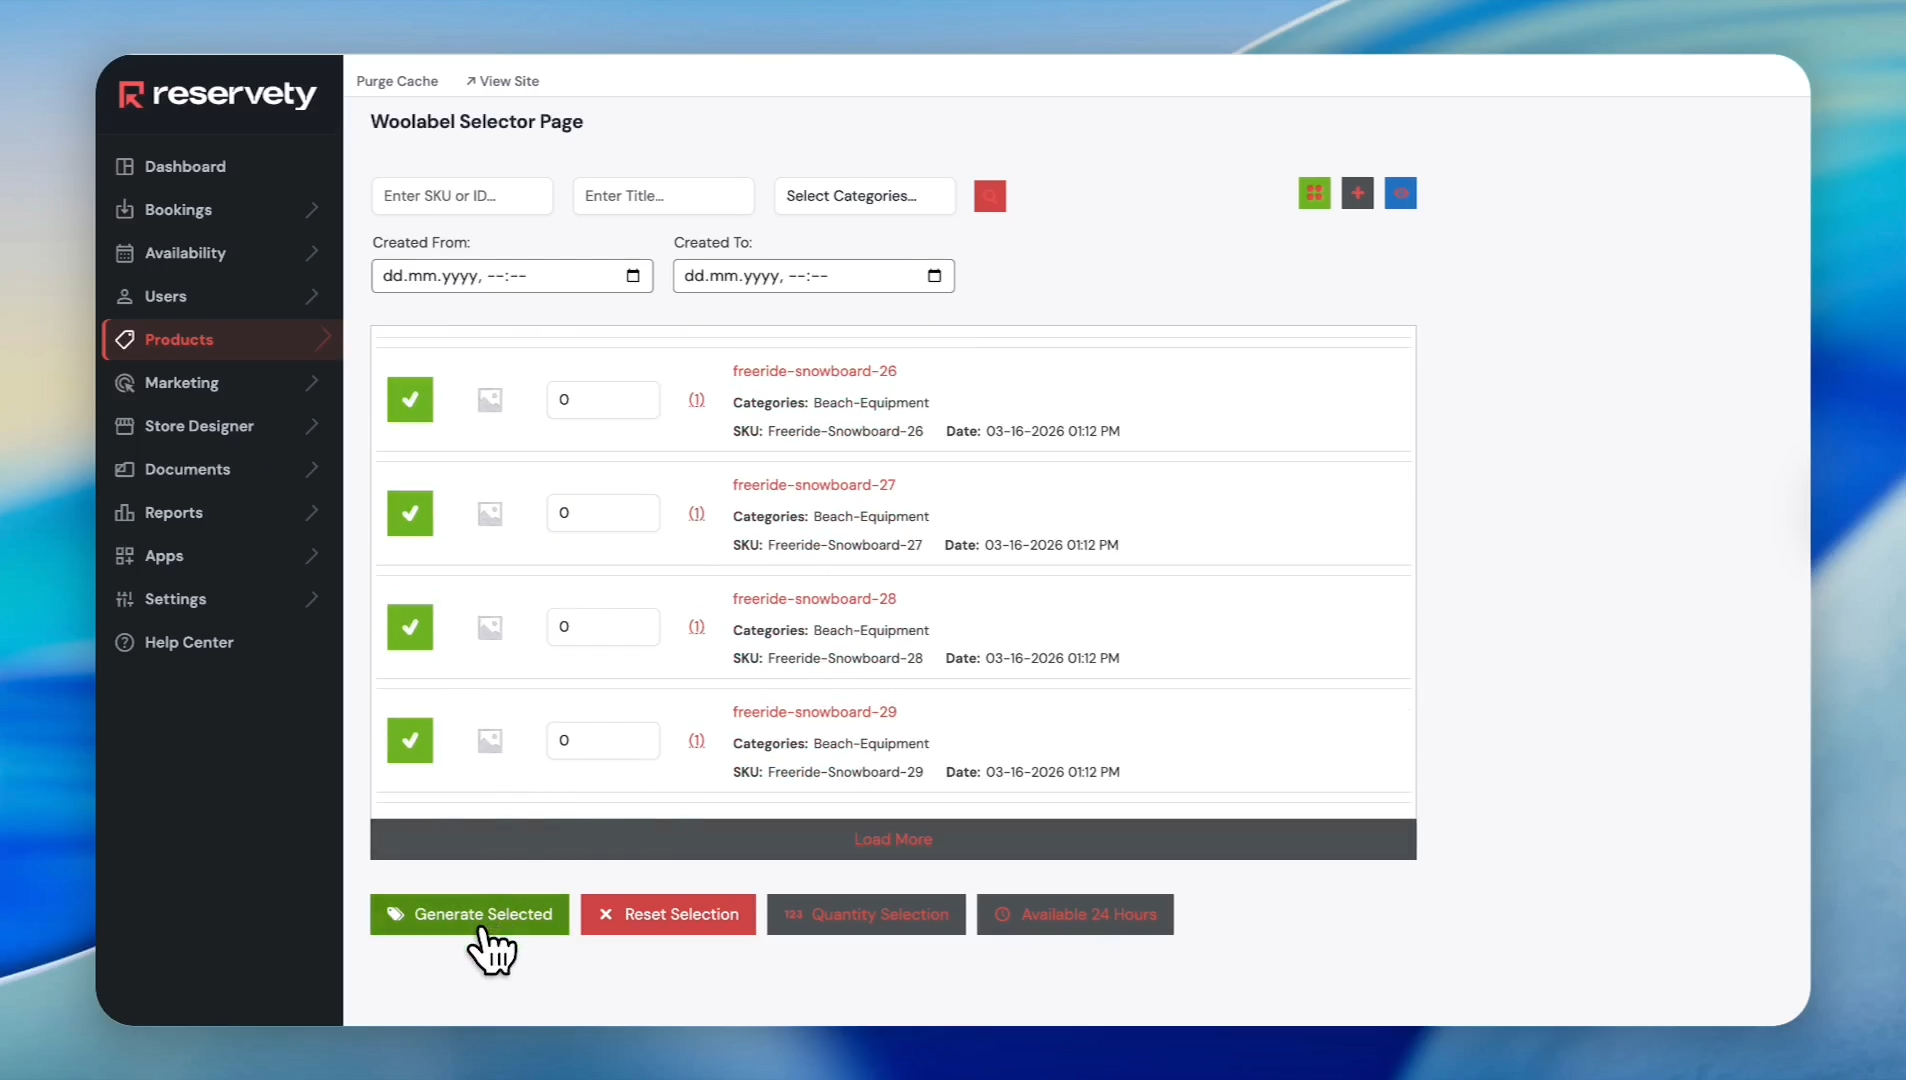
To add a barcode to a specific product, enter the SKU code or ID in the 'Enter SKU or ID' field. For example, we entered 'freeride-snowboard-21'.
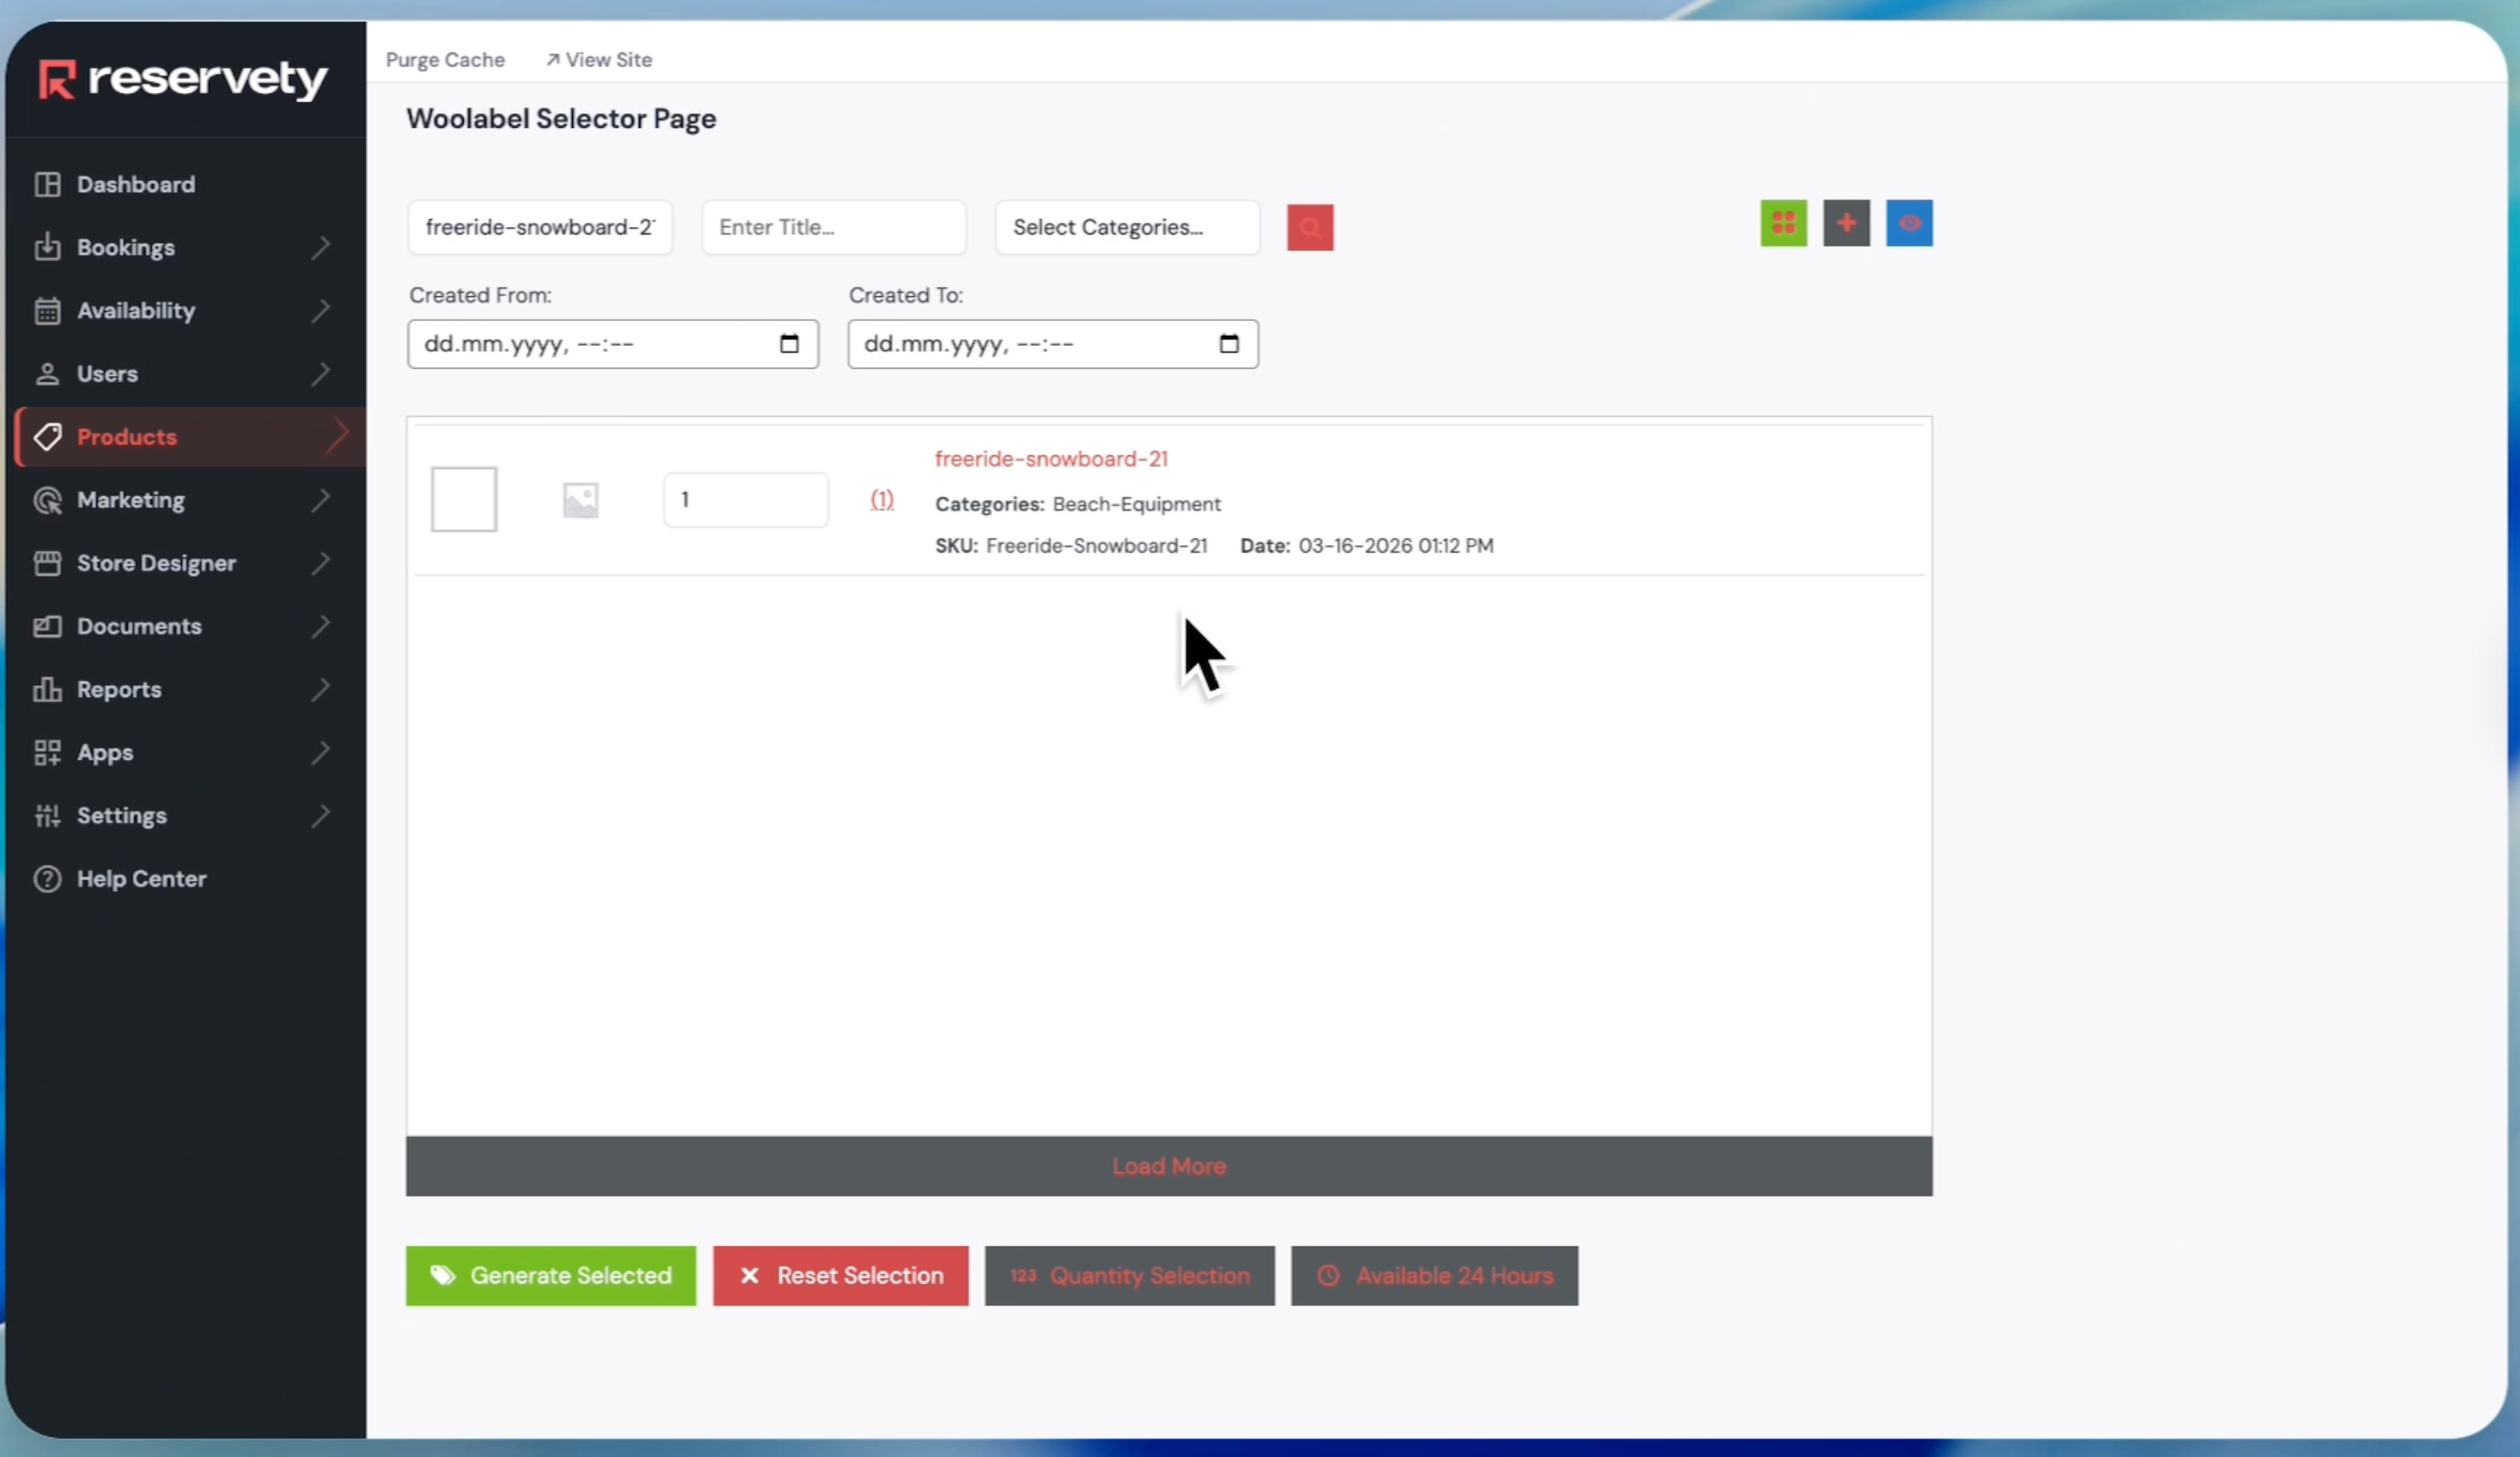
5
Click the checkbox next to the product.

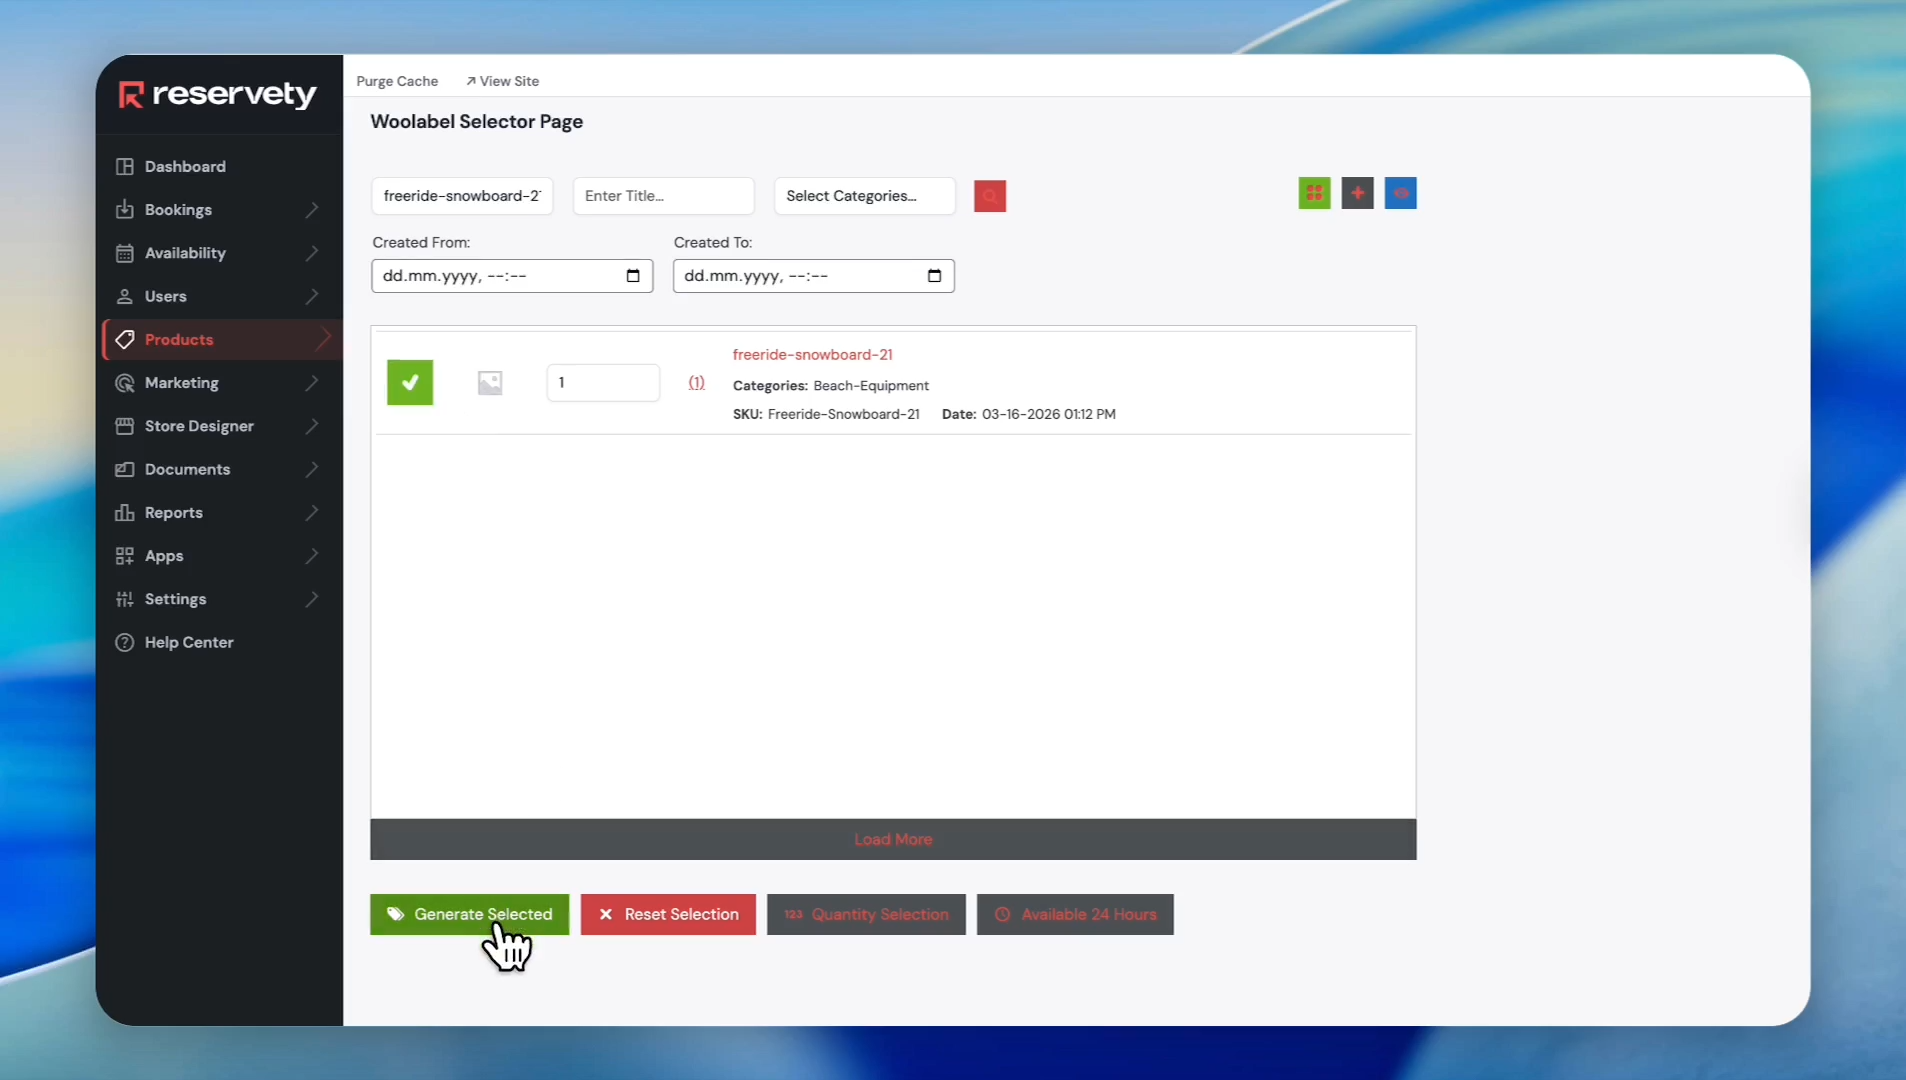
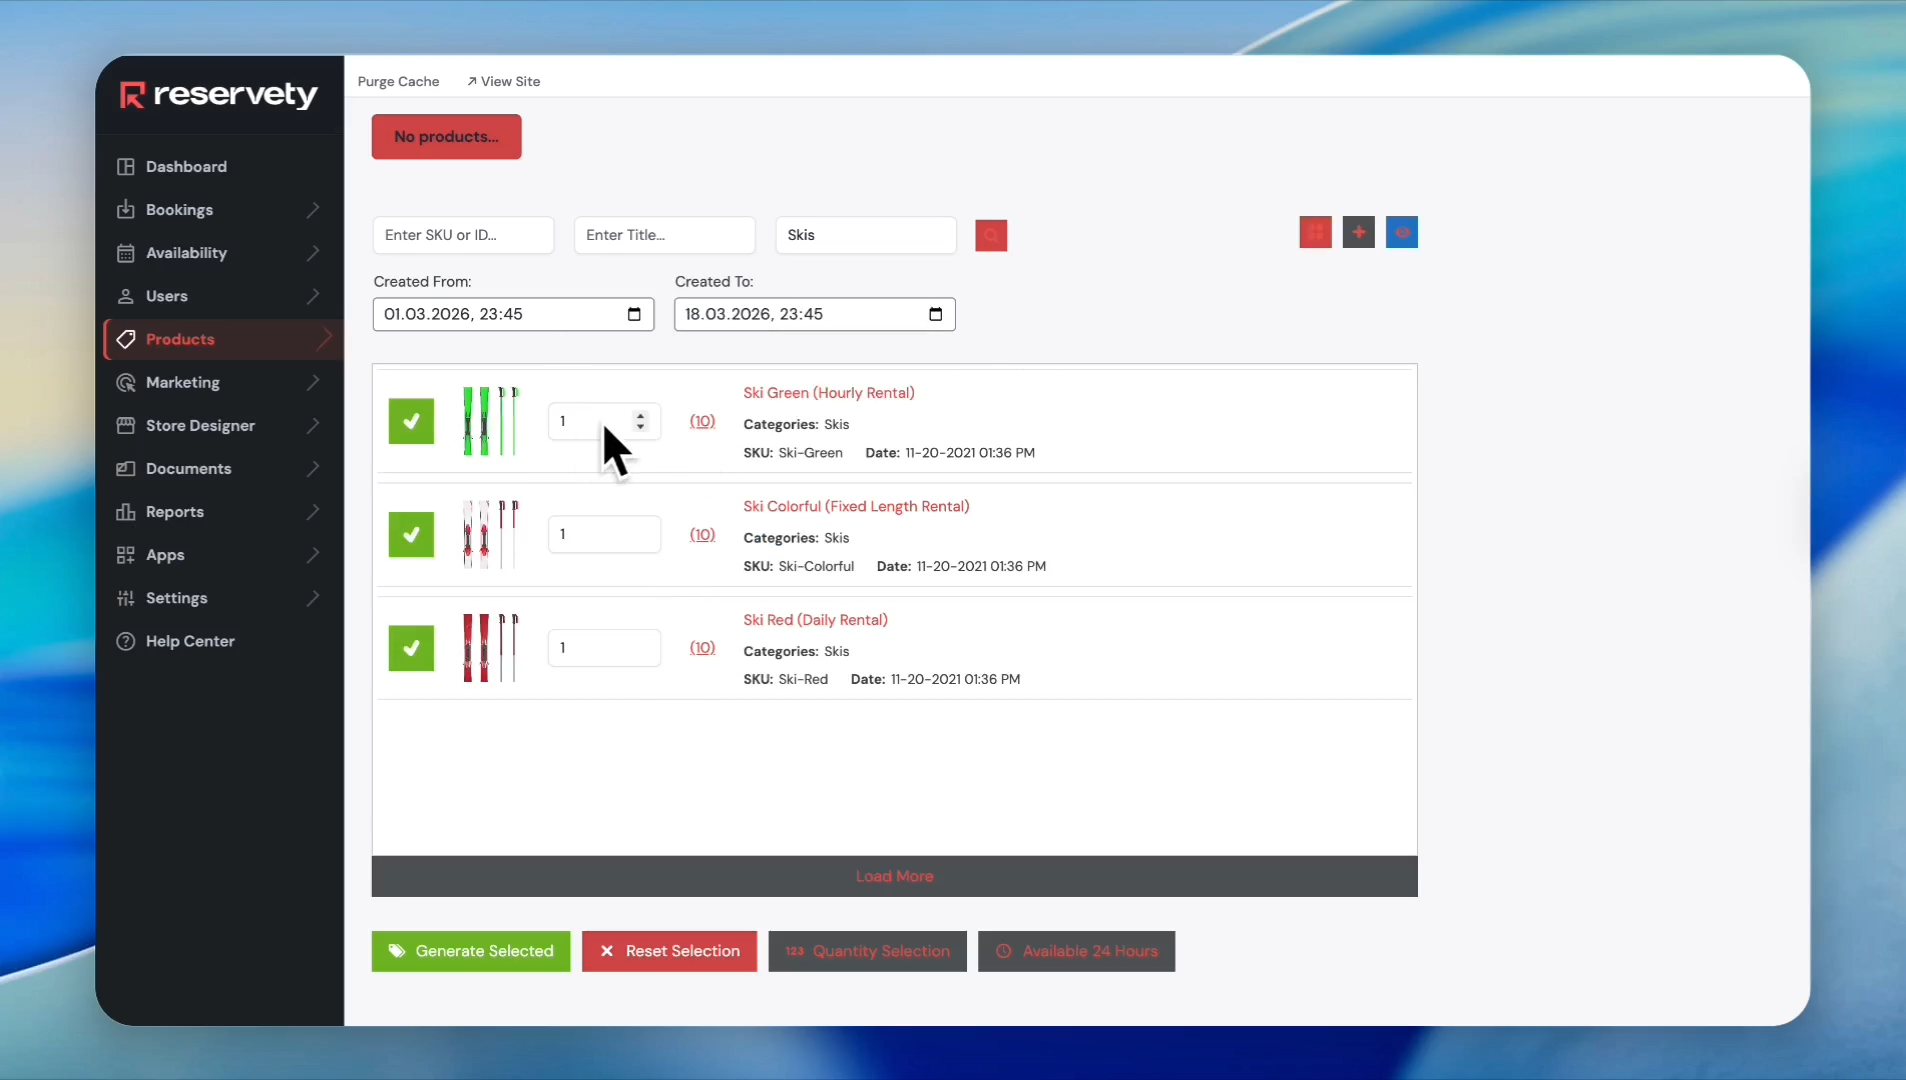
6
Click the 'Generate Selected' button.
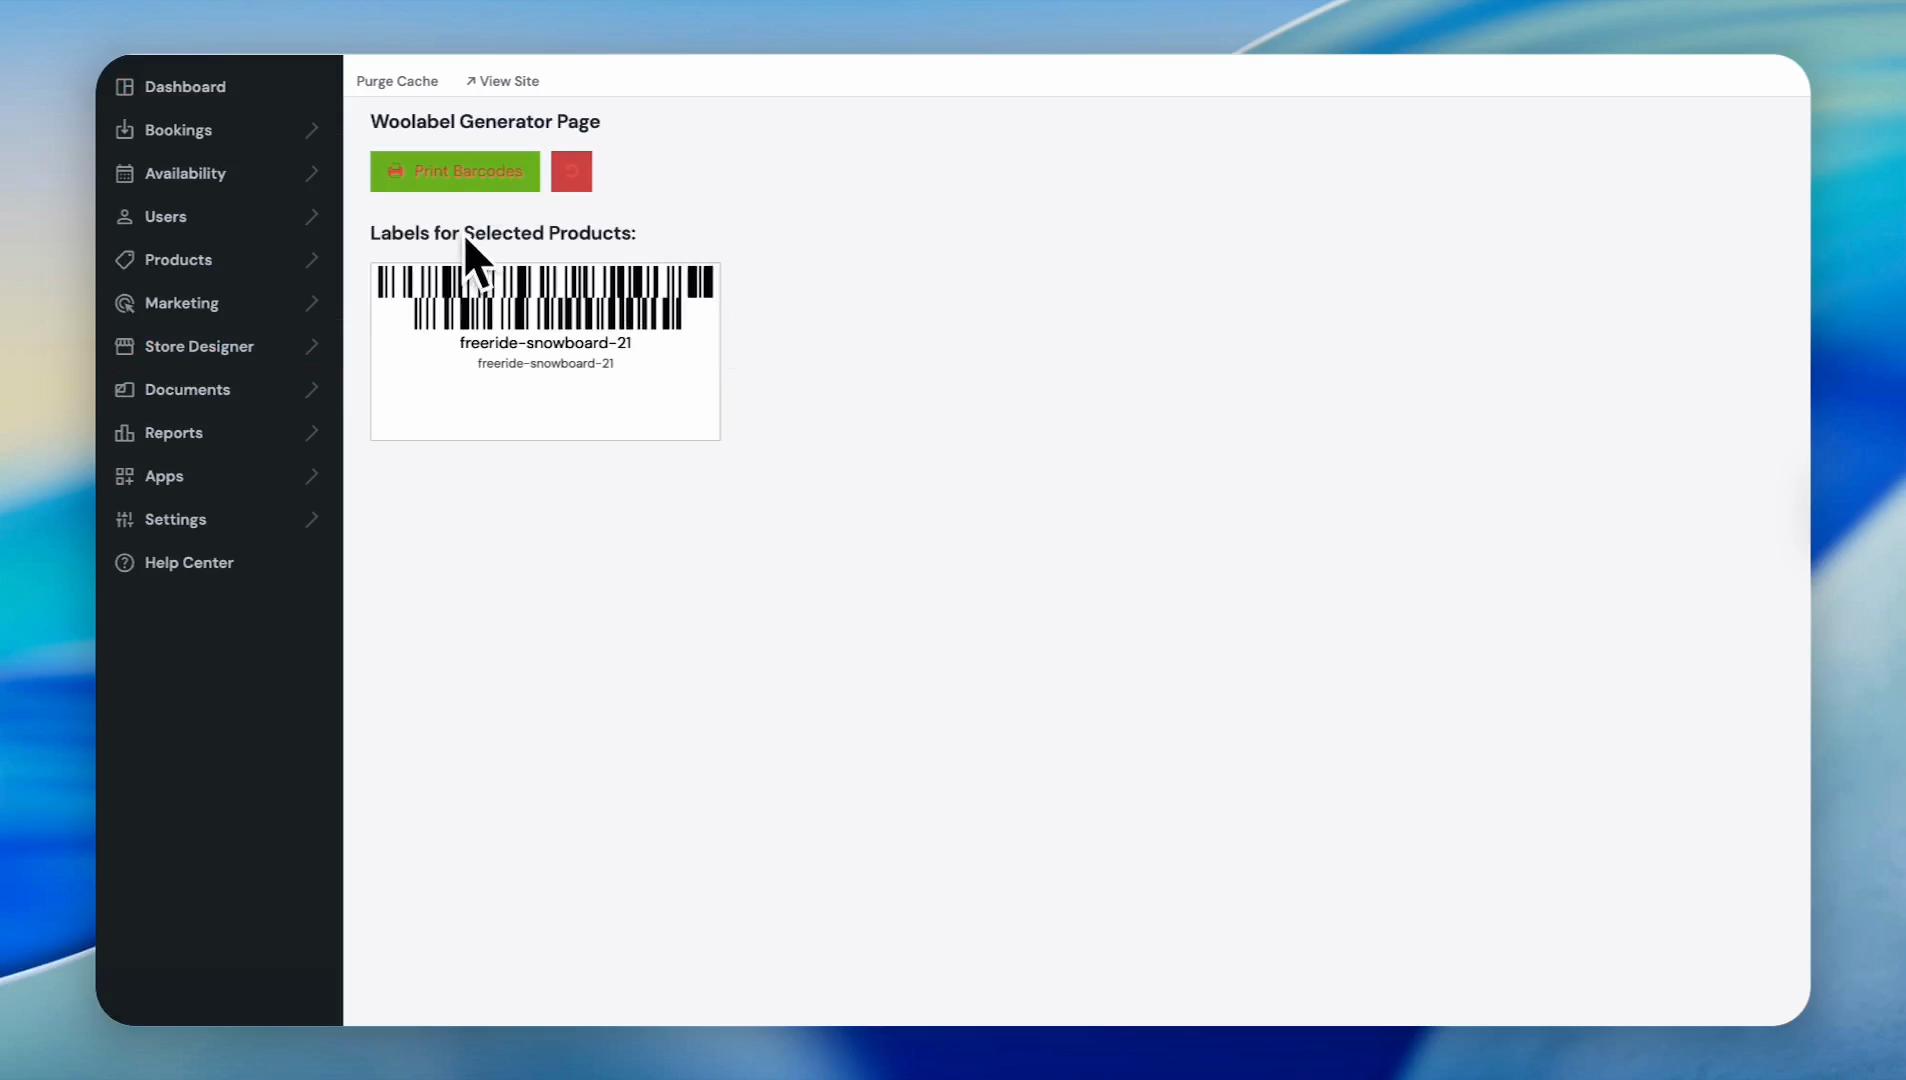
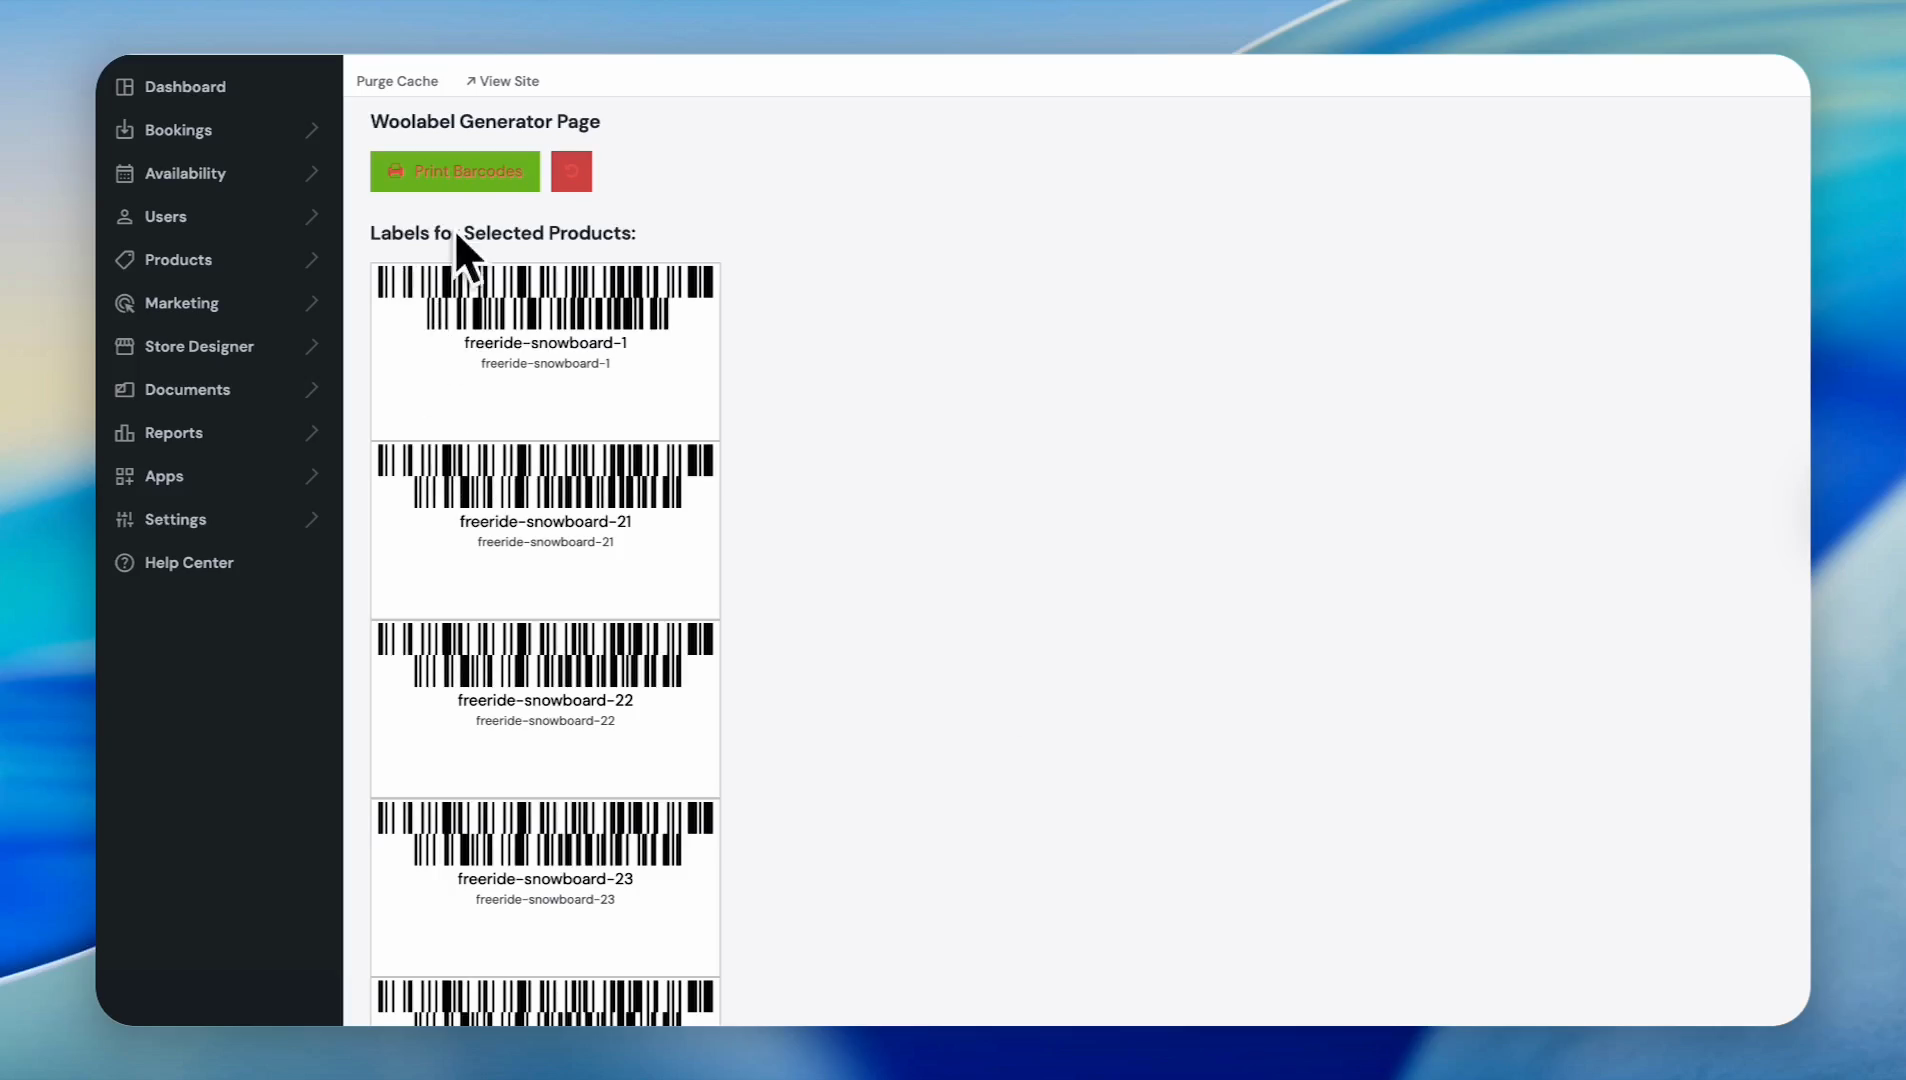
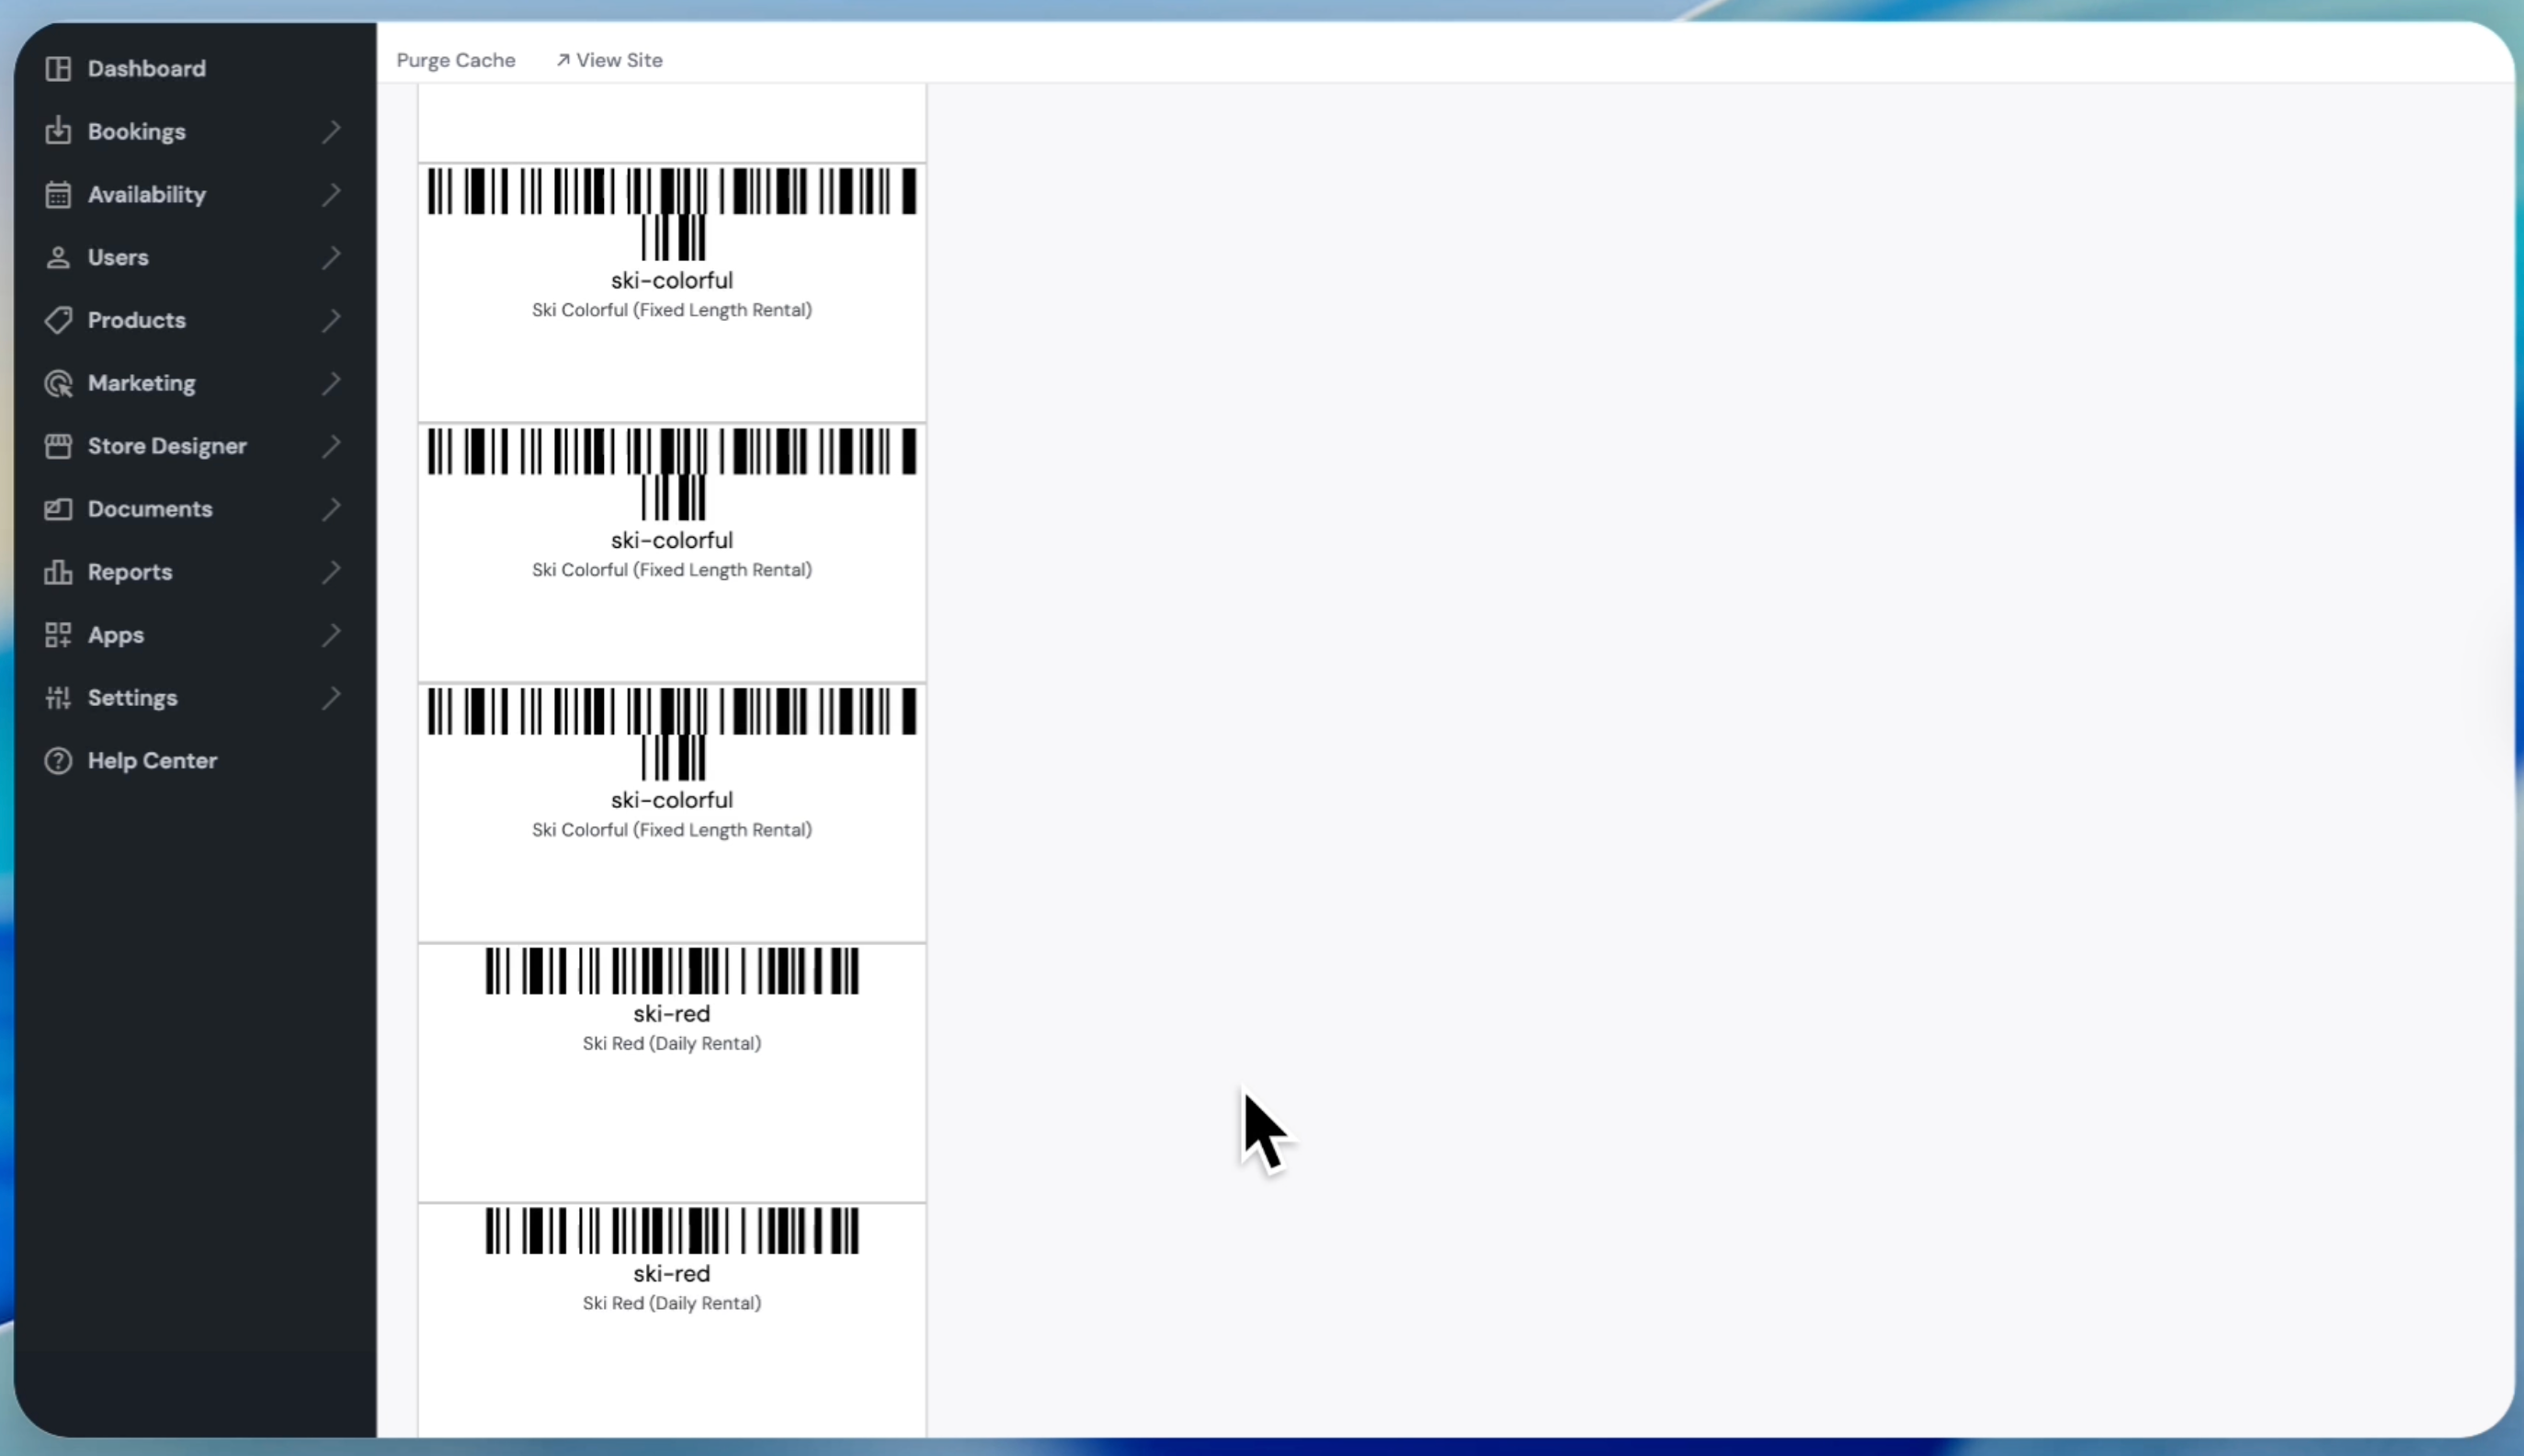
7
The system generated a barcode for the selected serial. You can print it by clicking the 'Print Barcodes' button.
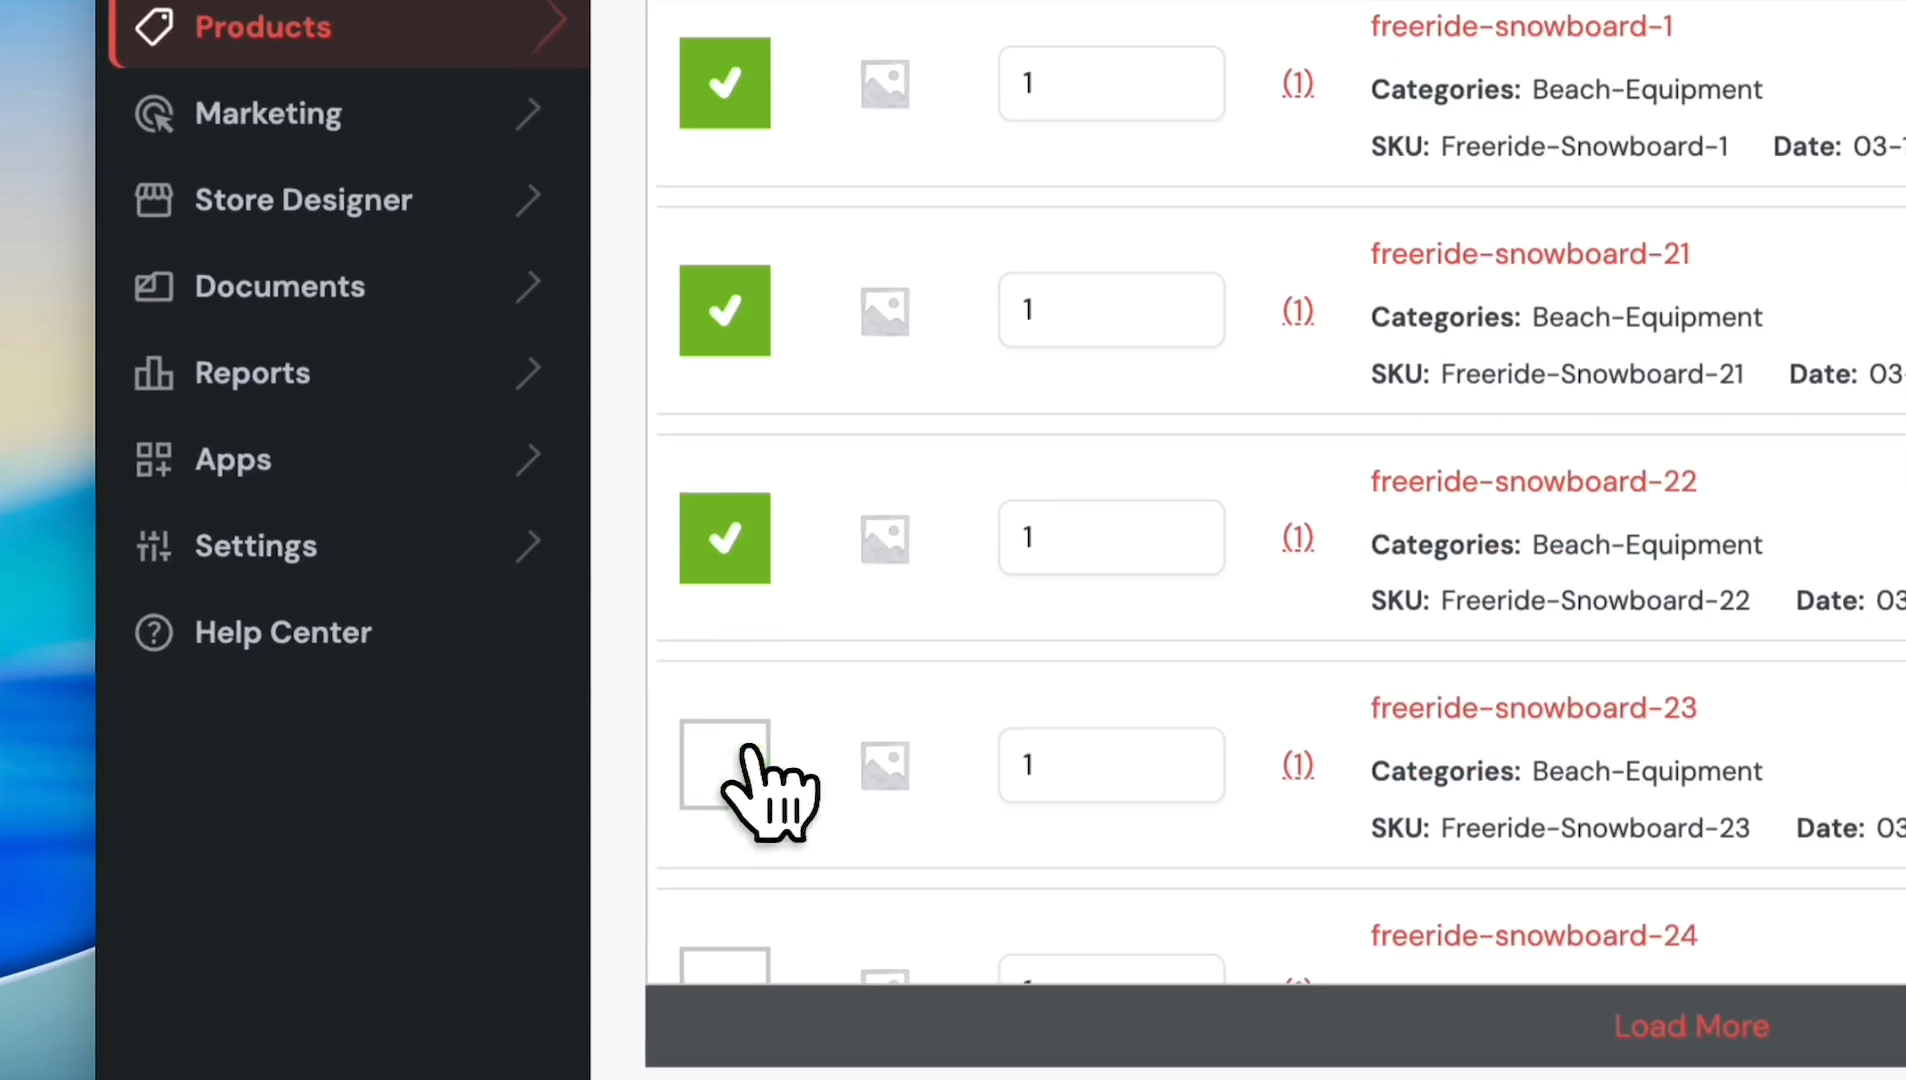
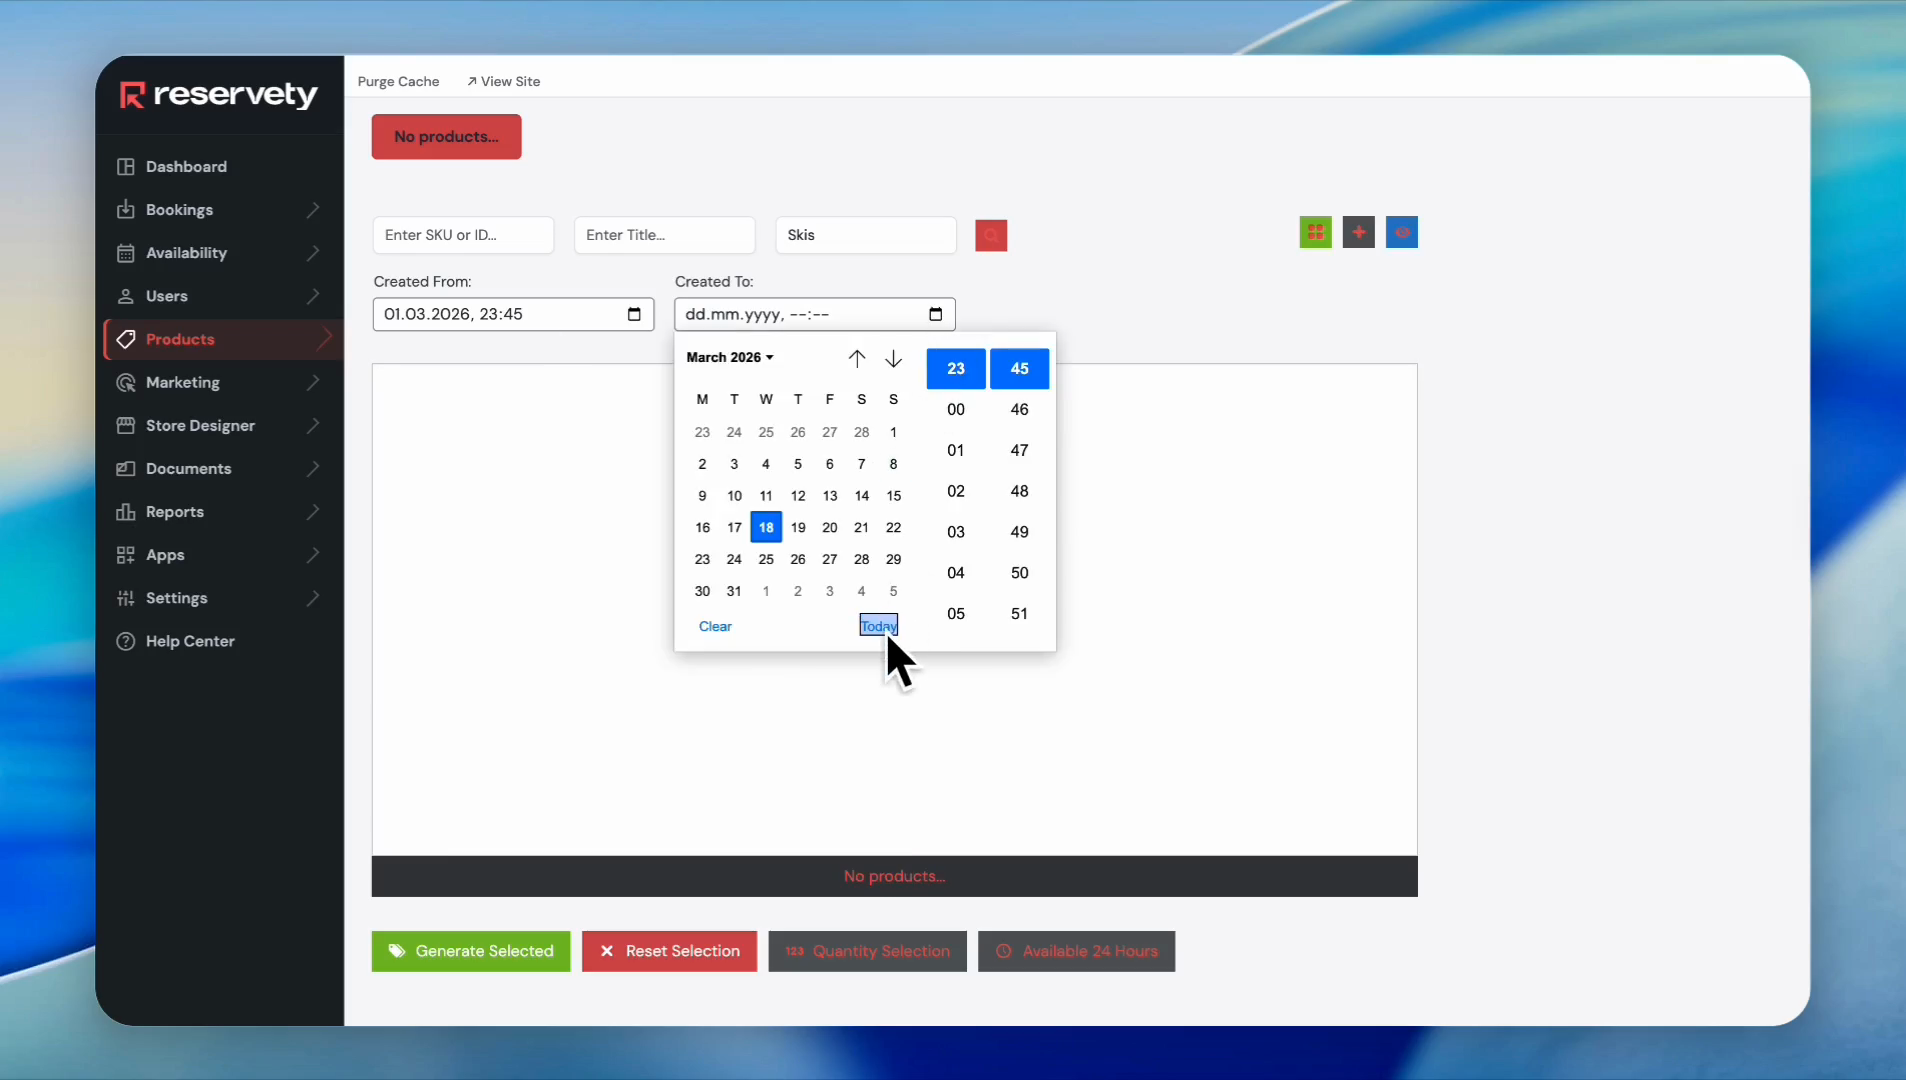
8
Now, let's create multiple barcodes. Select a product by clicking the checkbox next to it. We selected multiple serials this time.
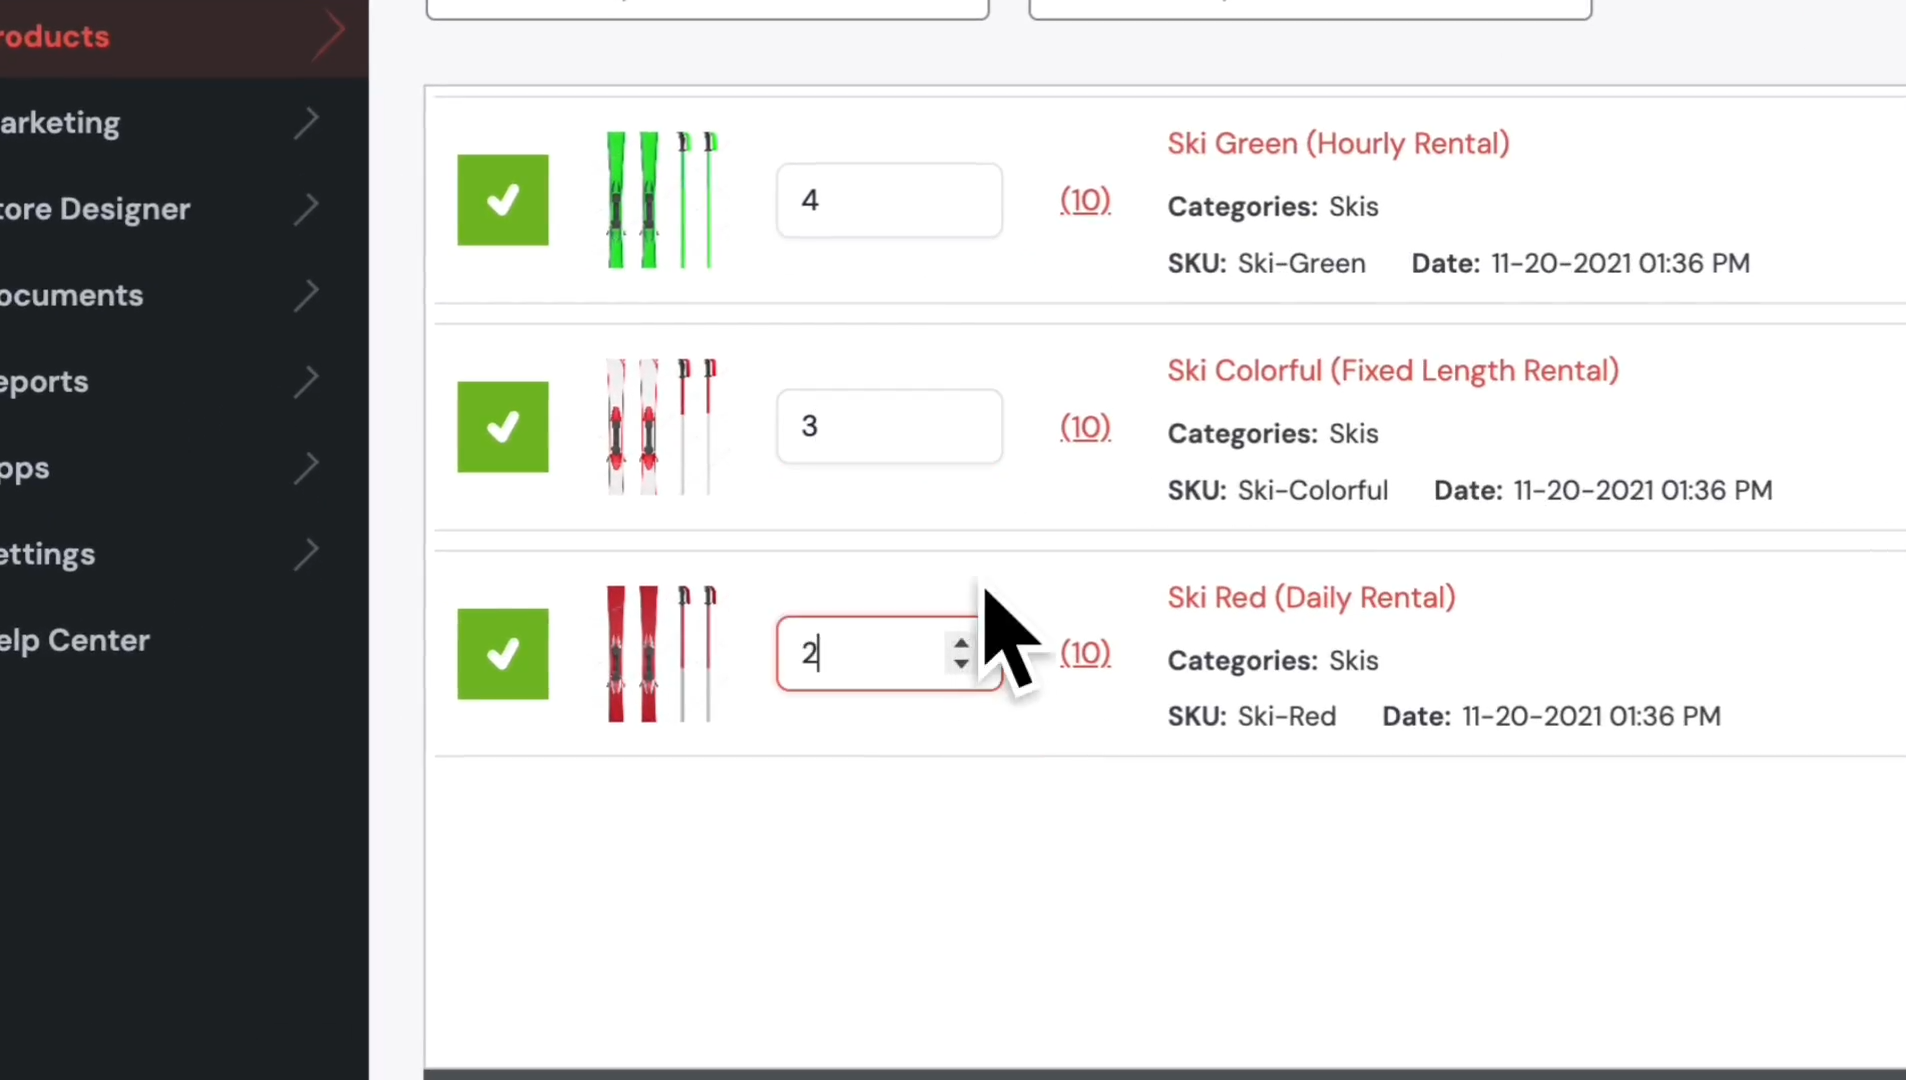
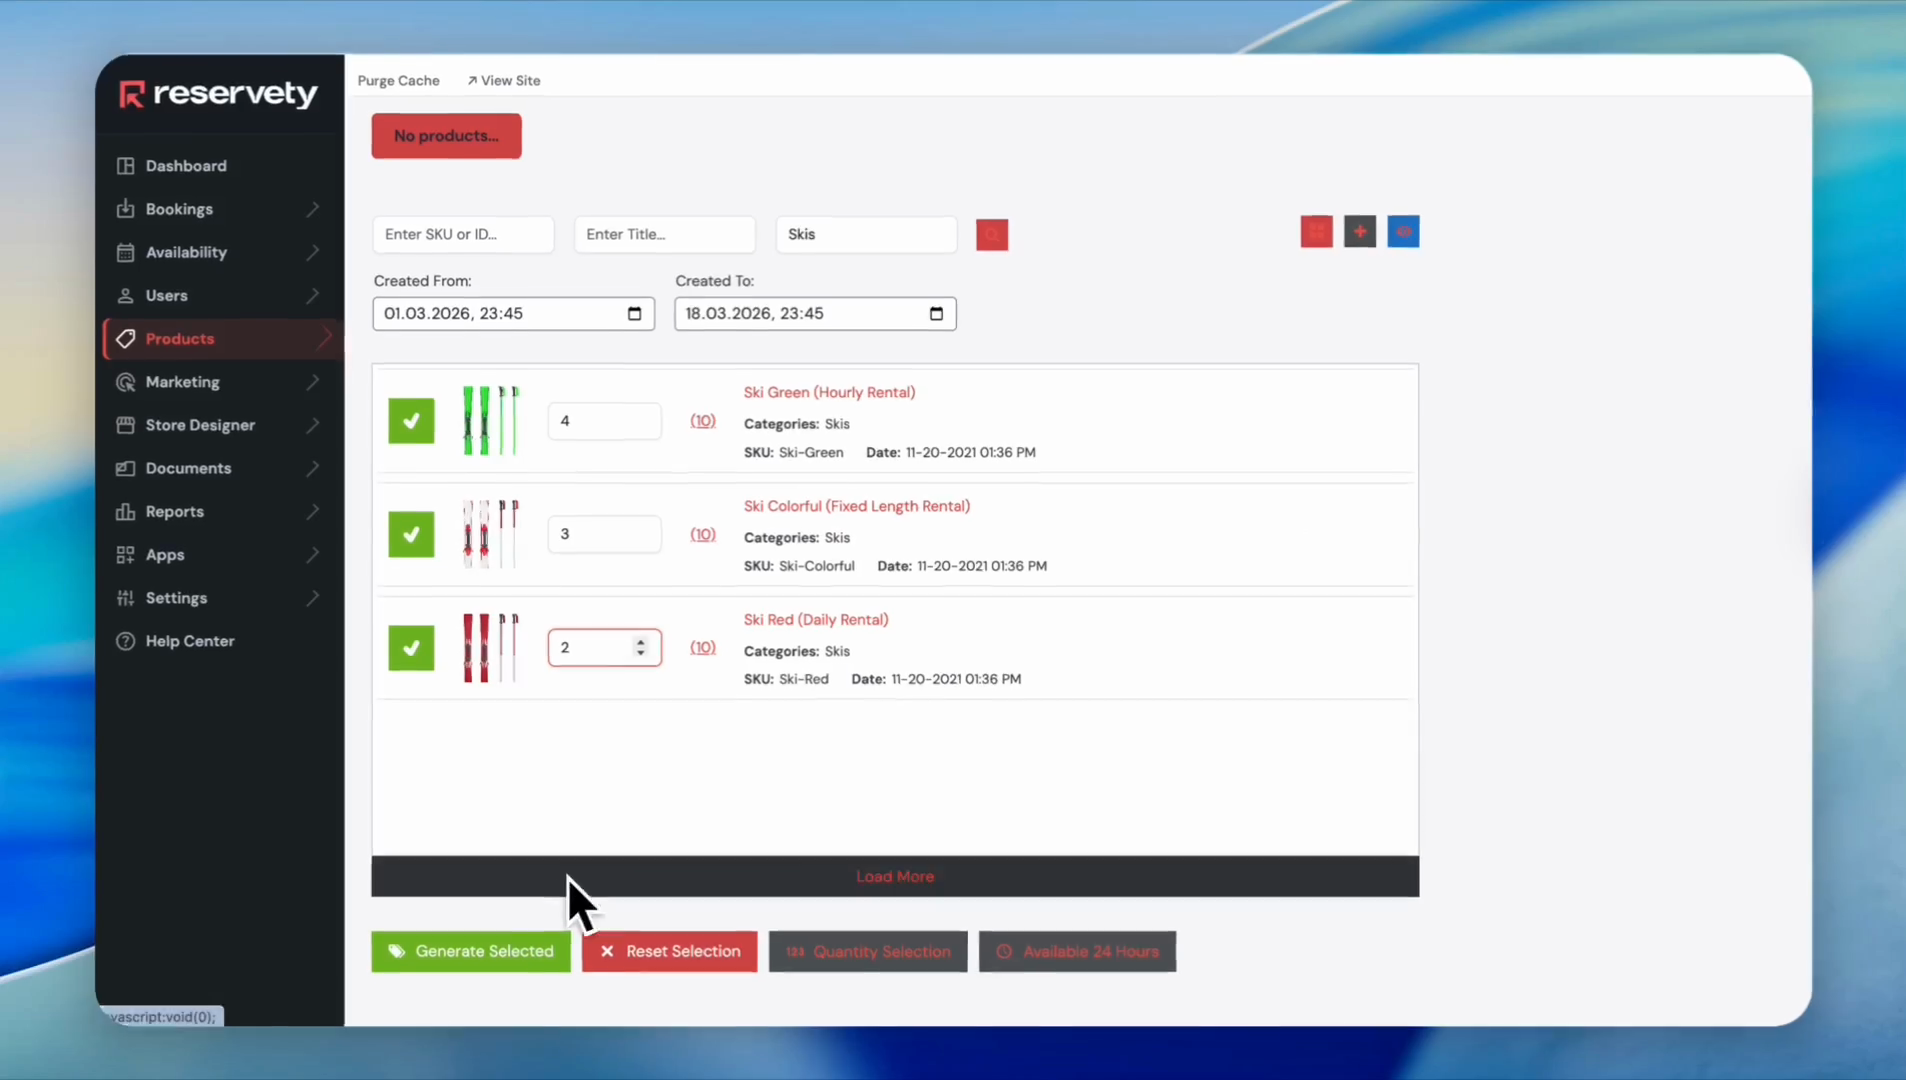
9
Click the Generate Selected button.
10
The system generated multiple barcodes. You can print them by simply clicking on the "Print Barcodes" button.
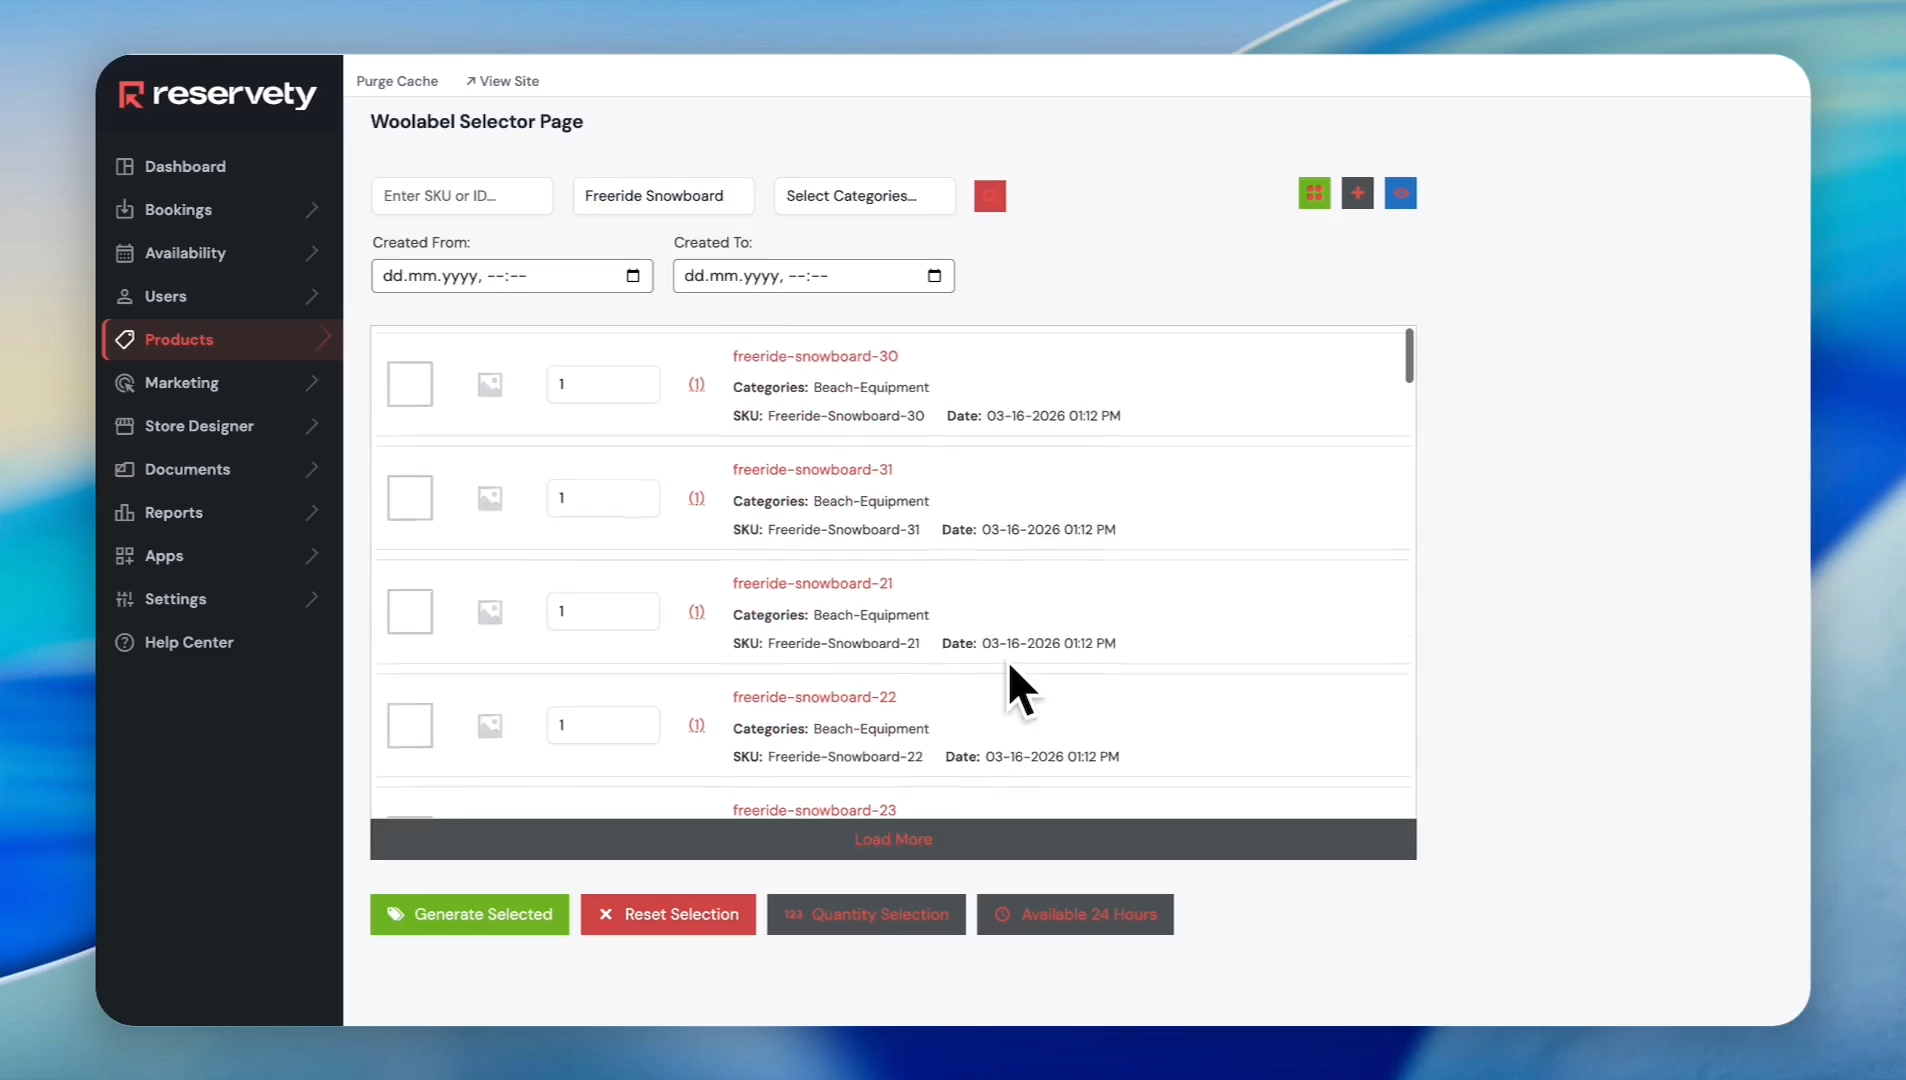
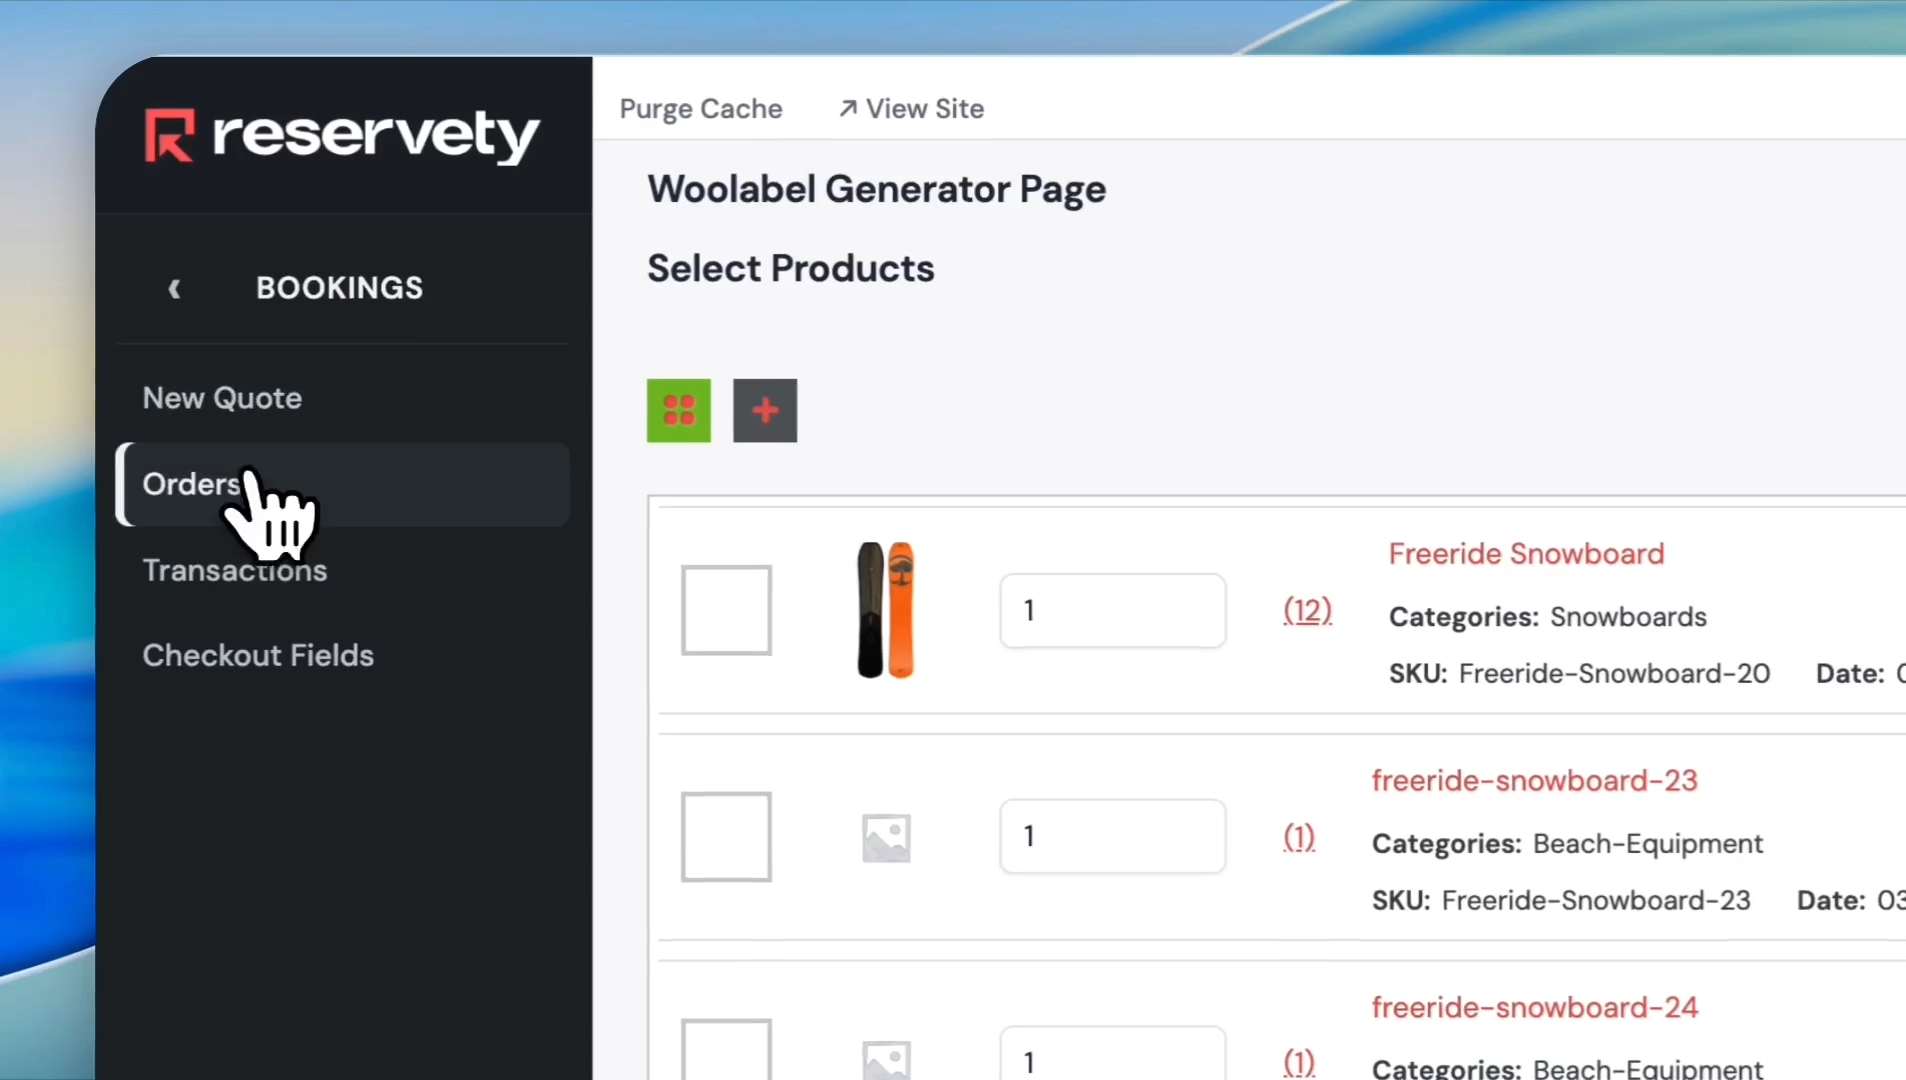
11
Let's discuss the filters at the top. You can also find products by entering their title.

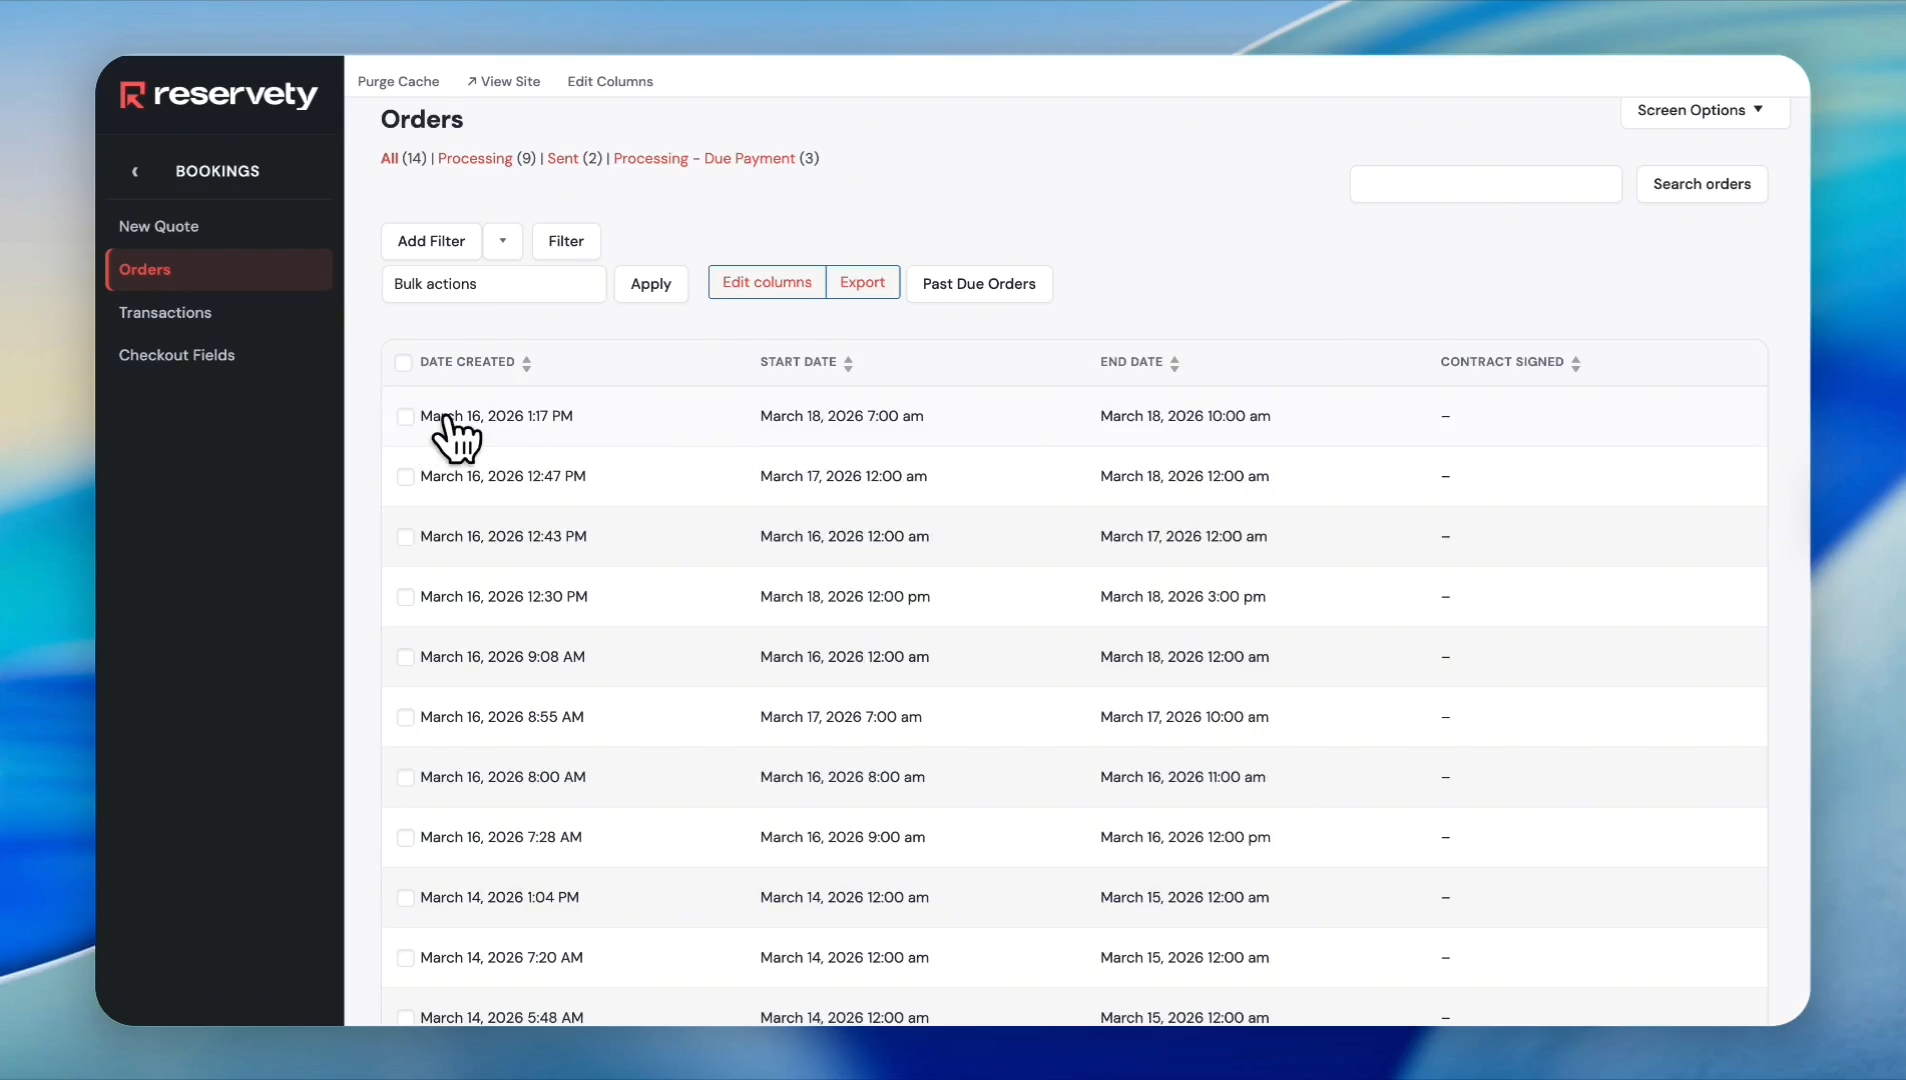
12
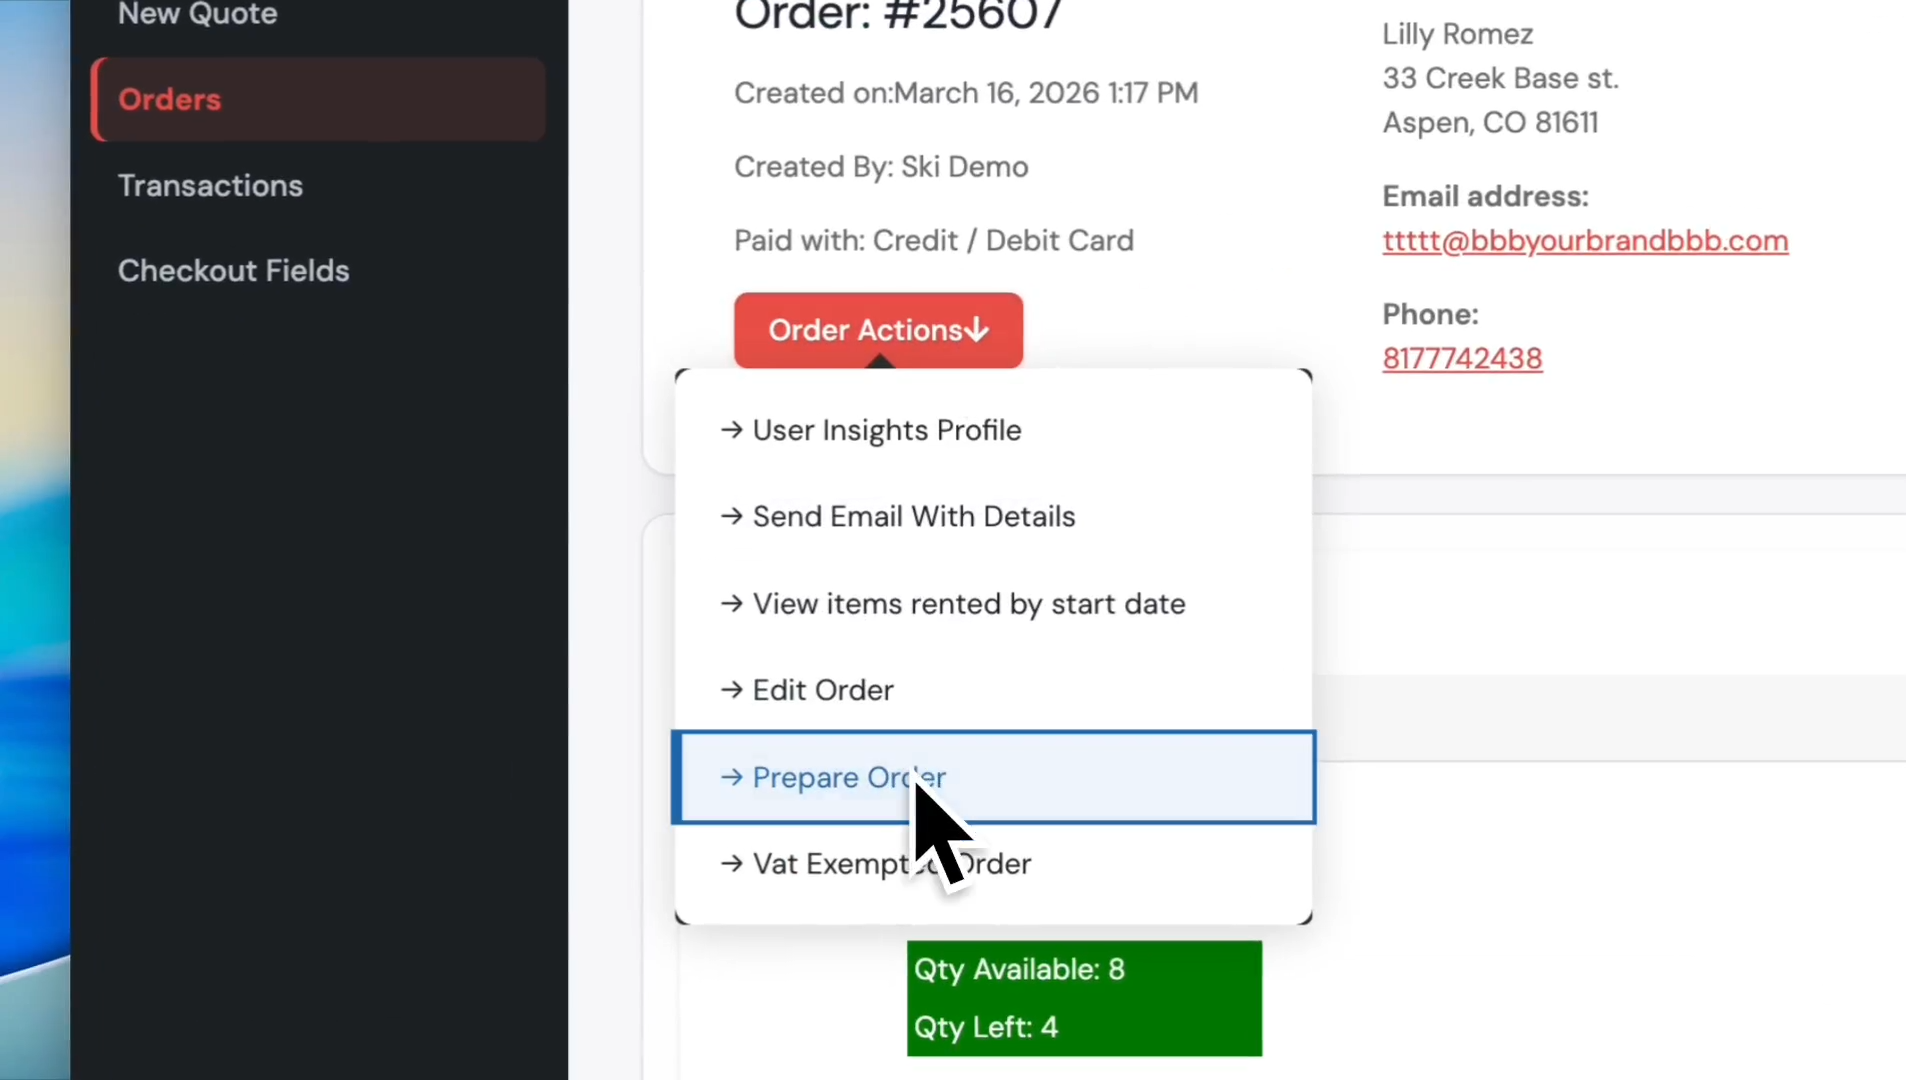
For example, we typed "Freeride Snowboard" and clicked the search icon. The system generated a list of products with serial numbers belonging to Freeride Snowboard.
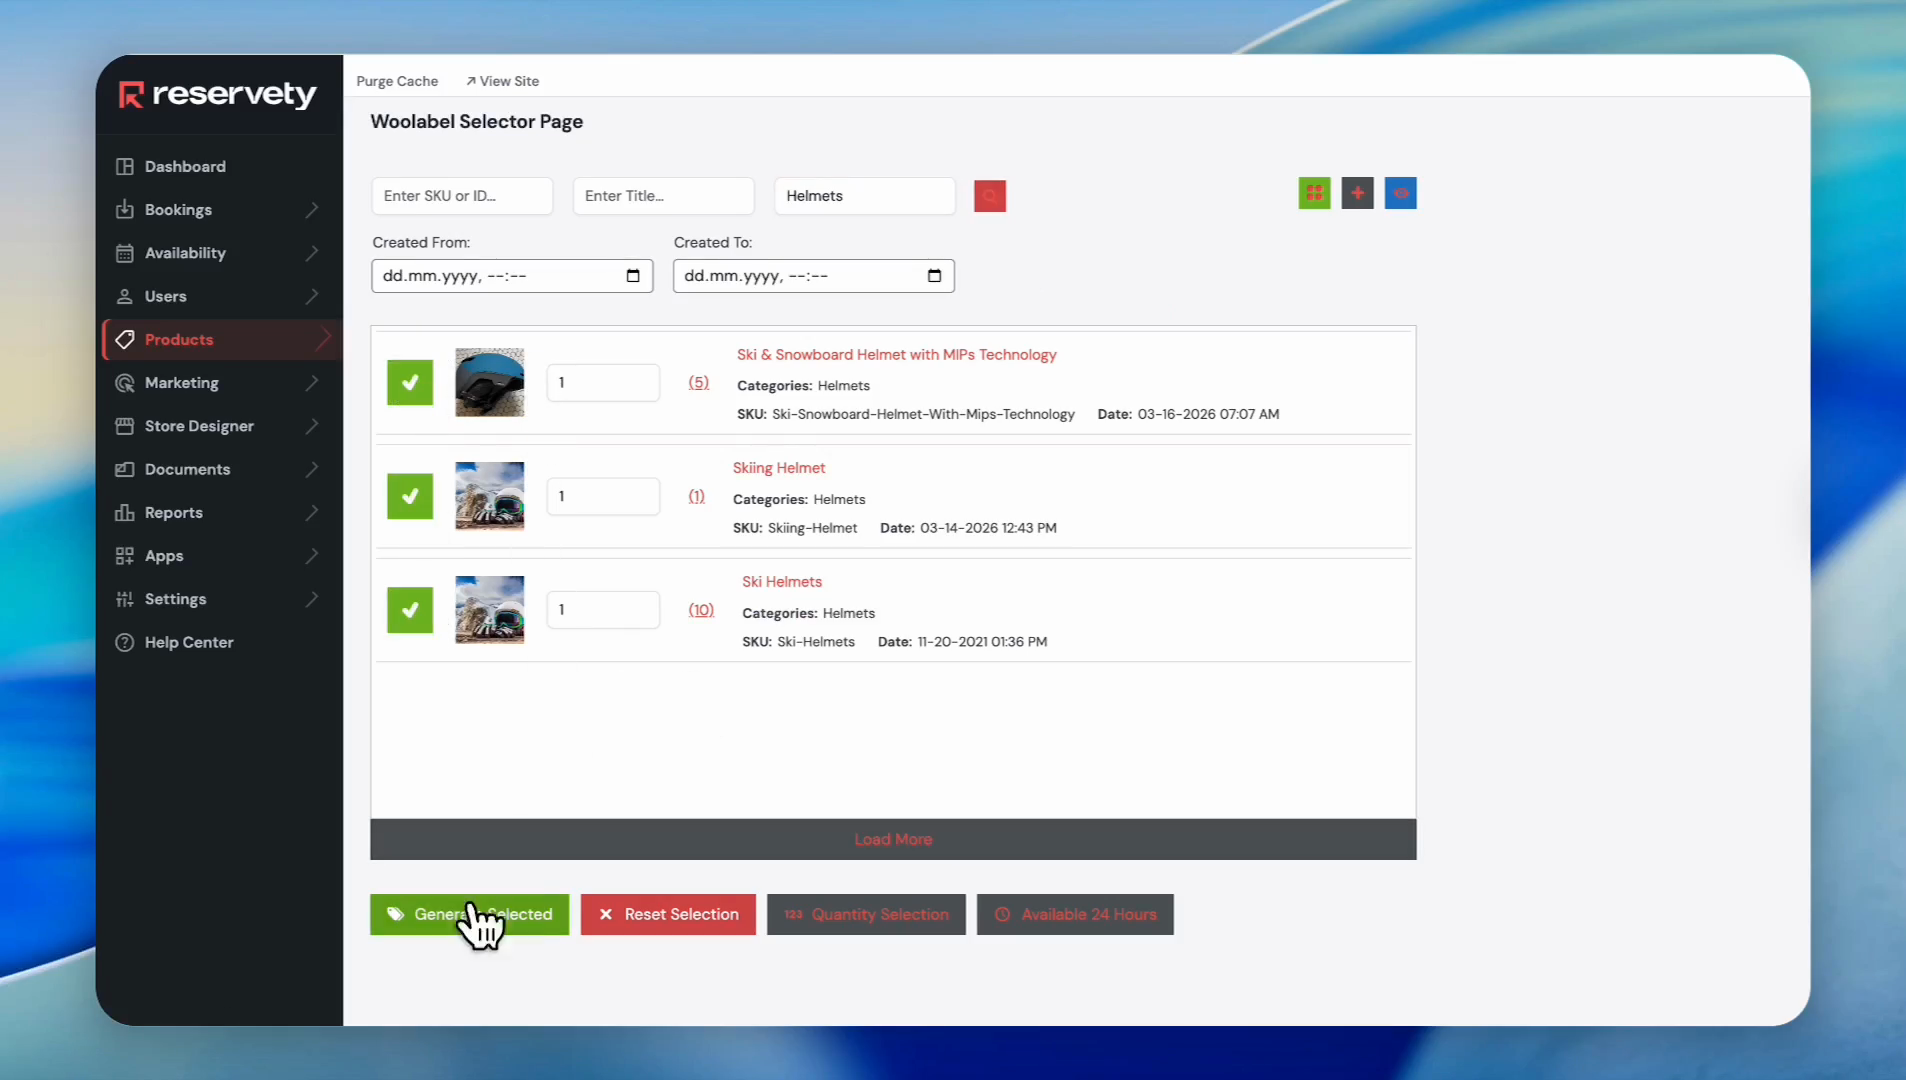
13
Additionally, you can find products for barcode generation by selecting a category from the drop-down menu. For example, we selected Helmets from the category list.

14
Click the search button to filter by the selected category.

15
The list of products under the Helmets category appears. You can assign barcodes to these products by clicking the checkboxes.

16
Then click the Generate Selected button.
17
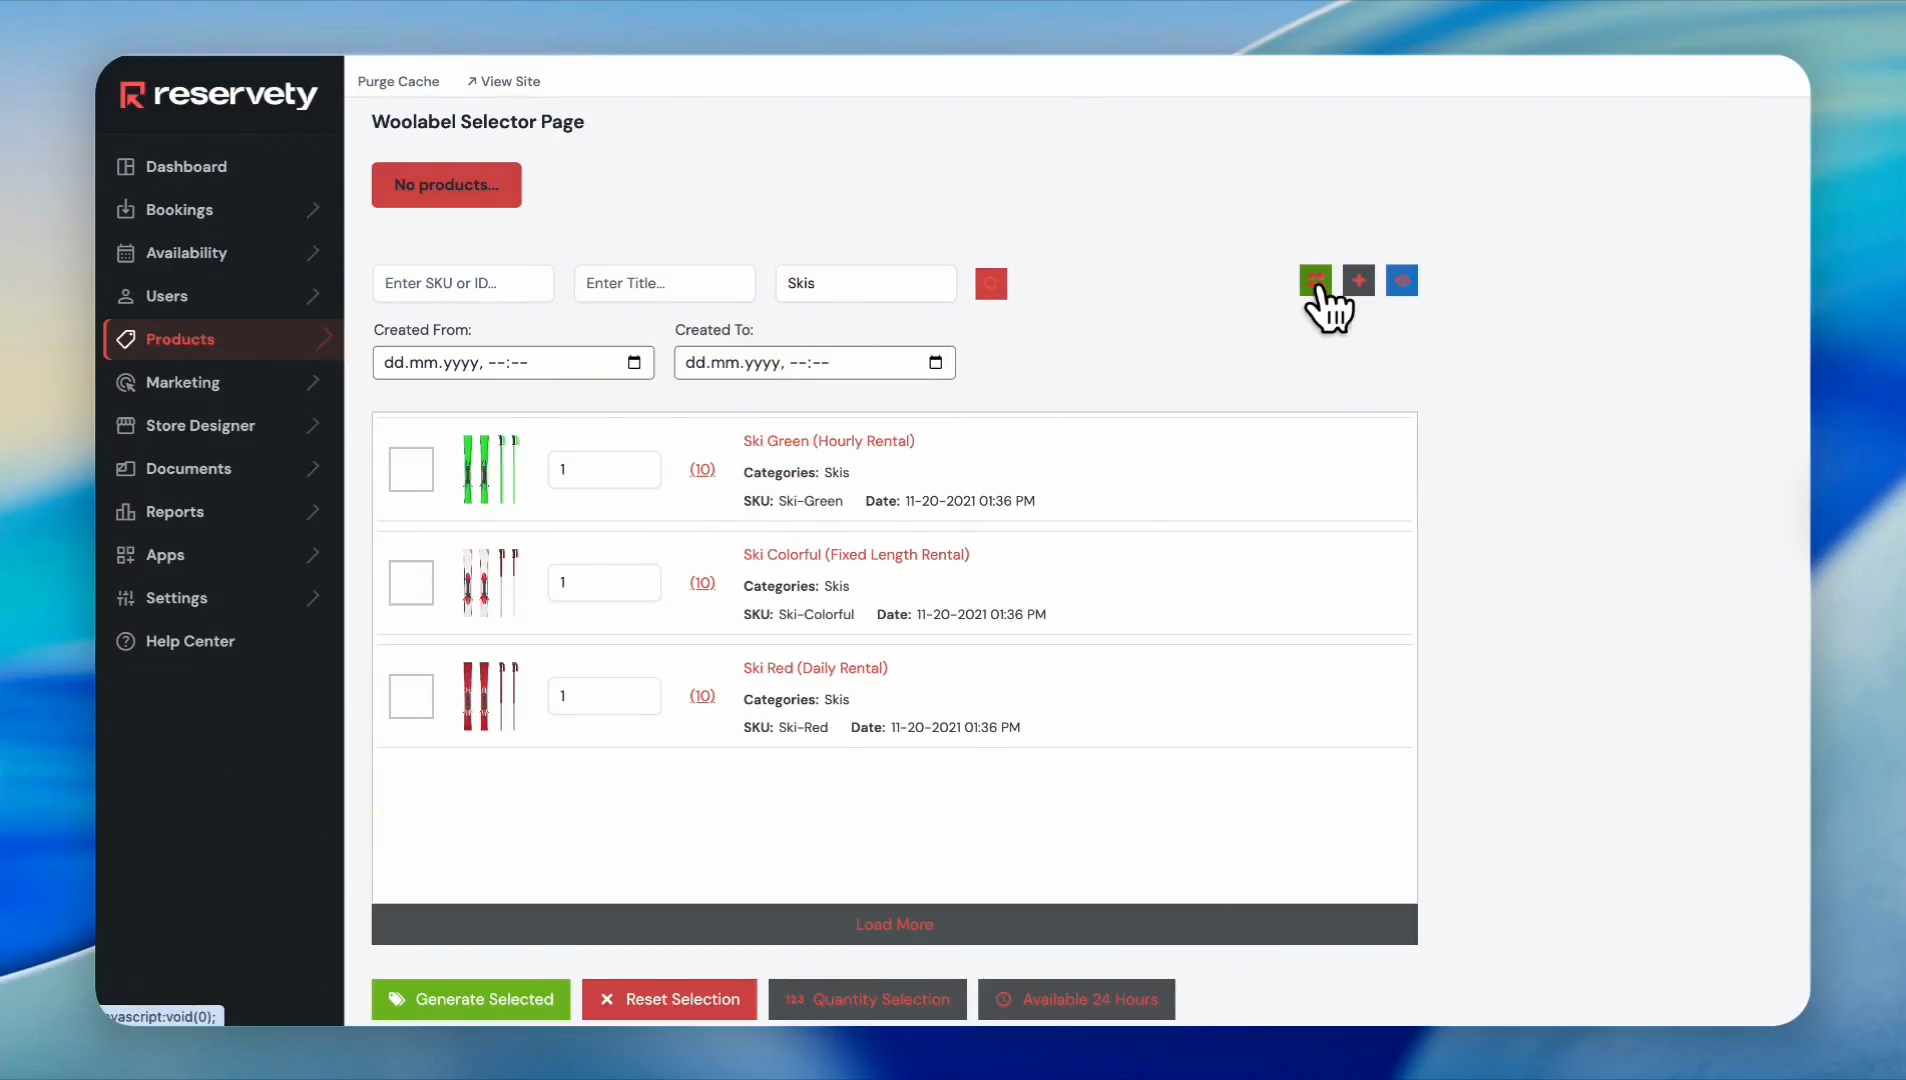
Let's discuss the fast selection feature. For example, we selected Skis from the category and clicked Search.
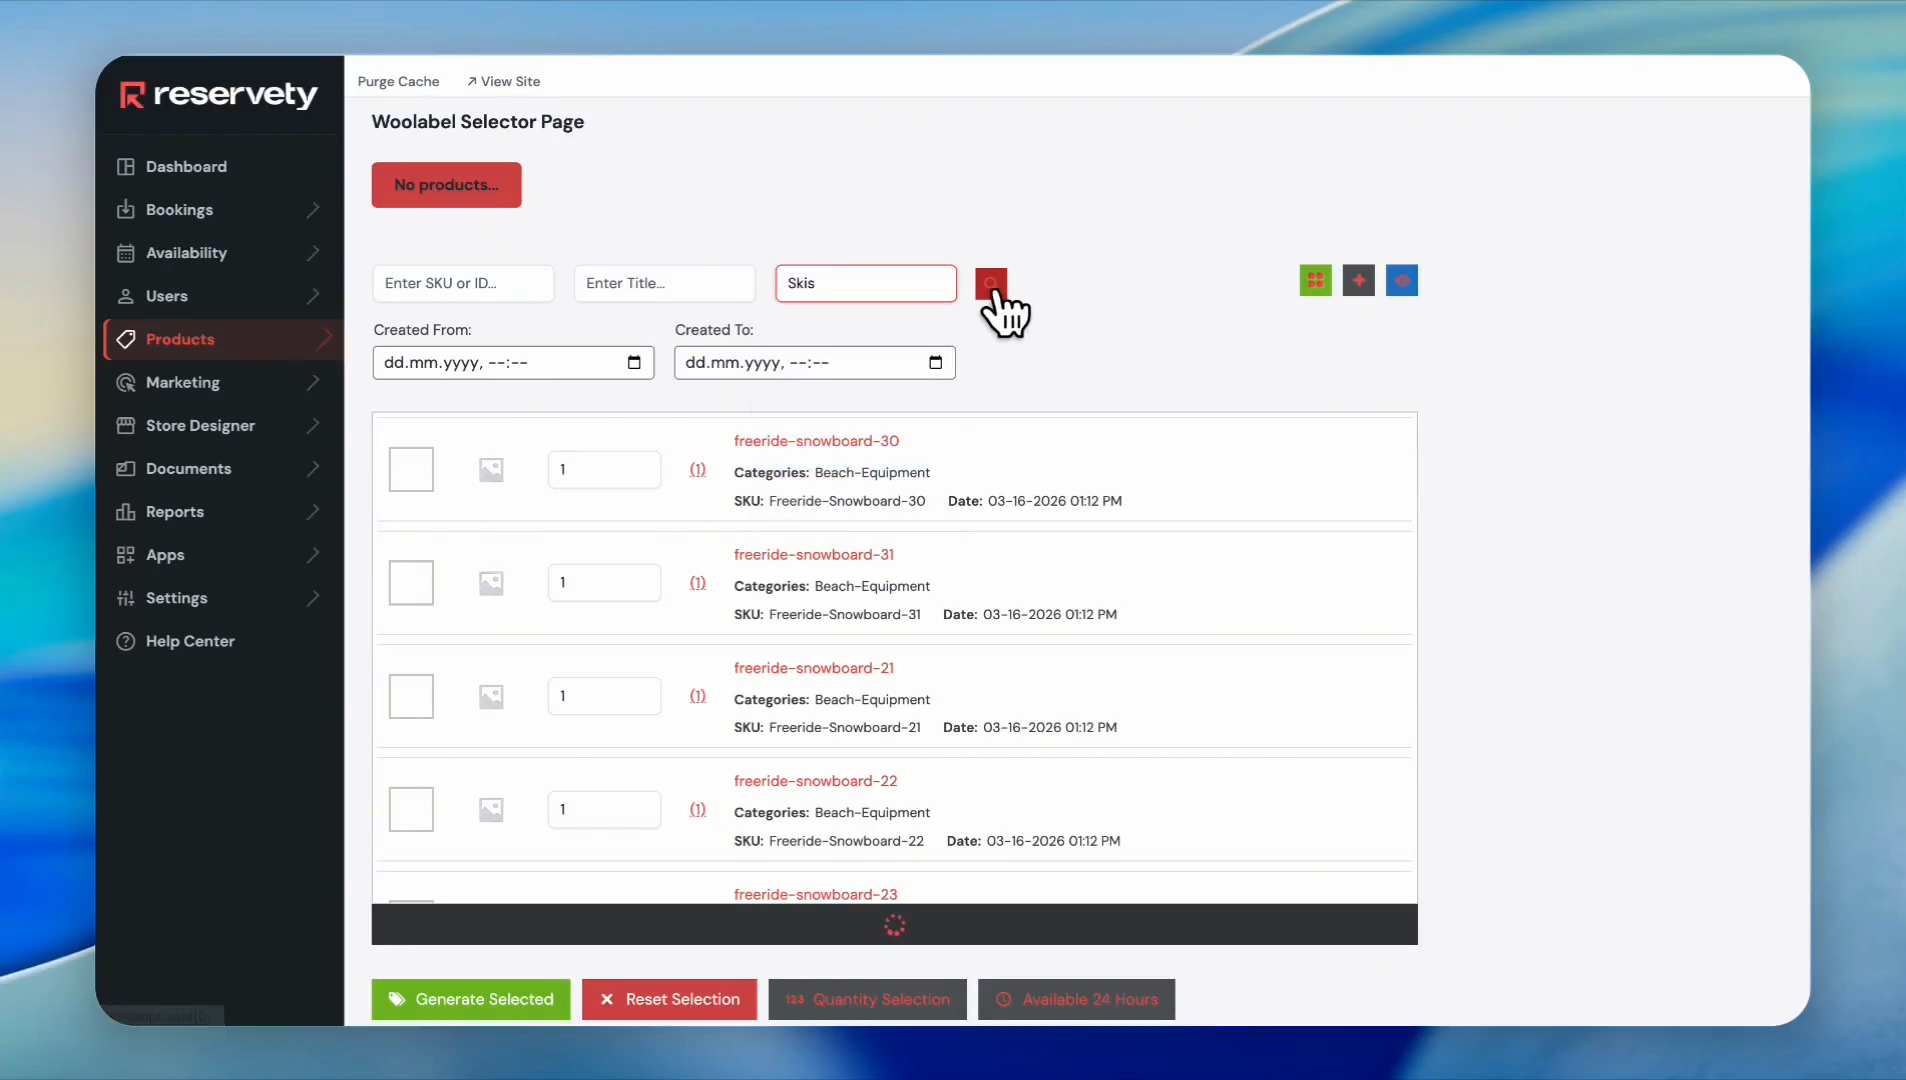
18
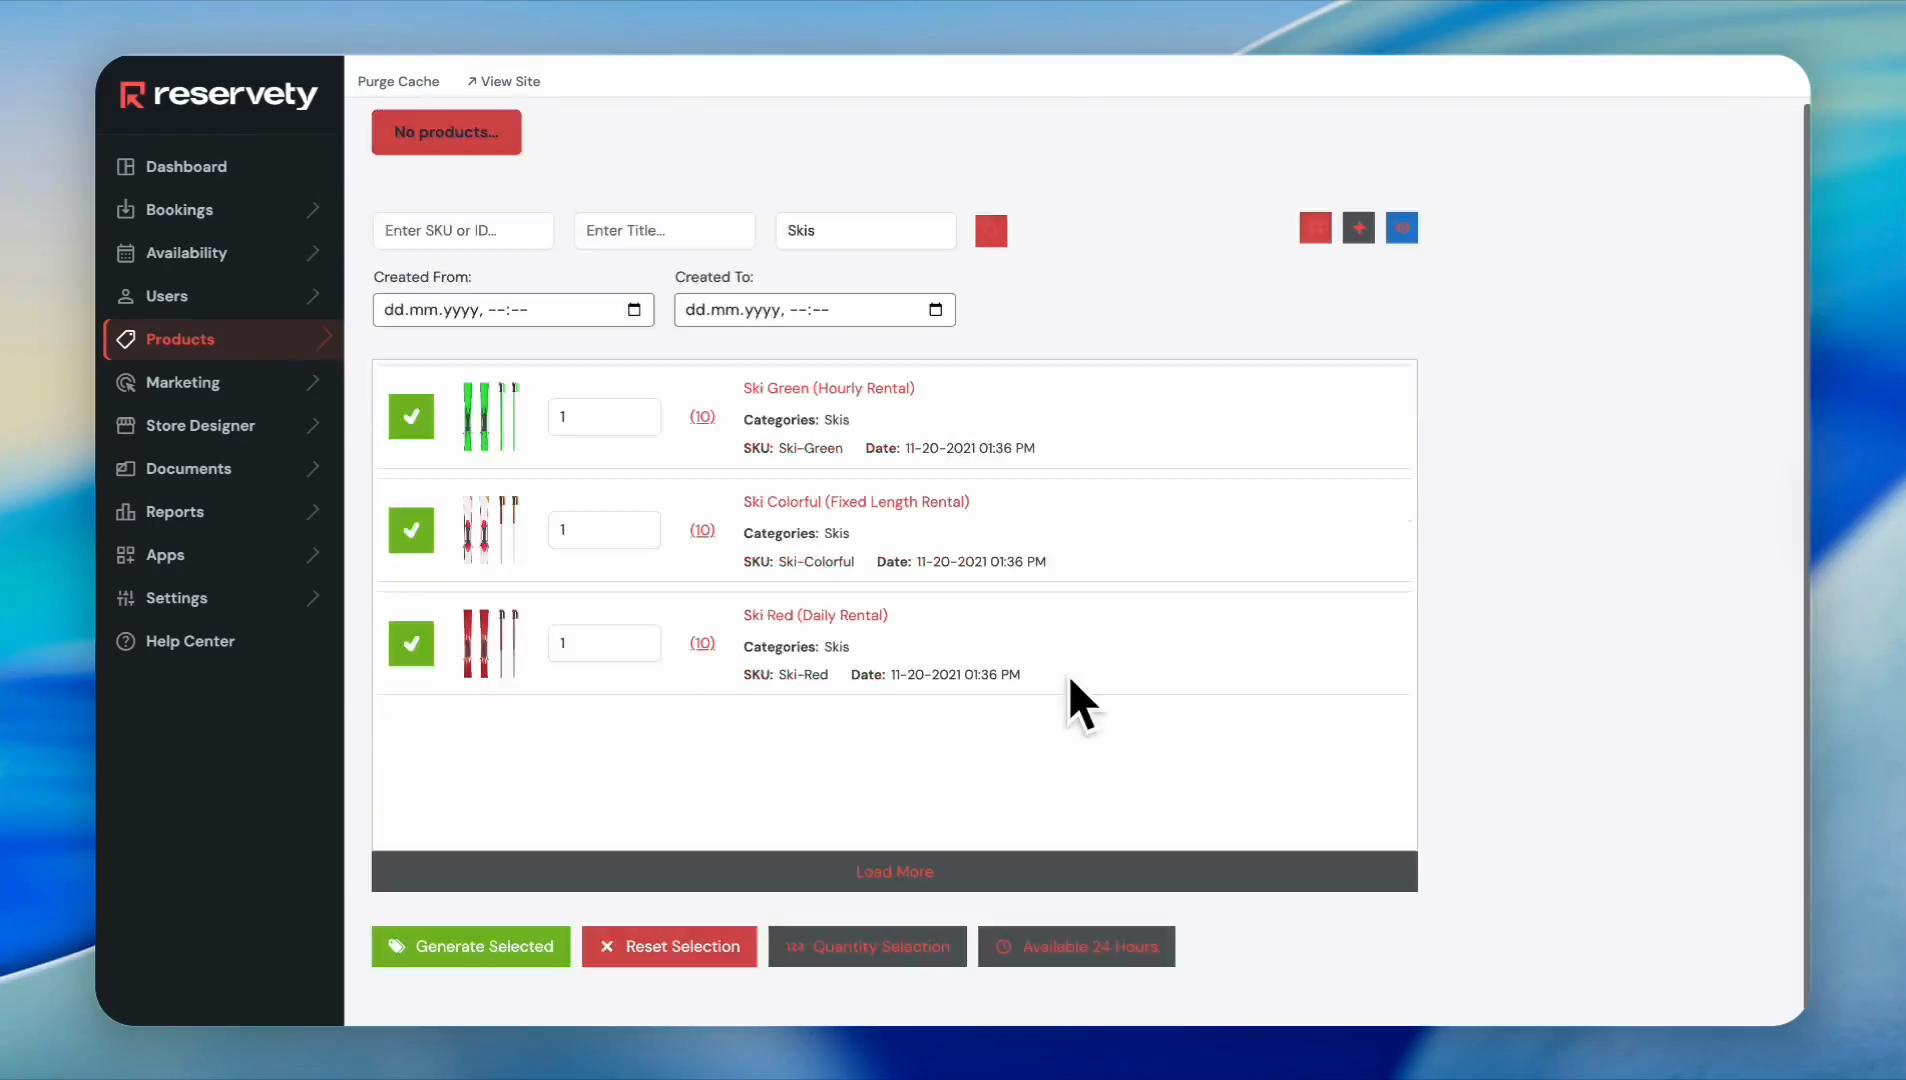
The system displays all products under Skis. To select all of them, click on the green box here. This process avoids you from having to put a check mark on all the serials manually.
19
Click the Generate Selected button.
20
The system also lets you select products added within specific time ranges.
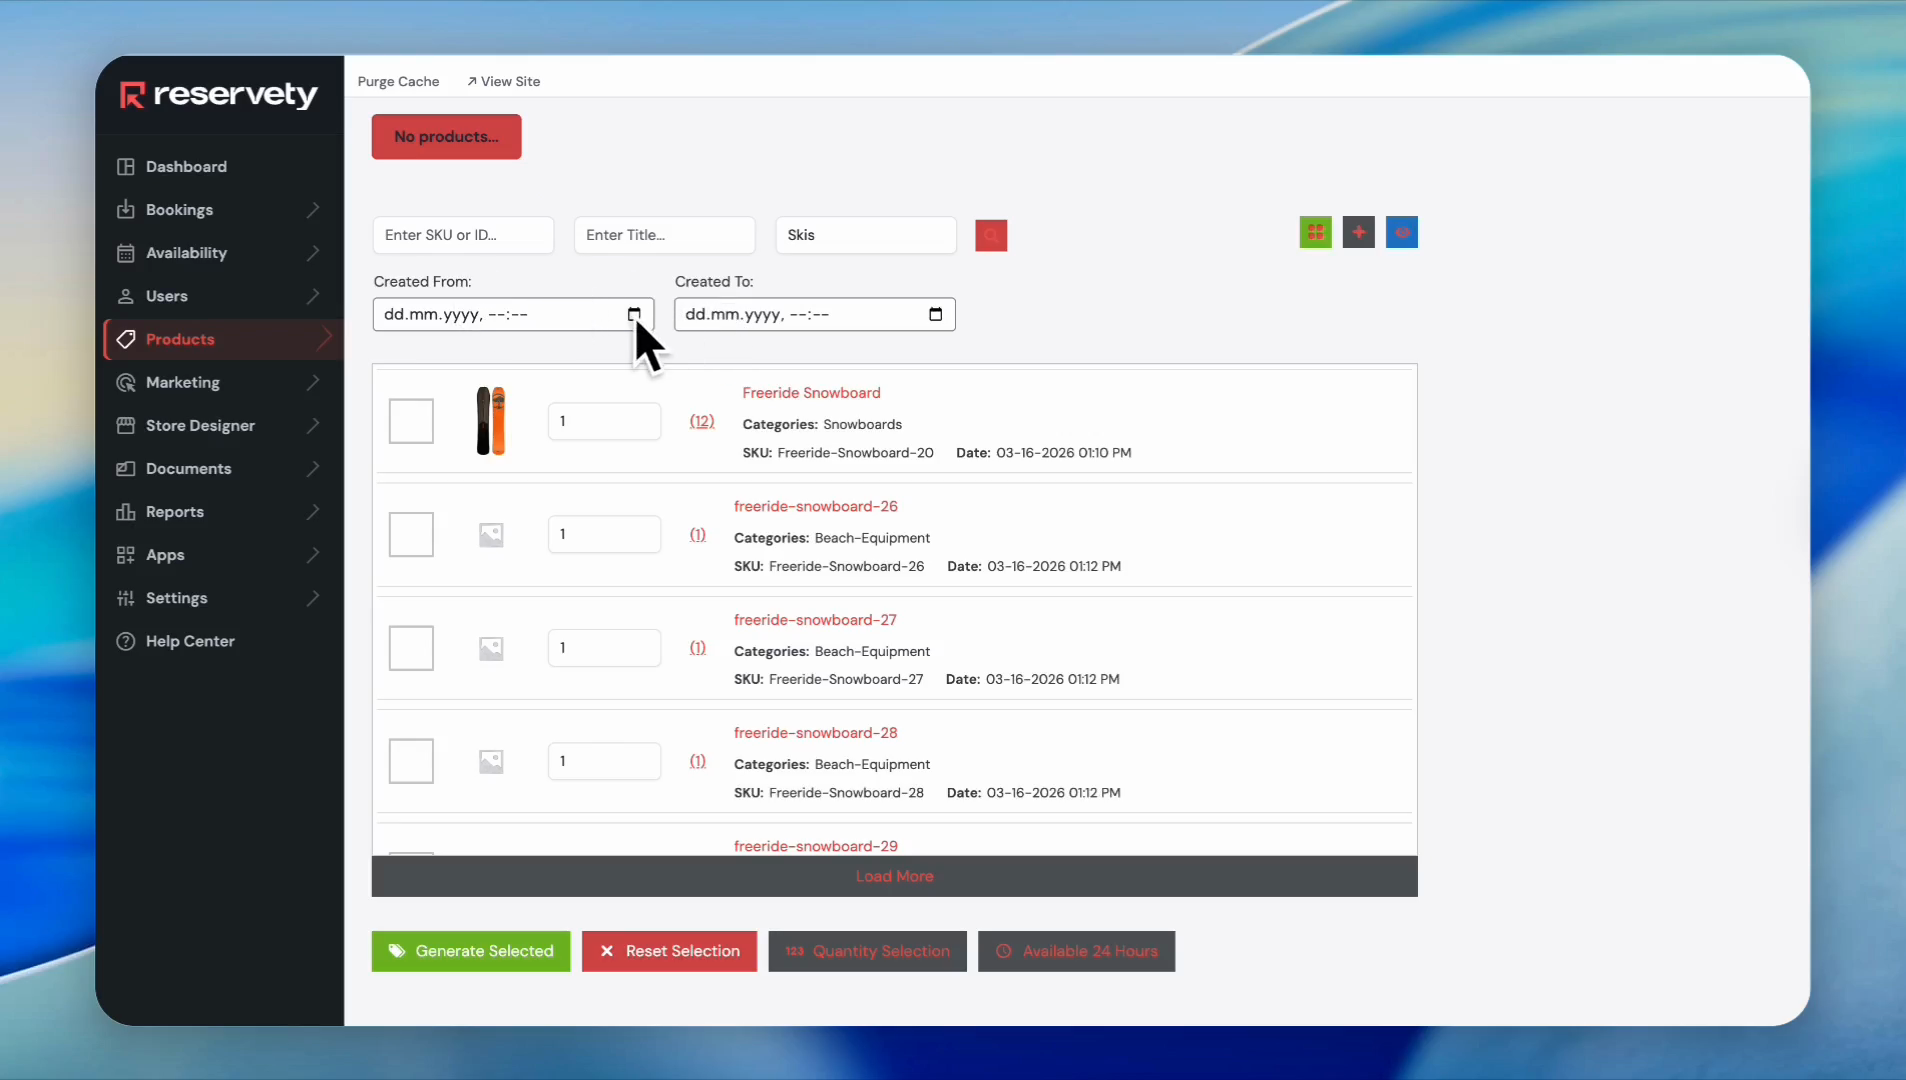
21
For example, to print a barcode for products added between March 1st and today, click the calendar icon in the 'Created From' field and enter March 1.

22
Then enter the date for the "Created To". Click on today's date in the calendar.
23
You can also increase the number of barcodes to print.
24
For example, let's say we want four pieces from the first barcode, three from the second, and two from a third.
25
Click the 'Generate Selected' button.
26
You can print them and attach them to your products.
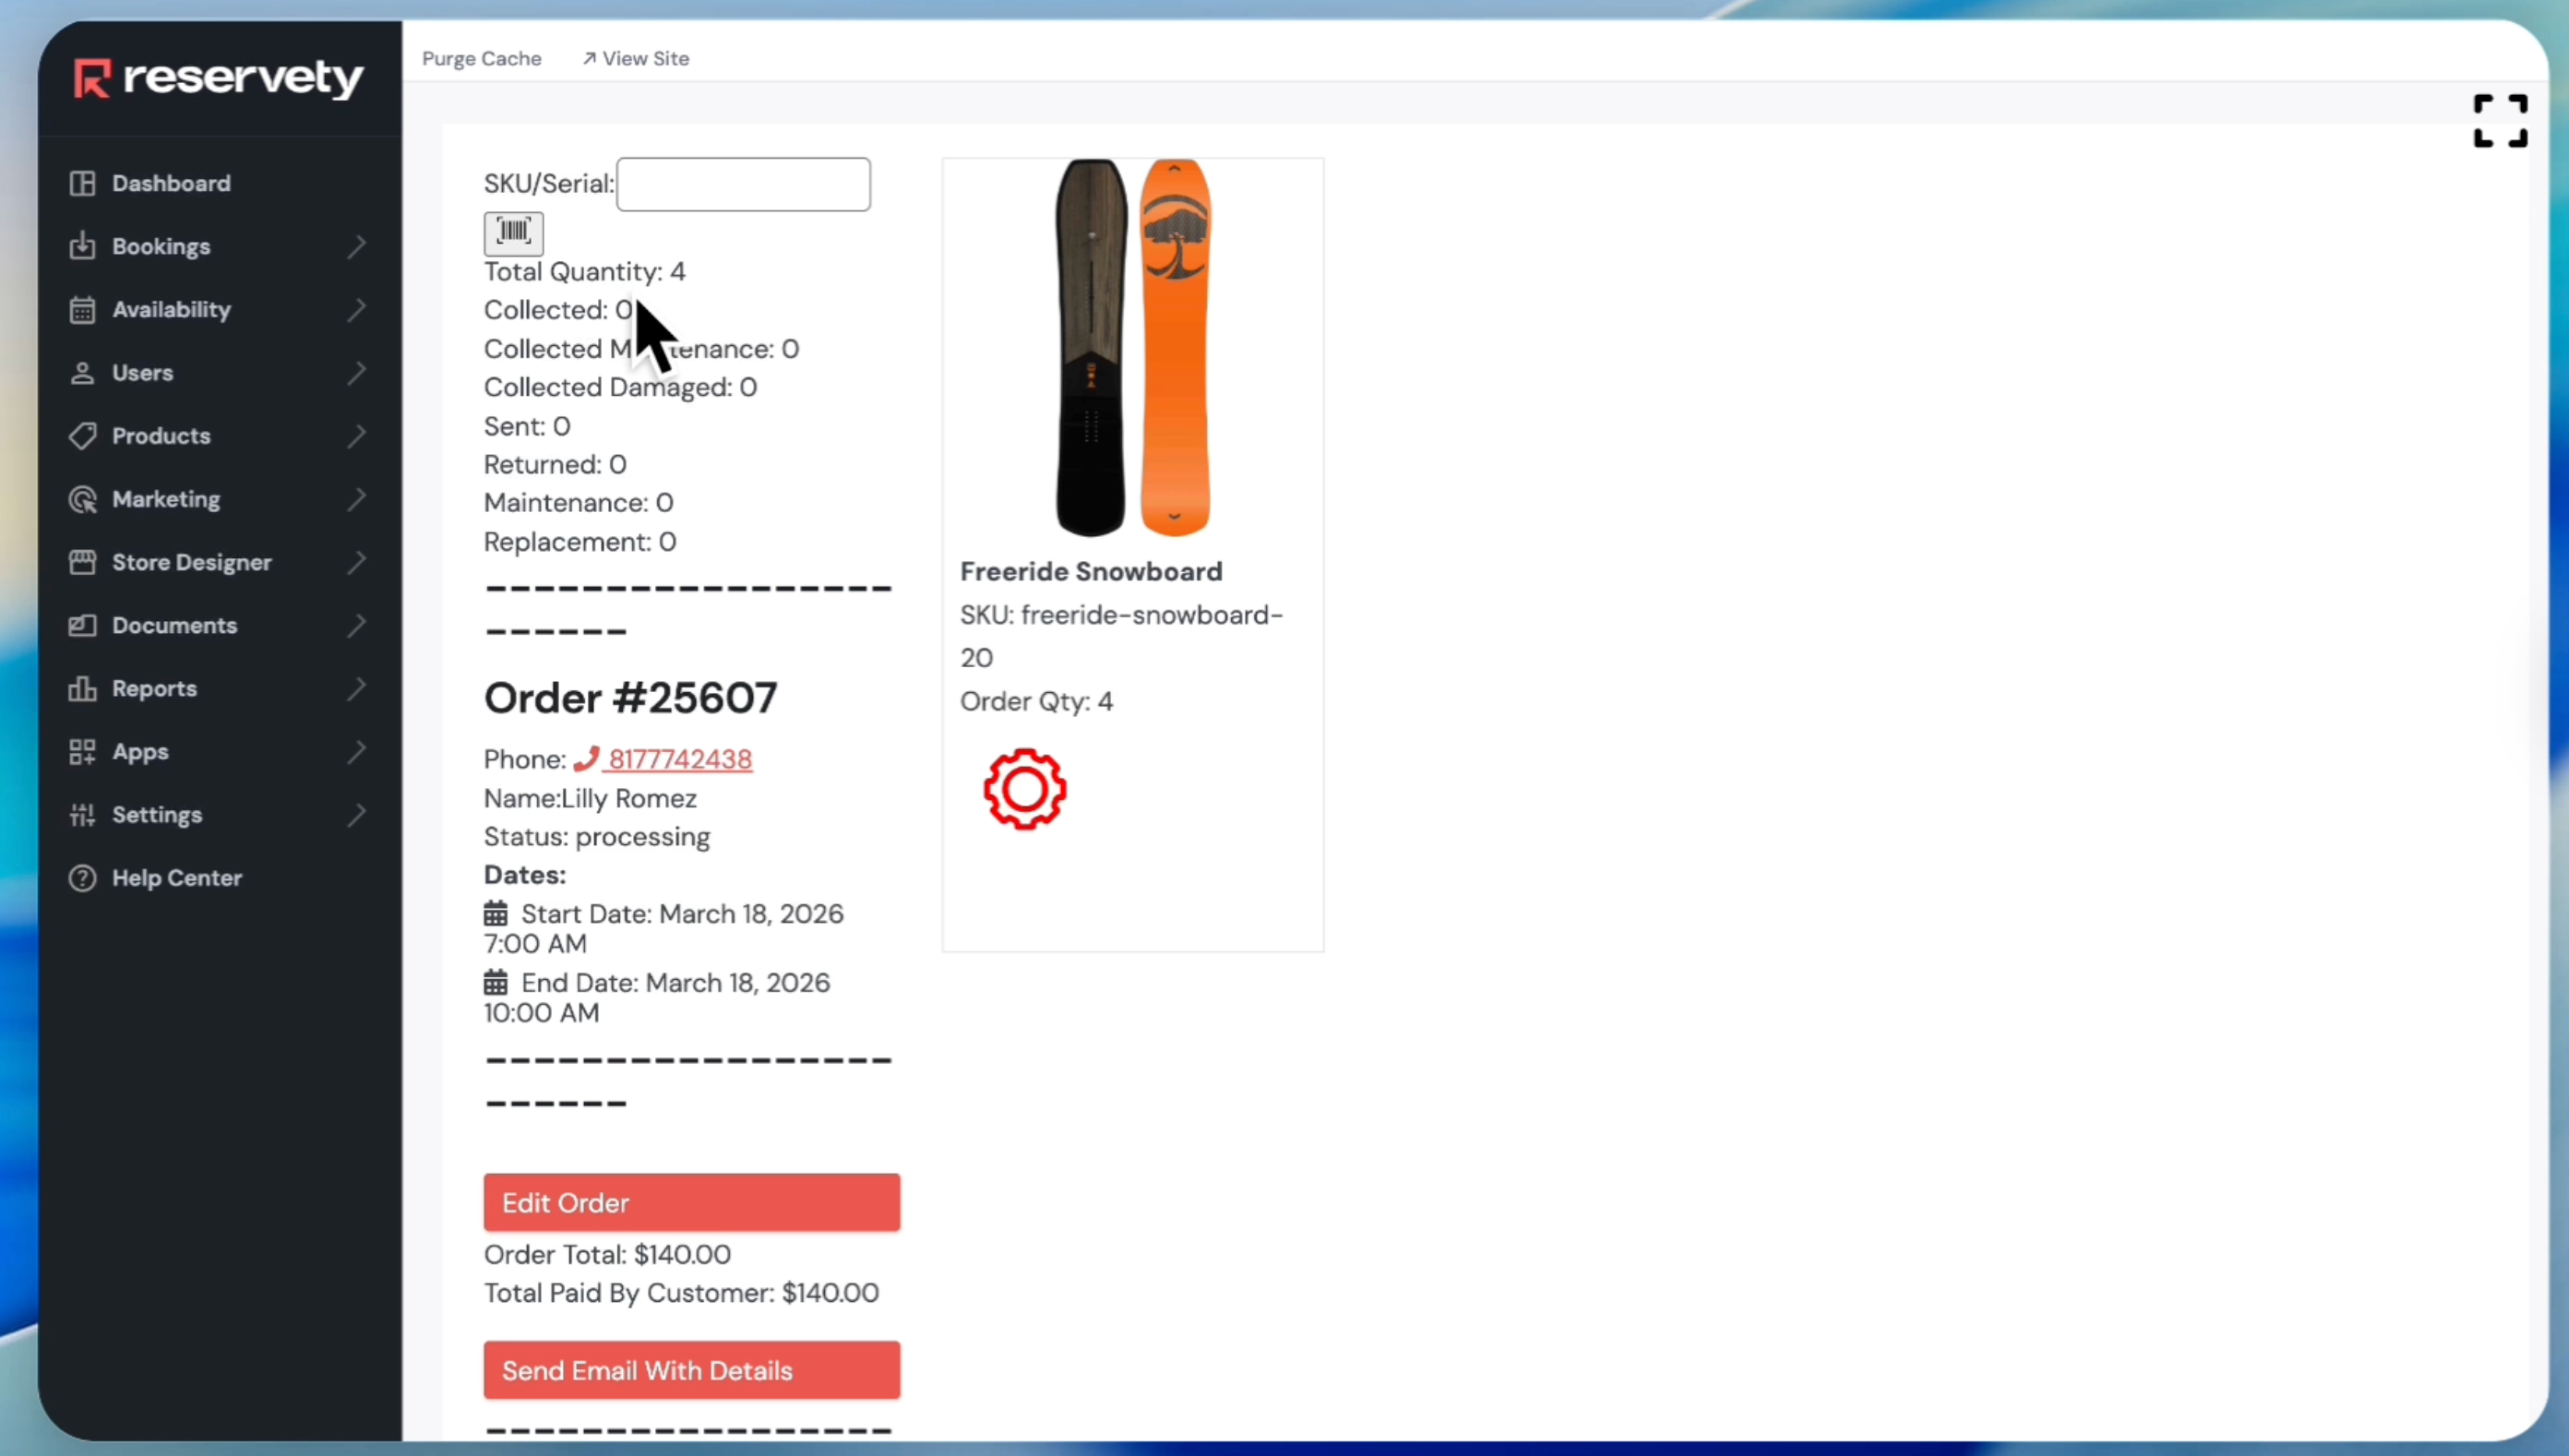
Let's demonstrate how to use these barcodes during order preparation.
27
Click on 'Bookings' in the left sidebar menu.
28
Click on 'Orders' from the dropdown menu.
29
Click the order you plan to prepare.
30
Click the 'Order Actions' button.
31
Click on 'Prepare Order' from the dropdown menu.
32
If you printed a barcode for this snowboard and attached it to the product, you can use your barcode scanner or phone to scan it. The product will then be automatically added to the order. You will need to scan four products for this order, since the order quantity is four. The process saves time because you won't have to manually enter products to order.