Learn how to bulk generate ID cards with Karyatrix. Follow this guide to customize templates, upload student data via Excel, and export print-ready designs.
By Karyatrix
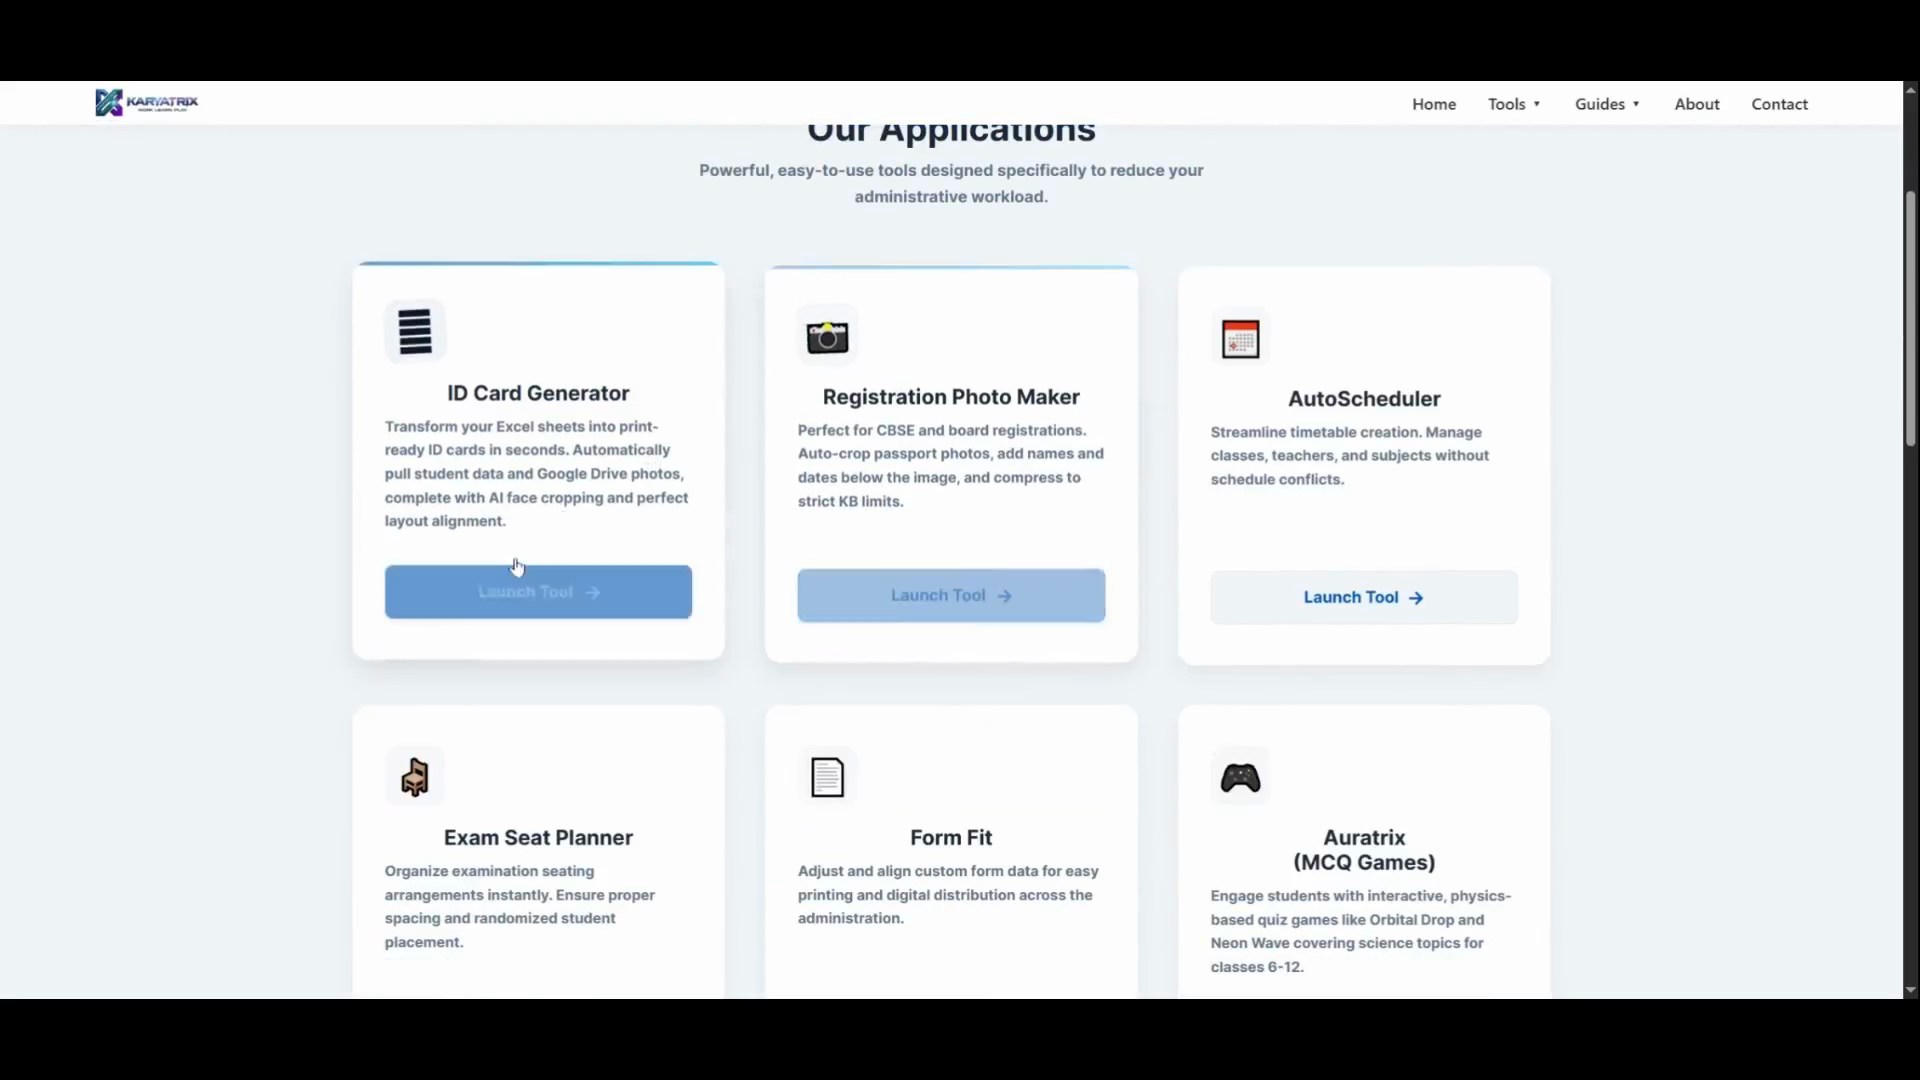
Generating ID cards in bulk doesn't require complex software knowledge. Using the intuitive Karyatrix ID Card Generator, you can easily map spreadsheets to templates, perfectly crop photos, and export print-ready files in minutes.
Launch the Tool
Navigate to the Karyatrix homepage to get started.
1
Click Launch Tool under the ID Card Generator section.
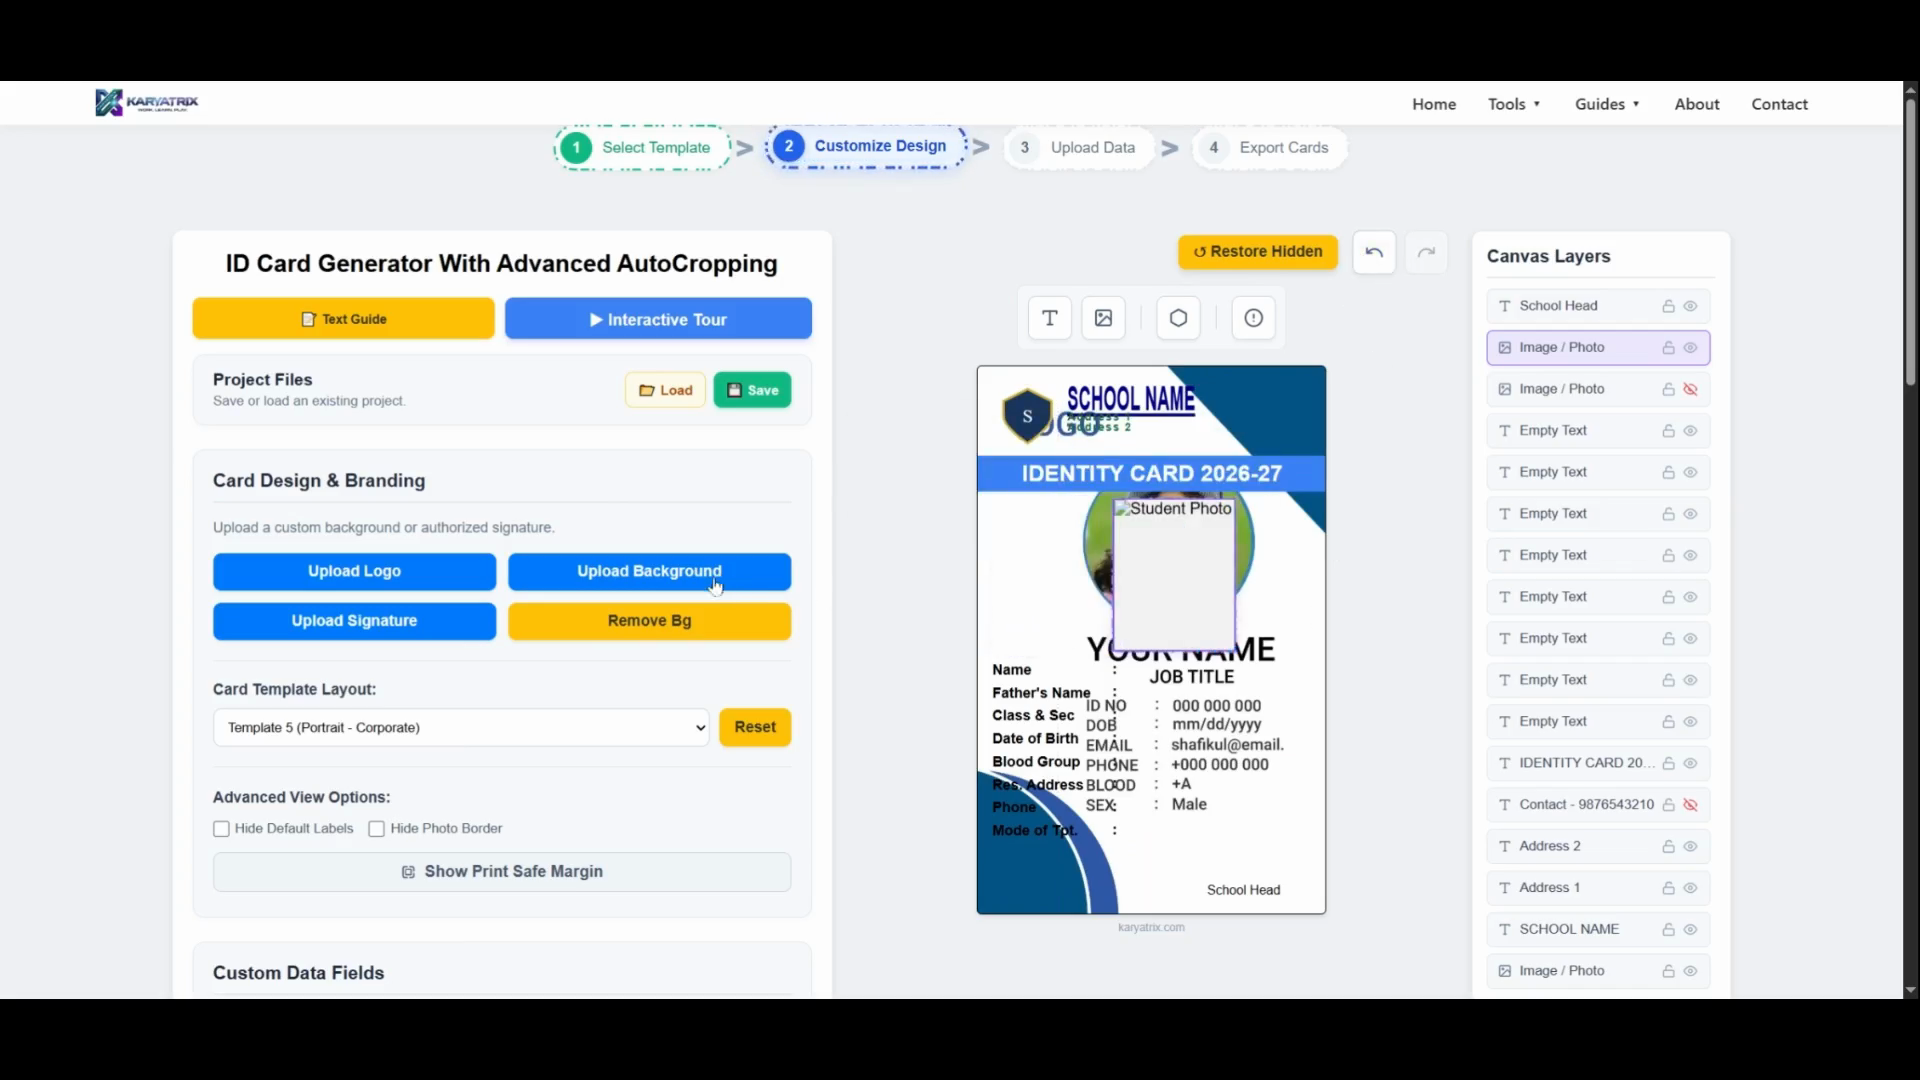
Choose and Customize a Template
2
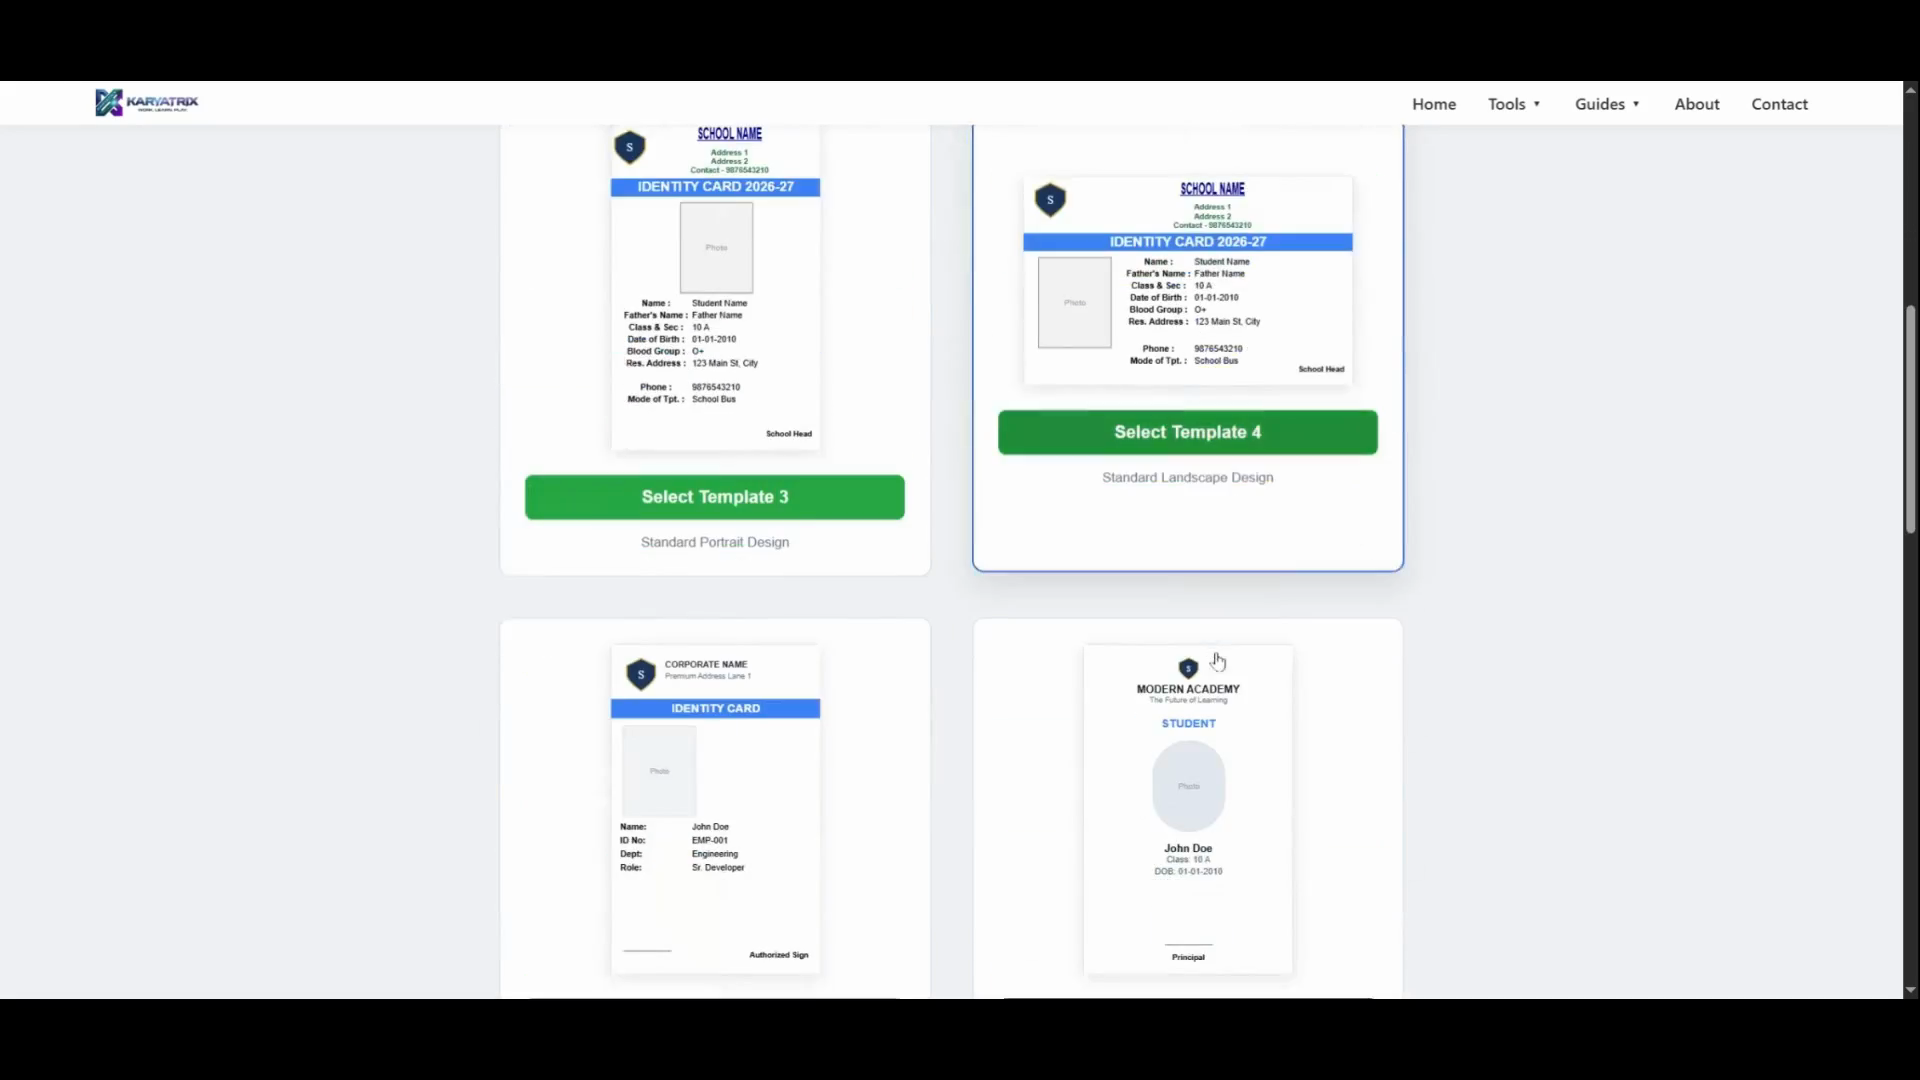
Select a ready-made layout, such as the Minimalist template, to begin.
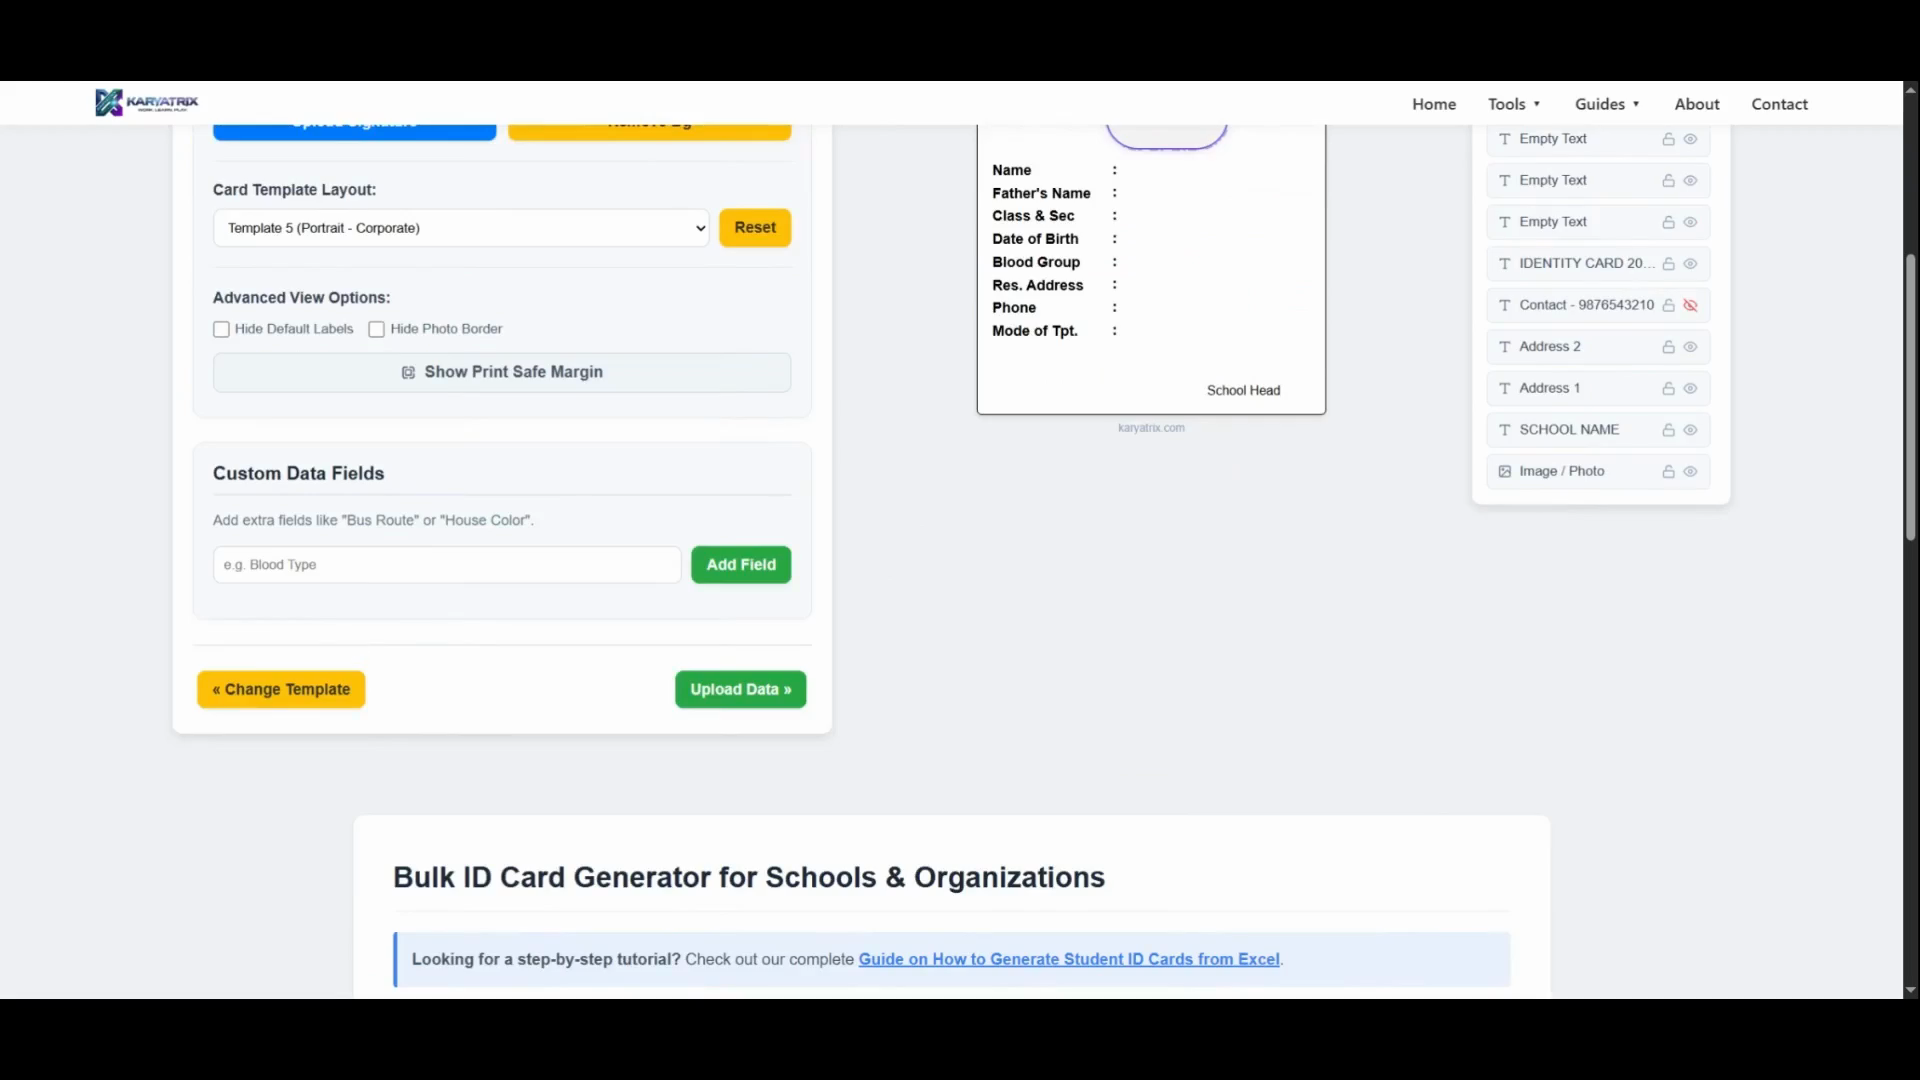
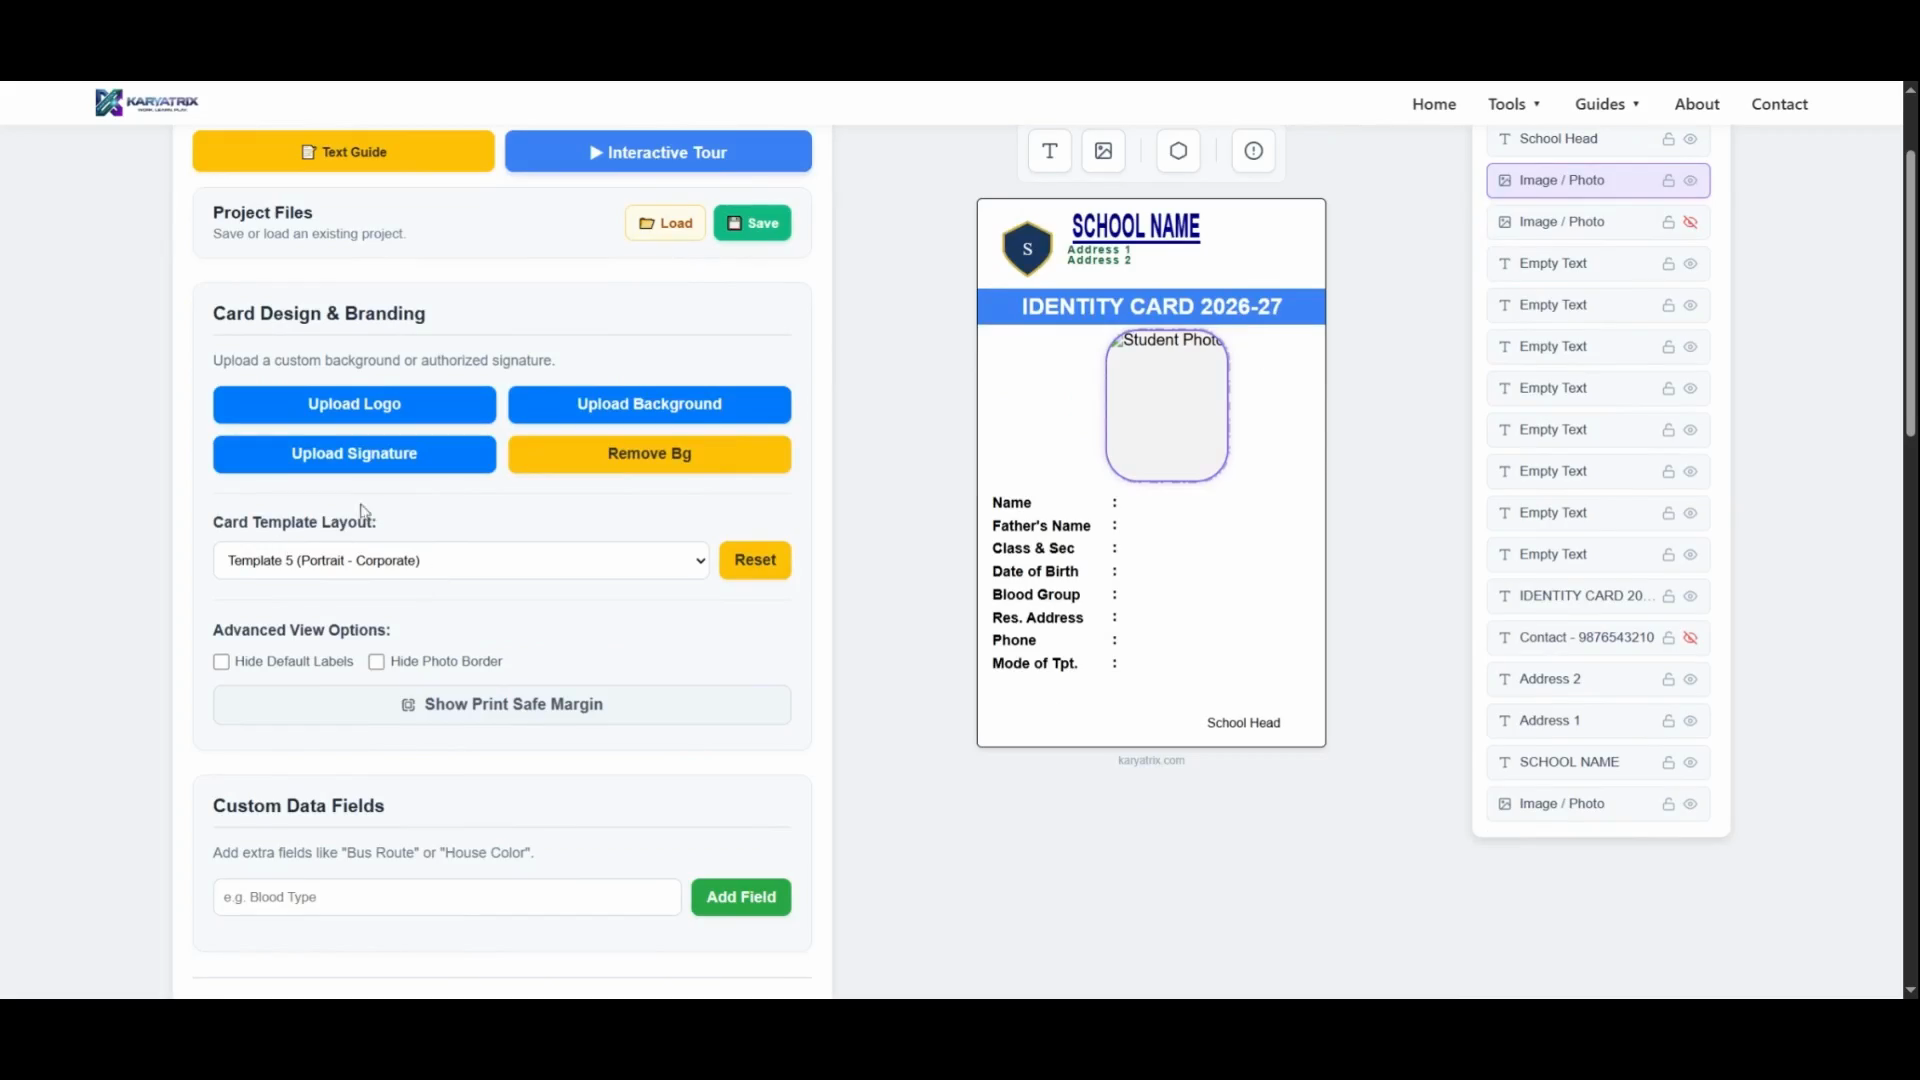
You can also upload a custom background if you have one prepared on your computer.
3
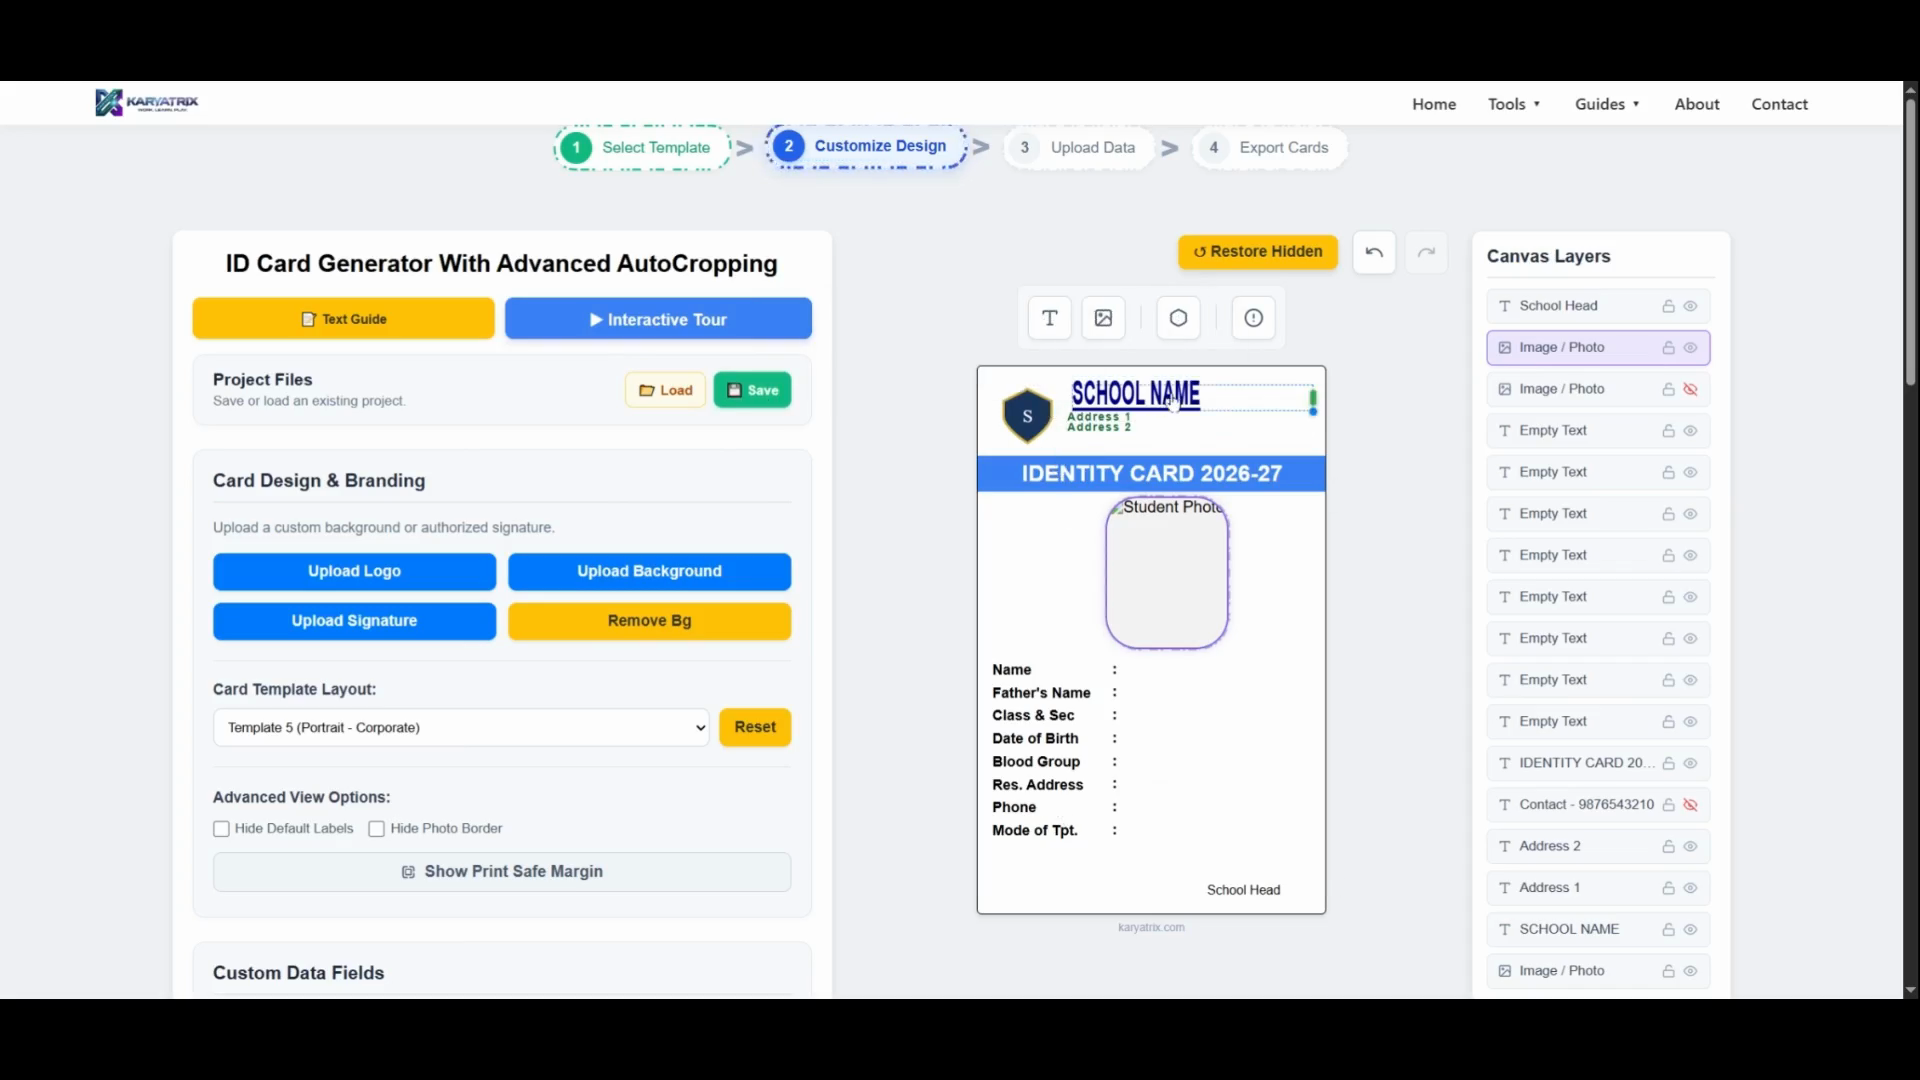
Customize the design by moving text, changing fonts, or dragging the corner of the photo placeholder to resize it.
4
To add extra information, type a new label (like "Age") under Custom Data Fields and click Add Field.
5
Switch templates on the fly by selecting a new option from the Card Template Layout dropdown.
Karyatrix processes everything locally. All the information and images you upload remain safely on your computer to protect student privacy.
Save and Load Projects
If you spend time creating a custom design and want to use it again later, you can save your progress.
6
Click Save under Project Files to save your custom layout to your computer.
7
To use a saved layout next time you use the tool, select the file and click Load.
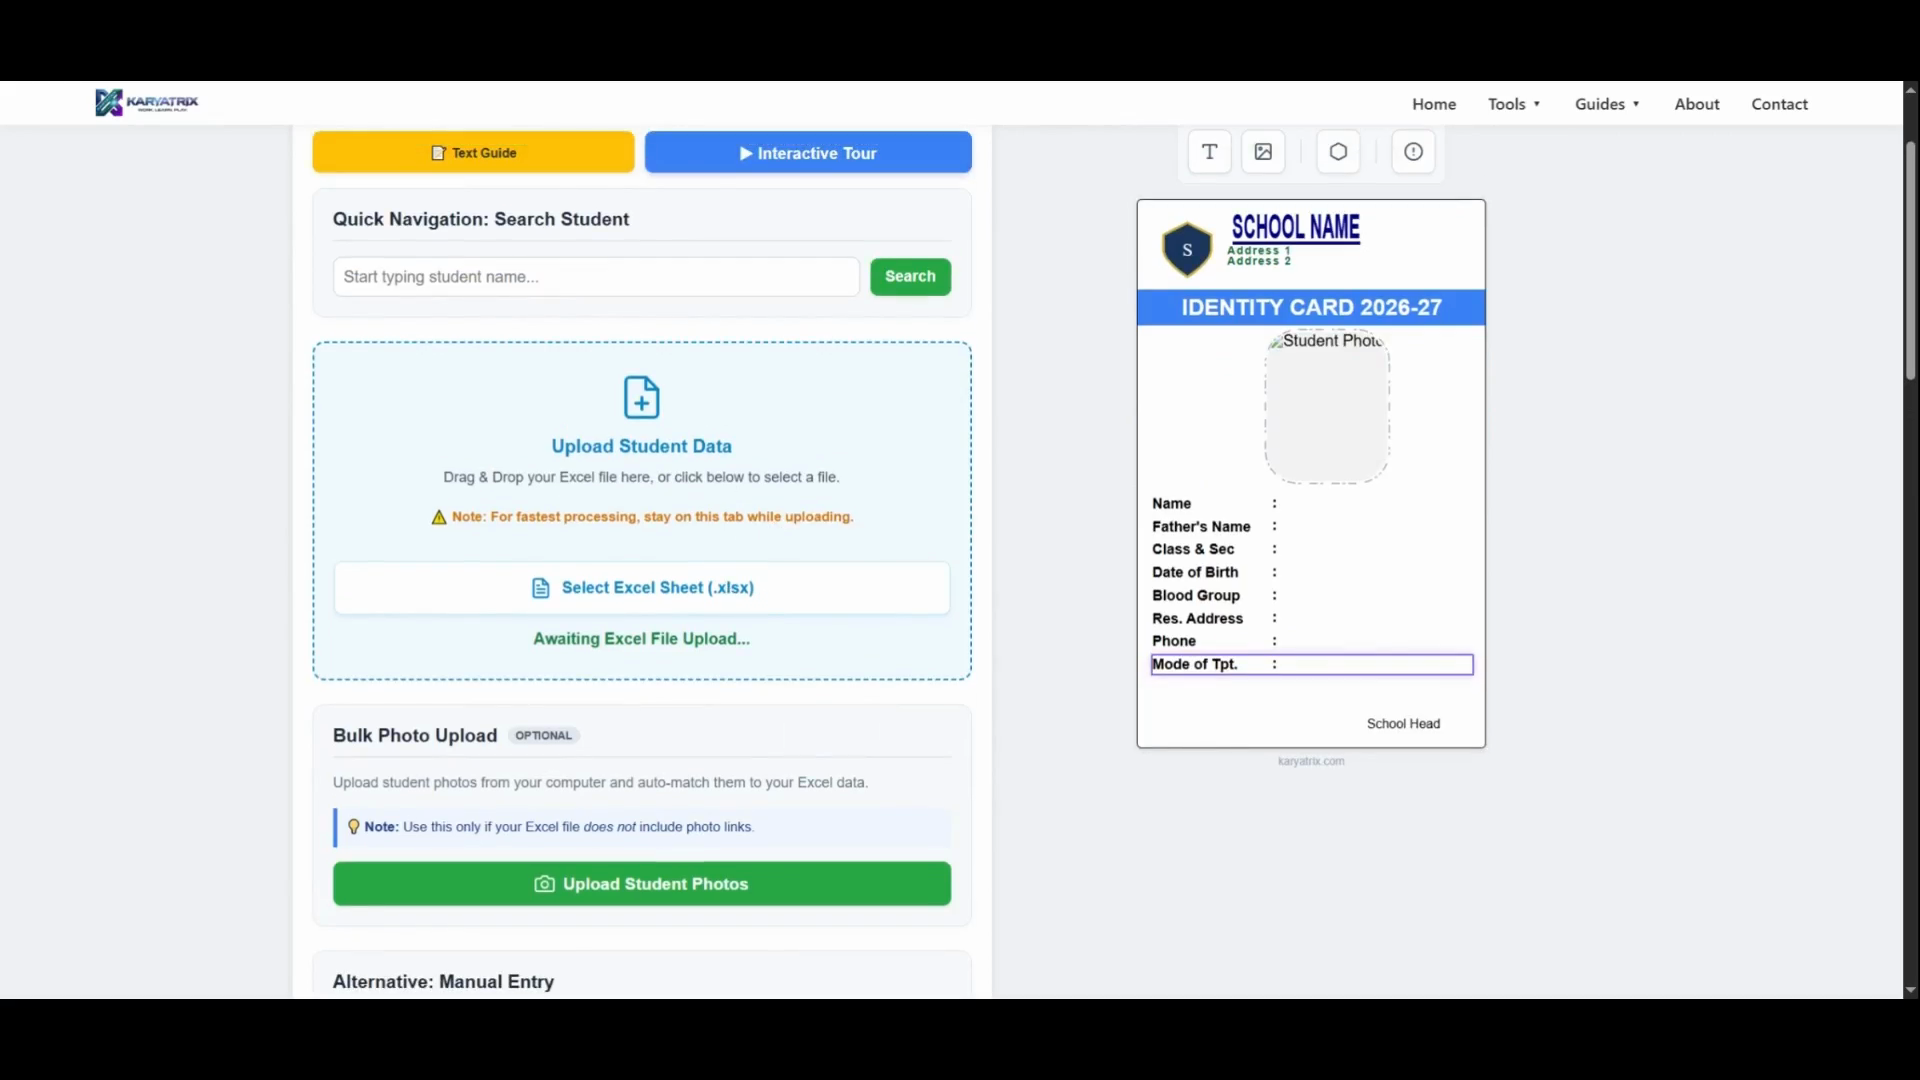
Upload Your Data
8
Click the Upload Data tab.
9
Click Select Excel Sheet (.xlsx) to upload your spreadsheet of student data.
10
If your photos are saved locally, click Upload Student Photos to import the folder and match them up.
For an easier workflow, include direct Google Drive links to the student photos directly in your Excel sheet. The tool will automatically extract the images, saving you from handling separate files.
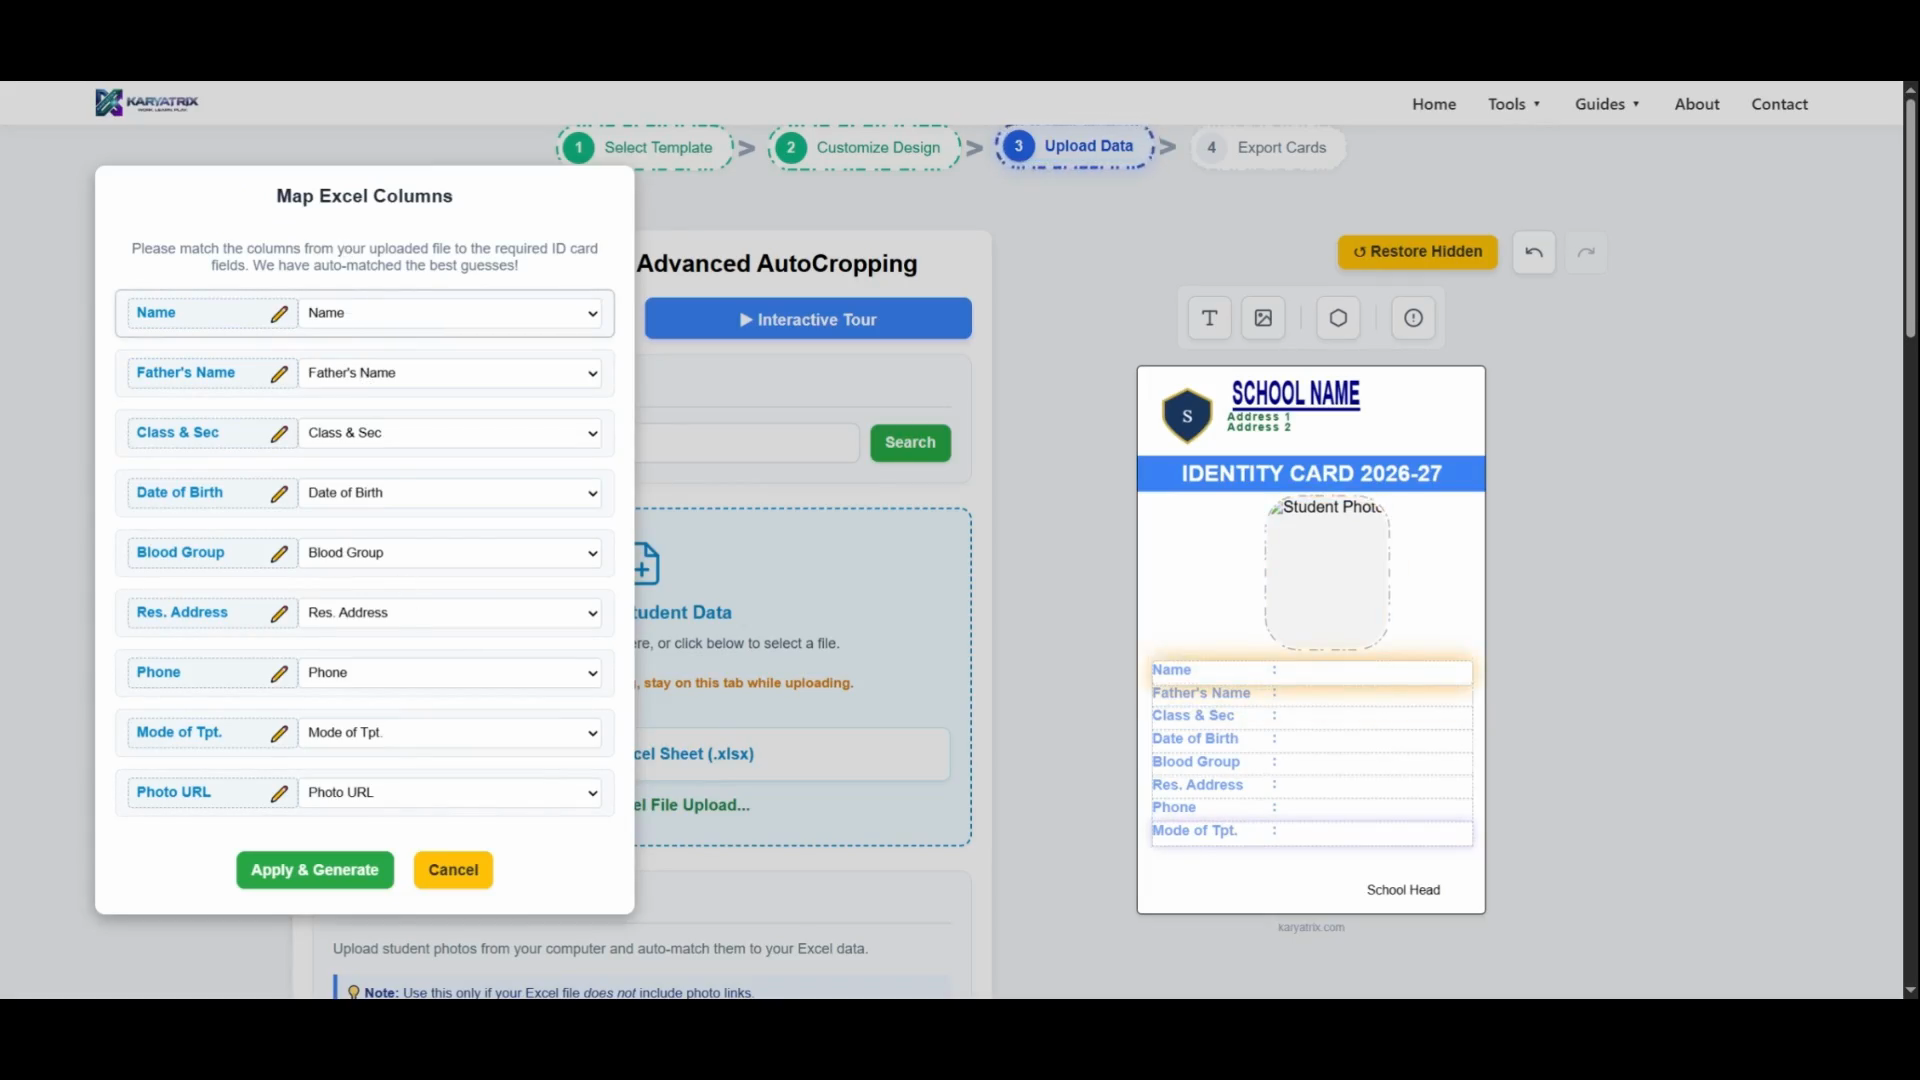
After uploading your spreadsheet, the system automatically matches your Excel headers to the ID card fields.
11
Use the dropdown menus to adjust any columns that are mapped incorrectly.
12
Click Apply & Generate to confirm the alignment and generate the cards.
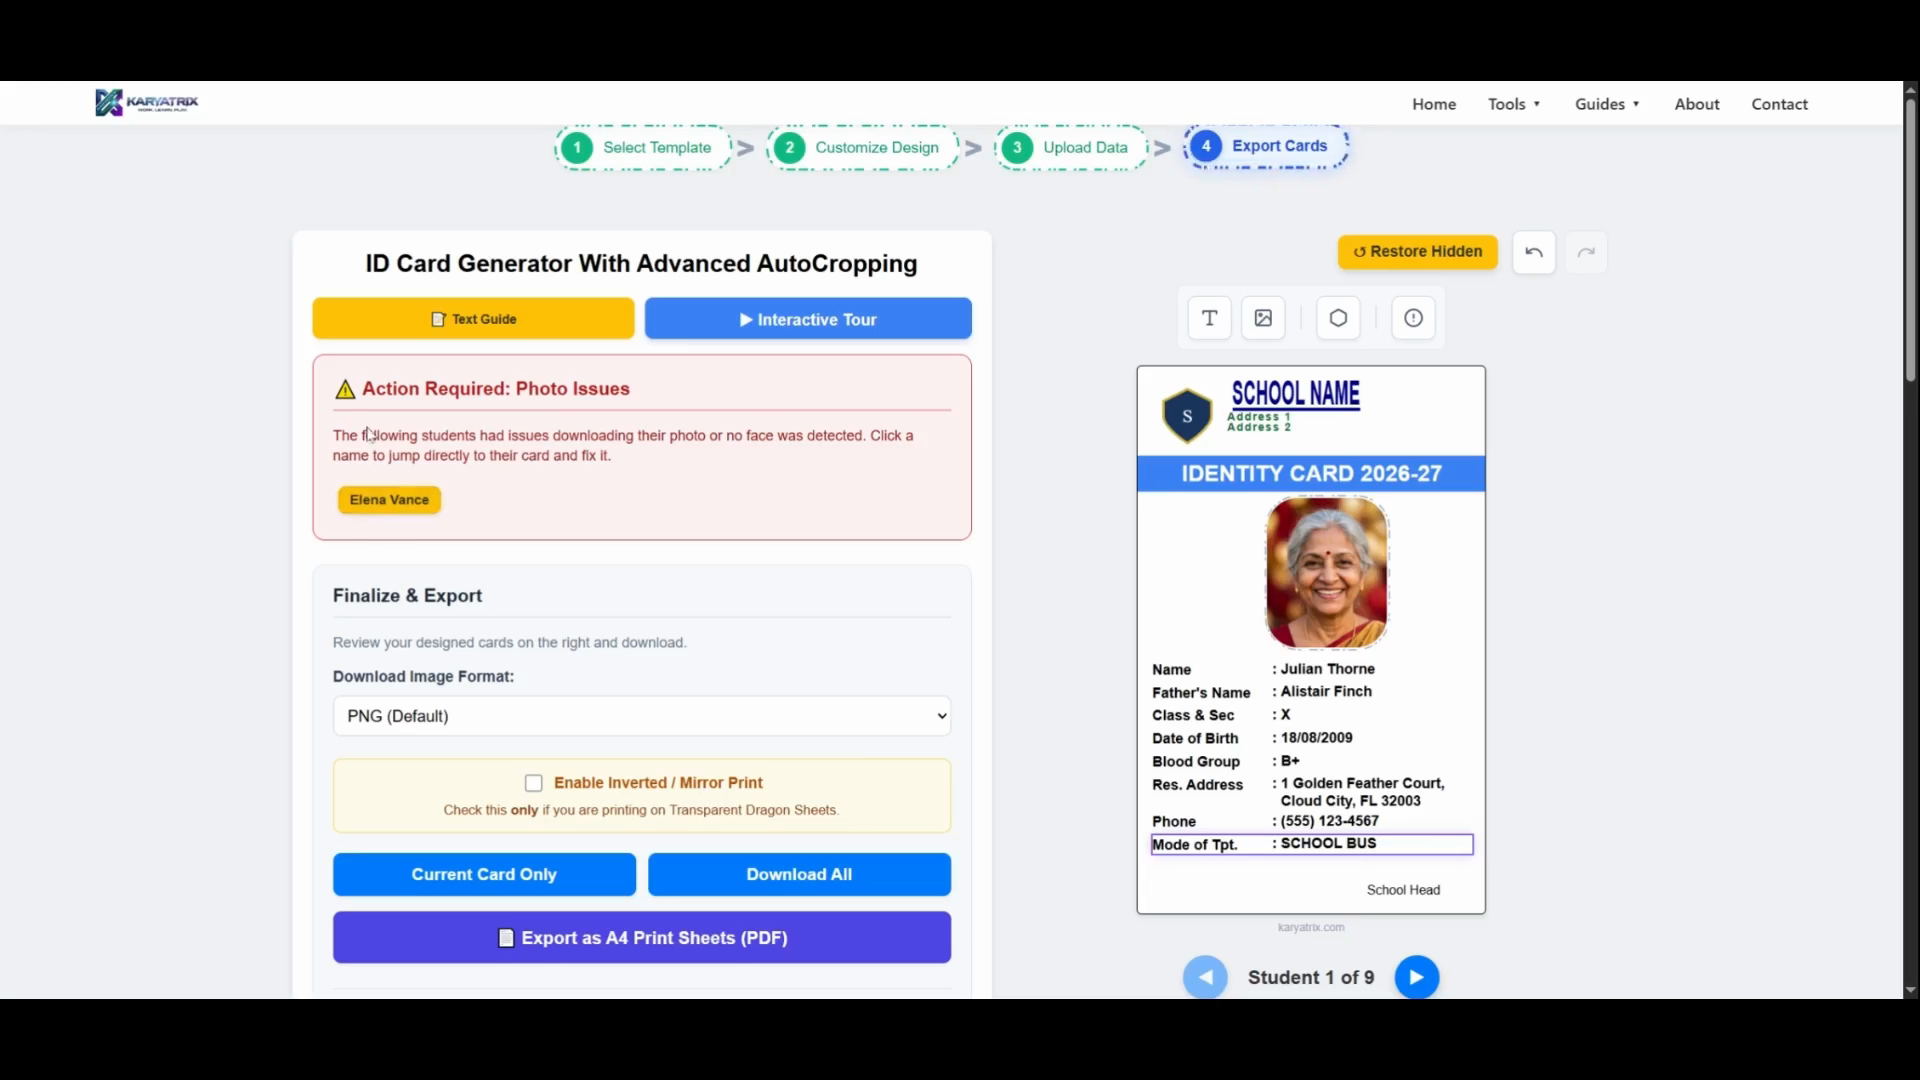
Resolve Photo Issues
The system will automatically crop photos to ensure each face is perfectly centered. If a face isn't detected or an image is missing, it will flag the issue in the Action Required panel.
13
Click a flagged student's name to open their specific card.
14
Click the photo to manually adjust the crop box, then save the changes.
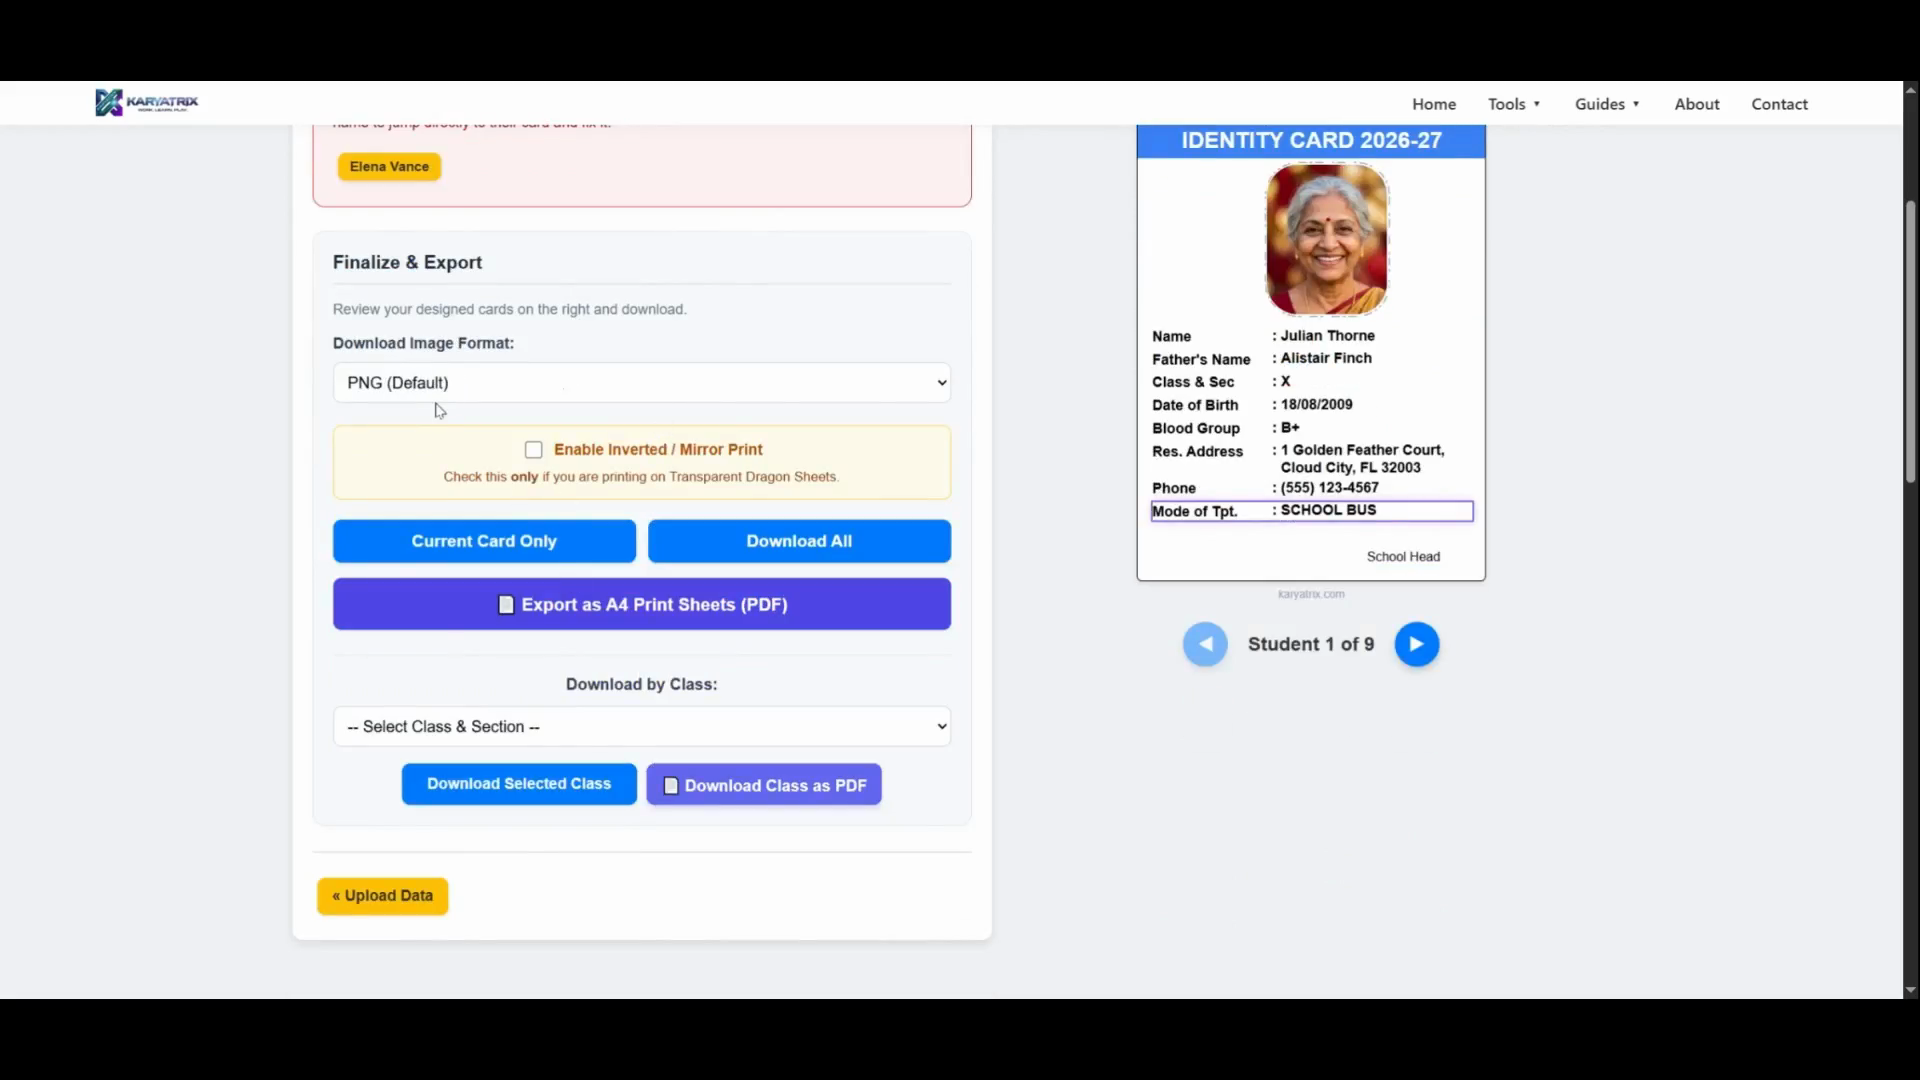
Finalize and Export
Navigate to the Finalize & Export options on the left.
15
Select your preferred download format (PNG, JPEG, or TIFF) from the dropdown menu.
You have several ways to export your ID cards:
16
Click Download Current Card Only to export just the single card you are currently viewing.
17
Click Download All Cards to receive all generated IDs in a single zip file.
18
Select a specific class and section, then click Download Selected Class to export cards for that specific group.
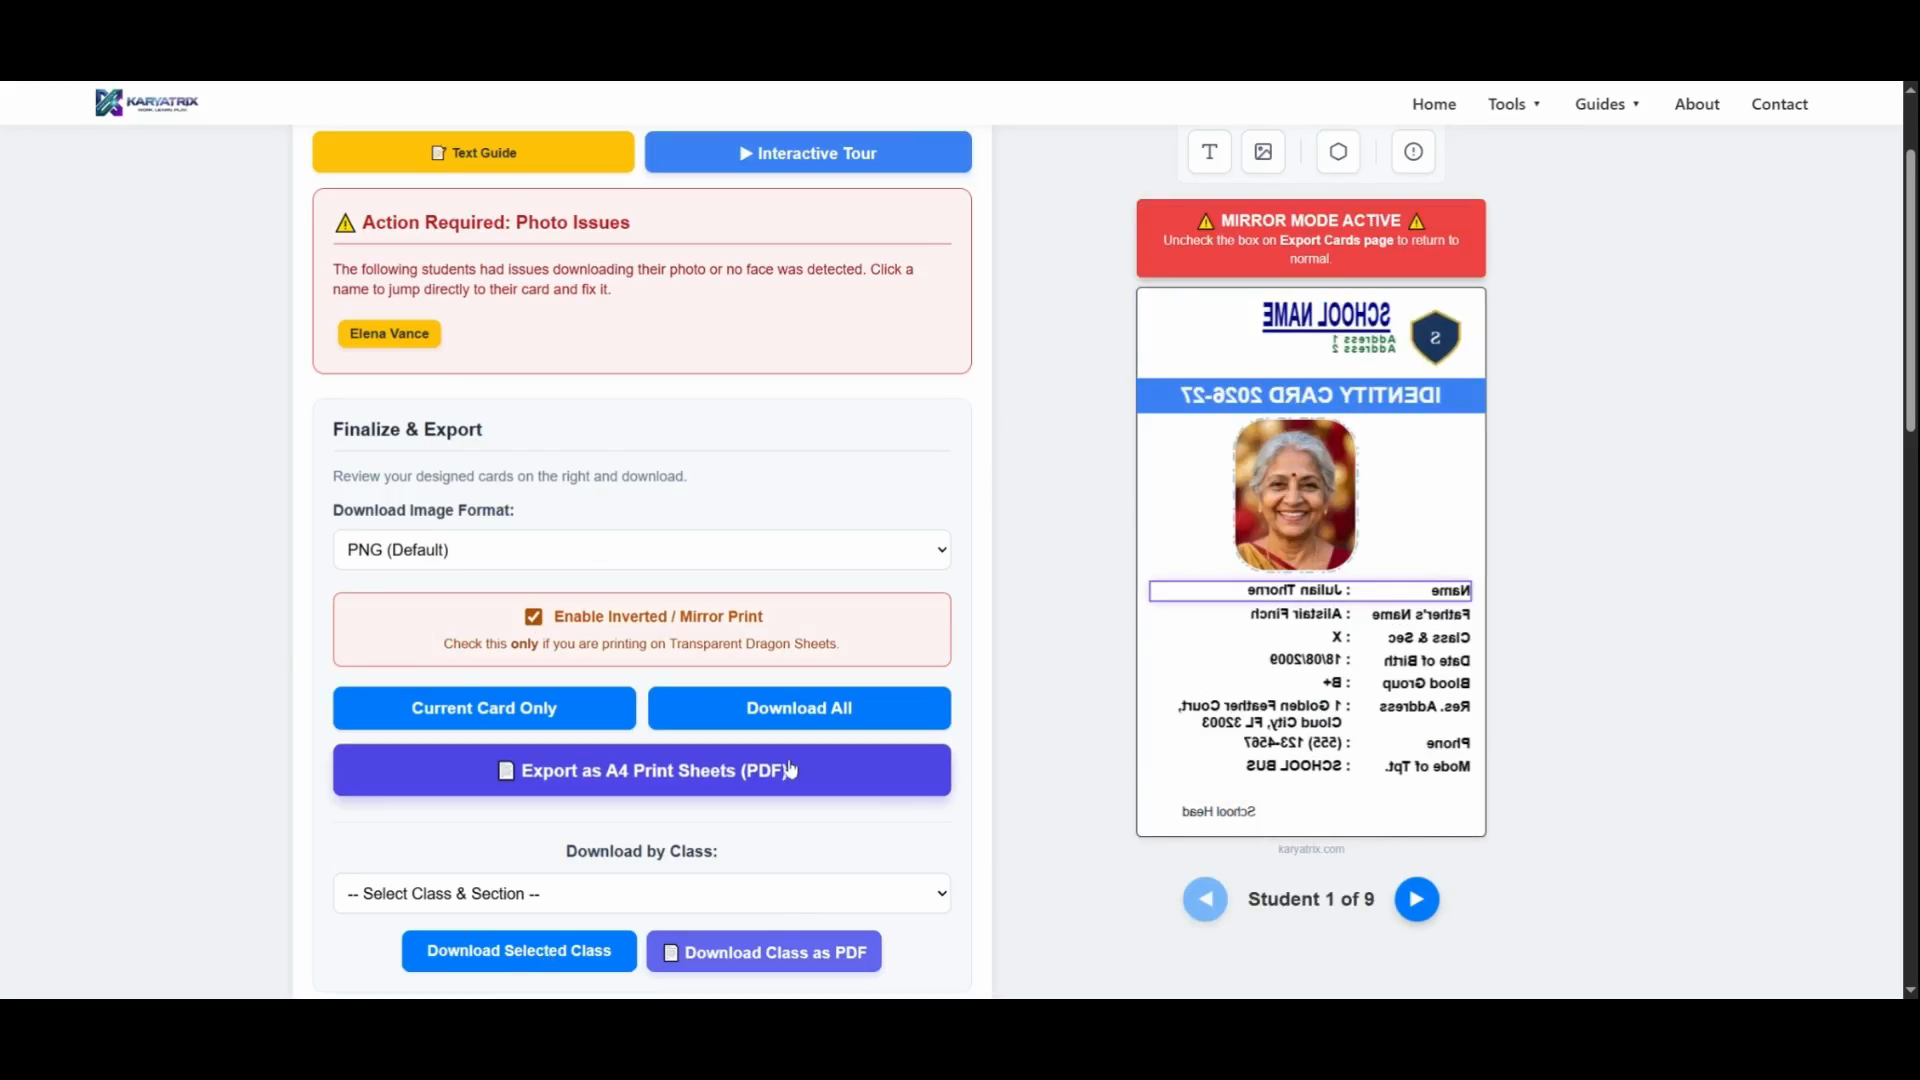
Print-Ready Formats
If you are printing the cards yourself, the system can format them for standard printers.
19
Click Export as A4 Print Sheets (PDF) to automatically arrange your ID cards onto standard A4 pages.
20
Check Enable Inverted / Mirror Print if your specific printing hardware requires designs to be flipped upside down or mirrored.