How to Generate Image Alt Tags with Screaming Frog and OpenAI API - Part 2 (Using screamingfrog for Alt)
Learn how to set up Screaming Frog and use the OpenAI API to automatically generate SEO-friendly image alt tags. Step-by-step guide including configuration, custom JavaScript, and workflow tips.
In this guide, we'll learn how to set up Screaming Frog to generate alt tags for images using the OpenAI API. This process involves configuring Screaming Frog to crawl media files, enabling JavaScript rendering, and adding a custom JavaScript function that uses your OpenAI API key.
We'll also cover how to test the setup, save your script for future use, and export the generated alt tags for further processing.
Let's get started
In the previous video, we learned how to set up the OpenAI API keys. In this video, we will set up Screaming Frog and write alt tags using OpenAI API keys and Screaming Frog.

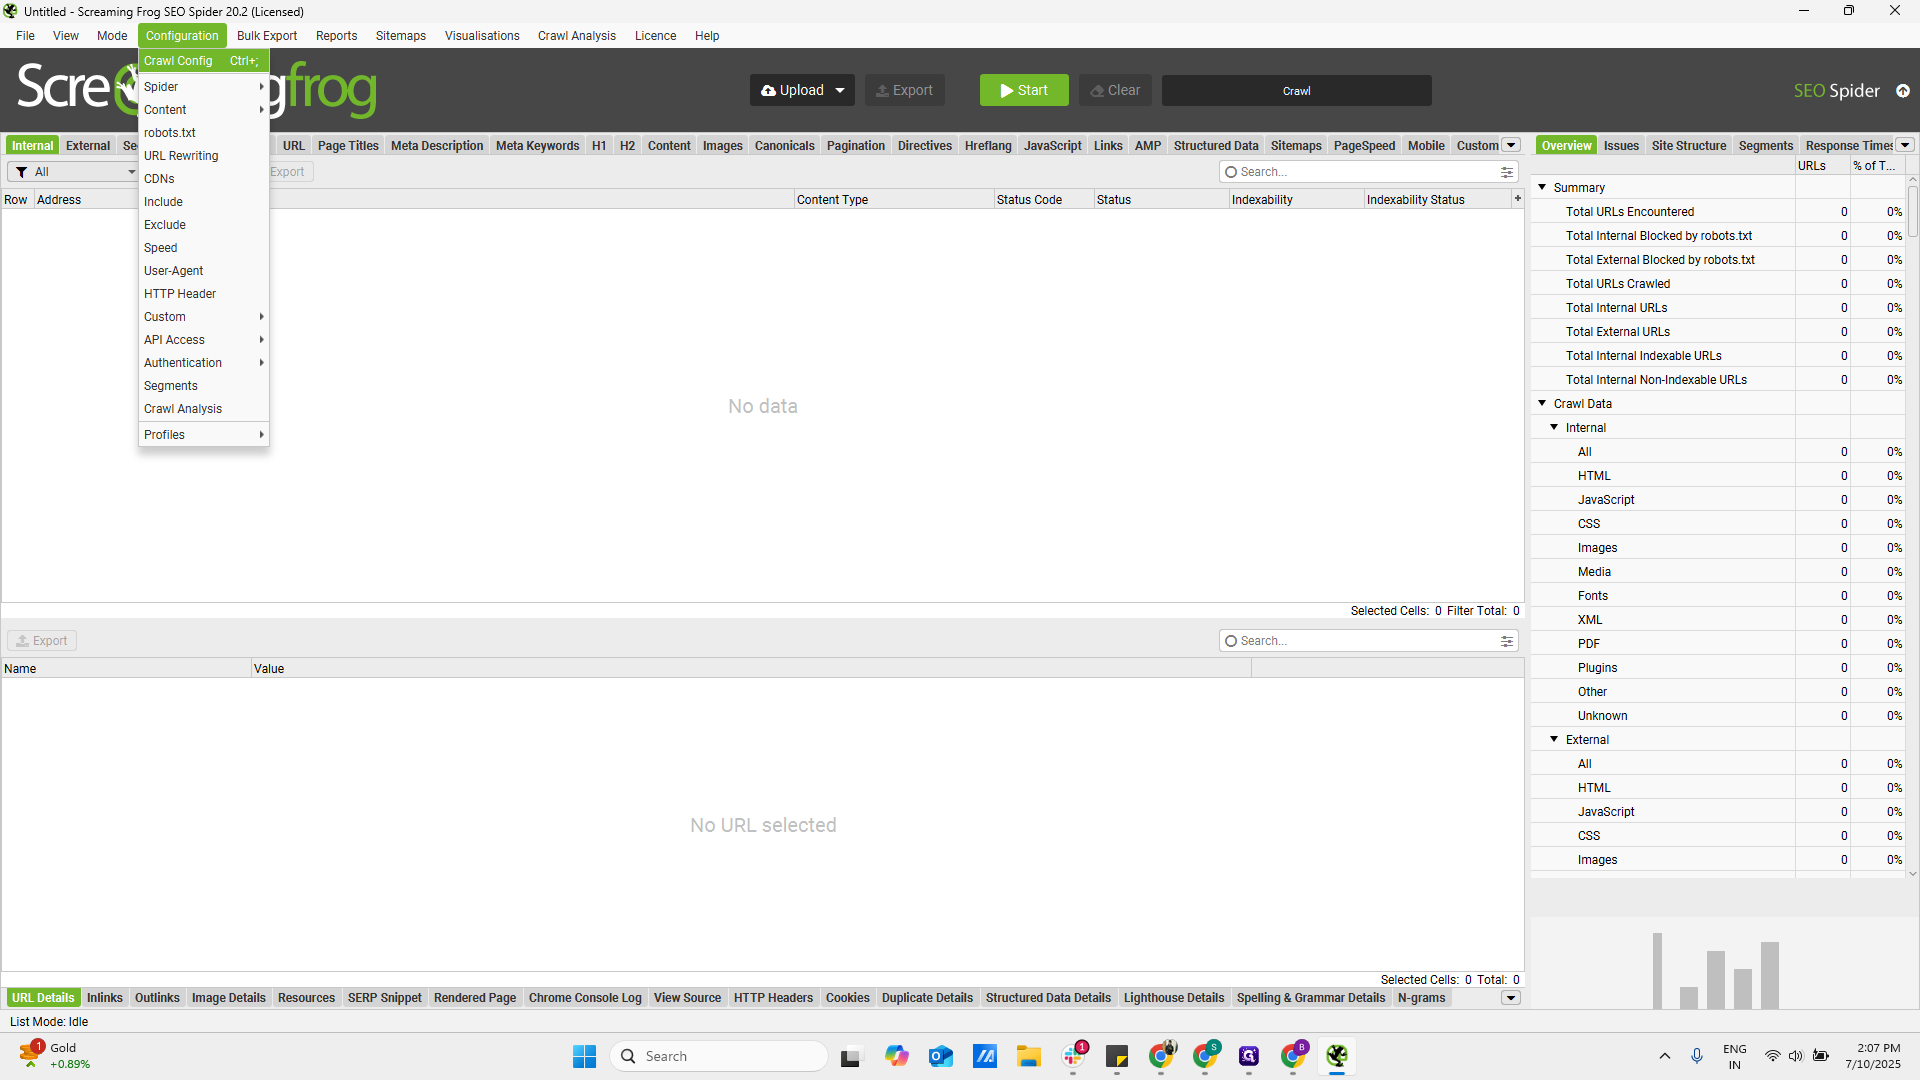
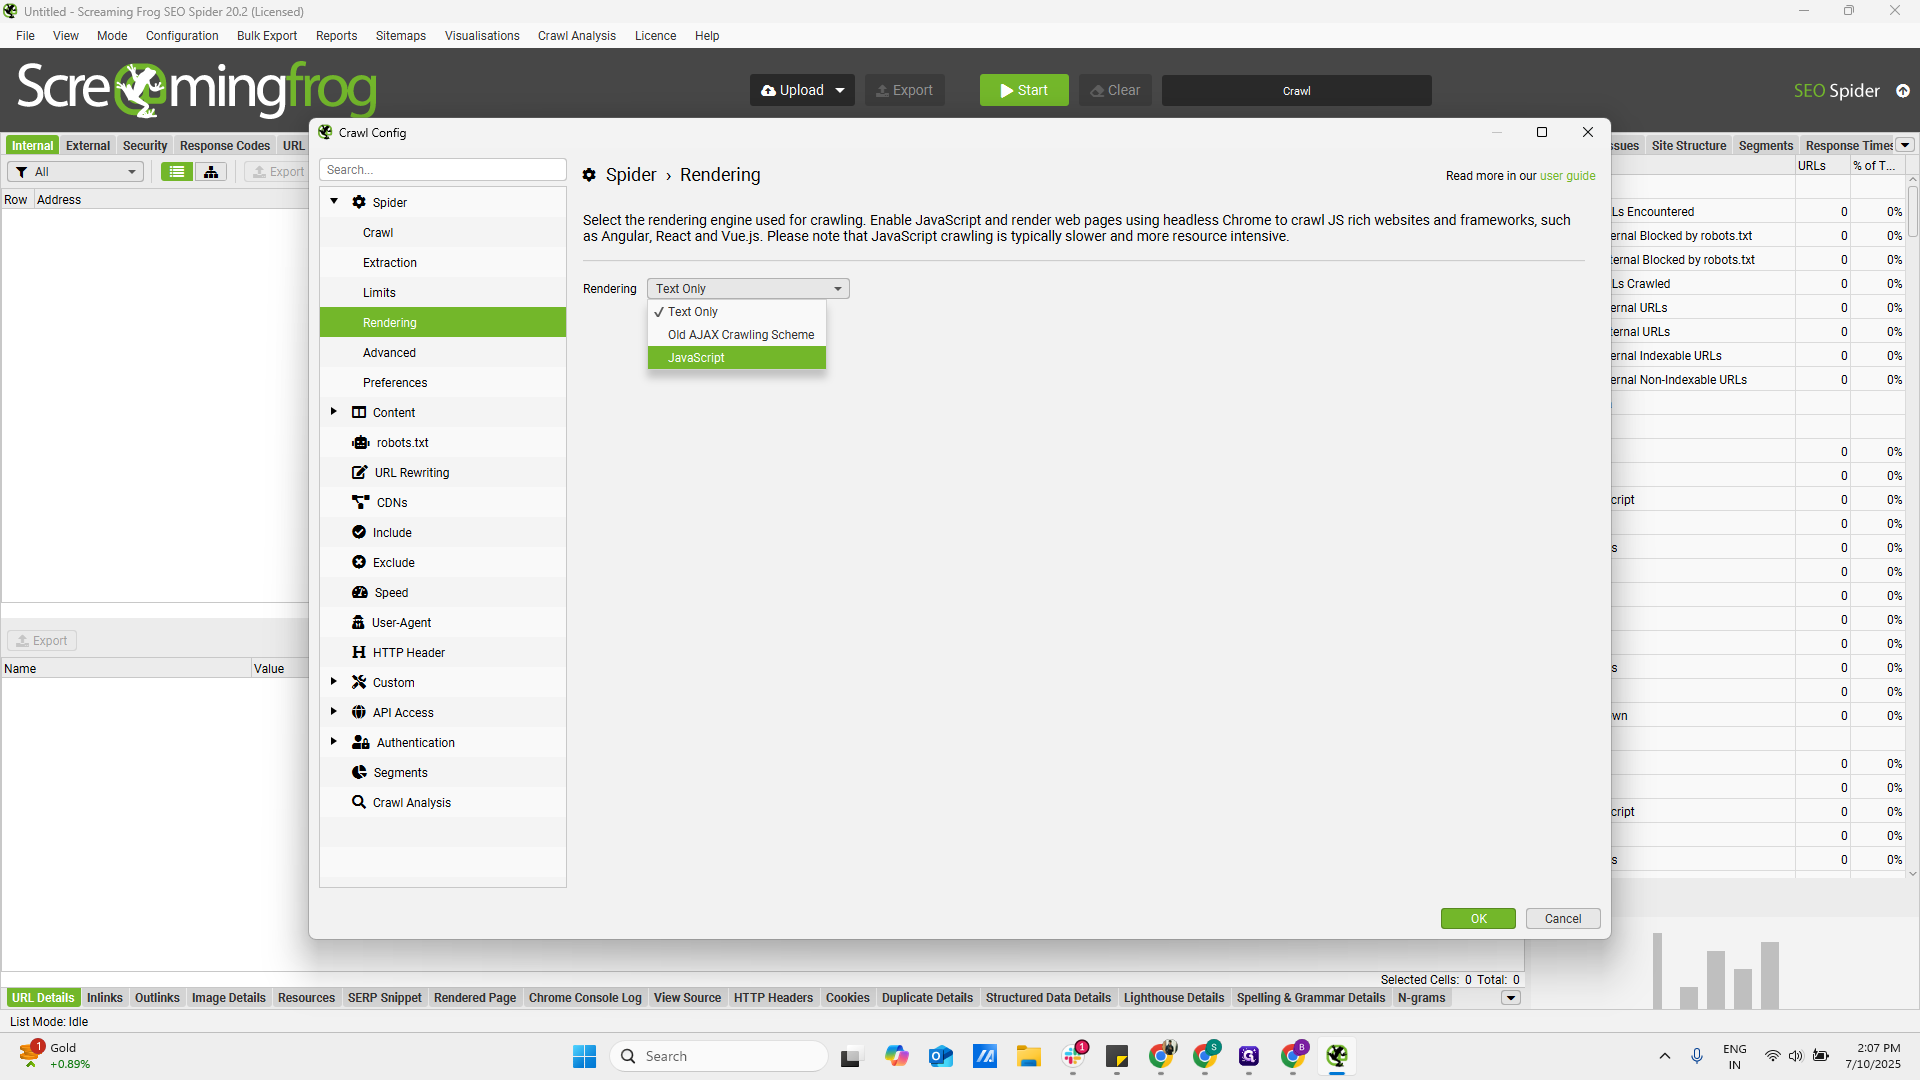
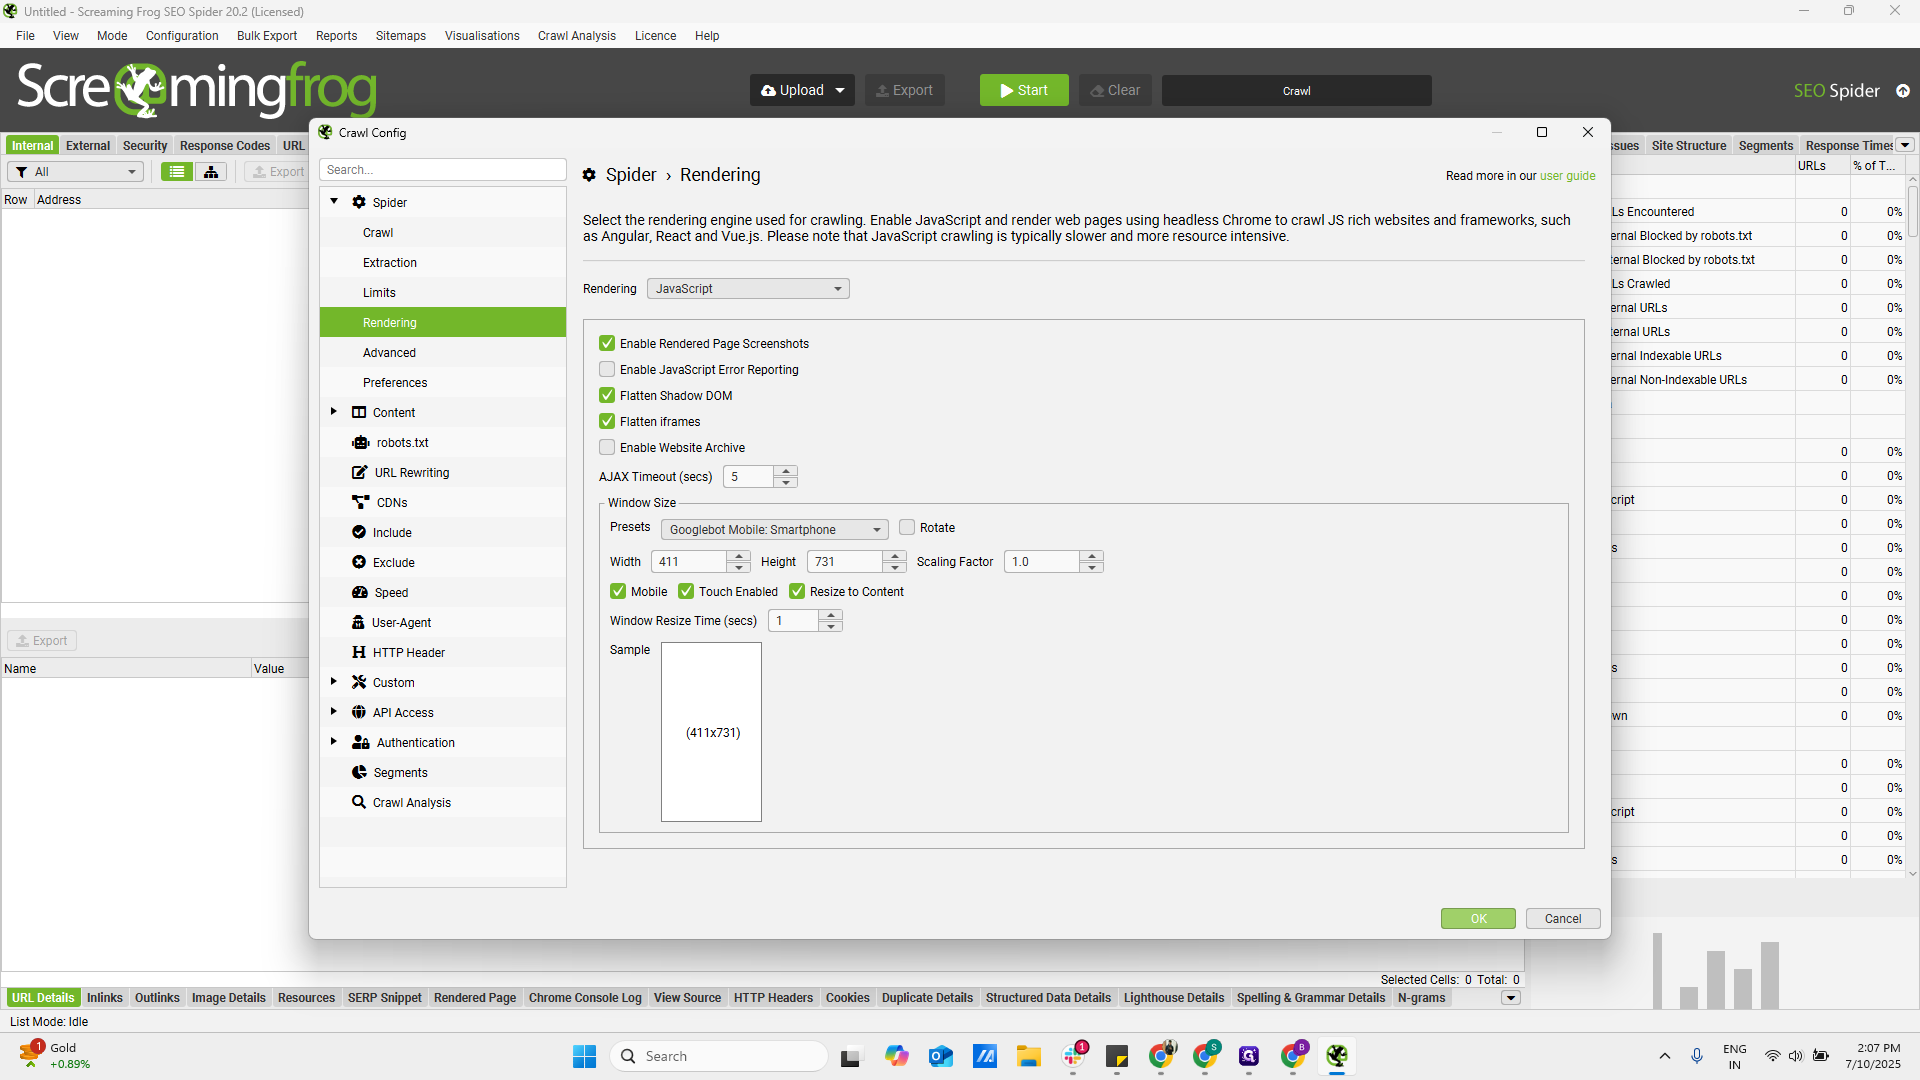
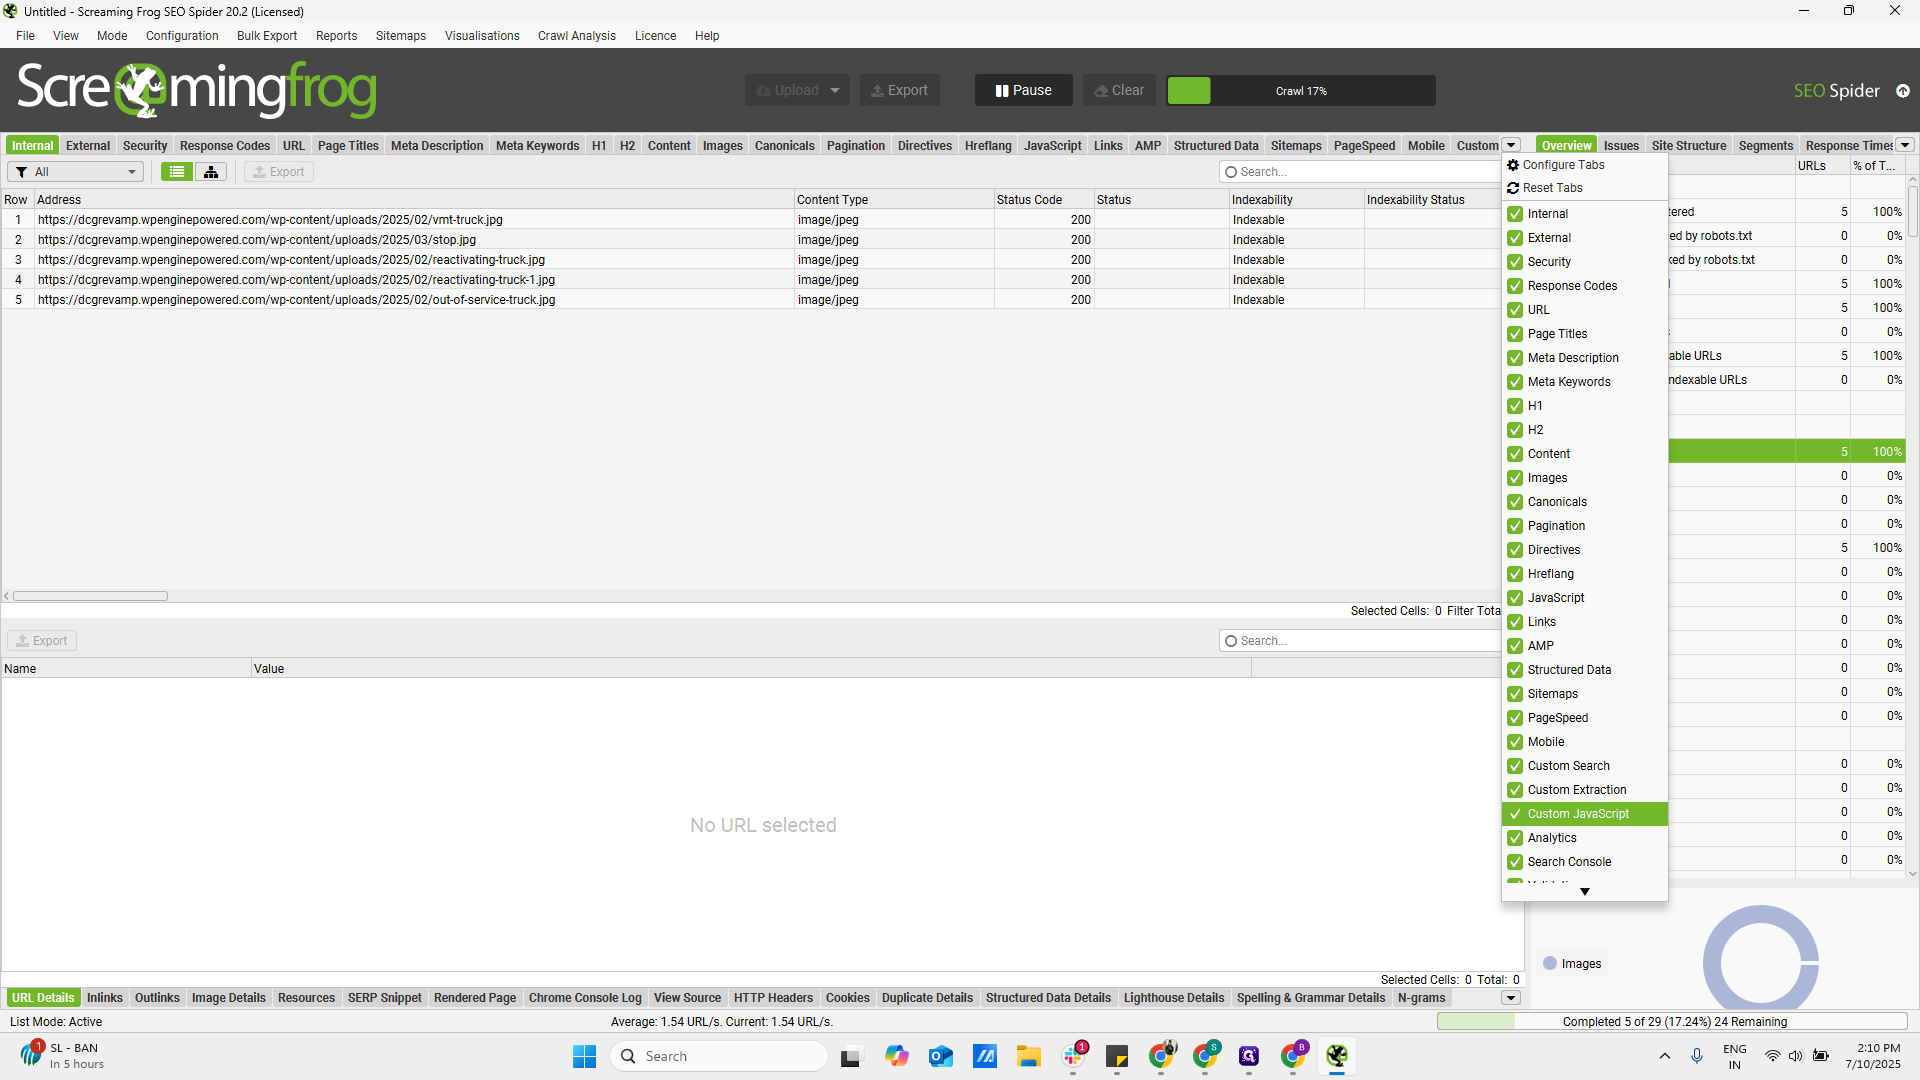
First, let's begin the setup. In the configuration section, go to Crawl config. Under Crawl, allow media. Then, go to Rendering and enable JavaScript.

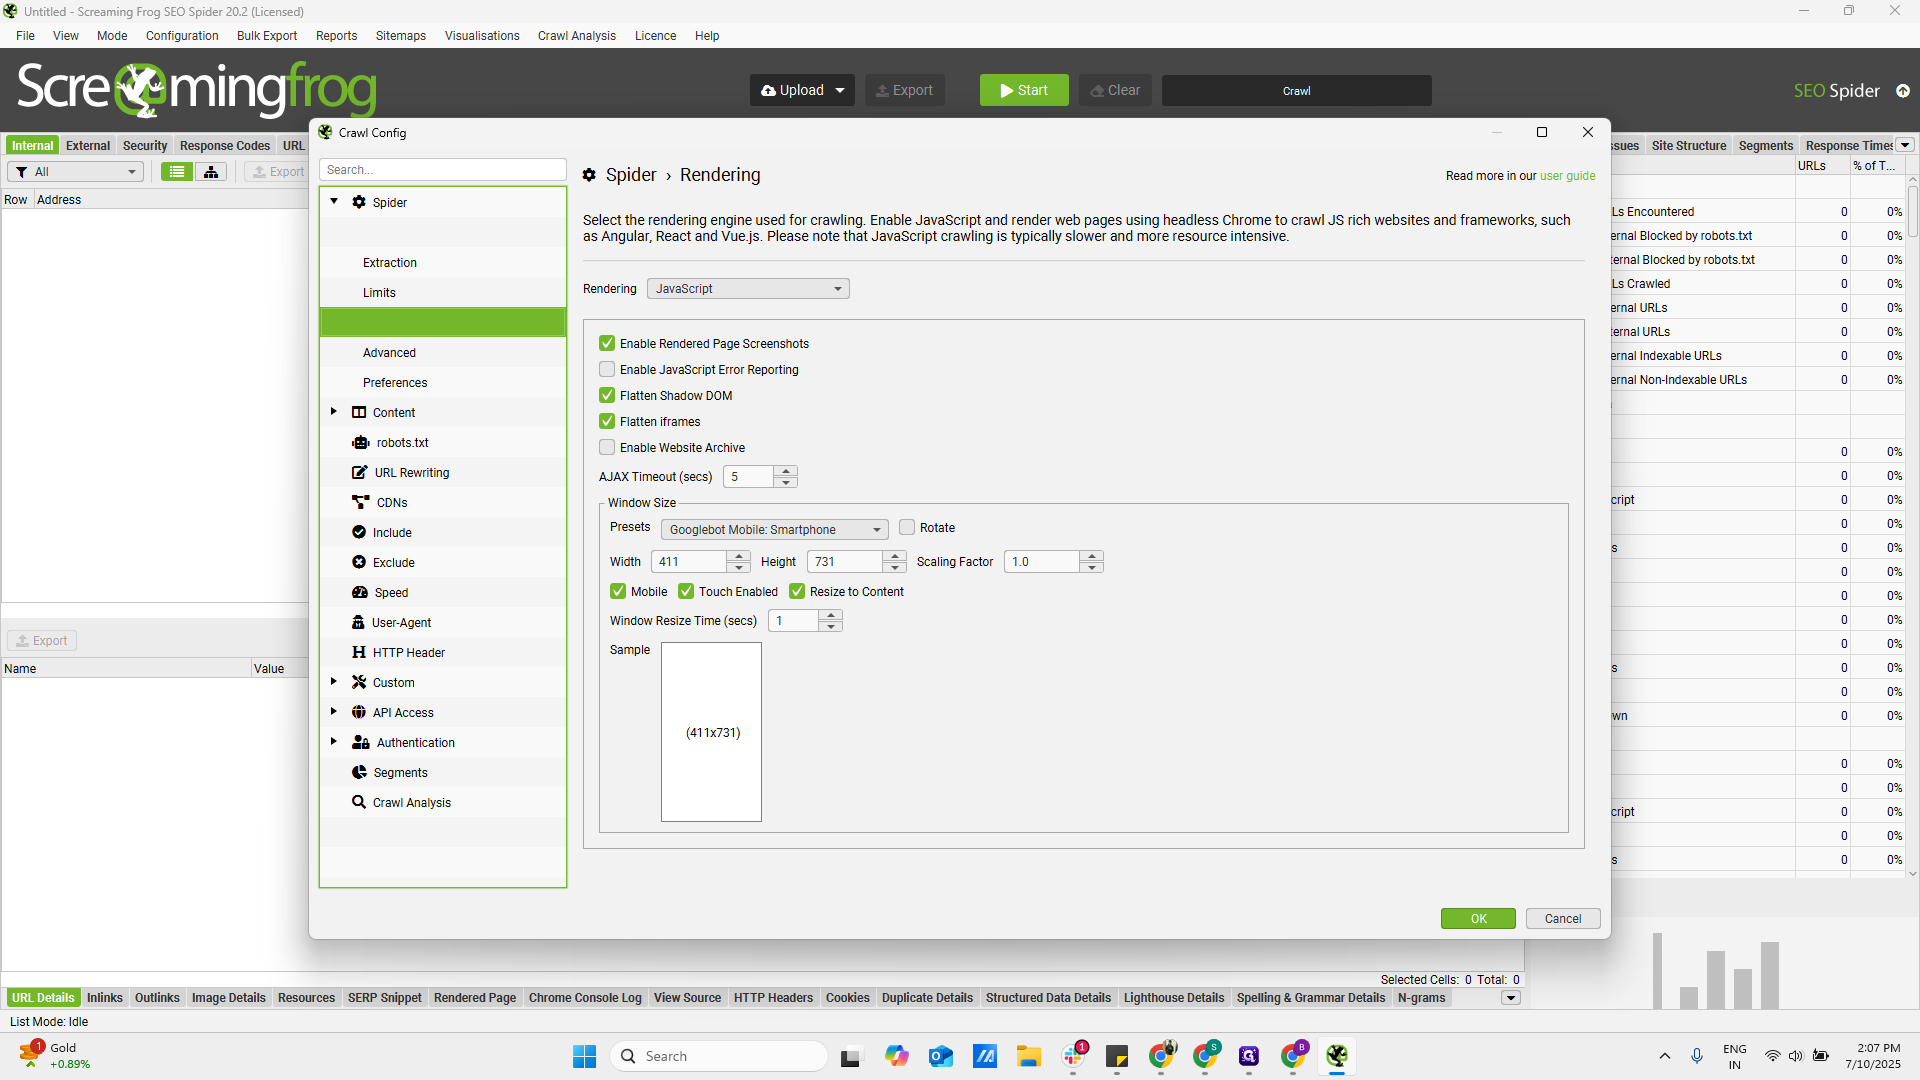
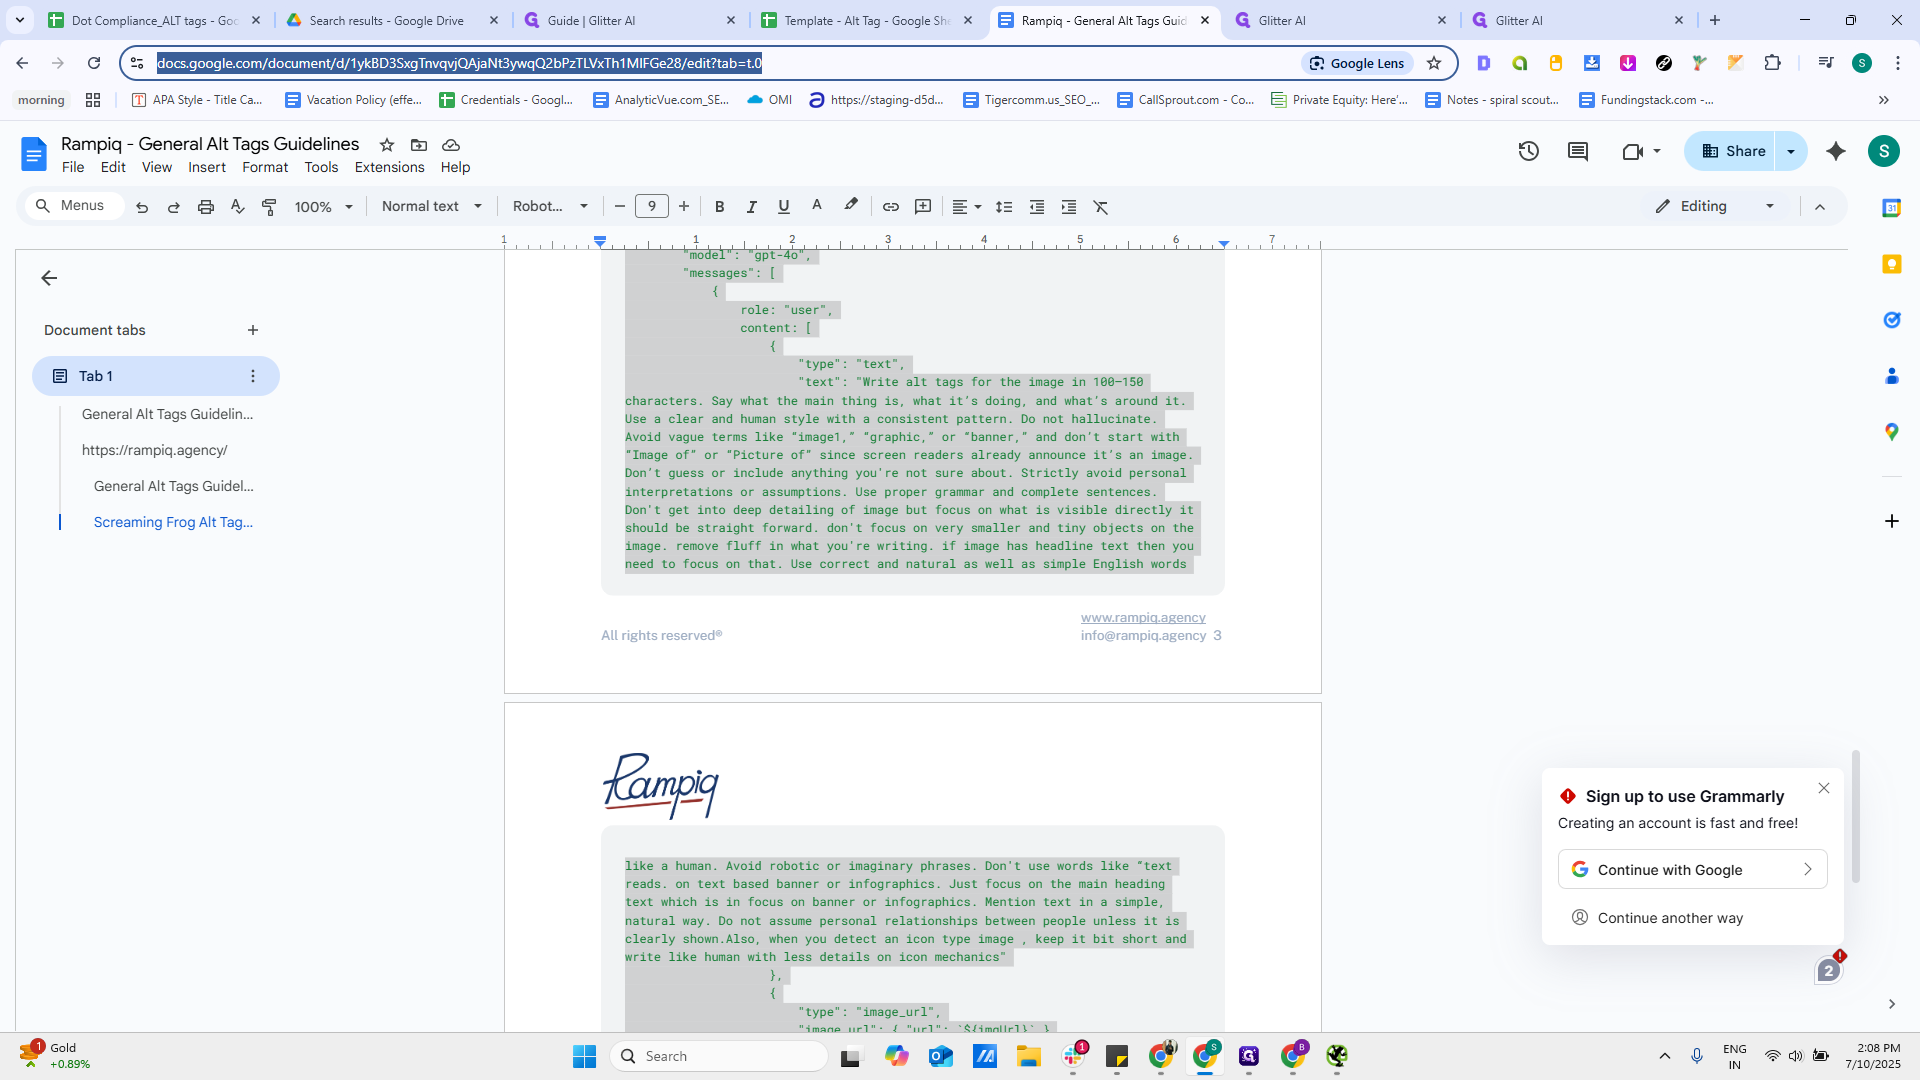
It is usually text only, so we need to save it at the JavaScript level, then proceed.
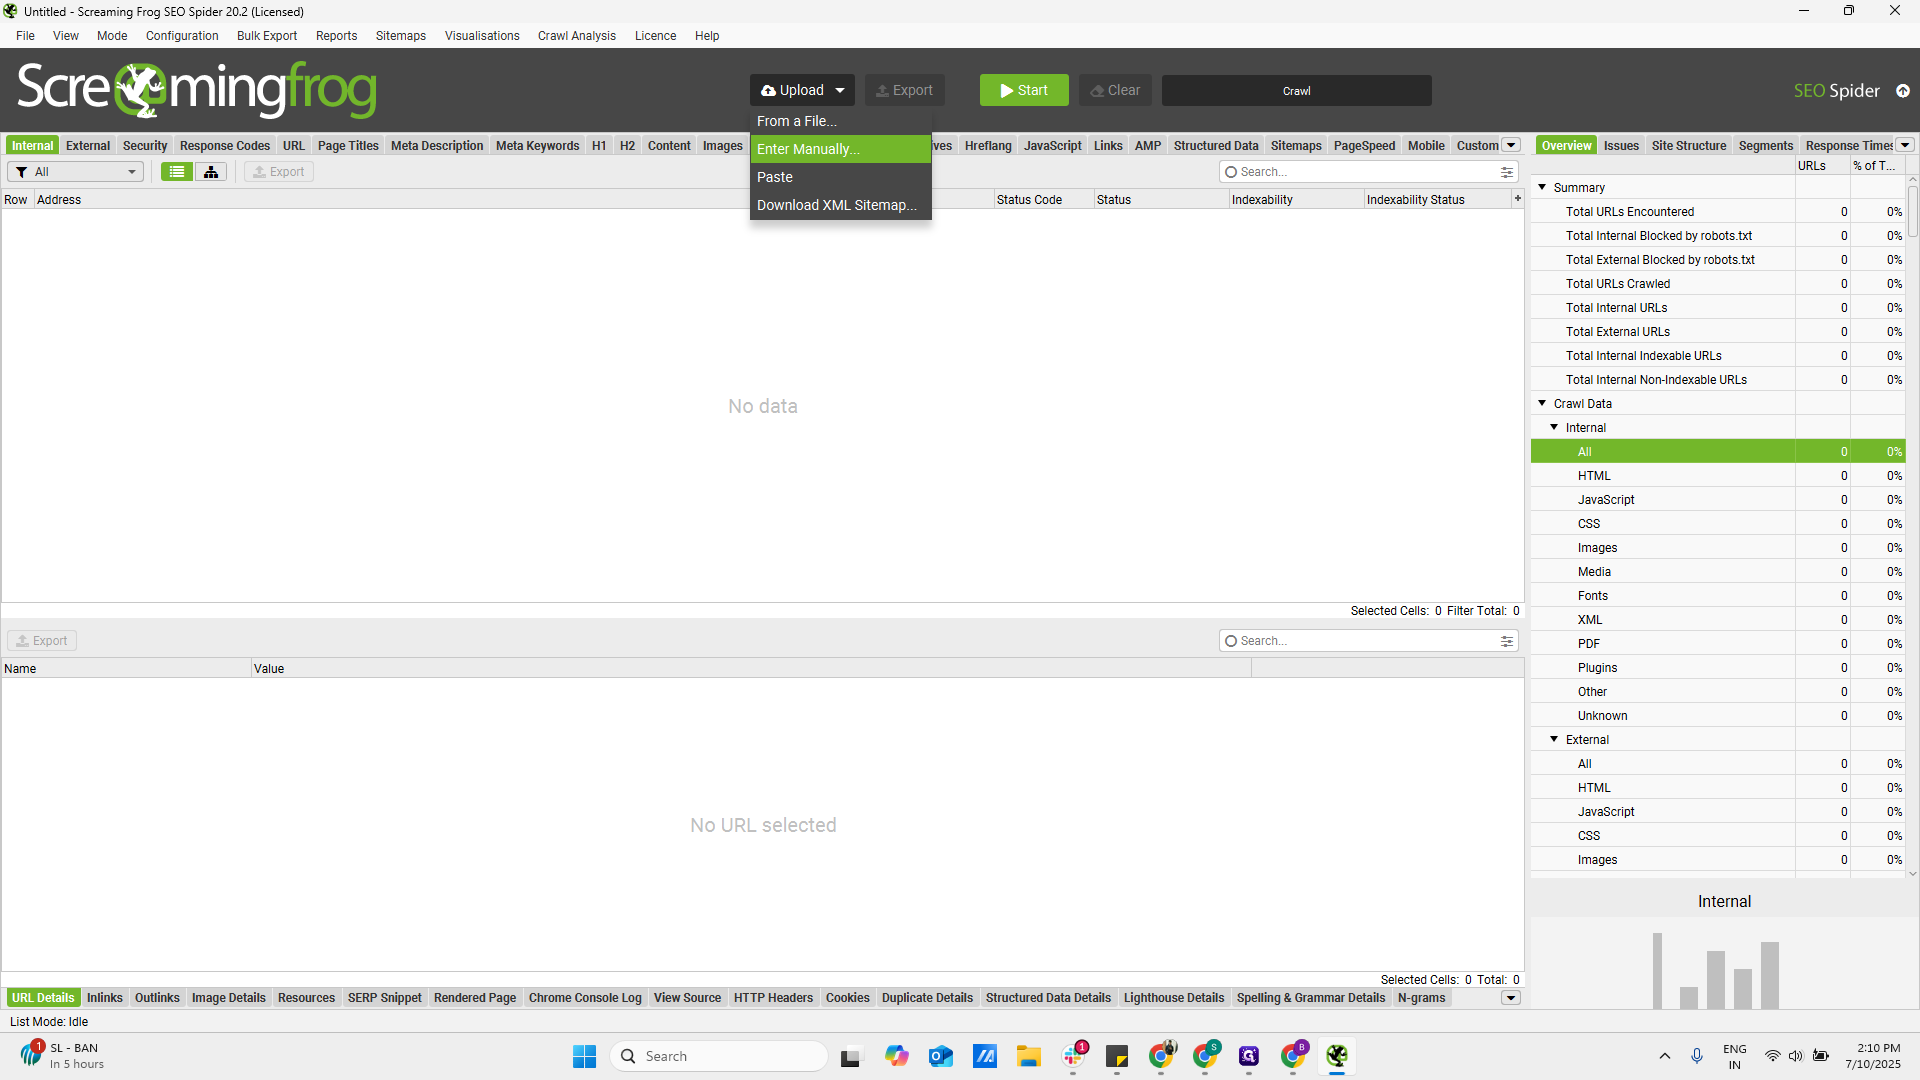
Once that is done, we need to create a custom JavaScript.

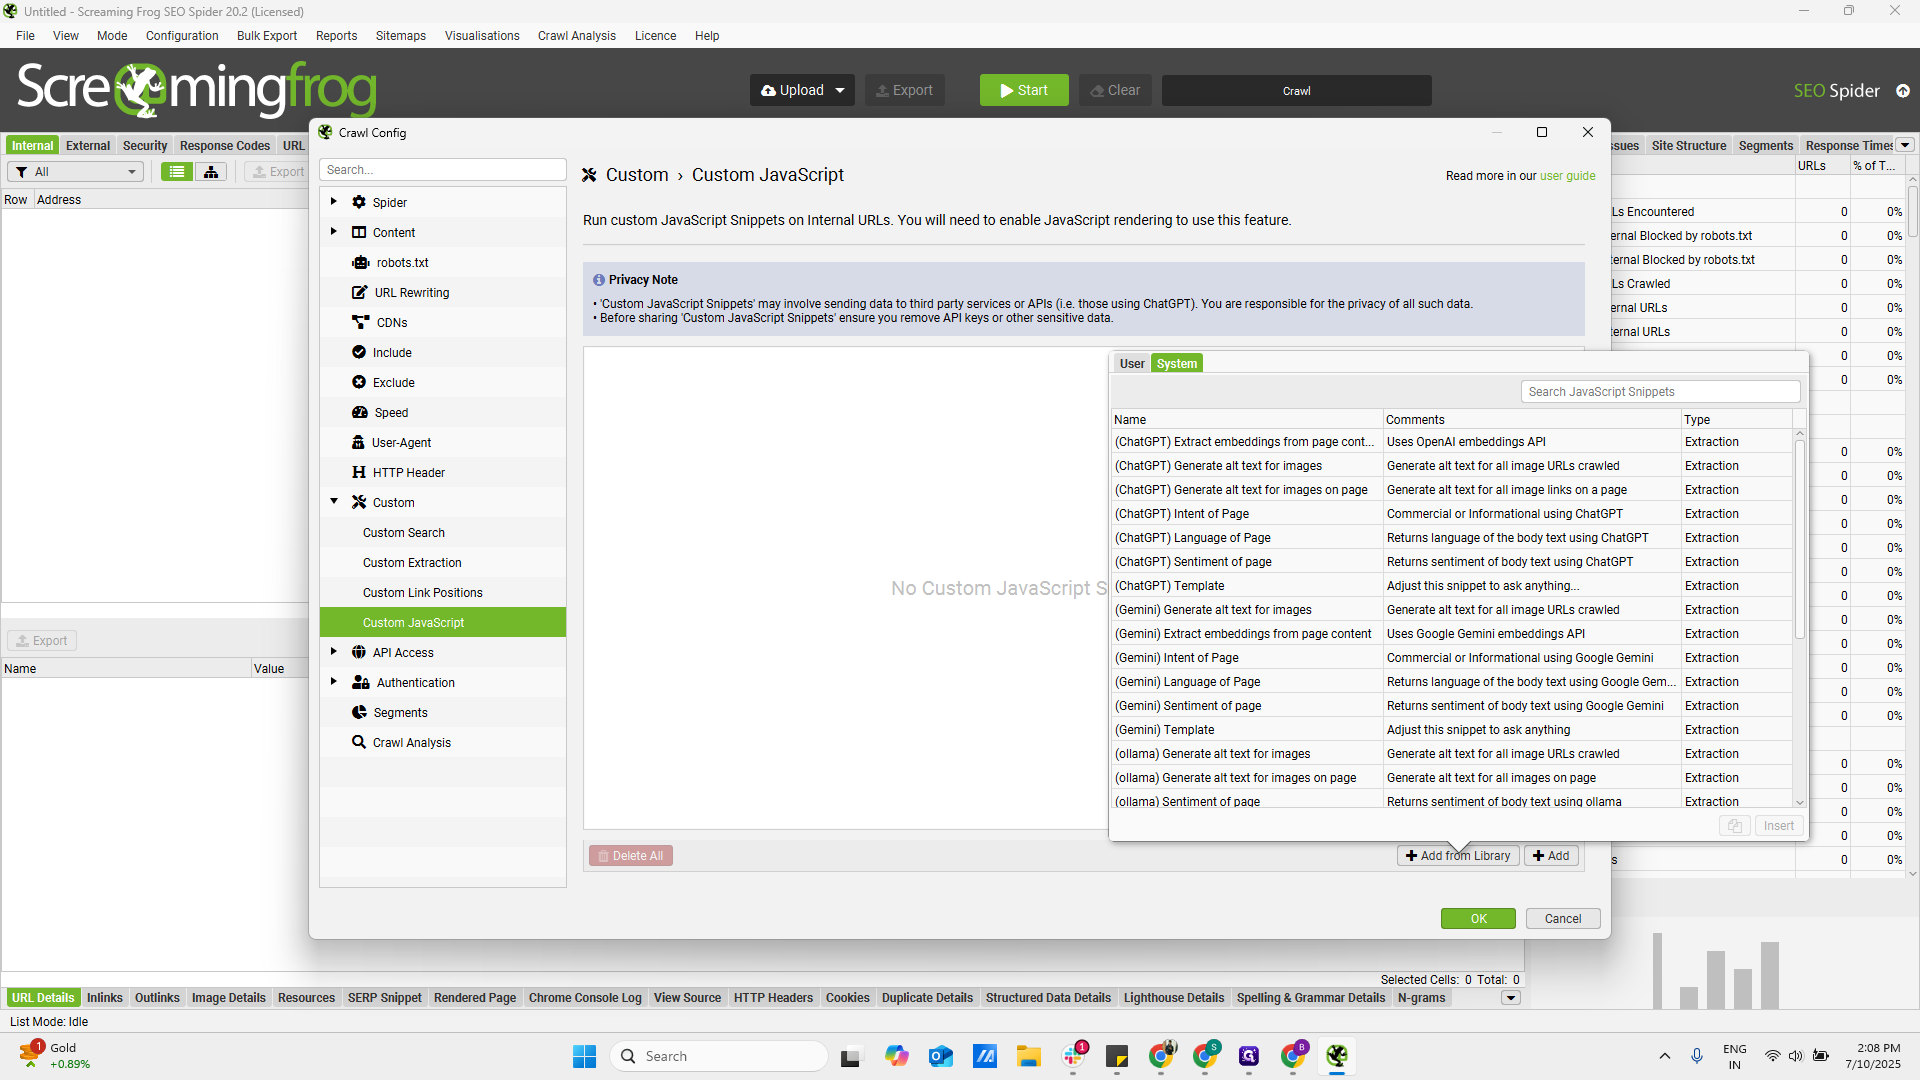
To create a custom JavaScript, there are several options. You can create JavaScript from scratch, or you can add code from your library.
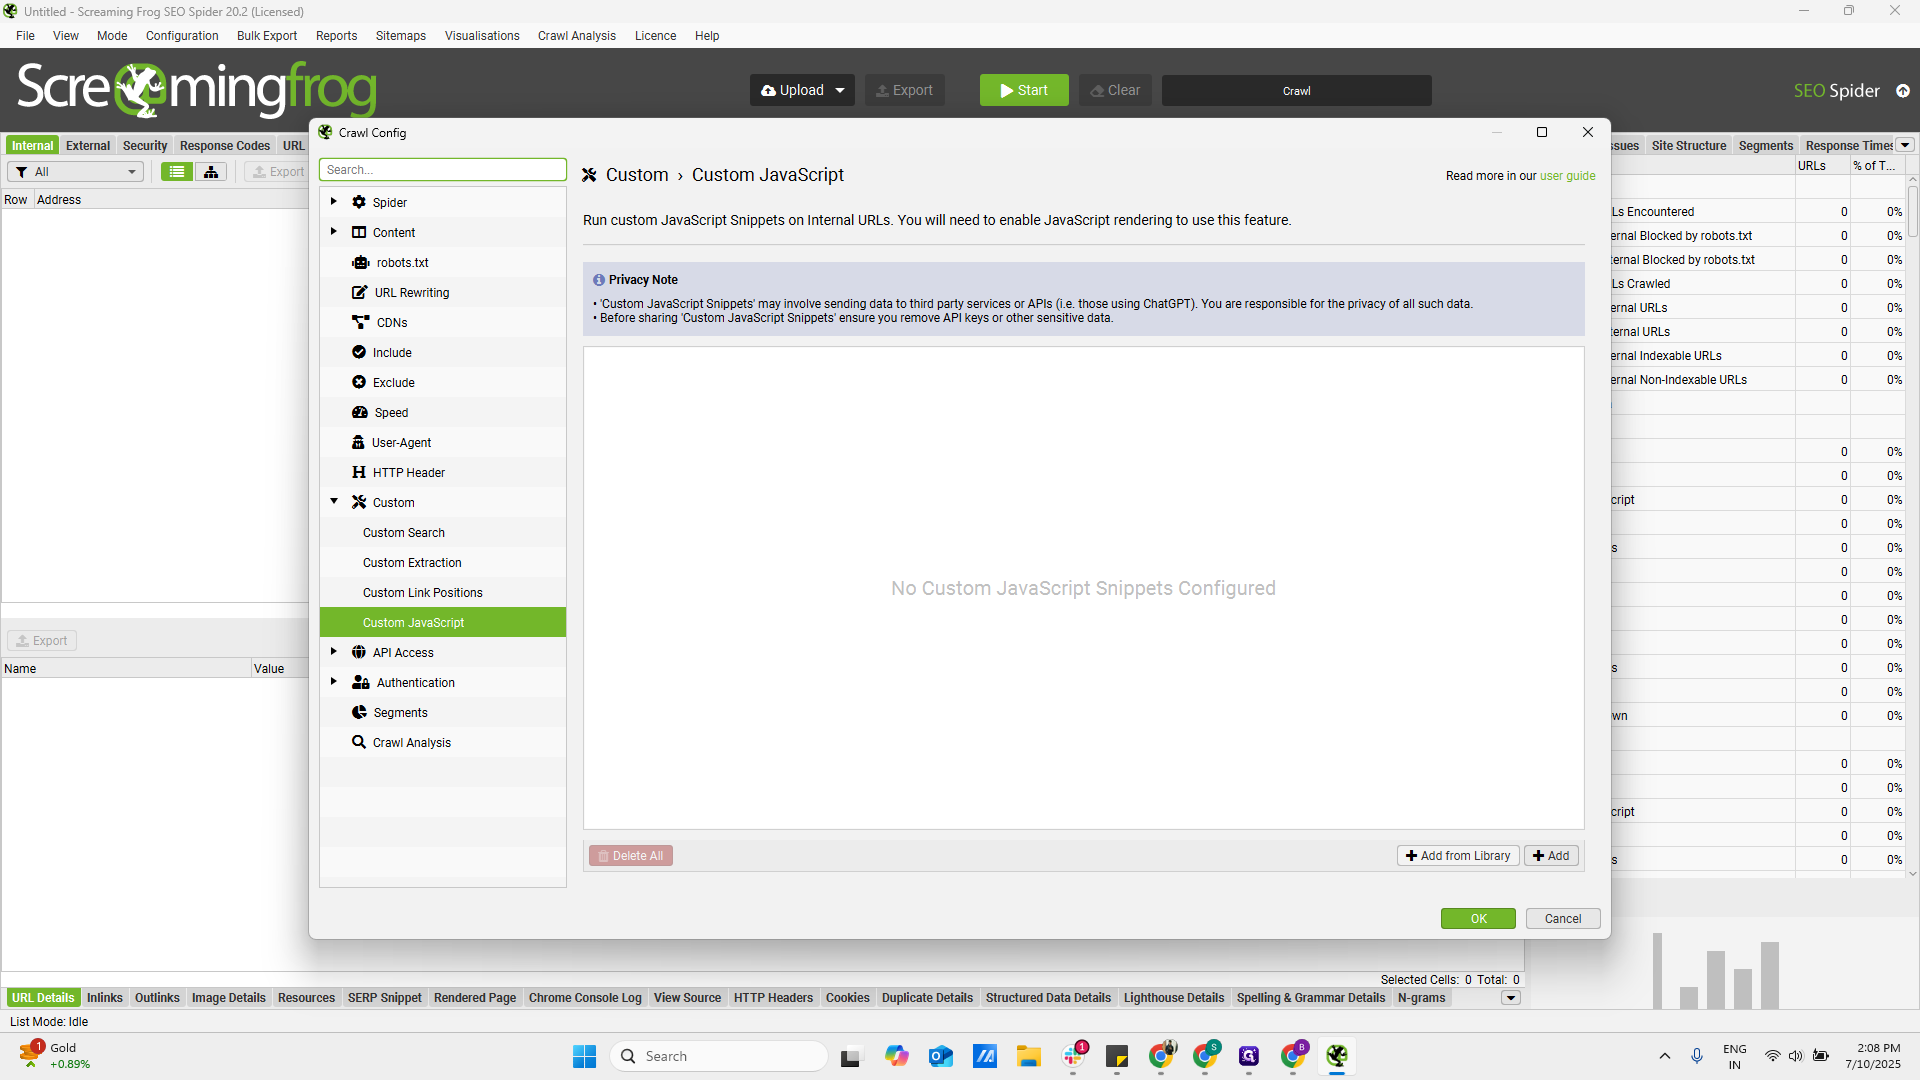
We can use the pre-built functions that come with Screaming Frog.
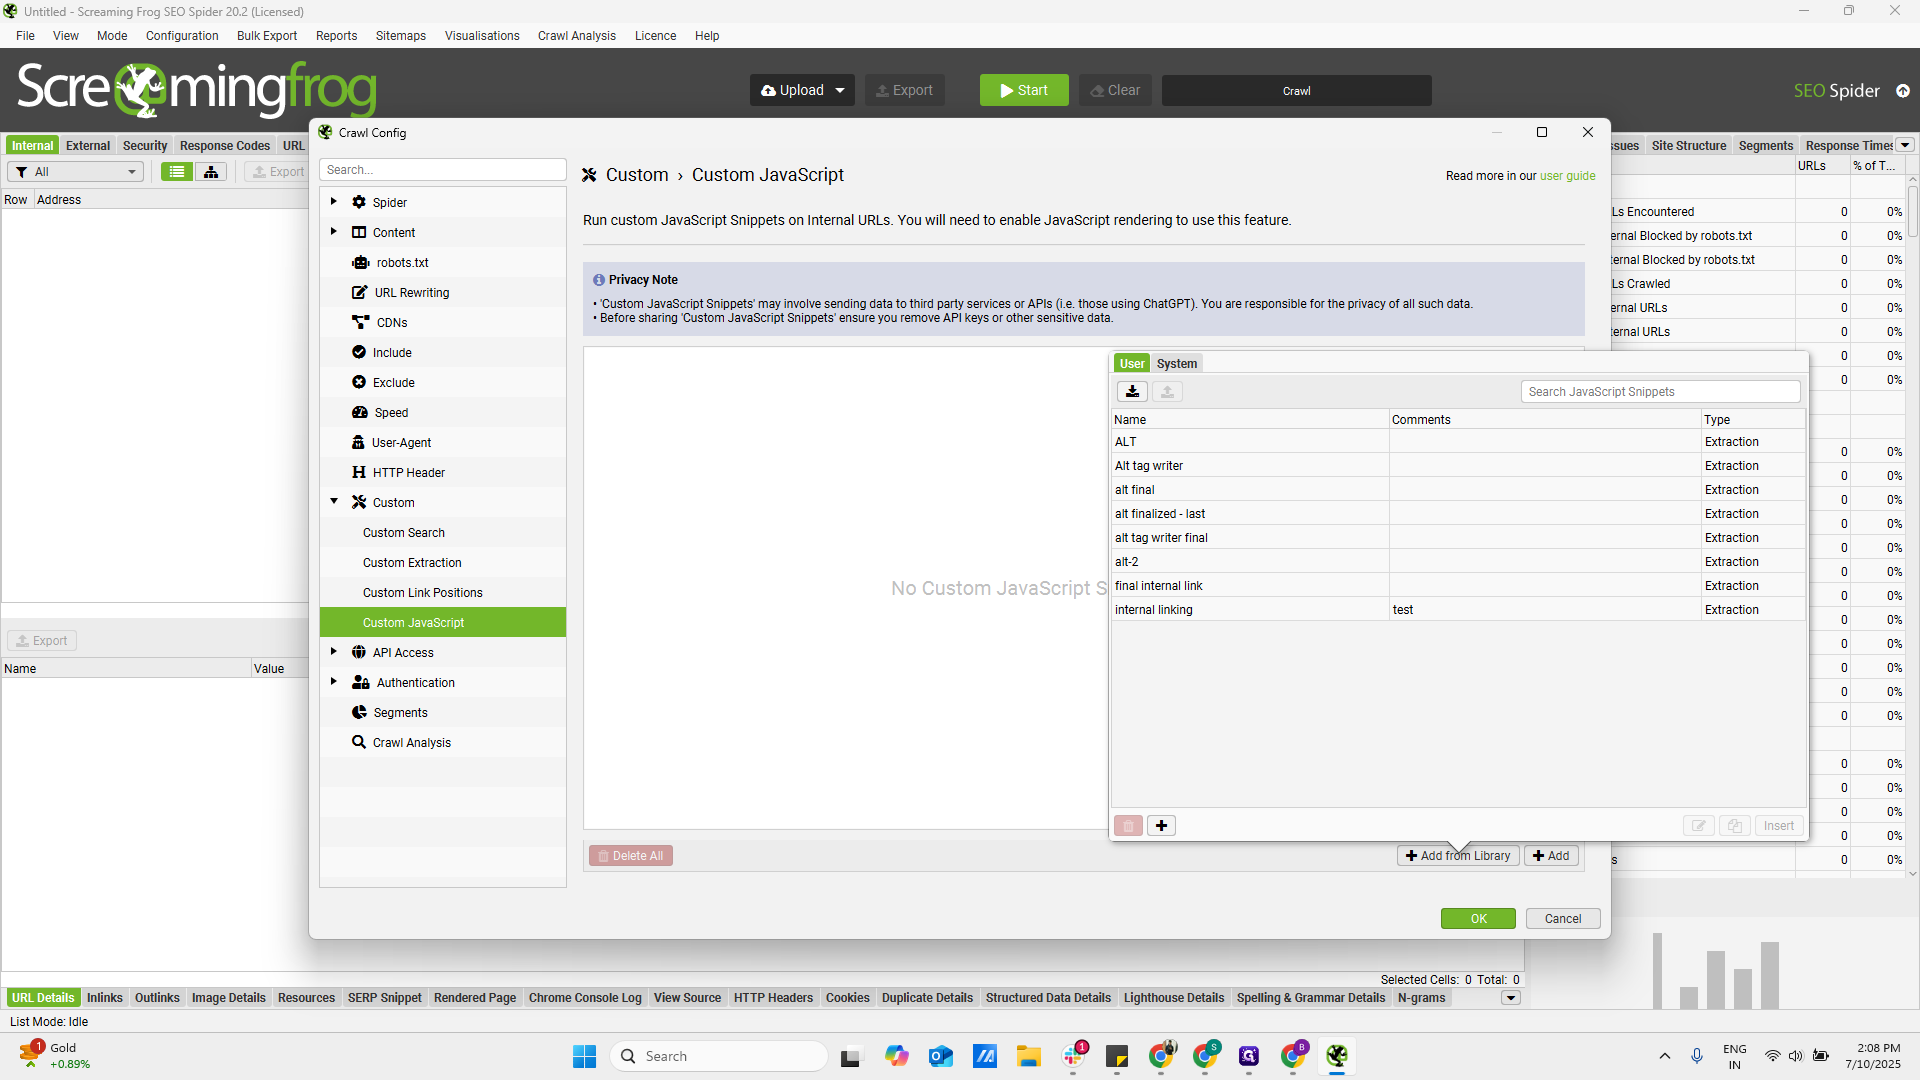
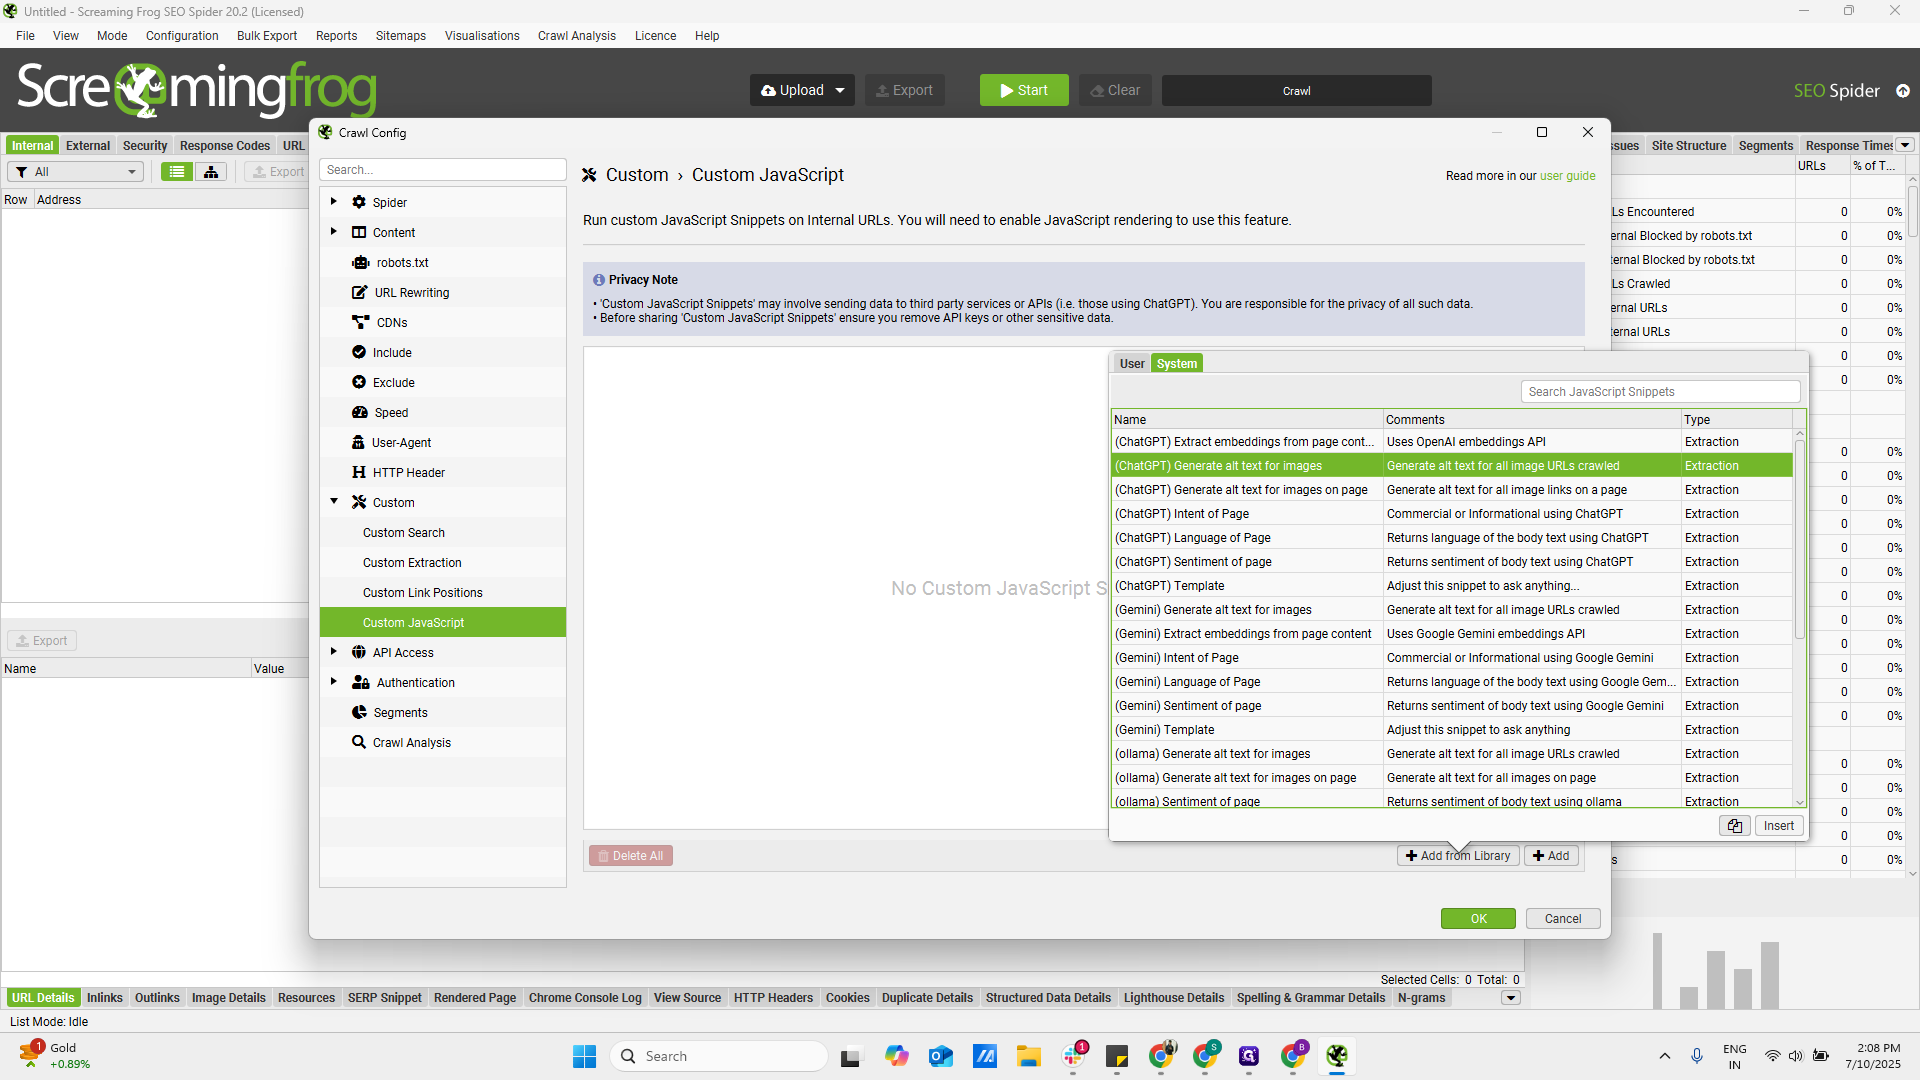
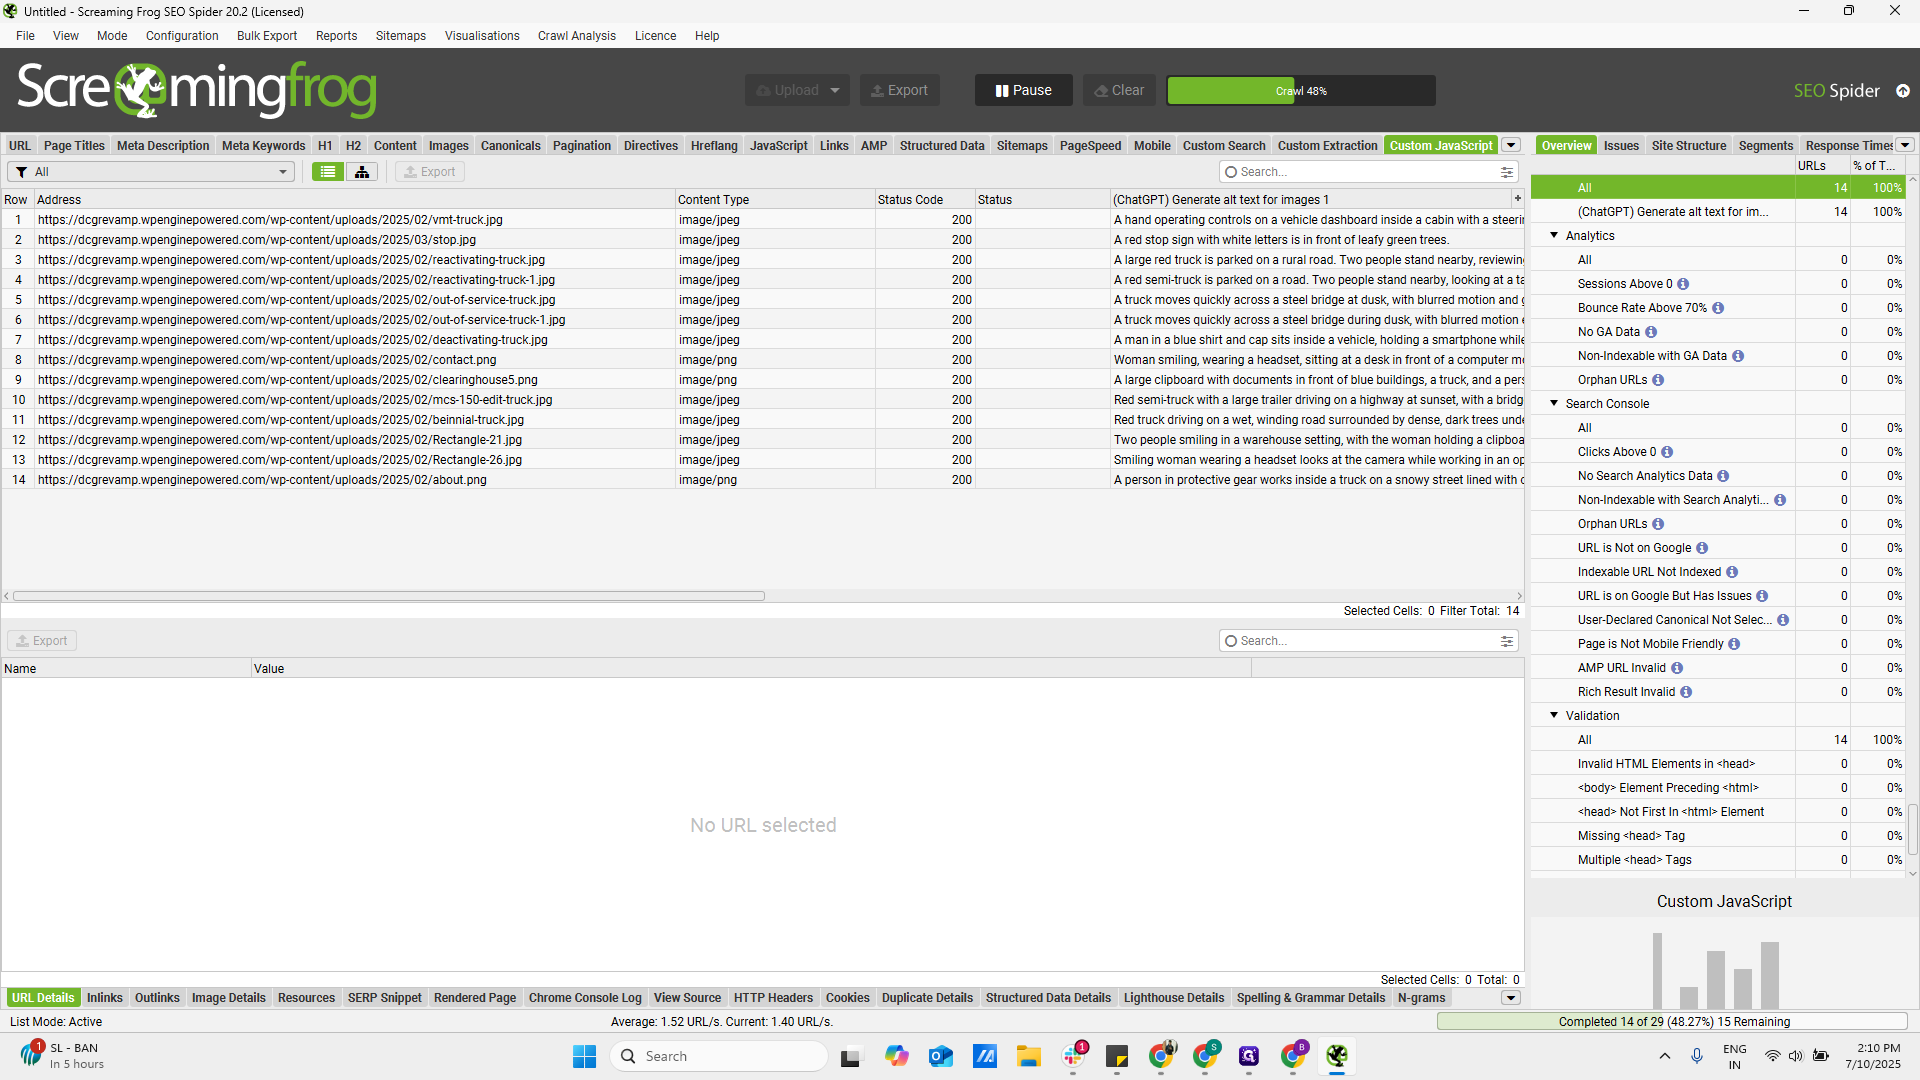
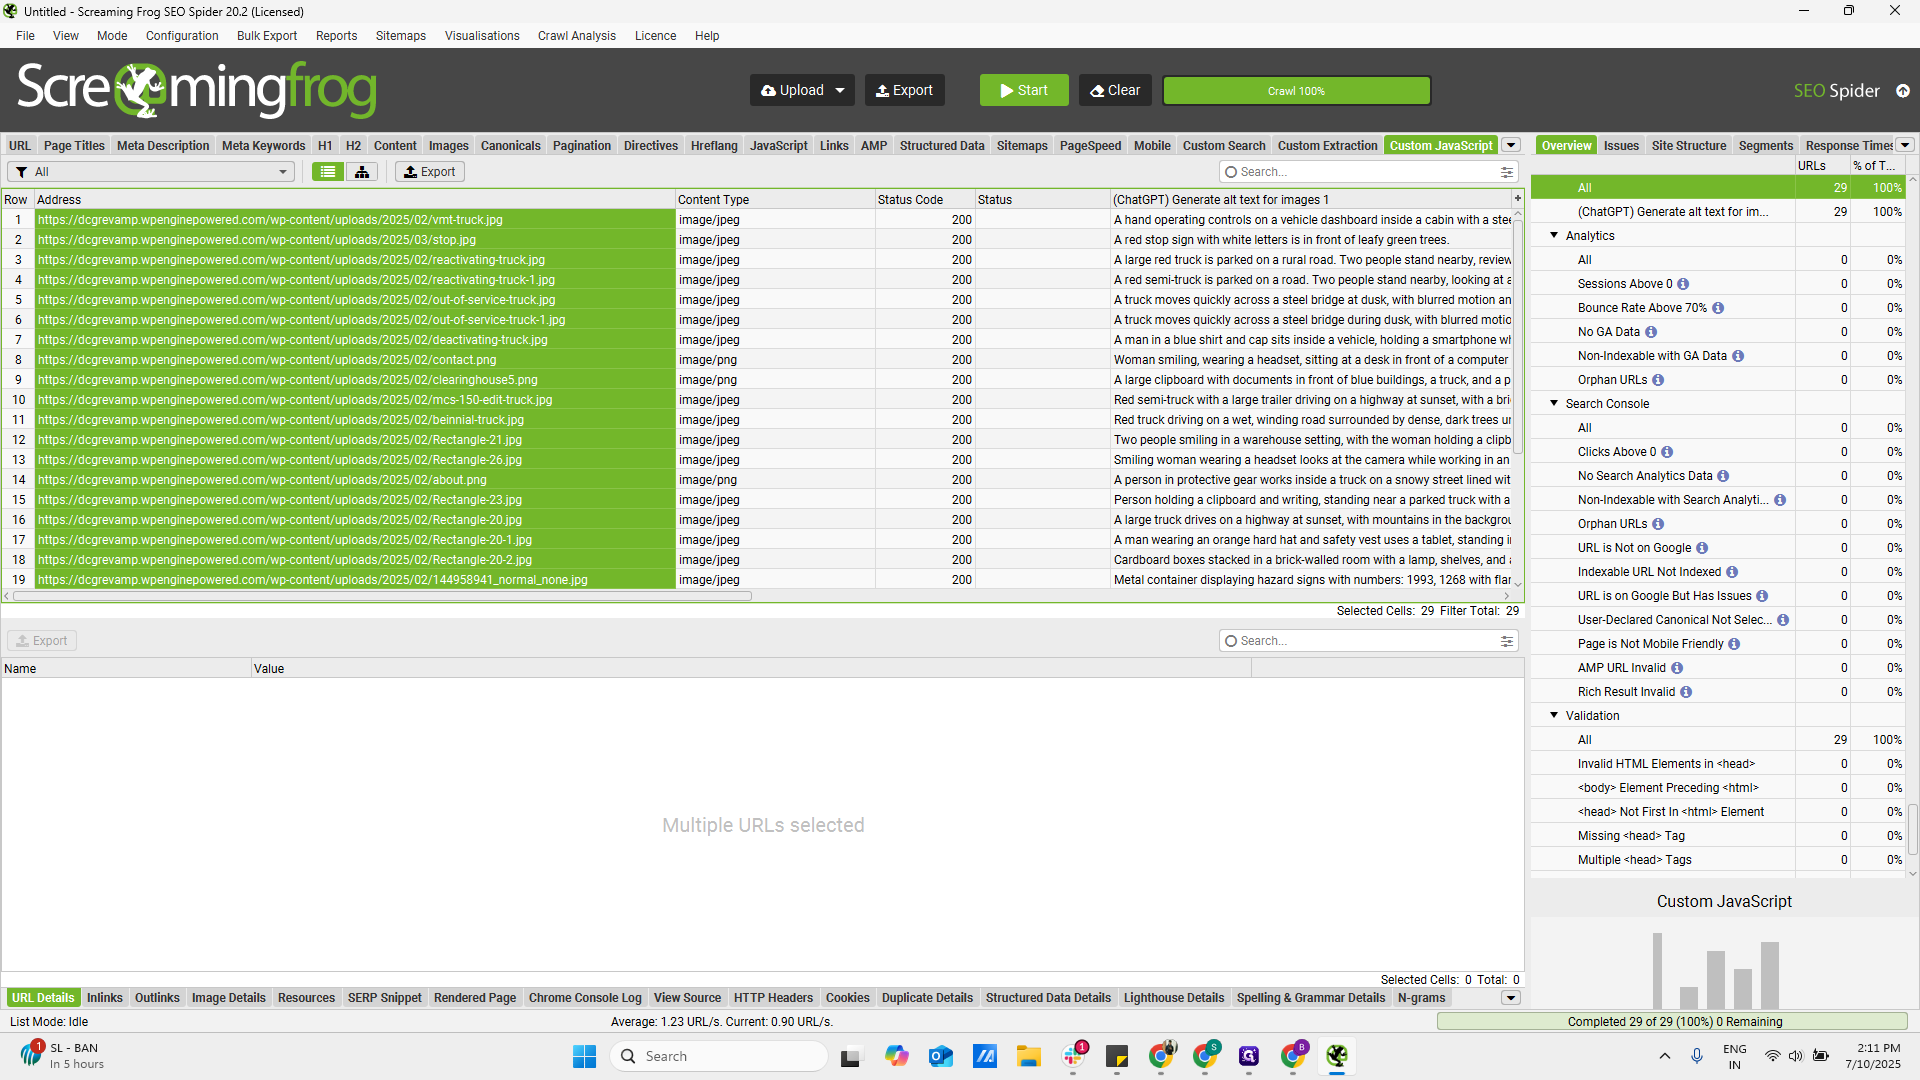
There is a second function: generate alt tags for images. Here, simply add image URLs if you want to crawl the images. Let's insert it.
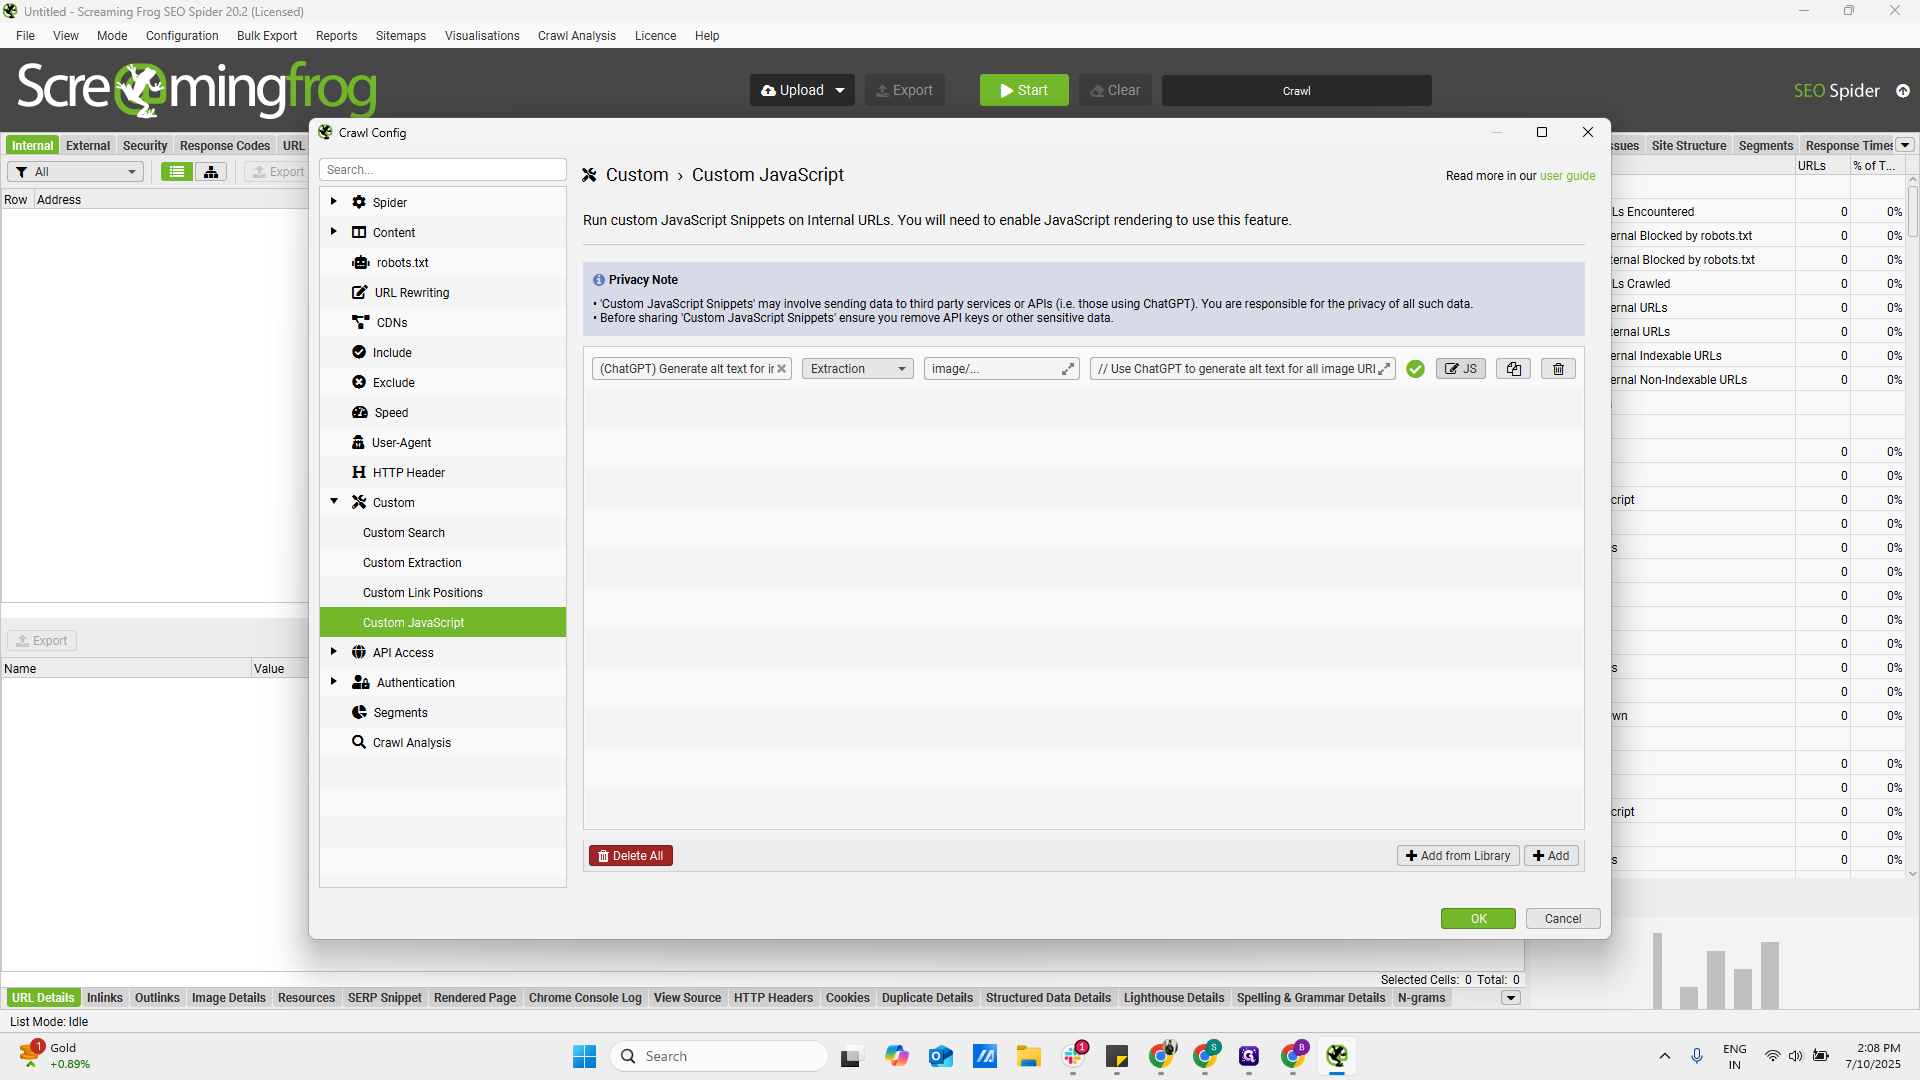
Now, go to the edit section.
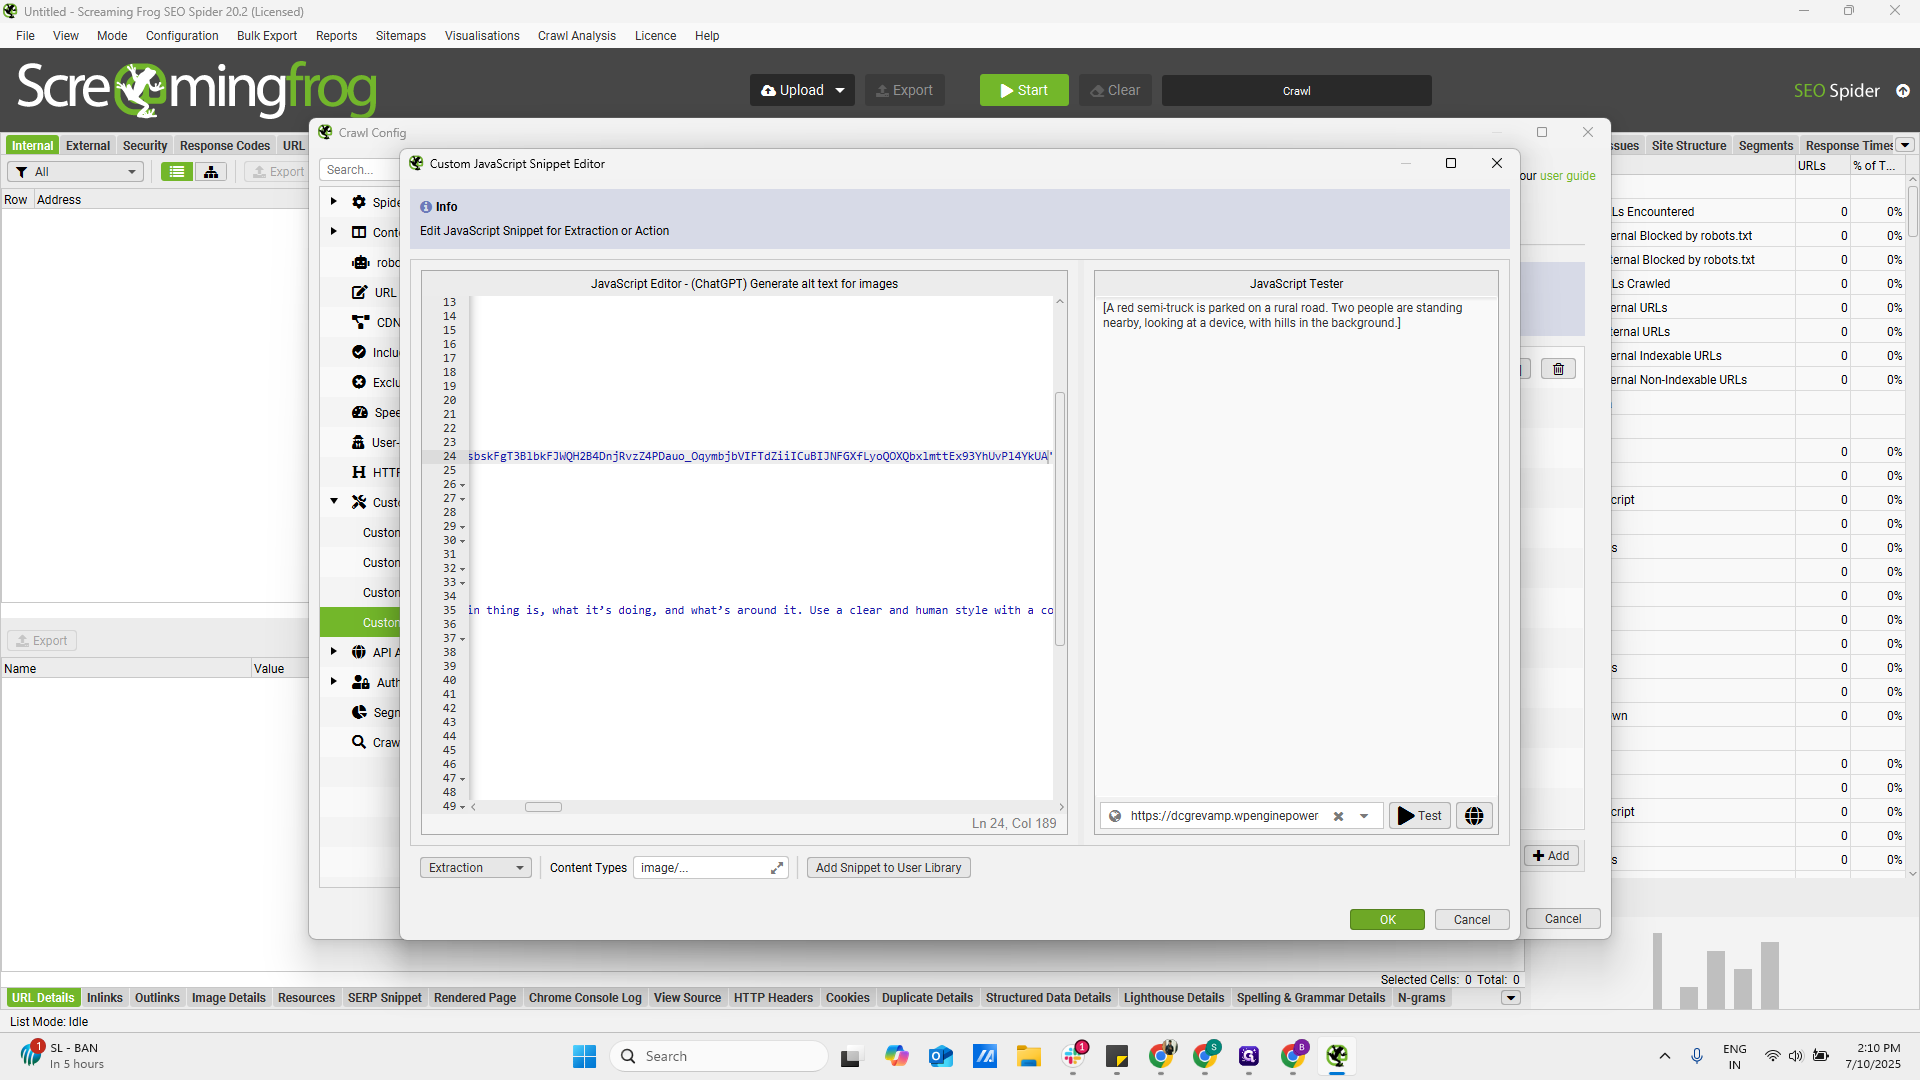
This is the complete function where we have the OpenAPI API key option.
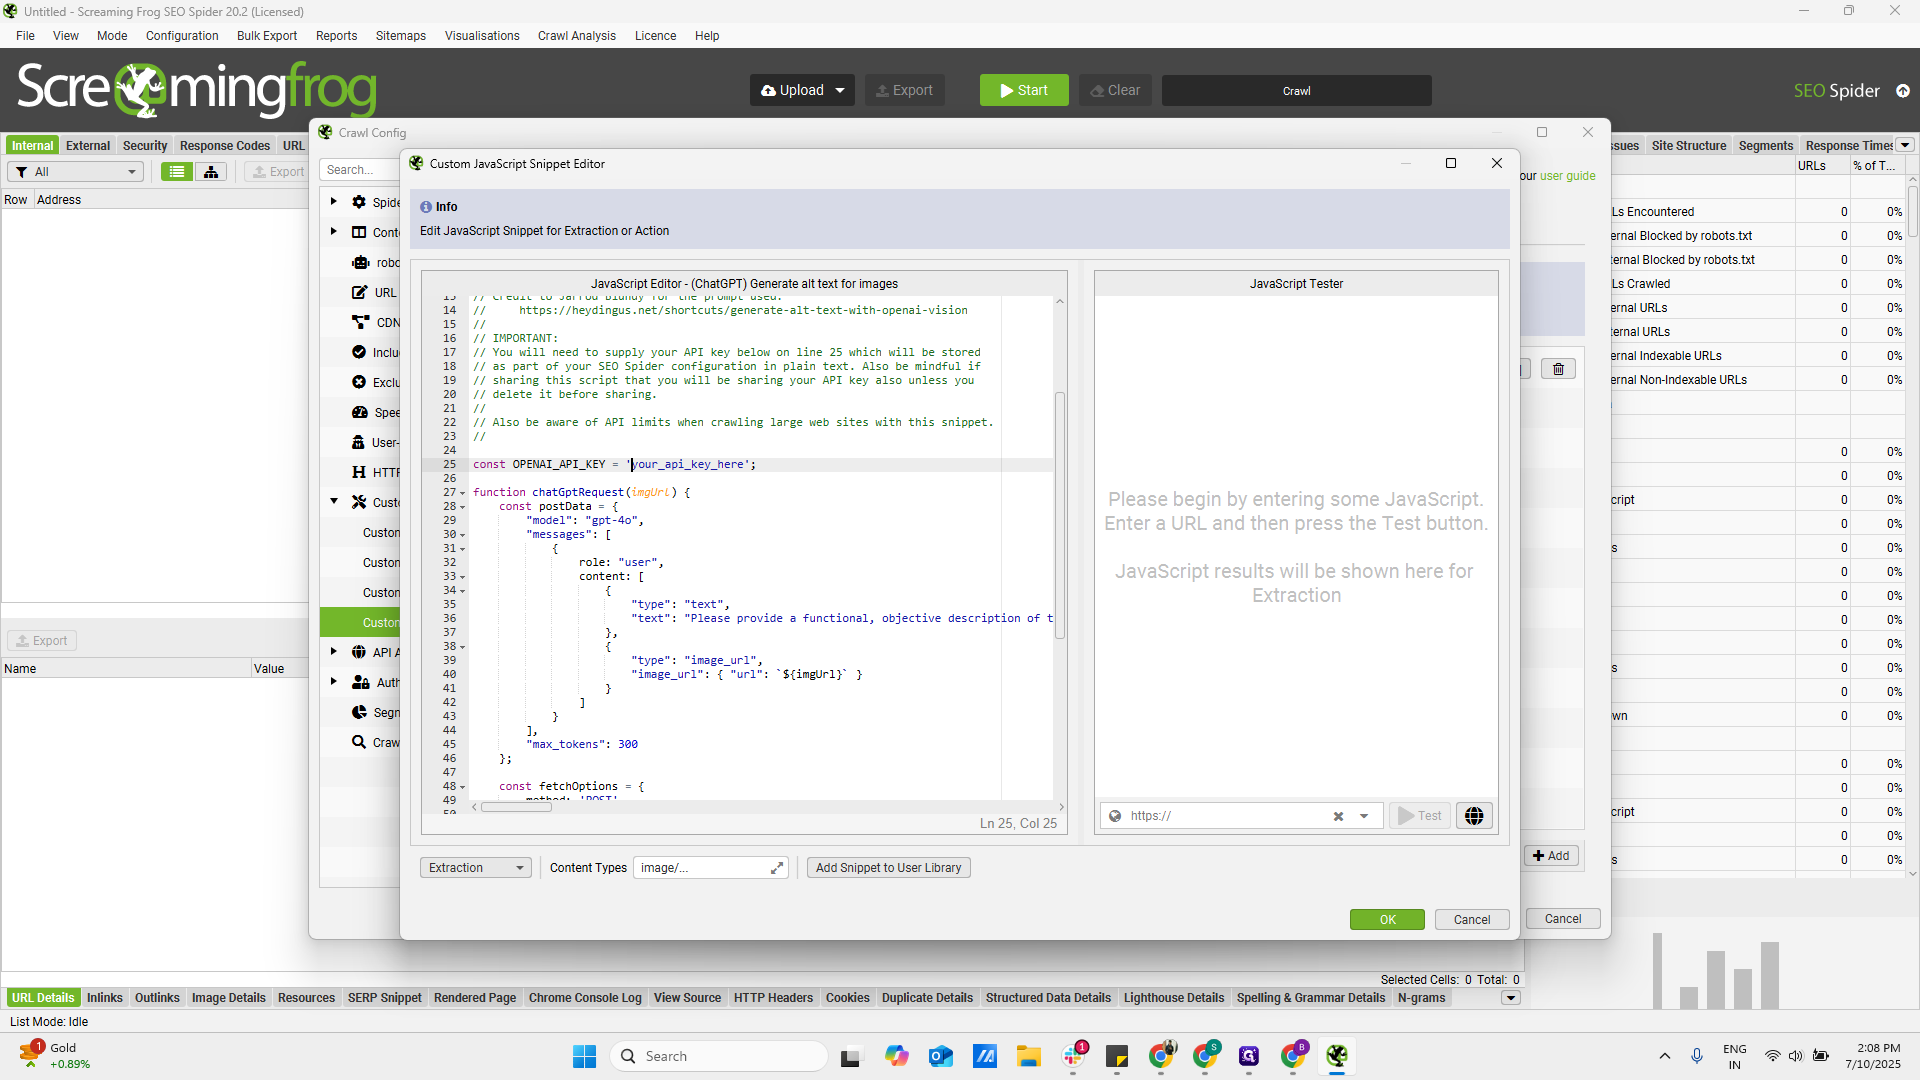
We have made some changes. To implement them, I want to remove the entire script and replace it with the rewritten version.


Once it's done, return to this section, copy the saved API key from where you stored it, and paste it here.

Now, test if setup is done properly. Here are steps to test. open Javascript tester window
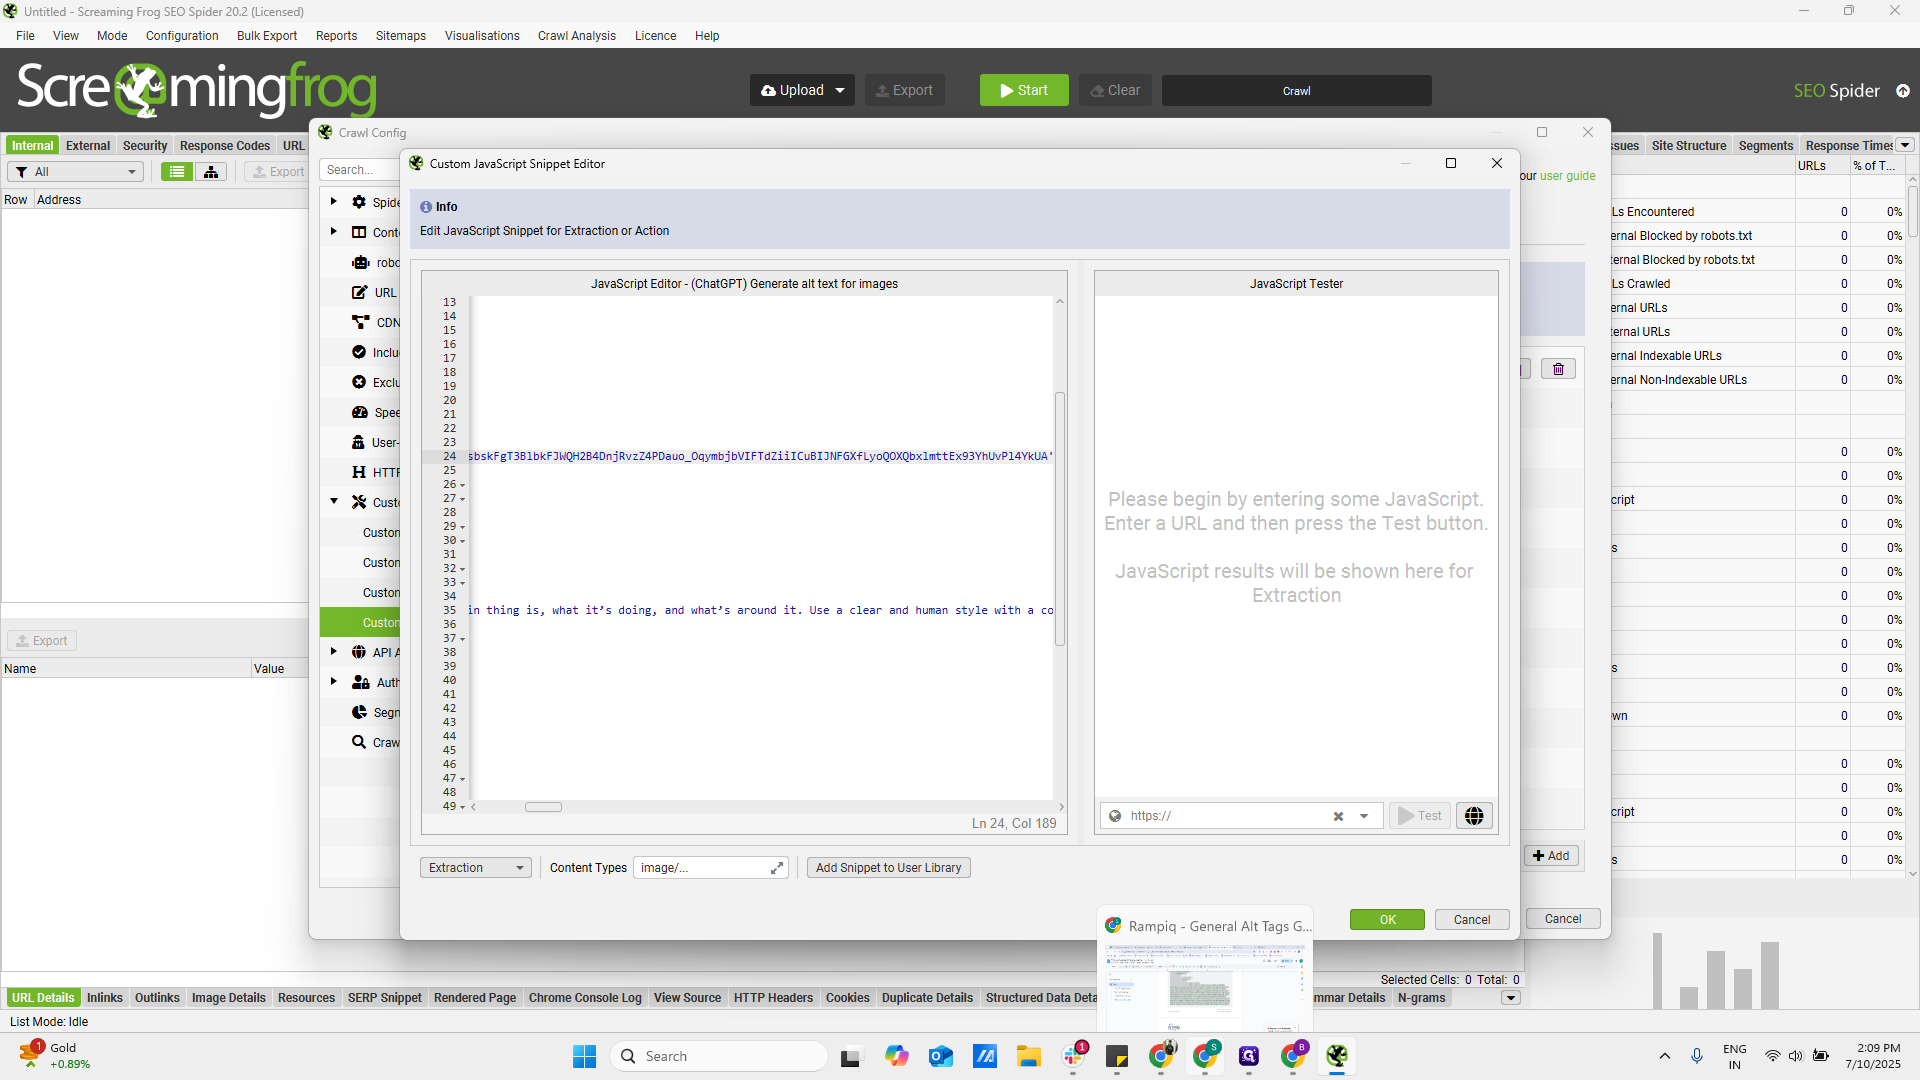
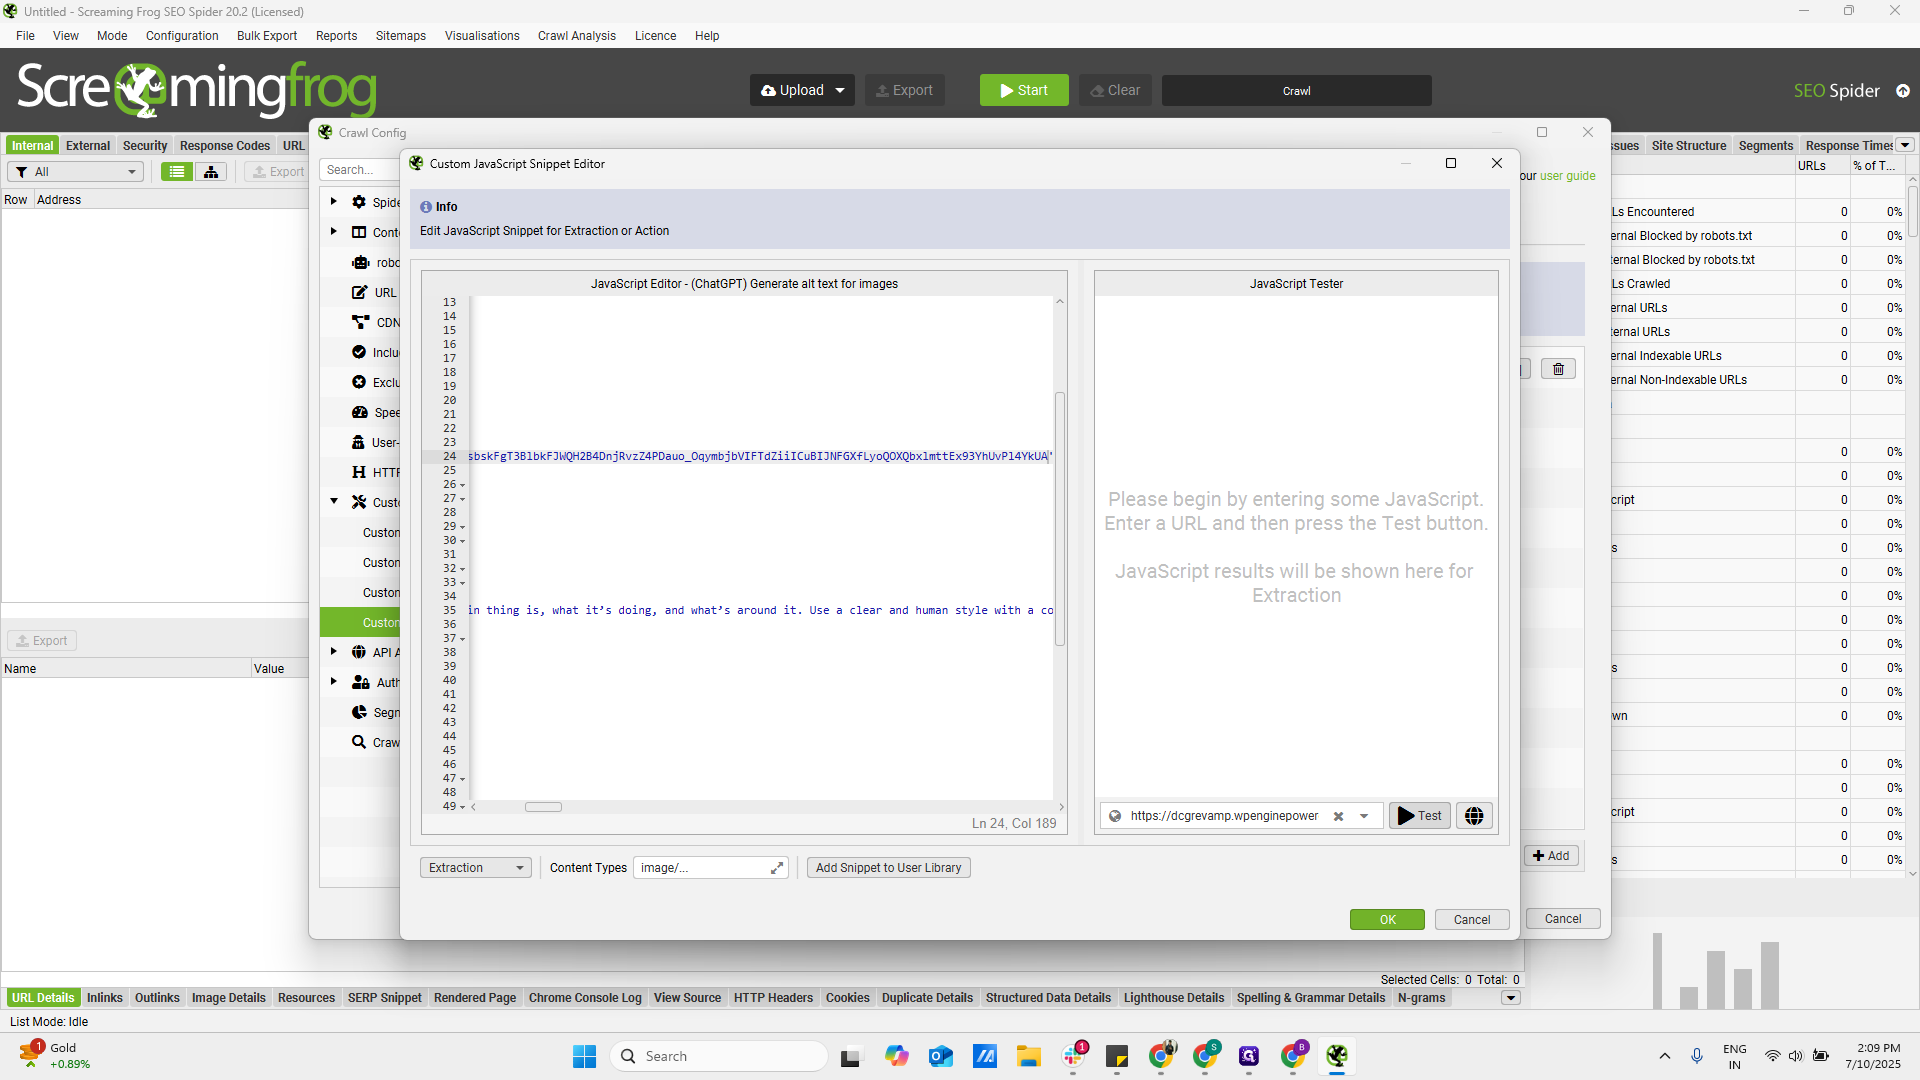
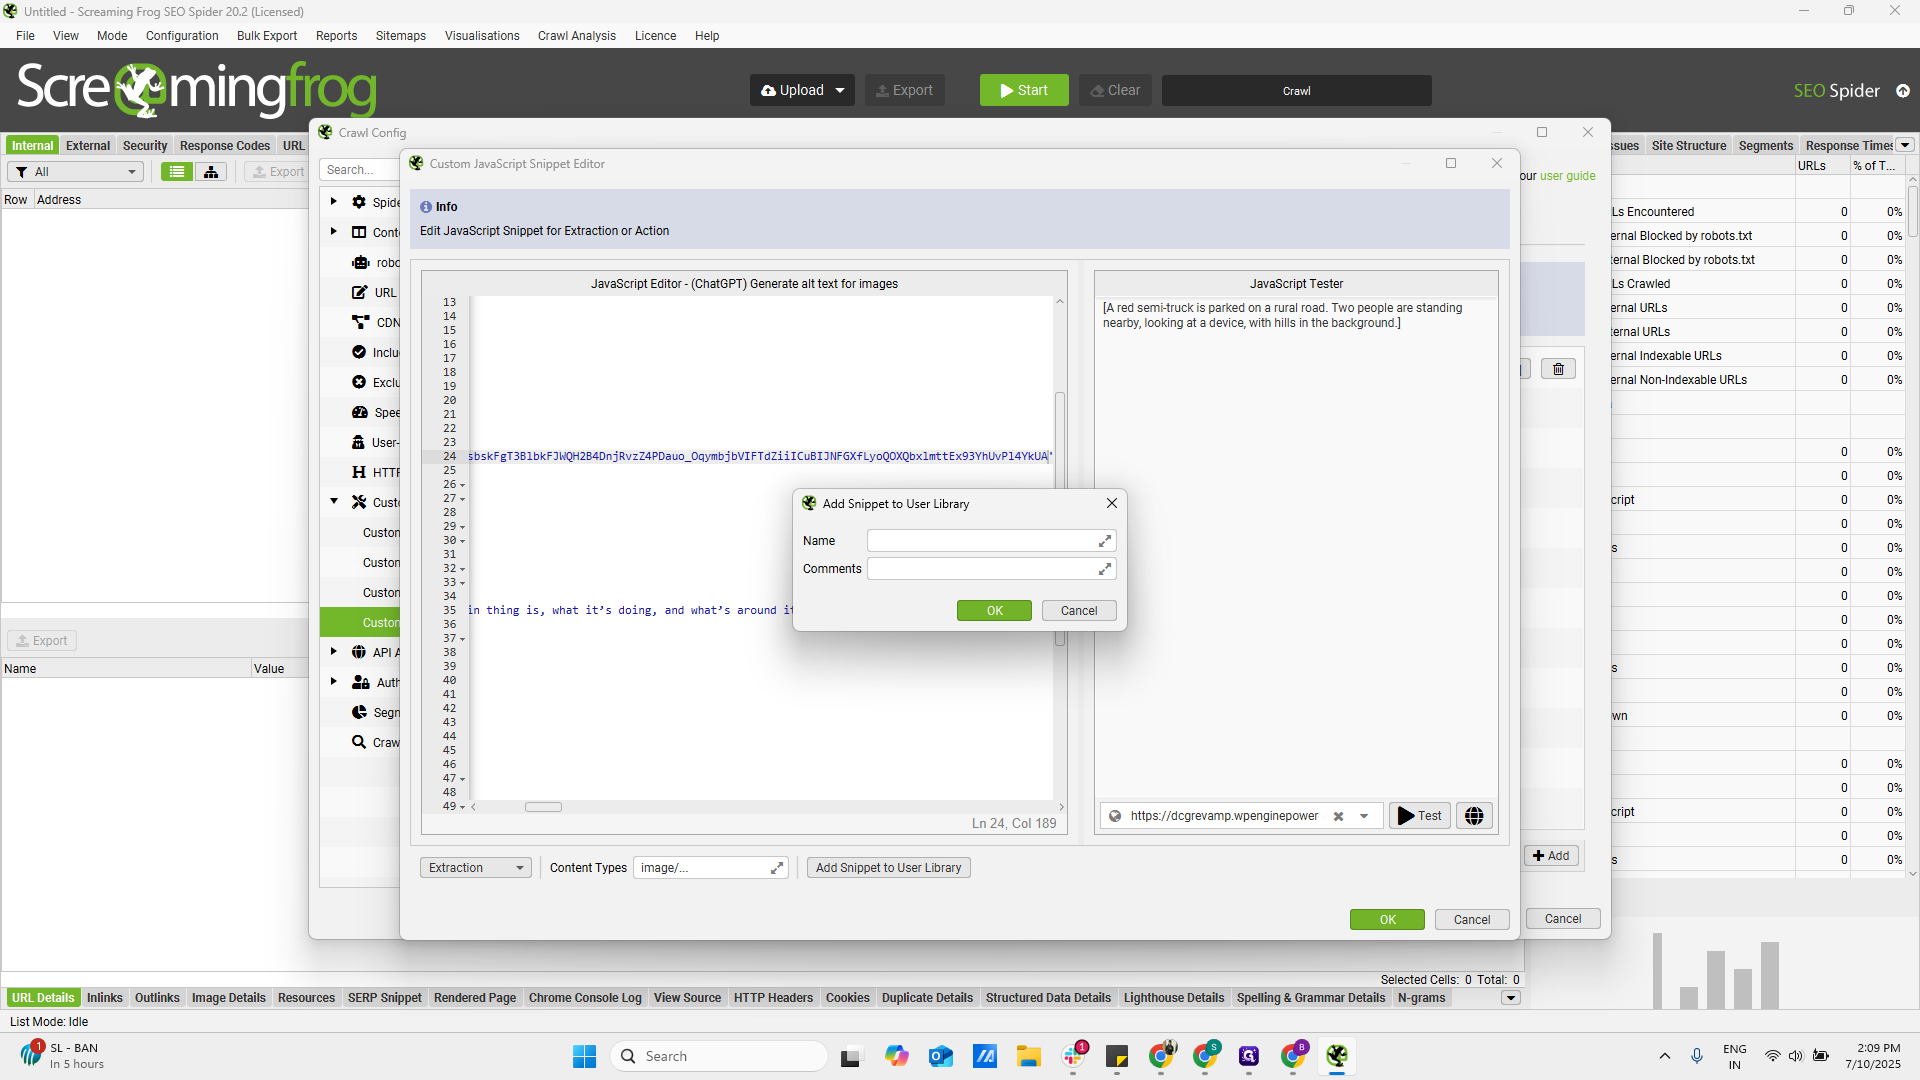
Paste image URL on right side in the Javascript tester window and click on test
As we can see, it is providing an alt tag, so the setup appears to be correct.
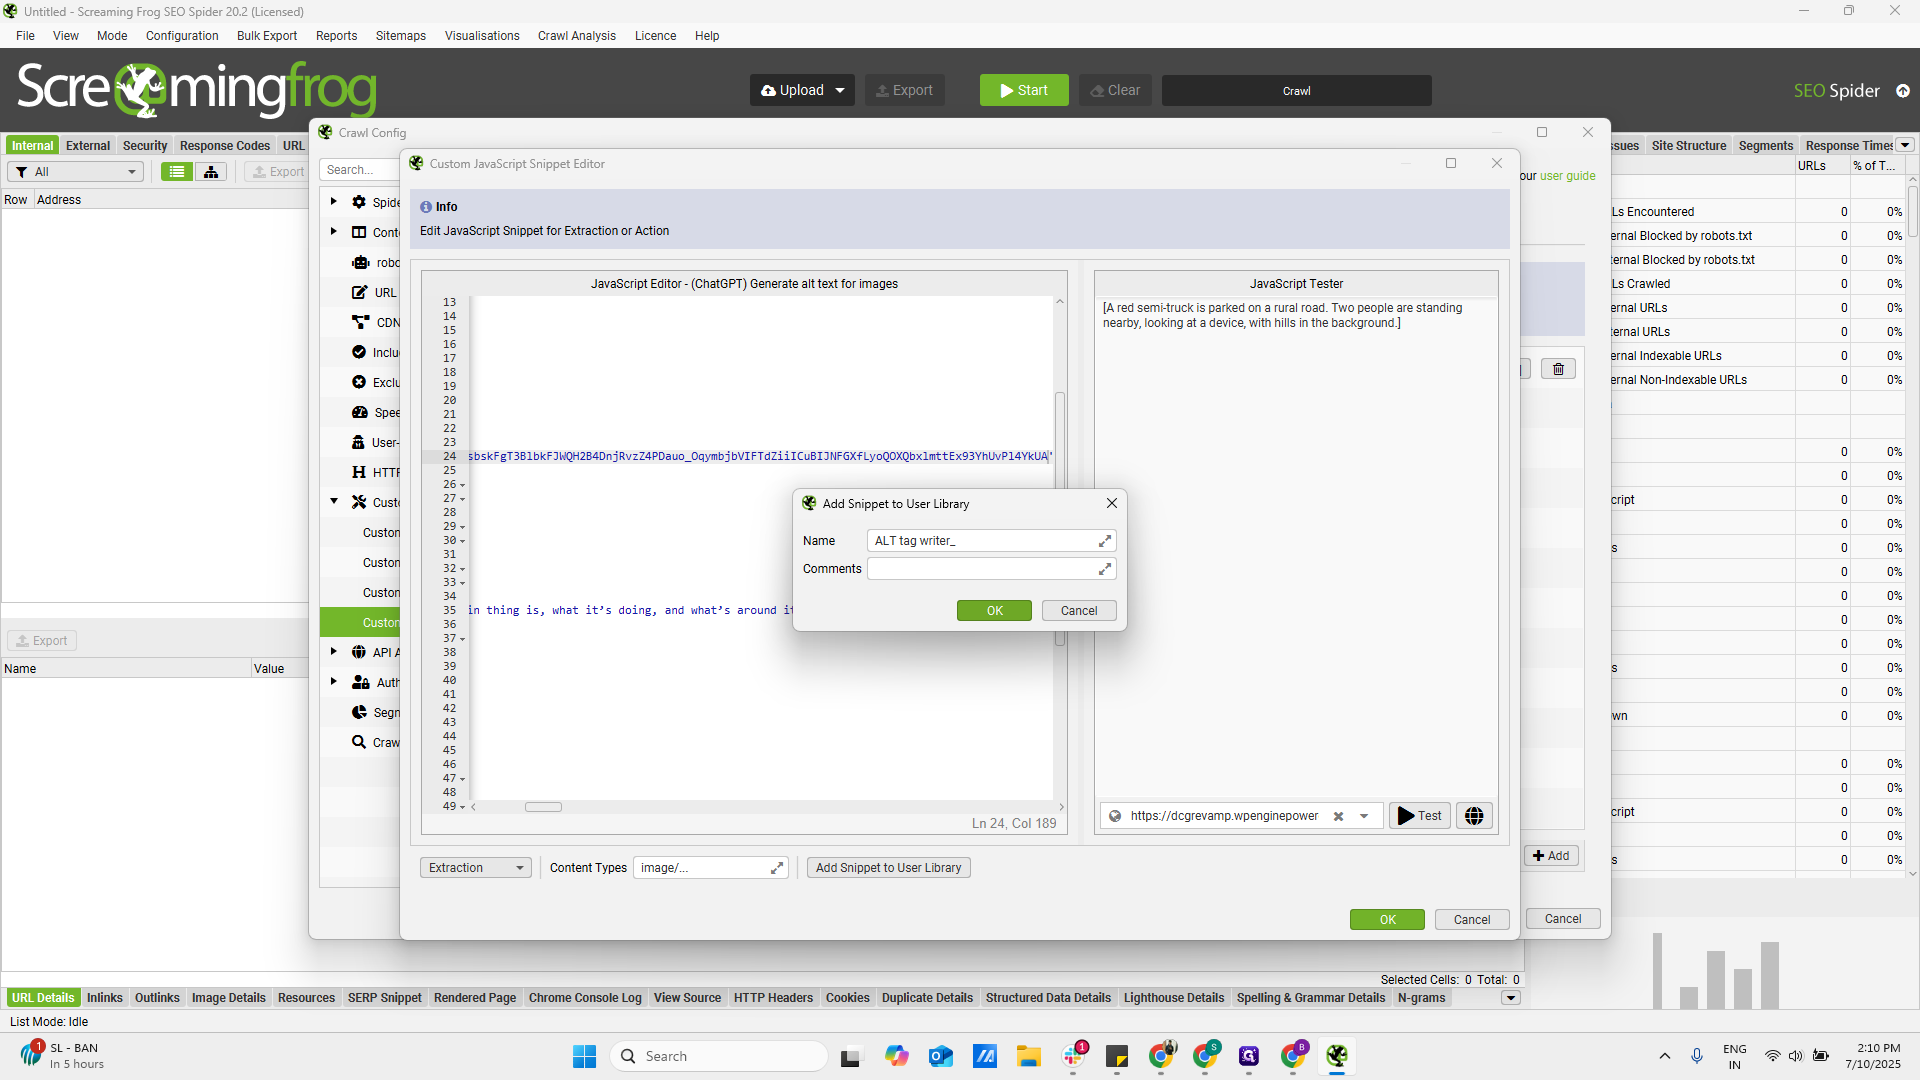
If you want, we can save it in our user library. This way, we can reuse it and won't need to set it up or make changes each time. Click on Add Snippet to Library.
You can name it anything you like.

Now, it is saved.
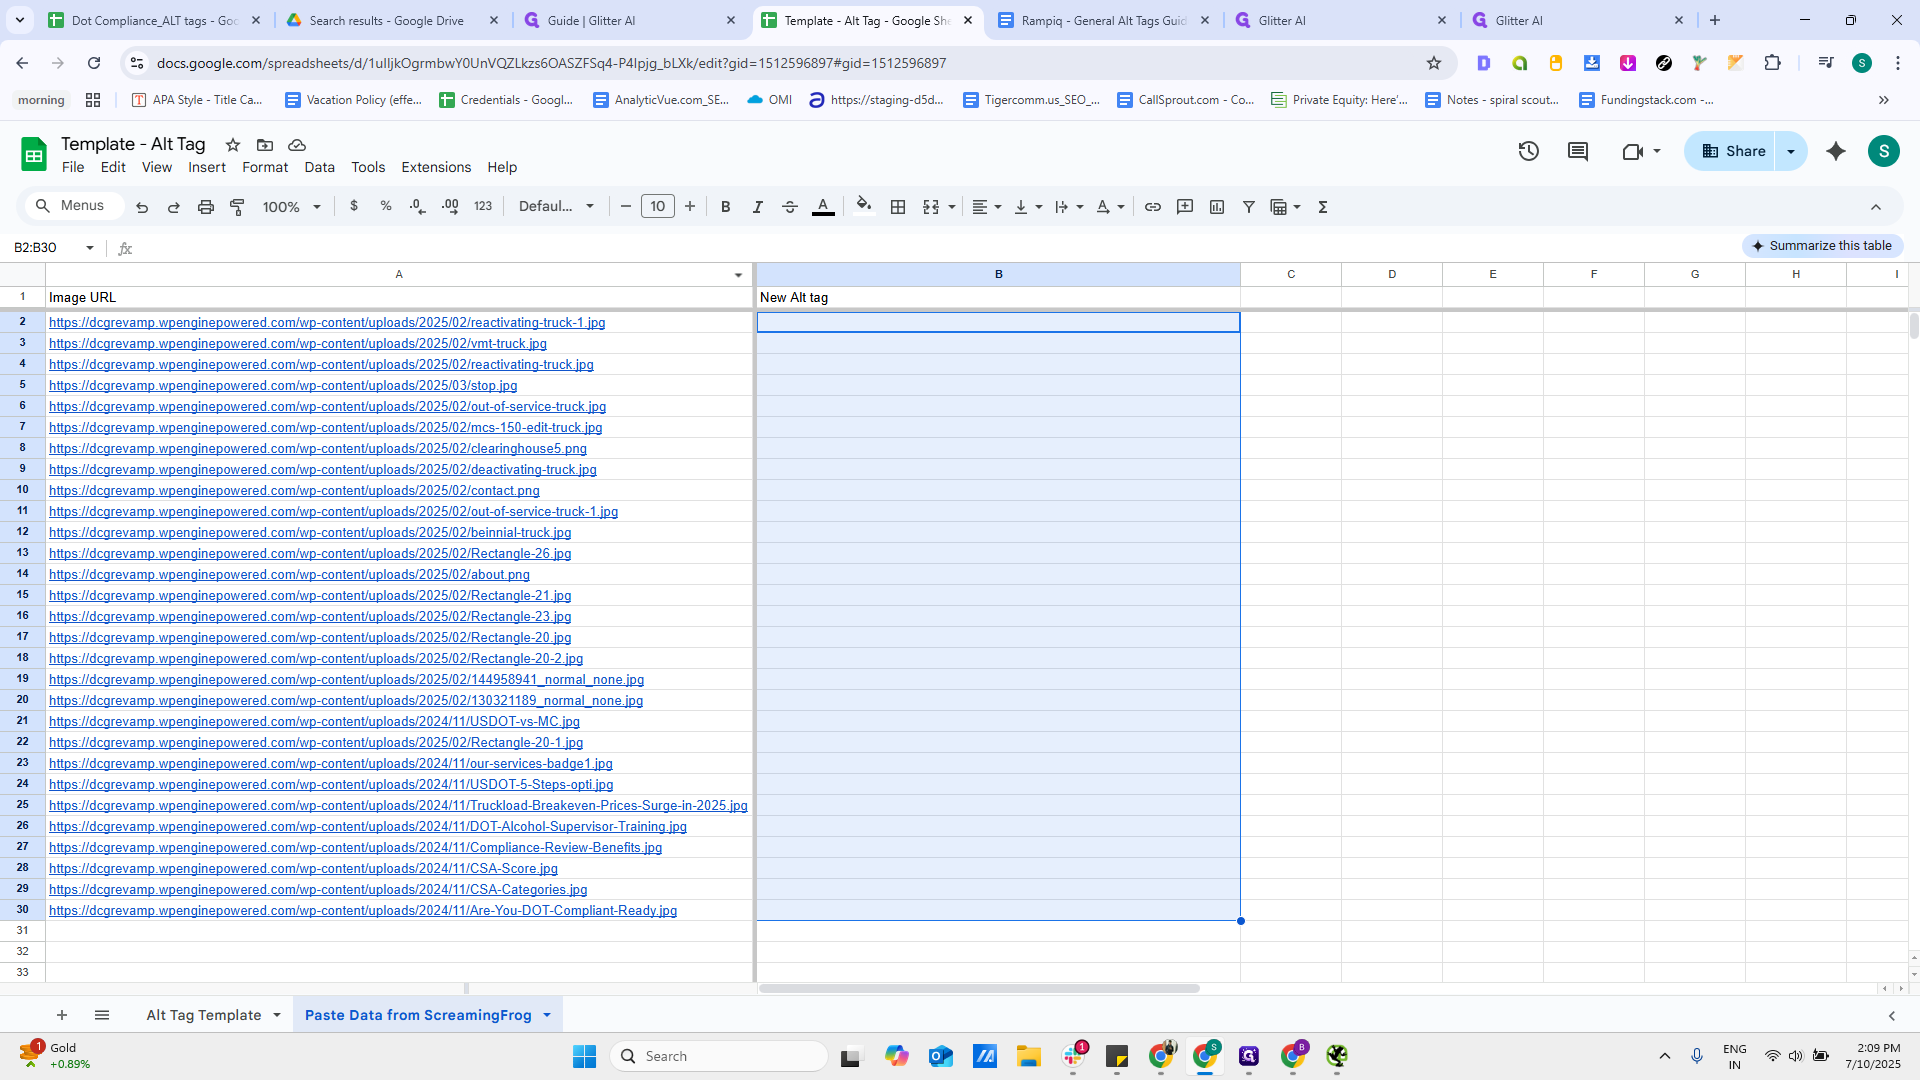
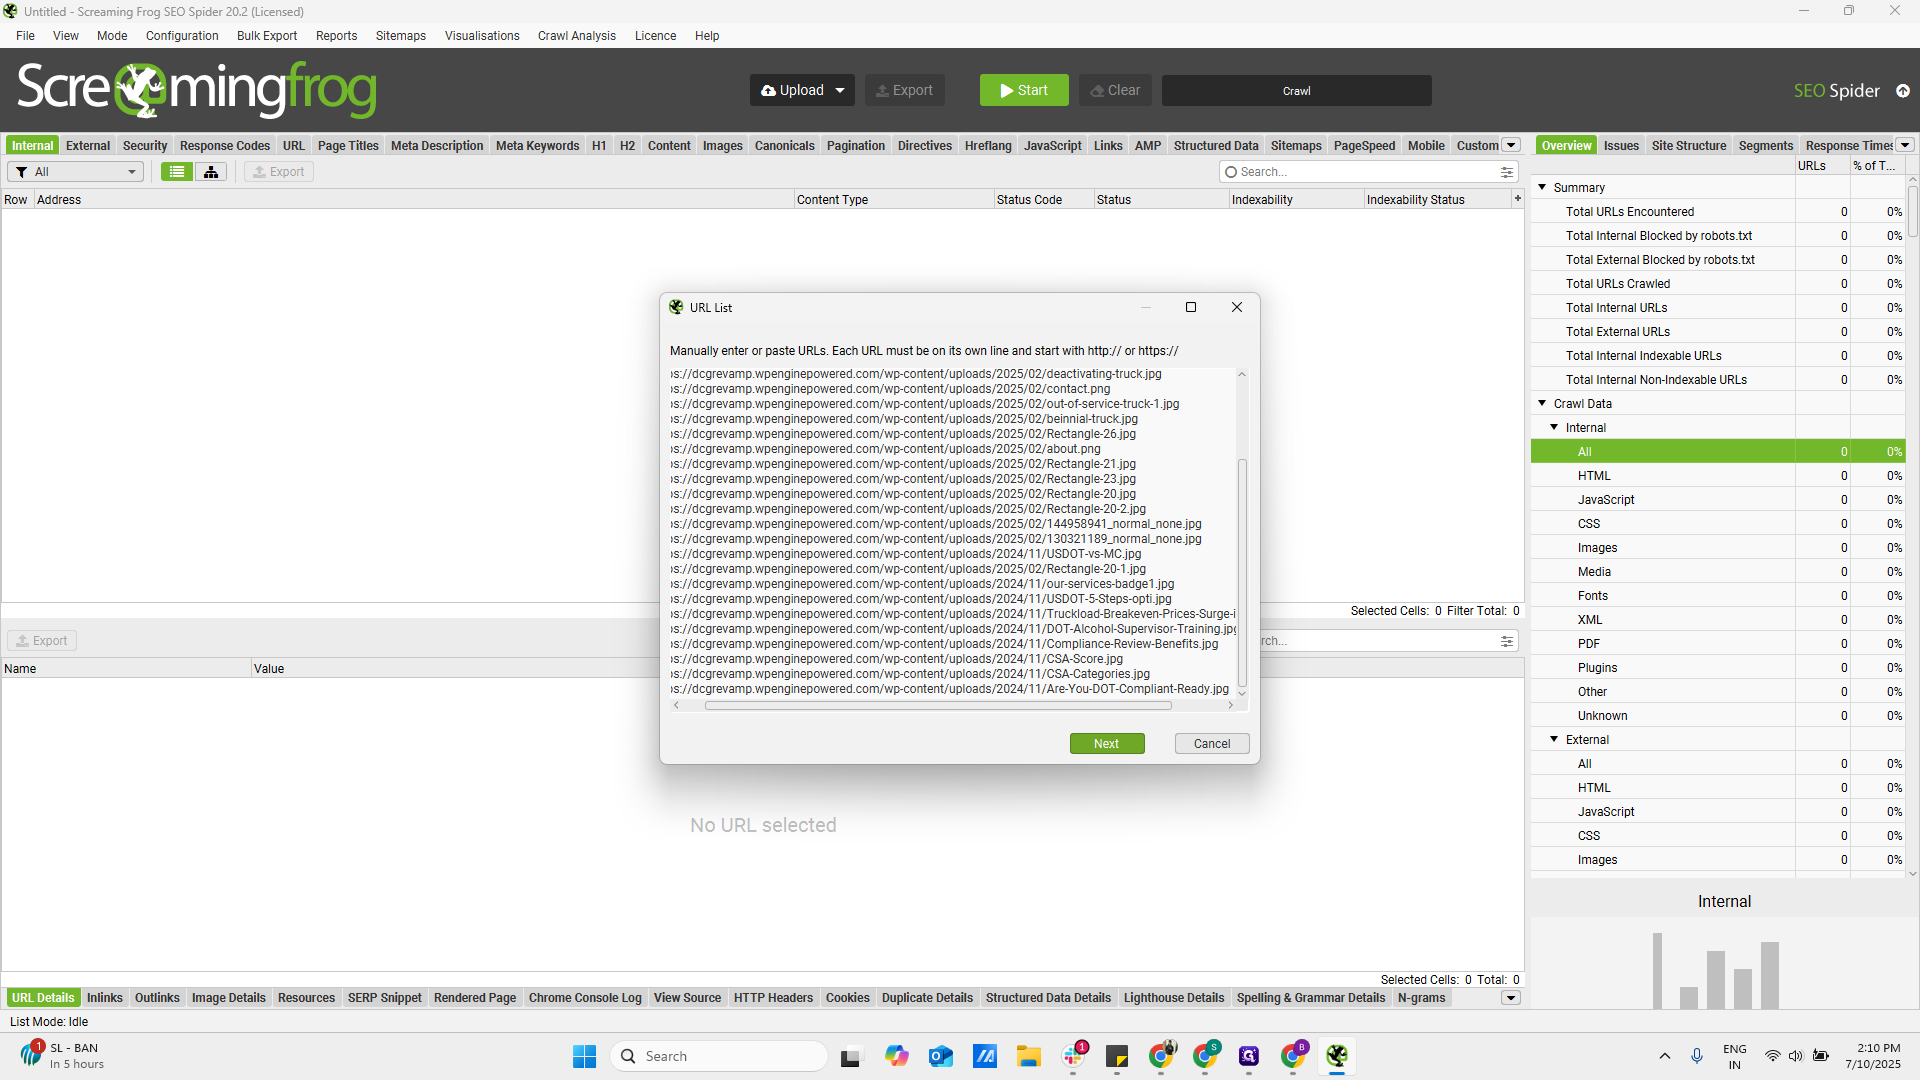
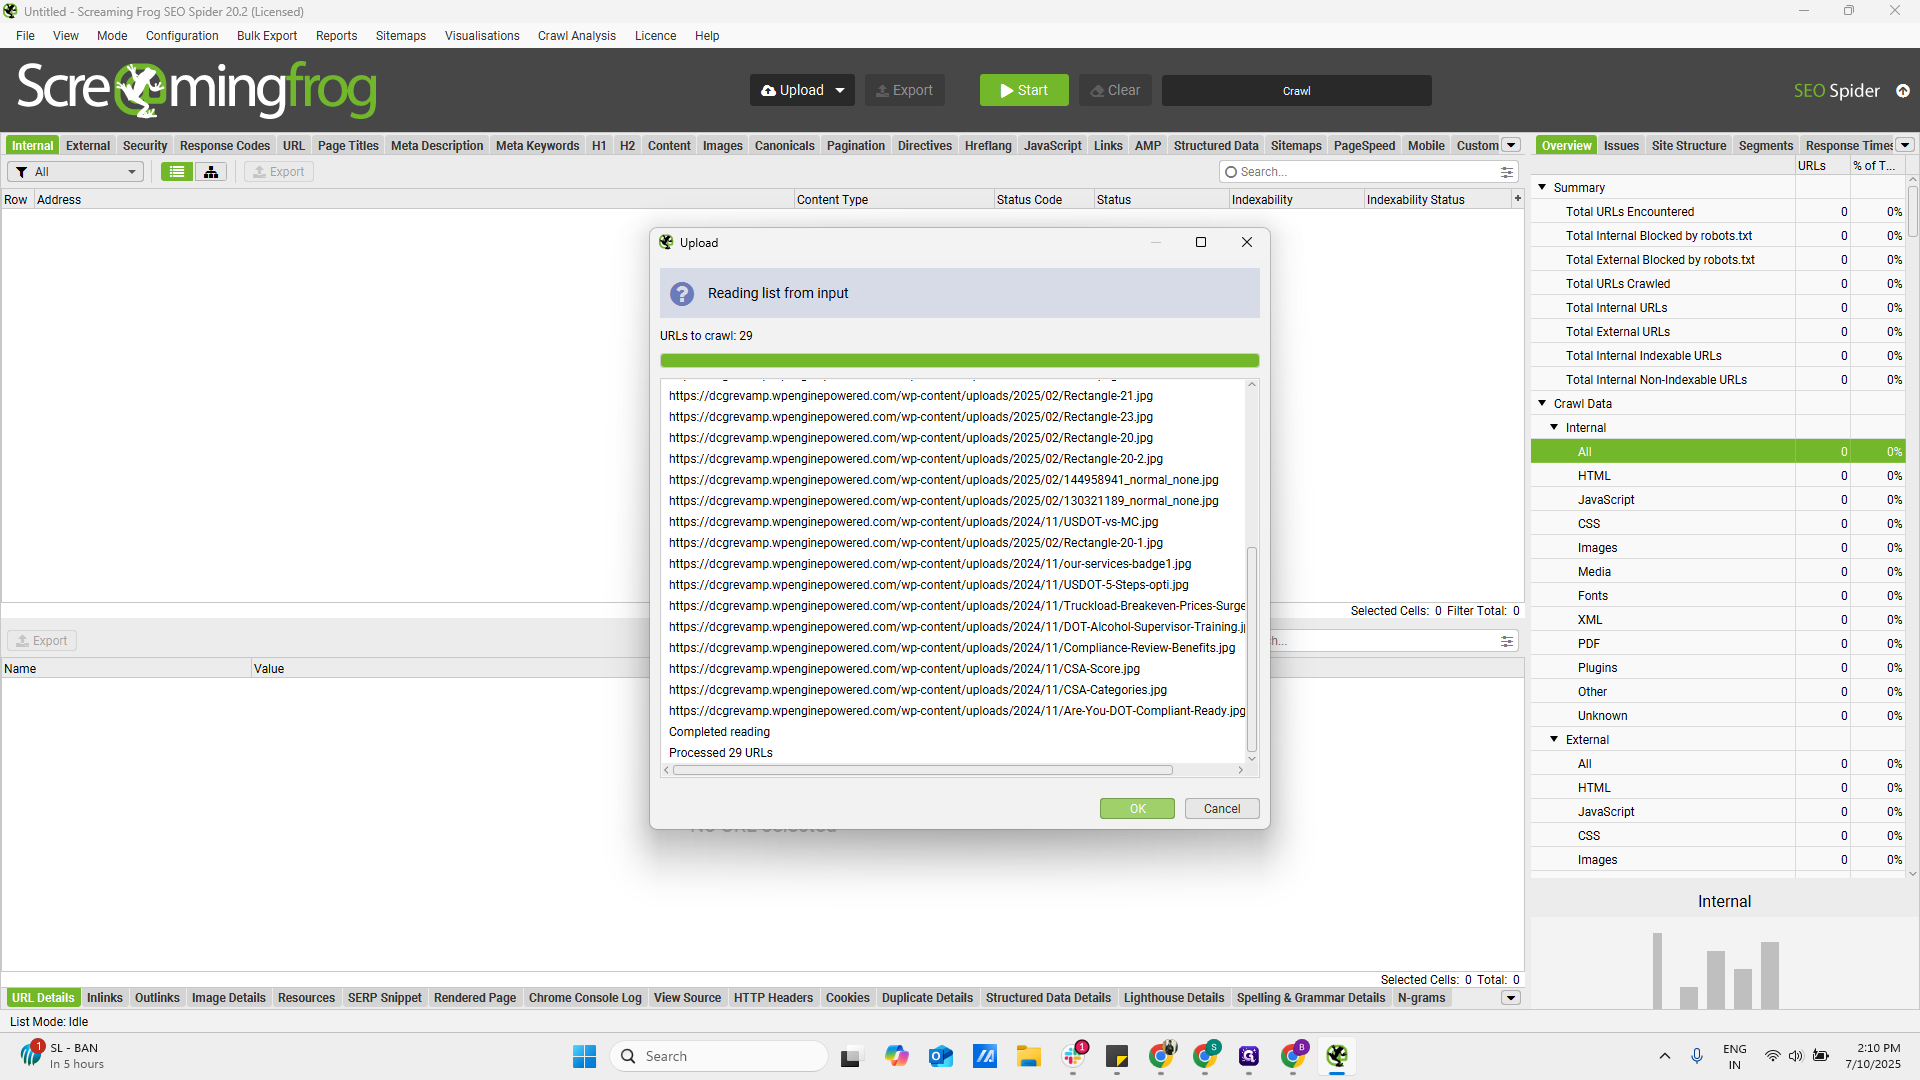
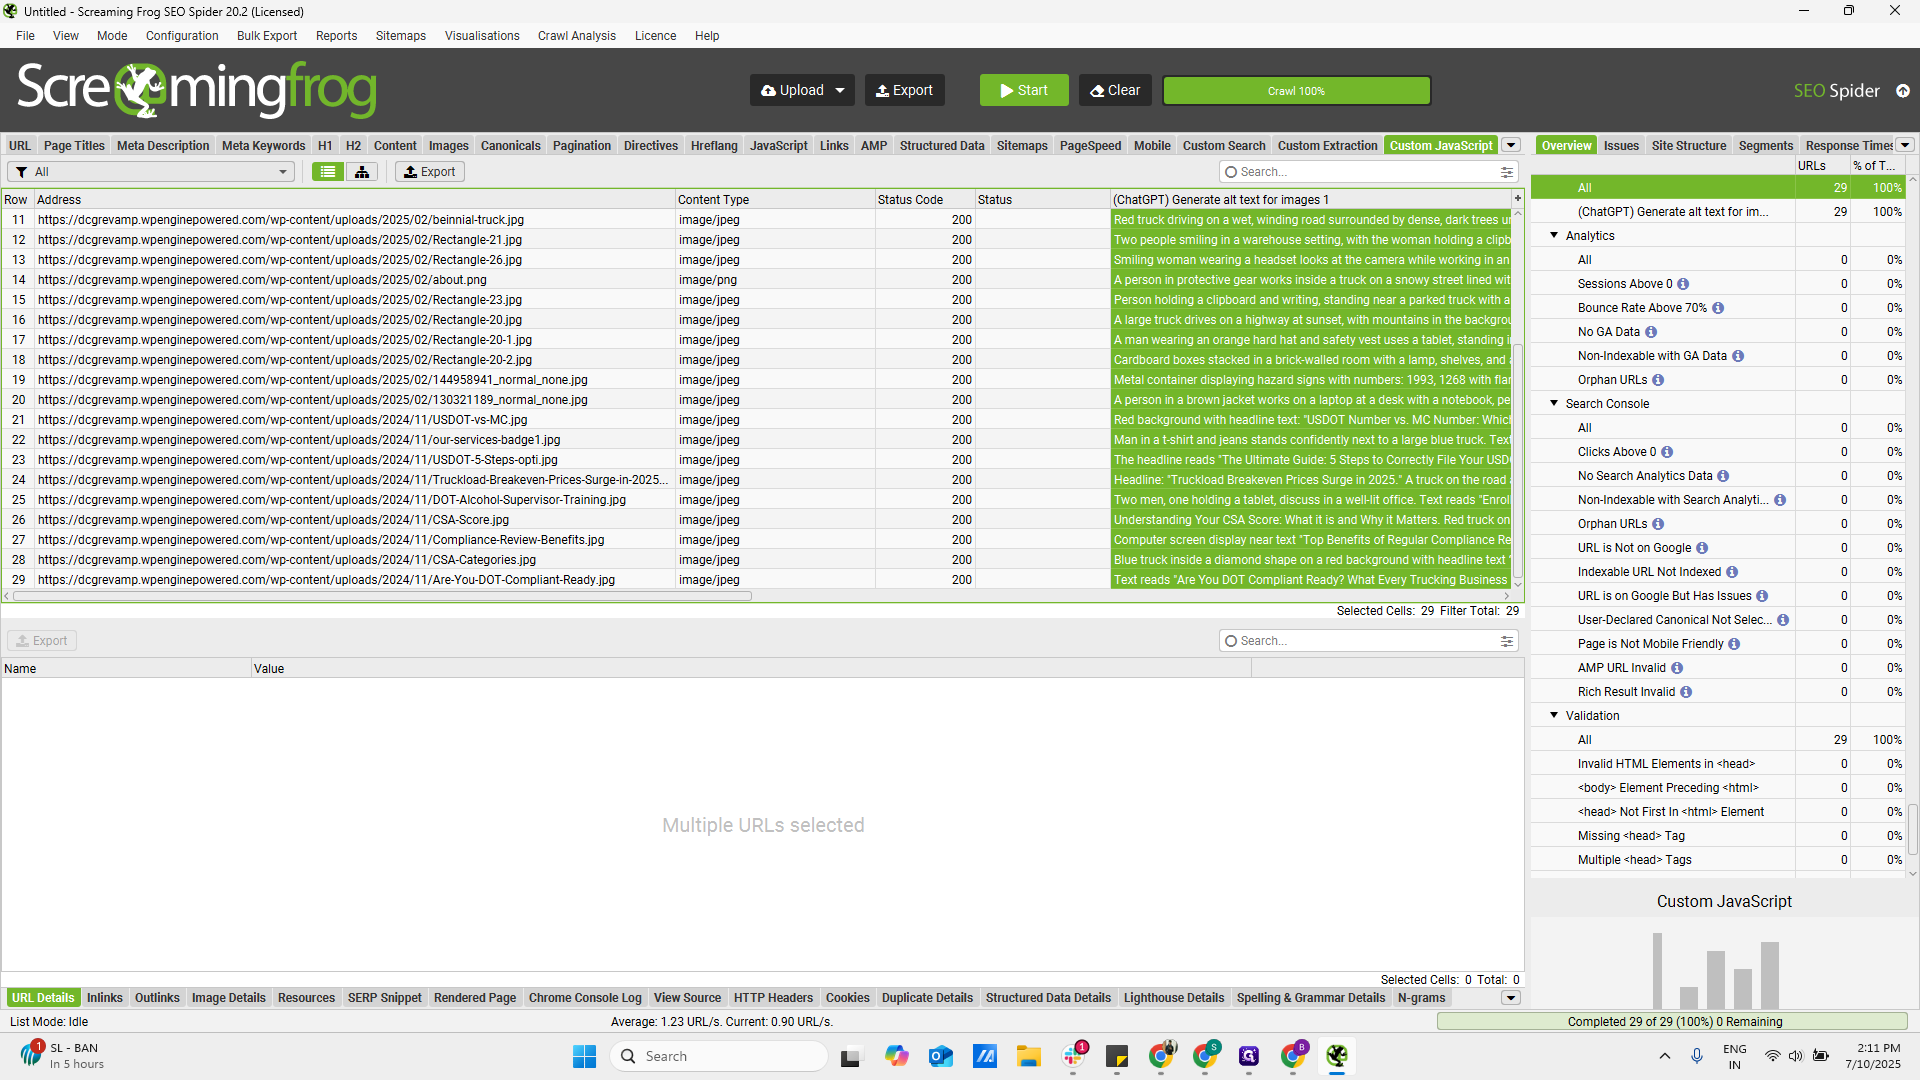
Next, copy the list of image URLs you want to use.
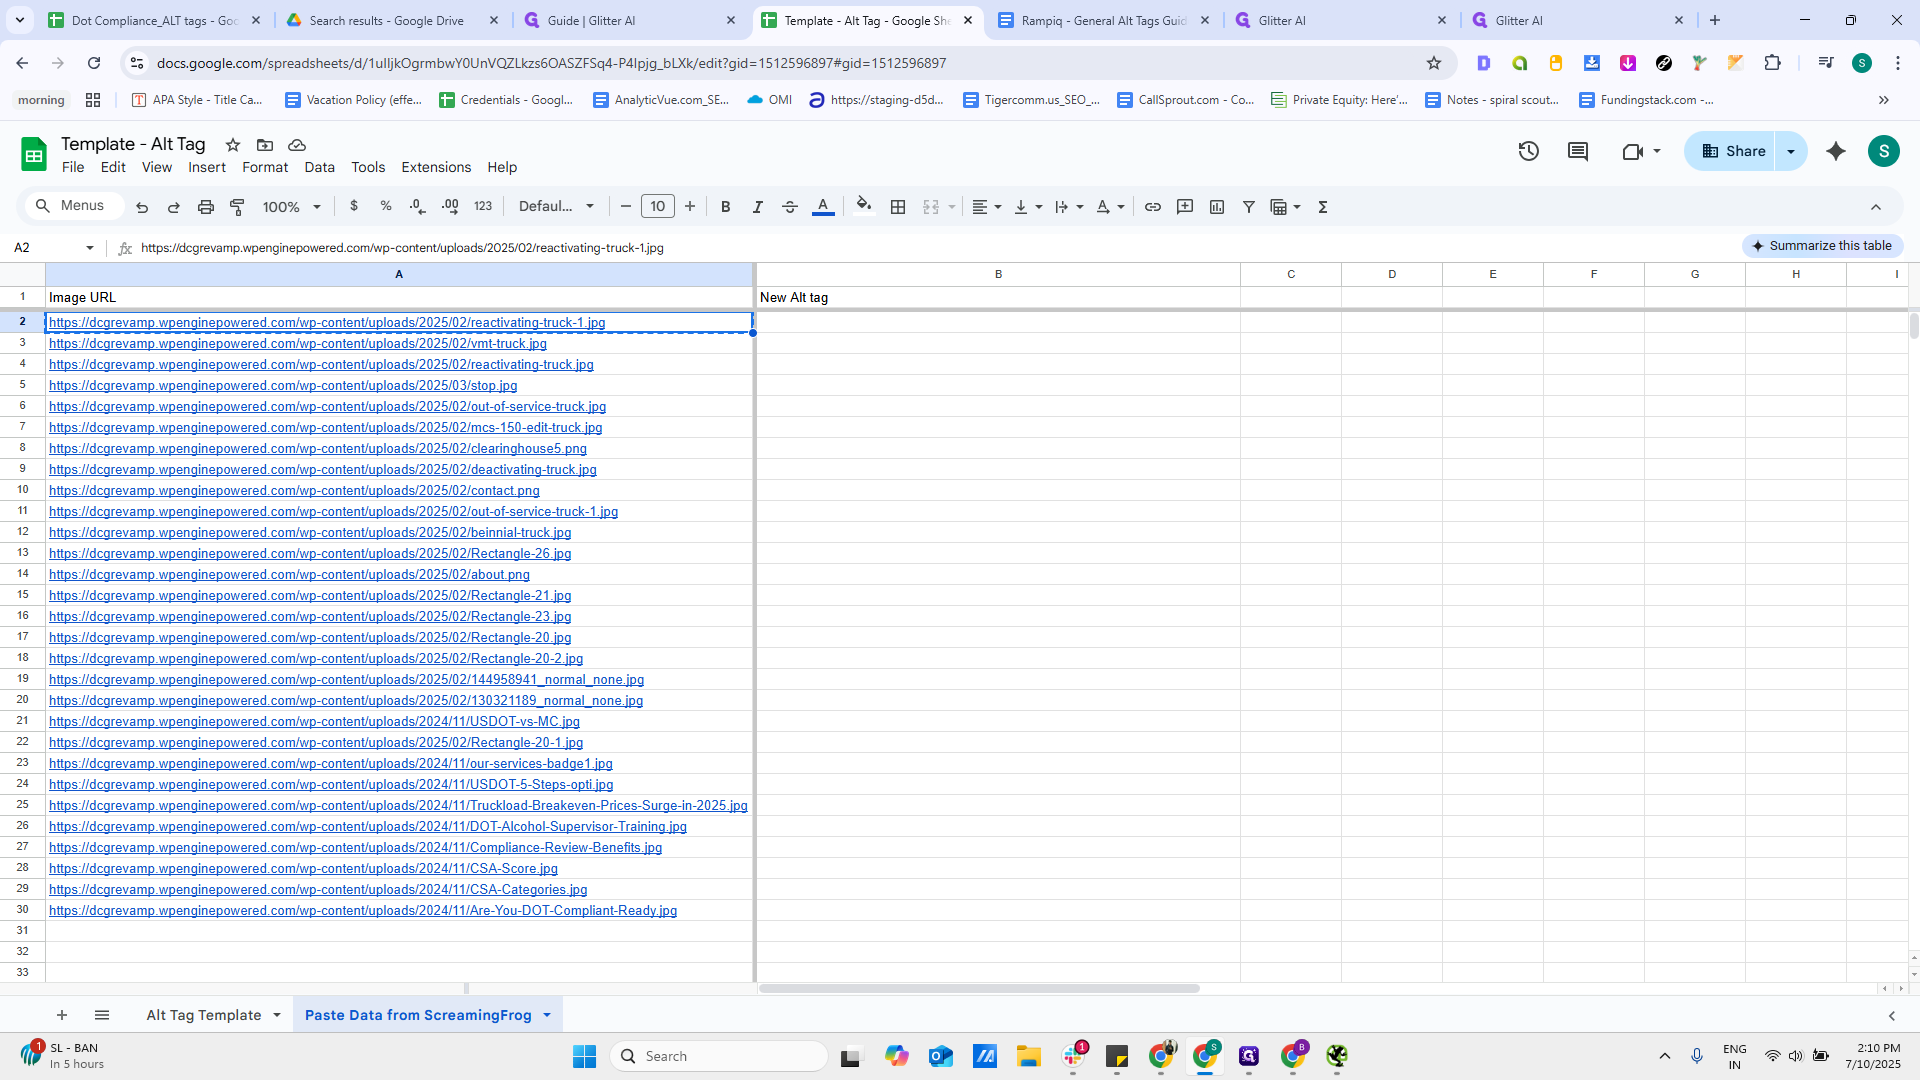
You can use any method to upload the URLs from a file, but here I am entering them manually and pasting them.
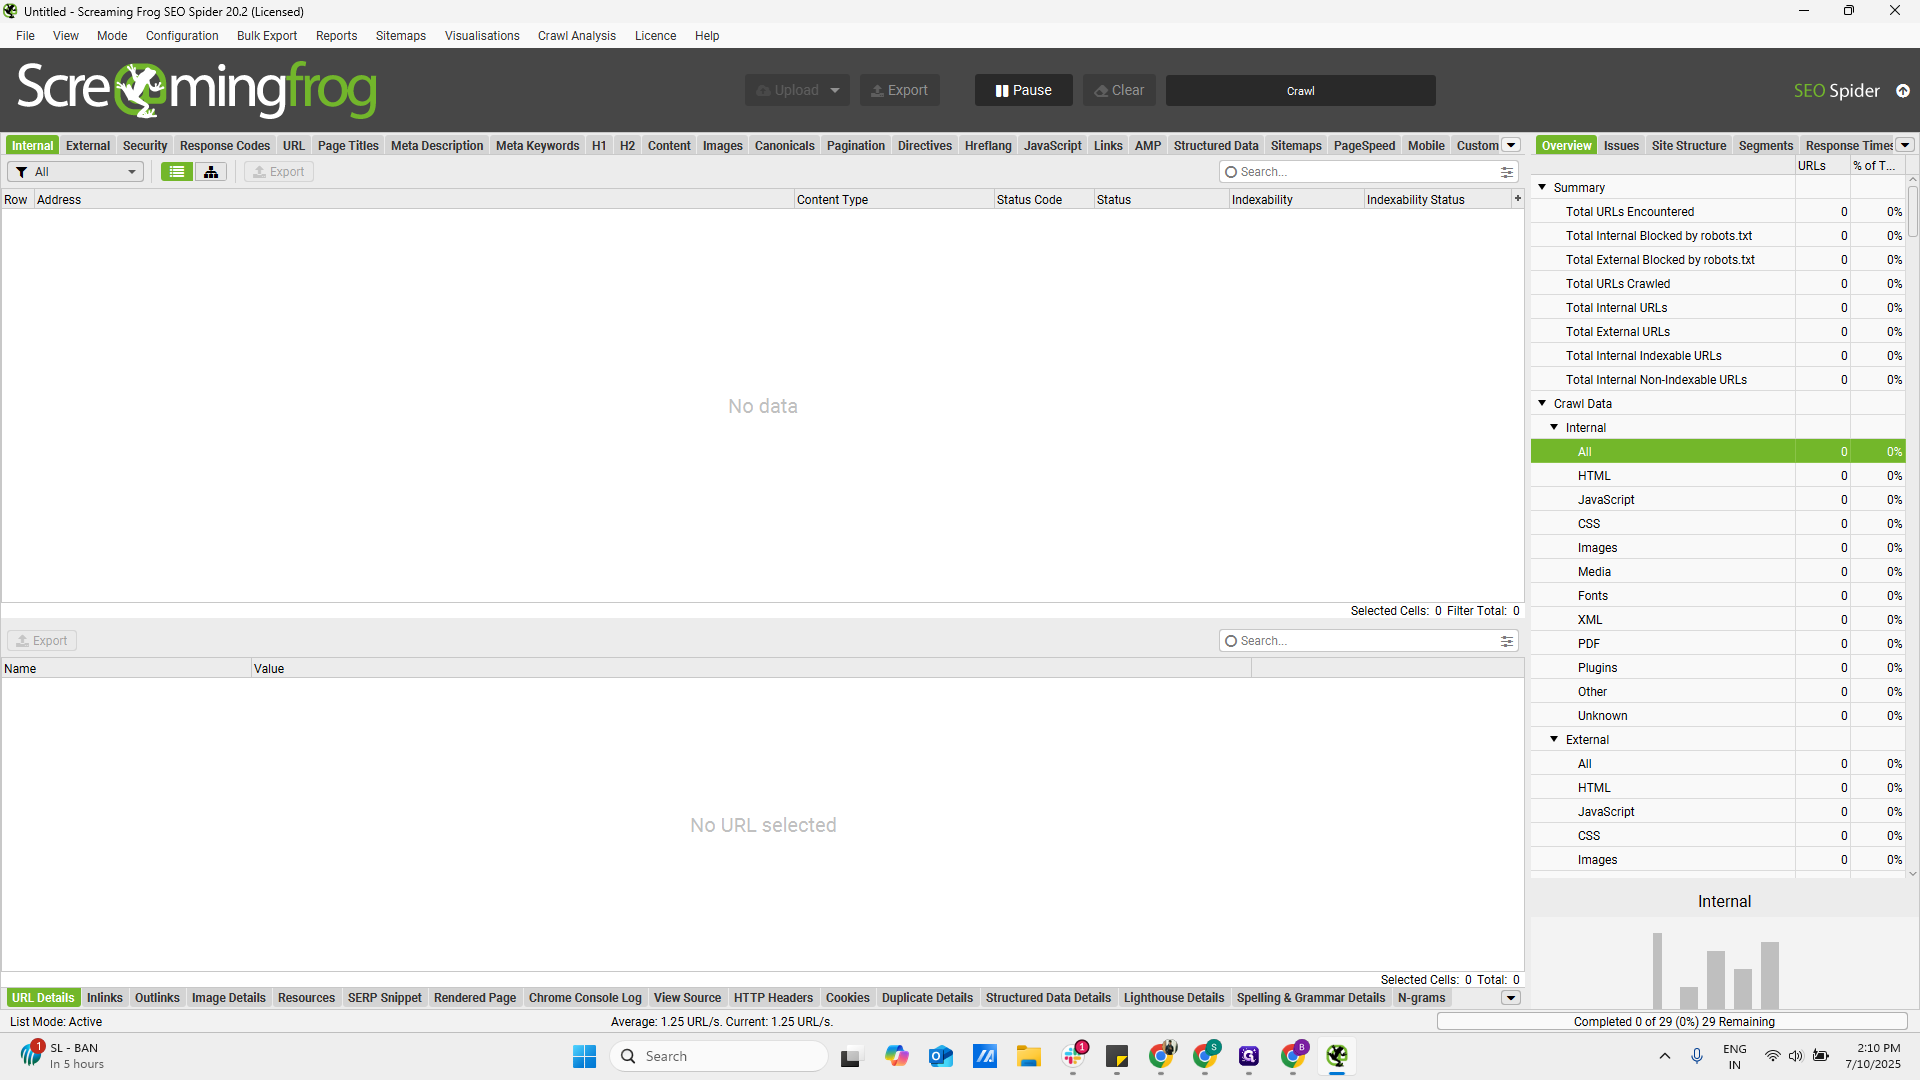
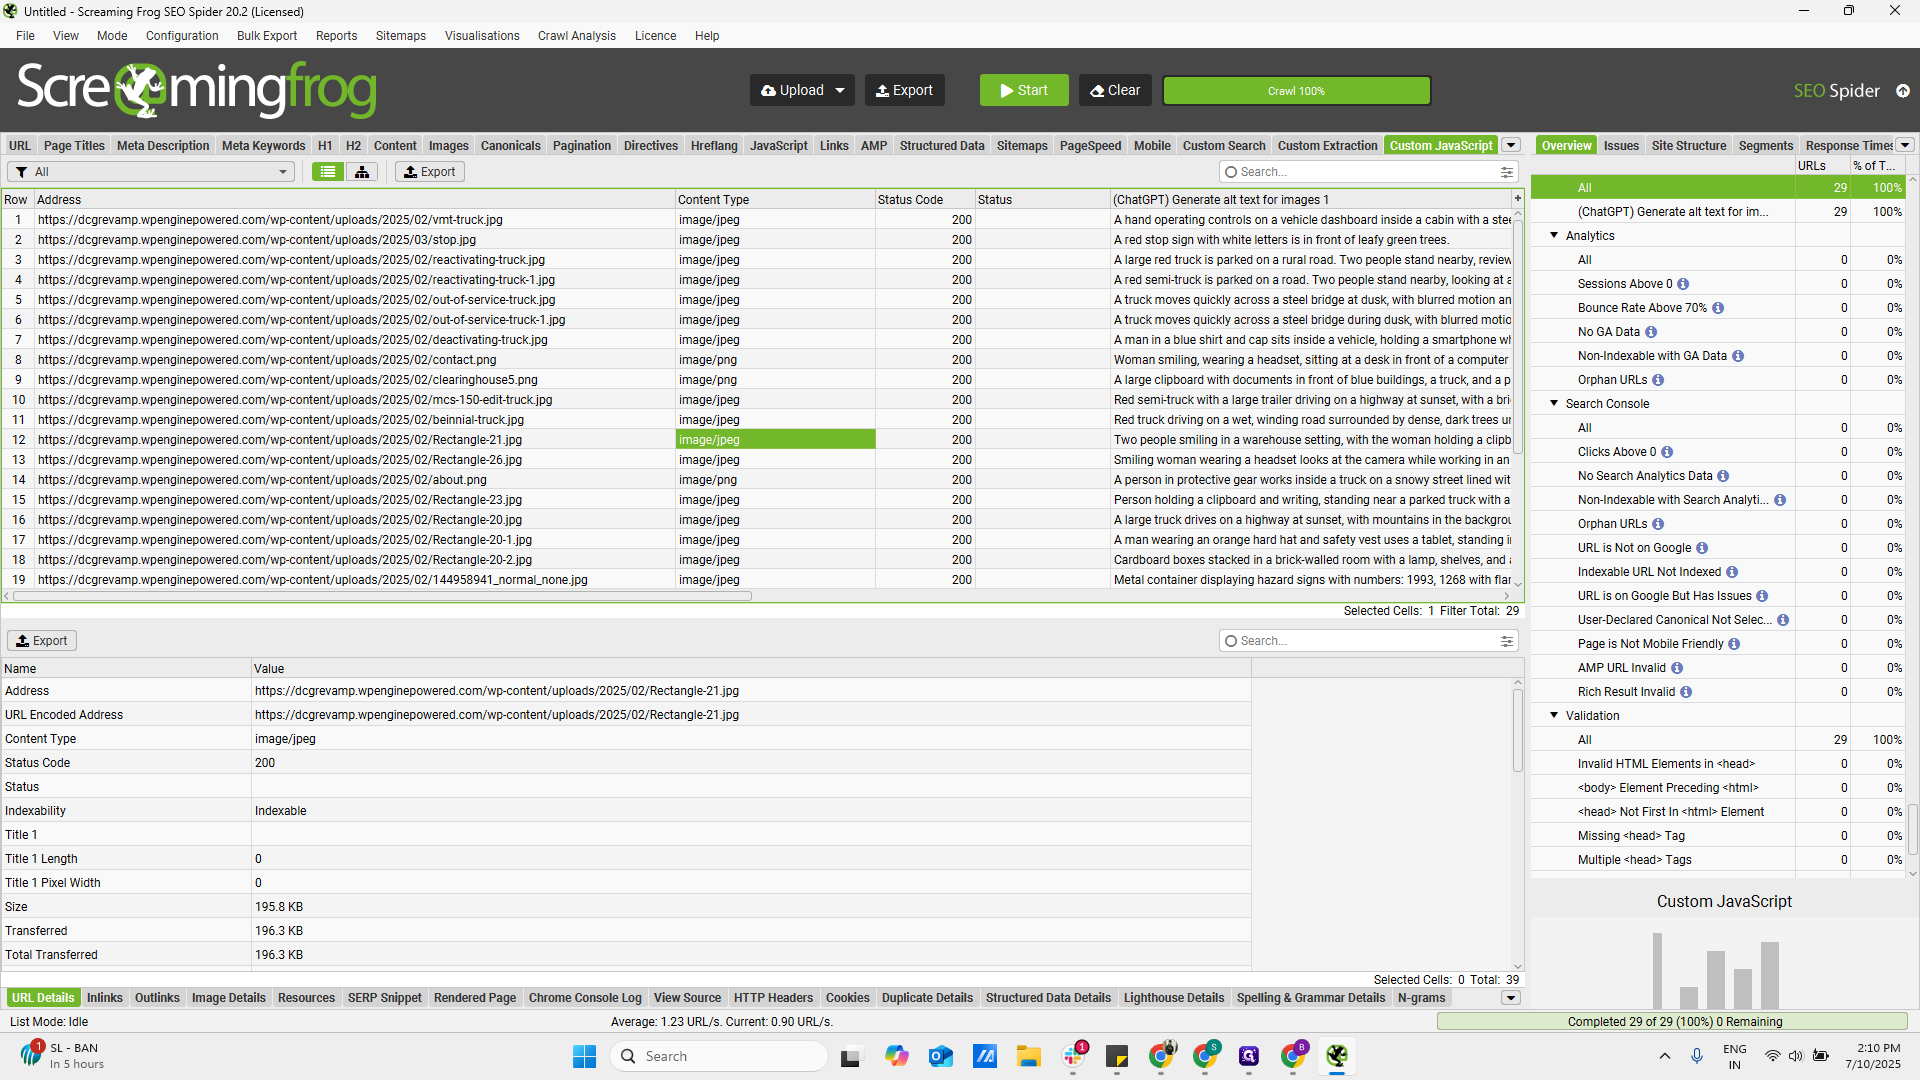
Once it is done, click Start.
I think it is up and running.
Go to the custom JavaScript section.
You can now see the URLs appearing, and on the right side, all the generated alt tags are displayed.
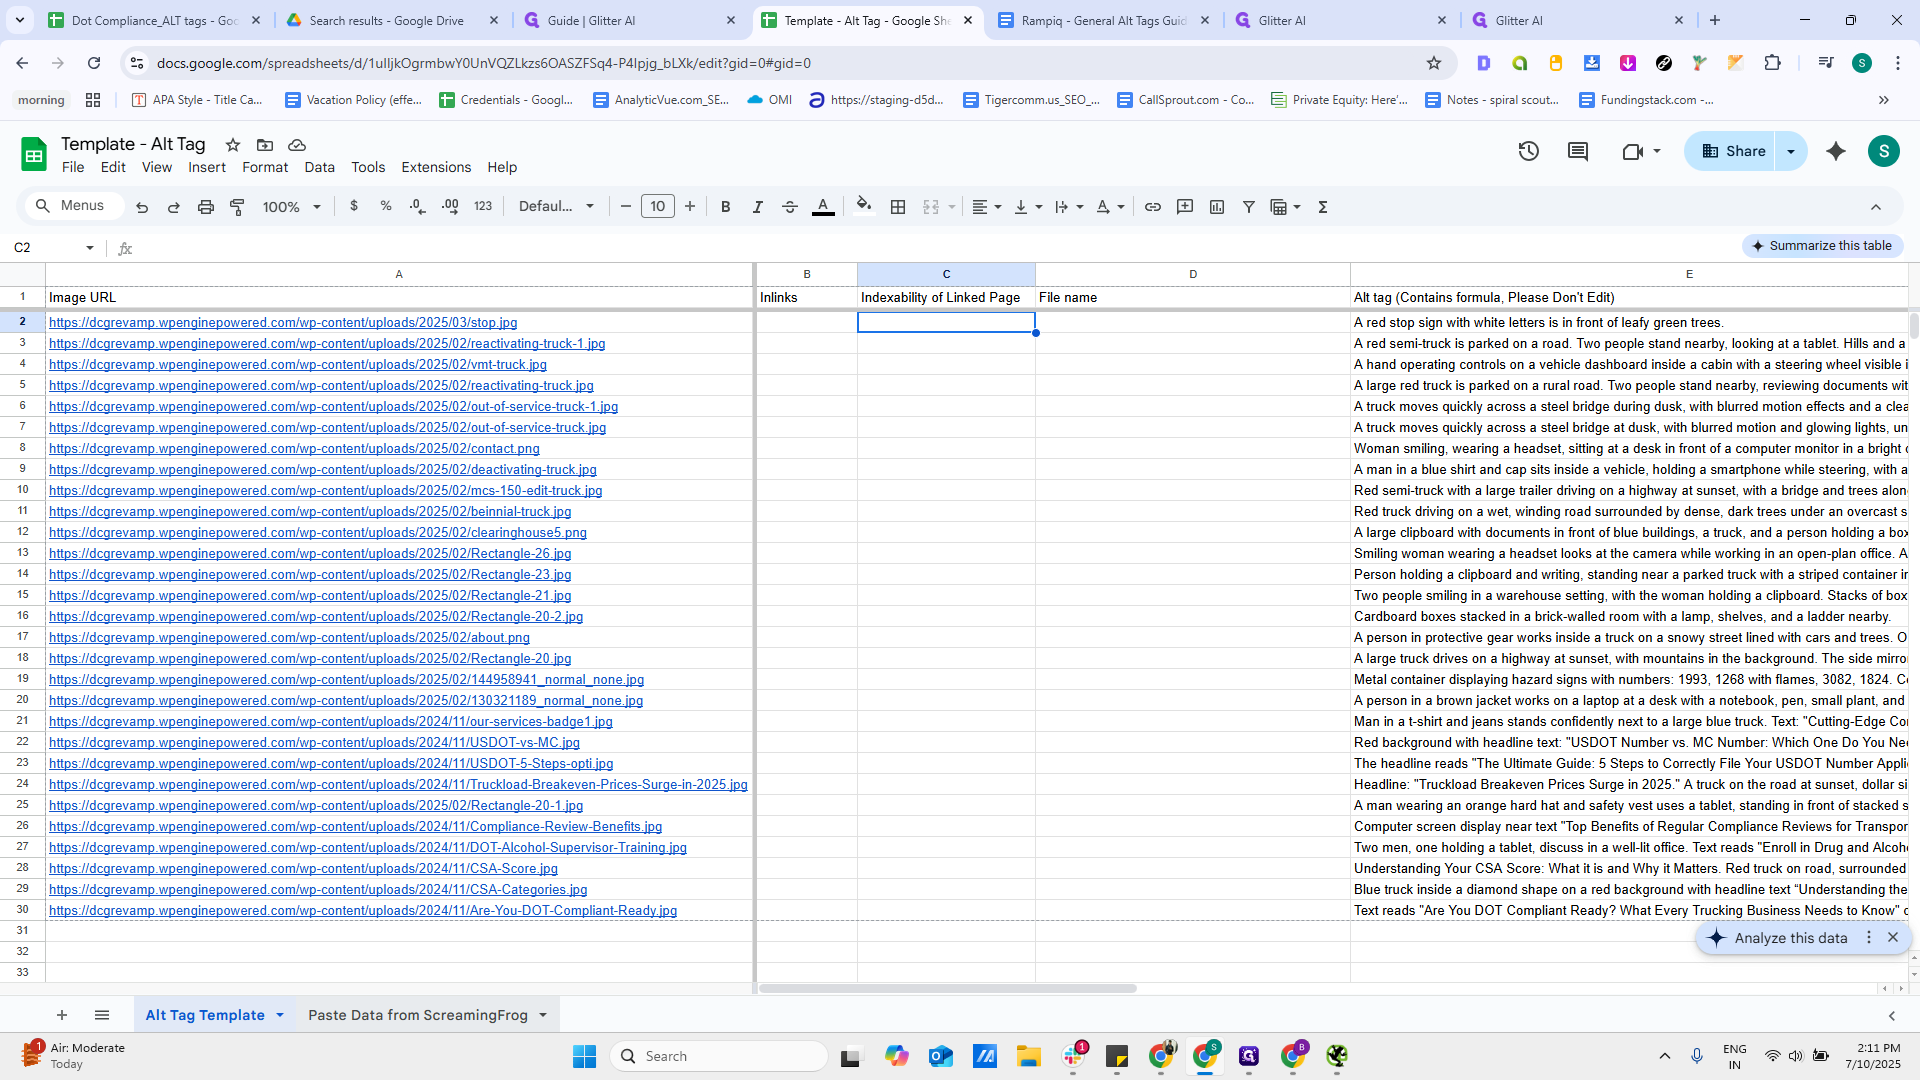
Once the crawl is complete, copy the URLs and paste them into the sheet. Return to Screaming Frog, copy the alt tags, use ChatGPT to generate alt tags for images, and paste them here.

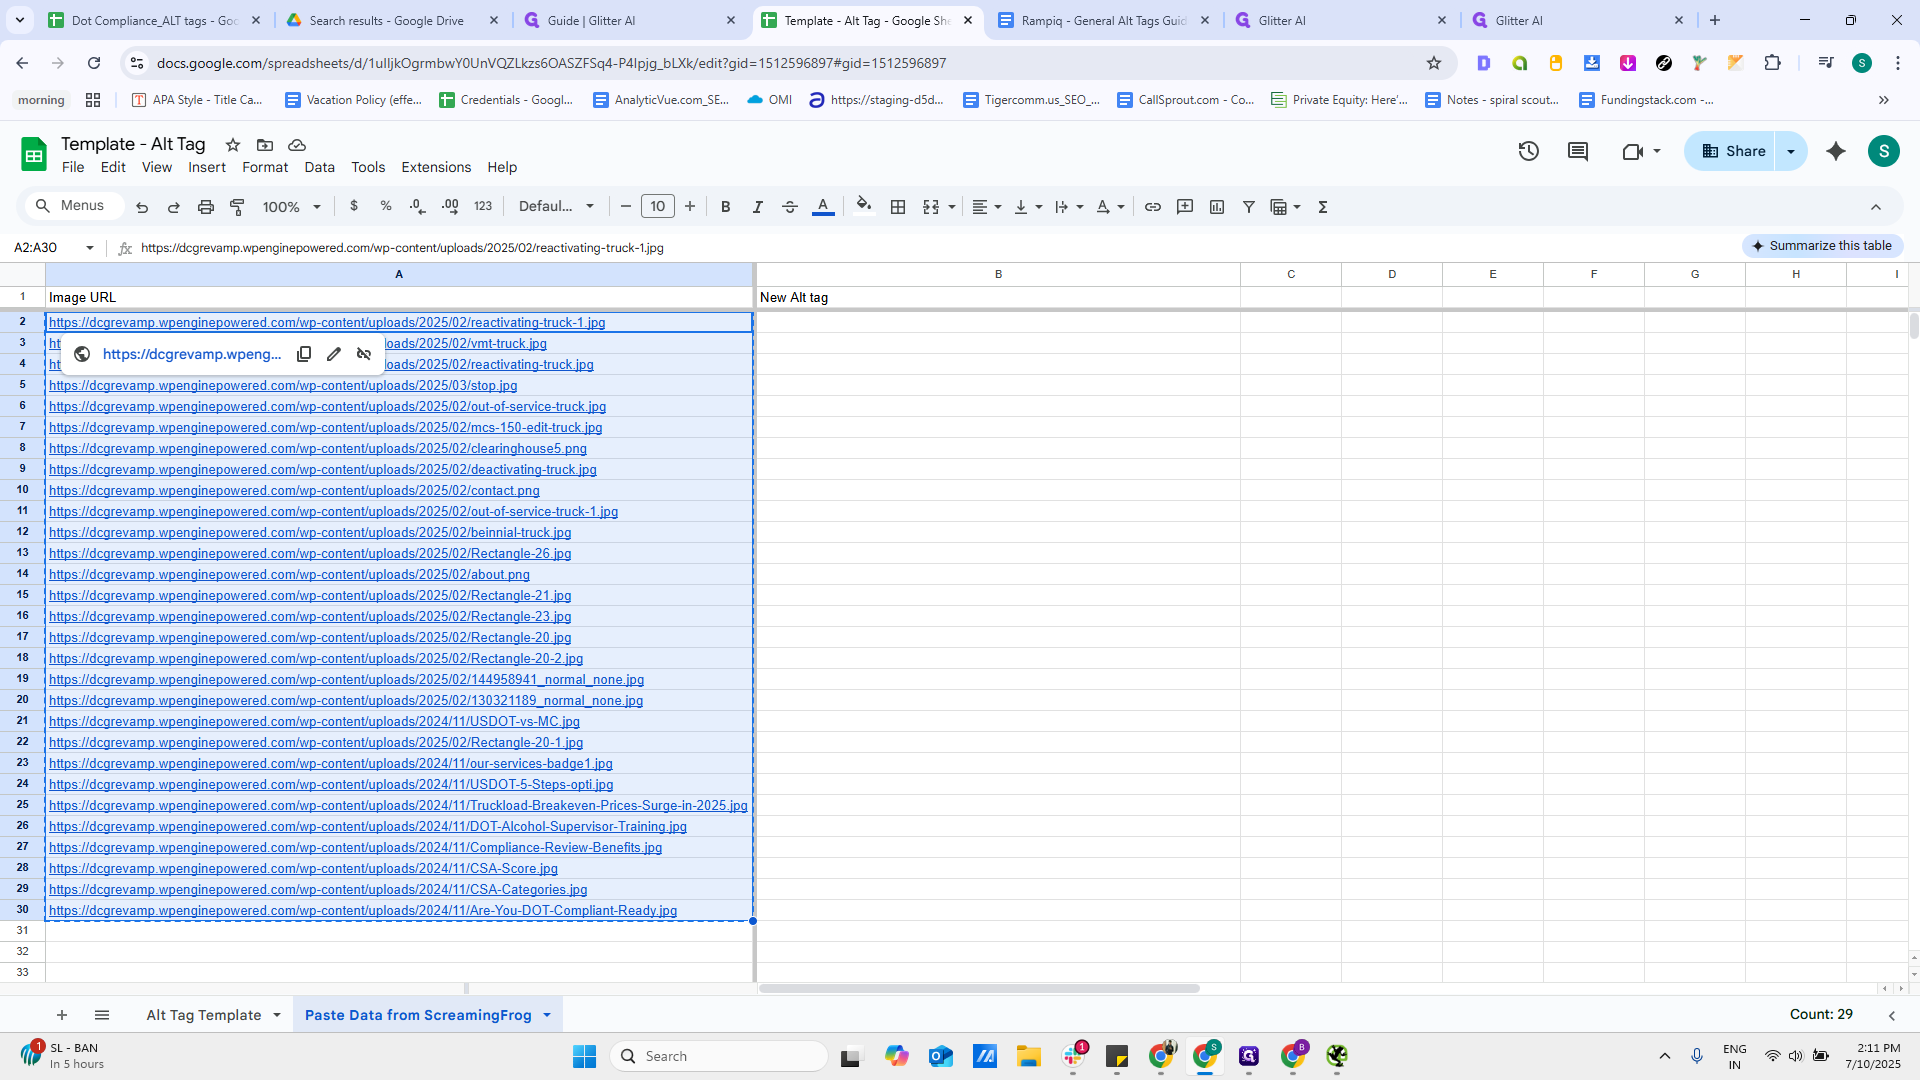
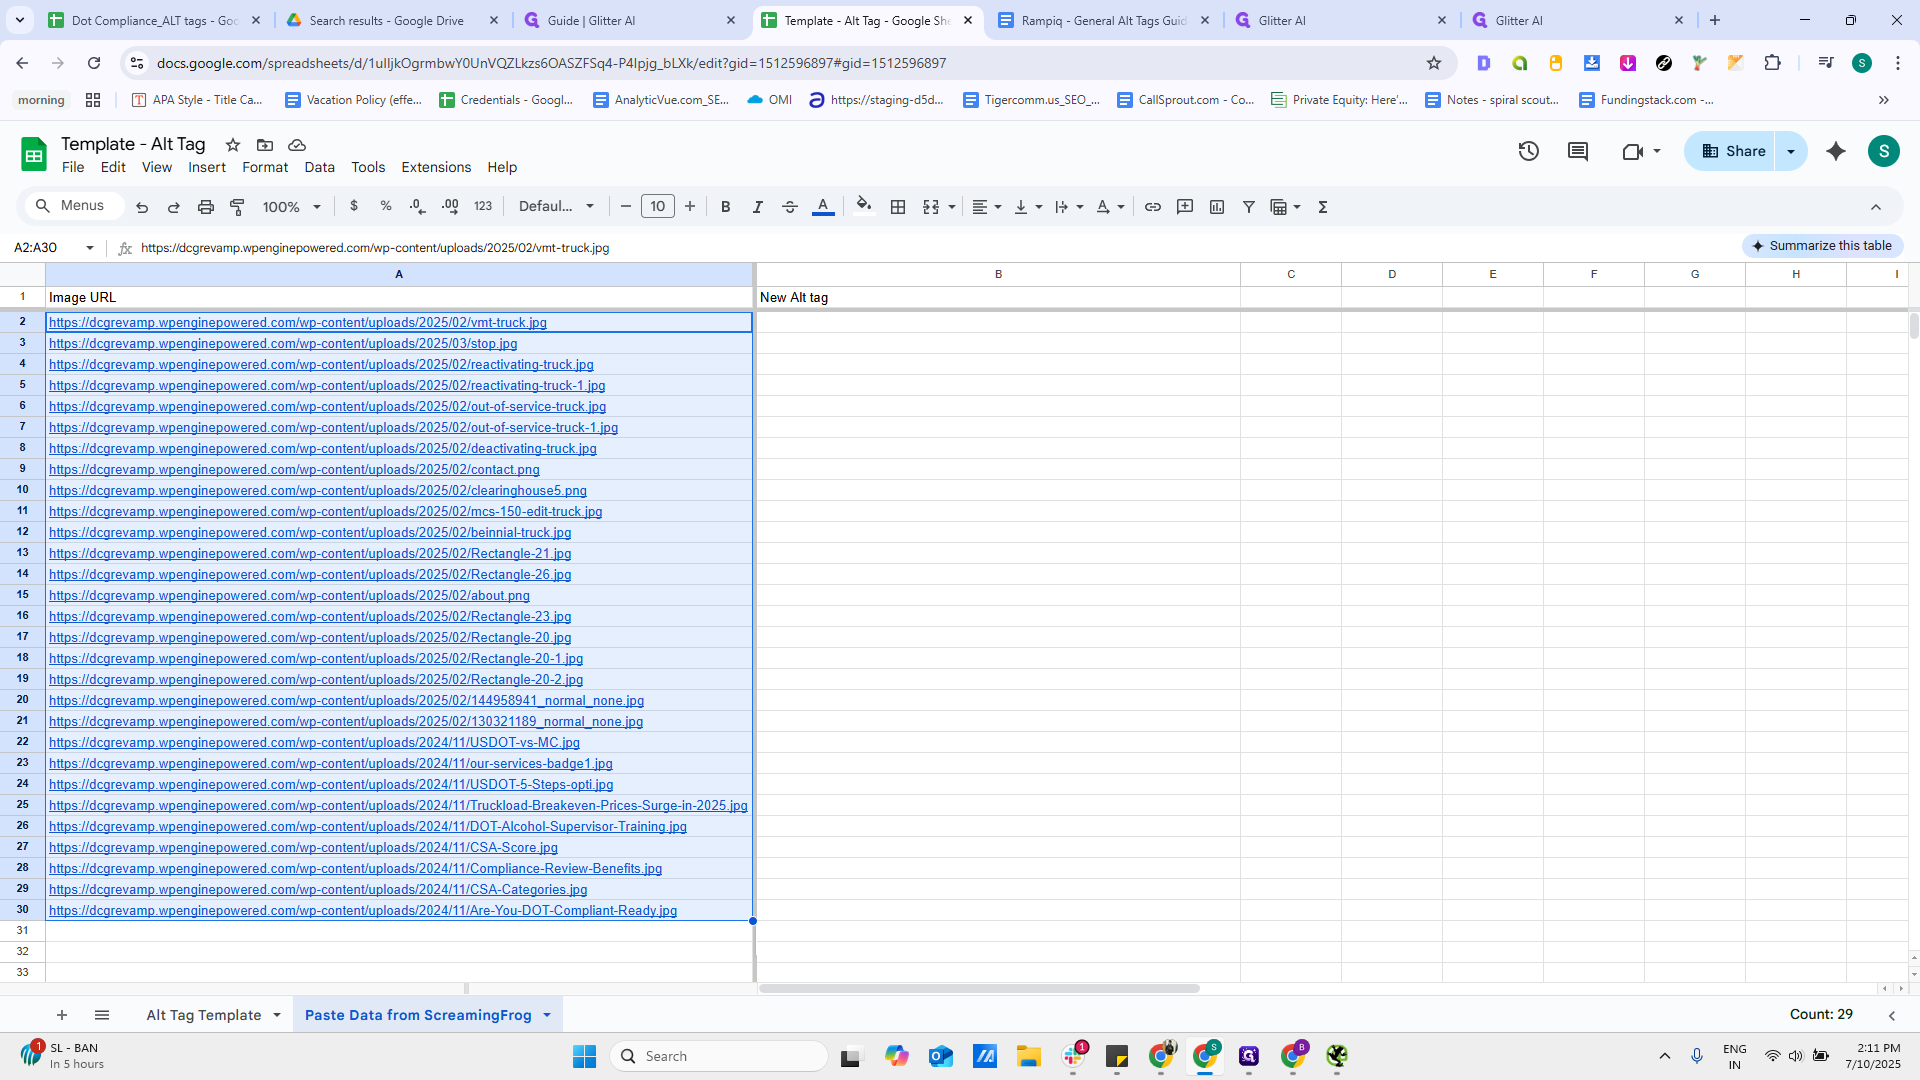
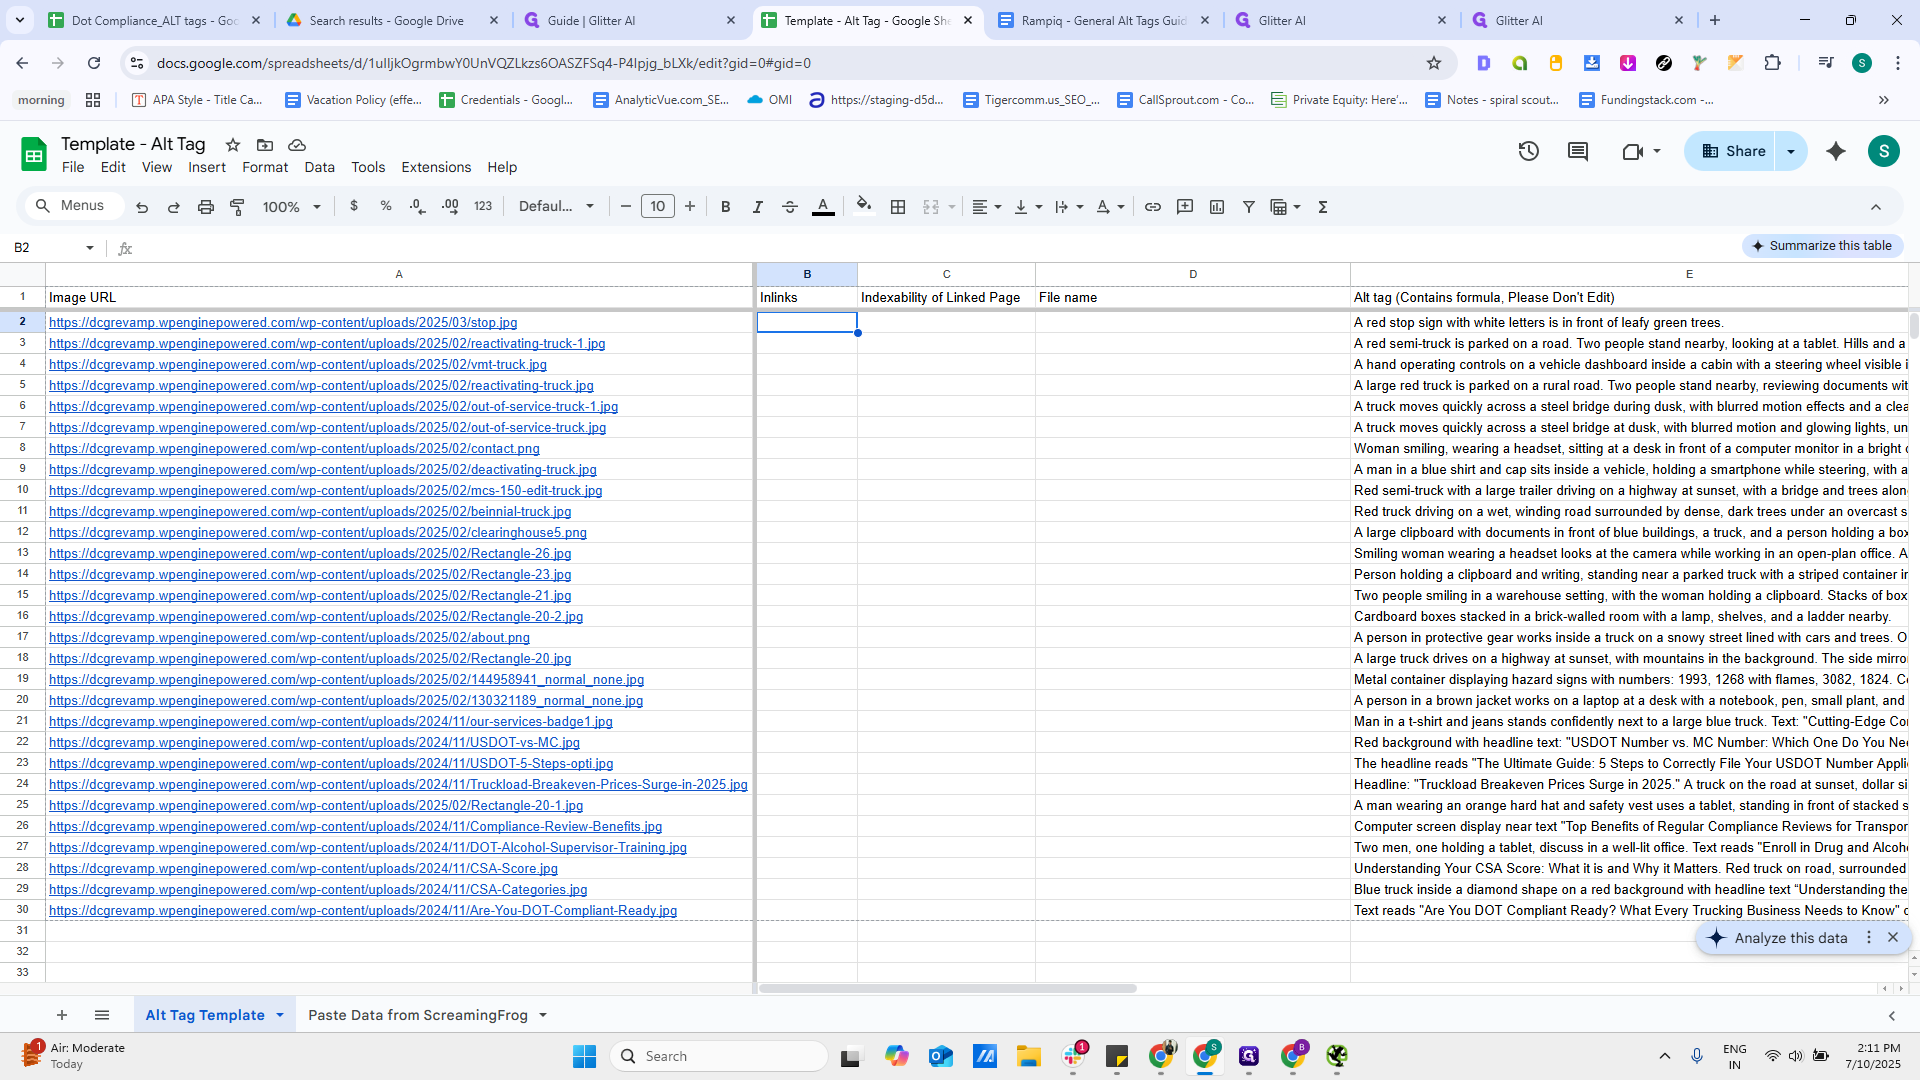
This sheet is automated. I'll explain in a separate video why I created it and how to use it. This tab is for pasting everything from Screaming Frog. Another tab uses the Vlookup function to automatically fetch all the data.
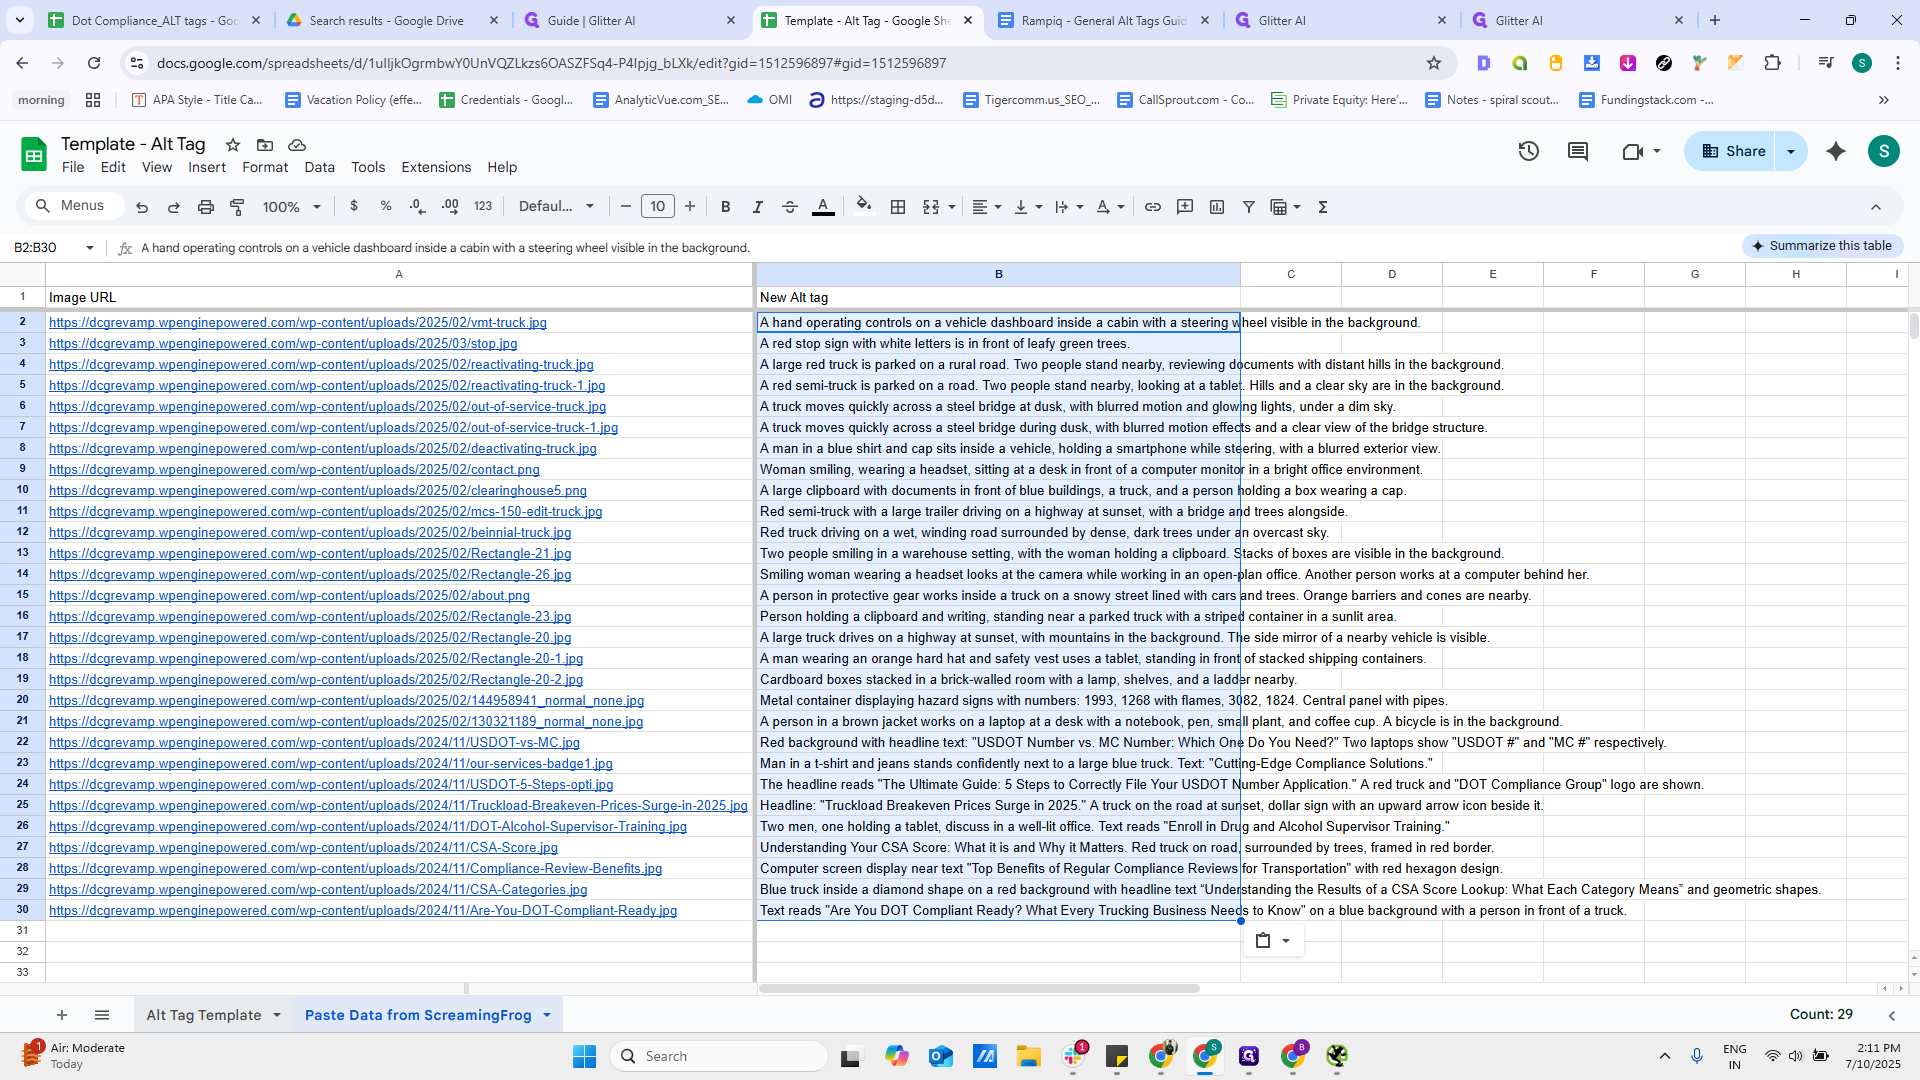
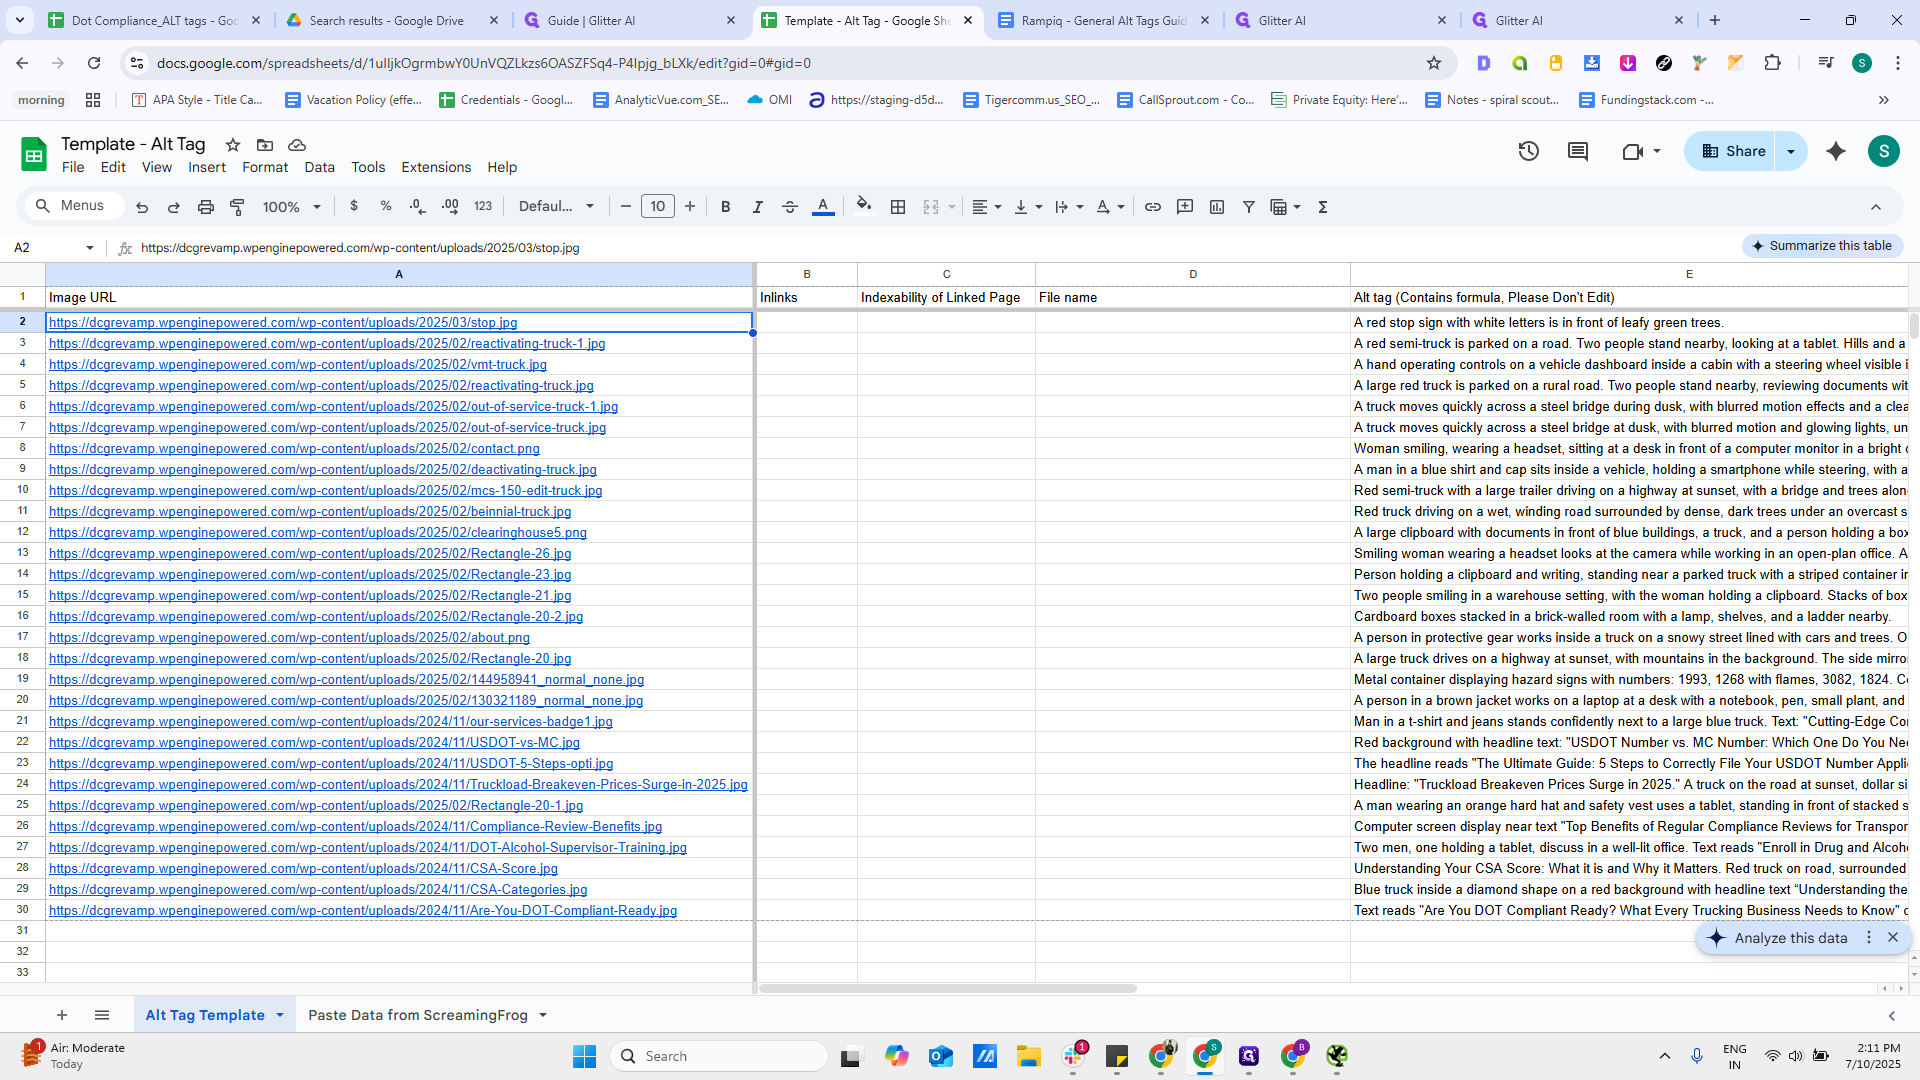
It will fetch the alt tag. It will even fetch the inlinks, indexability, and all related data from Screaming Frog.

We will paste it into the second tab.