
How to Generate Quarterly Reports Using KASU NewsTracker Version 3: Step-by-Step Guide
Learn how to generate quarterly reports with the new KASU NewsTracker version 3. This comprehensive guide covers logging in, exporting data from Asana, handling CSV files, managing macros, and exporting your final report as PDF or Word.
In this guide, we'll learn how to generate quarterly reports using KASU NewsTracker version 3. The process involves exporting data from Asana, converting files in Excel, and saving them to the KASU Shared drive. We will also cover how to handle security prompts, refresh data, and generate the final report, including adding a cover page from Canva if needed.
Let's get started
Hello, everyone. I will show you how to generate quarterly reports using the new KASU NewsTracker version 3. Alright. Before we get started, you need to log in to KASU News using Google Chrome. If you already have Asana open in your browser, you can use that as well. The main point is to access Asana in your browser. Alright.
Download the Aired News Archive from Asana
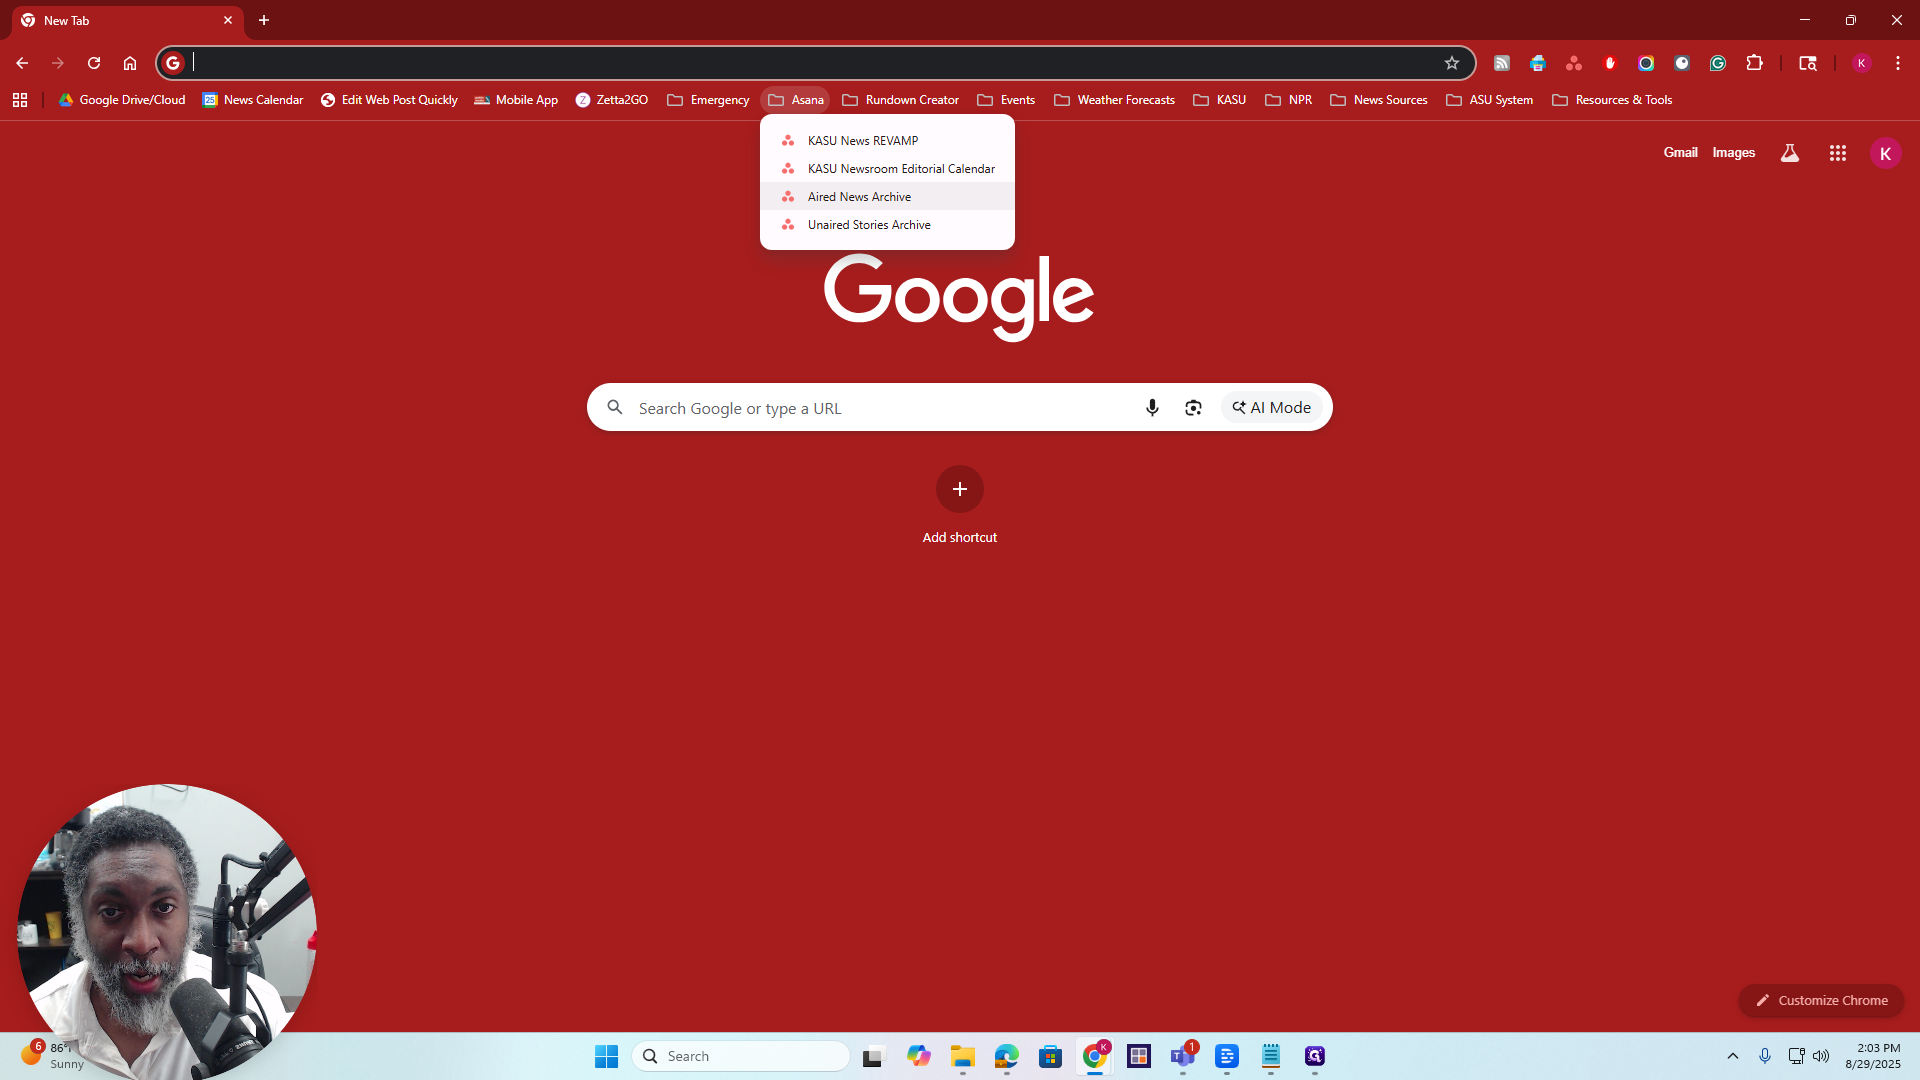
So let's go to... If you are in the KASU News Chrome, you will see a red background with a pink "K." Then, go to the Asana folder.
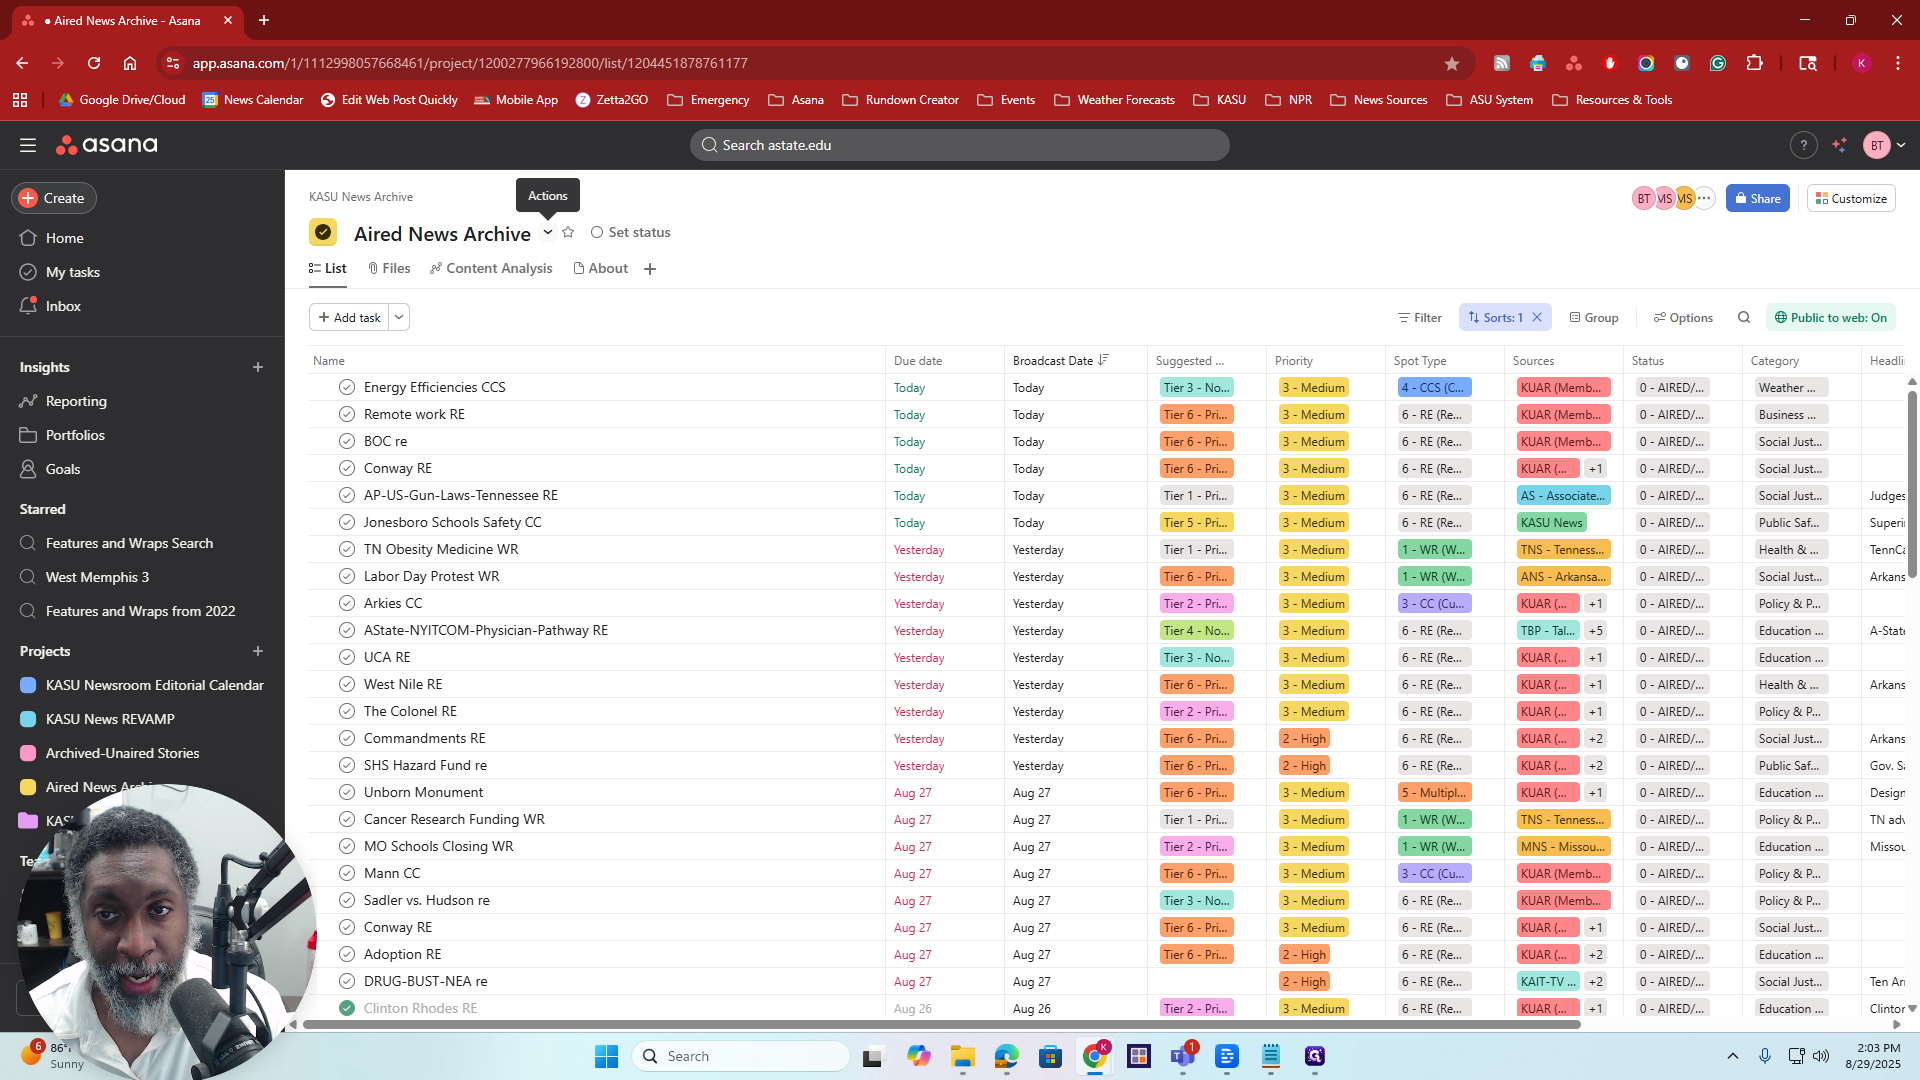
Click on Airit News Archive. You will be taken to the Airit News Archive automatically.
Alright. The next step from here is... Click the small arrow labeled "Actions" when it appears. Click the arrow, go to Sync/Export, then select Project Task as CSV.

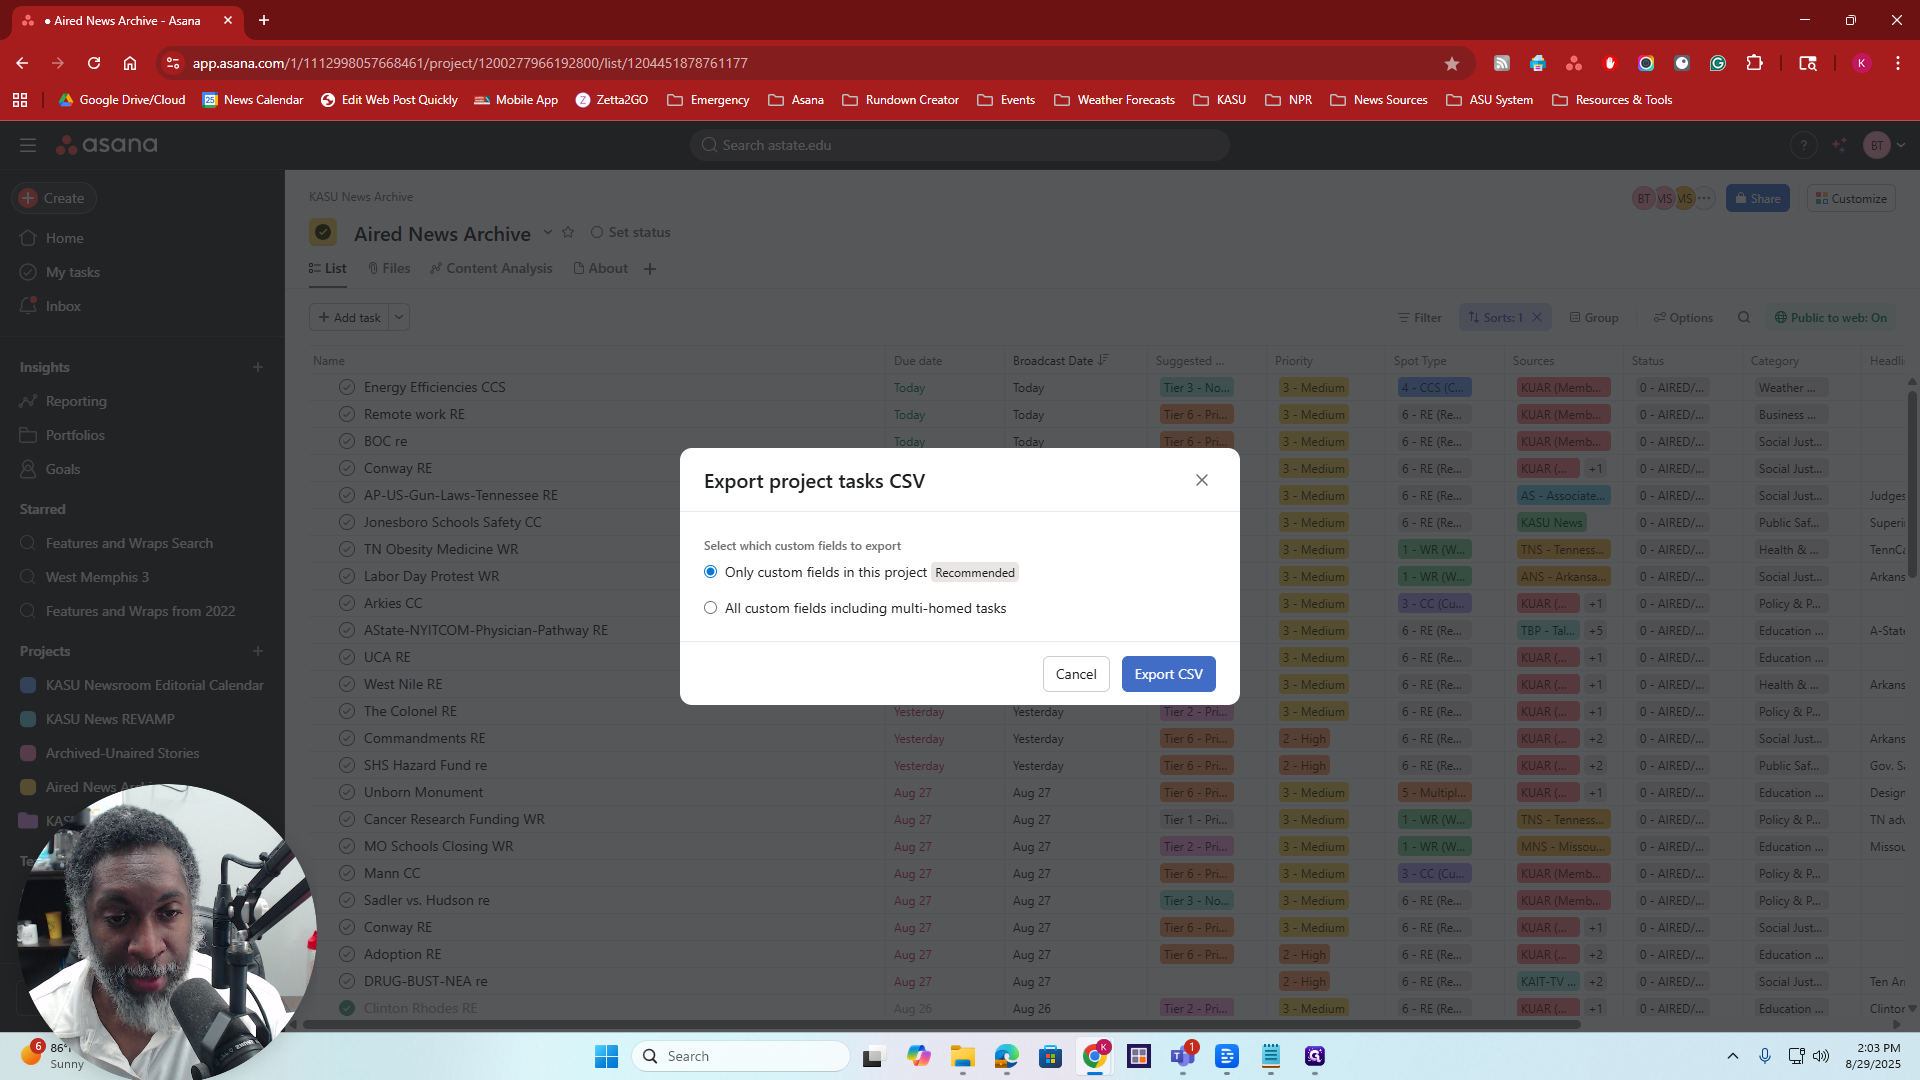
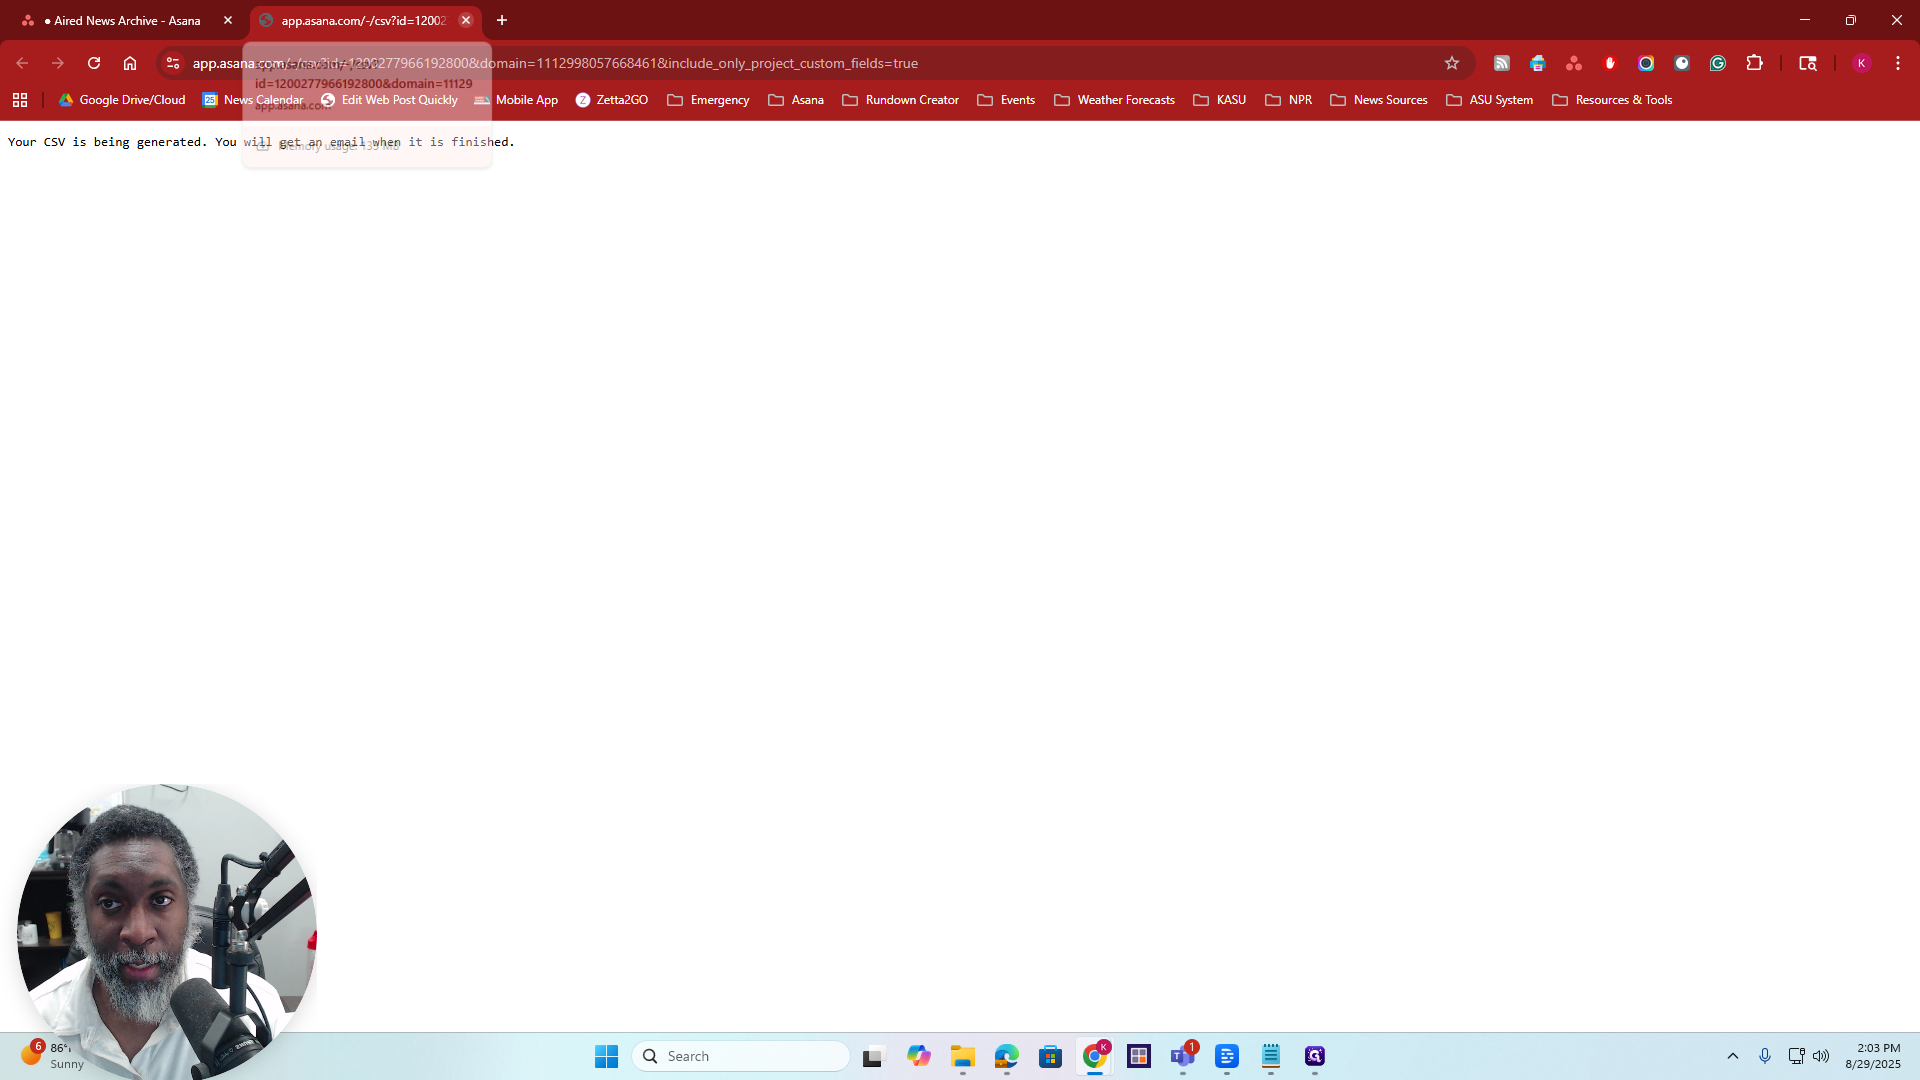
Click on that, and a small pop-up window will appear. Leave it set to "Only custom fields in this project," as recommended. Then click on Export CSV.
A small tab will open, displaying the message: "Your CSV is being generated." You will receive an email when it is finished. All right. When you receive that message, you can close the tab. Then, check your email for it.
Okay. It will appear like this in your email.
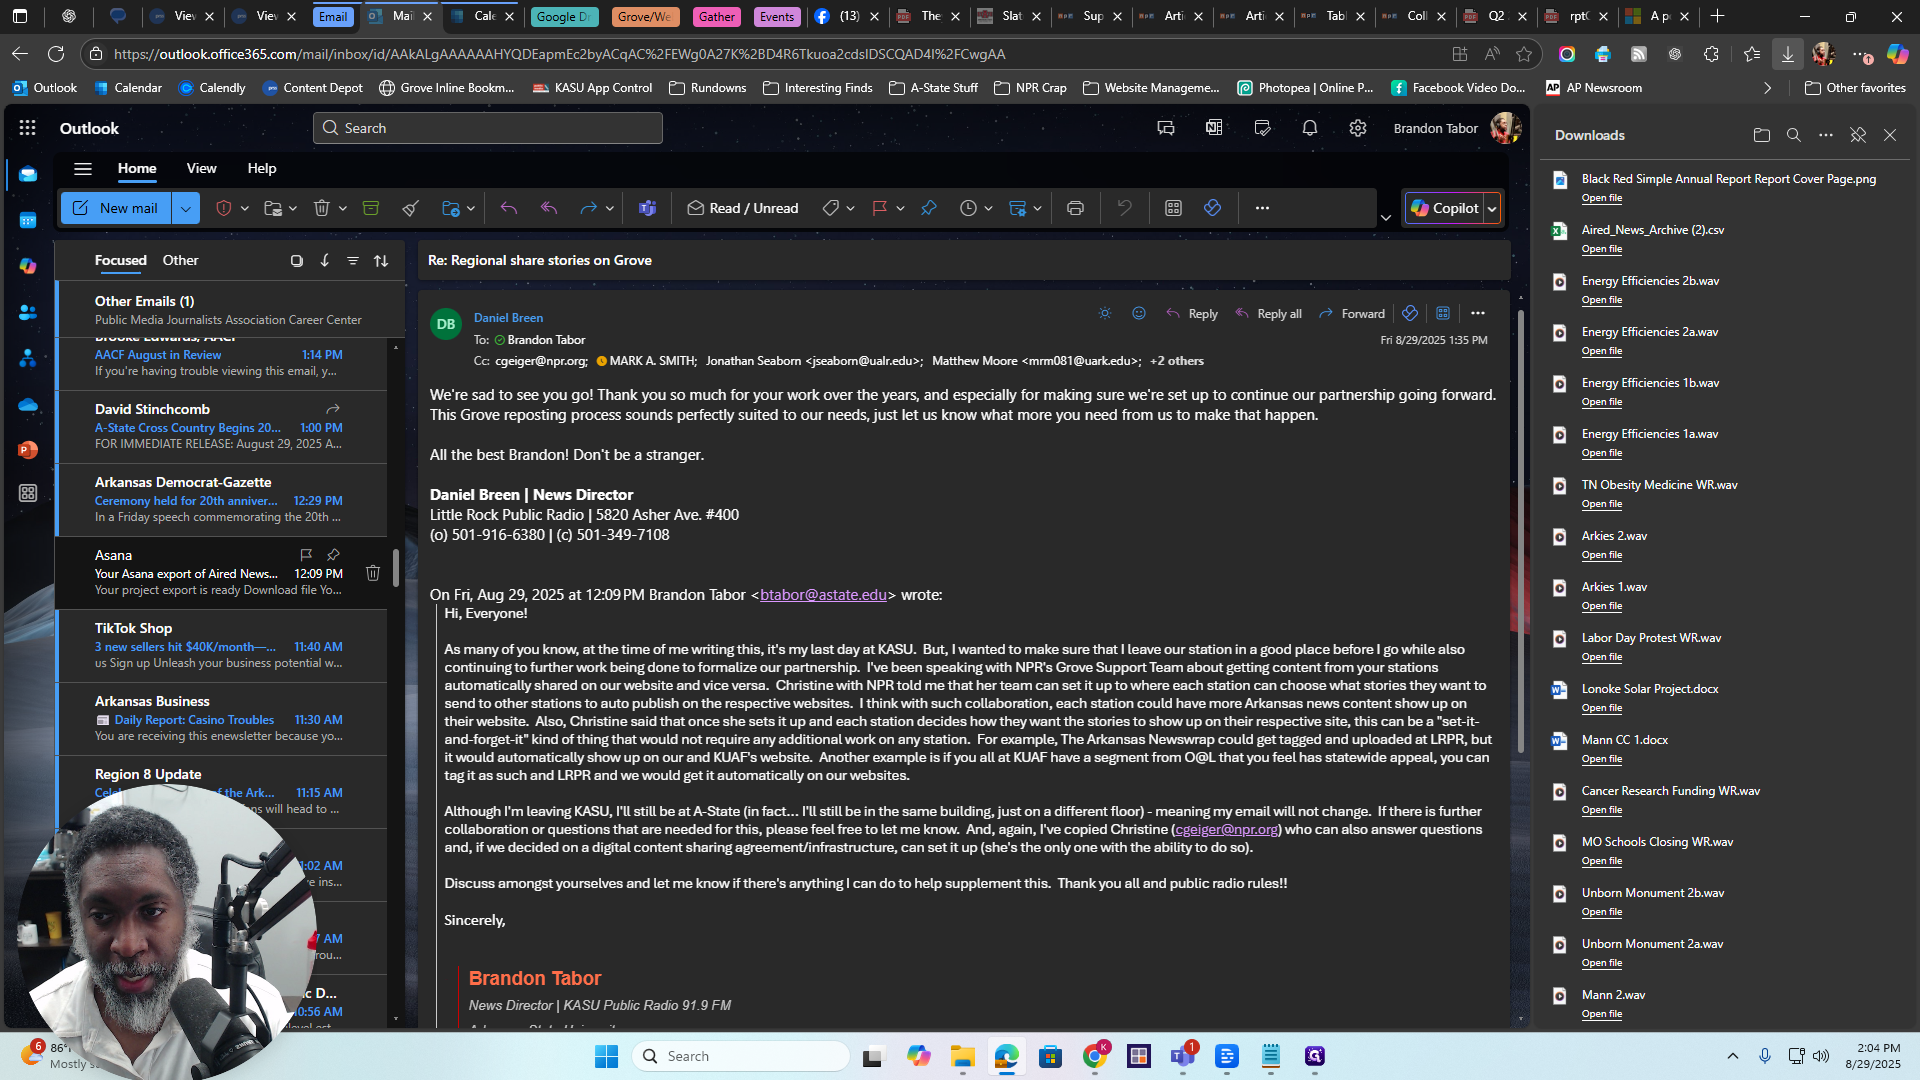
It's gonna say... It's from Asana. No reply. The subject will be: "Your Asana export of Airit News Archive project is ready!" This can take about 15 minutes, or up to an hour.
I prefer to do this the day before I plan to submit it. Not the day before the deadline, but during the period just before it, when you need to submit it. This gives it enough time to generate the spreadsheet. All right. This is the current file from Asana.
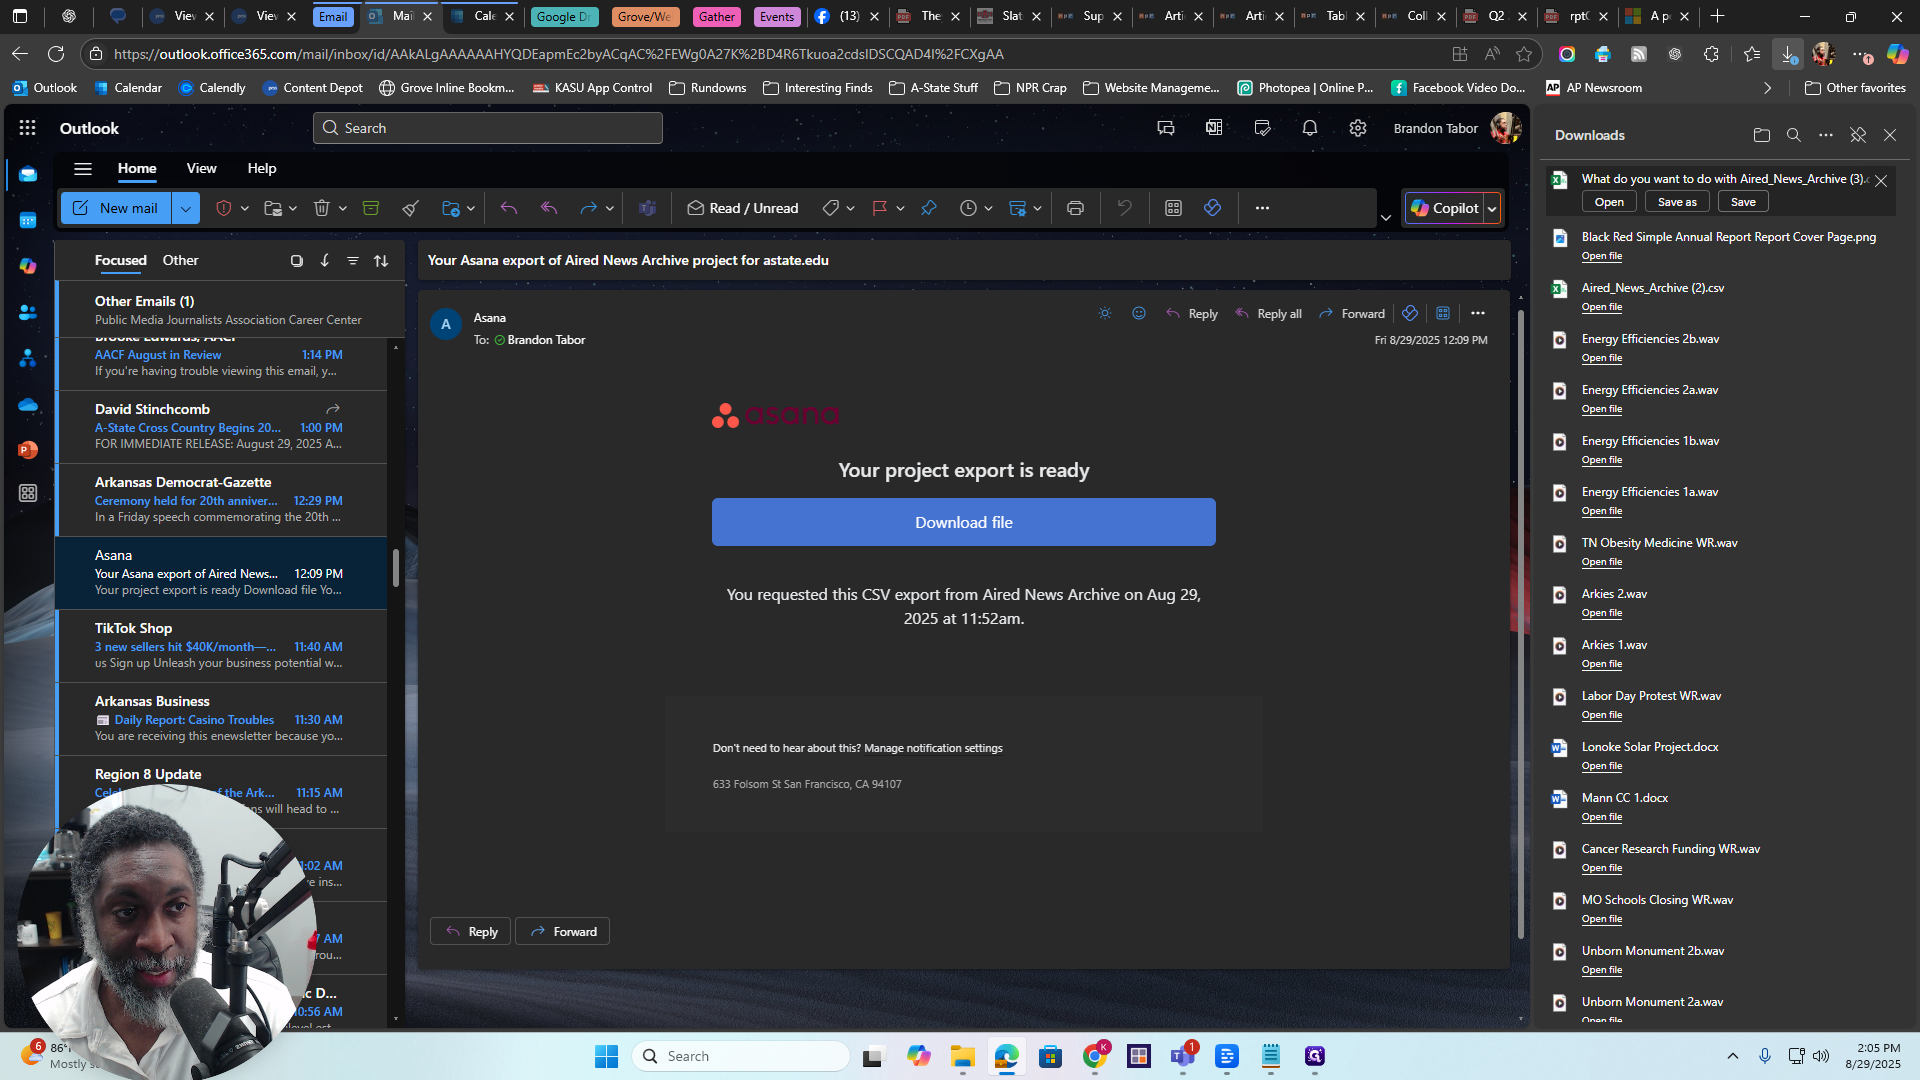
When you receive this in your email, go to Download File, click on it, and save it.
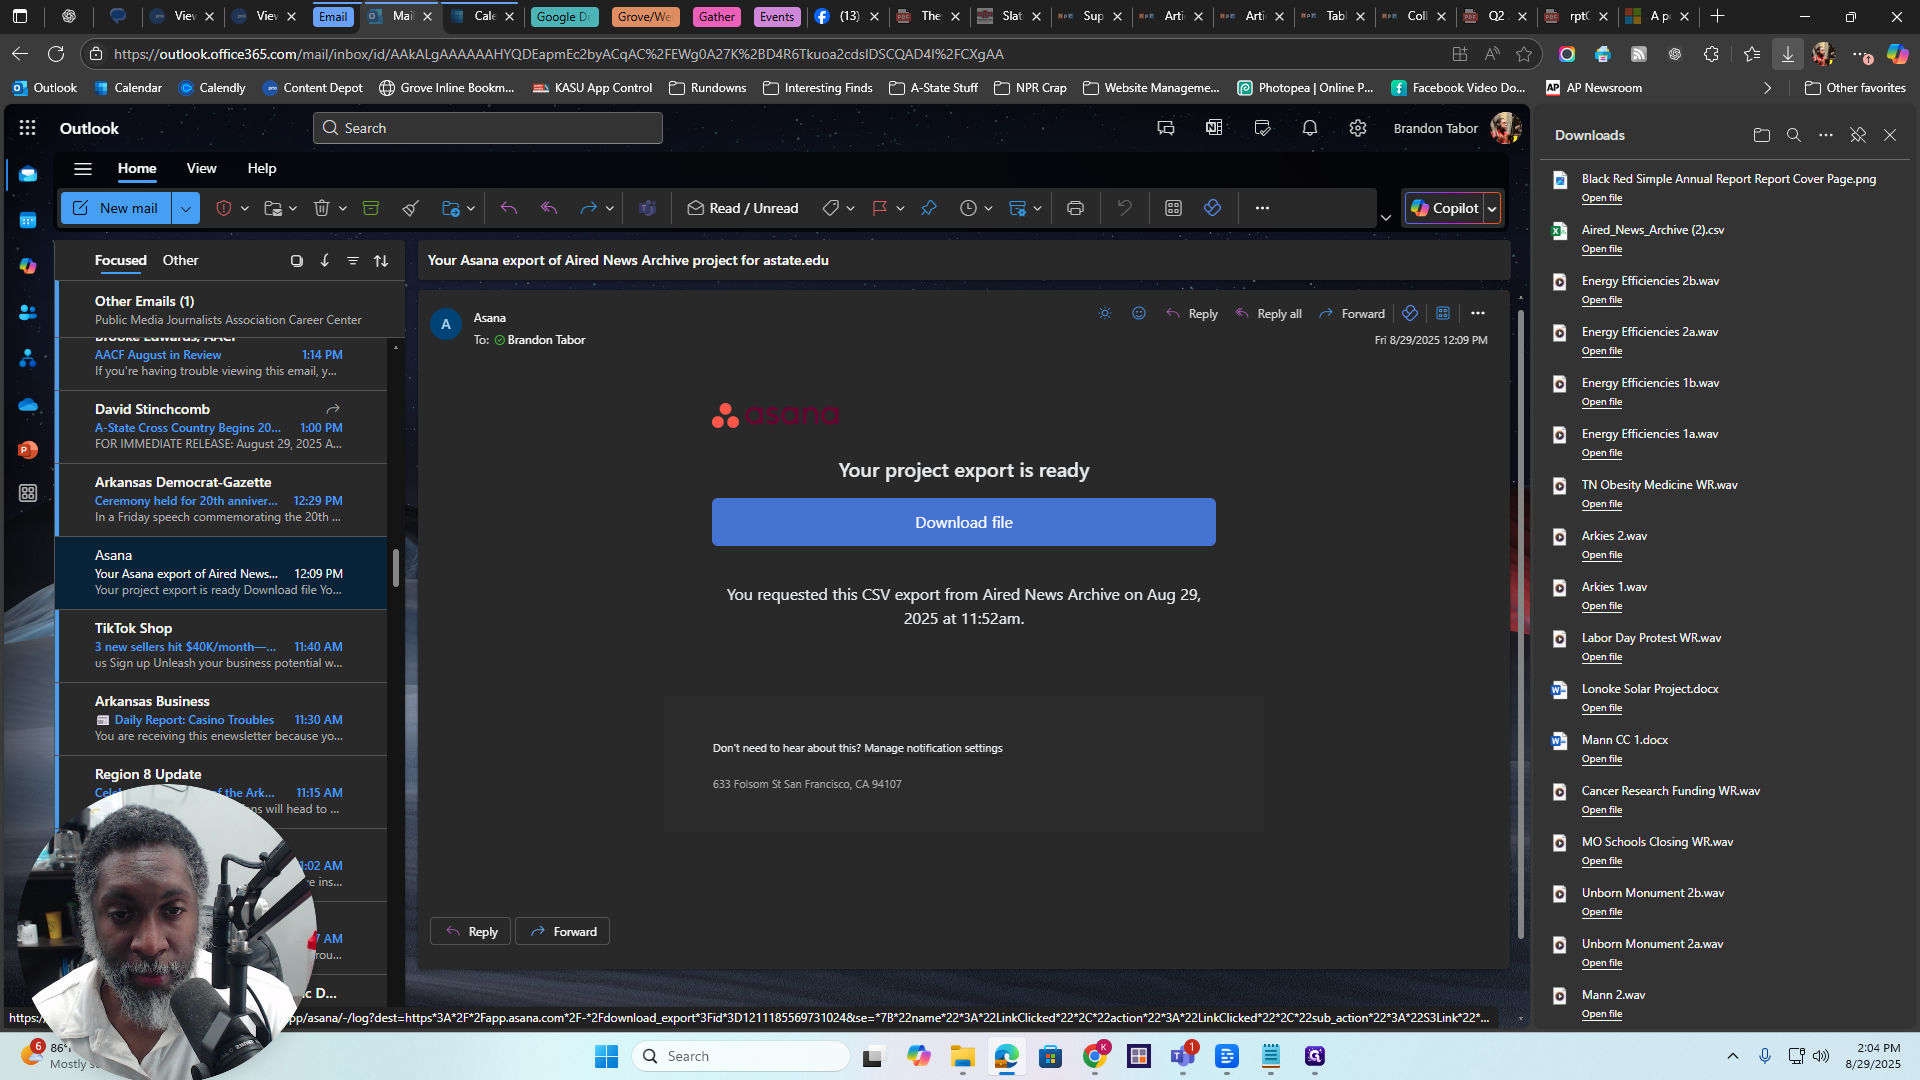
I already have it downloaded, but I'll save it again. Just press Save.
You can save it anywhere on your computer, such as your desktop or Downloads folder. It doesn't matter. Alright. Now, we will go to that file. I will open my Downloads folder.
Overwrite the File in the Server
There it is. I'm going to go to that file. I'm going to open it.
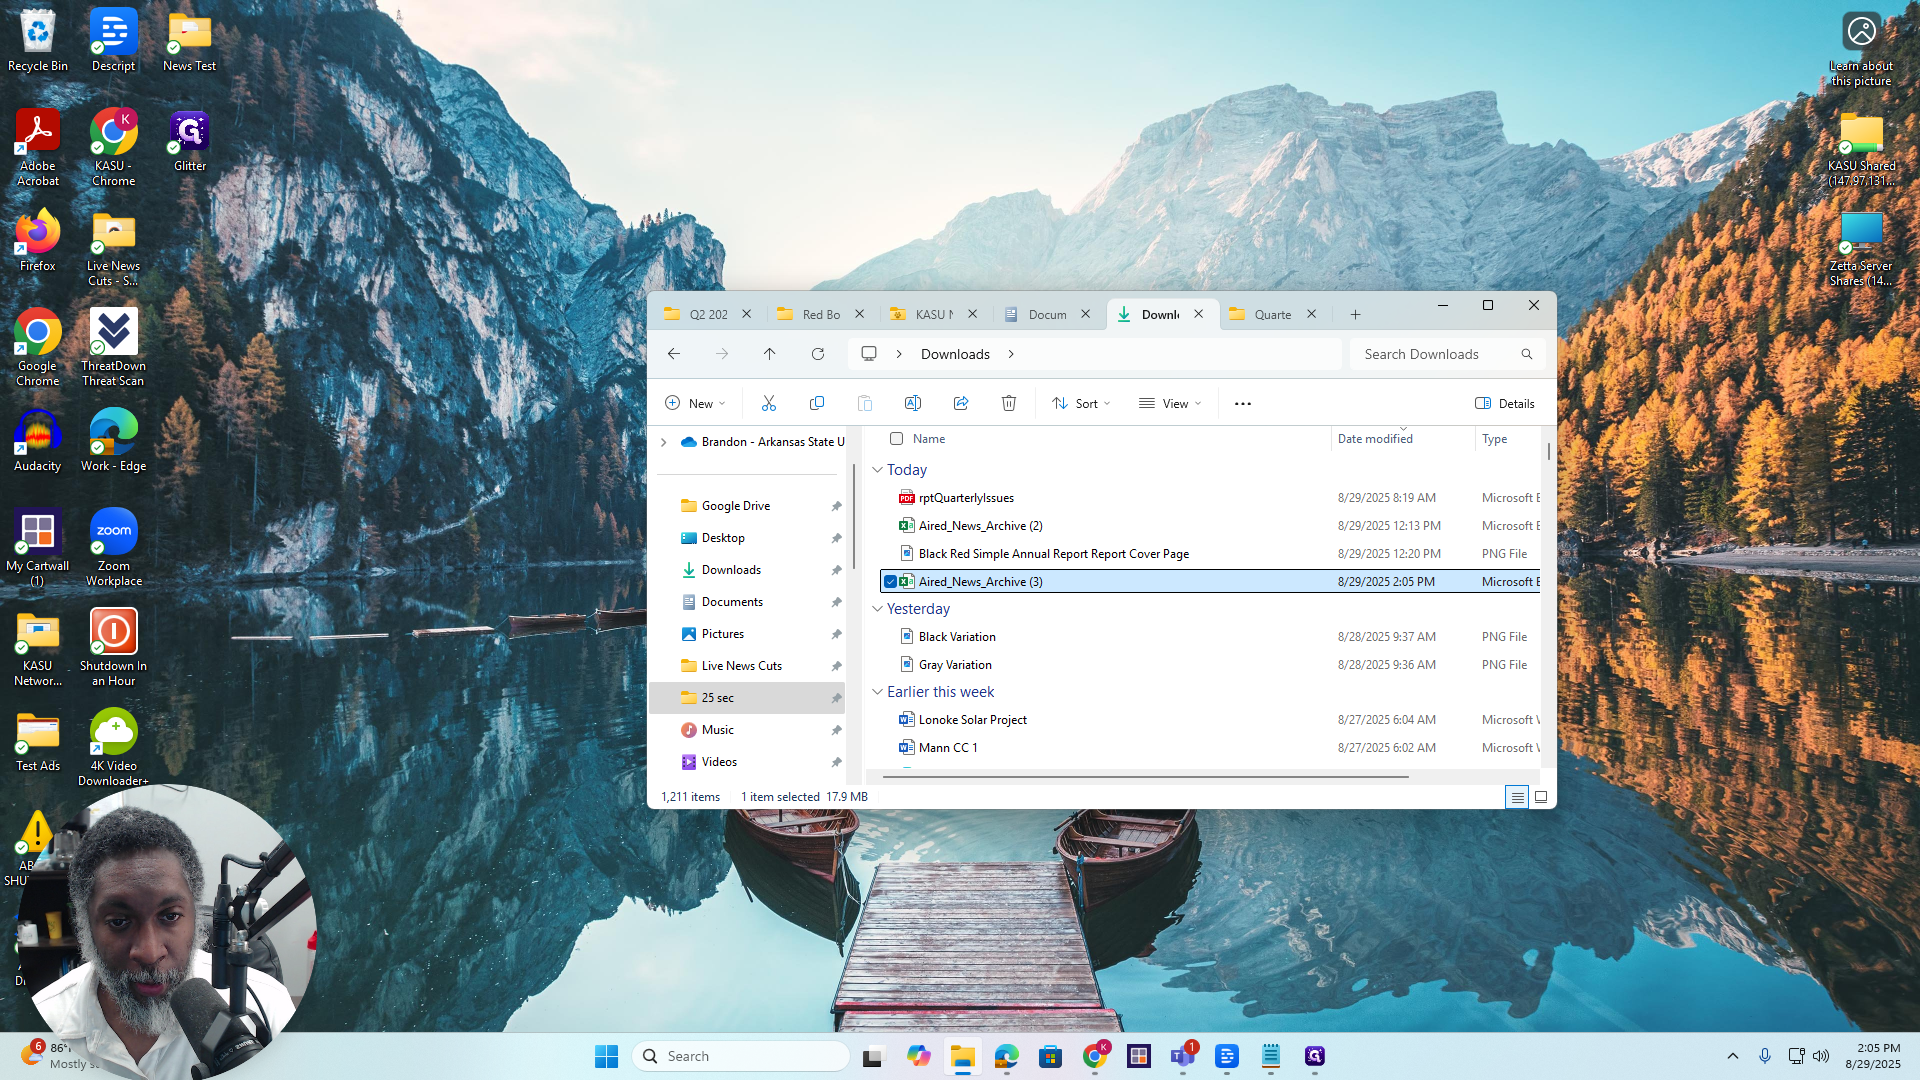
Double-click on it. It will open it. Alright. If you see a pop-up in Microsoft Excel with confusing information, just click "Don't Convert."
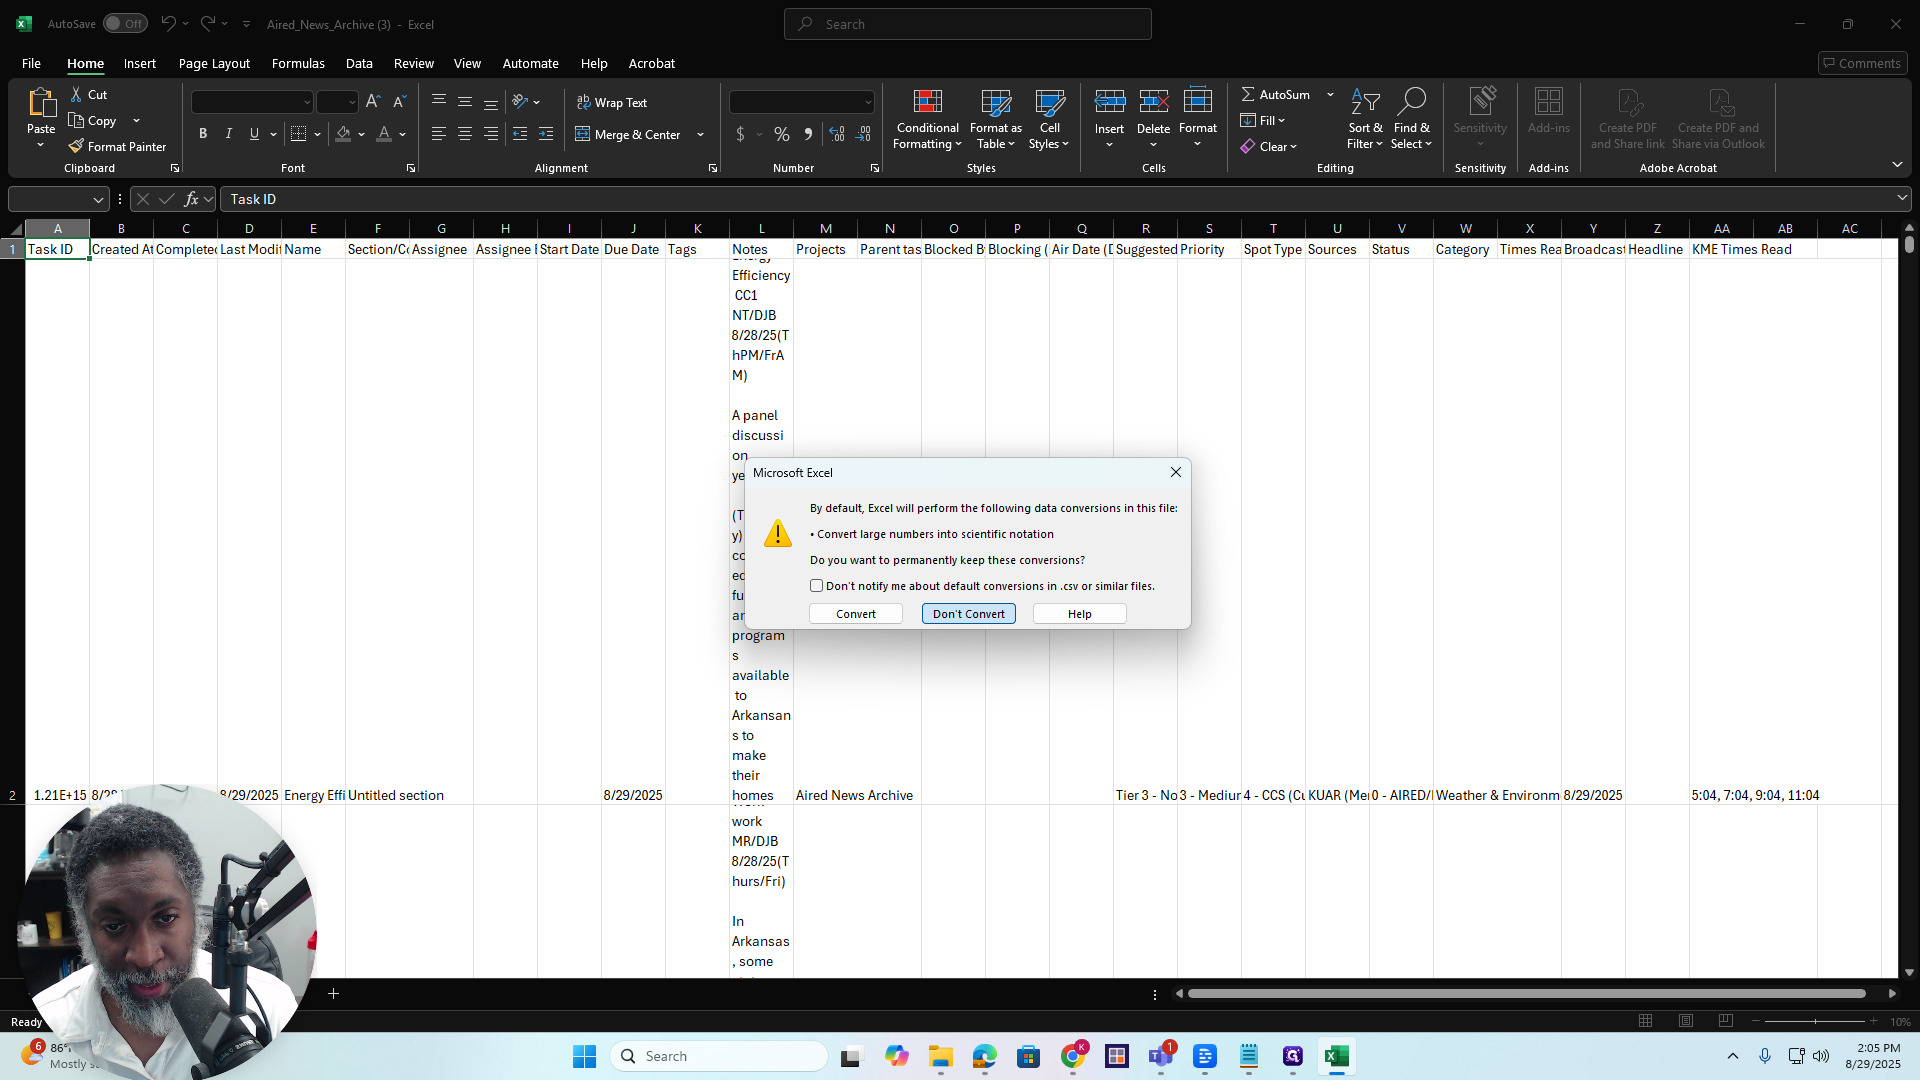
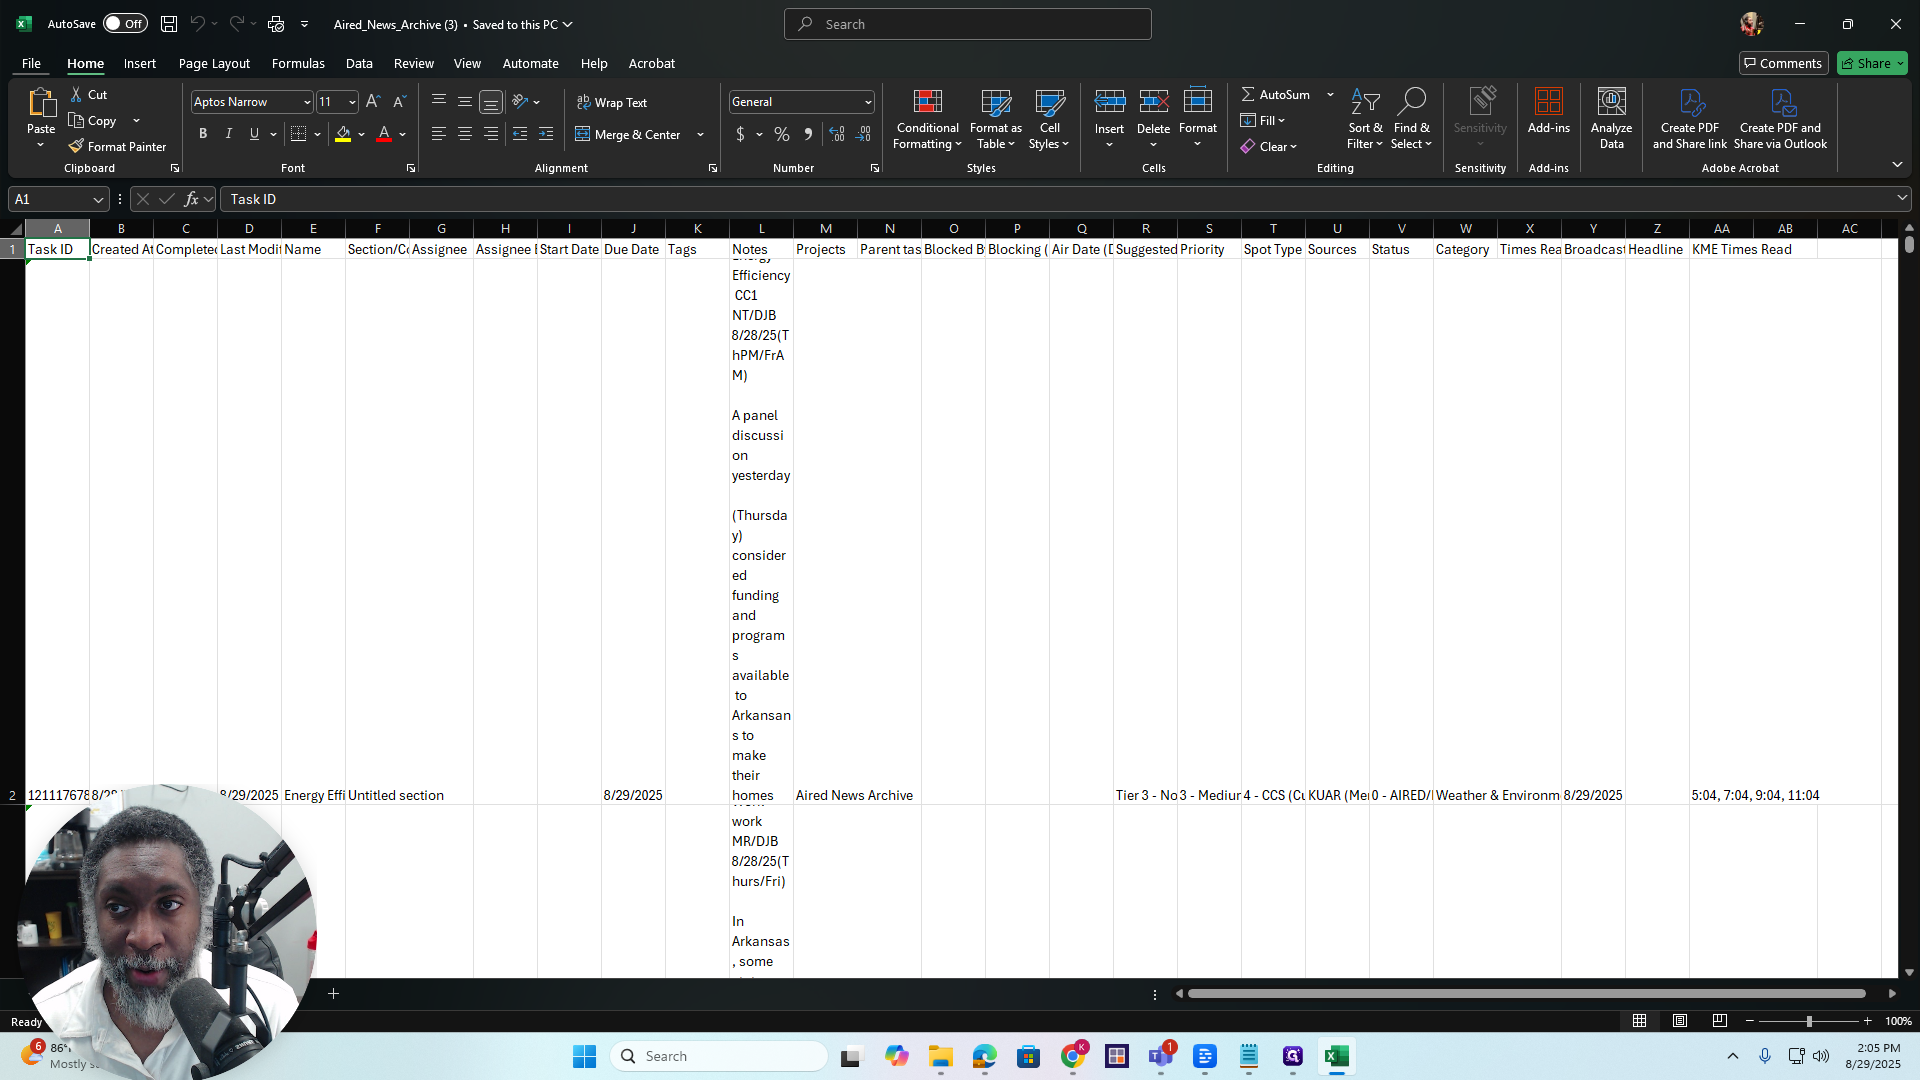
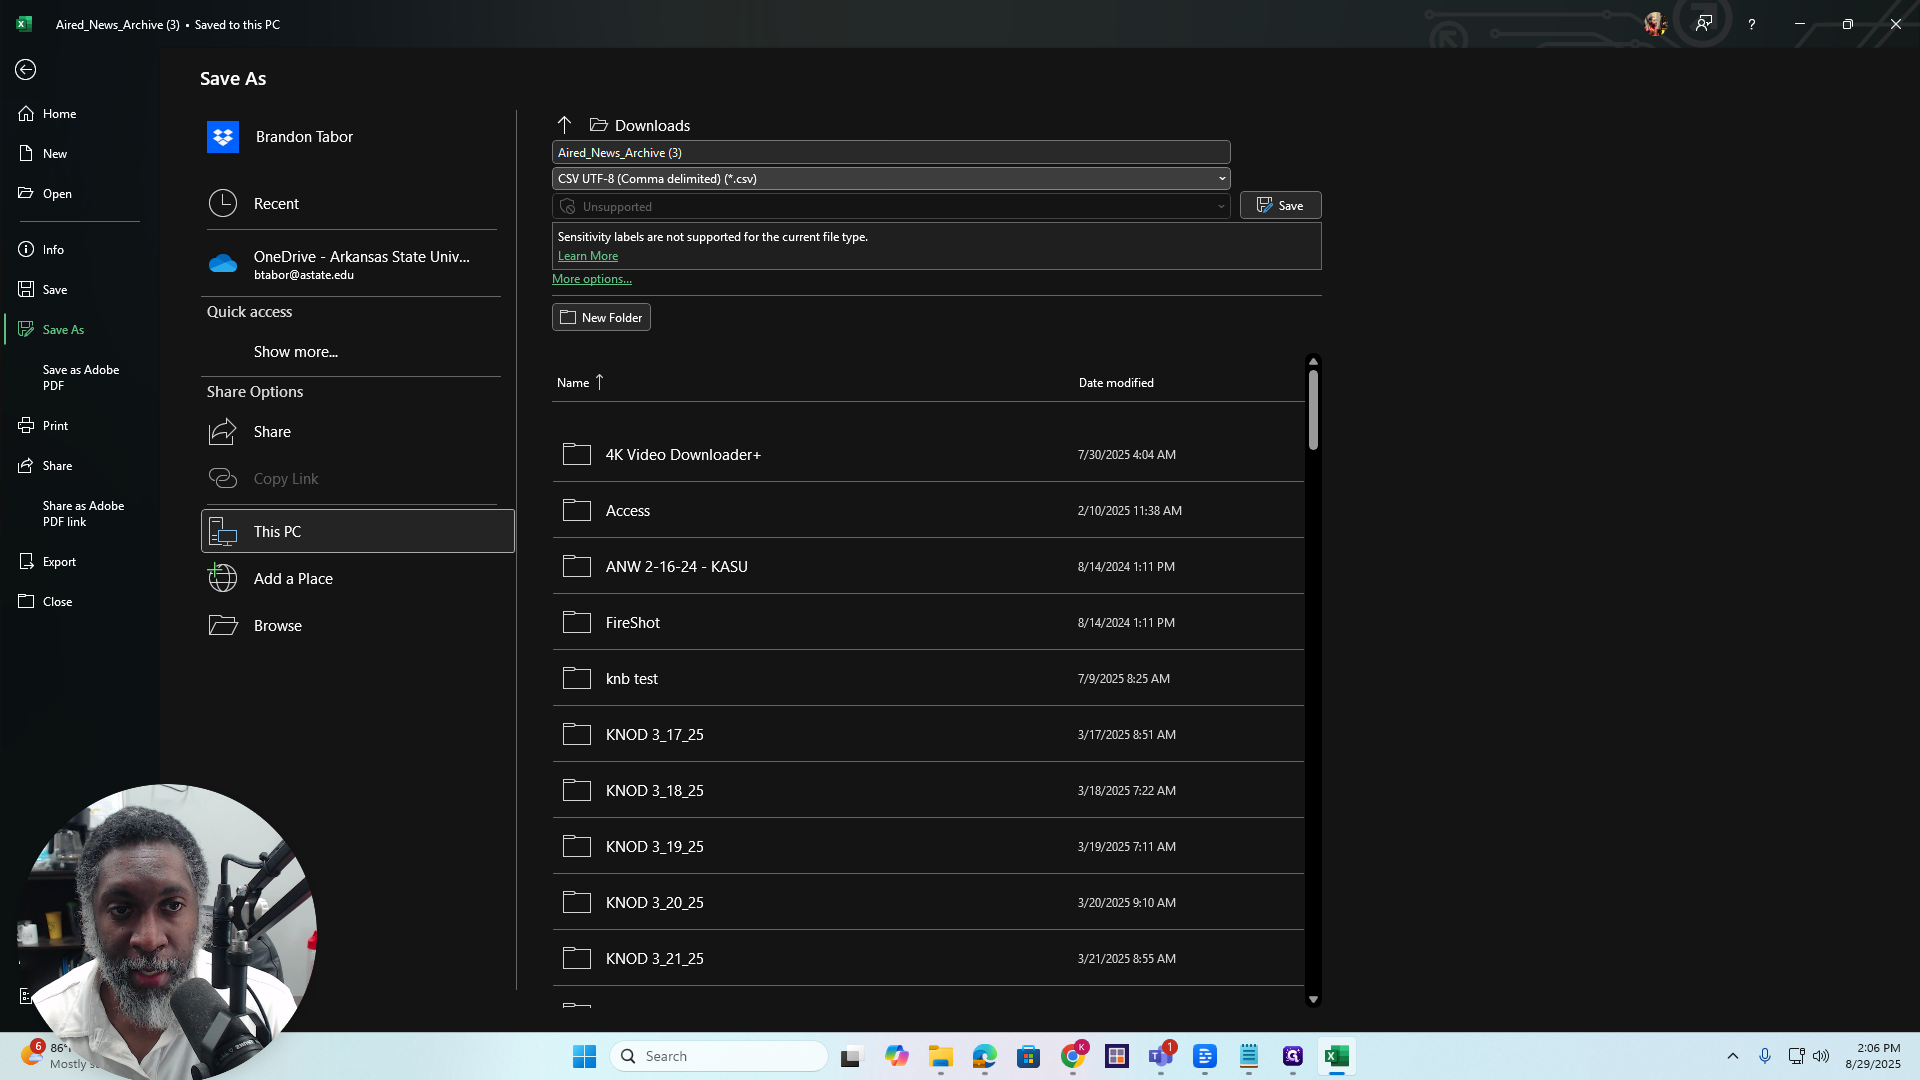
It is asking if you want all the numbers in this file to be converted to scientific notation. This file contains dates, times, and related information. You don't want that, so just press "Don't Convert." Alright. Open the file. Go to File, then select Save As. Under the file name, choose the location where you want to save it, such as Downloads.
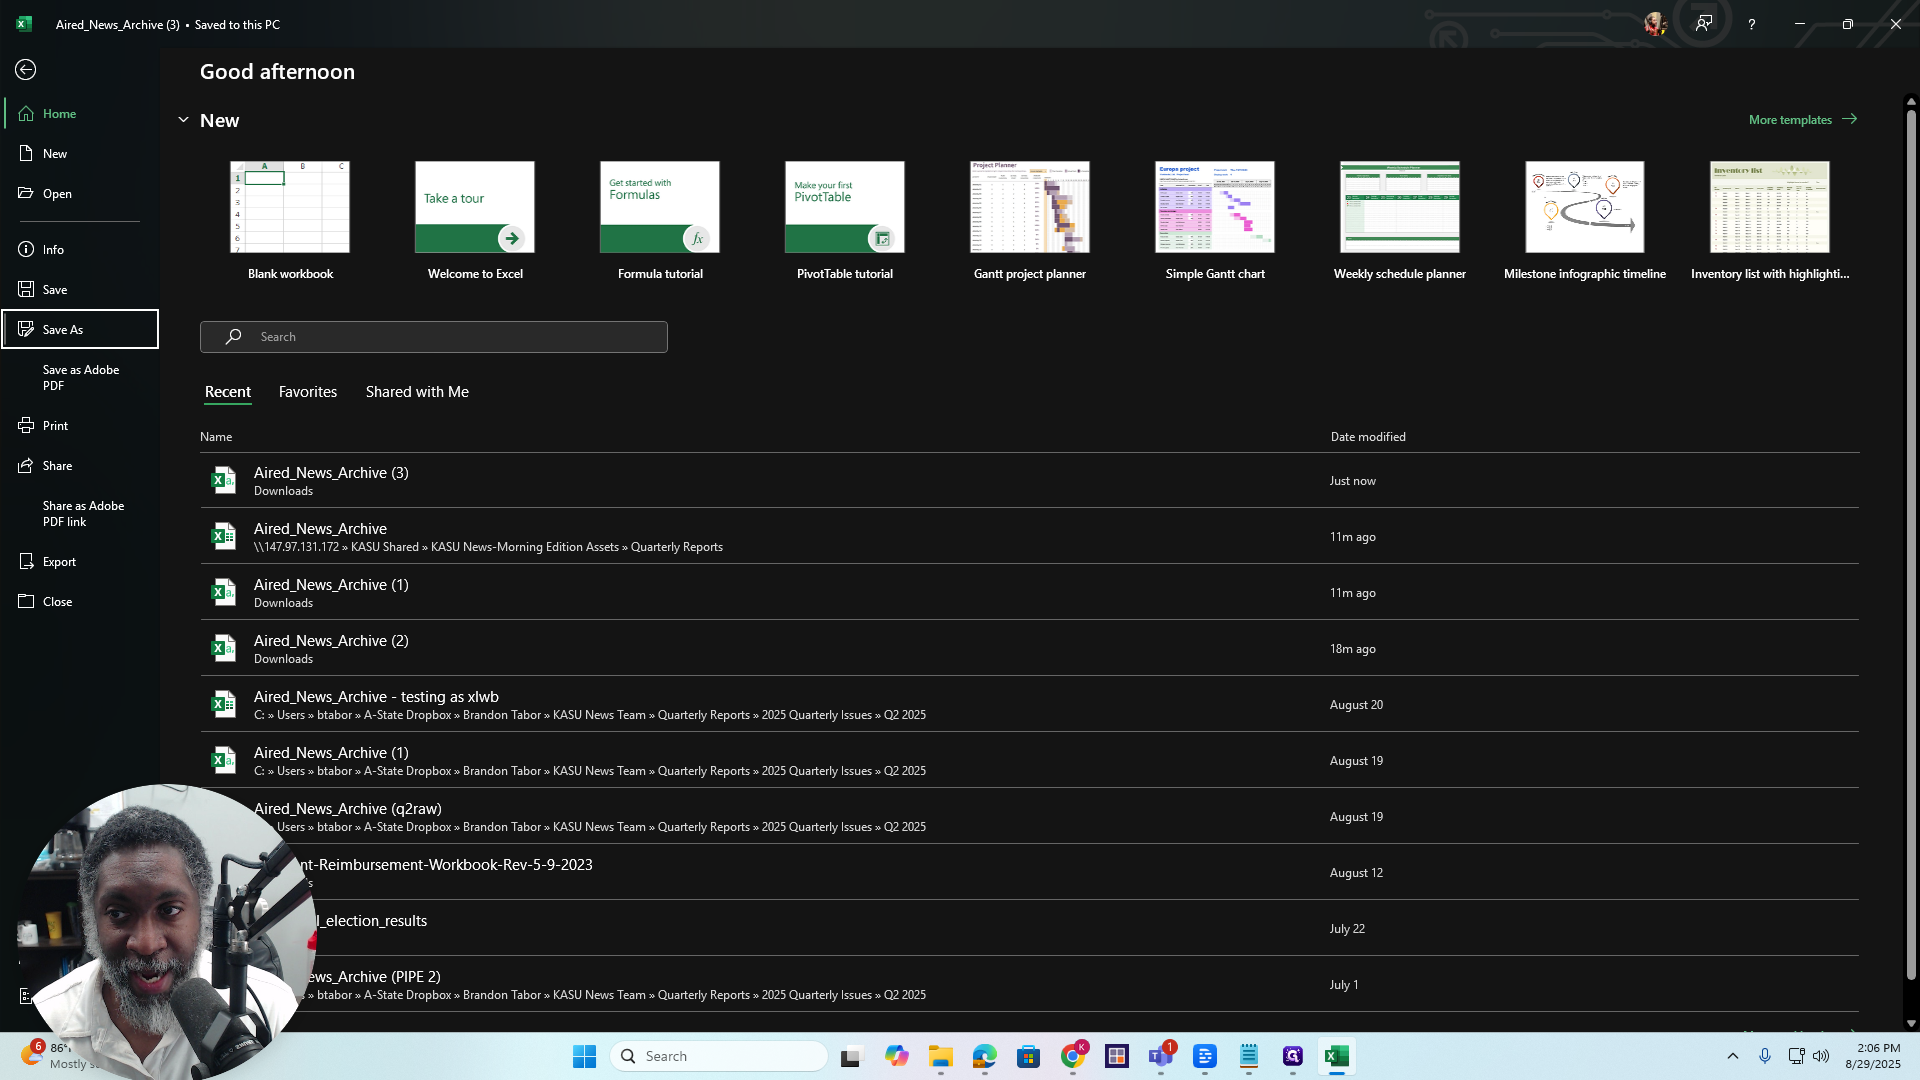
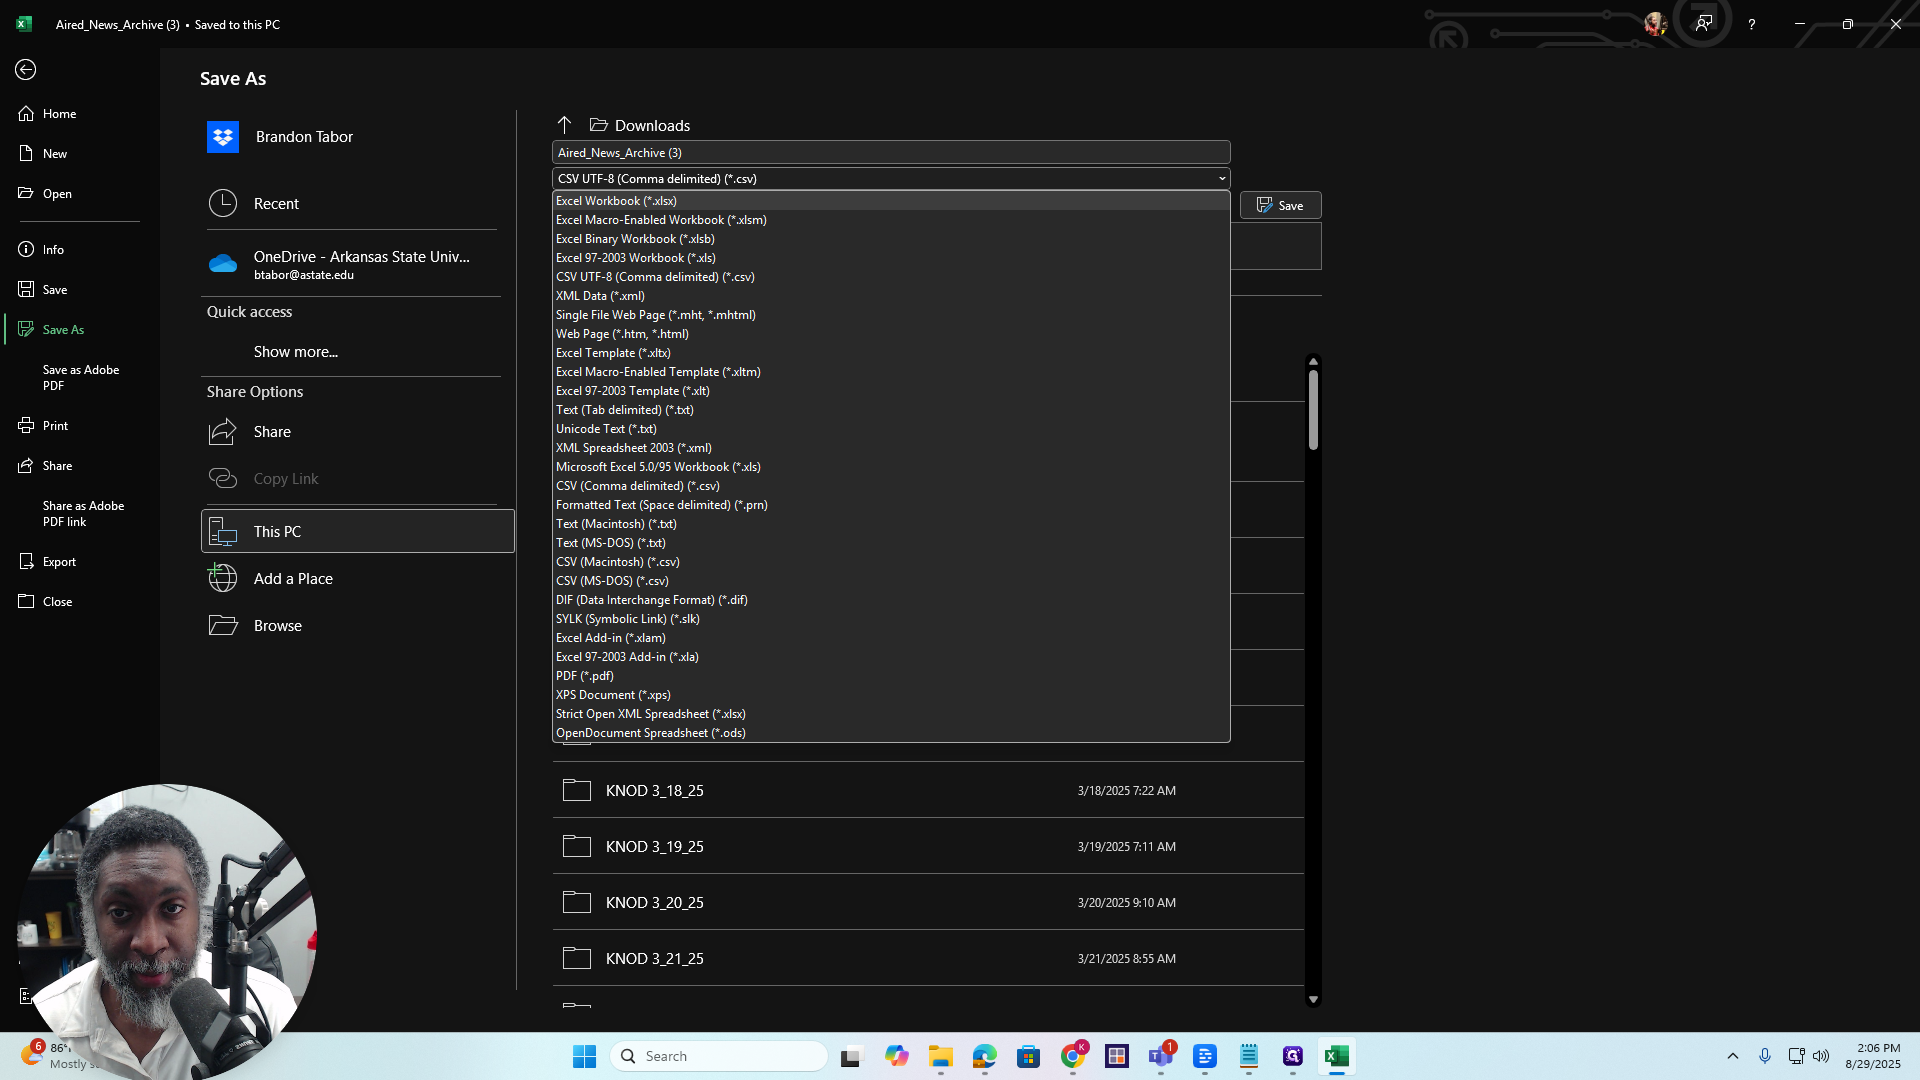
Click the drop-down list labeled "CSV UTF-8, comma delimited." Just click the drop-down menu.
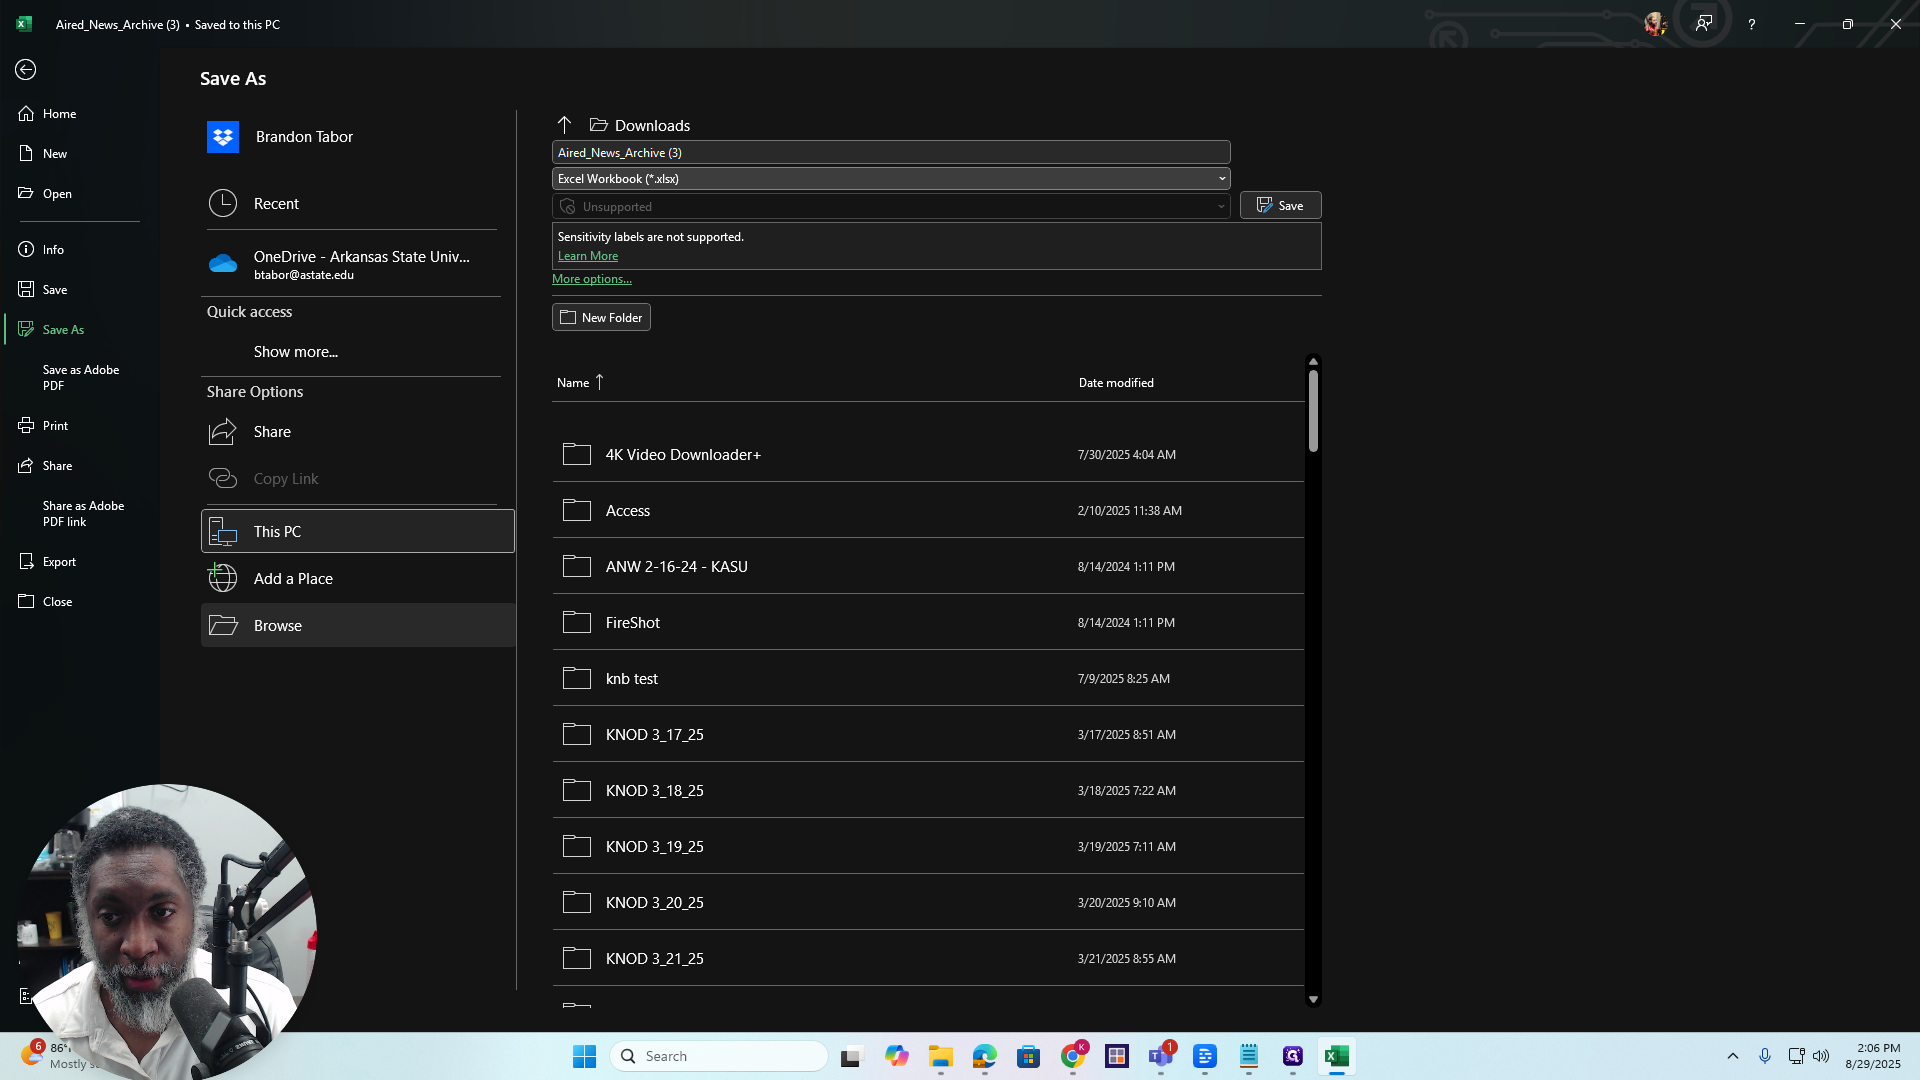
Click on Excel workbook.
Okay. Alright. Next, click on Browse. Then, go to KASU Shared.
If you don't have access to this on your computer, you may need to talk to Bradsher about getting set up.
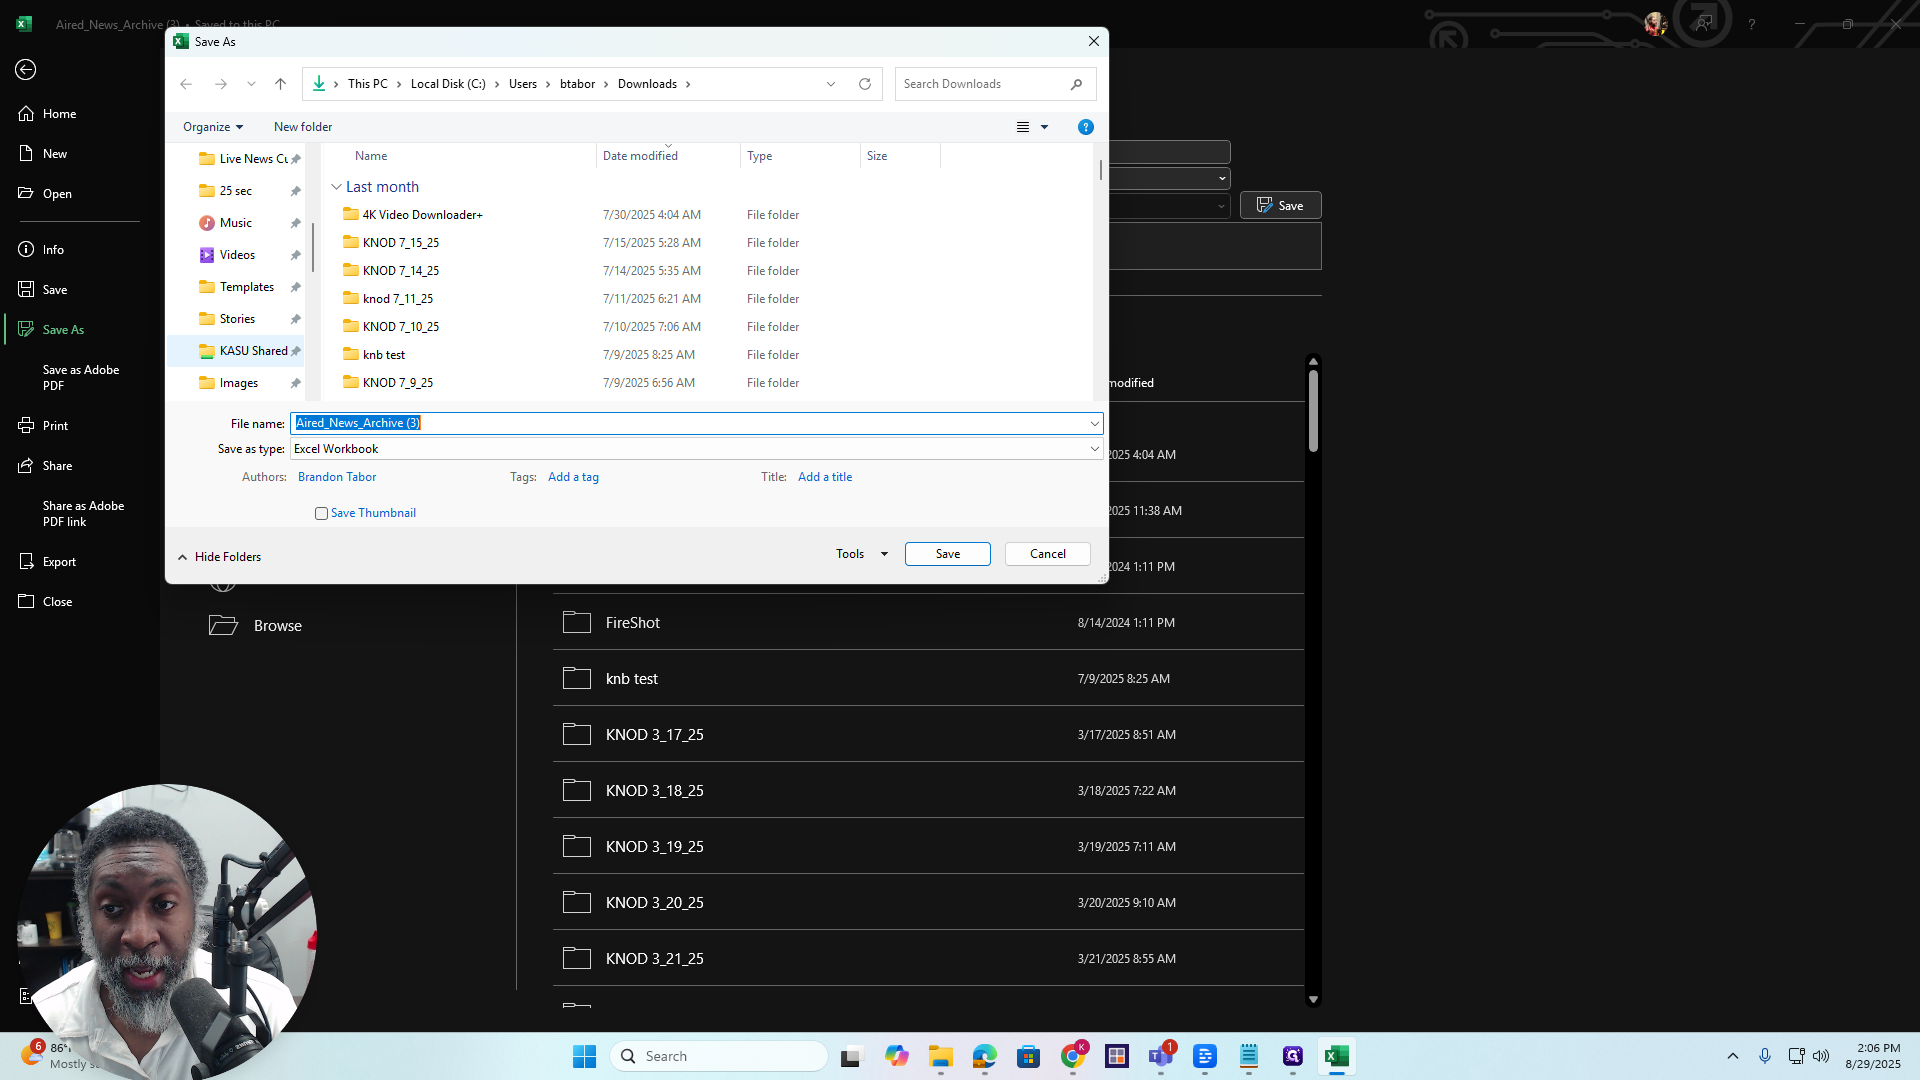
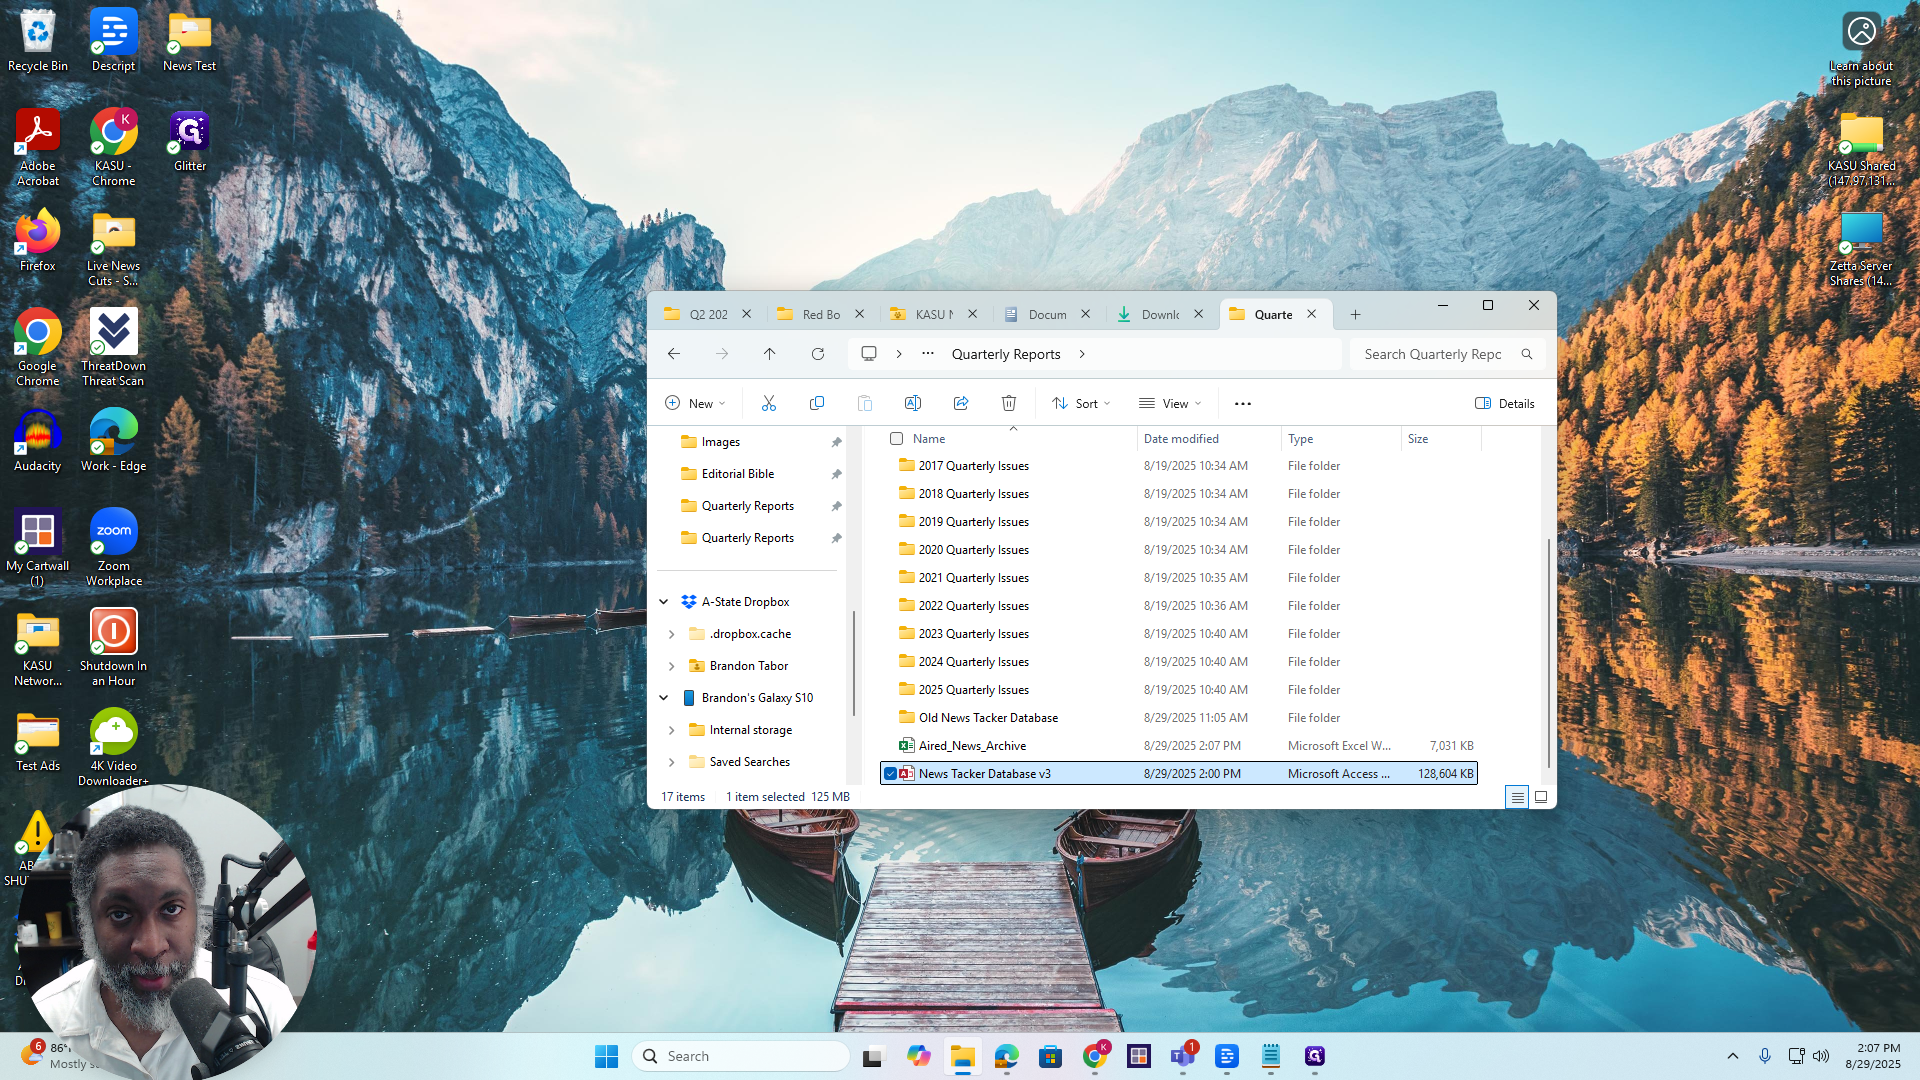
We're going to KASU Shared, then to KASU News - Morning Edition Assets.
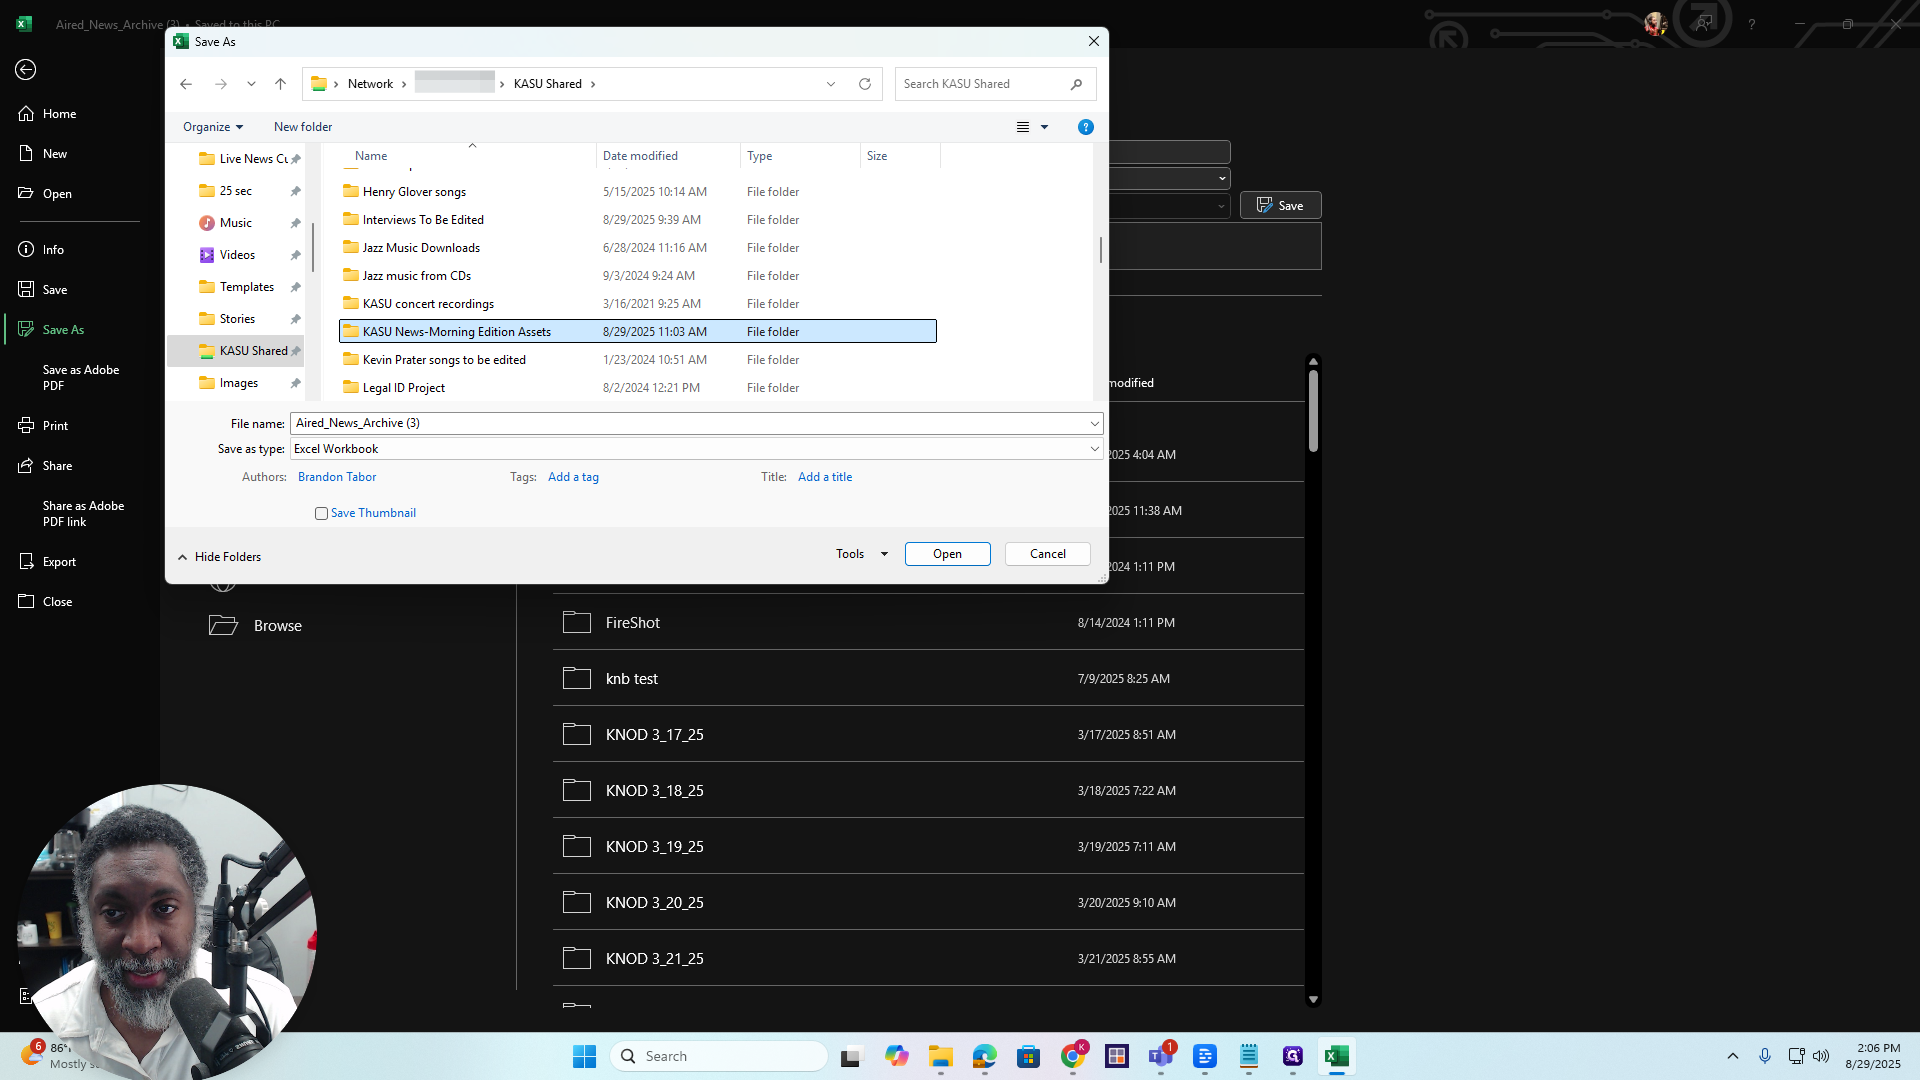
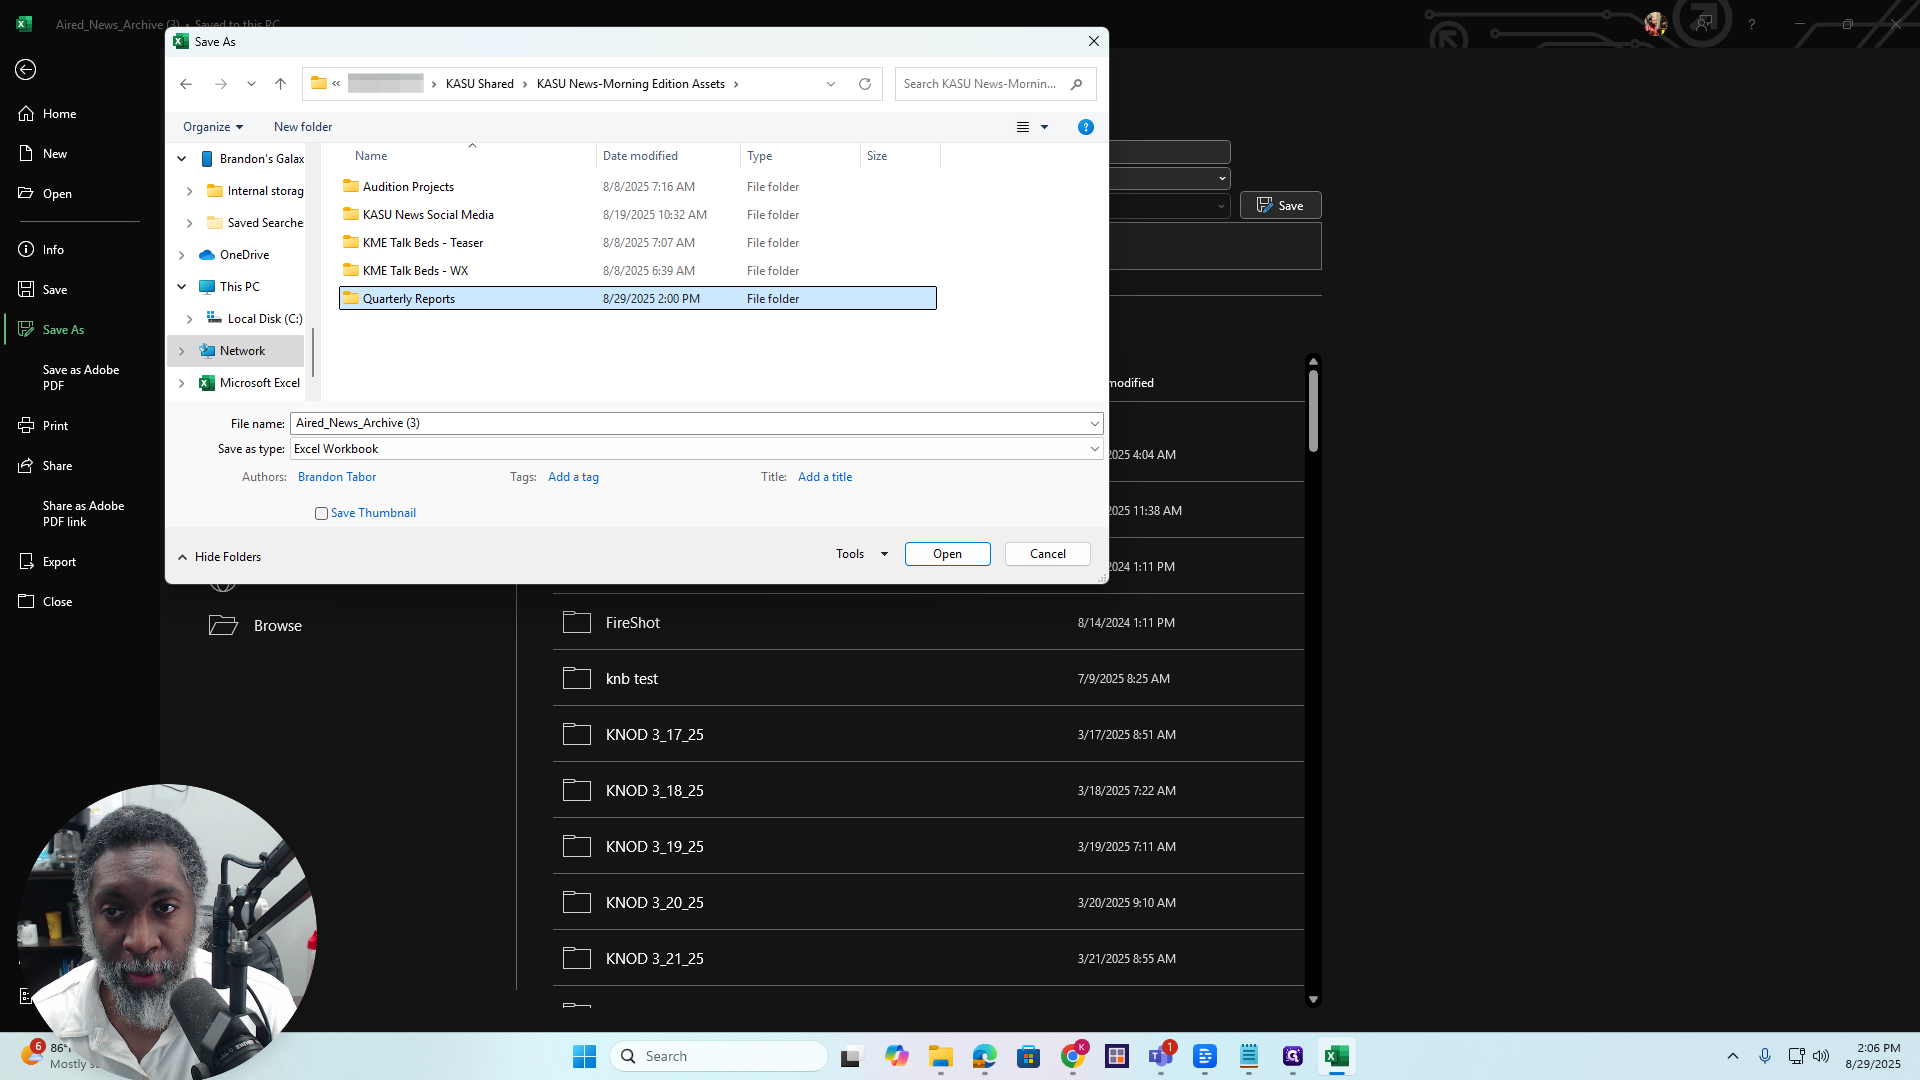
Double-click the folder. We want to go to Quarterly Reports. Double-click on it.
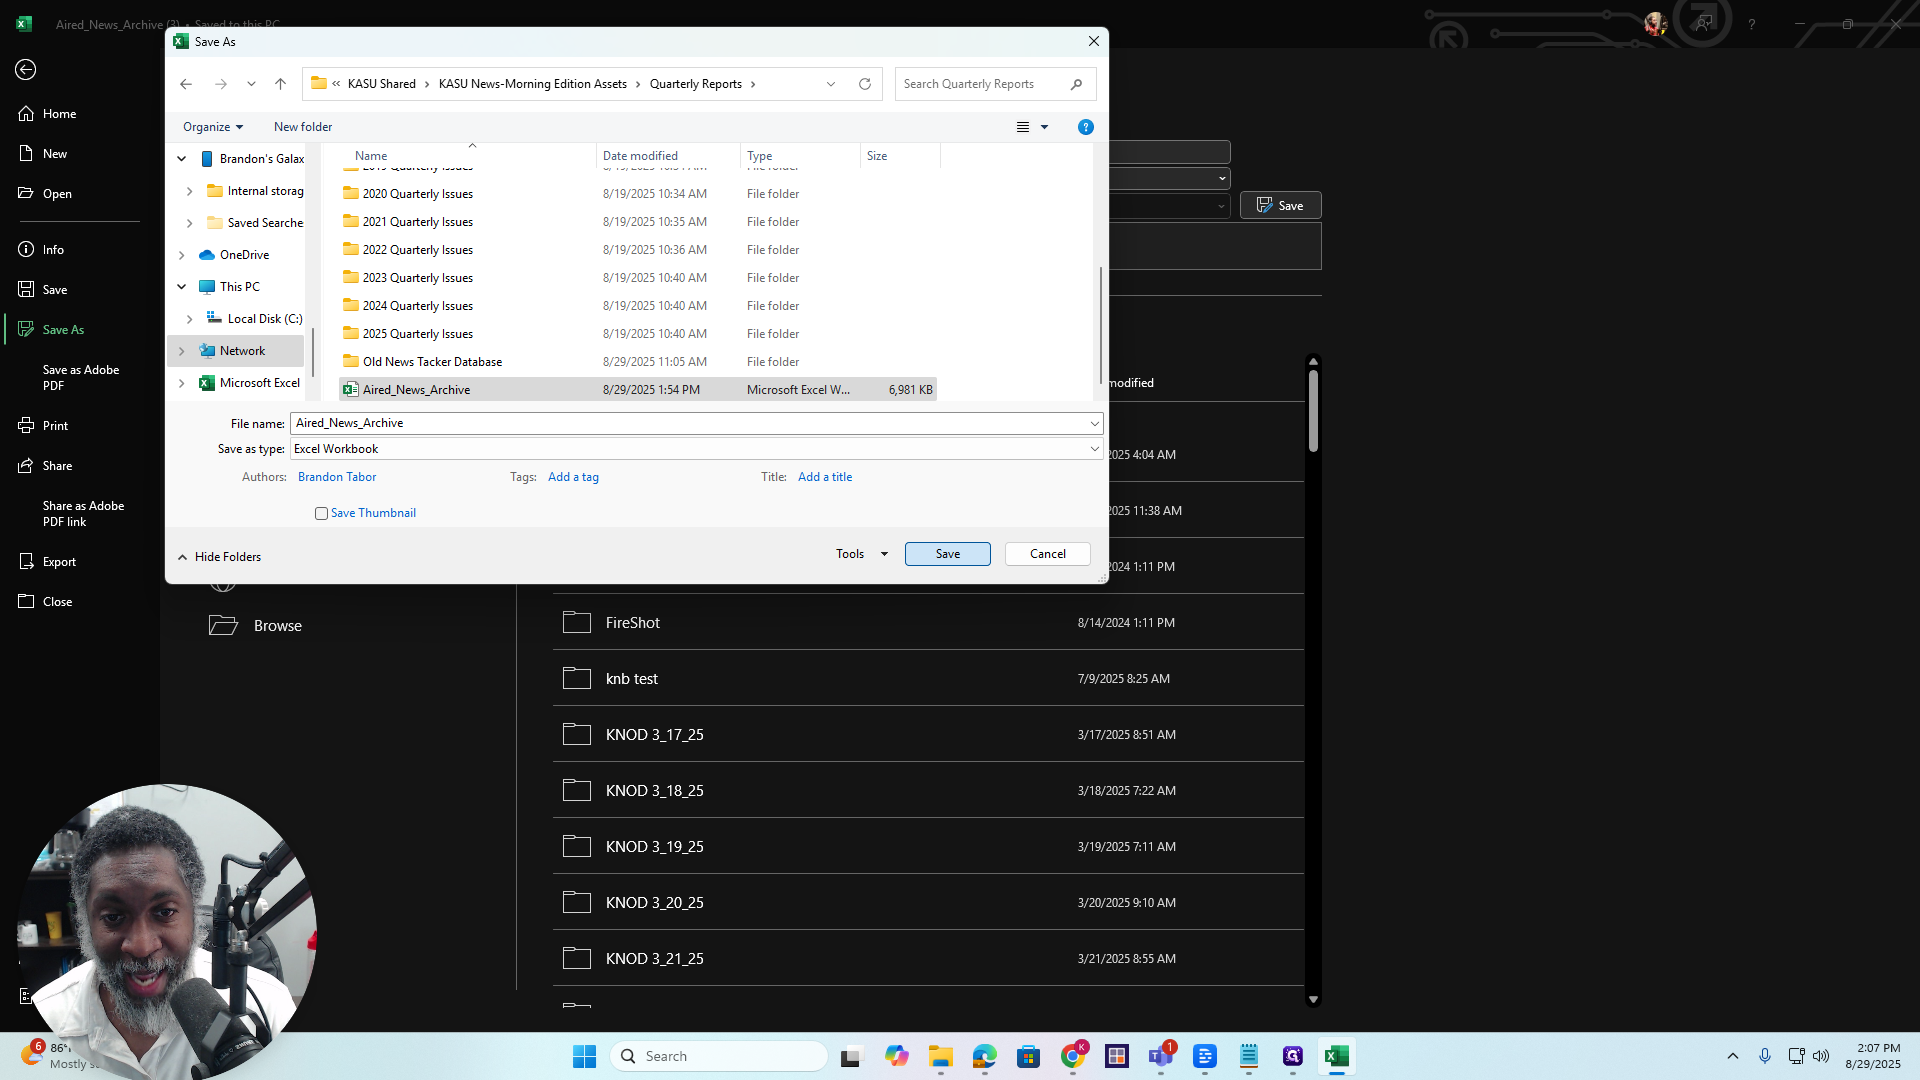
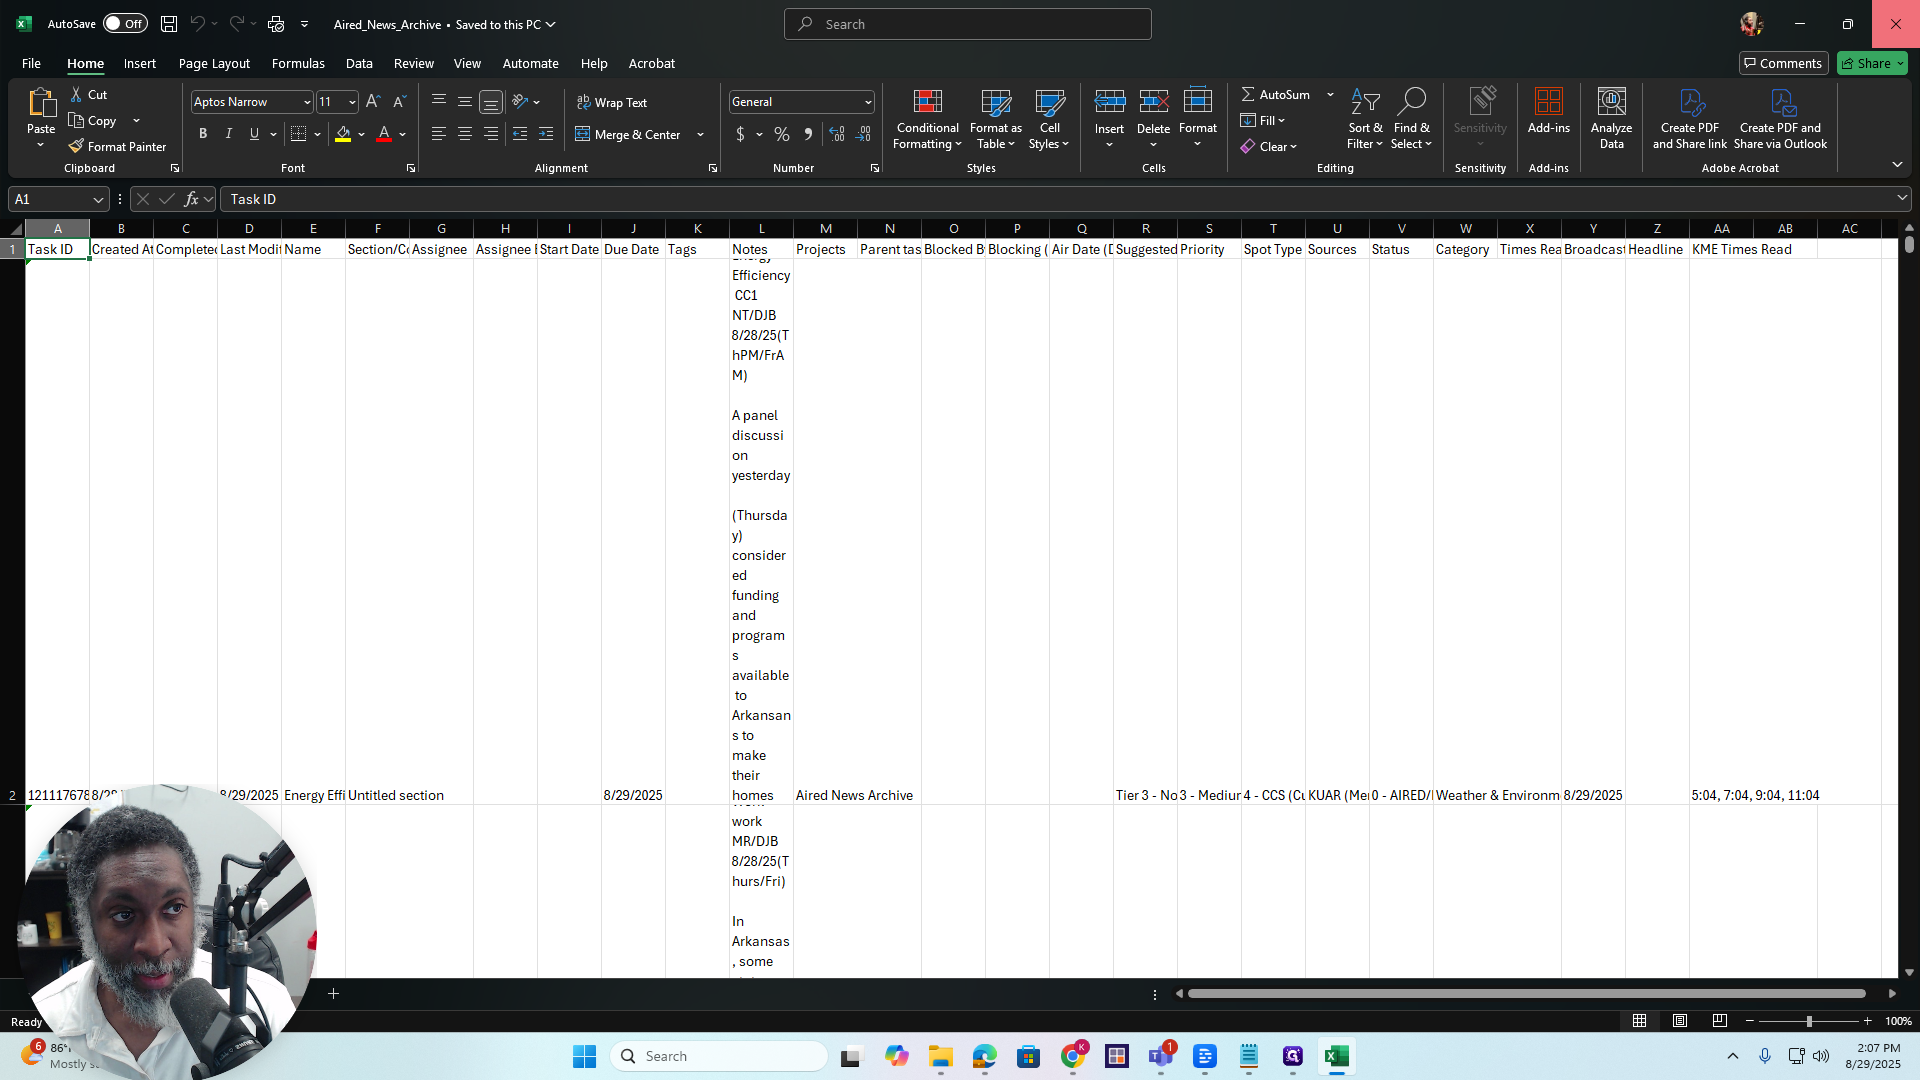
Scroll down to find the file named "Airit News Archive." Click on it, and you'll see that the parenthesis disappears.

Make sure the filename matches this. Click on the file, then select Save.
A pop-up window will appear that says "Confirm Save As?" Yes. Okay.
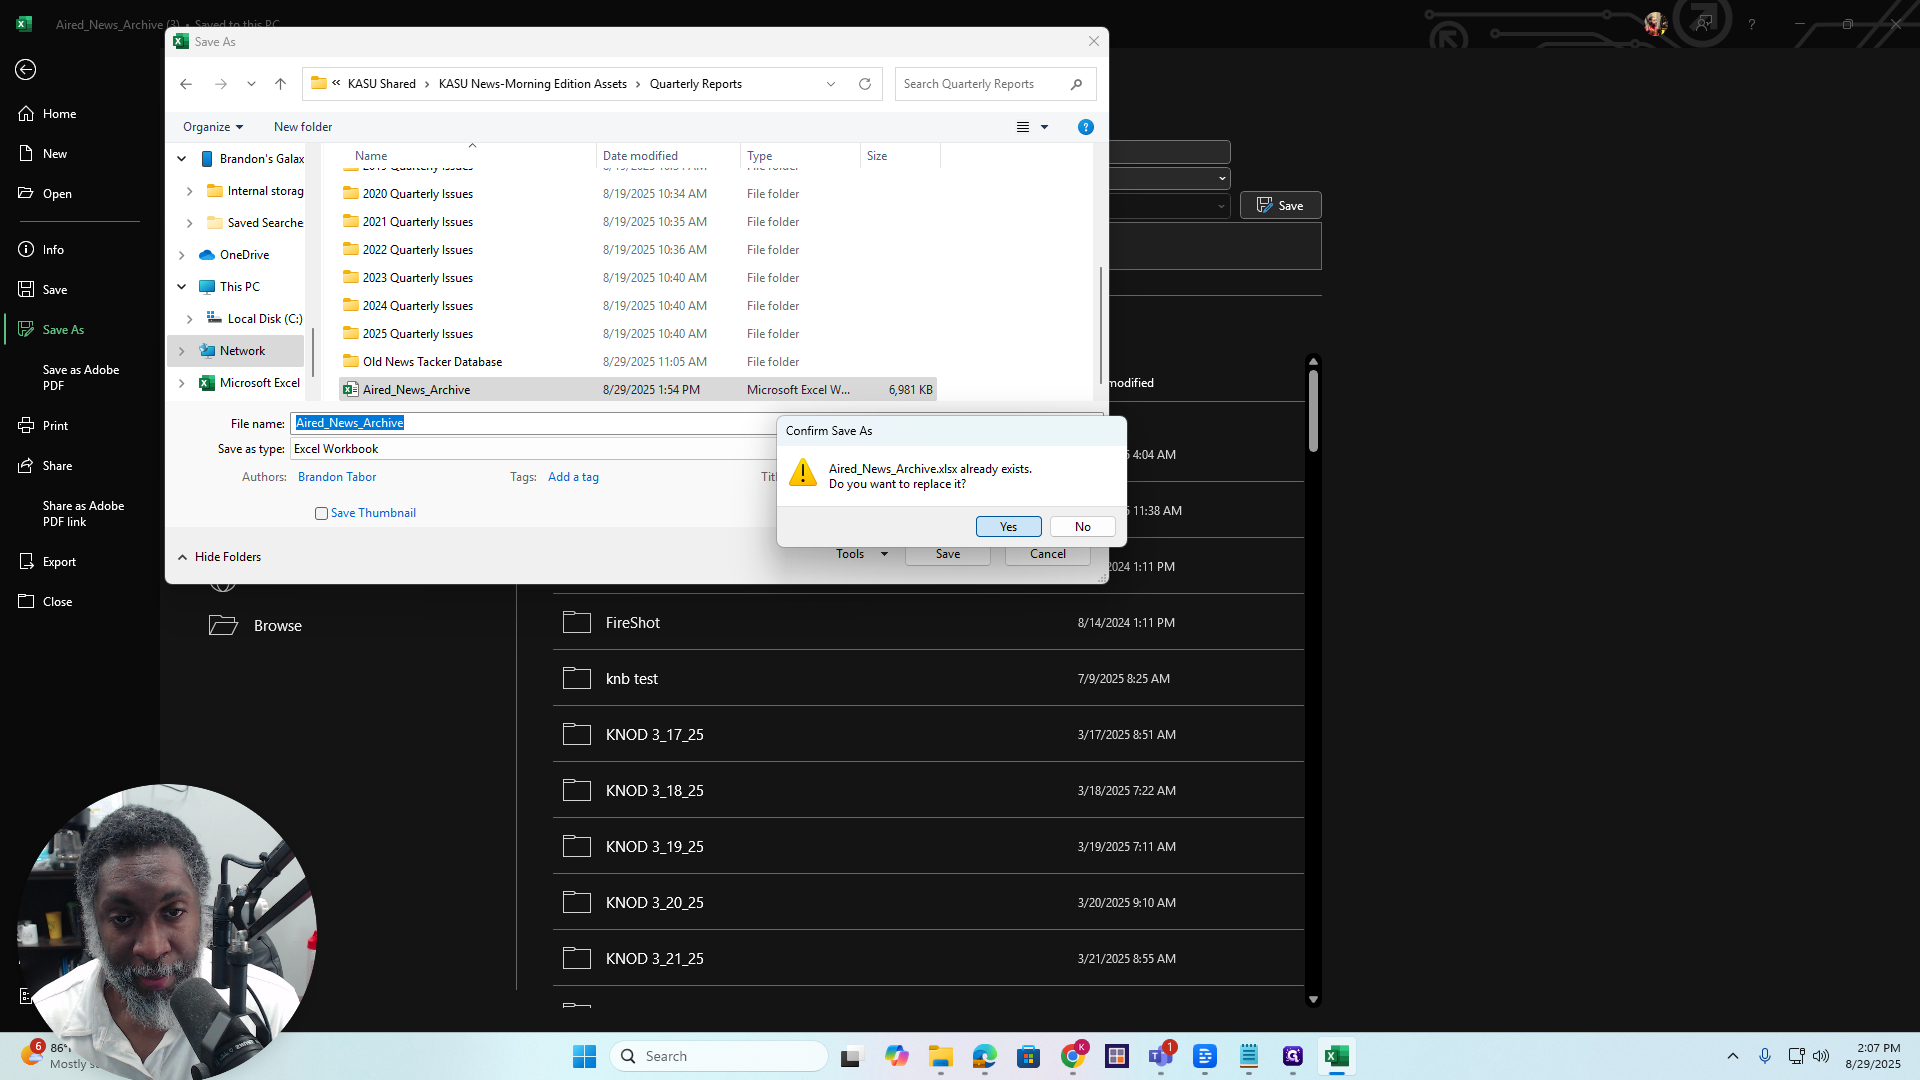
The file you just downloaded has been converted into an Excel file, replacing the previous file saved on the KASU Shared drive. Alright. You can close this now.
Open the Database
Okay. Now, go to the drive.
I already have it open here. Same place. It's in the Shared drive. It is located below the Quarterly Reports section. Alright.
Double-click on NewsTracker Database V3 to open it.
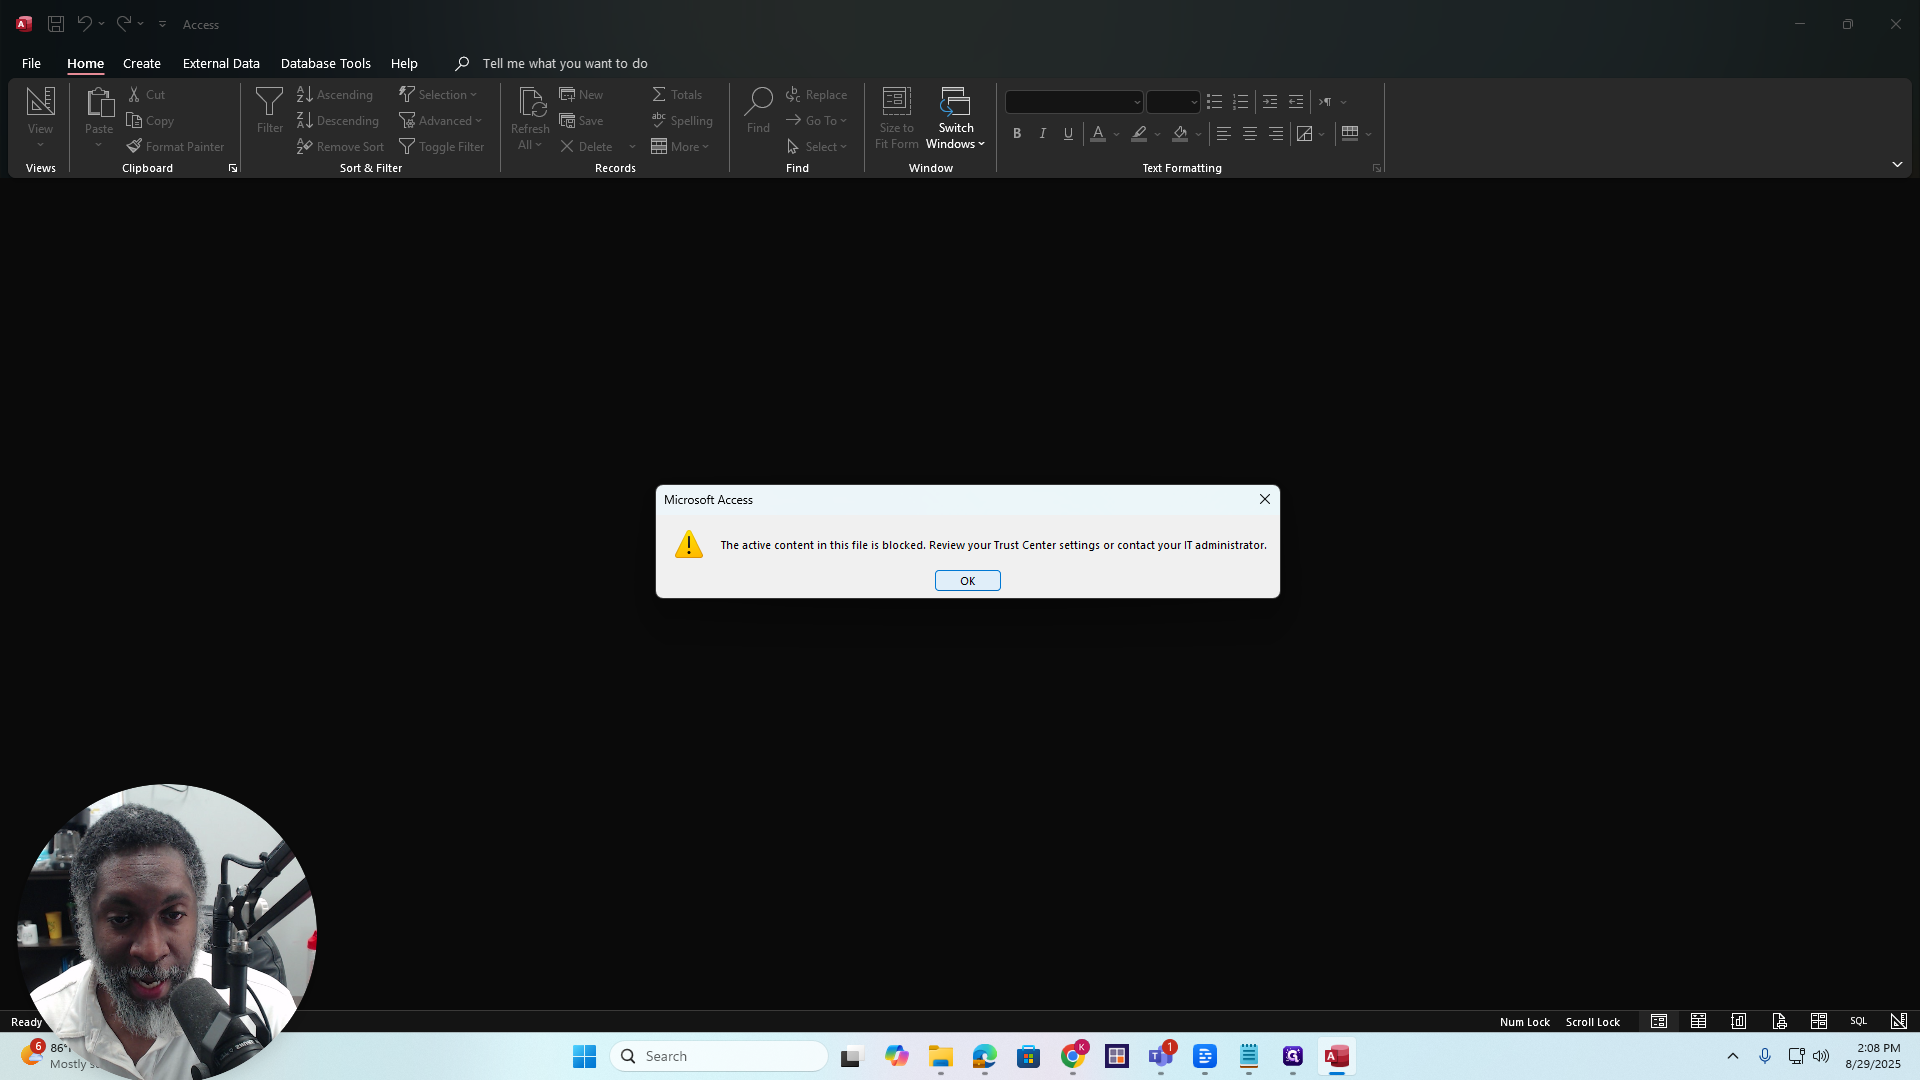
Okay. A dialog box will appear saying, "Aact - the active content in this file is blocked." Just click OK.
That's fine. You will see a yellow banner appear at the top. I want to say something. The first time you open this, the banner will appear red. Okay.
It will display a message and provide a link that looks similar to this. All right. Basically, this database runs macros. Macros are safe. I wrote them. Macros are safe. They are simply an extra security measure provided by Microsoft.
You will only do this the first time. Okay? You will see a link in the red banner above. Click on the link. It will open...

Macro Warning(s)
It will take you to a webpage that says, "A potentially dangerous macro has been blocked." Scroll down to the section labeled, "Unblock all files from a specific network or share website." Then, follow the instructions provided.
Okay? When you reach step four, you will need to... Go to the folder where your file is located. Right-click on the file, select "Copy as Path," and then paste it where needed.
This dialog box looks exactly the same. Paste it into the dialog box where it says "Add." Also, make sure to uncheck "Required Server Verification for all sites in the zone." Click Add, then click Close. Click OK as instructed, and you’ll be all set.
The next time you open this, you will see a security warning, just like I am seeing now. If you see a yellow banner, click Enable Content.
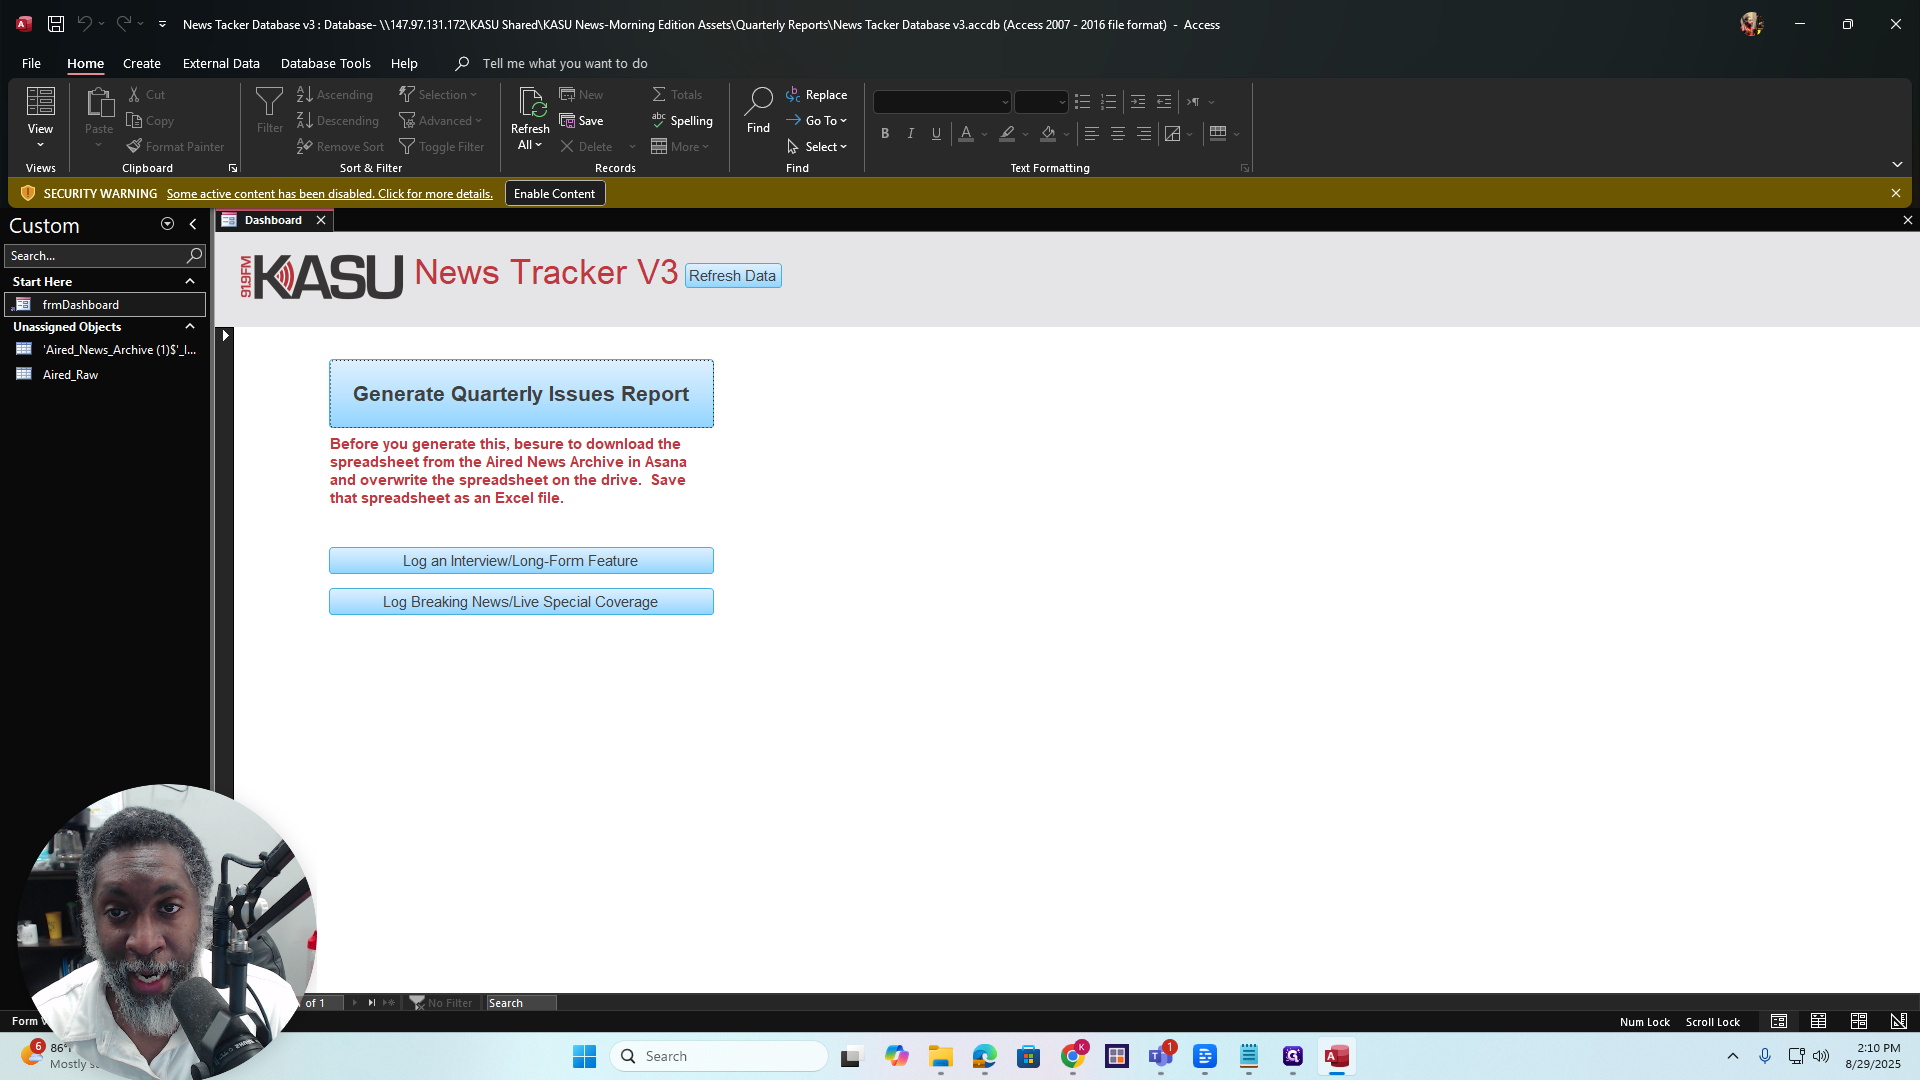
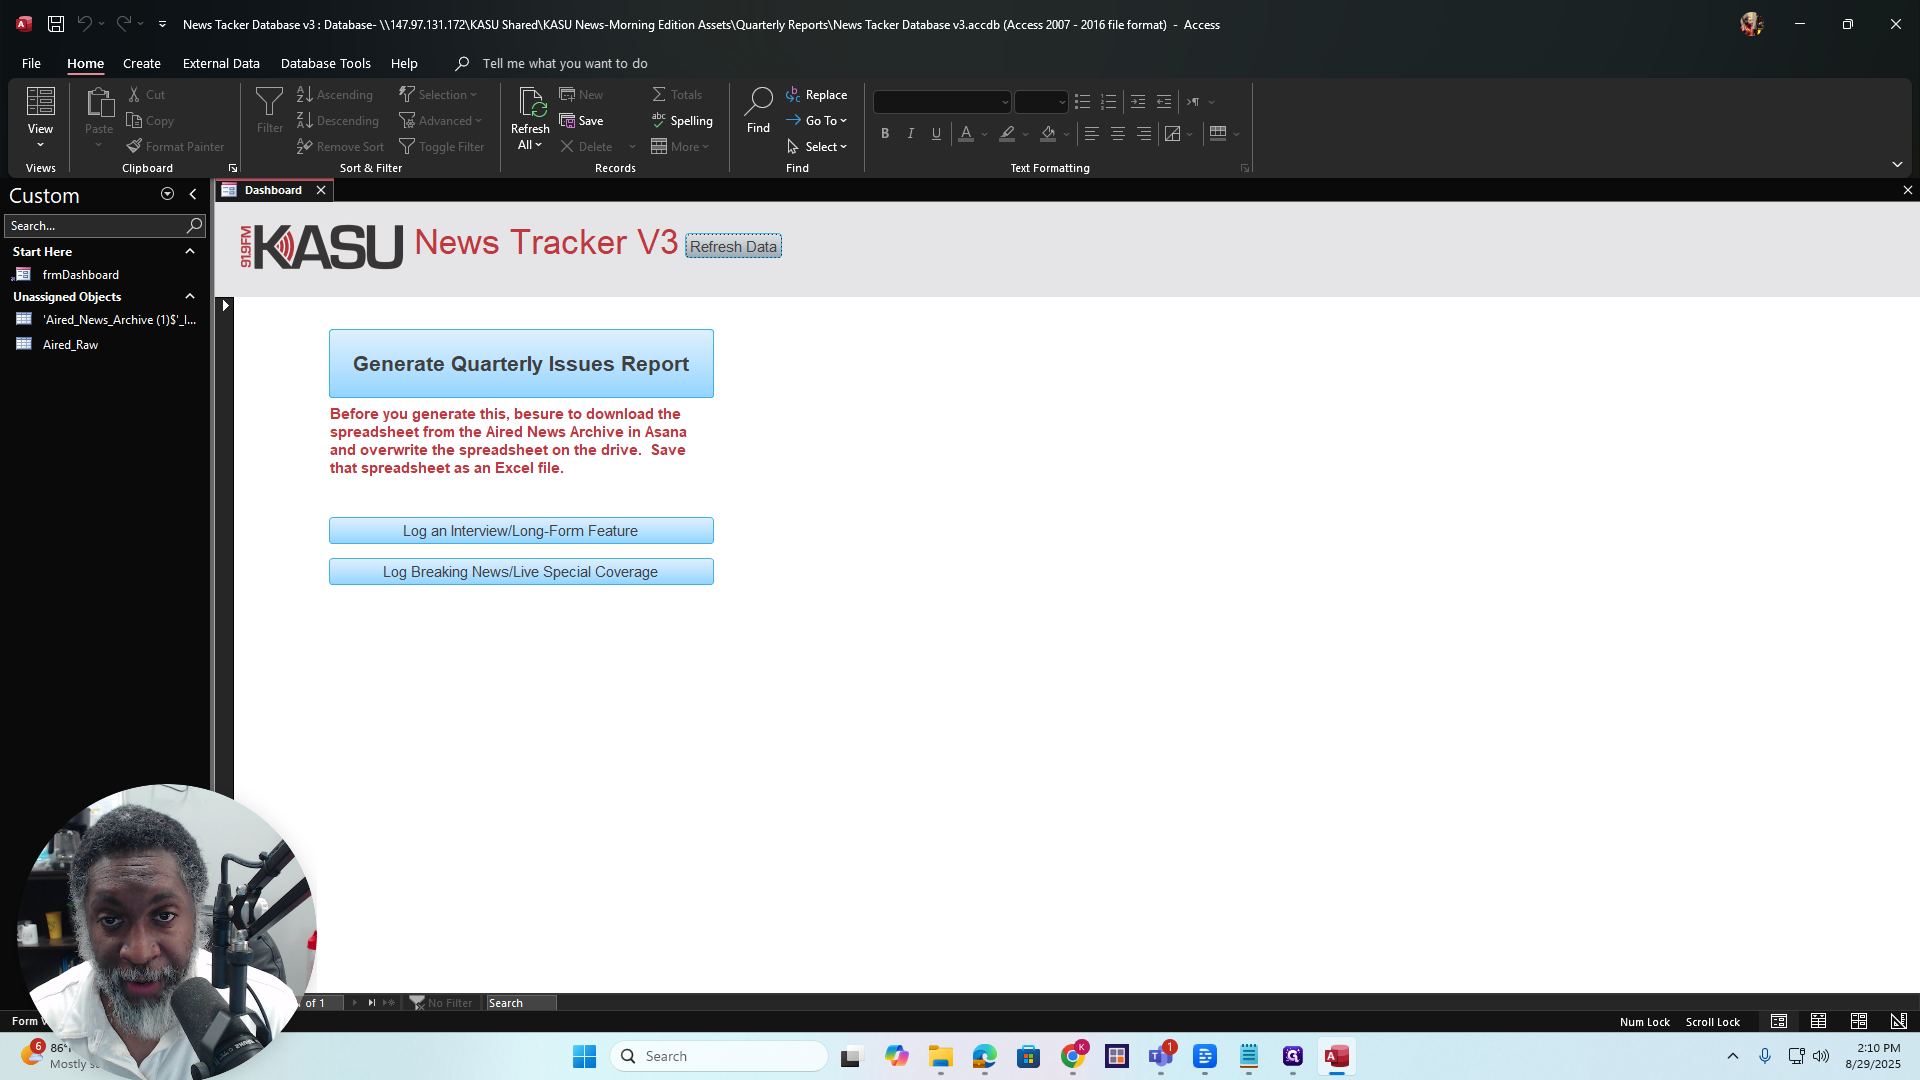
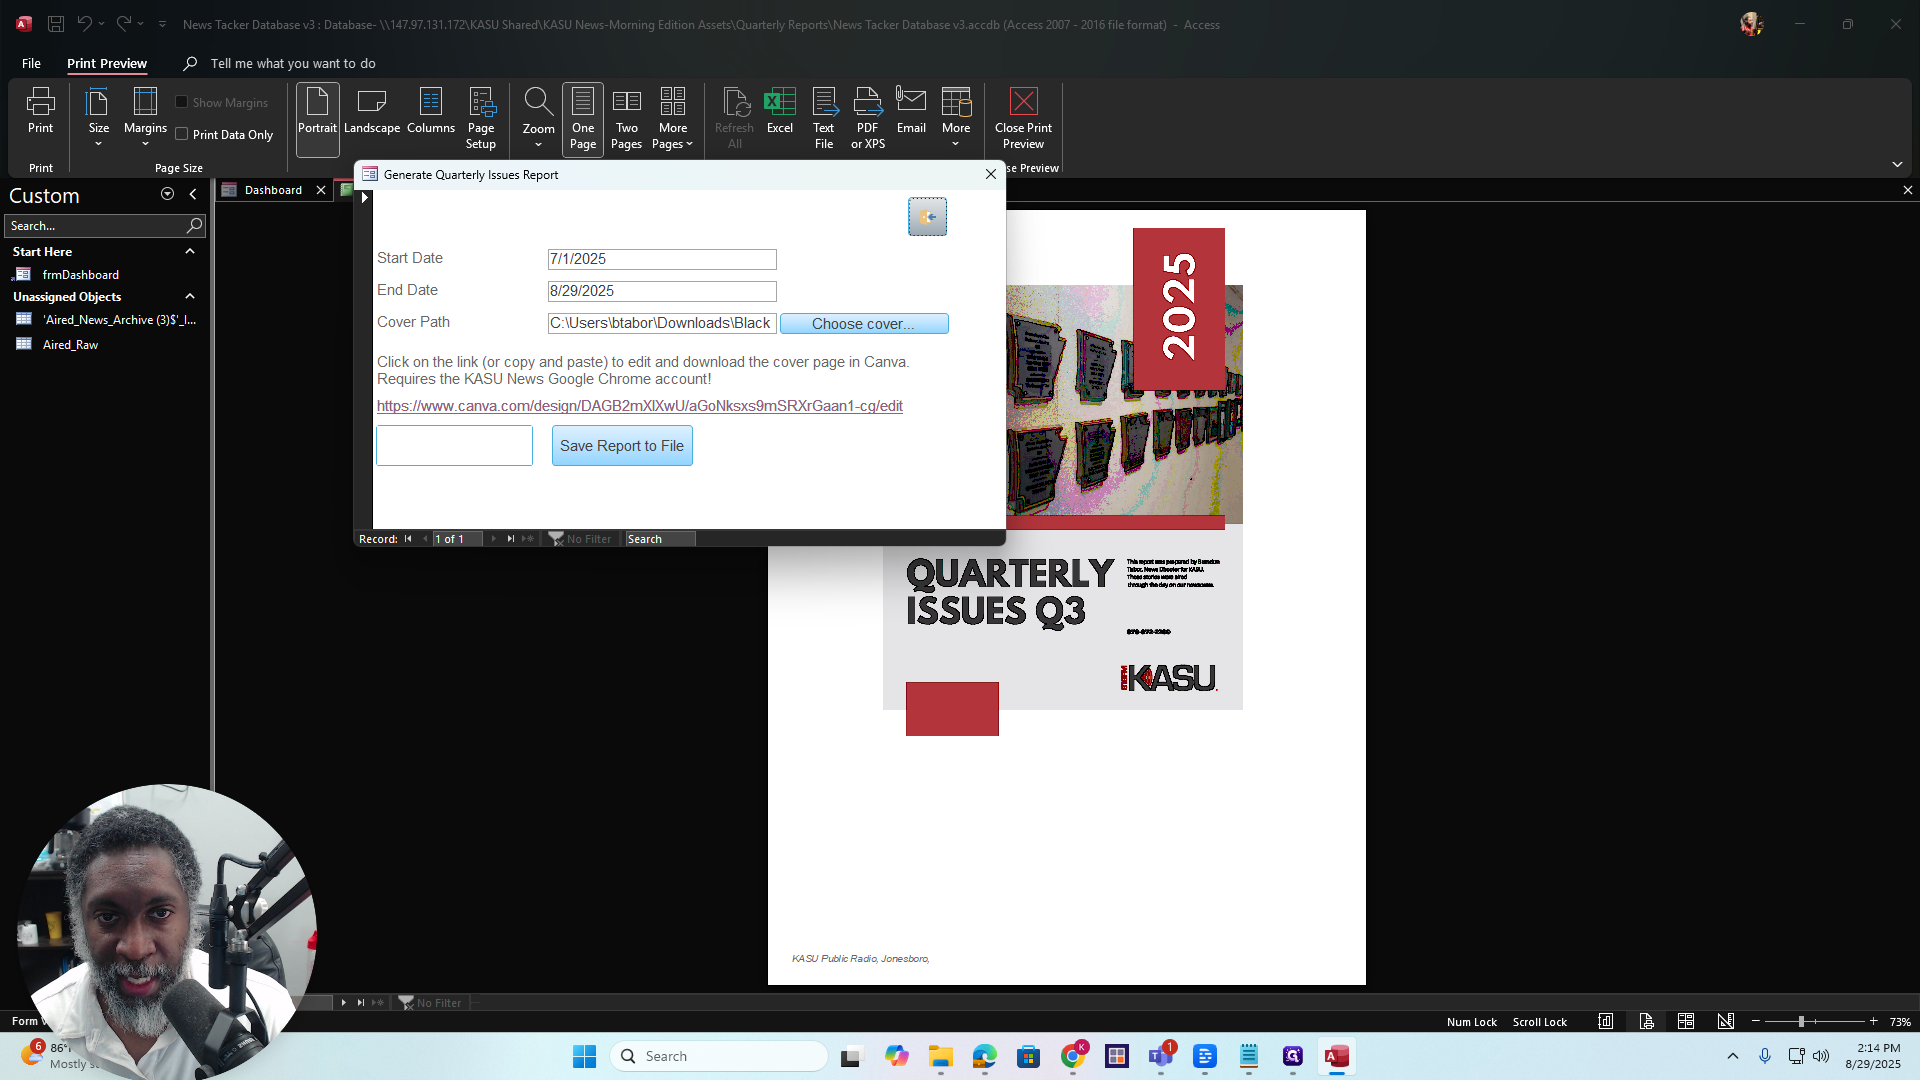
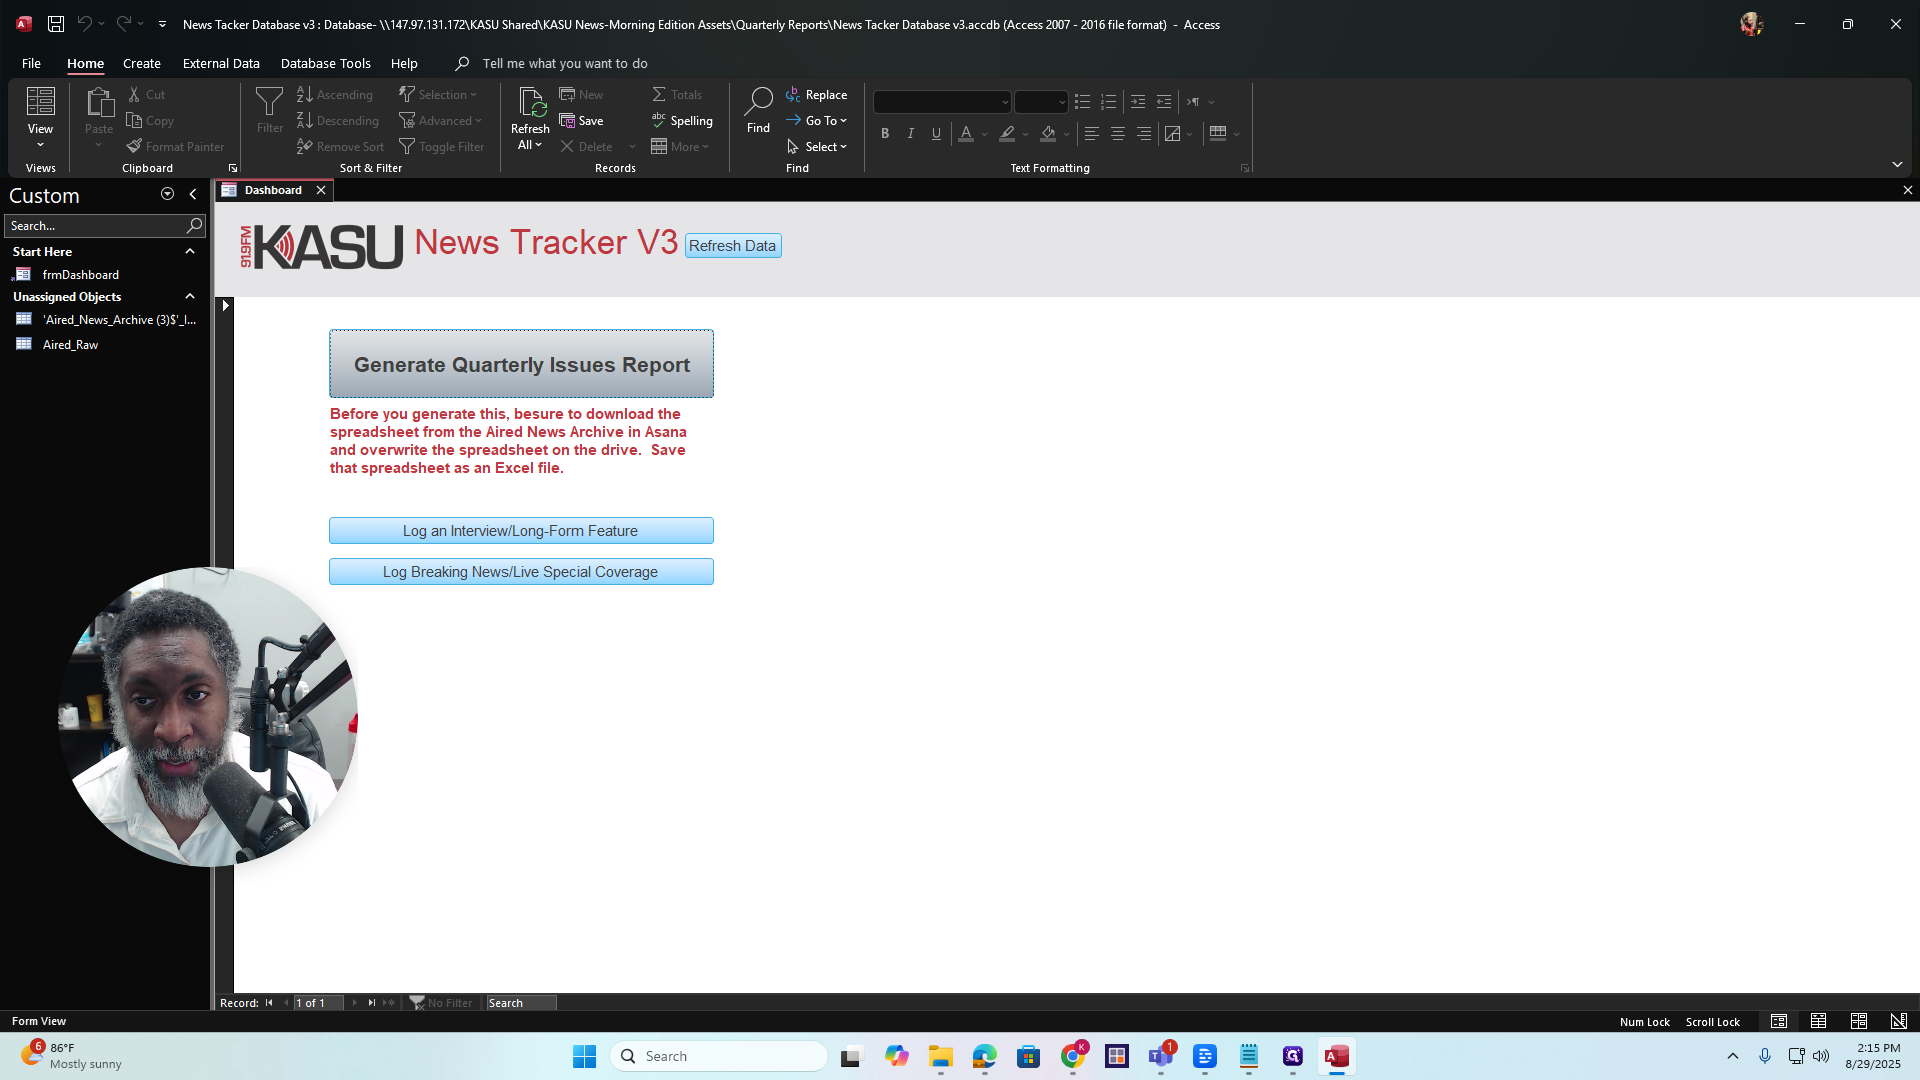
Okay? All right, we're here now. First, refresh the data. Click Refresh Data.
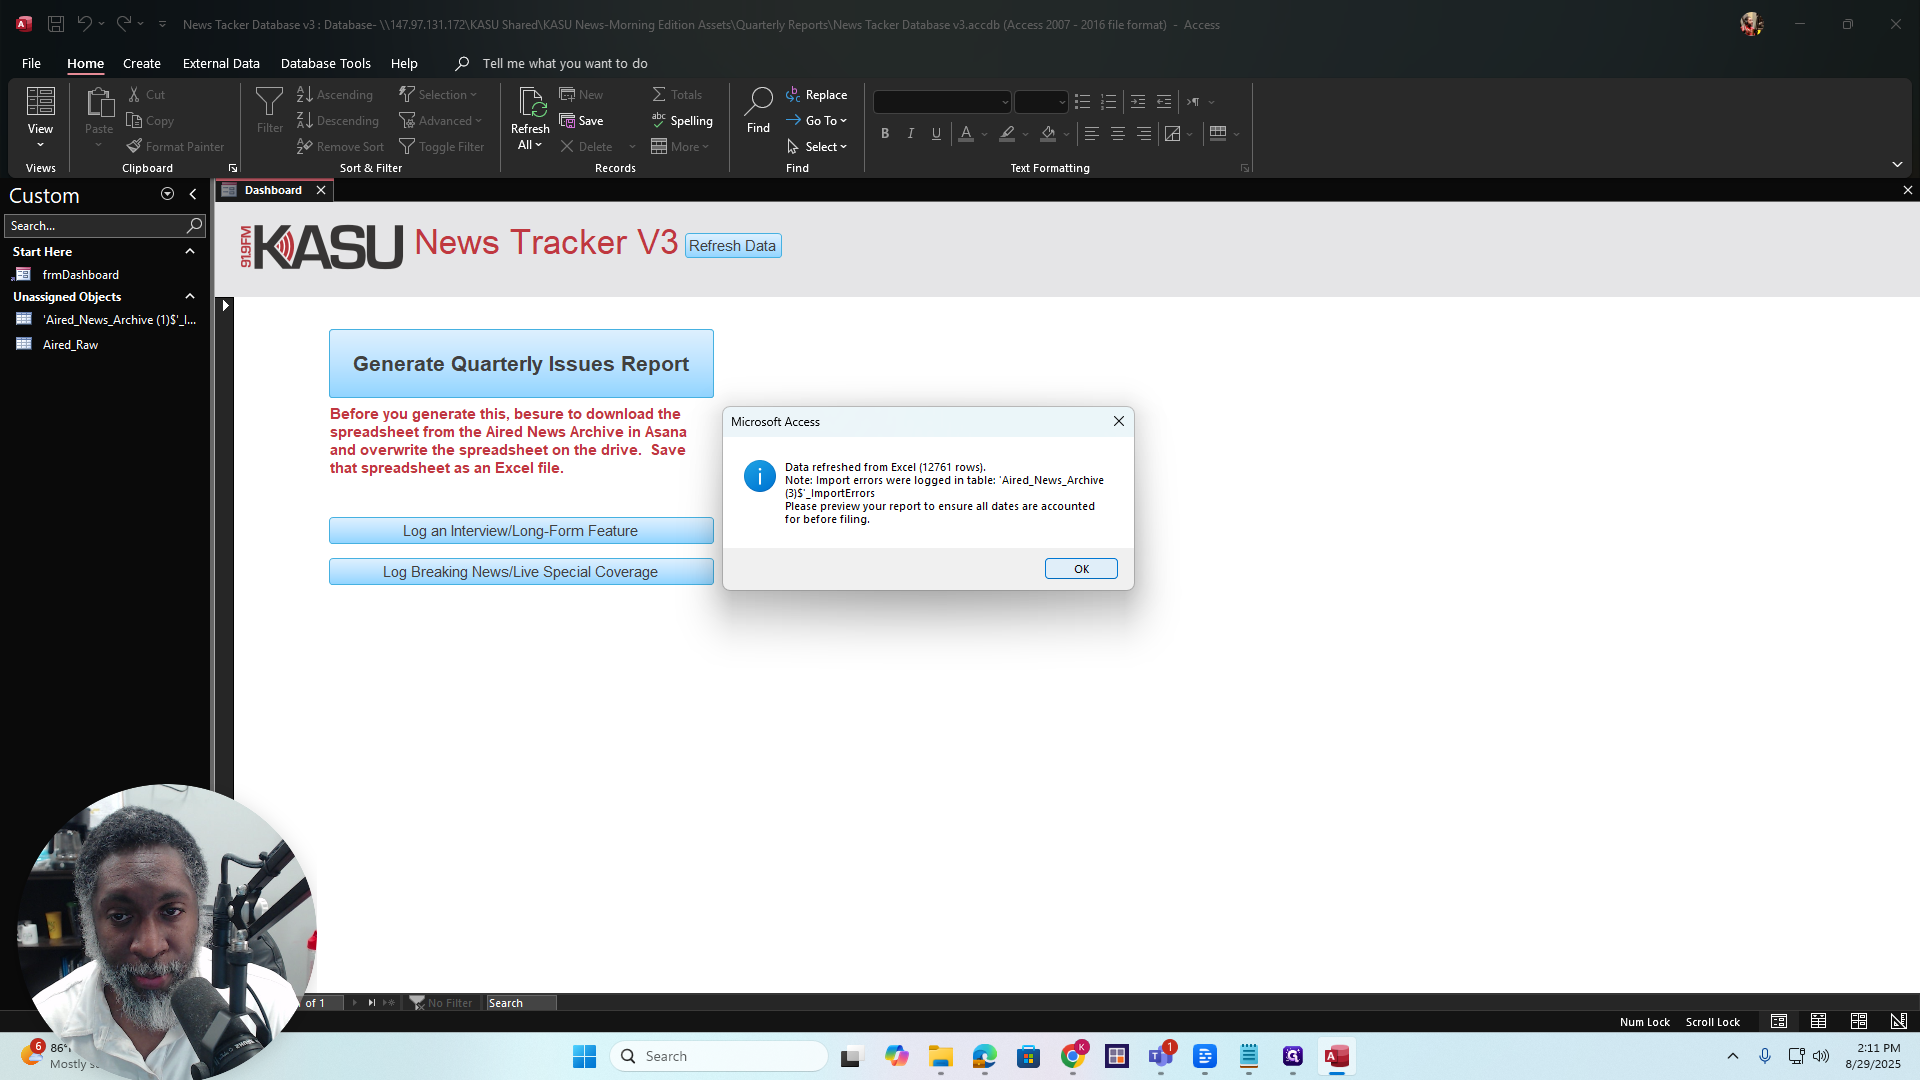
Alright. A pop-up window will appear saying, "Data refreshed from Excel." This means there are some import errors.
Some rows did not import correctly, which could be due to various reasons. The date mismatch was incorrect or something similar. And it's mainly from the air. News archive downloaded from Asana. If you see this dialog box showing where the import errors are logged, you need to preview the report to ensure there are no missing current dates or other issues.
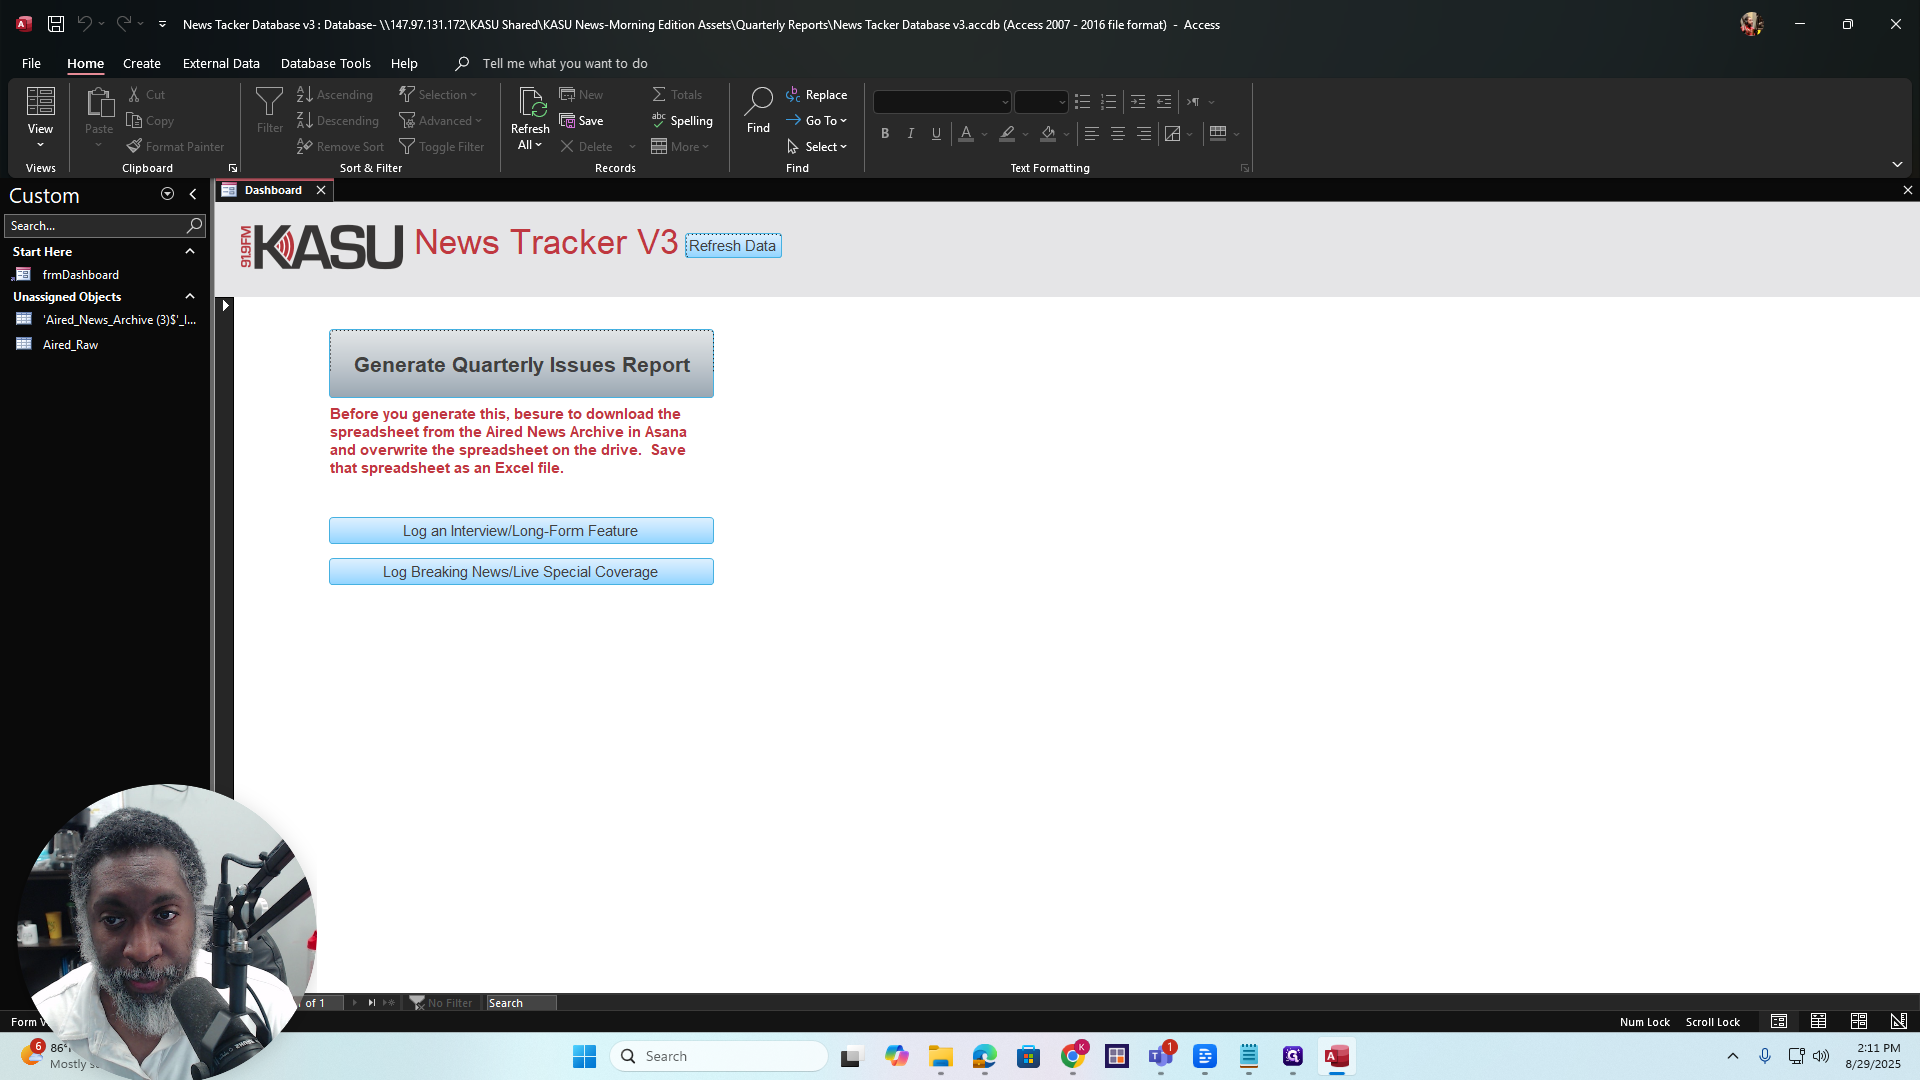
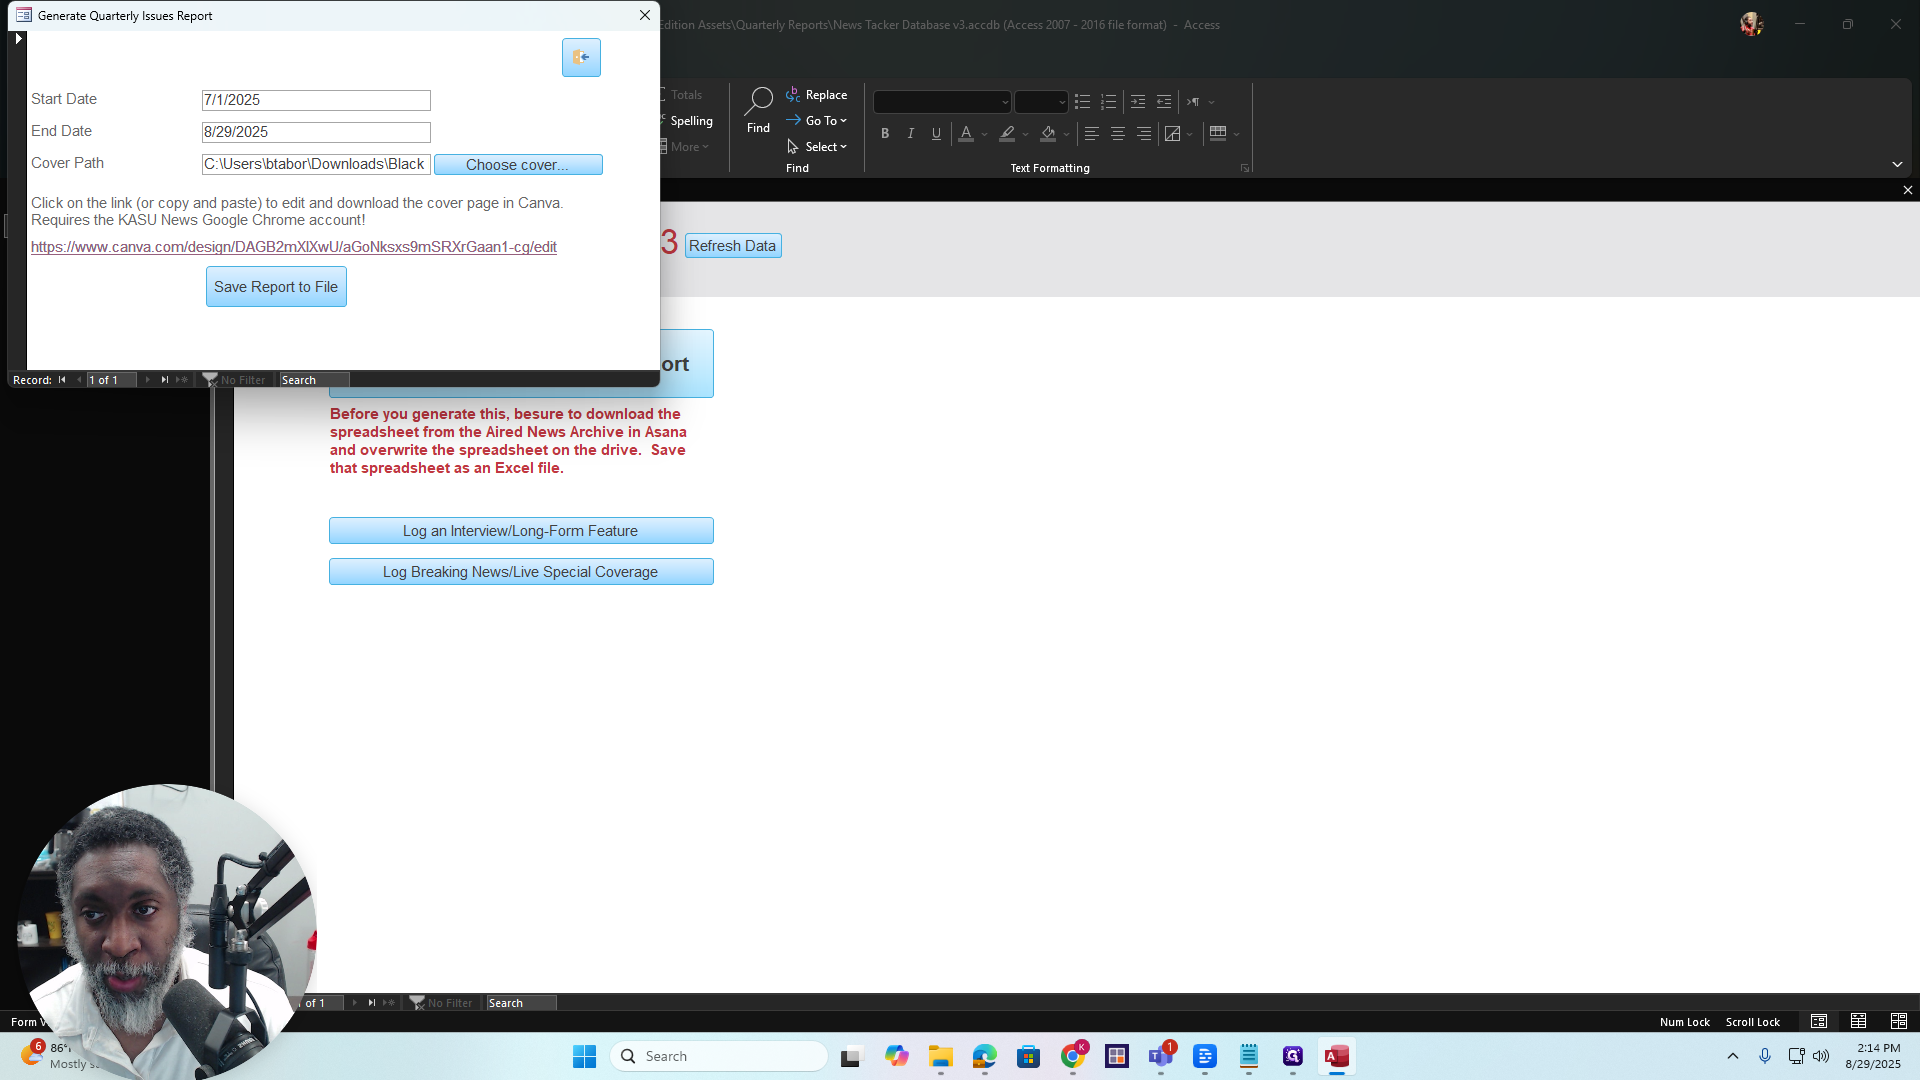
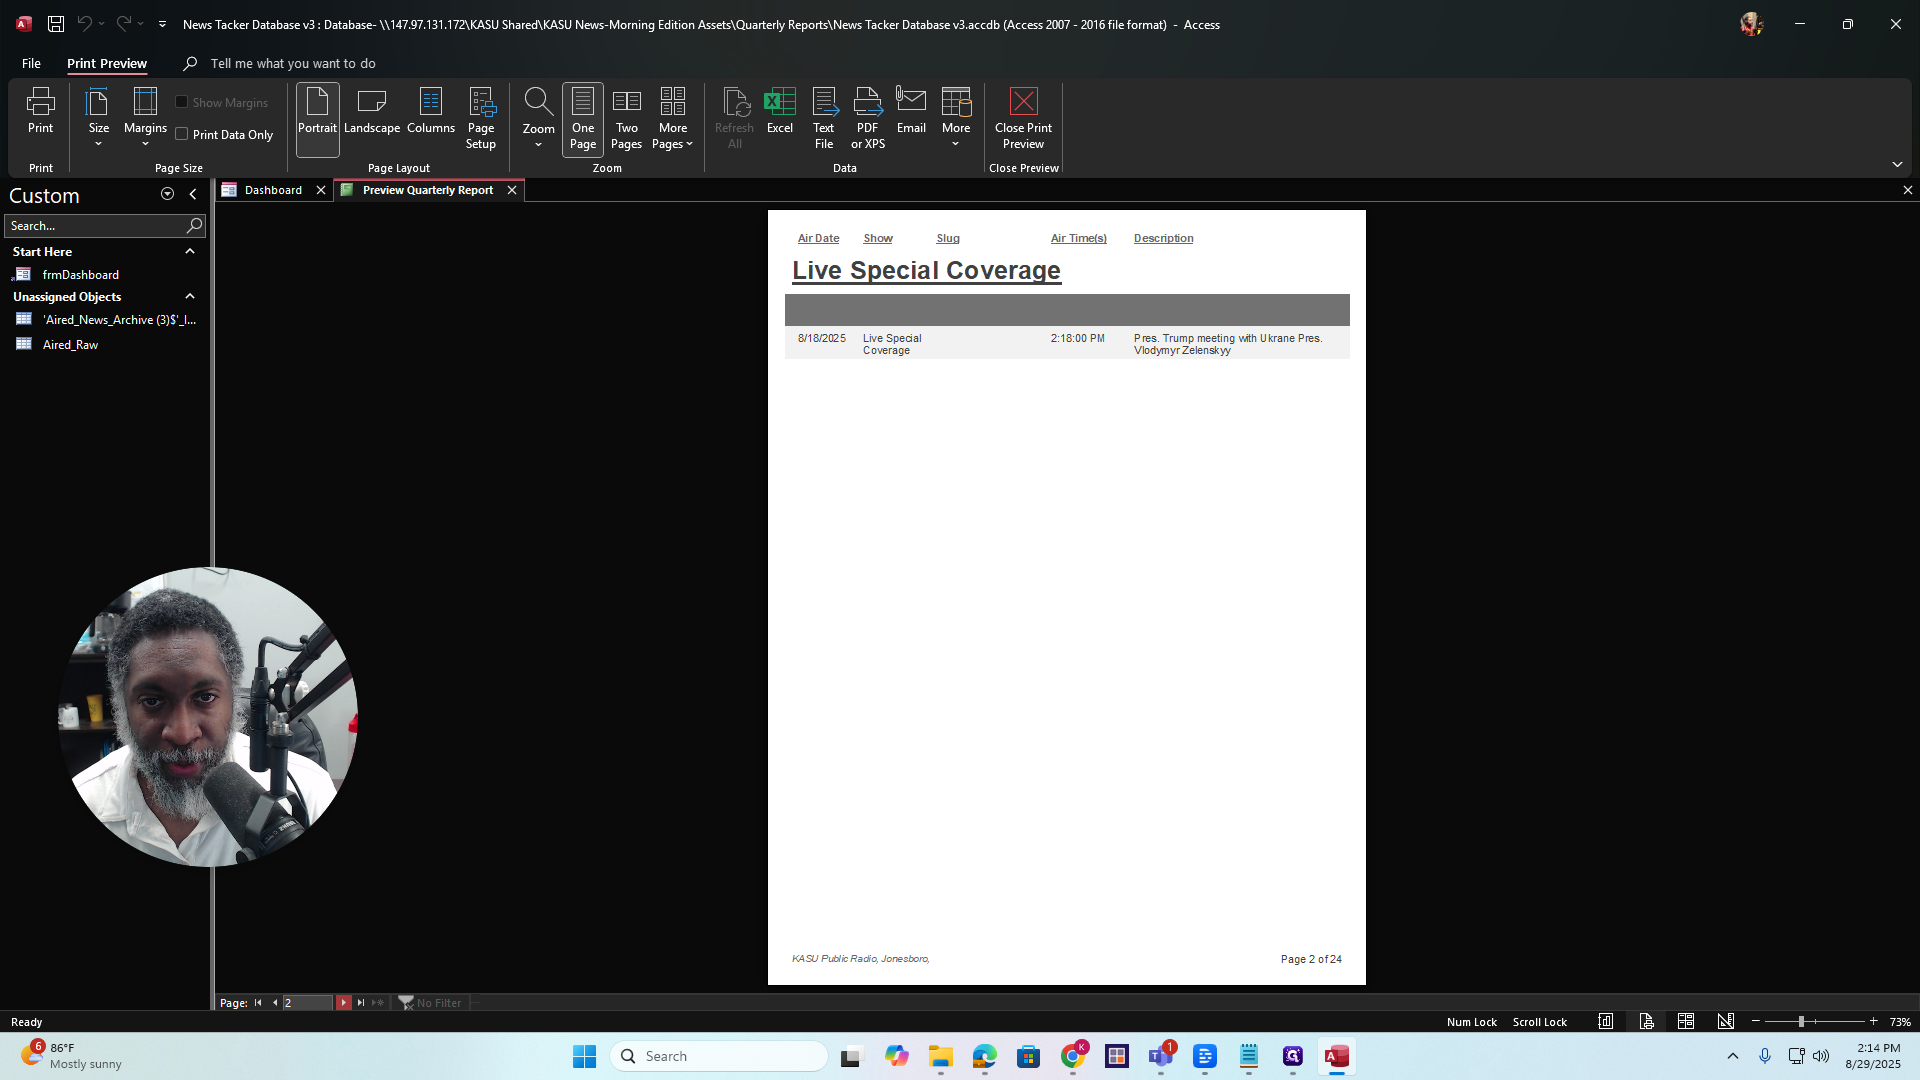
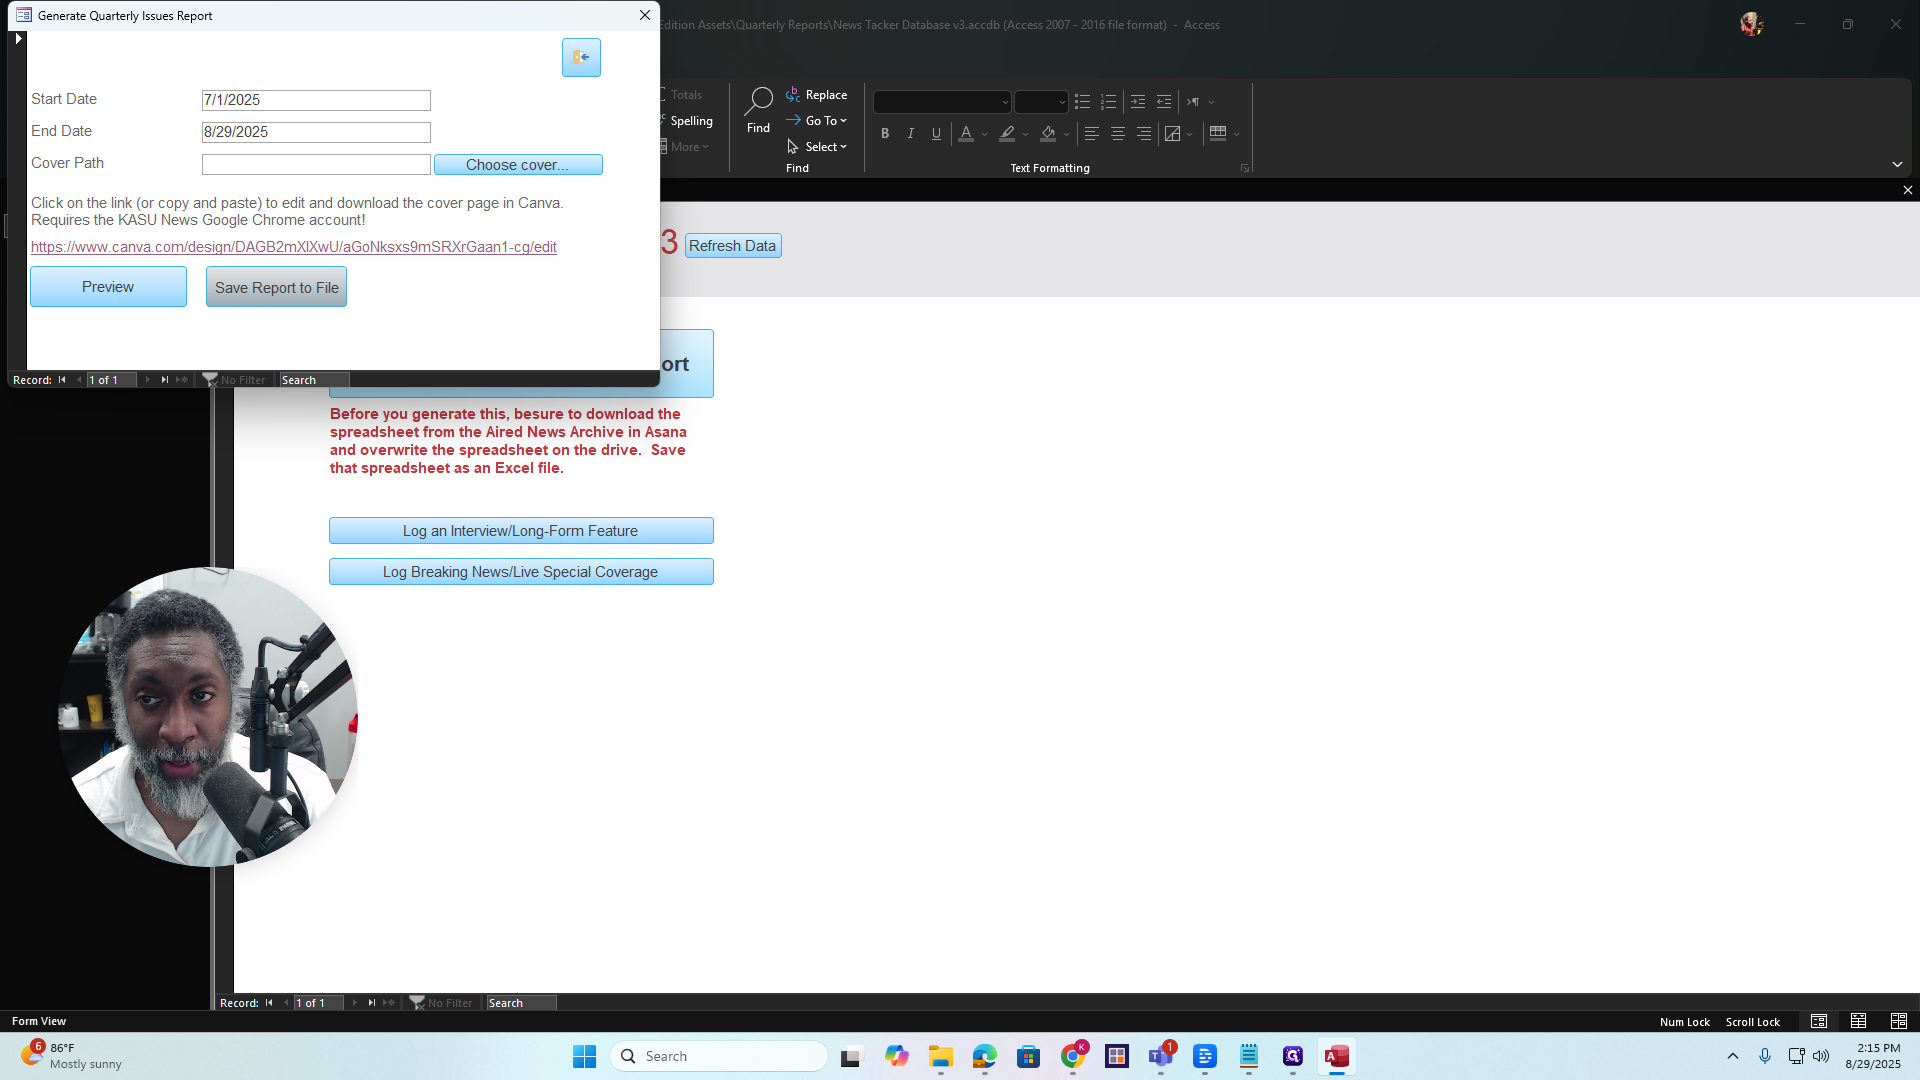
Okay? That's all that means. Generally, you can just skip it and ignore it, since you will preview it anyway. Right. If you see this dialog box, press OK. Next, click on Generate Quarterly Issues Report.
Click on that, then select your start and end points.
Generate Issues Report
Start and end date. You can use the date picker.

I'm doing this in the middle of the quarter, so I won't get the entire quarter.


We're going to start there, and then we'll continue.


Choose the end date, which is the 29th.

For this example, I'm showing you data up to the end of August. When you do this, it will cover July through September, ending at the end of September.
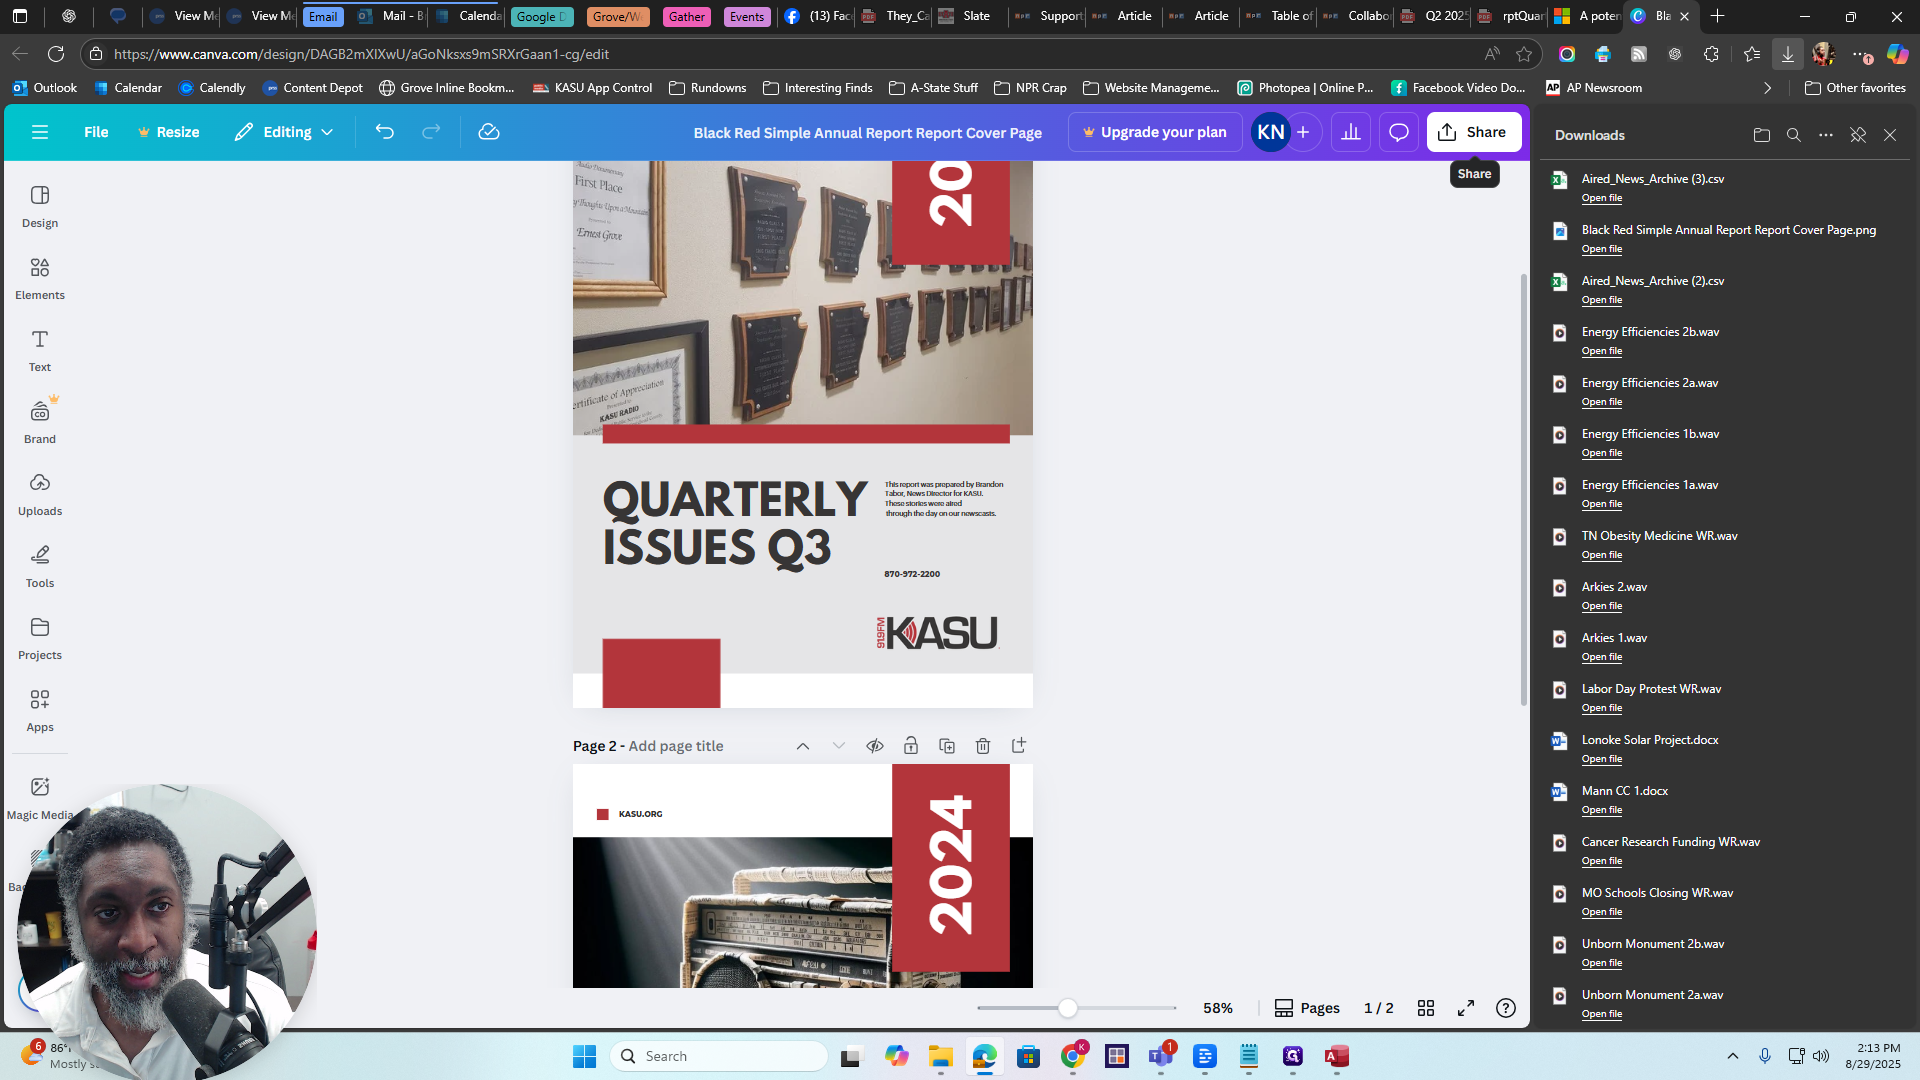
Cover Path (Cover Page)
Alright. This cover path is set up so you can download a cover page you created in Canva. It will automatically attach to the report preview. You don't have to do this. If you want to create your own report cover using a program other than Canva, you can do so.
If you decide to do it, click on this link to go to Canva.

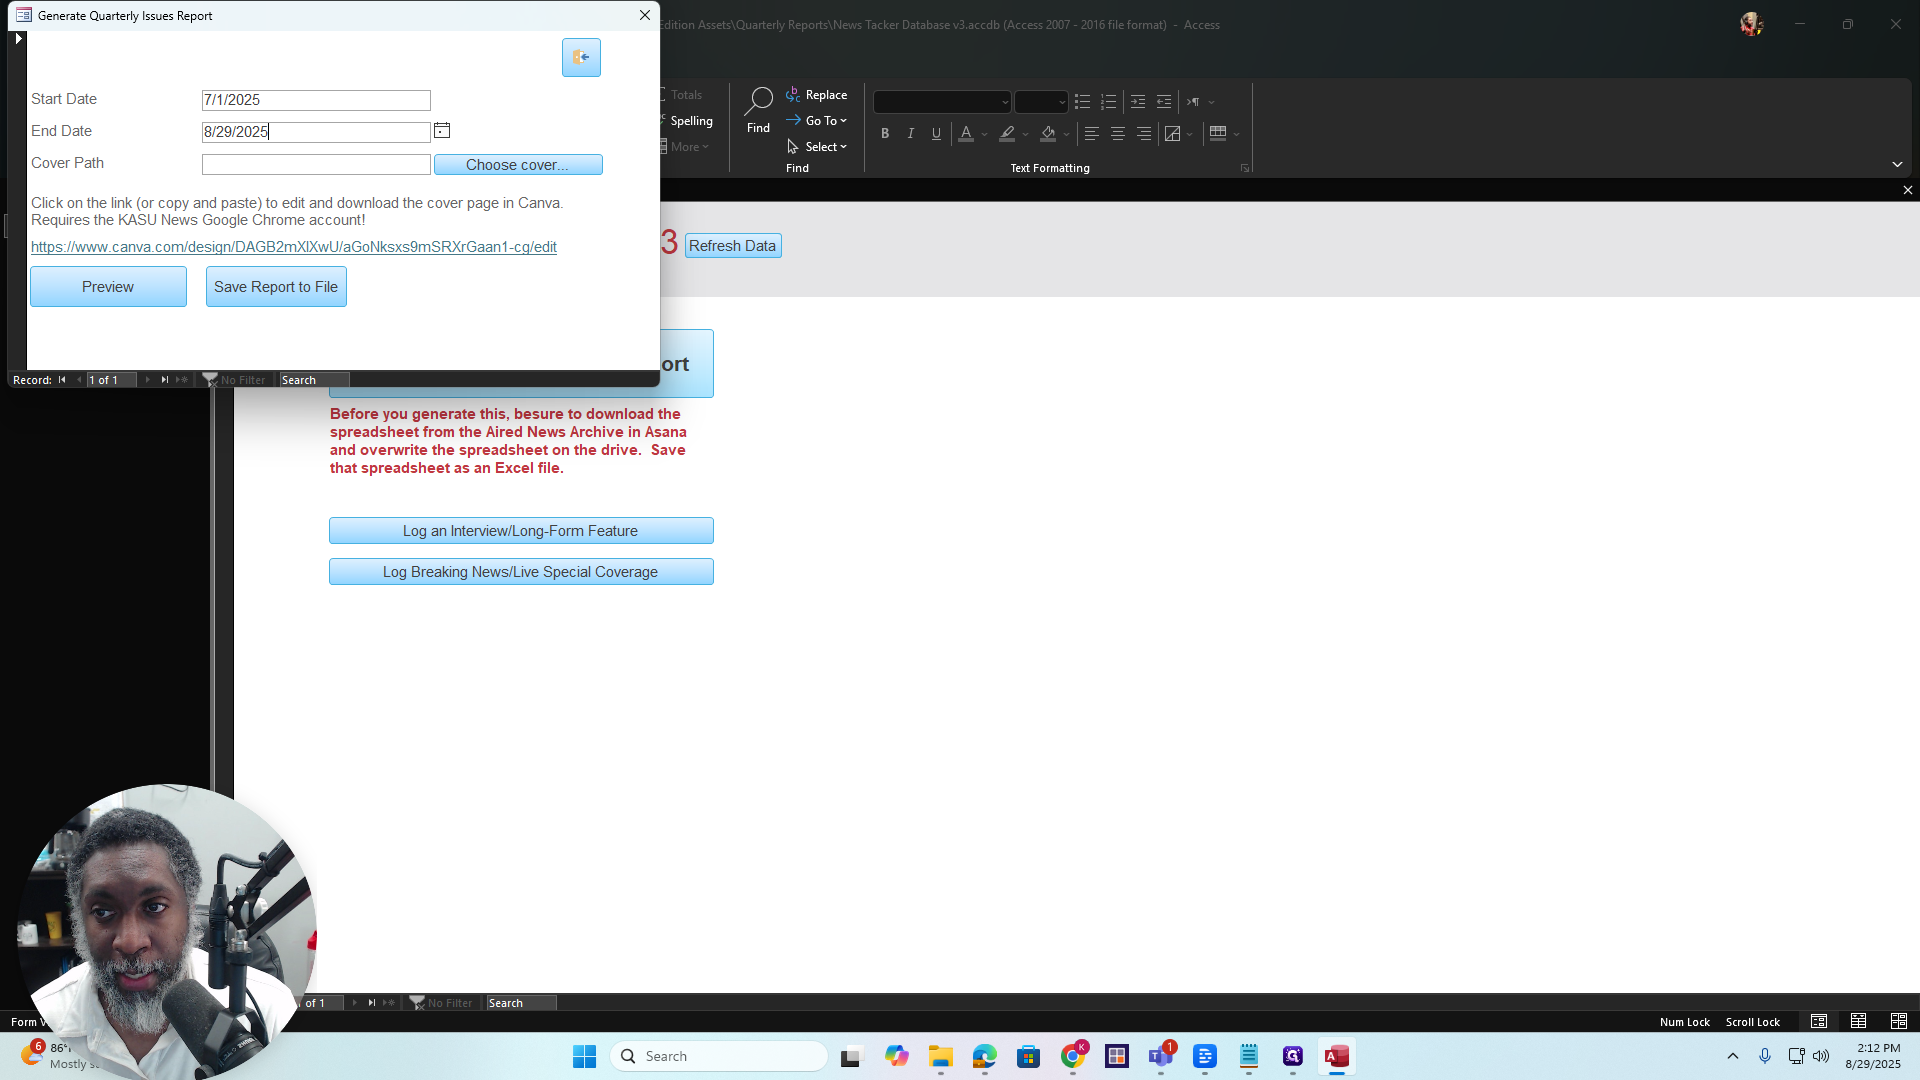
Make sure you are logged in to the KASU News Canva account. All right? You need to log in with the KASU News Gmail account to access this file. Okay? You can go in and change the quarter.
I got Q2. You can select Q3 or any other option, and change the year as needed.
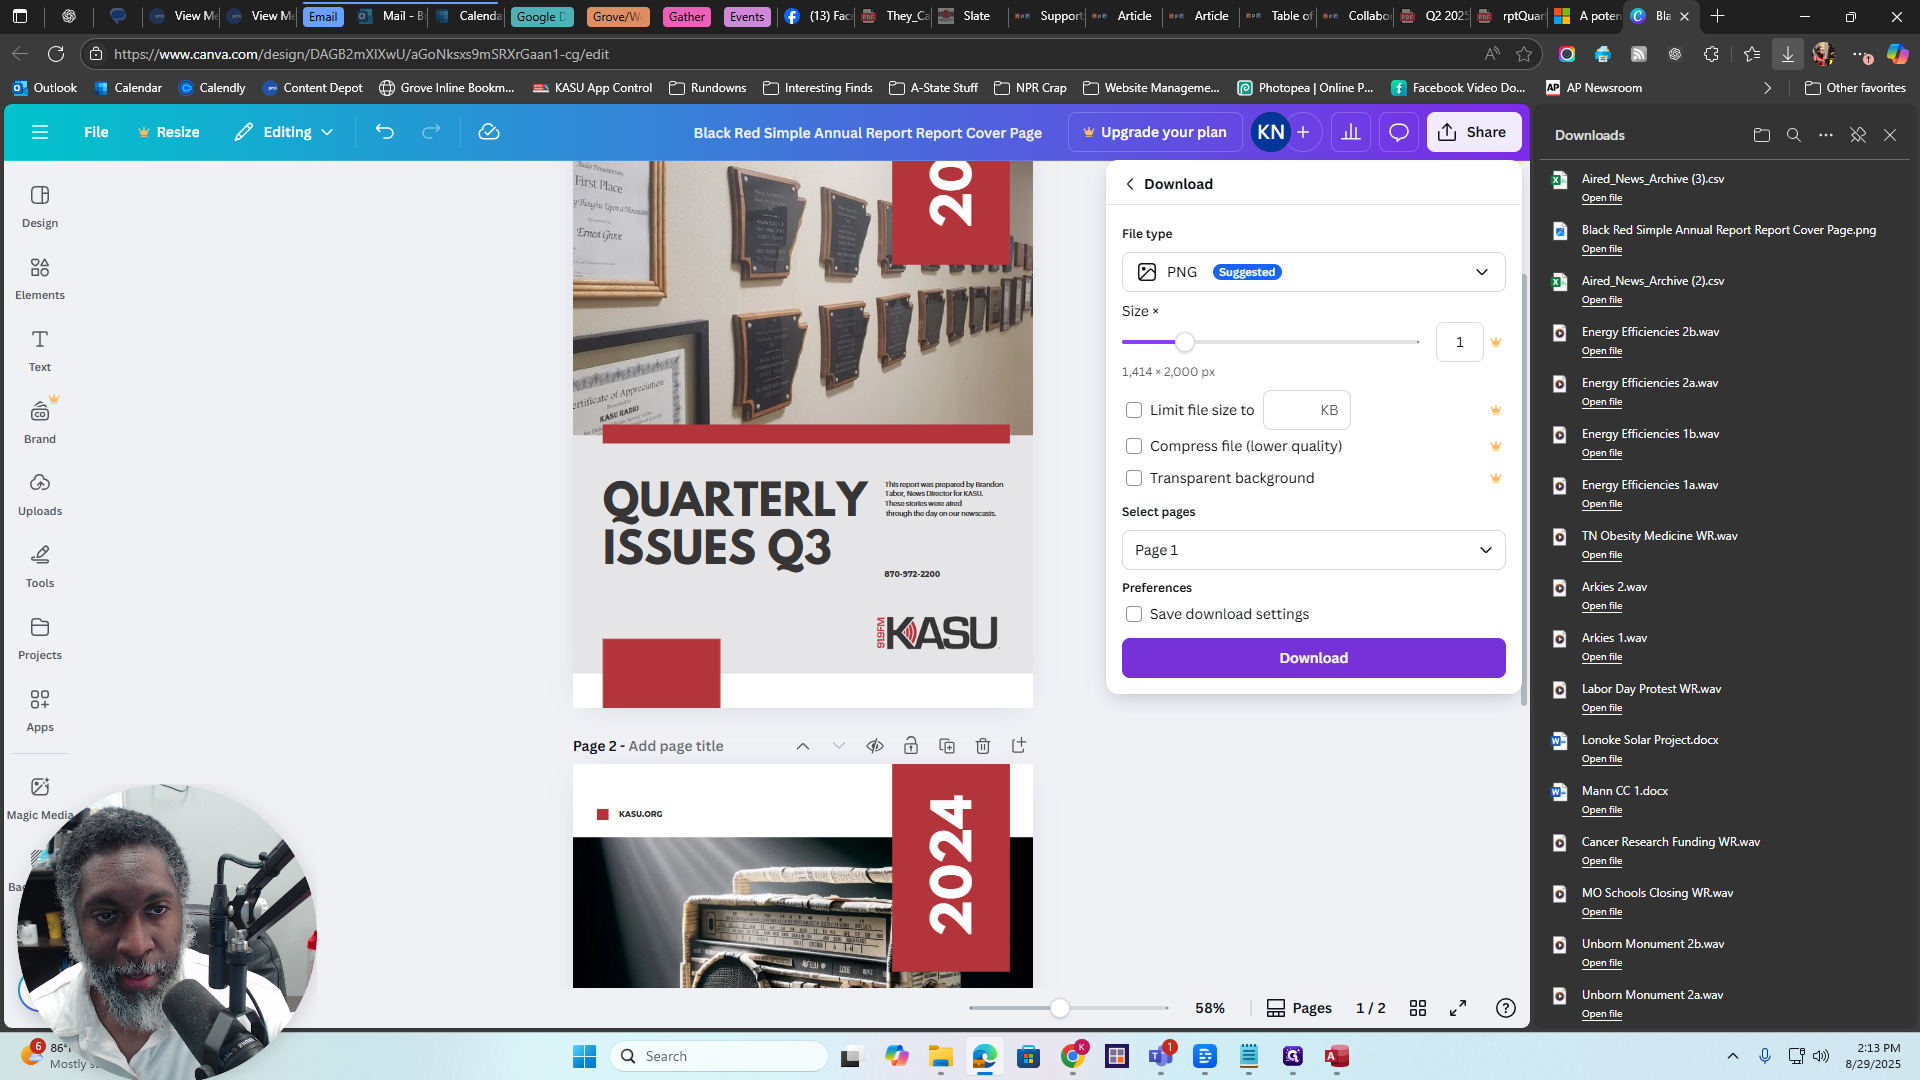
Then you can download it. Click Share, then Download. Choose the page you want.
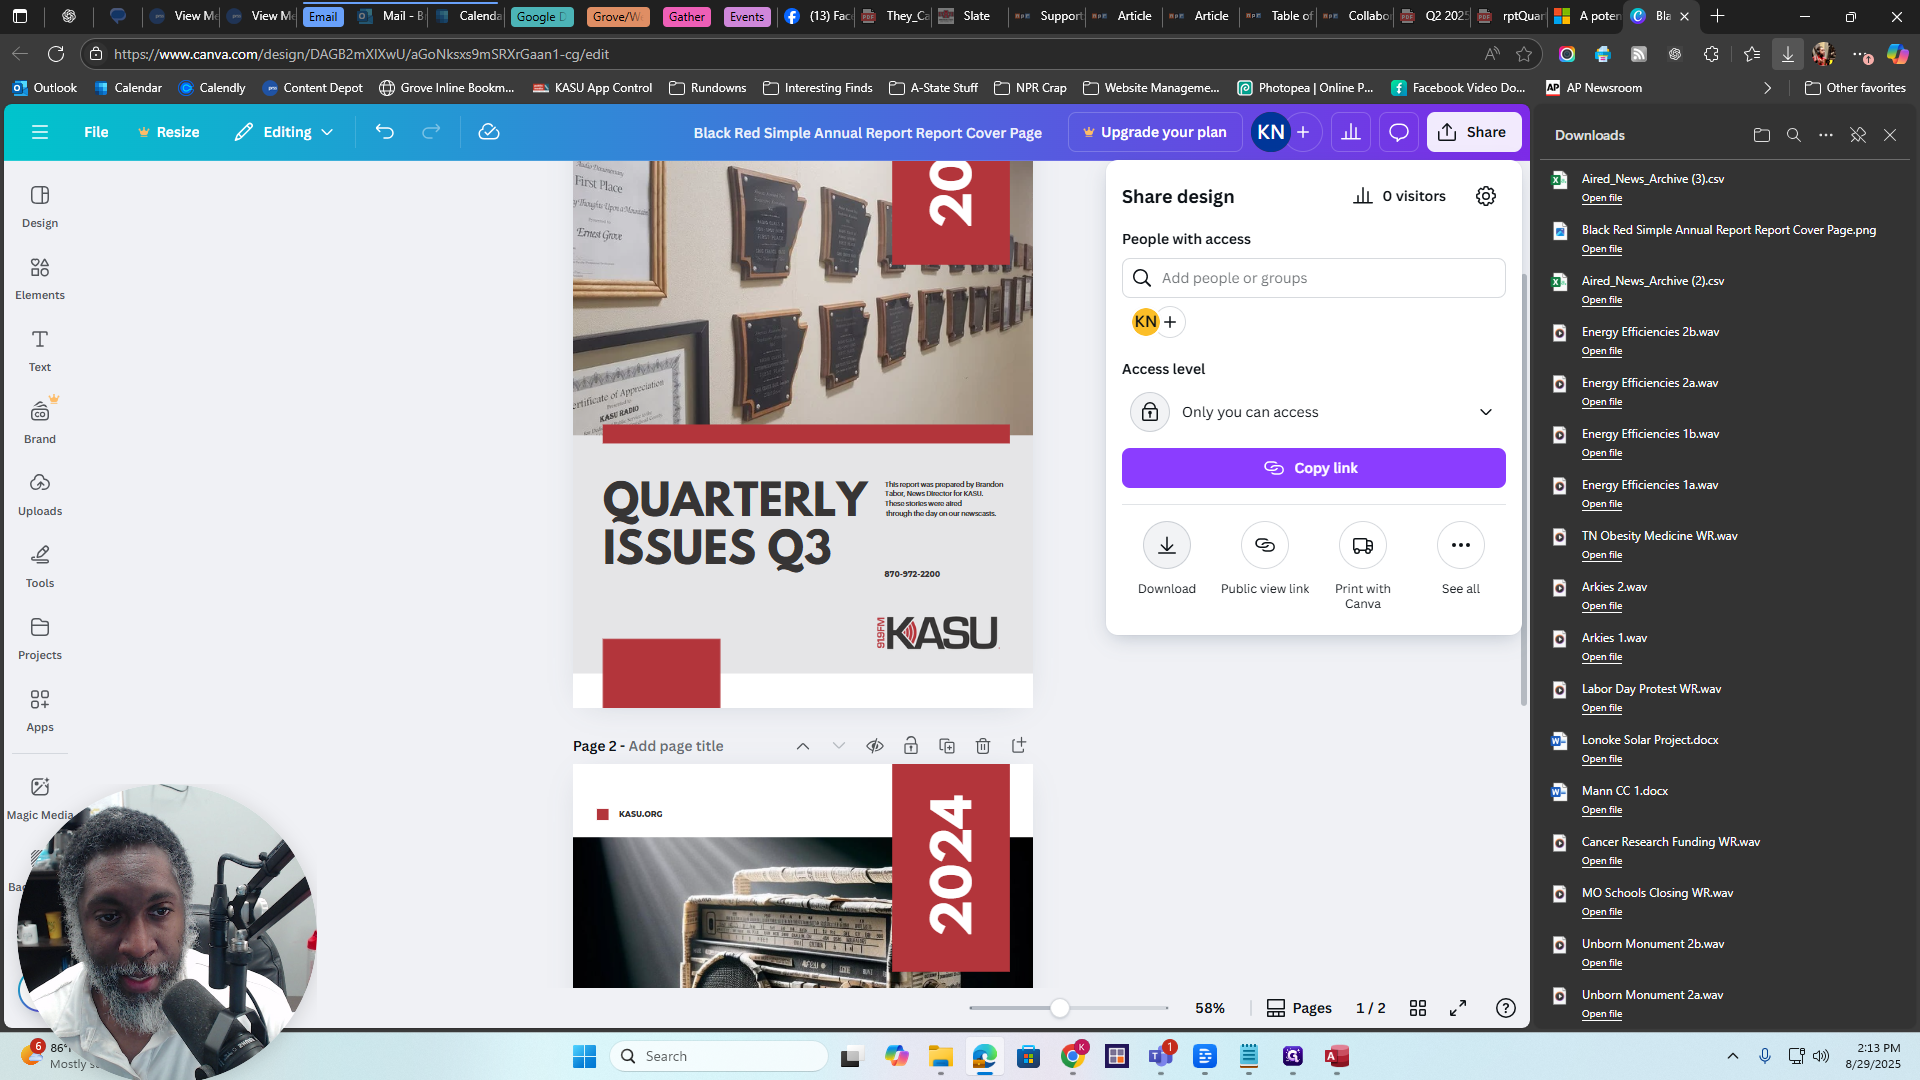
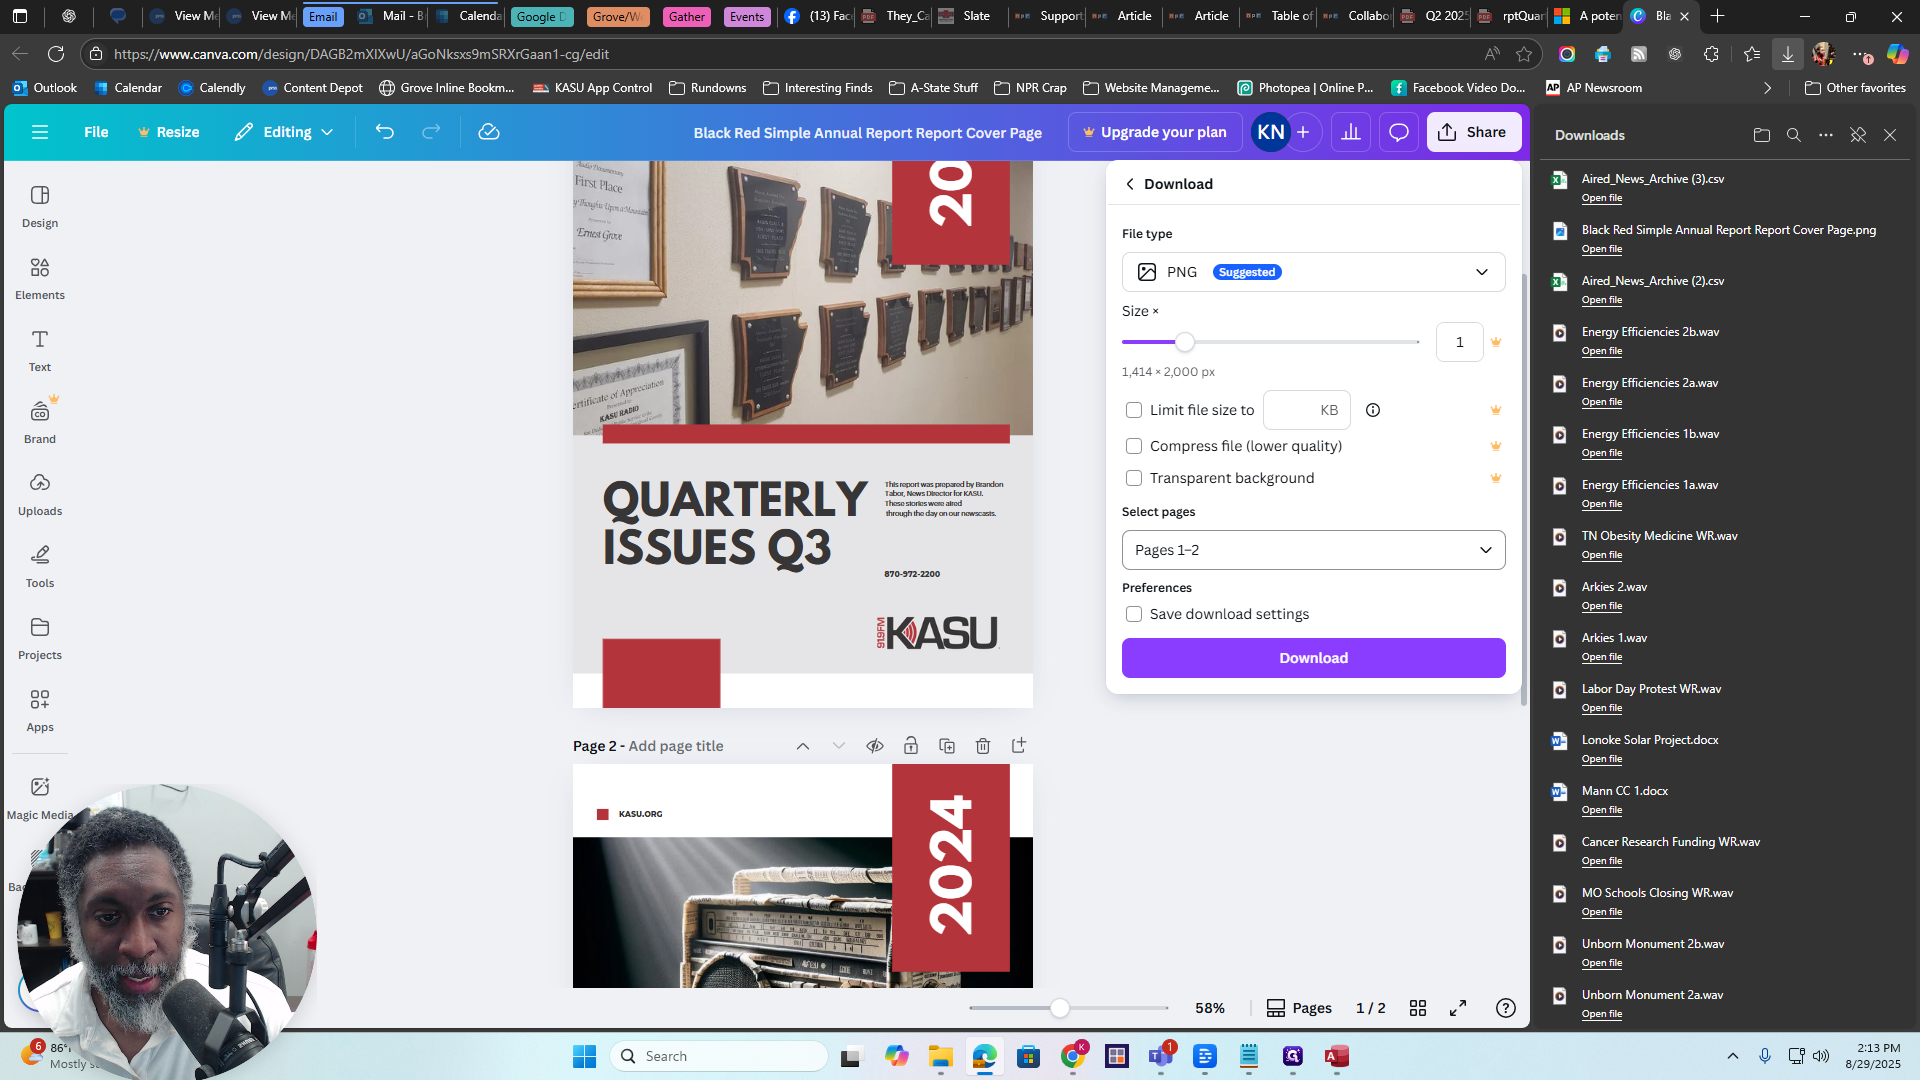

Select page one, click "Done," then "Download." The file will download automatically.
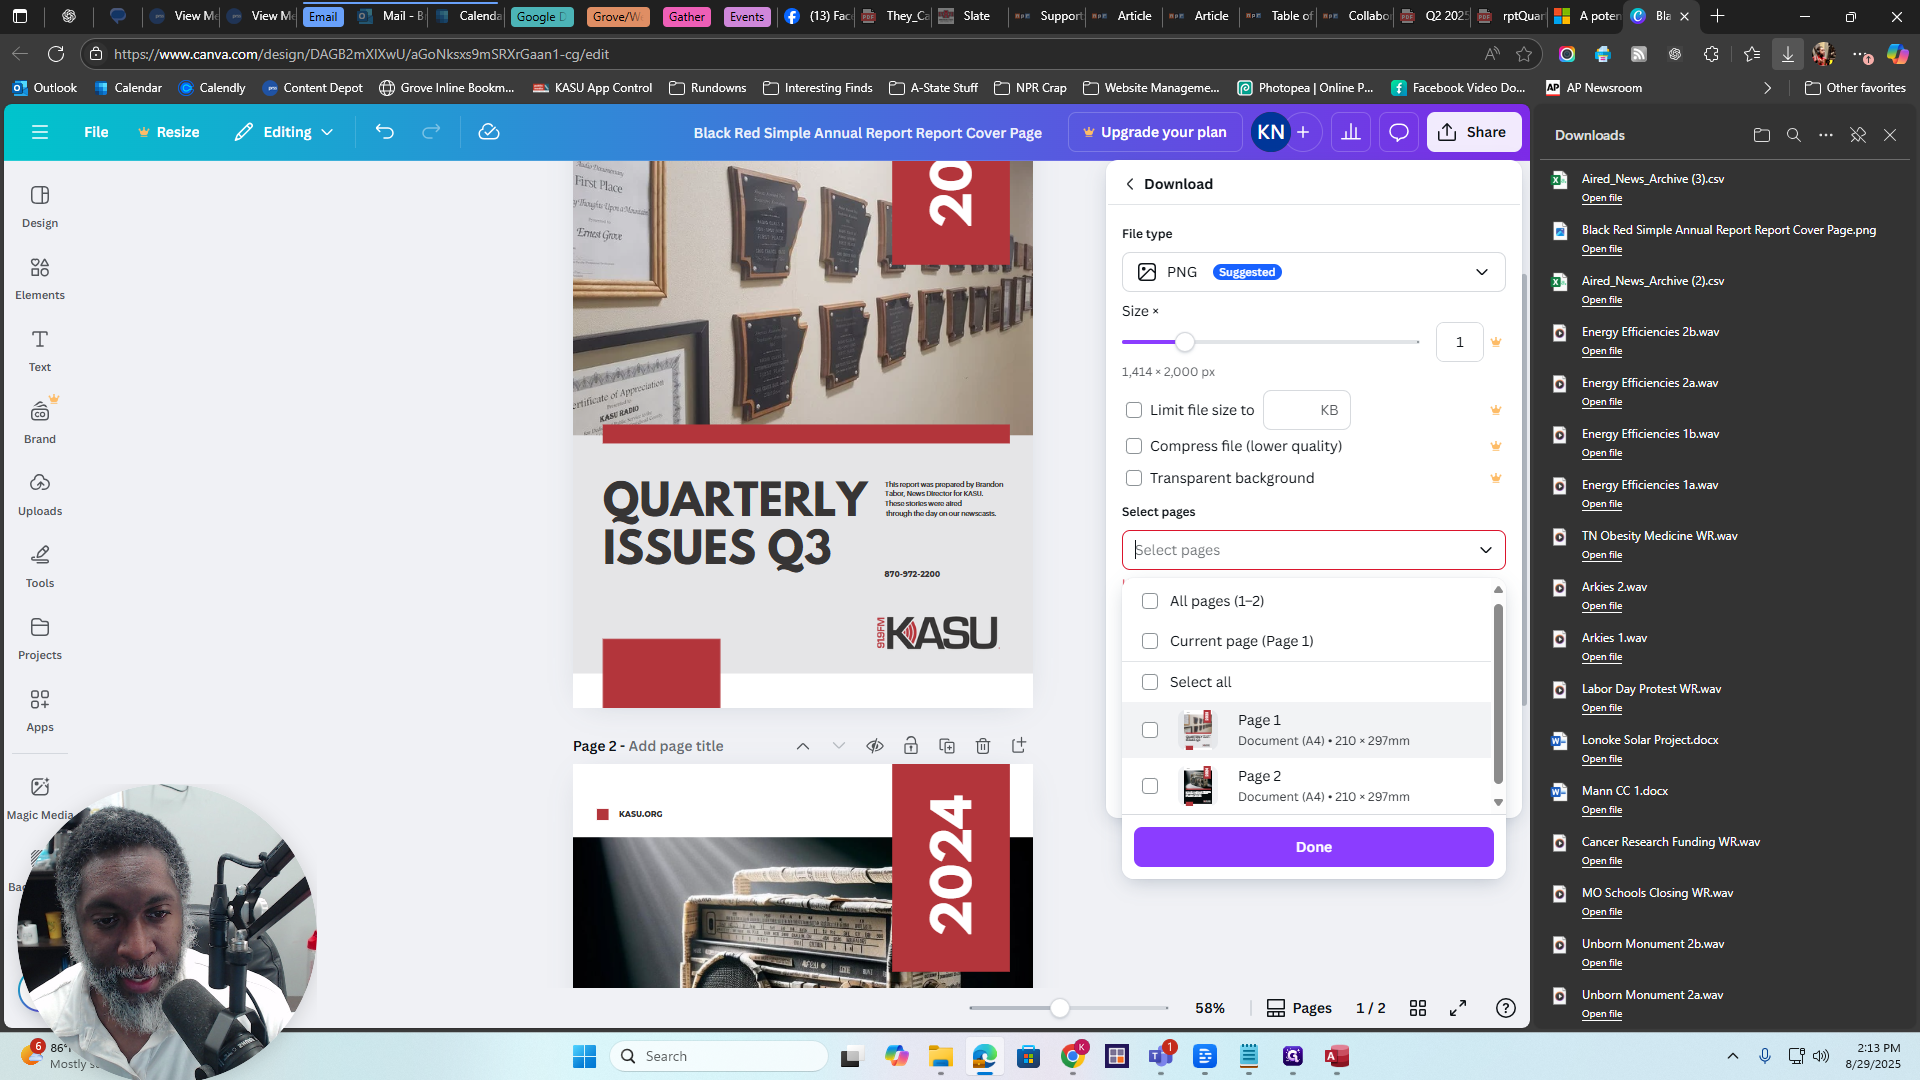

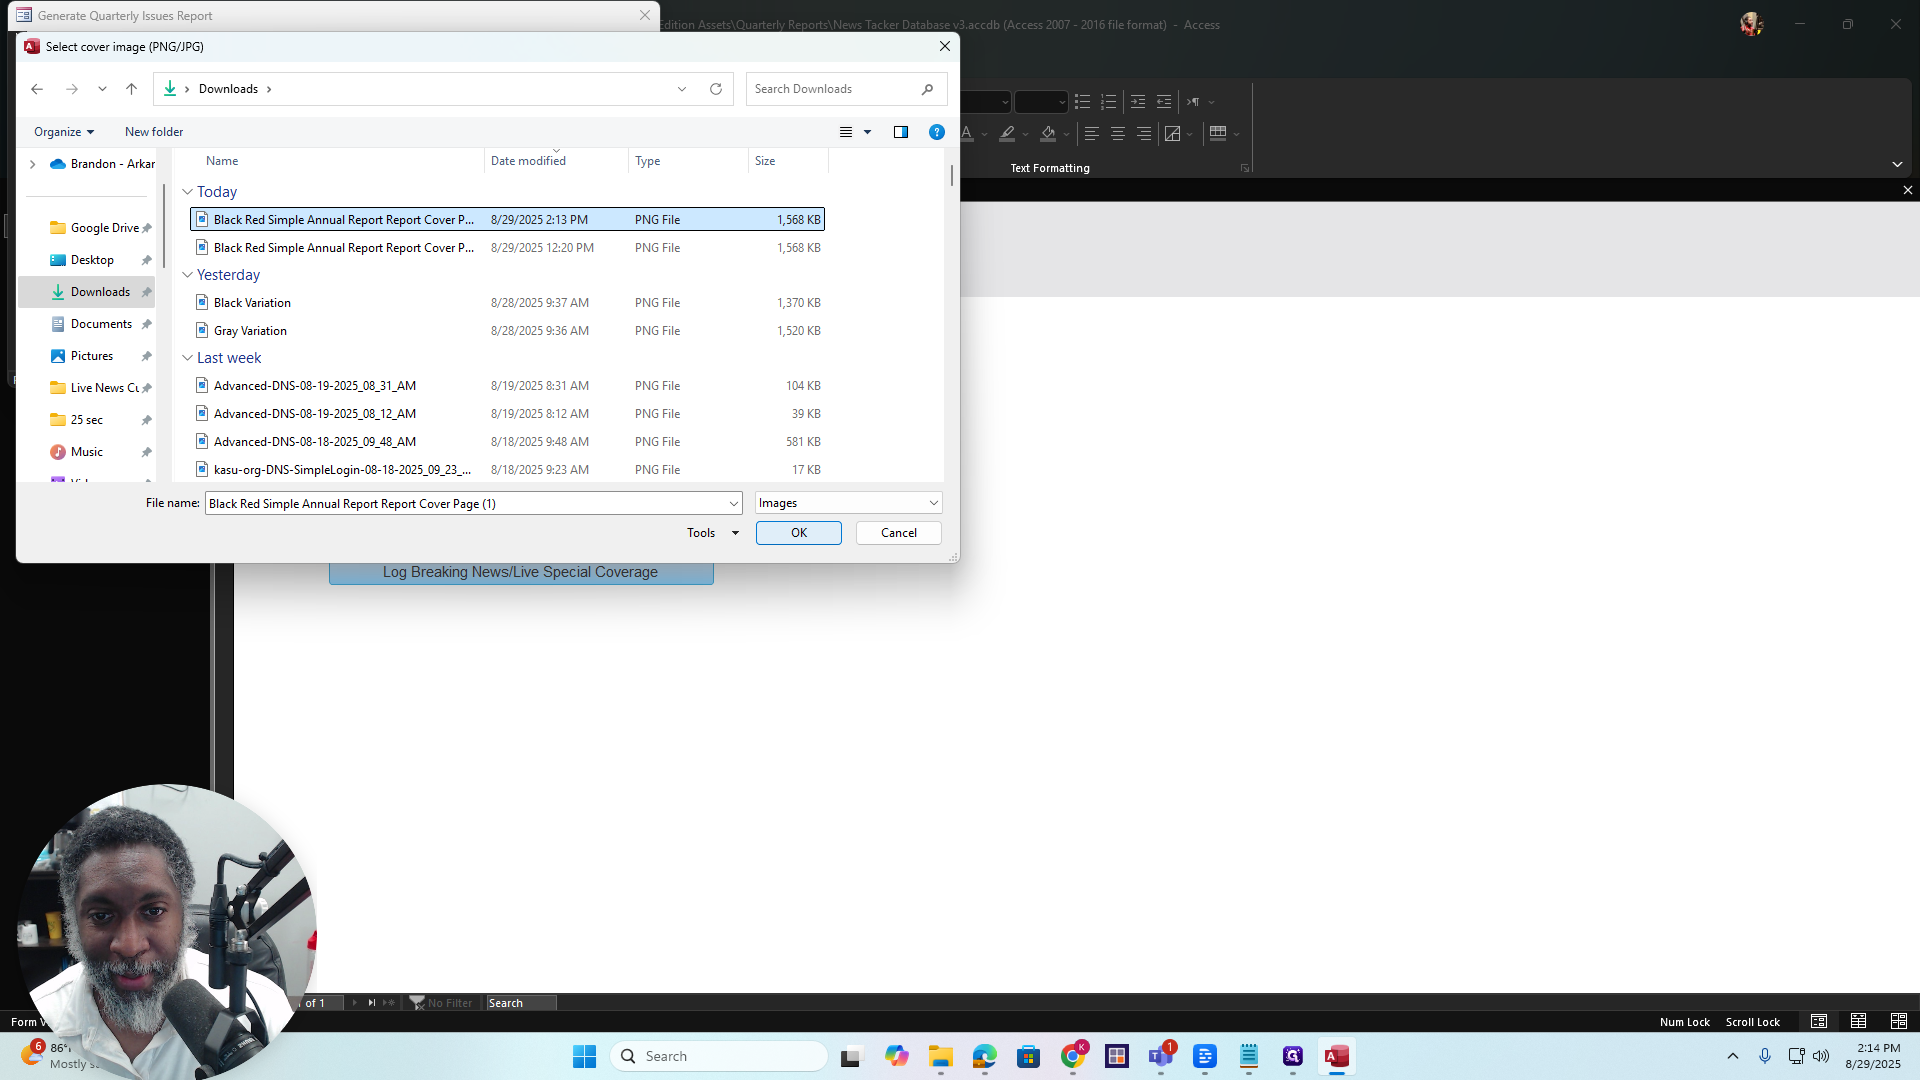
You can save it anywhere on your computer, wherever you want to find it. I will press Save, then go back and click on Choose Cover.
It will open this dialog box.

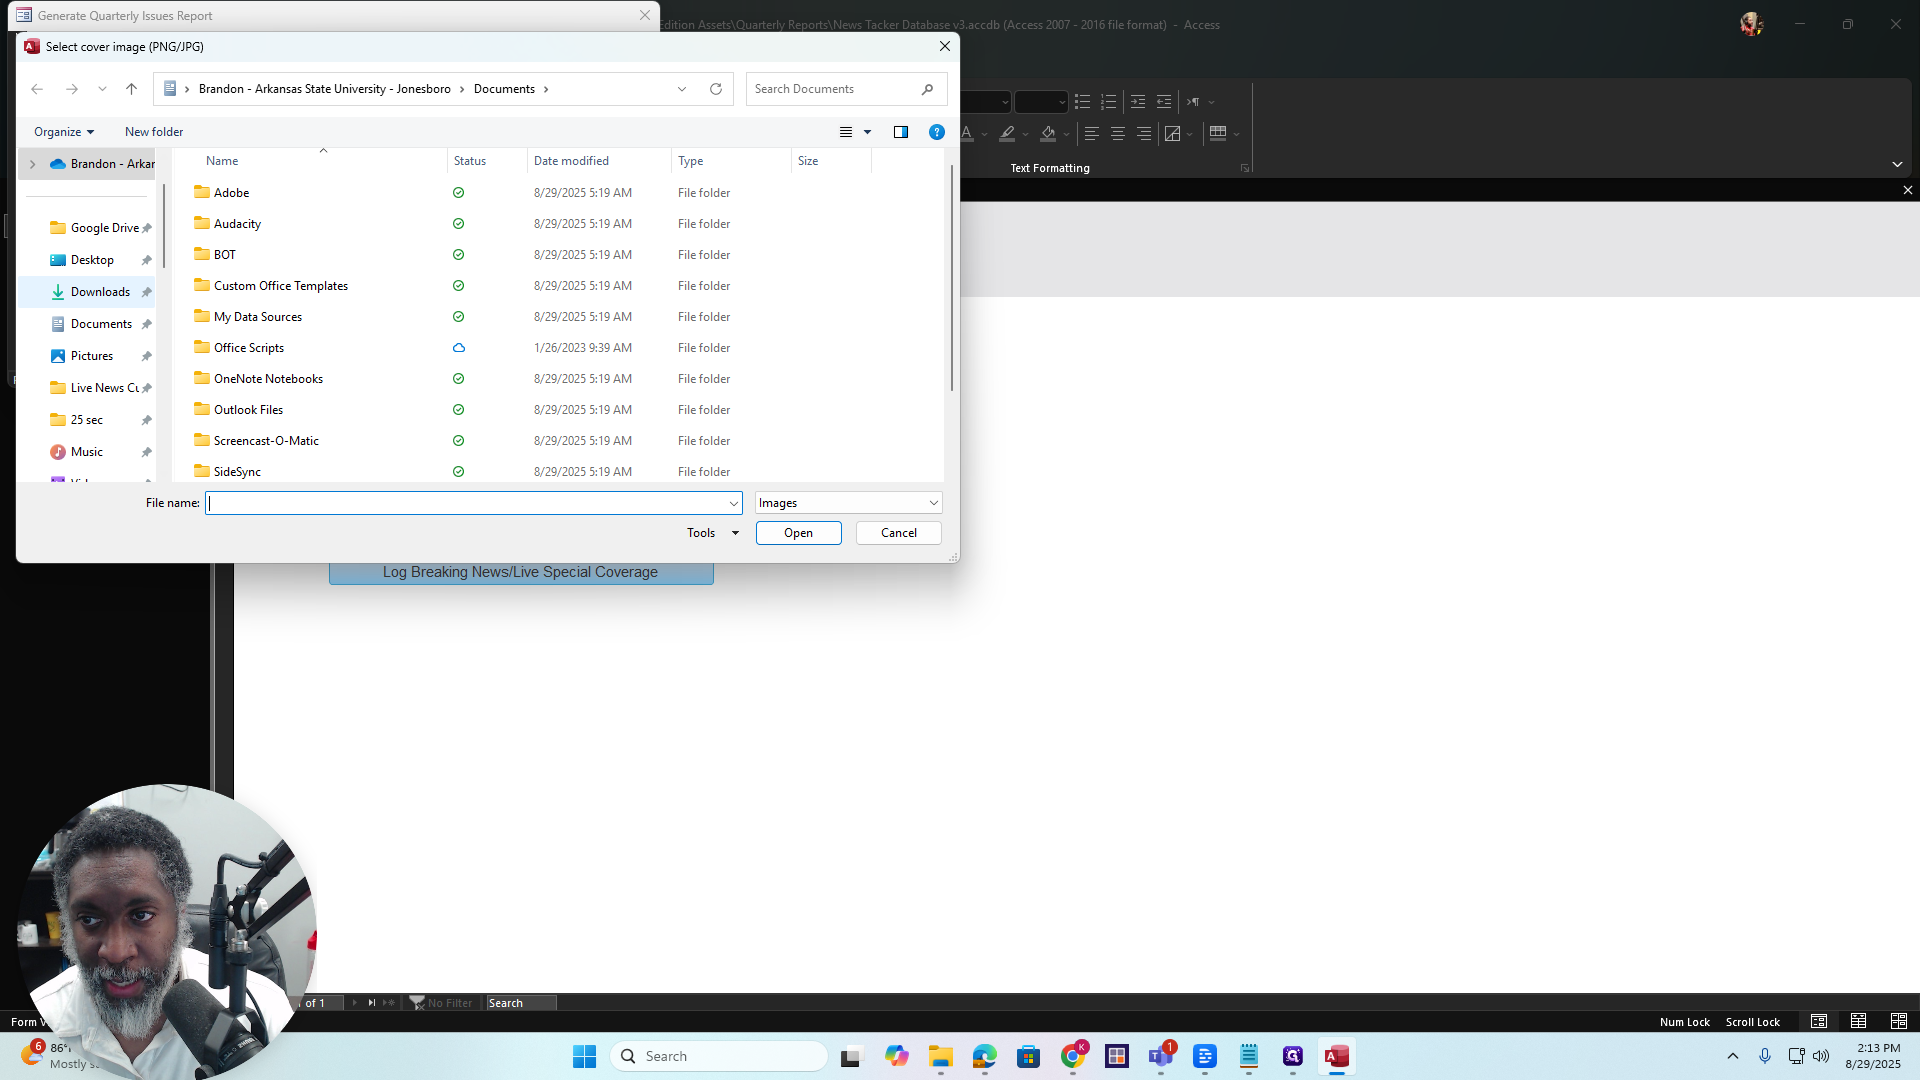
I'm going to Downloads. That's my cover there.
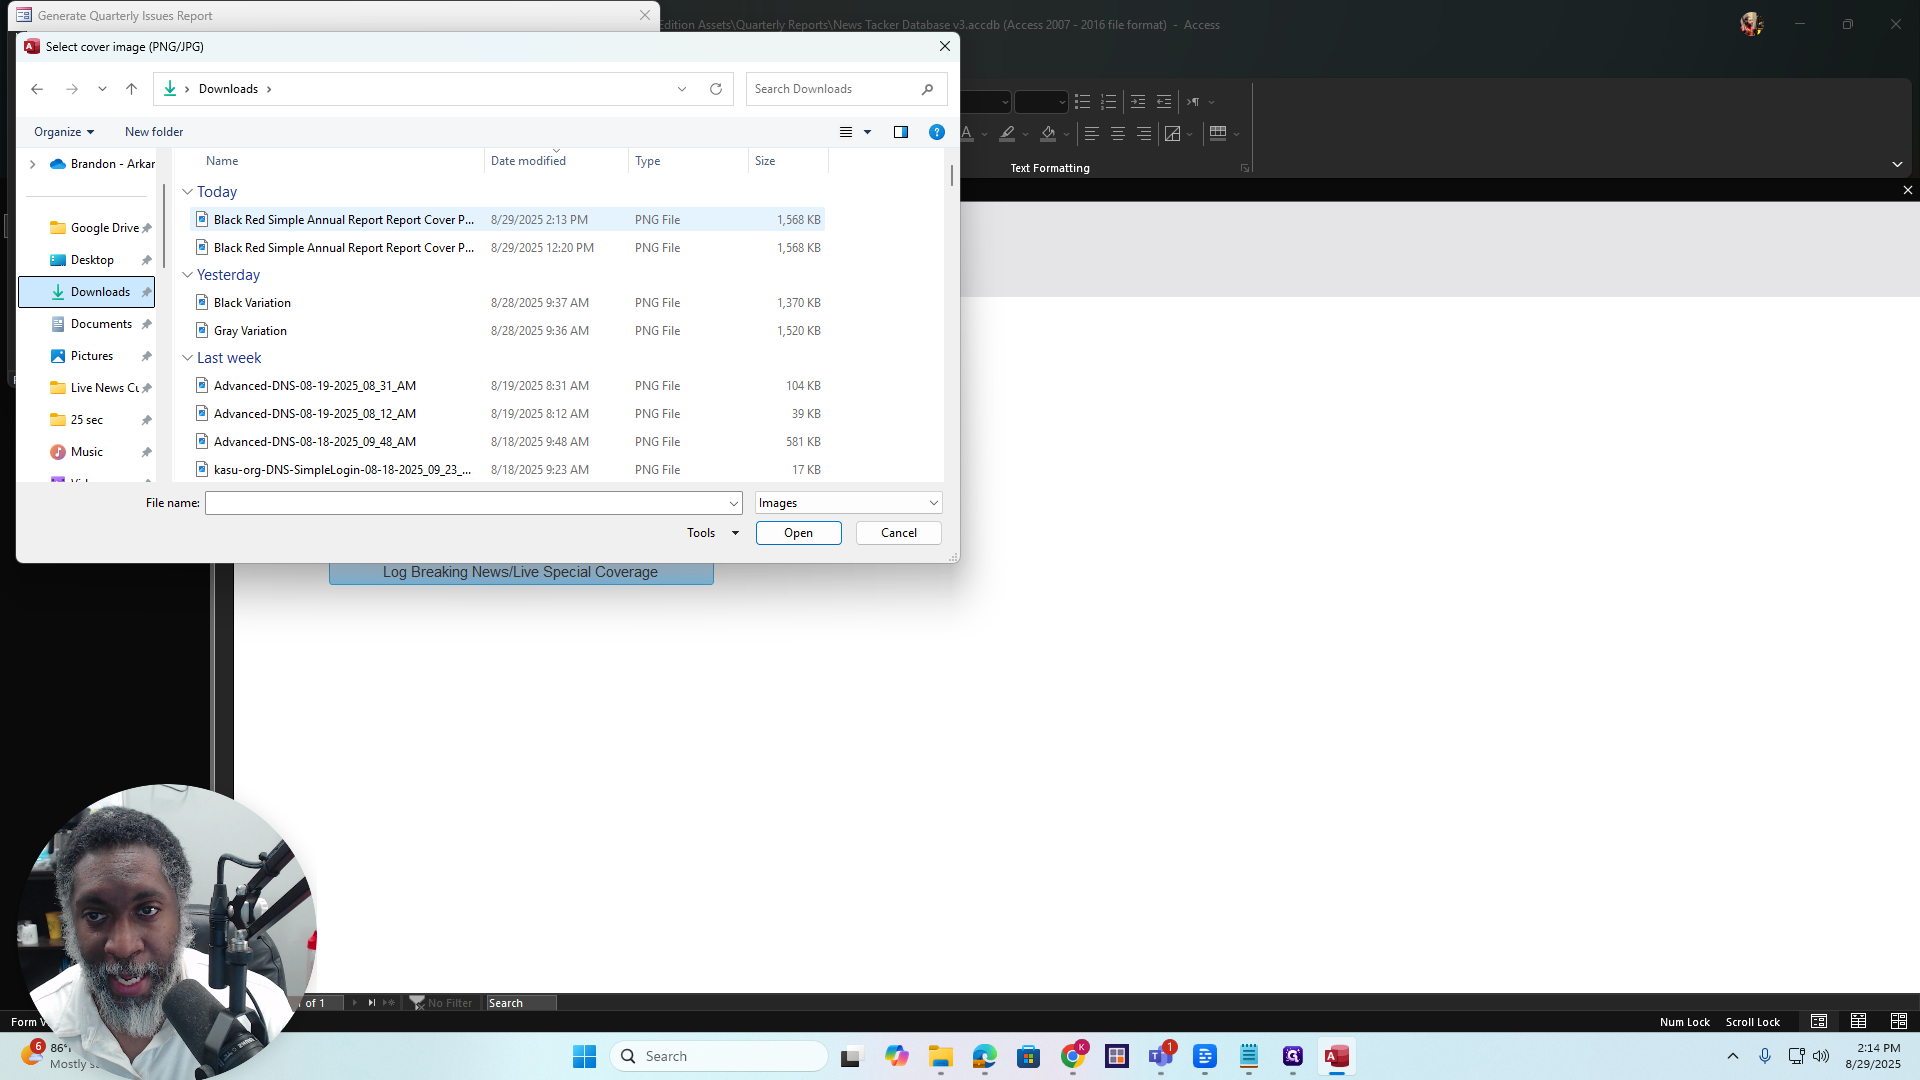
Press OK, and there it is.
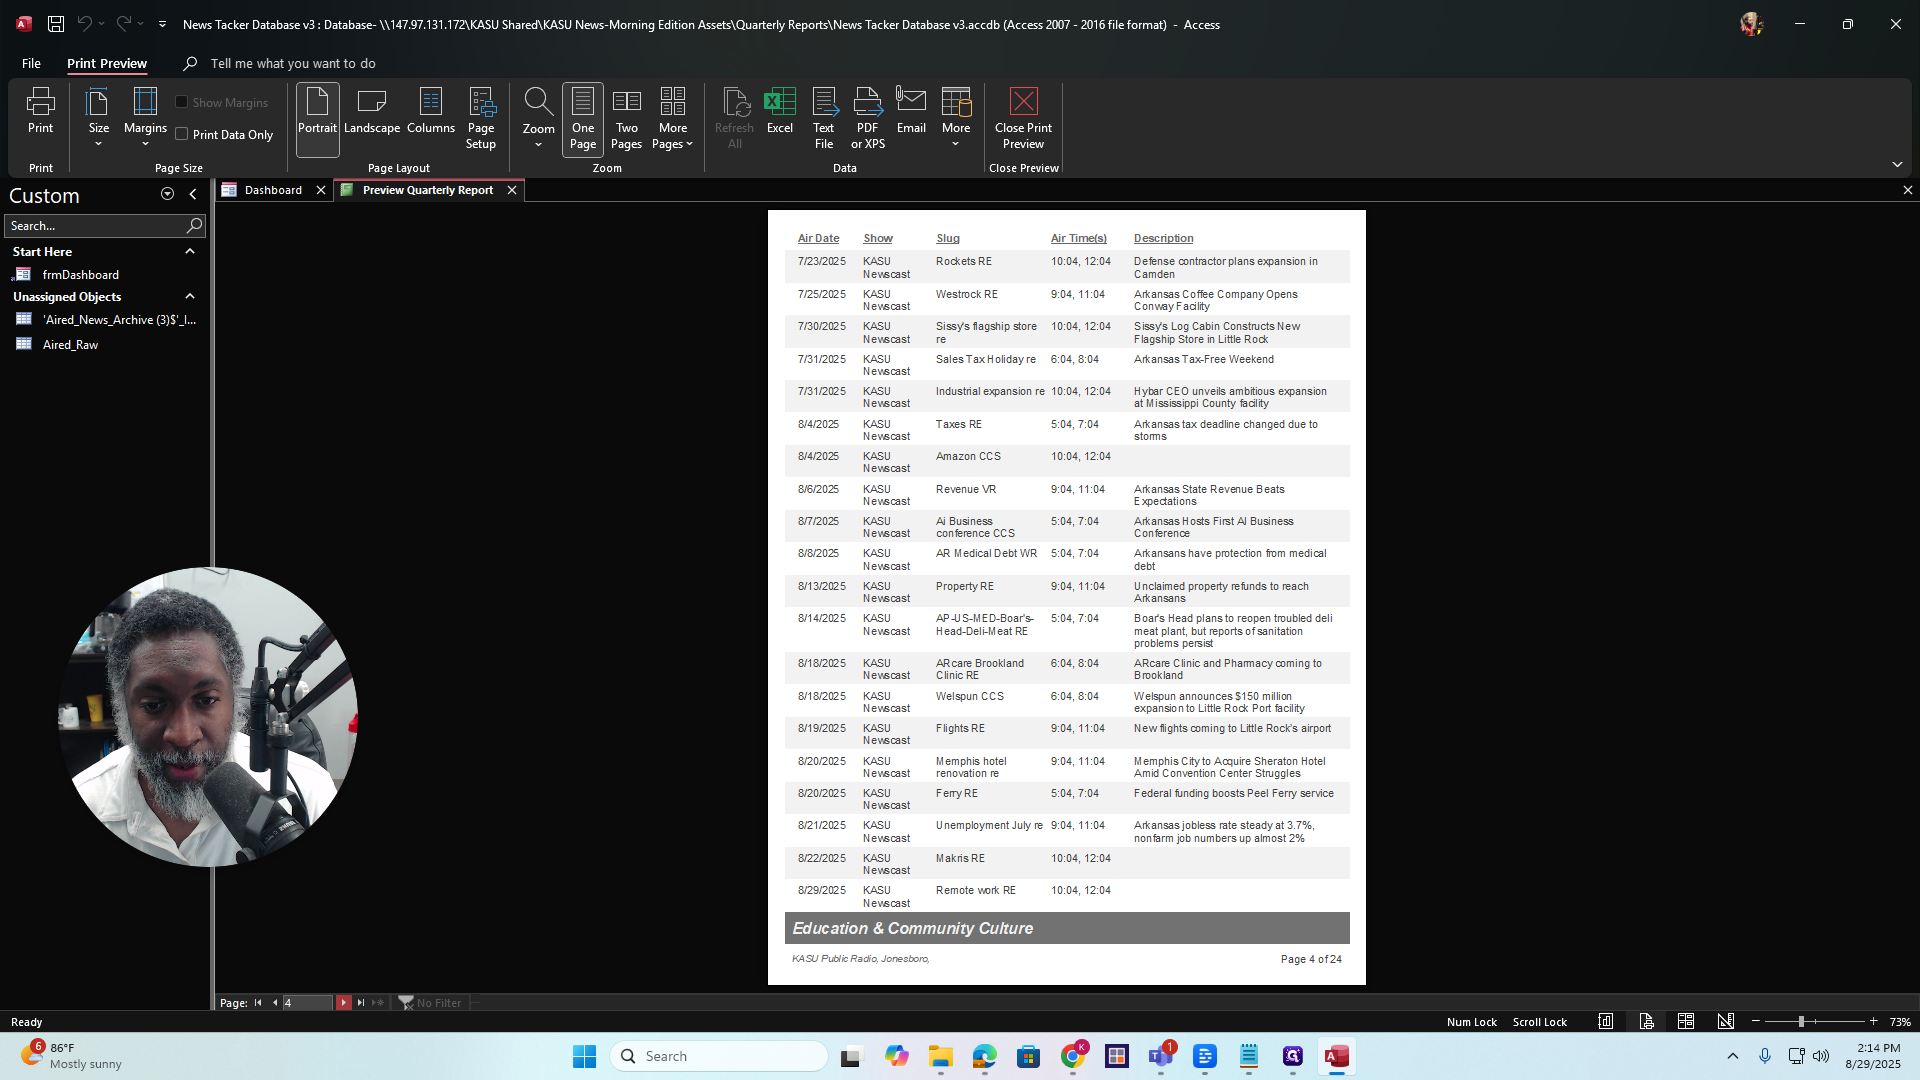
Preview Report
Now I'll press Preview.
Okay? All righty. Here it is. All right, we can move that down and...
You may hear some dings as I check the different pages. If that happens, simply press the exit button here.
Just press the exit button, then click on the tab again to view it.

Let me move my head over there. Then, go to the bottom and click the small triangle.
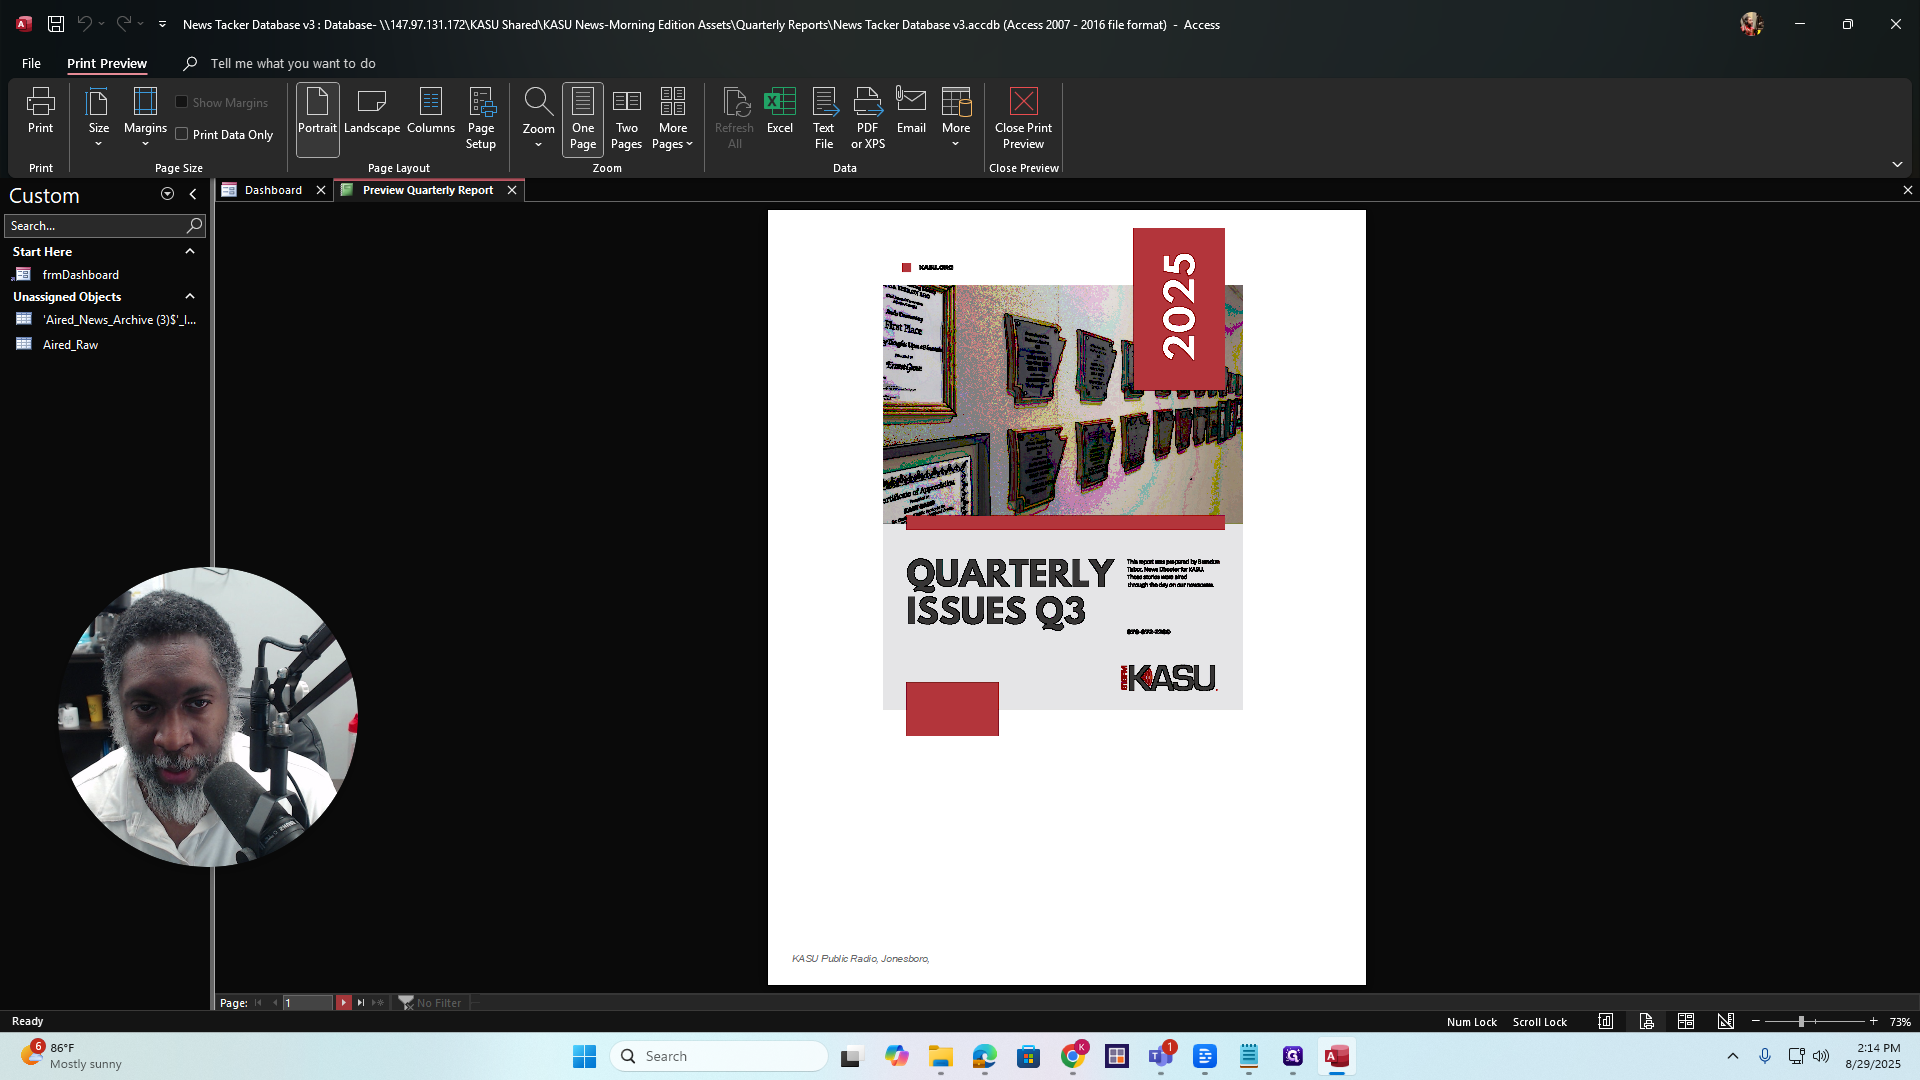
You can flip through it and preview how it looks to you.
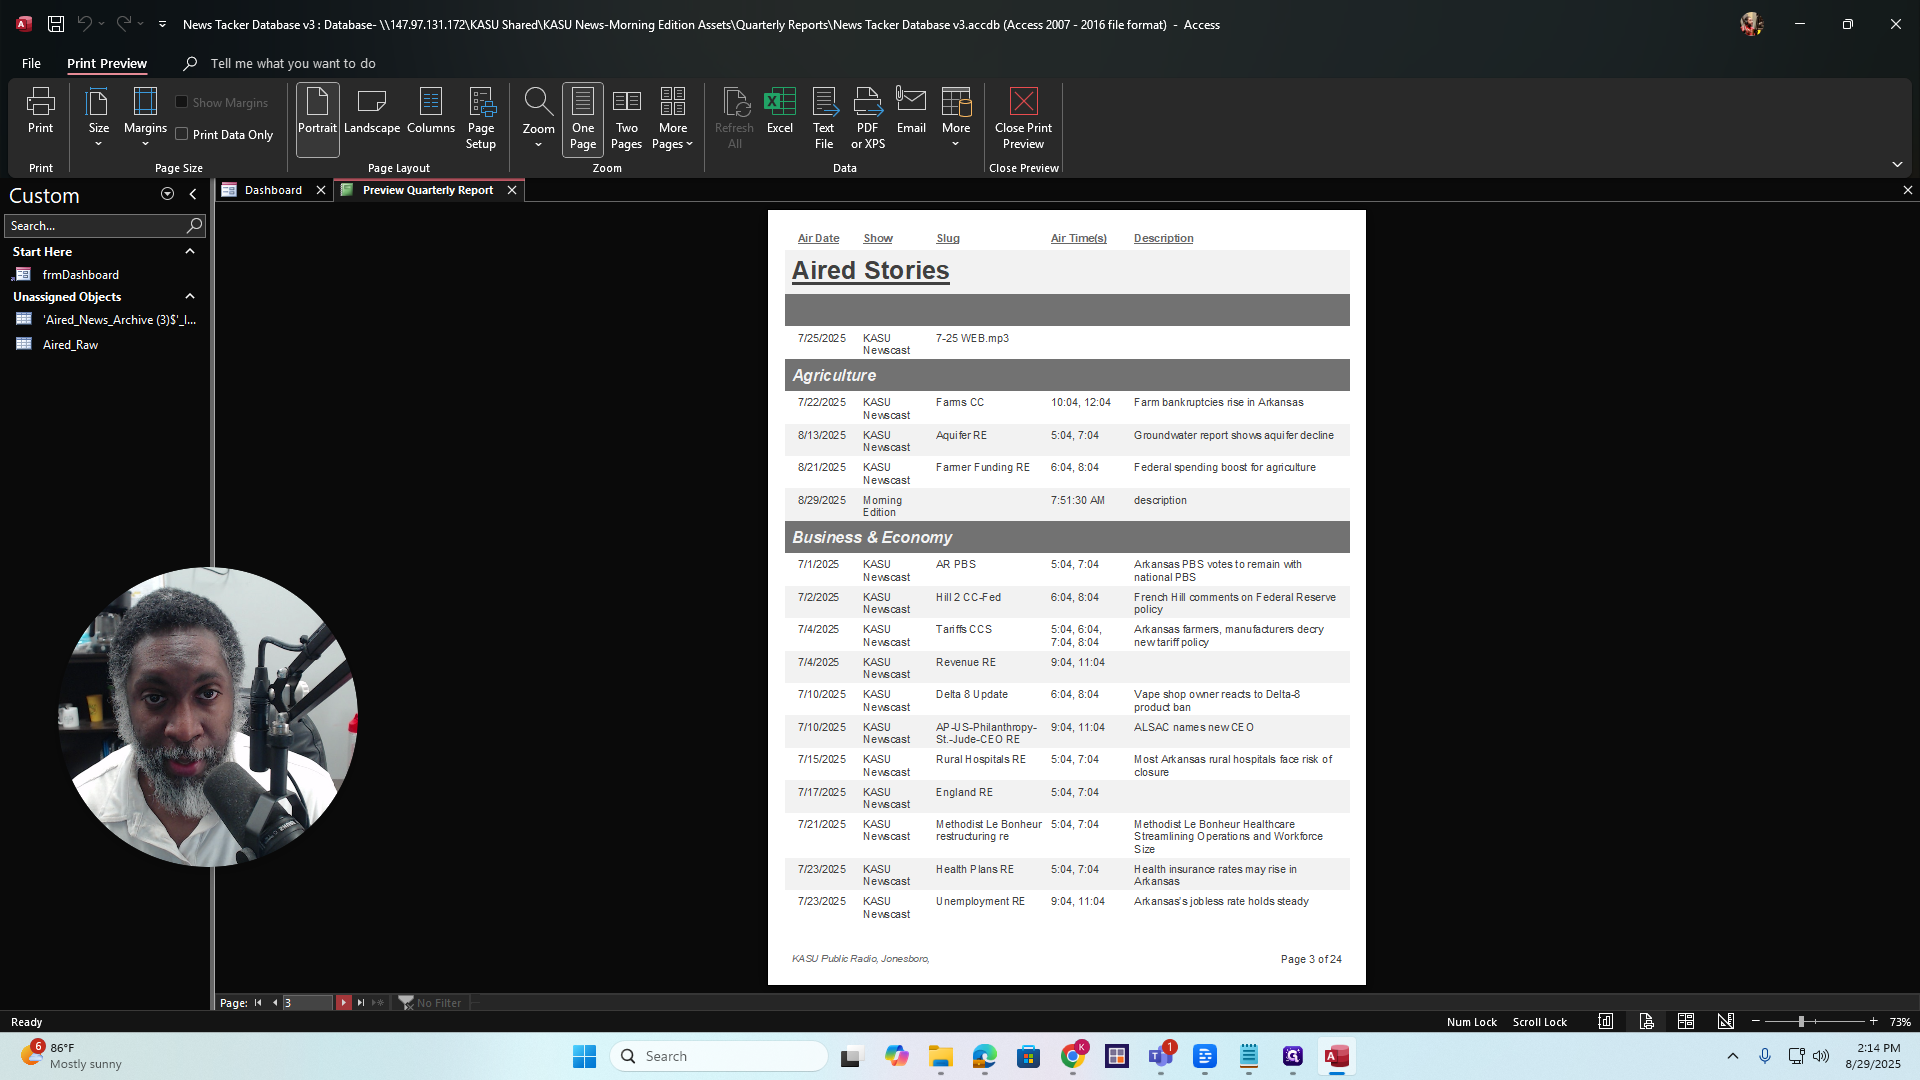
Okay? If everything looks good, you can export it however you want from here.
You can select PDF, email it, or choose another option. You can do it directly from here. Another option, after you finish the preview, is...

Export as File
I'll go back to Generate Report.
I'll get the same dates again by doing that.
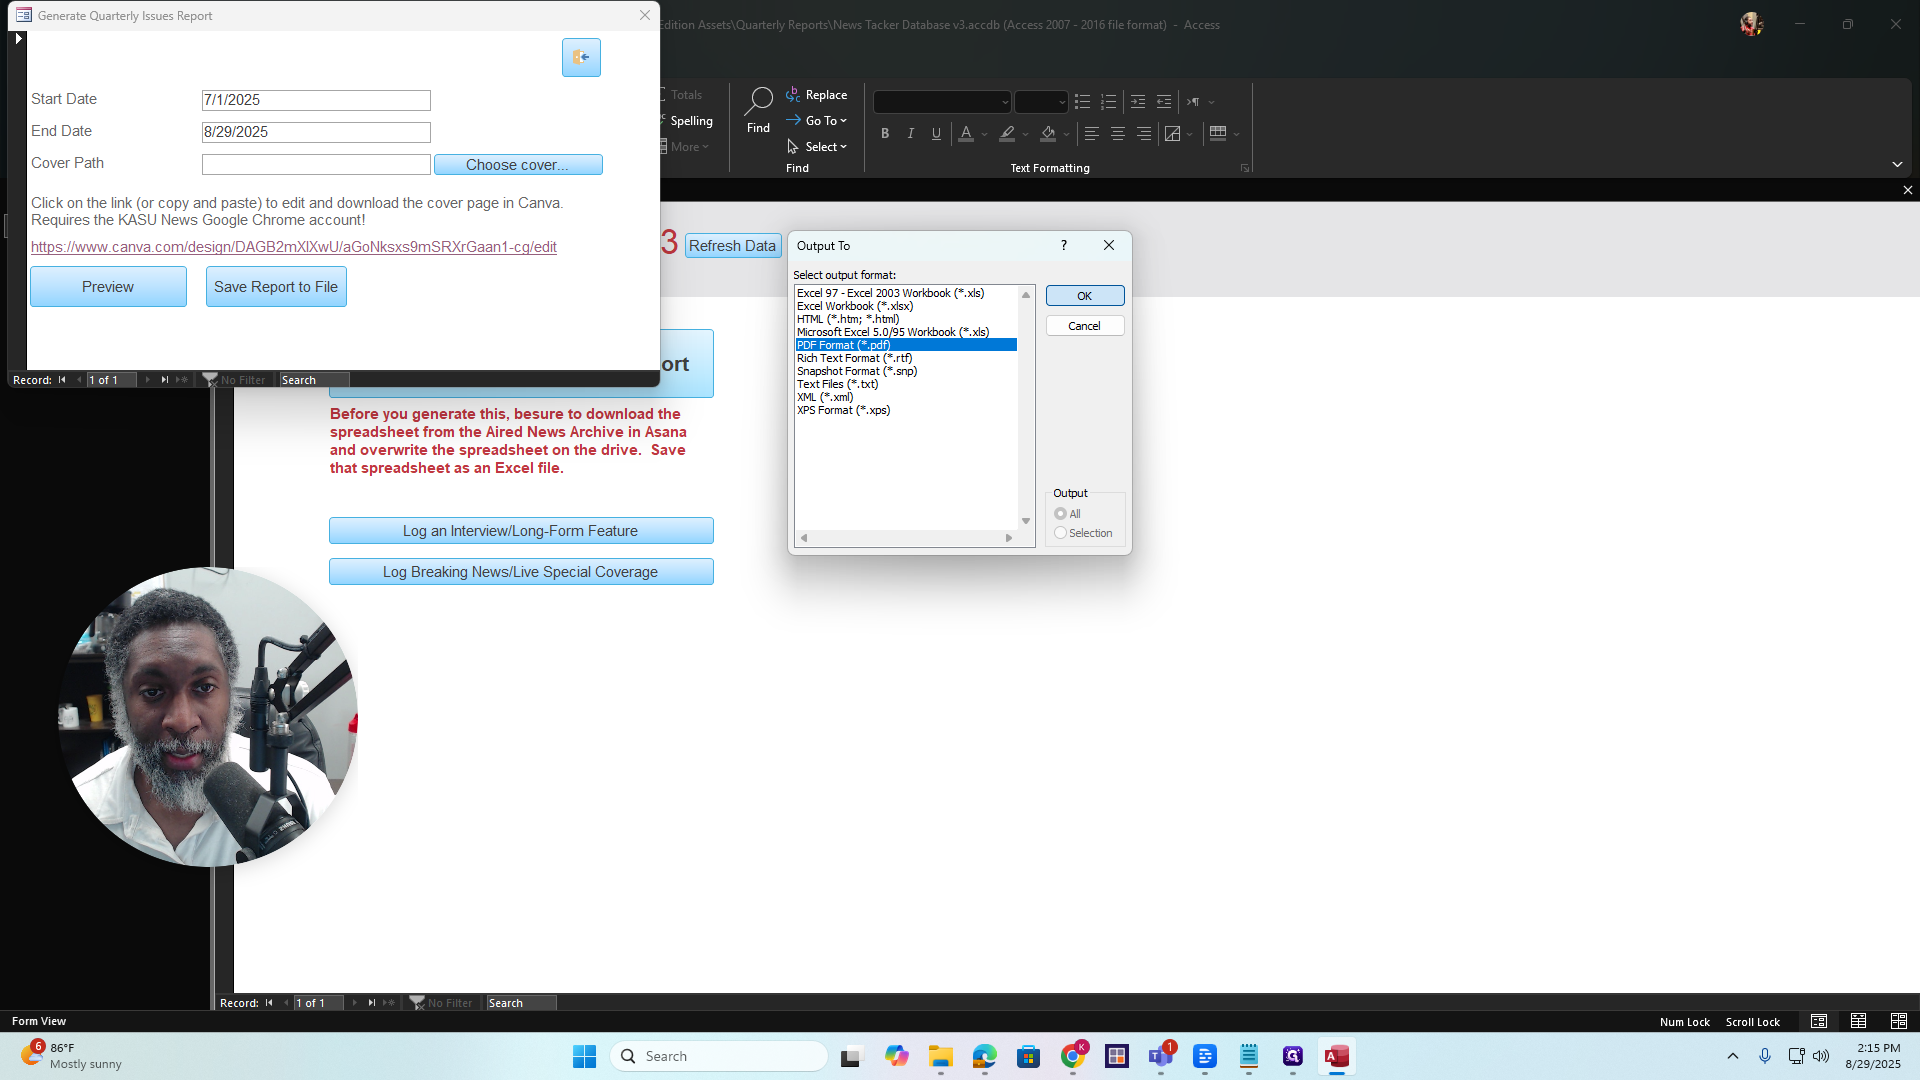
This time, I won't do it using the cover path. Click Save Report to File. When you do, you'll see the Output To options, which are the same as those in the print preview.
You can choose PDF.
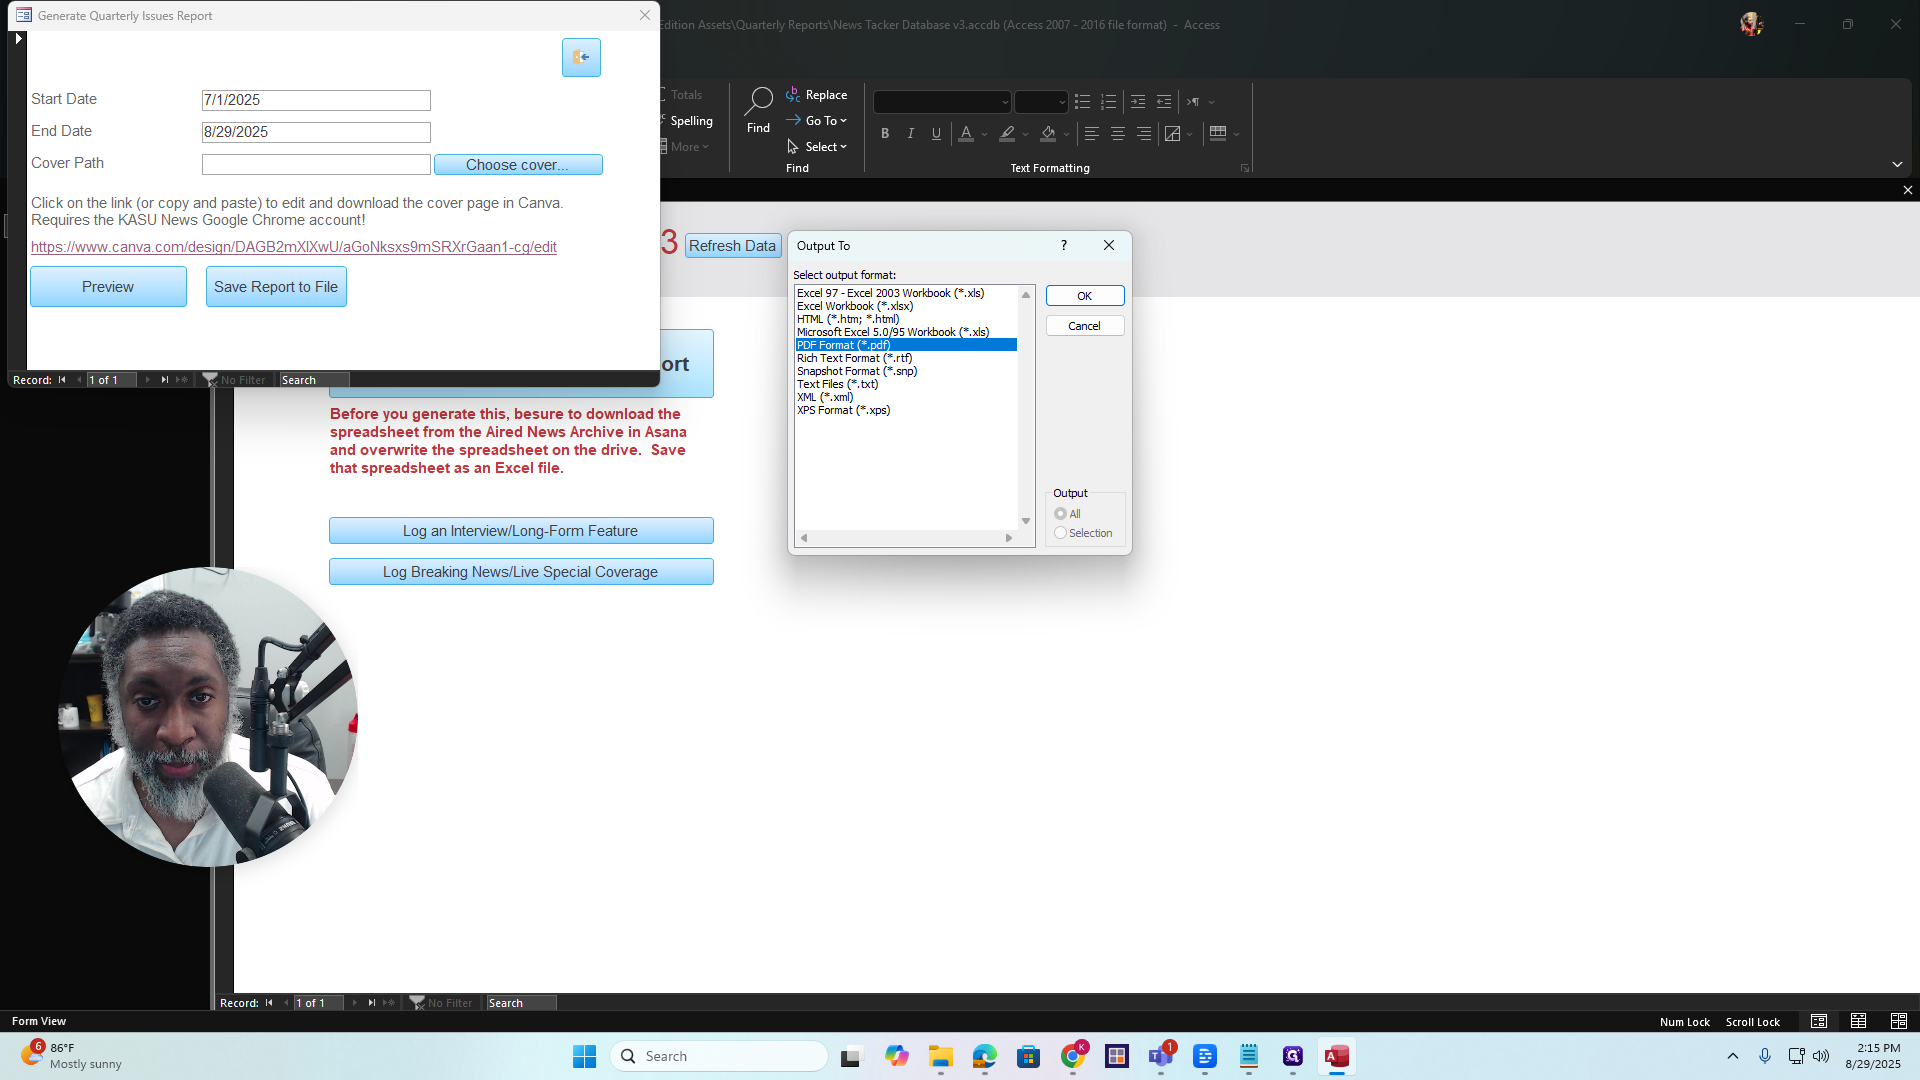
I usually do it as a PDF. If you want it as a Word file, you need to save it in rich text format. Click PDF, then OK. Choose where you want to save the file.

I'm going to make this 1-2. Save it. Save it as any file you want.
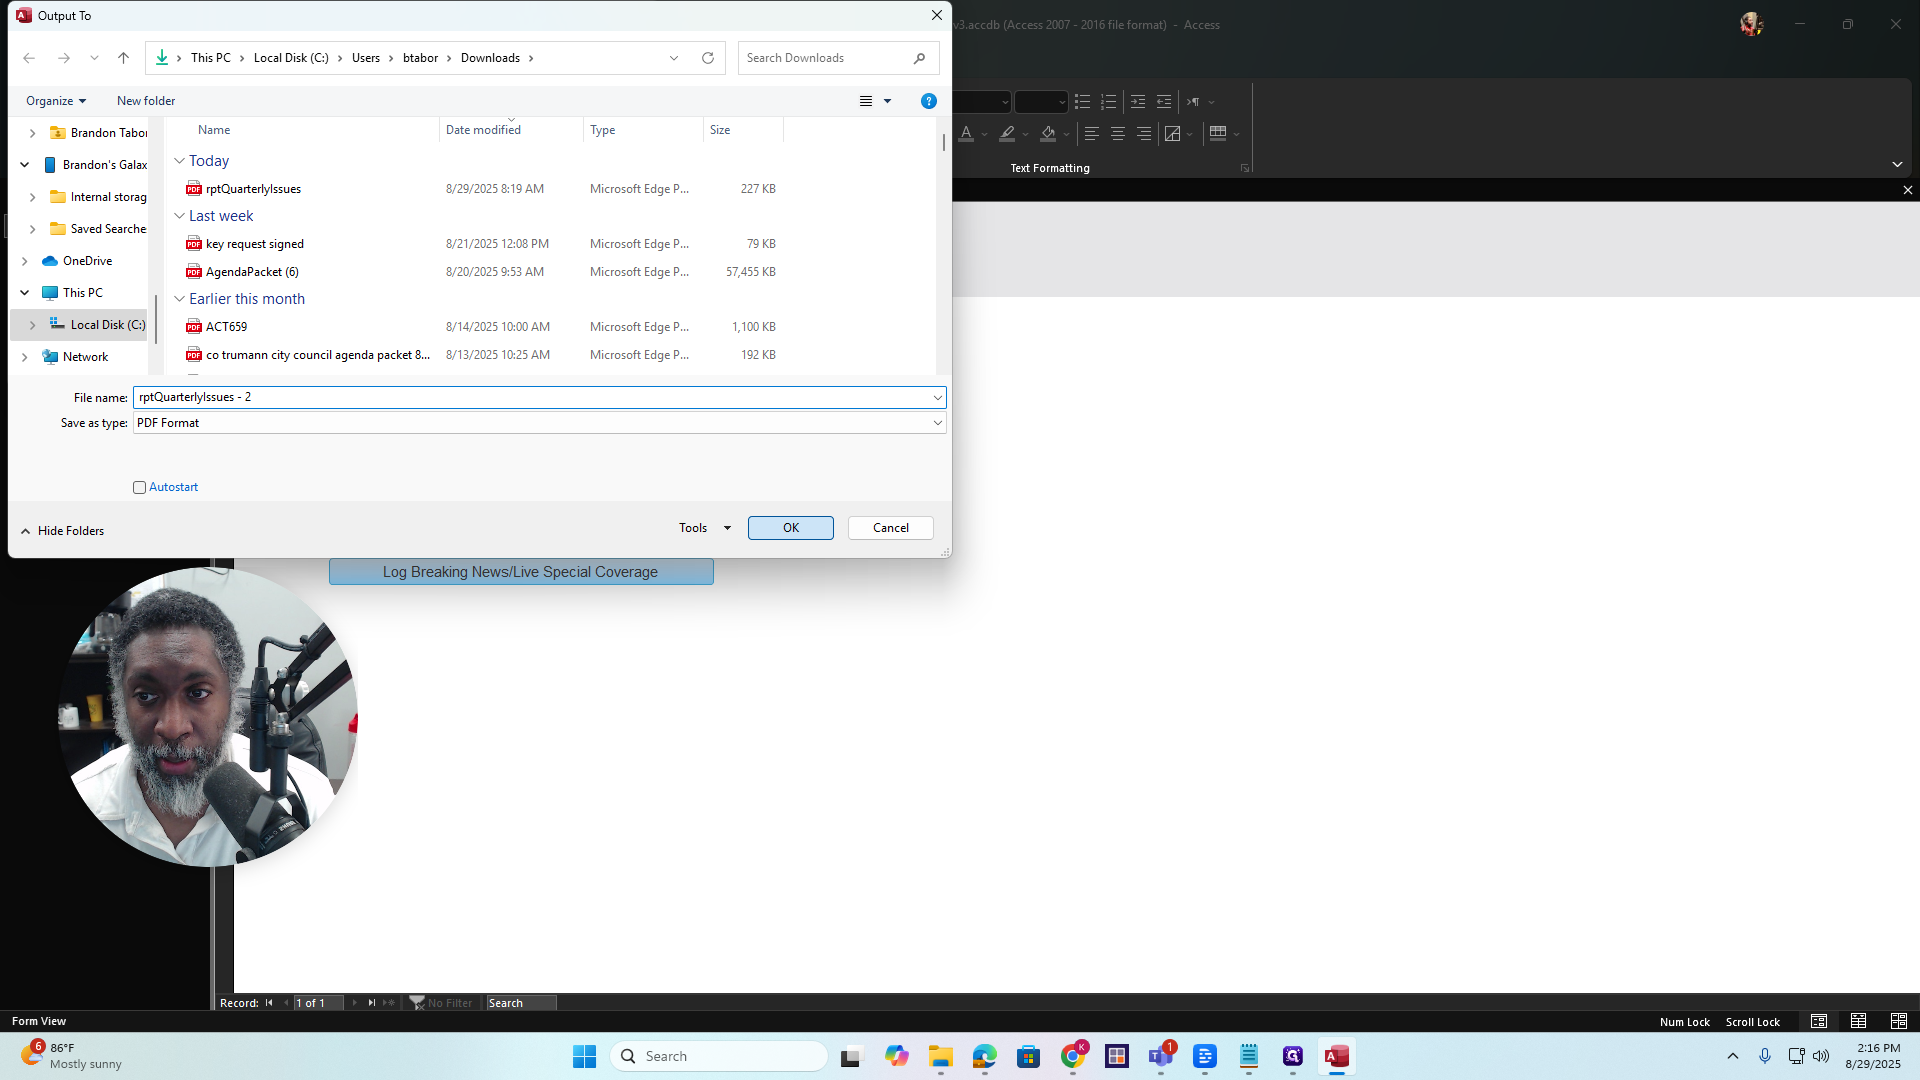
Press OK. It will output the file, and then you can view it. That is how you complete the report. If you have any questions, just contact me. All right. Thank you.