How to setup Permissions in Qumulex for the Bus Garage
Learn step-by-step how to grant contractors permanent, 24/7 access to all doors in Qumulex for the Bus Garage using the dashboard's permissions settings.
In this guide, we'll learn how to add and manage permissions for contractor access in the Qumulex dashboard. You will see how to set up access for groups, choose locations, and assign schedules to control when and where users can enter. This process helps ensure the right people have the right level of access at all times.
Let's get started
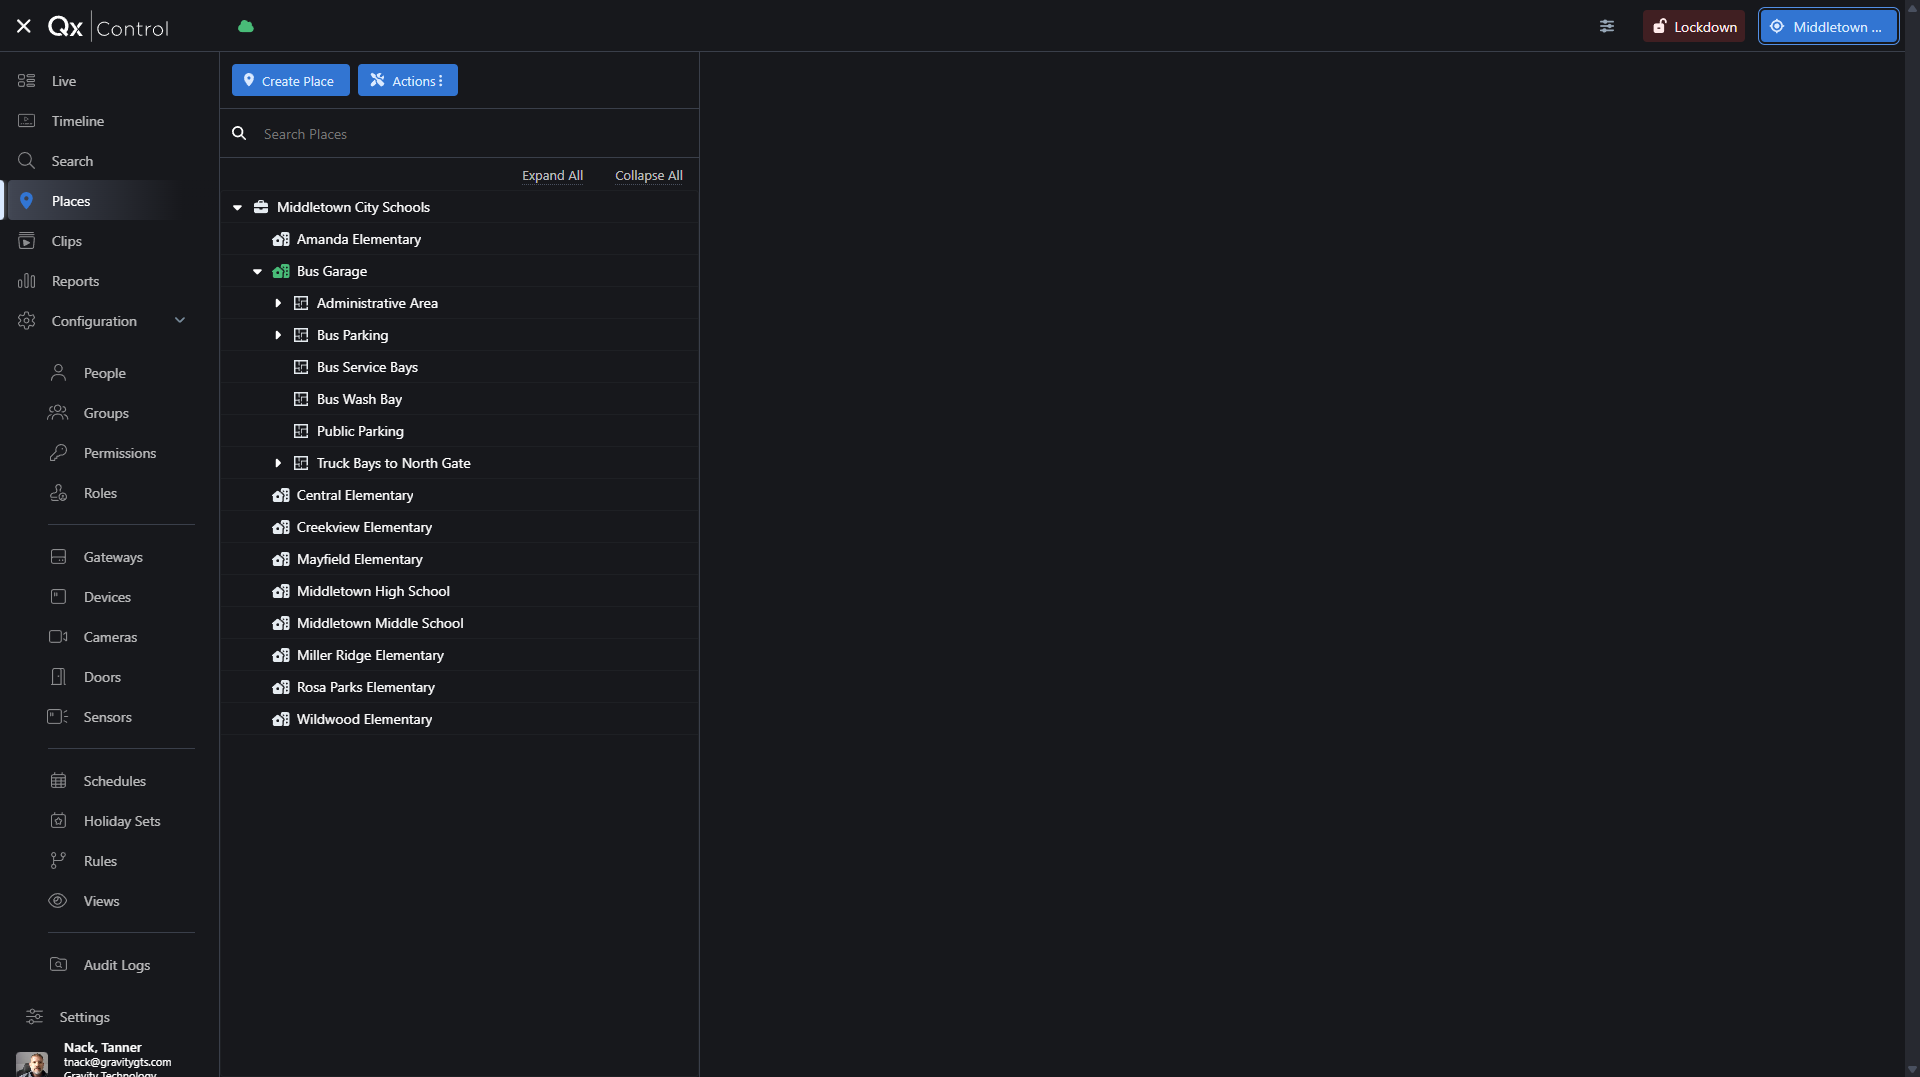
After logging into the Qumulex dashboard, click on Middletown in the upper right-hand corner and select Bus Garage. This sets the scope to controlling just items for the Bus Garage.
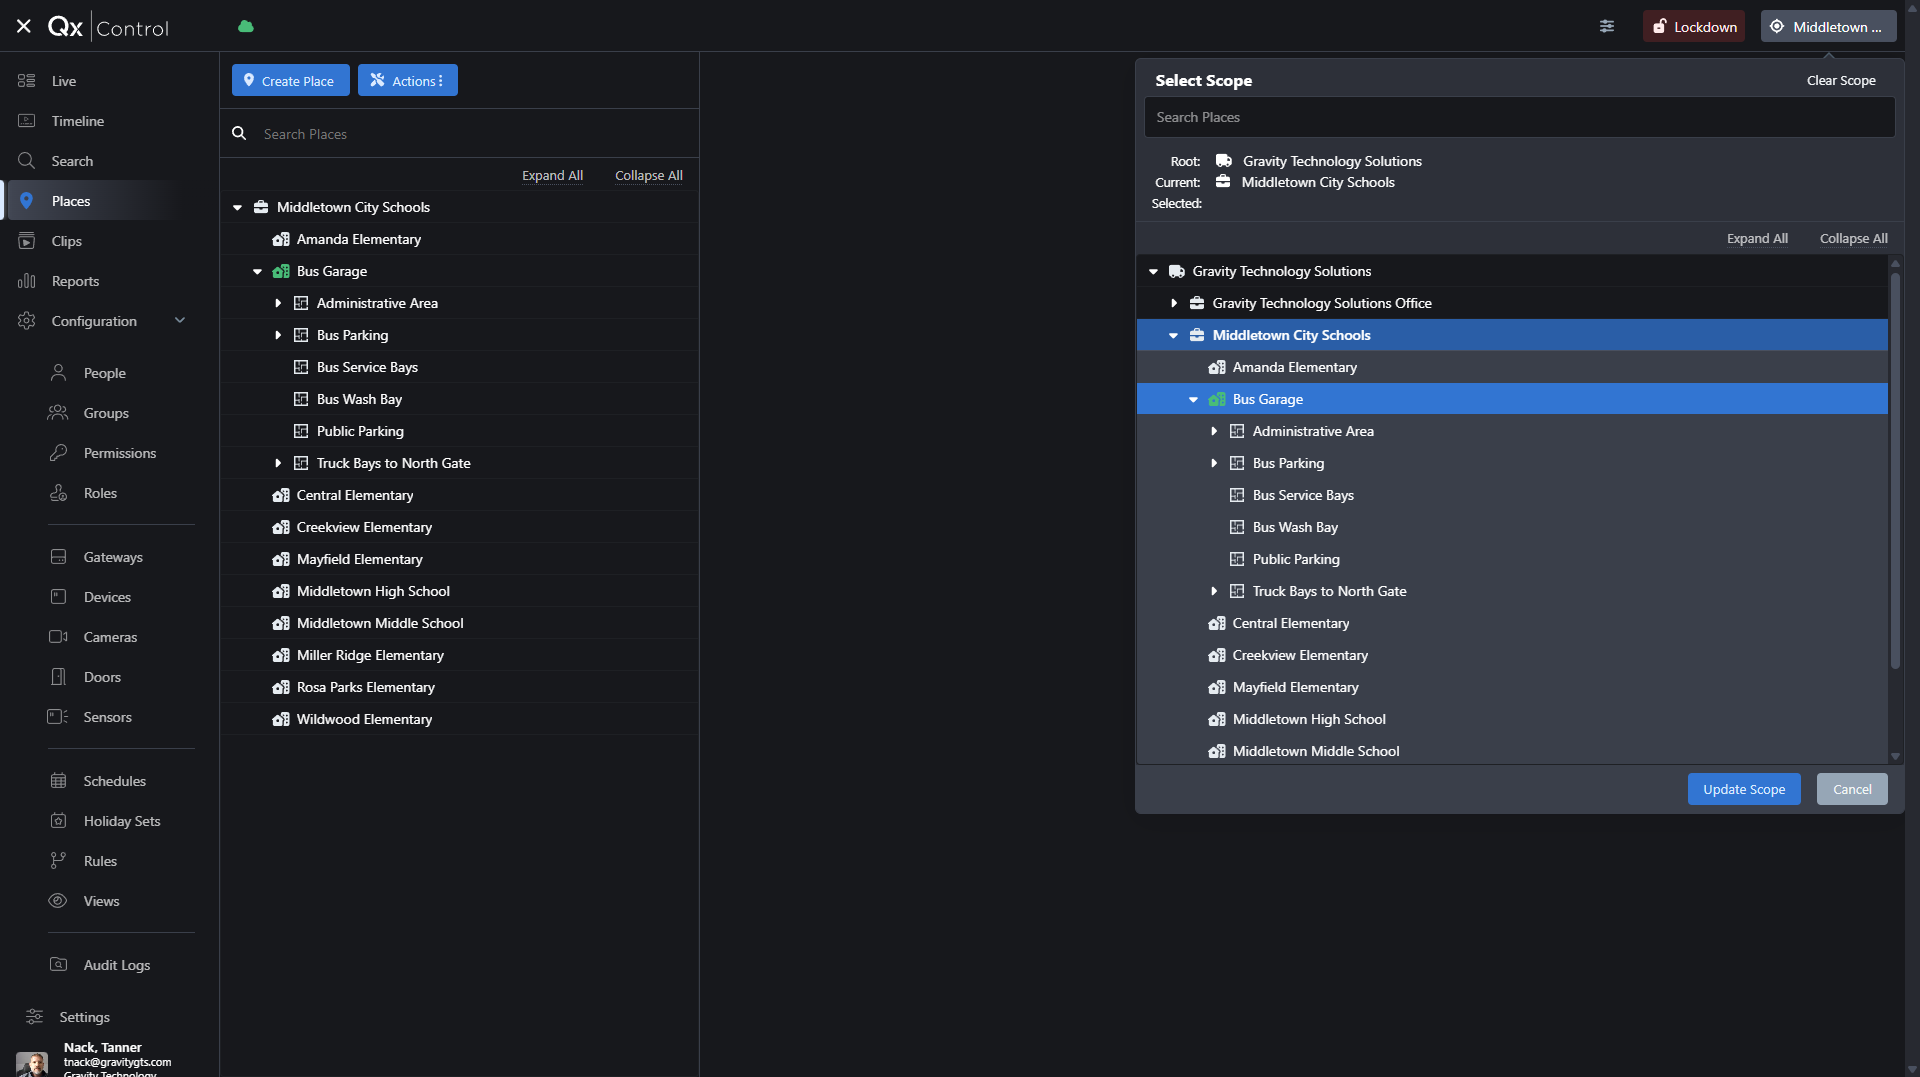
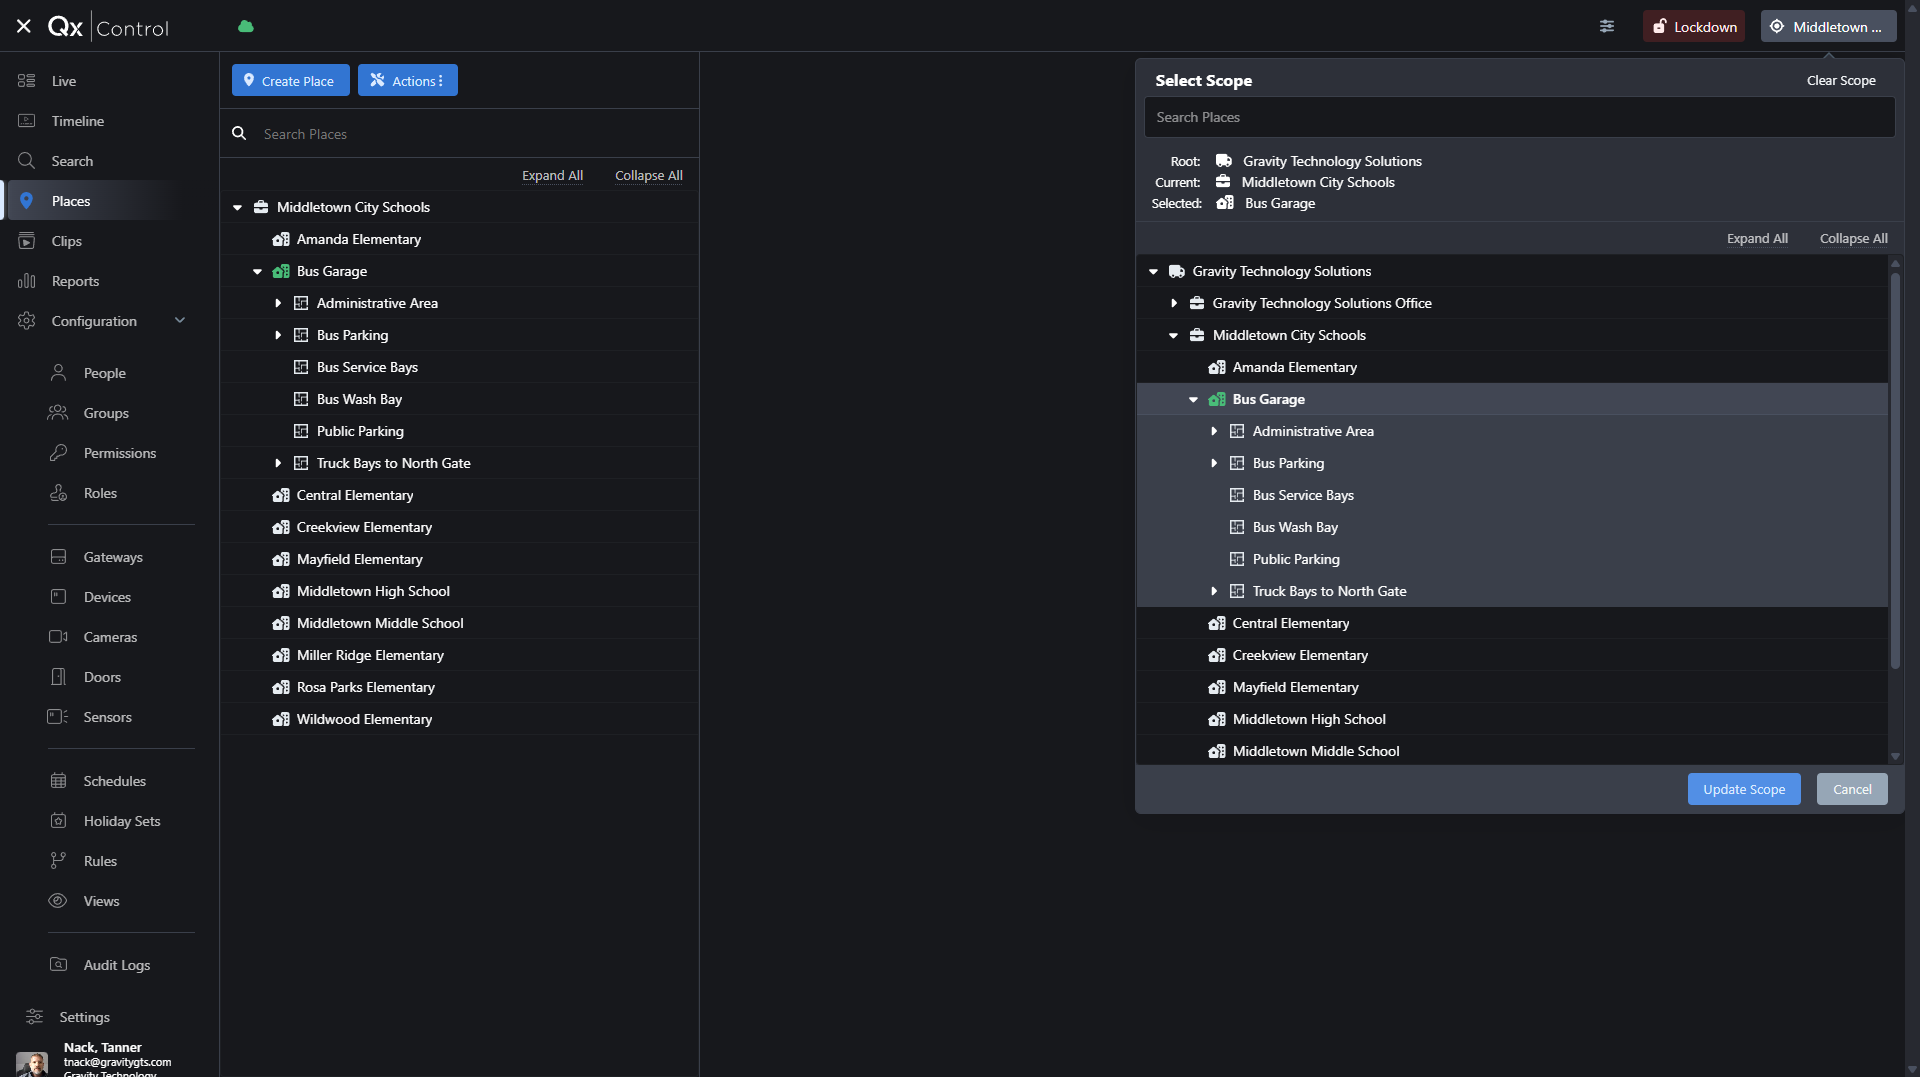
From here, select Update Scope.
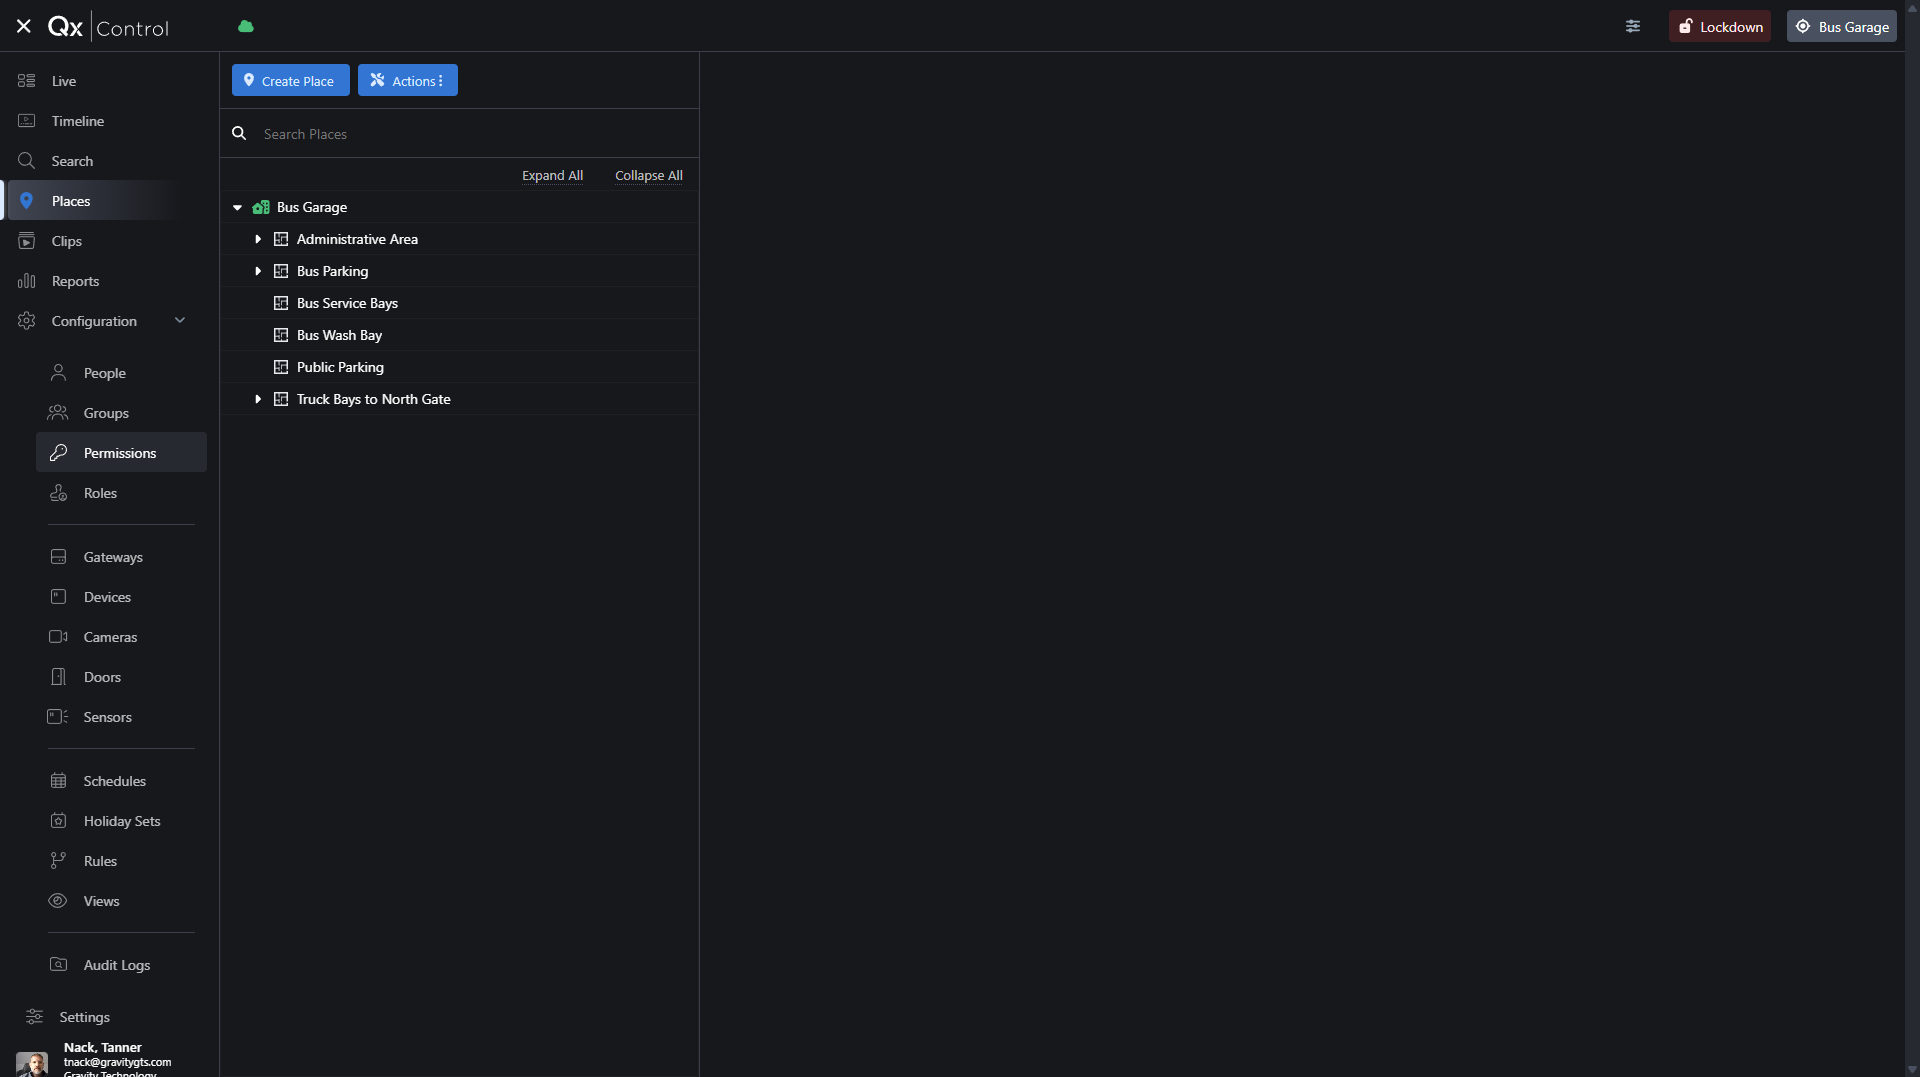
Now, we will move on to adding the permissions. In the left menu, expand Configuration and select Permissions.
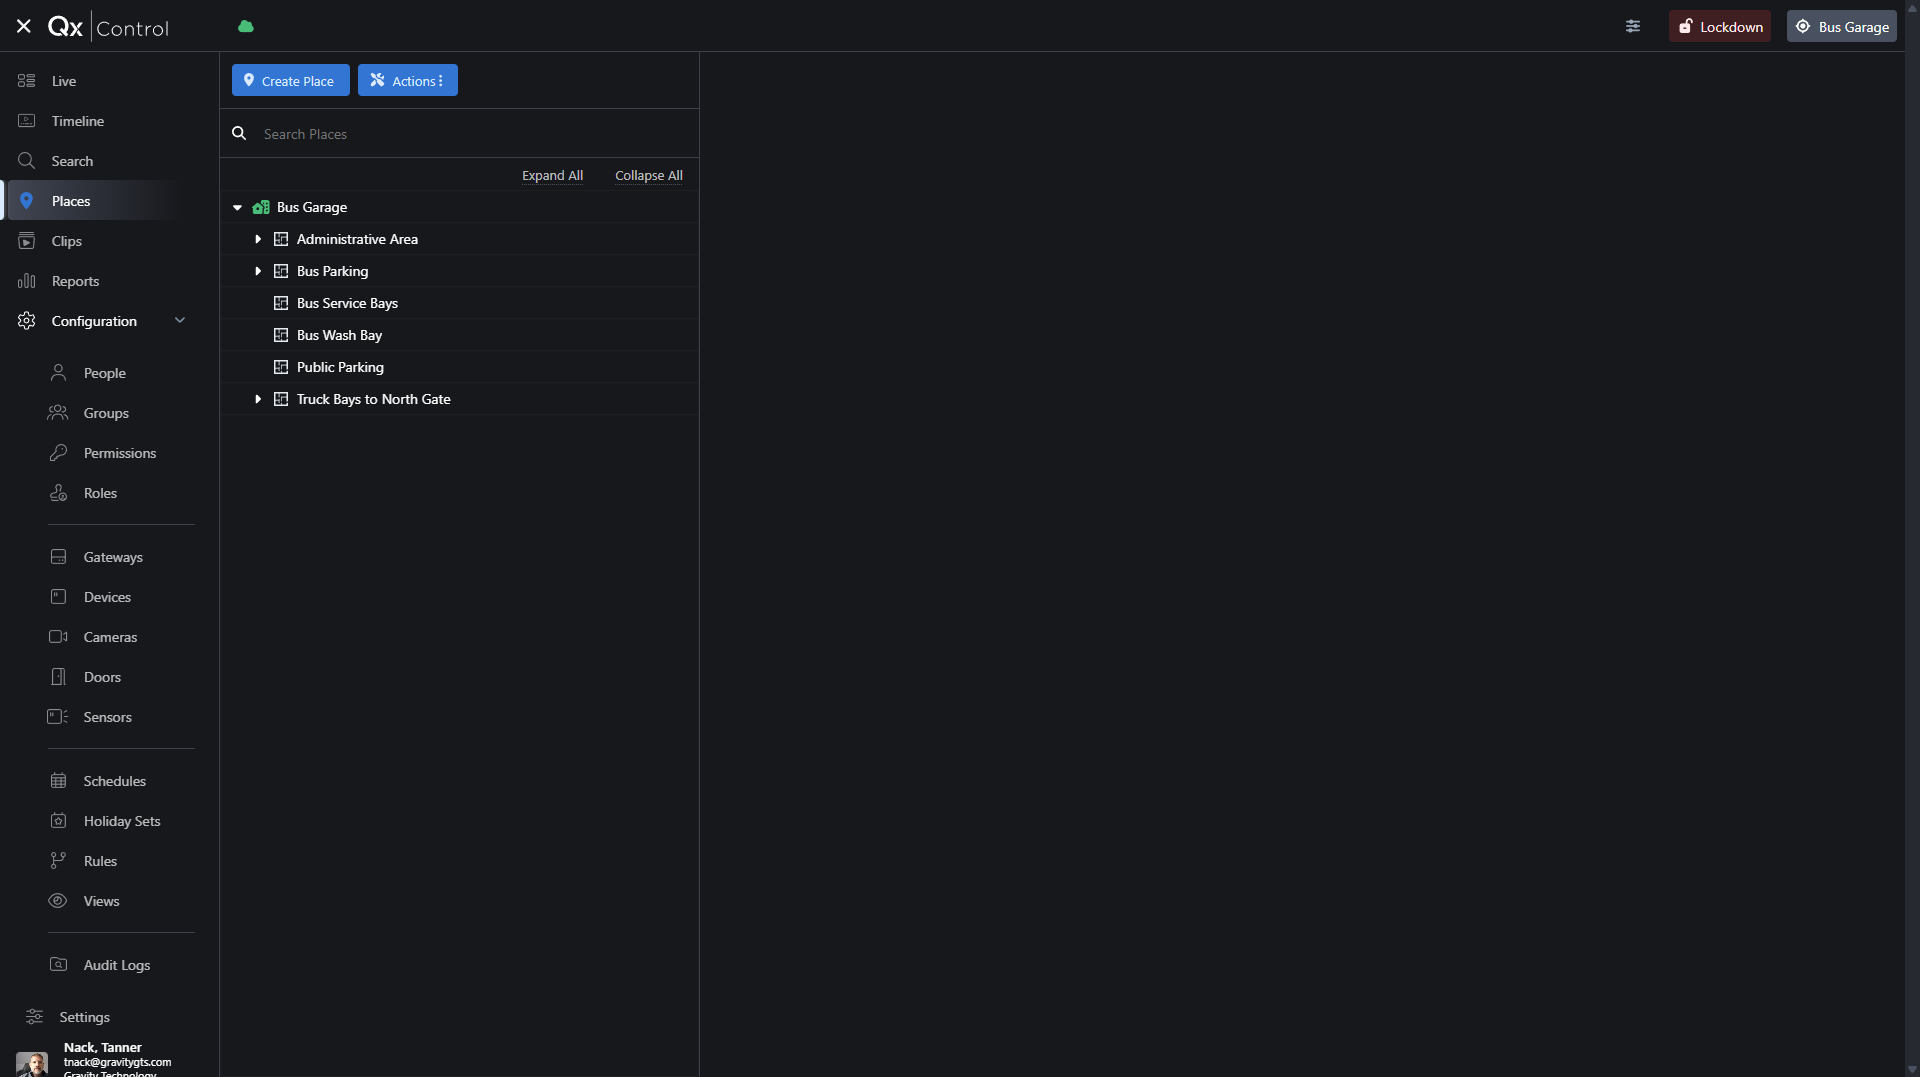
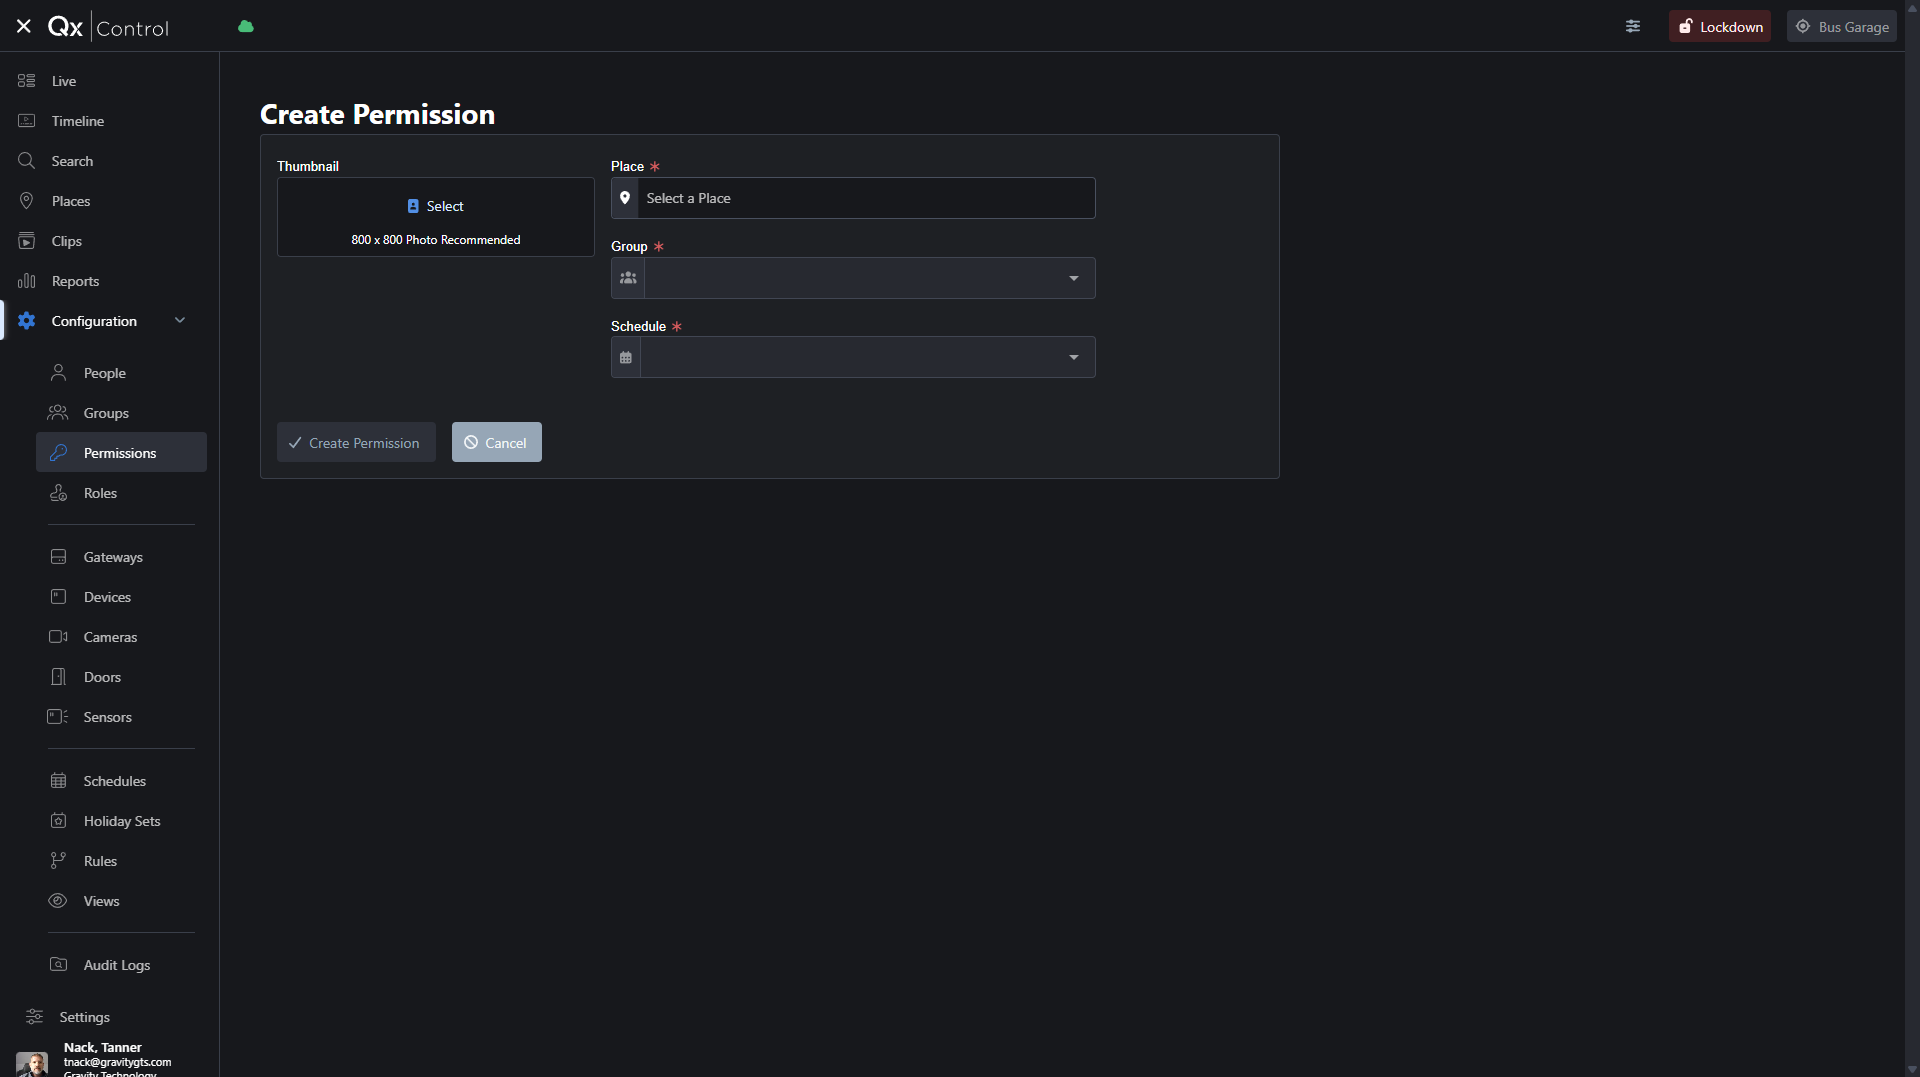
Now, we need to create a permission level for each door or area and apply it to our user Groups.
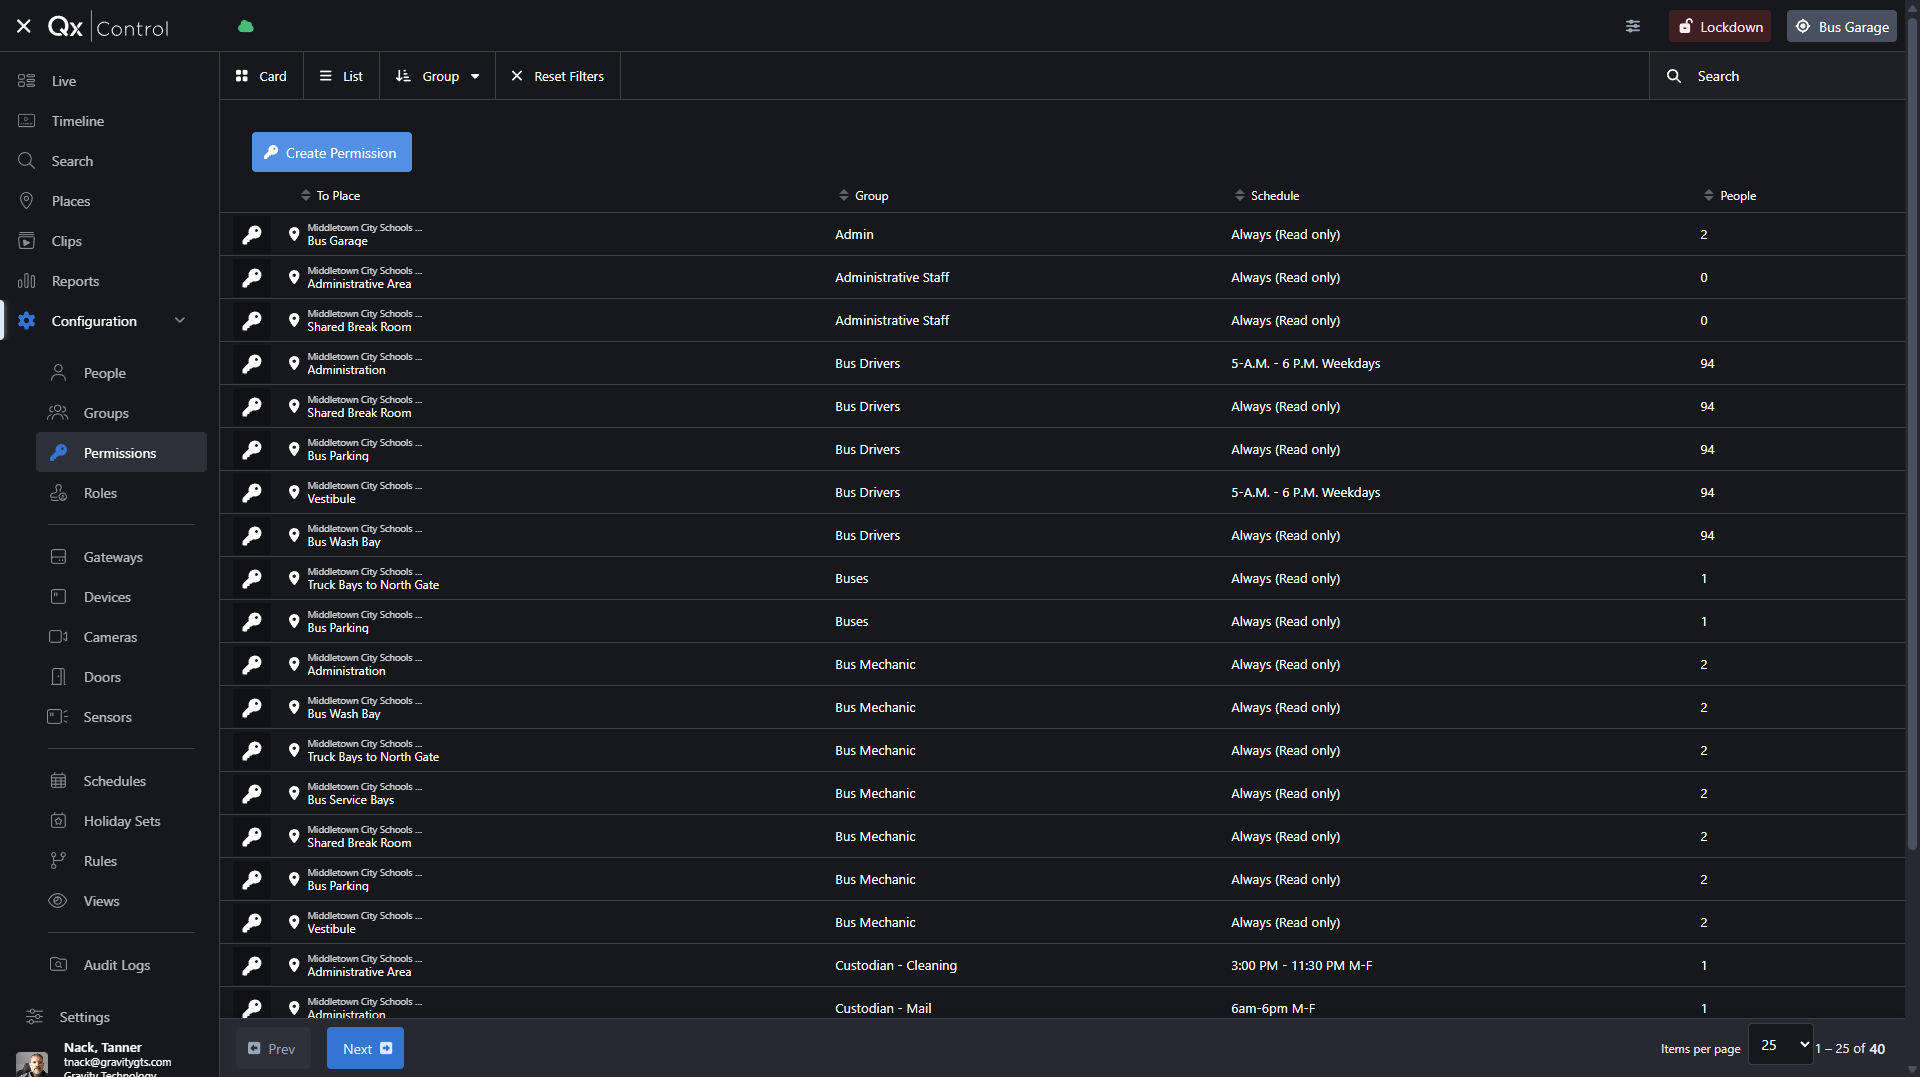
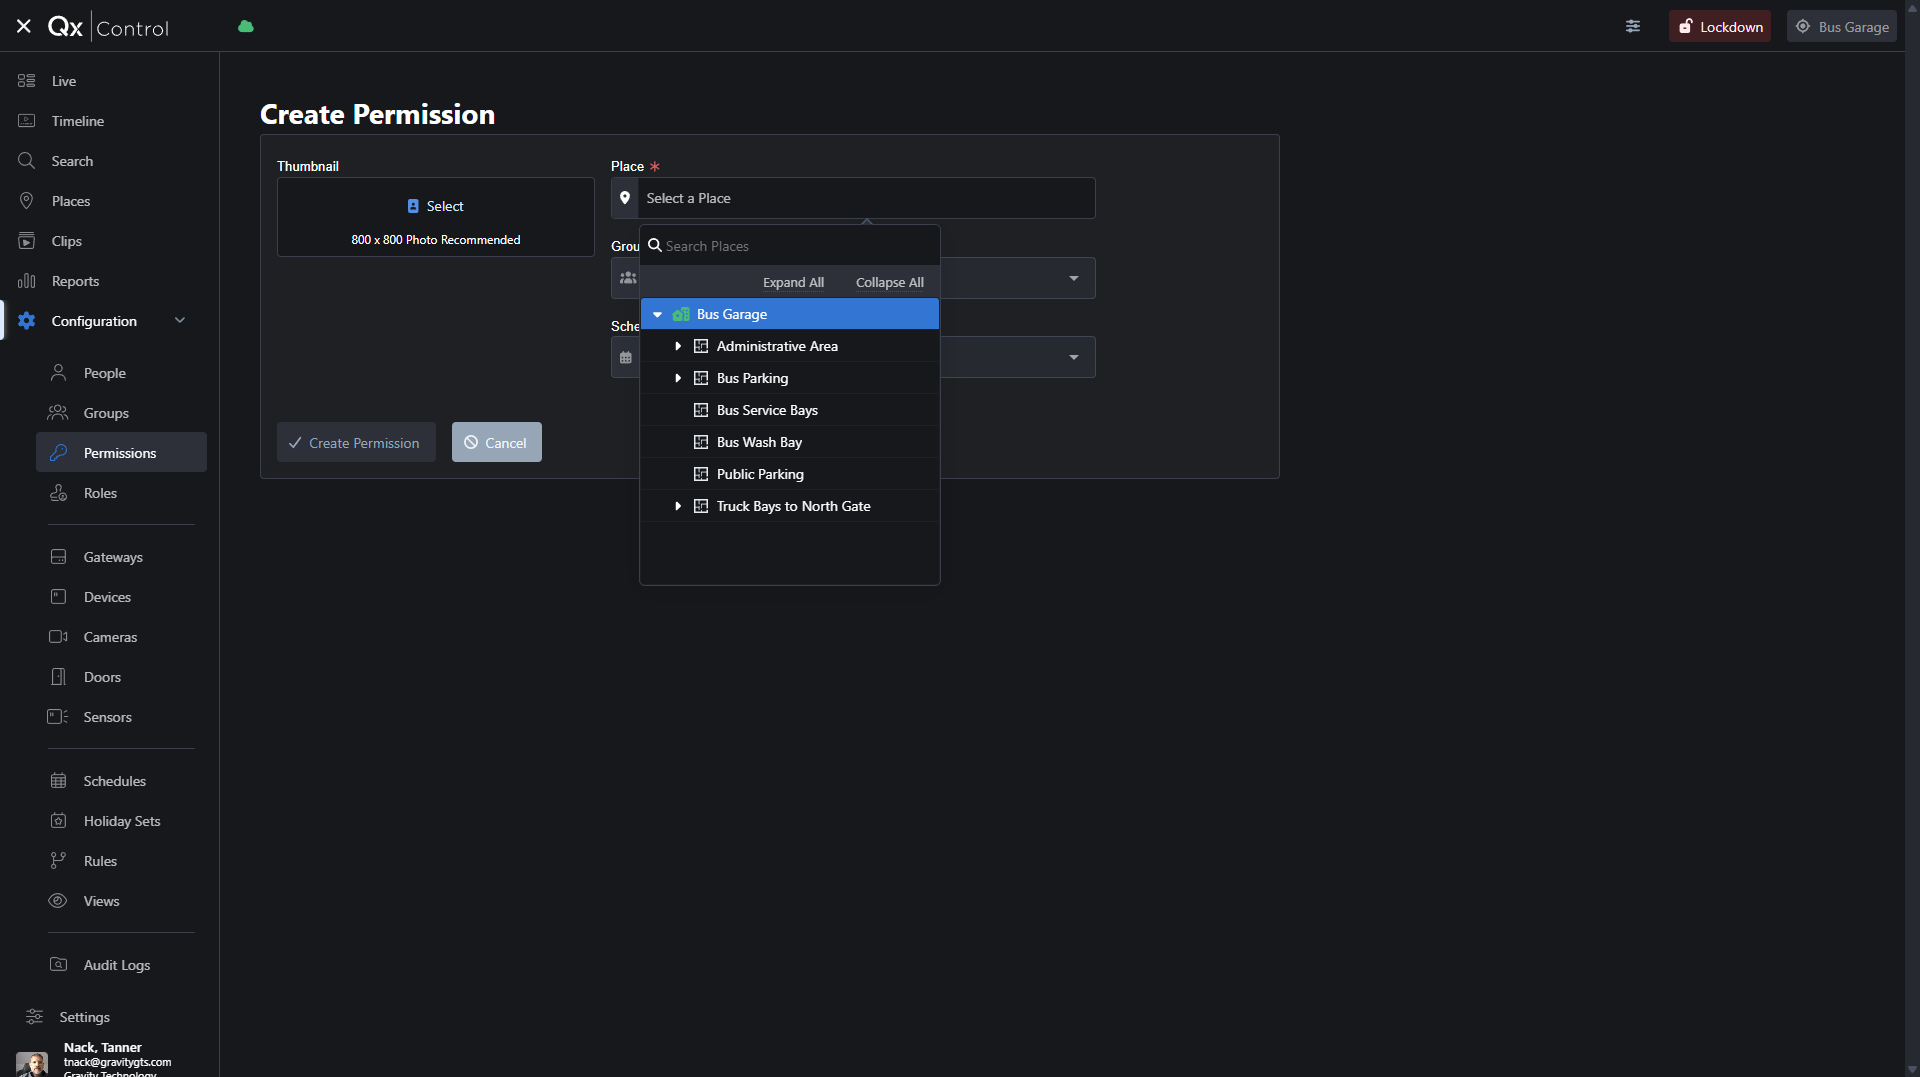
The place is the area you are controlling with this permission. You are granting them permission to everything in that "Place". This is organized in a hierarchy, with the Bus Garage having the highest permission as all of the doors are within the Bus Garage. Use this to limit access to specific doors or areas for a group of people. Since you said you want them to have access everywhere, so you would give them the "Bus Garage" for the place. The more restricted you need a groups access to be the more "Permissions" you need to create for the group. If they should only be able to access the "Bus Wash Bay" and "Bus Service Bays" You would need to create two separate permissions.
The next step is to select the group or groups this permission will apply to.
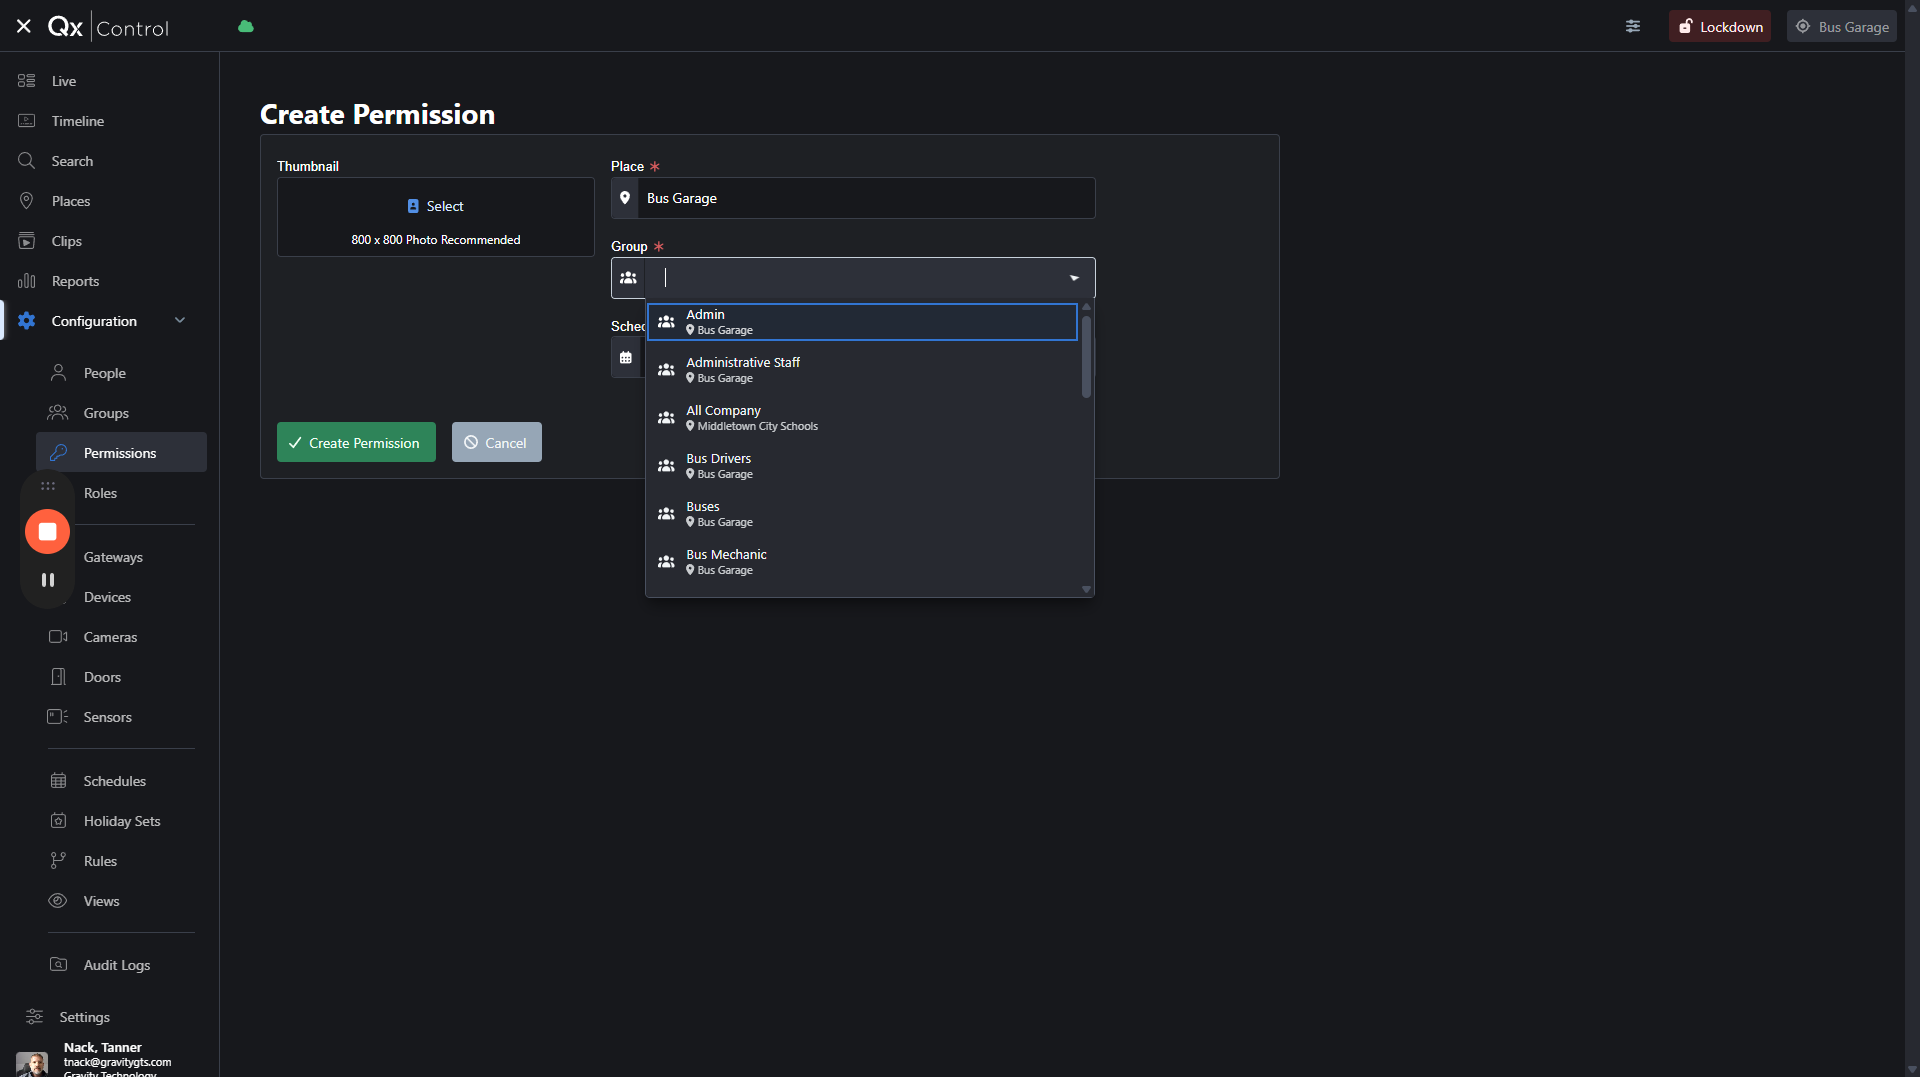
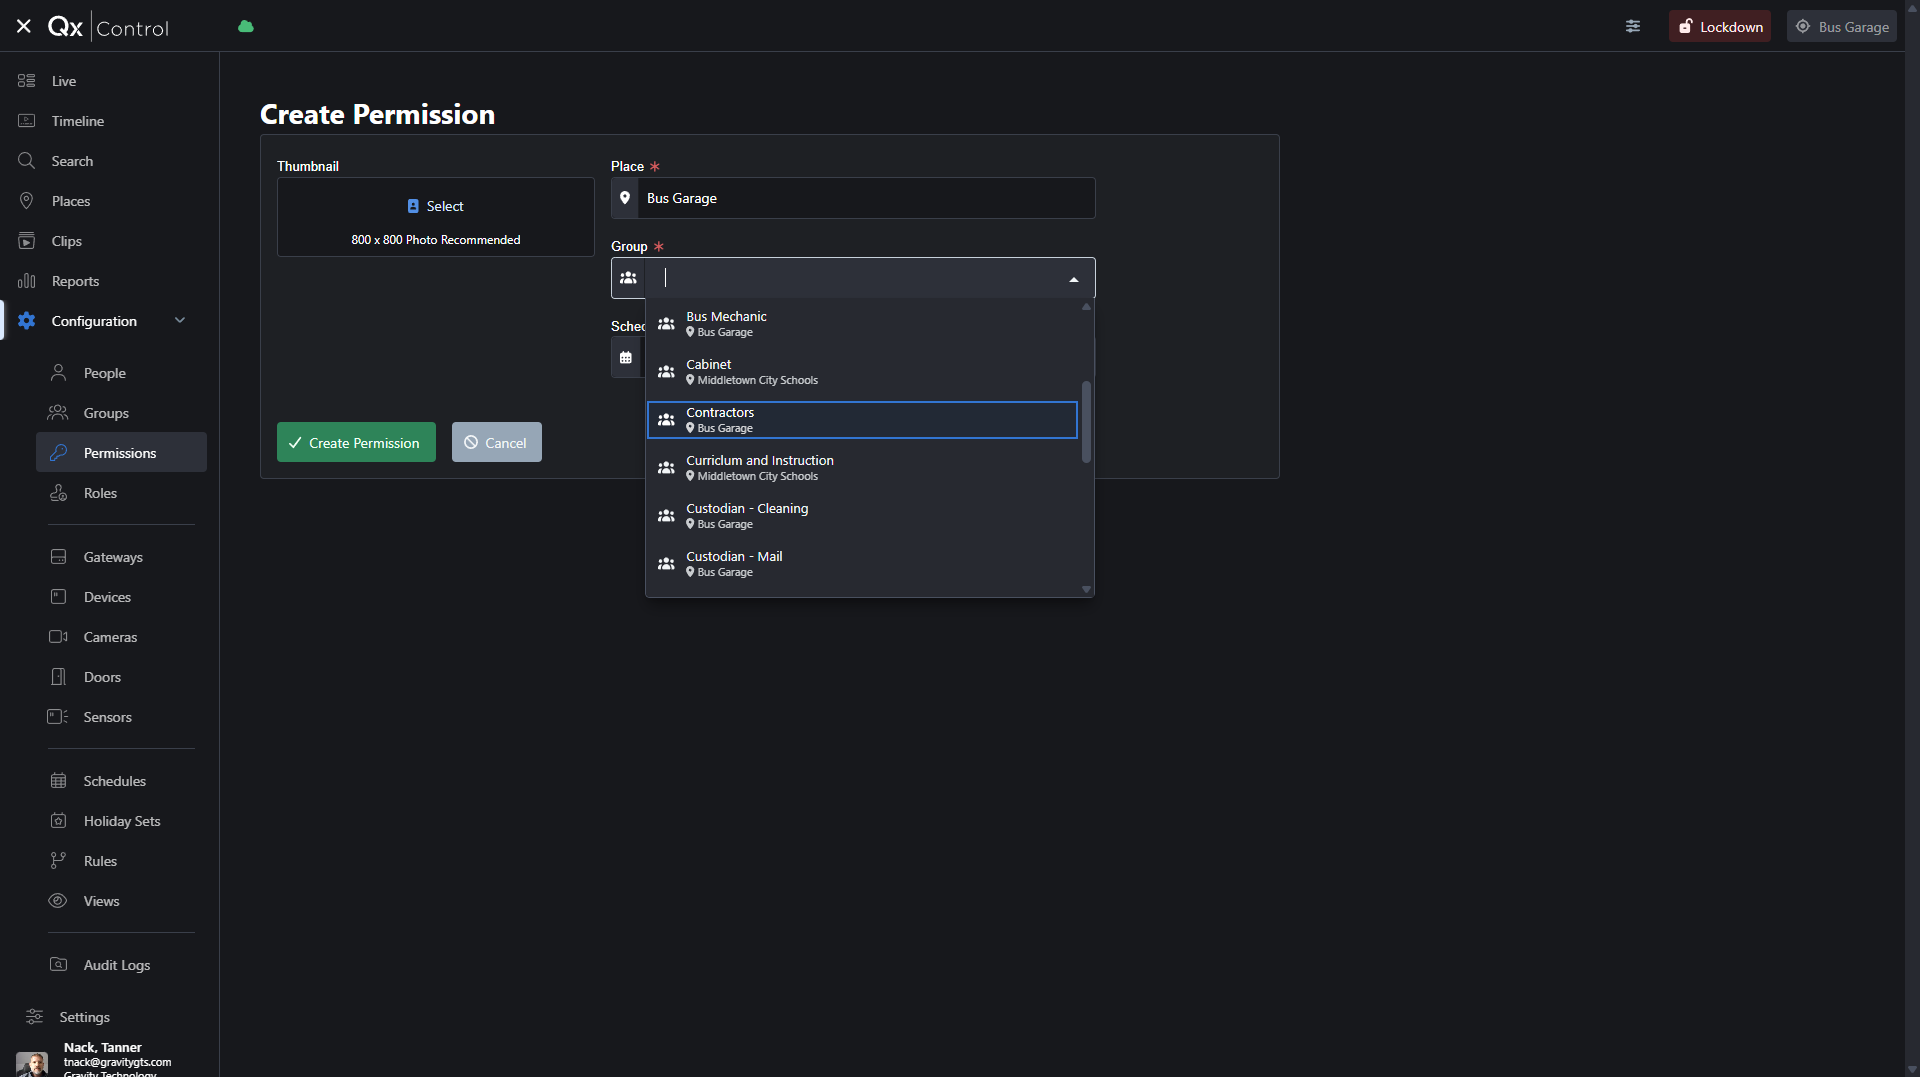
For this example I am selecting "Contractors."
Then you can select a schedule.
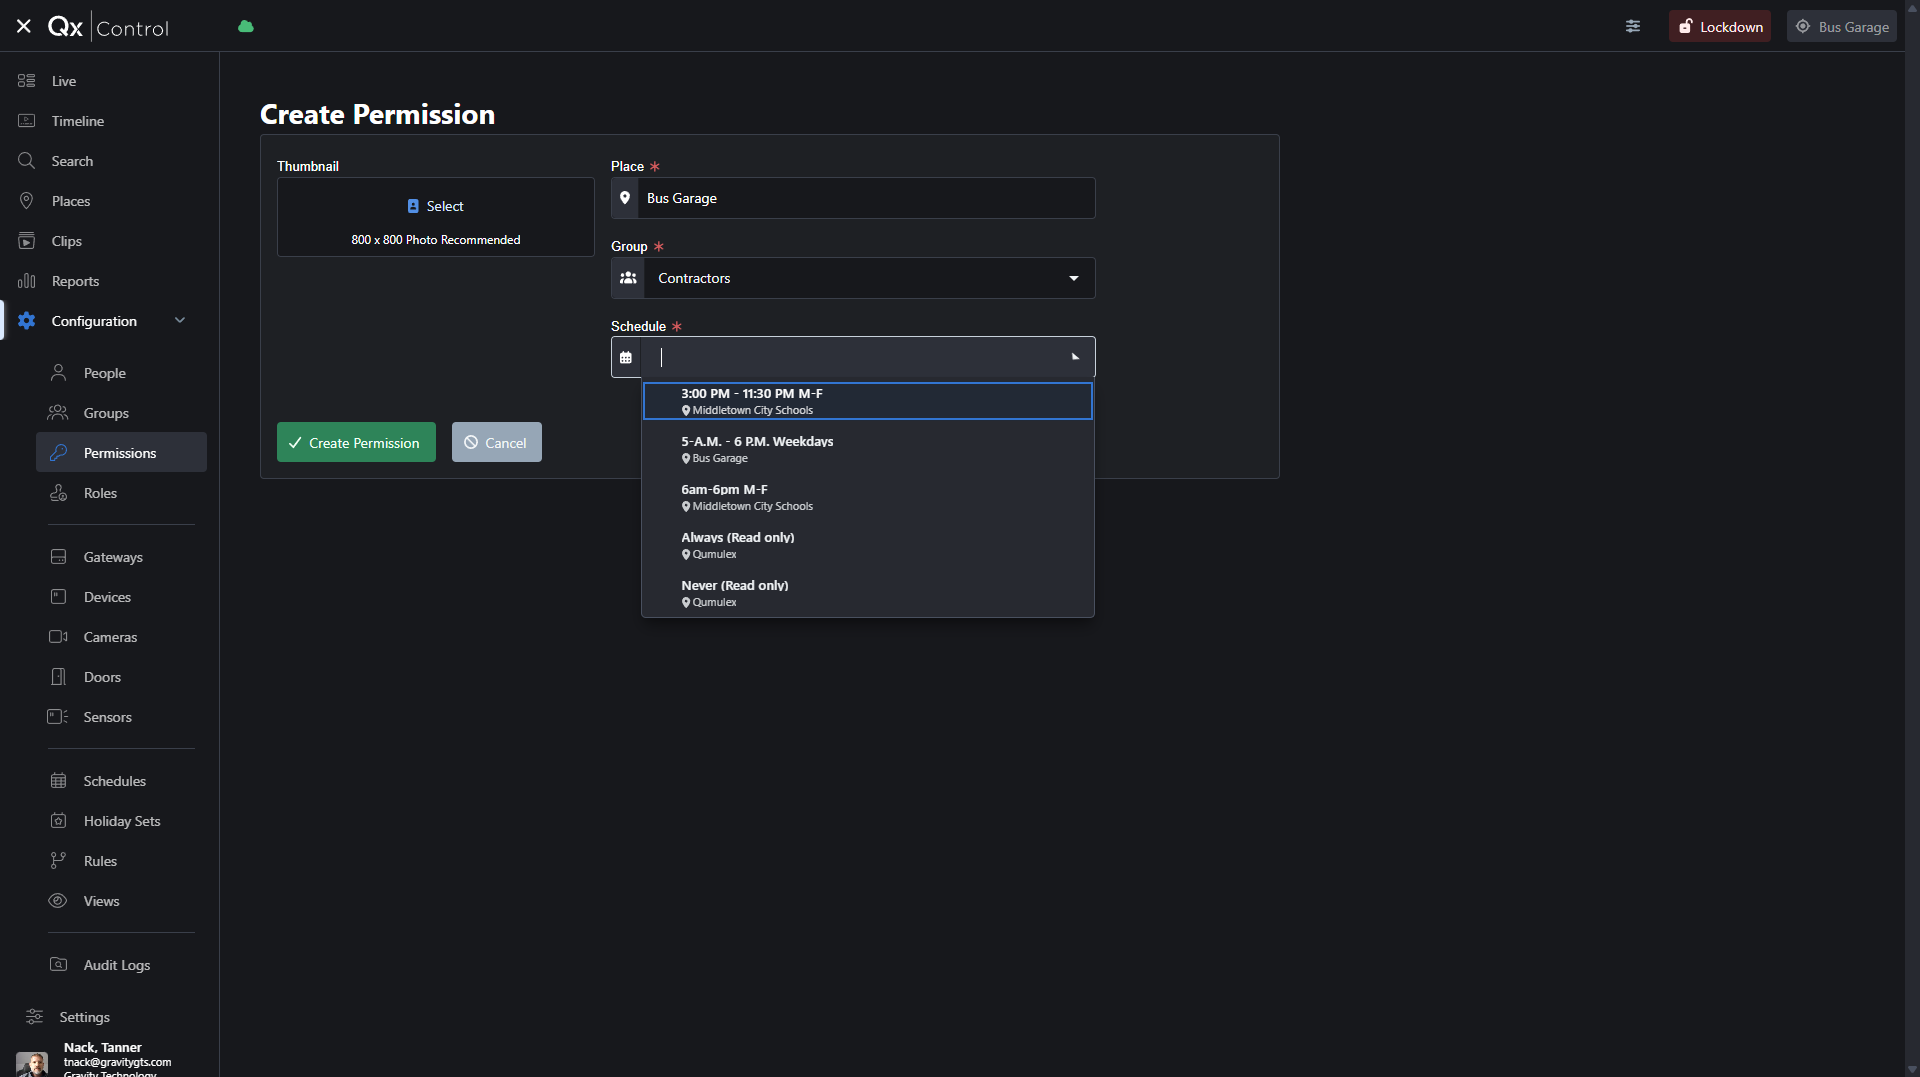
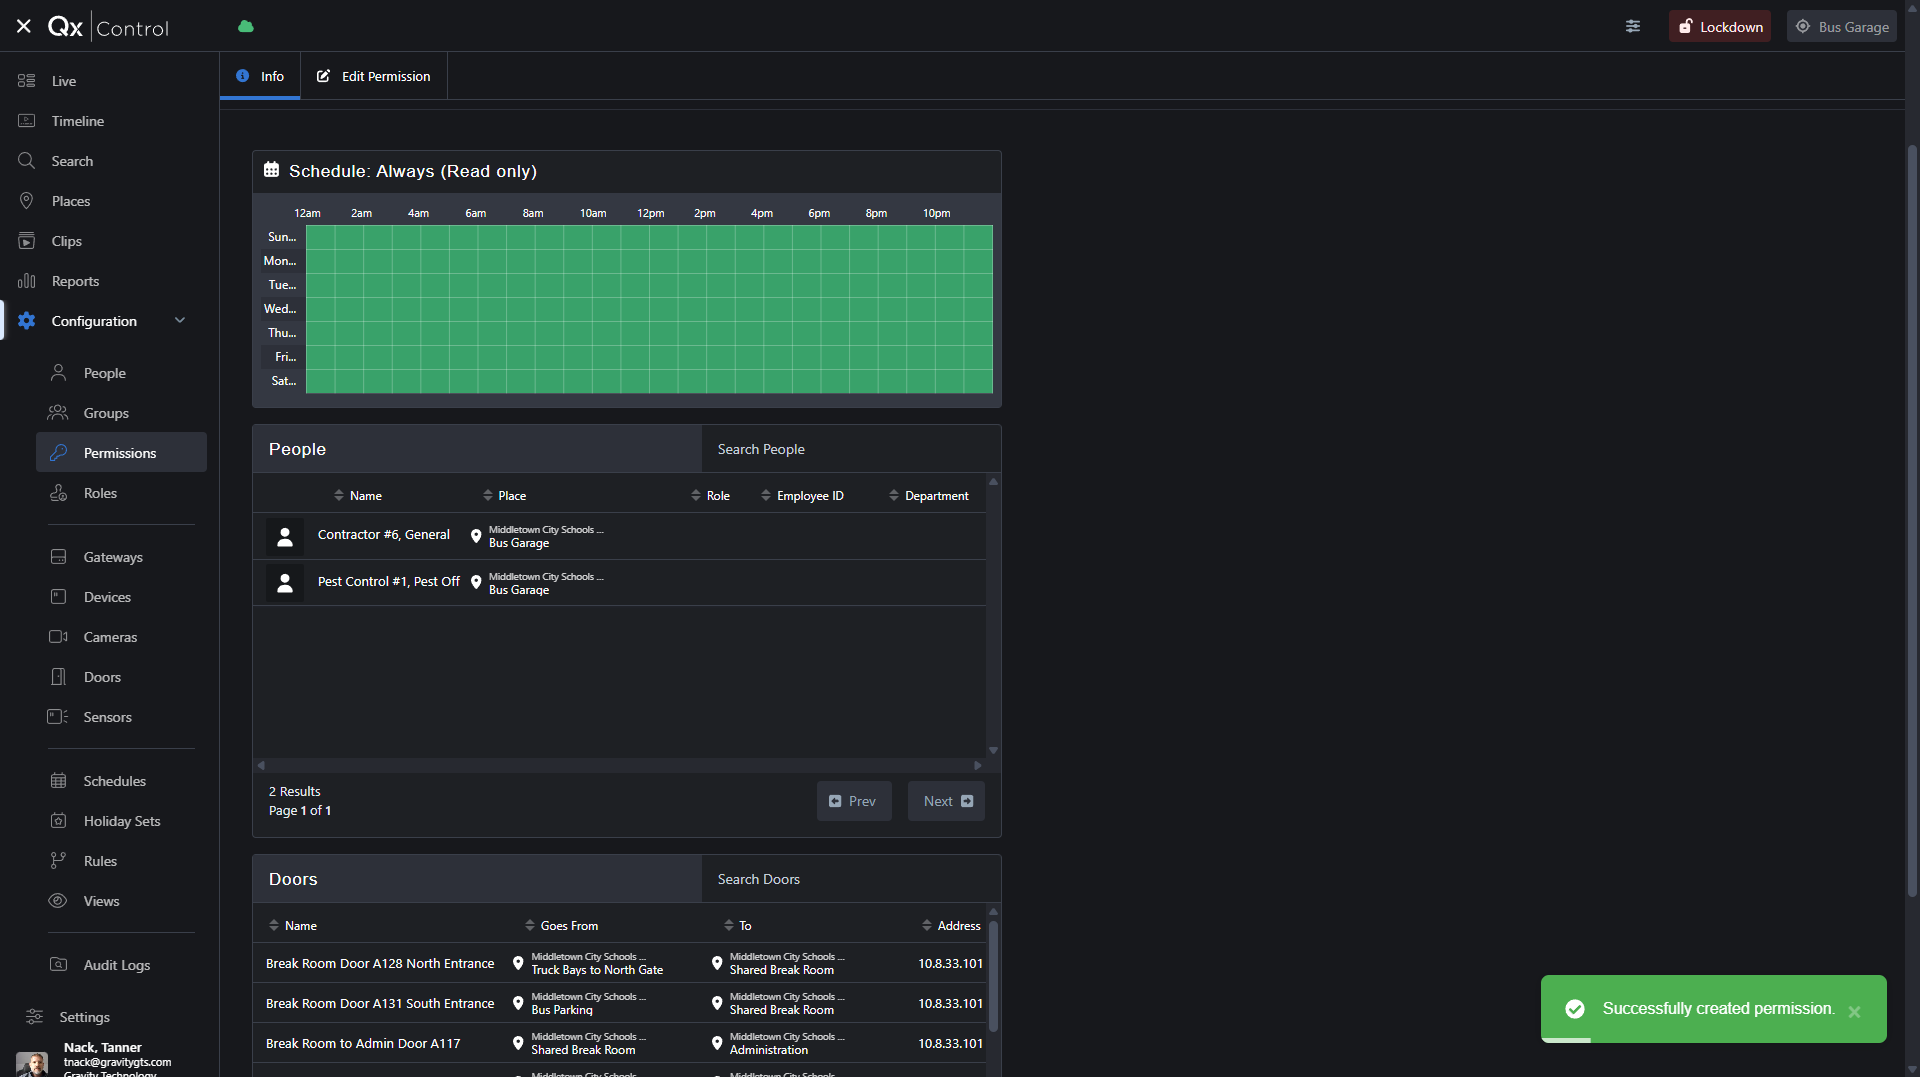
Schedules get created in the "Schedule" tab. For now, I will give contractors 24/7 access.

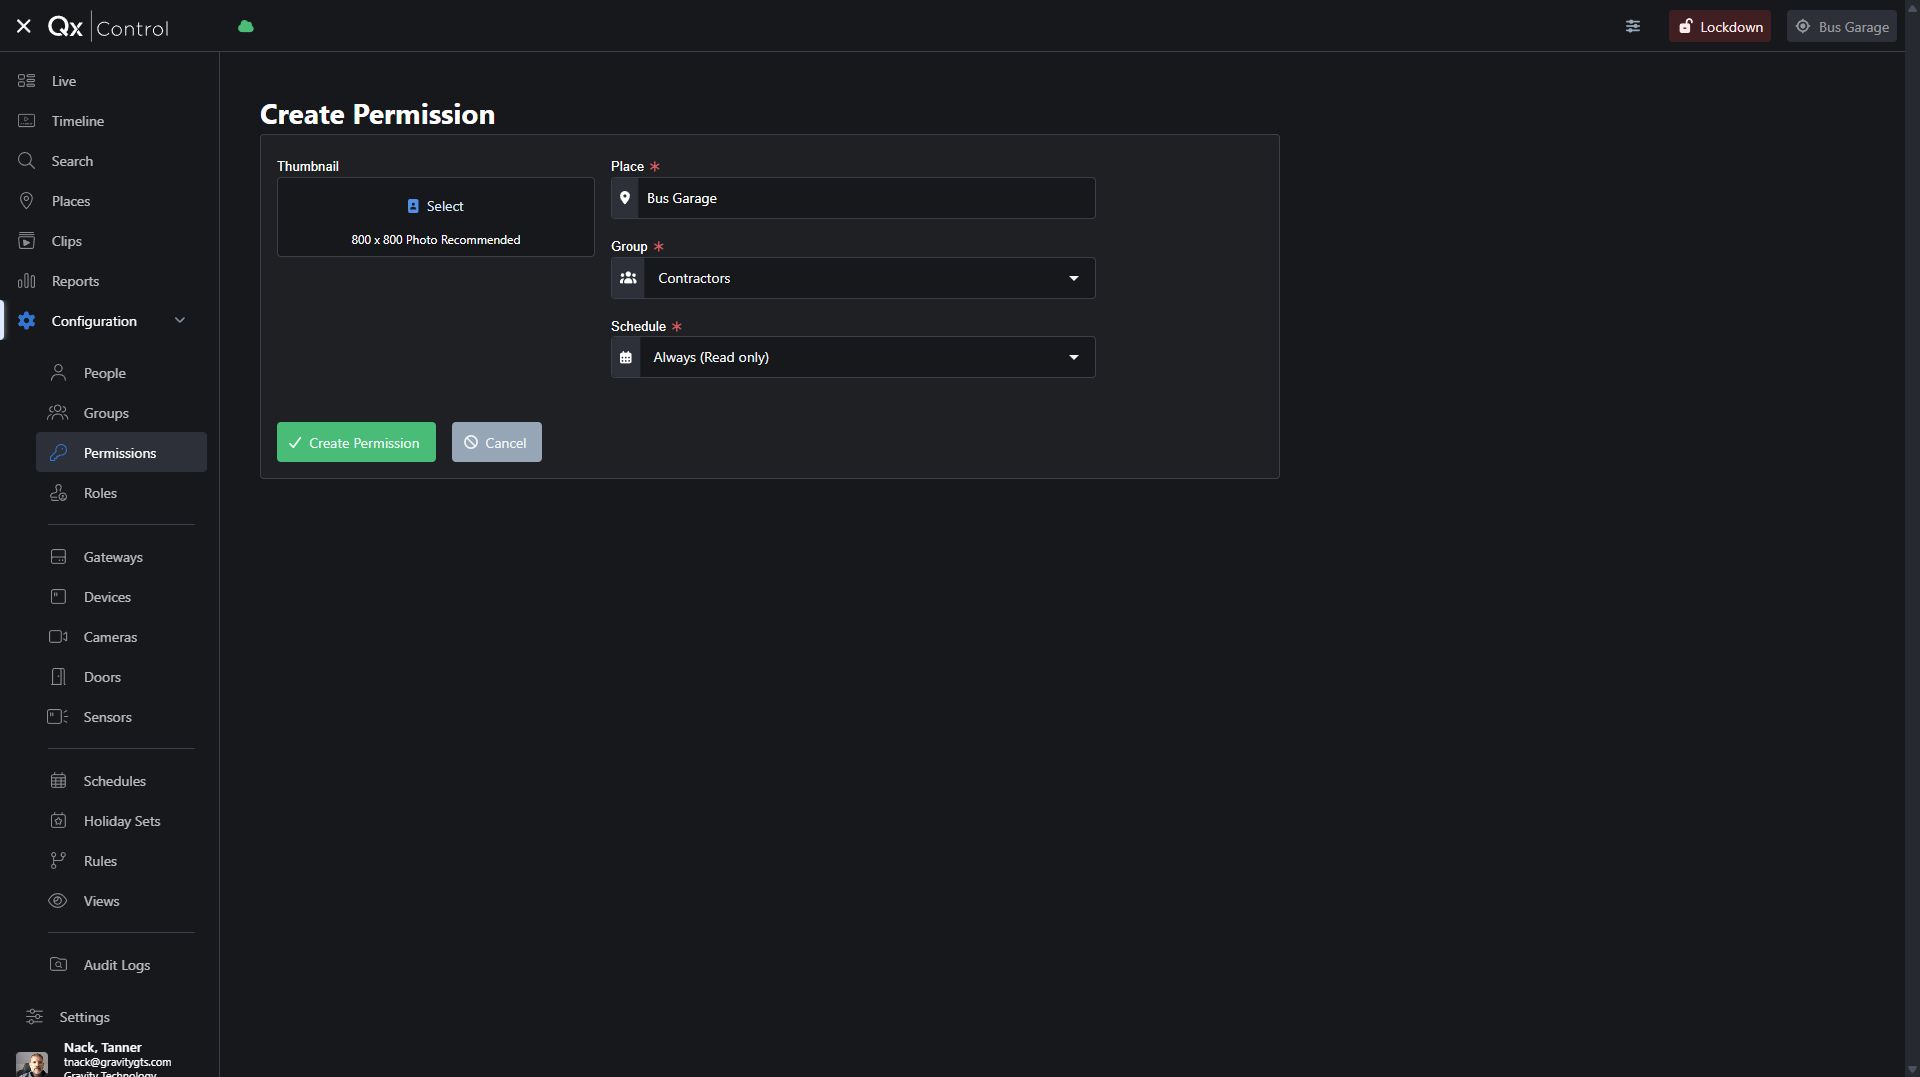
Those two badges you created will have 24/7 access to all doors.