How to Handle Amazon Returns: A Comprehensive Guide
This article provides a step-by-step guide on how to handle Amazon returns, from initiating the return process to confirming the refund status.
In this guide, we'll learn how to efficiently manage Amazon returns using a systematic approach. Whether you initiate return requests through Slack conversations or dedicated channels, the key is to streamline the process for a seamless experience. By ensuring you are logged into your Amazon account, you can swiftly navigate through the steps required to initiate a return. Let's break down the process into manageable steps to enhance your return workflow.
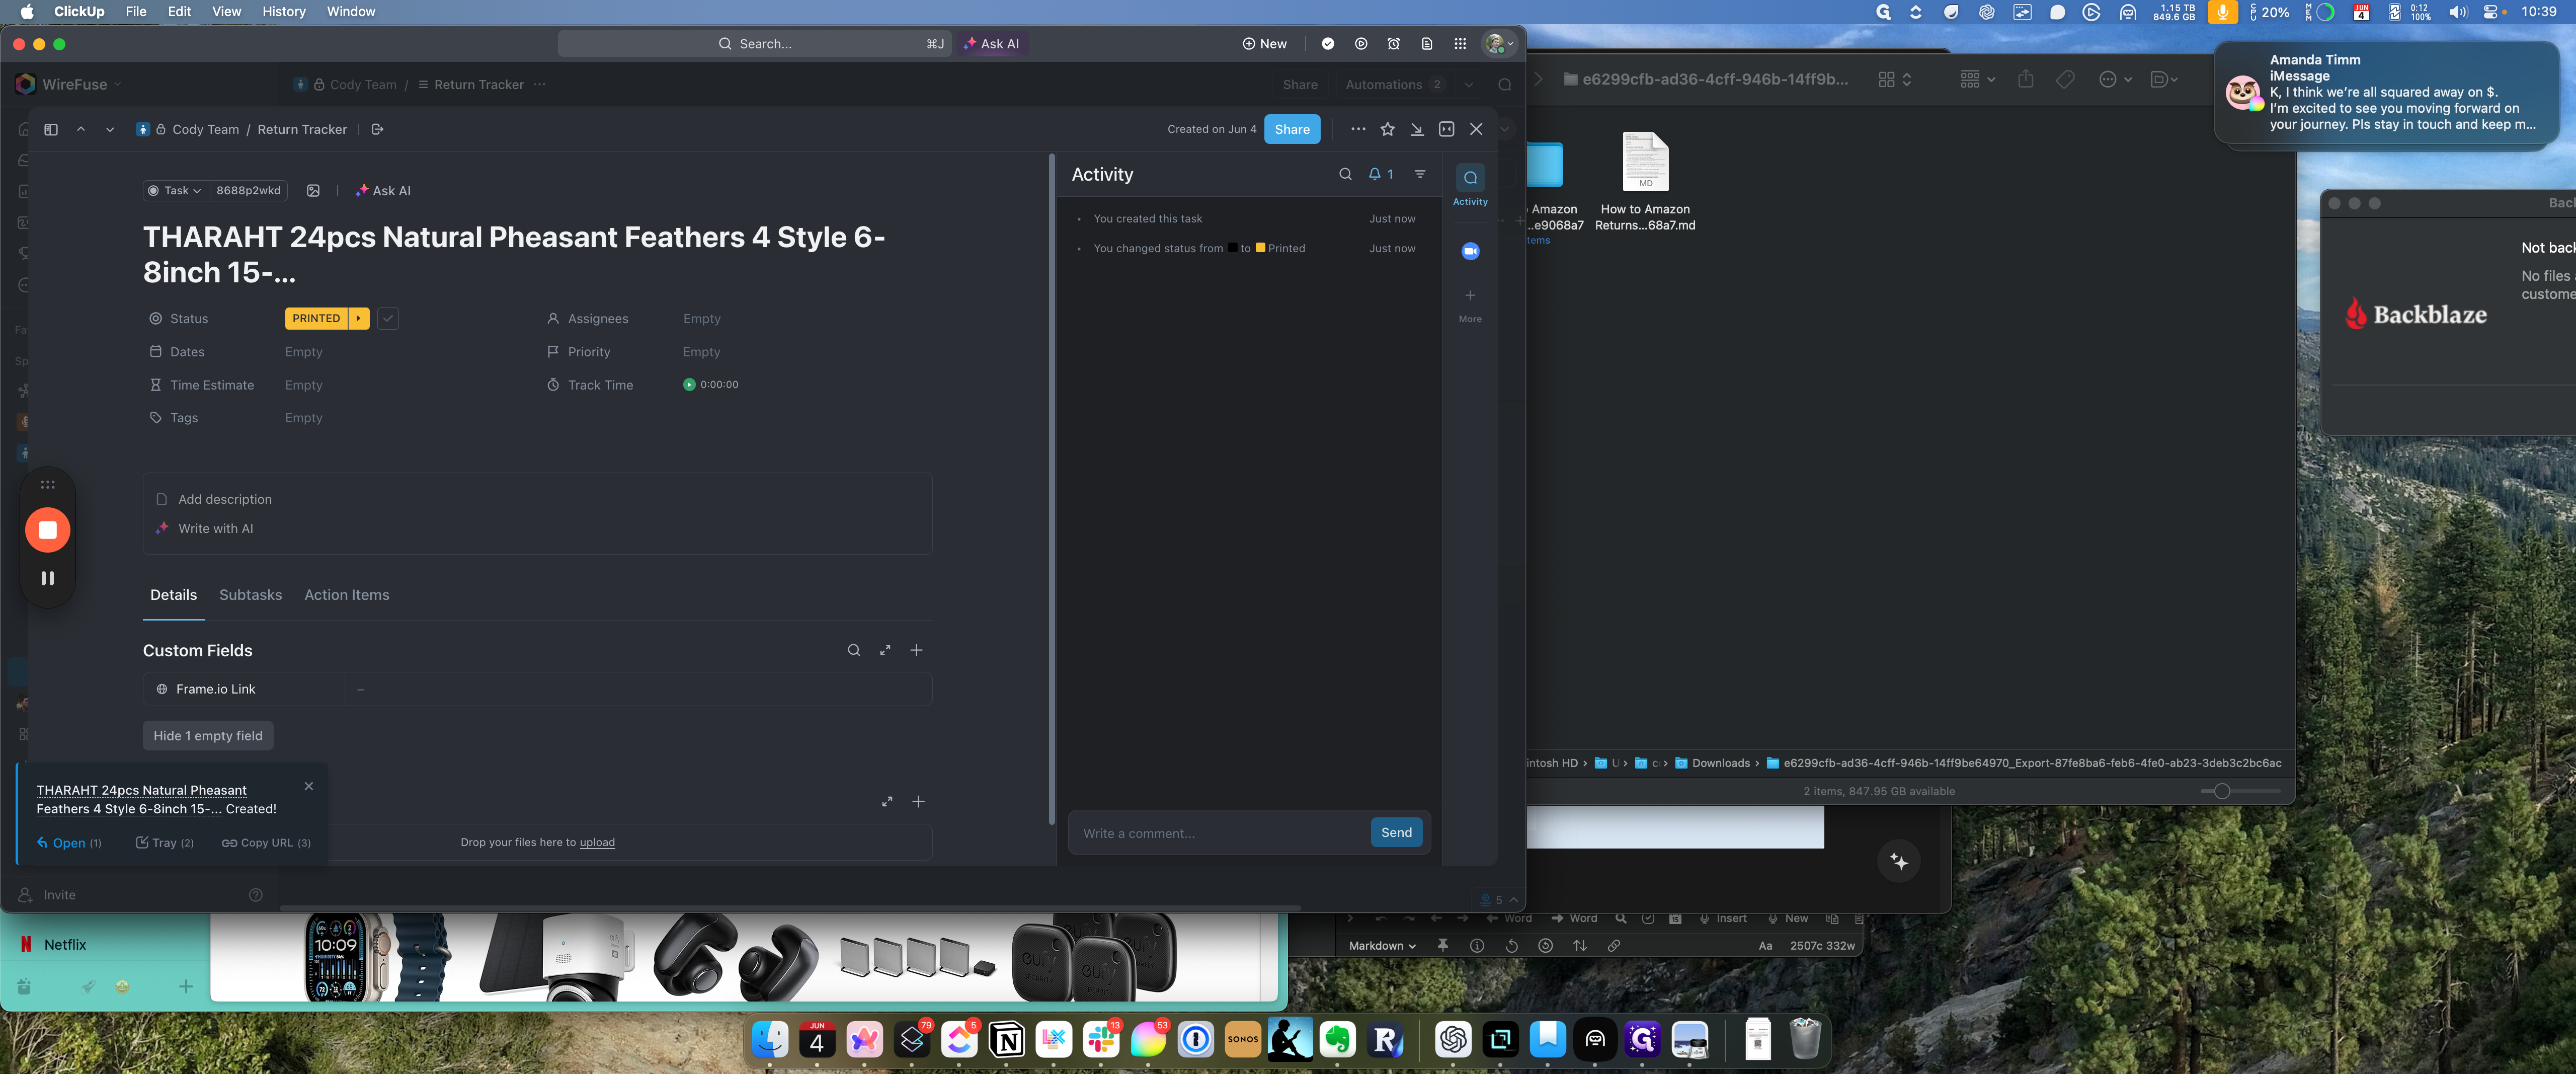
Creating a Return Task in ClickUp
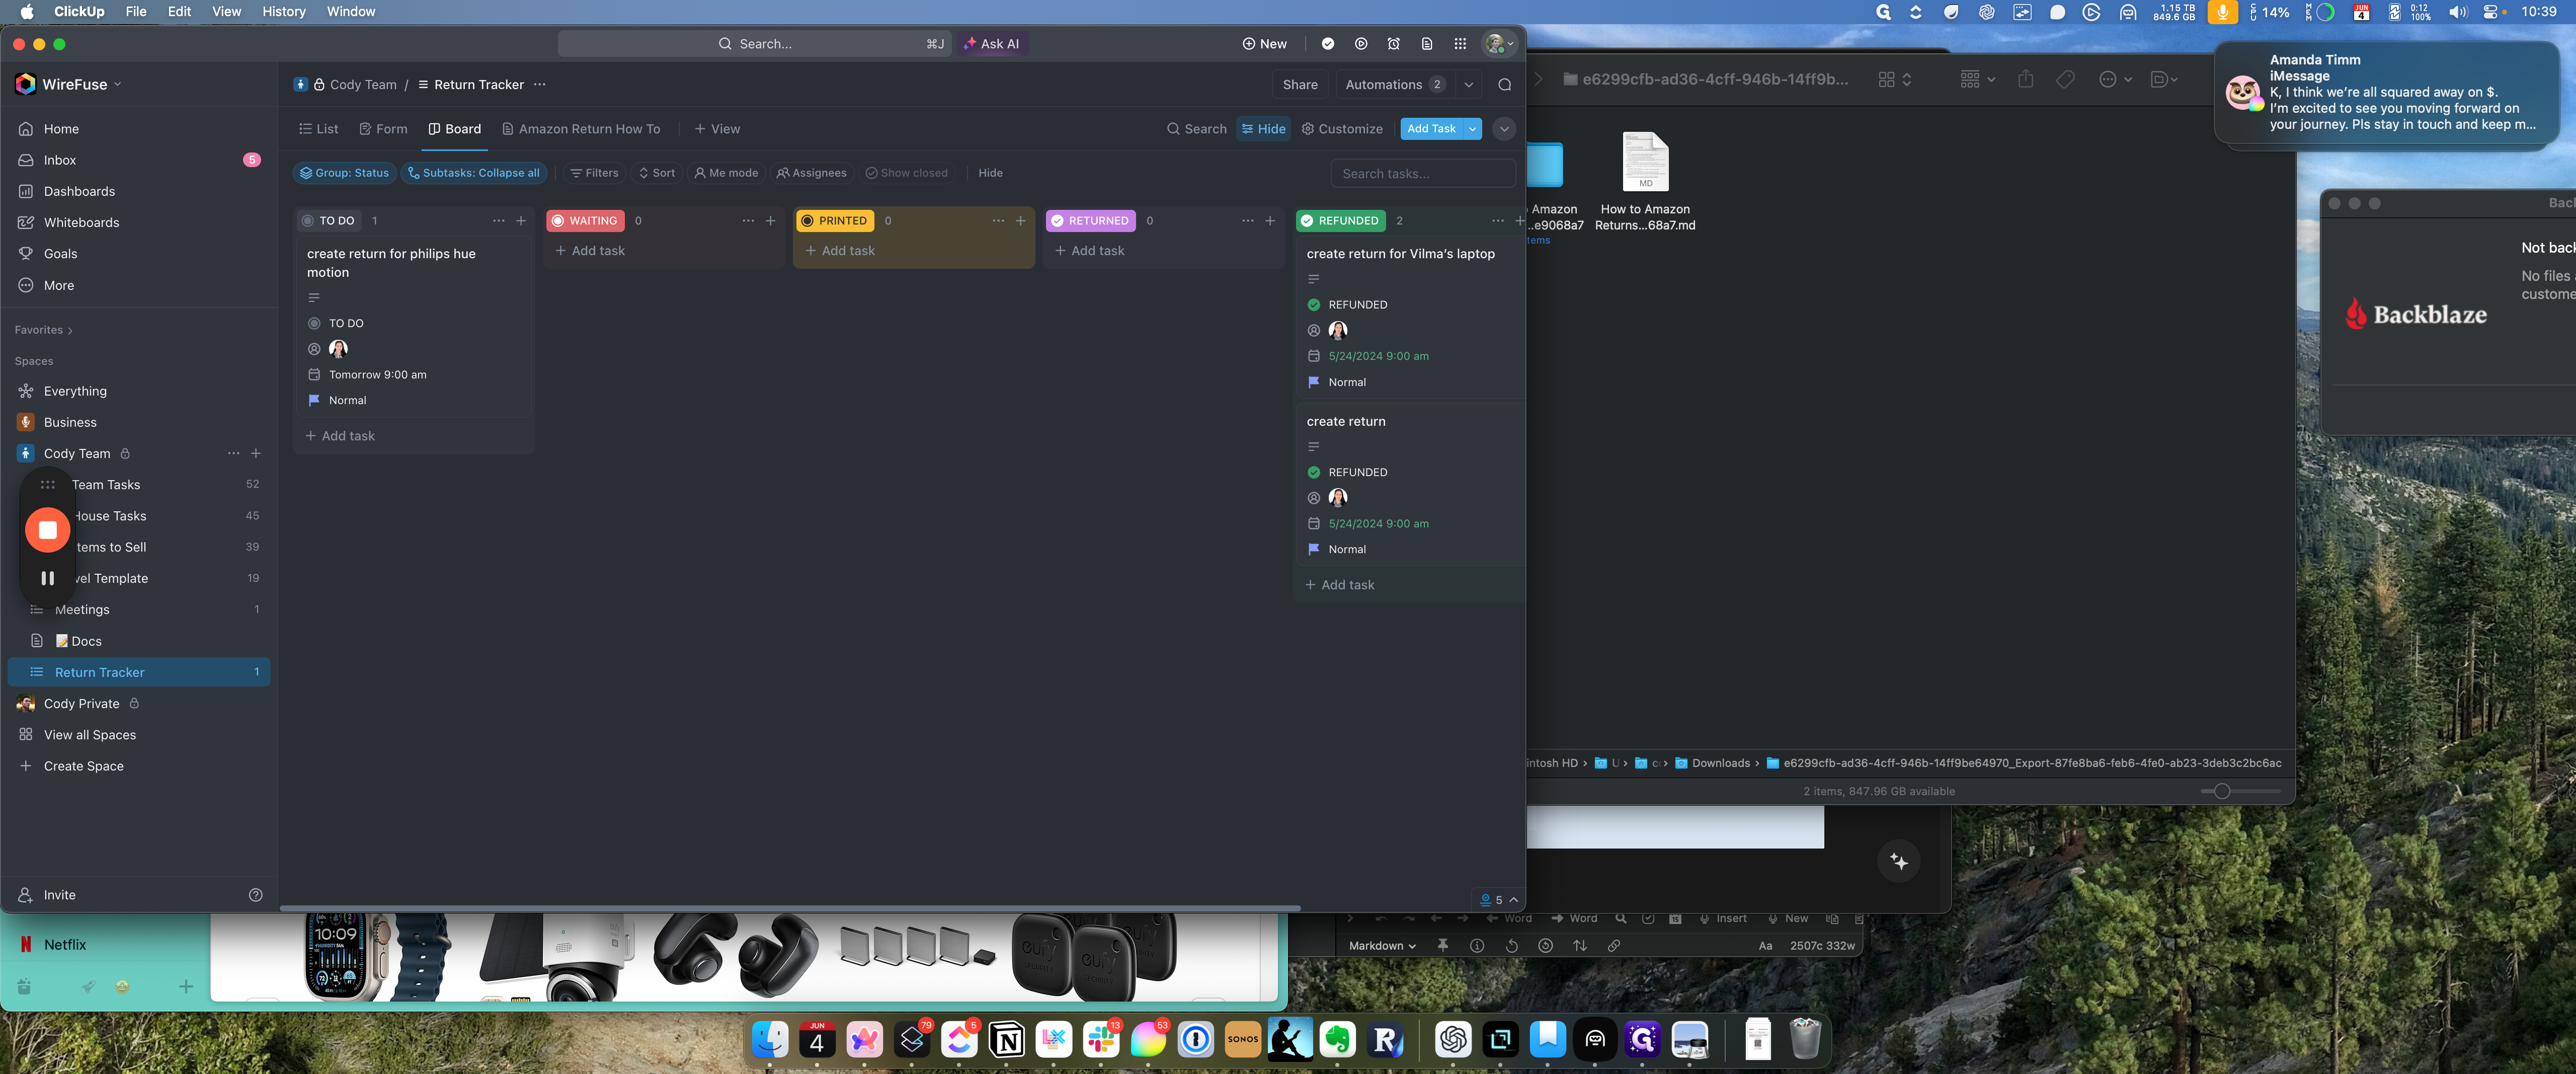
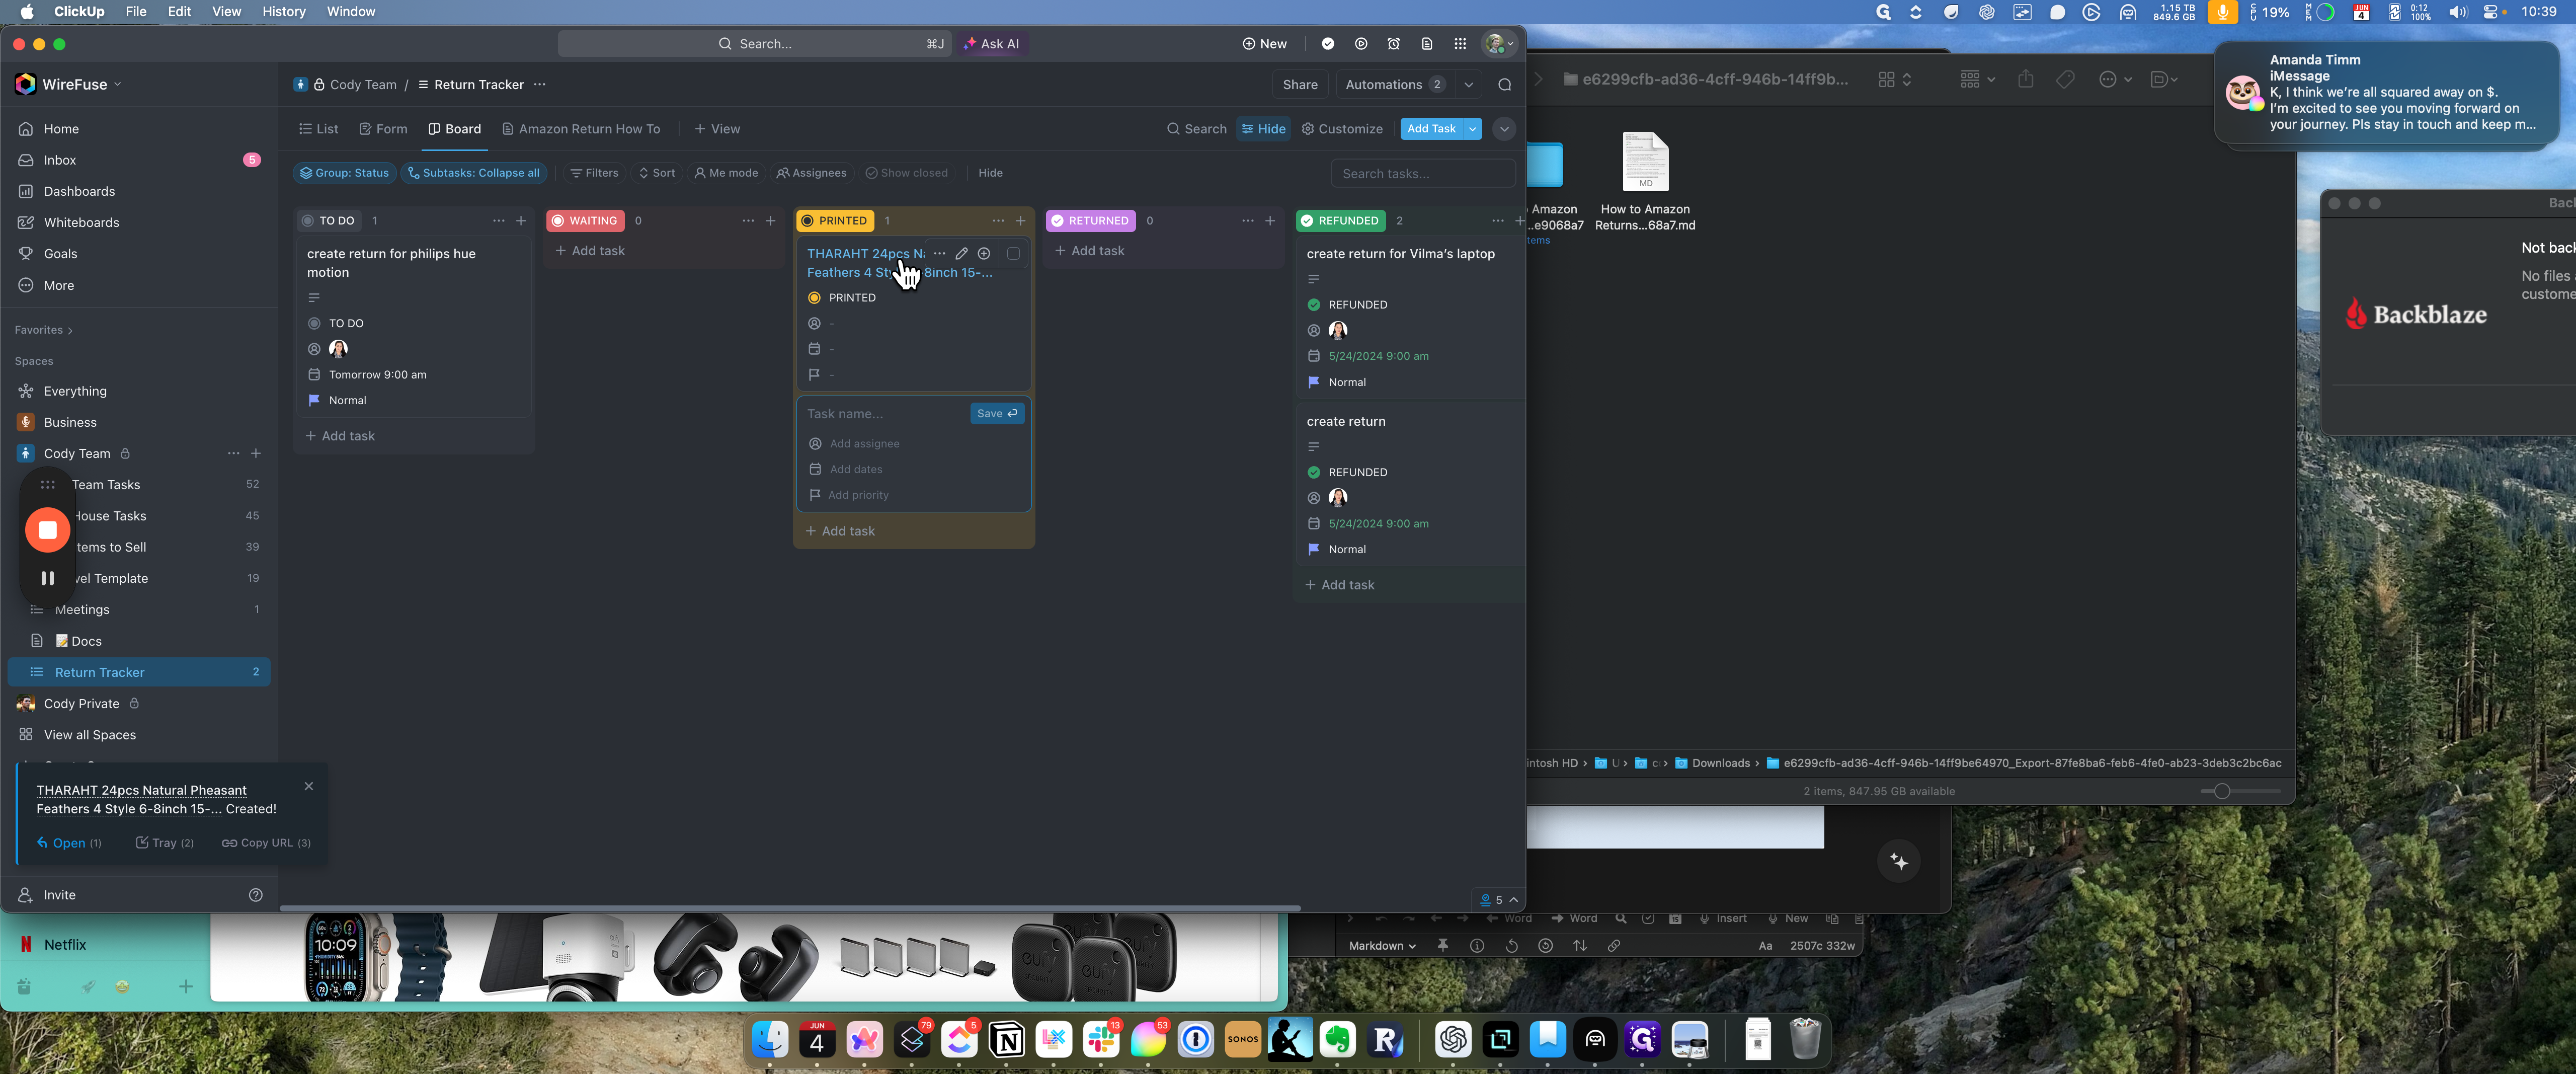
To kickstart the return process, it's essential to create a task in ClickUp for the item you wish to return. By copying the item title and pasting it into ClickUp, you can easily track the progress of your return request.
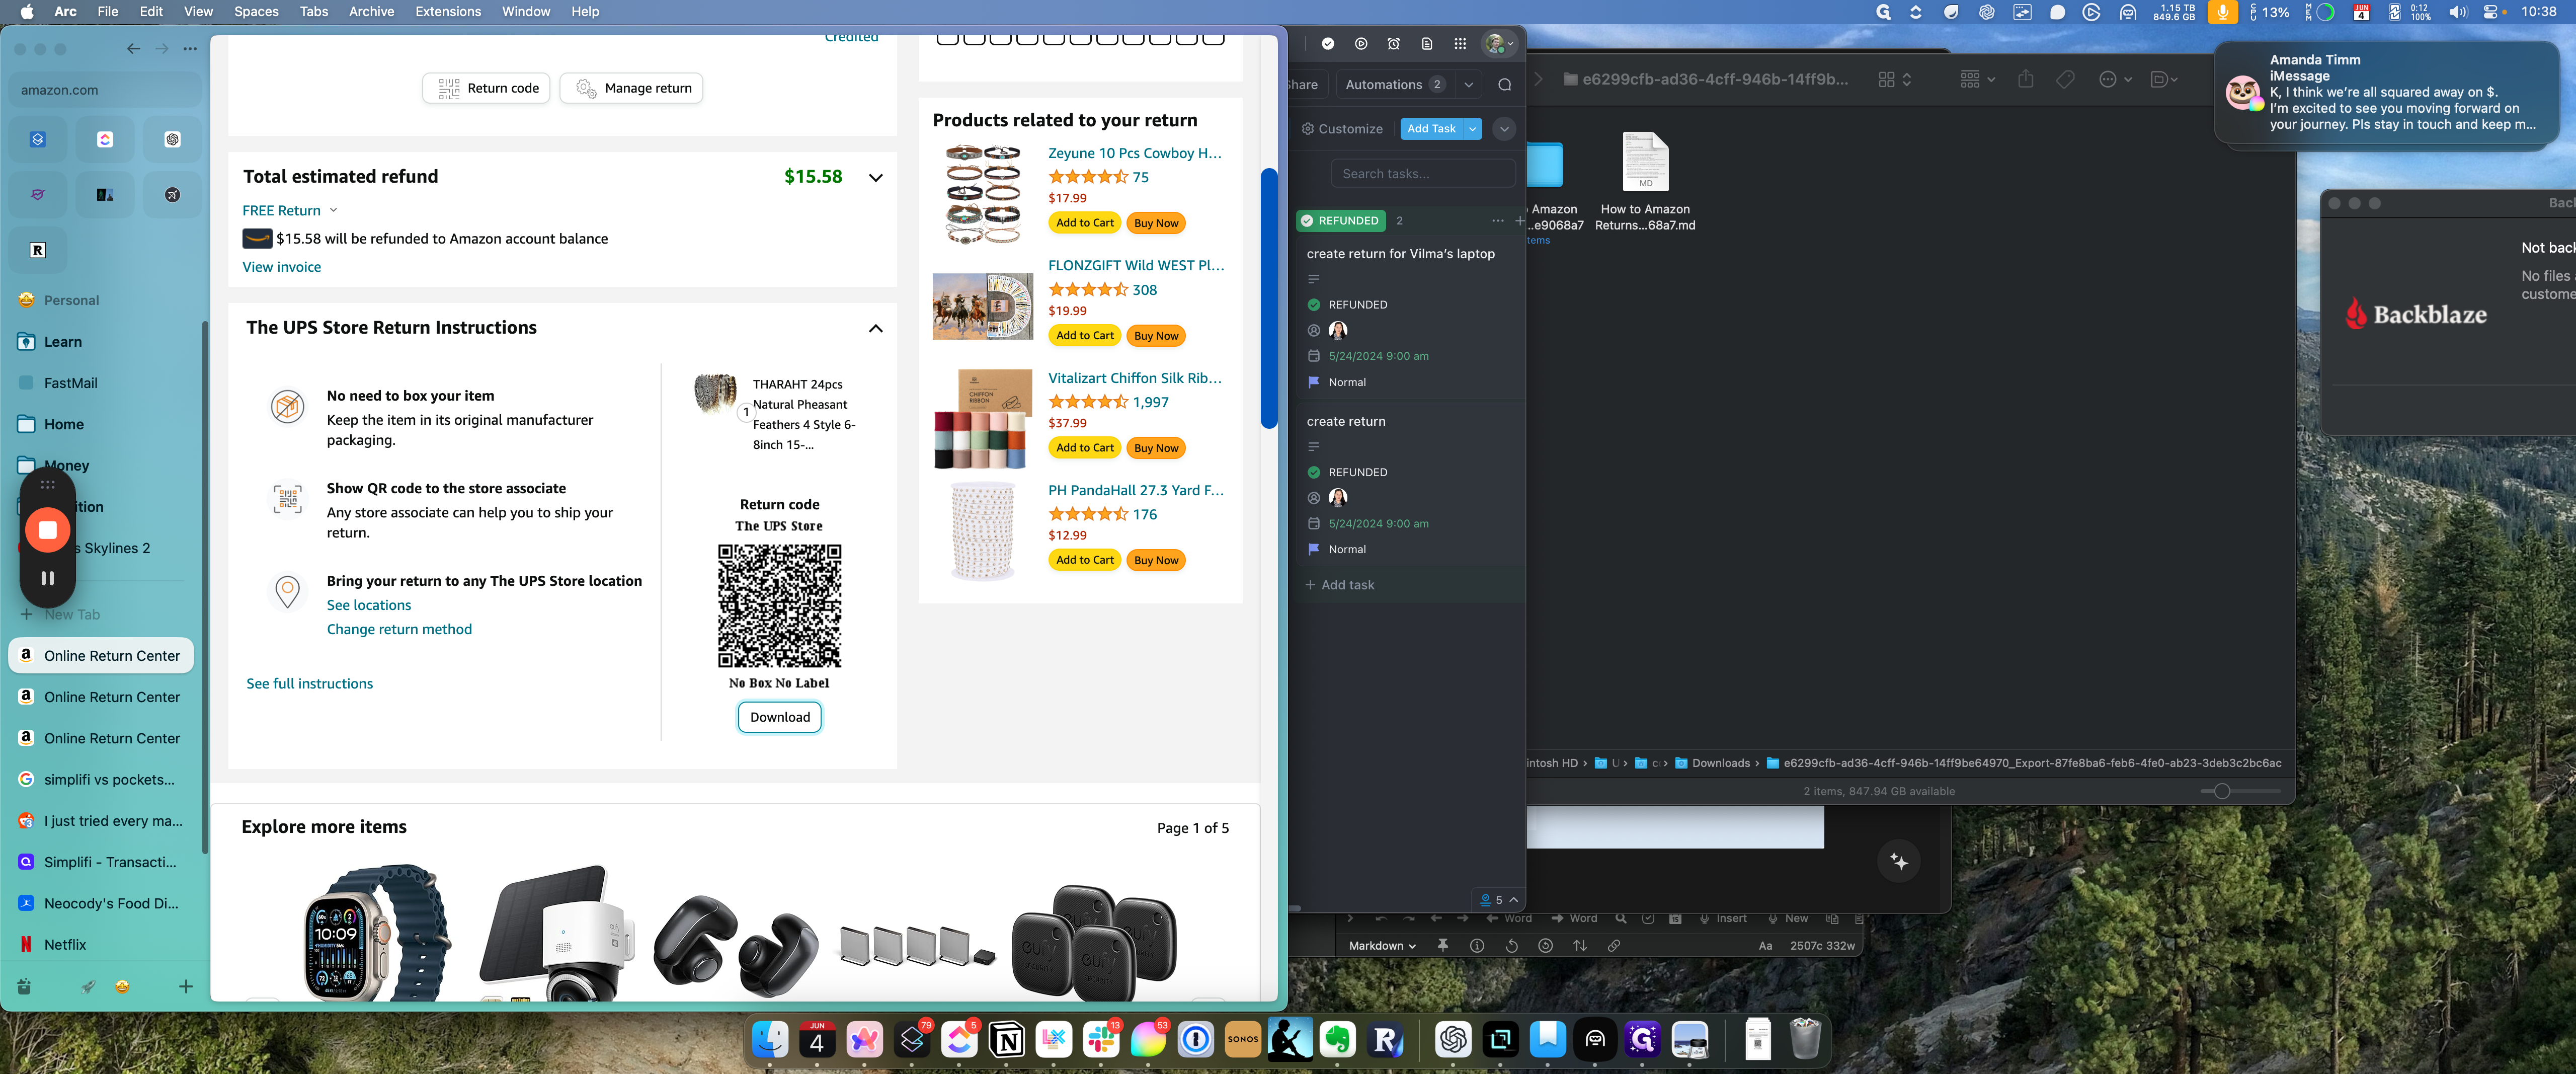
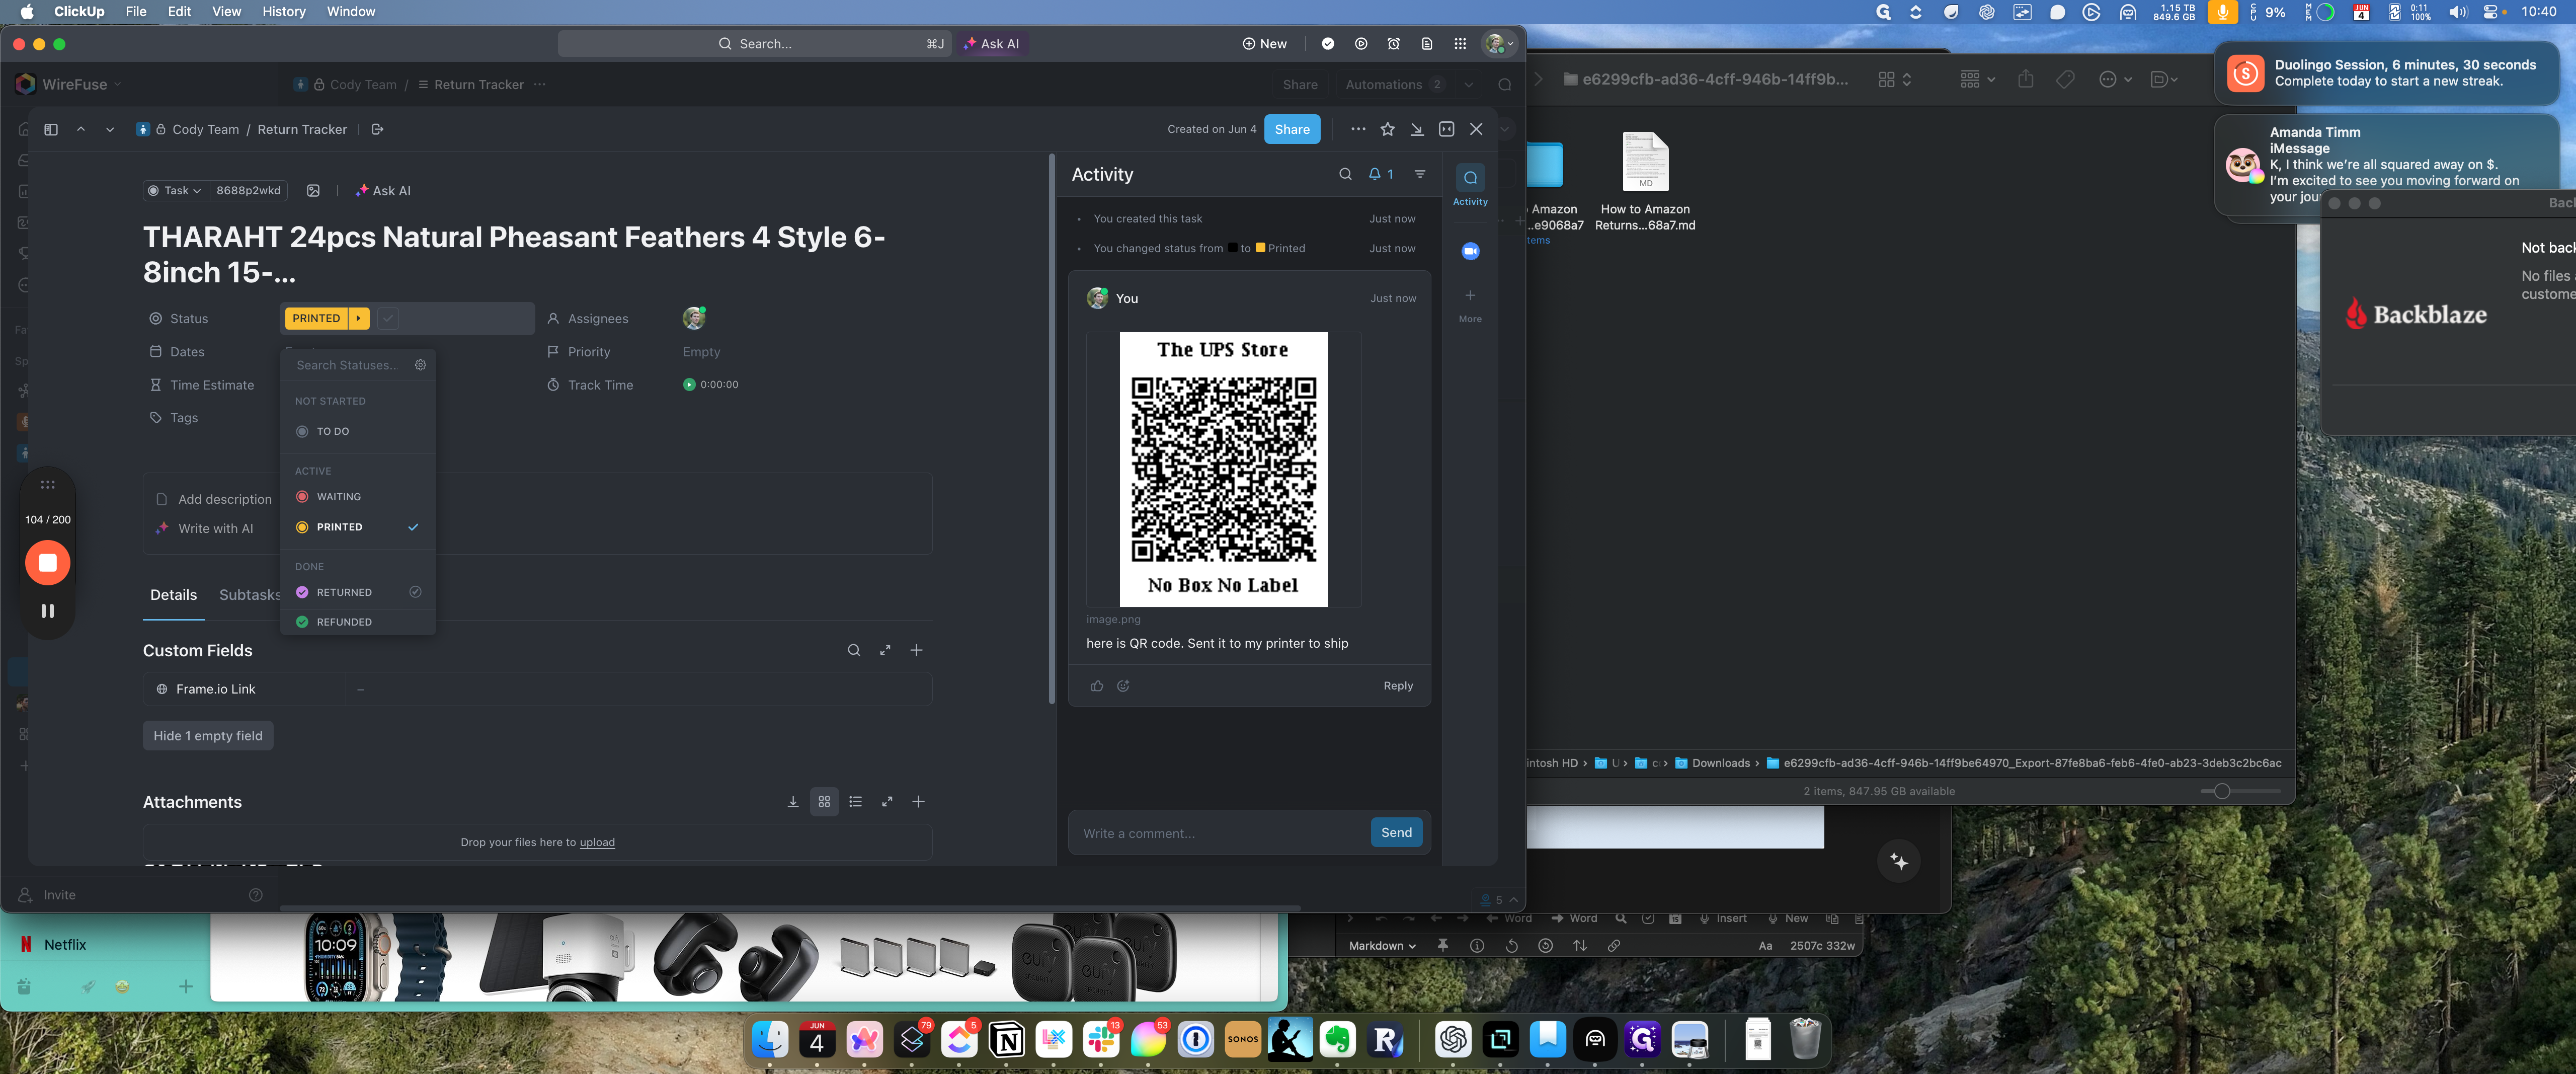
Sending Return Information
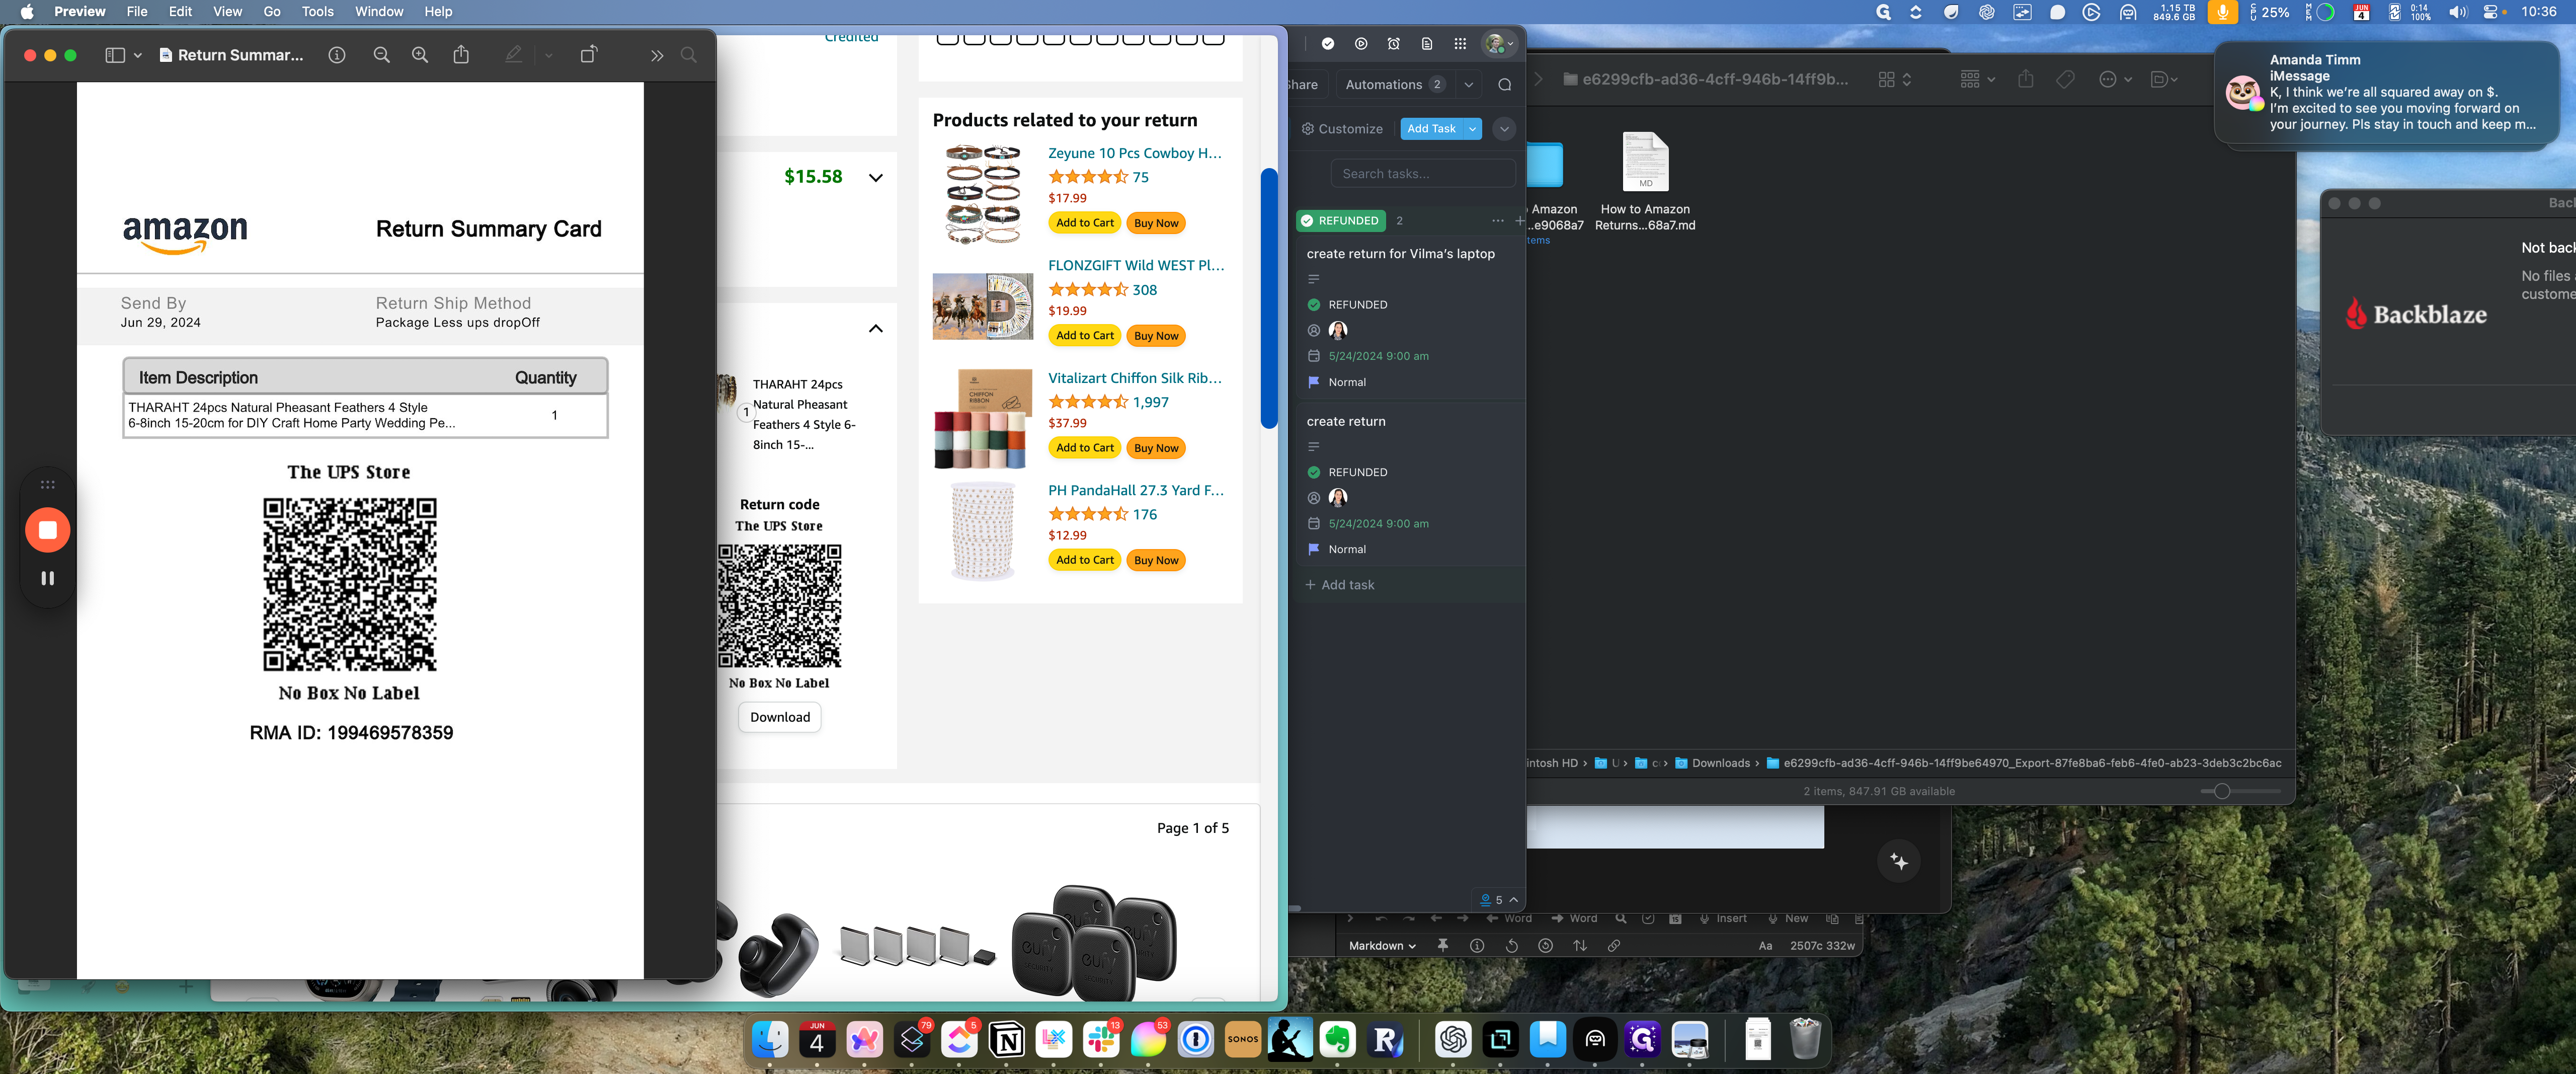
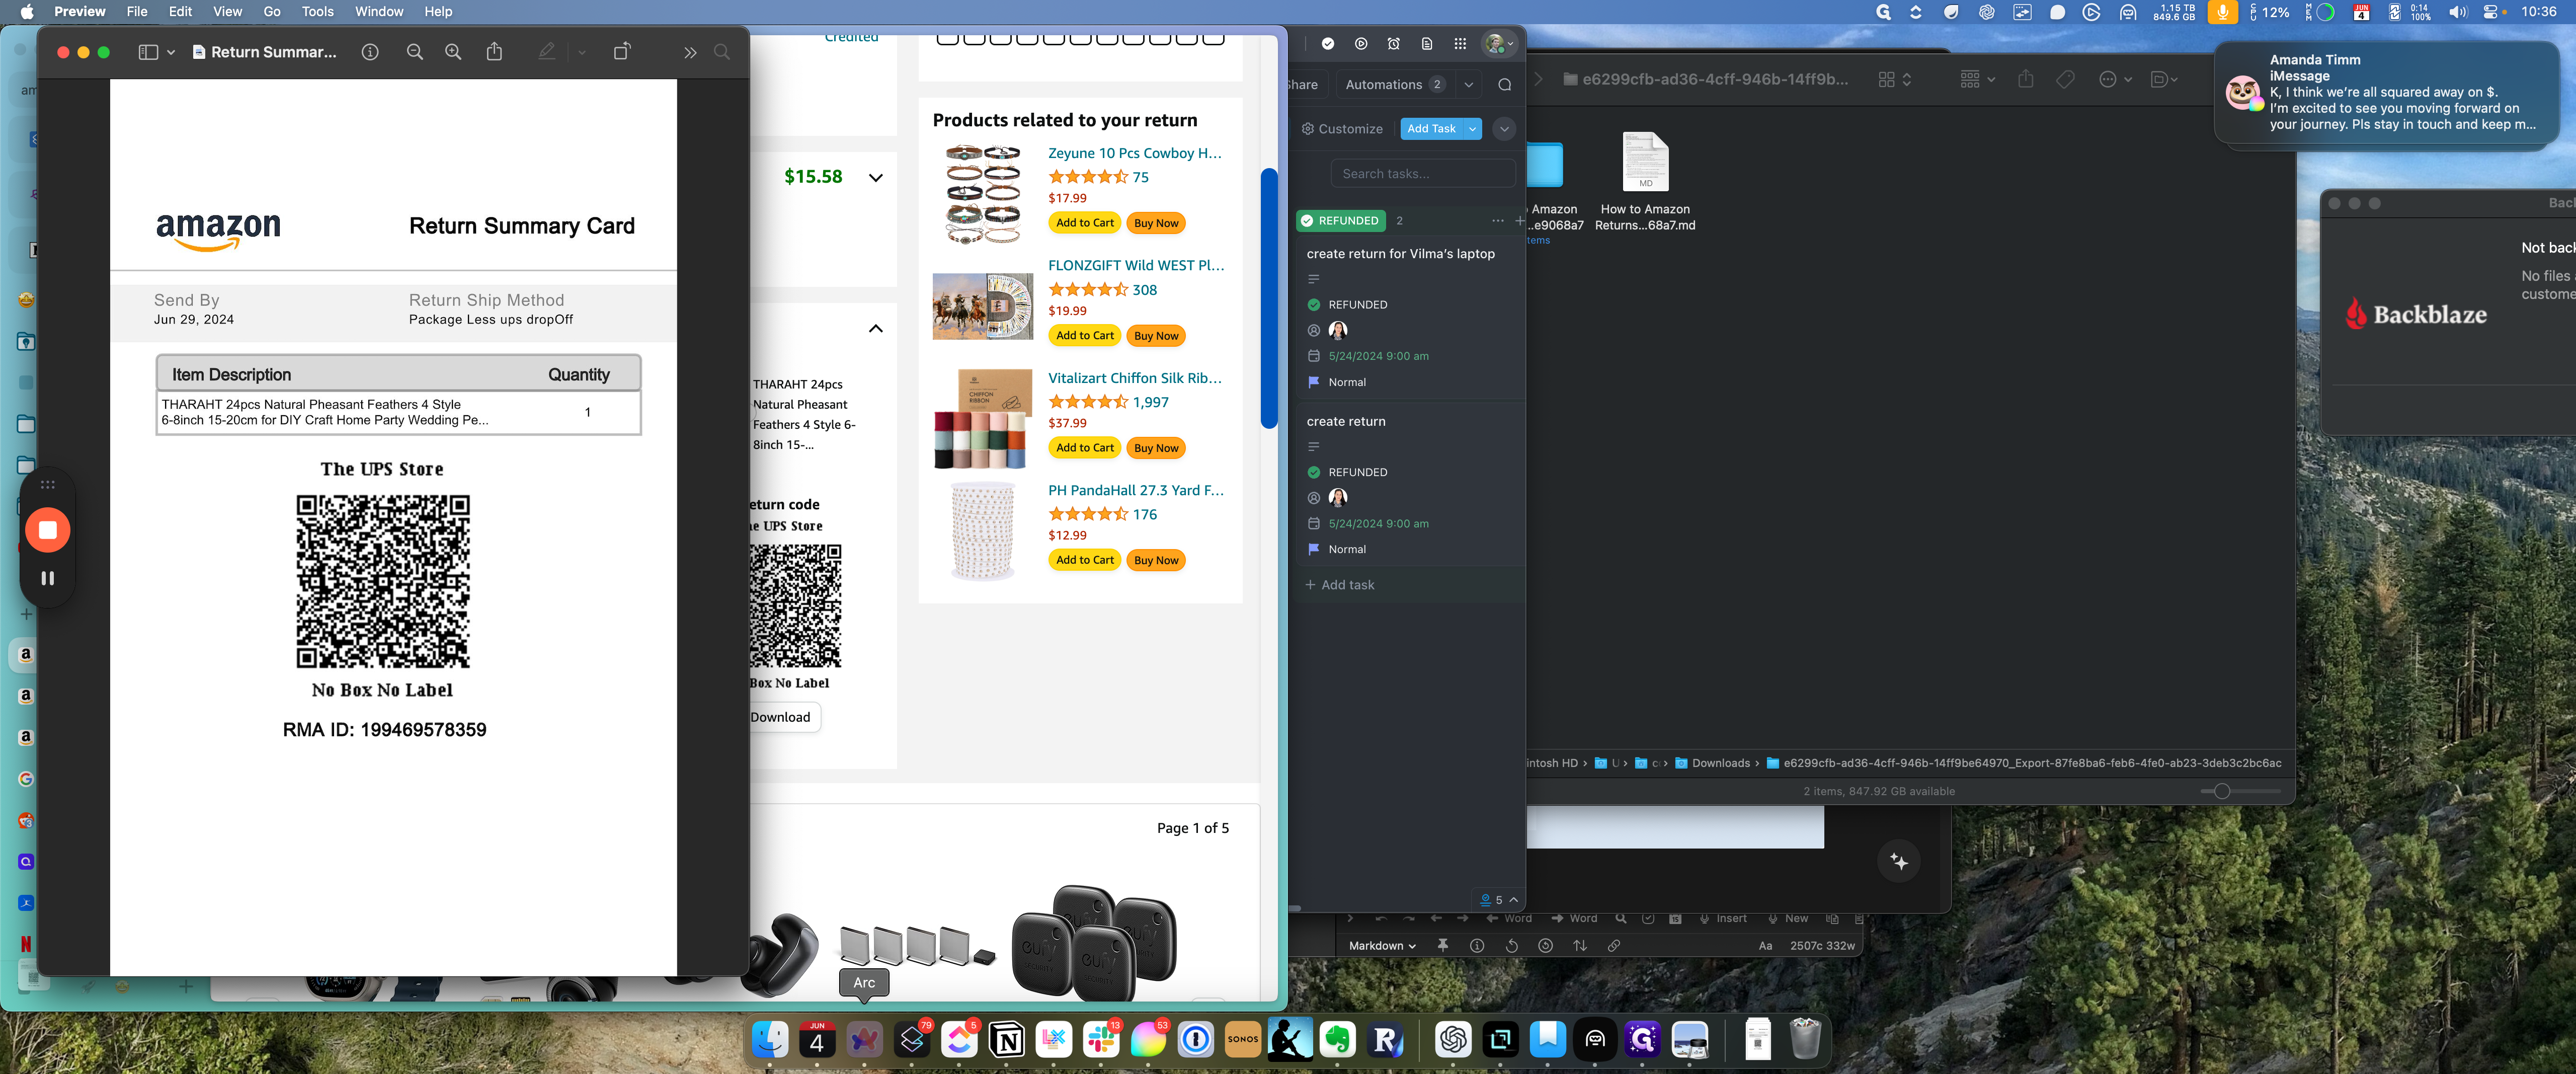
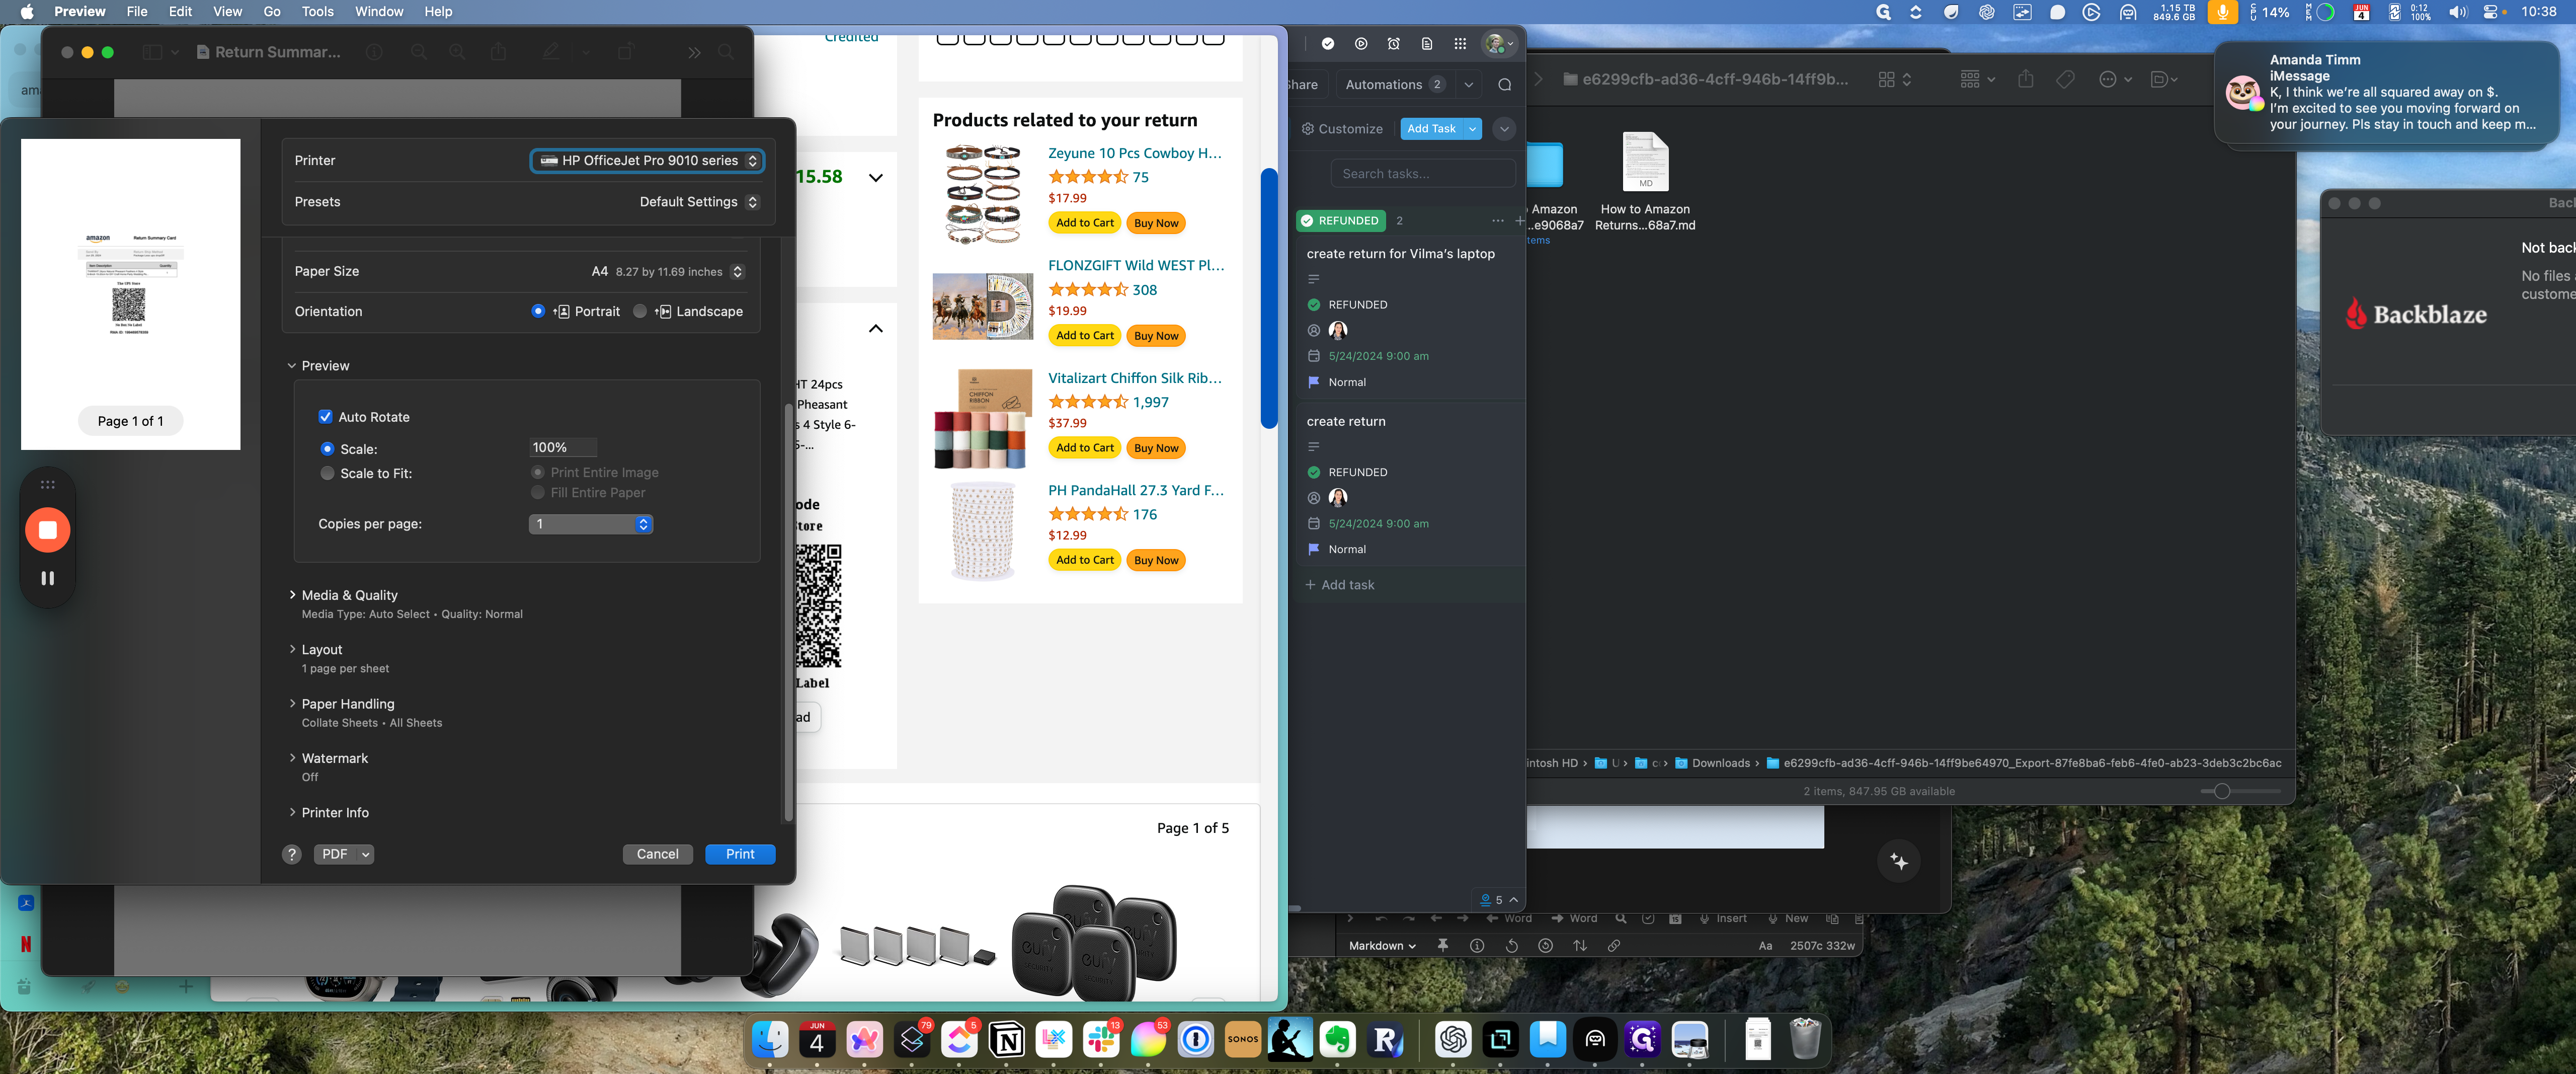
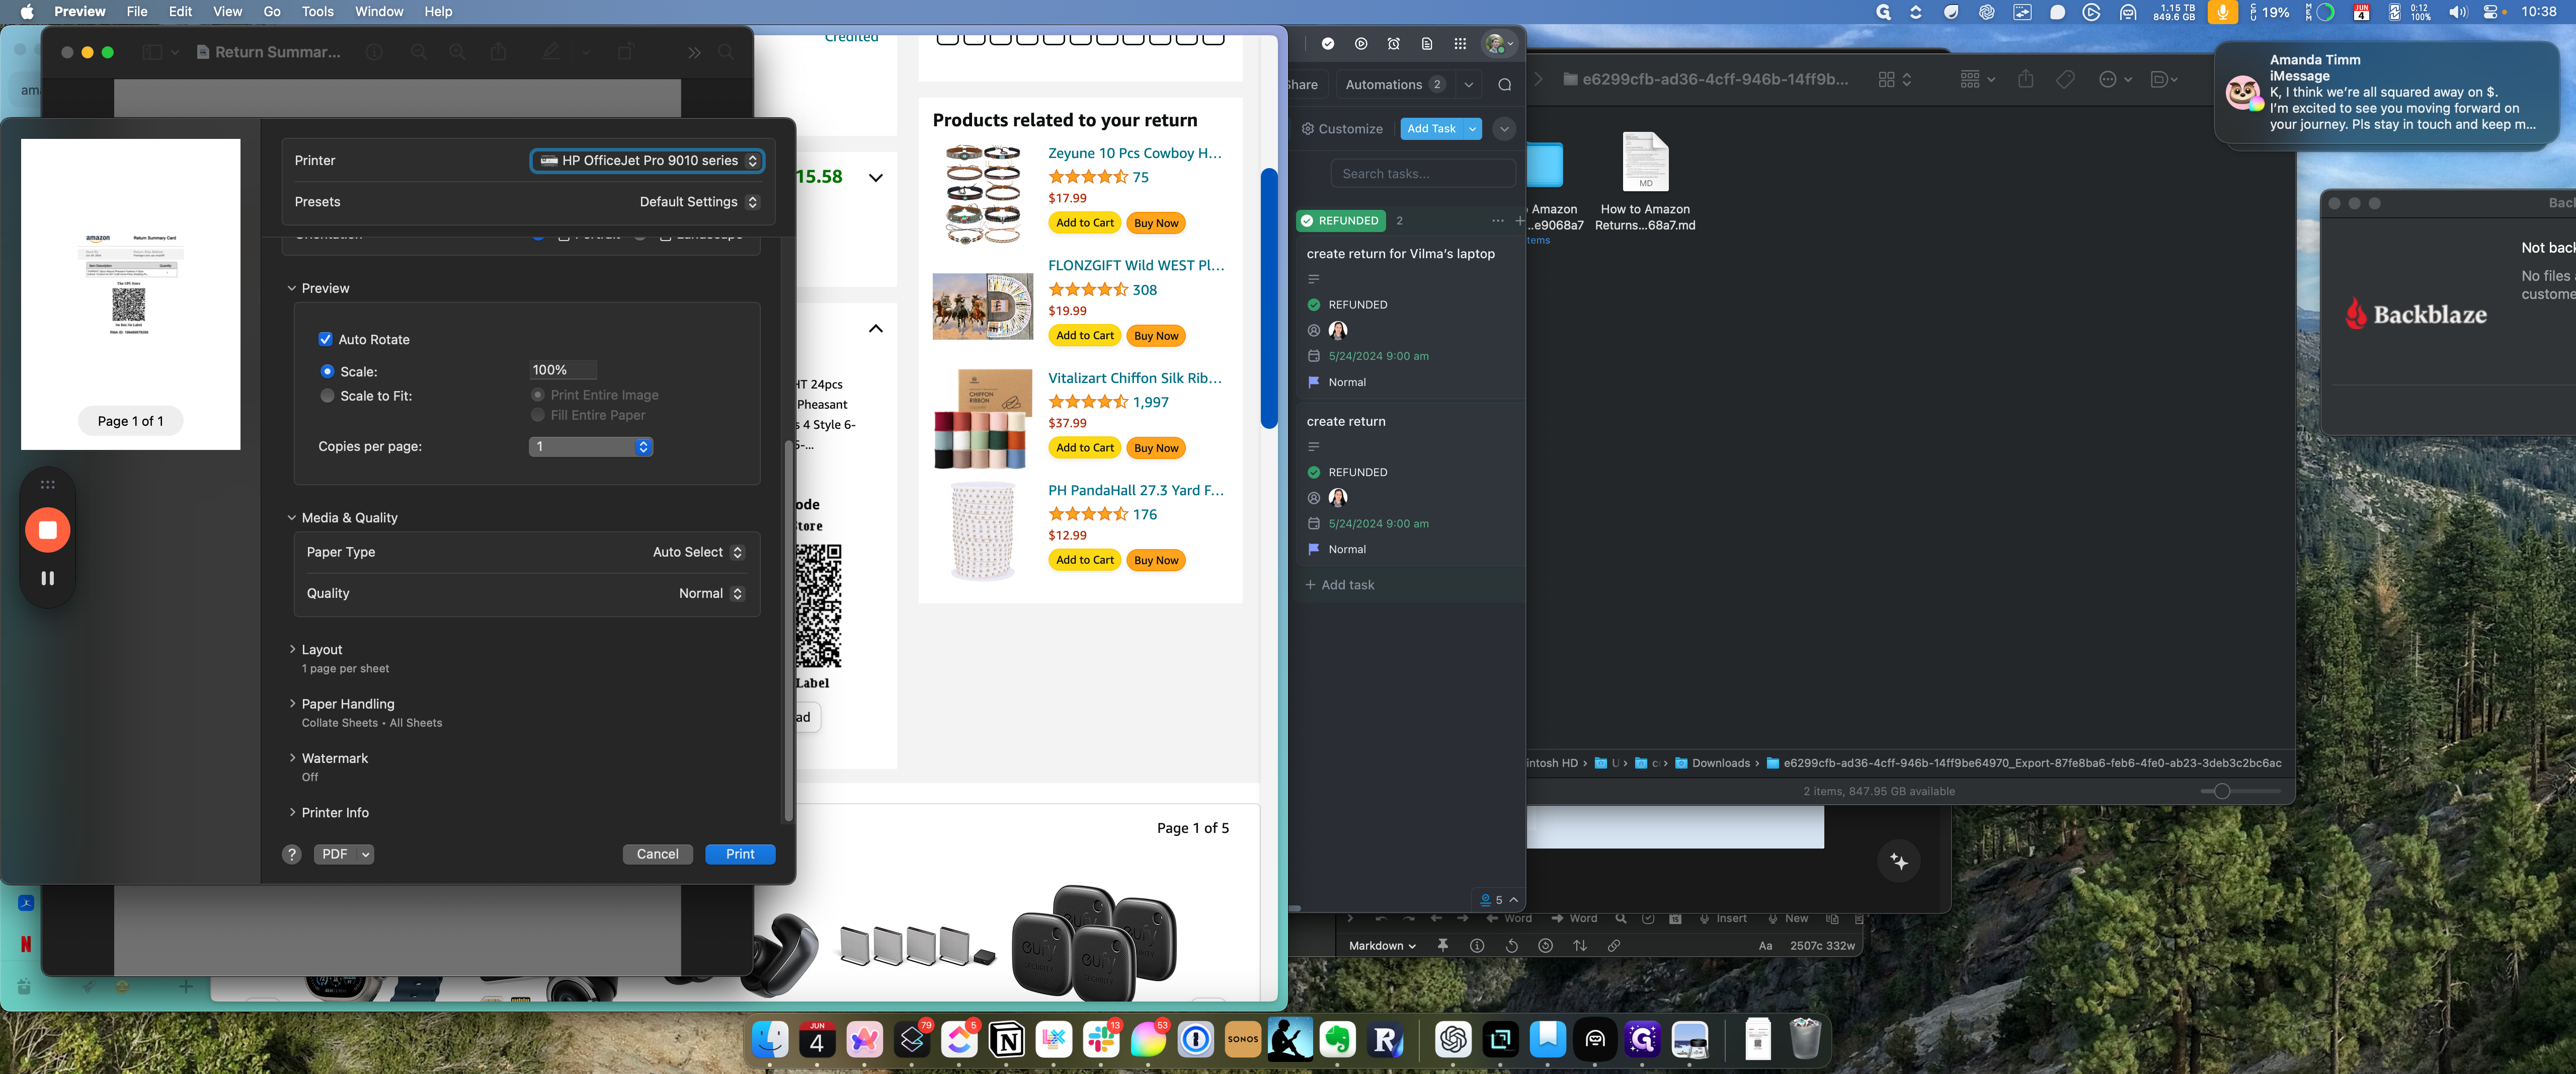
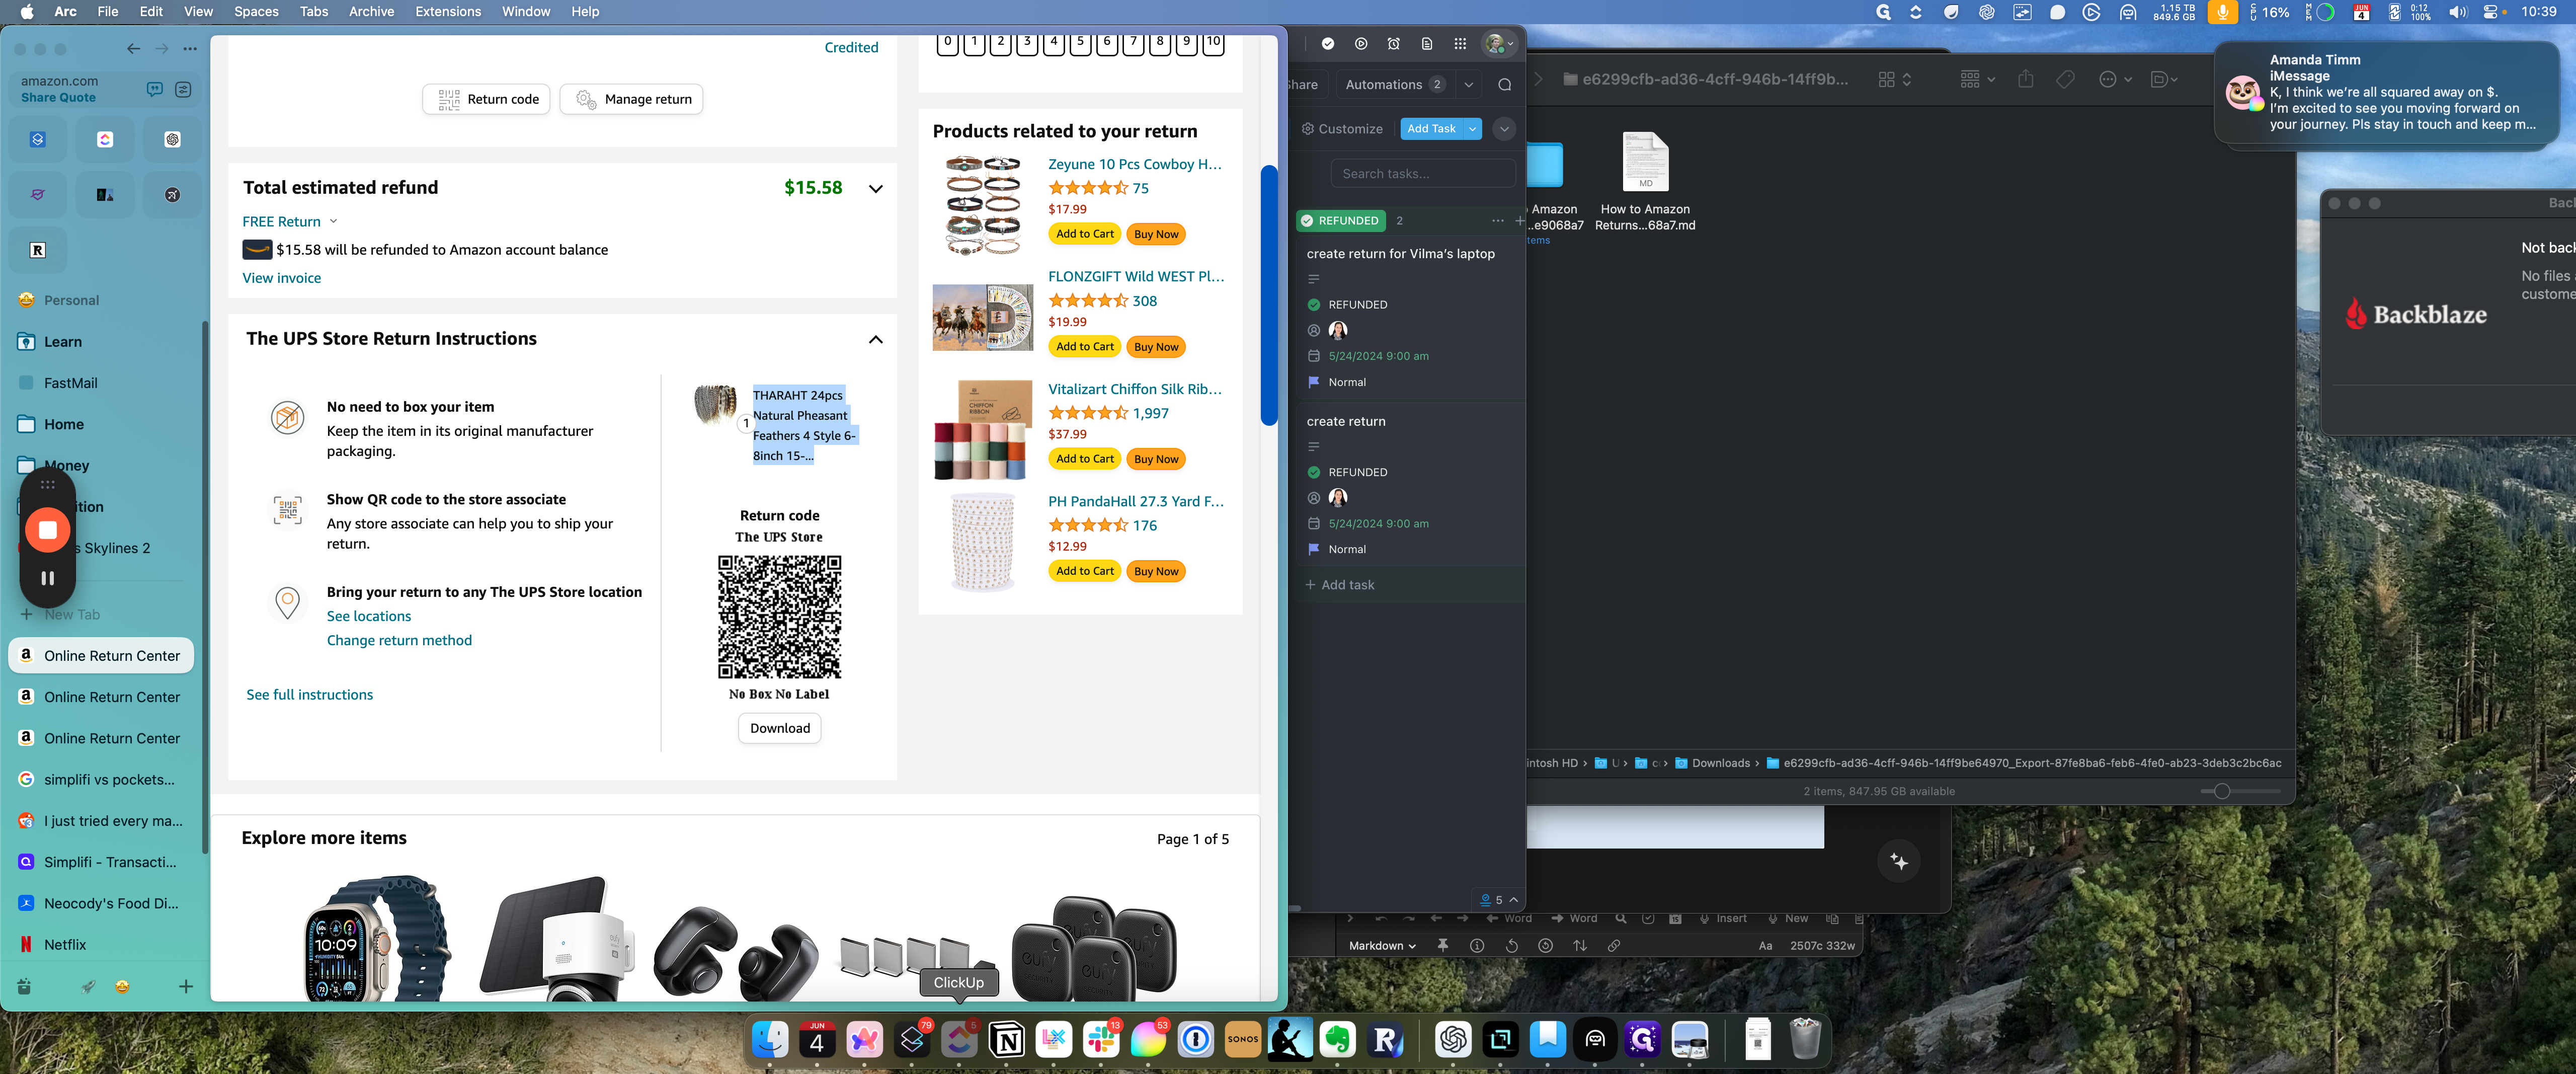
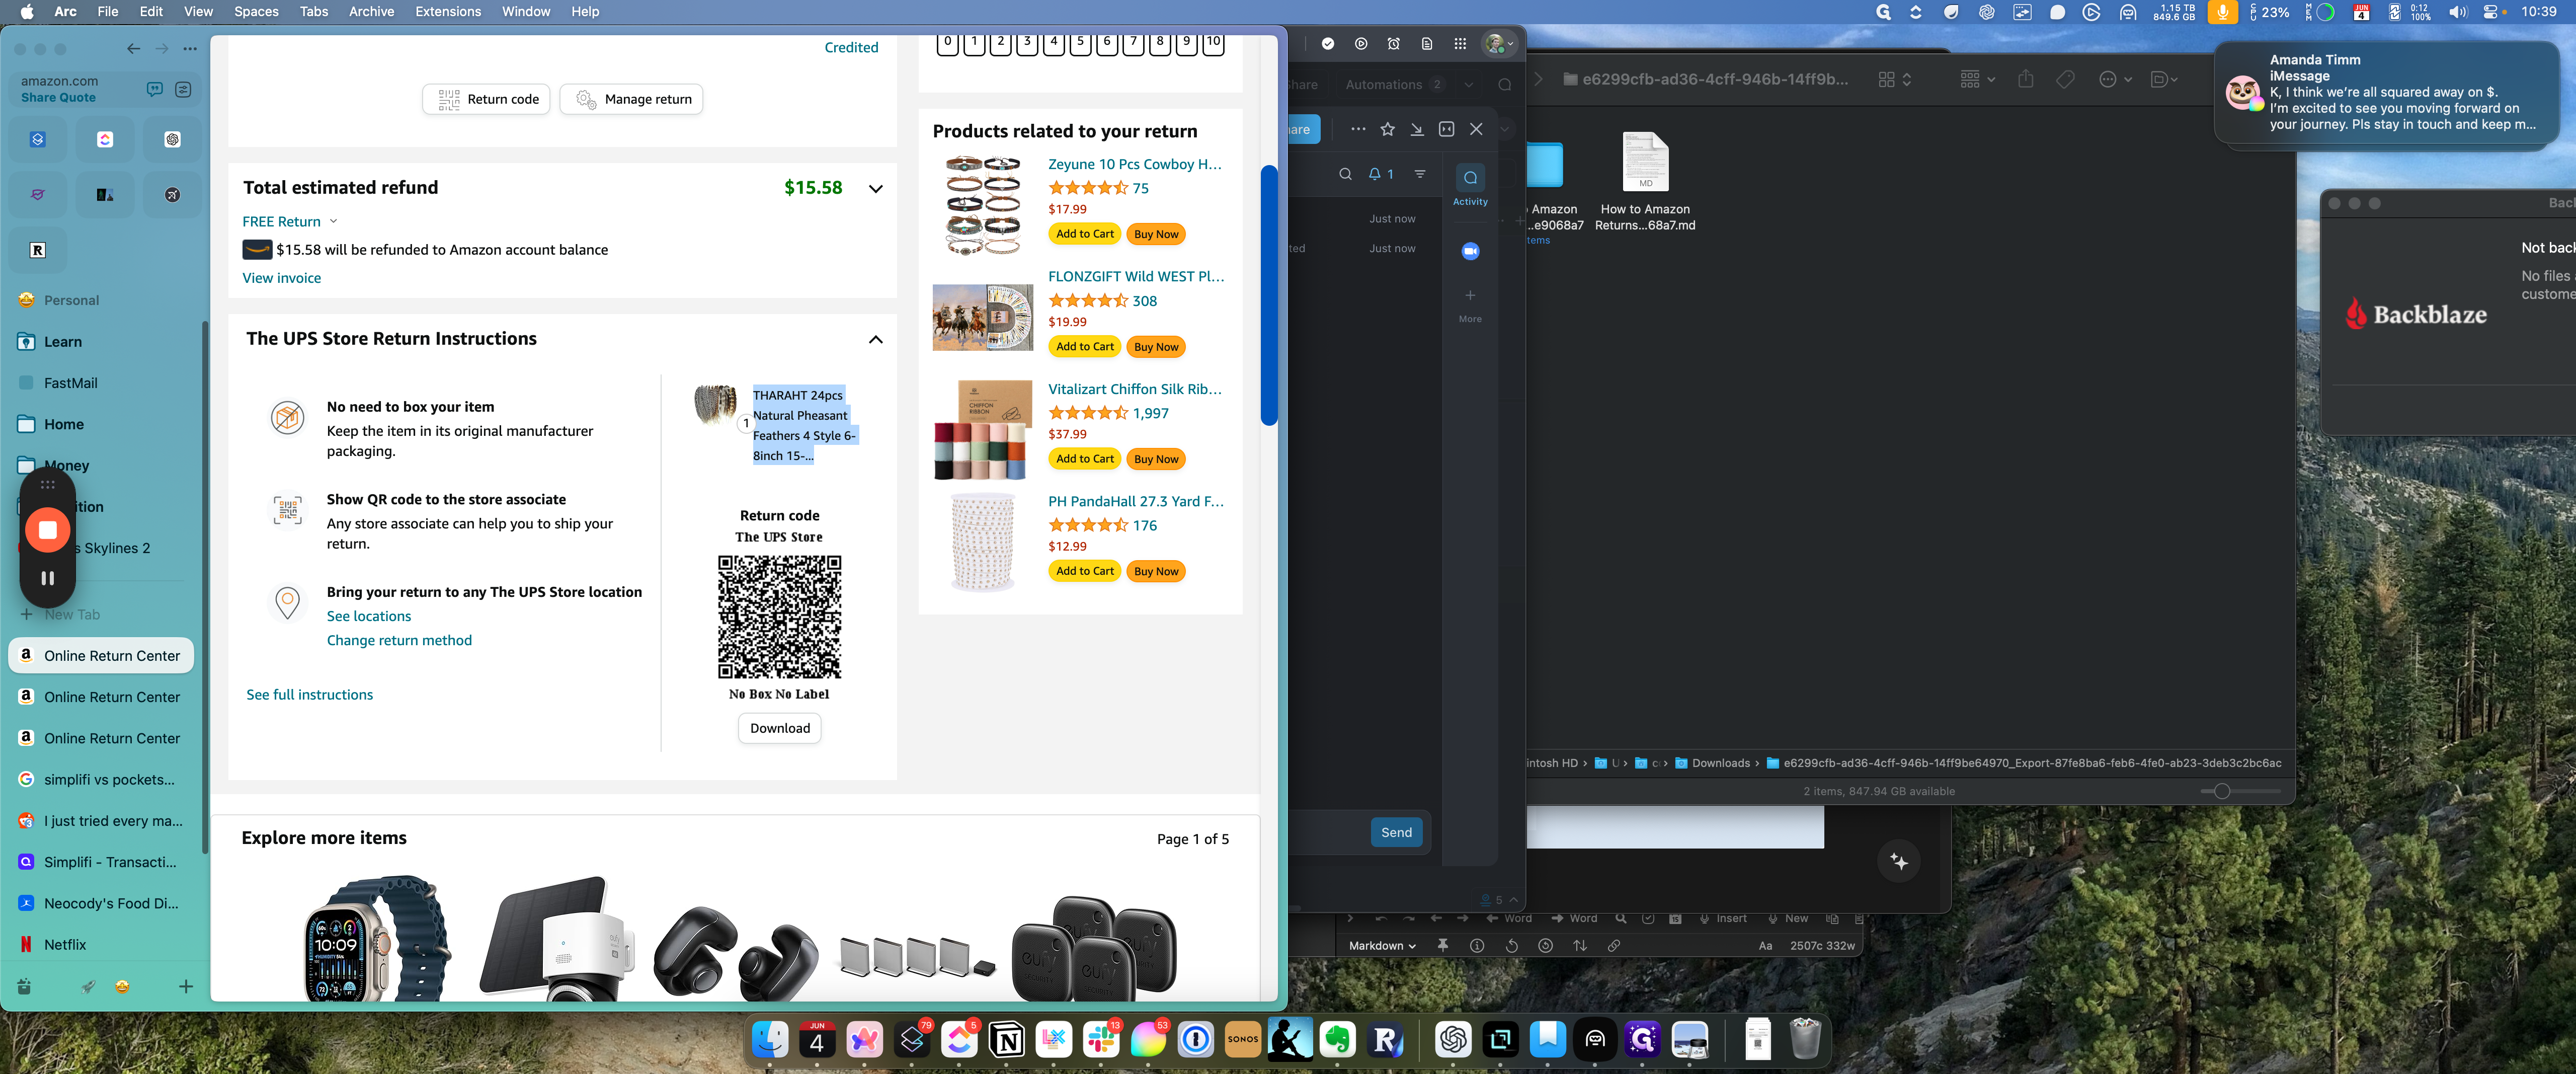
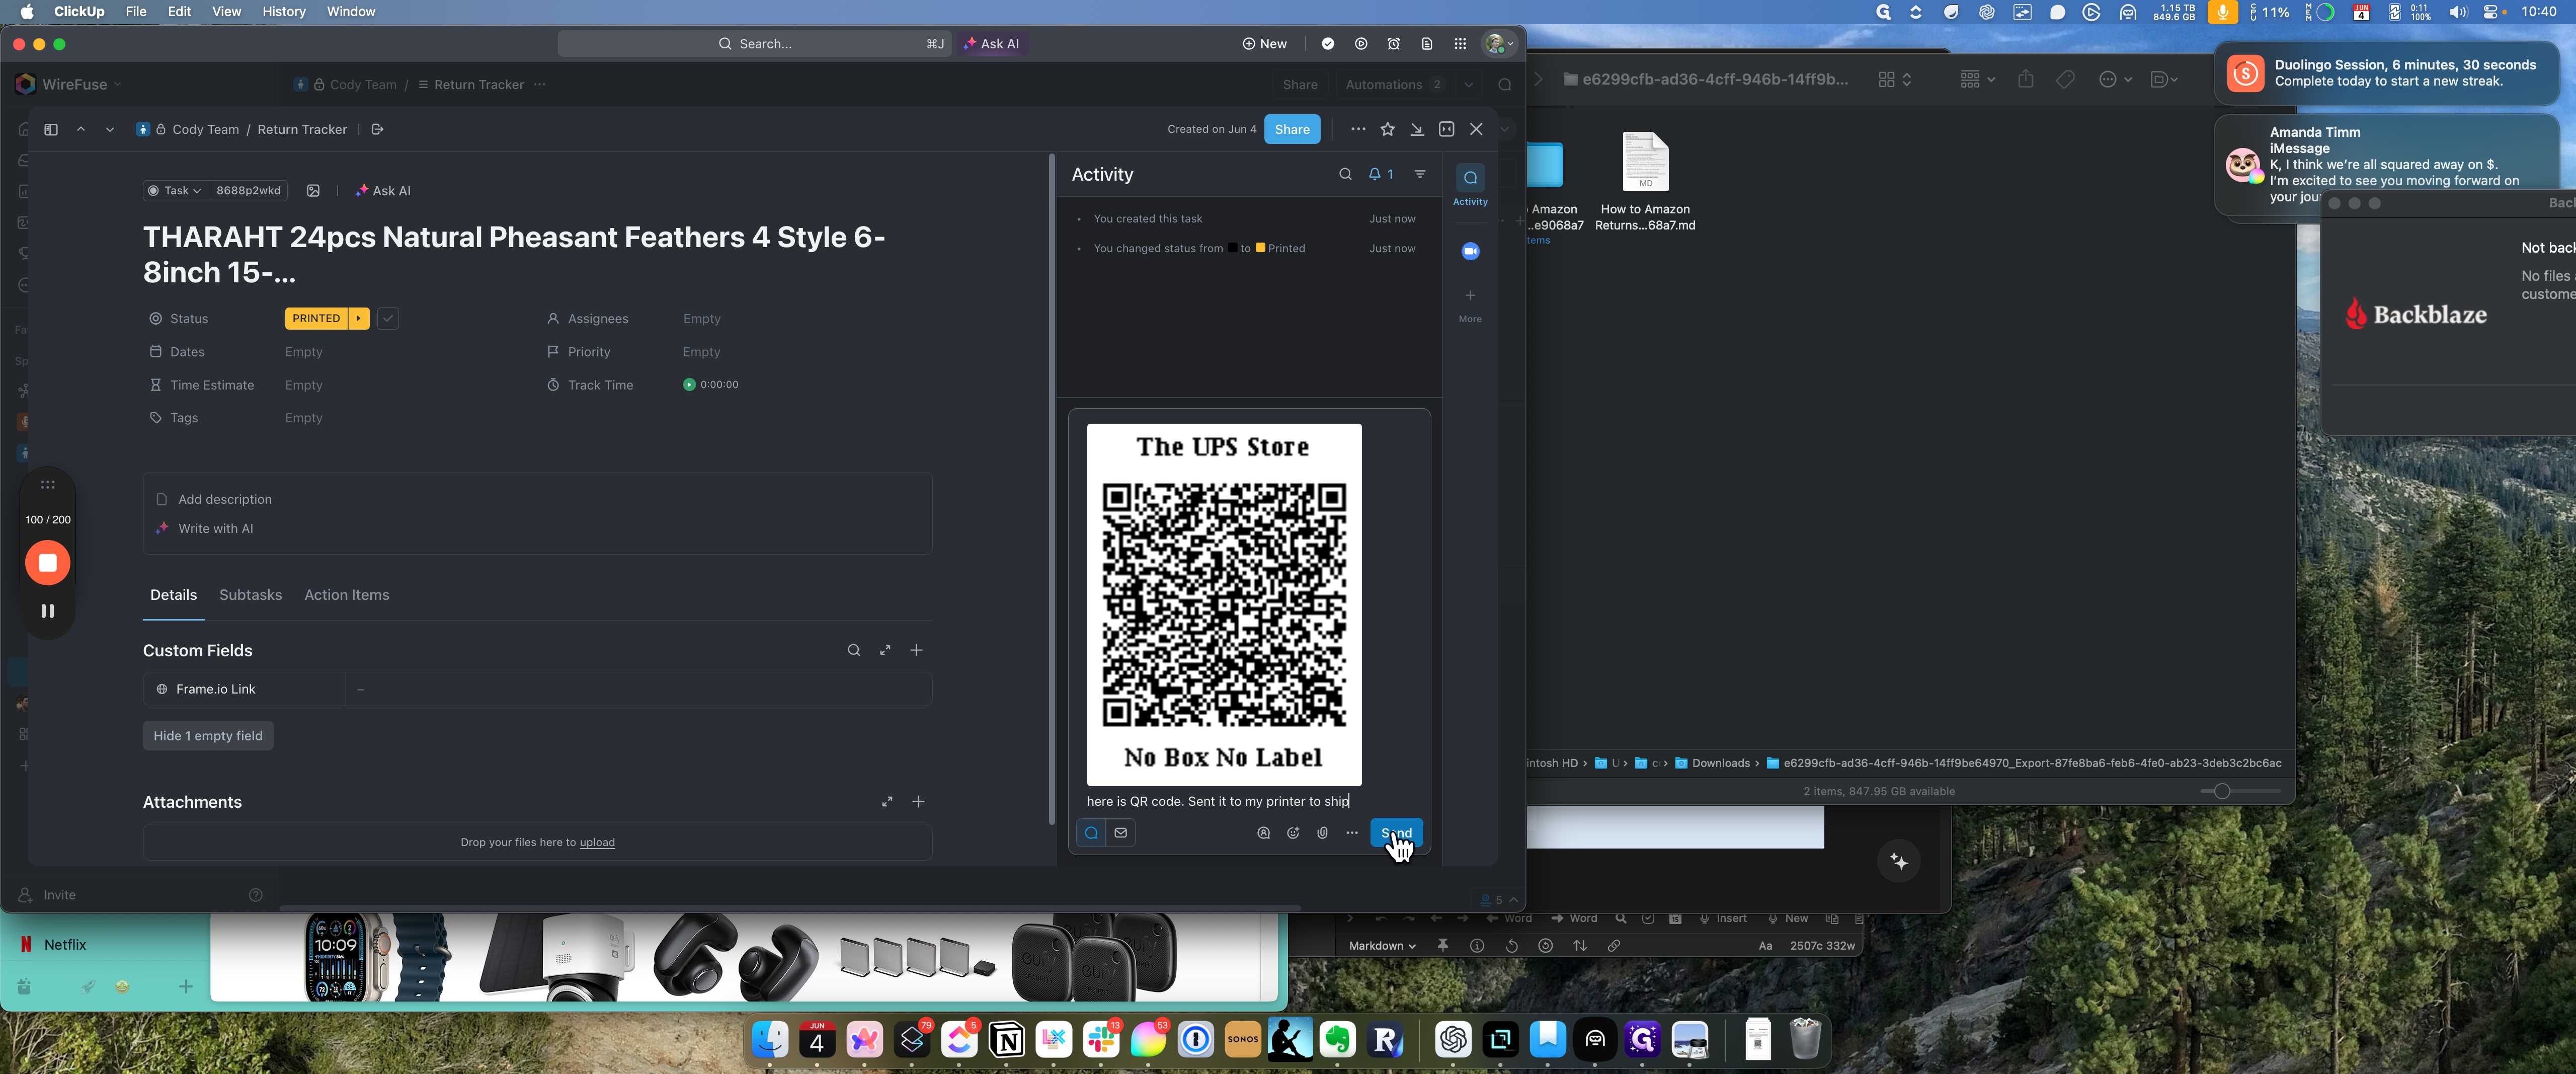
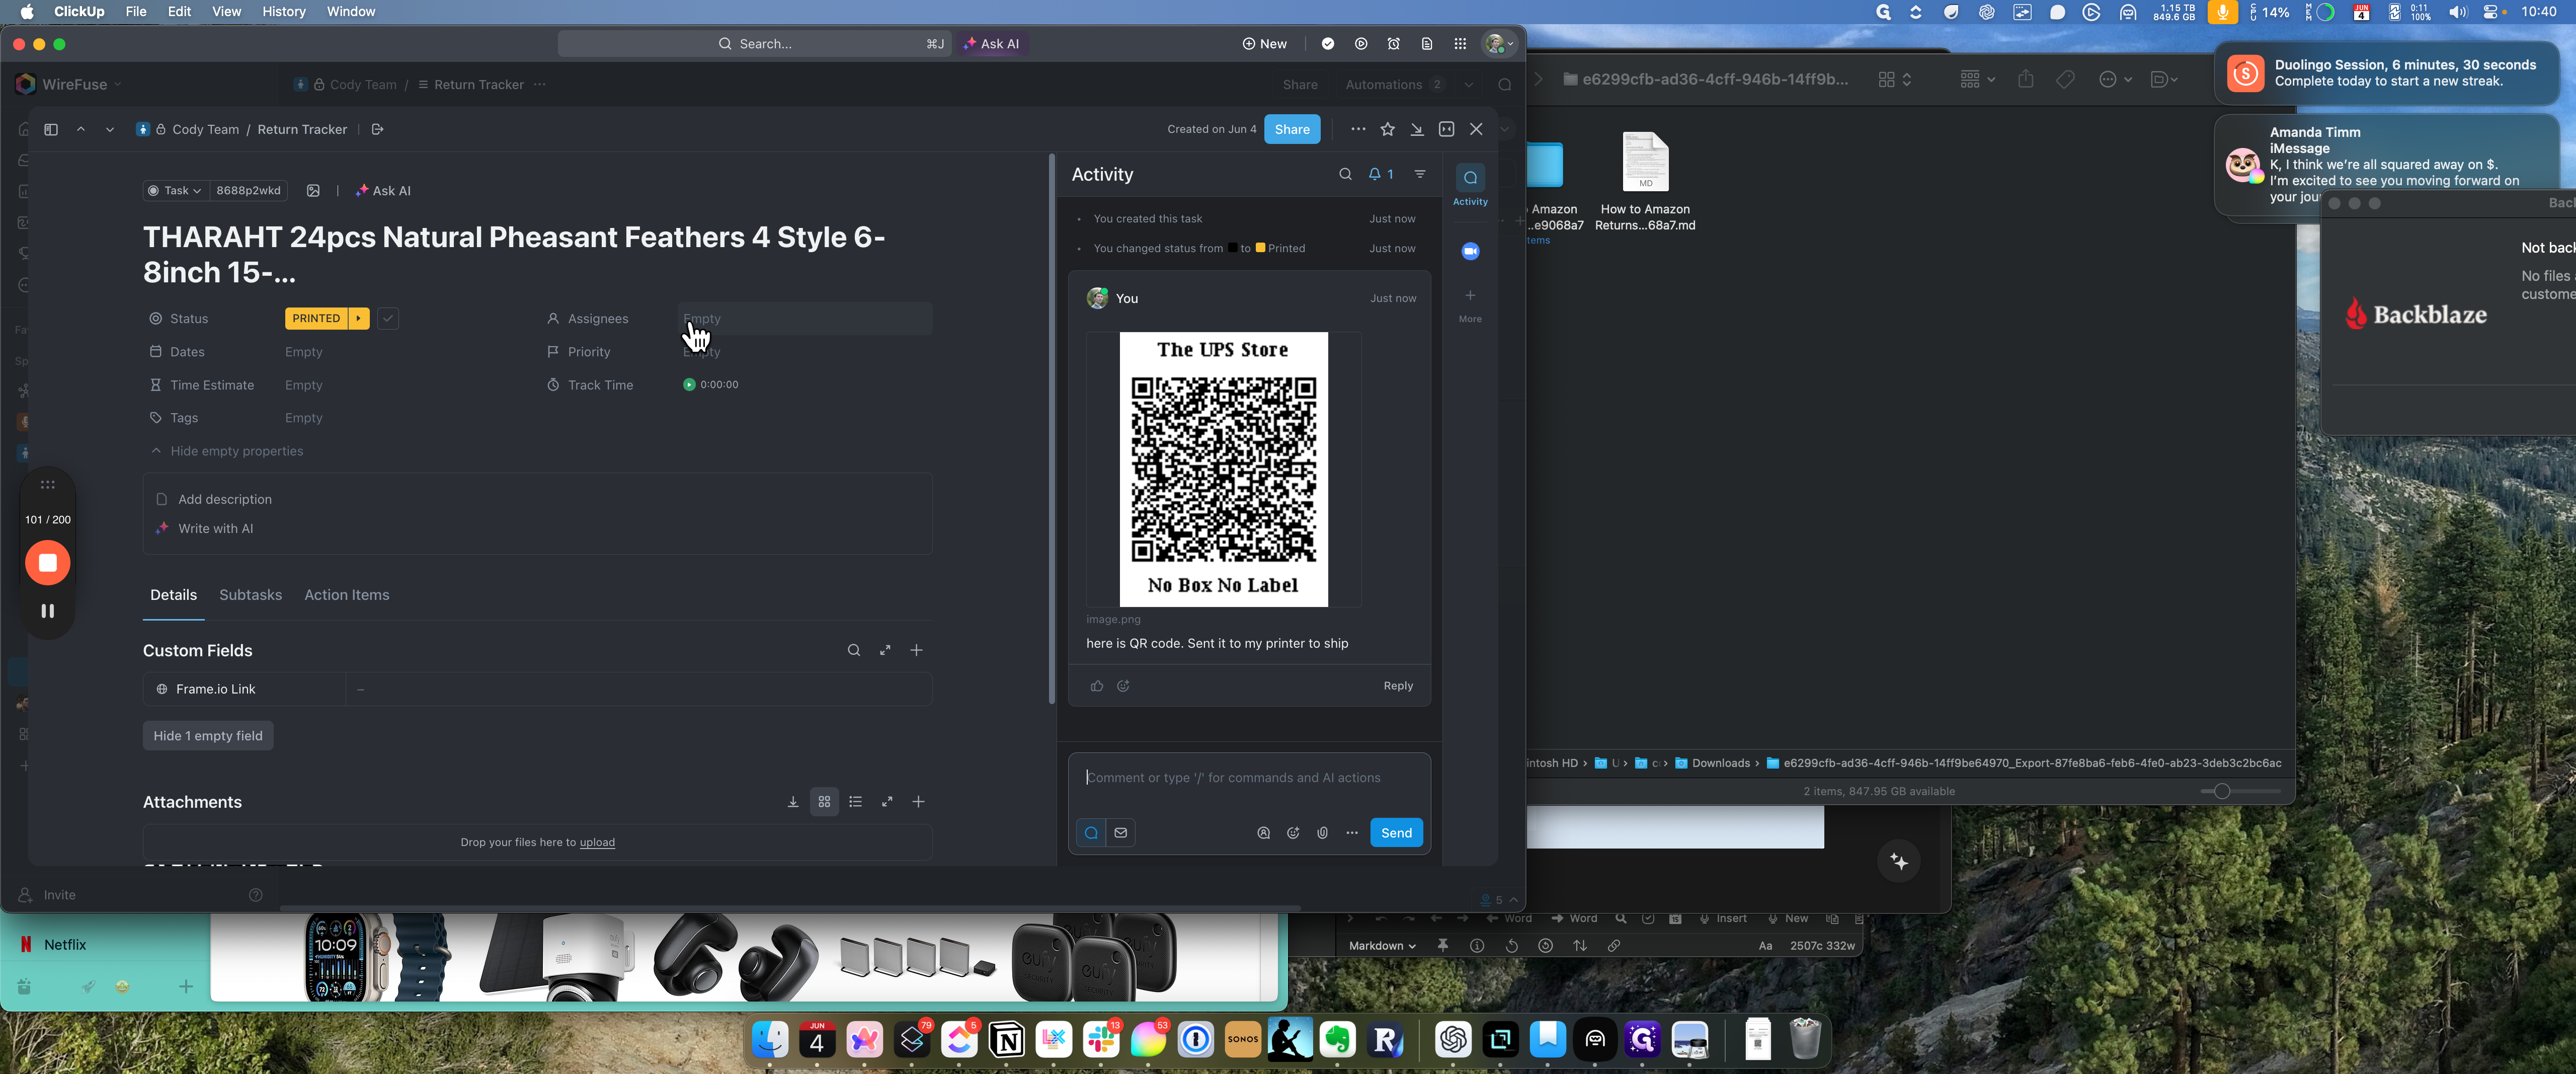
After pasting the item title and opening the task in ClickUp, proceed to copy the QR code associated with the item. Sending this information ensures clarity and accuracy in the return process.
Confirming Return and Refund
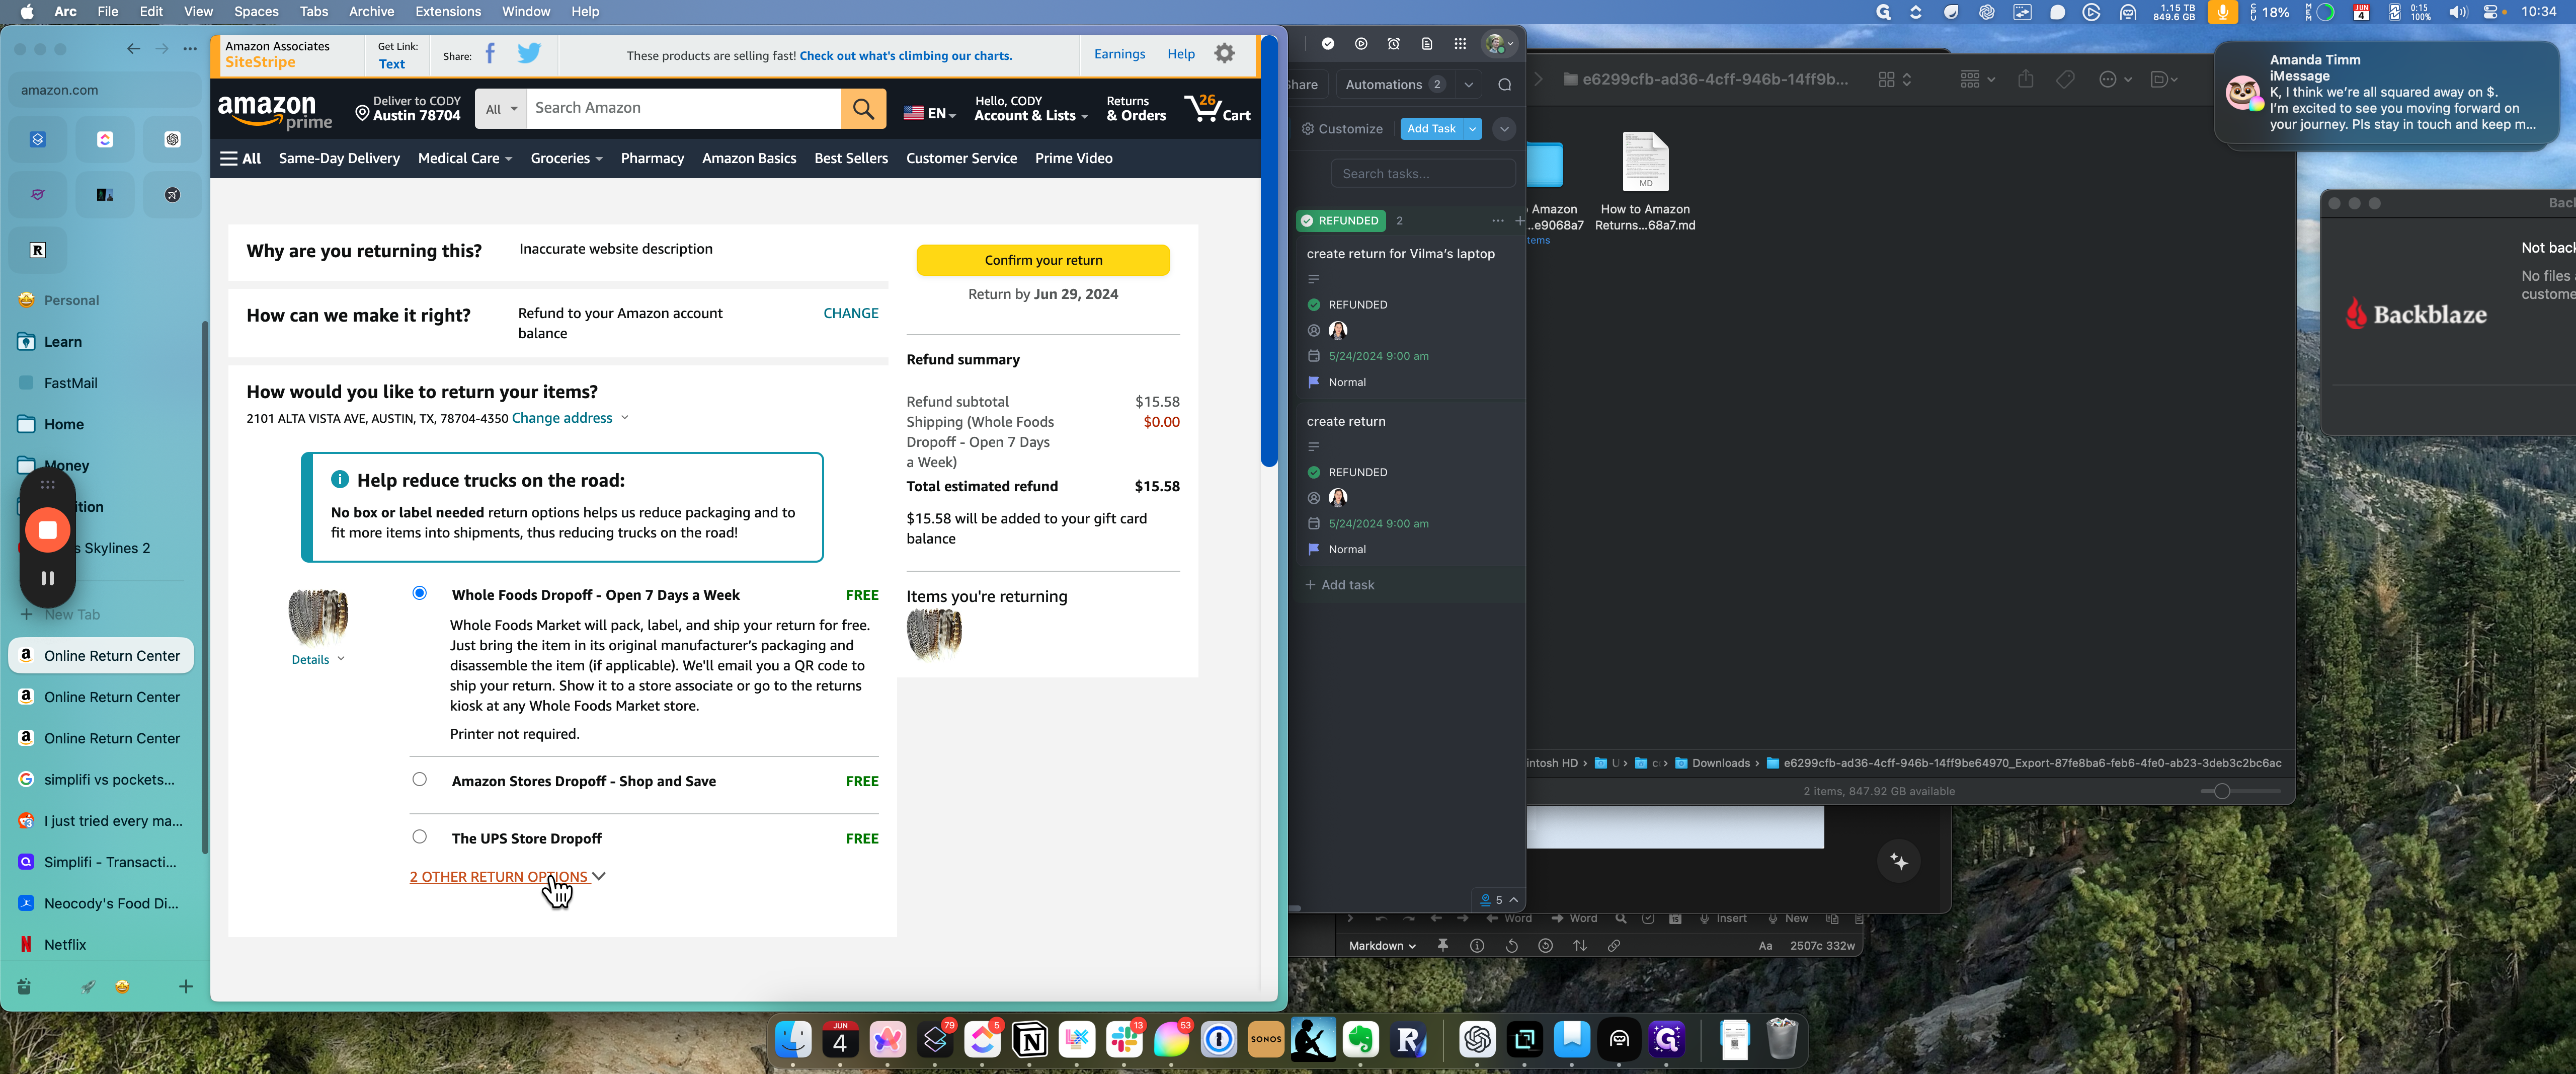
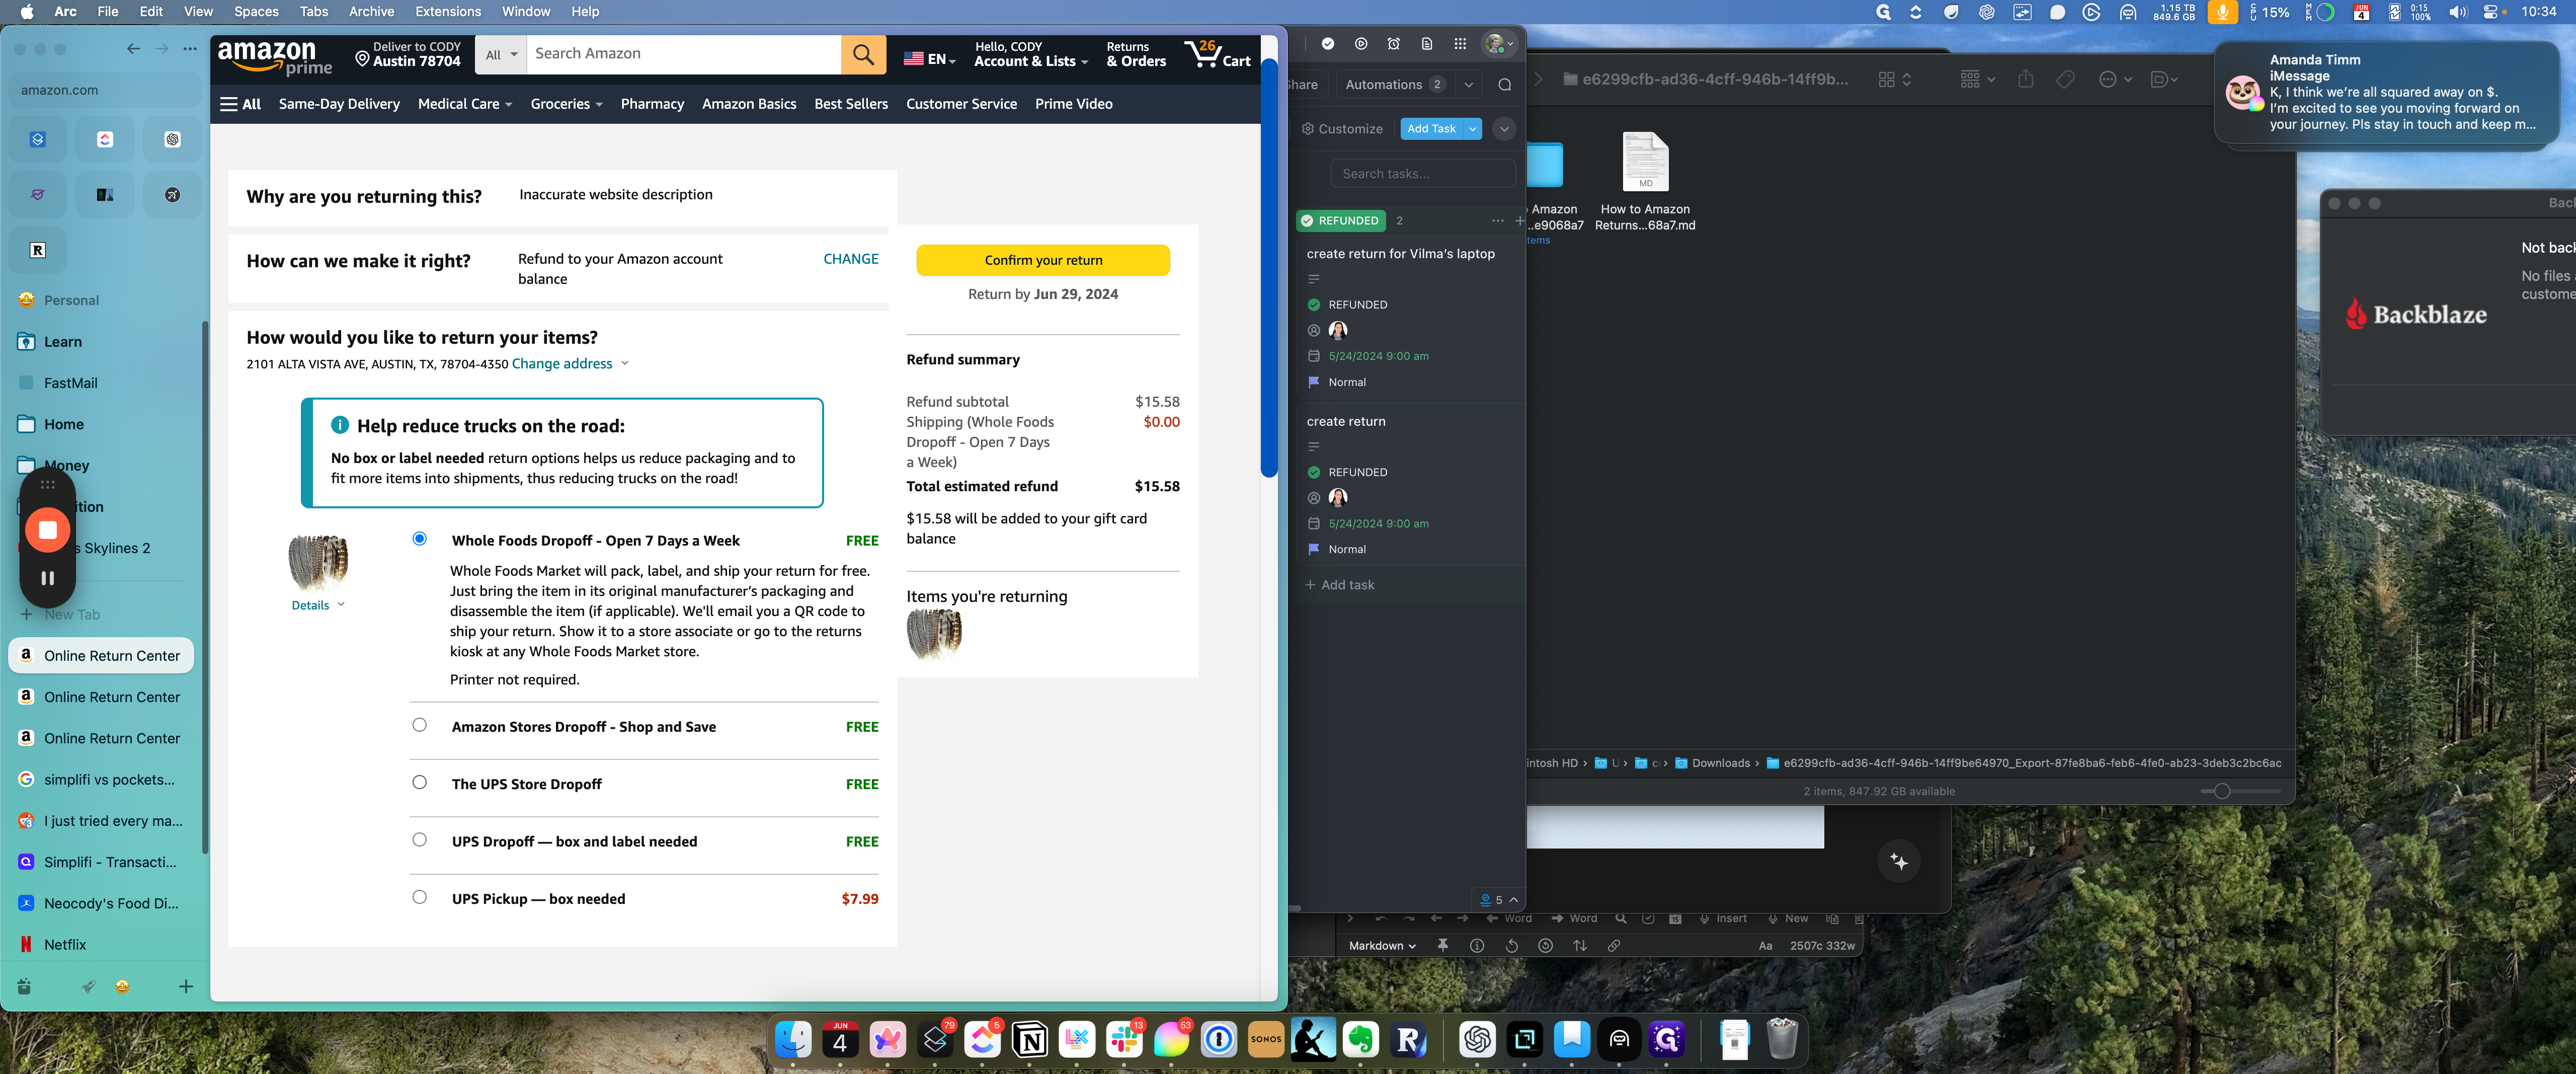
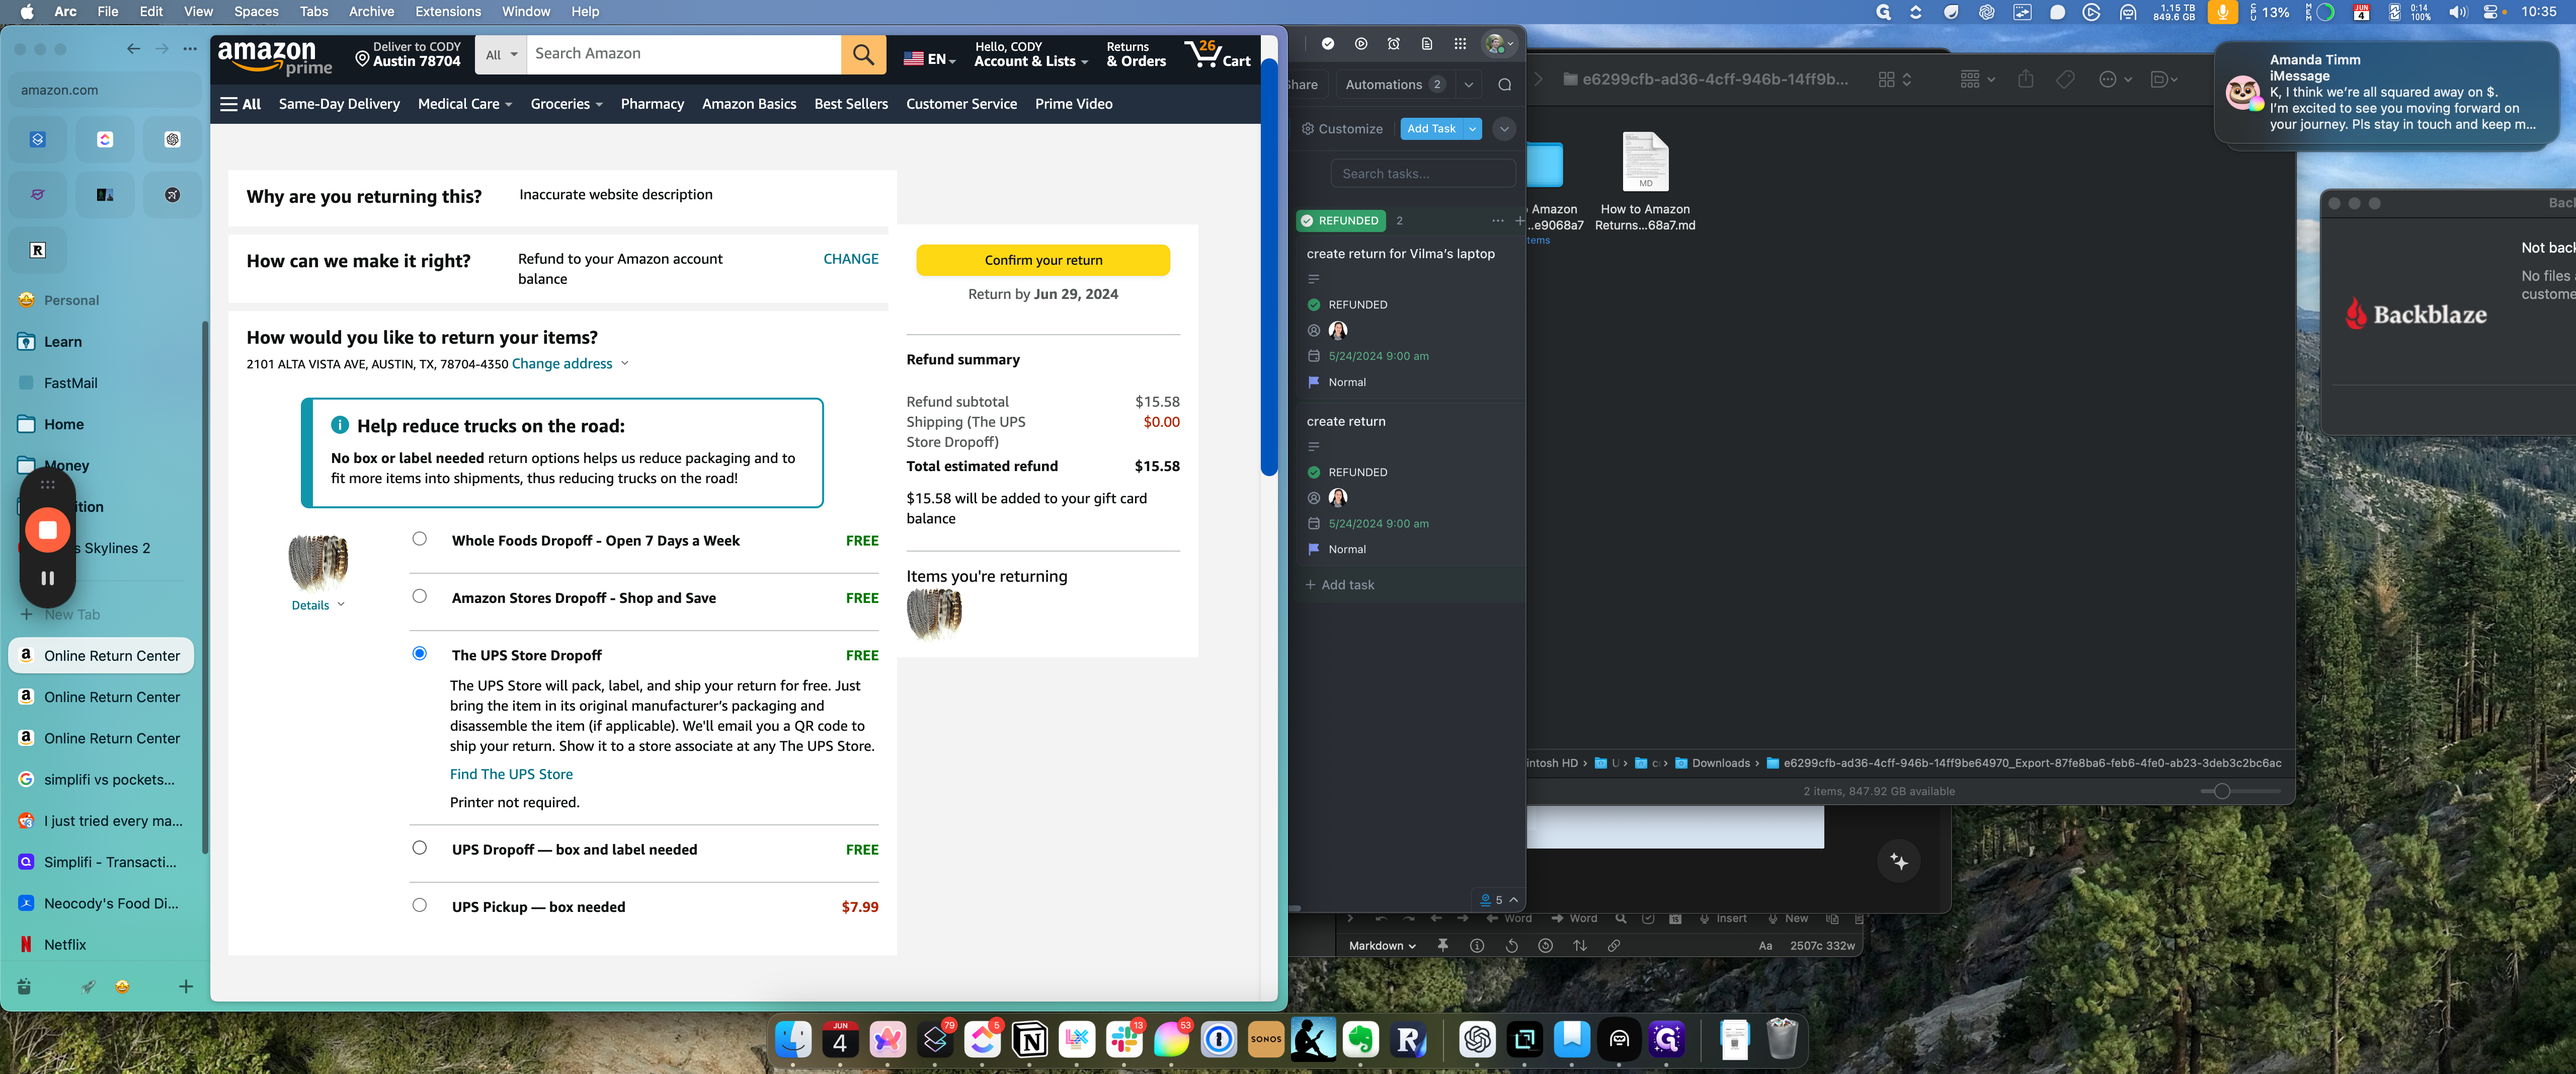
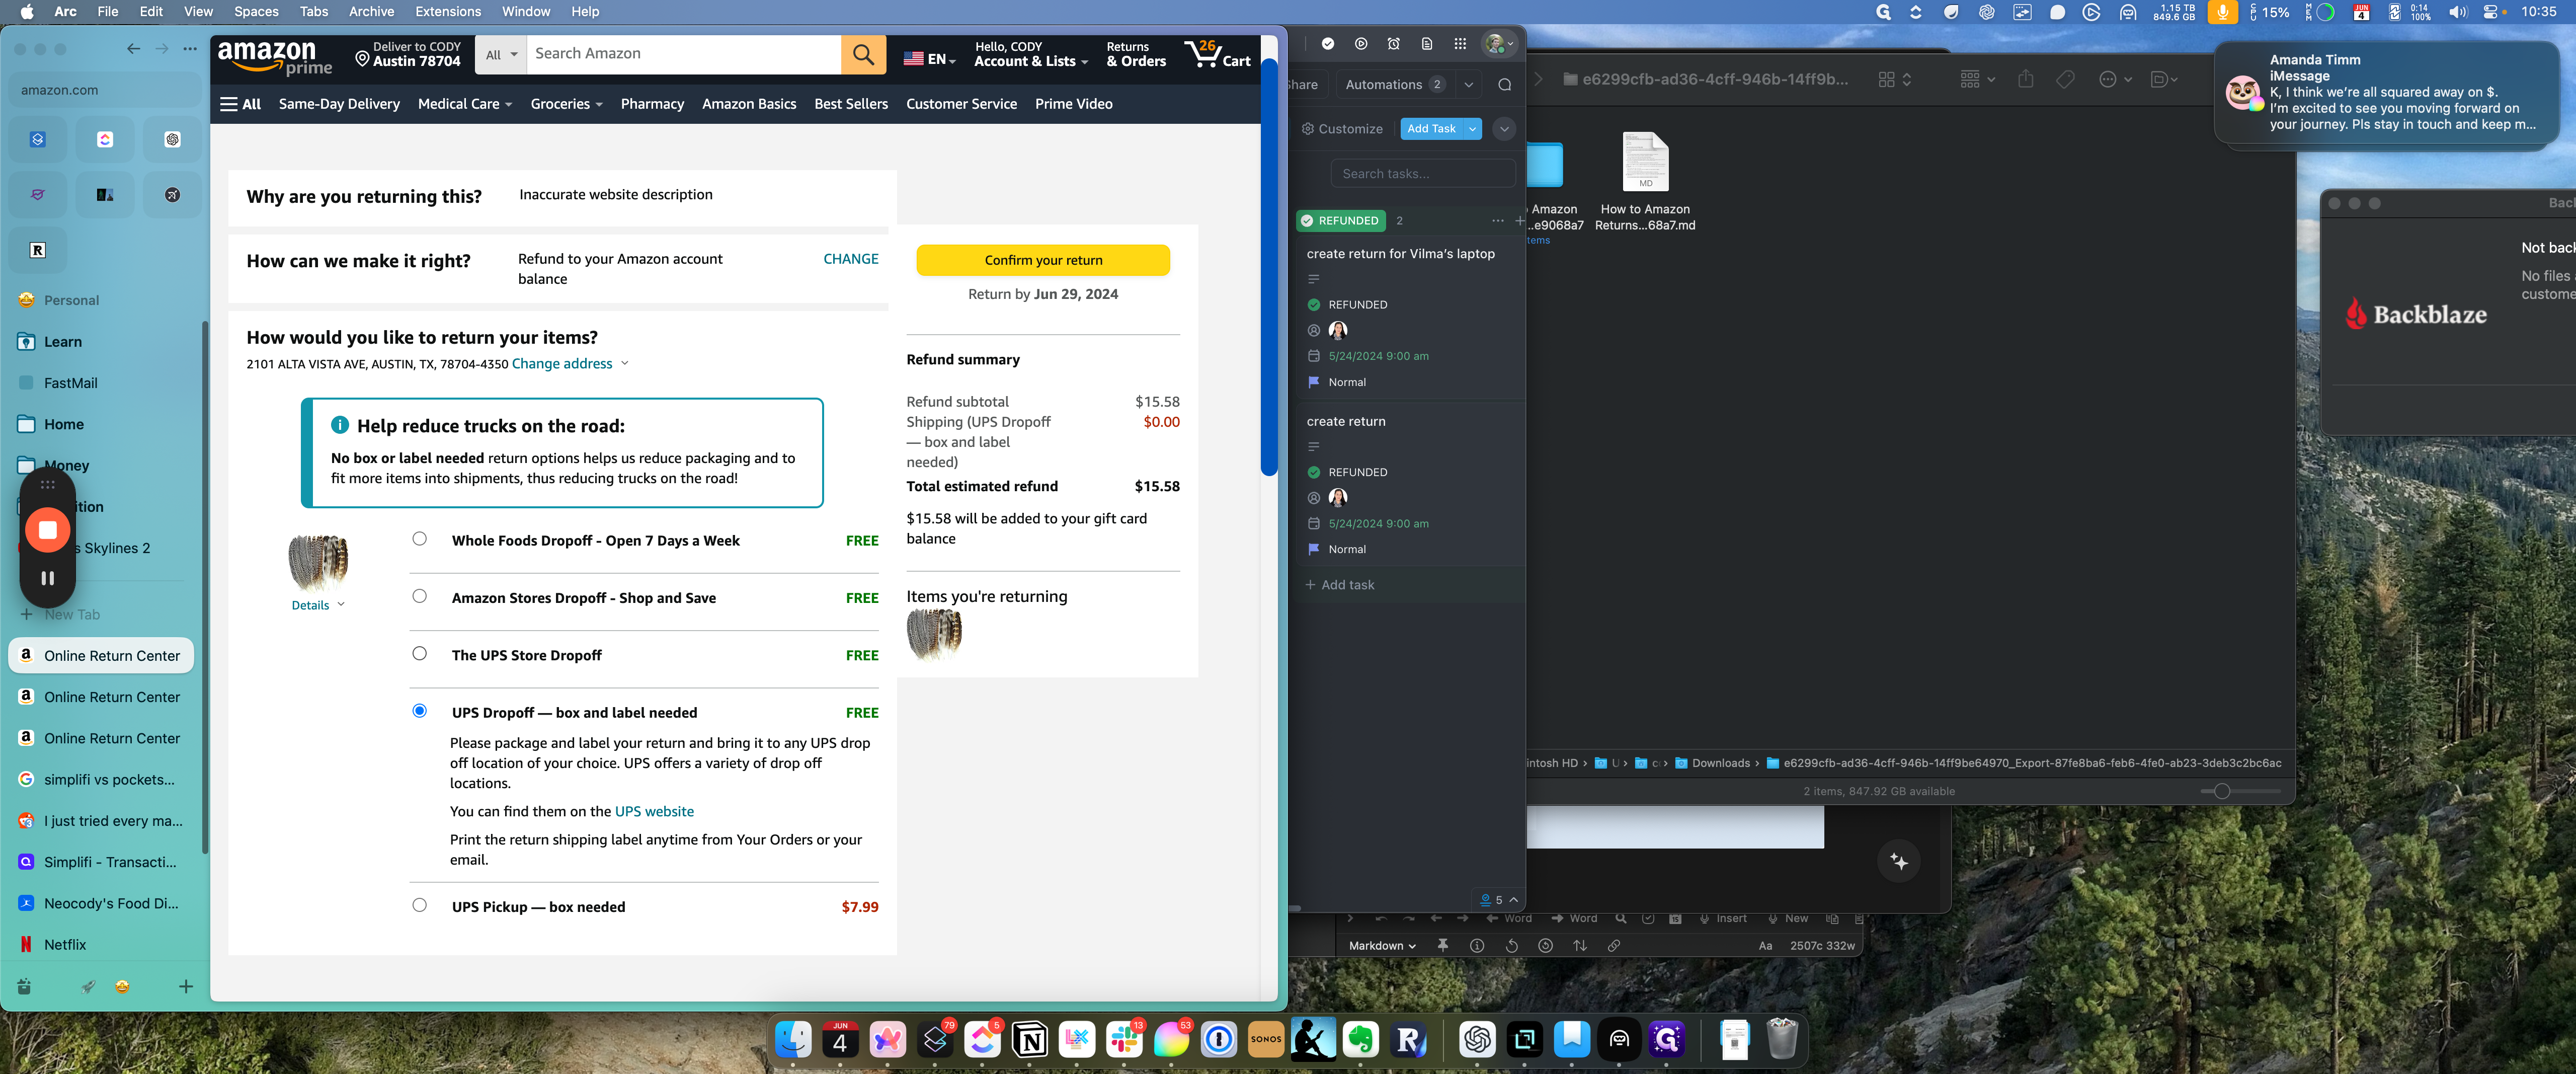
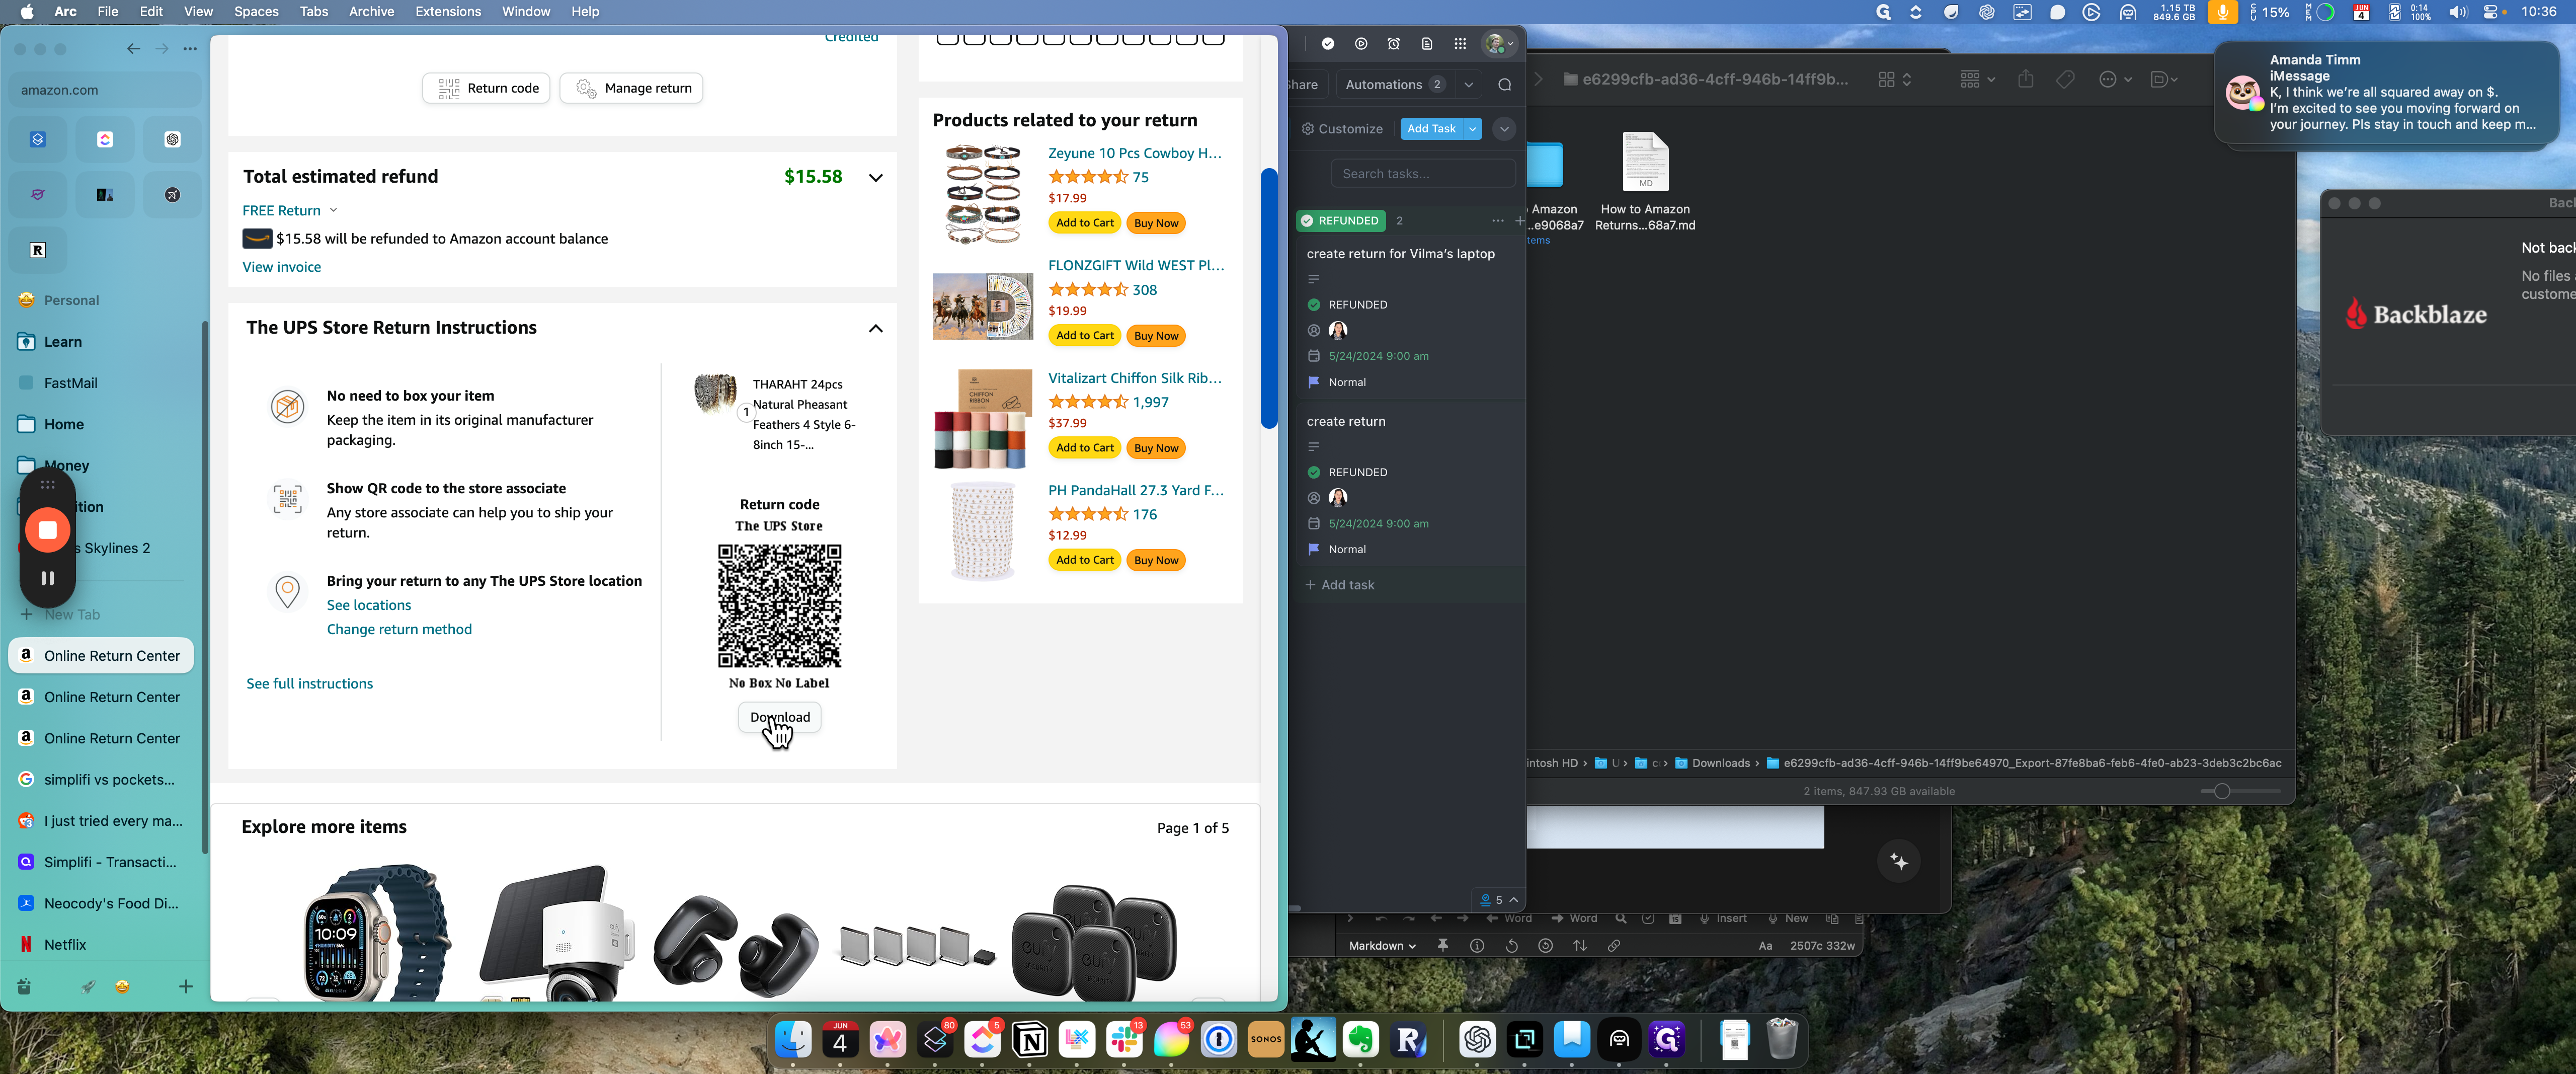
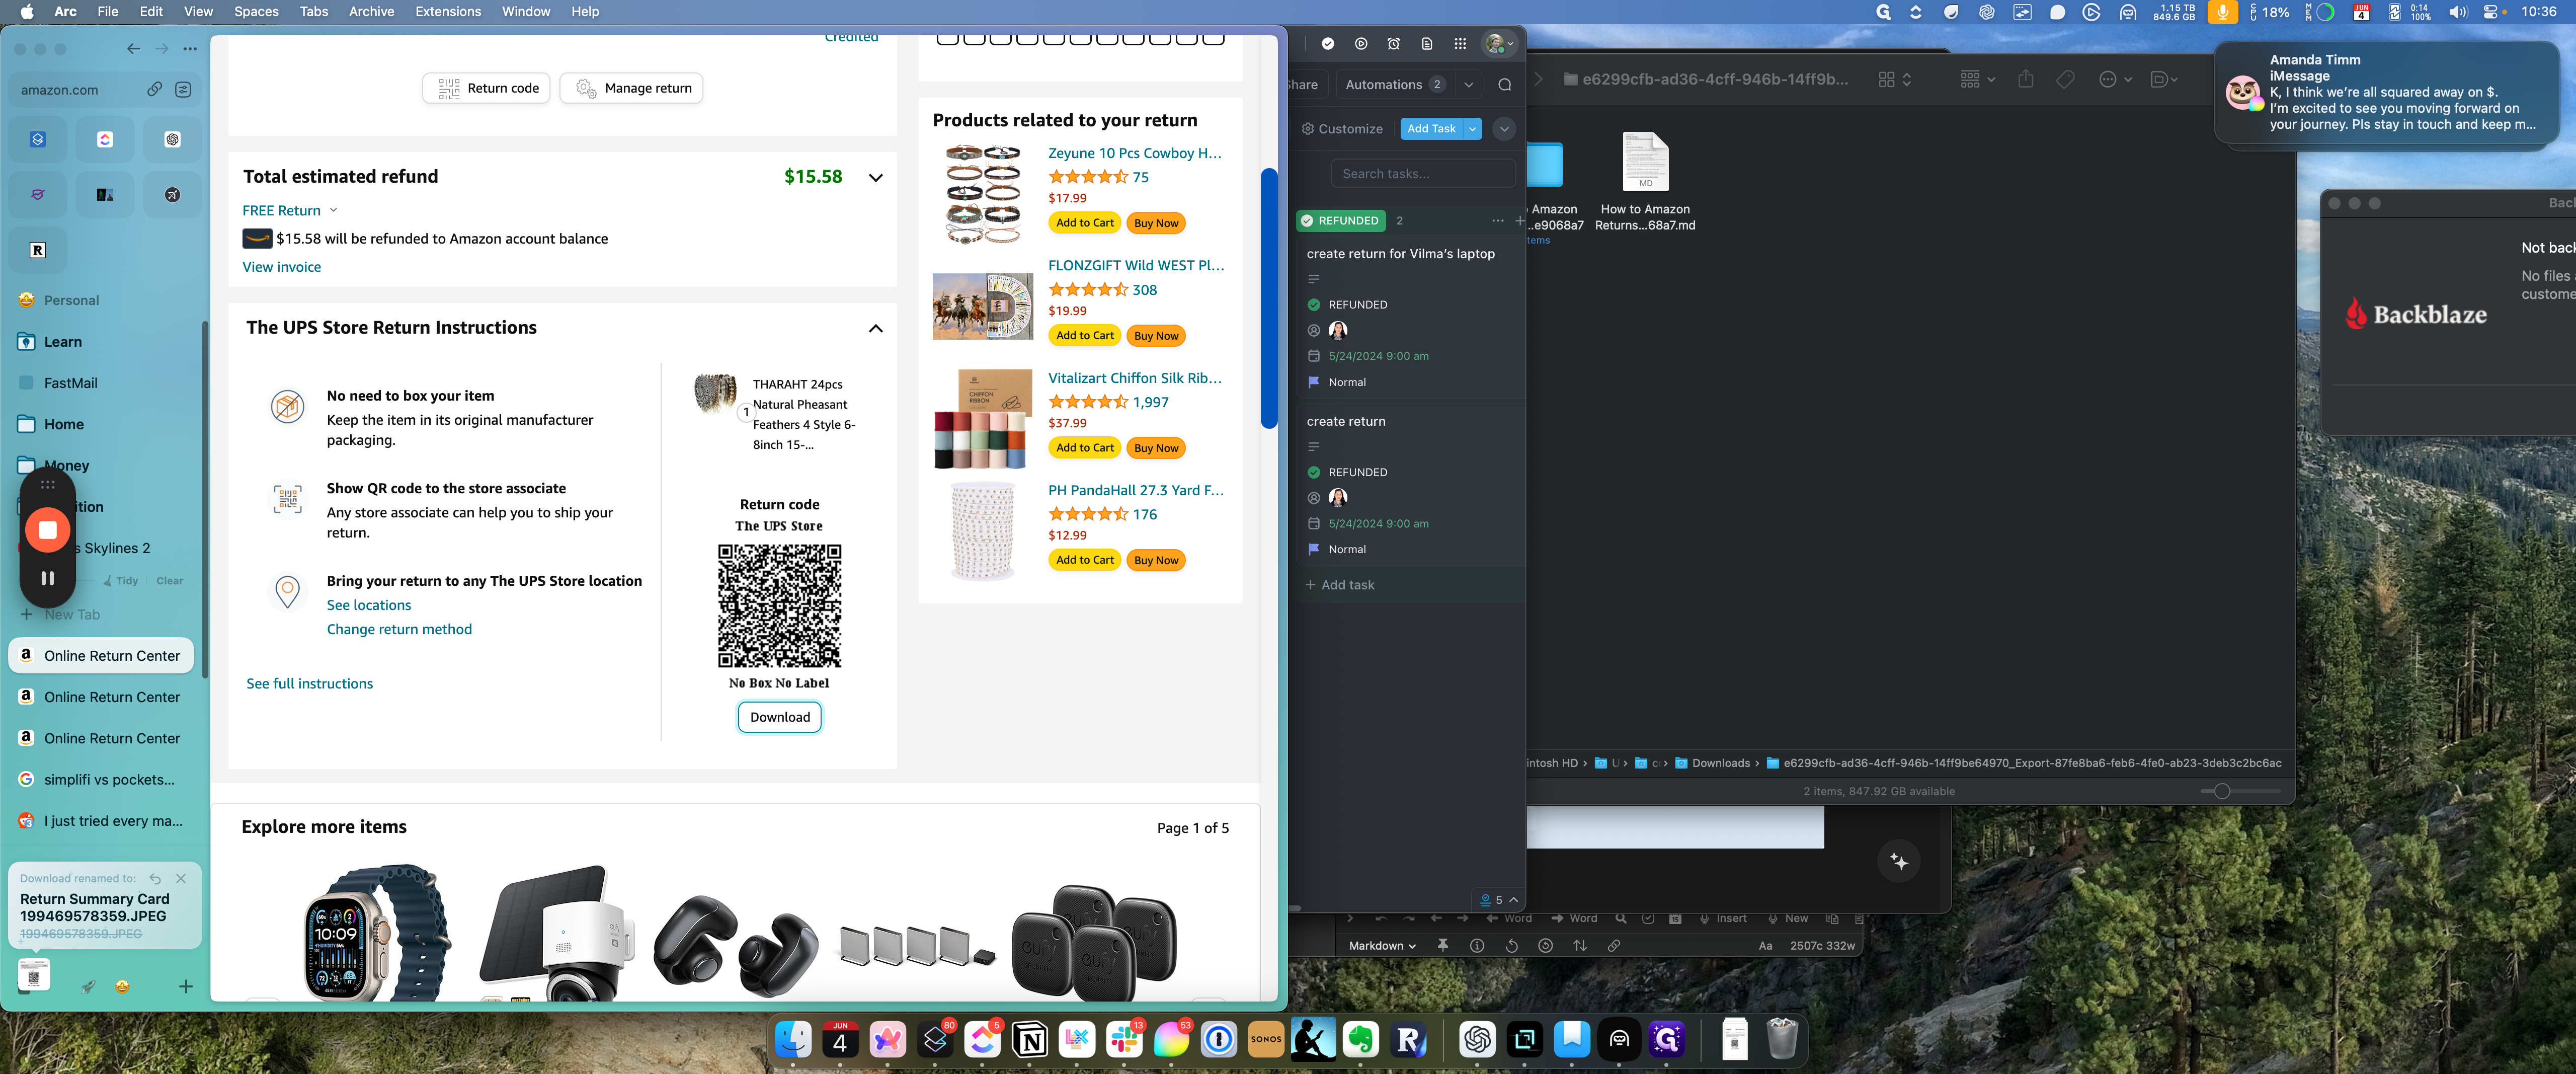
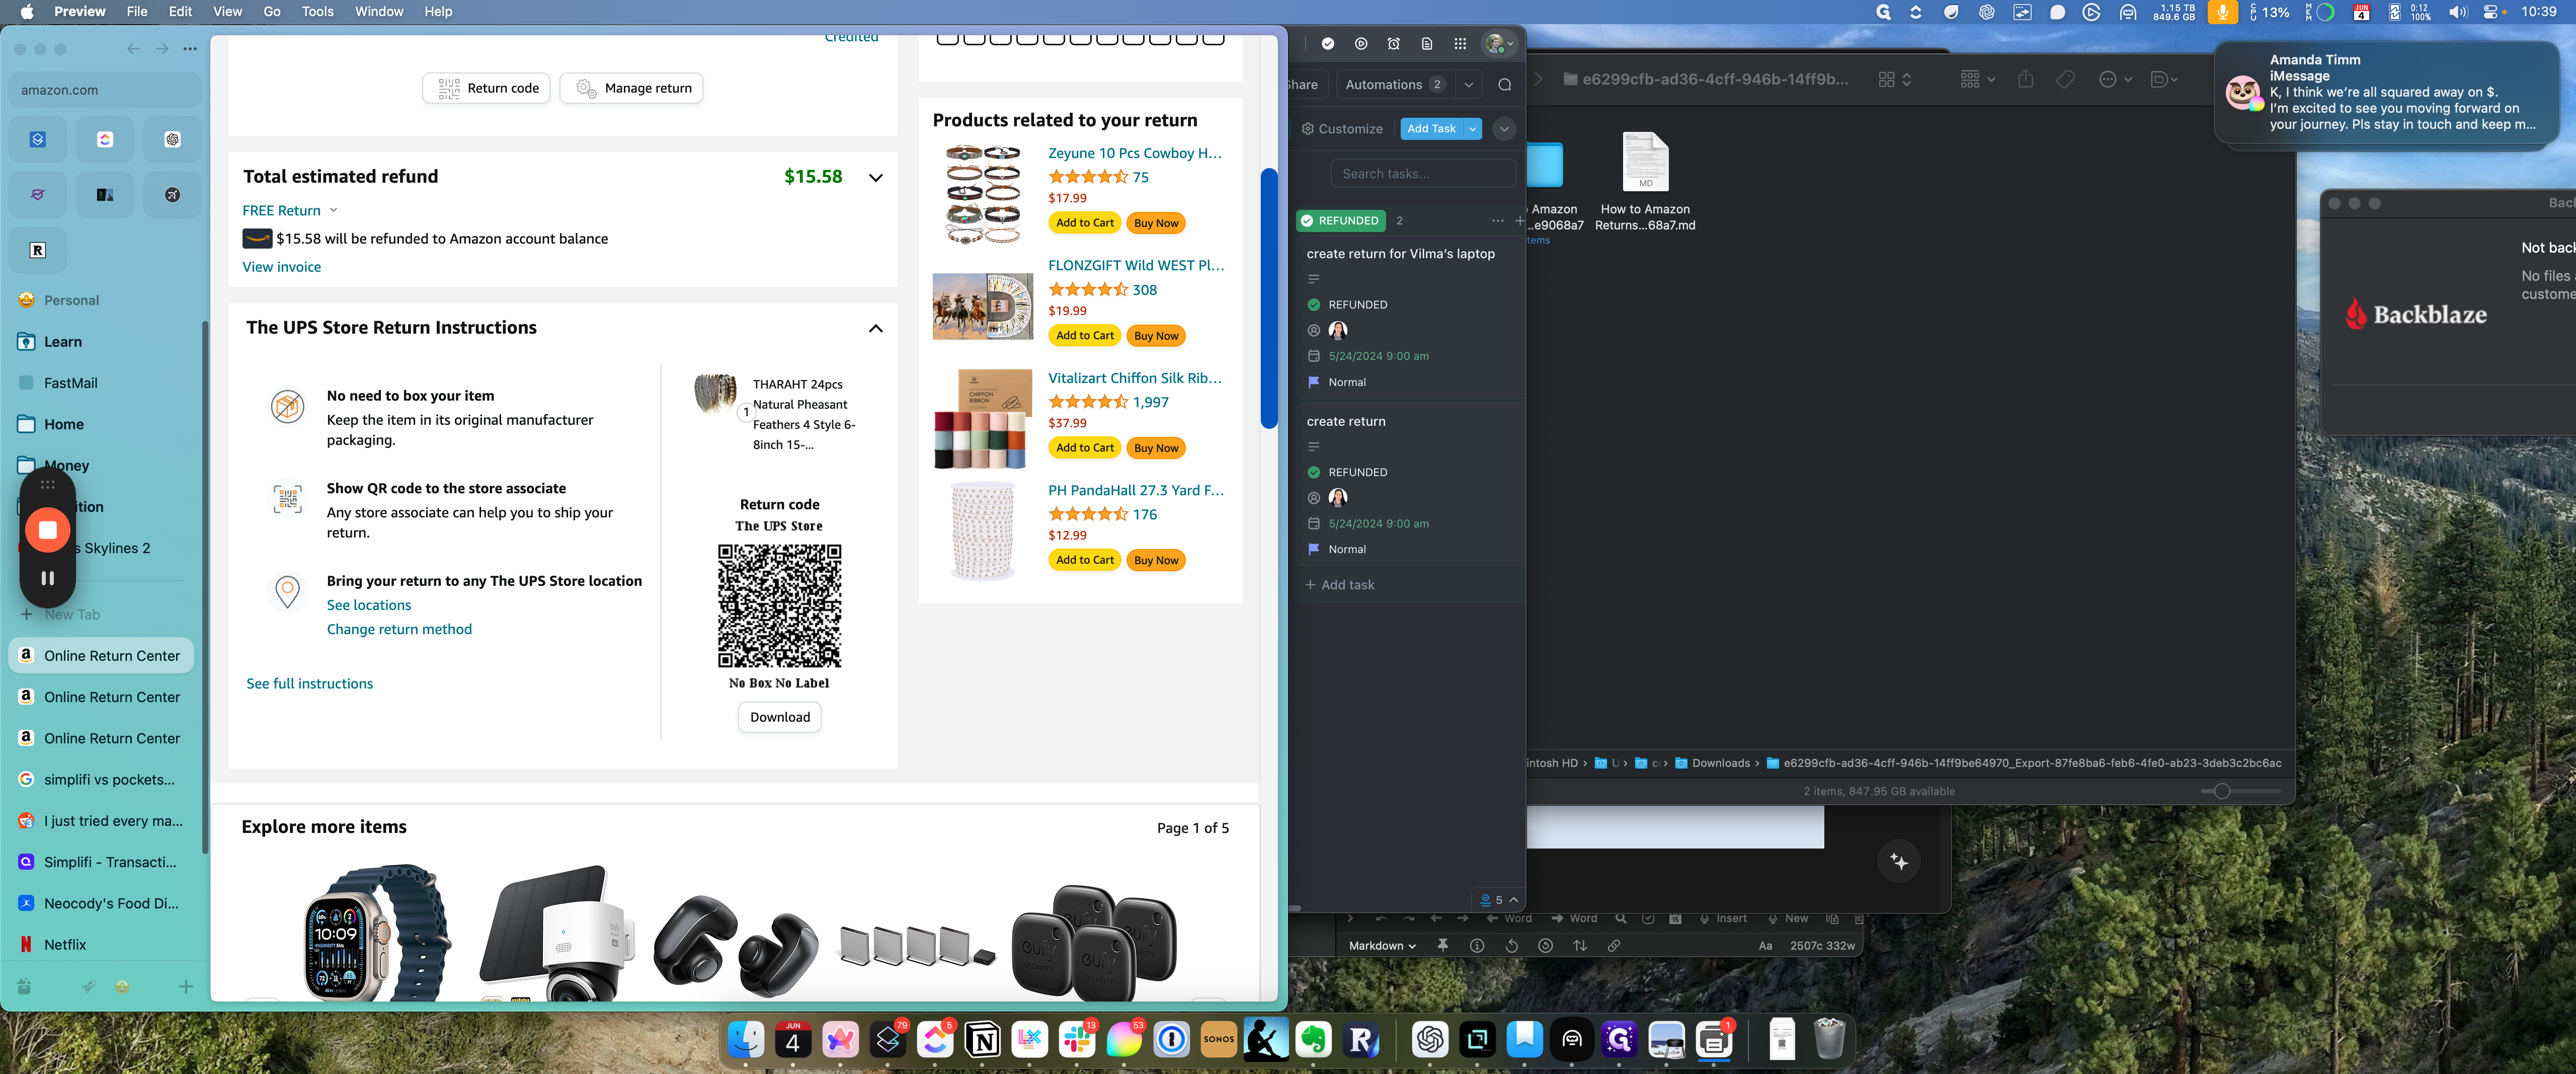
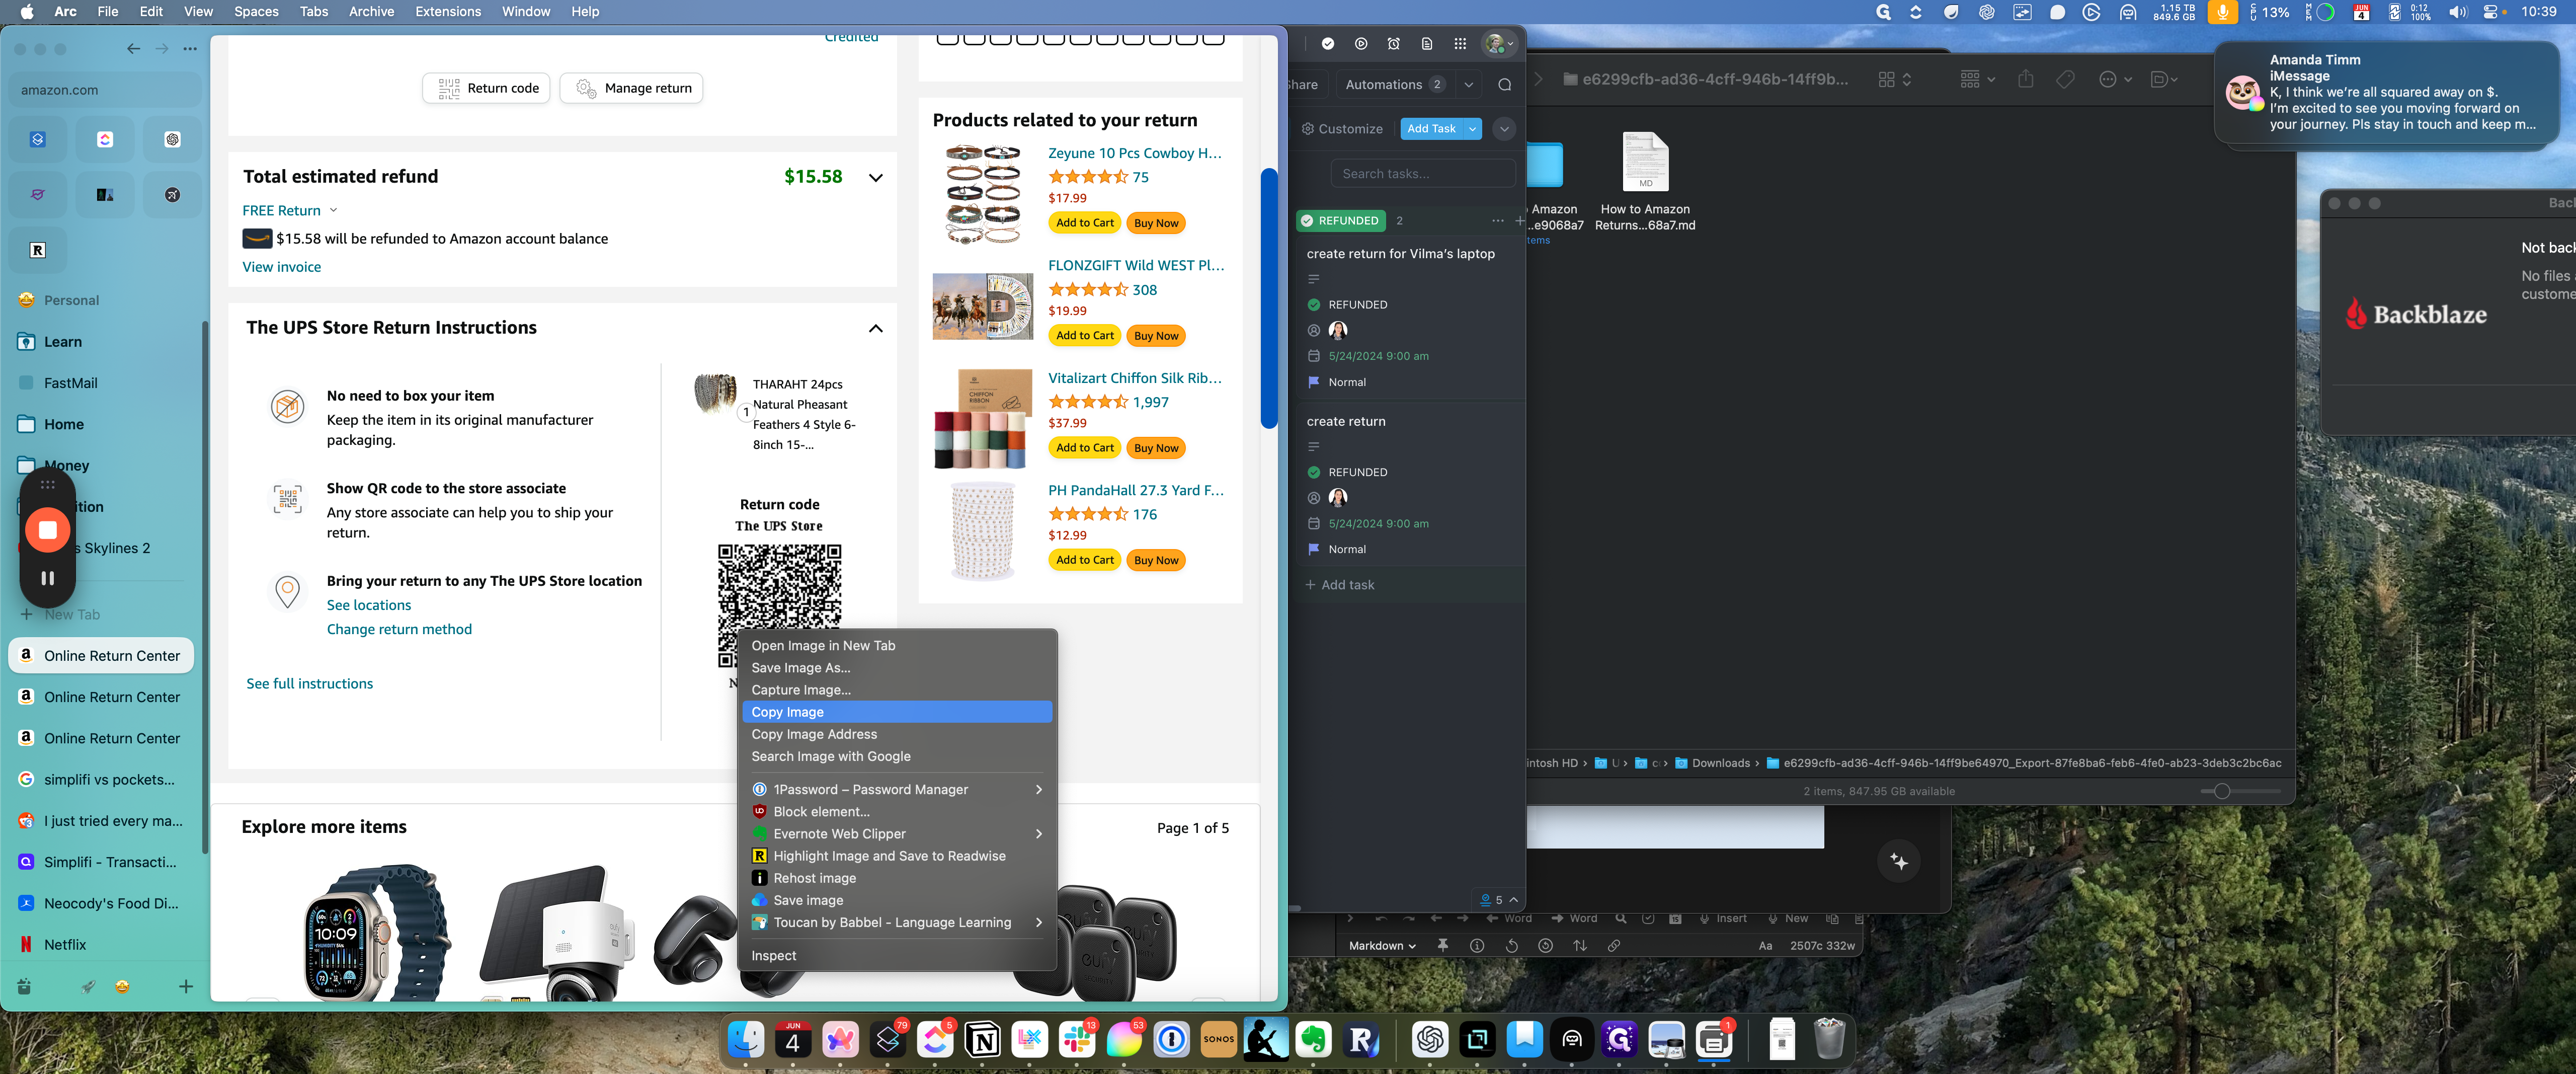
Once you have shipped the item back, update the task status to "returned." An automated reminder will prompt you after 25 days to confirm that the item was returned and the refund was processed. You can verify this by accessing the return order section on Amazon.
Let's get started.
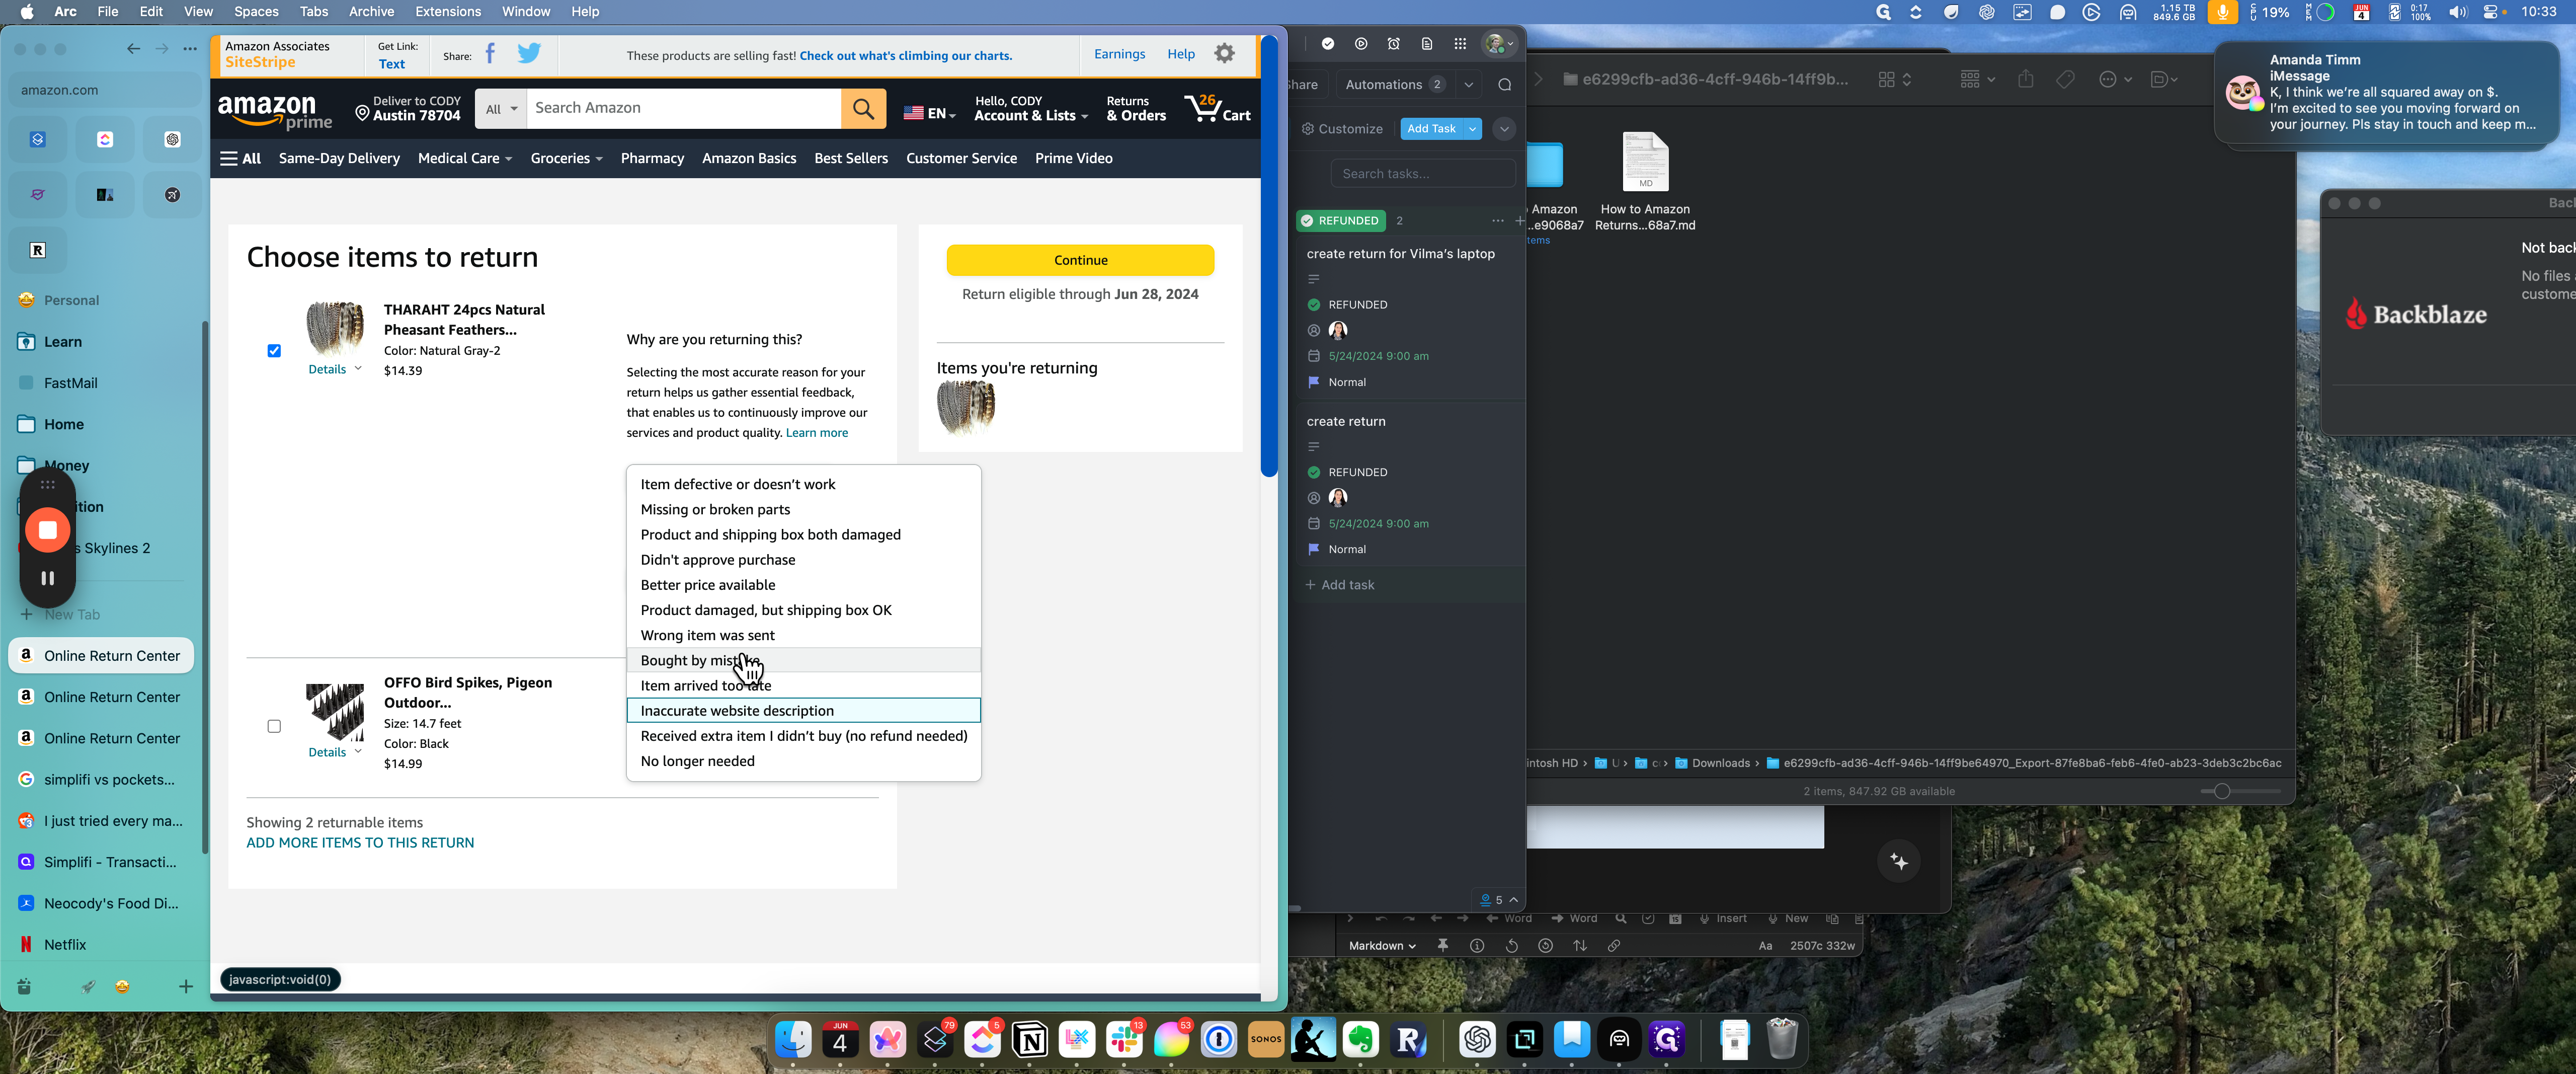
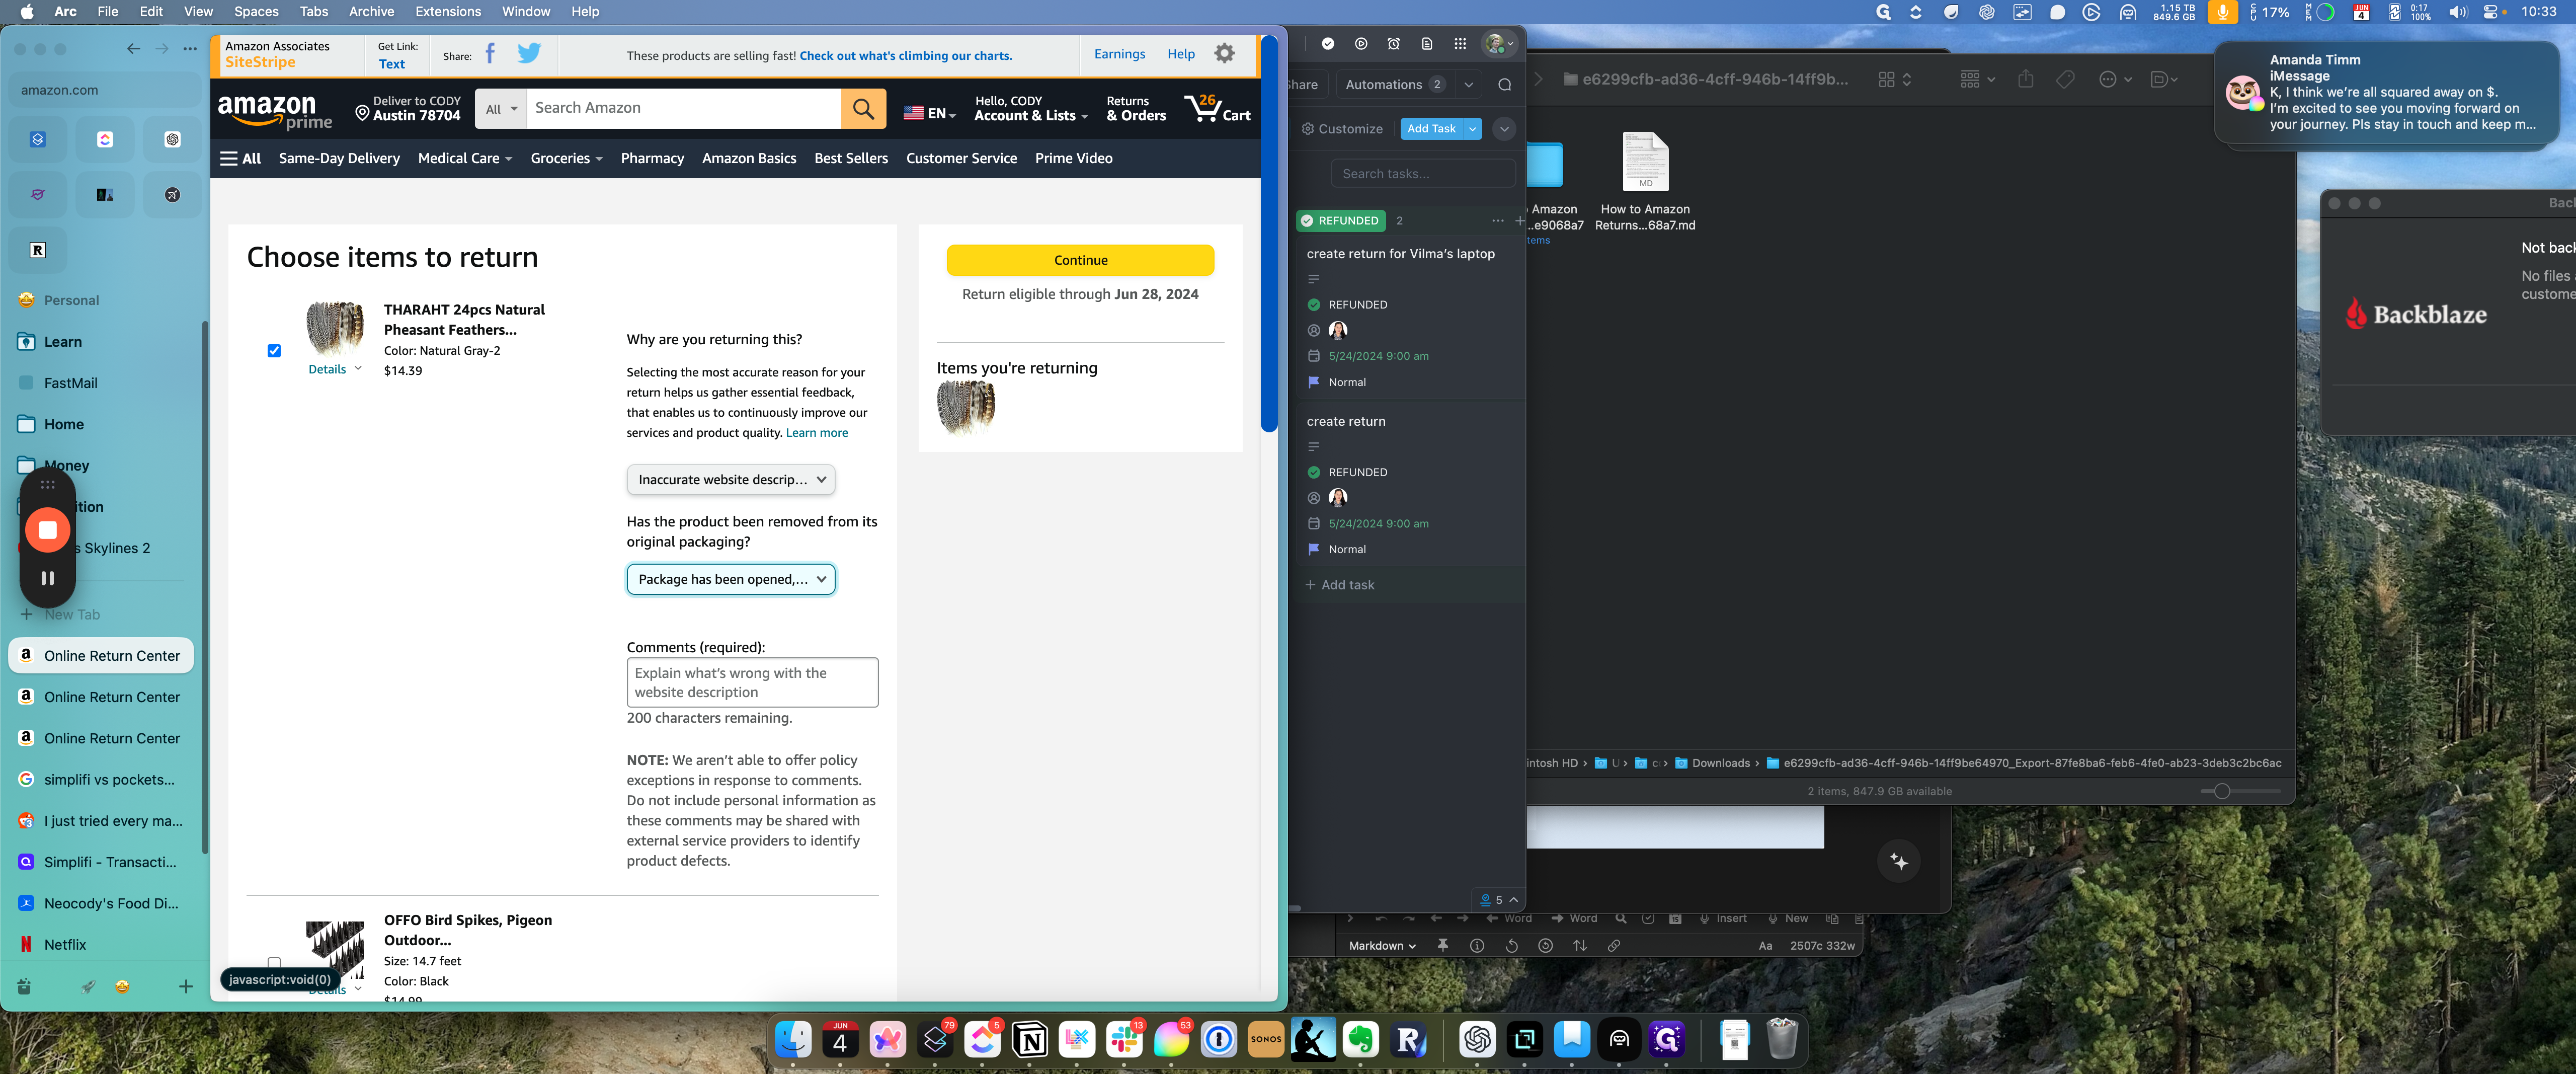
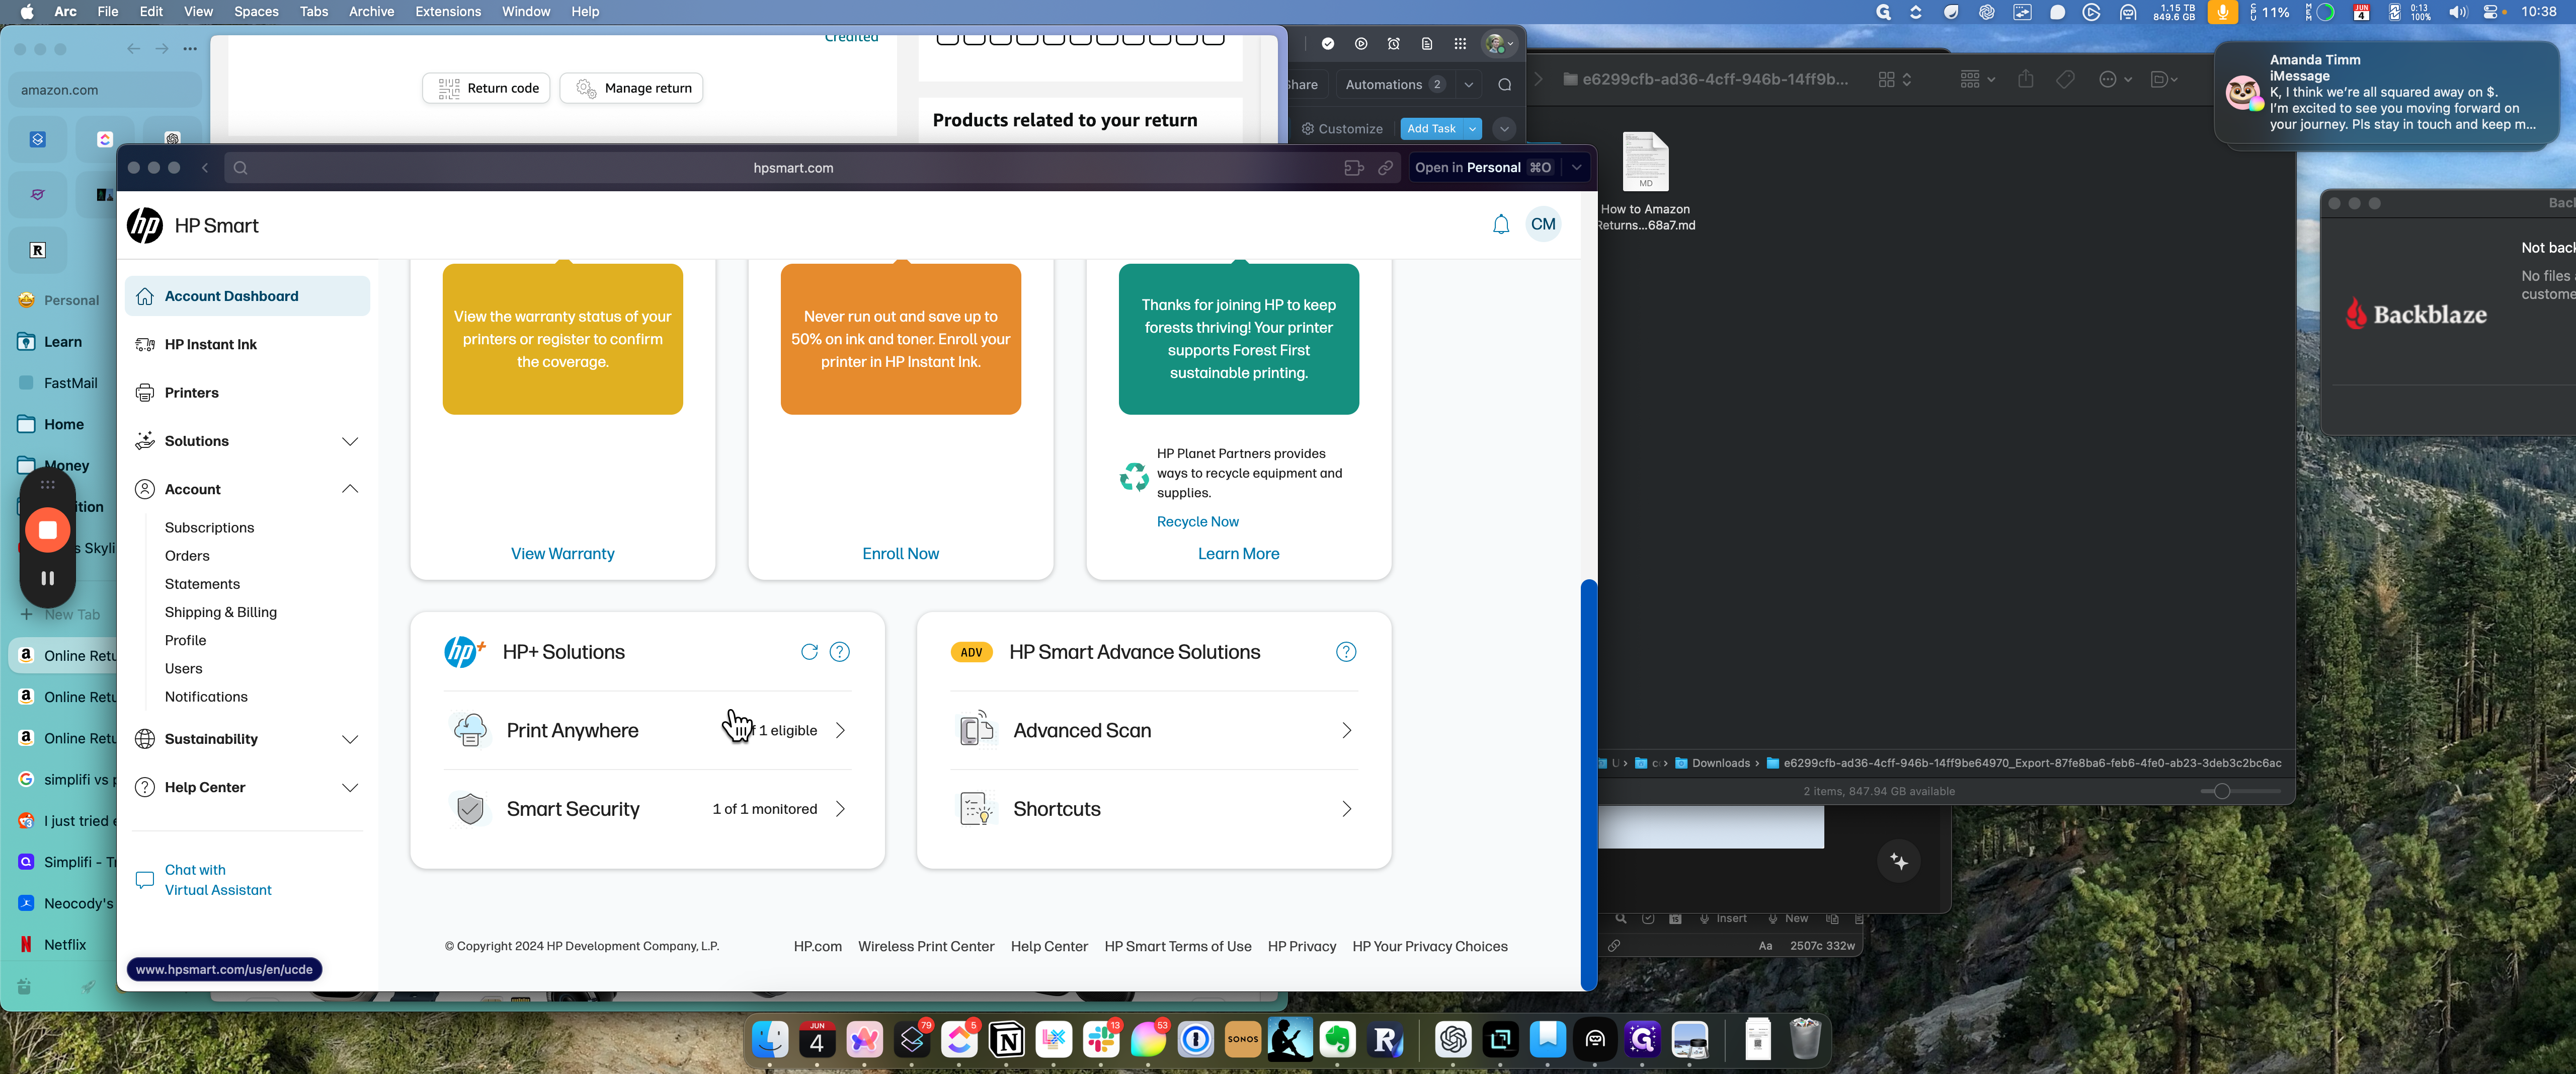
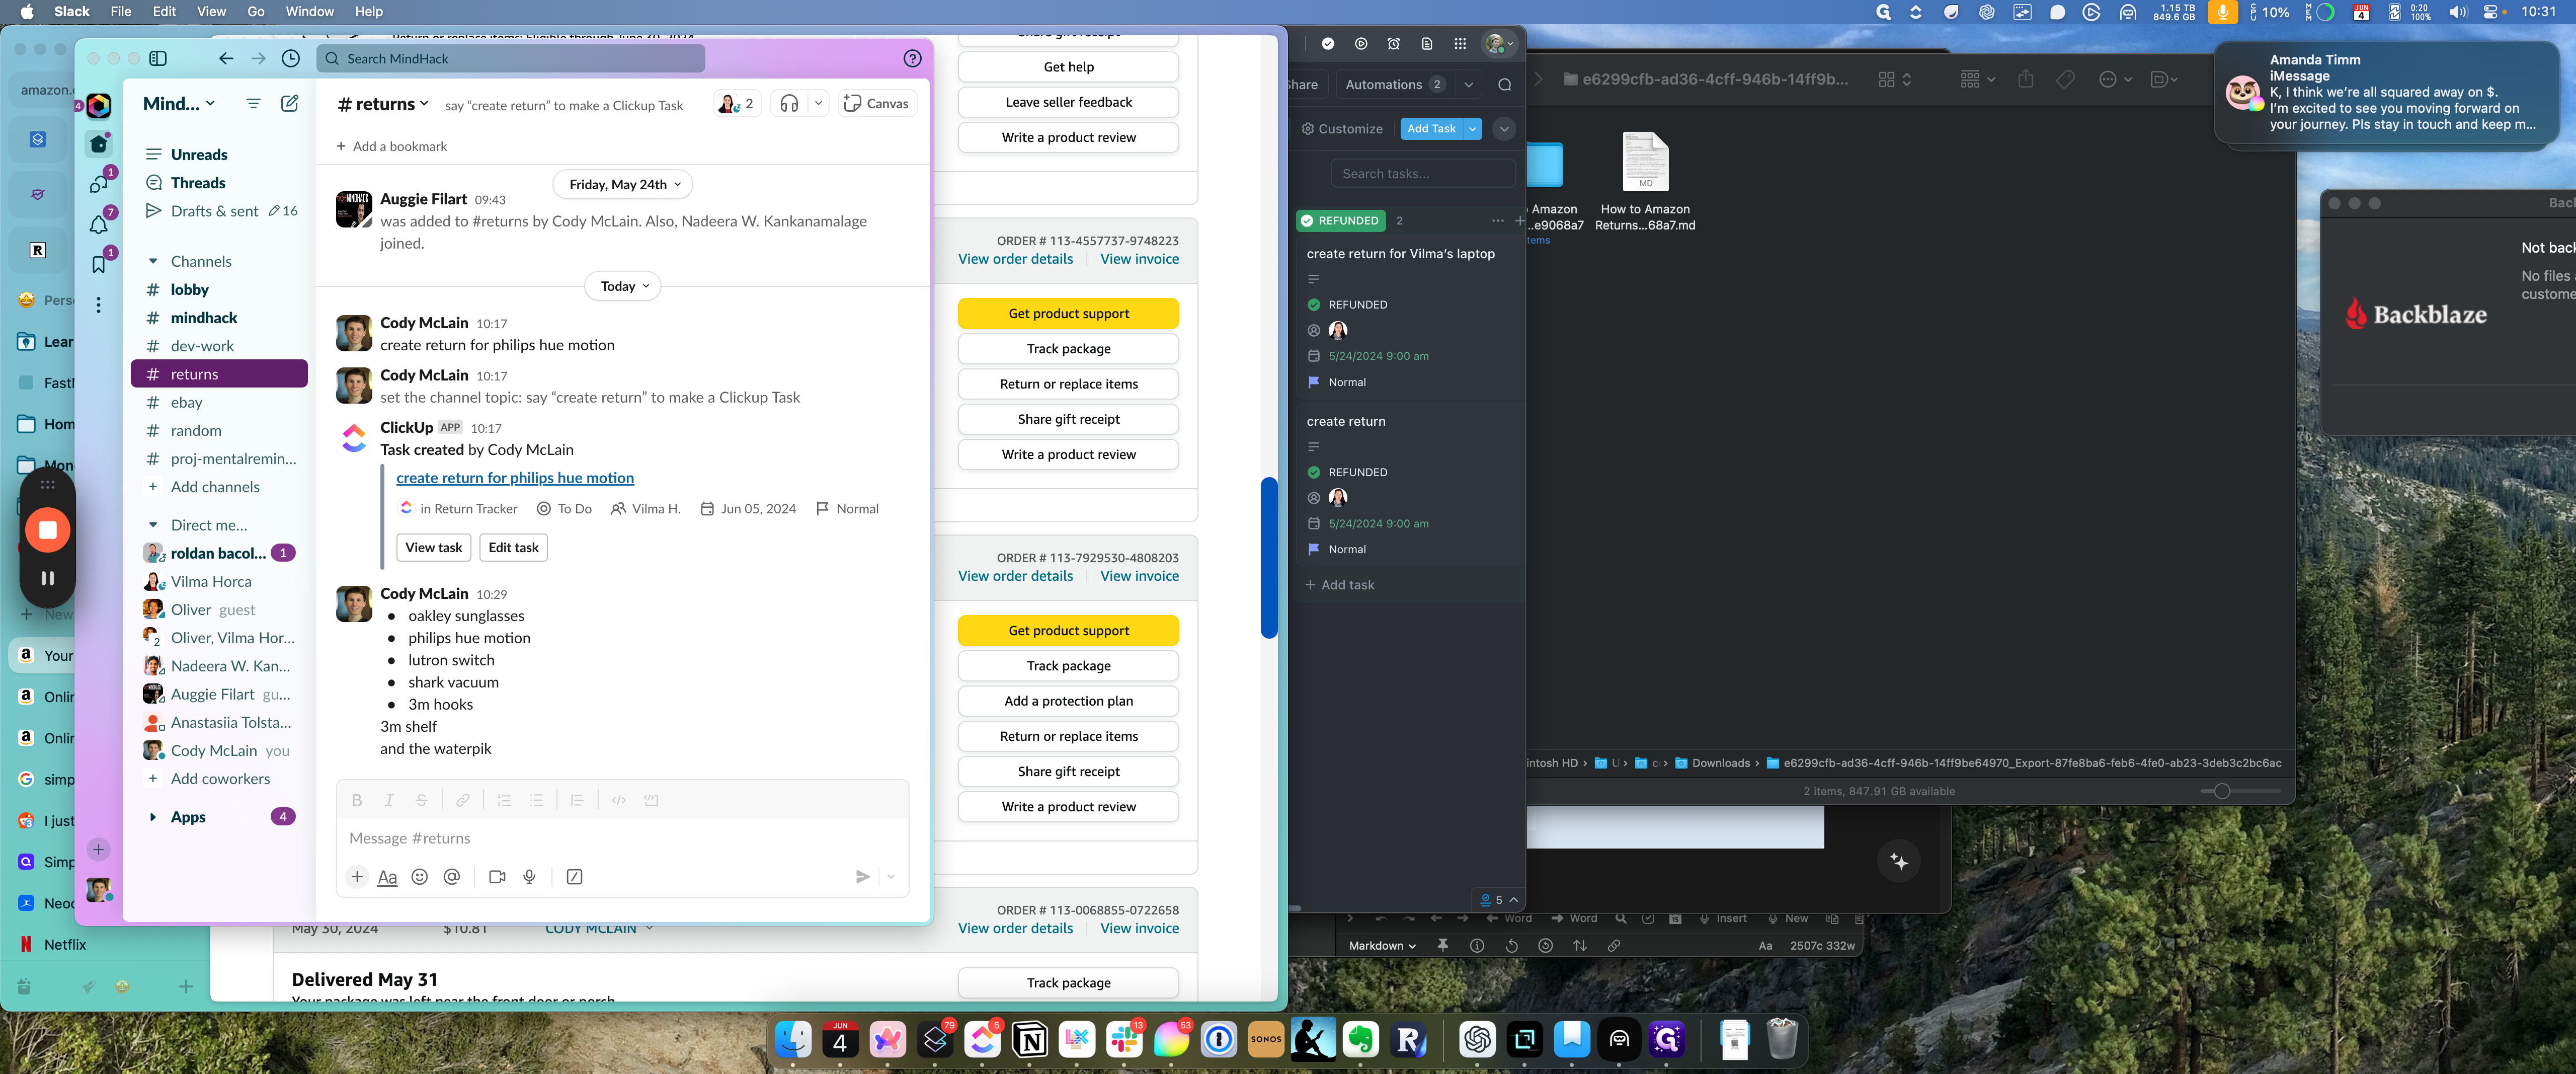
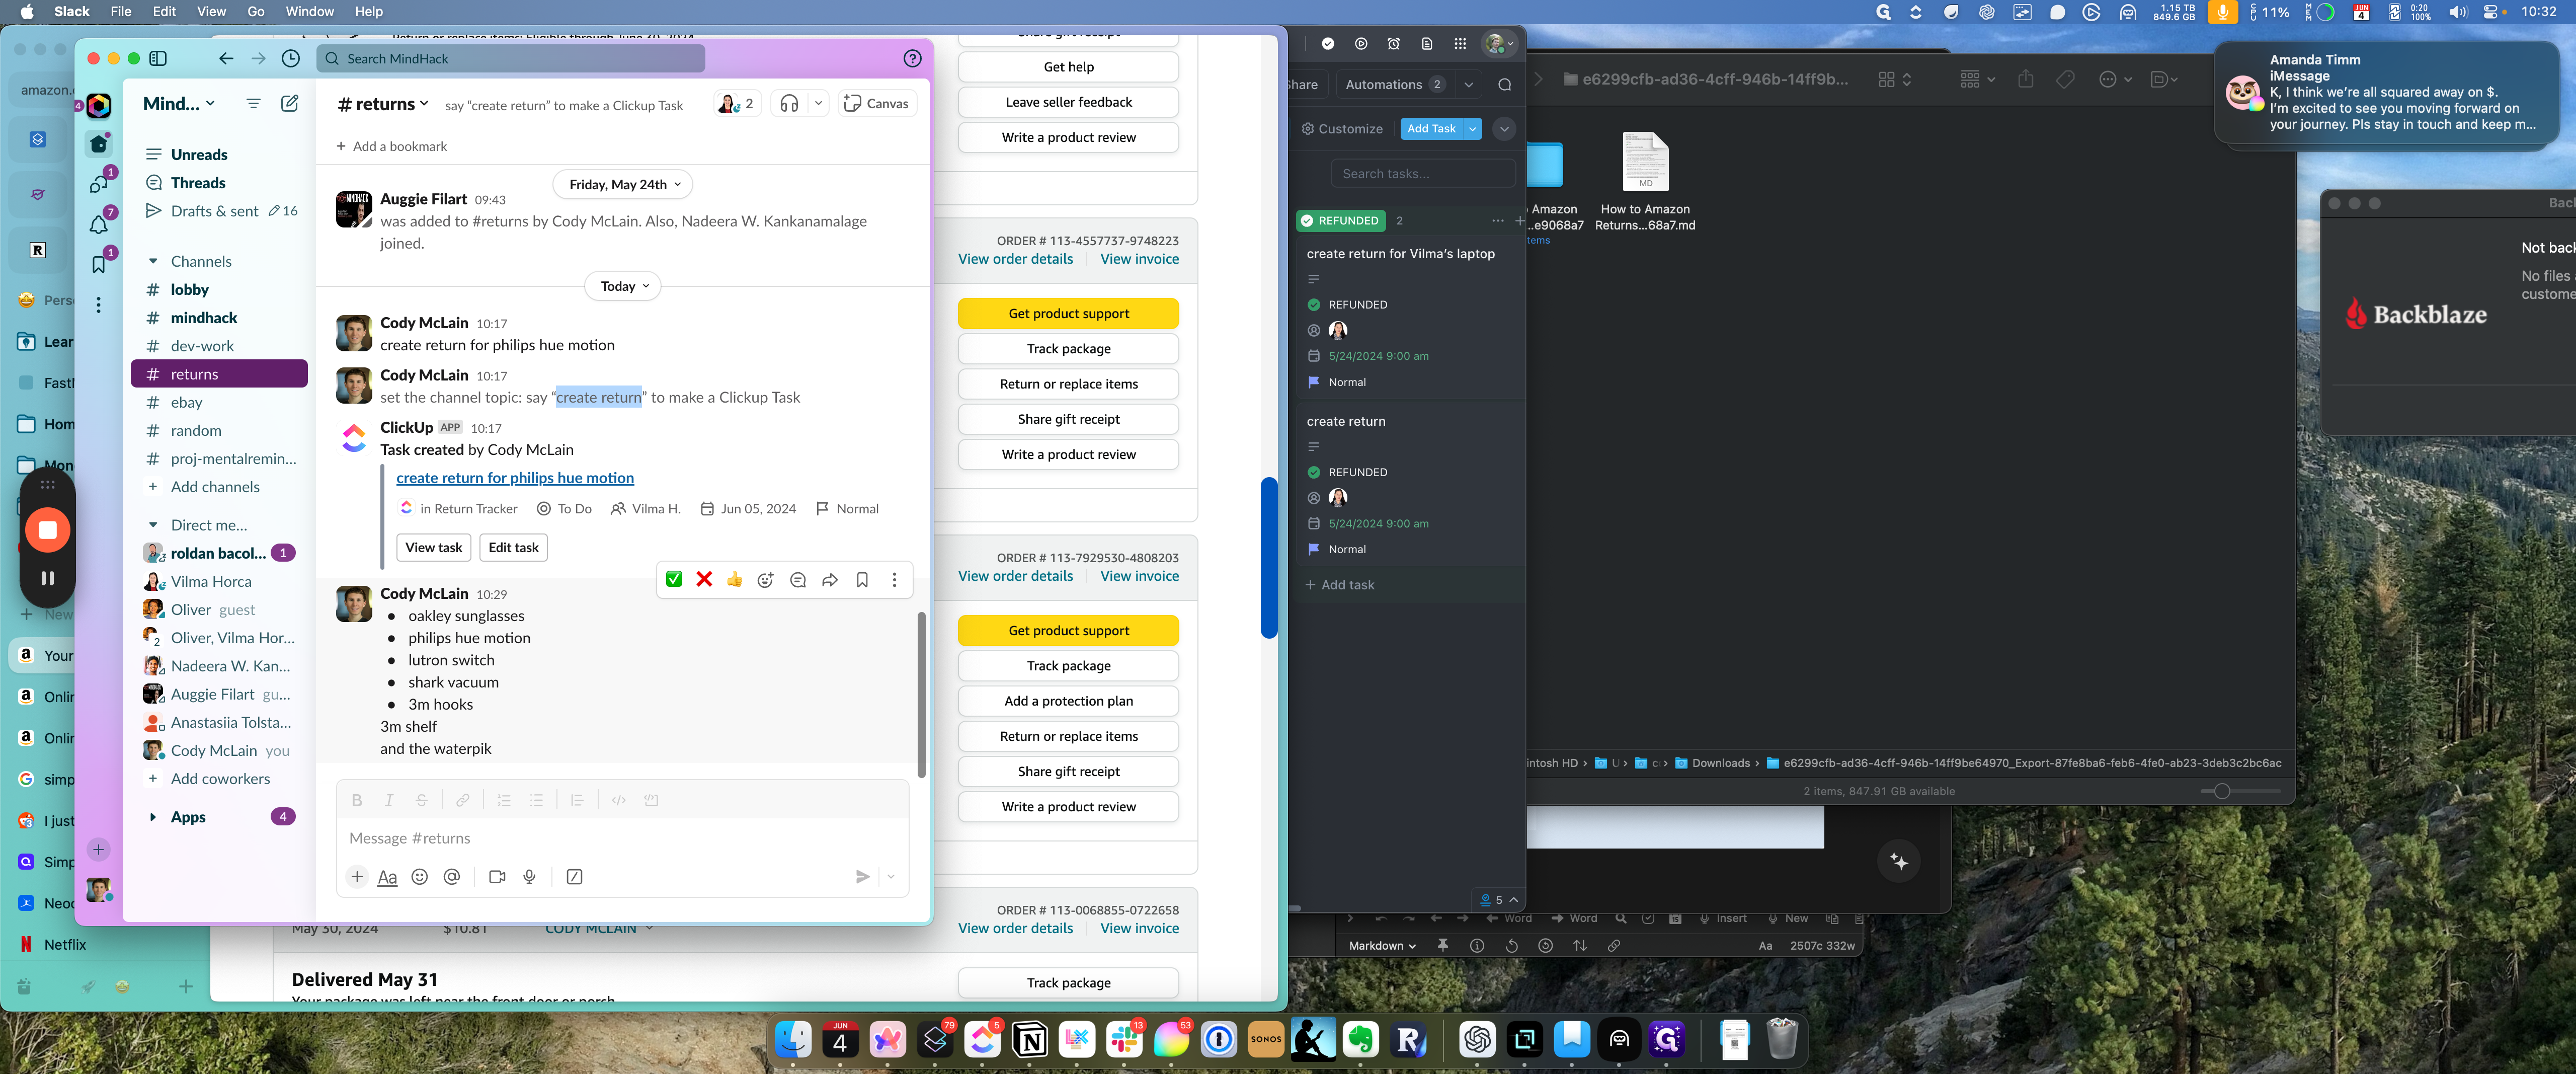
Okay, for Amazon returns, I might ask you directly in Slack or post in the return channel. I may also add the option to create a return or simply insert it into the channel.

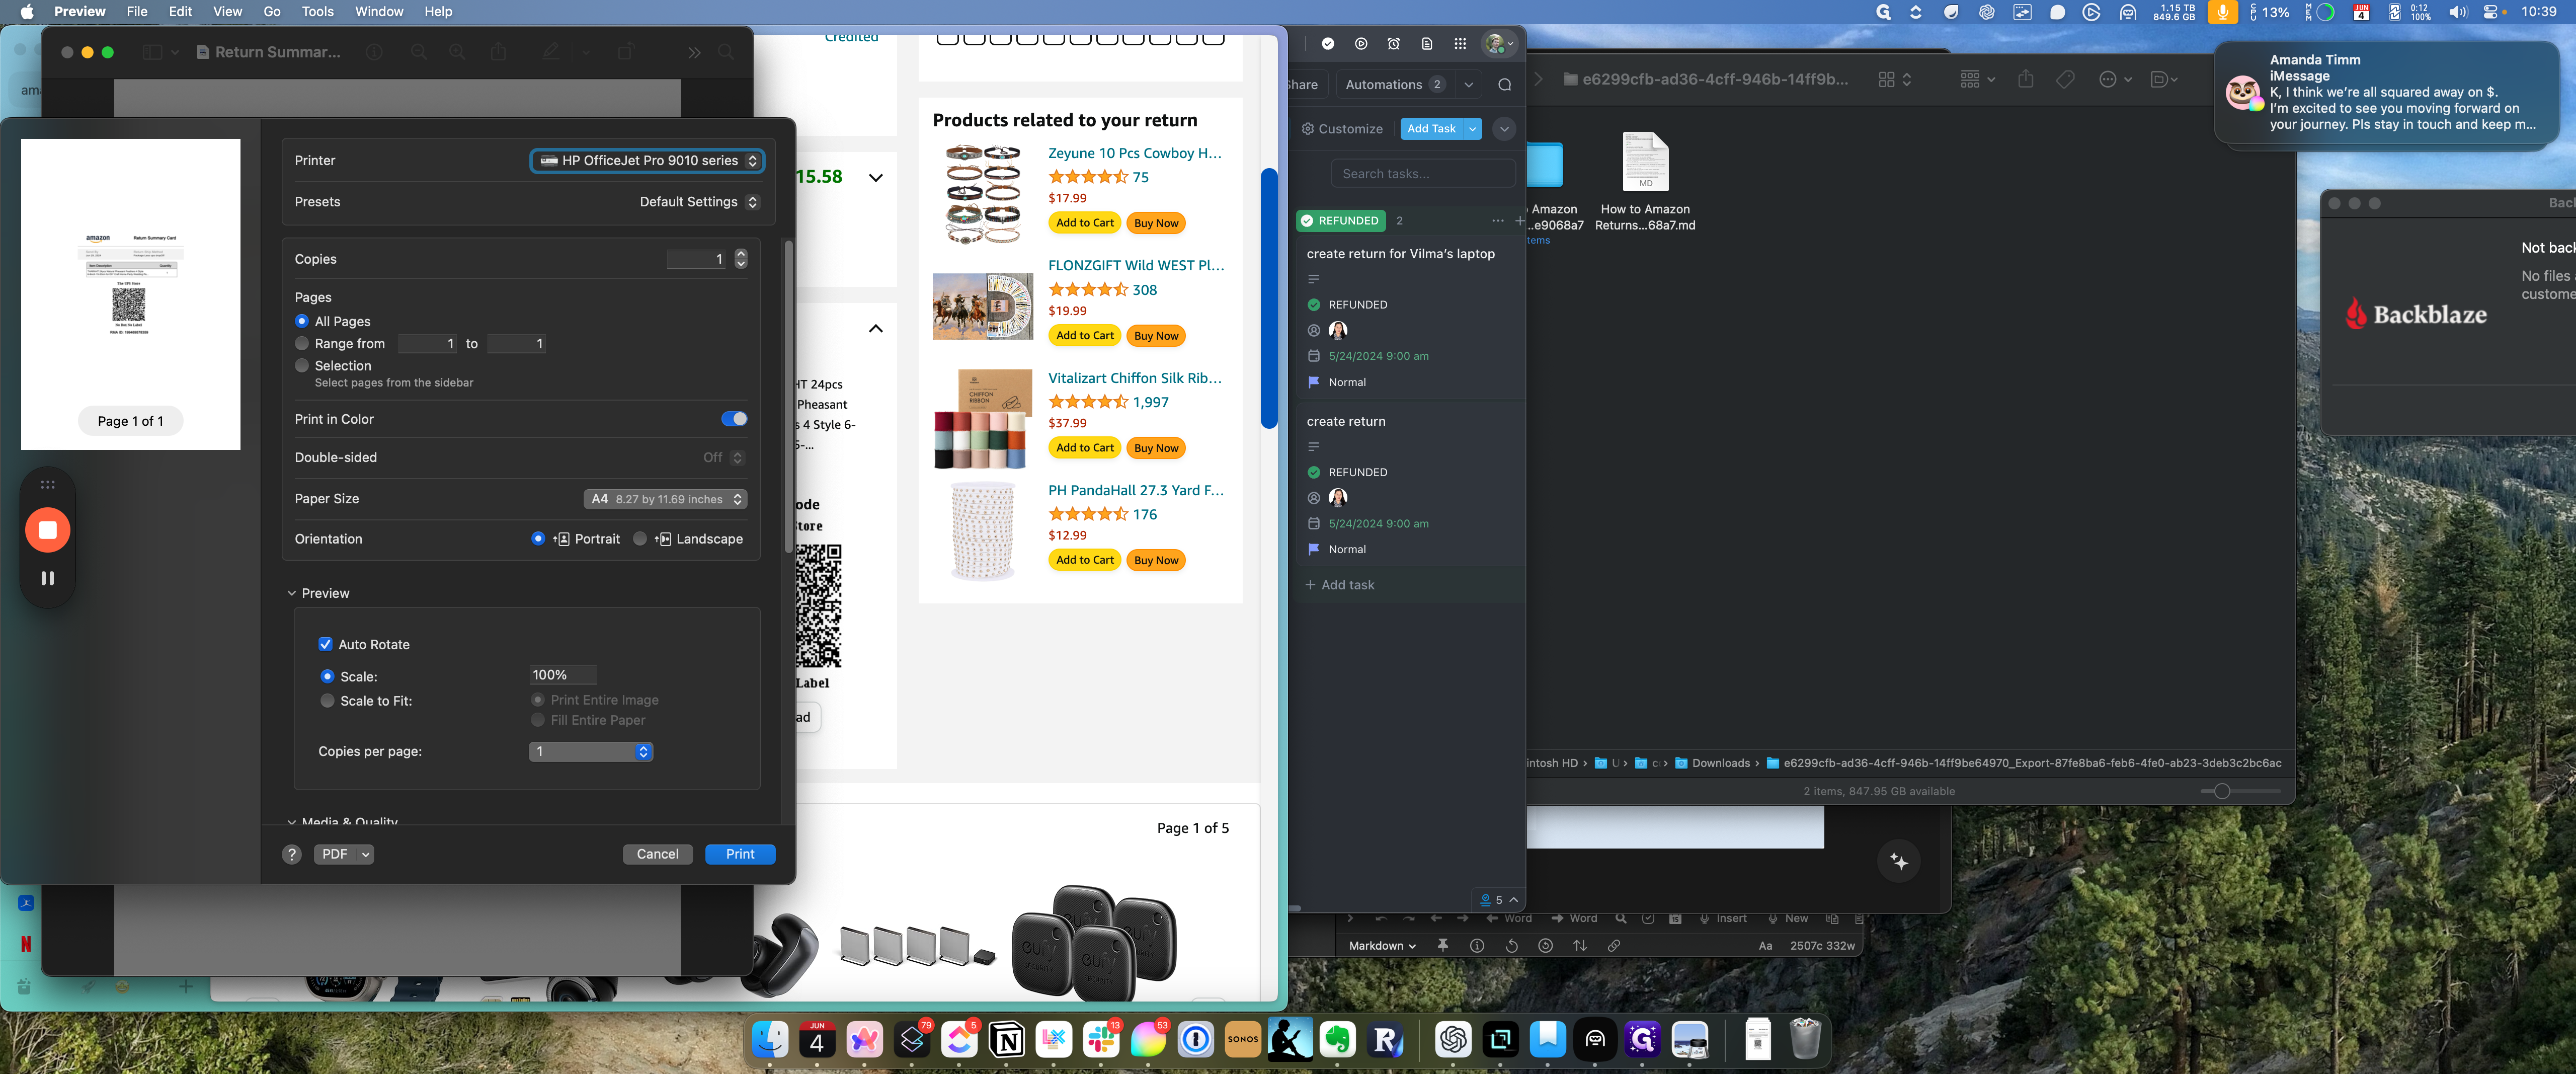
To start, open your browser and ensure you are logged into your Amazon account. There might be several reasons for this.

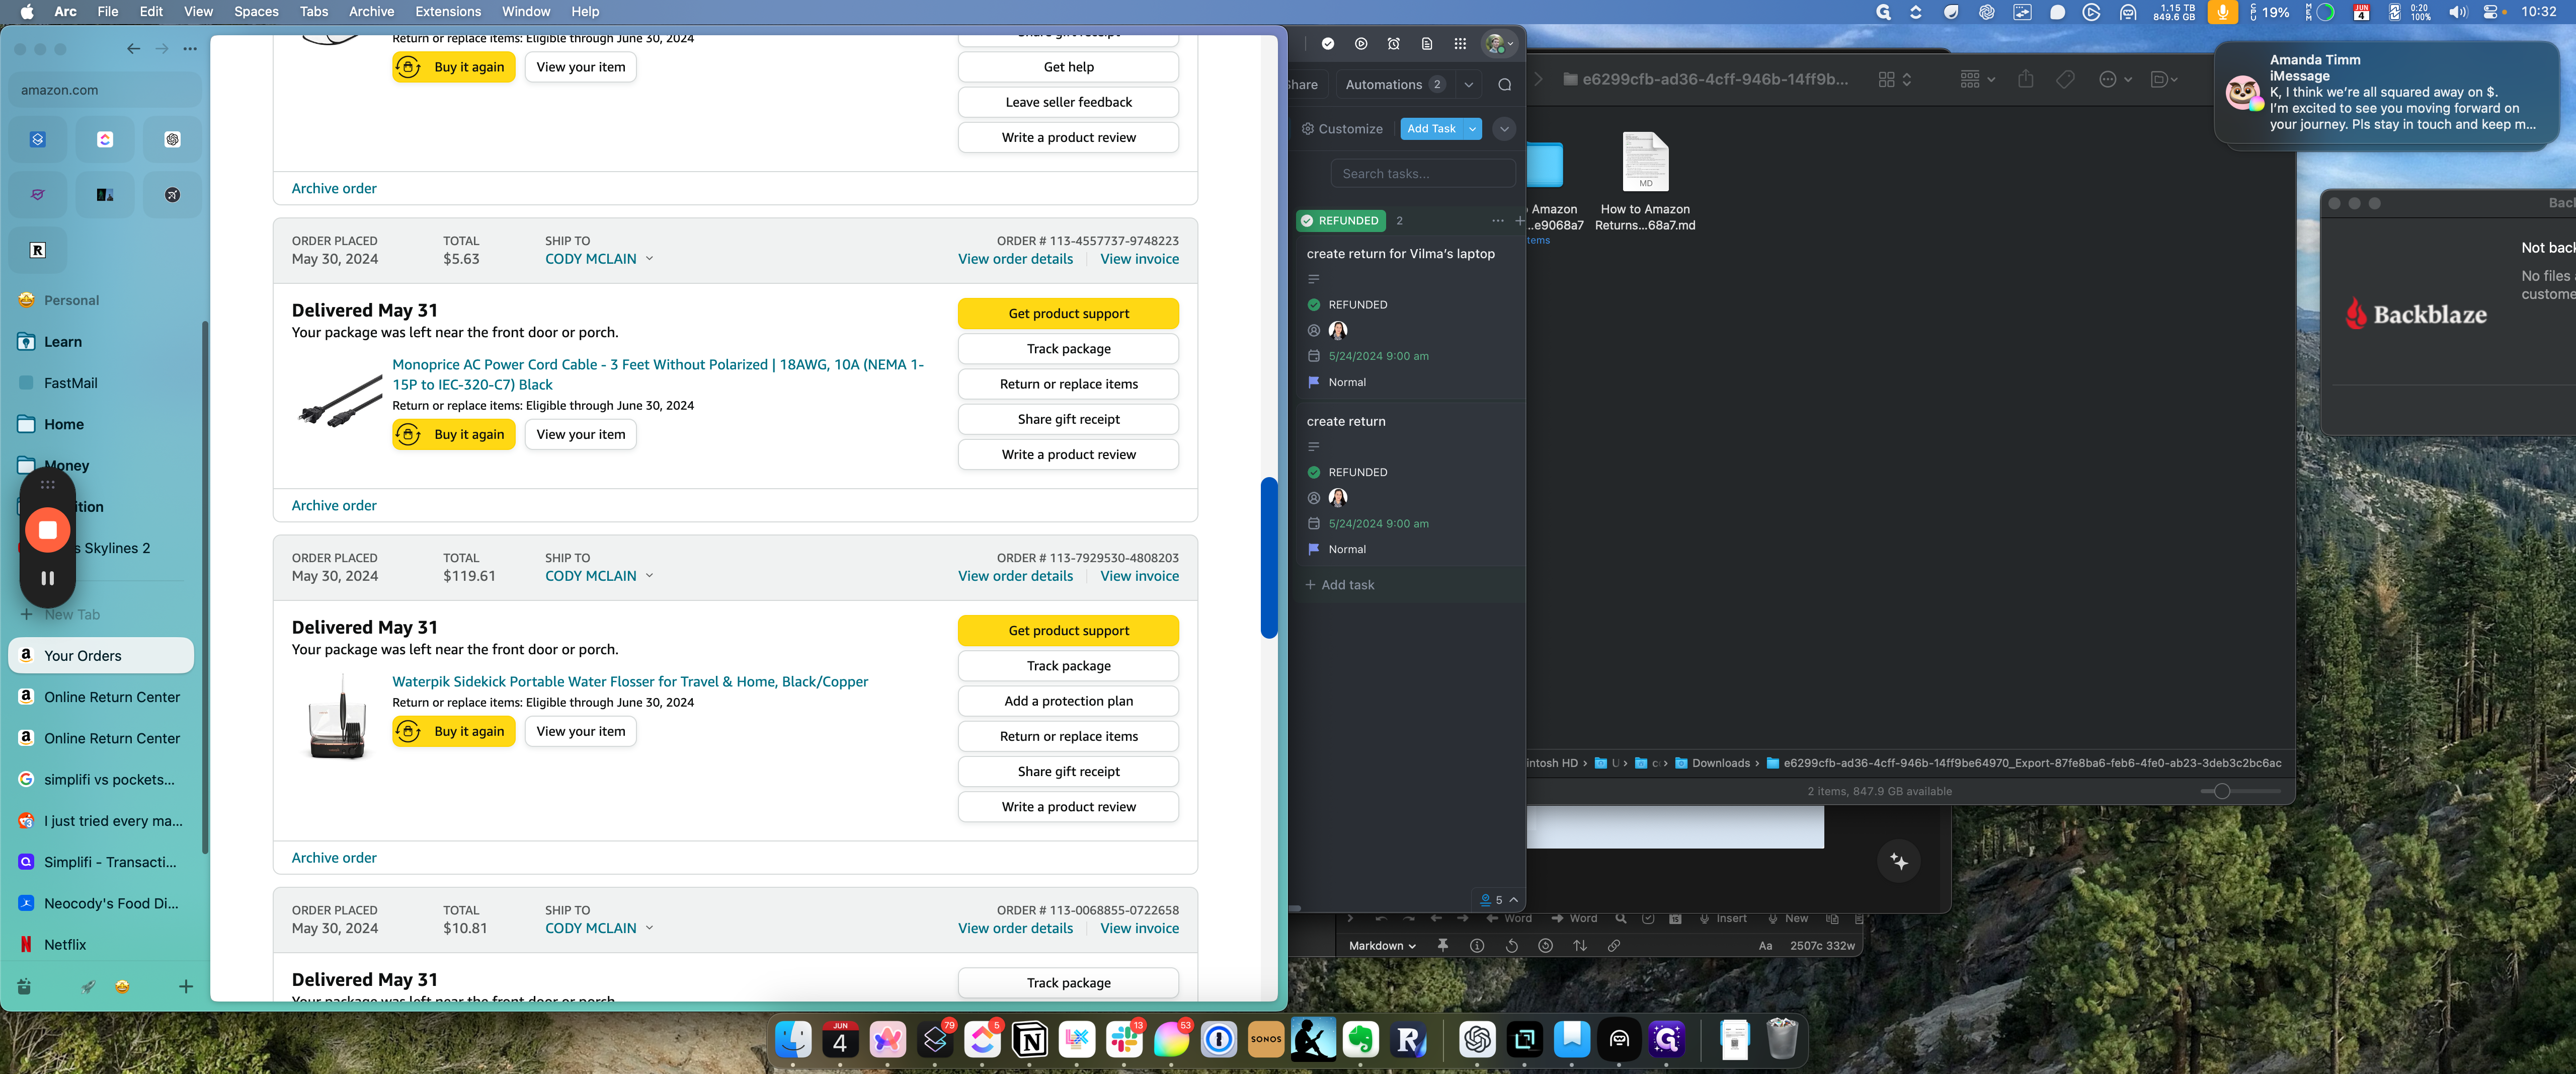
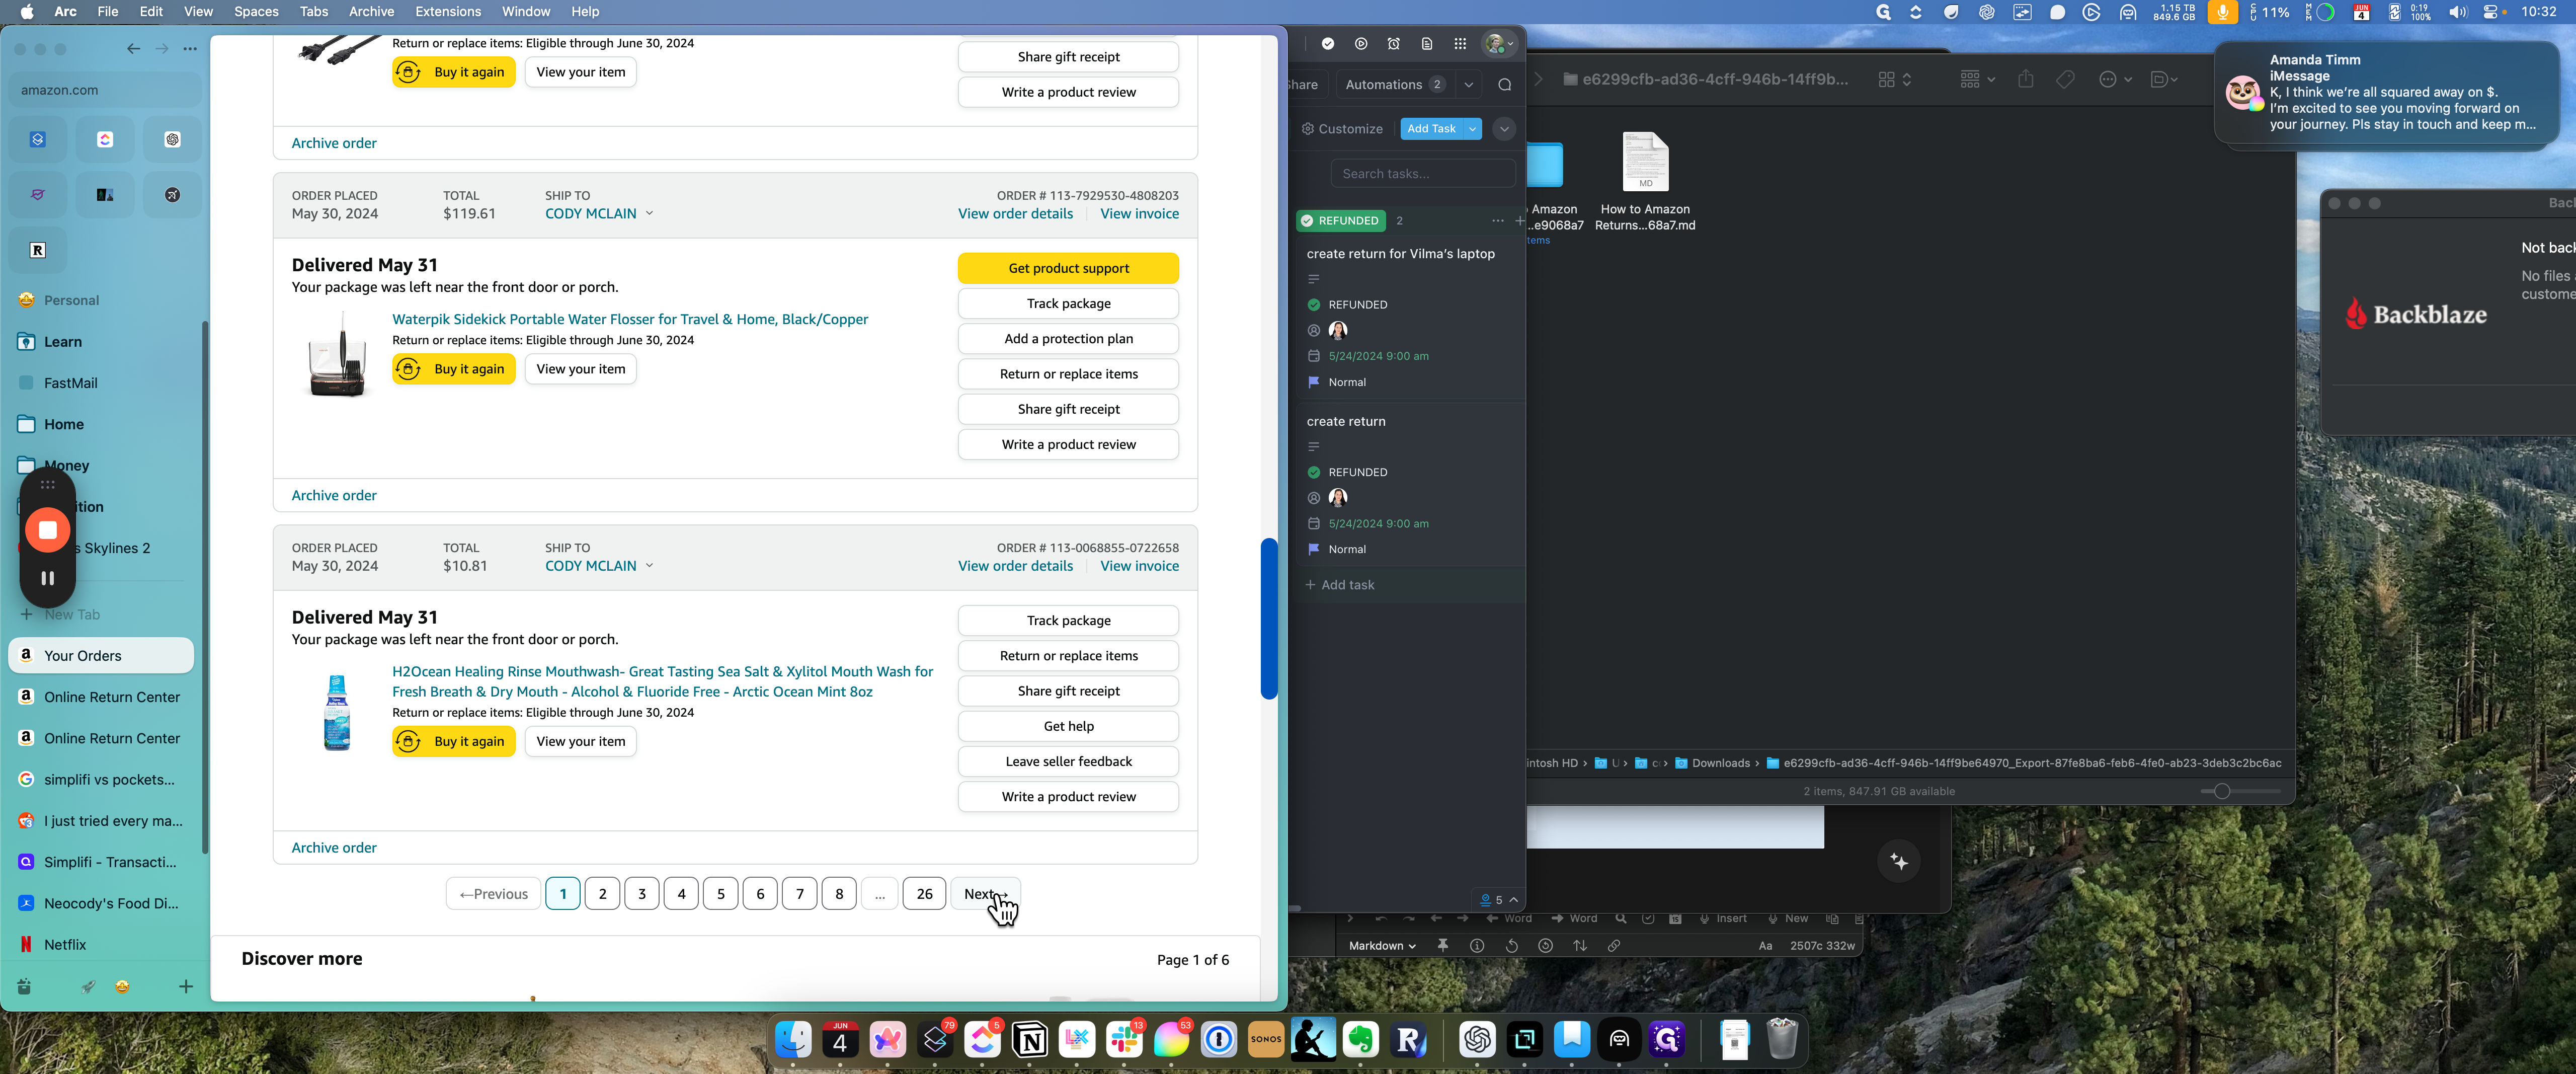
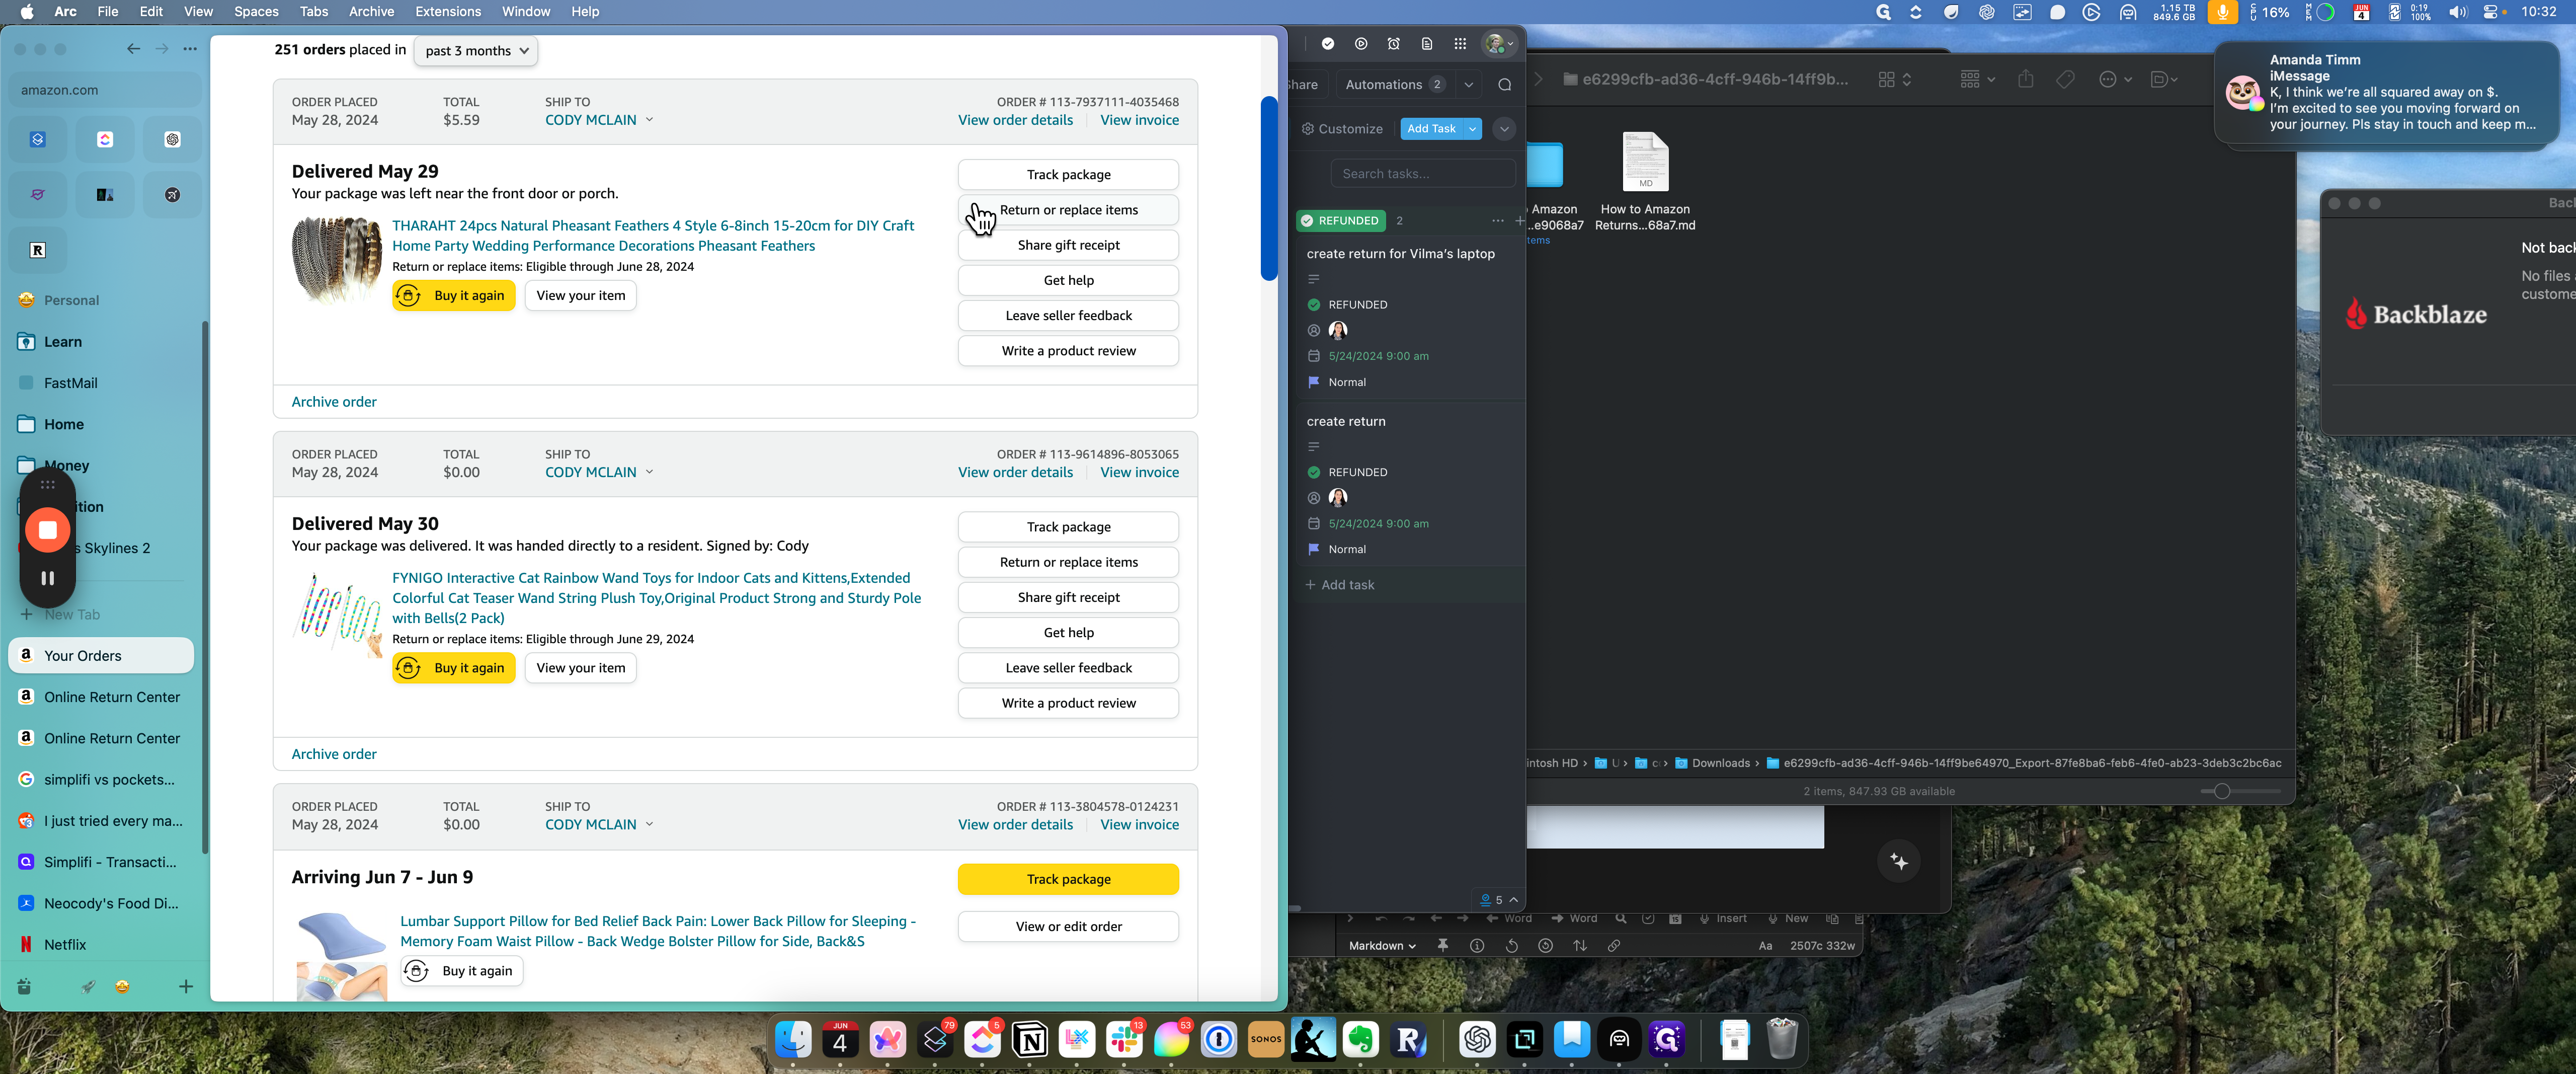
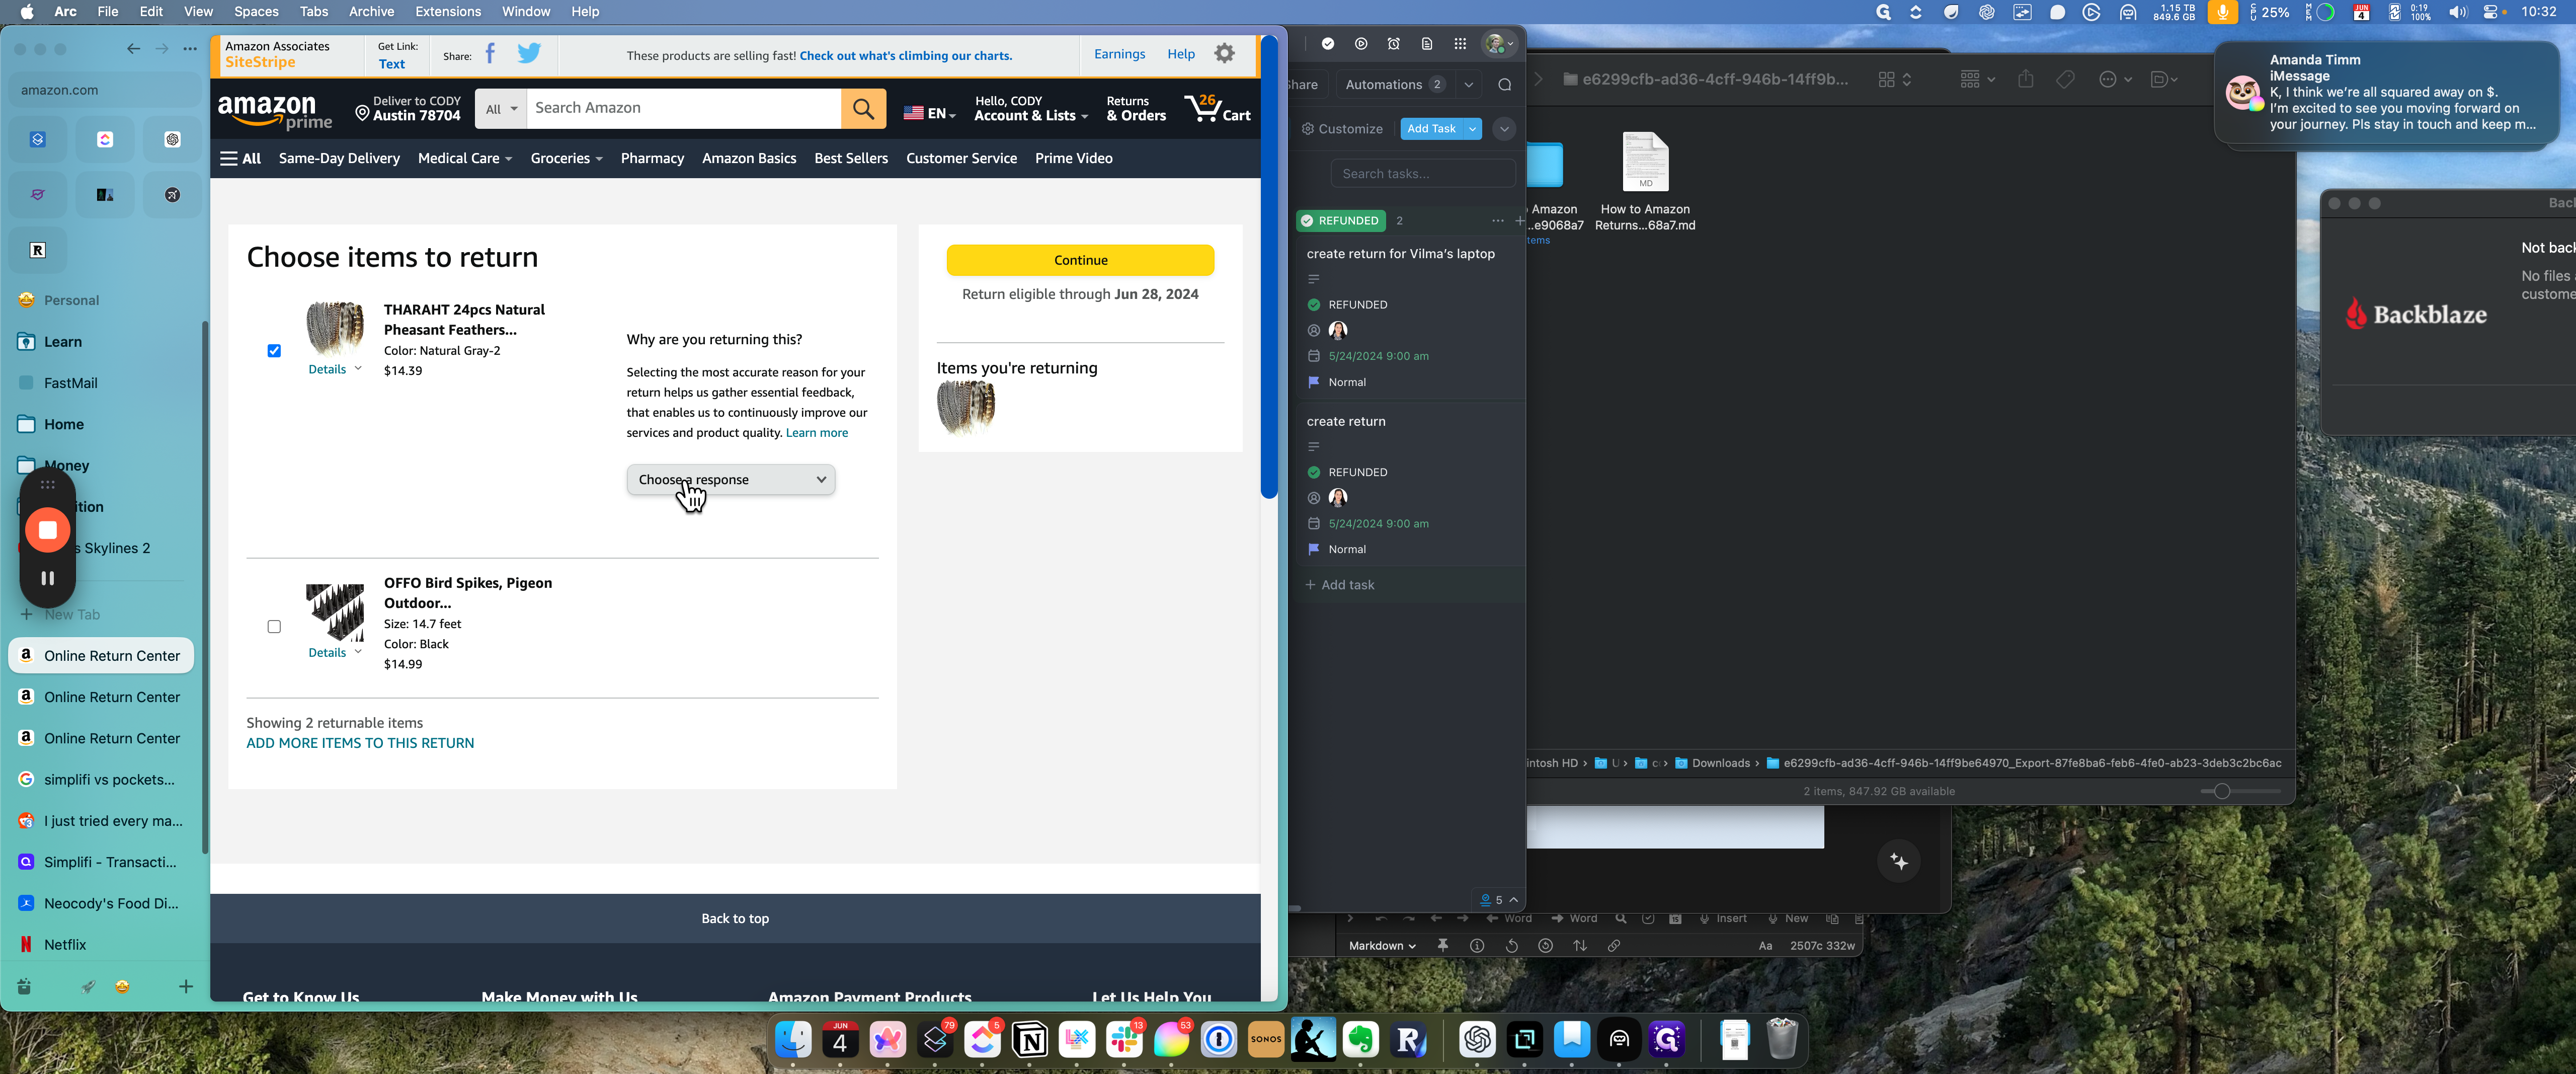
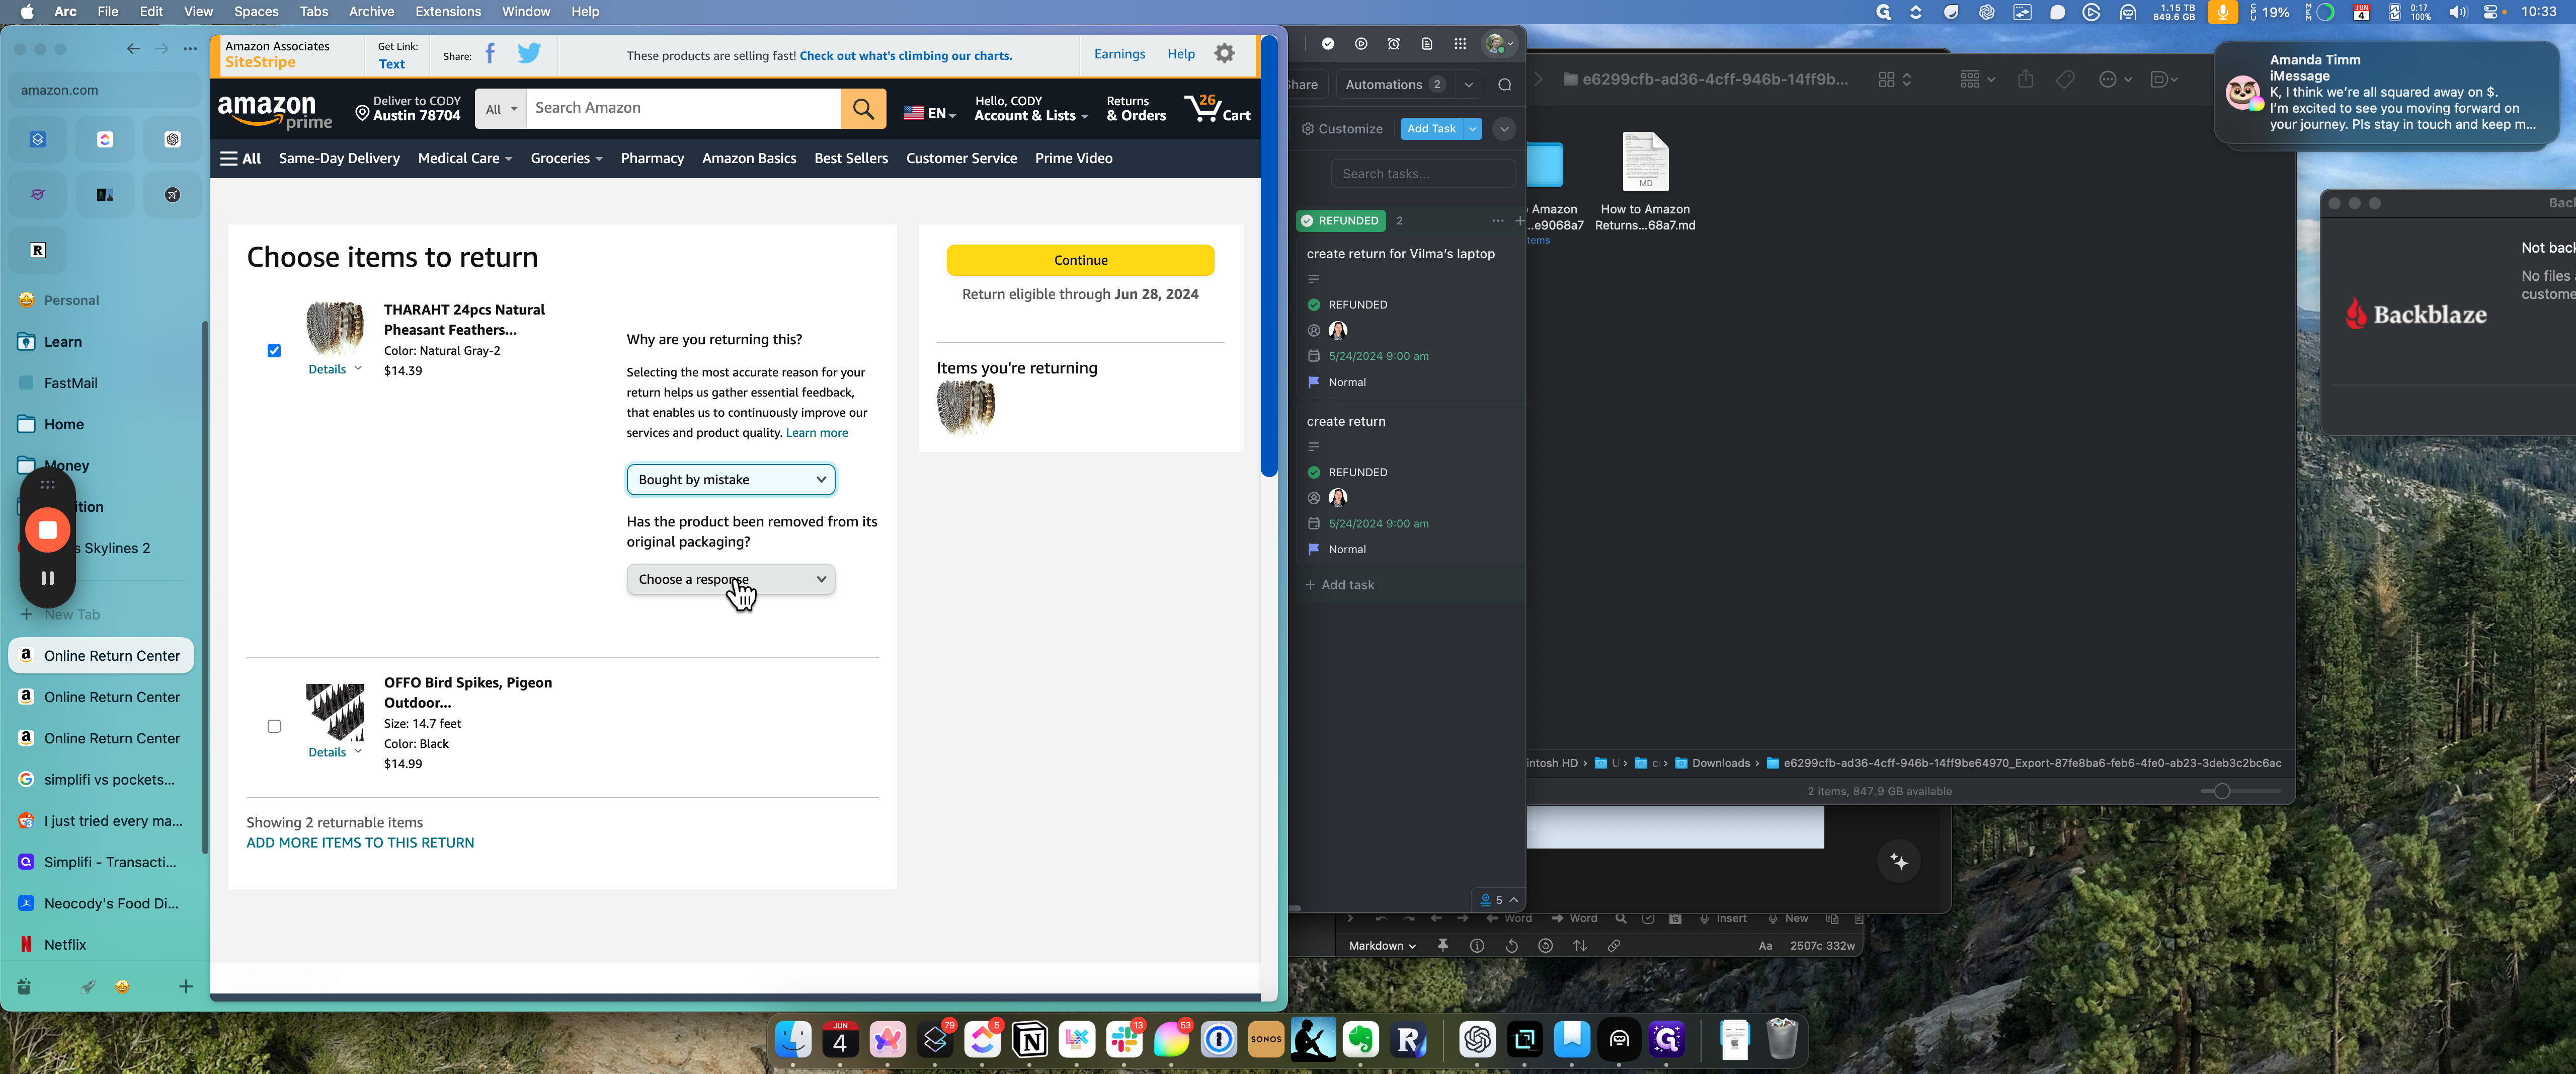
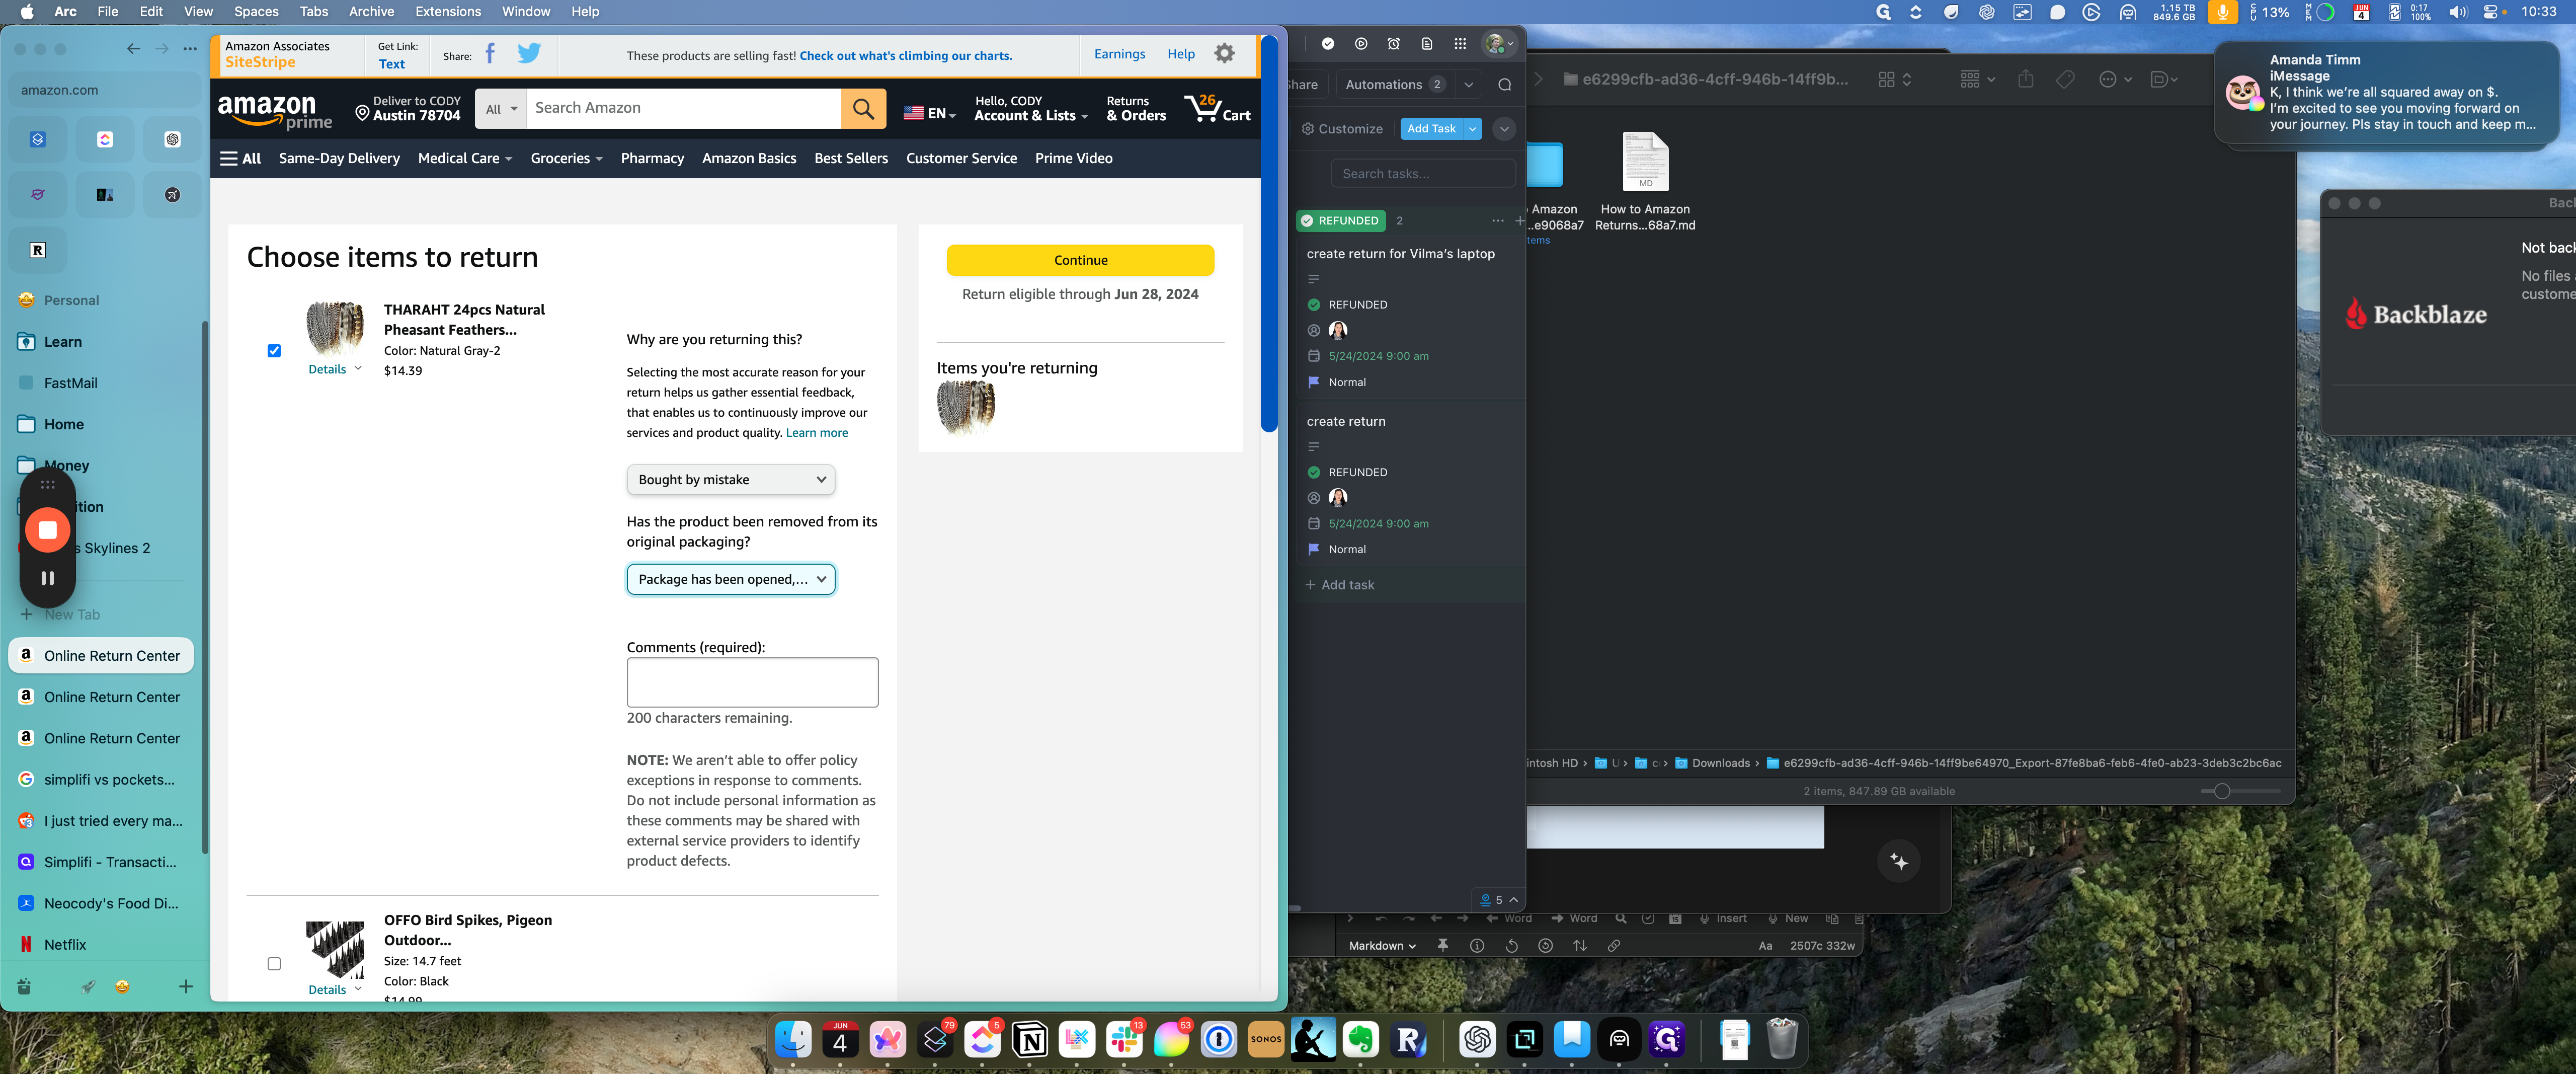
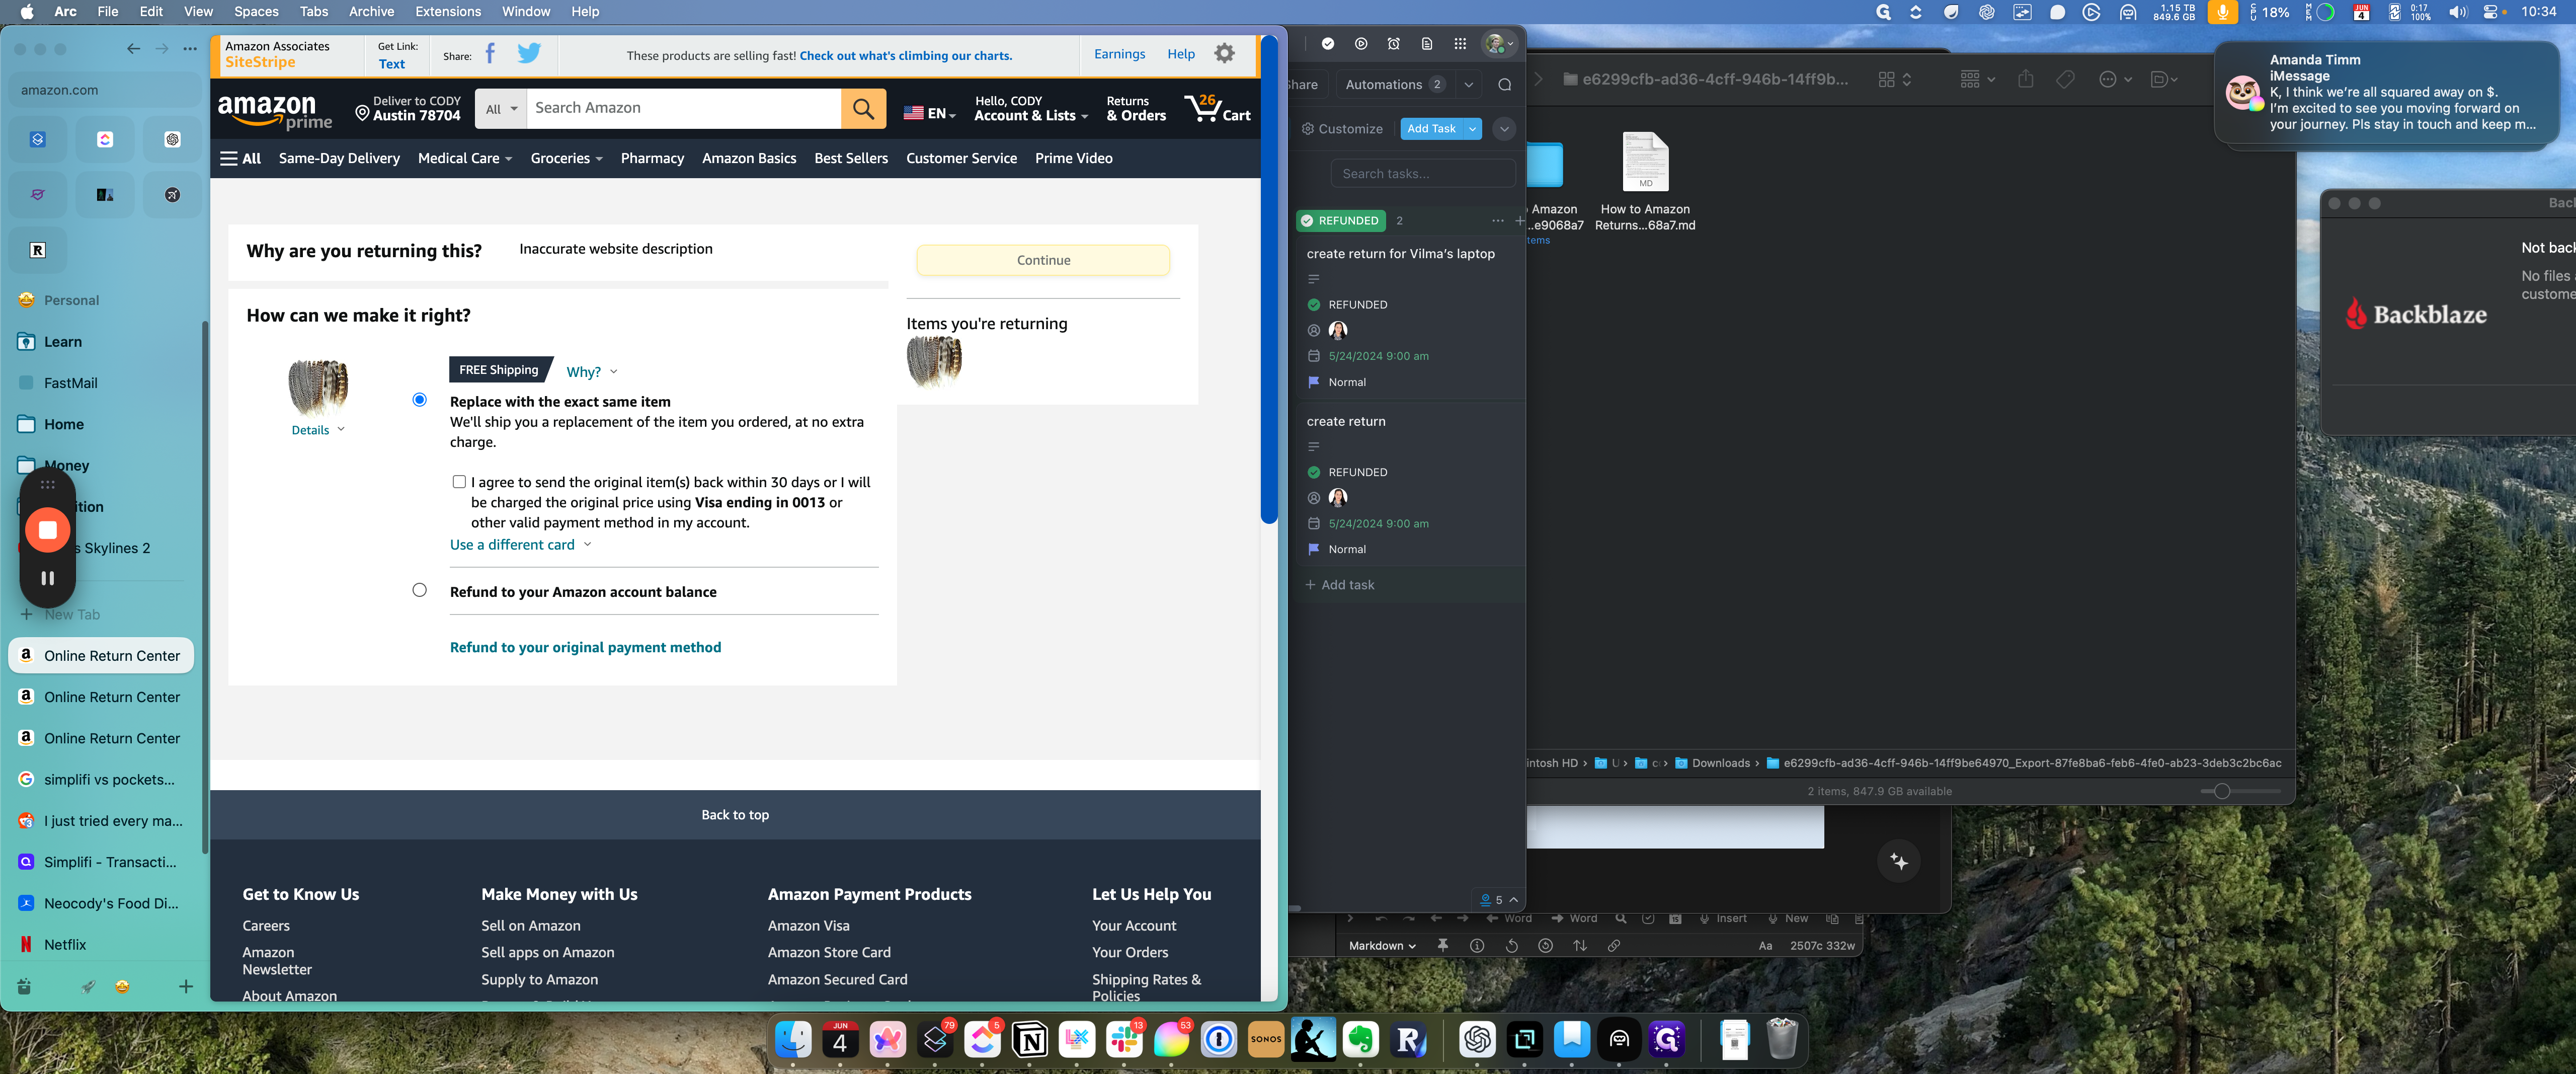
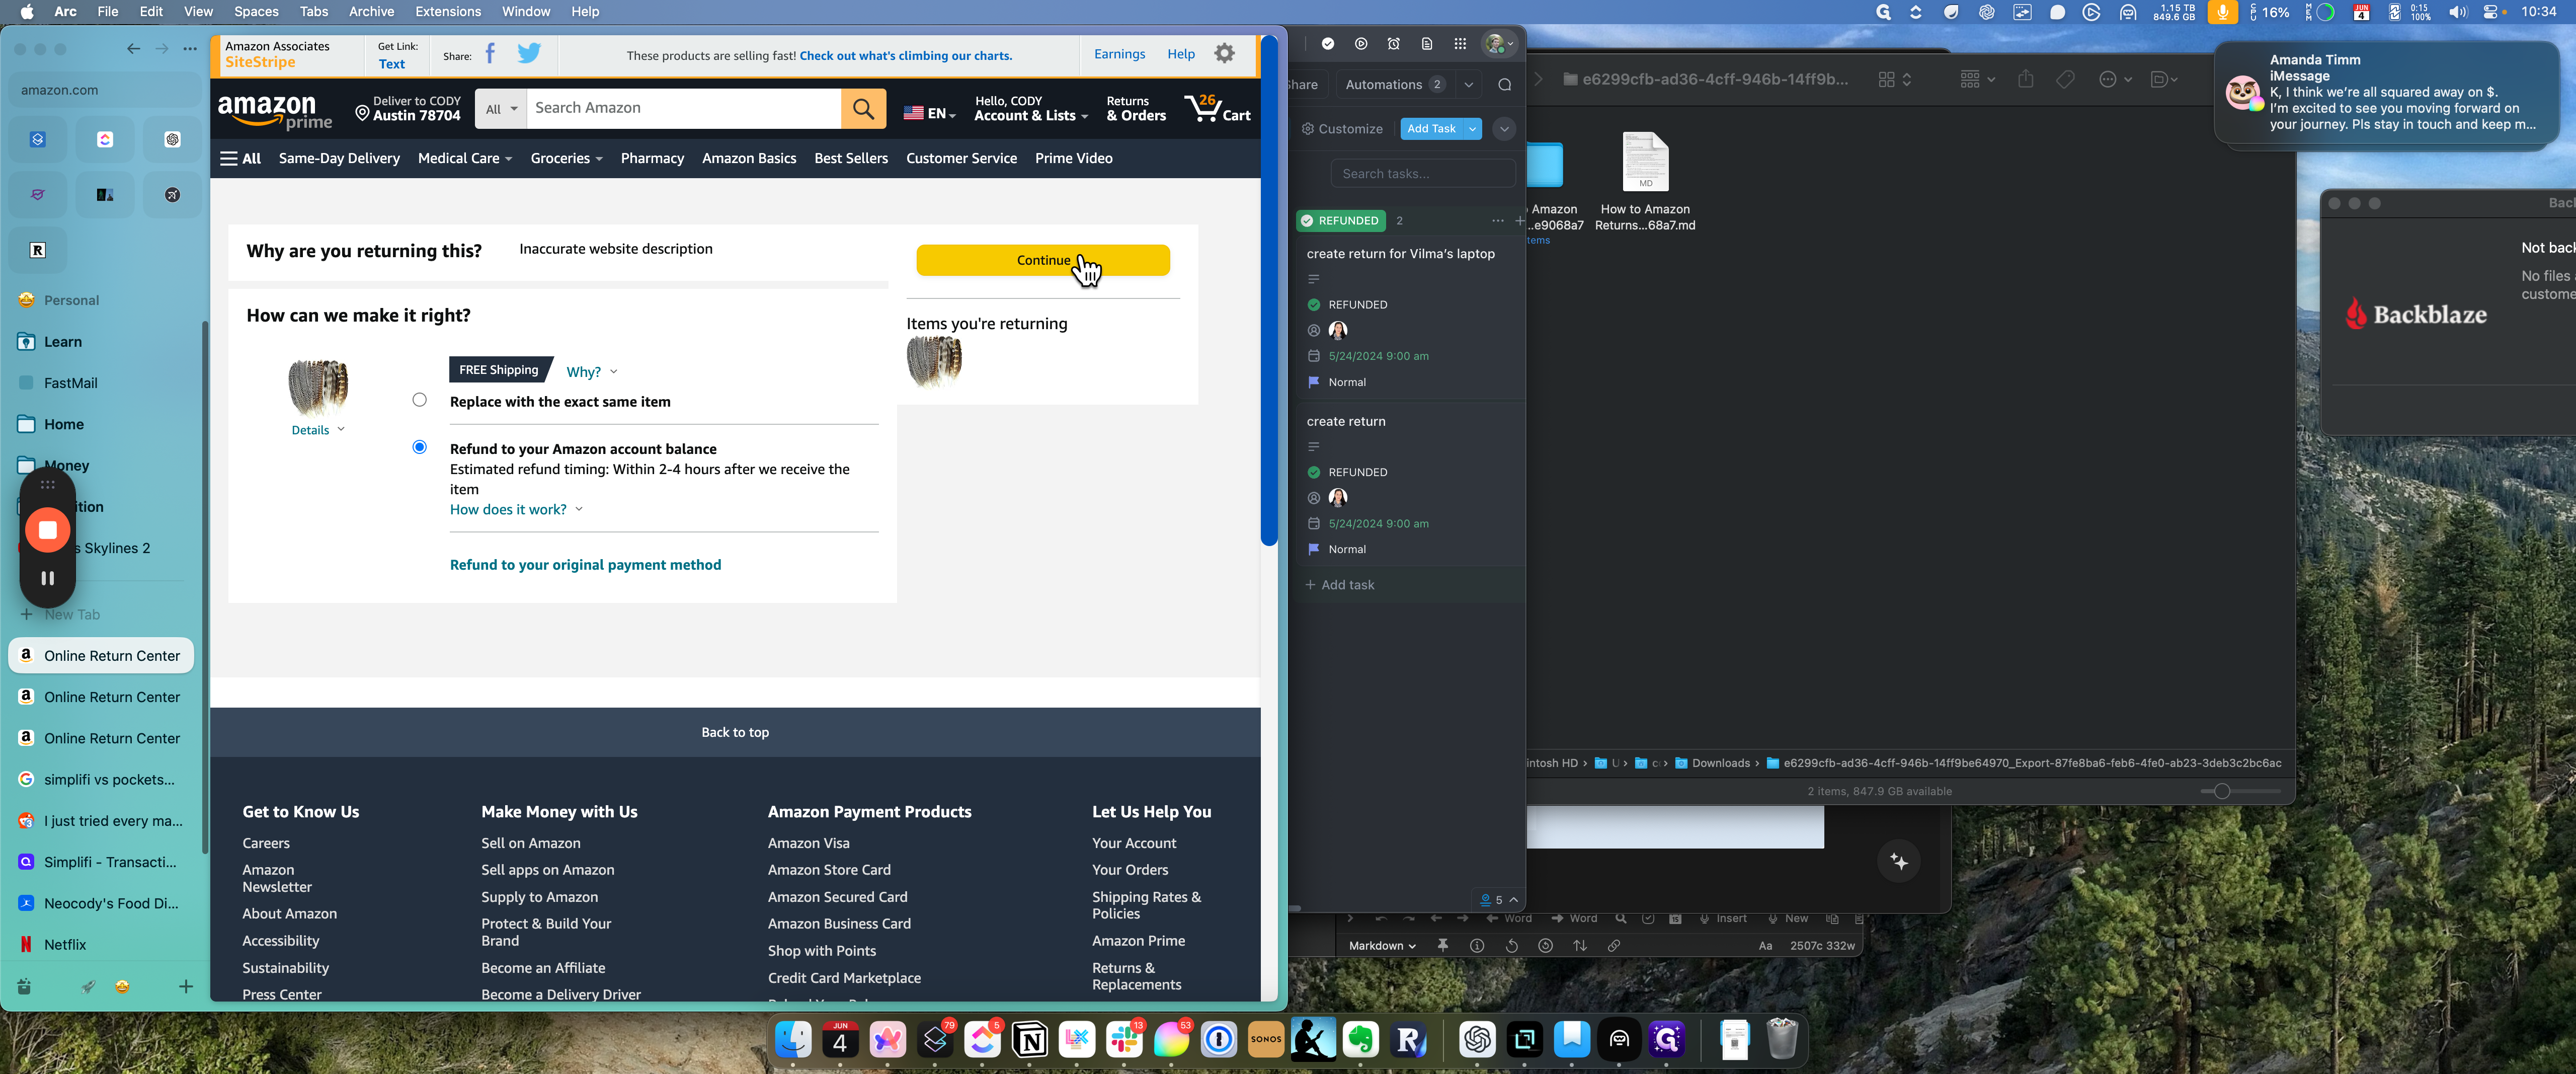
Typically, you can indicate that the item was bought by mistake. The default action would be to state that the package has been opened but the product remains unused. If the item is more expensive and a task for it does not already exist, create one. In this case, the item is as follows: copy the item title, return to ClickUp, paste the title, open it, and additionally, copy the QR code. Send this information. Your responsibility will be to send it. Once shipped, change the status to "returned." An automation will trigger, reminding you in 25 days to confirm the return and processing of the refund or credit. To do this, log into the return order section on Amazon, search for the item, and verify the refund status.