
How to Handle Code 9 Instructions Efficiently
Learn the step-by-step process for managing Code 9 instructions, including handling unnecessary items and ensuring accurate dimensions.
In this guide, we'll learn how to efficiently manage and update packaging information using a structured approach. The process involves marking unnecessary fields with "NA," deleting specific entries, and ensuring accurate dimensions in NM units. Additionally, we'll cover how to handle printing requirements and manage reference photos. This method aims to streamline data entry and maintain consistency in packaging documentation.
Let's get started
When you reach code 9, go to the comments field and type "NA" for items not necessary. Delete entries like endboards, deboards, finishing, and Pantone code, marking them as "NA."


• Customized Requirements
• Finishing
• Pantone Color Code
• Output for Pump Head (if applicable).


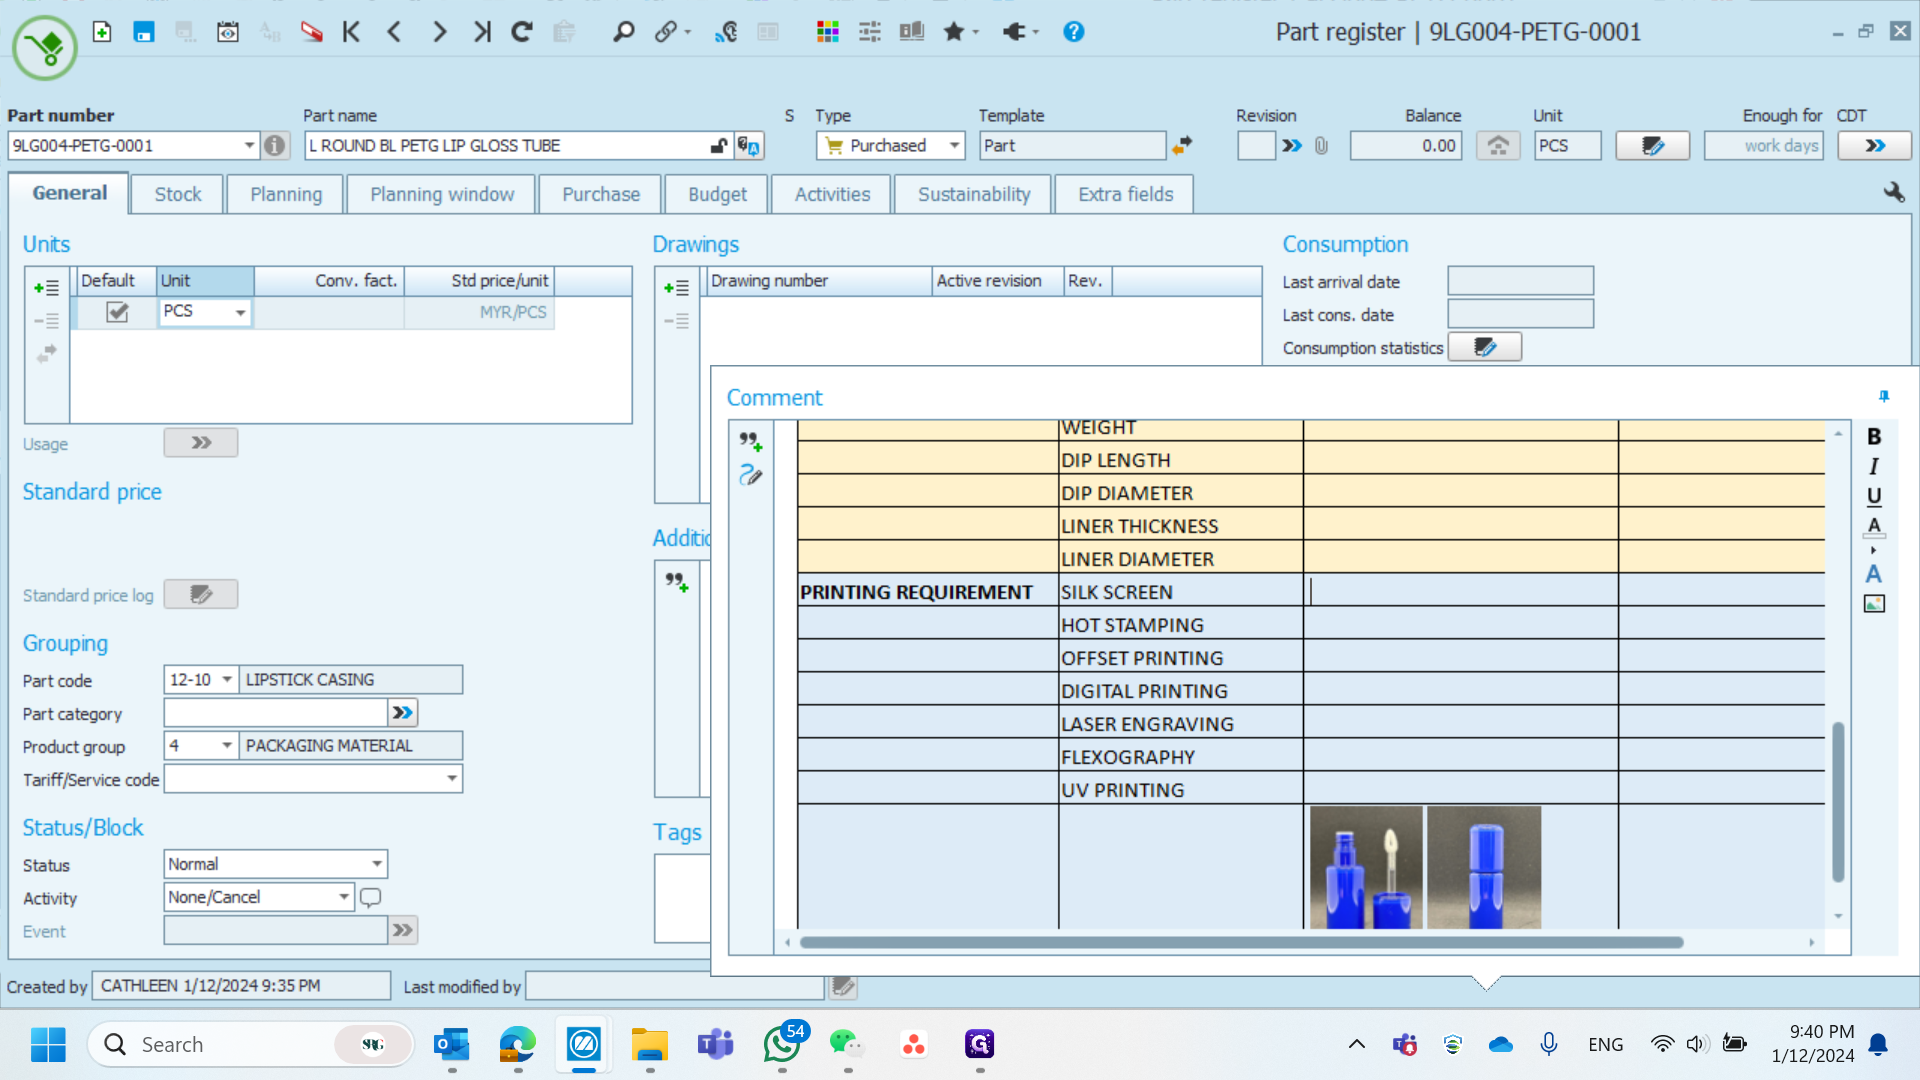
If you don’t have the reference photo, take a photo and paste it into the relevant section. If a photo is already available, skip this step and save your work.