How to Handle Patient Bad Debt
Learn the step-by-step process for managing patients with bad debt and Oscar insurance, including check-in procedures, insurance verification, payment arrangements, and documentation best practices.
In this guide, we'll learn how to check in a patient with a bad debt balance and Oscar insurance. We will review the steps for verifying insurance, collecting copays, addressing outstanding balances, and setting up payment arrangements if needed.
We will also cover how to document these actions in the patient's record to ensure accurate tracking.
Let's get started
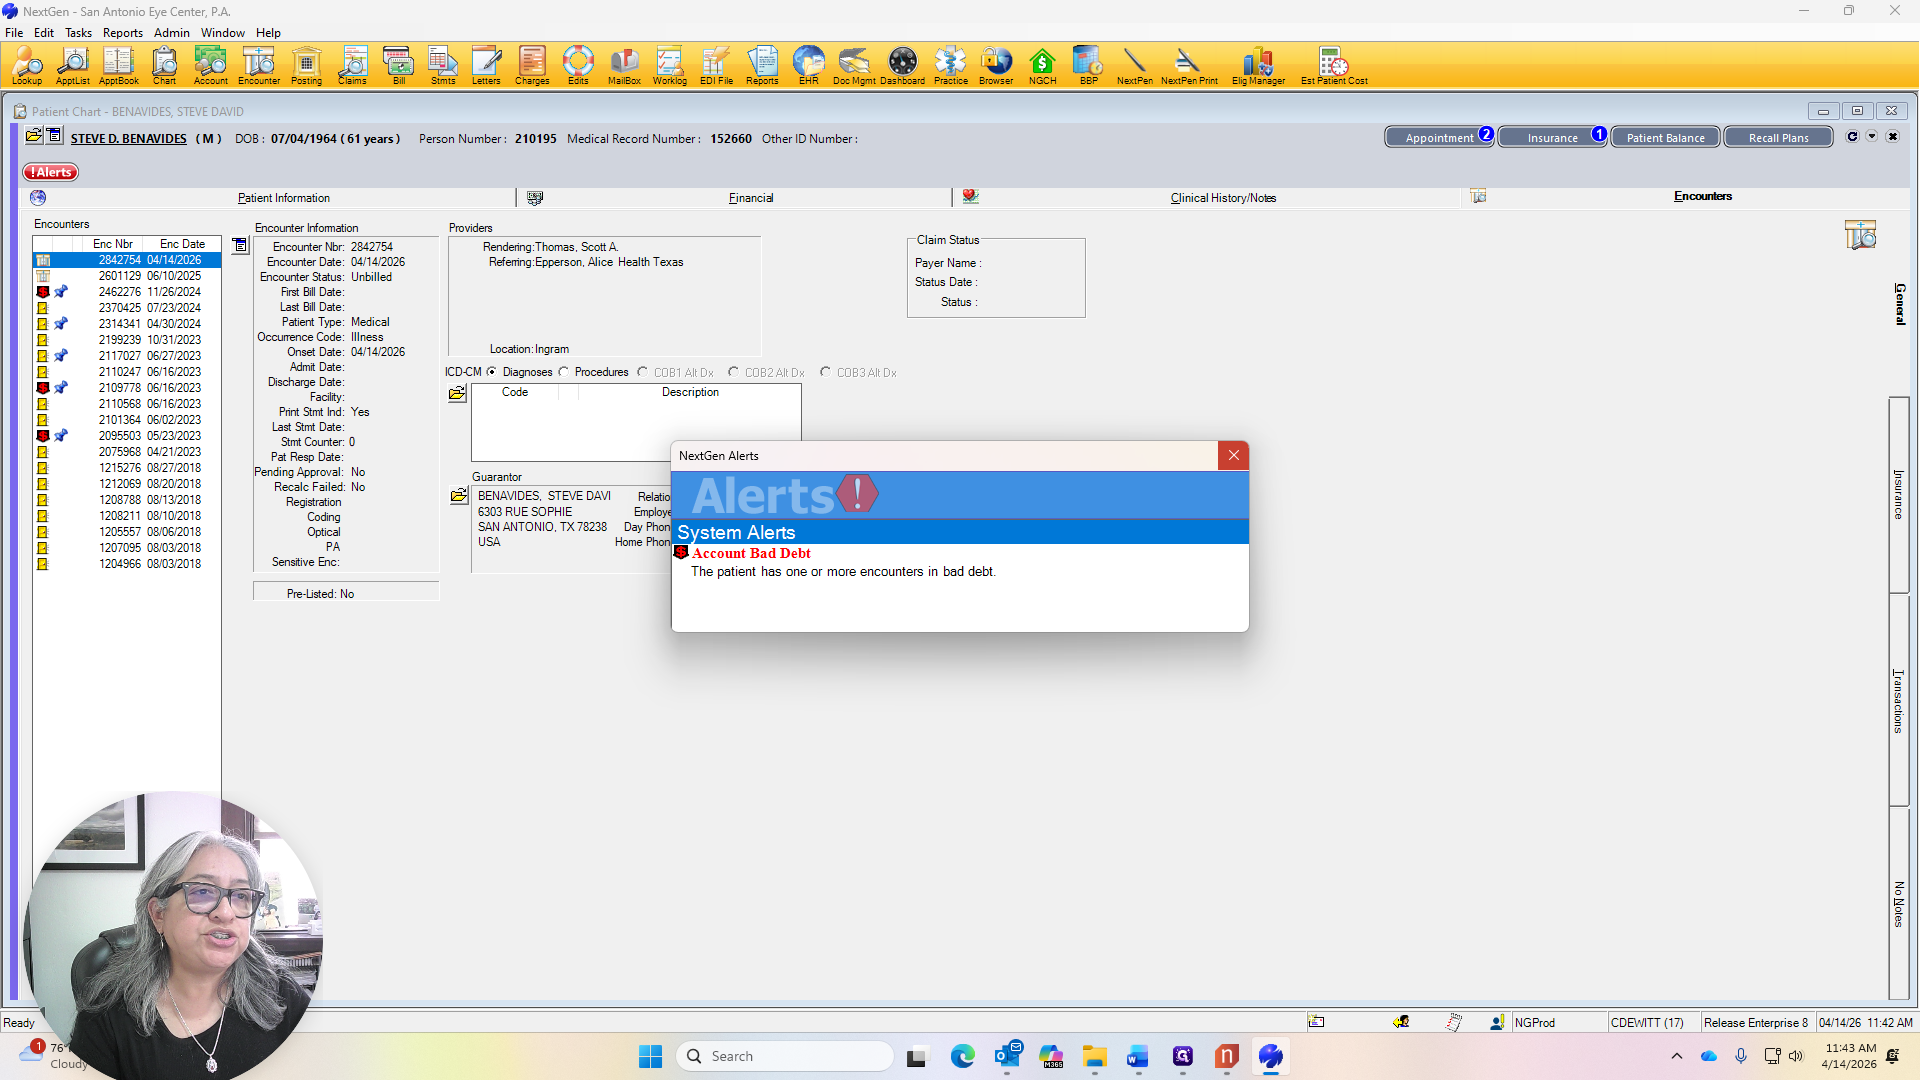
Good morning. Now, I have another scenario for a patient with a bad debt on the account. This patient has Oscar insurance. I will check in the patient and show you how the process works.

We're good. We have the patient.

We will check in the patient.


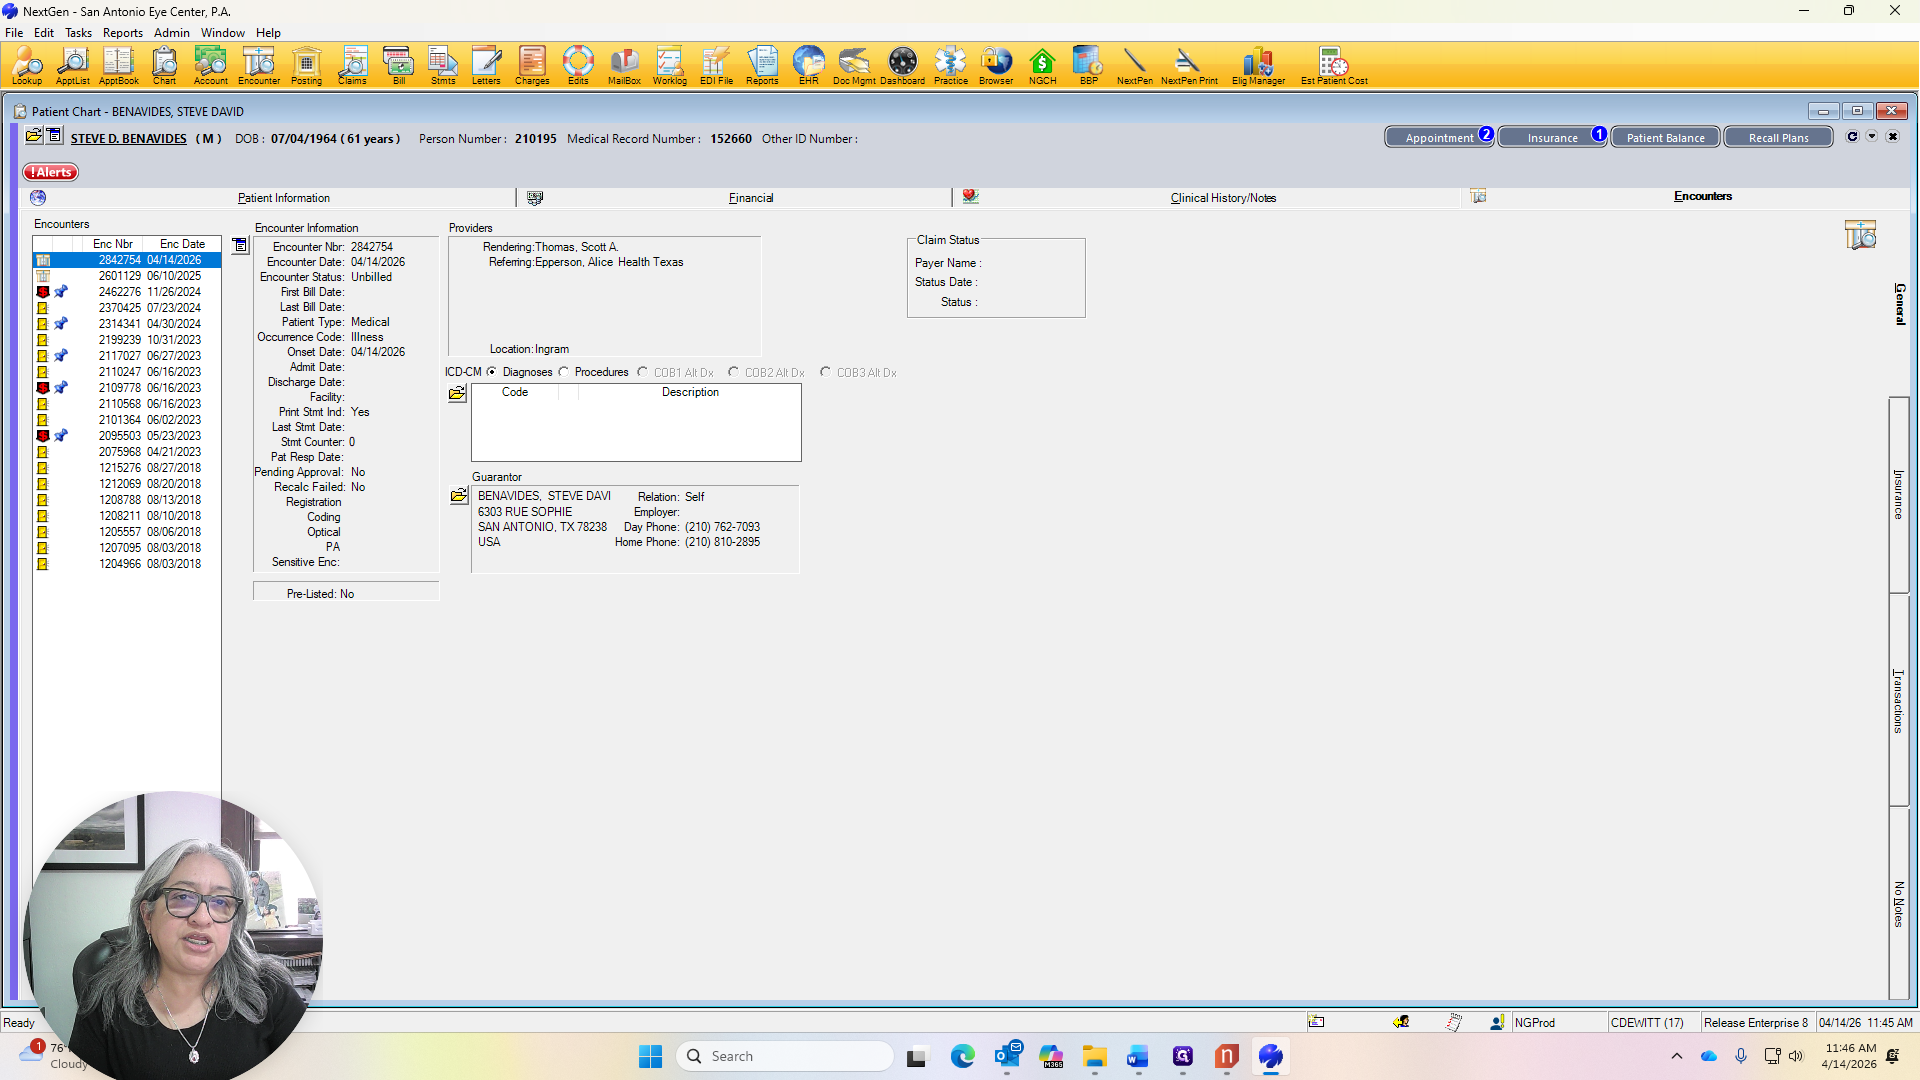
We will ask who their primary care doctor is.
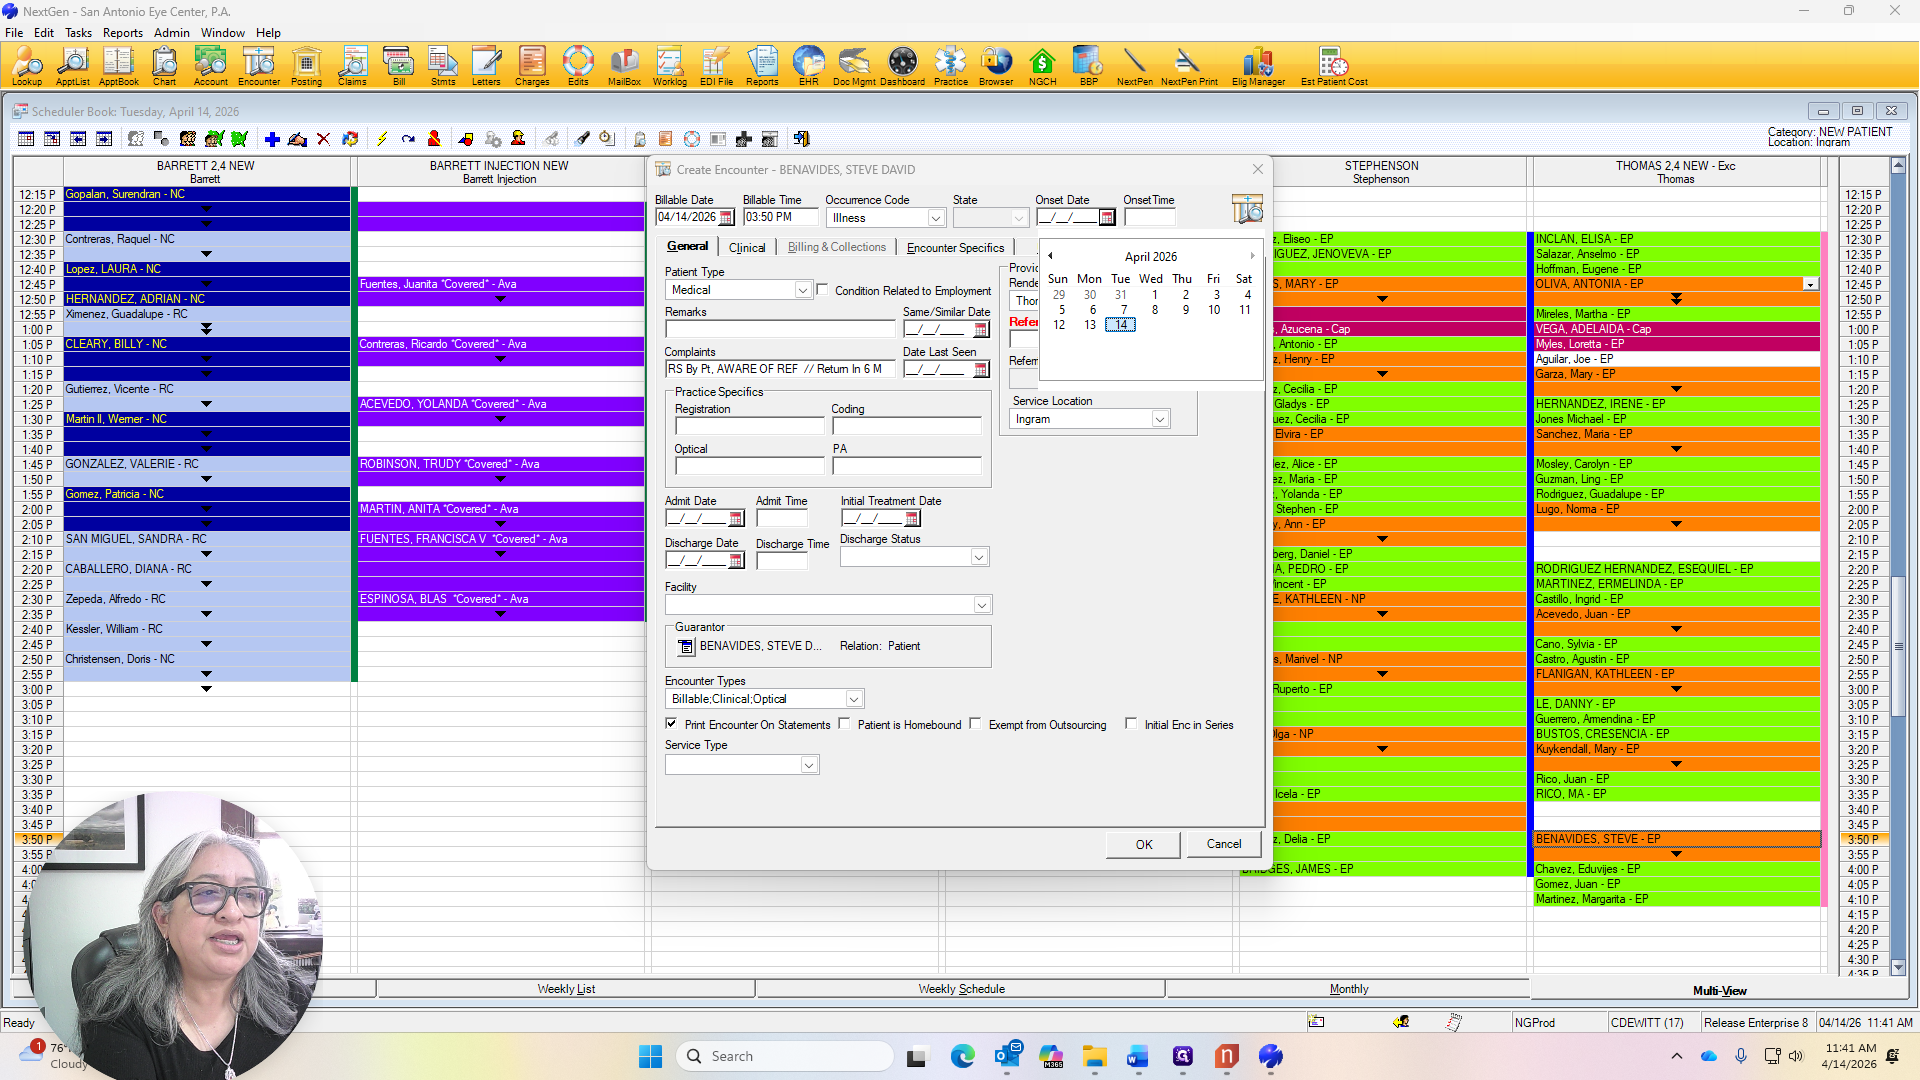

We will enter that information into the referring section.

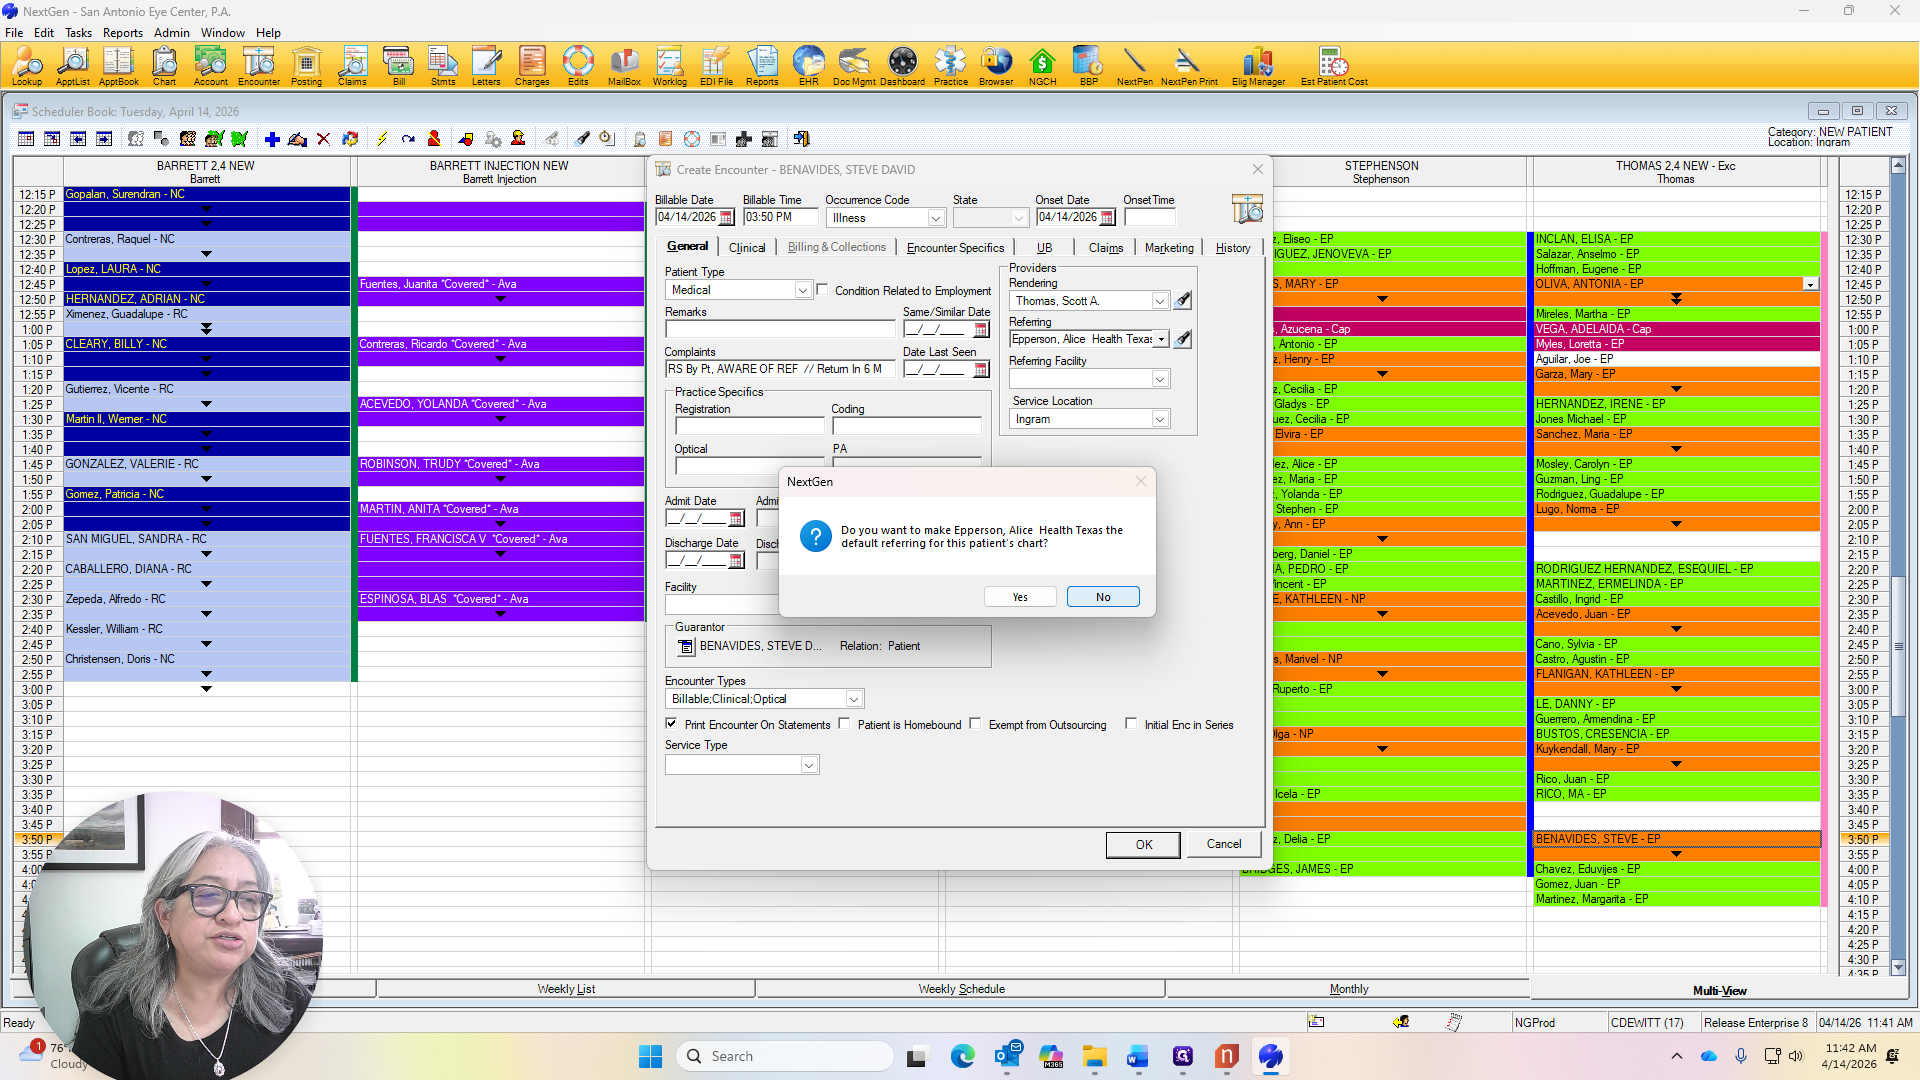
Do you want to create a person?
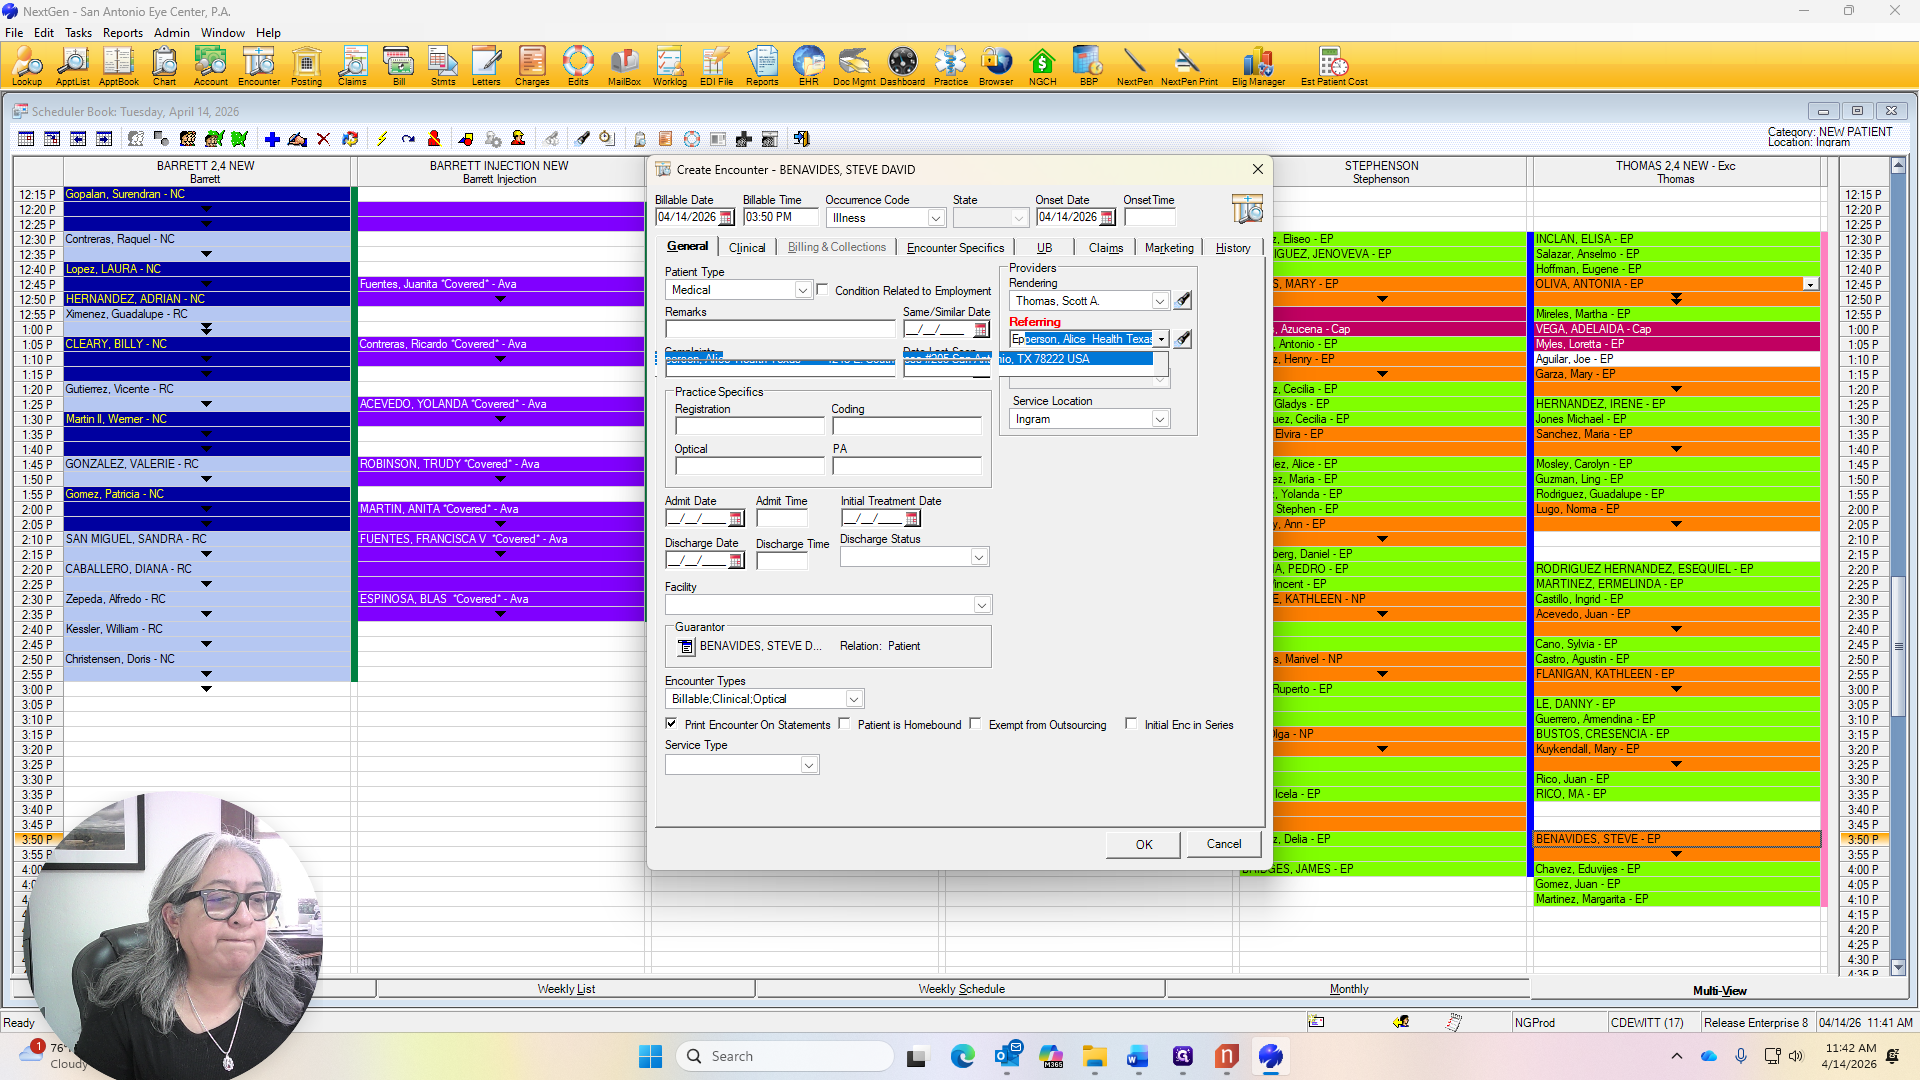
Never default the referring doctor; always select no.
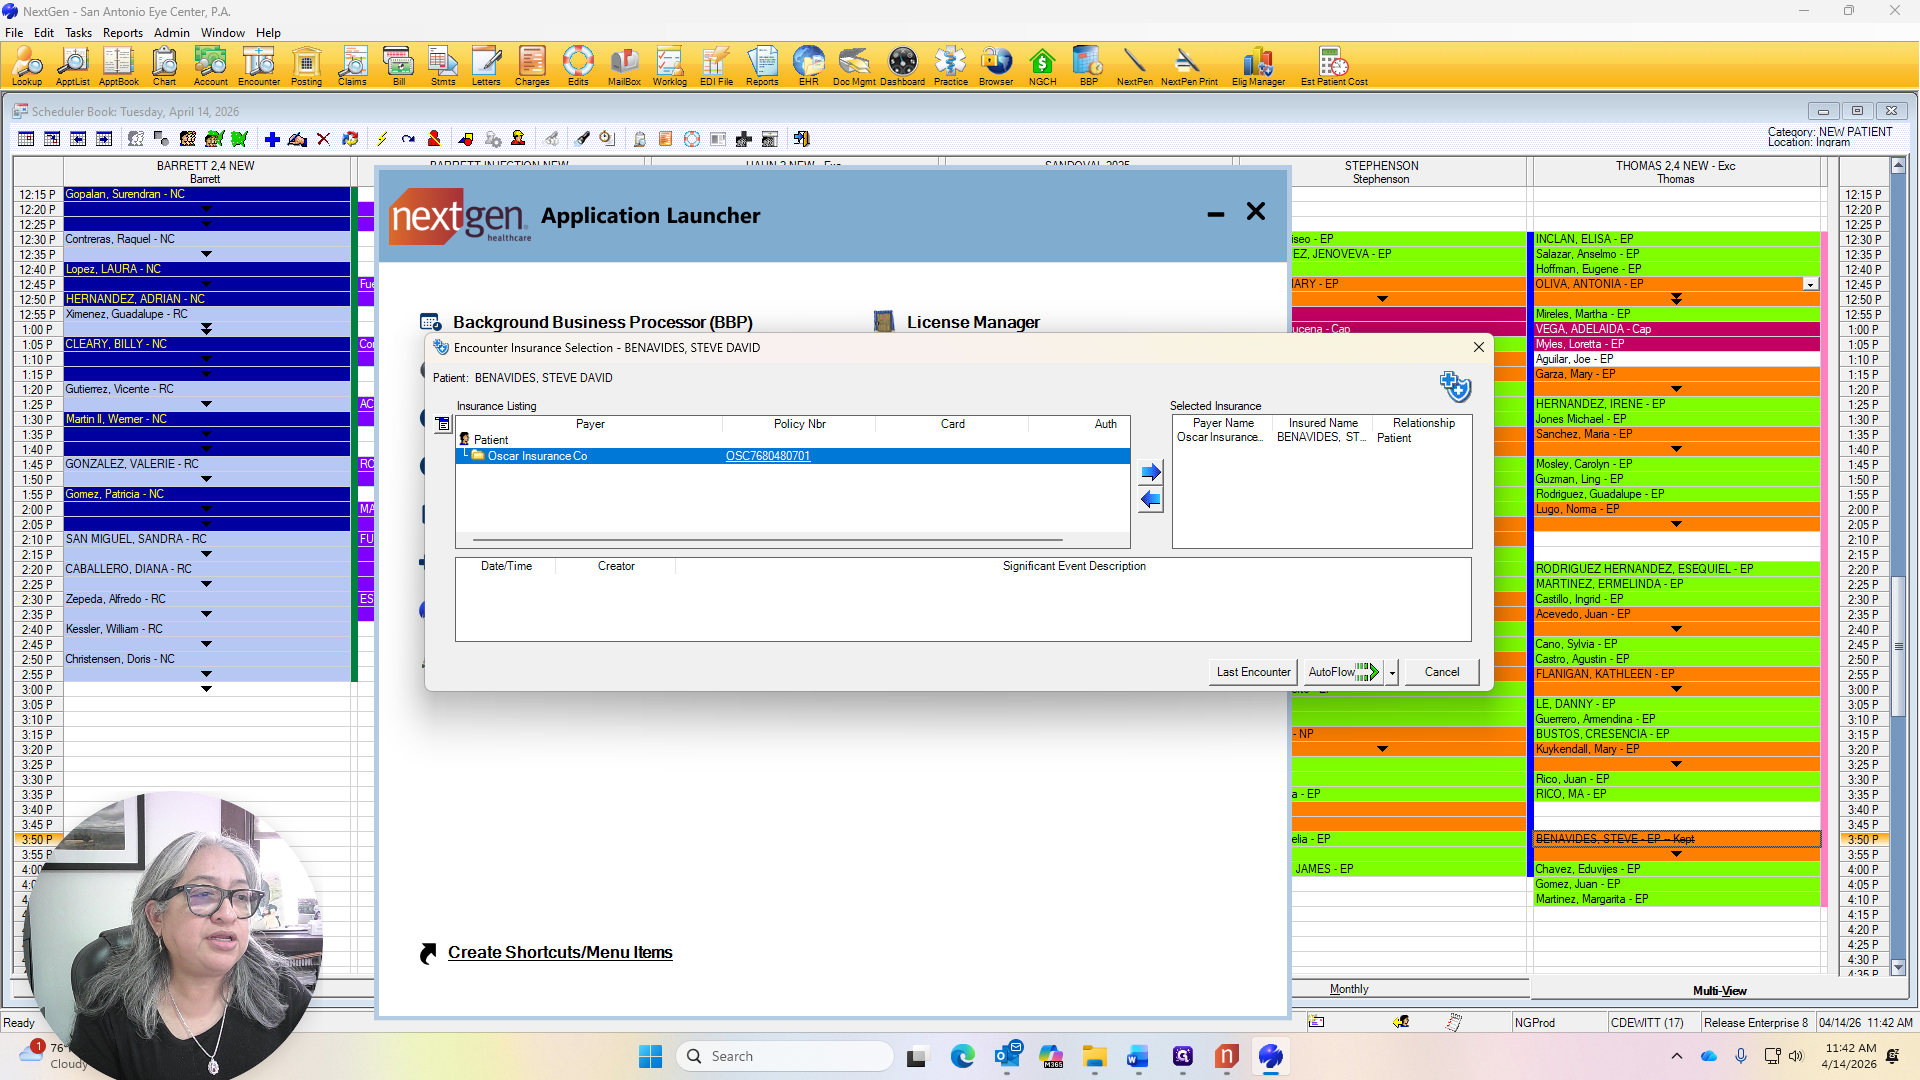
AutoFlow.


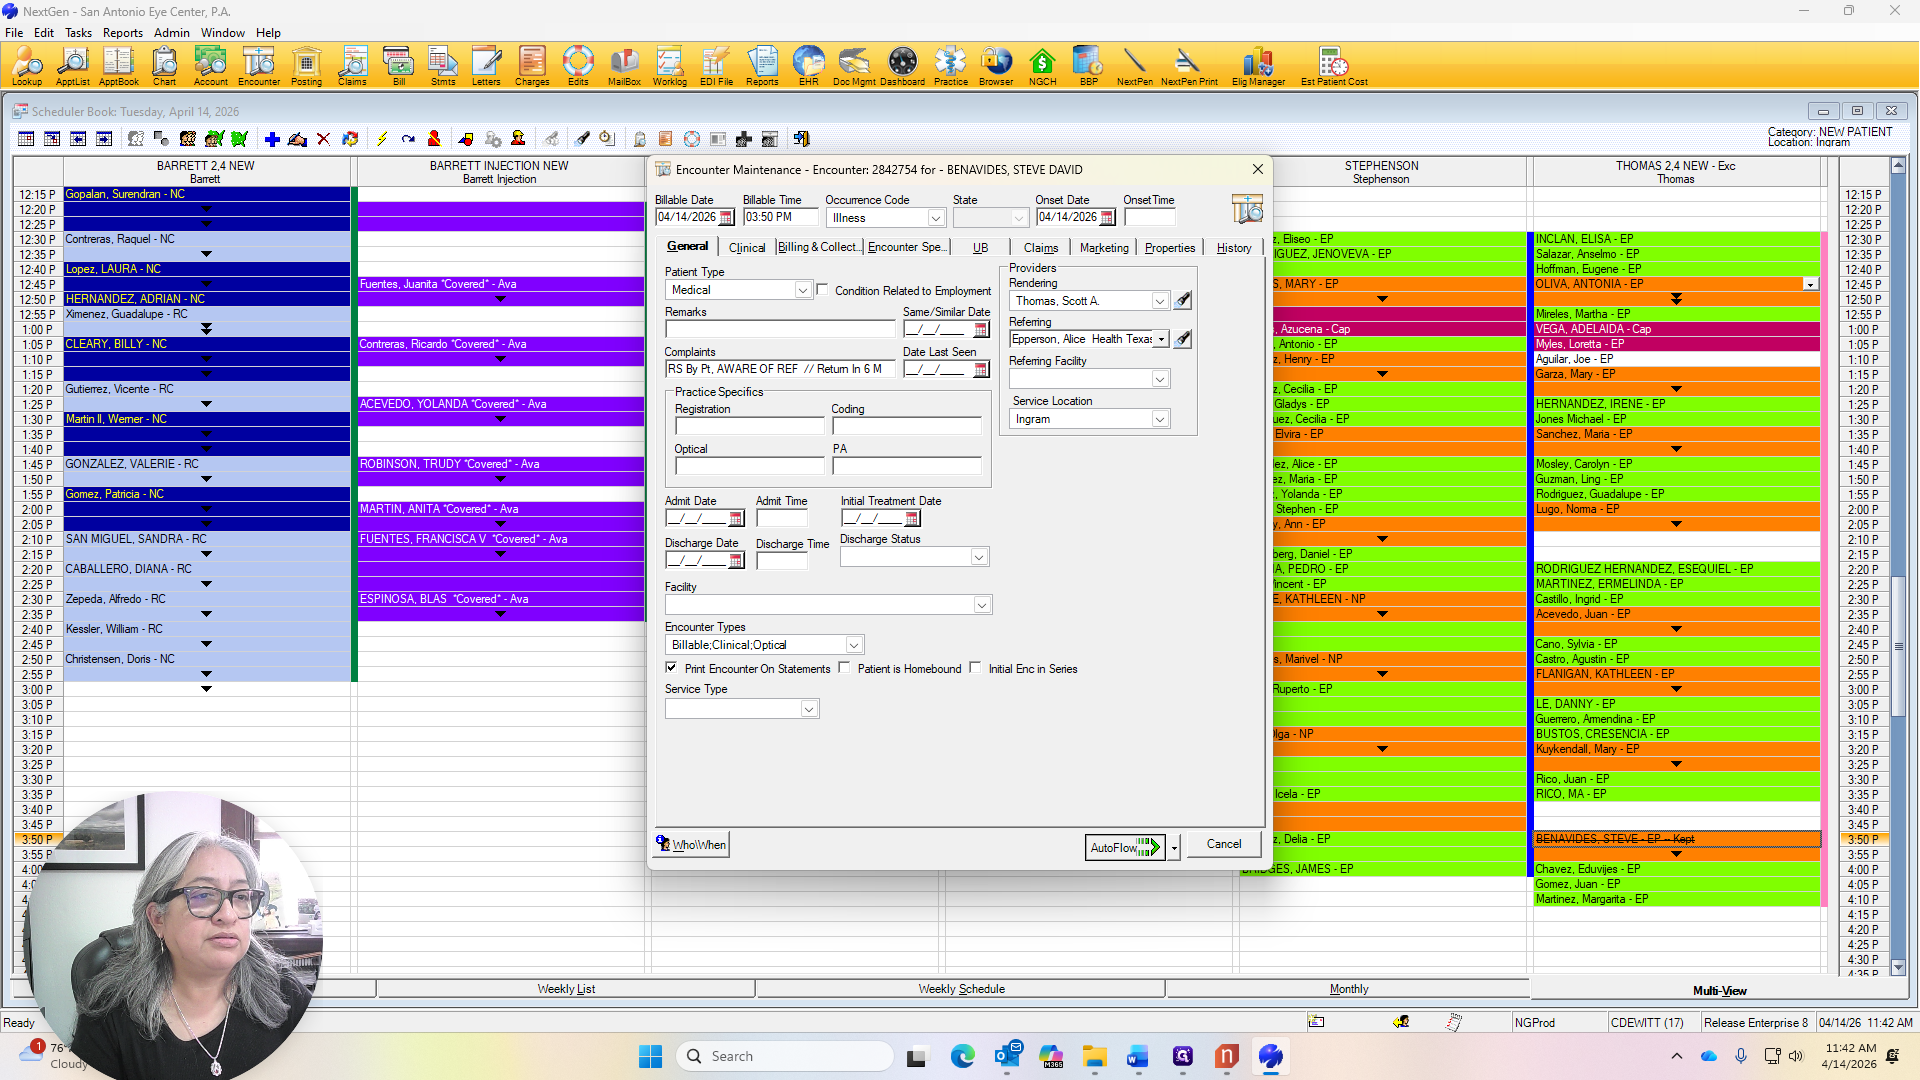
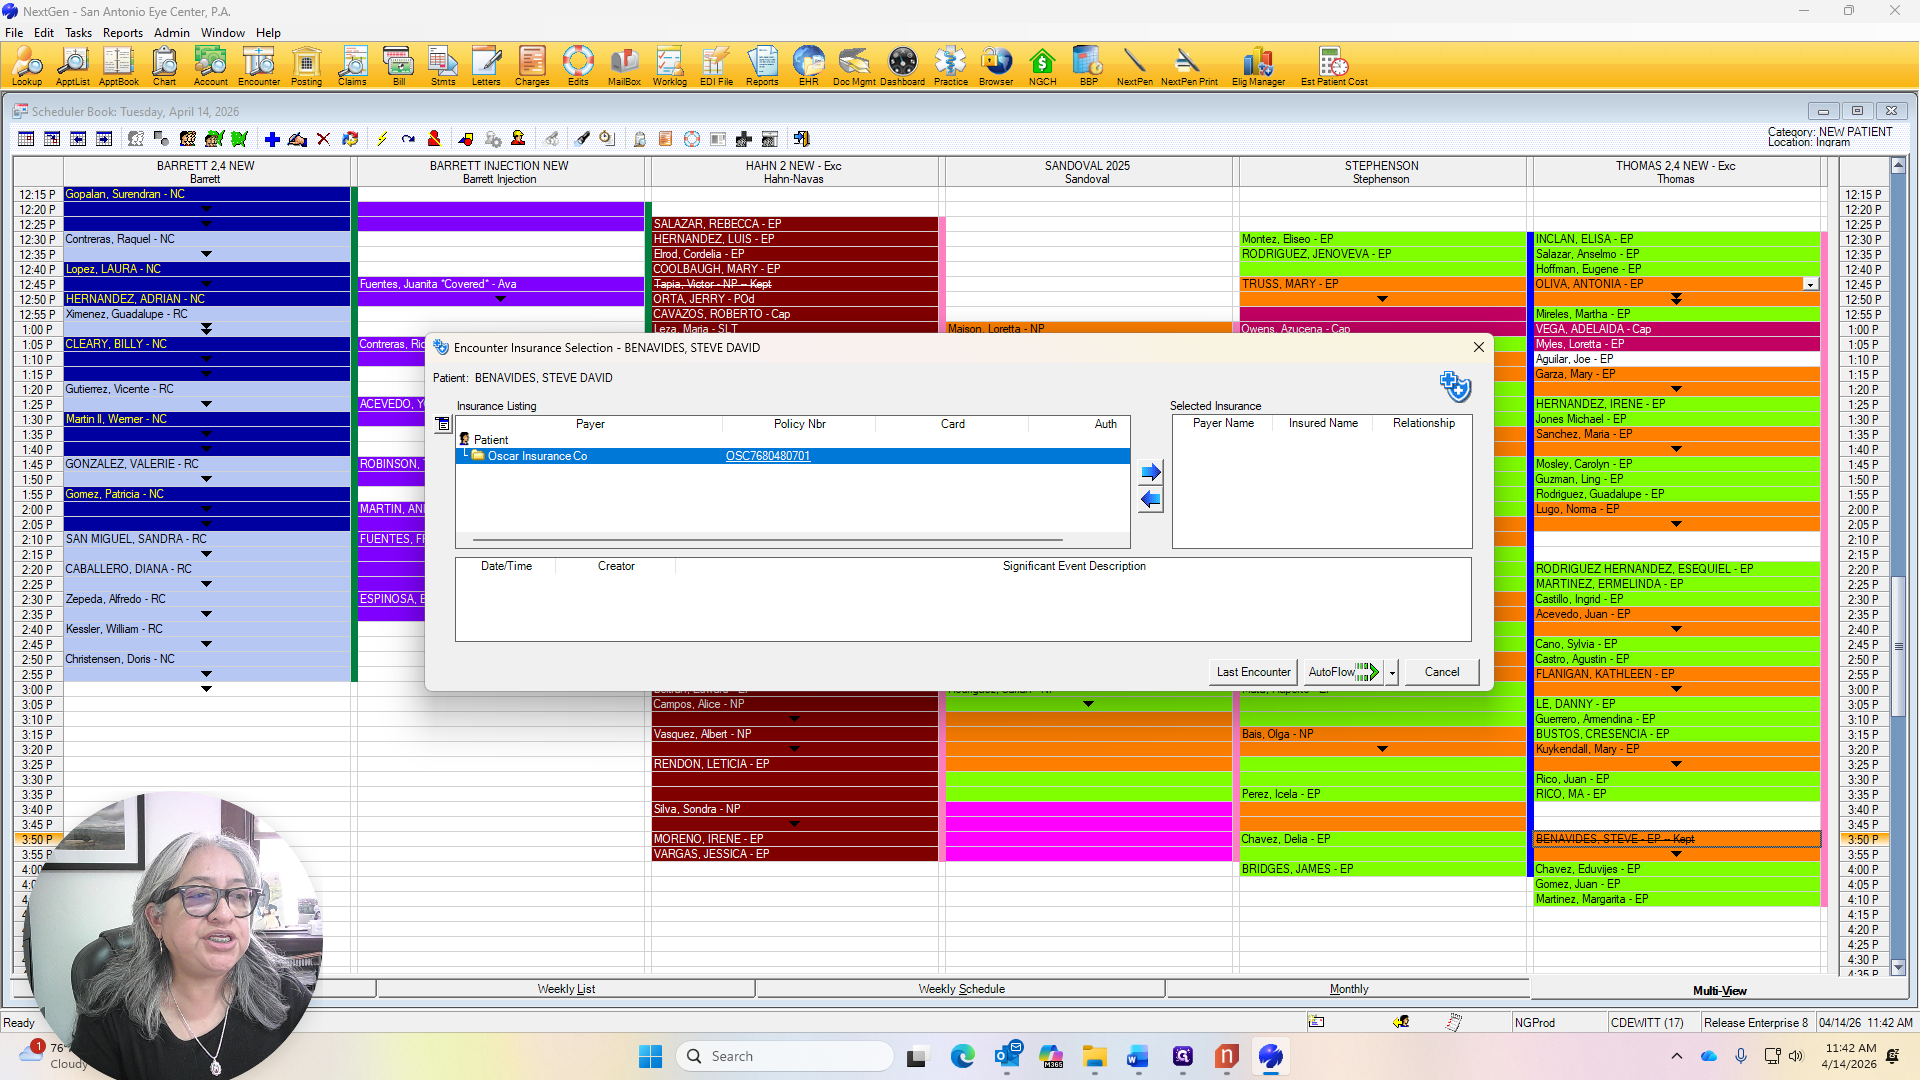
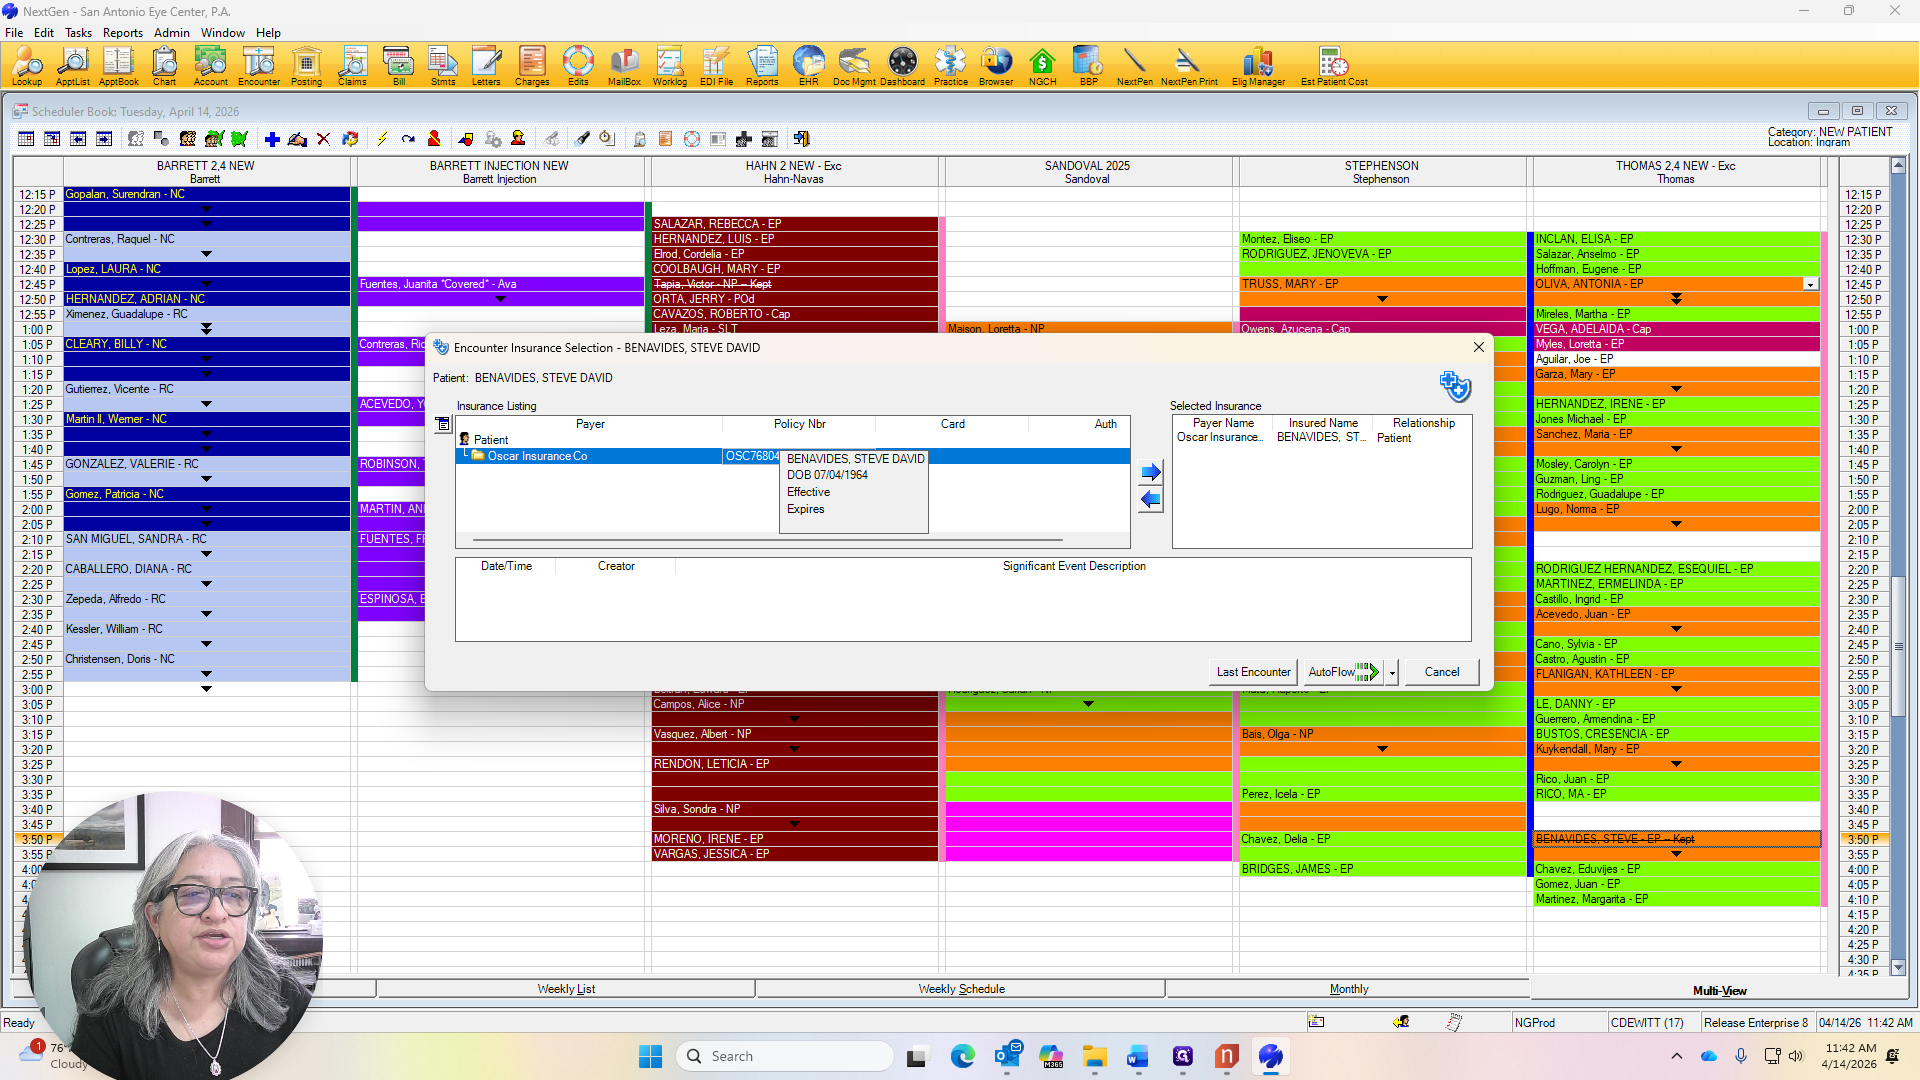
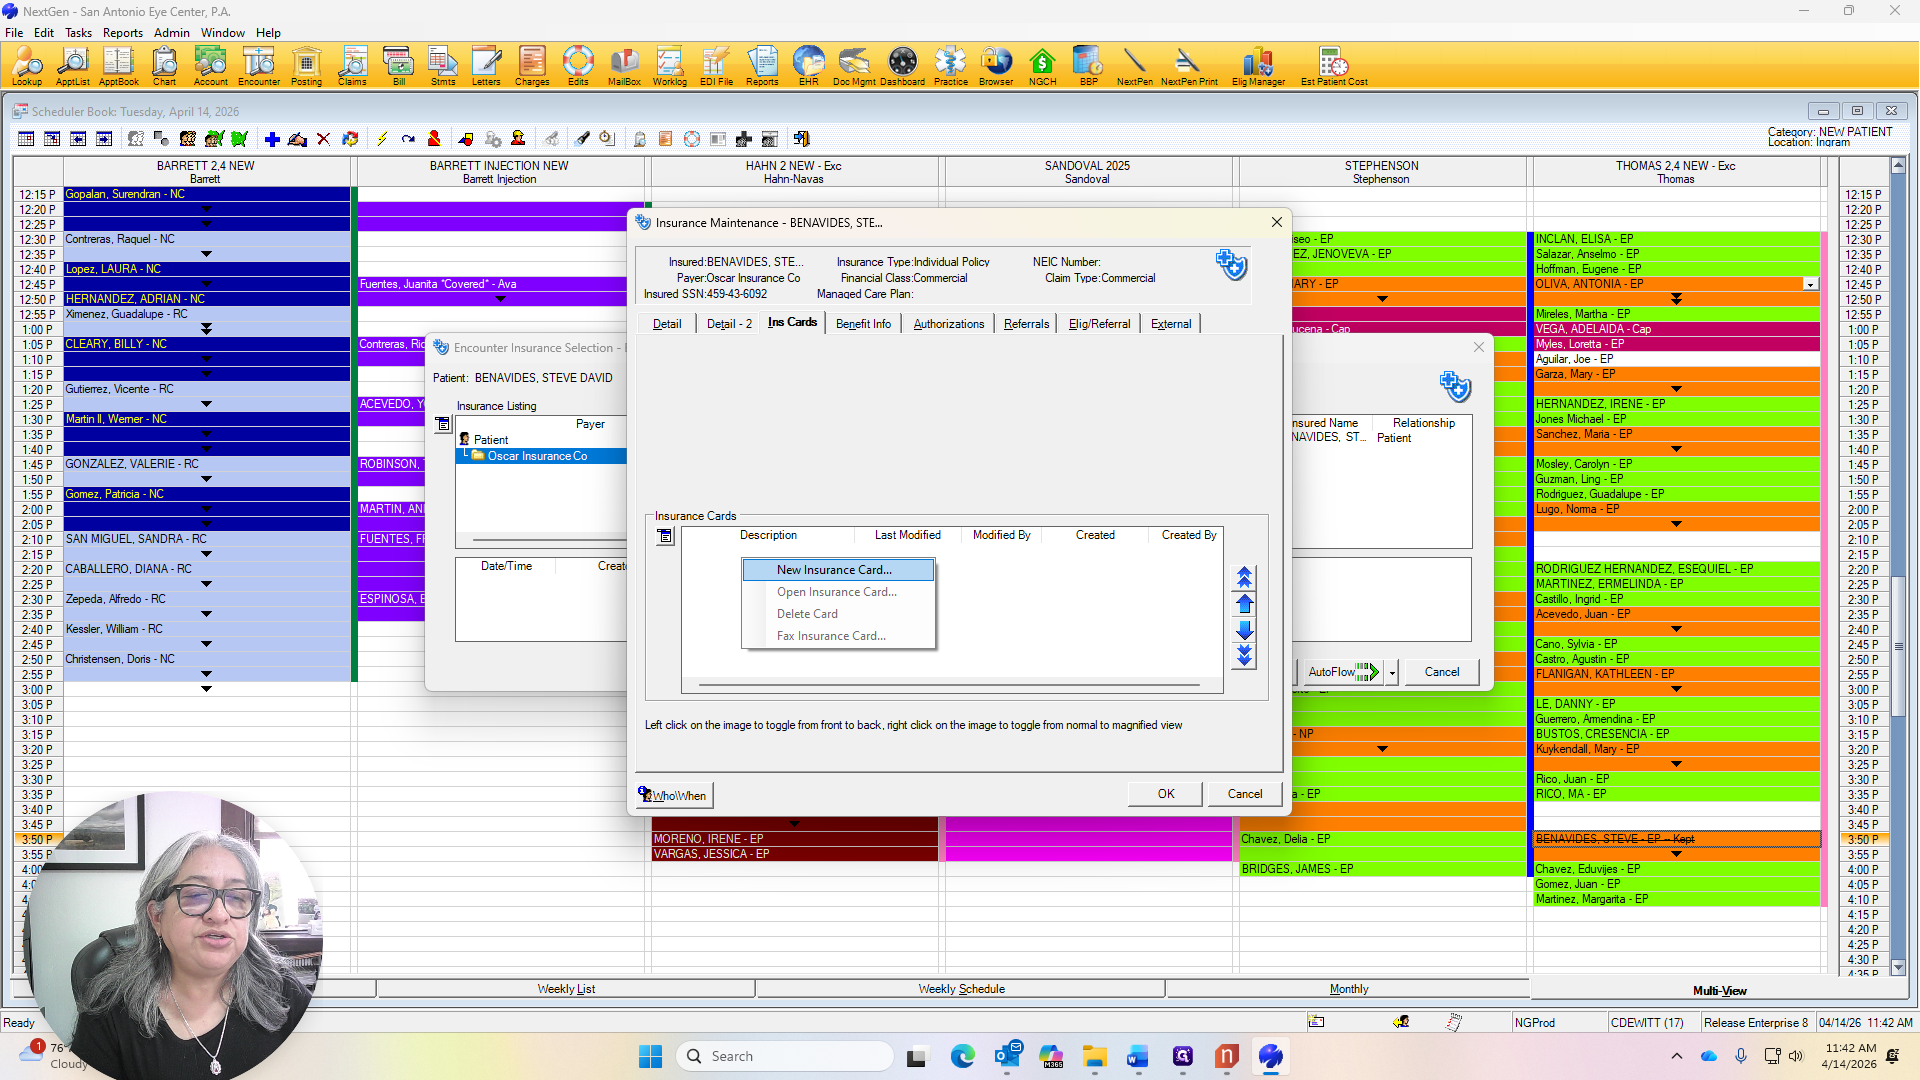
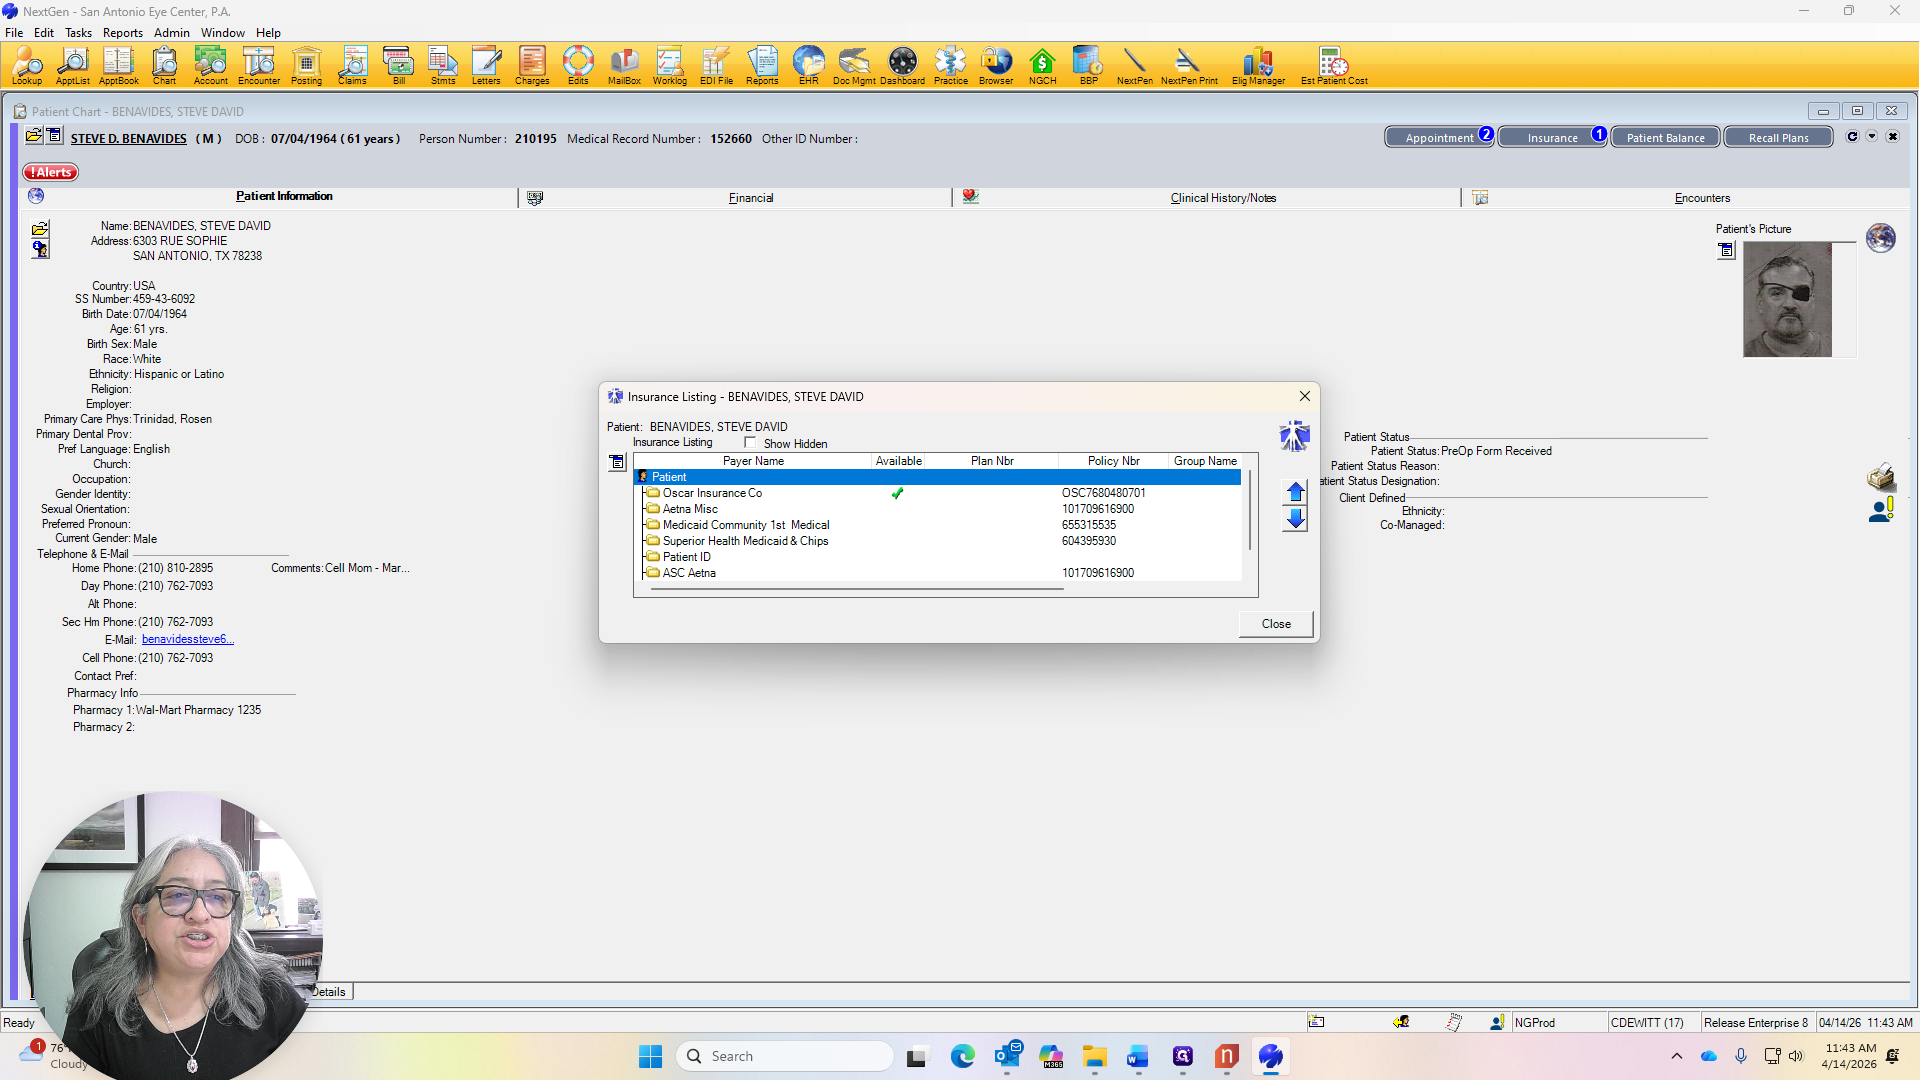
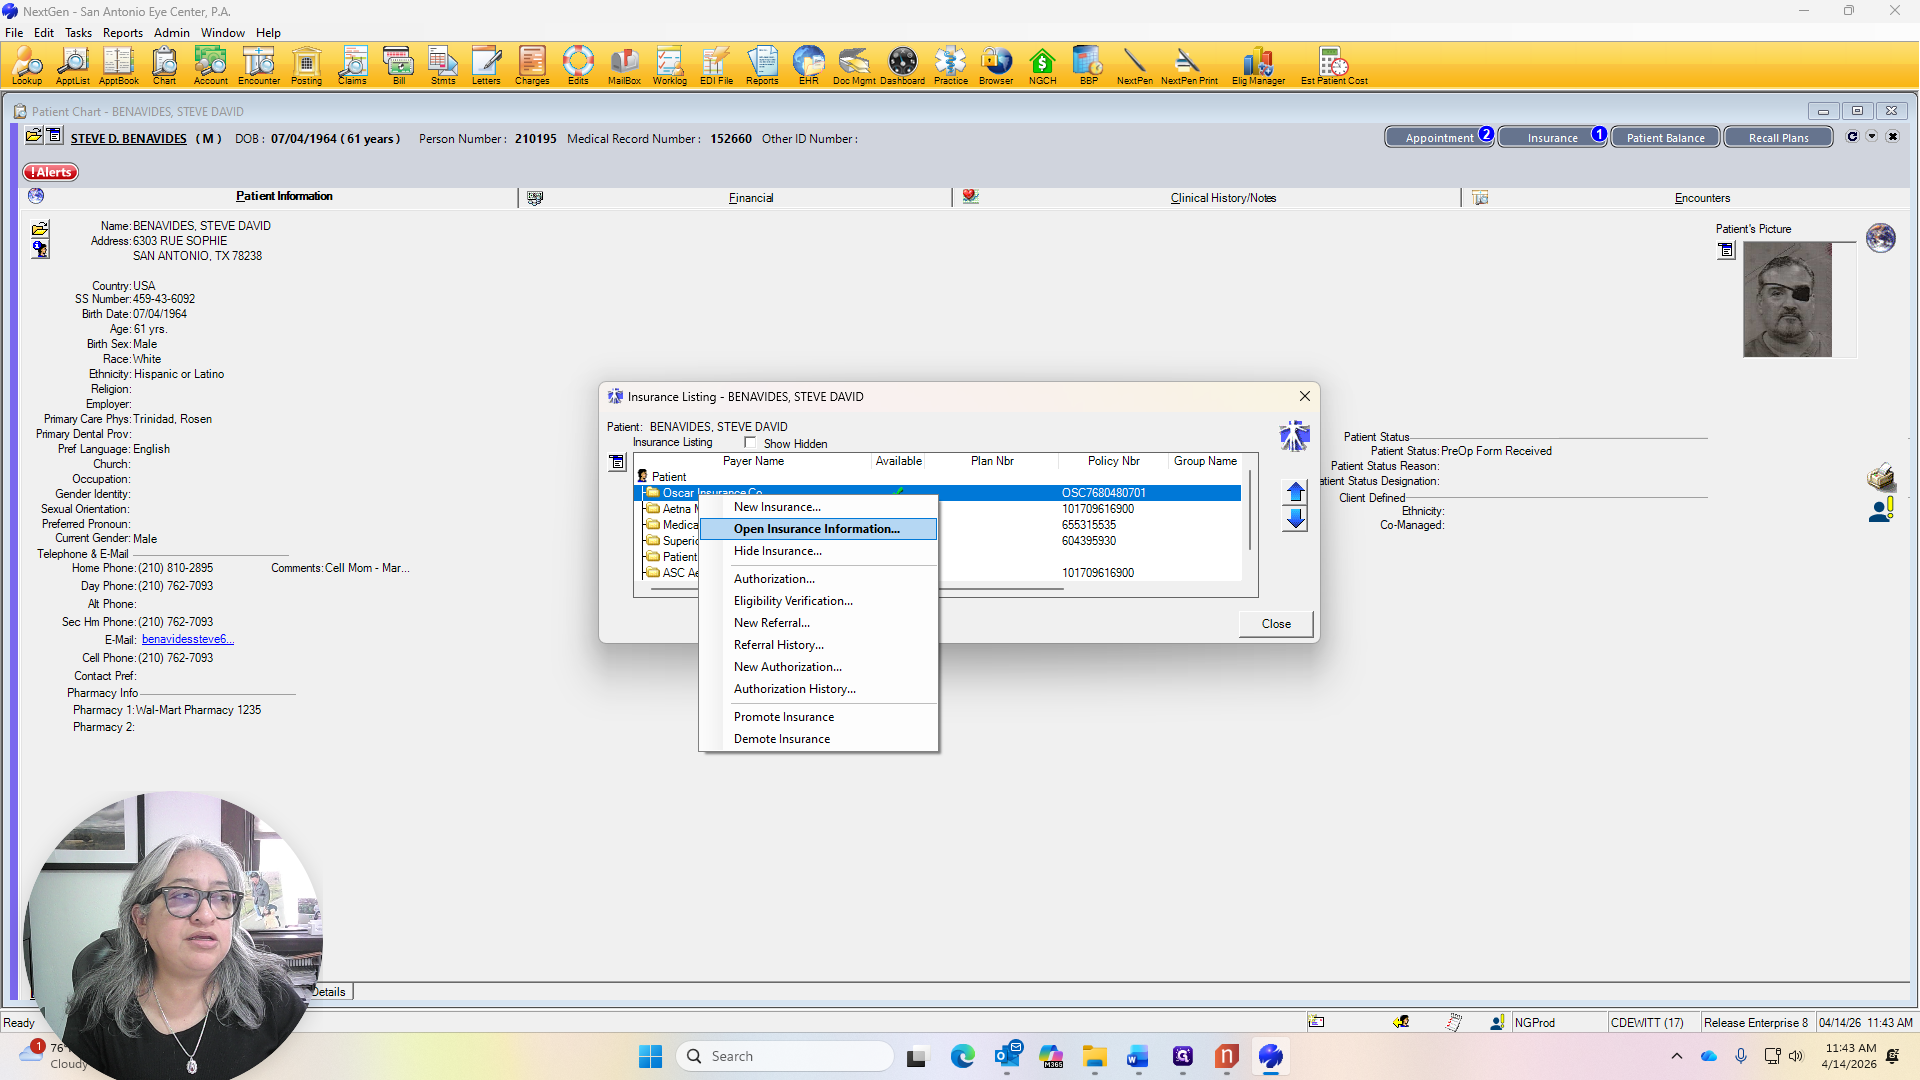
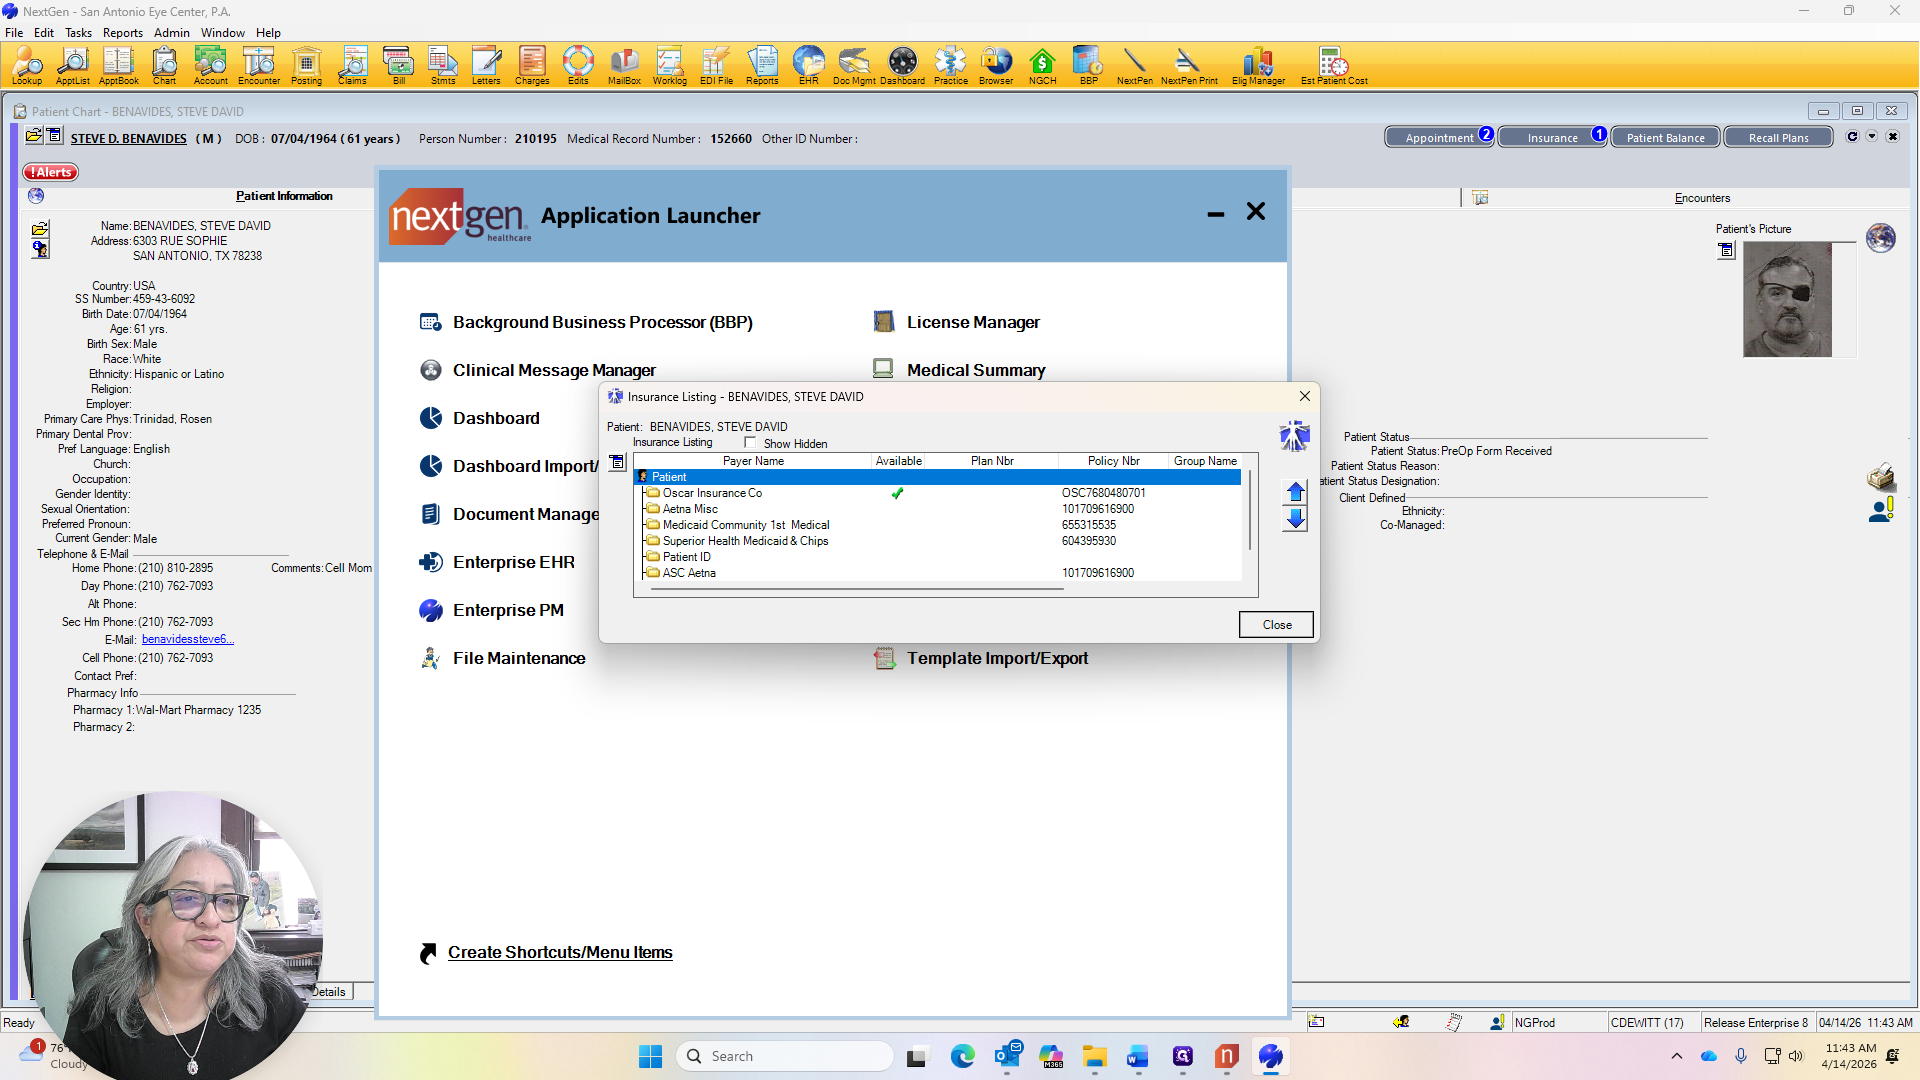
We will attach the insurance to the visit. Check the policy number and ensure the insurance card is scanned.
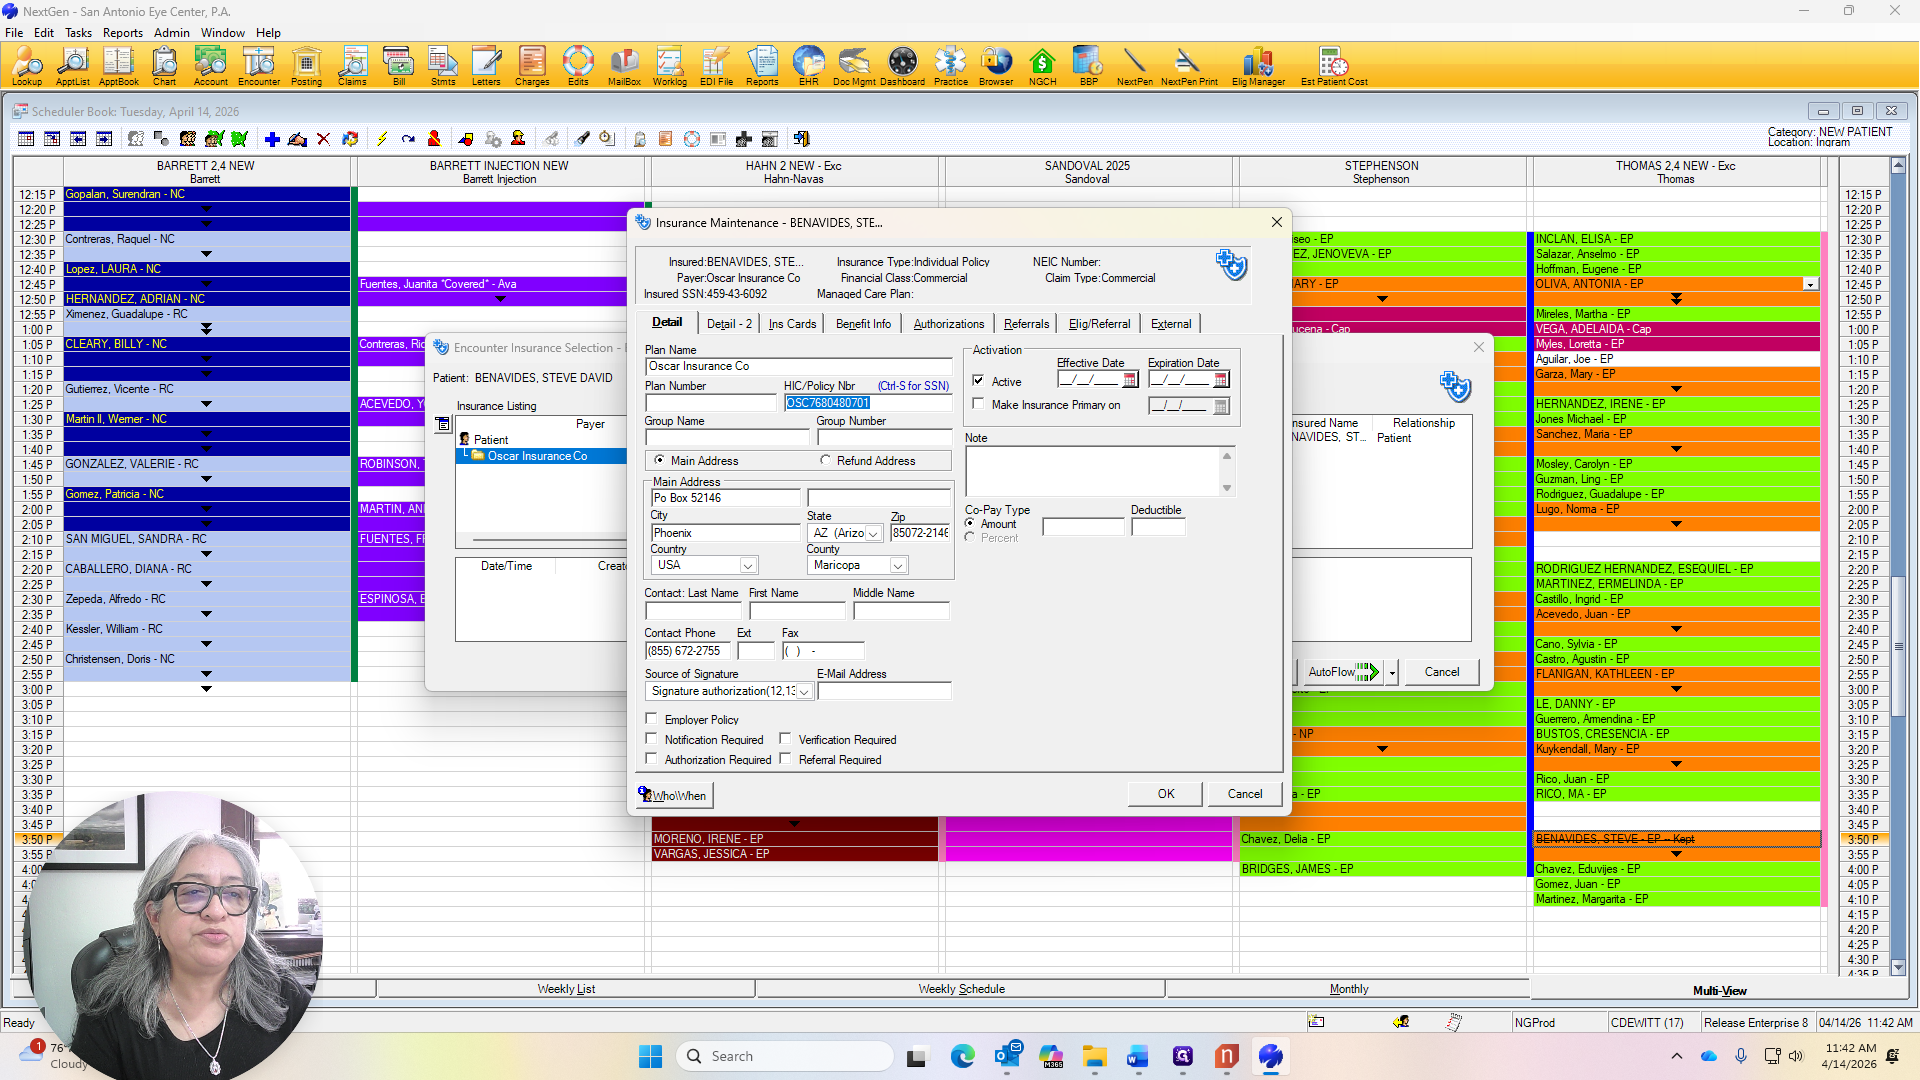
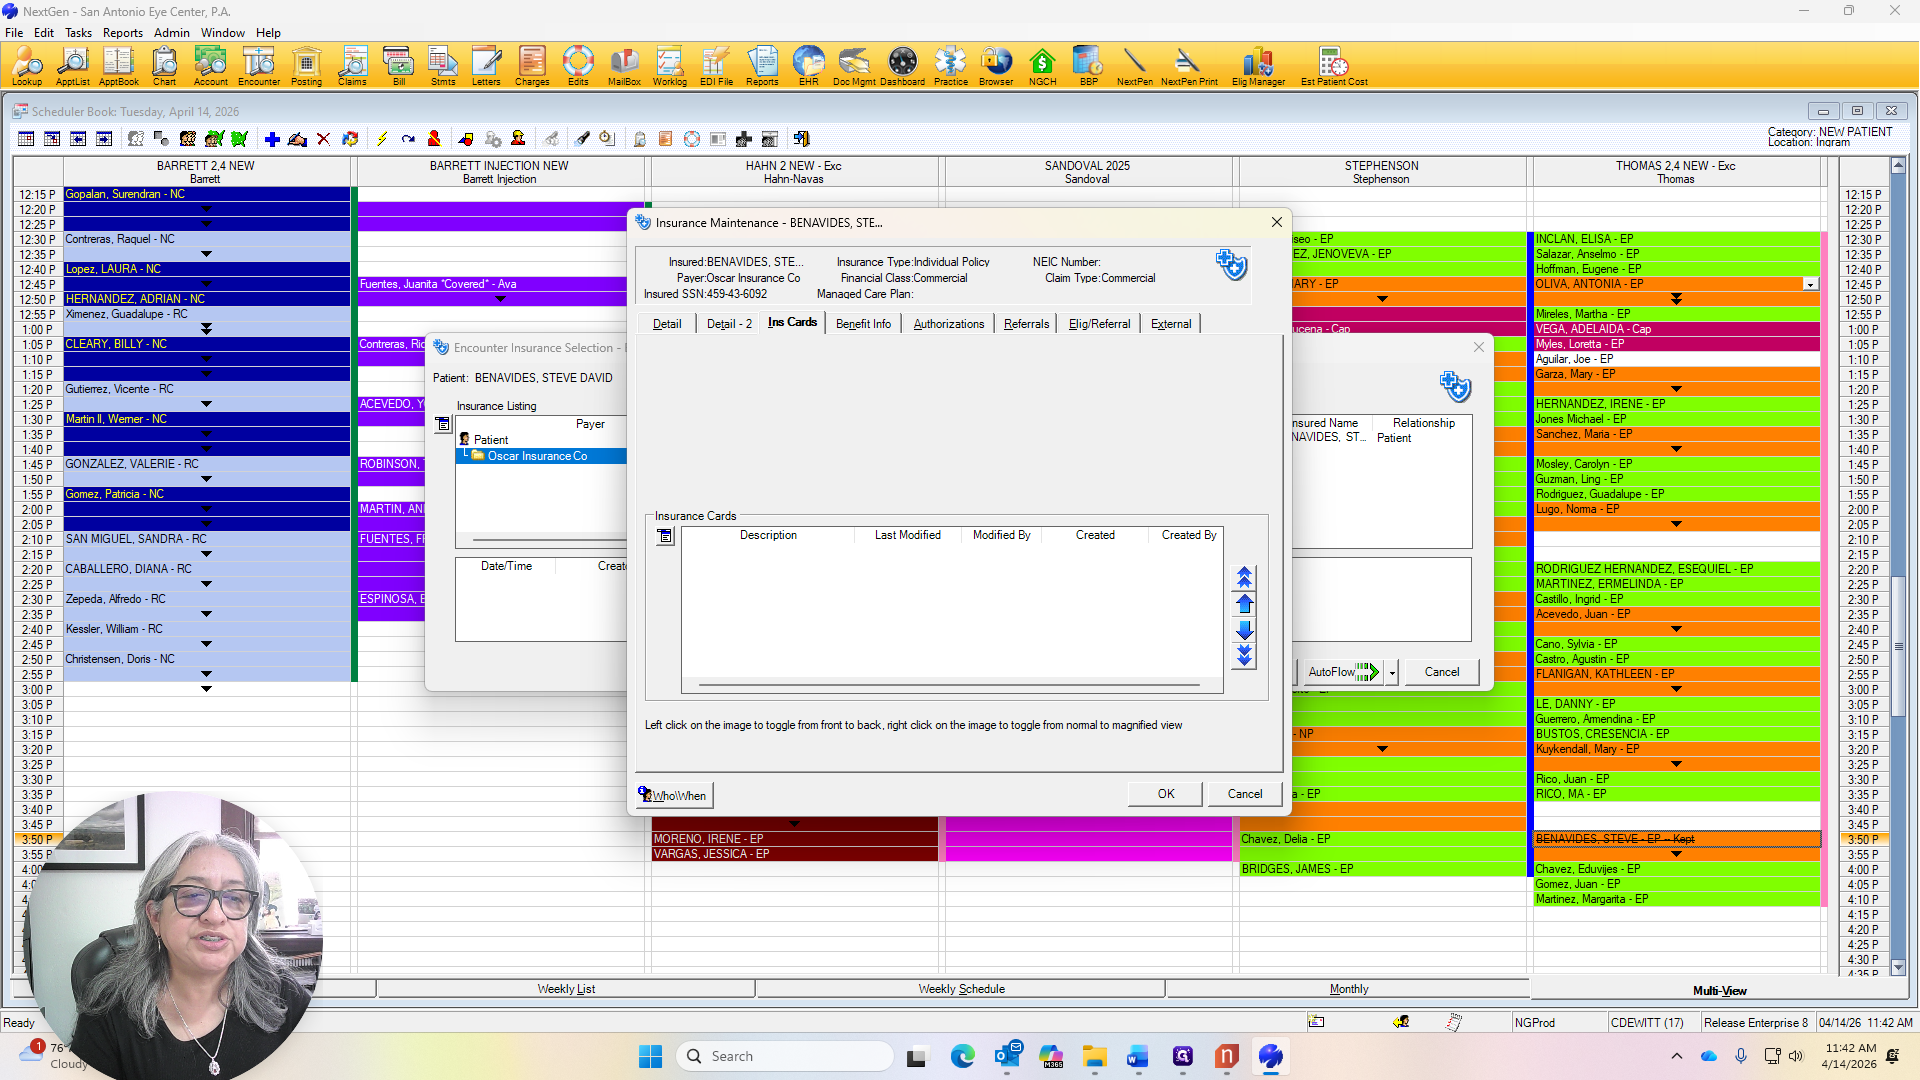
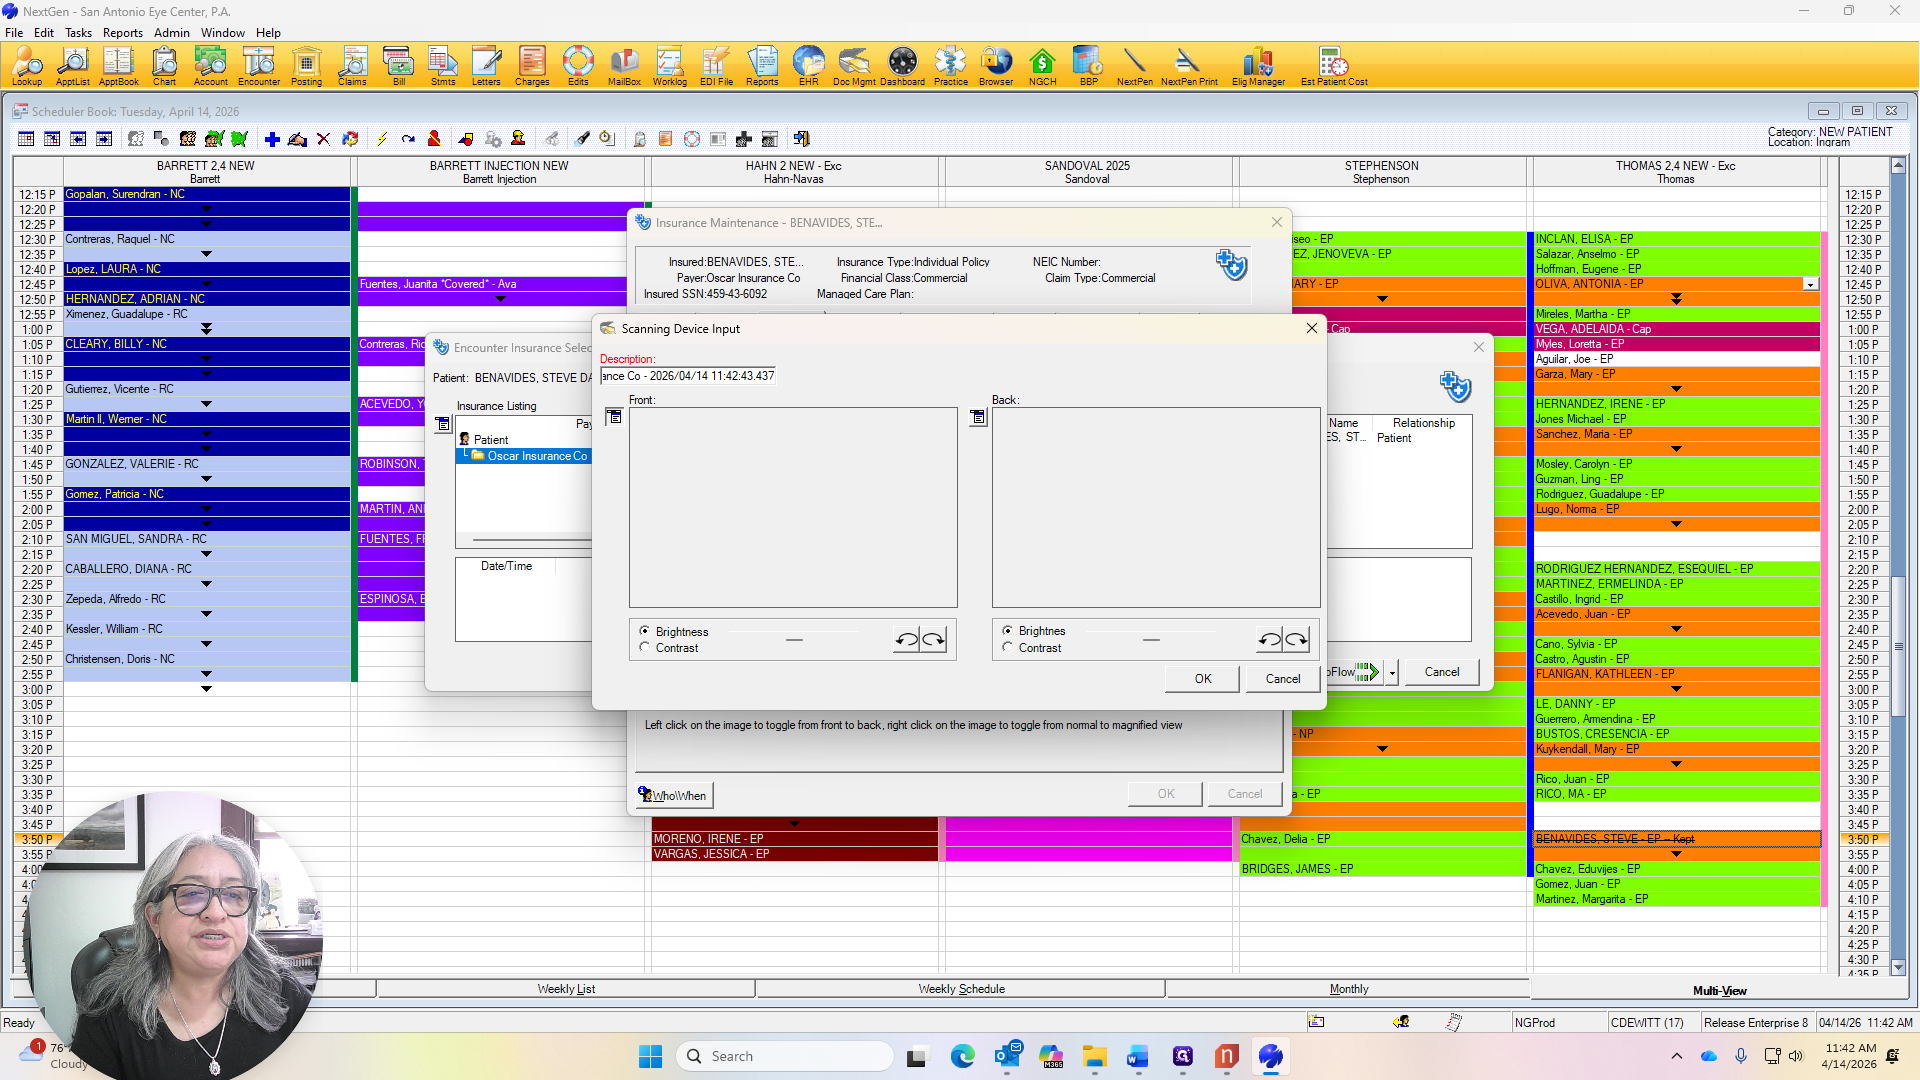
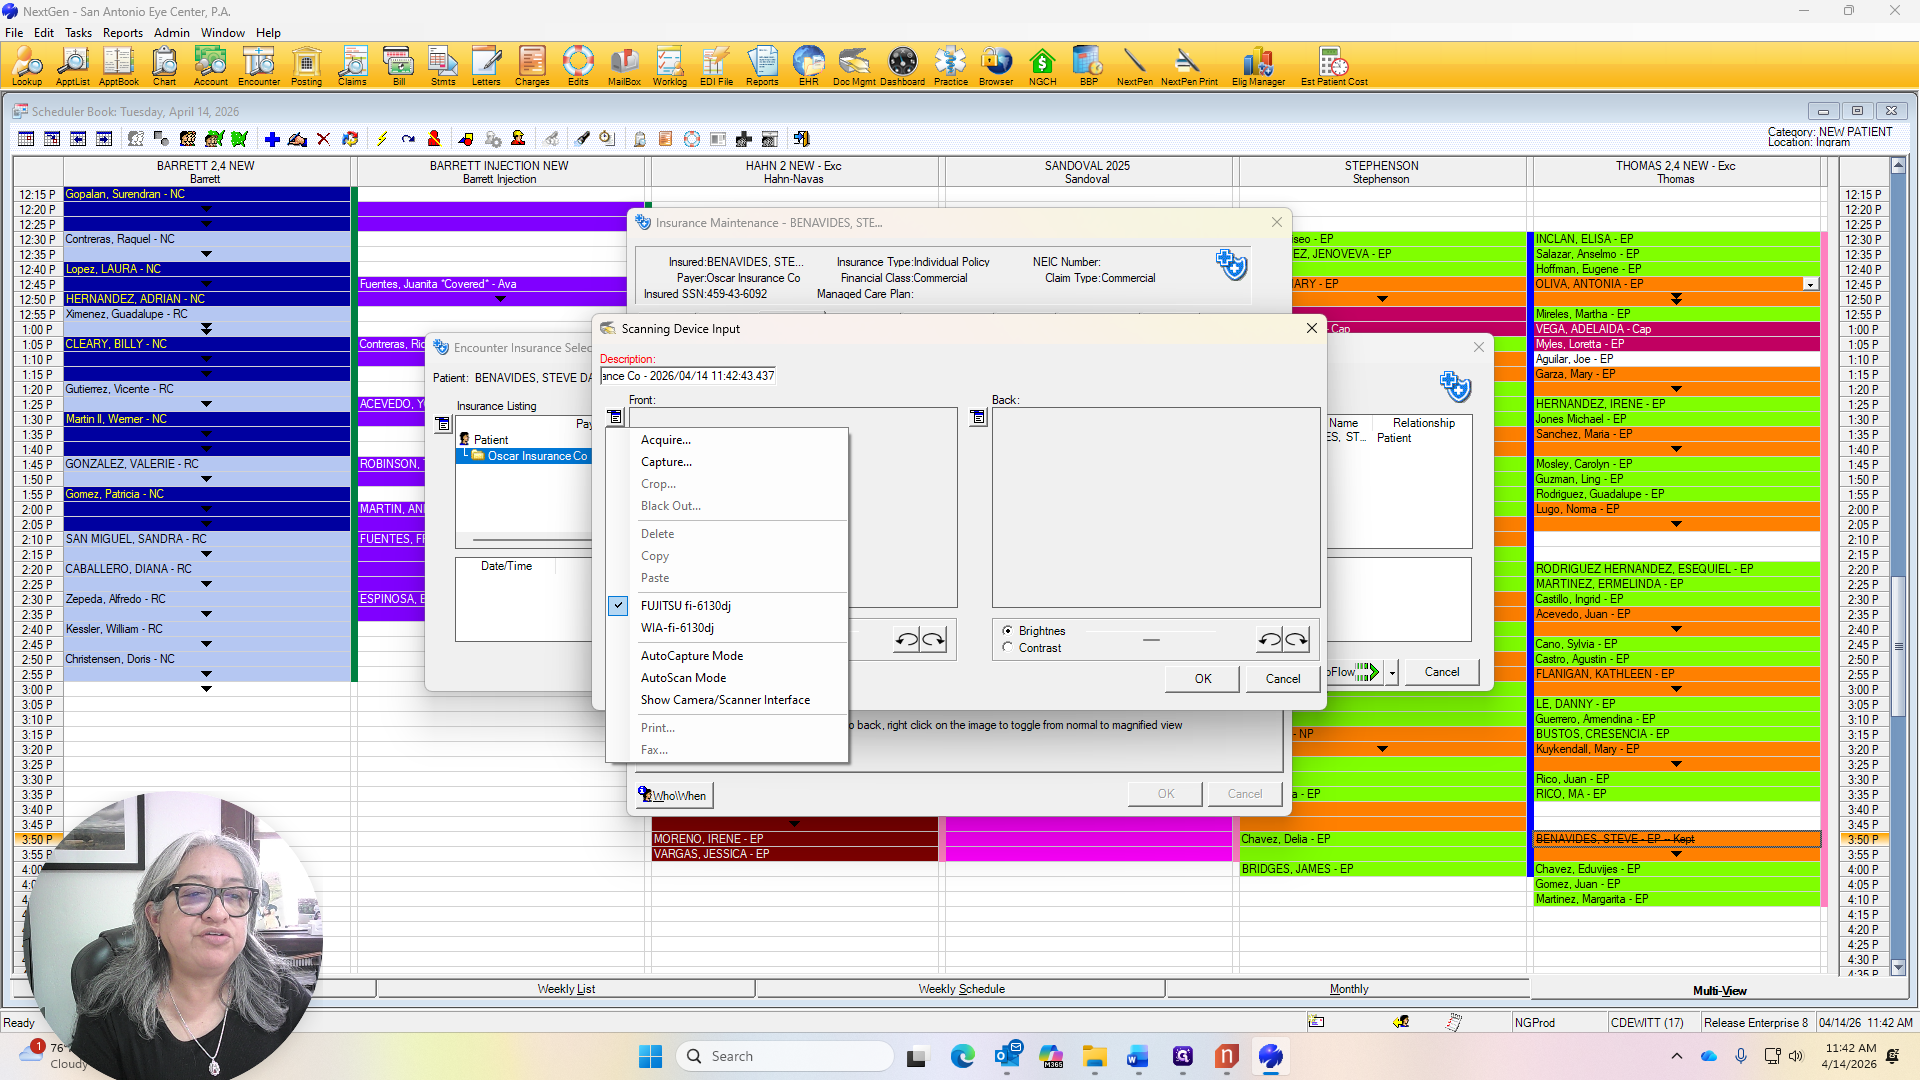
Go to New Insurance, then select Scan, Acquire, and AutoFlow.
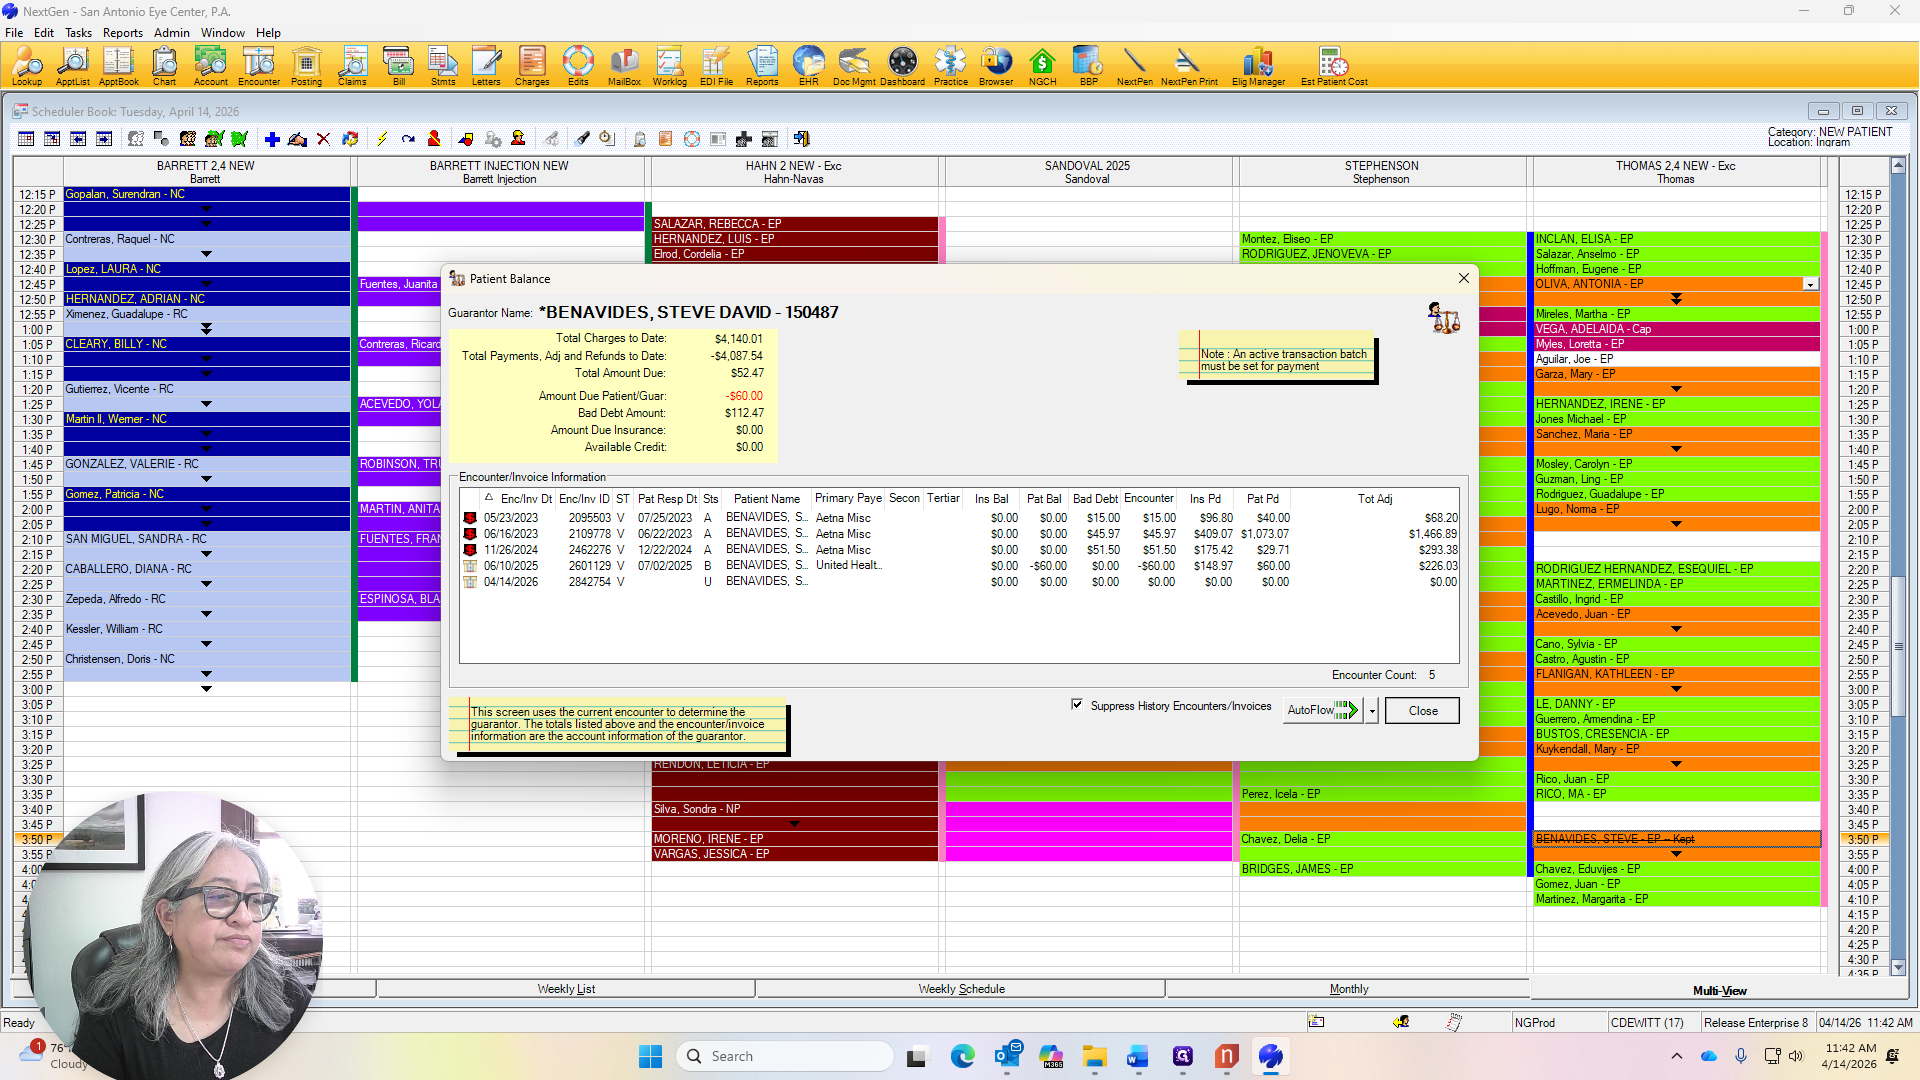
It will print the fee ticket for you. The fee ticket always shows the patient balance.


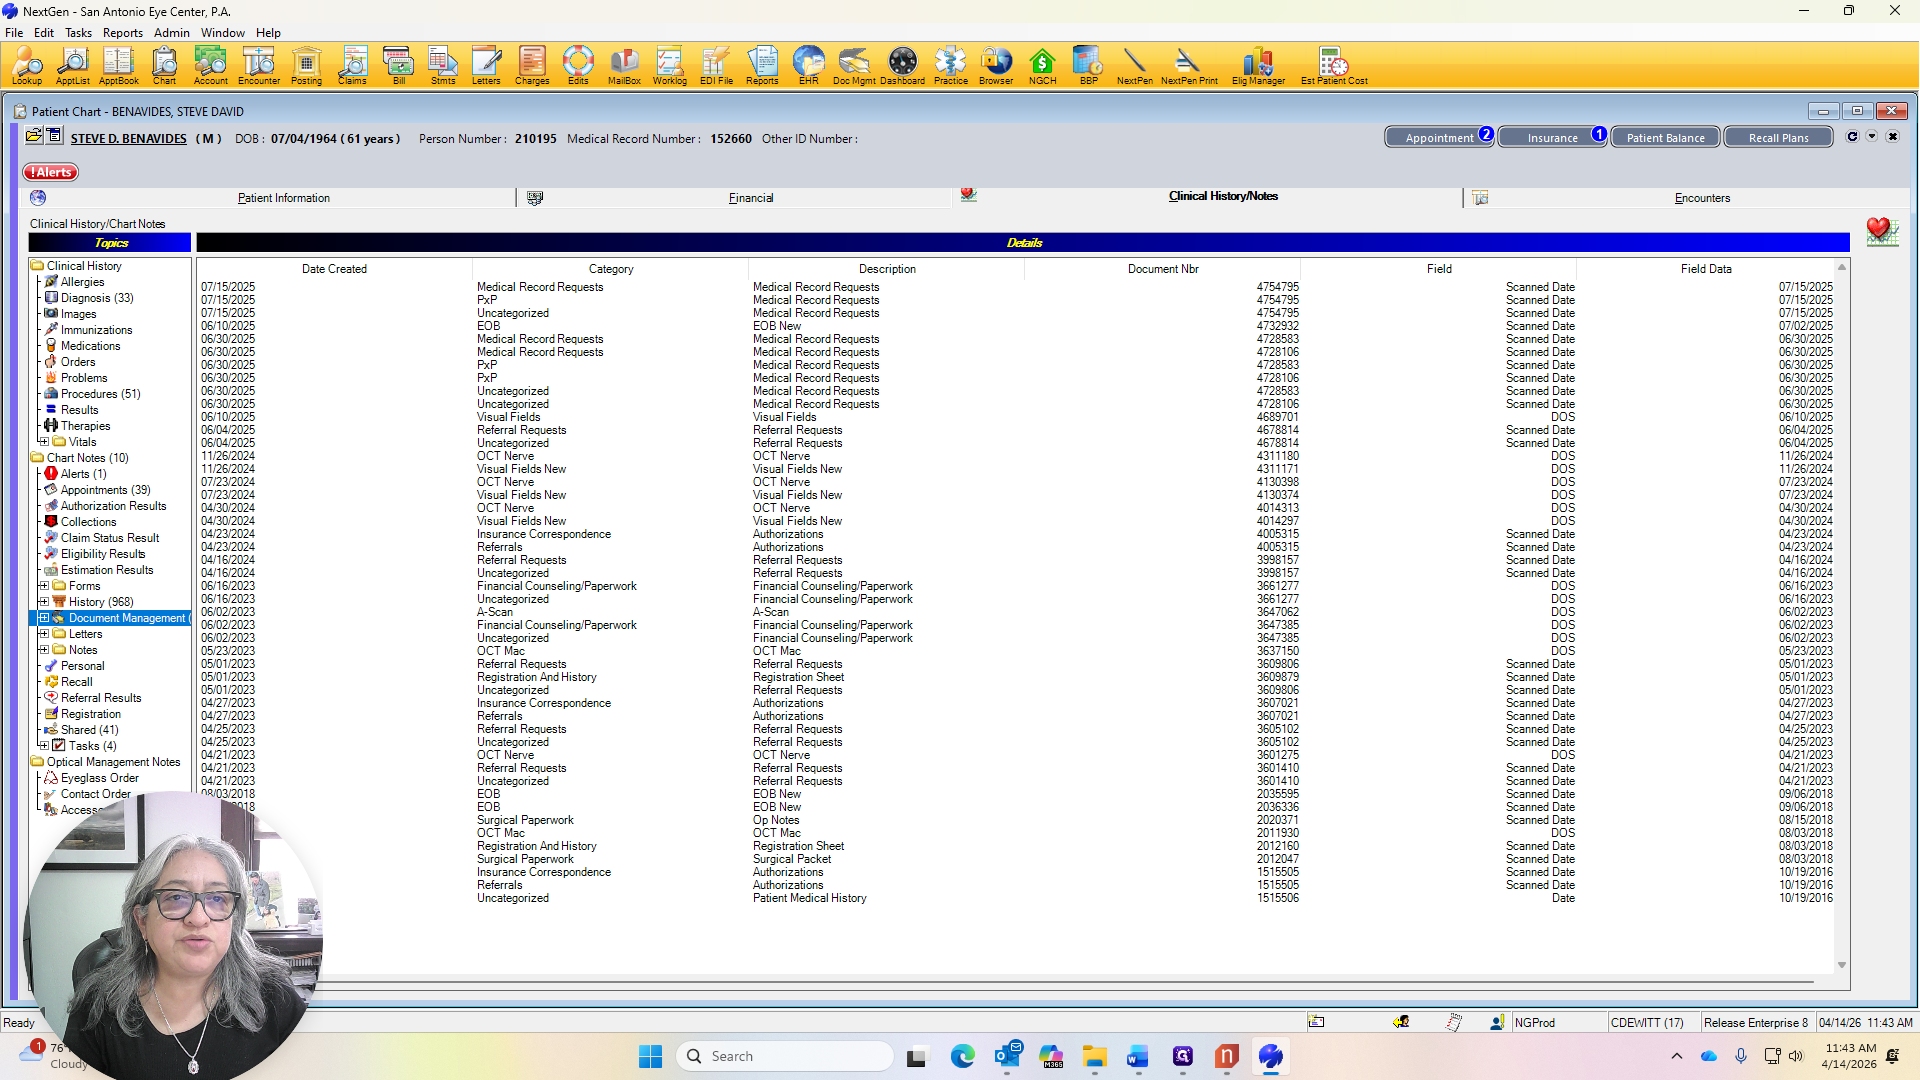
Make them aware of the copay. I will check the document management system to see when their registration forms were last completed. It's been a while, so I'll ask him to fill out the registration forms. Insurance and... Already scanned in.
The ID is already present, so we're good.
Refraction is not covered with Oscar if the person is over the age of 18.
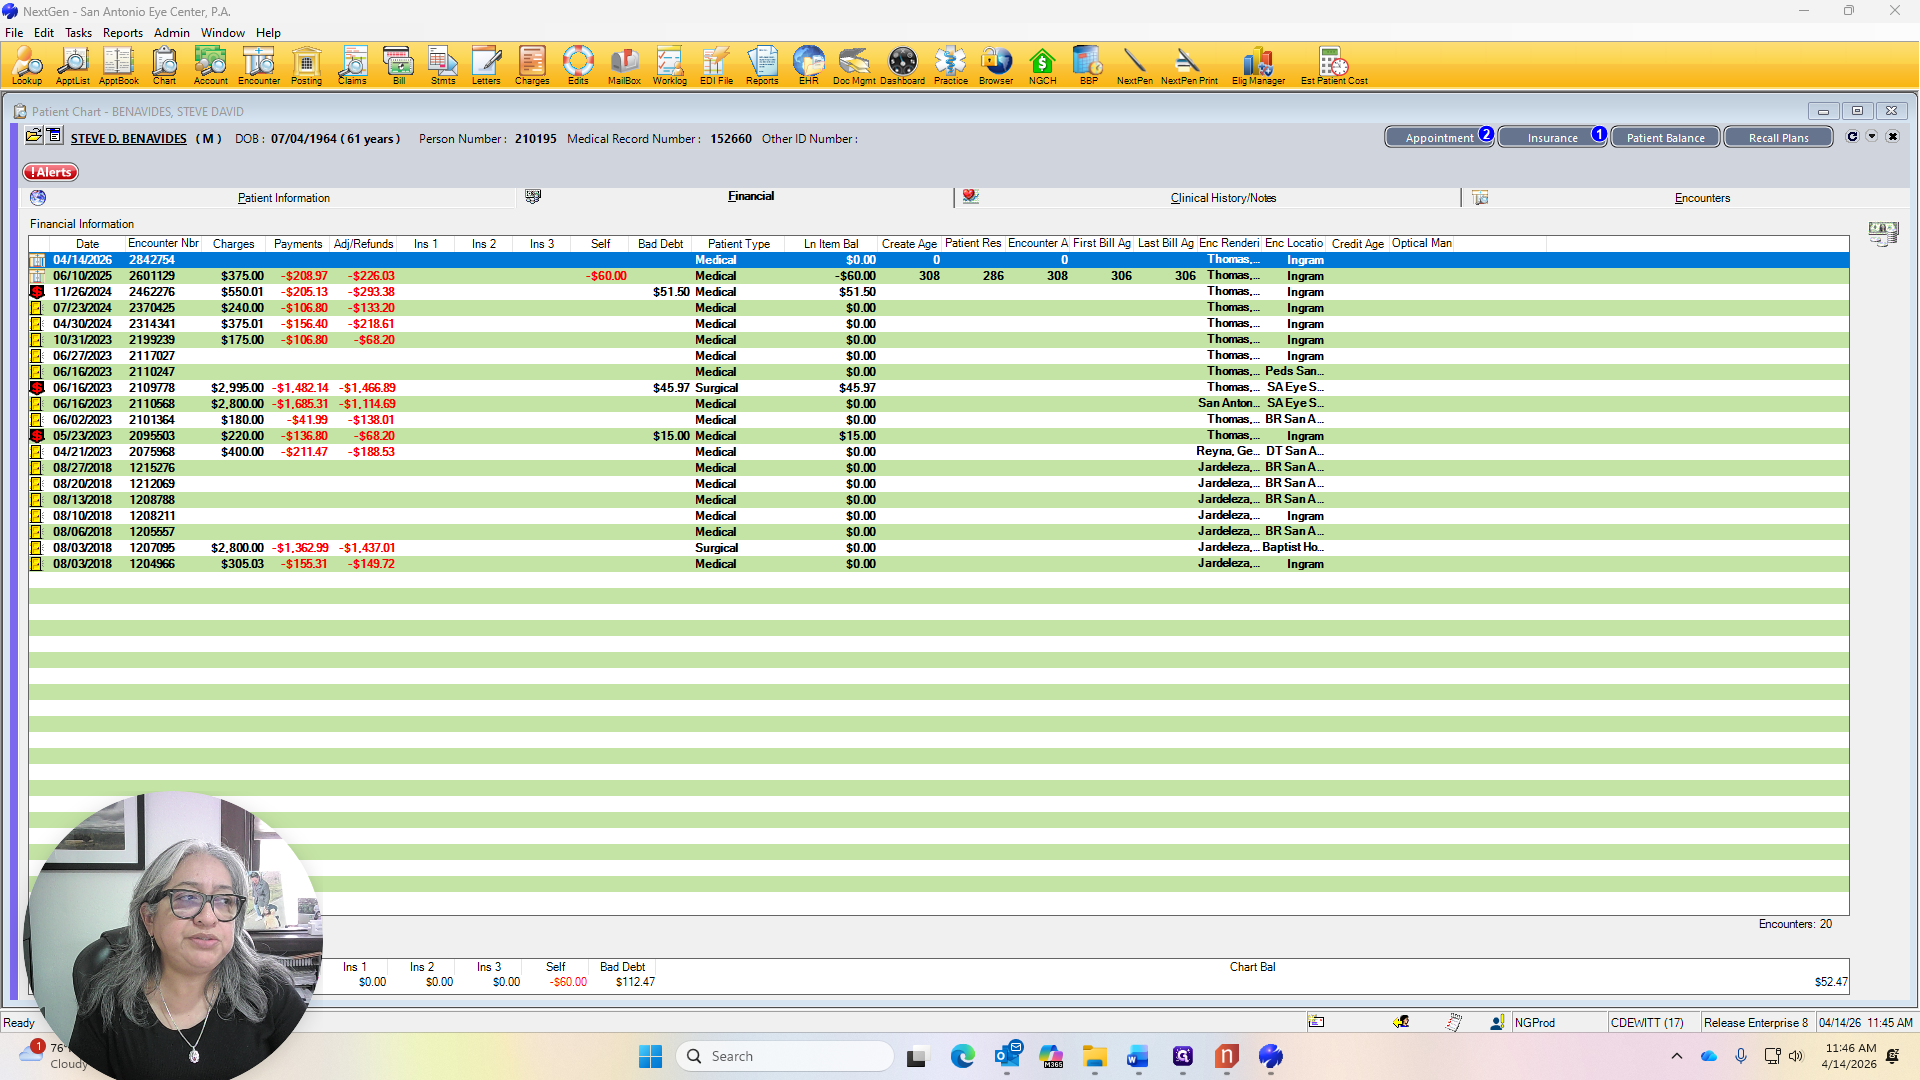
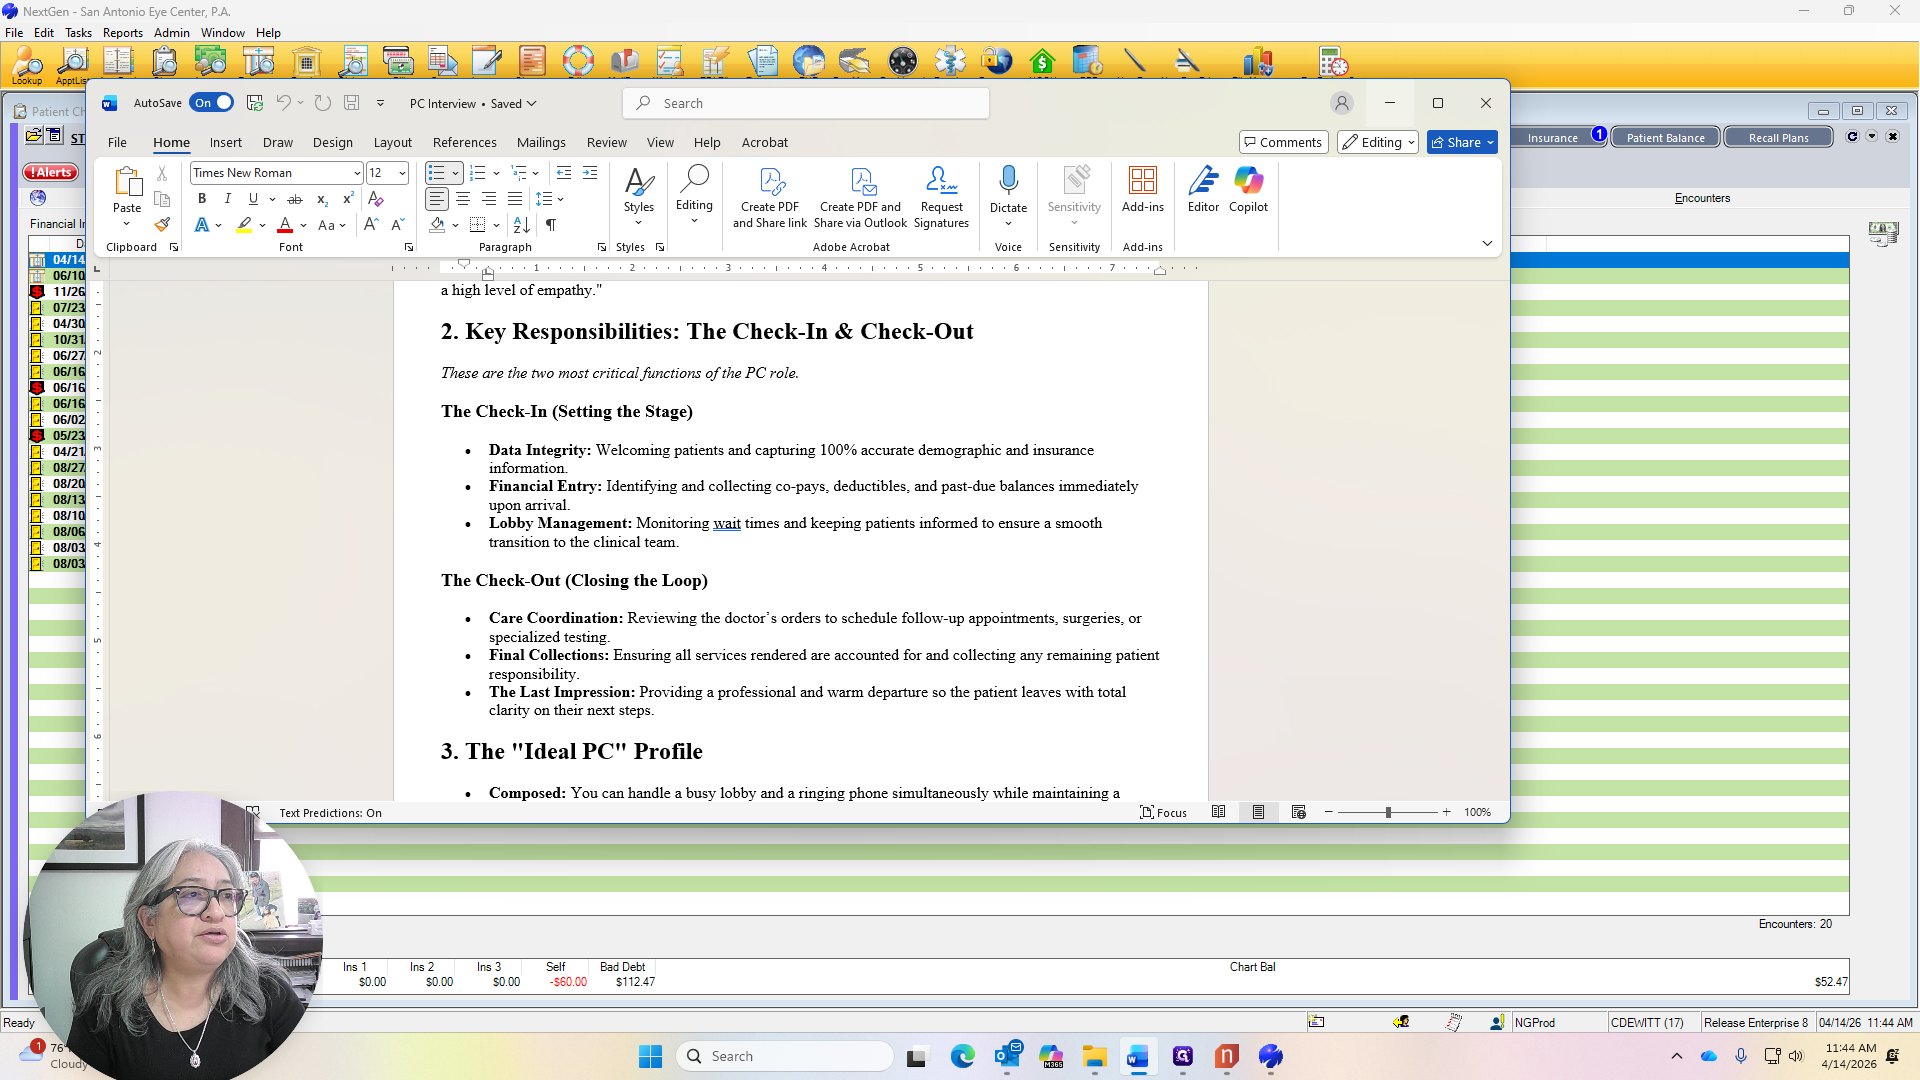
We are going to give the patient... Let them know there is a $52.47 balance on their account.
You have a $10 copay for today's office visit, and you have a balance of $52.47.
Would you like to take care of that with a MasterCard, credit card, or check? Normally, they will pay whatever they owe.
If they don't want to pay anything and say they have a balance they don't want to pay, that... They will pay the copay. We can also offer them a payment arrangement plan.
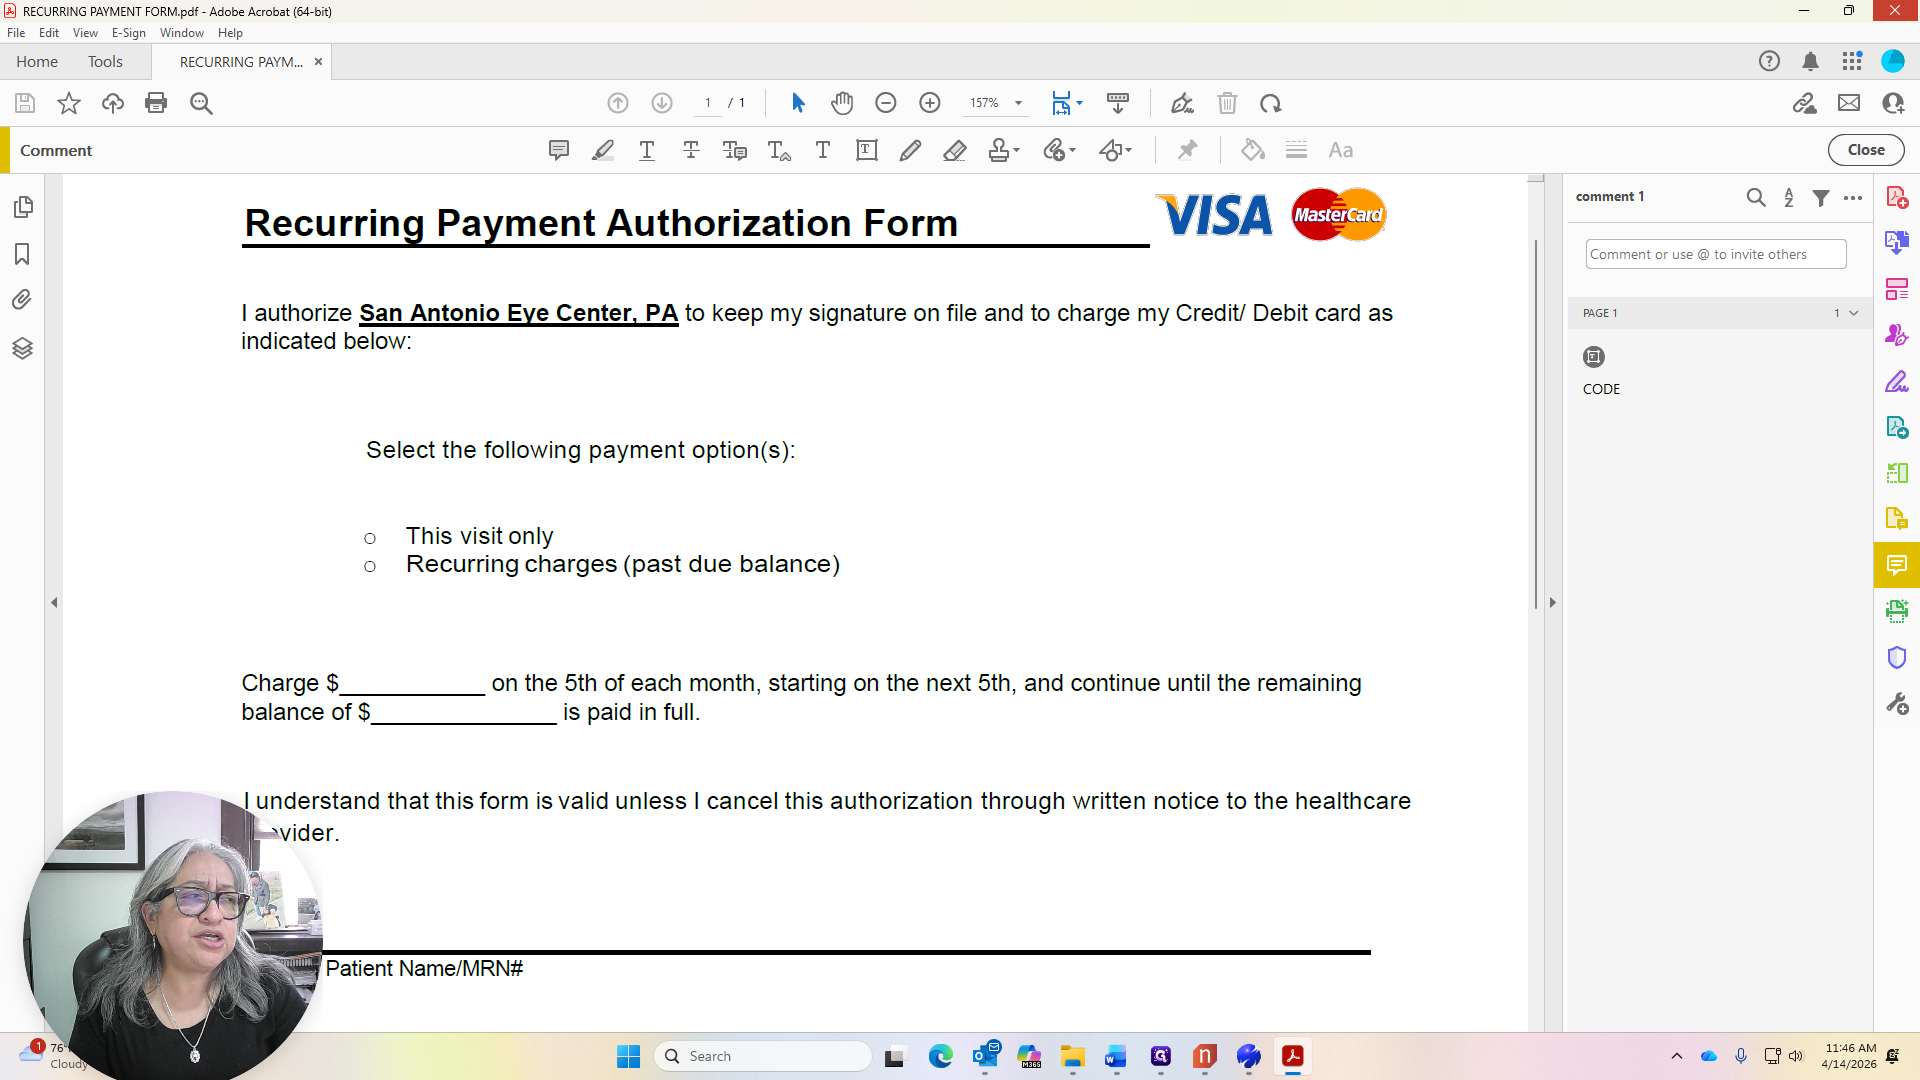
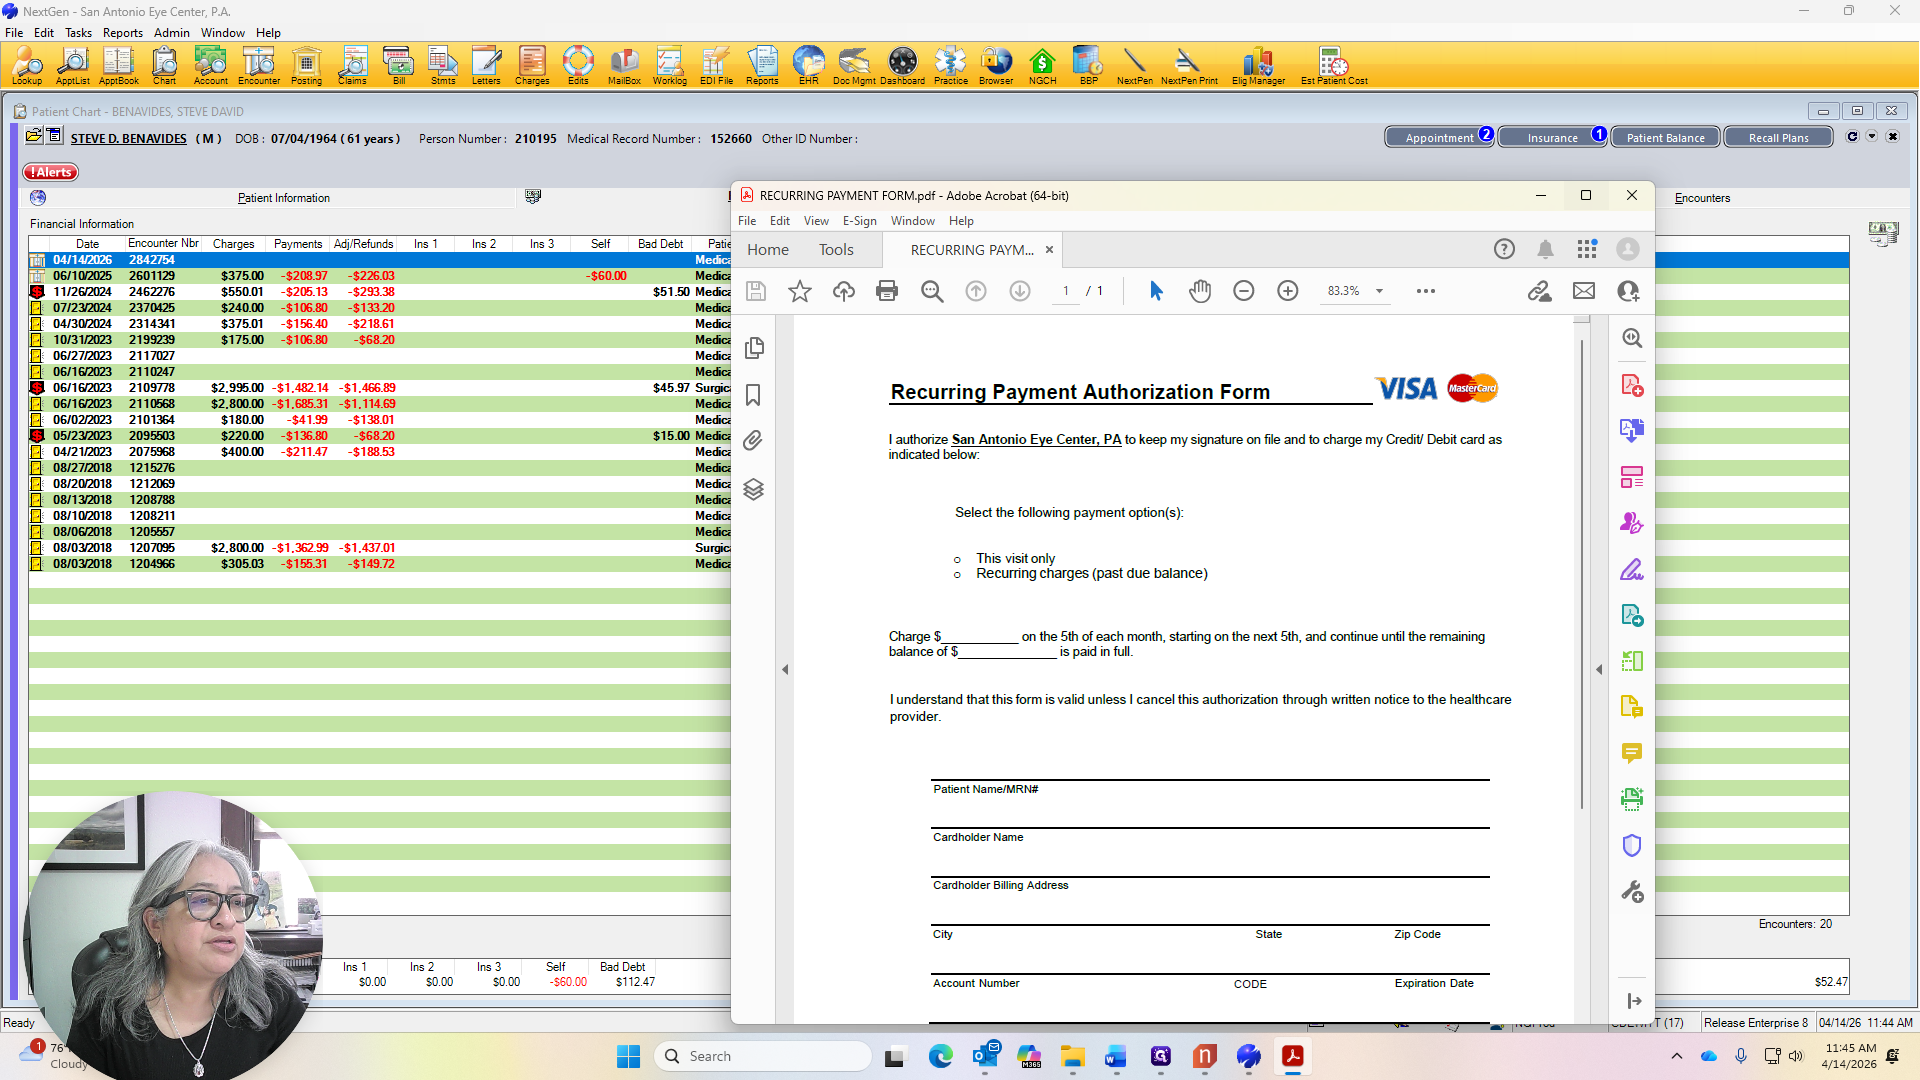
Which would be on the desktop. We will have them fill out this recurring patient payment authorization form.
The patient can choose to pay $30 or more on the fifth of each month. Payments will begin on the next fifth. Right now, we are in April, so it will start in May and continue until the balance is paid in full.
We will need the patient's name, medical record number, cardholder name, billing address, city, account number, the code on the back of the card, expiration date, and signature.
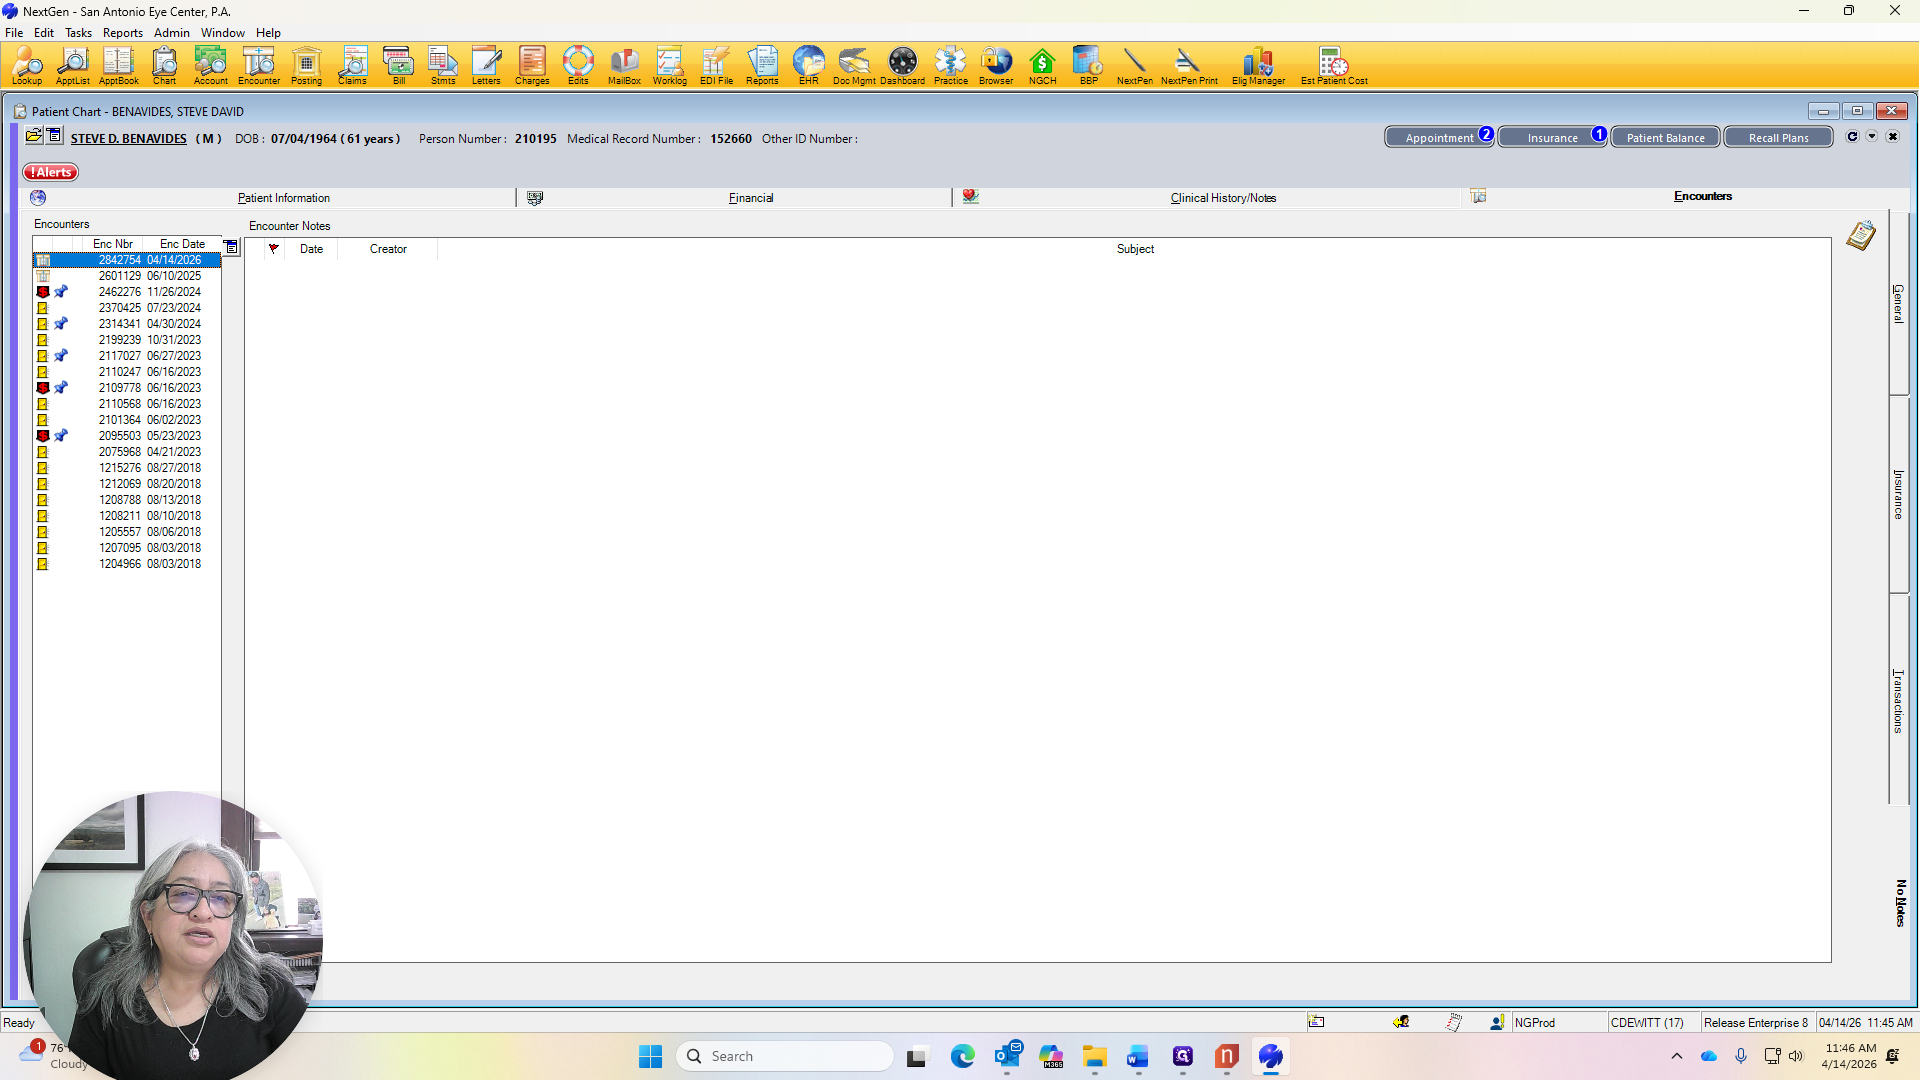
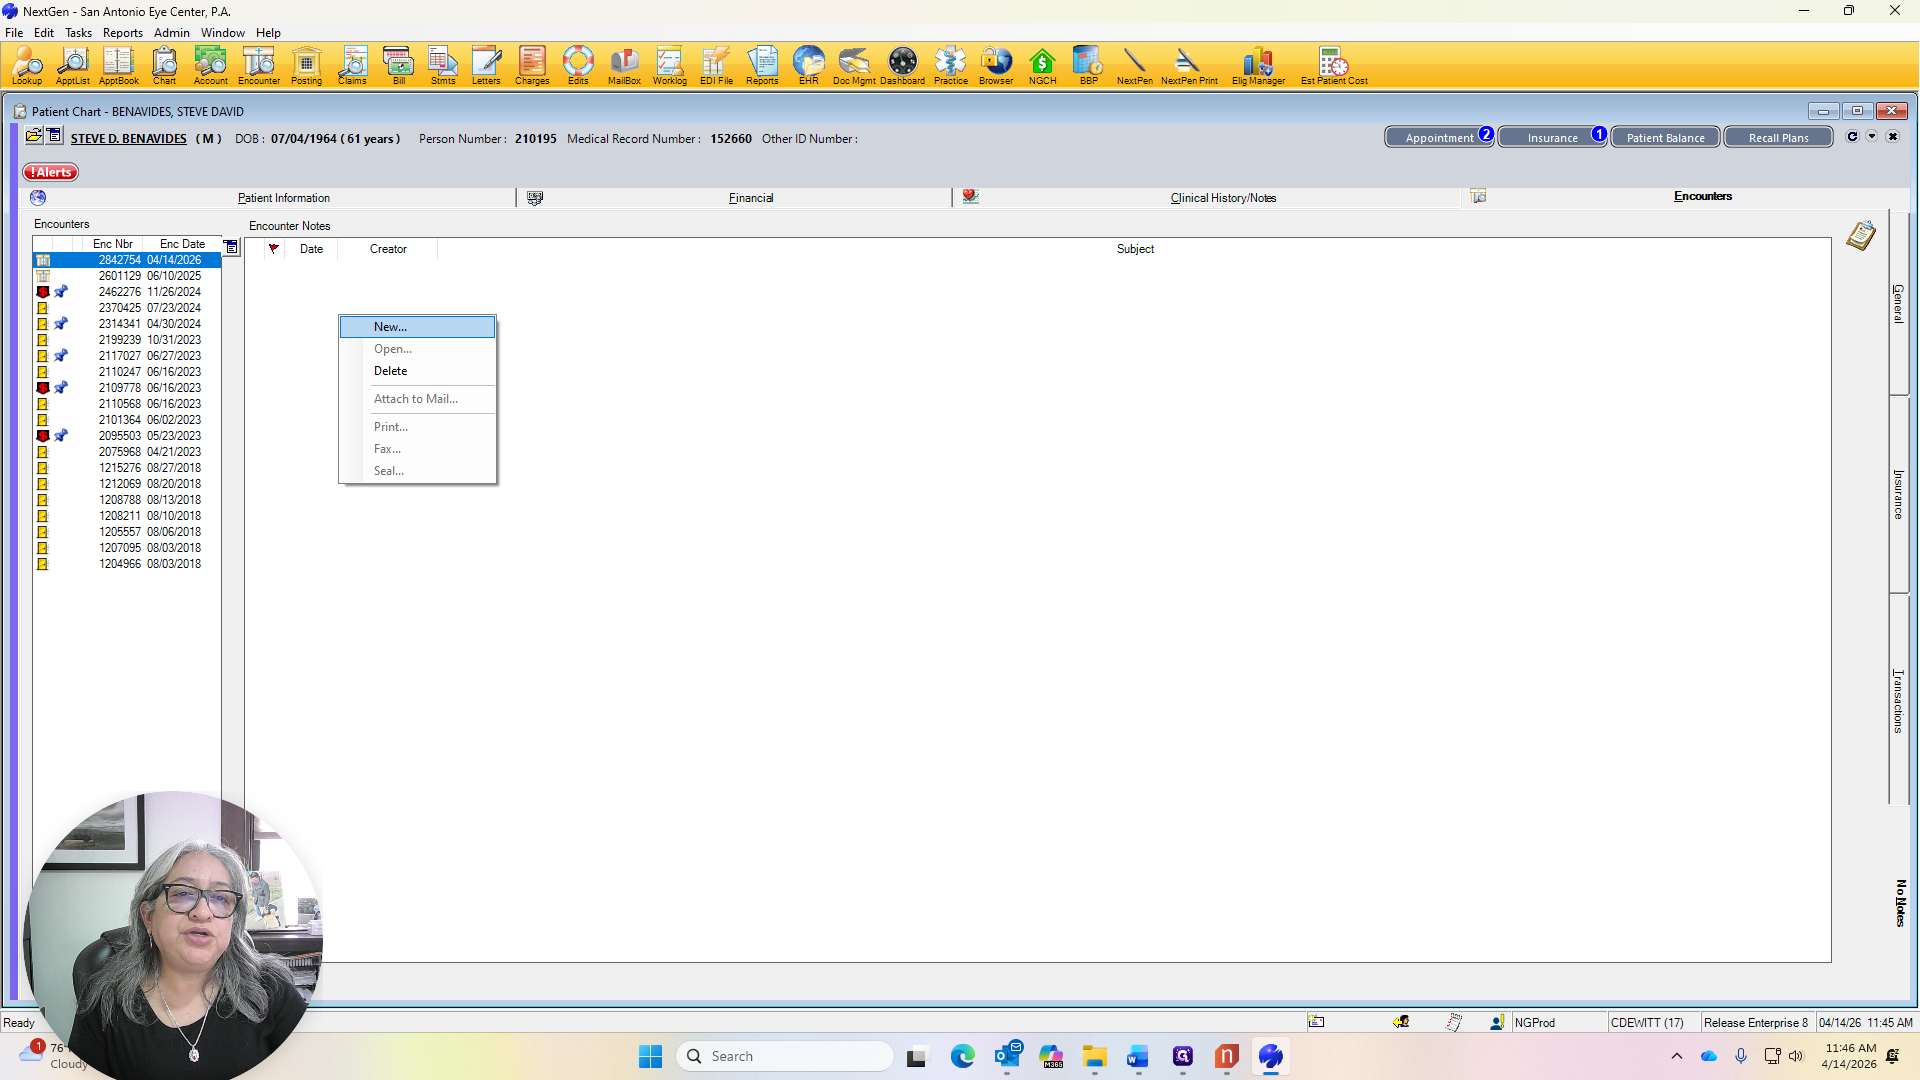
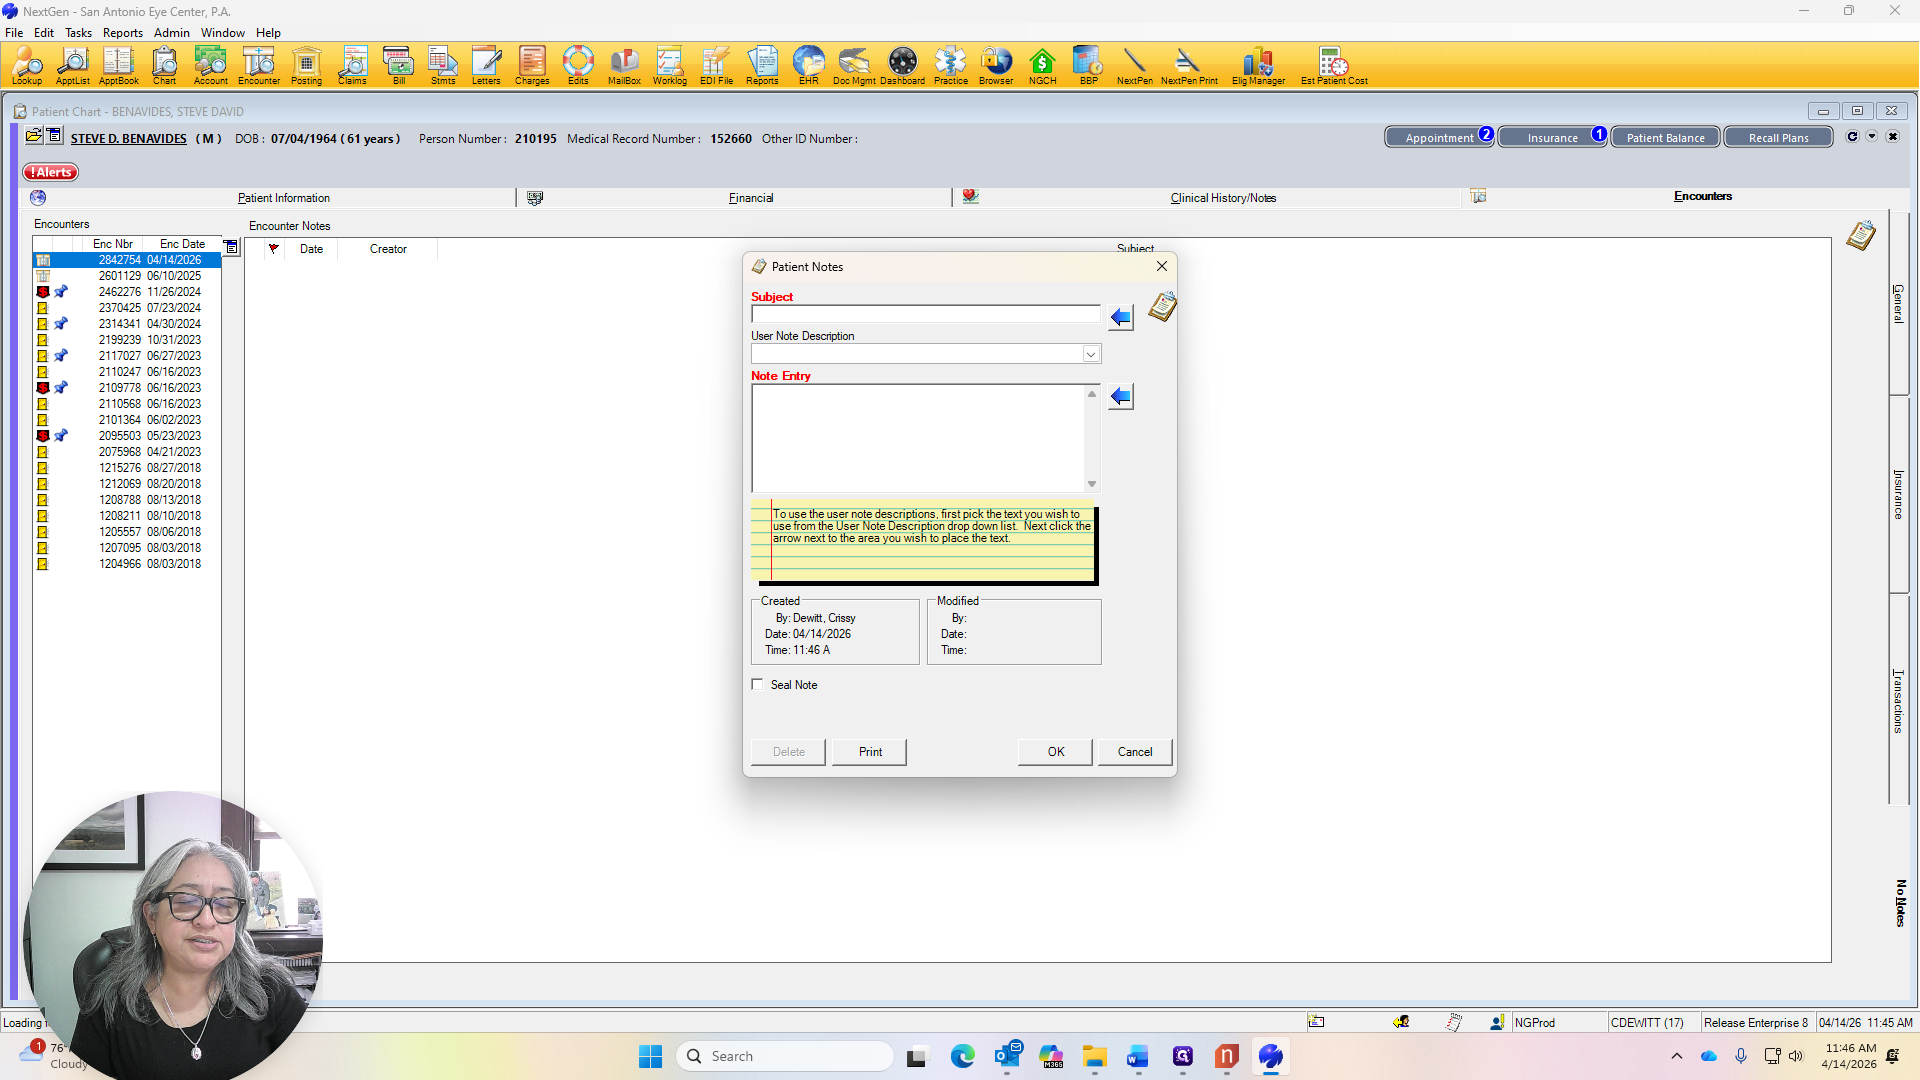
This is submitted to Alison so she can set up the recurring payments. These will begin on the fifth of each month and continue until the balance is paid in full. Always document this in your known notes, under encounters and known notes. Here, indicate the balance and note whether you set up a payment arrangement for the patient or if the patient paid in full. We still need to add a note if there is any payment toward the balance.