
Importing Daily Case Management Invoices into IES (Part 1)
Step-by-step instructions for importing daily case management invoices from Gayle into IES using the AR IES Import Advocate macro. This workflow helps ensure accurate invoice processing and proper application of checks.
In this guide, we’ll walk through how to import daily case management invoices from Gayle into IES. Completing this process each day ensures that checks can be applied to the correct invoices without delay. We’ll review how to save the invoice file, run the AR IES Import Advocate macro, and upload the information using Spreadsheet Sync.
Let's get started
For this recording, we will be completing daily invoice imports from Gayle. These files contain the case management invoices and must be imported into IES each day. Since checks are issued directly from the office, it’s important that the invoices are uploaded daily; otherwise, there will be no invoices available in IES to apply the payments to.
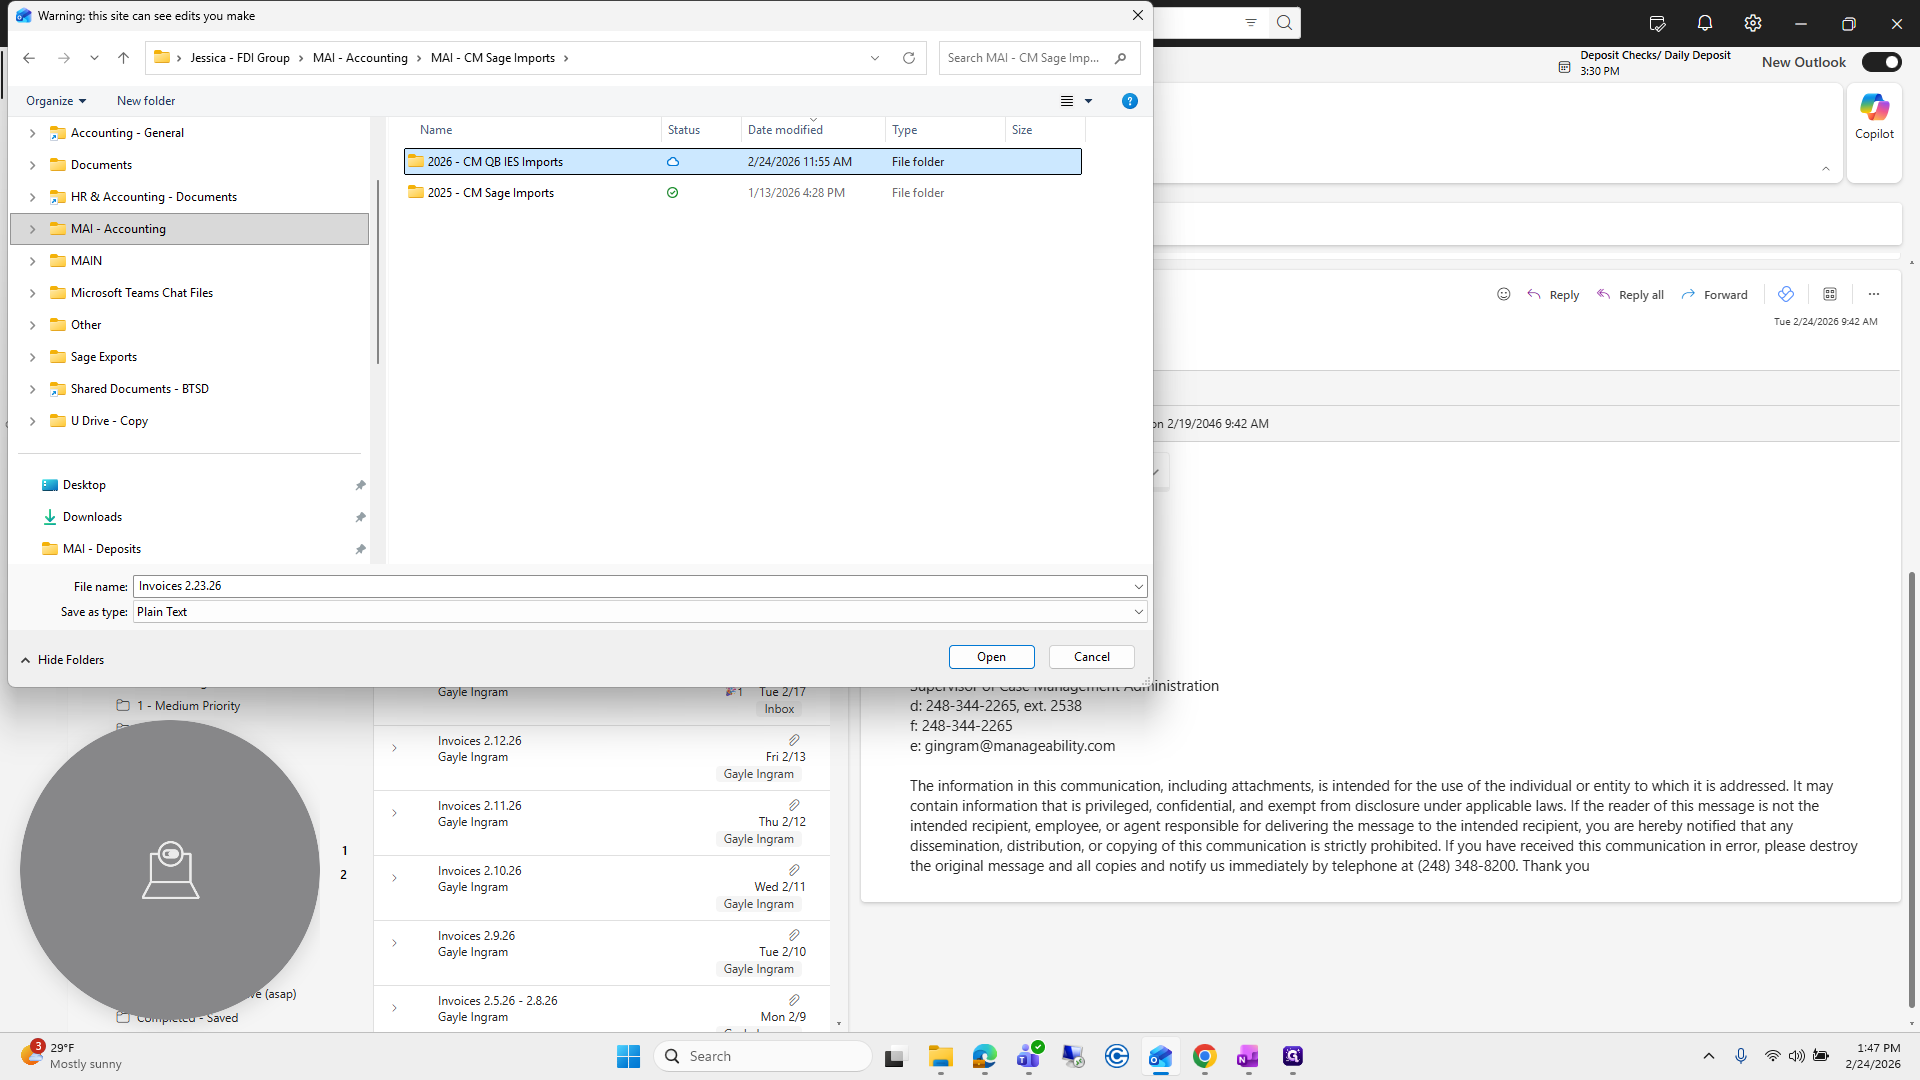
Each day, Gayle will send a file that looks like this.
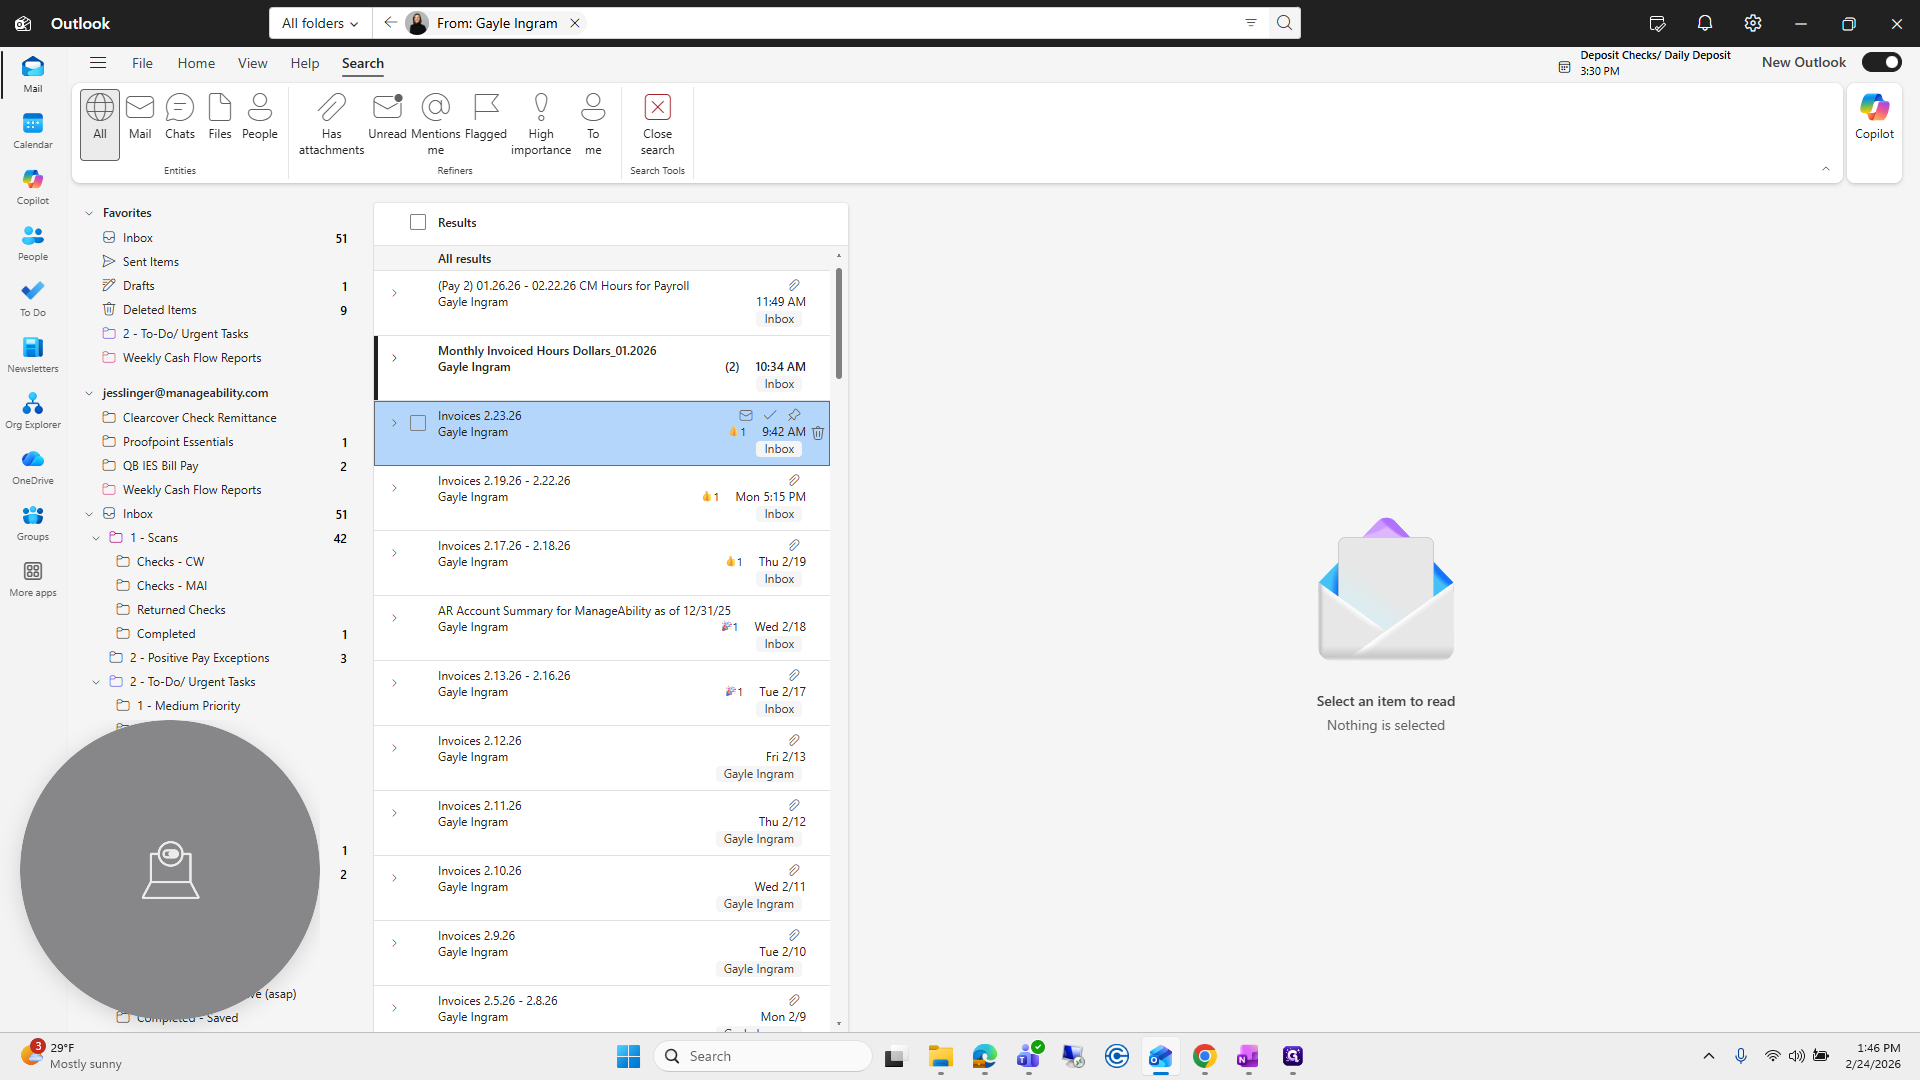
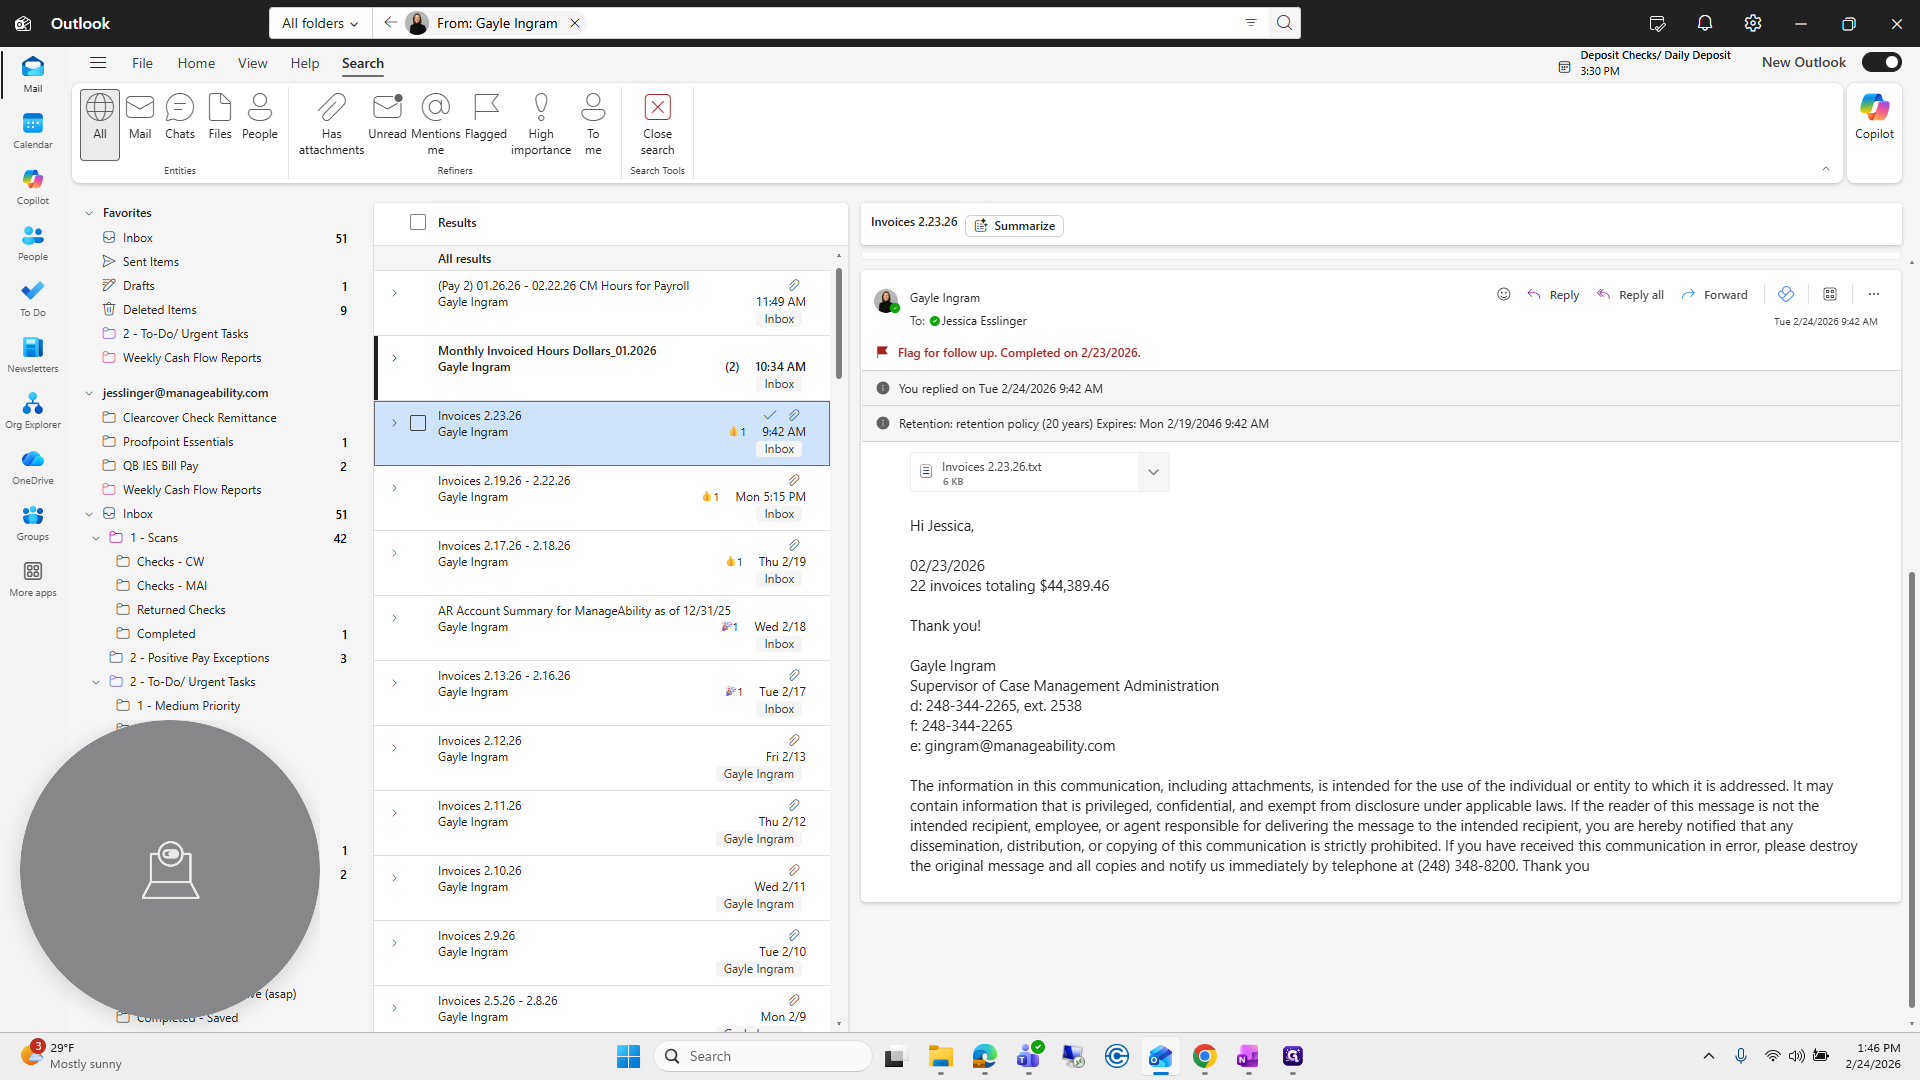
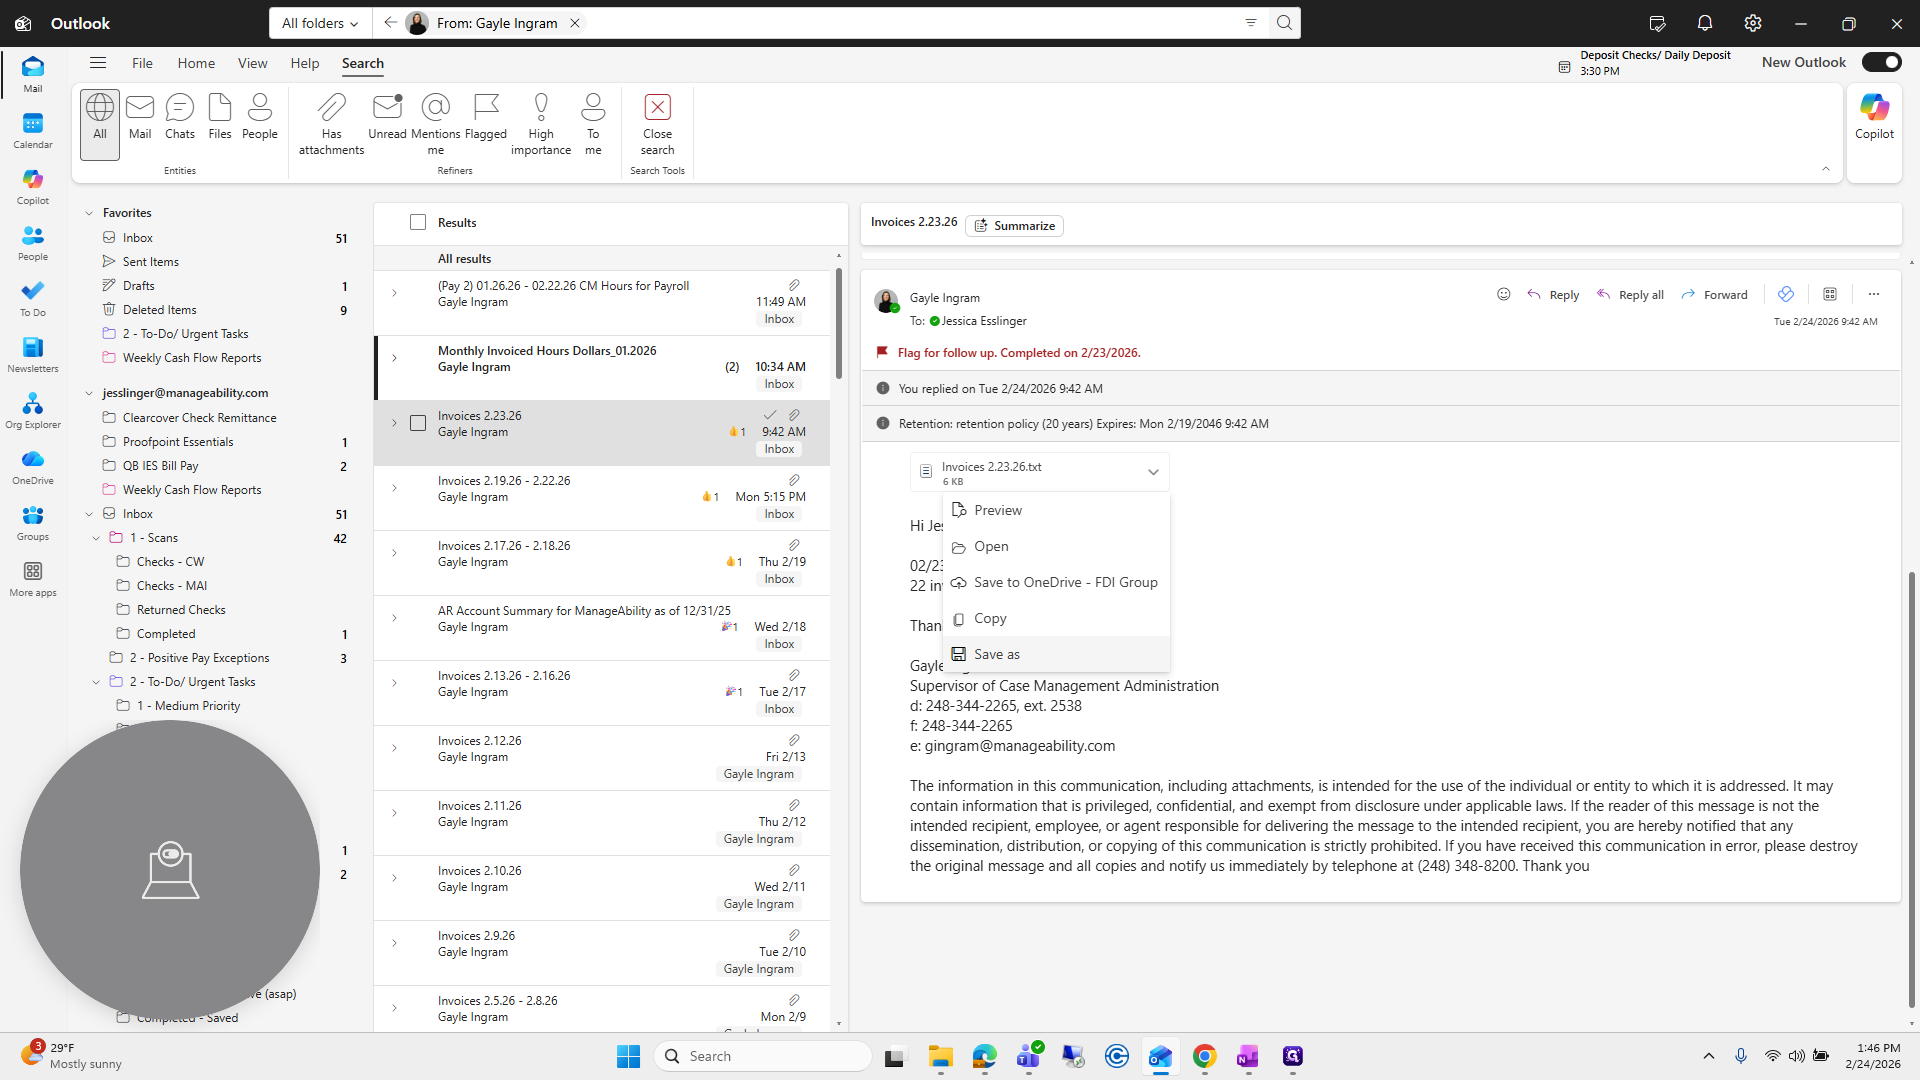
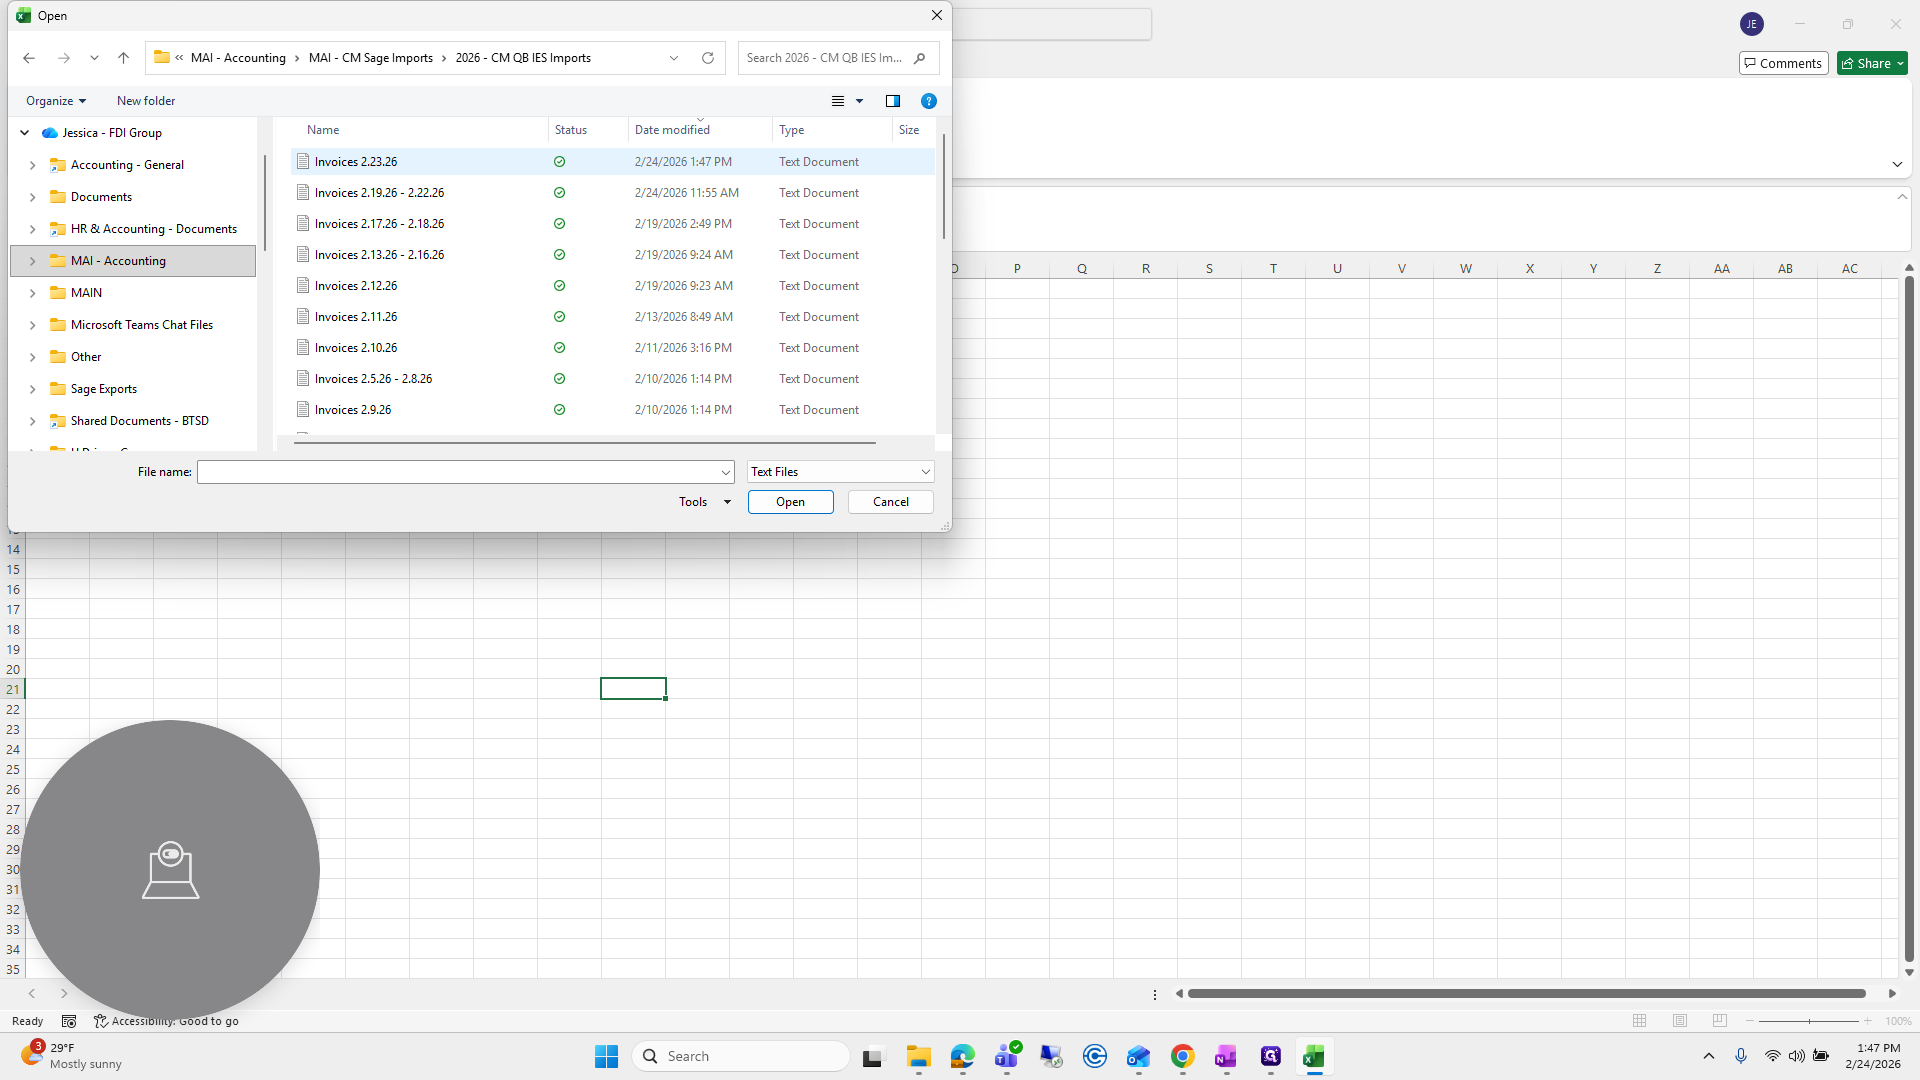
We will save the file she sends us.
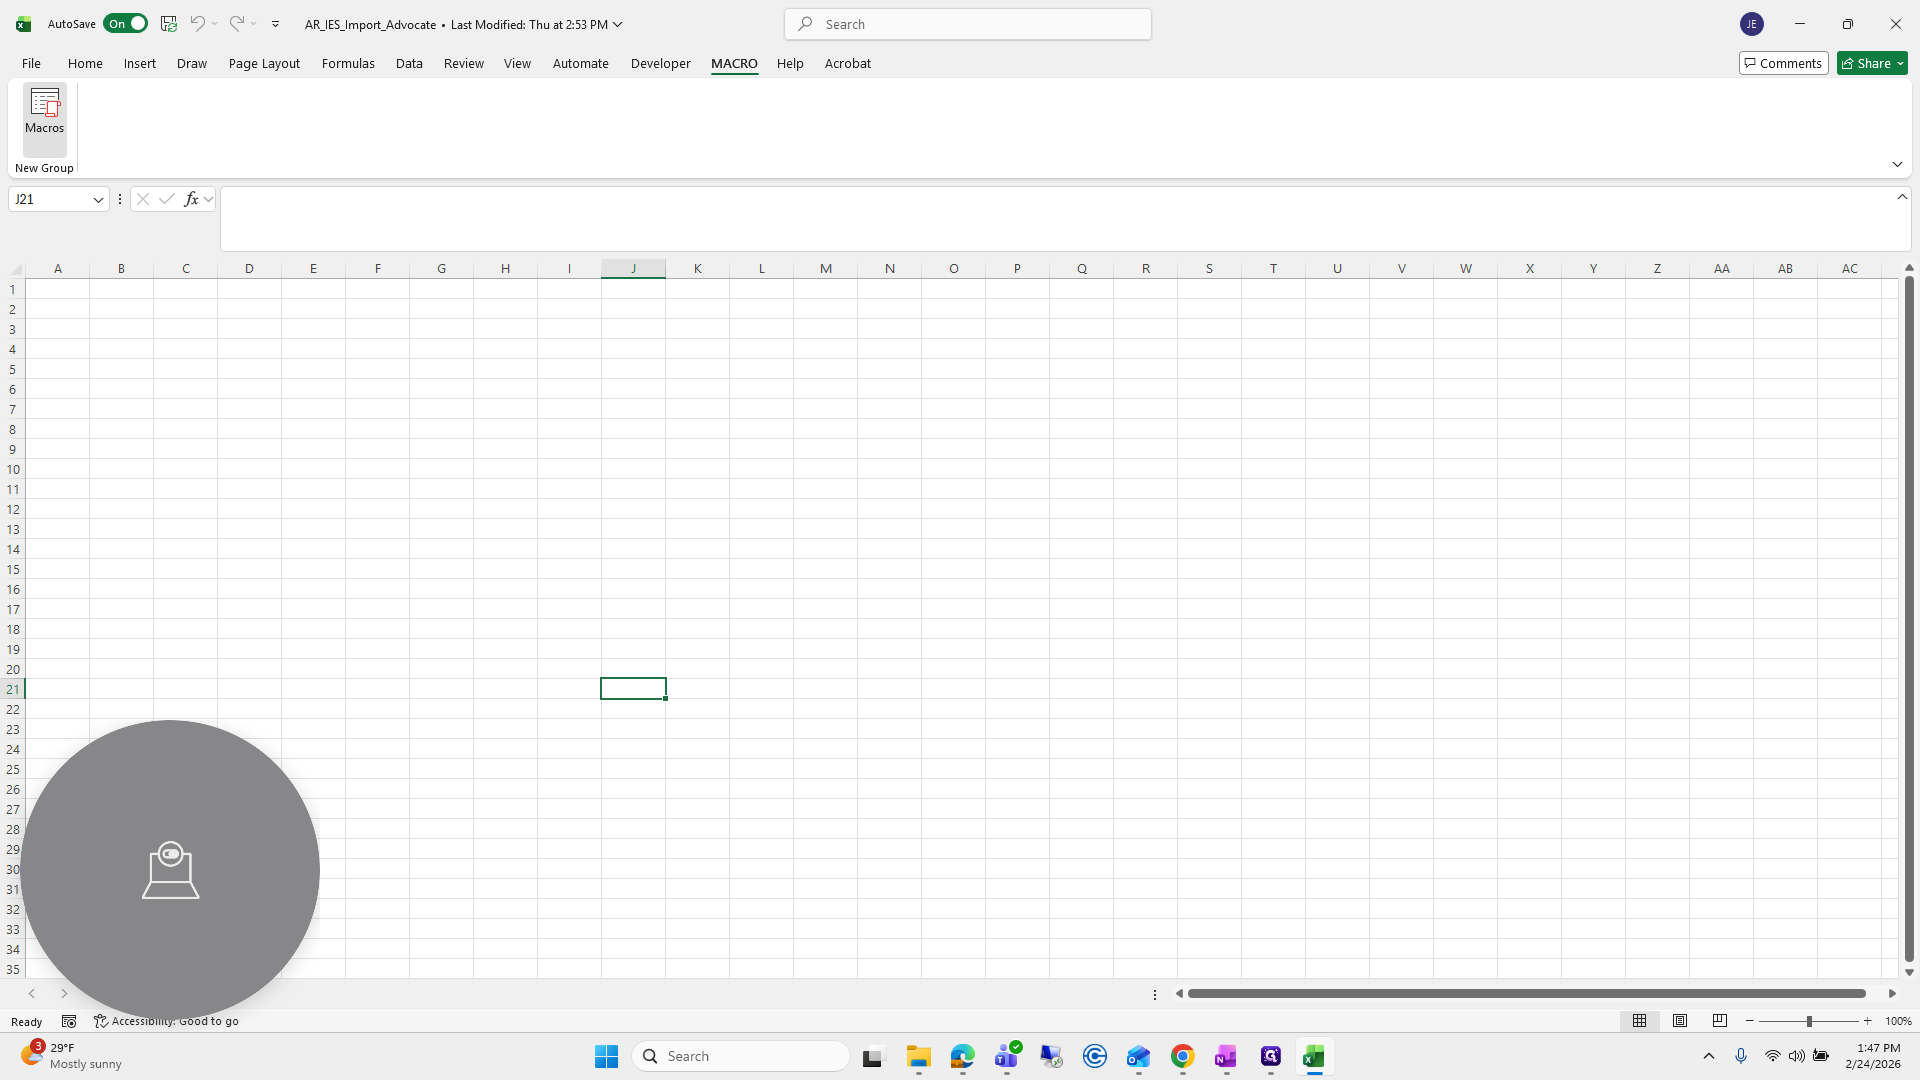
Next, we are going to open the Macro file.
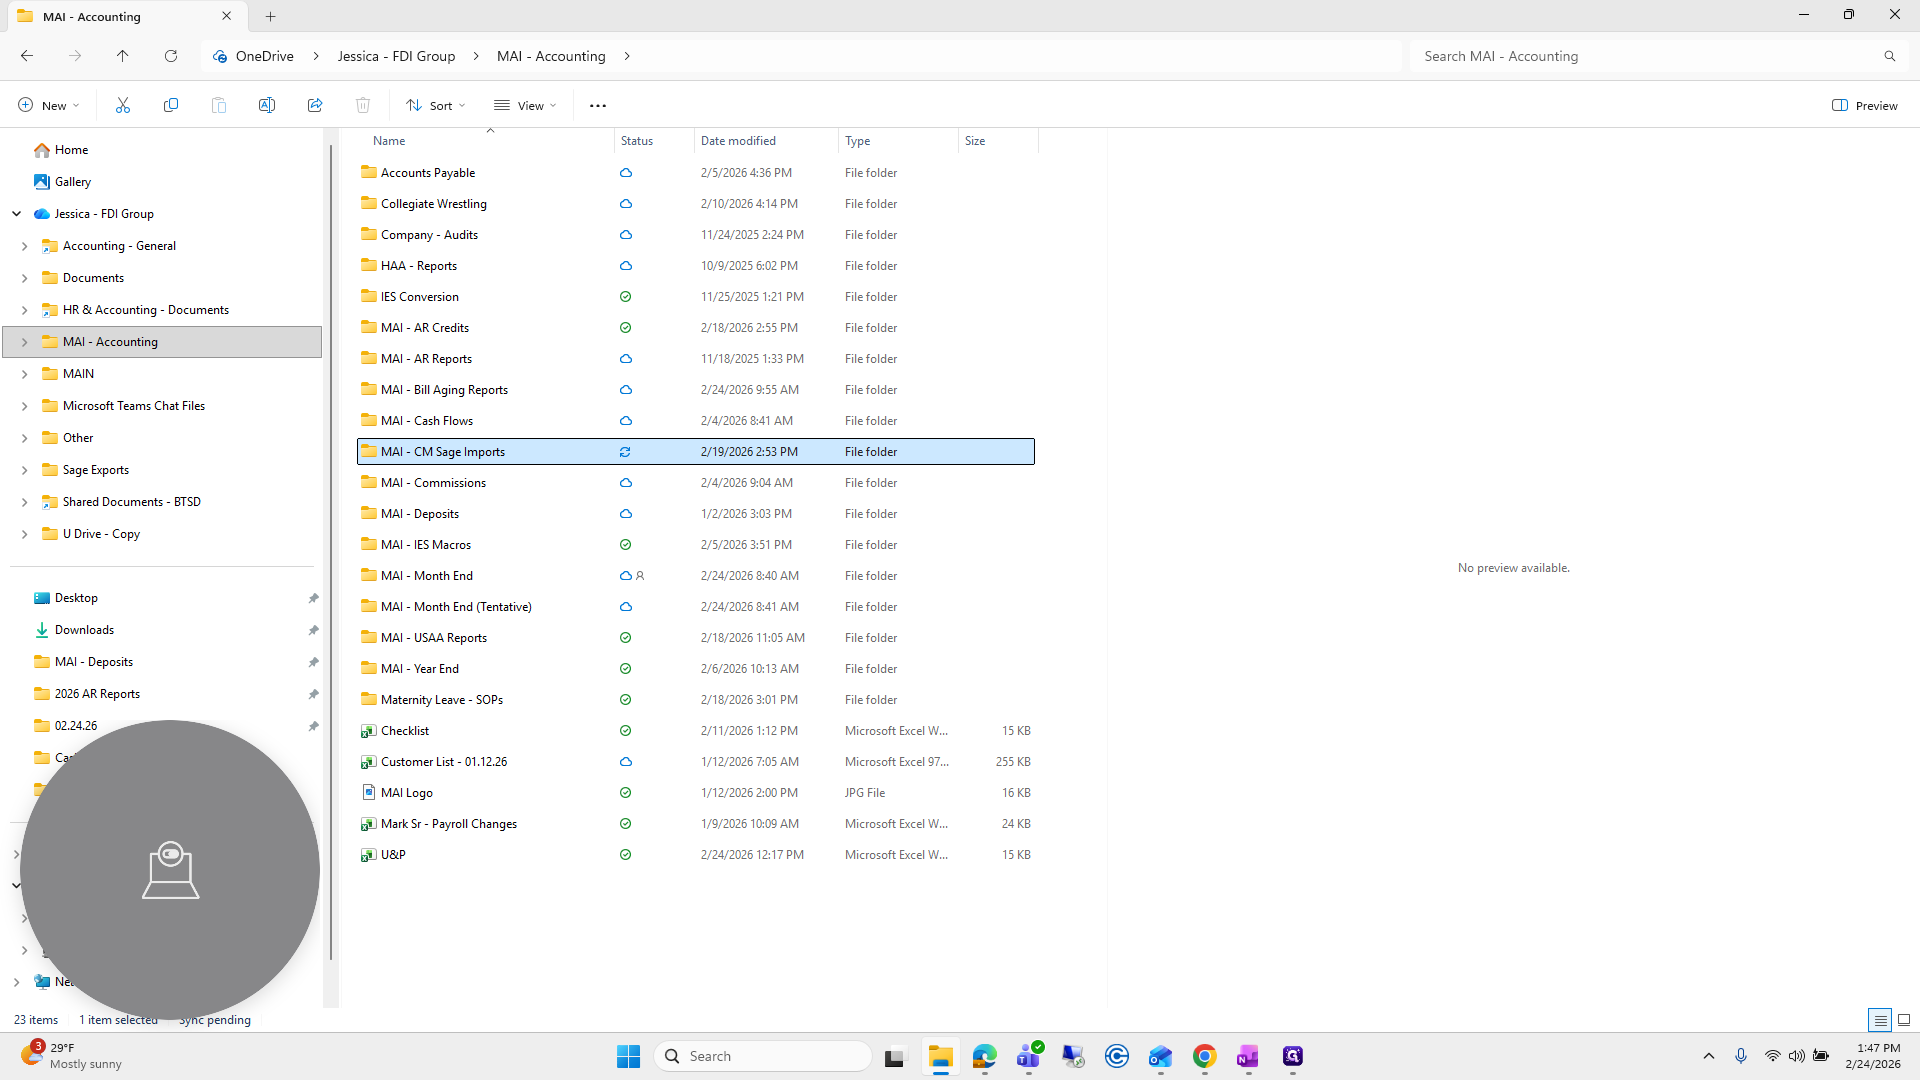
It's called AR IES Import Advocate.


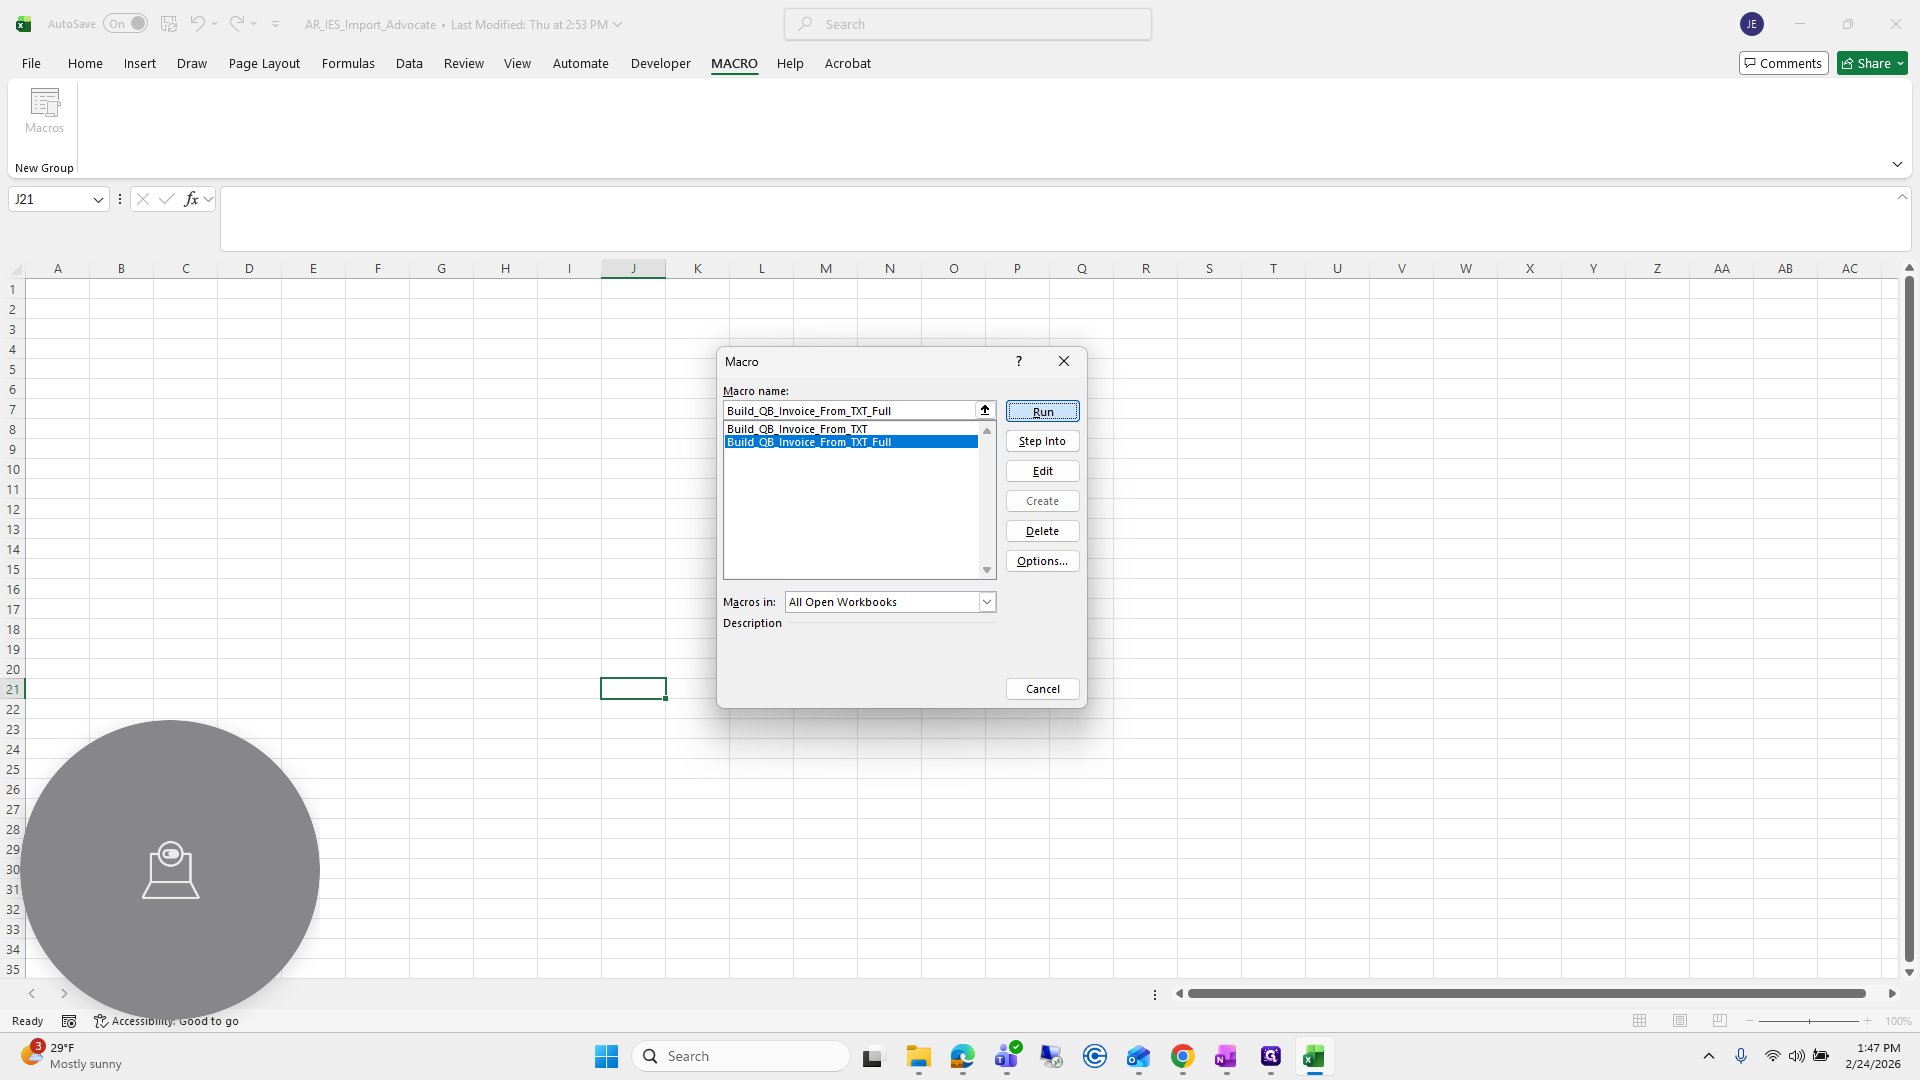
Click on that. Go to Macro, click the Macro button, and select Build QB Invoice from TXT Full.

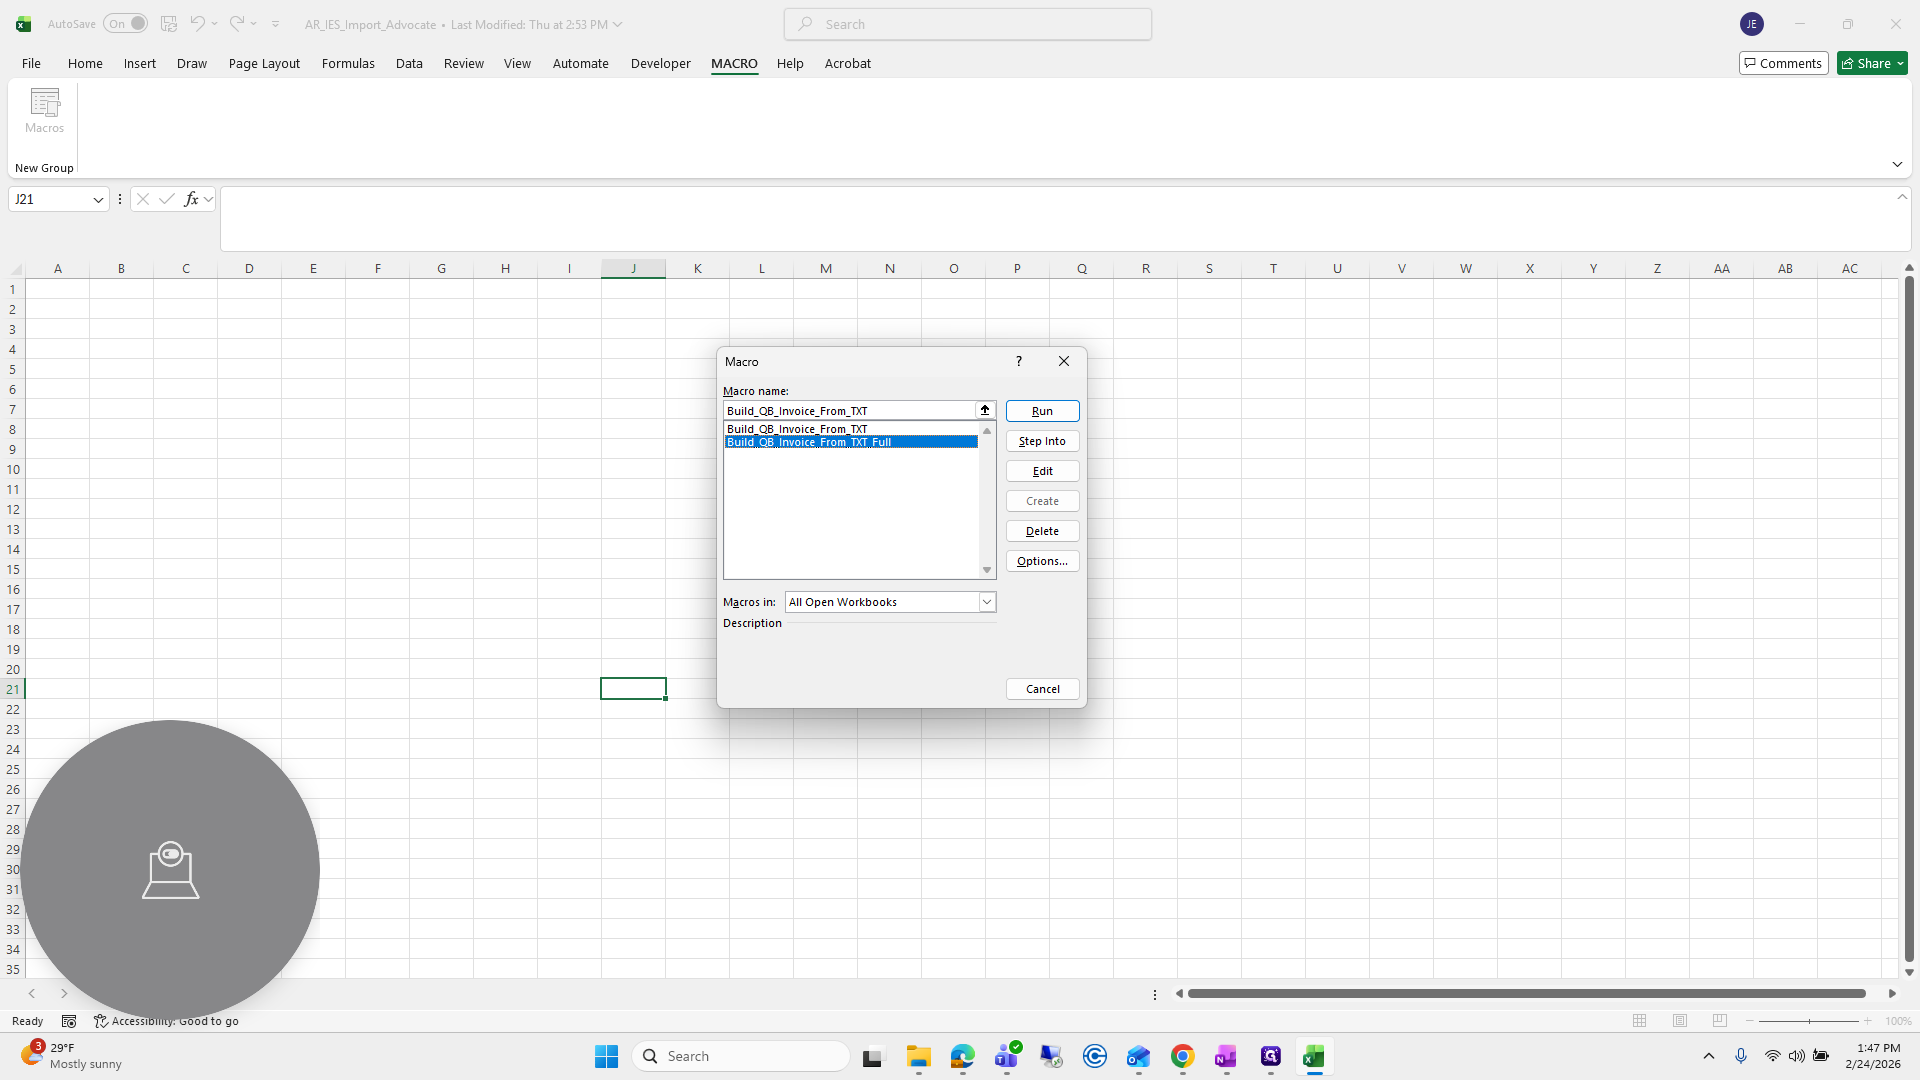
You can ignore the first one. Click Run.
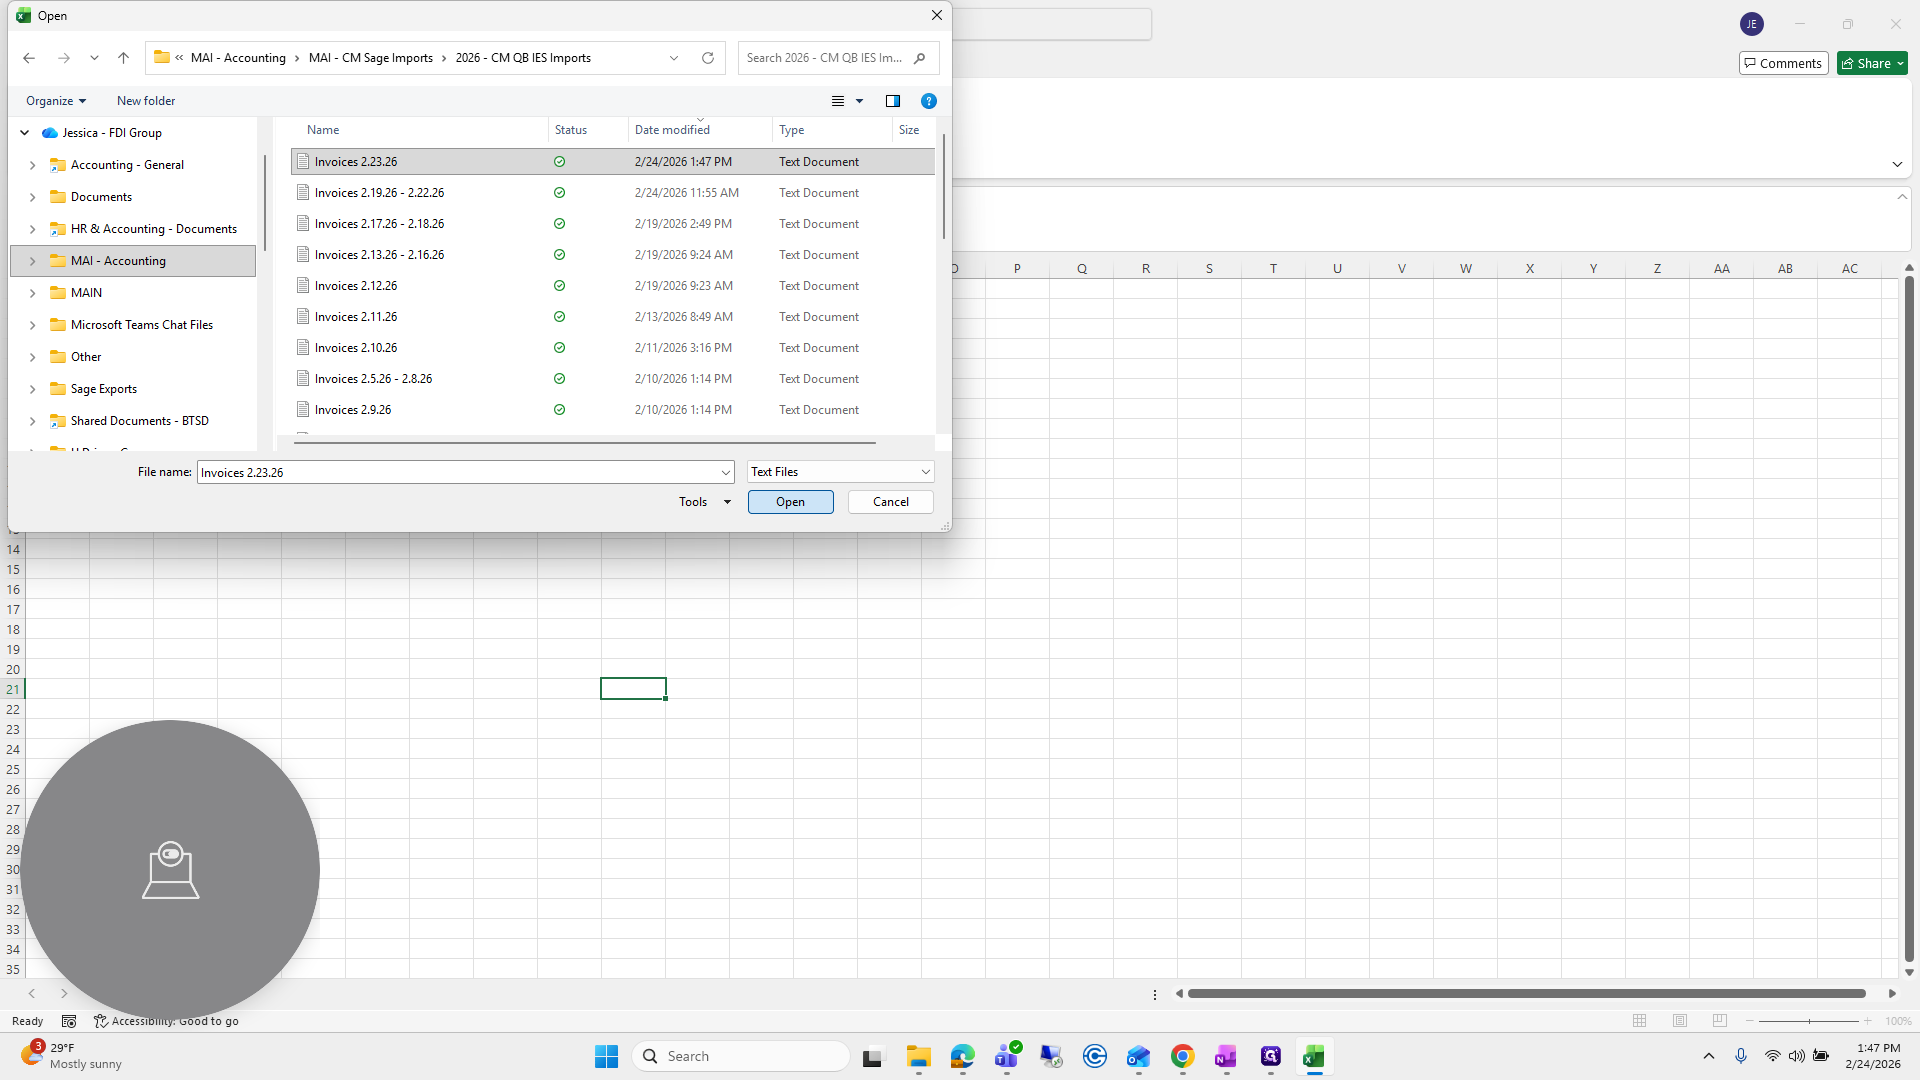
The Macro will prompt you to select the file you want to convert from txt to csv.
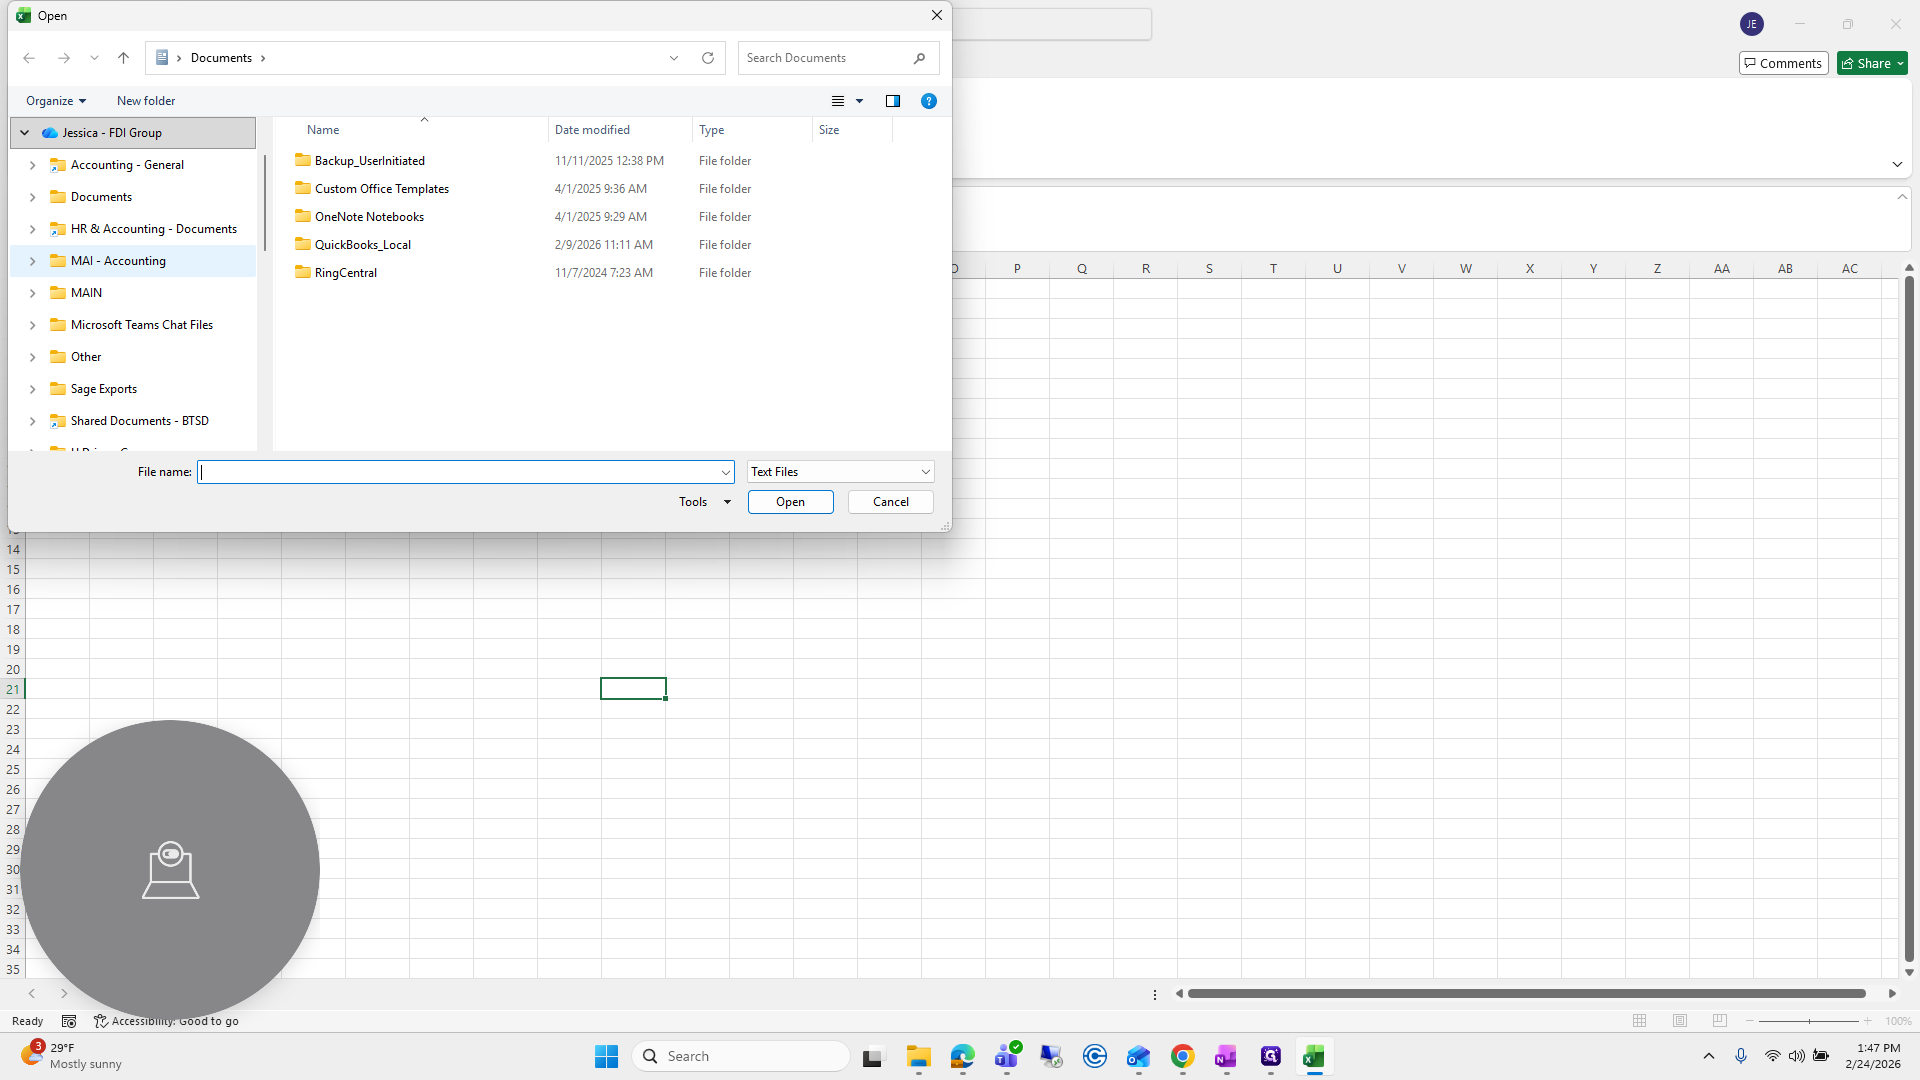
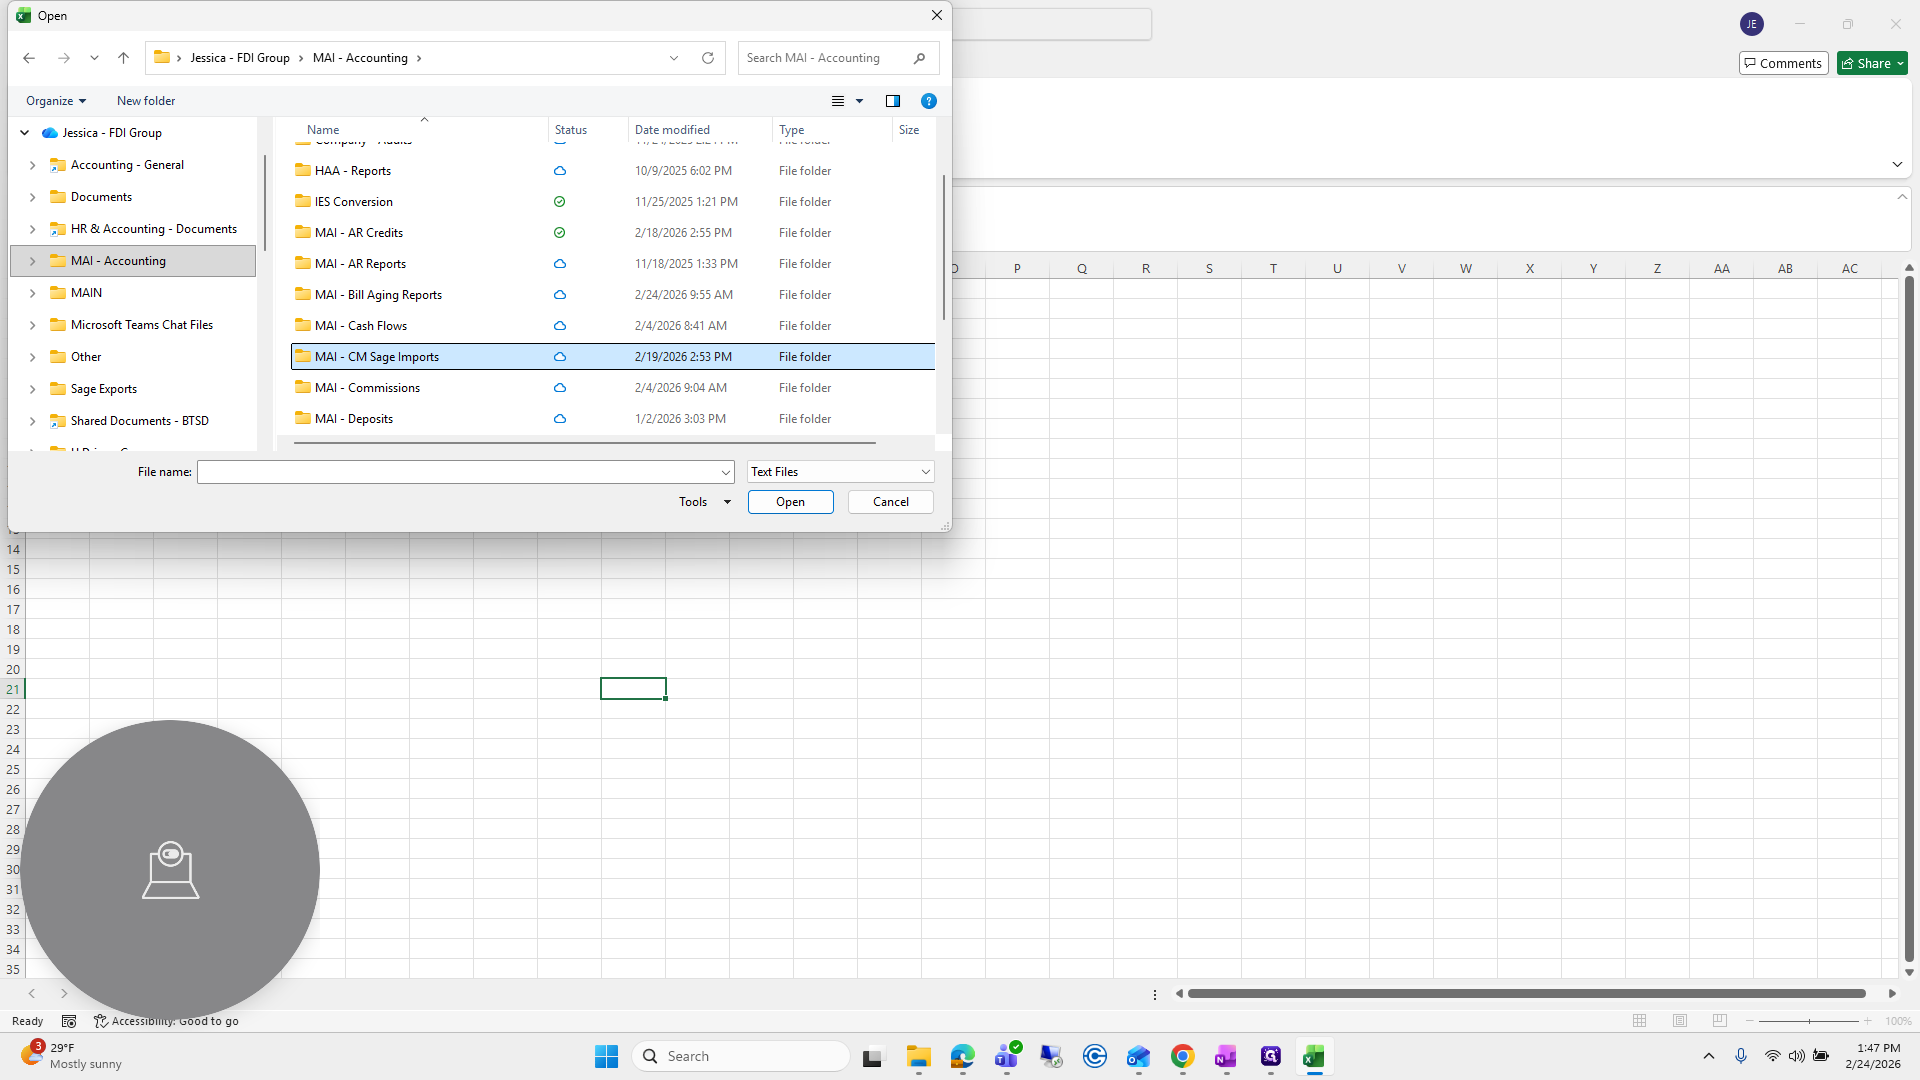
Open the file you just saved.
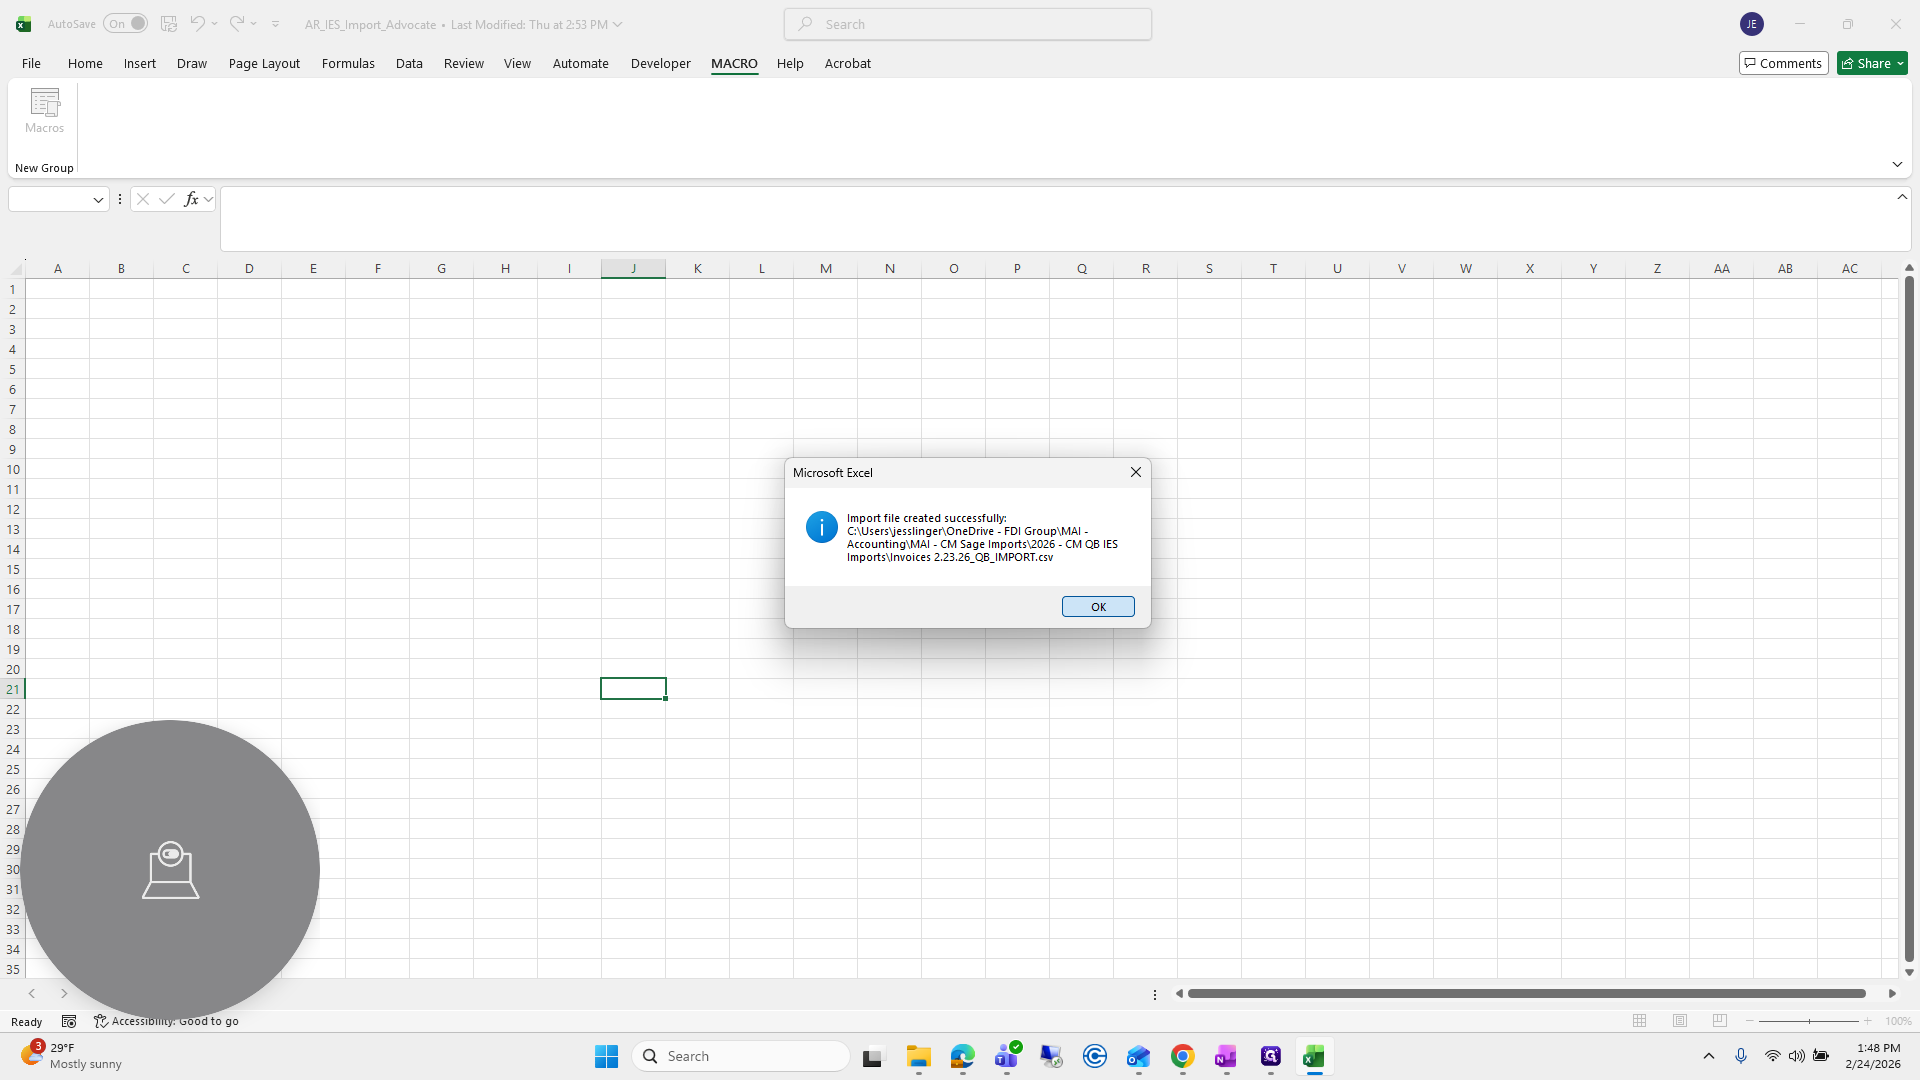
Click Open, and the file will be created for you.
Press OK.
Then you can press X to exit the macro.
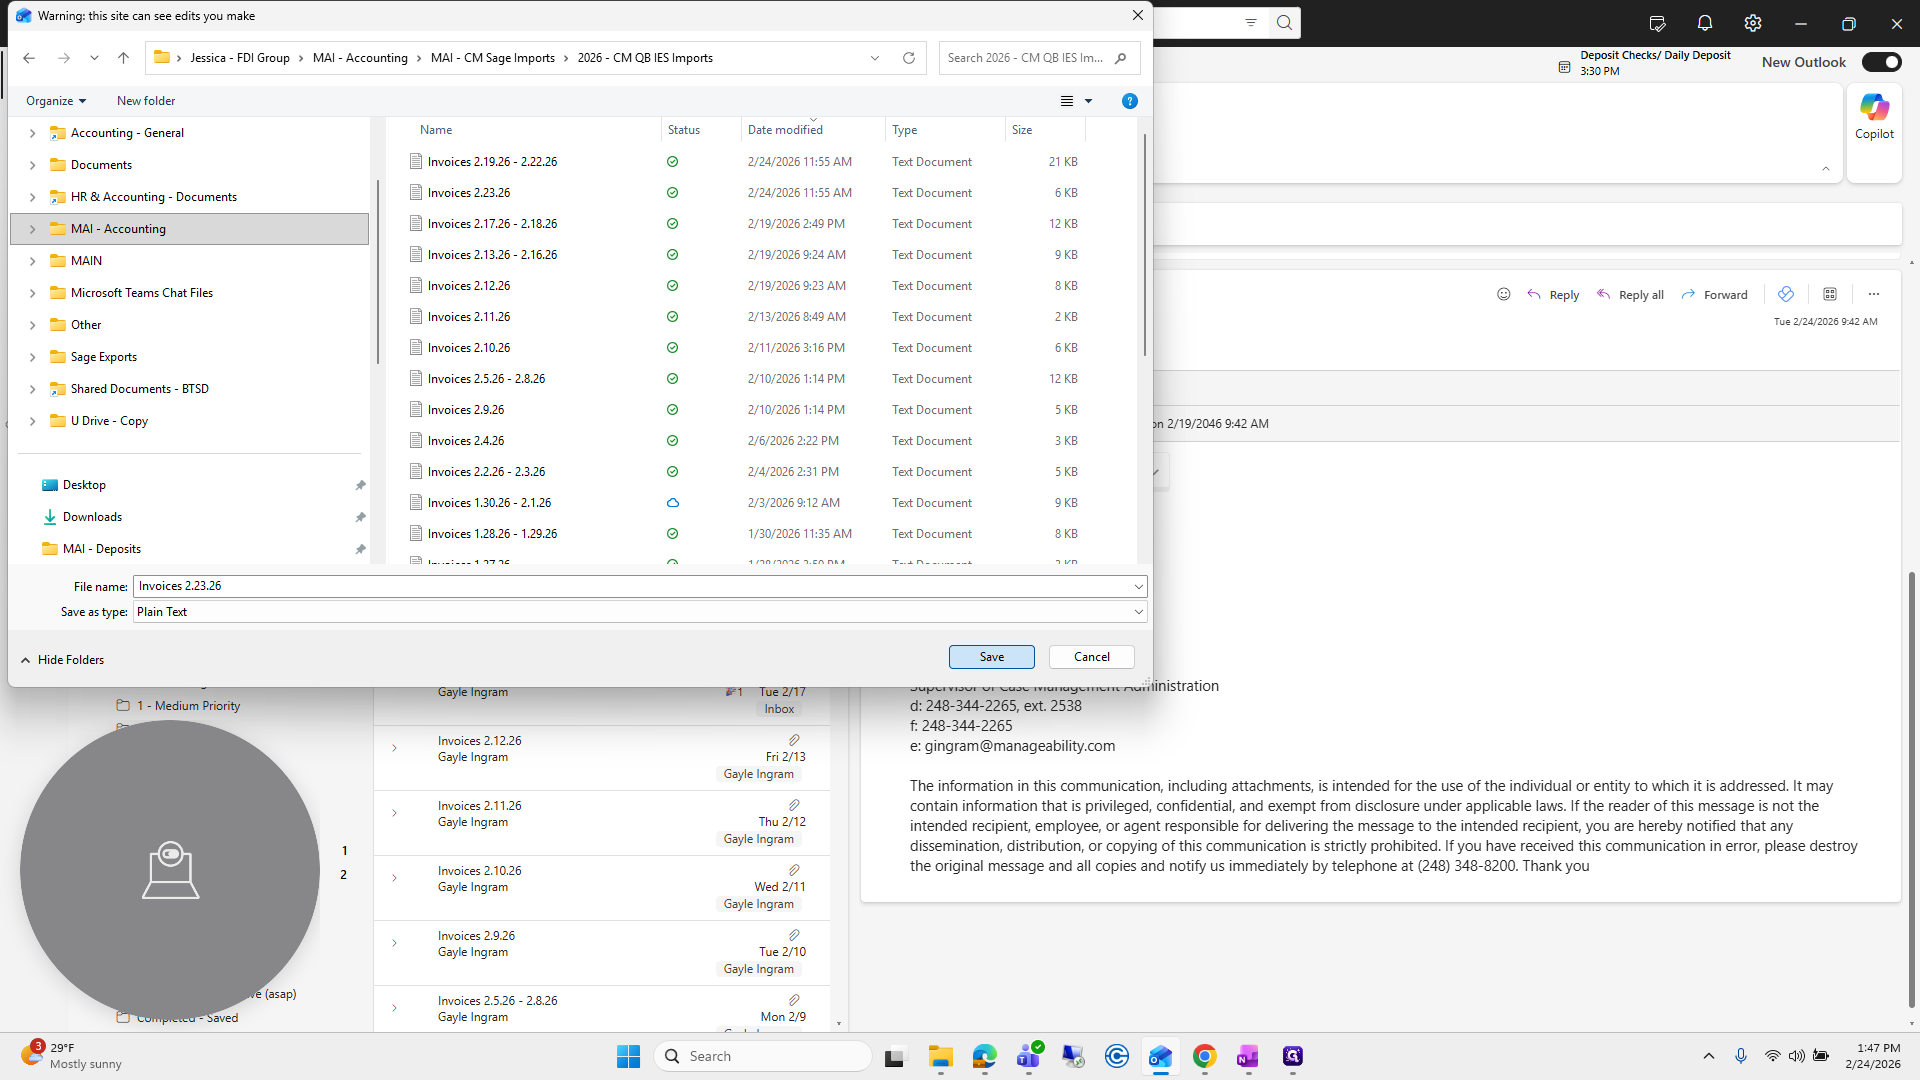
Go back to the same IES Import folder. You will see the comma-delimited file created by the macro.

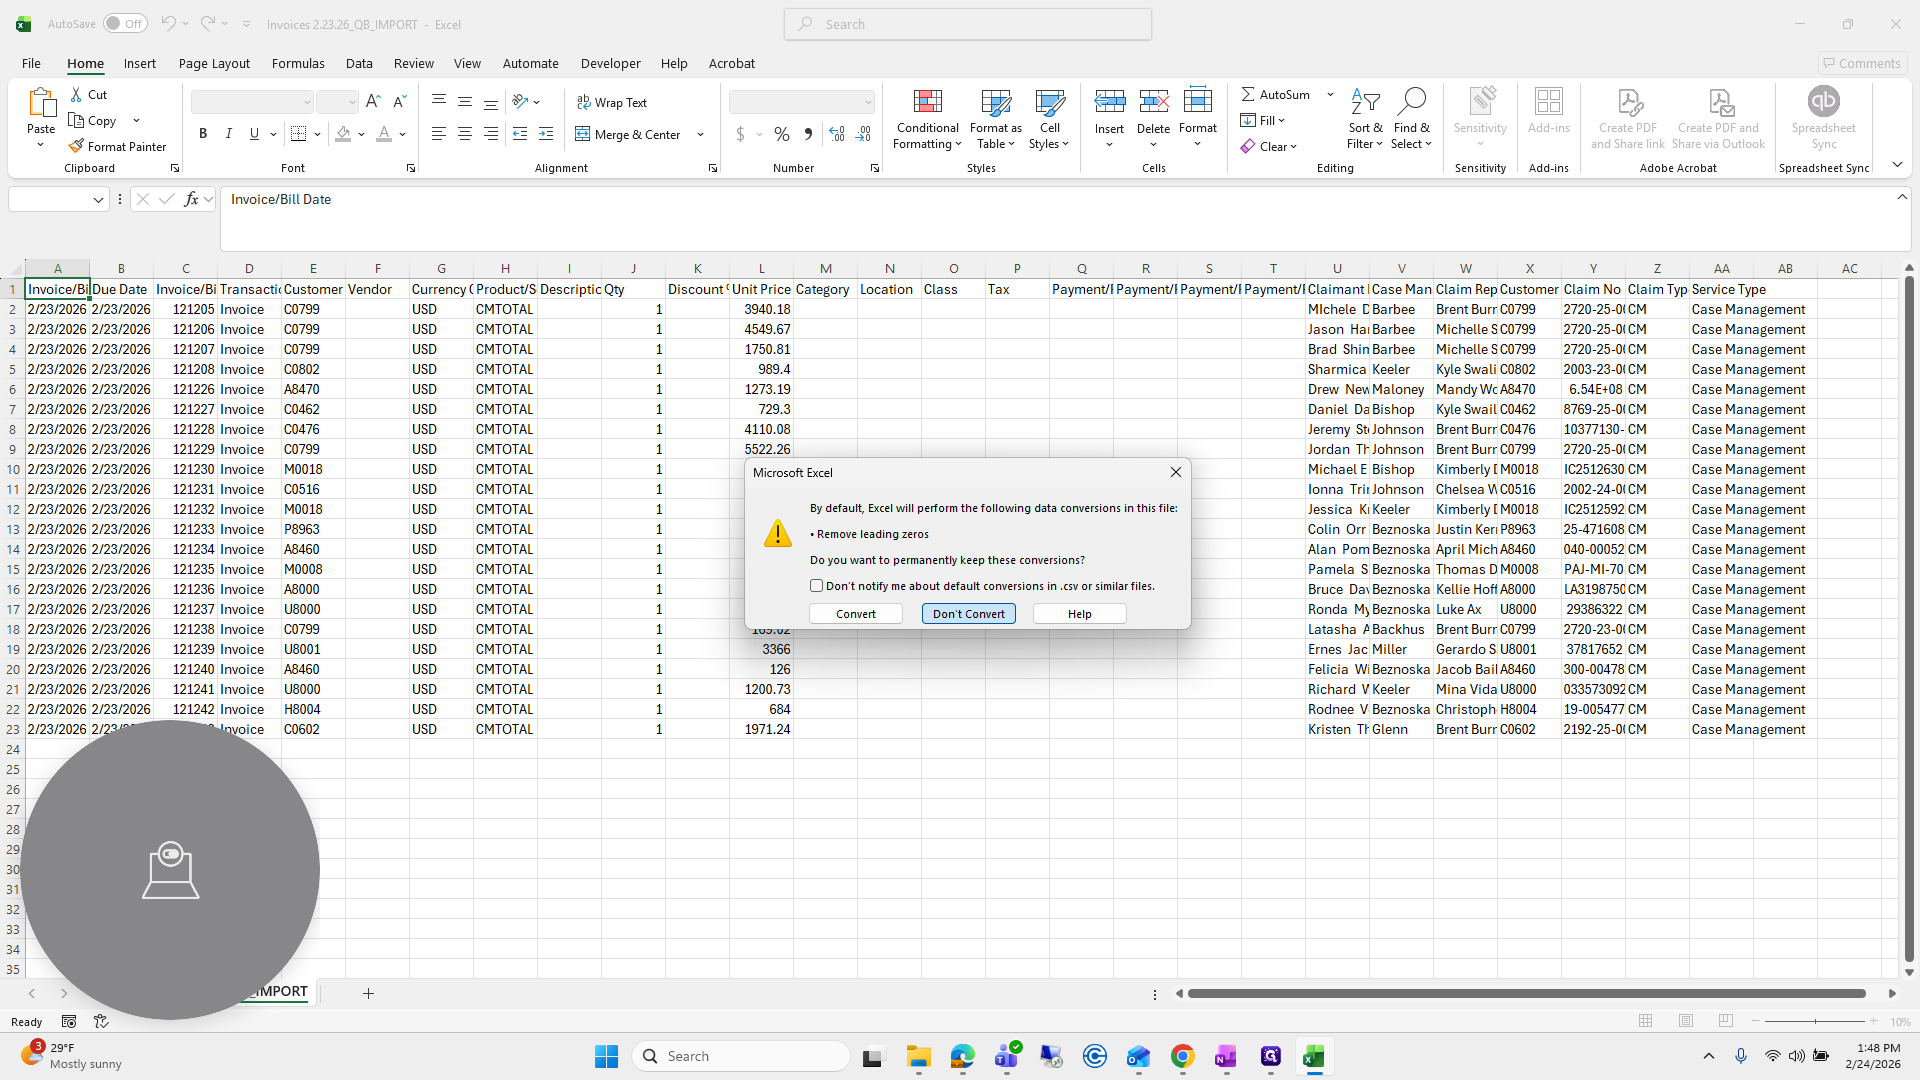
Open that. I usually press Don't Convert if the pop-up appears.
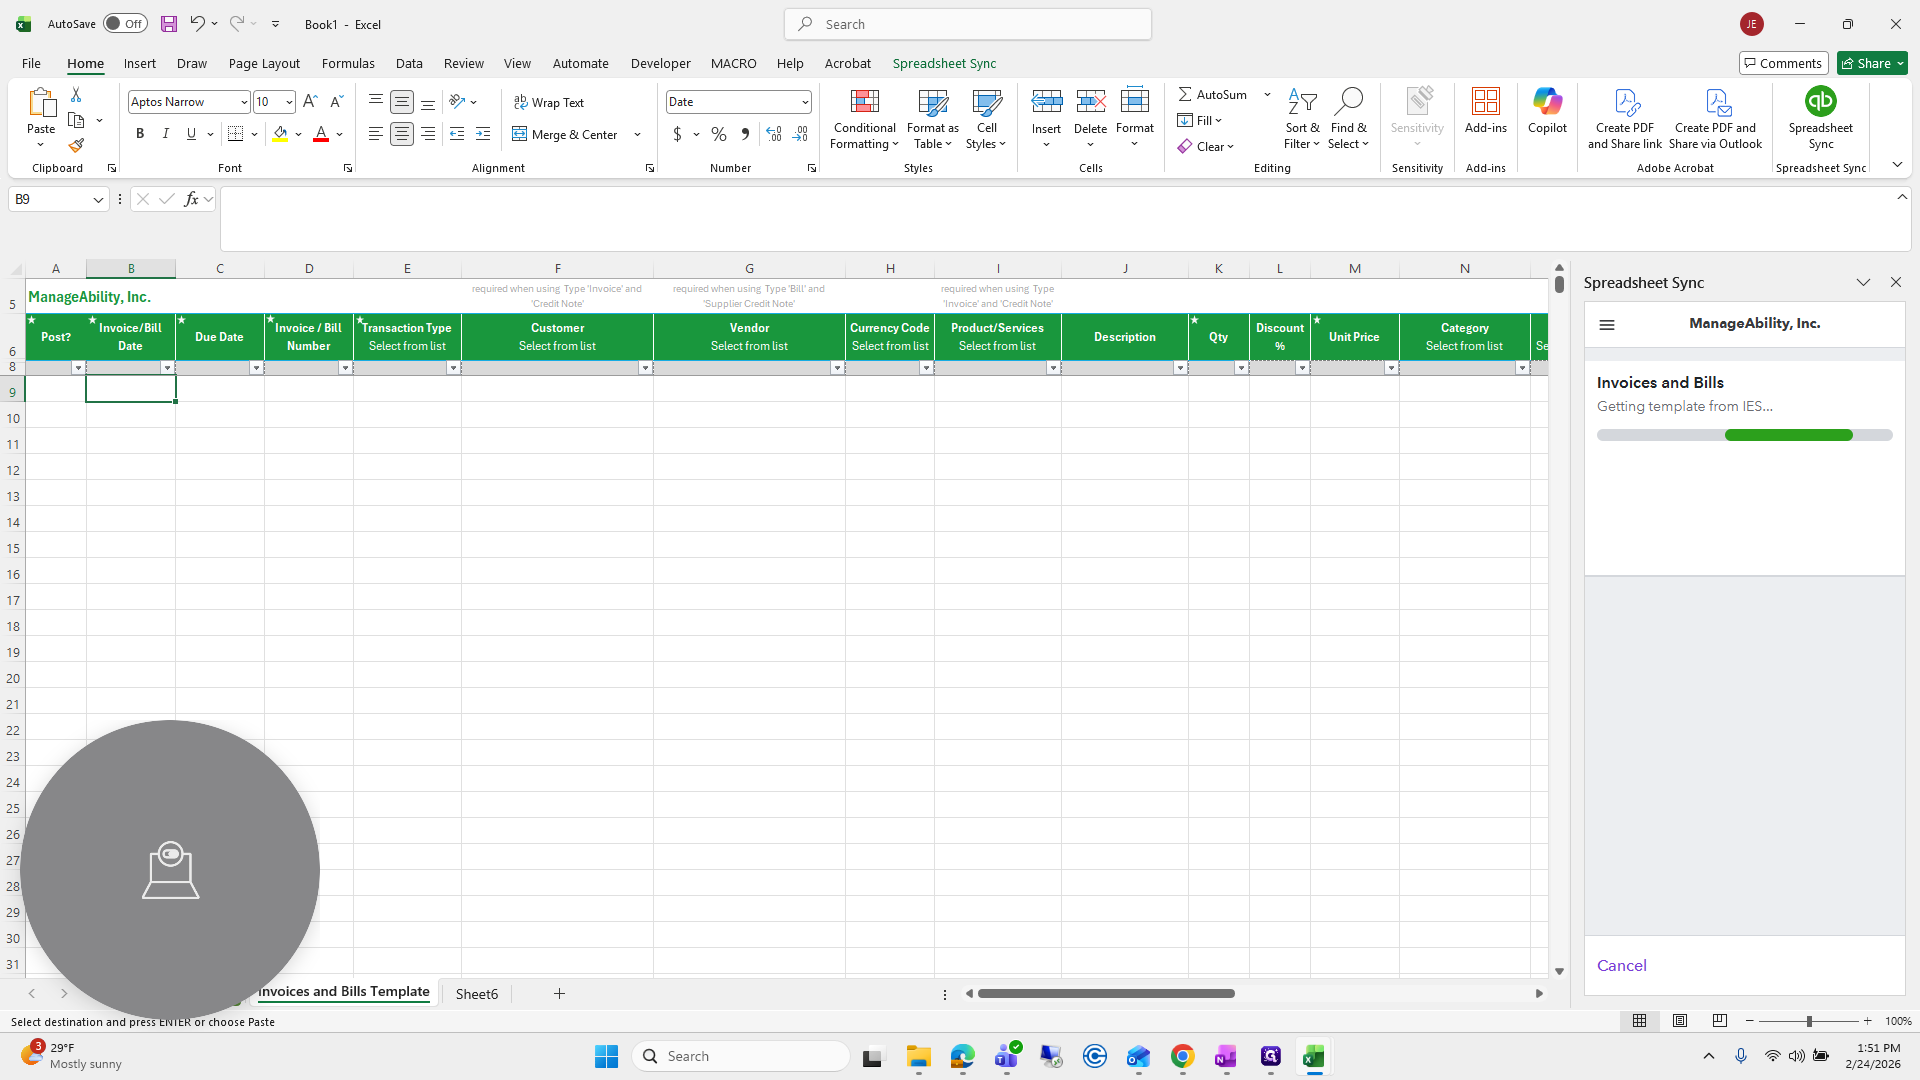
From here, go to File, select Blank Workbook, then choose Spreadsheet Sync.

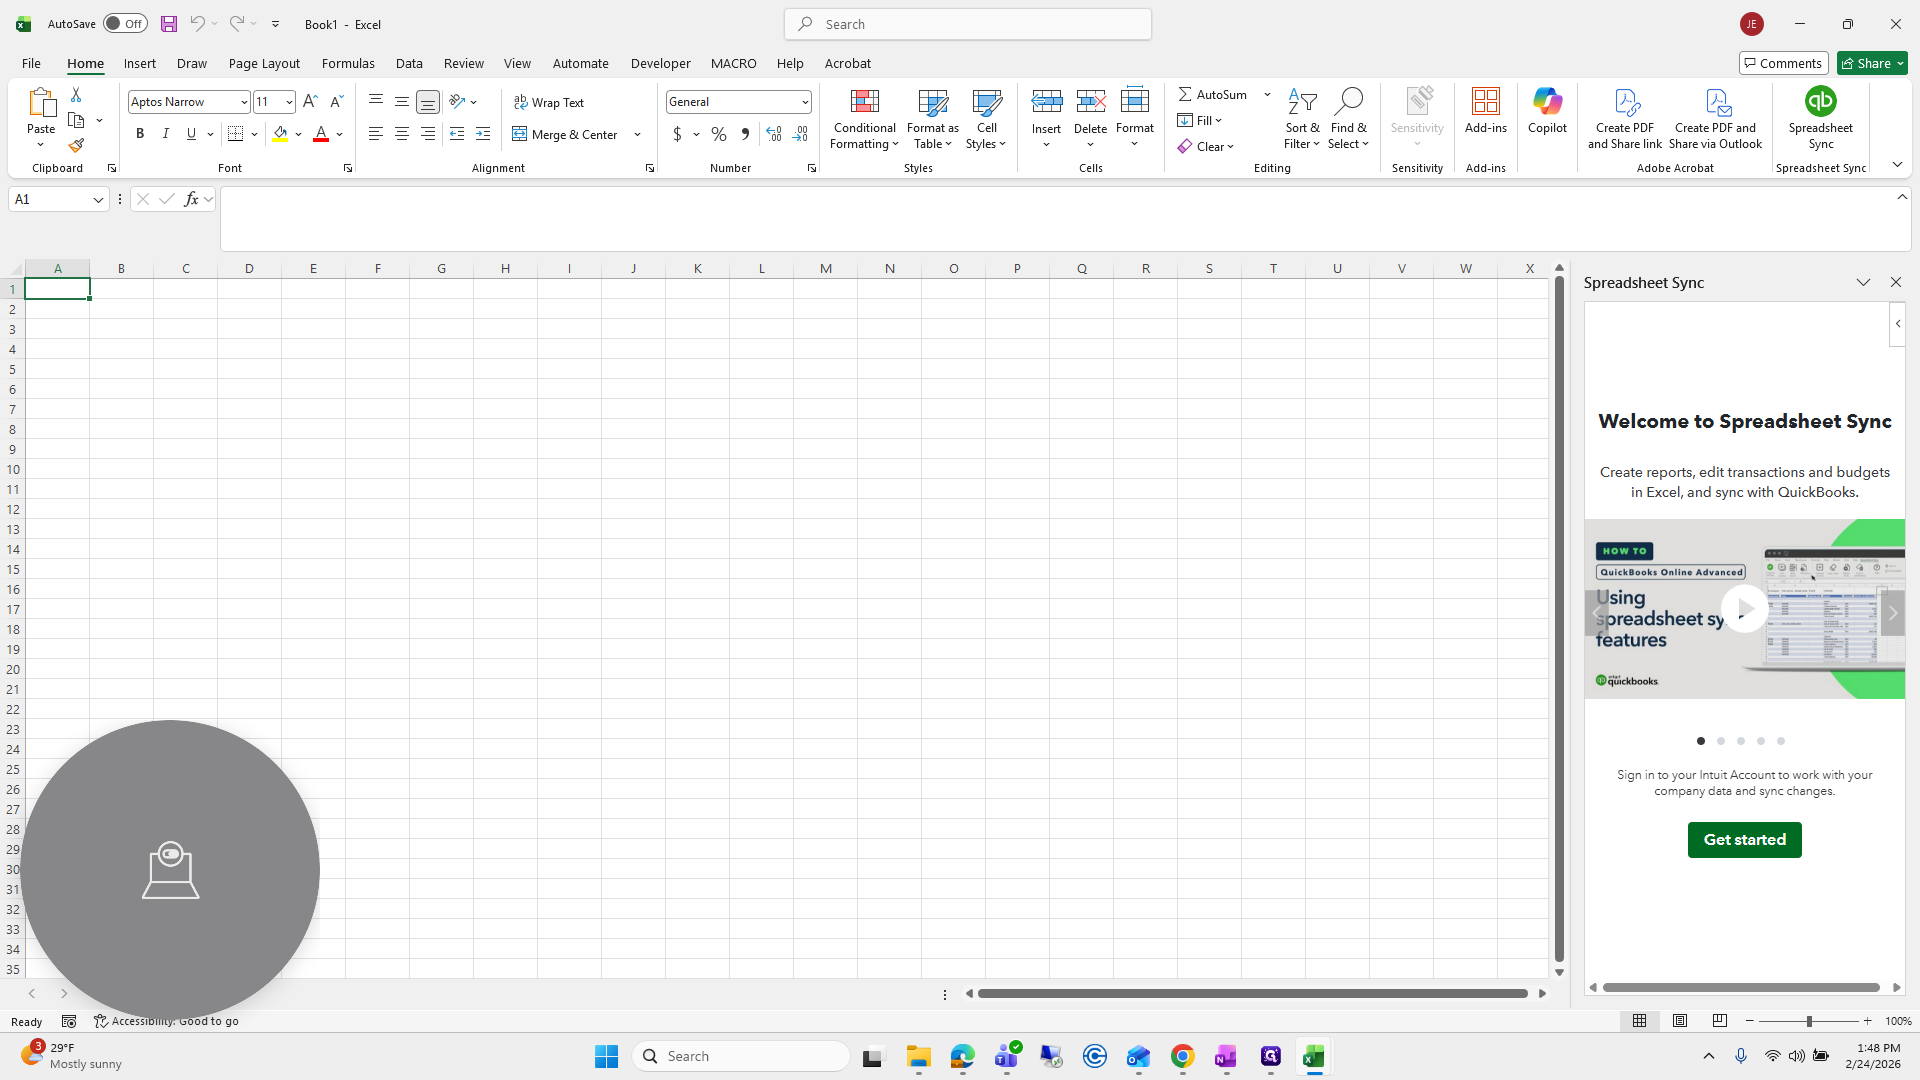
Log in to Spreadsheet Sync. Get Started.
I am going to choose Manageability.
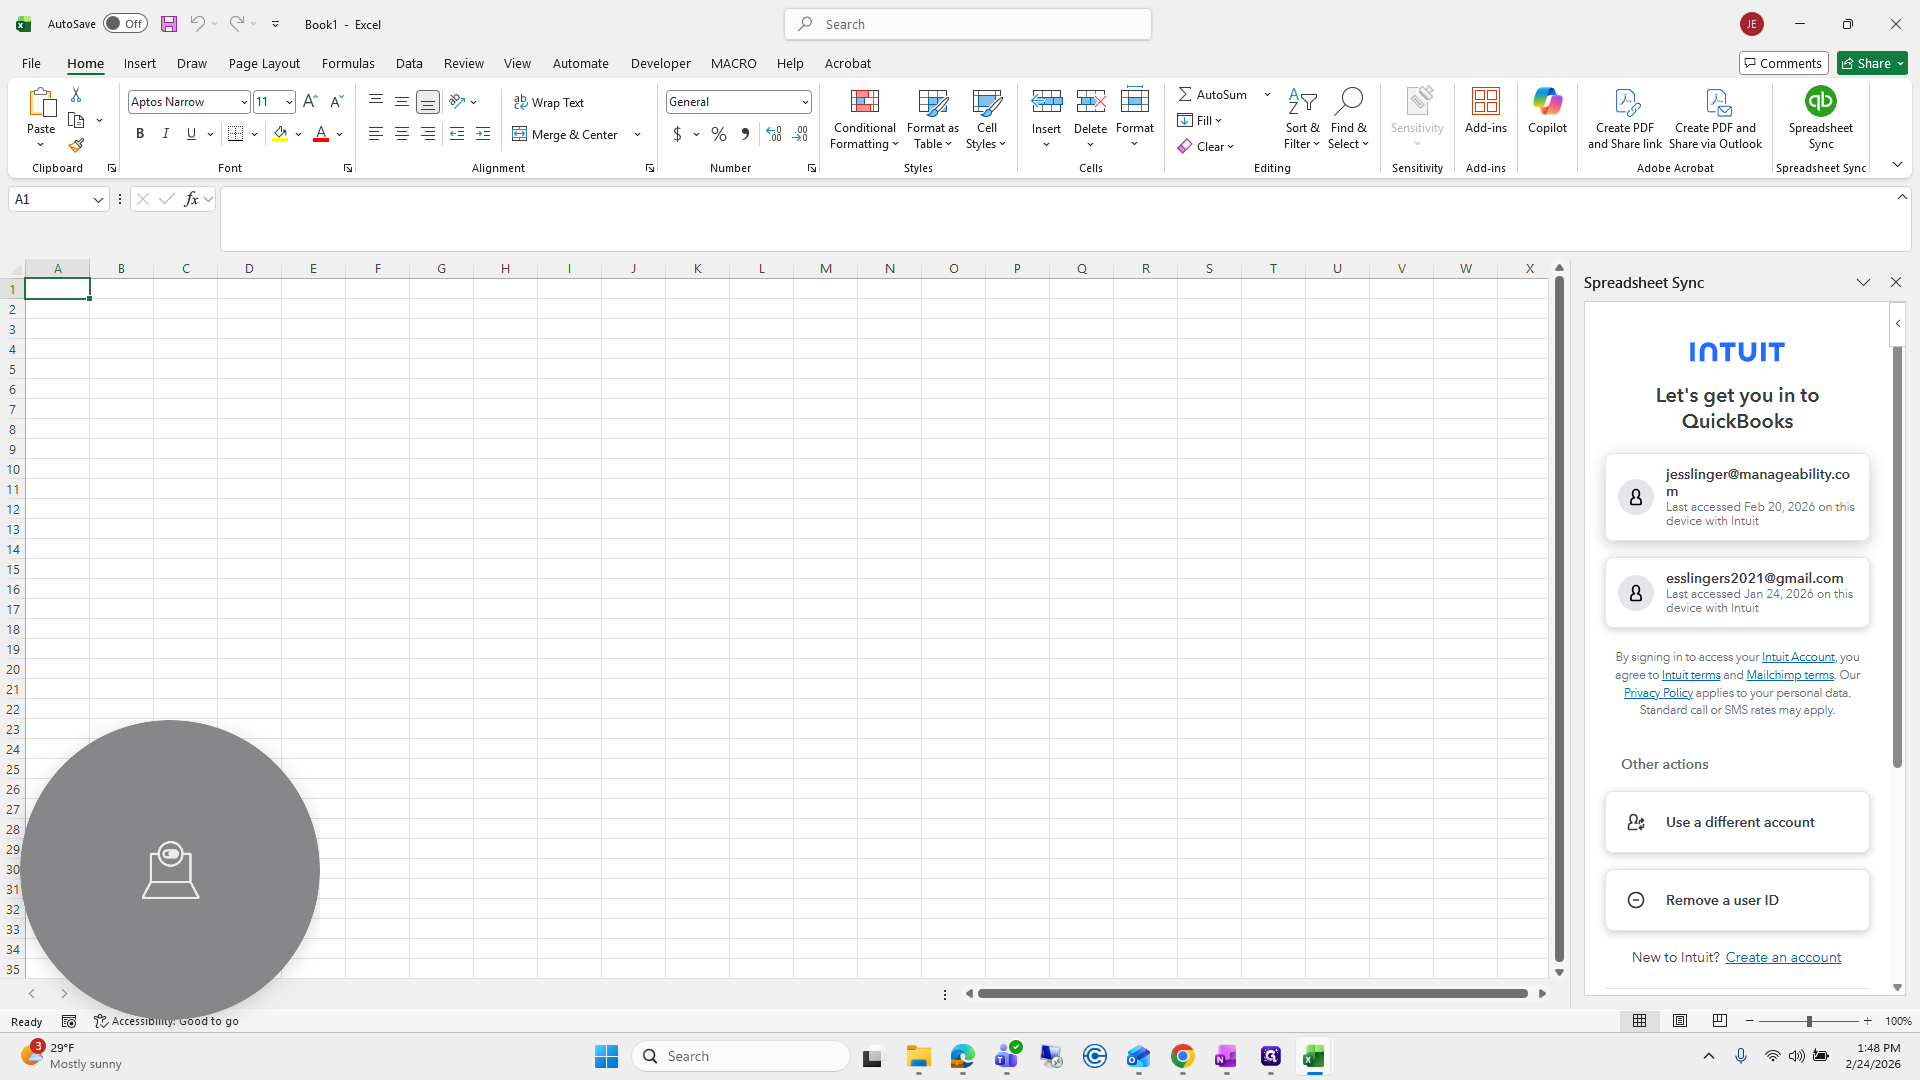
We will log in.
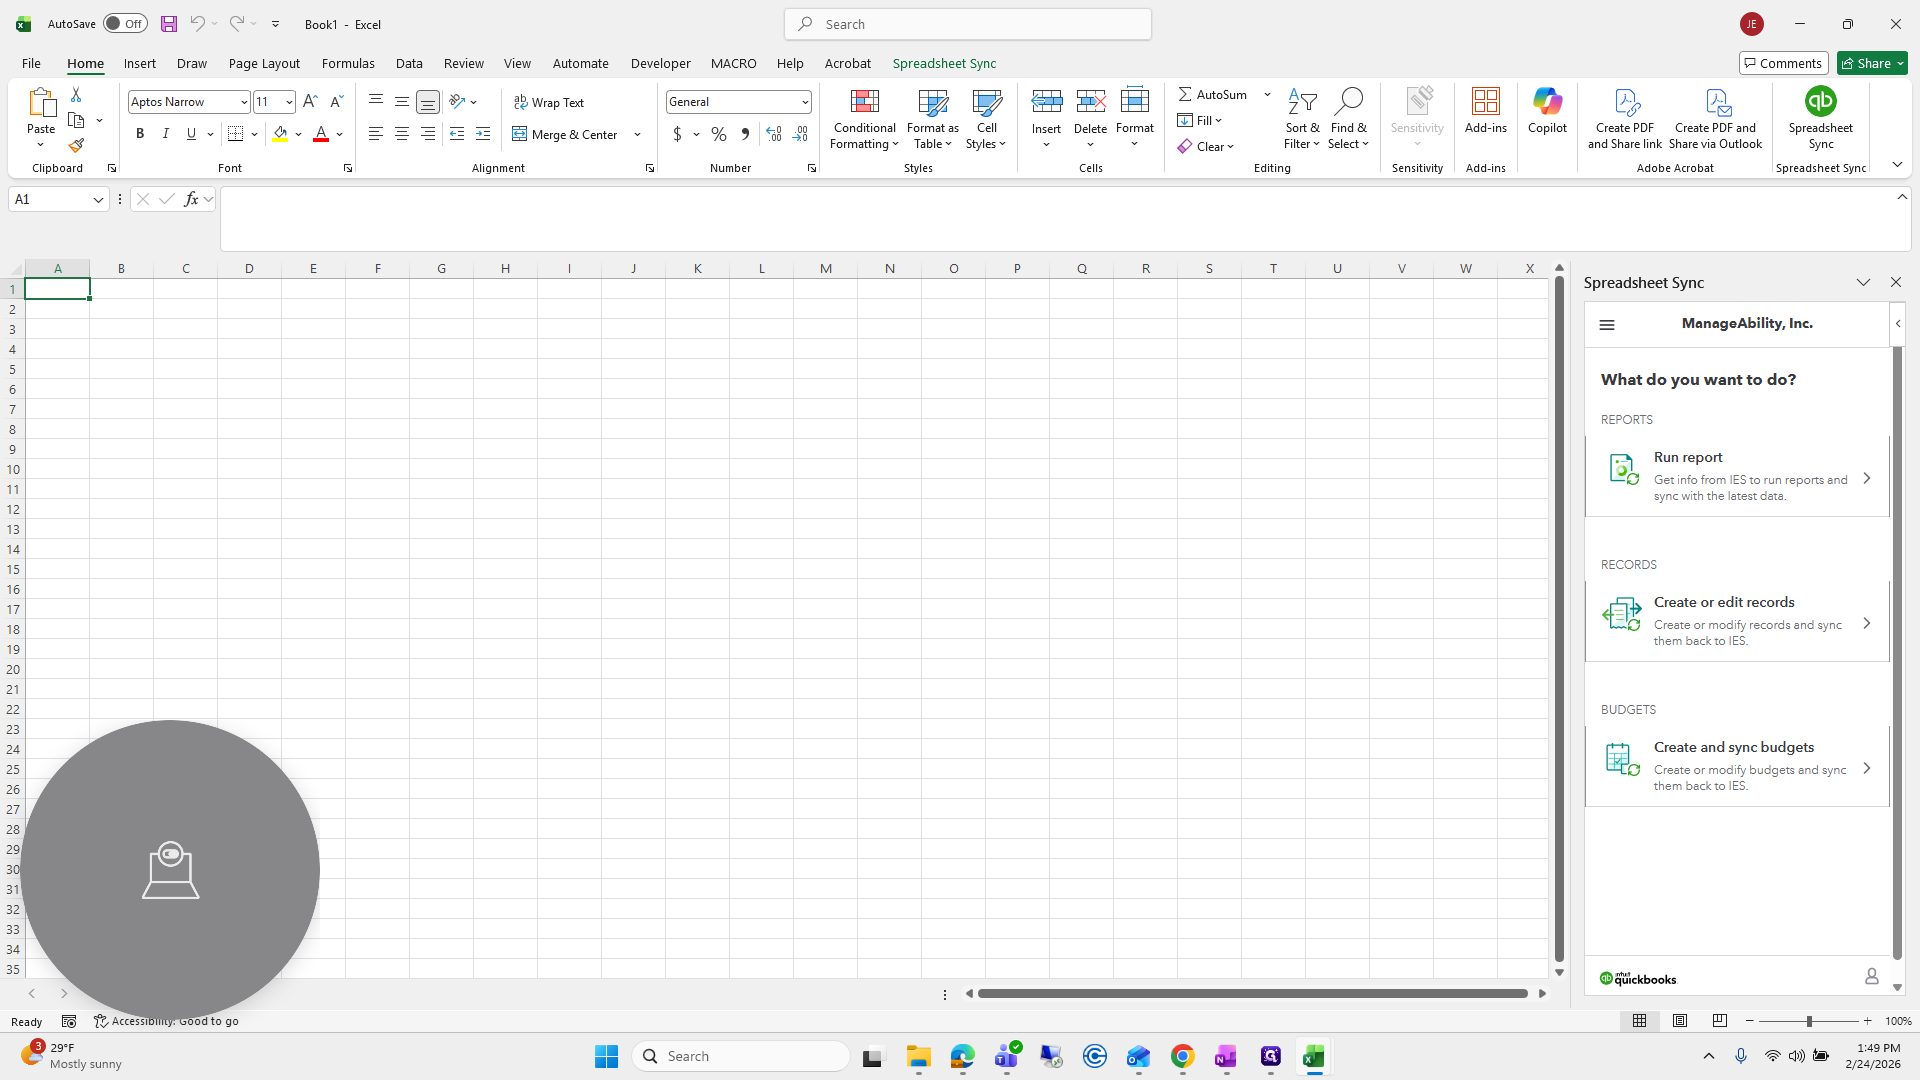
Then scroll down to Manageability and click Manageability.
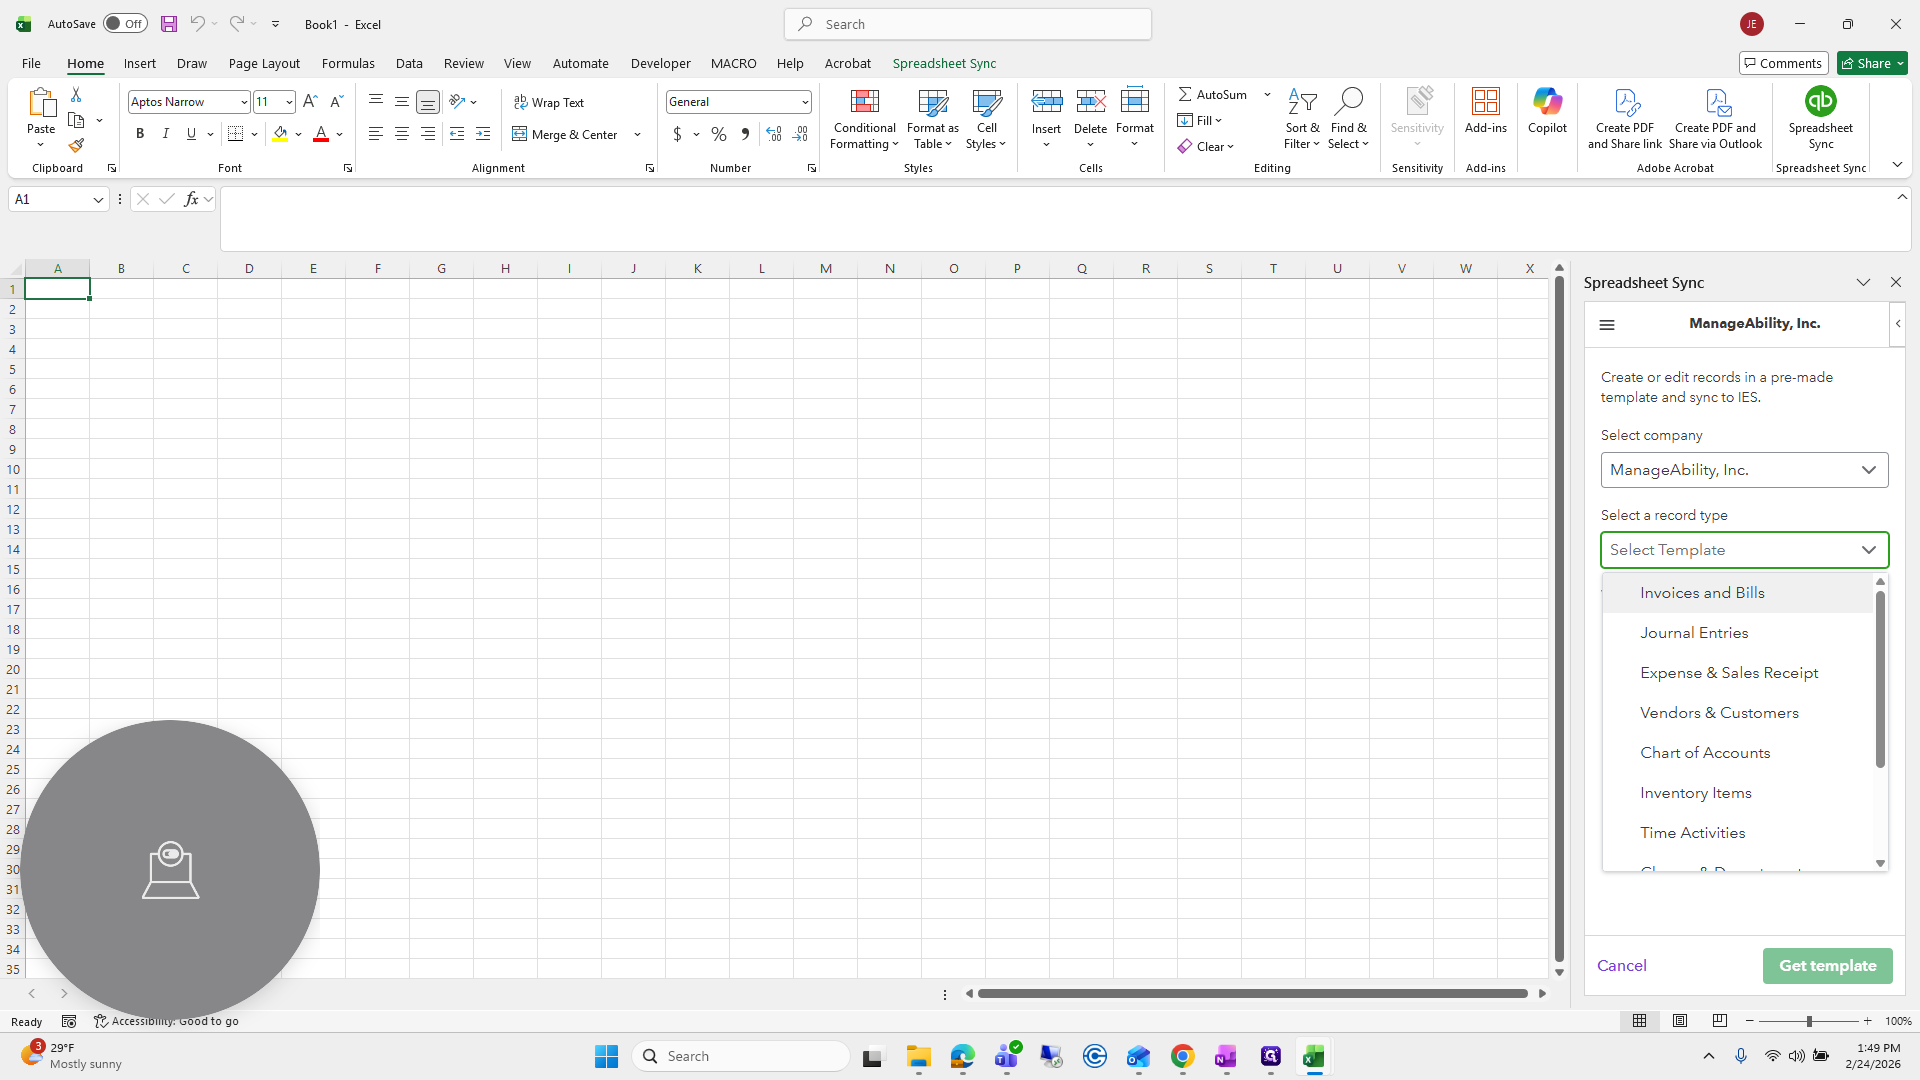
From here, click Create or Edit Records.
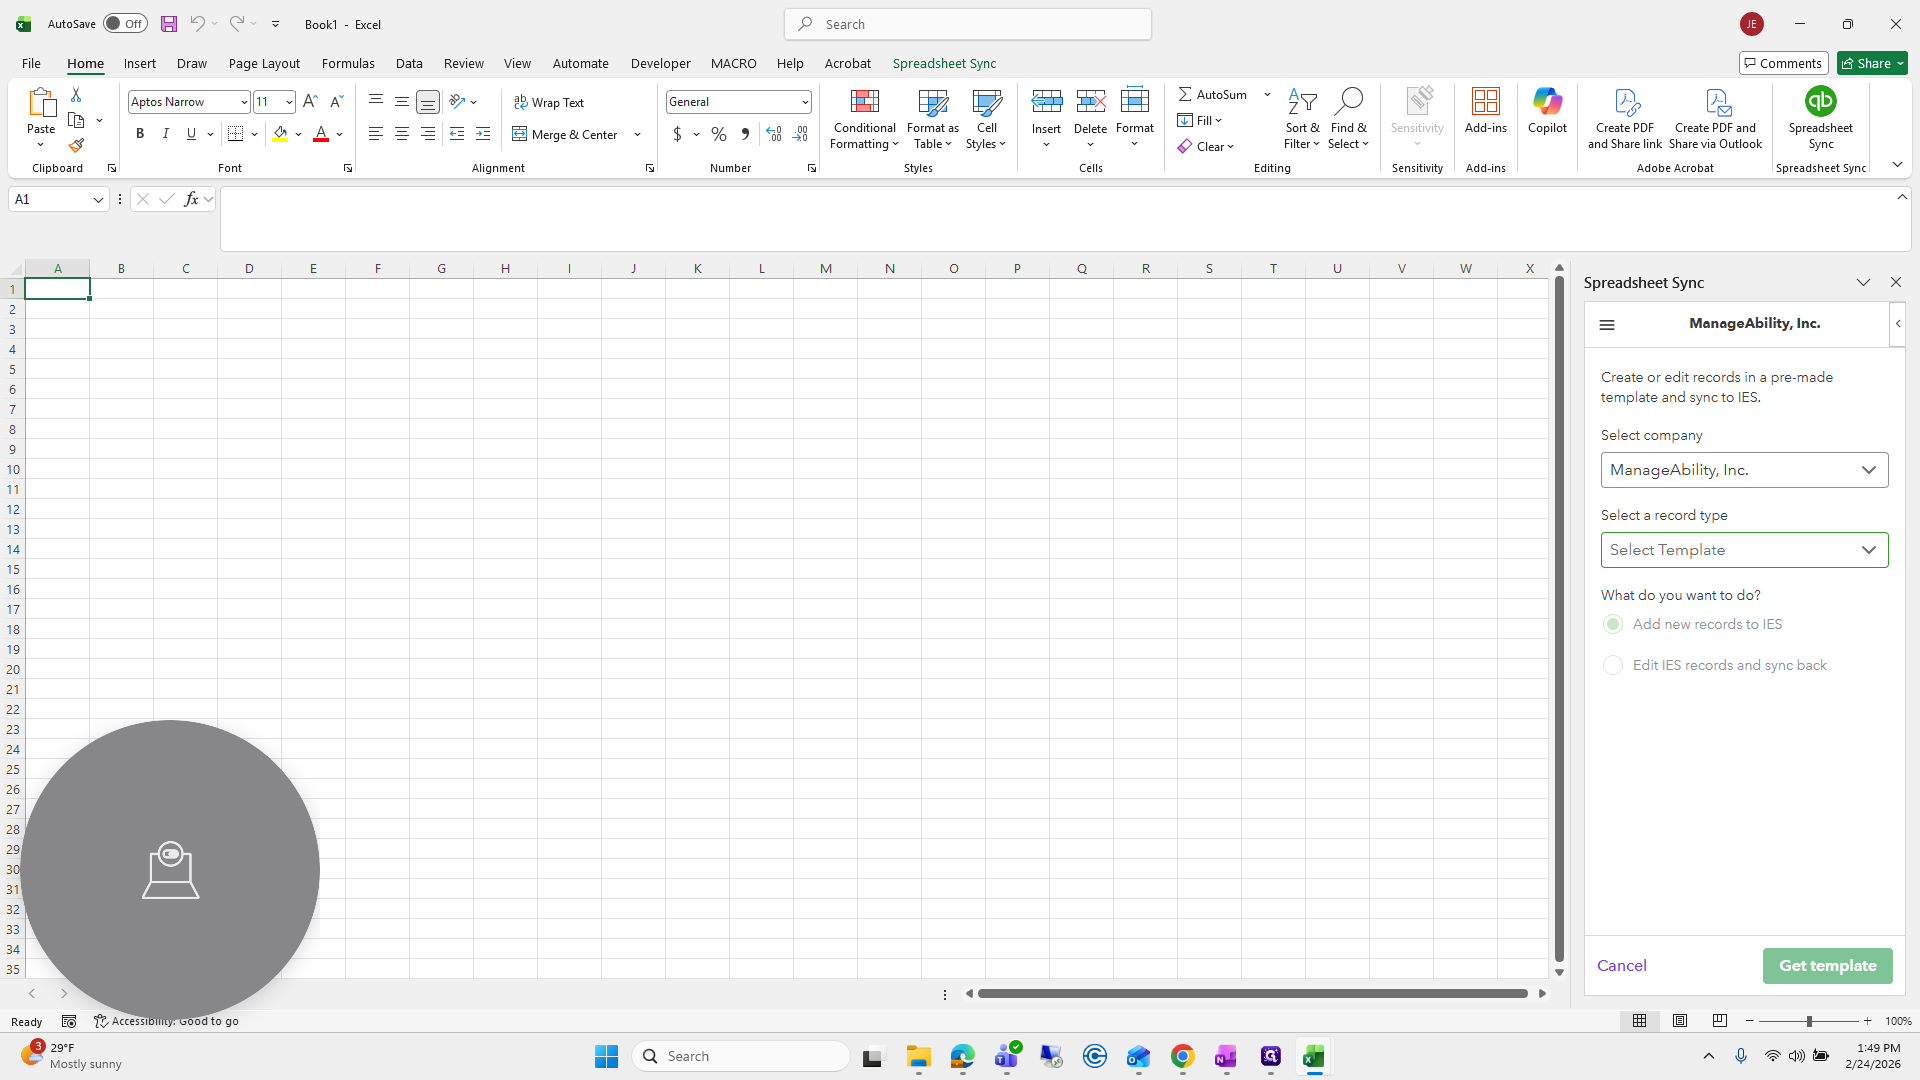
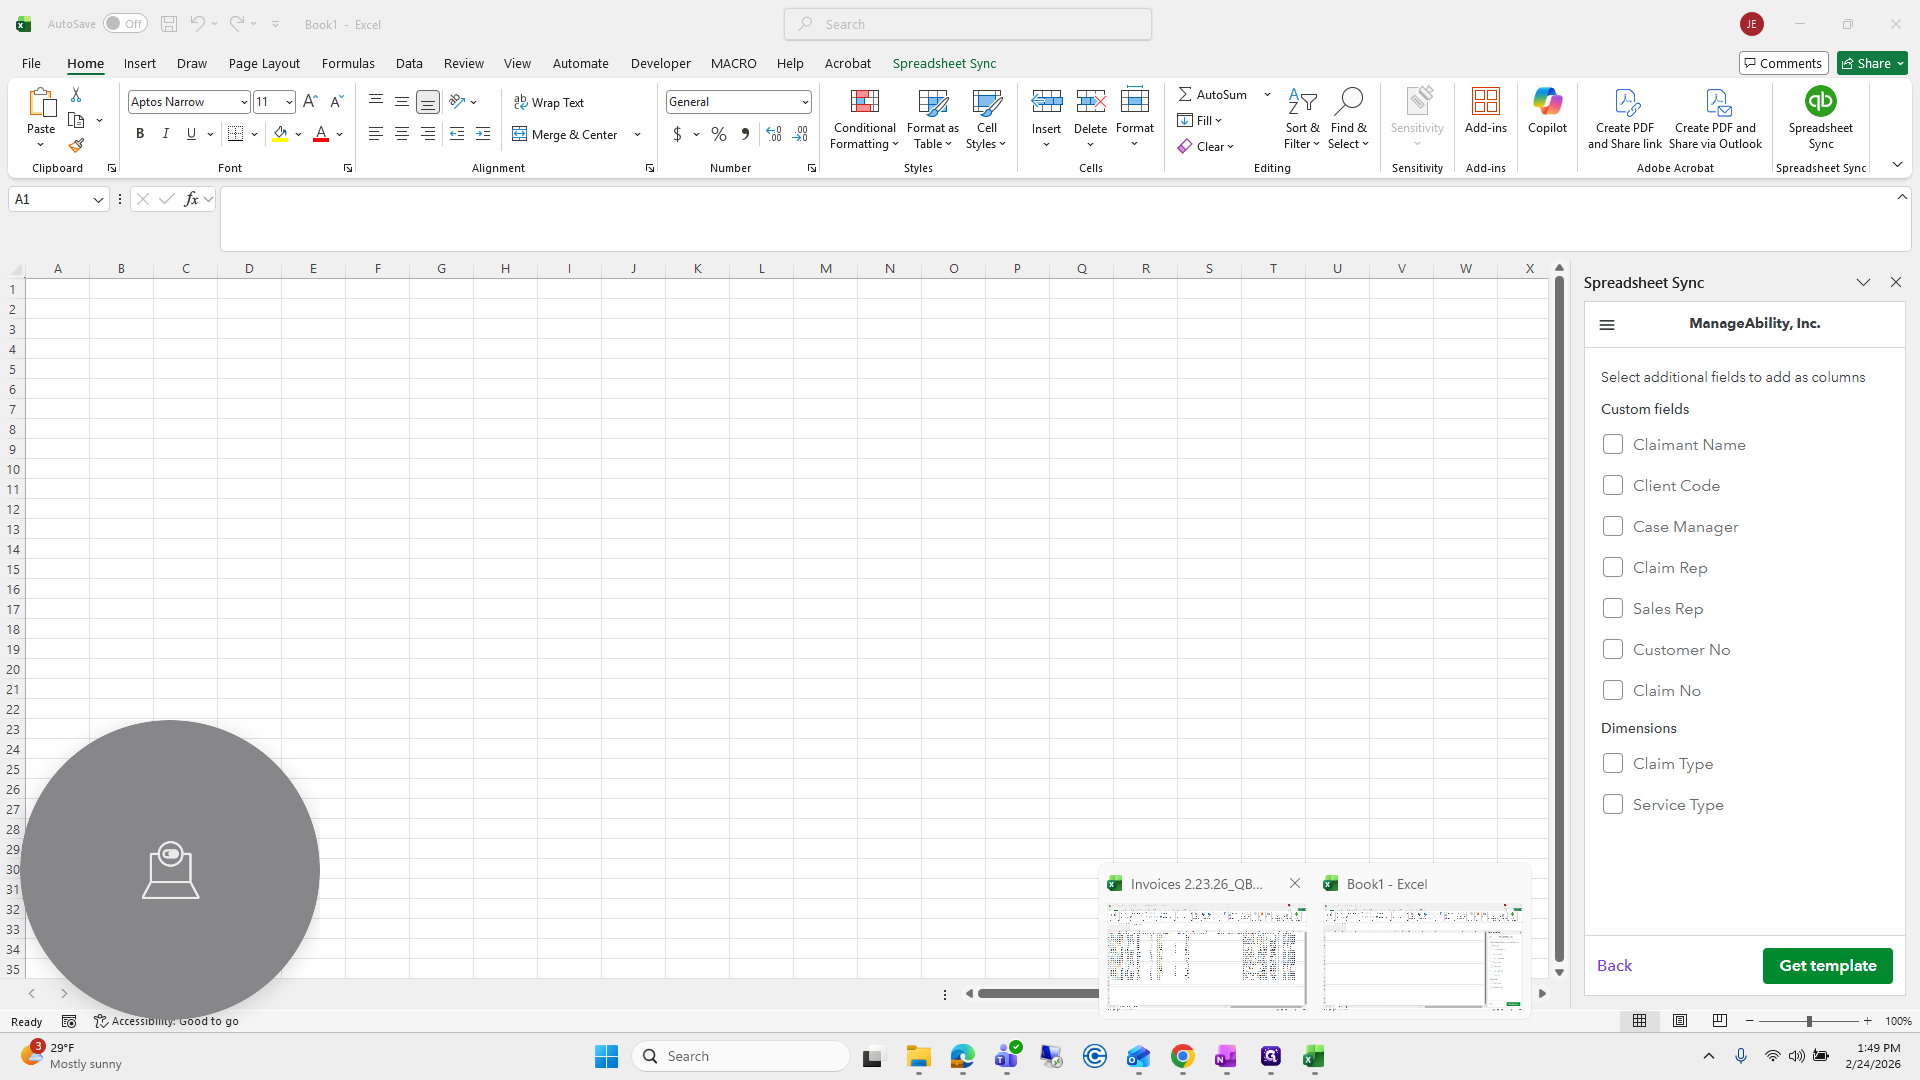
Make sure the company is still set to Manageability, Invoices, and Bills. Then select Custom Field and Dimension Columns.

If you want to know which columns to choose, we will be selecting these columns on the file that was just created.


Daily Case Management Invoice Import – Step-by-Step
Step 1: Save the Invoice File
Receive the daily invoice file from Gail.
Review the invoice information.
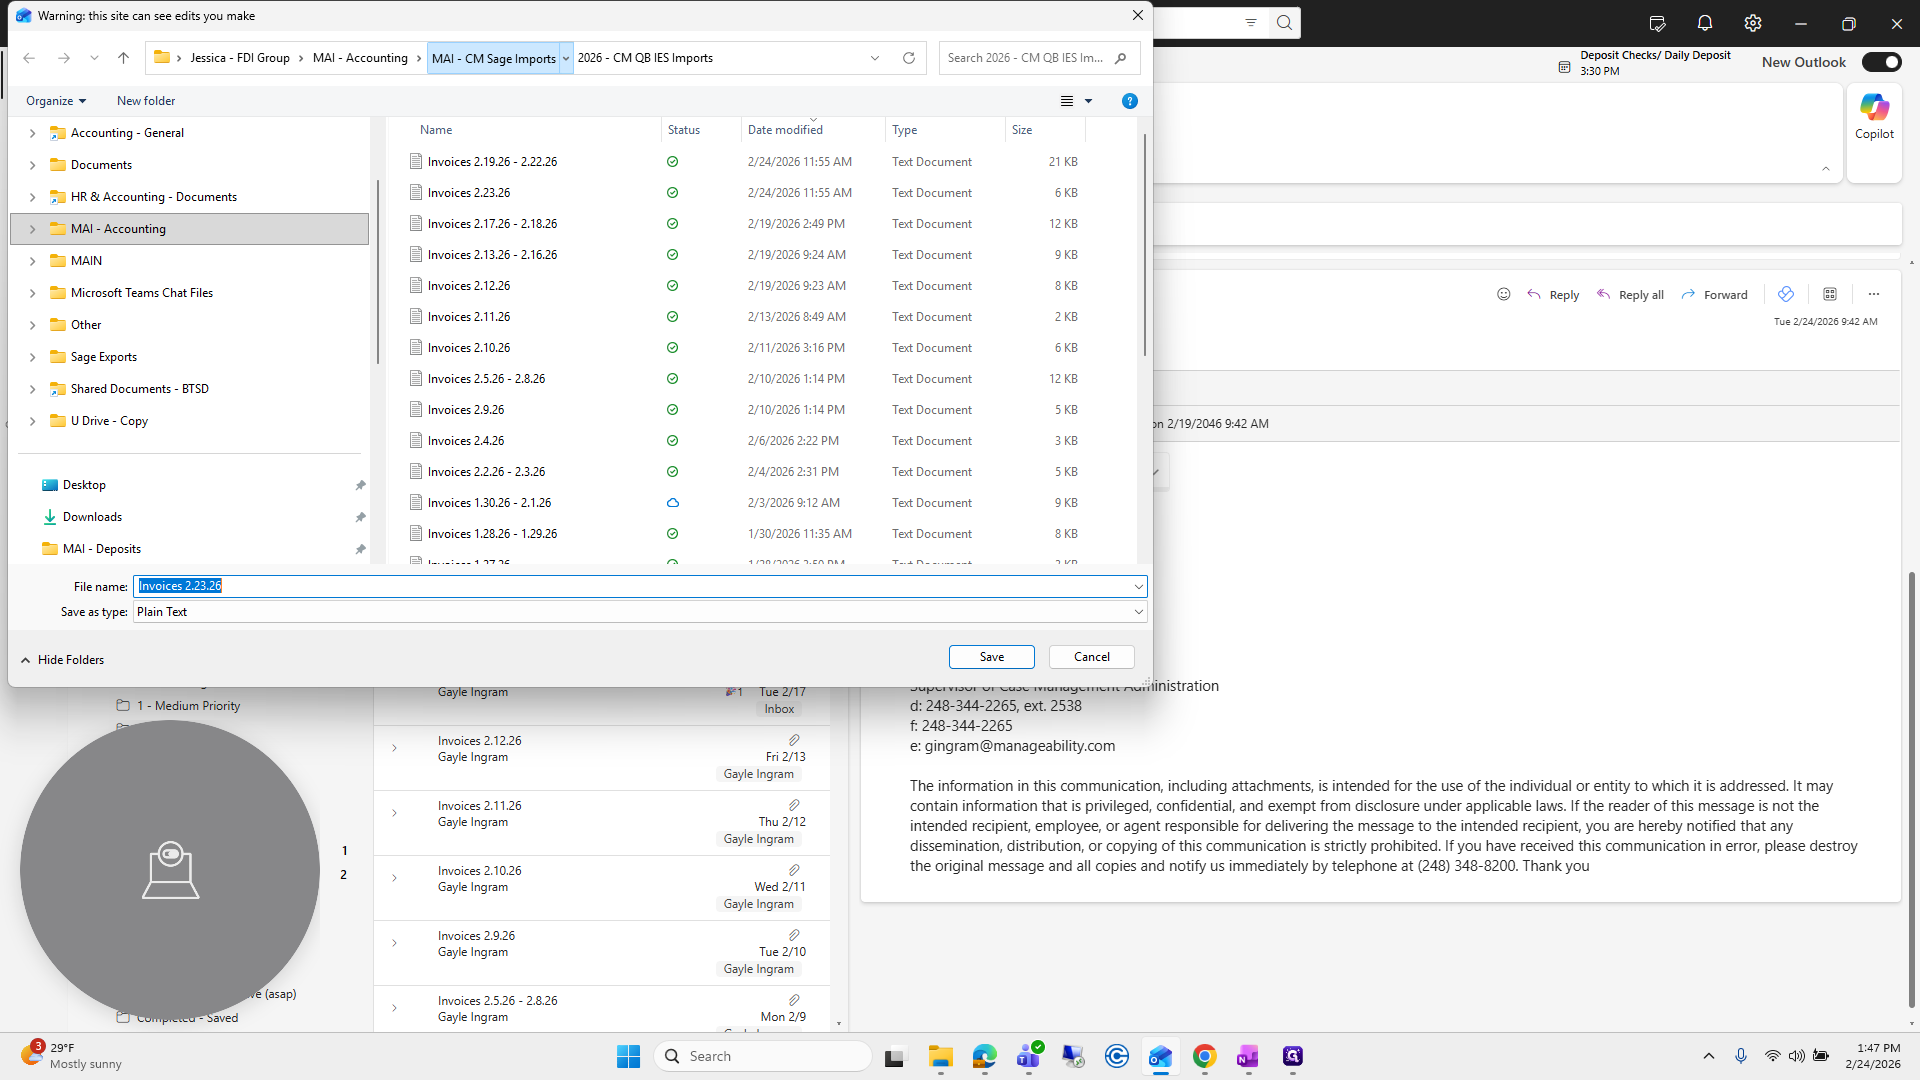
Save the file to the MAI Accounting path provided.
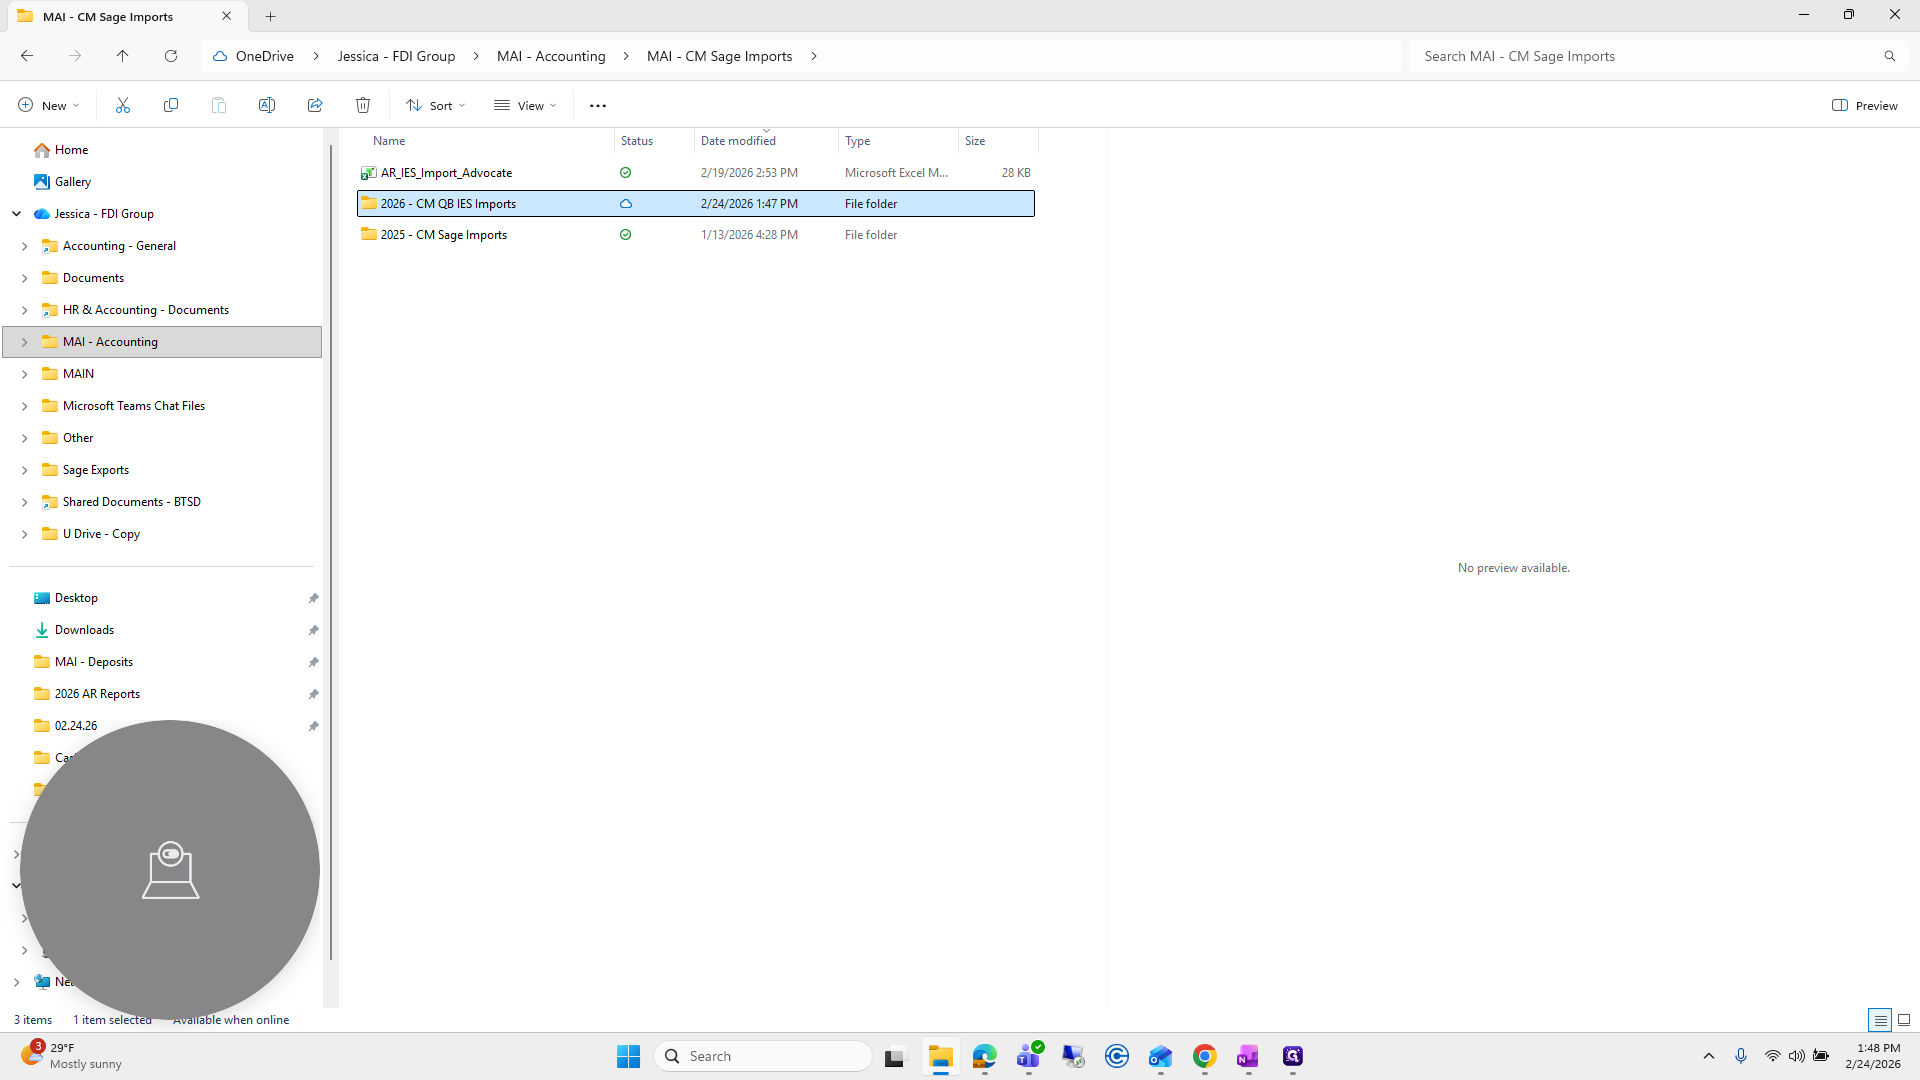
Open the Sage Imports folder.
Select the 2026 folder.
Click Save.
Step 2: Run the ARIES Import Advocate Macro
Open the file titled AR IES Import Advocate.
Click Macro.
Select Build QB Invoice from TXT Full (ignore the first macro option).
Click Run.
When prompted, navigate to the folder where you saved the invoice file.
Select the file and click Open.
Click OK once the macro finishes creating the file.
Close out of the macro file.
Step 3: Open the Macro-Created File
Go back to the IES Imports folder.
Locate the newly created comma-delimited file.
Open the file.
If prompted with a conversion message, select Don’t Convert.
Step 4: Open Spreadsheet Sync
Go to File → Blank Workbook.
Open Spreadsheet Sync.
Log in.
Click Get Started.
Select the Manageability company.
Log in again if prompted.
Step 5: Create or Edit Records
Scroll down and click Manageability.
Select Create or Edit Records.
Confirm the company is set to Manageability.
Choose Invoices and Bills.
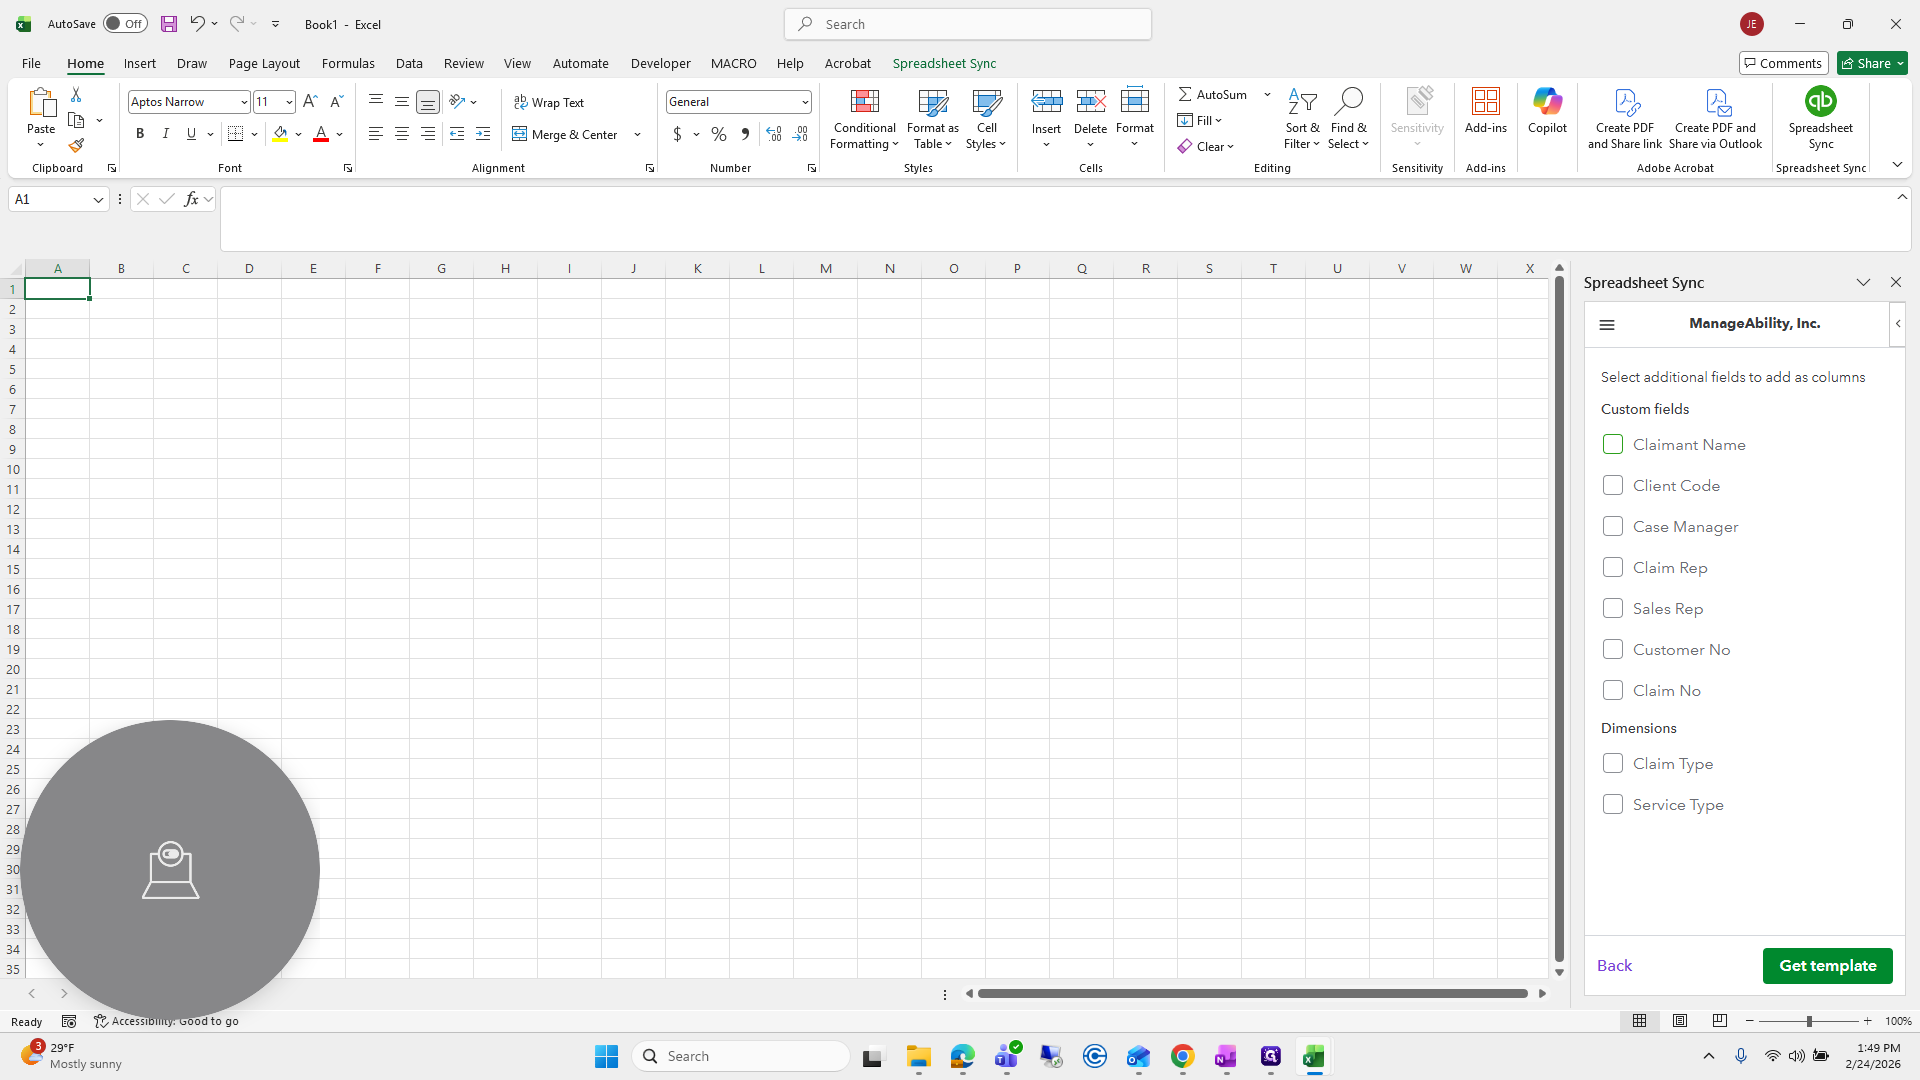
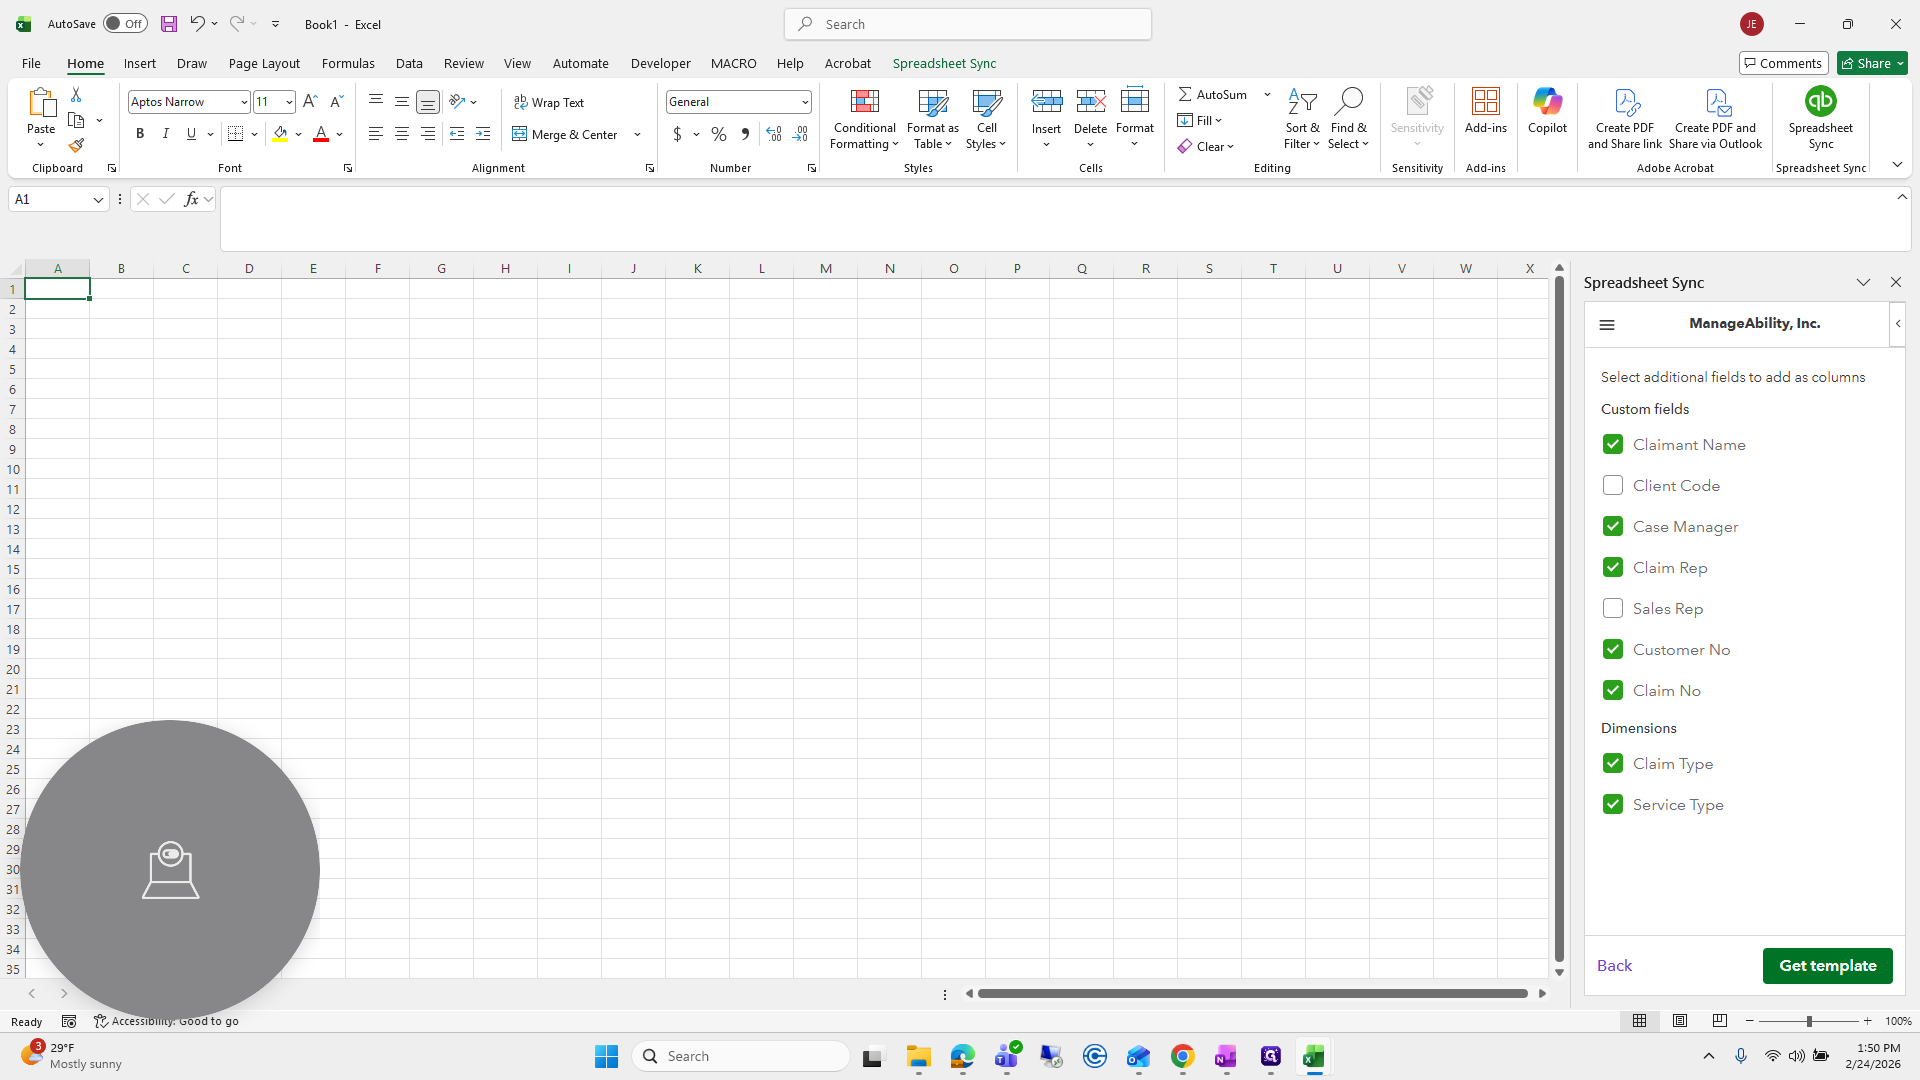
Select Custom Field and Dimension Columns.
Choose the required columns:
Claimant Name
Claimant Manager
Claimant Rep
Customer Number
Claim No
Claim Type
Service Type
Step 6: Prepare the Template
If prompted to replace sheet data, select Clear Data (if the sheet is blank).
Wait for the template to fully load.
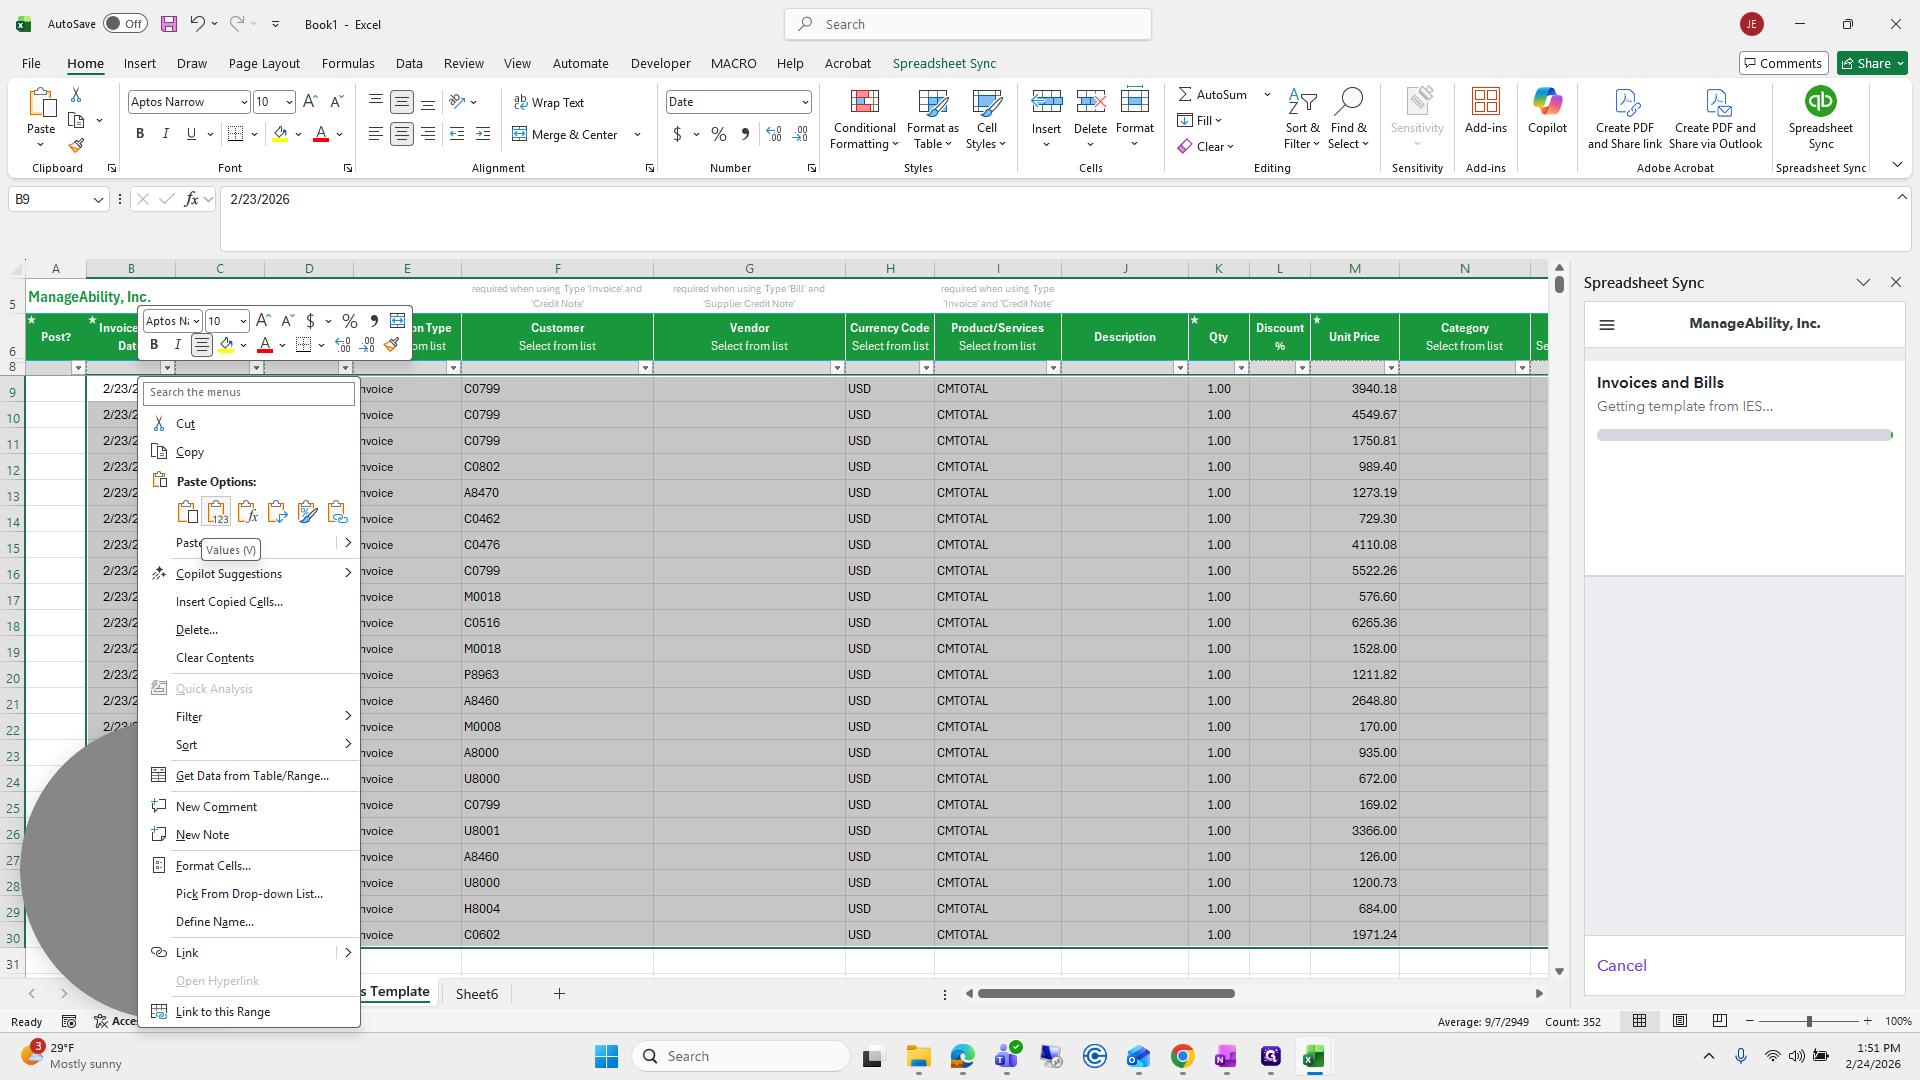
Step 7: Copy and Paste the Data
Return to the comma-delimited file created by the macro.
Select all data.
Copy the data.
Go back to the Spreadsheet Sync template.
Click in the first cell.
Select Paste Special and paste the data.
This completes part one of the daily invoice import process.