How to Import Device Requests into ThankQ Using the Devices App for British Wireless for the Blind
Step-by-step guide to importing device request data from Excel into the Thank You system using the Devices app for British Wireless for the Blind. Learn the five essential import steps and best practices for a smooth data upload process.
In this guide, we'll learn how to import device request data for British Wireless for the Blind using an Excel spreadsheet and the Devices app. We will cover the steps to prepare your files, generate import files, and upload them into the ThankQ system in the correct order. This process helps ensure that all data is organized and imported accurately.
Let's get started
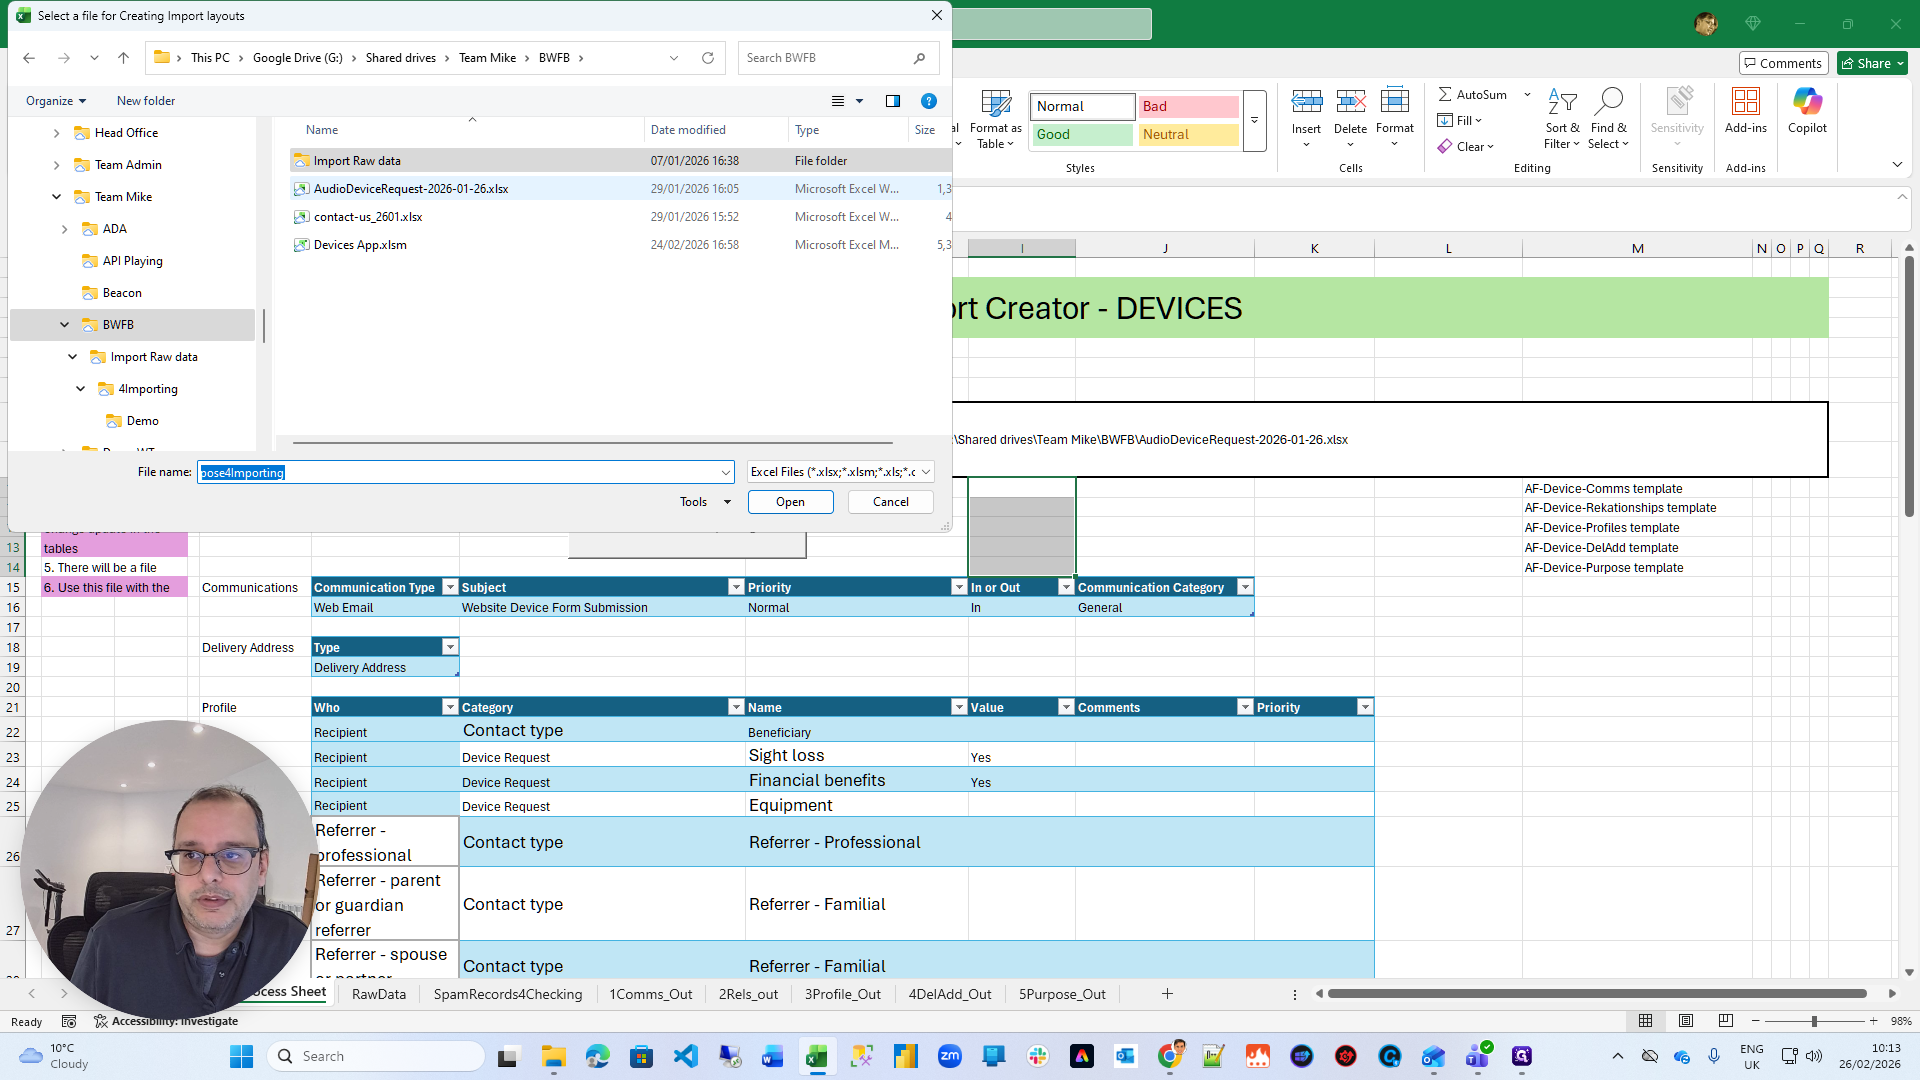
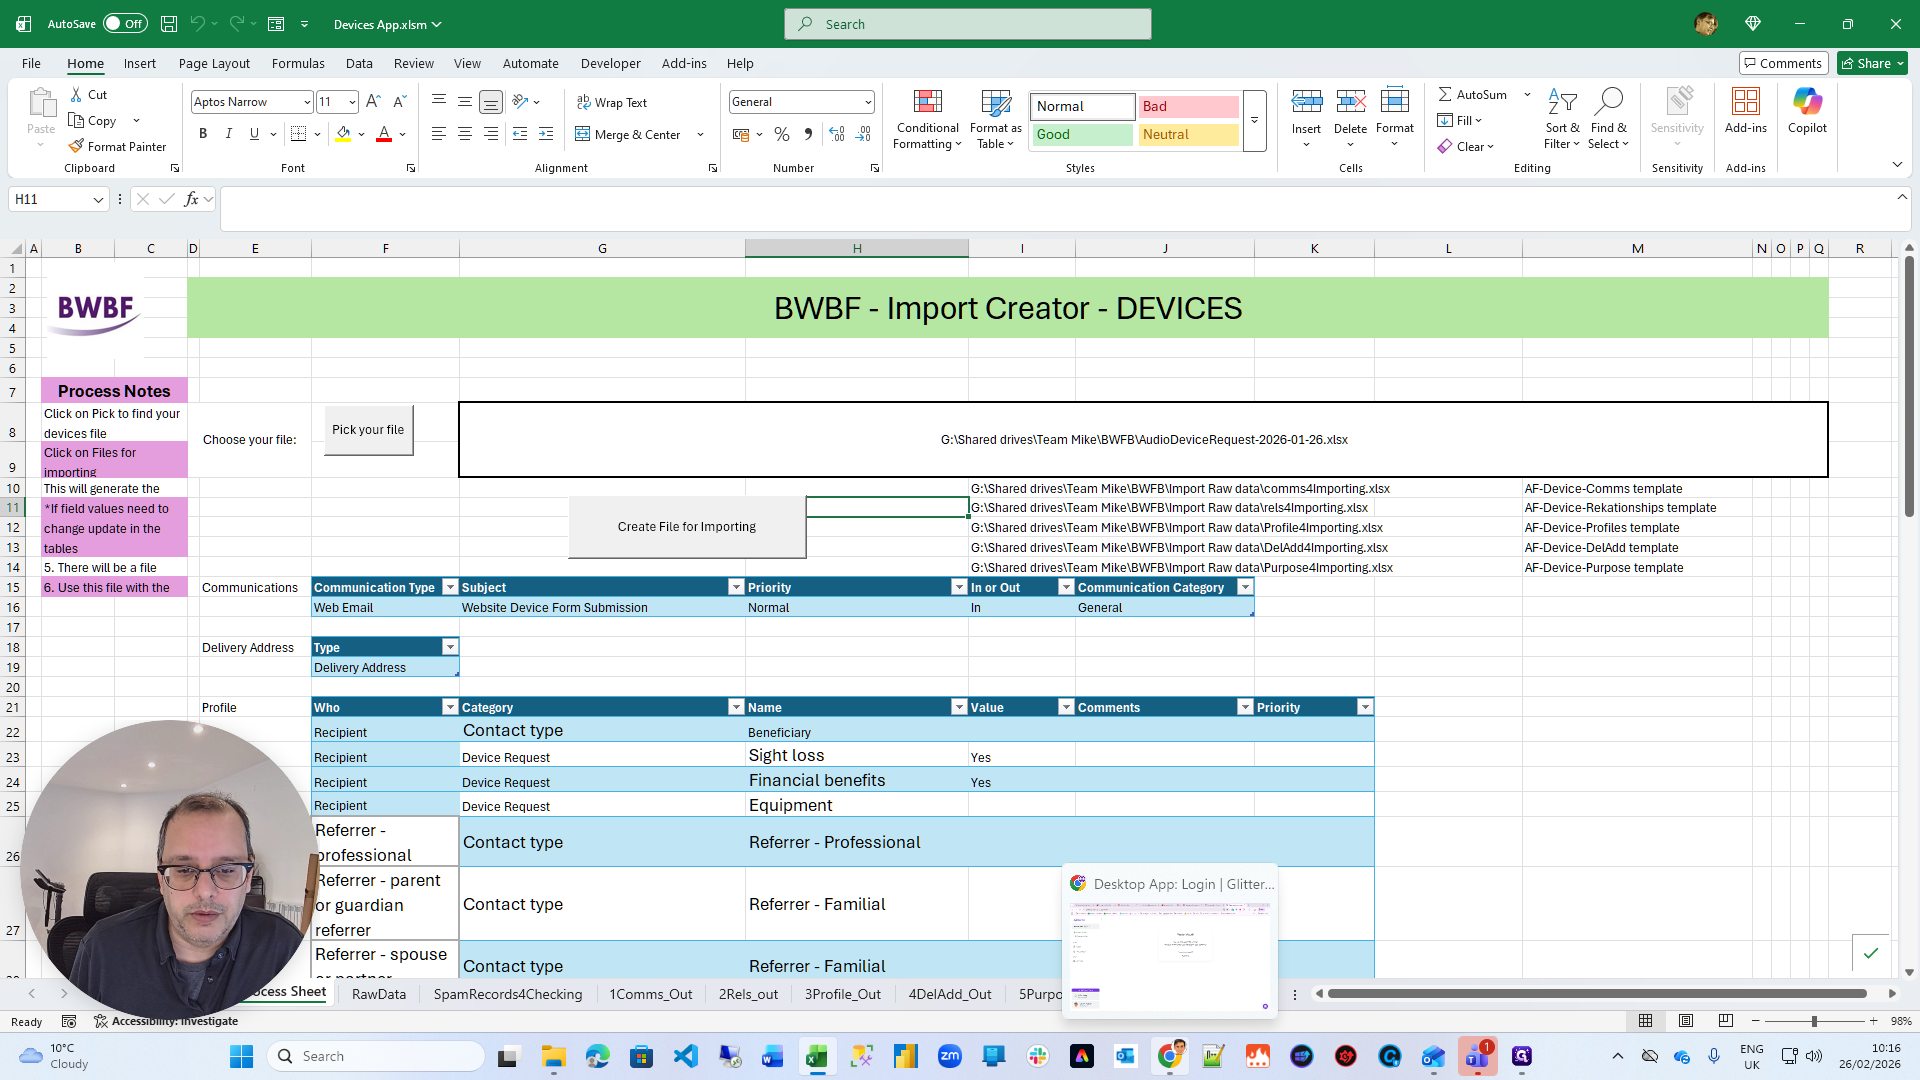
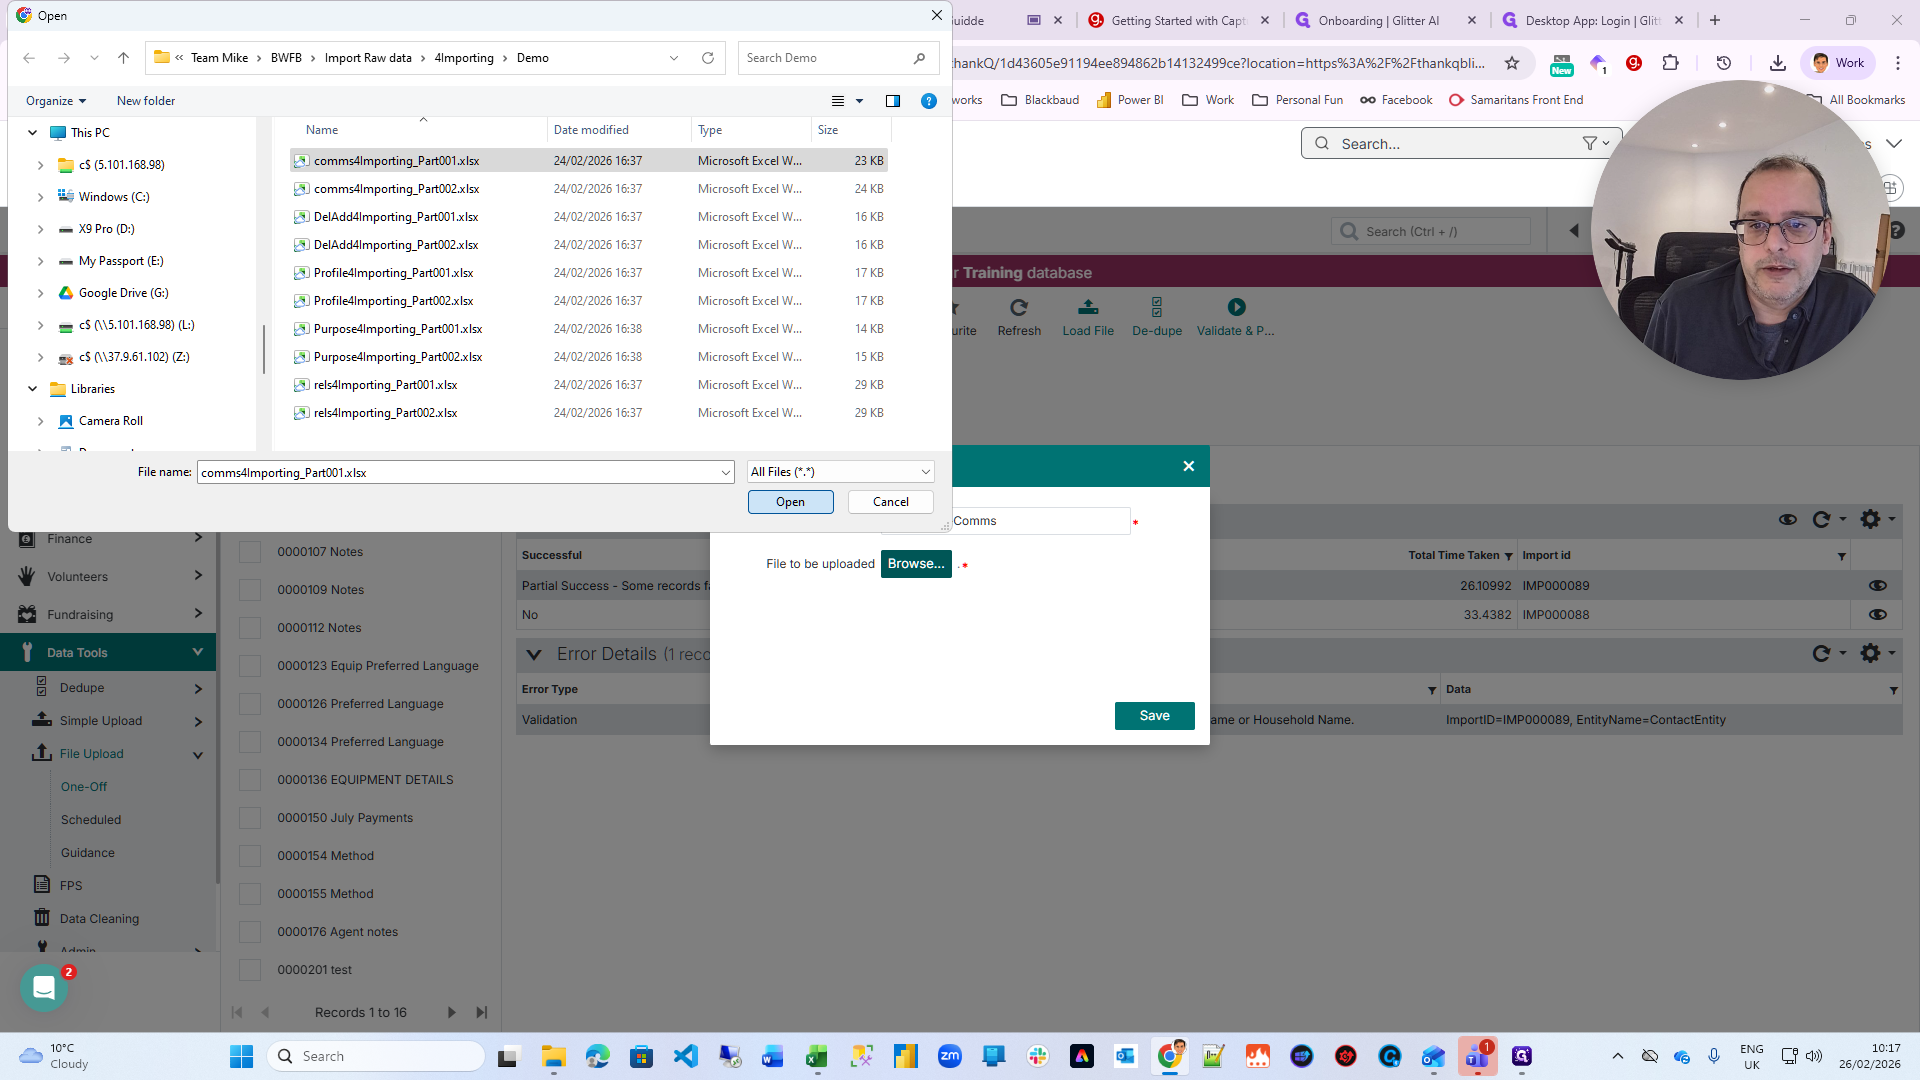
Perfect. This is a demonstration of the Devices app for British Wireless for the Blind. You will have the Excel spreadsheet. Prerequisites: You have the Excel spreadsheet and the data from the website for people requesting devices from you. First, click "Pick Your File." Then, select the file you want to import.
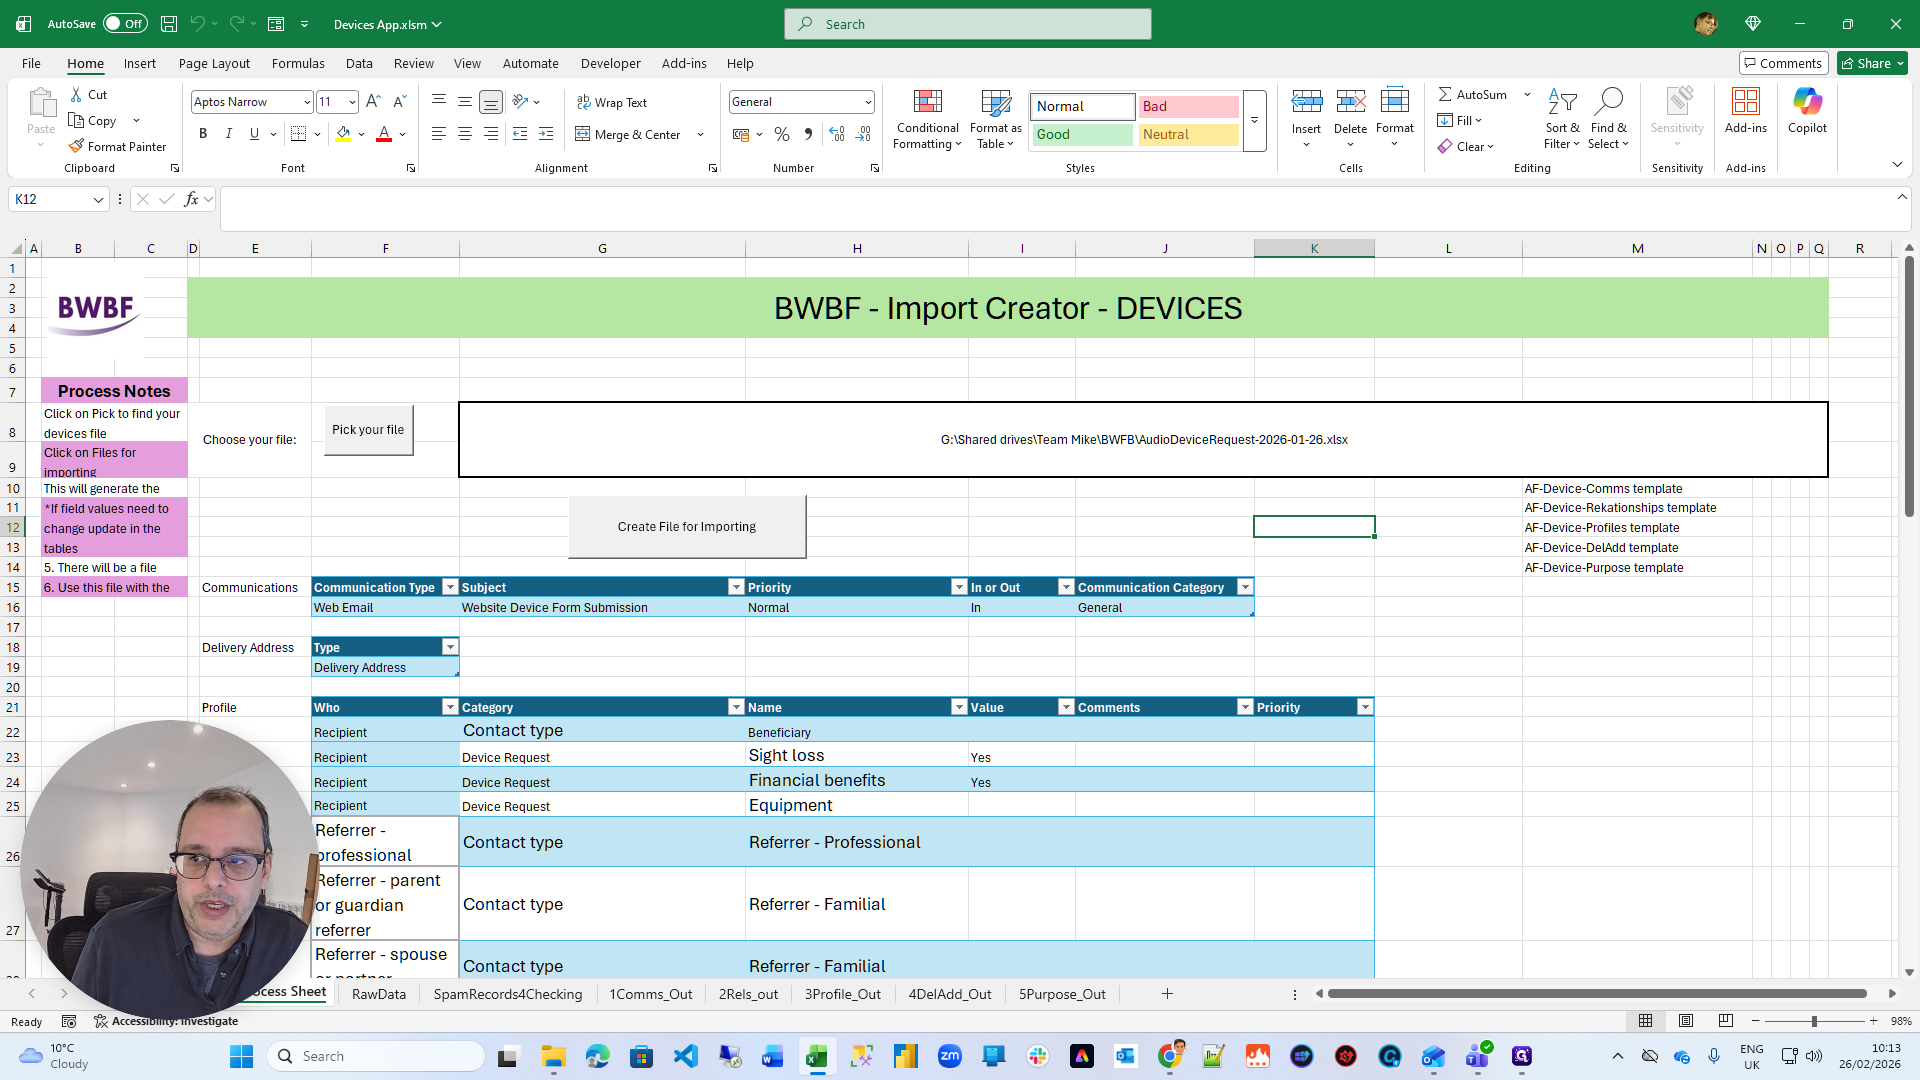

Here's one we made earlier. It confirms the filename and stores it in this large box.

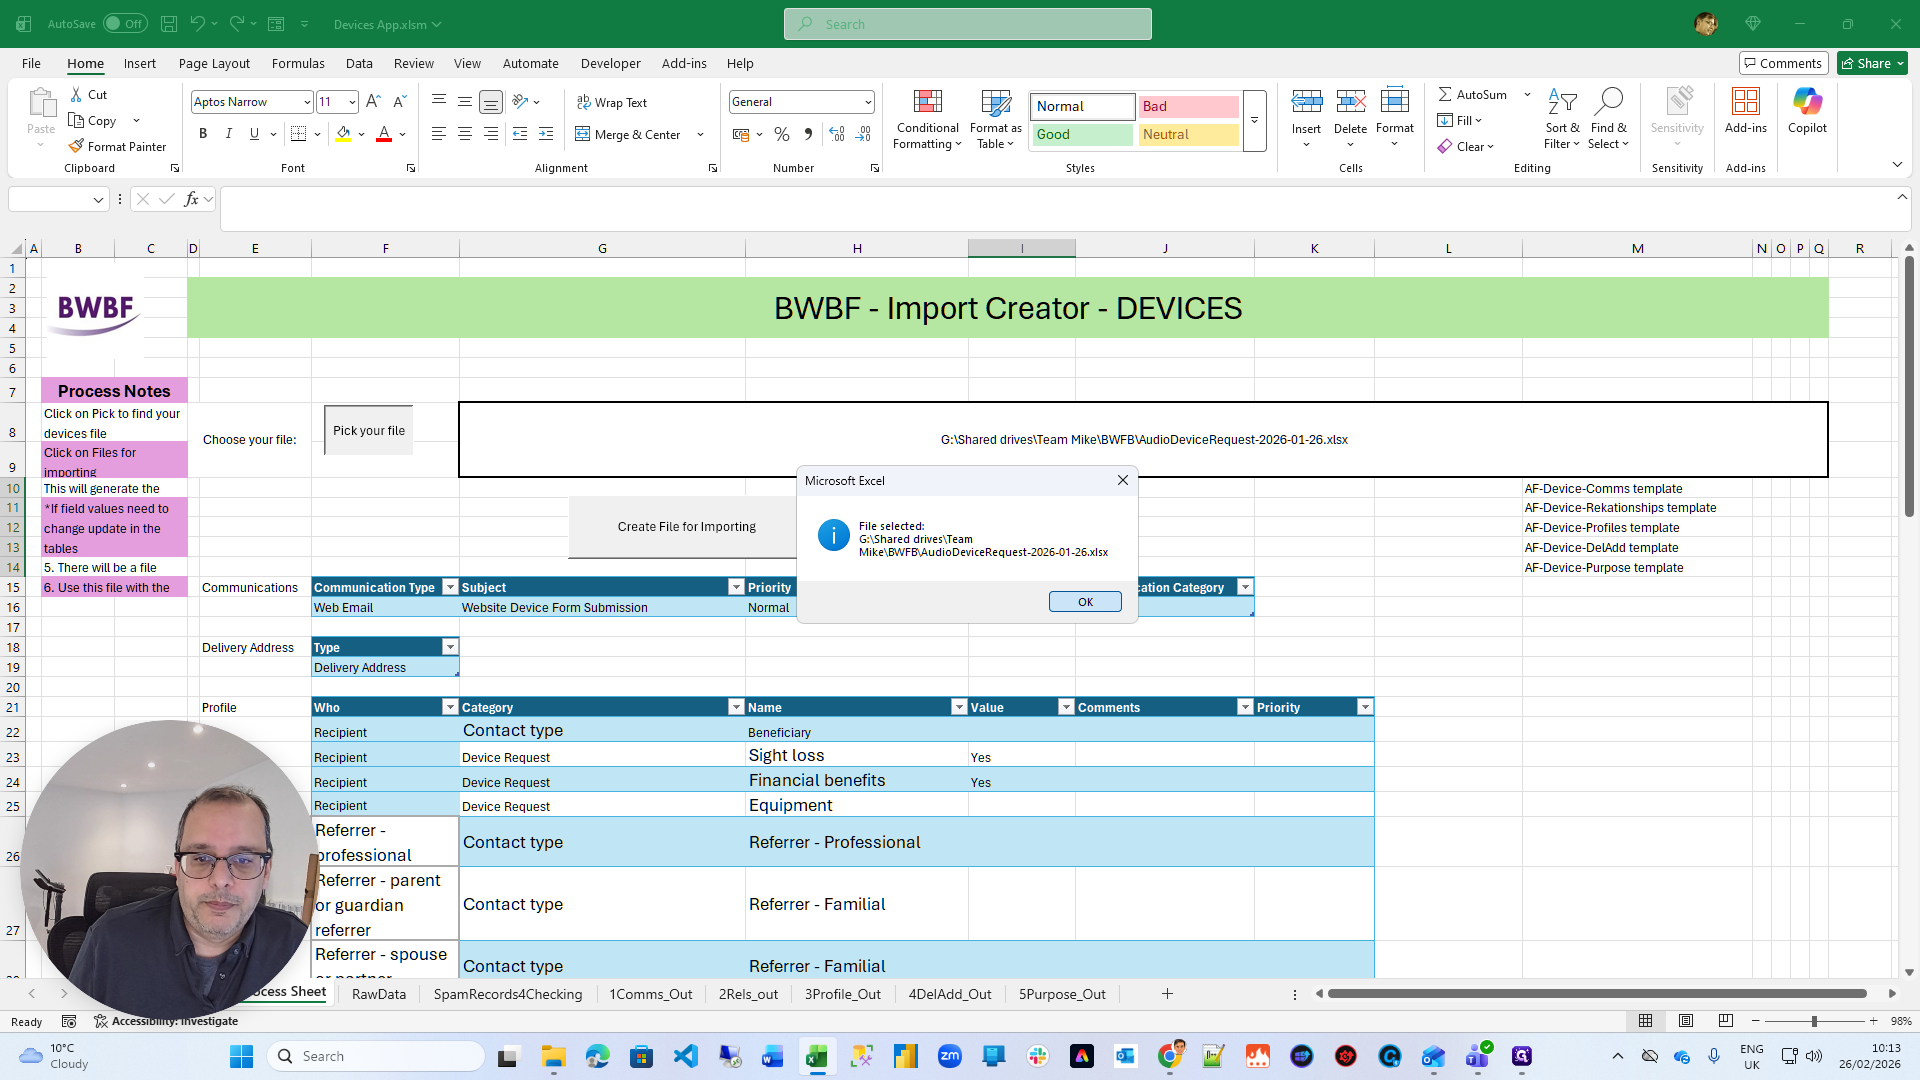
Once you have the filename, you do not need to change anything else on this page. Click Create File for Importing.

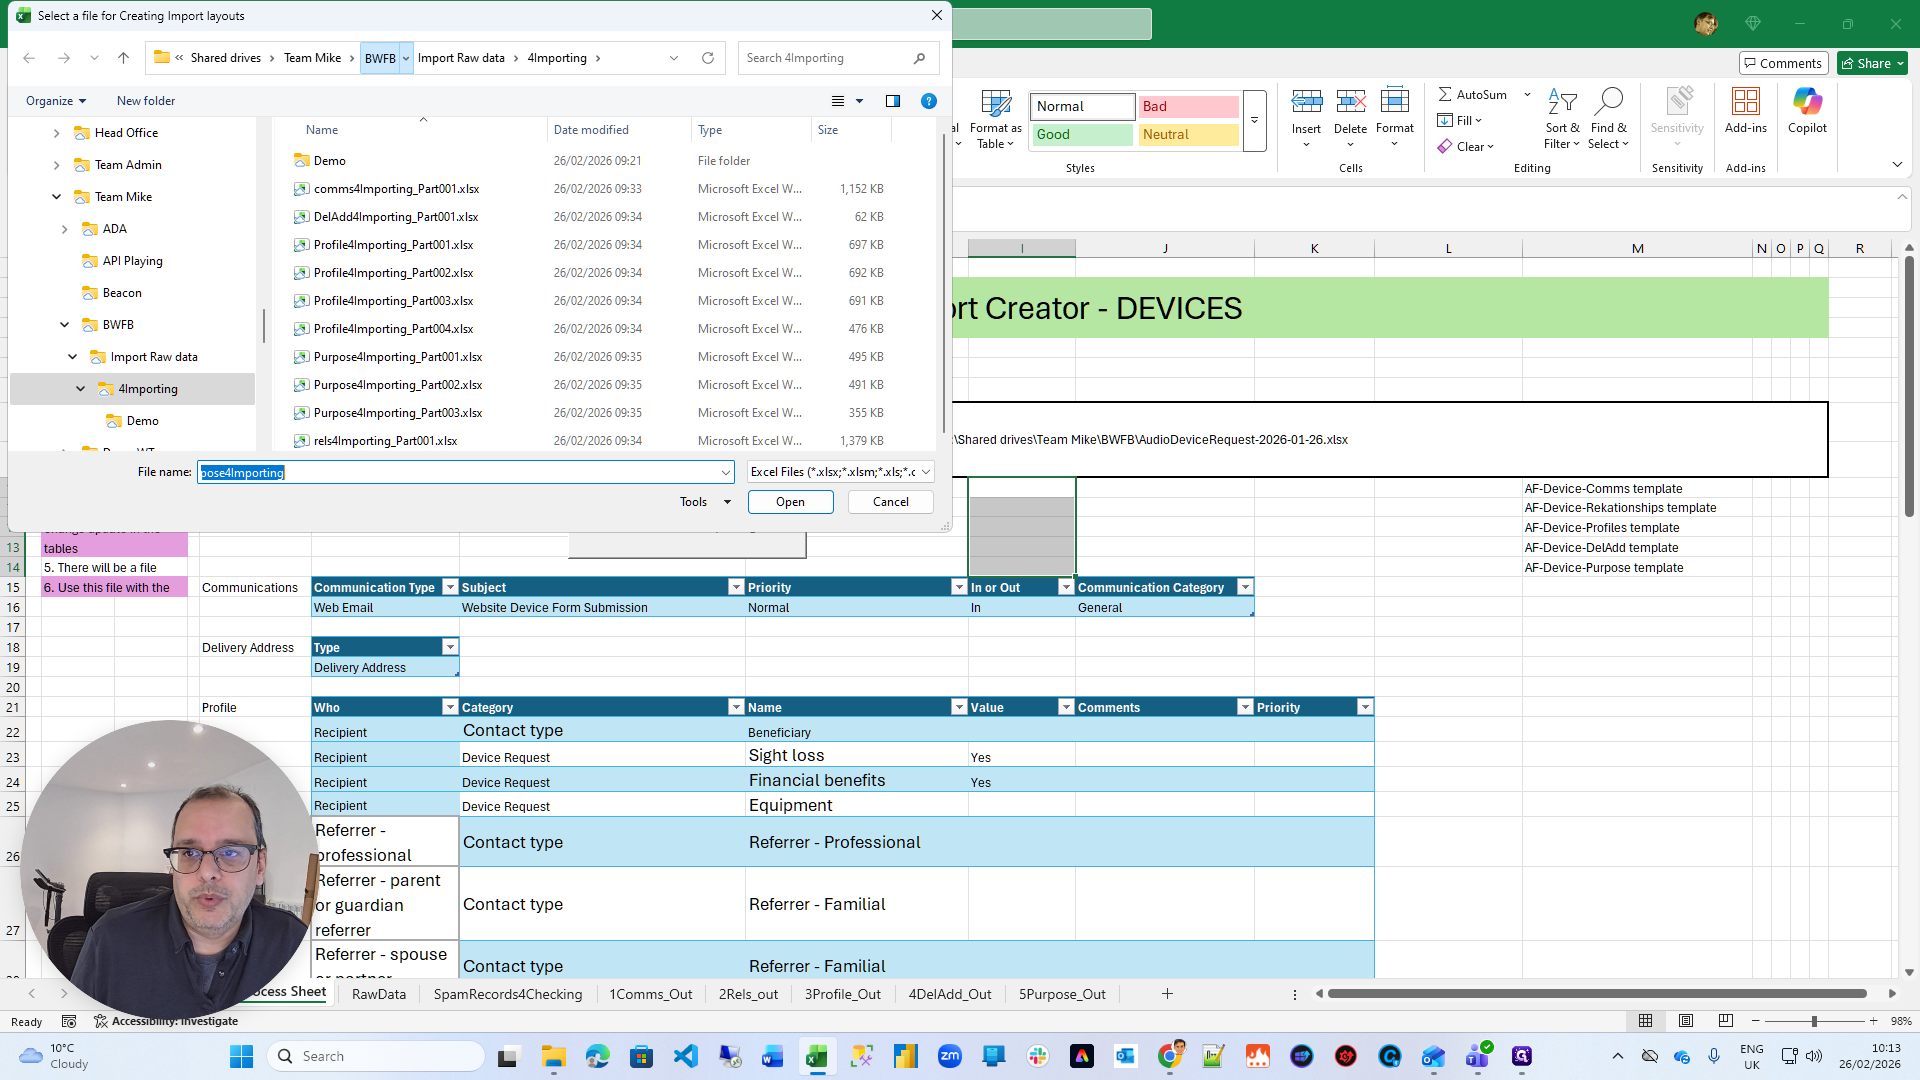
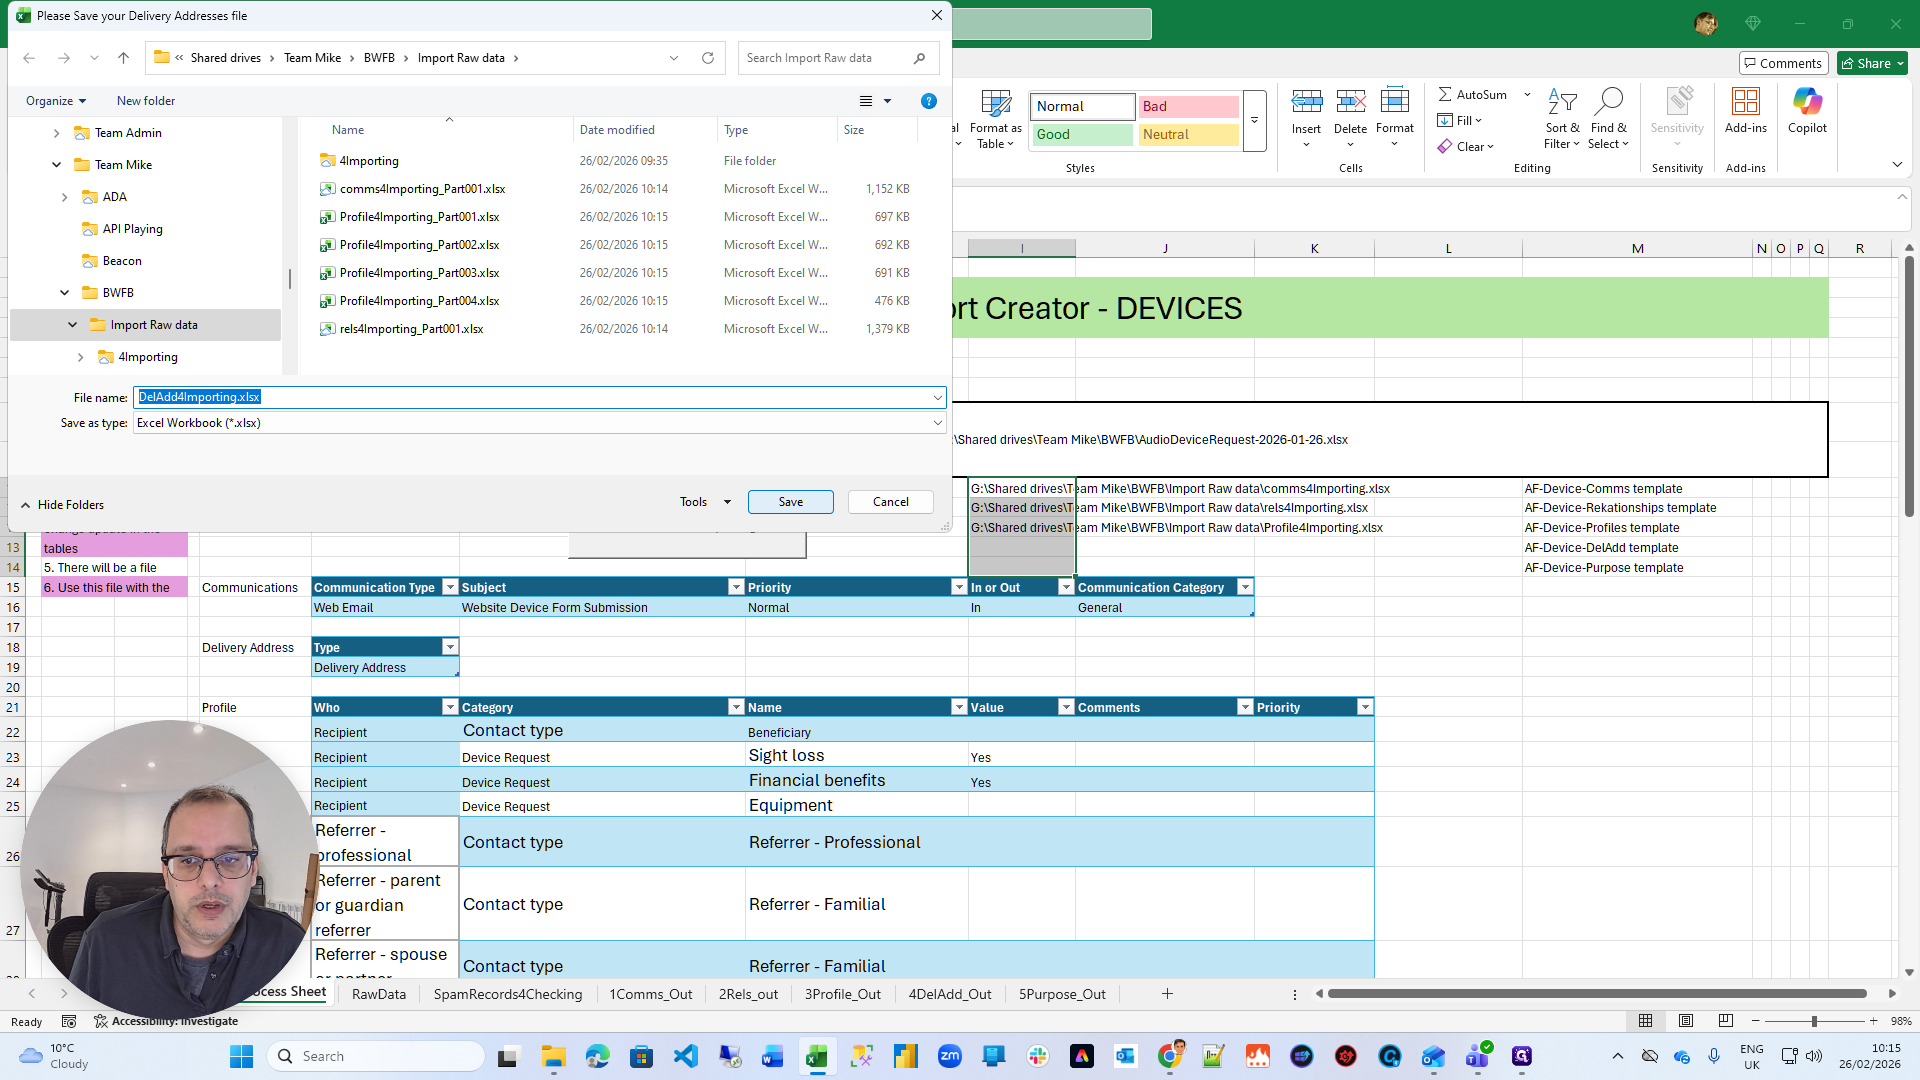
That will run through the file and create all the different files. You control what it is. At the top, it will say, "Please save your communications file." This is the Communications import. There are five important steps you will follow. You can change the name or add dates as needed. Then choose the location where you want to save the file.
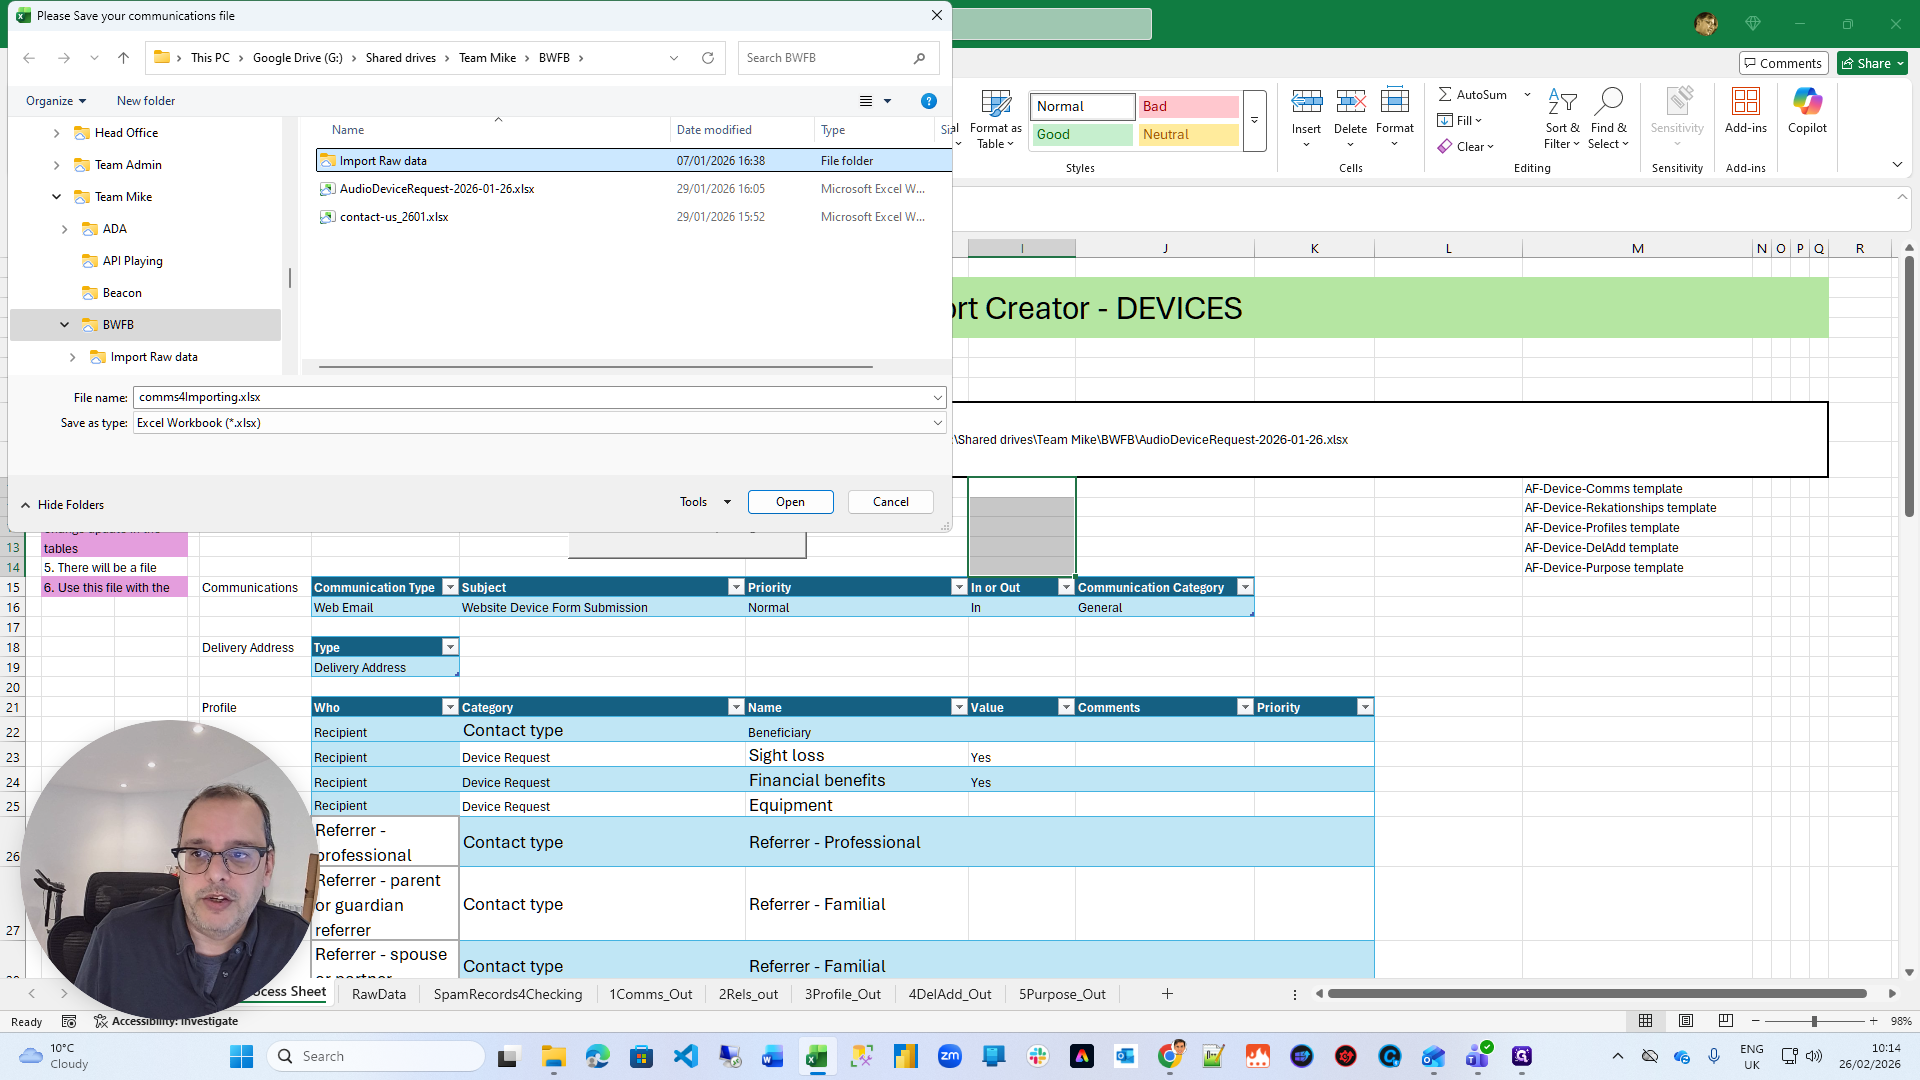

As you can see, the filename is generated here. Files are divided into 5,000 chunks to make importing into ThankQ easier.

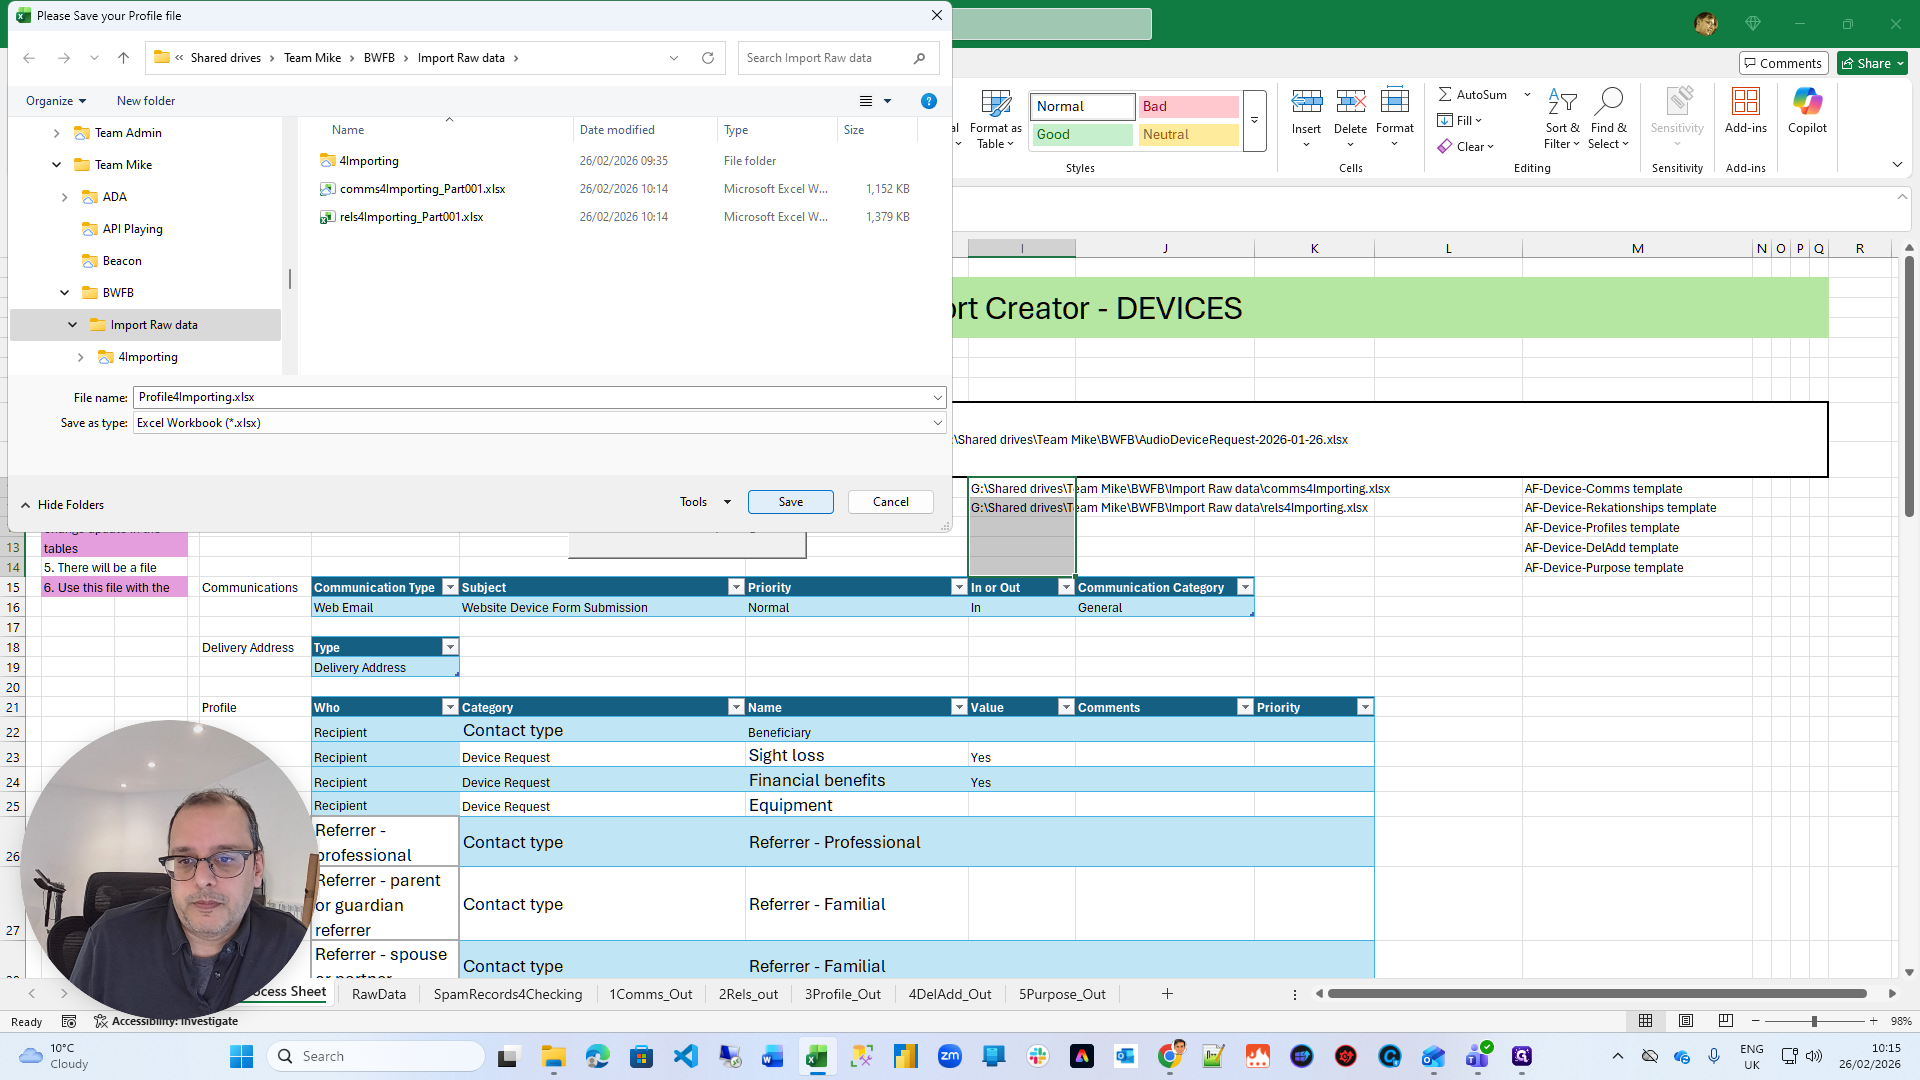
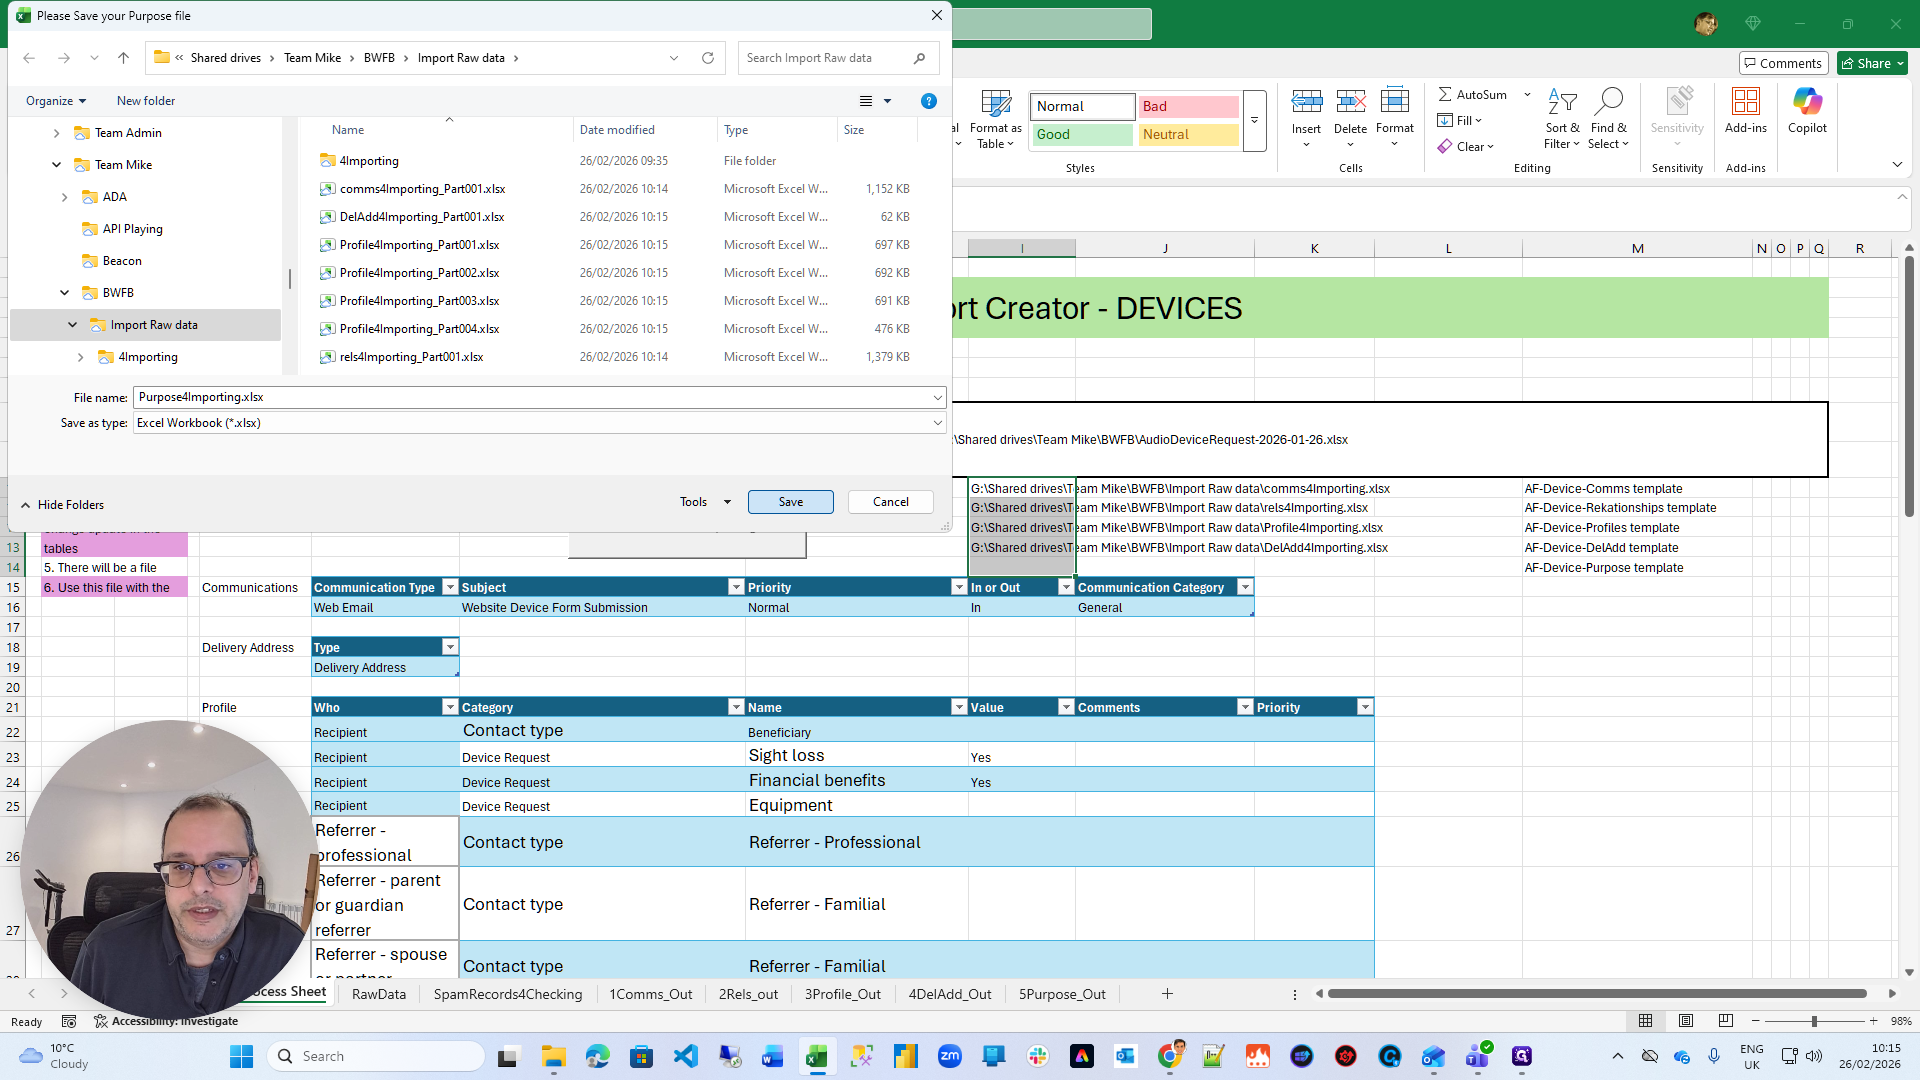
Once you specify the first folder, you will be fine. It lists all the steps you need to follow. There are five imports into ThankQ: one for Communications, one for Relationships, one for Profiles, one for Delivery Addresses, and one for Purposes.
The Purposes section takes time because there are many different options and things that happen. It's not broken; it's just taking a little longer. You can see the actual process happening below. It is connecting to a data source. It will notify you when it is completed.
There’s the Purpose file we’re saving. It saves, and then it says all the files are created in I10, which is where your filenames are.
You can click OK.
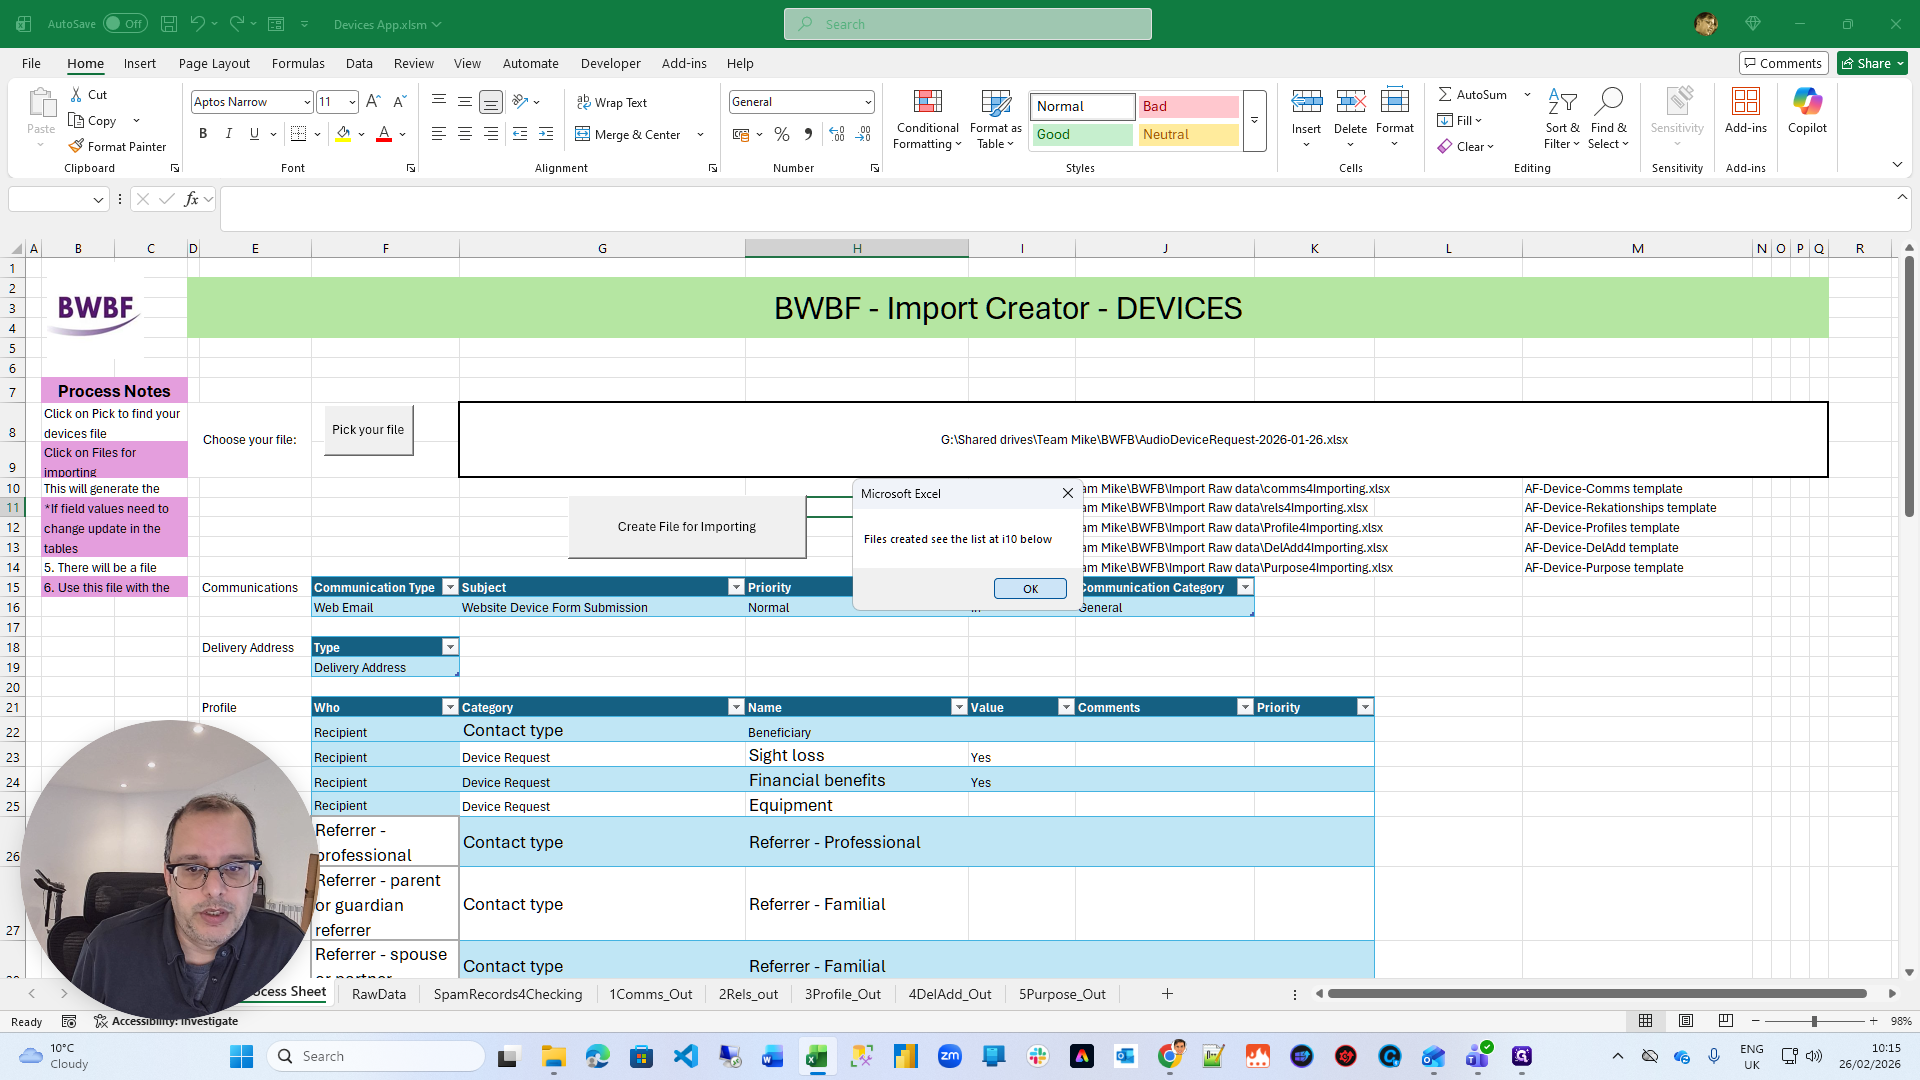
That’s the end of the process in the Excel app.
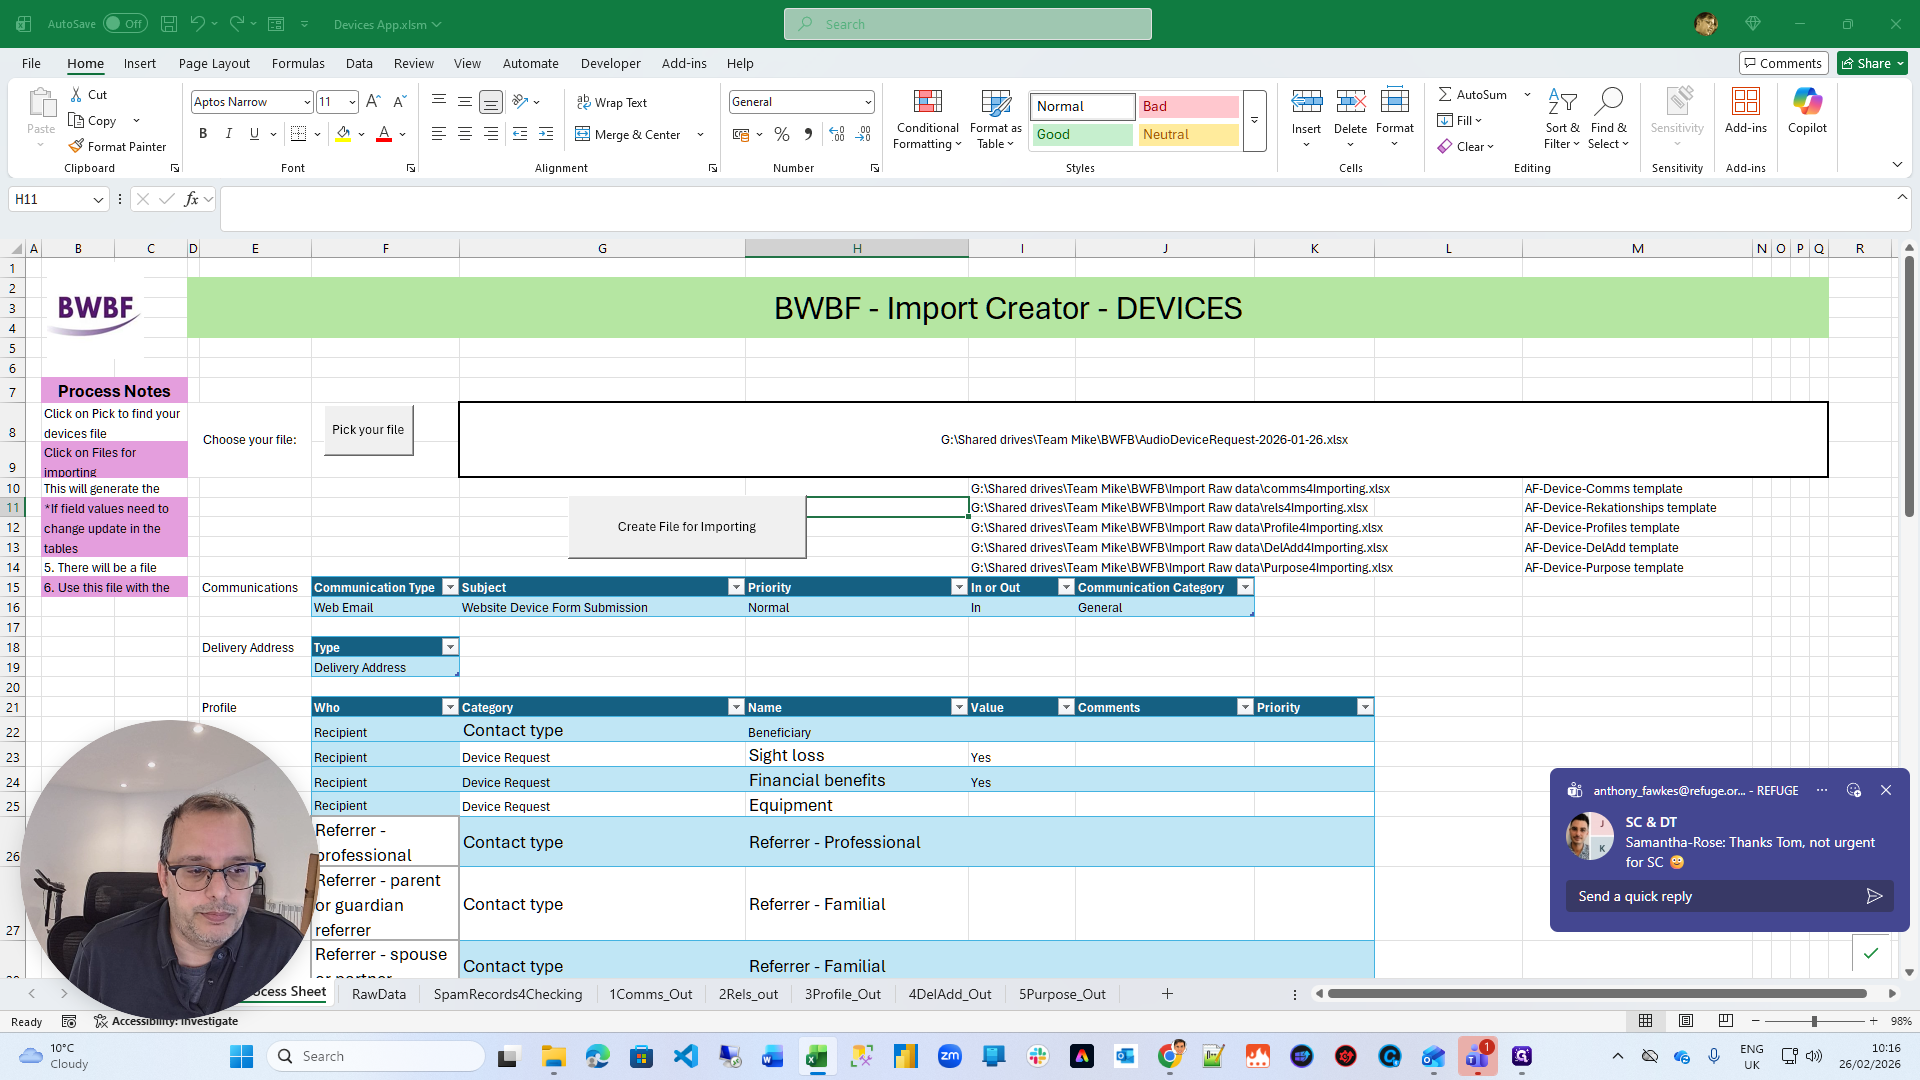
The next step is to go to ThankQ.
So in ThankQ ...
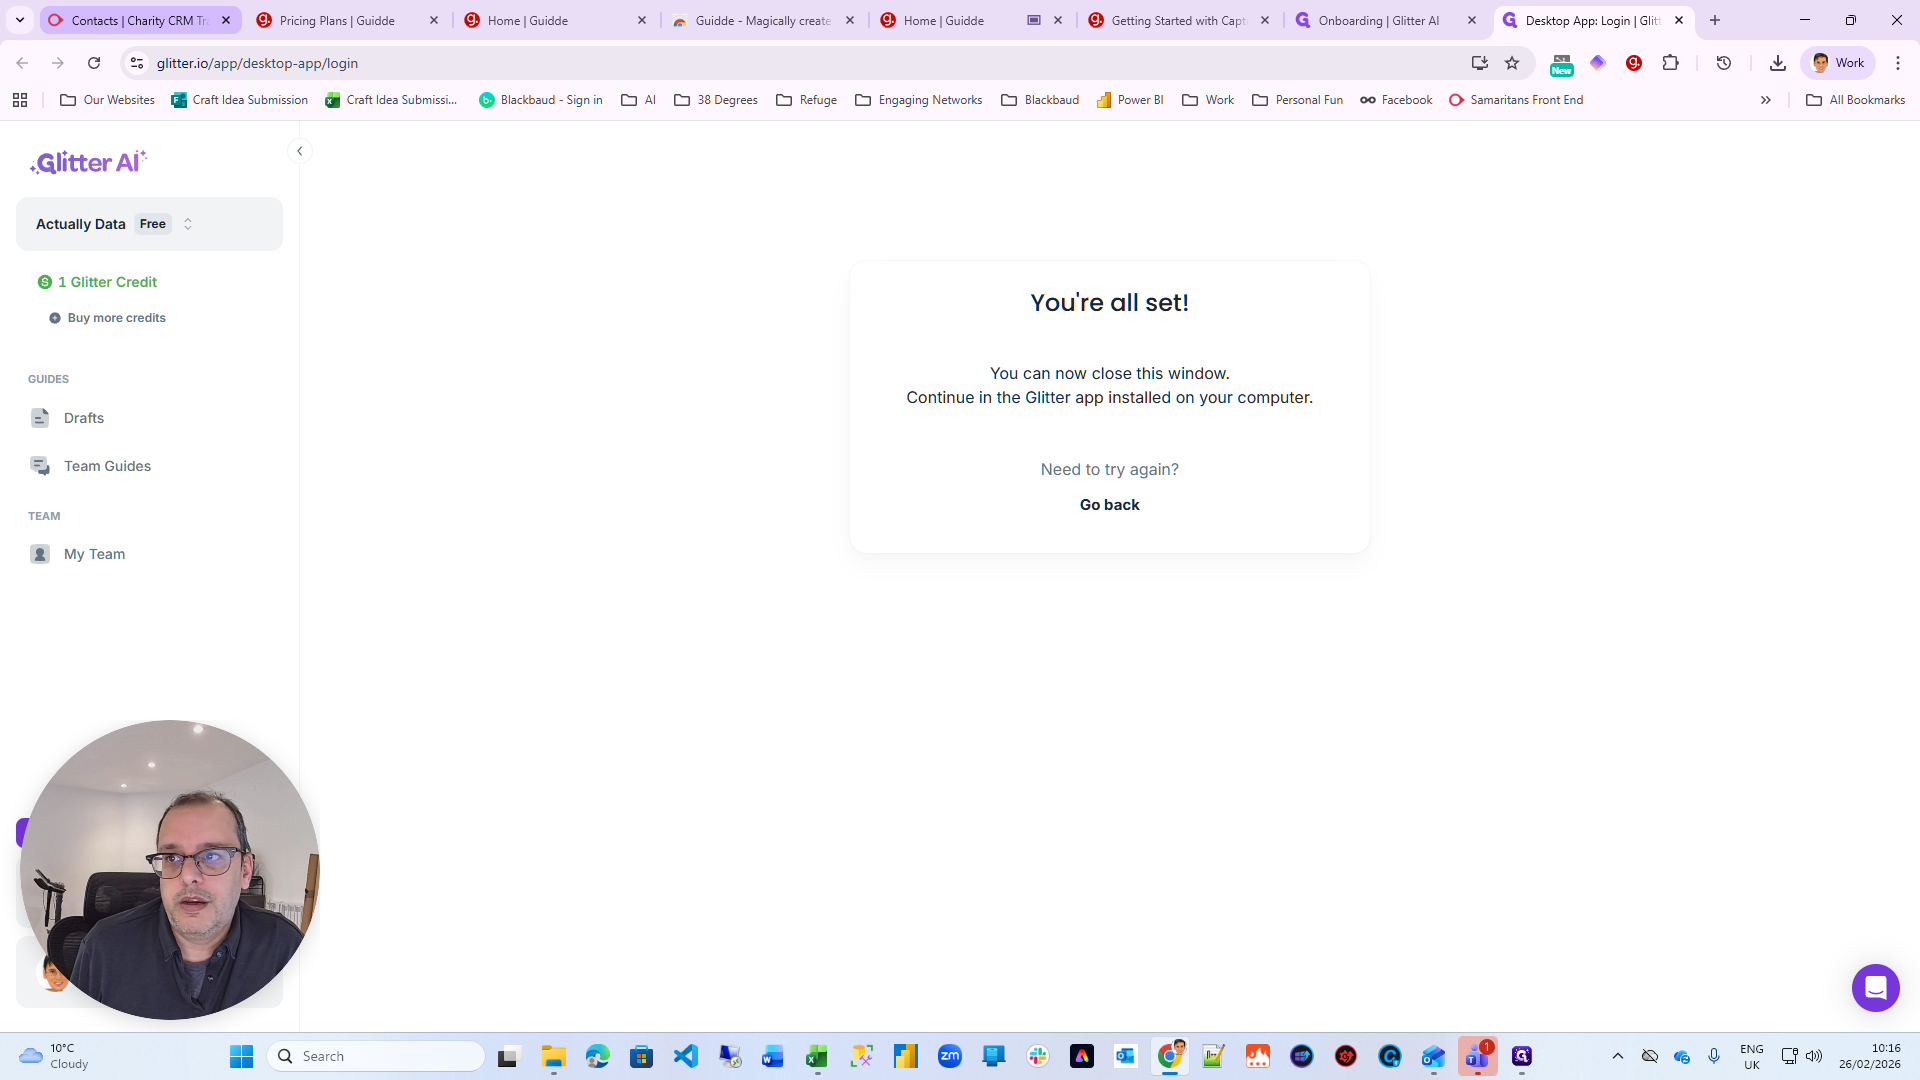
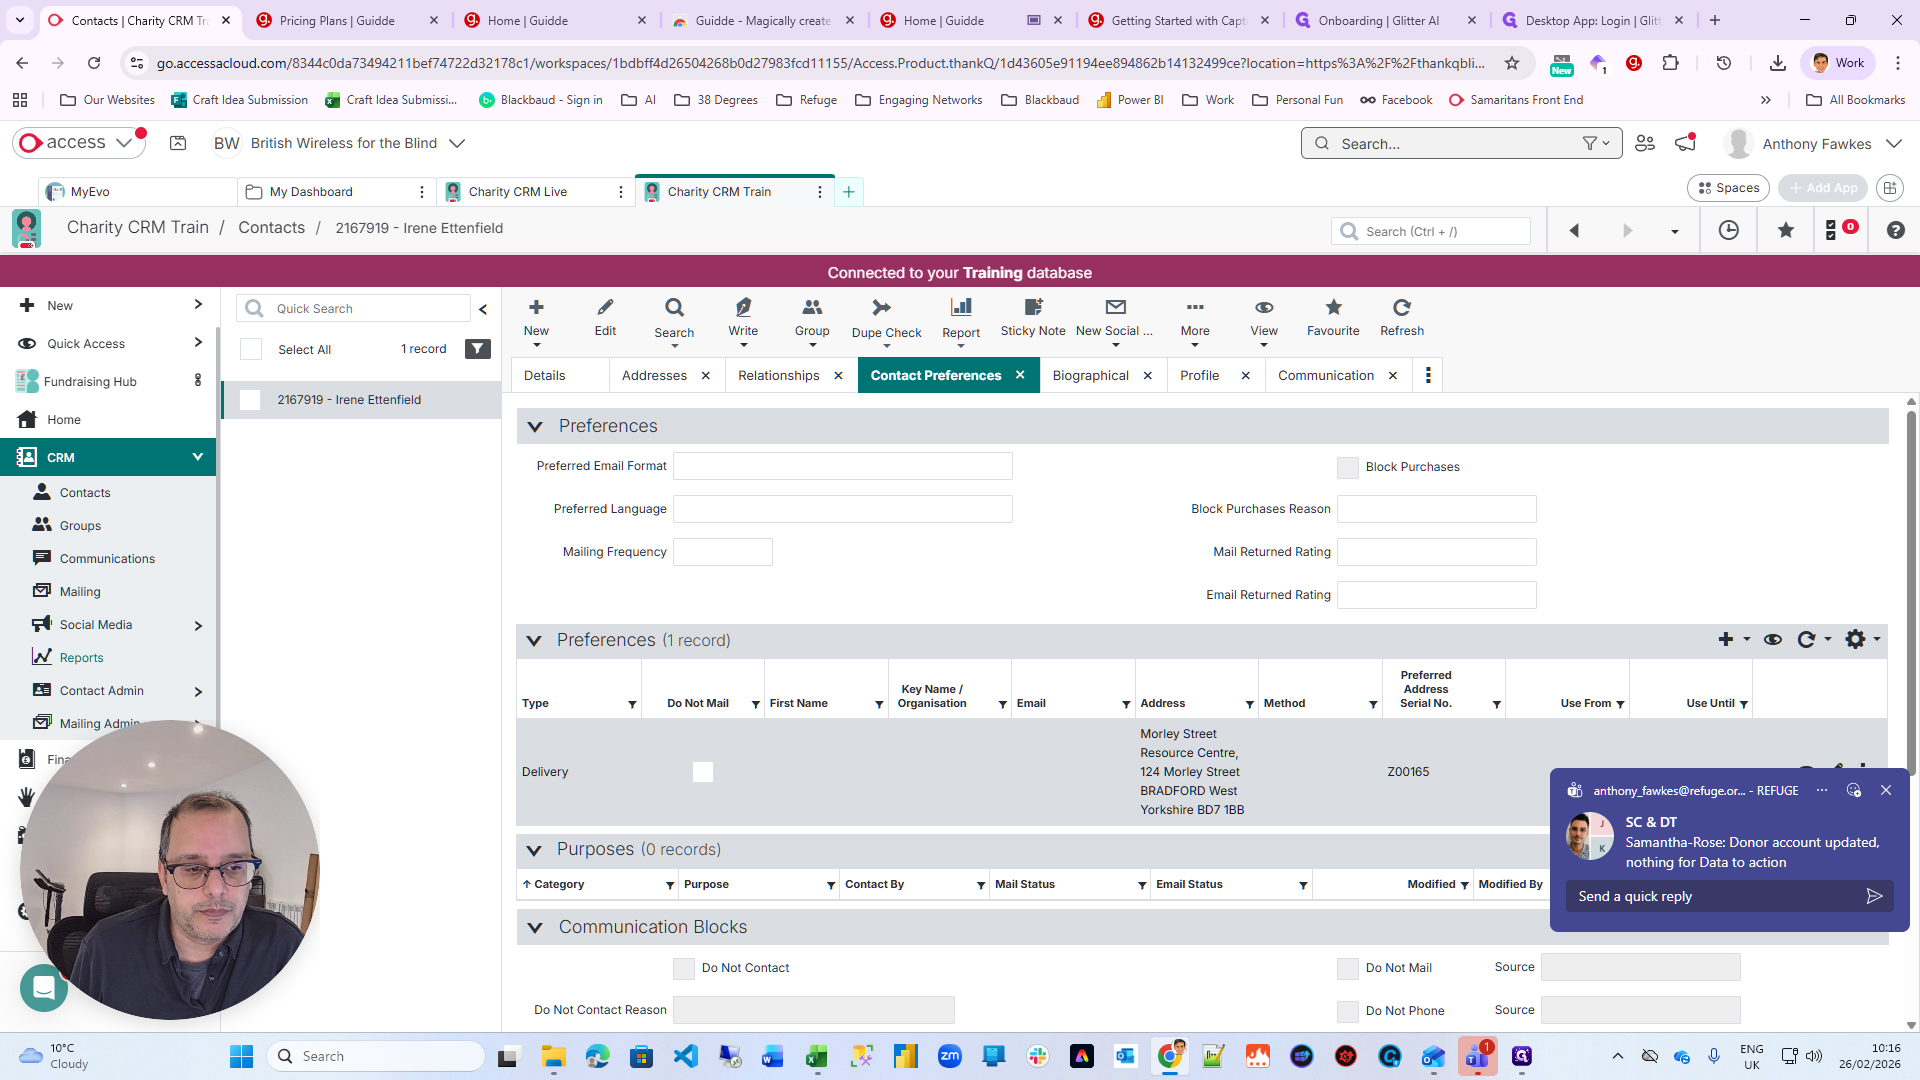
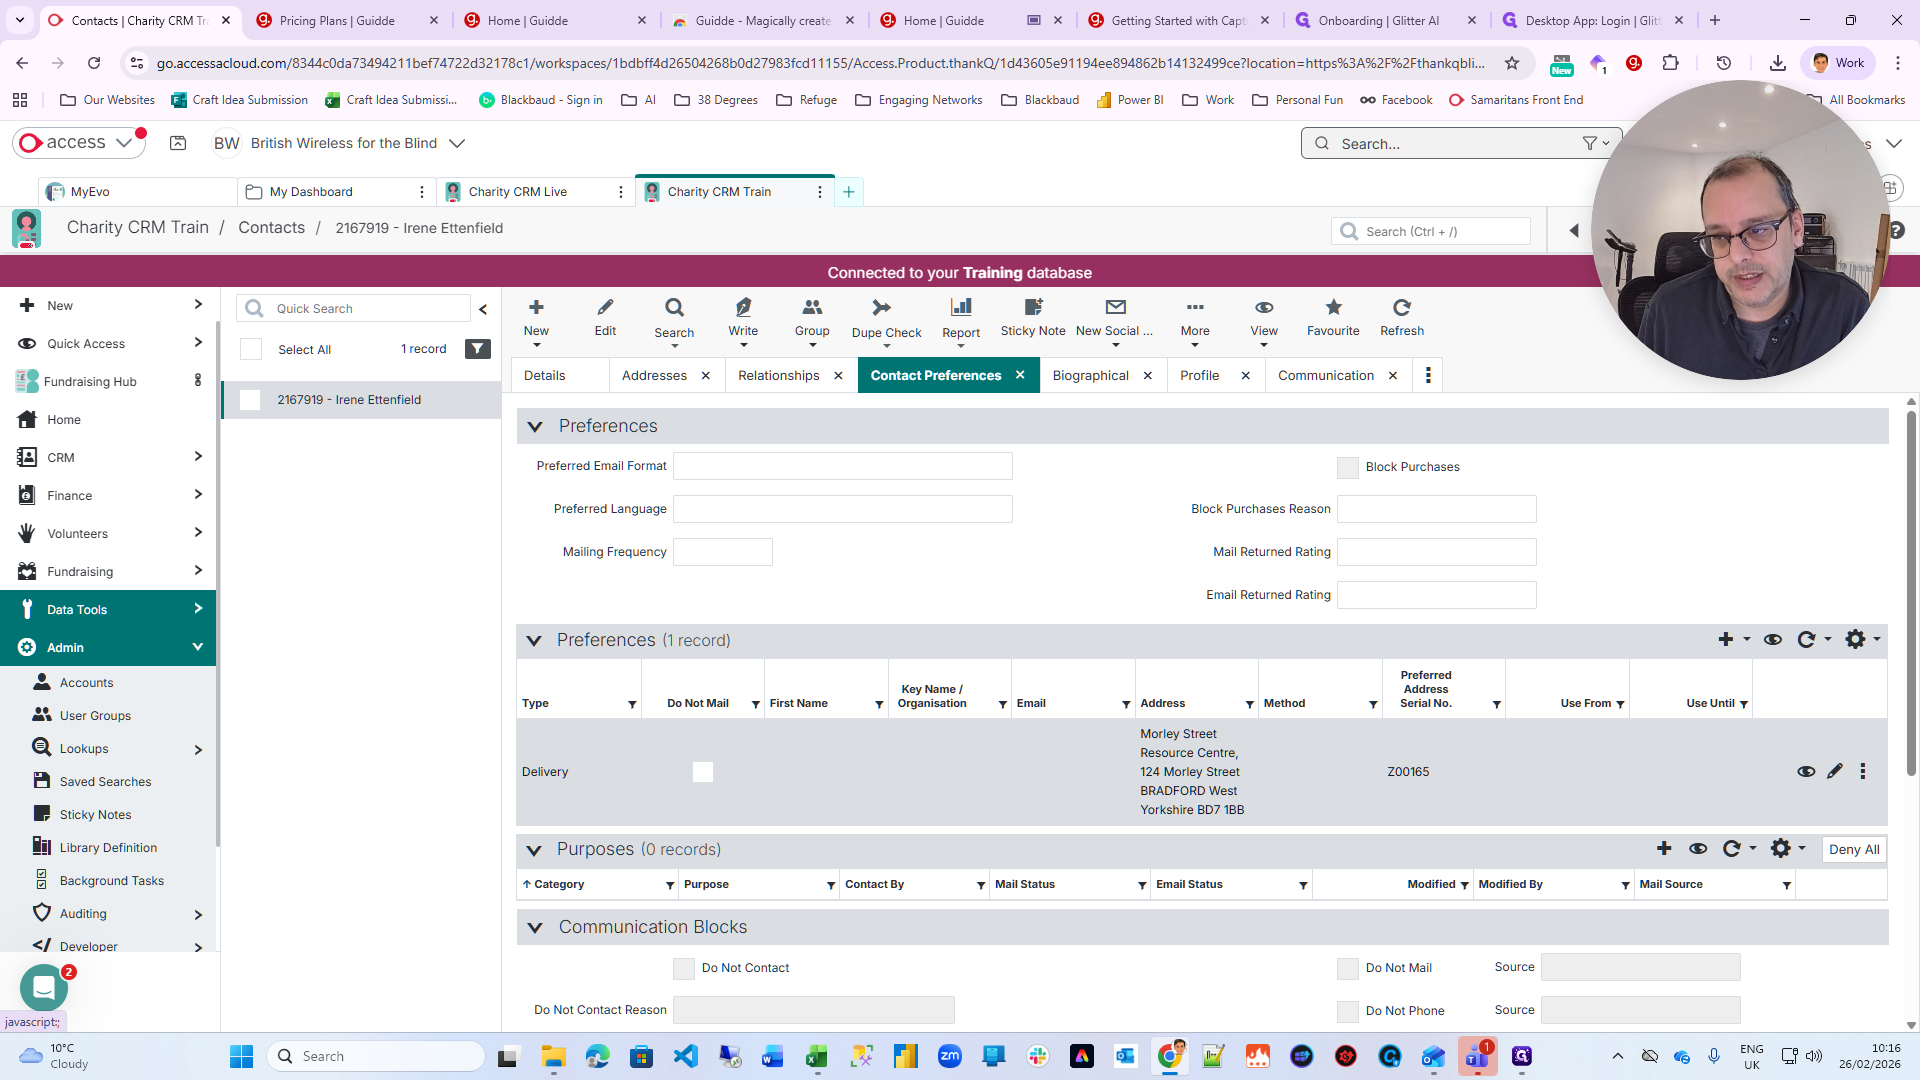
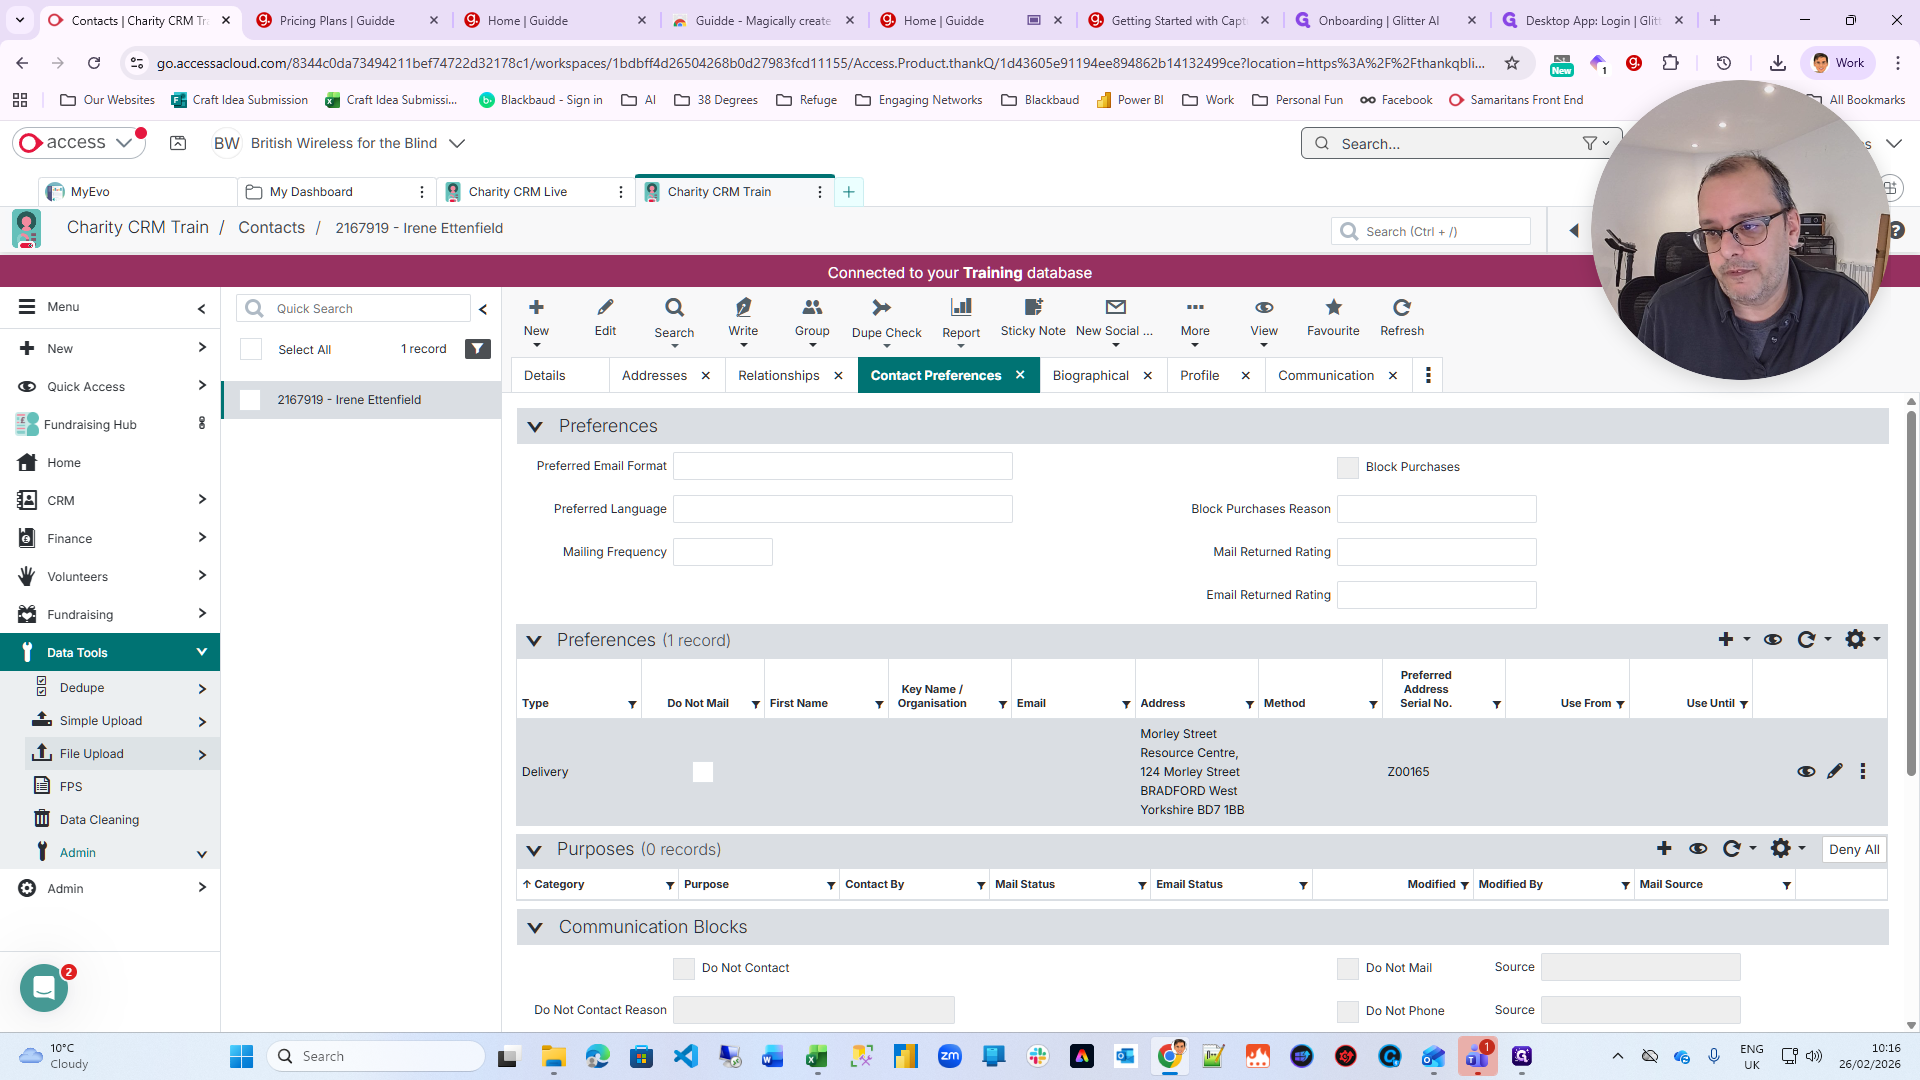
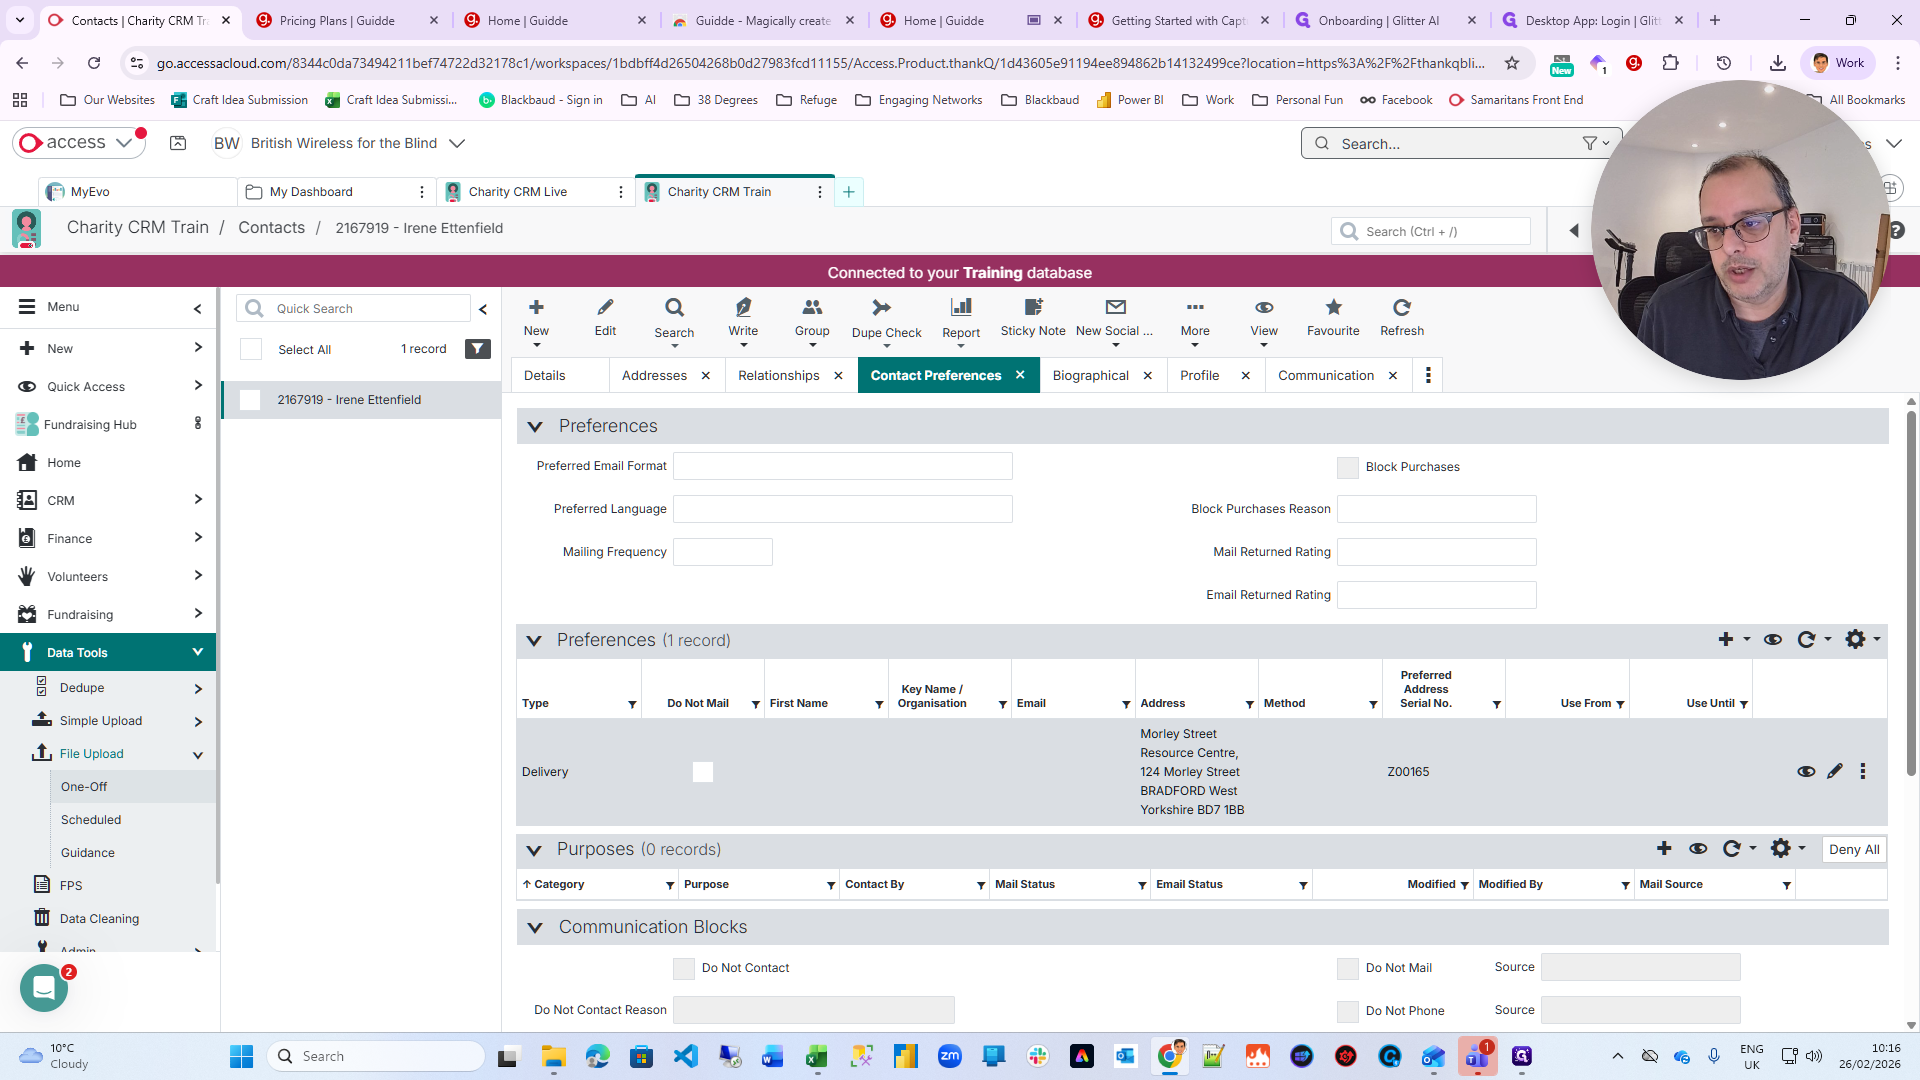
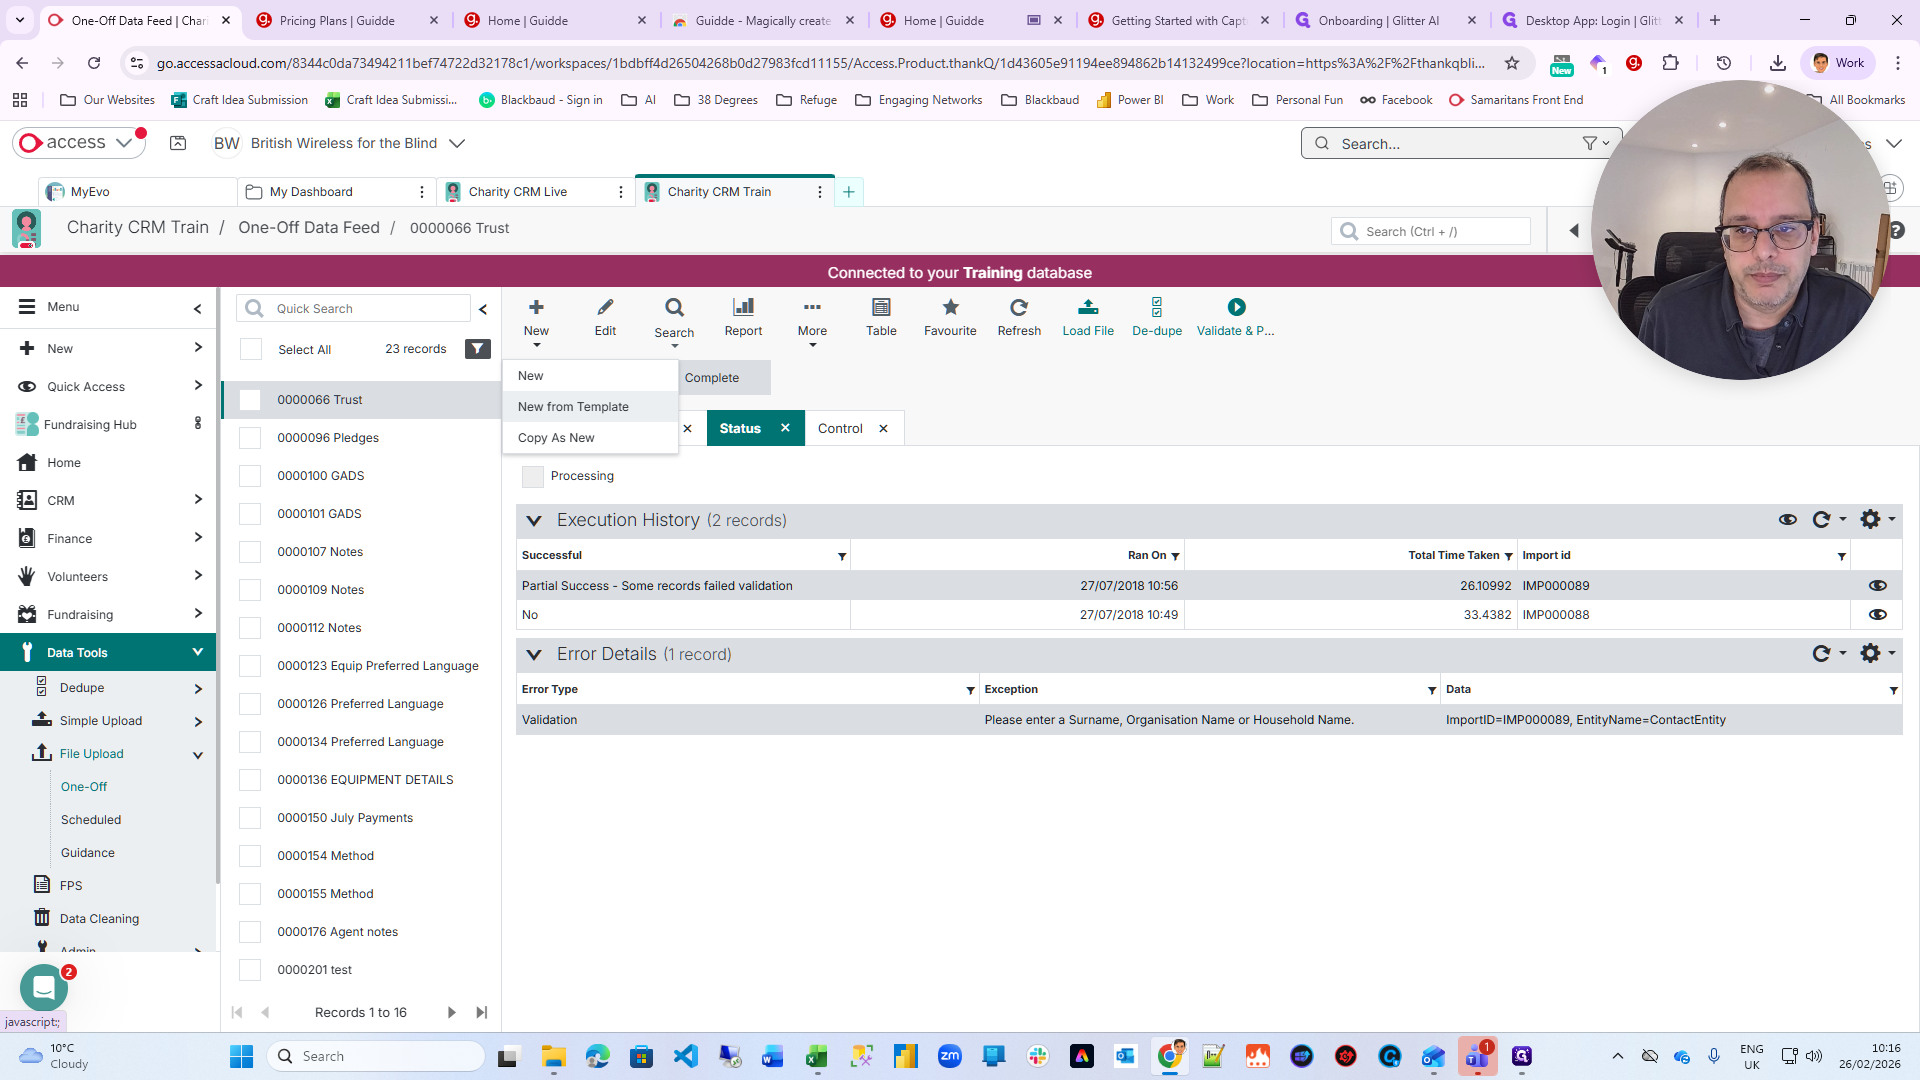
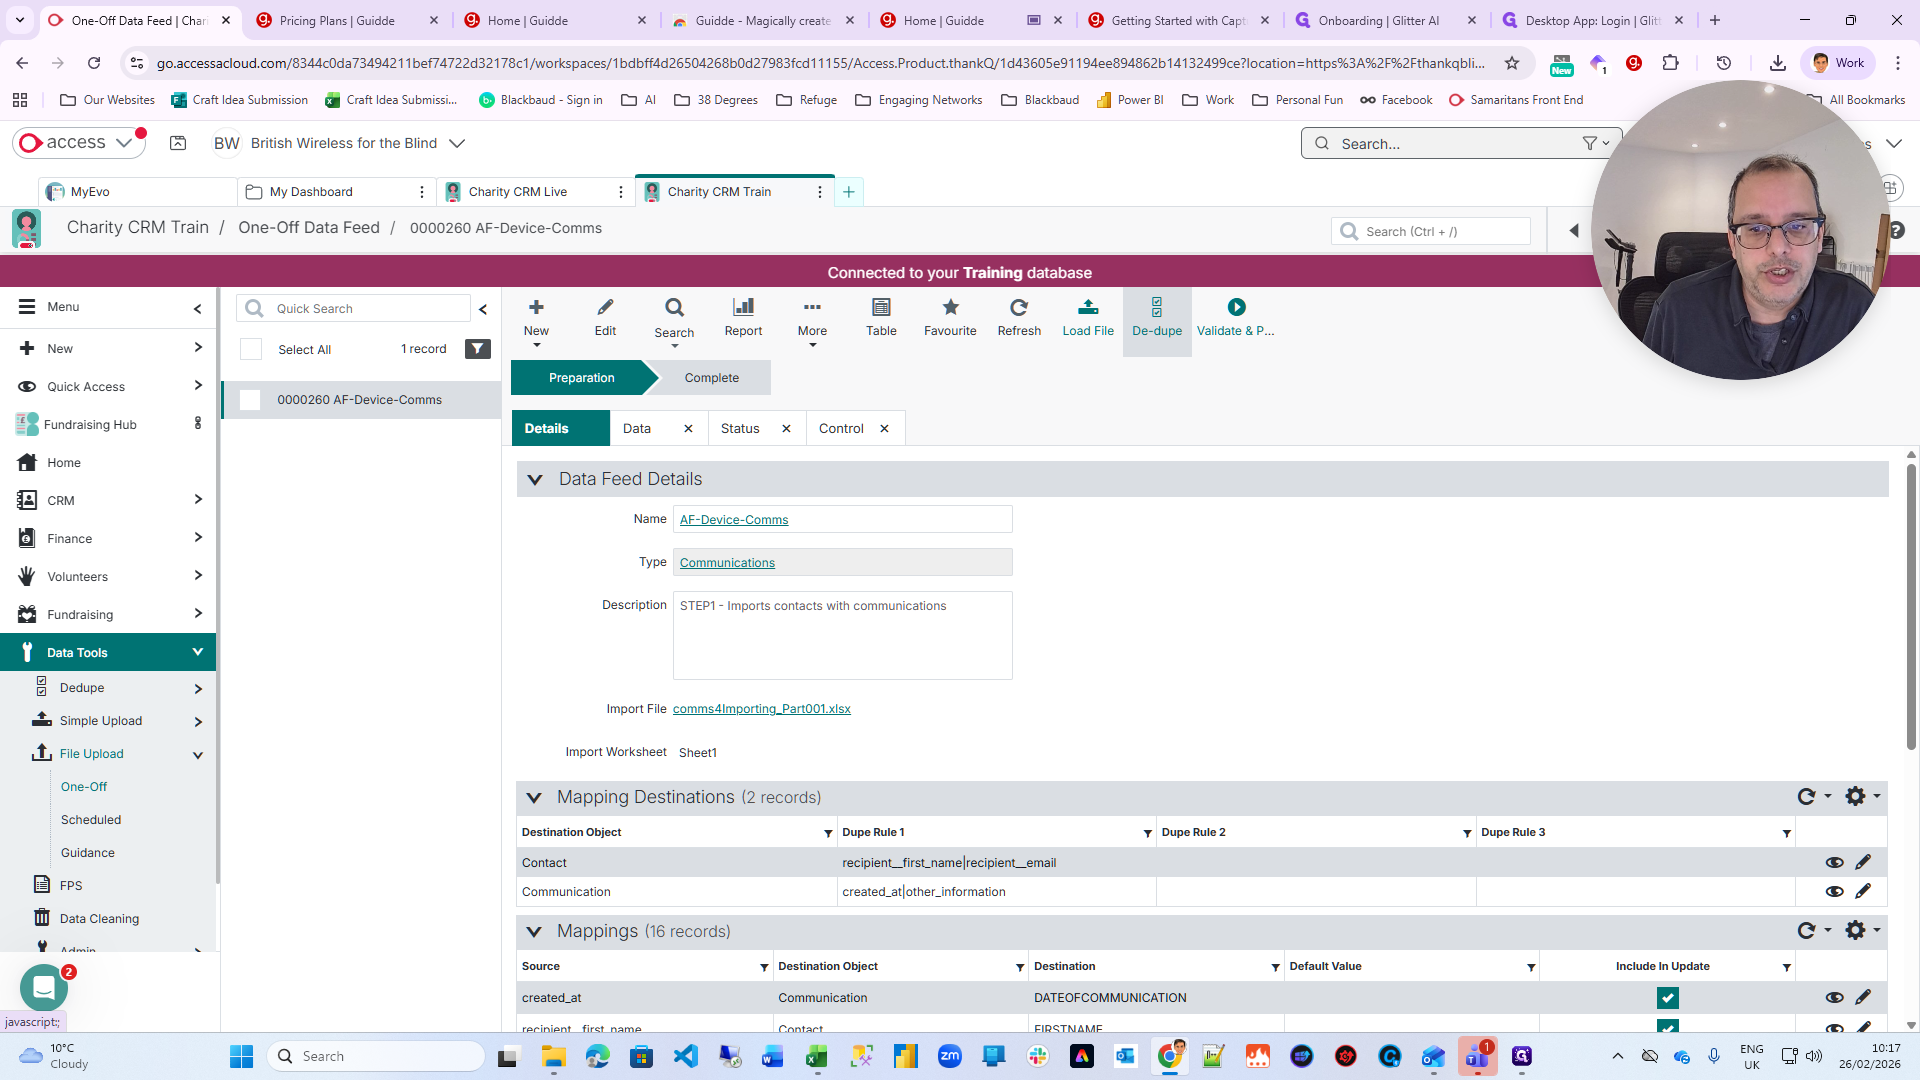
I should have closed Teams. In ThankQ, we go to... When you are in ThankQ, I am demonstrating this in the training system, but you would do it in the live system. Go to Add, then Data Tools, and select File Upload. We will do a one-off upload. We will create a one-off from the template.
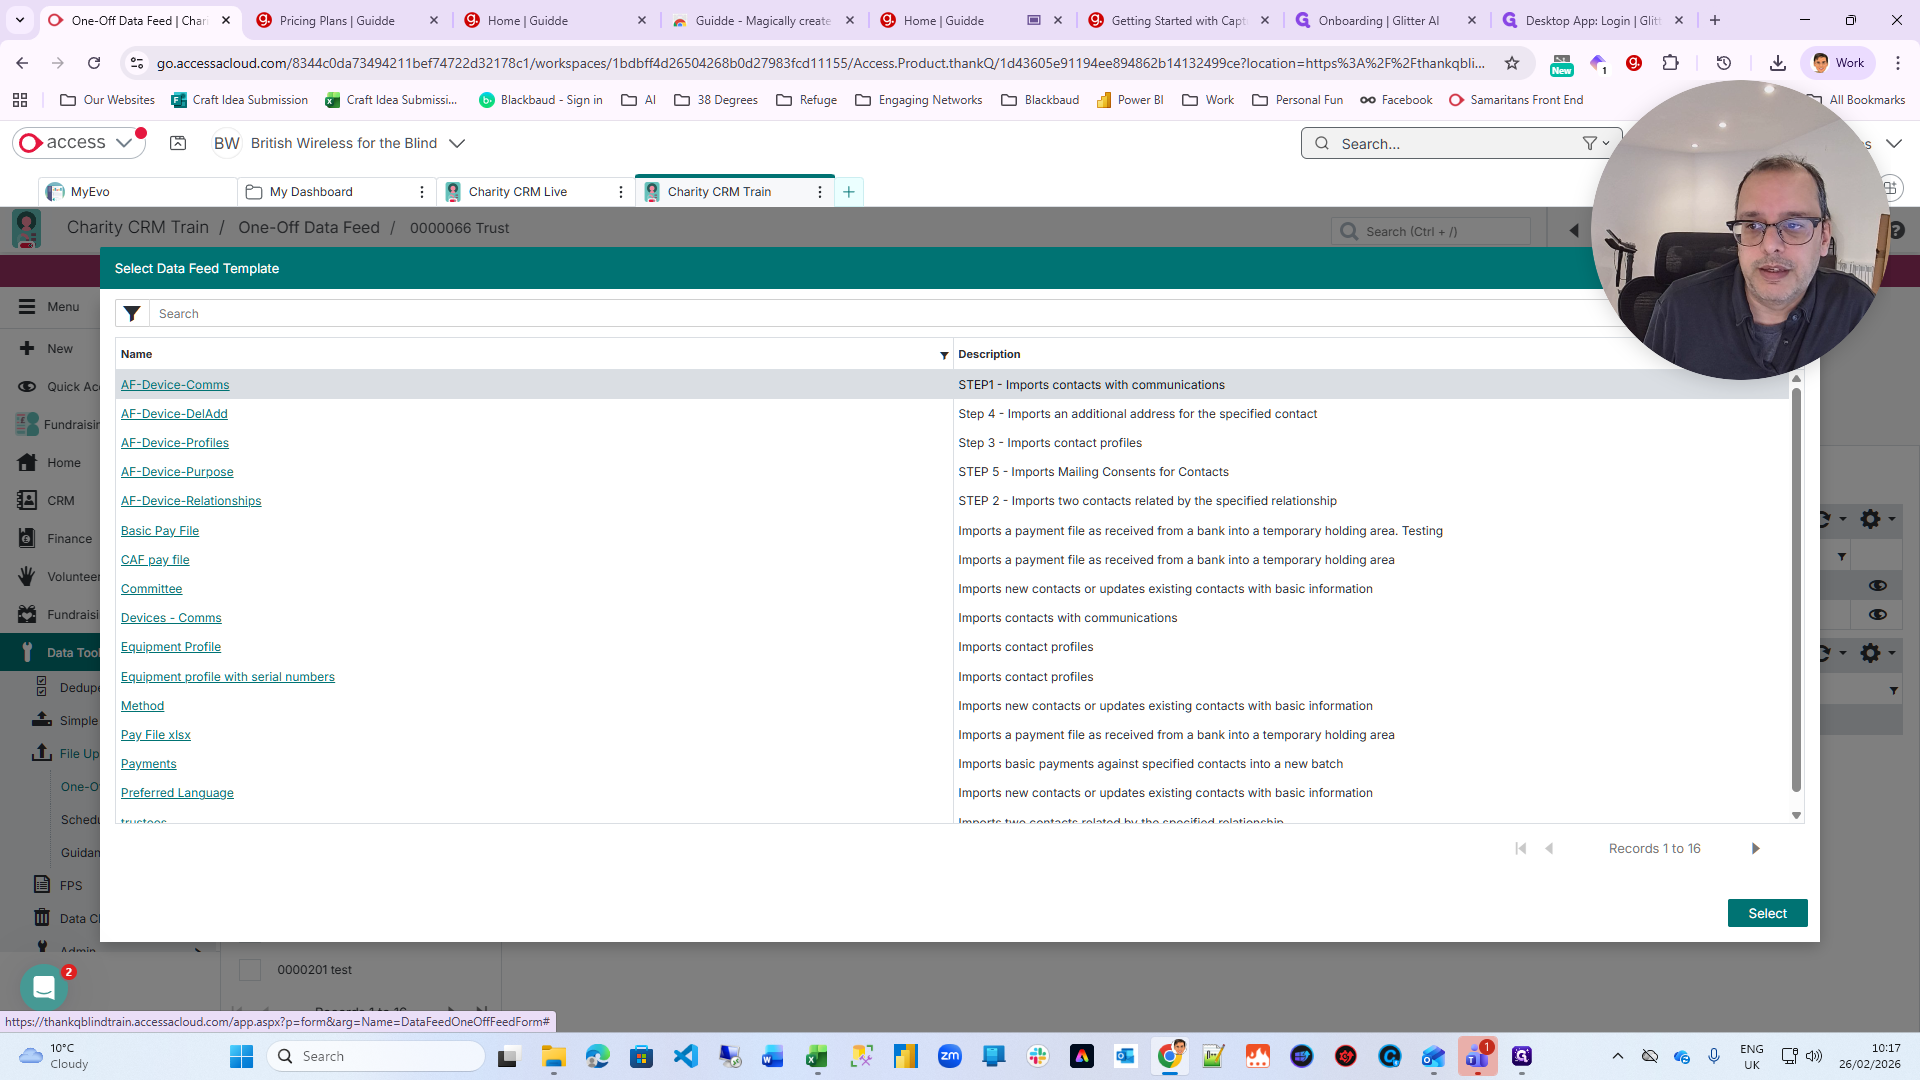
When you click on New, a dropdown will appear with the option "New from template." The Devices options are these five, shown here in order.
Step one is Communications. Step two is Relationships. Step three is Profiles. Step four is Delivery Addresses. Step five is Mail-in Consent.
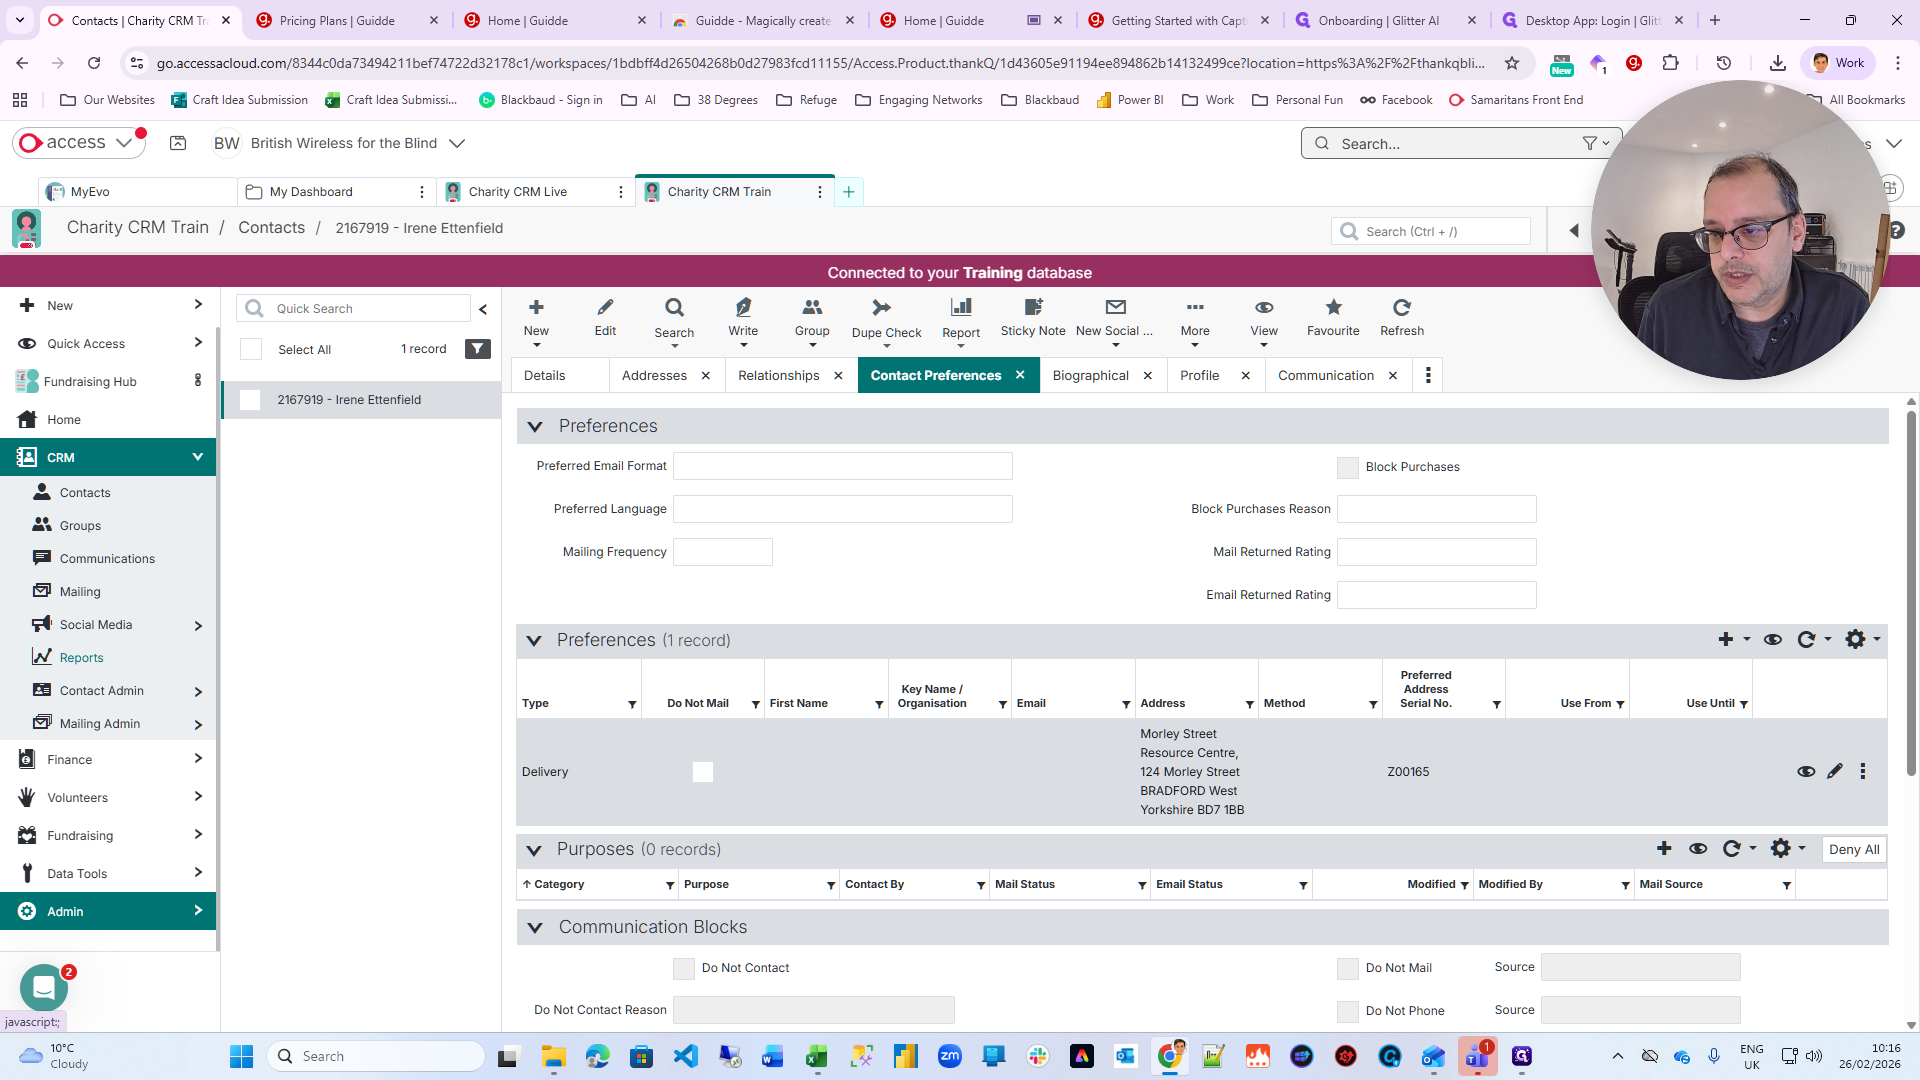
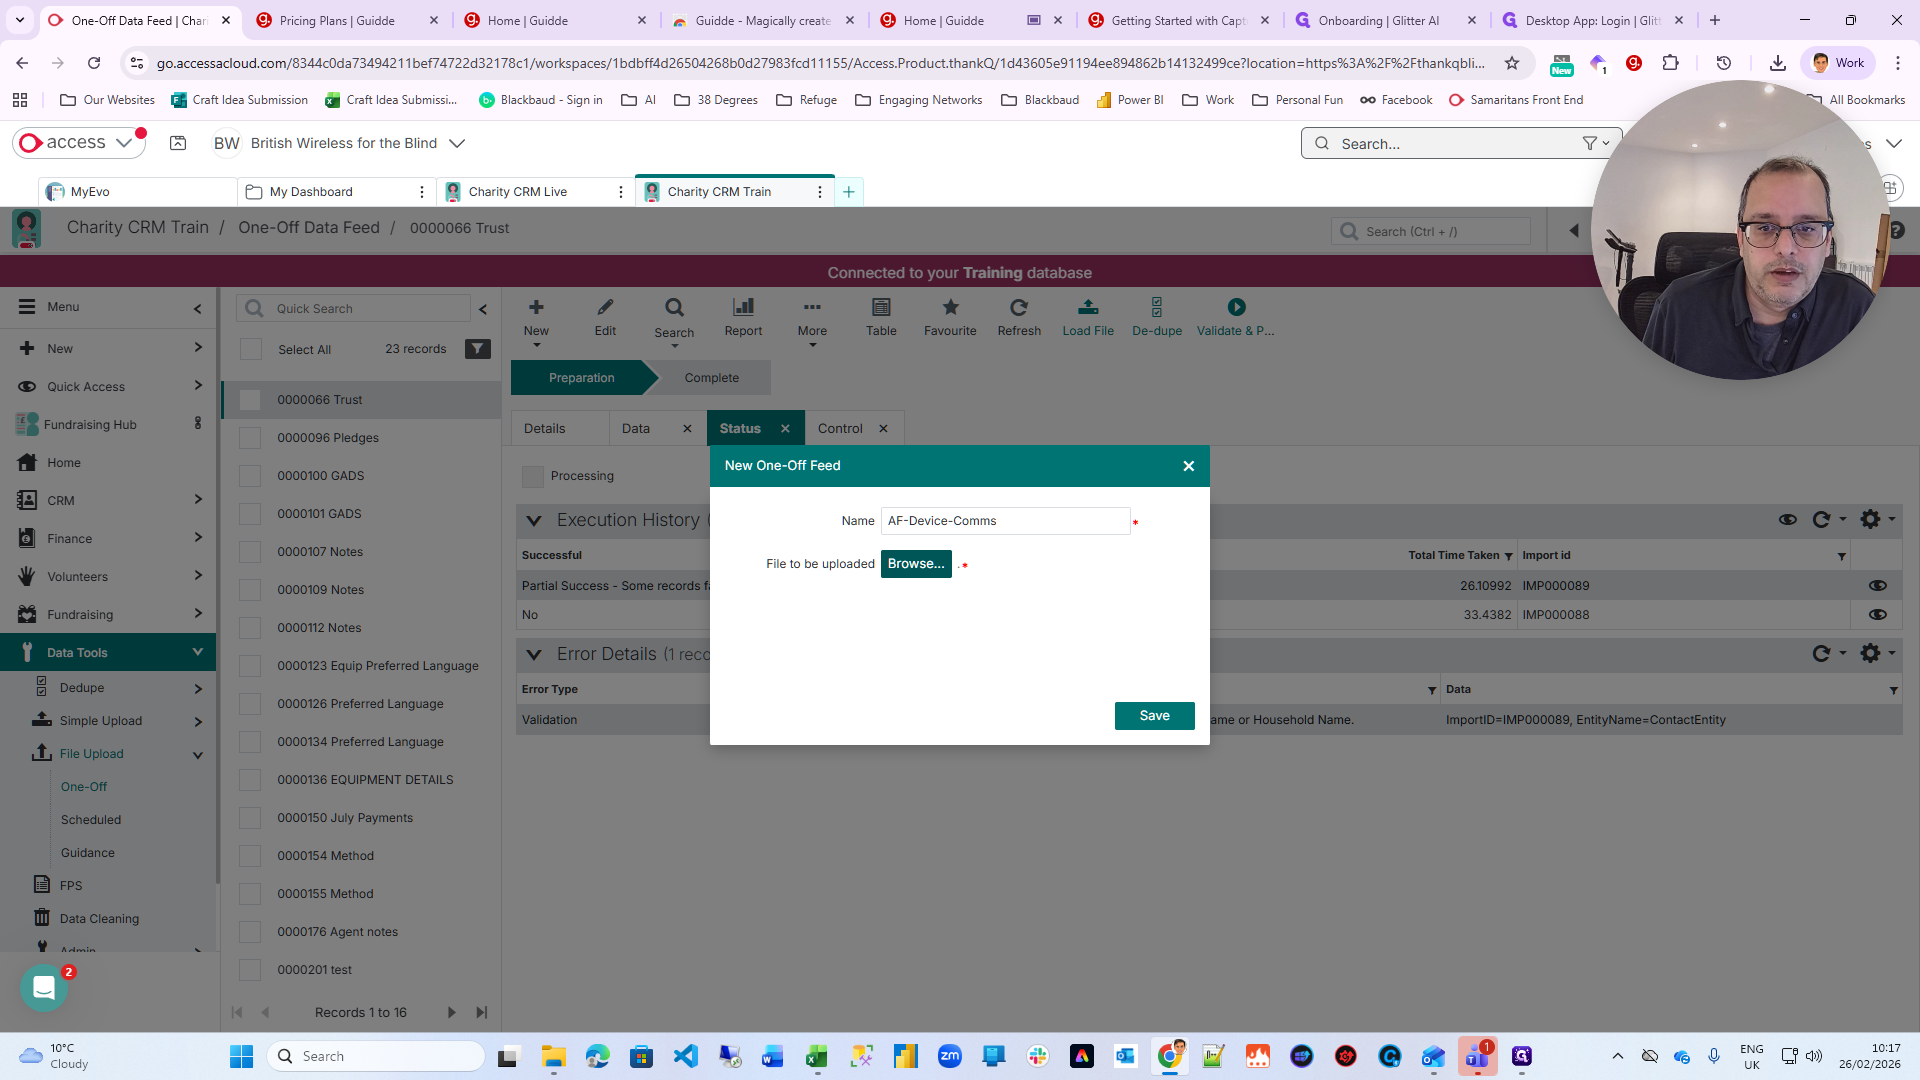
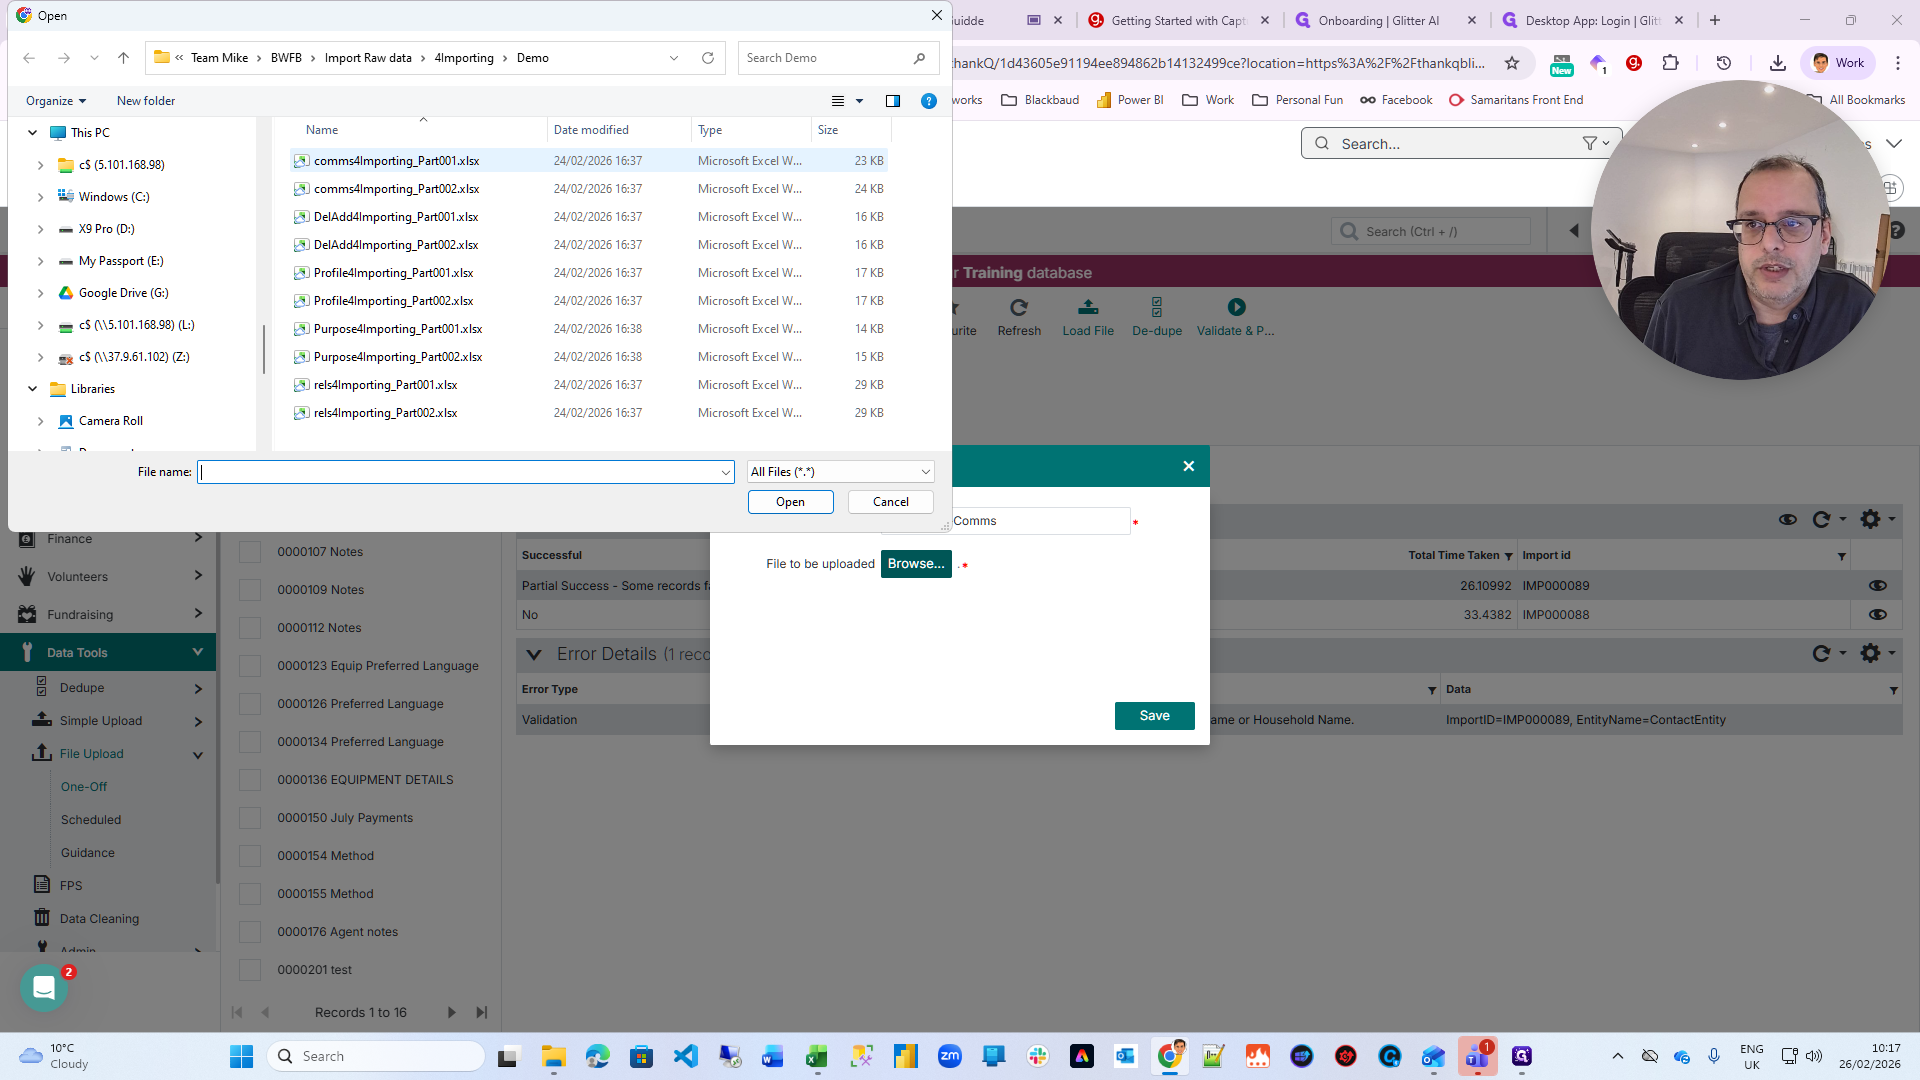
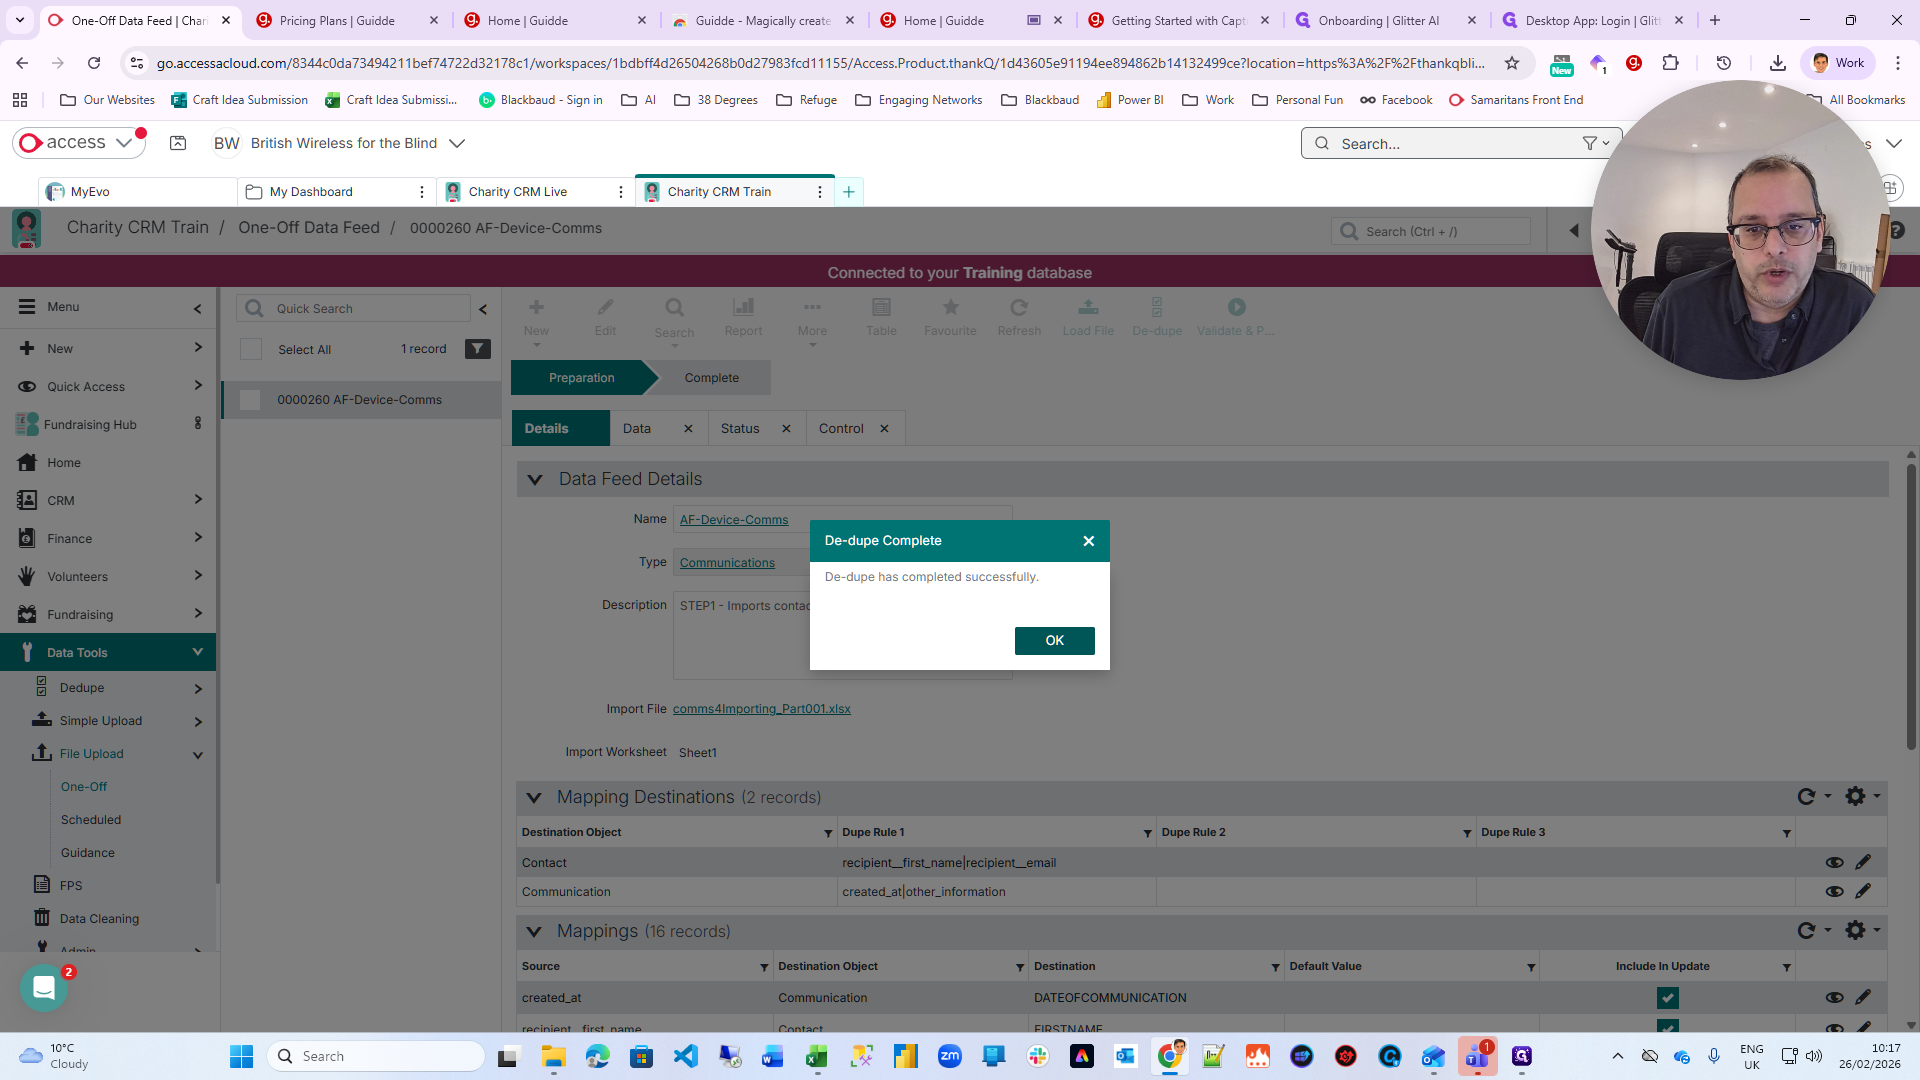
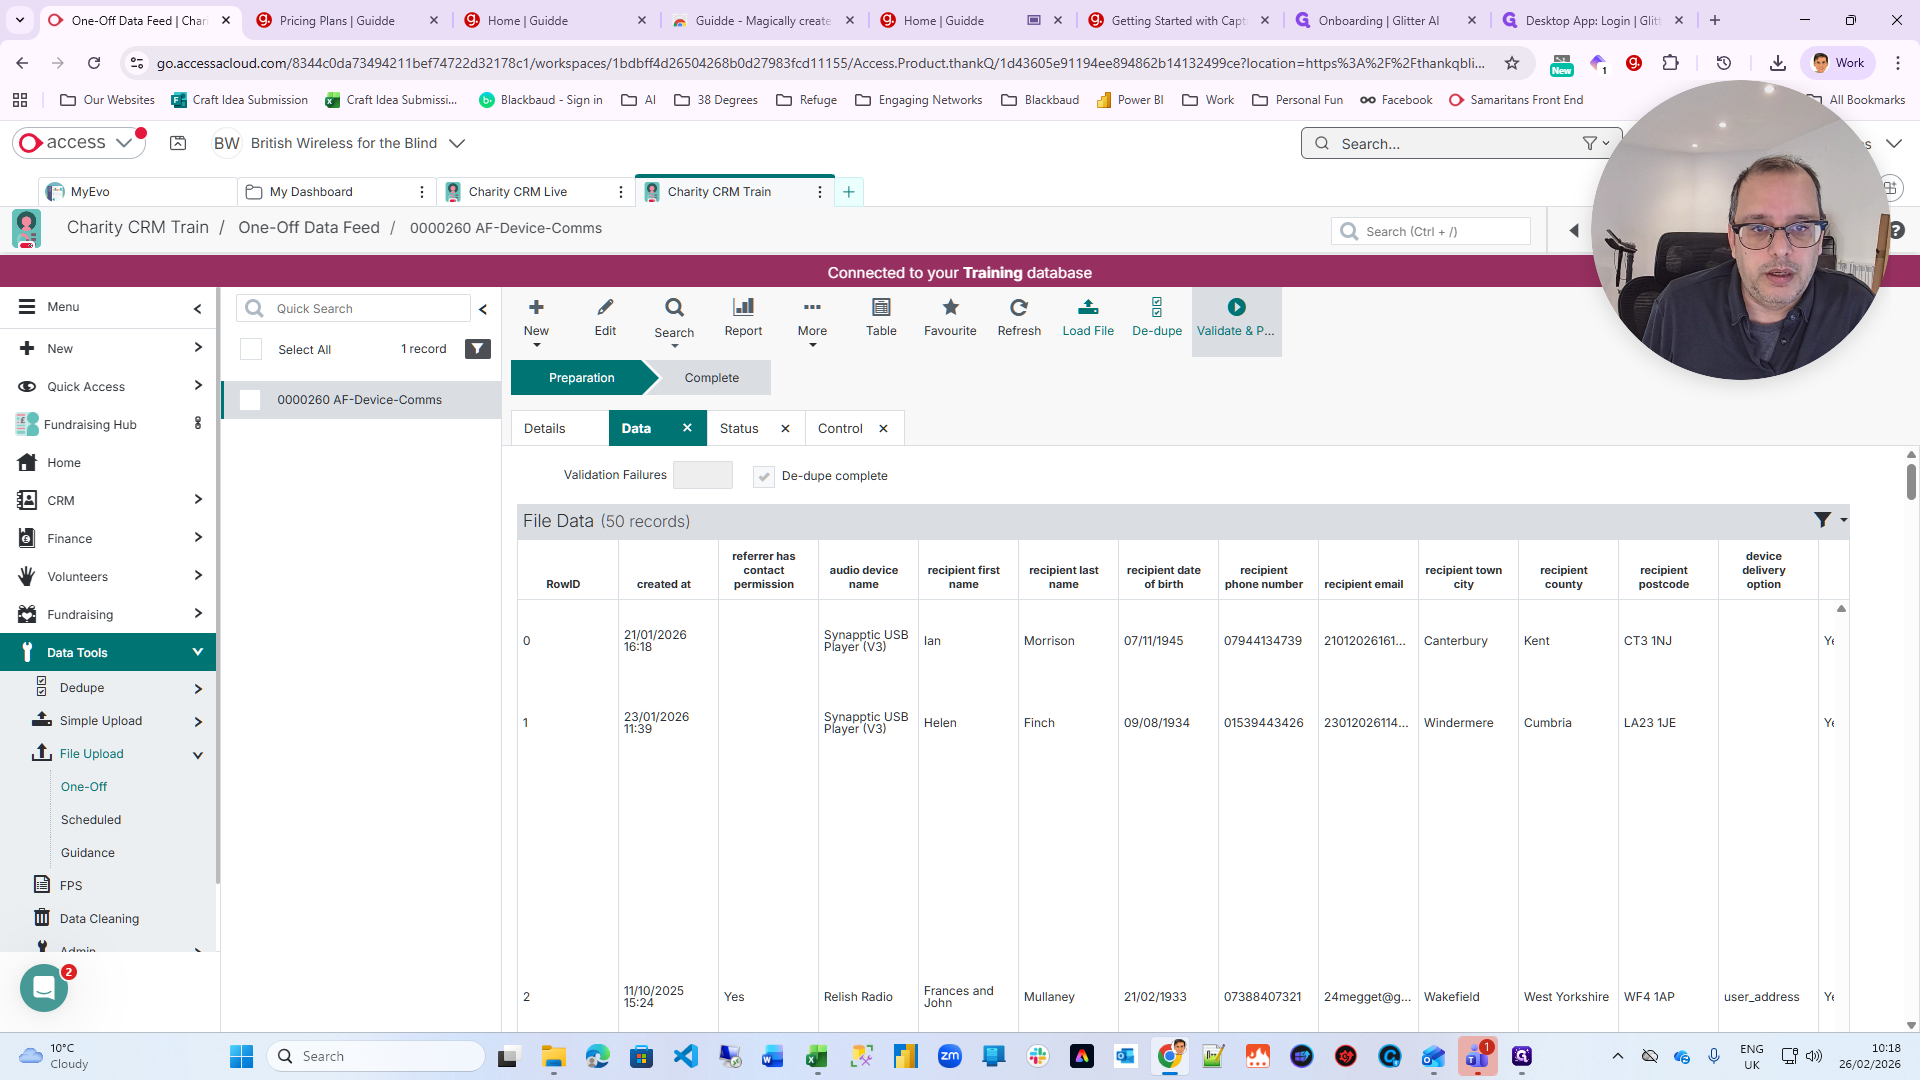
Make sure to follow all the steps in order. You cannot go through them in any order. Please follow them in the specified order. Click on Device Comms and find the file that was just generated. Select the file created earlier. As with any other import in ThankQ, click on Dedupe. When the process finishes and displays "Dedupe has finished successfully," you will see a view of your data.

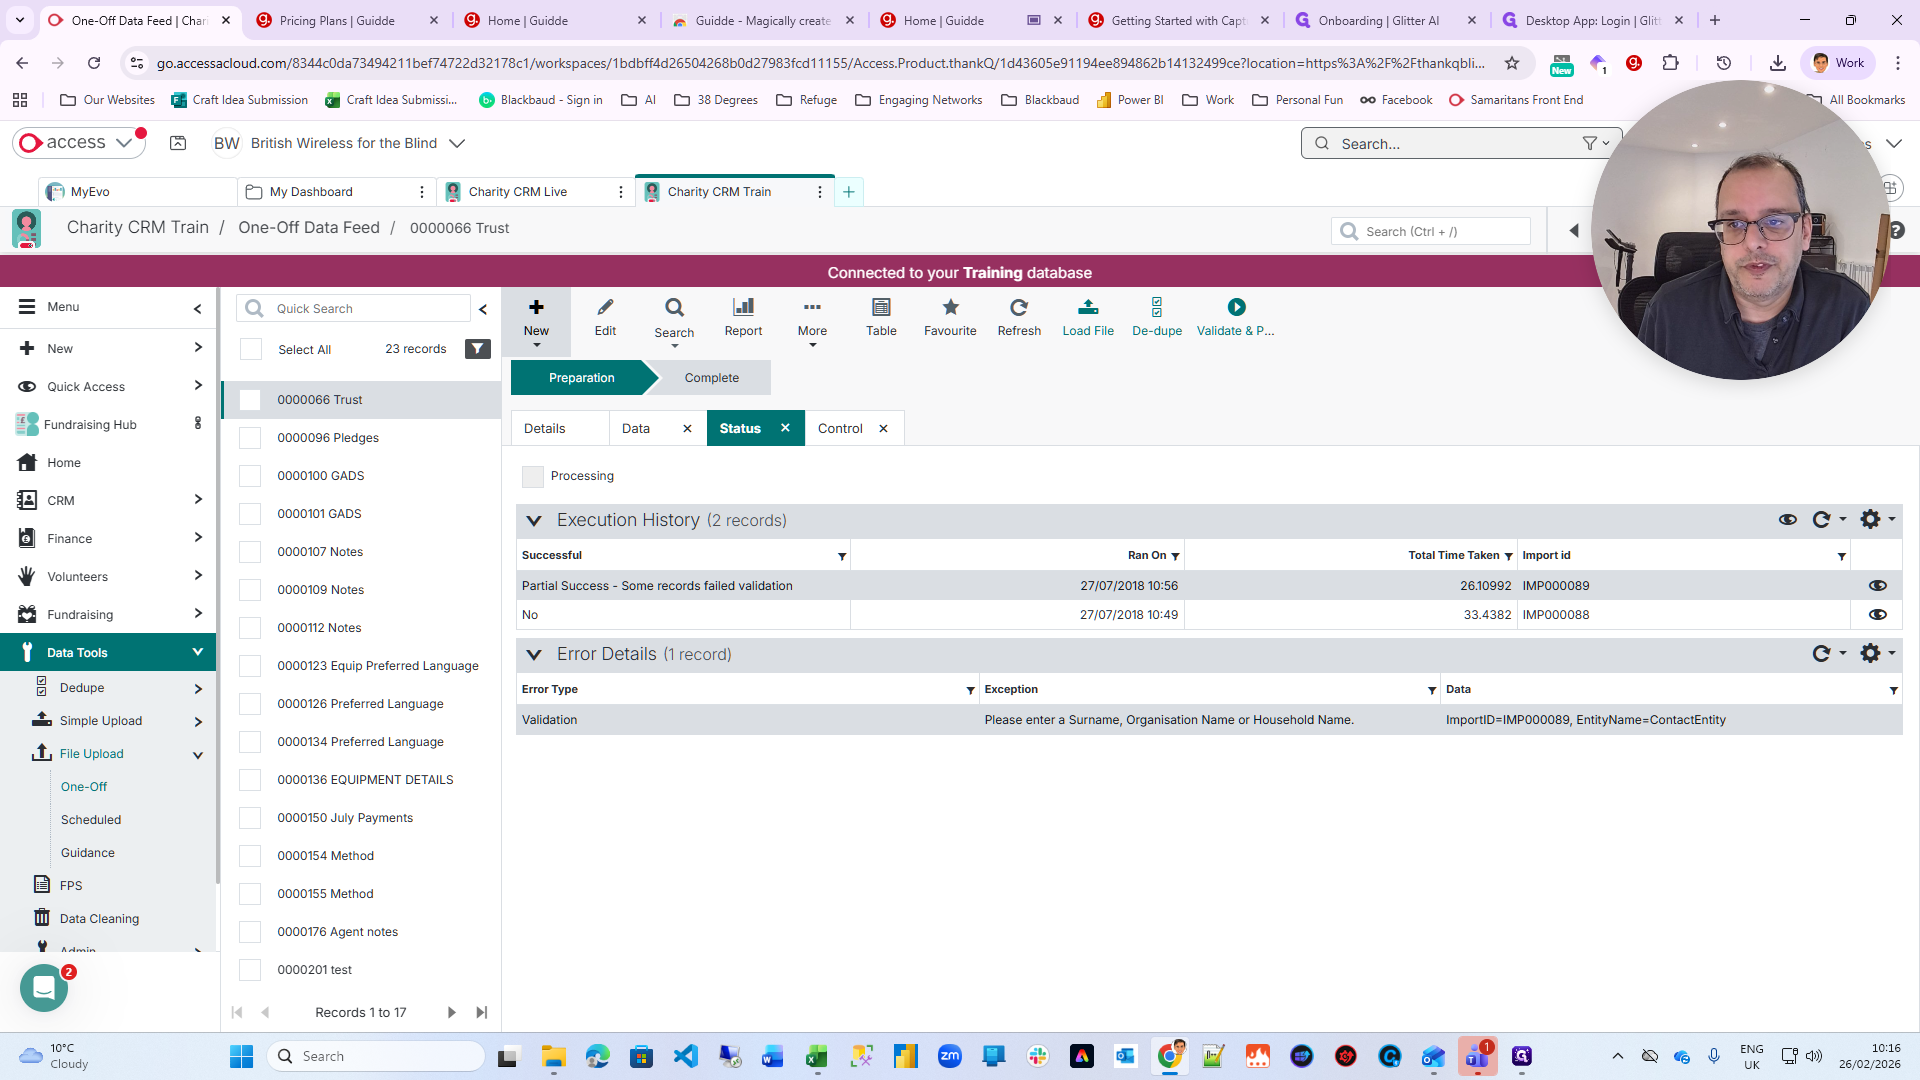
After reviewing the data, click Validate & Post. When you click Validate & Post, the system will check your data and ensure the values are correct.
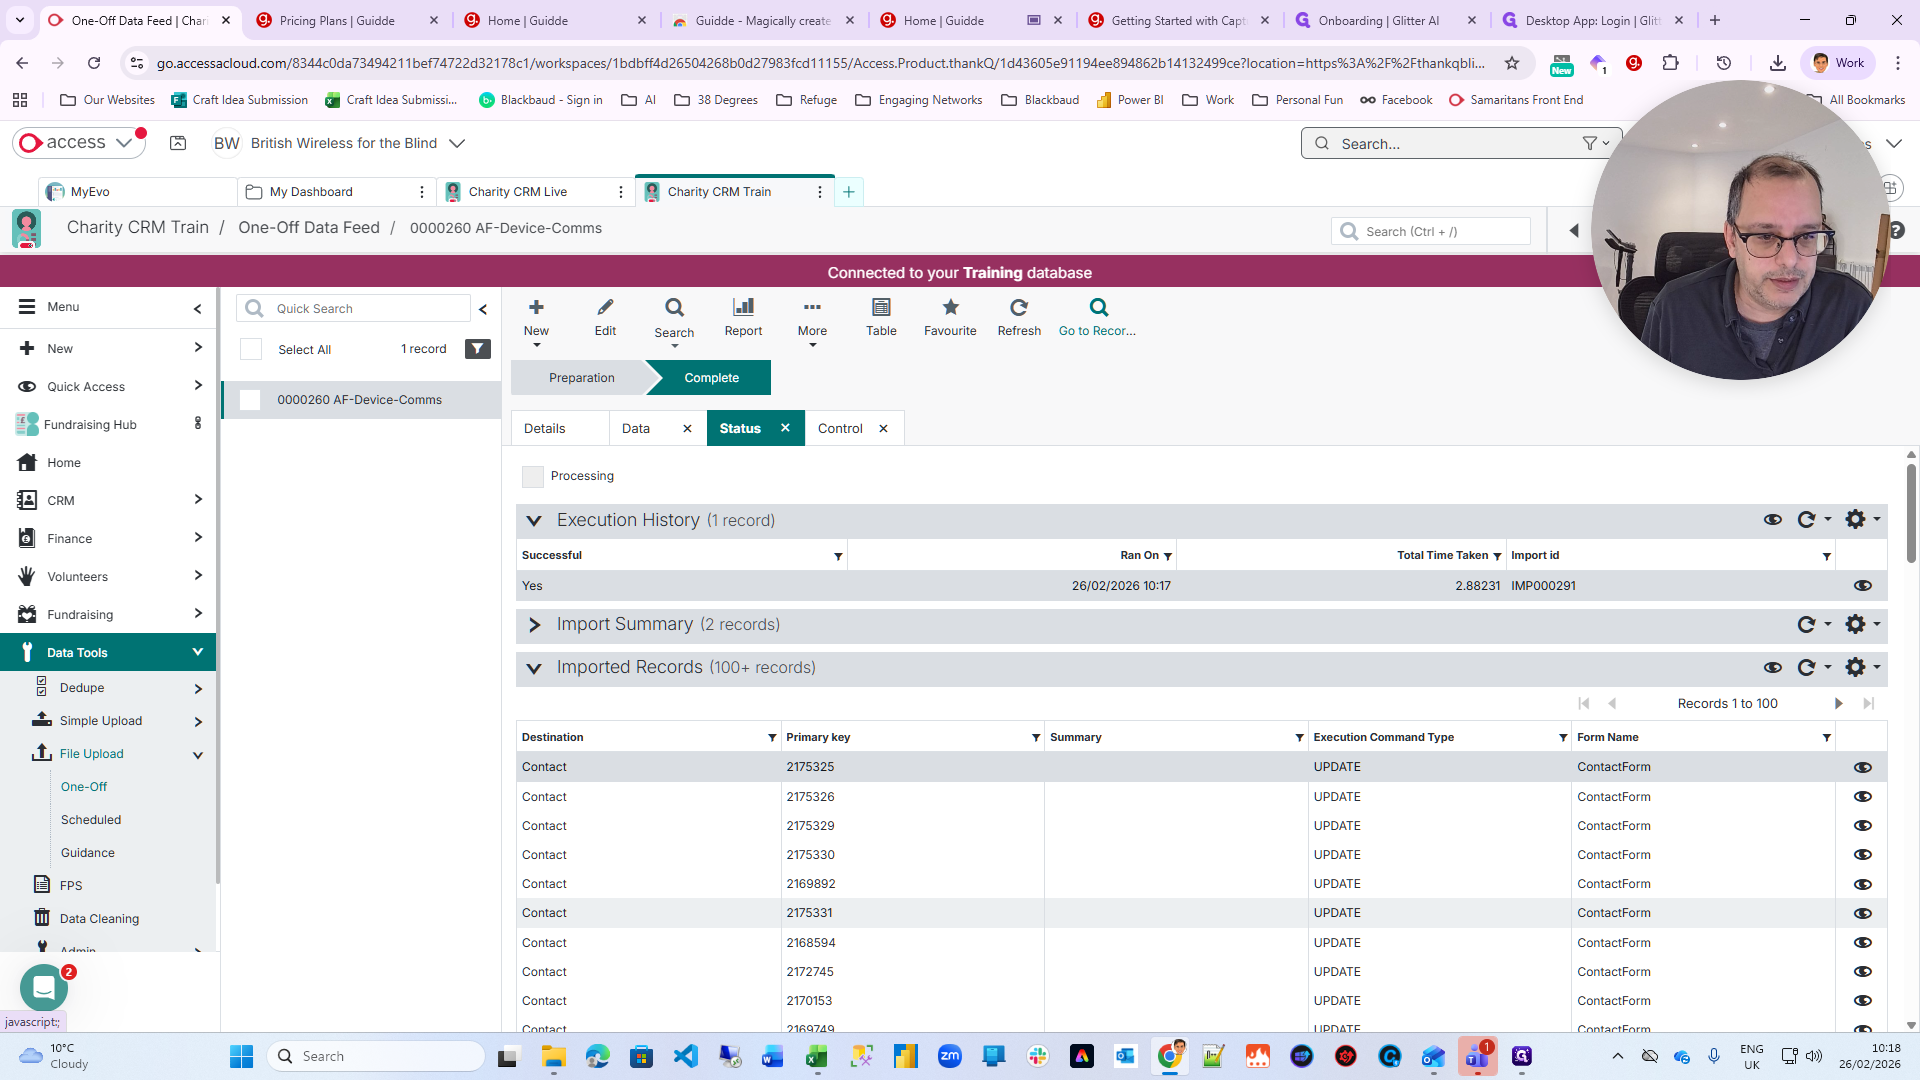
It will then attempt to post it into ThankQ. After that, you will see a successful completion record. The process is the same for all imports, so I will not go through each one.
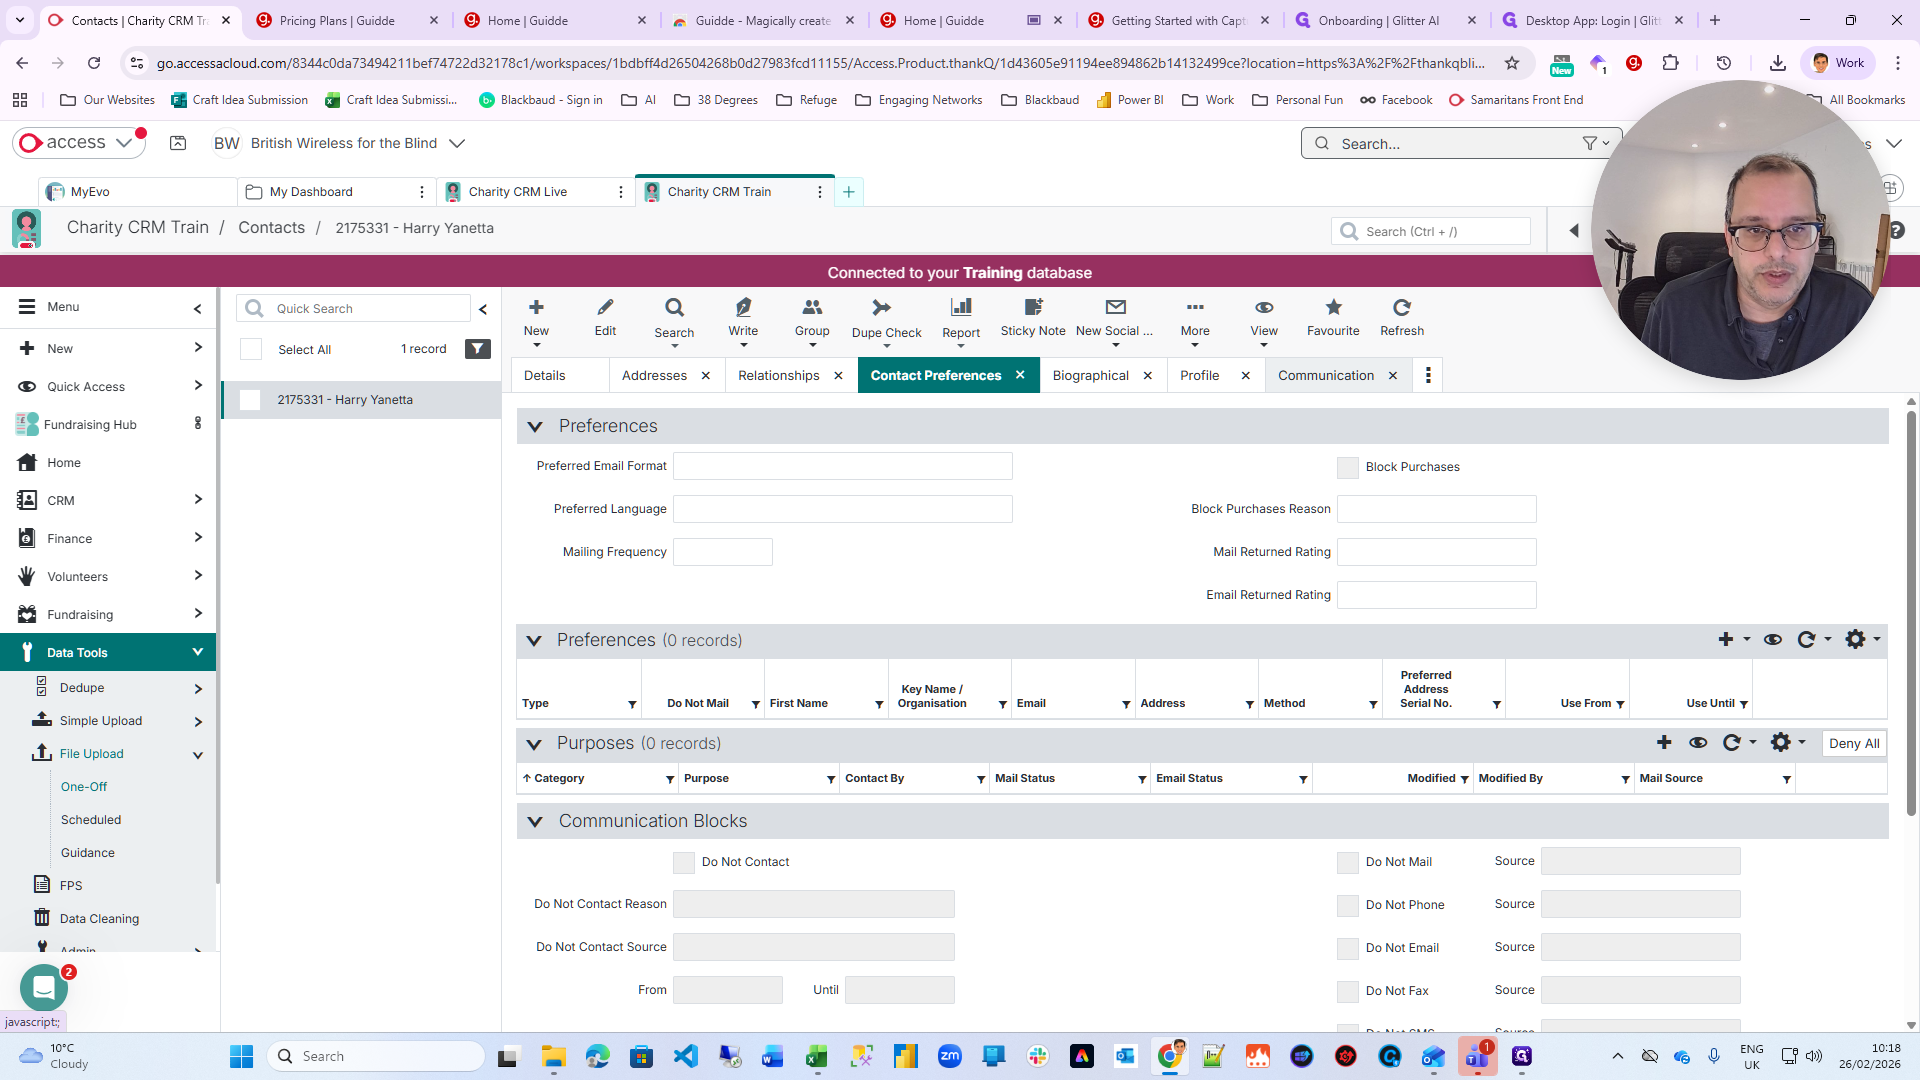
You can look at the section at the bottom, which shows the imported records. You can click on any of these eyes to view that record based on what you've just imported. That was Communications, so you'll see the Communi-