
How to upload Journal Entry : Step-by-Step Guide
Learn how to upload journal entries into QuickBooks with this easy-to-follow guide. Discover the required fields and step-by-step process for a successful import.
By Aasma Technology Solutions
In this guide, you will learn how to upload Journal Entry files to QuickBooks for streamlined accounting data import. This functionality enables you to efficiently transfer financial records by selecting the appropriate file and processing it through the system. You will explore the required data fields, file format specifications, and complete the step-by-step upload process to ensure accurate Journal Entry creation in your QuickBooks account.
Let's get started
2
Click here
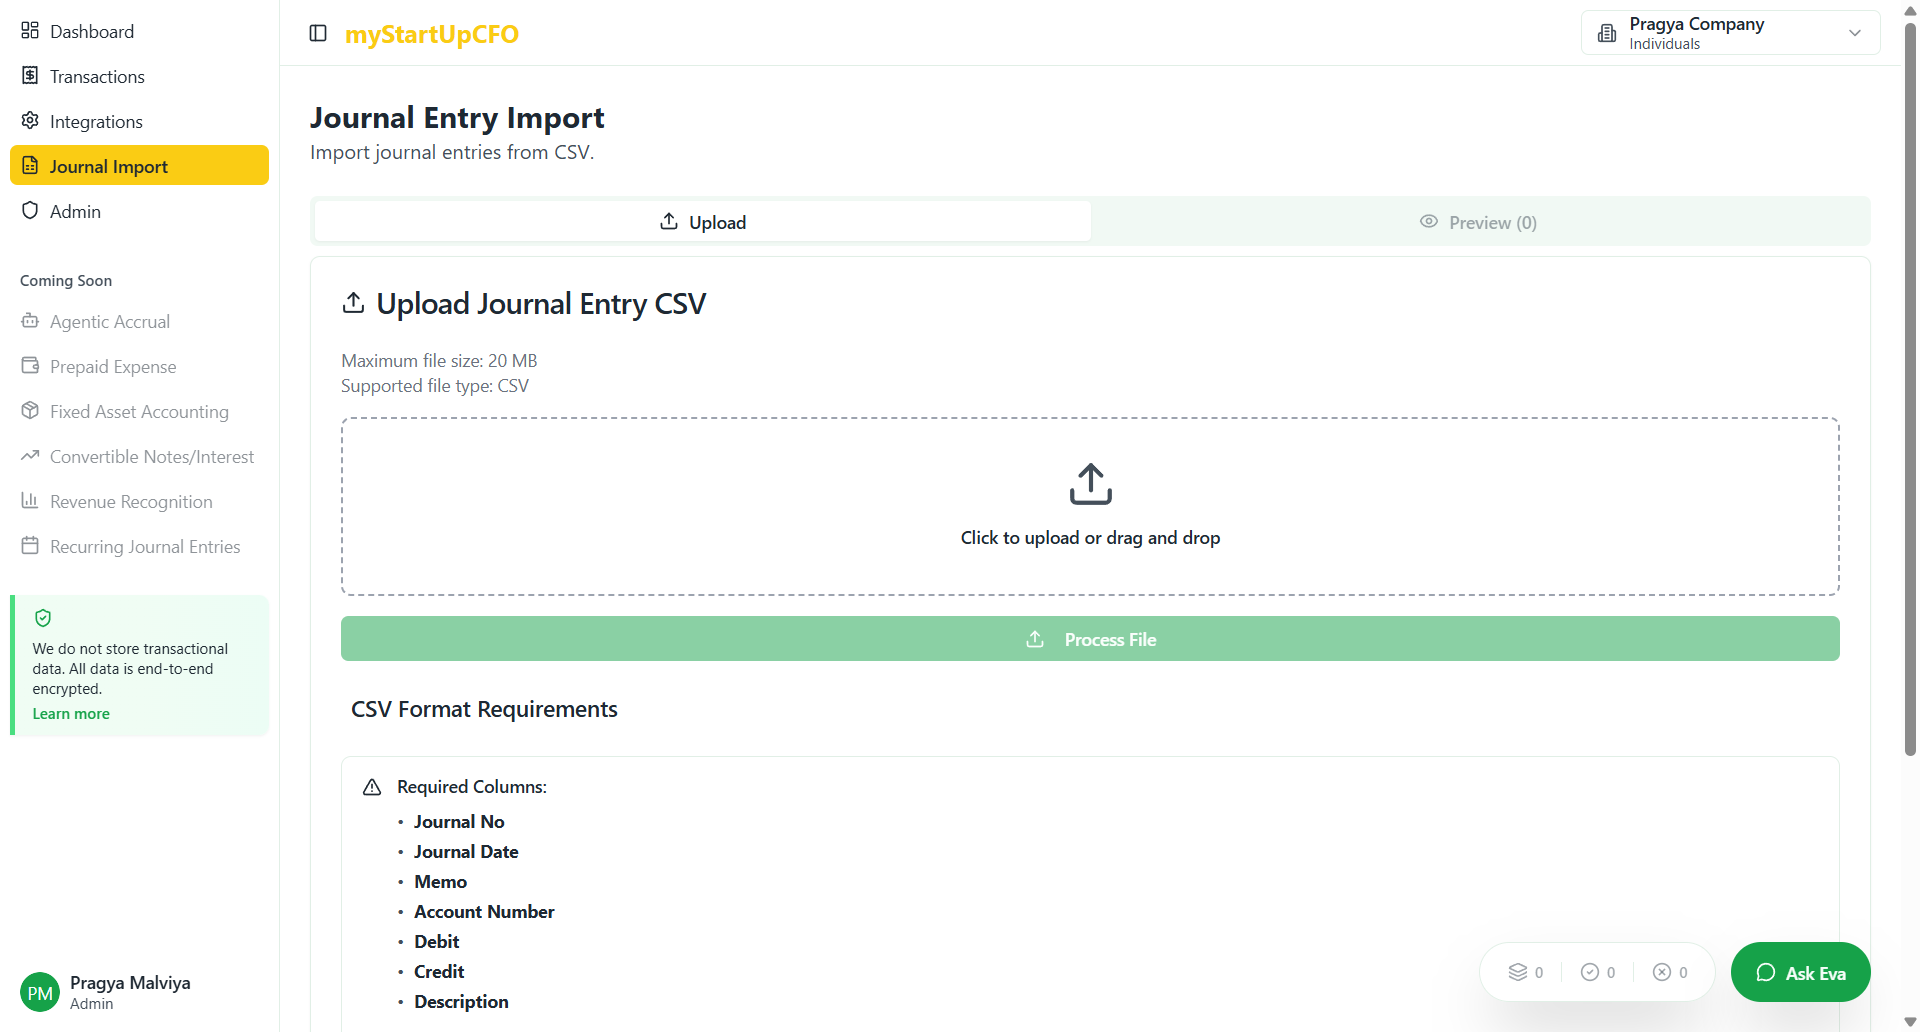
Select your Journal Entry file by clicking the file selection button. Review the required fields displayed on screen to ensure your file contains the necessary data. Click "Process File" to upload.
3
Click here "Process File" and it will move you to preview tab.

This concludes the Journal Entry file upload process.