
How to Import Newsletter Data Using the App: Step-by-Step Guide
Learn how to easily import newsletter data or other information using the app. Follow this simple step-by-step guide to select your file, import data, and manage communication and purposes files efficiently.
In this guide, we'll learn how to use an app to import newsletter data. We will go through the steps of selecting a file, starting the import process, and understanding the files that are generated. This process helps organize newsletter information and manage consent records.
Let's get started
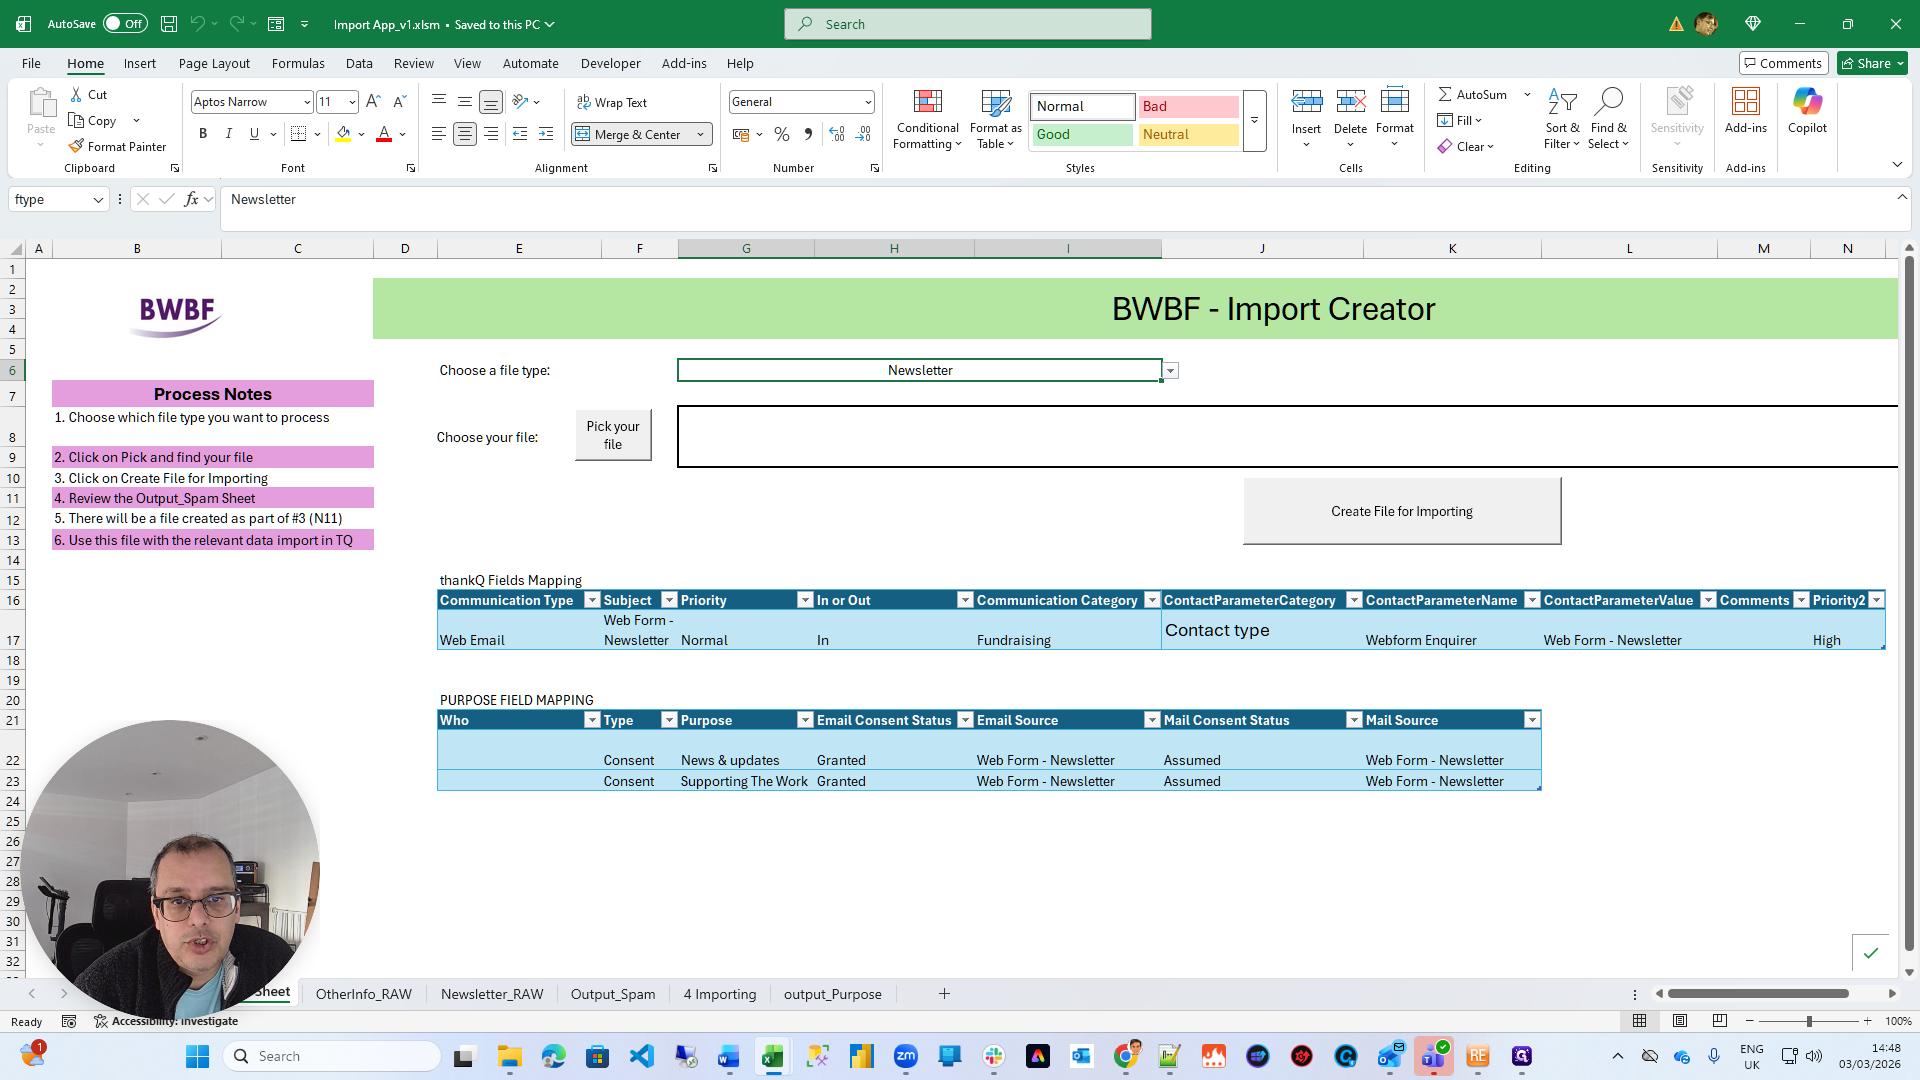
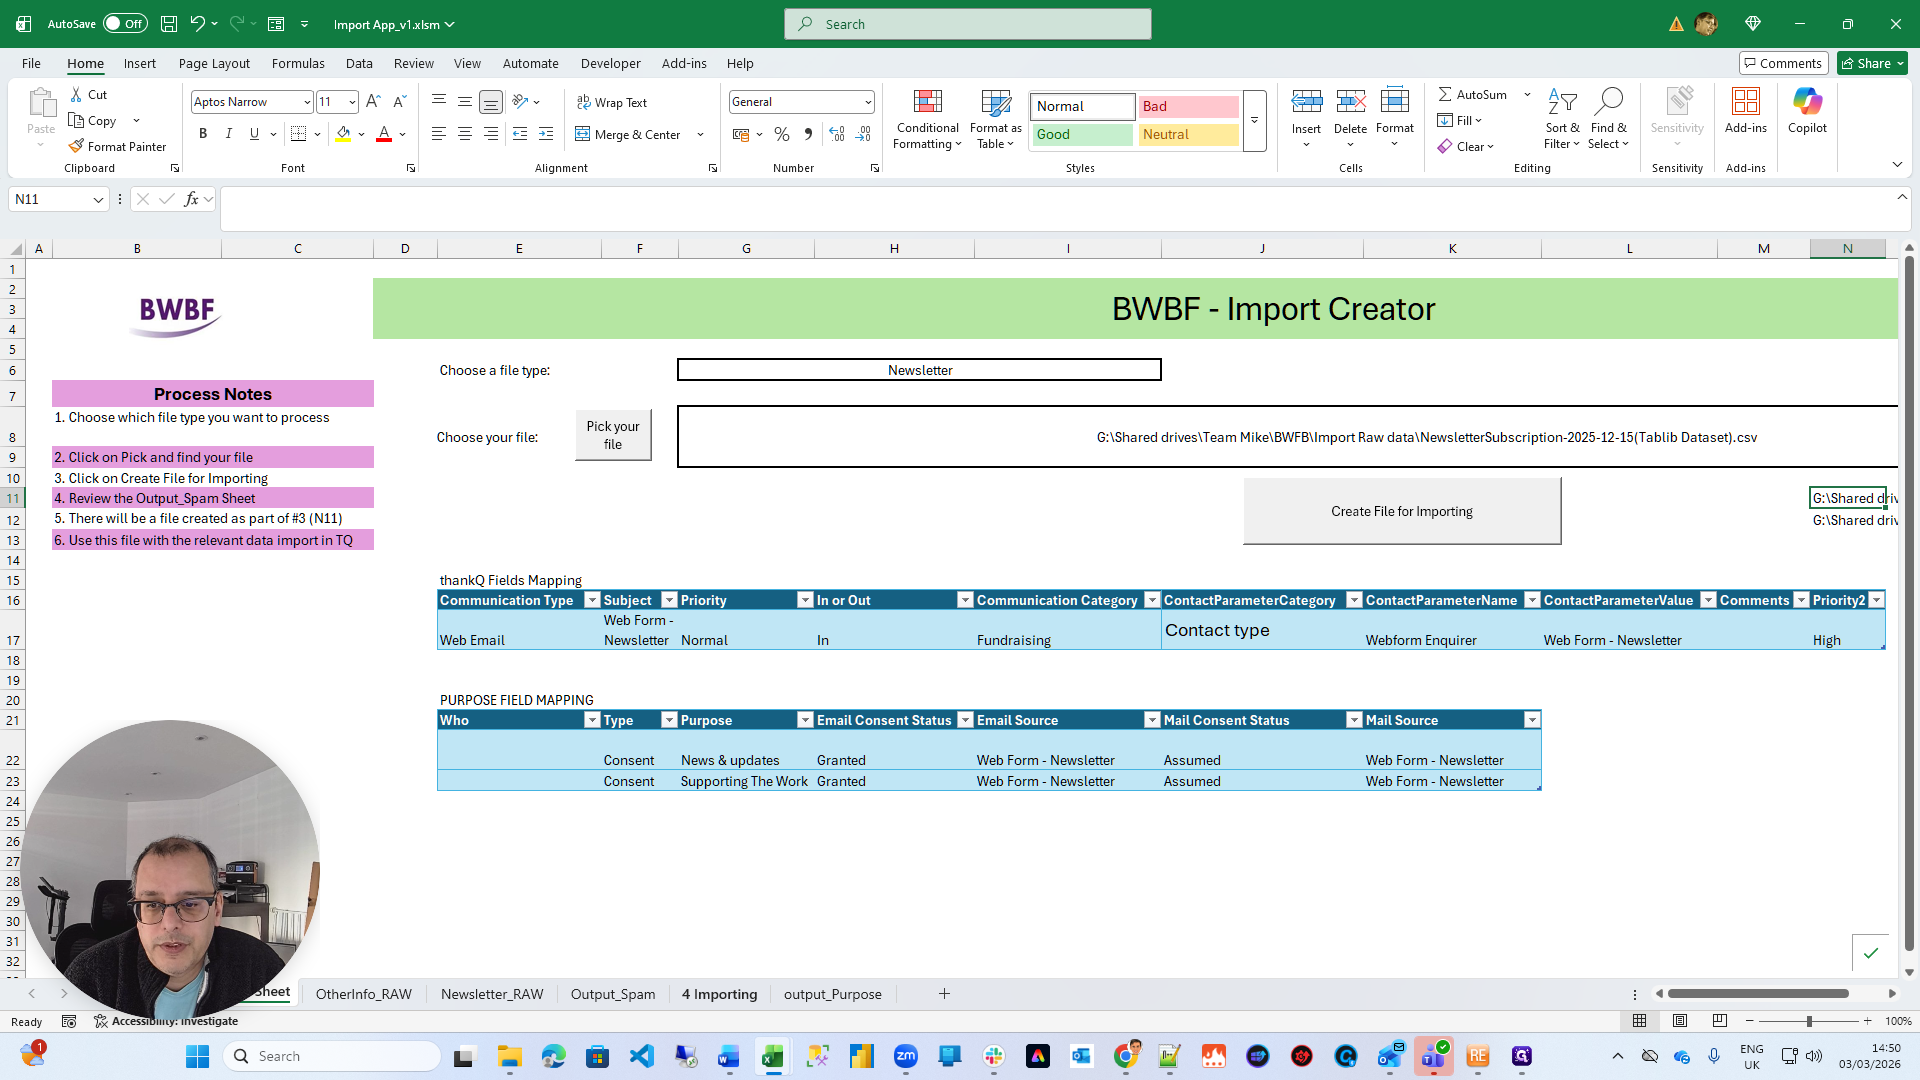
Okay. We are looking at the app designed for importing newsletter data or other information. Down the left-hand side, you can see all the steps you need to carry out. It is literally two buttons. First, choose whether you want to import the newsletter data or other information.


I will show you using the newsletter. We will select the file.

I need to find a newsletter file.
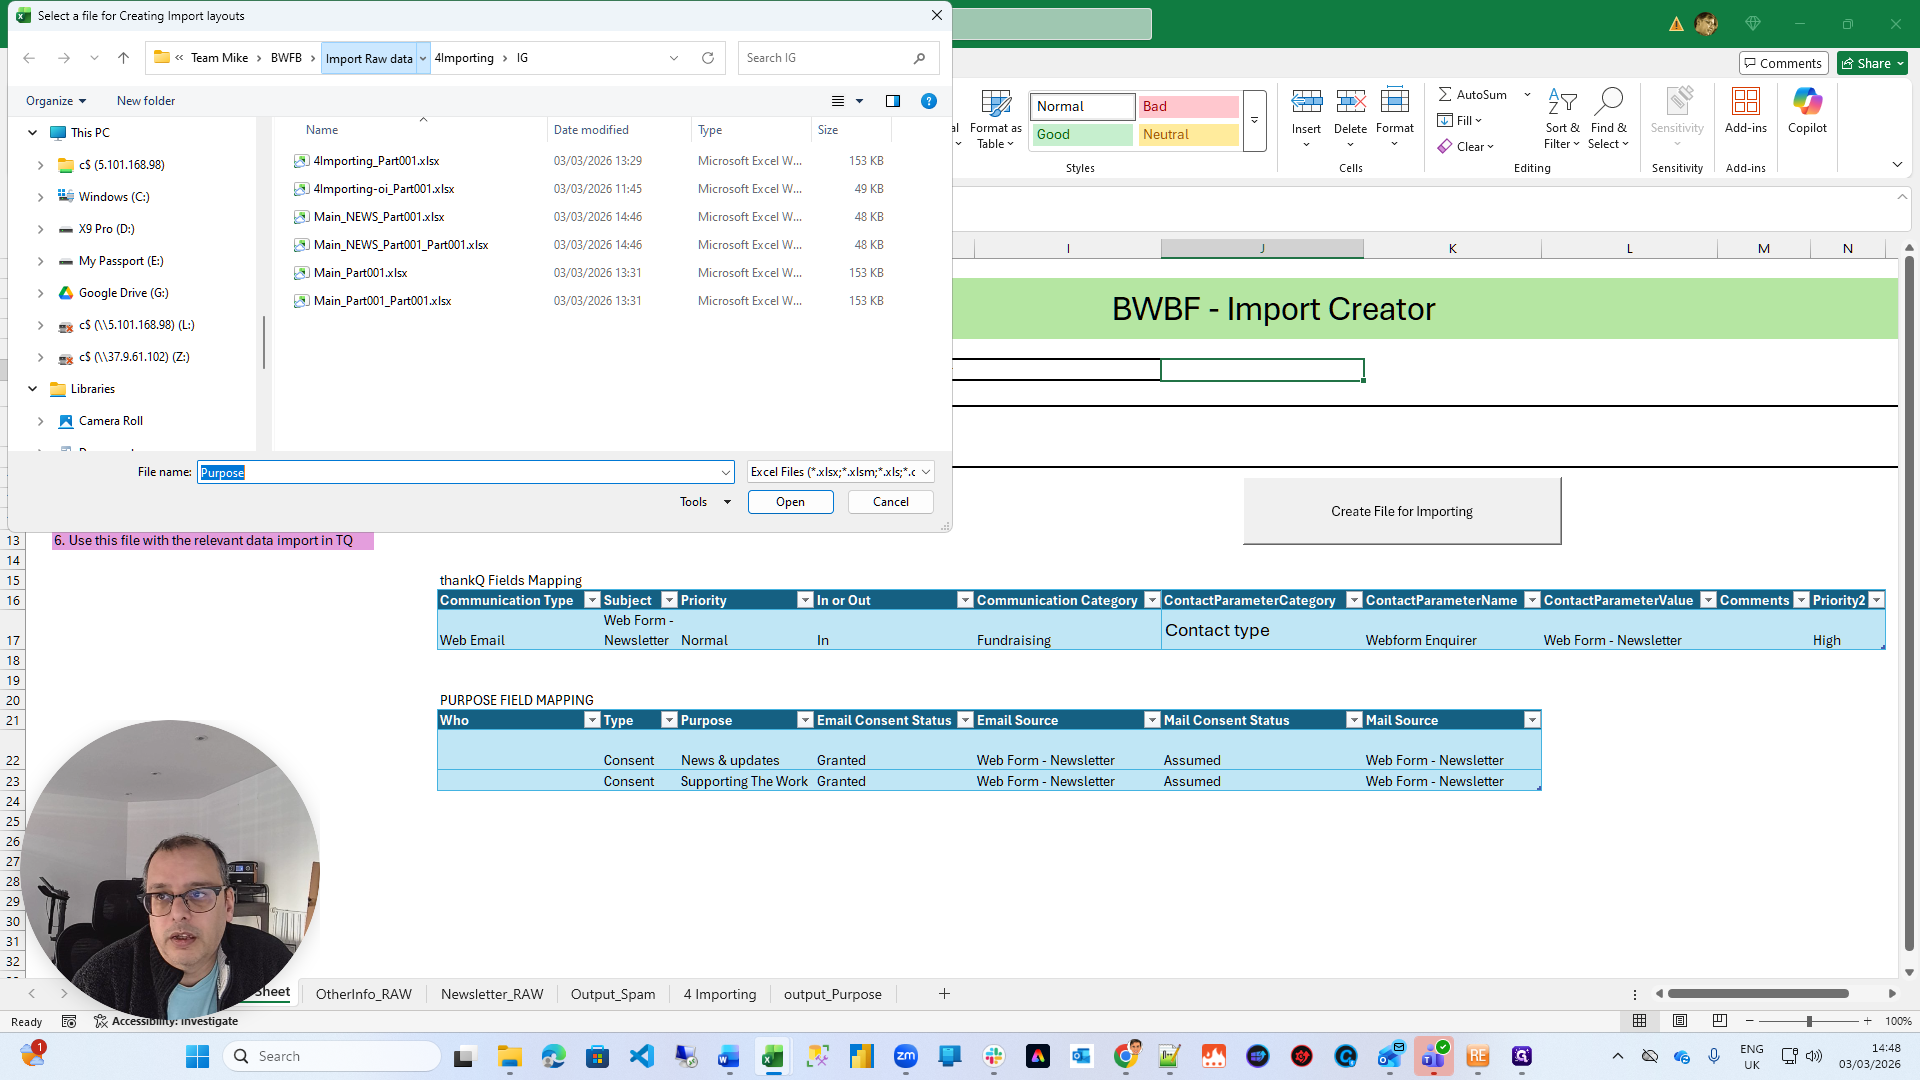
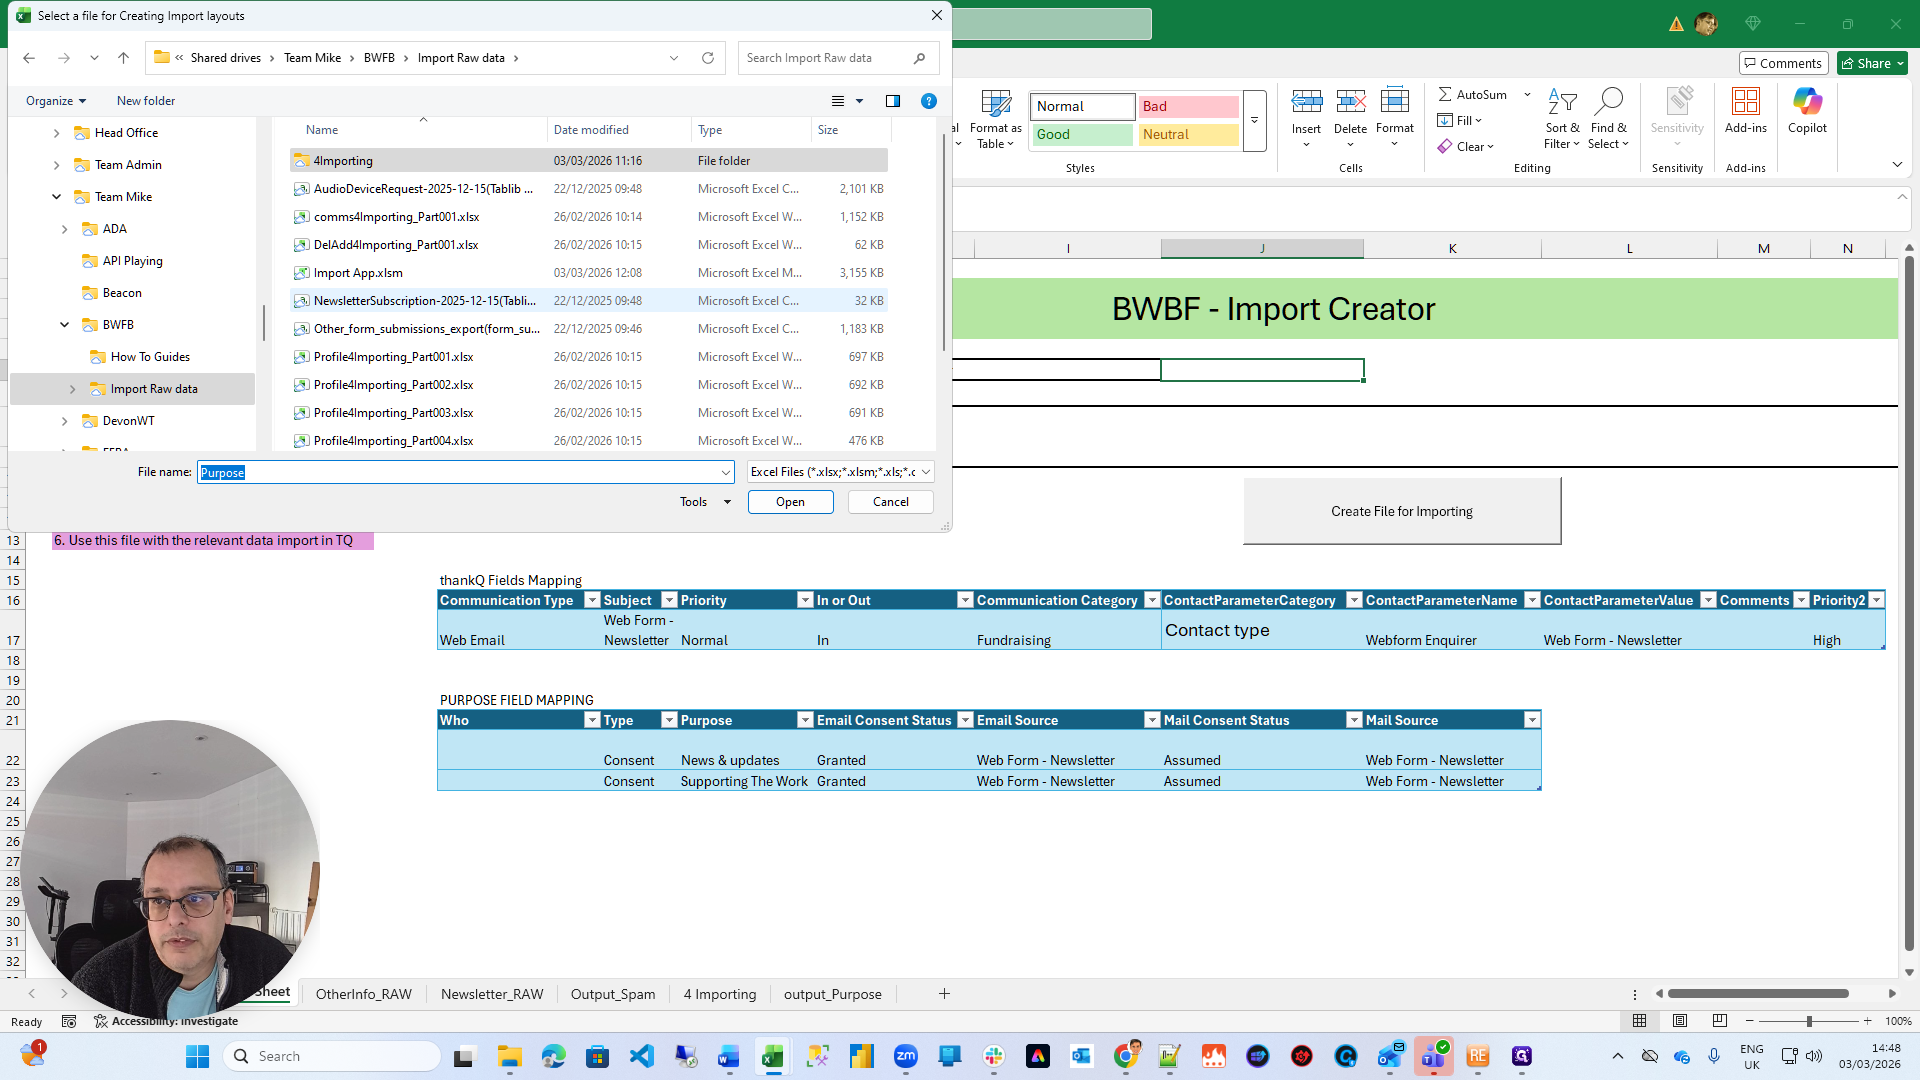
Here is a newsletter file. It will confirm when the file has been selected.

Next, it tells you to click on the file to start the import process.
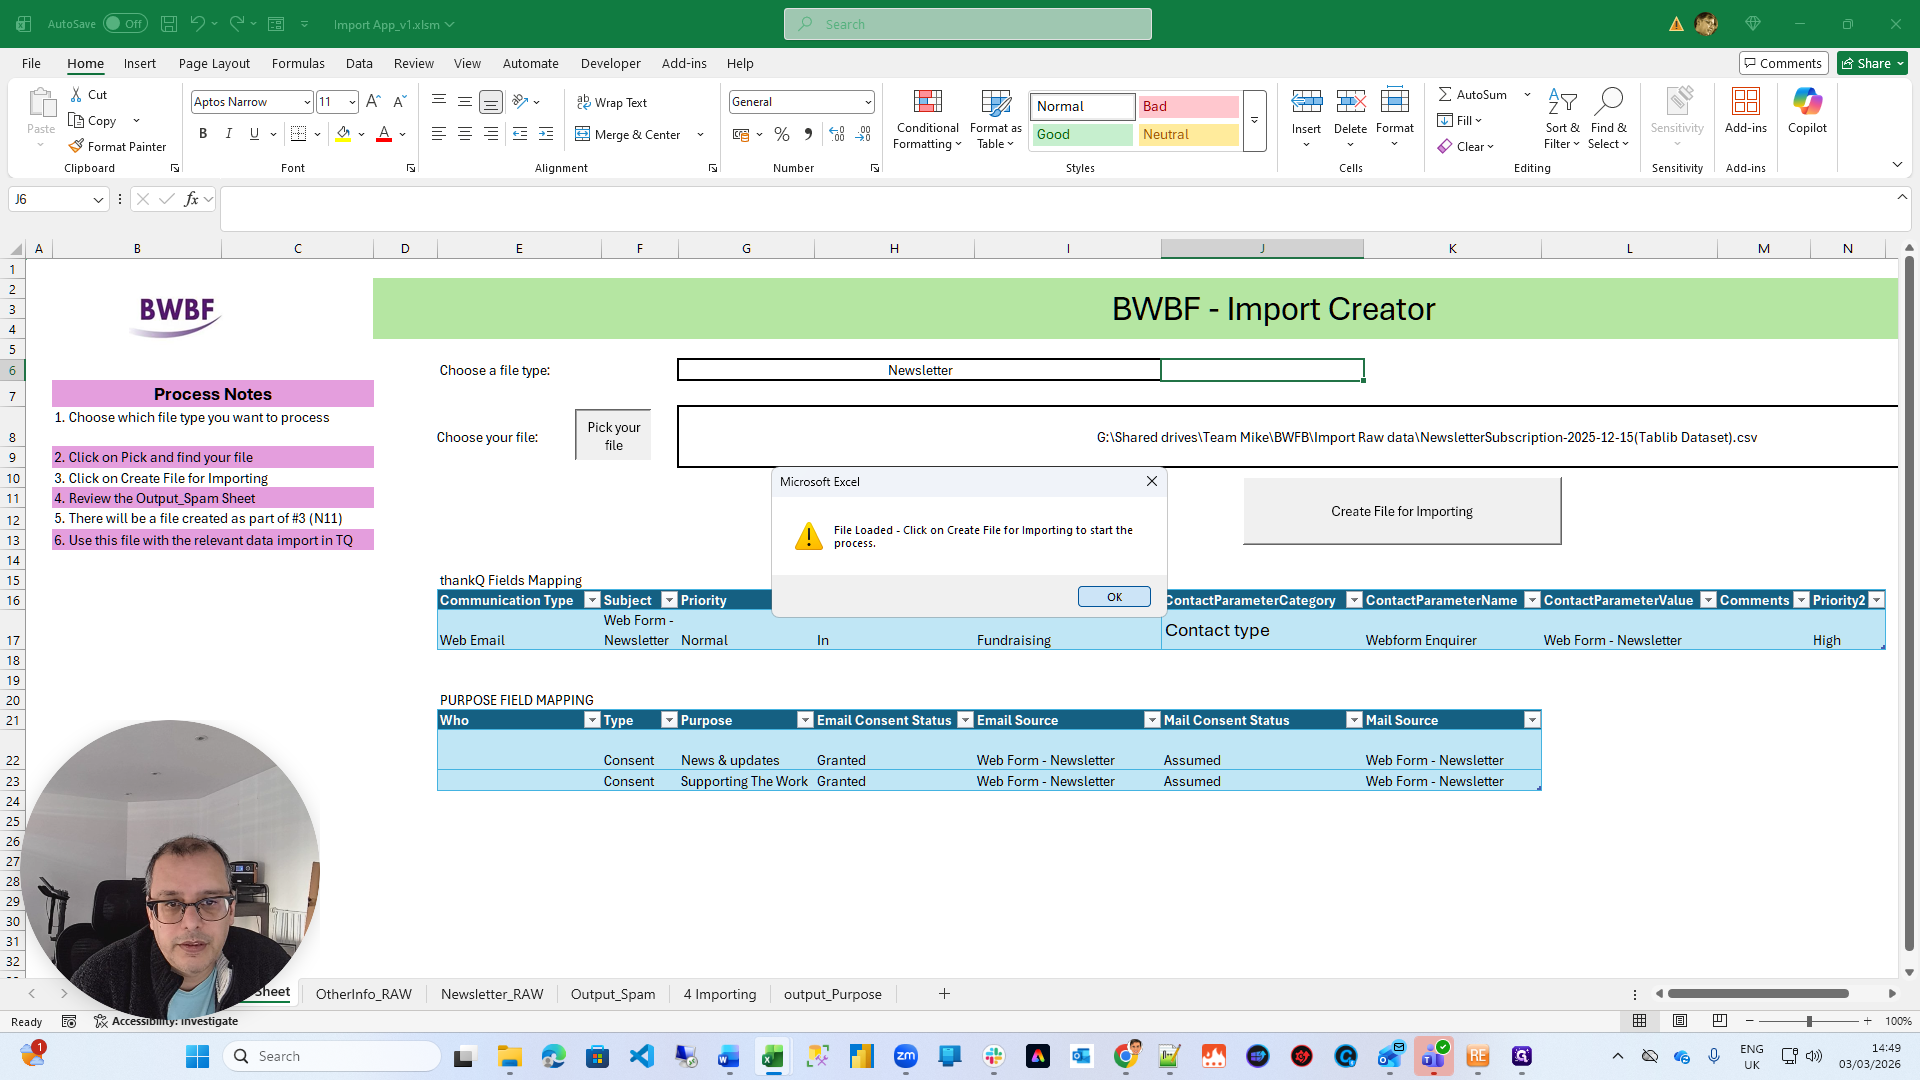
Here is the filename of the file I just selected. Then, I click on "Import File".
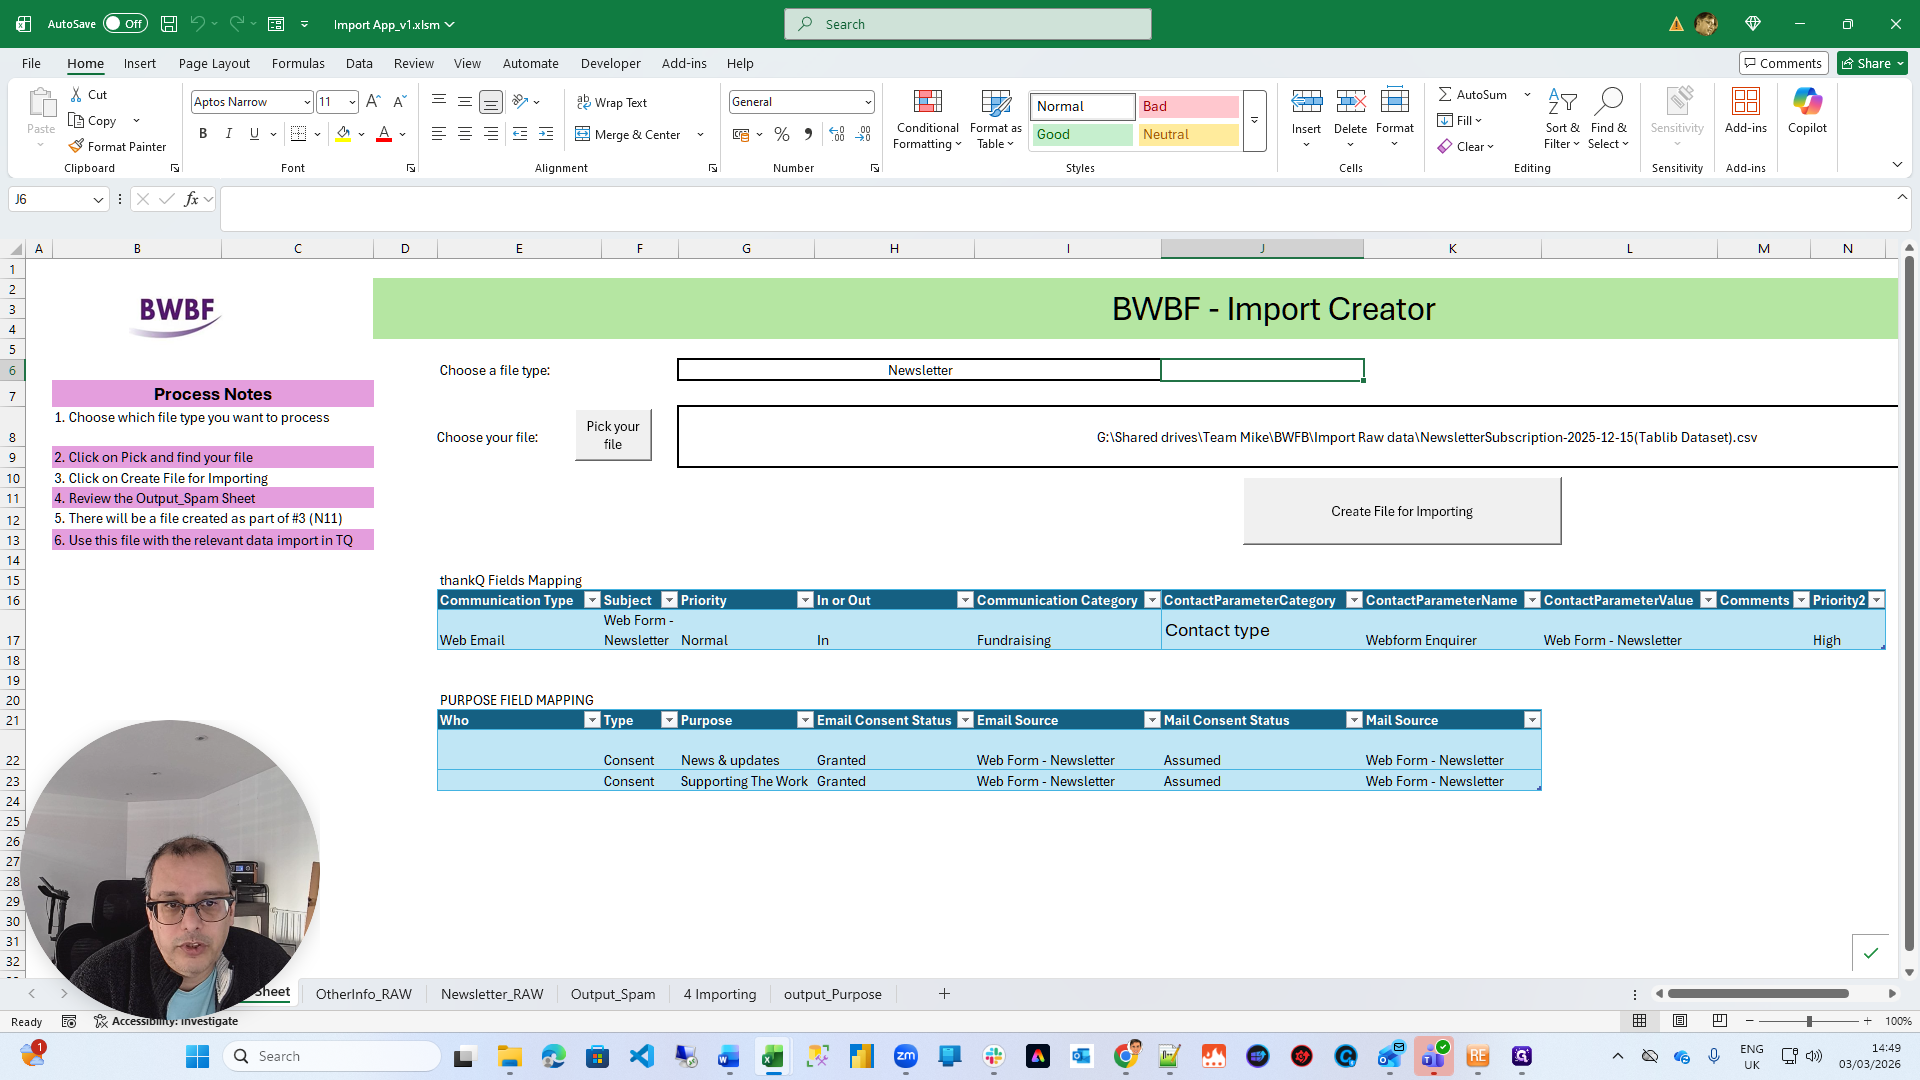
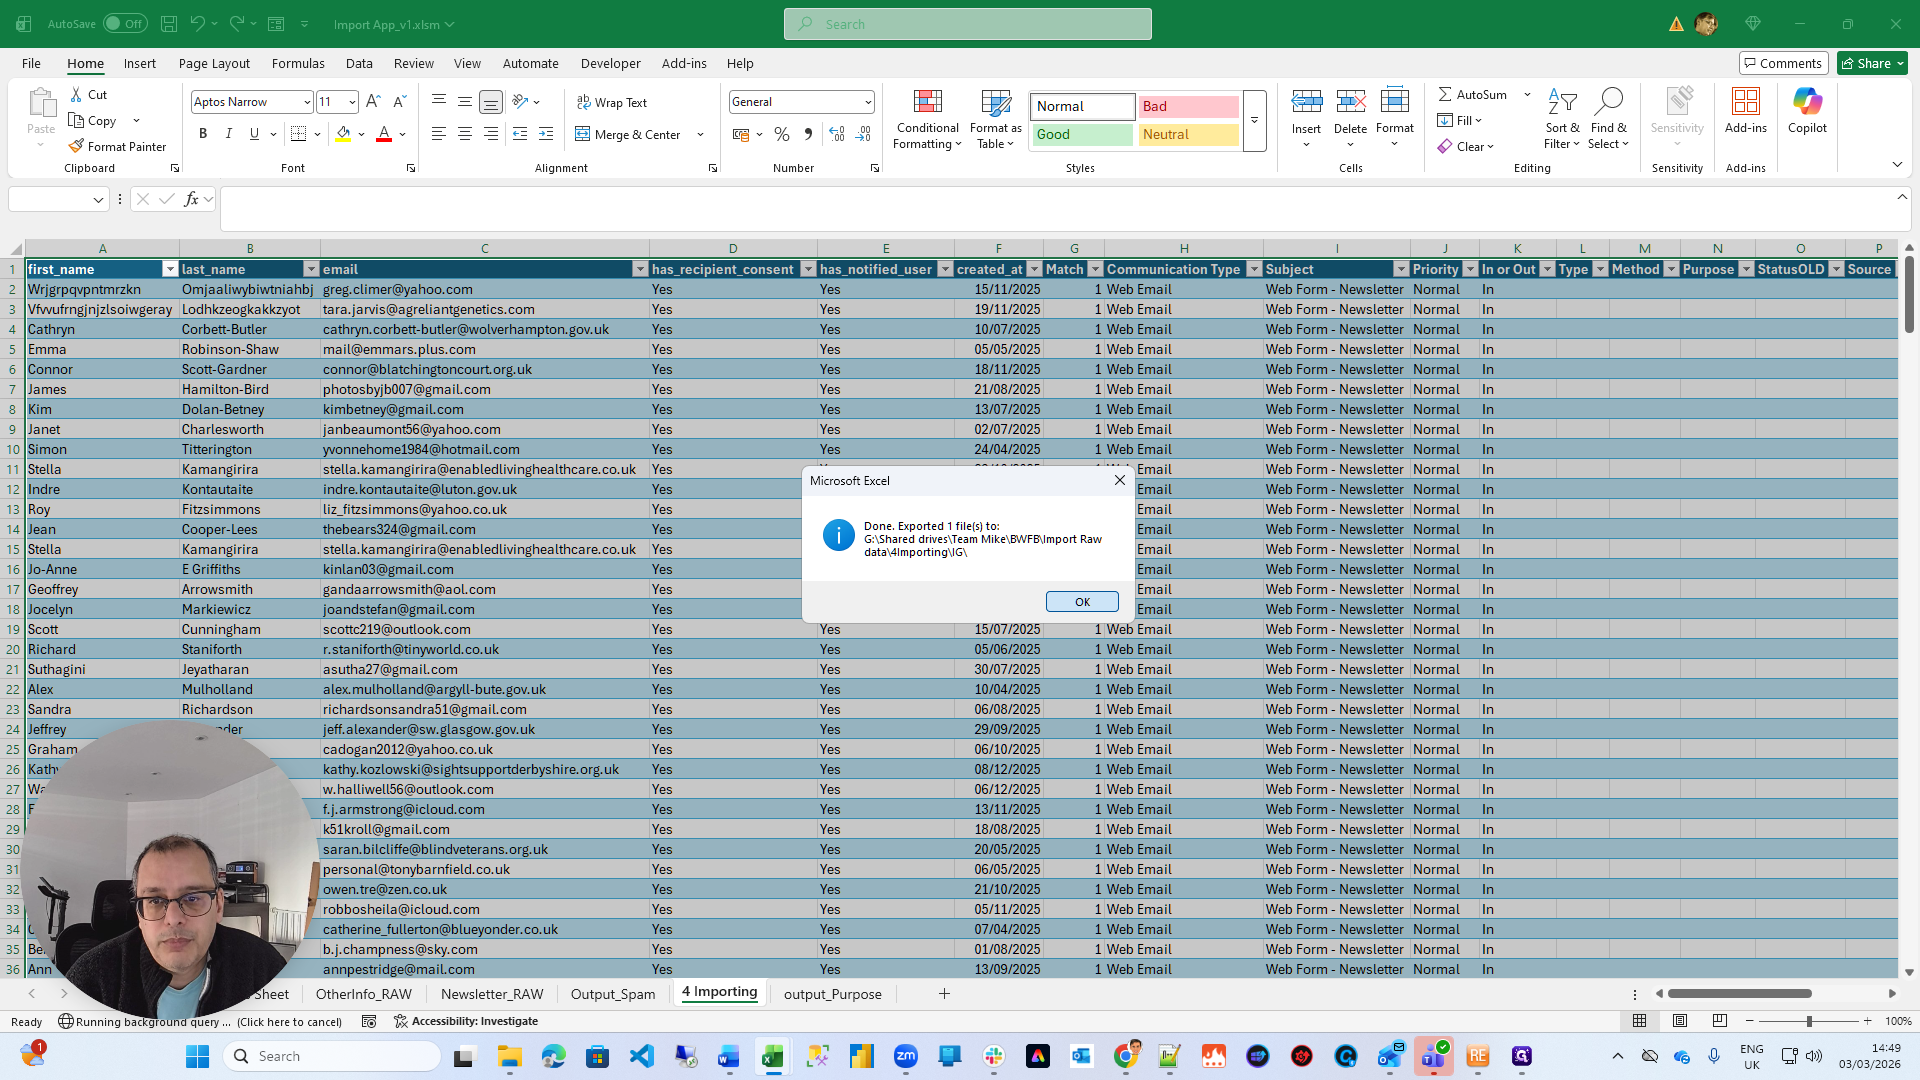
The Import File will generate two files. First, it will generate a file to serve as the main communication record.

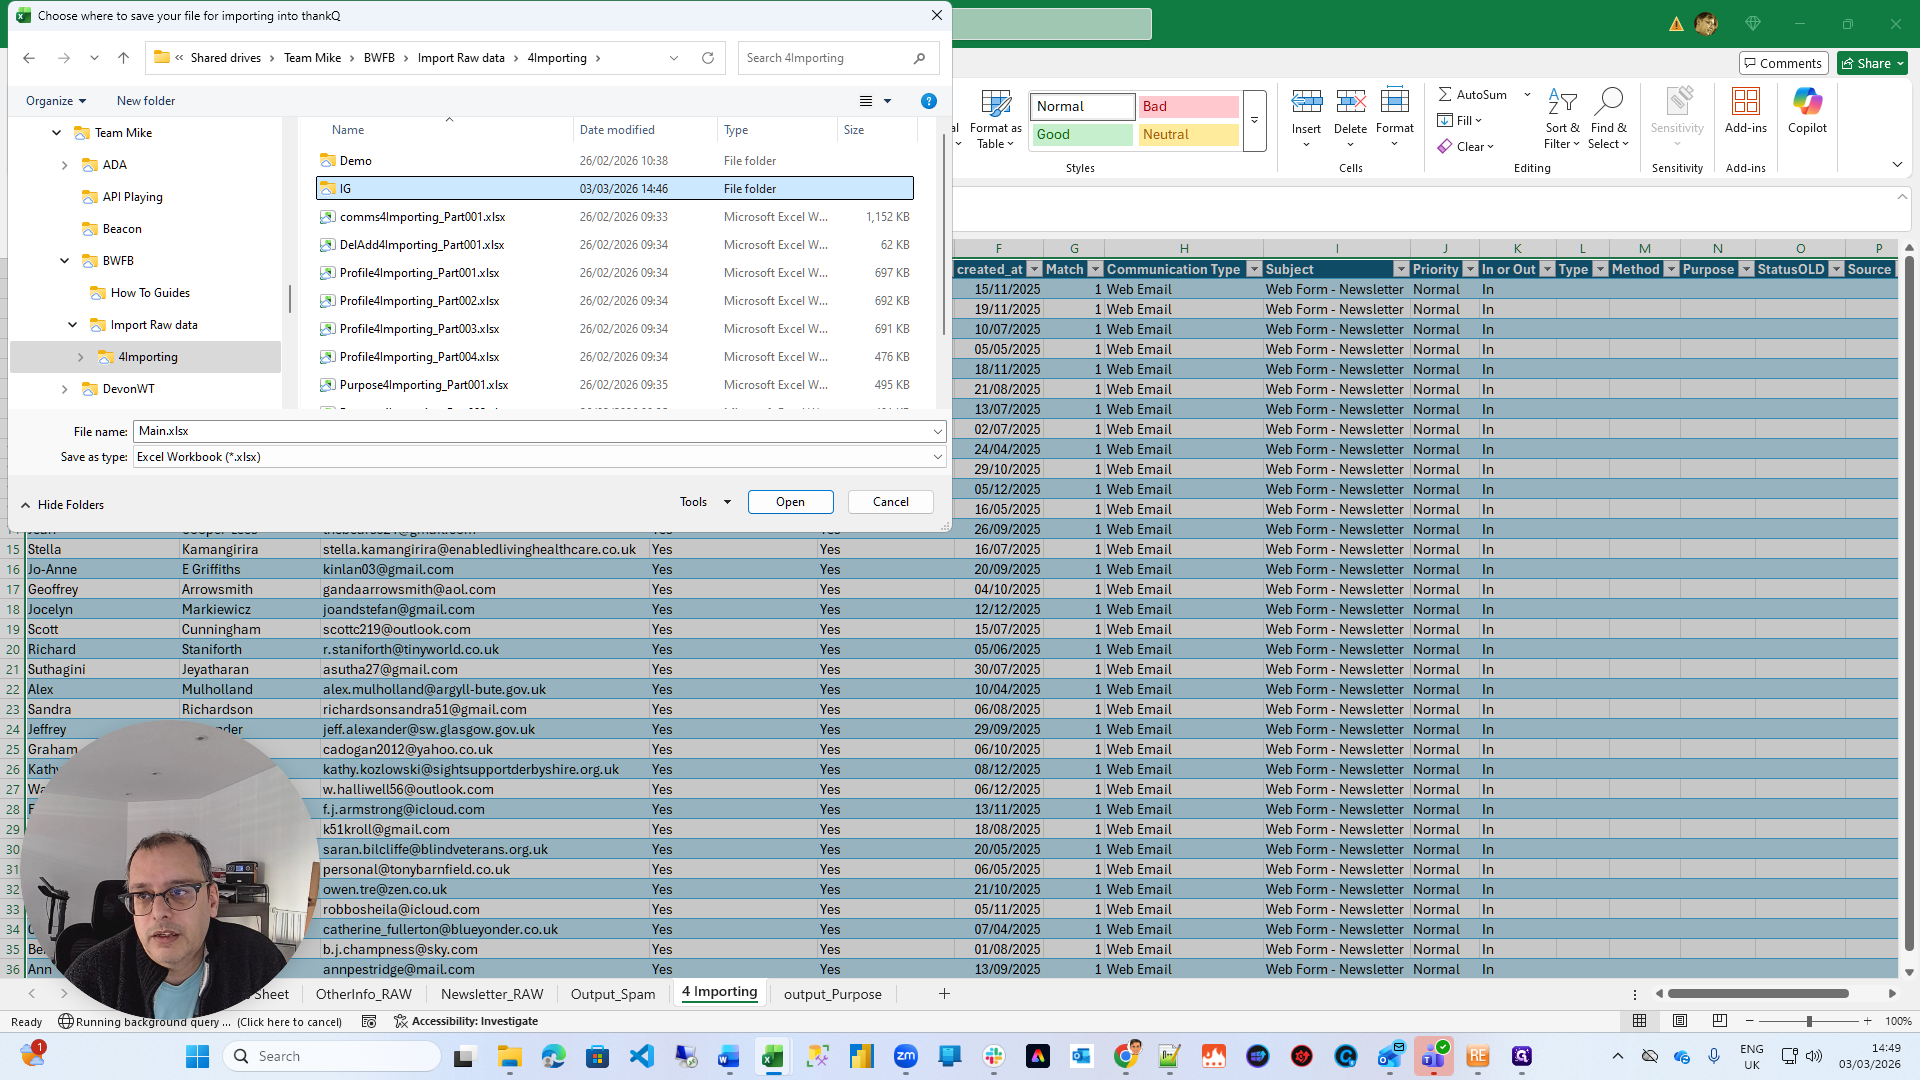
The other file it will generate is a purposes file.
It warns you that files have been generated and provides their purposes.

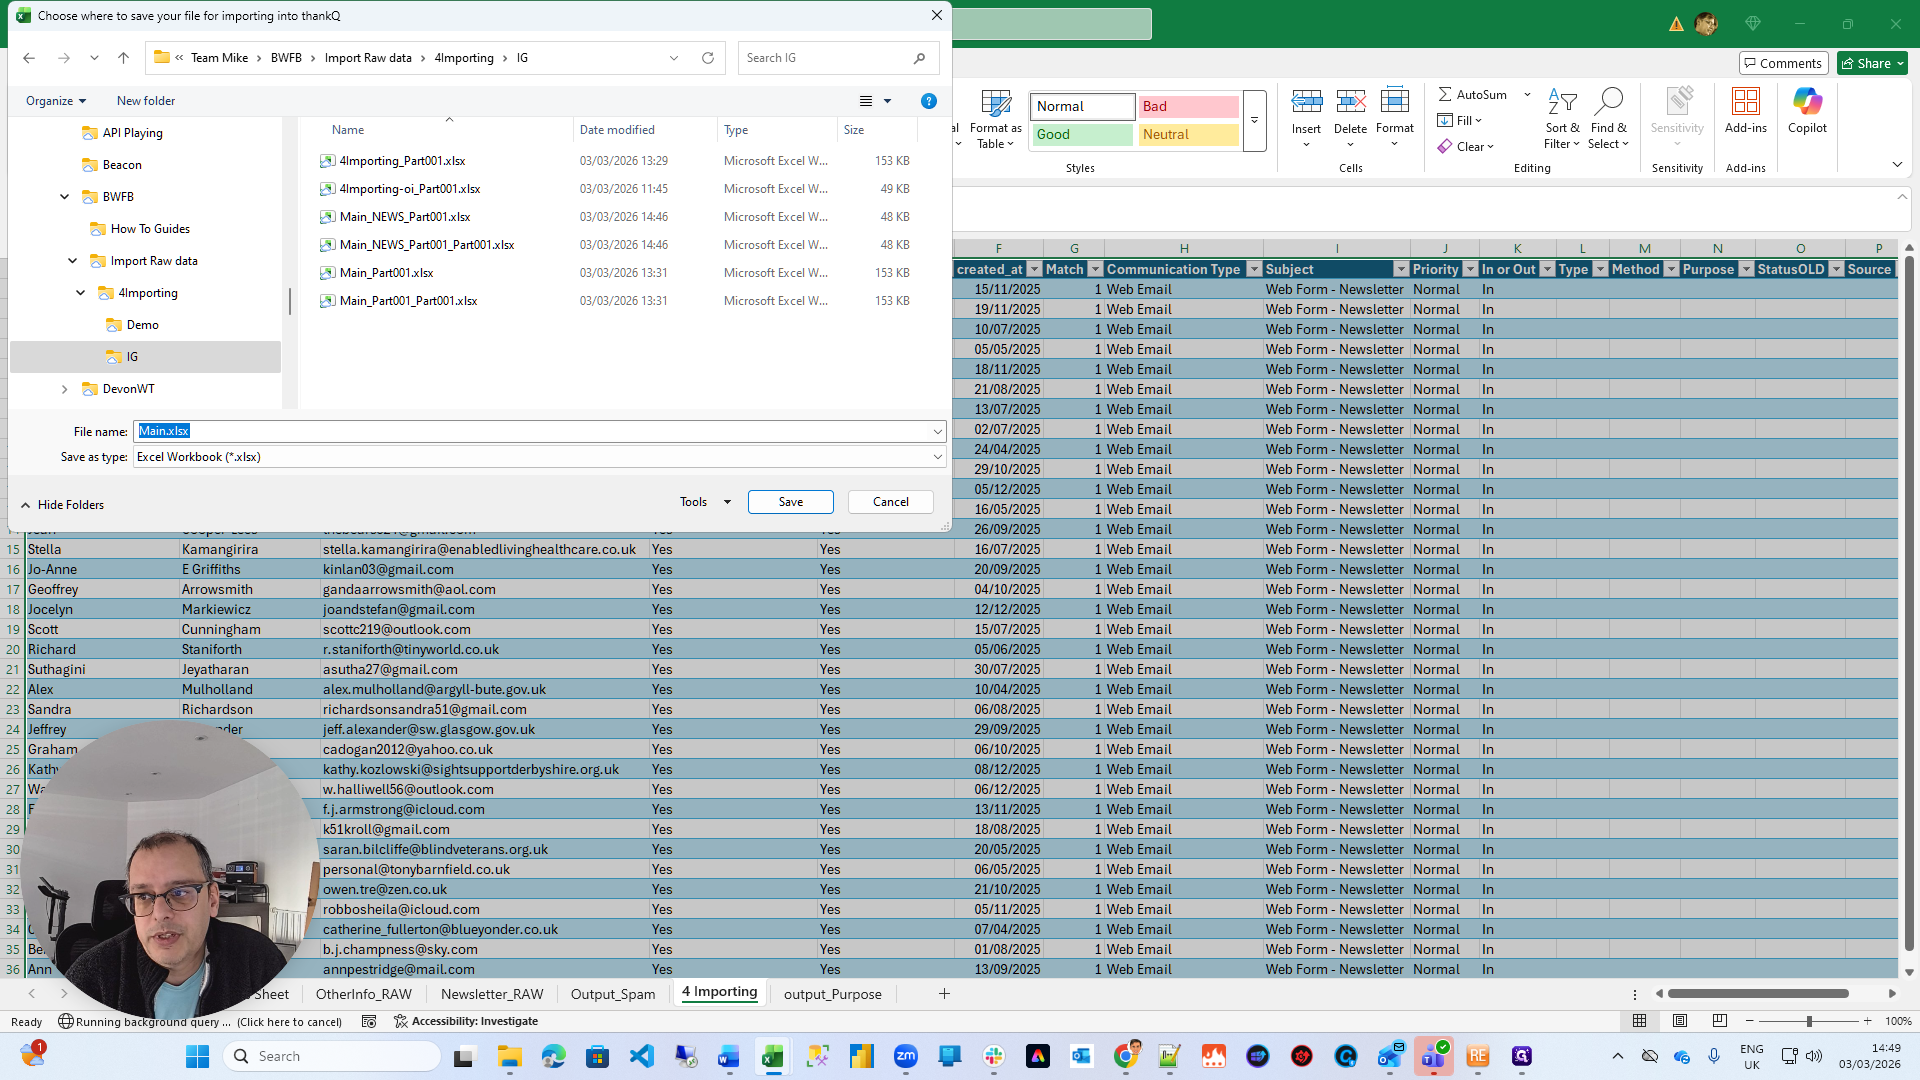
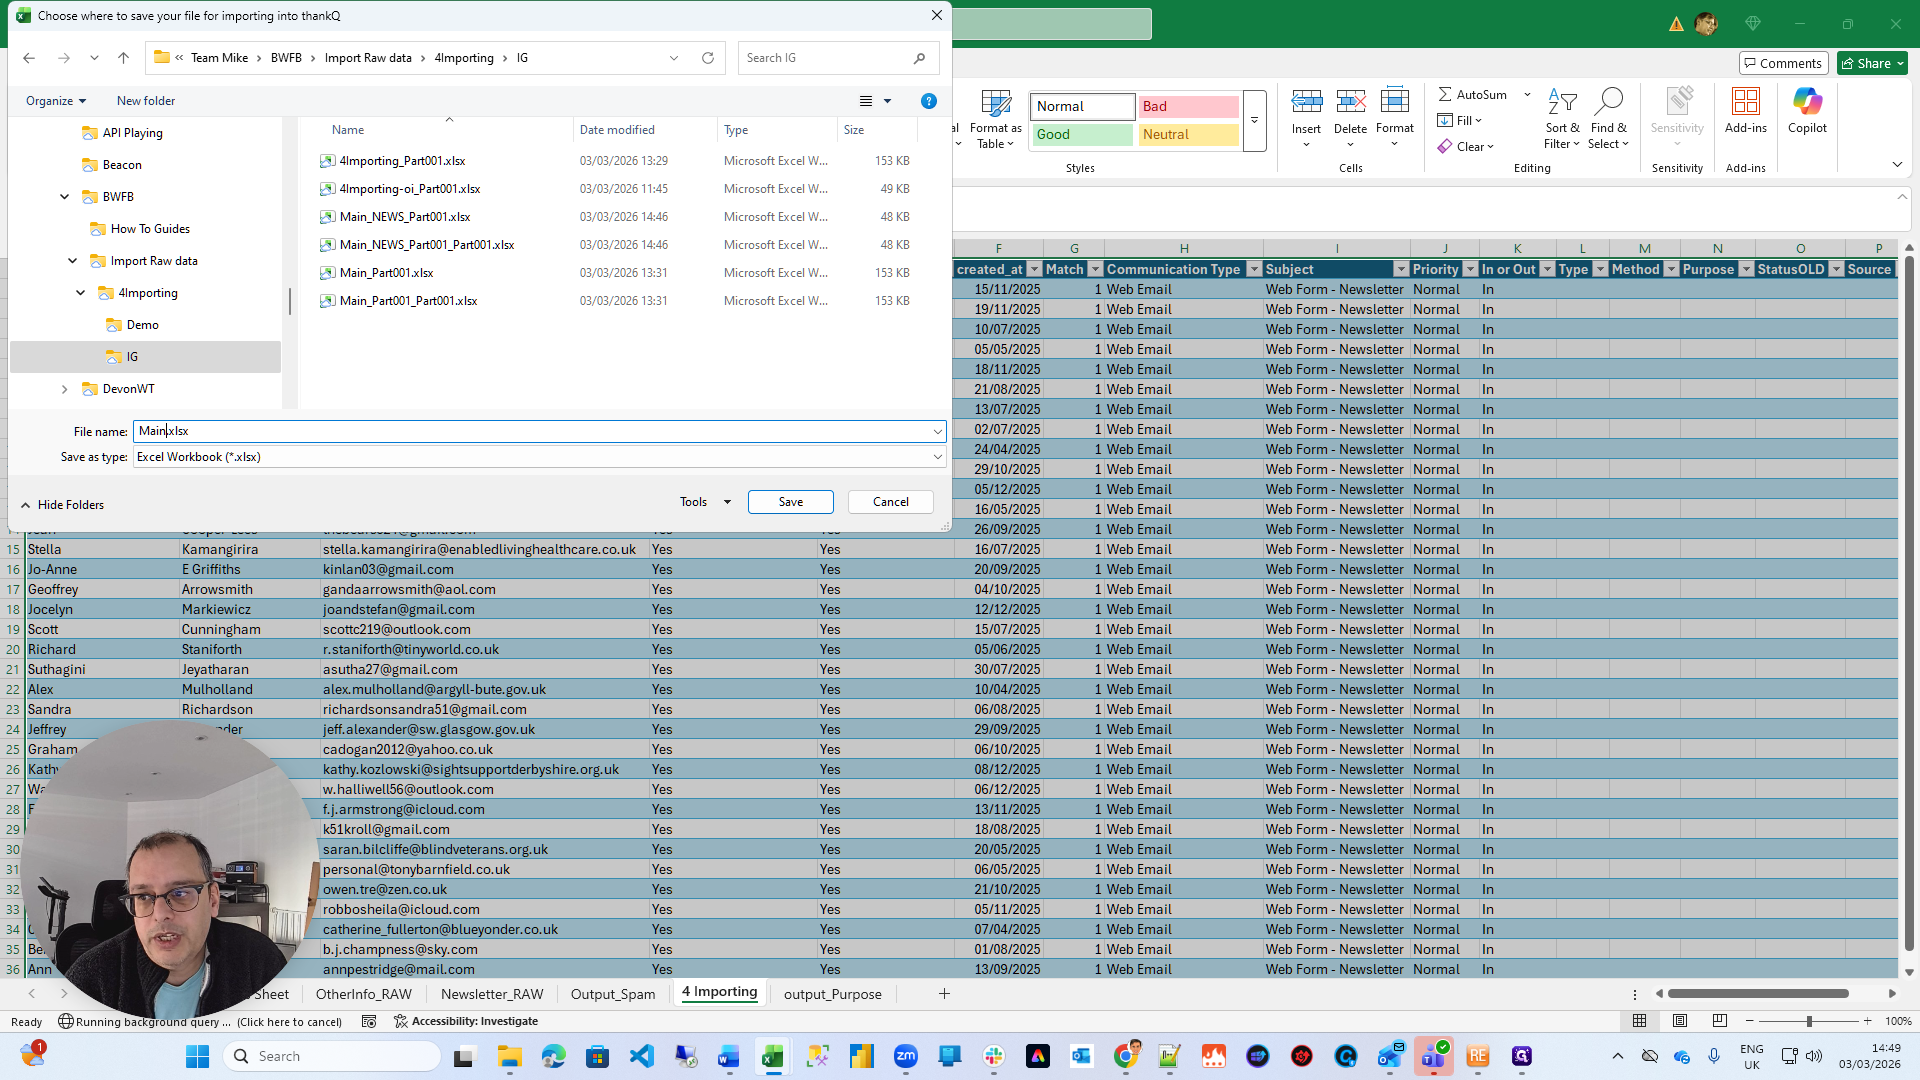
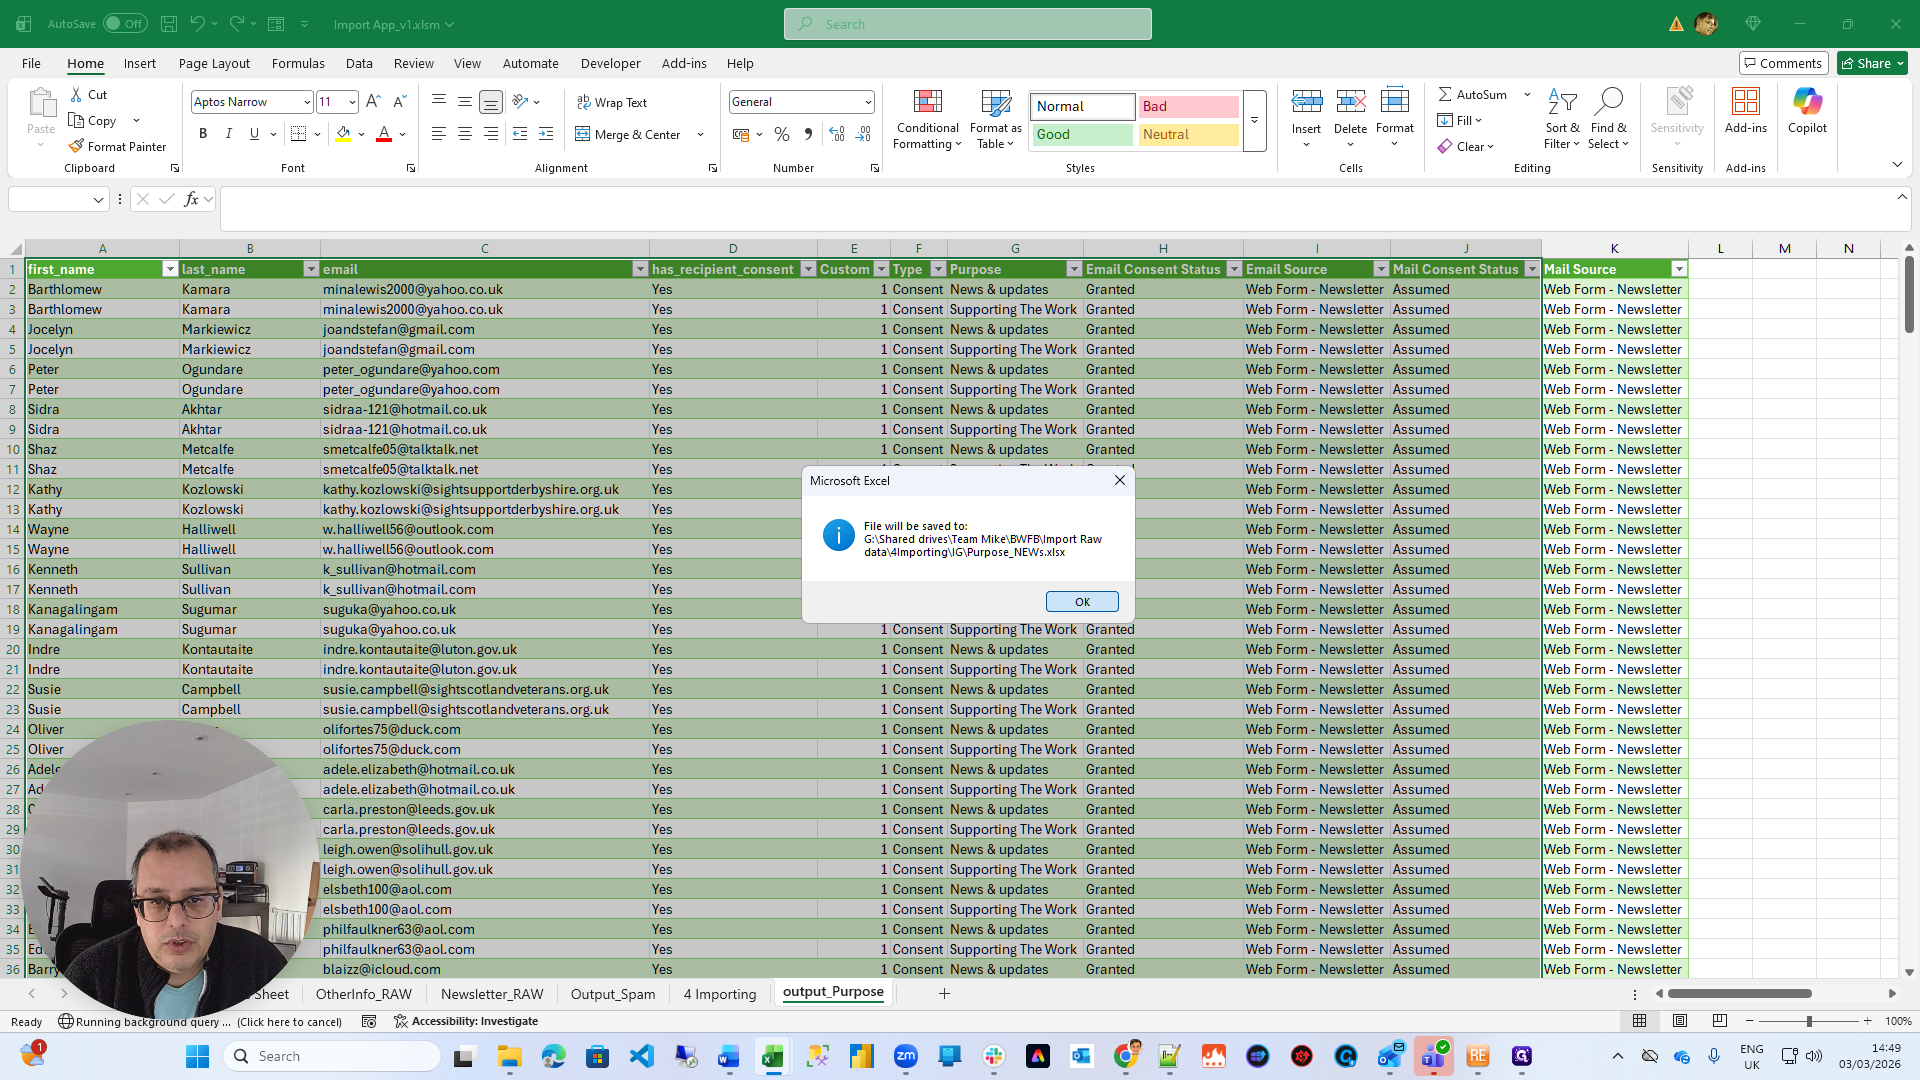
So ... You can name these files whatever you prefer.
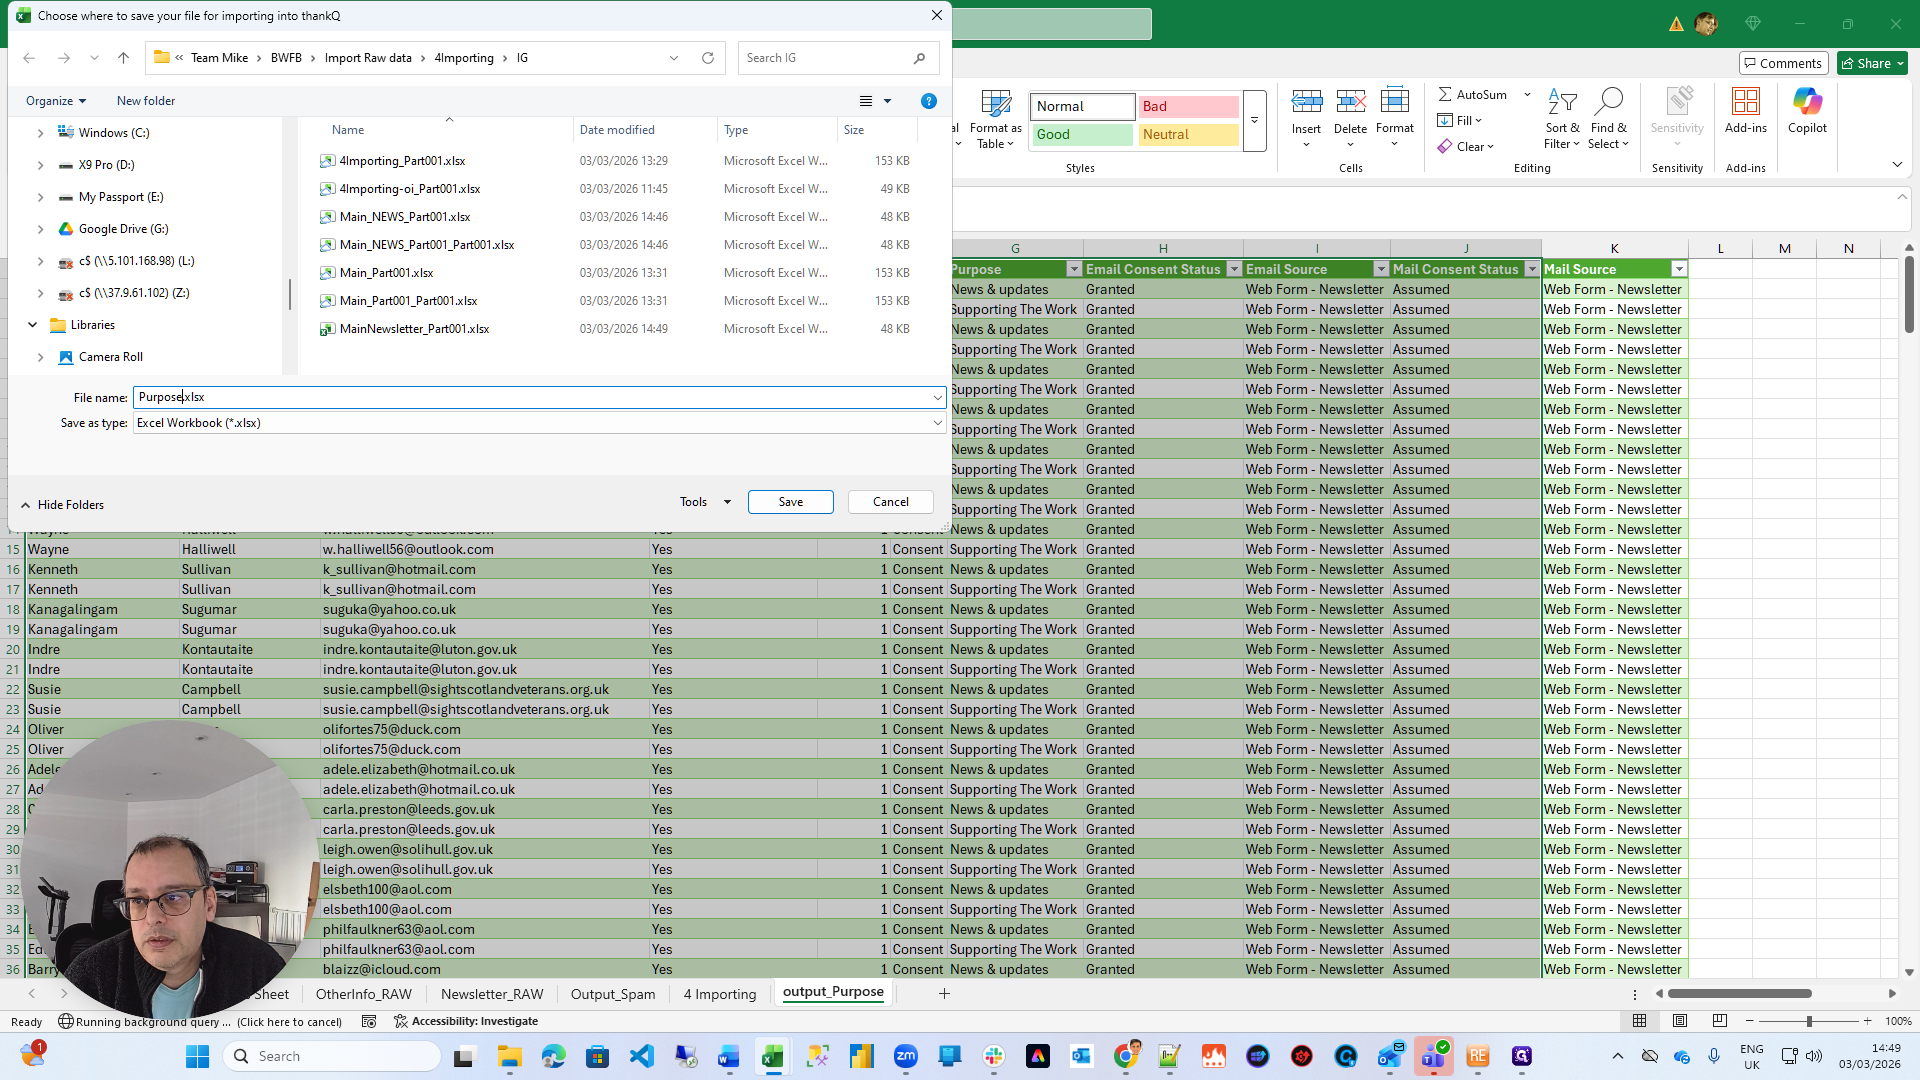
I'm choosing something that makes sense to me.

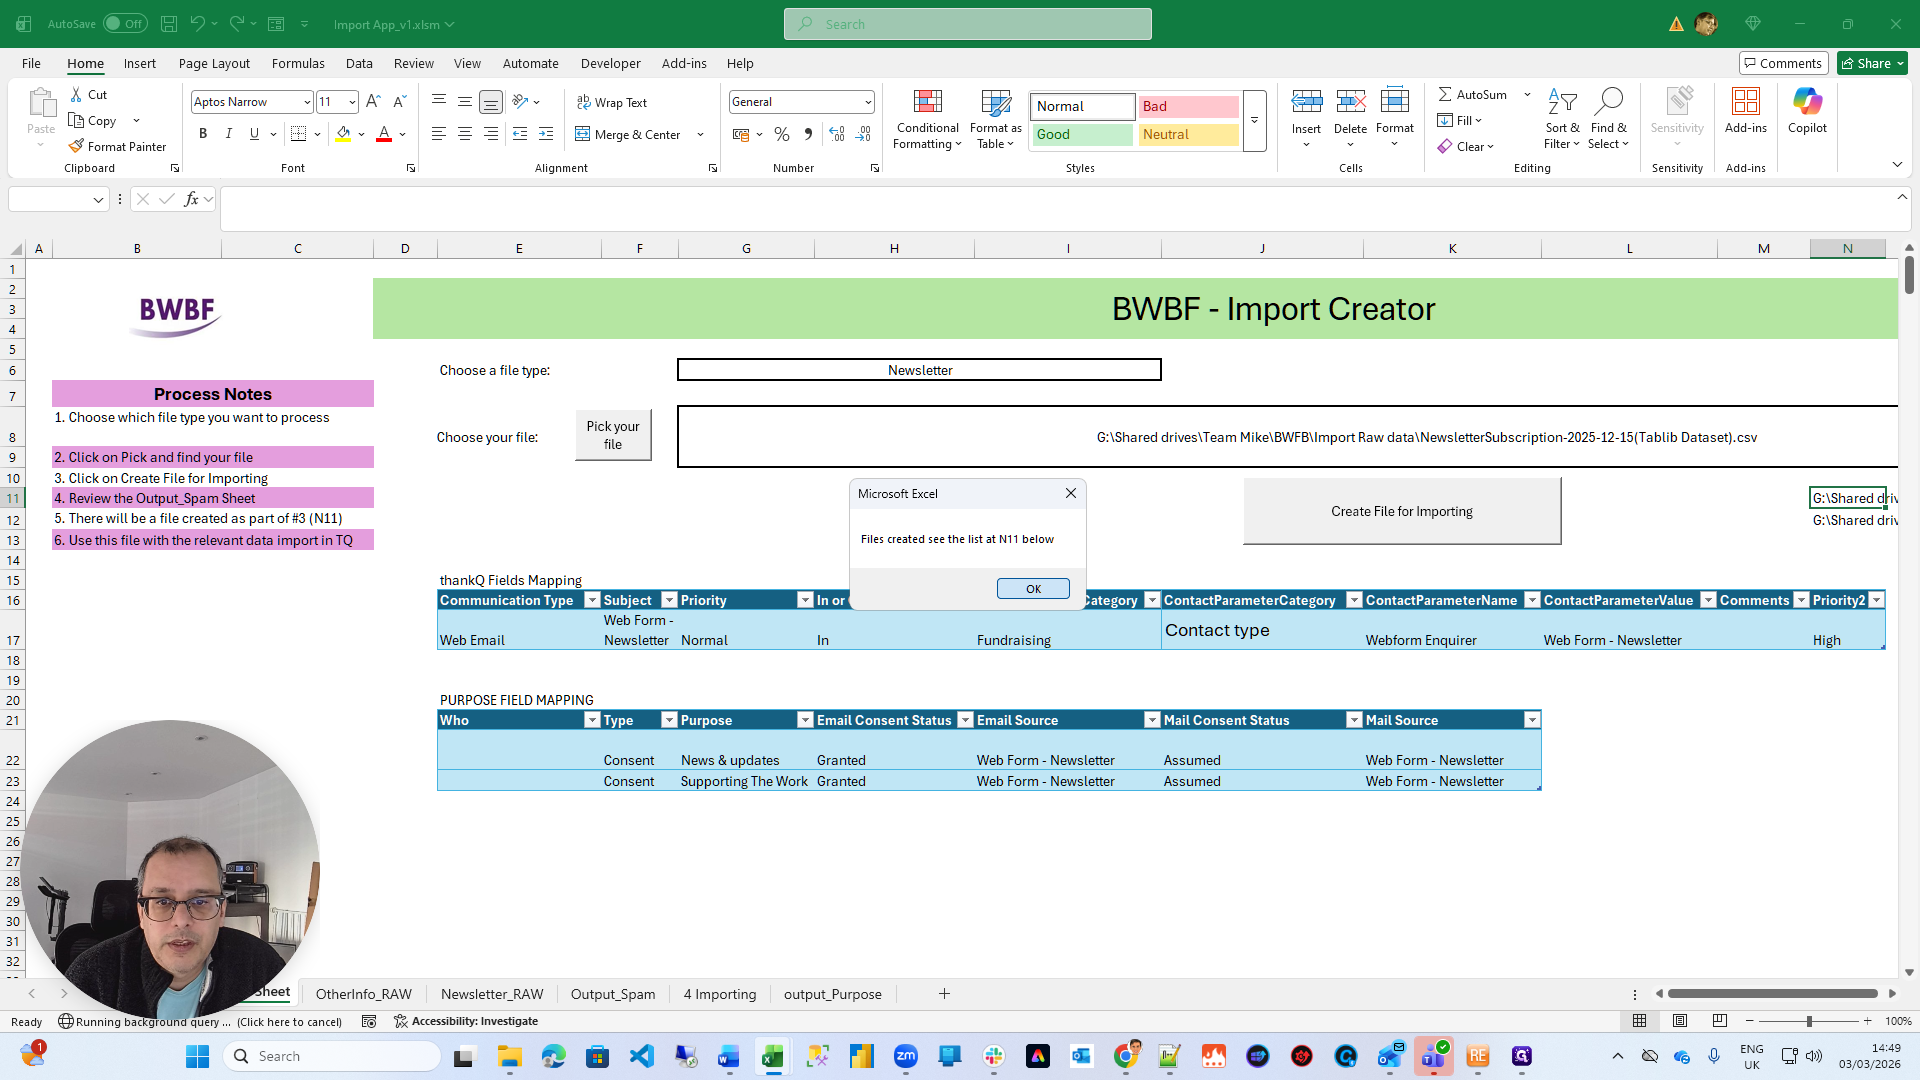
That's it. Now you have files, and they will look exactly like these two sheets.
You have all the items and their statuses, indicating whether they have been granted or not.
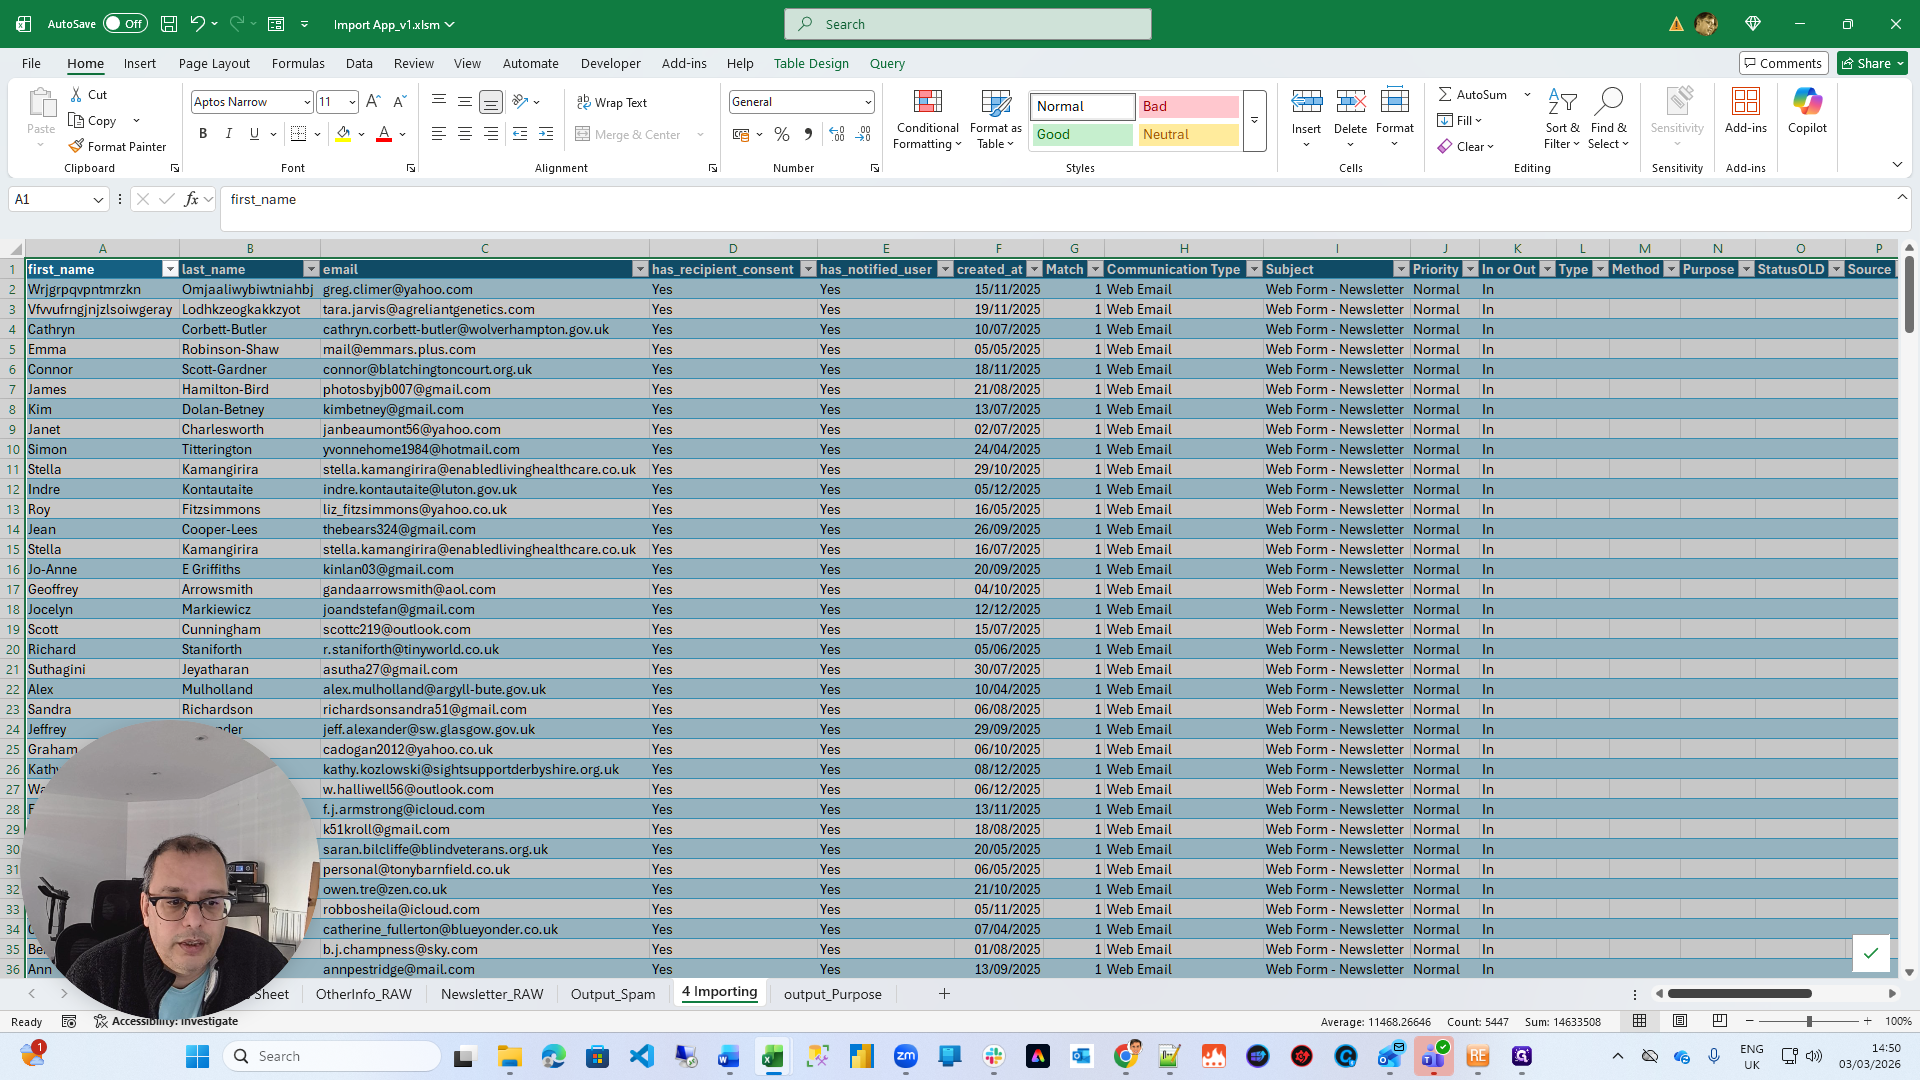
That granted doesn't matter. Ignore that.
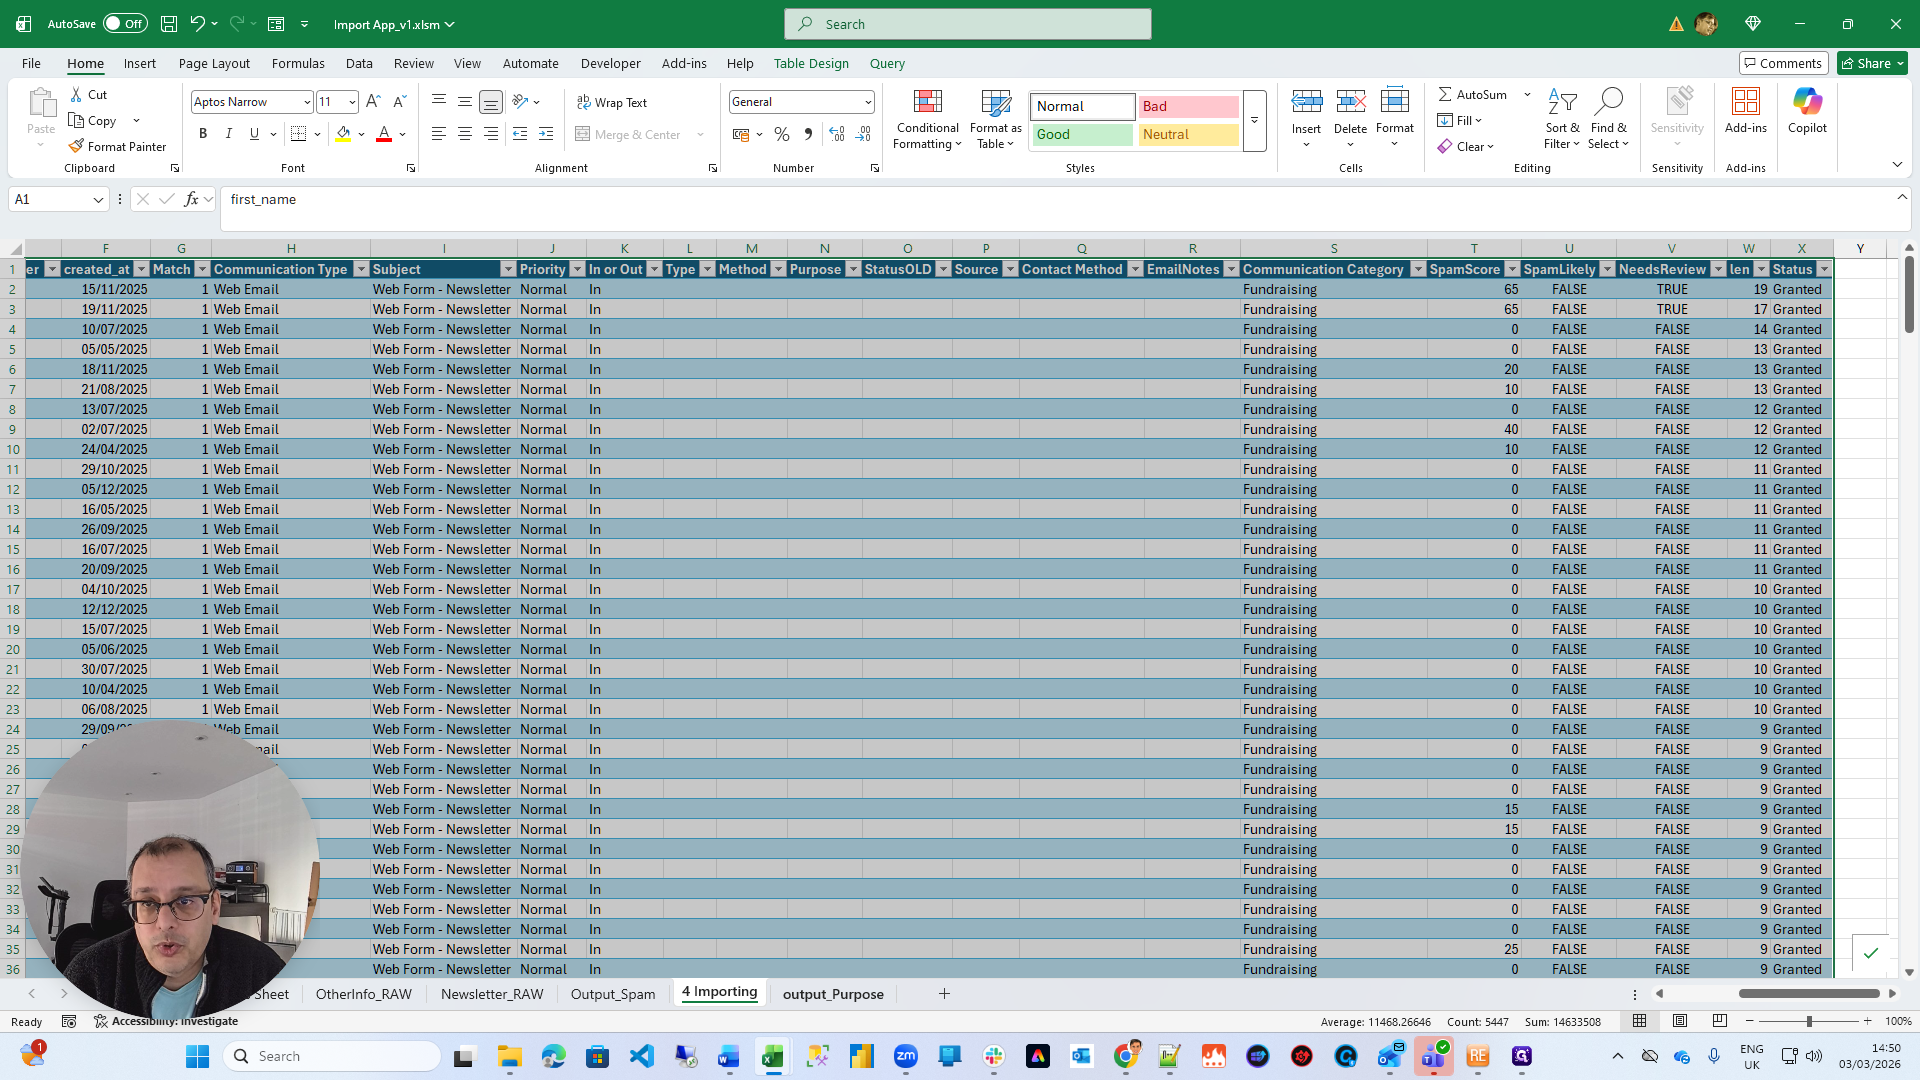
Here you have the purposes section, which applies only to people who have given consent. We are adding news, updates, and supporting the work. If you have any problems, just let me know.