
Importing Payroll Journal Entries via Saasant
Learn how to import payroll journal entries into Saasant Transactions with this easy step-by-step guide. Ensure accurate mapping, handle date formats, and verify your entries in IES for a smooth payroll process.
In this guide, we'll learn how to import payroll journal entries using Saasant Transactions. This process helps ensure your financial records are accurate and up to date. We will also review the imported entries in IES and make any necessary updates.
Let's get started
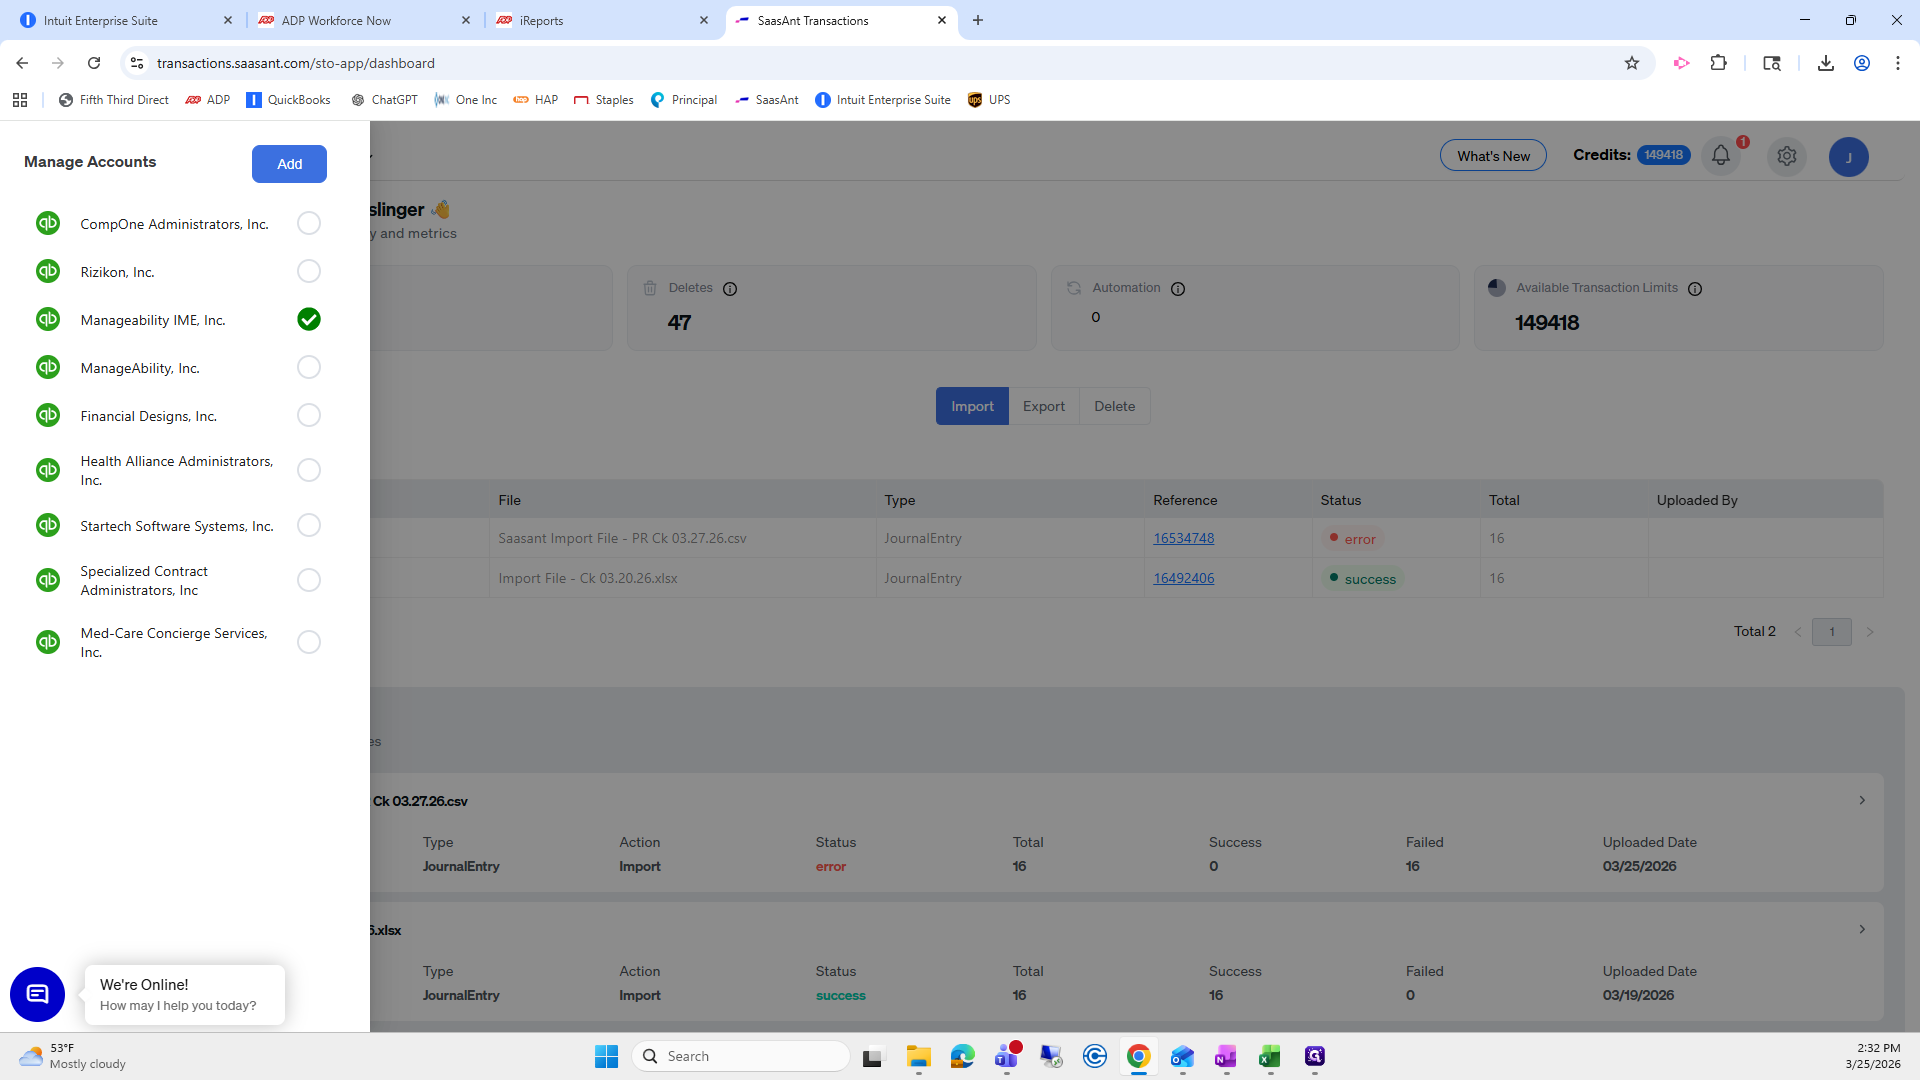
In this training video, we’ll briefly walk through how to import the payroll journal entries that were emailed to you. Once you log in to Saasant Transactions, first confirm that you are in the correct company.
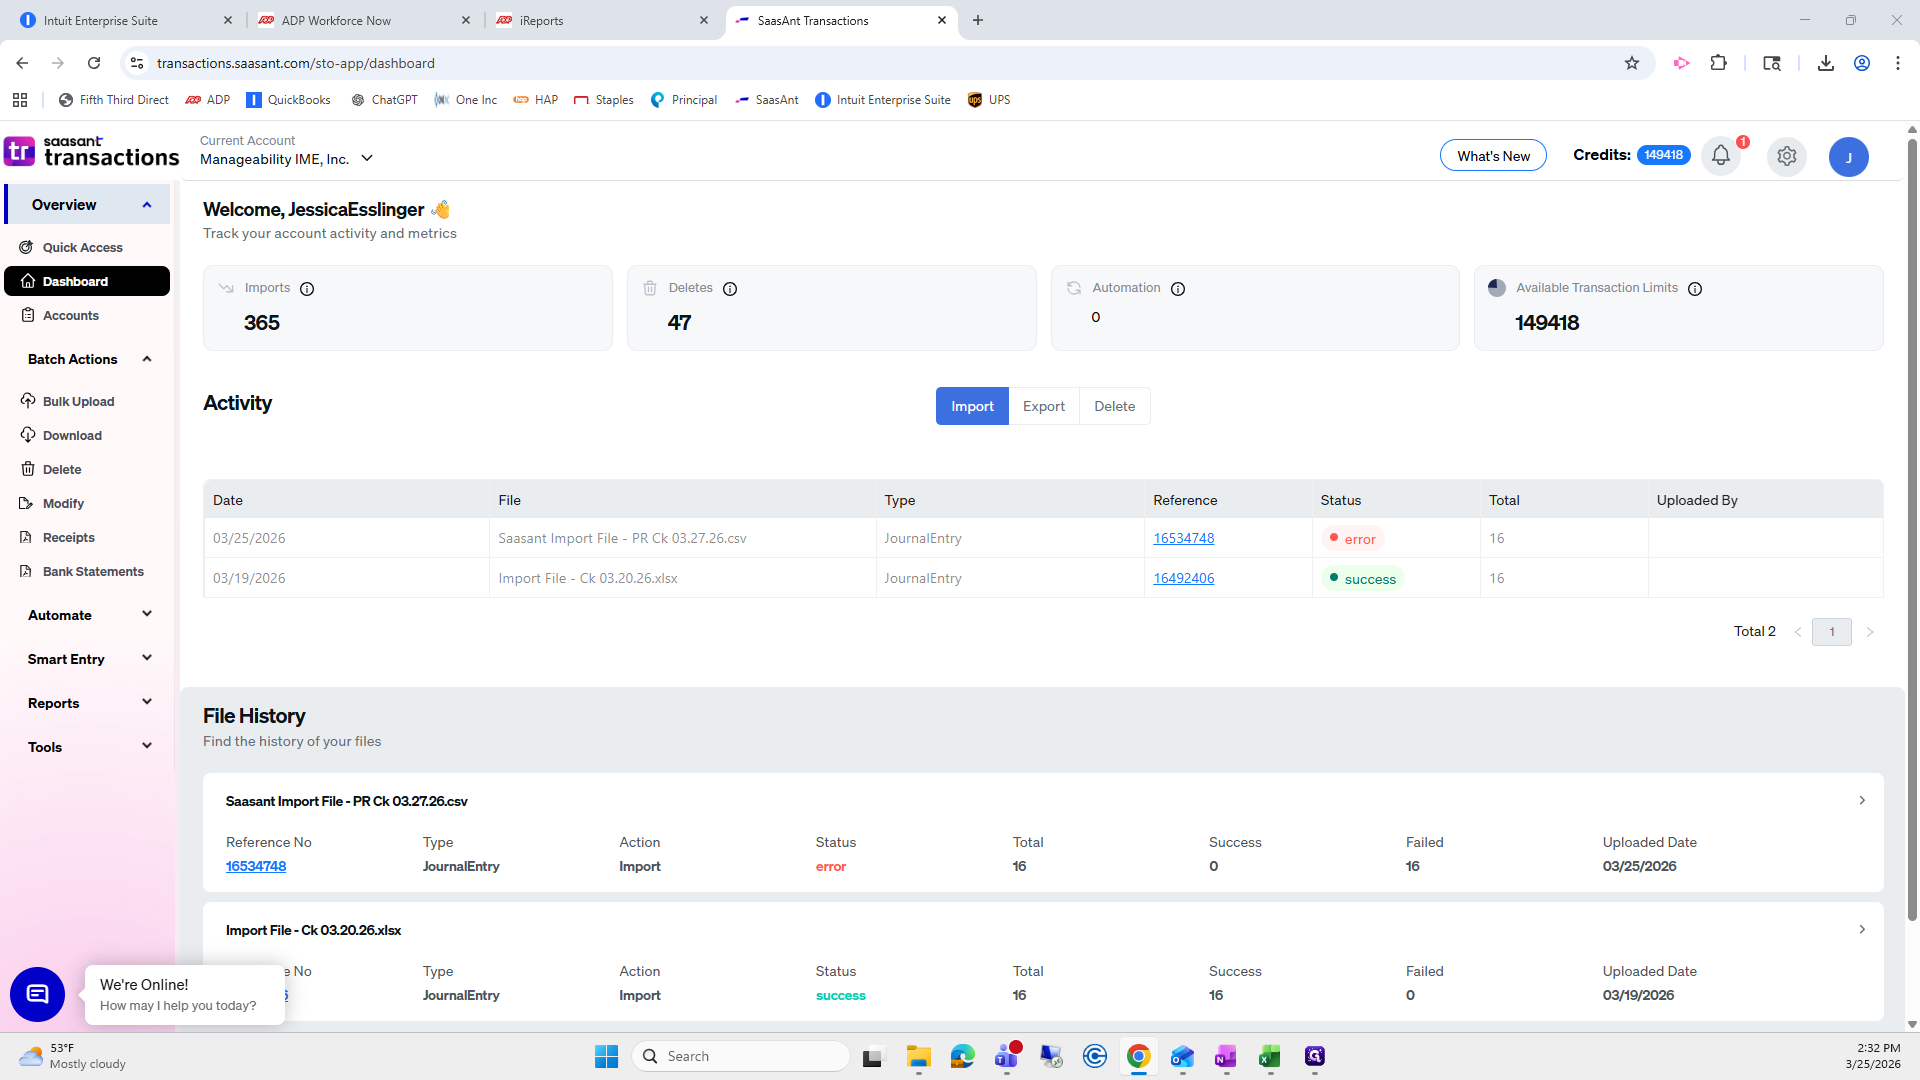
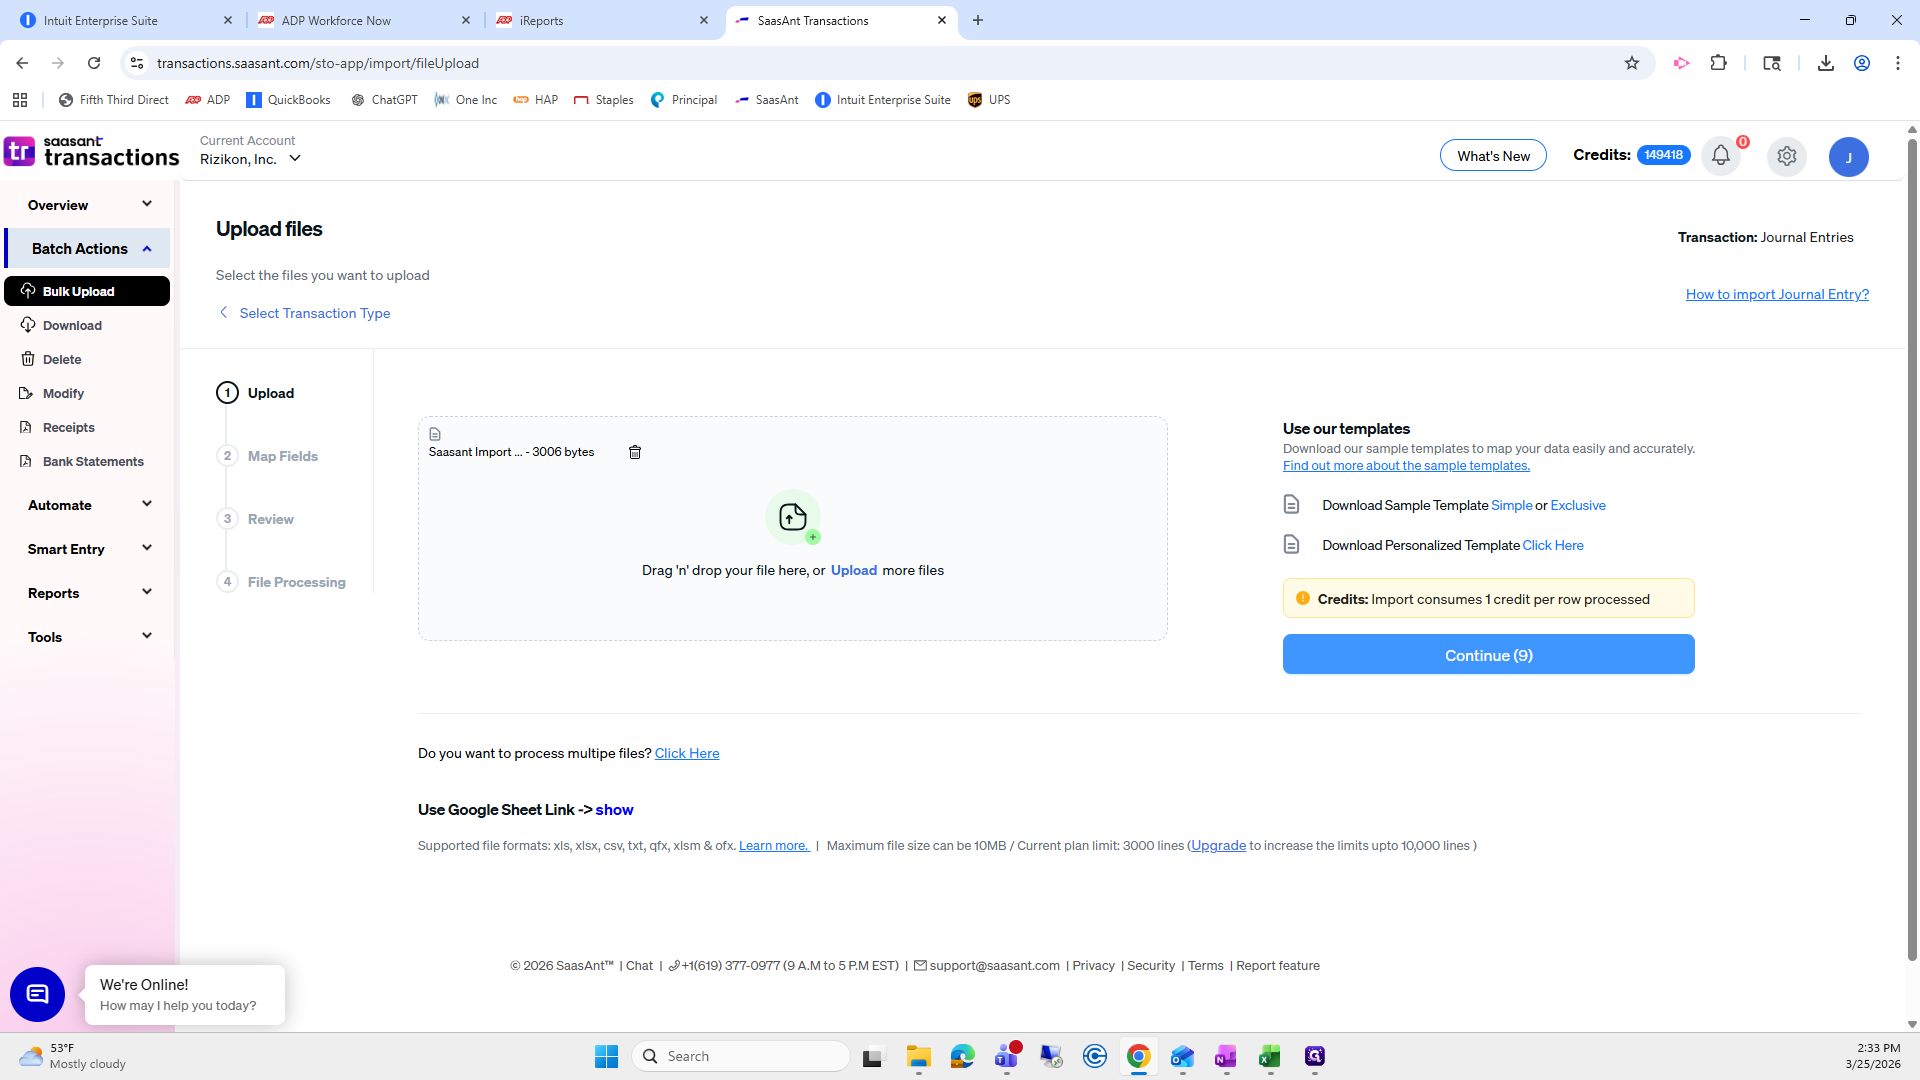
Go to Bulk Upload.
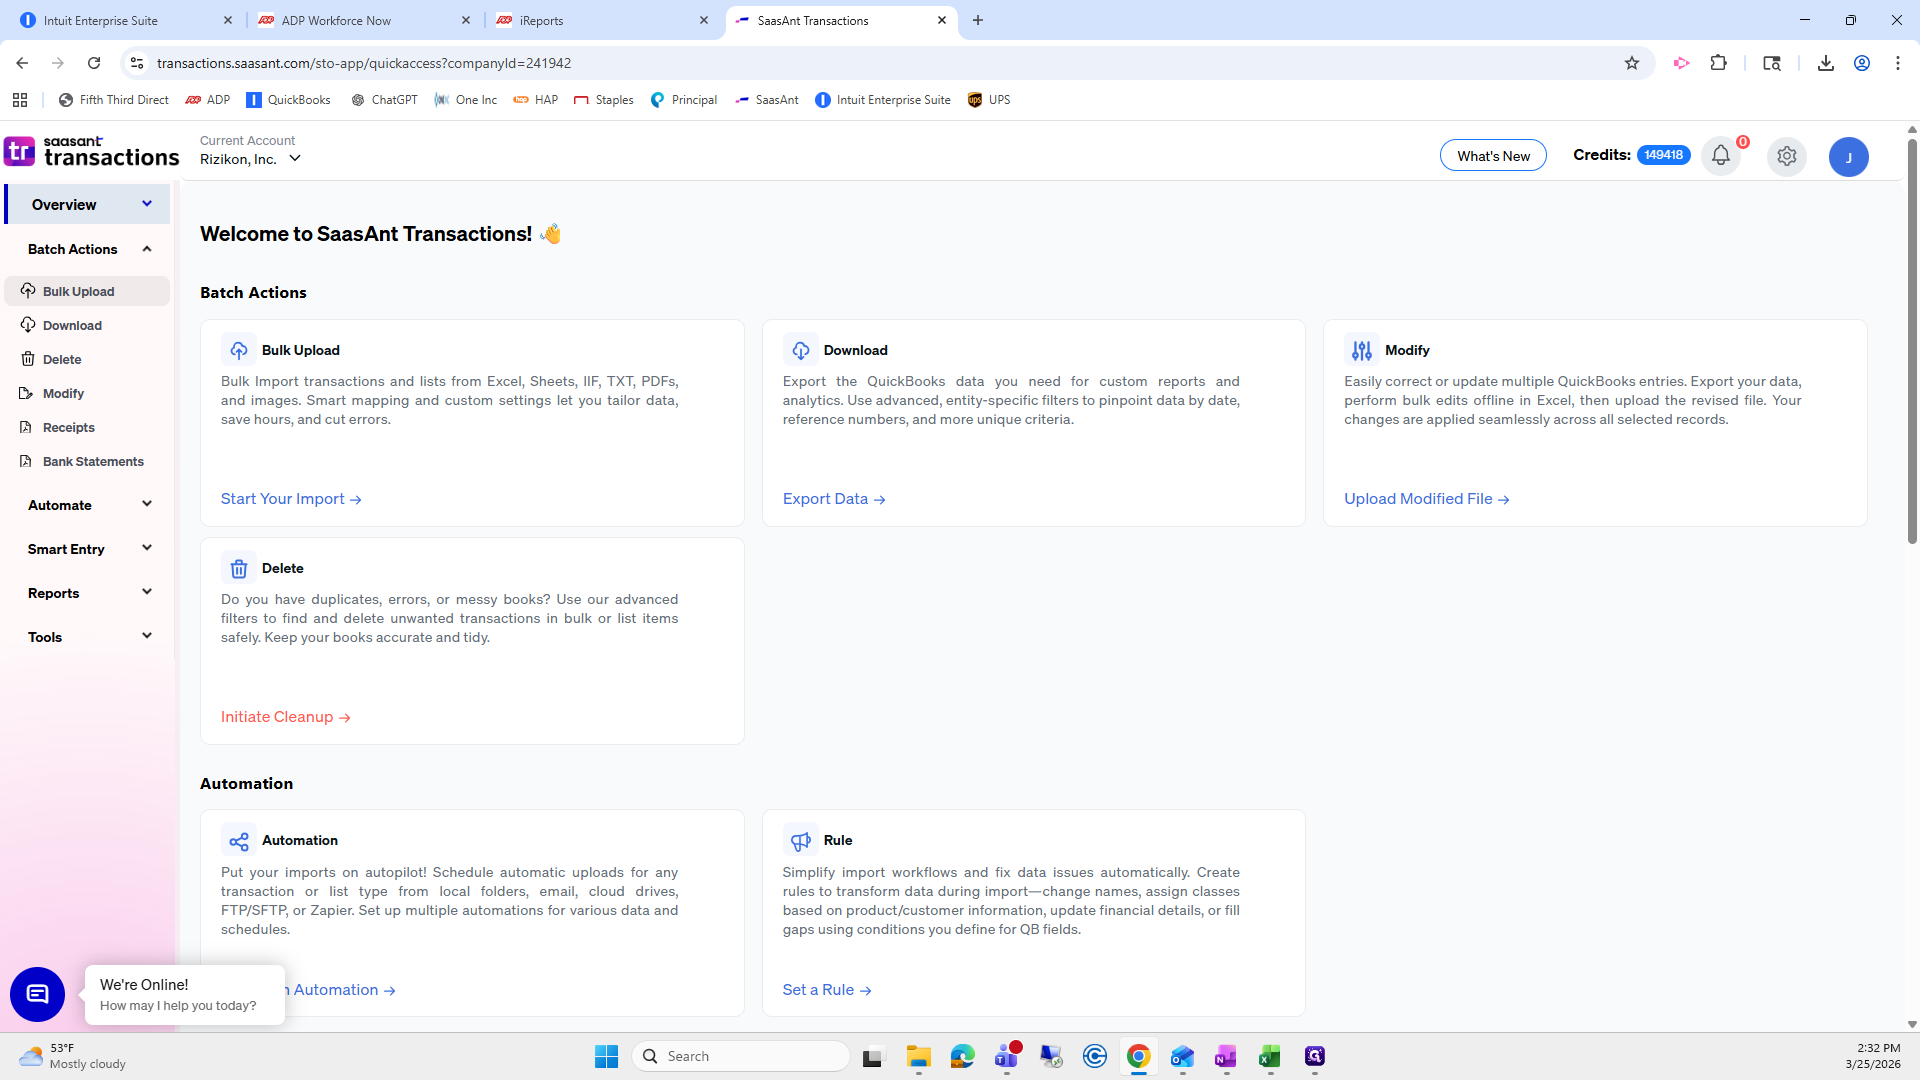
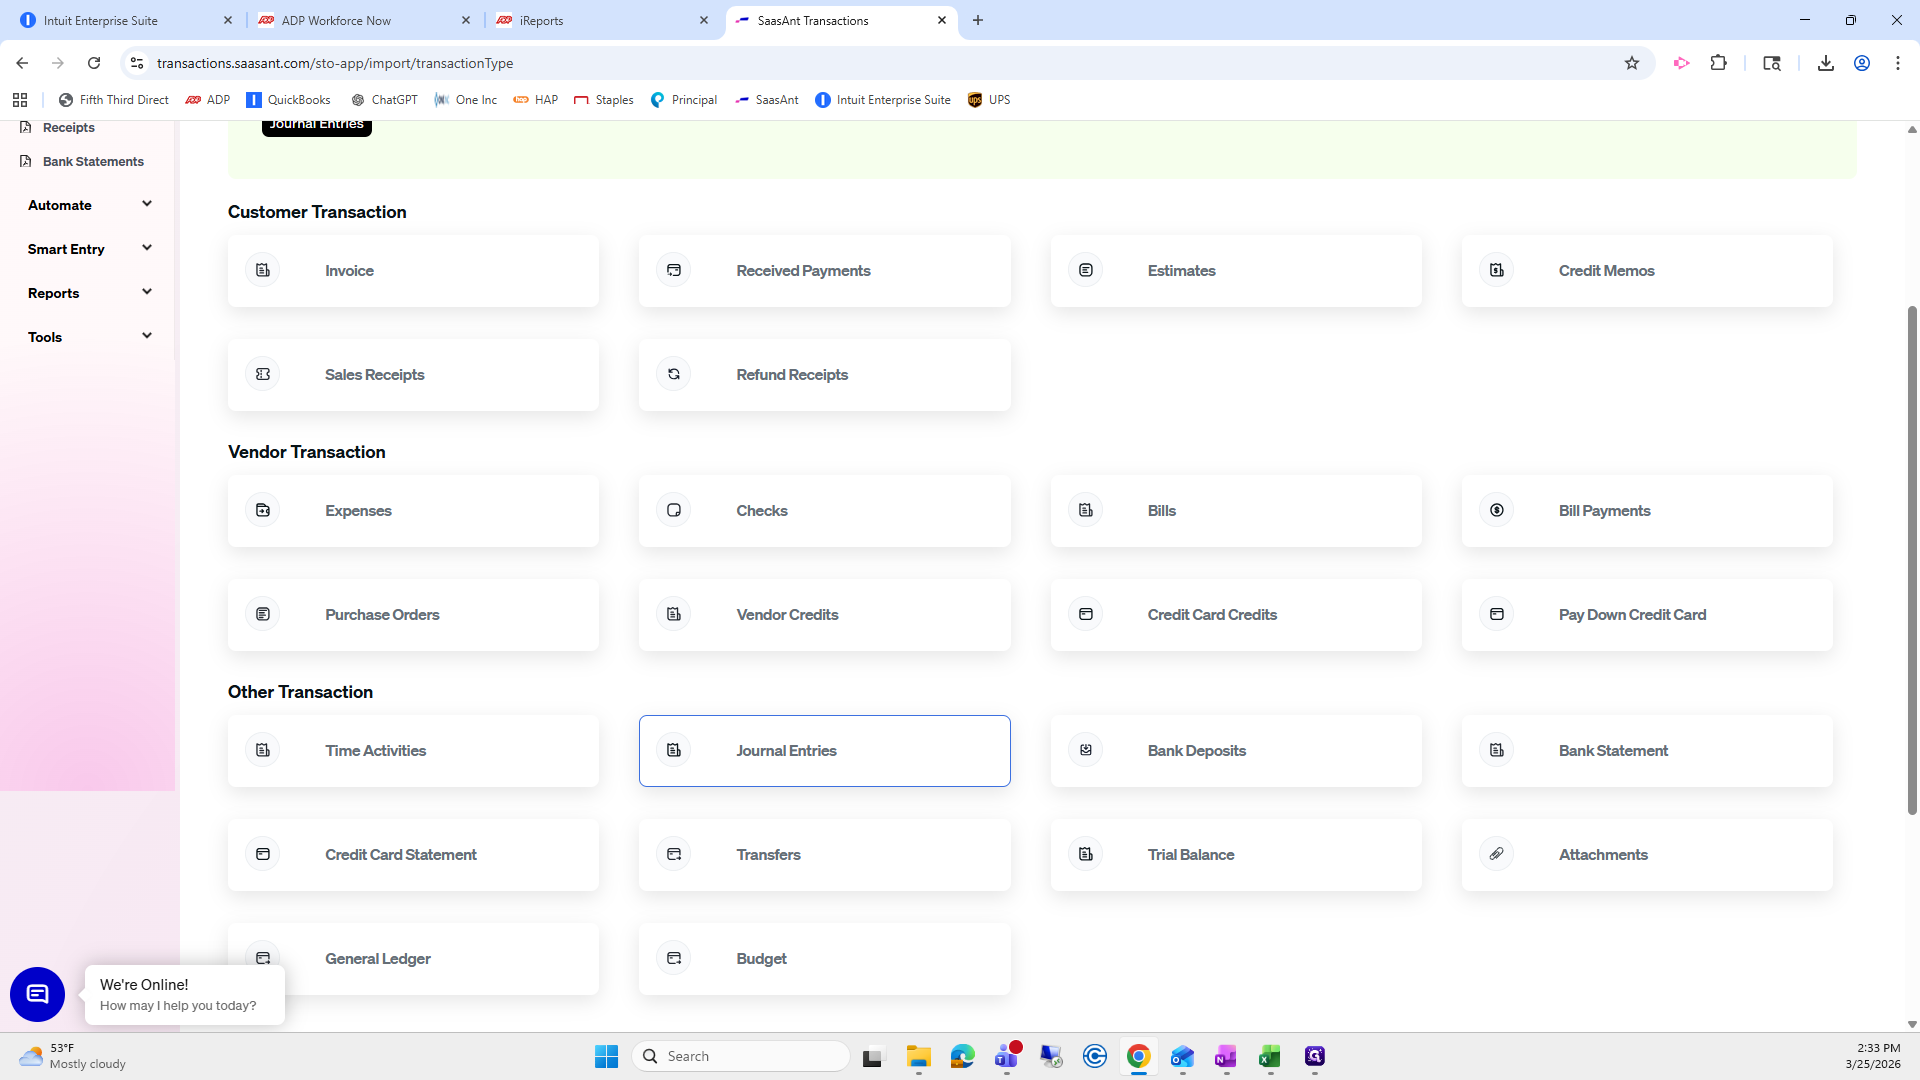
Scroll down to Journal Entries.
Drag and drop the file I provided. Then click Continue.
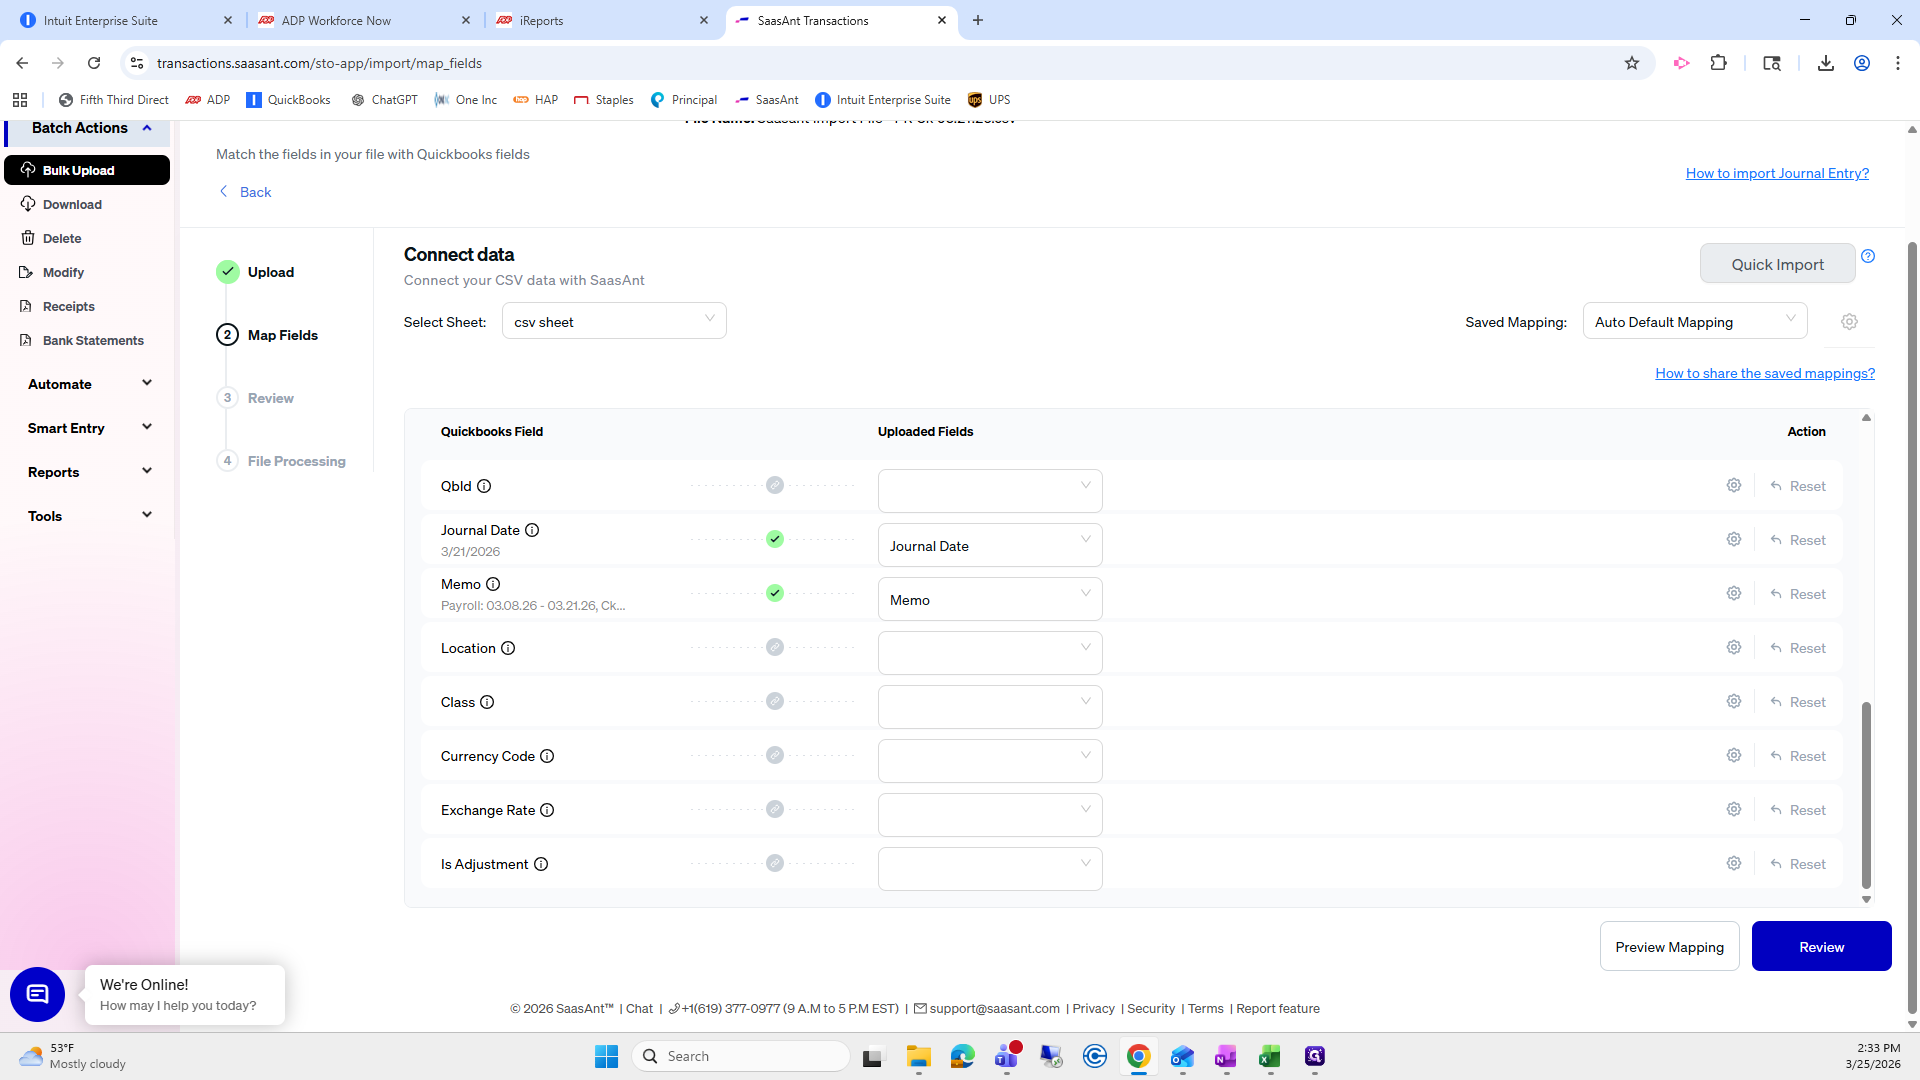
Next, confirm that all fields are mapped correctly. Pay particular attention to the journal number, account, and description—these should already be pre-mapped for you. Also verify the credit amount, debit amount, journal date, and memo. If applicable, assign a class as well.
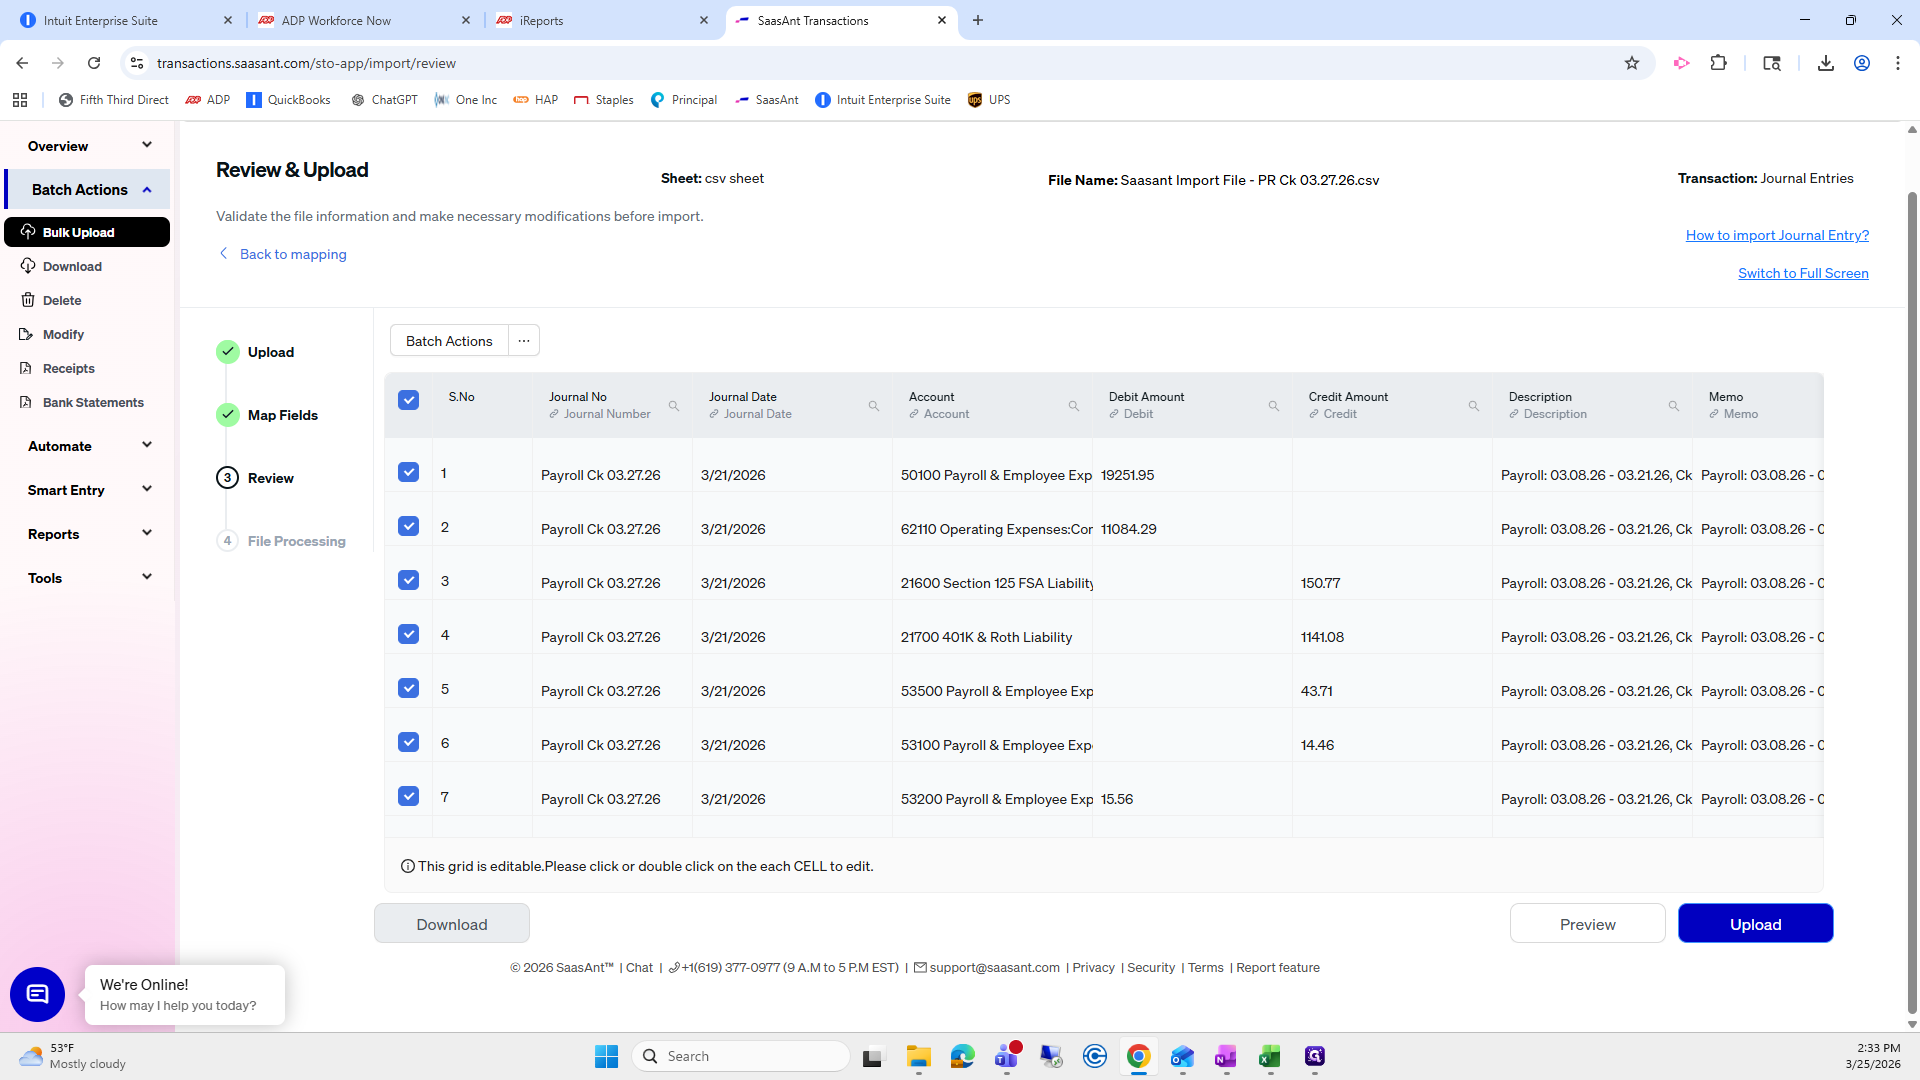
Once confirmed, click Review.
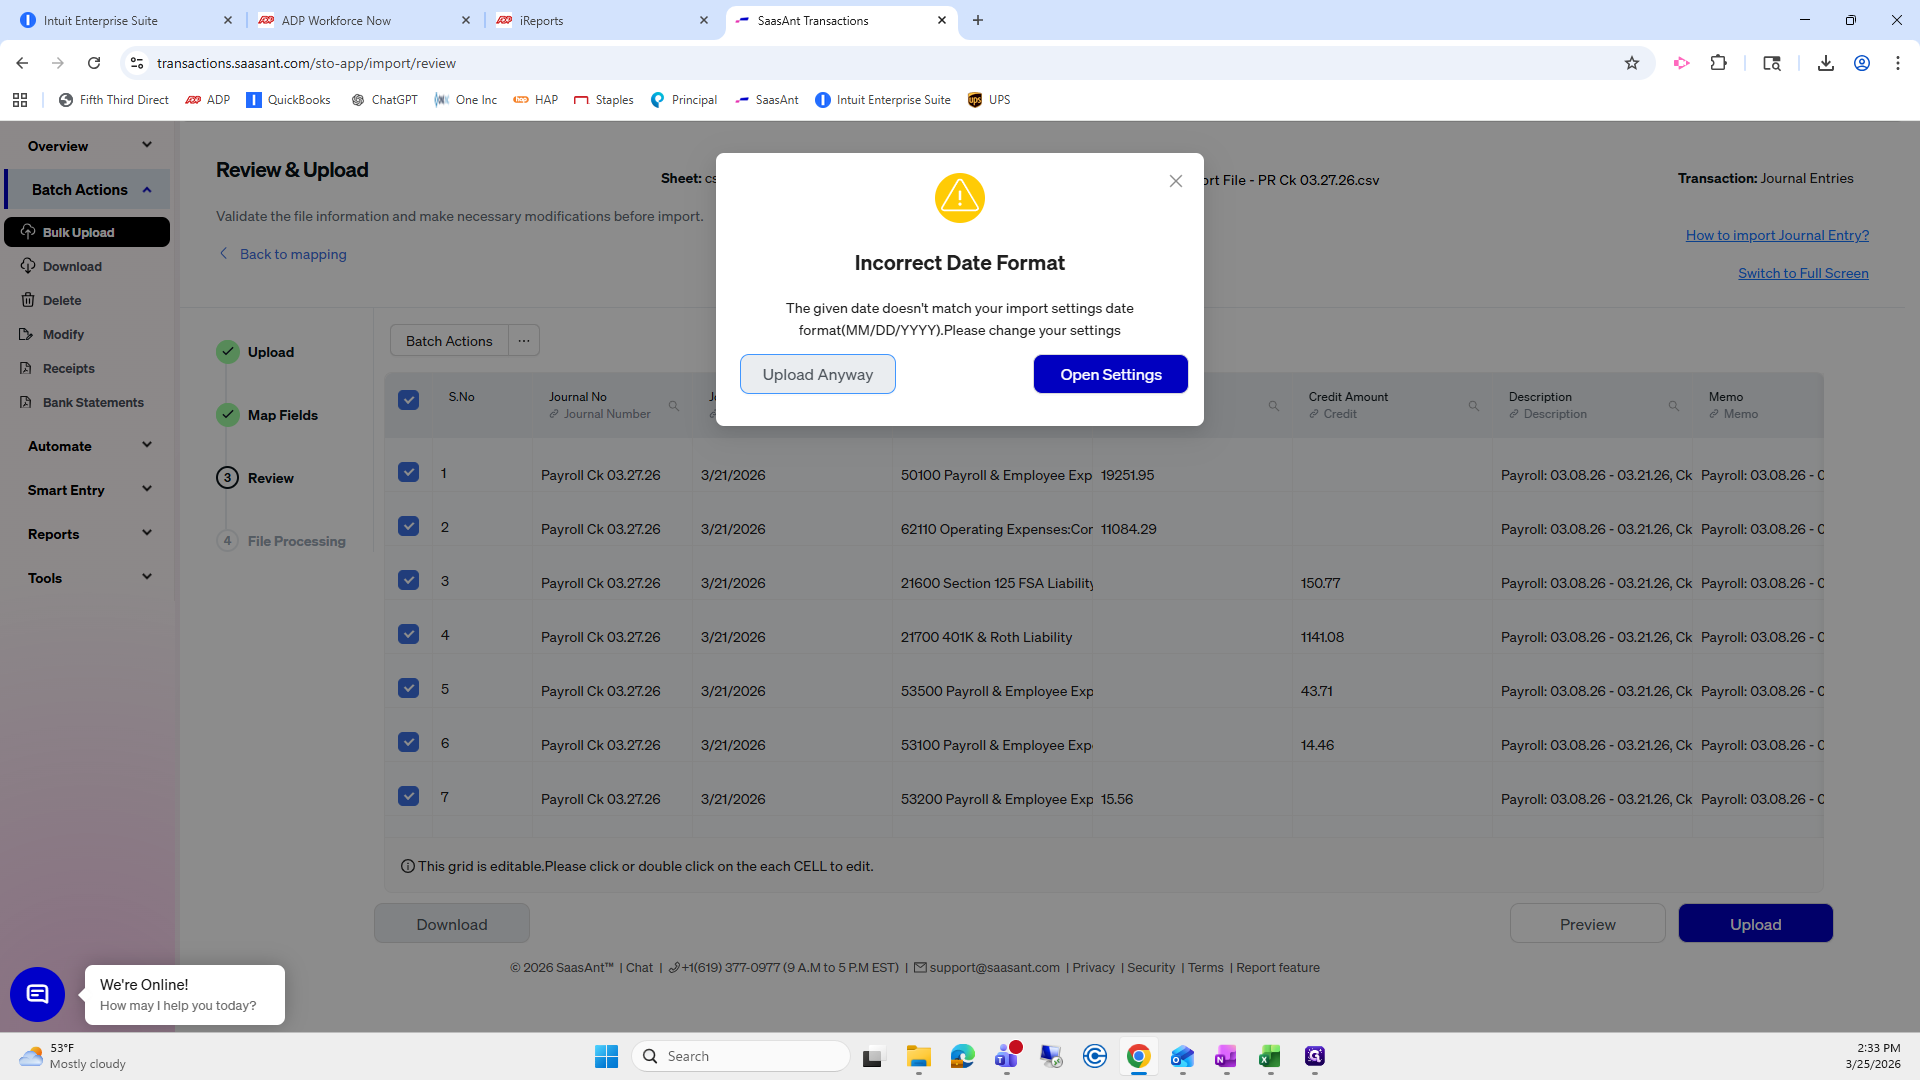
It will display "incorrect date format," but you can select "Upload Anyway."
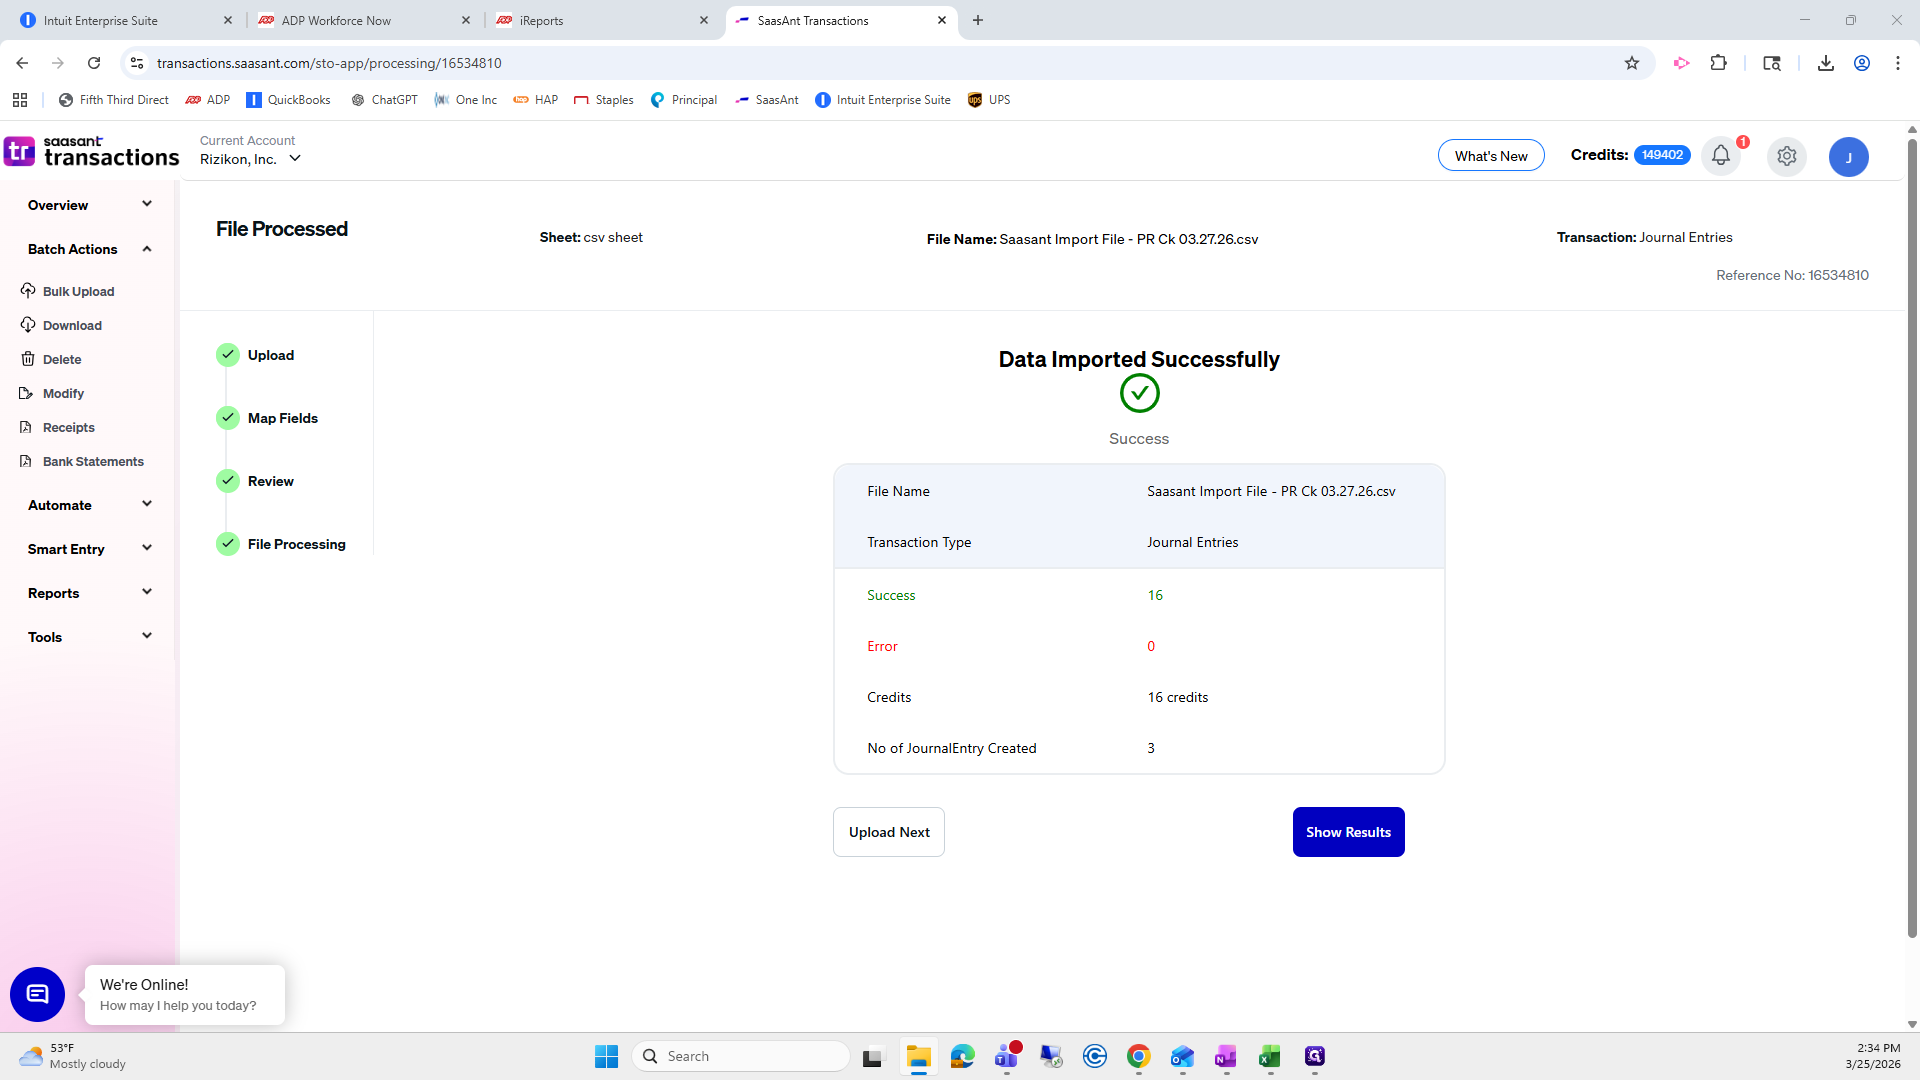
From here, wait for the file to finish importing. Once it’s complete, double-check in IES to ensure the journal entries were imported correctly. When the import is successful, you’ll see a confirmation message showing the number of journal entries created—there are three in this case.
Everything looks good. You can also click Show Results to view the details of what was imported. I recommend then going into IES, selecting your company, and searching for the entries you just added to verify them.
For Section 125 and 401(k) Journal Entries, you may need to update the journal date to reflect when the transfers were completed or when the 401(k) funds were withdrawn from your account.
Add your attachments to each Journal Entry, then click Save and Close.
Step-by-Step: Importing Payroll Journal Entries Using Saasant
1. Log In & Confirm Company
Log in to Saasant Transactions.
Ensure you are working under the correct company.
2. Navigate to Bulk Upload
Click the ✓ icon.
Select Bulk Upload.
Scroll down and click Journal Entries.
3. Upload File
Drag and drop the payroll journal entry file provided.
Click Continue.
4. Review Field Mapping
Confirm all fields are mapped correctly.
Pay close attention to:
Journal Number
Account
Description
Also verify:
Credit Amount
Debit Amount
Journal Date
Memo
If applicable, assign a Class.
Once everything looks correct, click Review.
5. Upload the File
Click Upload.
If you see an “incorrect date format” message, select Upload Anyway.
6. Wait for Import Completion
Allow the file to fully import.
Once complete, a confirmation message will appear showing how many journal entries were created (e.g., 3 entries).
7. Review Import Results
Click Show Results to view details of the imported entries.
8. Verify in IES
Log in to IES and select your company.
Search for the journal entries you just imported.
Confirm all entries are accurate.
9. Update Journal Dates (If Needed)
For Section 125 and 401(k) entries, update the journal date if necessary to reflect:
When transfers were completed, or
When funds were withdrawn.
10. Attach Documentation
Add any necessary attachments to each journal entry.
Click Save and Close.
This process ensures your payroll journal entries are properly imported, reviewed, and finalized in your system.