
How to Install a Printer on Your Mac: Step-by-Step Guide
Learn how to install a printer on your Mac with this easy step-by-step guide. Follow instructions to add printers like AWC Reception and BH Employee Canon quickly and efficiently.
By Eric Ammerman
In this guide, we'll learn how to install a printer on your computer using a .pkg file. We will go through each step, from opening the download to selecting the correct printer and finishing the installation.
This process will help you connect to printers like AWC Reception and BH Employee Canon.
Let's get started
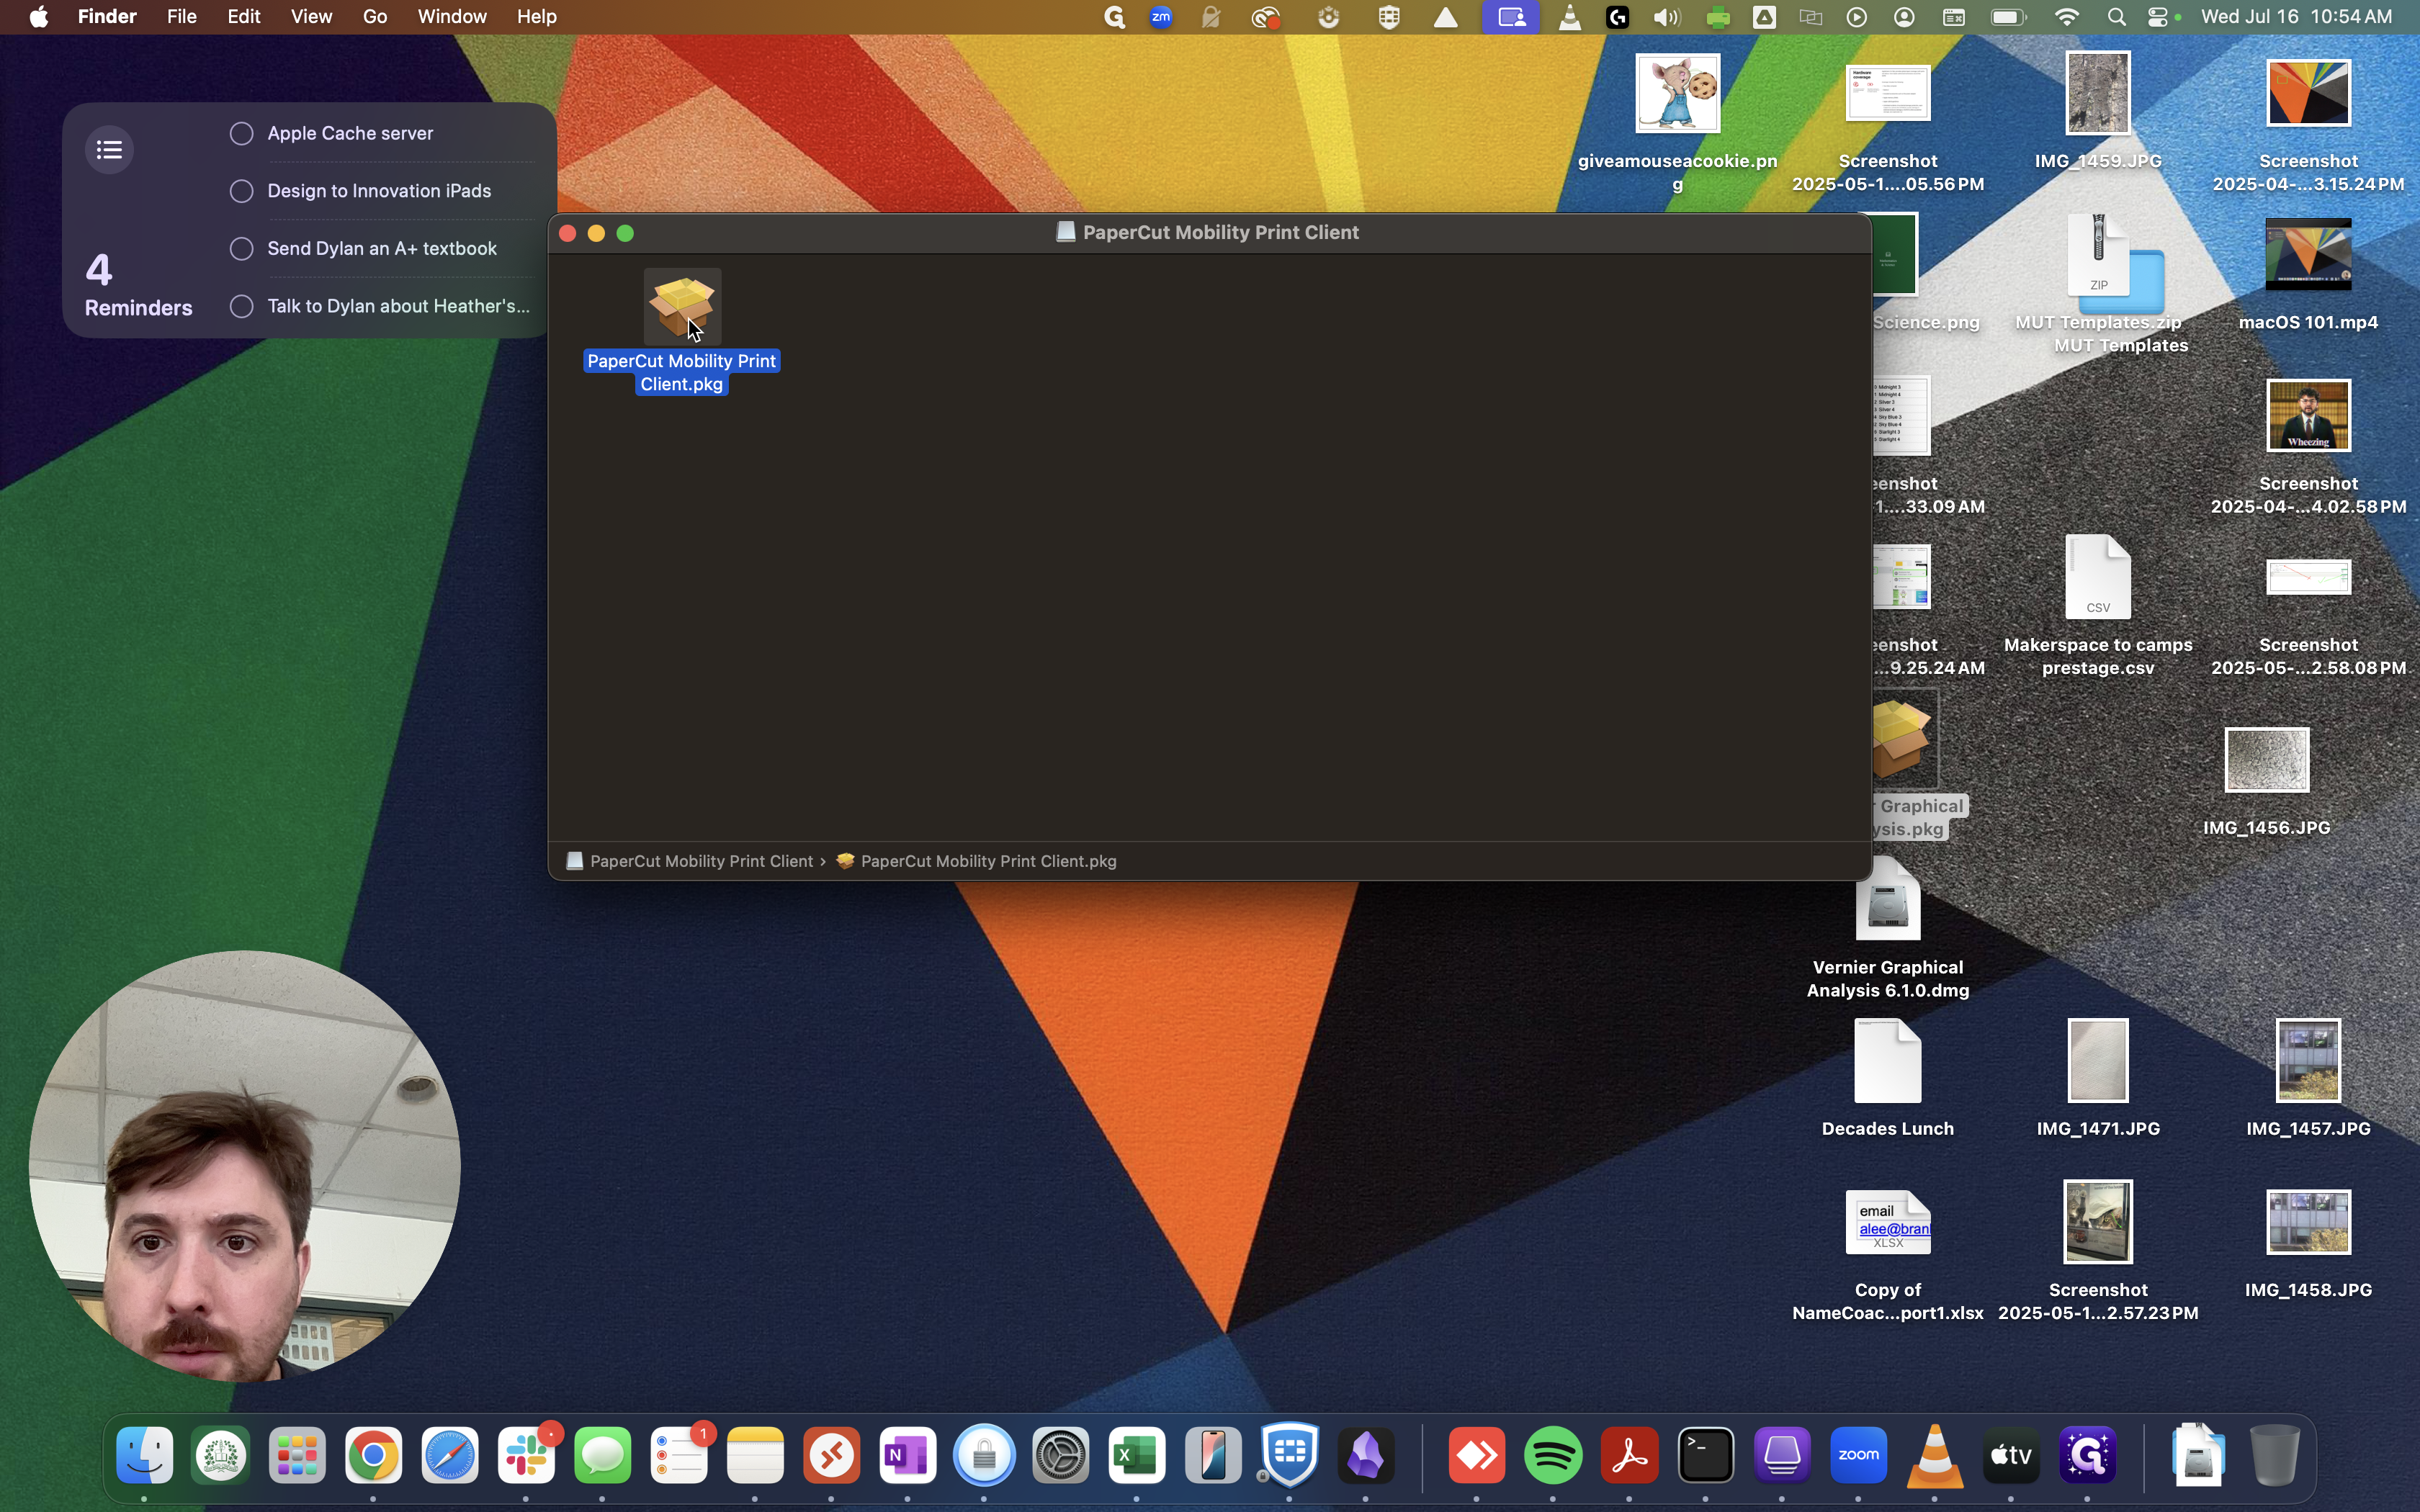
Open your download and double-click the .pkg file.
1
Download your Mobility Print installer at http://10.0.27.20:9163/setup . Double-click on the .pkg
2
Click on "Continue"
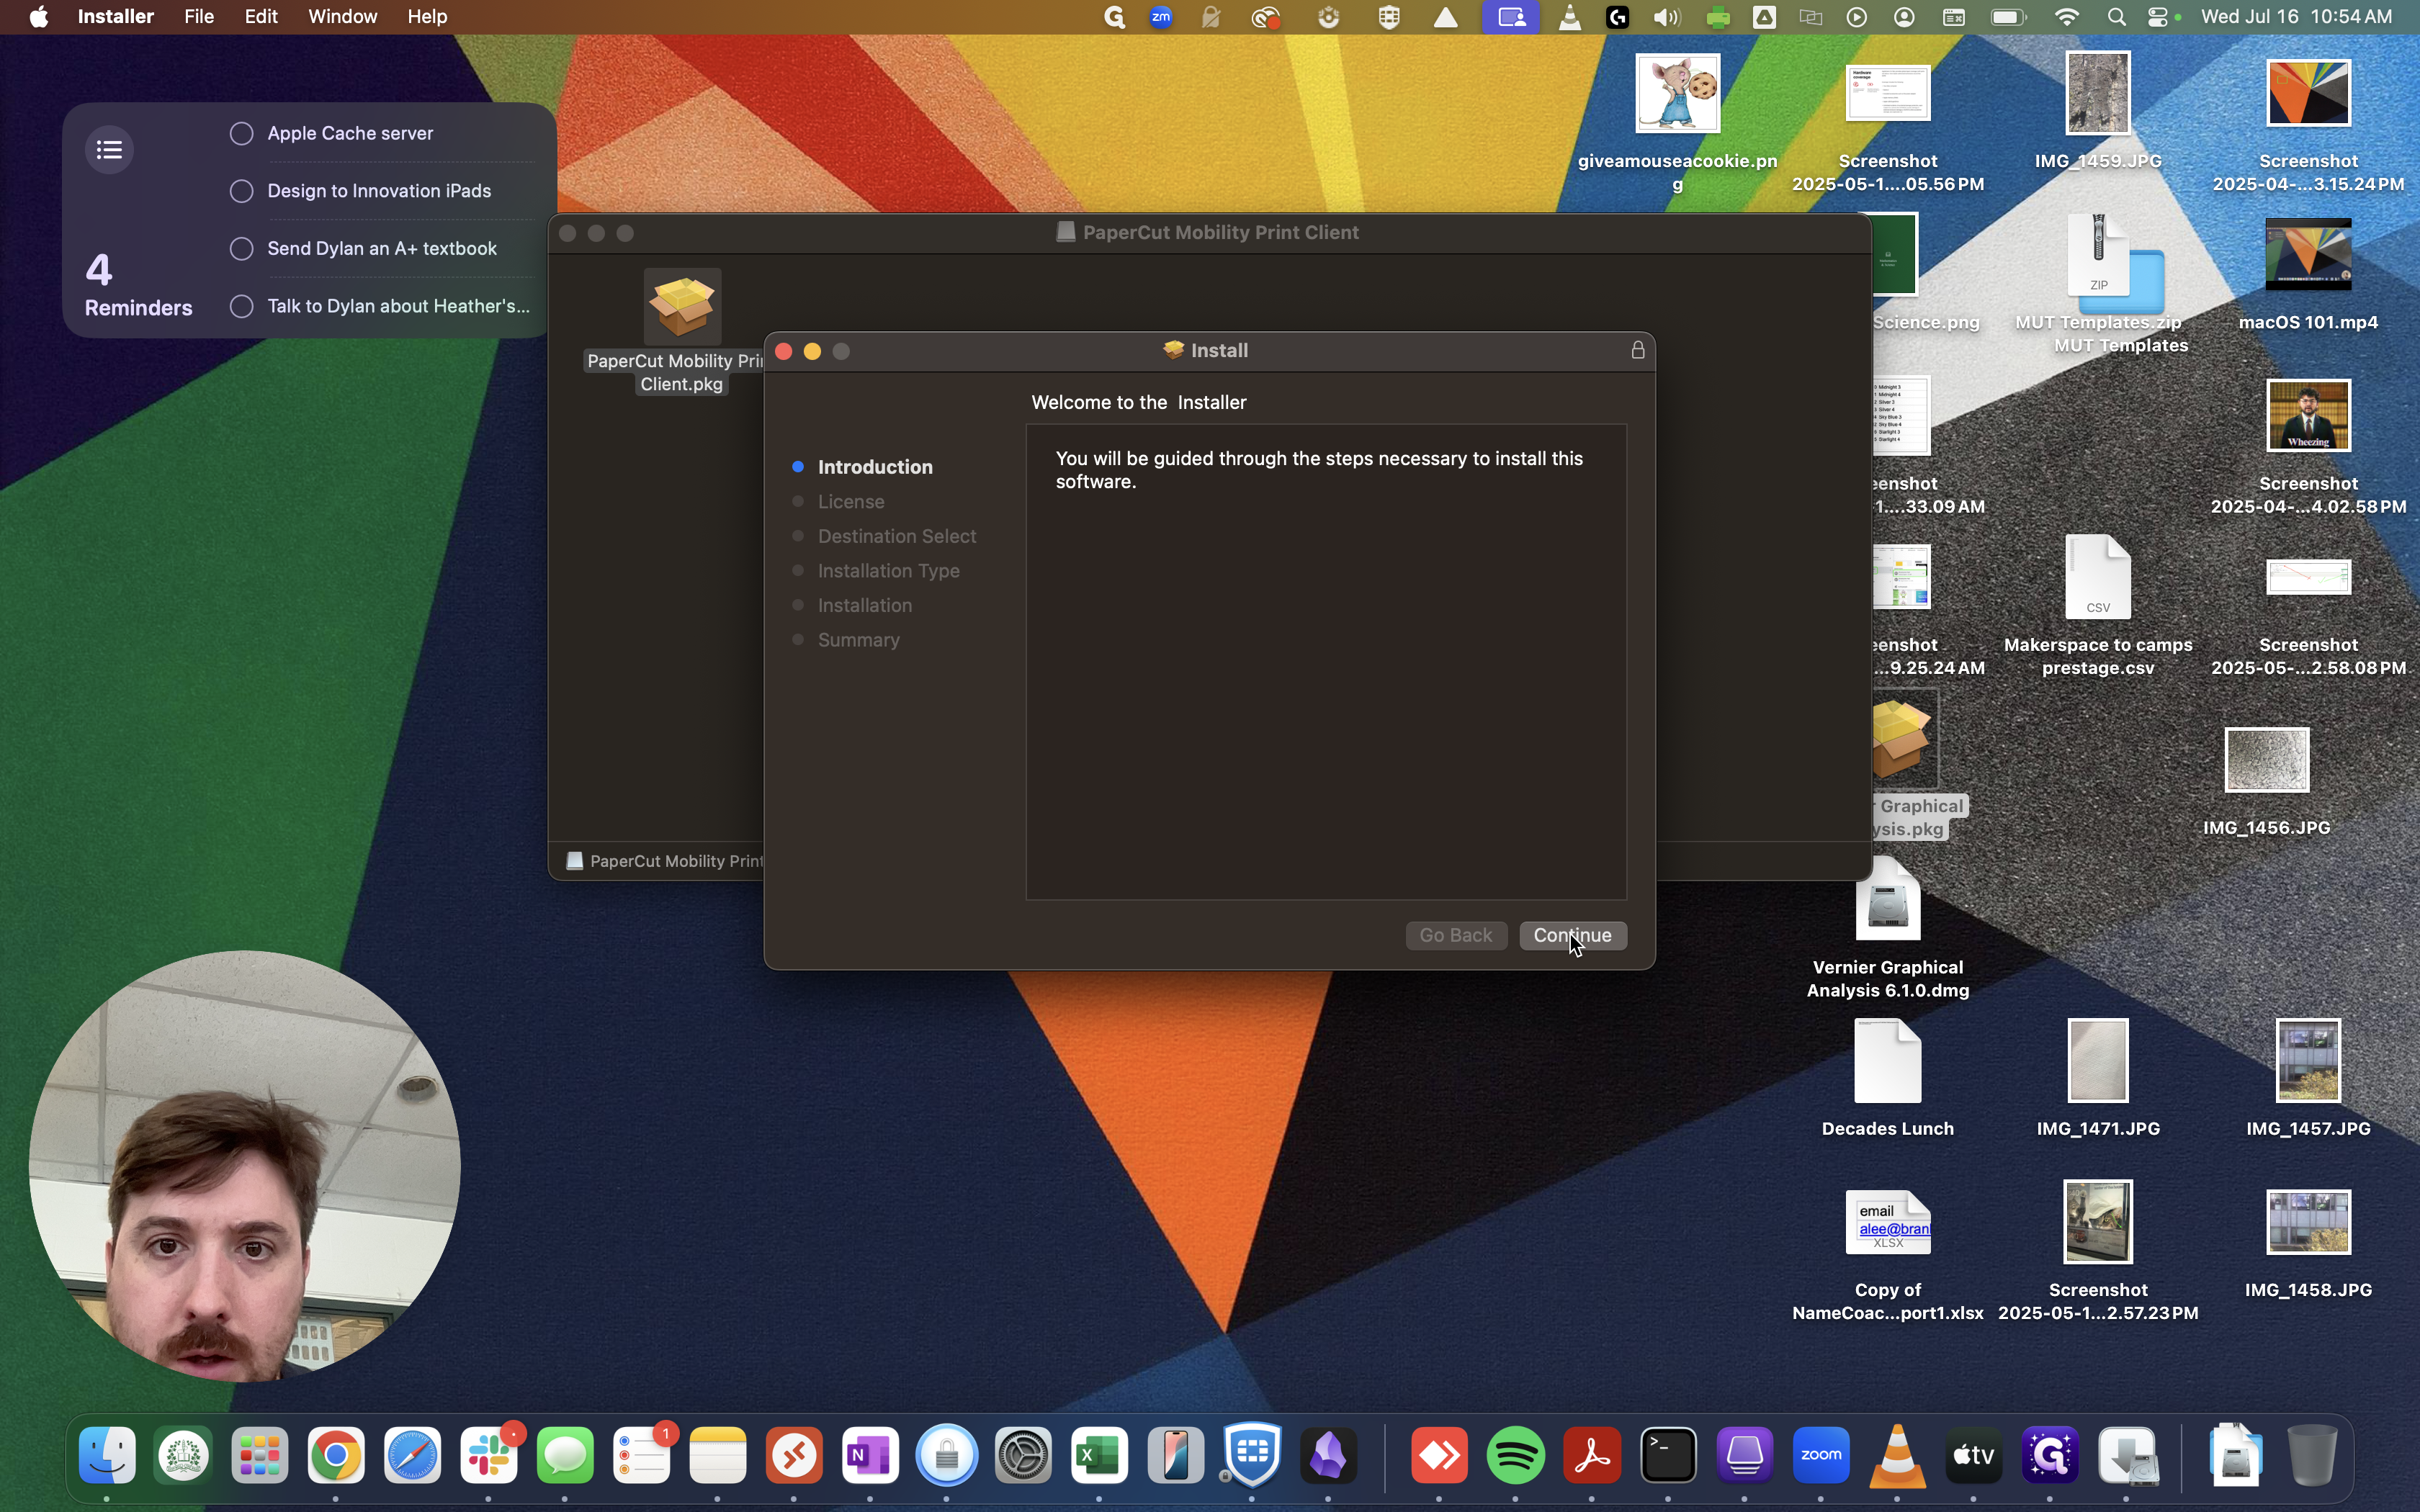
3
Click on "Continue"
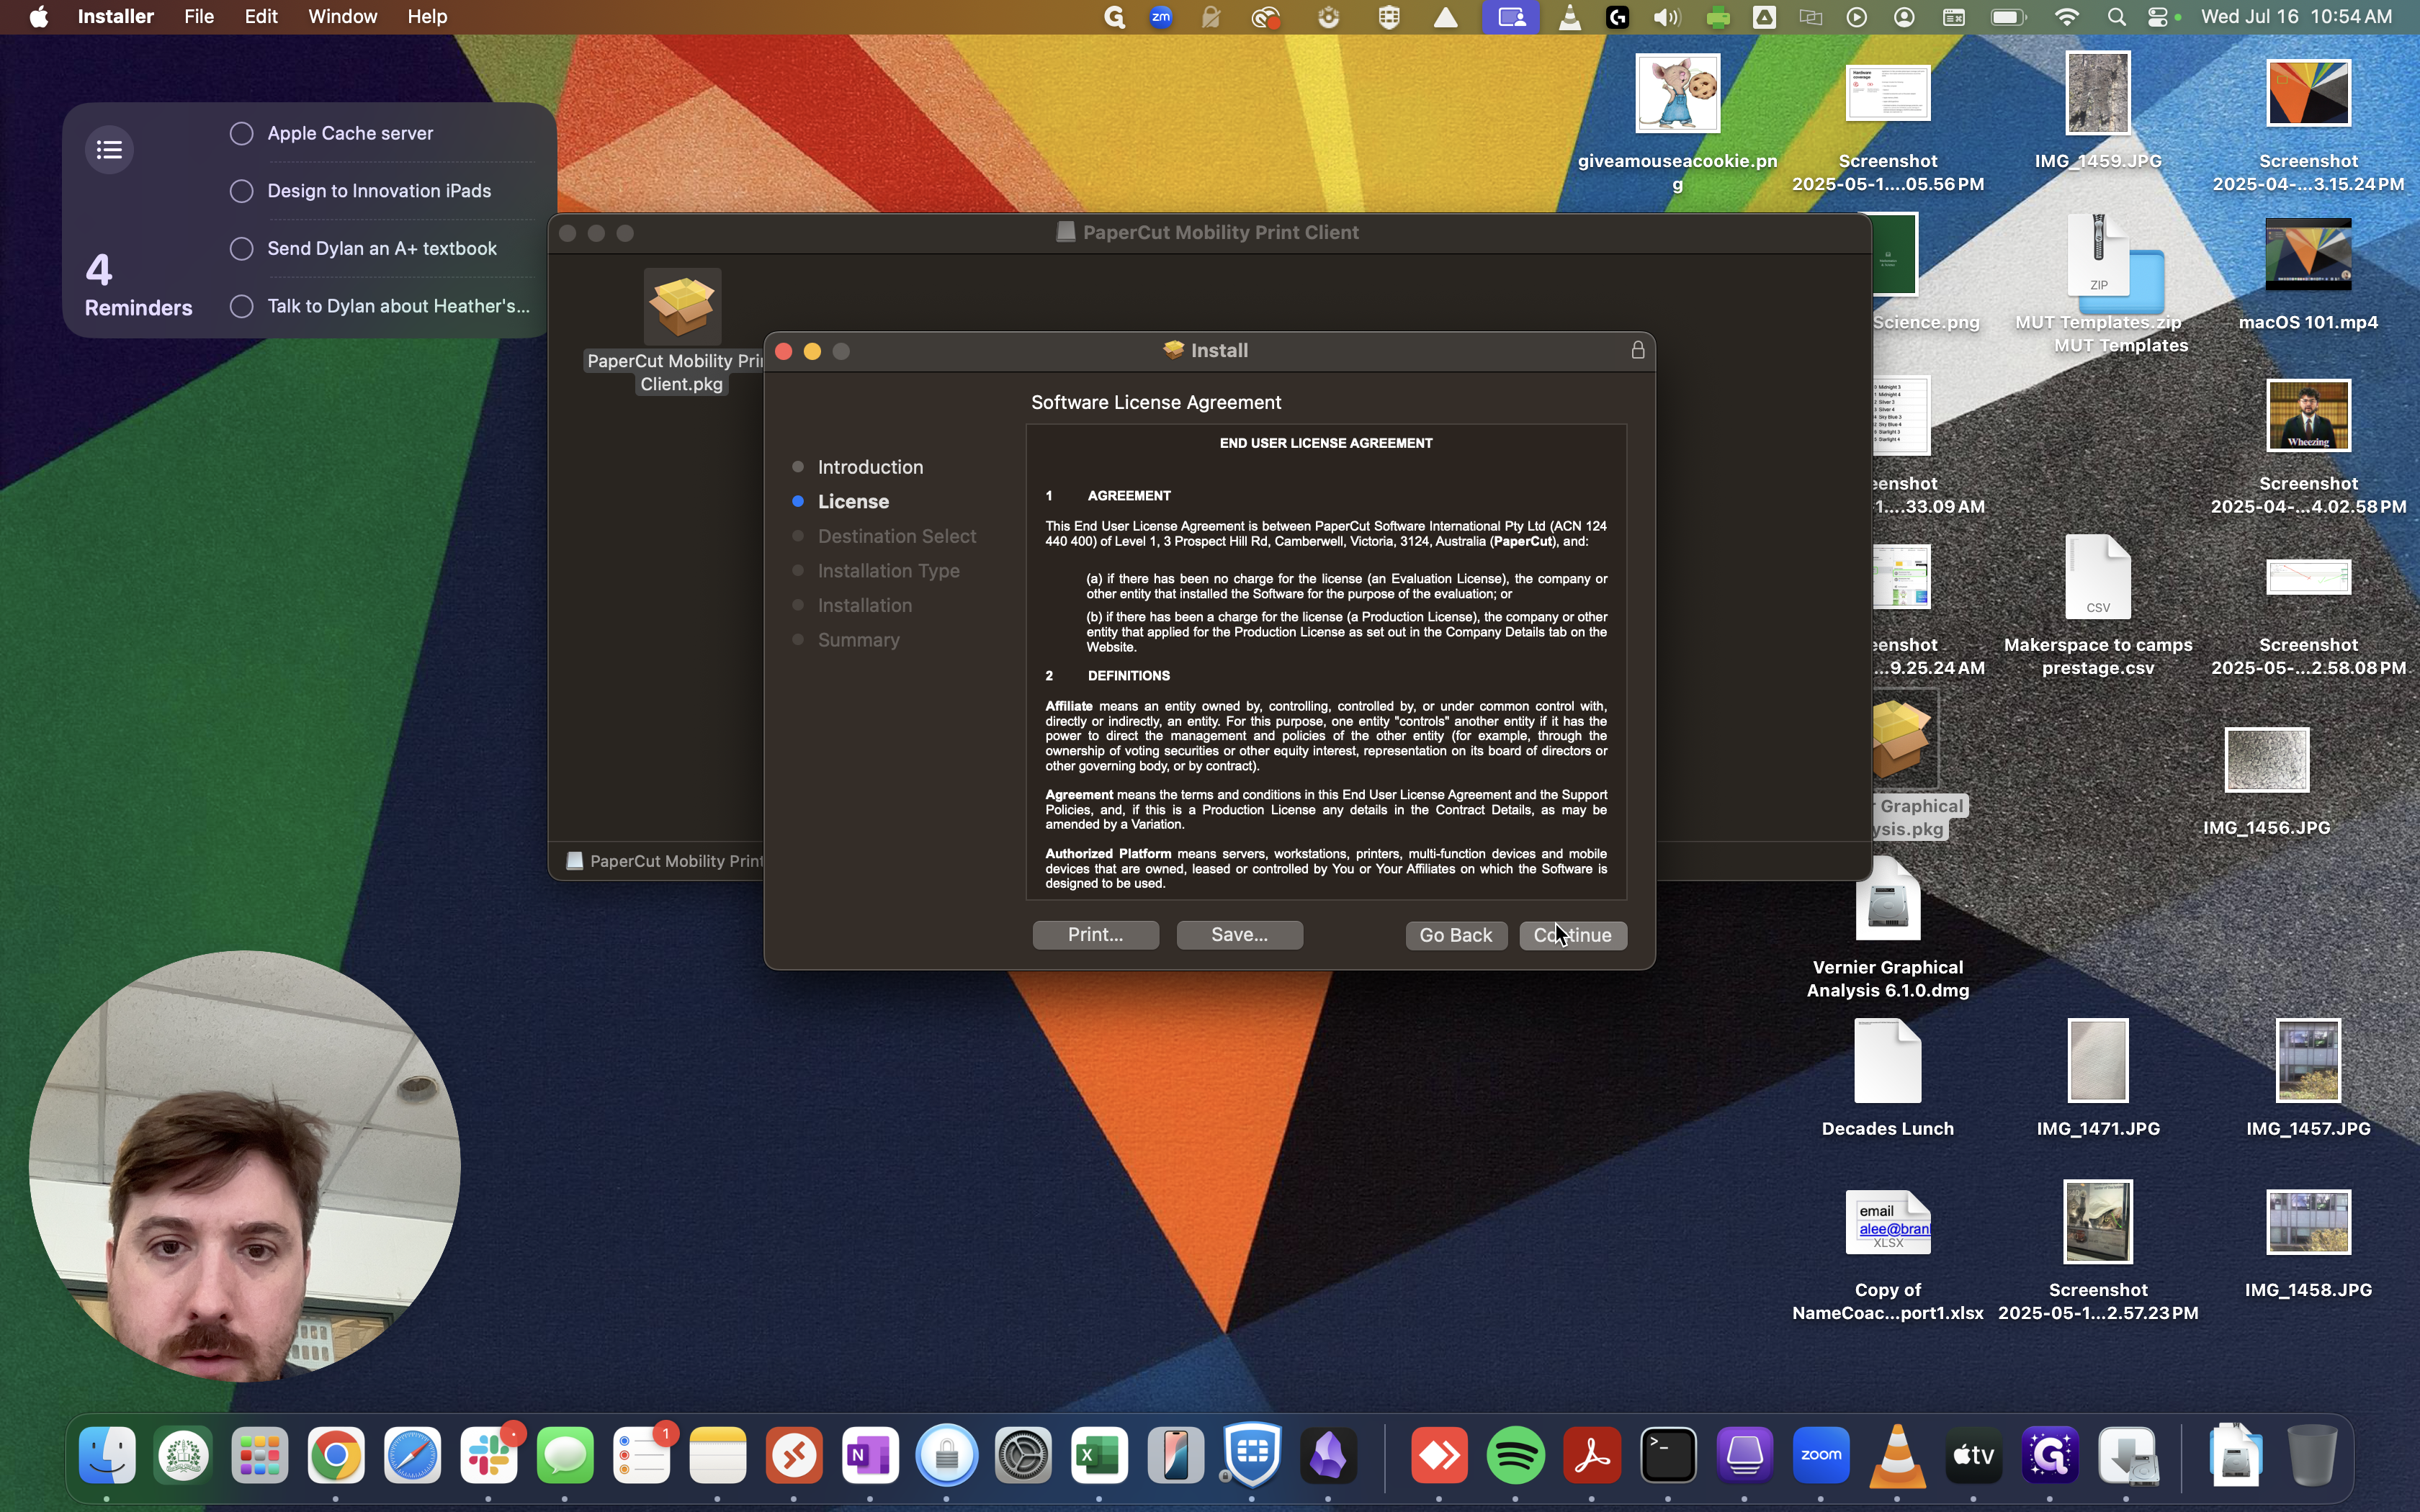
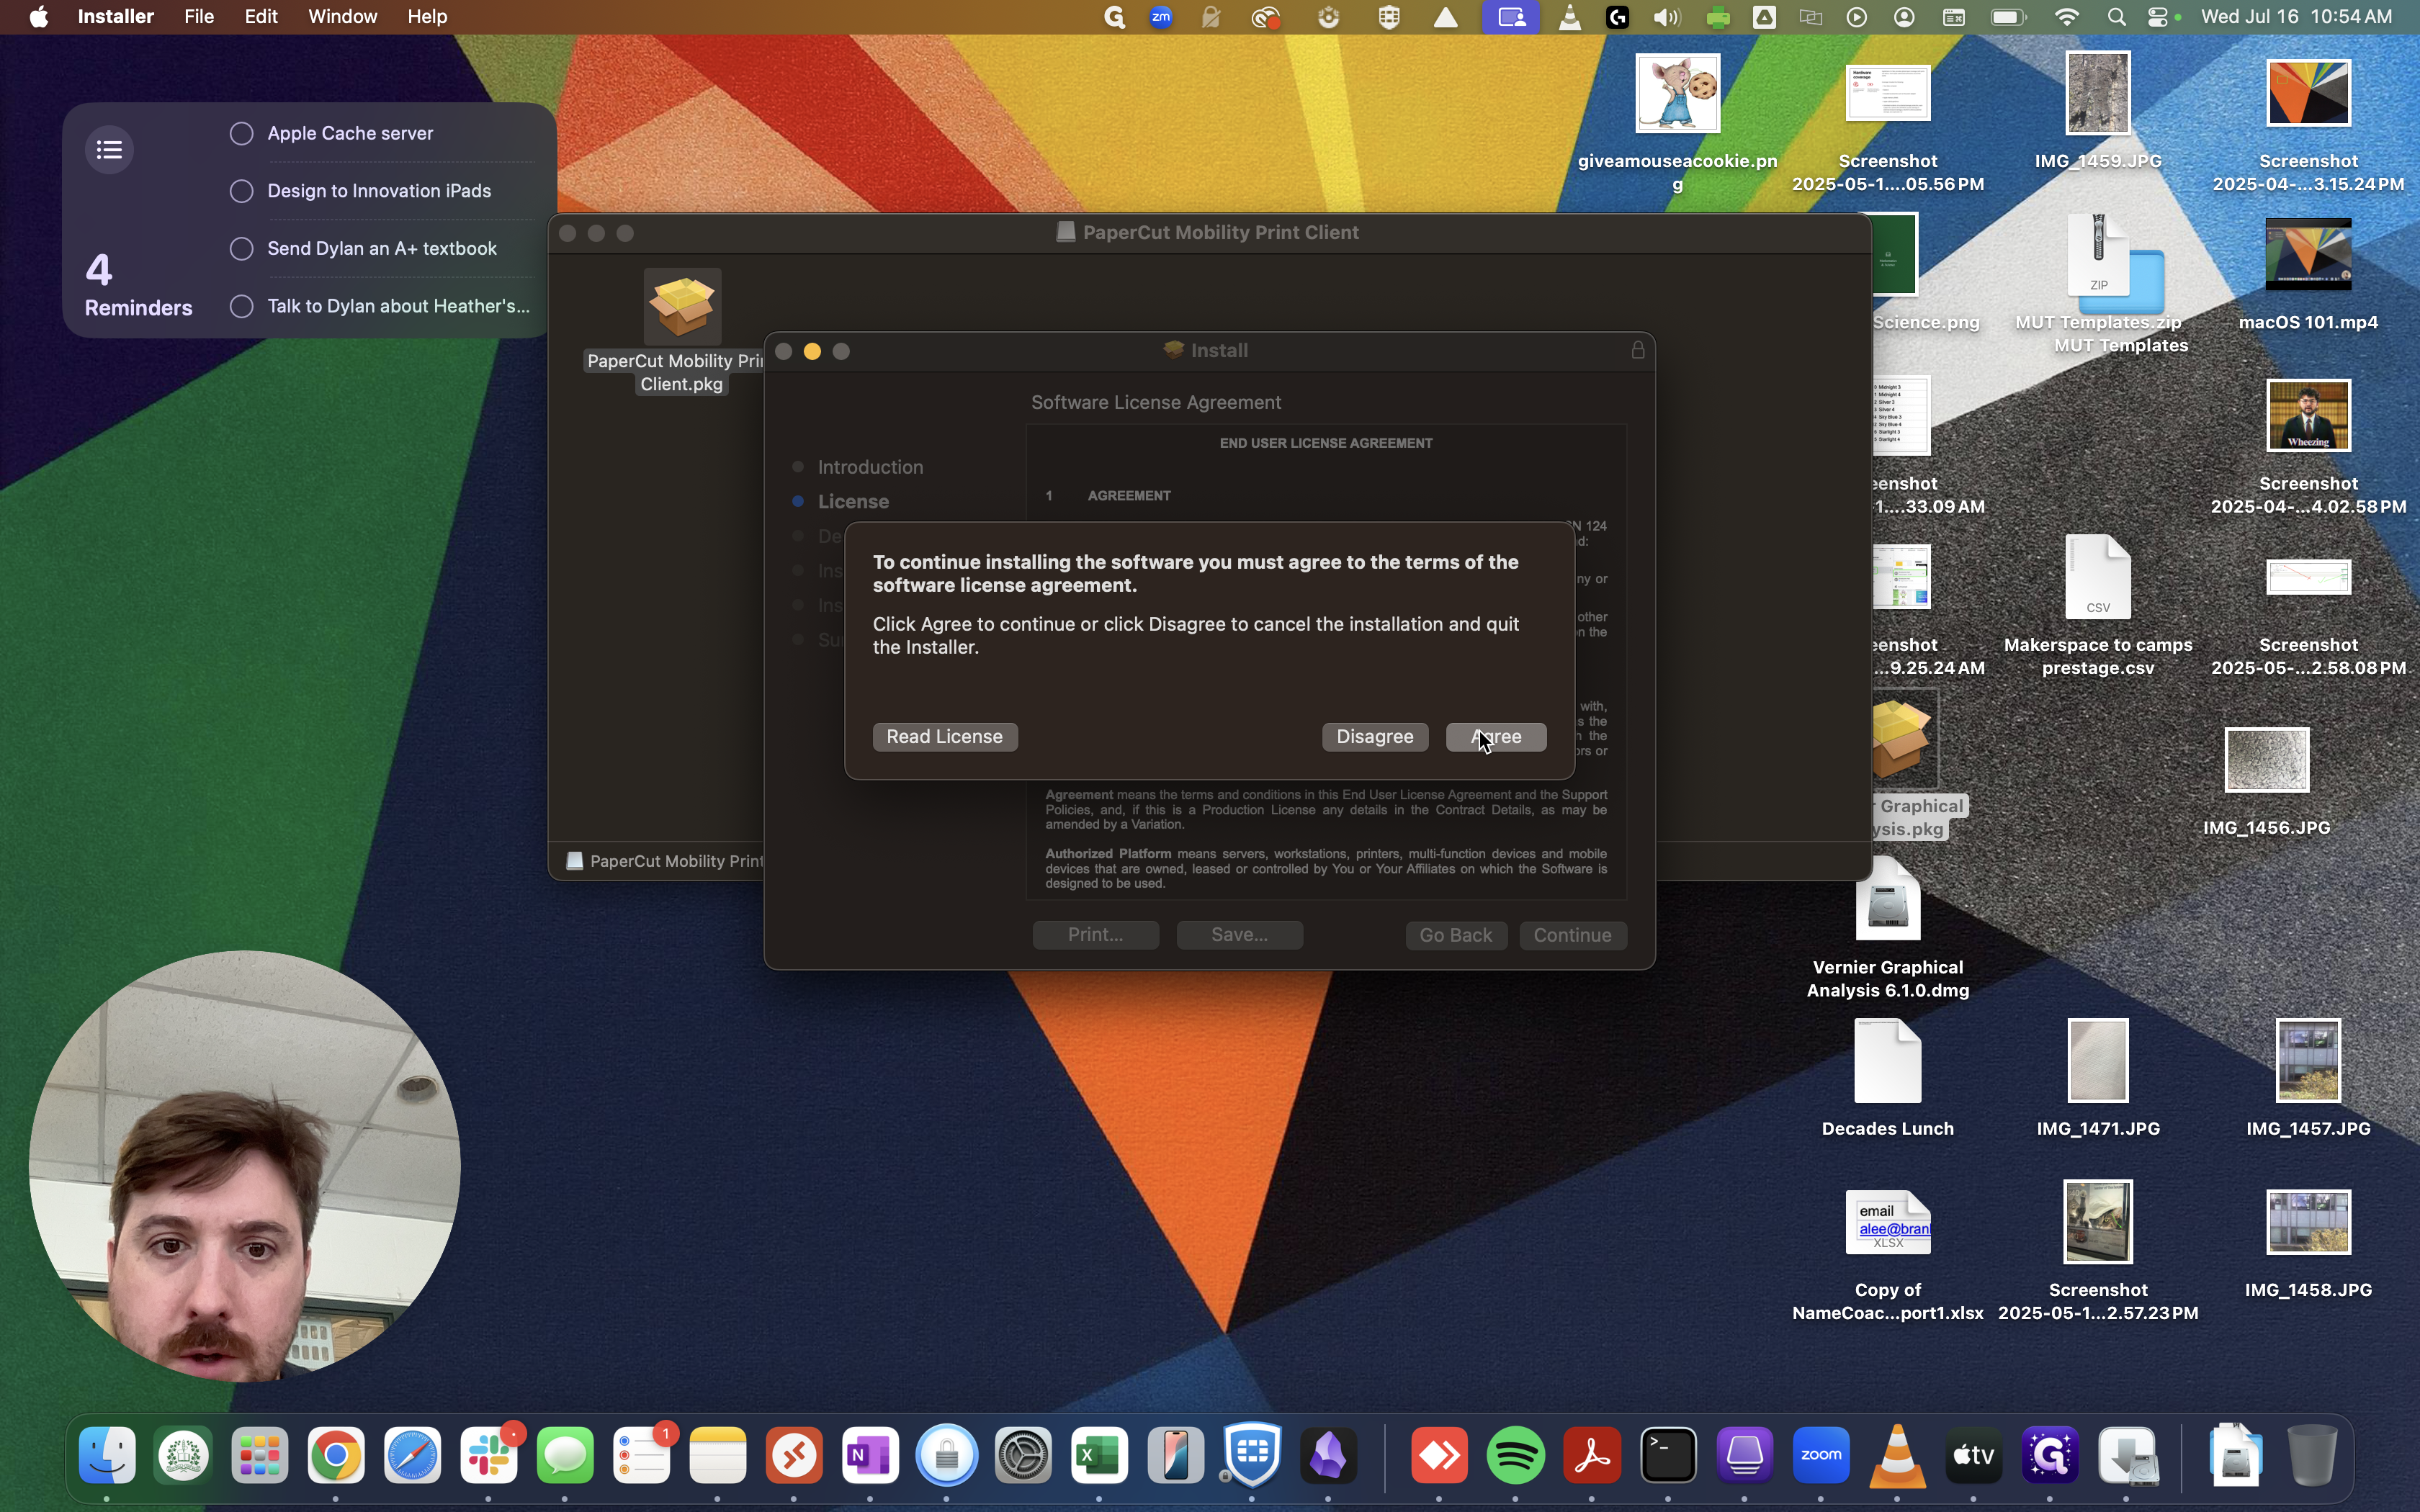
4
Click on "Agree"
5
Click on "Install"
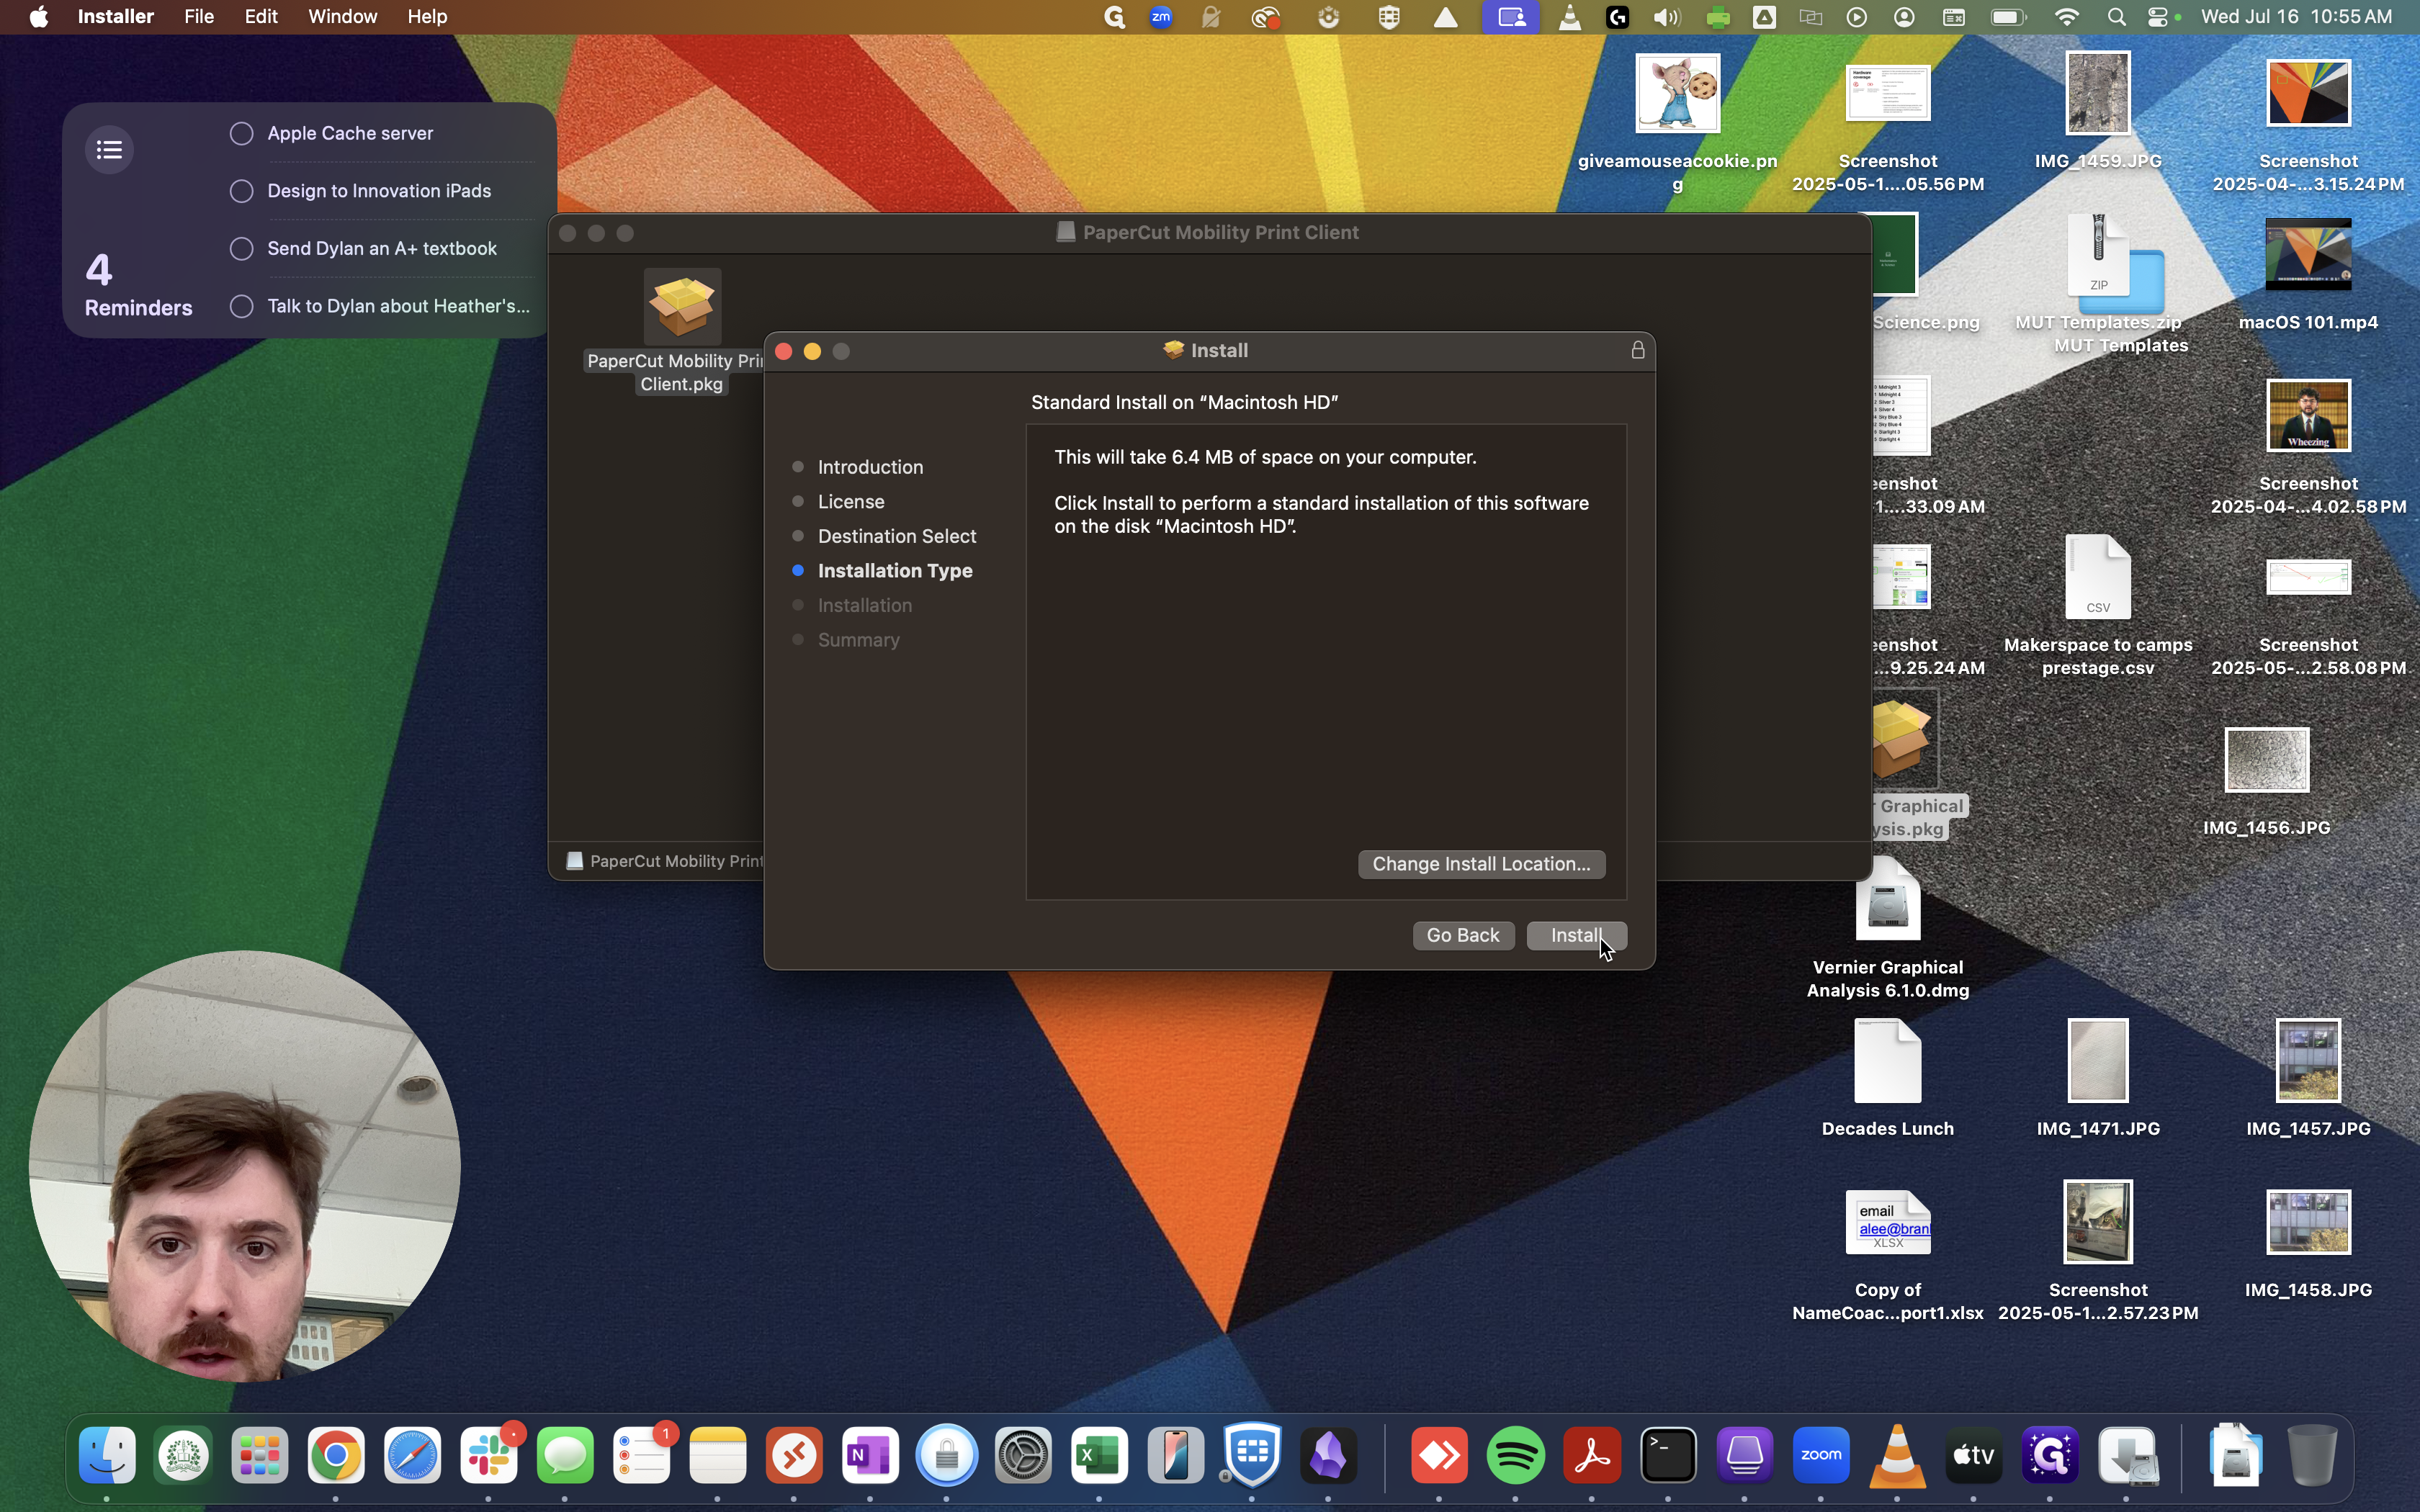
6
Click here
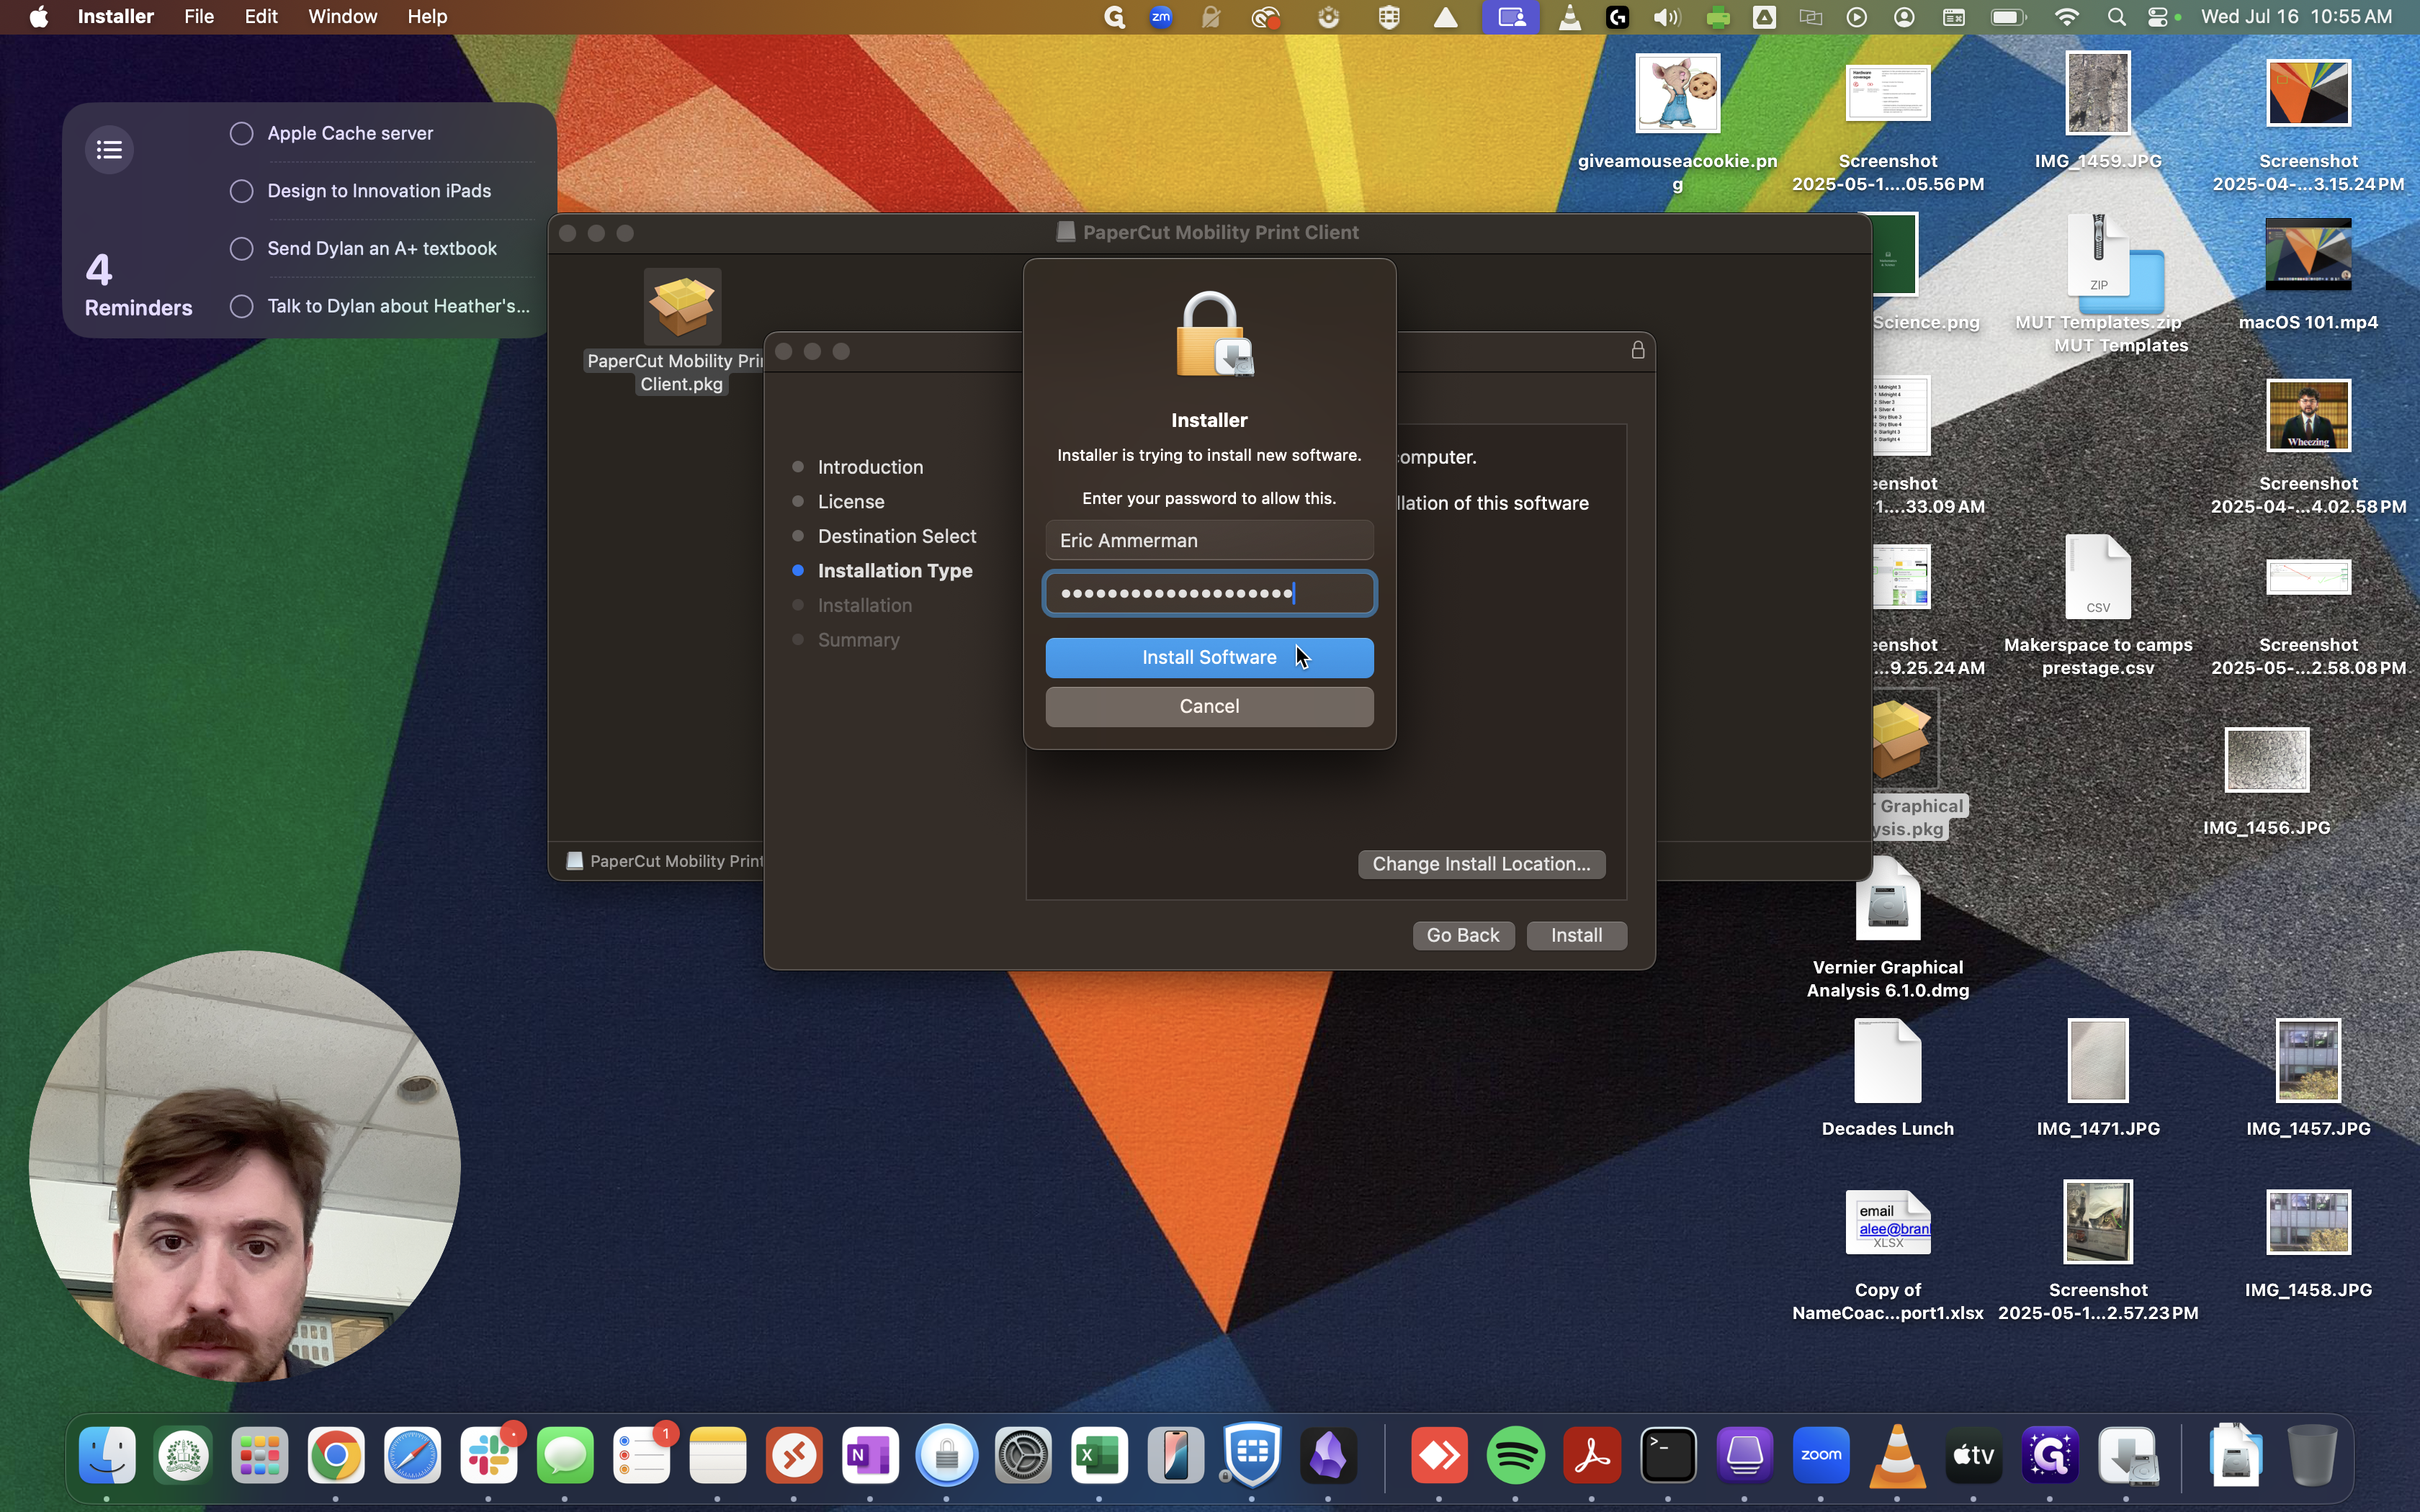
7
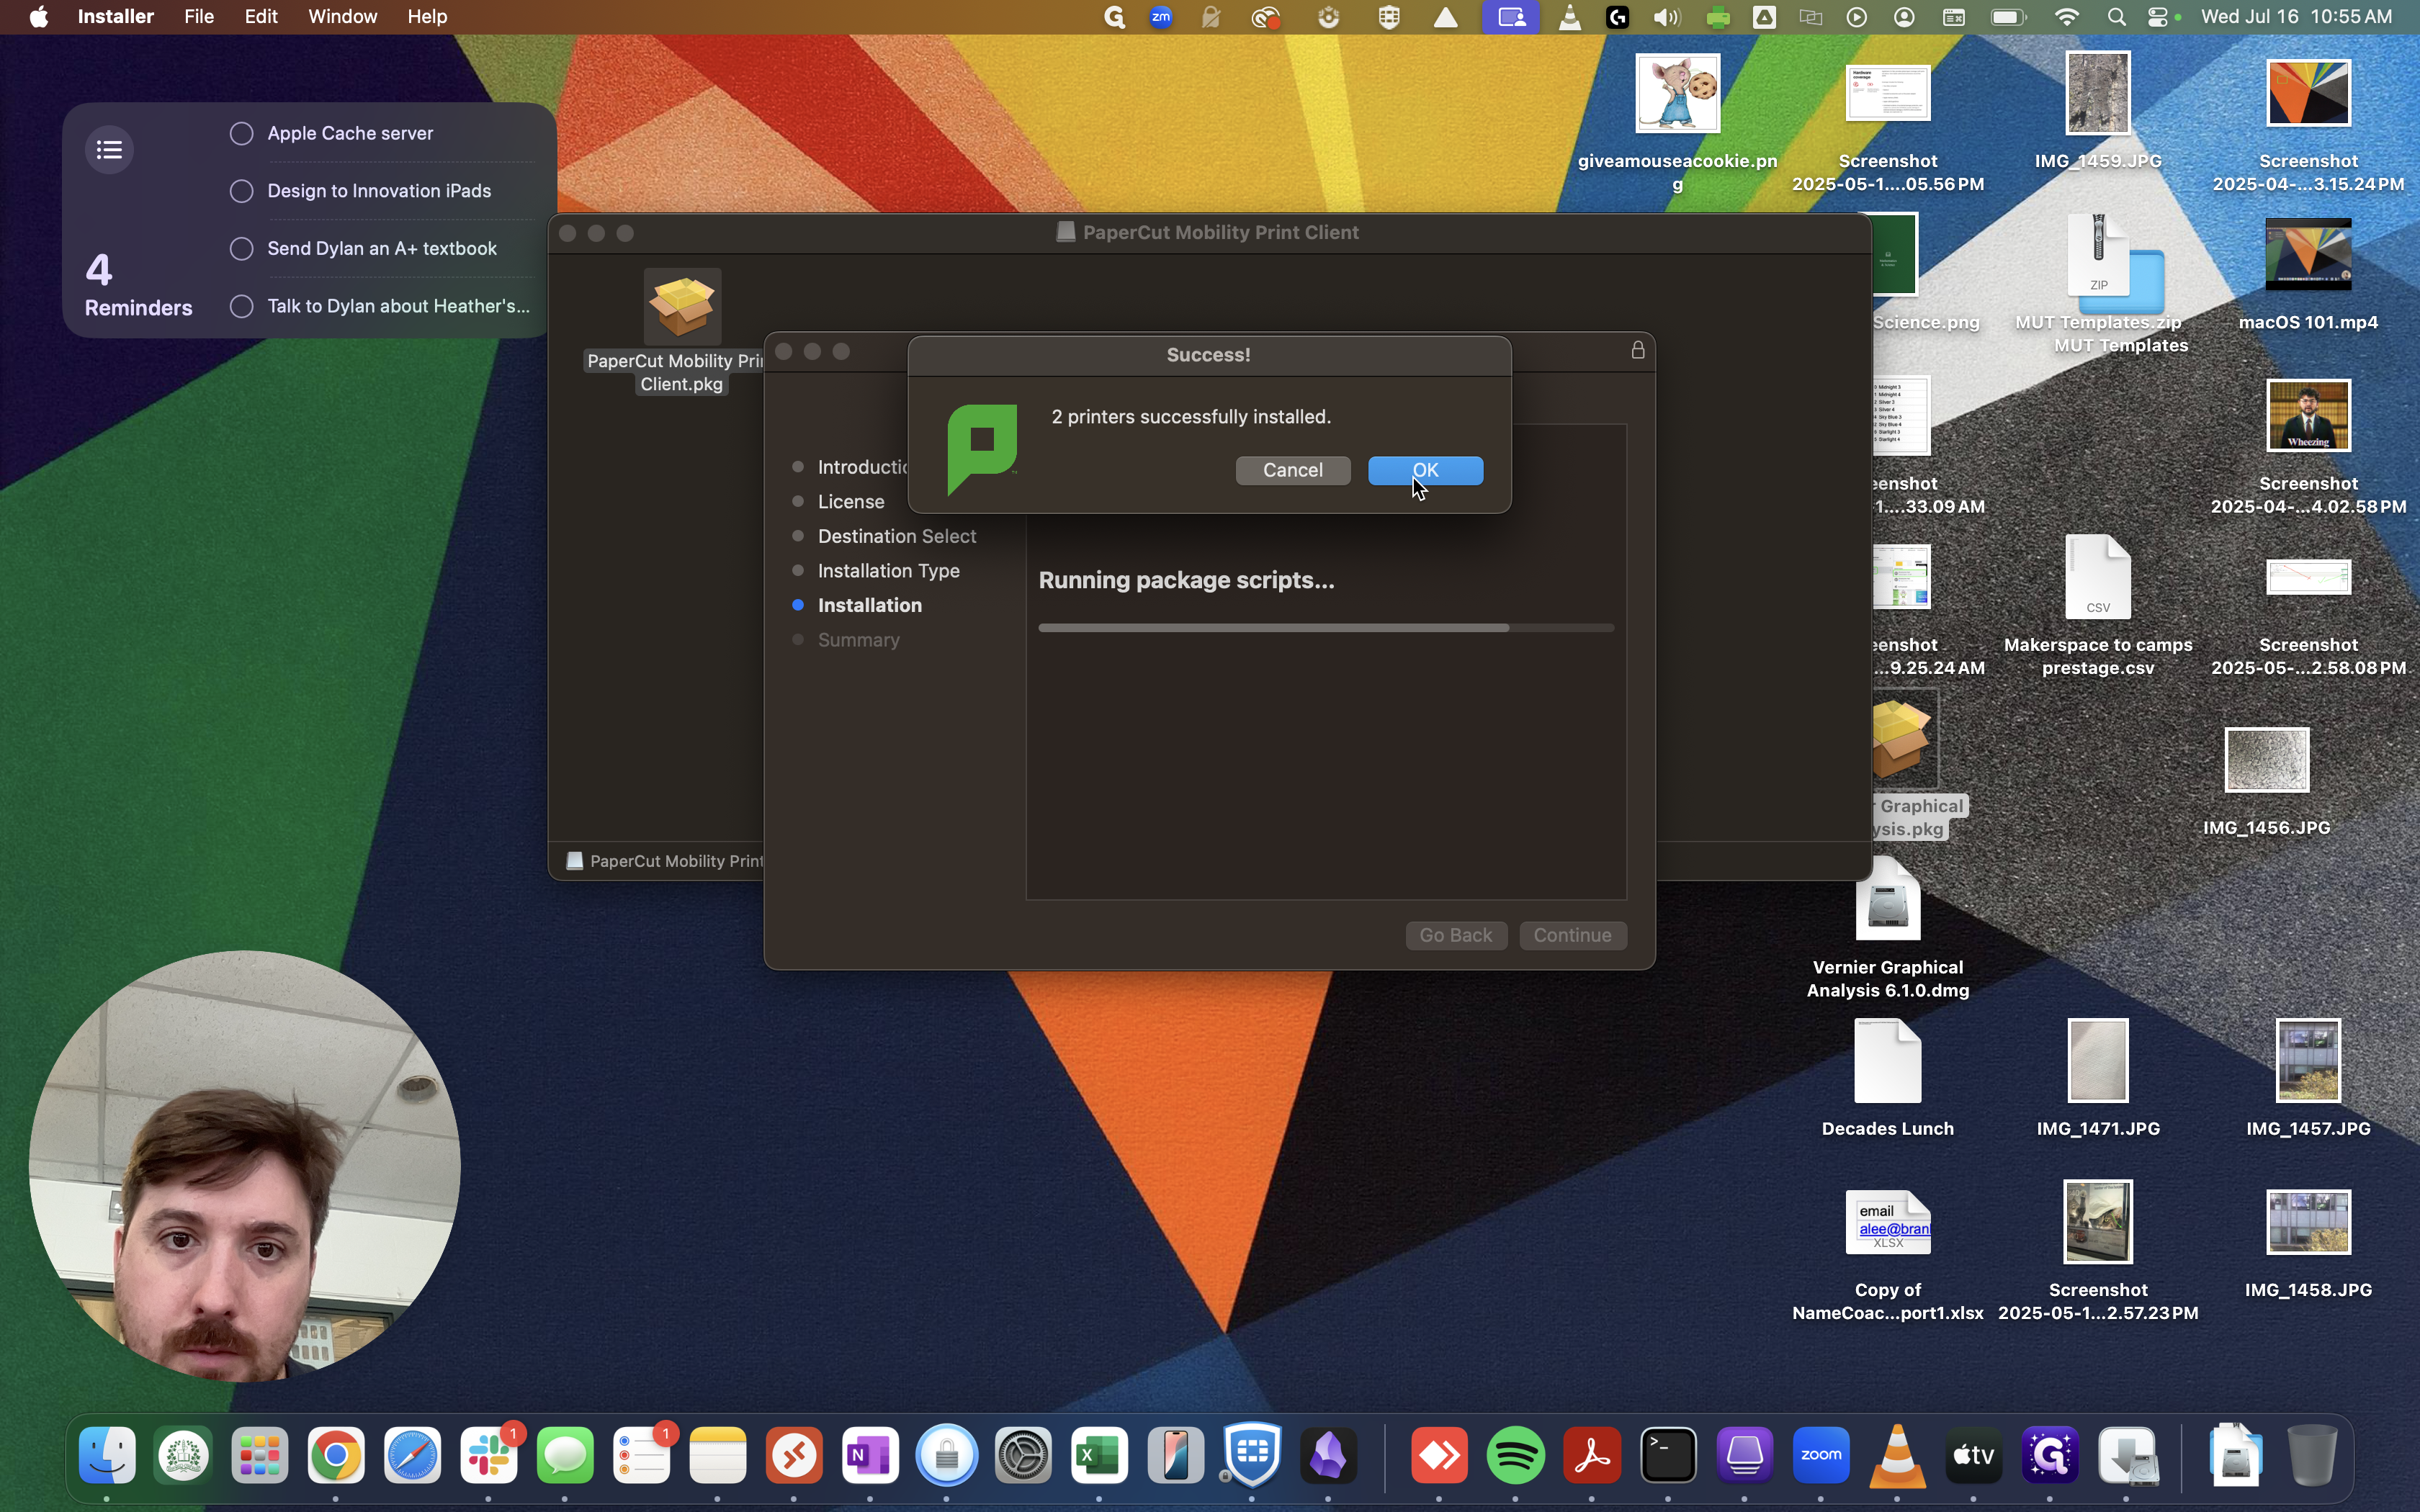
Click on the printer you want to install.

Press OK, then Close.
8
Click on "OK"
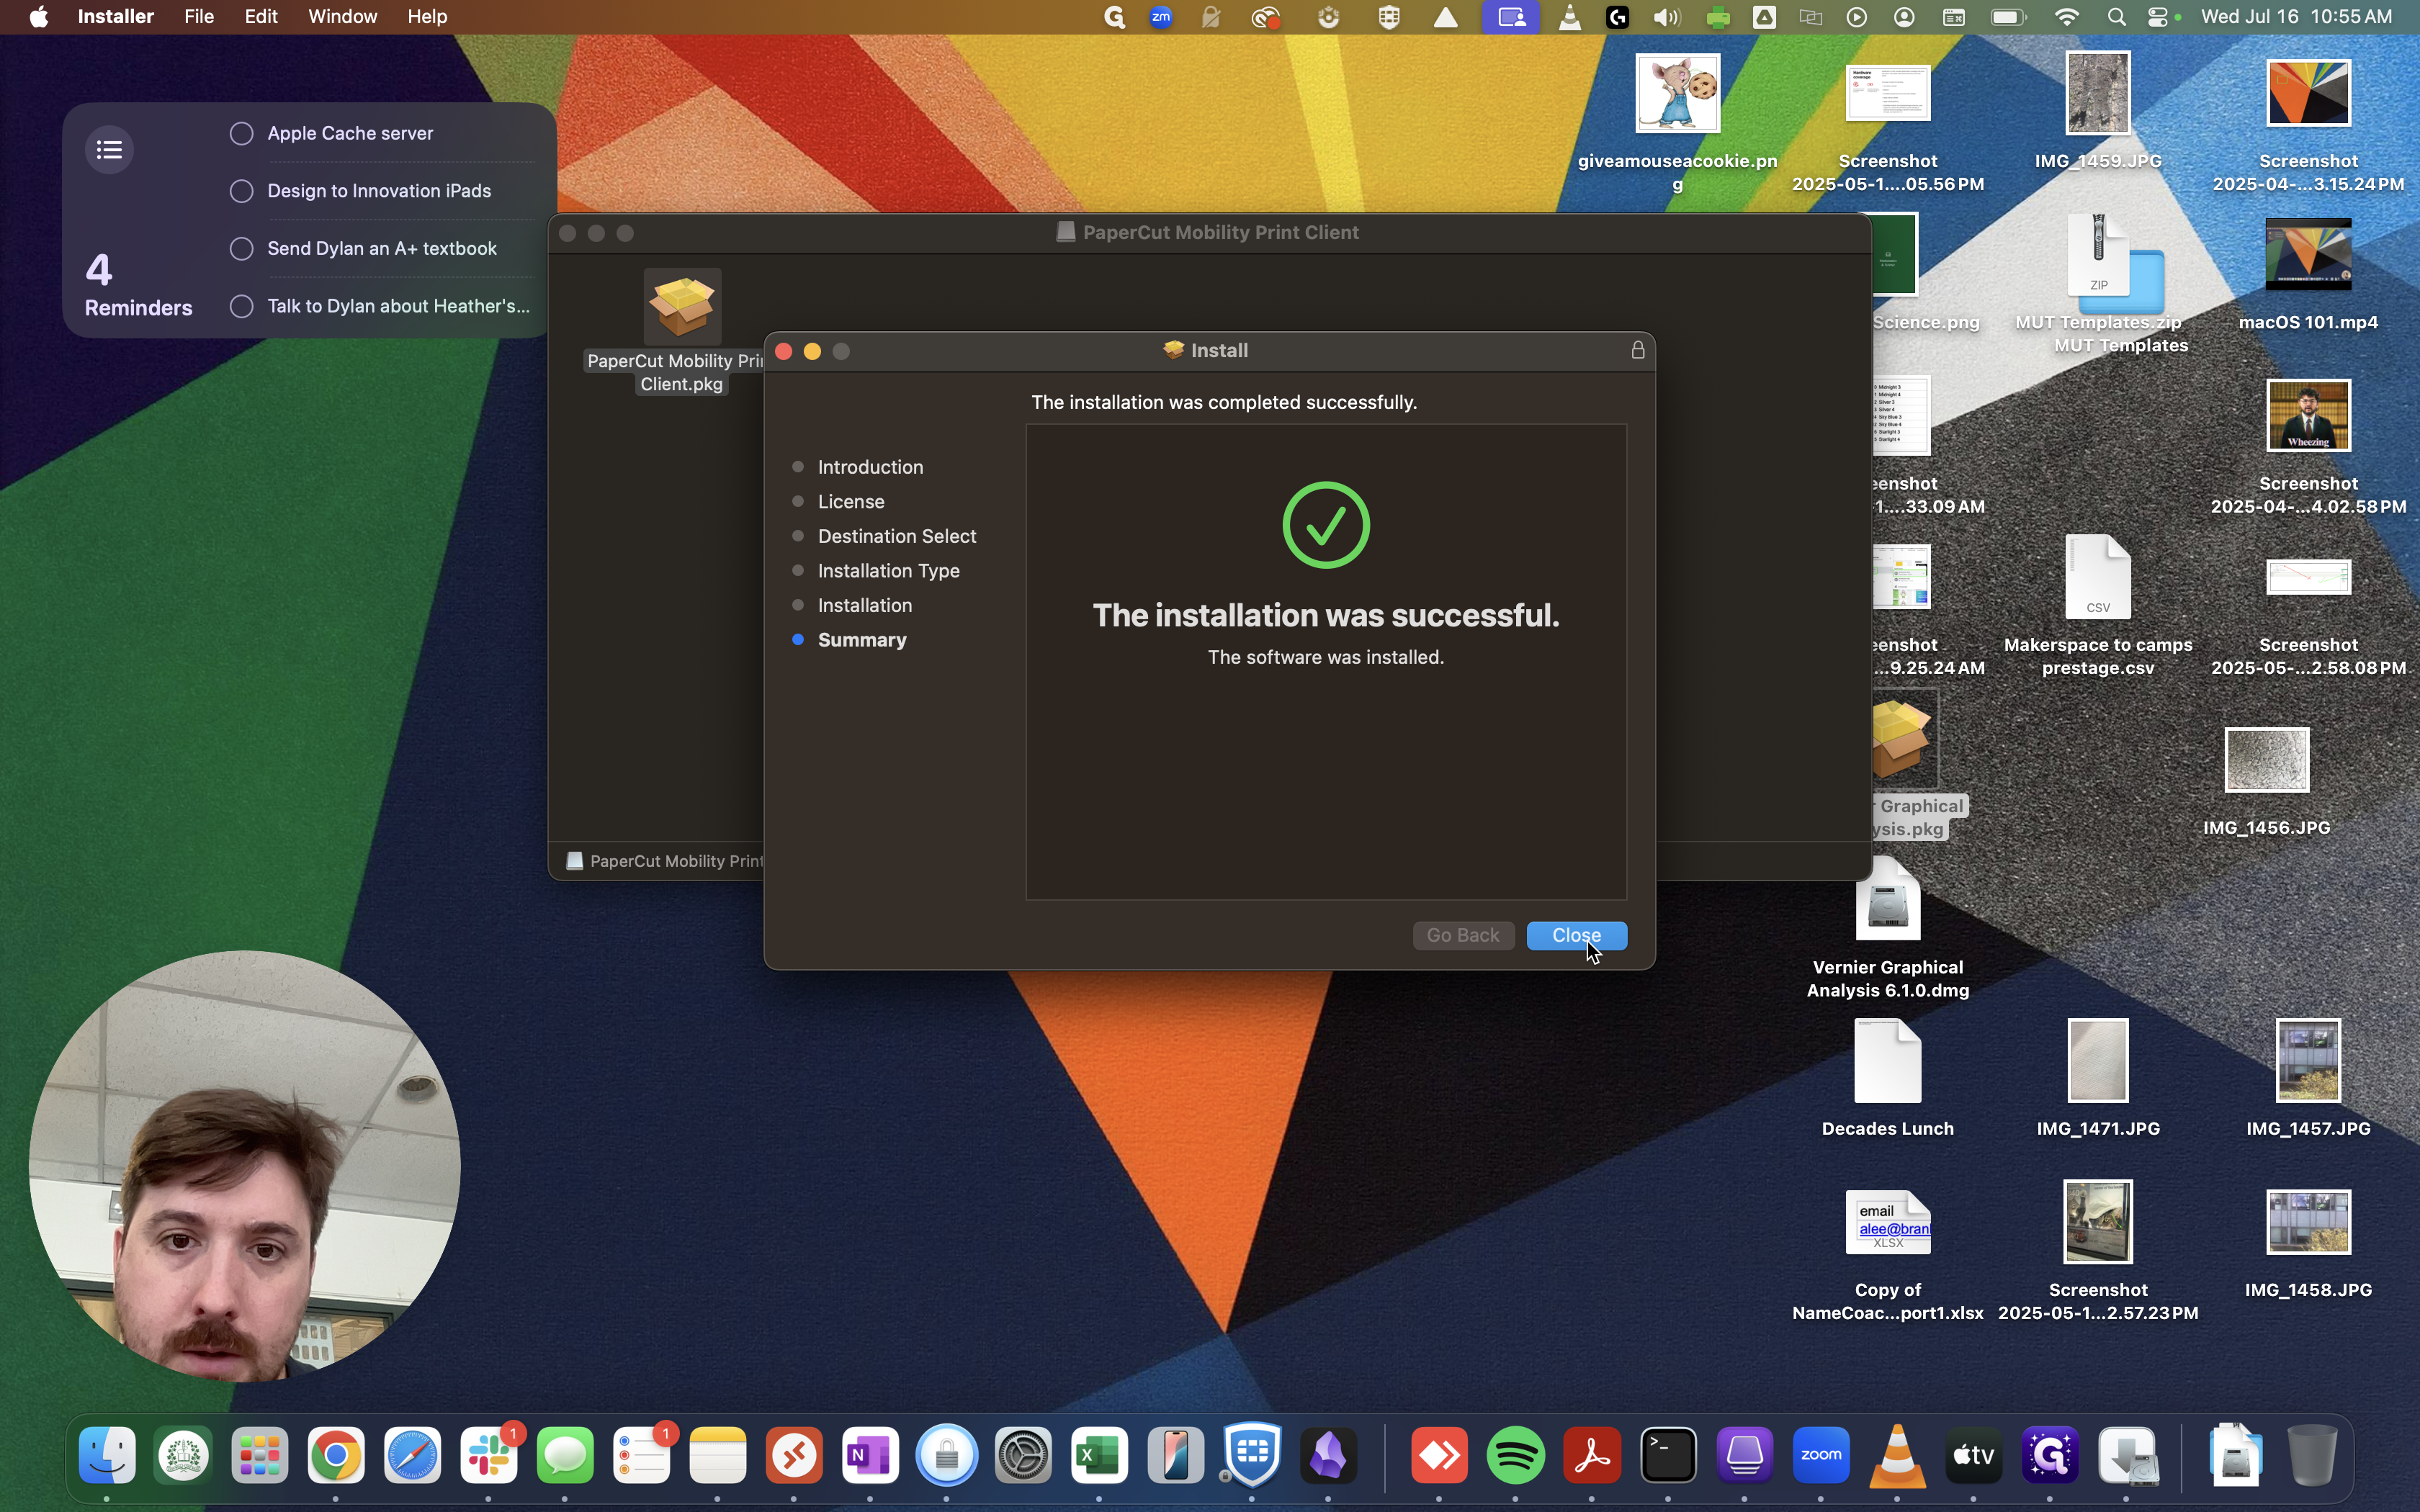
9
Click on "Close"
10
Click on "Move to Trash"
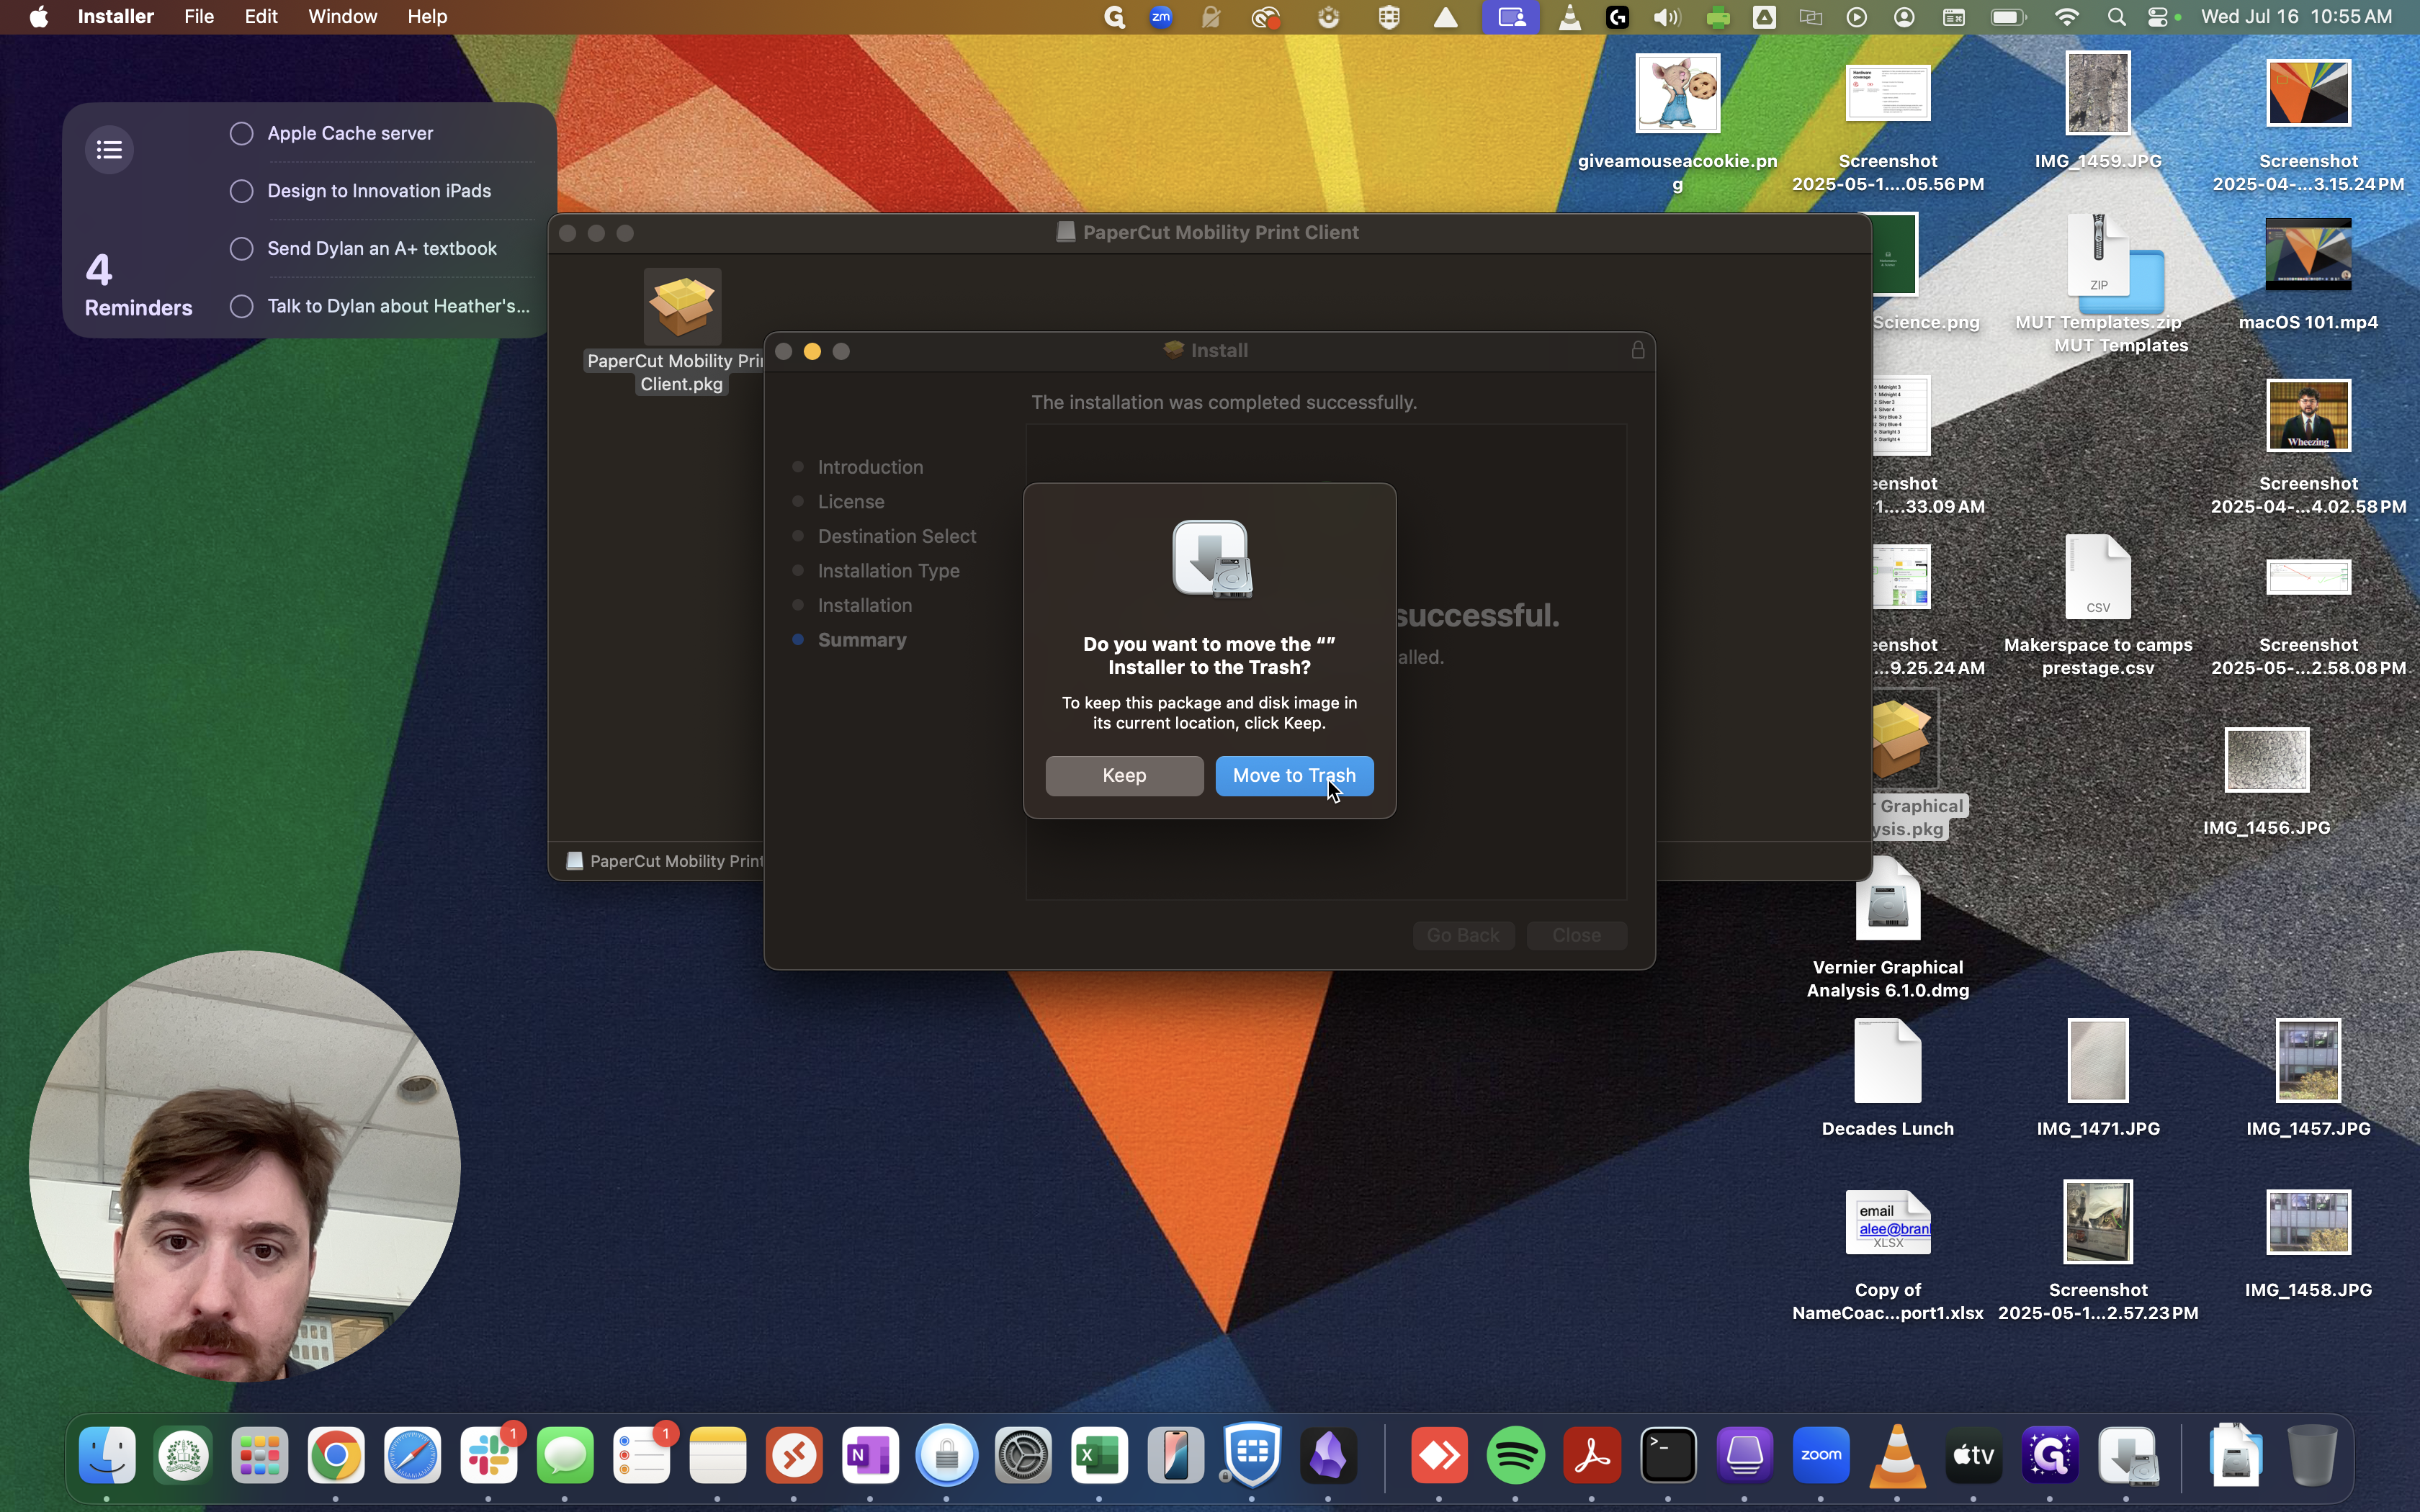
Your printer(s) will now be installed. Upon first printing, you will be prompted to enter a username and password. Please enter your Branksome username and password.